Maine Handmade Fair

Maine Handmade.jpeg

Virtual Maine Handmade Fair Tomorrow!

December 05, 2019

I’m co-hosting a virtual craft fair featuring 22 talented Maine makers. Friday, December 6th starting at 10 am we'll be sharing our handmade work, as well as some special discounts, peeks inside of our workspaces, and creative processes. We are a group of 22 different artists and artisans representing a wide range of handmade products and processes and different areas of Maine's creative community. 

What's a Virtual Handmade Fair?

It's a group of artists and makers getting together to share their work - just like a regular craft fair. Instead of meeting up in person, we're meeting up online and inviting you to join us on Friday, December 6th, starting at 10 AM to say hello, see our handmade work, and find some special discounts on handmade holiday gifts. We think it'll be a fun way to see new work, meet new makers, support and create connections within this creative community.

Organized by Eliza Jane Curtis of Morris & Essex and Leah B. Thibault of Ms. Cleaver - Creations for a Handmade Life, this event includes 22 Maine makers: 

Please join us tomorrow morning, RIGHT HERE on Instagram, starting at 10 am we'll be sharing our handmade work together, as well as some special discounts, peeks at our studio and creative process, maybe some live video greetings, we'll see - each artist gets to choose what they want to share, so it'll be a bit of a surprise, and I think it'll be fun! Can't wait to see you there.


Print Friendly and PDF Follow
follow us in feedly

Golden State

The year after I graduated college, I drove cross country with my high school best friend (highly recommended) from California to Maine in 2.5 days (the timeline is less recommended, but I had a scheduling crunch). During our journey, one of the things we decided we wanted to do was learn the nickname of every state we passed through - the road signs made it clear that Utah was the “Beehive State”, we asked a waitress in Wyoming to learn it was the “Cowboy State.” We passed though the “Hawkeye State” (Iowa) , the “Keystone State” (Pennsylvania), the” Empire State” (New York) and the “Bay State” (Massachusetts), among others before finally arriving in The Pine Tree State (Maine), but the land I left behind in 2005 was the “Golden State.”

Since moving out east, I’ve been a regular visitor to California about ever other year, but I’ve been thinking a lot more about California recently. 2019 marks the year that I’ve lived outside of California longer than I’ve lived in it. It’s the 15 year anniversary of my father’s death. It’s the year I went out to show Little Miss Cleaver my hometown for the first time and to see my mother for what is likely the last. I came back from my most recent trip with two shoeboxes full of family photos. I’m feeling a little nostalgic to say the least.

So, as is only natural for a creative, I’m digging into that nostalgia and reflecting on the Golden State in my designs. Exploring bits of my person history and the history of the state at large, considering how the 31st state in the Union shaped me and shaped the country. There’s a lot to mine there (pun intended!) and honestly, a lot of emotion, so instead of trying to pull together a collection with a set deadline, I’ll be working on this project over the course of the year, releasing things as they are ready and telling the story in bits and pieces as I go.

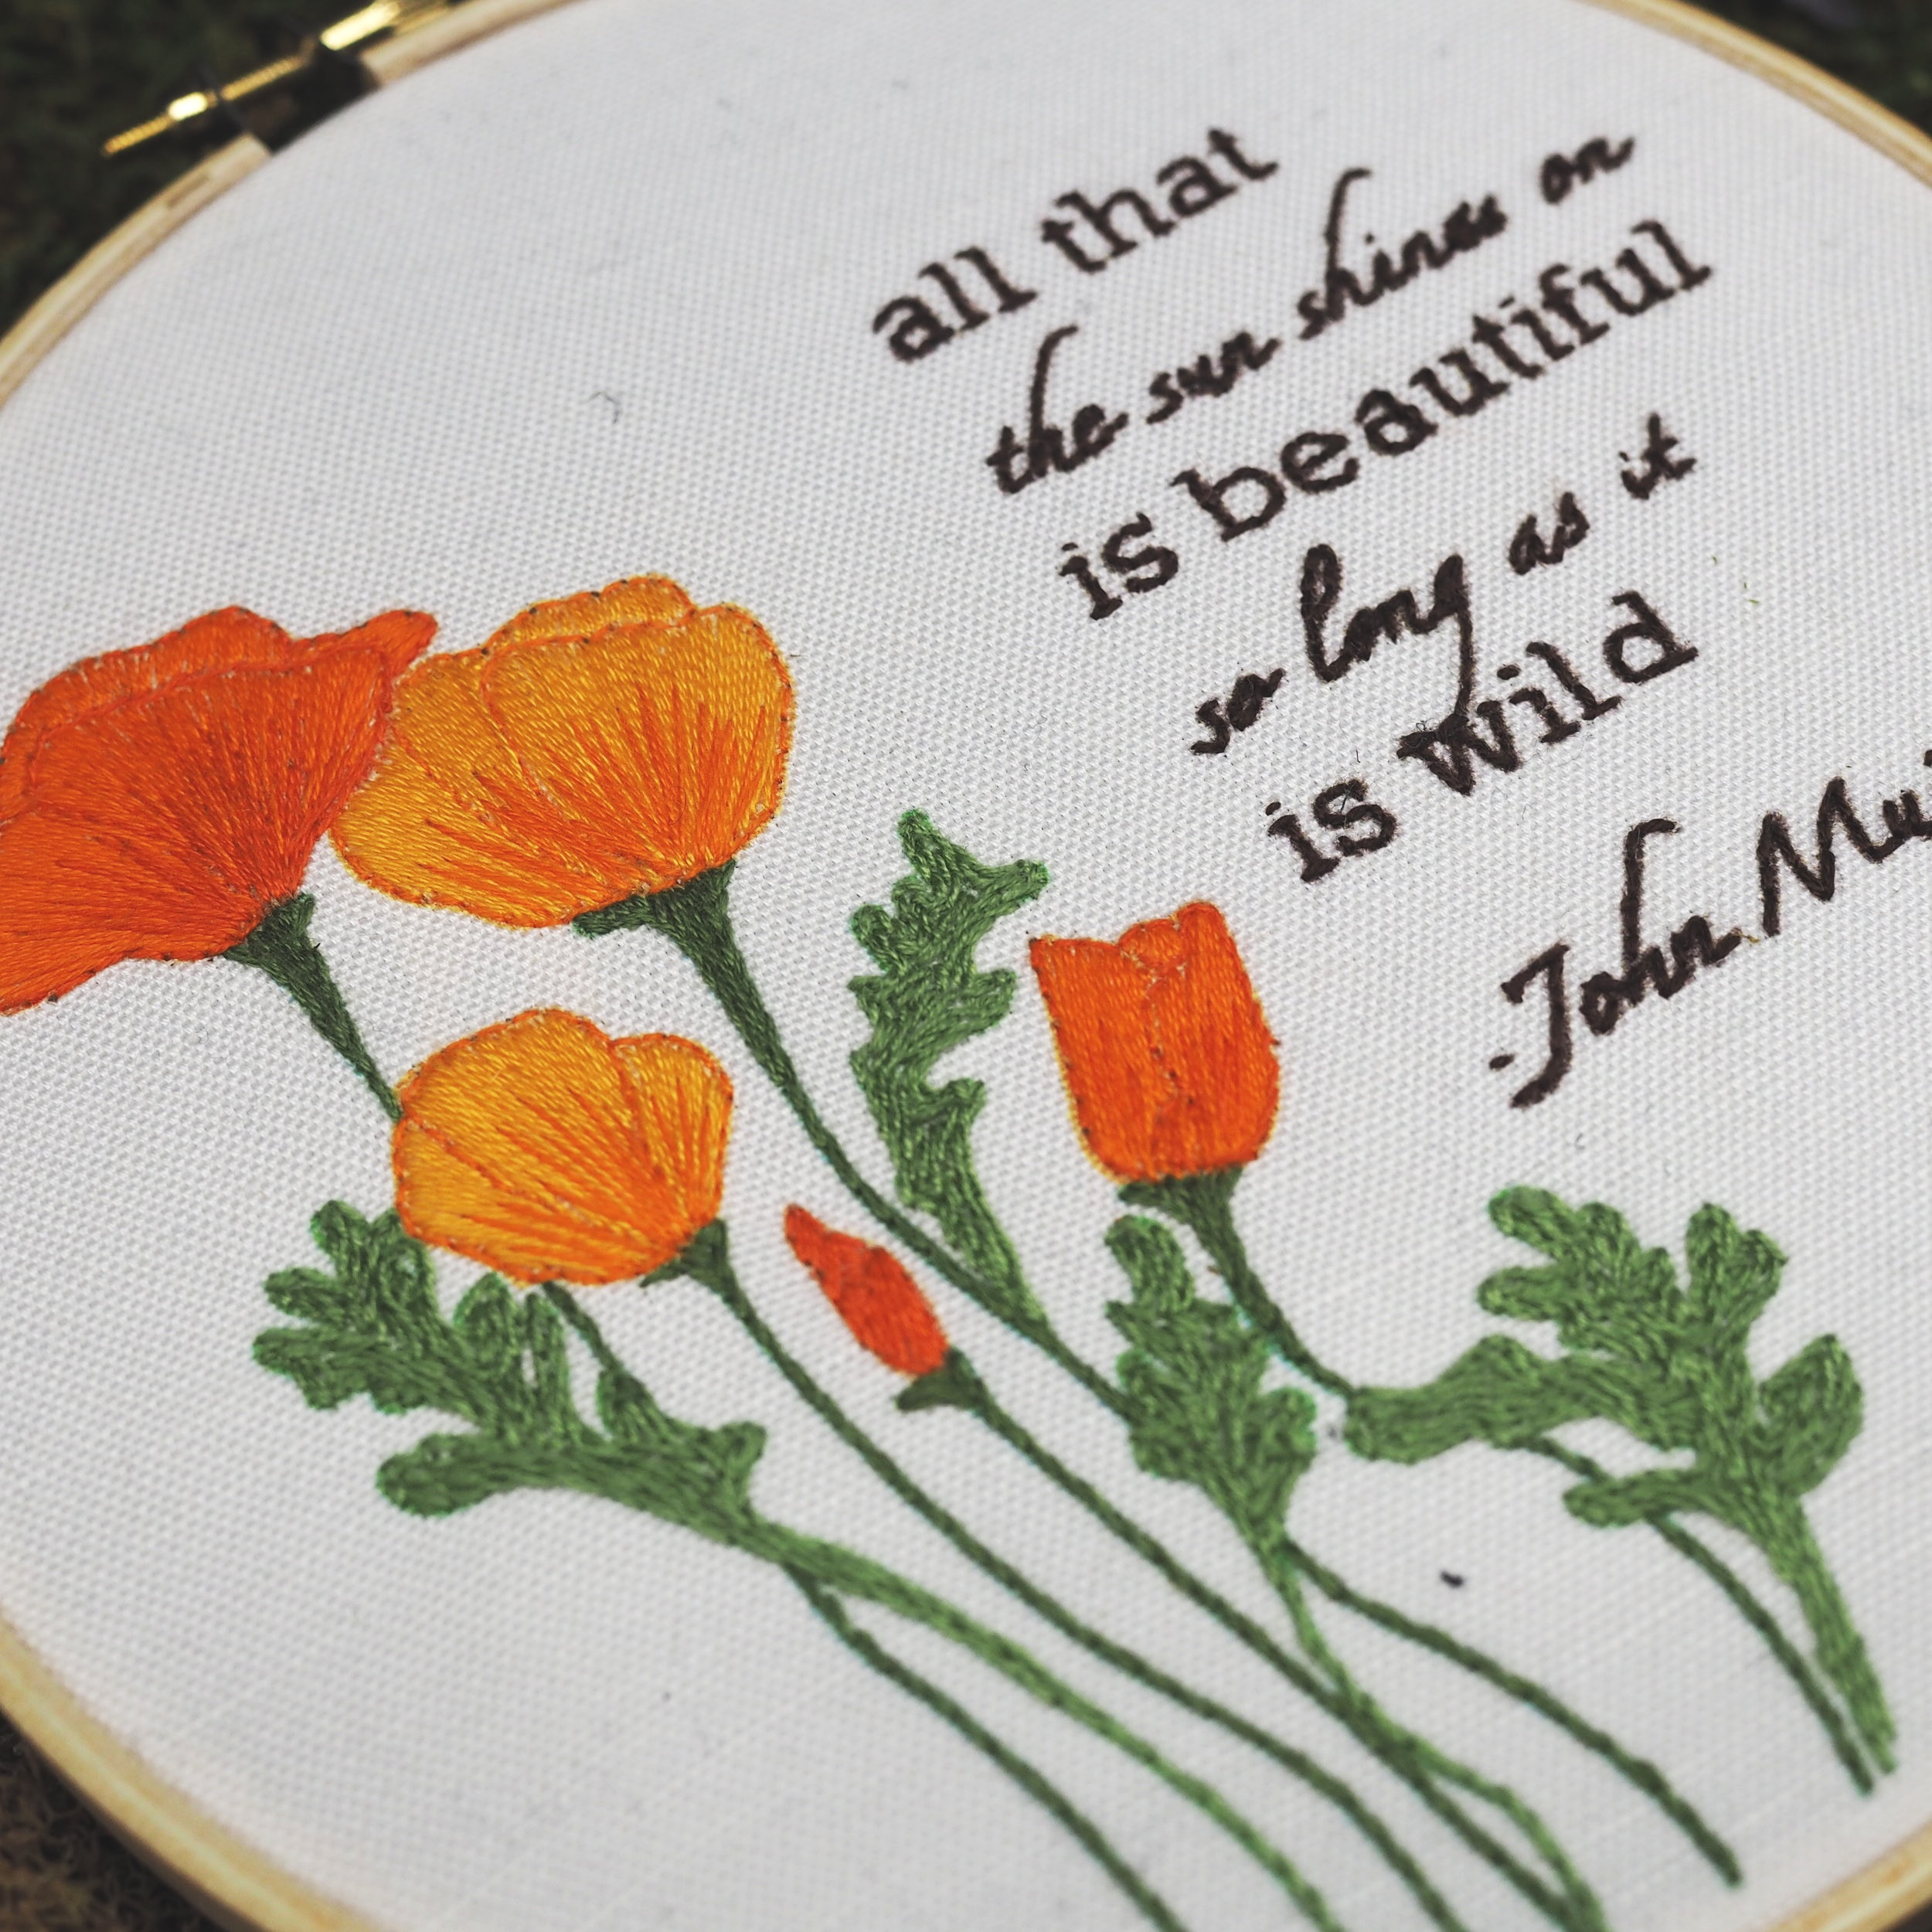
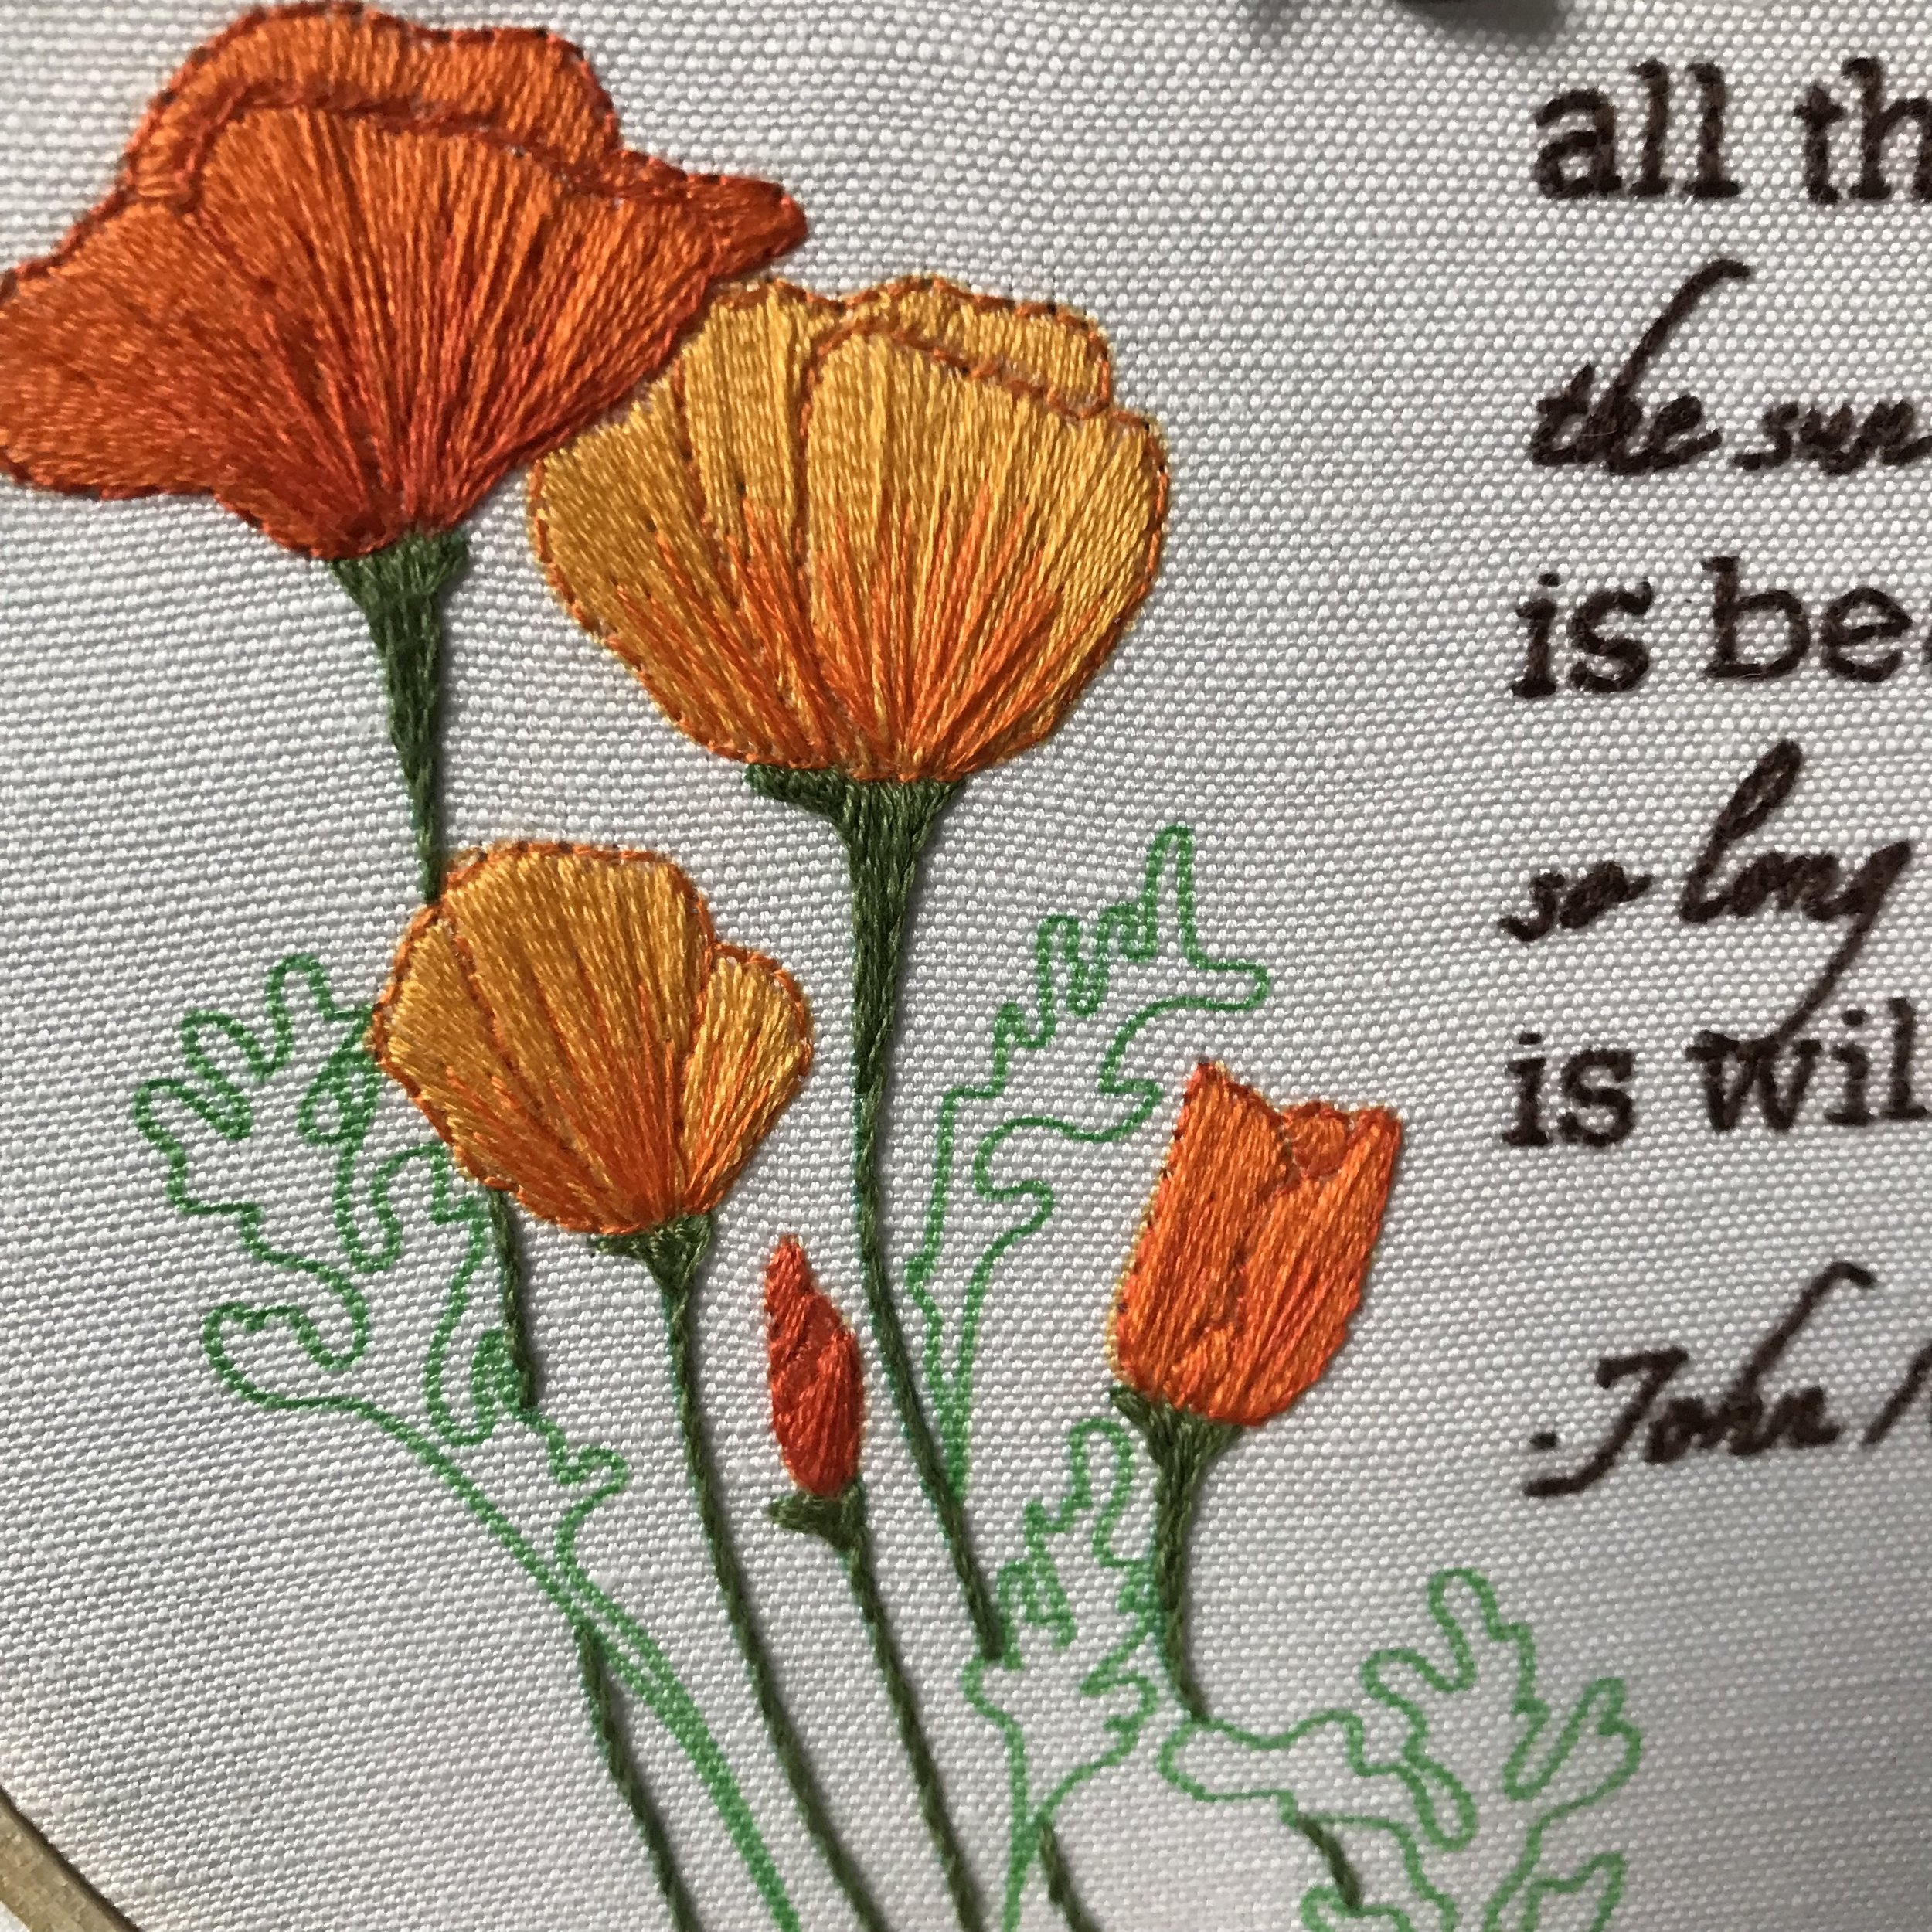
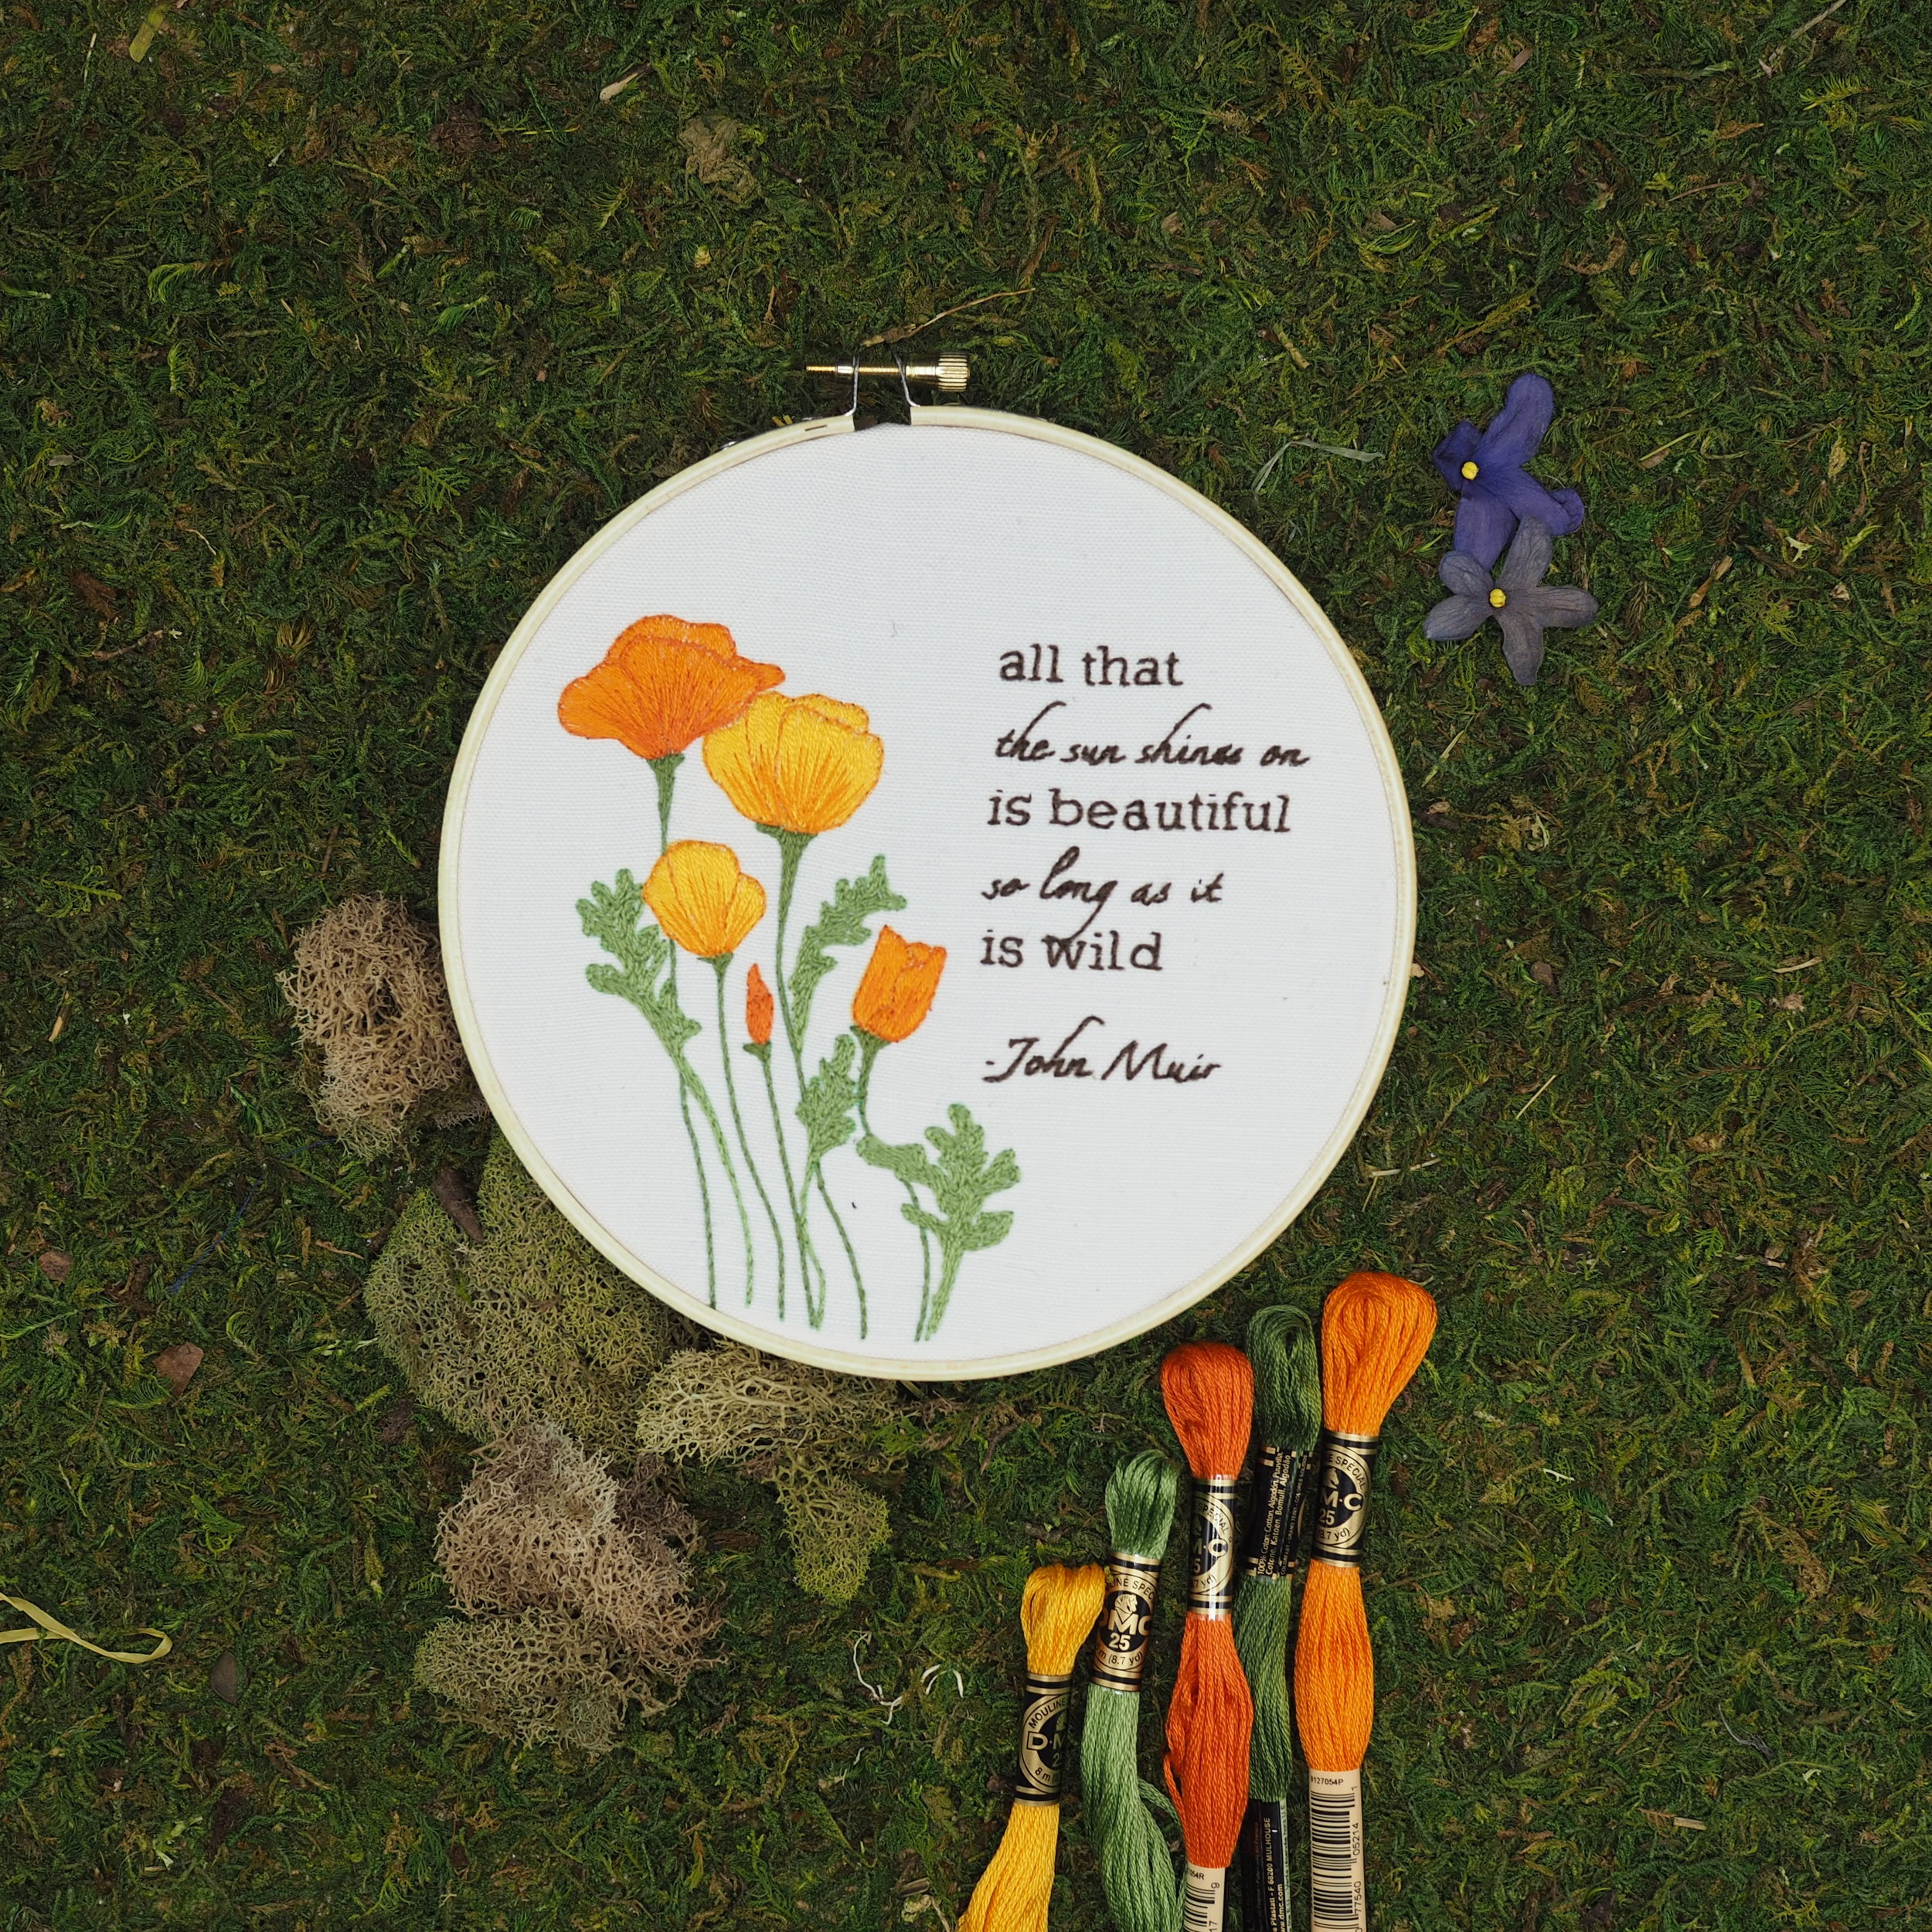
I’ll start with the first release in the collection - “All That Is Beautiful.”

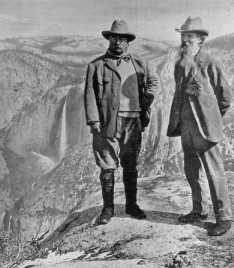
When I chose to focus my next batch of designs on the Golden State, I knew that John Muir was going to show up somewhere.

My dad and brother, both Eagle Scouts, were/are outdoorsy people with a particular love of the Sierra Nevada, so I grew up well acquainted with the legacy of Muir and once visited his homestead when my brother was doing research for a school biography project. 

For those unfamiliar with Muir, he was a Scottish-American naturalist and writer who championed preservation, was instrumental in the establishment of Yosemite National Park, and co-founded the Sierra Club. Unfortunately, Muir also prioritized natural preservation over the native people who lived in those environments and the creation of Yosemite evicted the Ahwahneechee and other portions of the Southern Sierra Miwok from their native lands. An act that was repeated with other National Parks.*

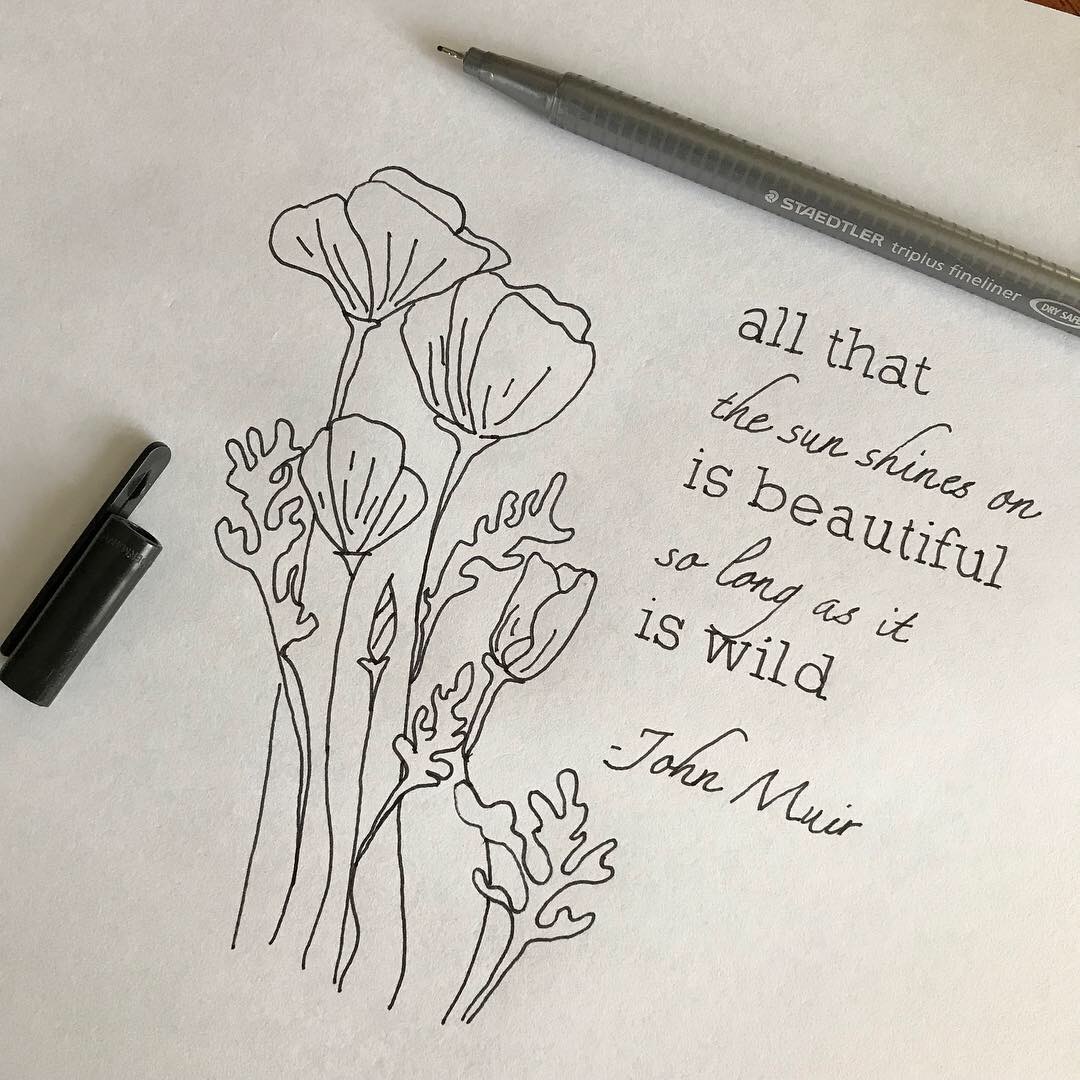
Muir was a prolific and often poetic writer, and this quote from a state promotional brochure published by the California State Board of Trade, particularly struck me in several ways. It is important to examine the full impact, both positive and negative, of the people and places we respect. I look at this quote and it serves as reminder to me that there is beauty in all nature (which I take to include all life, including human and animal), but also that we can overemphasize an unrealistic idea of “wild” - since there are very few places not impacted by humans and that not all human impact is negative. It’s part of reason I chose a brown for the text rather than a sharper black, because not everything is black and white. It was only natural to pair the text with the California Poppy - the state flower that grows wild in profusion in the state.
The design is available as a complete kit, printed panel, or PDF pattern in my shop.
As a small acknowledgement that there were many other residents of California before the Americans arrived, a minimum 15% donation of profits from any Golden State collection item will be donated to charities that support self-determination and community/economic development led by and for Native Californian and Latinx peoples, including the Seventh Generation Fund for Indigenous Peoples and the Dolores Huerta Foundation.

*For more on the Native American History of Yosemite and the displacement and erasure of Native Peoples from National Parks, check out the following resources as a starting point:
https://www.fresnobee.com/news/special-reports/yosemite-at-150/article19521750.html
https://www.collectorsweekly.com/articles/erasing-native-americans-from-national-parks/


Print Friendly and PDF Follow
follow us in feedly

Knitting Vertical Pleats and Pintucks

KnittingVerticalPleatsandTucks.jpg

It’s no secret that I learned to sew long before I learned to knit, and I still love them both, but while sewing is essentially the art of taking a flat piece of fabric and manipulating it into a 3-D structure, the magic of knitting is that you can work that structure into the very fabric itself.

The simplest example of this is knitting in the round - rather than knitting a flat piece and seaming it into a tube, you just make the tube to begin with. Similarly, increases, decreases, and short rows can be used to form curves and undulations. I love designing my stuffed animals in the round, because it forces me to think in three dimensions from stitch one. But when it comes to garments, I’ll admit to finding a bit of a thrill in translating traditional sewing techniques, like pleats and pintucks into knitted forms.

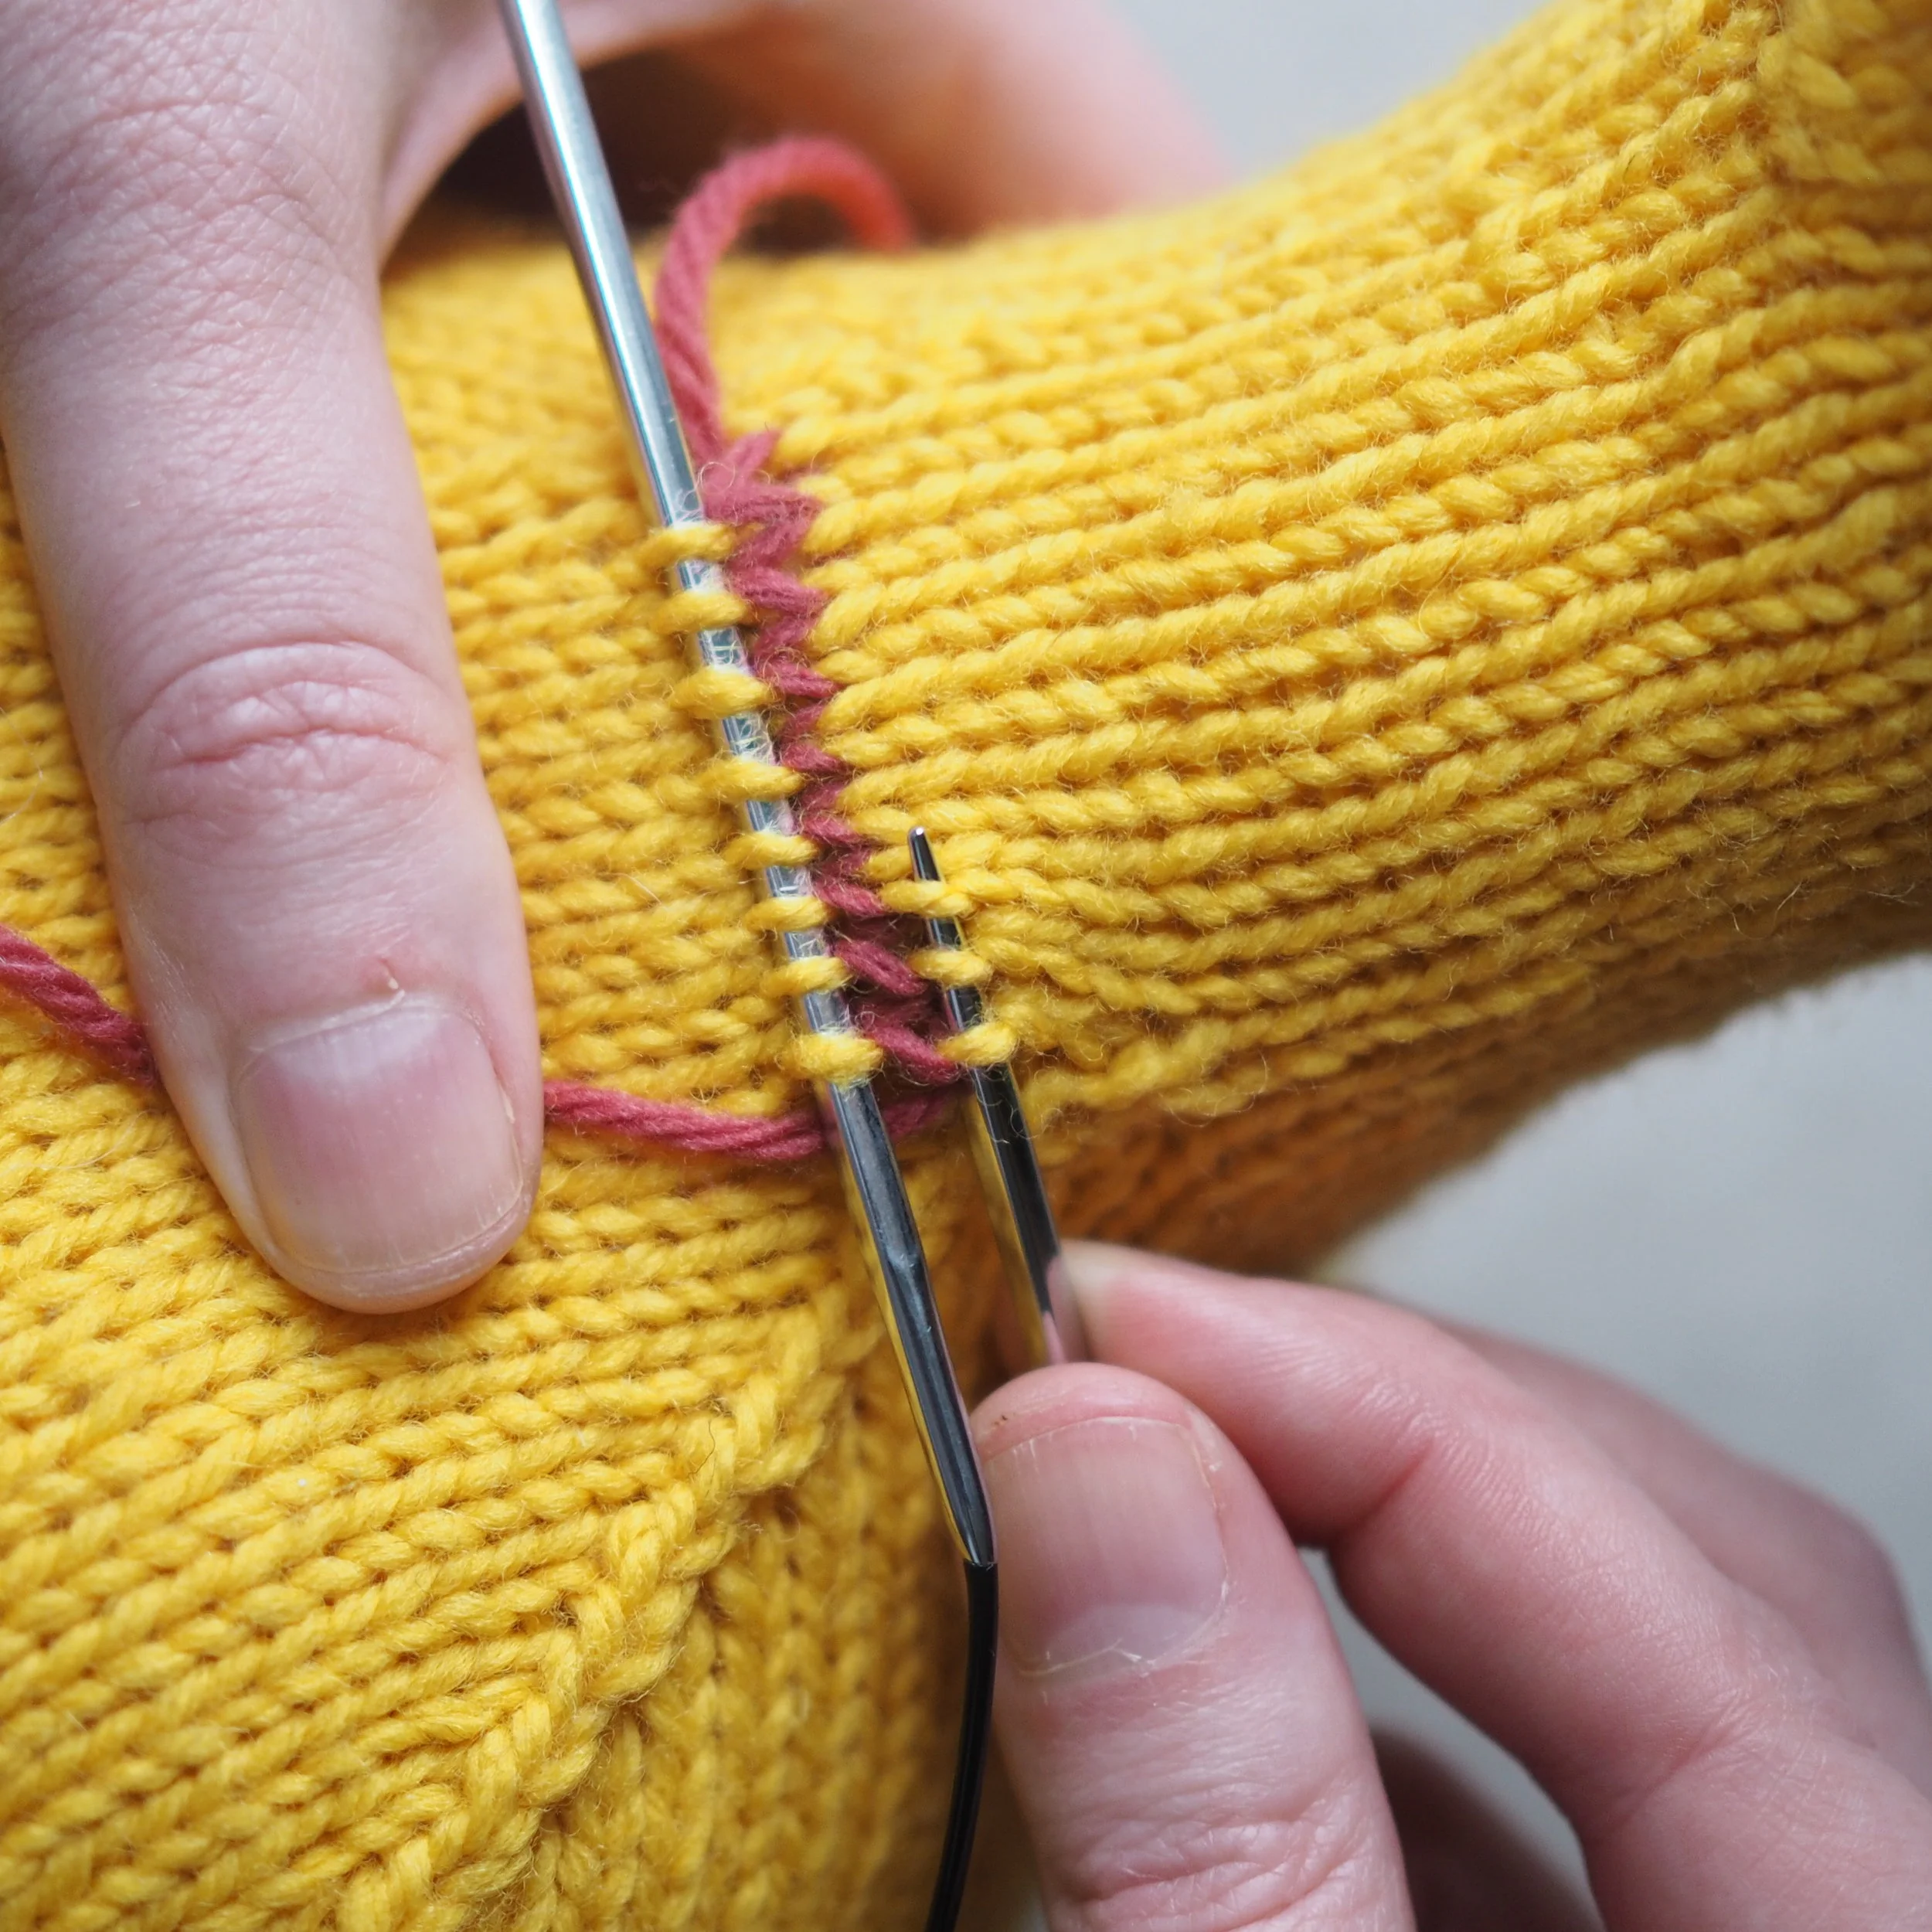
Just like with sewing, working a knitted pleat involves securing folds in the fabric. To work a horizontal pleat, like in my Bob & Wave Cowl (see bottom of post), you pick up and knit a stitch from several rows down together with every active stitch. The vertical pleat, as used to shape the hands of the Turning Leaf gloves, is worked across two rows and is a tad more involved, so I’ll walk you through the process step by step.

PA110613.jpg

Here I use the the term “tuck” to cover pintucks (which are very narrow tucks) and any other vertical pleat.

The Turning Leaf Gloves (used as an example here) have a series of three tucks across the back of the hand. The tucks start at three stitches wide near the wrist, and then decrease to a two-stitch tuck, and then one-stitch tuck just below the fingers.

I’ll be showing the three-stitch tuck throughout, but the same technique can be applied to a tuck of any width. A tuck with more stitches being folded will be more visible and decrease more fabric.

PA110620.jpg

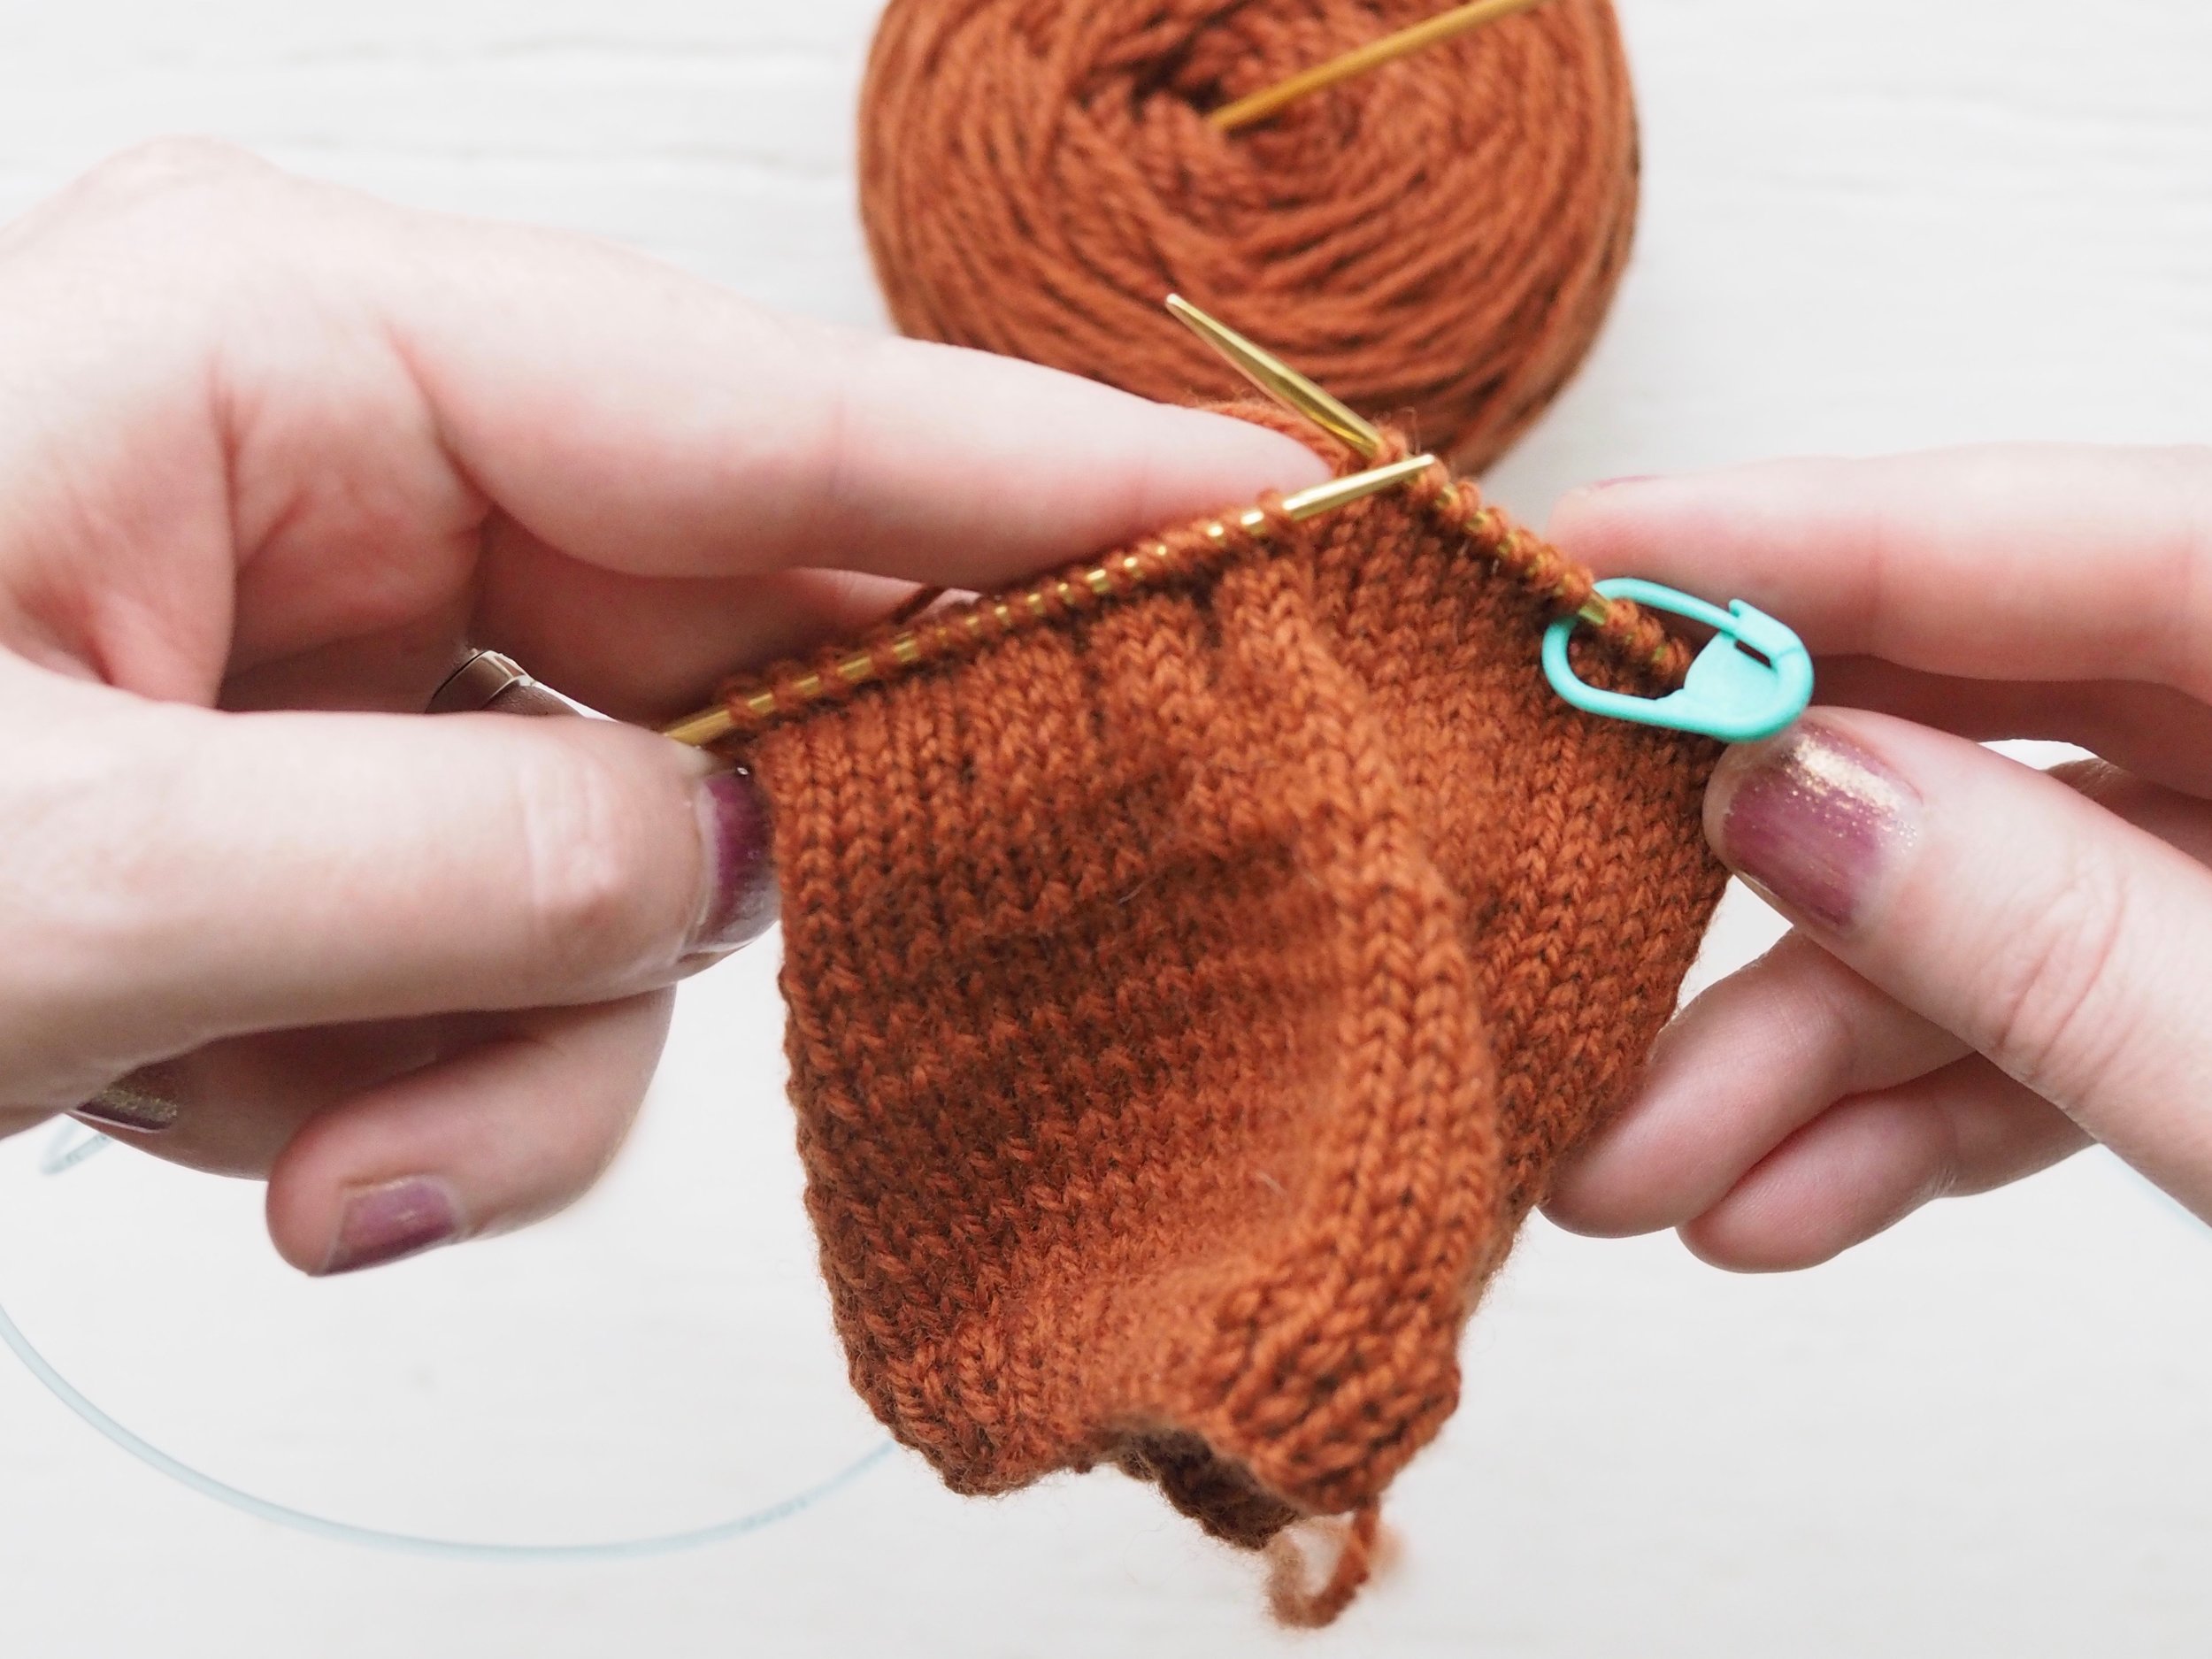
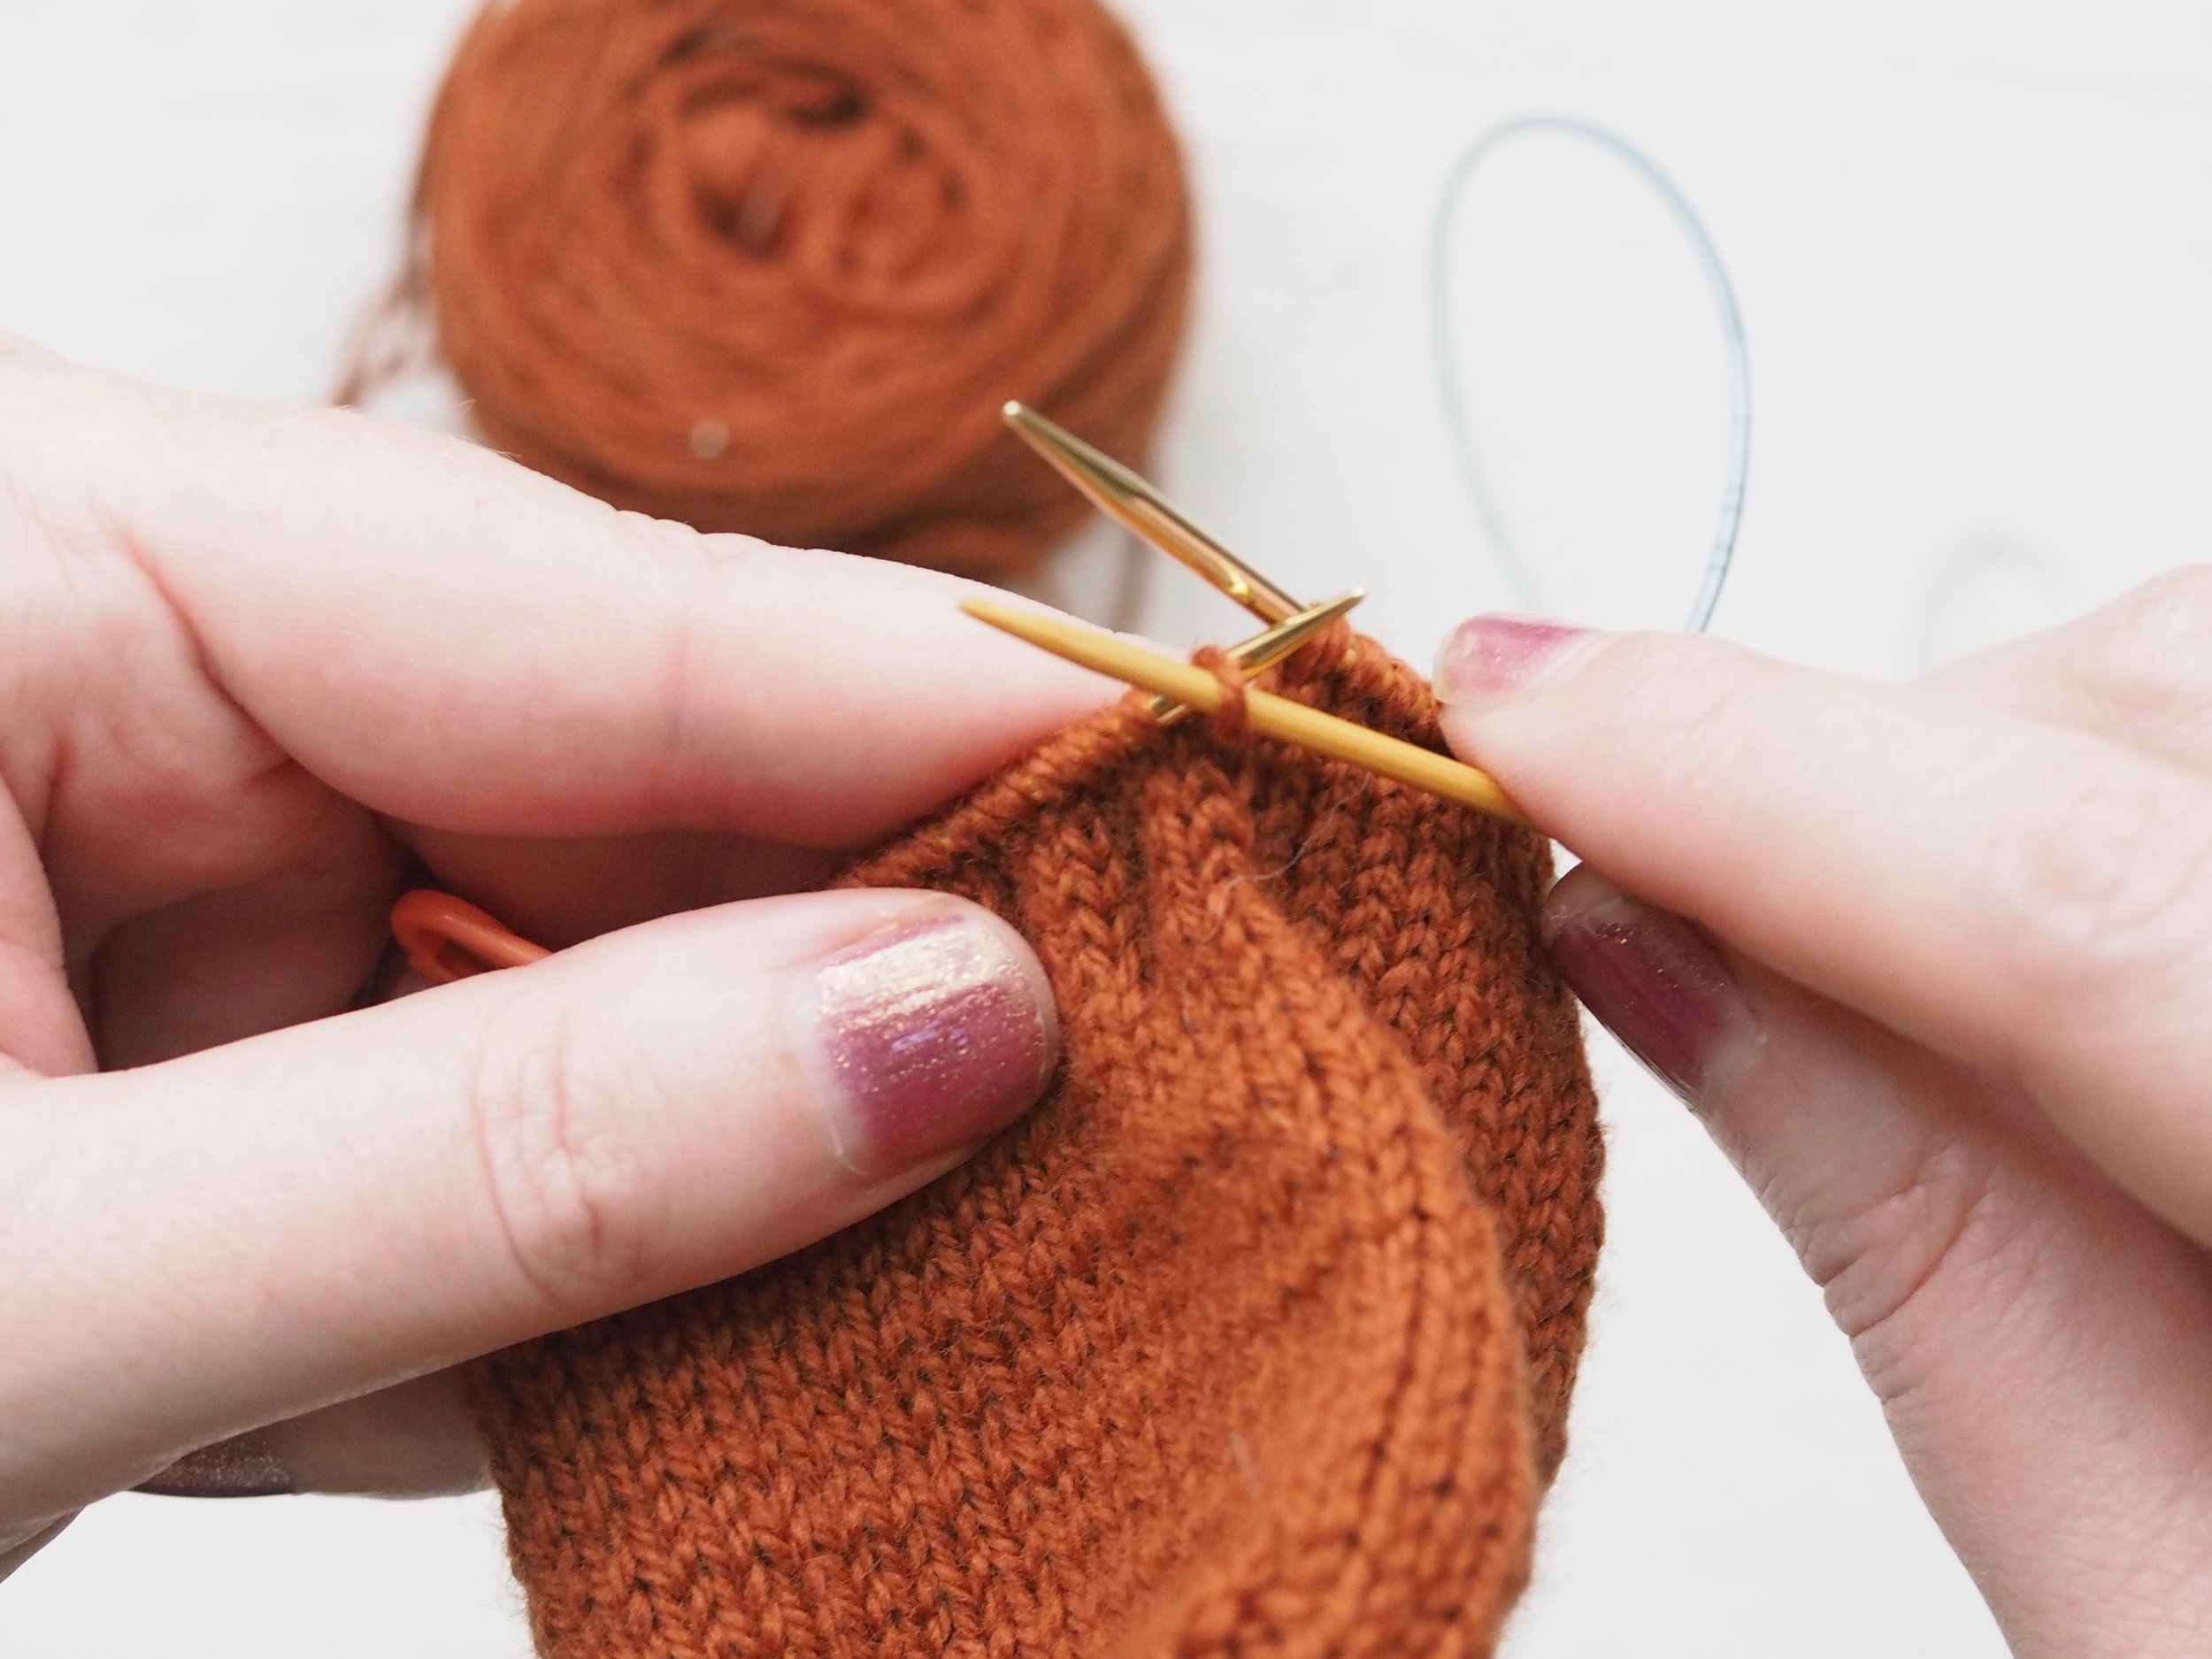
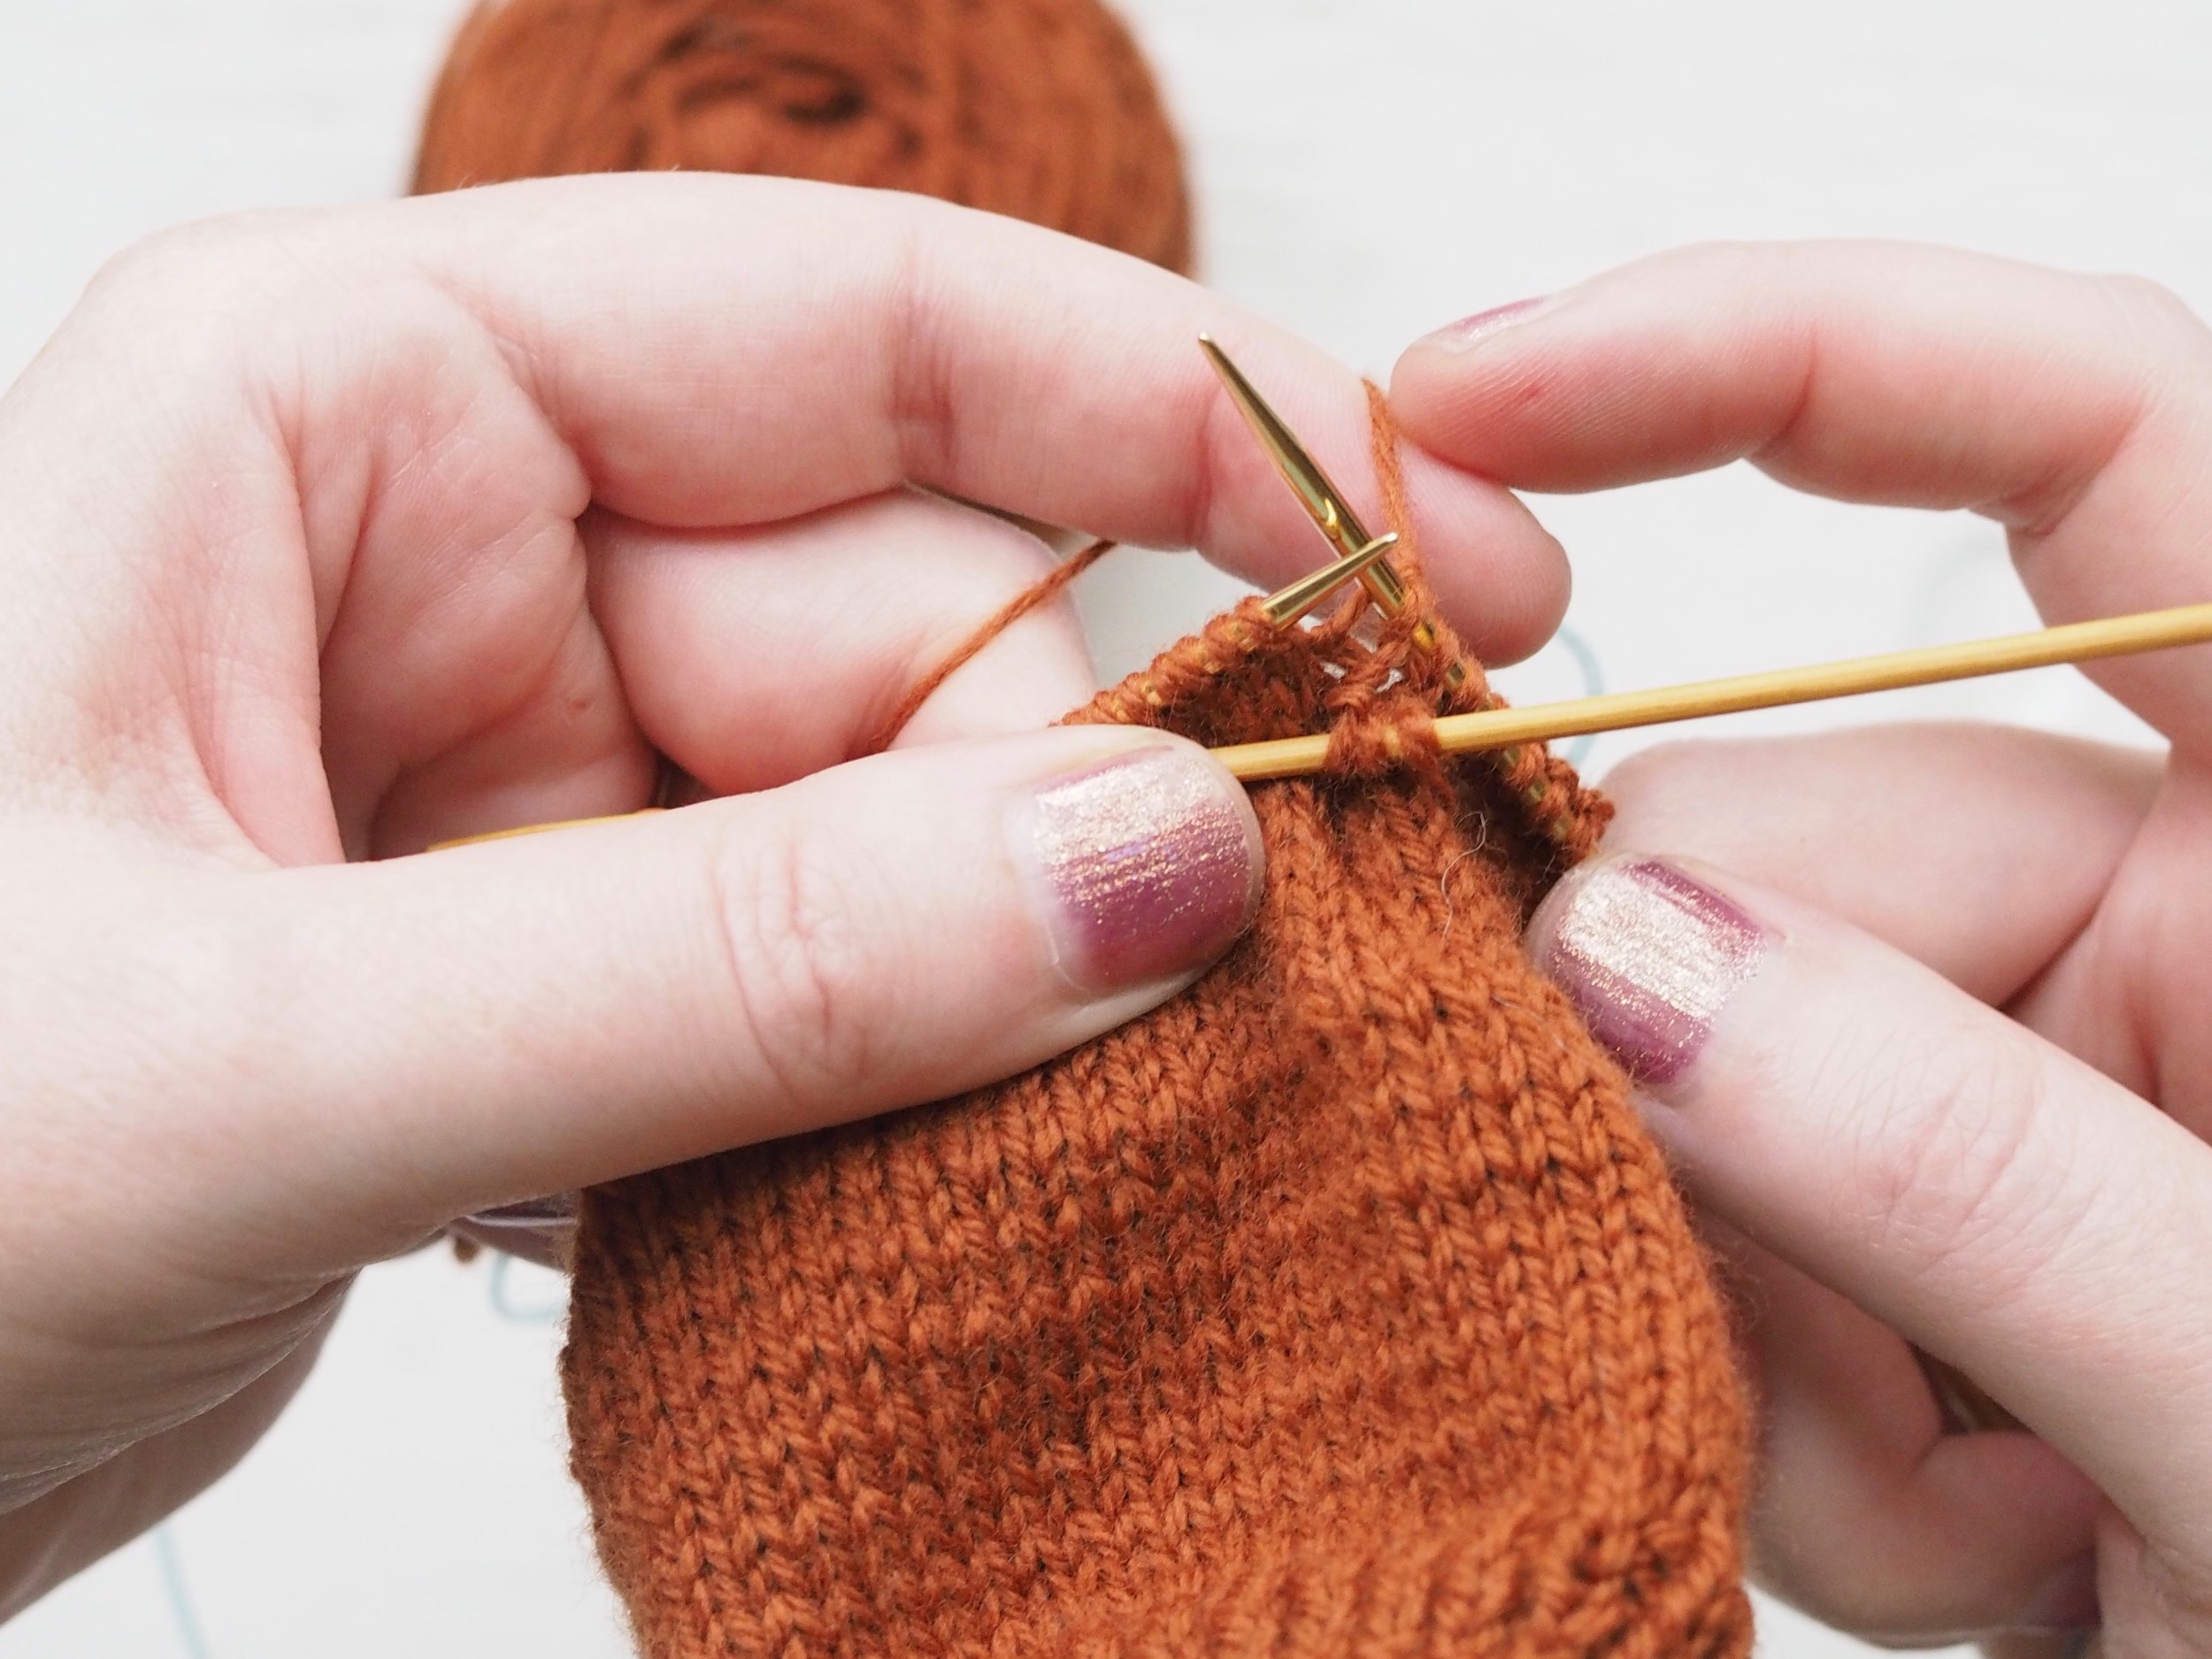
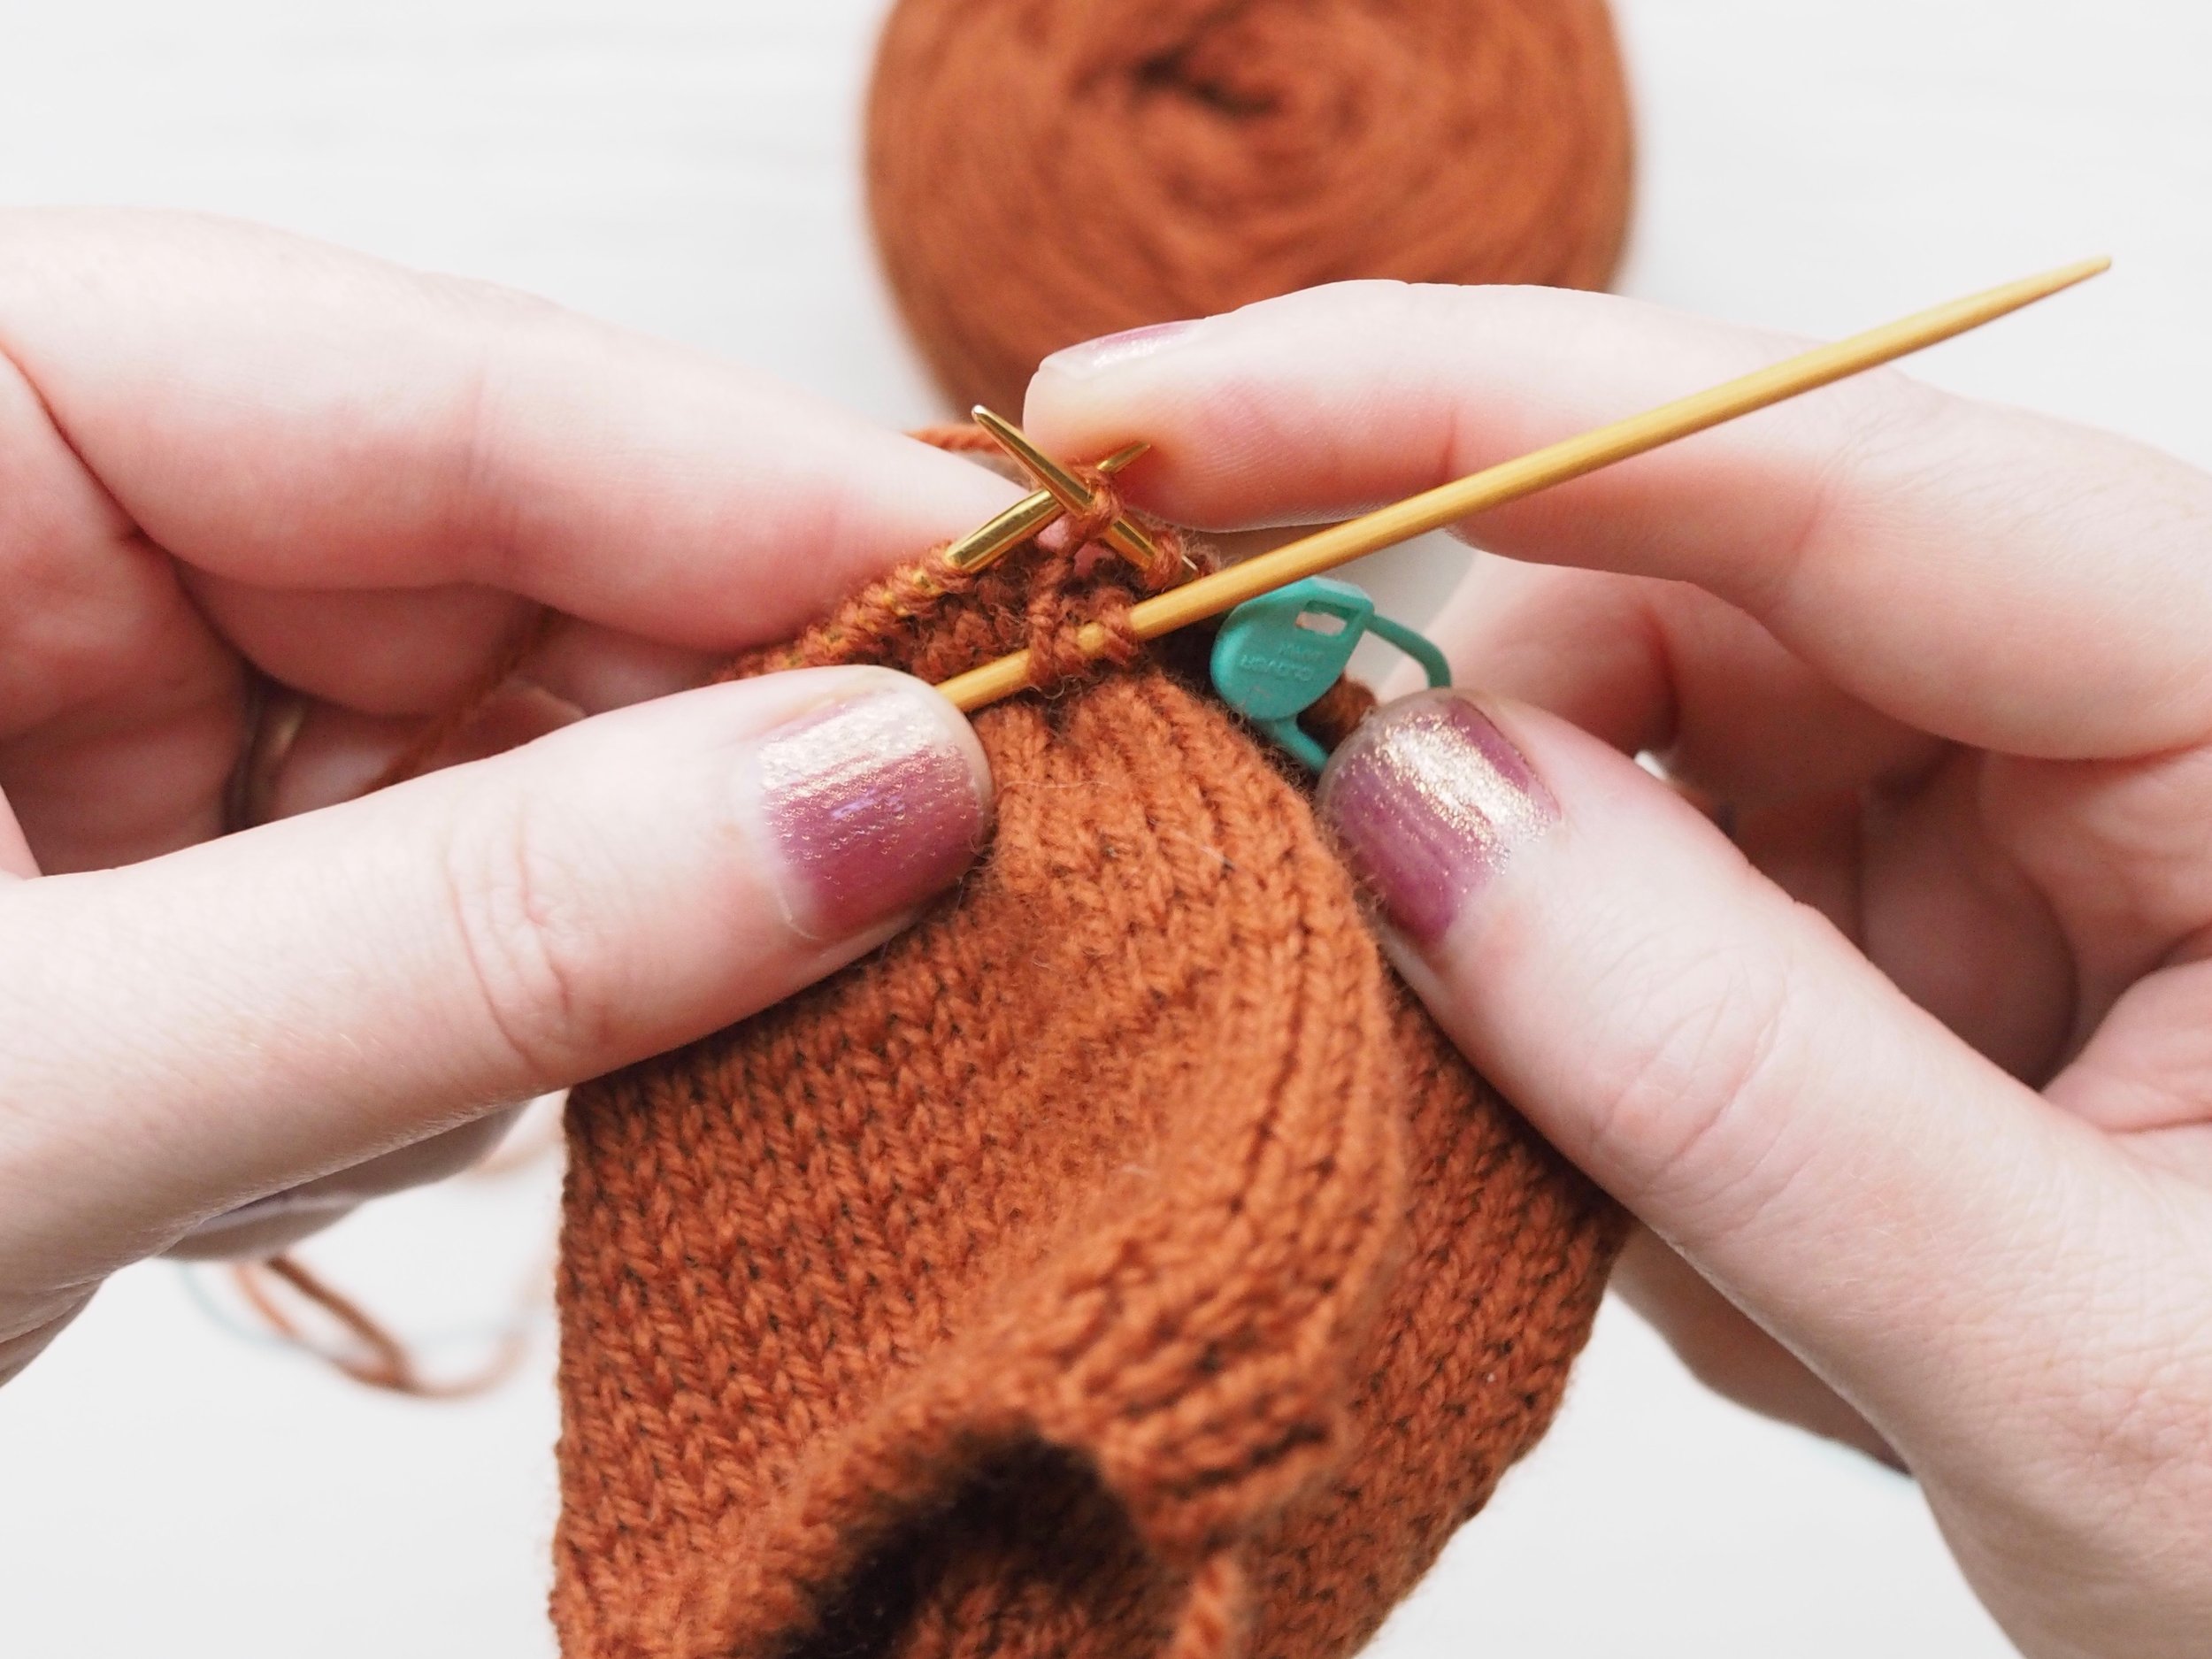
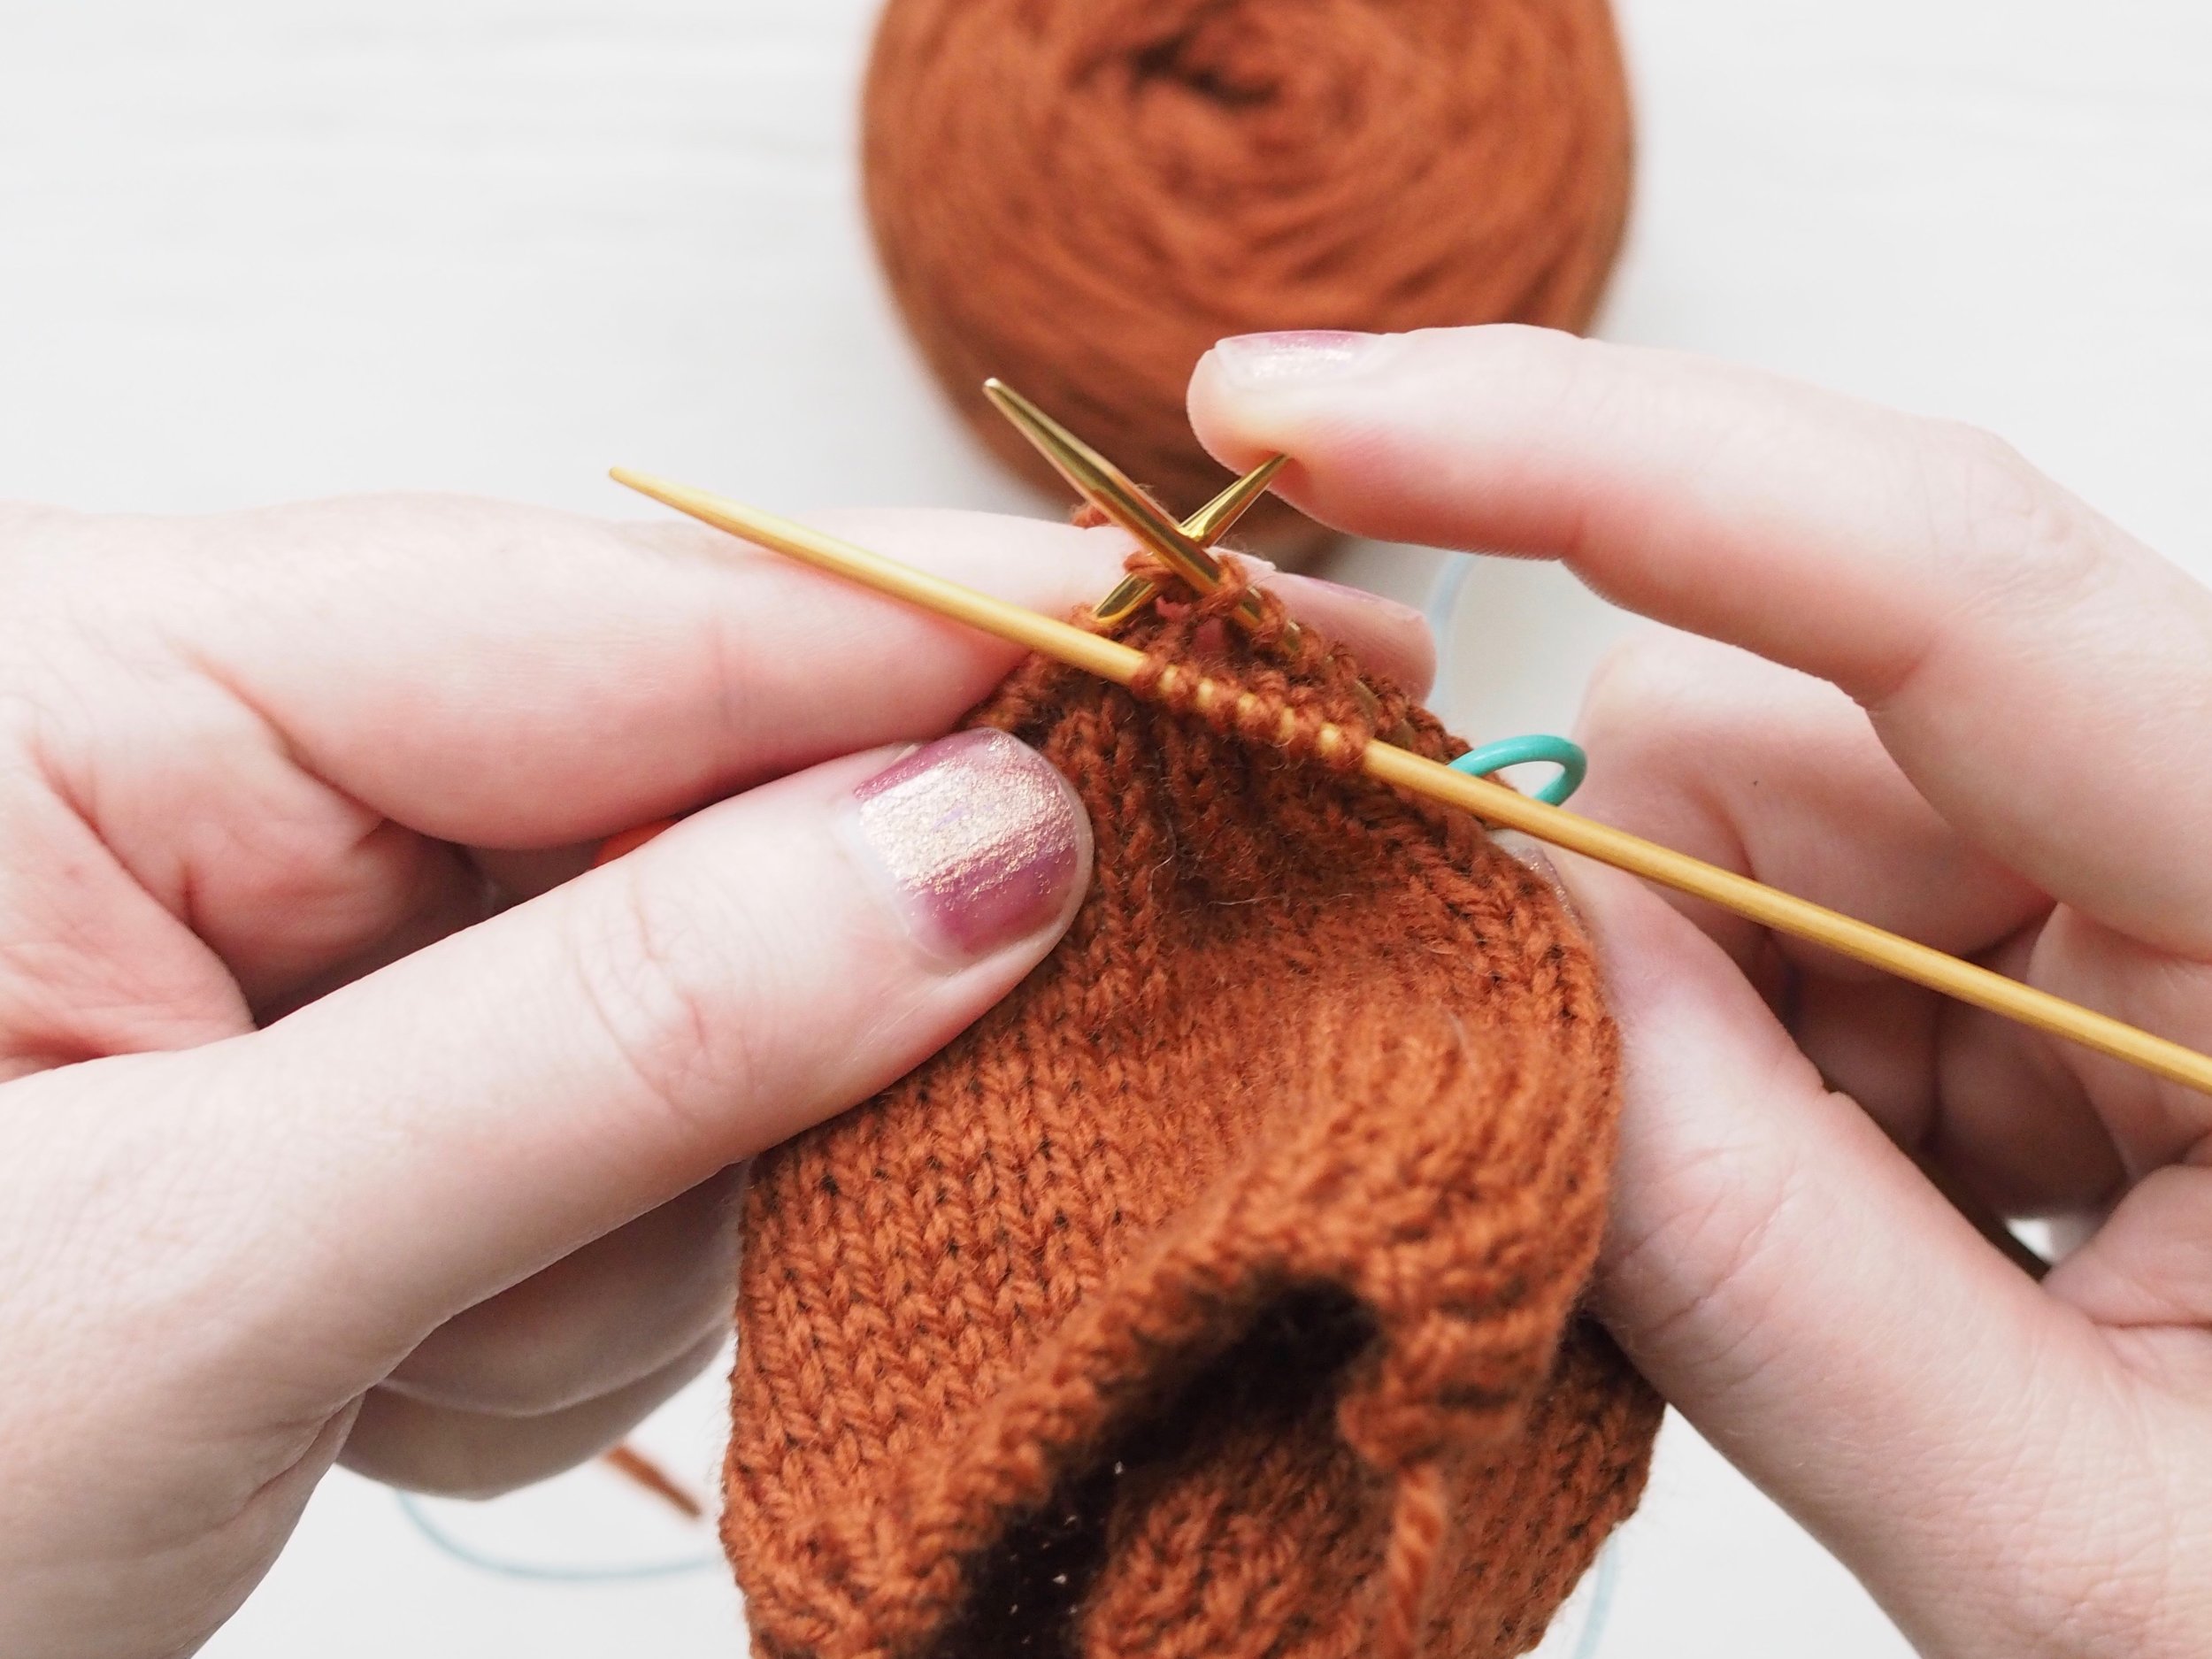
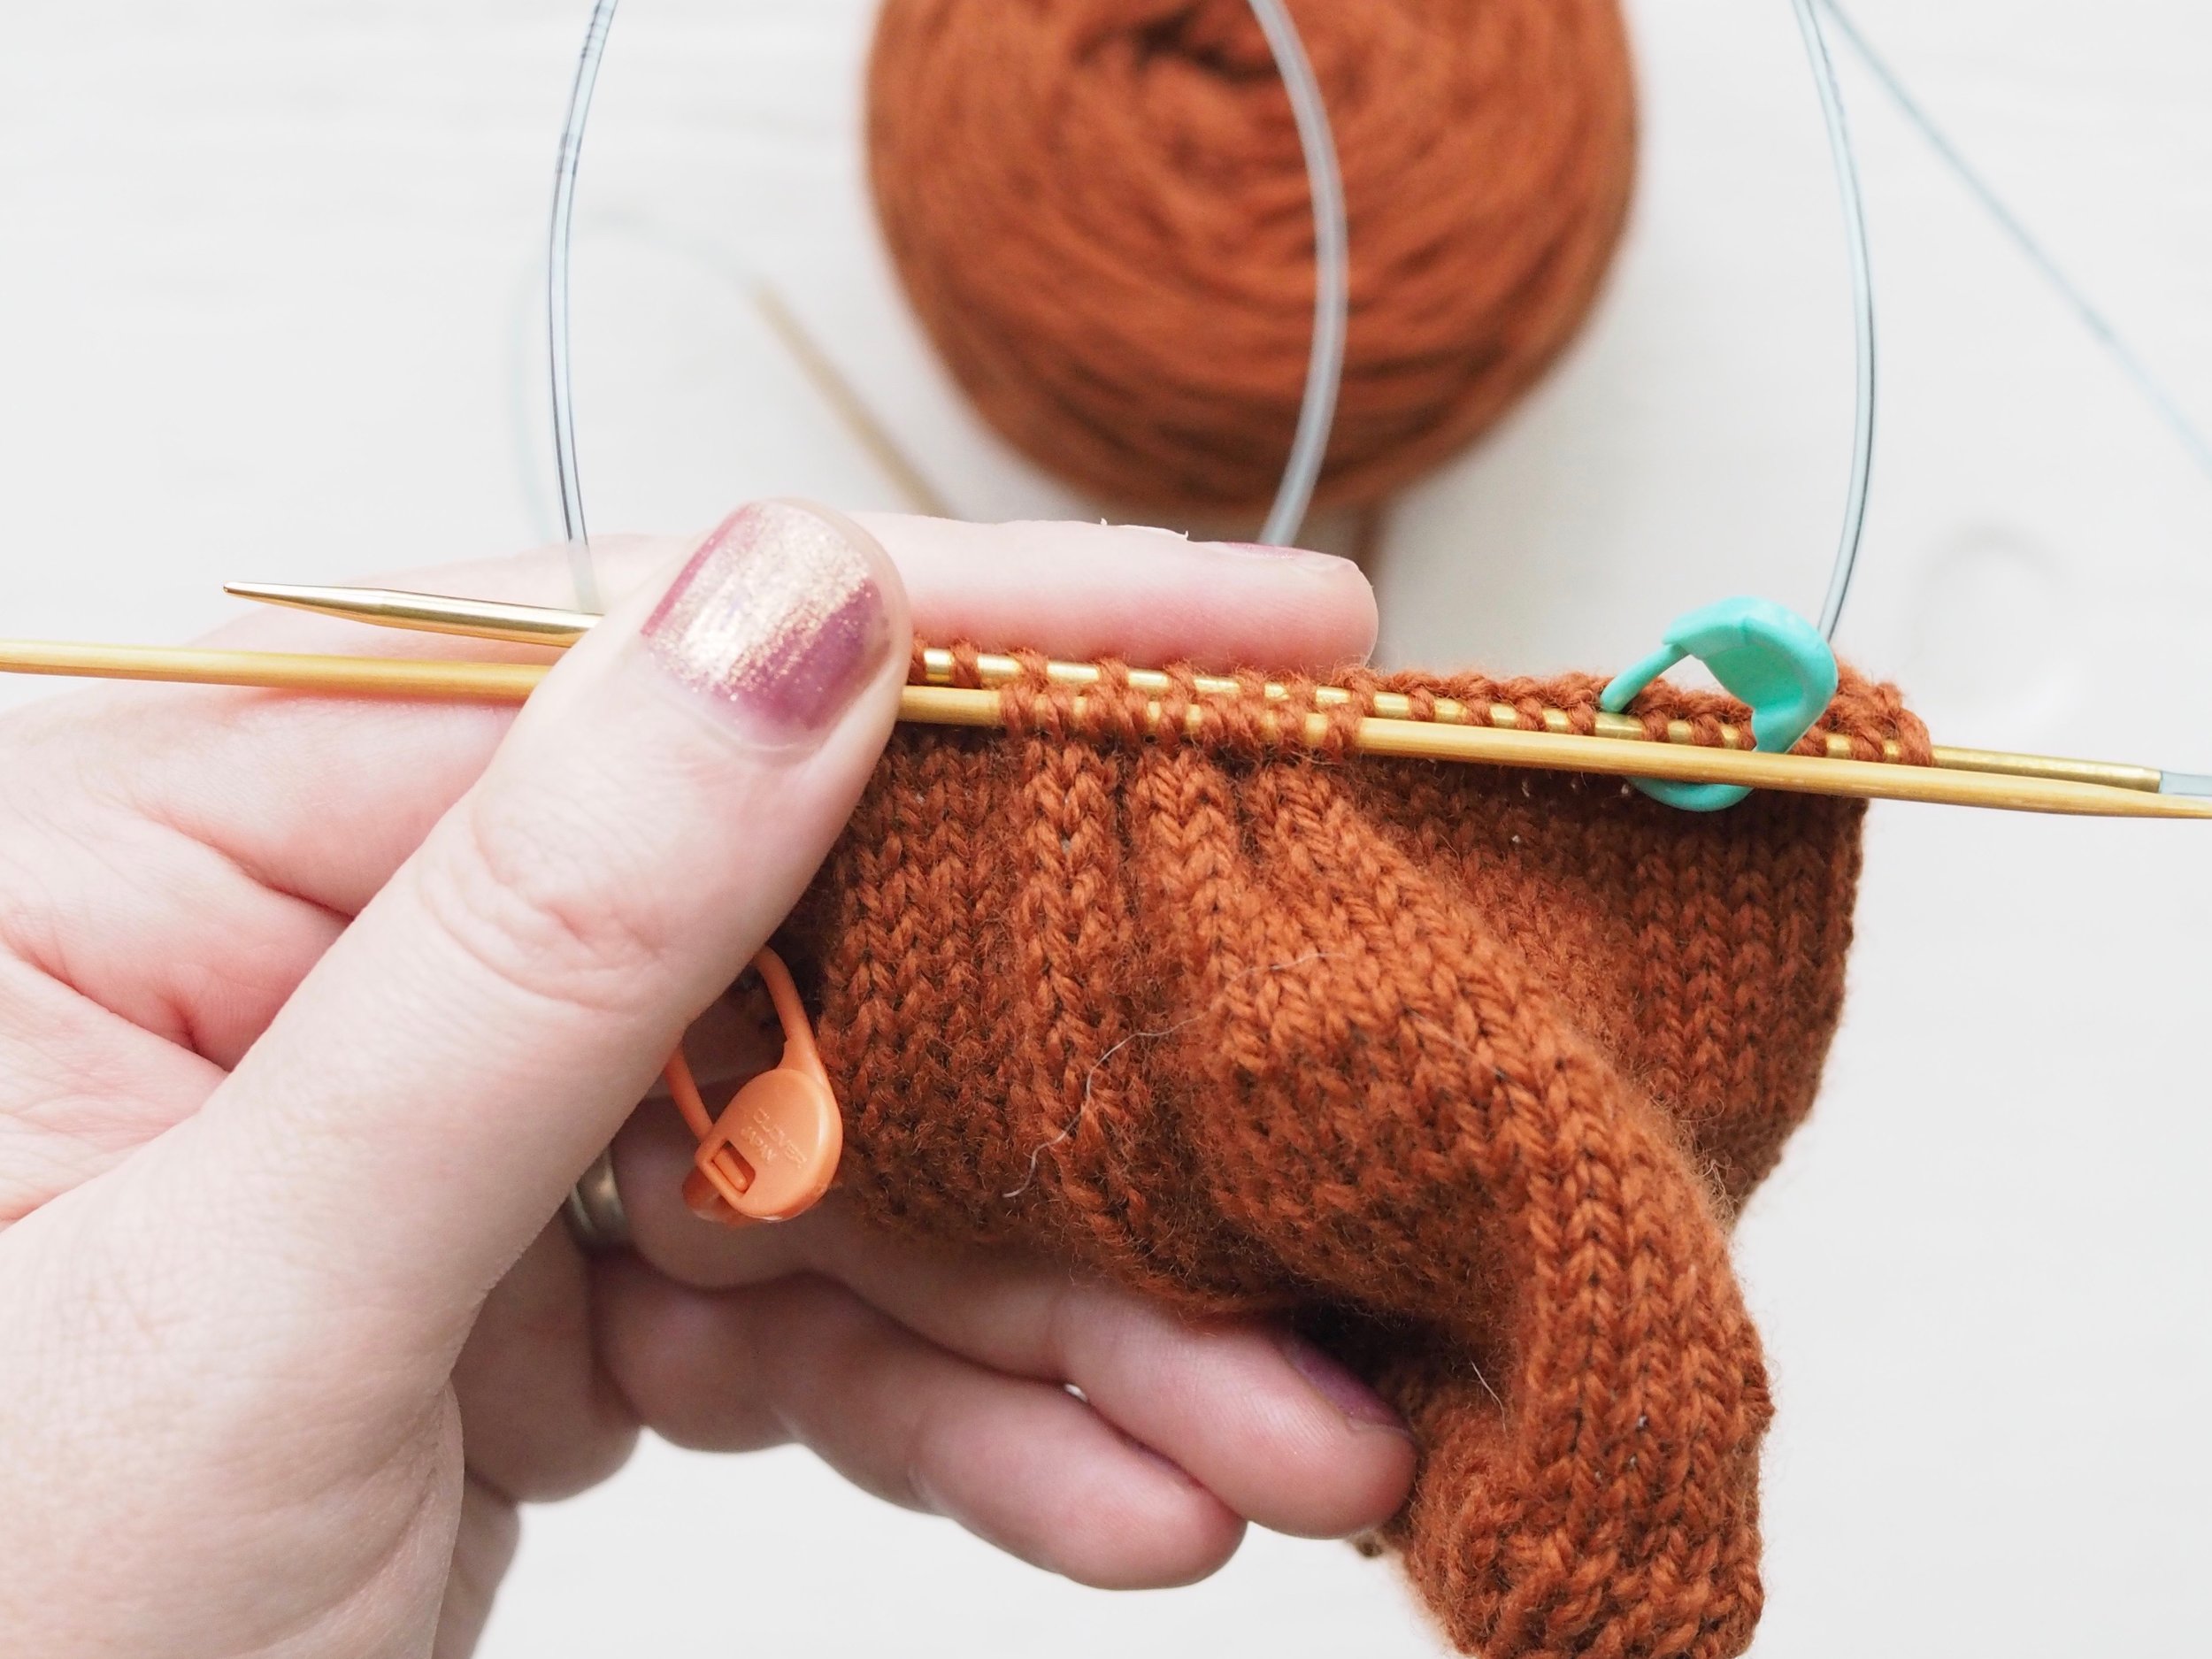
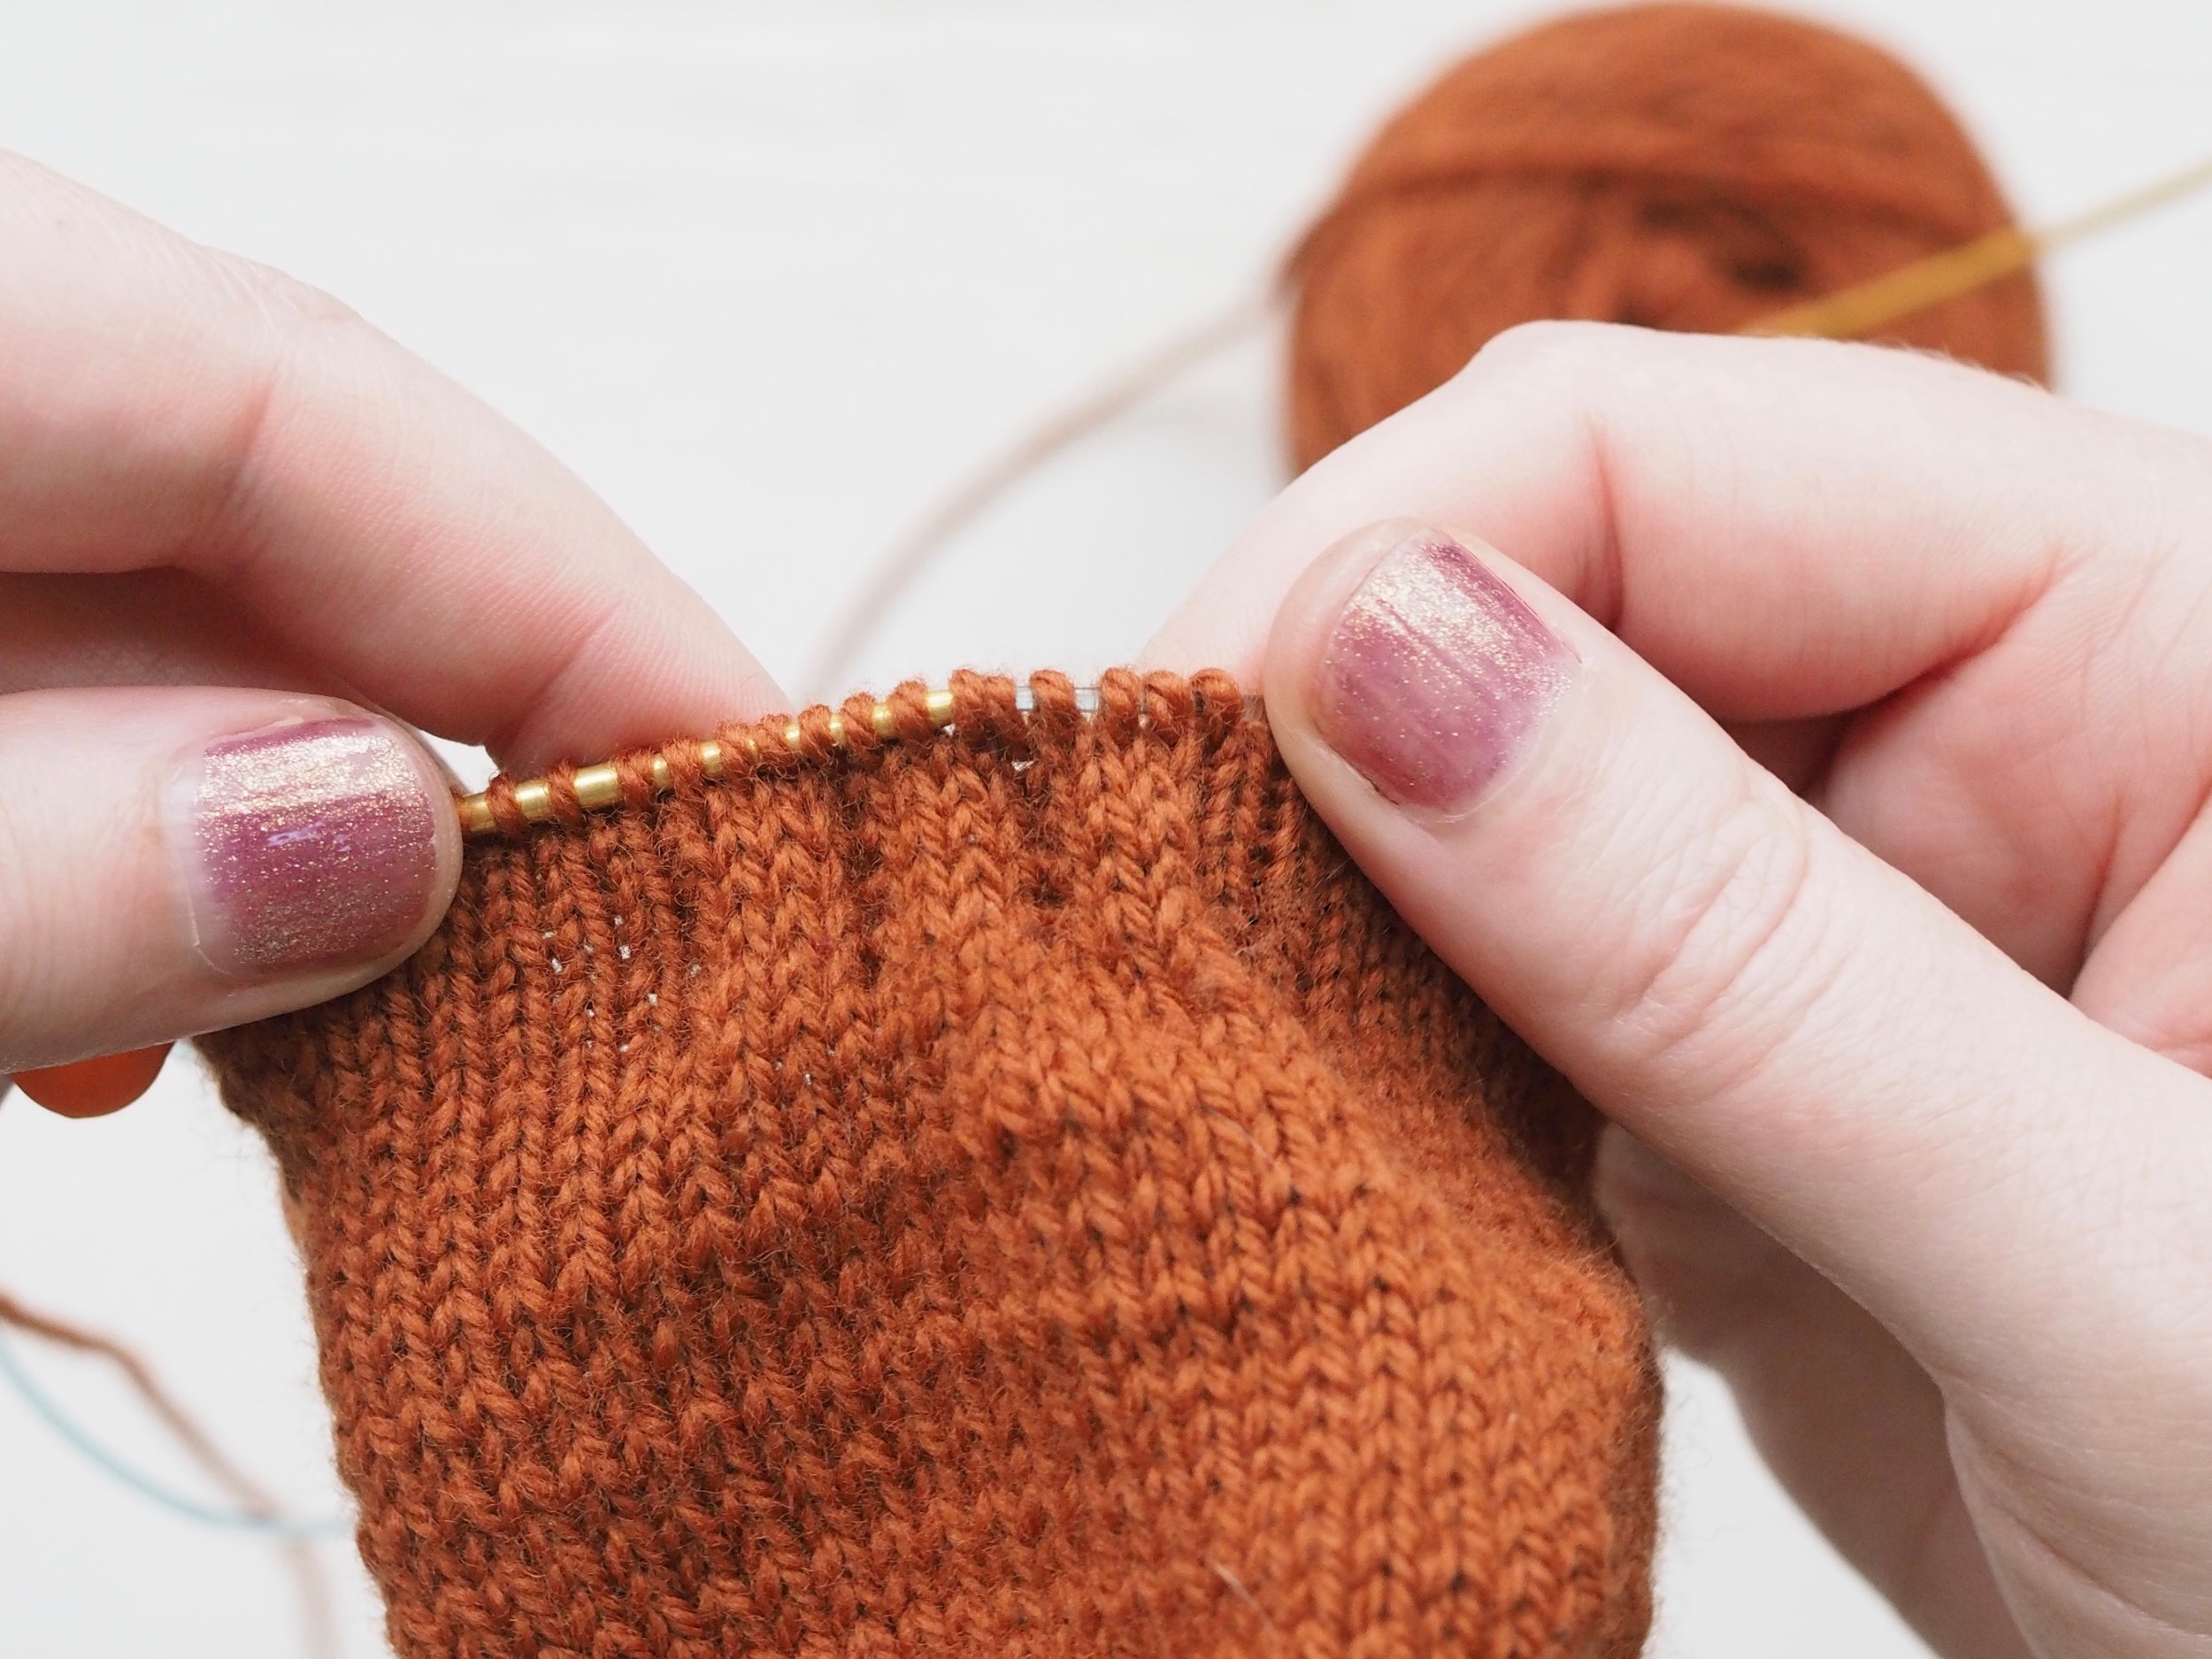
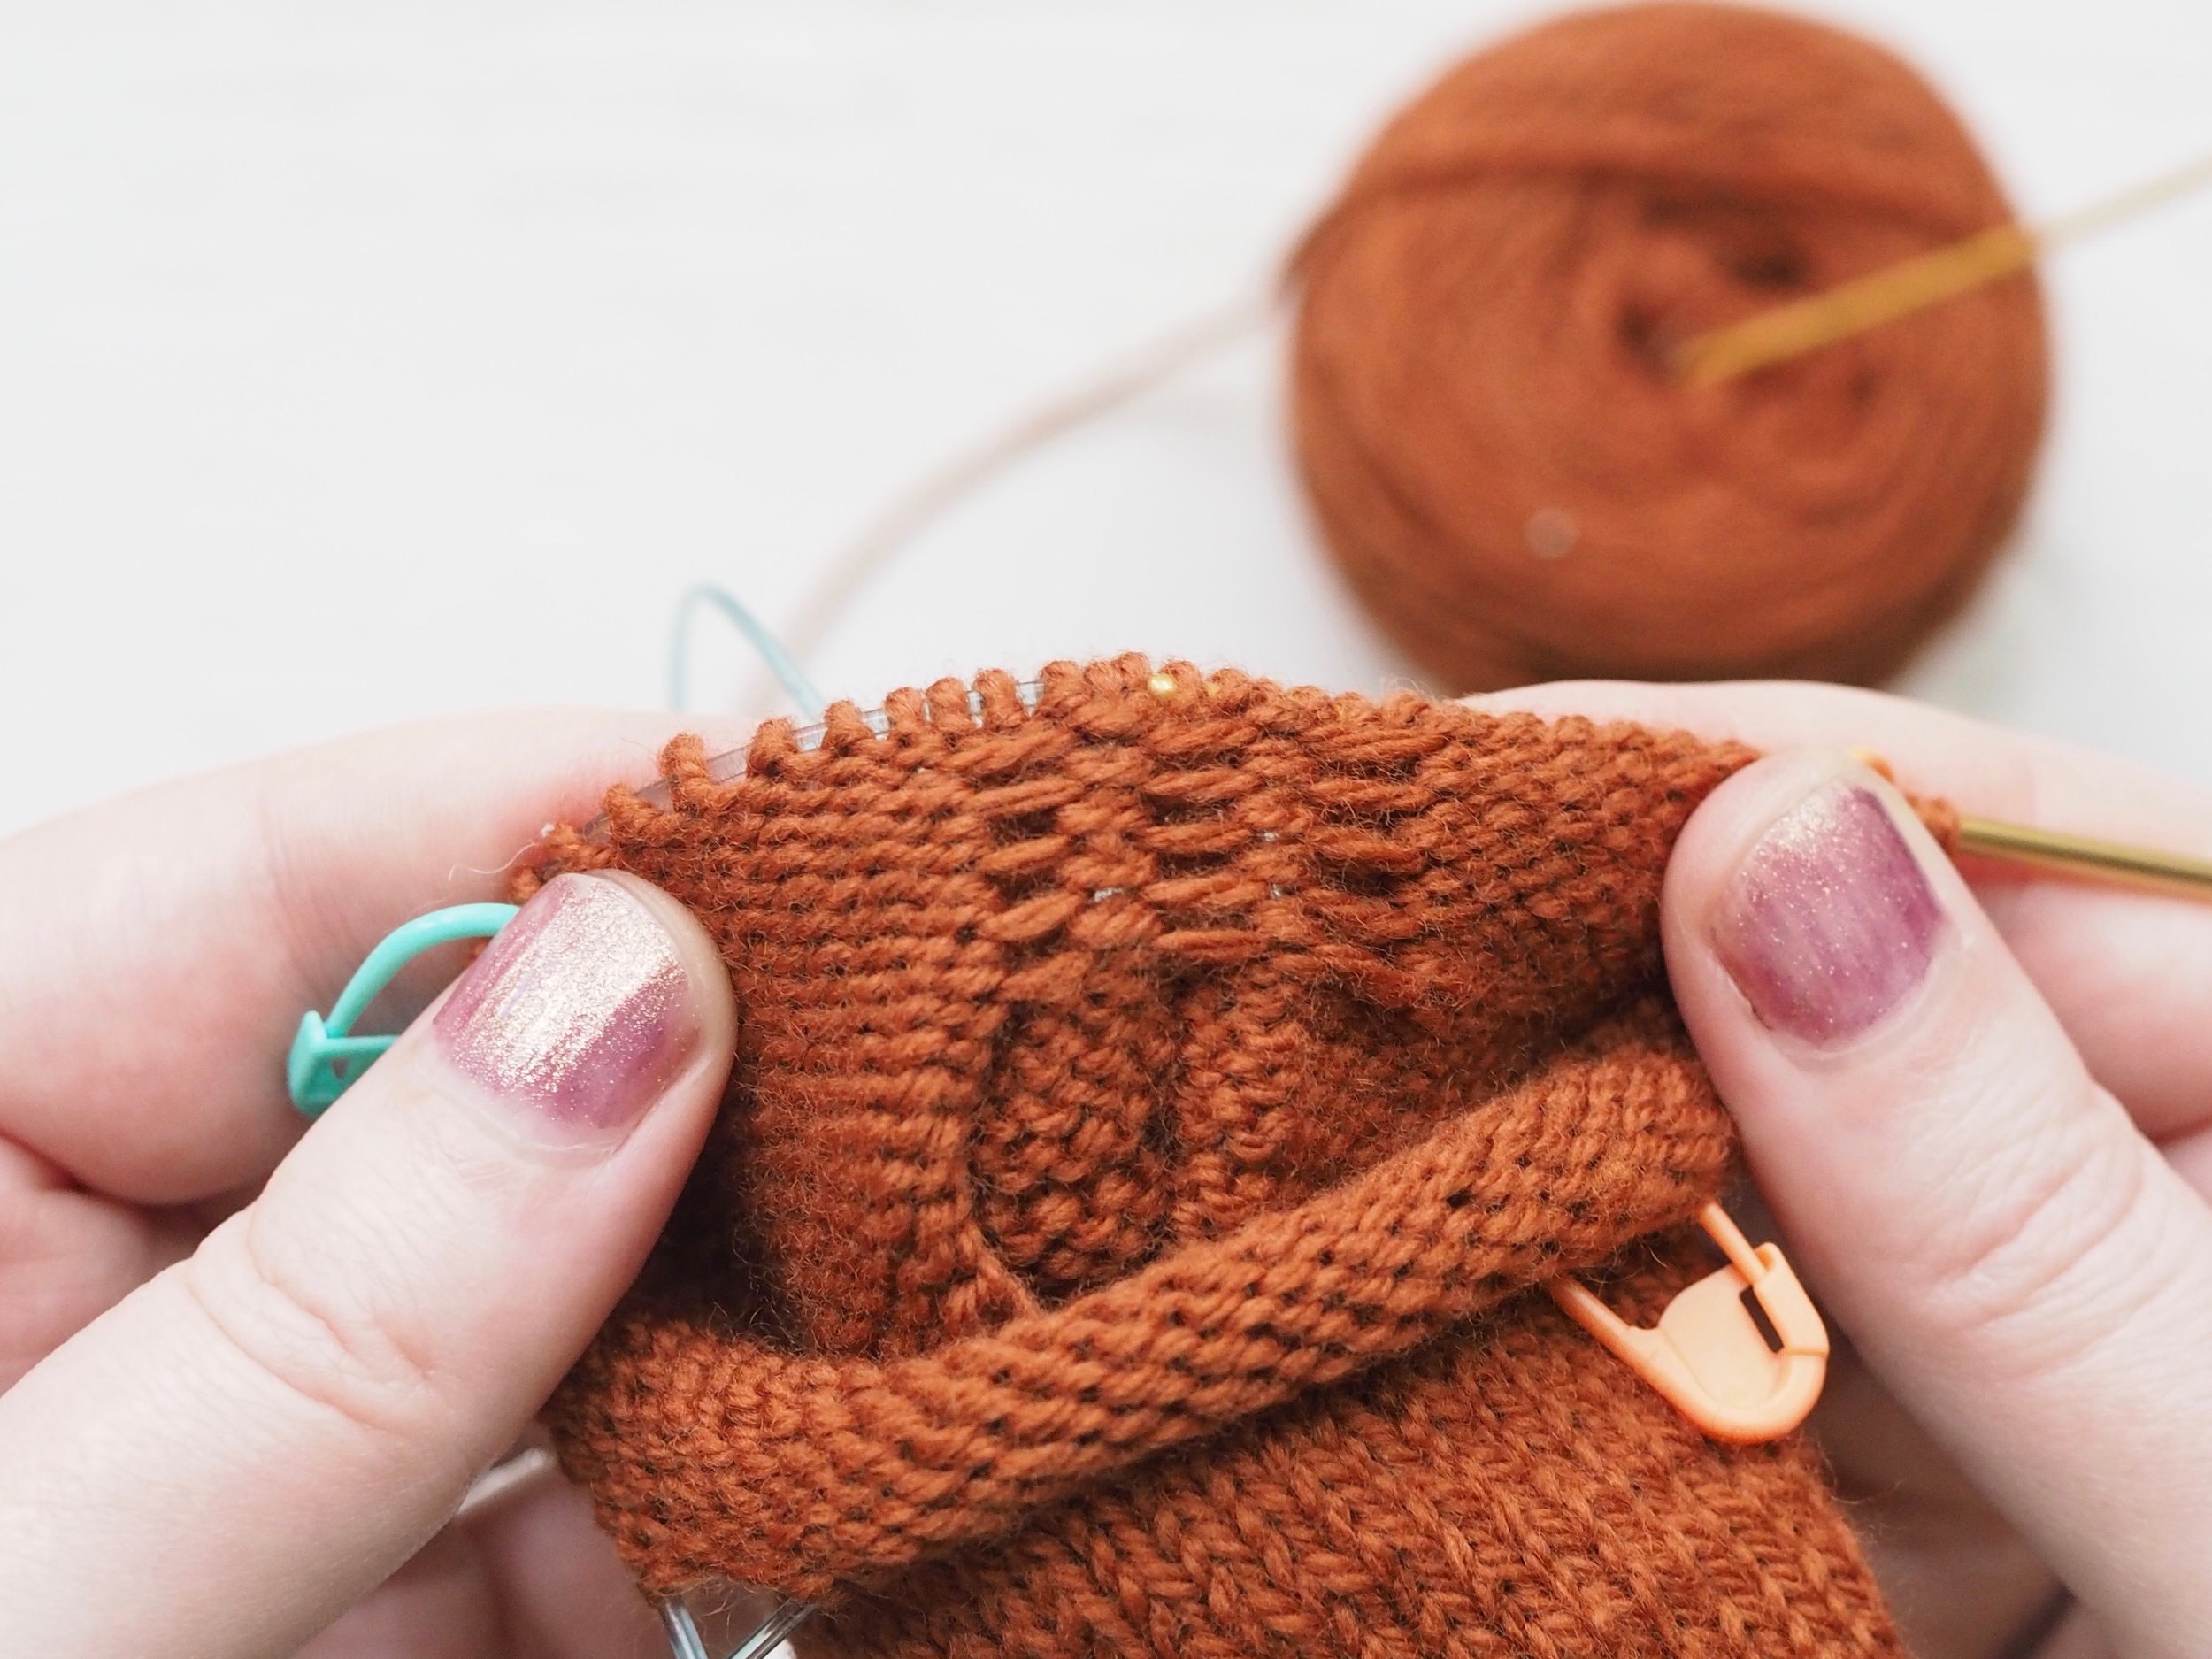
In the image above, I’ve already worked four rows of the three-stitch tuck pattern. You can see the three tucks, and the four recessed “channels” that fall on the sides of the tuck. Worked over two rows, the tucks are formed by slipping the tuck stitches on every other row and pulling the working yarn very tightly across the back, which pulls the stitches on either side of the tuck closer together, essentially folding them and holding the fold together.

ROW 1

  1. Knit to the start of your first tuck.

  2. Slip the tuck stitches (here, three stitches) on to a spare double-pointed needle or cable needle held in front of your work. [NB: if your tucks are small, you can use the same spare needle for all the tucks in a row]

  3. Tension the working yarn tightly as you work the first stitch post-tuck. The more snugly you work the stitches together on either side of the tuck, the more visible your tuck will be. Continue knitting normally until you reach the next tuck.

Repeat steps 2 and 3 until you reach the end of the tuck section.

In the example shown, the tuck section is 11 stitches wide: three tucks three stitches wide, plus one spacer stitch on either side of the center tuck. When you finish working your first row of tucks, you should have nine stitches (width of tuck x number of tucks) on your spare needle (or needles, if your tuck is very wide).

ROW 2

  1. Knit to the start of your first tuck.

  2. Pick up and knit the tuck stitches (here, three stitches) off the spare needle.

  3. Knit normally to the next tuck.

Repeat steps 2 and 3 until all stitches are back on the main needle.

It will take a couple of rows until the tucks start to look like anything on the right side of the fabric. On the wrong side of the fabric, you should clearly see where the working yarn has held behind the slipped stitches. Try to keep that horizontal line the same length for tucks of the same width, and the short it is, the more prominent your tucks will be.


GET KNITTING!

Try out the pattern below which incorporate tucks, horizontal pleats, or smocking!


Print Friendly and PDF Follow
follow us in feedly

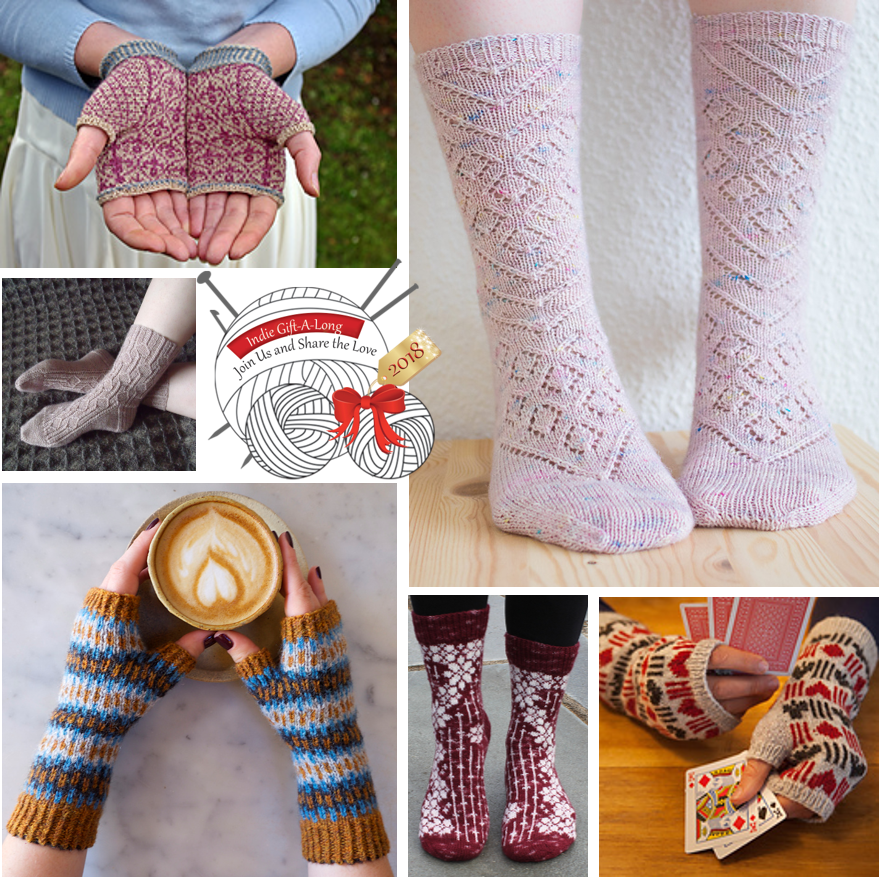
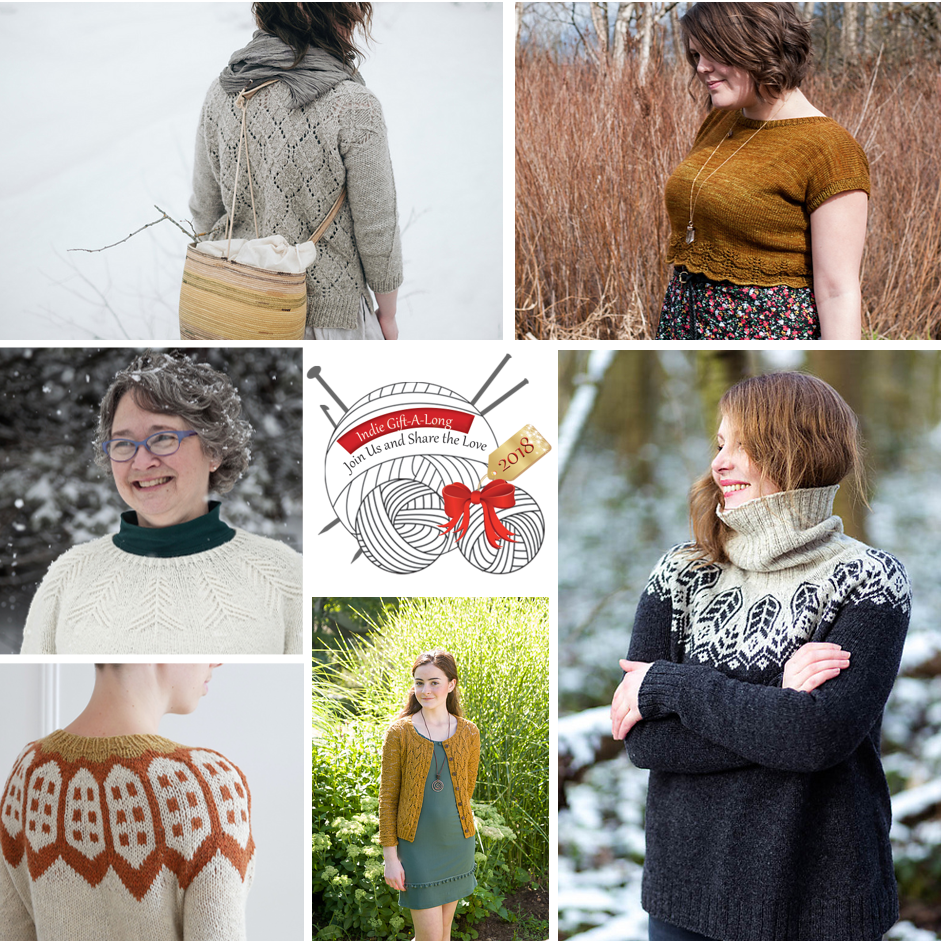
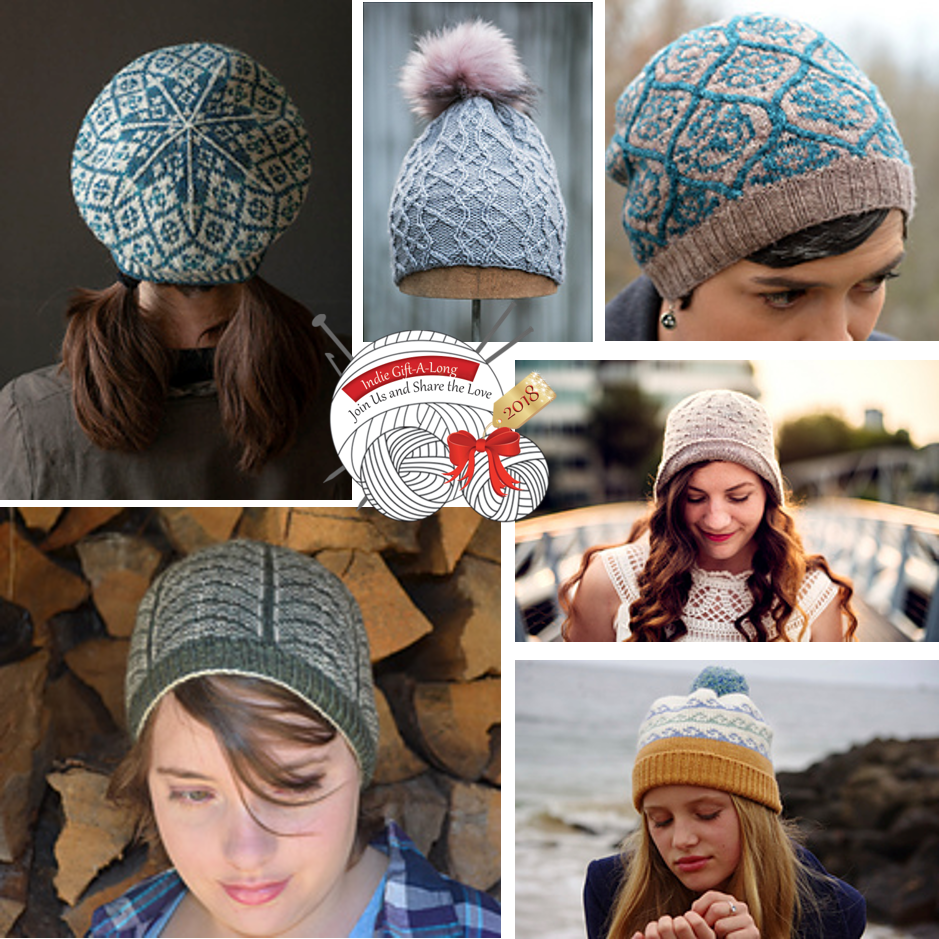
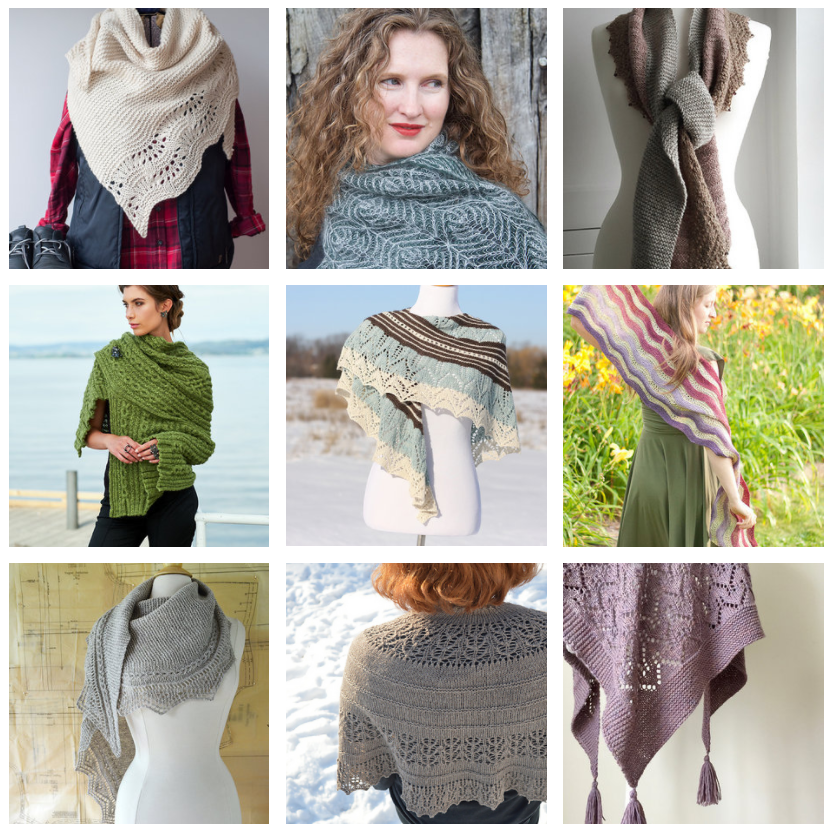
Indie Design Gift Along 2018 - My 24 Top Picks

It's Gift-Along Time again! 

Every year a growing group of independent knitwear designs band together on Ravelry to host a knit-along to kick start your holiday gift knitting! 

This year there are 349 designers from 30 countries and 6 continents, with over 20,000 patterns eligible for the giftalong's 2,000+ prizes.

From now until midnight EST on Nov 29, over 6,000 of those patterns are 25% off with the code giftalong2018

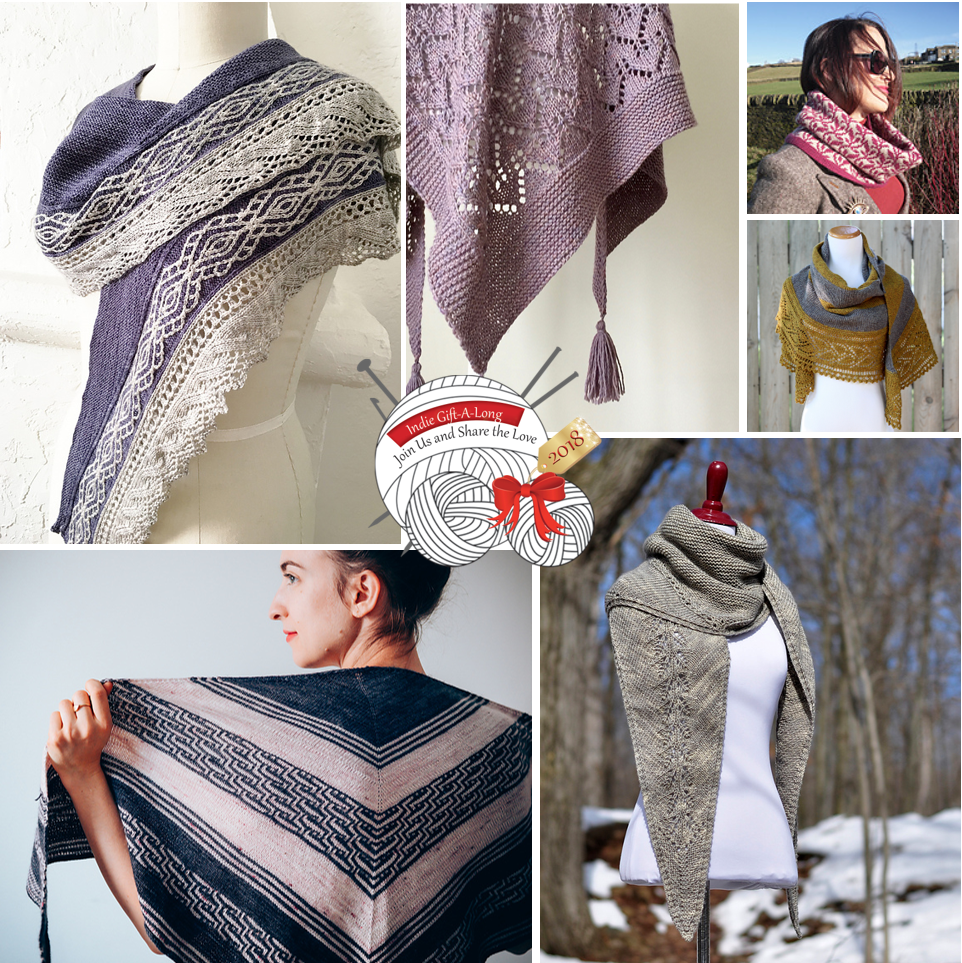
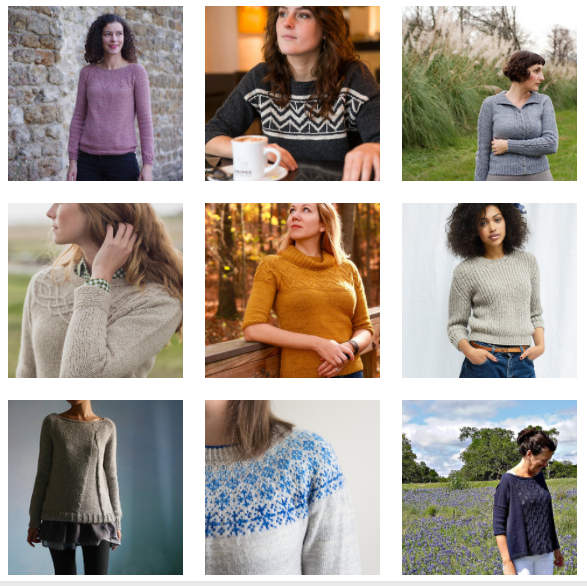
But 6,000 patterns is a lot to look through, so I thought I’d highlight some of my personal favorites from the offerings -and hopefully introduce you to some wonderful new-to-you designers..

Clicking on any photo above will take you to a Ravelry bundle of my favorites where you can peruse and purchase any of the designs. (Note: not all patterns shown are on sale, but all are eligible for the KAL and prizes in the gift-along).

I've got 18 patterns in the sale,  specifically chosen for their gift-ability.  Not on Ravelry? The same patterns on MsCleaver.com are also 25% off for the same time/same code.

Happy gifting!!

Pattern Links

(all attributions for collages work clockwise from top left)

Shawls & Cowls

  1. Sand Ripples Shawl by Stephannie Tallent

  2. Chance Cove by Allison O’Mahony

  3. Trailing Leaves Cowl by Sandra Nesbitt

  4. Rugby Shawl by knottygnome crafts

  5. Shh! Wrap by Jennifer Weissman

  6. Majestic Shawl by Gabrielle Vézina

Feet & Hands

  1. Leighton House Handwarmers by Ella Austin

  2. Moving Forward by Tisserin Coquet

  3. Card Game Mitts by Knitwise Design

  4. Flower Garland - Blomsterkrans by Aud Bergo

  5. Zippertooth Mitts by Clare Lakewood

  6. Falling Petals Socks by Rachel Gibbs

Sweaters & Tops

  1. Juniper by Ash Alberg

  2. Mount Pleasant by Megan Nodecker

  3. Wild Grass by Asja Janeczek

  4. Valerian by Tonia Barry

  5. Nest Pullover by Solène Le Roux

  6. Winter Woods Pullover by Knitwise Design

Hats

  1. Midterm Tam by Virginia Sattler-Reimer

  2. Tracery by handmade by SMINÉ

  3. Bramble Birds by Sara Huntington Burch

  4. Taupe by AbbyeKnits

  5. Great Ocean Road Beanie by Georgie Nicolson

  6. CCC Hat by M K Nance


Print Friendly and PDF Follow
follow us in feedly

Introducing STORYTIME

Opening the Book on the Storytime Collection

My mother was an elementary school librarian, so my childhood was filled with all sorts of children's literature modern and classic. The Storytime Collection draws it’s inspiration from some of my favorite pieces of classic children's literature and might include some of your favorites too! 

The collection, which includes a sweater, gloves, two embroidery designs and a sewing pattern, is available as kits, pattern bundles and stand-alone patterns and has projects suitable for beginners to more advanced makers.

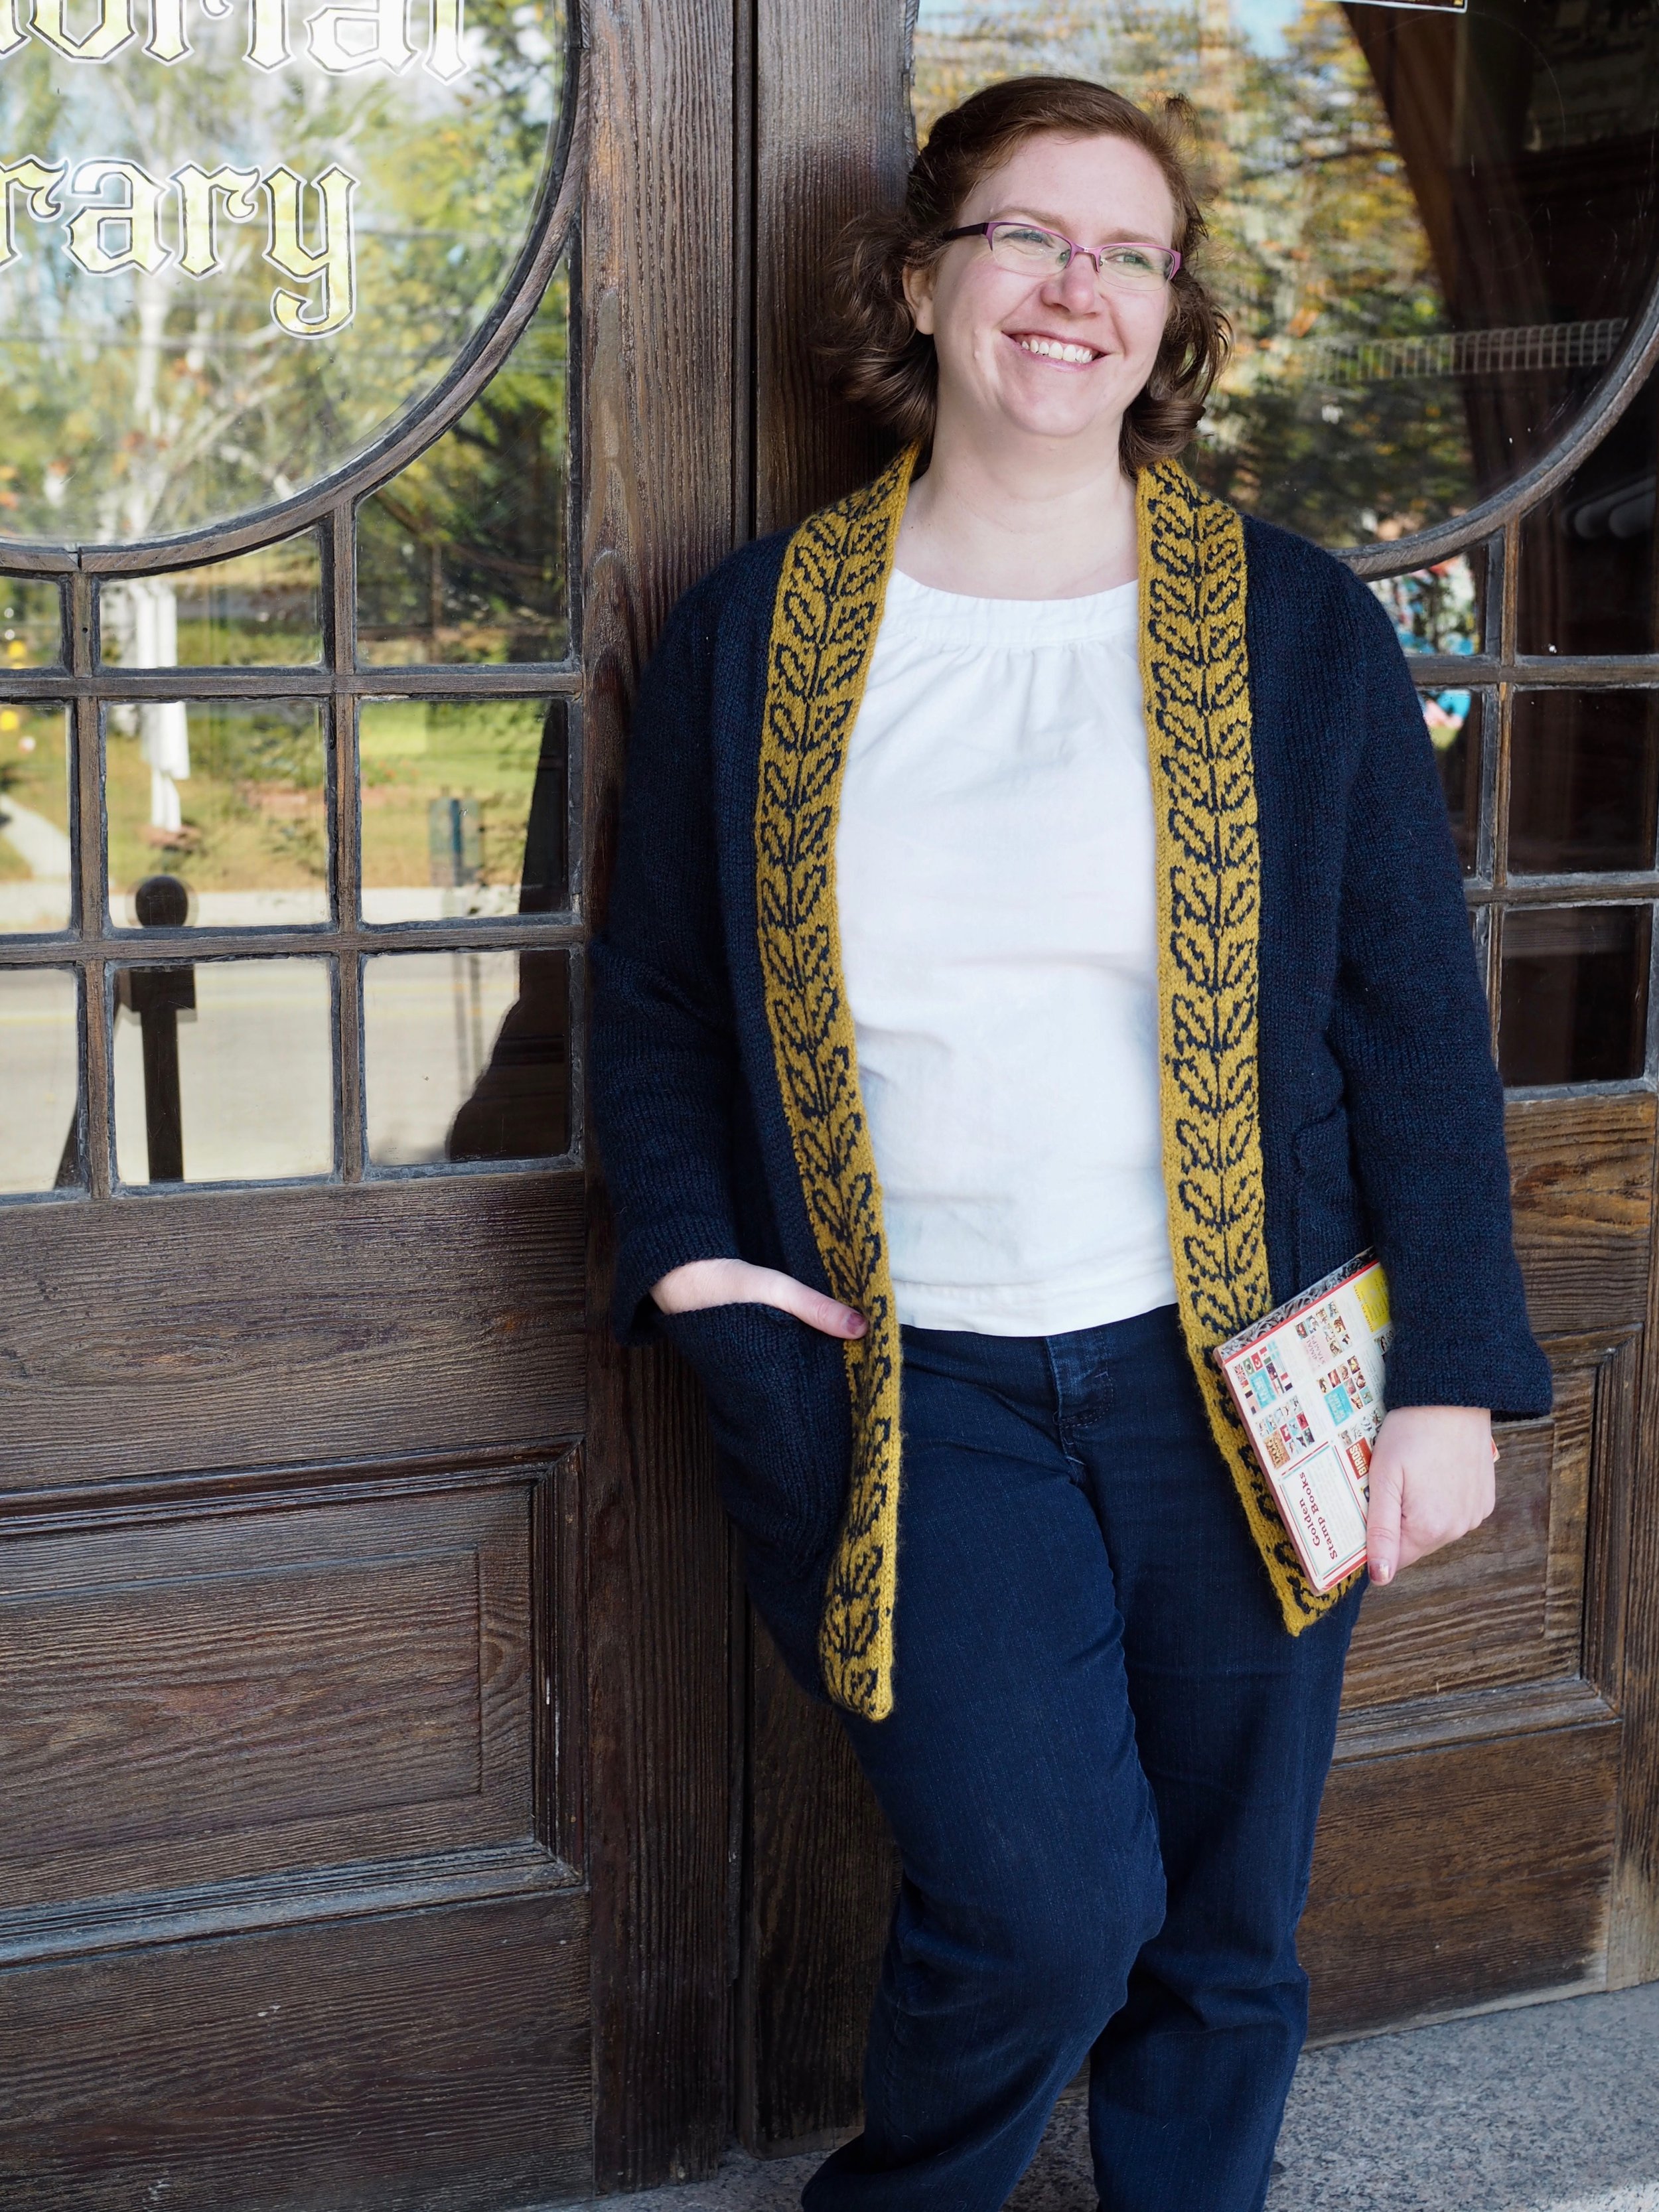
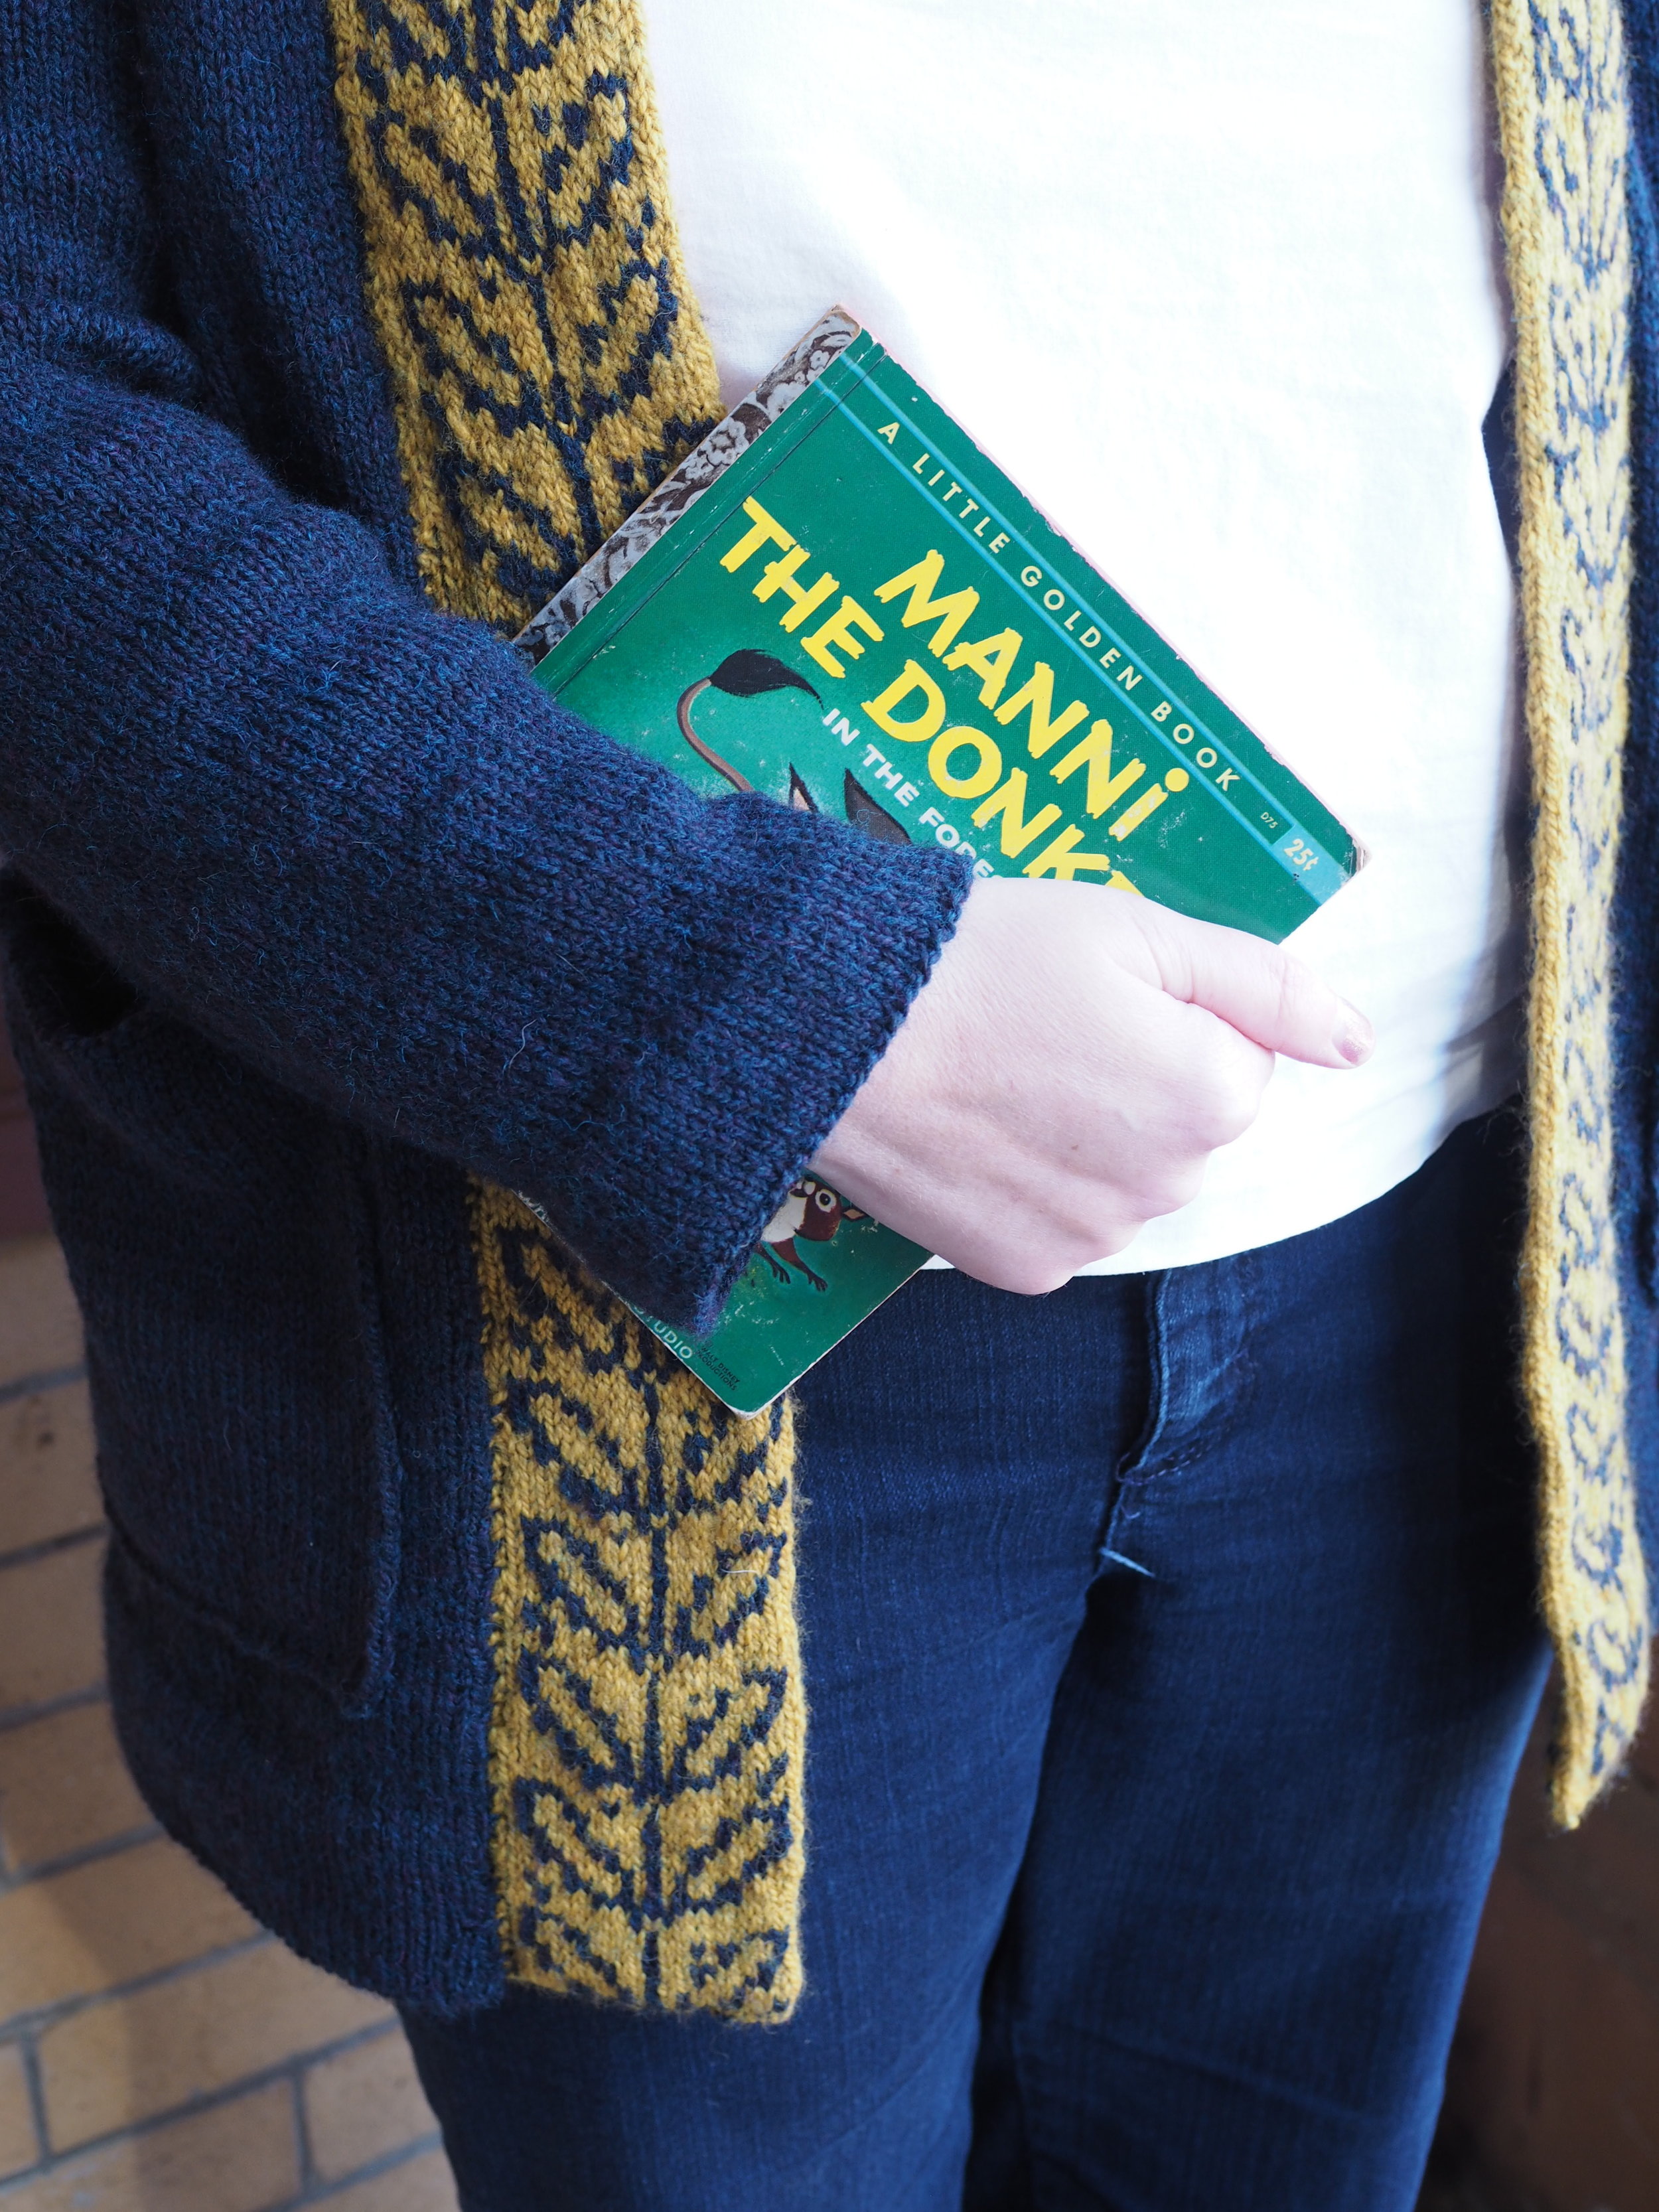
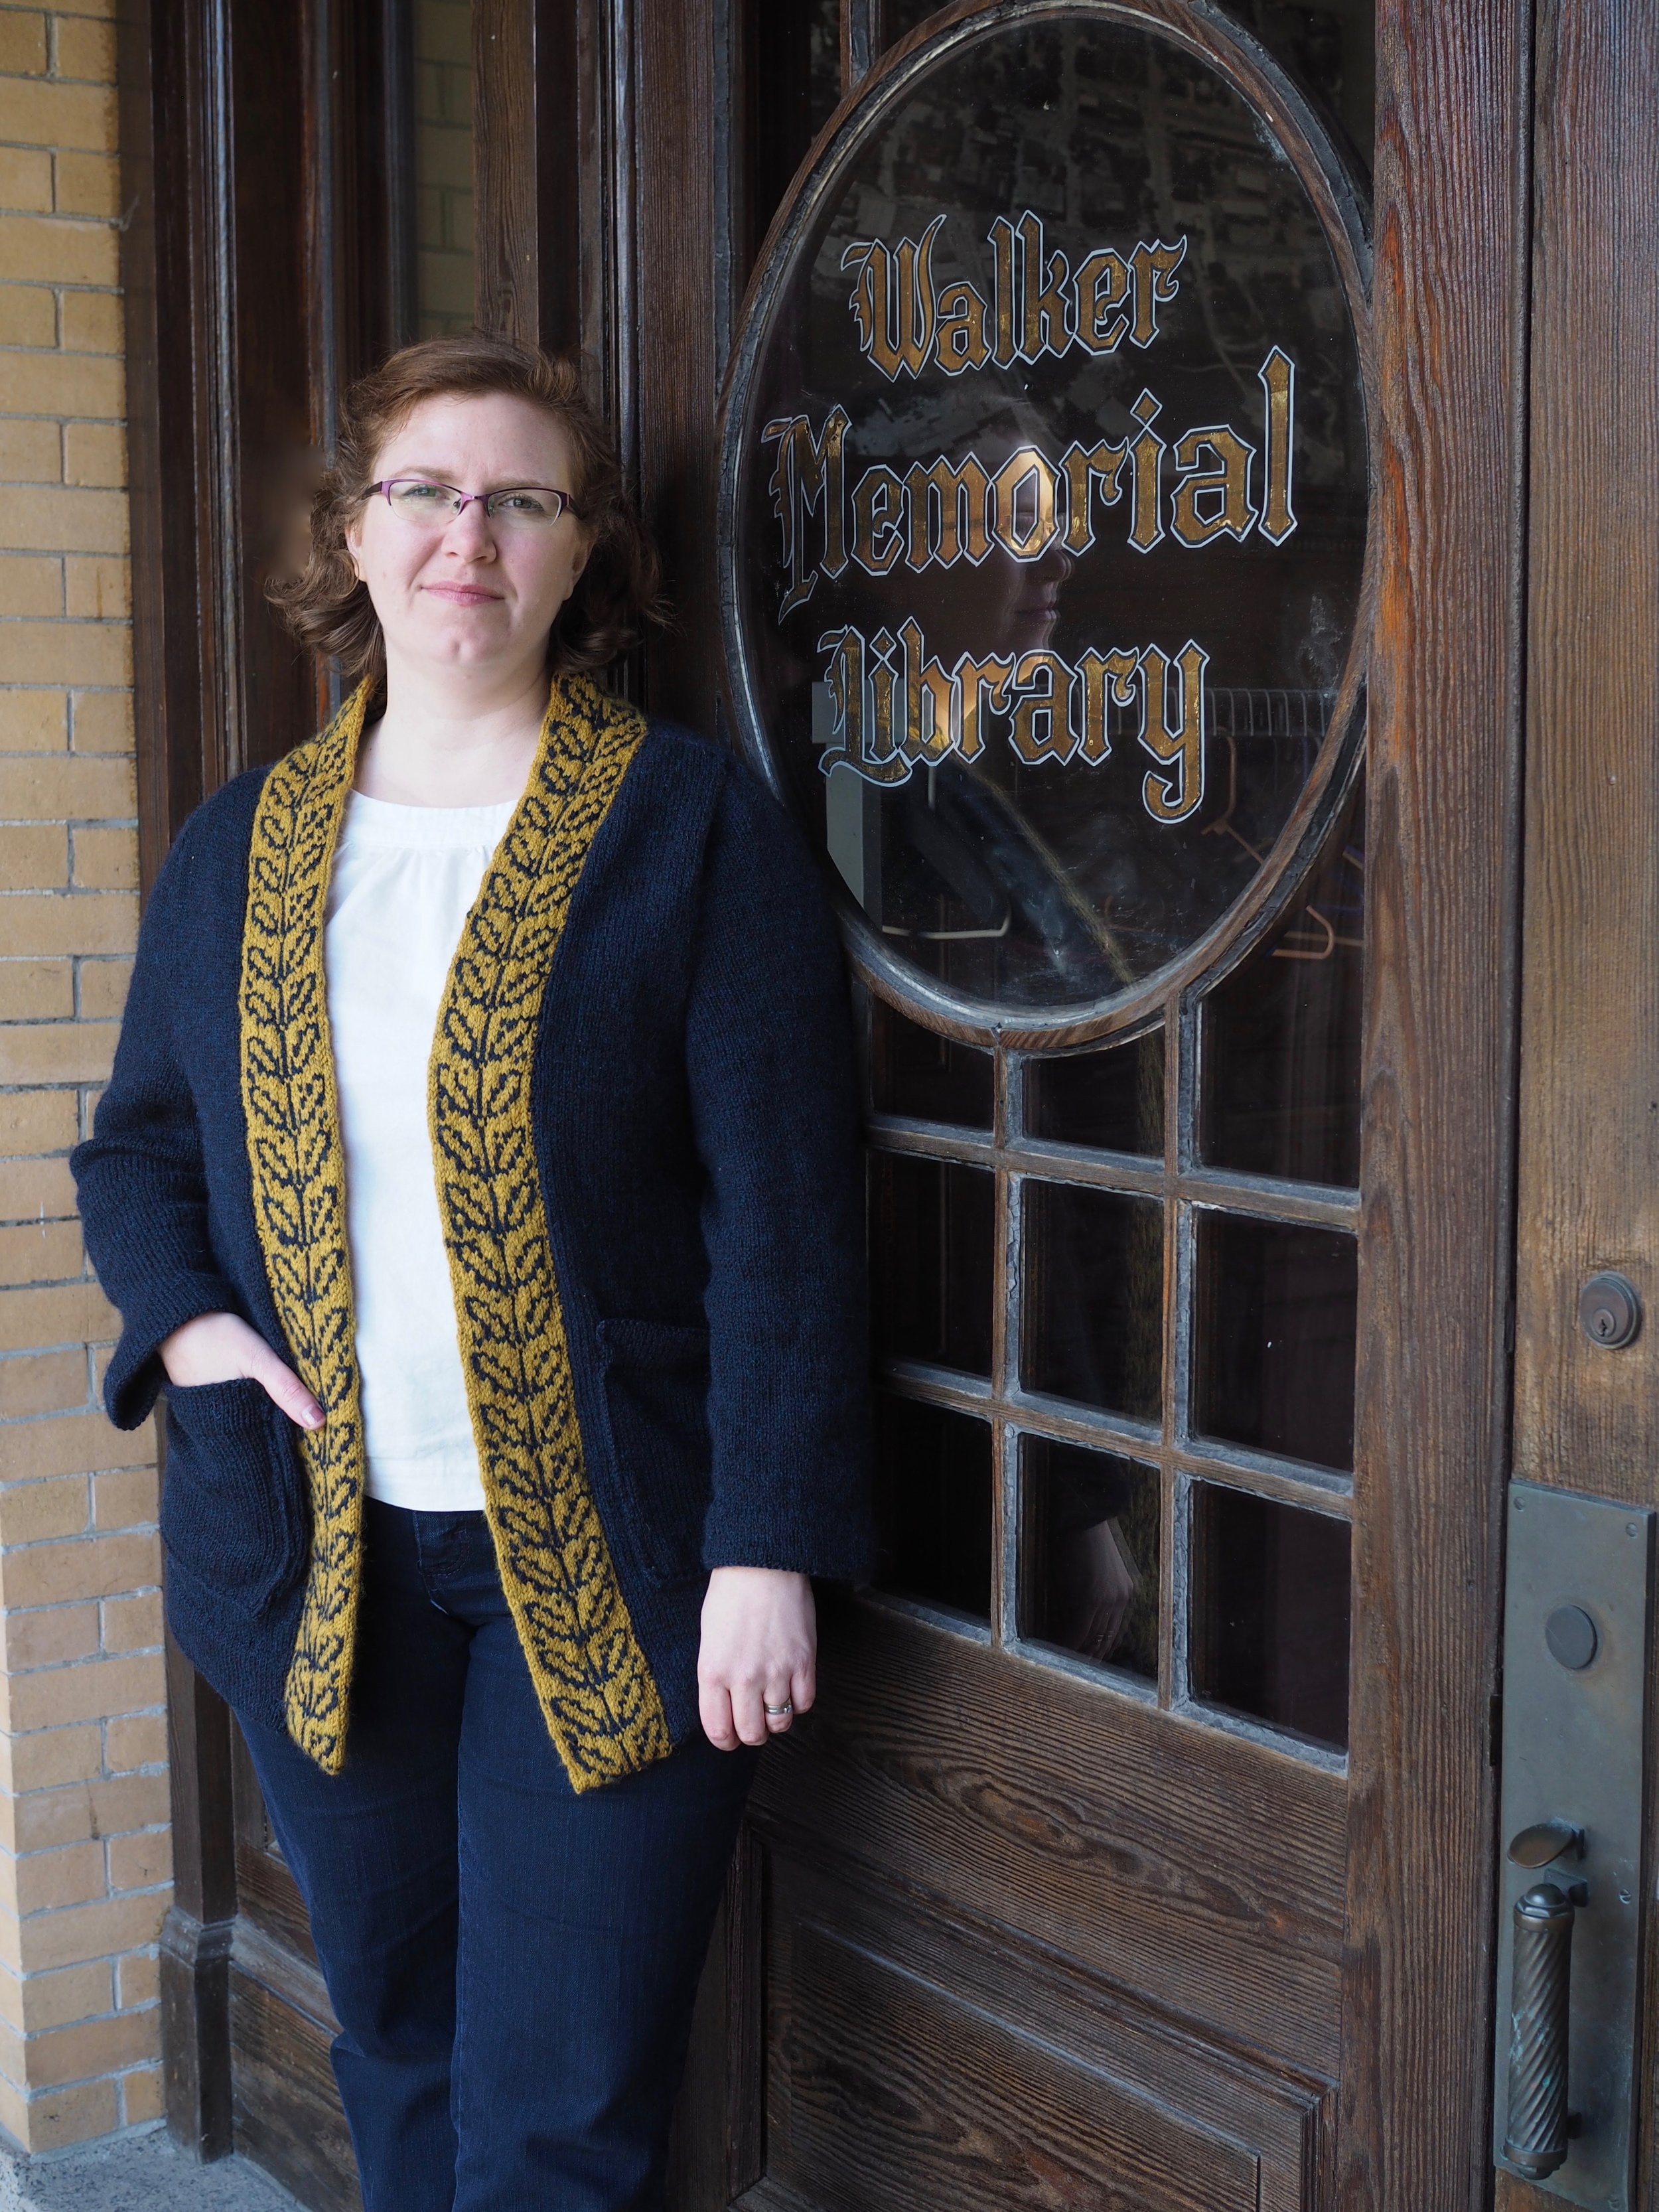
Goldenbook Cardigan

The Saggy Baggy Elephant, Tawny Scrawny Lion, Poky Little Puppy – since the first Little Golden Book was released in 1942, these titles and many more have become classics read by multiple generations.

Inspired by the iconic spine of Little Golden Books, a long band of colorwork forms a statement collar on an open-front cardigan. Knit from the top-down, the pattern uses the contiguous method to form a well-fitting one-piece yoke and is finished with clean folded hems and deep pockets. The pattern is available in bust sizes up to 56.5"/143.5 cm and includes helpful fit tips throughout the pattern to get the best fit for your body. 

Can be purchased as bundle with the Turning Leaf Gloves.

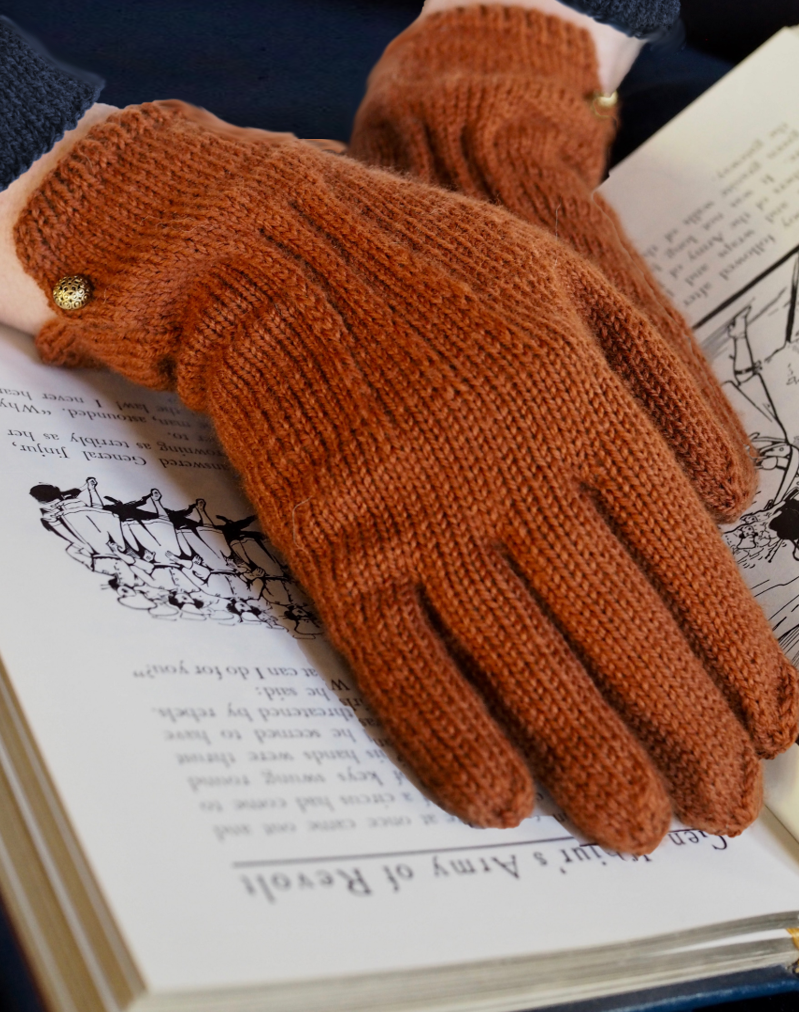
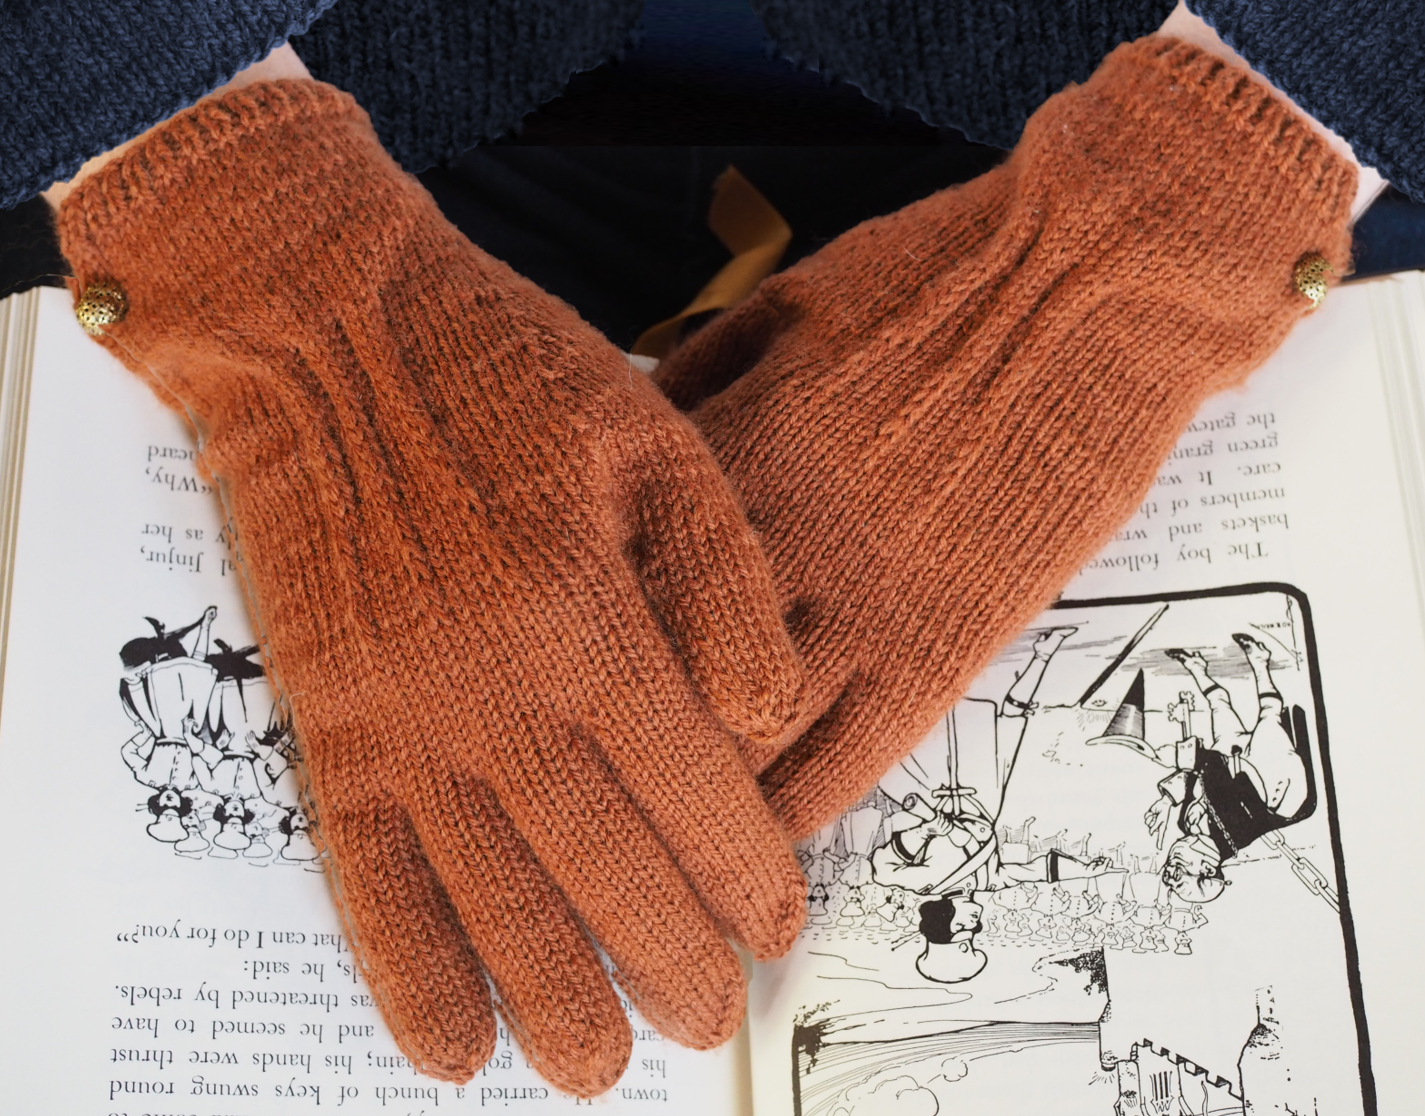
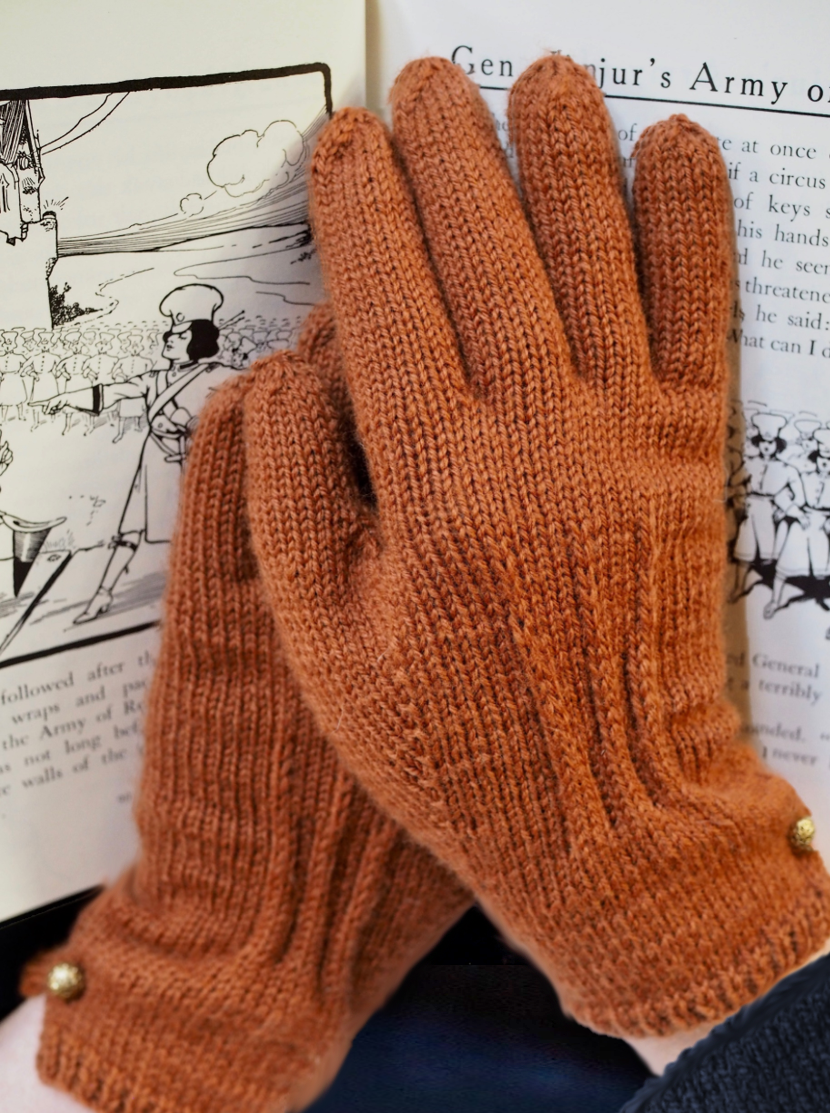
Turning Leaf Gloves

In the early days of publishing, a sheet of paper with printing on both pages/sides was commonly referred to as a leaf - a less popular usage now, but one that lives on in phrases like “to turn a new leaf, ”loose-leaf” paper, and the French word feuille. The Turning Leaf gloves were inspired by the gilded leaves of hefty leather-covered tomes (be they the Bible or The Wonderful Land of Oz), this inspiration reflected in graceful pleats that shape the hands of these vintage-style gloves.

Gloves are worked from the cuff to the fingers. The cuff is worked flat, with the hand and fingers worked in the round.

Can be purchased as bundle with the Goldenbook Cardigan.

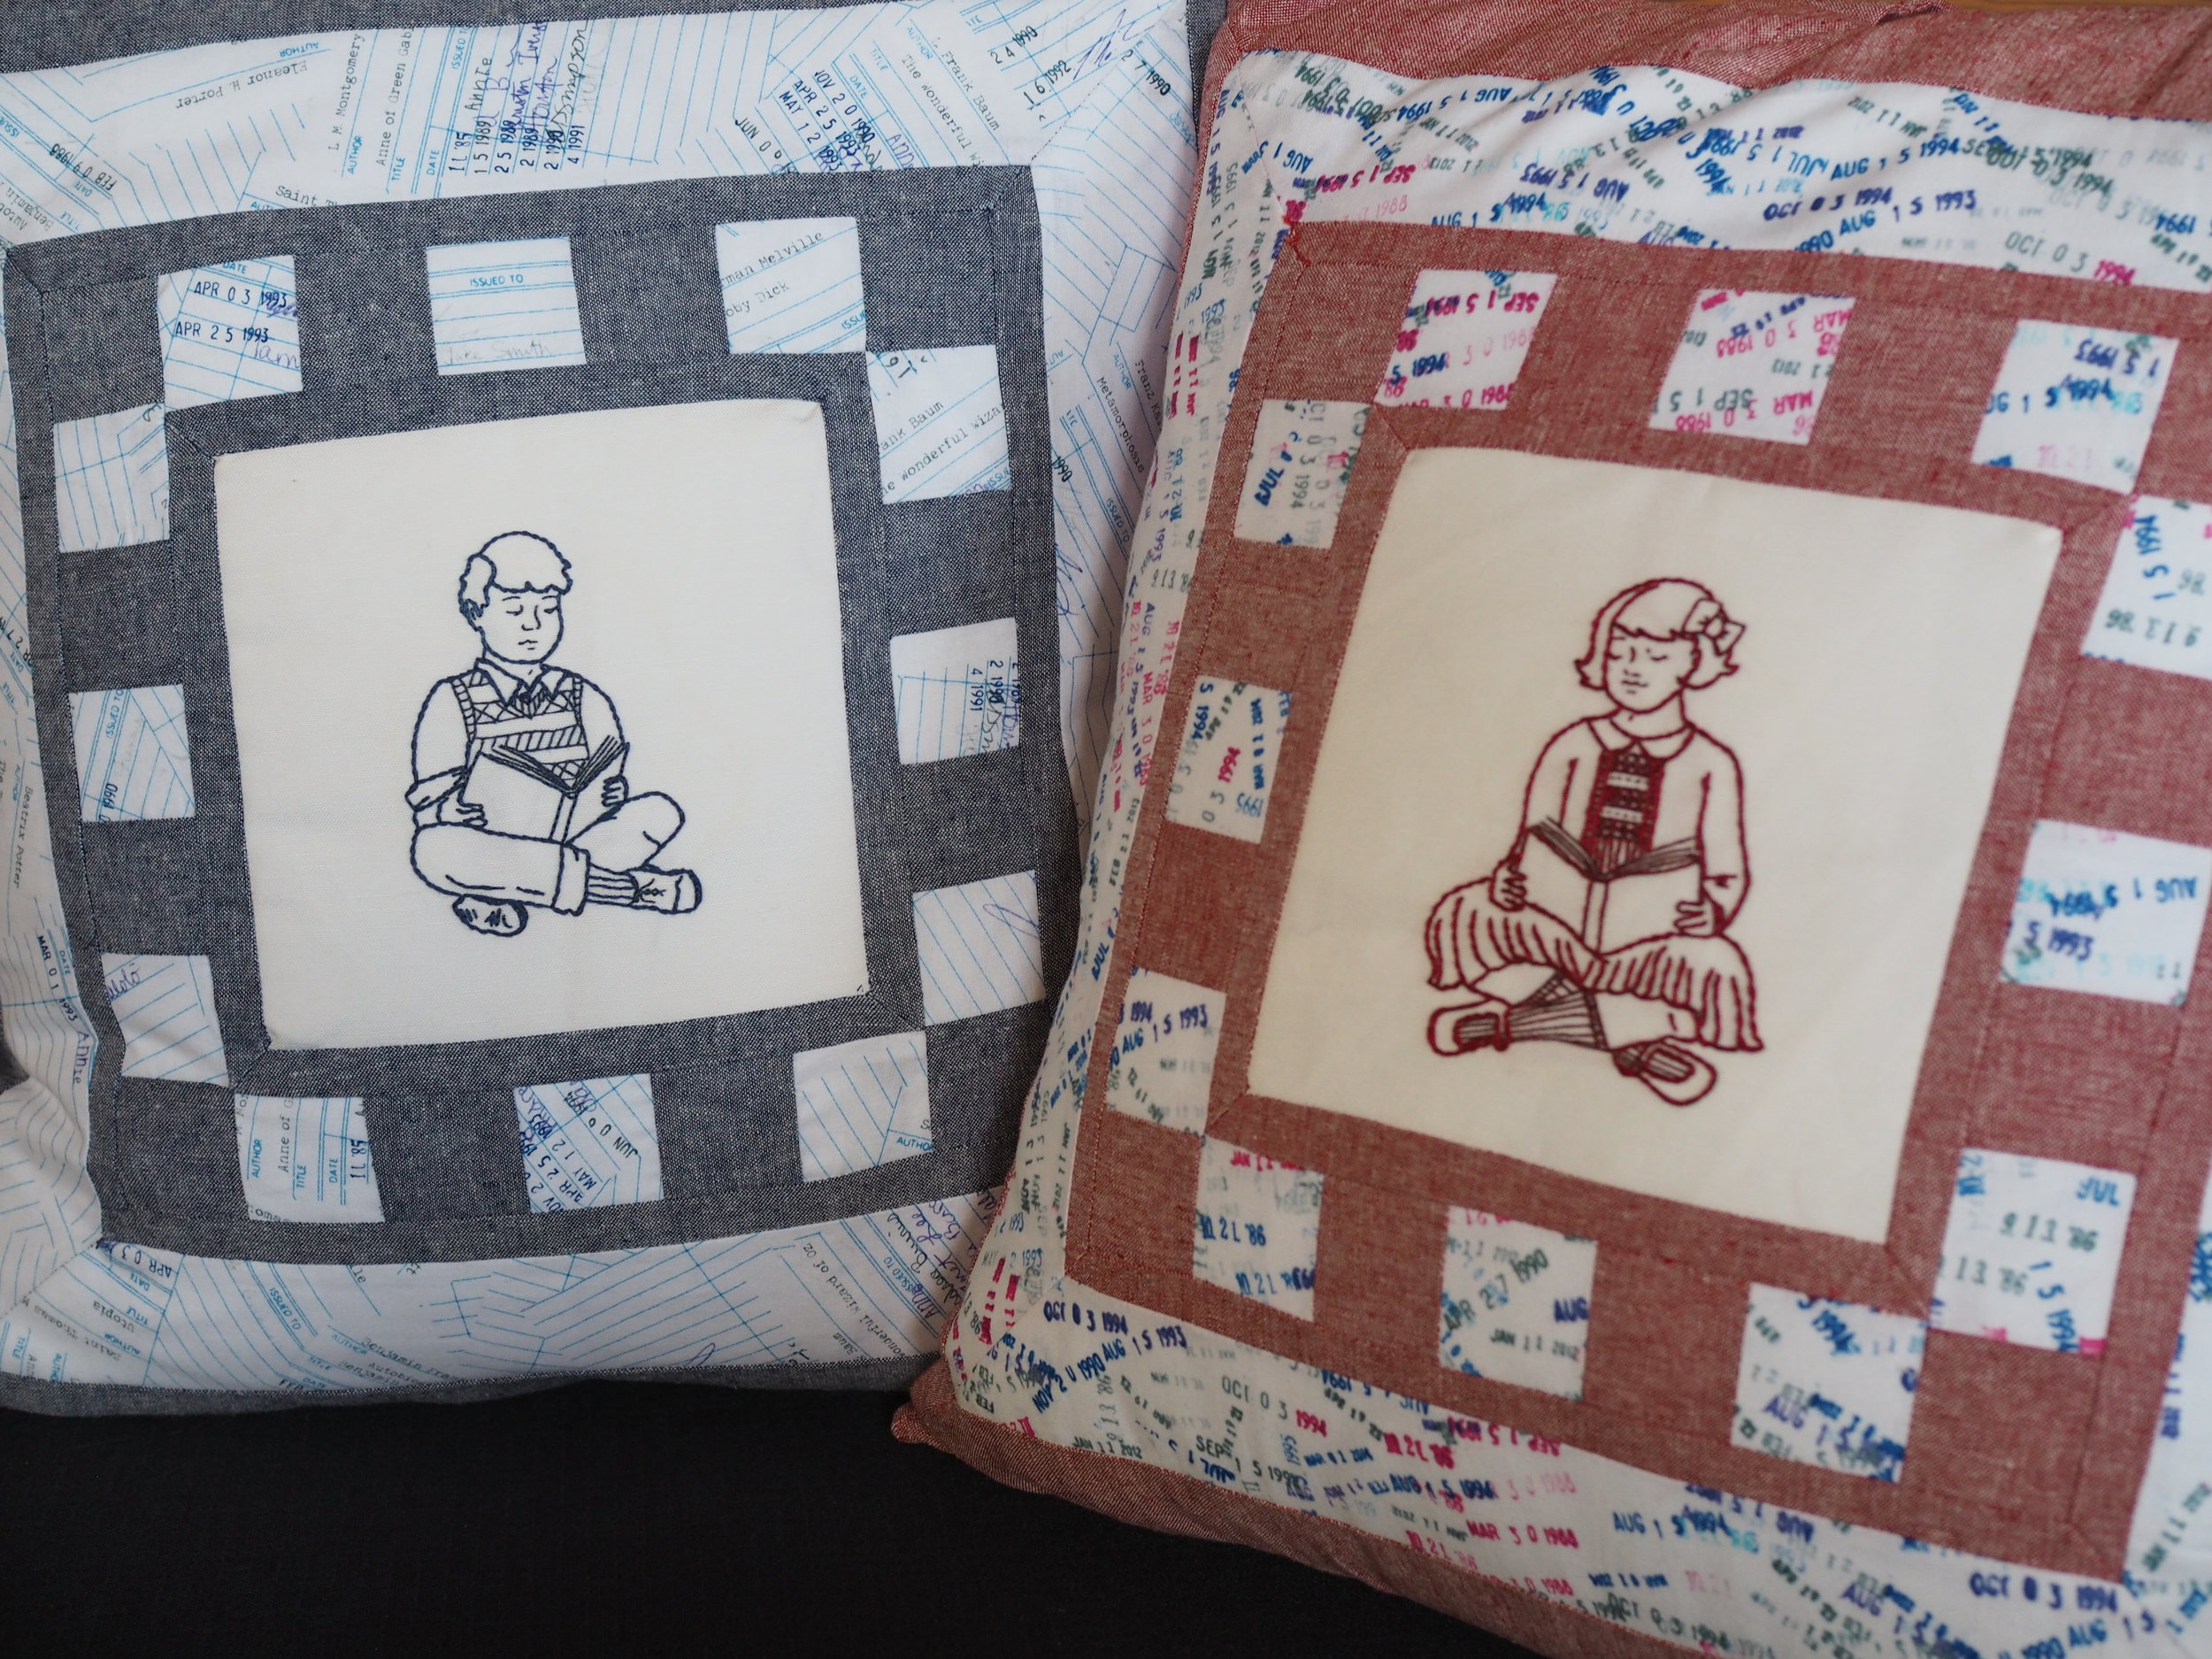
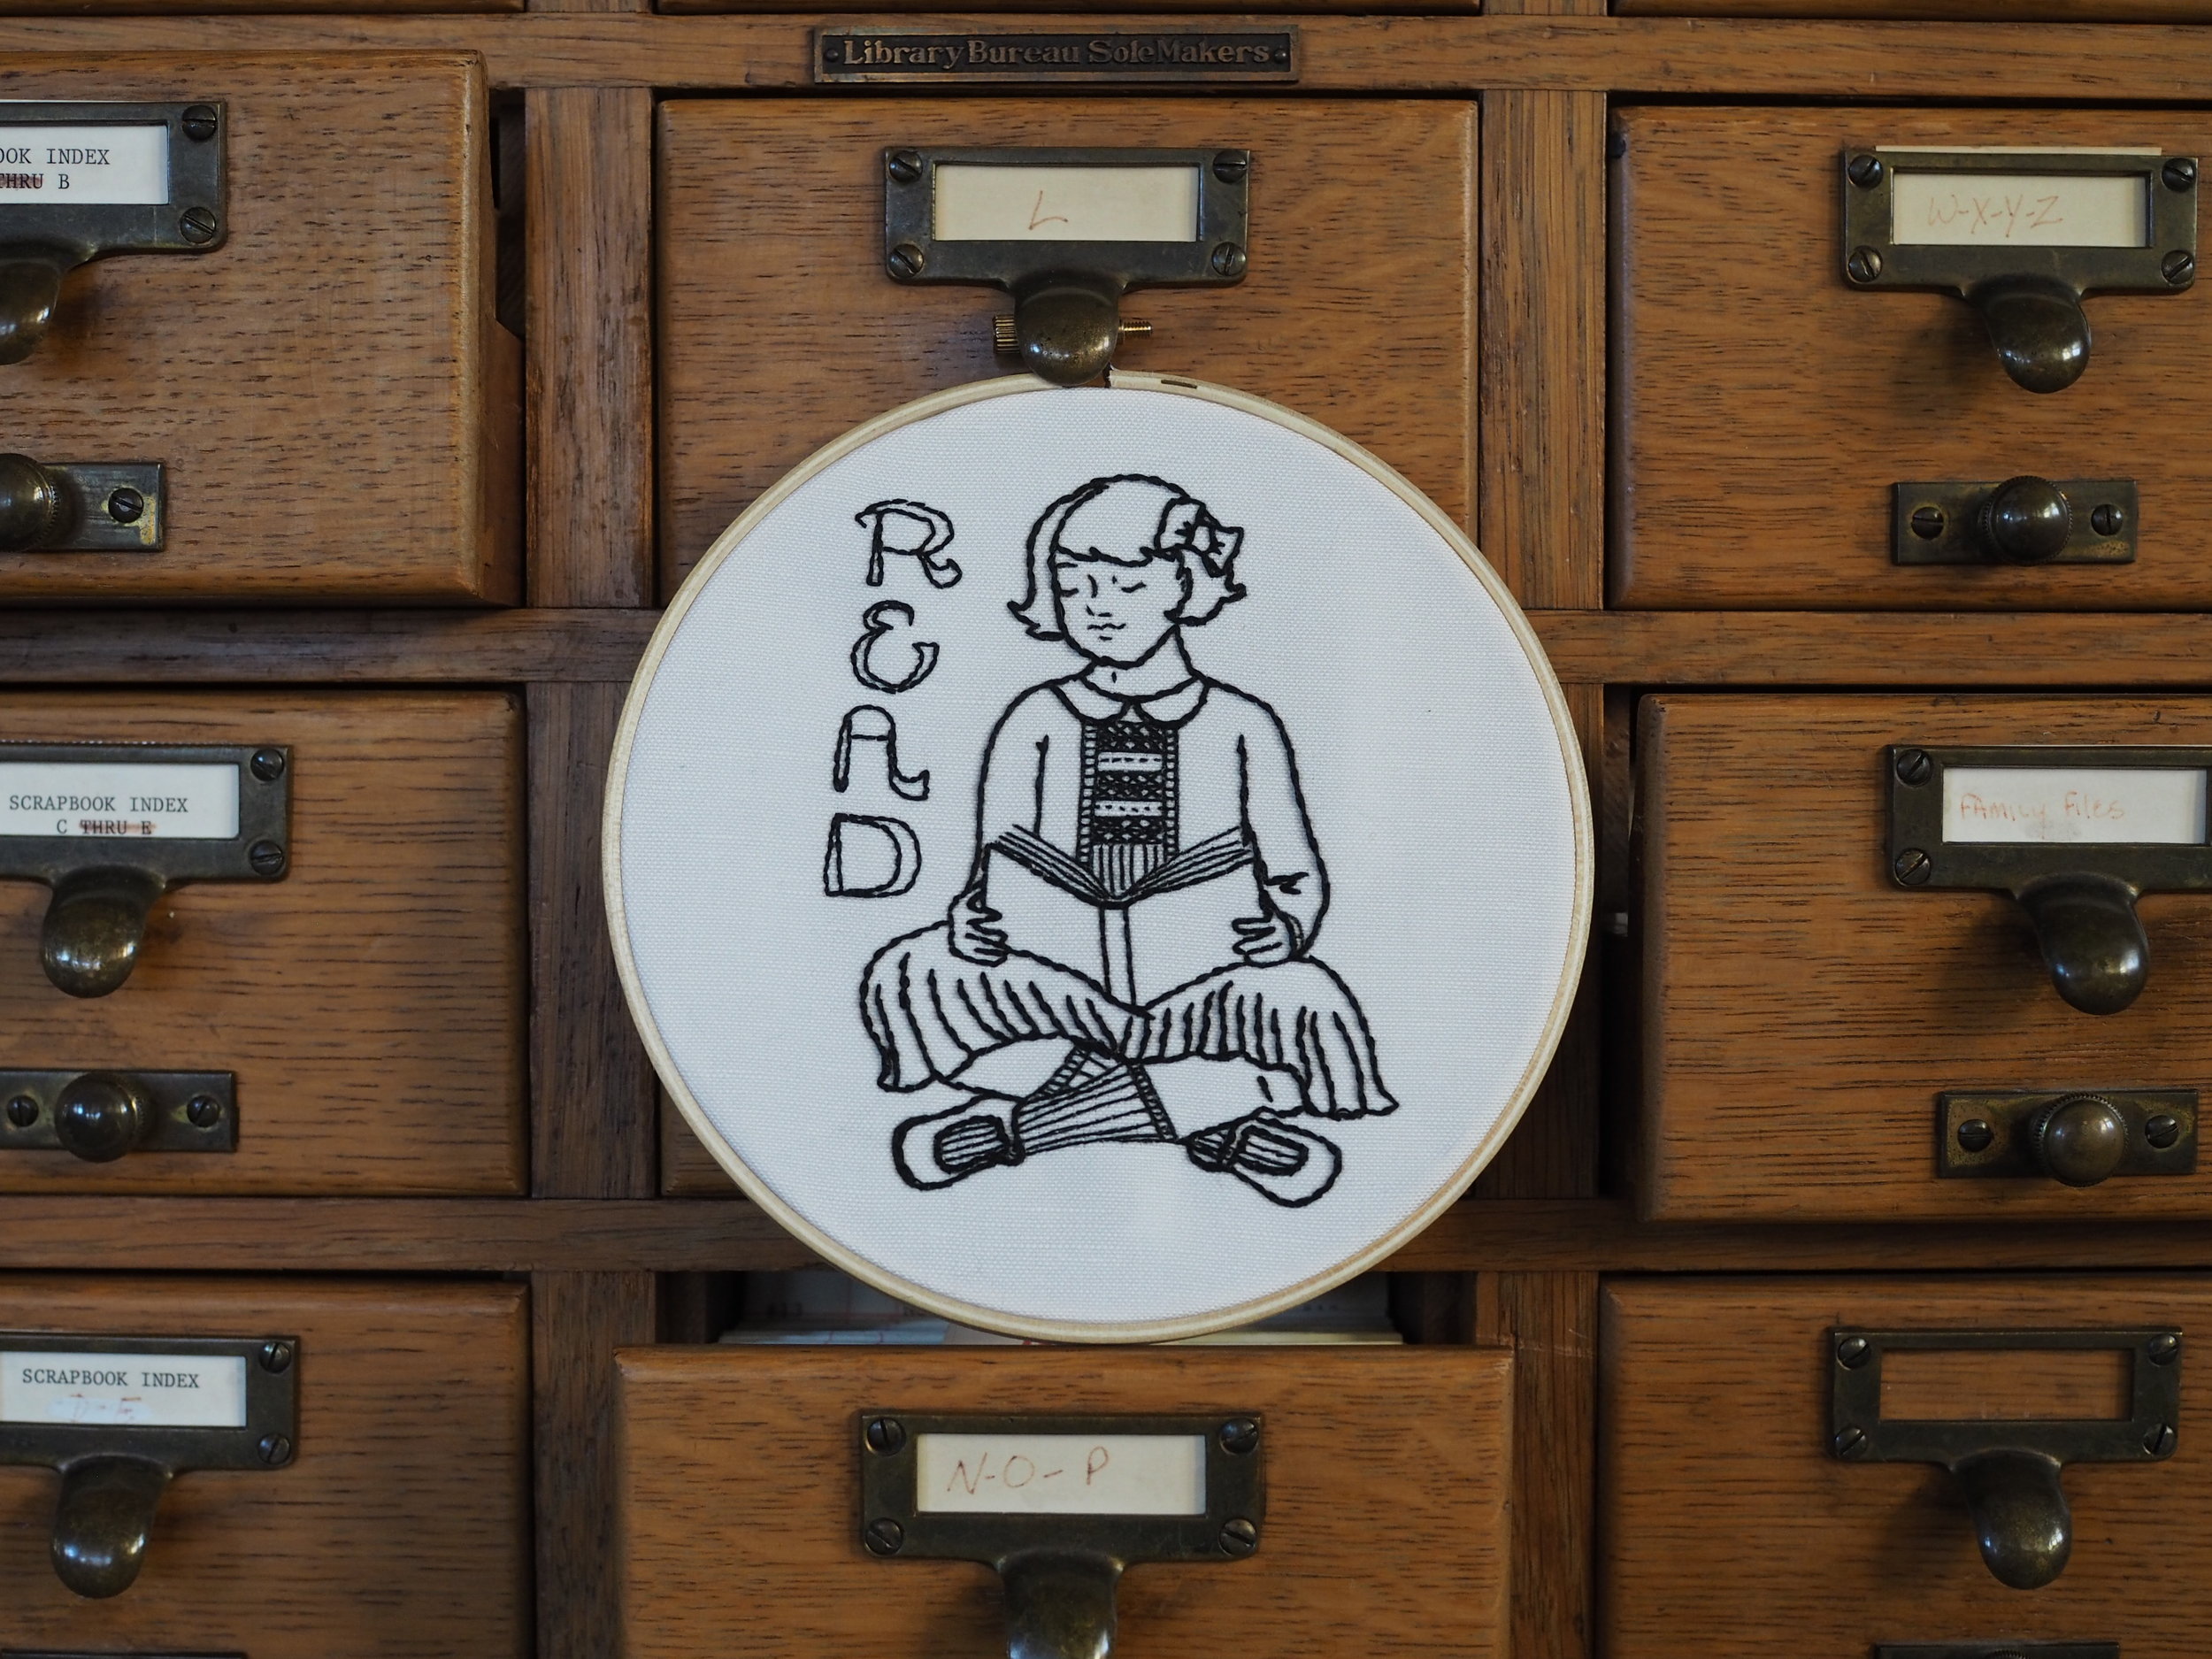
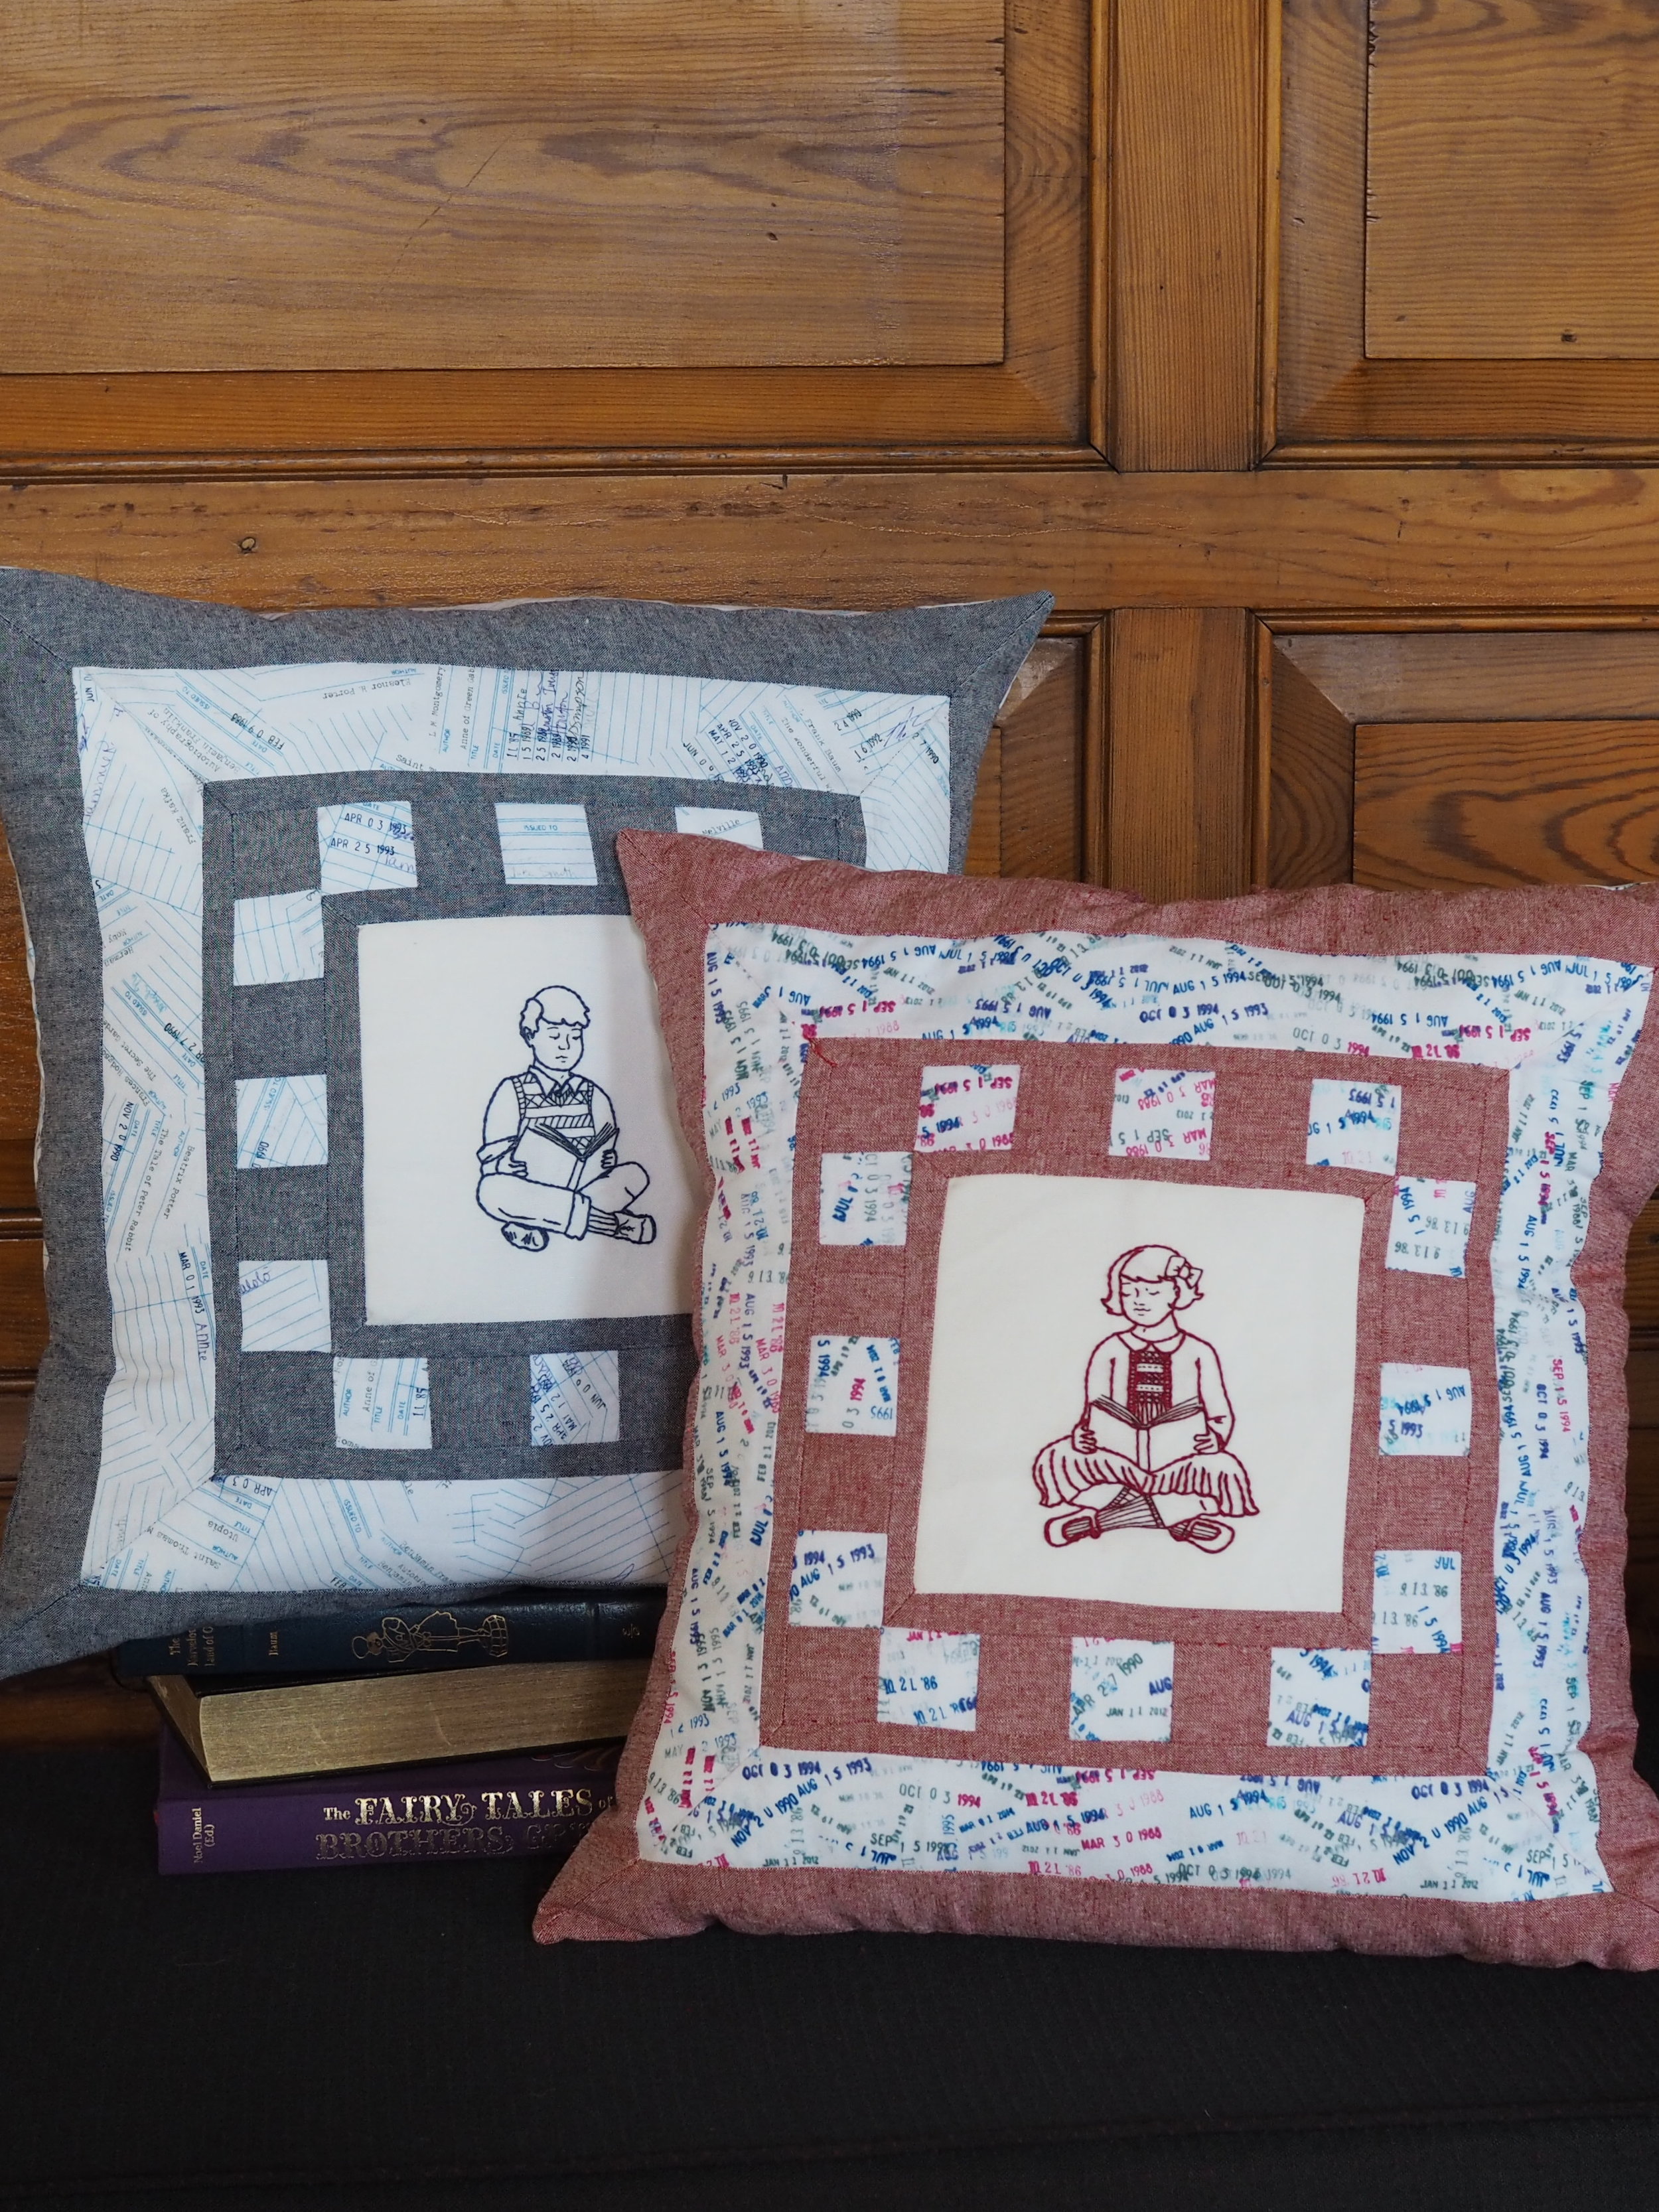
Little Readers Embroidery & Ms. Marian Pillow

Is there anything better than cozying up with a good book?

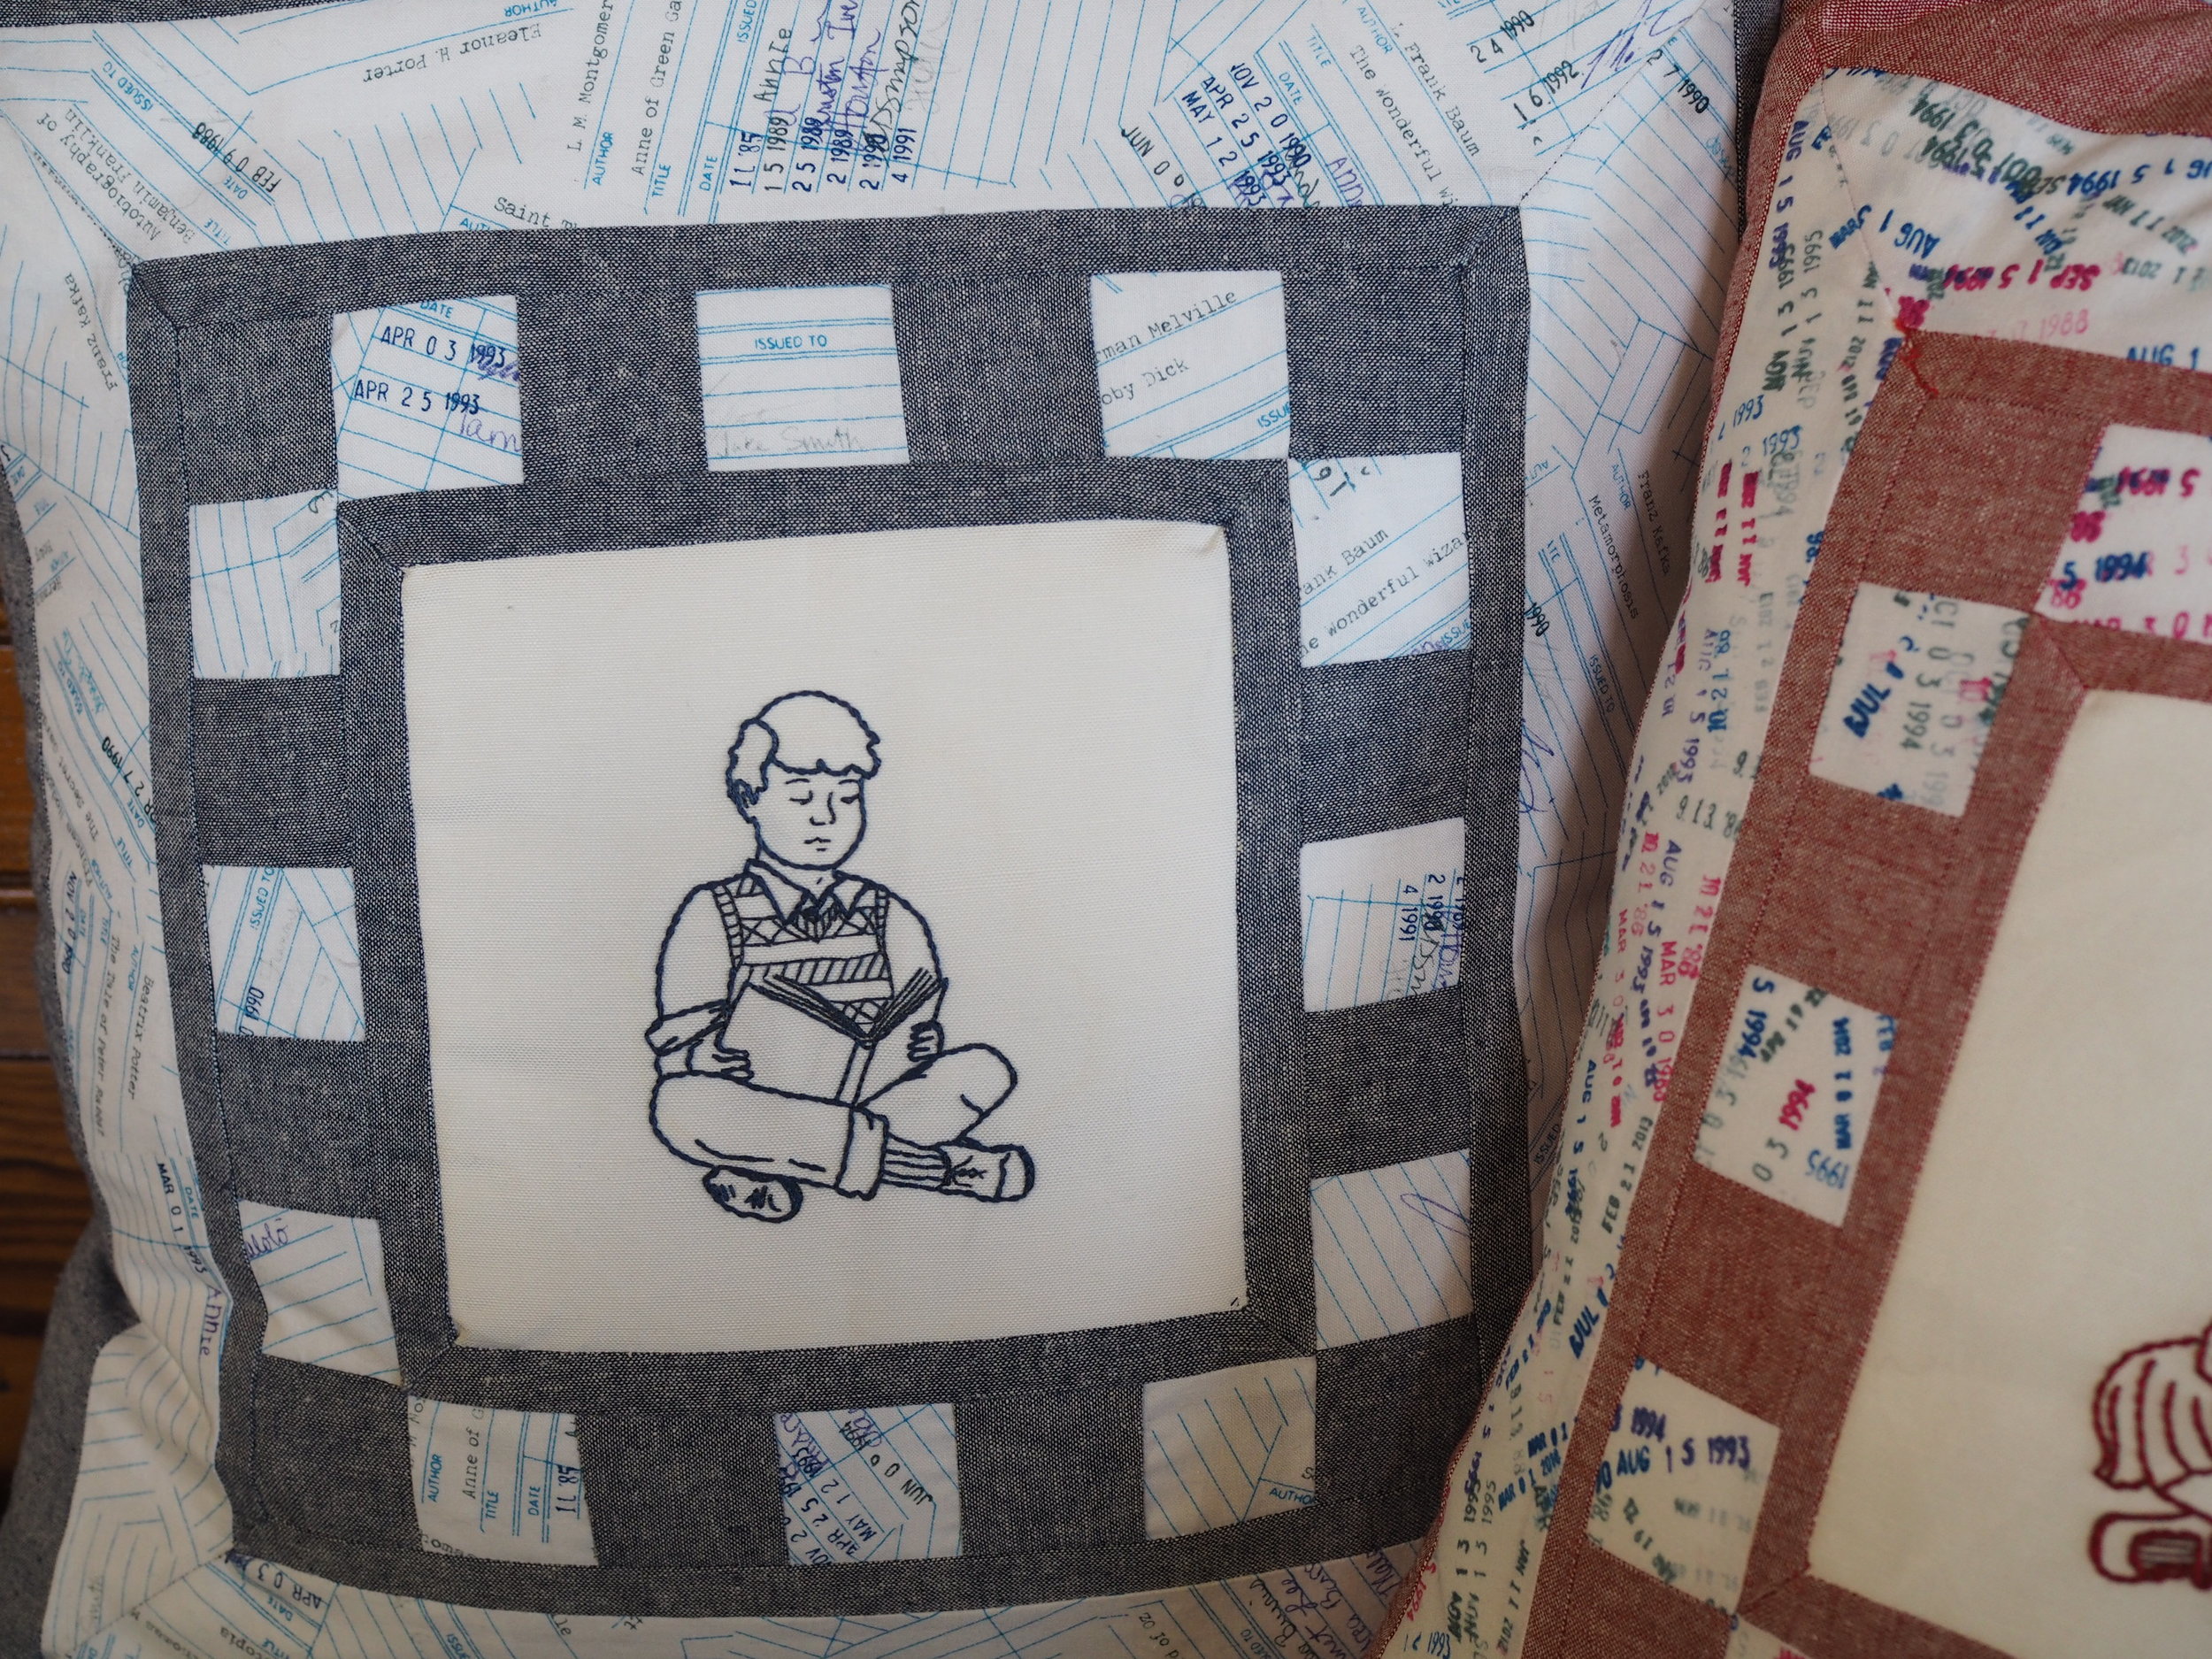
The Little Readers are vintage-inspired designs that use a single color to create a strong outline, a technique known as redwork (or bluework, depending on the color). The paired-down design is a great introductory project for beginning embroiderers and would make a wonderful gift for the book-lover in your life.

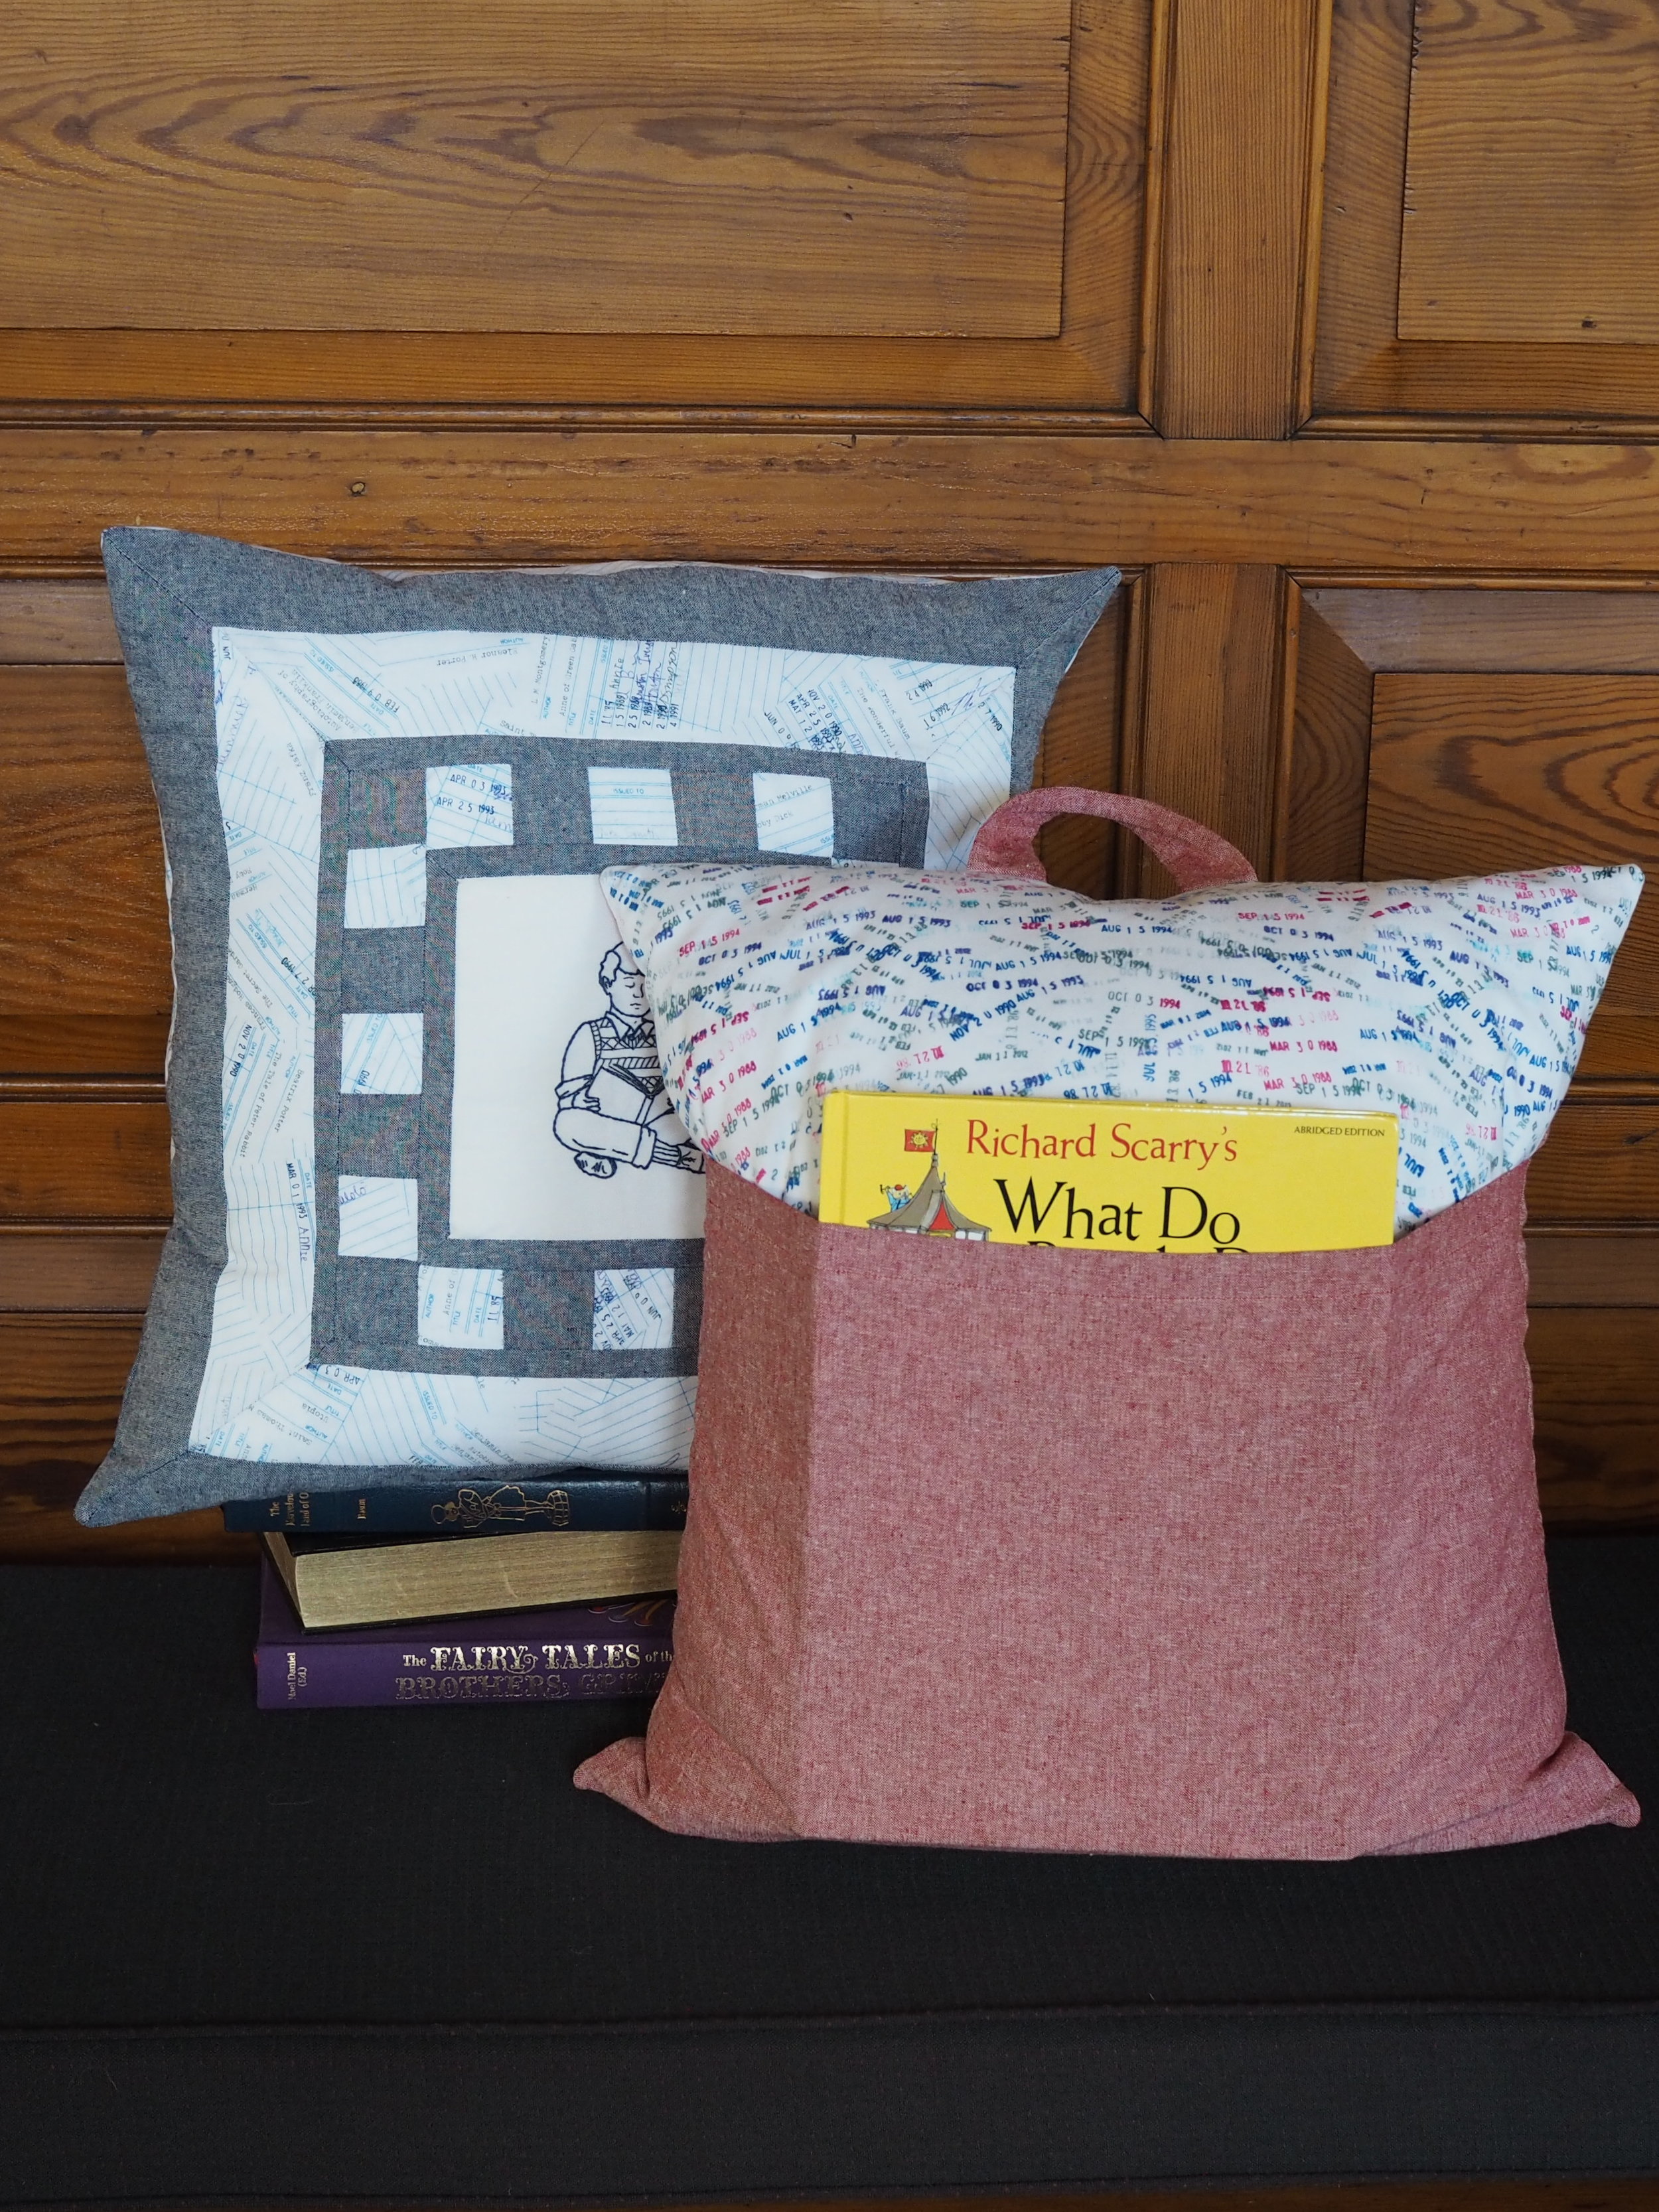
Named for The Music Man’s Marian The Librarian, the Ms. Marian Pillow turns your hoop art into cozy and beautiful home decor. Mitered corners and a checkerboard band increase the elegance of the design, which is suitable for intermediate sewists.

Instructions are included for a standard envelope pillowcase and a tote-able reading pillow with book pocket. The sewing pattern includes template/pattern for both Boy and Girl Little Reader embroideries and is a perfect companion to any of my 6” hoop designs or kits. Not into embroidery? Use the center panel to display an 7” square quilt block or panel of a favorite fabric.

The Ms. Marian Pillow Kit provides you with all the materials (minus pillowform) to make one beautifully embroidered, library-themed pillowcase. You can choose to sew it up as a standard envelope-back pillow, or (my favorite) as a tote-able reading pillow with book pocket.


Print Friendly and PDF Follow
follow us in feedly

FO Roundup - Into Fall 2018

One of the most fun parts of being a designer is seeing how others interpret your designs.

We’re in October already, leaves are starting to change color, which means we are entering peak knitwear season! Instead of the most recent FOs this go round, I thought I’d share some of my favorite of your autumnal knits.

Click on any image to visit the maker's Instagram or Ravelry page!

I LOVE seeing your makes! Tag me @mscleaver on Instagram, or if it's on Ravelry, I'll see it. :) 


Leading Bird Shawl by Mindful Folk in her own yarn!

Leading Bird Shawl by Mindful Folk in her own yarn!

Cormac by Fullosheep (pattern available via Interweave)

Cormac by Fullosheep (pattern available via Interweave)

Marketa Mitts by Irr-Saukh (pattern available via Interweave)

Marketa Mitts by Irr-Saukh (pattern available via Interweave)

Hemingway (Men's) by karencampandknit (pattern available via Twist Collective).

Hemingway (Men's) by karencampandknit (pattern available via Twist Collective).

Madalynn by Wolfcreeker

Madalynn by Wolfcreeker

Breakwater by Kahlefam

Breakwater by Kahlefam

A Two-Color Dolan Beret knit by Frances 75

A Two-Color Dolan Beret knit by Frances 75

Honeymaker by Shortrounds

Honeymaker by Shortrounds


Want to make one of your own? Grab the patterns below!


Print Friendly and PDF Follow
follow us in feedly

Got Moxie?

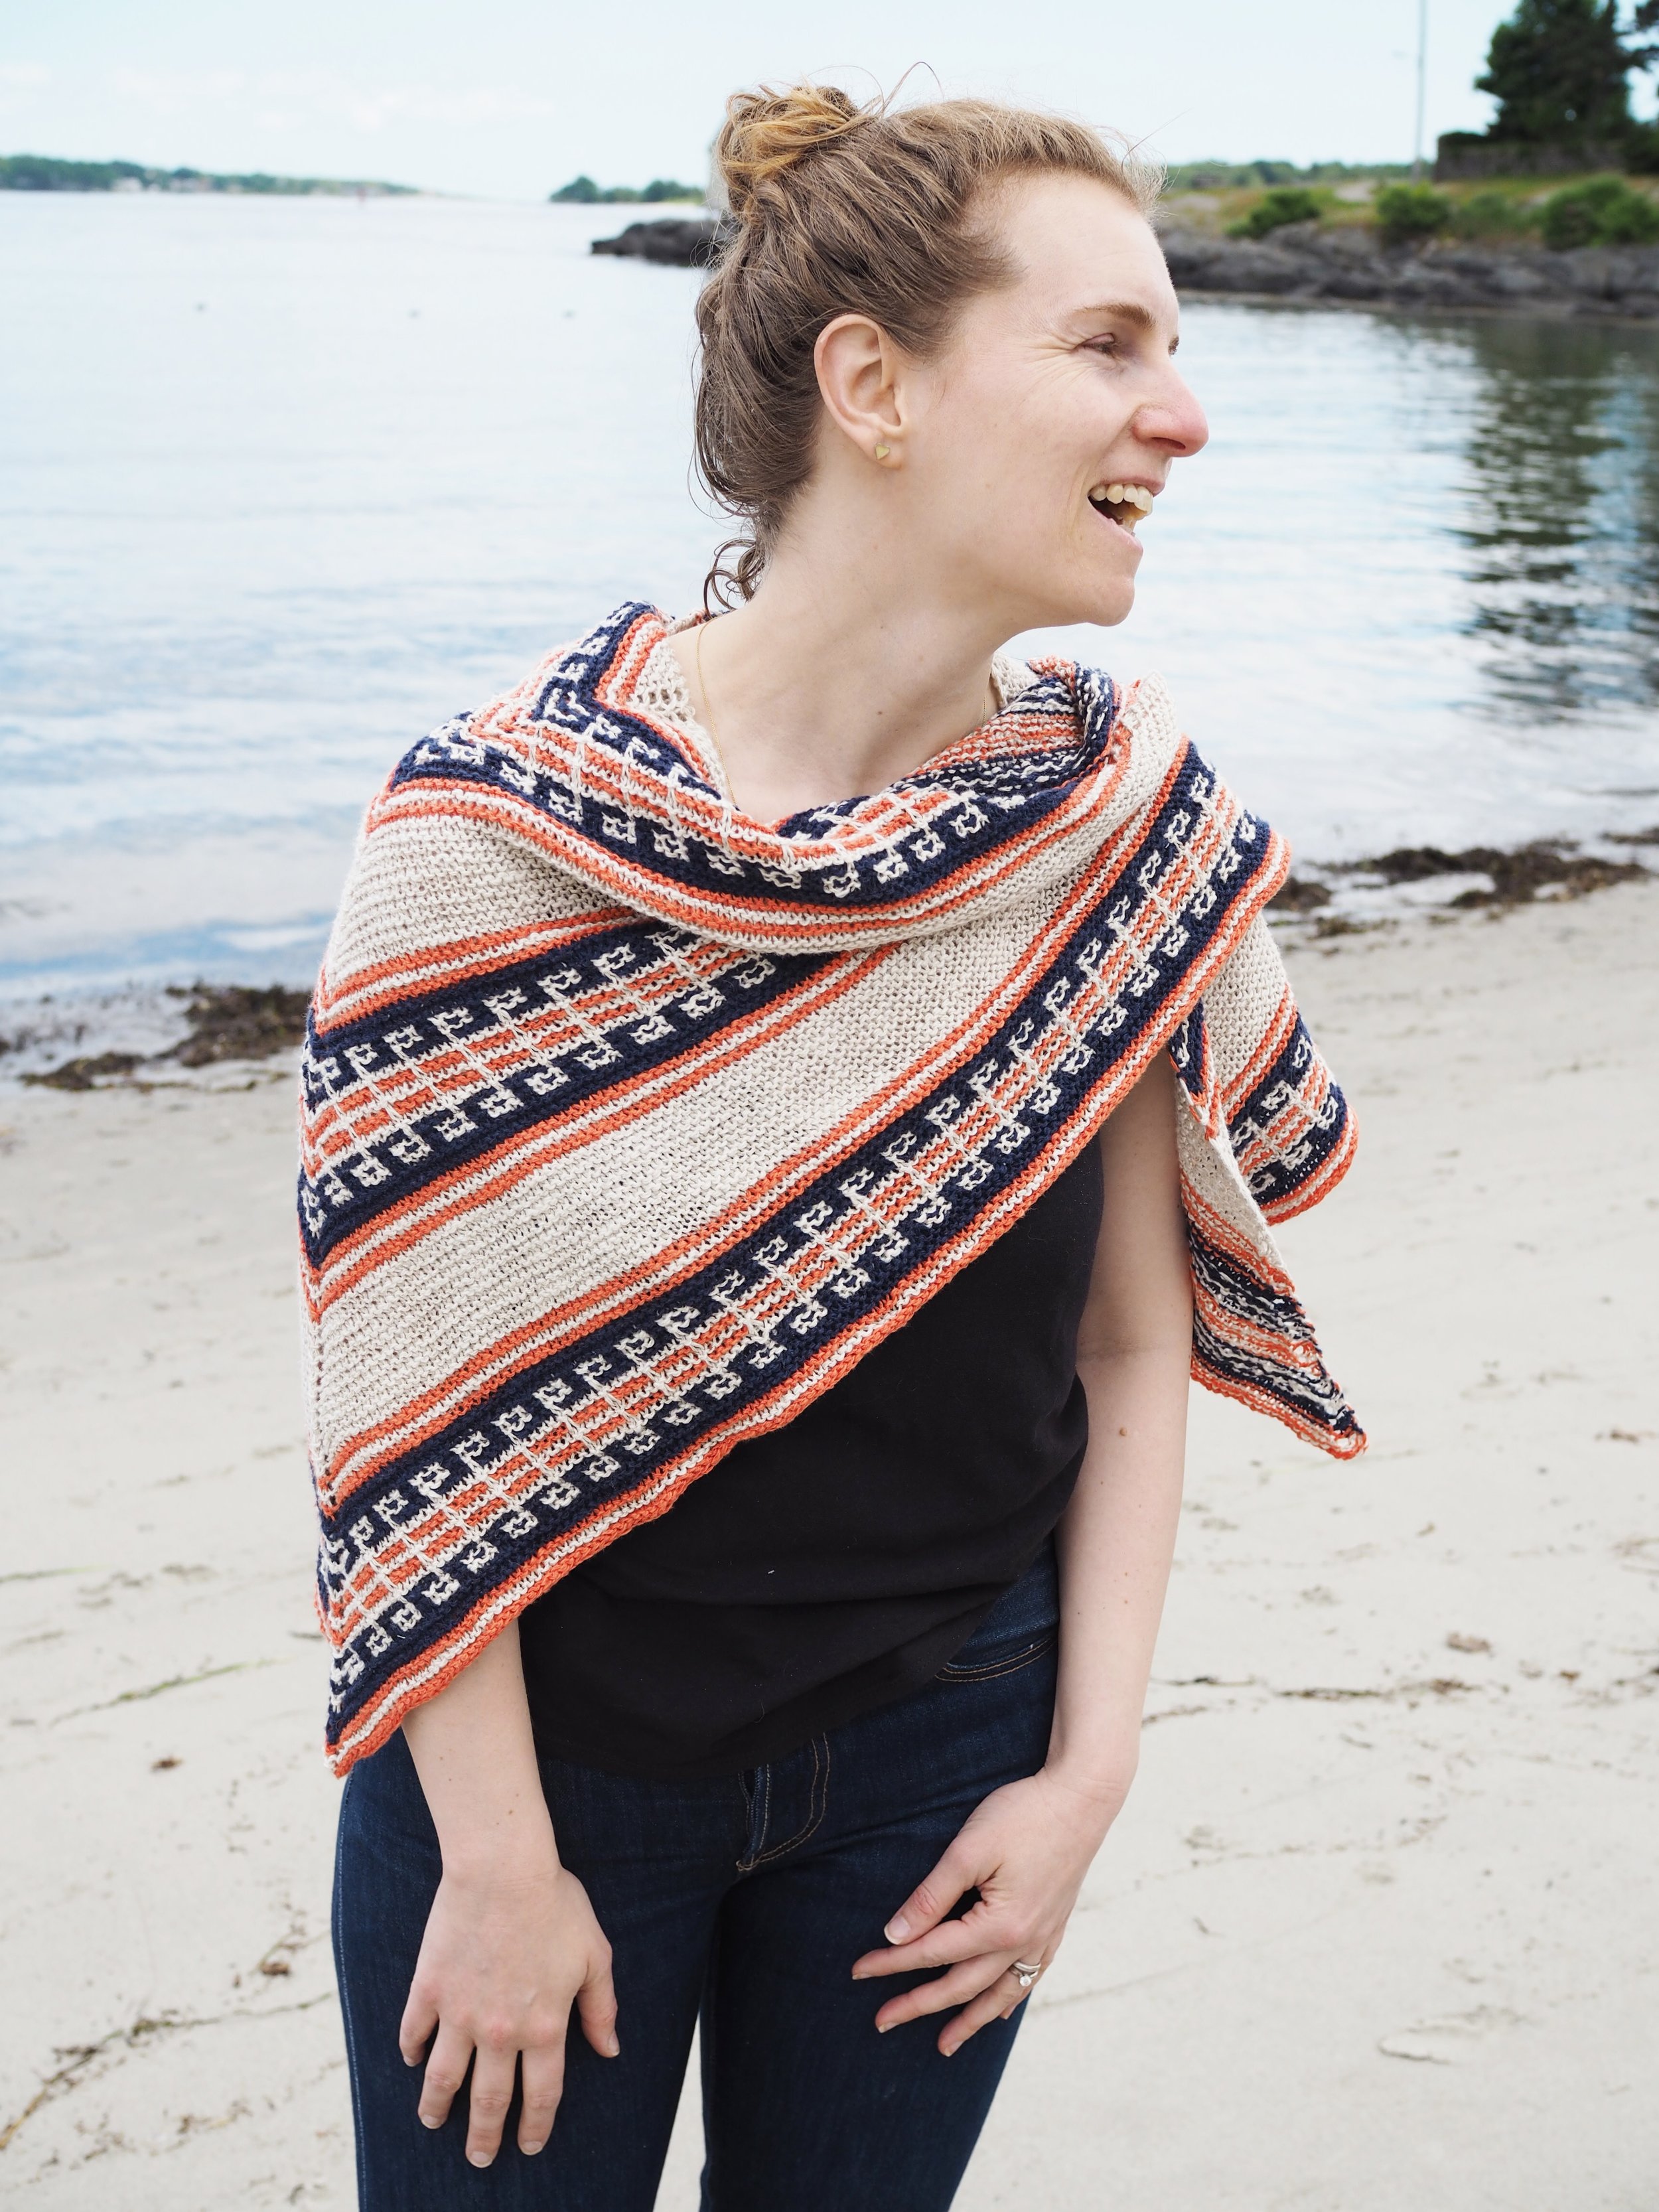
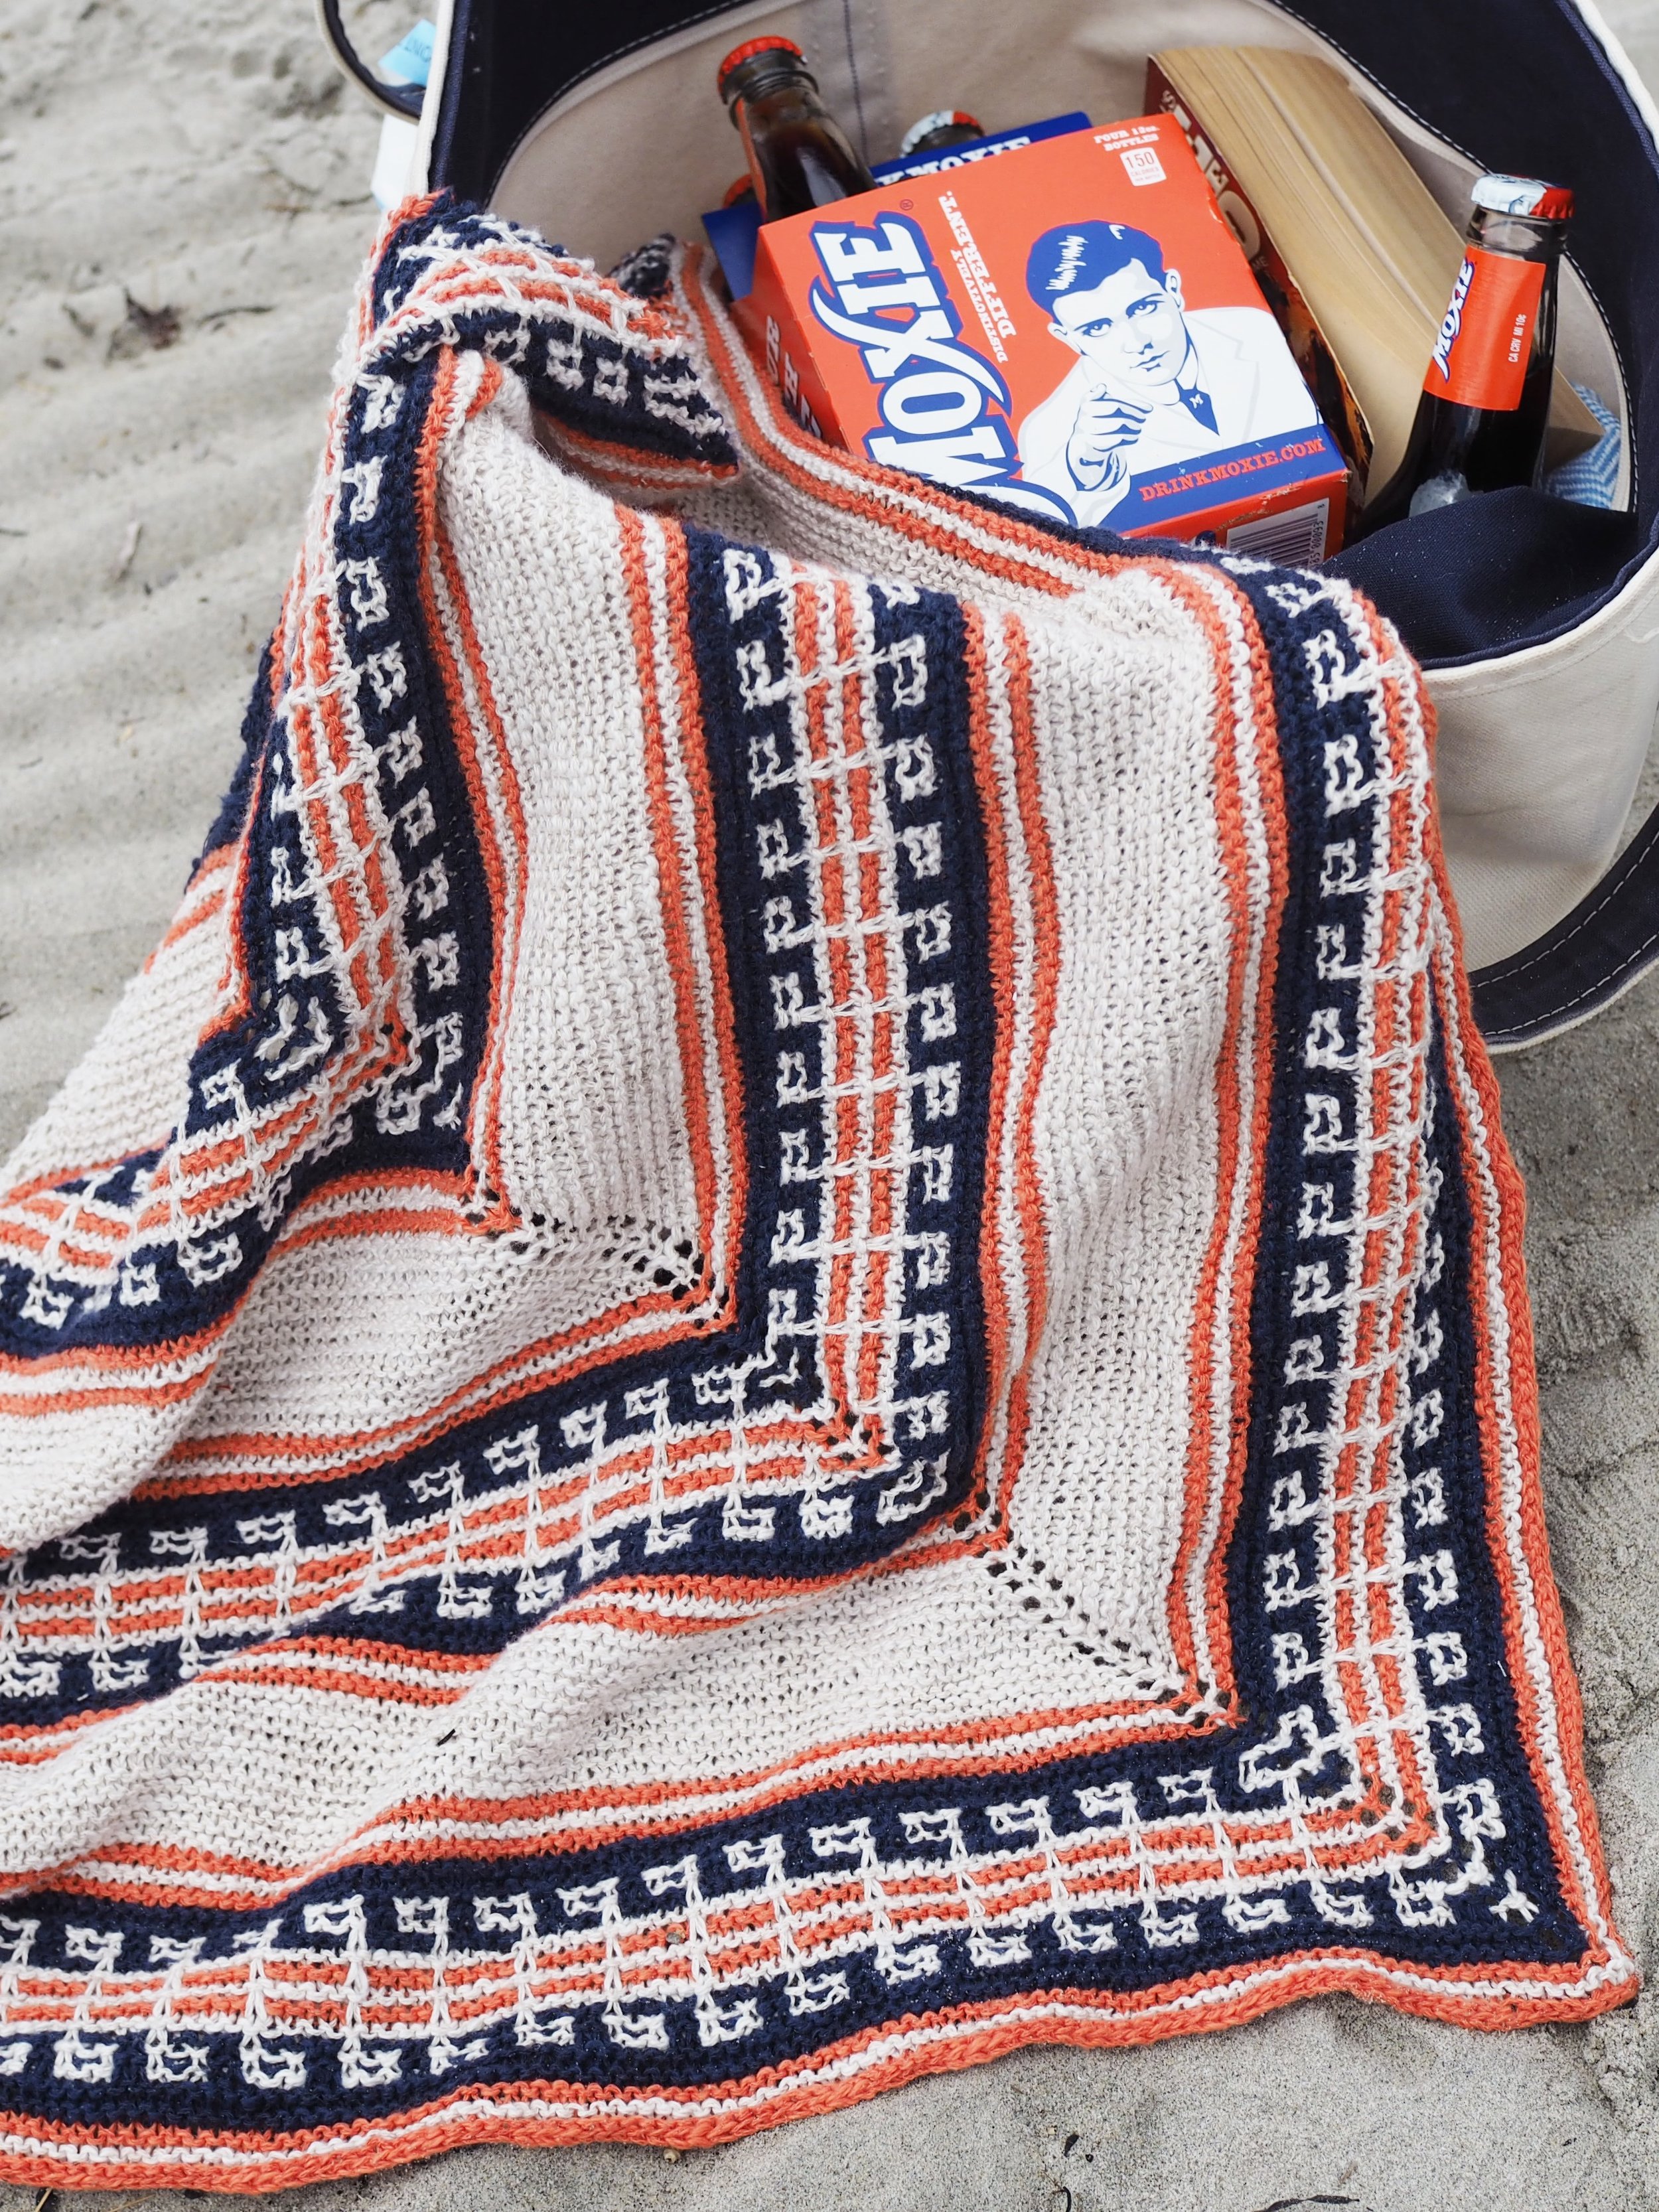
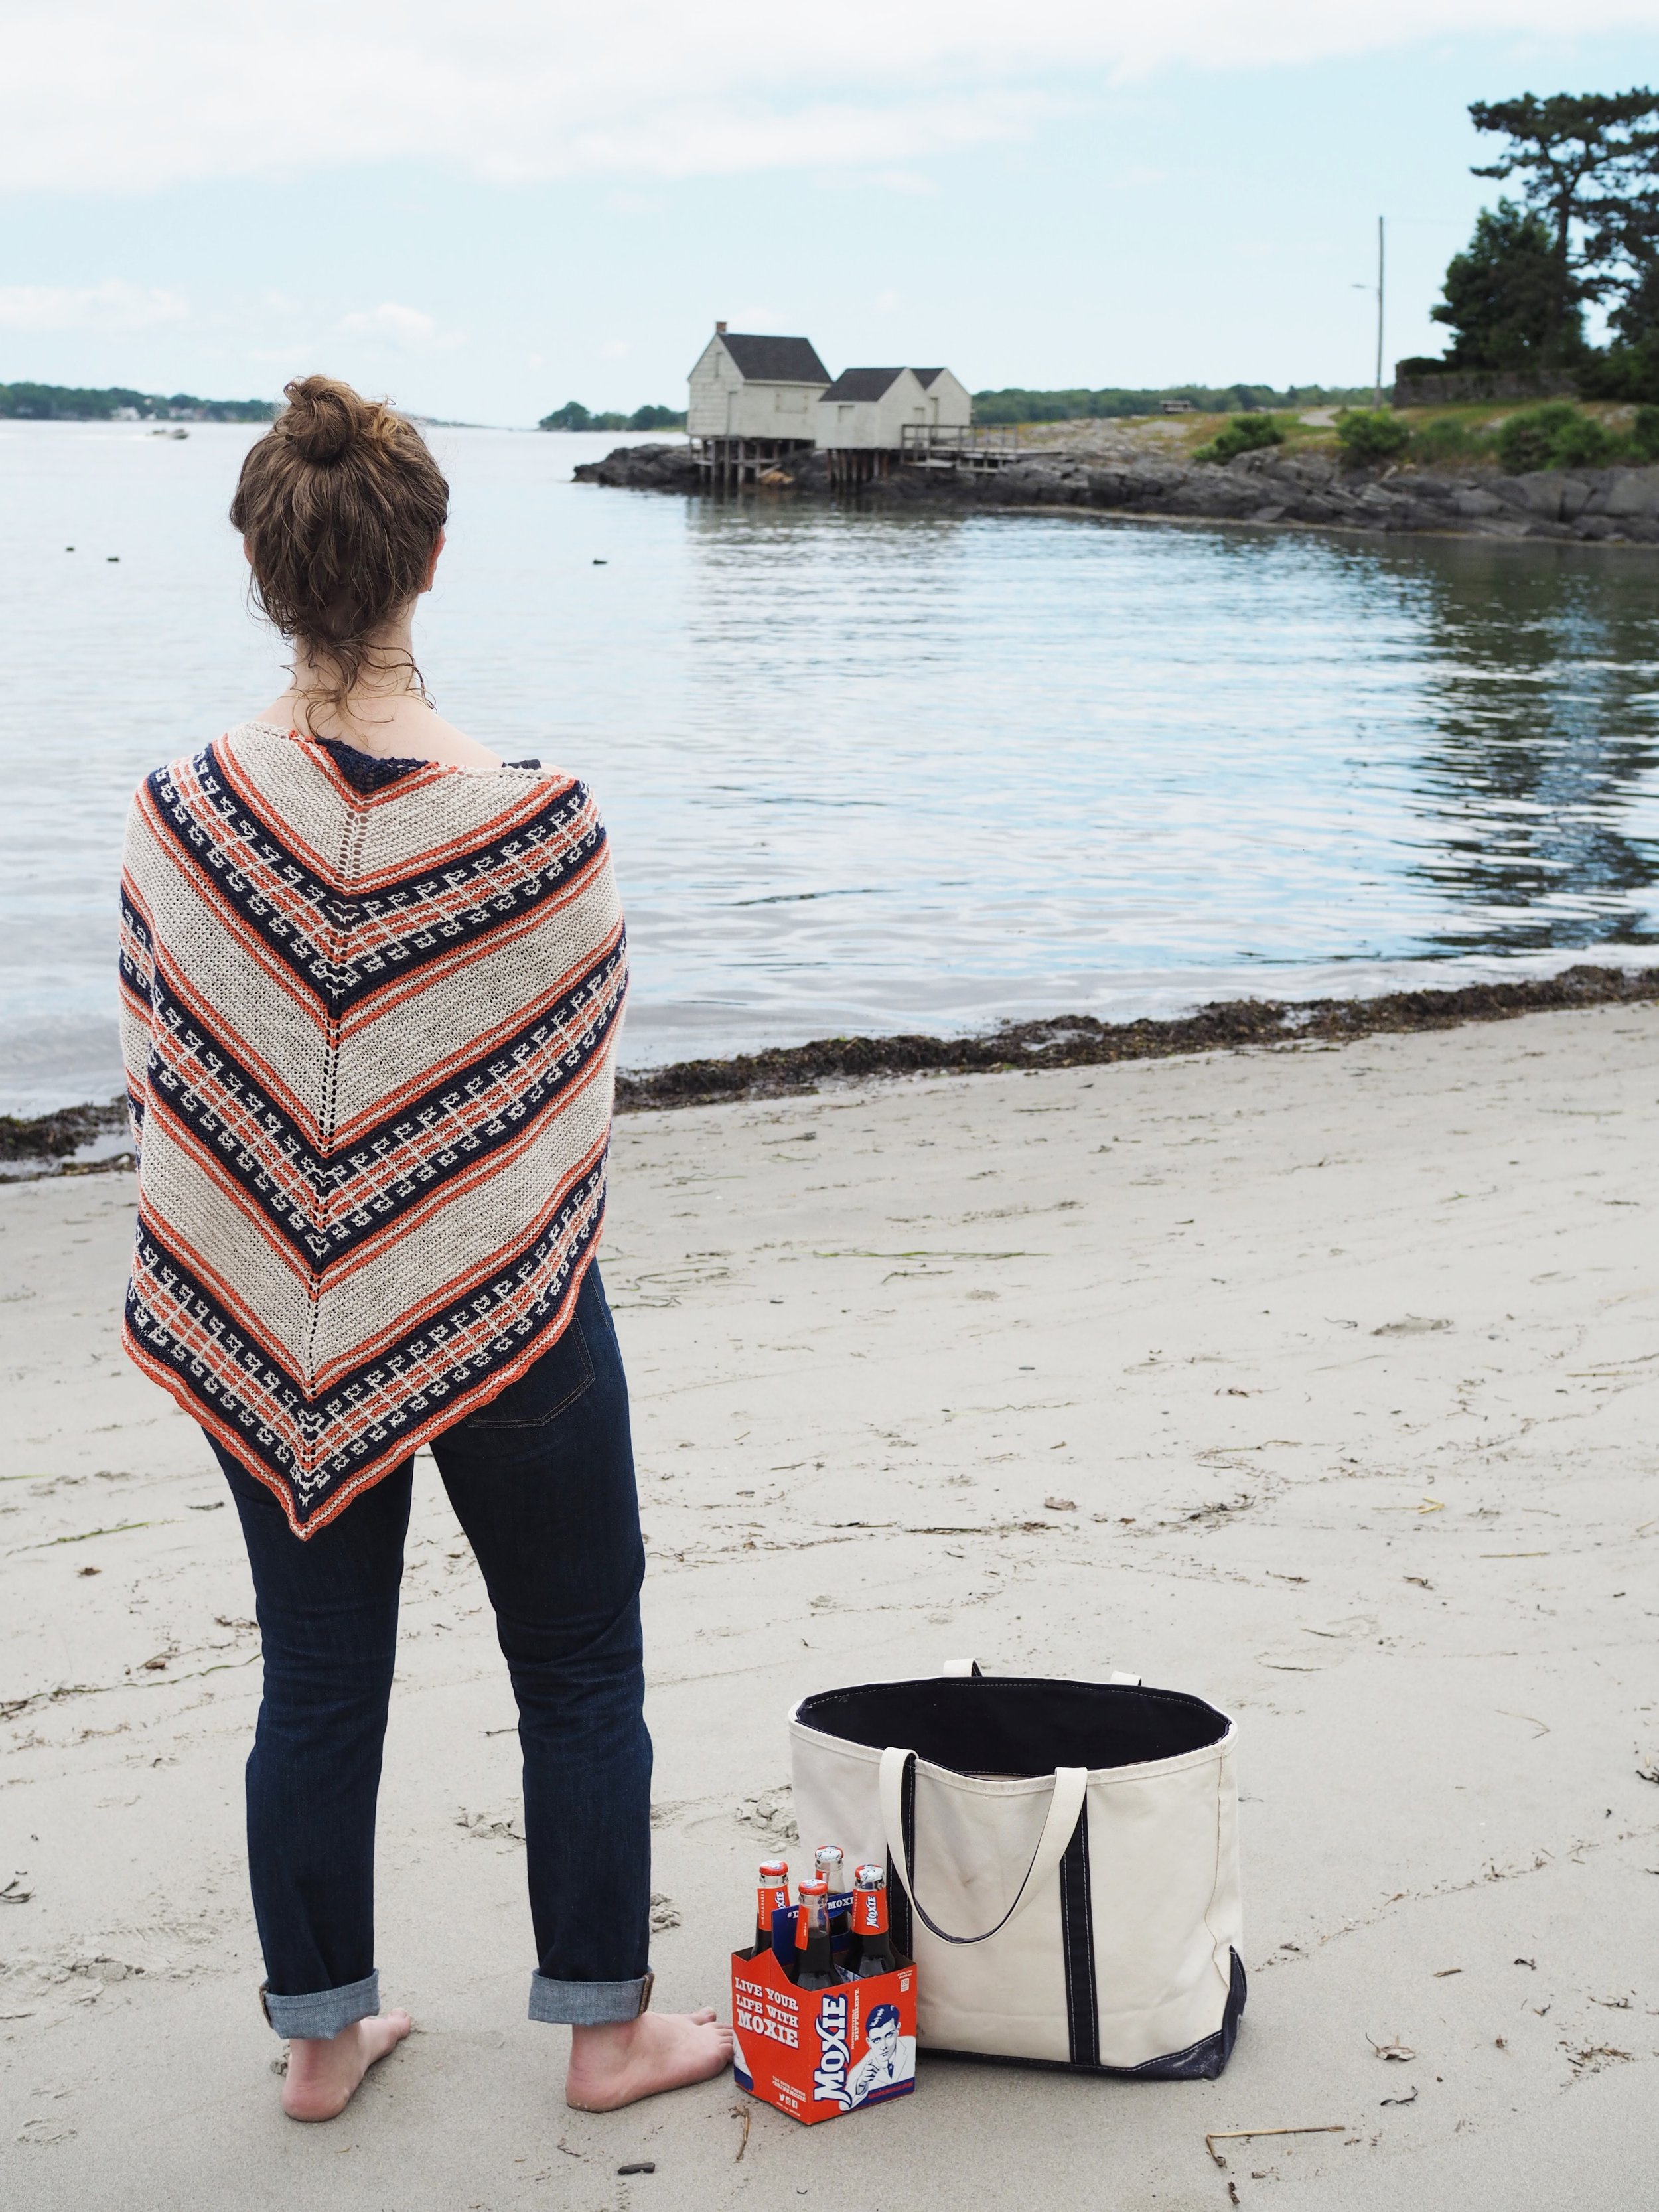
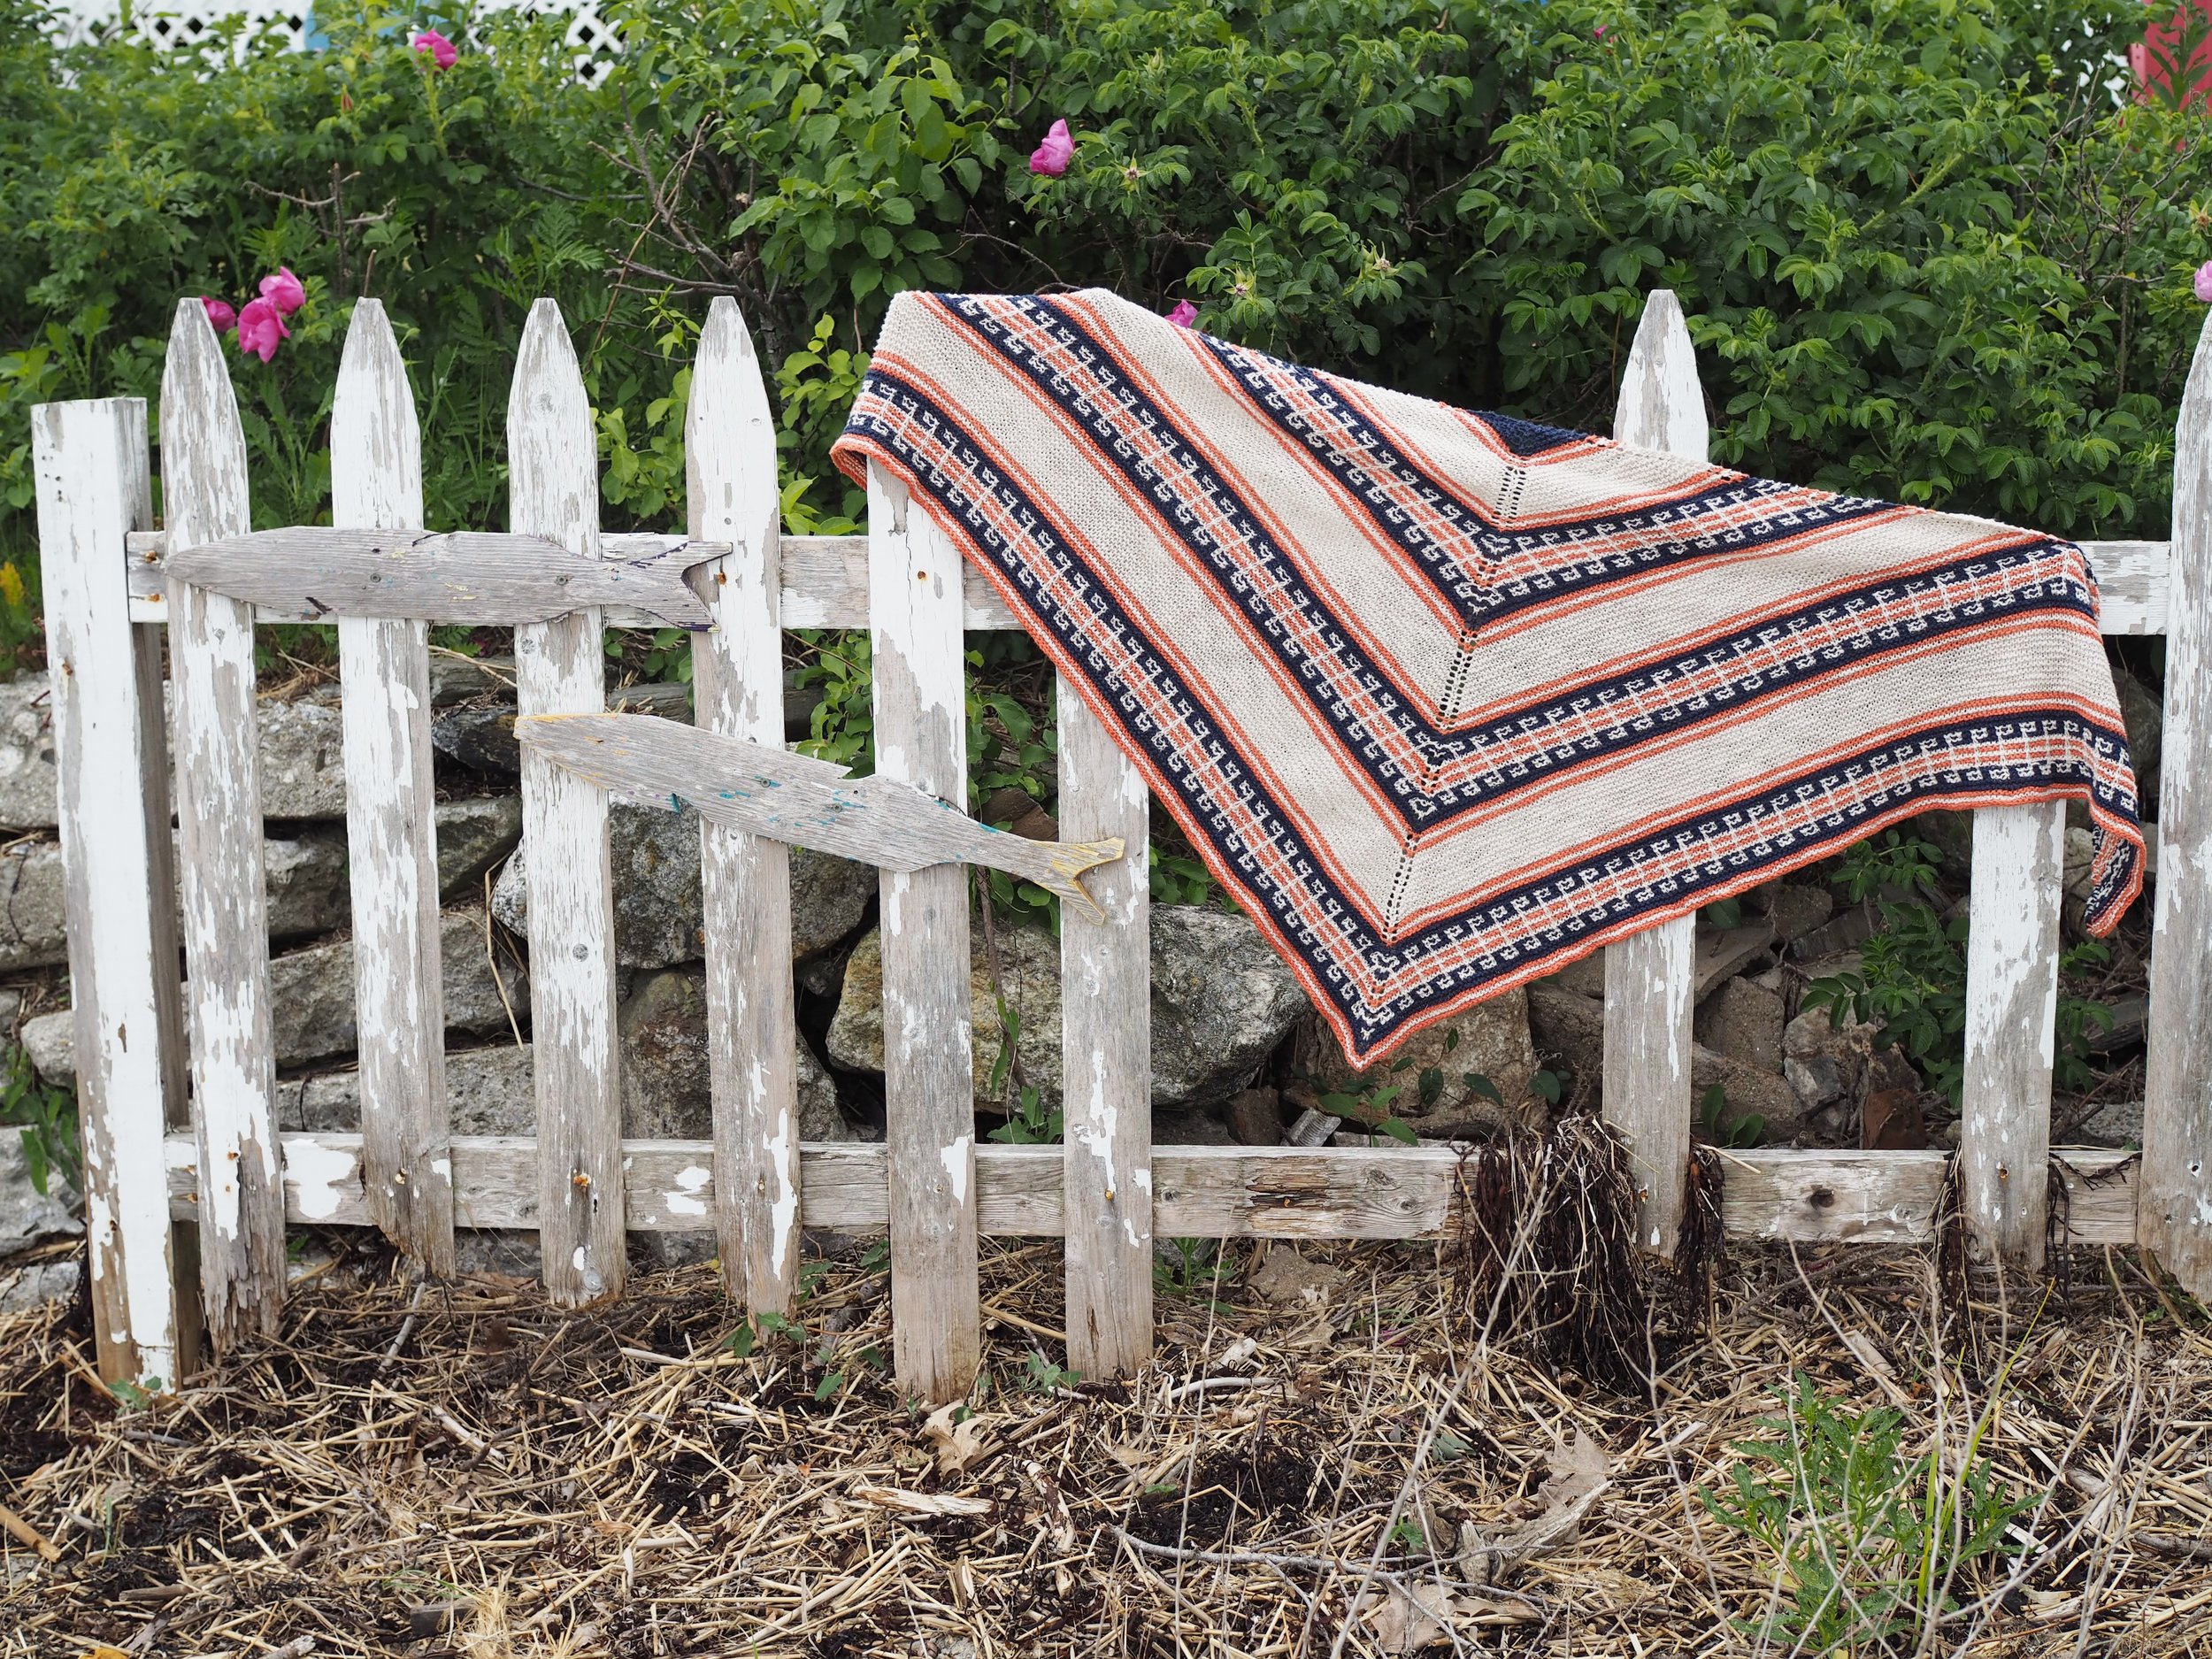
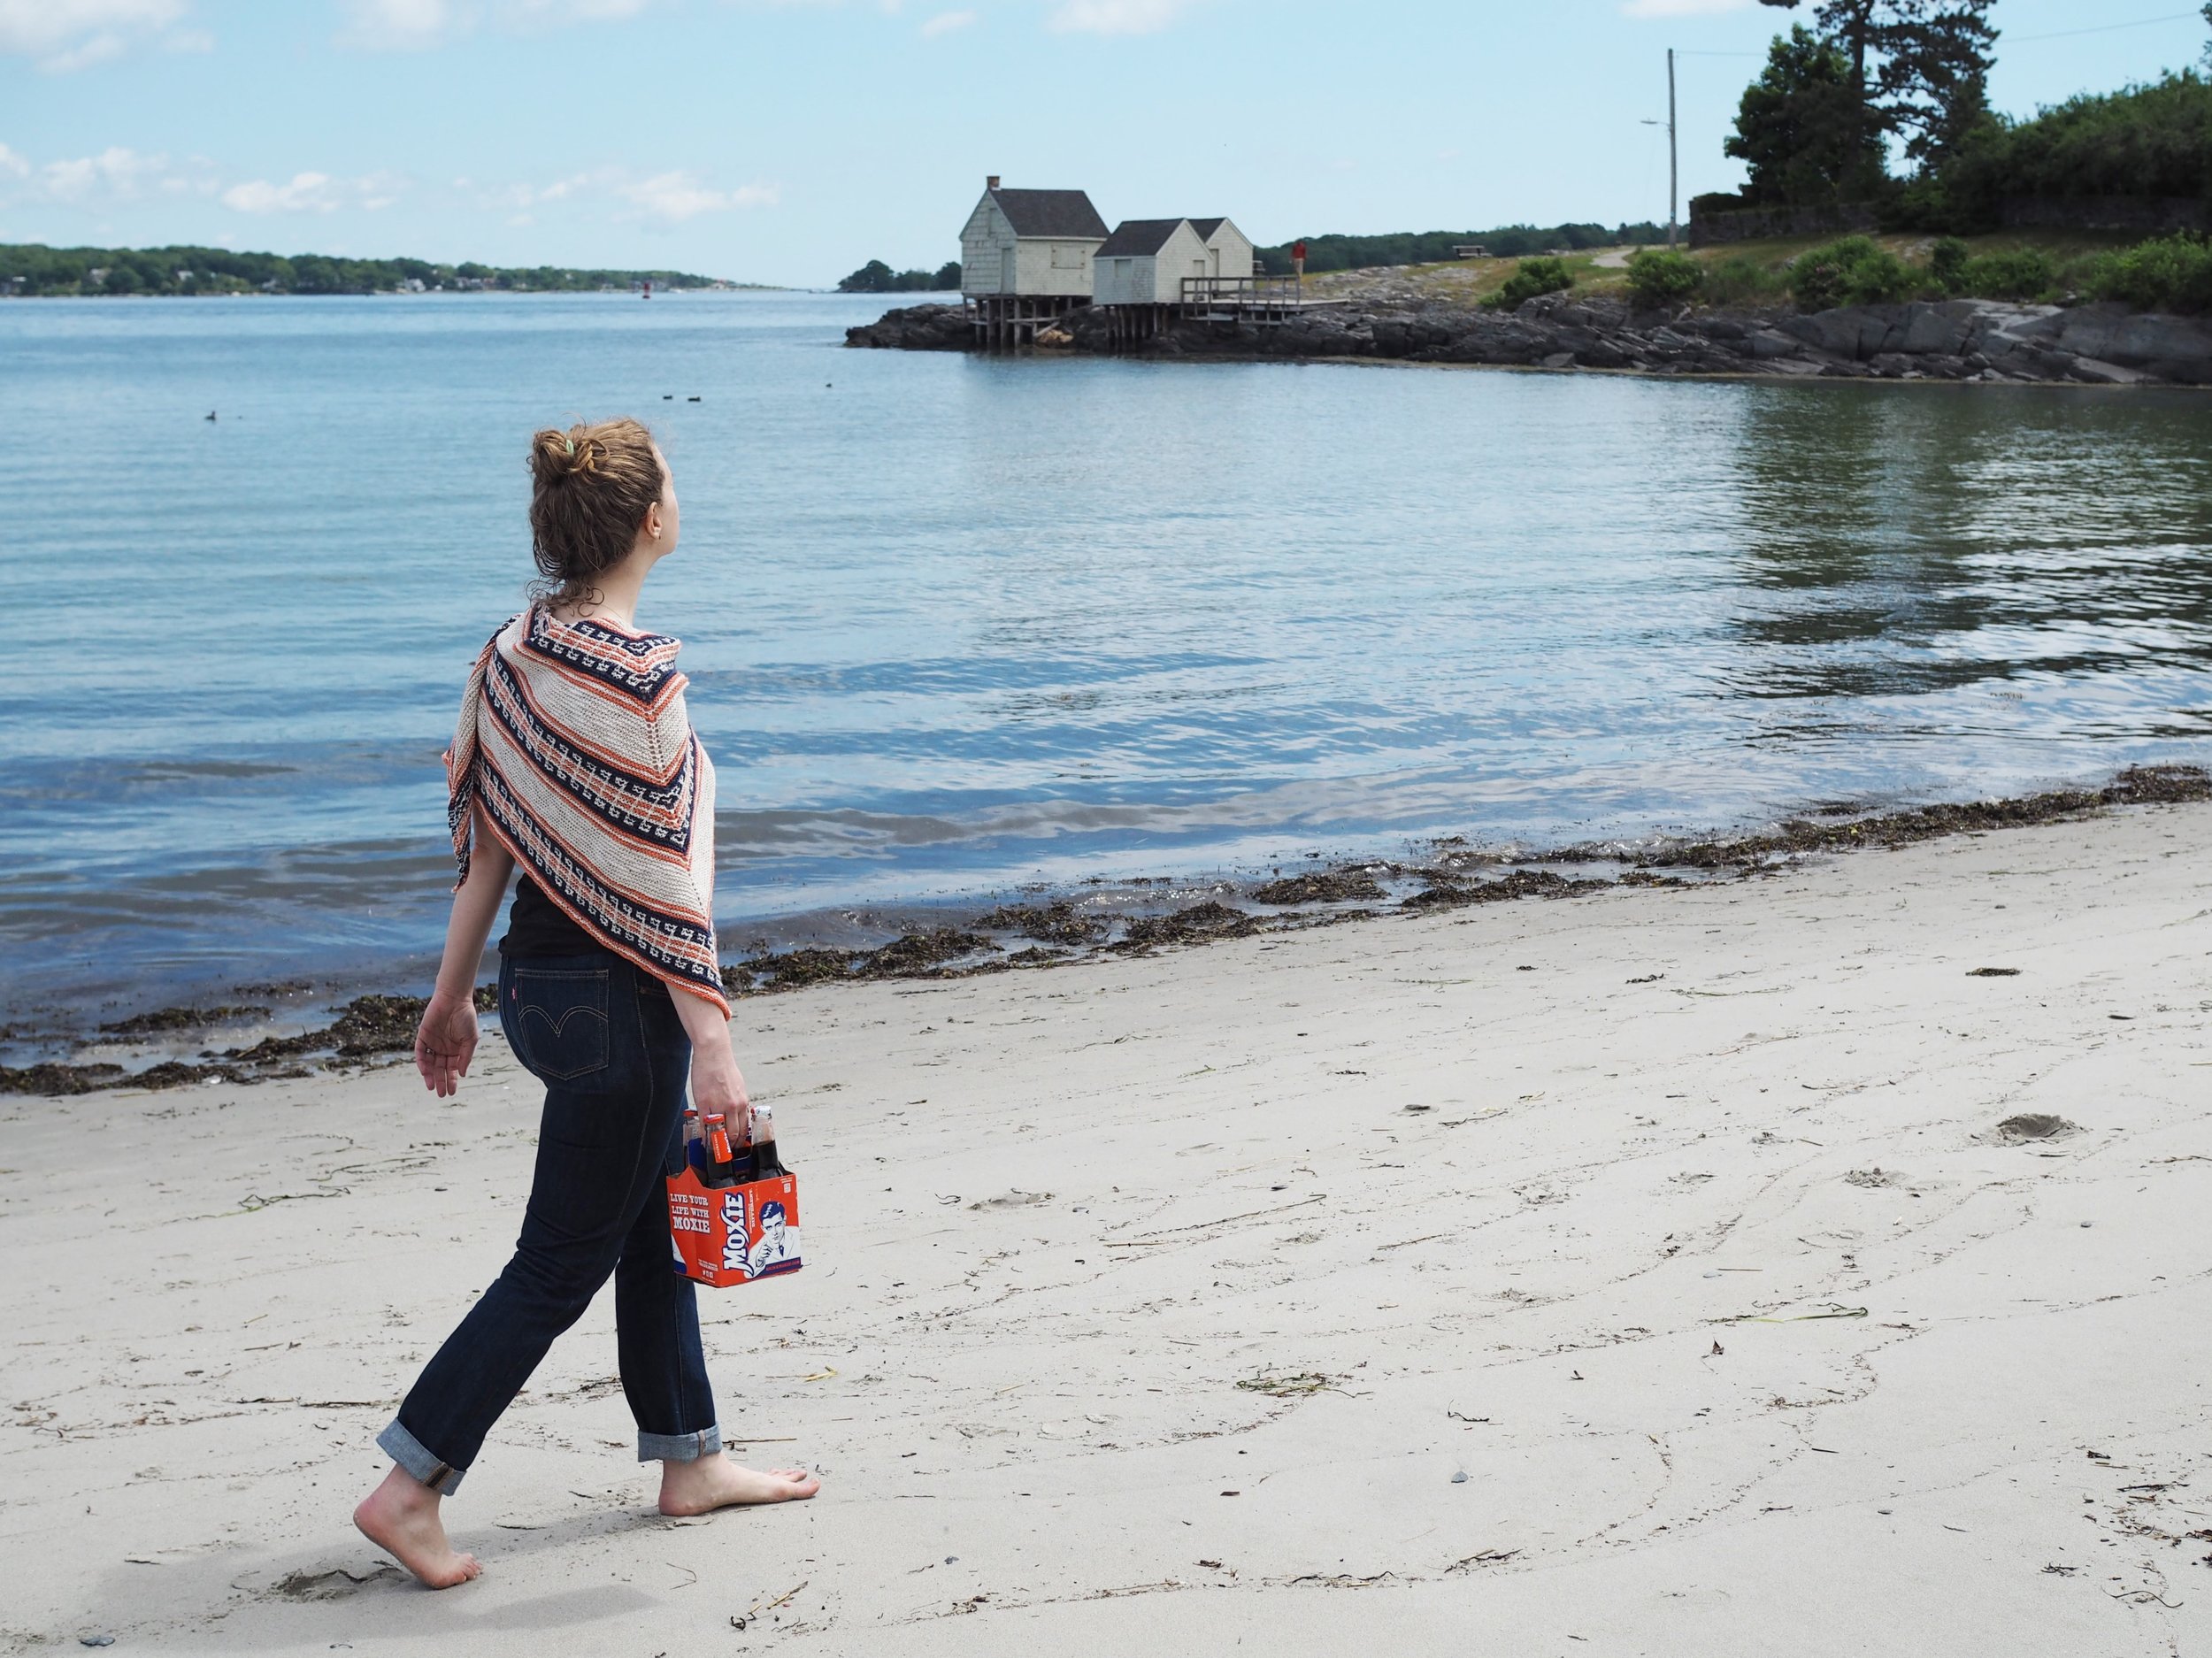
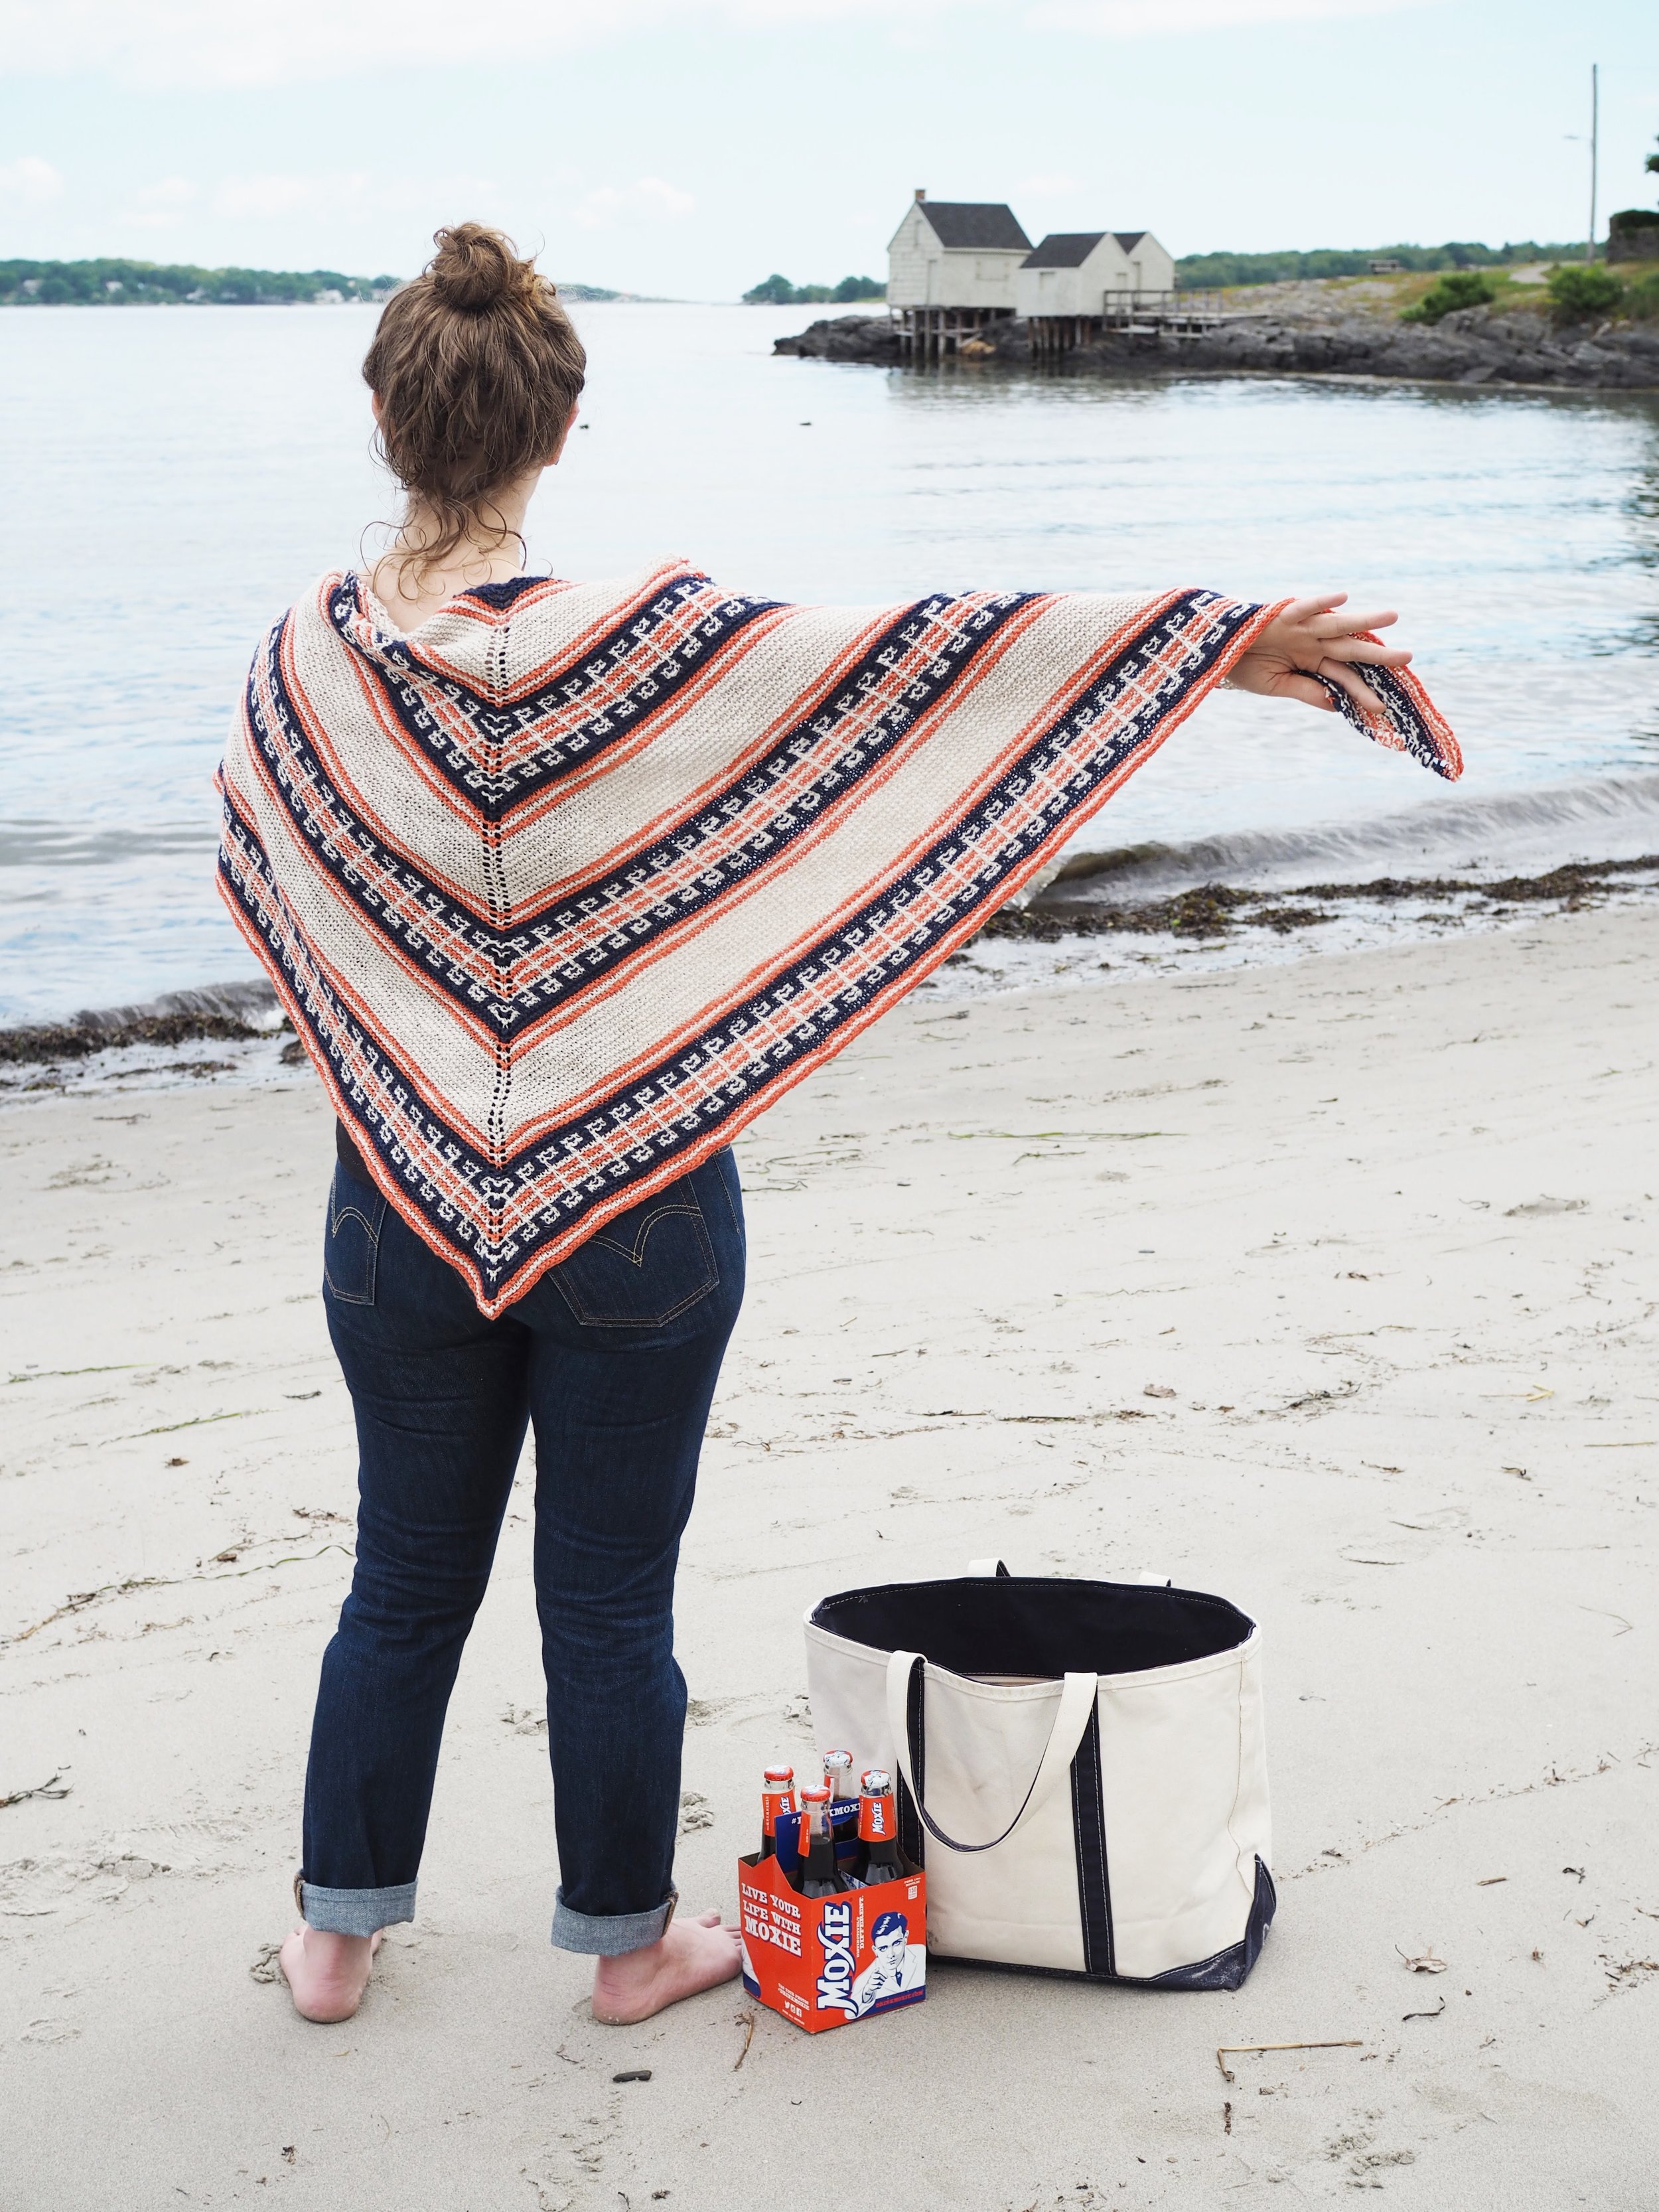
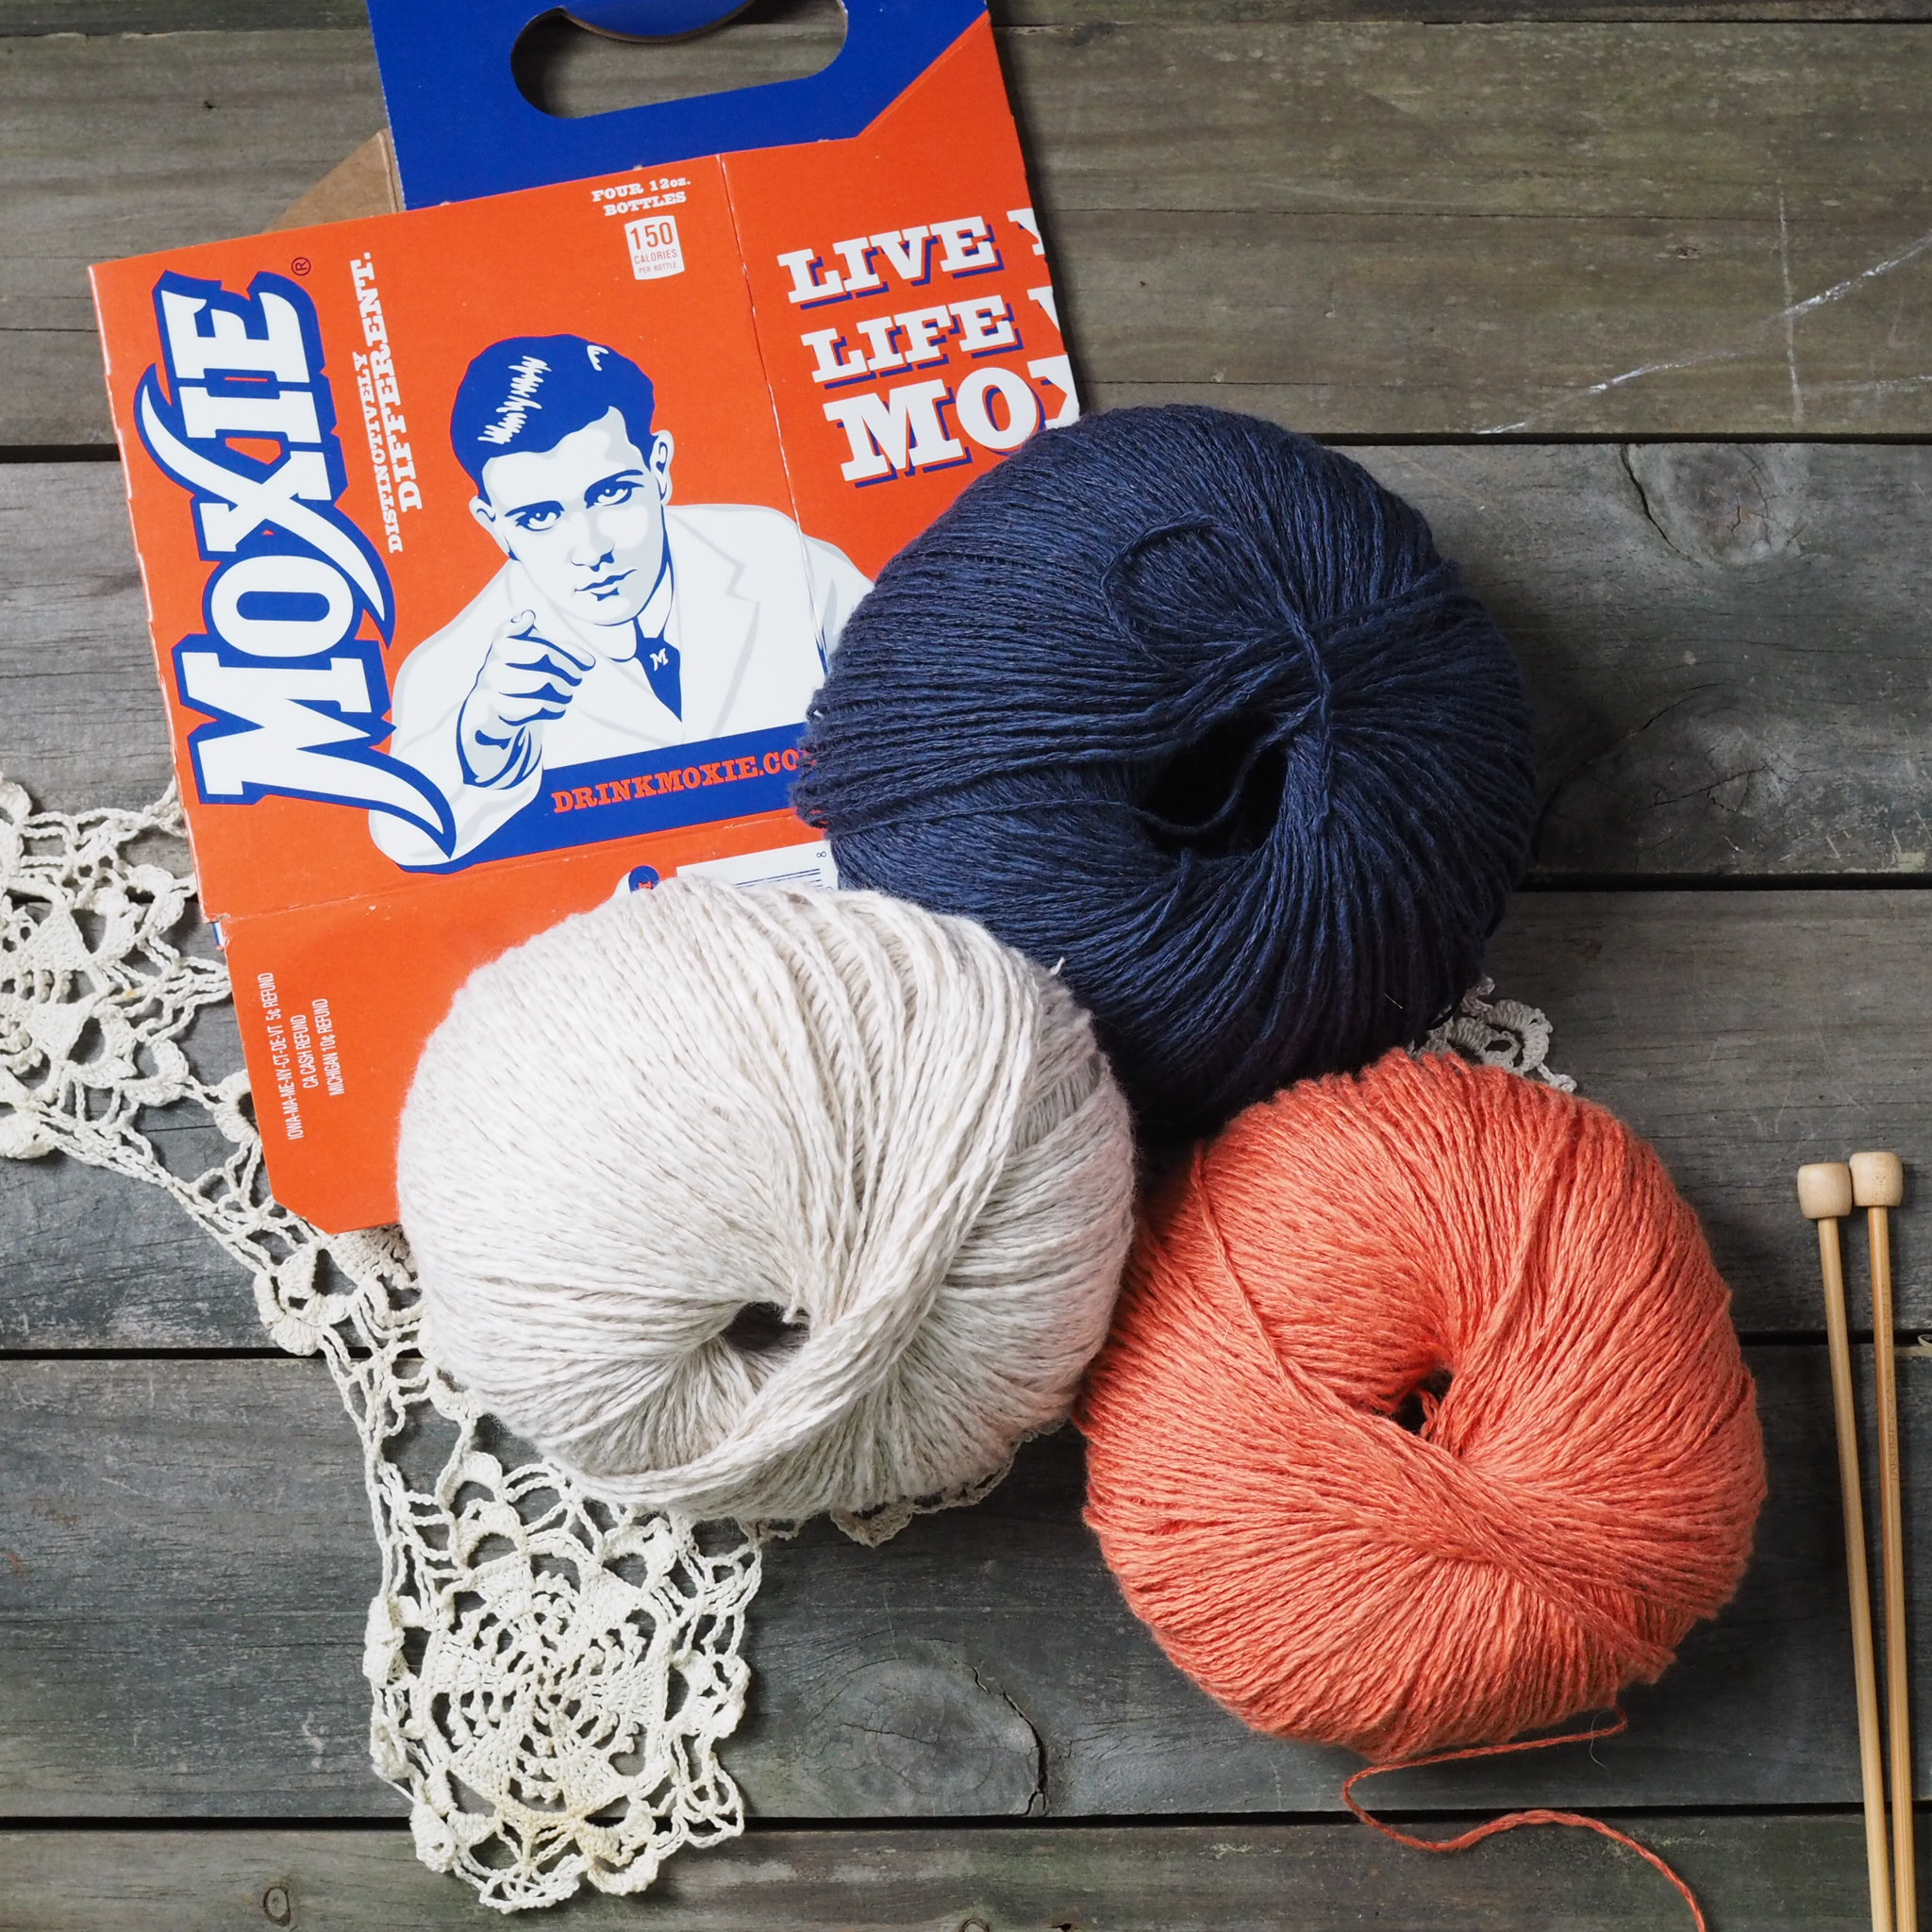
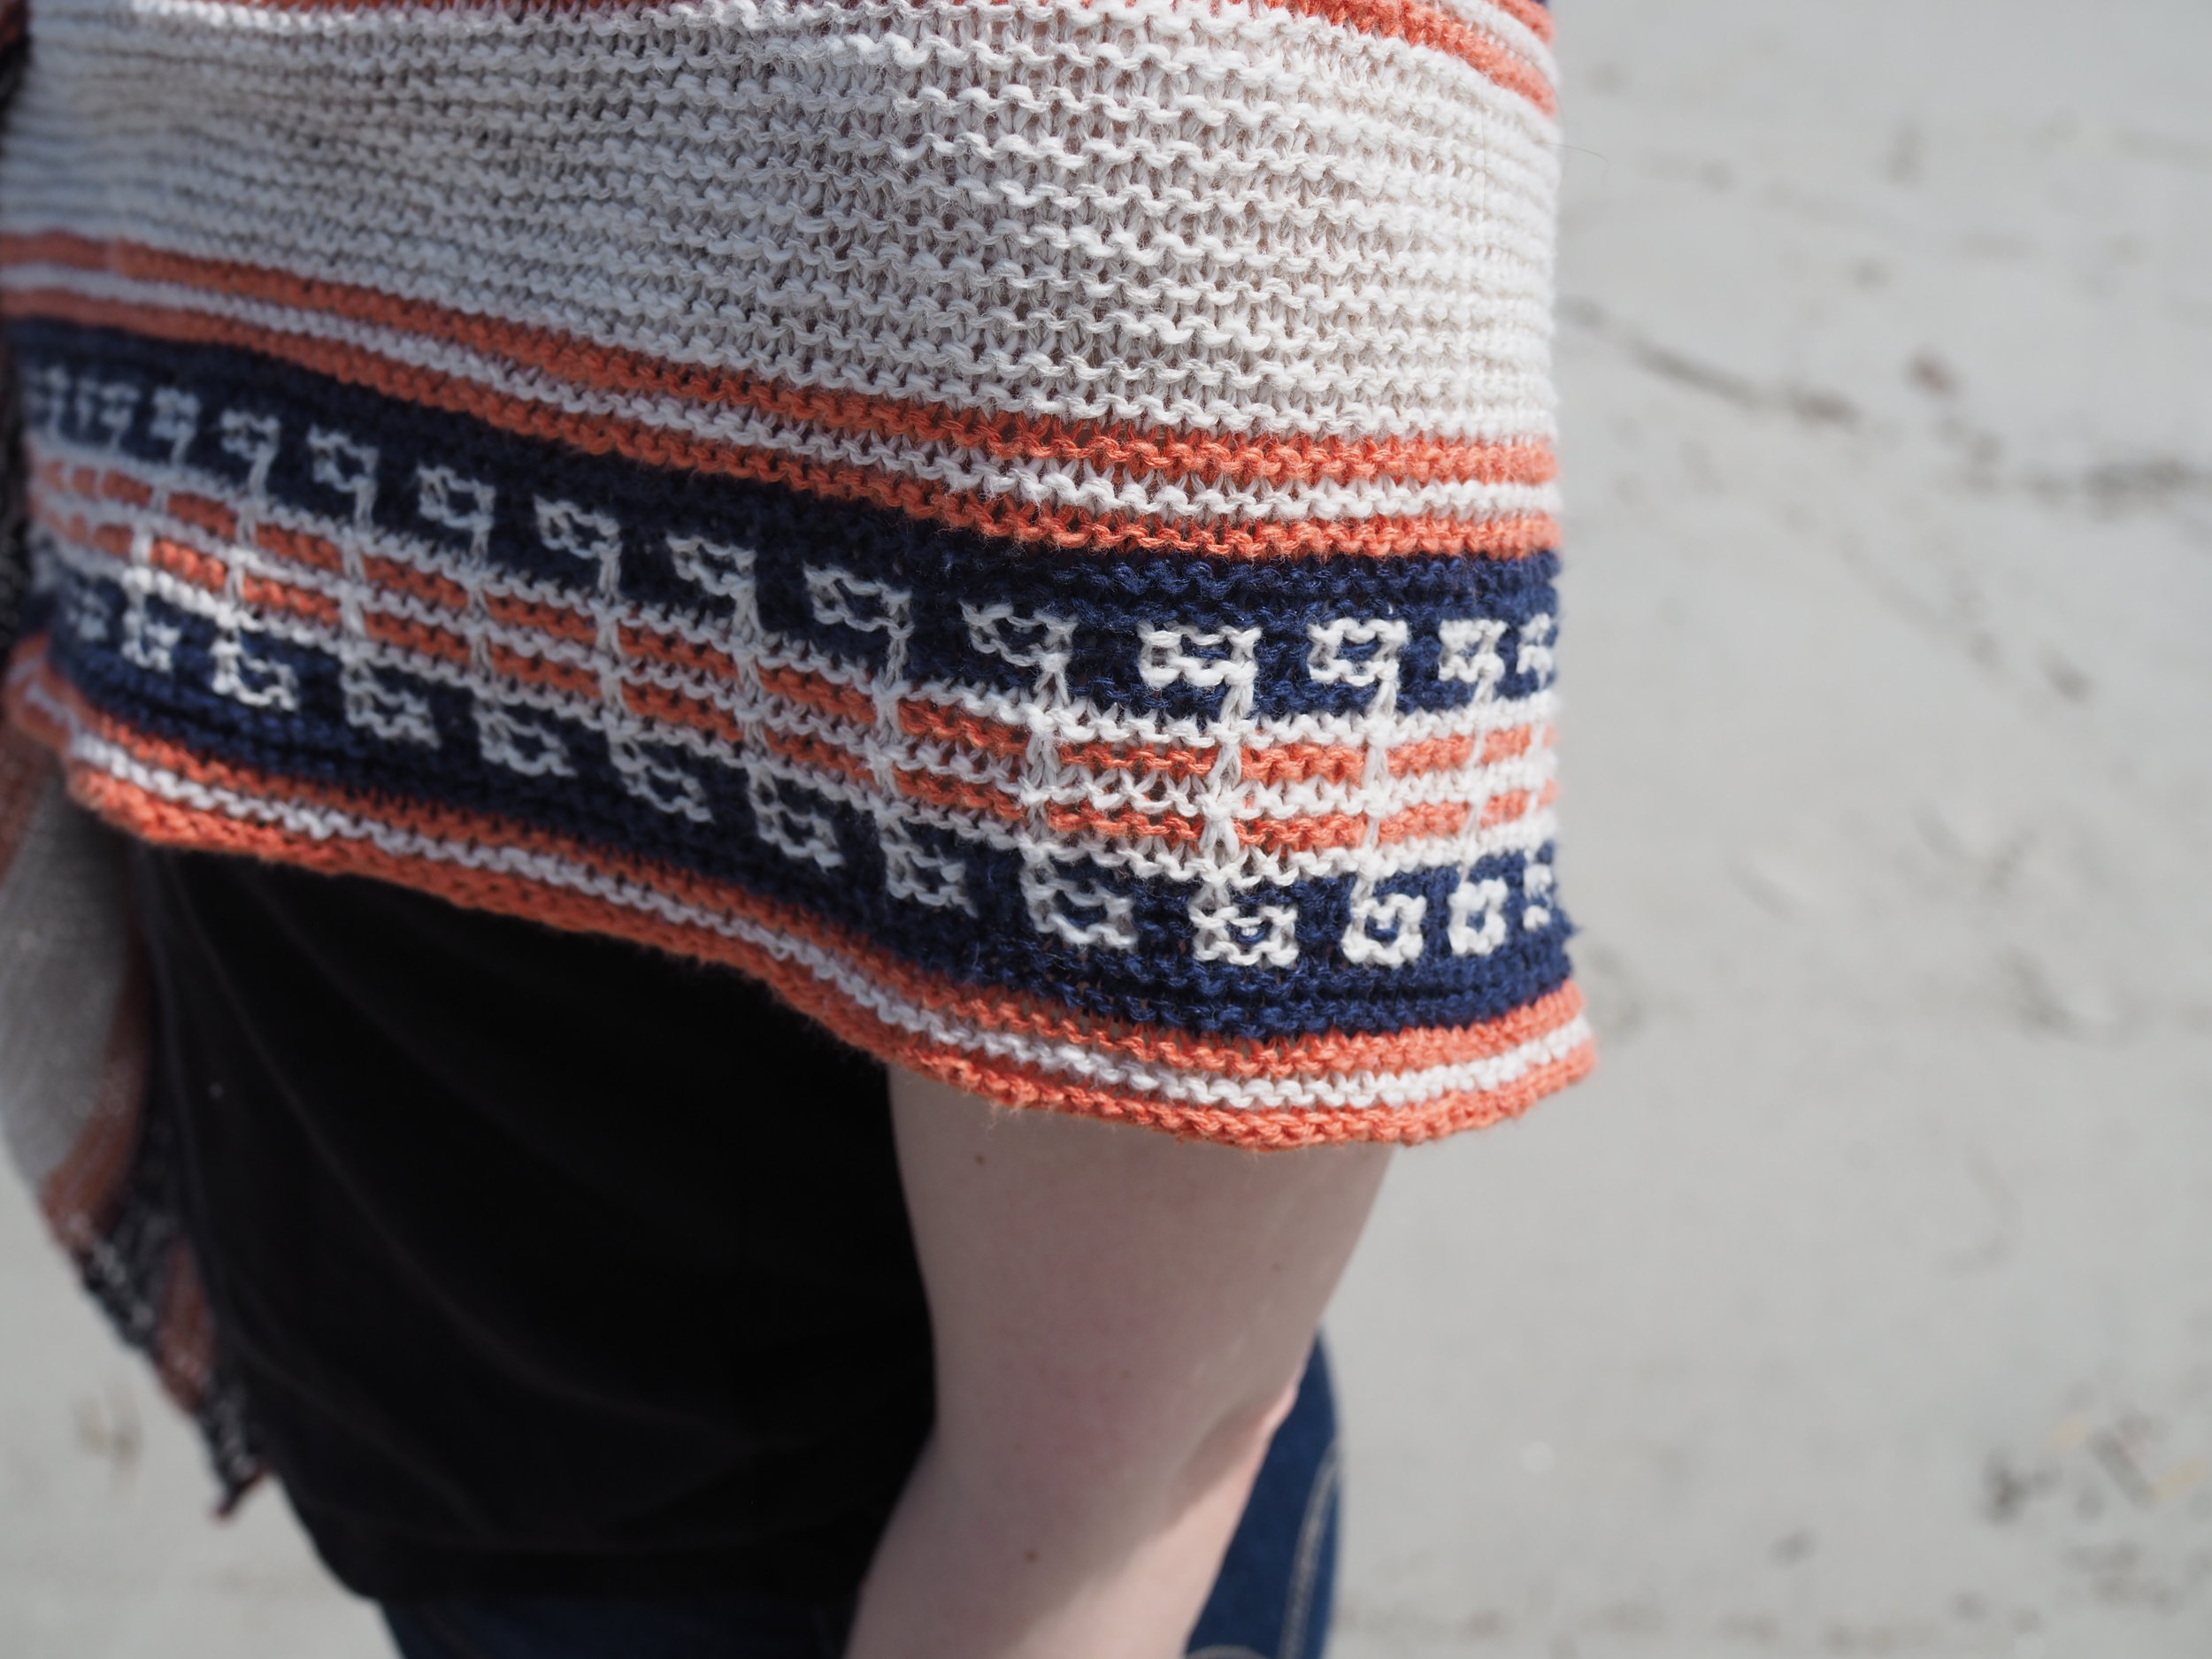
While browsing at my local yarn shop earlier this year, I came upon three colors of Juniper Moon Farm's Zooey piled together in a cubby and thought- what perfect New England colors for summer! When I got it home and placed my purchase next to some Moxie packaging, I realized that it was the perfect Maine summer colors. And so, inspired by the colors of Moxie soda, the official soft drink of Maine, the Moxie shawl is the perfect knit to both make and wear at the beach – whether your beach is in Maine or lands beyond.

Moxie is a traditional top-down triangle shawl that uses a mosaic knitting technique for the colorwork bands. Mosaic knitting creates patterns by using slipped stitches that pull up a strand of color from the row below,  which means you're only dealing with one color in each row and getting a graphic "pop" with little complication. Worked in garter stitch, the shawl is a quick and cozy knit. 

The Moxie pattern can be found in GRAIN - the current issue of Taproot Magazine, available via subscription, their online shop, and at a variety of bookstores and stockists. 

A very special thanks to my testers and to Aimee Chapman for some short-notice modeling! 


Print Friendly and PDF Follow
follow us in feedly

Cherries, Chickadees, and Ms. Billingsley

2018-07-26 12.33.19.jpg

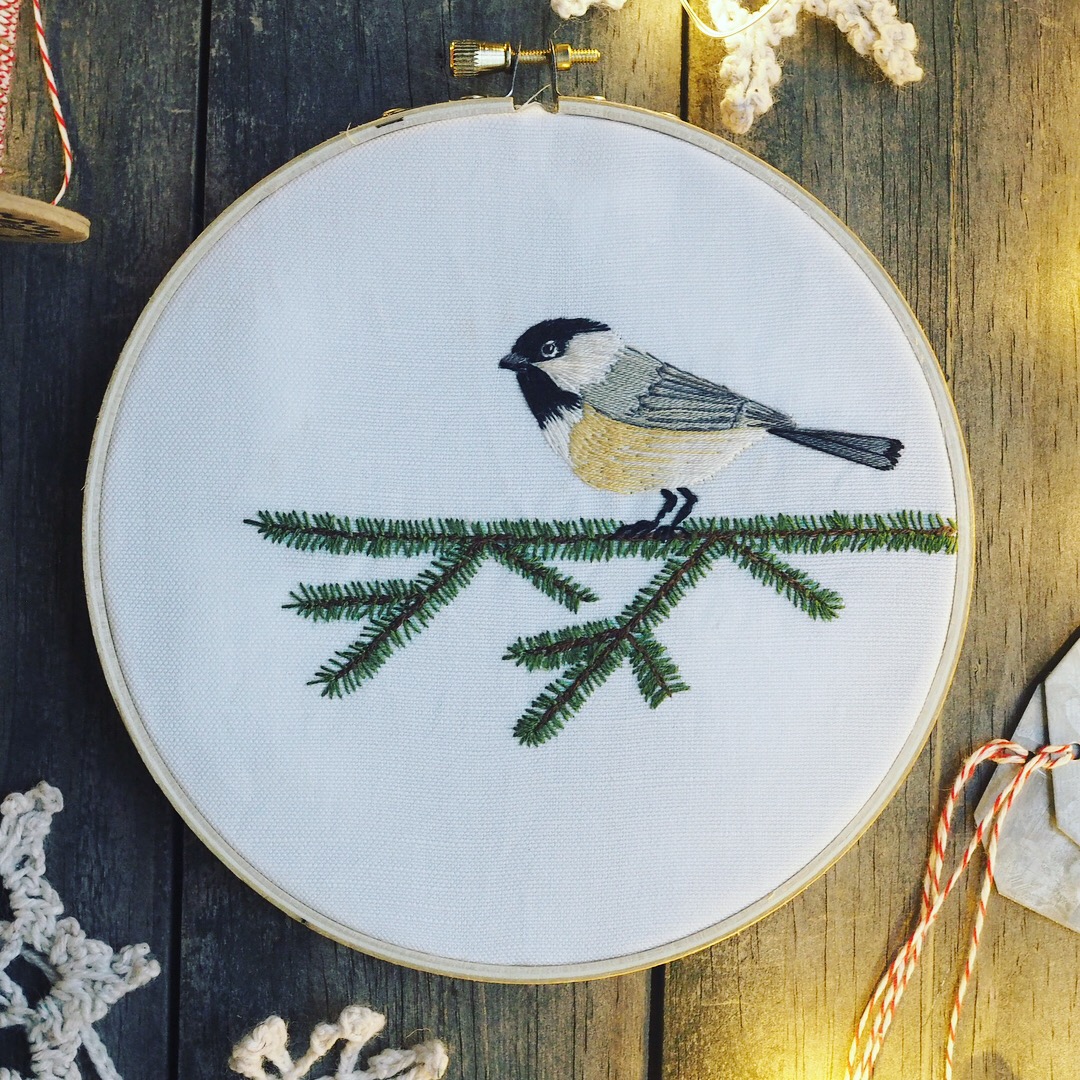
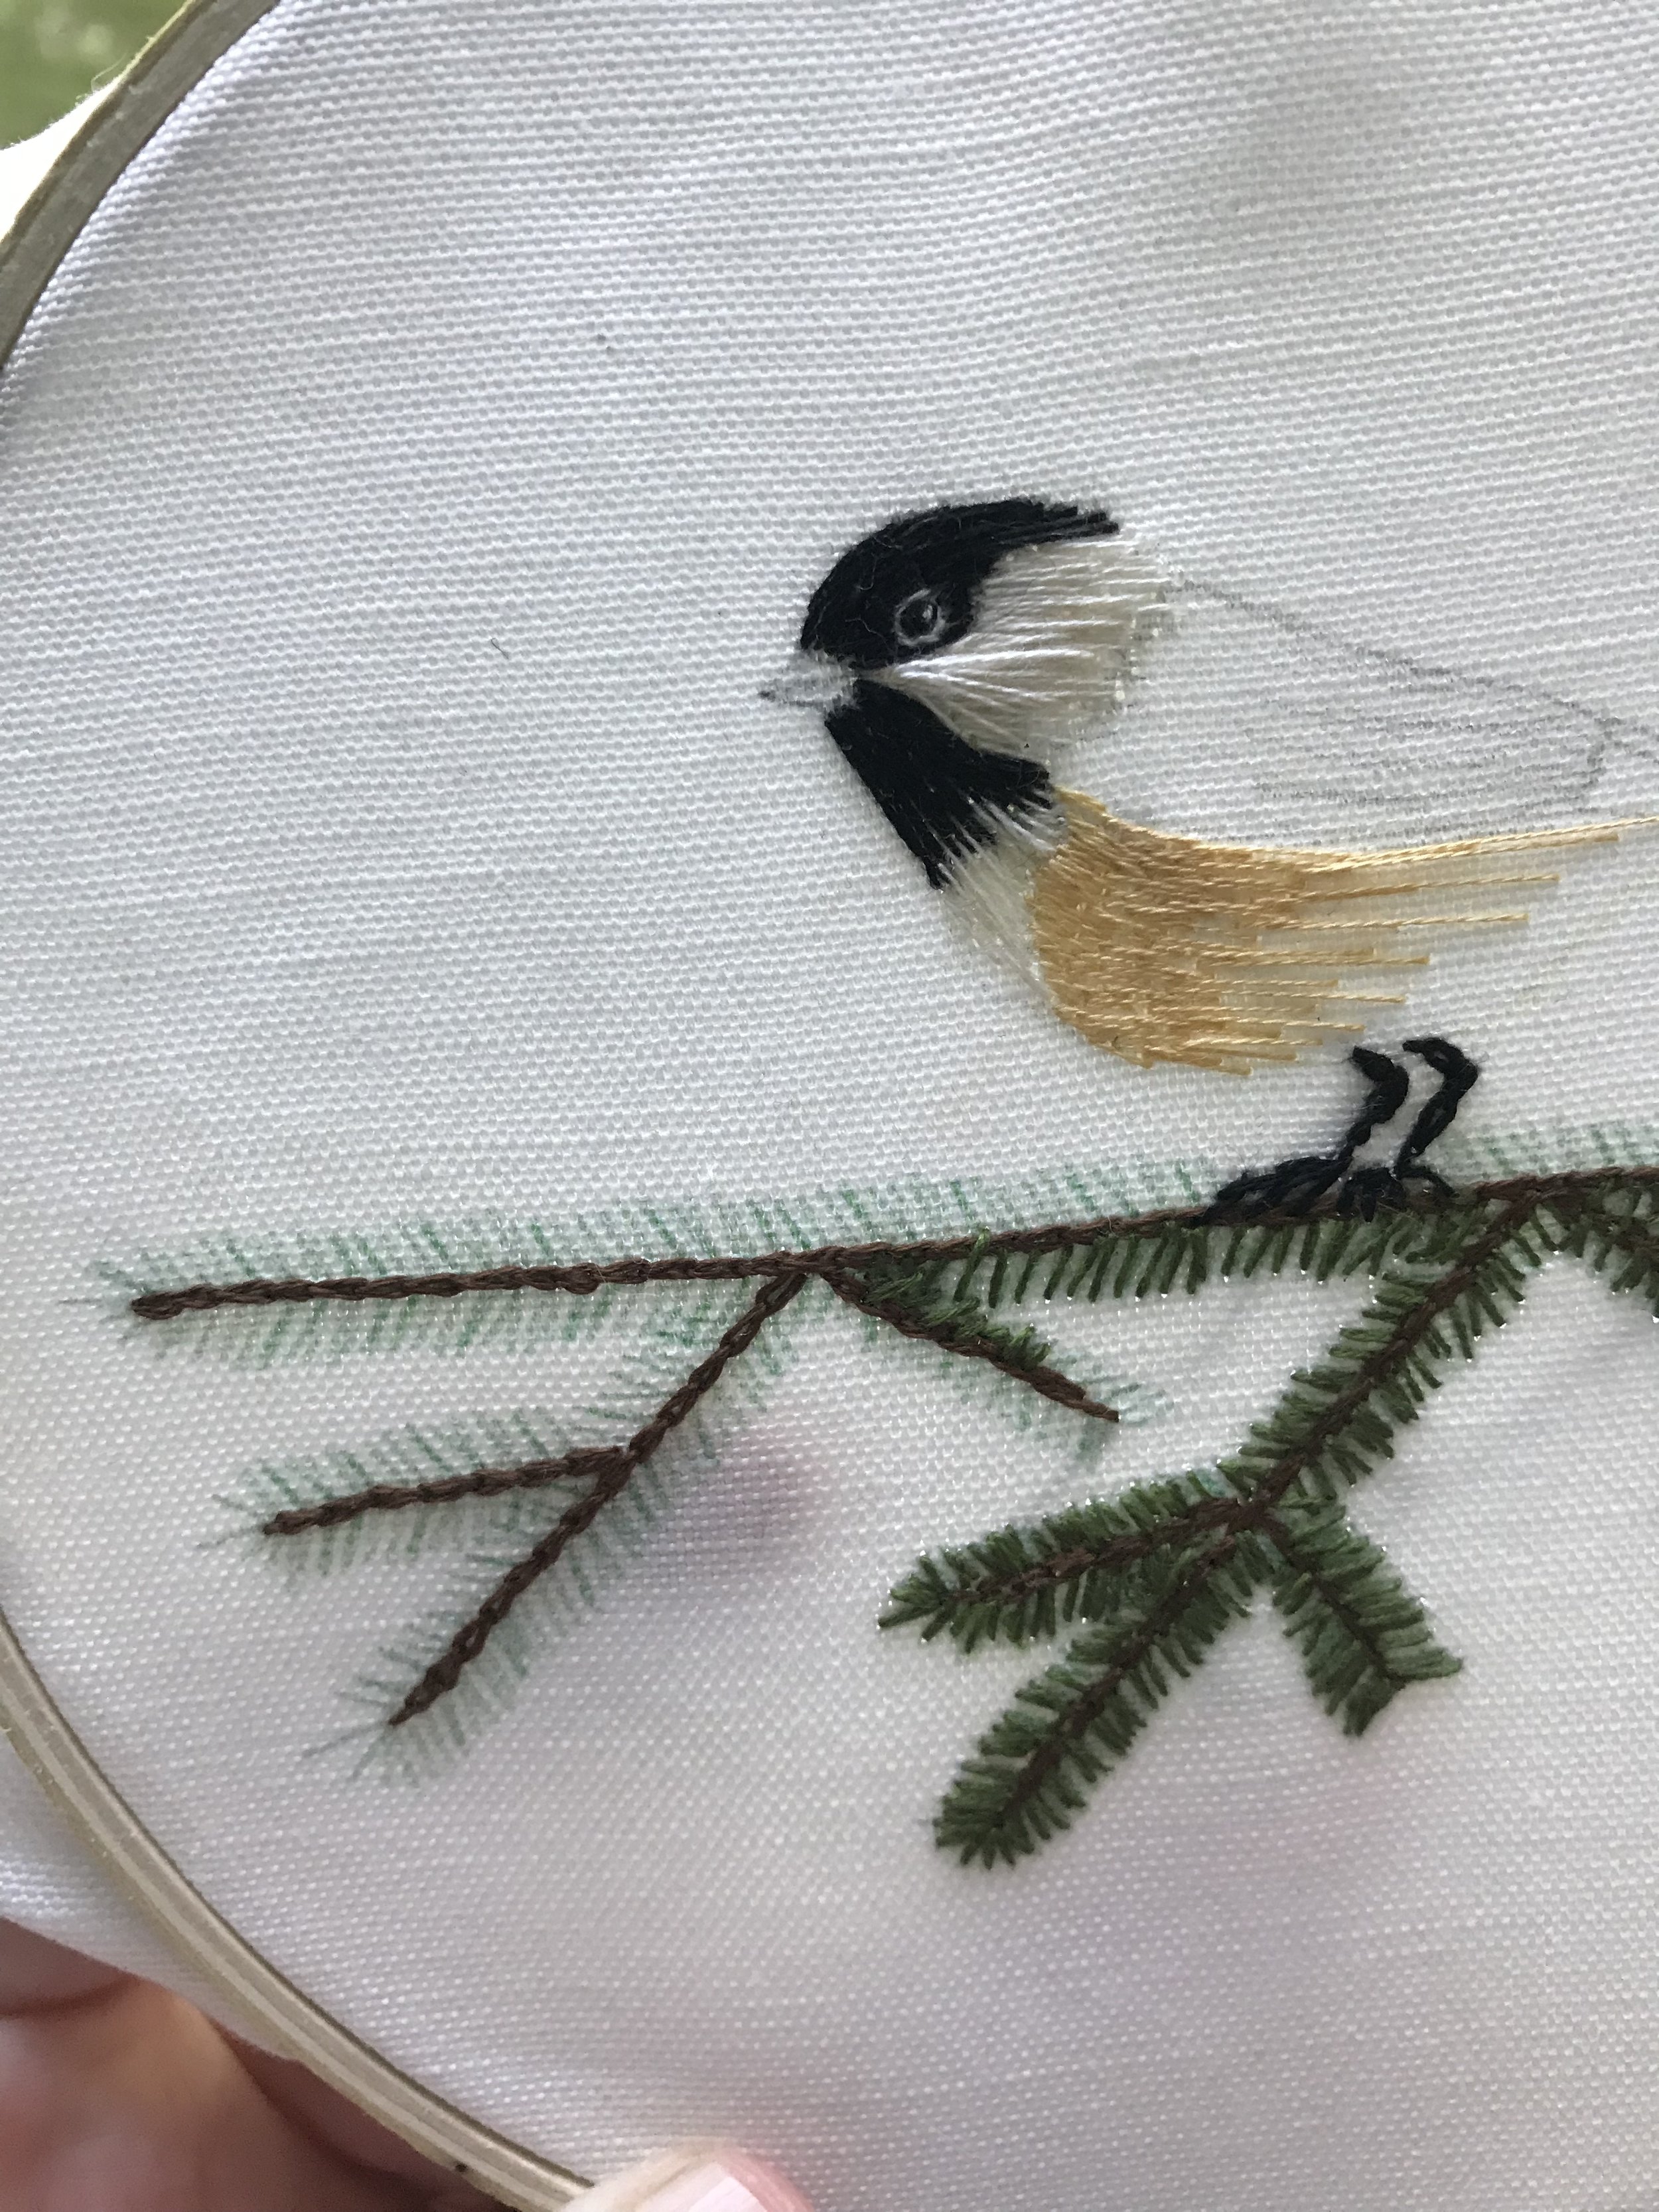
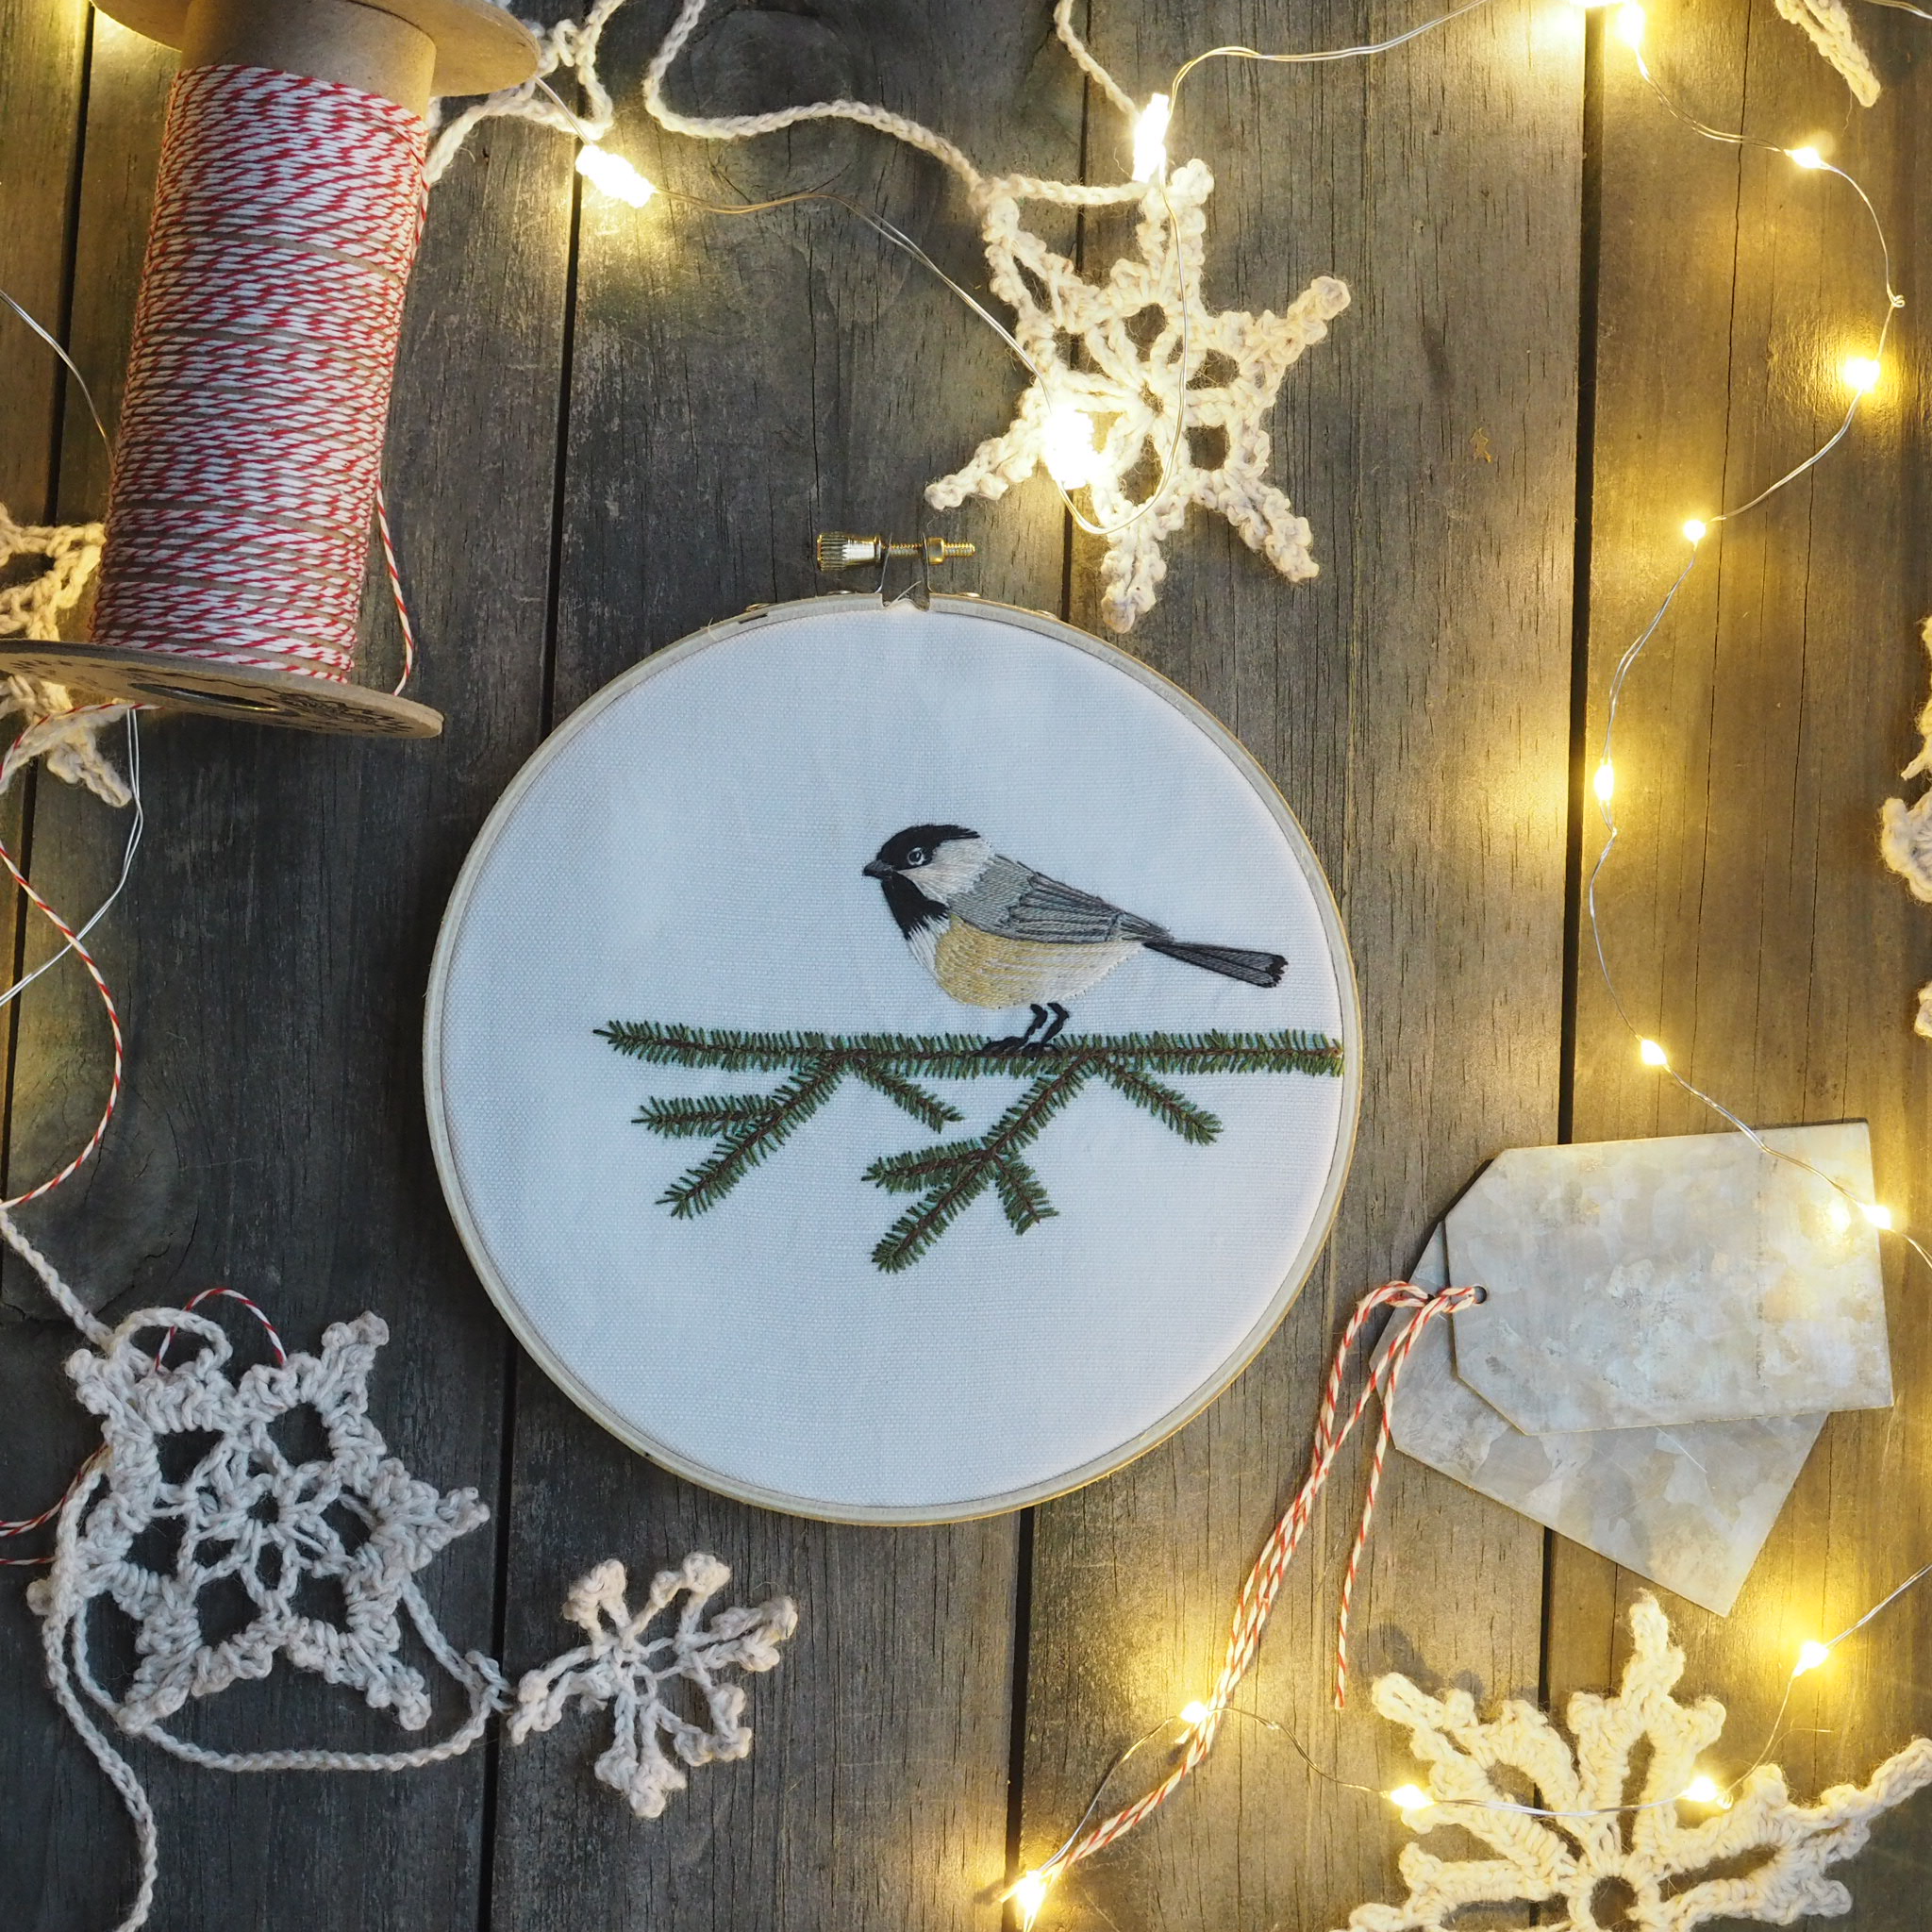
We're already halfway through August, which means that I've already got holiday crafting on the brain (not that I'll start on it for months yet, but I'm thinking about it...). For those of you who are a bit more forward-planning, my 2018 holiday design, Chickadee and Pine is now available, along with all my other wintery-woodland designs, to get a kick-start on that crafting. 

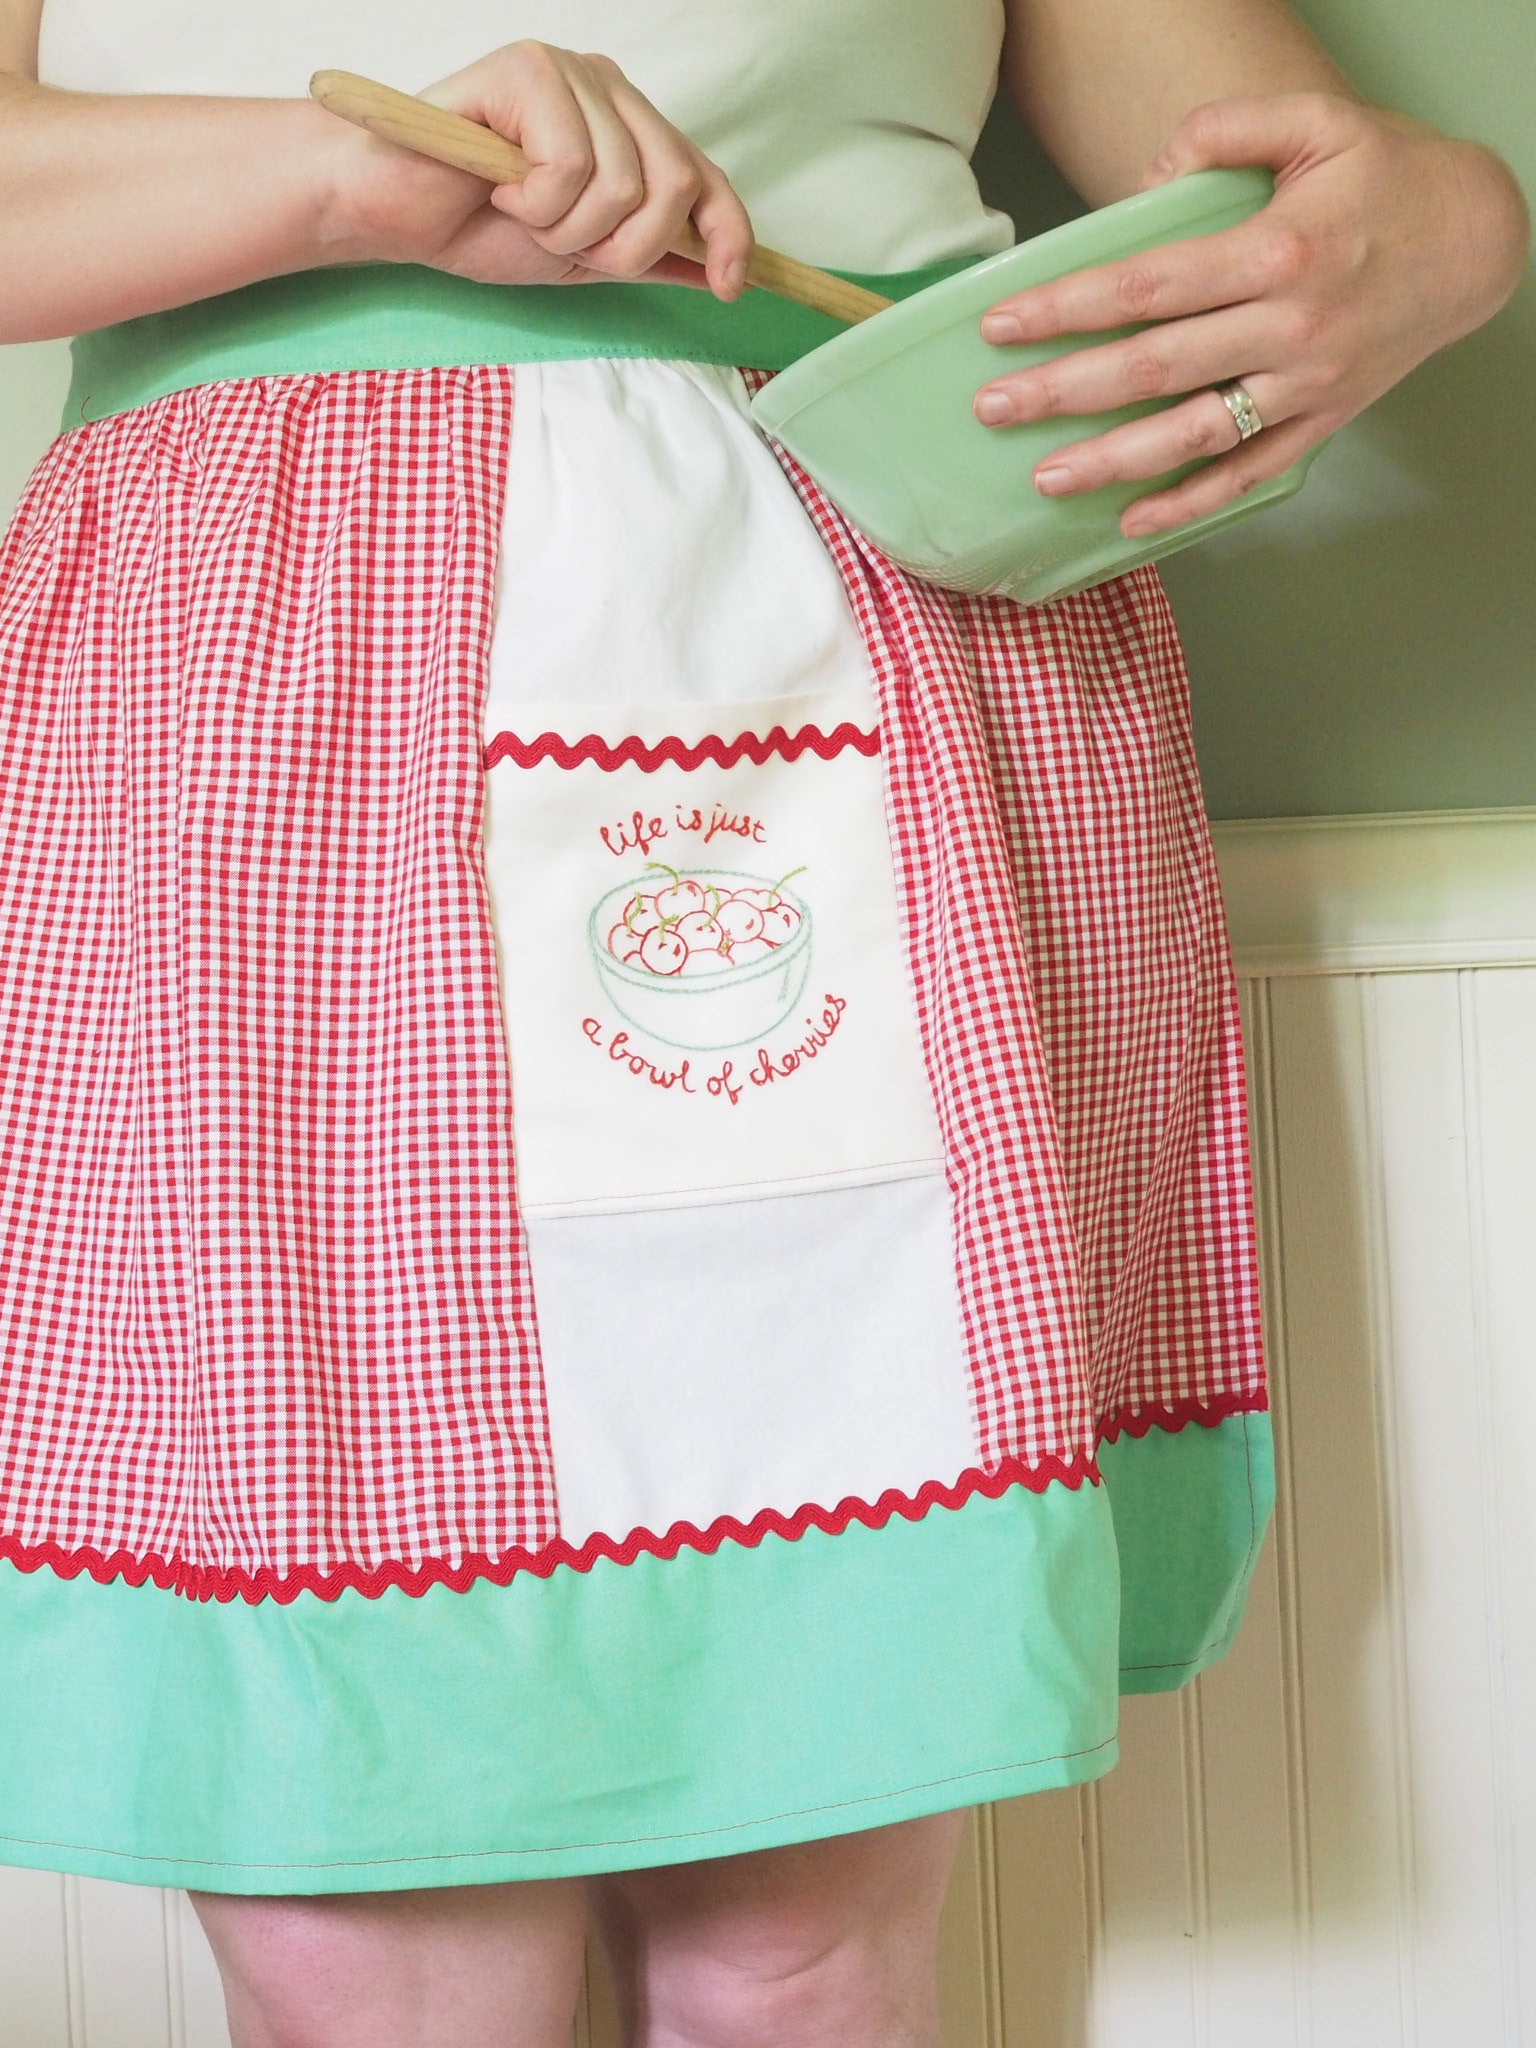
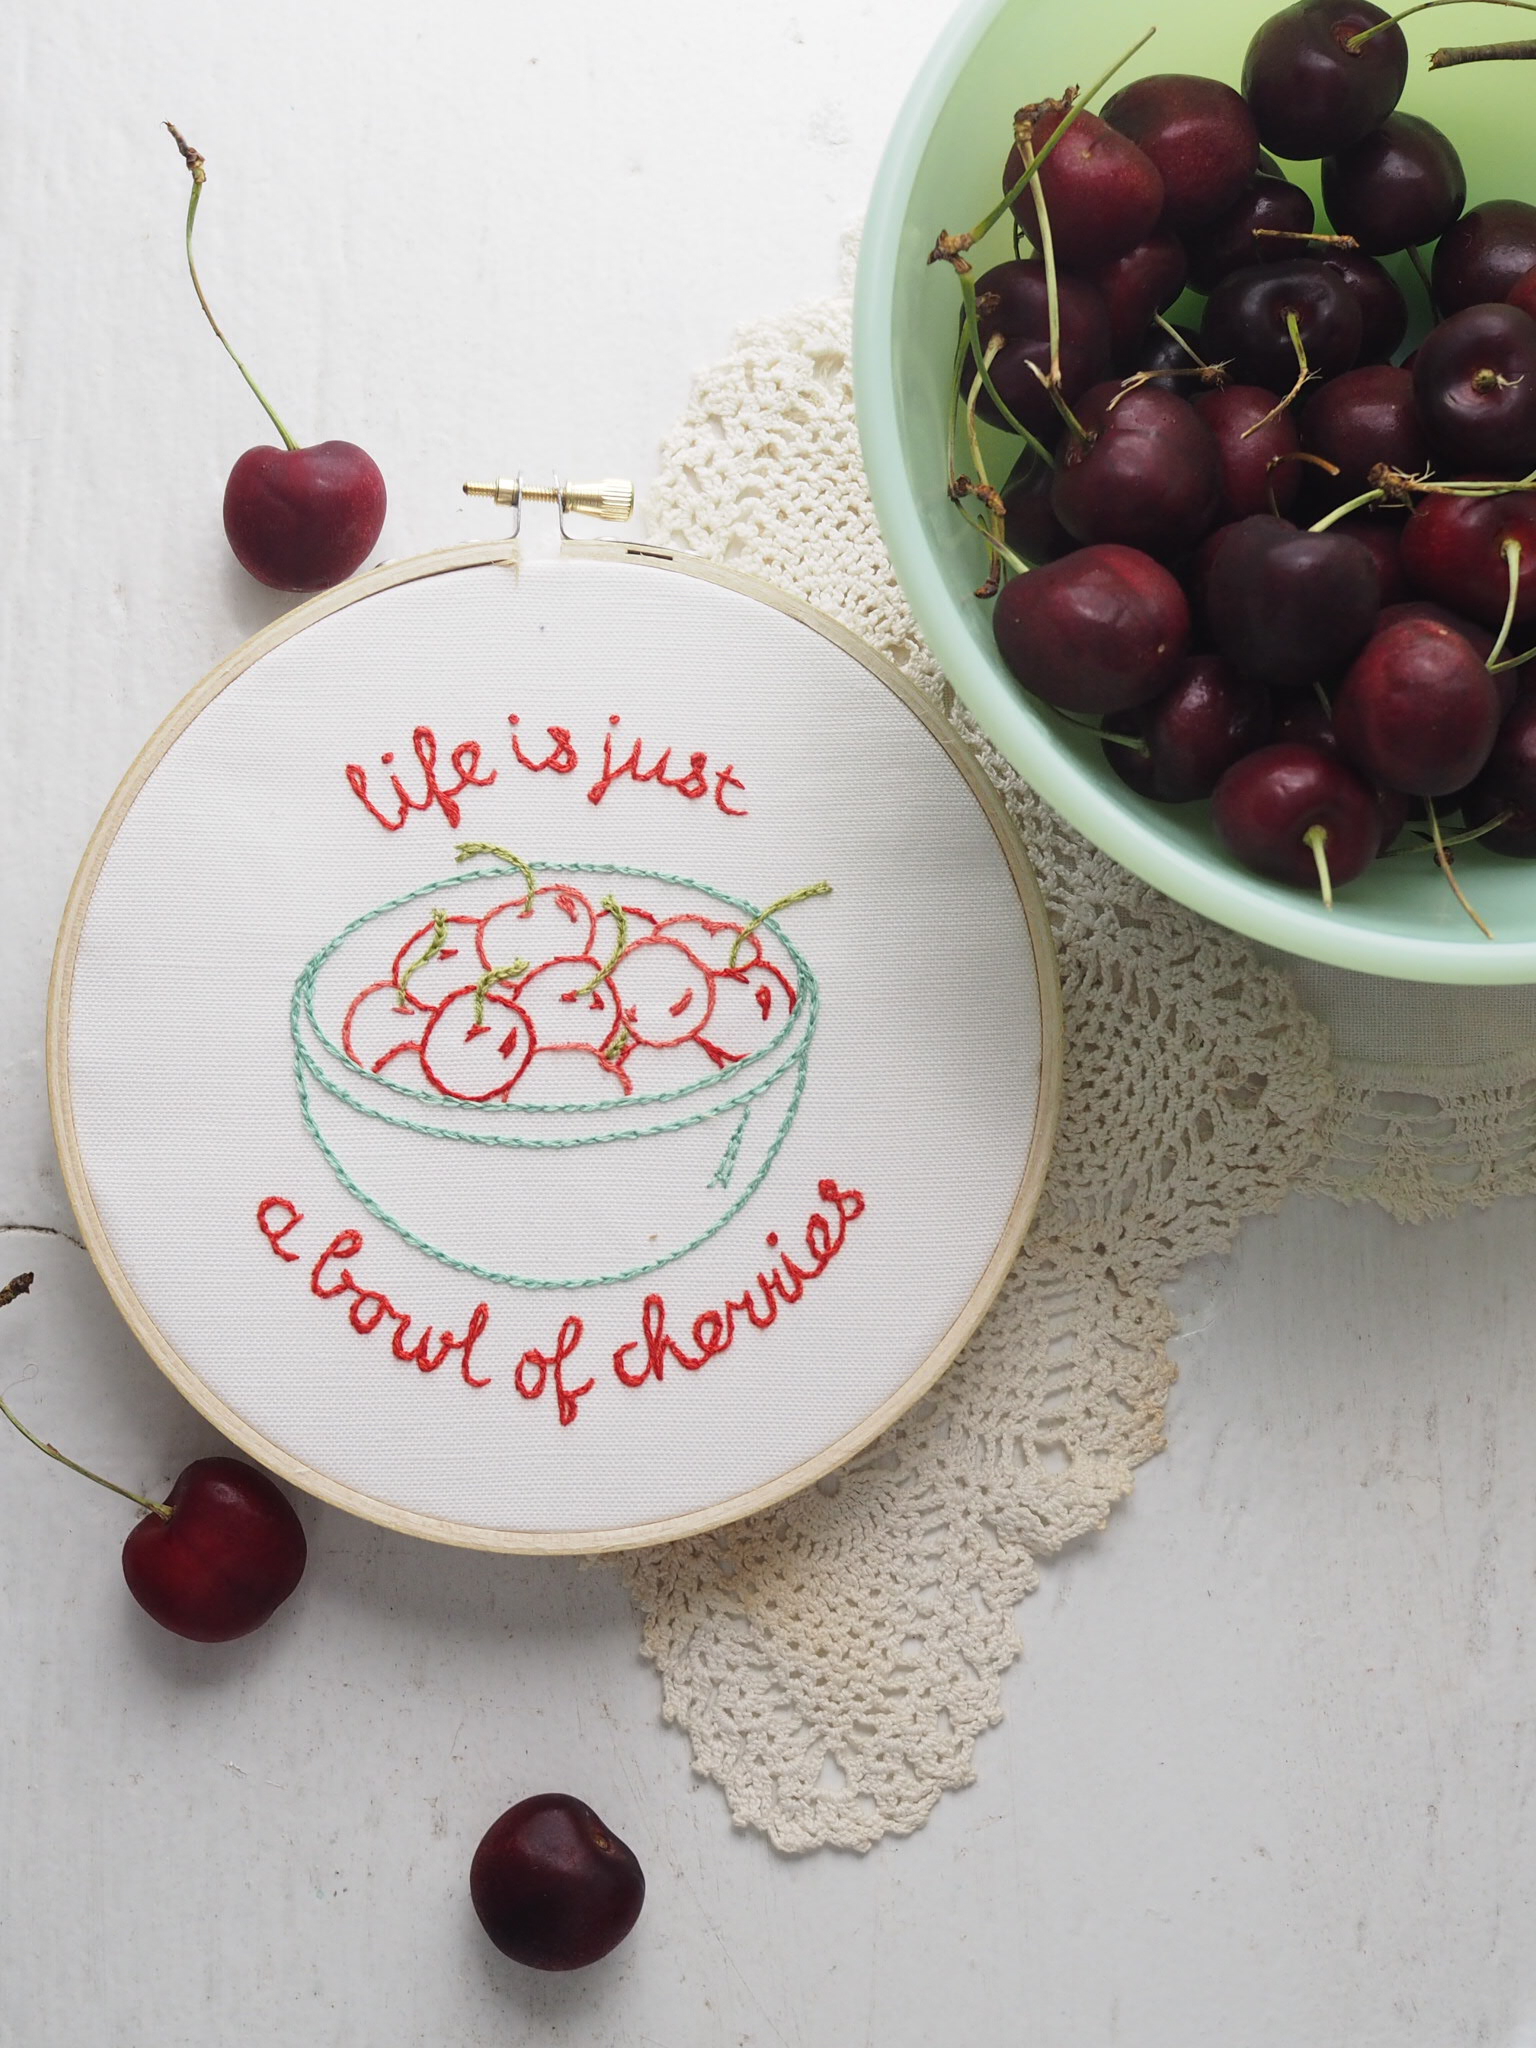
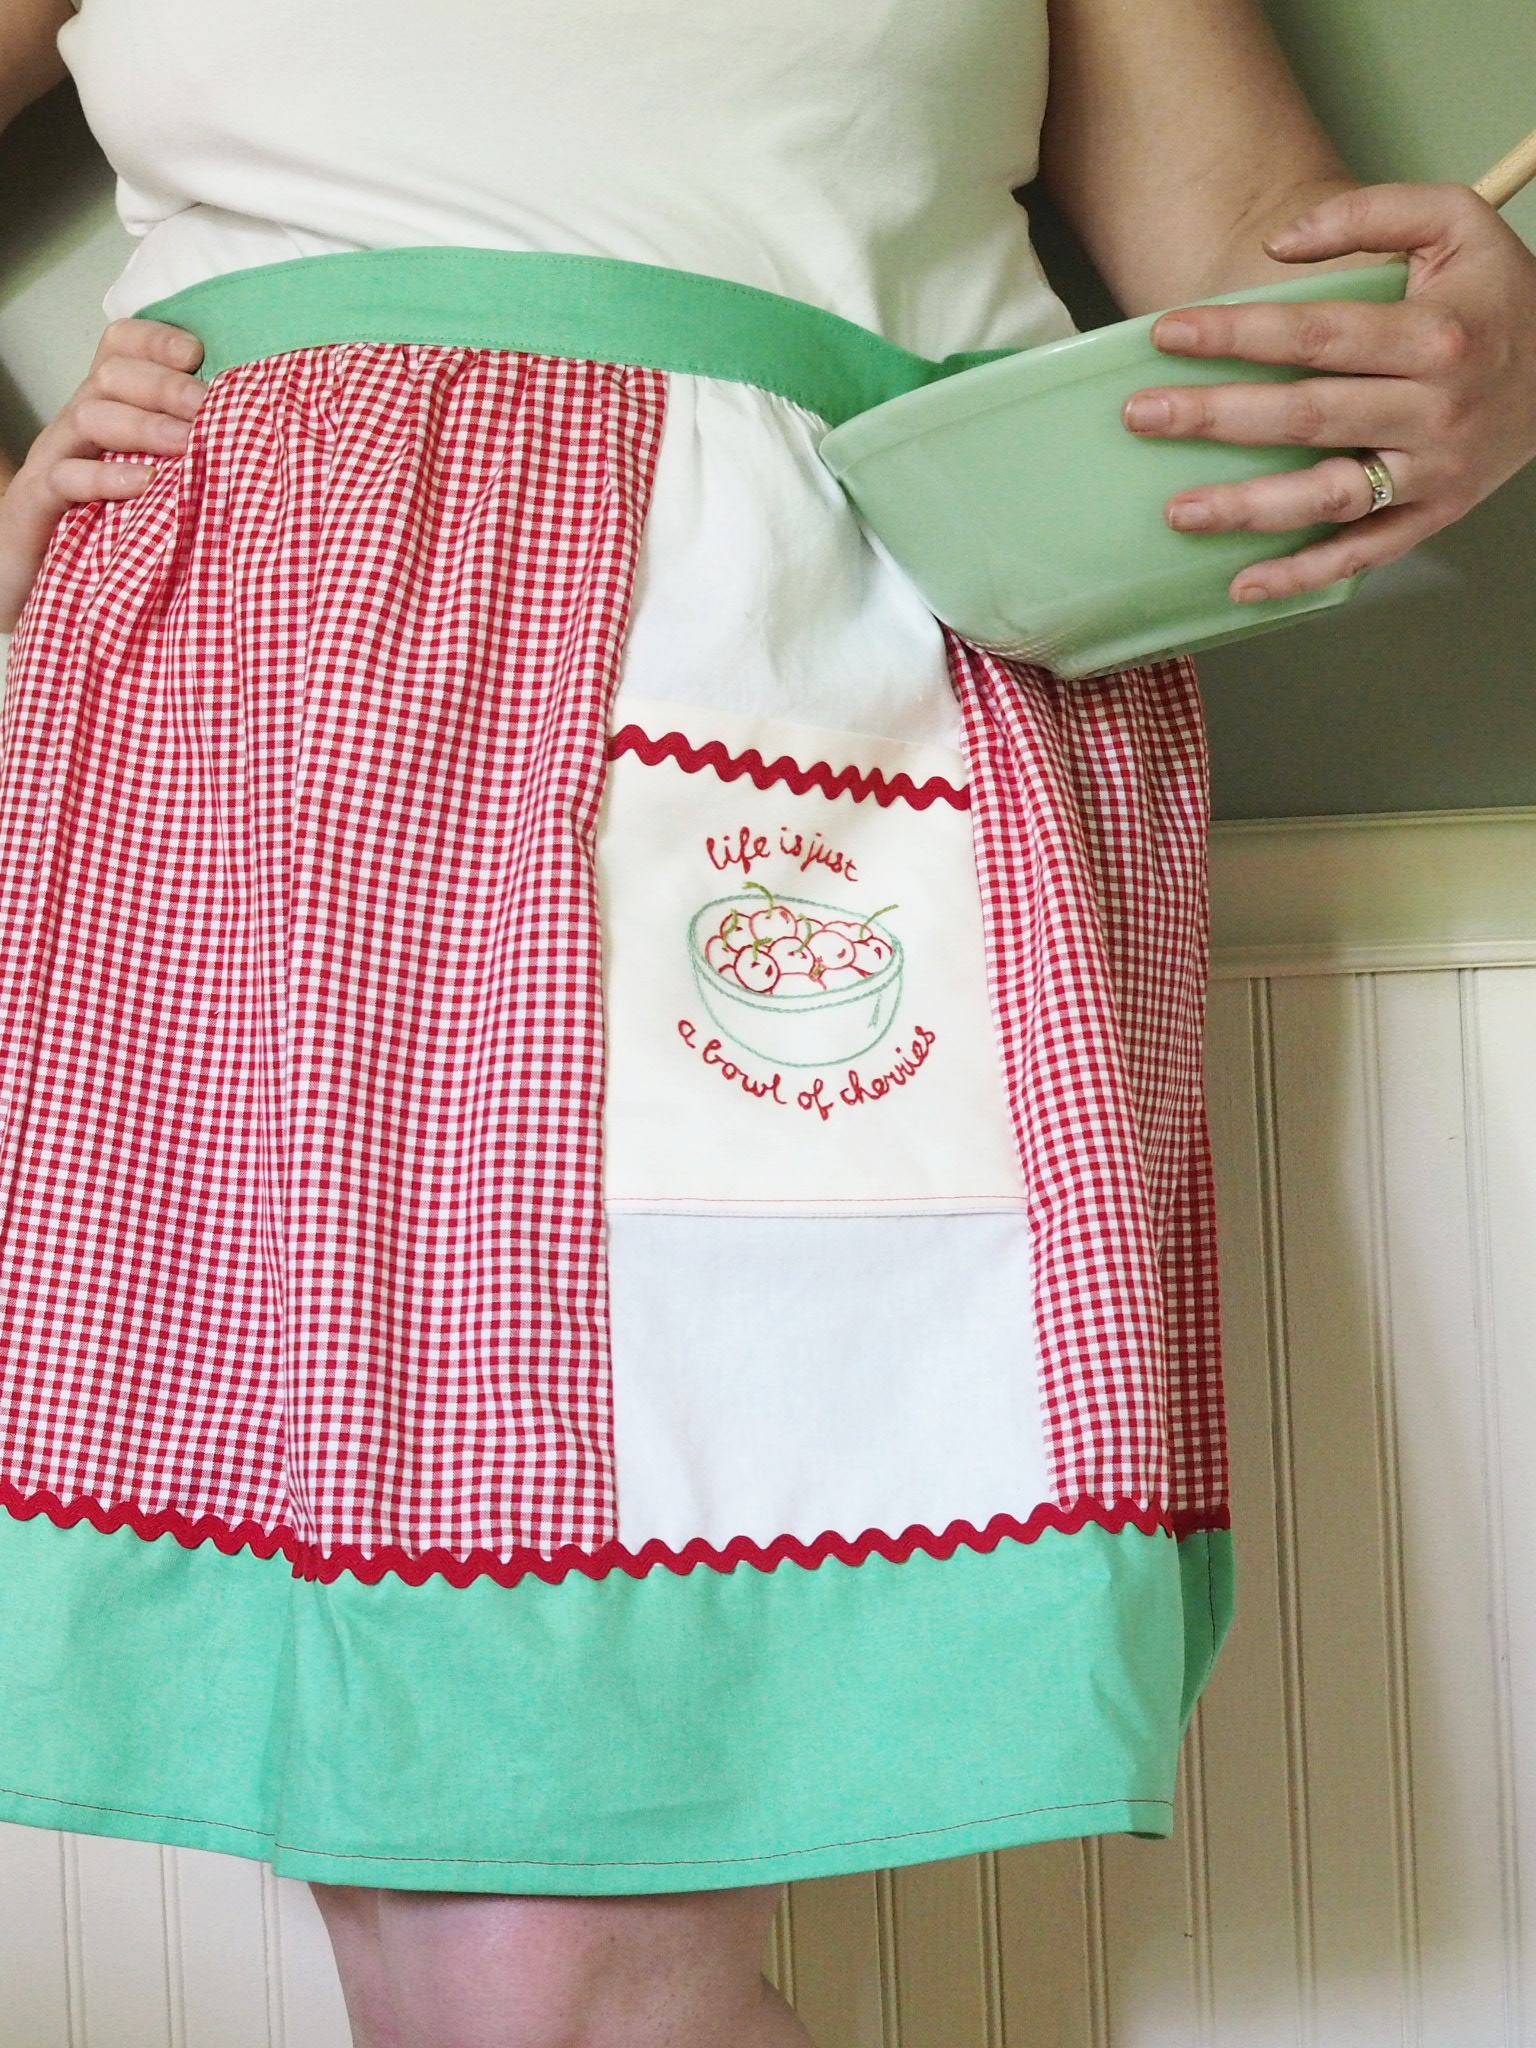
I've also got something else new that I'm super excited to share with you - my first sewing pattern! The Ms. Billingsley Apron (named for June Cleaver herself, Barbara Billingsley) is the answer to the question "but what do I do with the embroidery after I've finished it?"

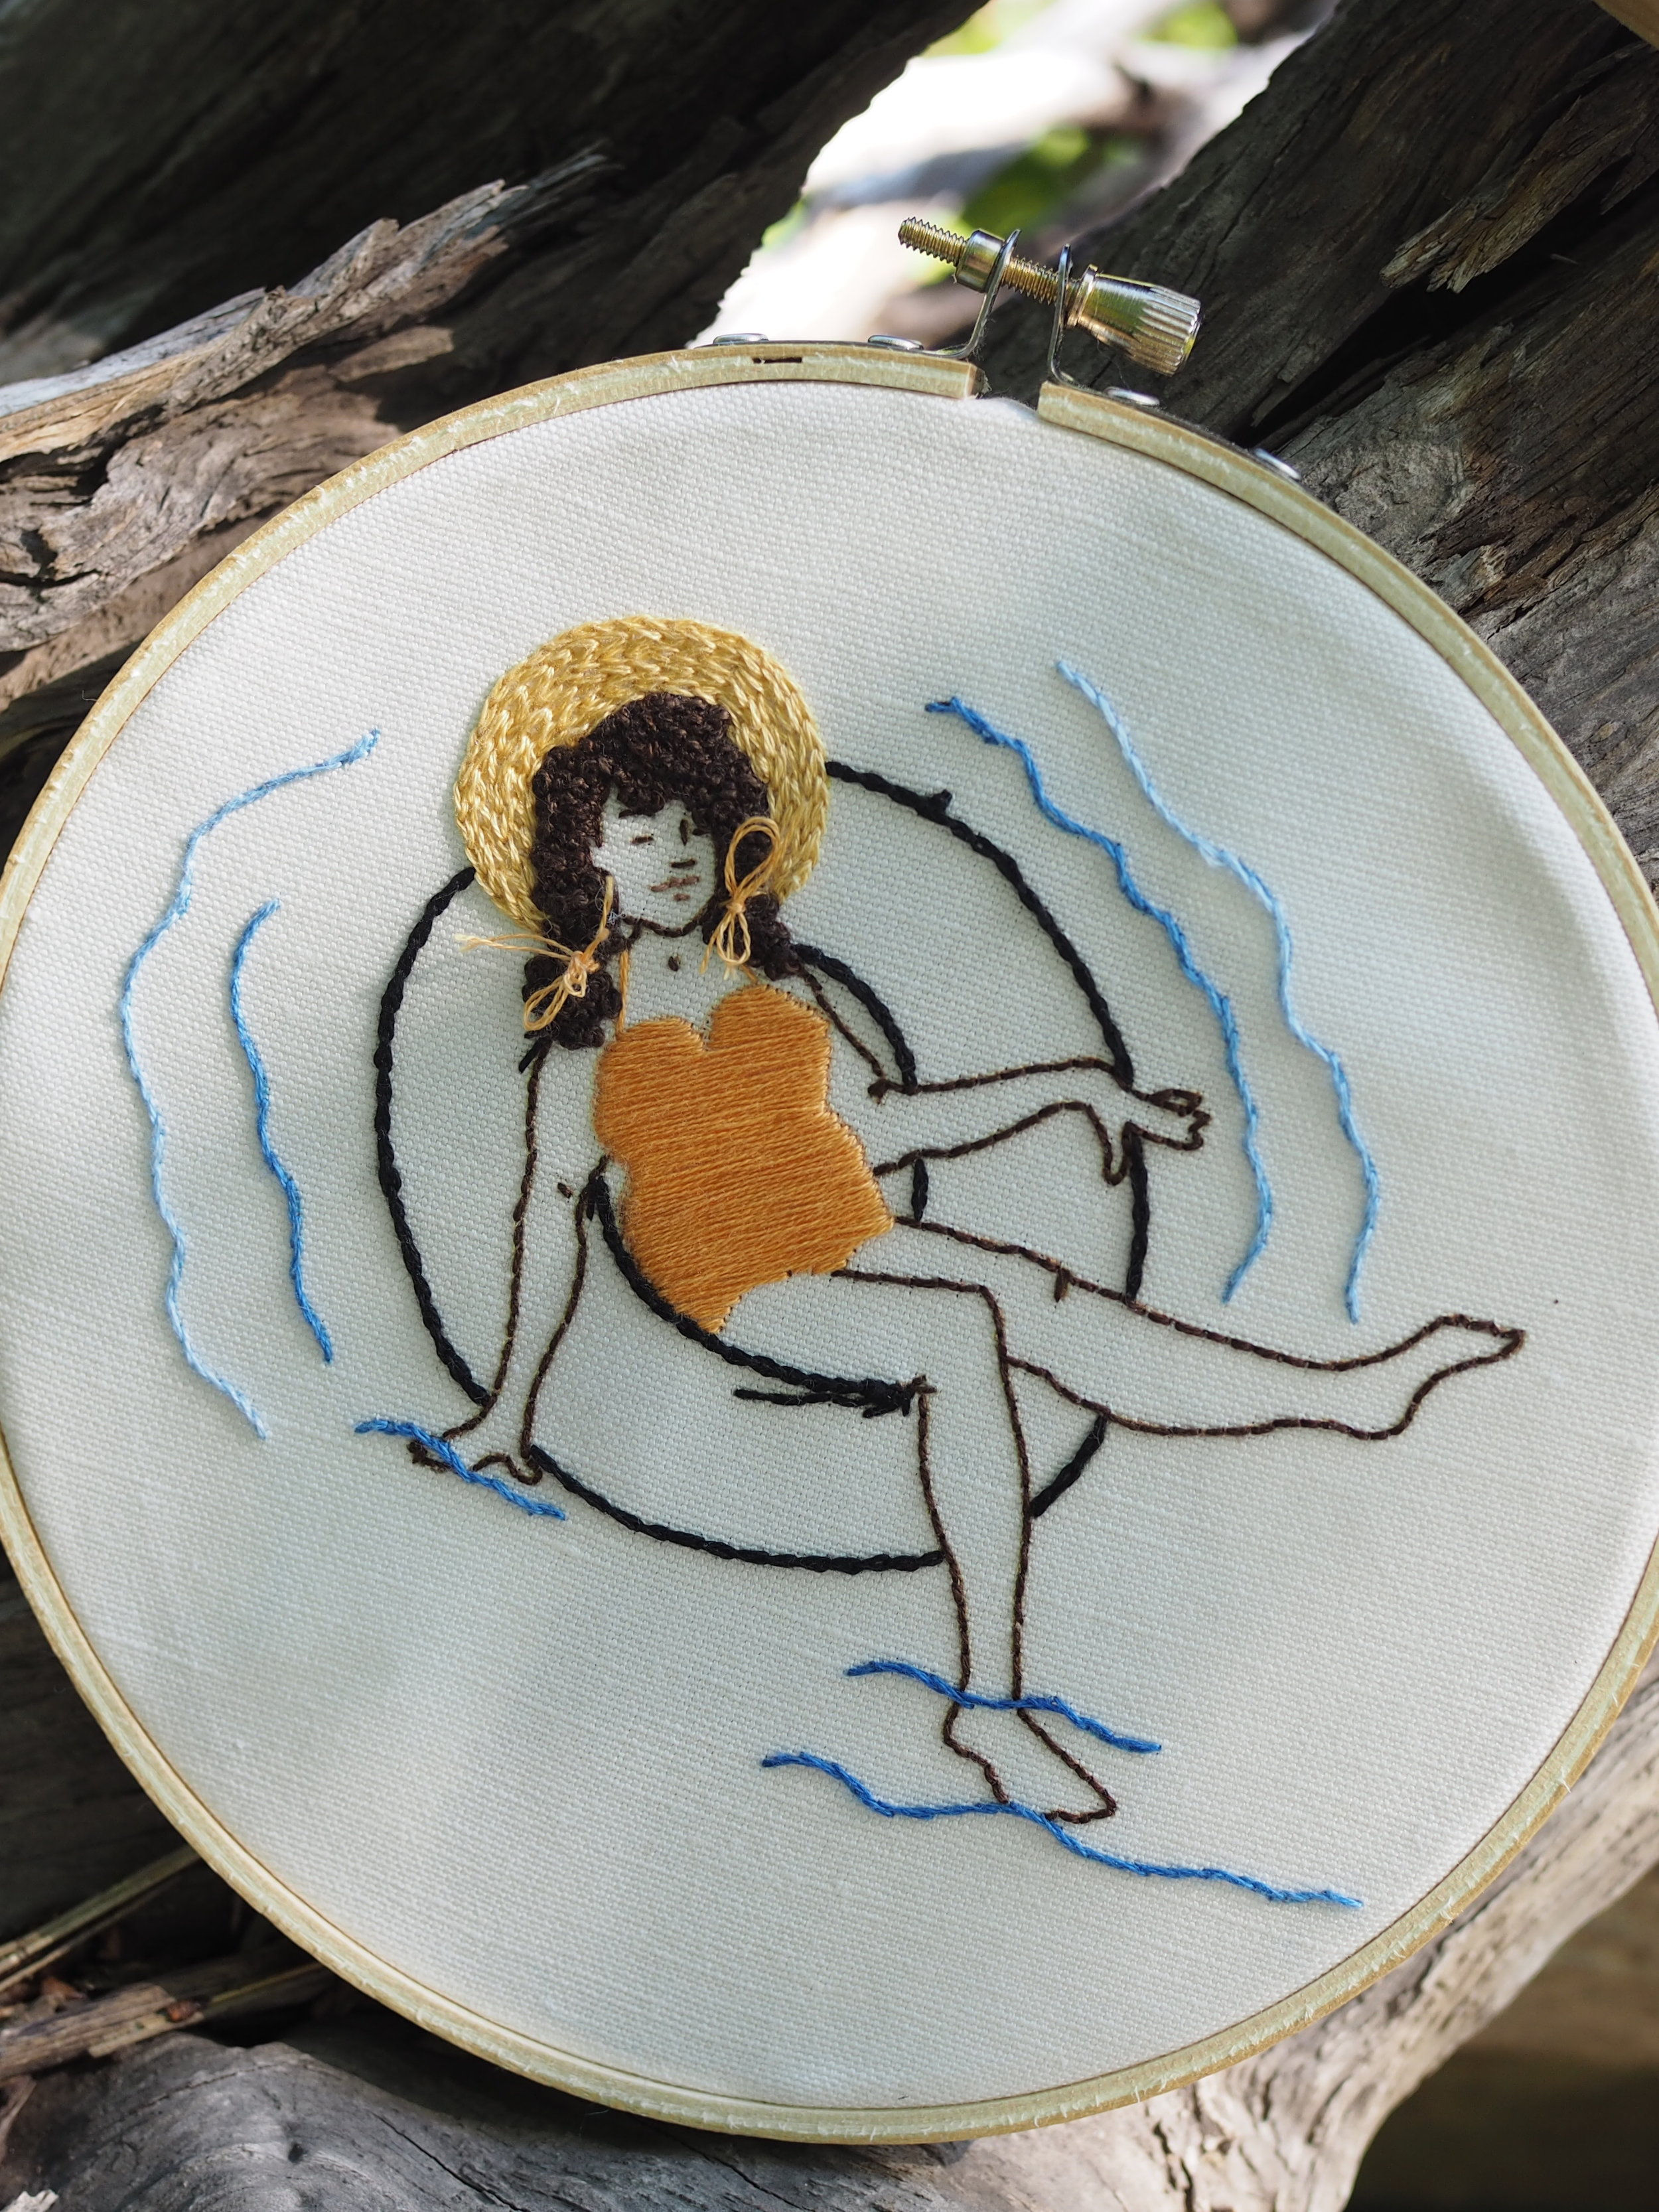
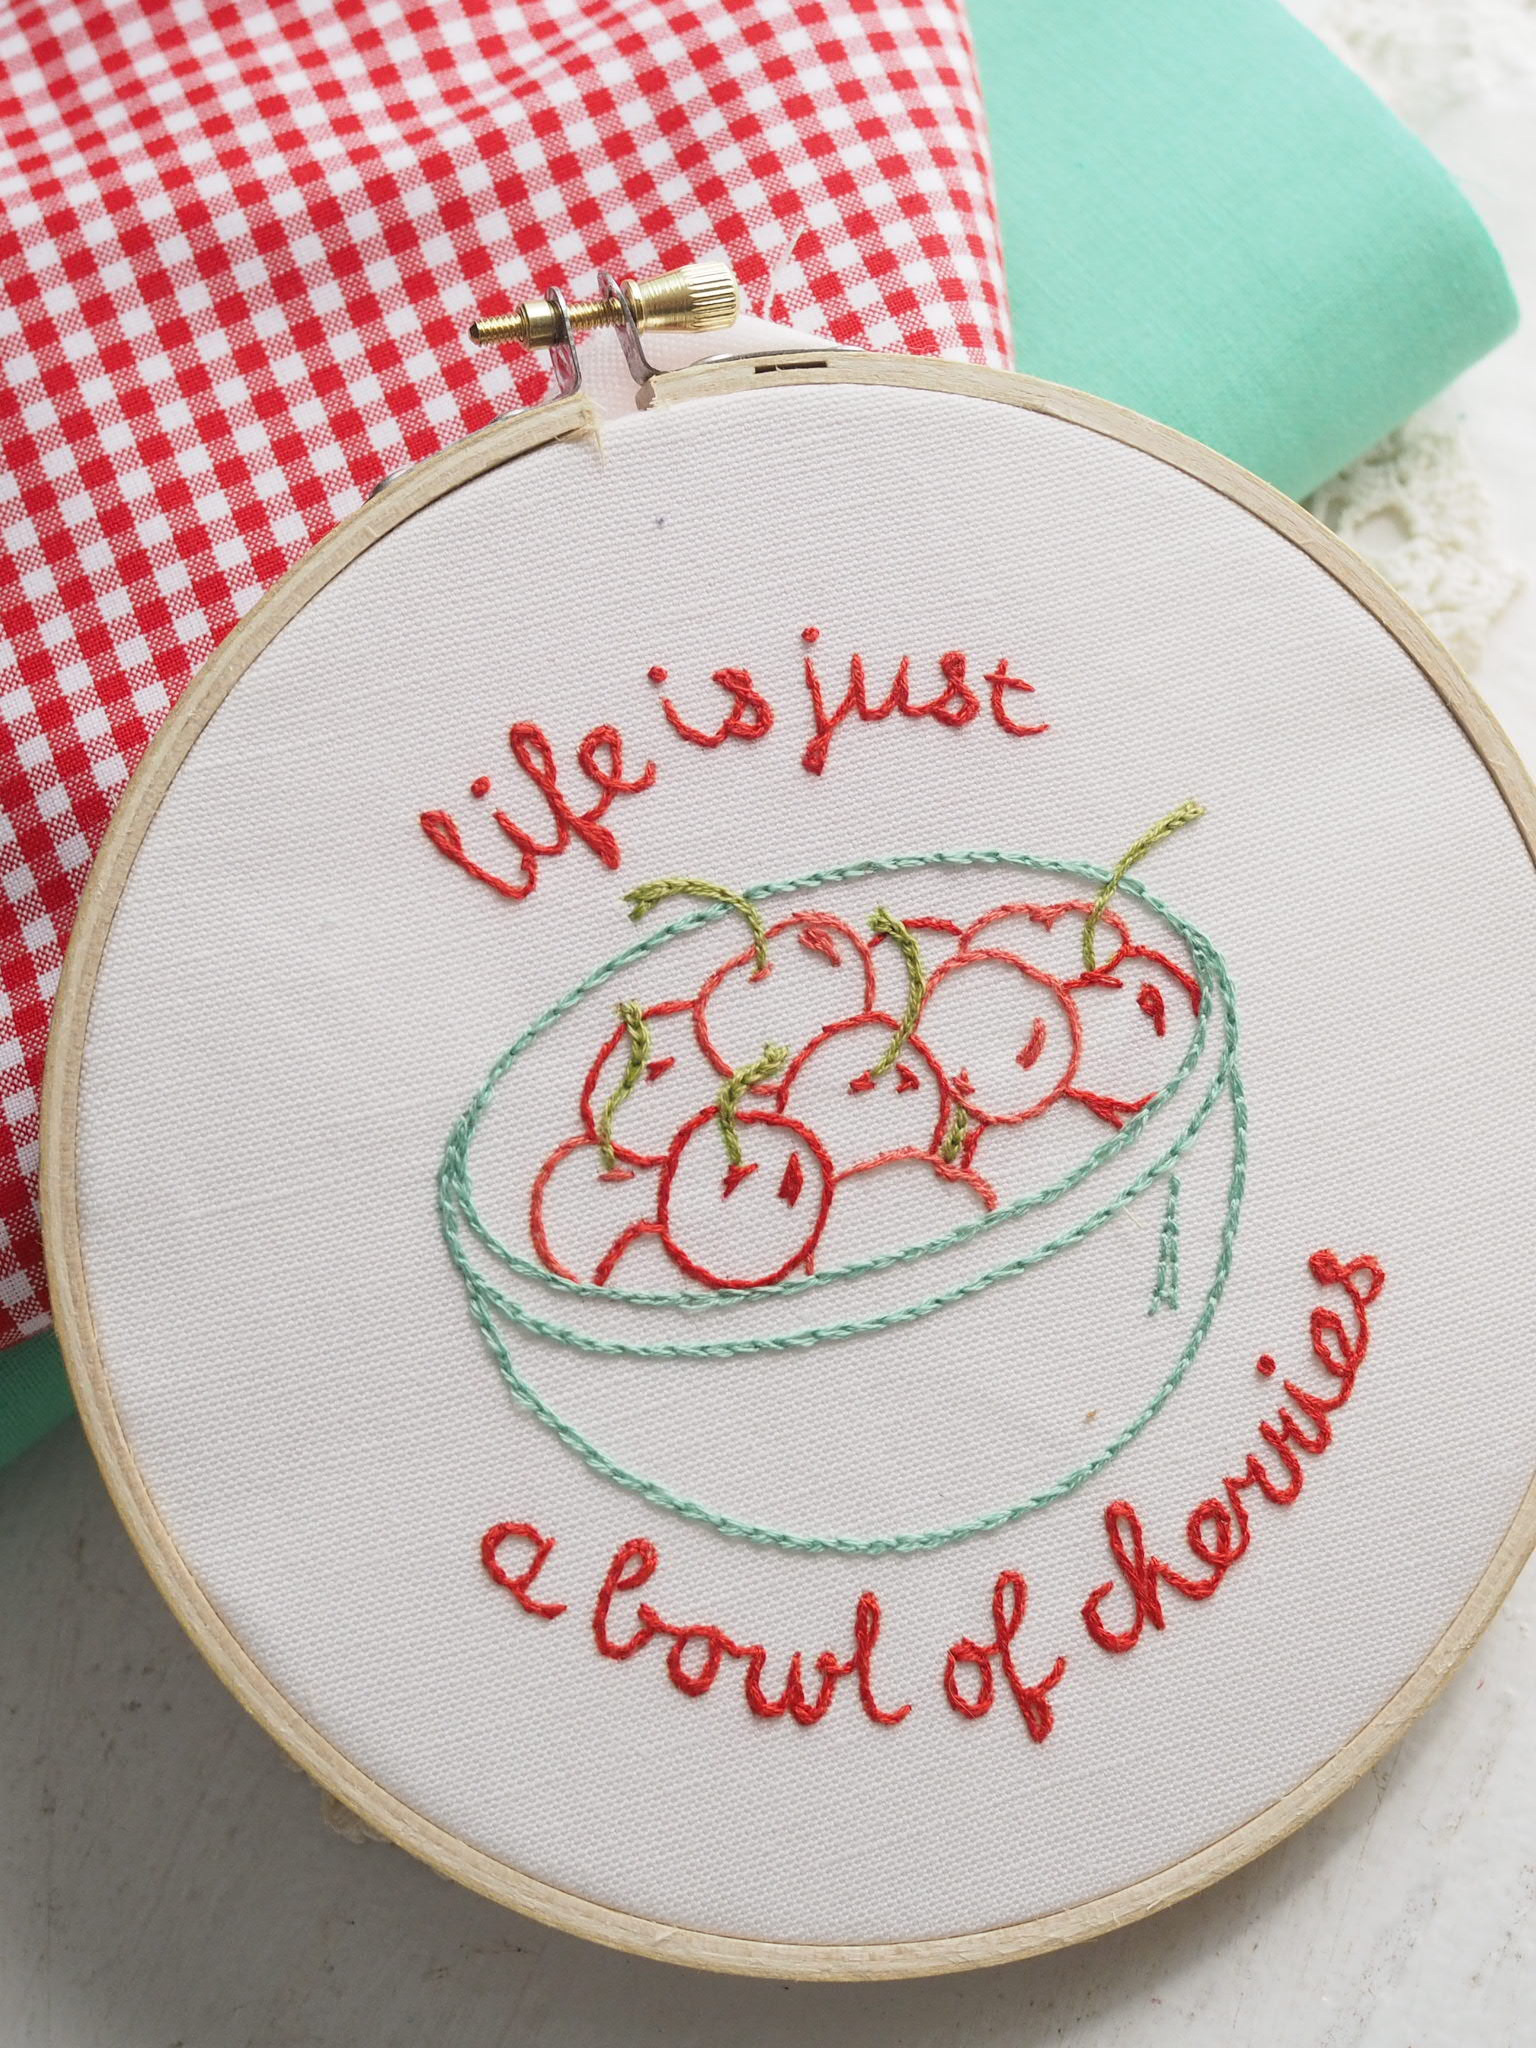
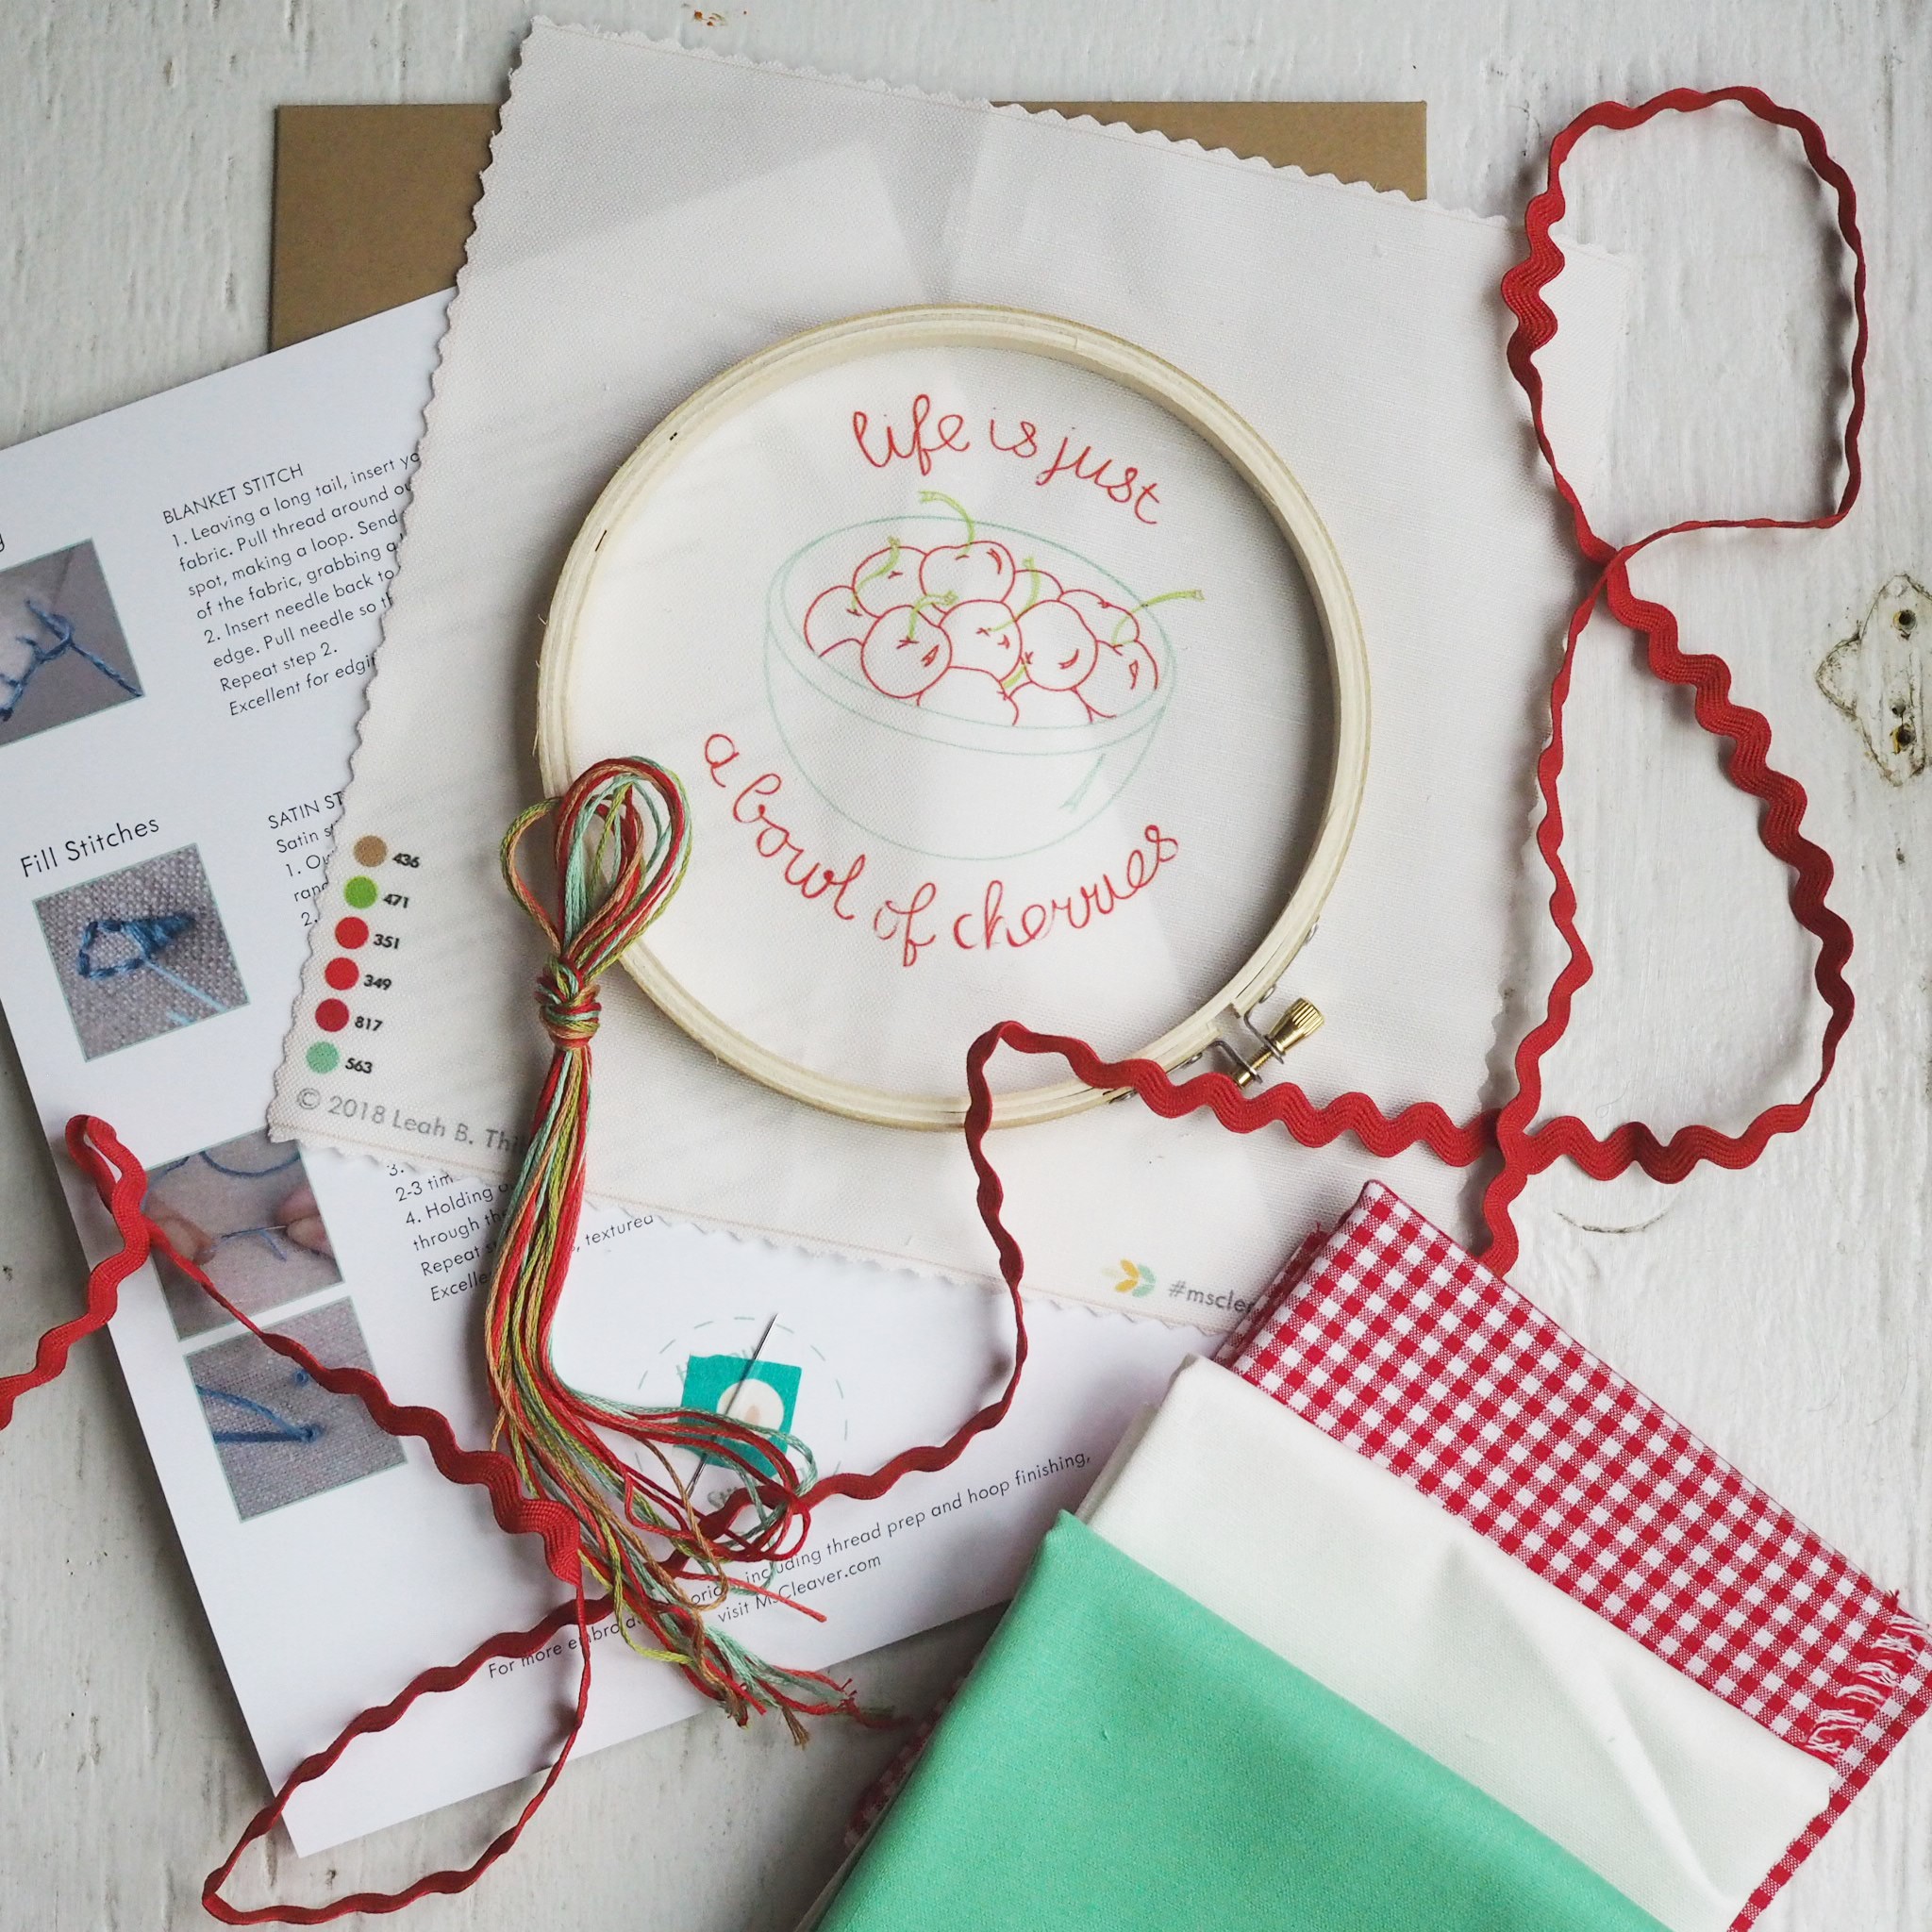
Designed to fit any of my 6" hoop designs, the easy-to-sew, but elegantly finished Ms. Billingsley apron can also be used to show off a single quilt block or panel of a favorite fabric. You can find the pattern as a downloadable PDF (complete with Bowl of Cherries template), or I've assembled some kits featuring the sample fabrics shown above paired with a Bowl of Cherries complete embroidery kit


Print Friendly and PDF Follow
follow us in feedly

Introducing Nerio

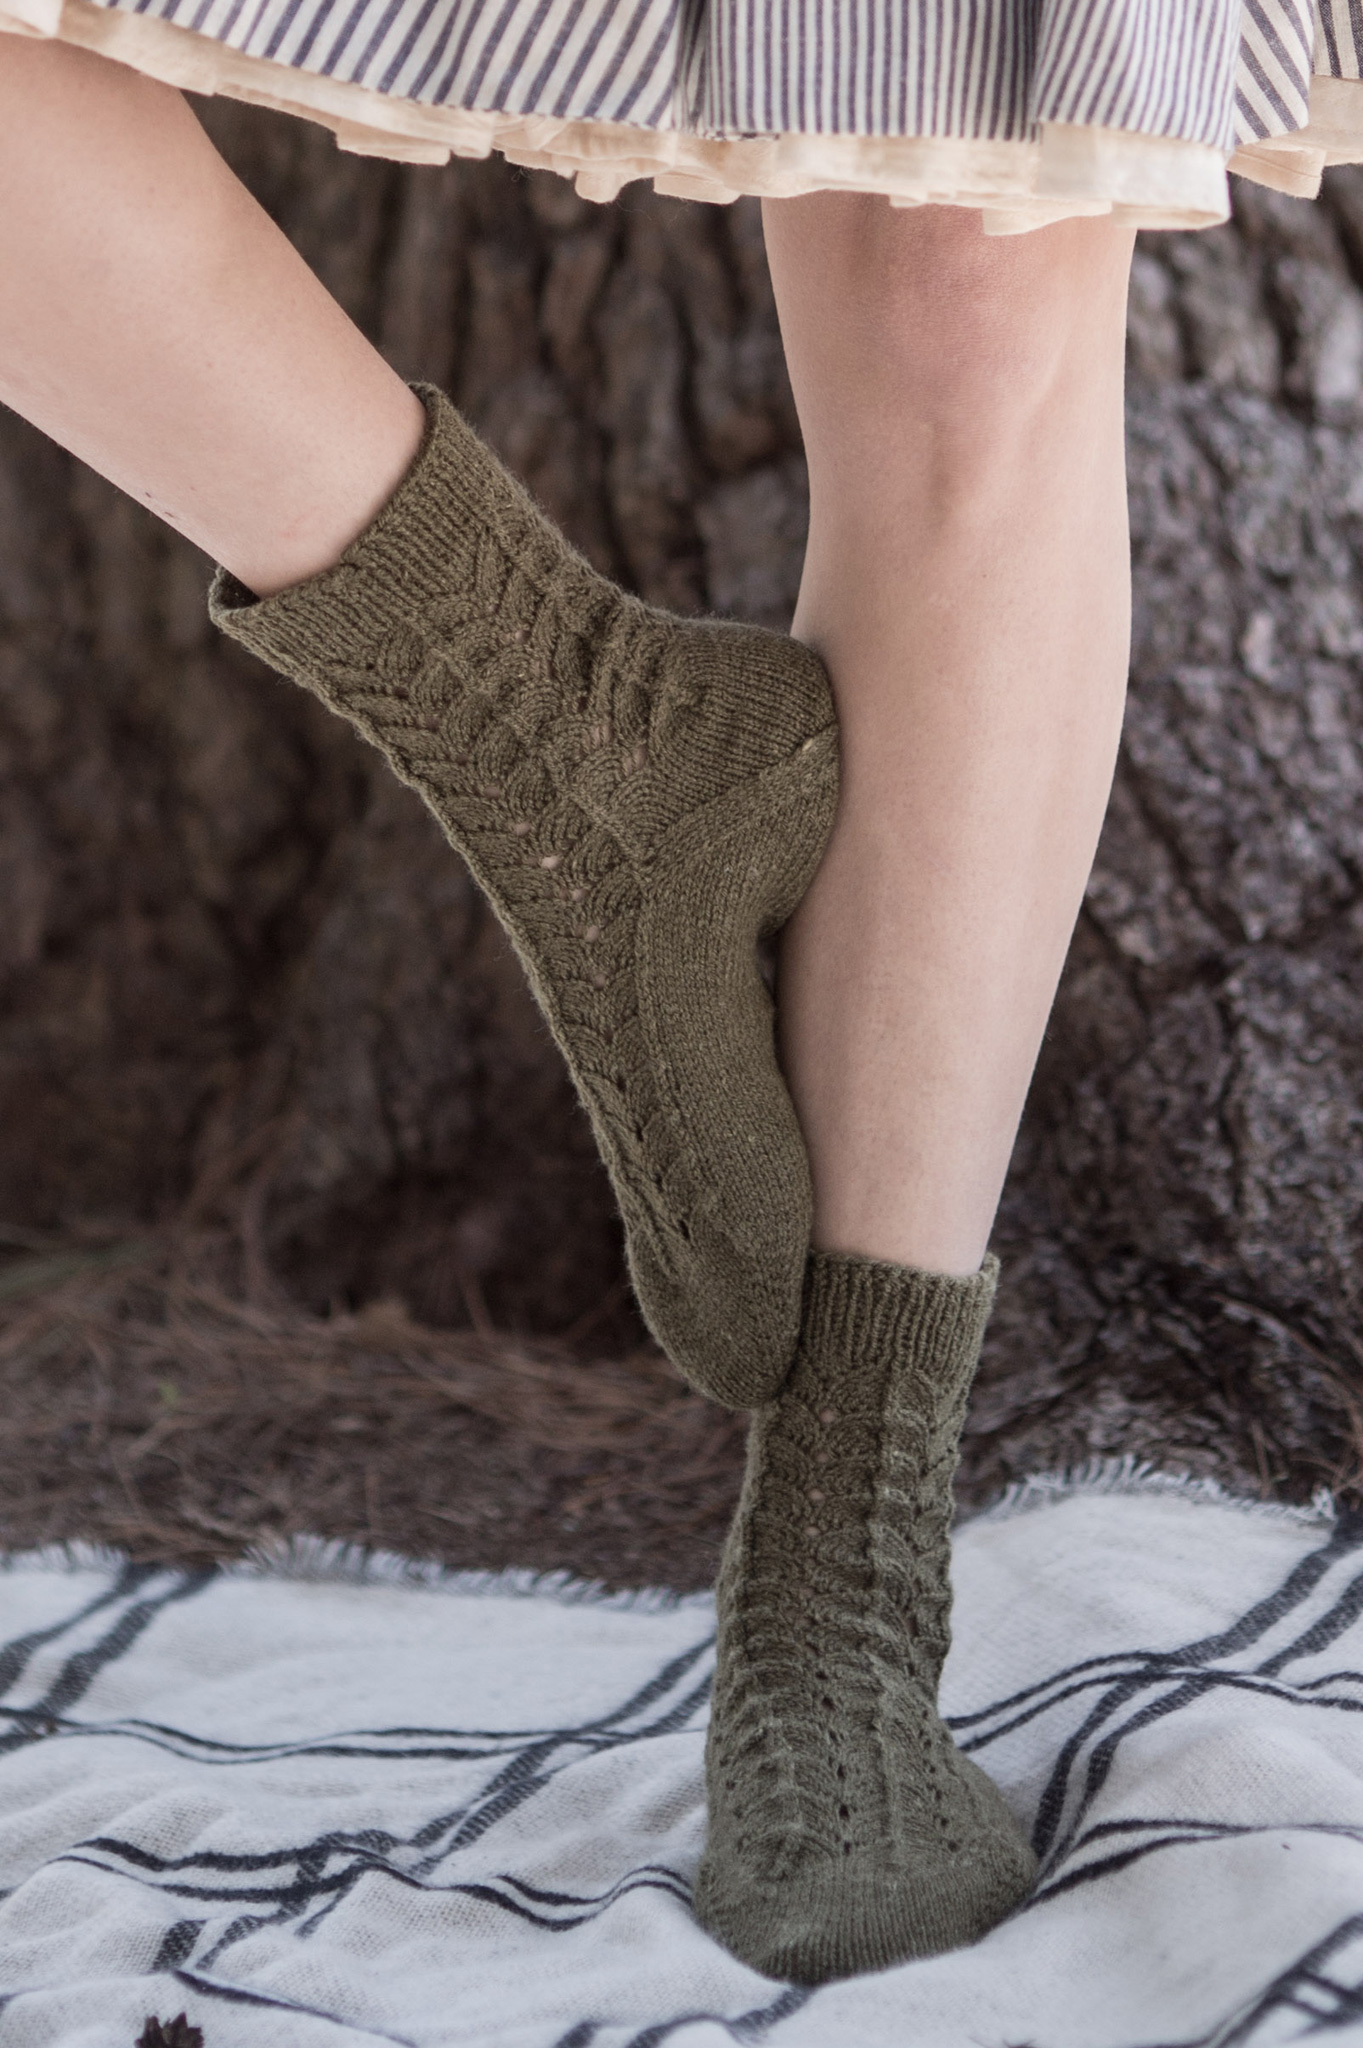
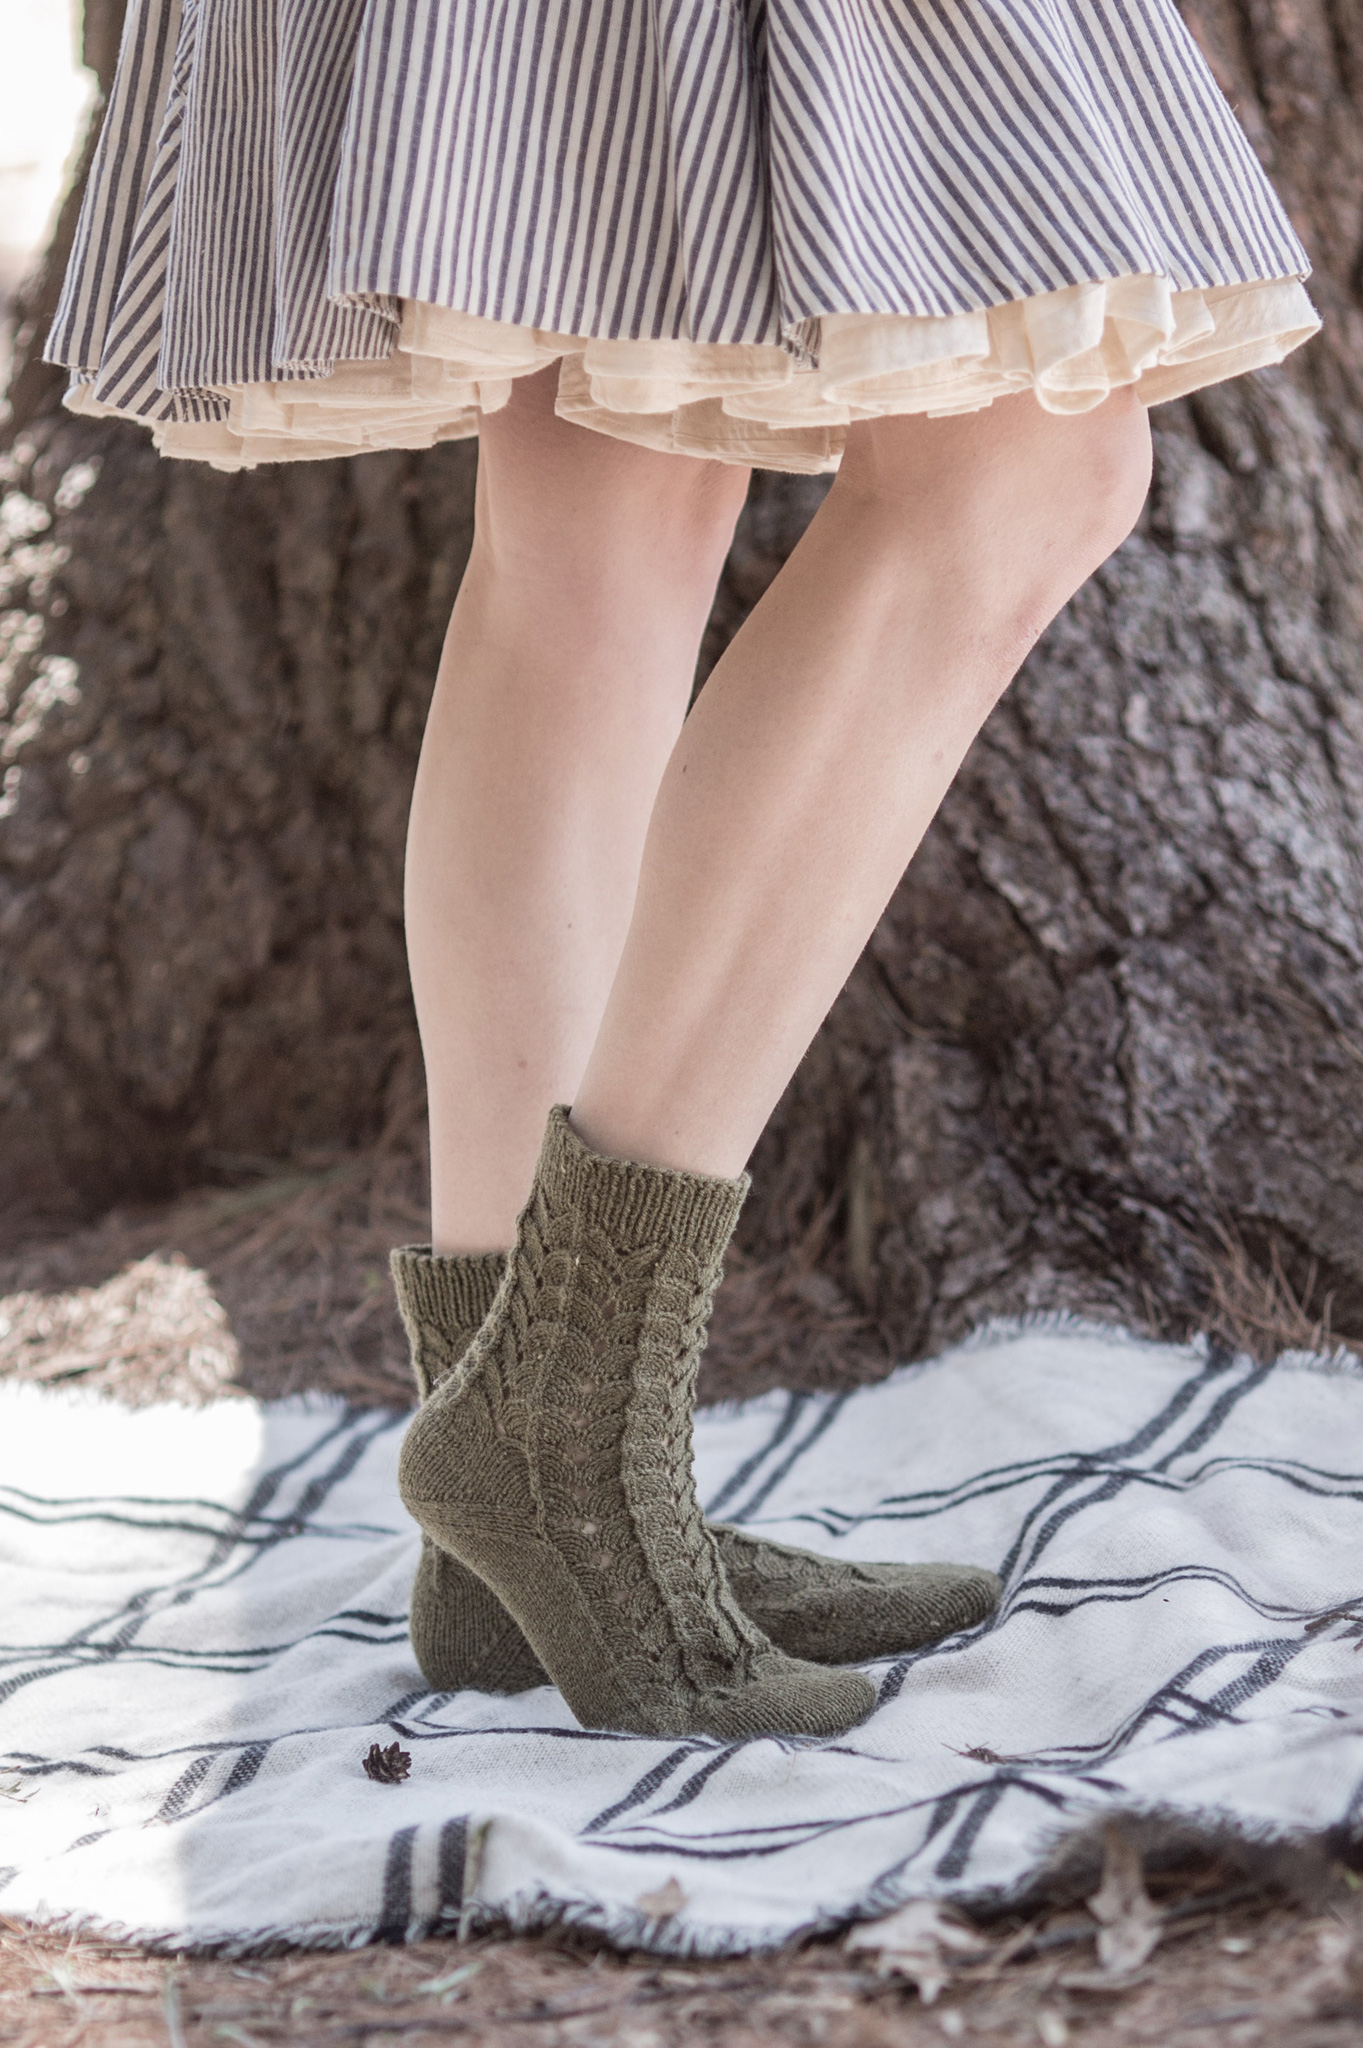
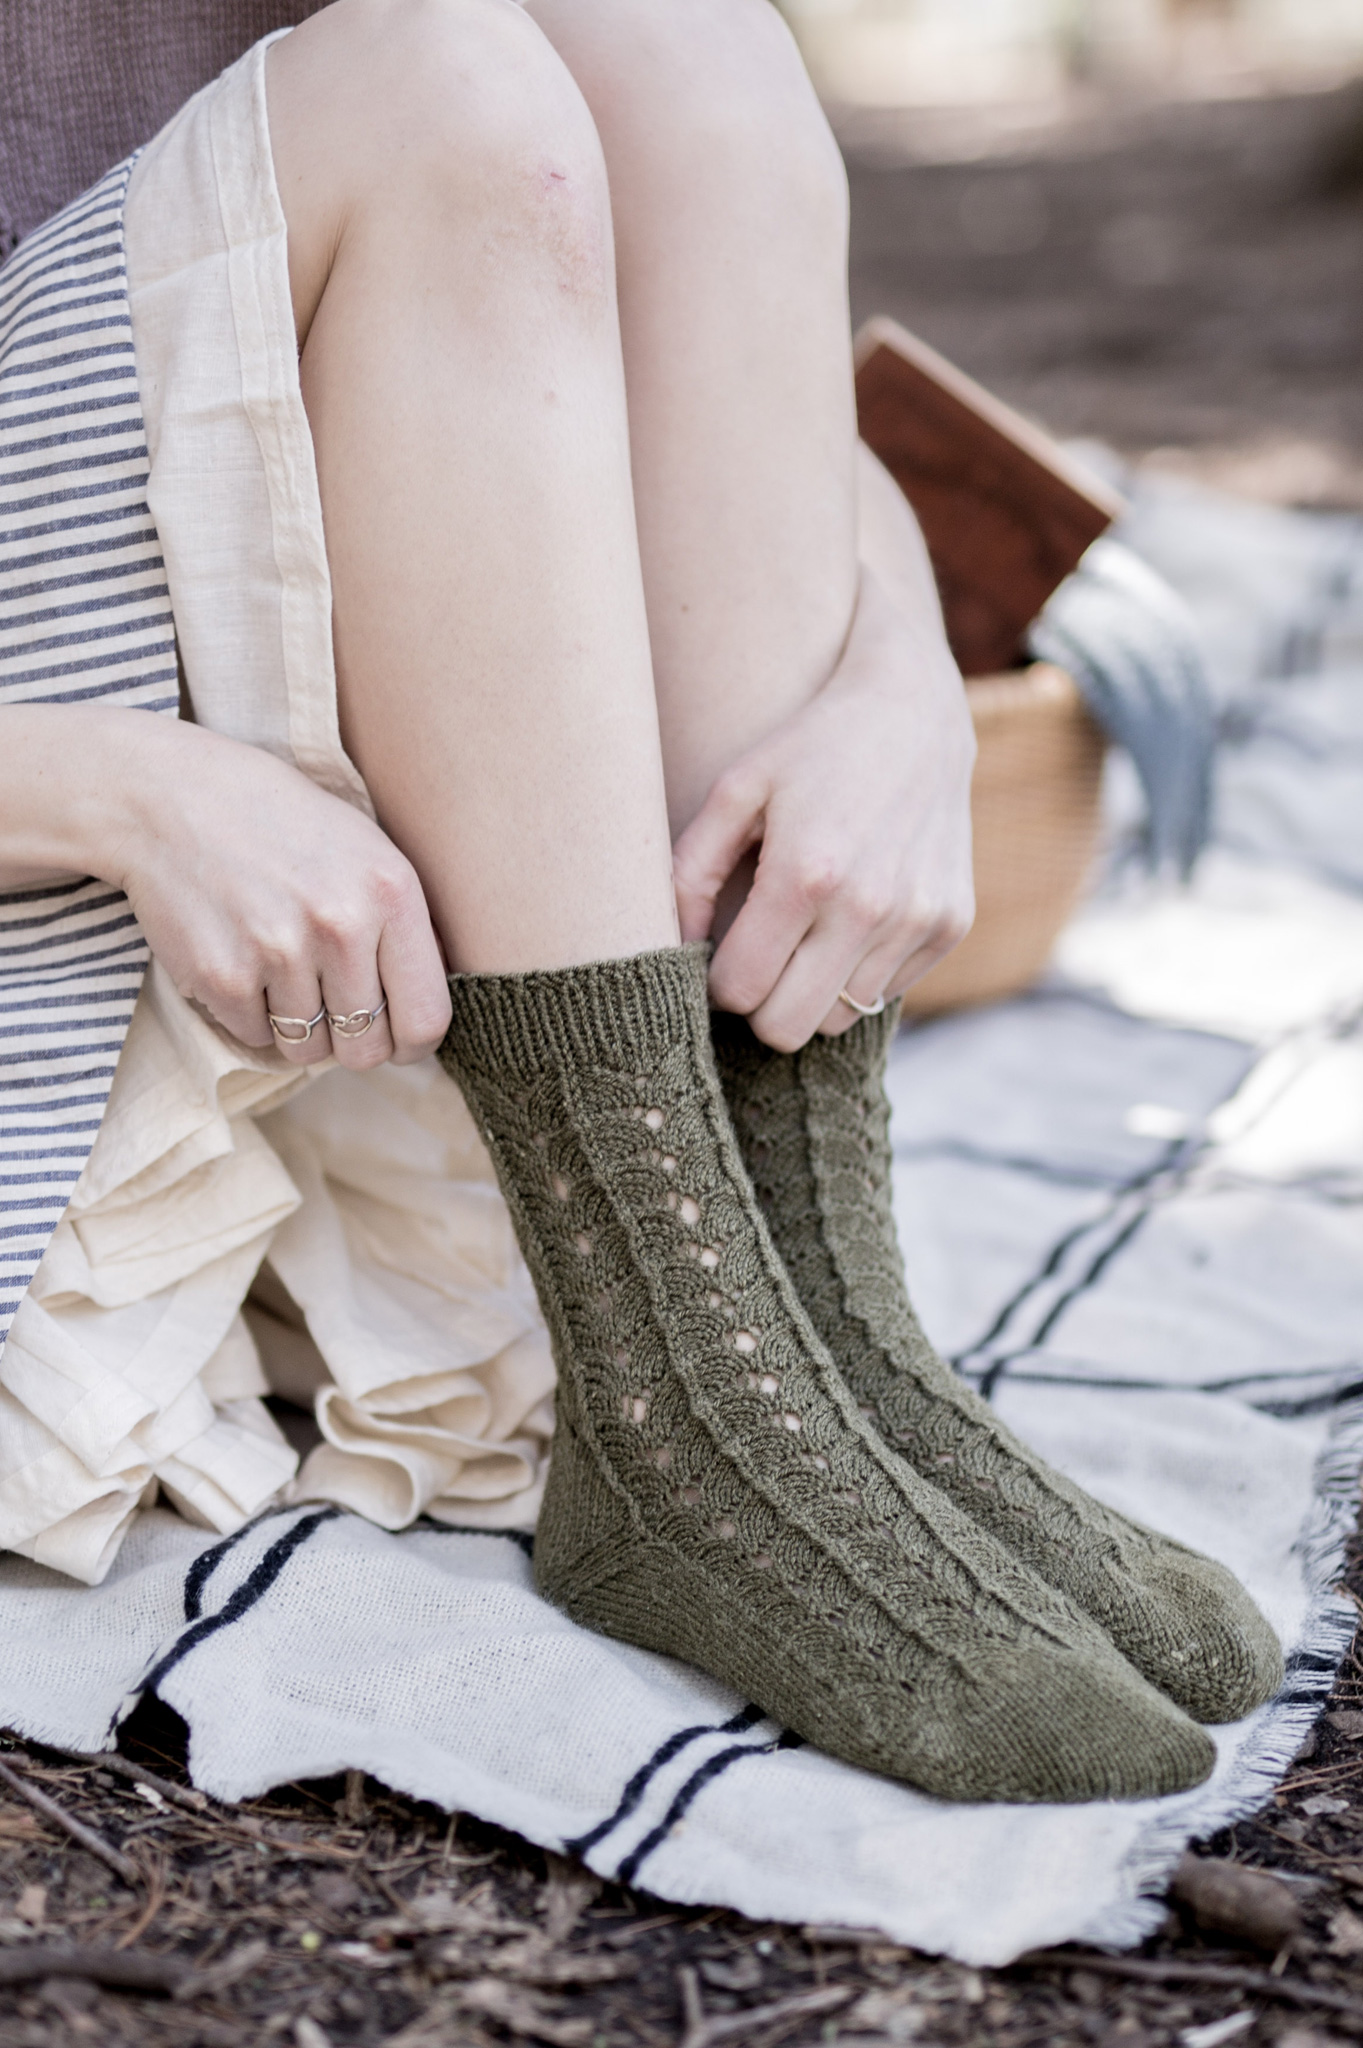
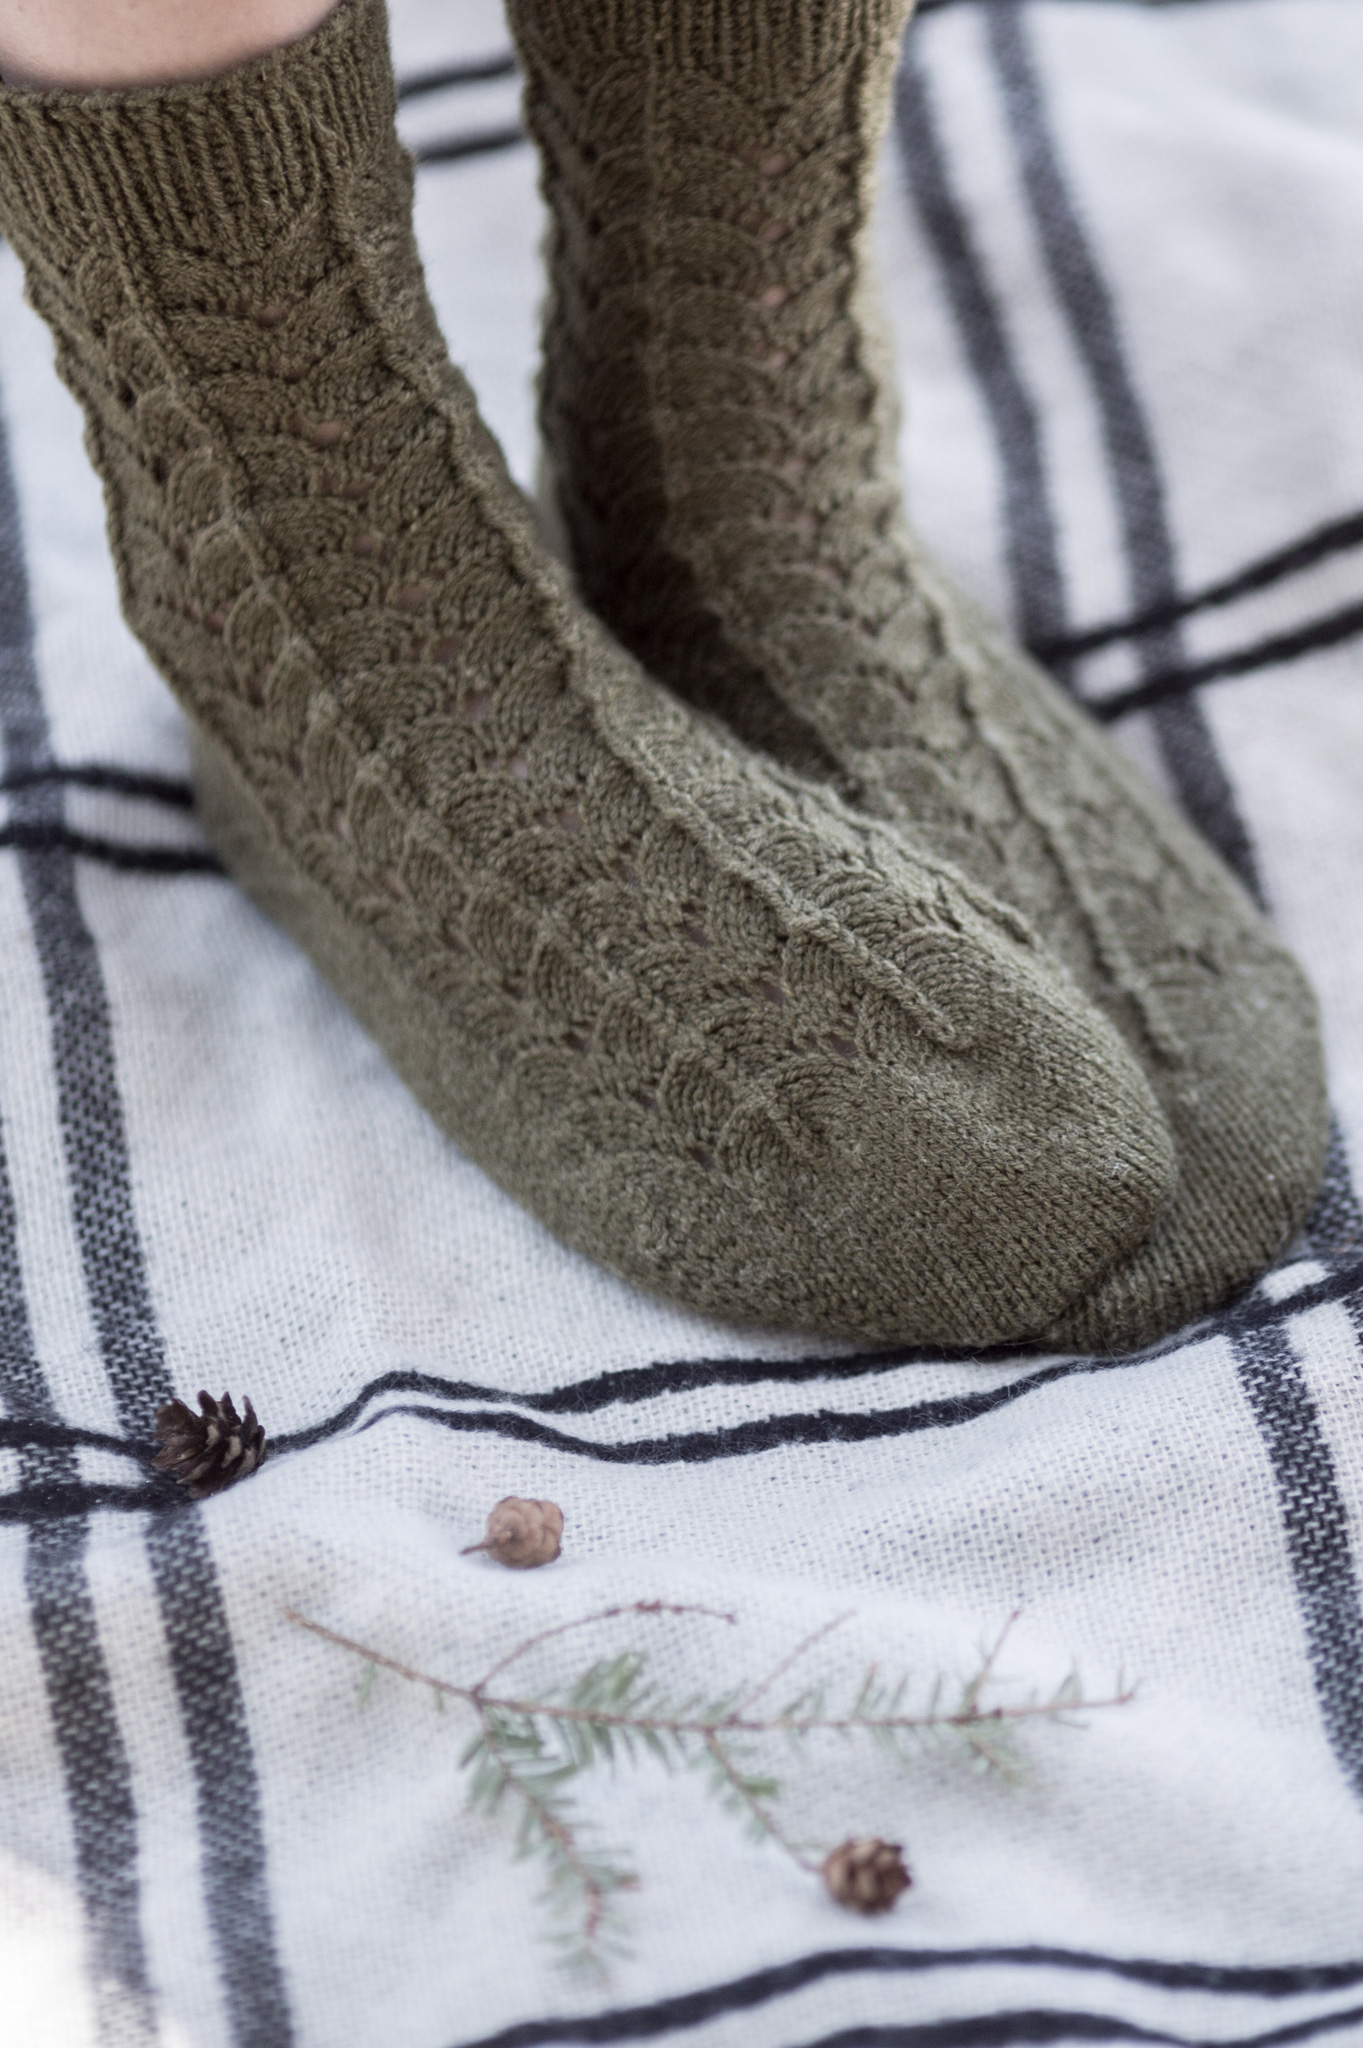
Meet Nerio, my latest (and 21st*!) release with Quince & Co. yarns. These quick-knit socks feature a deceptively simple lace pattern reminiscent of dragon scales. Toe-up construction with an afterthought heel keep the knitting flowing so these little beauties will practically hop (or should I say fly?)  off your needles. 

Nerio can be purchased as an individual pattern ($5.50 USD ) or as part of the five-pattern Tern 2018 collection ($18.00) from the following sources:

Ravelry | Ms. Cleaver | Quince & Co.

*And the third to be styled with that skirt!


Print Friendly and PDF Follow
follow us in feedly

Being Comfortable - Part II

Wherein I talk about body image, mental health and making your own clothes, one year later...

Read more
Print Friendly and PDF Follow
follow us in feedly