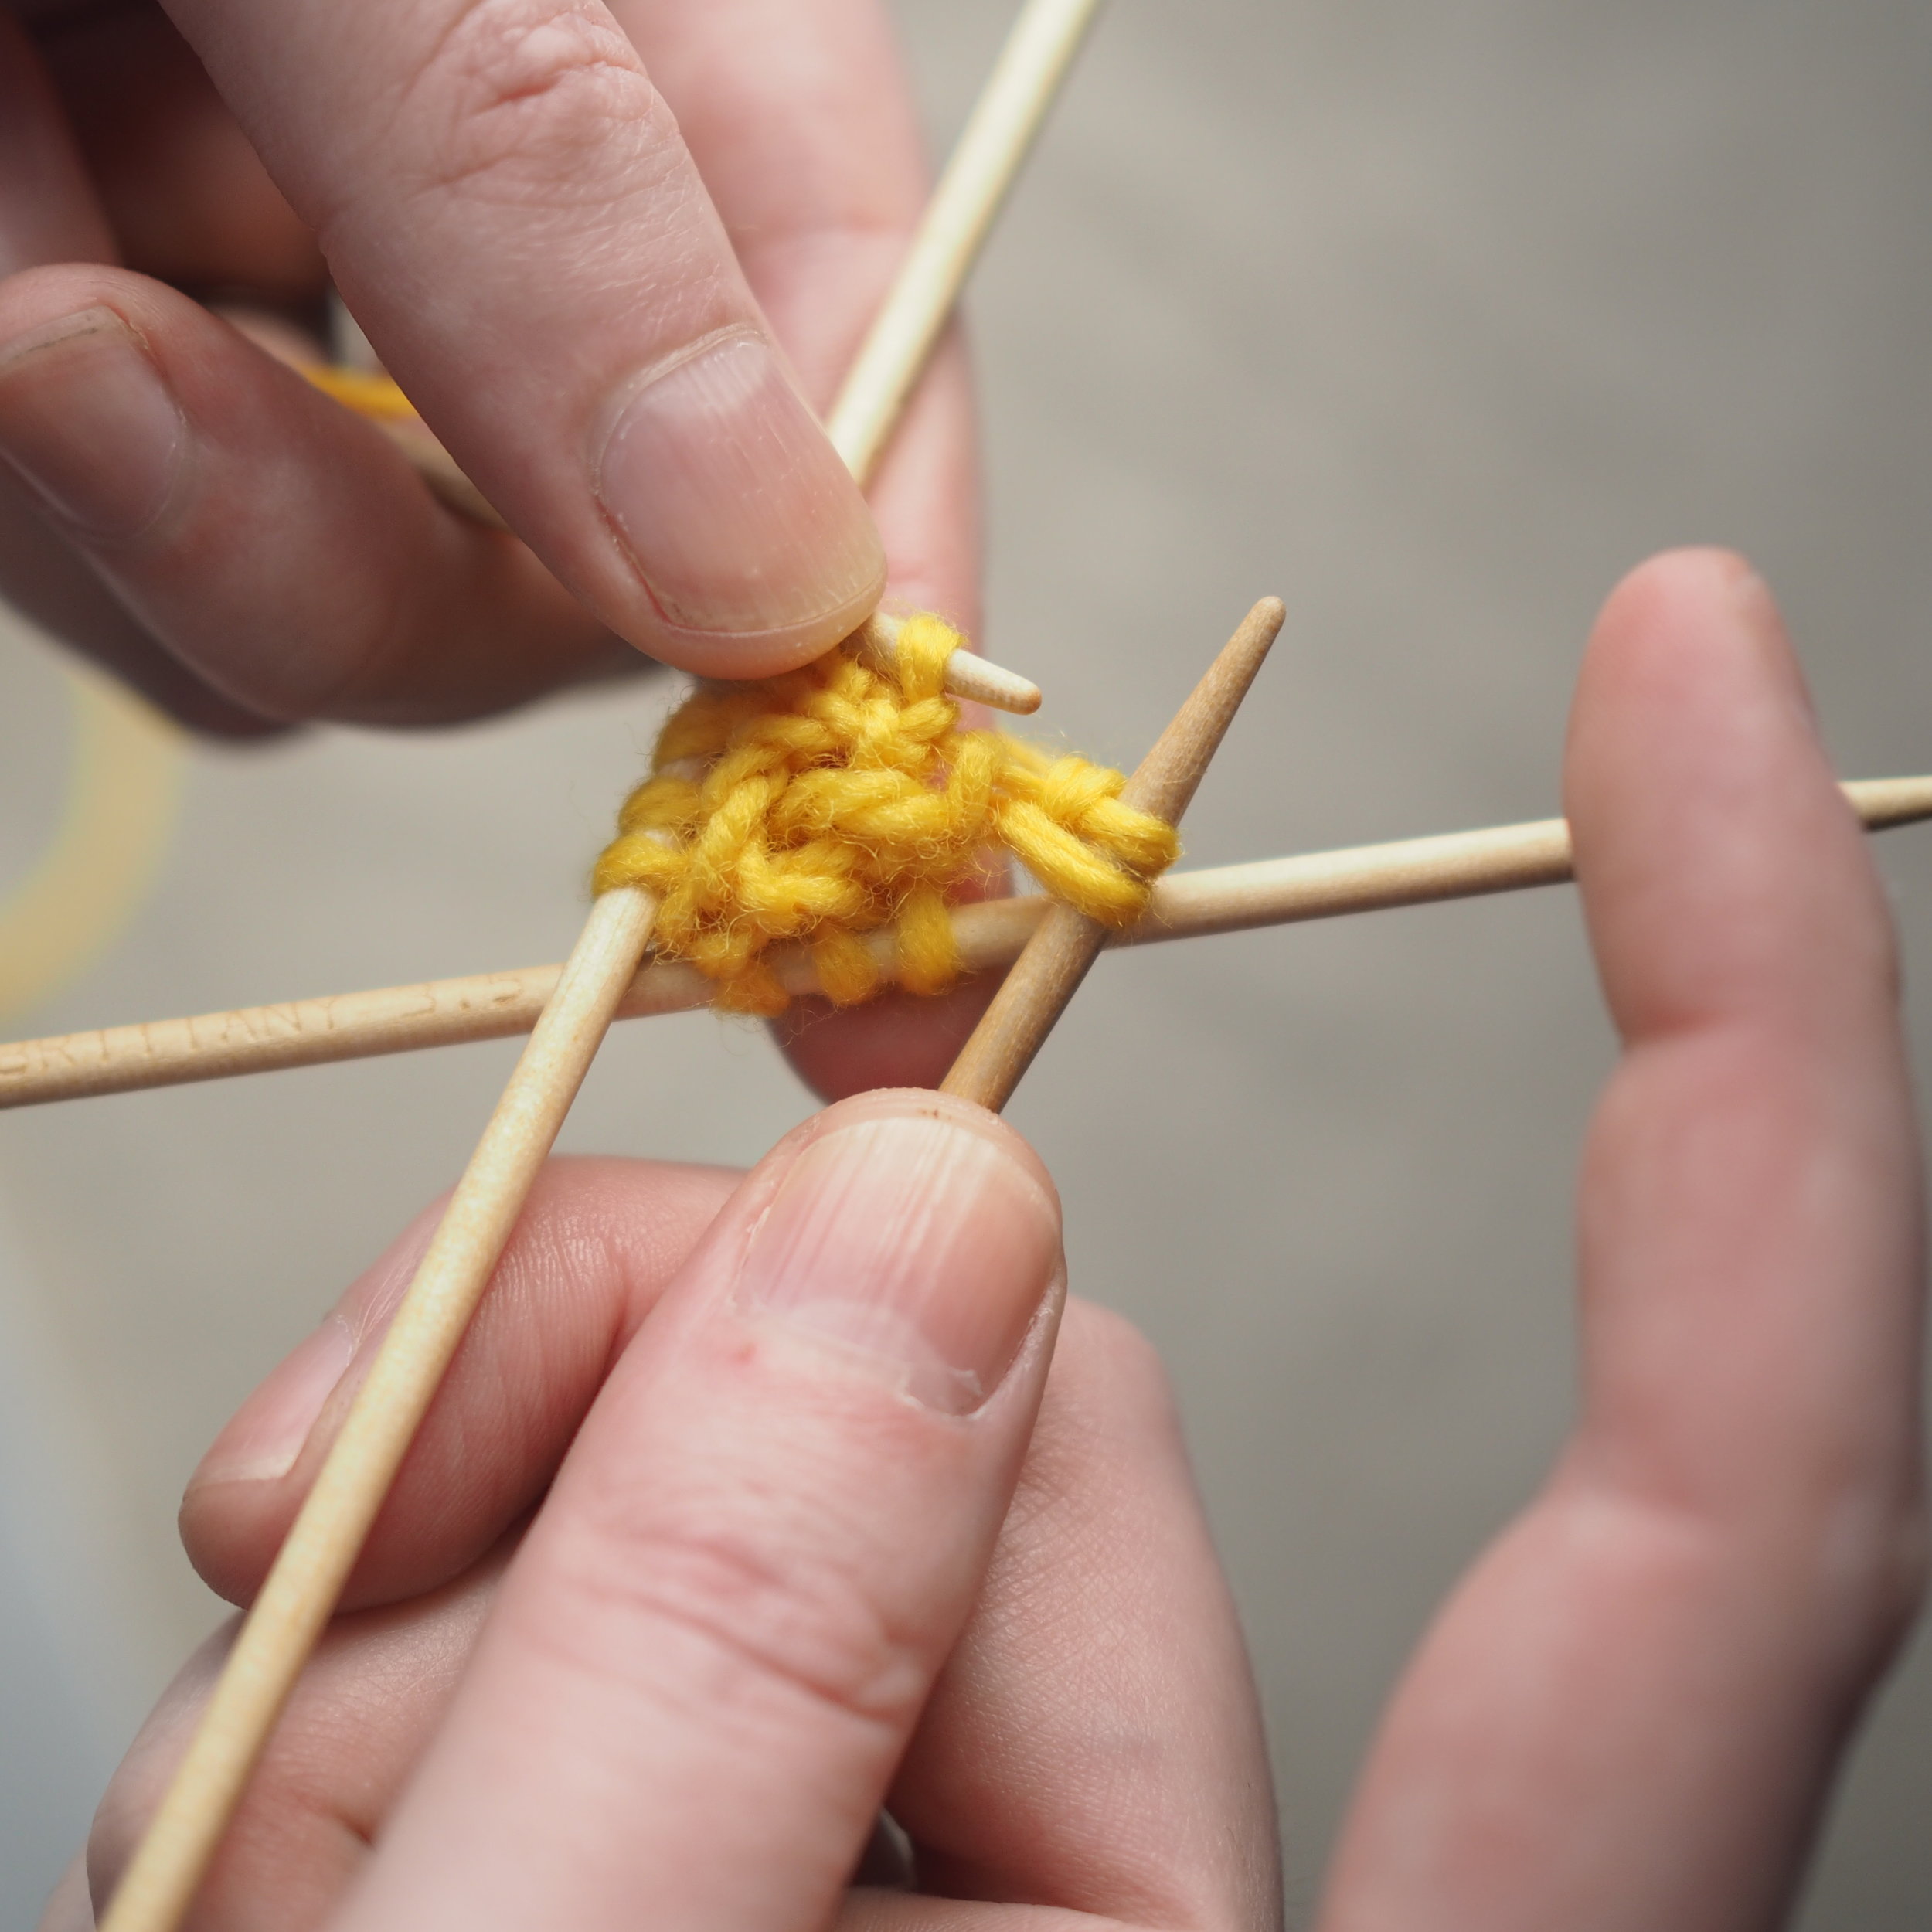
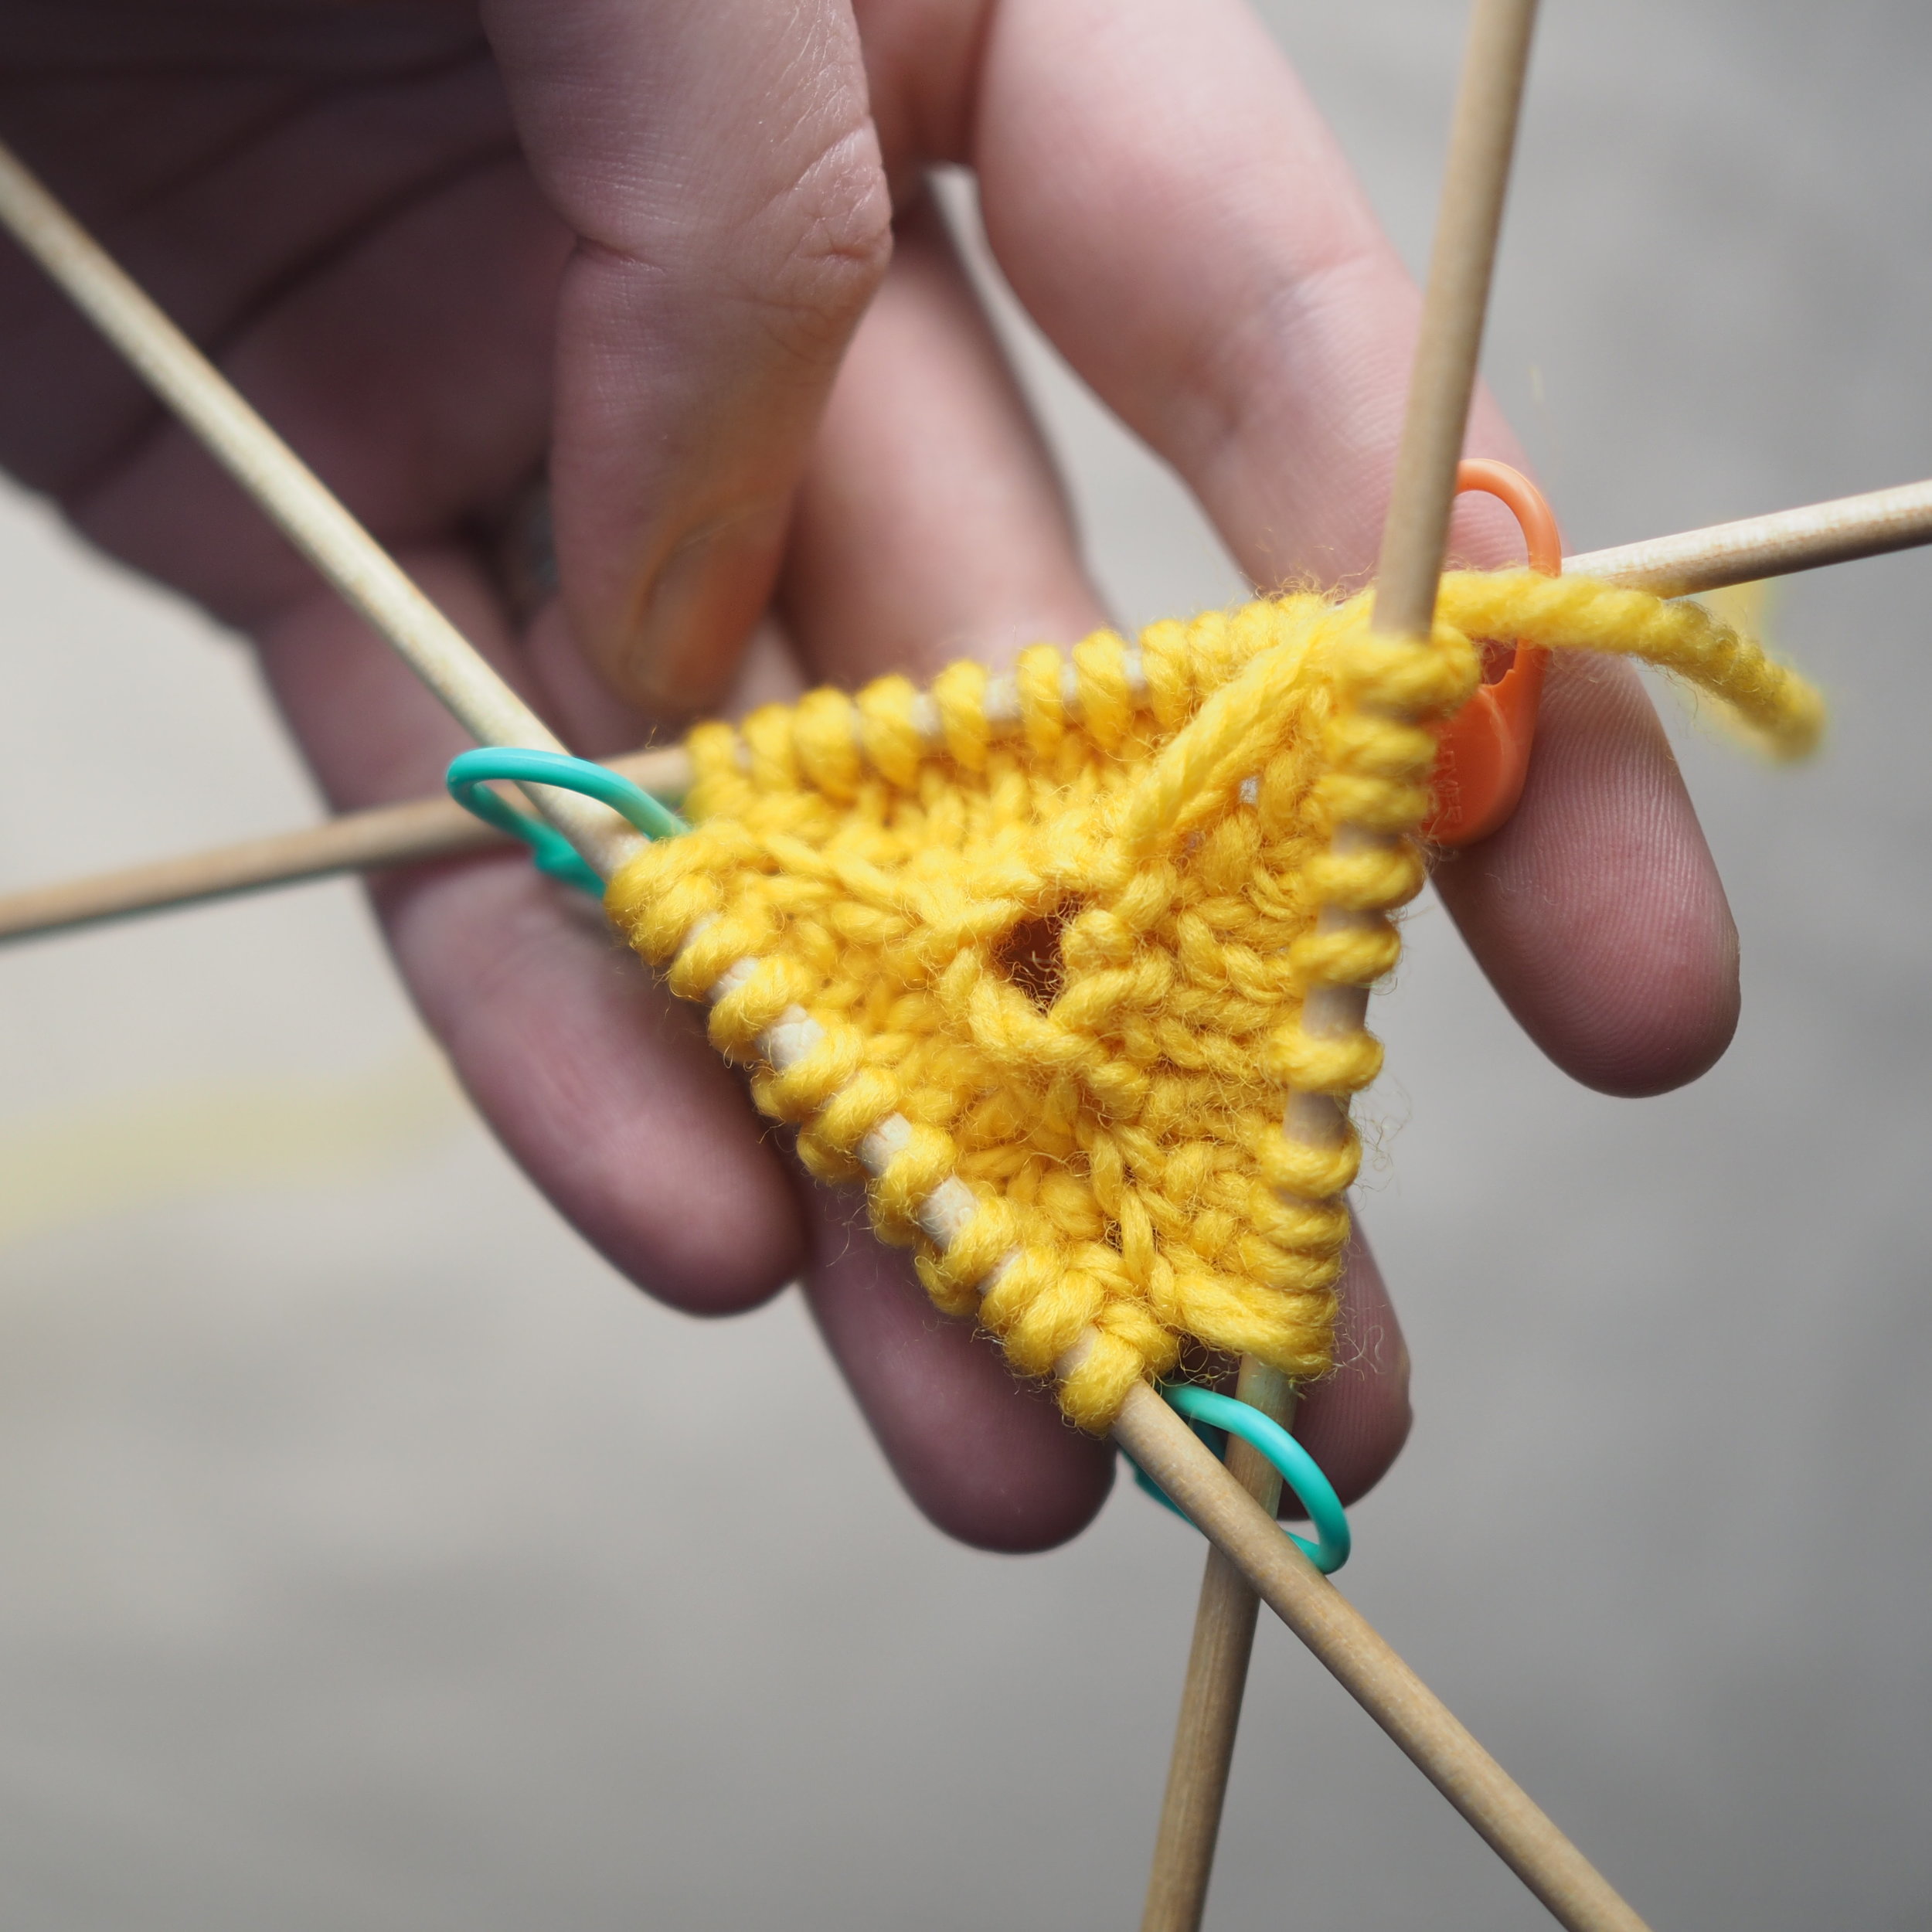
Knitting 101 - Part 3: Binding Off

K101_BO.png

This series is designed to help you learn the basics of knitting technique in a way that will smoothly transition your skills to future projects. To best use this guide, don’t try to make anything meaningful at first. Spend at least an hour making a few oddly-shaped bits of knitting about 10-12 stitches wide and 10 rows high (I call them gerbil coasters) before you dive into a real project. The key to even-looking knitting is developing muscle memory in your hands, so practice each technique several times until you get the hang of it. Remember that this is supposed to be fun, so if you’re feeling frustrated, take a break and come back to it later.

When you feel comfortable with the techniques in the series, I’ve designed a pattern, The Itty Bitty Knitty Kitty, specifically for brand new knitters. The Kitty is designed to be made up of several small parts, so if you don’t like the way a piece is looking, there’s no harm in tossing it aside and starting again.

More of a print than screen reader? The complete series (including the Itty Bitty Kitty Pattern) is available as a PDF, printed booklet, and complete kit to get you started off with high quality materials.


Binding-Off

Binding-off secures the end of your knitting so it won’t unravel. Just as there are many cast-ons, there are many bind-offs, some more stretchy than others. Here, I’ll show you a basic bind-off that provides a firm edge.

1. Bind Off the First Stitch
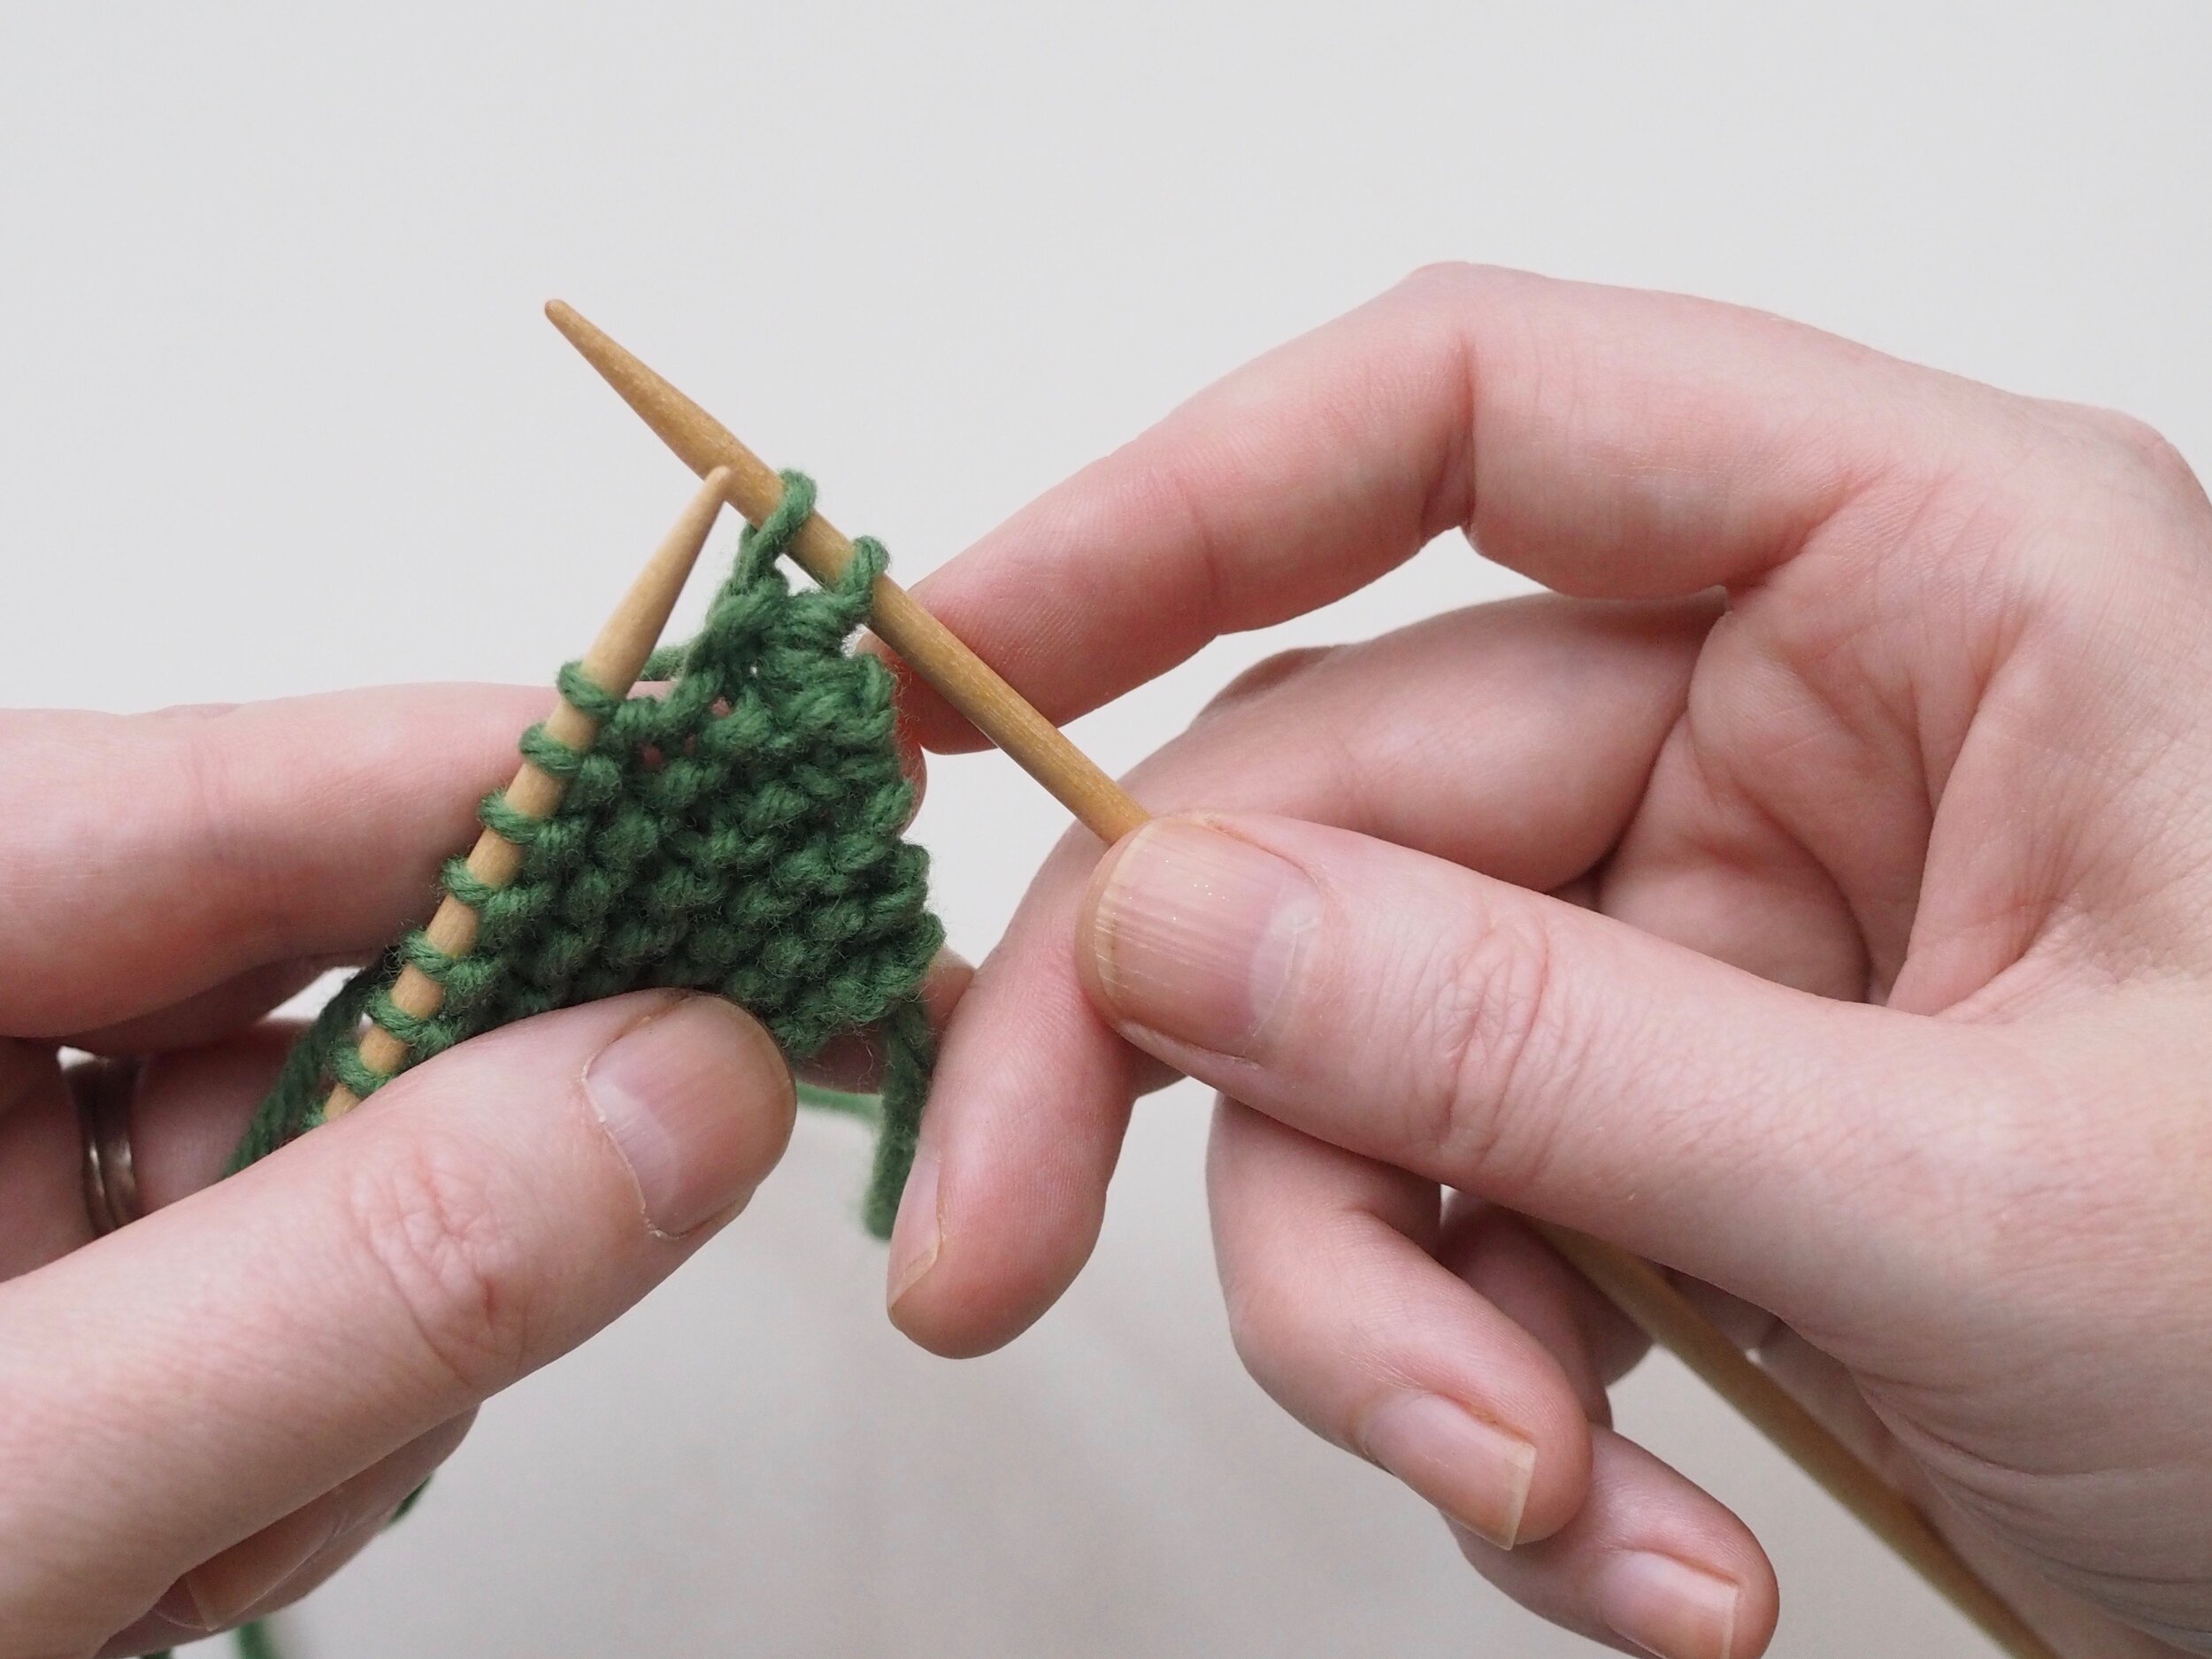
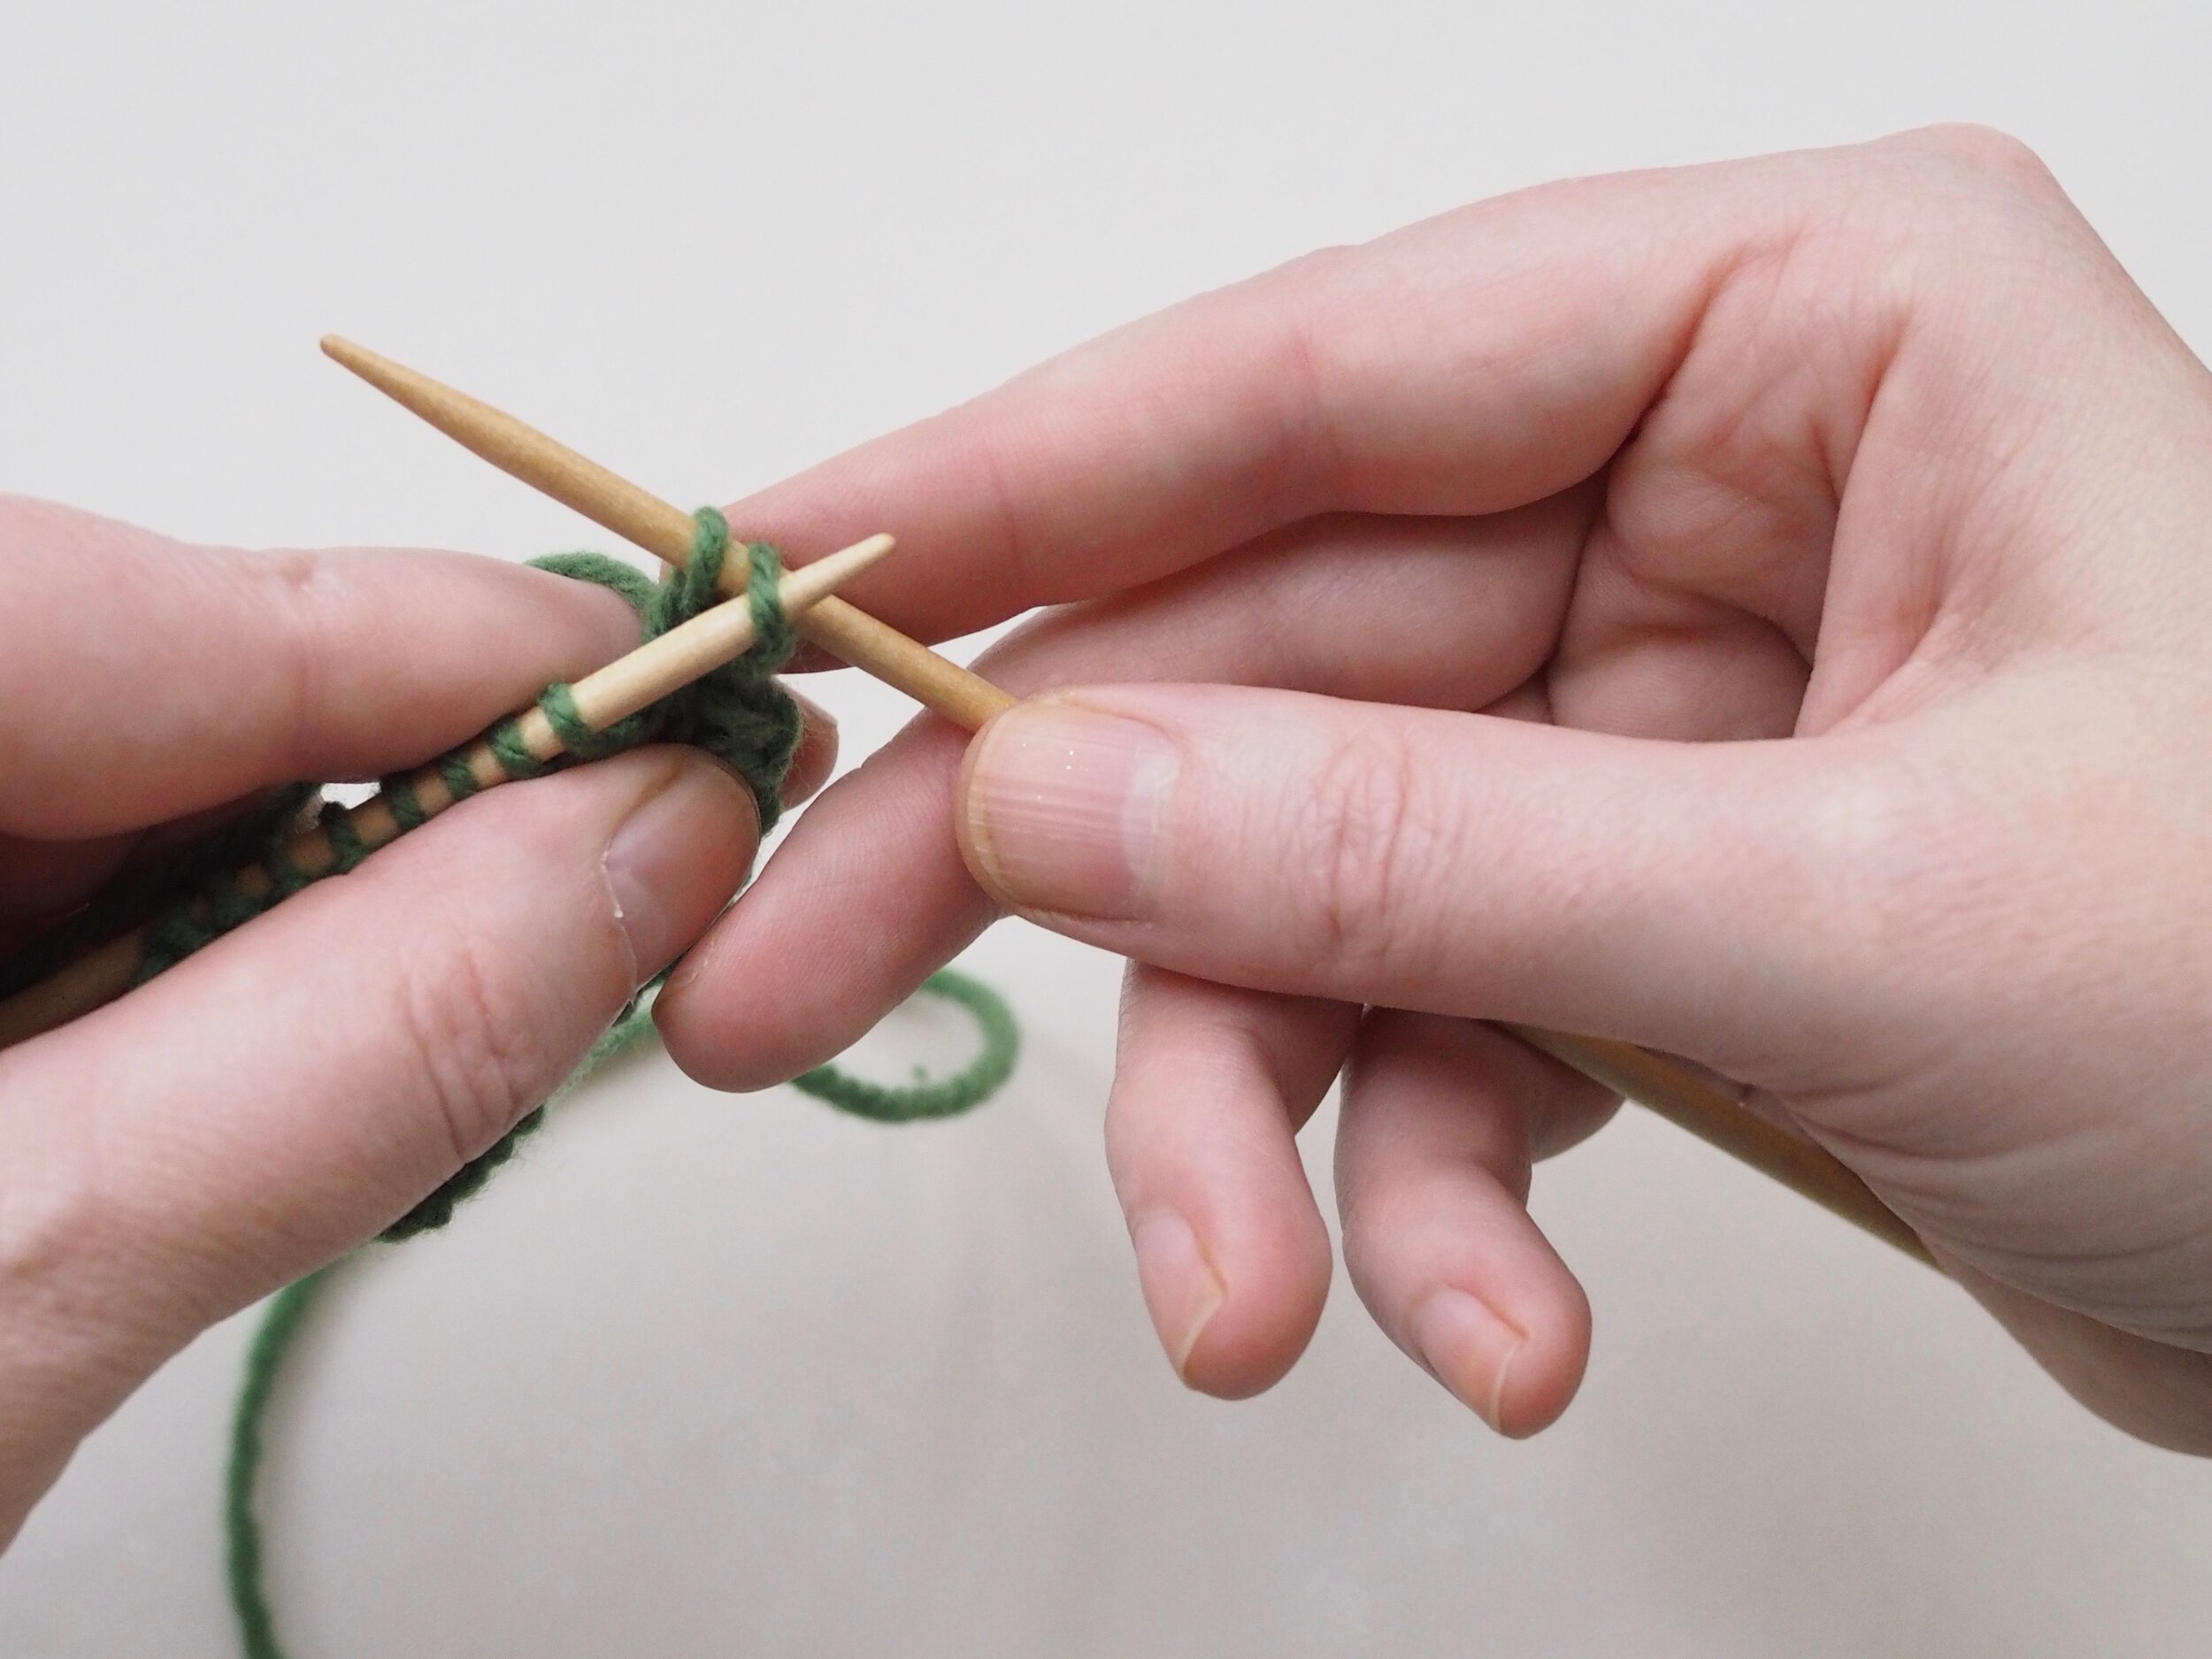
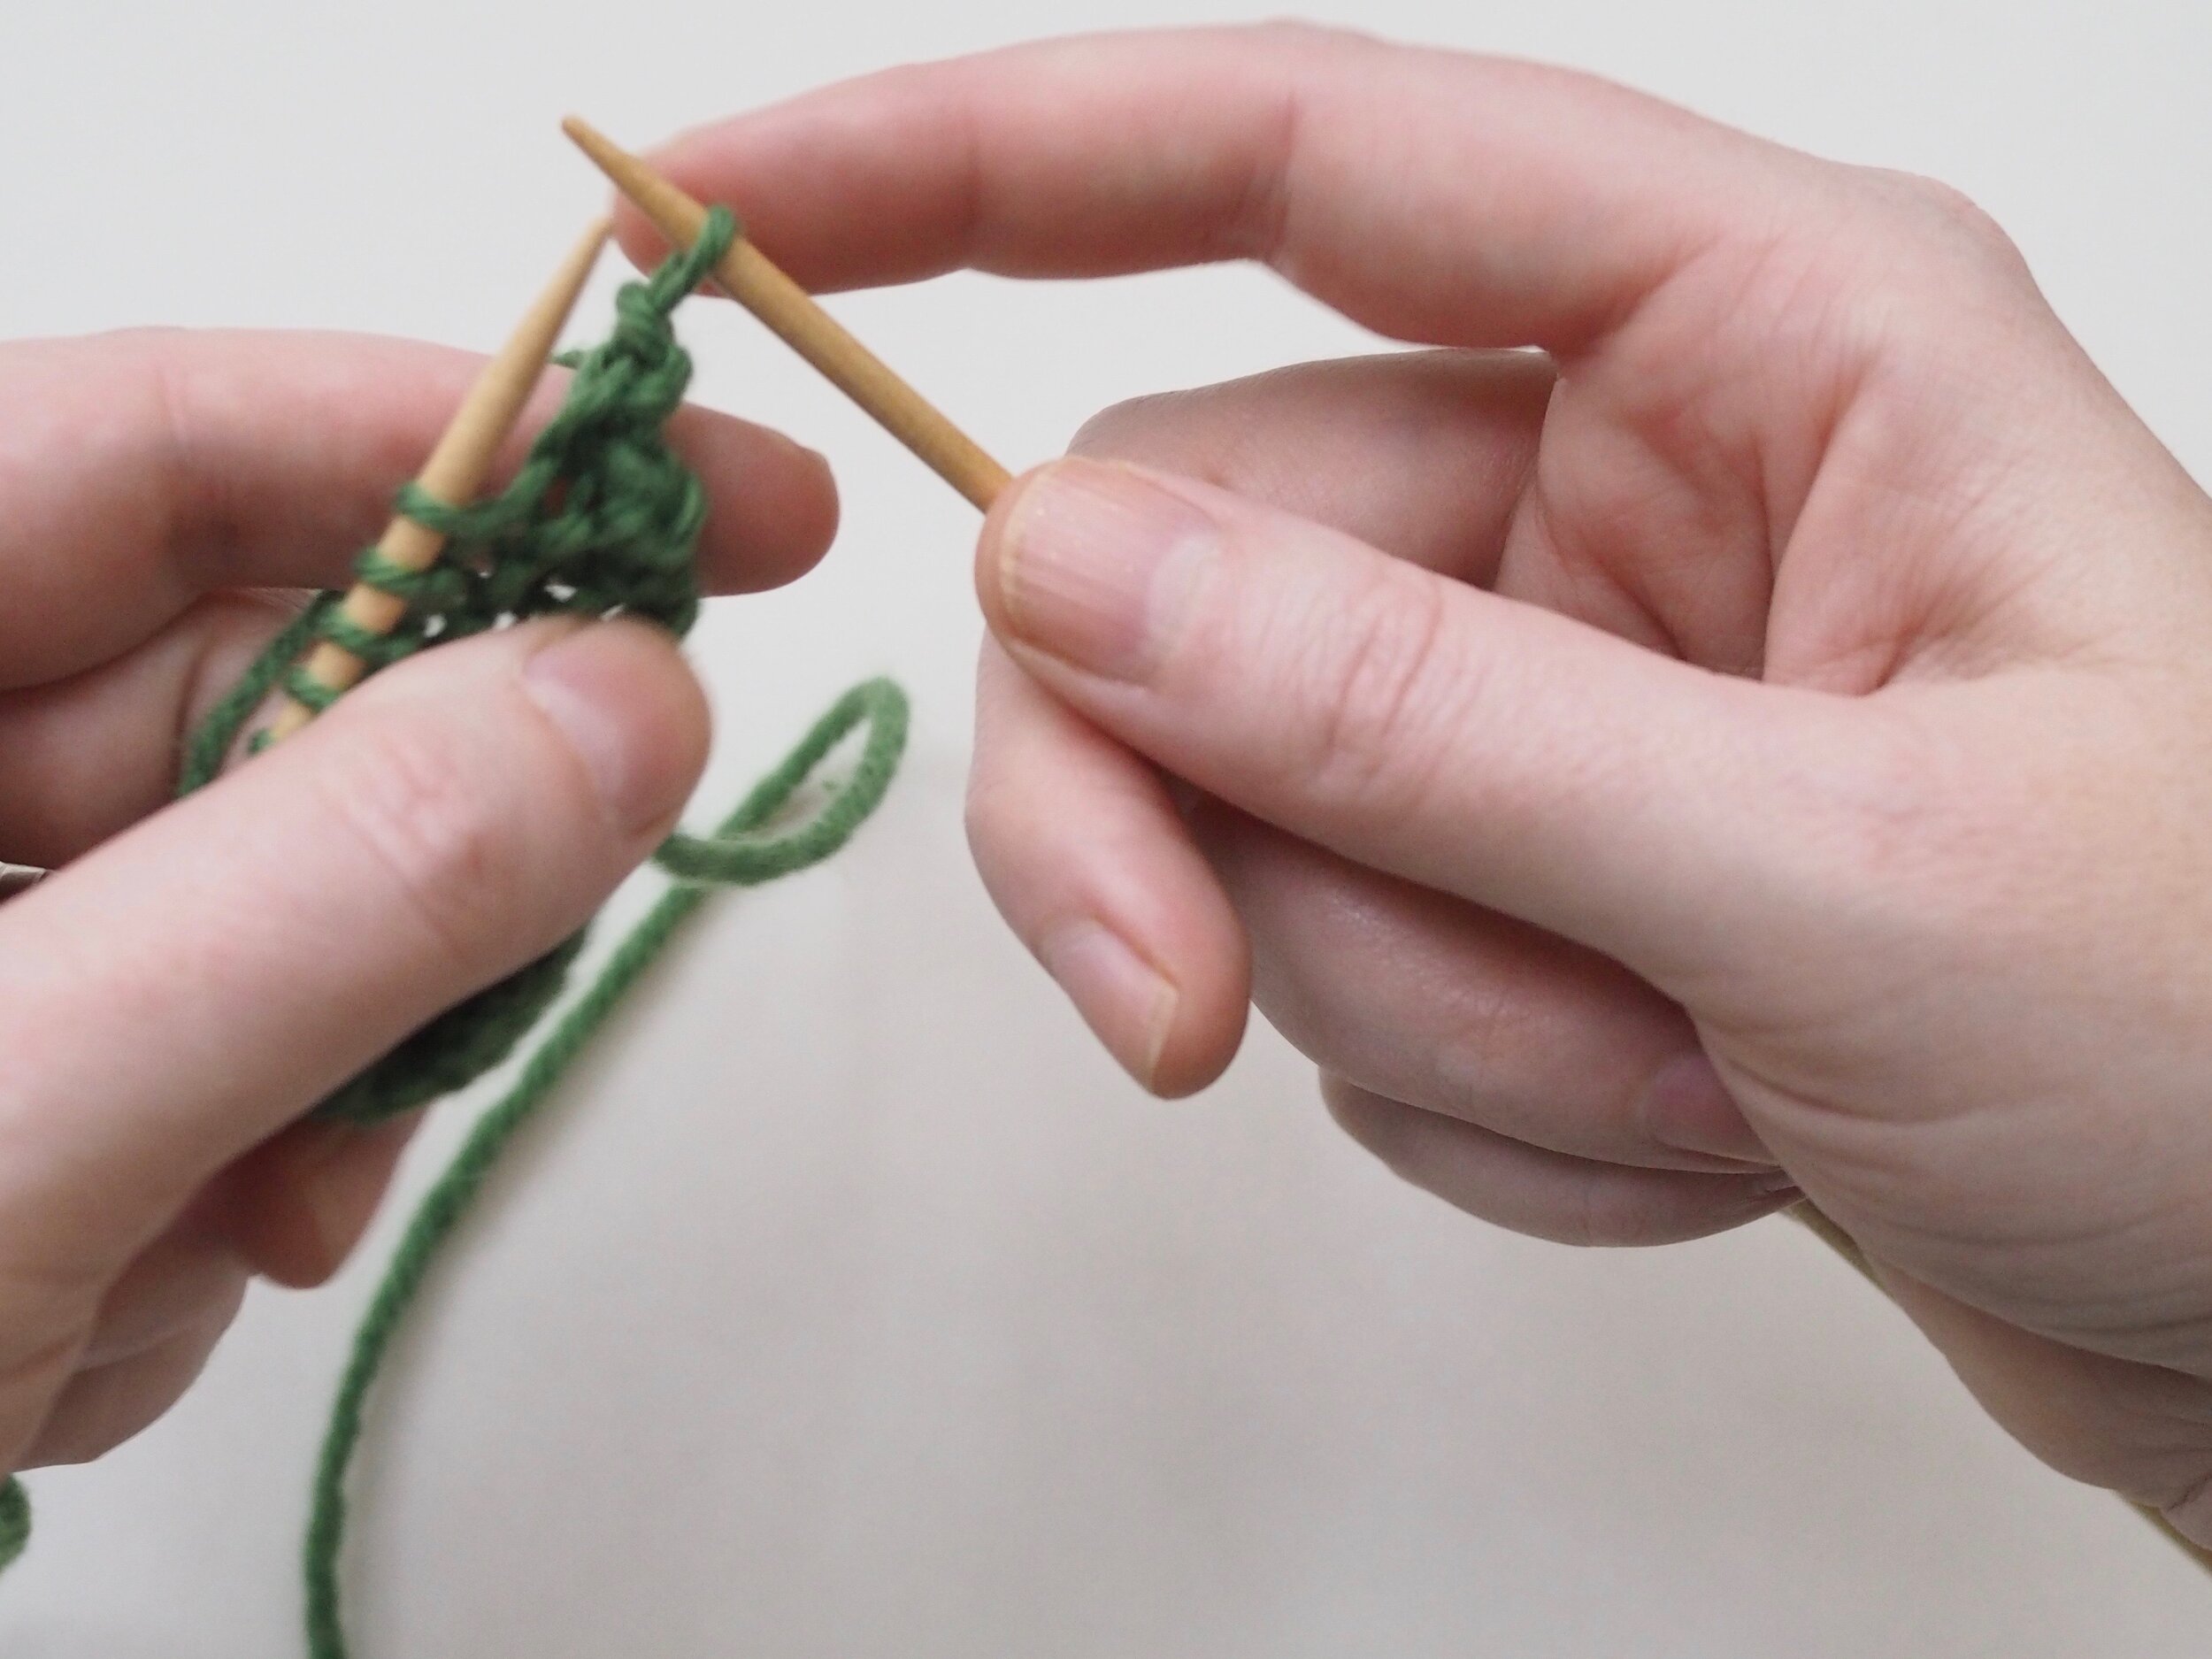
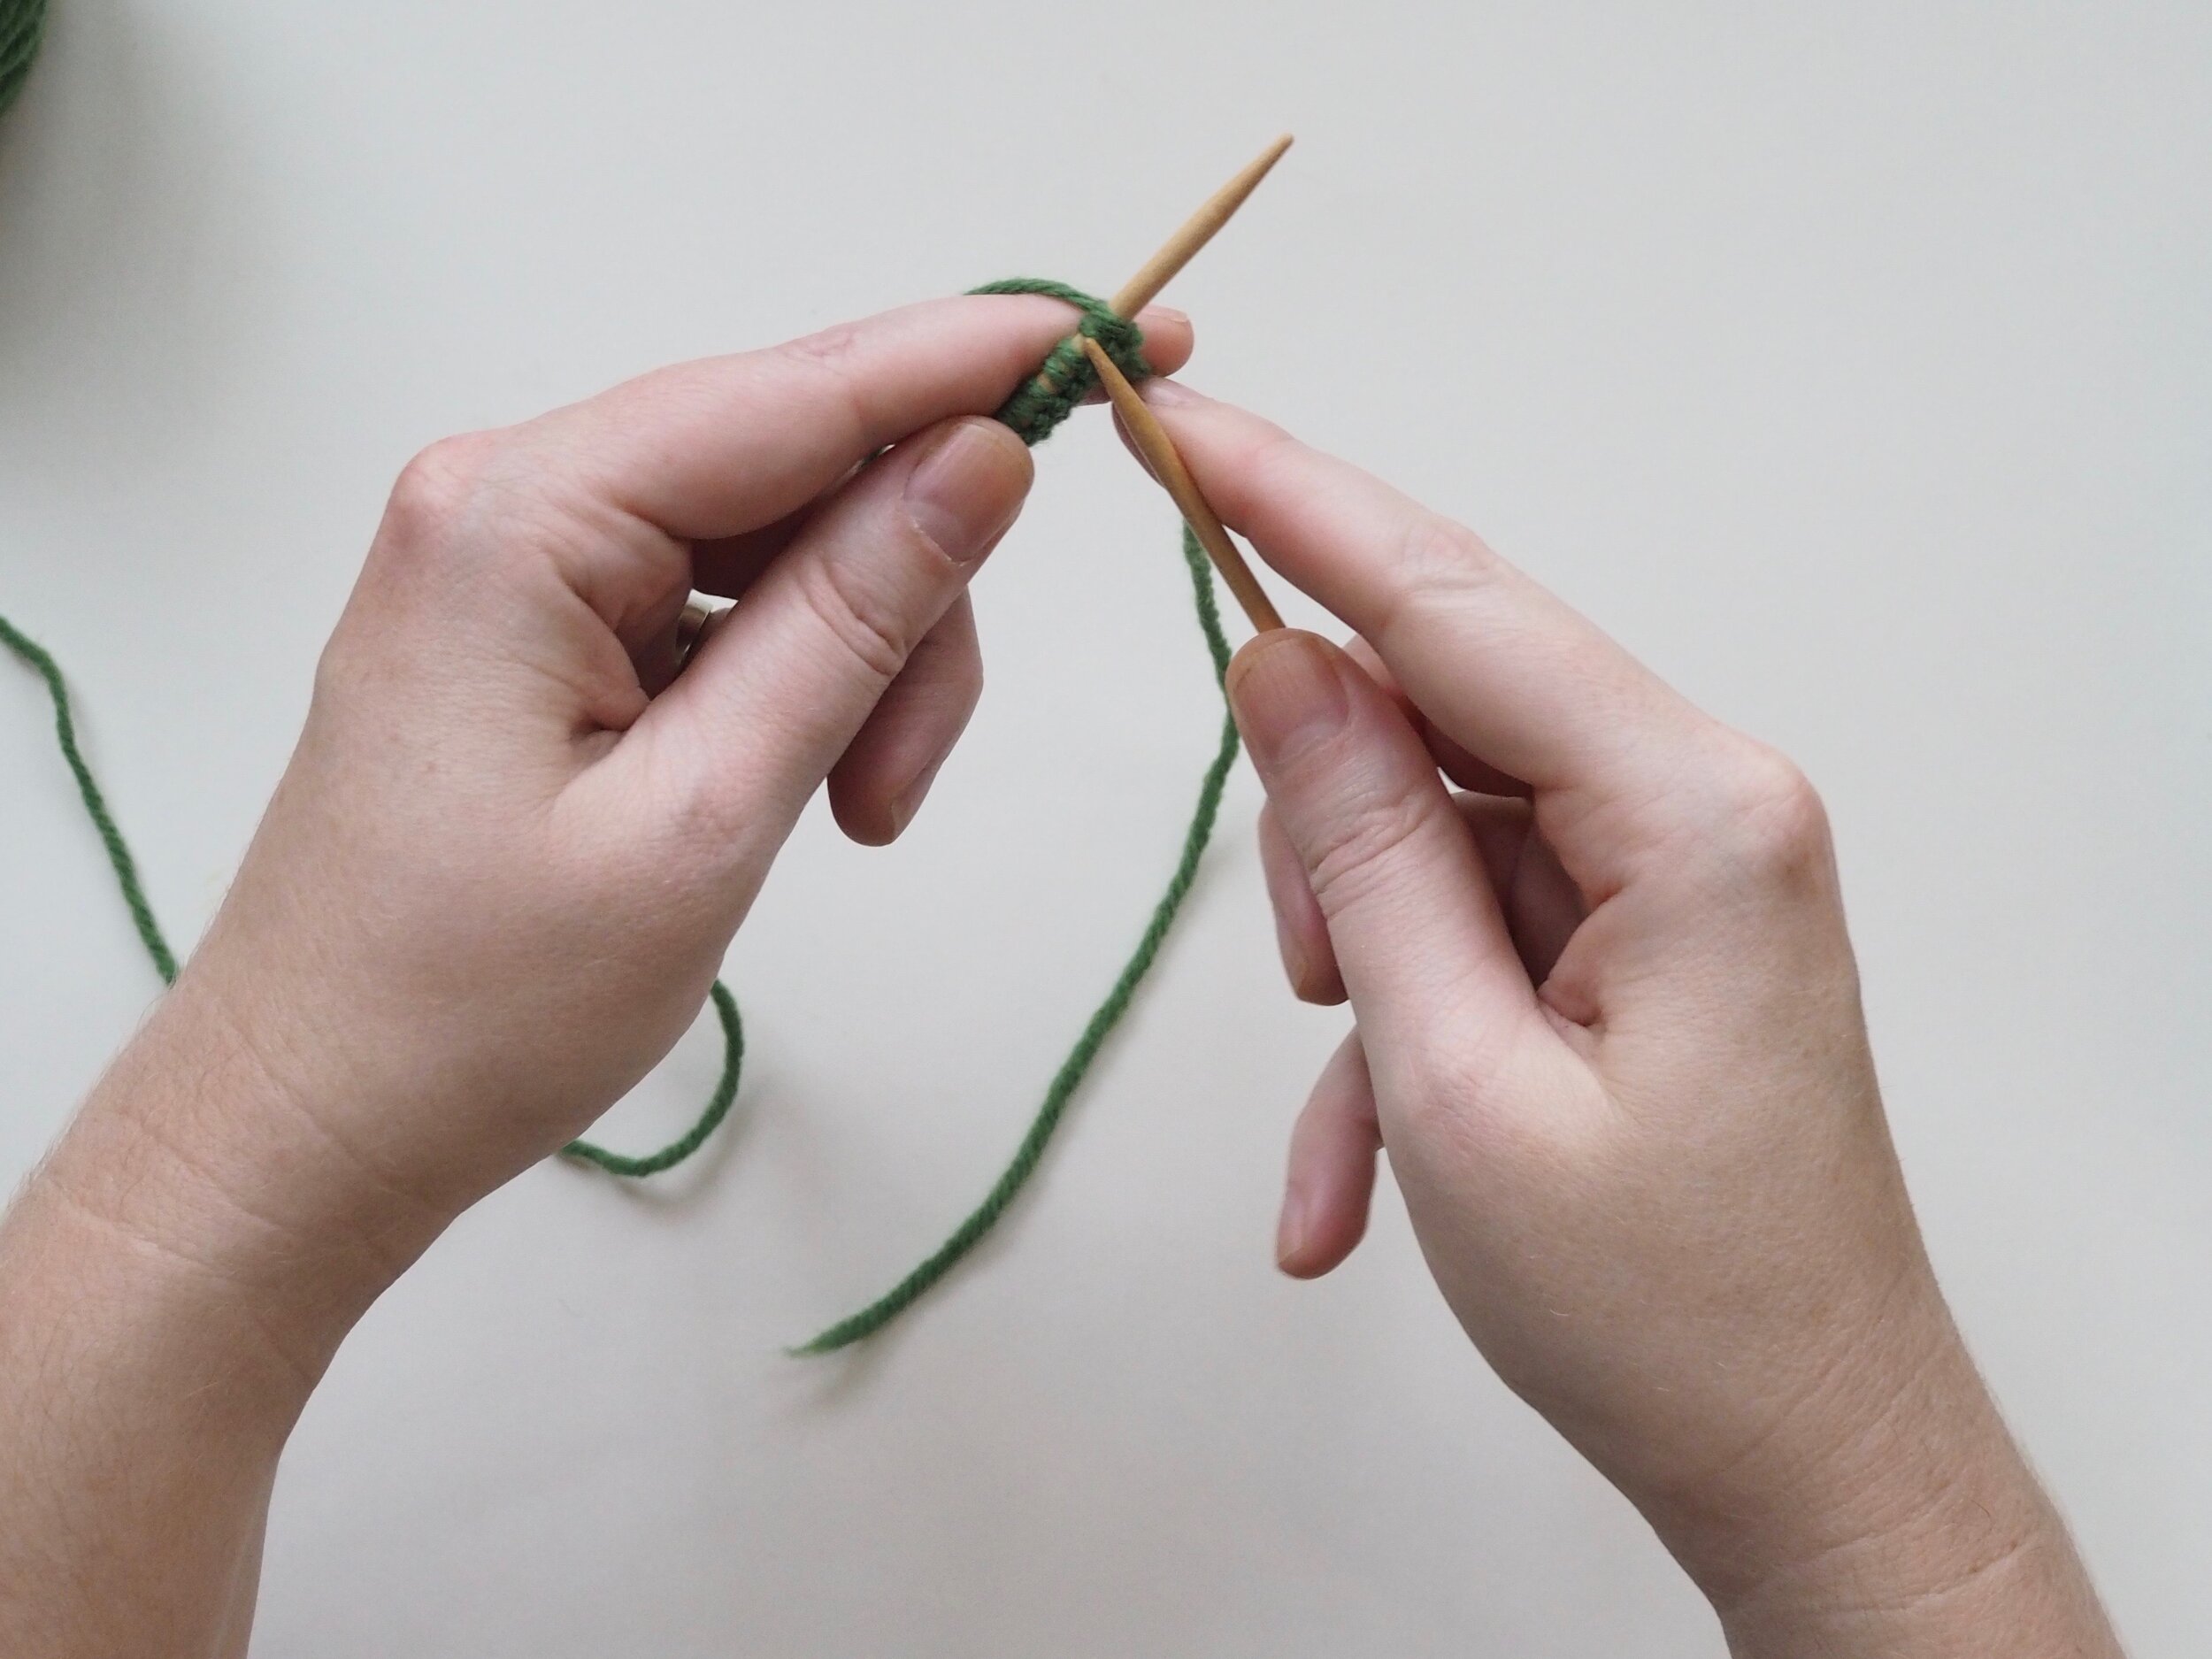
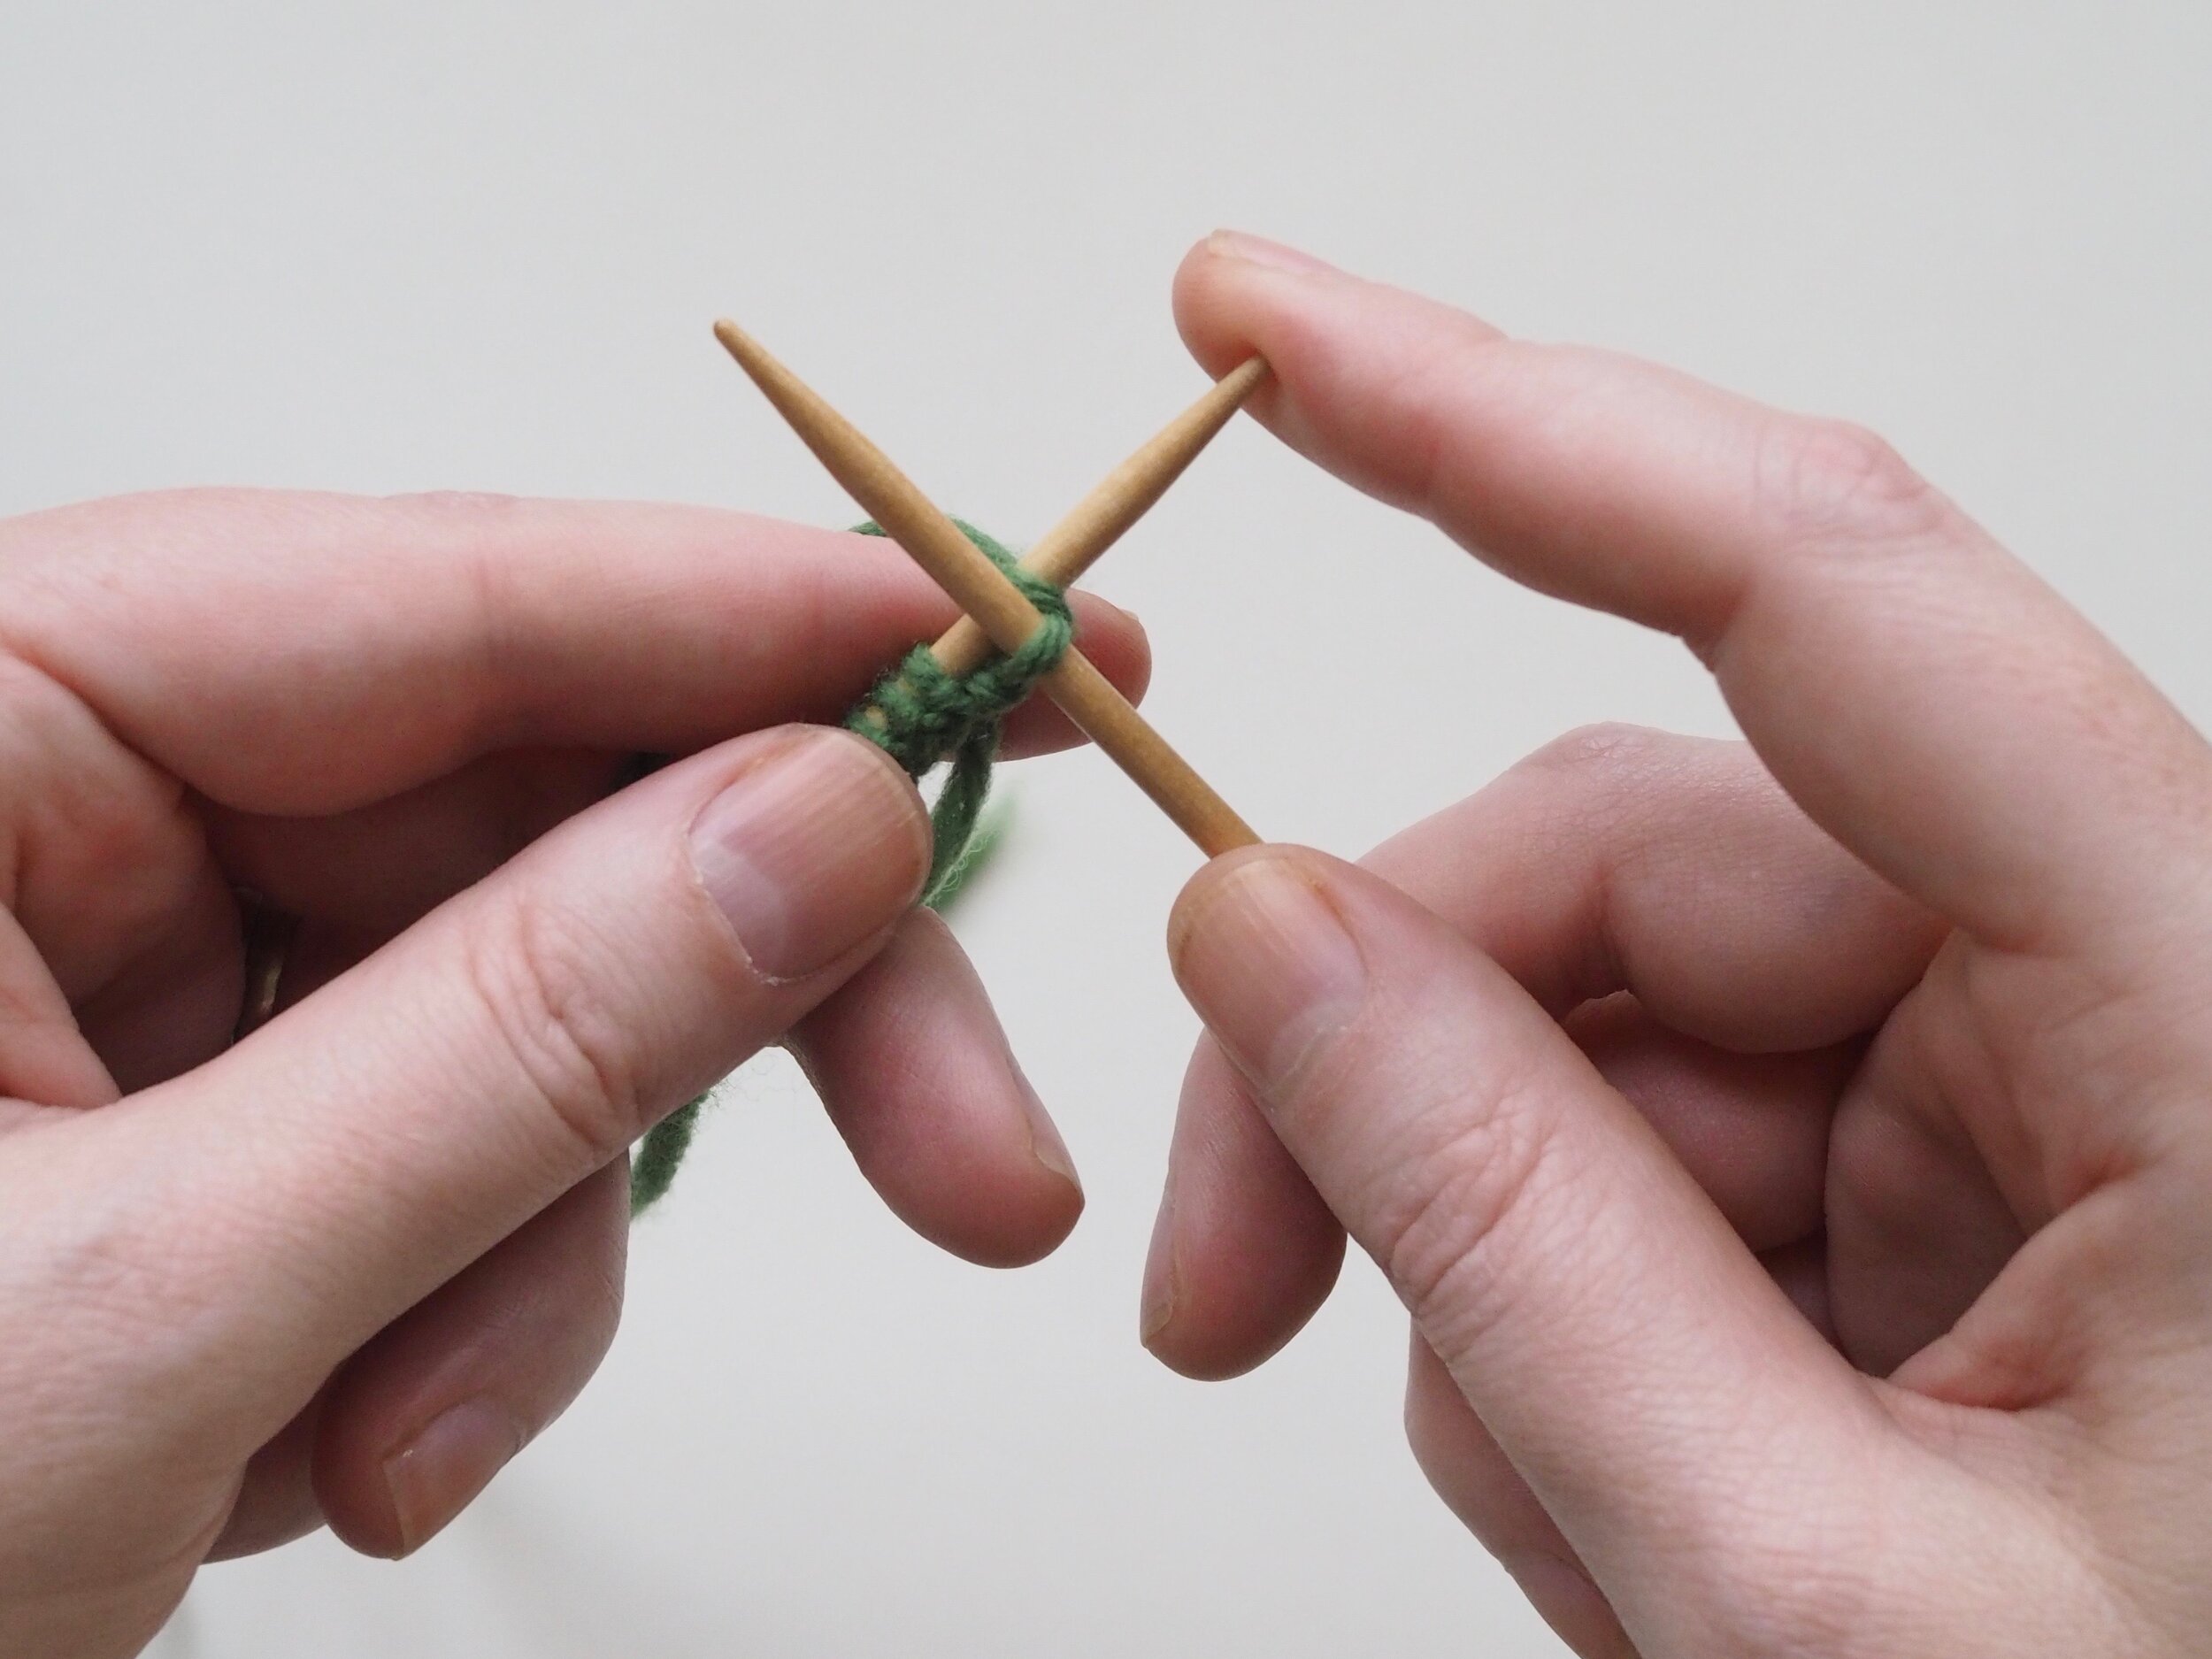
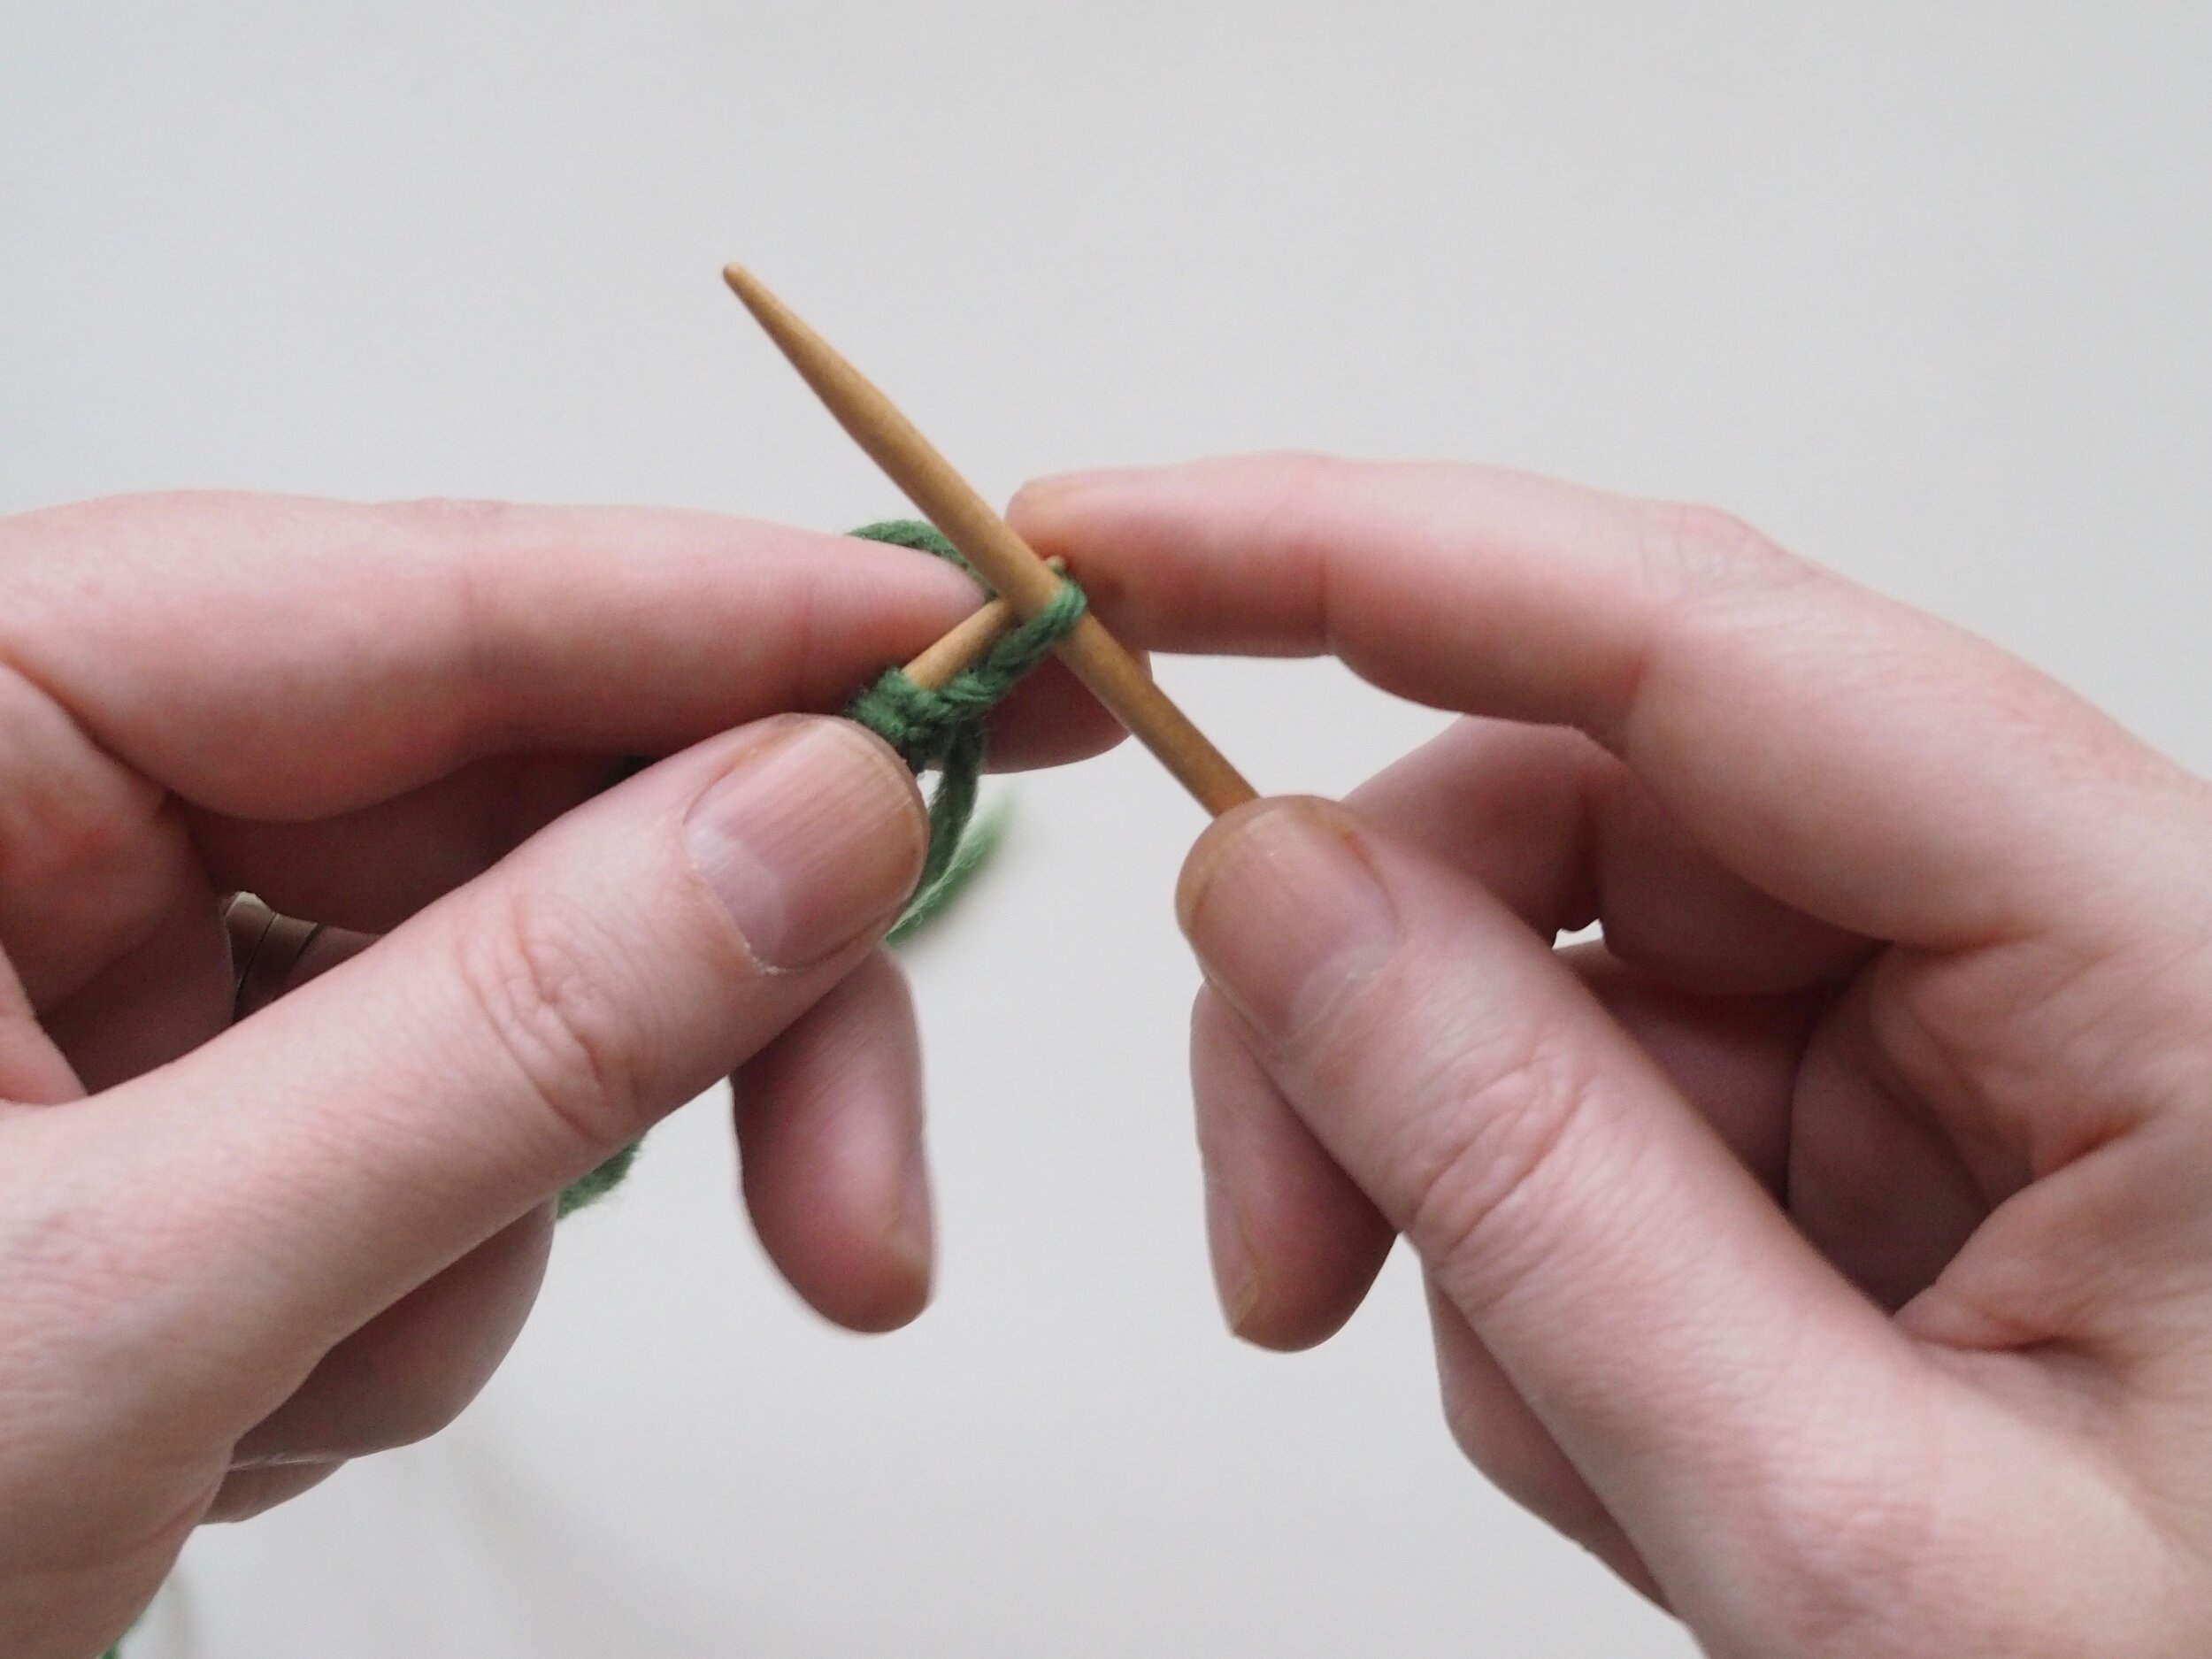
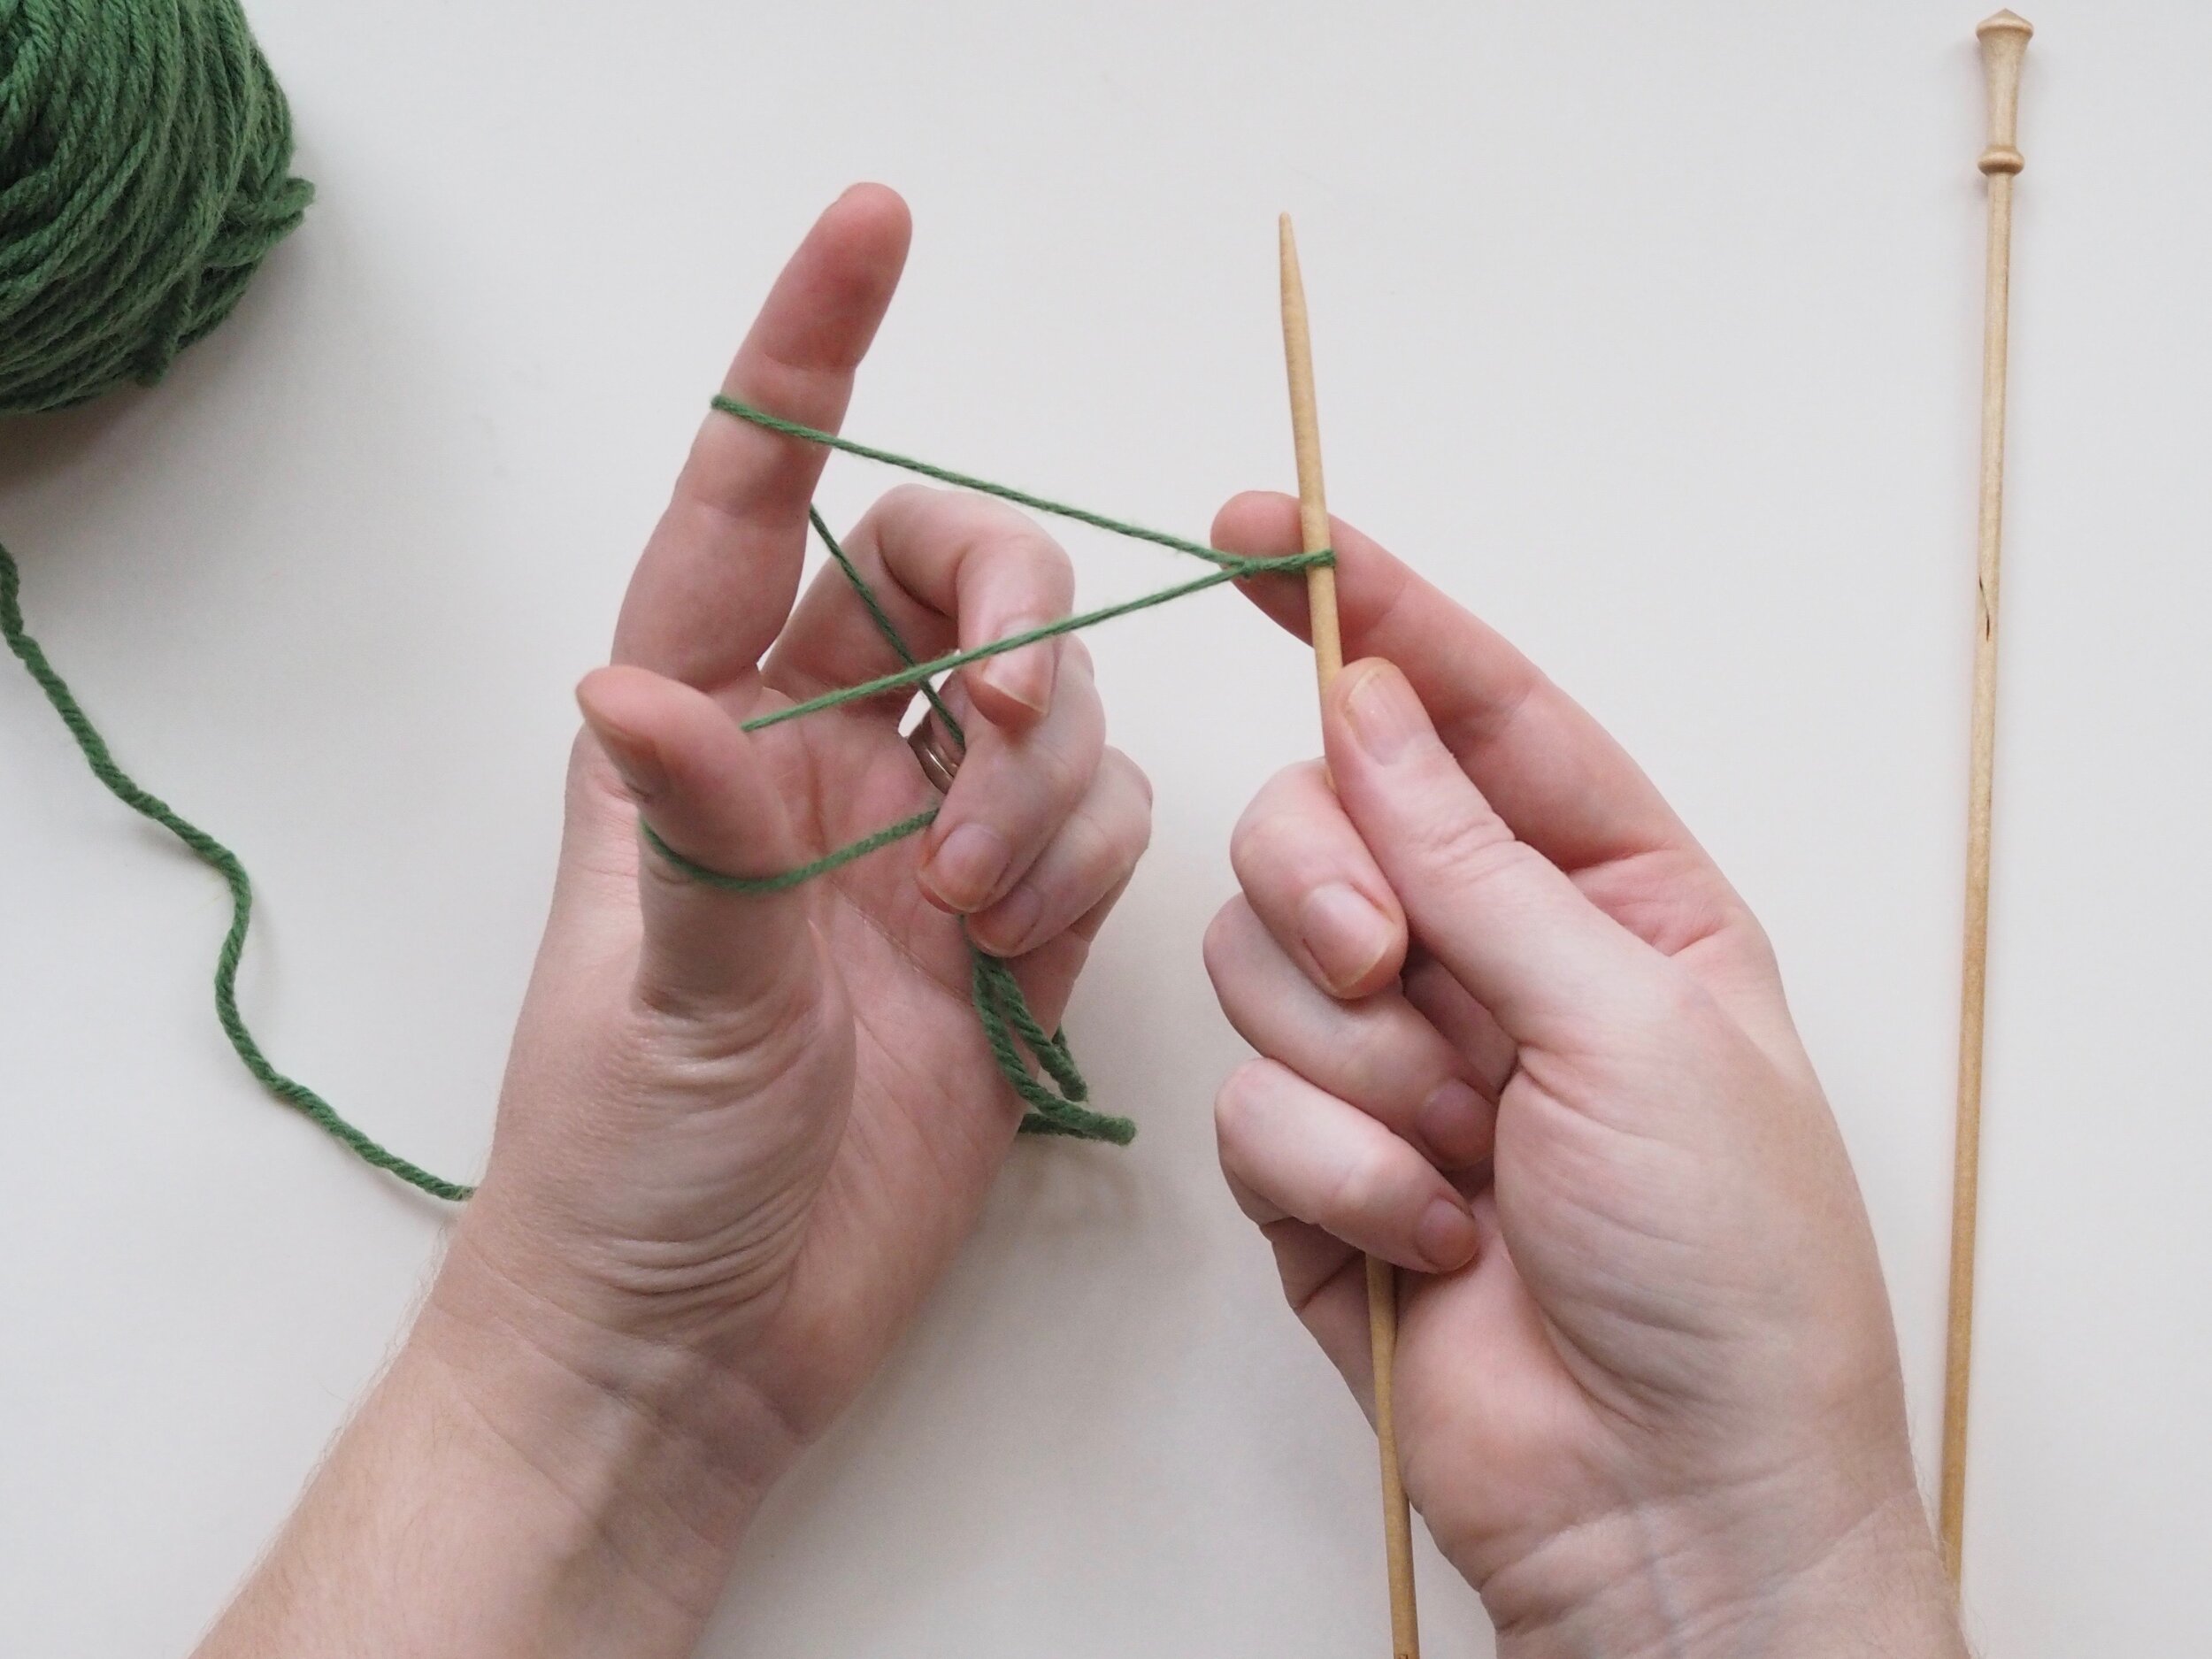
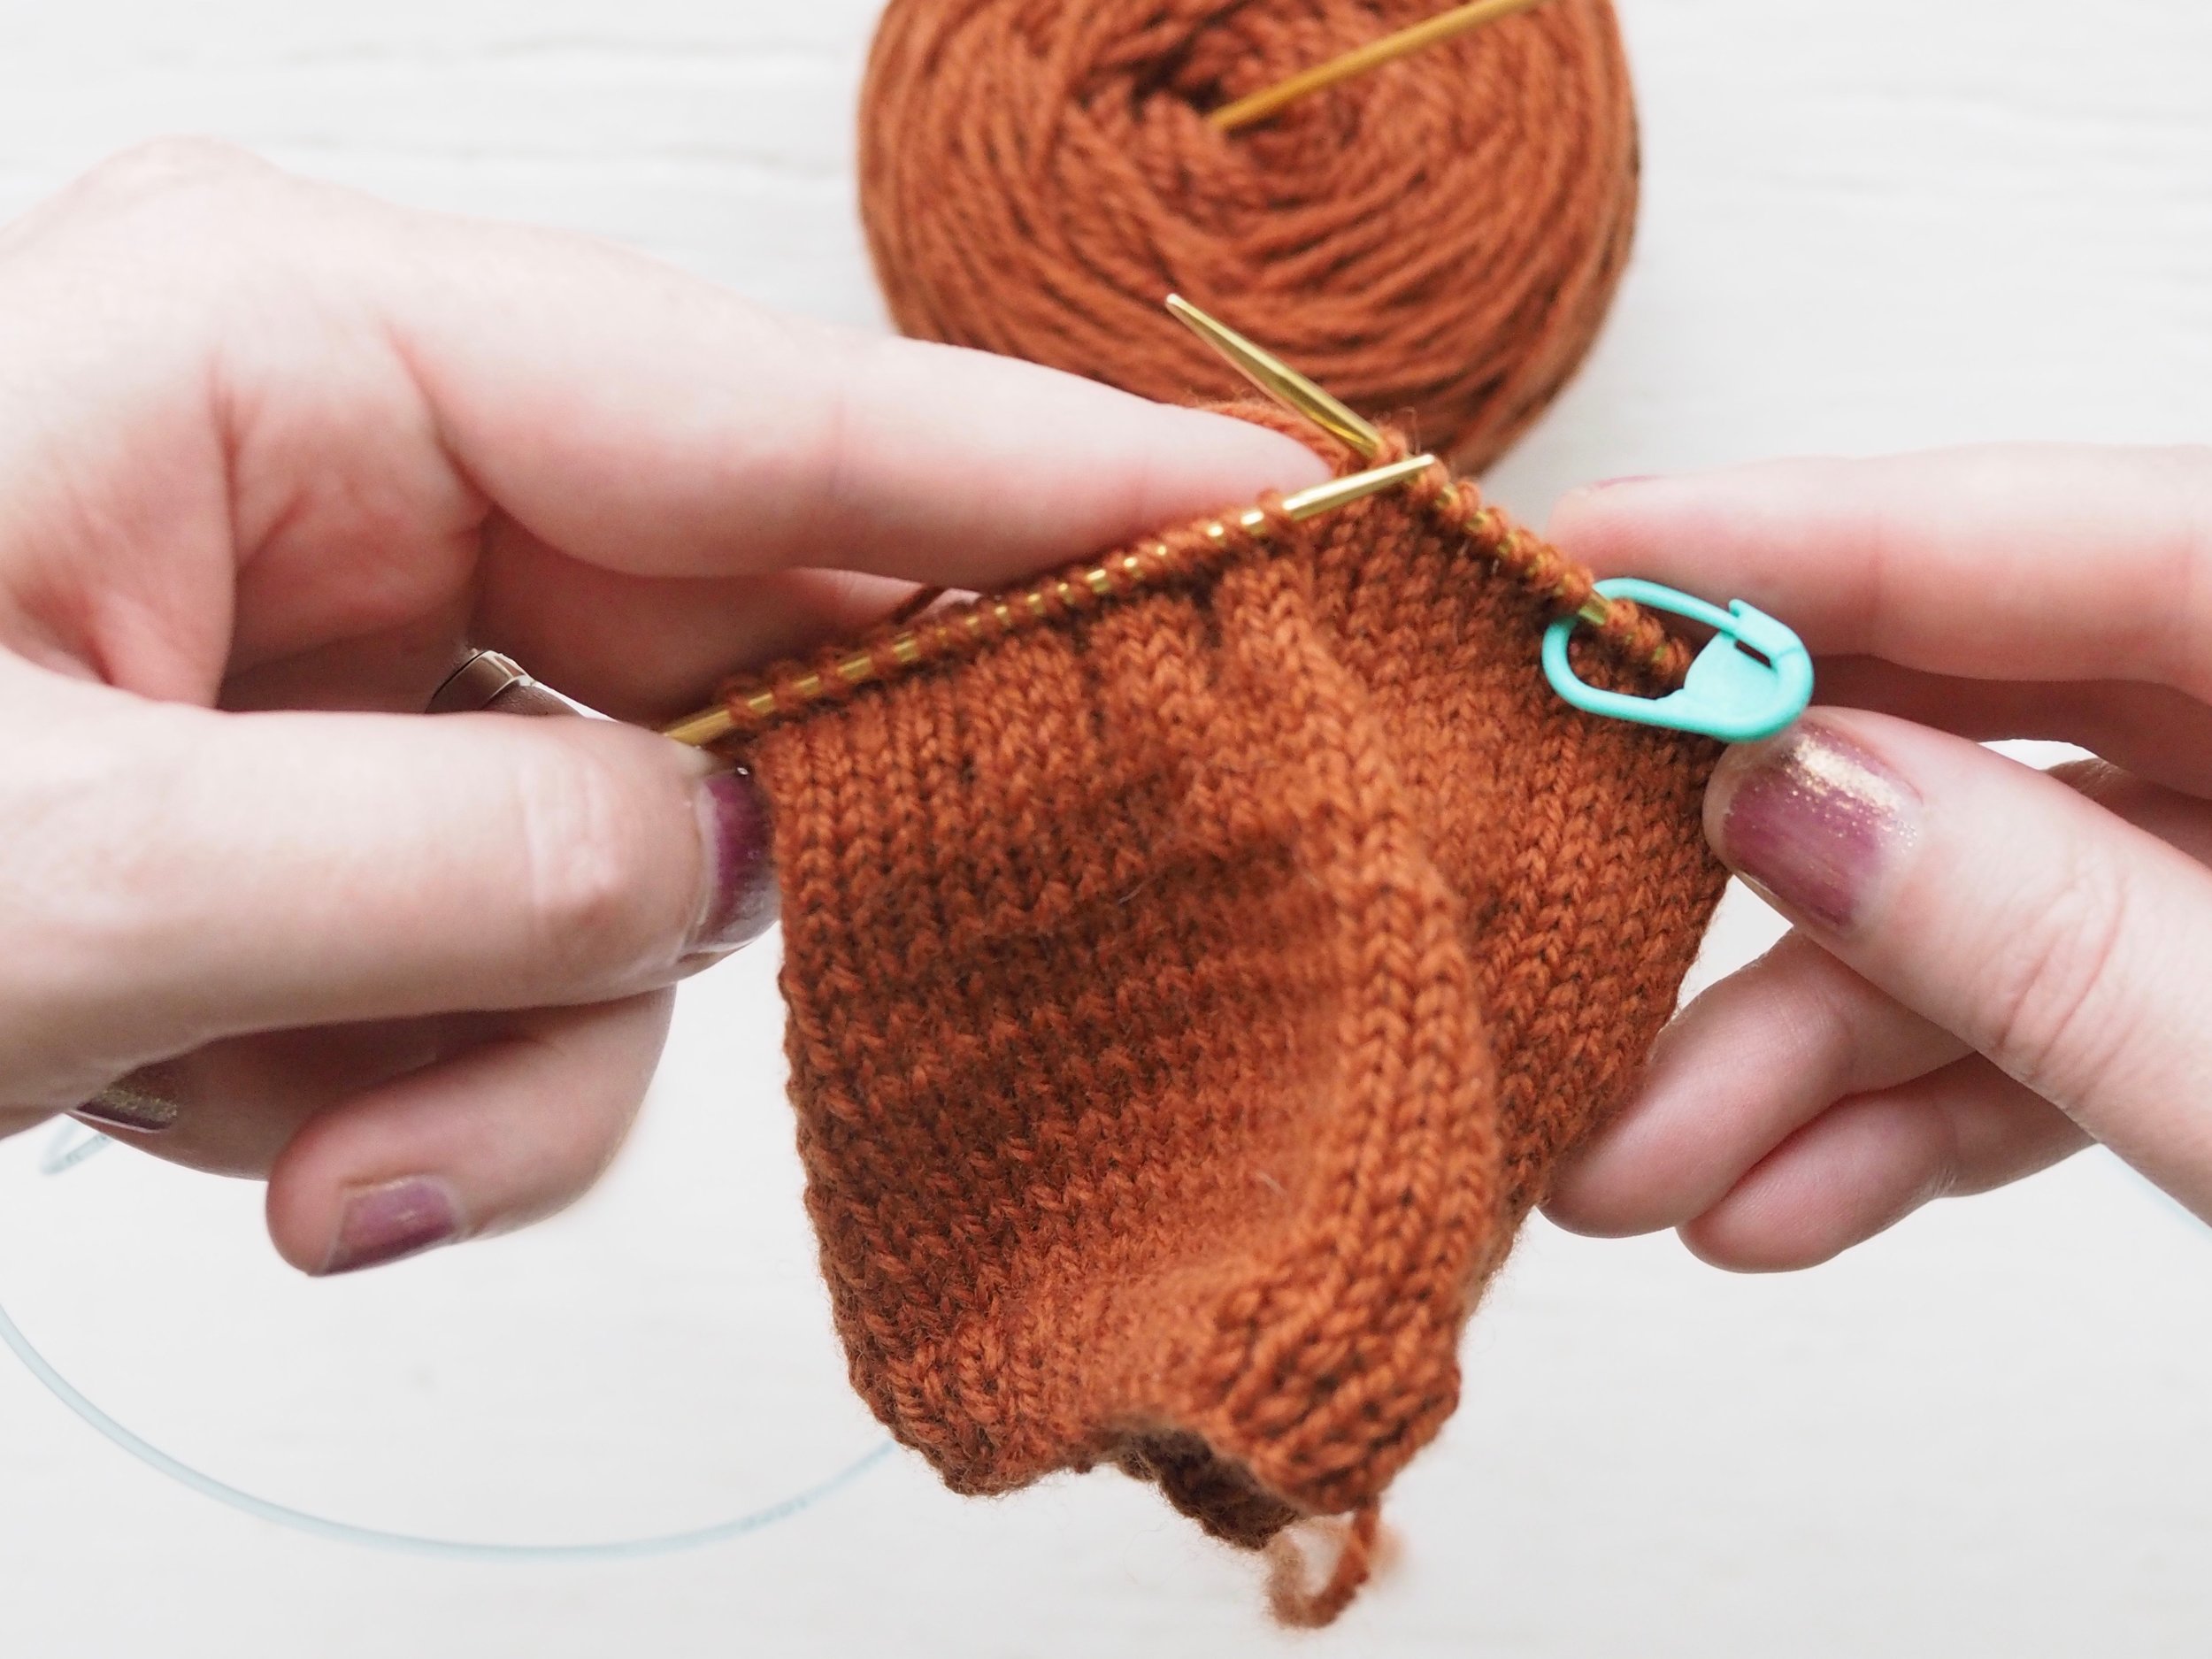
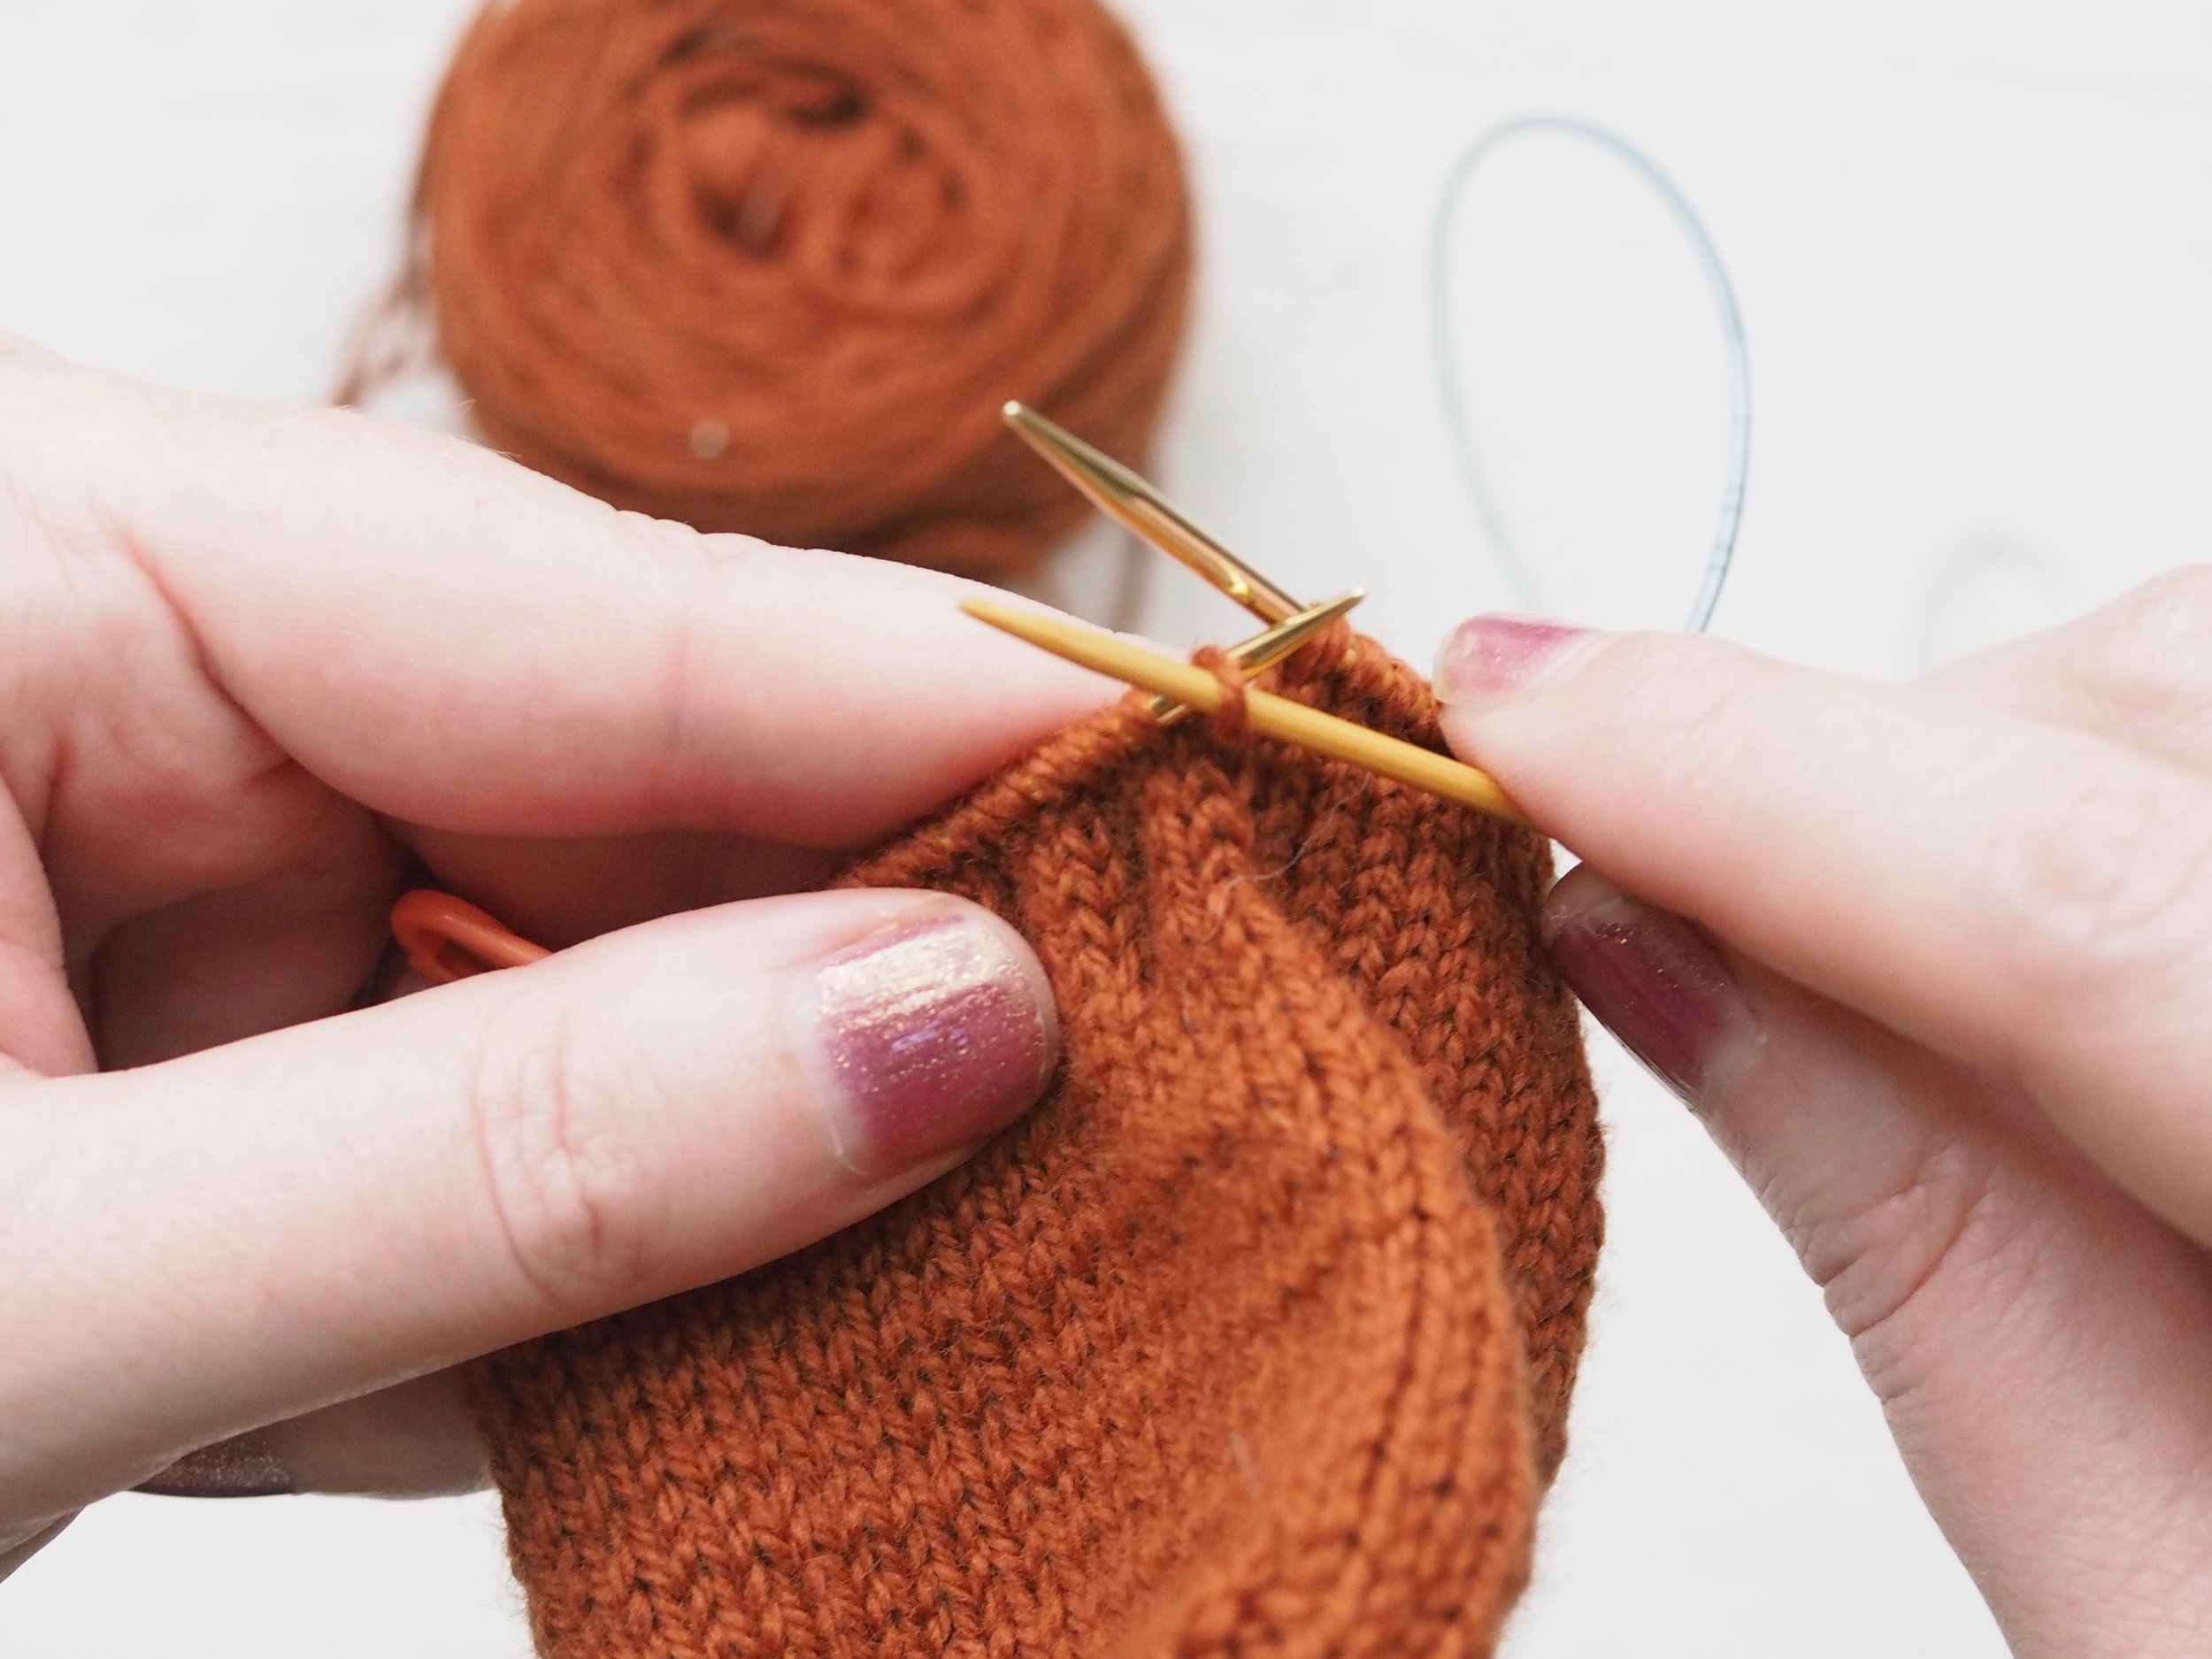
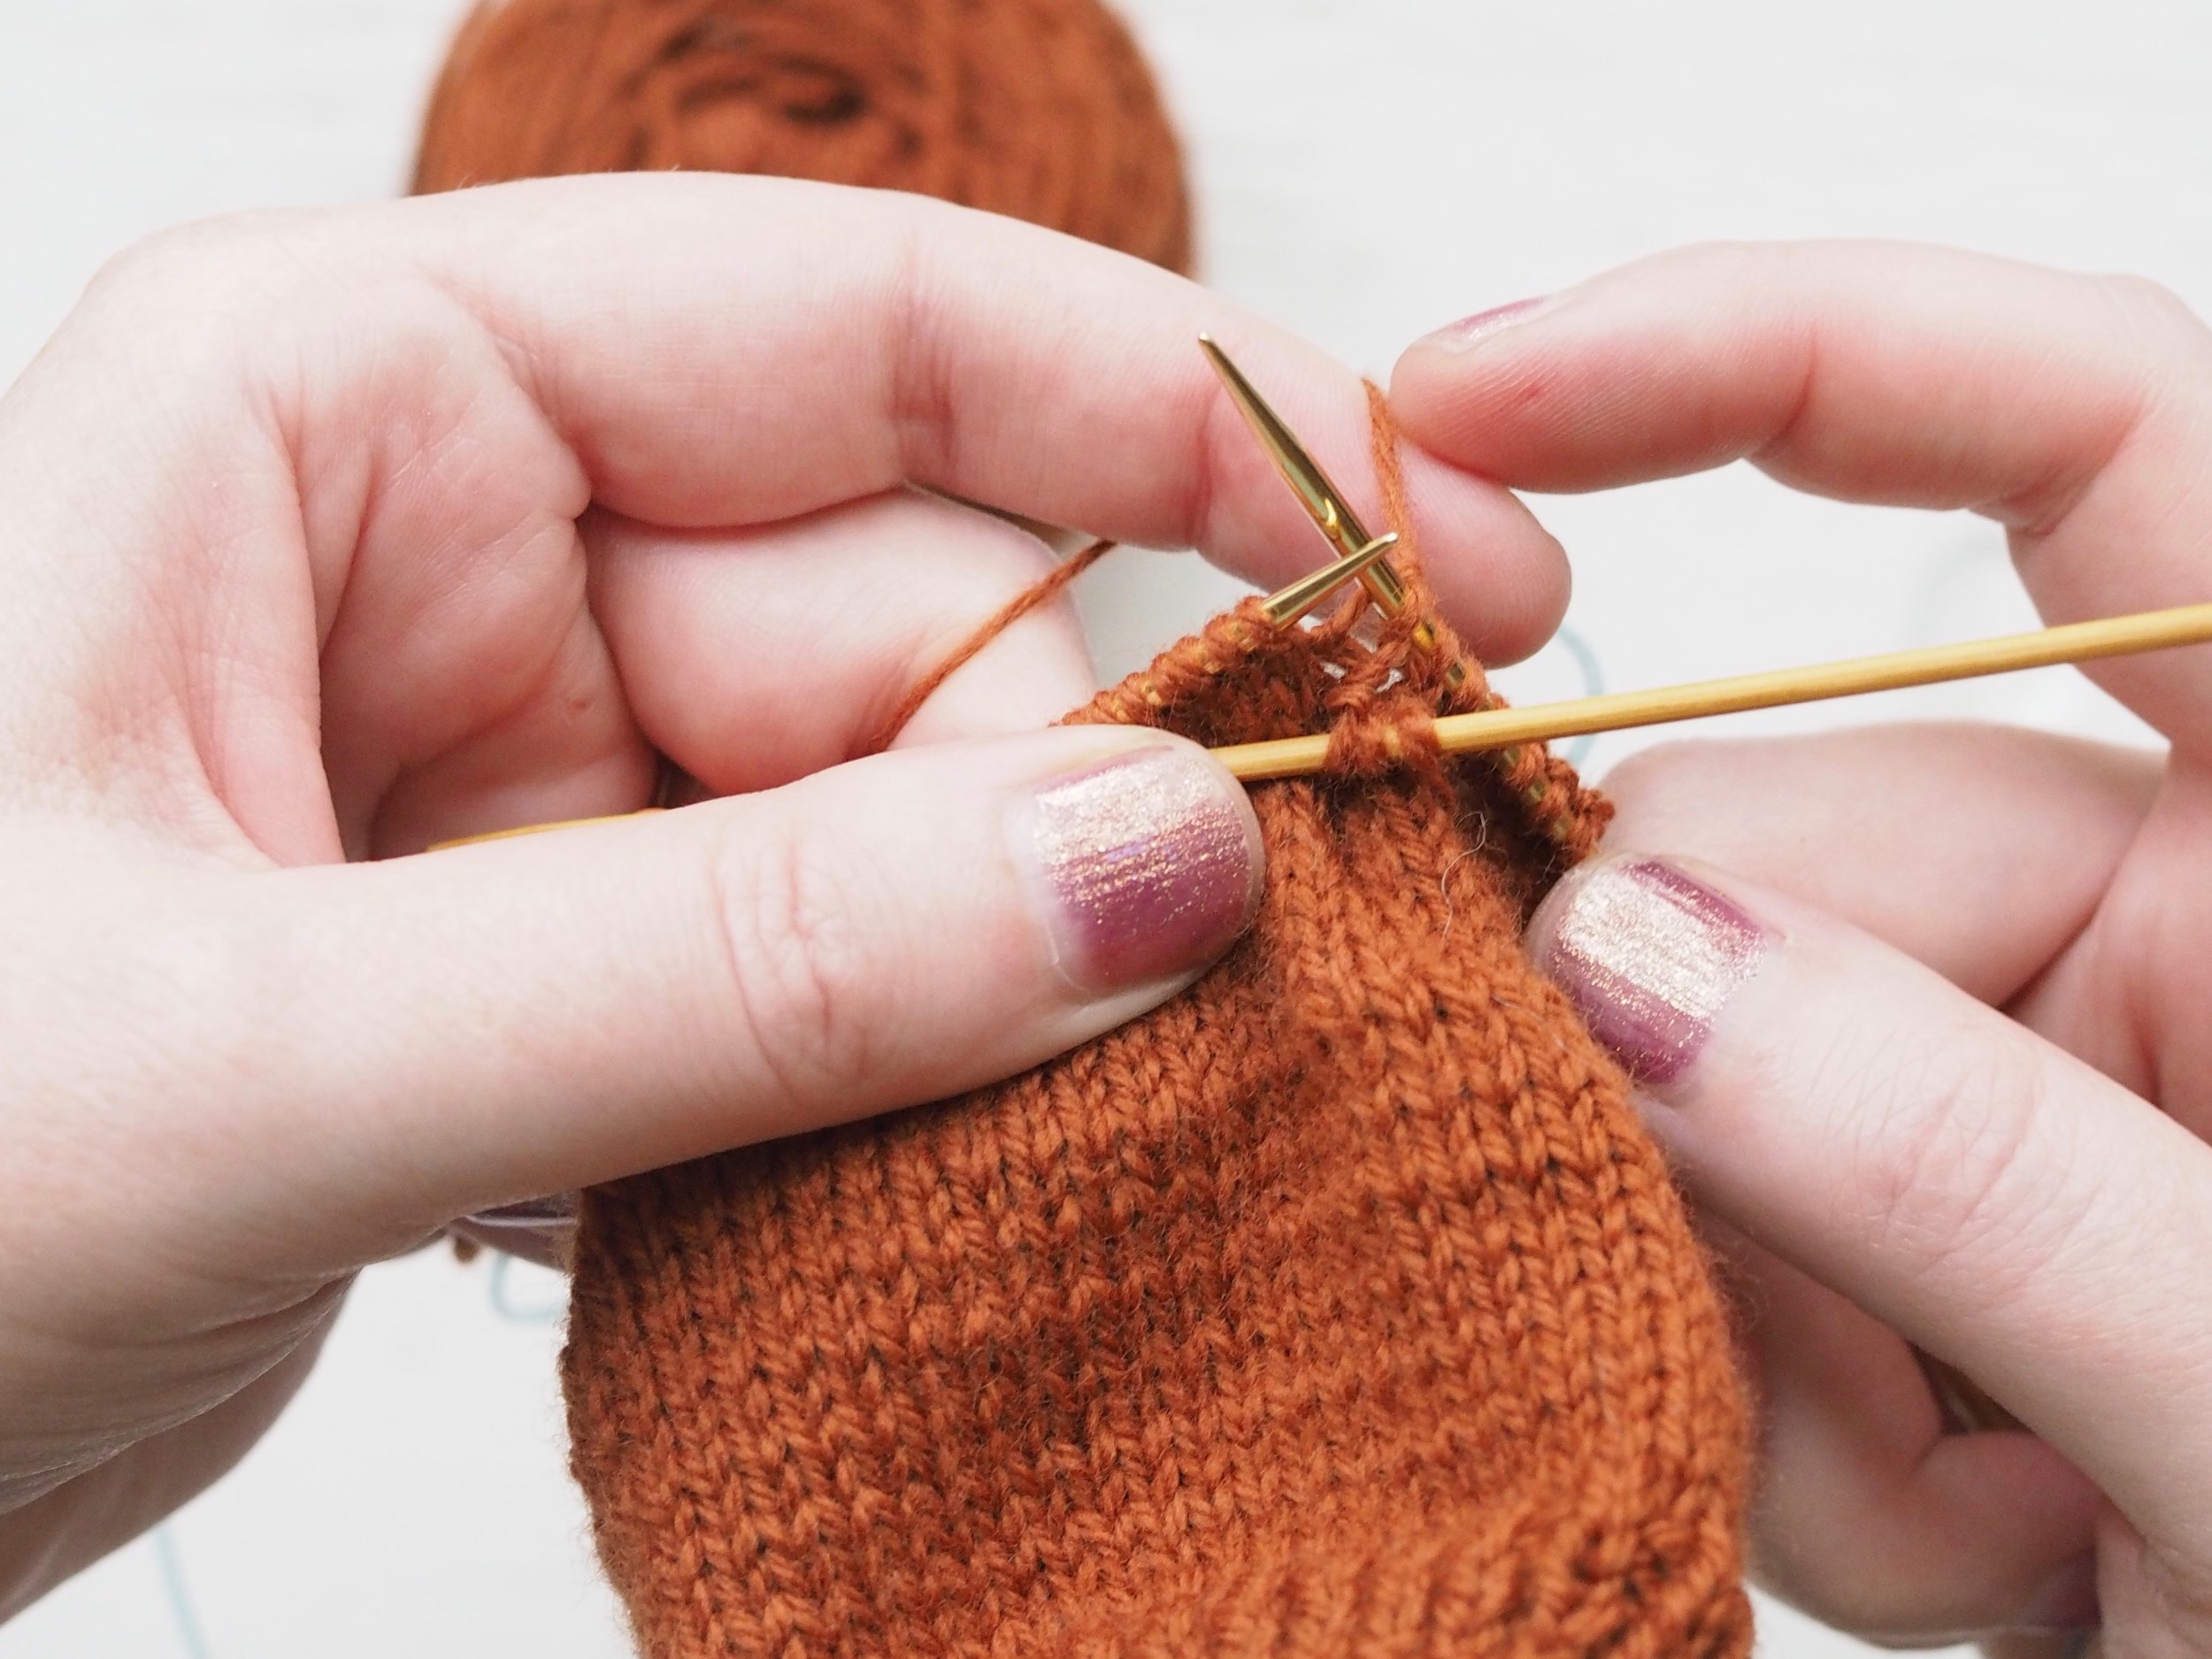
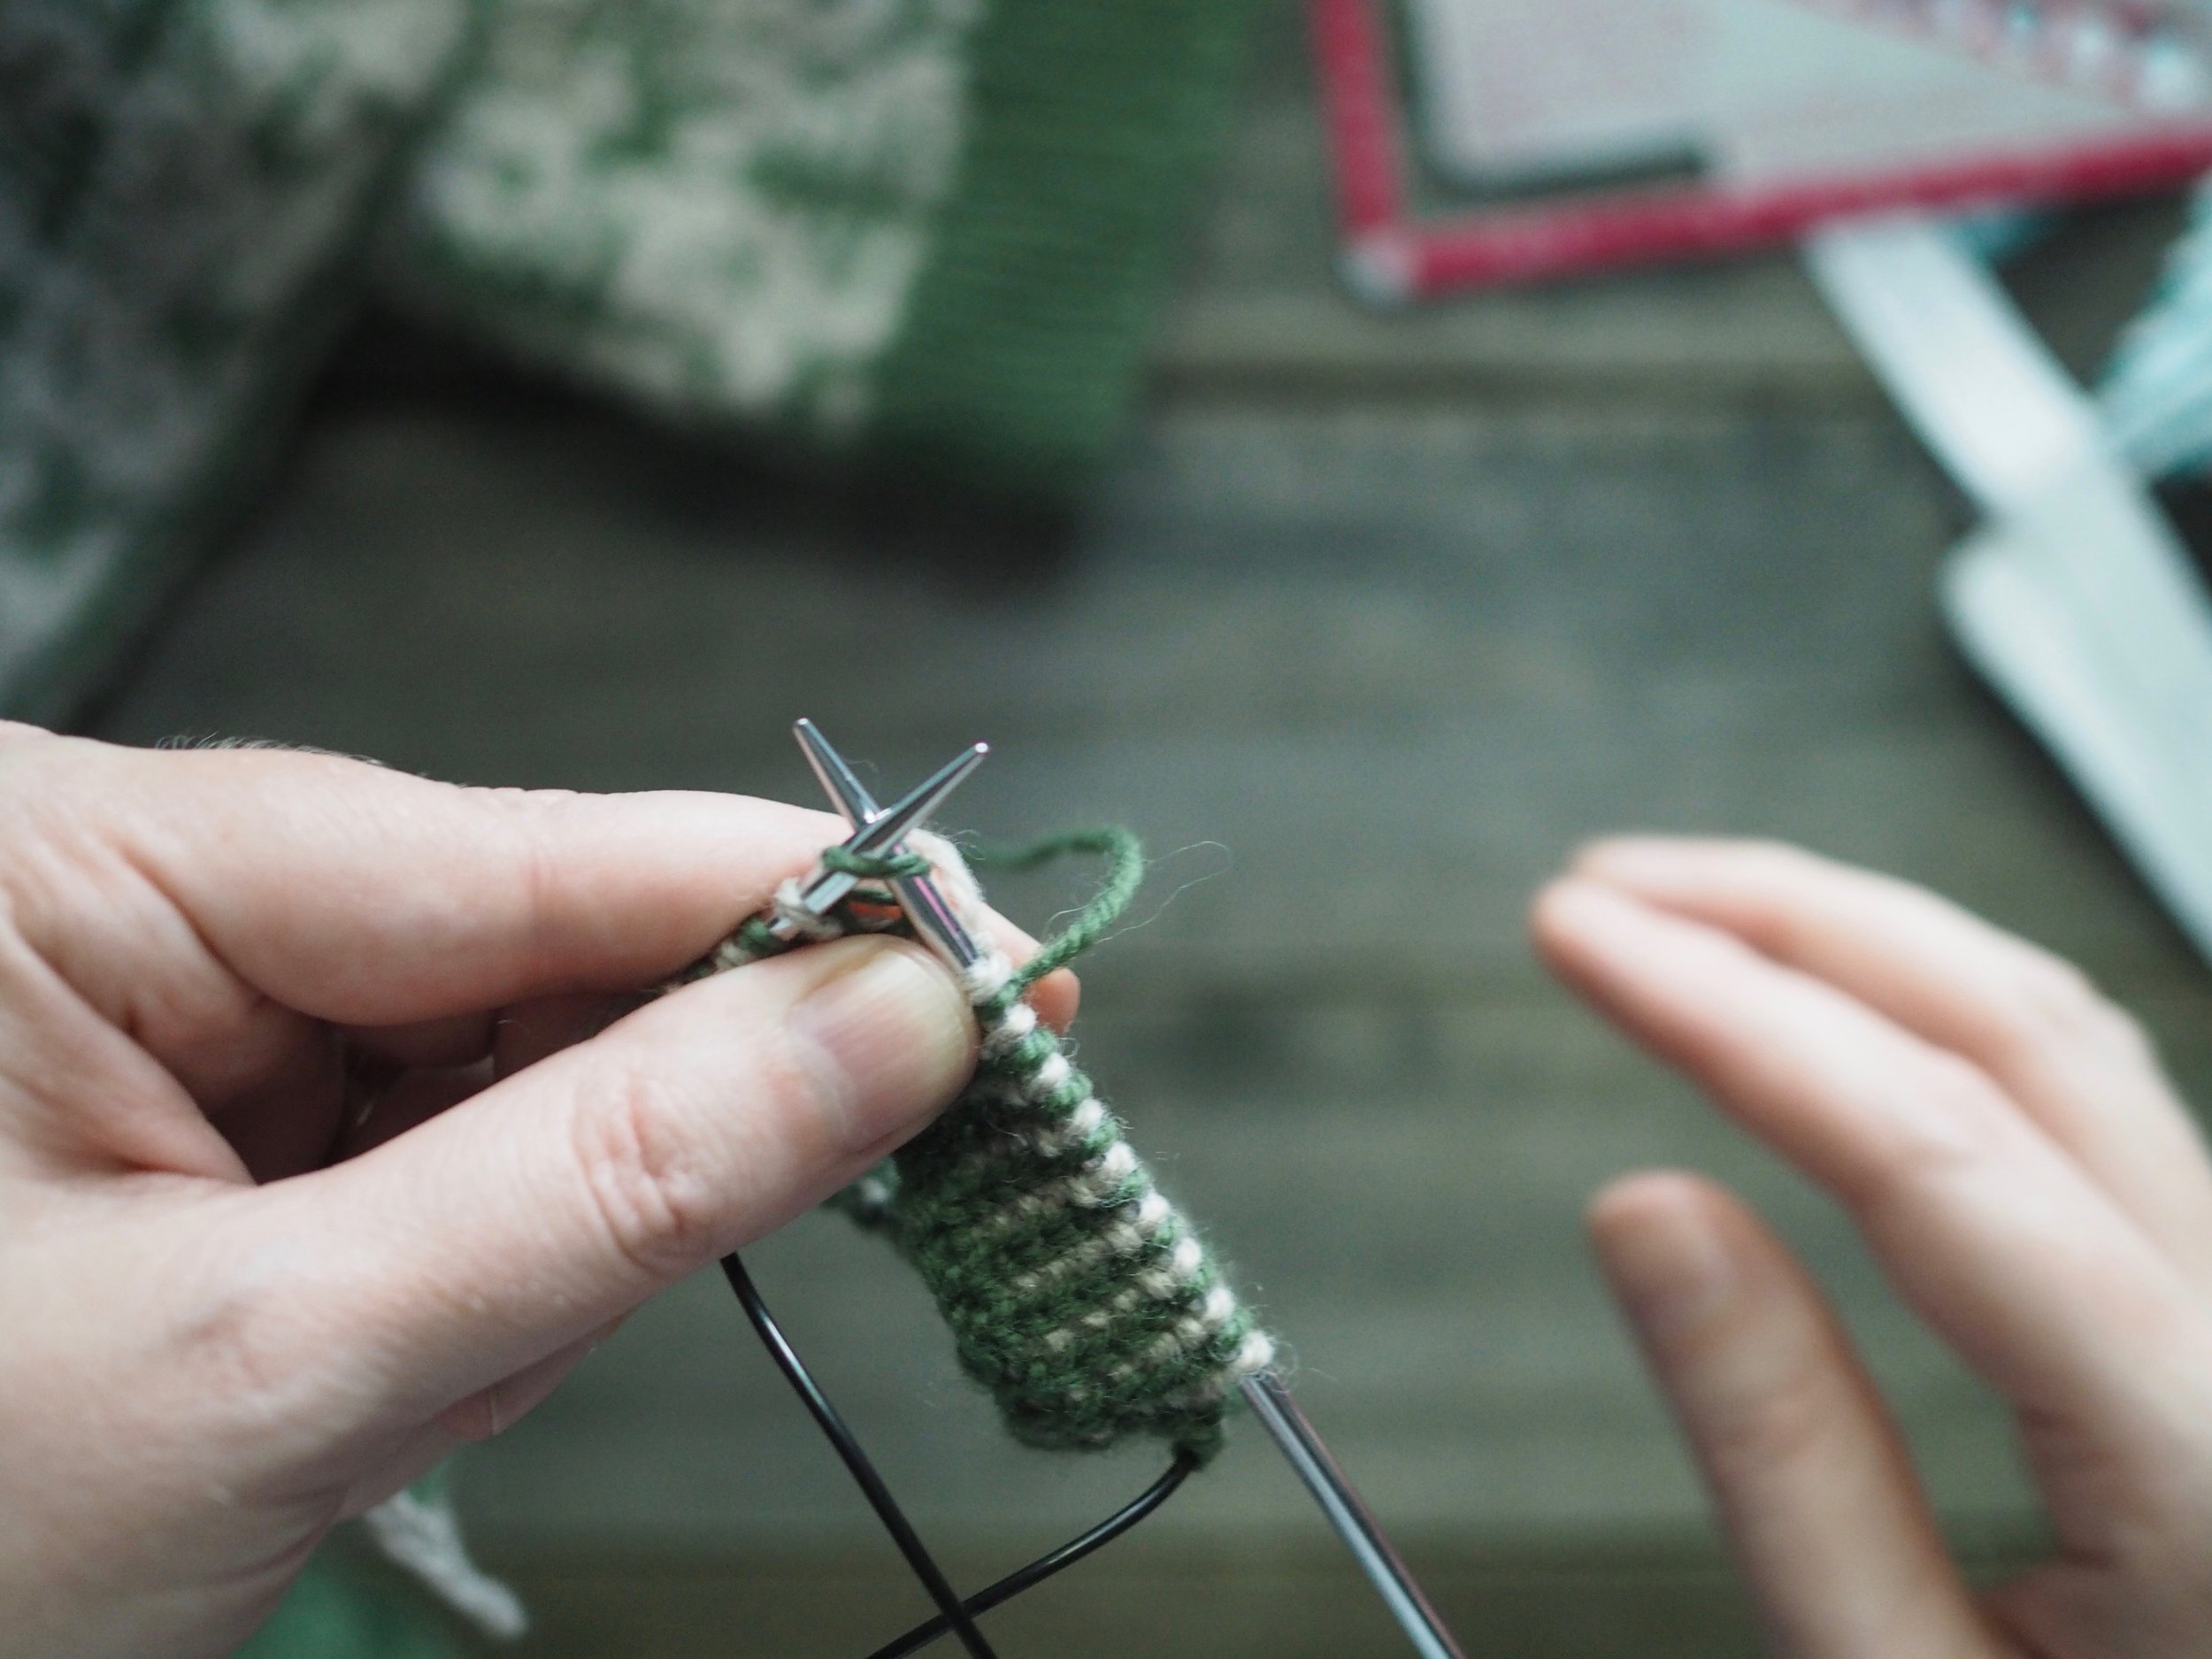
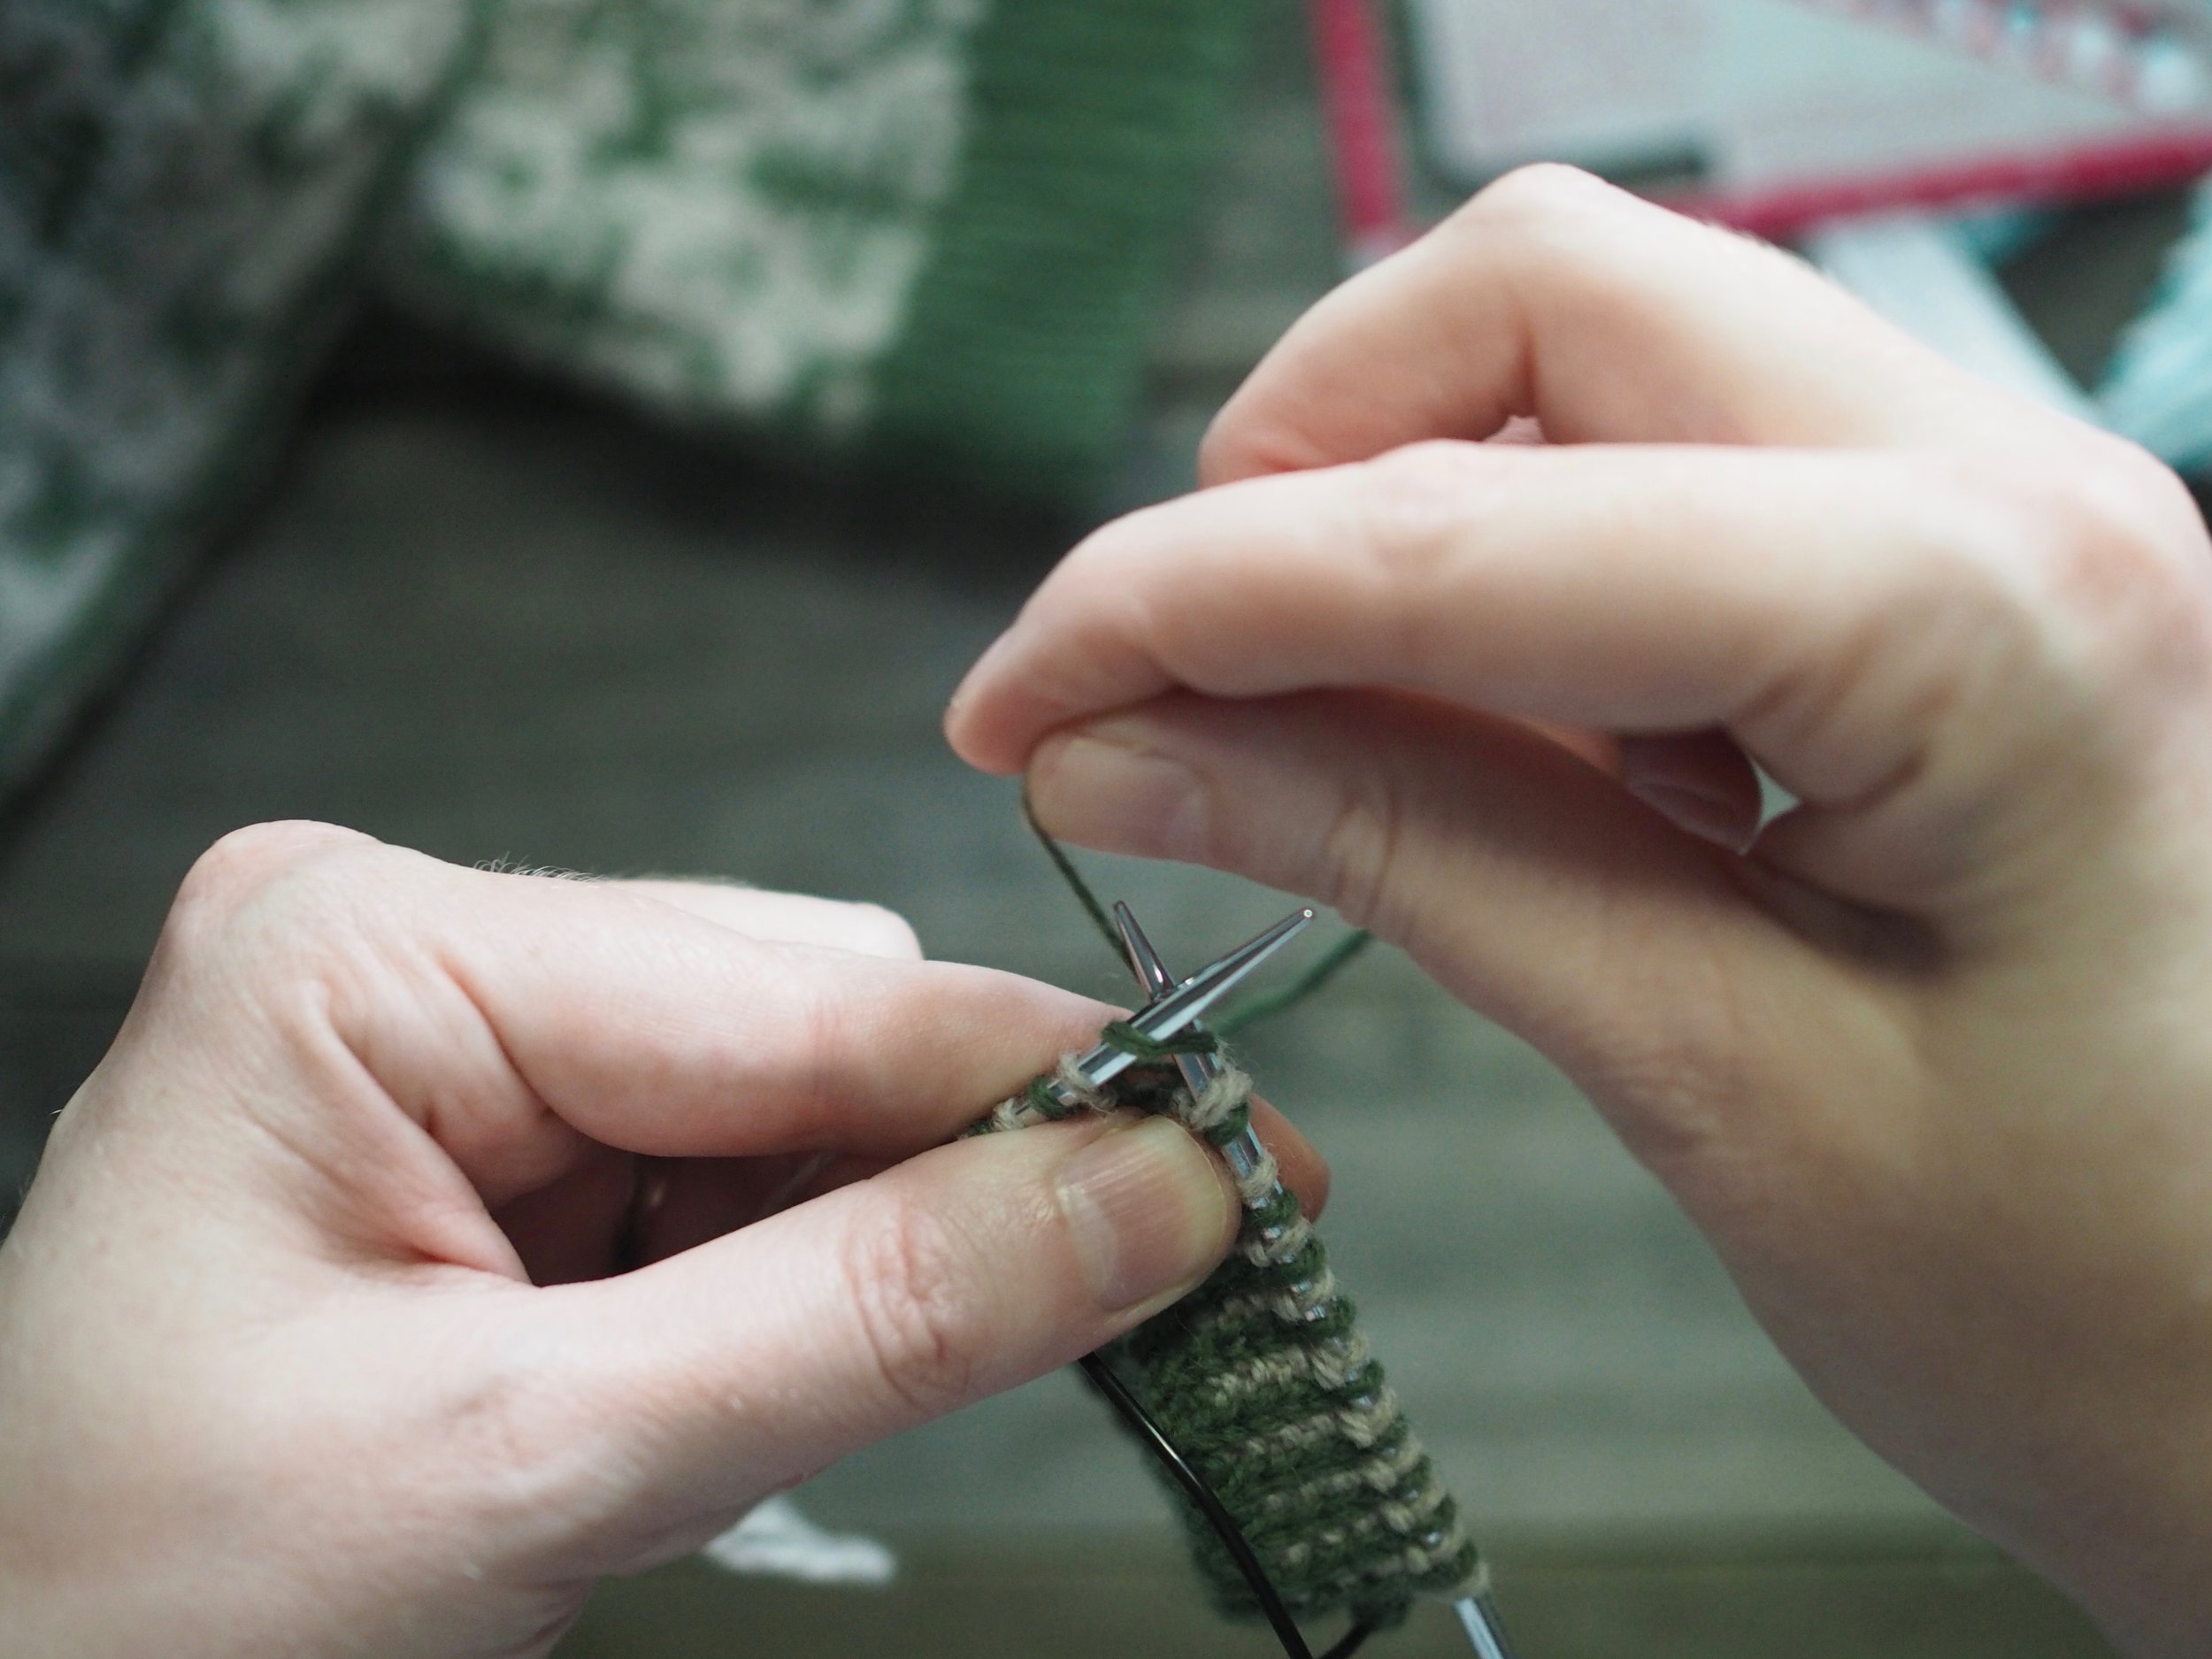
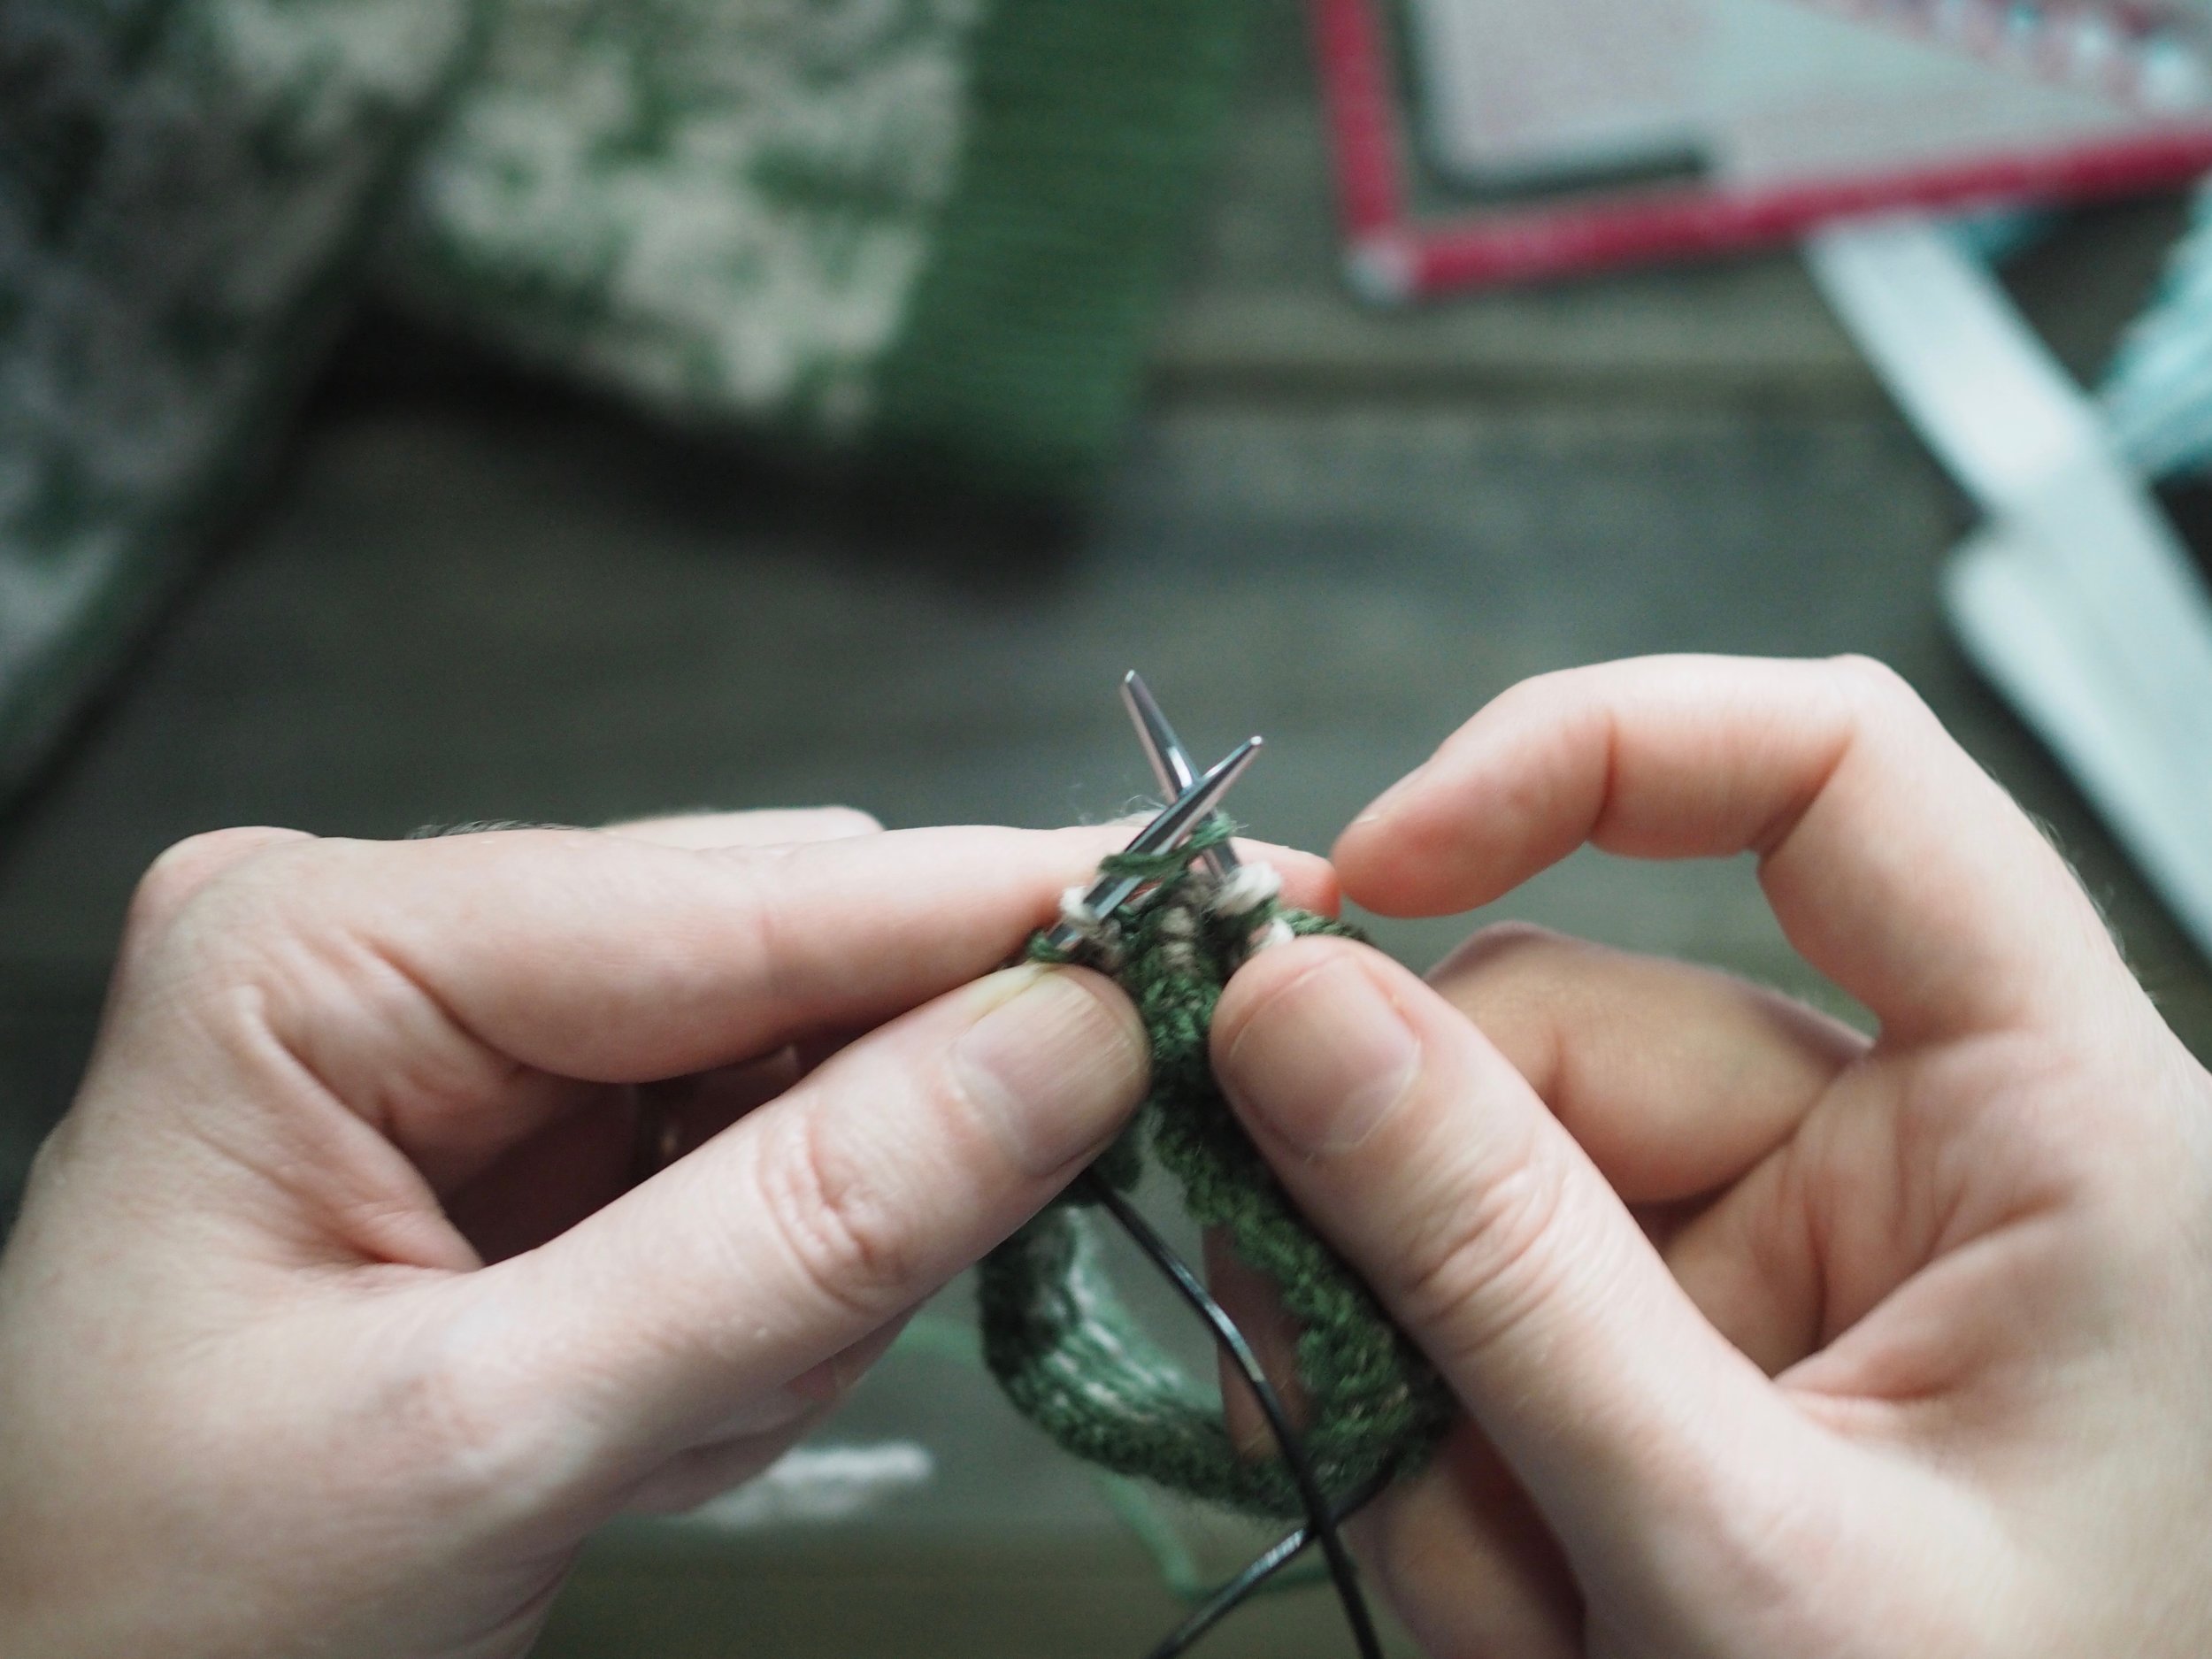
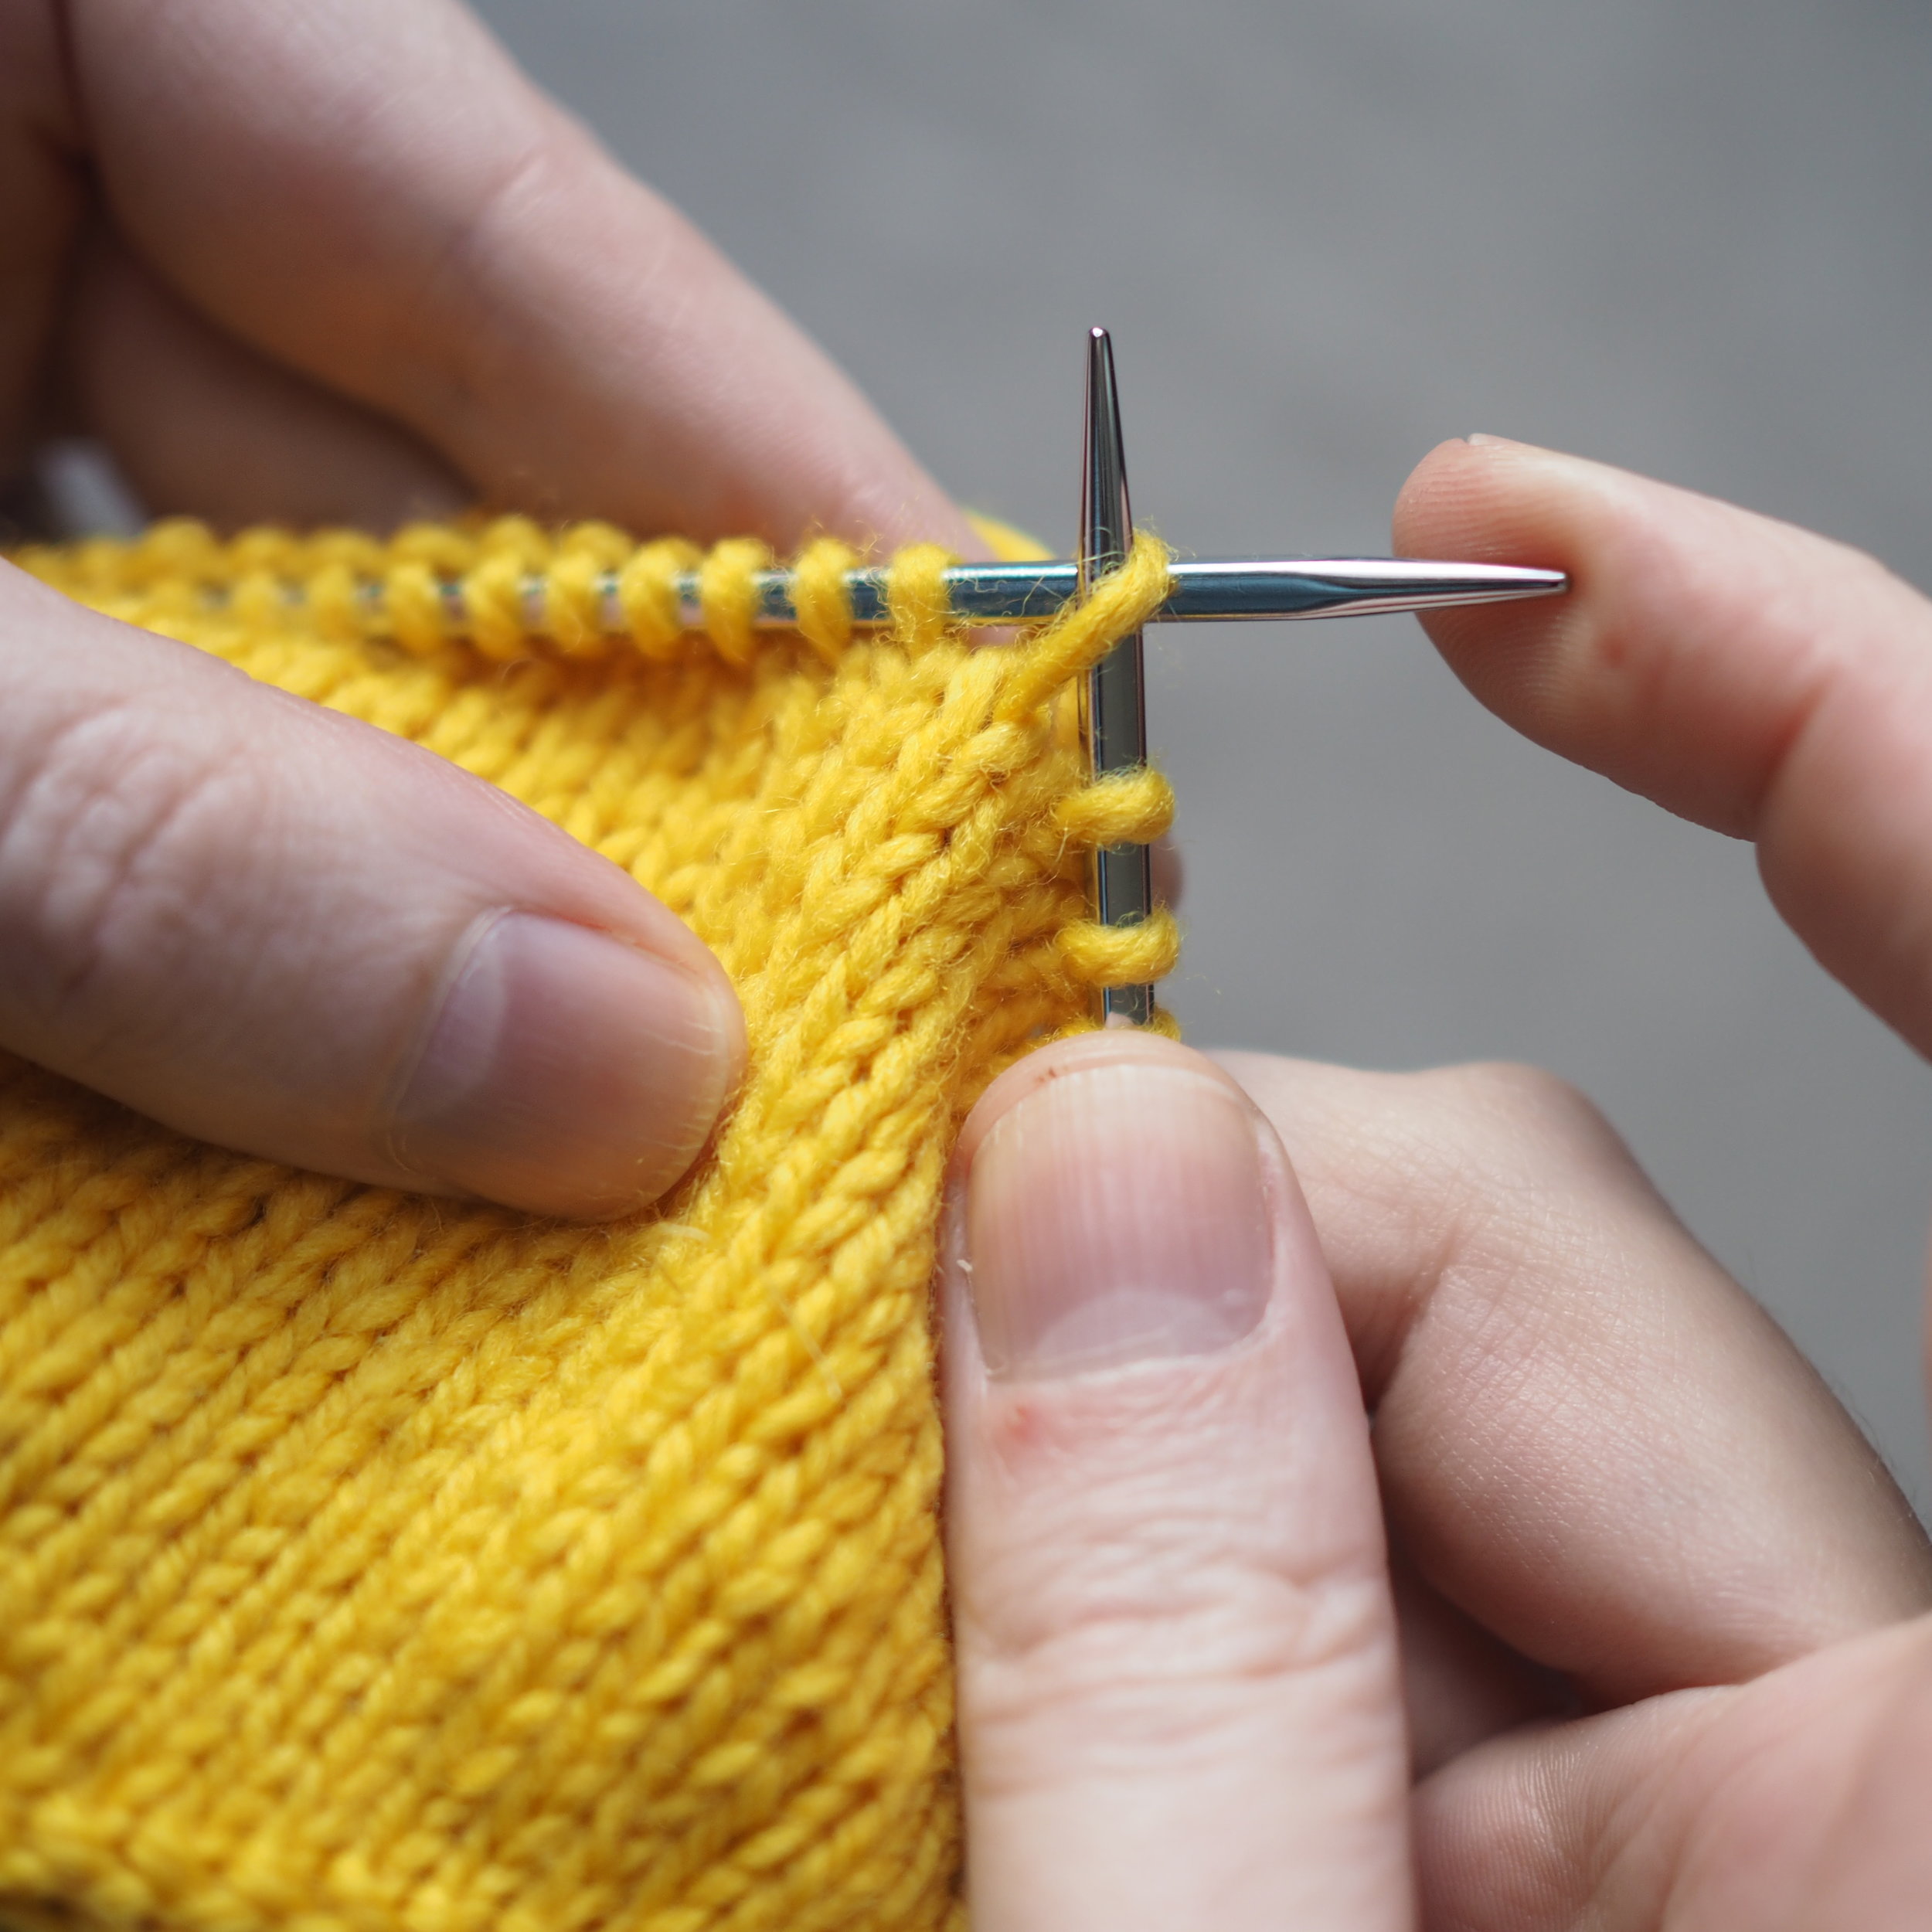
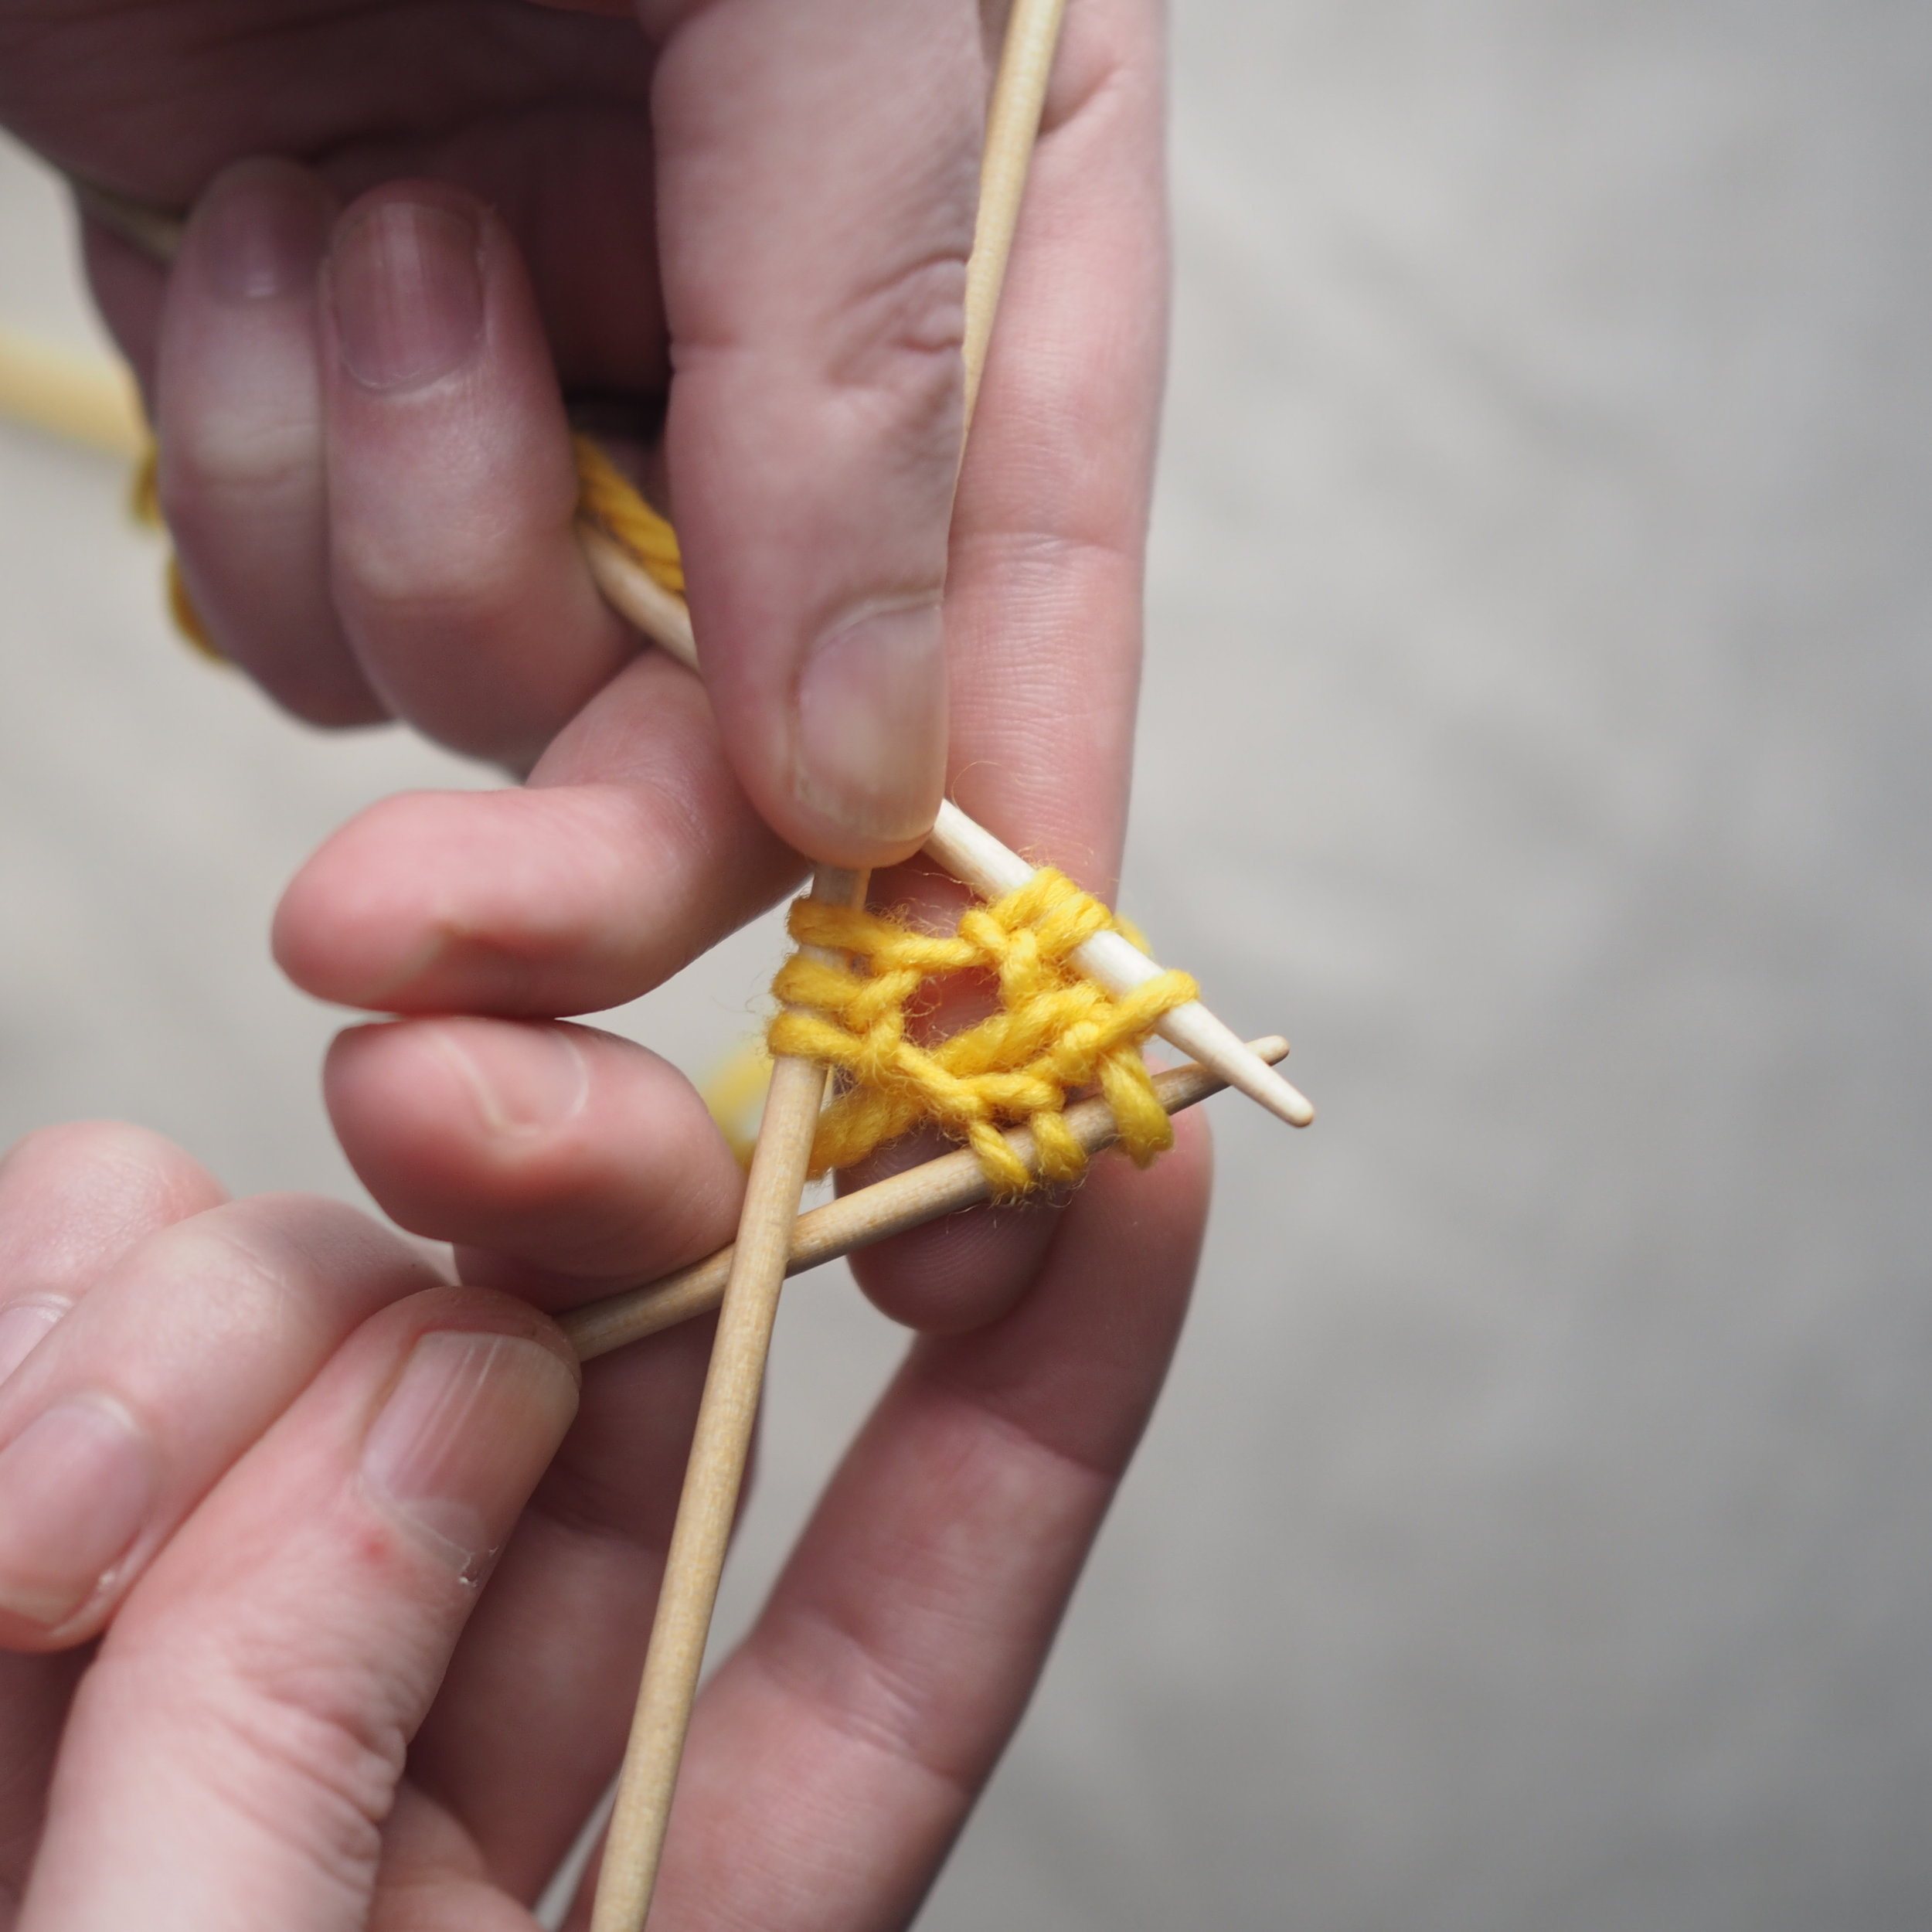
At the start of a row, (a) knit two stitches as normal. On the RH needle, (b) pull the rightmost stitch up and over the other stitch, (c) dropping it off the needle. You should now have one stitch on the RH needle.

2. Continue to Bind Off

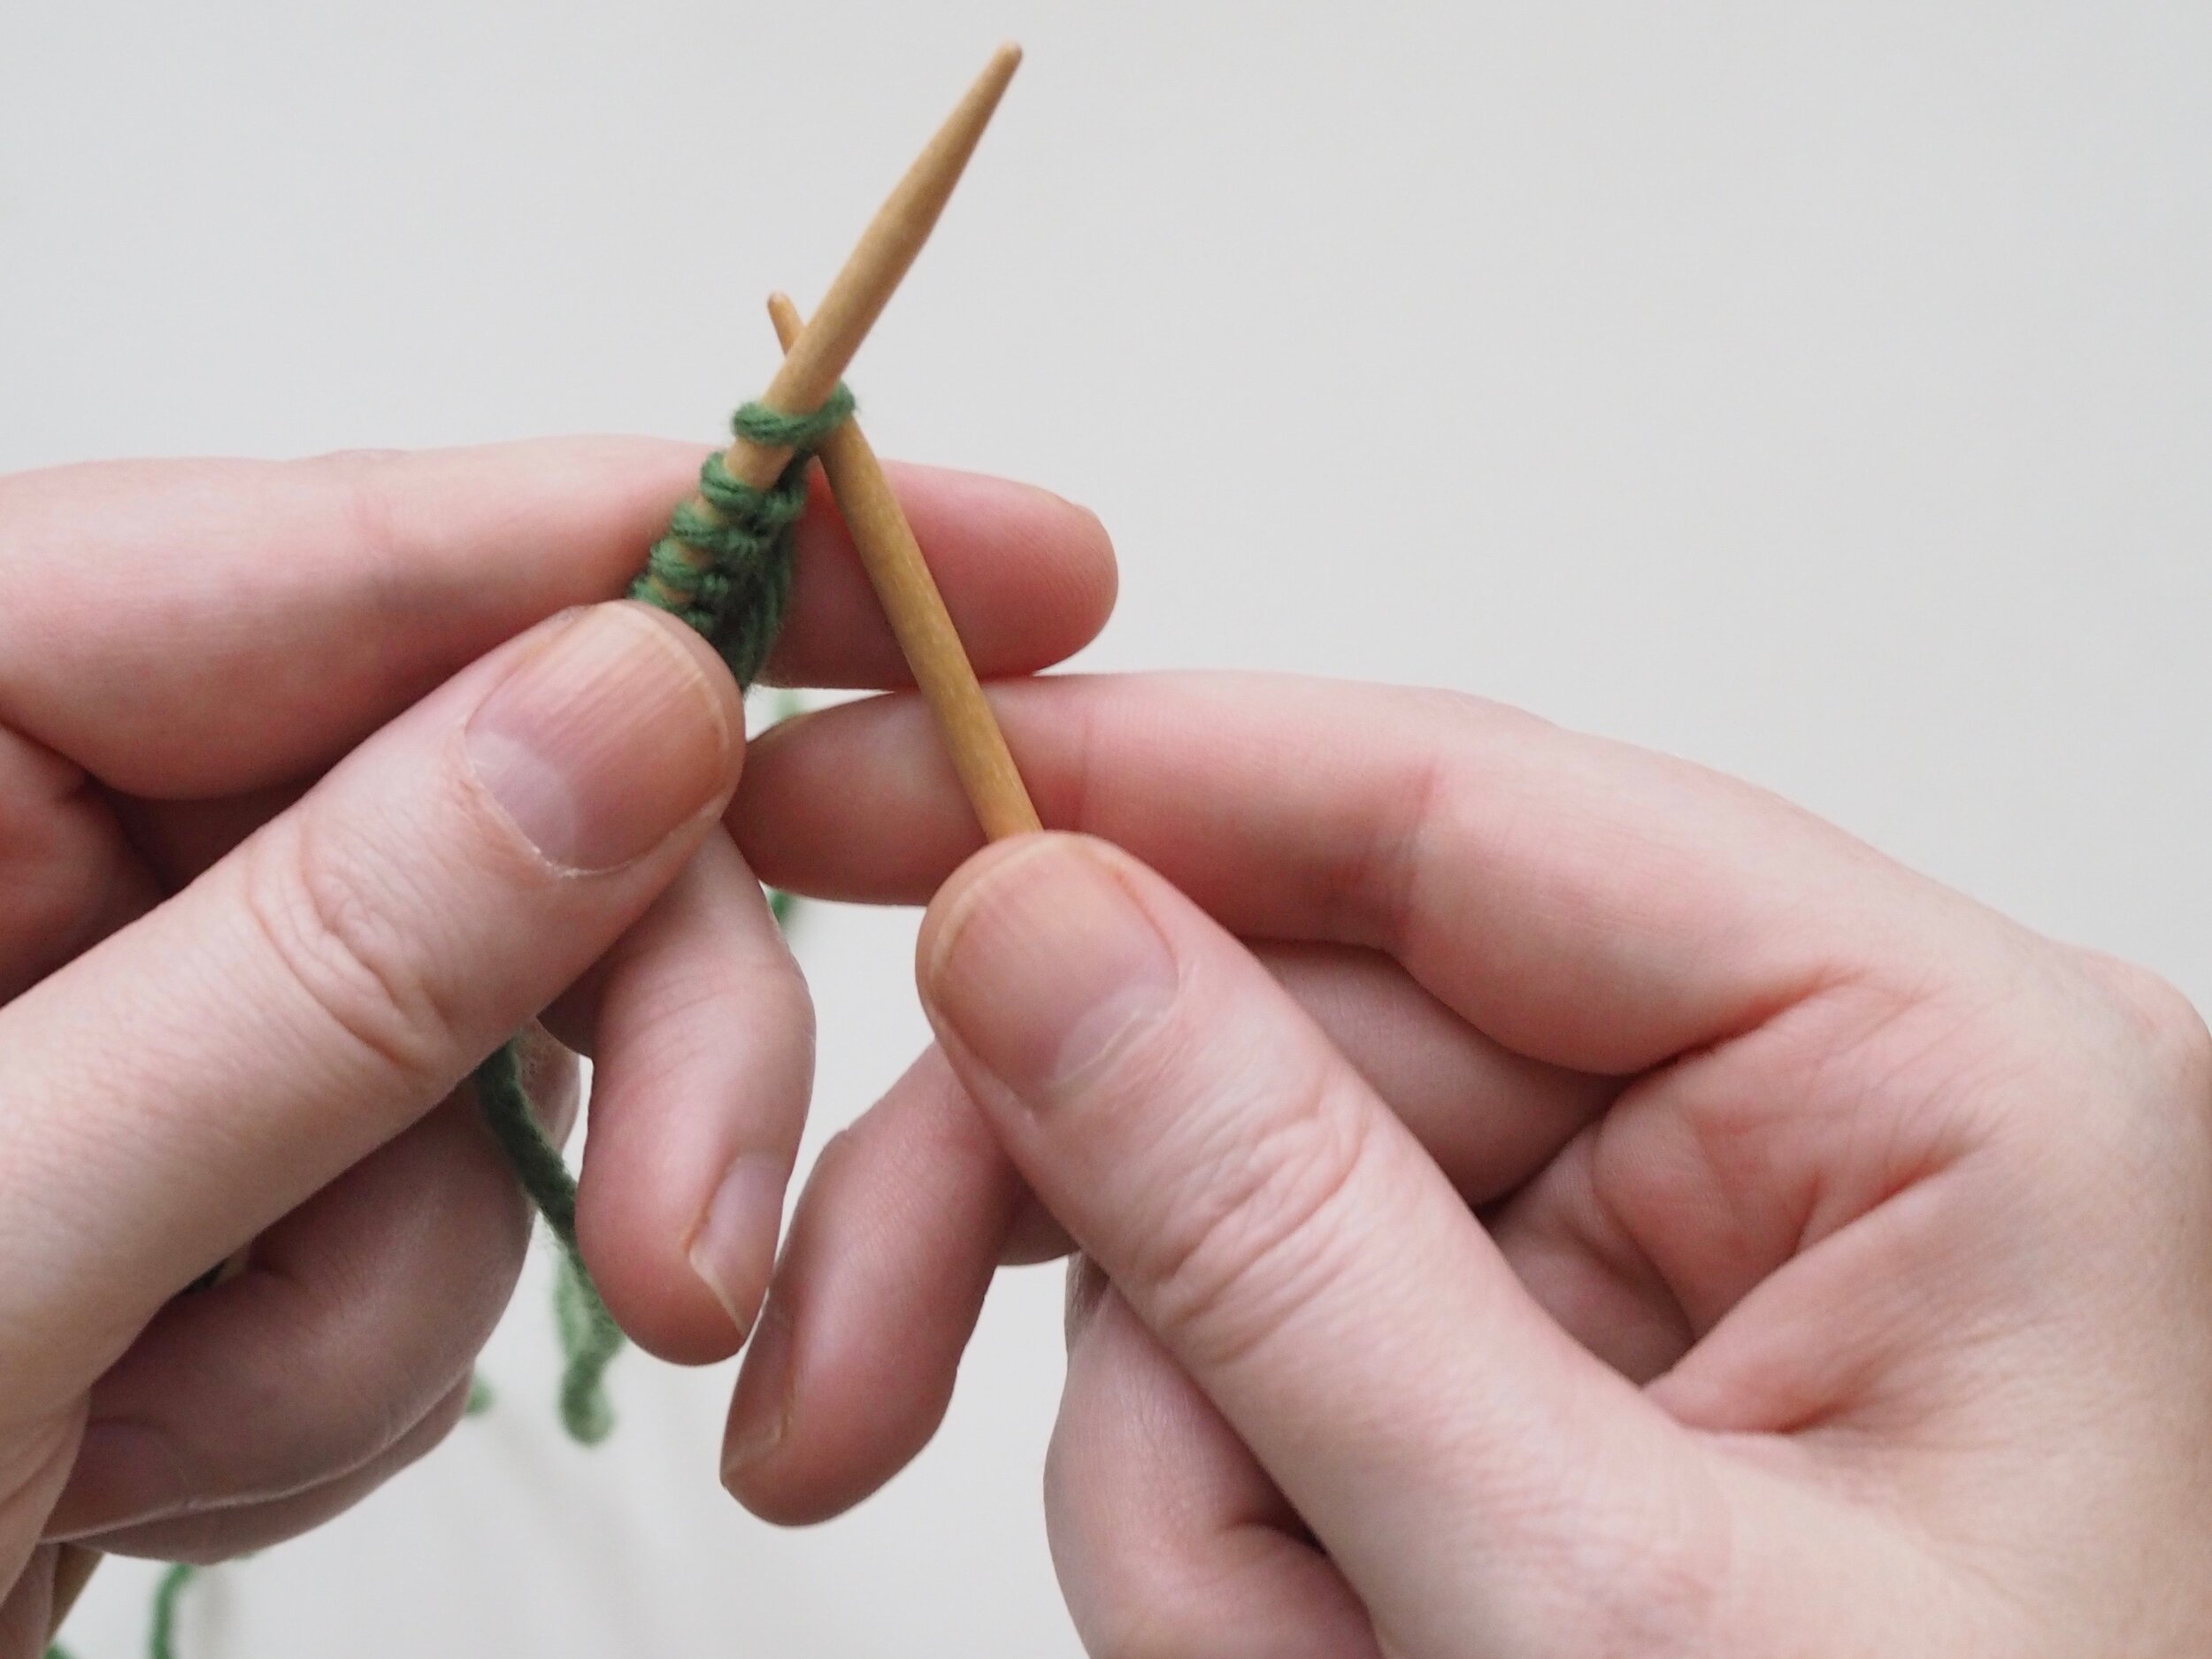
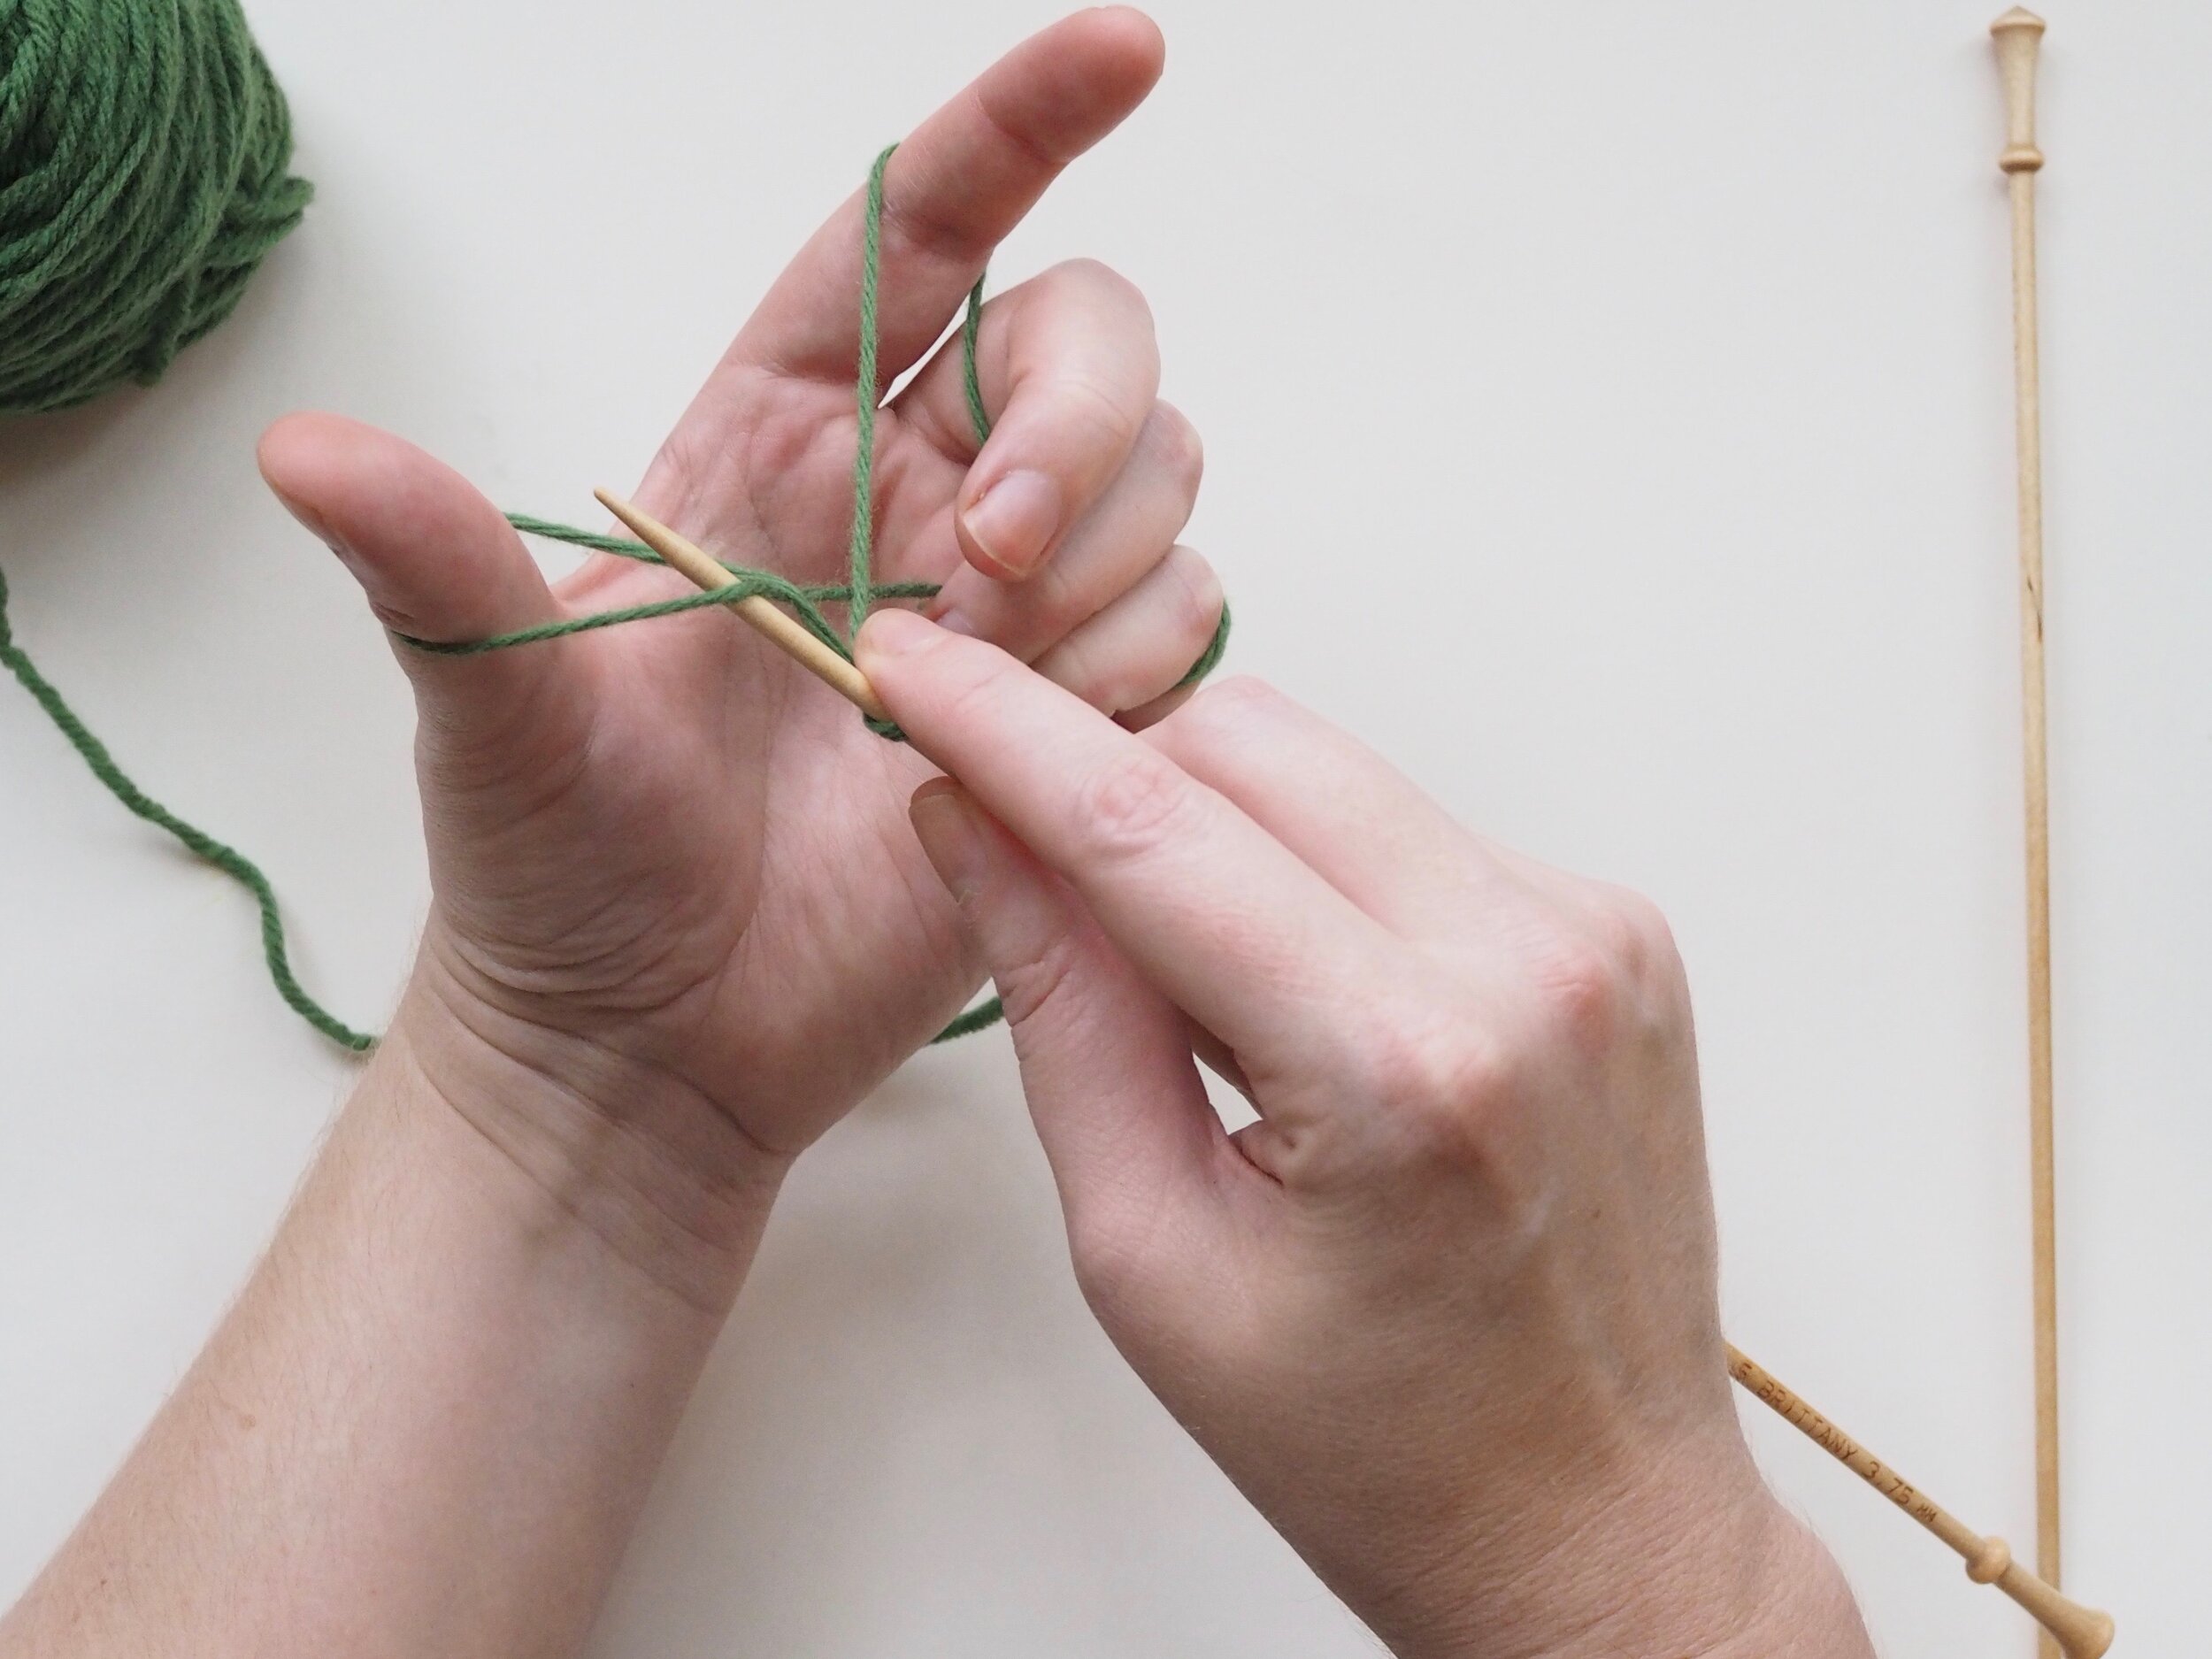
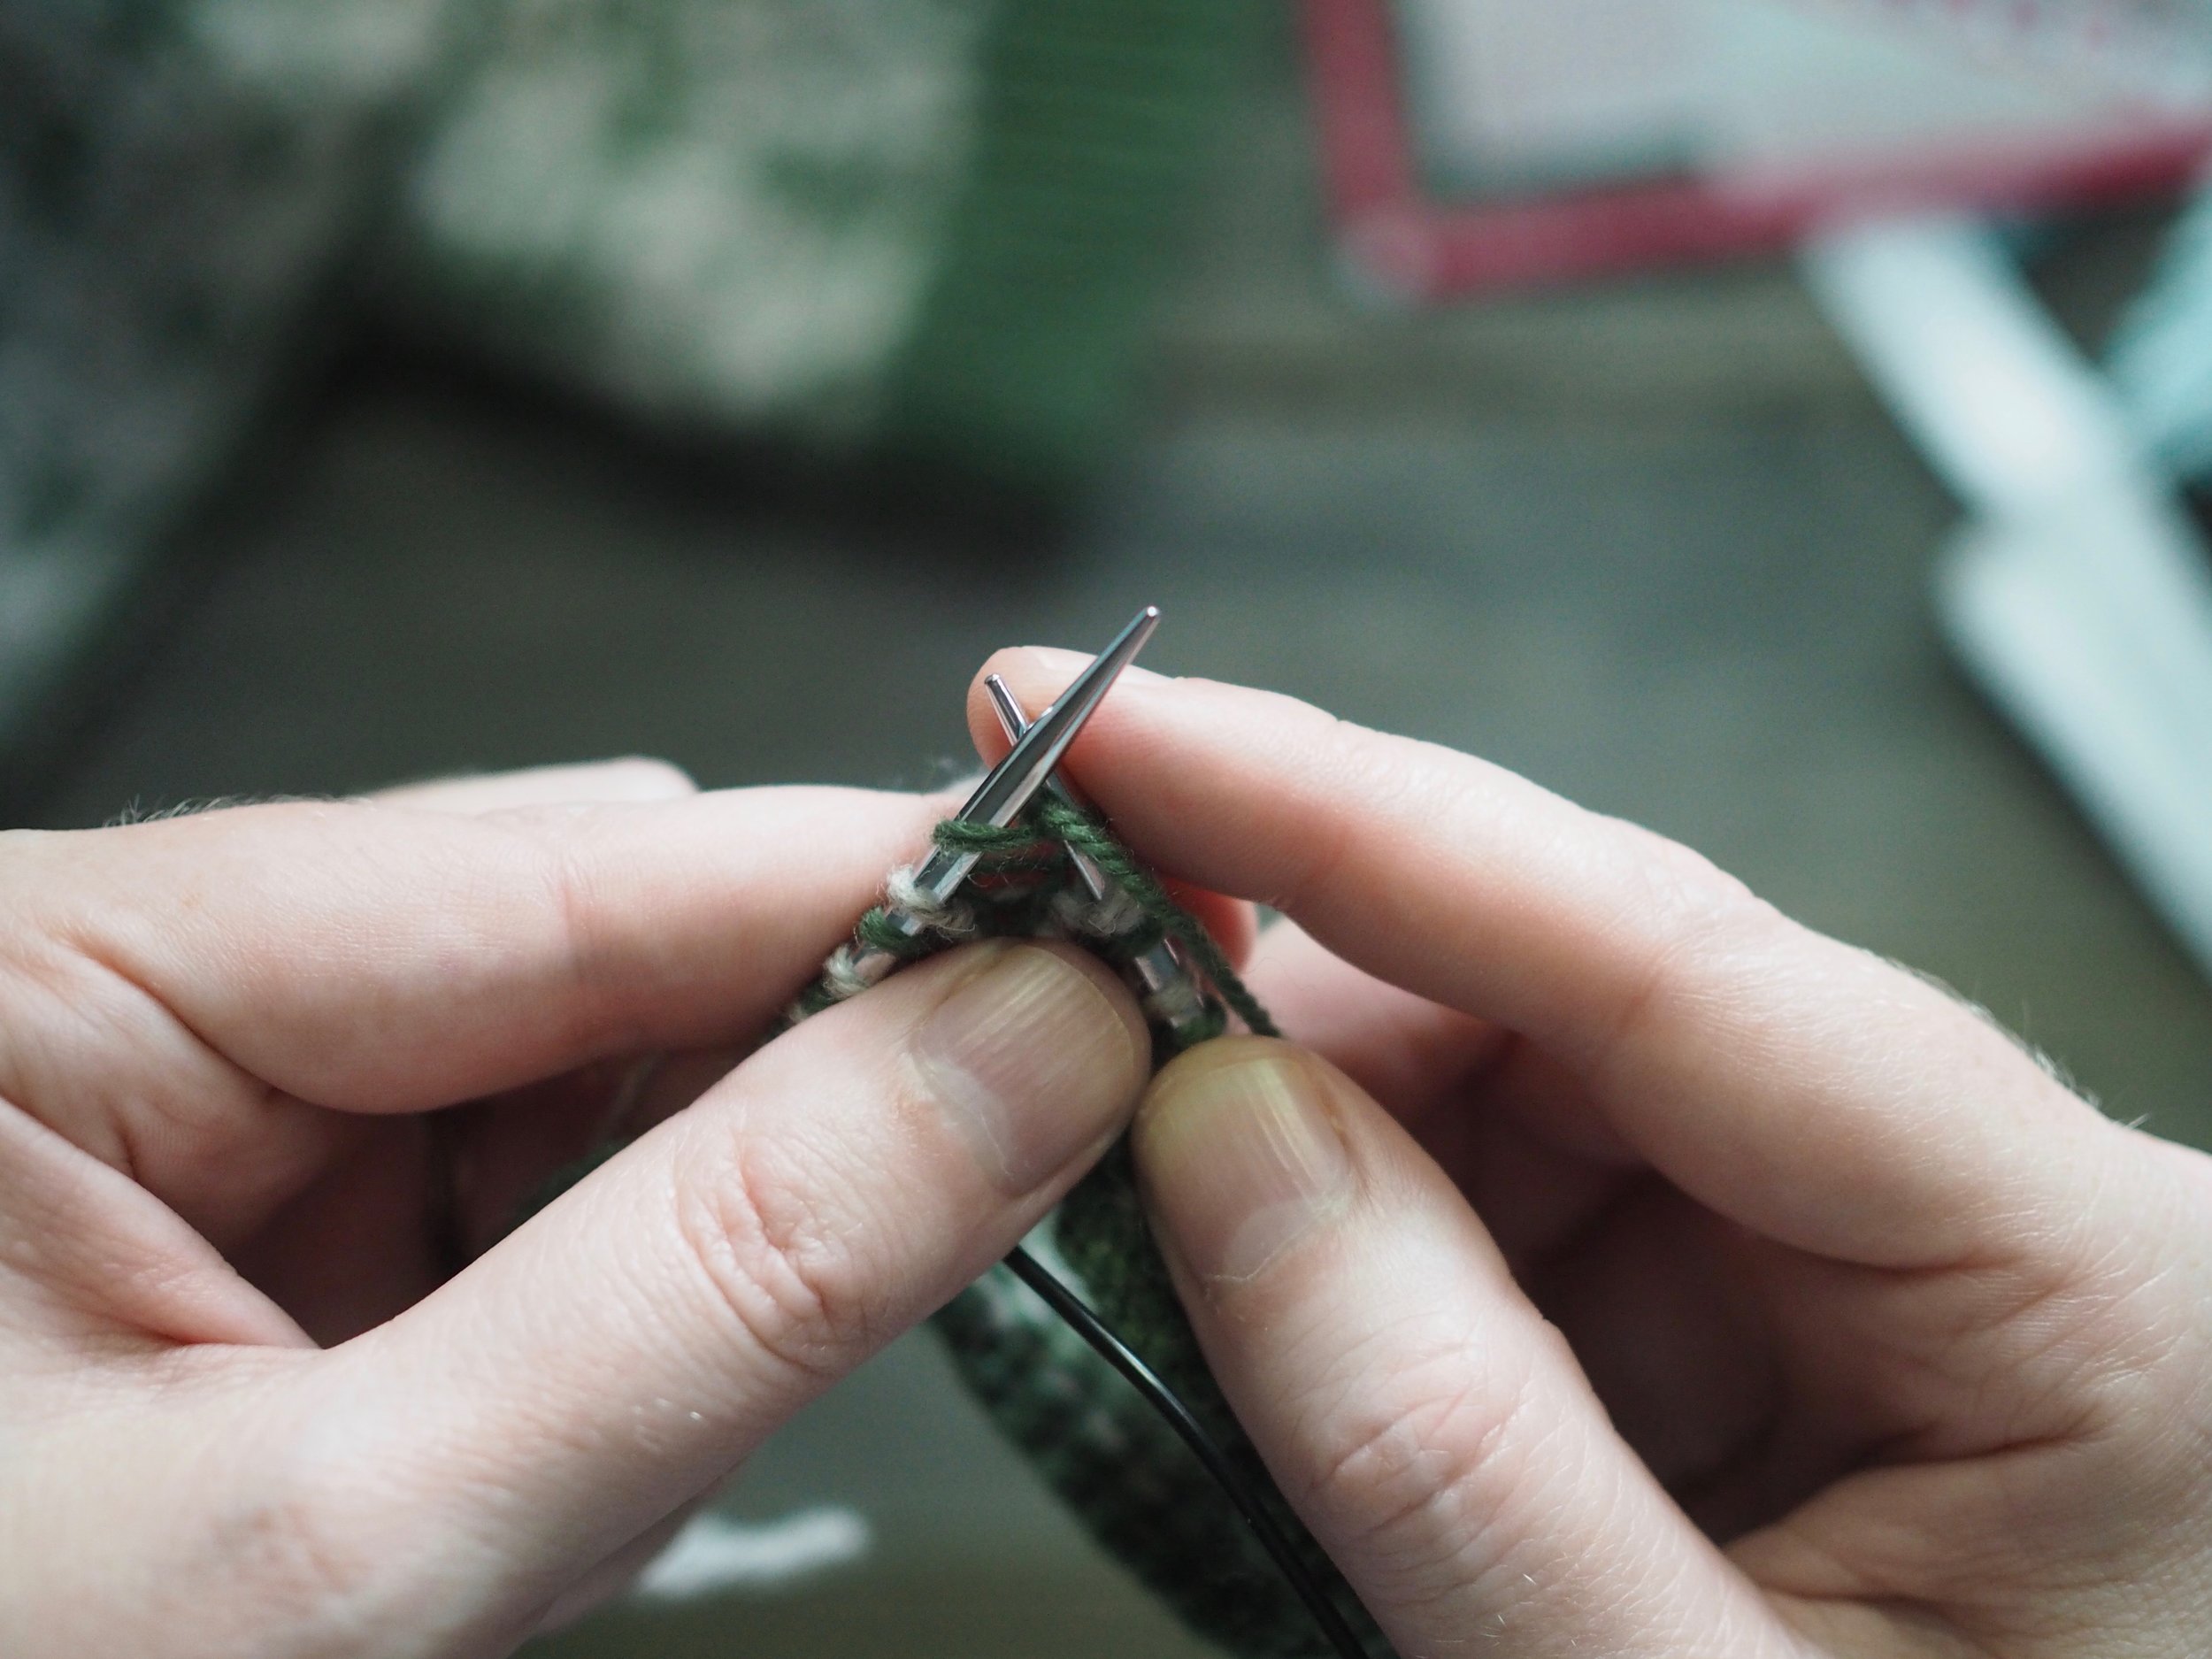
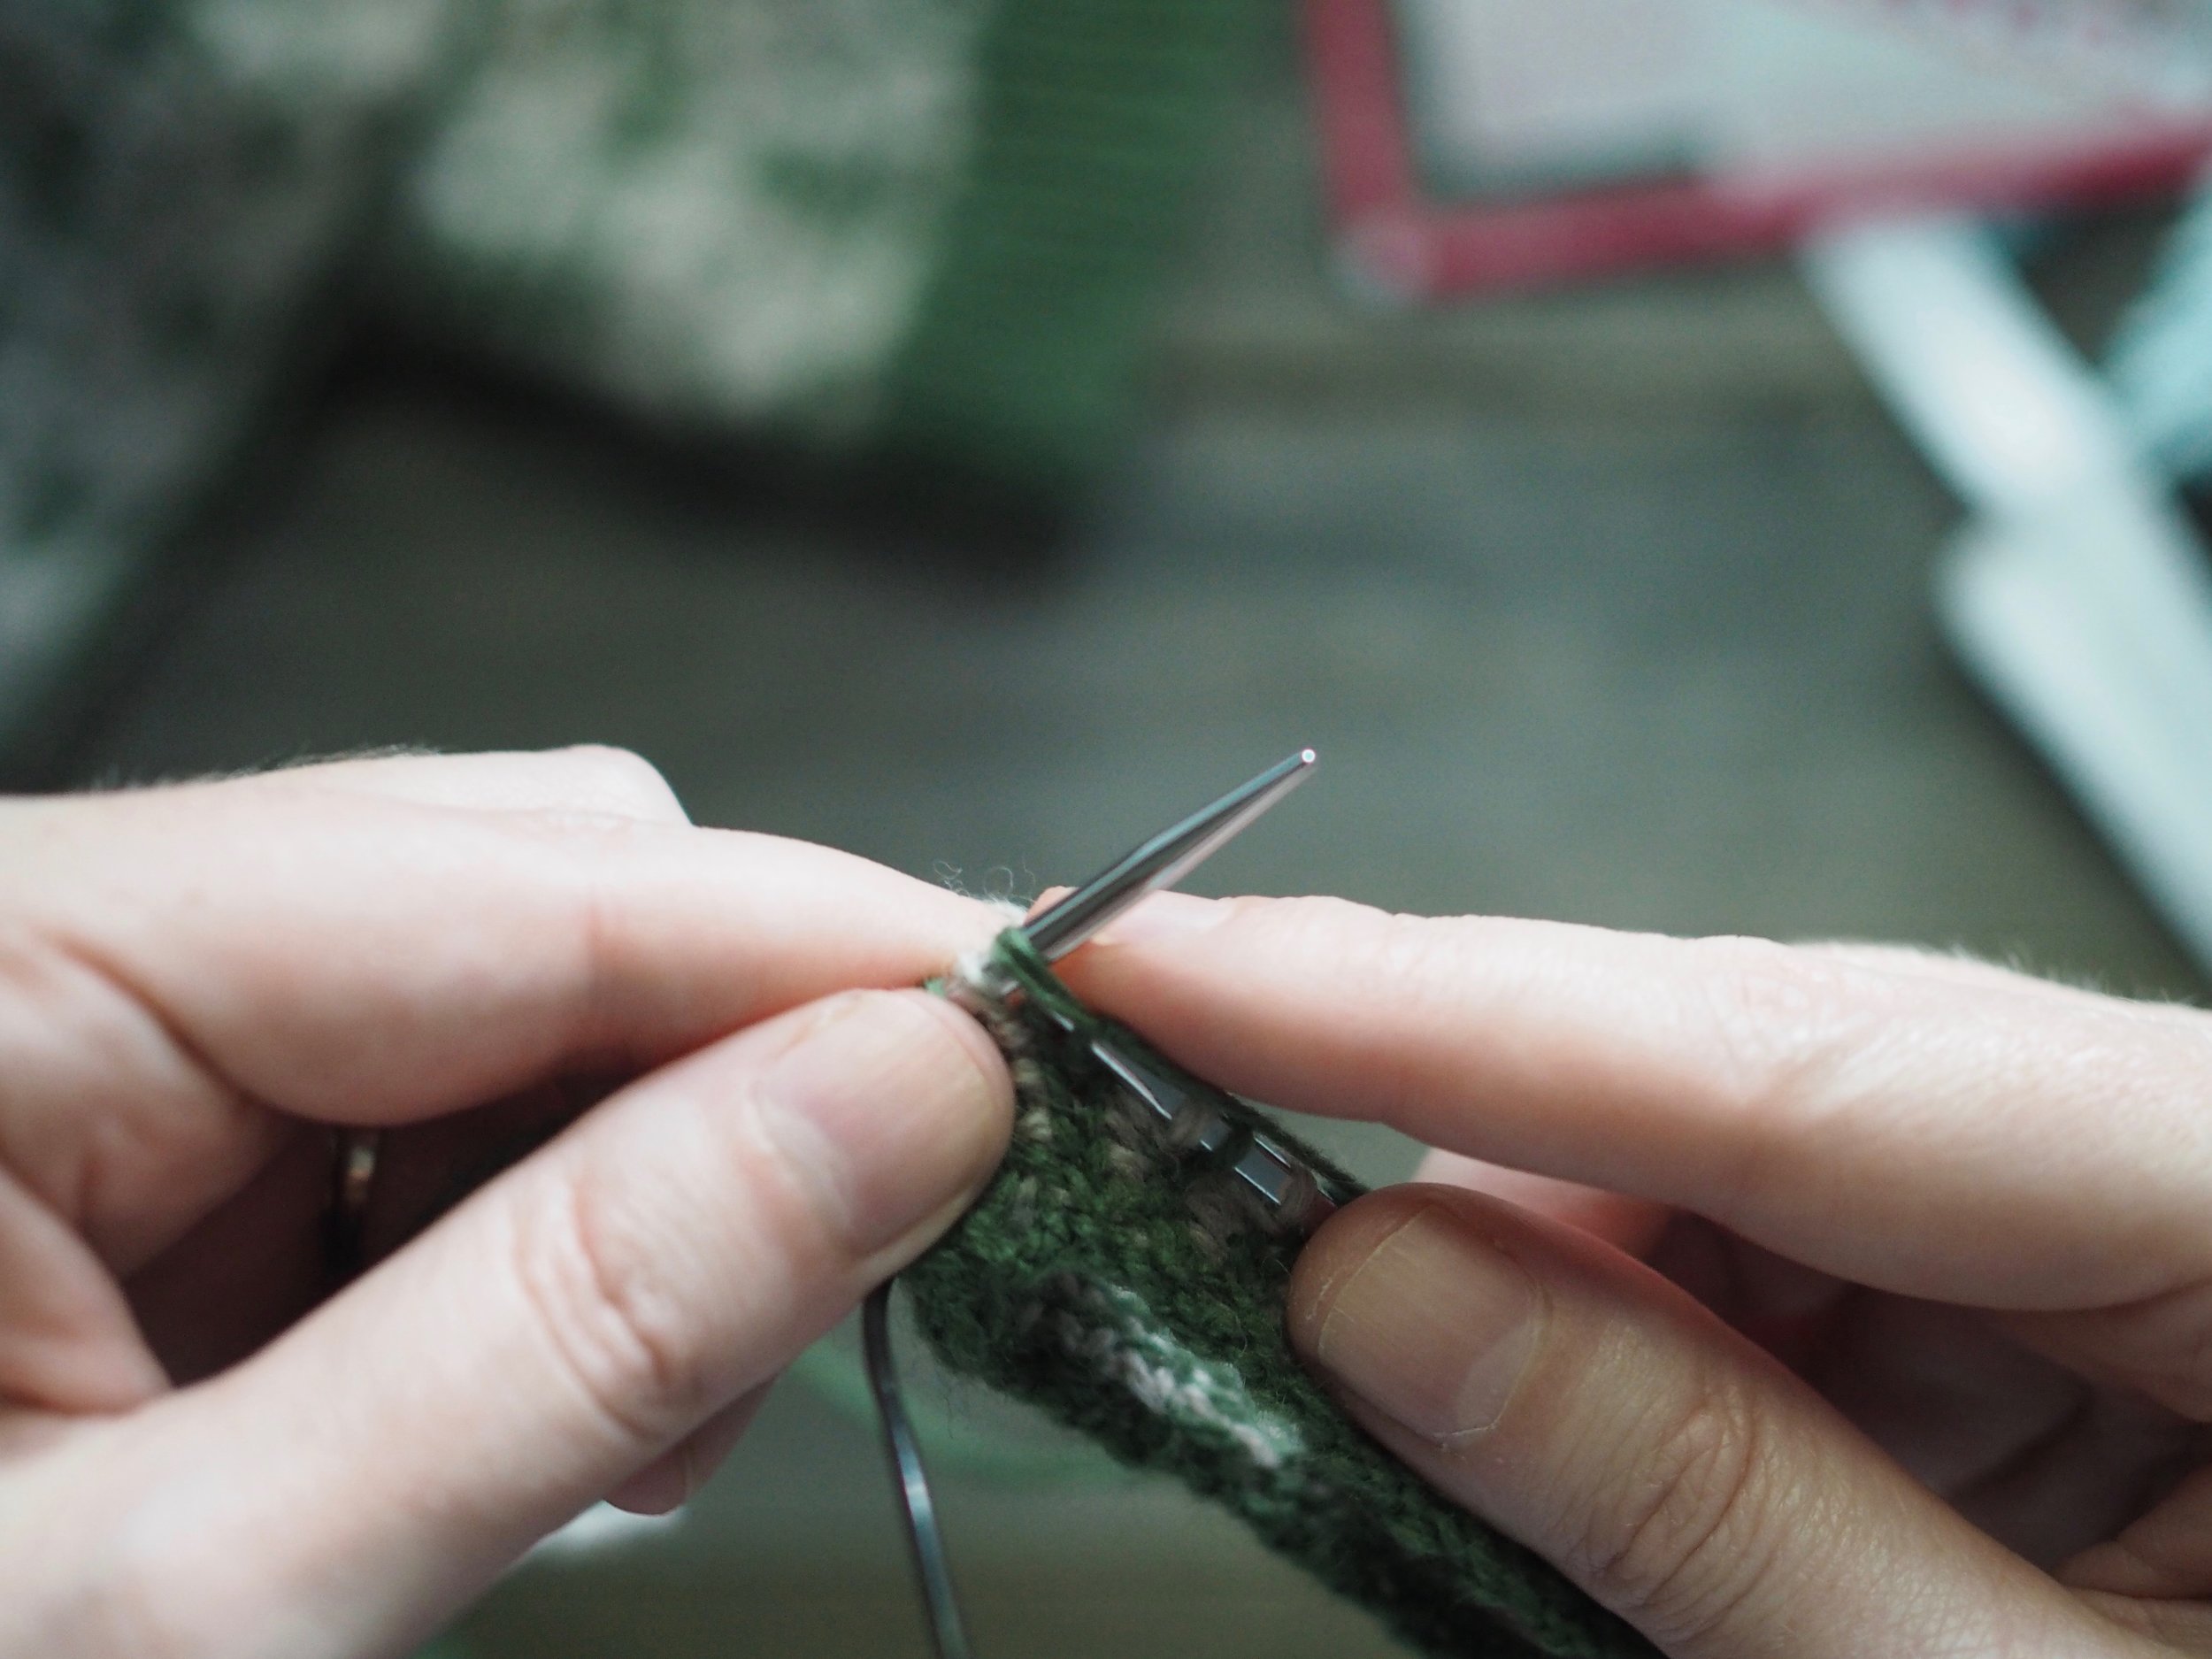
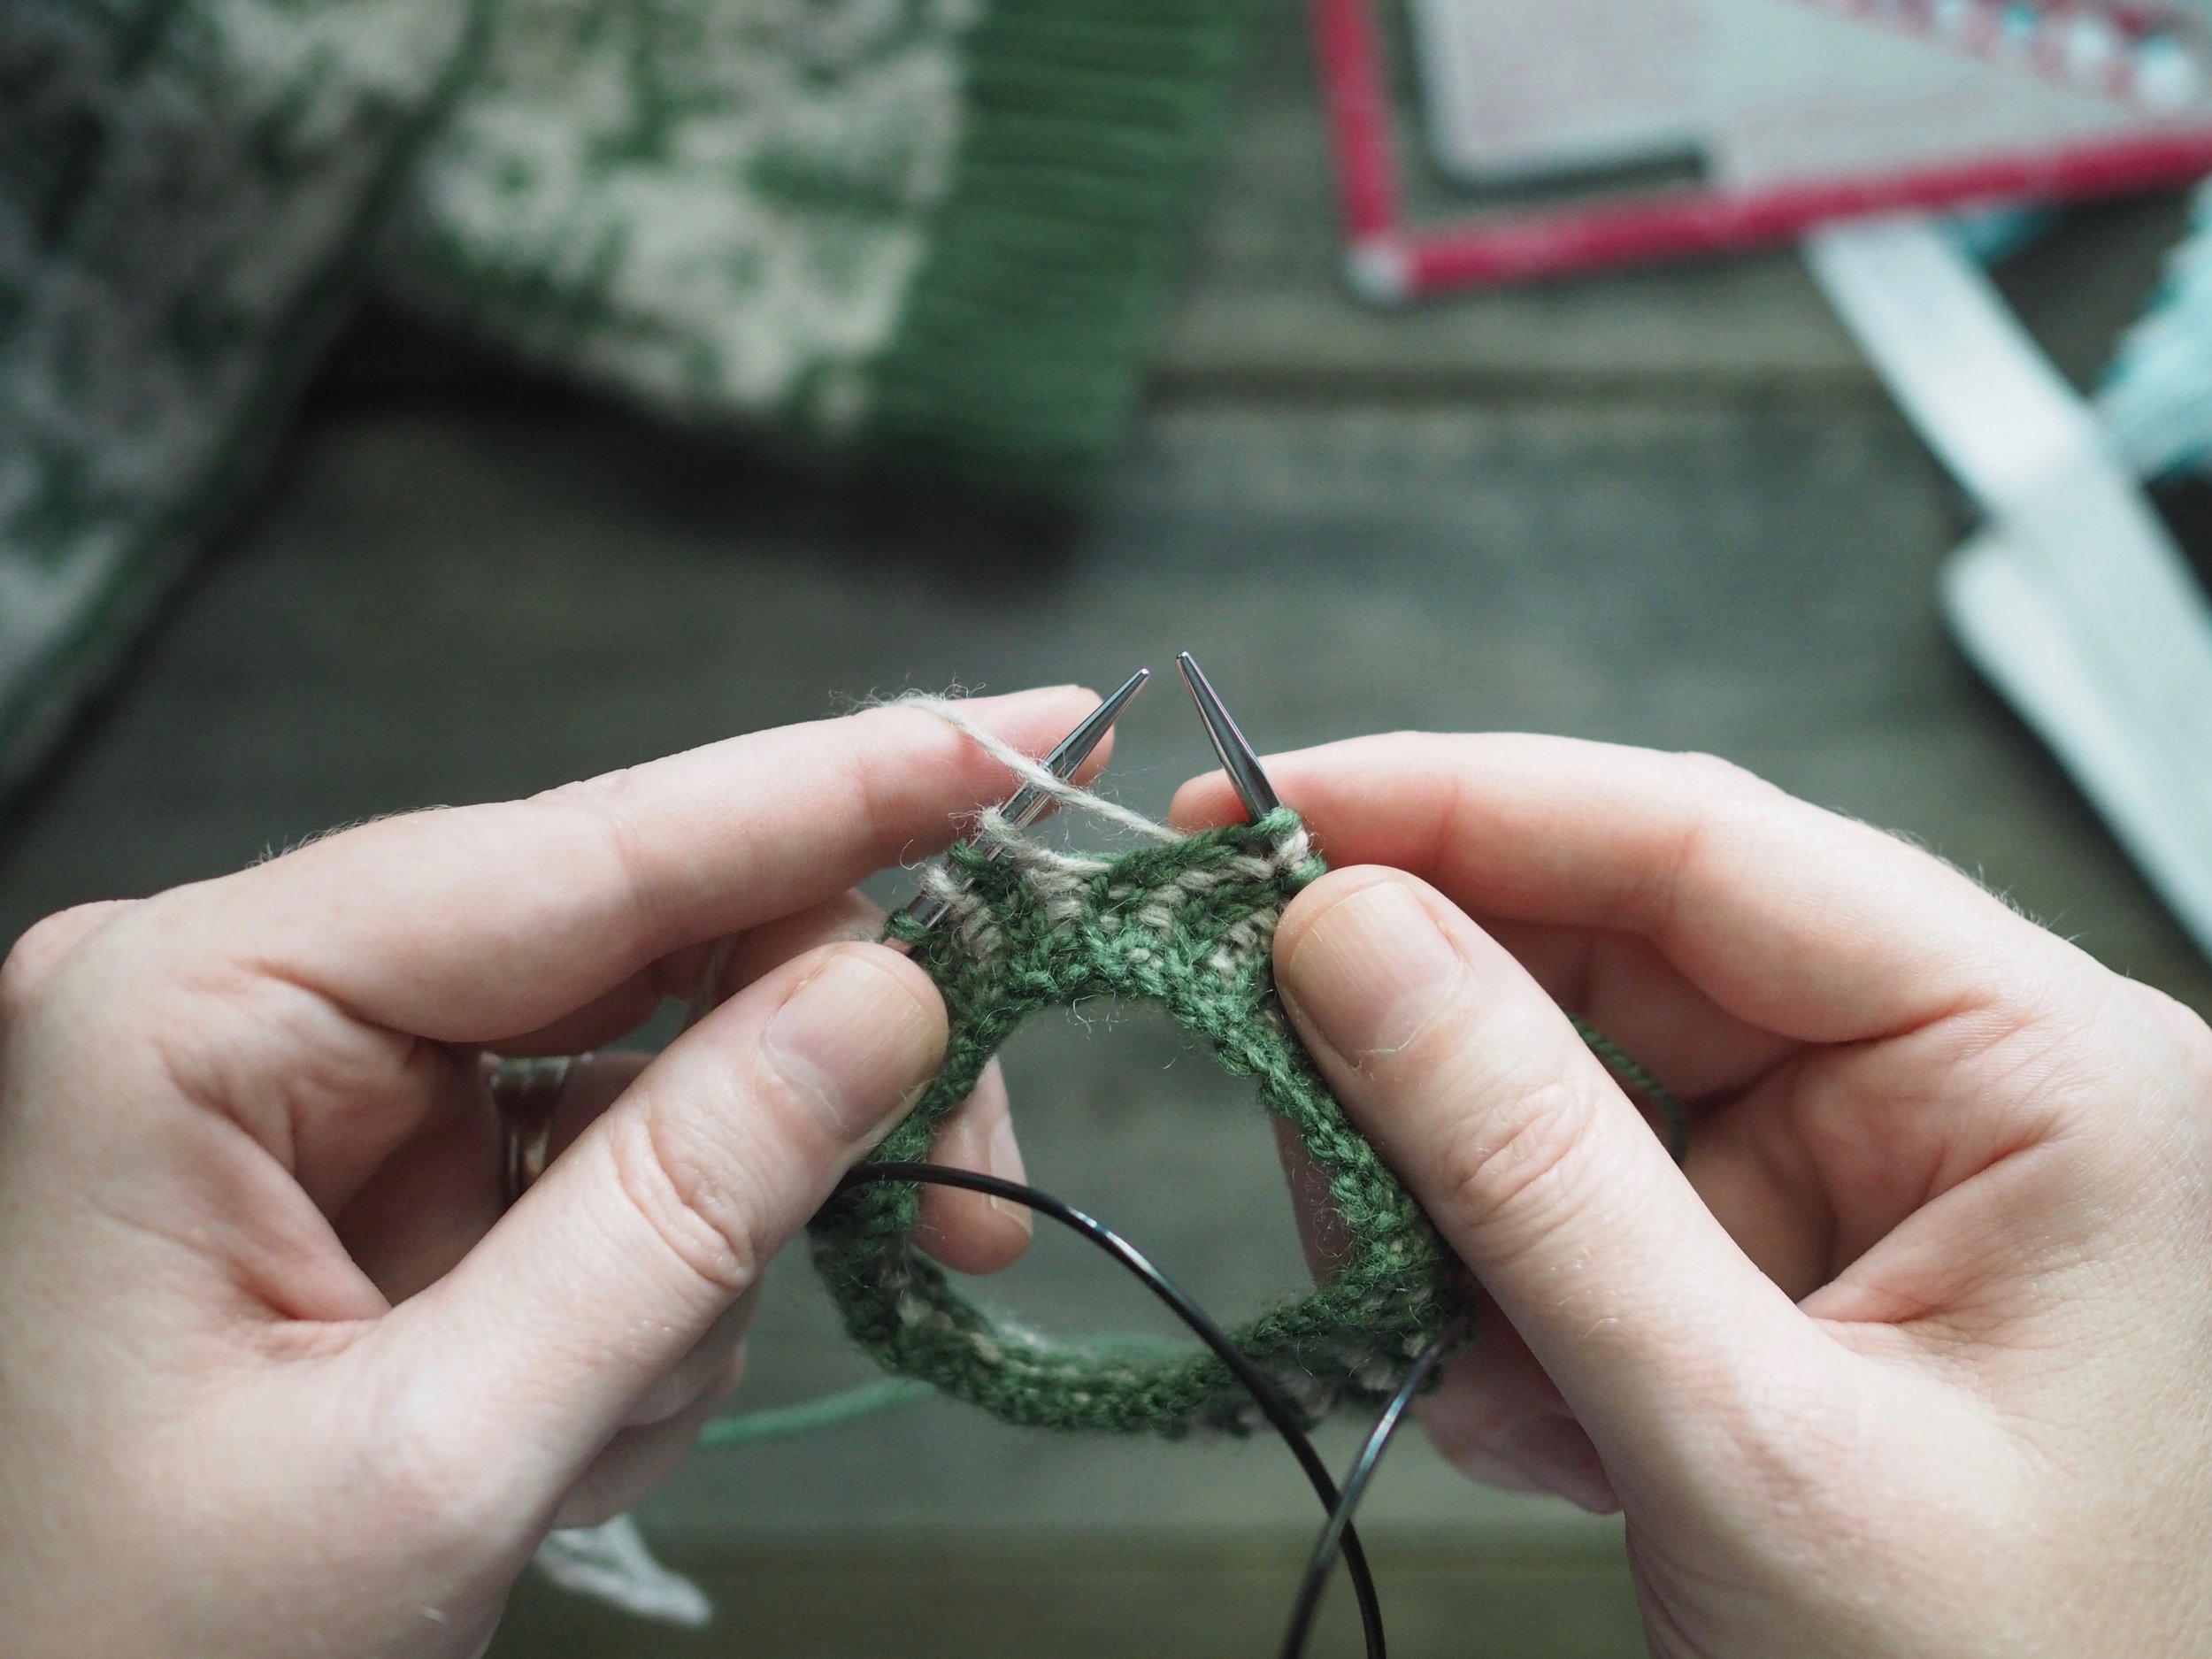
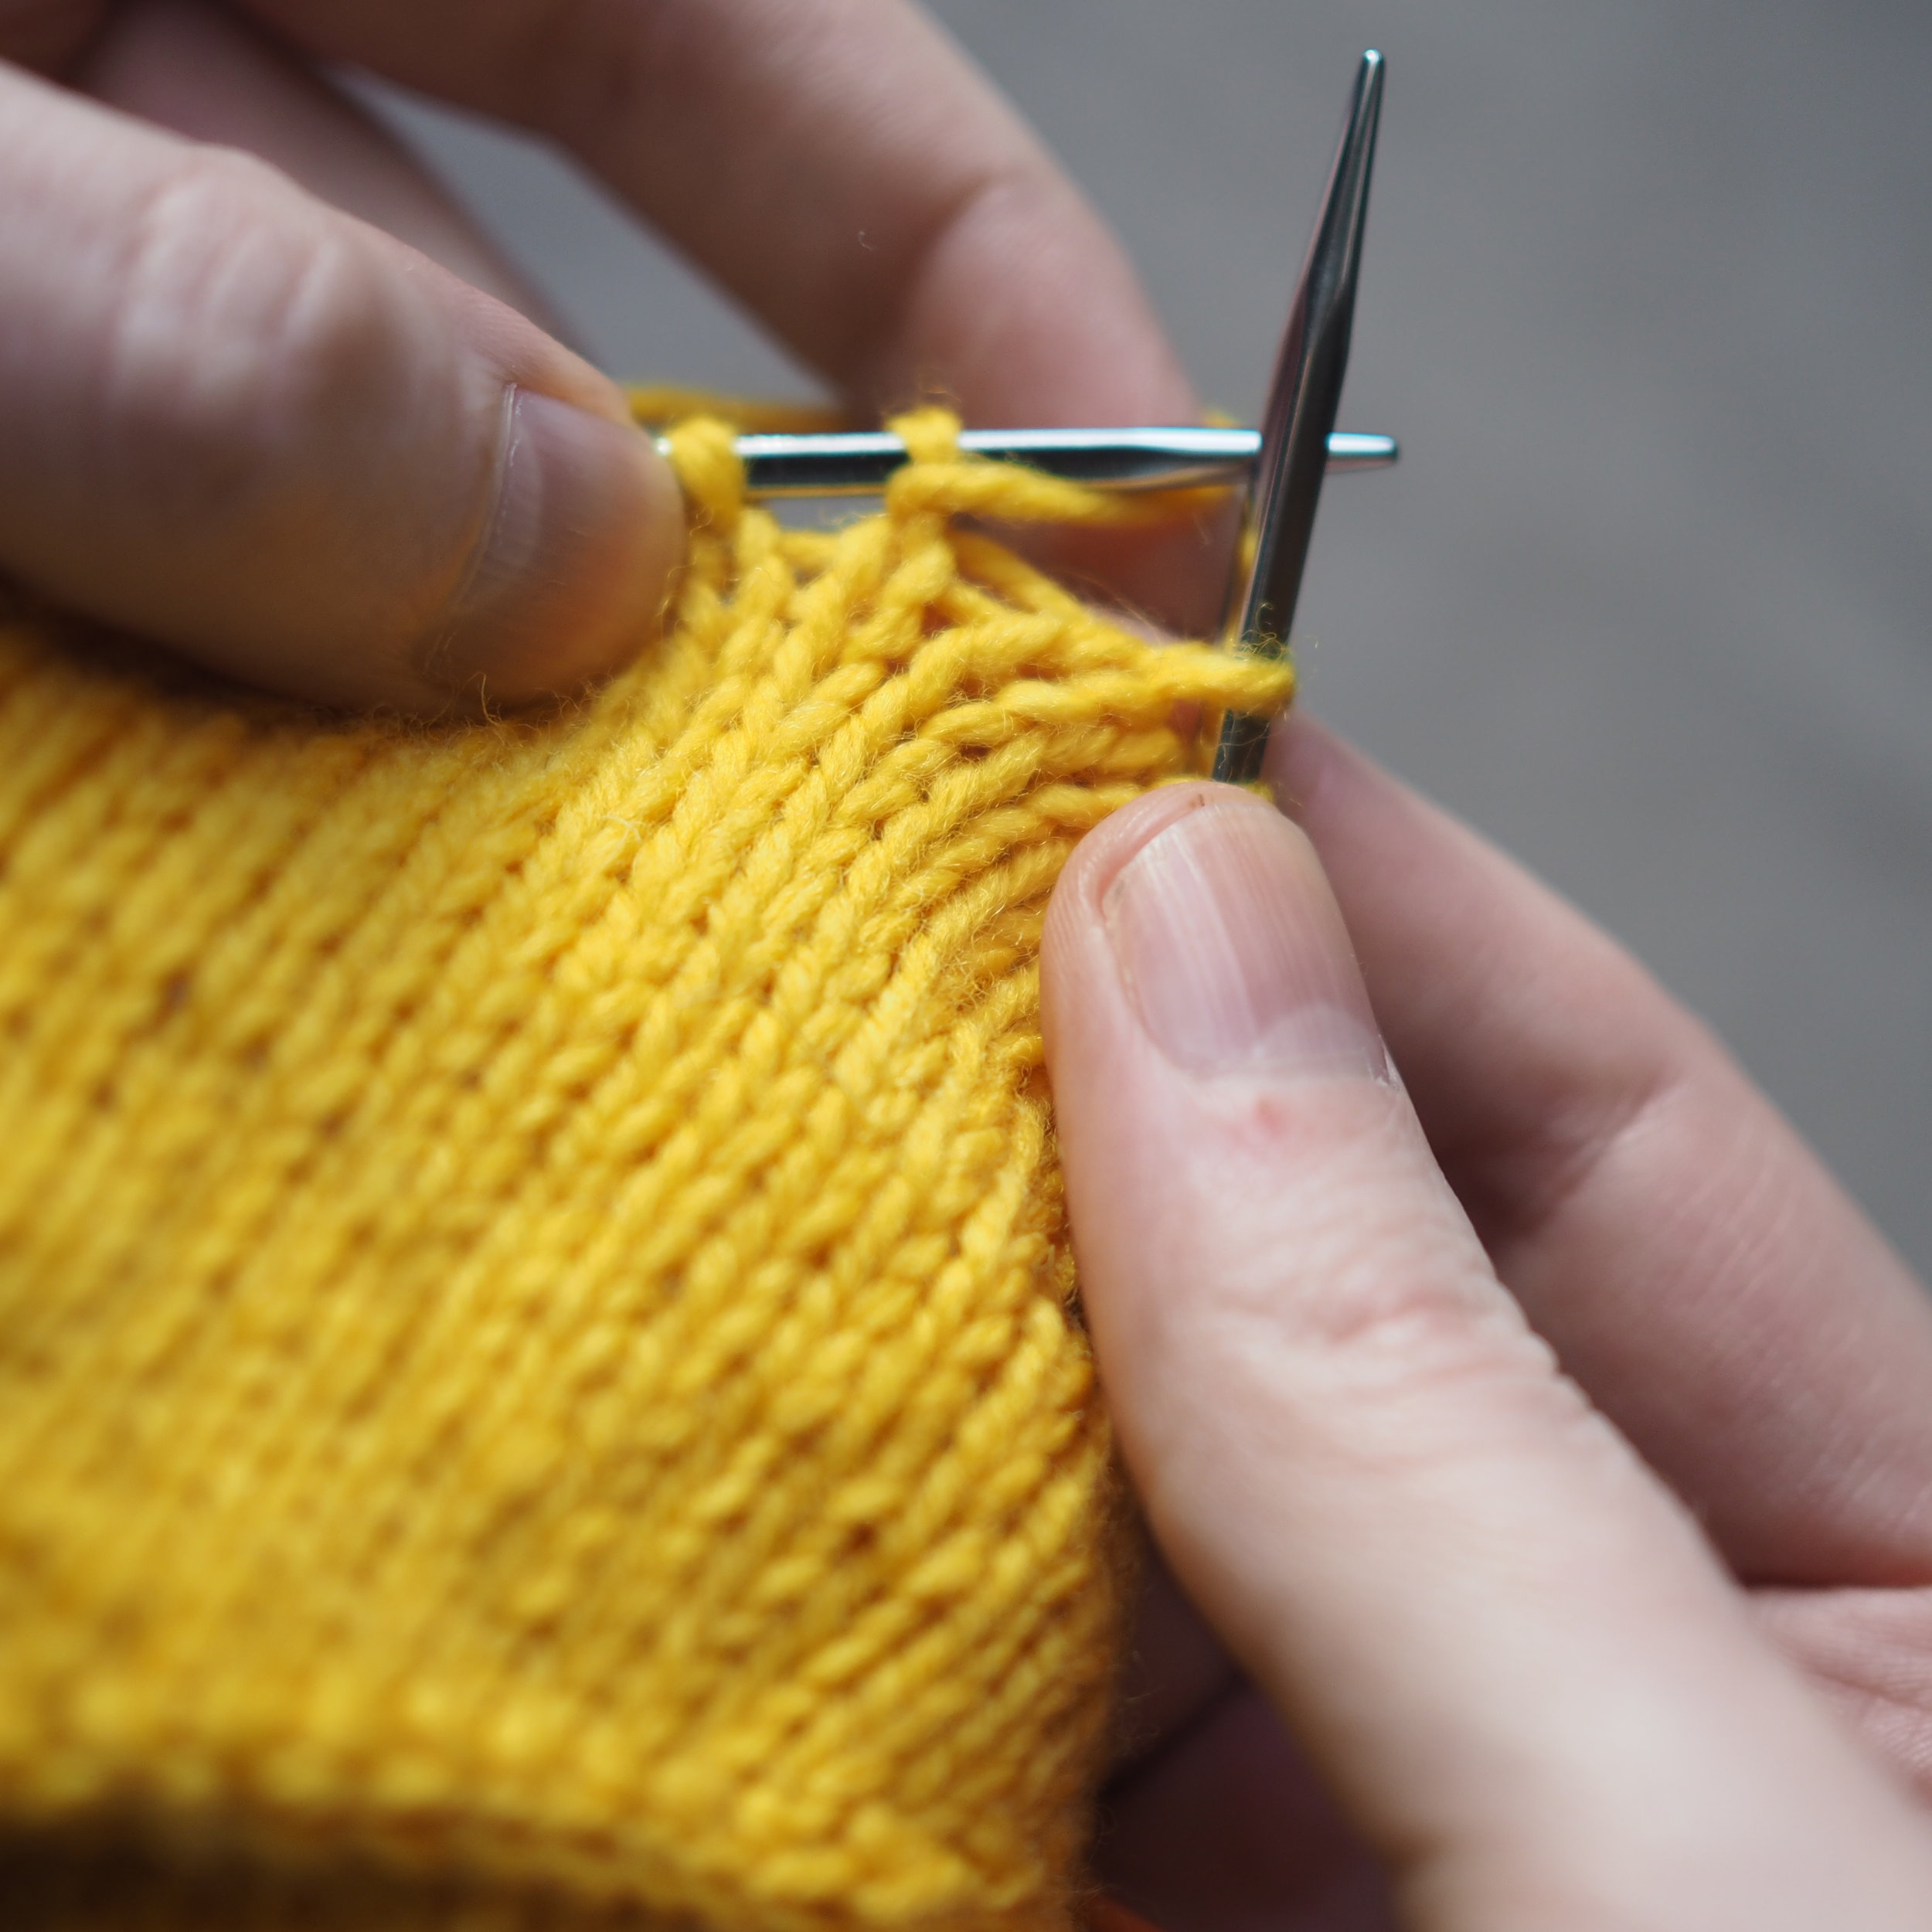
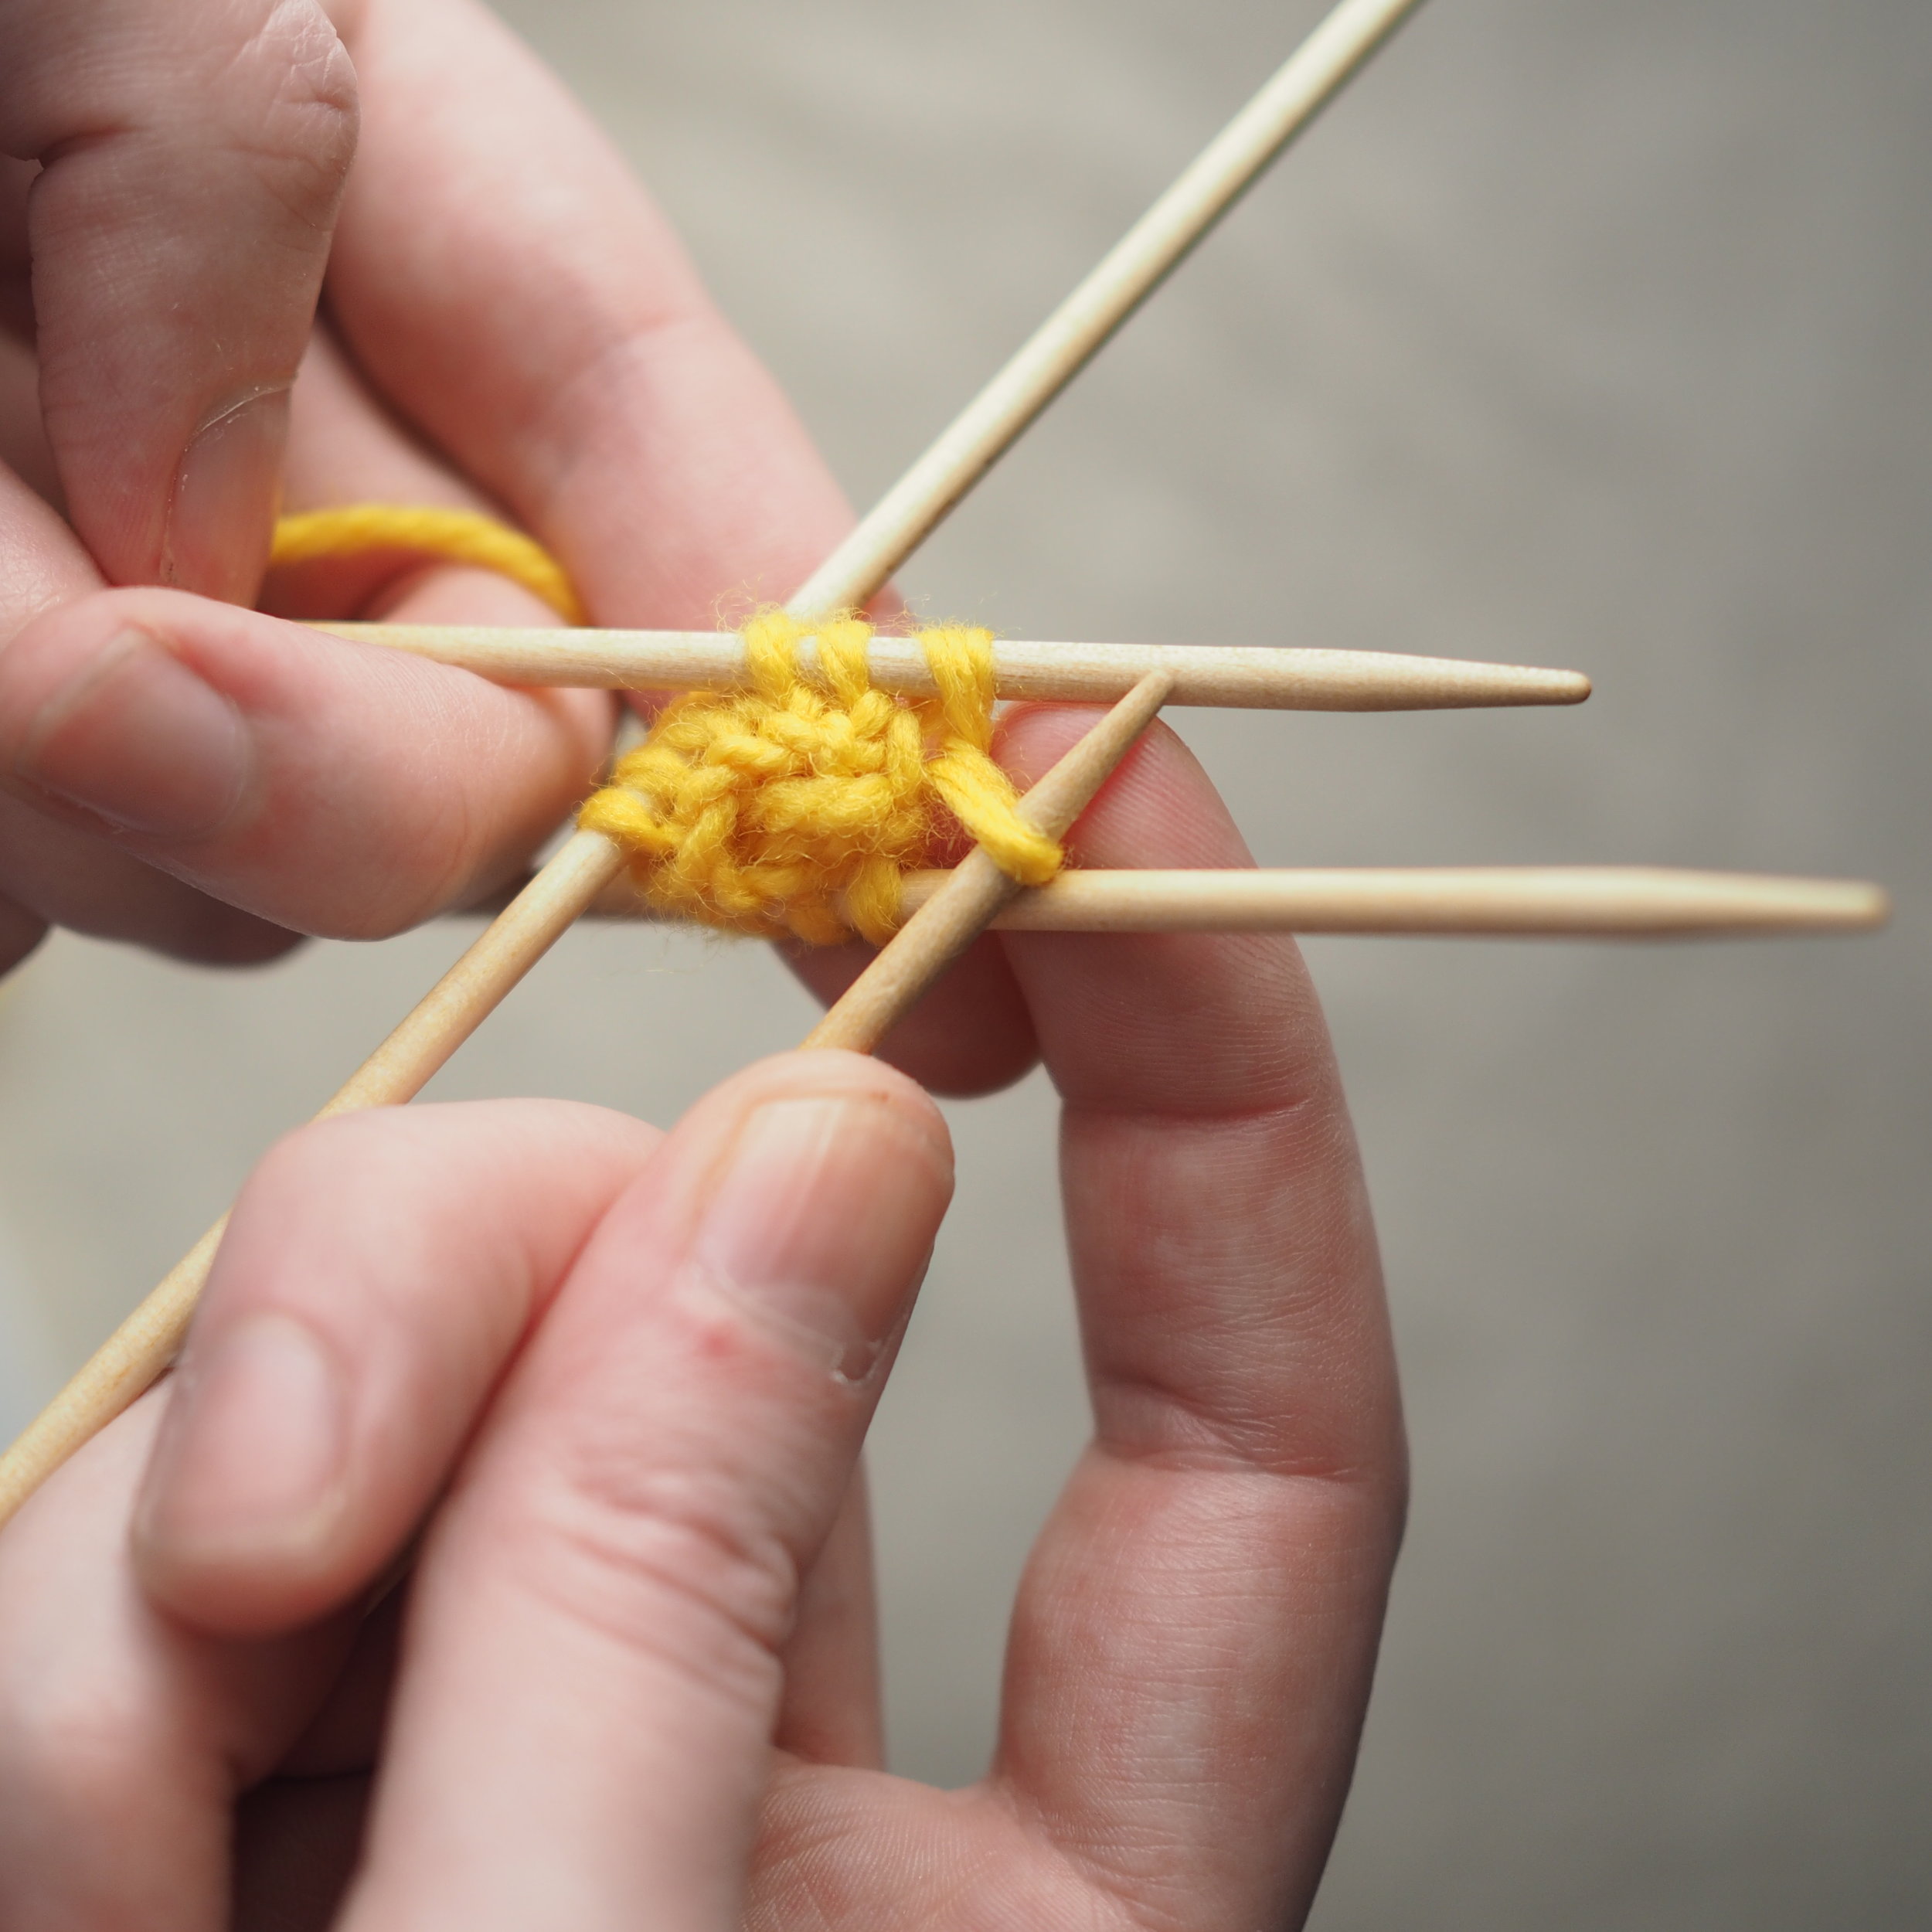
Continue as in Step 1: knit one stitch, pull the rightmost stitch on the RH needle up and over the new stitch. You should still have only one stitch on the RH needle. Repeat until there is one stitch on the RH needle and no more stitches to bind off on the left.

3. Secure the Bind Off
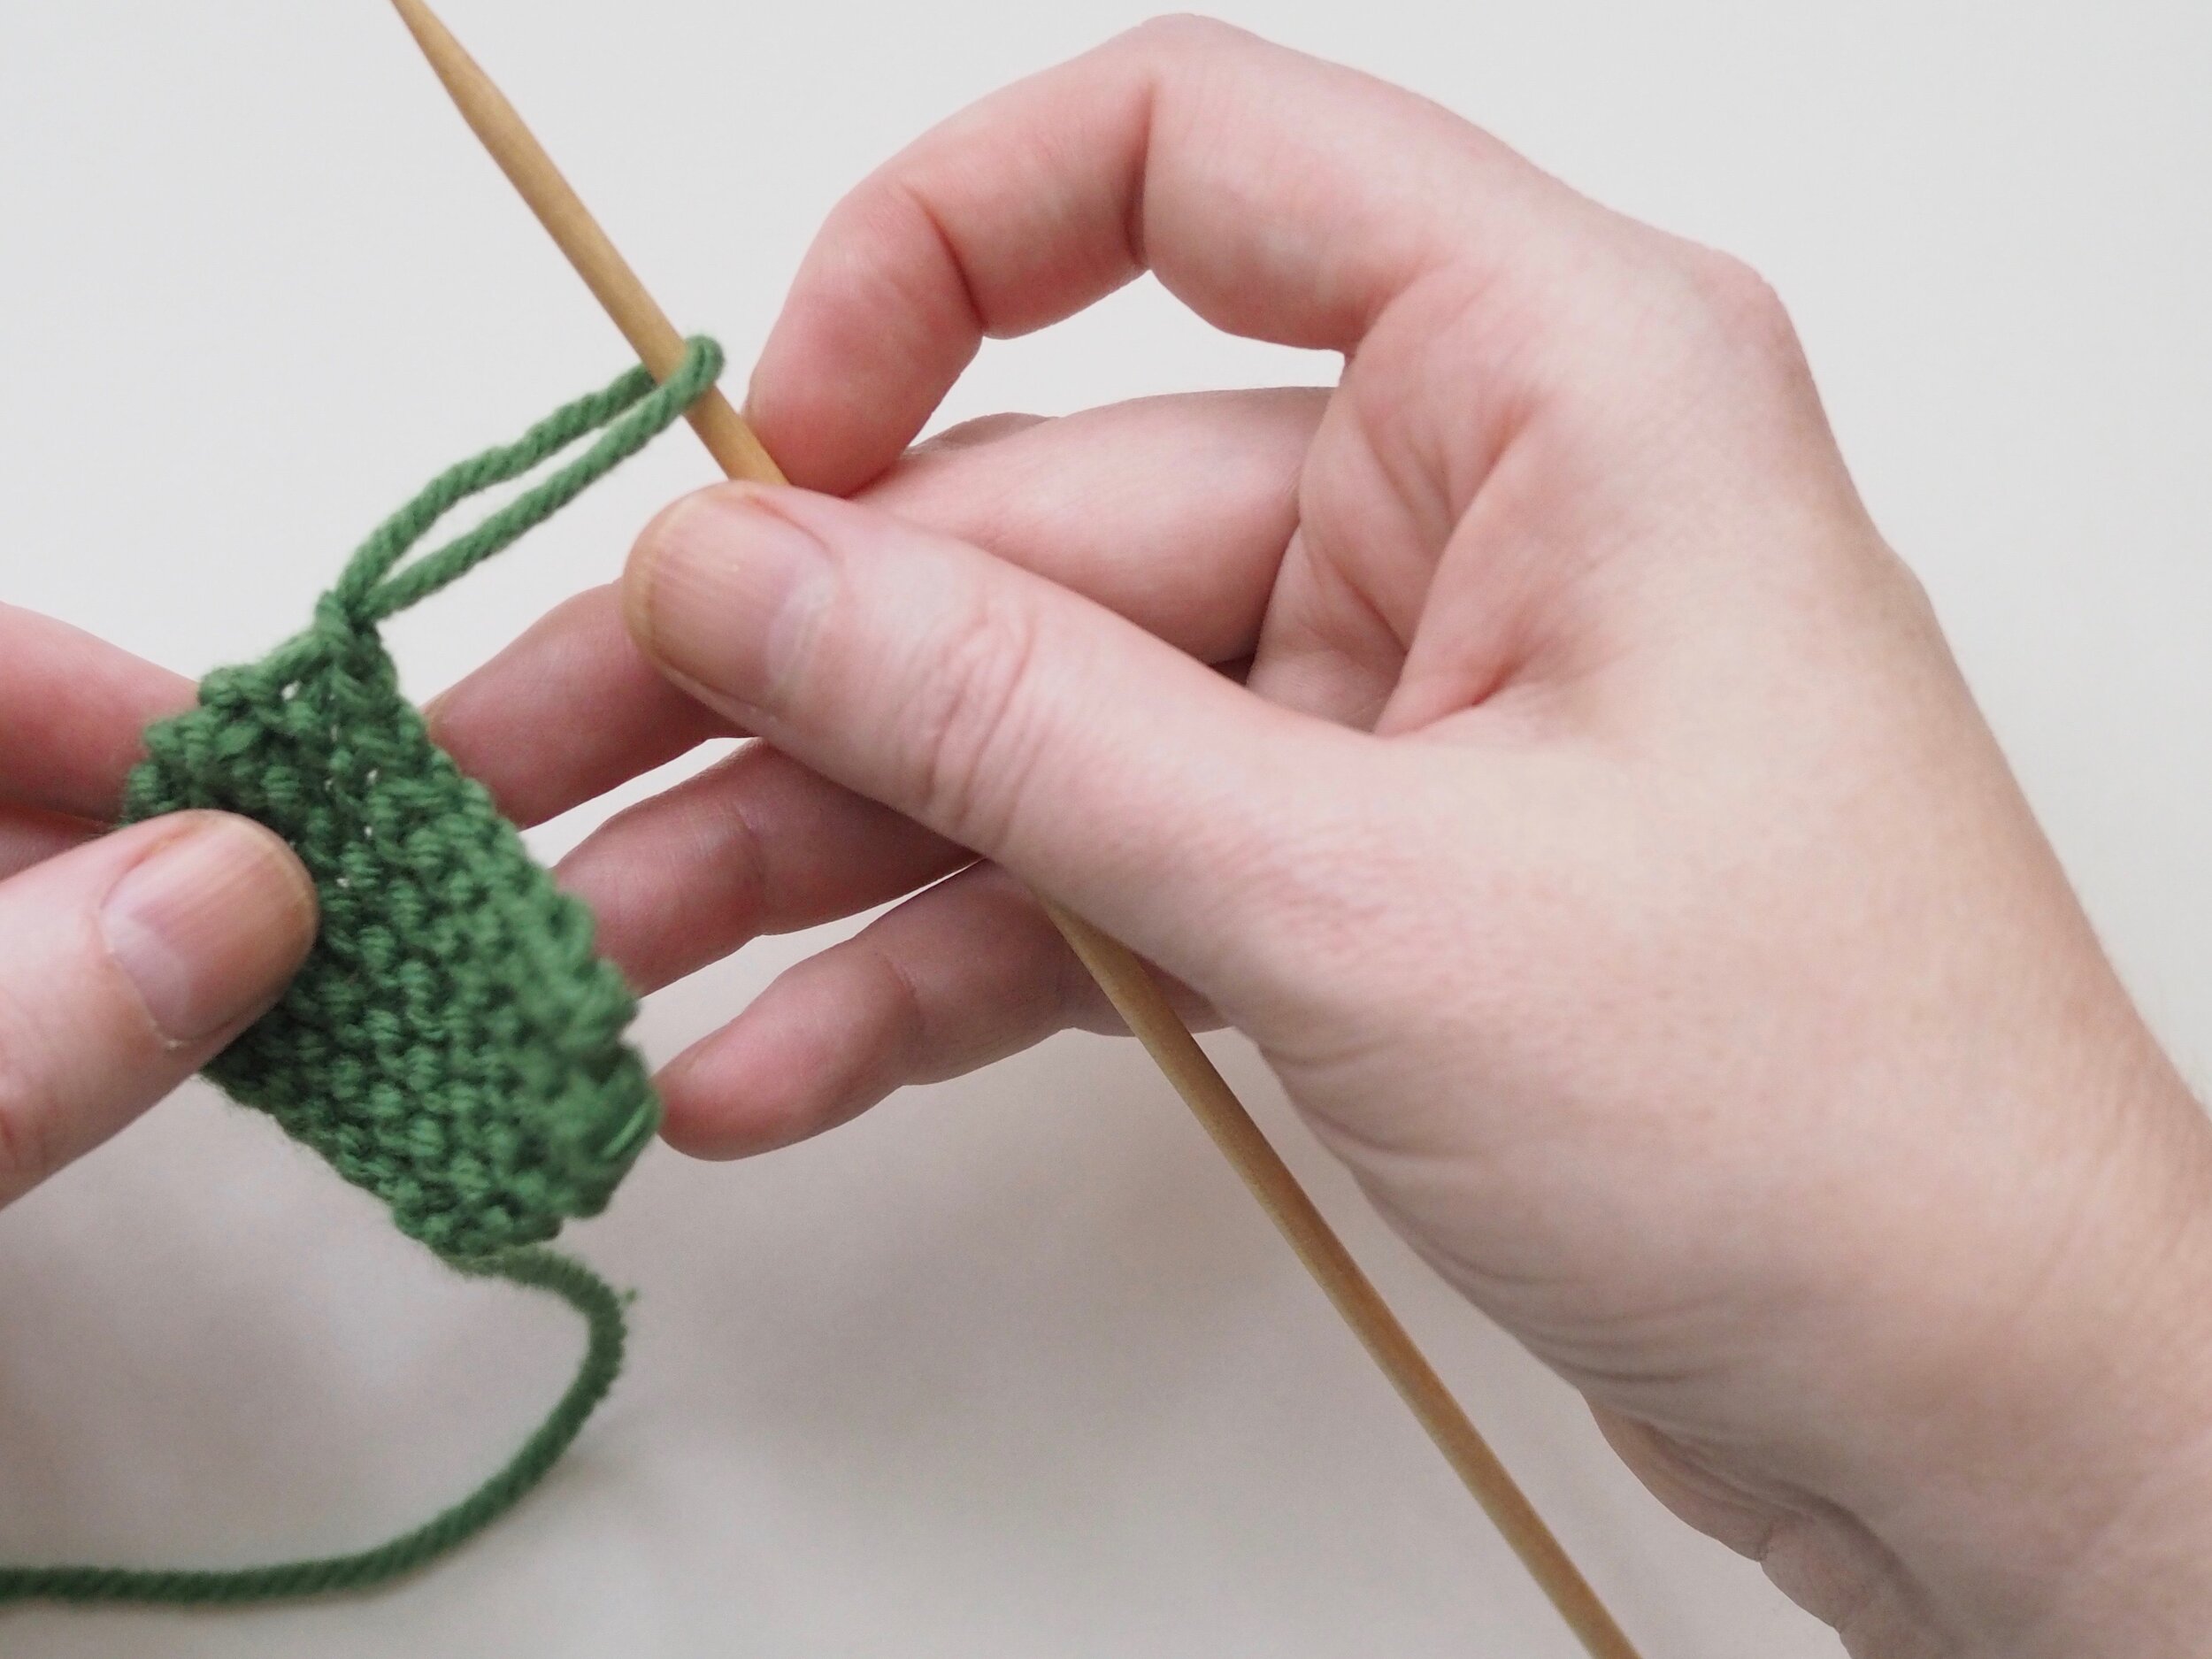
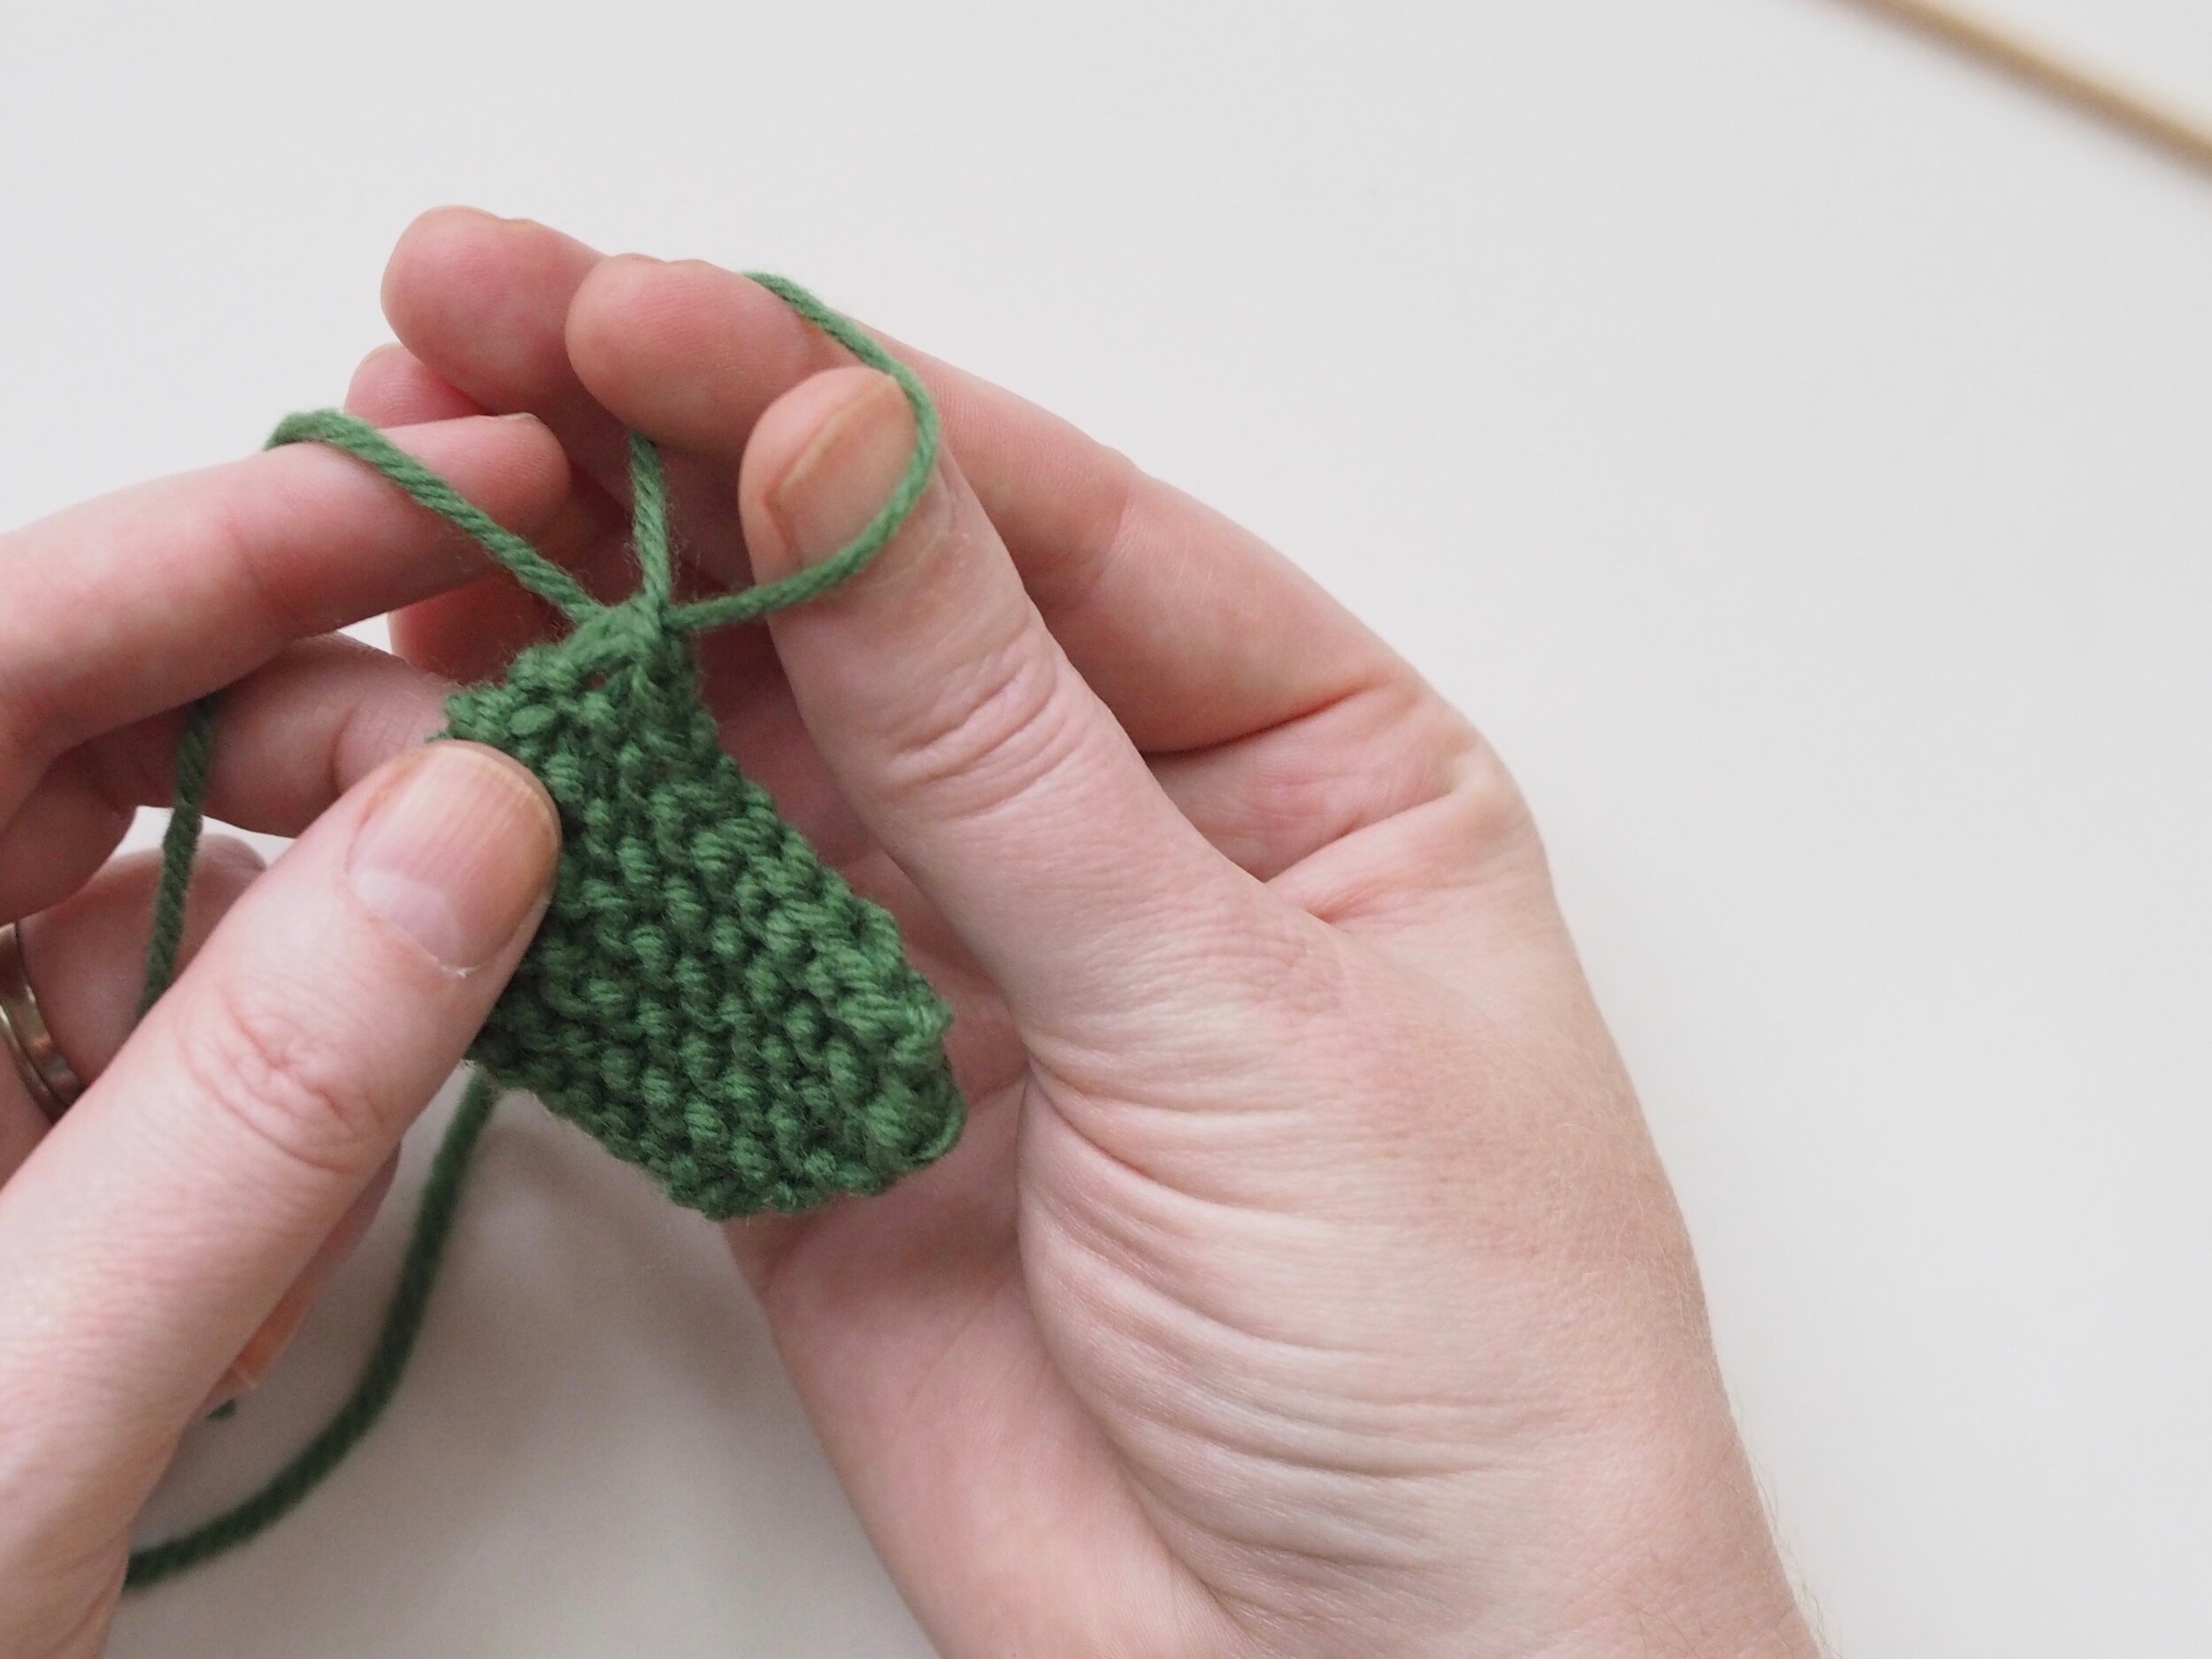
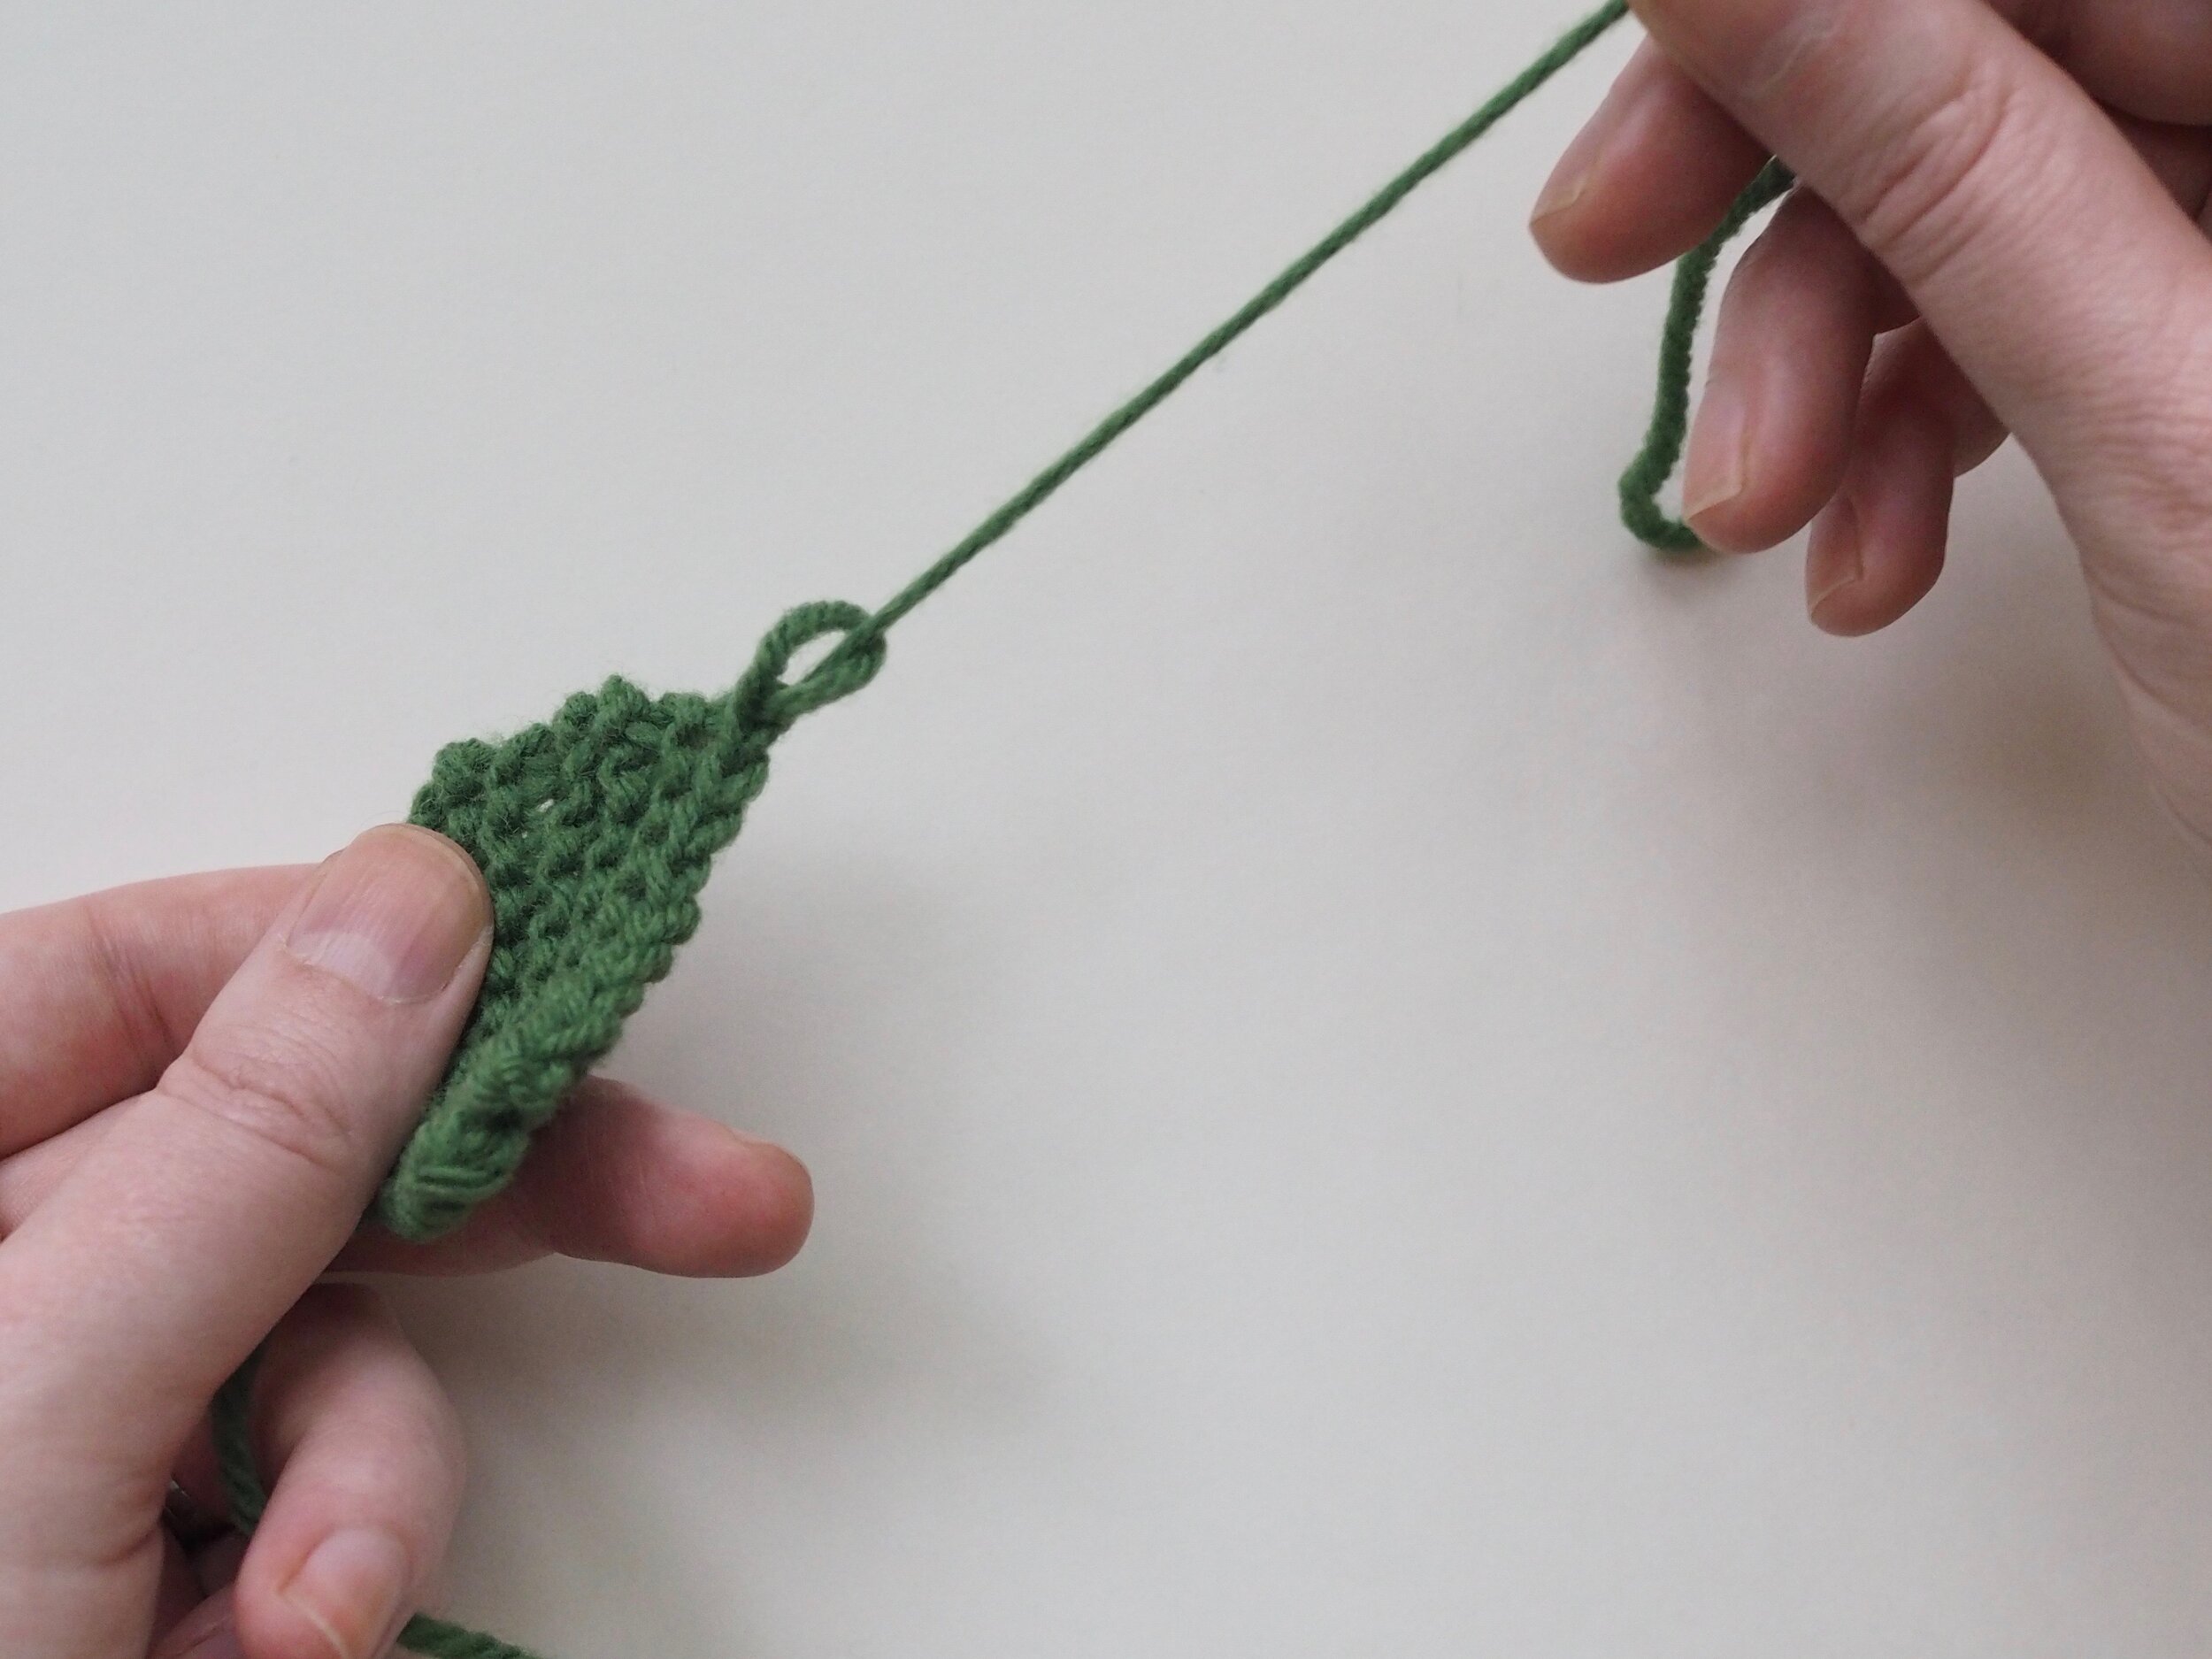
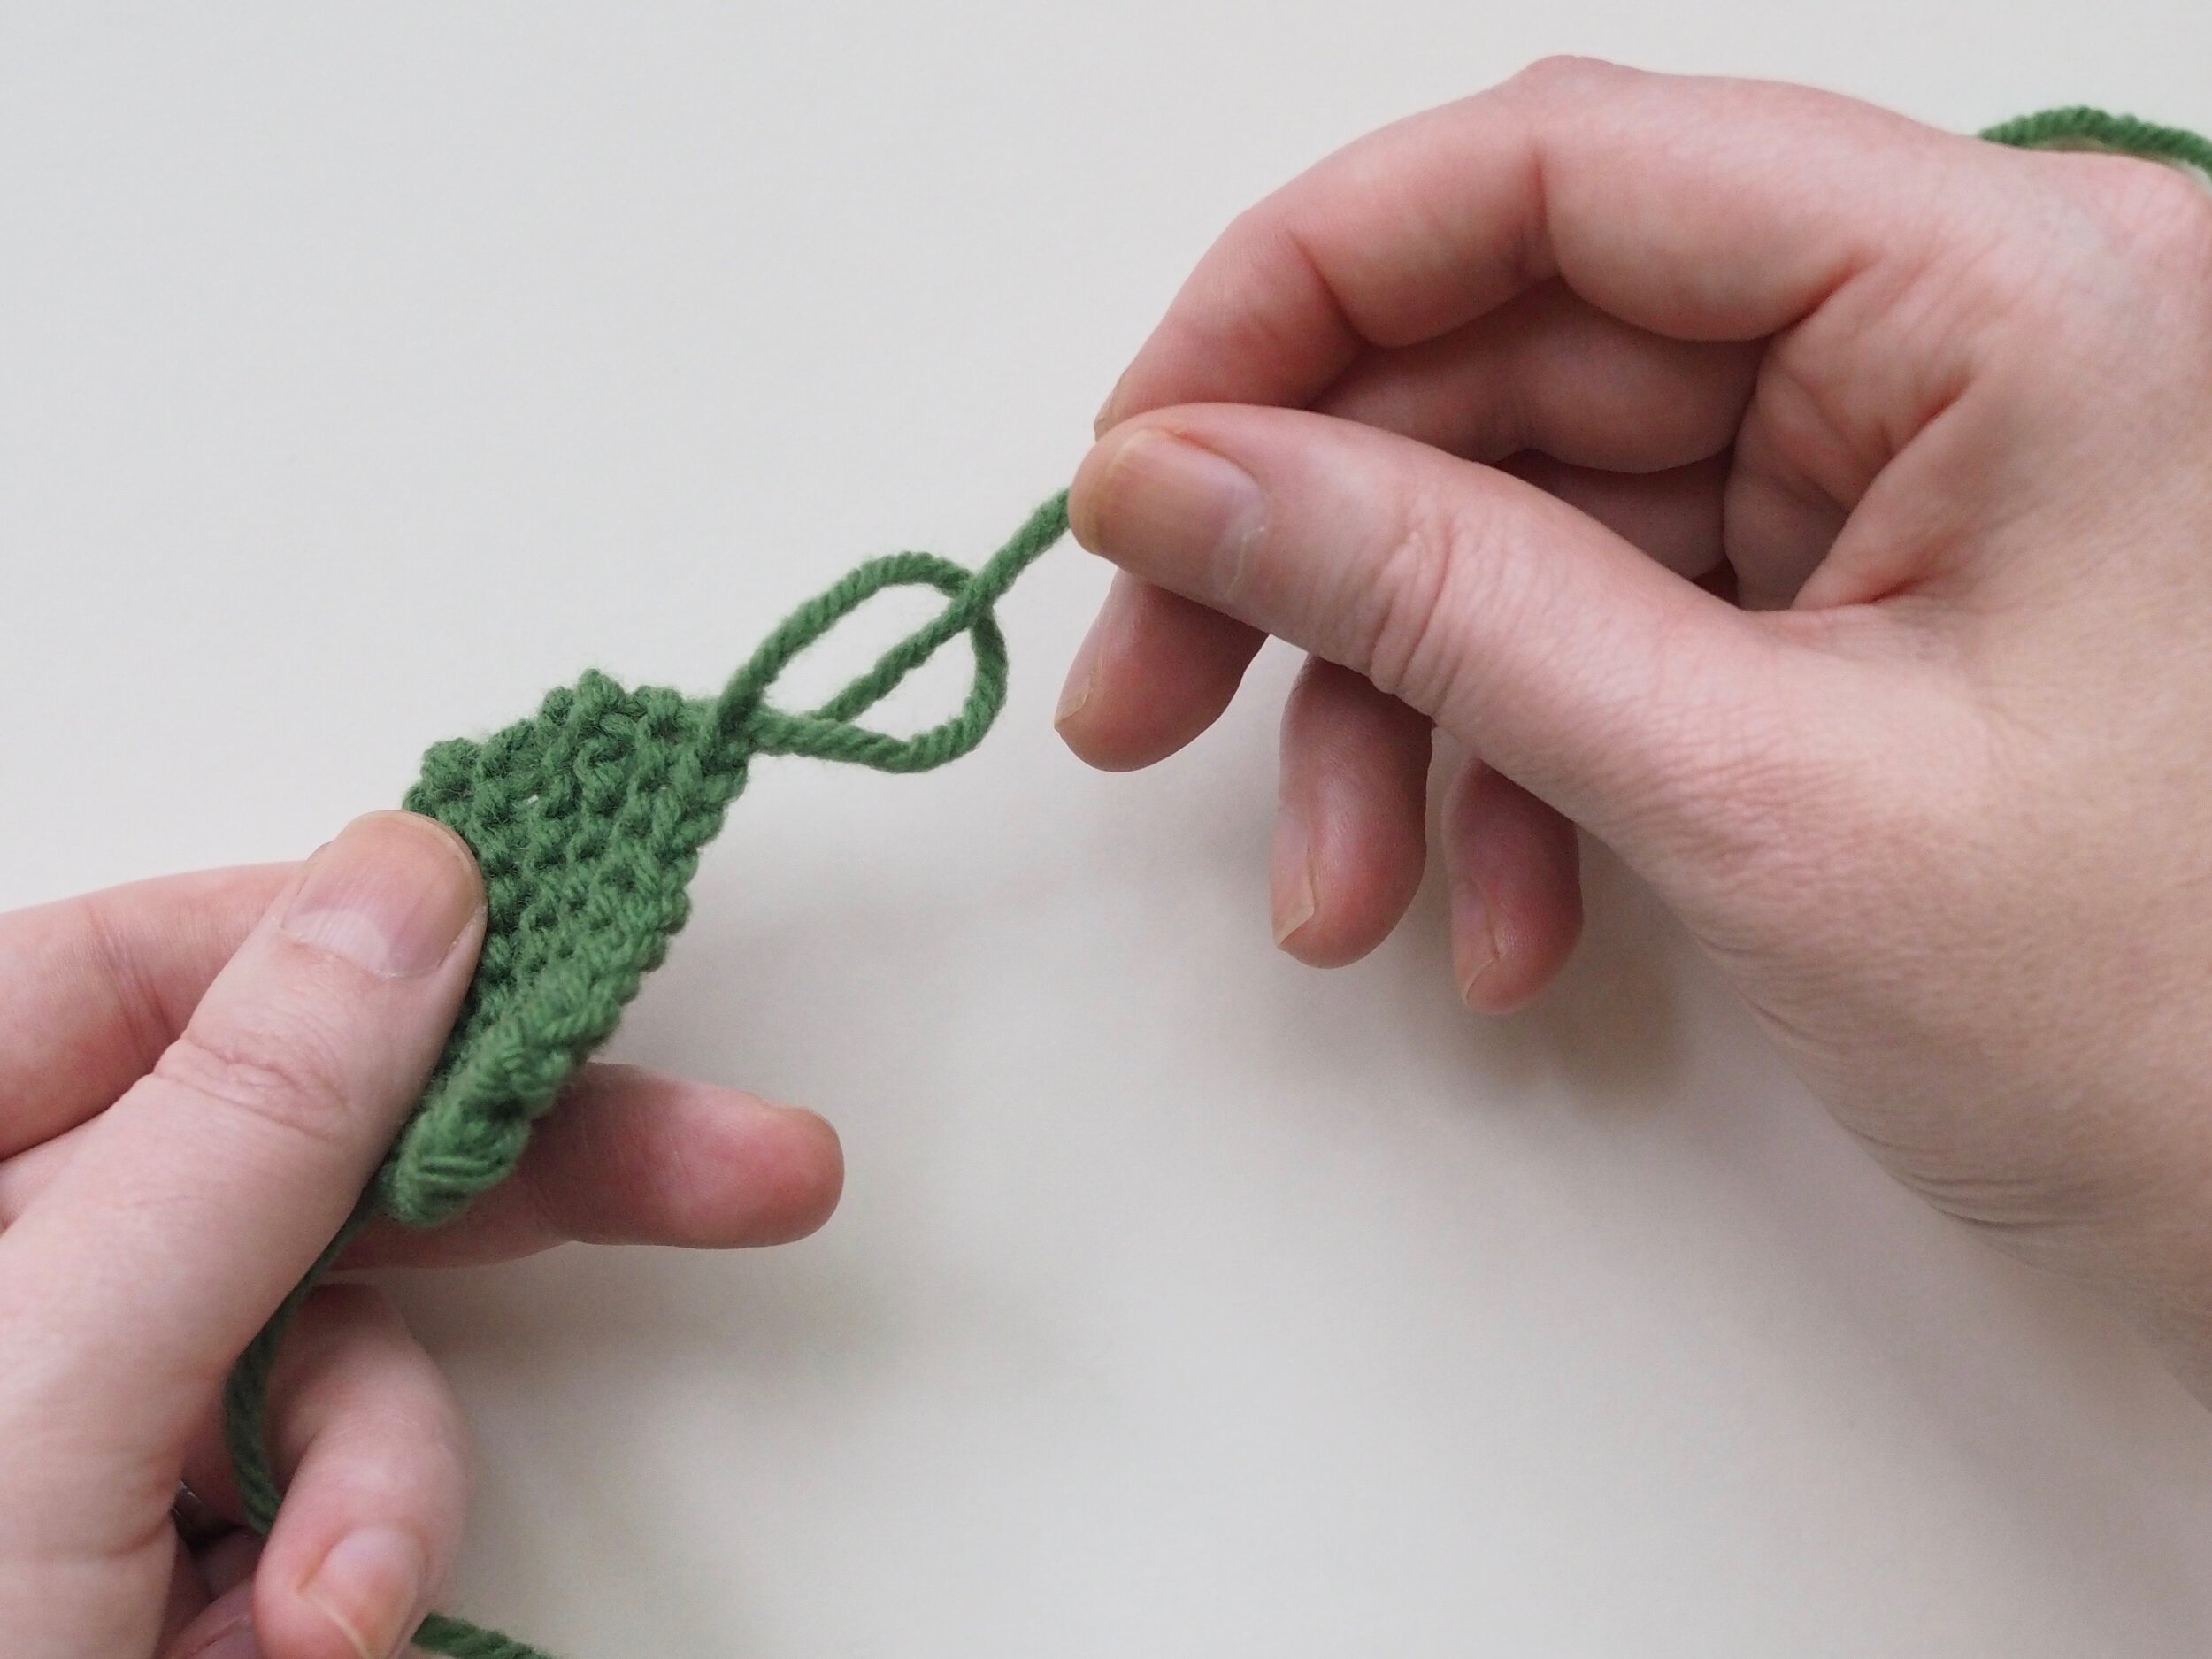
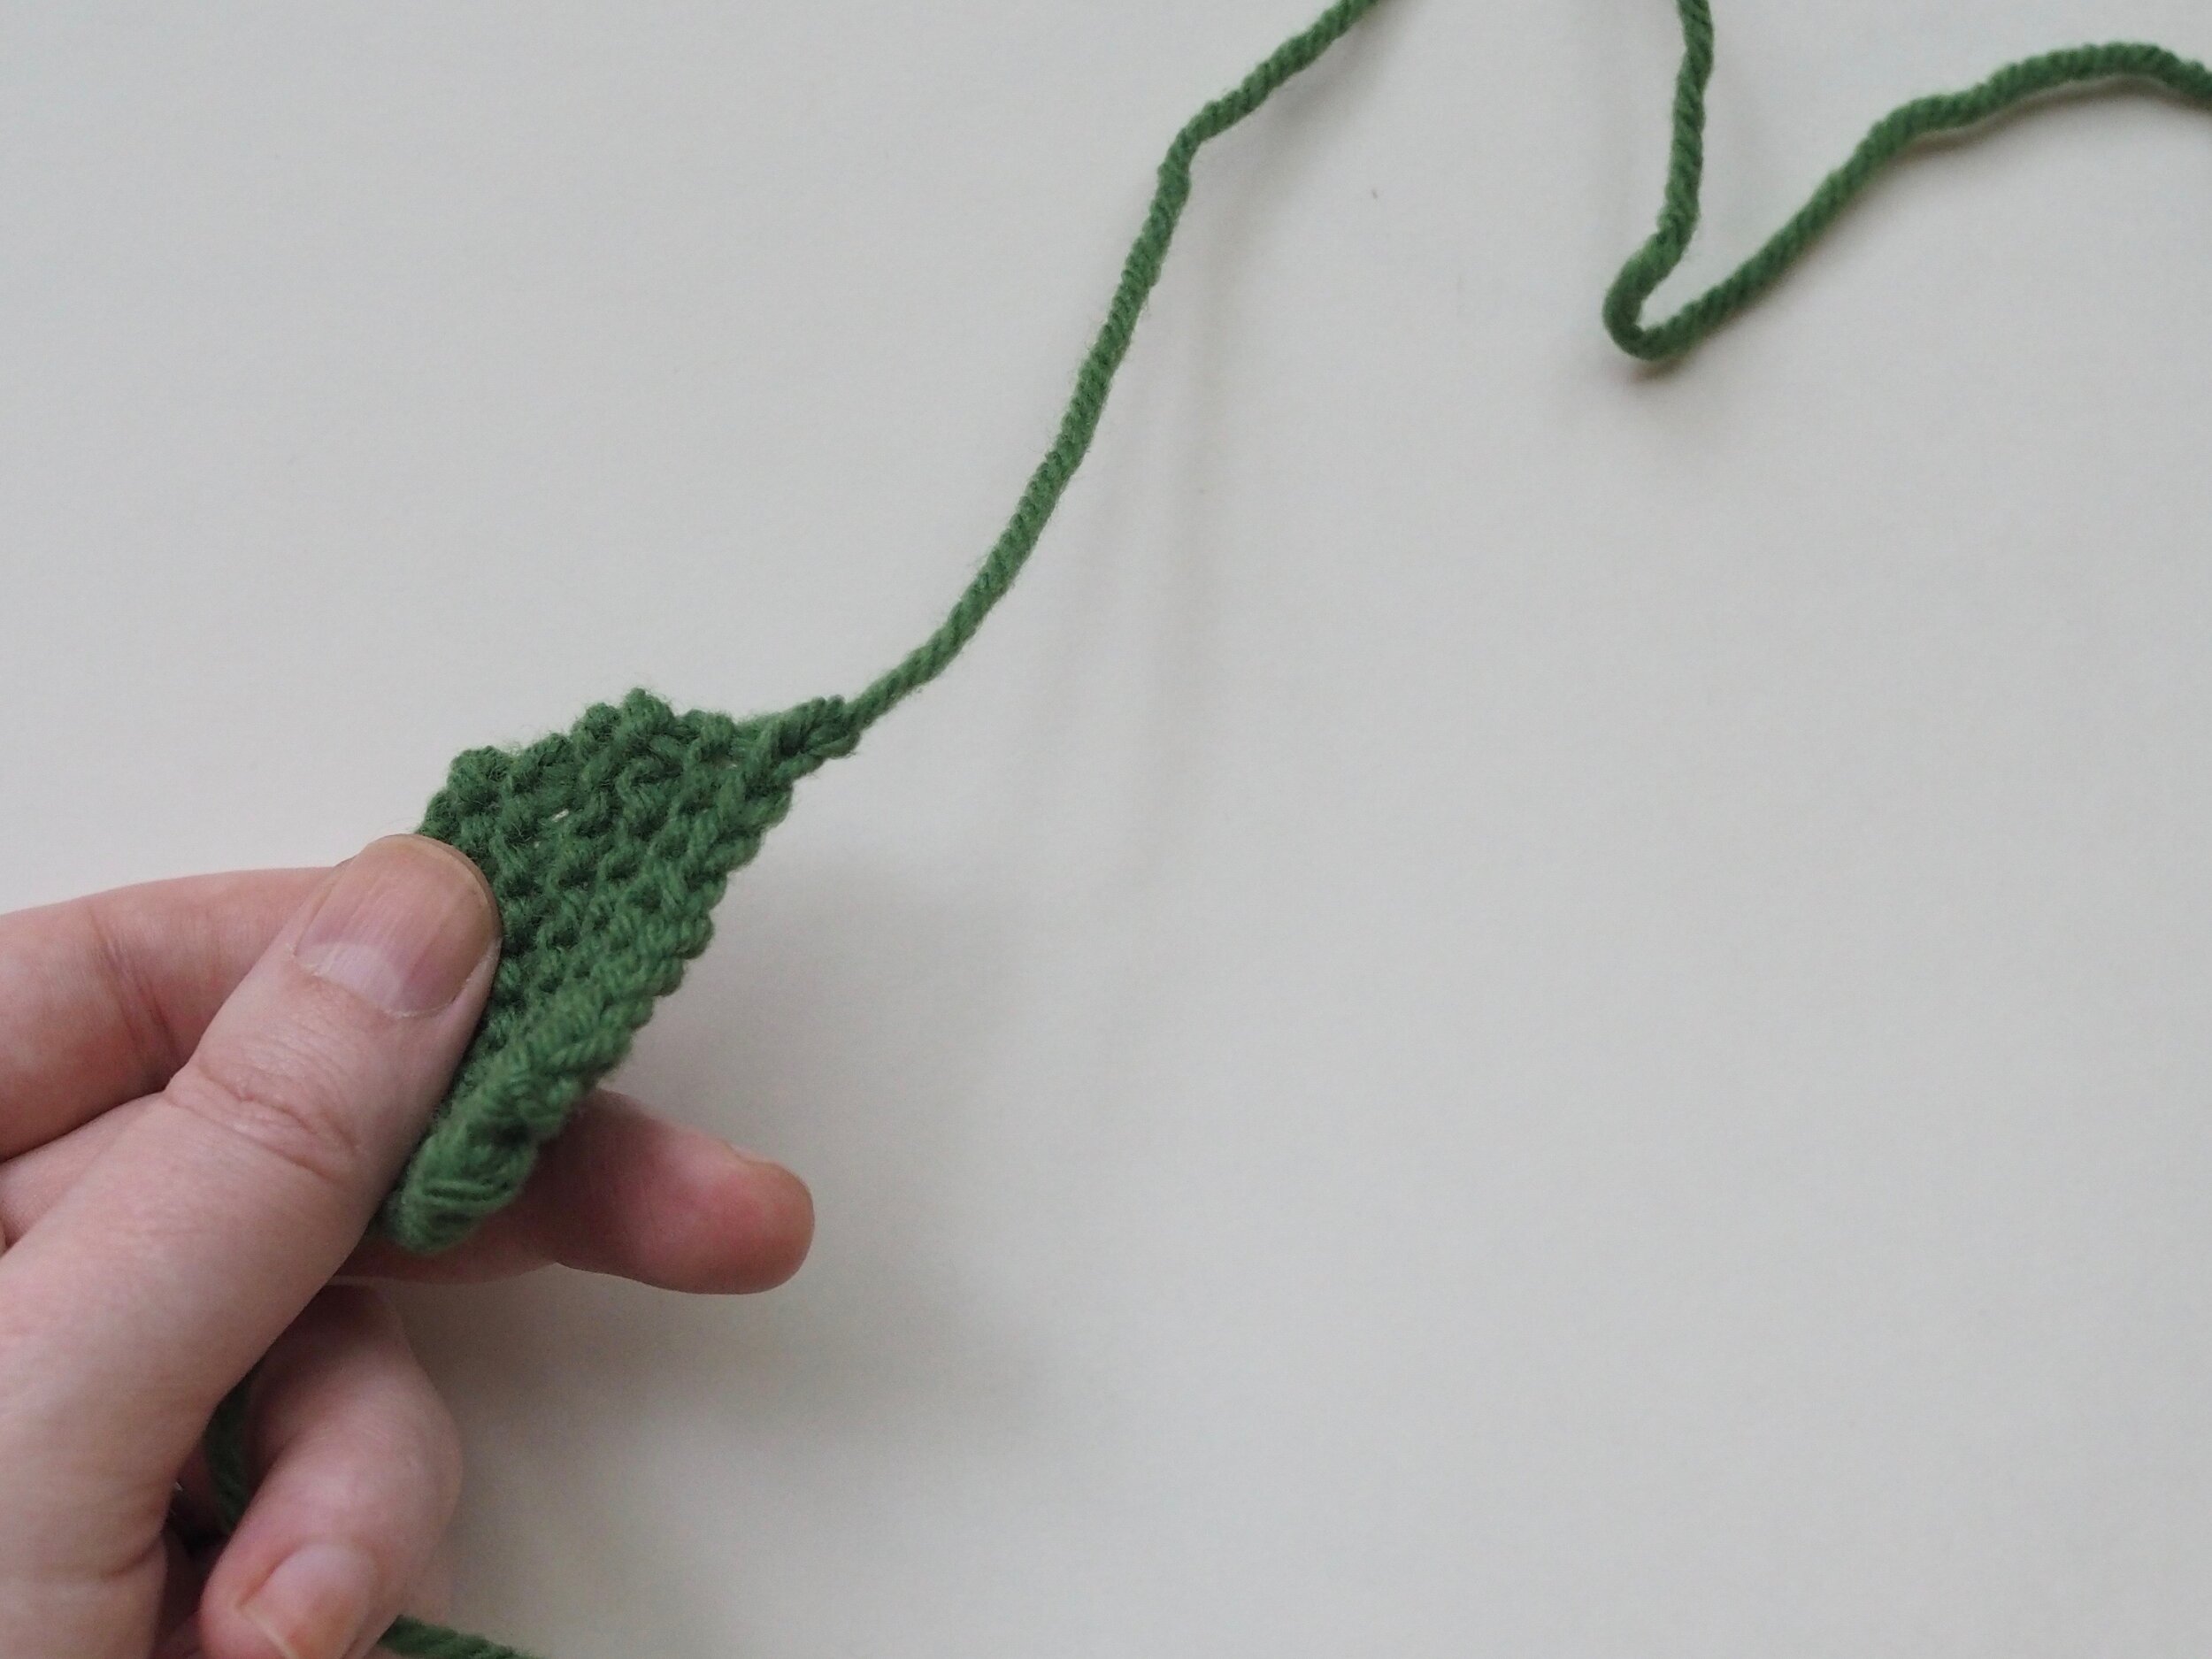
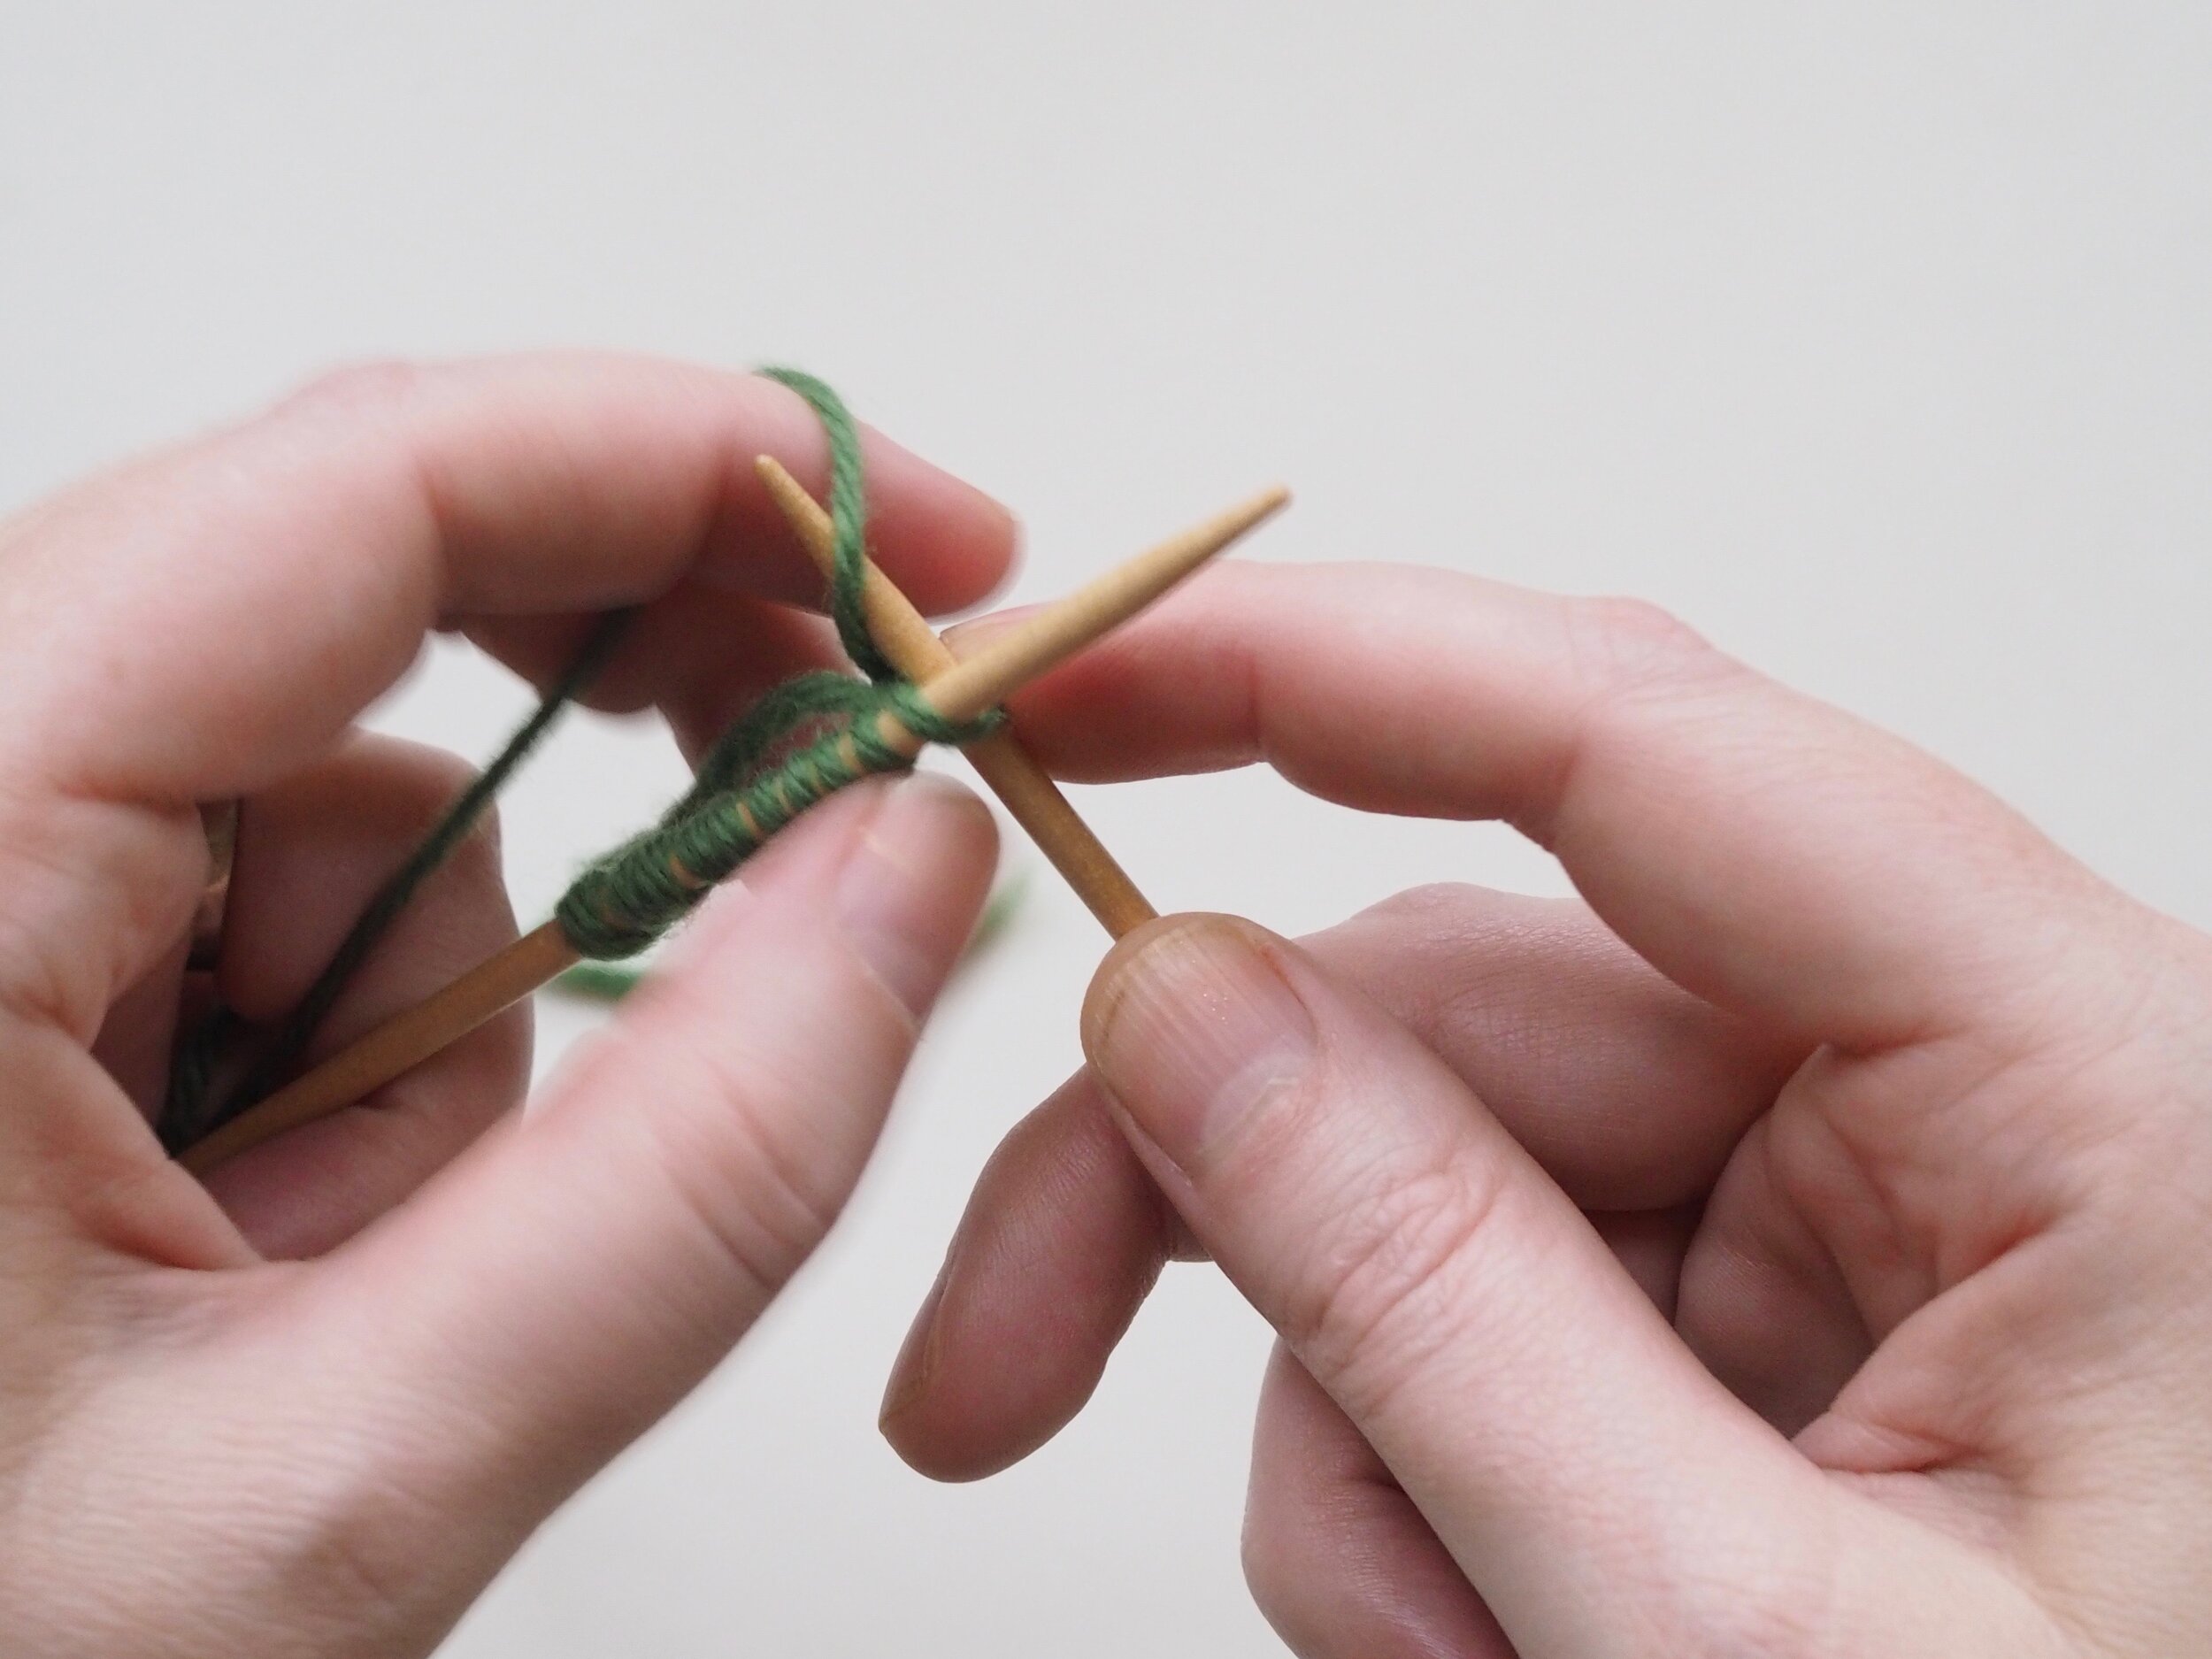
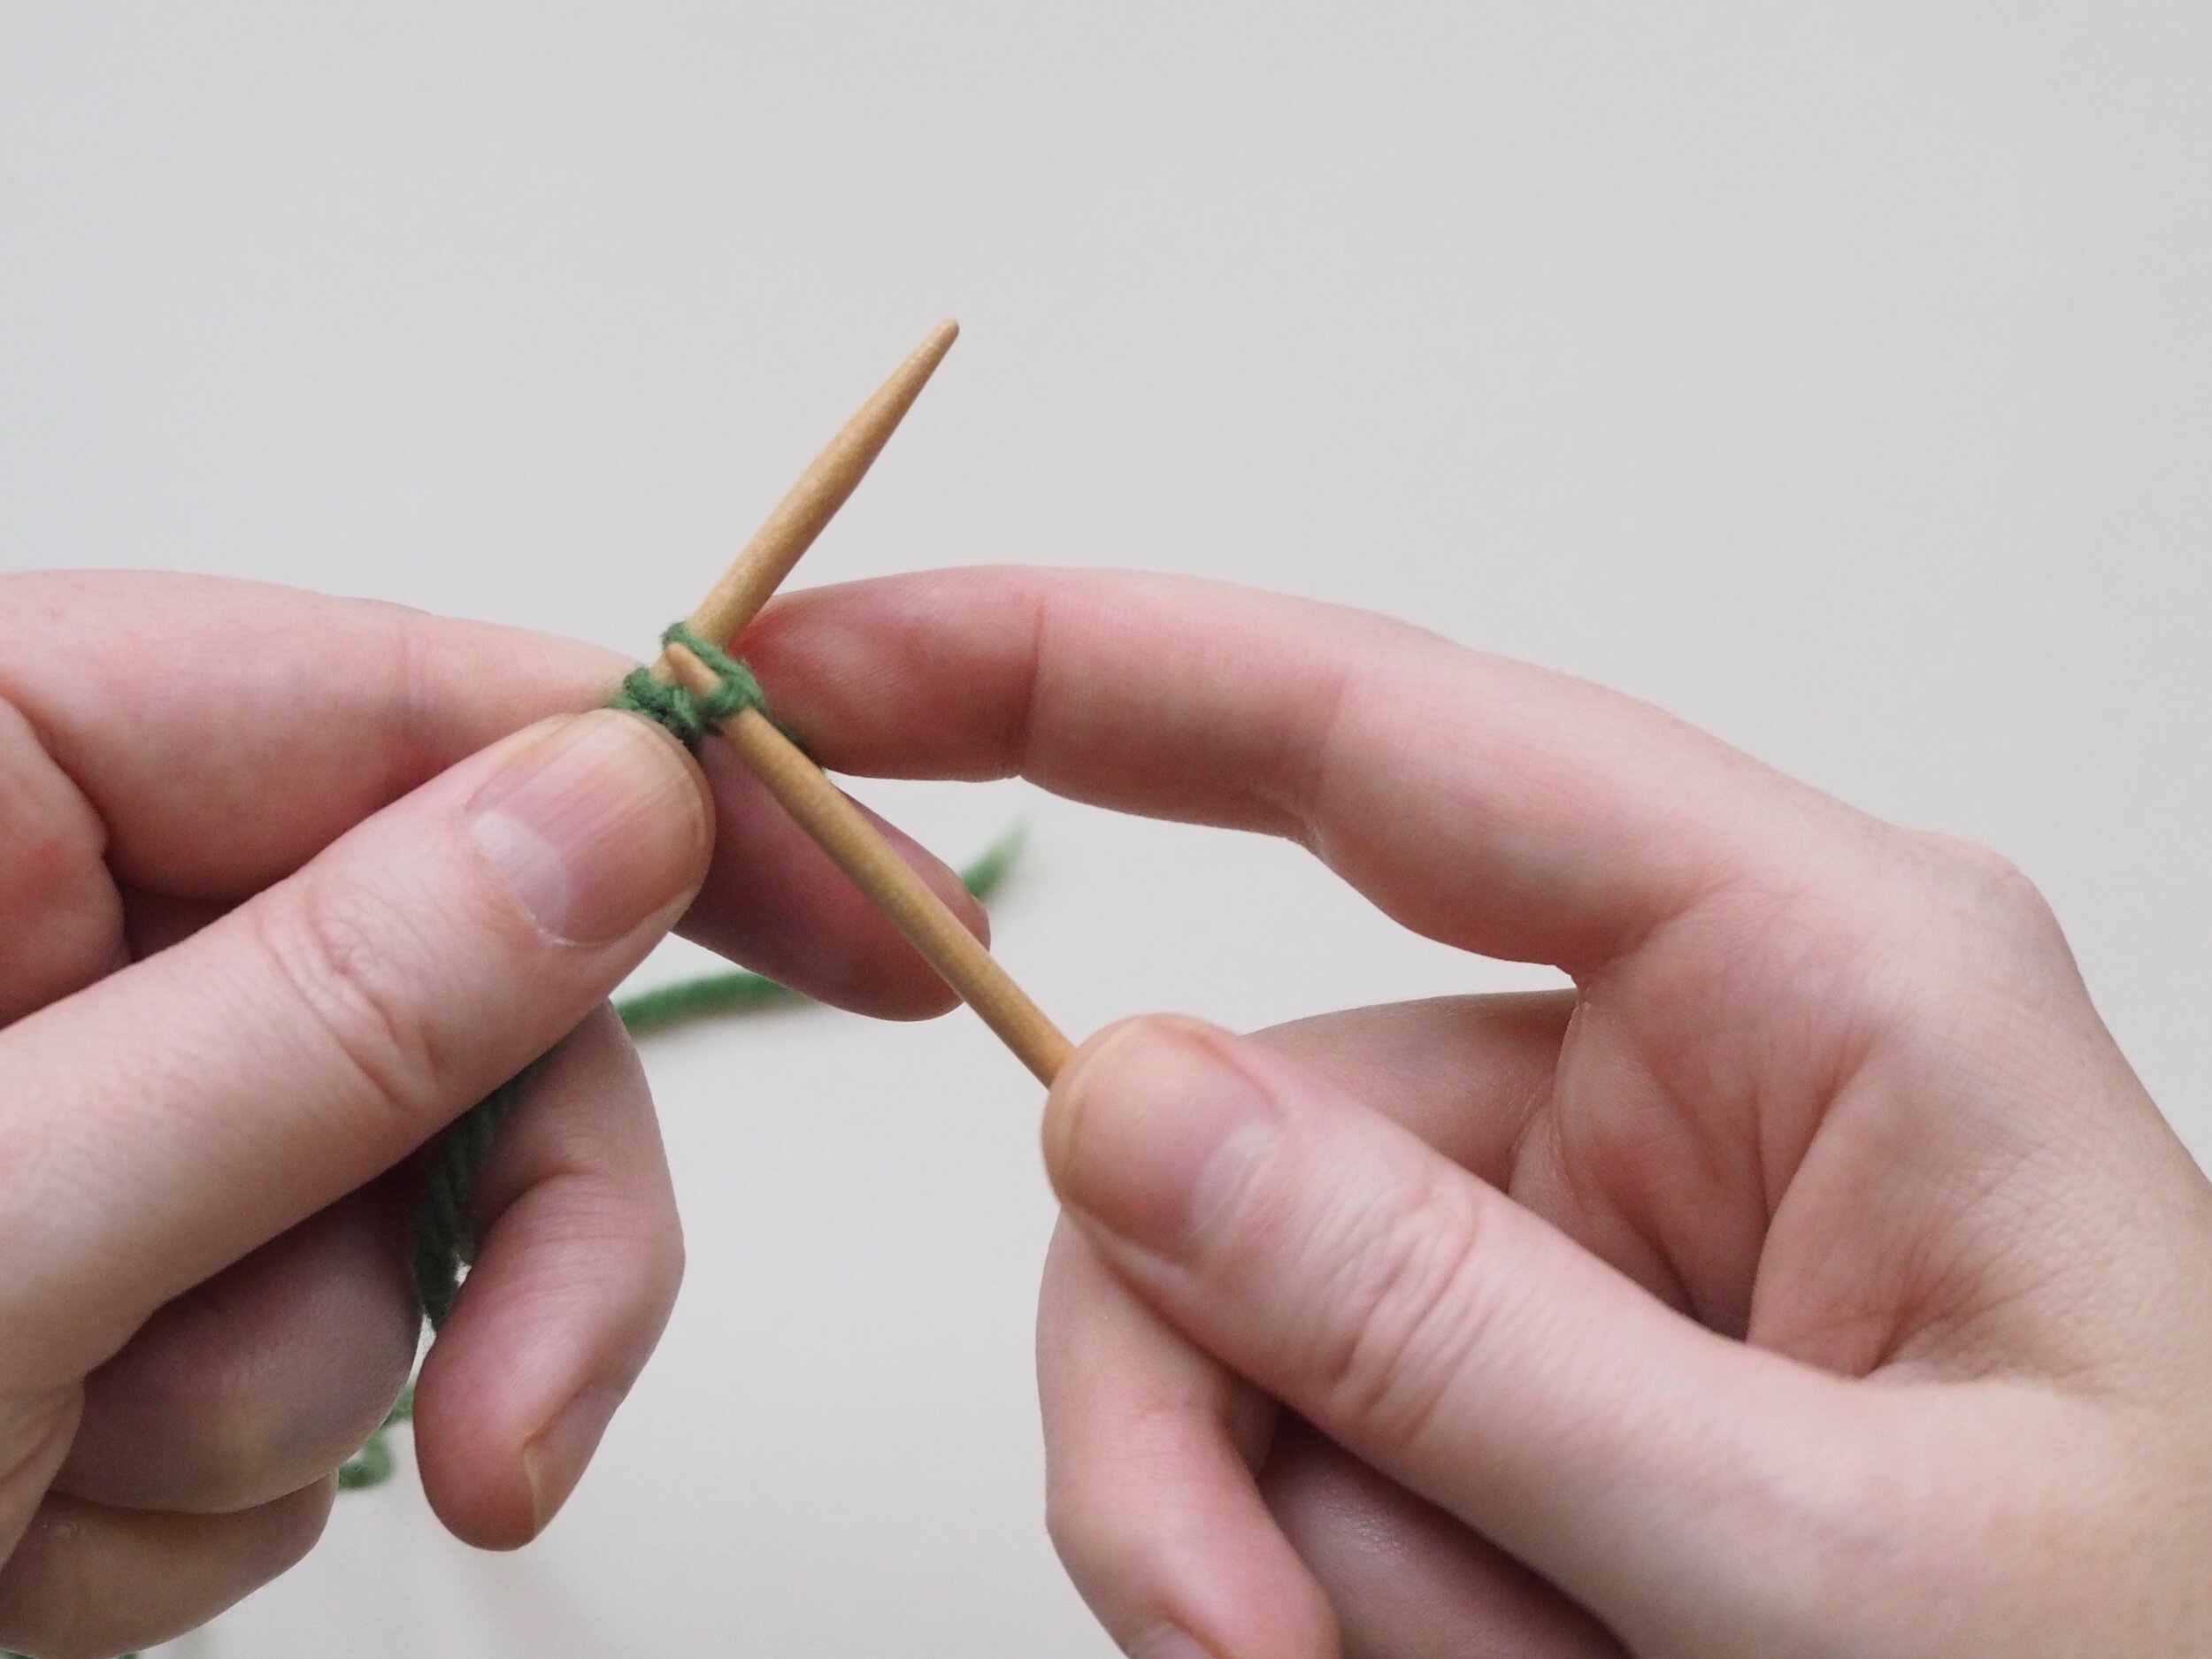
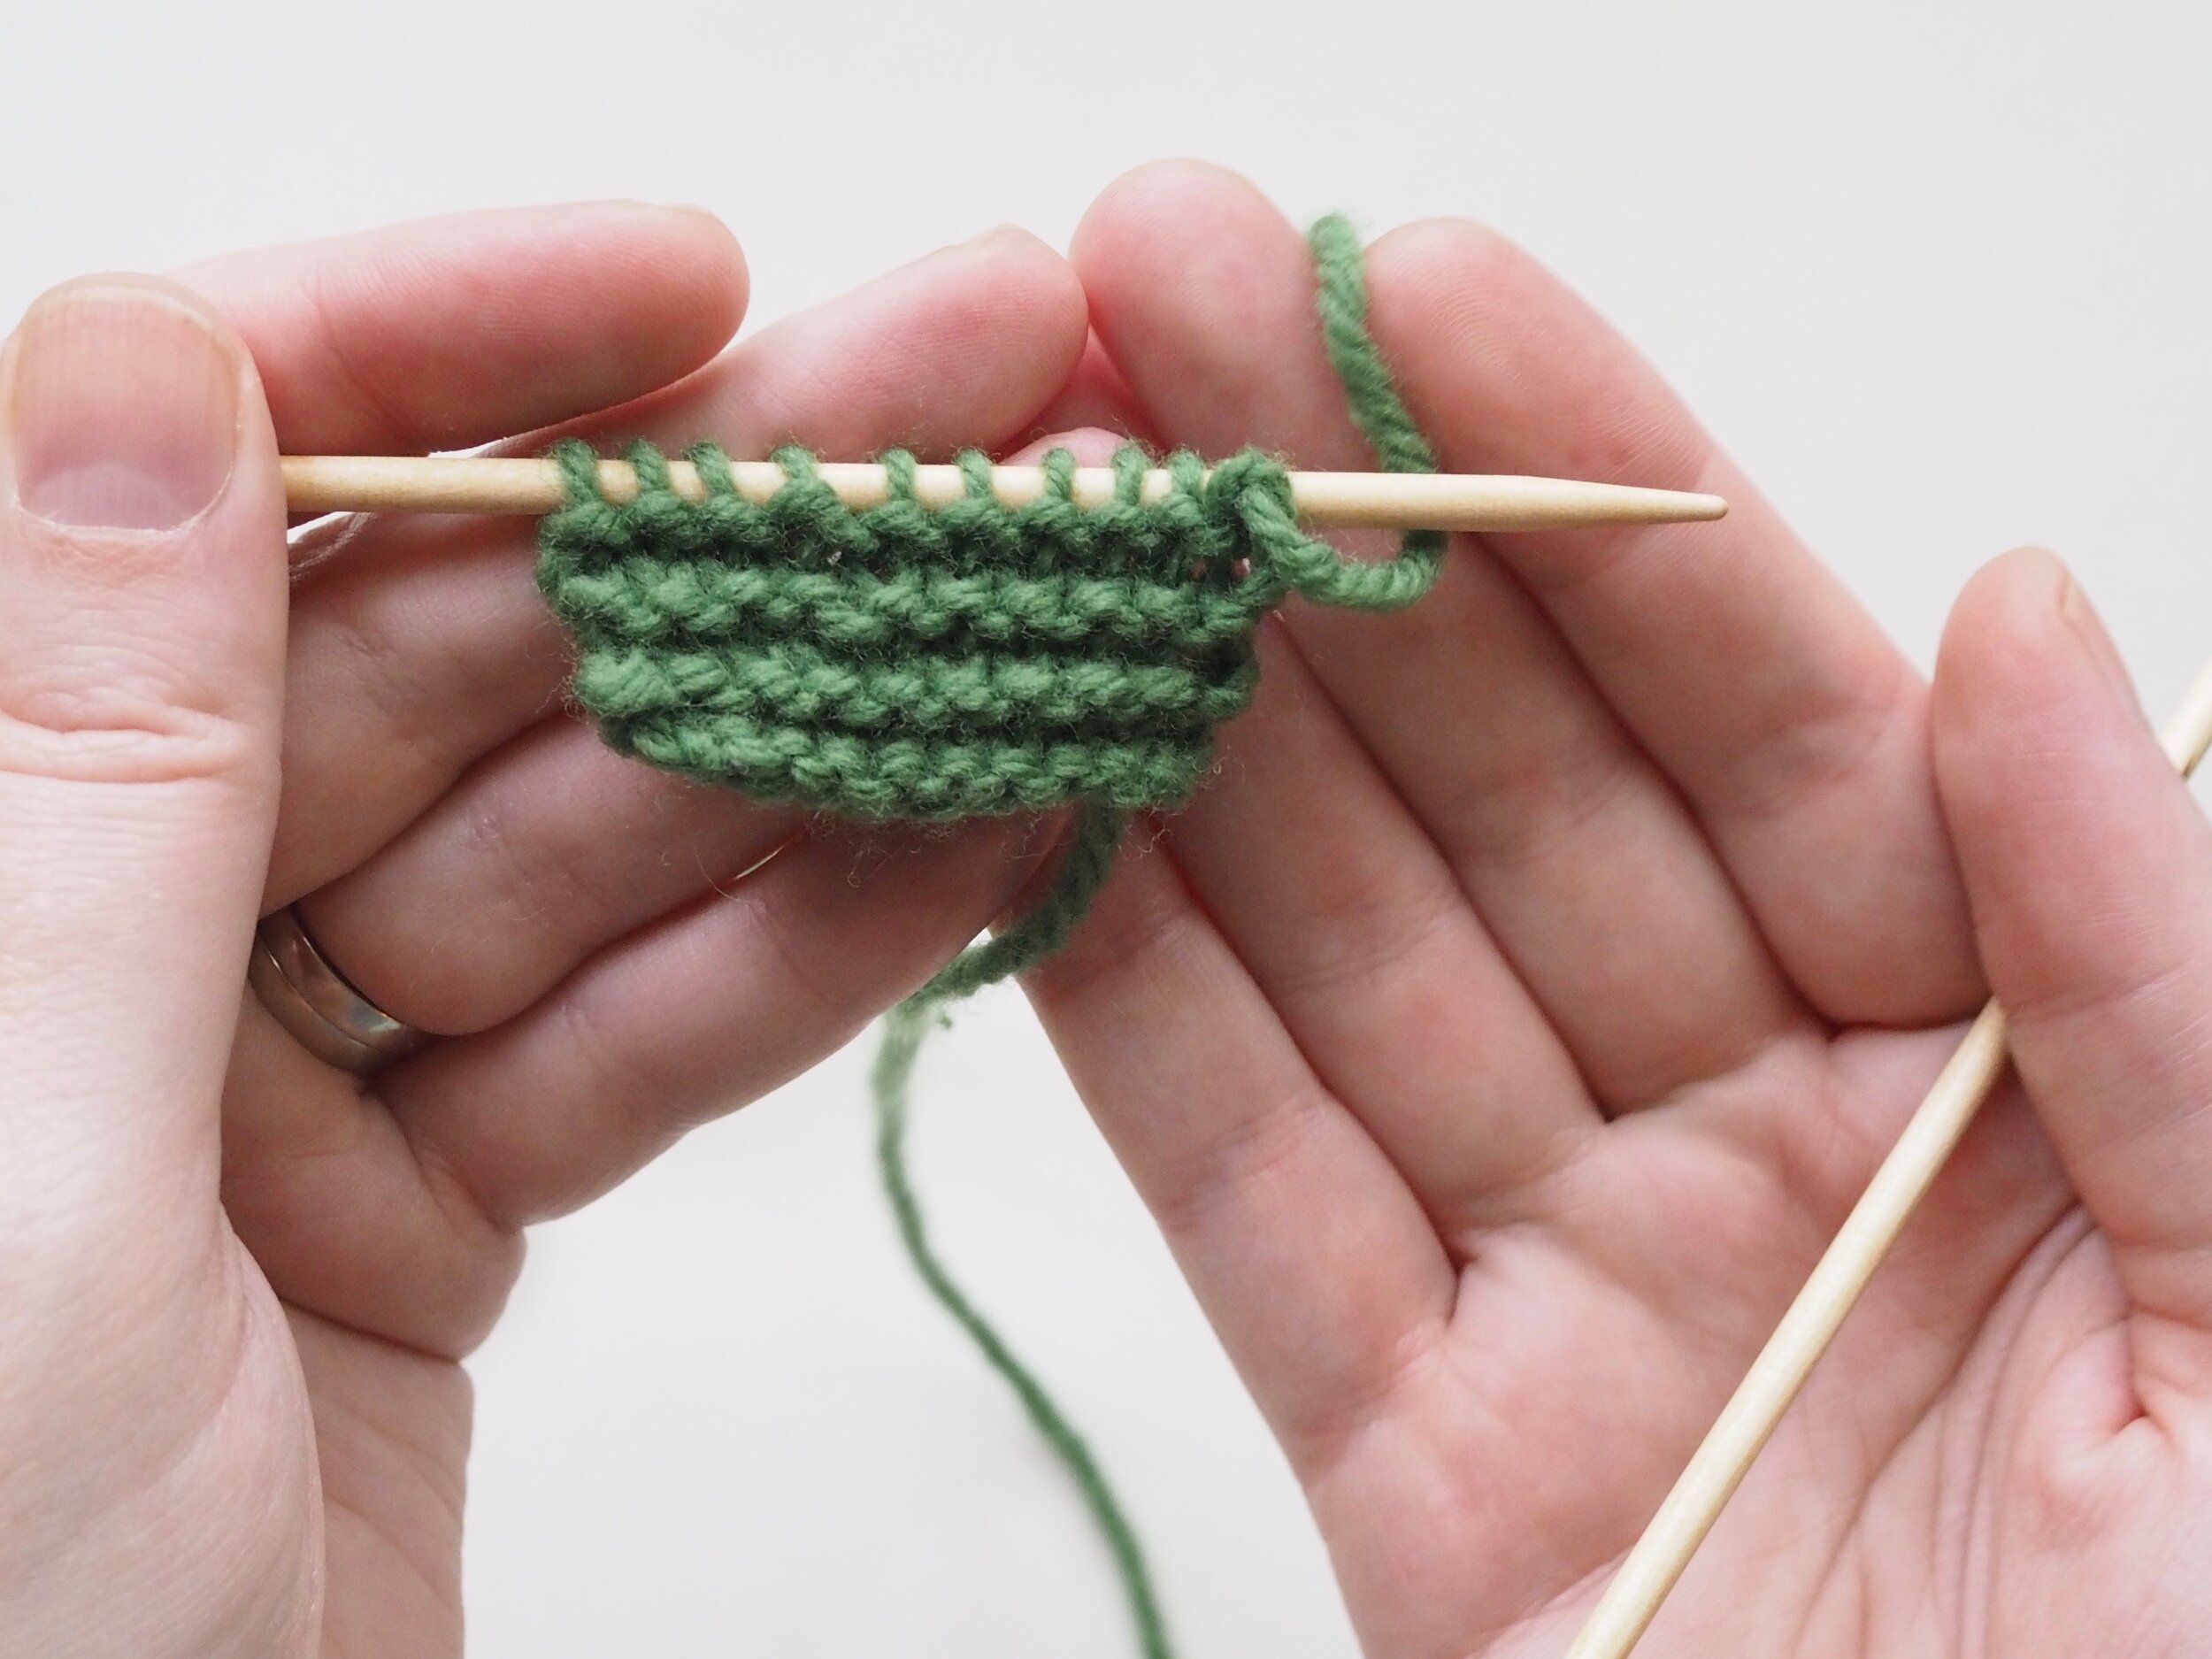
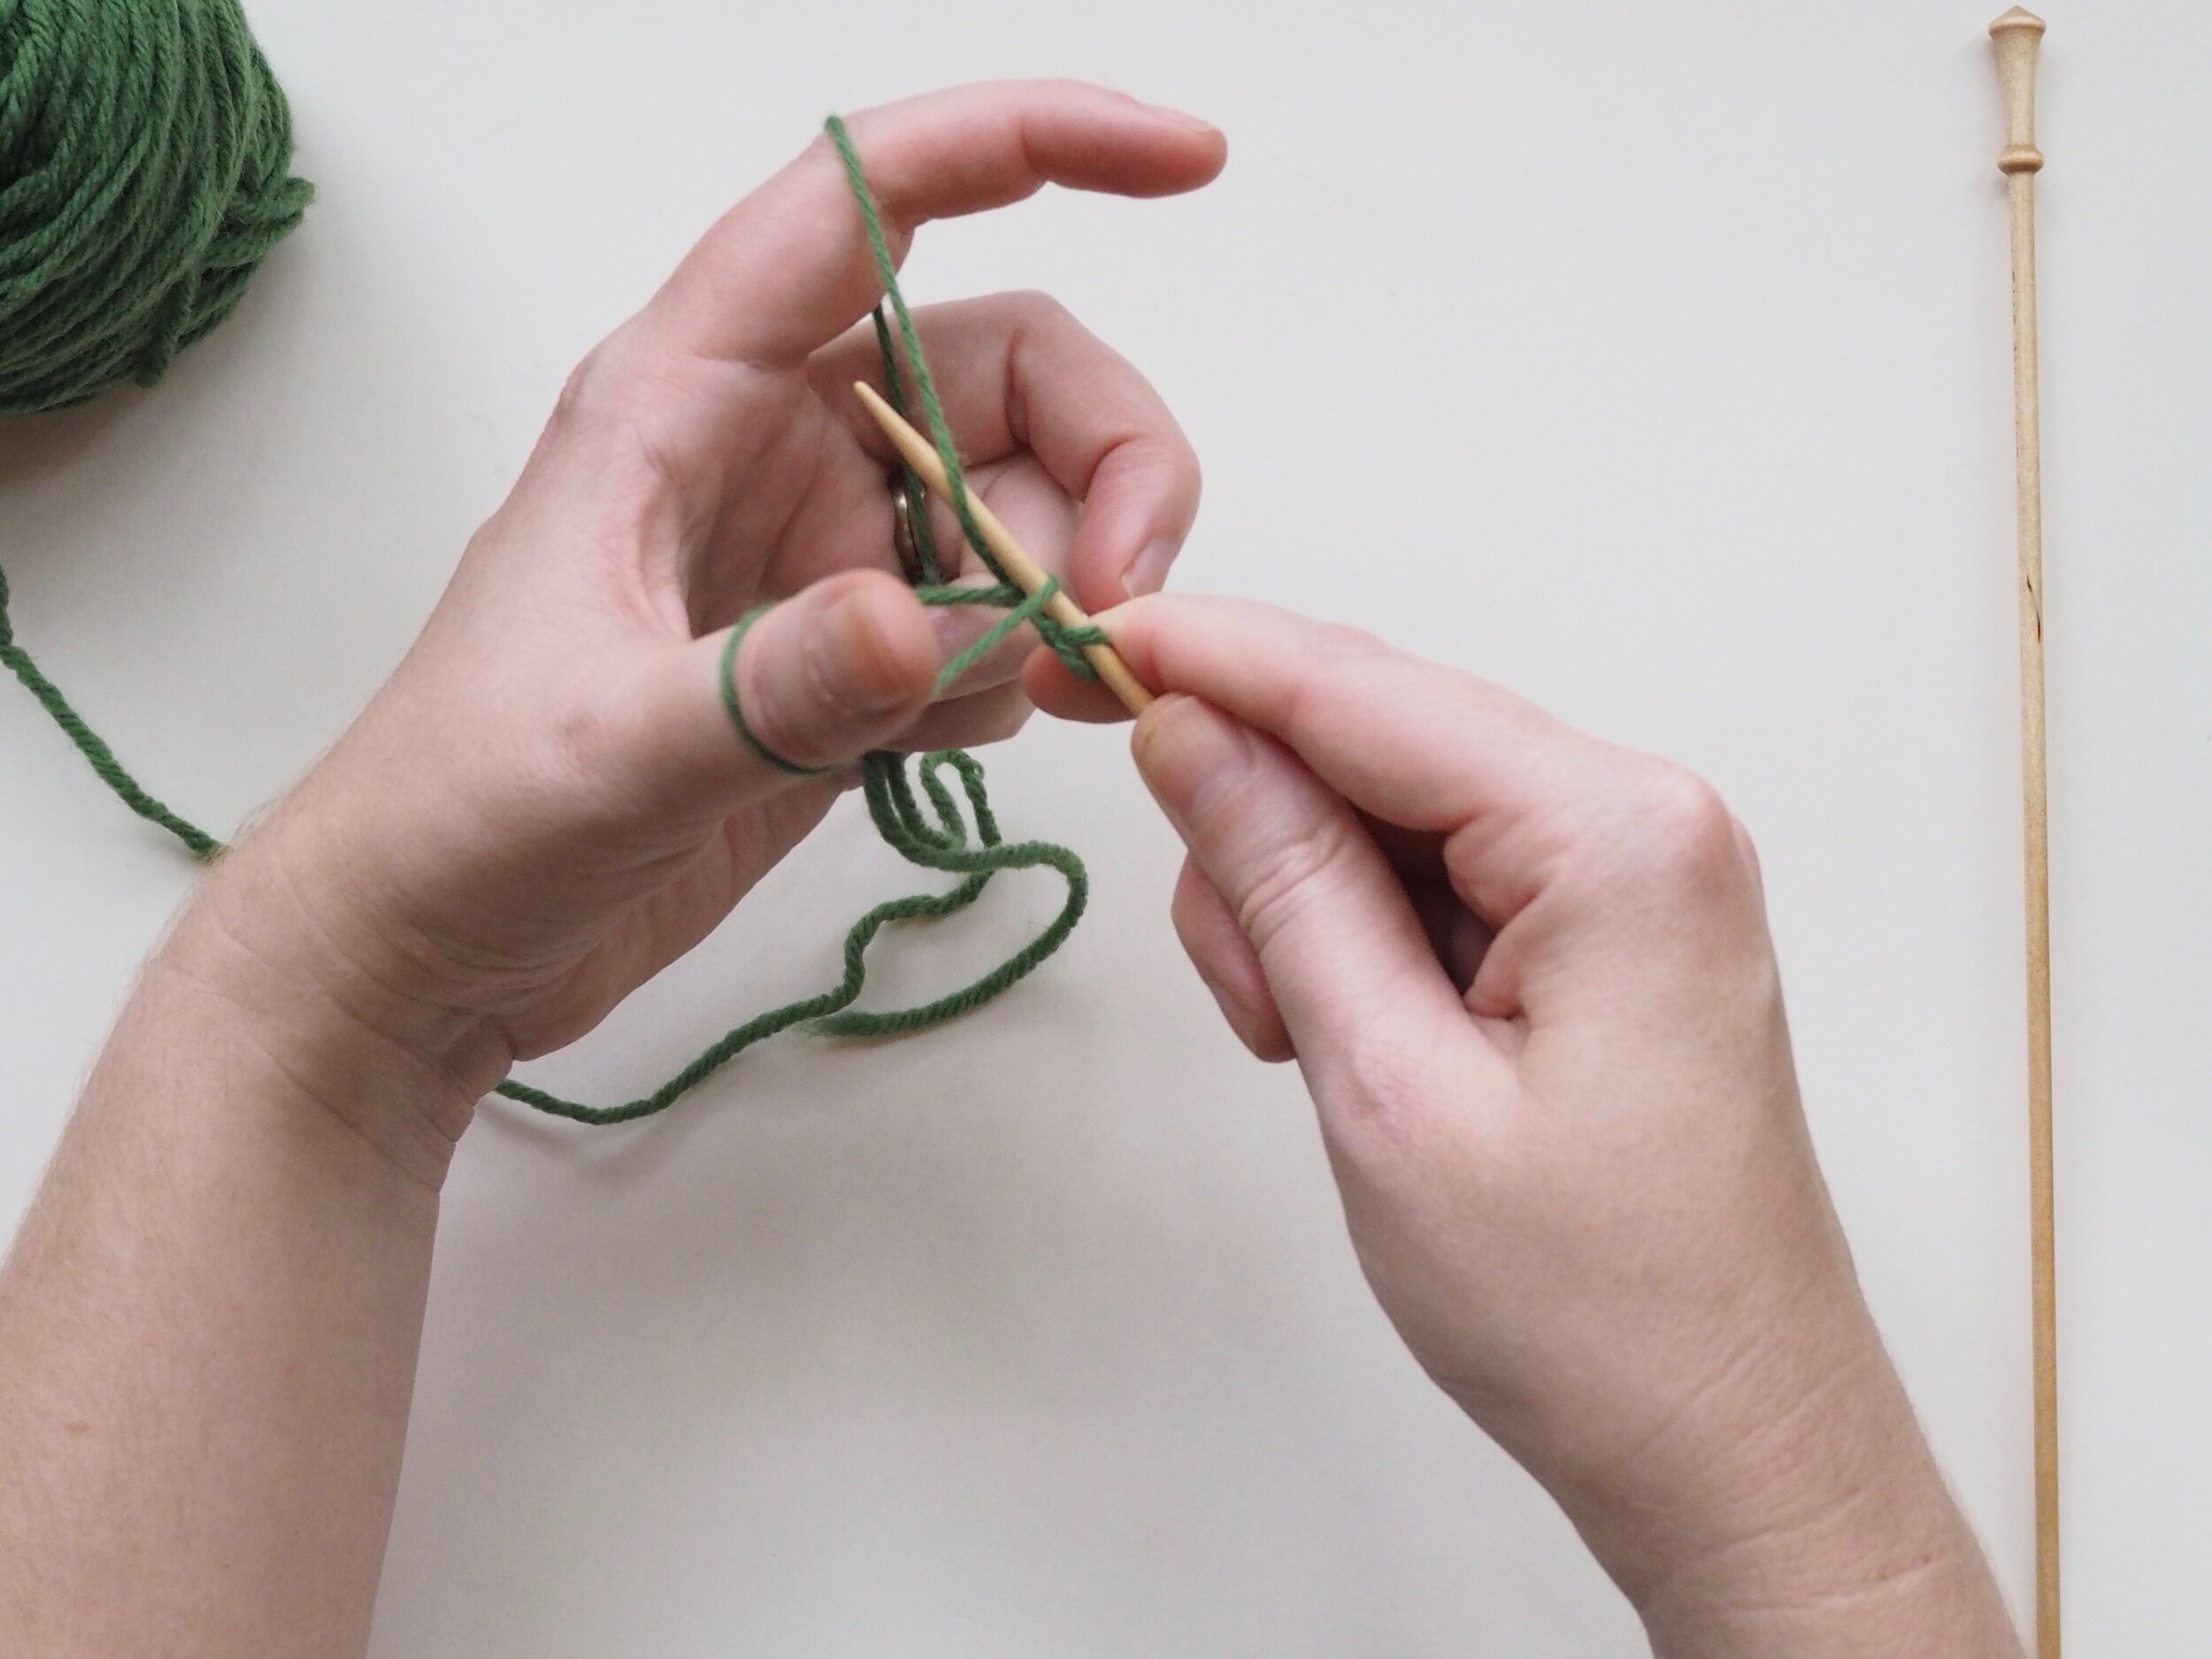
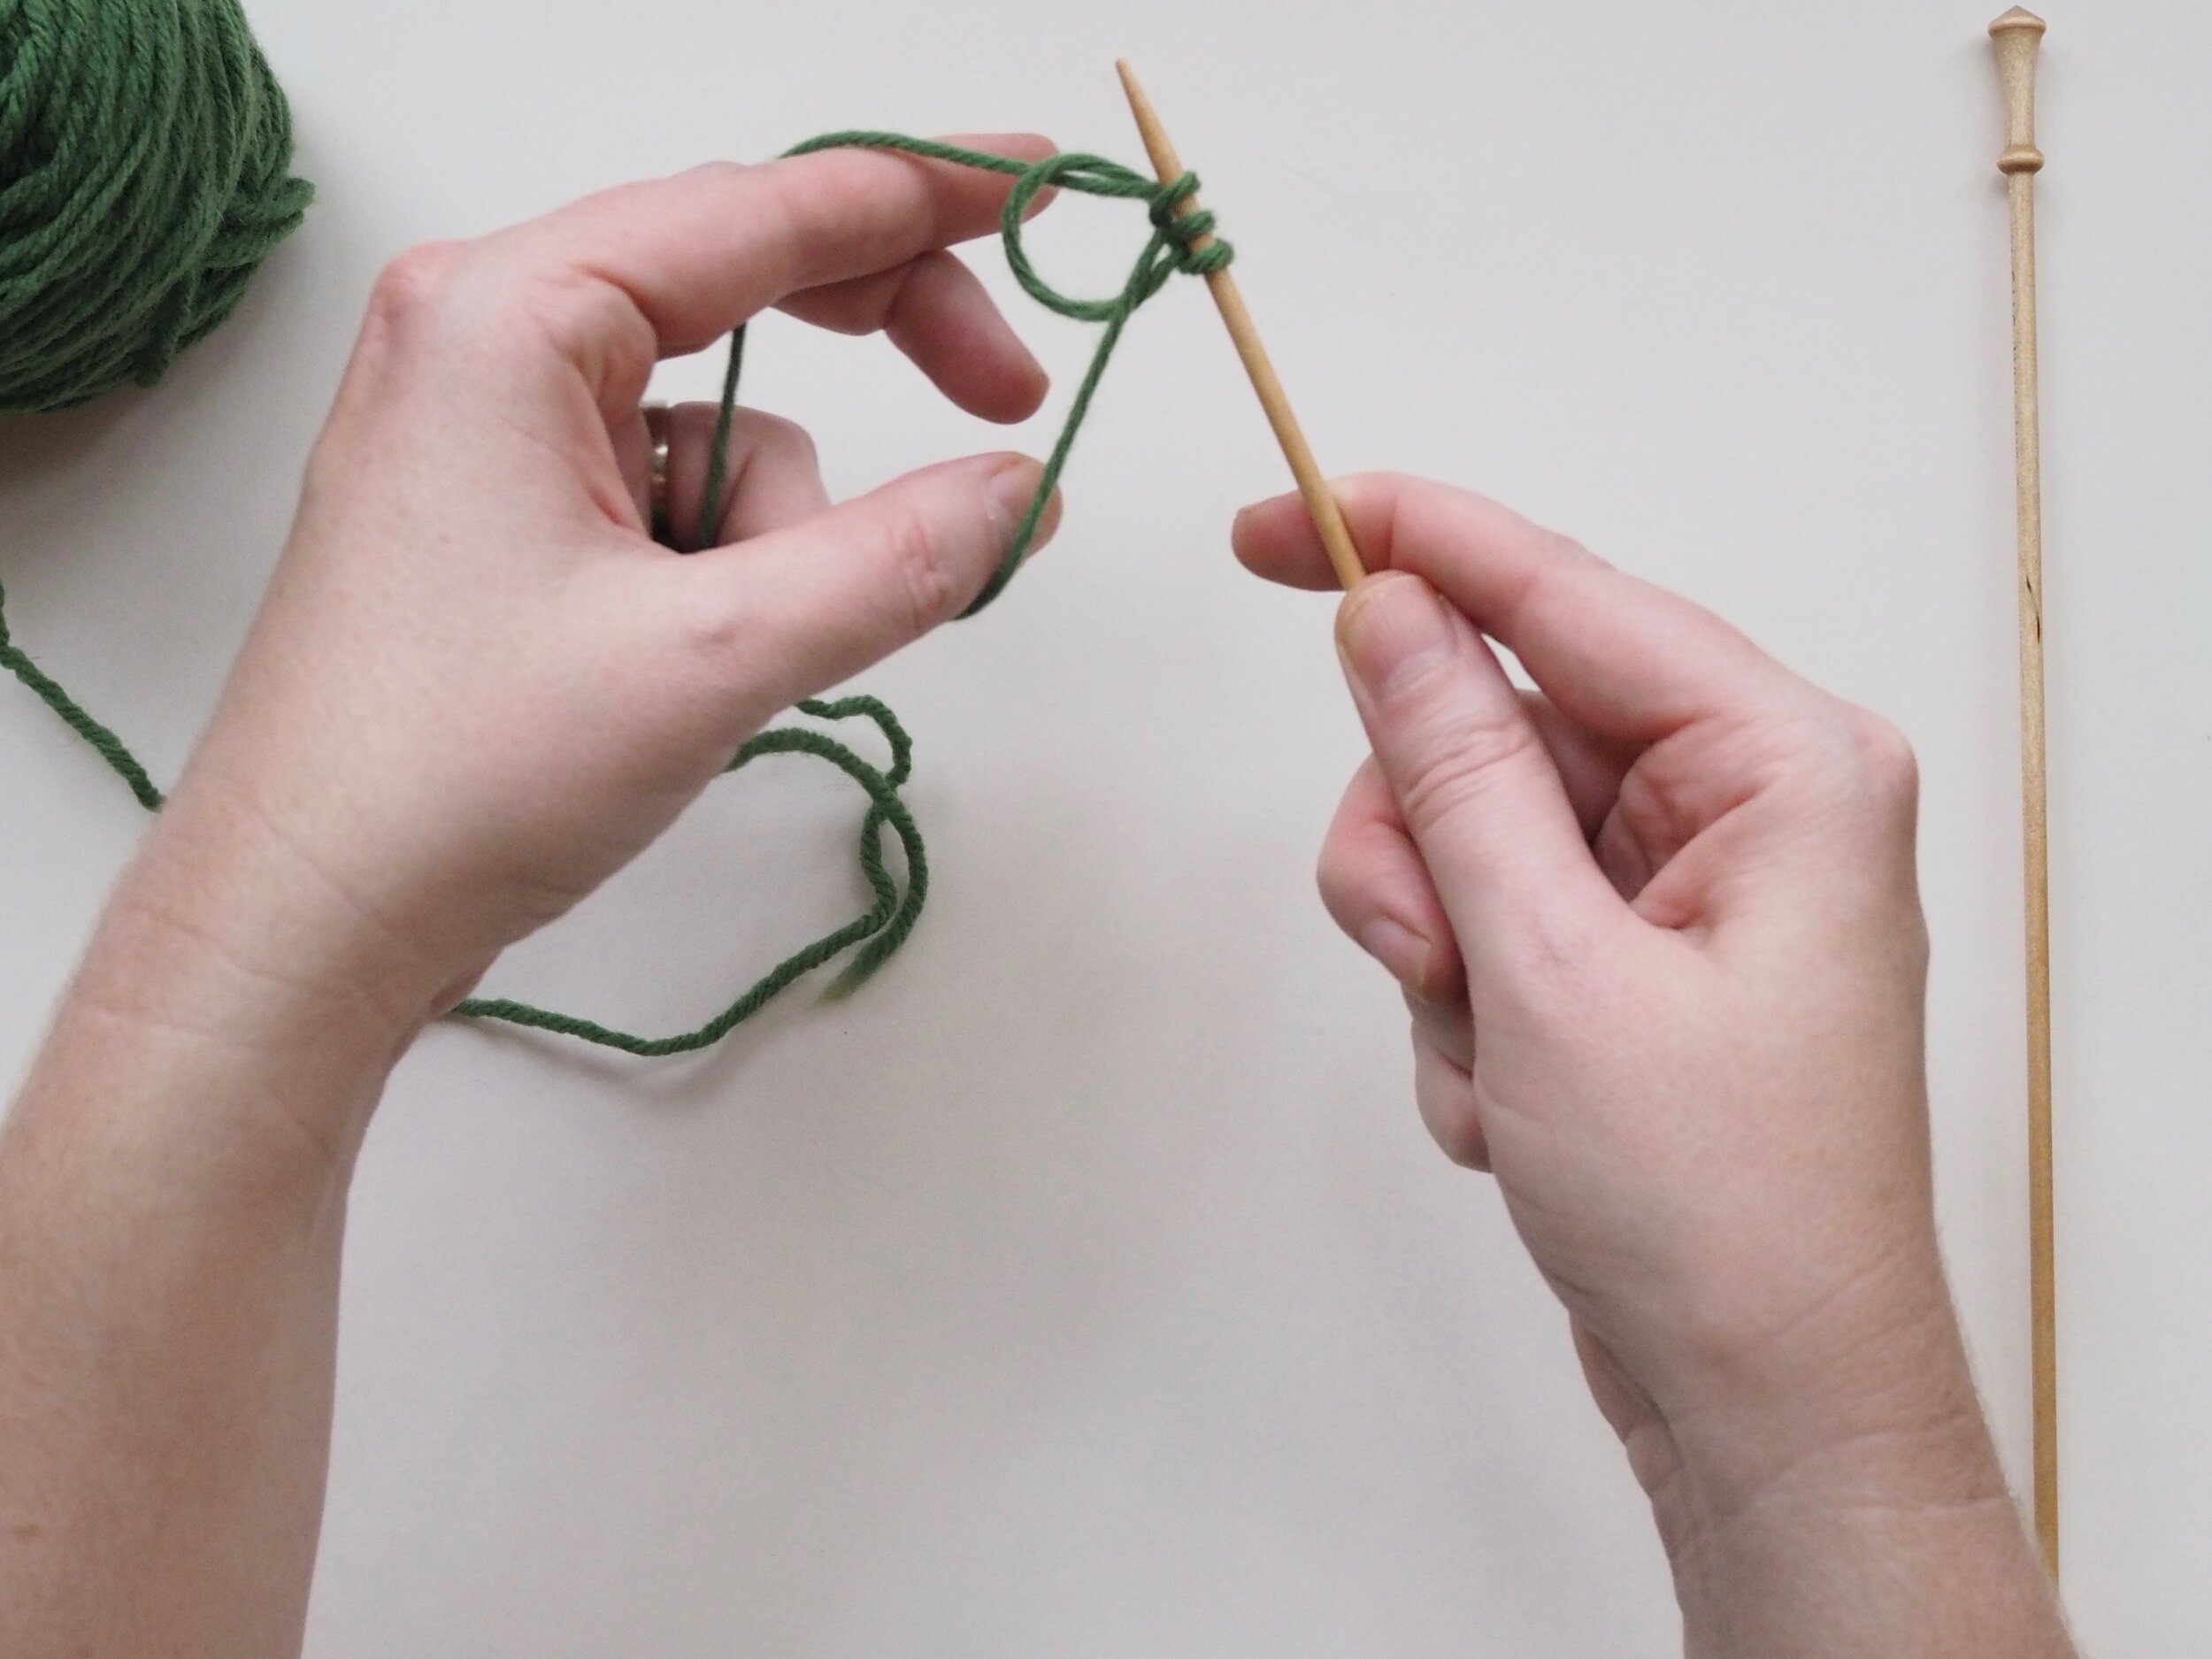
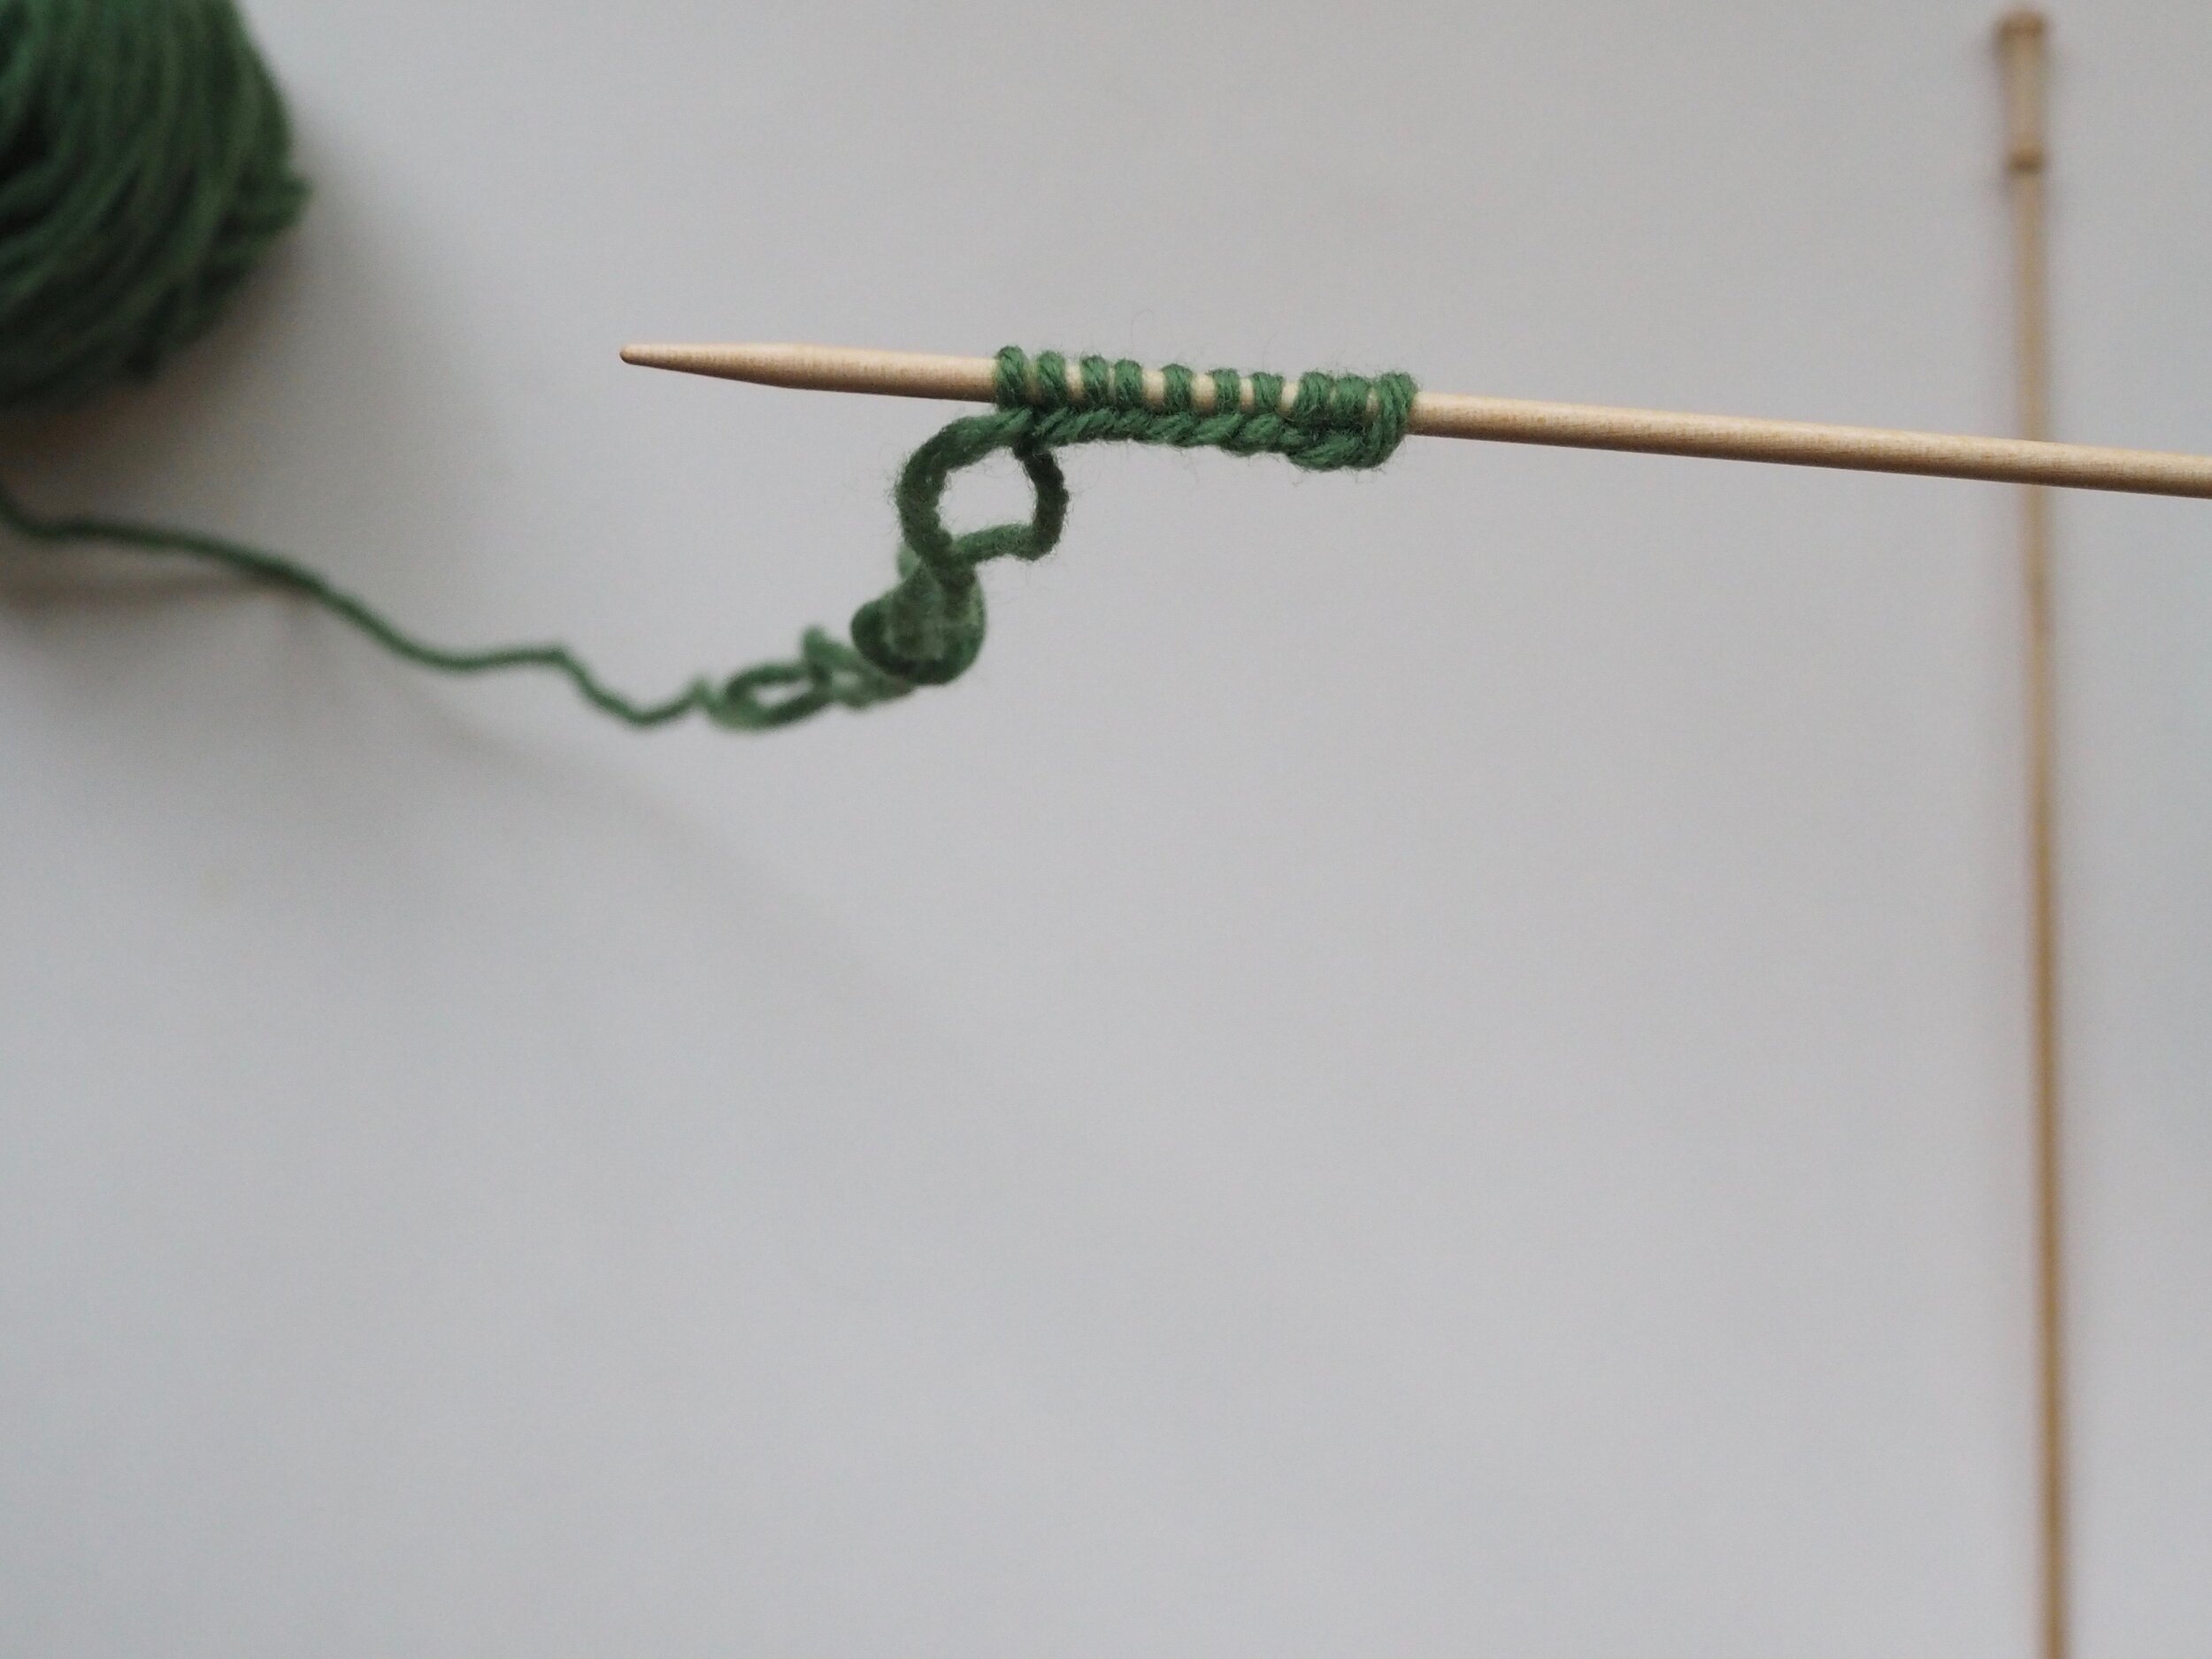
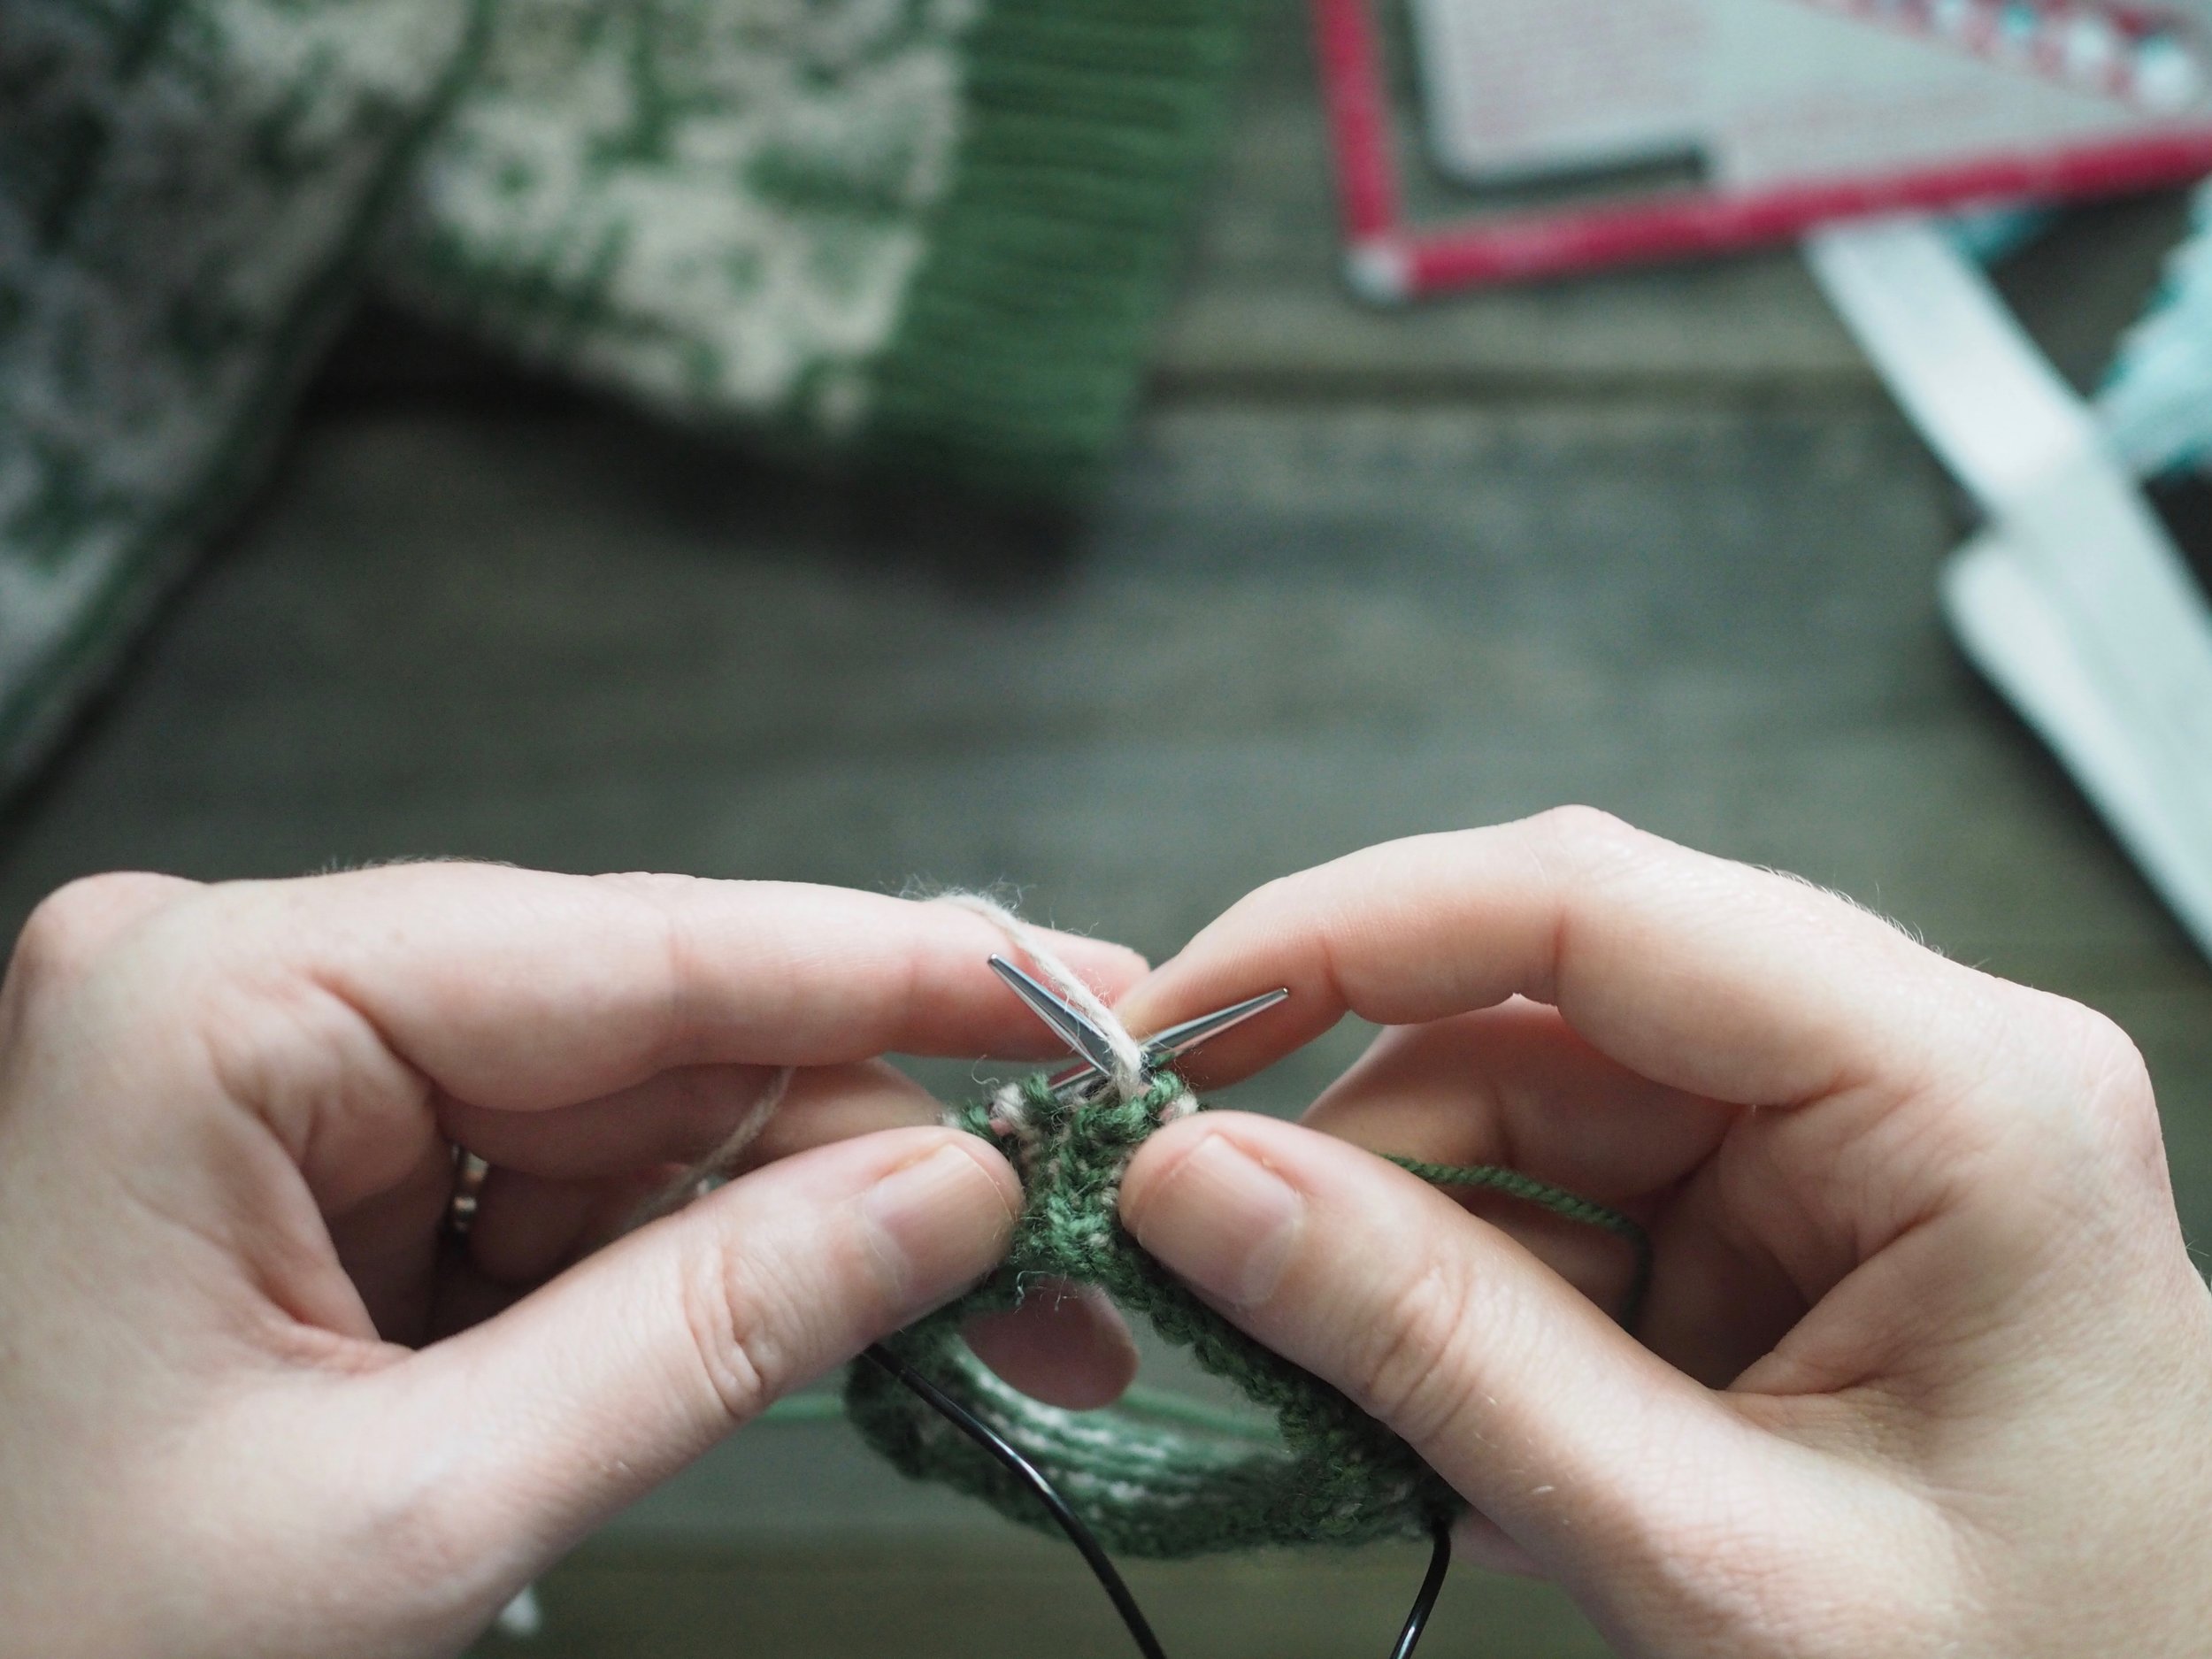
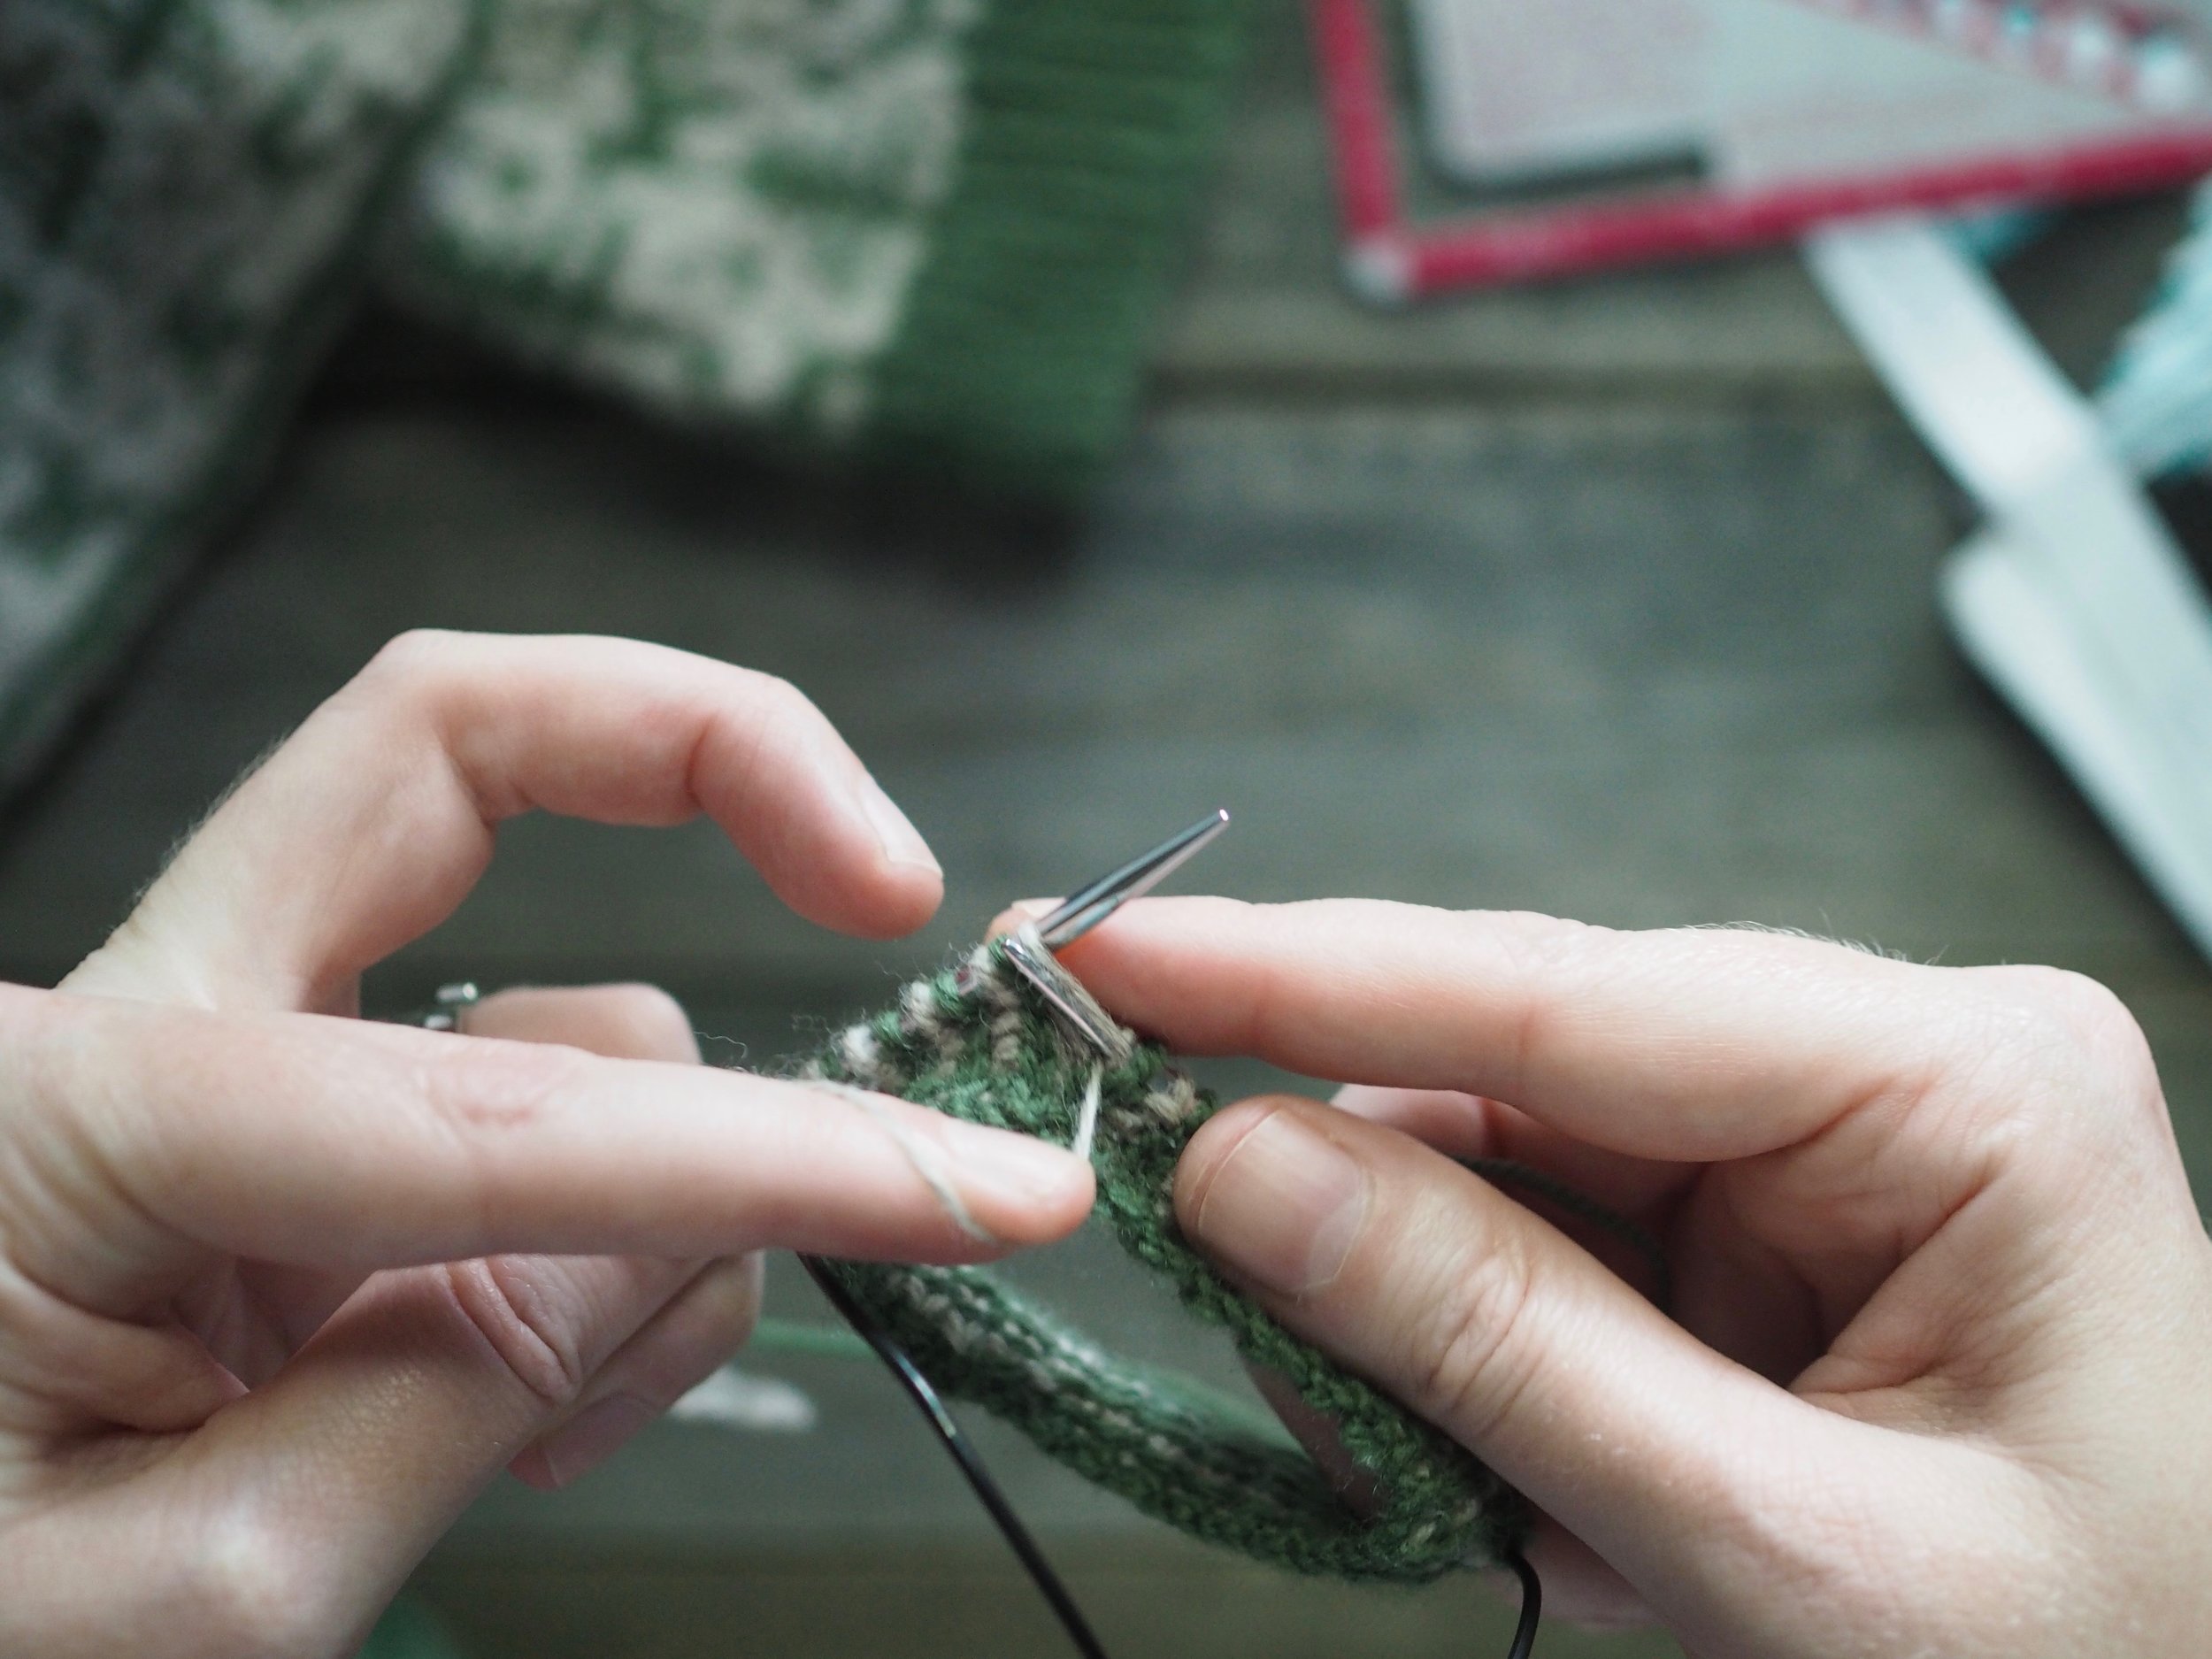
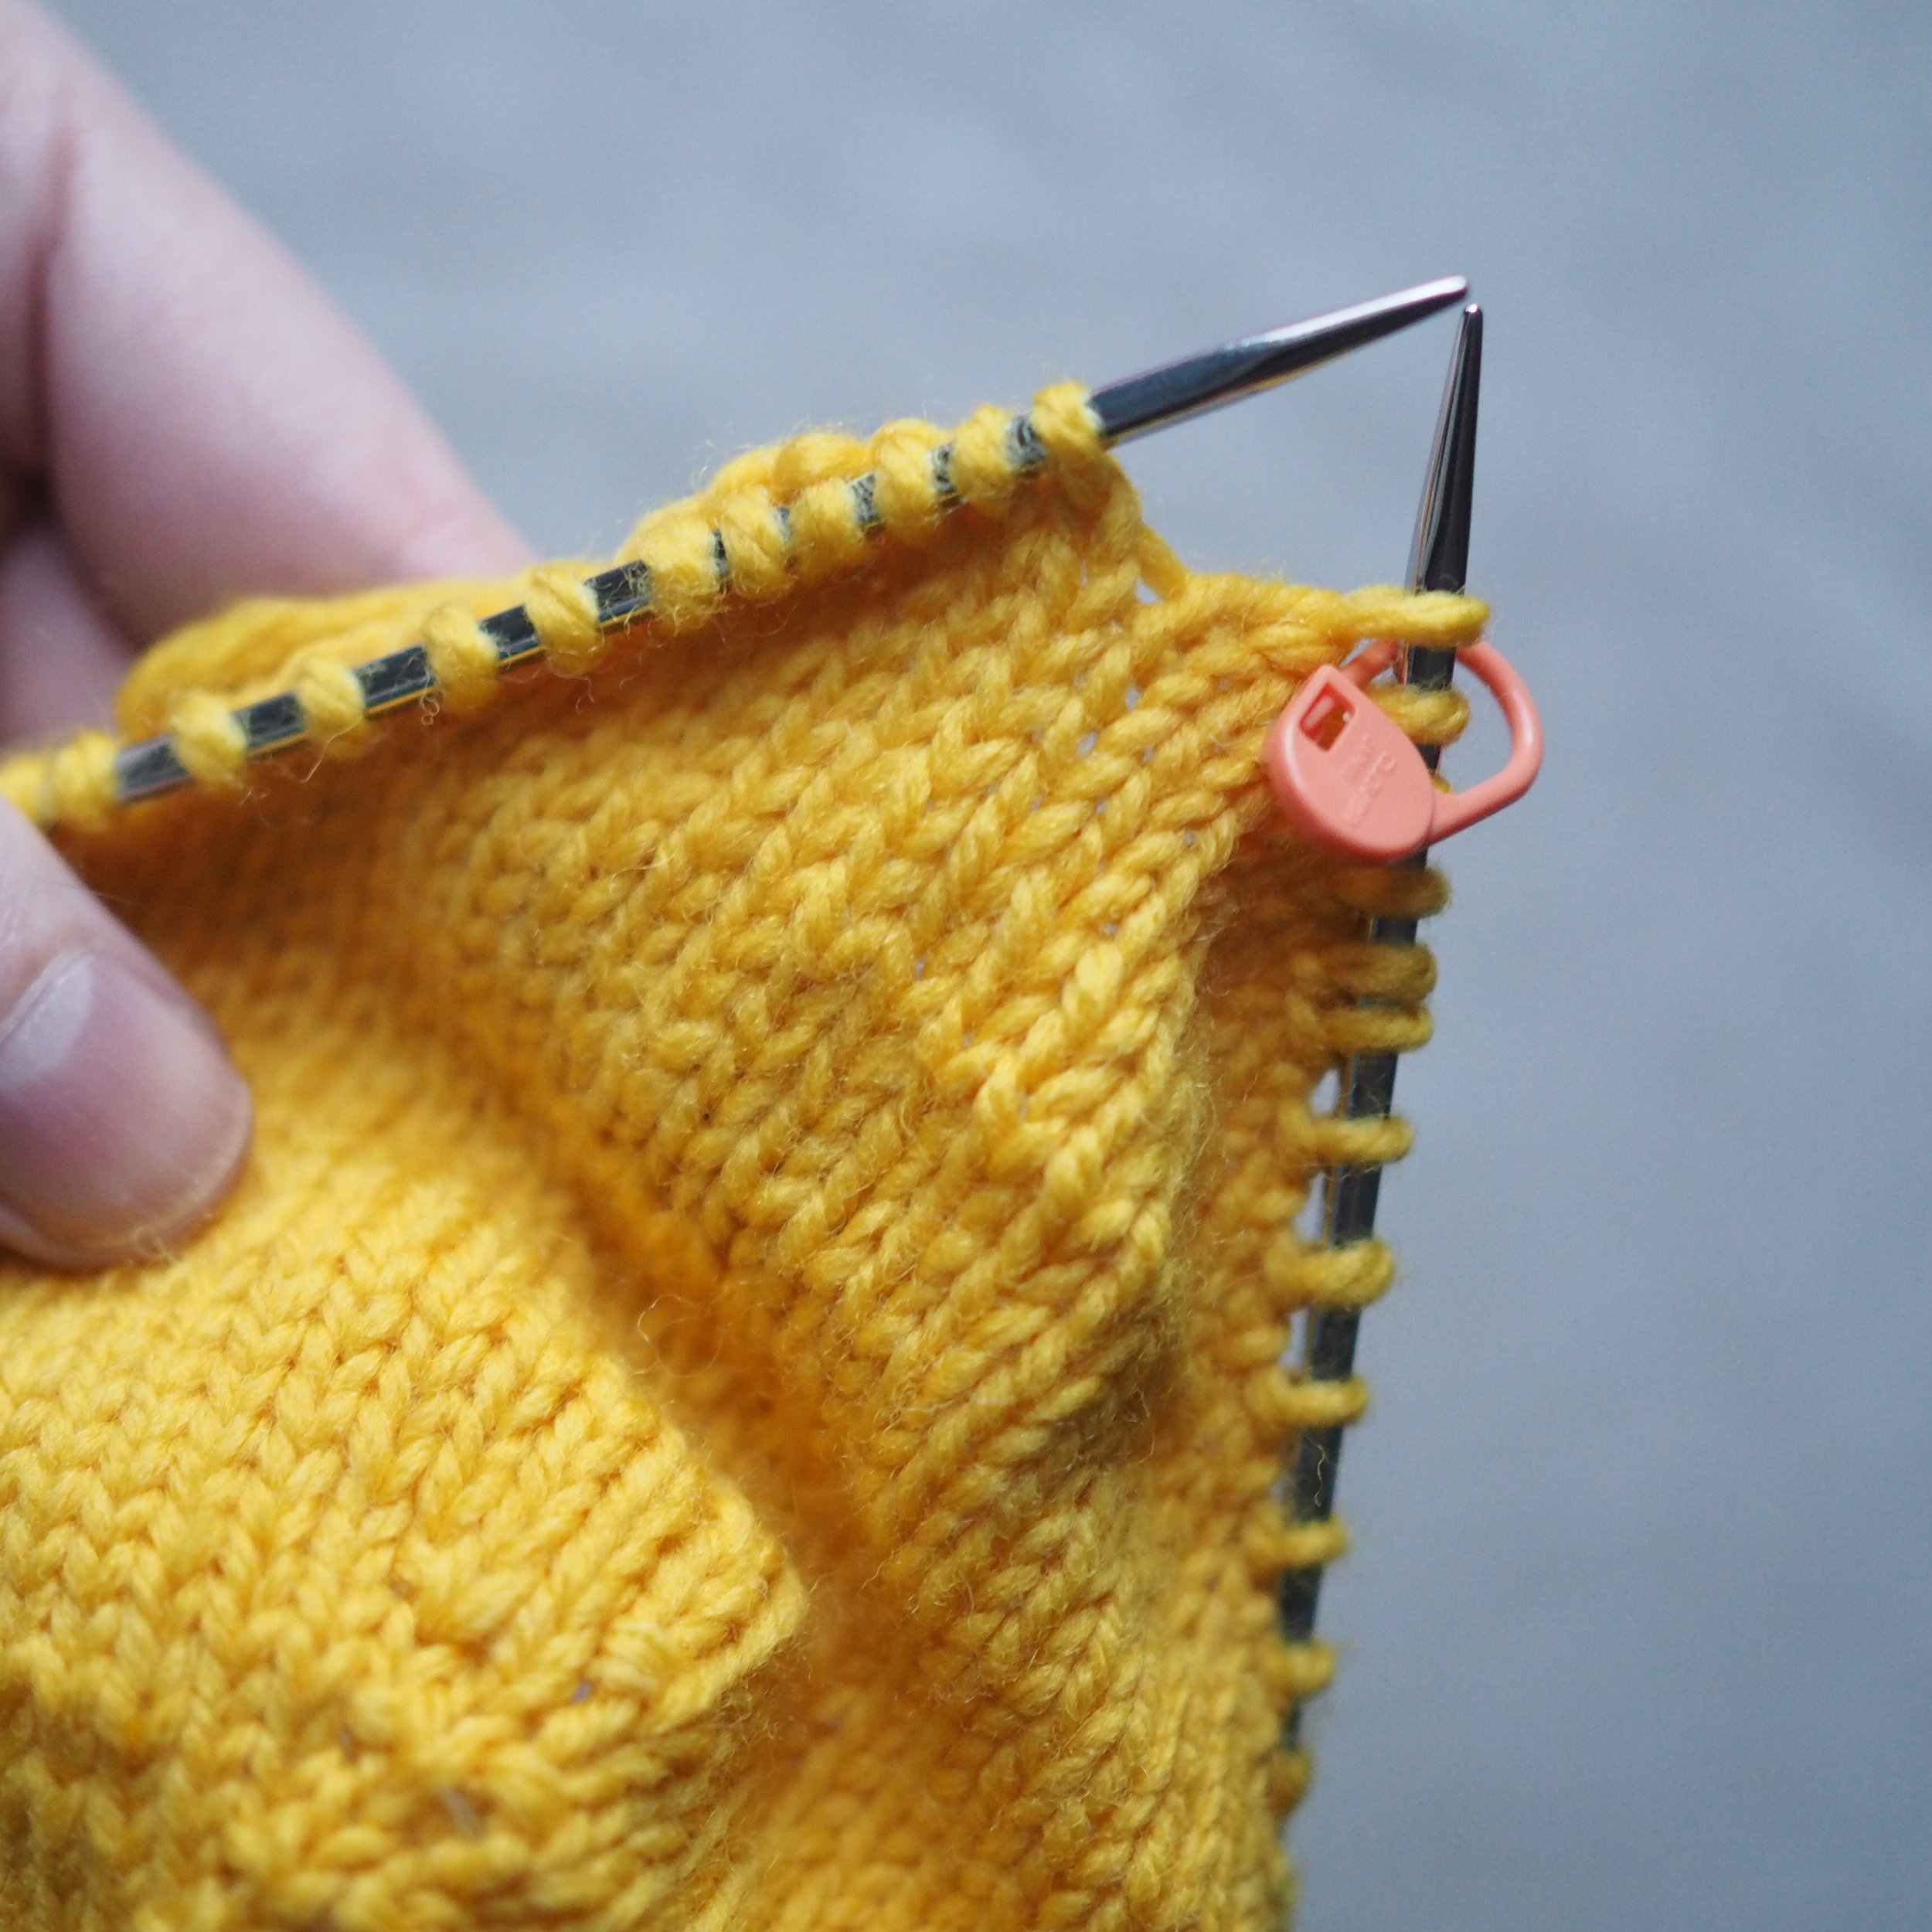
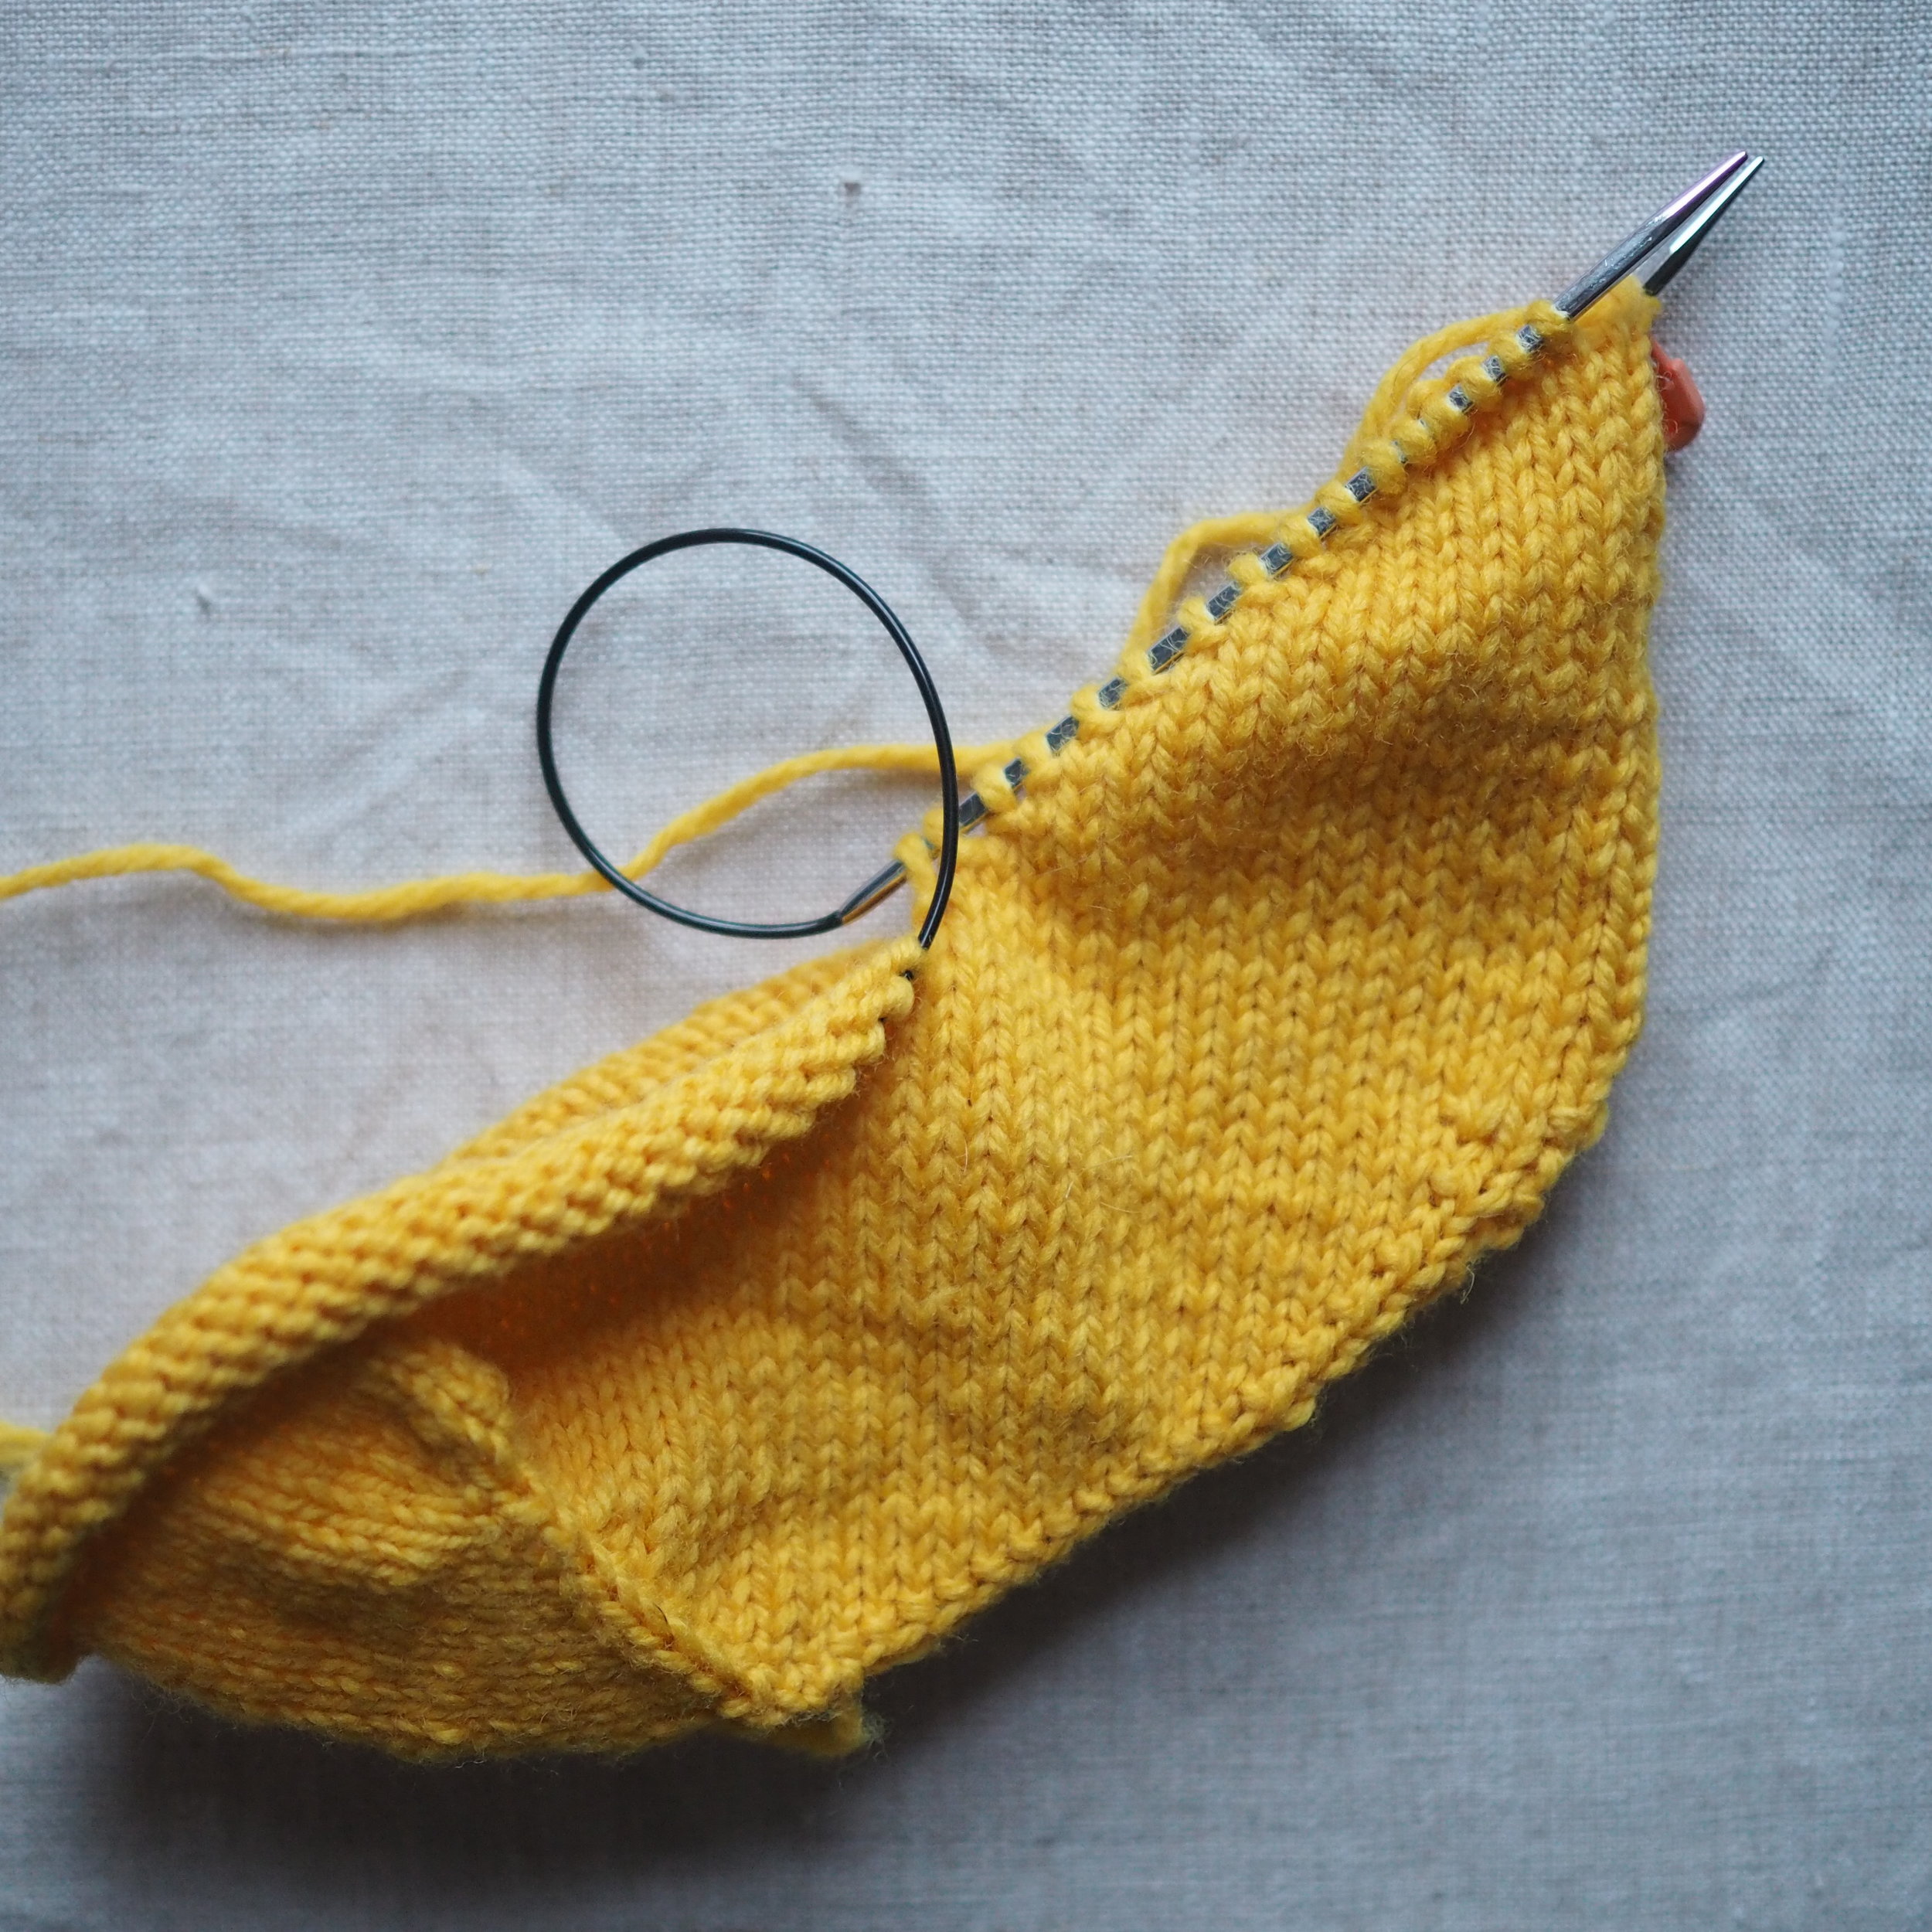
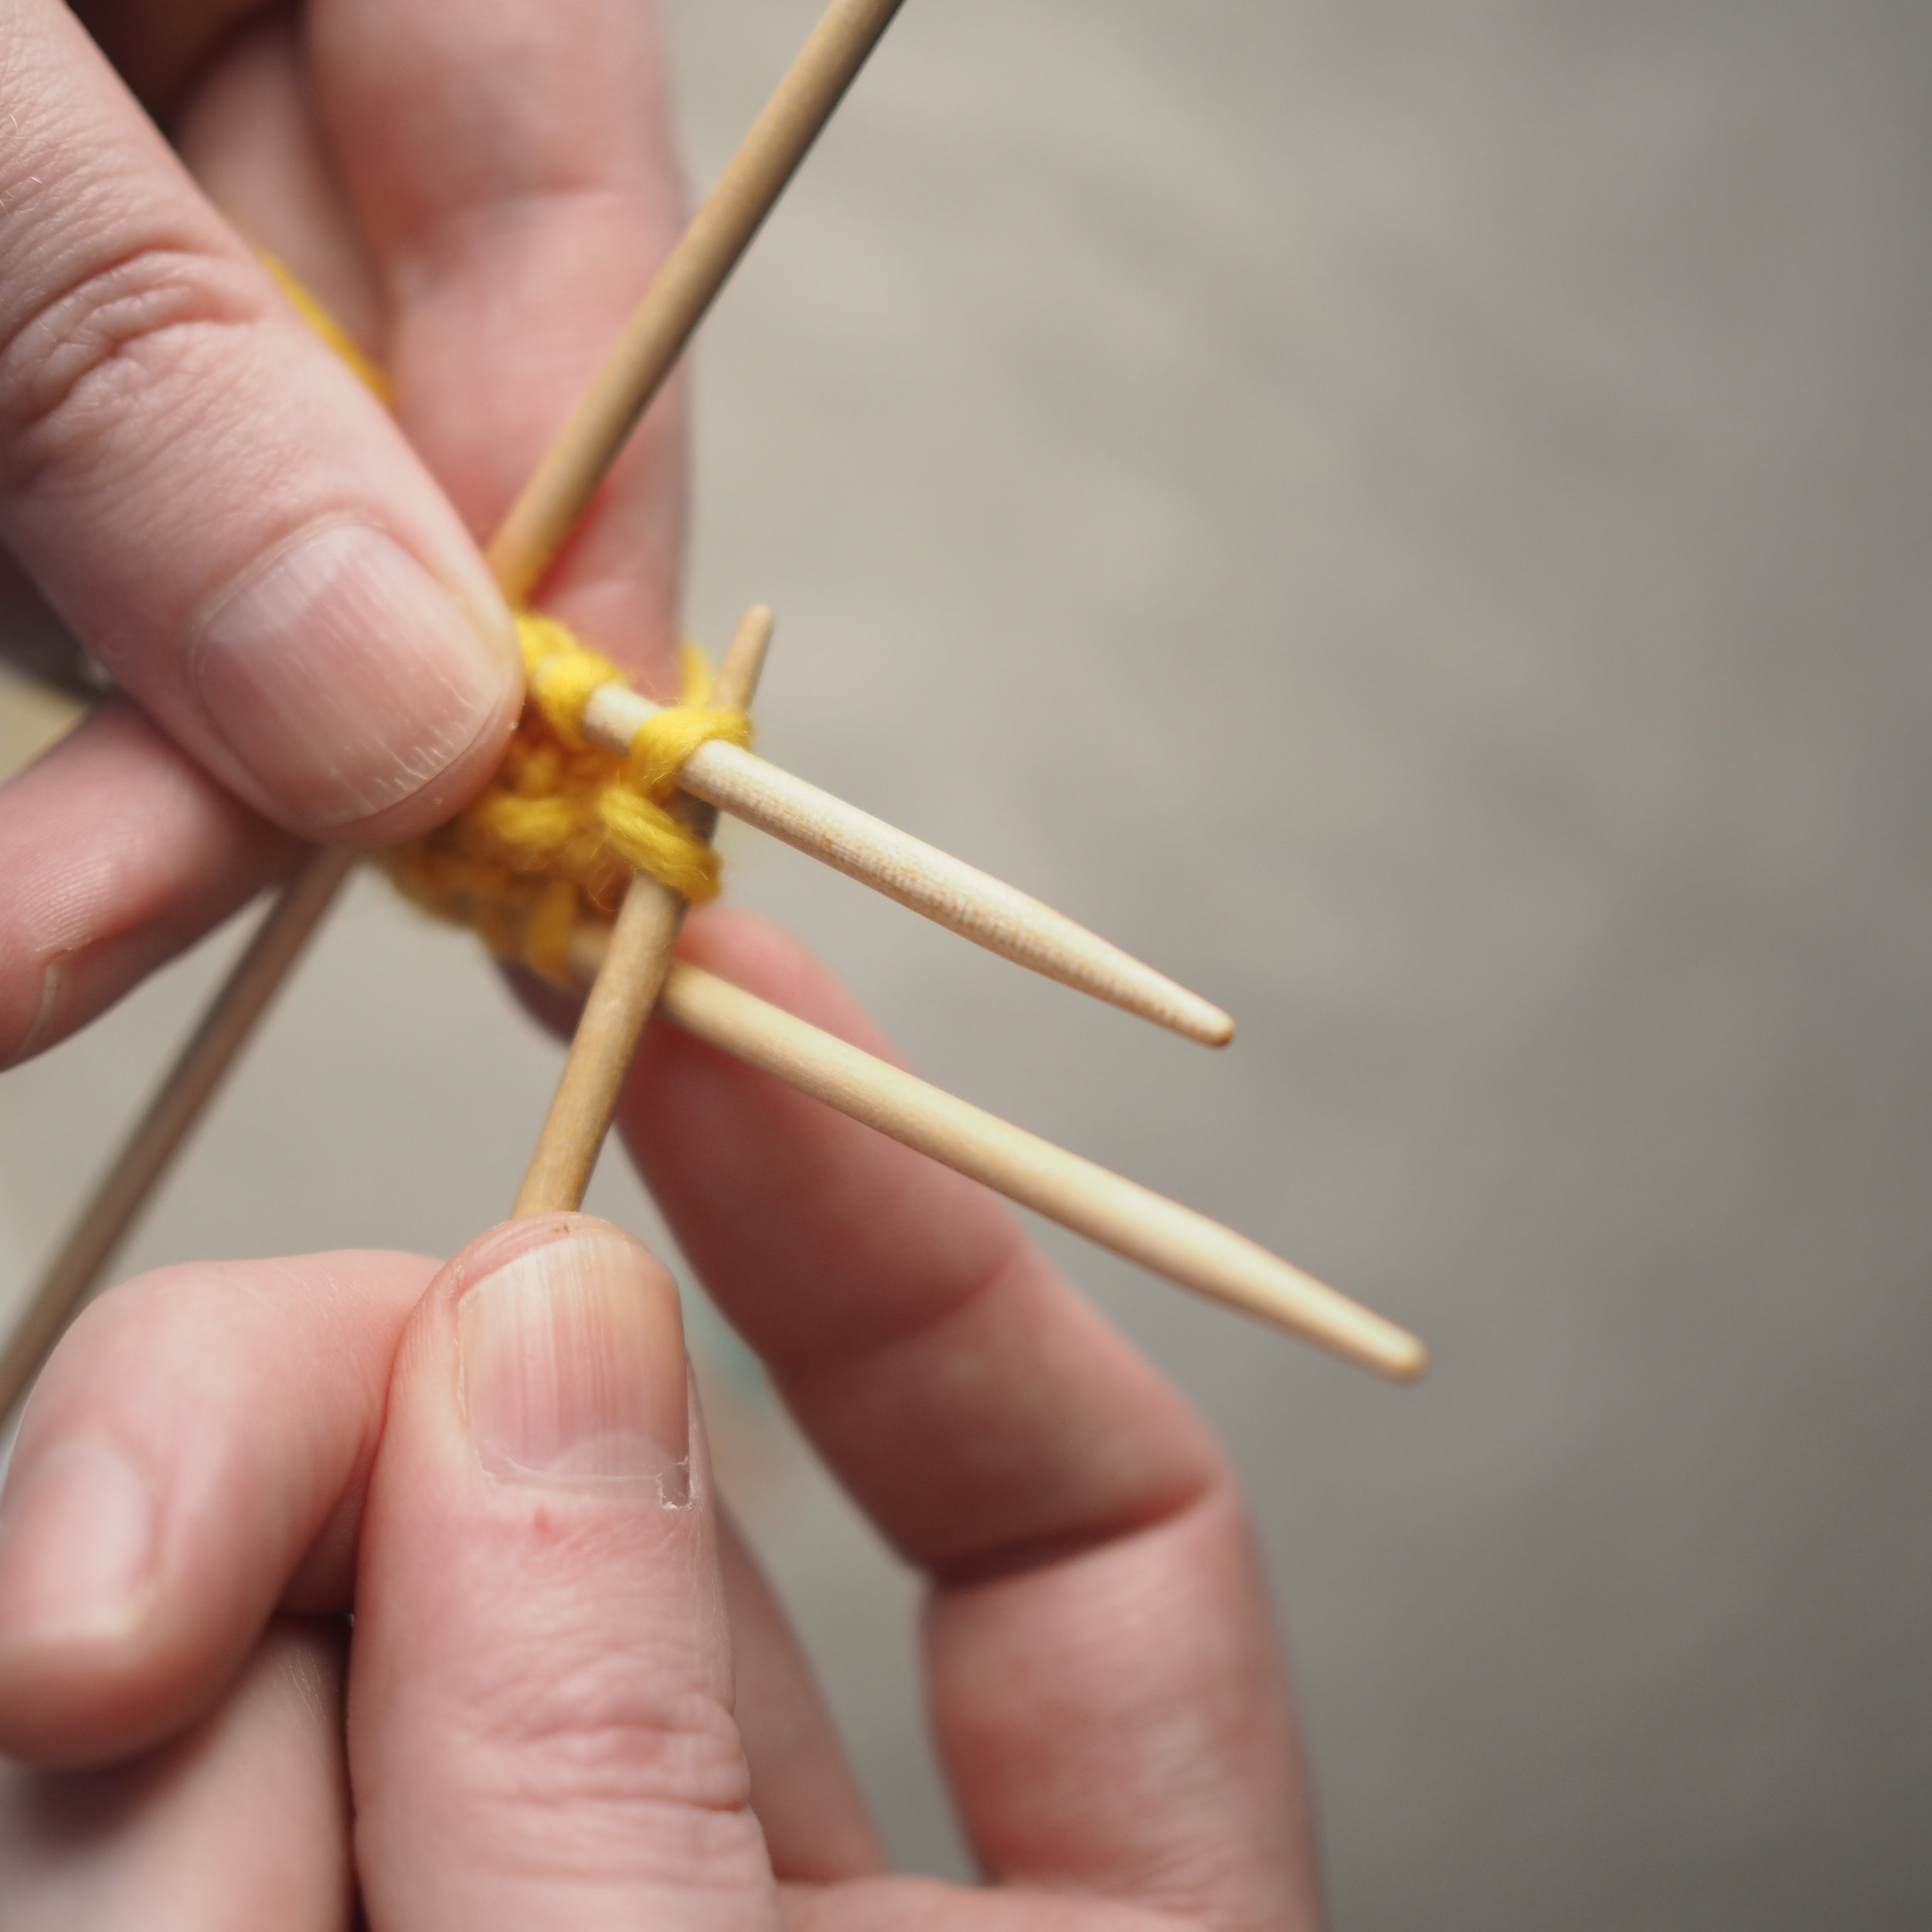
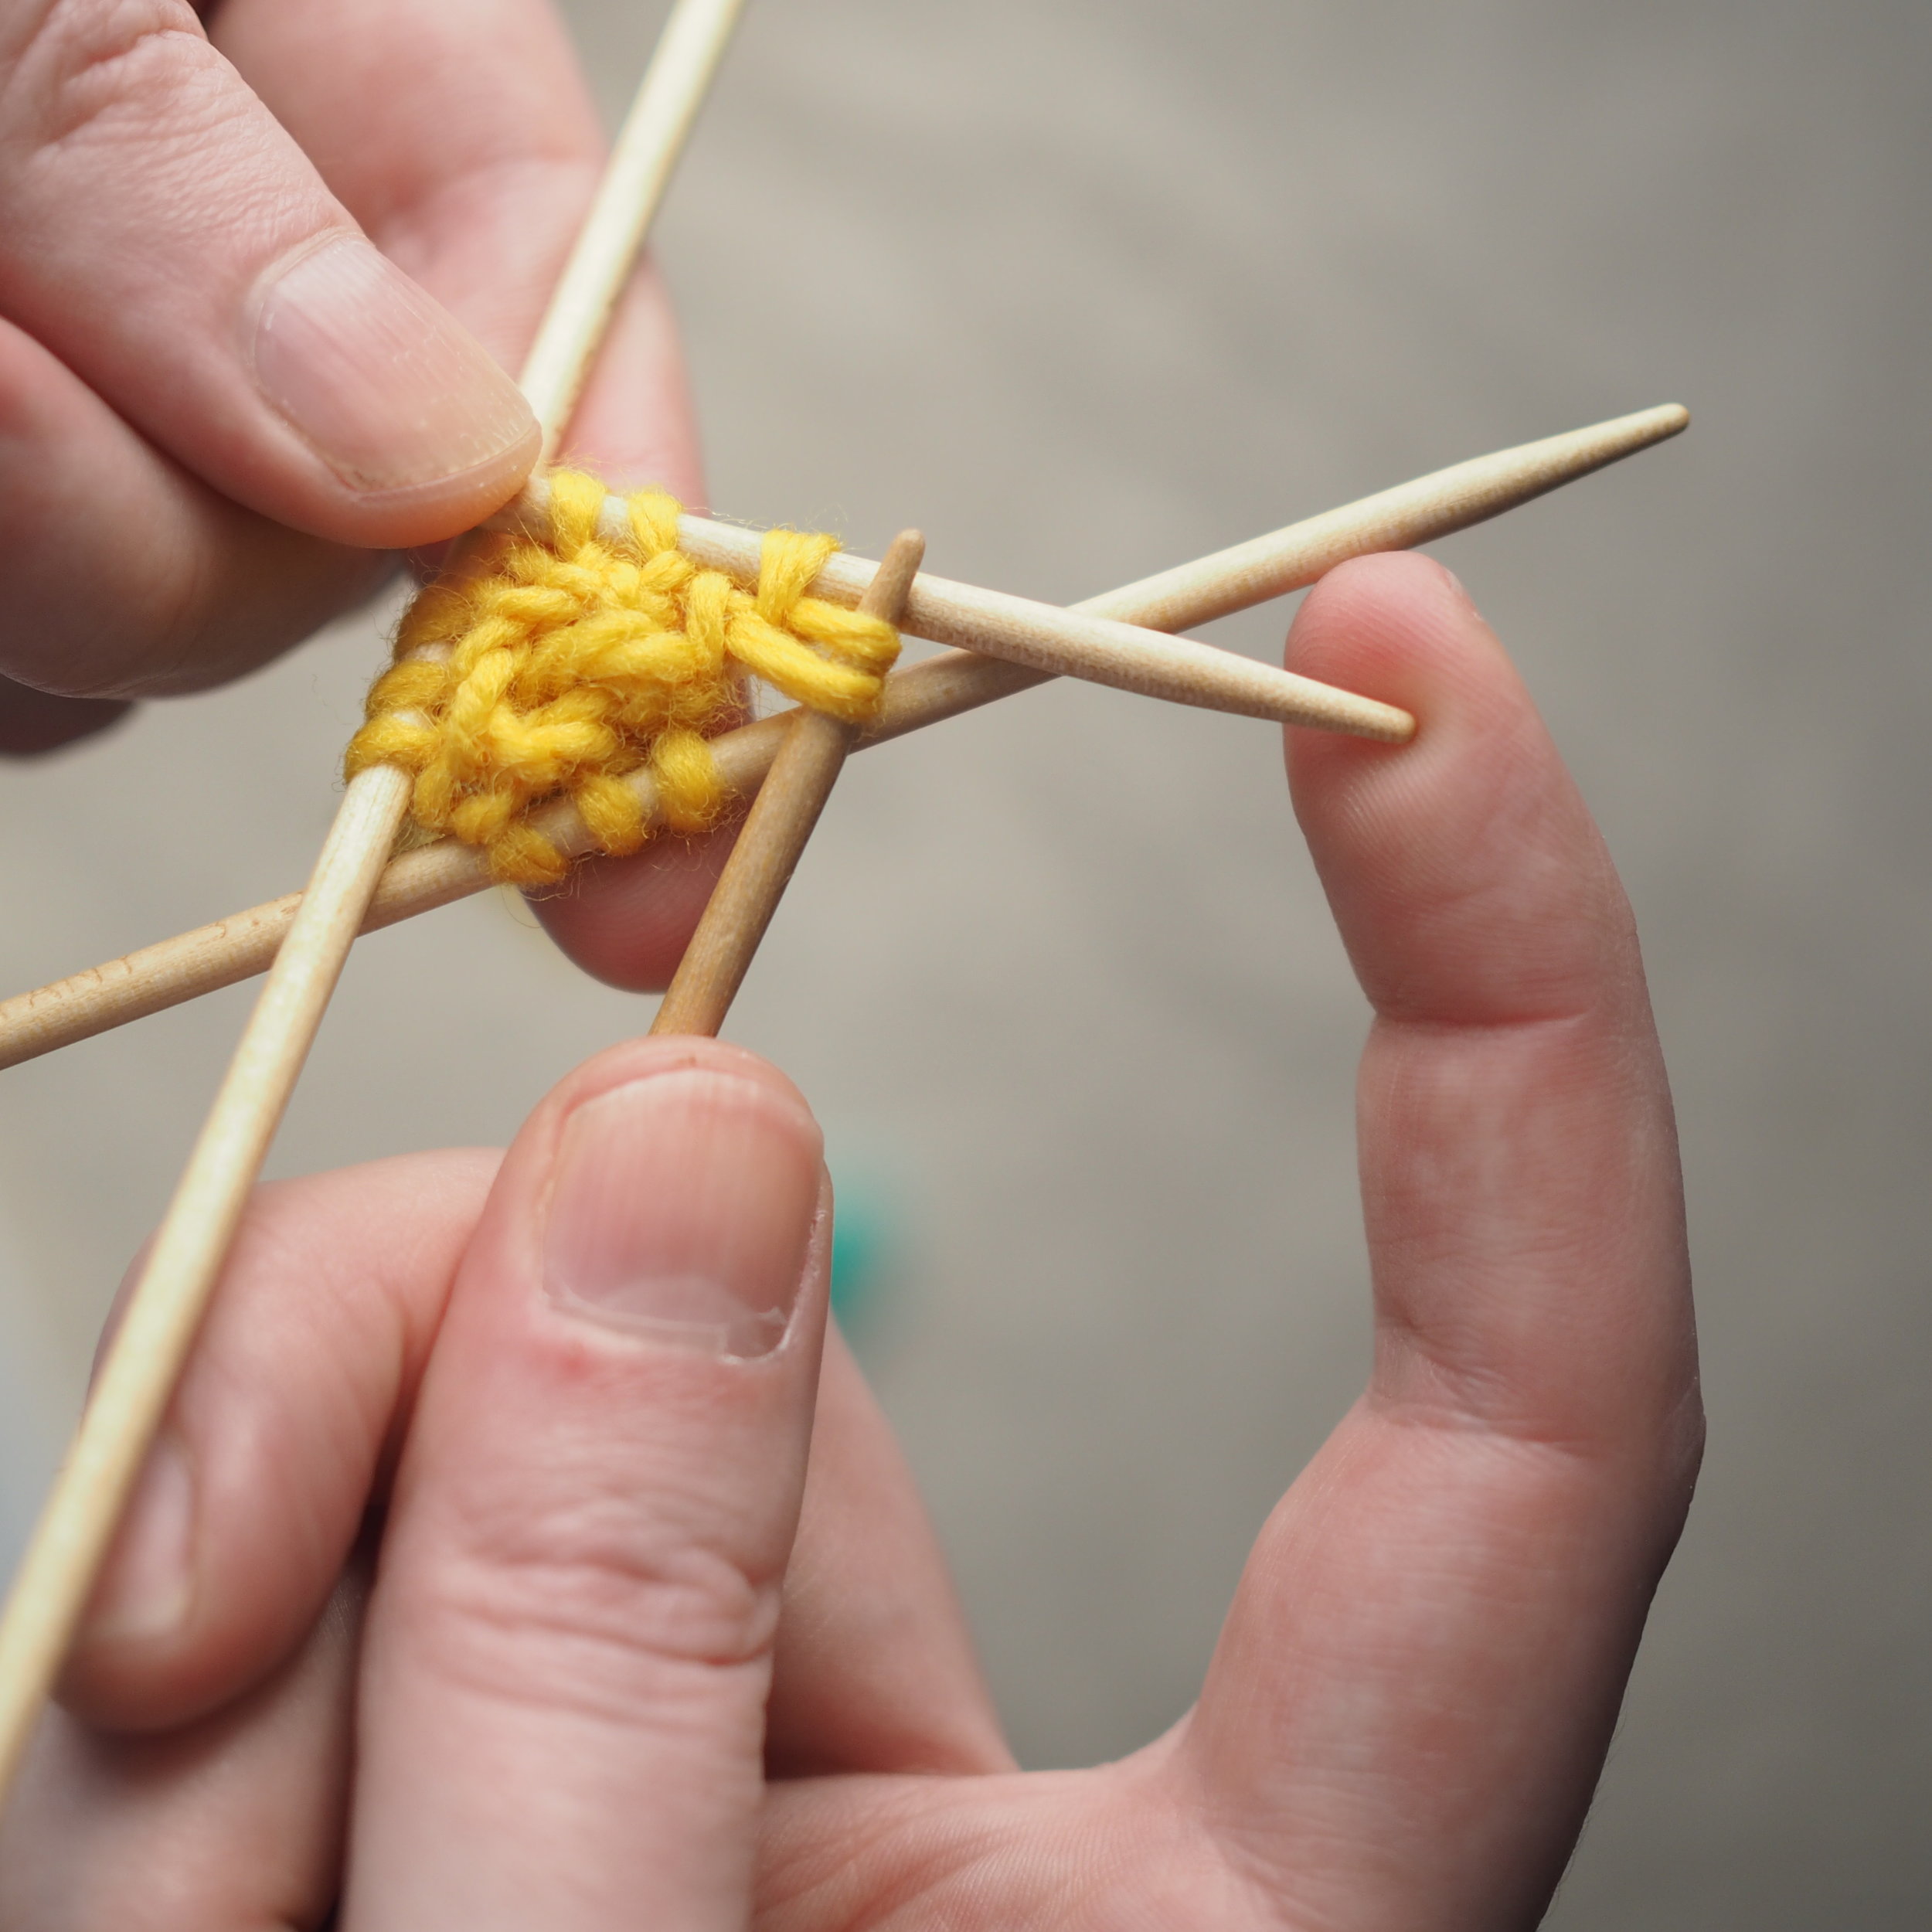
(a) Enlarge the final loop slightly and remove from the needle. Cut or break the yarn leaving at least a 6” tail (more if you intend to seam with it). (b) Pull the tail through the final stitch and (c-e) pull tight to secure. If not using the tail to seam, use a tapestry or darning needle to hide the tail on the back side of your knitted fabric. (For a helpful tutorial on various methods for weaving in ends visit https://www.purlsoho.com/create/weaving-in-your-ends/)


With your knowledge of casting on, the knit stitch, and binding off (plus a little bit of seaming) you could make an endless number of square or rectangular objects from coasters and cowls, to scarves and ponchos. I’ve designed a simple, fingerless glove pattern to put your new skills to use!

Continue on to Part IV - Beginner’s Mitts (COMING SOON)>>>


Knitting 101 & Itty Bitty Knitty Kitty
Sale Price:$8.00 Original Price:$12.00

Print Friendly and PDF Follow
follow us in feedly

Knitting 101 - Part 2: The Knit Stitch (Continental Style)

K101_Knit_Stitch.png

This series is designed to help you learn the basics of knitting technique in a way that will smoothly transition your skills to future projects. To best use this guide, don’t try to make anything meaningful at first. Spend at least an hour making a few oddly-shaped bits of knitting about 10-12 stitches wide and 10 rows high (I call them gerbil coasters) before you dive into a real project. The key to even-looking knitting is developing muscle memory in your hands, so practice each technique several times until you get the hang of it. Remember that this is supposed to be fun, so if you’re feeling frustrated, take a break and come back to it later.

When you feel comfortable with the techniques in the series, I’ve designed a pattern, The Itty Bitty Knitty Kitty, specifically for brand new knitters. The Kitty is designed to be made up of several small parts, so if you don’t like the way a piece is looking, there’s no harm in tossing it aside and starting again.

More of a print than screen reader? The complete series (including the Itty Bitty Kitty Pattern) is available as a PDF, printed booklet, and complete kit to get you started off with high quality materials.


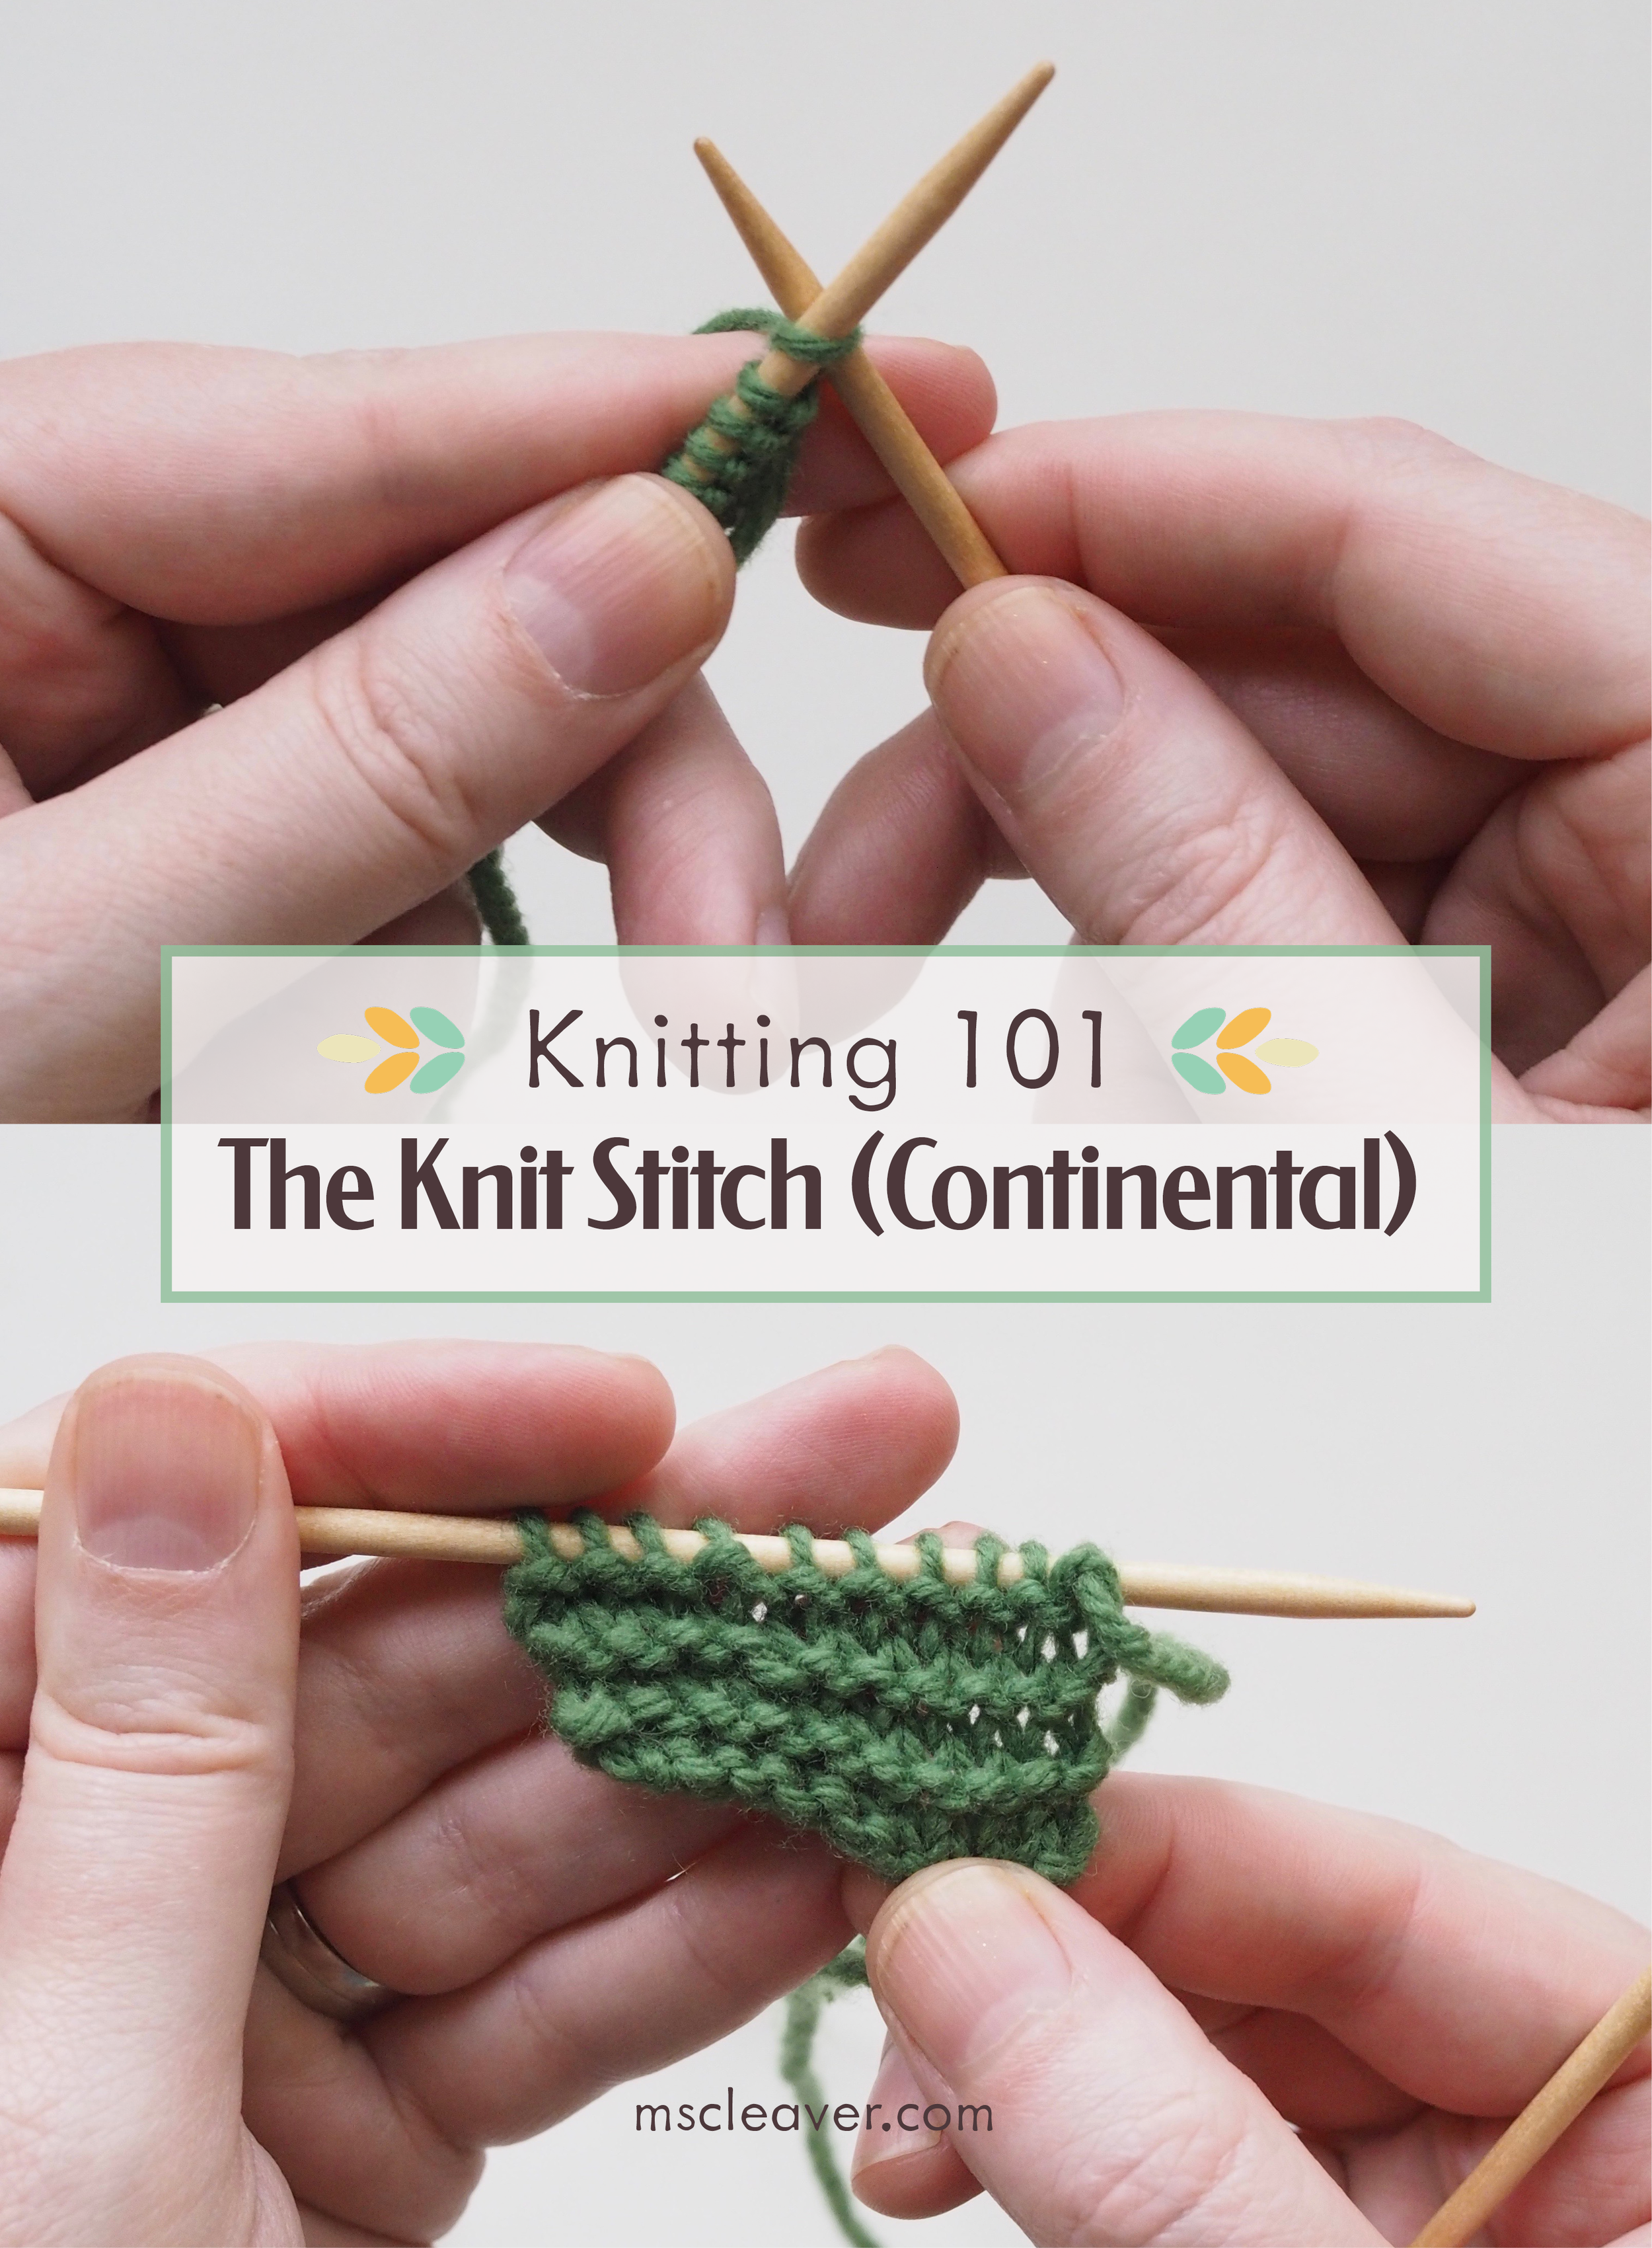
The stitch from which knitting gets its name, the knit stitch (combined with the purl stitch) is the basis of all knitting. For now, we will focus on the knit stitch only. Something that is worked with all rows knitted (where the back and front look the same) is called Garter Stitch. There are two main styles of knitting Continental Style/“Picking” or English Style/”Throwing.” Both work equally well. I’ll be showing Continental Style because that’s how I knit (I also think knitting Continental makes it easier to keep an even gauge, and is more efficient and ergonomic, but that’s just my opinion).

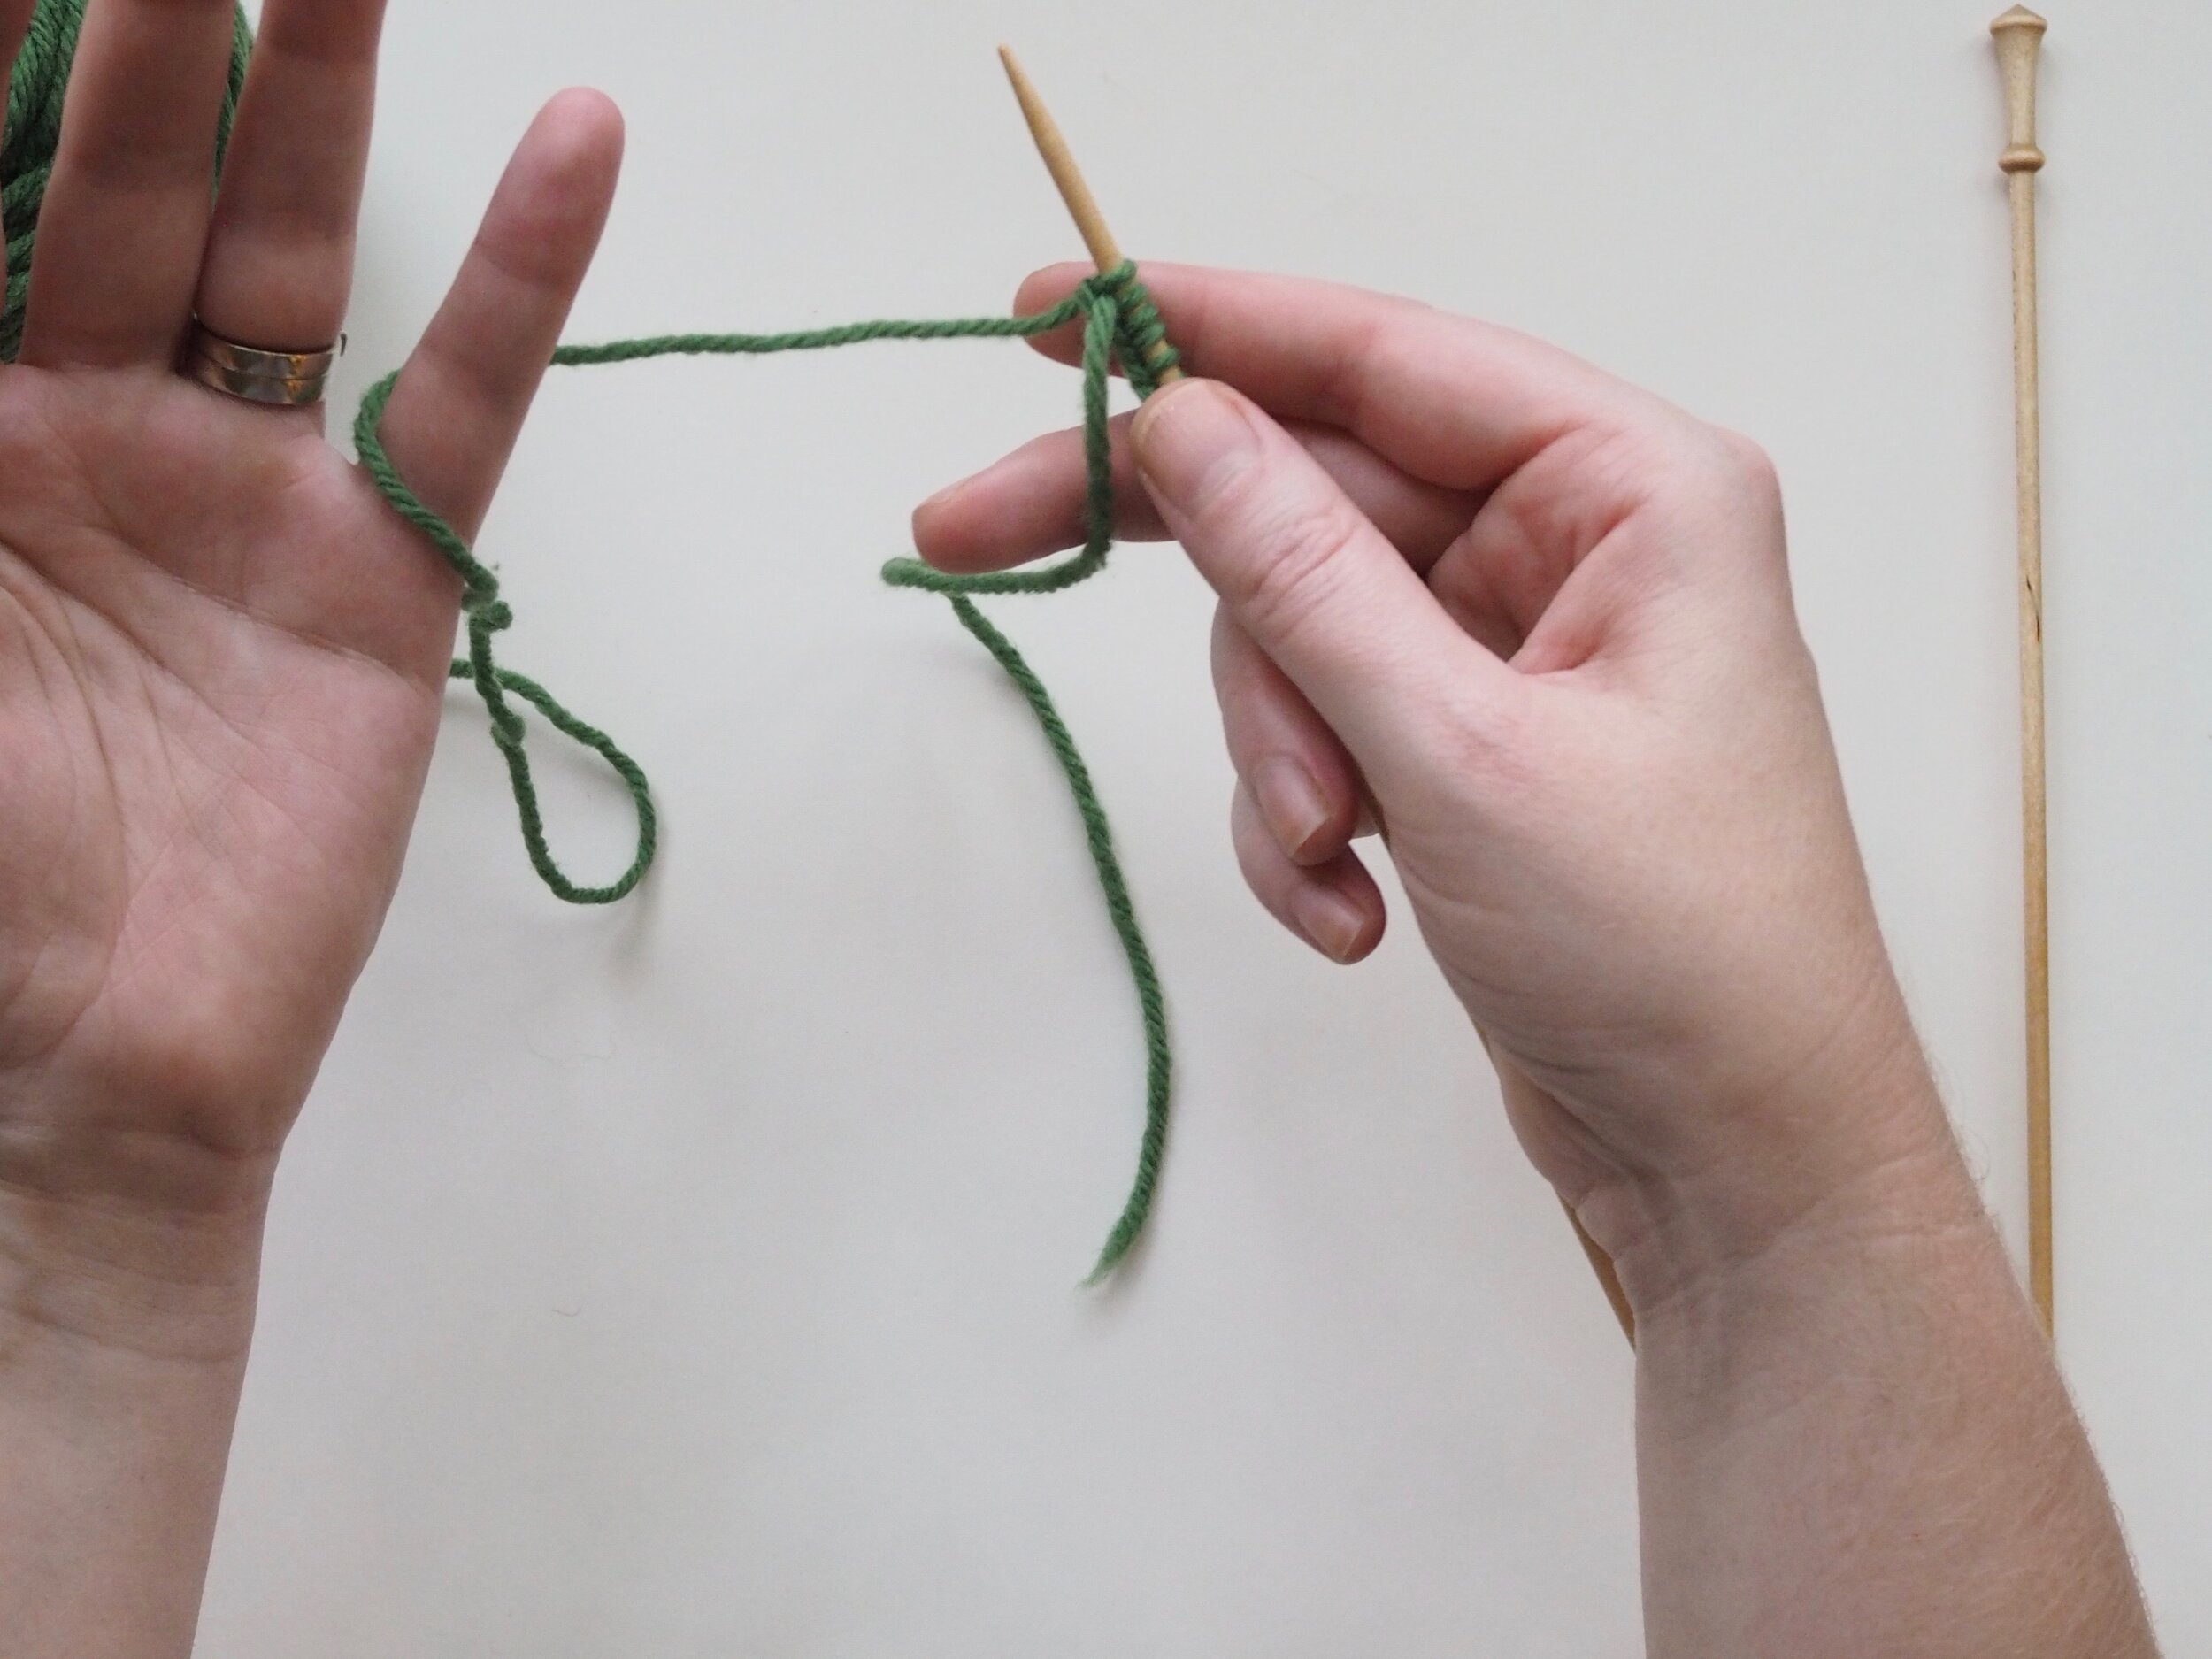
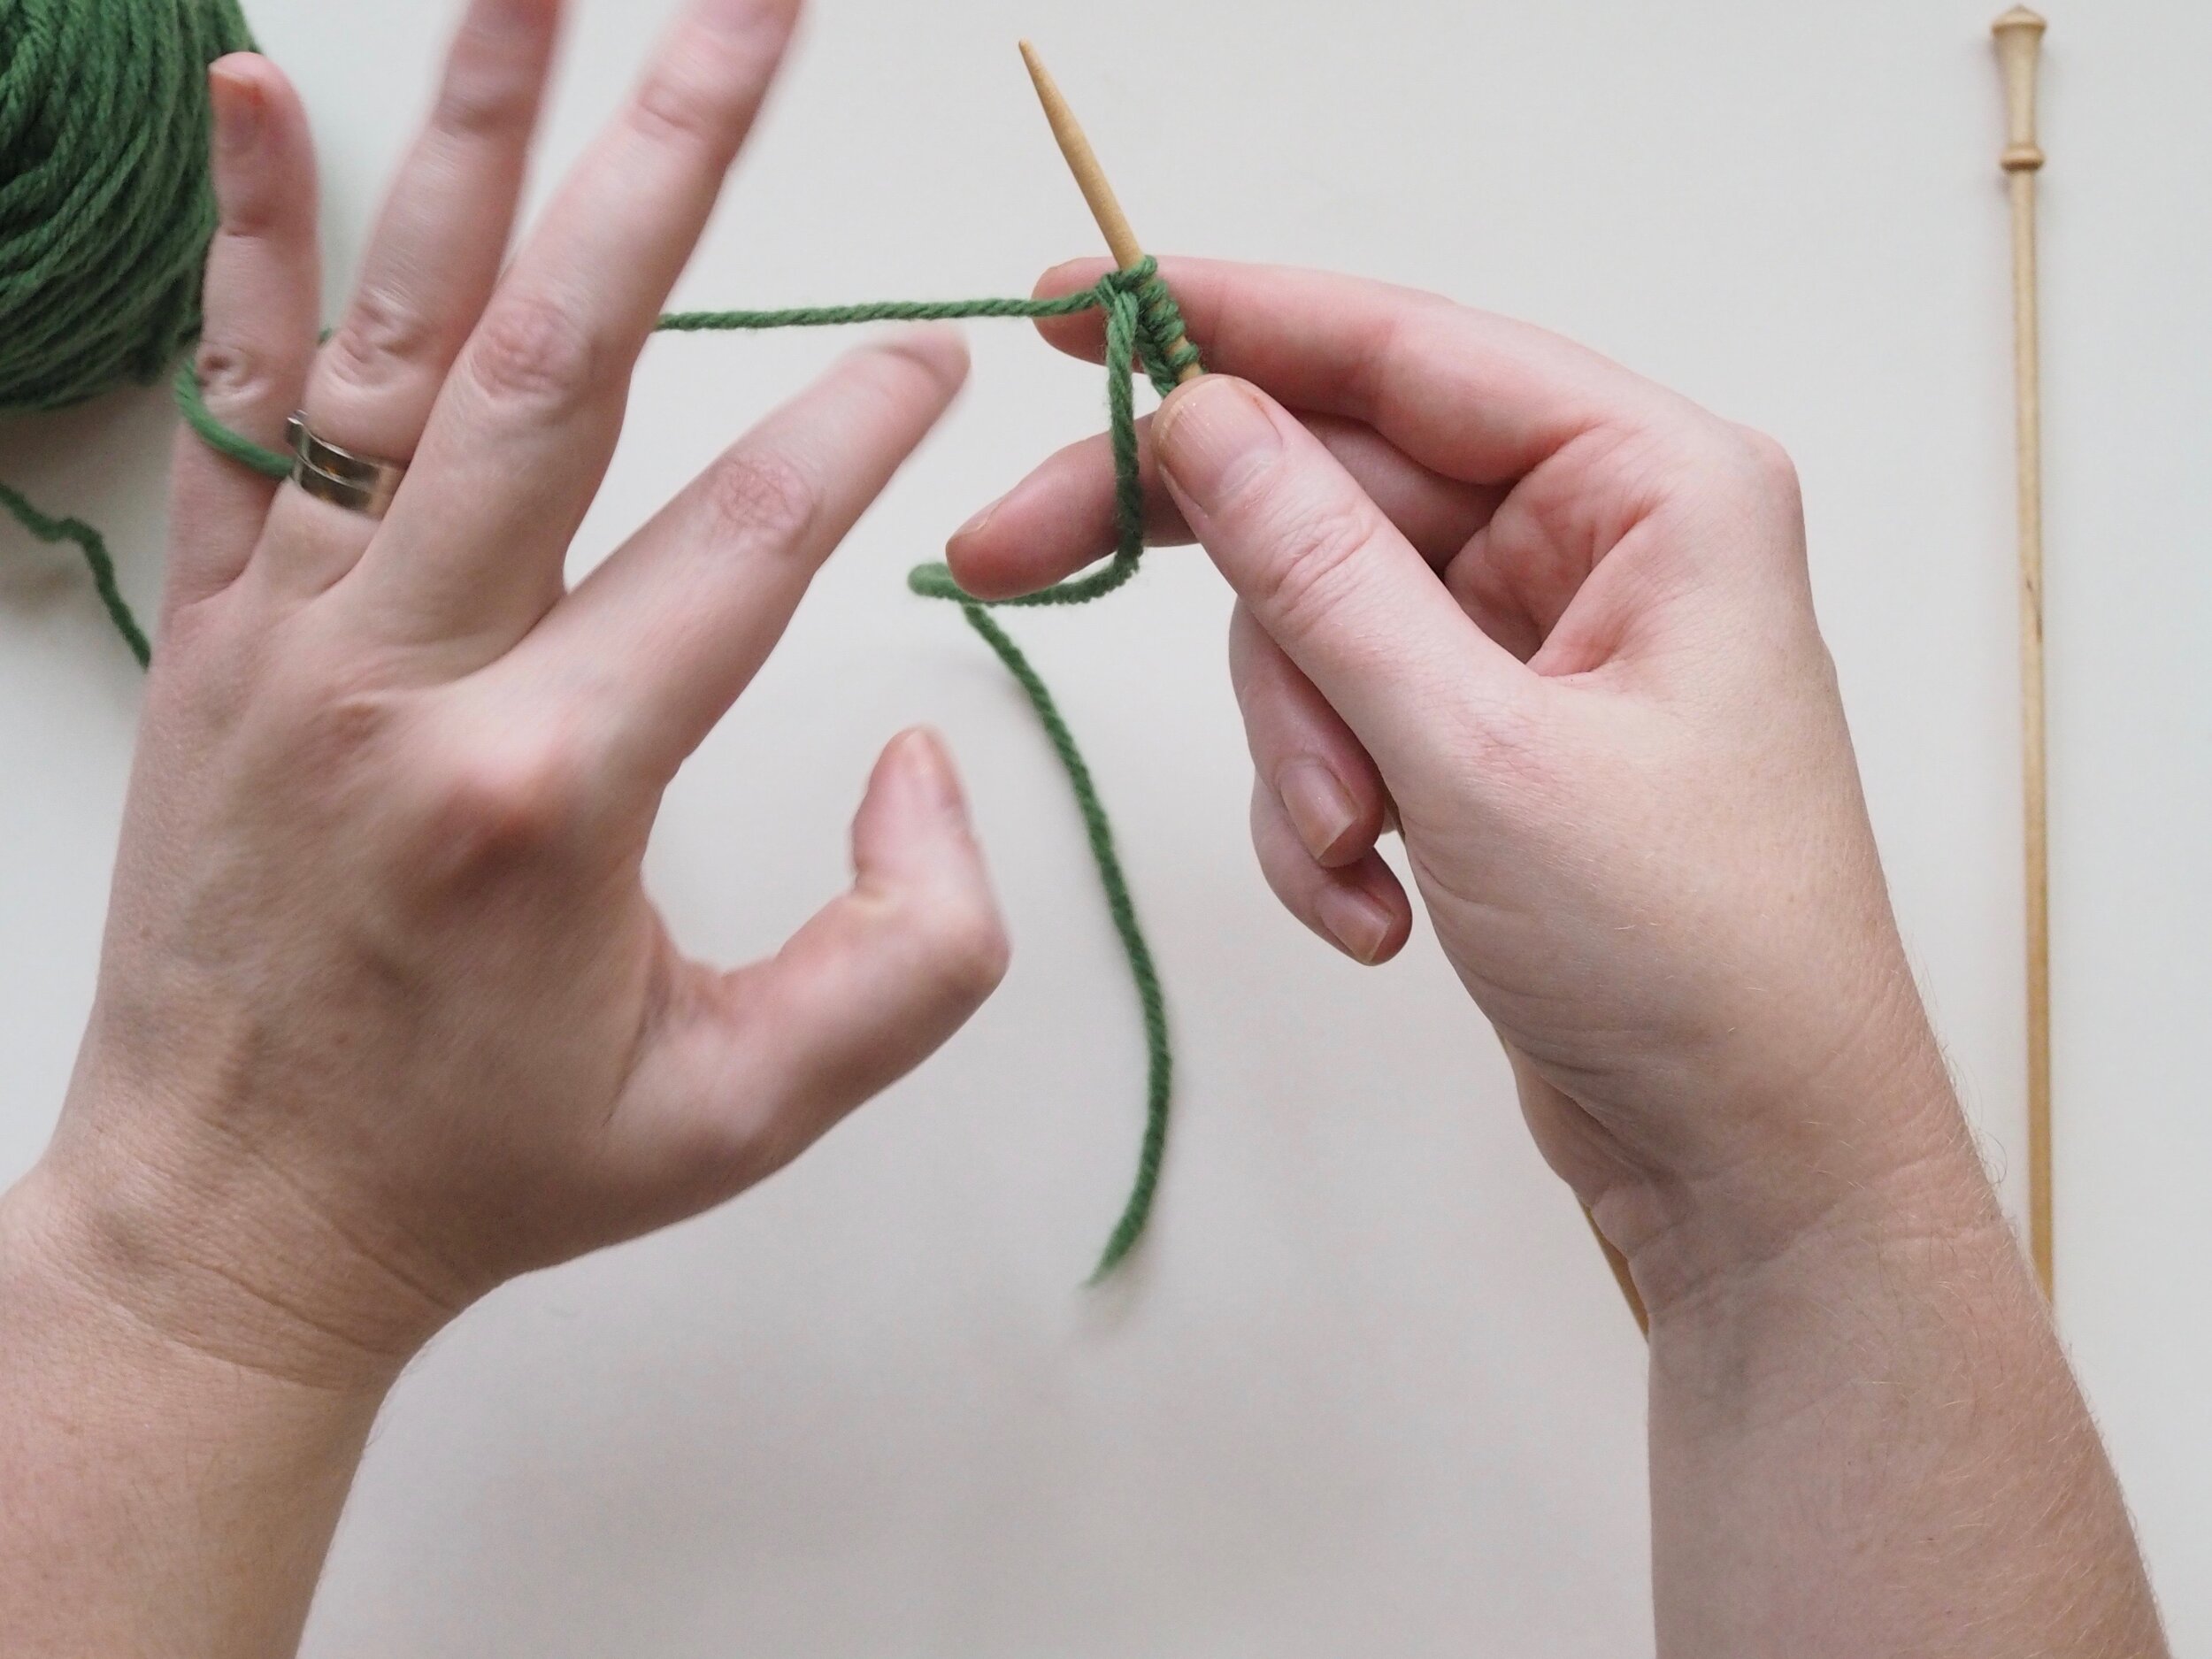
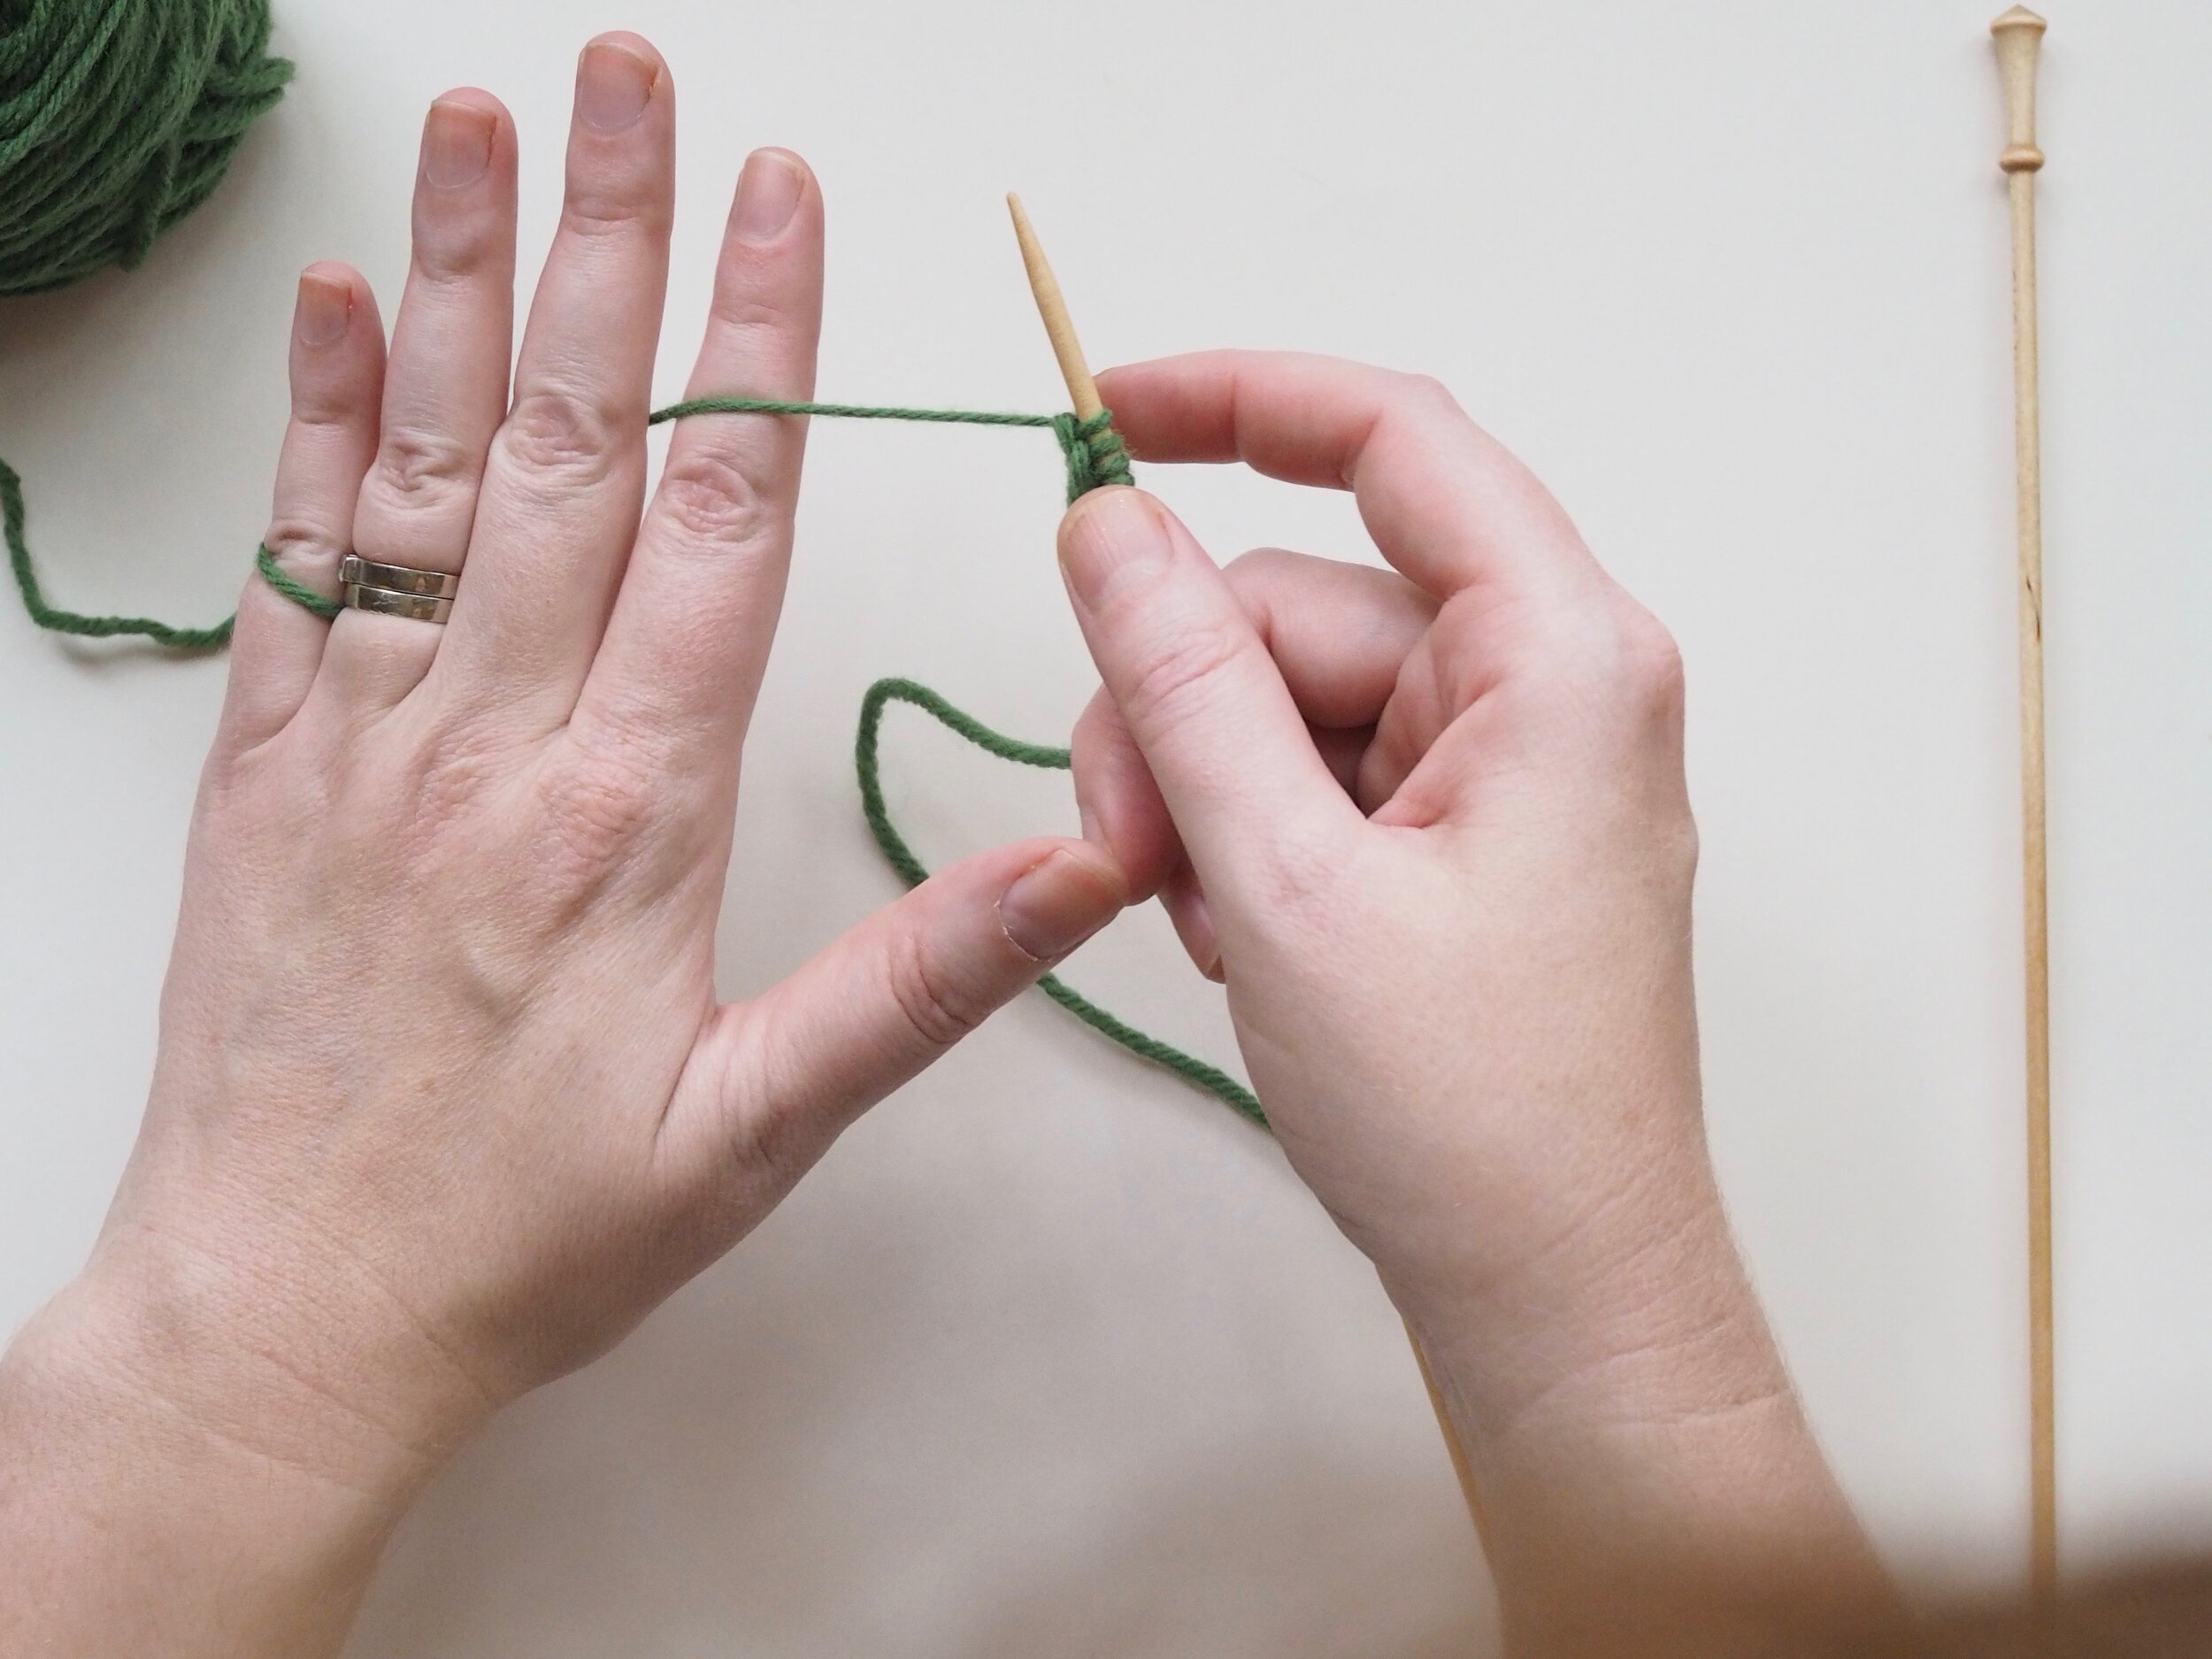
1. Tension the Yarn

Make sure you have about 1 yard of yarn pulled out between the cast-on needle and the ball. (a) At about a hand’s width away from the needle, drape the end of the working yarn (the strand closest to the ball) over the pinky finger of your left hand with your palm up. (b) Flip your palm down so the yarn forms a loop around your pinkie and (c) scoop up the strand near the needle with your index finger so it rests on the back on the finger. (d) Pick up your cast-on needle with the thumb, middle, and ring finger of your left hand and adjust yarn around your fingers so it is slightly taut as it runs from needle to index finger to pinkie. The yarn should be BEHIND the left hand needle. Pick up the empty needle in your right hand.

2. Form a Knit Stitch

(a) Insert the tip of your right-hand (RH) needle into the front (from palm to fingertip) of the loop closest to the end of the left-hand (LH) needle. (b) Slide the tip of the RH needle out past the yarn strand running over your left index finger, then scoop the RH needle tip toward your palm, “picking" up the yarn strand and (c) pull it through that first loop. You should now have a new loop on the RH needle. (d) Using your right index finger to push the LH needle down, (e) slide the old loop off the LH needle and let it drop. You’ve just knit your first stitch!!

Repeat Step 2 until you’ve worked all the stitches on your LH needle. Move the empty needle to your RH and the full needle to your LH and keep going!

NB: To count the number of rows you have worked in Garter Stitch, look at the front of your work (the tail from the cast on will be on the RH bottom edge). Each row of “bumps” or Garter ridges (above the cast on edge) equals two rows knitted. In Figure 2f, there are 6 rows knitted

Continue on to Part III: Binding-Off >>>


Knitting 101 & Itty Bitty Knitty Kitty
Sale Price:$8.00 Original Price:$12.00

Print Friendly and PDF Follow
follow us in feedly

Knitting 101 - Part I: Casting On (Long Tail)

Knitting101_Long_Tail.png

This series is designed to help you learn the basics of knitting technique in a way that will smoothly transition your skills to future projects. To best use this guide, don’t try to make anything meaningful at first. Spend at least an hour making a few oddly-shaped bits of knitting about 10-12 stitches wide and 10 rows high (I call them gerbil coasters) before you dive into a real project. The key to even-looking knitting is developing muscle memory in your hands, so practice each technique several times until you get the hang of it. Remember that this is supposed to be fun, so if you’re feeling frustrated, take a break and come back to it later.

When you feel comfortable with the techniques in the series, I’ve designed a pattern, The Itty Bitty Knitty Kitty, specifically for brand new knitters. The Kitty is designed to be made up of several small parts, so if you don’t like the way a piece is looking, there’s no harm in tossing it aside and starting again.

More of a print than screen reader? The complete series (including the Itty Bitty Kitty Pattern) is available as a PDF, printed booklet, and complete kit to get you started off with high quality materials.


Materials

To start with, I suggest the following materials:

  • US Size 5 or 7 (3.75 mm or 4.5 mm) straight (single point) knitting needles in wood, bamboo, or metal.

    • Wood and bamboo are the most “grippy”

    • Metal is more slippery, but solid

    • I do not recommend plastic, as it has a tendency to bow.

  • A Worsted Weight Yarn in 100% Wool

    • Wool yarn is the most forgiving to work with at first. Some inexpensive options for 100% wool yarns are available from Brown Sheep, Lion’s Brand and Quince & Co. in the US. My personal preference is for Brown Sheep Nature spun Worsted, which is used in these photos.

    • Avoid cotton (it’s inelastic) and any hairy Angora/Alpaca/Mohair) or specialty yarns (hard to see stitches).

    • A wool/acrylic blend is preferable to straight acrylic, but either will work.

  • Want to save yourself a shopping trip? Pick up my Knitting 101 Kit!


The Long Tail Cast On

1. Estimate the “Long Tail” length

As the name indicates, you’ll need a long tail of yarn to work this cast-on. To estimate of the length of the tail, estimate 1-2” of tail for each cast-on stitch (the bigger the needles, the longer the tail). Over time you’ll get better at guessing the tail length. Better to have too long of a tail, which you can cut, than too short a one.

2. Form a Slip Knot

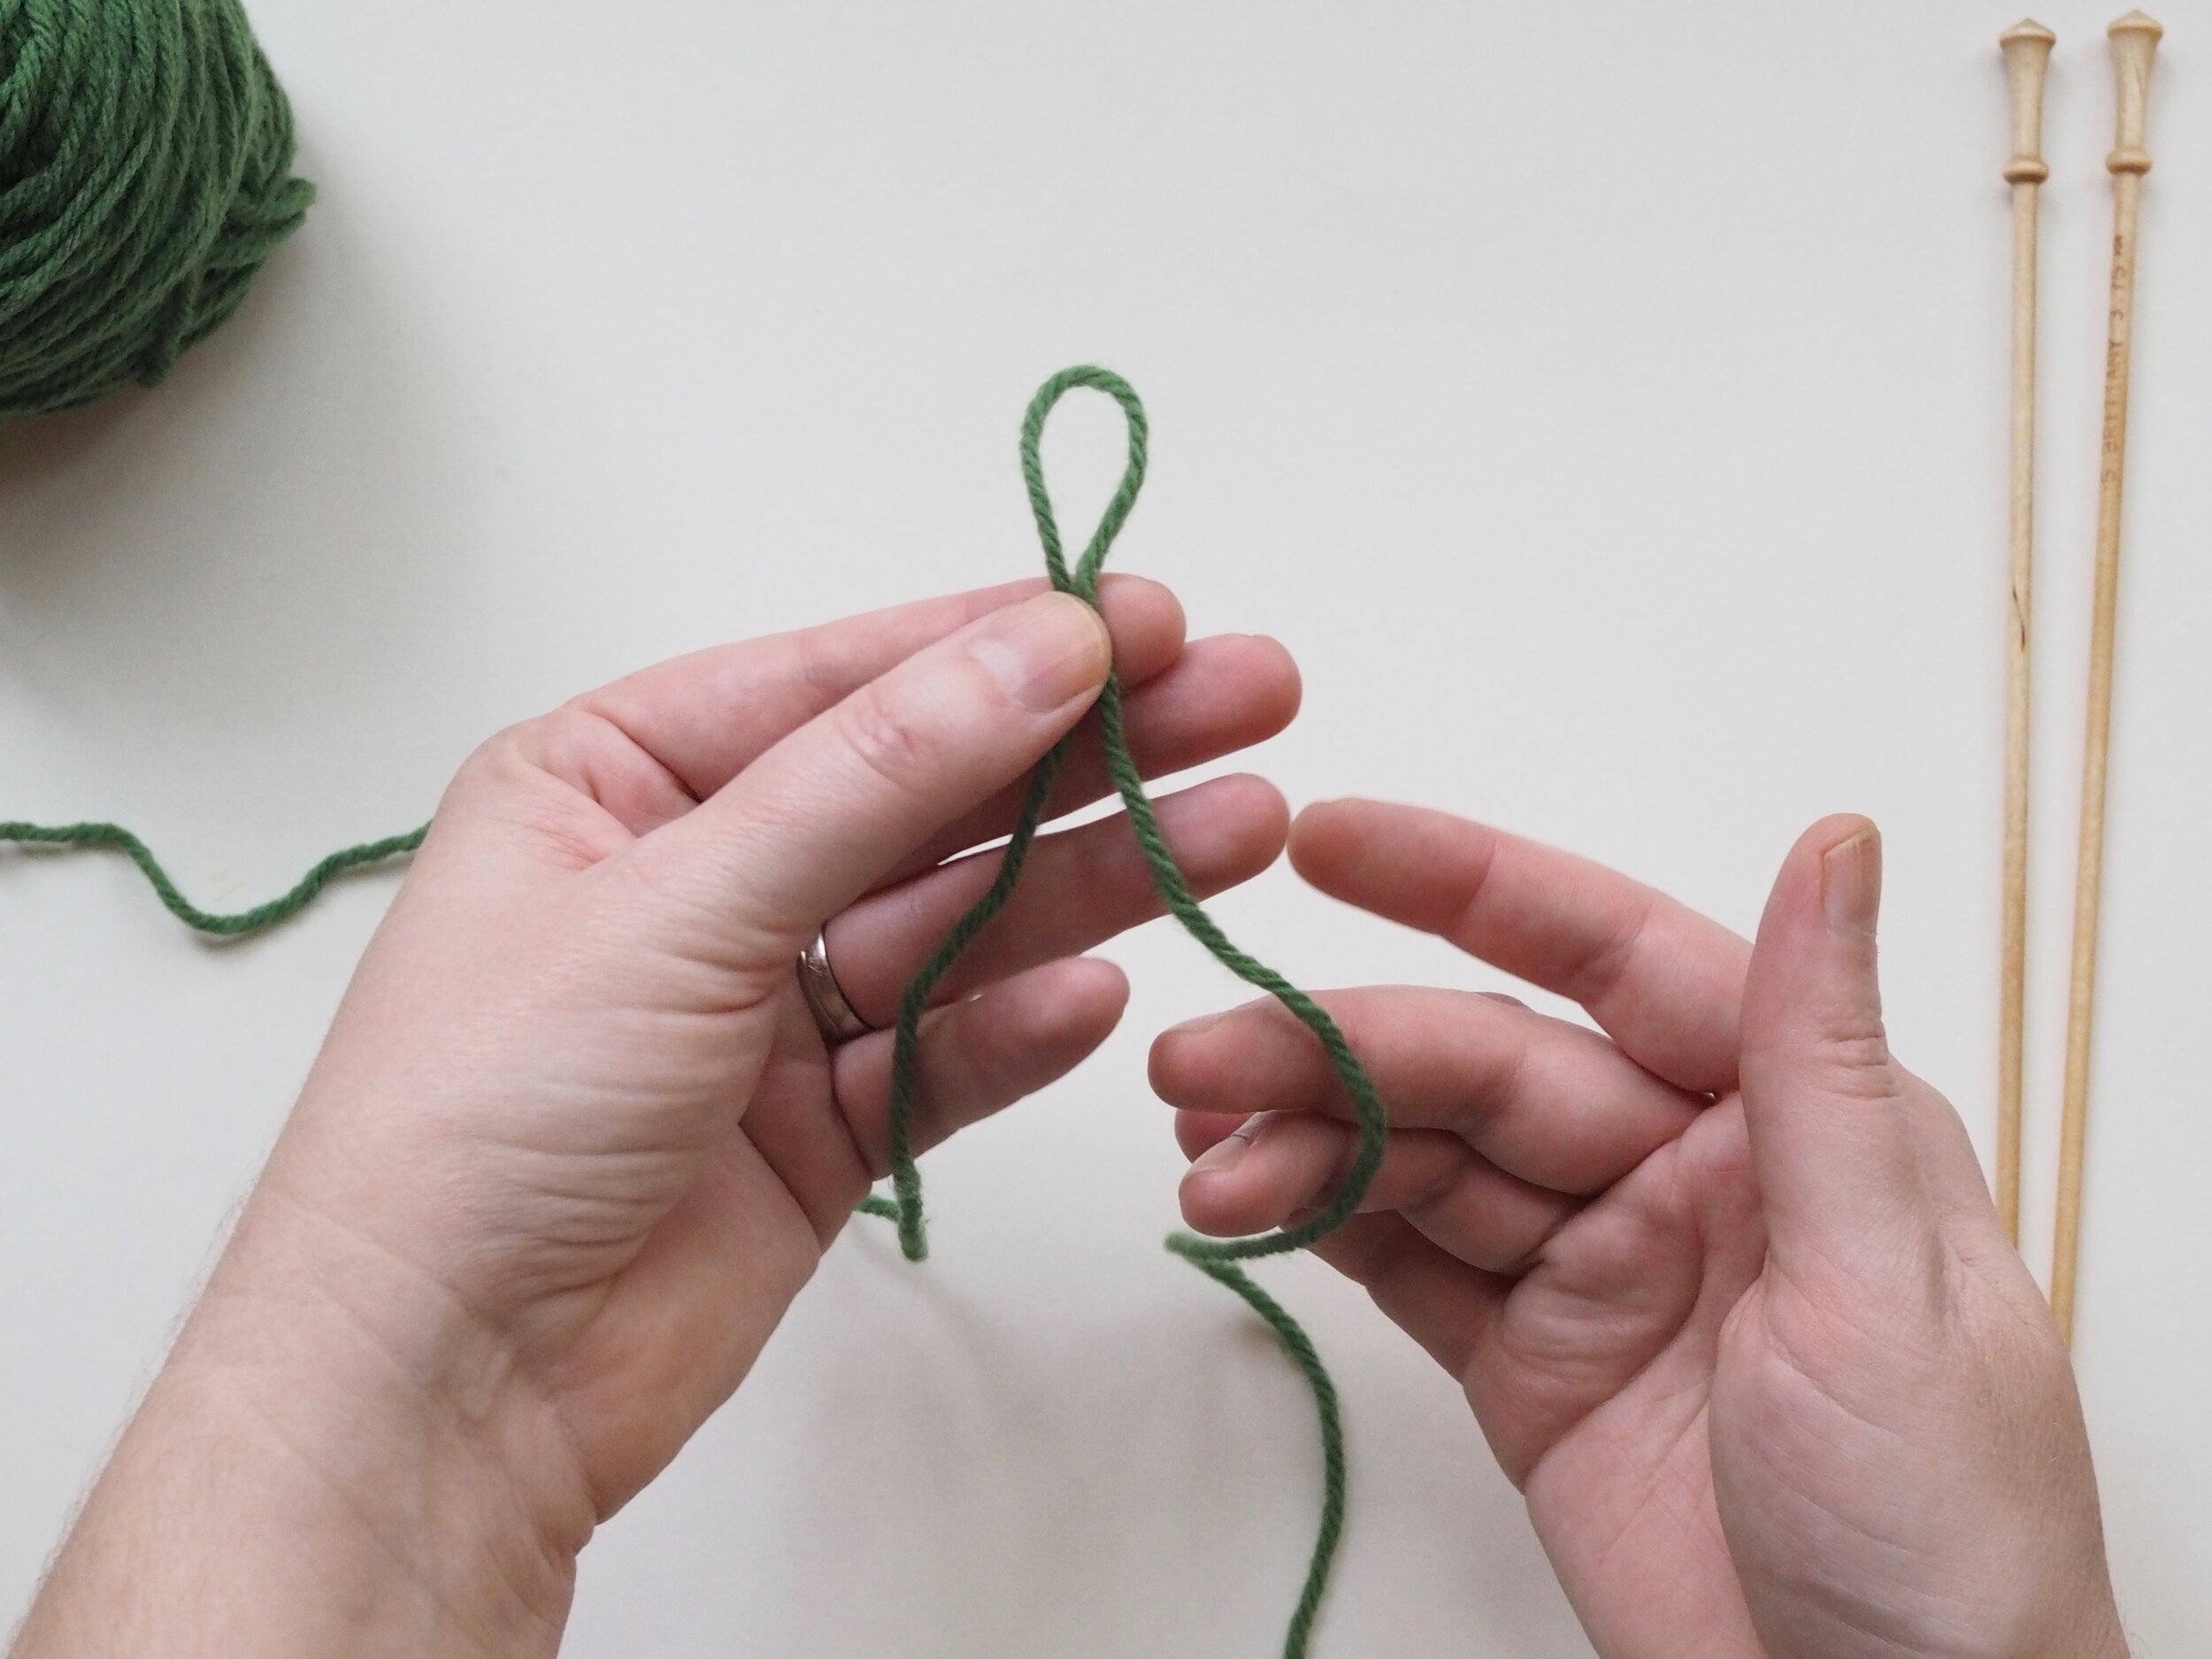
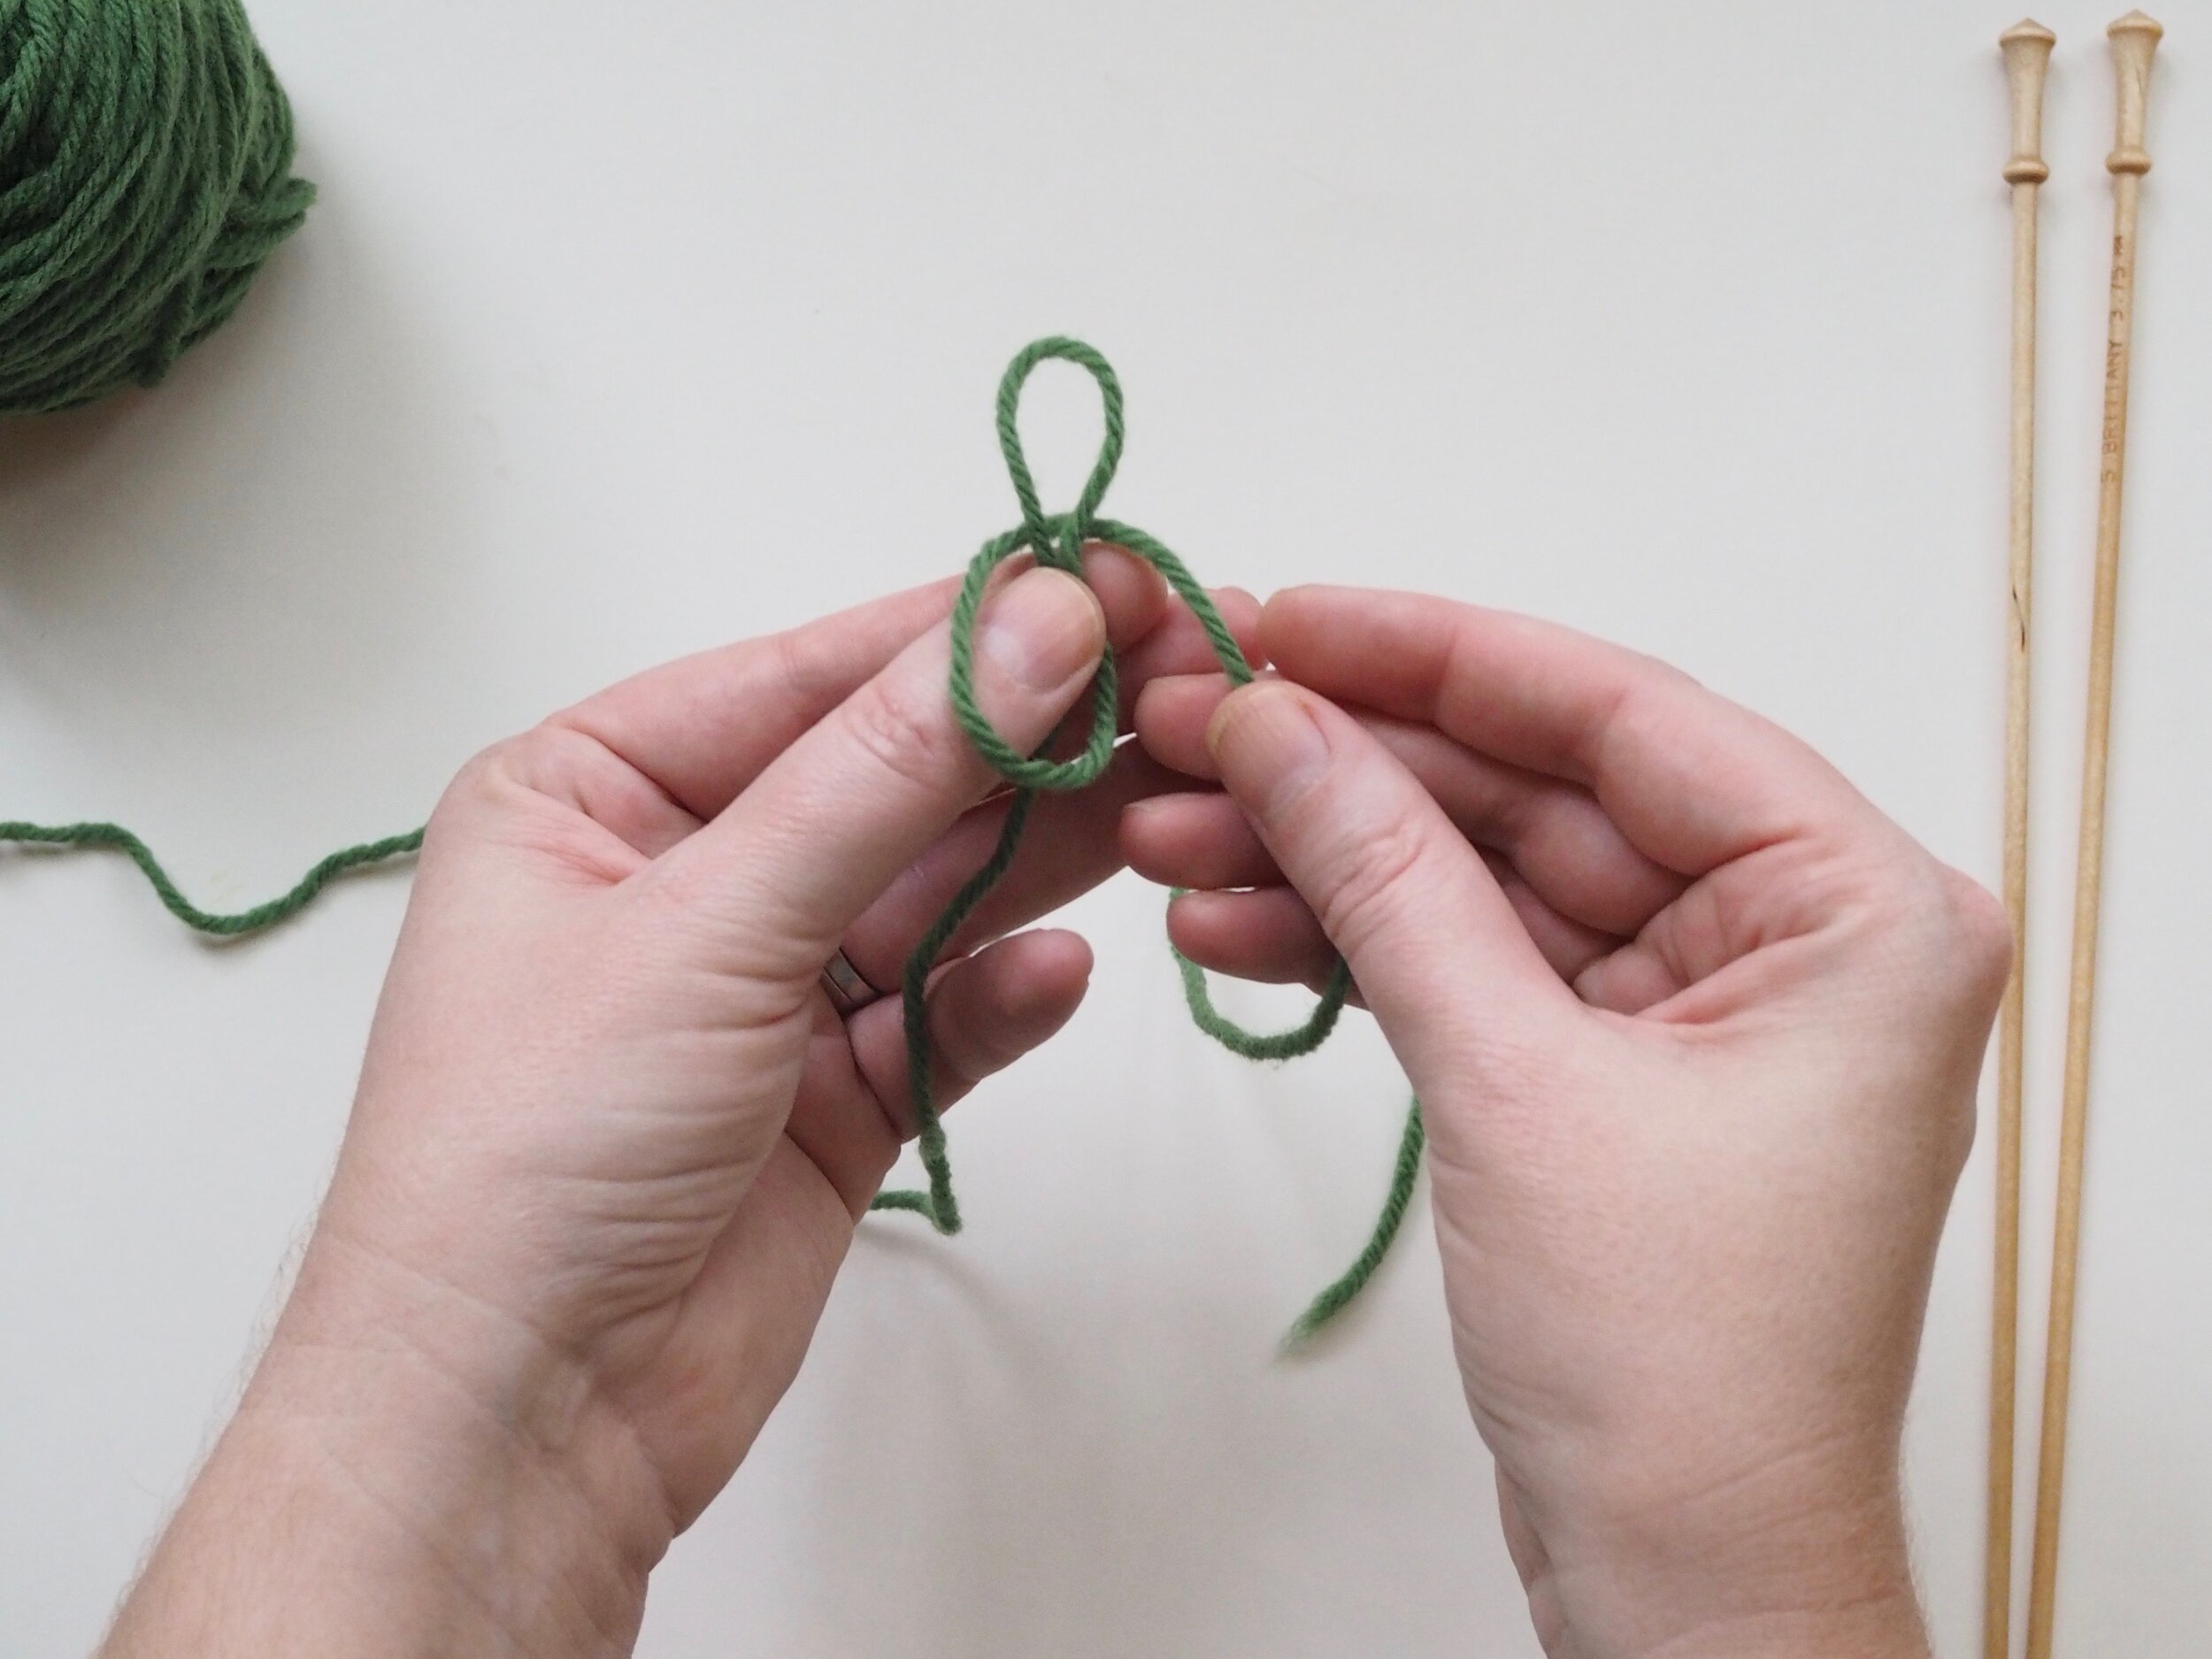
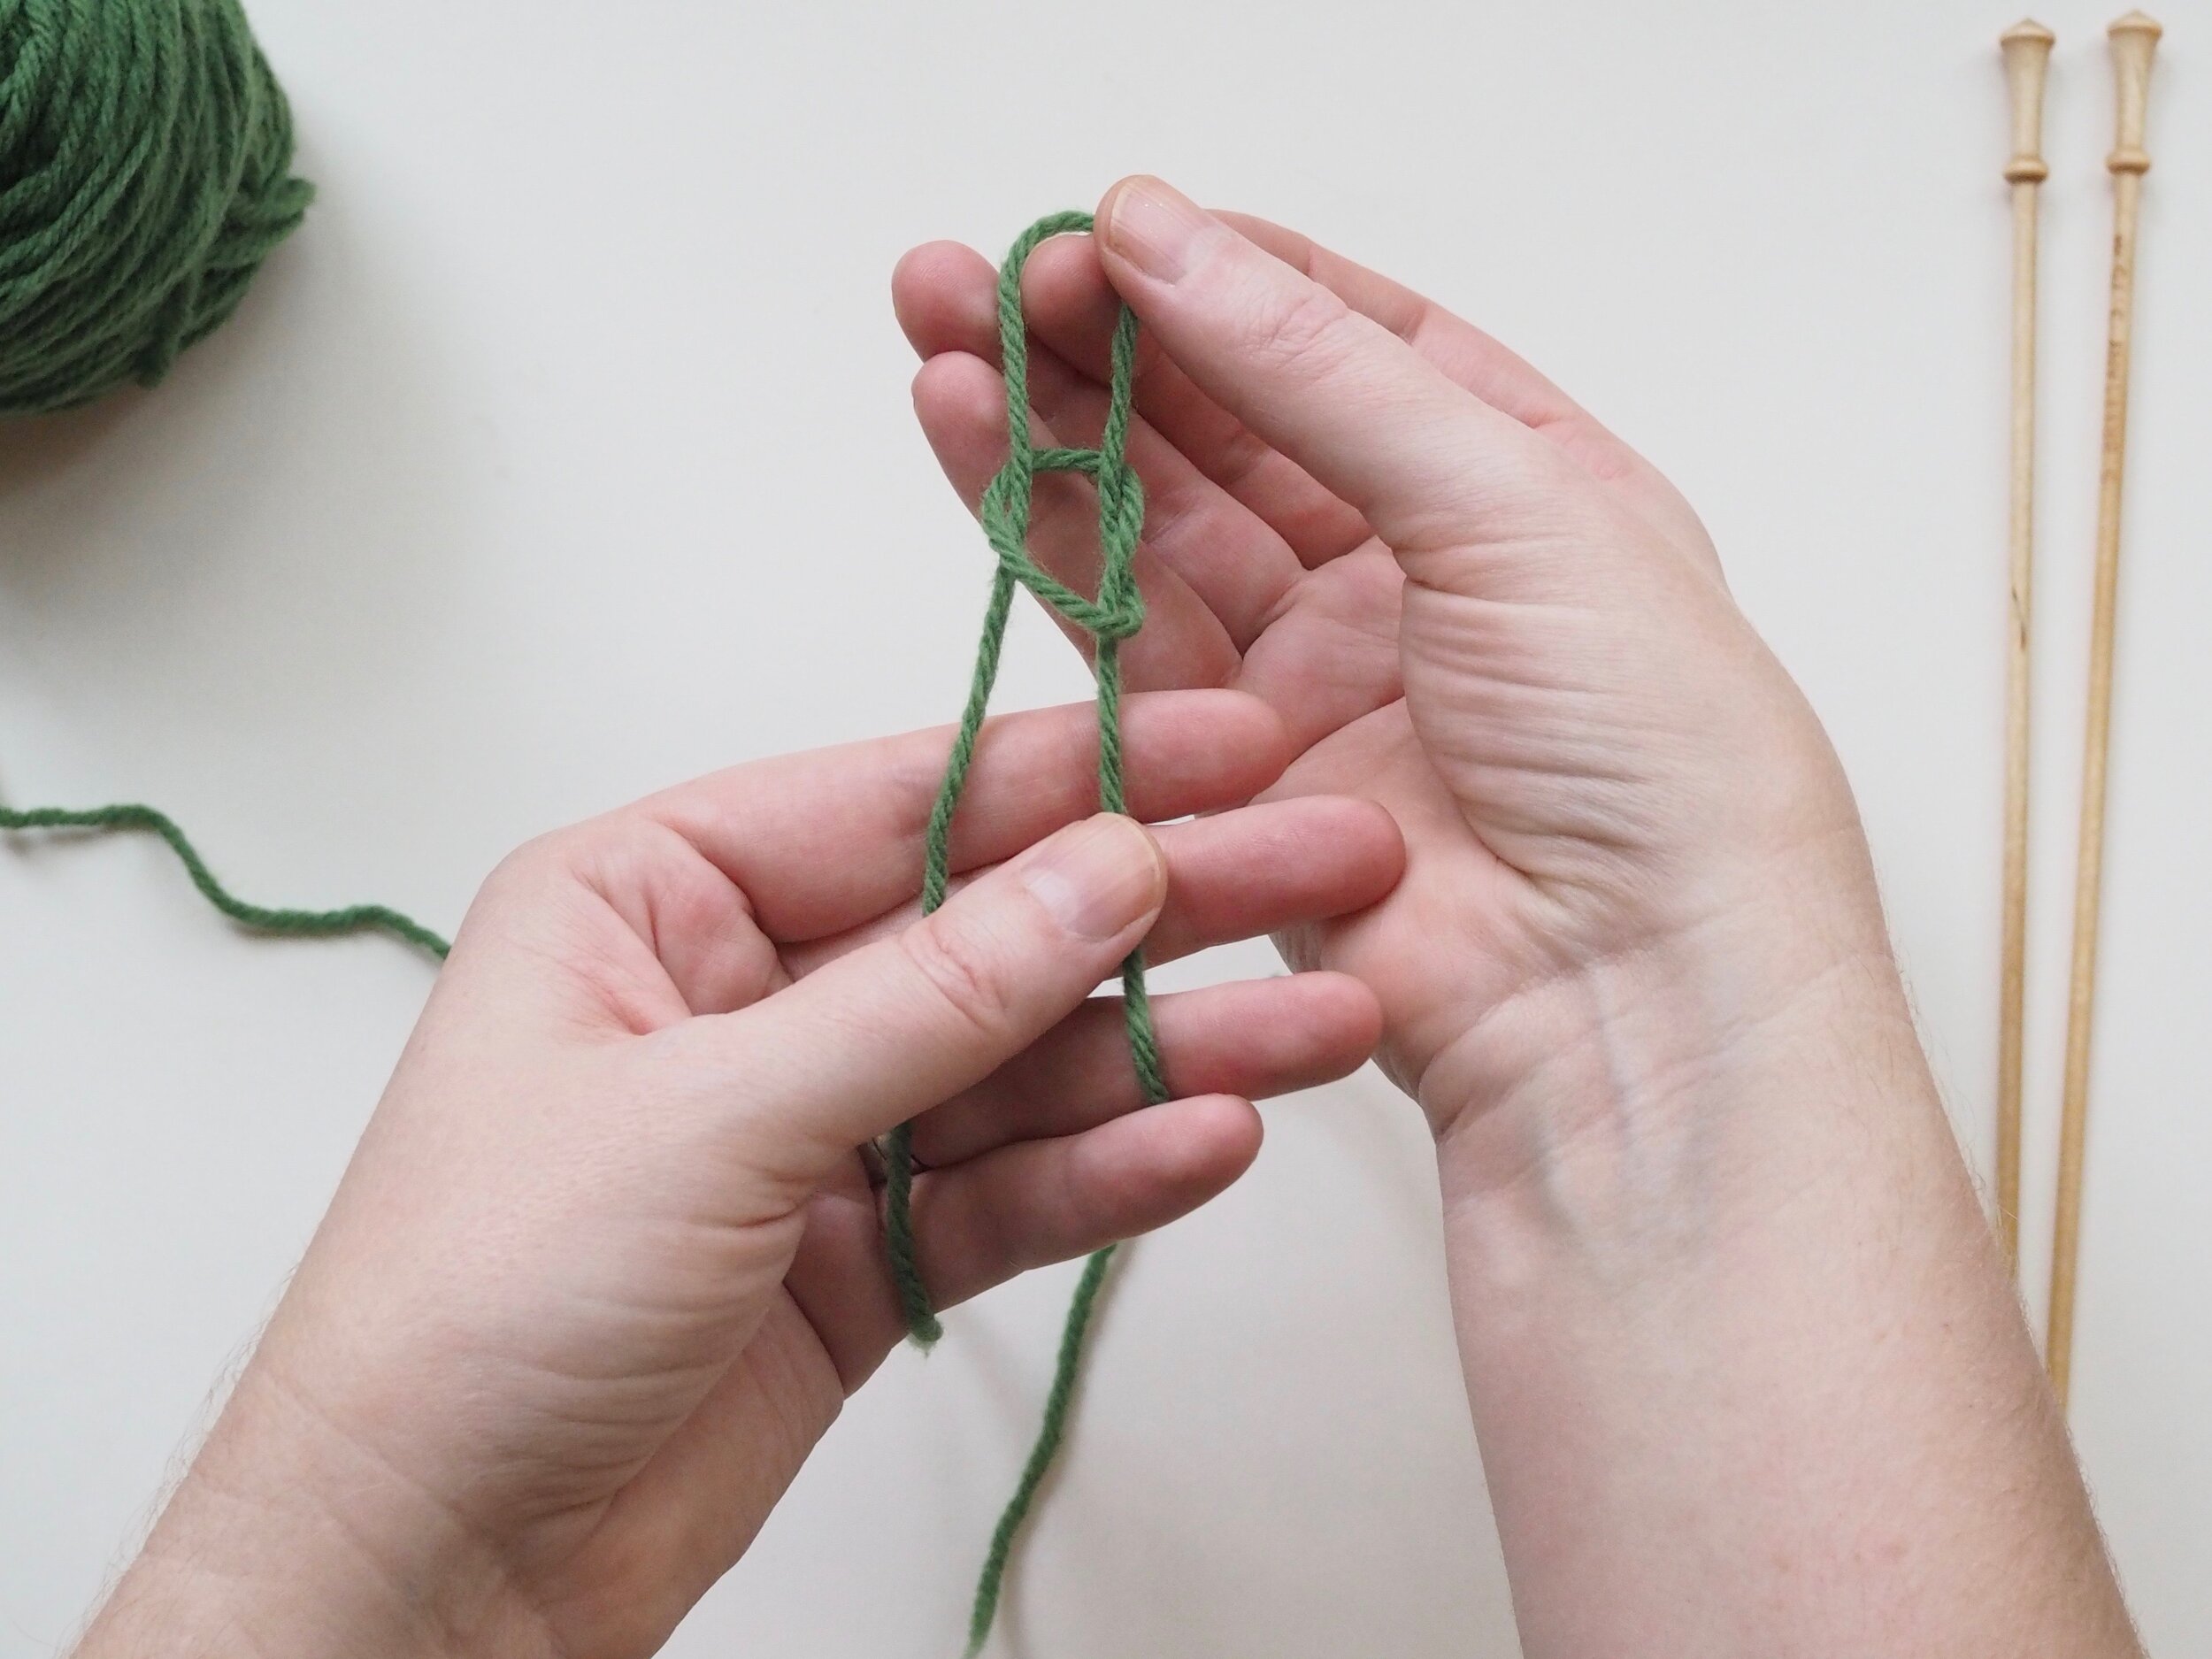
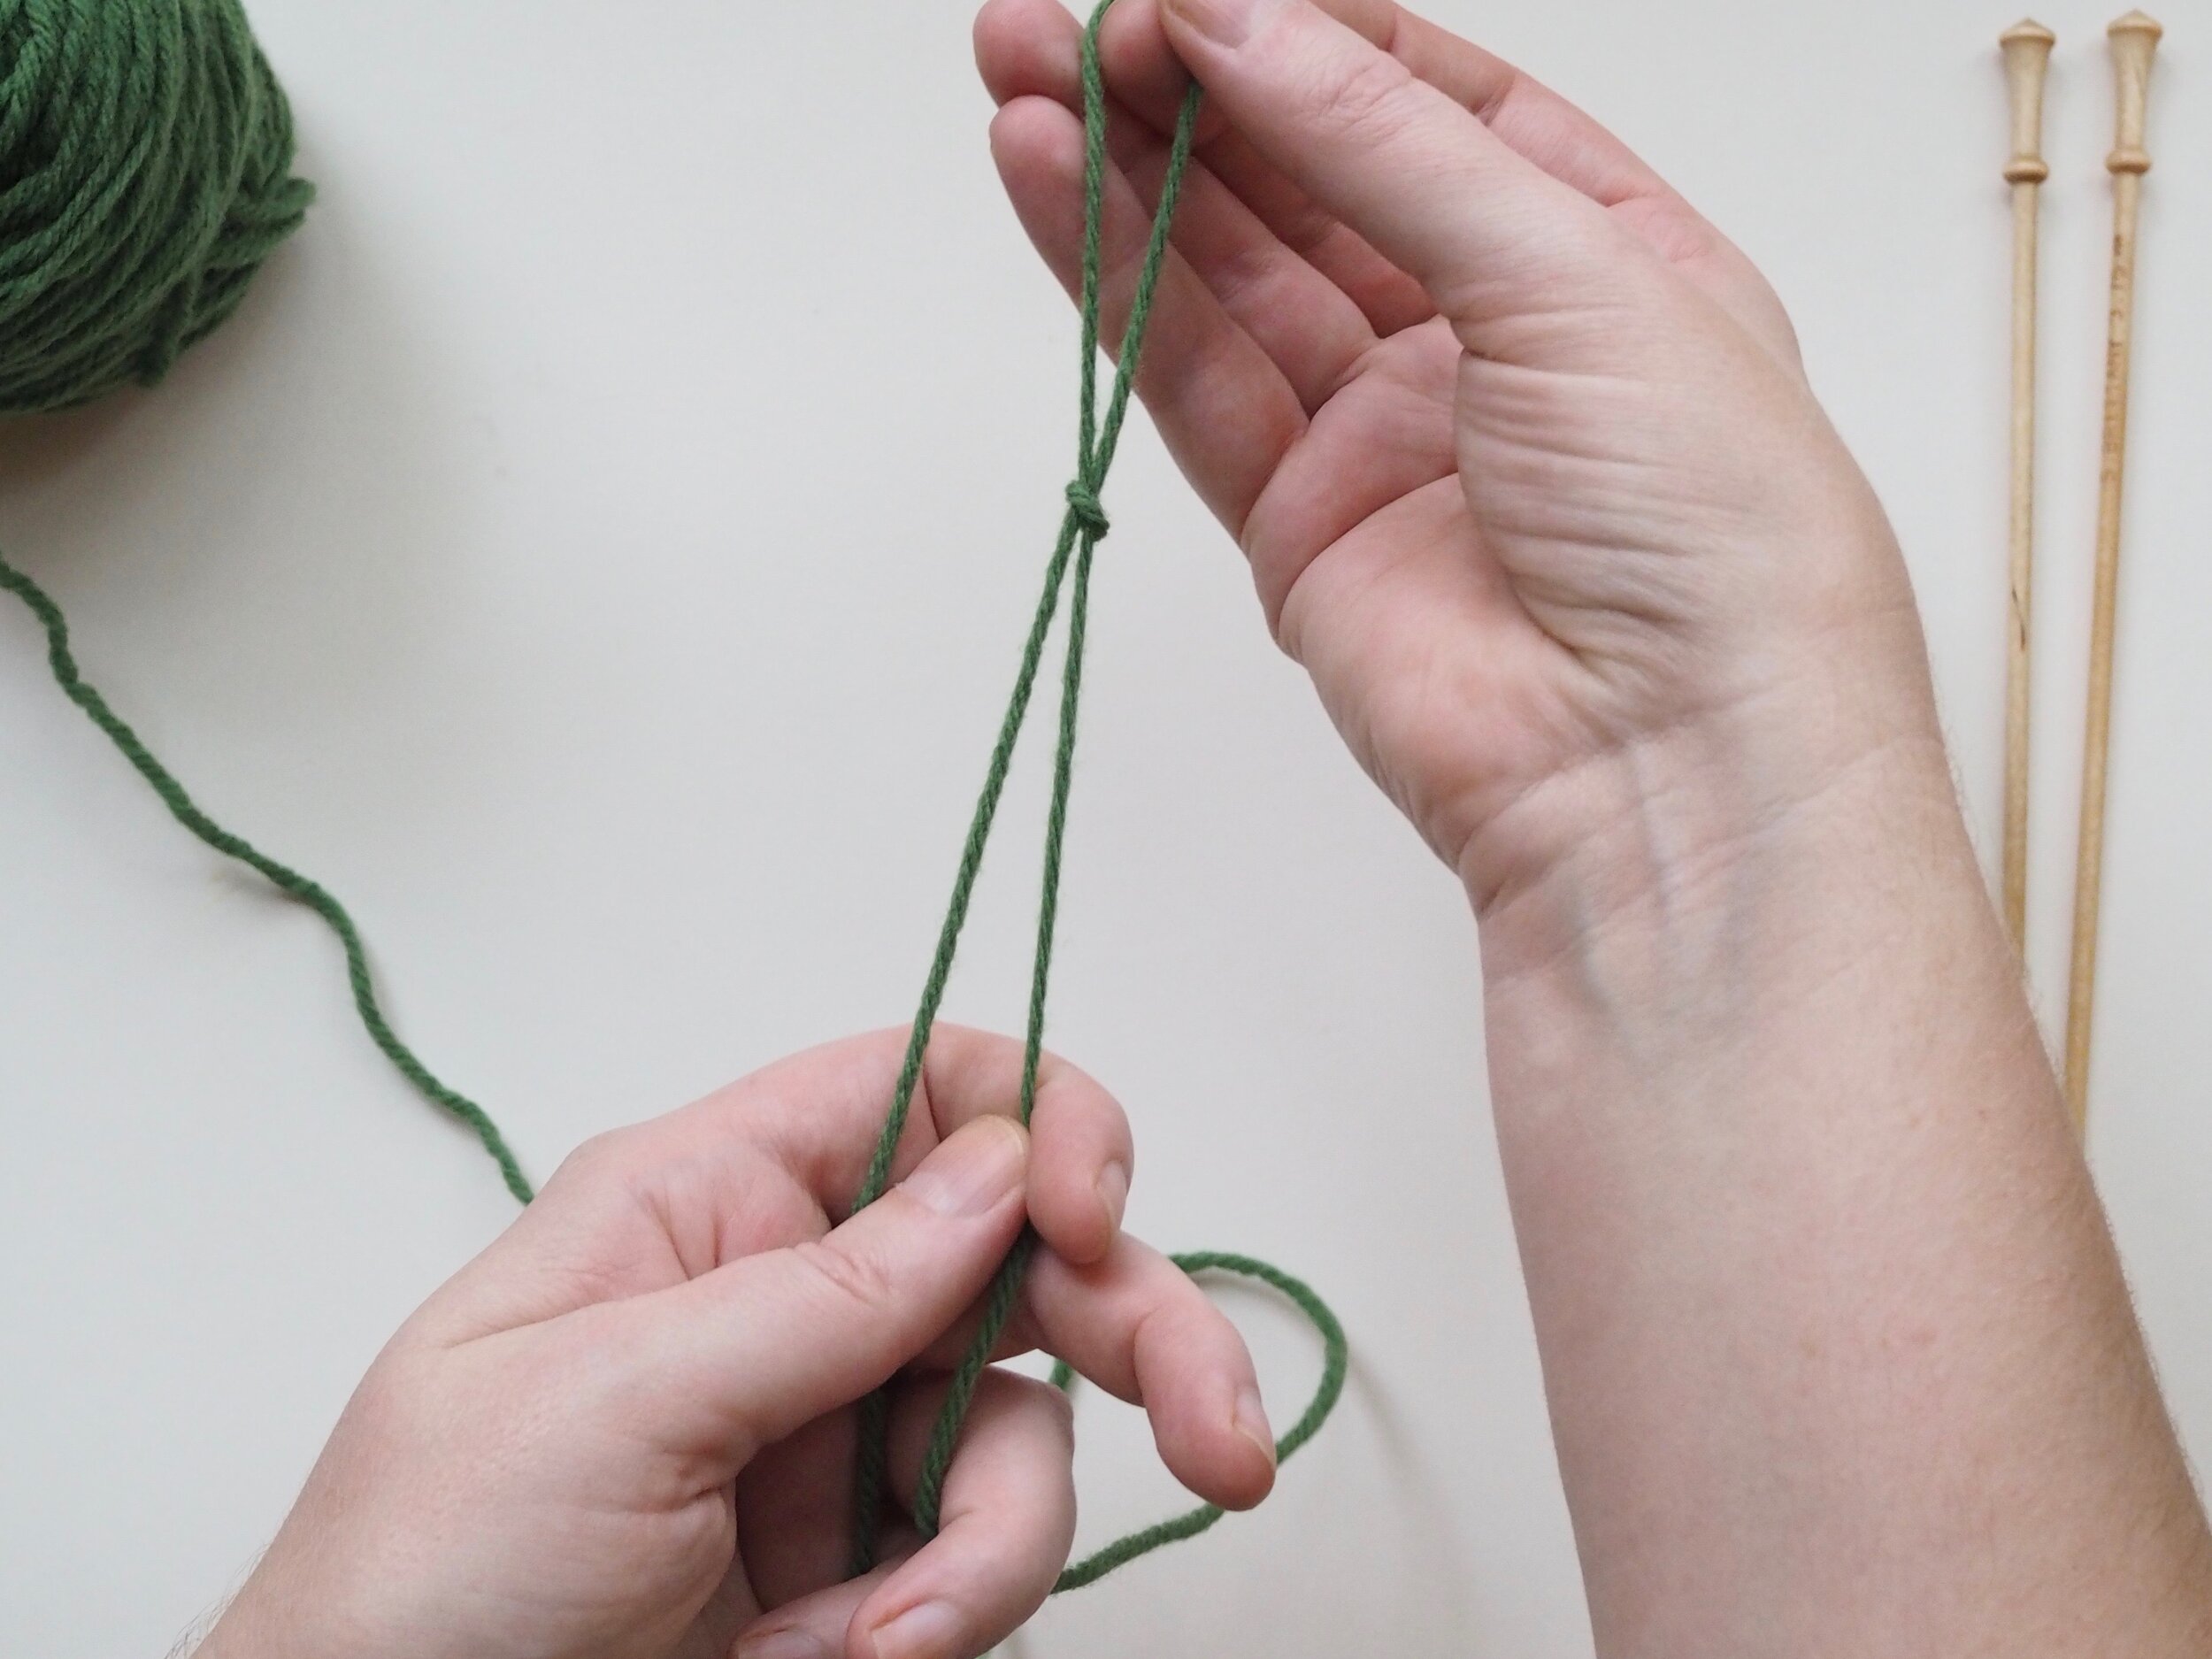
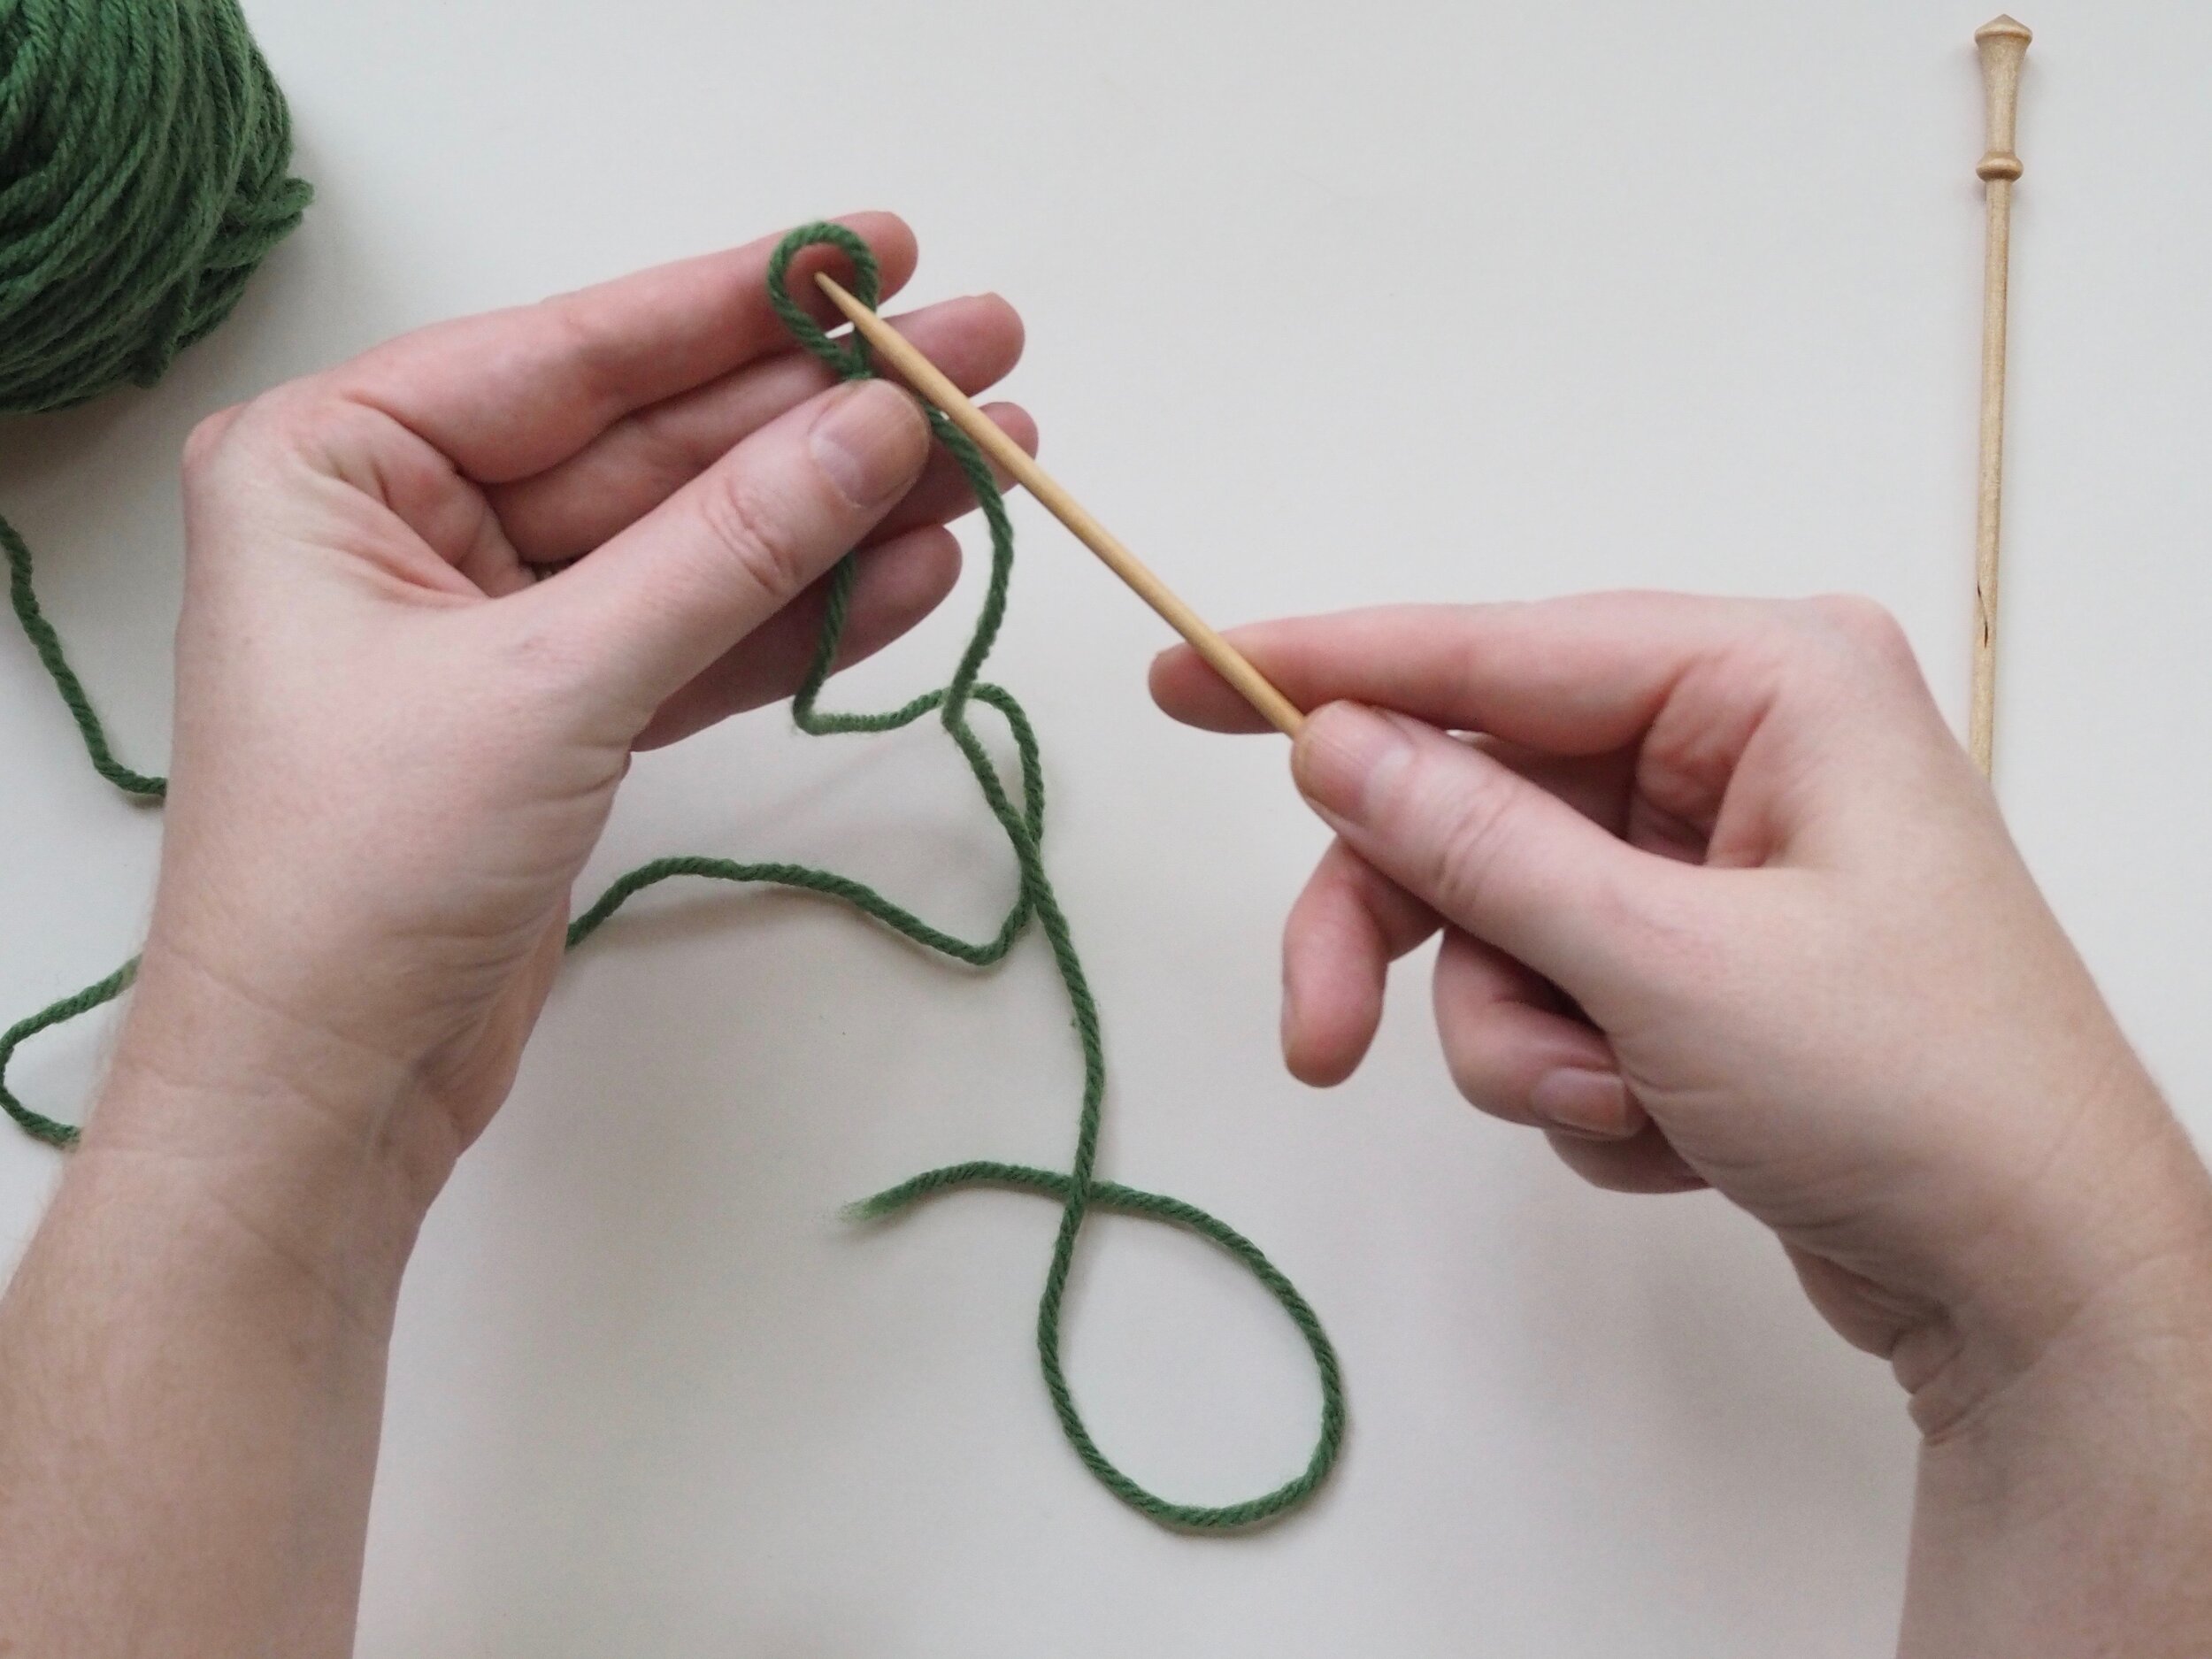
(a) Fold the yarn in half, forming the top of a loop, so the tail (the half of the loop that is not attached to the ball/skein of yarn) is the length you estimated in step one. (b) Wrap the tail around the folded yarn, and then (c) pull the tail through the loop you just made, forming a slip knot. (d) Pull on the tail, until the loop closes to a size slightly larger than your needle.

3. Insert your Needle into the Slip Knot

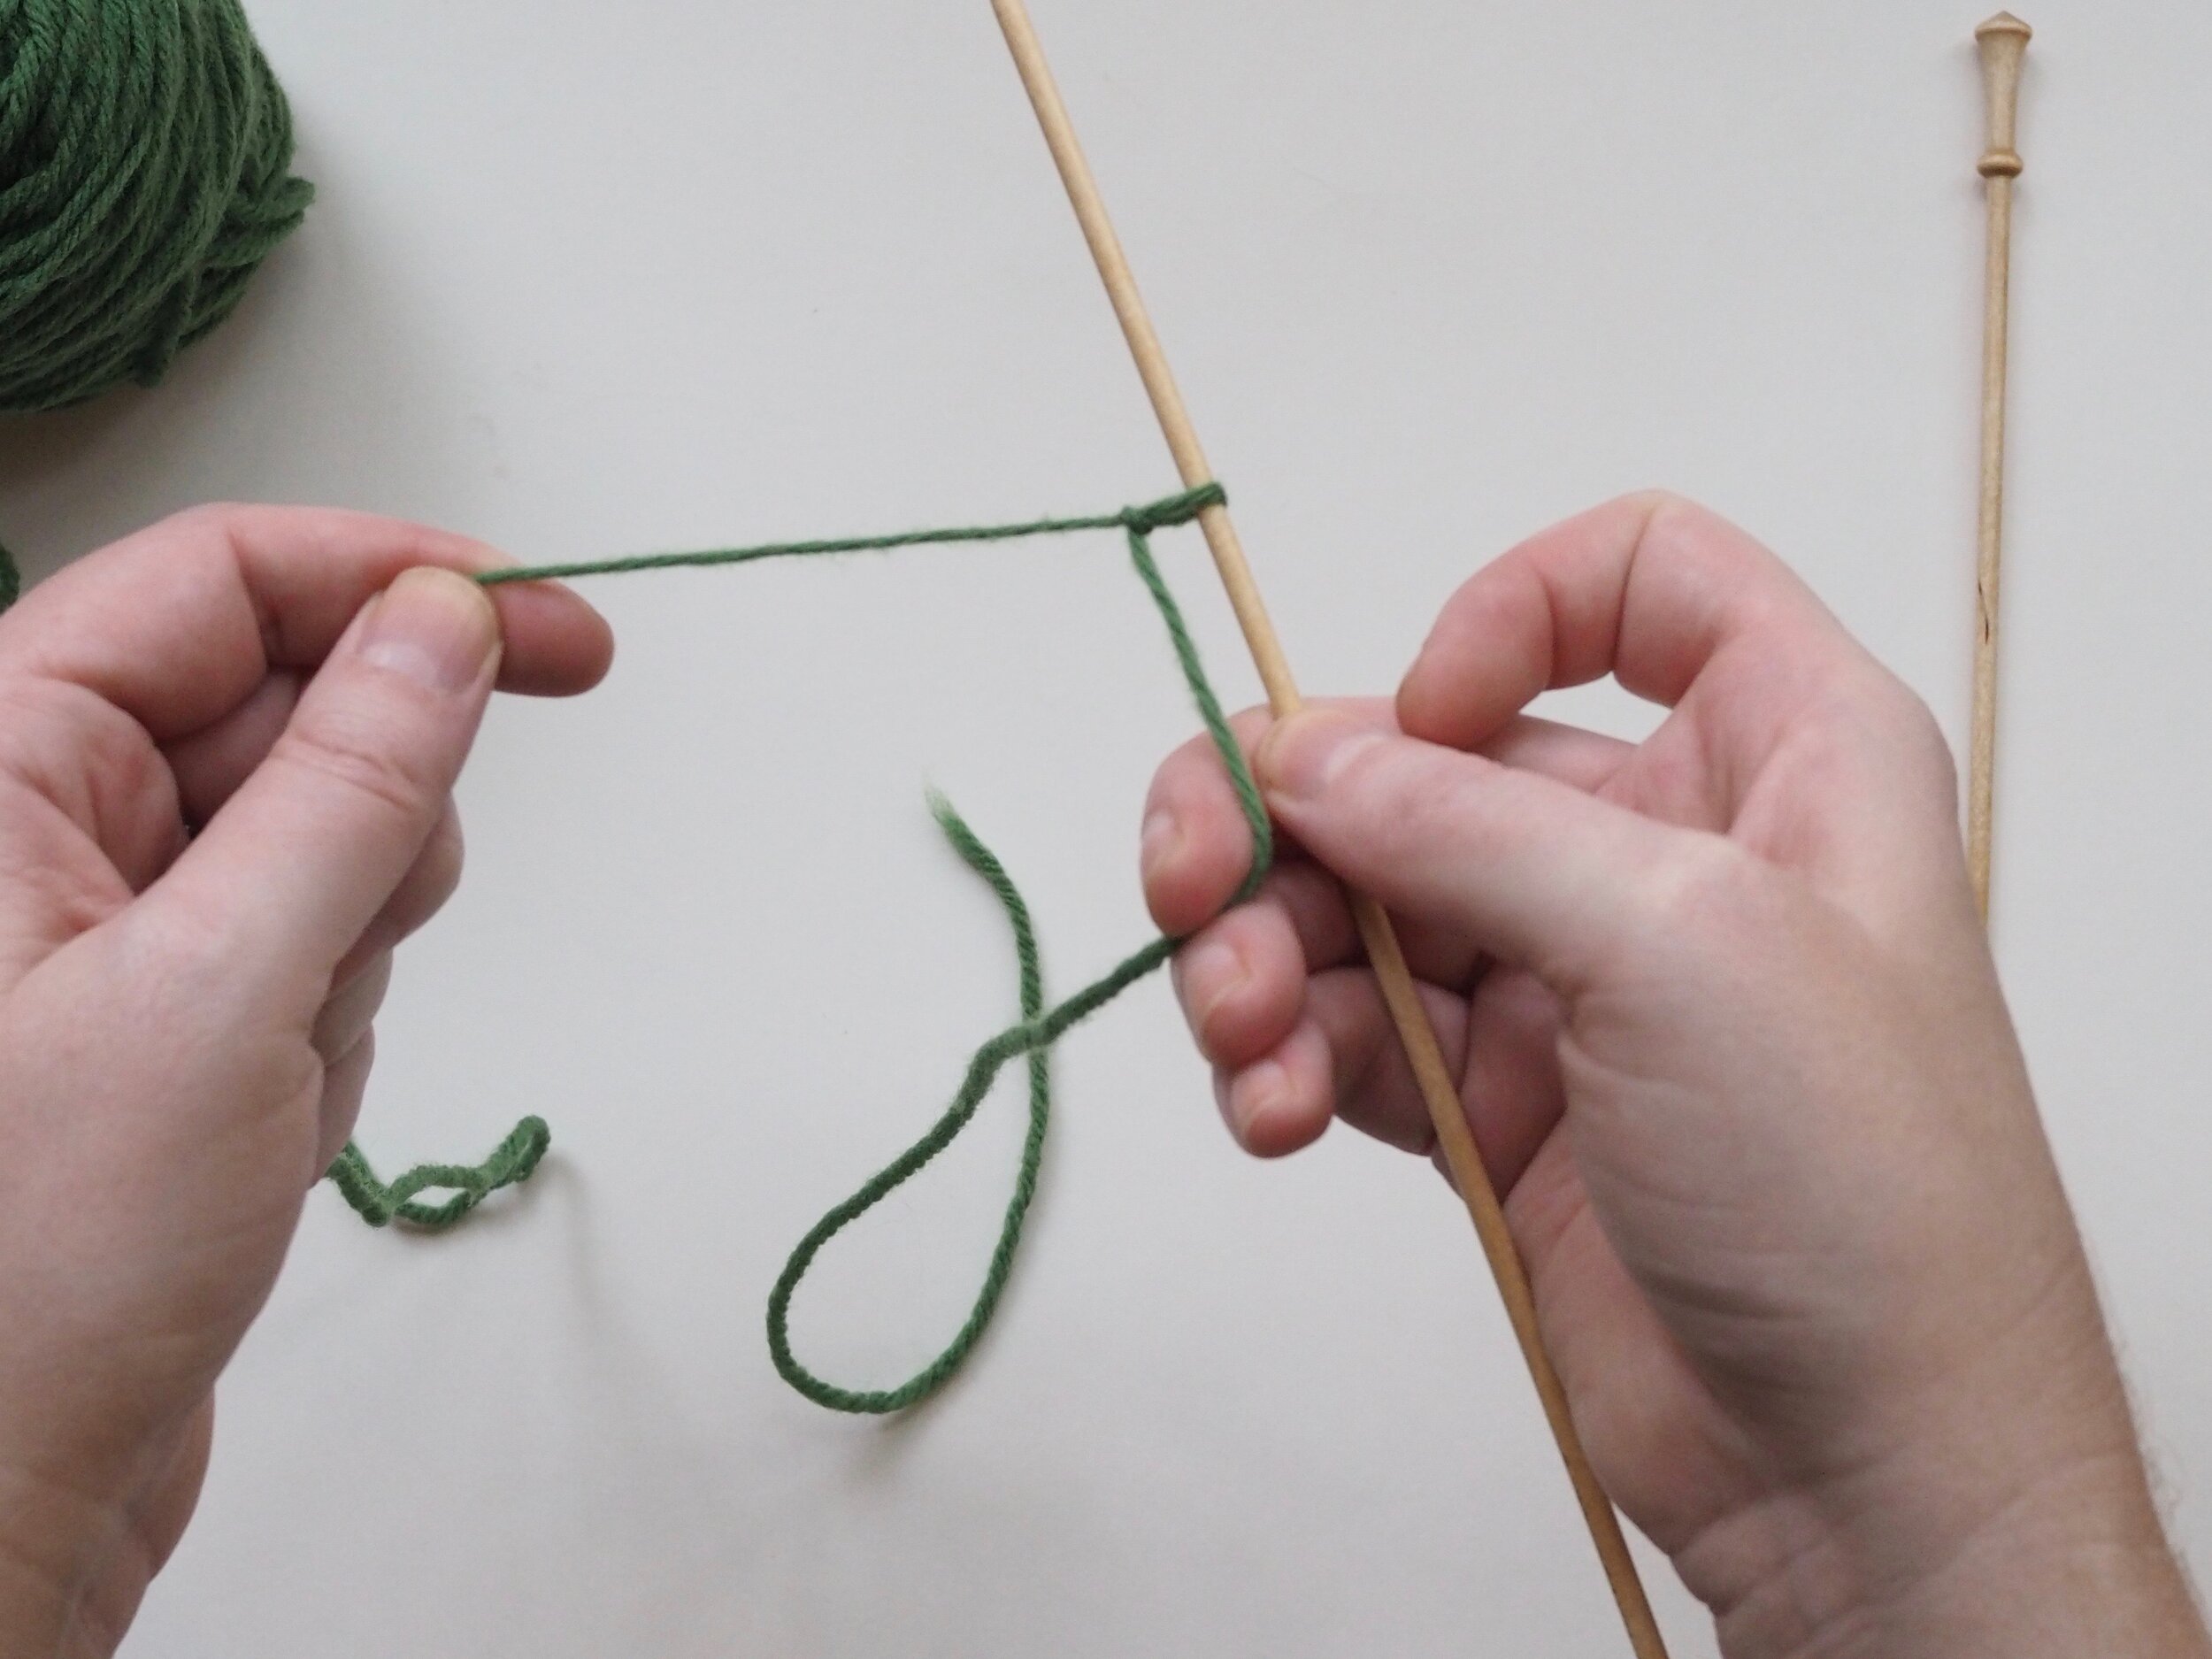
(a) Insert the tip of your needle into the slip knot and (b) pull until the loop is snug, but not tight.

4. Tension Yarn in Your Left Hand

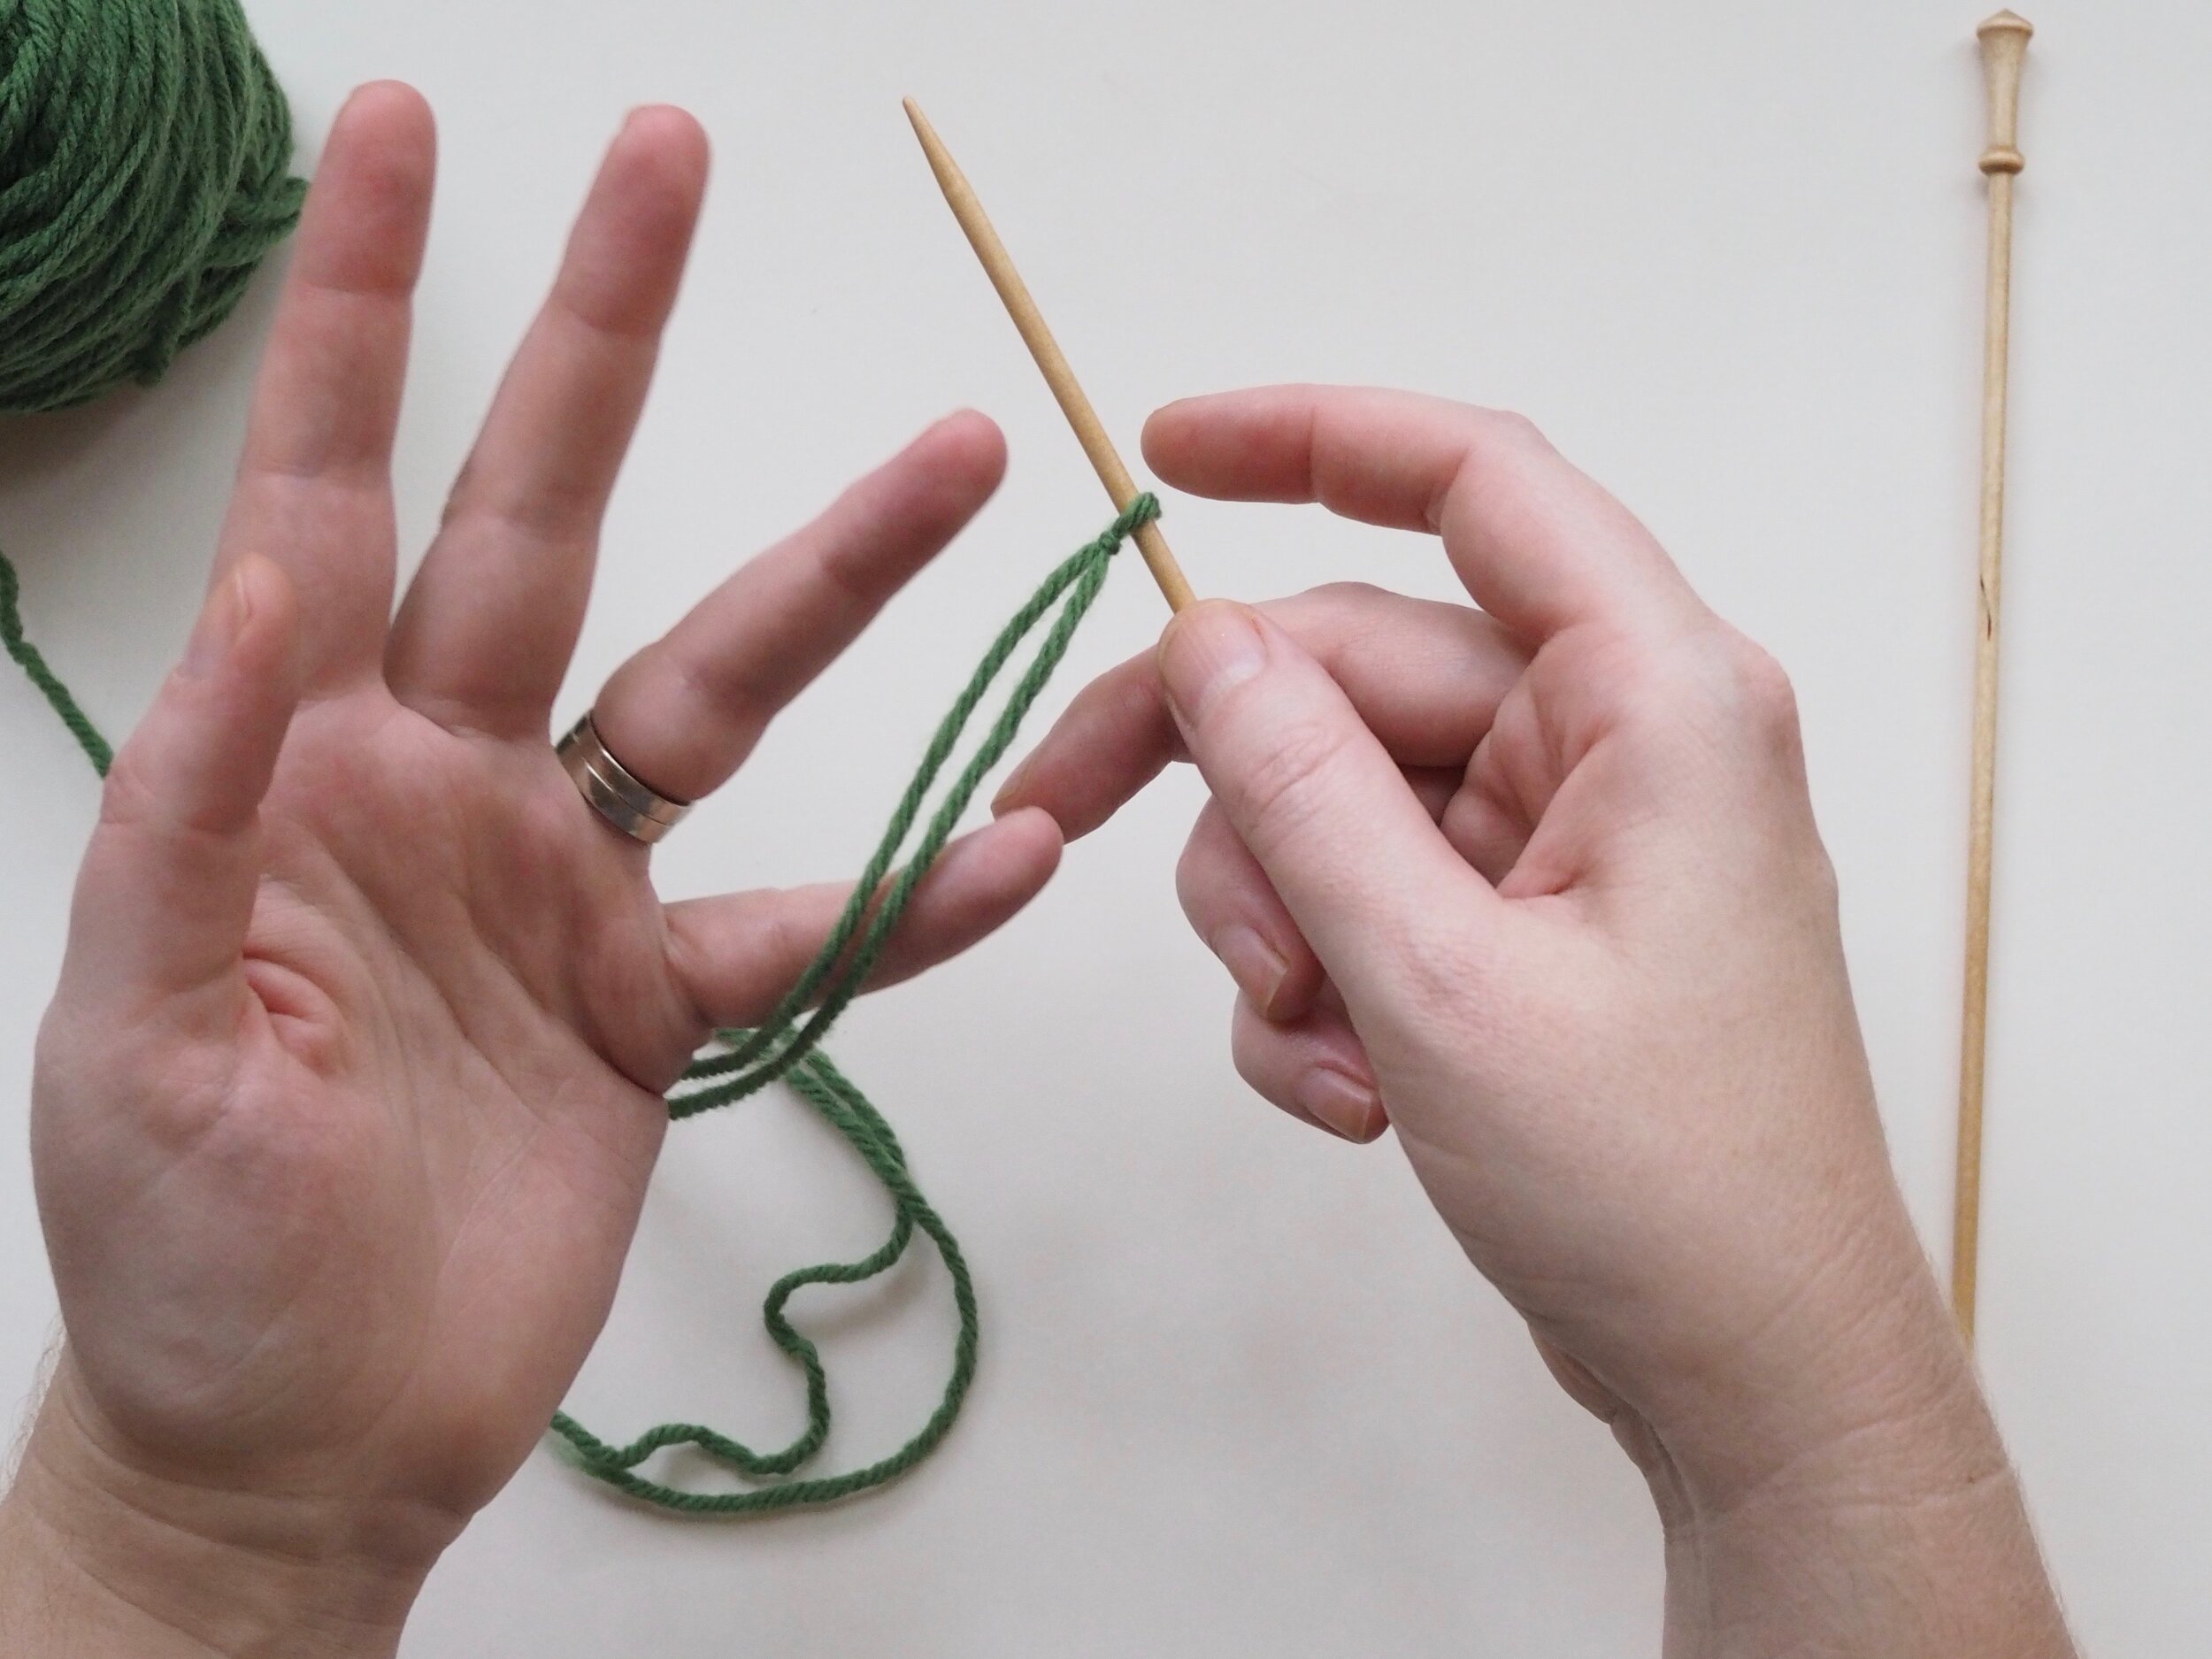
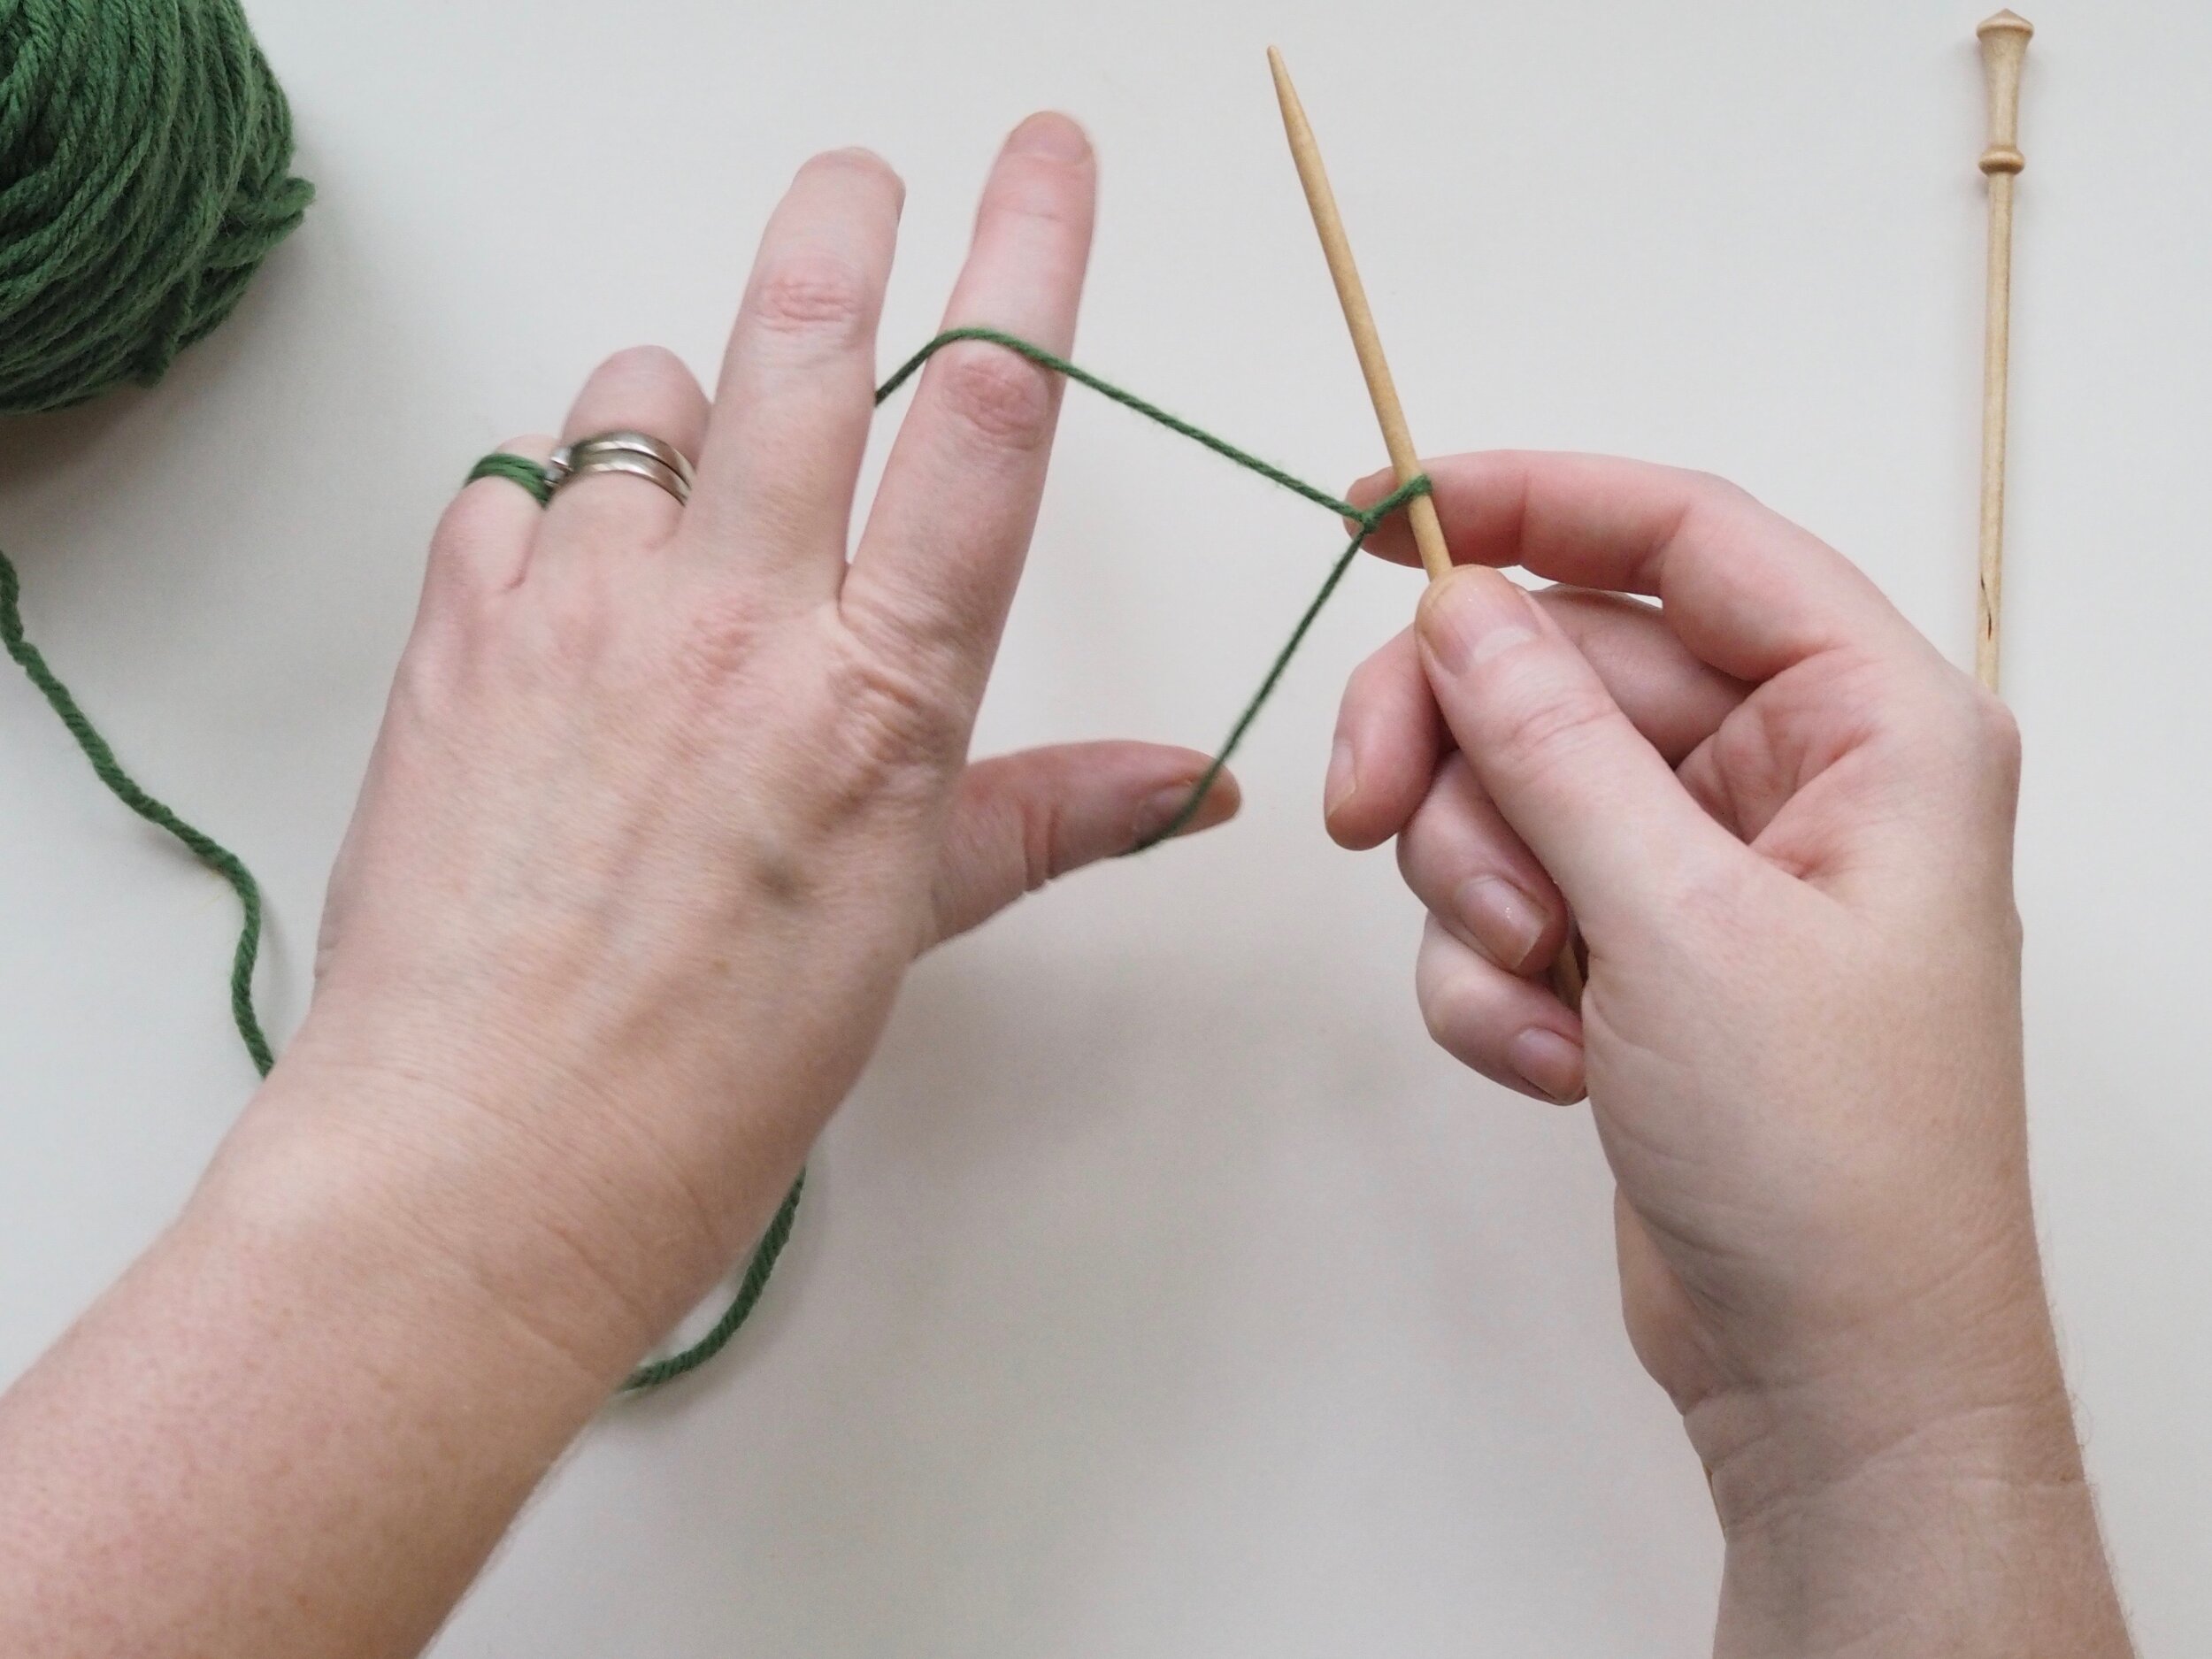
(a) With the needle above your left hand, pinch the tail and the yarn attached to the ball (the working yarn) with the pinkie/ring/middle fingers of your left hand so they are lying parallel to one another, with the tail on the right side. (b) Slide your thumb and index finger in between the two strands (above your middle finger and below the needle), forming a diamond shape. The working yarn should be behind your index finger and the tail should be behind your thumb. (c) Pull the needle down toward your palm, forming a loop around your thumb.

5. Cast on a Stitch

Keeping your thumb and pointer finger in a firm “L” shape, (a) insert the tip of the needle into the bottom of the loop on your thumb, going from palm to fingers, then (b) coming from fingers to palm, scoop up the strand on your index finger and (c) pull it through the loop on your thumb. (d) Drop the thumb loop over the edge of the needle and (e) pull to secure – again, going for snug, not tight. You have now cast on one new stitch.

Repeat Step 5 until you have the desired number of stitches cast on. When counting stitches, include the initial loop you made with the slip knot. There are 10 stitches in Fig. 5f.

Continue on to Part II: The Knit Stitch: Continental Style >>>


Knitting 101 & Itty Bitty Knitty Kitty
Sale Price:$8.00 Original Price:$12.00

Print Friendly and PDF Follow
follow us in feedly

Knitting Vertical Pleats and Pintucks

KnittingVerticalPleatsandTucks.jpg

It’s no secret that I learned to sew long before I learned to knit, and I still love them both, but while sewing is essentially the art of taking a flat piece of fabric and manipulating it into a 3-D structure, the magic of knitting is that you can work that structure into the very fabric itself.

The simplest example of this is knitting in the round - rather than knitting a flat piece and seaming it into a tube, you just make the tube to begin with. Similarly, increases, decreases, and short rows can be used to form curves and undulations. I love designing my stuffed animals in the round, because it forces me to think in three dimensions from stitch one. But when it comes to garments, I’ll admit to finding a bit of a thrill in translating traditional sewing techniques, like pleats and pintucks into knitted forms.

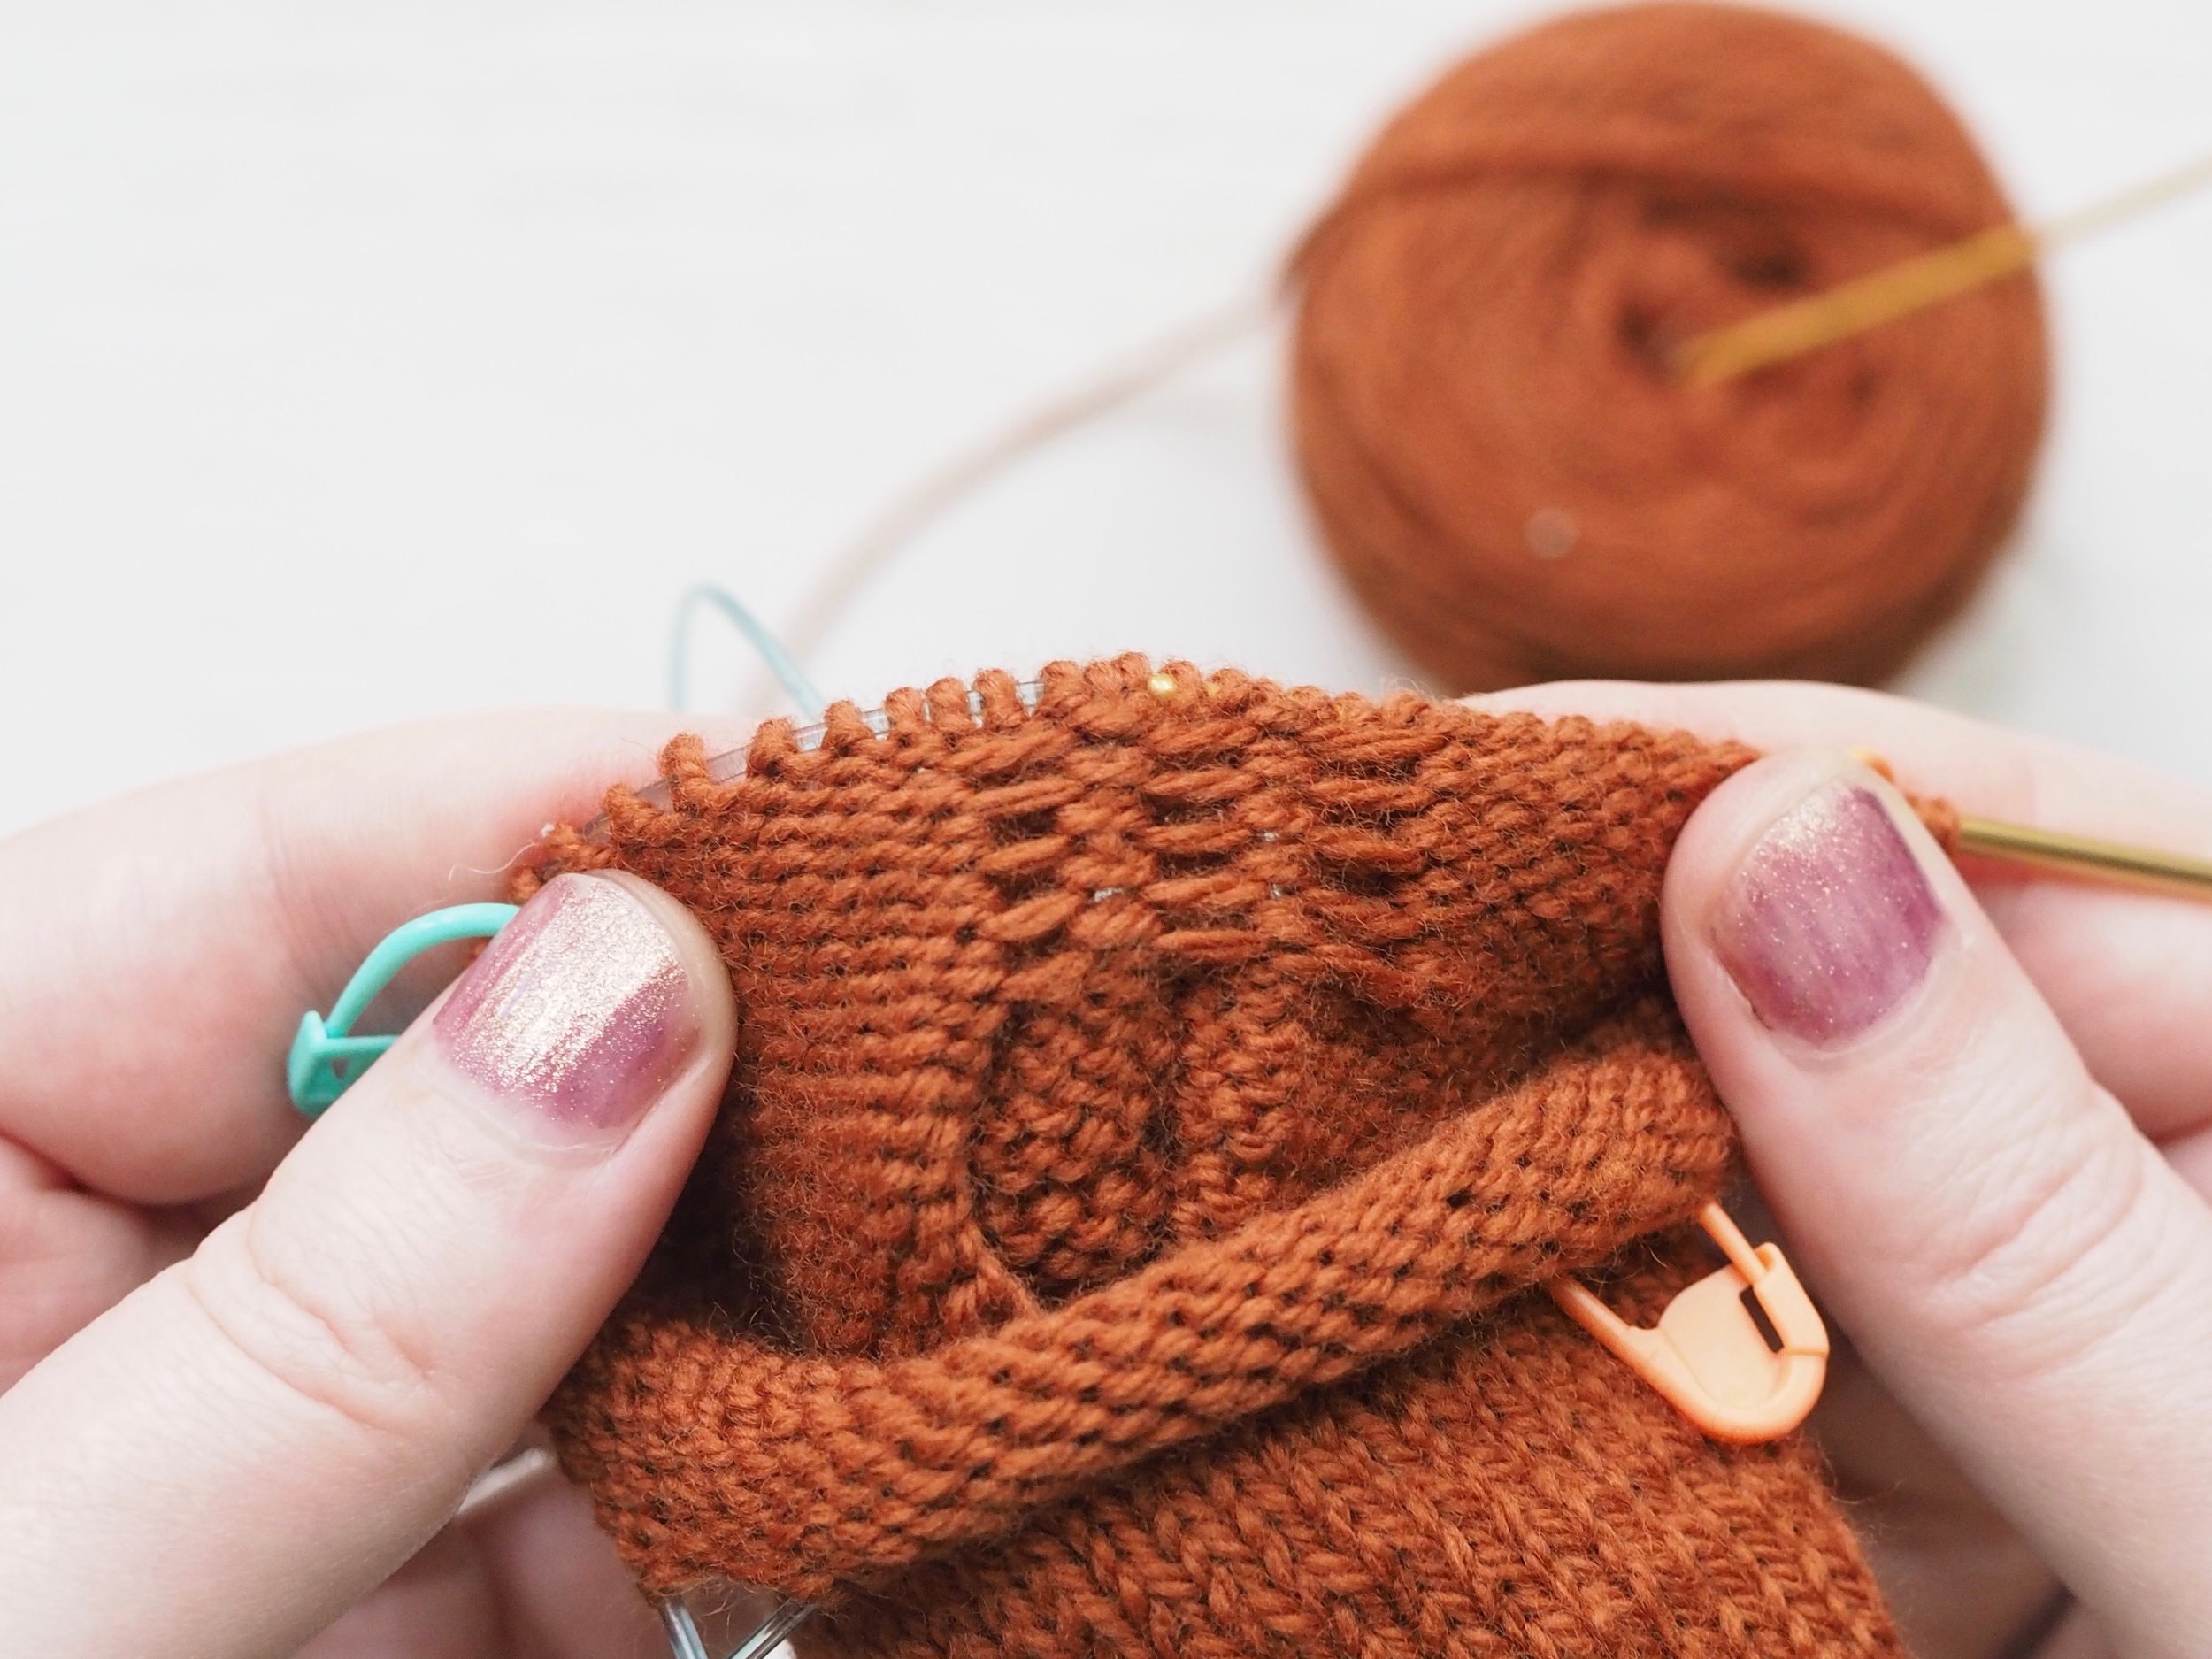
Just like with sewing, working a knitted pleat involves securing folds in the fabric. To work a horizontal pleat, like in my Bob & Wave Cowl (see bottom of post), you pick up and knit a stitch from several rows down together with every active stitch. The vertical pleat, as used to shape the hands of the Turning Leaf gloves, is worked across two rows and is a tad more involved, so I’ll walk you through the process step by step.

PA110613.jpg

Here I use the the term “tuck” to cover pintucks (which are very narrow tucks) and any other vertical pleat.

The Turning Leaf Gloves (used as an example here) have a series of three tucks across the back of the hand. The tucks start at three stitches wide near the wrist, and then decrease to a two-stitch tuck, and then one-stitch tuck just below the fingers.

I’ll be showing the three-stitch tuck throughout, but the same technique can be applied to a tuck of any width. A tuck with more stitches being folded will be more visible and decrease more fabric.

PA110620.jpg

In the image above, I’ve already worked four rows of the three-stitch tuck pattern. You can see the three tucks, and the four recessed “channels” that fall on the sides of the tuck. Worked over two rows, the tucks are formed by slipping the tuck stitches on every other row and pulling the working yarn very tightly across the back, which pulls the stitches on either side of the tuck closer together, essentially folding them and holding the fold together.

ROW 1

  1. Knit to the start of your first tuck.

  2. Slip the tuck stitches (here, three stitches) on to a spare double-pointed needle or cable needle held in front of your work. [NB: if your tucks are small, you can use the same spare needle for all the tucks in a row]

  3. Tension the working yarn tightly as you work the first stitch post-tuck. The more snugly you work the stitches together on either side of the tuck, the more visible your tuck will be. Continue knitting normally until you reach the next tuck.

Repeat steps 2 and 3 until you reach the end of the tuck section.

In the example shown, the tuck section is 11 stitches wide: three tucks three stitches wide, plus one spacer stitch on either side of the center tuck. When you finish working your first row of tucks, you should have nine stitches (width of tuck x number of tucks) on your spare needle (or needles, if your tuck is very wide).

ROW 2

  1. Knit to the start of your first tuck.

  2. Pick up and knit the tuck stitches (here, three stitches) off the spare needle.

  3. Knit normally to the next tuck.

Repeat steps 2 and 3 until all stitches are back on the main needle.

It will take a couple of rows until the tucks start to look like anything on the right side of the fabric. On the wrong side of the fabric, you should clearly see where the working yarn has held behind the slipped stitches. Try to keep that horizontal line the same length for tucks of the same width, and the short it is, the more prominent your tucks will be.


GET KNITTING!

Try out the pattern below which incorporate tucks, horizontal pleats, or smocking!


Print Friendly and PDF Follow
follow us in feedly

Knitting Colorwork: Tips & Tricks

I love knitting colorwork. But, for the uninitiated, colorwork can be quite intimidating. How you choose the right colors? Why does it make my gauge all weird and pucker-y??  What do I do with all these ends?!!

Today, I'll be sharing some tips and tricks for success with colorwork. This isn't a be-all, end-all guide, but it should help get you starting on or improving your colorwork skills.

Read more
Print Friendly and PDF Follow
follow us in feedly

Reading Lace Charts: A Tutorial

HowToReadLaceCharts.png

When a non-knitting colleague or friend sees me knitting with an open pattern in front of me, they’ll often take a quick glance and ask if I’m a) taking a multiple choice test or b) cracking a code. 

I always get a good laugh because, in some ways, they’re absolutely right! If I’m knitting up a multi-sized pattern, and I’ve circled or highlighted the stitch counts for my size, that’s pretty much multiple choice and if you’re never come across the language and abbreviations for knitting before, it might as well be a foreign language. 

The same goes for knitting charts - they are little boxes of code - but once you’ve cracked it (and have a few tricks up your sleeve) they’re a great tool!

Today, I’m going to walk you through reading a lace chart for soup to nuts. And all you need to do is ask yourself three simple questions.


Bracteole Chart  KEY for tutorial-02.png

THE KEY

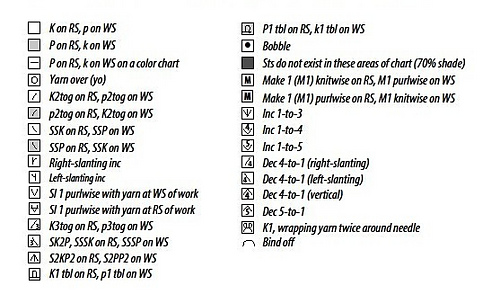
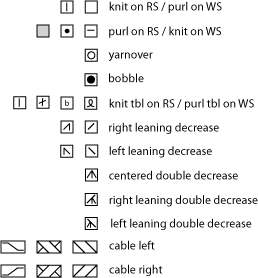
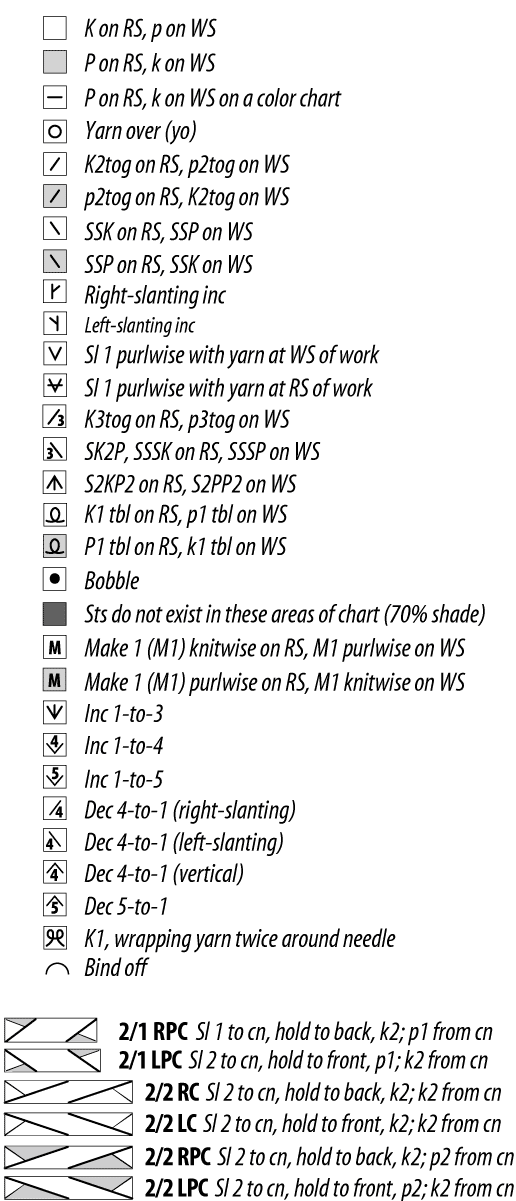
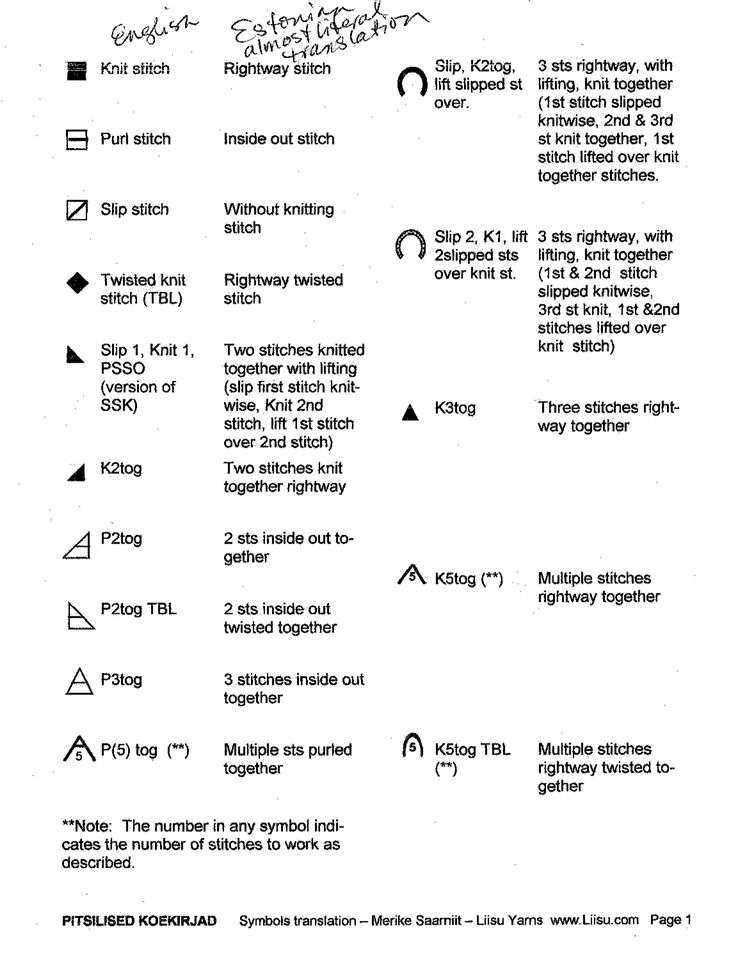
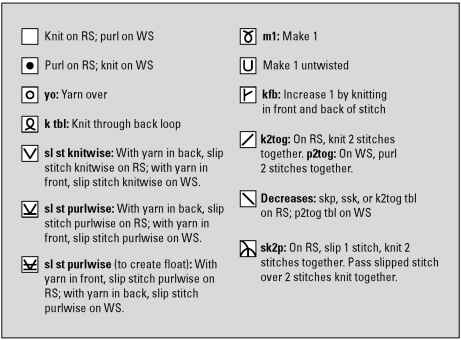
A lace chart comes with two pieces: the Chart and the Key. The Chart shows you the stitch pattern and the Key shows you what all those little symbols mean. 

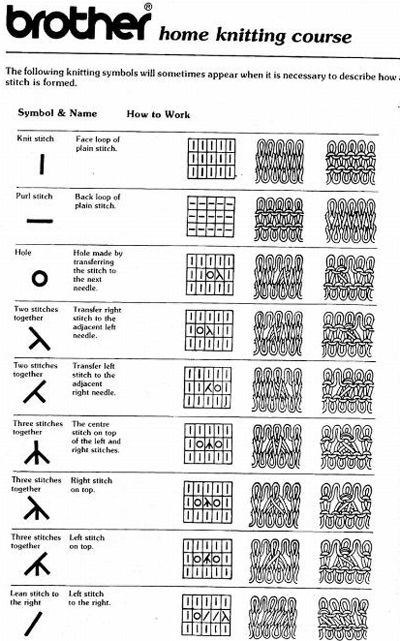
Before you do anything, look at the Key. Some knitting symbols are fairly standard (a blank box is a knit stitch, a dot or a dash is a purl, a circle is a yarn over), but how different increases and decreases are displayed can vary by designer and publisher. 

Generally, increases and decreases are going to lean in the direction that the knitting will eventually lean, so something more or less looking like this: 

\

can be any kind of left leaning decrease. Slip, slip, knit is a common one; but it could also be slip 1, knit 1, pass the slipped st over; or k2tog through the back loop. 

The designer will have made a choice in designing - so check the key and ask yourself our first question. 

Question #1: What do these symbols mean for this pattern? 

There’s a reason the designer chose that particular decrease - it could be that it plays to the design best, or it could simply be their personal knitting preference. If the design calls for a SSK but you prefer k2tog tbl - feel free to switch it up! It might result in a slightly different look, but it’s your knitting. 

(Is the Key missing? It totally happens sometimes in the process of getting something to print. Your best bet is to email the designer/publisher or you can see if there is a written out version of the chart and extrapolate from there).


Bracteole Chart for tutorial-01.png

THE CHART 

Now that you know what all the little symbols mean, you can start to read the chart. But before you get into the nitty-gritty (knitty-gritty?) of individual stitches, it’s best to look at some big-picture items first.

ORDER 

First, unlike text, you read a lace chart in the direction you knit. That is, right to left, bottom to top (see red arrows above). The stitches and rows should be numbered in this direction to guide you. 

ROWS/ROUNDS

A lot of lace patterns are designed so you don’t have deal with any yarn overs or increases/decreases on the wrong side of your knitting - you focus on all the “tricky stuff” on the front, then mindlessly purl your way across back.

Even if a lace pattern in worked in the round, you often alternate between a lace round and a non-lace round. (Fun fact: patterns with yarn overs on every round are called openwork). 

But those “spacer rows/rounds” aren’t just nice from a mental break perspective, they make a big different in the way the lace looks - skip it and you’ll have a really squat-looking pattern. So they’re important to remember.

Knitting designers and publishers like to save space (especially magazines), so they often truncate charts to the most pertinent information. Which leads us to…

Question #2: Is this chart showing every row/round or every other row/round?

To tell, look at the numbers along the side the chart.

If it’s a chart for knitting flat, right side row numbers (usually odd numbers) are generally listed to the right hand side of the chart. Wrong side row numbers (usually even numbers) are generally listed to the left hand side of the chart. 

Ezekiel Saw Lace Charts_1-01.png

The chart above is for openwork, there’s yarn overs on both right and wrong sides. All rows are shown, because you need to know what’s happening on every row. 

But a lot of times, there’s nothing interesting happening on a wrong side row. So to save space, the chart will omit it. 

Scallop Lace Charts-03-03.png

On this chart, every wrong side row is purled, so the chart only shows the information on the right side. The numbers on the right read 1, 3, 5, etc, but instead of having a “spacer row” between them (as in the openwork above), they’re right next to each other. 

The same rules go for lace worked in the round. If all you’re doing on an even-numbered round is knitting, the chart probably won’t take up space to show you that.

Bracteole Chart WS highlighted-01-01.png

This chart is an example where every row/round is knitted, but there’s only lacework (i.e. yarn overs) done on the right side. So why bother with showing all the rows/rounds? 

Take a closer look at those wrong-side rows (in blue). The pattern combines purl bumps with the lace, so to carry that pattern, the bumps need to be worked on every row/round. 

REPEATS

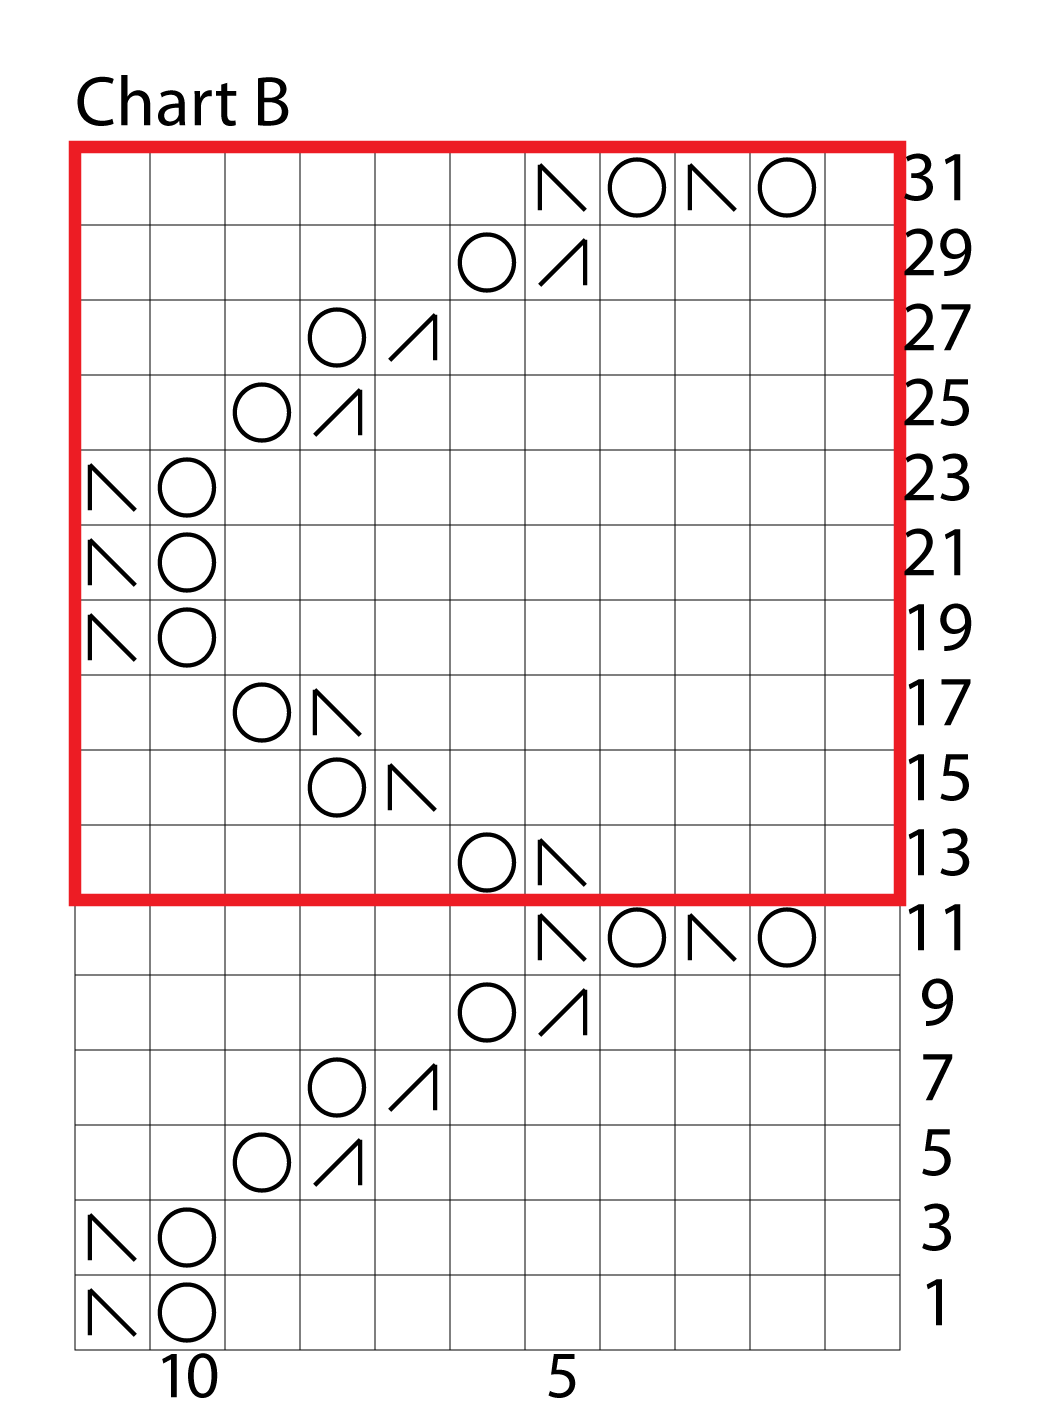
The next big-picture thing to look at is repeats. If a shawl is 100+ stitches wide, showing all those stitches in impractical, and, honestly, not that helpful if the pattern repeats every 6 stitches. Repeats help break down the pattern into manageable chunks. So next you want to know: 

Question #3: How does this pattern repeat? 

Since they’re generally both horizontal and vertical, repeats are typically shown with a box that  outlines the repeat area. 

Bracteole Chart repeats-01-01.png

If we take another look at the chart above (which is designed for the top of the foot of a sock) - the full lace section (only 35 sts) is represented, but even with that there are repeats. Each repeat is 10 stitches wide and 9 rows high). But here’s where it can get tricky - you have a 10 stitch repeat over 35 stitches - there should be three full repeats, plus 5 extra stitches, right? 

Not always.  

Bracteole Chart repeat exception-01-01.png

If you look at the chart above, sts 24-33, they are almost exactly the same as sts 14-23 and 4-13. It acts like an additional repeat. But there's one important exception with stitch 33 on row 5. Instead of a double decrease, like the other repeats, it’s a single decrease. The other “half” of the double decrease is at stitch 3 on row 5. SO if you're marking out a repeat (on your page or in your mind) make sure it's a true repeat. 

Now, assuming that the item this chart is for something taller than 10 rows/rounds high. When you get to row/round 11, just start back at row/round 1.  

Summer Rain Lace Charts_1 repeats-01.png

Here’s another chart (for a shawl), which shows only a portion of the lace section. Section A1 is worked across about 439 stitches, B1 across 411 stitches, and C1 across 387 stitches. But the charts for each section look about the same width.

This is possible because each section uses a 6 stitch wide/12 row high repeat. The stitches on the left and right of the repeat box are just to get to to that repeating section.

For example, to knit chart A1, row 1: you’d knit the first 11 sts to the right of the repeat box as charted (SSK, k4, yo, k2tog, k4) and then you’d repeat the section within the box as many times as you needed until you were 6 stitches from the end of the row (or marker, whatever the design dictates) and then you’d finish up with the last 6 stitches of the chart (yo, k2tog, k3, k2tog)

And that's basically how most lace charts work!


TIPS AND TRICKS

KEEPING YOUR PLACE

With a large lace (or colorwork) chart - the trickiest part is keeping your place. There are a lot of tools available to help.

You can purchase some pre-made items like magnetic boards or copy holders.

OR

You could also be a little more DIY and use highlighter tape, washi tape, post its notes (my go-to) or a ruler. Basically anything that’s straight, long enough and easy to move (but won’t slip when you’re in the middle of a row!) 

If you are using something opaque (like a post-it), arrange it so the bottom of the marker is ABOVE the row you’re working on, so you can still see the rows you’ve already worked. That way you can continually check to see if everything is lining up appropriately.

LIFELINES

If you want some extra security when working lace, you can always put in a “lifeline.” To insert a lifeline, thread up a darning needle with some high-contrast colored yarn and slip it through the live stitches on your knitting needle, as if to put them on a holder. 

But instead of removing the stitches from your knitting needle, remove the darning needle and leave the “line” in and continue knitting normally. If you make a mistake you can’t easily fix, rip out back to the lifeline which will nicely hold your stitches for your while you put them back on the knitting needle. Only insert a lifeline into a row you’re confident is correct, and if you’re going to use them, I’d recommend inserting it after every repeat or more often if the rows are really long. 


RECAP

To read a lace chart go right to left and top to bottom. Before knitting, ask yourself the following three questions:

Question #1: What do these symbols mean for this pattern? 

Question #2: Is this chart showing every row/round or every other row/round?

Question #3: How does this pattern repeat?

With those answered, you should be ready to tackle some charted lace! 

GET KNITTING!
For some beginner-friendly lace patterns, check out the following designs:

The West Branch Cowl was designed to show off a special skein of handspun or hand-dyed yarn and is a great beginner lace project - the lace is only on the right side and has a short repeat. 

The Ferrous Shawl uses simple motifs that are easy to memorize and was designed for the complete beginner to lace shawl knitting in the traditional triangle shape.

The Maian shawl consists of two 4-stitch repeats and all the increases are done on the edge with a backward loop cast on, meaning you won’t get your lace yarn overs confused with your increase yarnovers.


The lace border on the Cresting Waves Shawl is only 21 stitches wide and is knit separately from the body of the shawl, so if you make a mistake, you only have to tear back a few stitches (instead of the whole body of the shawl) to fix it.

Want a little challenge?

Alaria uses the same construction as Ferrous, but adds some more complex motifs.

Rambling Eden uses the same construction as Cresting Waves, but with a really wide border and openwork lace.

Bracteole takes lace into the round and adds some purls into the mix. (And it’s the main chart we’ve been looking at throughout this tutorial!!)


Print Friendly and PDF Follow
follow us in feedly

Corrugated Ribbing Tutorial (for Two Hands)

Corrugated Ribbing Tutorial
Woodland Hat and Mittens

Corrugated, or two-color ribbing, is a common decorative edging on many colorwork designs, including my Woodland Mittens. It has a great effect, but it can be a bit trickier than regular colorwork, which is usually done all in knit stitches.

I'm typically a "picker" or continental style knitter, but this tutorial will use both the "picking" and "throwing" techniques for the most efficient way to work this pattern. Not familiar with continental style? This is a helpful tutorial. 

By working the rib with two hands this way, you don't have to fuss with dropping and picking up a different color for each stitch.

For the purposes of this tutorial, the green will be our contrasting color, or CC; and the grey will be the main color, or MC. This tutorial also assumes you will be working in the round.

One important thing to know before you start, two-color ribbing will have less recovery/elasticity than regular ribbing, so you may wish to go down a needle size, especially if you're replacing a solid rib with a corrugated one.  

P9150001.jpg

To start, cast on in your CC and join in round. Knit one round in CC.

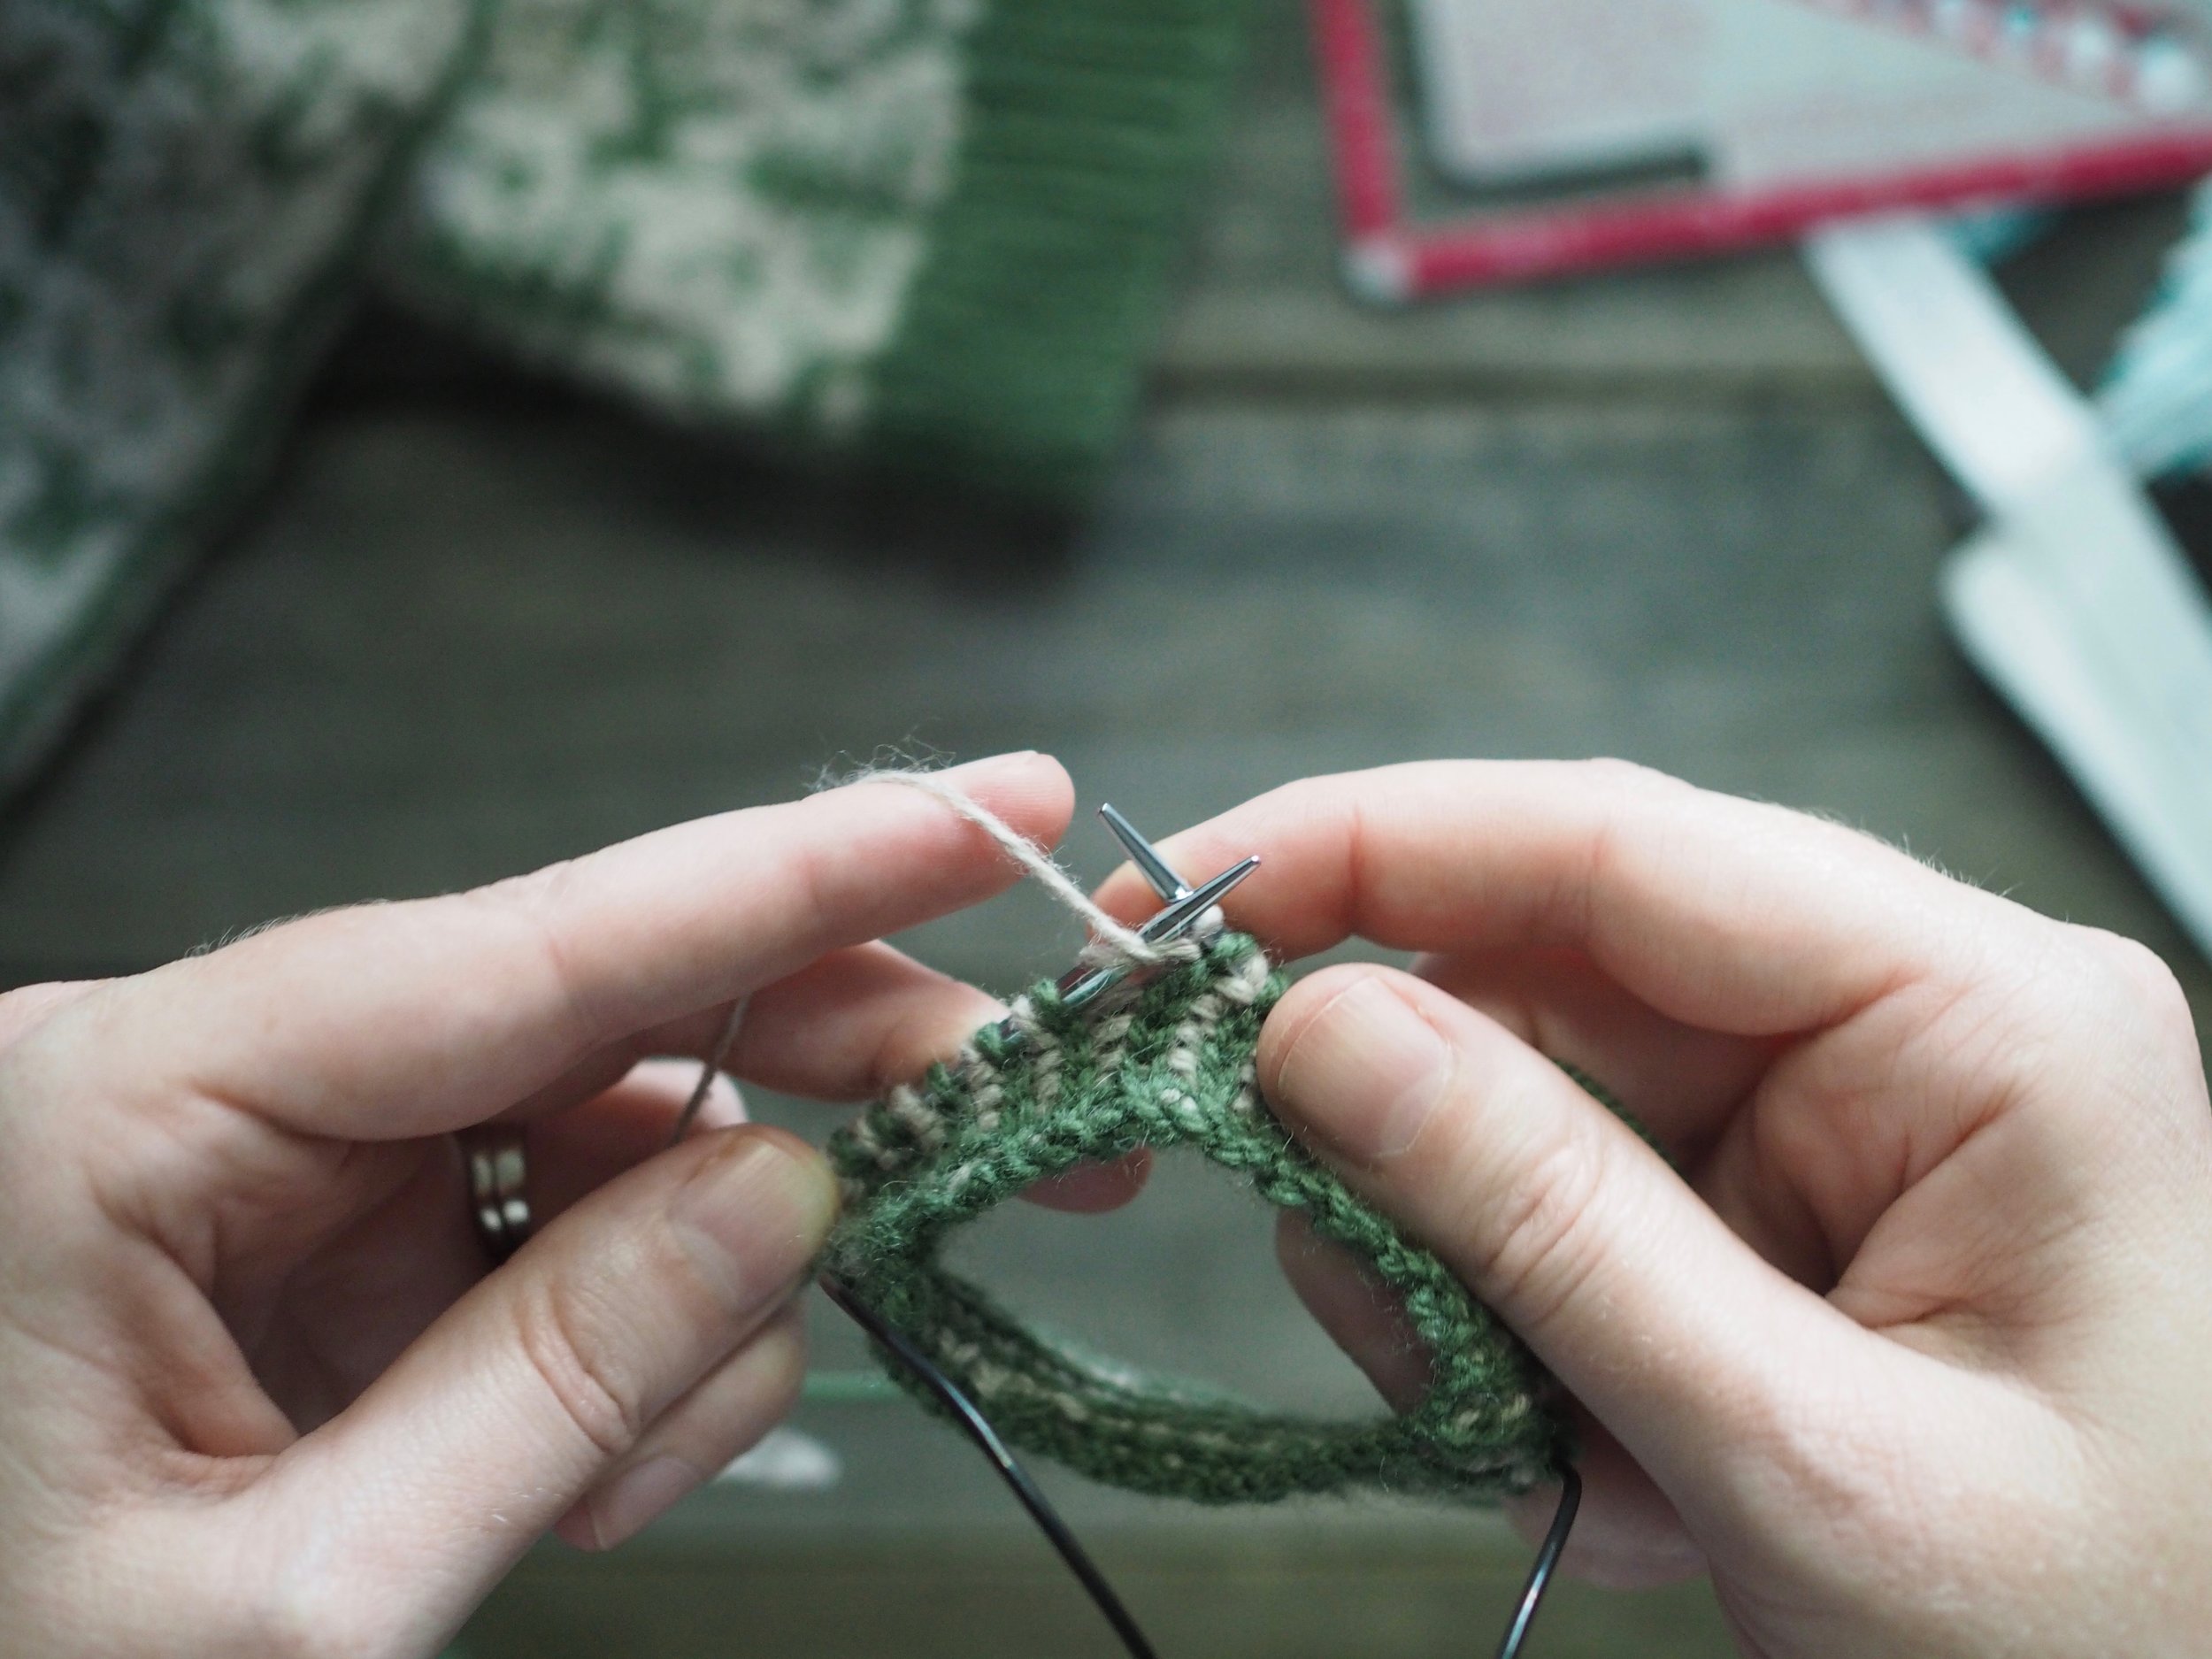
Join your MC at the start of the round. From here, you will knit in the CC, and purl in the CC.

Holding the yarn

Take your CC, or the color you will be doing knit stitches with, and hold it in your right hand. Take the MC, or the color you will be doing purl stitches with, and hold it in your left hand, tensioning the yarn around your pinky finger as in Continental style. To begin, both yarns should be behind the needles, with the CC in front of the MC. 

Step 1: With the yarn held in your right hand, work a knit stitch by "throwing" or wrapping the yarn around the needle with your right hand. 

Step 2: Shift the left hand needle, so the MC yarn is in front of the work. Purl the next stitch Continental-style. Shift yarn back behind work.

Repeat Steps 1 and 2 until you reach the desired length of rib! 

Ready to Get Knitting?!

Print Friendly and PDF Follow
follow us in feedly

Domenic Duck KAL - Afterthought Prep, Pick Up and Finishing!

Today we're going to move from something ressembling a wide wooden shoe to something more duck-like. 

As before, click on any gridded photo for a larger version. 


Centered Doubled Decreases (cddc)

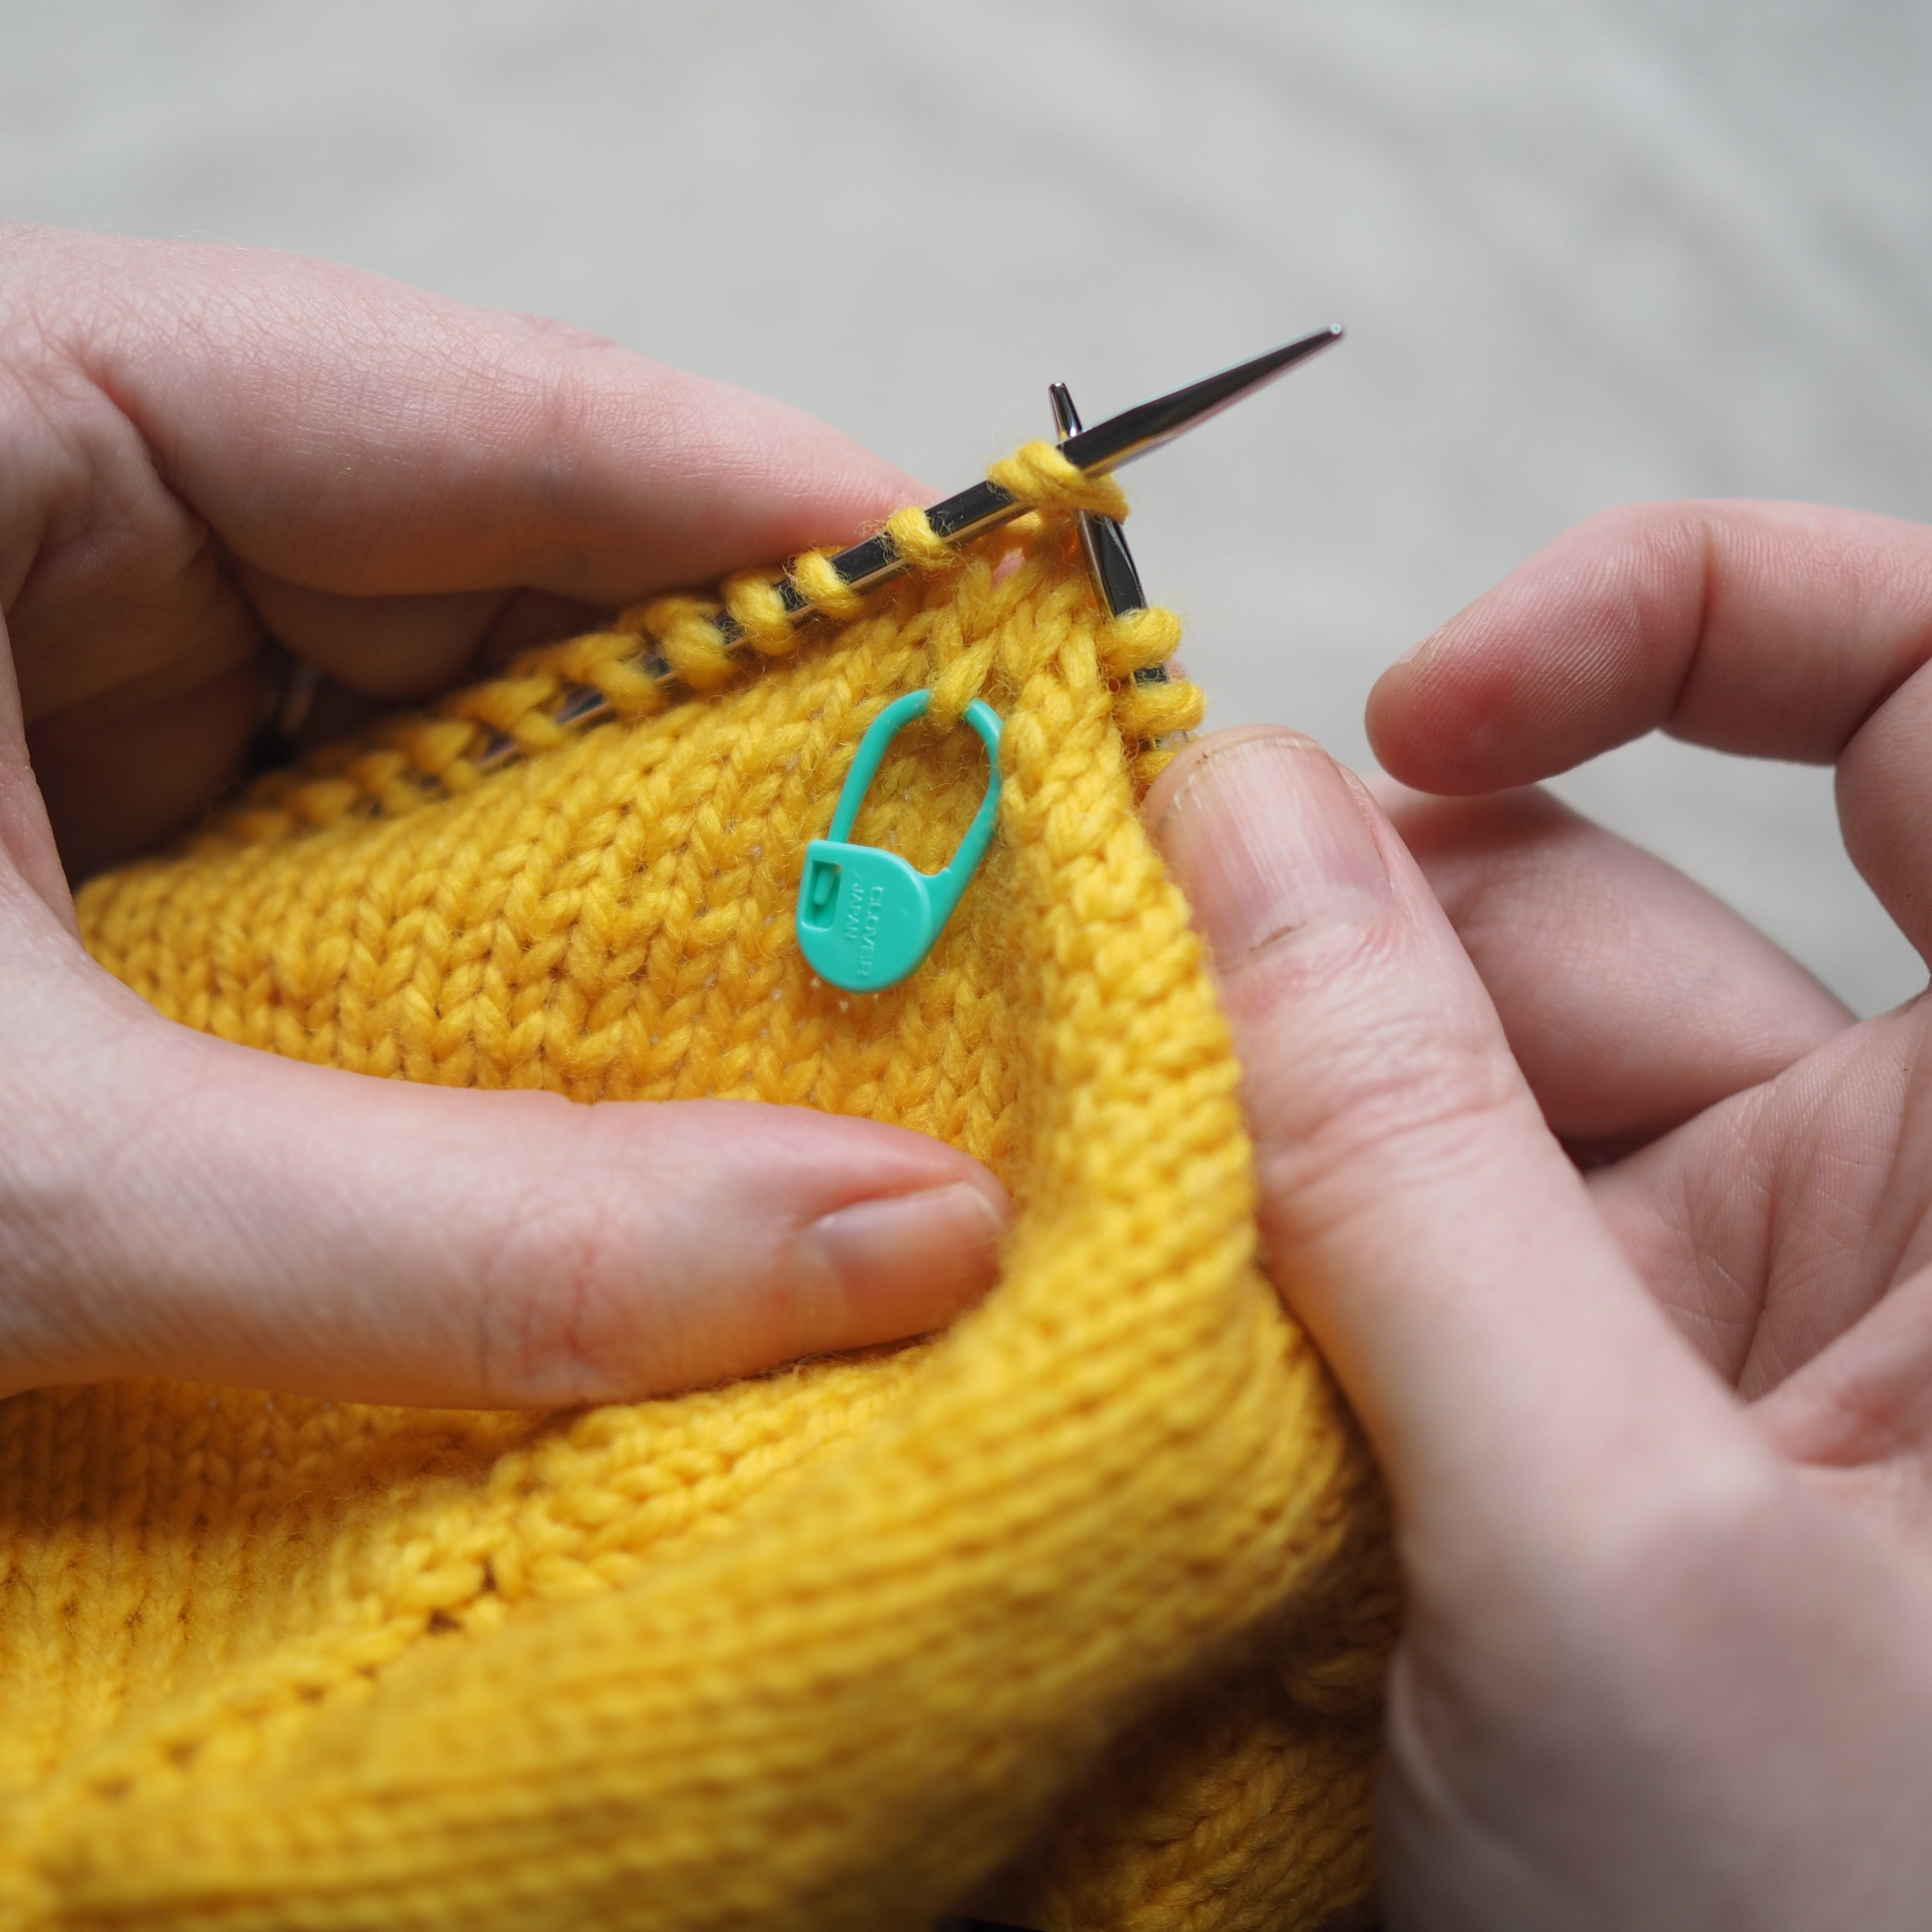
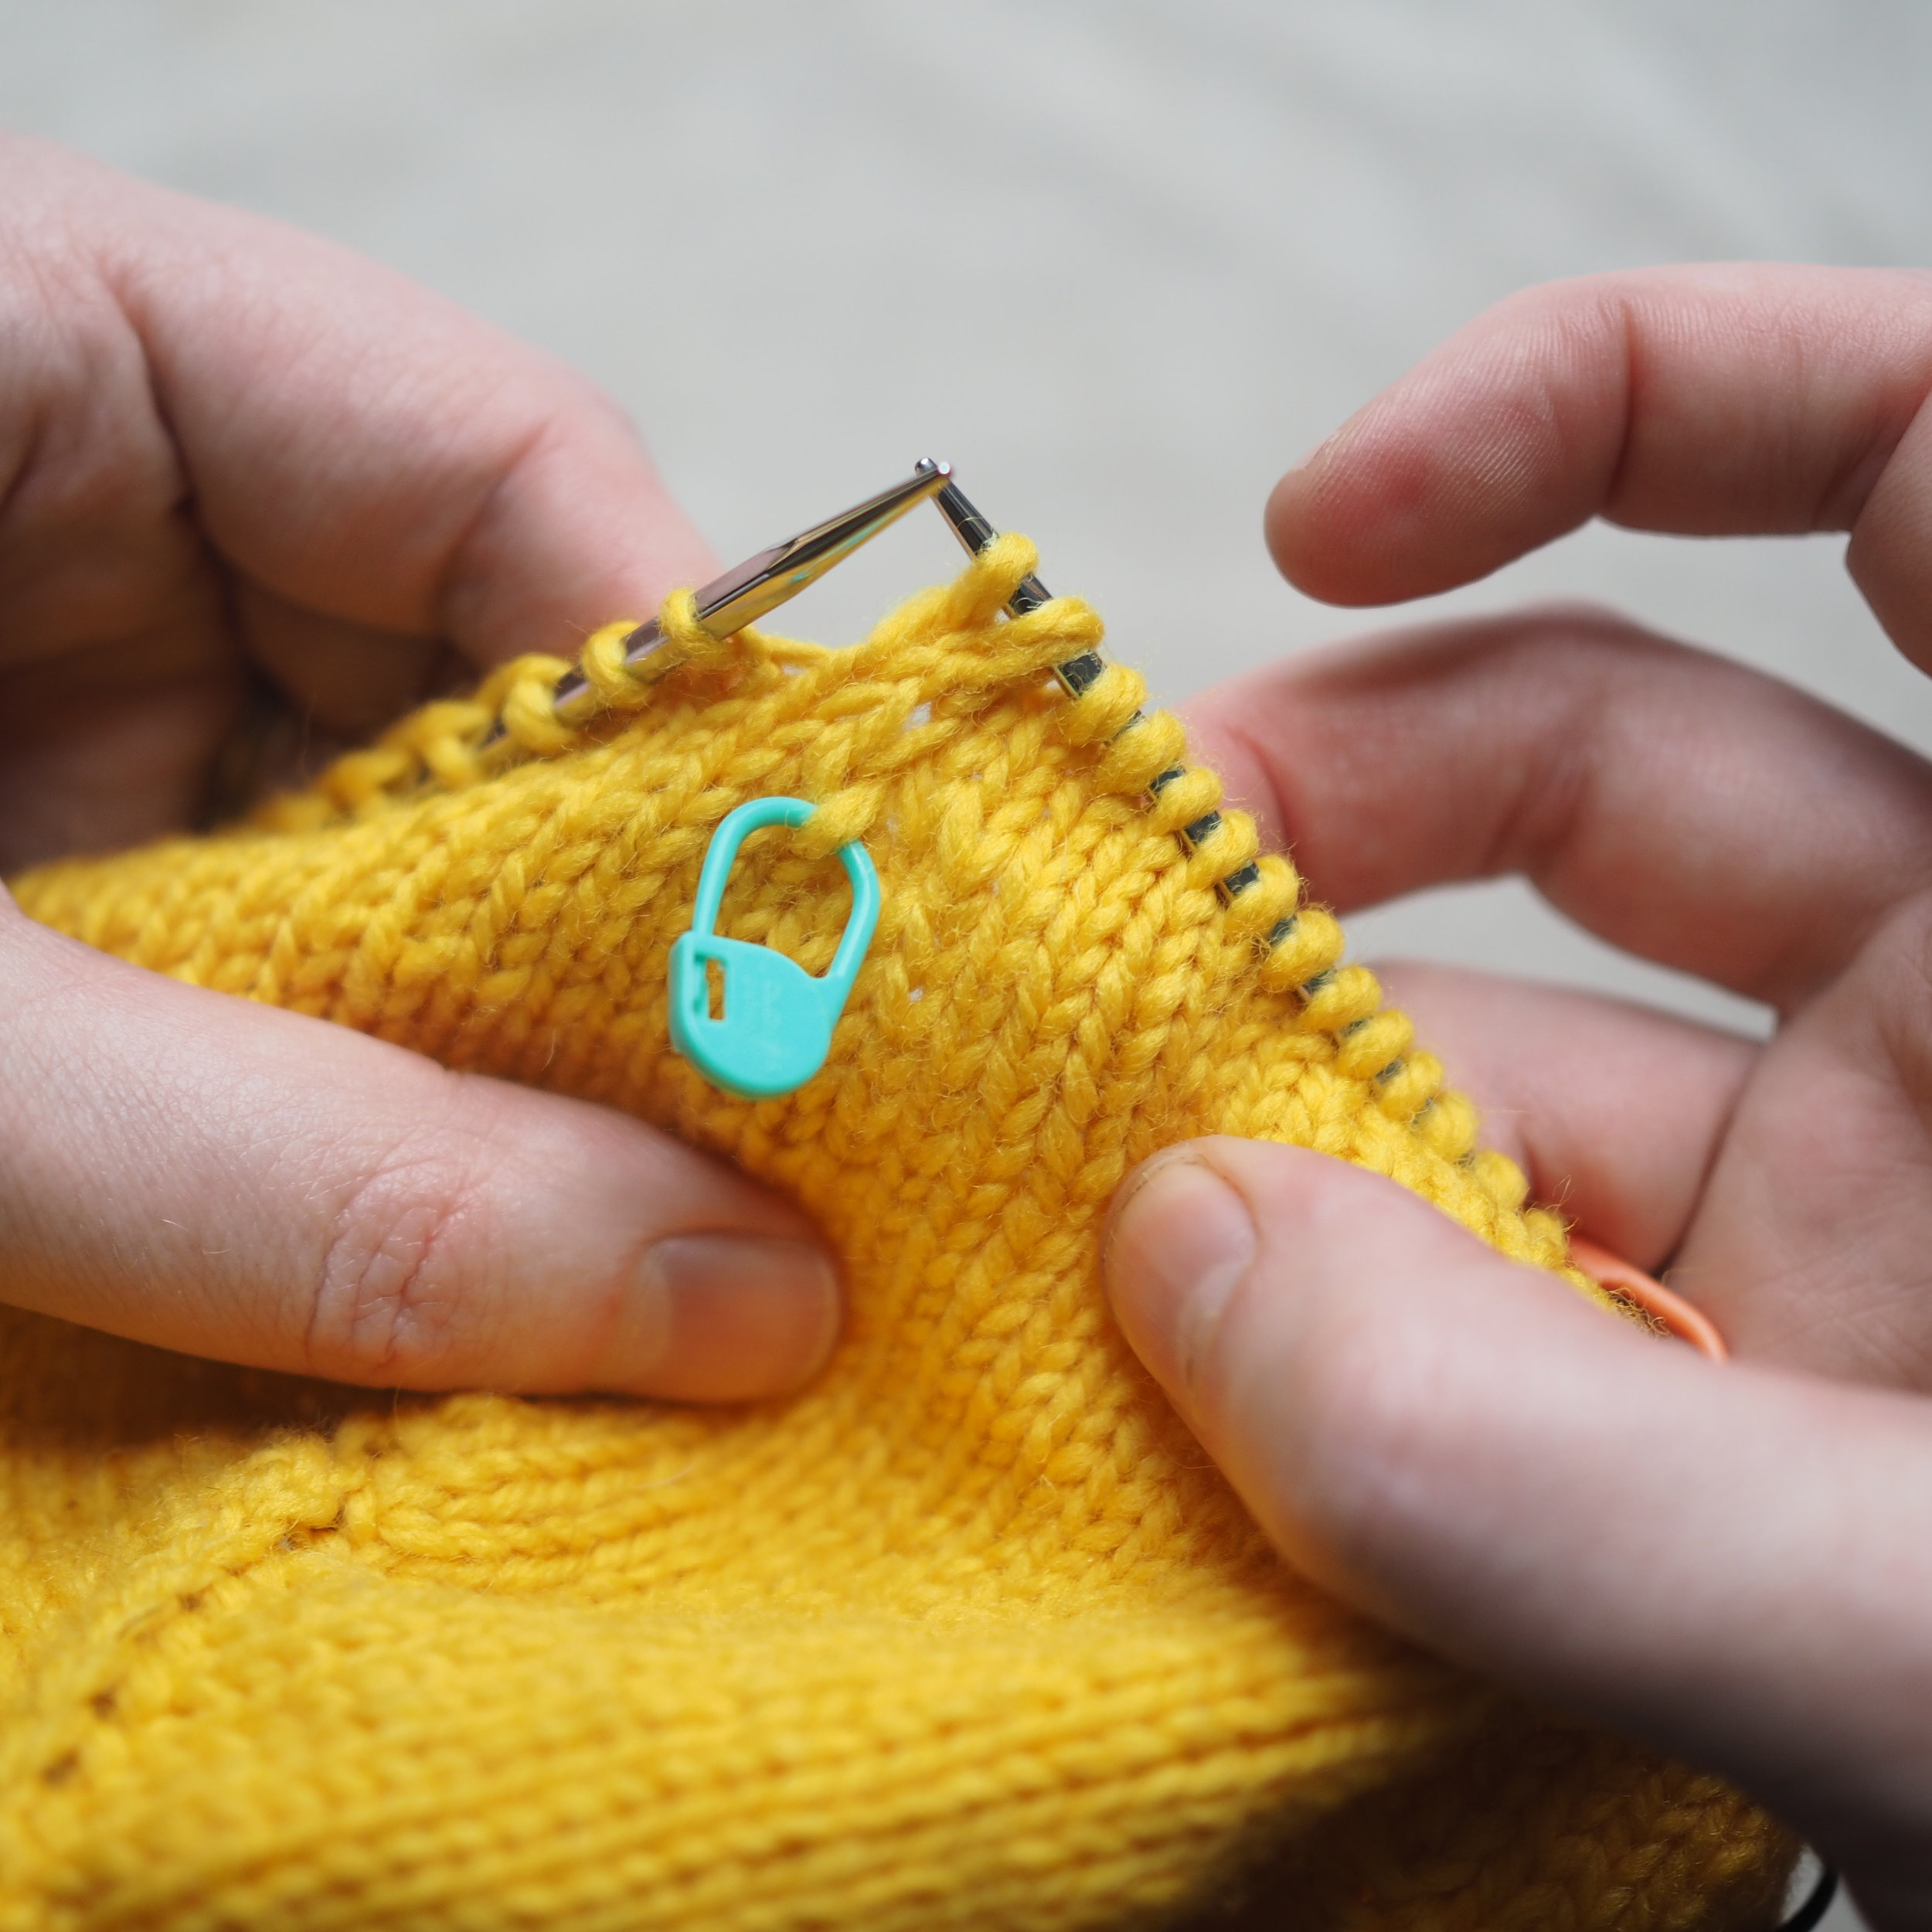
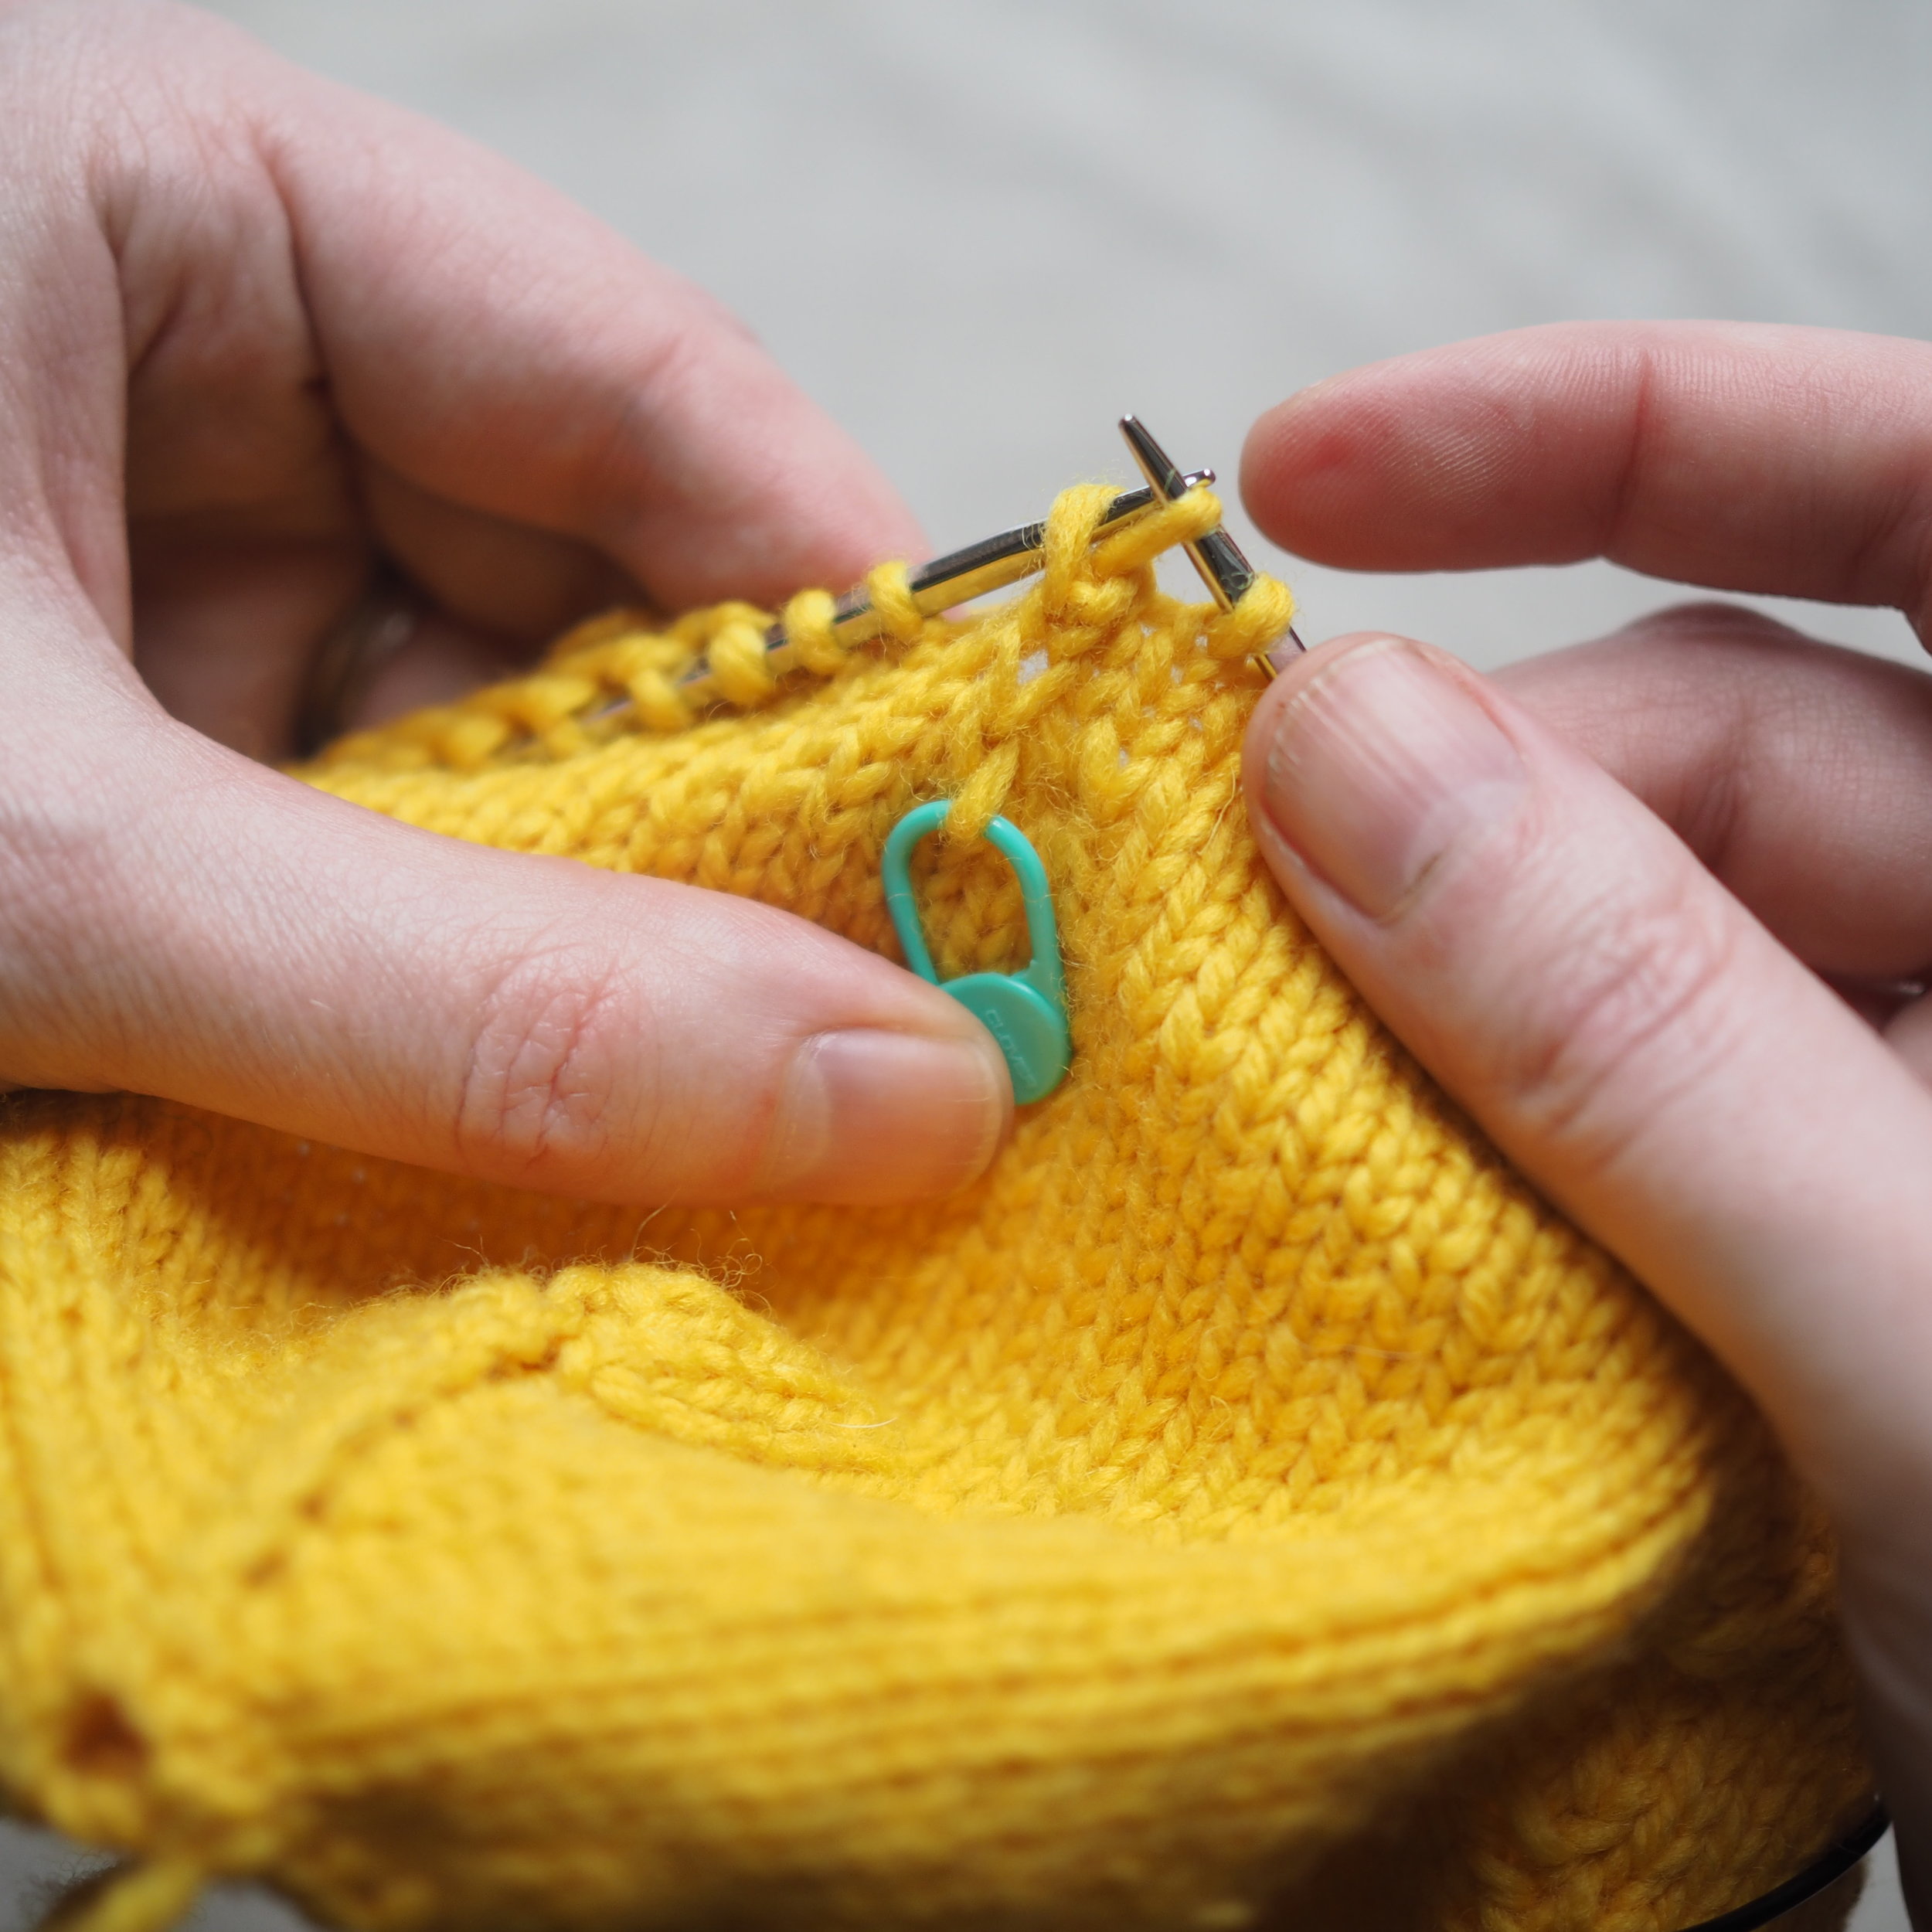
A centered double decrease (cddc) decreases two stitches with center stitch making a clear line up the middle. Work a cddc as follows:

  1. Work until there is one stitch before the marked stitch
  2. Slip the unworked stitch and marked sts together as one, as if you were knitting them
  3. Knit the next stitch normally
  4. Pass the two slipped stitches over the knitted stitch.

The line of the center of the decreases should be pretty clear to follow, but feel free to move up the stitch marker if you find it helpful. 

Preparing for an Afterthought Appendage

I like working wings/legs/etc in an afterthought style, because it means that the appendage is firmly attached to the body, no grafting or seaming needed. Meaning it stands up all the stronger to any grabby hands. 

To set up for an afterthought:  

  1. Put down your working yarn, but do not cut. 
  2. Knit the correct number of stitches in scrap yarn.
  3. Slip sts in scrap yarn back to left hand needle.
  4. Knit the stitches again with working yarn and carry on as usual. 

I like to keep the tails of the scrap yarn on the outside of the body, as this helps when you need to pick it out. 

Picking Up An Afterthought Appendage

To pick up the stitches for an afterthought appendage, work as follows:

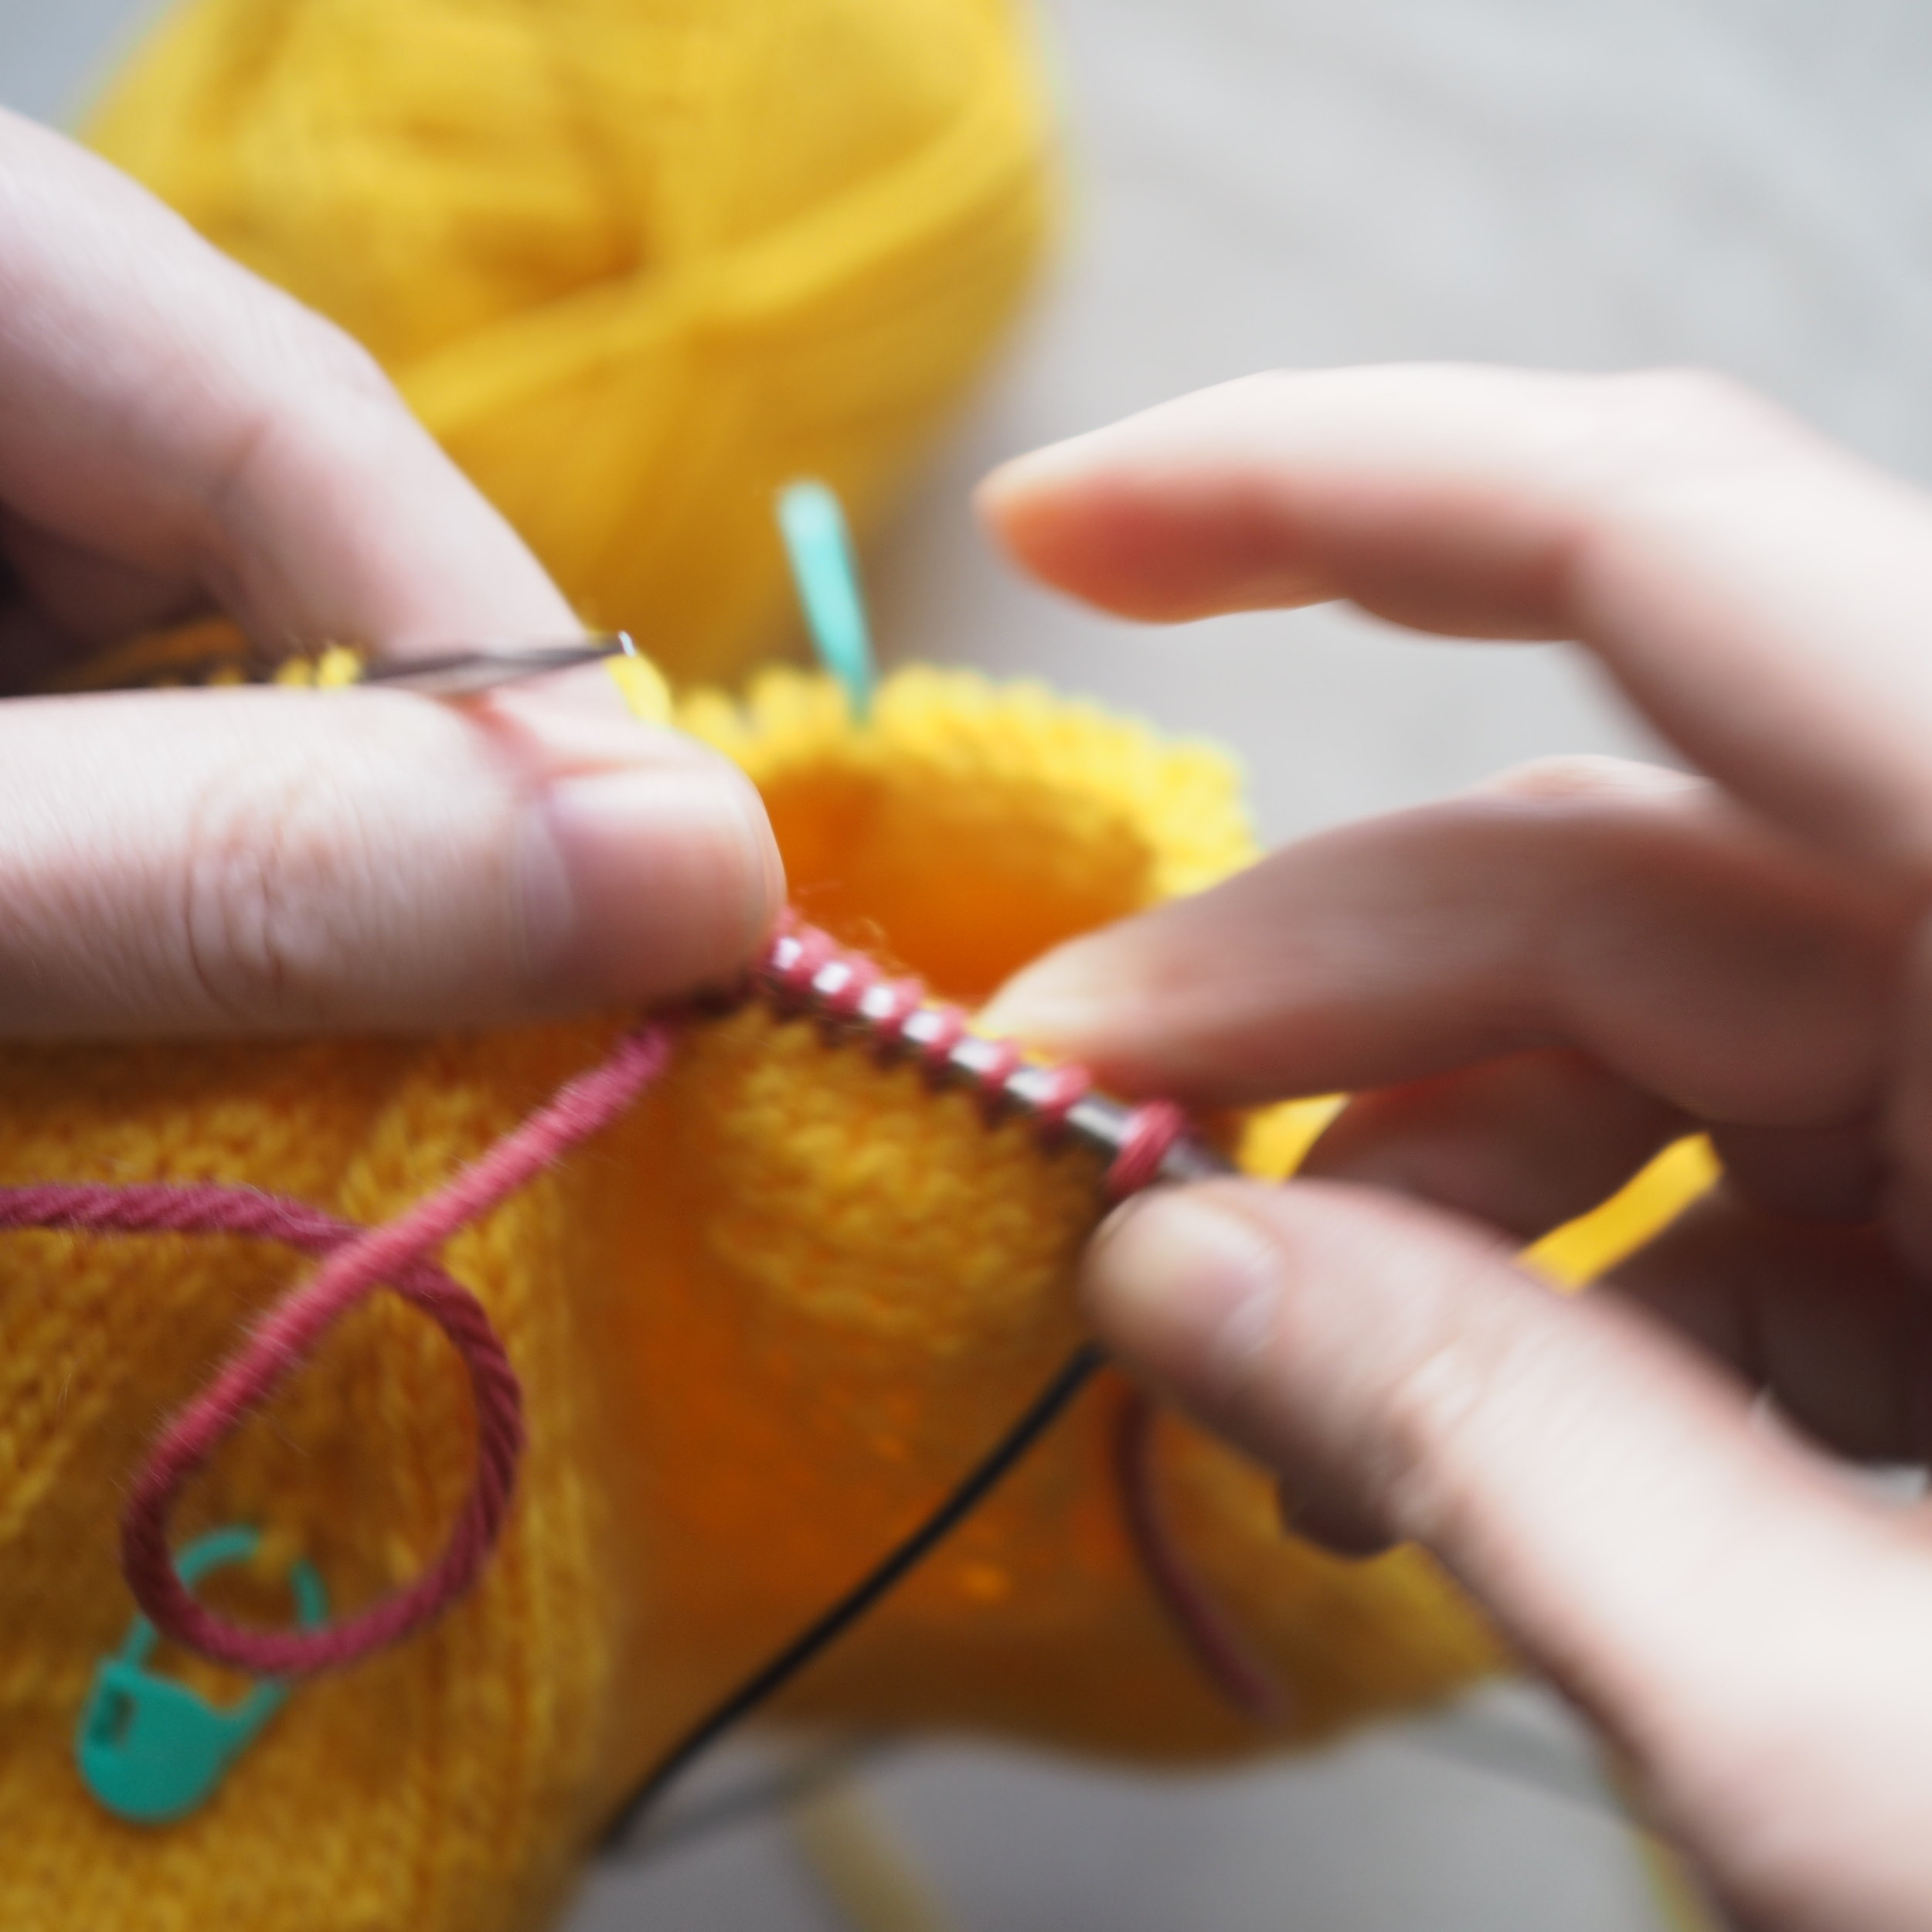
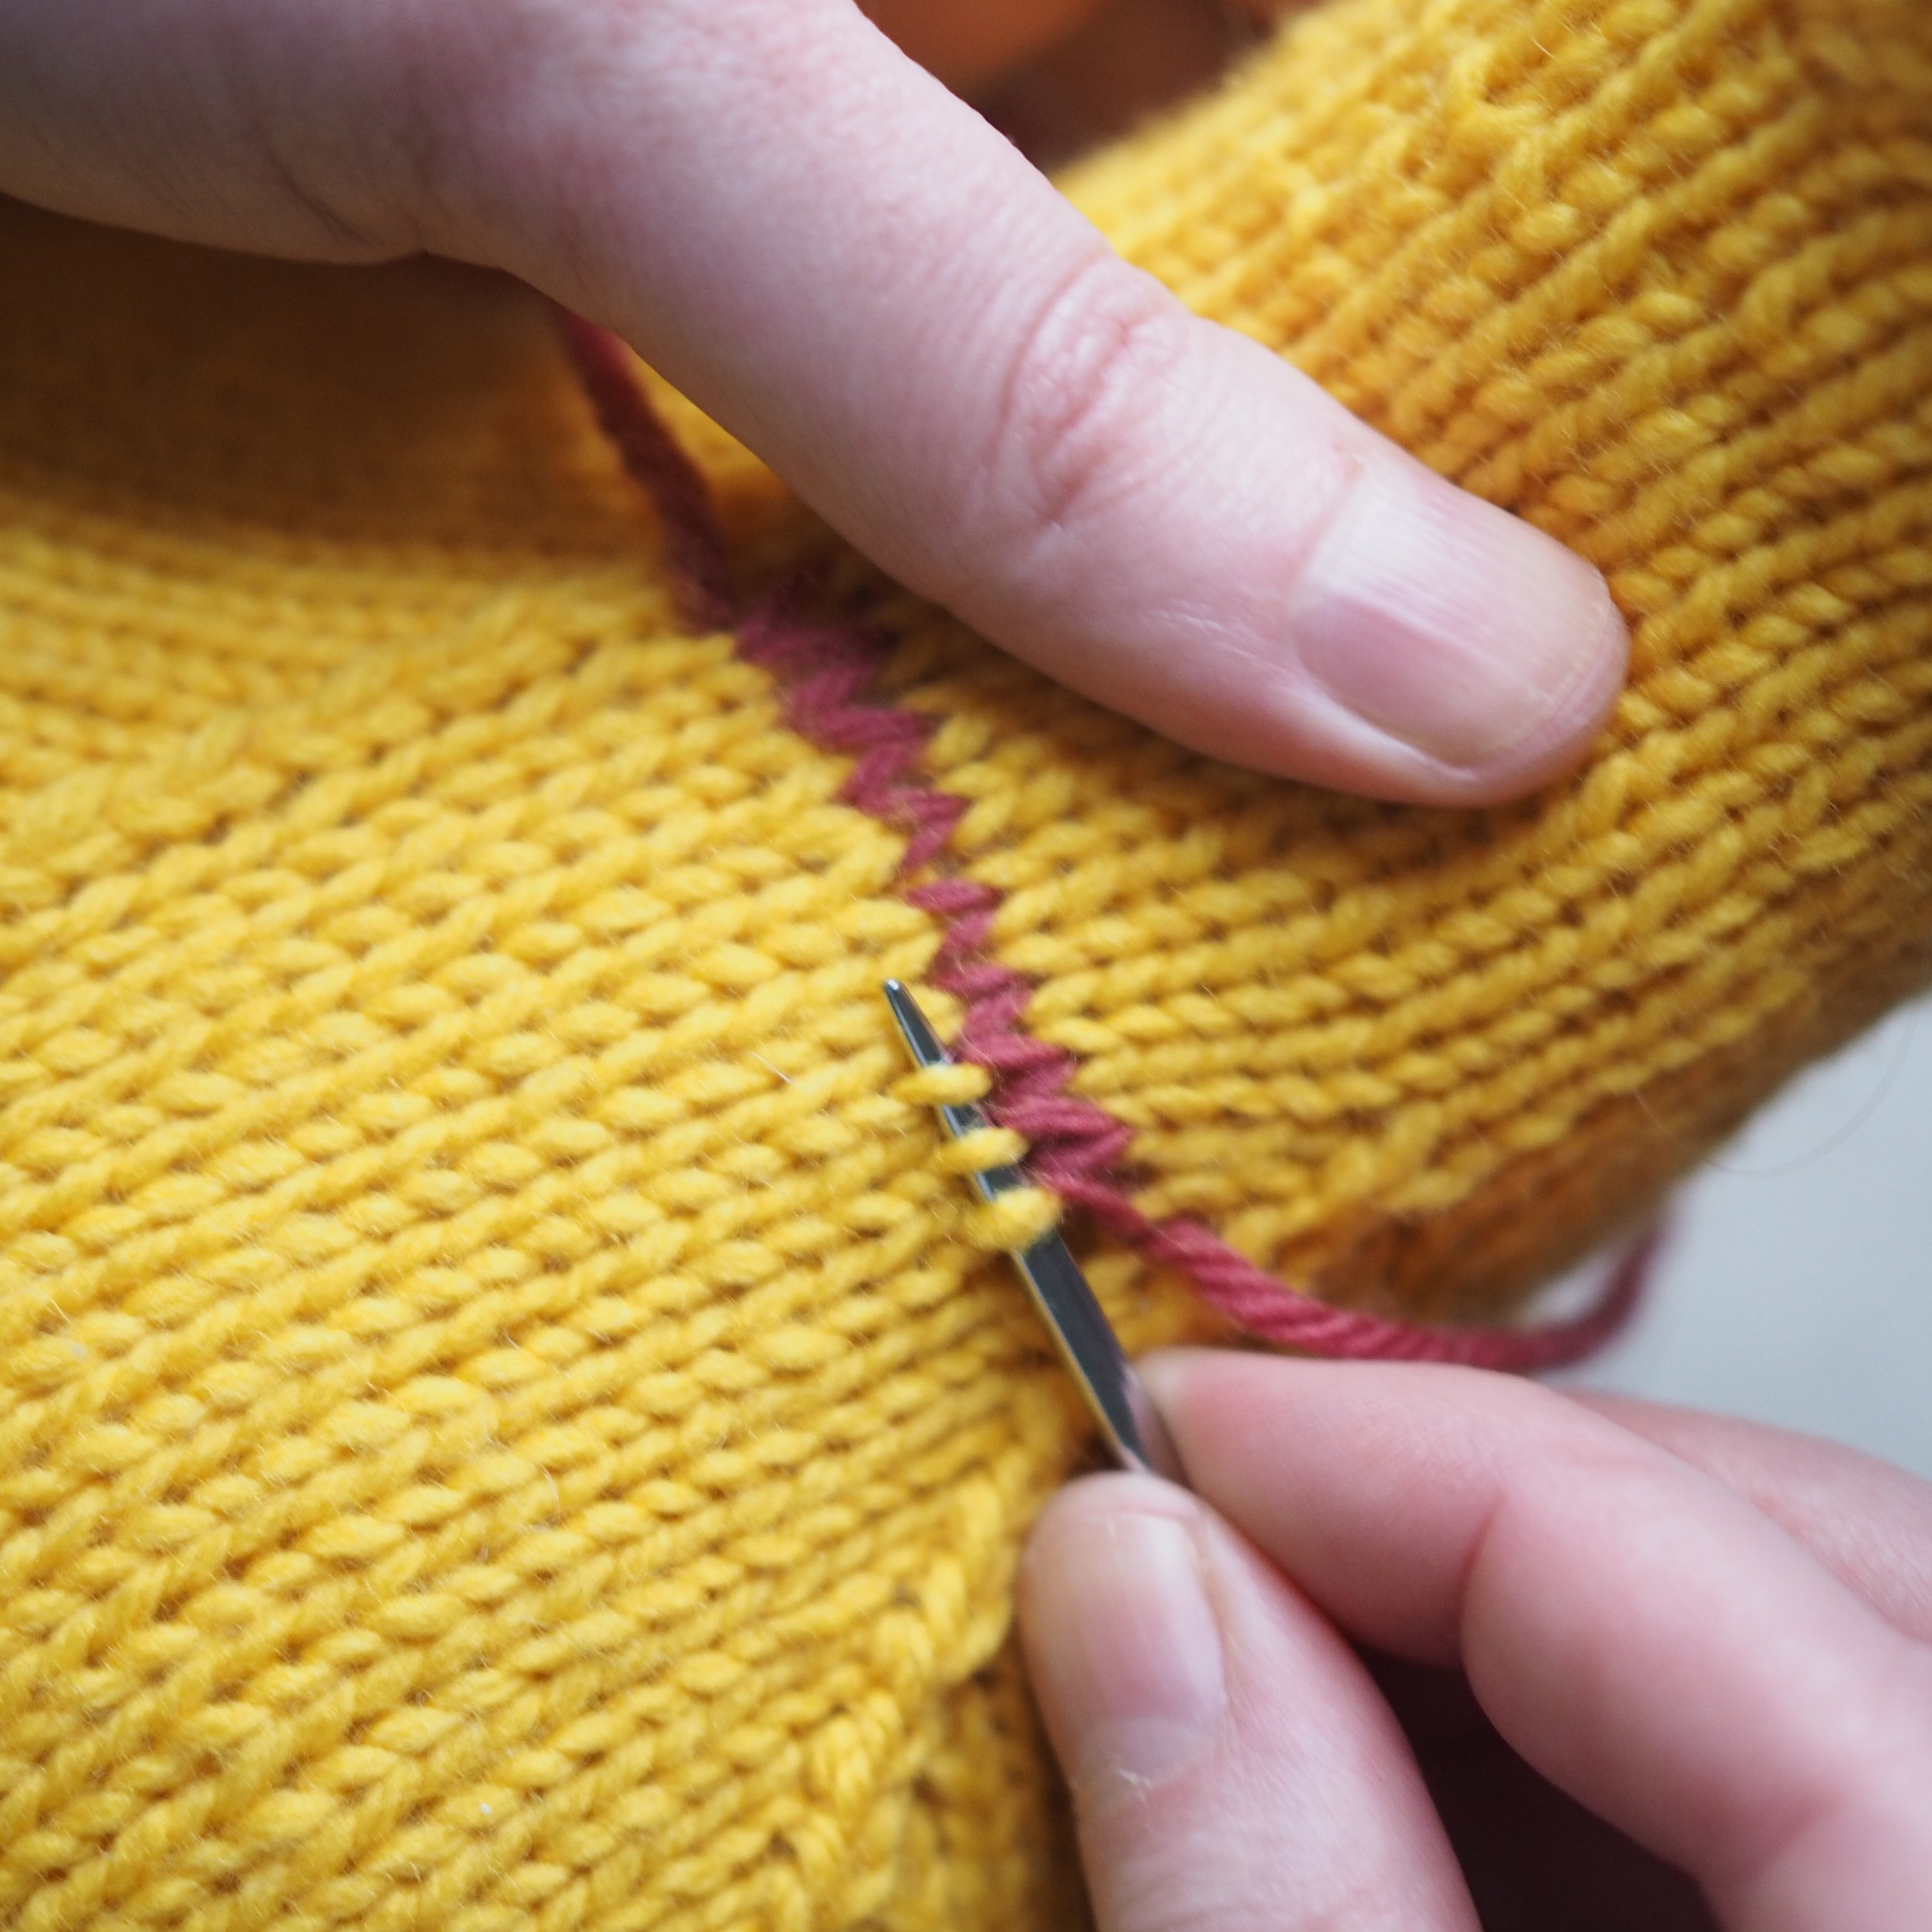
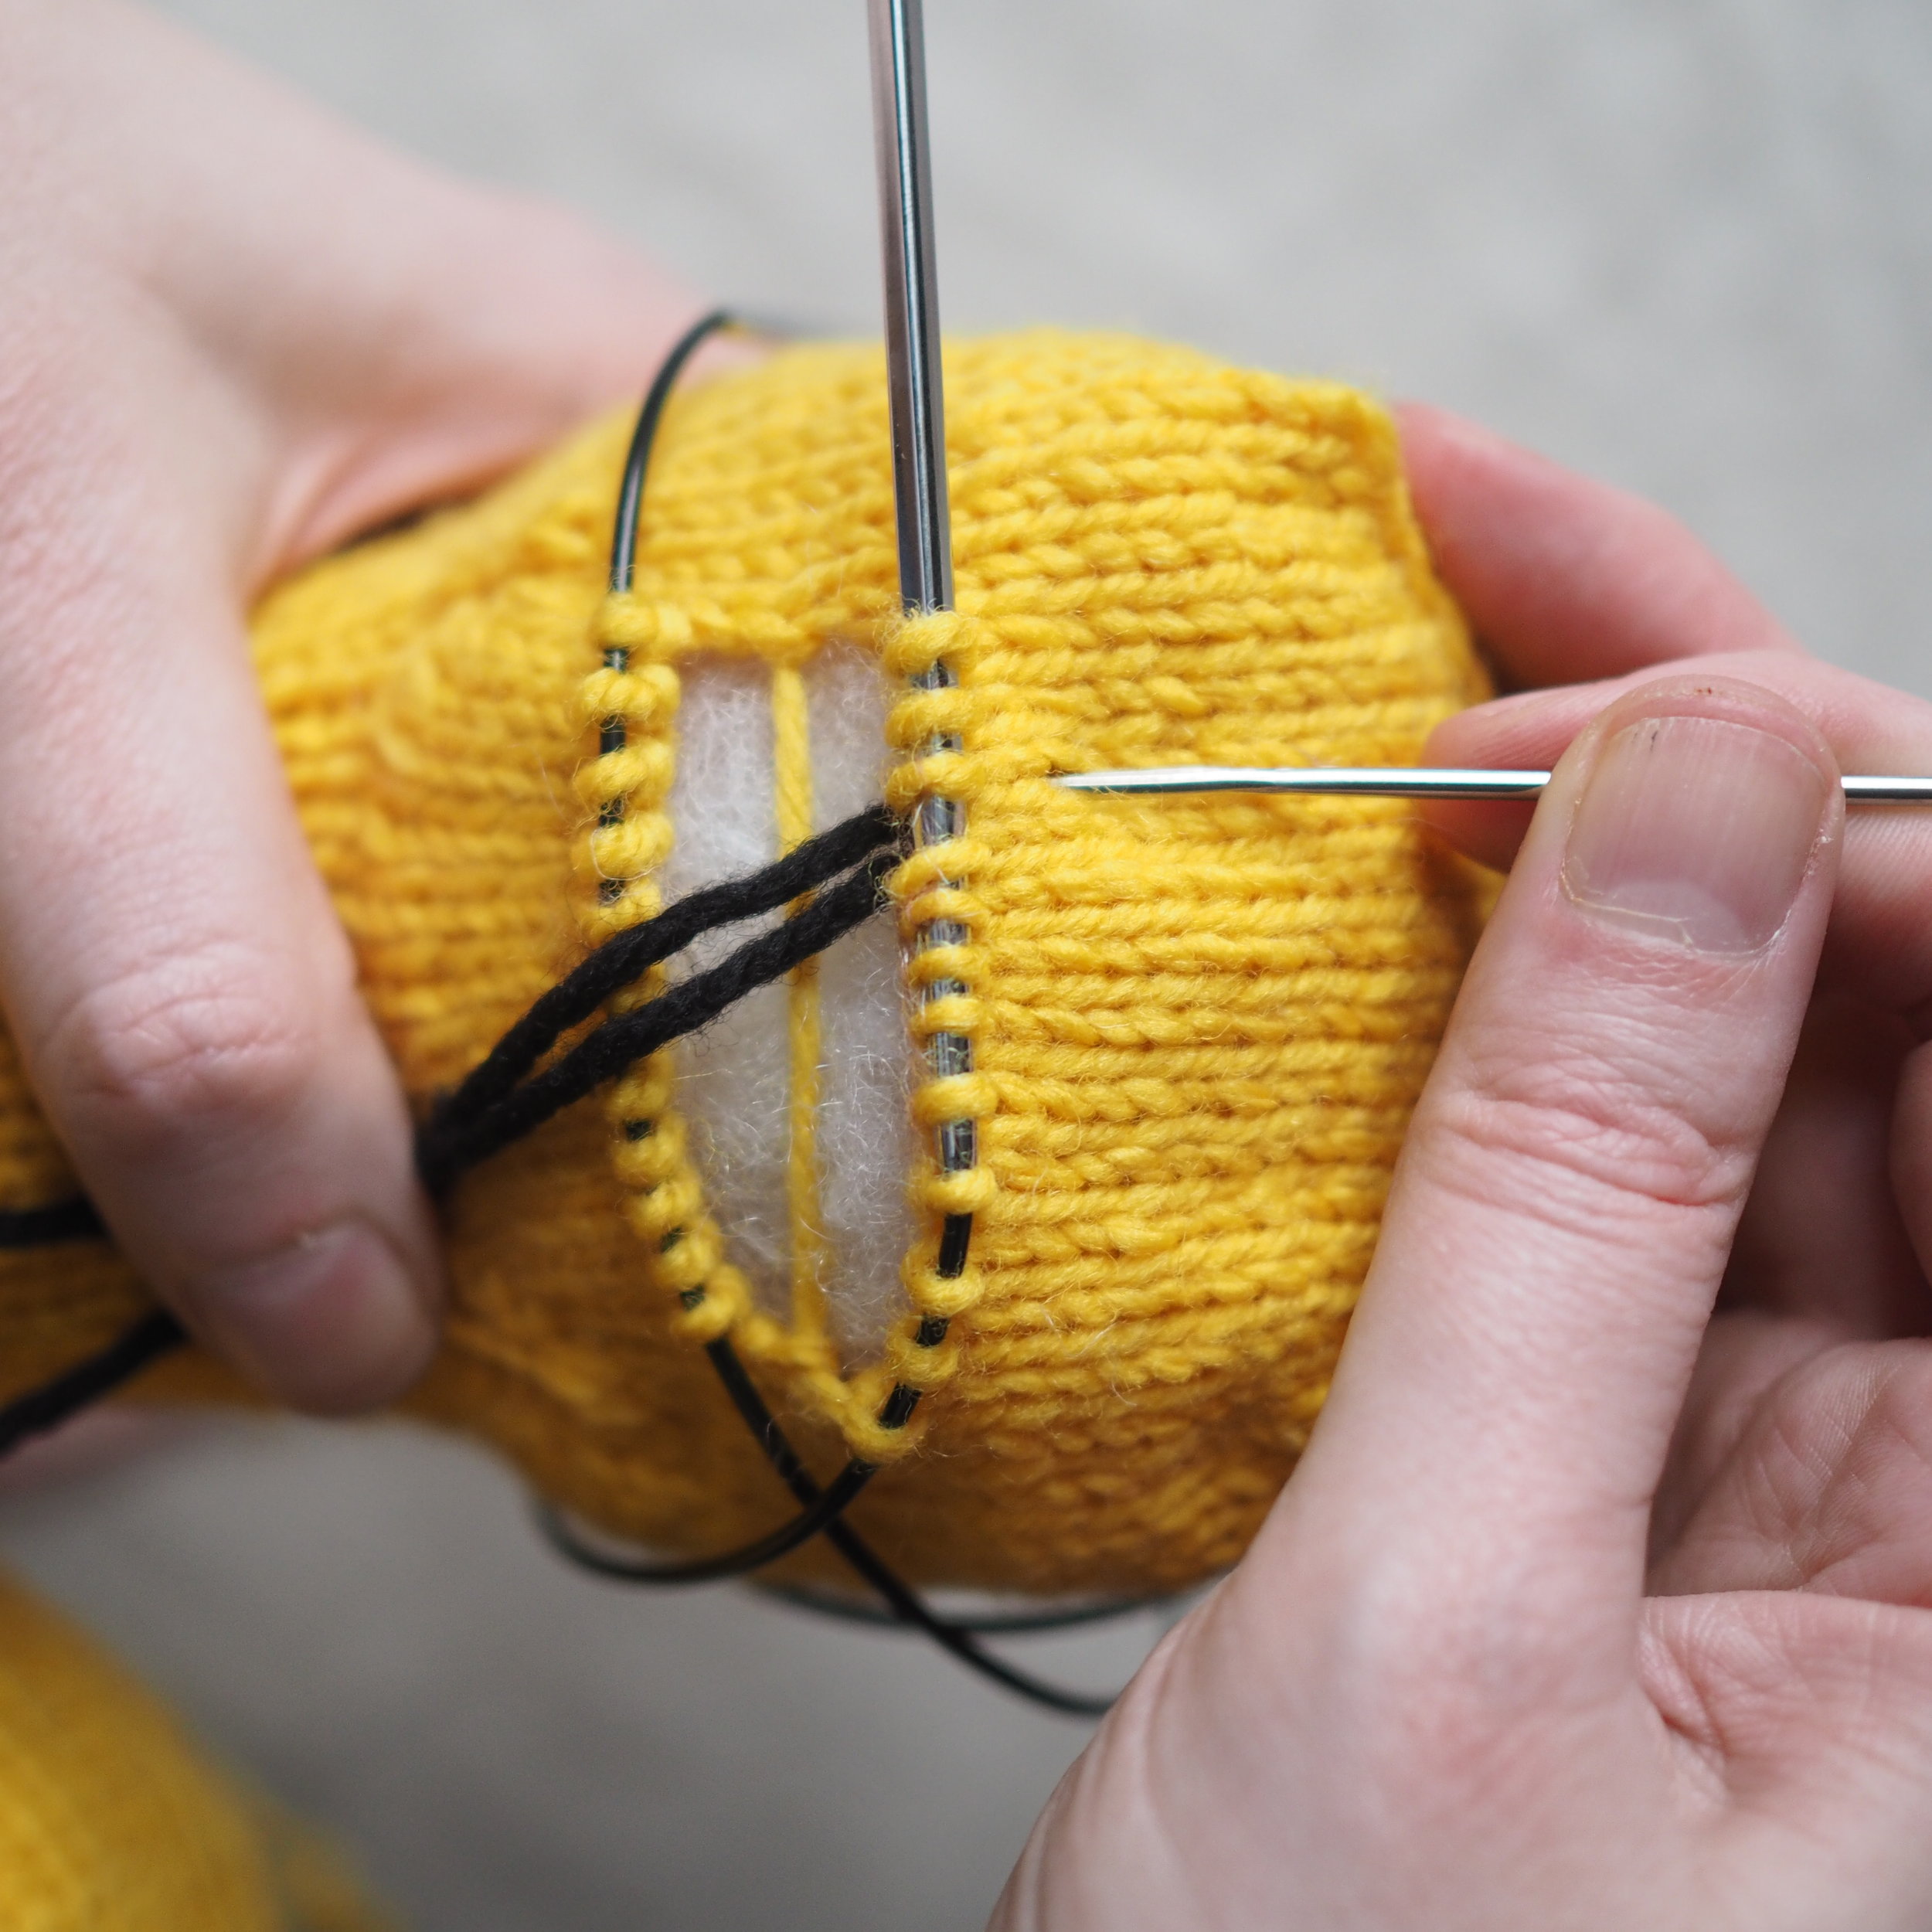
  1. Using a spare needle, pick up the right side of each stitch just below the scrap yarn stitching, picking up one stitch for each scrap yarn stitch.
  2. Repeat for the row of stitches just above the scrap yarn.
  3. Using a spare knitting or tapestry needle, pick out the scrap yarn. You should be left with the same number of stitches on each needle.

The first few rounds after you pick up will be fiddly, because there's not a lot of give because the body is already stuffed. It's a bit easier if you use magic loop and isn't a problem after those first few rows.

Making the Eyes (French Knots)

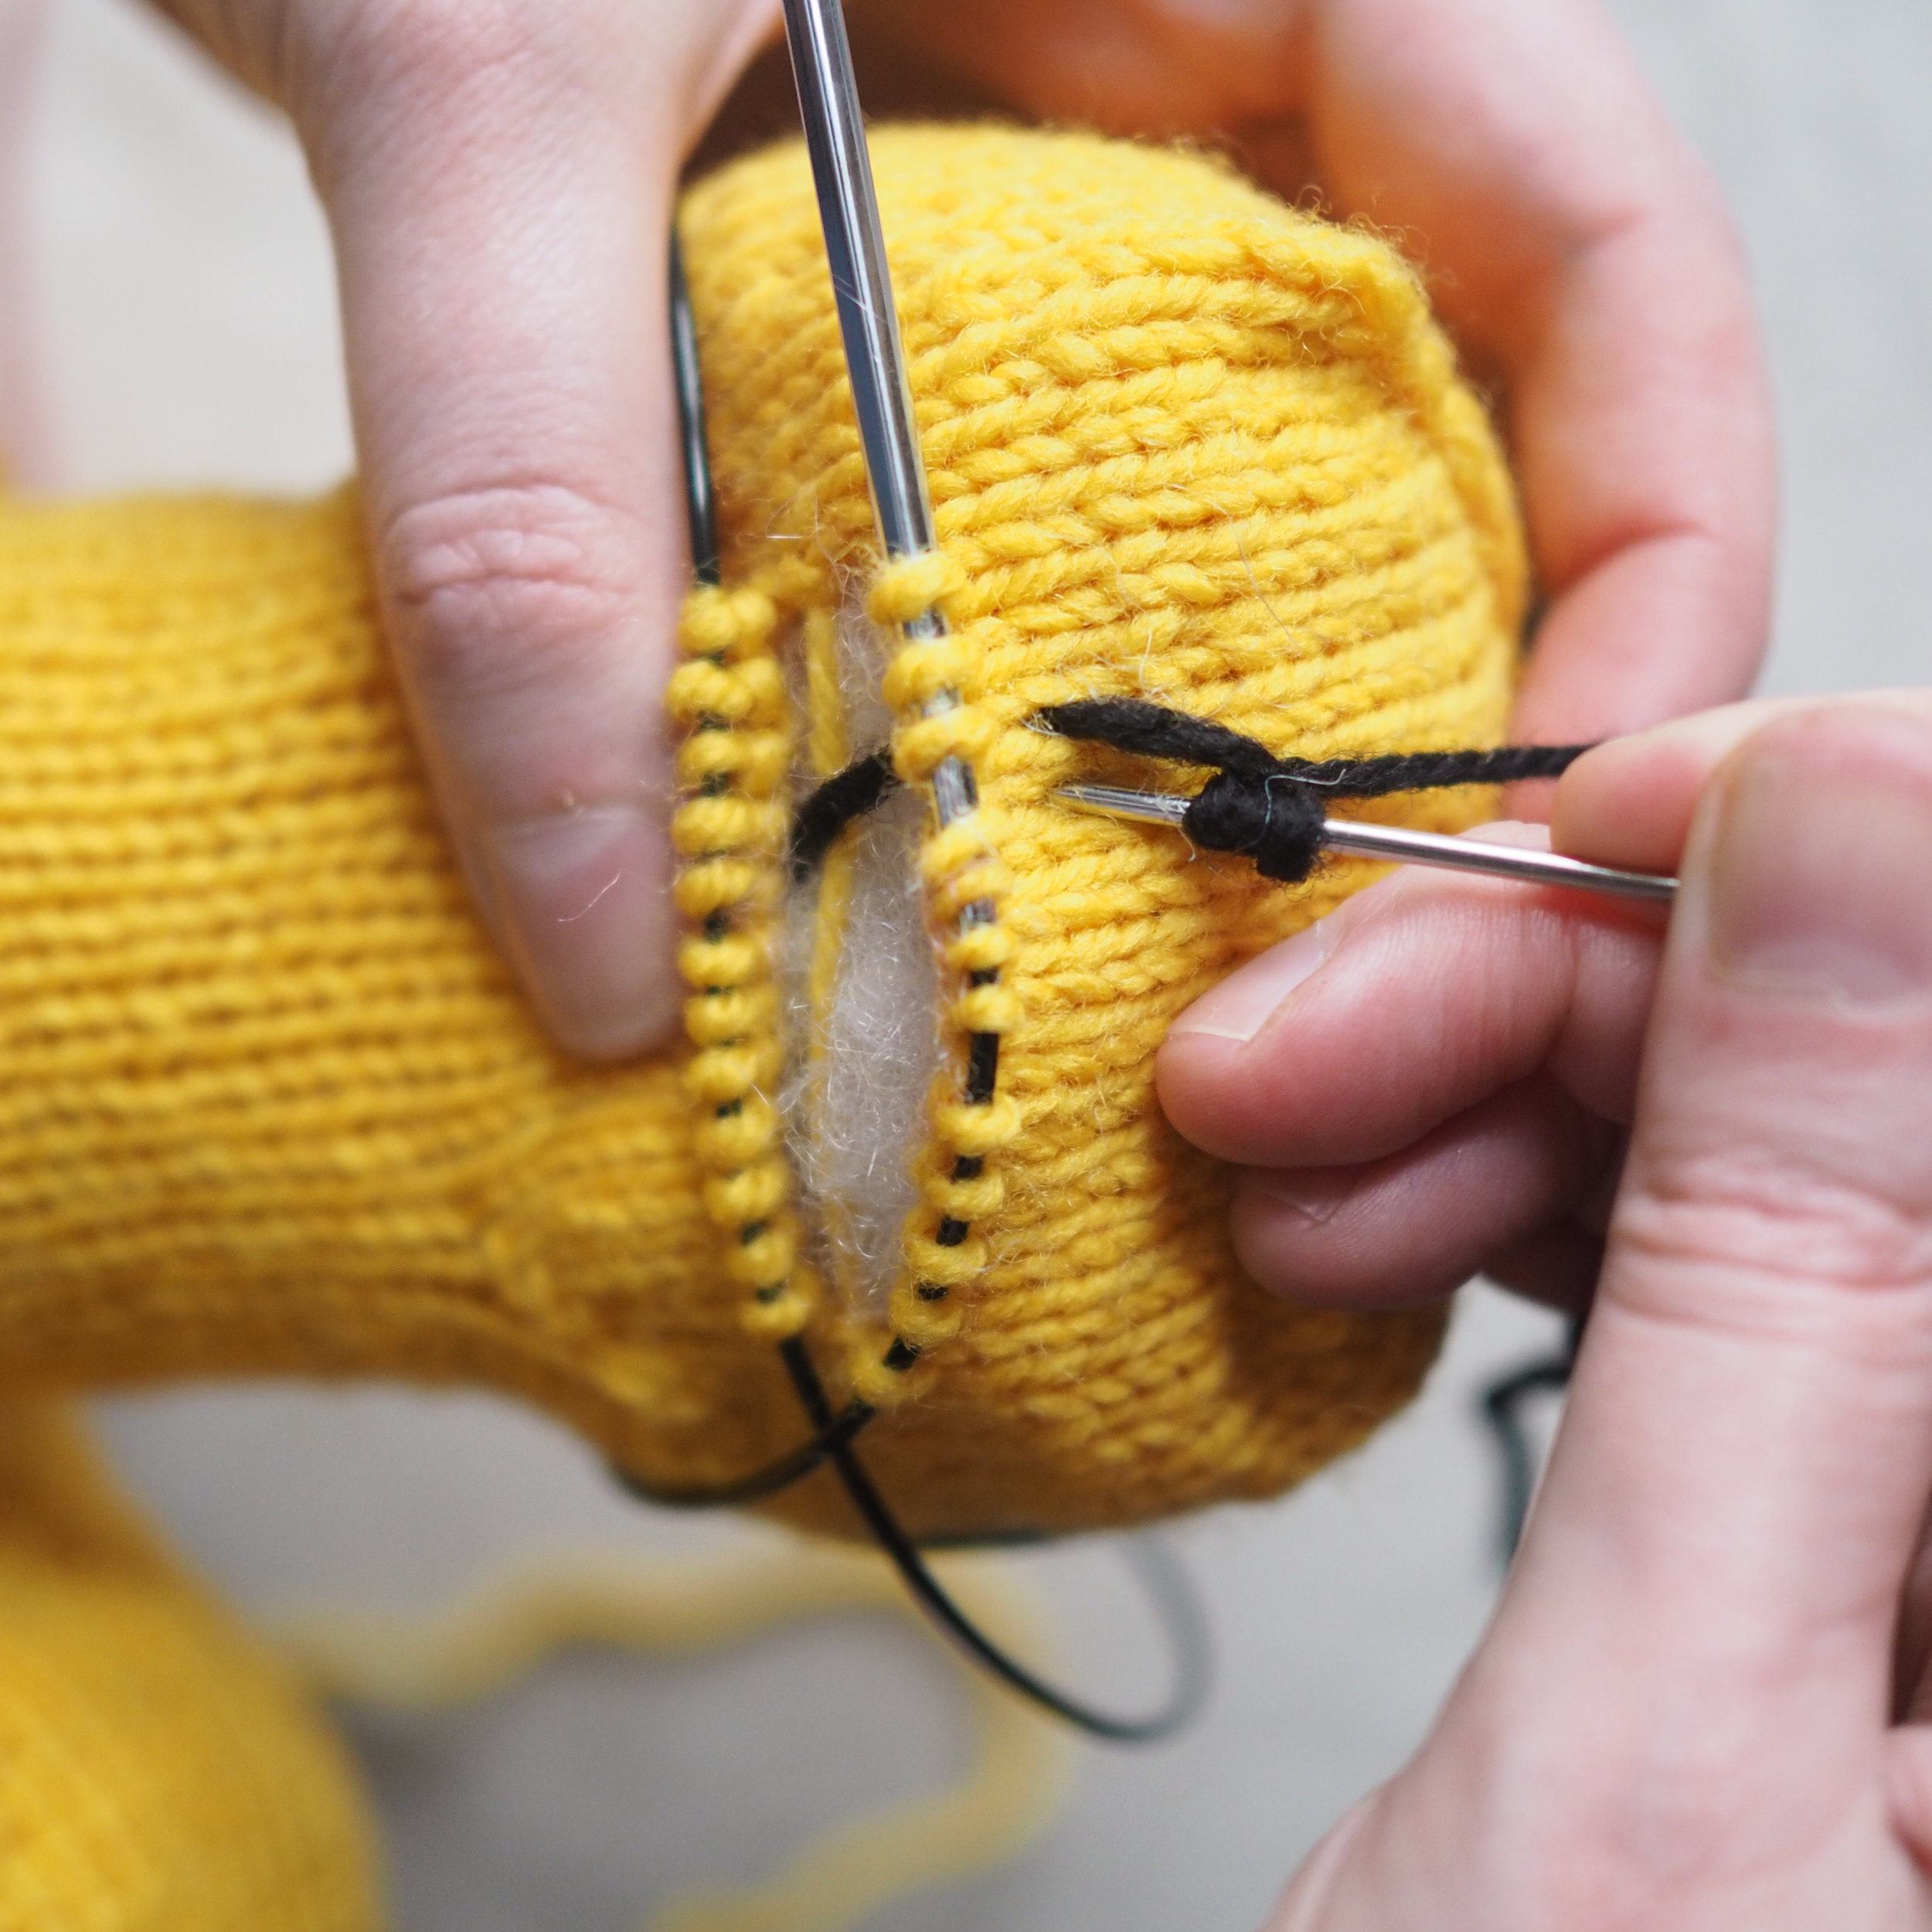
Make the facial features before you do (or at least graft shut) the beak, as it will be easier to hide the ends. 

  1. Secure thread at inside of head.
  2. Bring up needle through fabric at desired position.
  3. With needle pointing away from fabric, wrap thread around shank of needle 2-3 times. (The more wraps, the bigger the finished knot).
  4. Holding onto the yarn tail until it becomes too short, push the needle down through the fabric one half-stitch over from where it came up. Pull snugly against fabric.

Repeat steps 2-4 for second eye. You can also add eyebrows, eyelashes, etc. at this point.

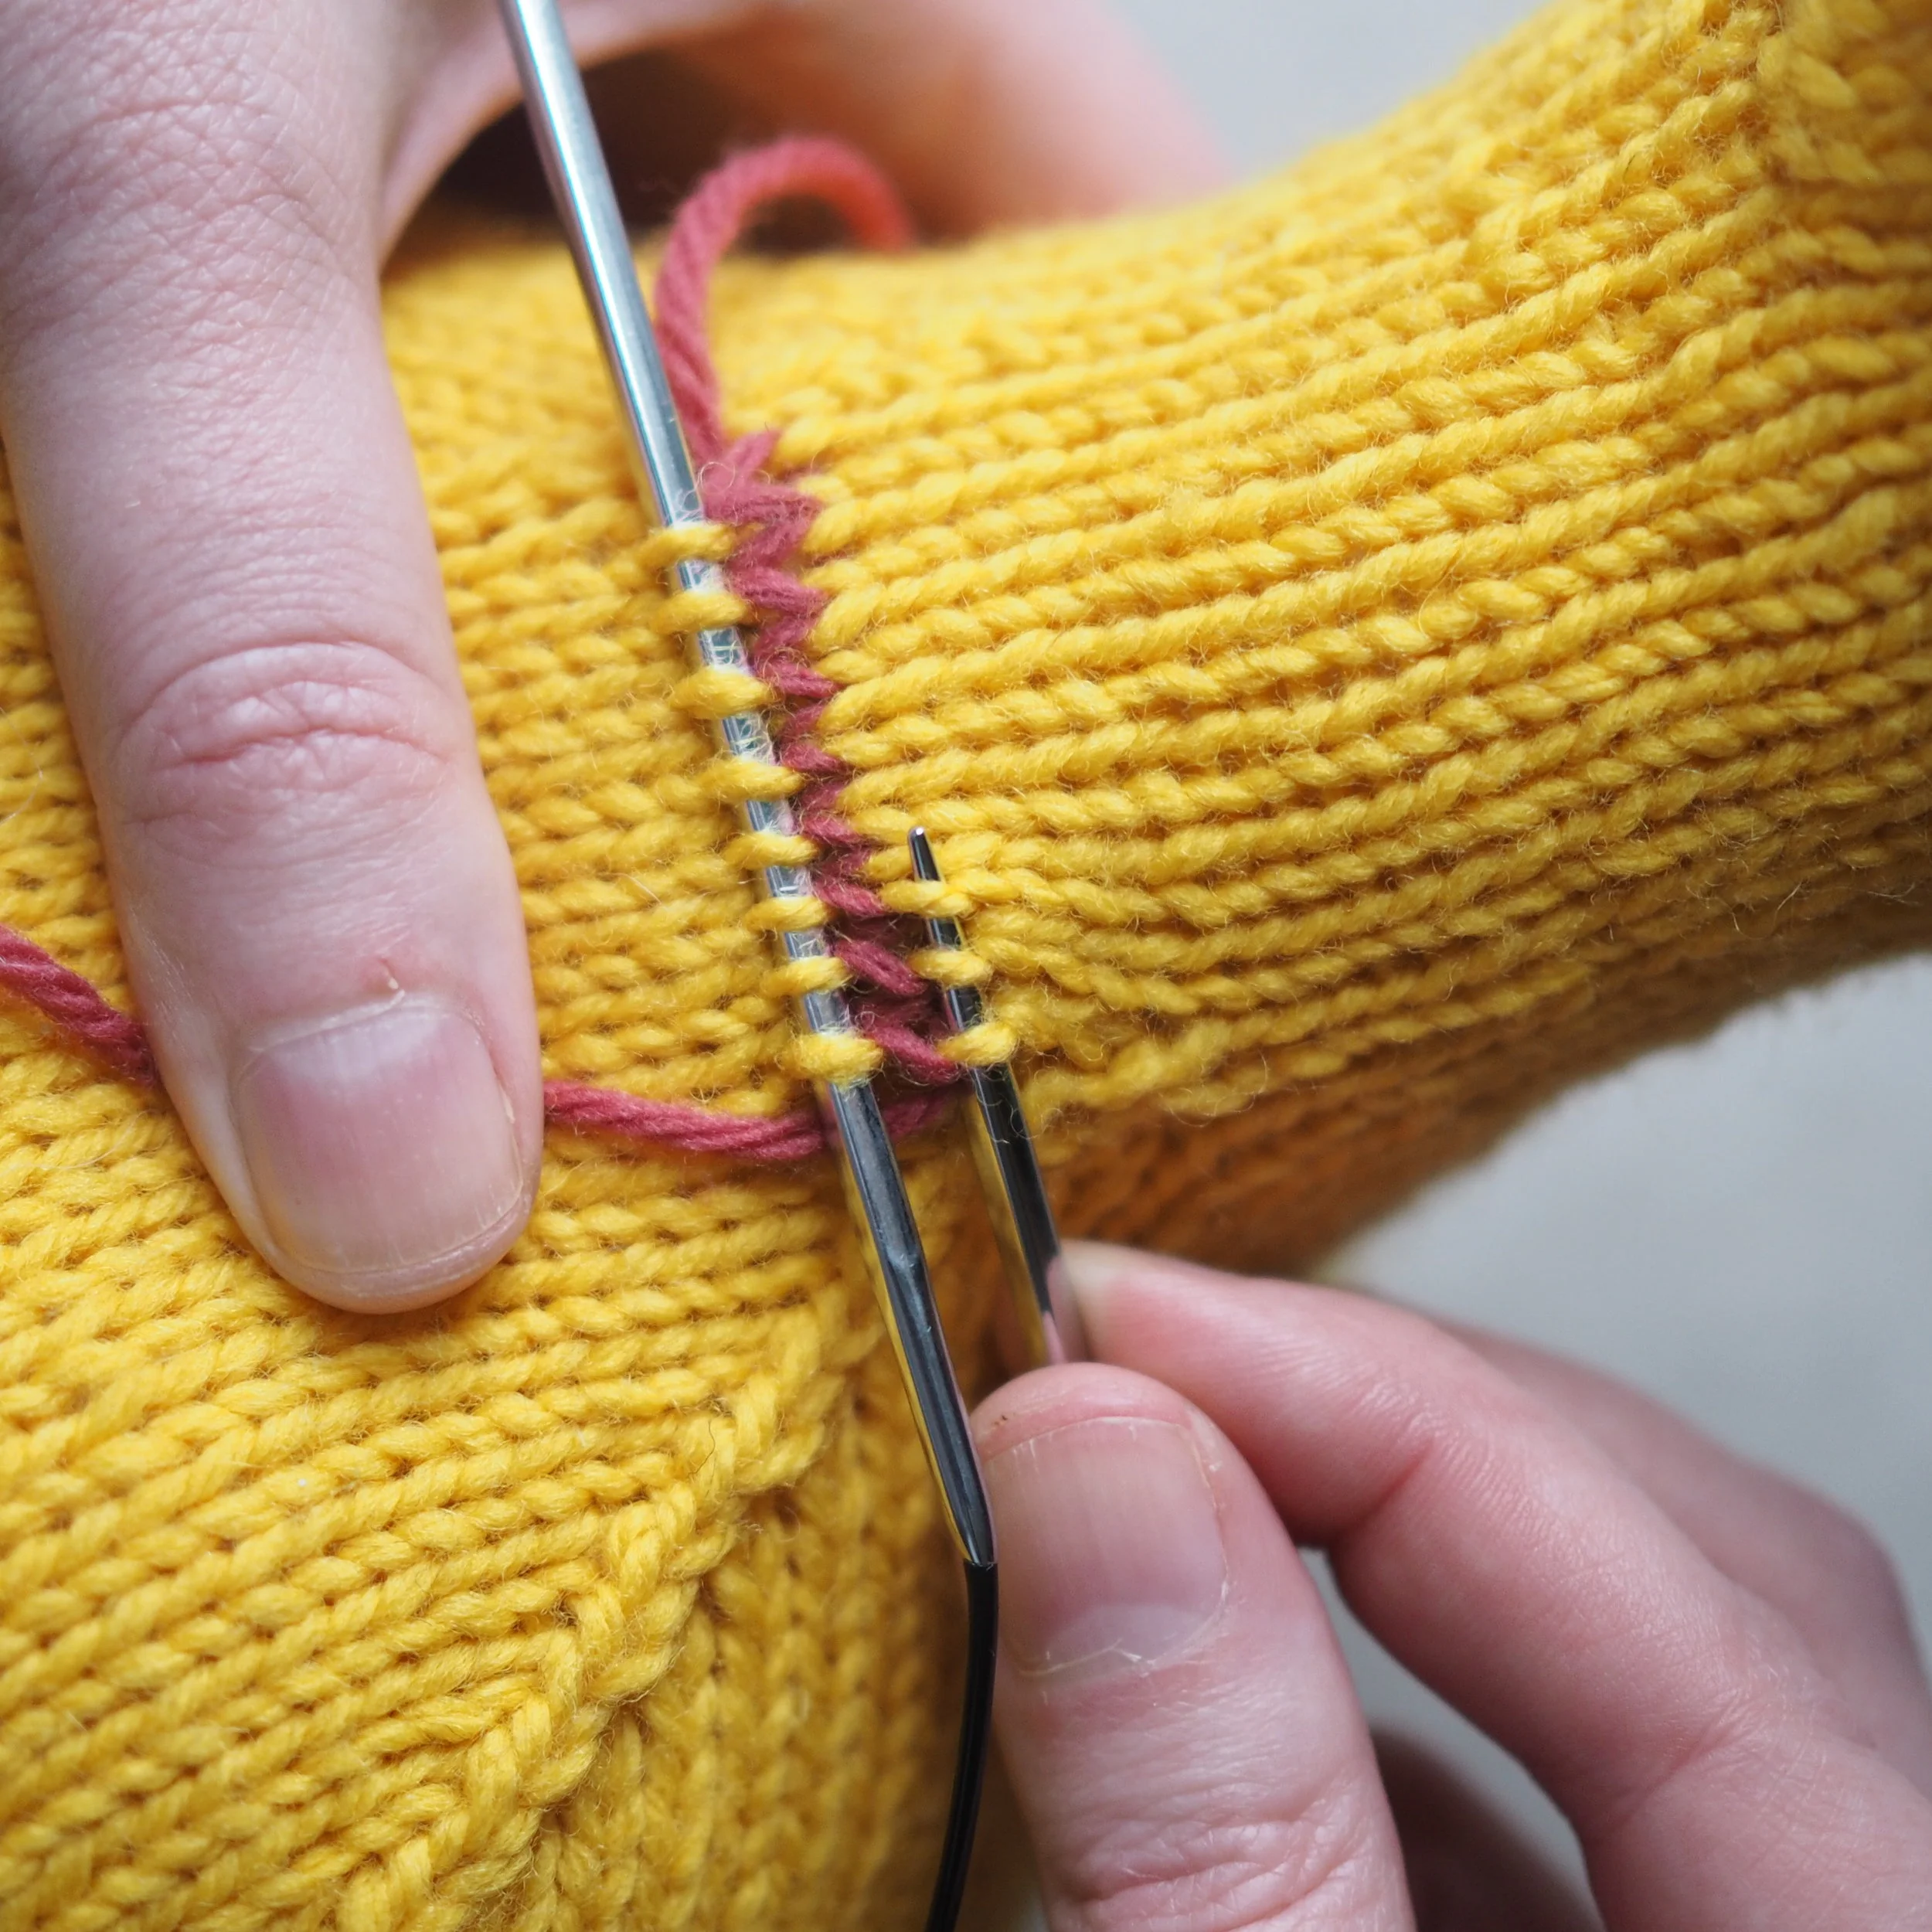
Grafting Openings Shut (Kitchener Stitch)

Kitchener Stitch is my favorite way to seamlessly close together these afterthought openings to do so:

  1. Cut the yarn, leaving a long tail and thread a tapestry needle.
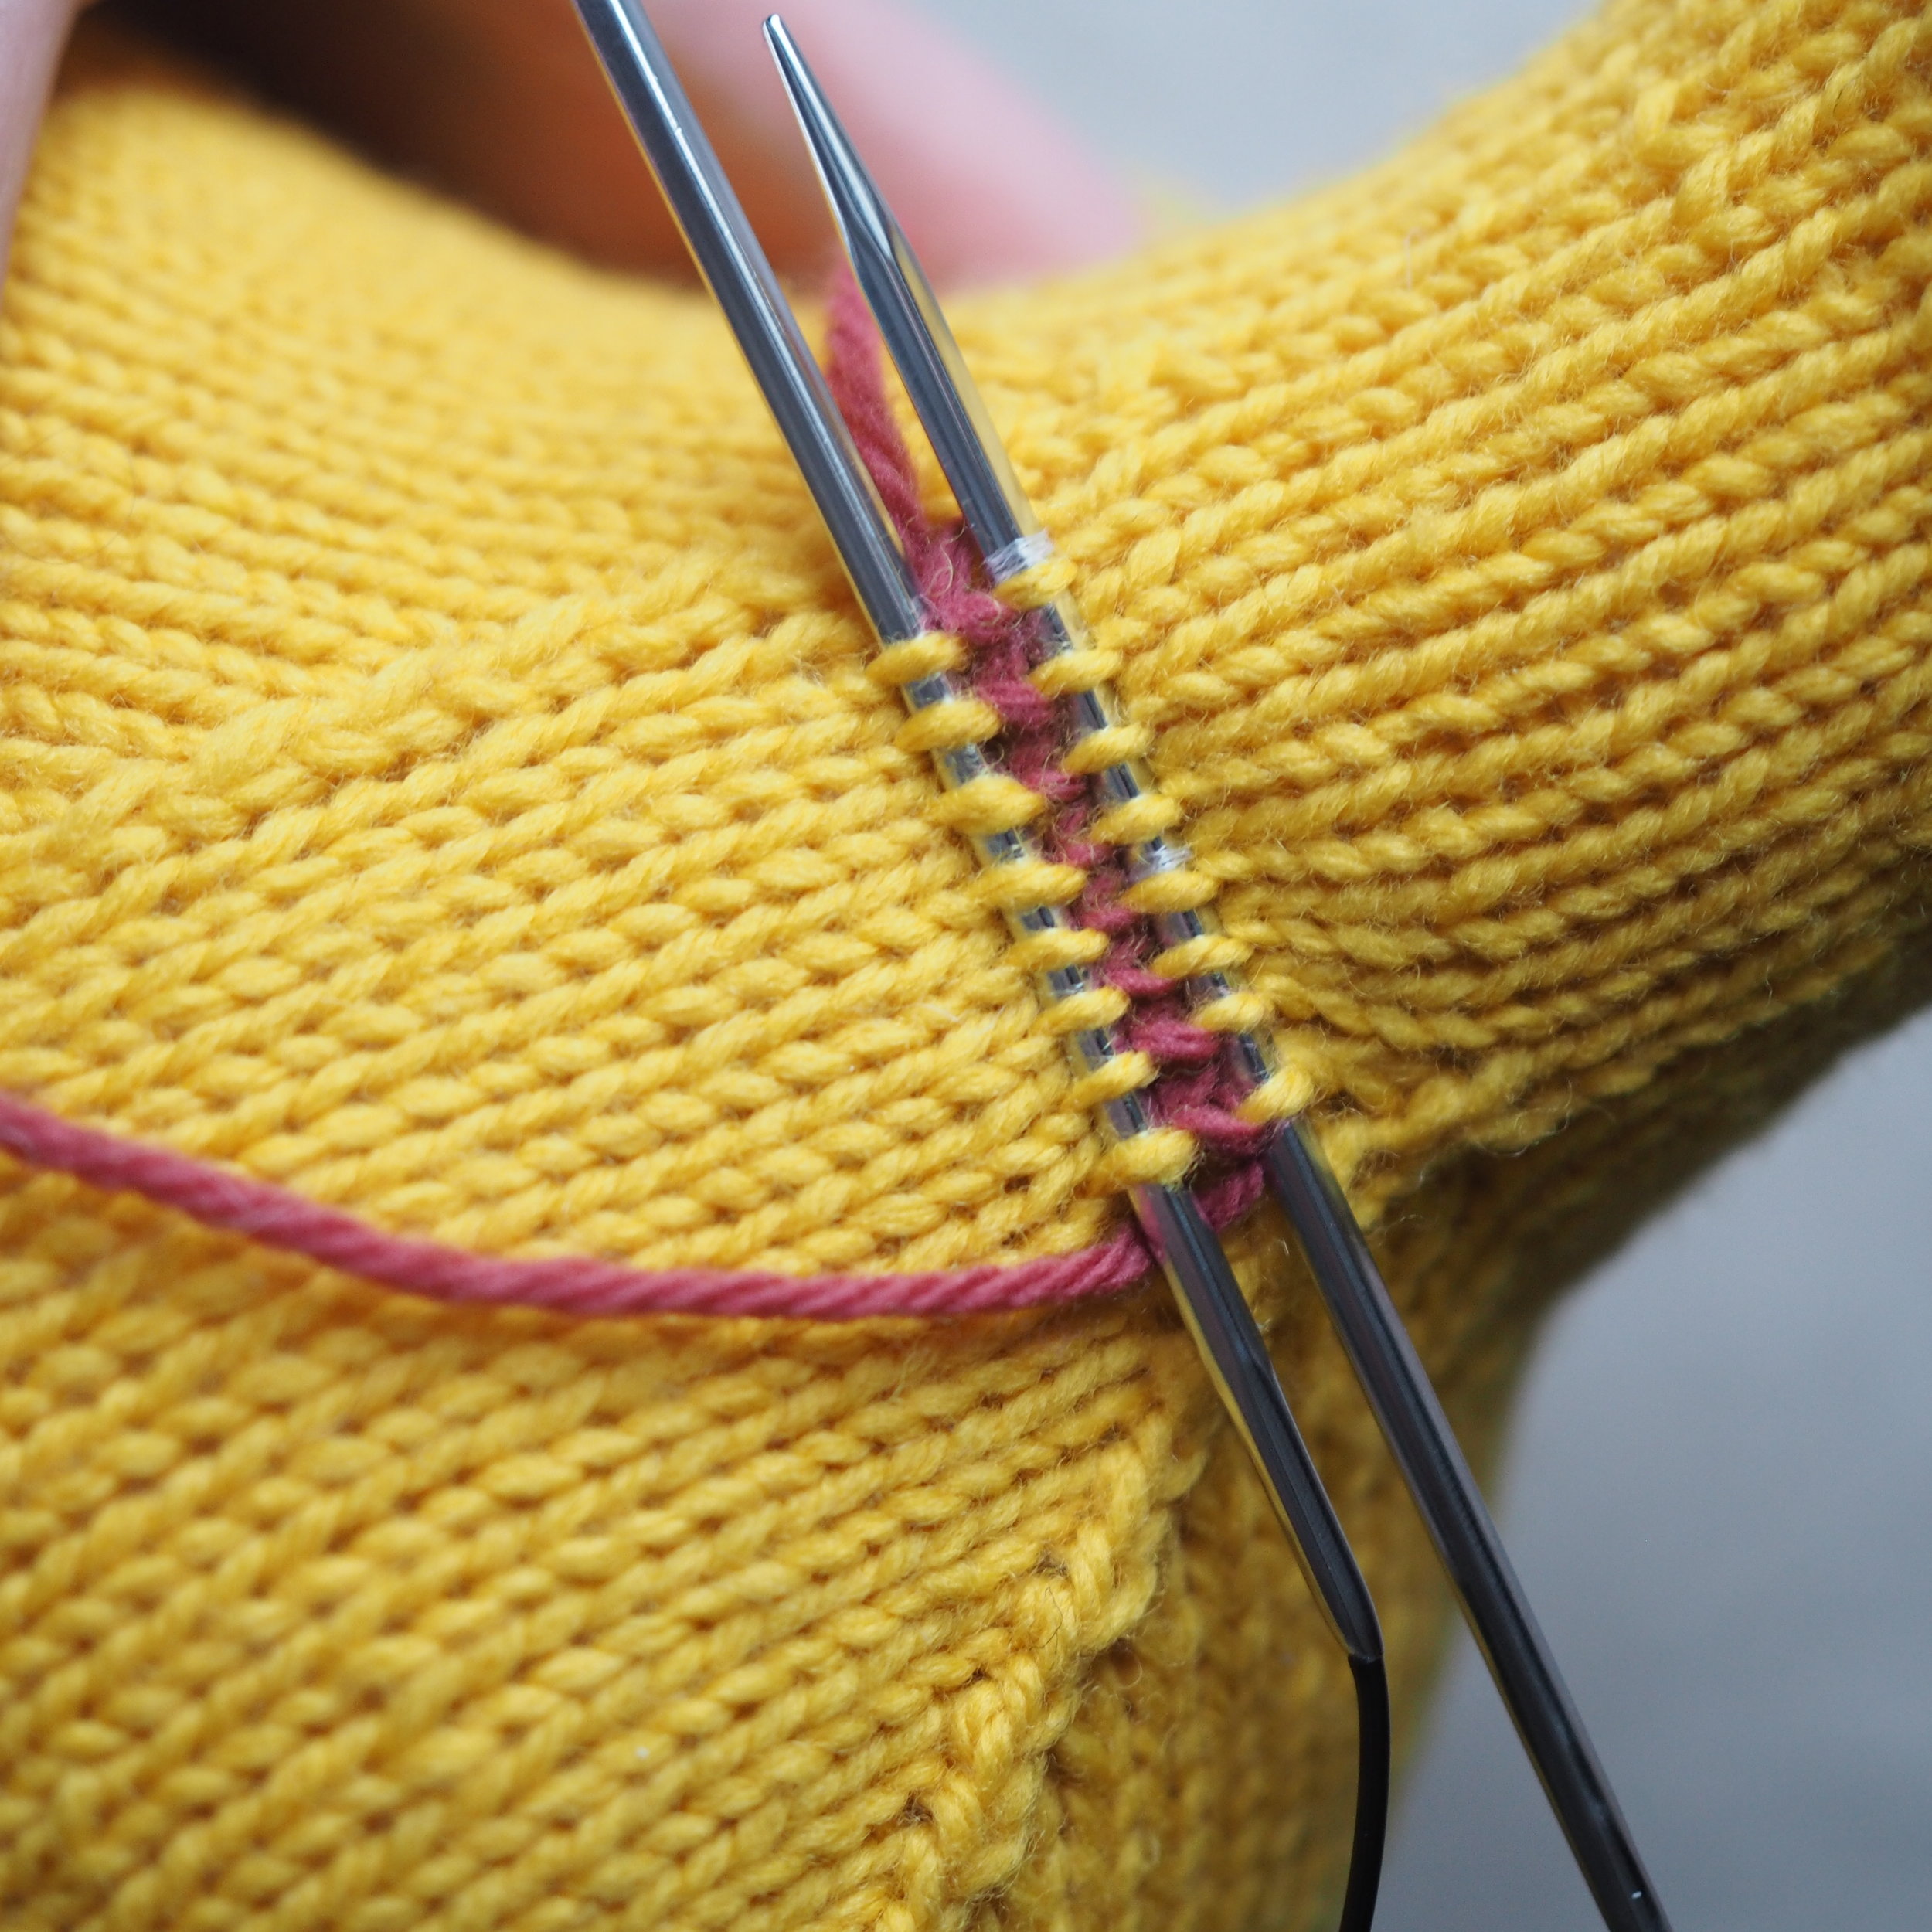
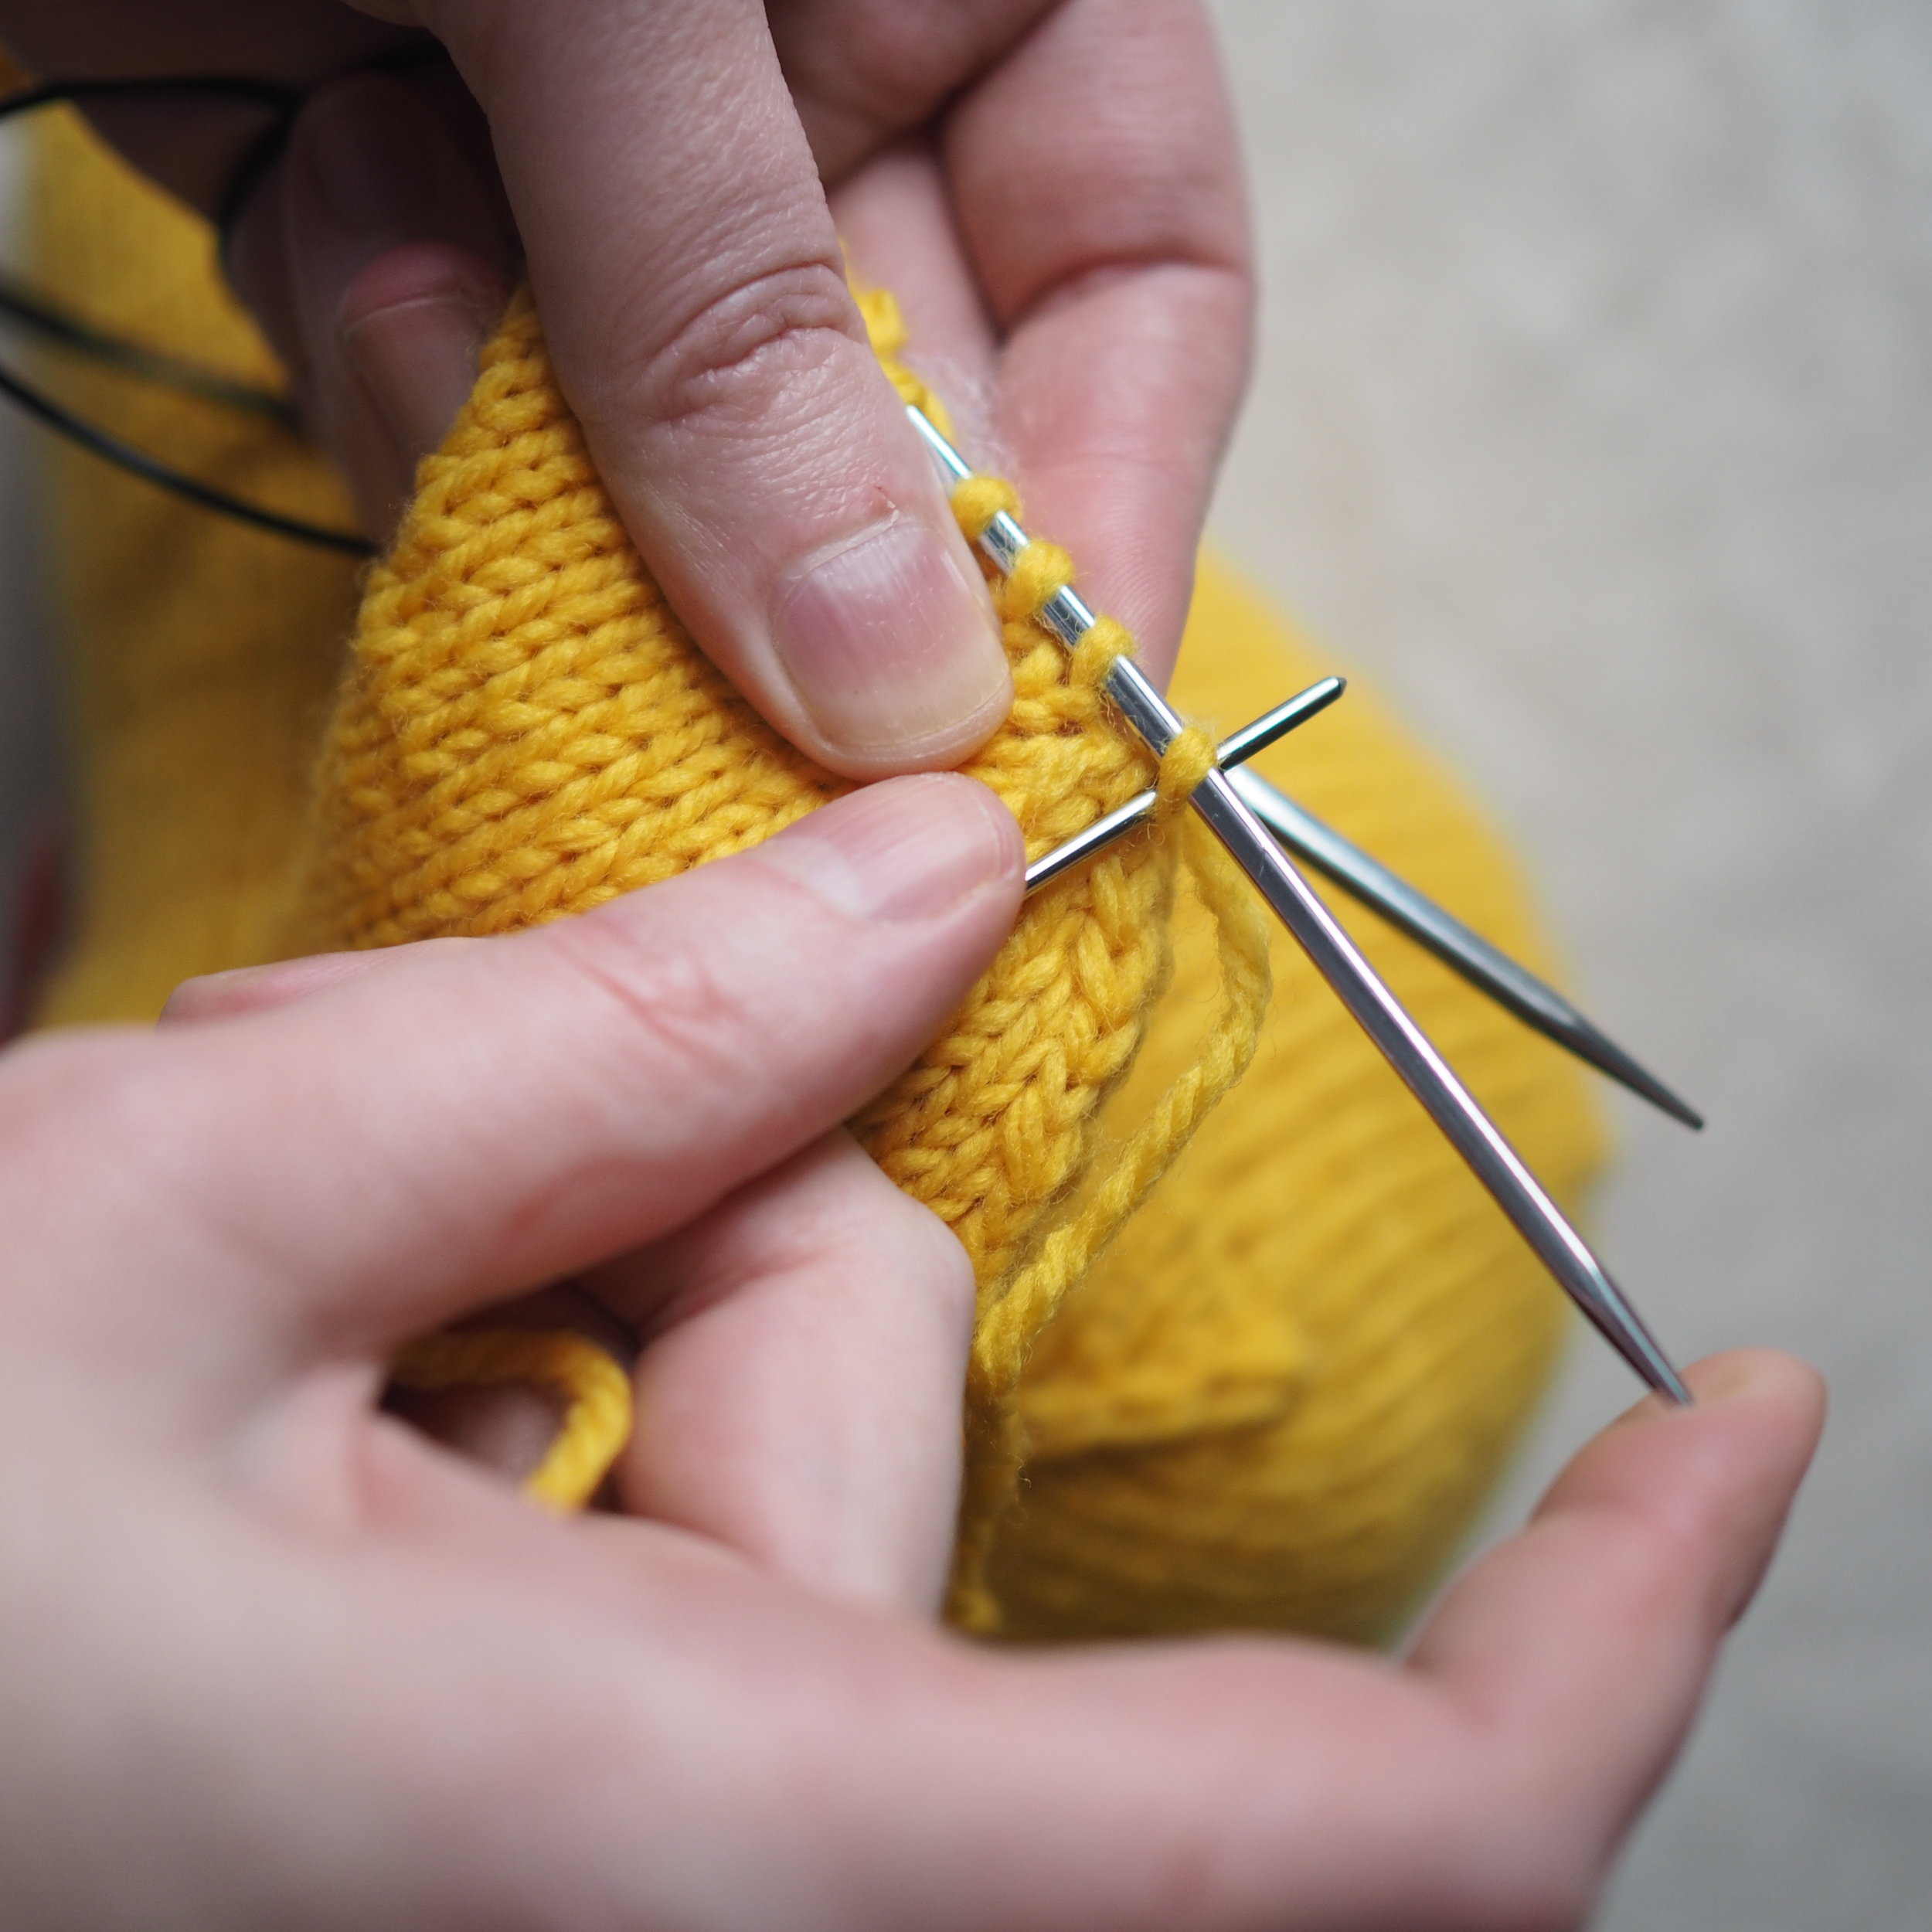
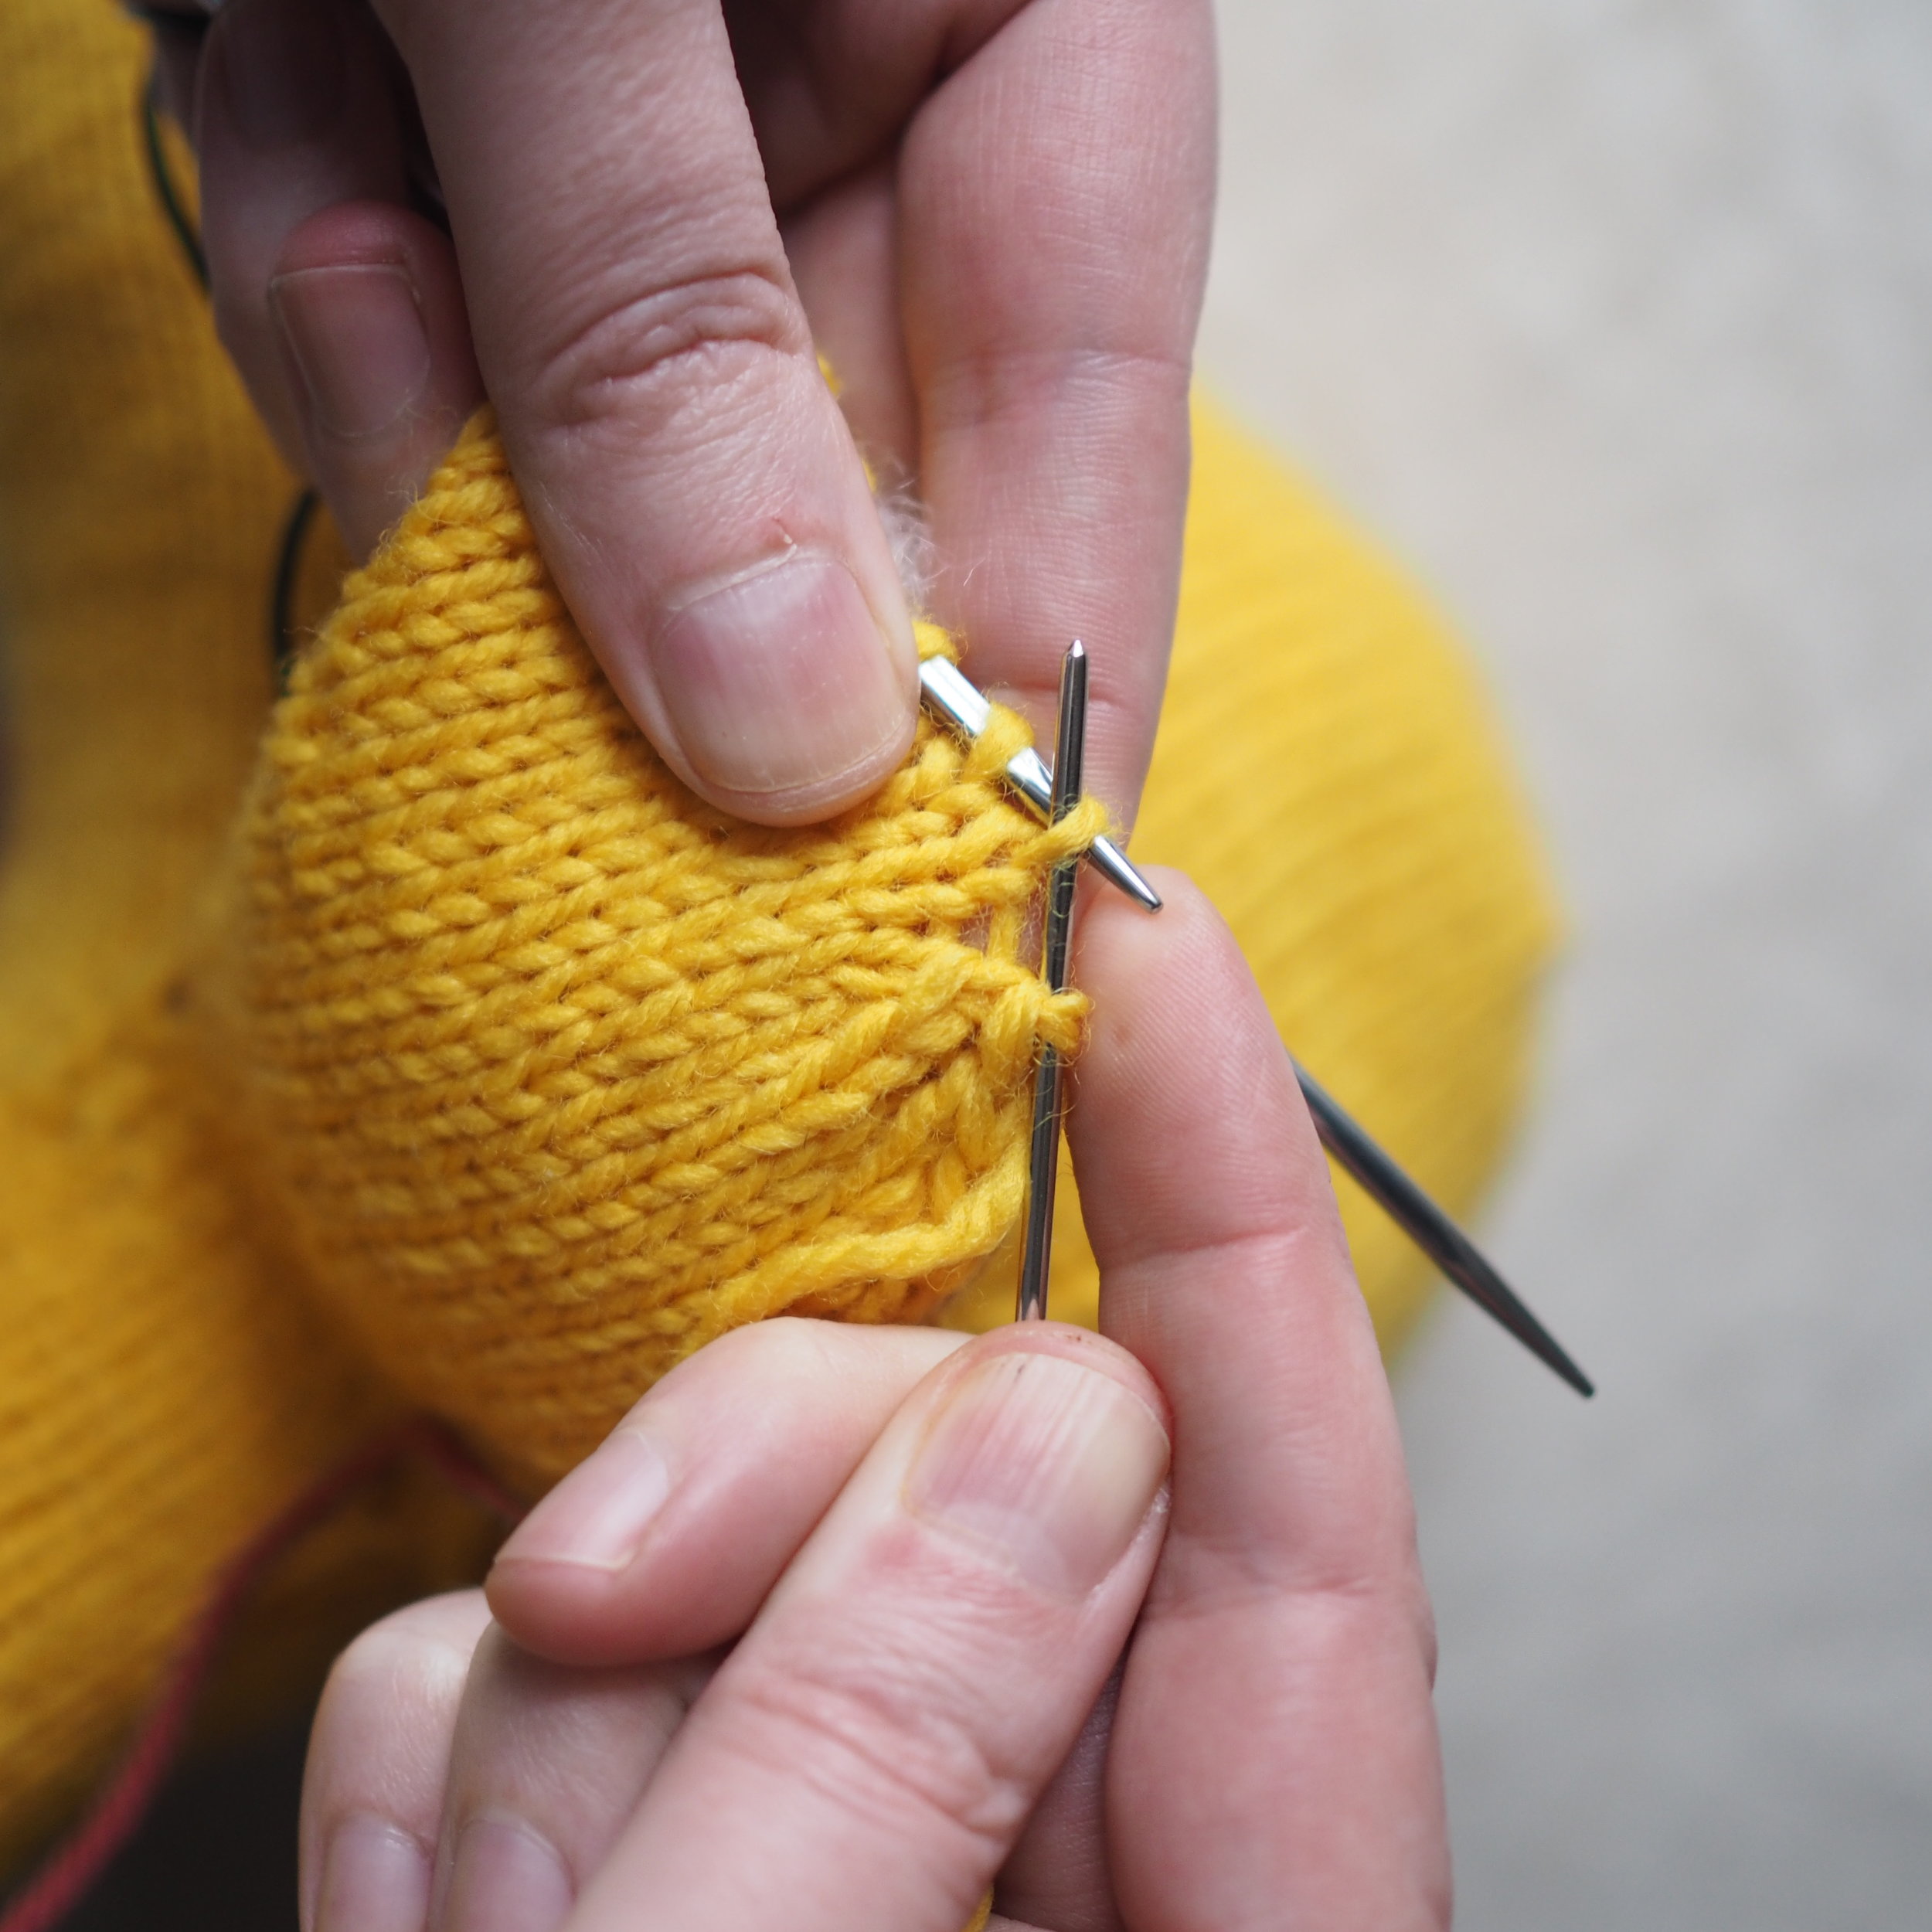
  2. Place all stitches on two needles, with an equal amount on each needle and the needle tips pointing right. 
  3. Put tapestry needle through first stitch on front needle (closest to you) as if to knit and pull tail through, removing the stitch off the knitting needle.
  4. Put tapestry needle through next stitch on front needle as if to purl. Pull tail through, but DO NOT remove stitch from knitting needle.
  5. Put tapestry needle through first stitch on back needle (farthest from you) as if to purl and pull tail through, removing the stitch off the knitting needle.
  6. Put tapestry needle through next stitch on back needle as if to knit. Pull tail through, but DO NOT remove stitch from knitting needle.

Repeat Steps 3-6 until all stitches have been grated together. Adjust tightness of tail so join is smooth before weaving in ends.

Domenic Duck Tutorial

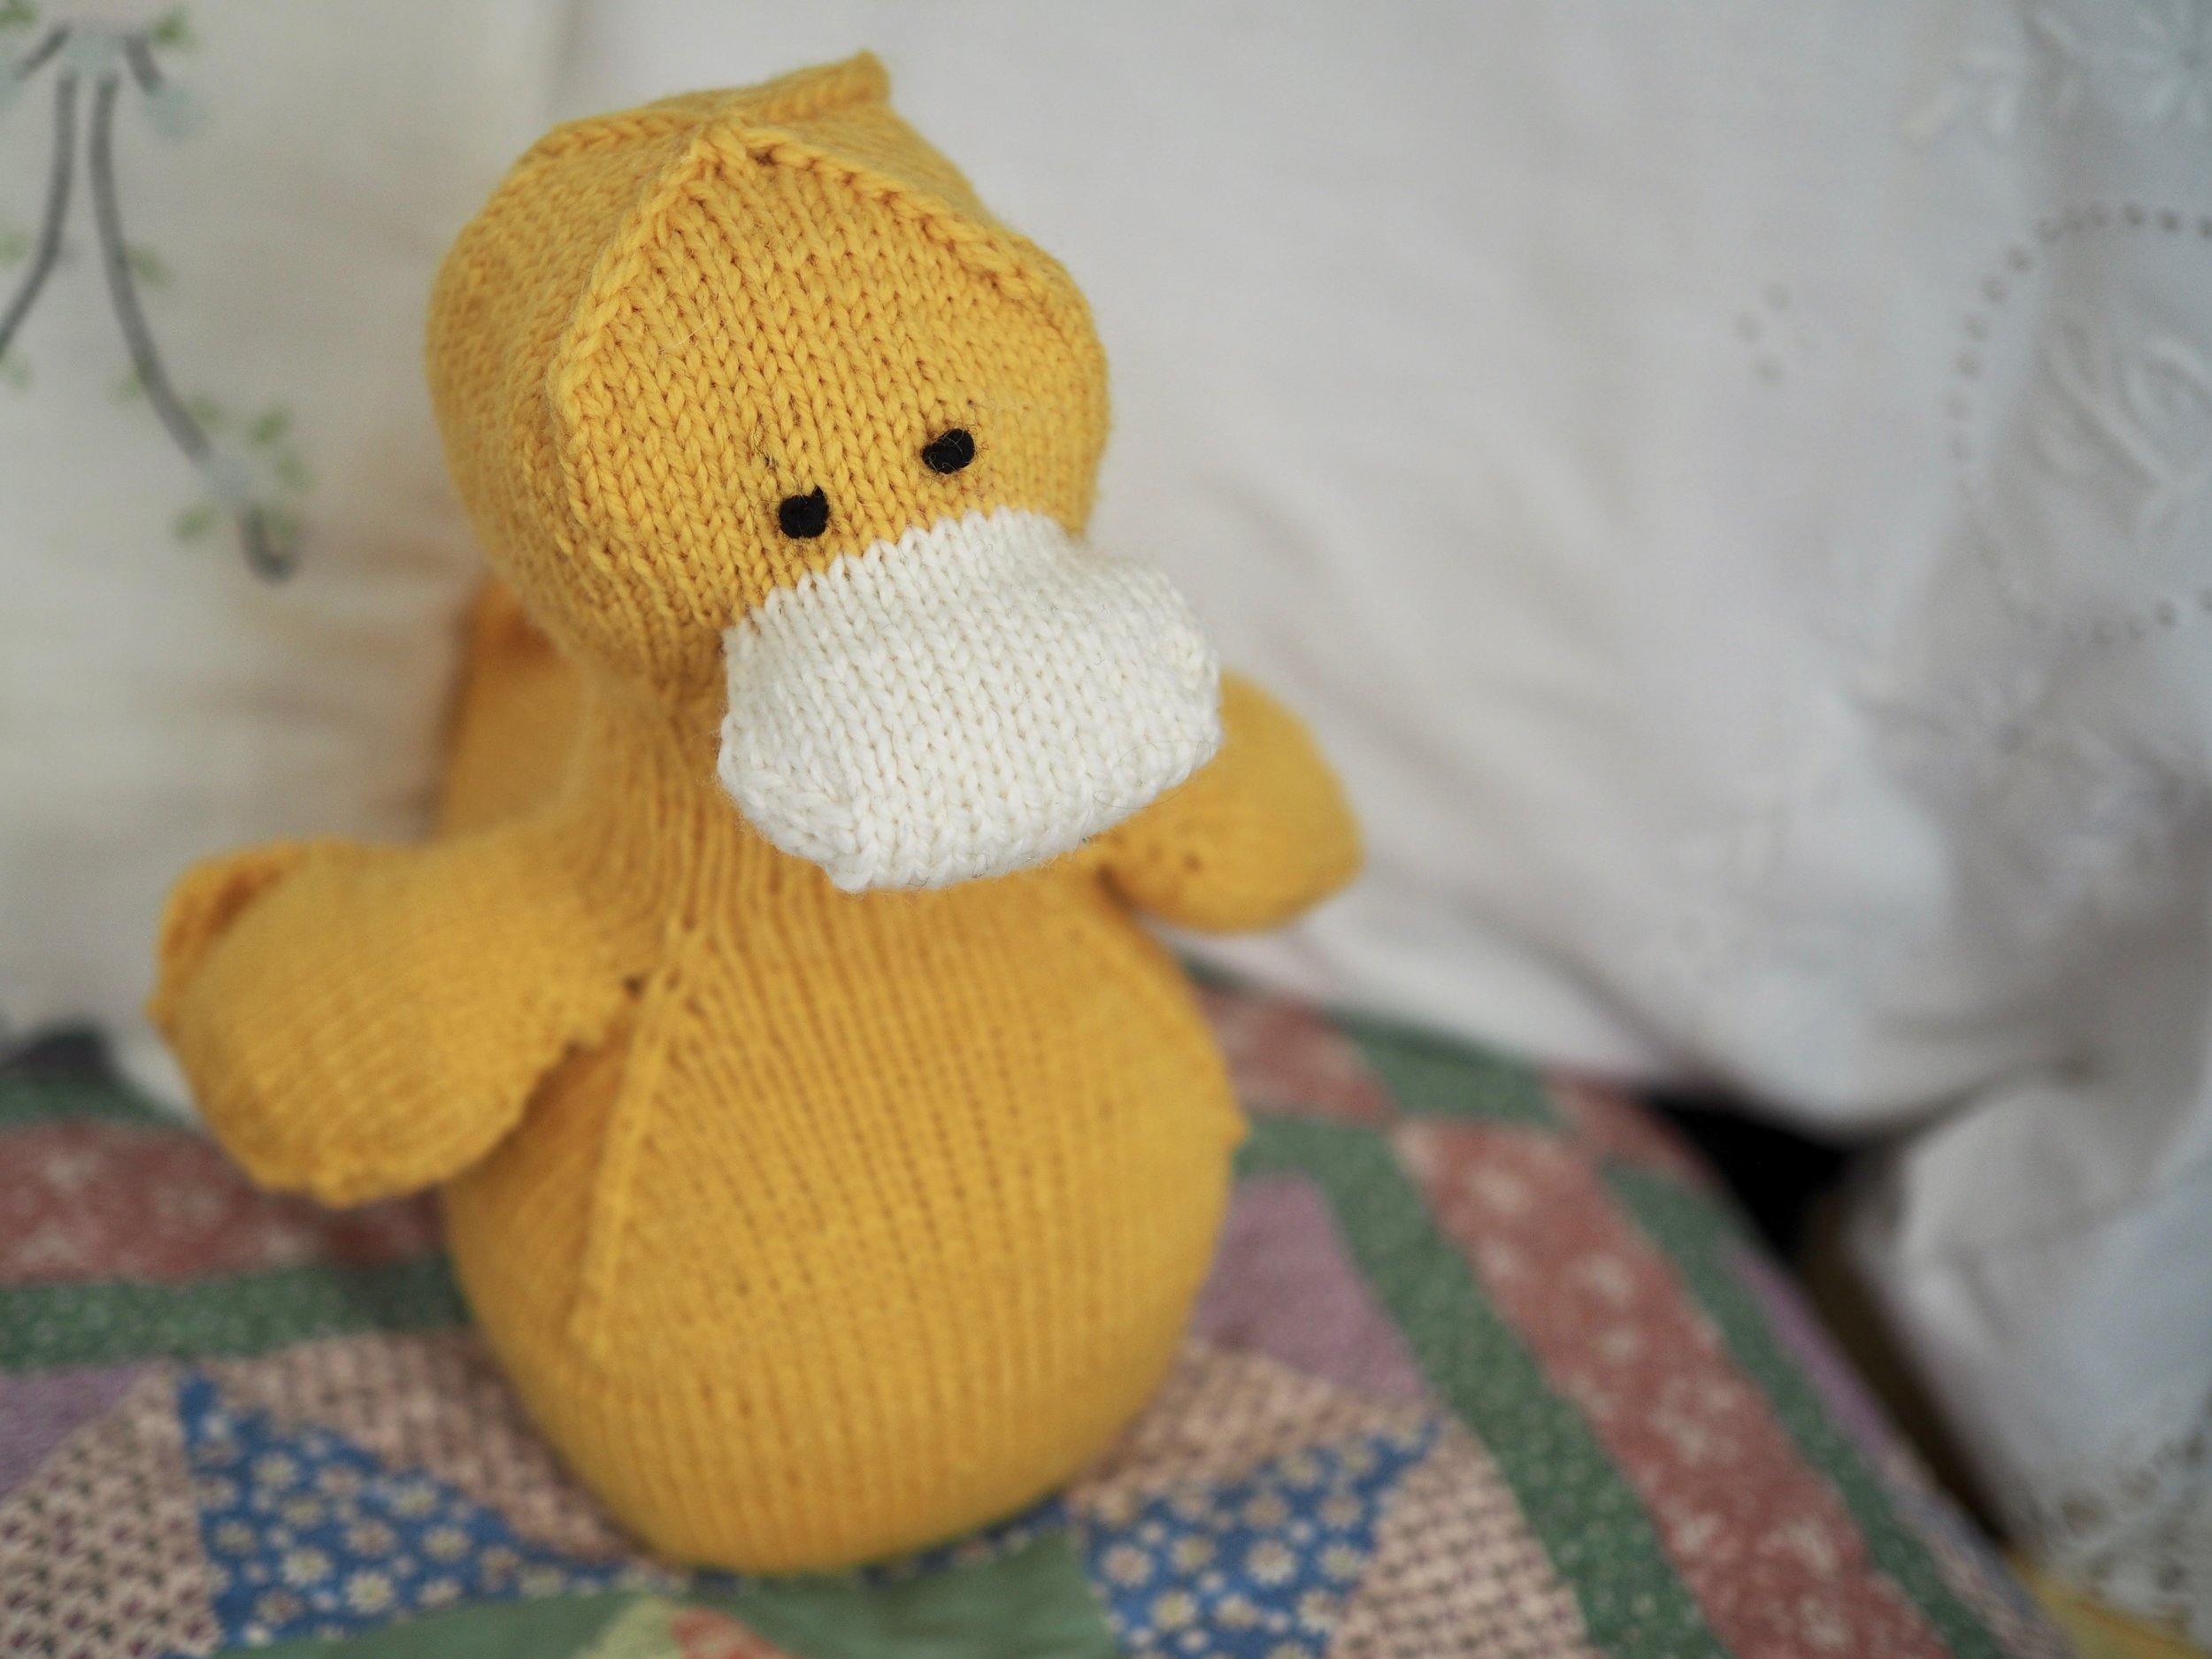
Congratulations! You now have all the techniques you need to finish your duck!! 

If you're on Instagram, please tag me @mscleaver or via #domenicKAL or post in the Ravelry Group by April 21st to be eligible to win prizes! 


Print Friendly and PDF Follow
follow us in feedly

Domenic Duck KAL - W&T Short Rows

Short rows are one of the most valuable shaping tools in a knitter's toolbox. With them you can turn heels, add bust darts, raise the back neck of a sweater, and make an adorably curly duck tail.

There are numerous ways to do short rows, but I'm sticking with the basic wrap and turn (W&T) version here. 

W&T Knitwise

  1. Knit number of stitches as indicated in pattern before wrap.
  2. To Wrap, slide next unknitted stitch to right hand needle, bring yarn to front, as if to purl.
  3. Slip st from right hand needle back to left hand needle, keeping yarn at front of work.
  4. Pull yarn to back of work. The first stitch on the left hand needle should now have a nice wrap around it.
  5. Turn work to opposite side, with yarn as to purl.

W&T Purlwise

  1. Purl number of stitches as indicated in pattern before wrap.
  2. To Wrap, slide next unworked stitch to right hand needle, bring yarn to back, as if to knit.
  3. Slip st from right hand needle back to left hand needle, keeping yarn at back of work.
  4. Pull yarn to front of work. The first stitch on the left hand needle should now have a nice wrap around it.
  5. Turn work to opposite side, with yarn as to knit.

As you work the short rows across the tail, you'll start to form a triangle shape at one end, with a neat little wrap around each stitch.

Curling the Tail

To give the tail it's adorable curl, the outside is going to need to be longer the the inner part of the curl. So you'll need to work a few short rows where the row stays the same length/doesn't get shorter. In this case, you will be re-wrapping a stitch you've already wrapped once. 

Picking up the Wraps

Depending of the short row, you may have one, two, or three wraps to pick up as you work your way back out to longer rows. 

Knitwise

  1. Knit to first wrapped stitch. 
  2. Using the right hand needle, pick up all wraps and slide them onto the left hand needle, making sure not to drop the original stitch that was wrapped.
  3. Knit through the stitch with all its wraps. This may be a k2tog, k3tog, or k4tog, depending on the number of wraps. 

Purlwise

  1. Purl to first wrapped stitch. 
  2. Using the right hand needle, pick up all wraps and slide them onto the left hand needle, making sure not to drop the original stitch that was wrapped.
  3. Purl through the stitch with all its wraps. This may be a p2tog, p3tog, or p4tog, depending on the number of wraps. 

As you work the short rows back out, you'll close off the top of the triangle and have and cute little tail! Your project will also look like a shoe for a wide-footed gnome. 

Up next: shaping the neck and setting up for afterthought appendages. 


Print Friendly and PDF Follow
follow us in feedly

Domenic Duck KAL - Joining in the Round, KFBs, and Building a Base

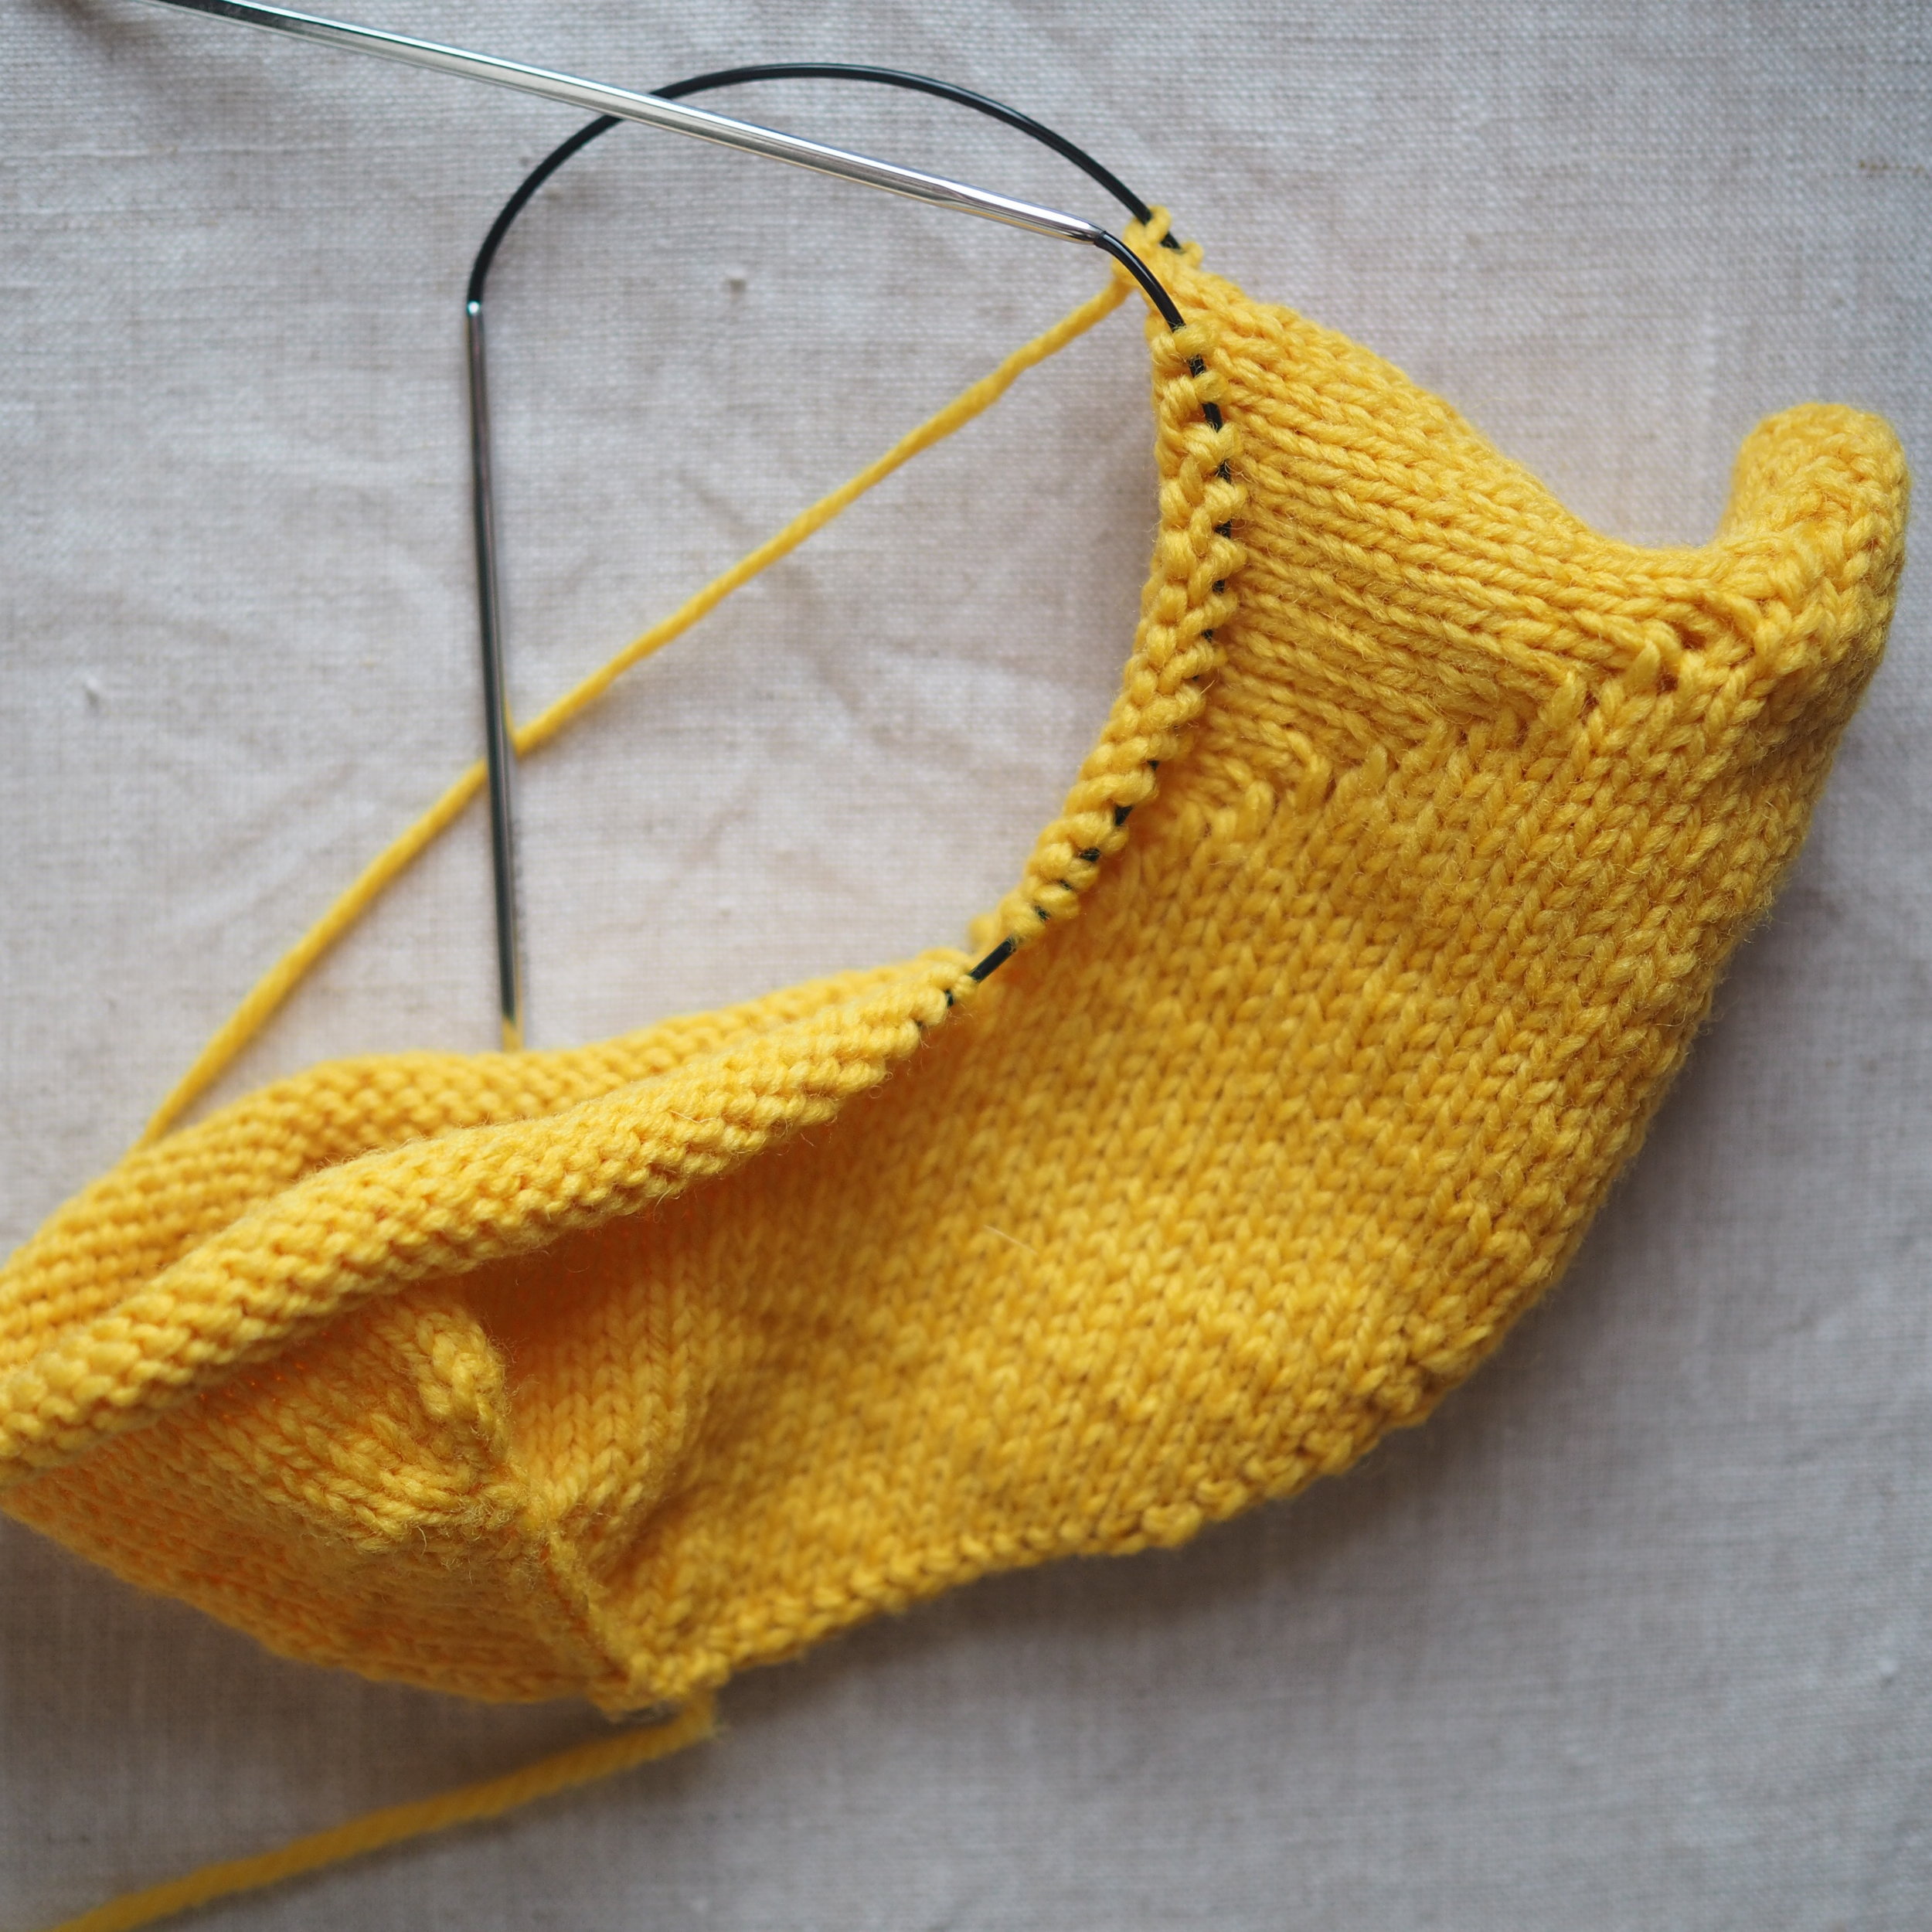
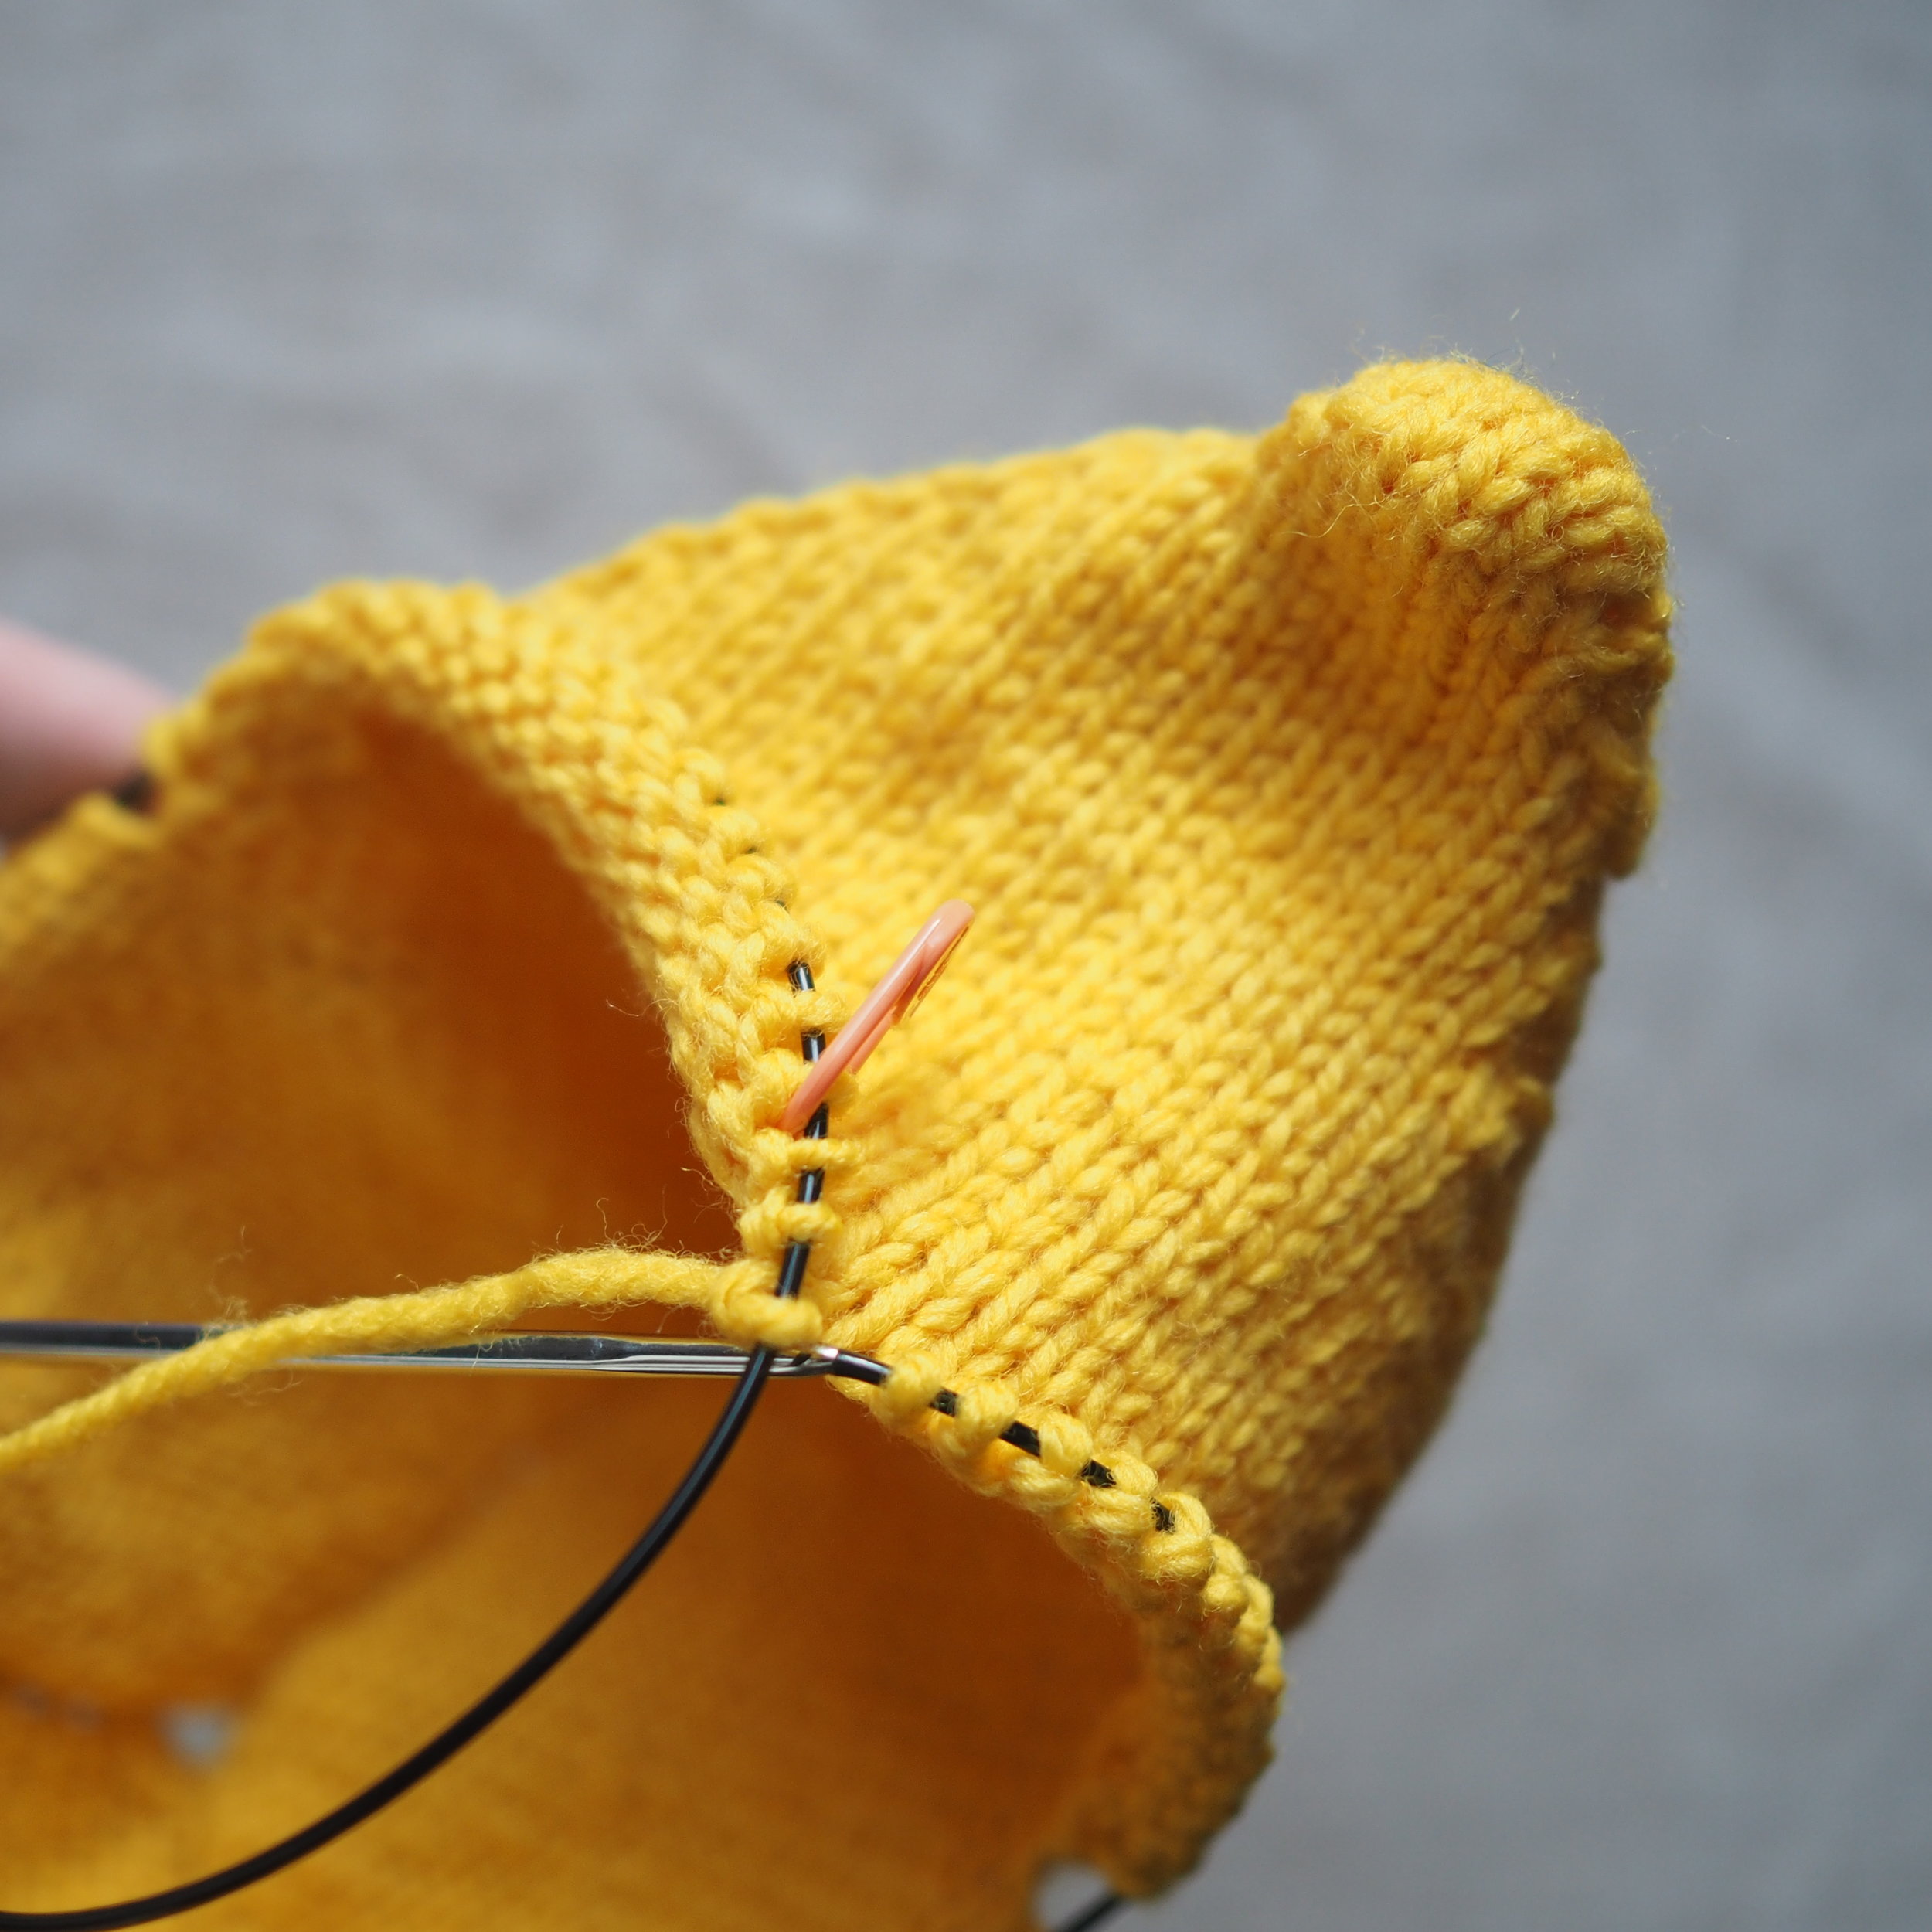
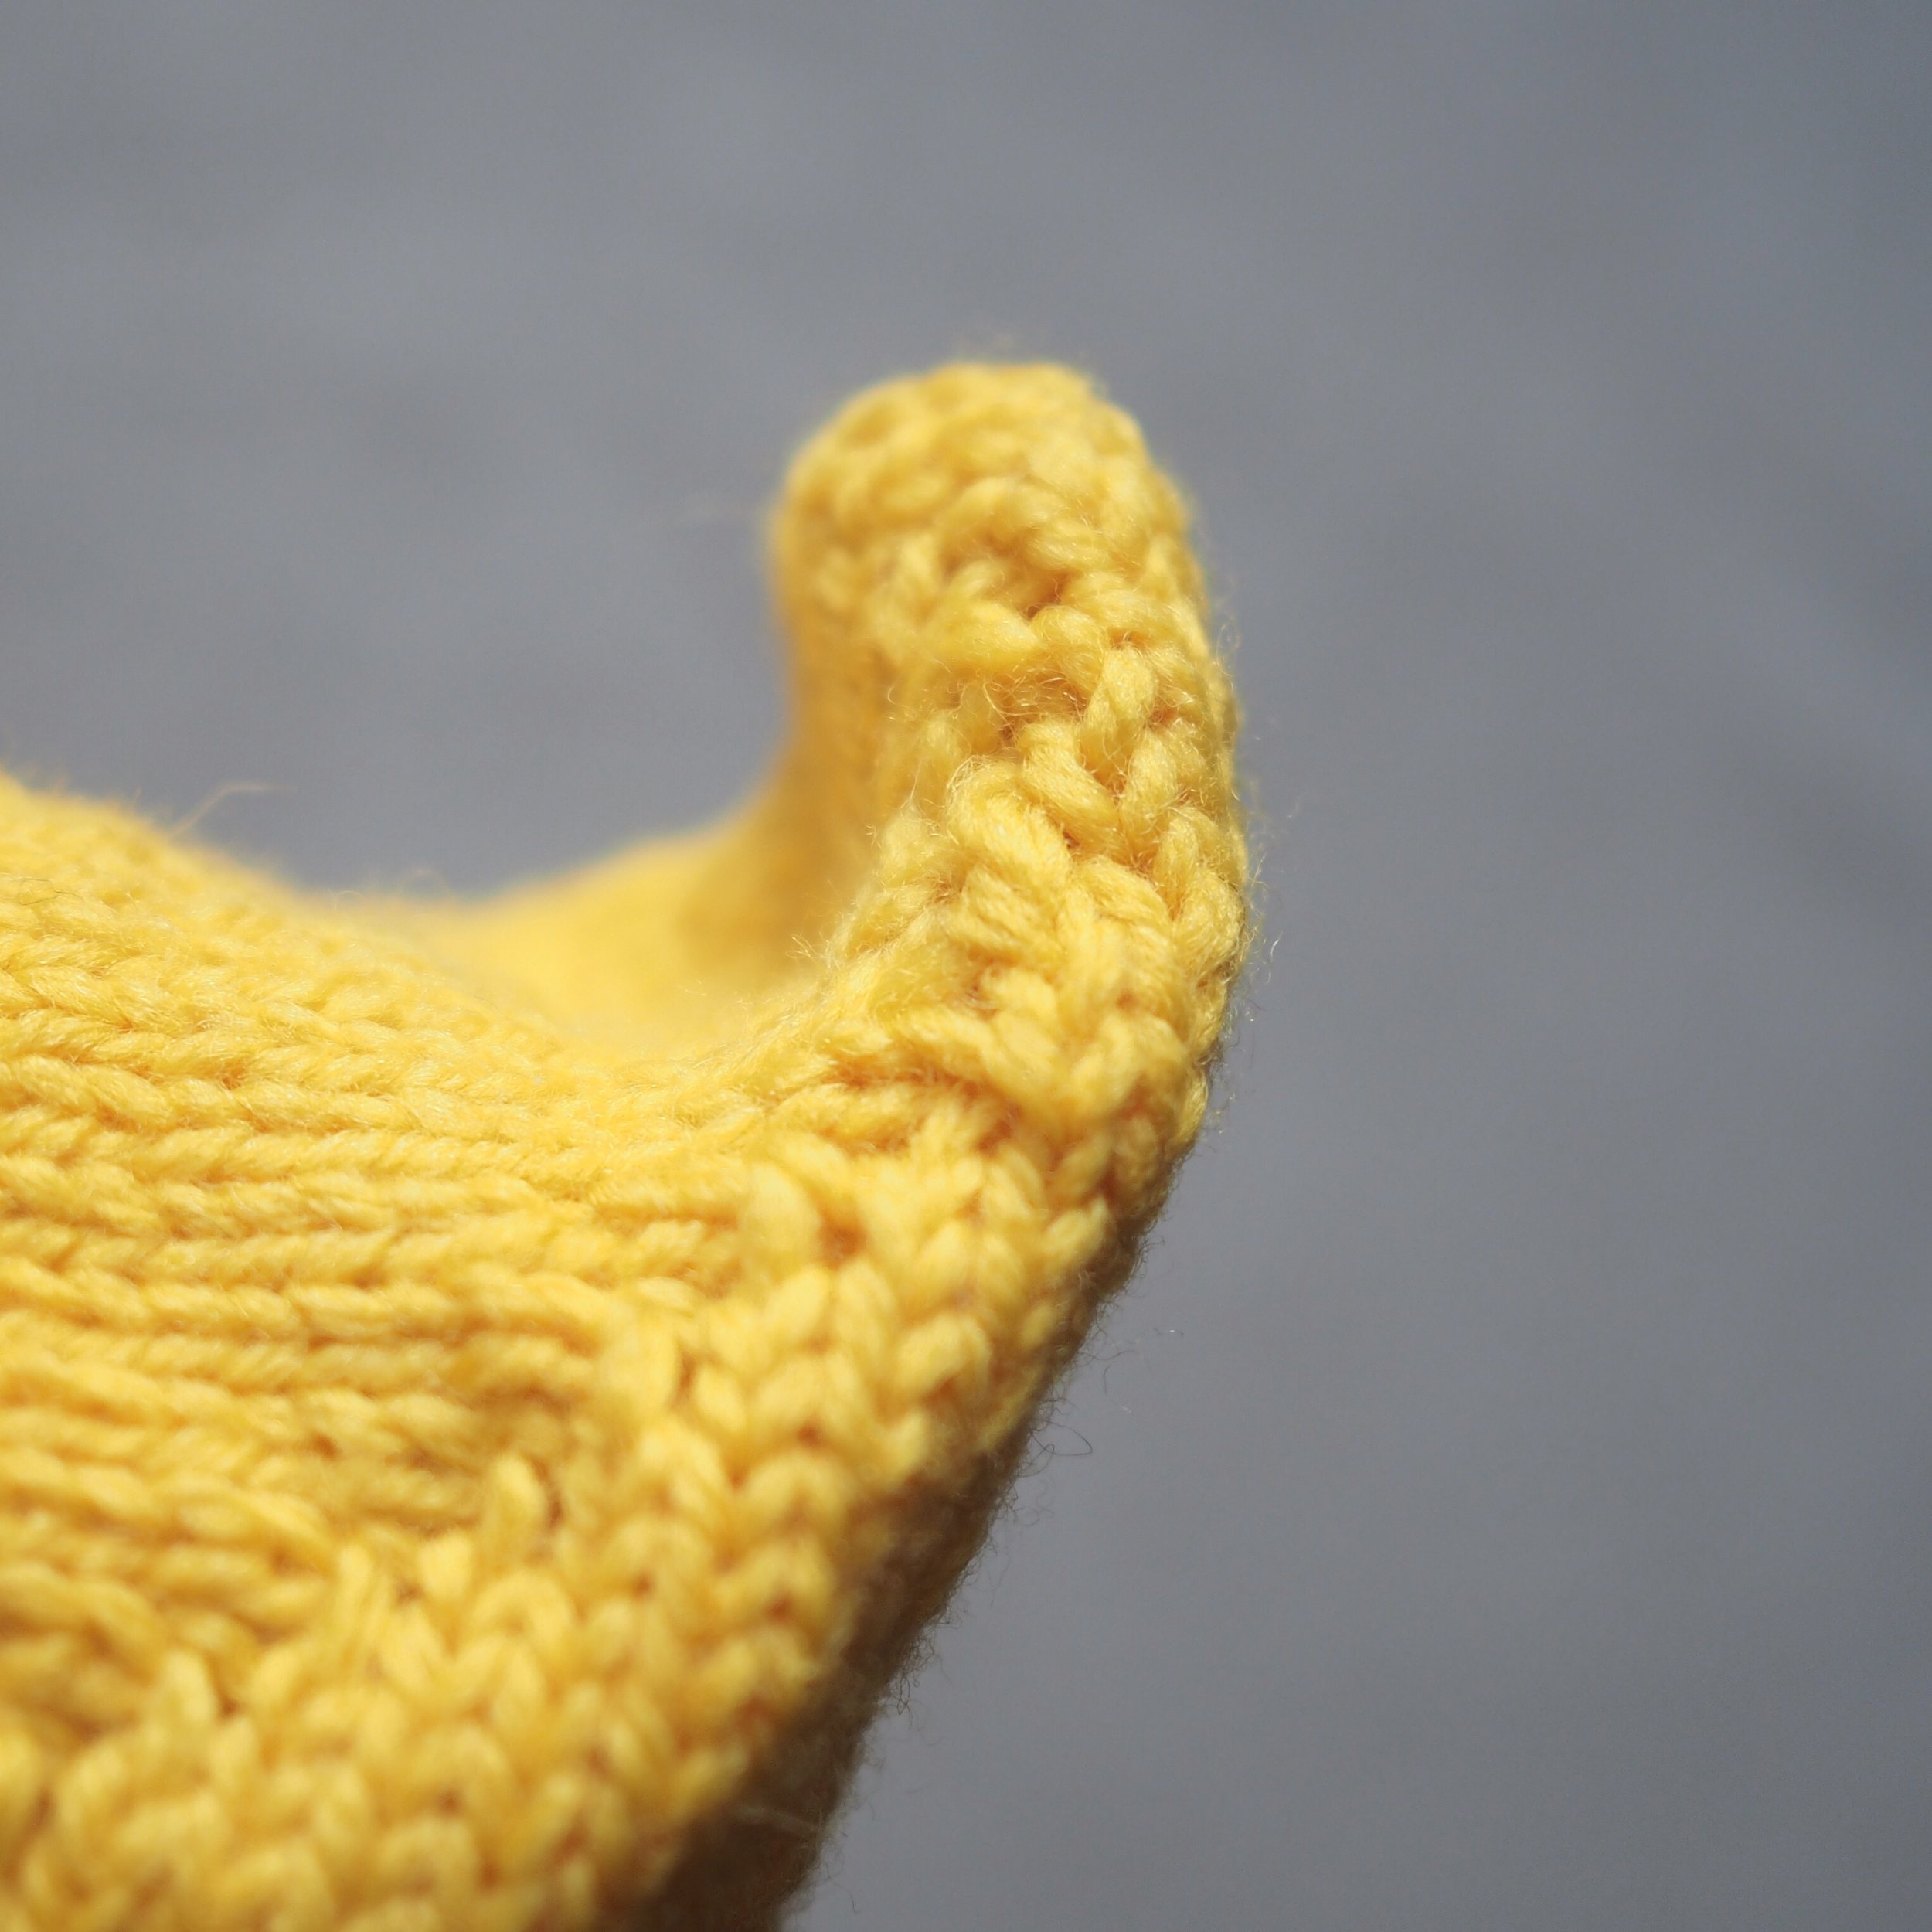
Domenic Duck KAL

Want to join in the fun? All kits (knit and embroidery) are 25% off now through April 4th with the code SPRINGFLING.

Today we're kicking off the KAL by starting at the bottom and building a solid base.

Circular knitting: some swear by magic loop, other prefer two circulars and still other like the old fashion simplicity of double-pointed needles (dpns). As for me? I think they all do different things really well, so it's about matching the method to part of the project. So while the majority of this KAL will be shown using magic loop, I'm going to start on dpns - you can, of course, use whatever method you prefer. :) 

Note: Click any photo in a grid to bring up a larger image.

Joining in the Round 

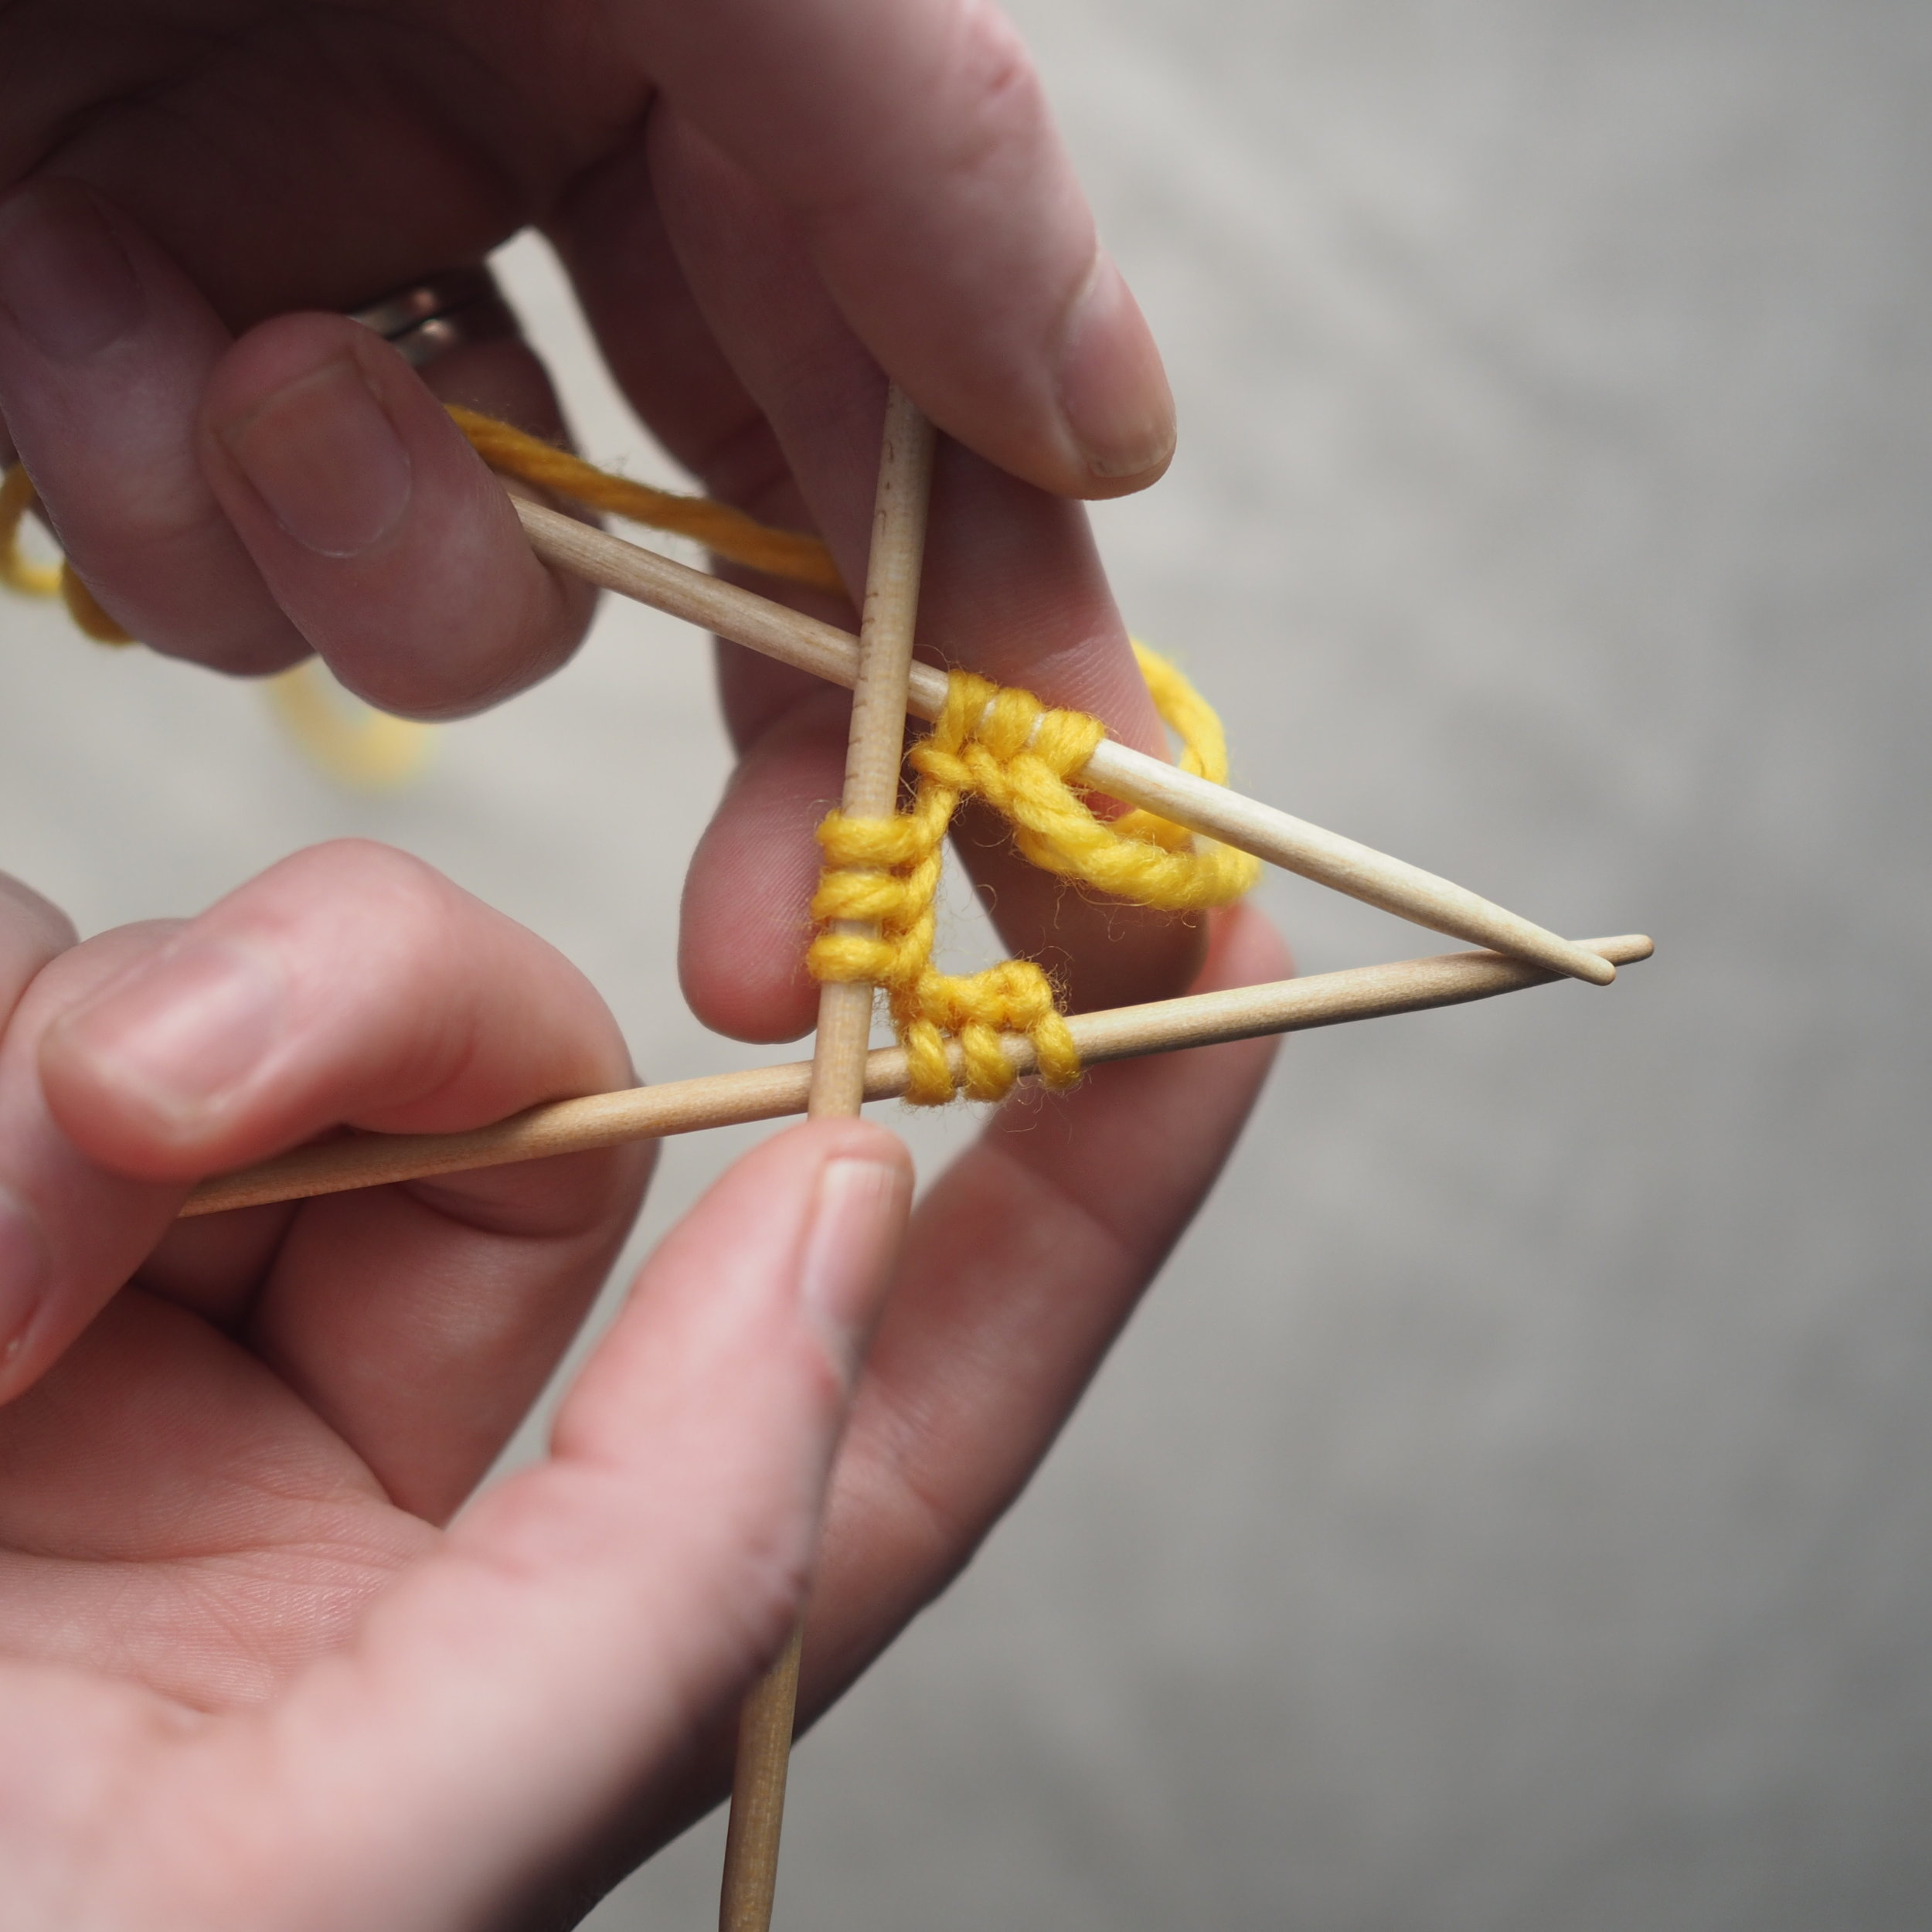
When it comes to a very small number of stitches, I find dpns the easiest to handle, rather than constantly shifting around a circular cord. To join in the round, my favorite method is a follows:

  1. Spread your stitches evenly across 3 dpns, making sure that the stitches don't get twisted at the needle breaks (Check to make sure the loops/bumps under the needles all look the same). 
  2. Shift the last stitch on the left hand needle to the right hand needle.
  3. Pull the stitch that is second-most to the left on the right hand needle (the first stitch you cast on), pull it over the stitch you just shifted and place it on the left needle. 
  4. Now you're joined your stitches and can begin knitting in the round.

Increasing with KFBs 

All of the increases in this pattern are KFBs or knit into the front, then back of the stitch. This increases one stitch, and leaves a rather visible bump or bar on the left at the increased stitch, with a smooth line on the original stitch. You'll want that line of the original stitch to continue unbroken up across series of increases.

To KFB:

  1. Insert your right-hand (RH) needle into the first stitch on the left-hand (LH) needle and knit as you normally would, but do not remove the stitch from the LH needle yet. 
  2. Shift your RH needle so it goes through that same LH stitch, but through the back of the loop. 
  3. Make a knit stitch and slip off the LH stitch off the needle. You'll have increased 1 st.

Changing from DPNs to Magic Loop

Because you'll be stuffing the duck as you go along, having the flexibility of a circular cable can be helpful, so once I reach a solid number of stitches on my dpns (about 10 per needle or more), I'll switch to using the magic loop technique. Two circular needles can accomplish this too.  

However, when you're on dpns it's easy to use the needle breaks in lieu of stitch markers (and I try to design my animal patterns to make sense along those needle breaks), so you'll need to add them when you switch to the circular(s).

To switch, simply put down that 4th dpn you've been knitting with and pick up your circular and start knitting as usual, putting a stitch marker at each needle break.  

Keep increasing (and keeping those increase lines nice and straight!) and next time we'll look at wrap and turn short rows for making that adorably curly tail.


Print Friendly and PDF Follow
follow us in feedly