Knitting Vertical Pleats and Pintucks

KnittingVerticalPleatsandTucks.jpg

It’s no secret that I learned to sew long before I learned to knit, and I still love them both, but while sewing is essentially the art of taking a flat piece of fabric and manipulating it into a 3-D structure, the magic of knitting is that you can work that structure into the very fabric itself.

The simplest example of this is knitting in the round - rather than knitting a flat piece and seaming it into a tube, you just make the tube to begin with. Similarly, increases, decreases, and short rows can be used to form curves and undulations. I love designing my stuffed animals in the round, because it forces me to think in three dimensions from stitch one. But when it comes to garments, I’ll admit to finding a bit of a thrill in translating traditional sewing techniques, like pleats and pintucks into knitted forms.

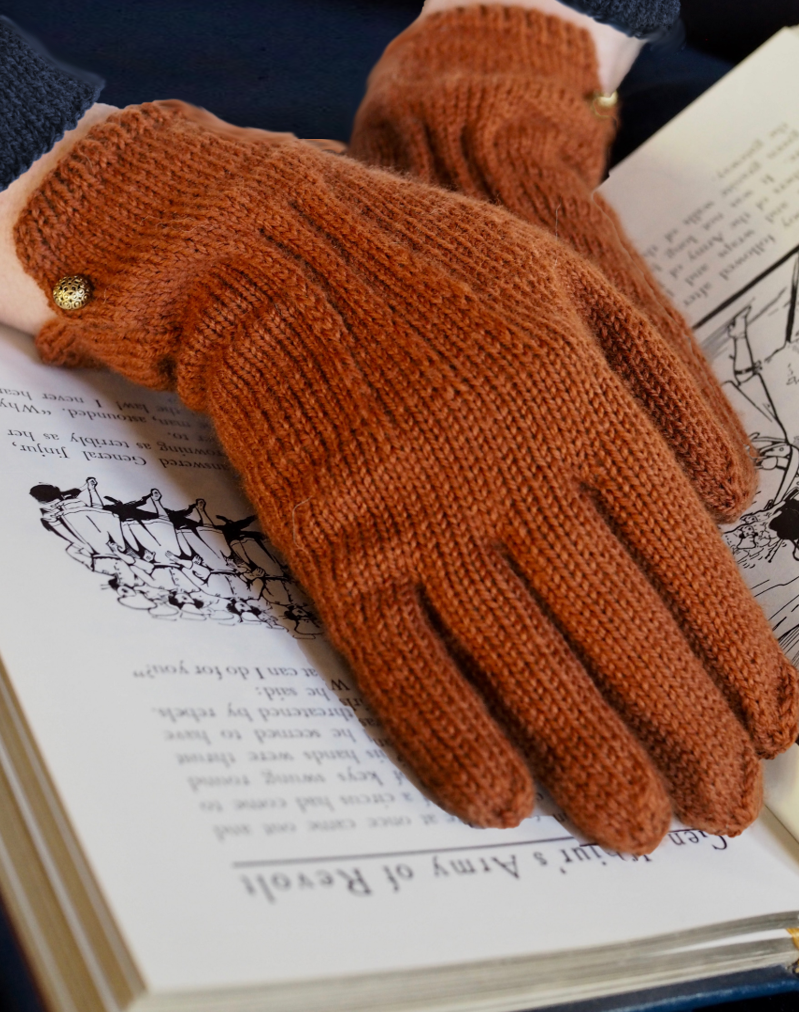
Just like with sewing, working a knitted pleat involves securing folds in the fabric. To work a horizontal pleat, like in my Bob & Wave Cowl (see bottom of post), you pick up and knit a stitch from several rows down together with every active stitch. The vertical pleat, as used to shape the hands of the Turning Leaf gloves, is worked across two rows and is a tad more involved, so I’ll walk you through the process step by step.

PA110613.jpg

Here I use the the term “tuck” to cover pintucks (which are very narrow tucks) and any other vertical pleat.

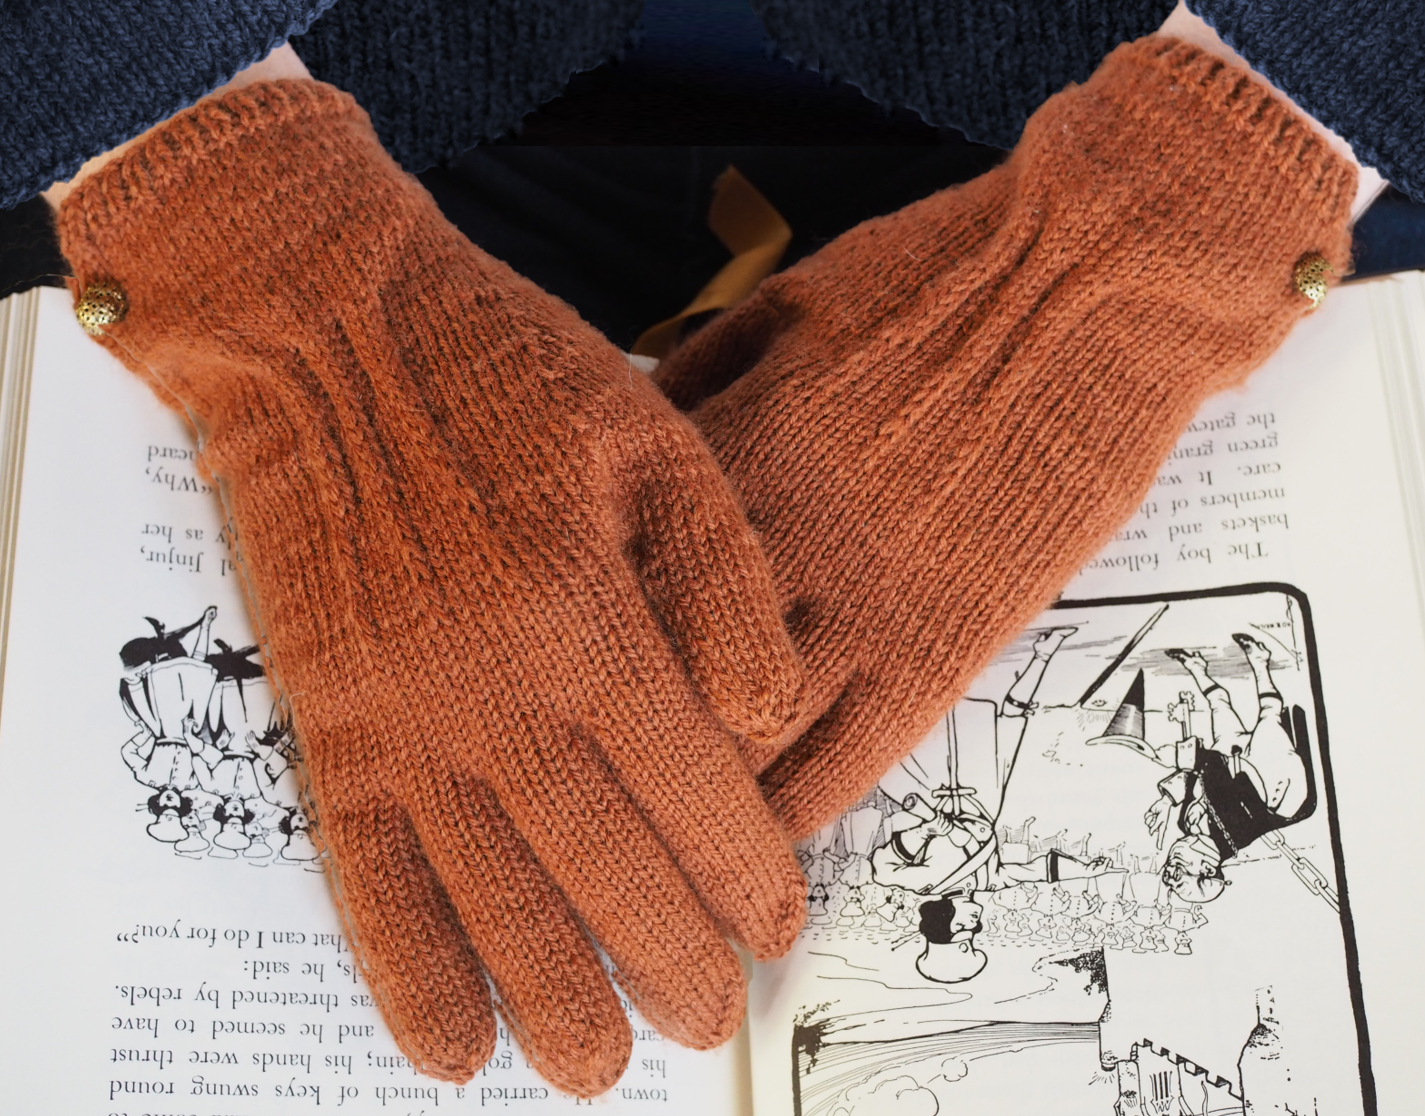
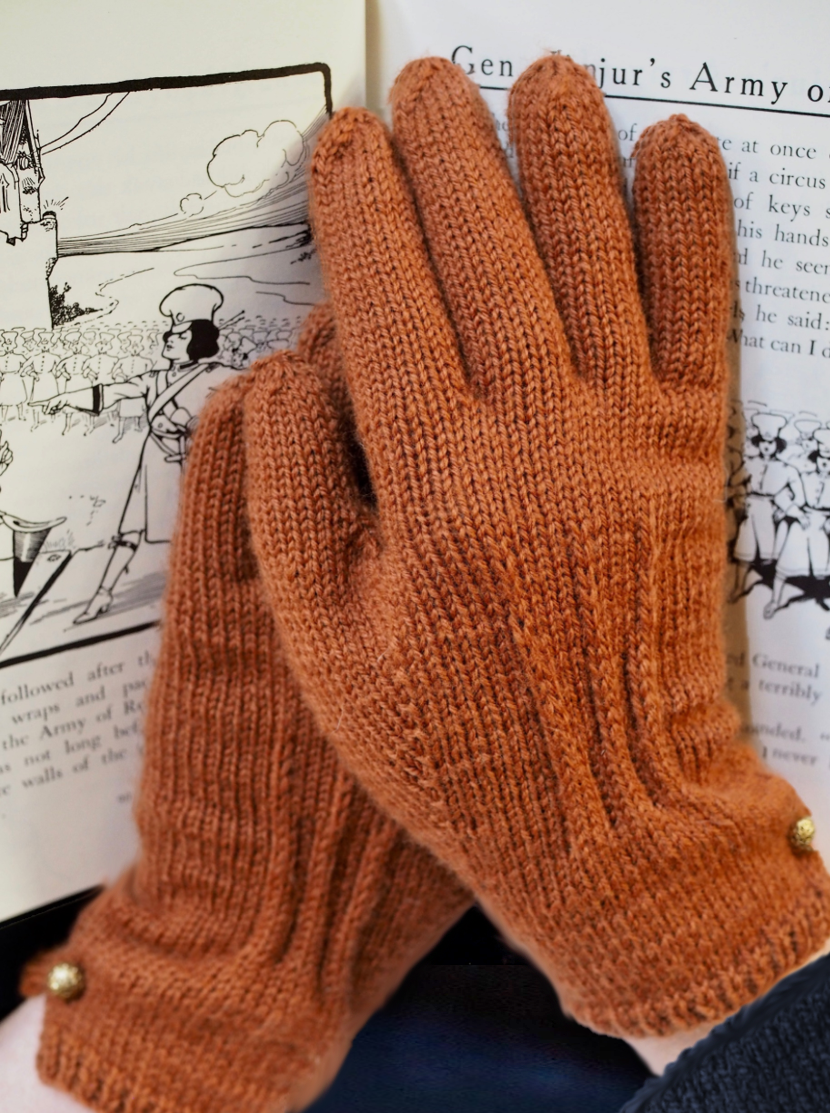
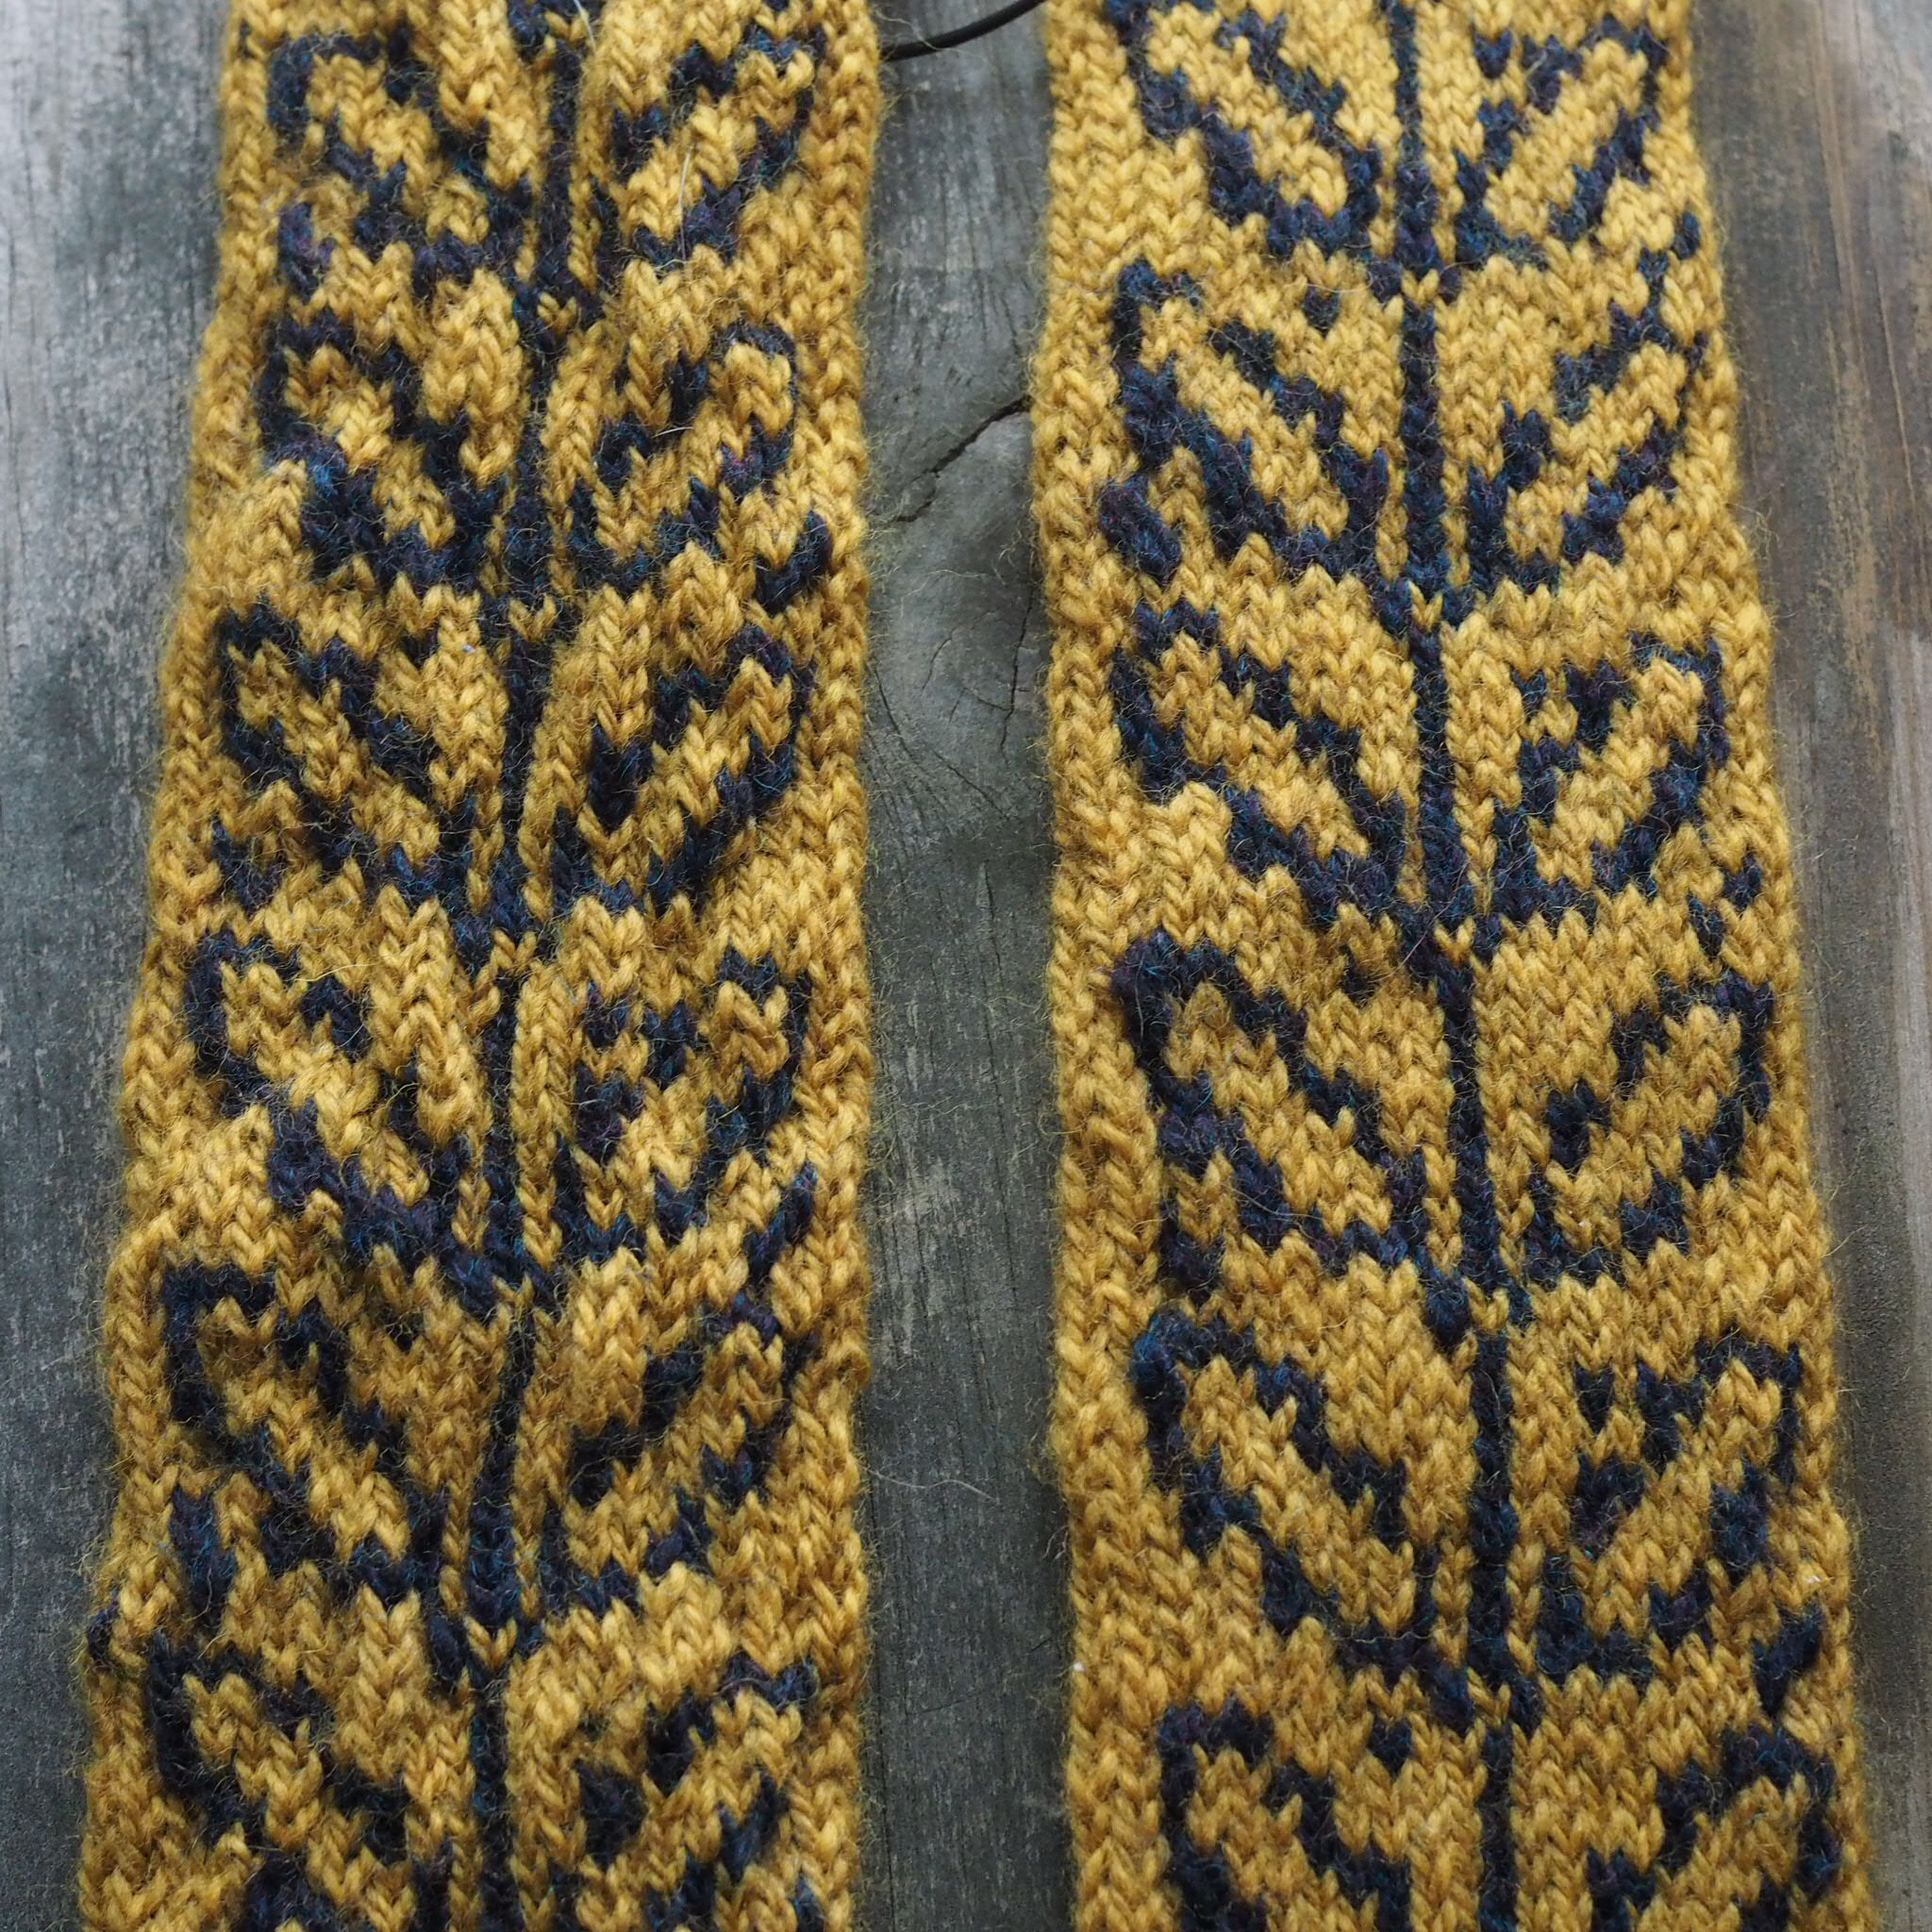
The Turning Leaf Gloves (used as an example here) have a series of three tucks across the back of the hand. The tucks start at three stitches wide near the wrist, and then decrease to a two-stitch tuck, and then one-stitch tuck just below the fingers.

I’ll be showing the three-stitch tuck throughout, but the same technique can be applied to a tuck of any width. A tuck with more stitches being folded will be more visible and decrease more fabric.

PA110620.jpg

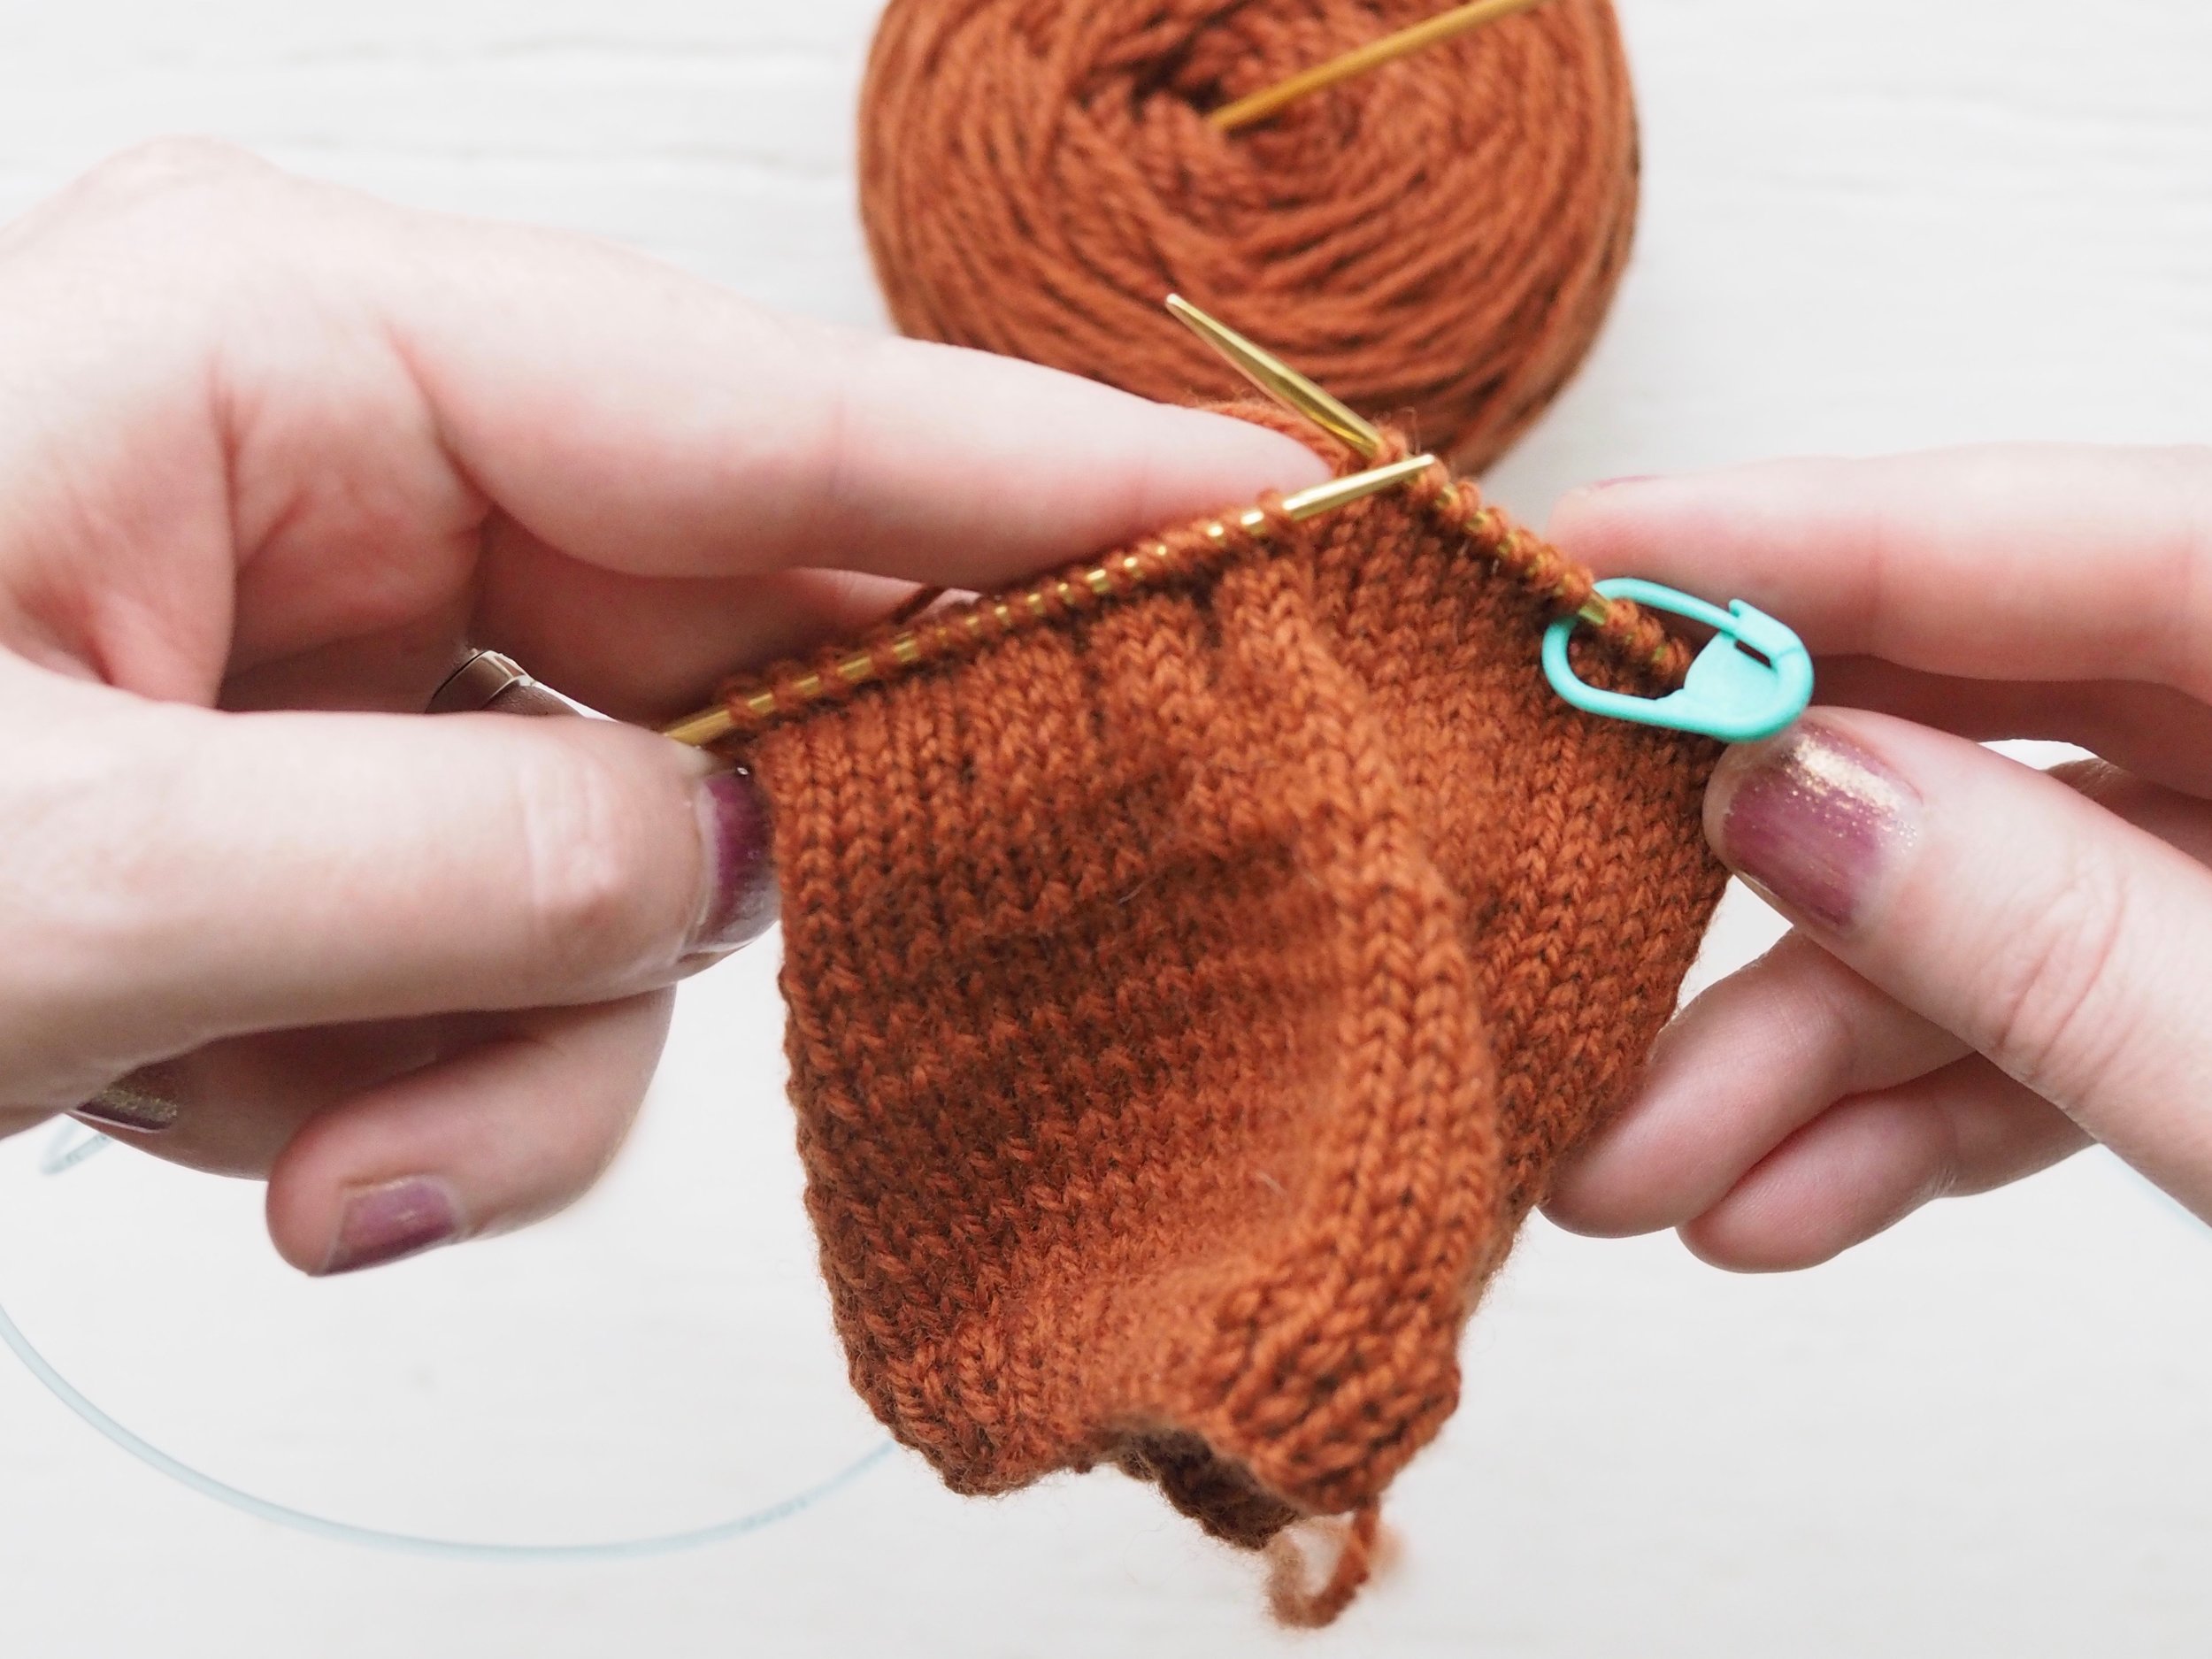
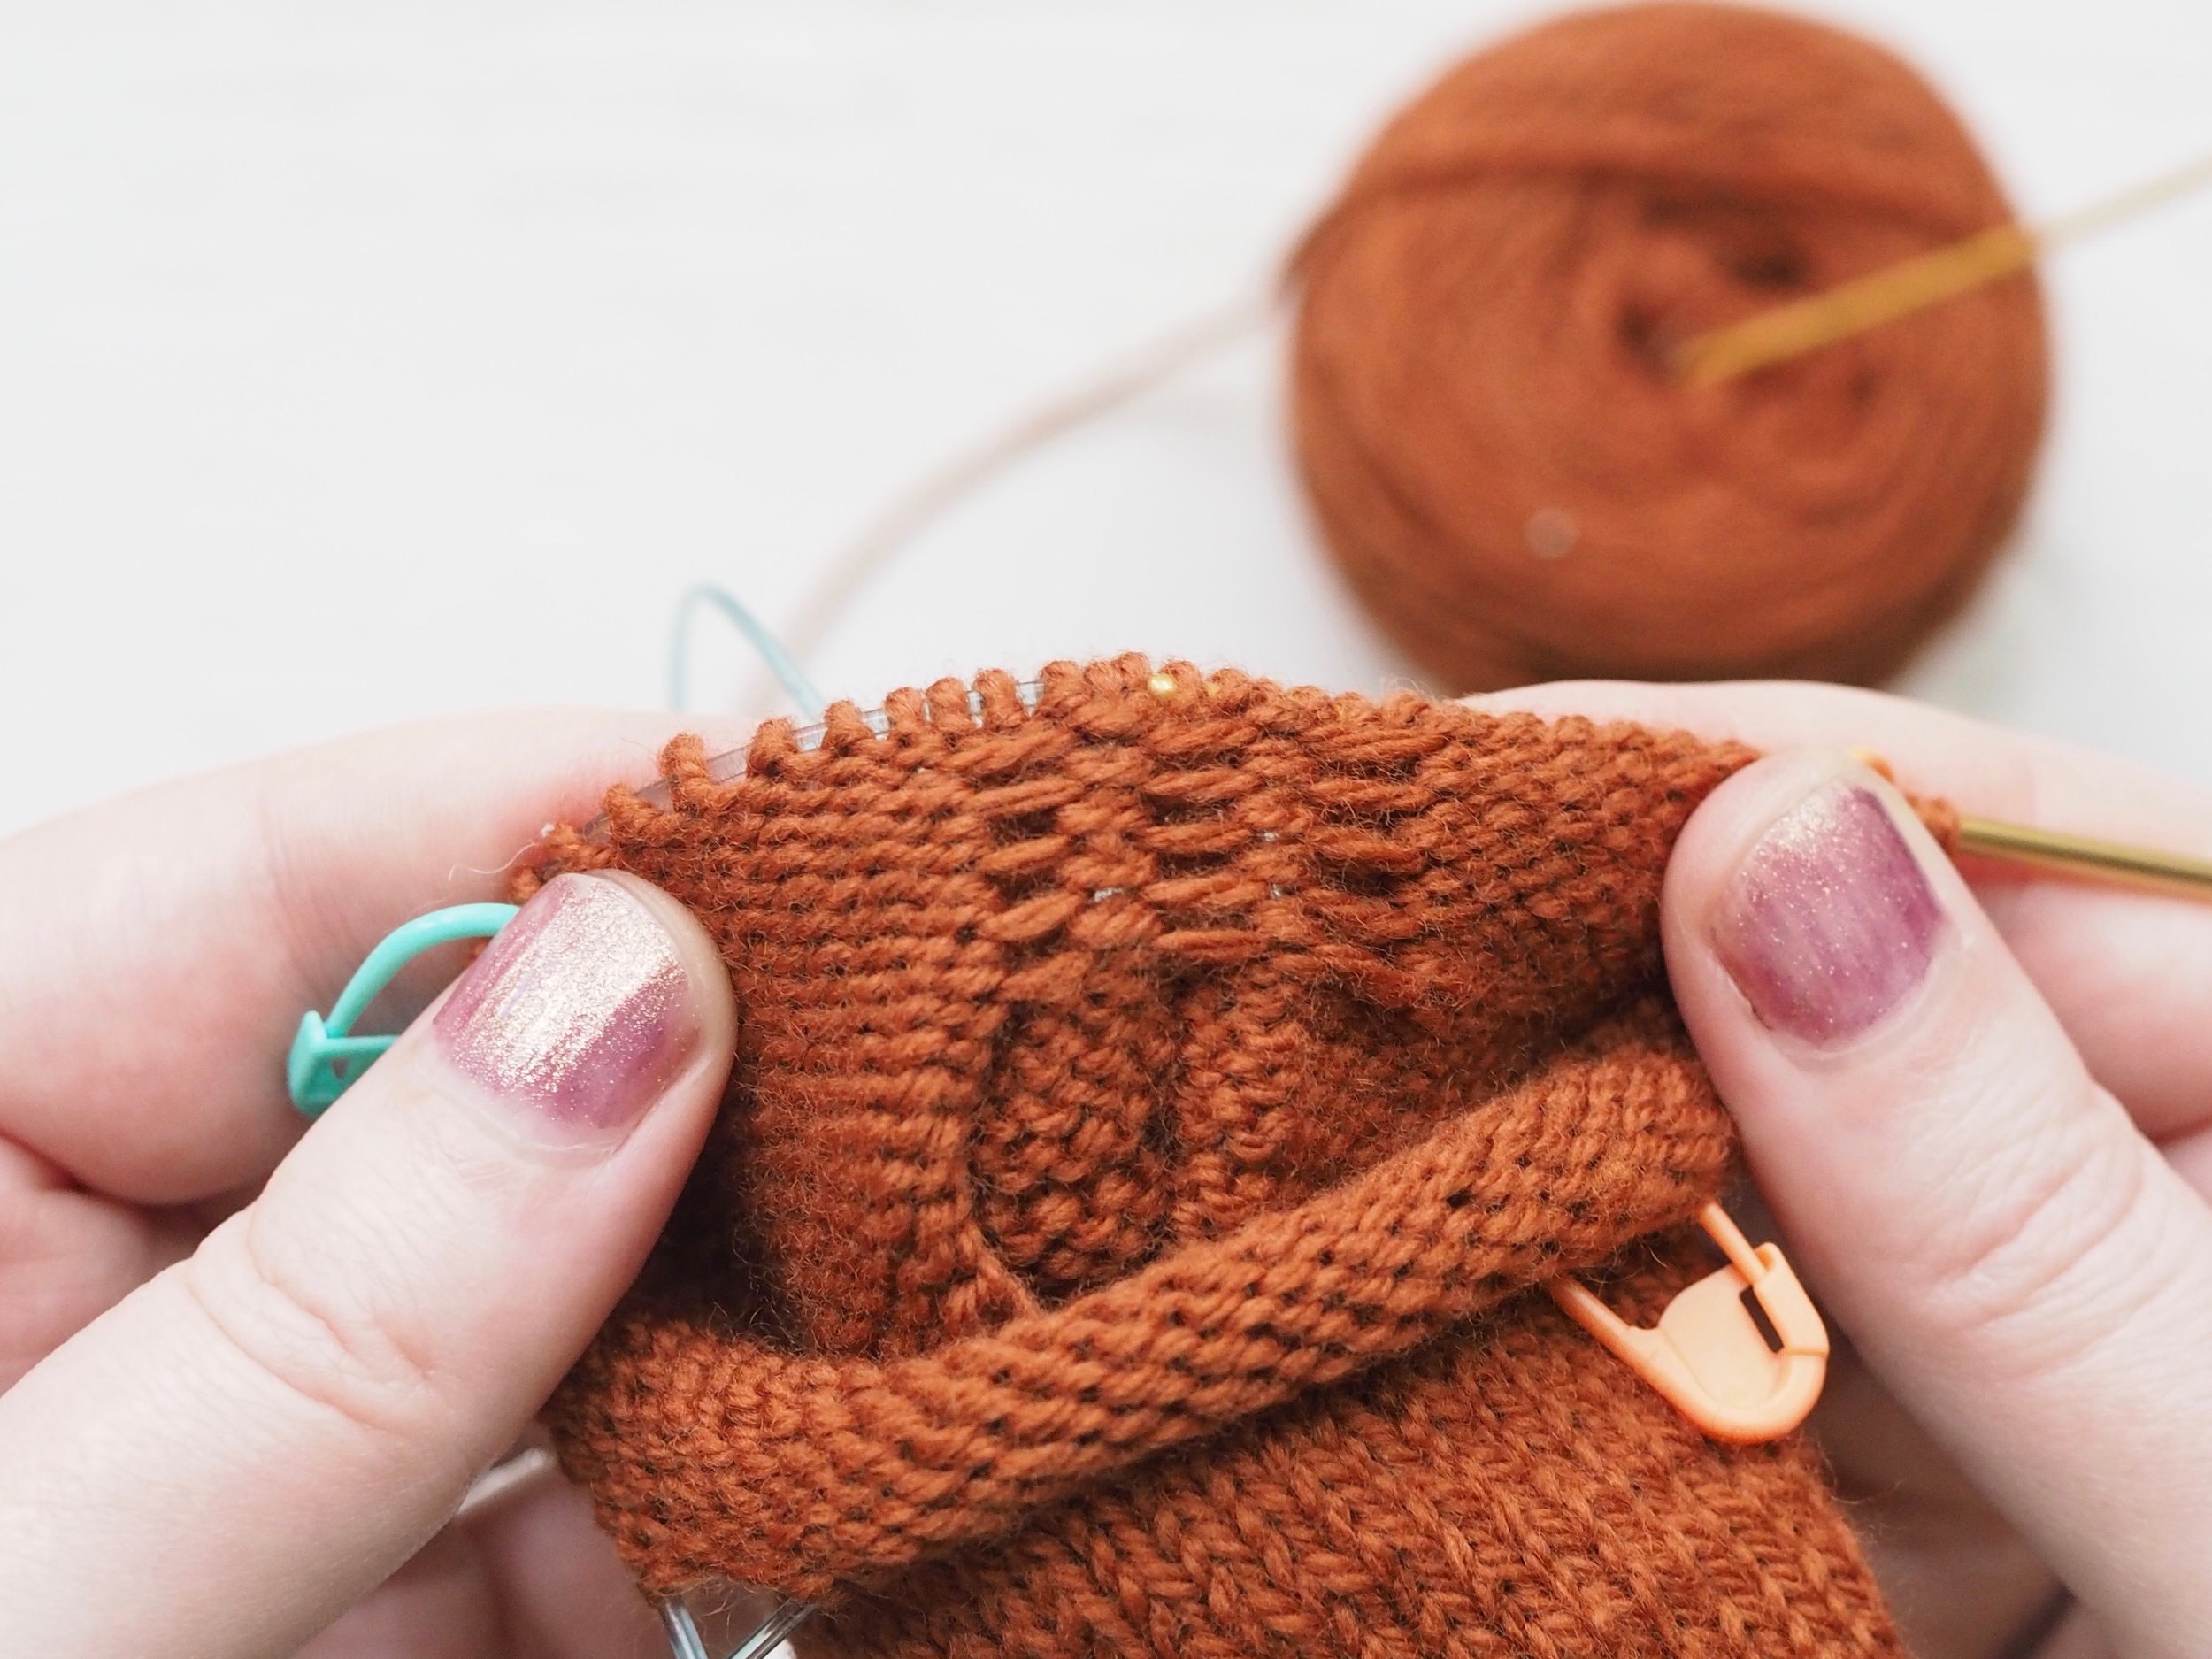
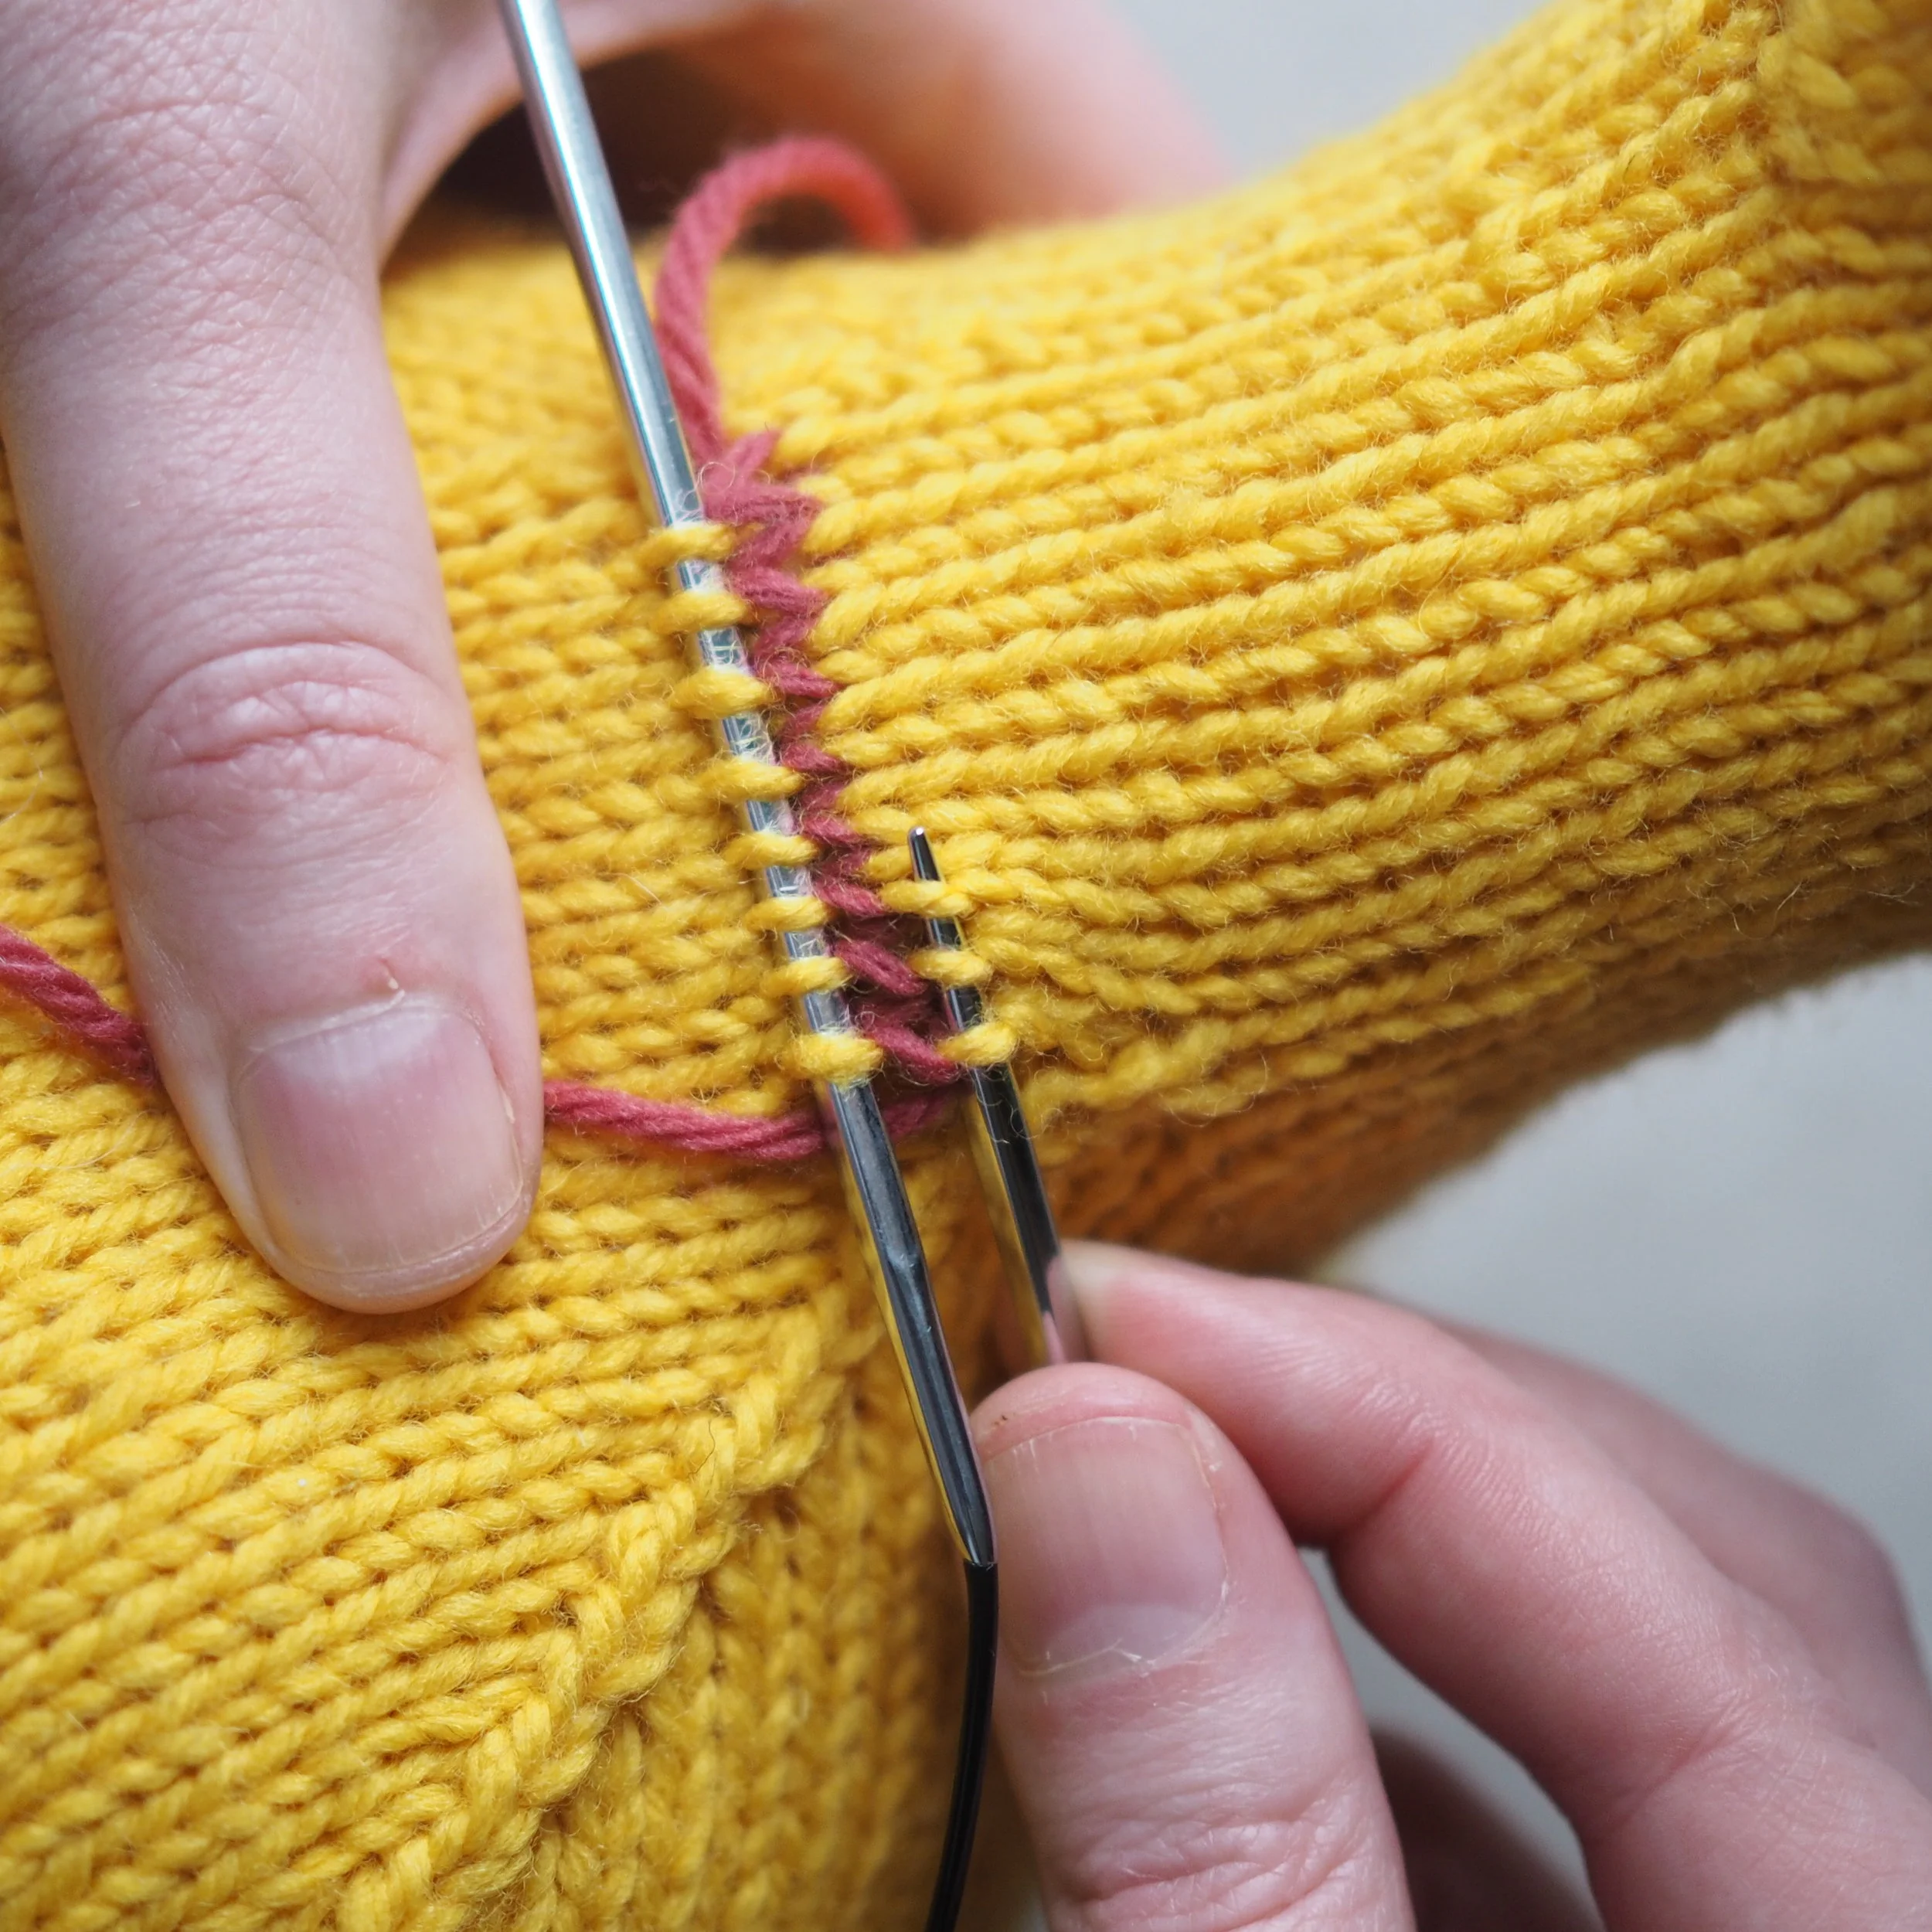
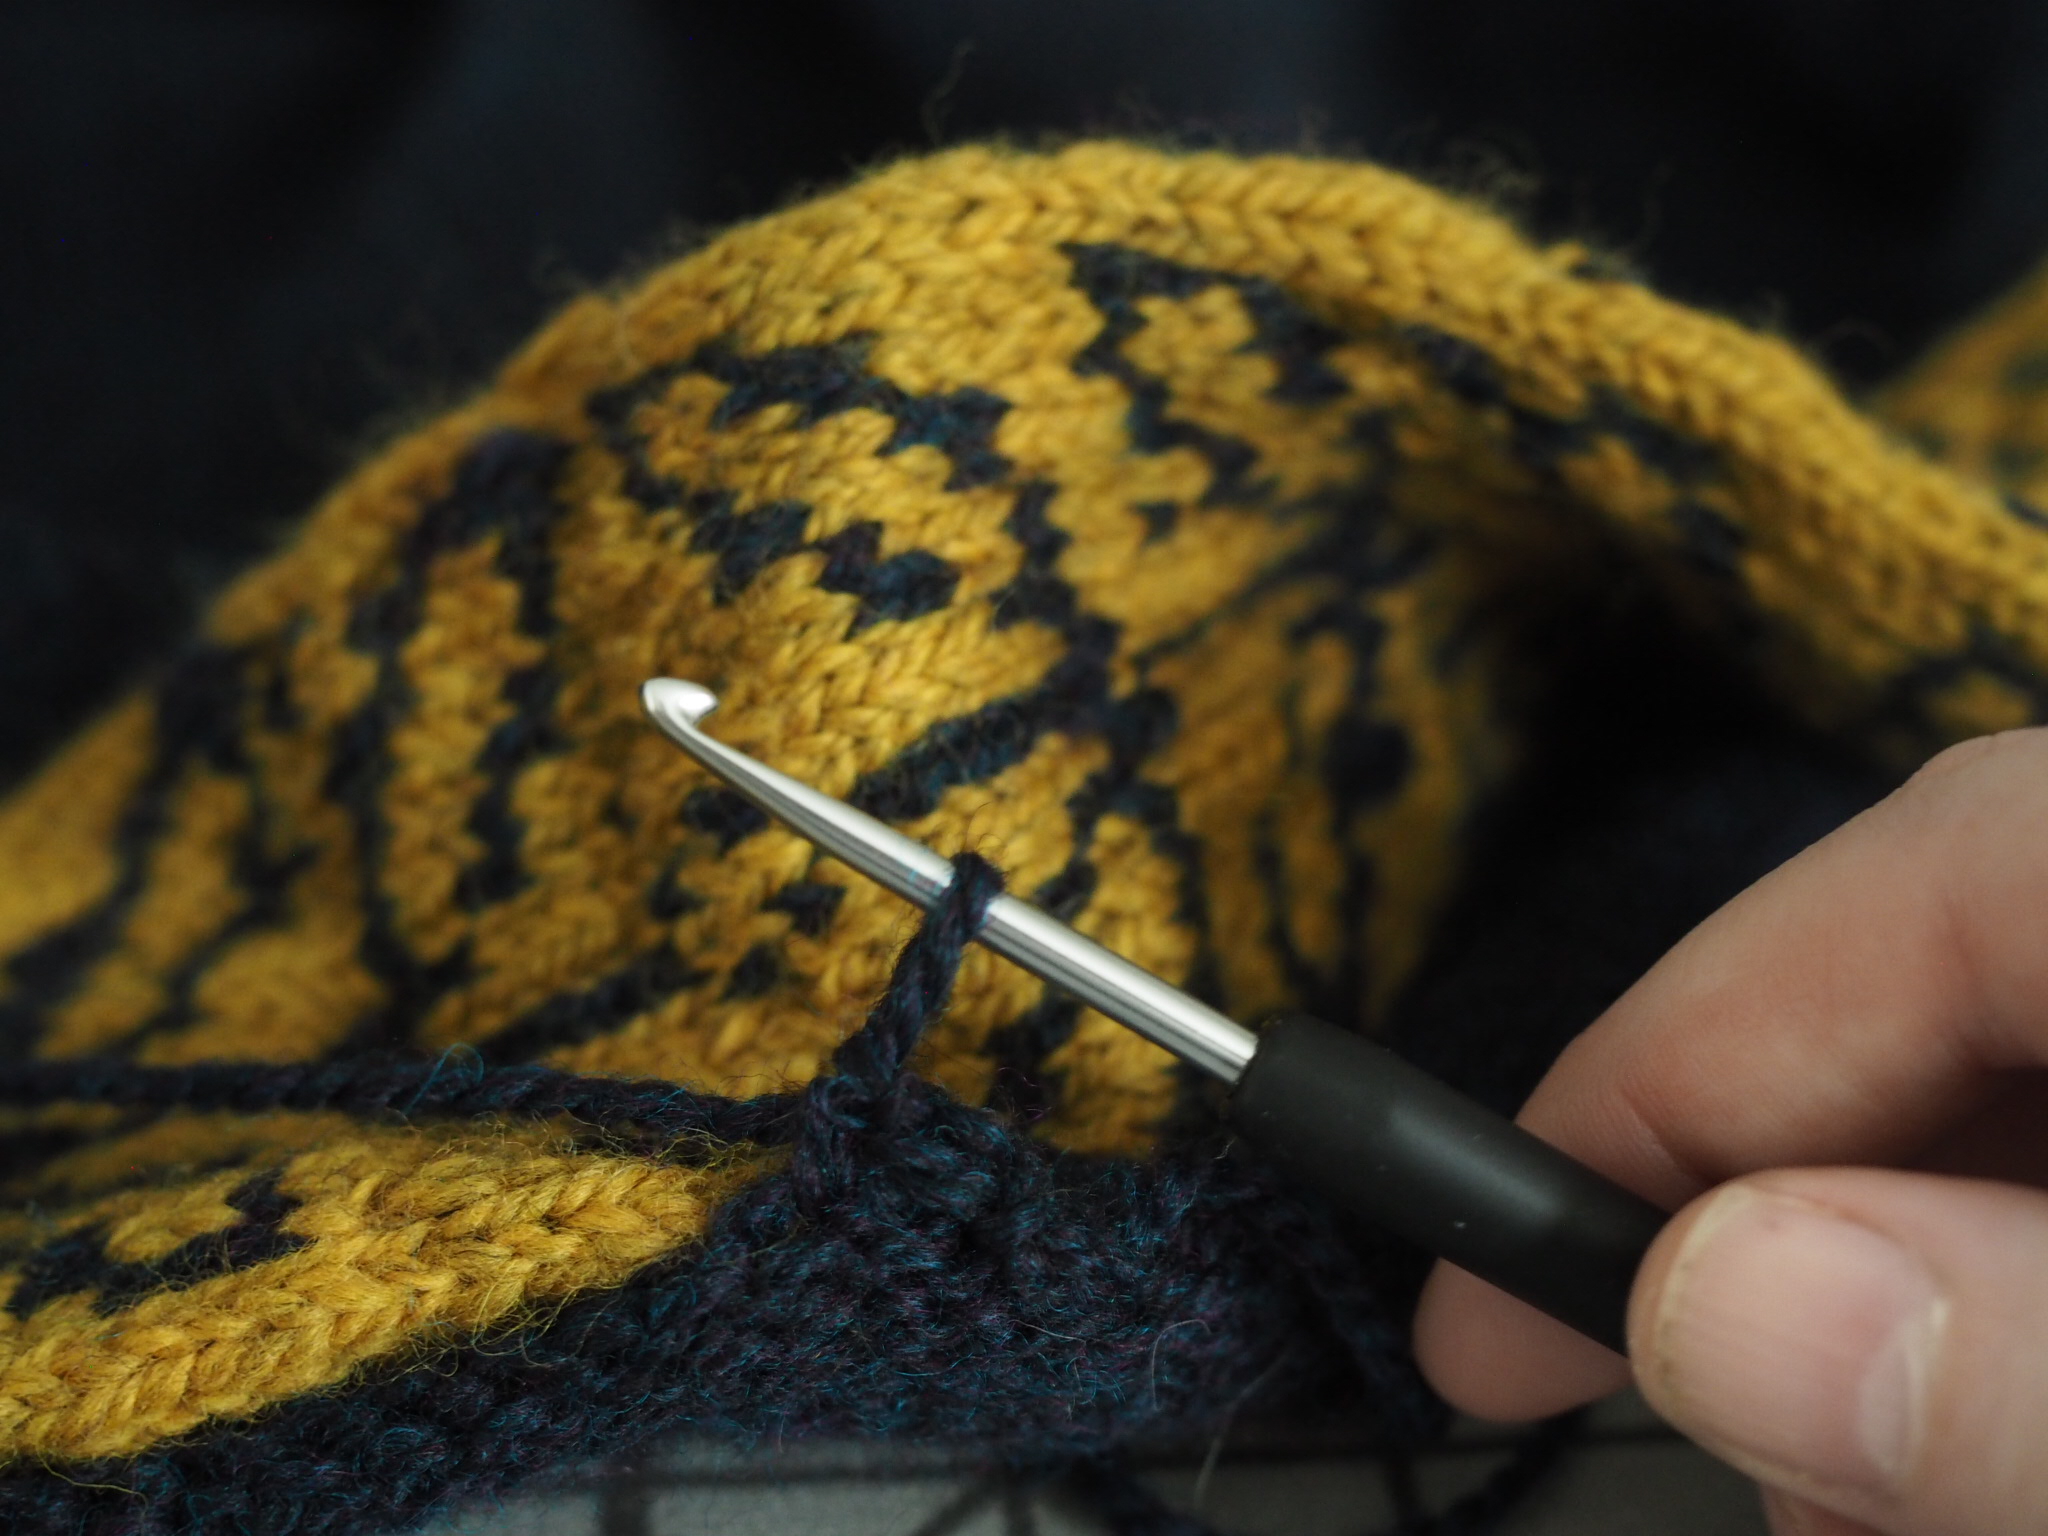
In the image above, I’ve already worked four rows of the three-stitch tuck pattern. You can see the three tucks, and the four recessed “channels” that fall on the sides of the tuck. Worked over two rows, the tucks are formed by slipping the tuck stitches on every other row and pulling the working yarn very tightly across the back, which pulls the stitches on either side of the tuck closer together, essentially folding them and holding the fold together.

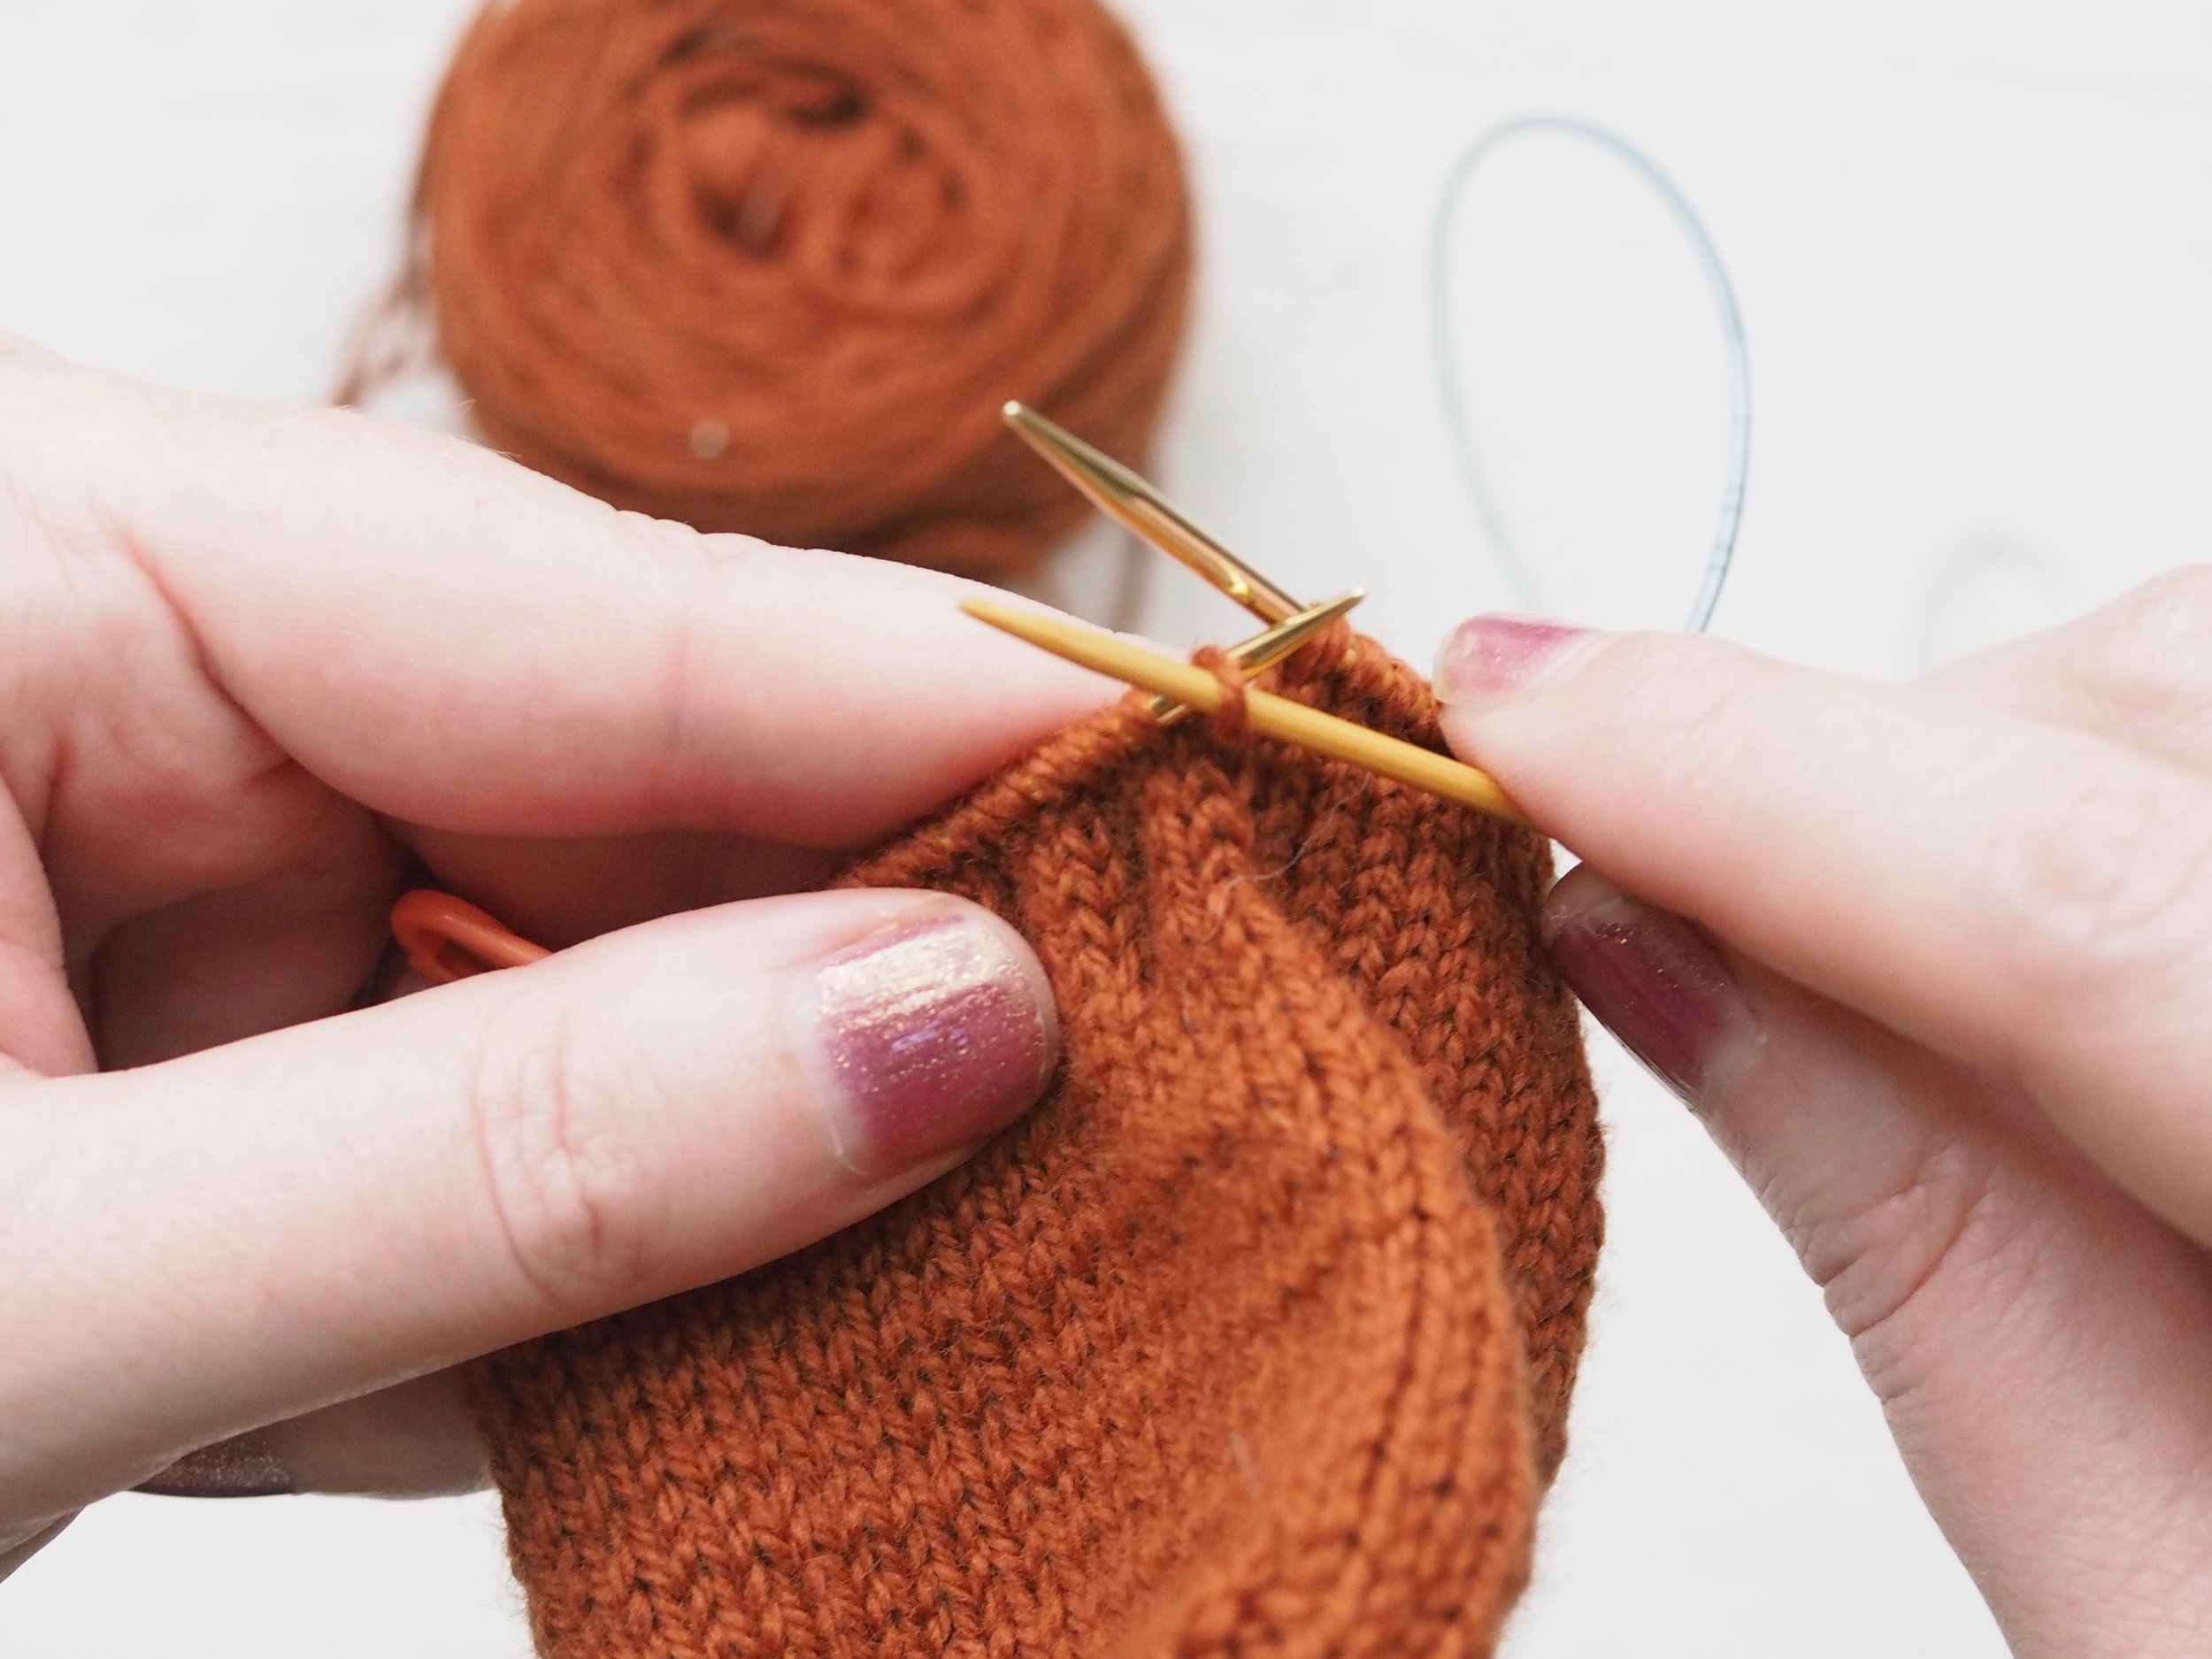
ROW 1

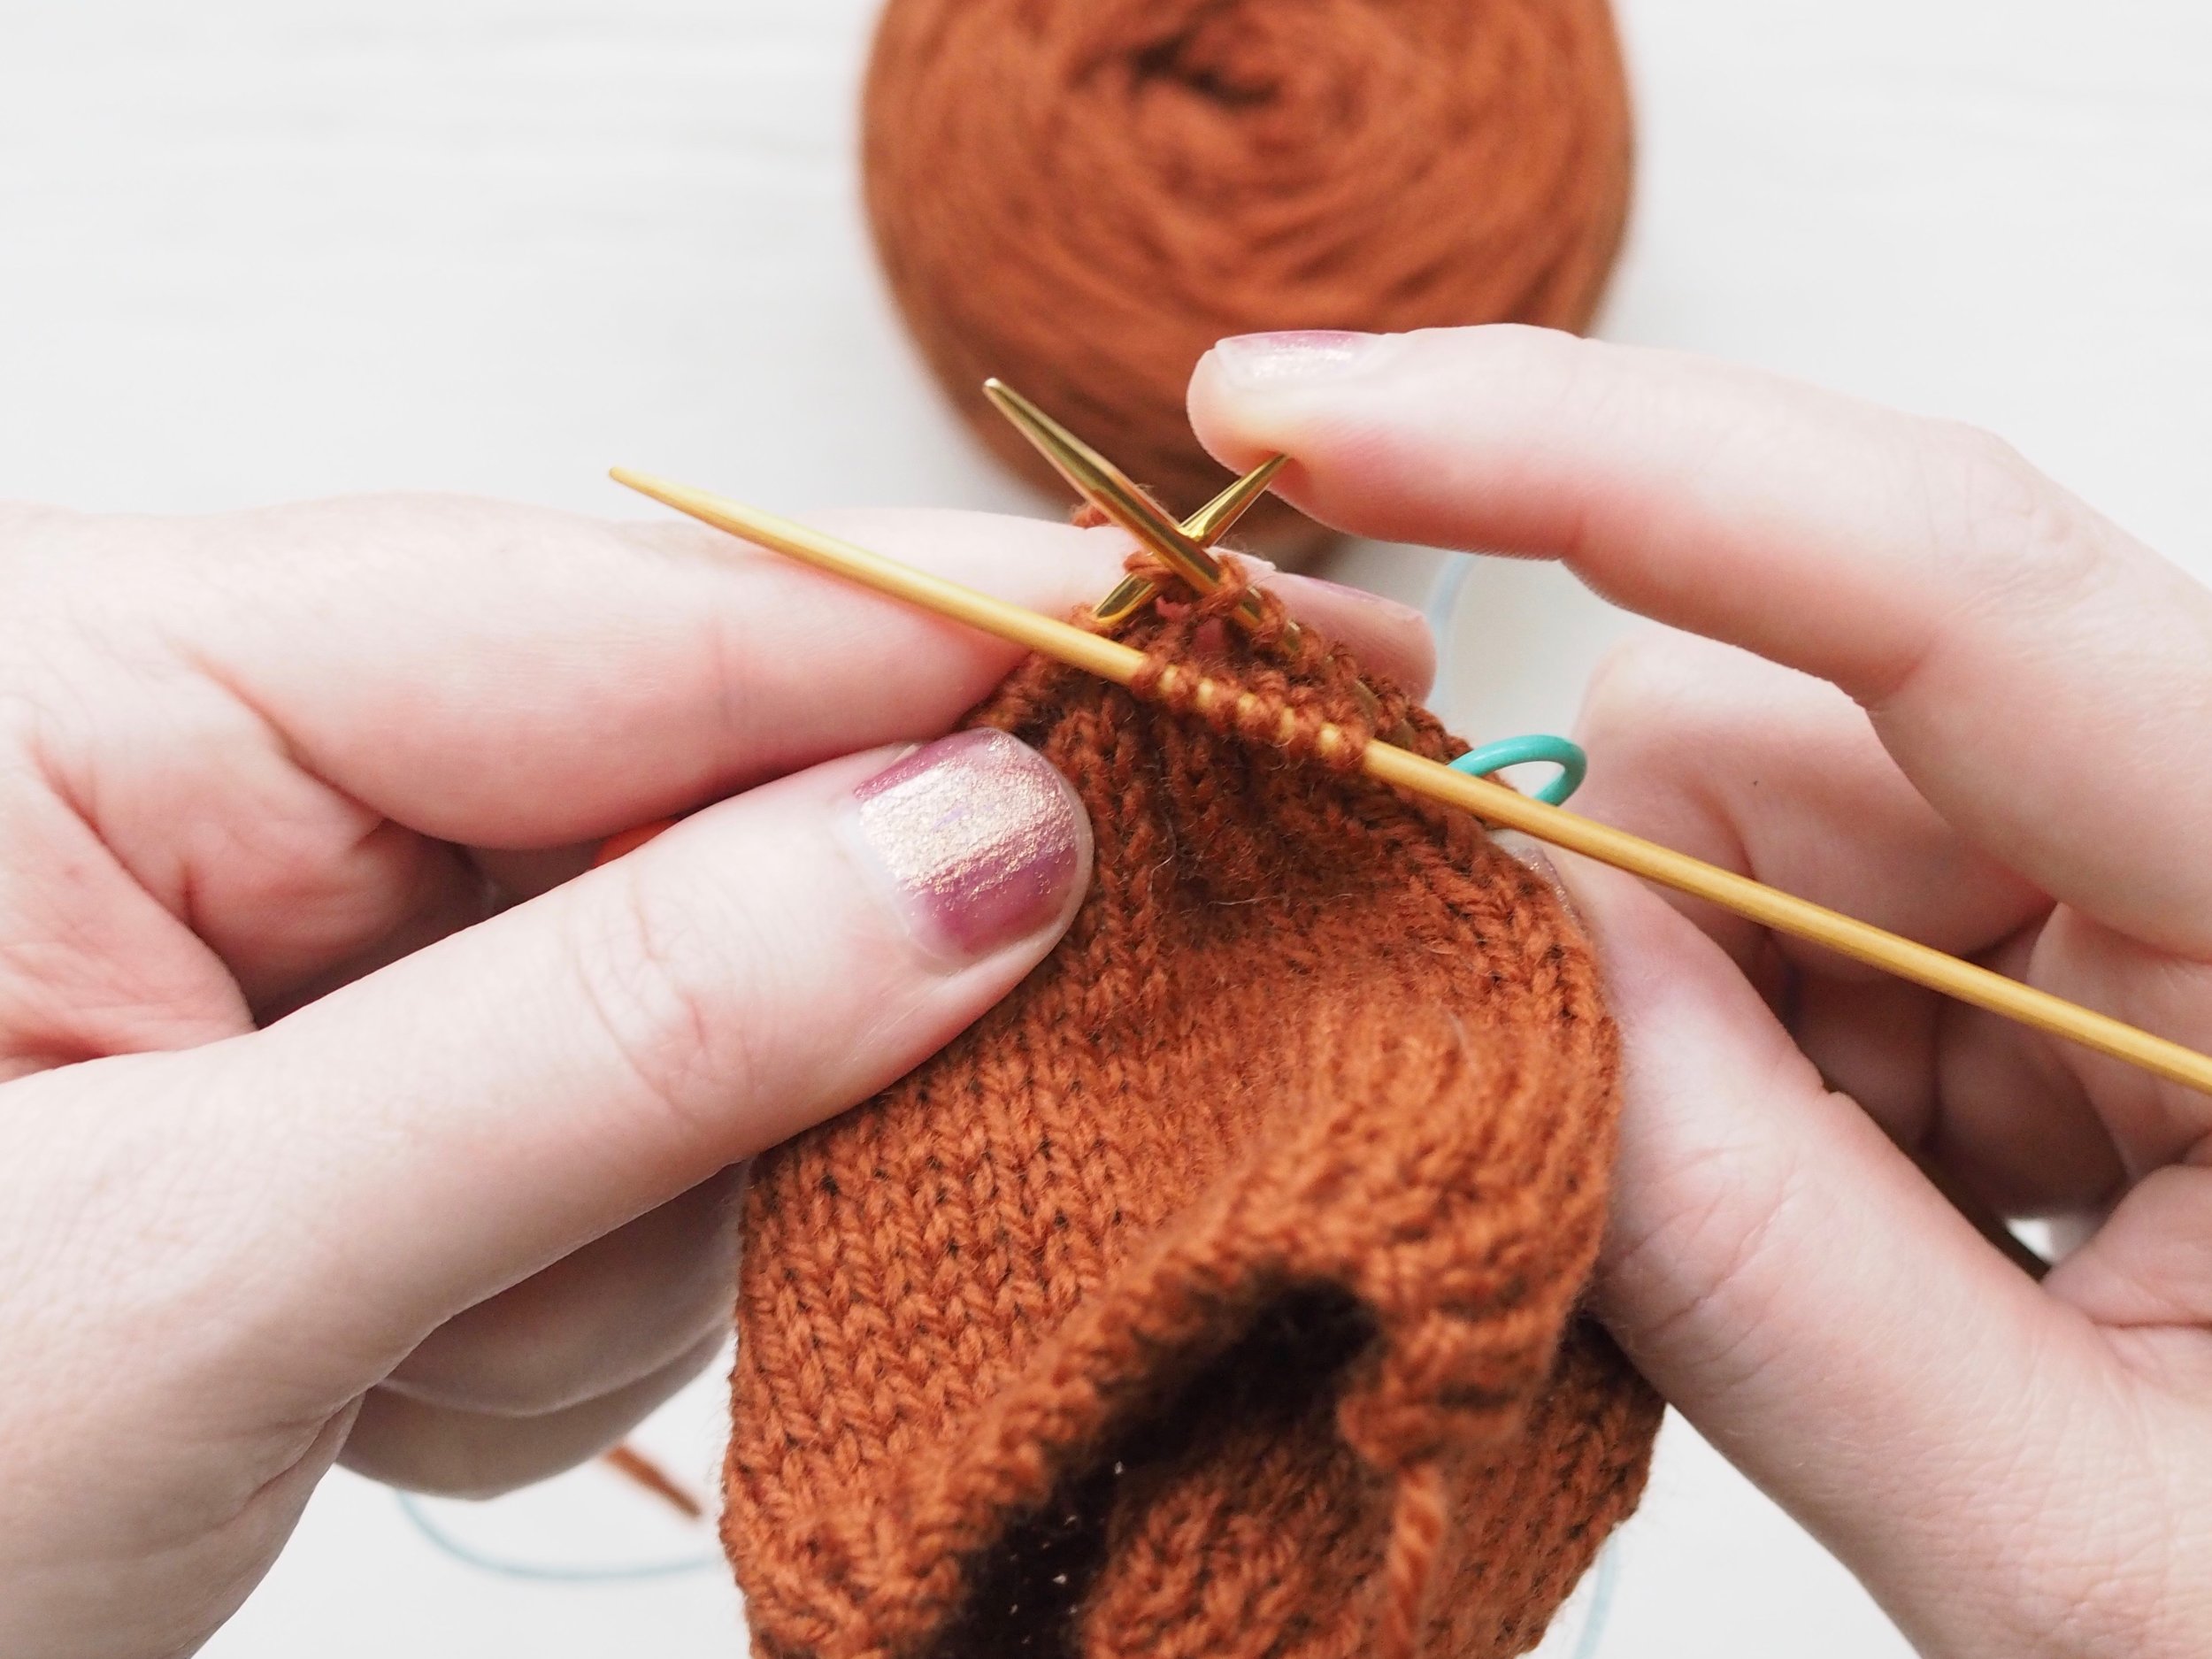
  1. Knit to the start of your first tuck.

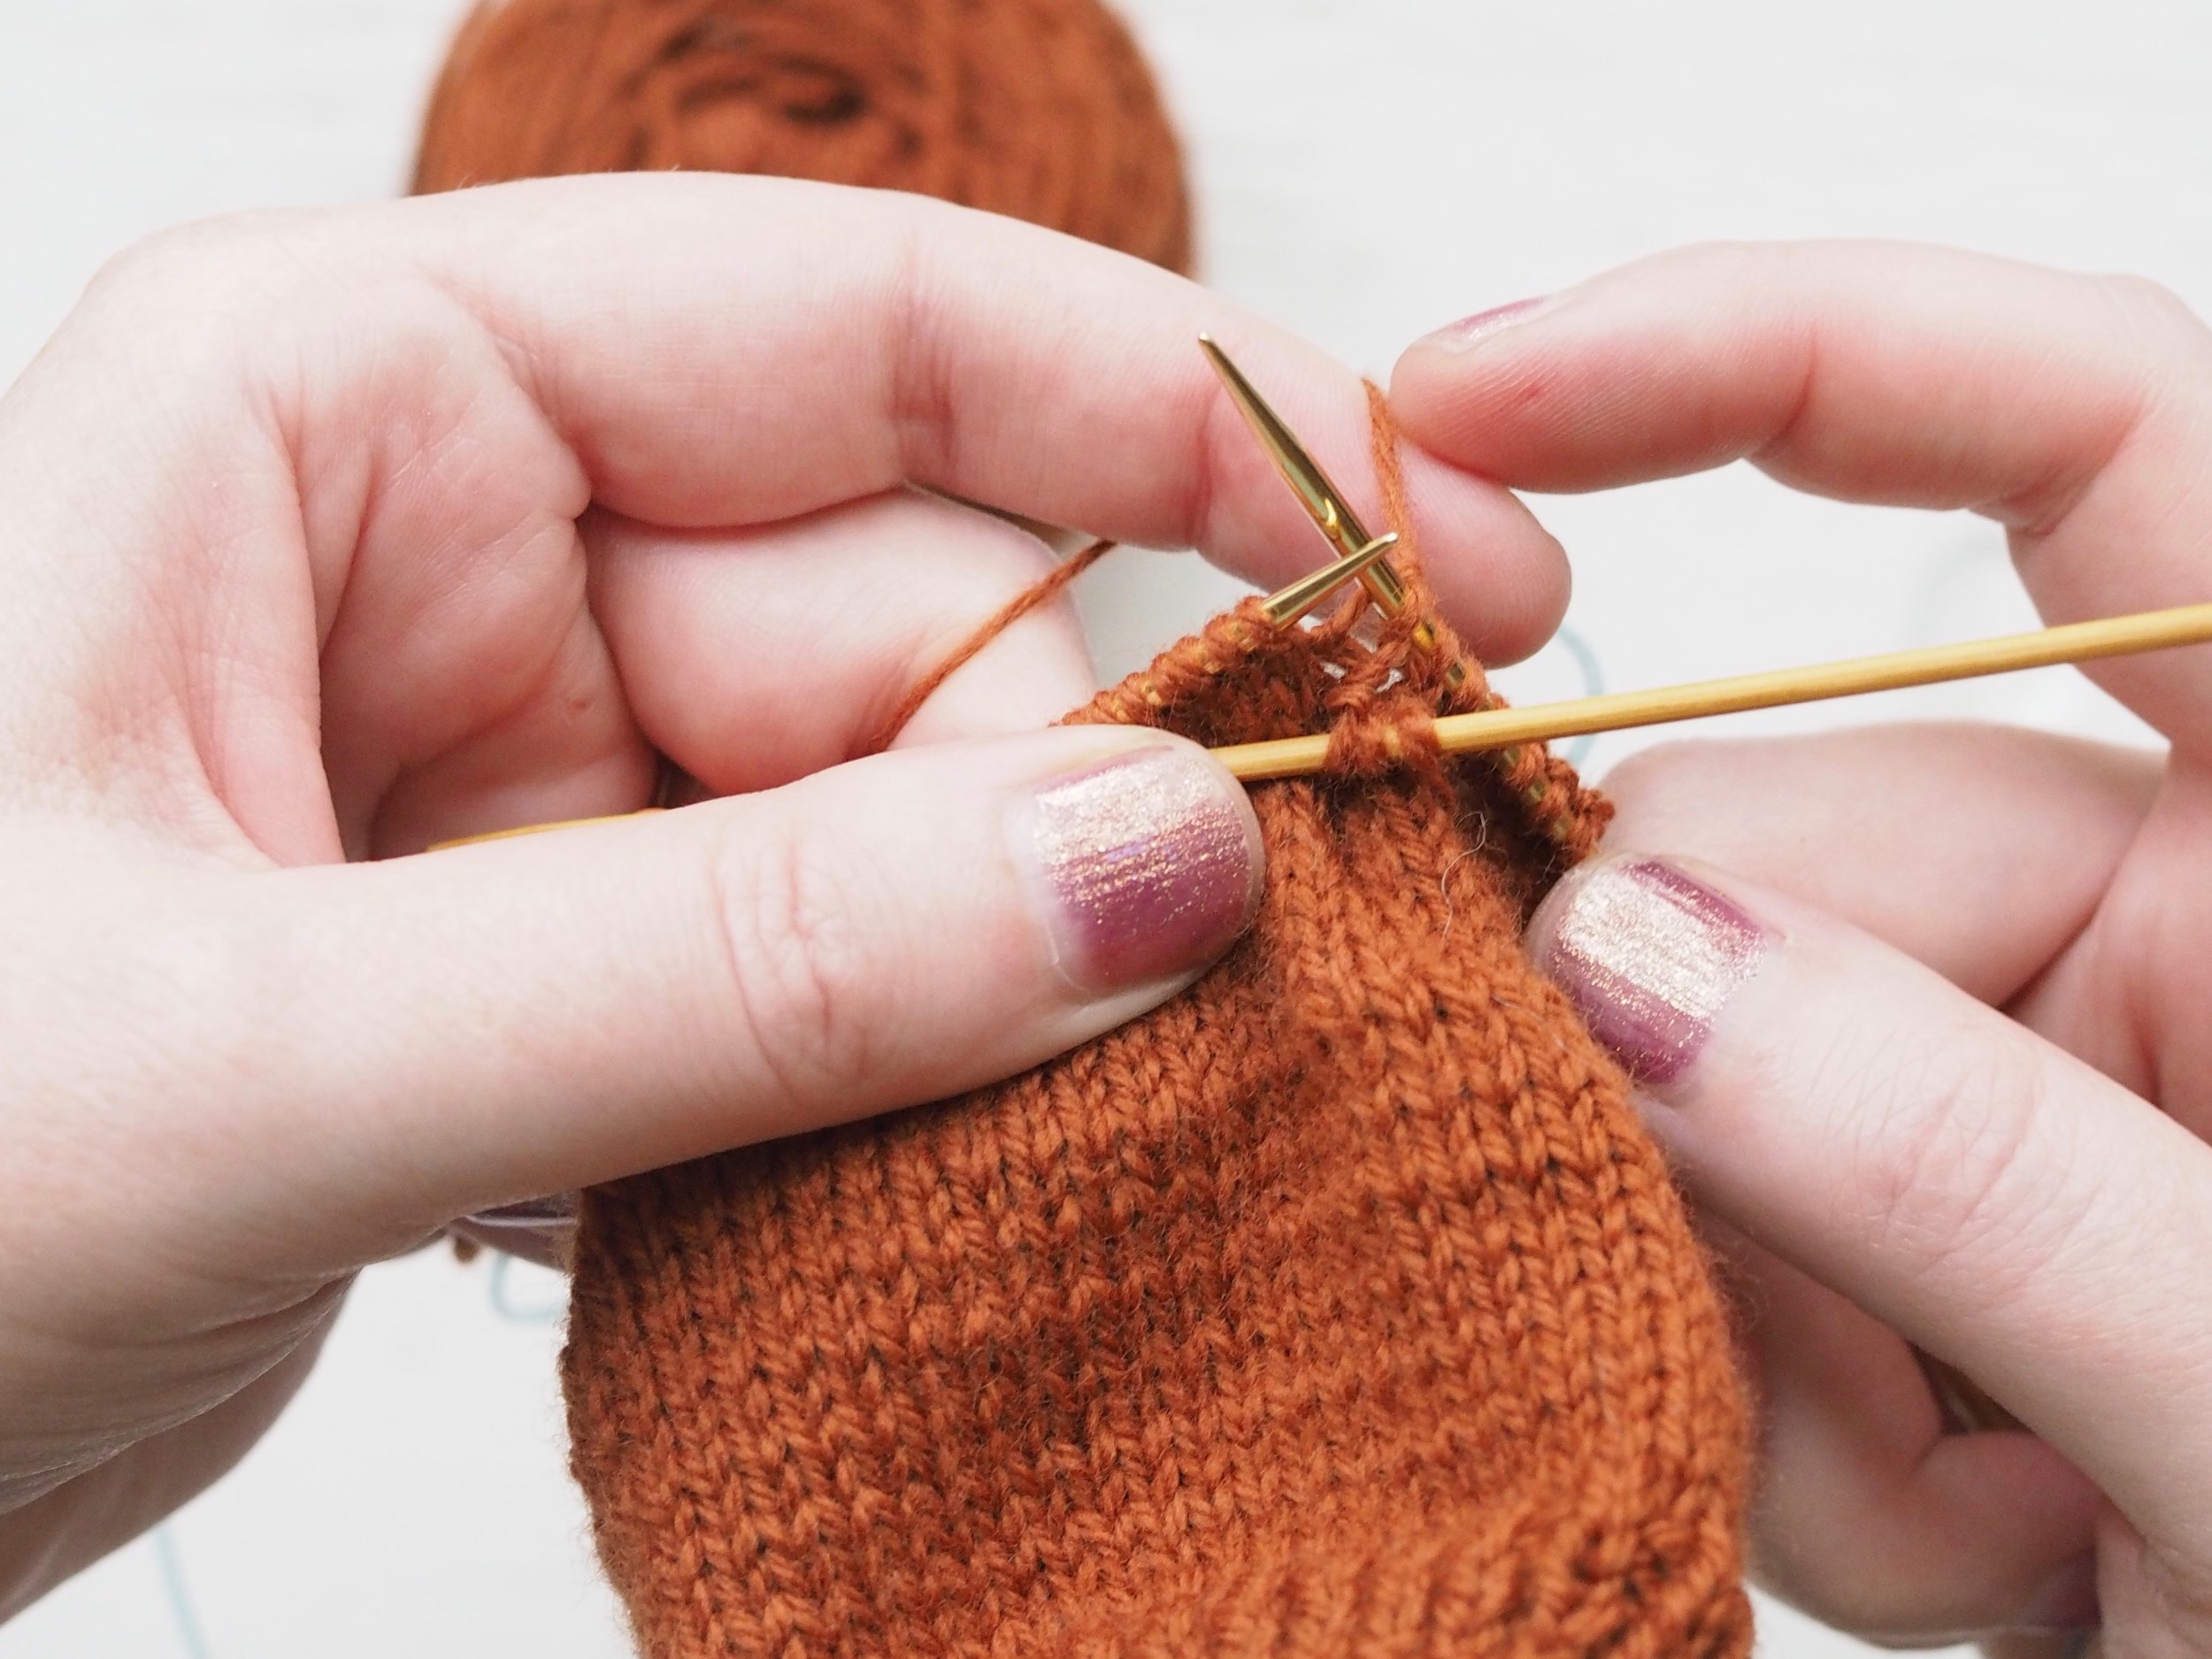
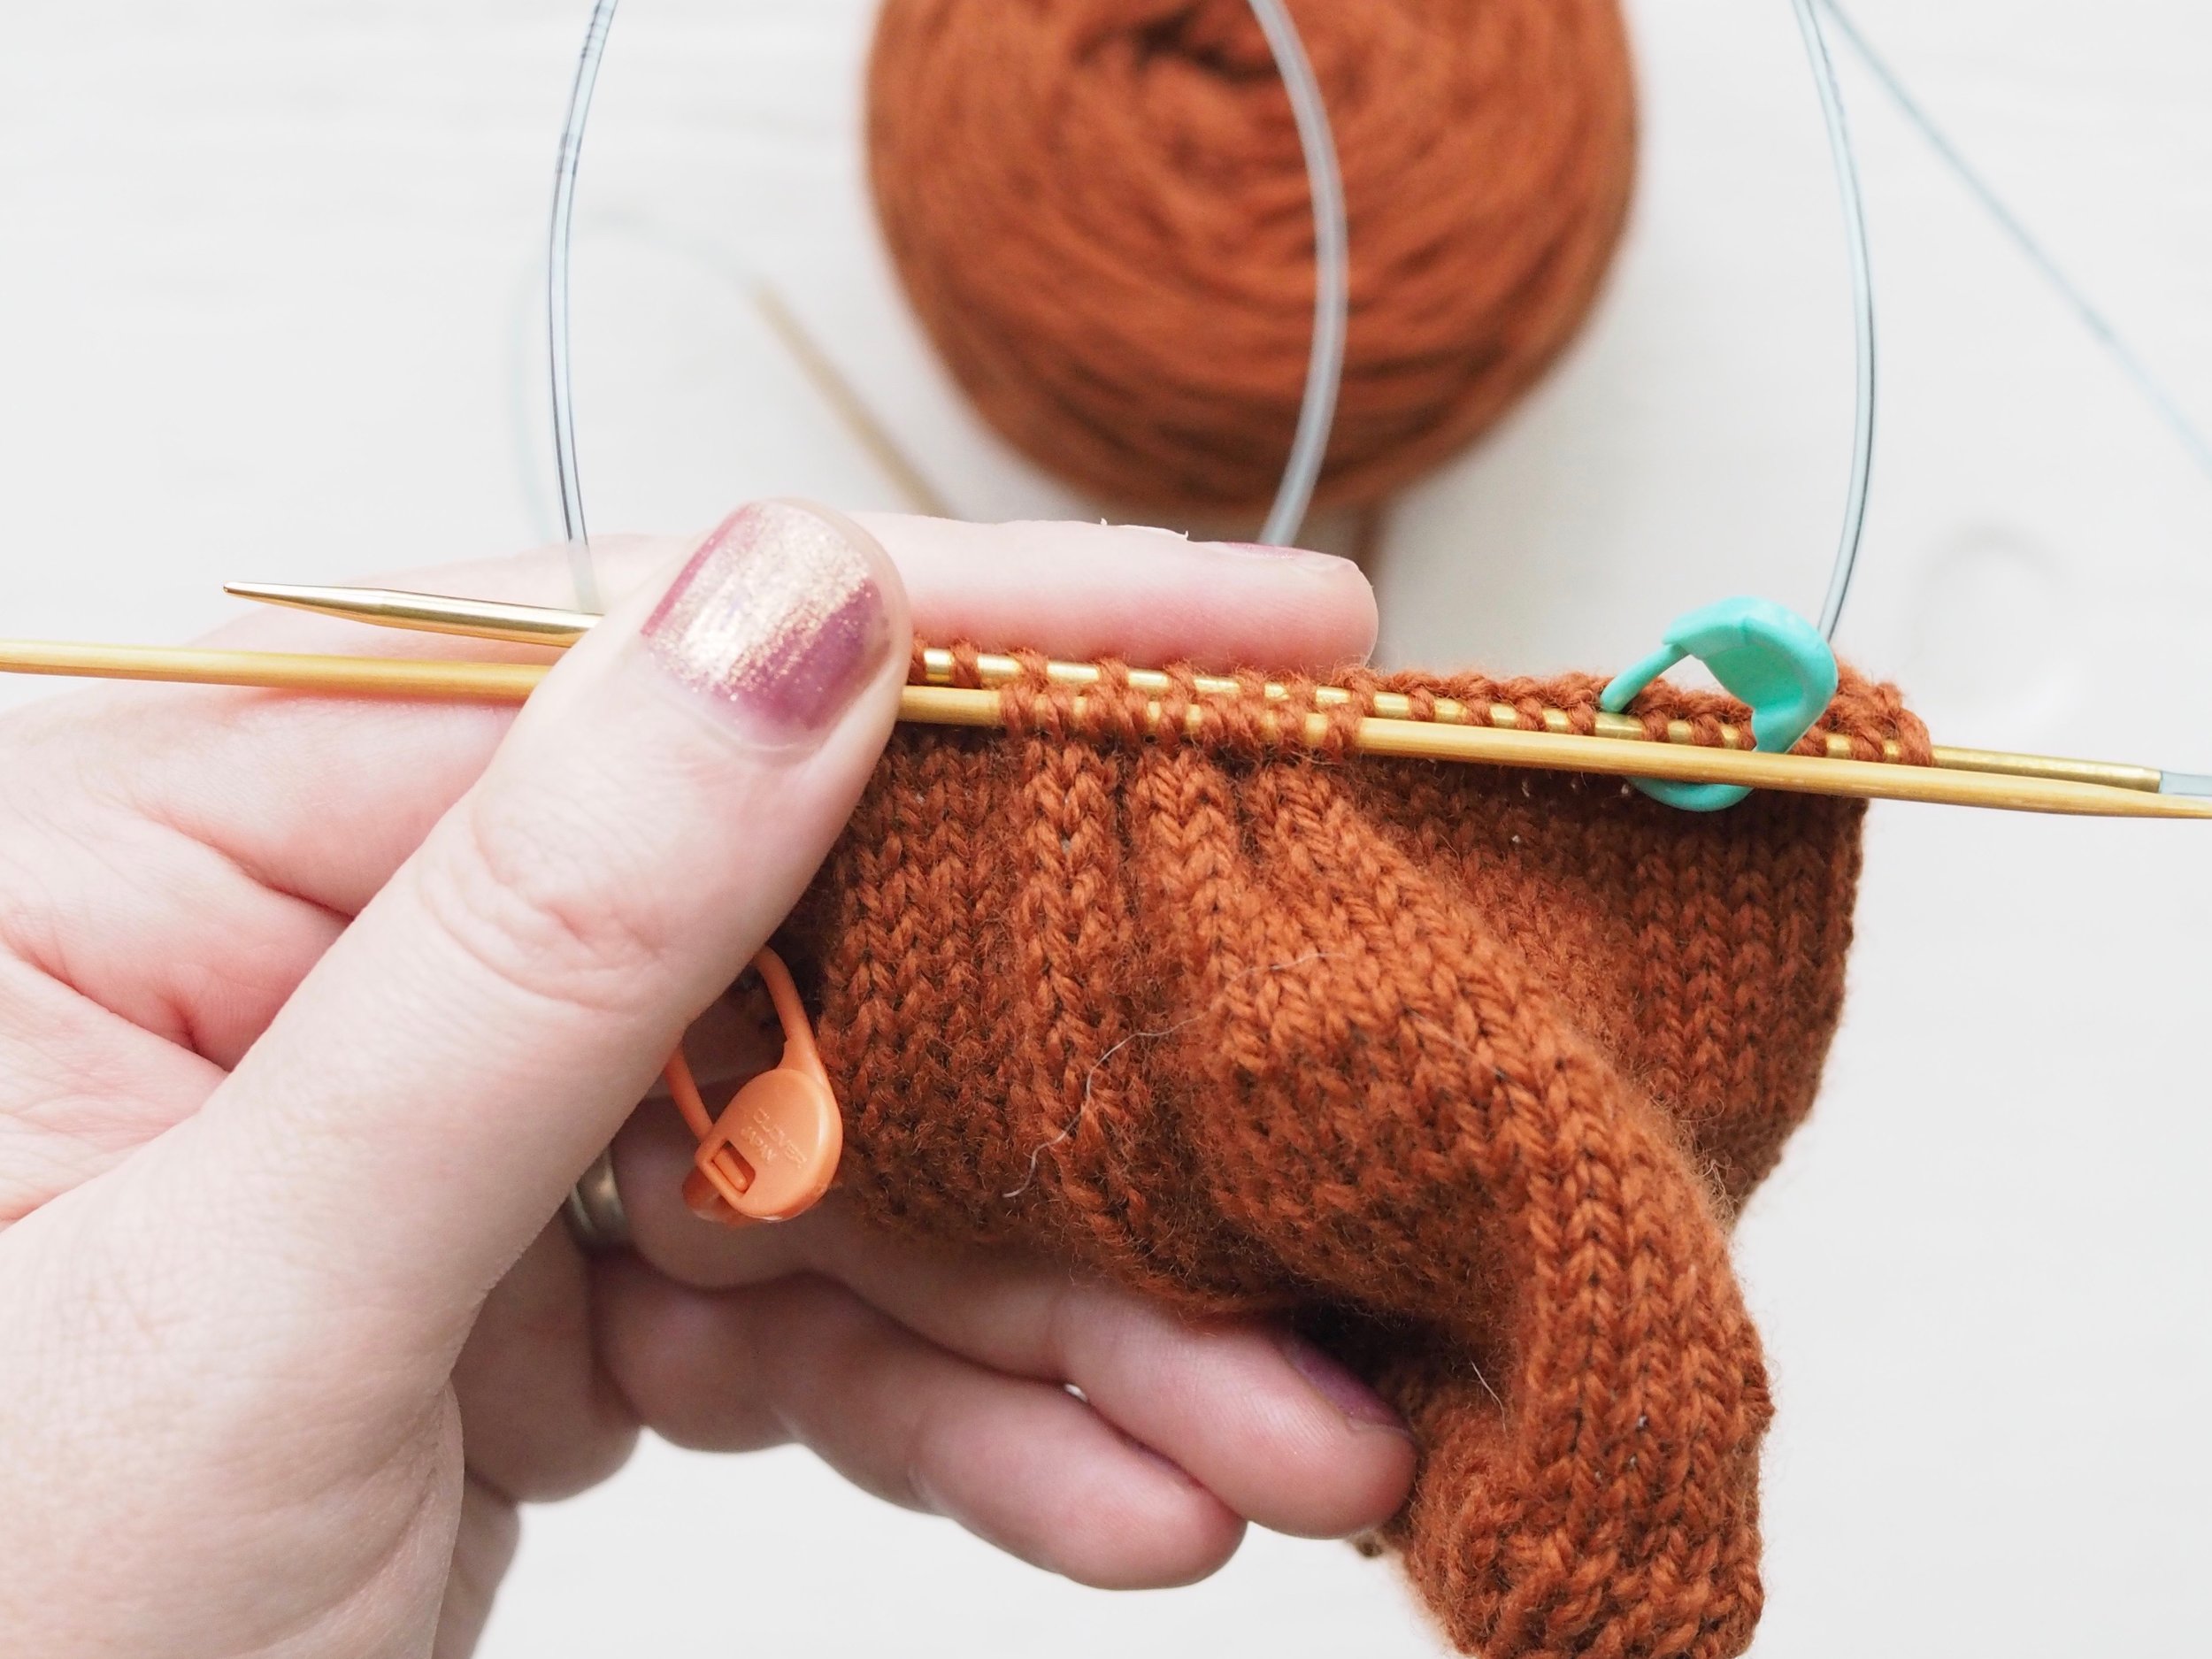
  2. Slip the tuck stitches (here, three stitches) on to a spare double-pointed needle or cable needle held in front of your work. [NB: if your tucks are small, you can use the same spare needle for all the tucks in a row]

  3. Tension the working yarn tightly as you work the first stitch post-tuck. The more snugly you work the stitches together on either side of the tuck, the more visible your tuck will be. Continue knitting normally until you reach the next tuck.

Repeat steps 2 and 3 until you reach the end of the tuck section.

In the example shown, the tuck section is 11 stitches wide: three tucks three stitches wide, plus one spacer stitch on either side of the center tuck. When you finish working your first row of tucks, you should have nine stitches (width of tuck x number of tucks) on your spare needle (or needles, if your tuck is very wide).

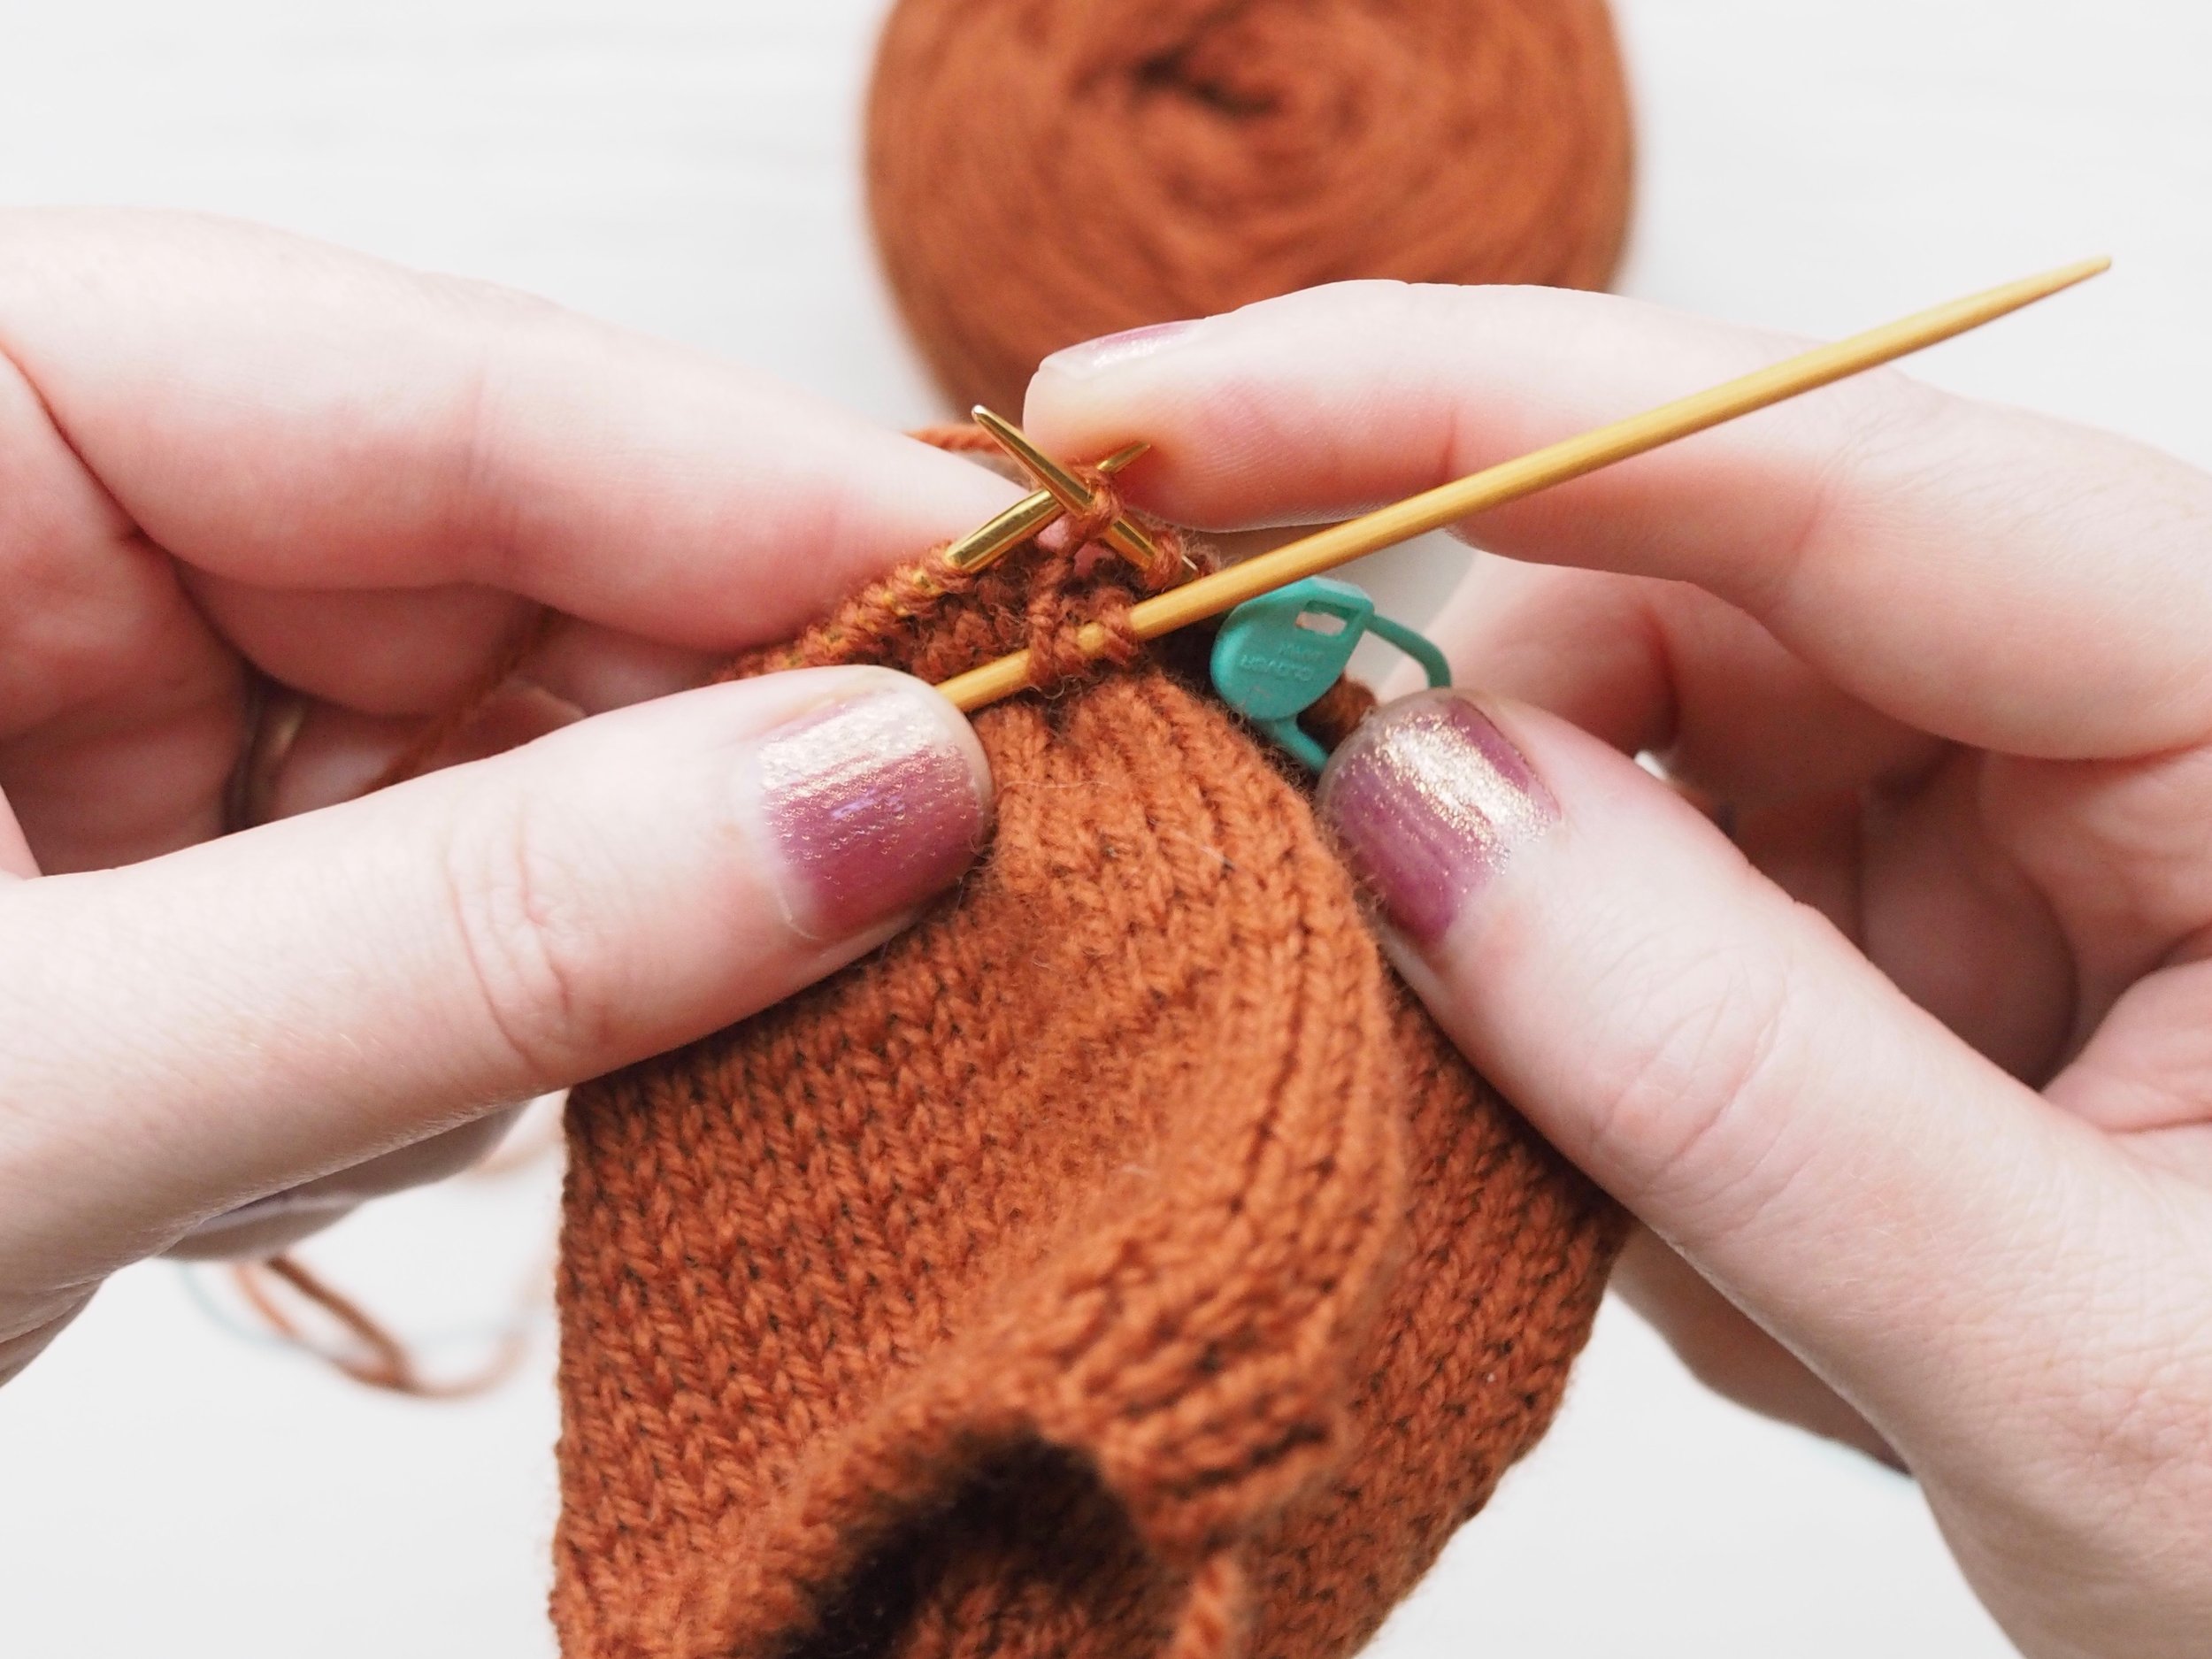
ROW 2

  1. Knit to the start of your first tuck.

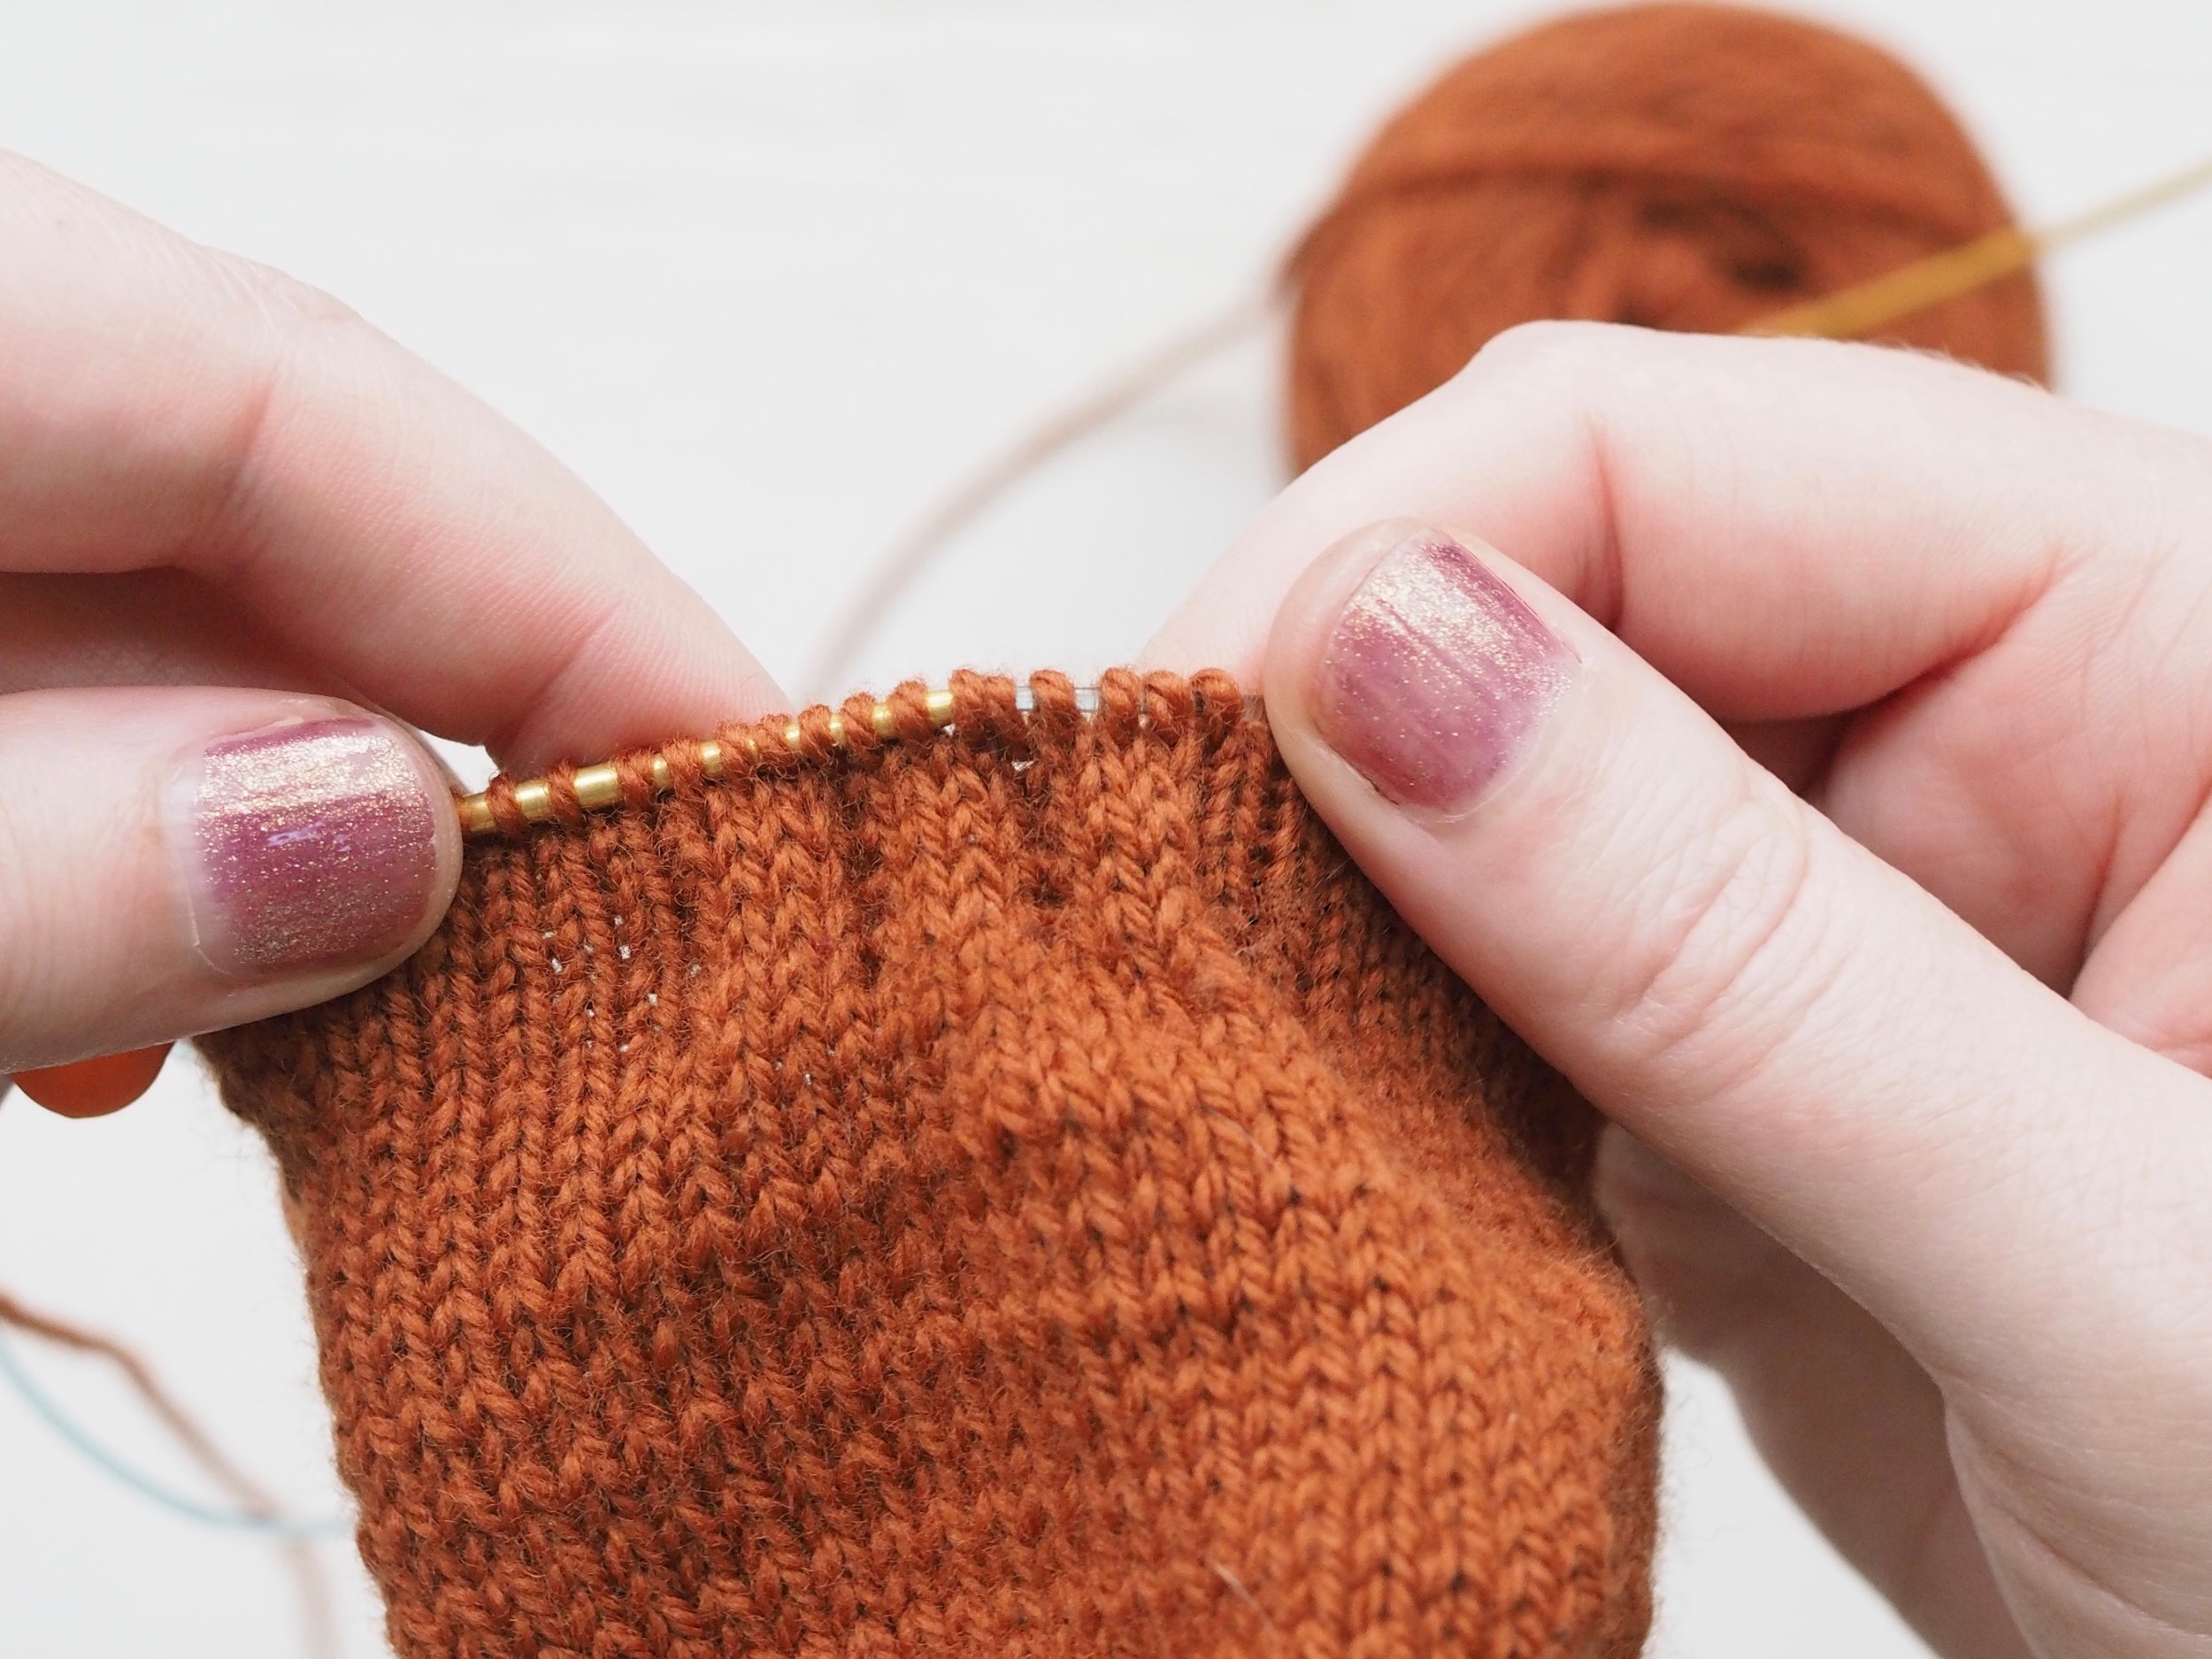
  2. Pick up and knit the tuck stitches (here, three stitches) off the spare needle.

  3. Knit normally to the next tuck.

Repeat steps 2 and 3 until all stitches are back on the main needle.

It will take a couple of rows until the tucks start to look like anything on the right side of the fabric. On the wrong side of the fabric, you should clearly see where the working yarn has held behind the slipped stitches. Try to keep that horizontal line the same length for tucks of the same width, and the short it is, the more prominent your tucks will be.


GET KNITTING!

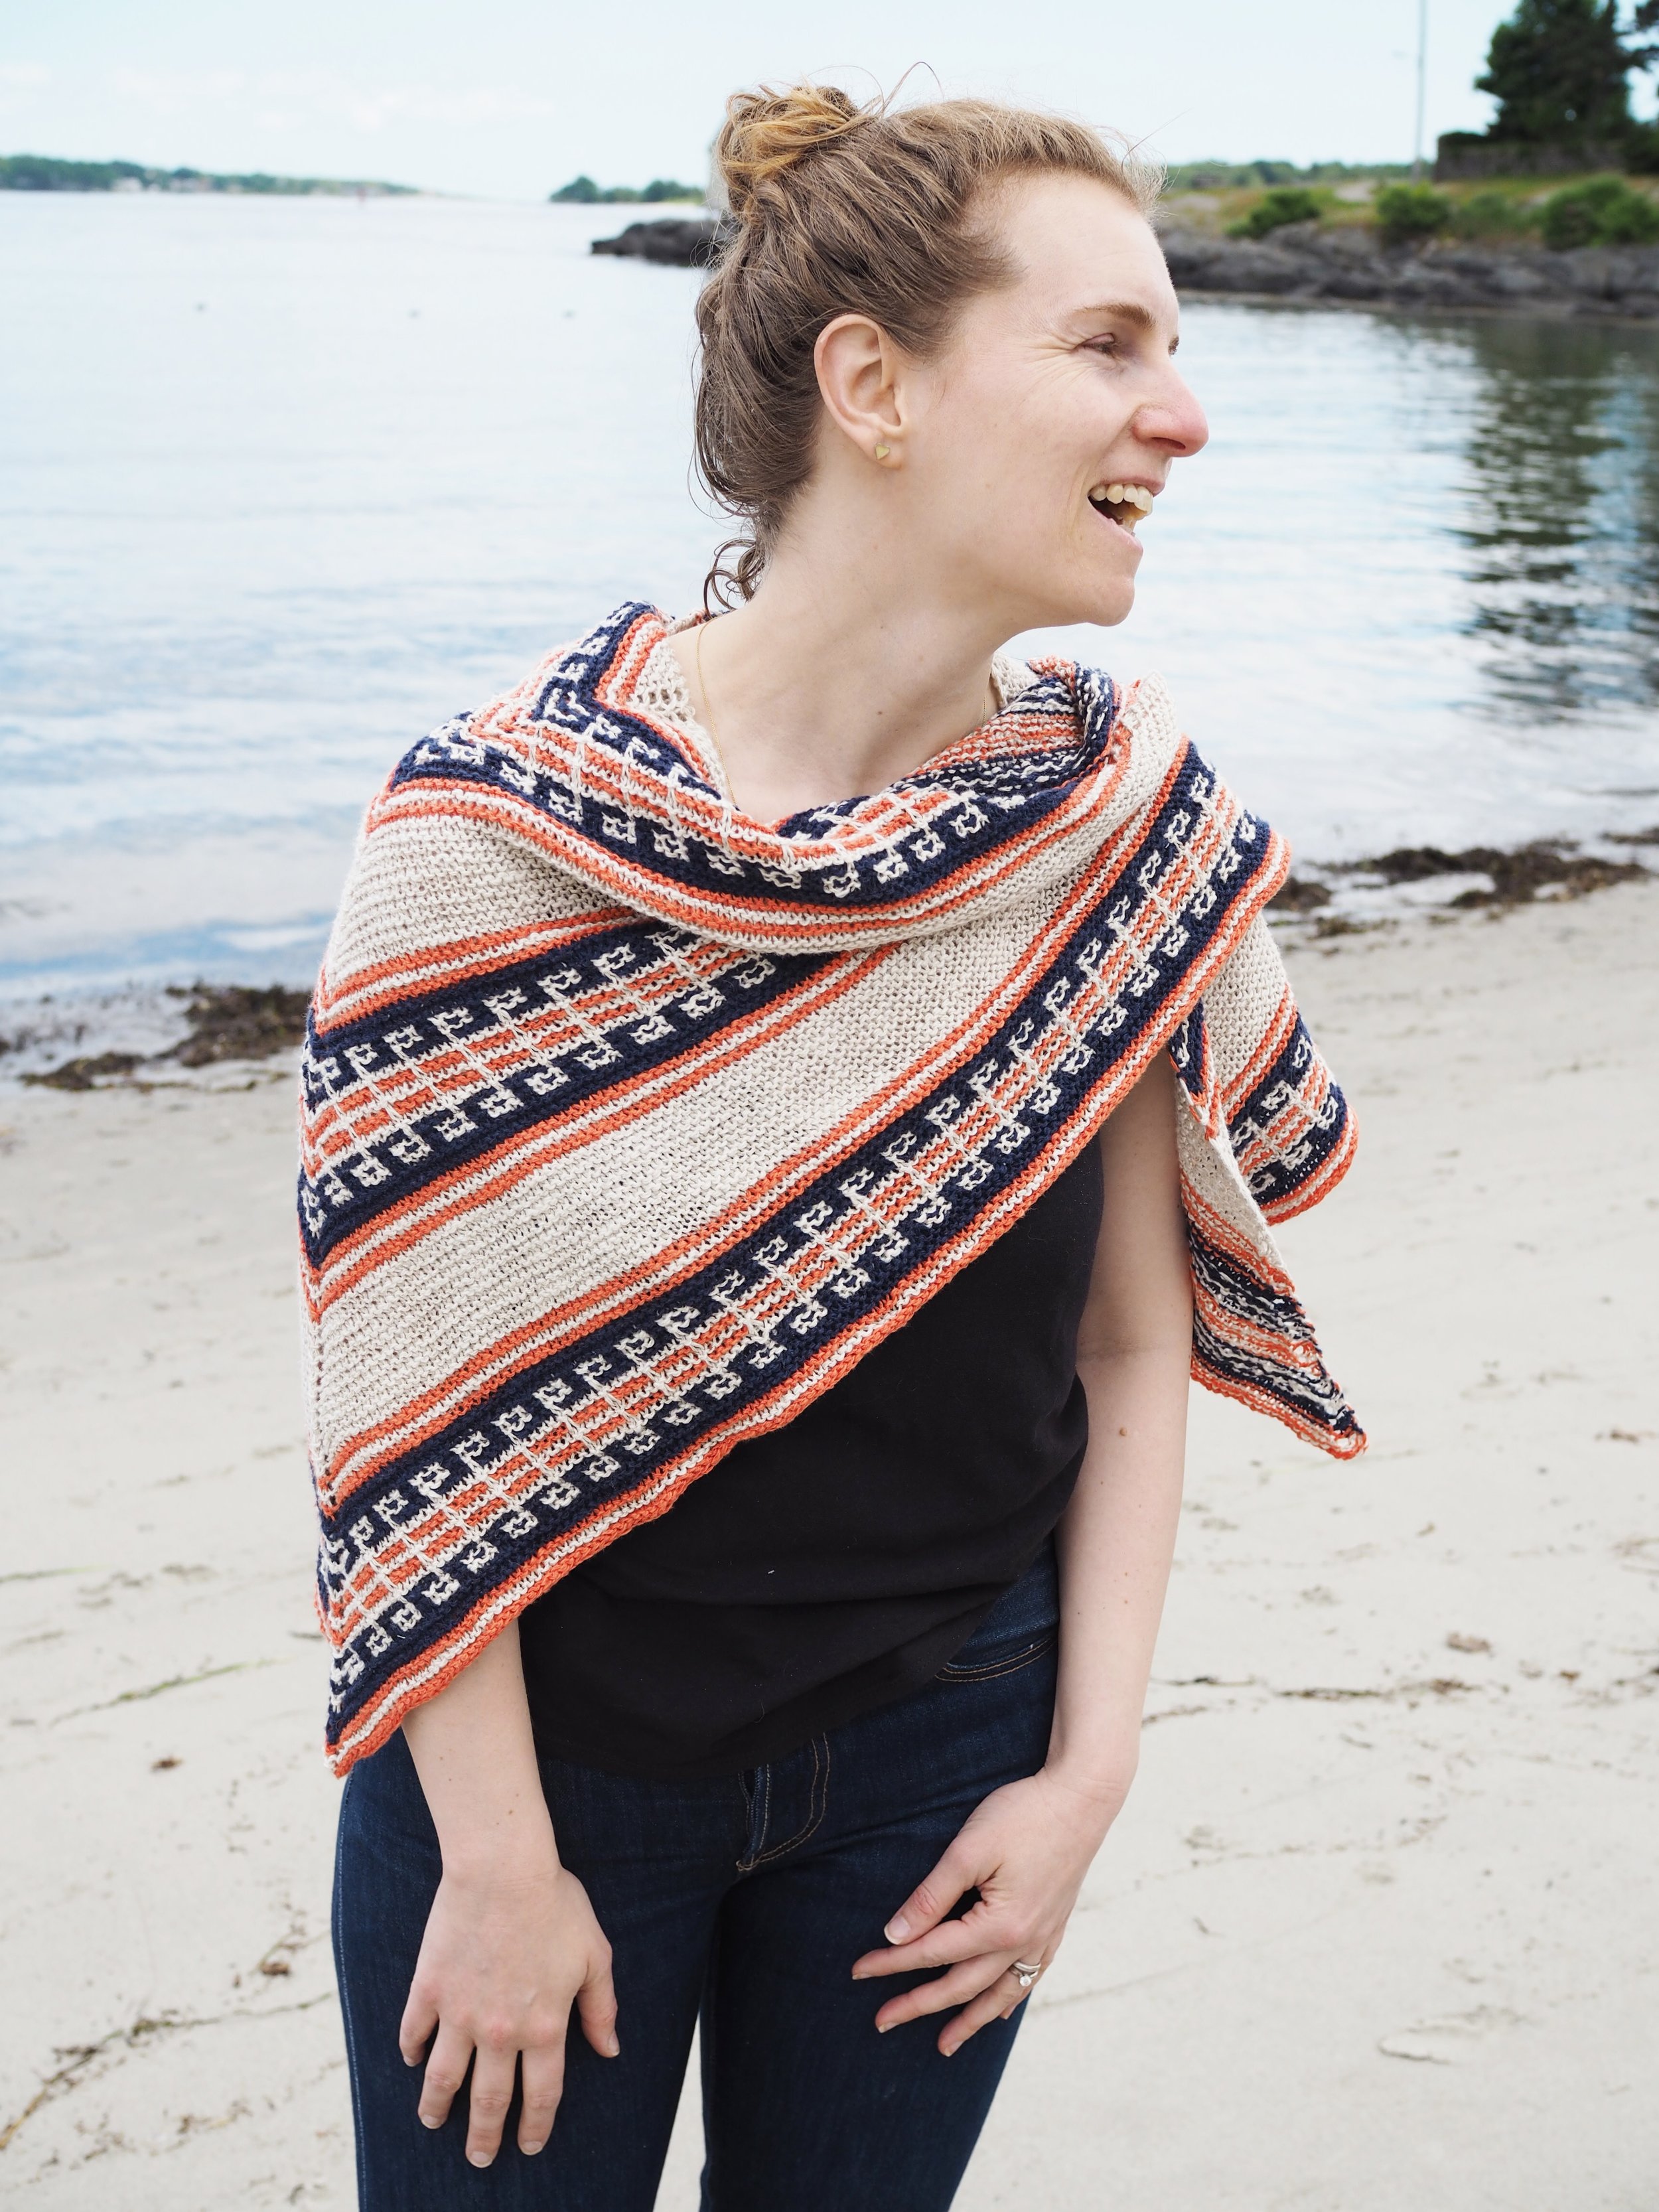
Try out the pattern below which incorporate tucks, horizontal pleats, or smocking!


Print Friendly and PDF Follow
follow us in feedly

Introducing STORYTIME

Opening the Book on the Storytime Collection

My mother was an elementary school librarian, so my childhood was filled with all sorts of children's literature modern and classic. The Storytime Collection draws it’s inspiration from some of my favorite pieces of classic children's literature and might include some of your favorites too! 

The collection, which includes a sweater, gloves, two embroidery designs and a sewing pattern, is available as kits, pattern bundles and stand-alone patterns and has projects suitable for beginners to more advanced makers.

Goldenbook Cardigan

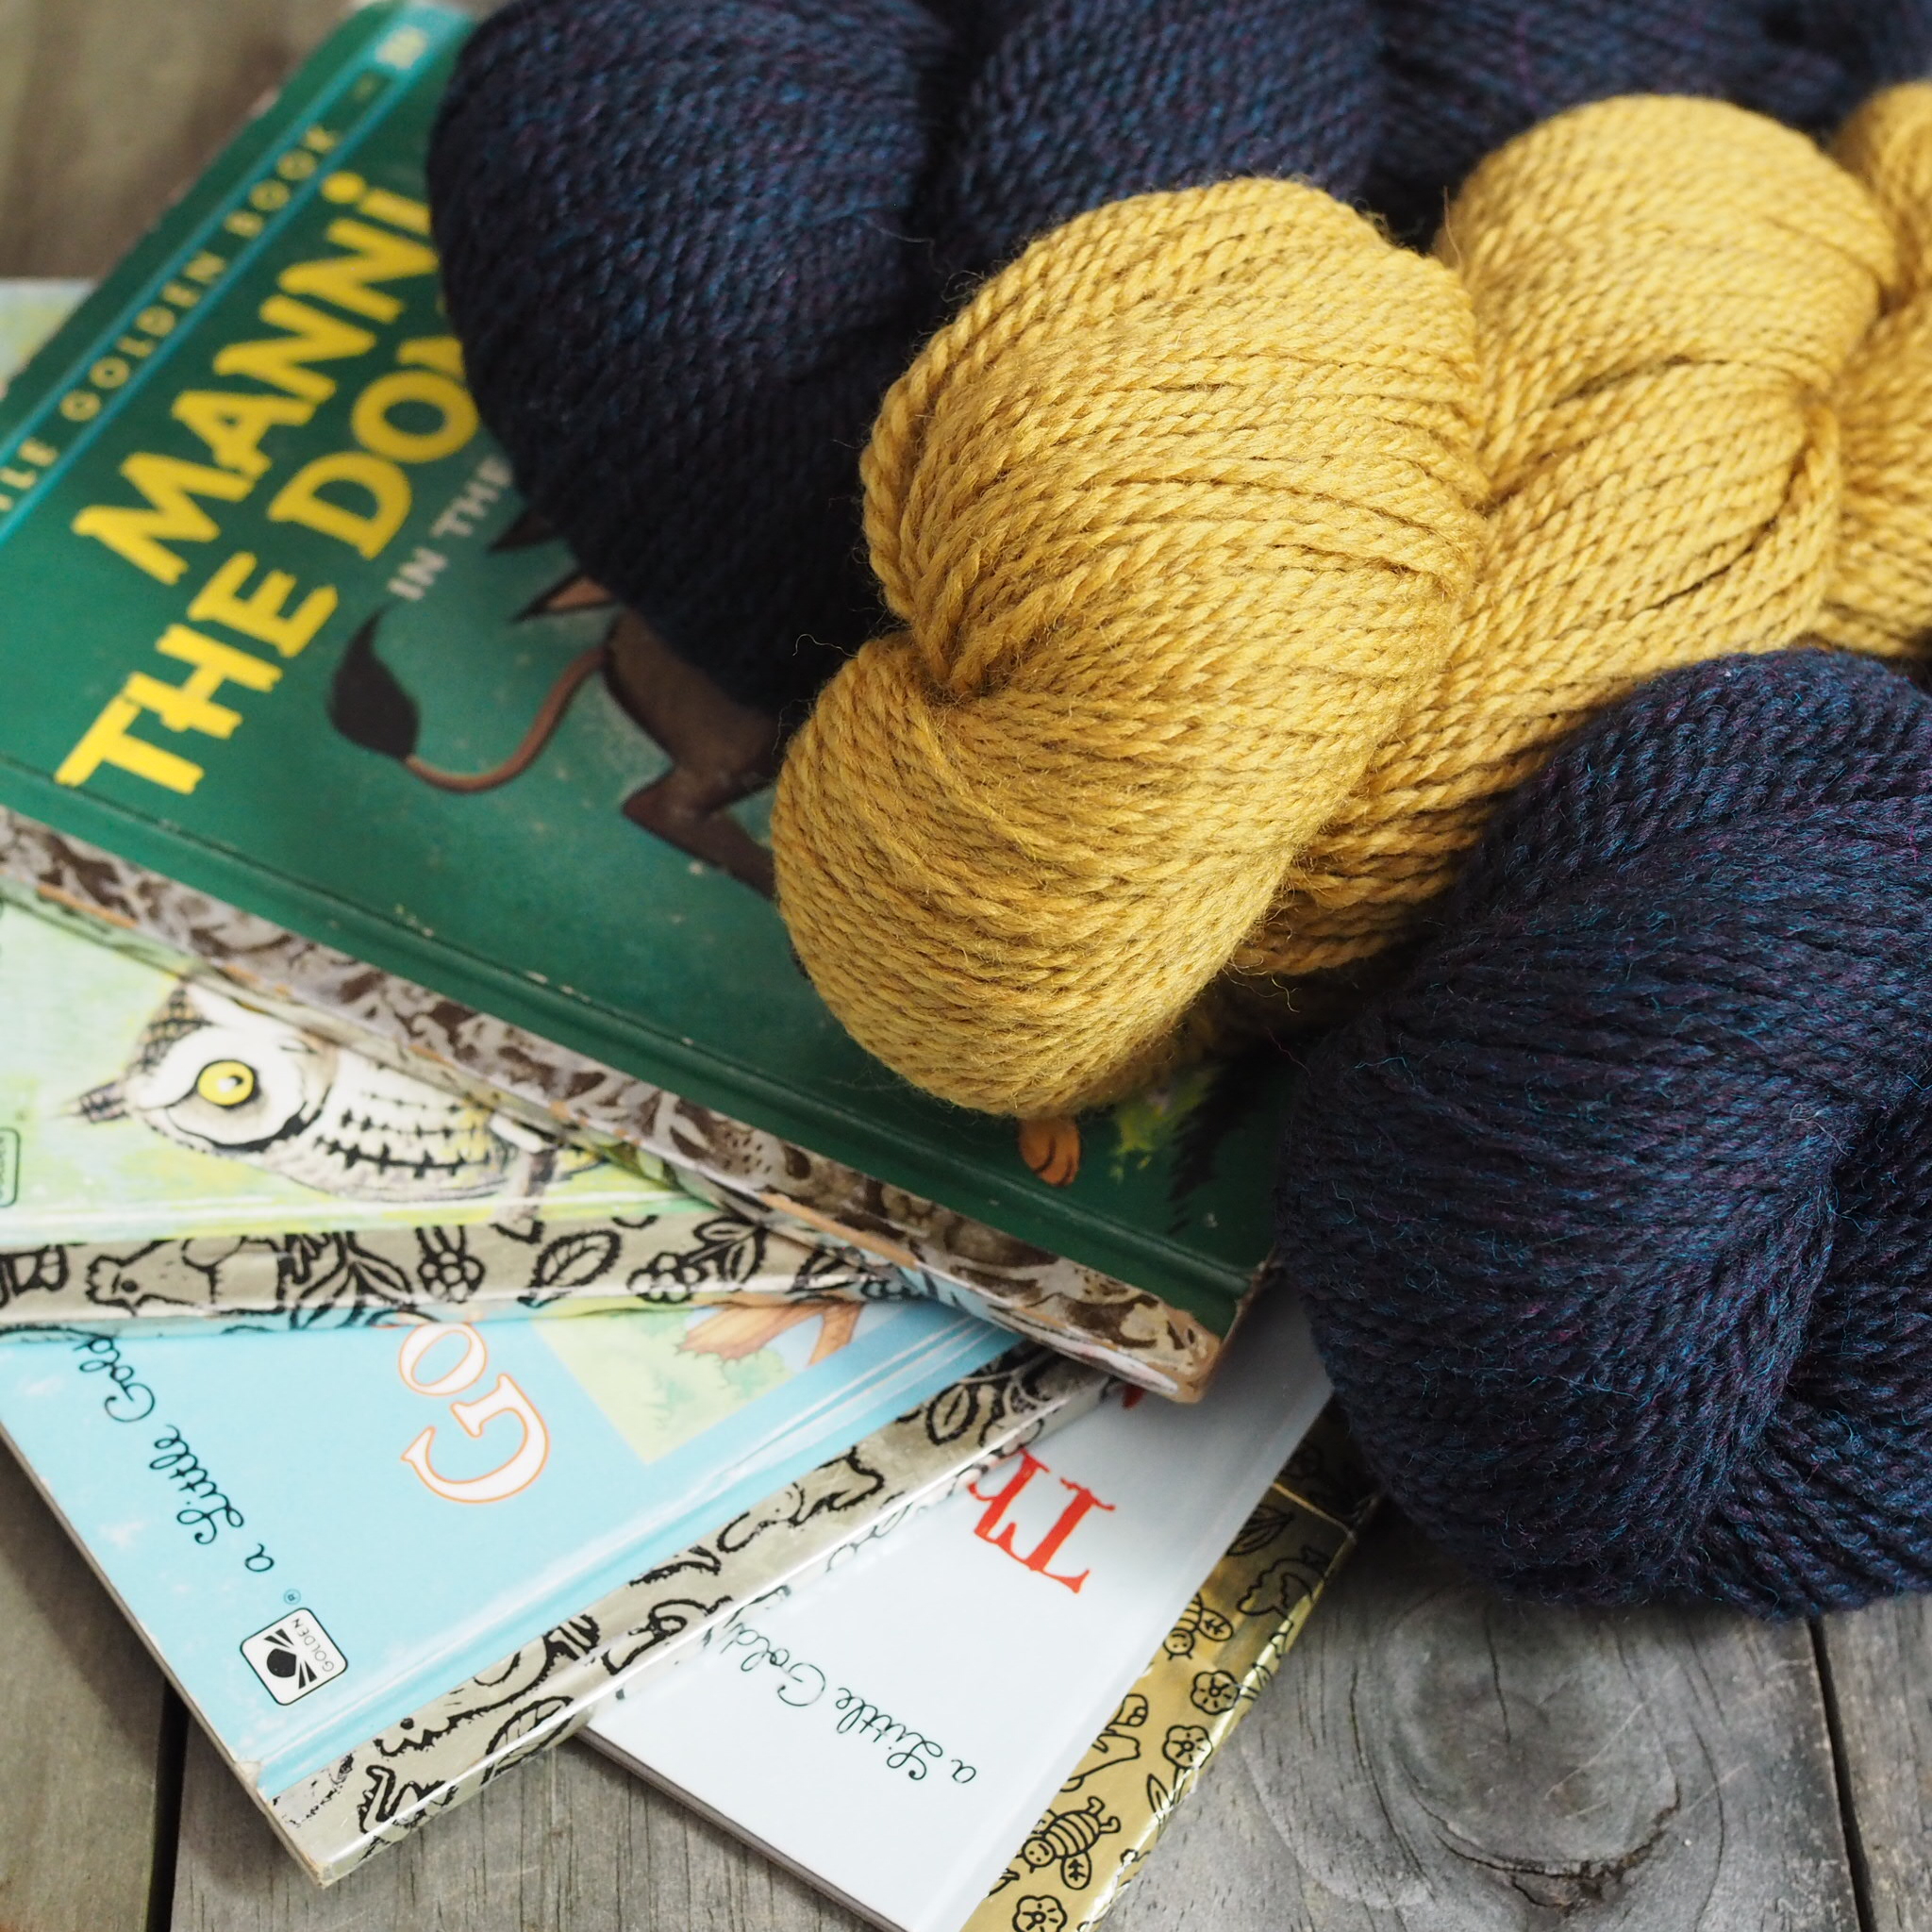
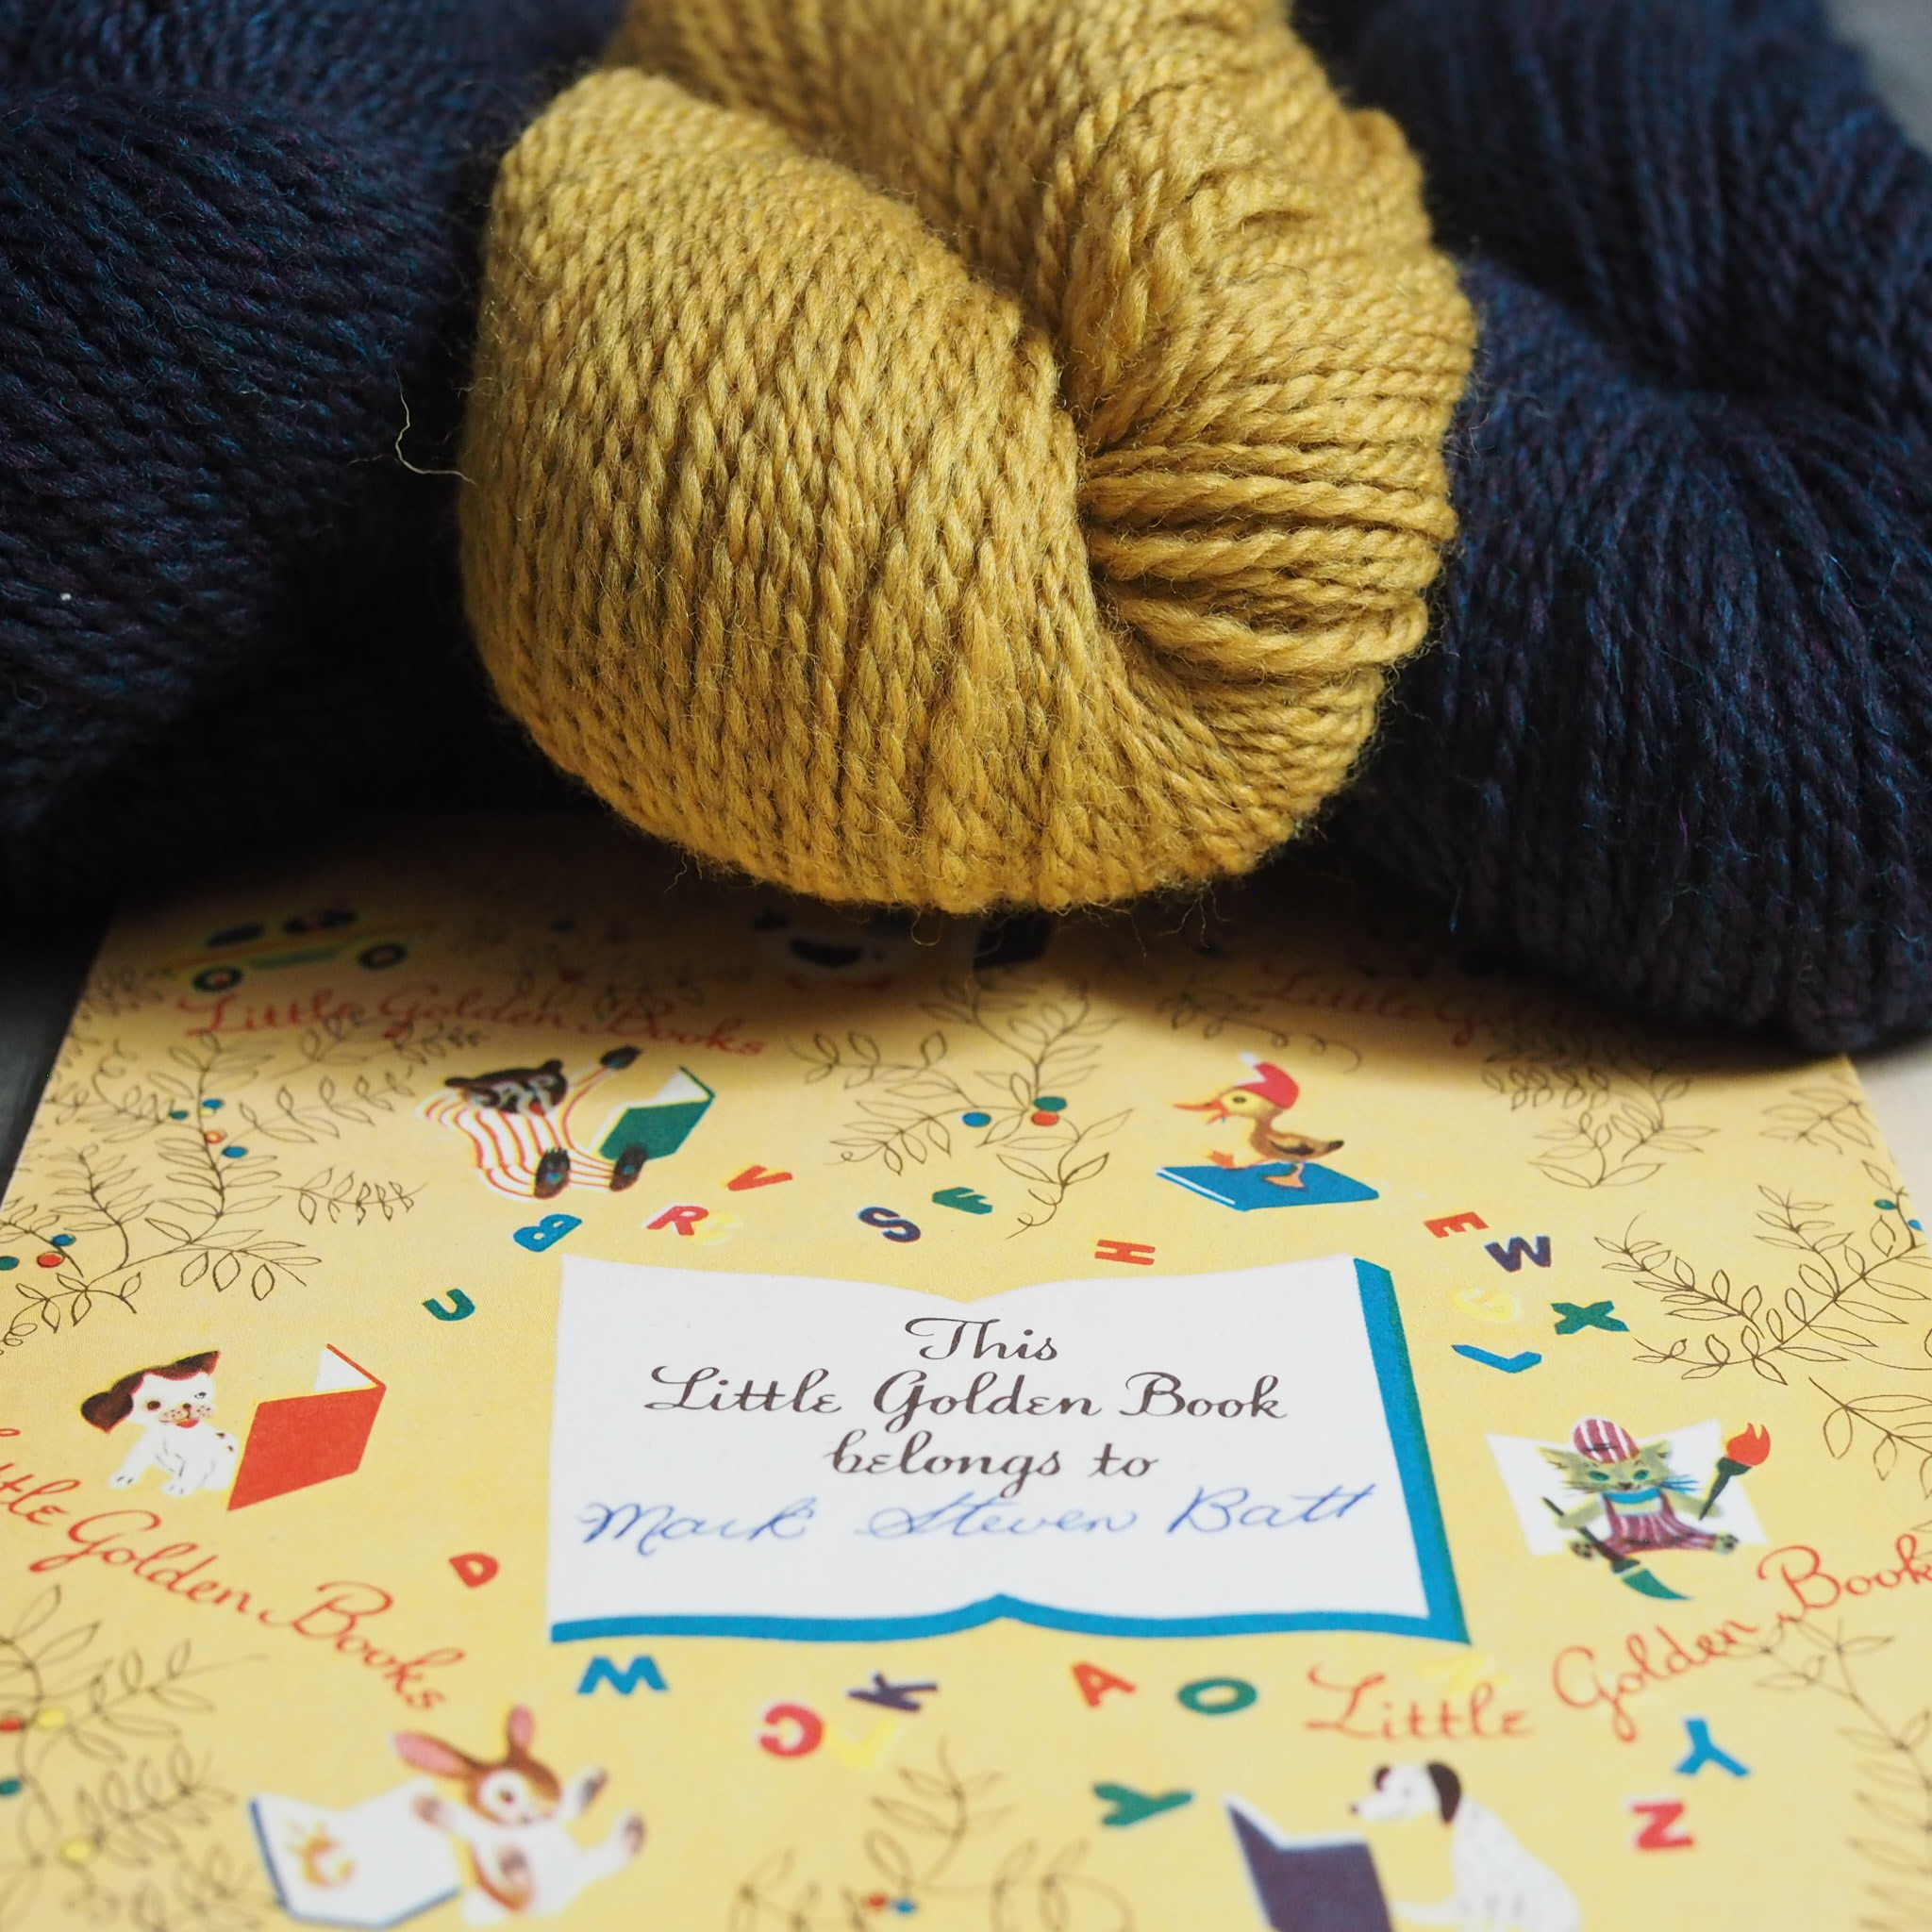
The Saggy Baggy Elephant, Tawny Scrawny Lion, Poky Little Puppy – since the first Little Golden Book was released in 1942, these titles and many more have become classics read by multiple generations.

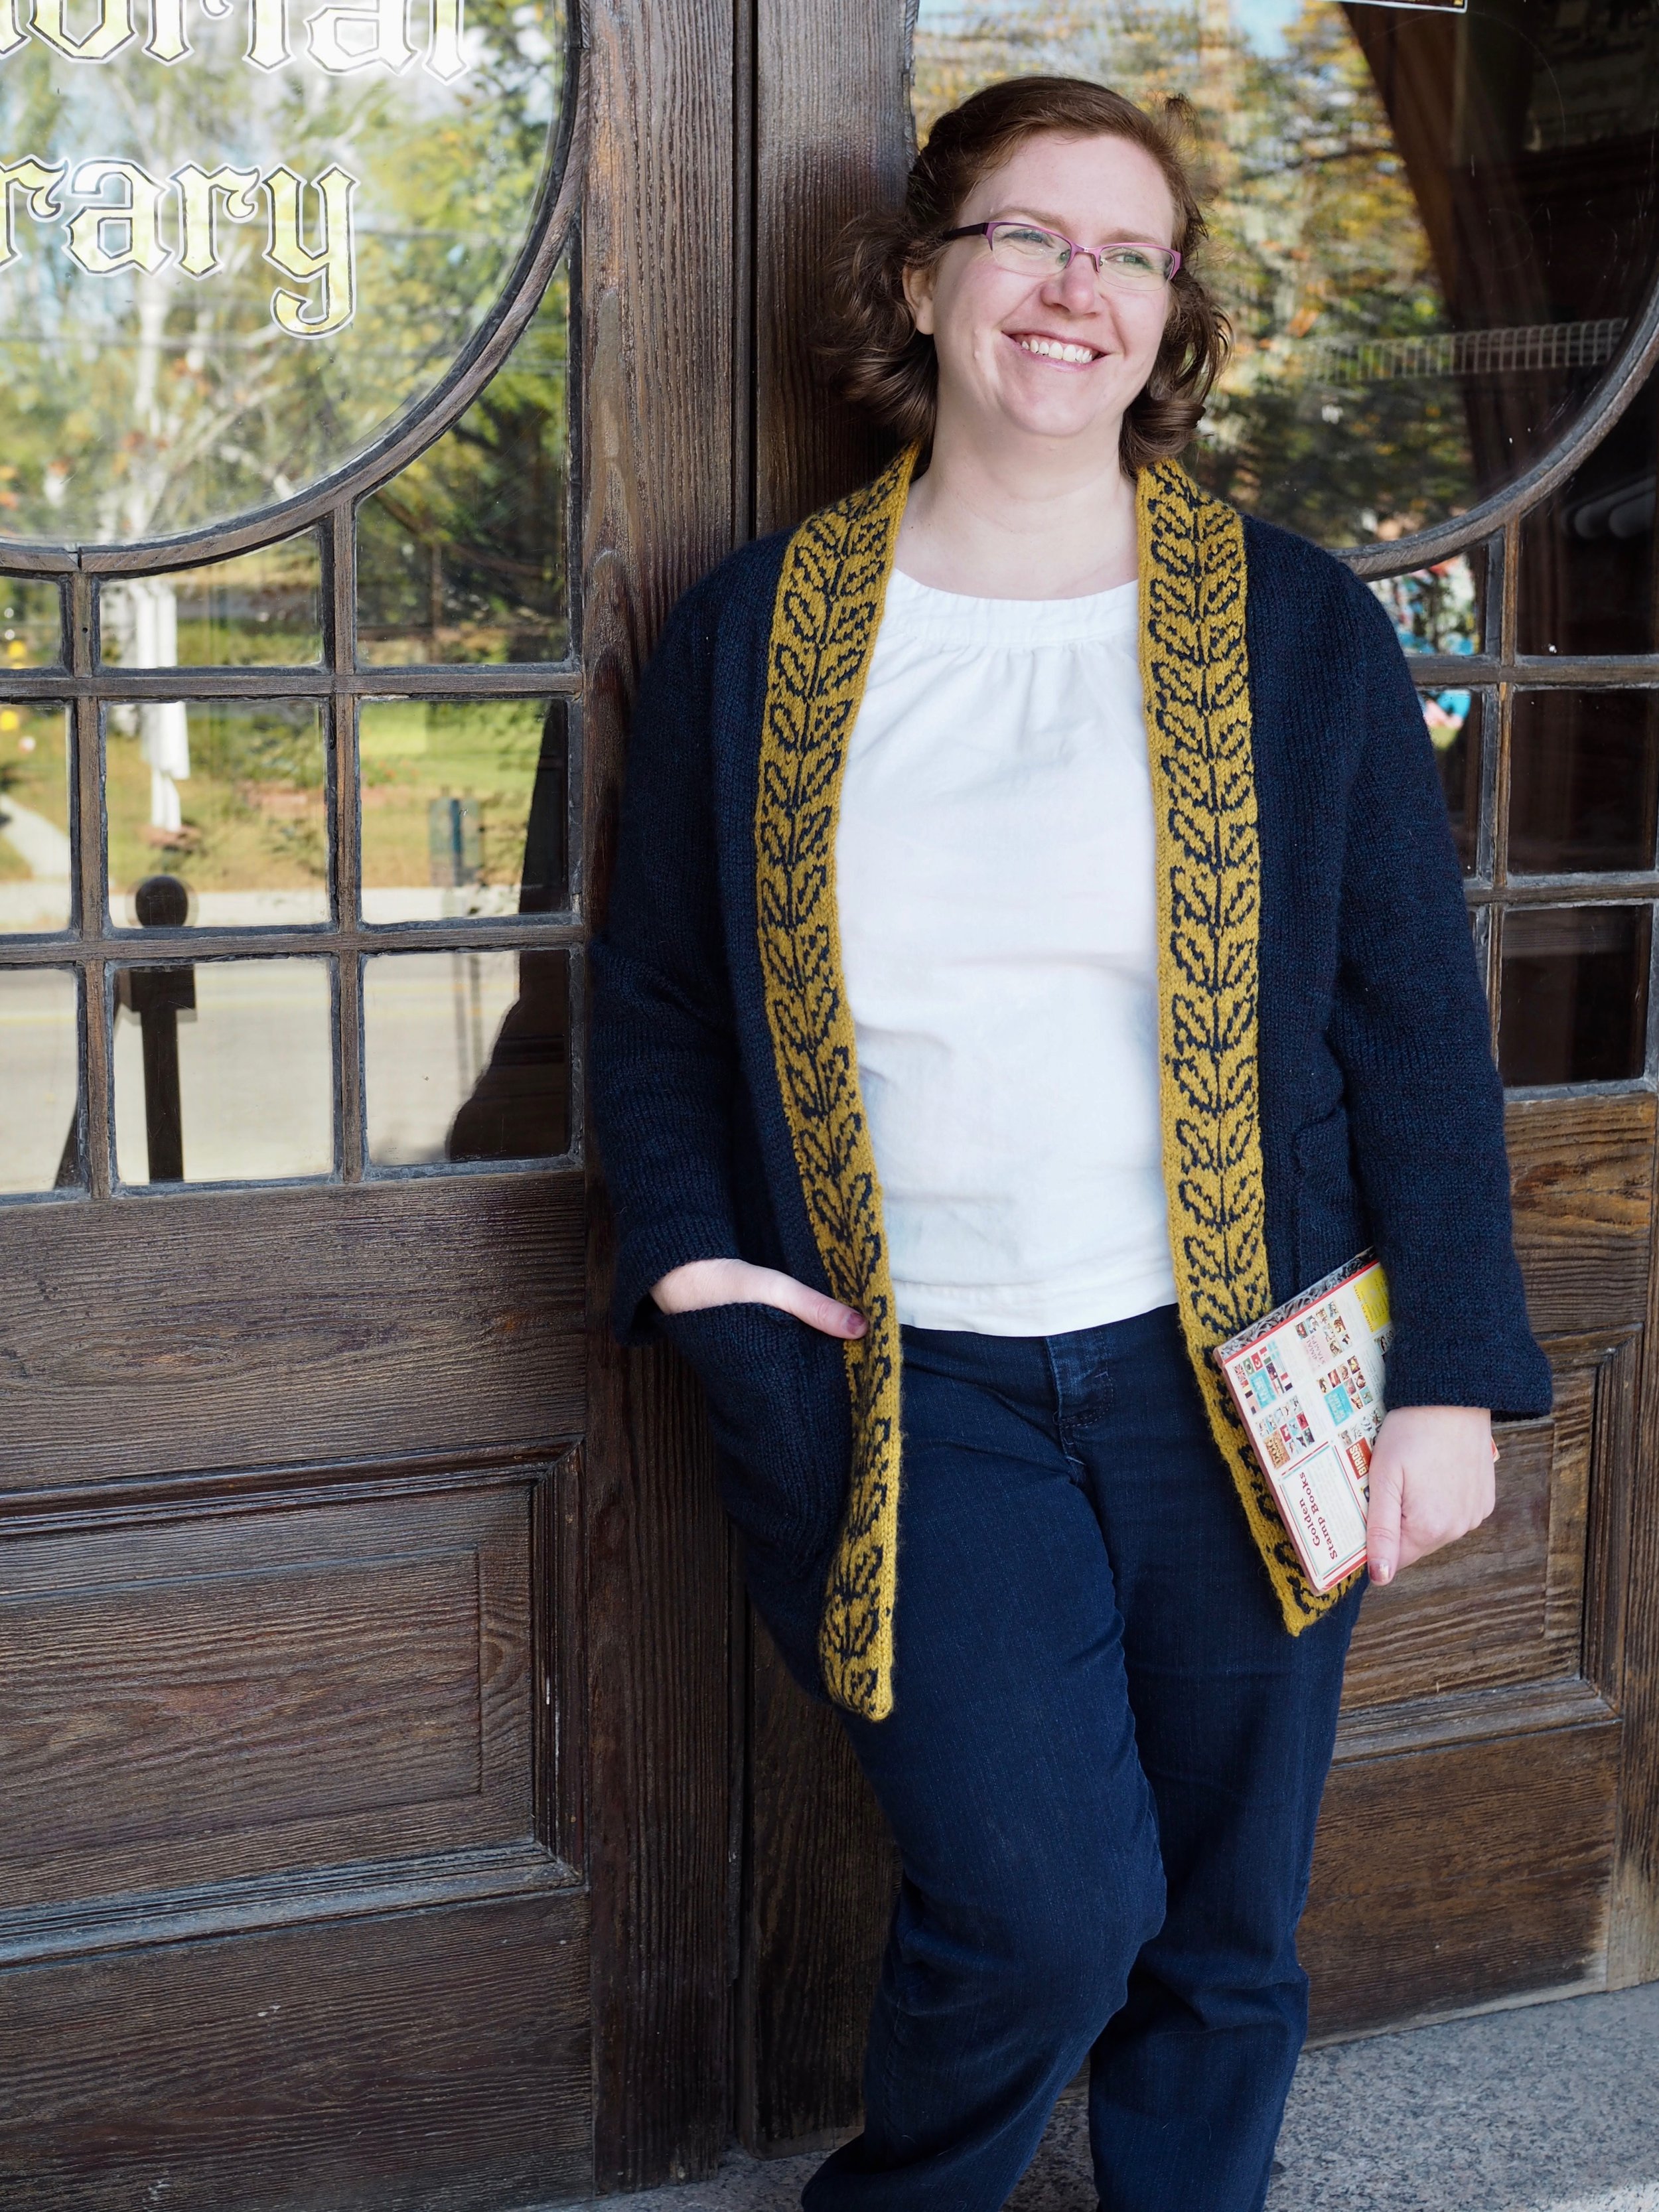
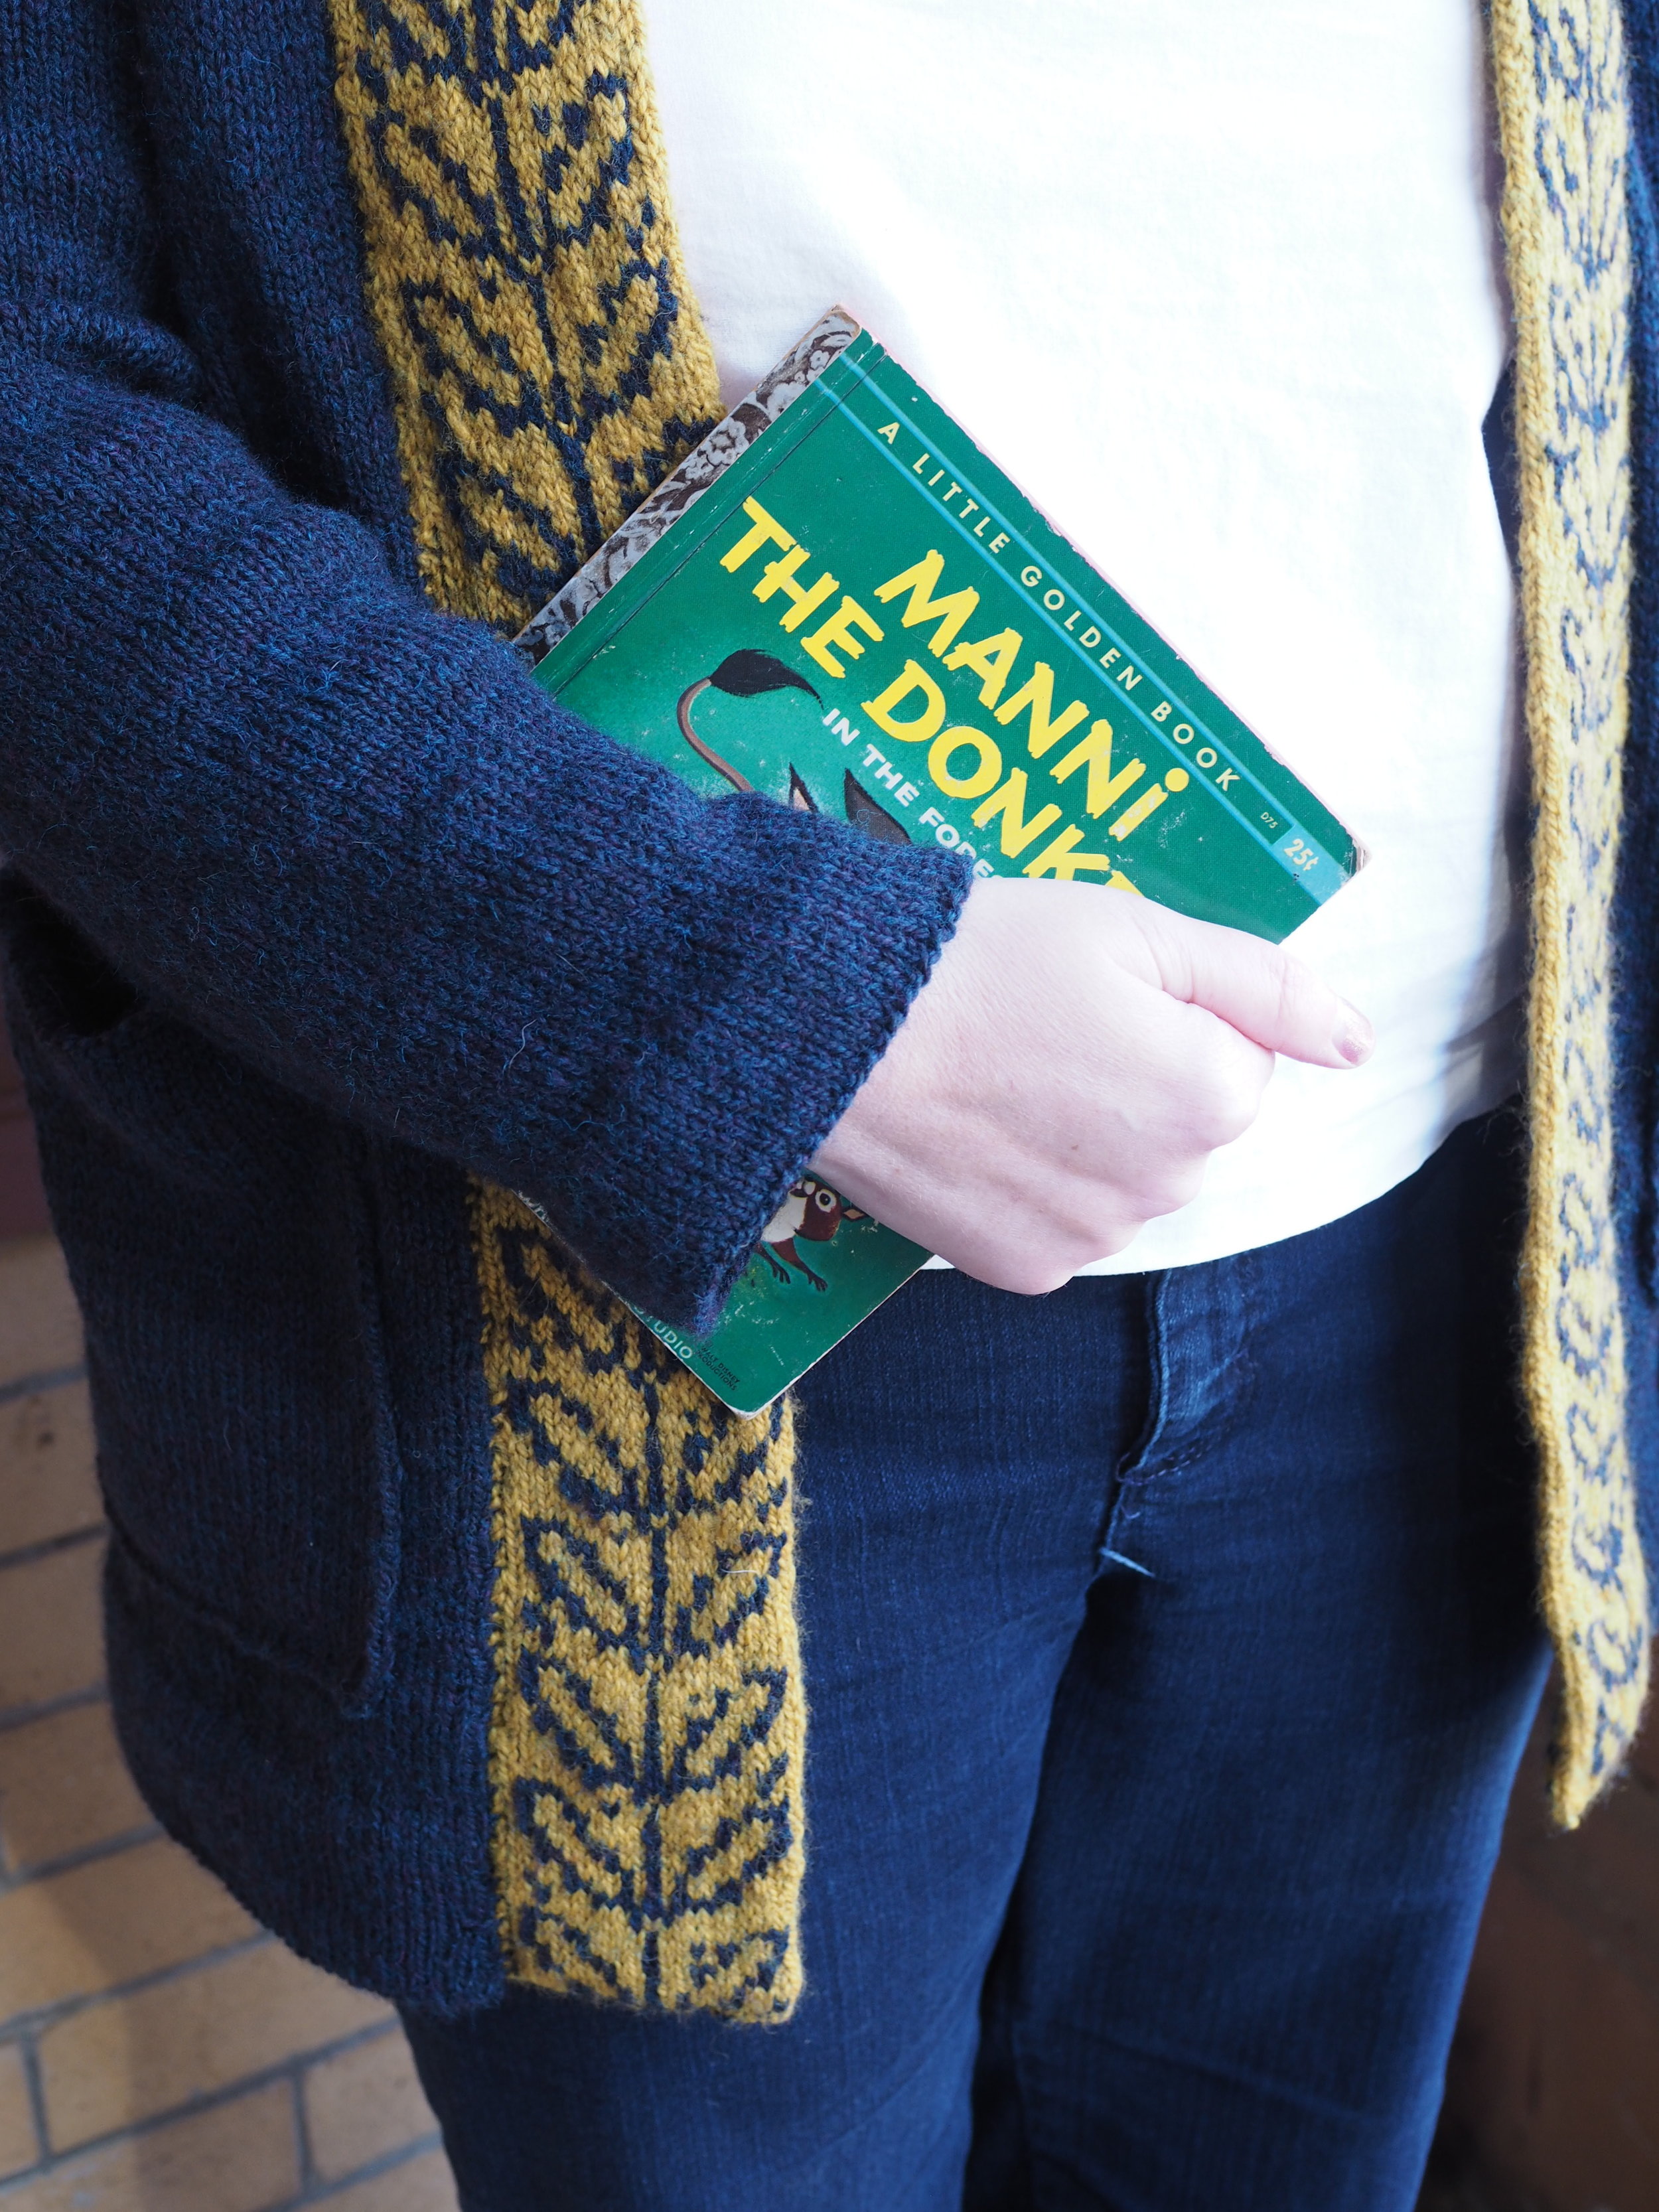
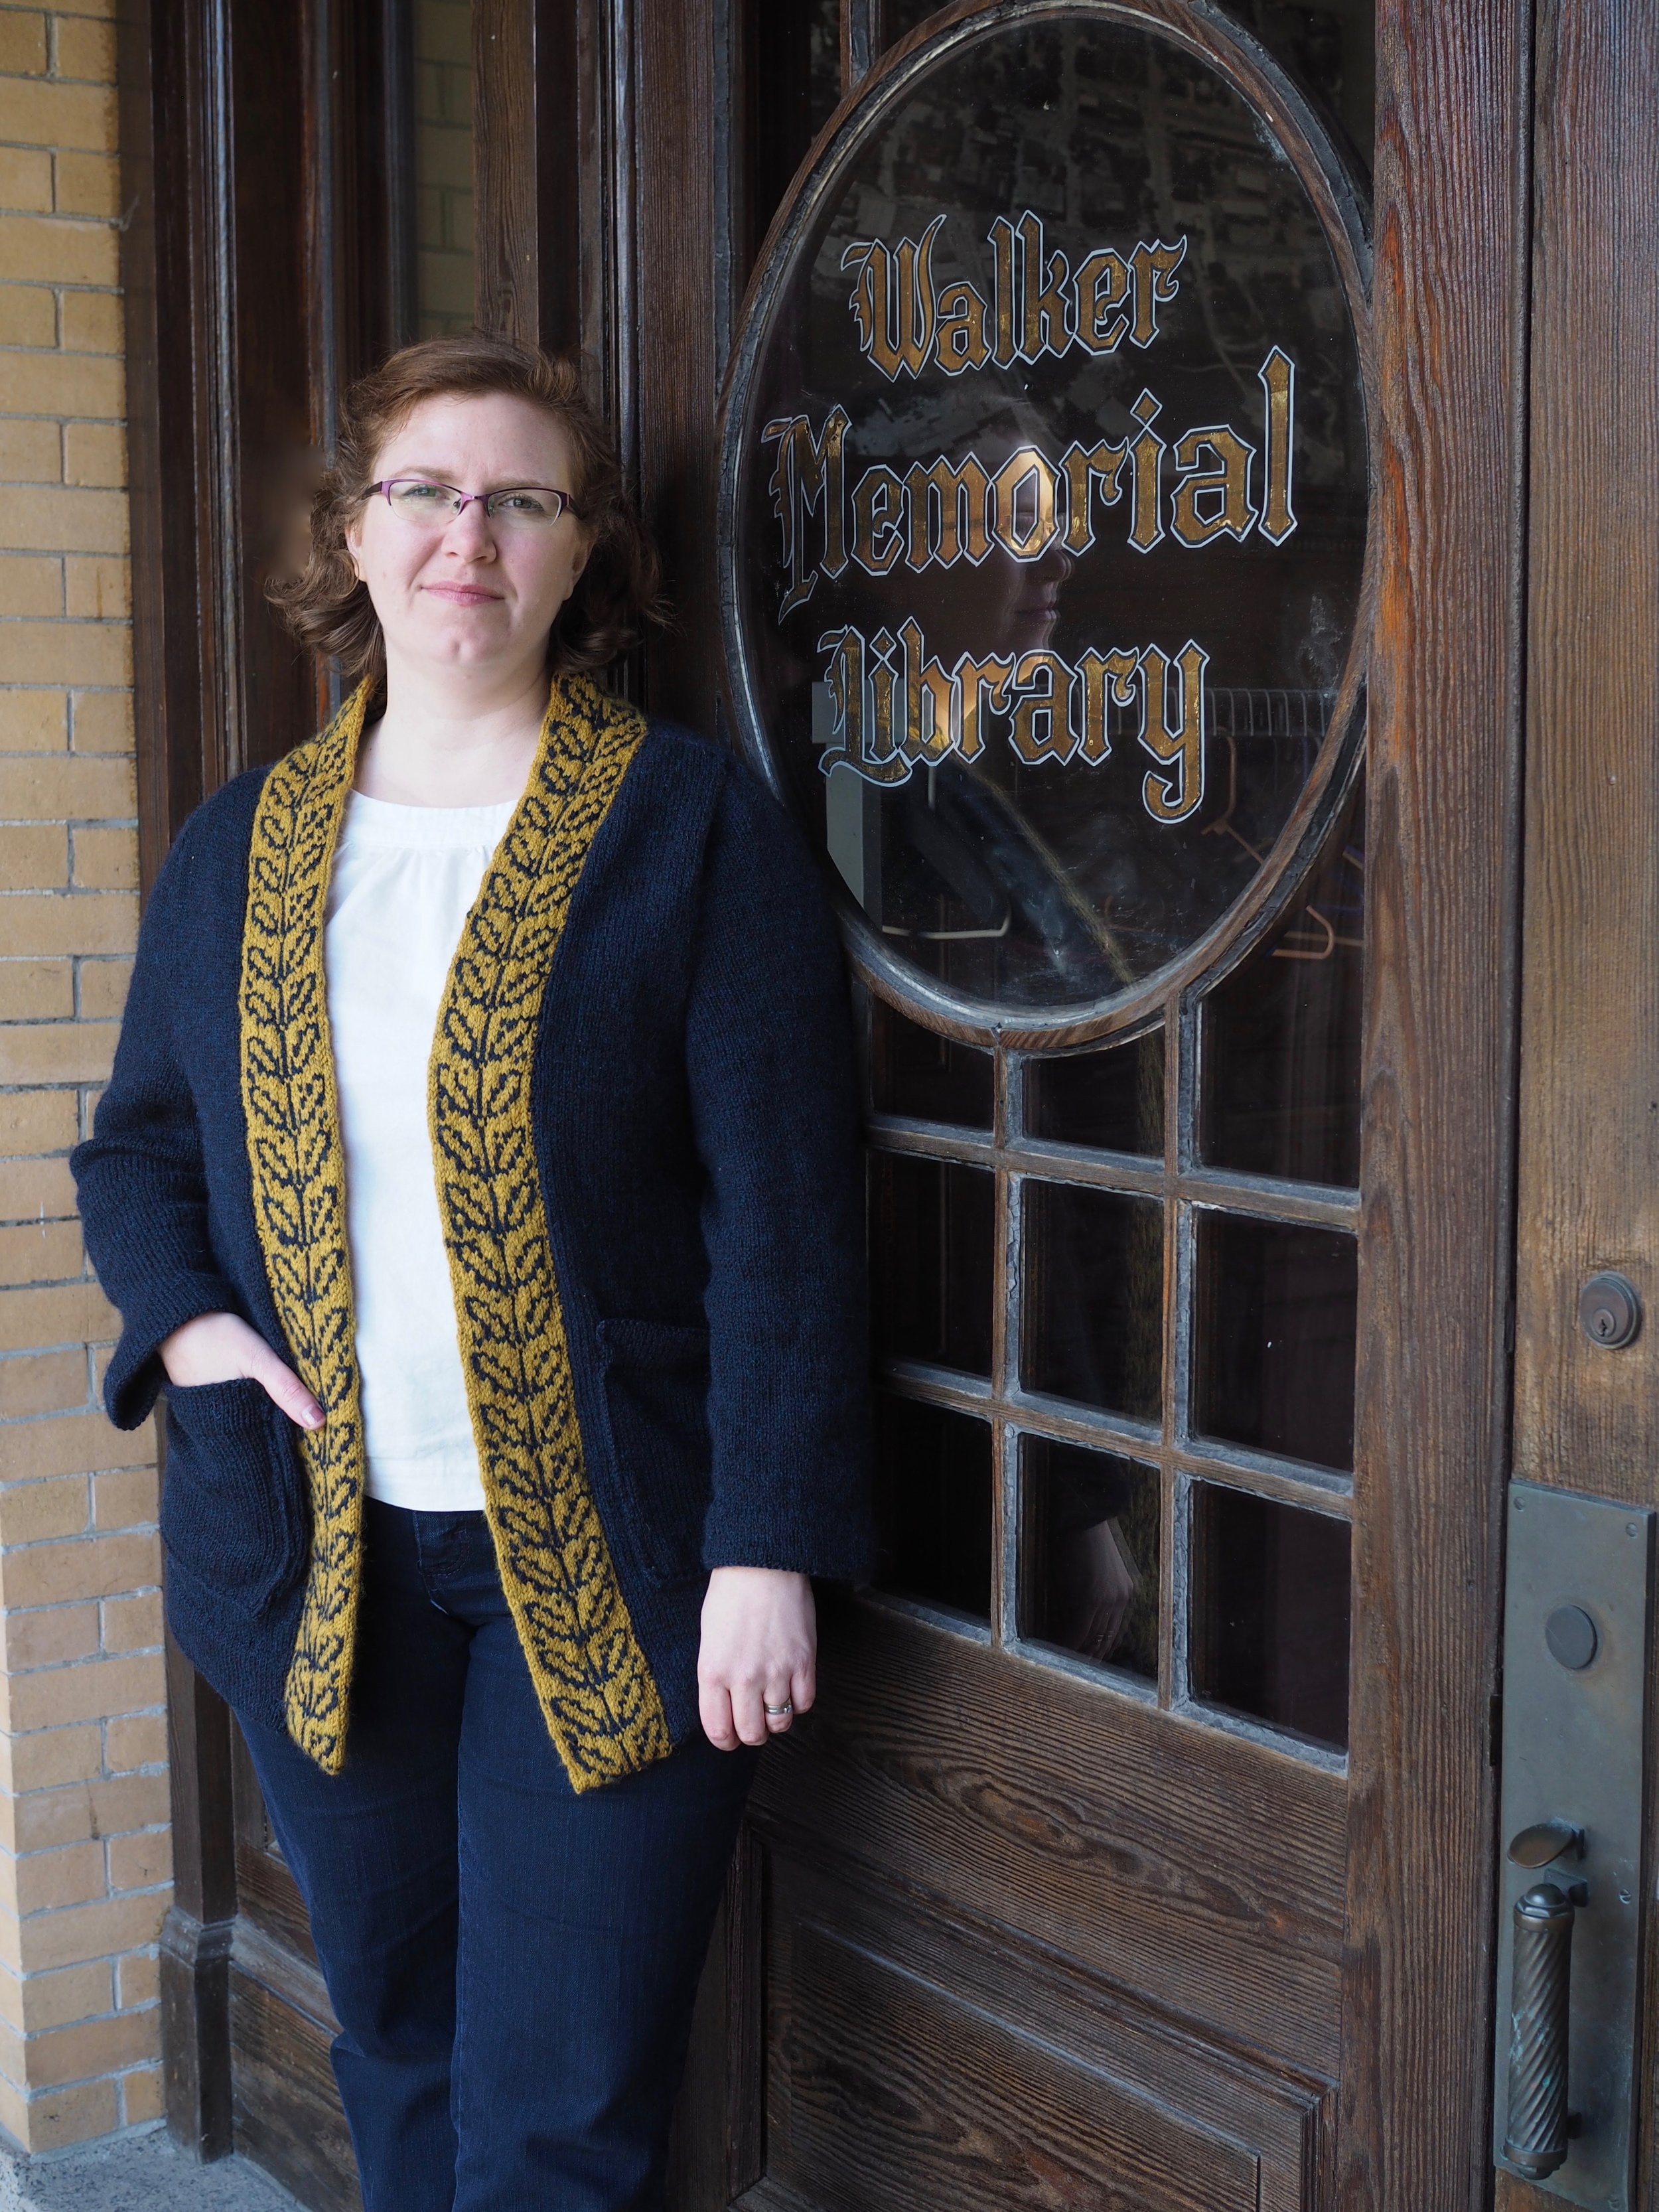
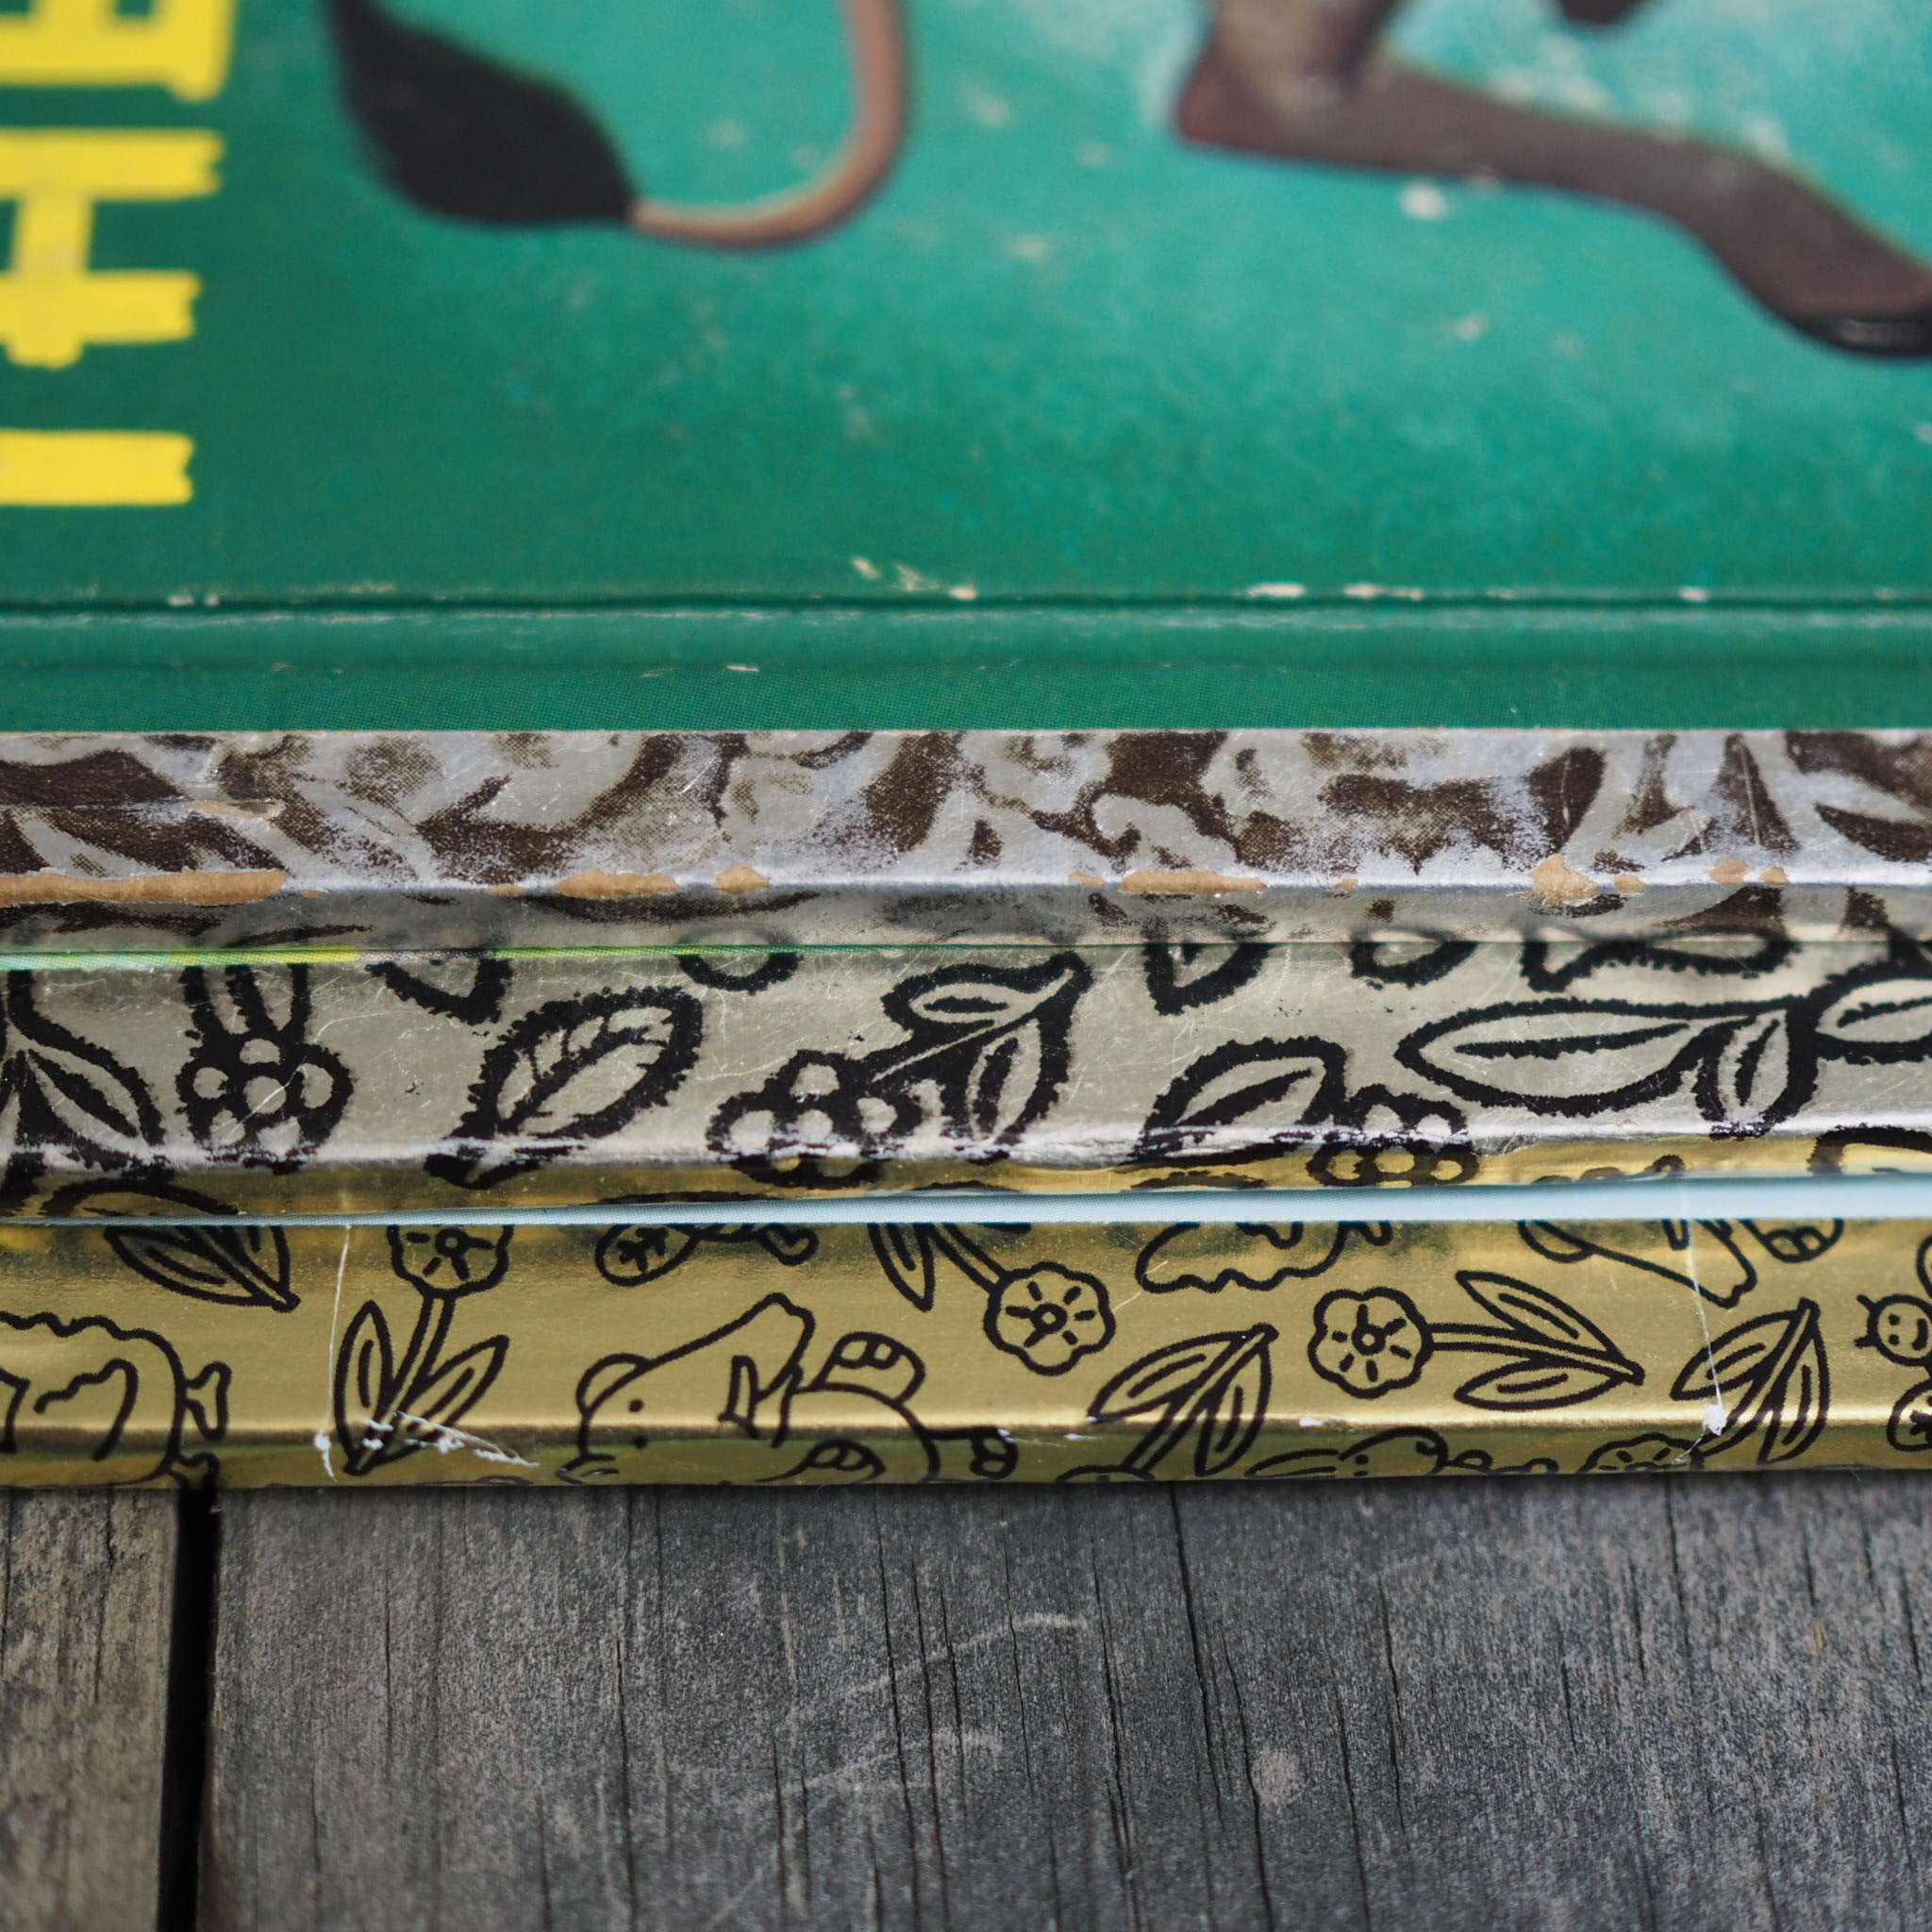
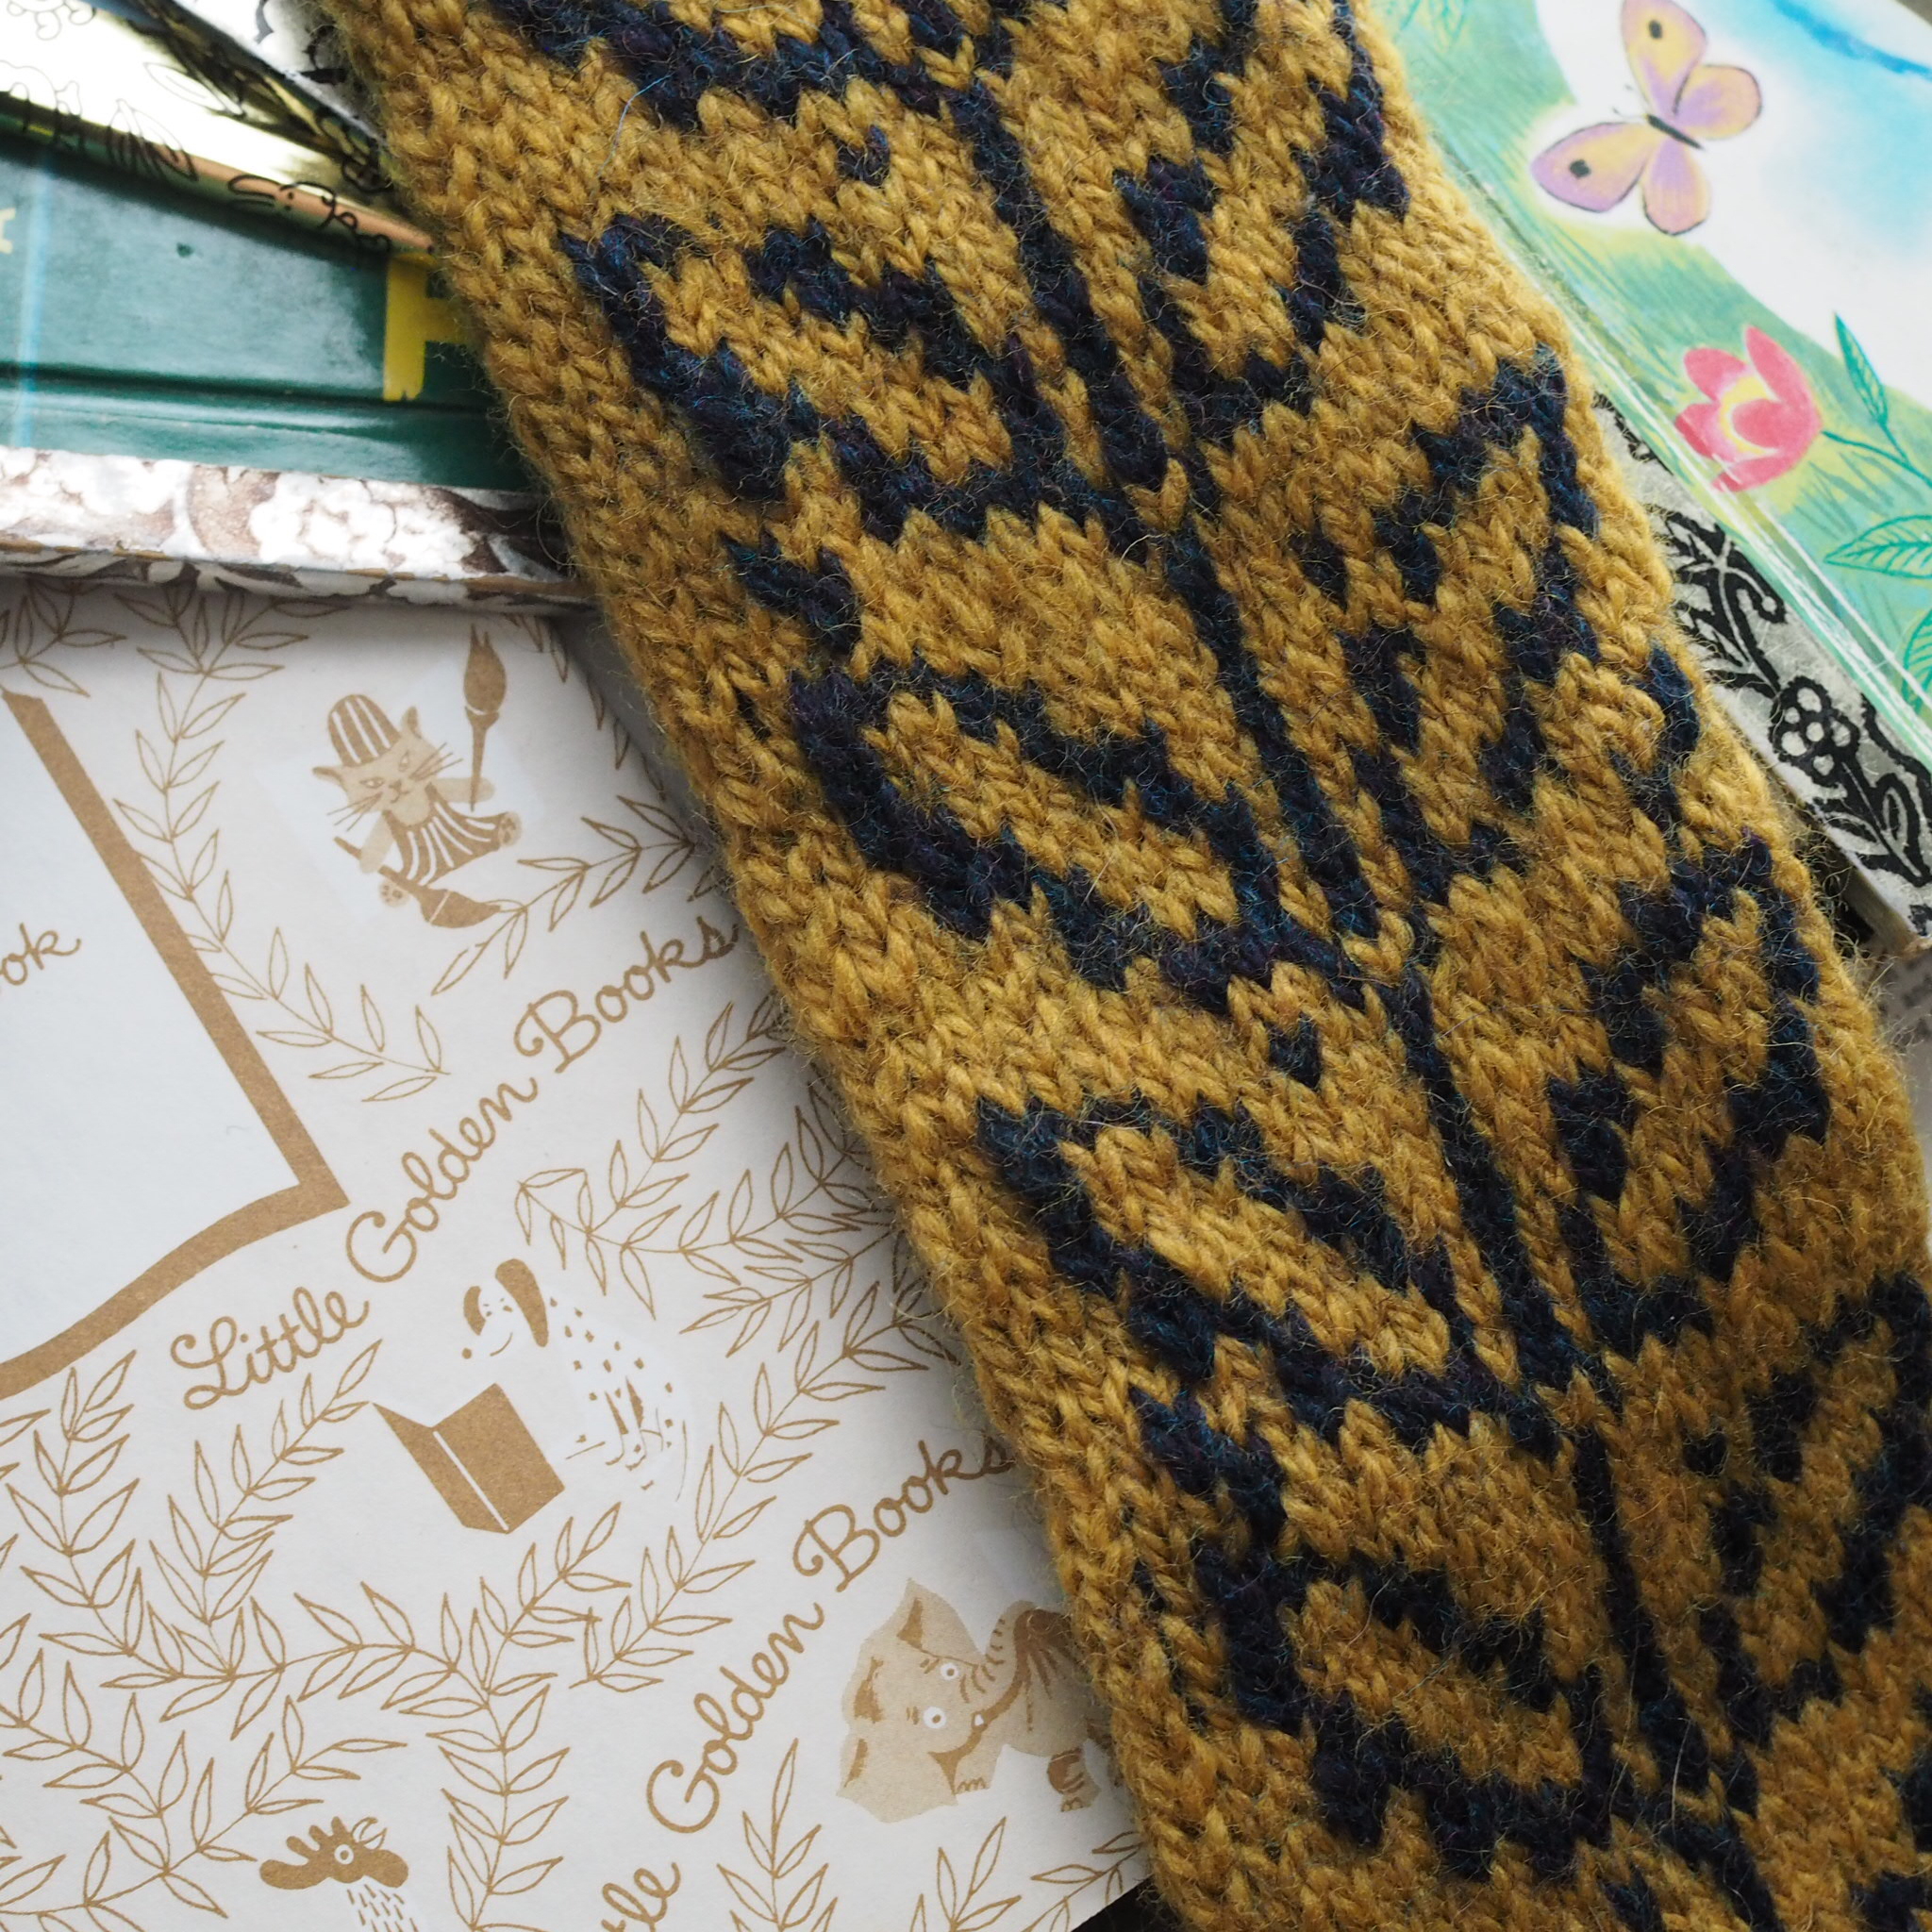
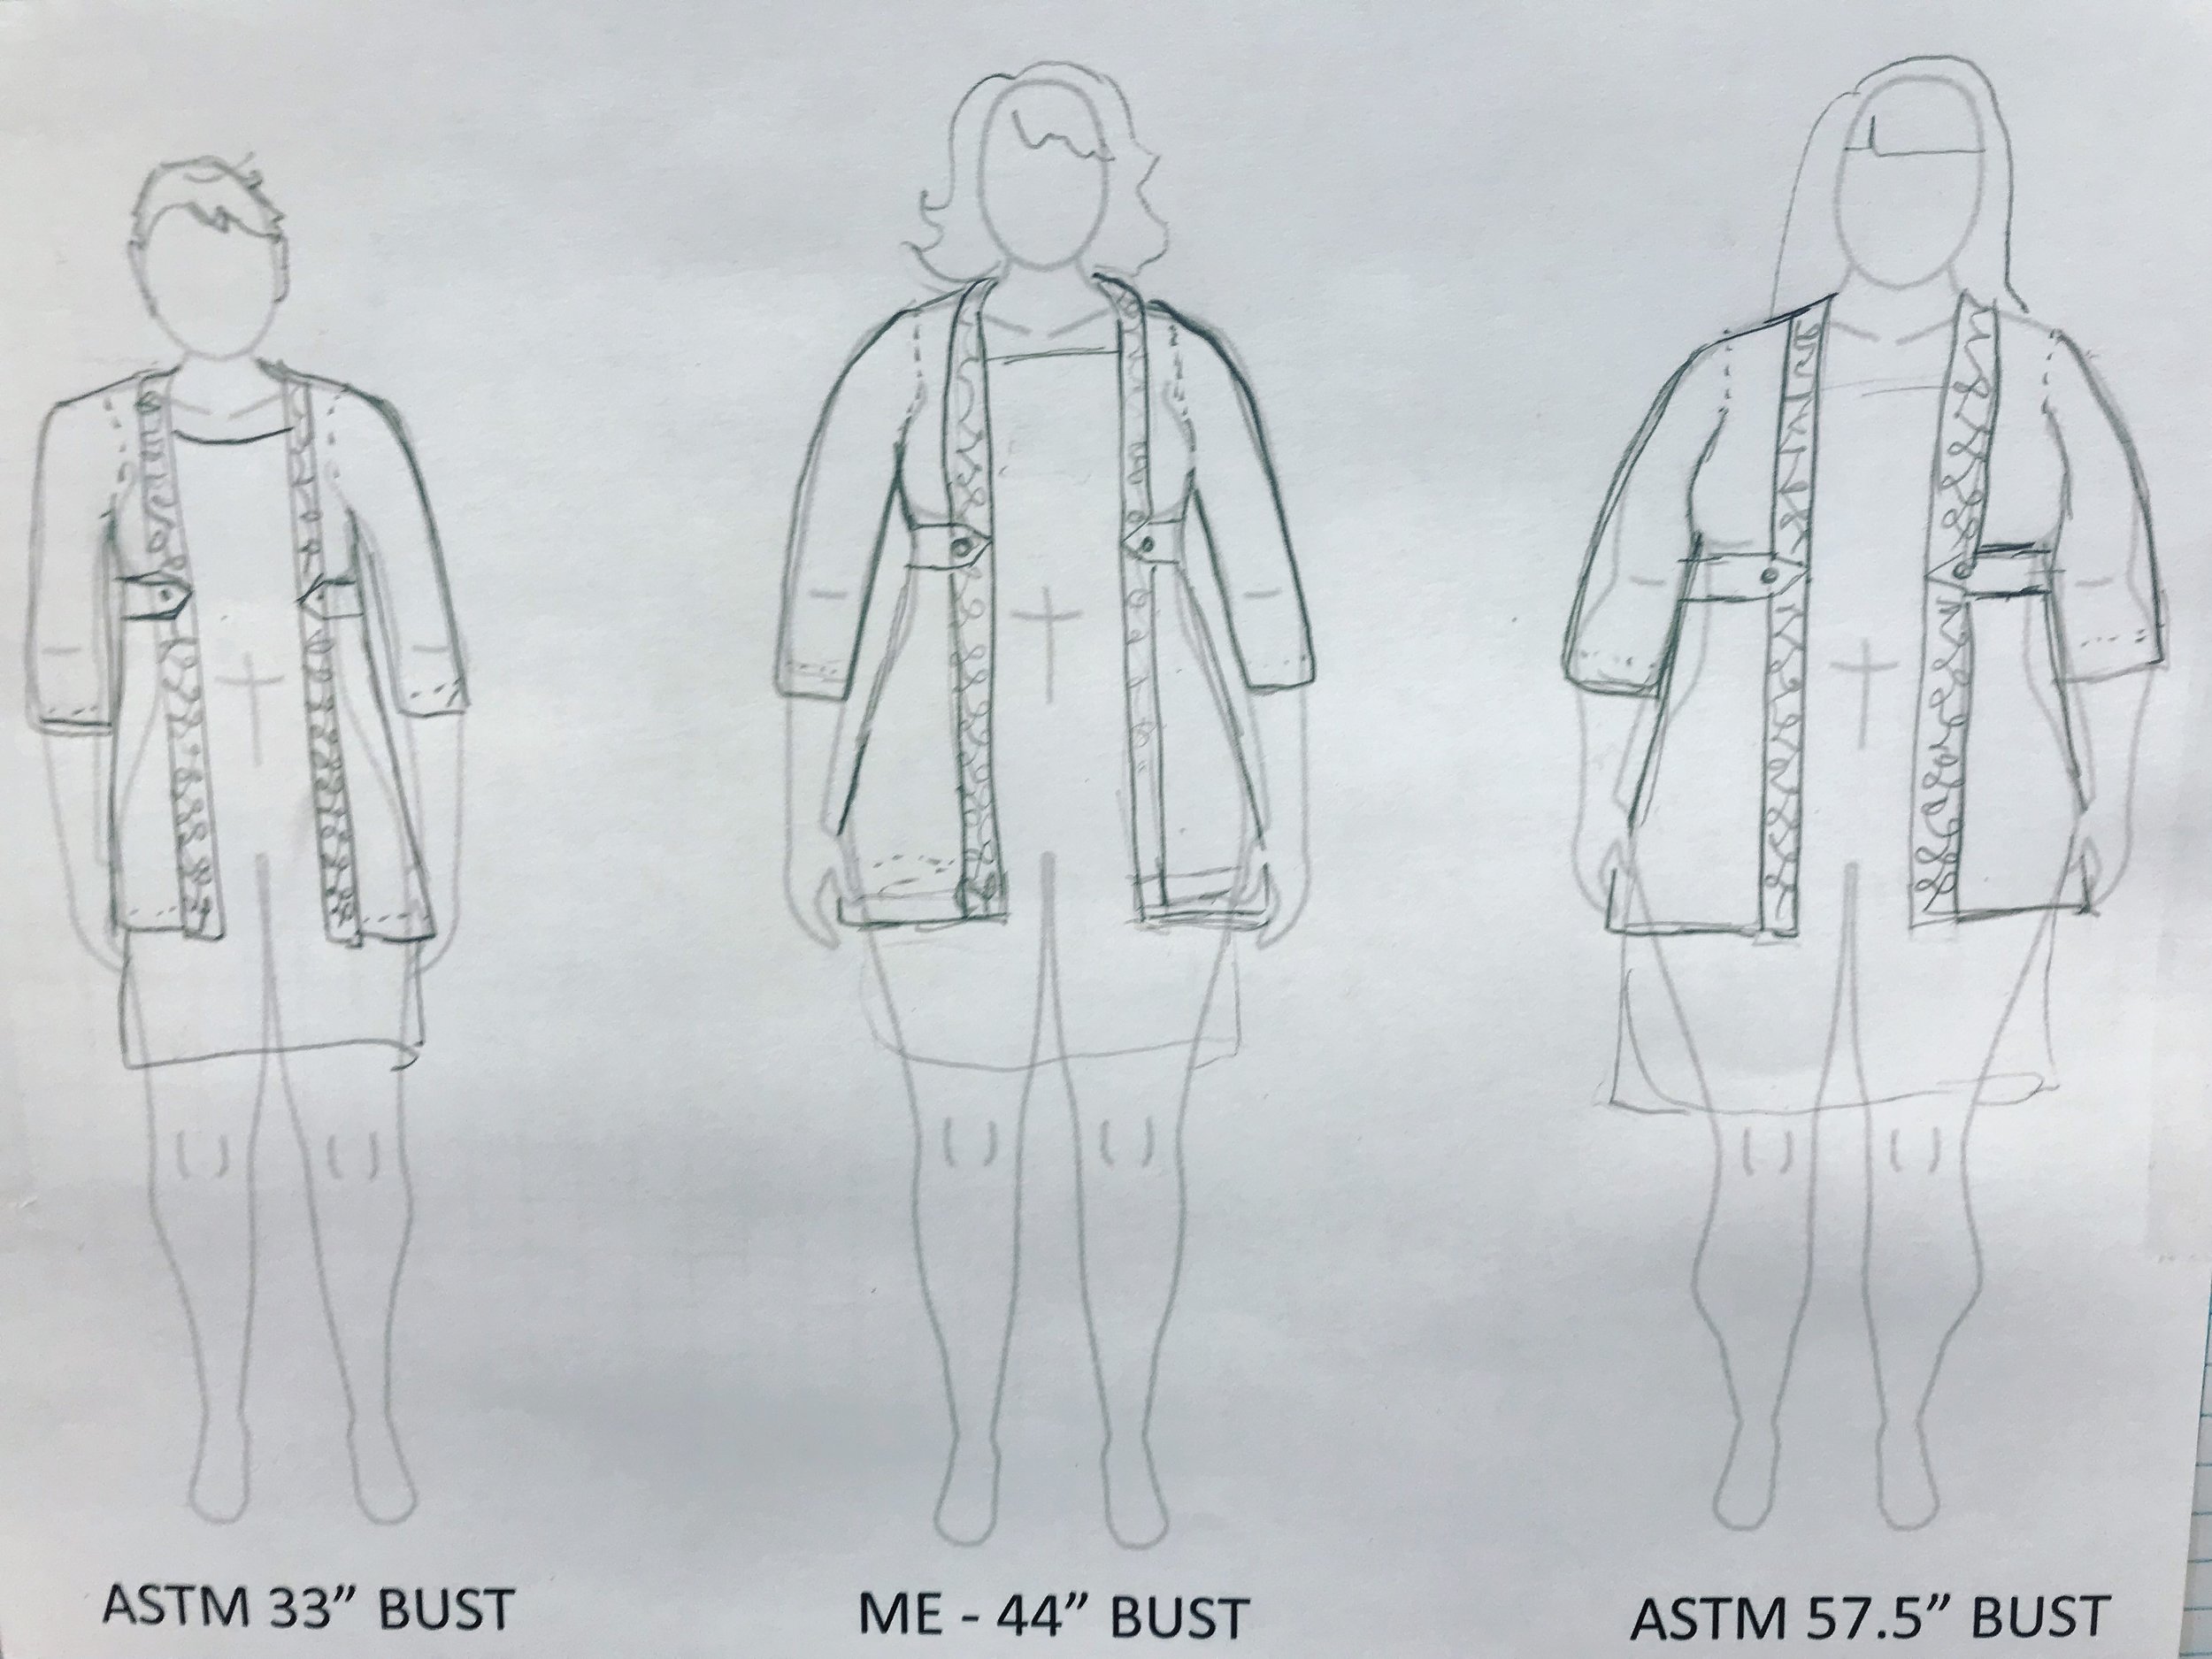
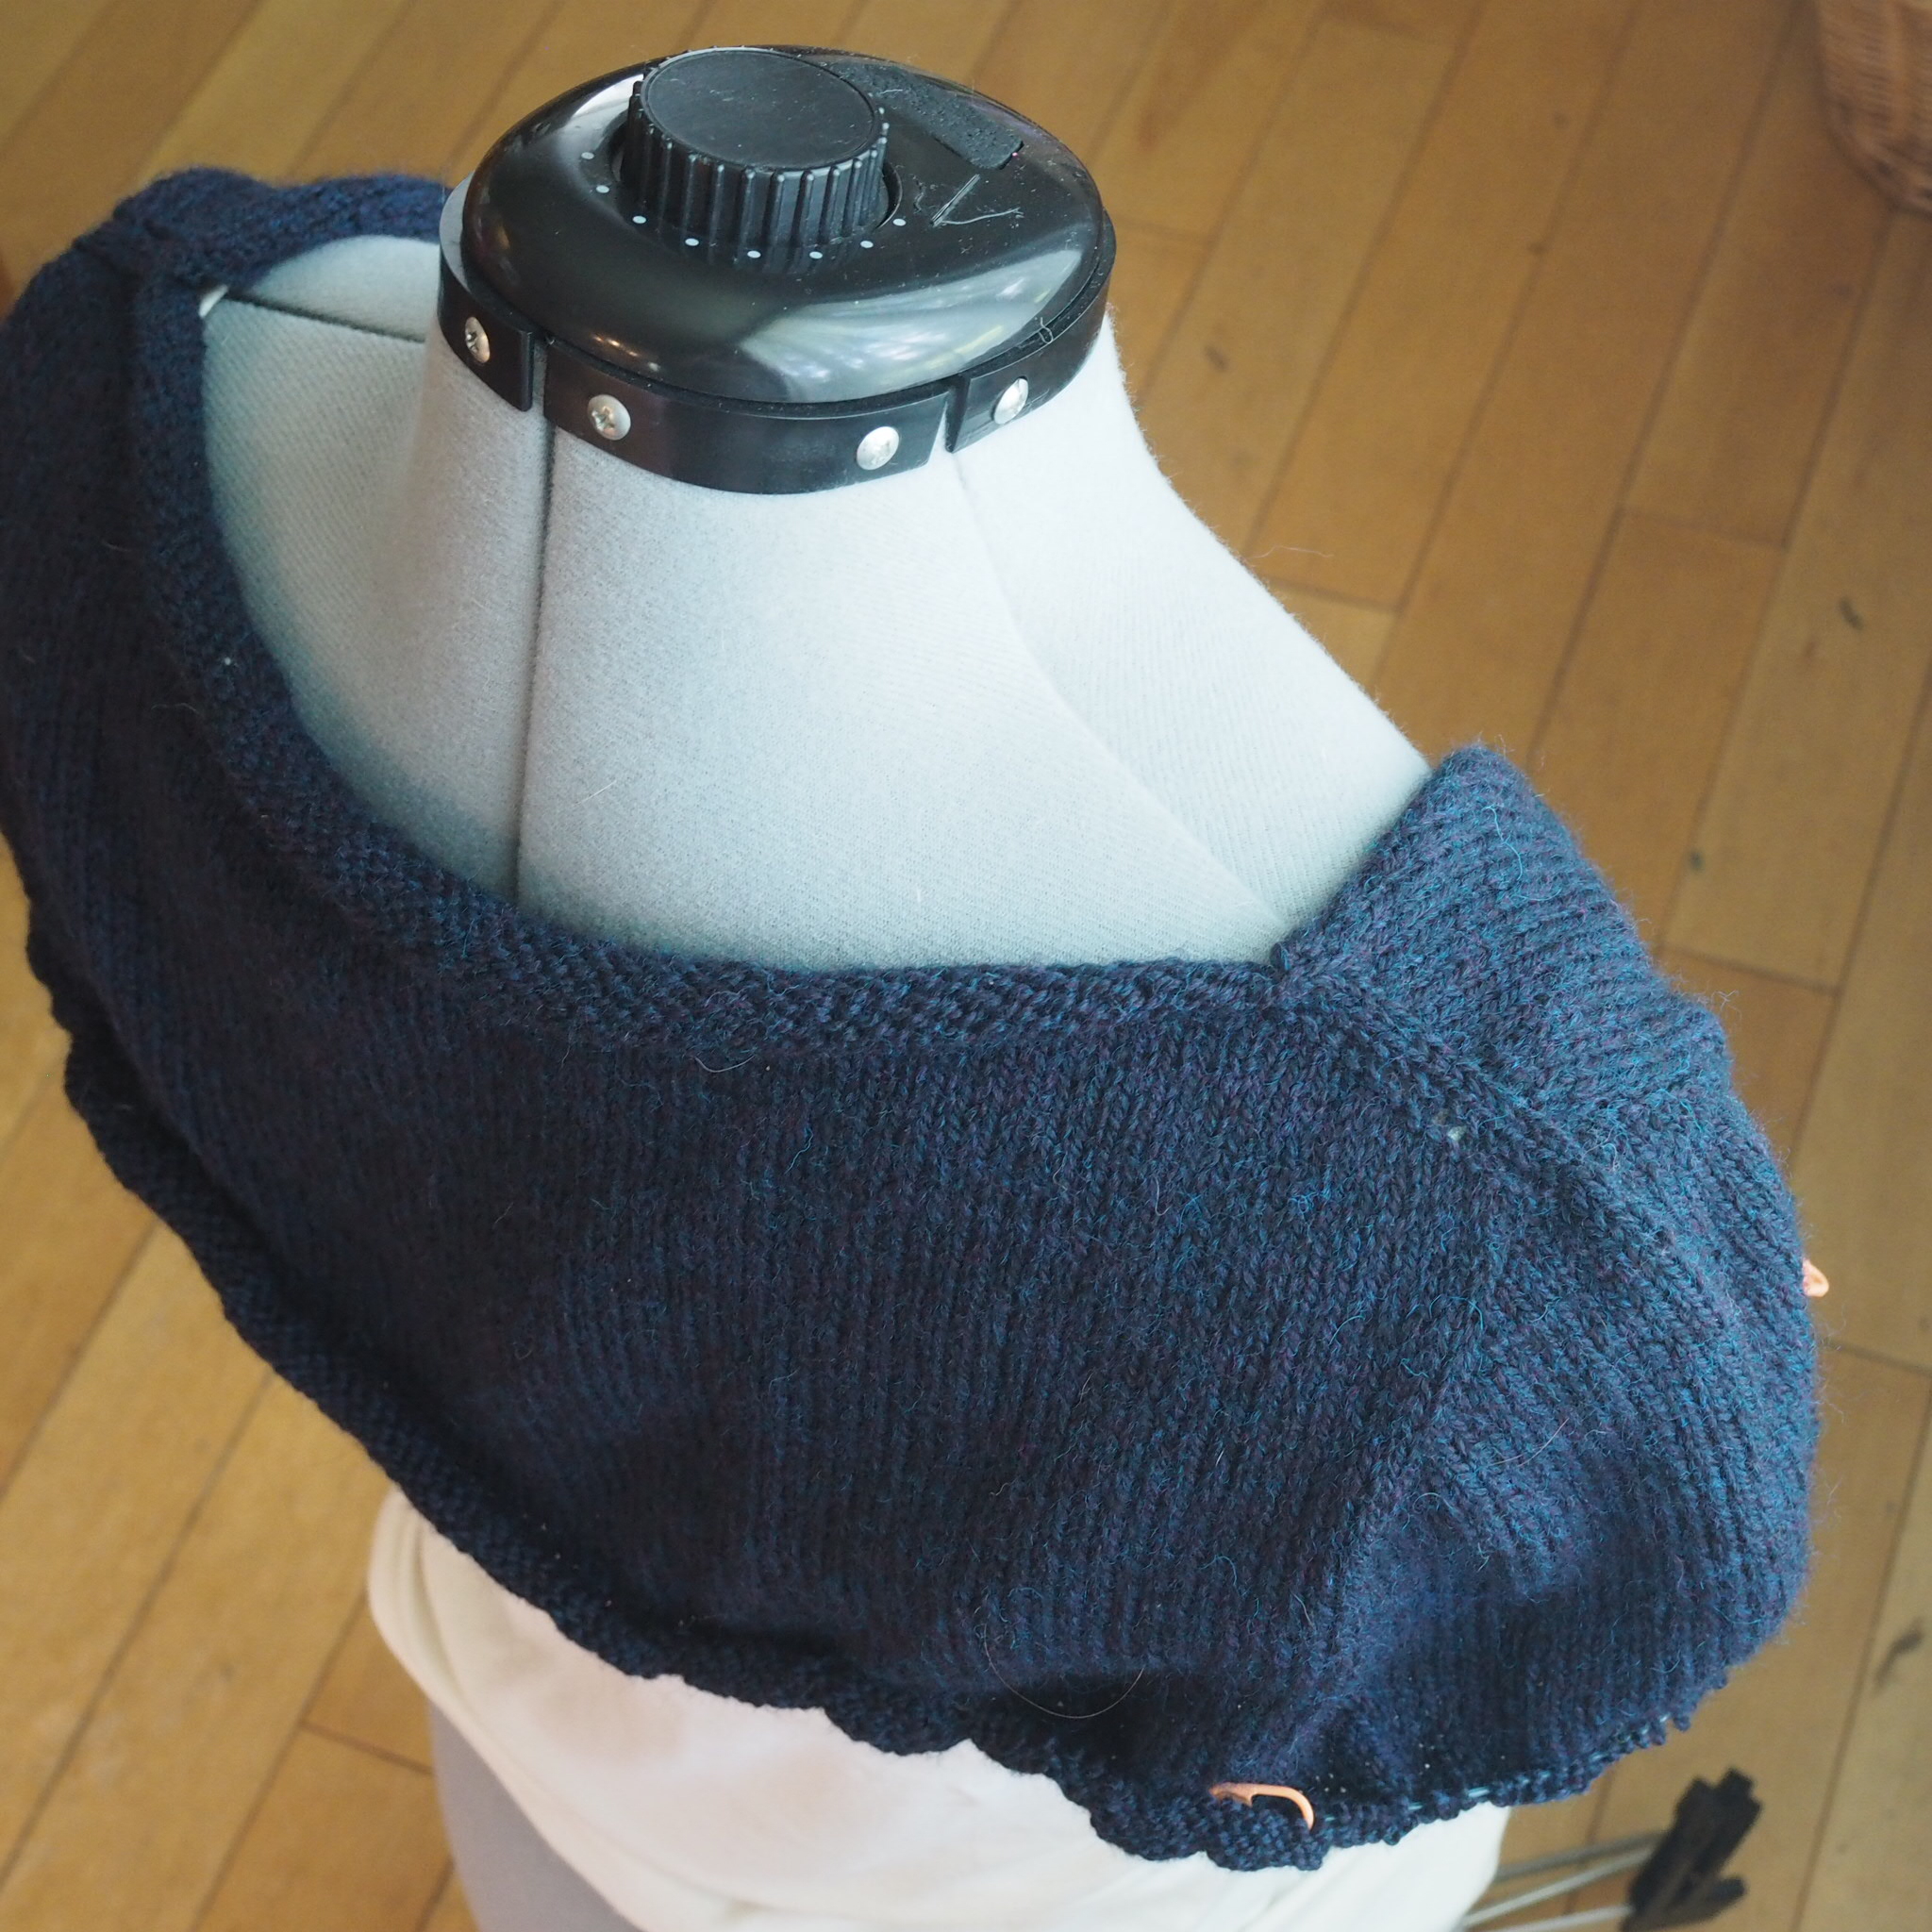
Inspired by the iconic spine of Little Golden Books, a long band of colorwork forms a statement collar on an open-front cardigan. Knit from the top-down, the pattern uses the contiguous method to form a well-fitting one-piece yoke and is finished with clean folded hems and deep pockets. The pattern is available in bust sizes up to 56.5"/143.5 cm and includes helpful fit tips throughout the pattern to get the best fit for your body. 

Can be purchased as bundle with the Turning Leaf Gloves.

Turning Leaf Gloves

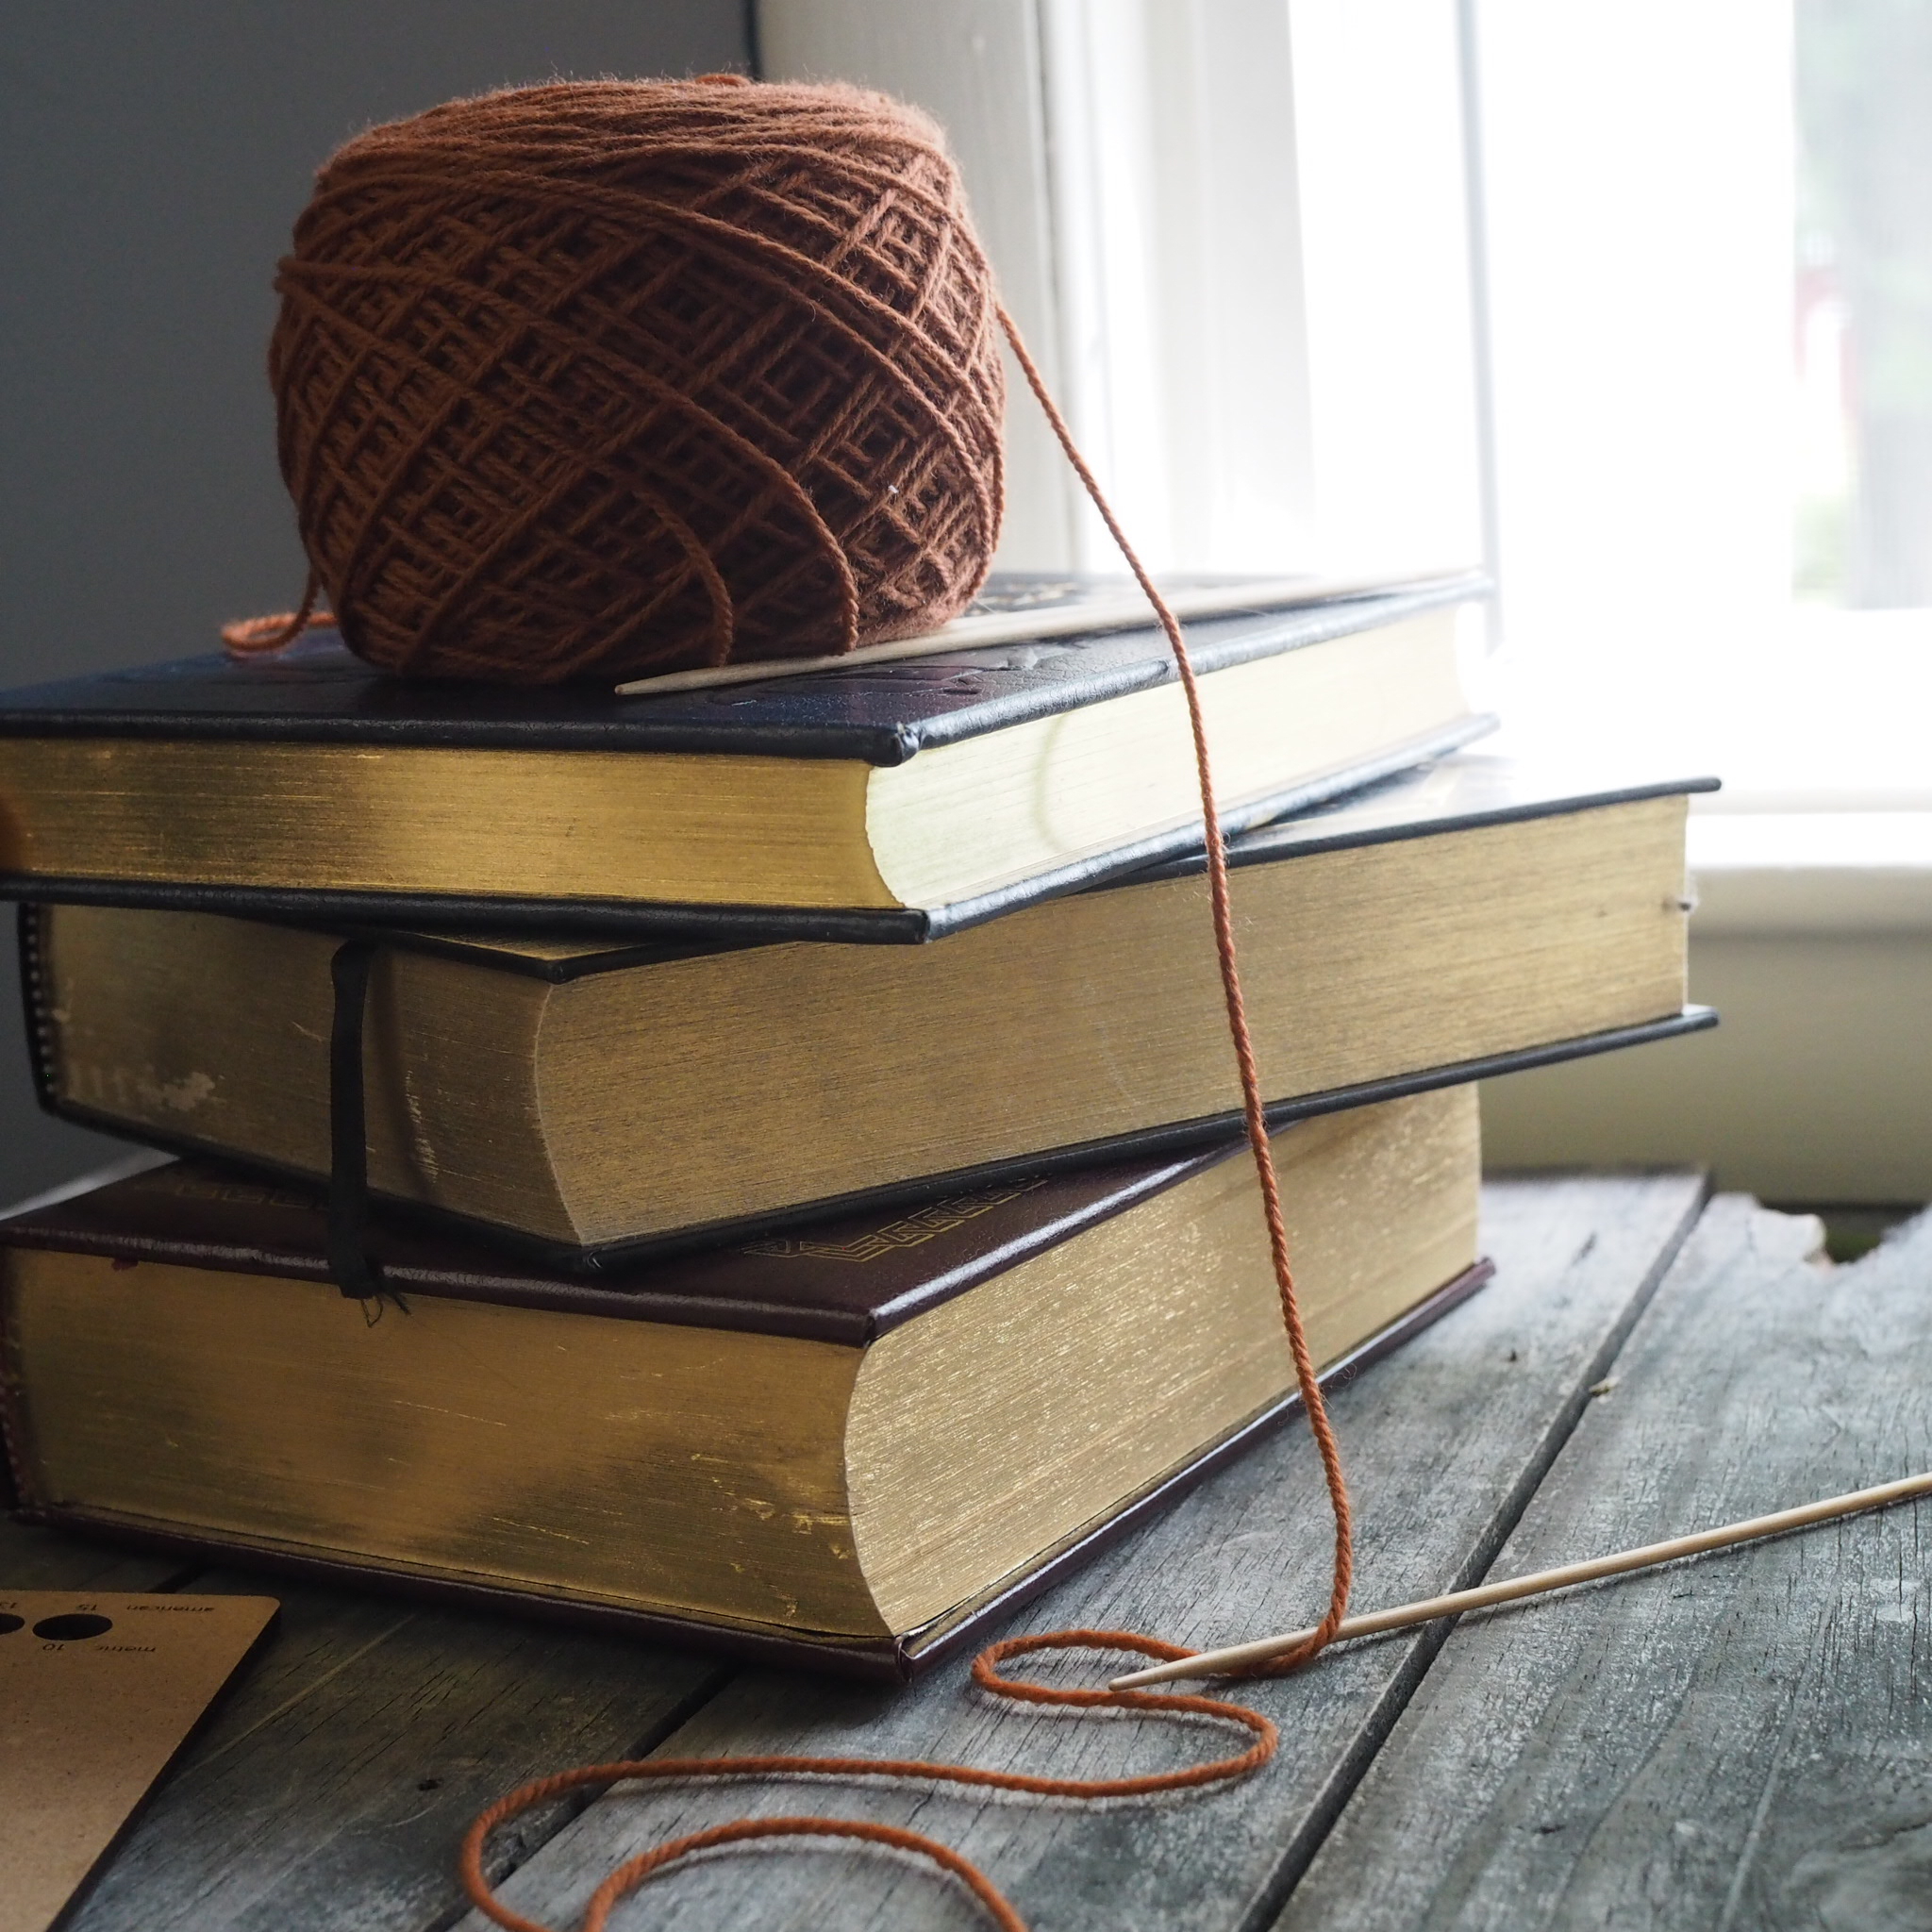
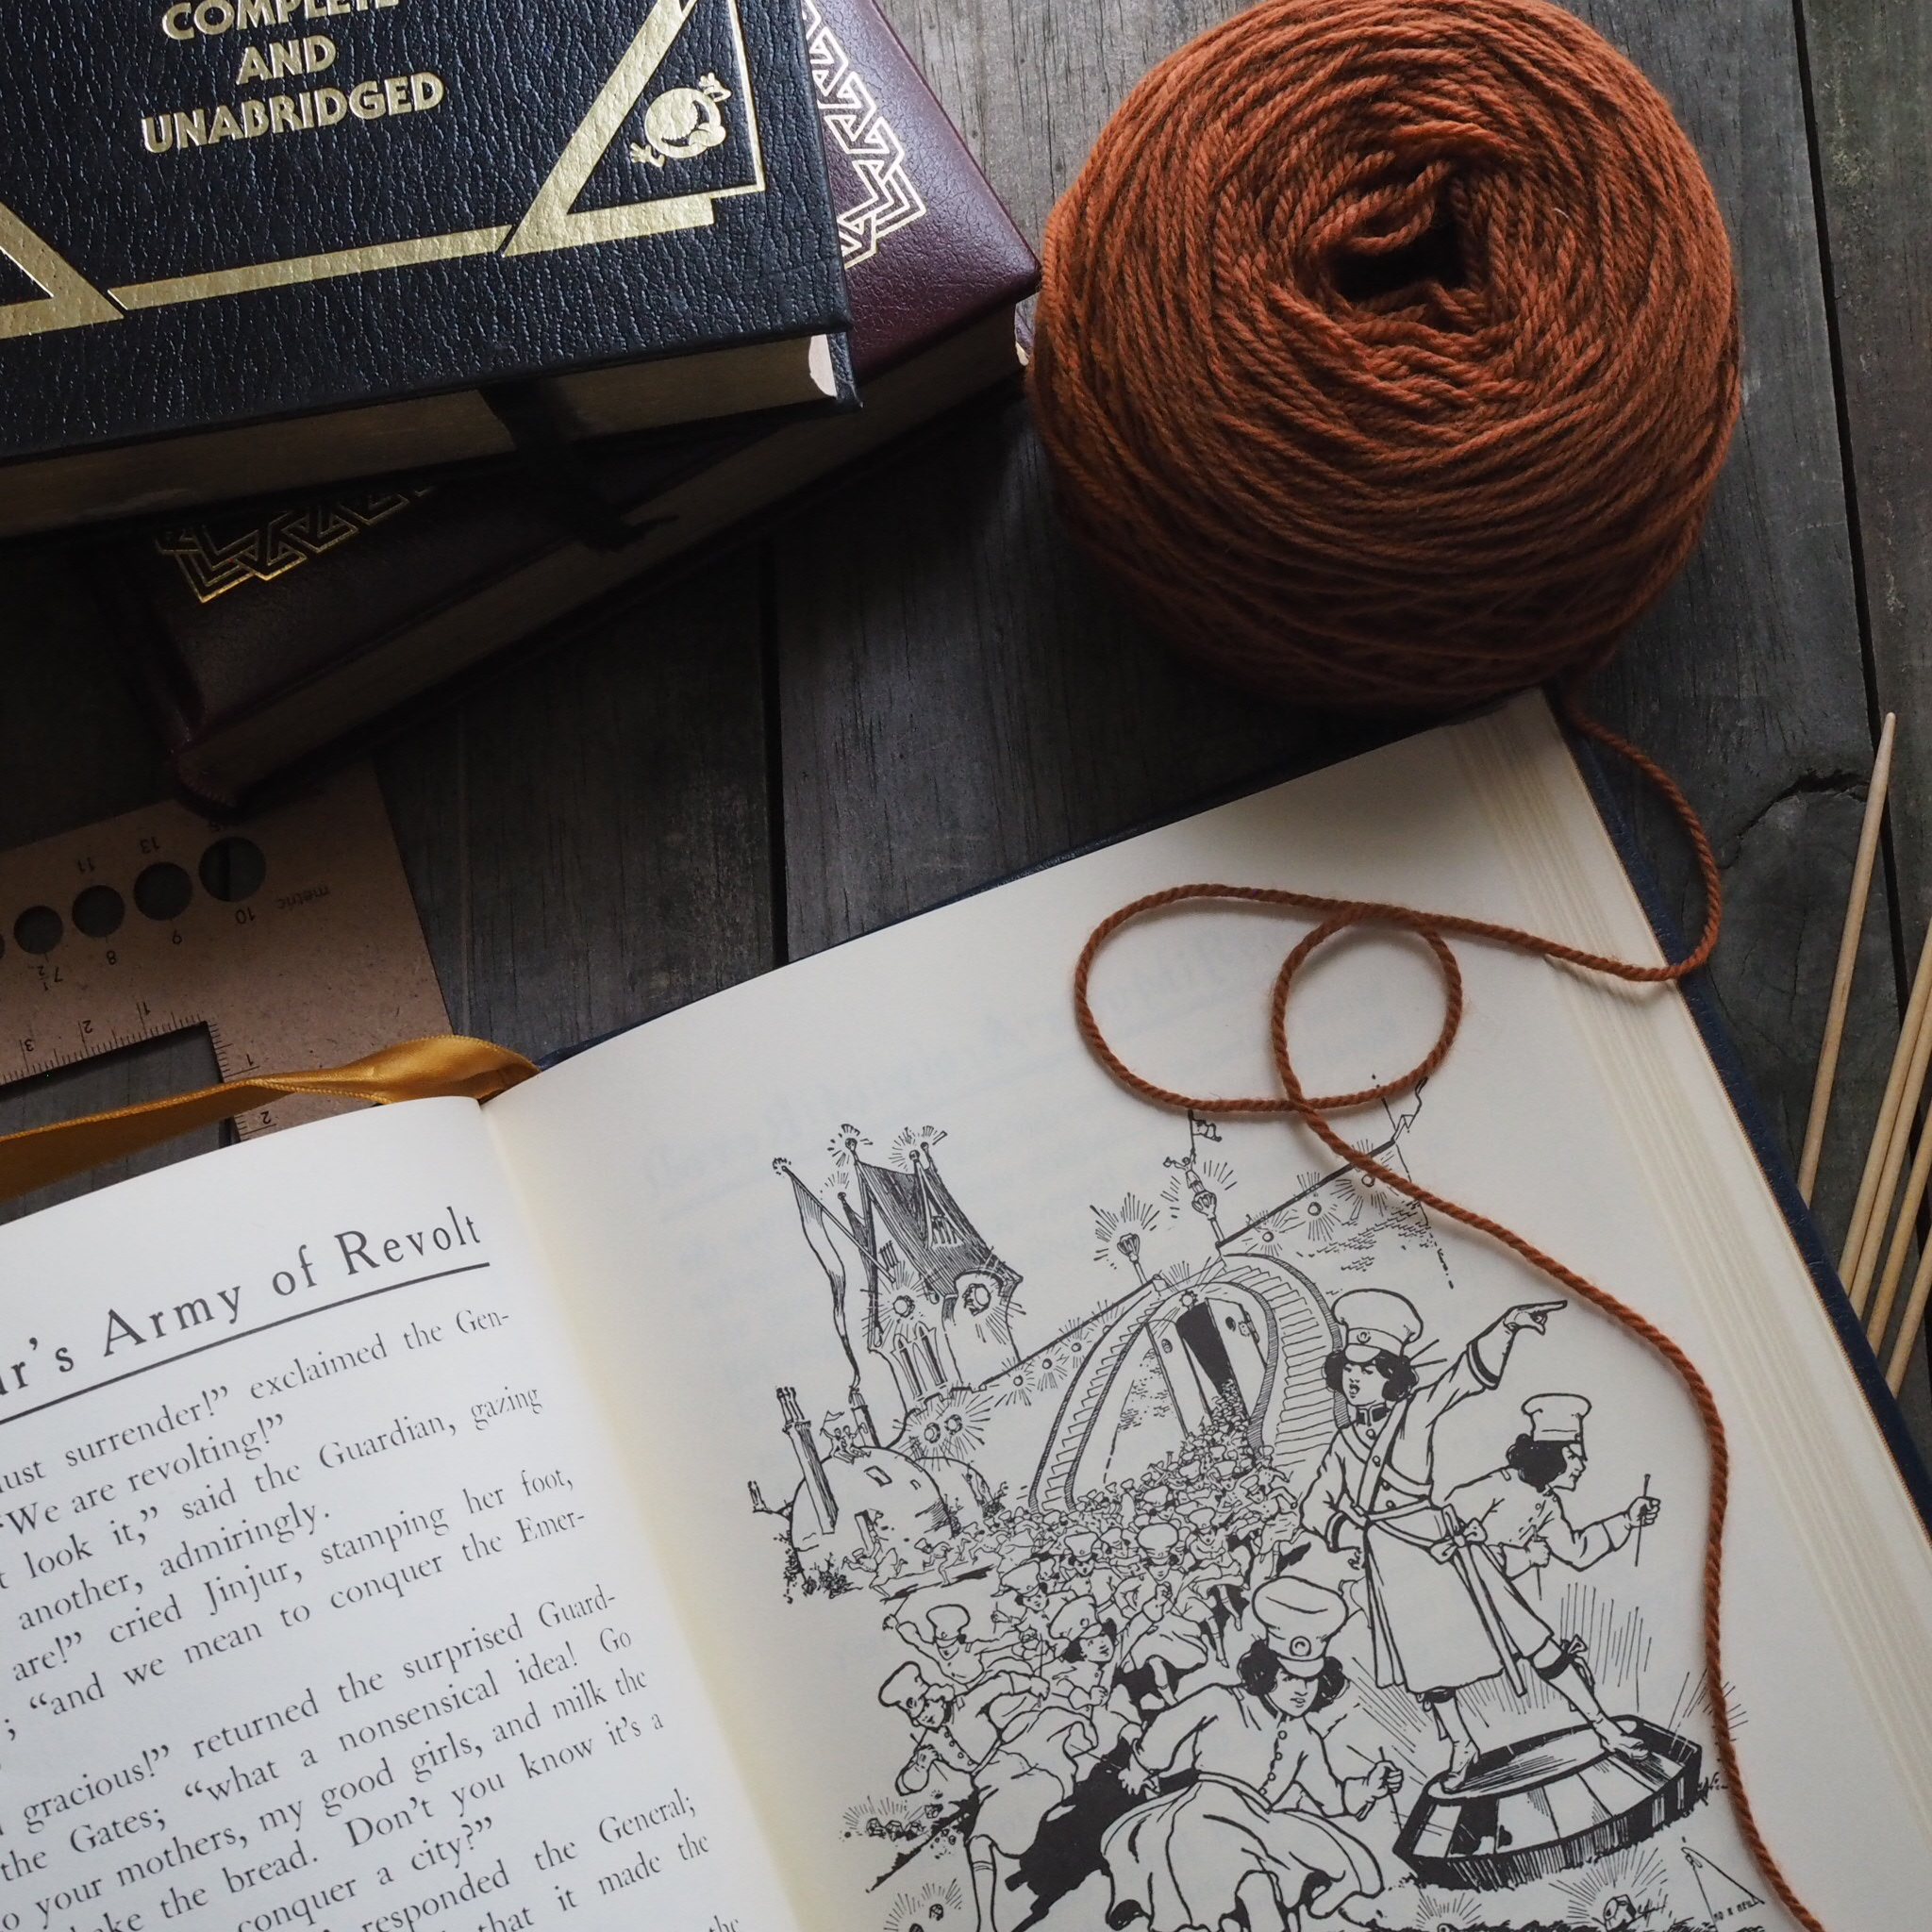
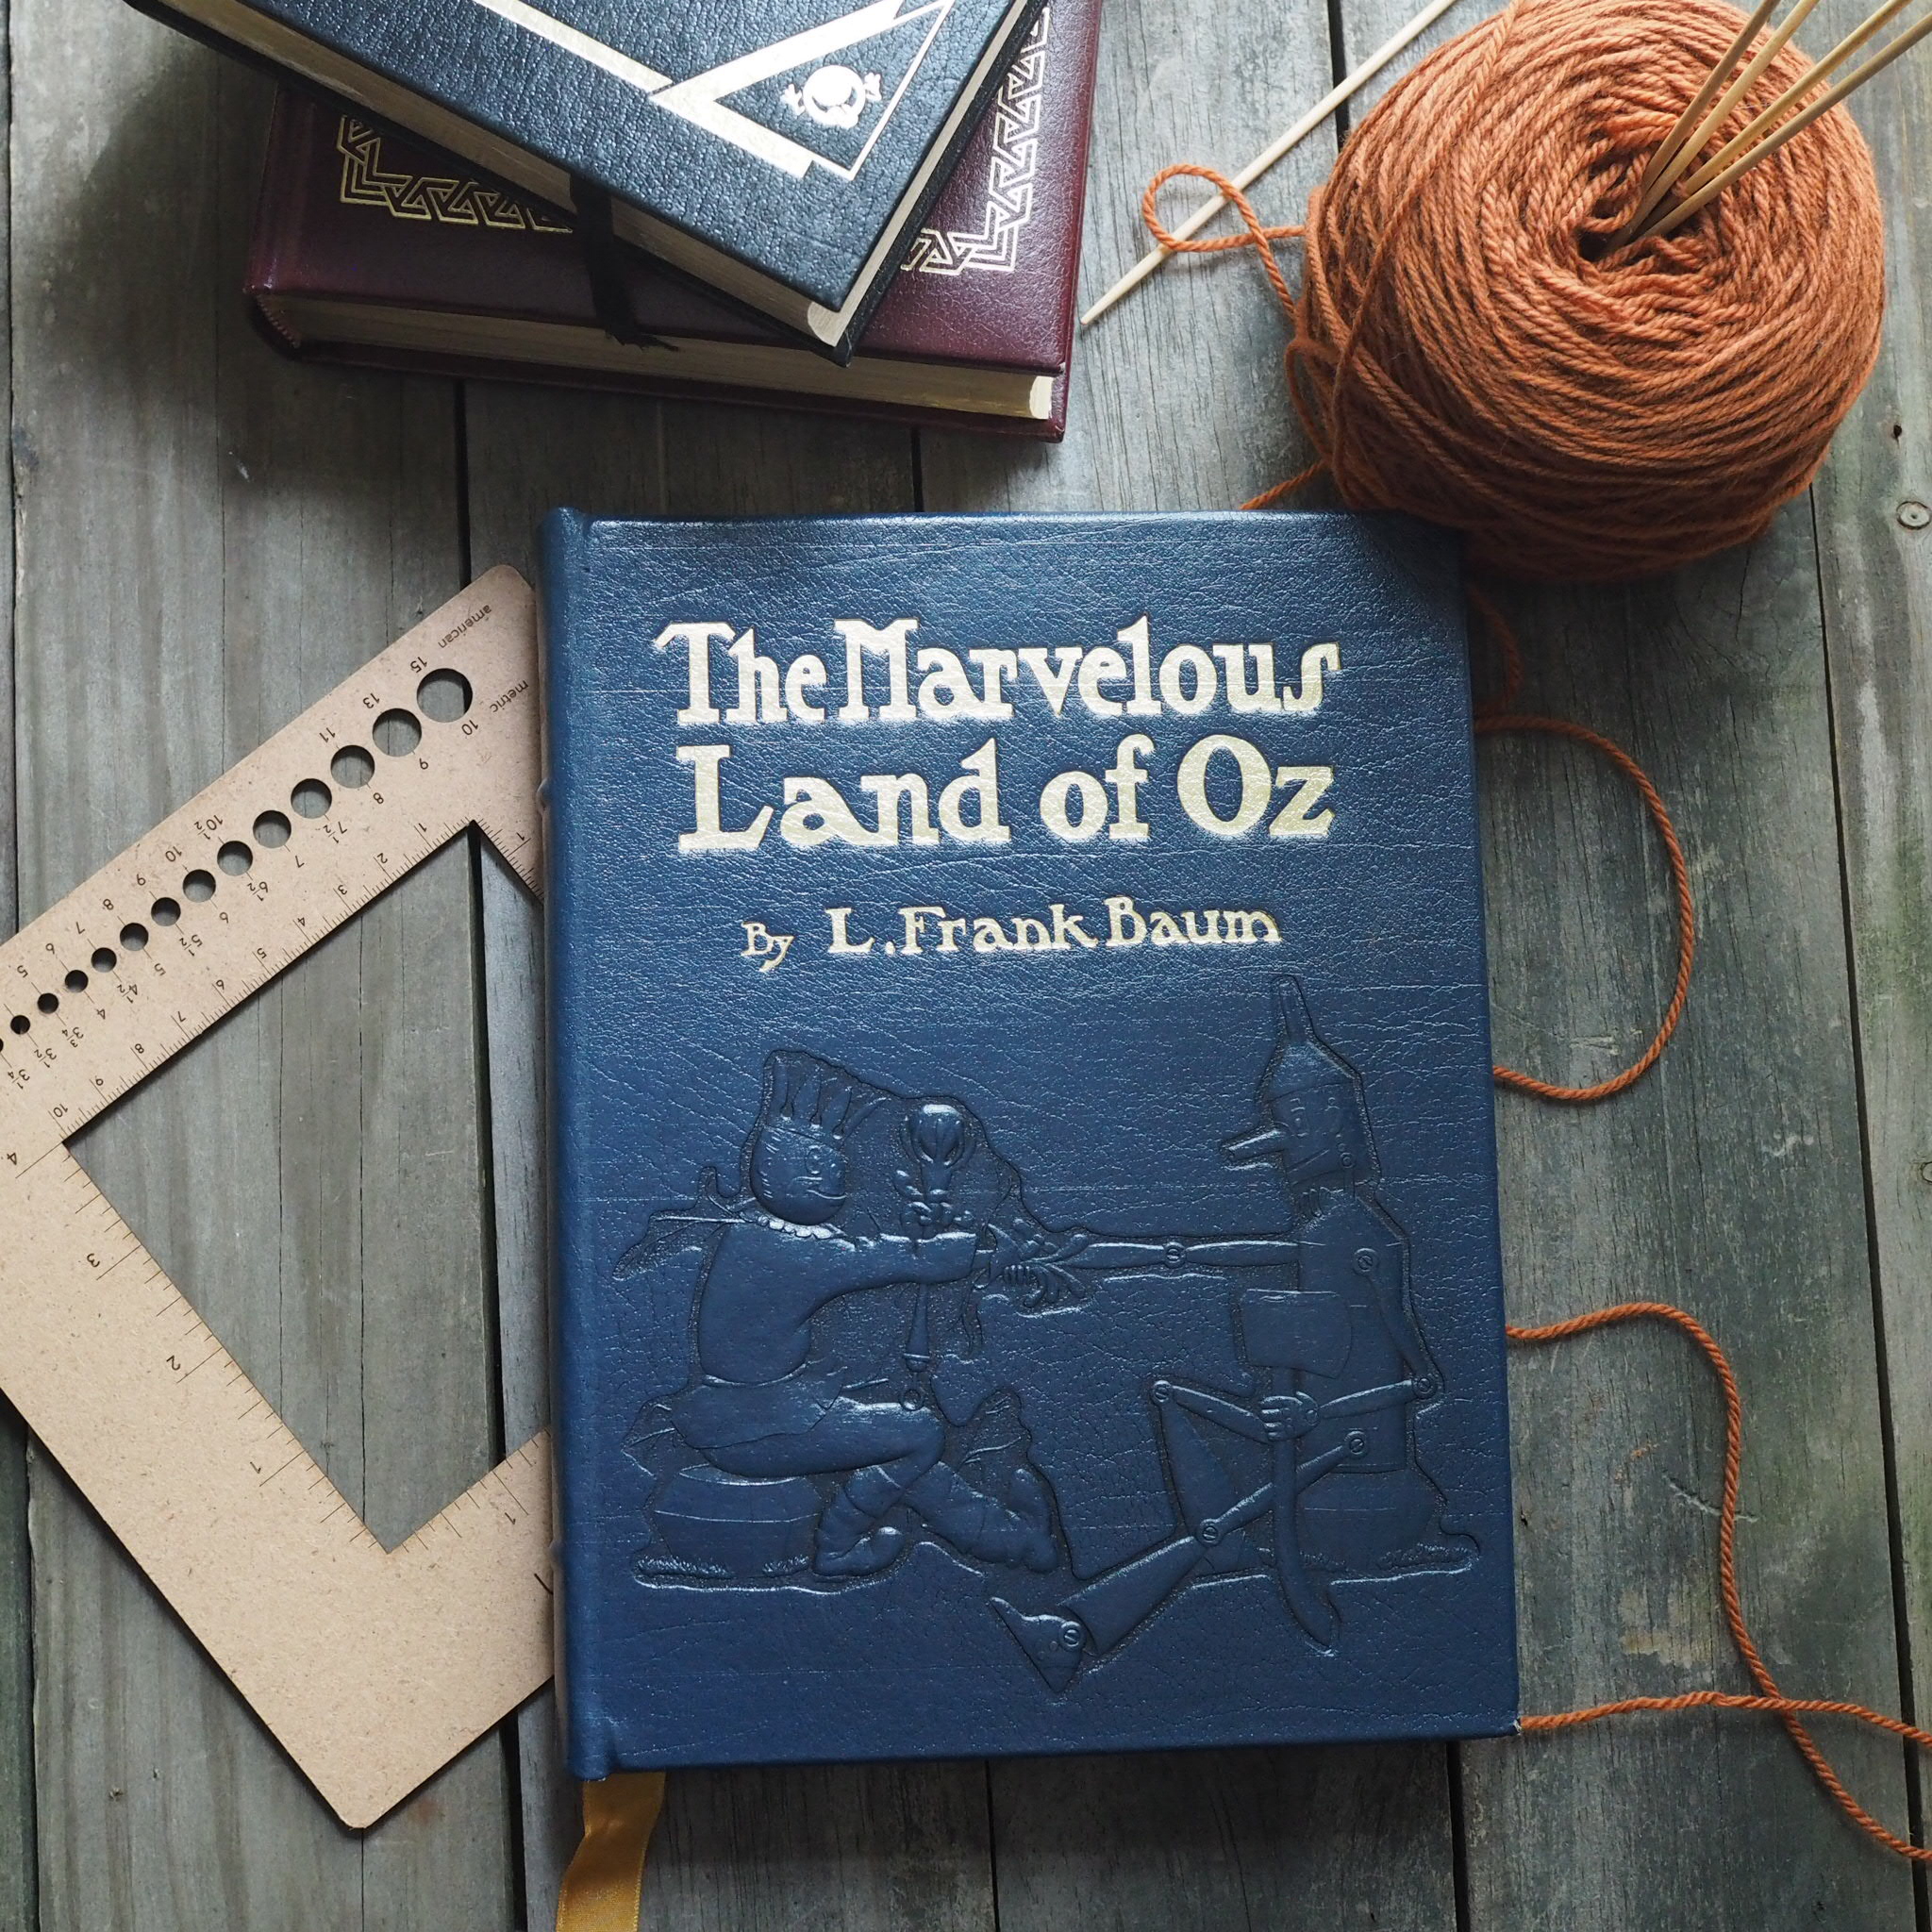
In the early days of publishing, a sheet of paper with printing on both pages/sides was commonly referred to as a leaf - a less popular usage now, but one that lives on in phrases like “to turn a new leaf, ”loose-leaf” paper, and the French word feuille. The Turning Leaf gloves were inspired by the gilded leaves of hefty leather-covered tomes (be they the Bible or The Wonderful Land of Oz), this inspiration reflected in graceful pleats that shape the hands of these vintage-style gloves.

Gloves are worked from the cuff to the fingers. The cuff is worked flat, with the hand and fingers worked in the round.

Can be purchased as bundle with the Goldenbook Cardigan.

Little Readers Embroidery & Ms. Marian Pillow

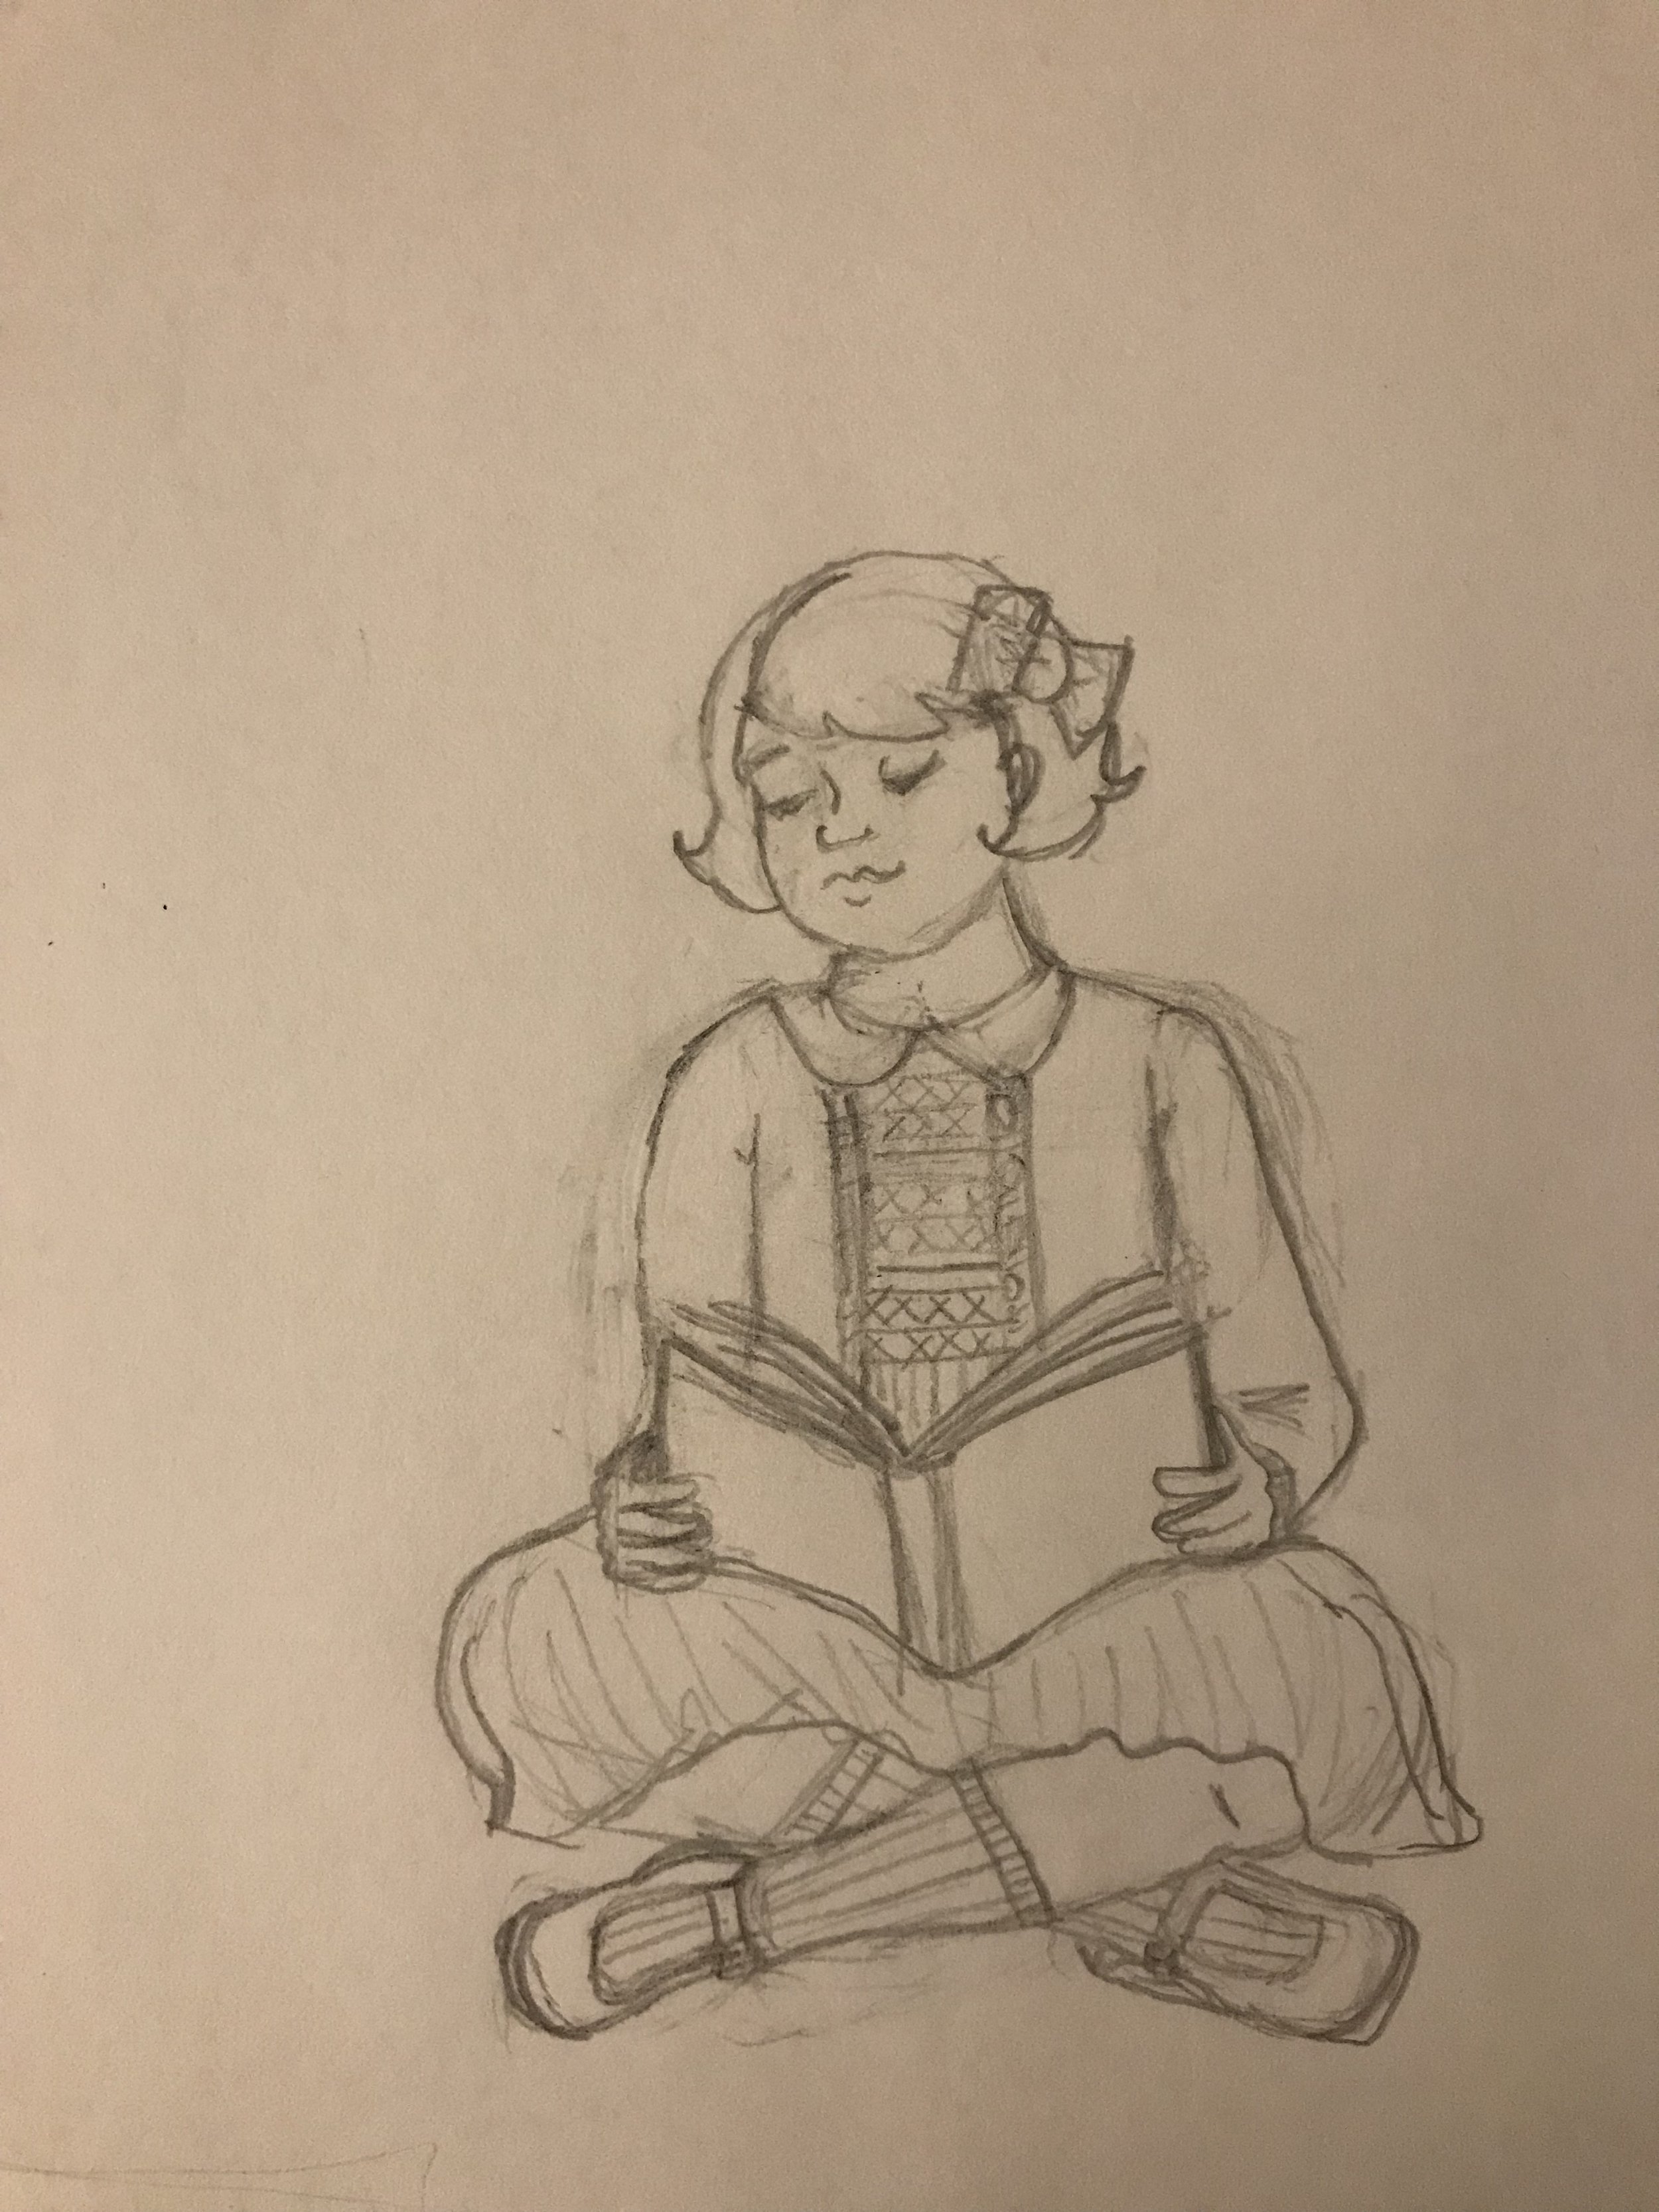
Is there anything better than cozying up with a good book?

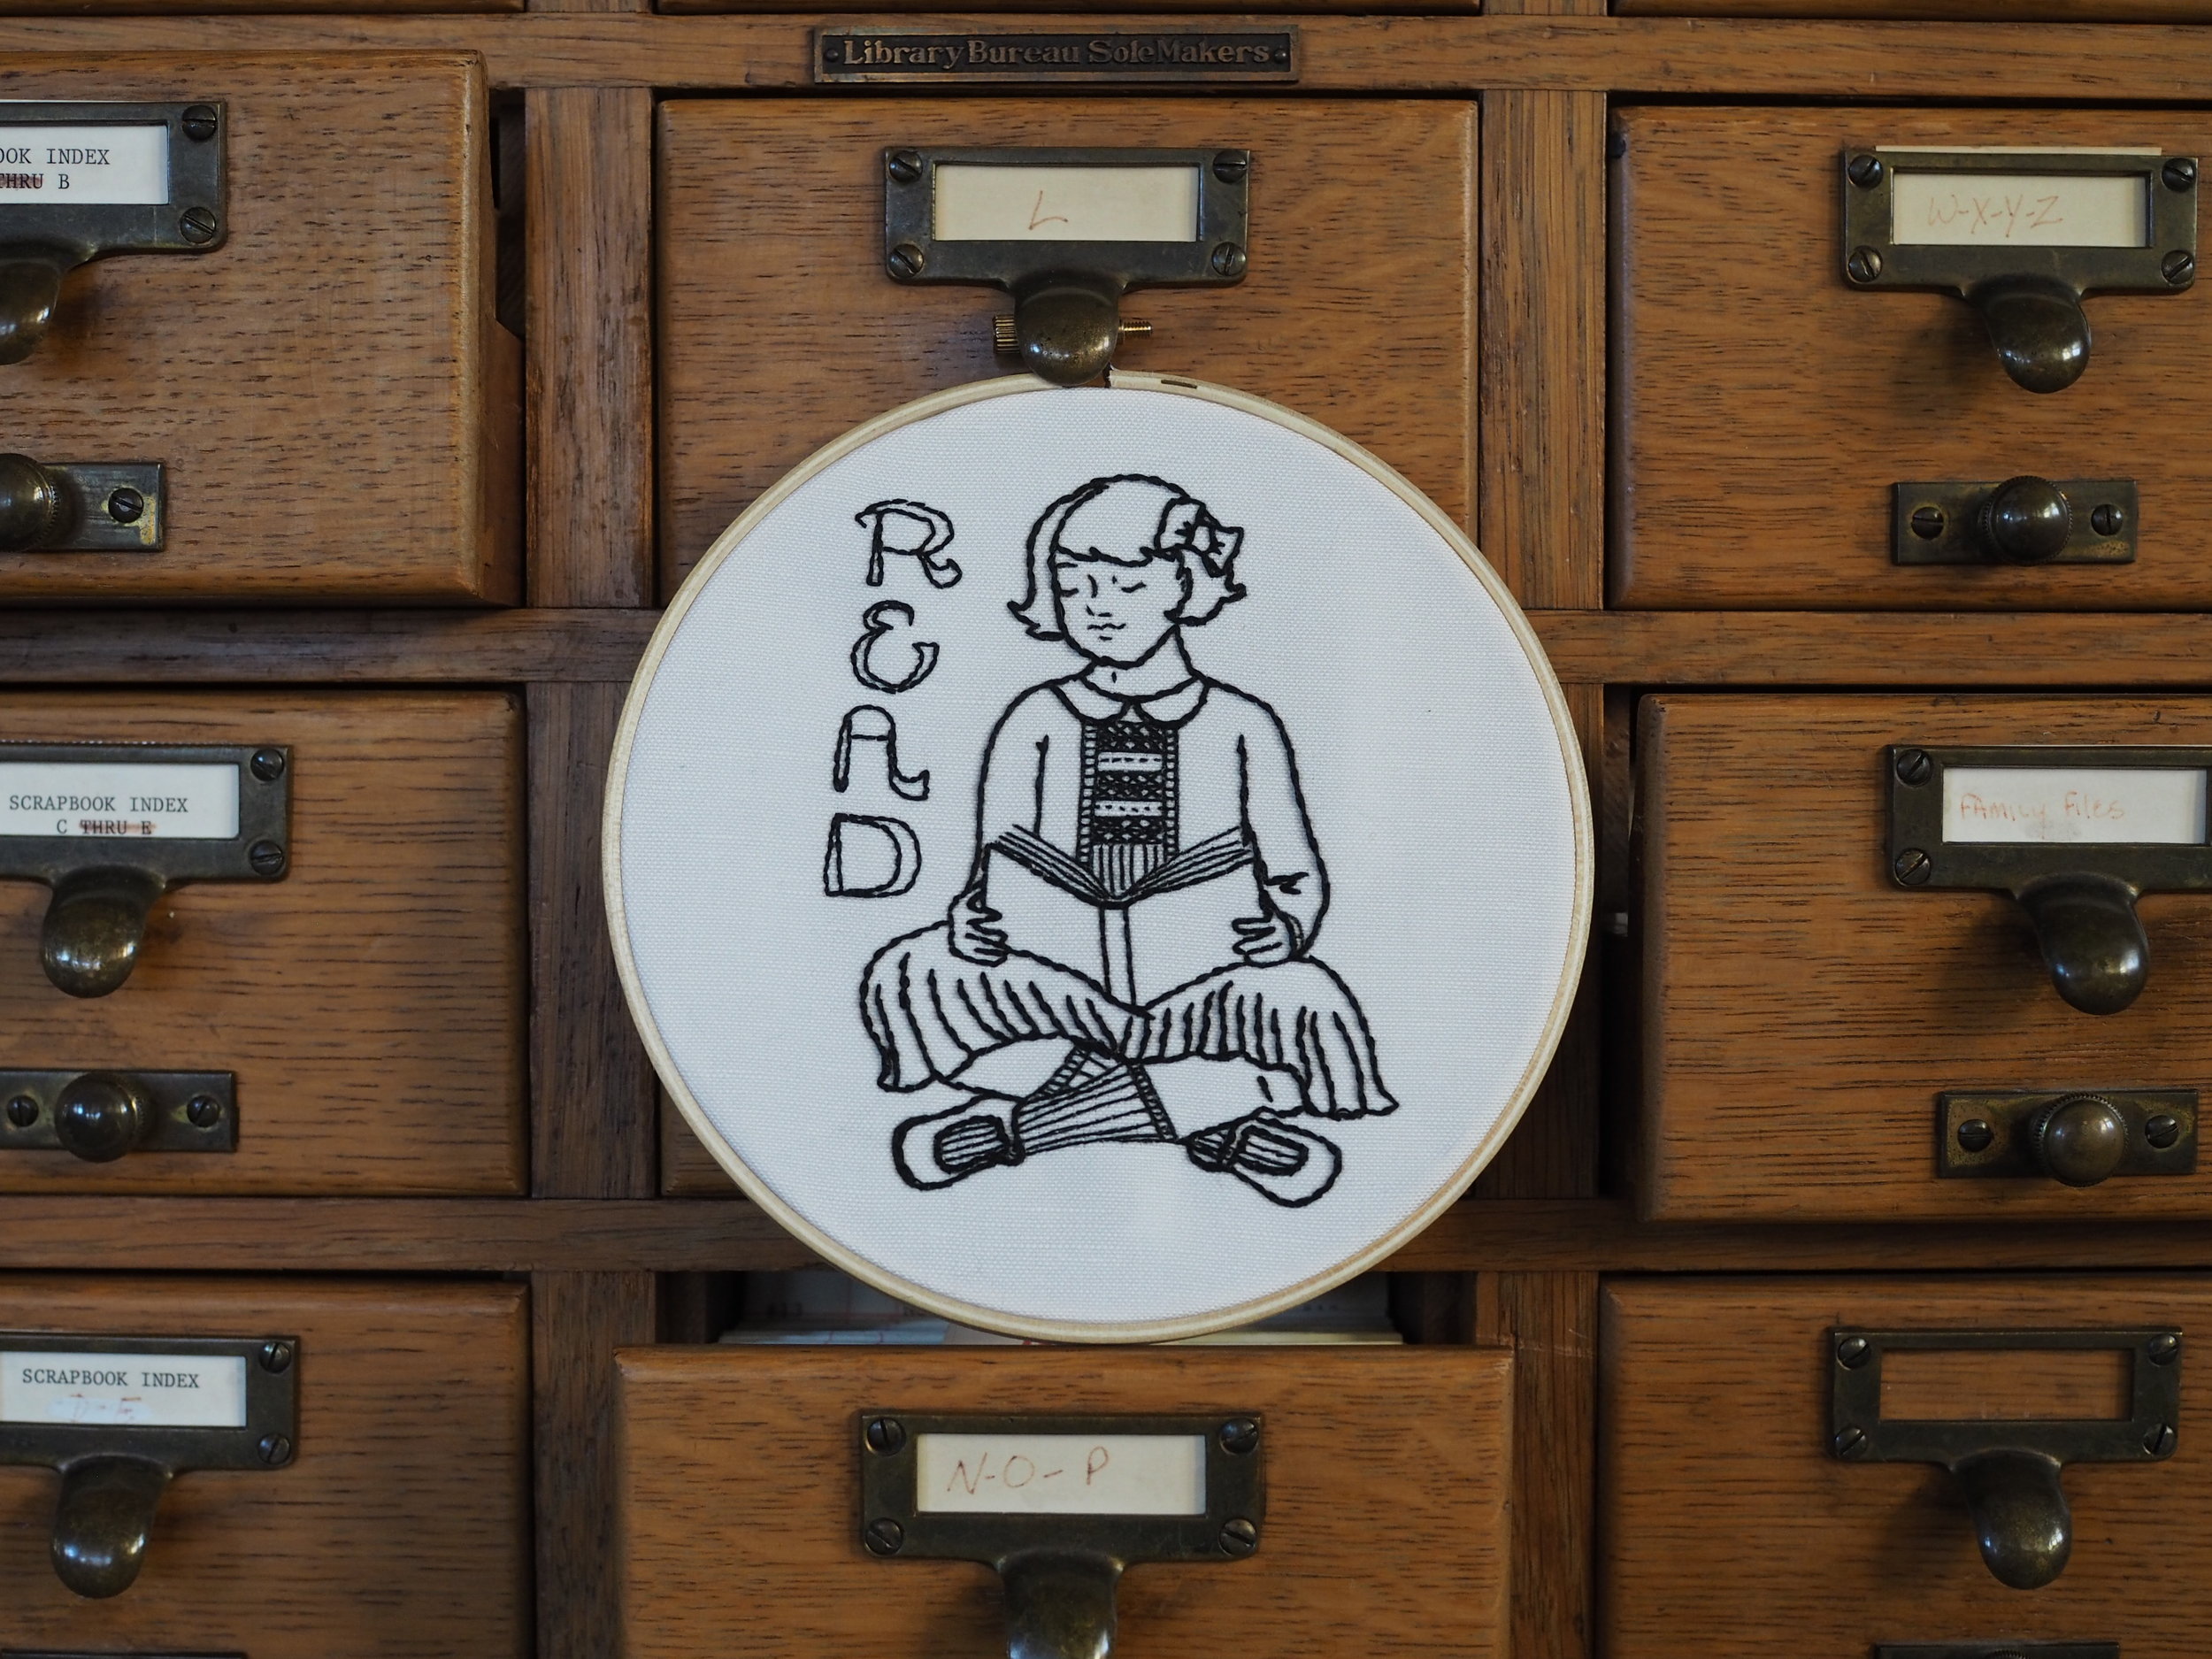
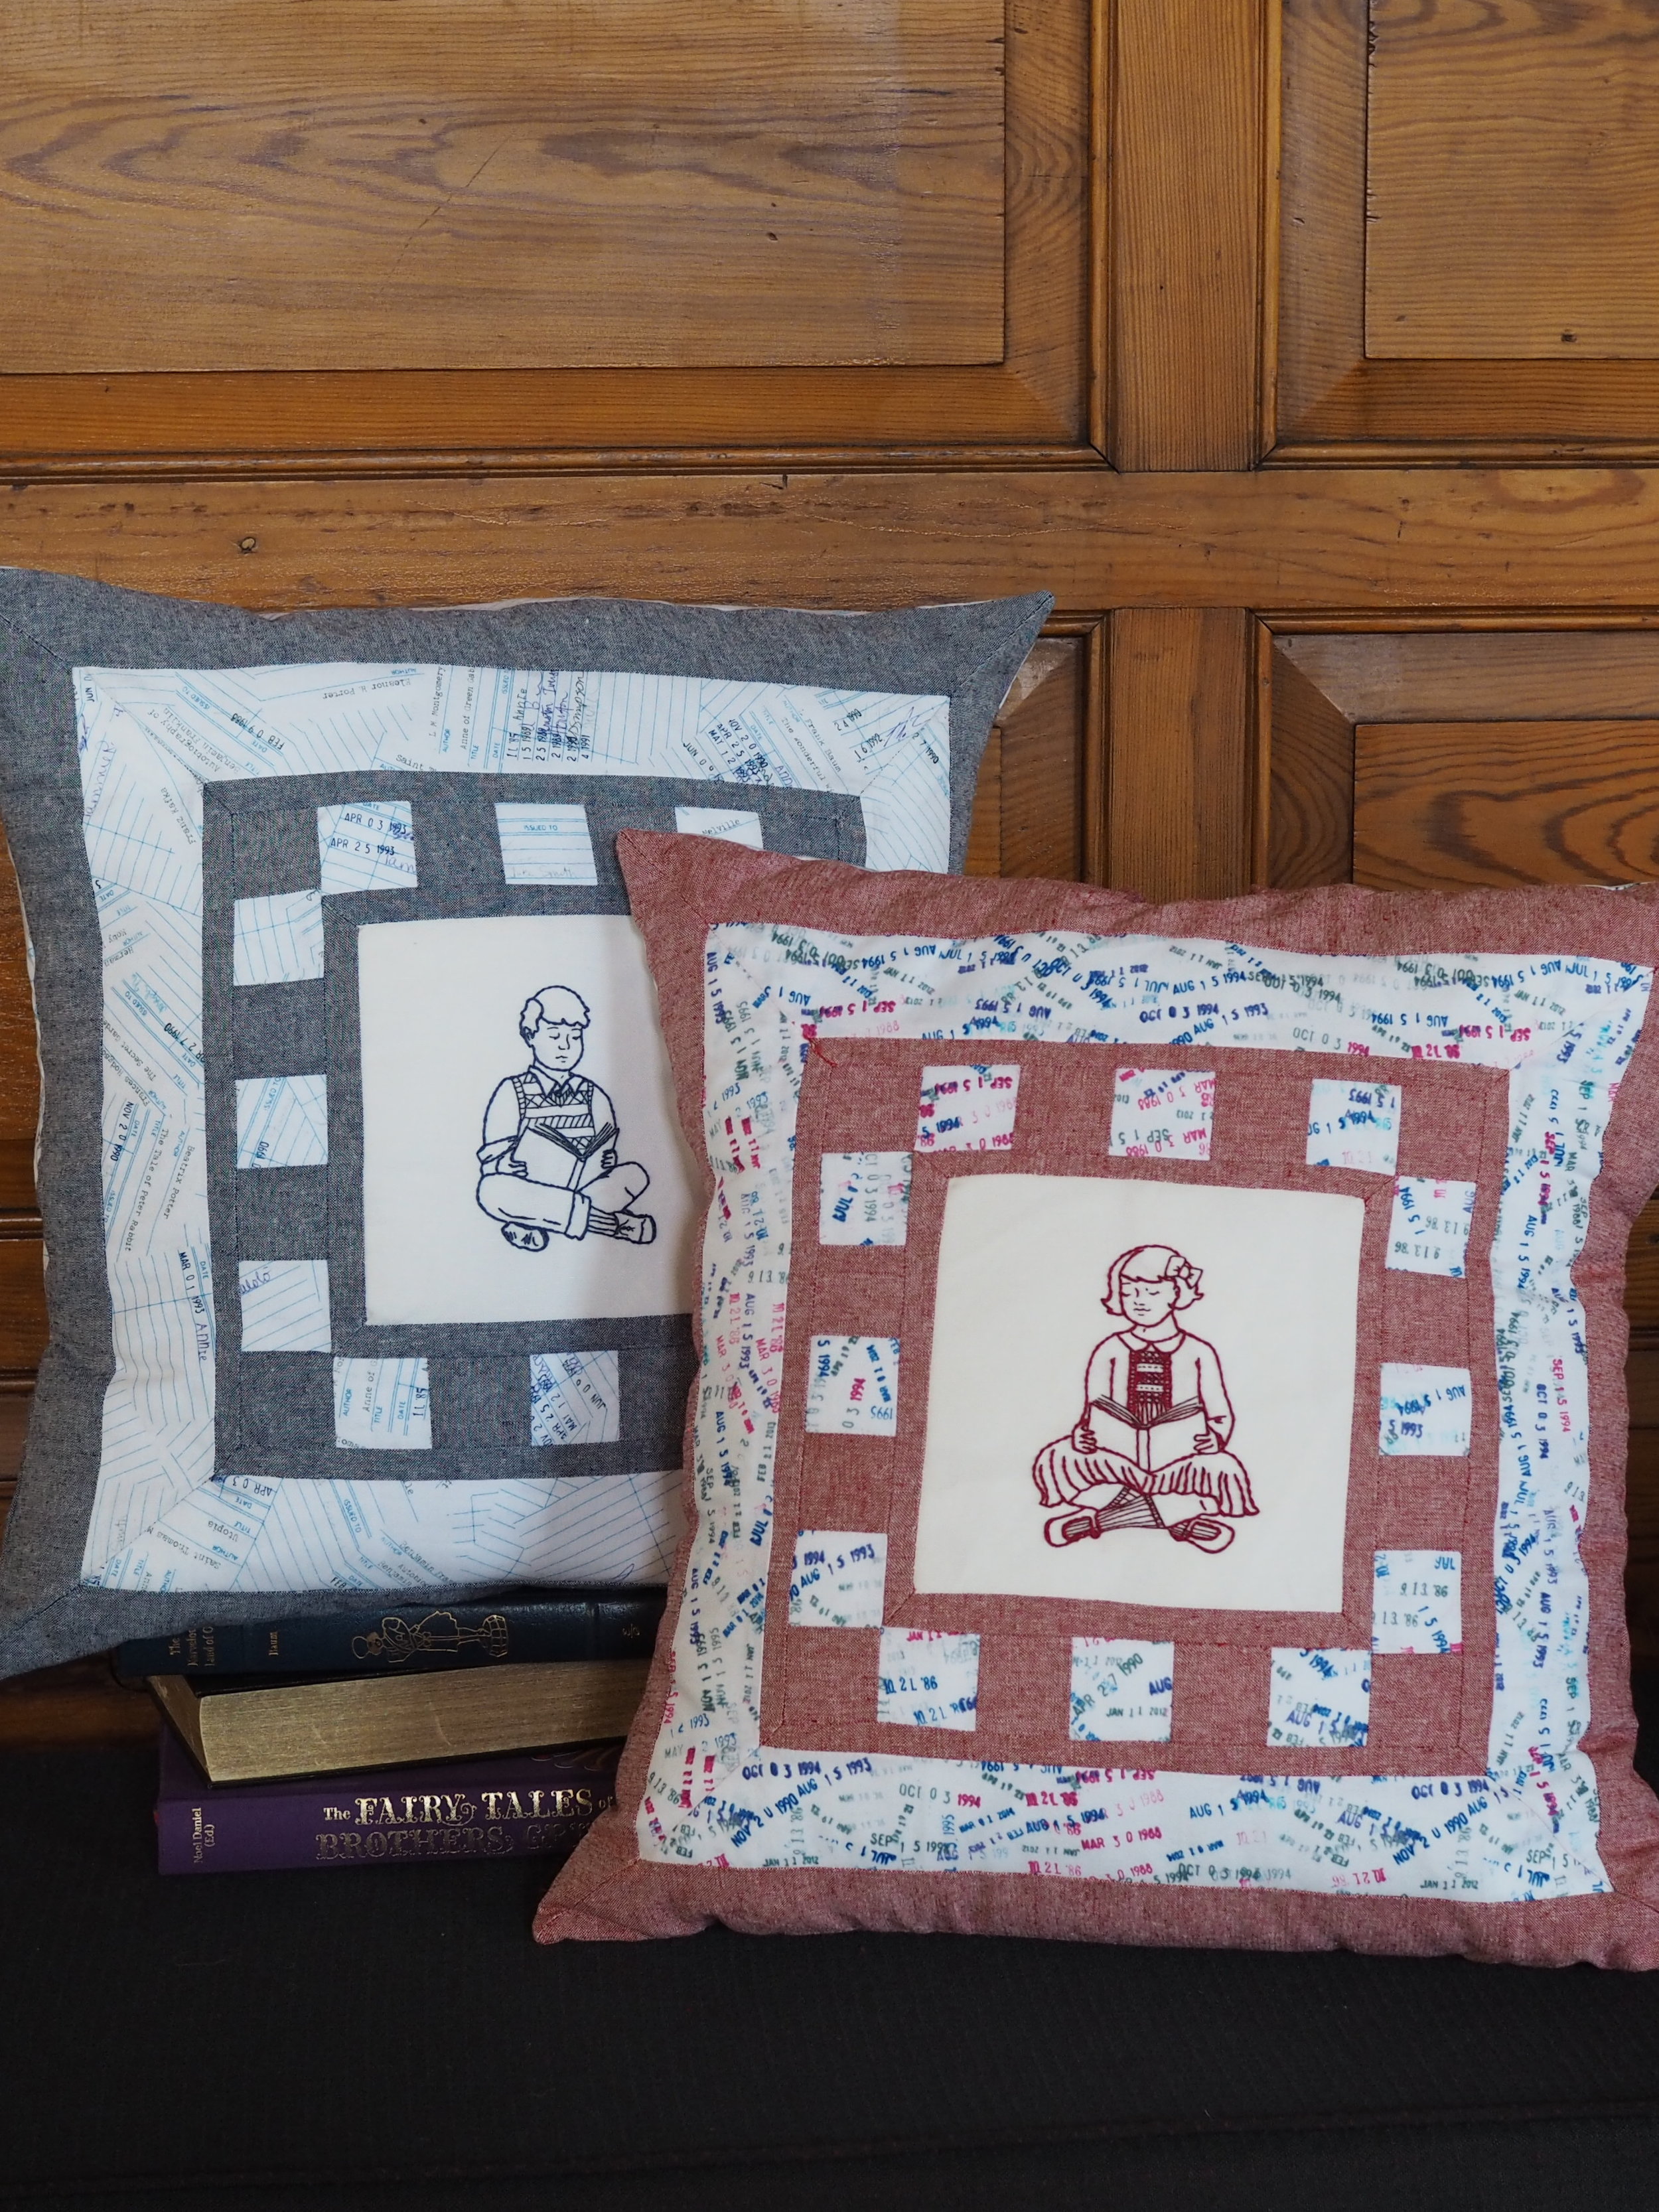
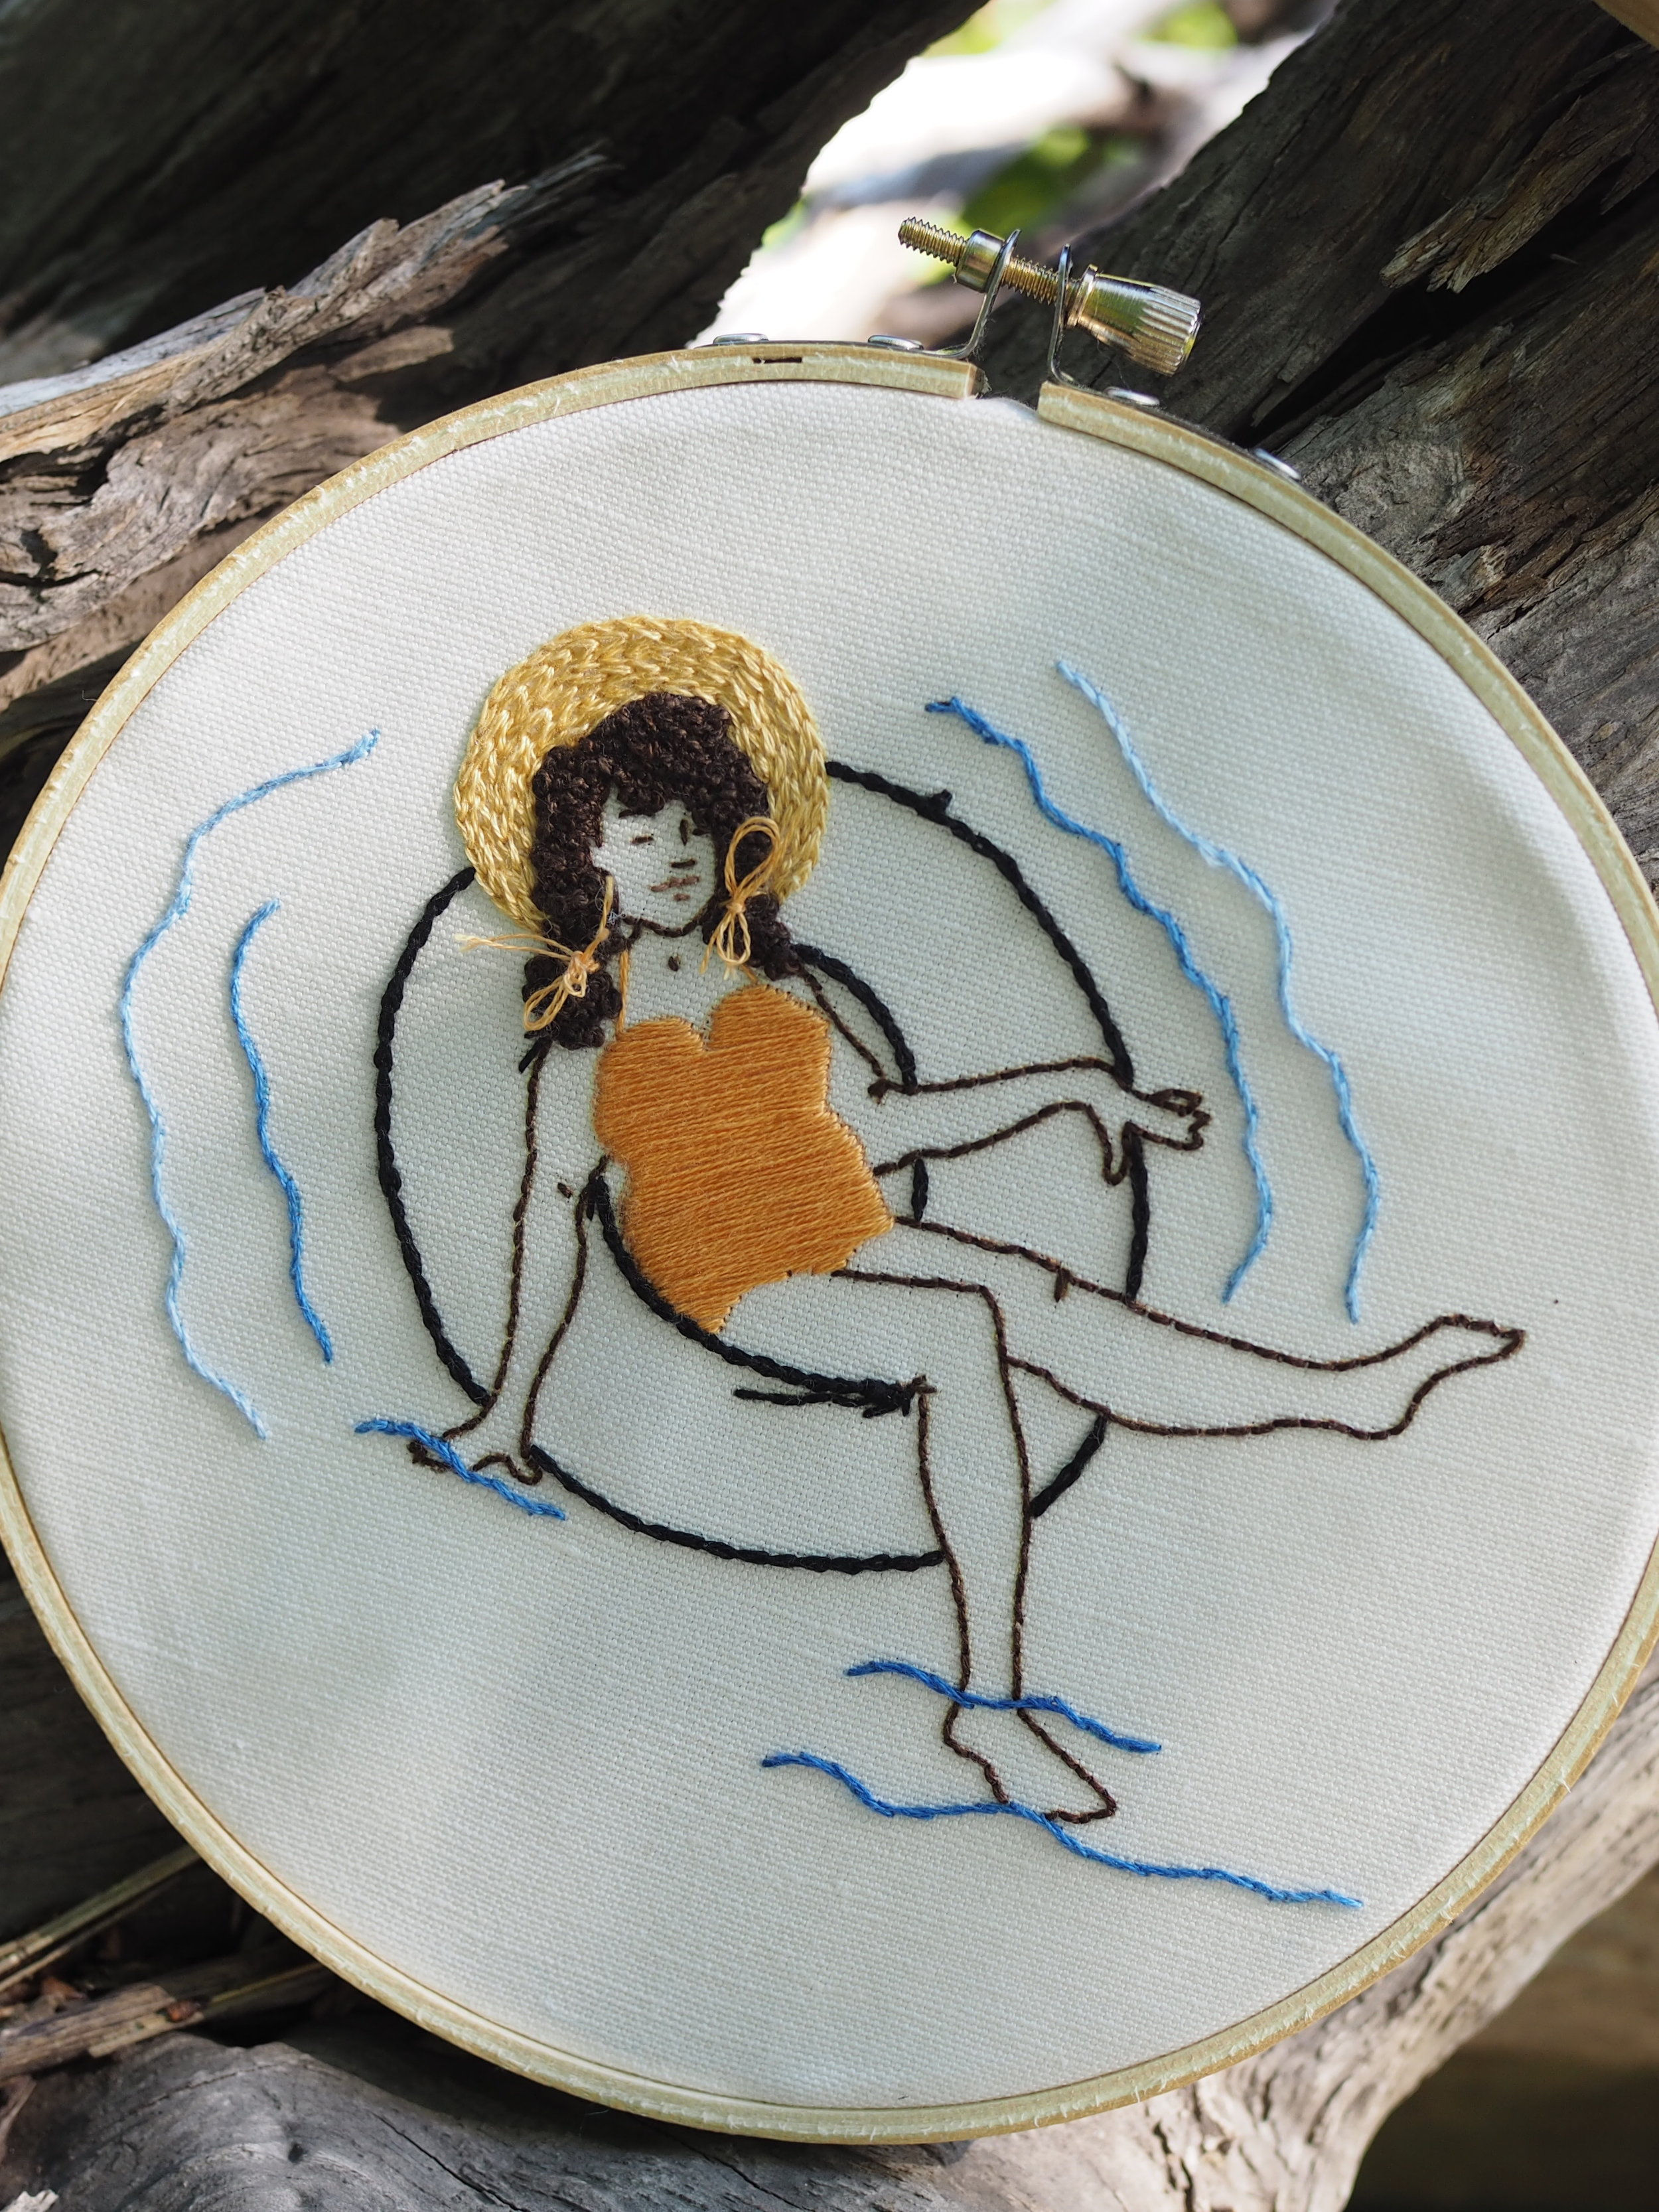
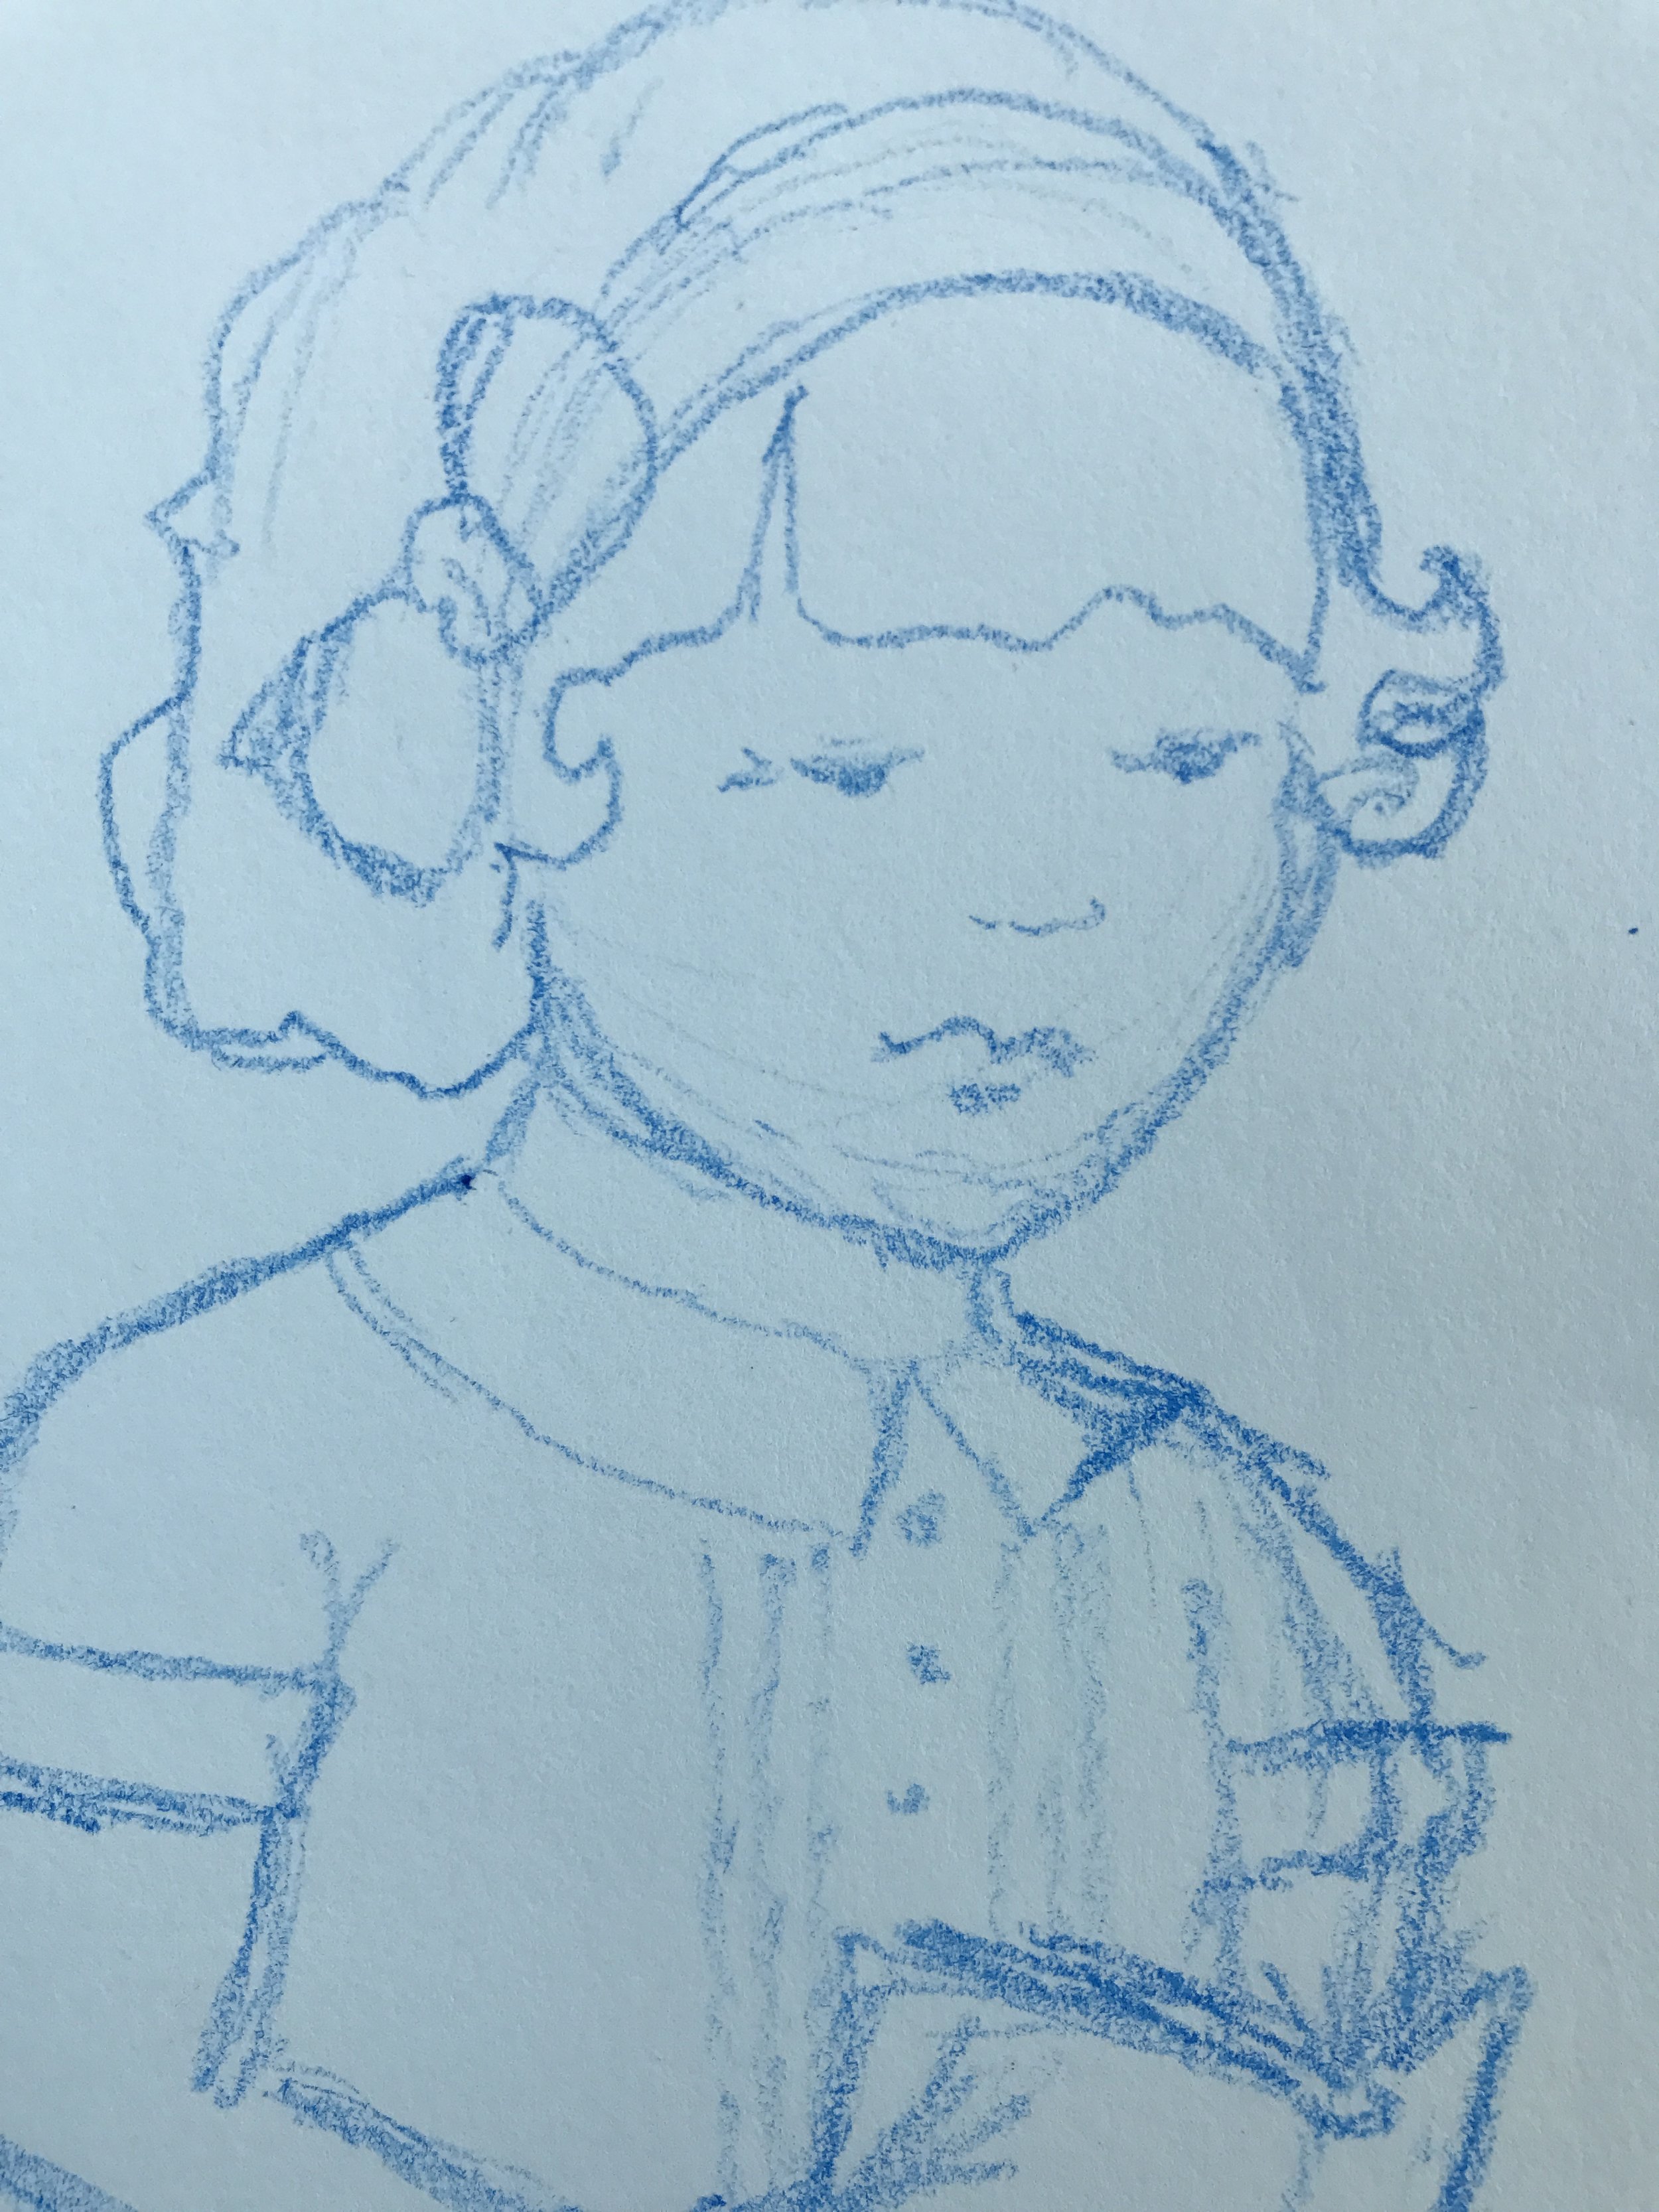
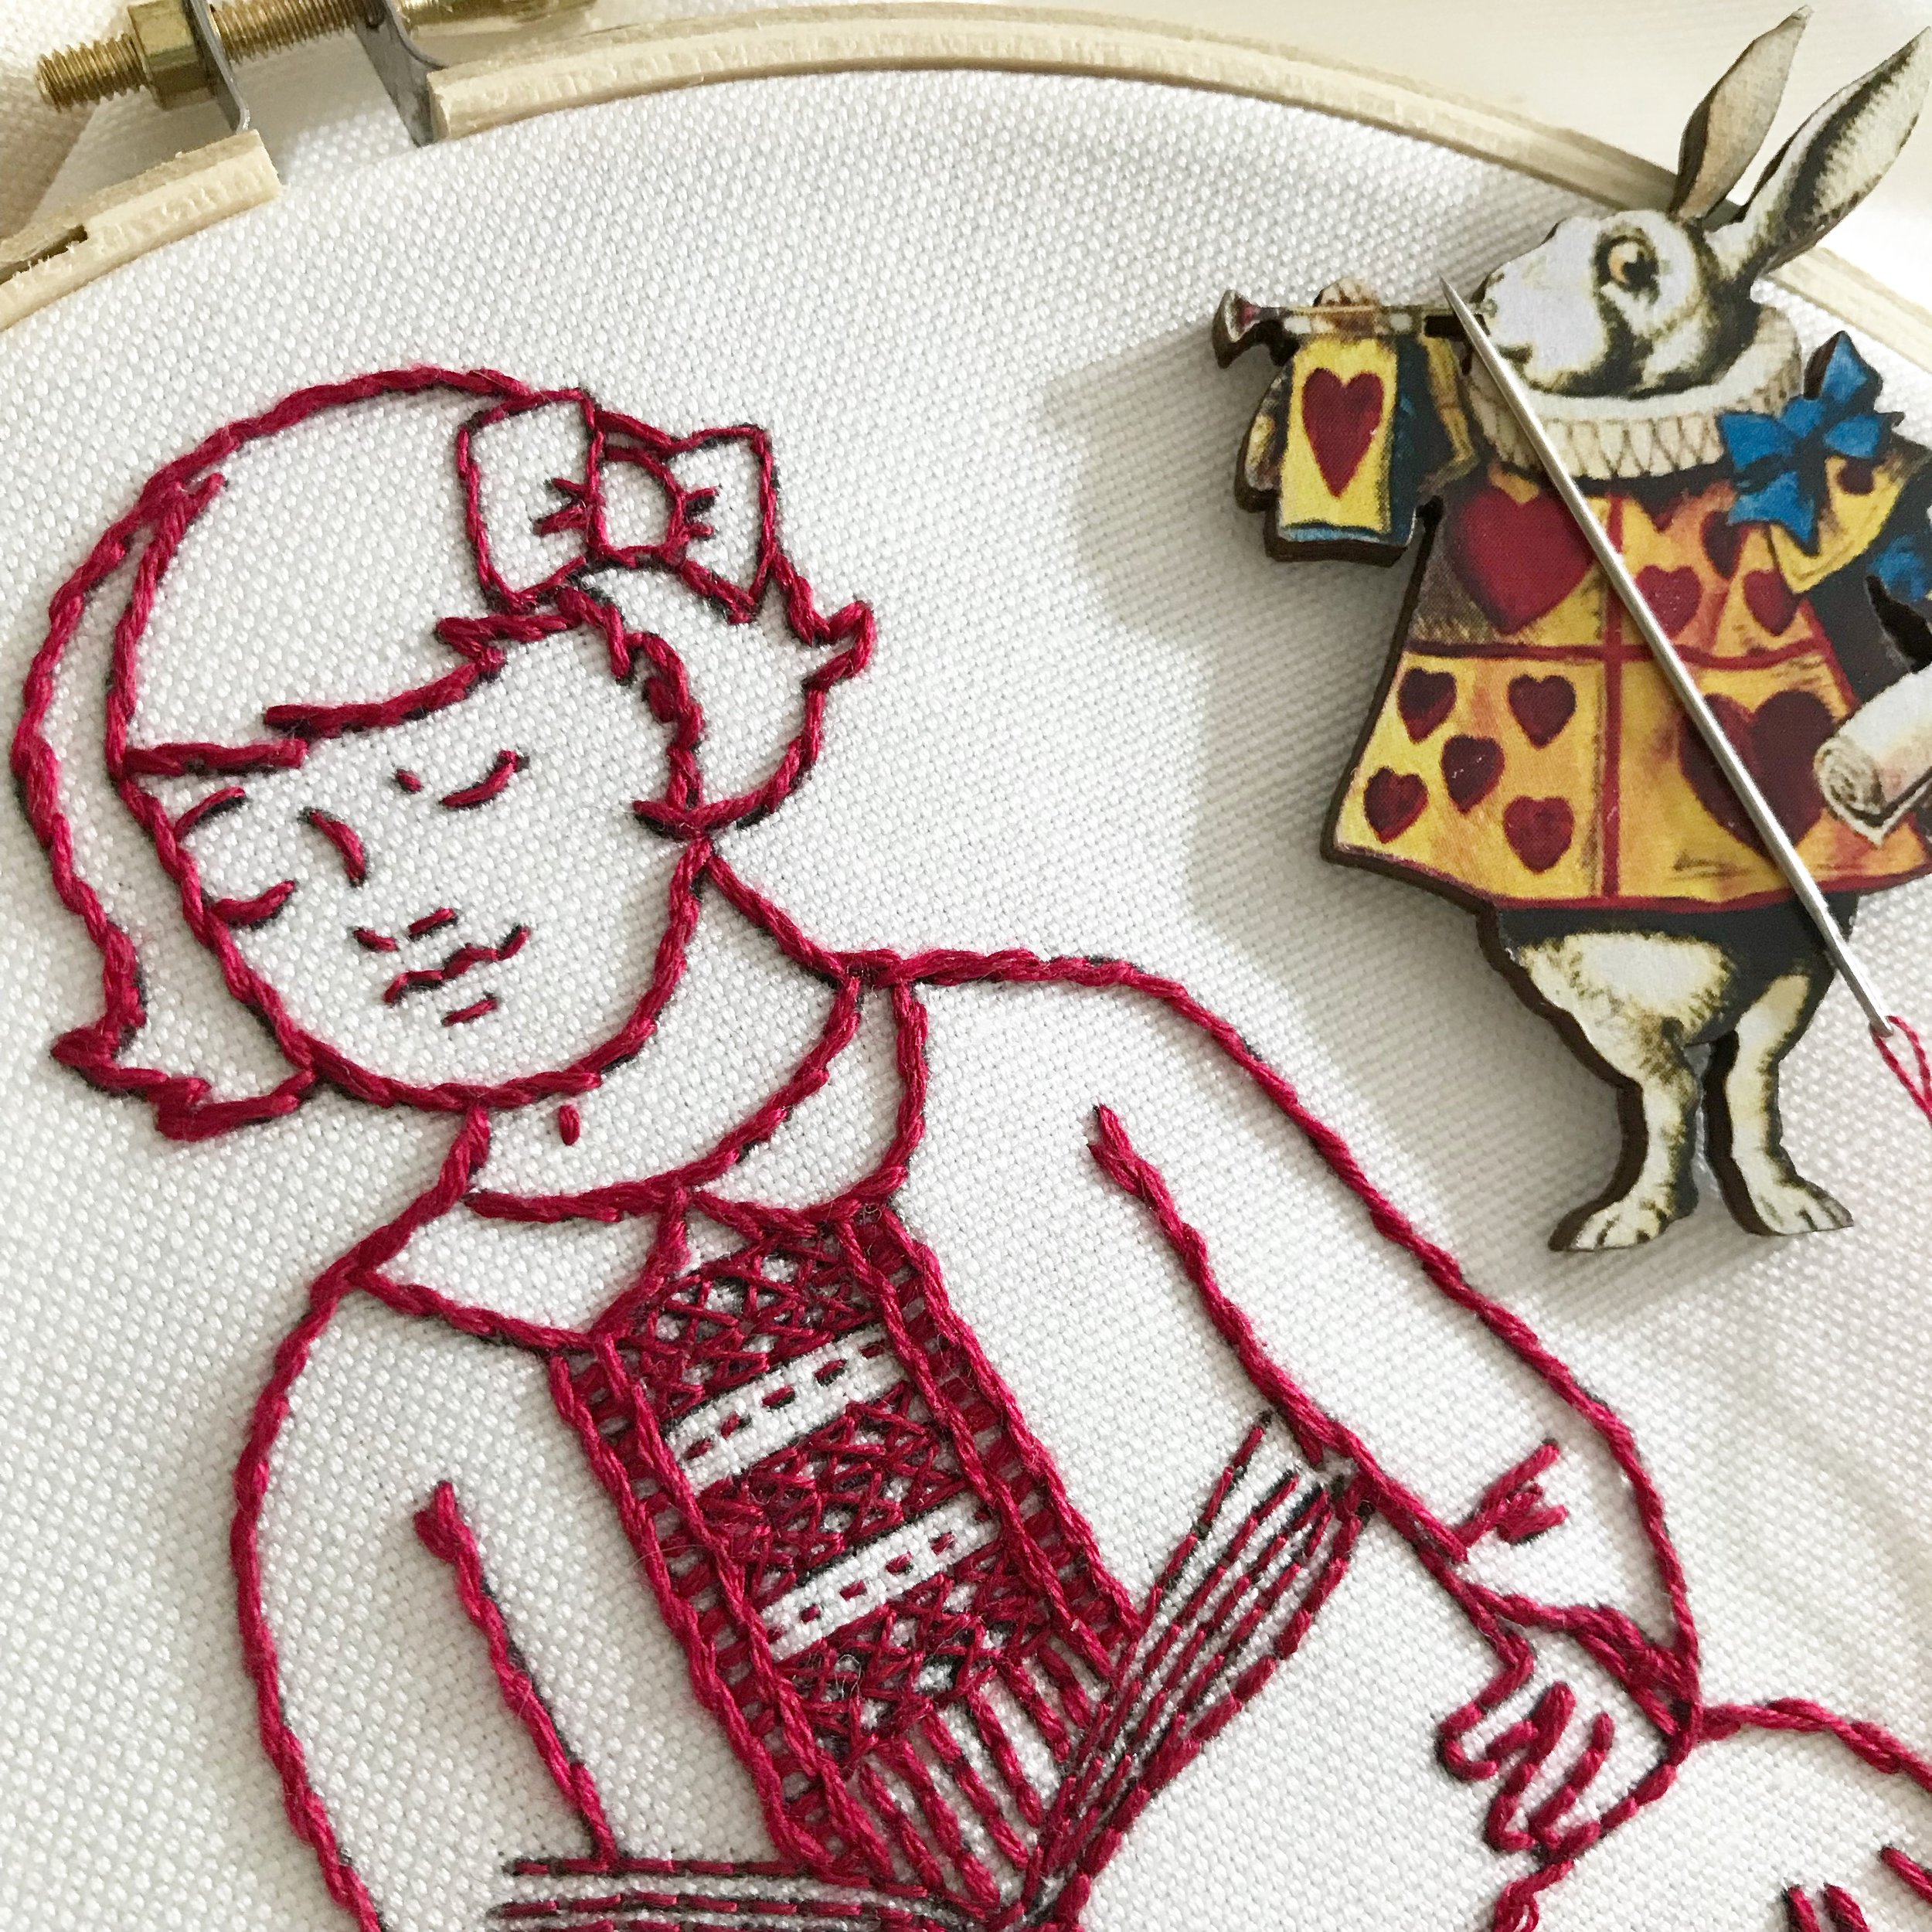
The Little Readers are vintage-inspired designs that use a single color to create a strong outline, a technique known as redwork (or bluework, depending on the color). The paired-down design is a great introductory project for beginning embroiderers and would make a wonderful gift for the book-lover in your life.

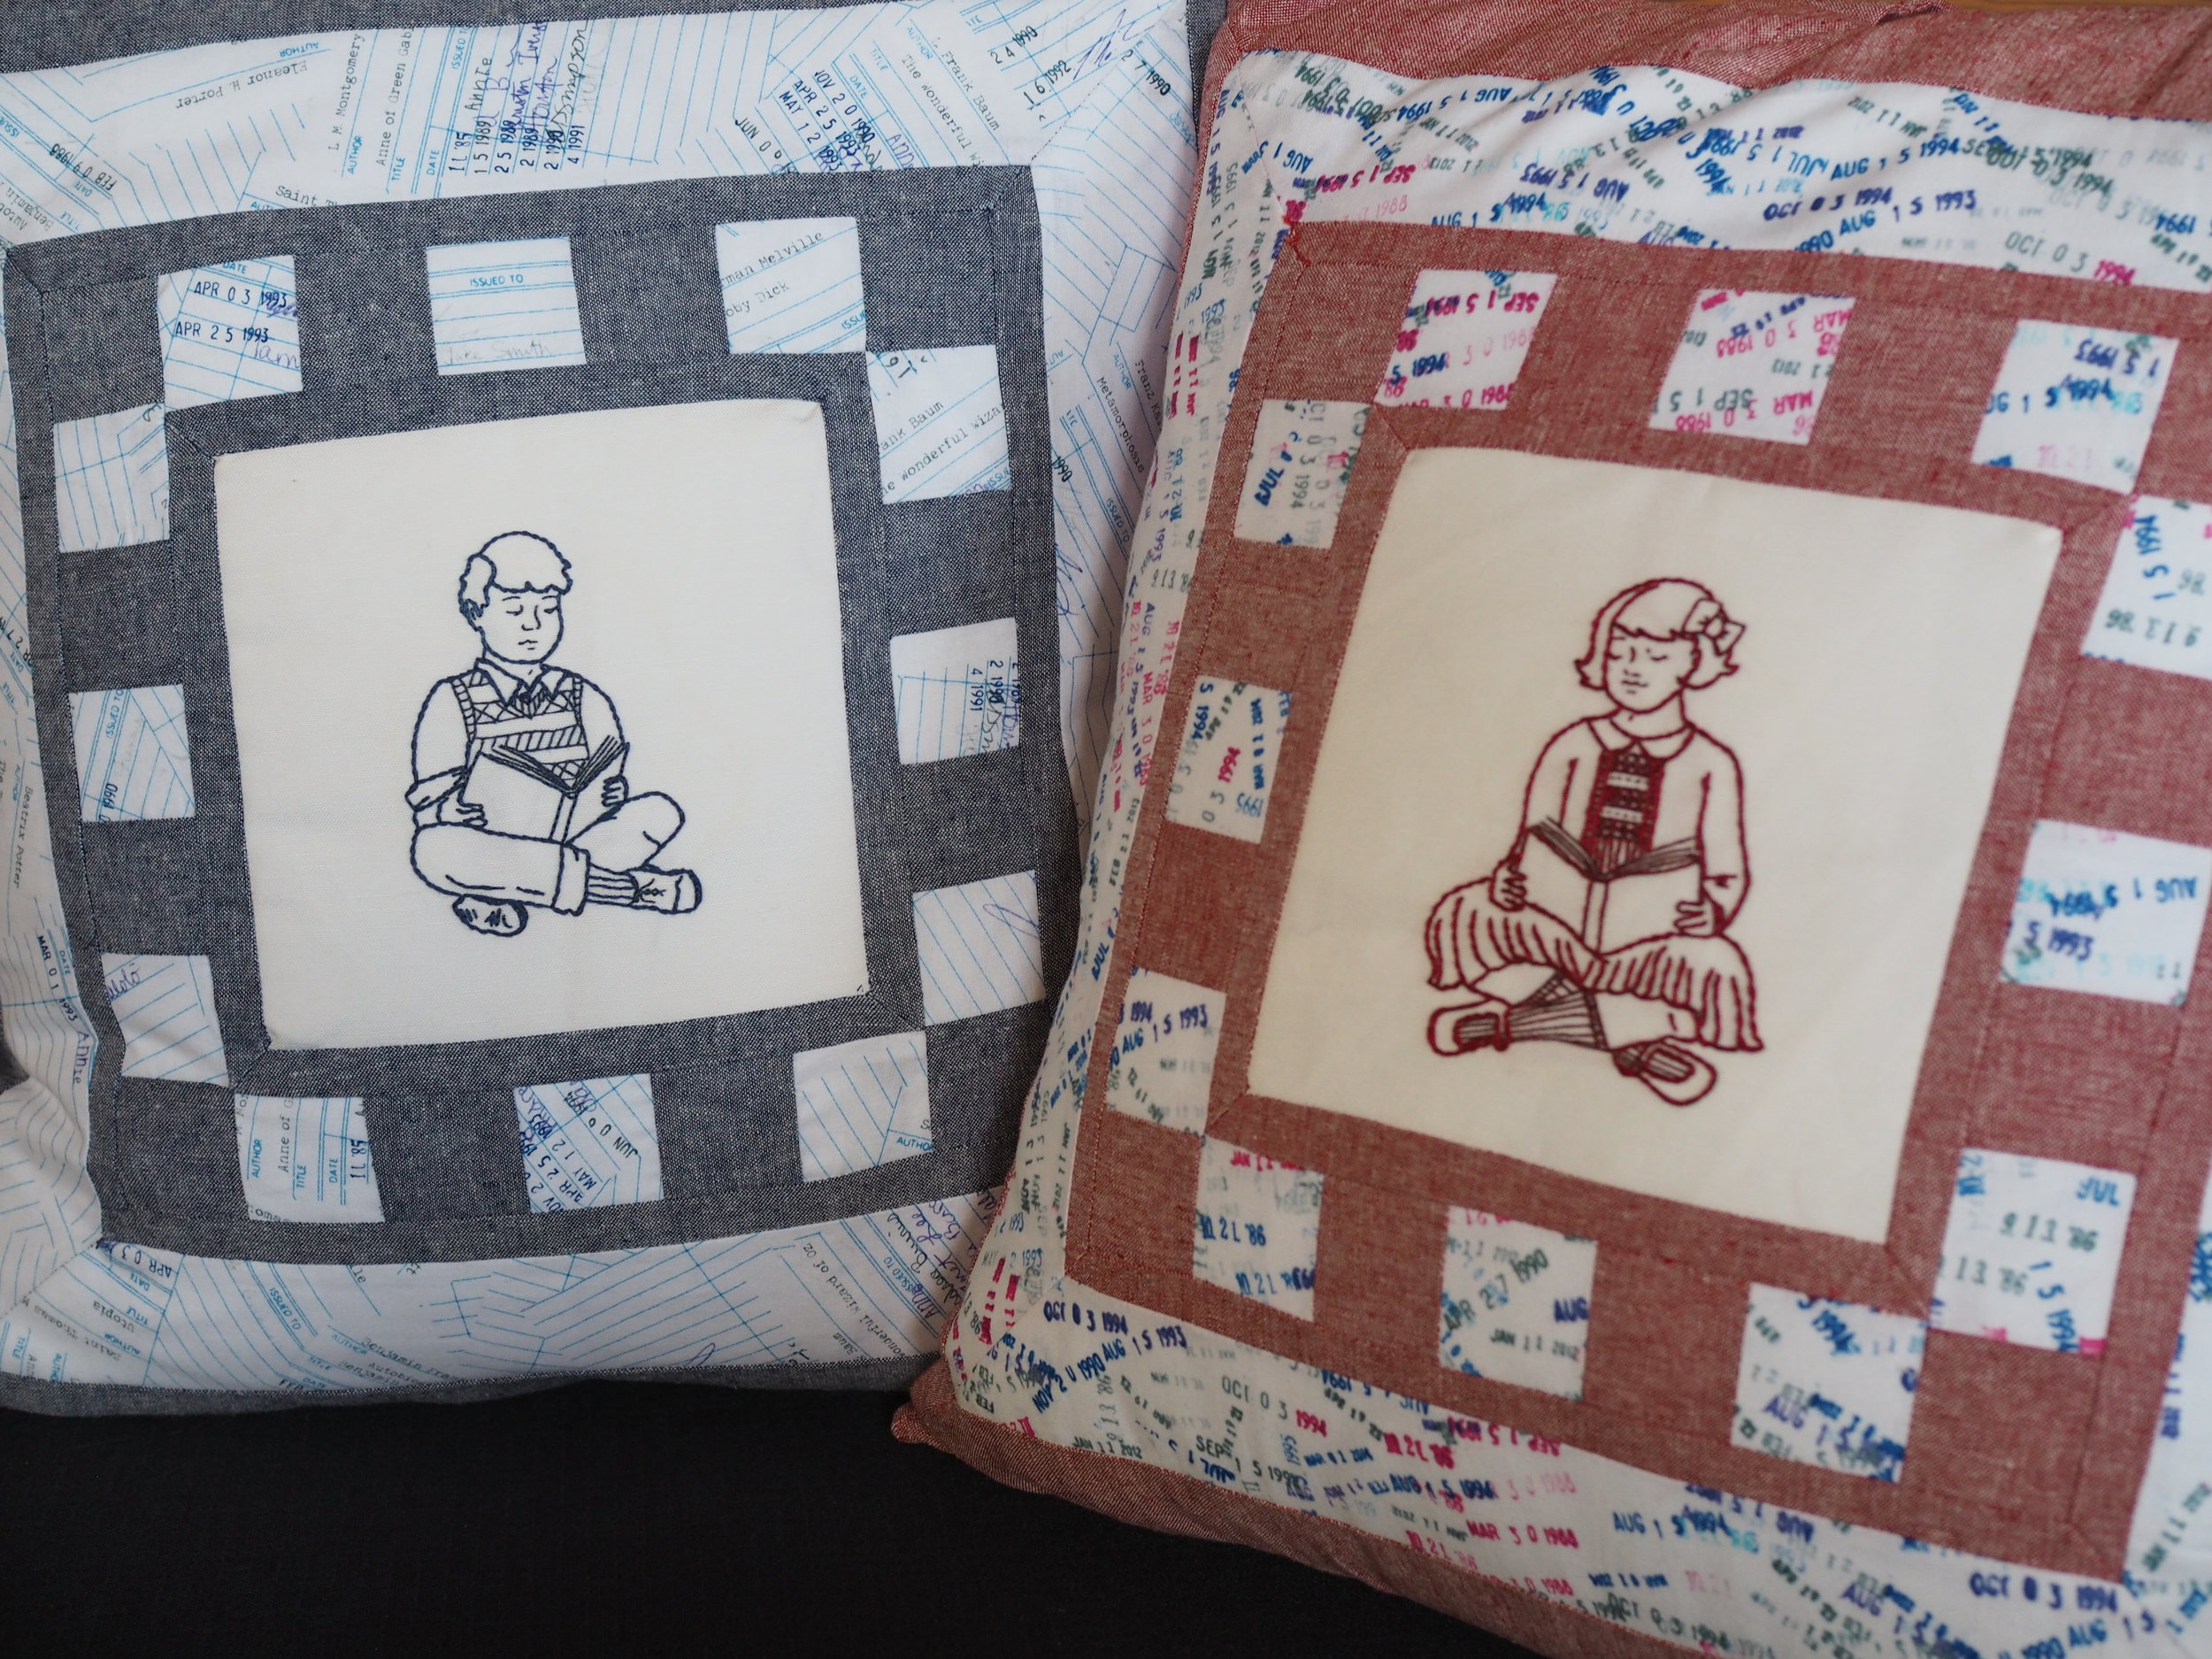
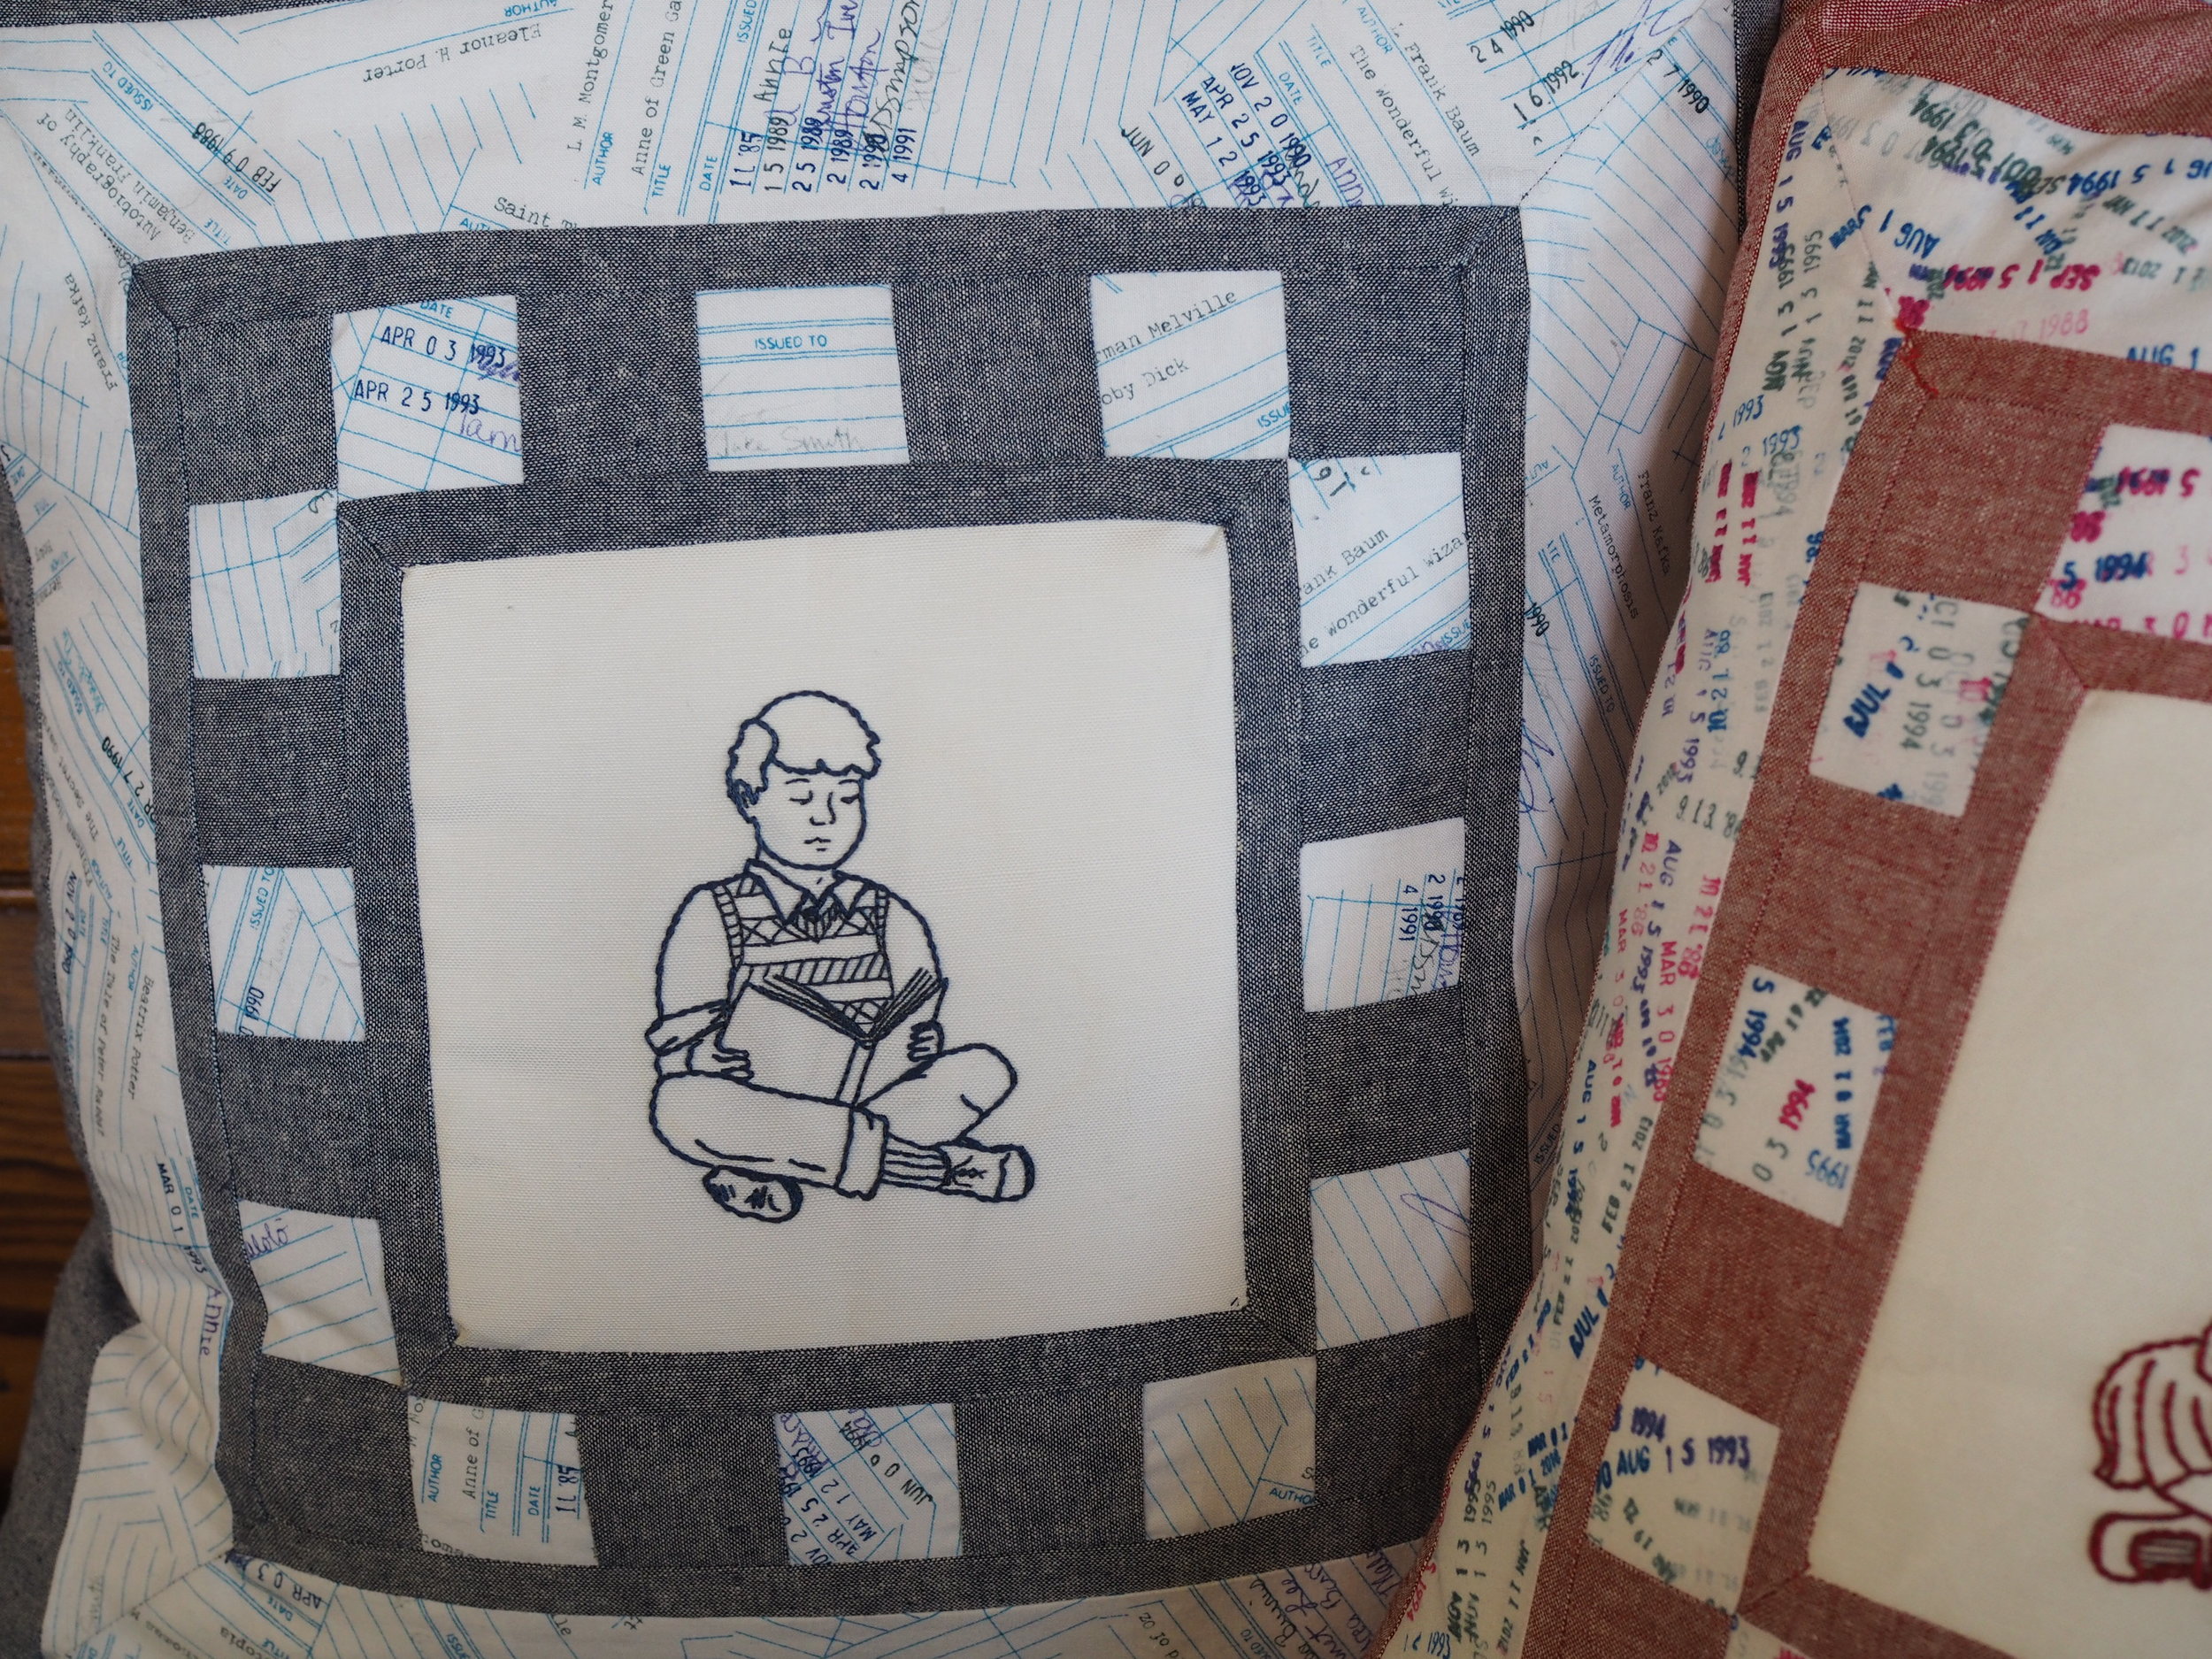
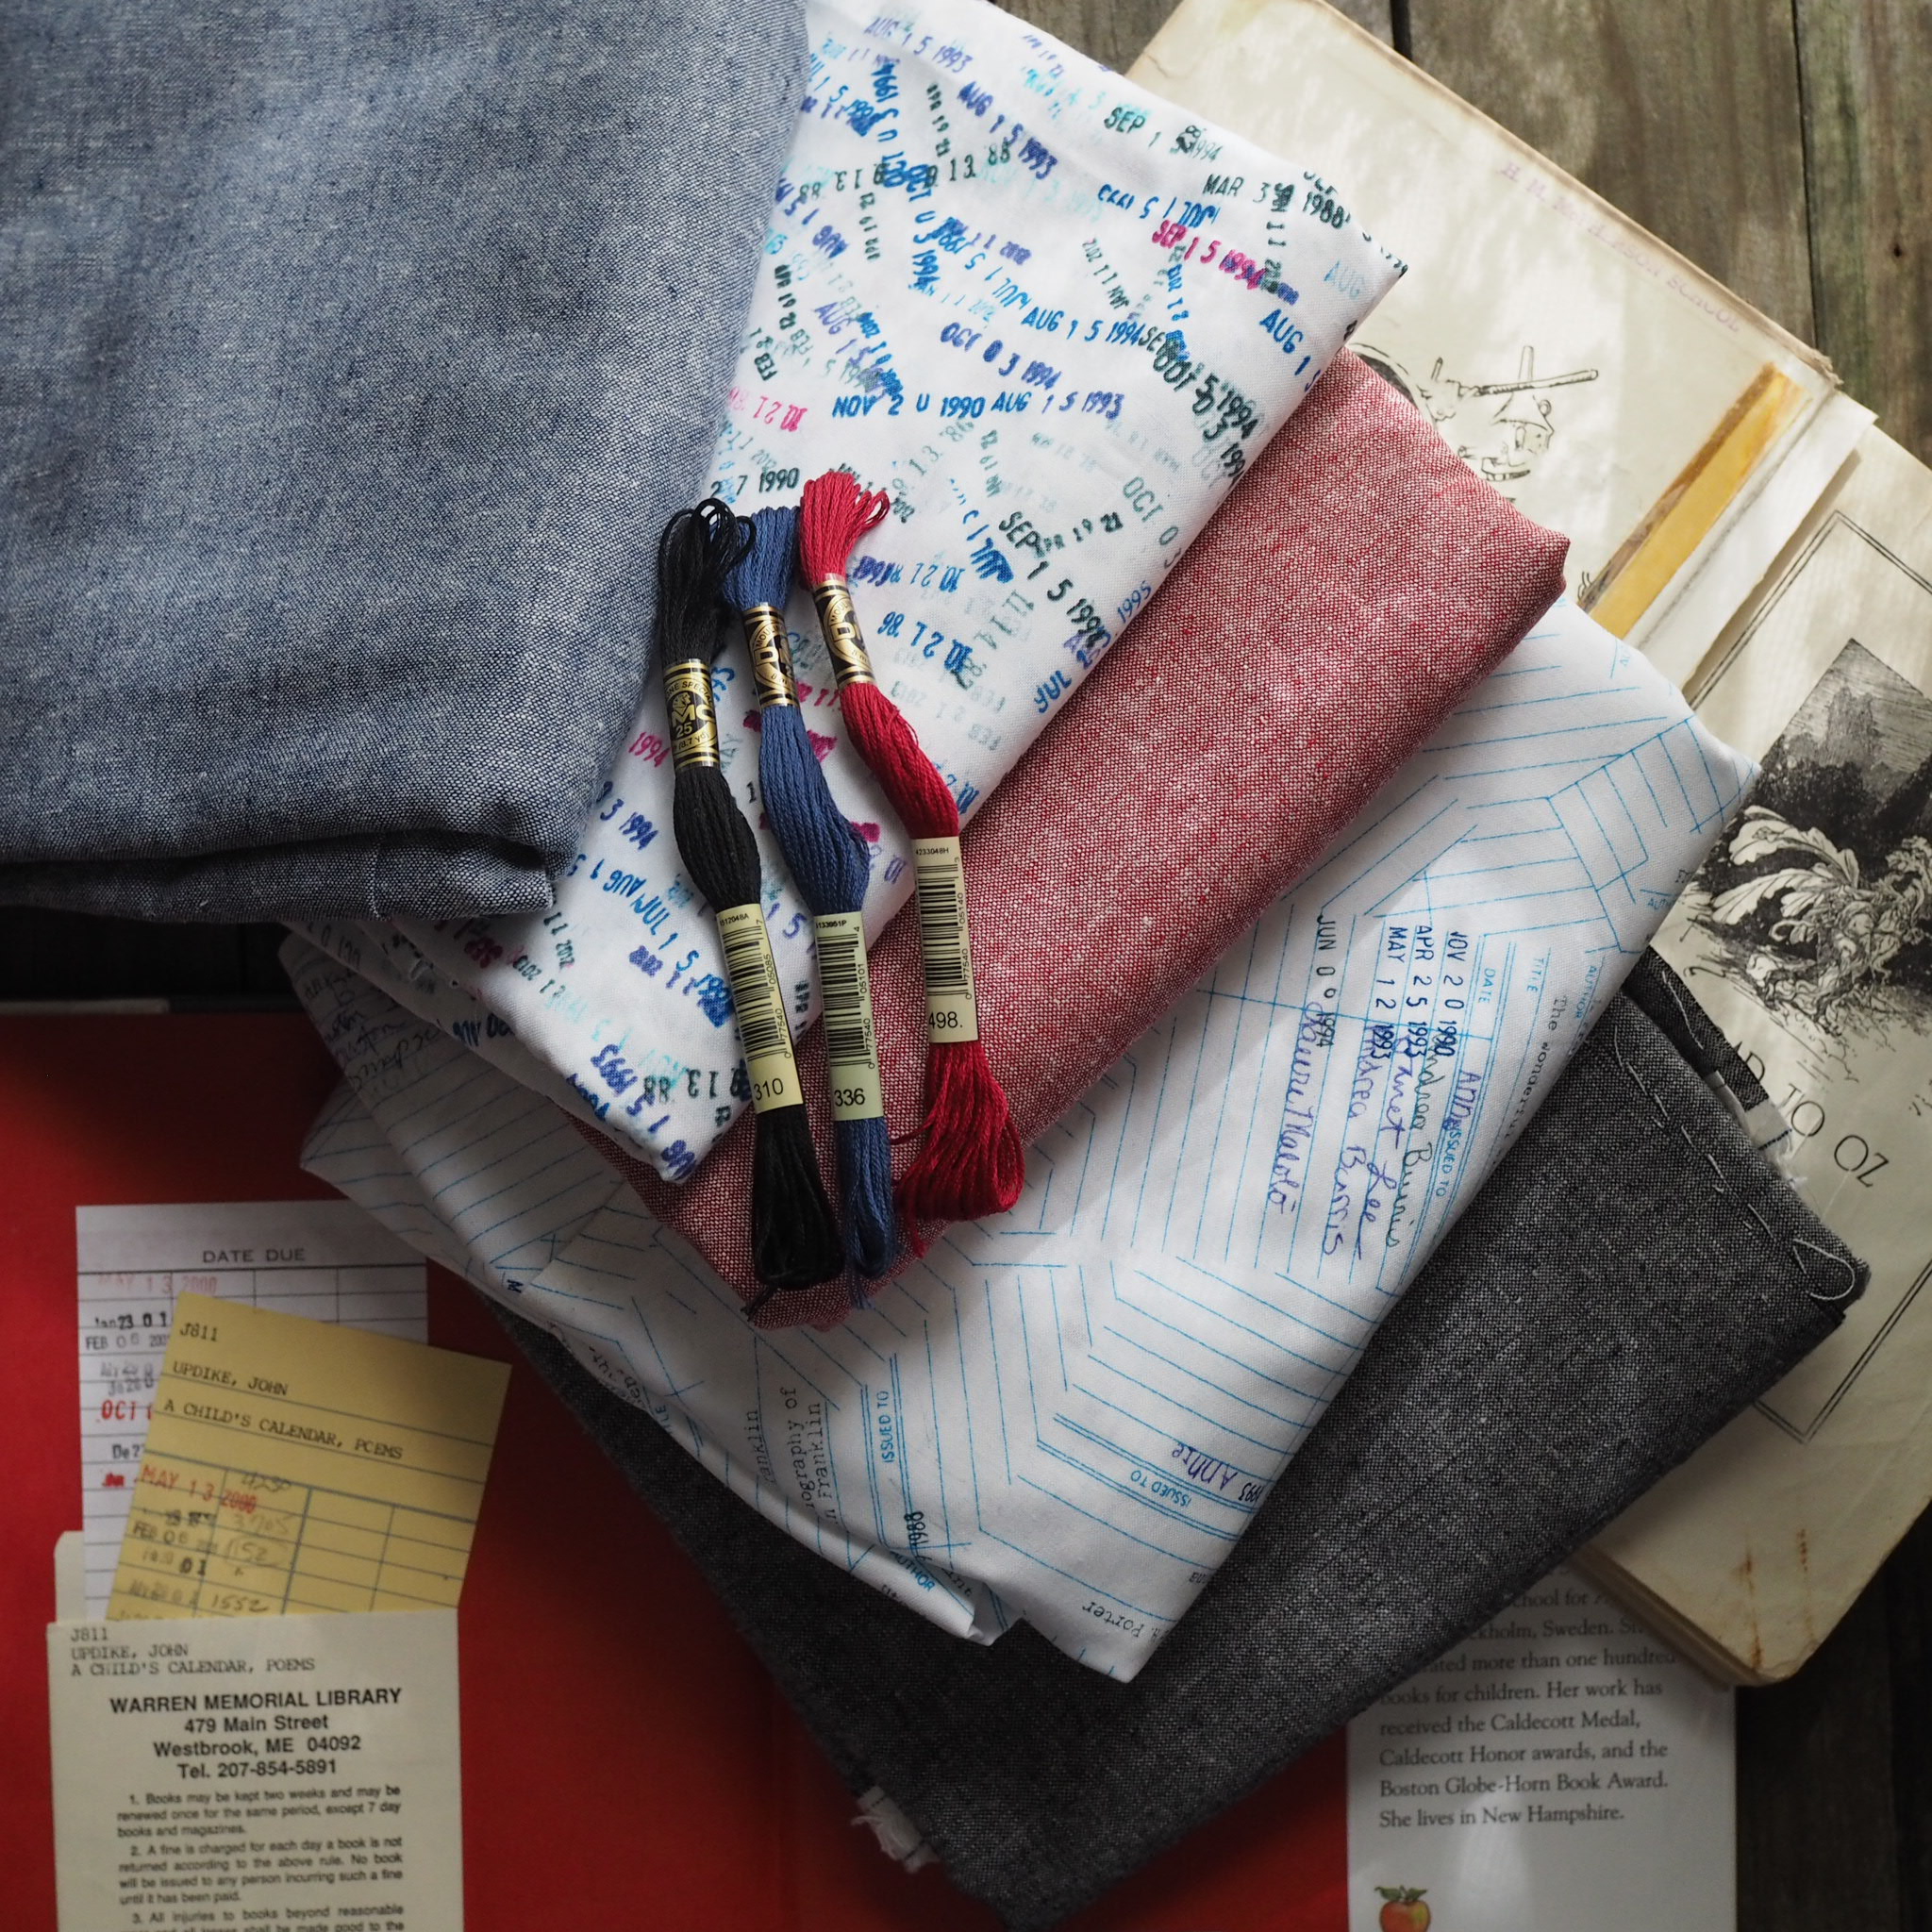
Named for The Music Man’s Marian The Librarian, the Ms. Marian Pillow turns your hoop art into cozy and beautiful home decor. Mitered corners and a checkerboard band increase the elegance of the design, which is suitable for intermediate sewists.

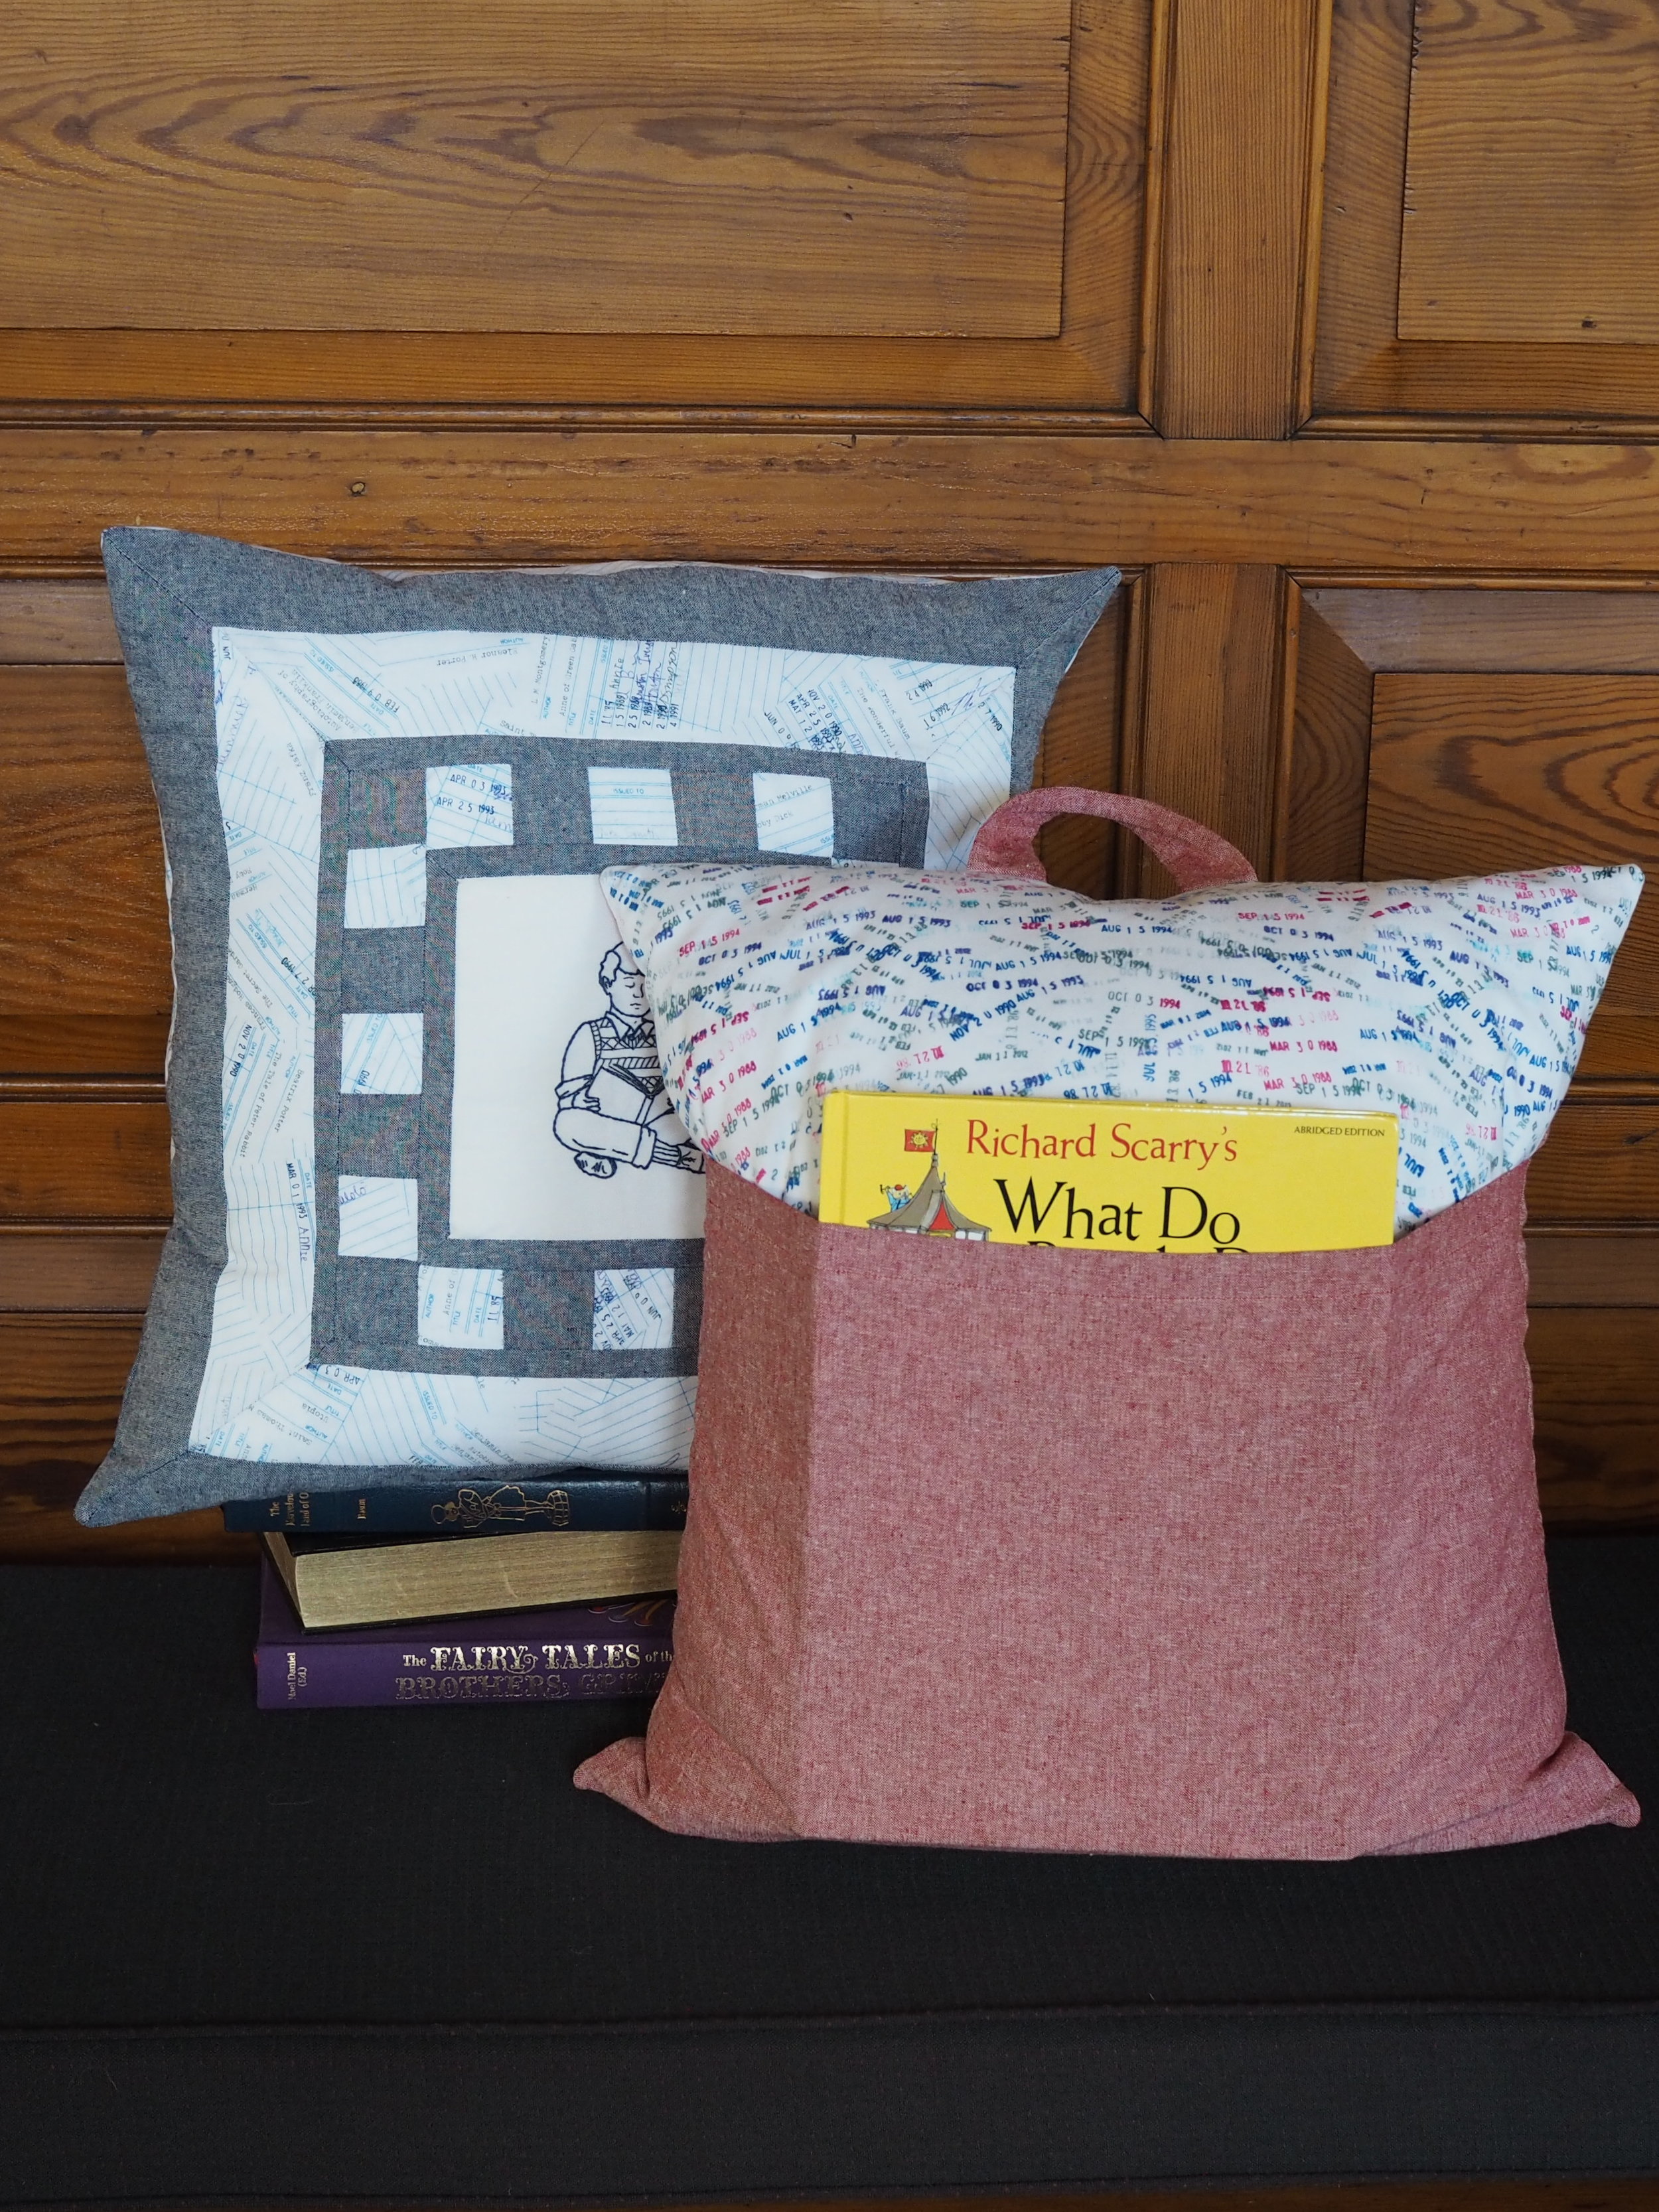
Instructions are included for a standard envelope pillowcase and a tote-able reading pillow with book pocket. The sewing pattern includes template/pattern for both Boy and Girl Little Reader embroideries and is a perfect companion to any of my 6” hoop designs or kits. Not into embroidery? Use the center panel to display an 7” square quilt block or panel of a favorite fabric.

The Ms. Marian Pillow Kit provides you with all the materials (minus pillowform) to make one beautifully embroidered, library-themed pillowcase. You can choose to sew it up as a standard envelope-back pillow, or (my favorite) as a tote-able reading pillow with book pocket.


Print Friendly and PDF Follow
follow us in feedly

STORYTIME - Coming Soon!

If I’ve been quiet around here, it’s because I’ve been busy! Busy with work. Busy with transitioning Little Miss Cleaver into Kindergarten and busy with pulling together the pieces of my next collection - STORYTIME.

STORYTIME is inspired by some of my favorite classic children’s books, including Little Golden Books and The Wizard of OZ series. The collection will include two new knitting patterns (one adult sweater, one accessory), two new embroidery patterns/kits and a sewing pattern/kit perfect for spotlighting your favorite embroidery.

After a lot of time sketching and developing ideas, I’m finishing up samples and getting patterns written and reviewed. There’s still a lot of work left to to (it’s a lot to pull together for one person!), but I expect to release the collection in October.

Until then, you can follow my progress on Instagram and if you sign up for the newsletter, you’ll get to know about the collection release early with a special subscriber-only discount!

Back to stitching for me!


Print Friendly and PDF Follow
follow us in feedly