
This series is designed to help you learn the basics of knitting technique in a way that will smoothly transition your skills to future projects. To best use this guide, don’t try to make anything meaningful at first. Spend at least an hour making a few oddly-shaped bits of knitting about 10-12 stitches wide and 10 rows high (I call them gerbil coasters) before you dive into a real project. The key to even-looking knitting is developing muscle memory in your hands, so practice each technique several times until you get the hang of it. Remember that this is supposed to be fun, so if you’re feeling frustrated, take a break and come back to it later.
When you feel comfortable with the techniques in the series, I’ve designed a pattern, The Itty Bitty Knitty Kitty, specifically for brand new knitters. The Kitty is designed to be made up of several small parts, so if you don’t like the way a piece is looking, there’s no harm in tossing it aside and starting again.
More of a print than screen reader? The complete series (including the Itty Bitty Kitty Pattern) is available as a PDF, printed booklet, and complete kit to get you started off with high quality materials.
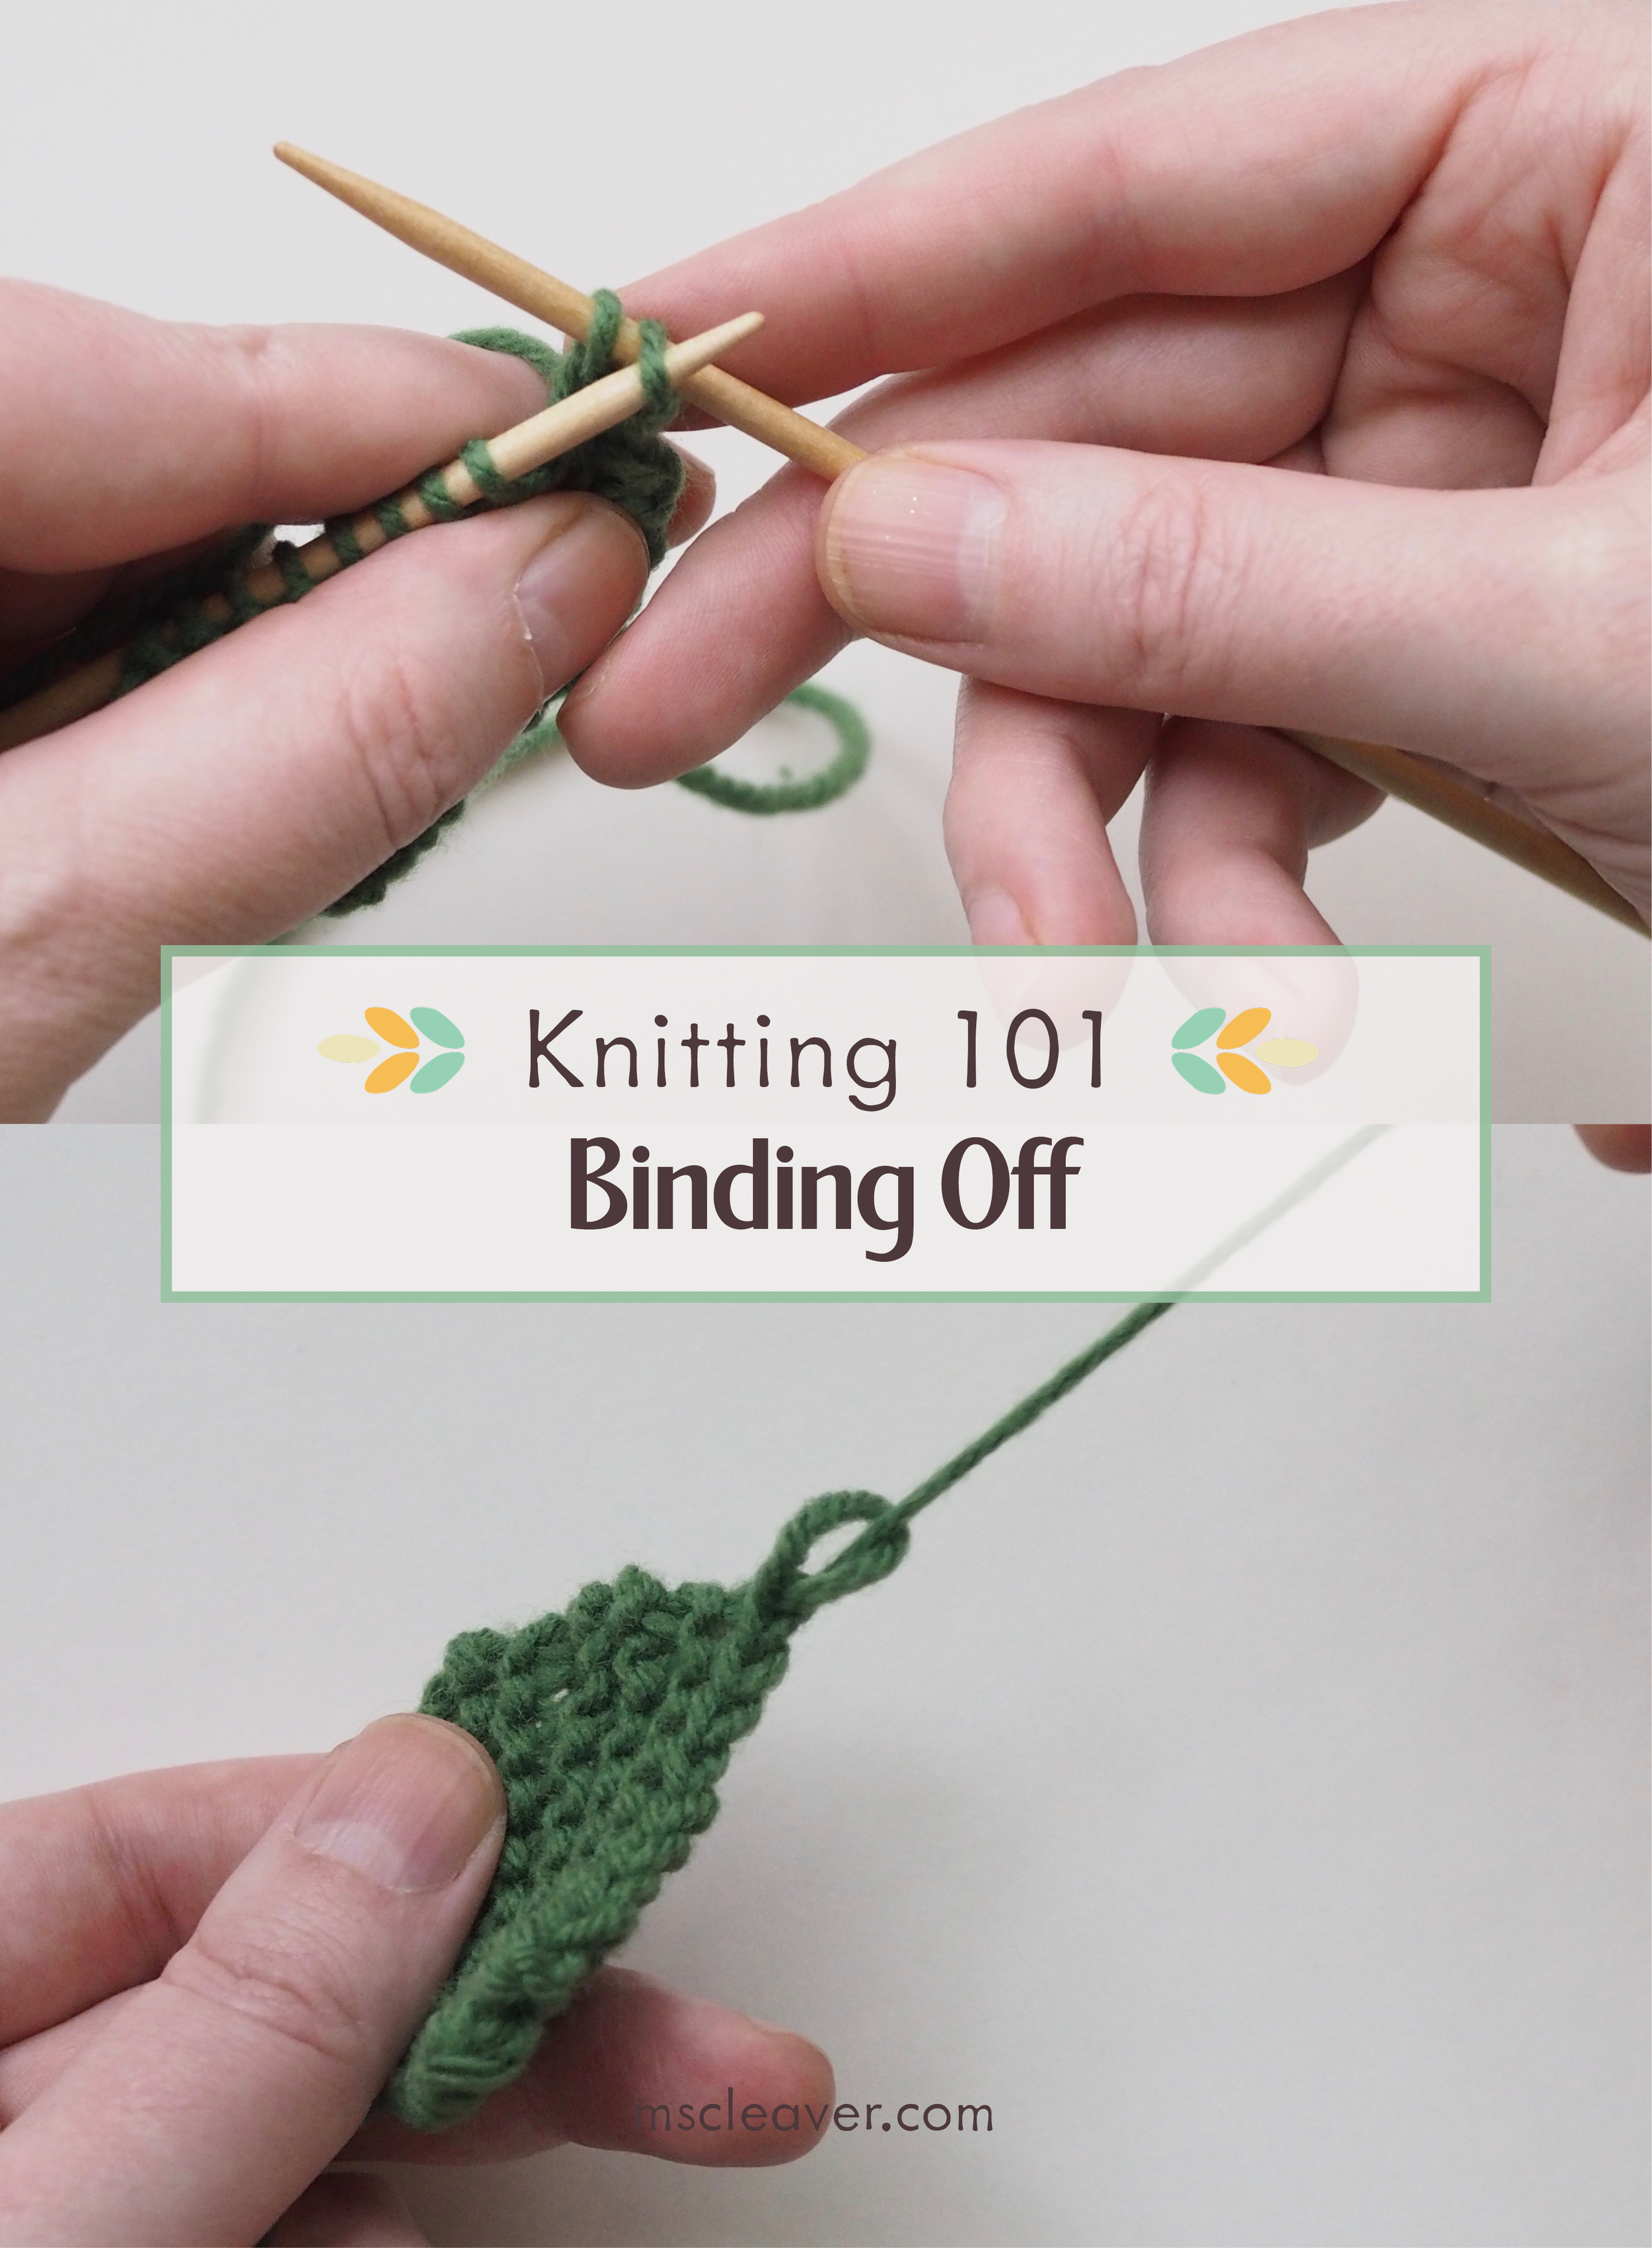
Binding-Off
Binding-off secures the end of your knitting so it won’t unravel. Just as there are many cast-ons, there are many bind-offs, some more stretchy than others. Here, I’ll show you a basic bind-off that provides a firm edge.
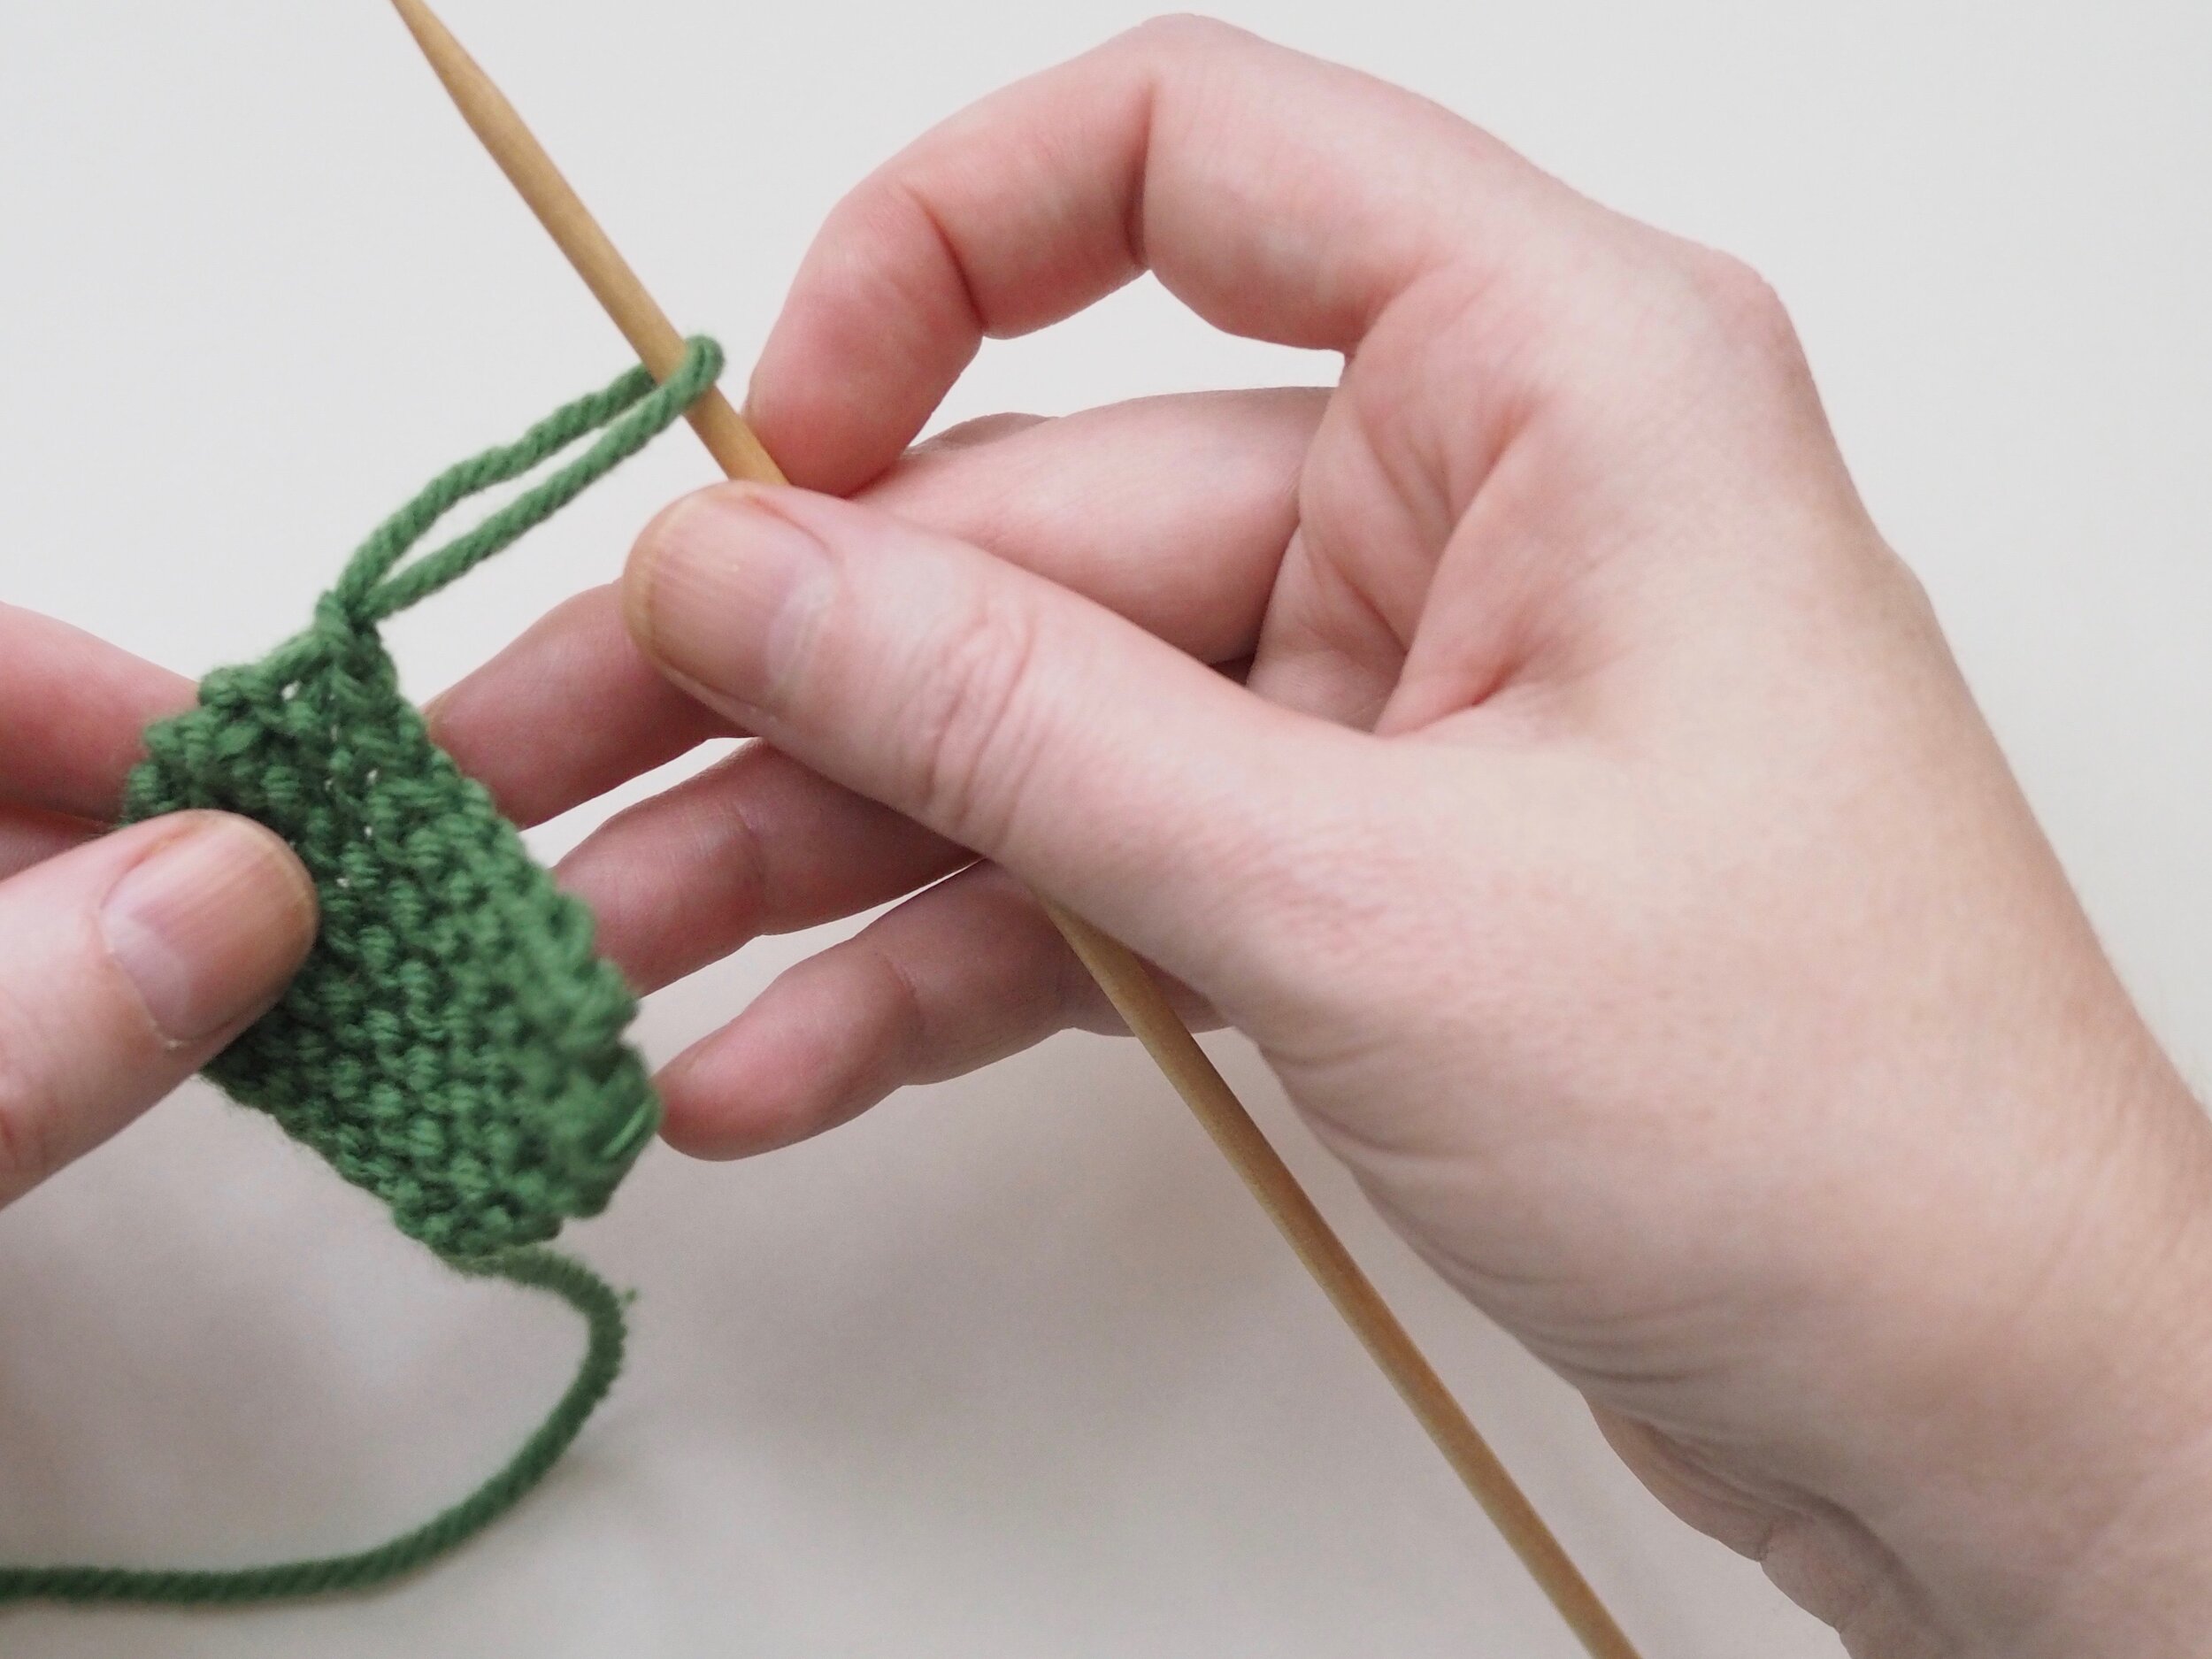
1. Bind Off the First Stitch
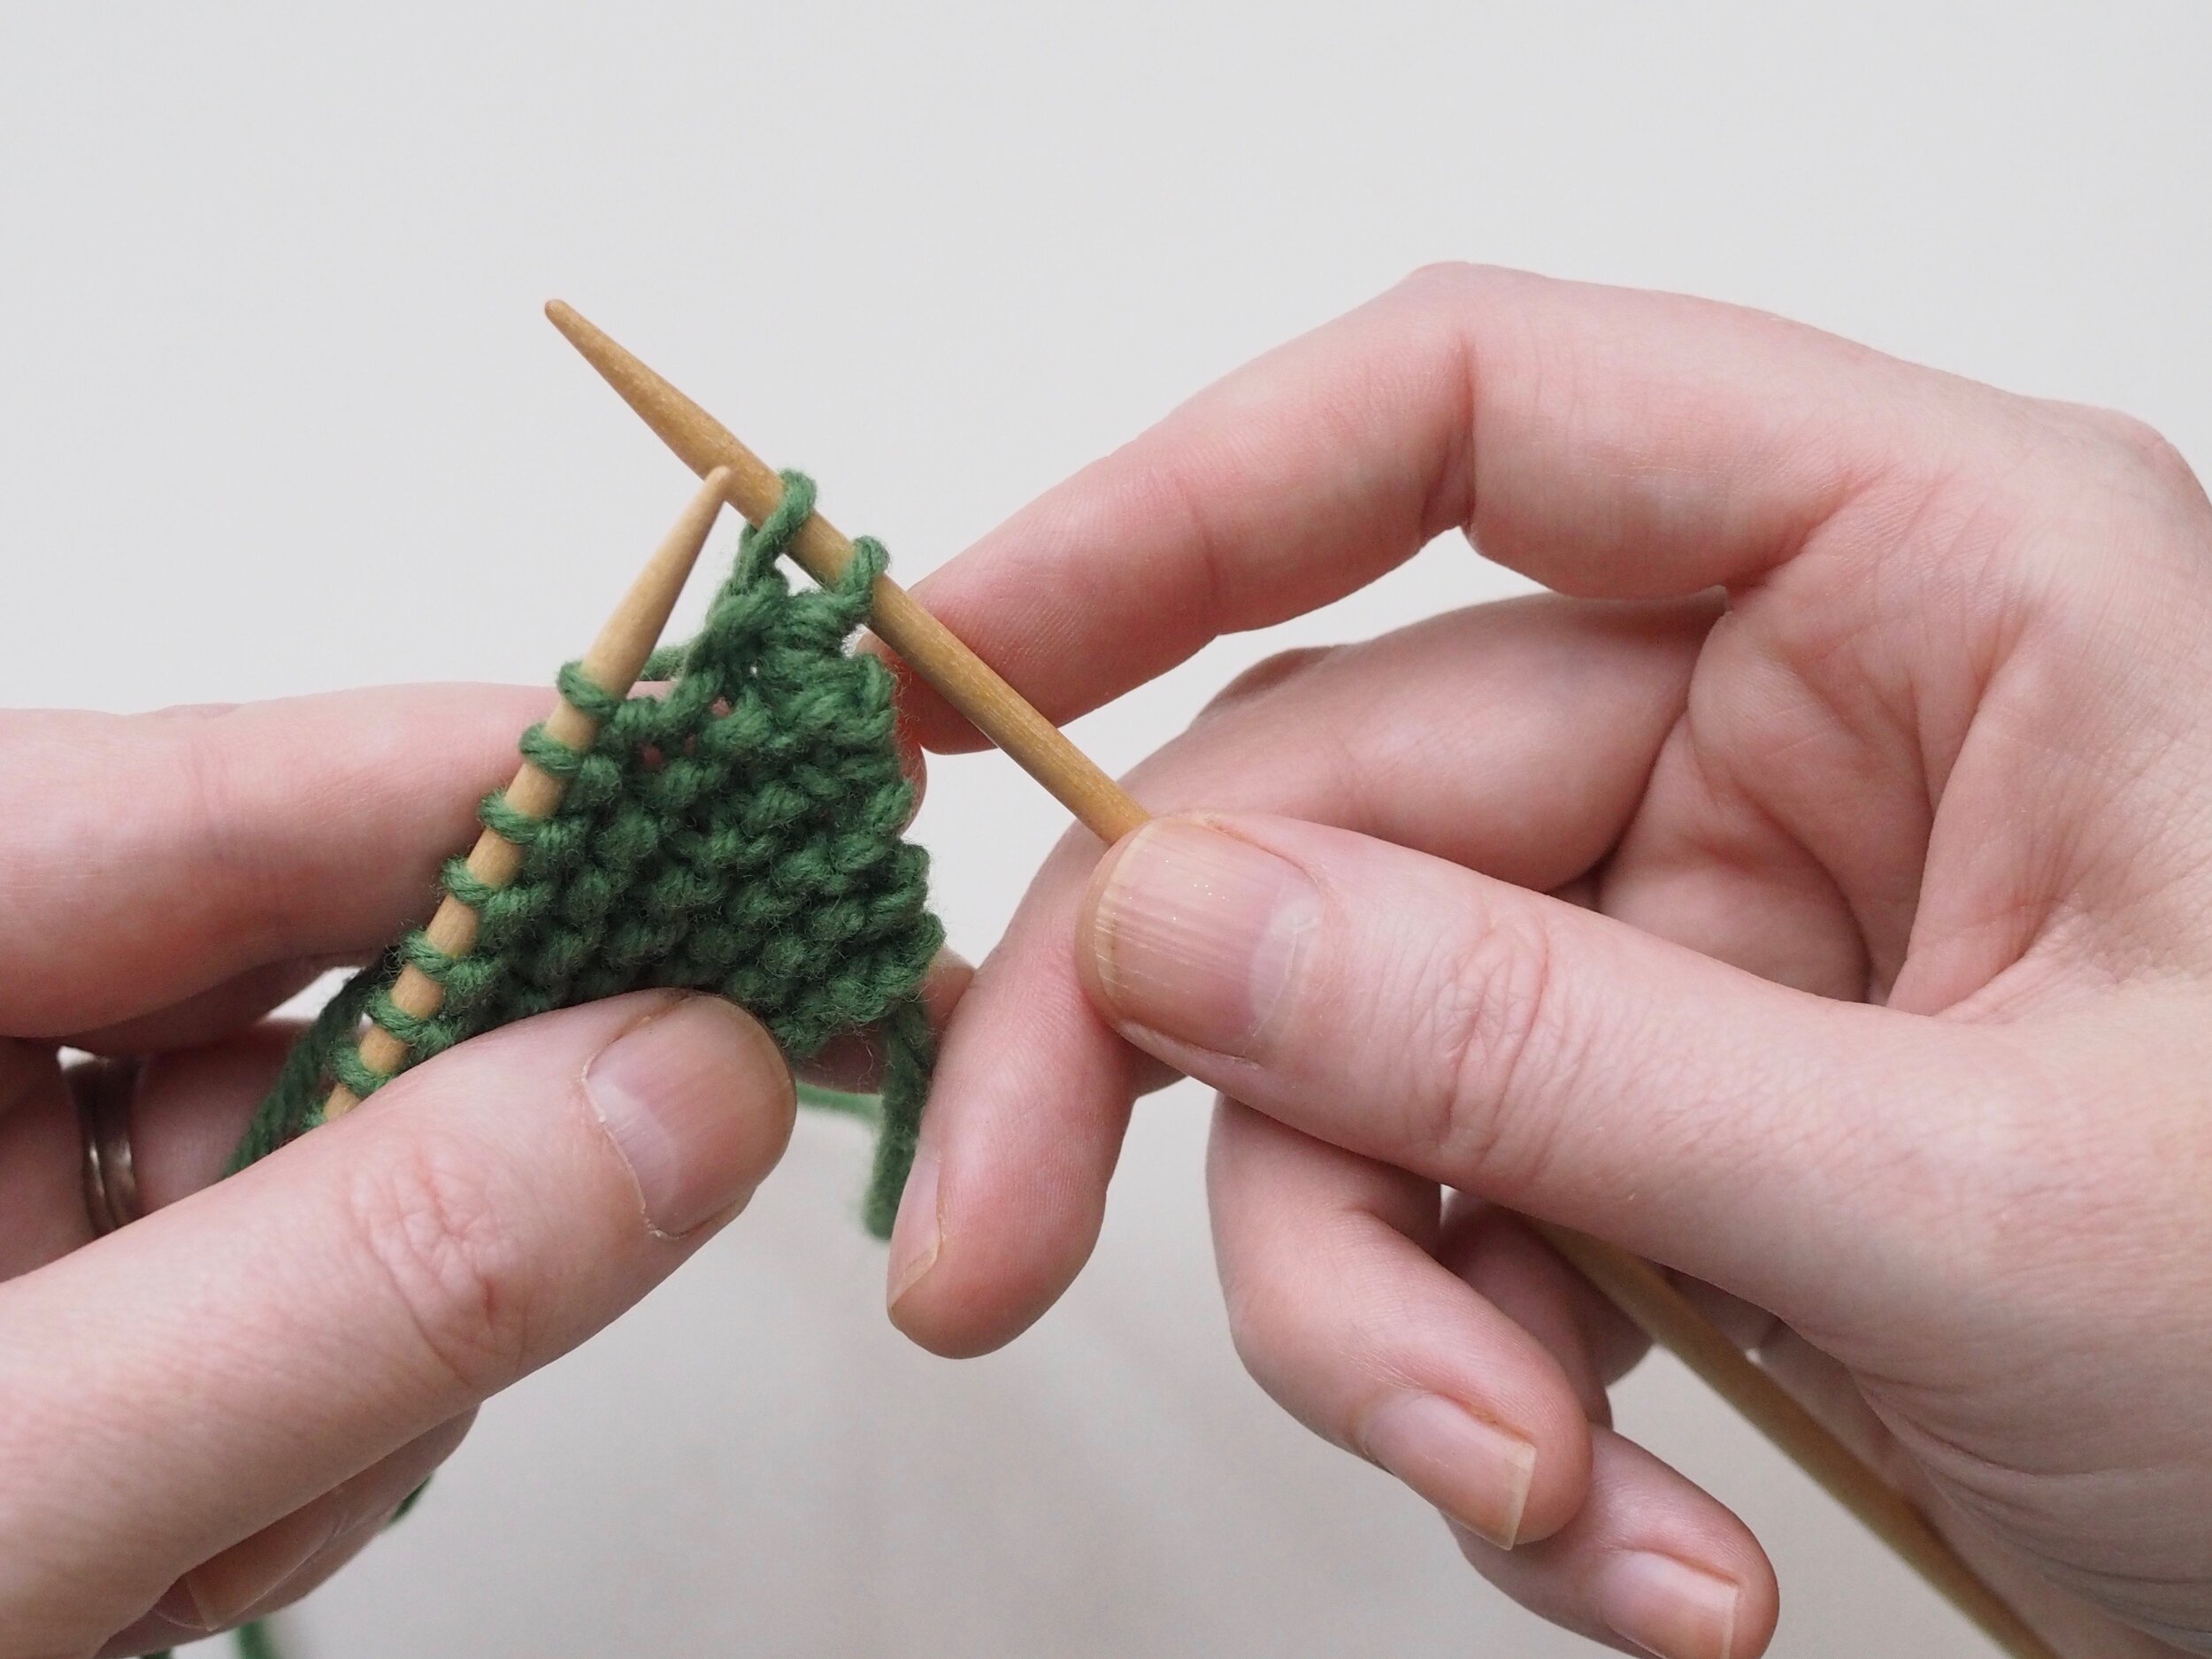
At the start of a row, (a) knit two stitches as normal. On the RH needle, (b) pull the rightmost stitch up and over the other stitch, (c) dropping it off the needle. You should now have one stitch on the RH needle.
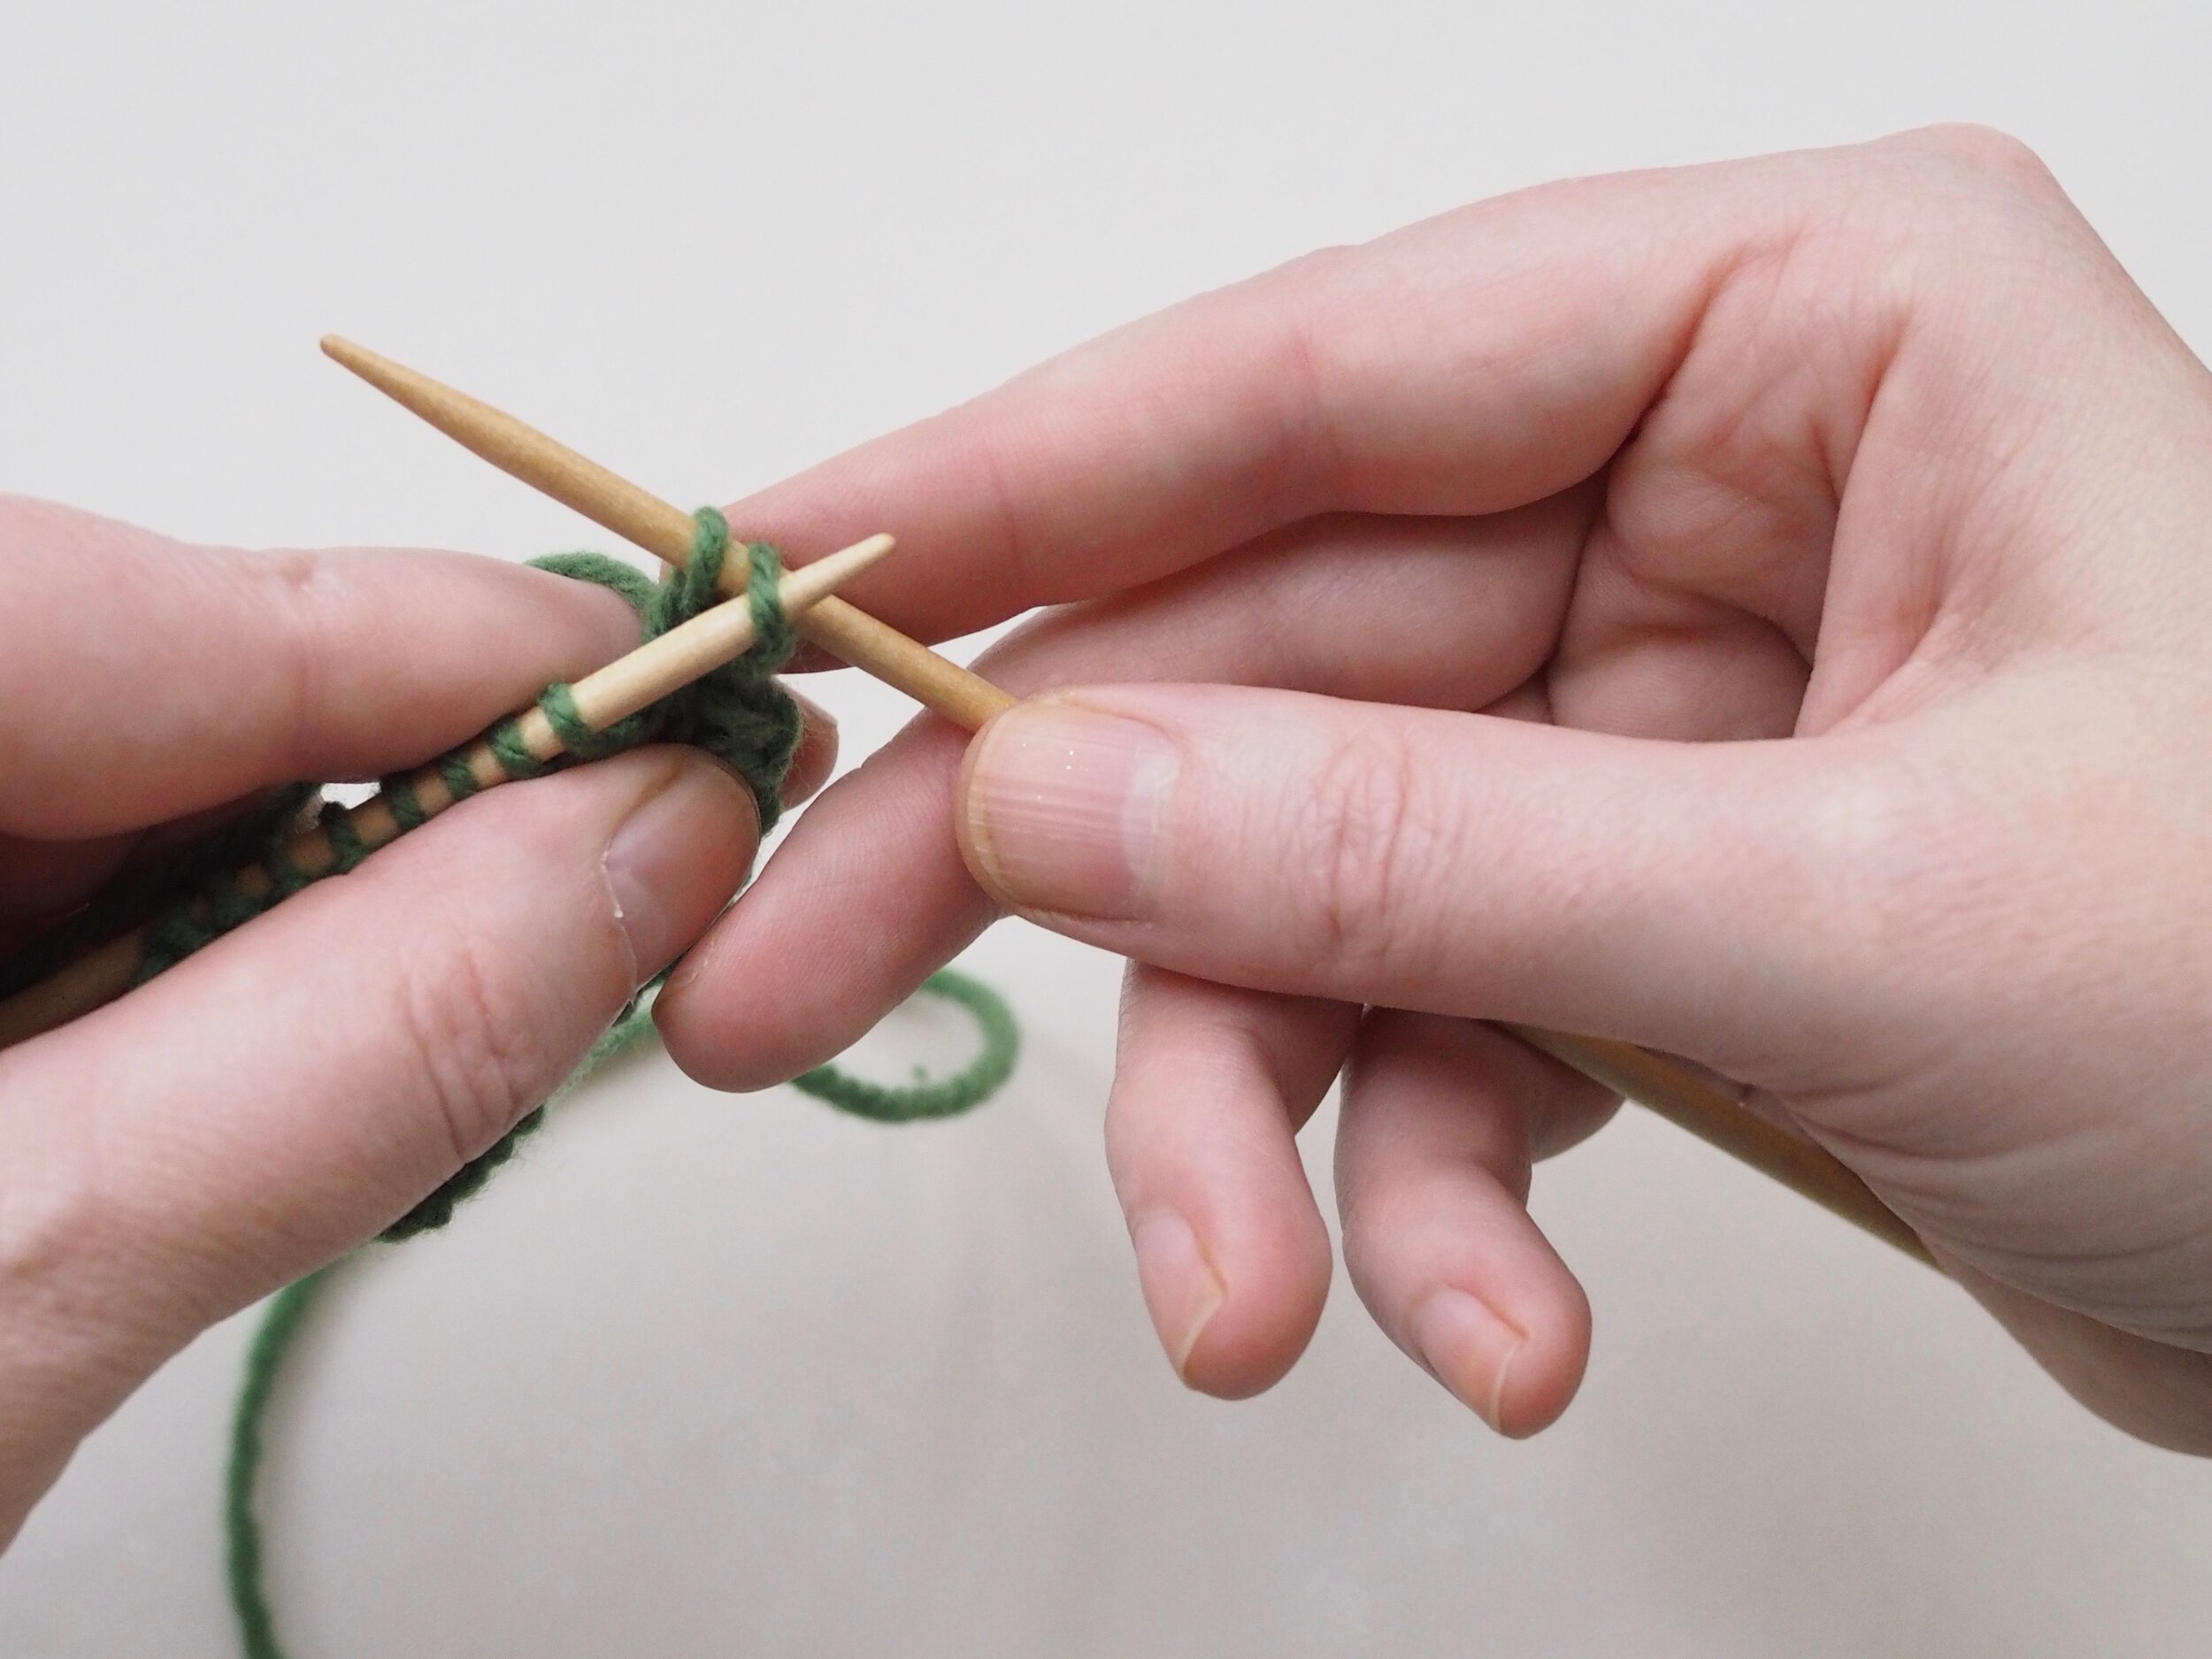
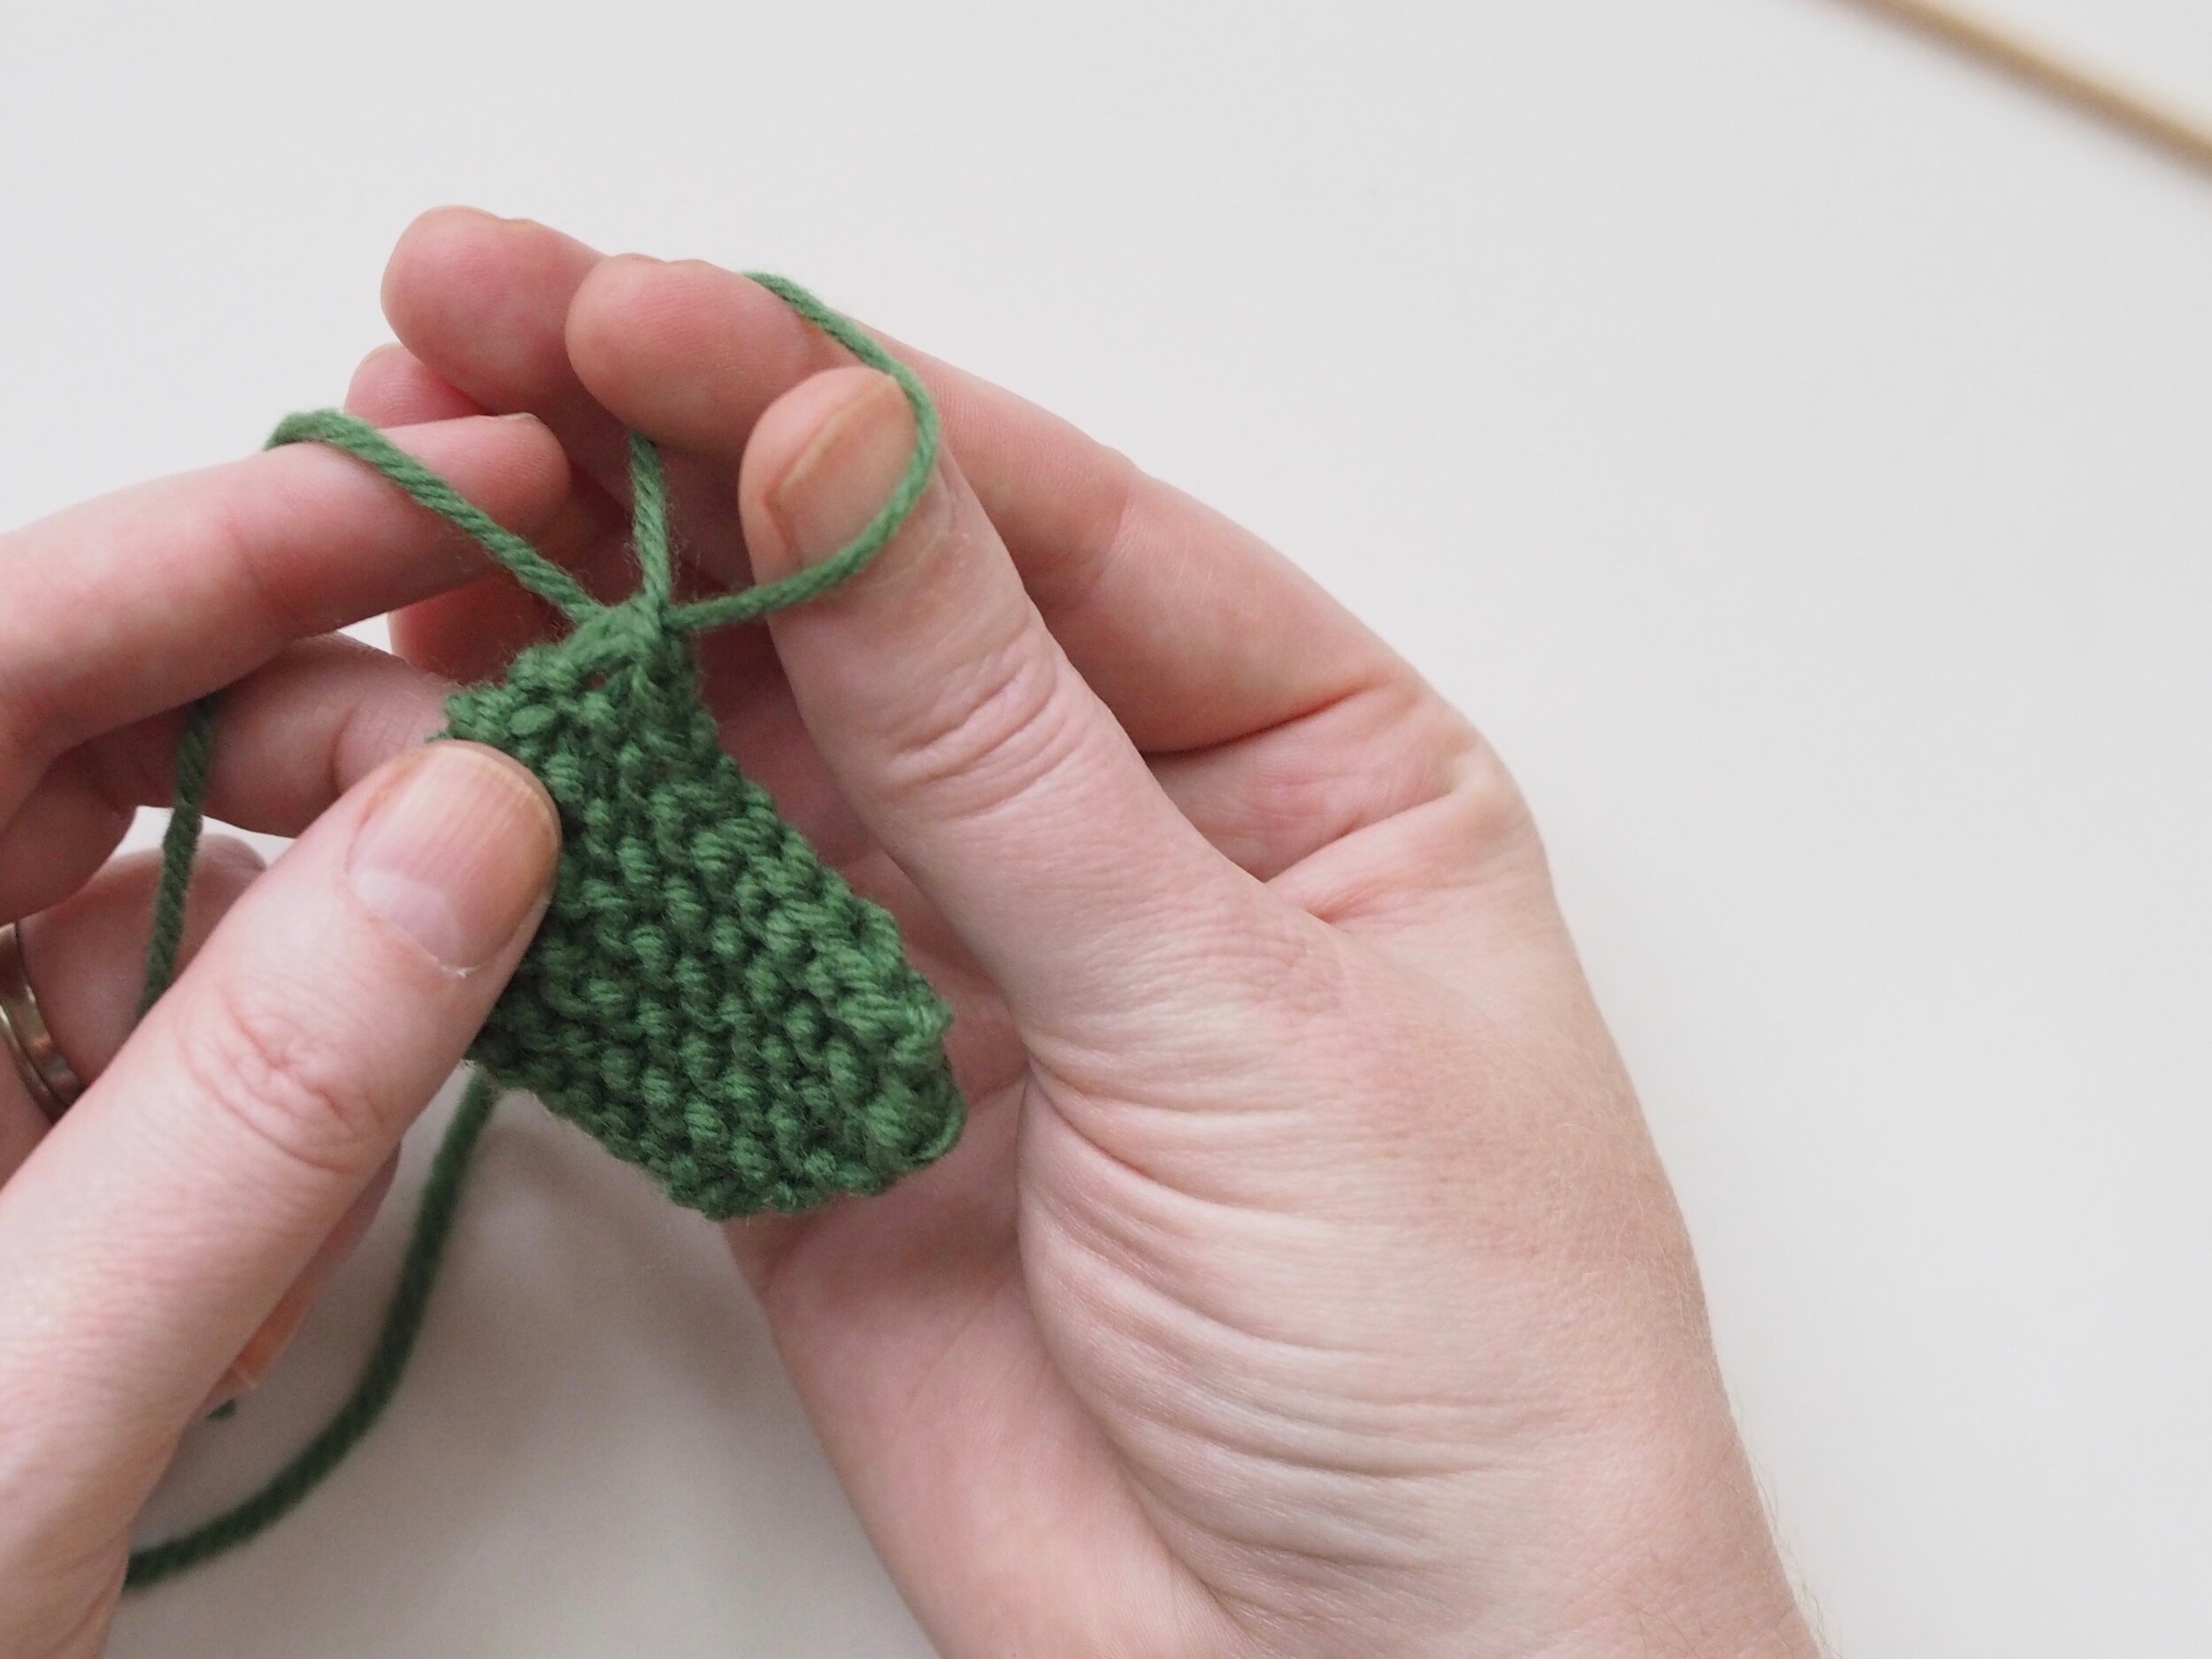
2. Continue to Bind Off
Continue as in Step 1: knit one stitch, pull the rightmost stitch on the RH needle up and over the new stitch. You should still have only one stitch on the RH needle. Repeat until there is one stitch on the RH needle and no more stitches to bind off on the left.
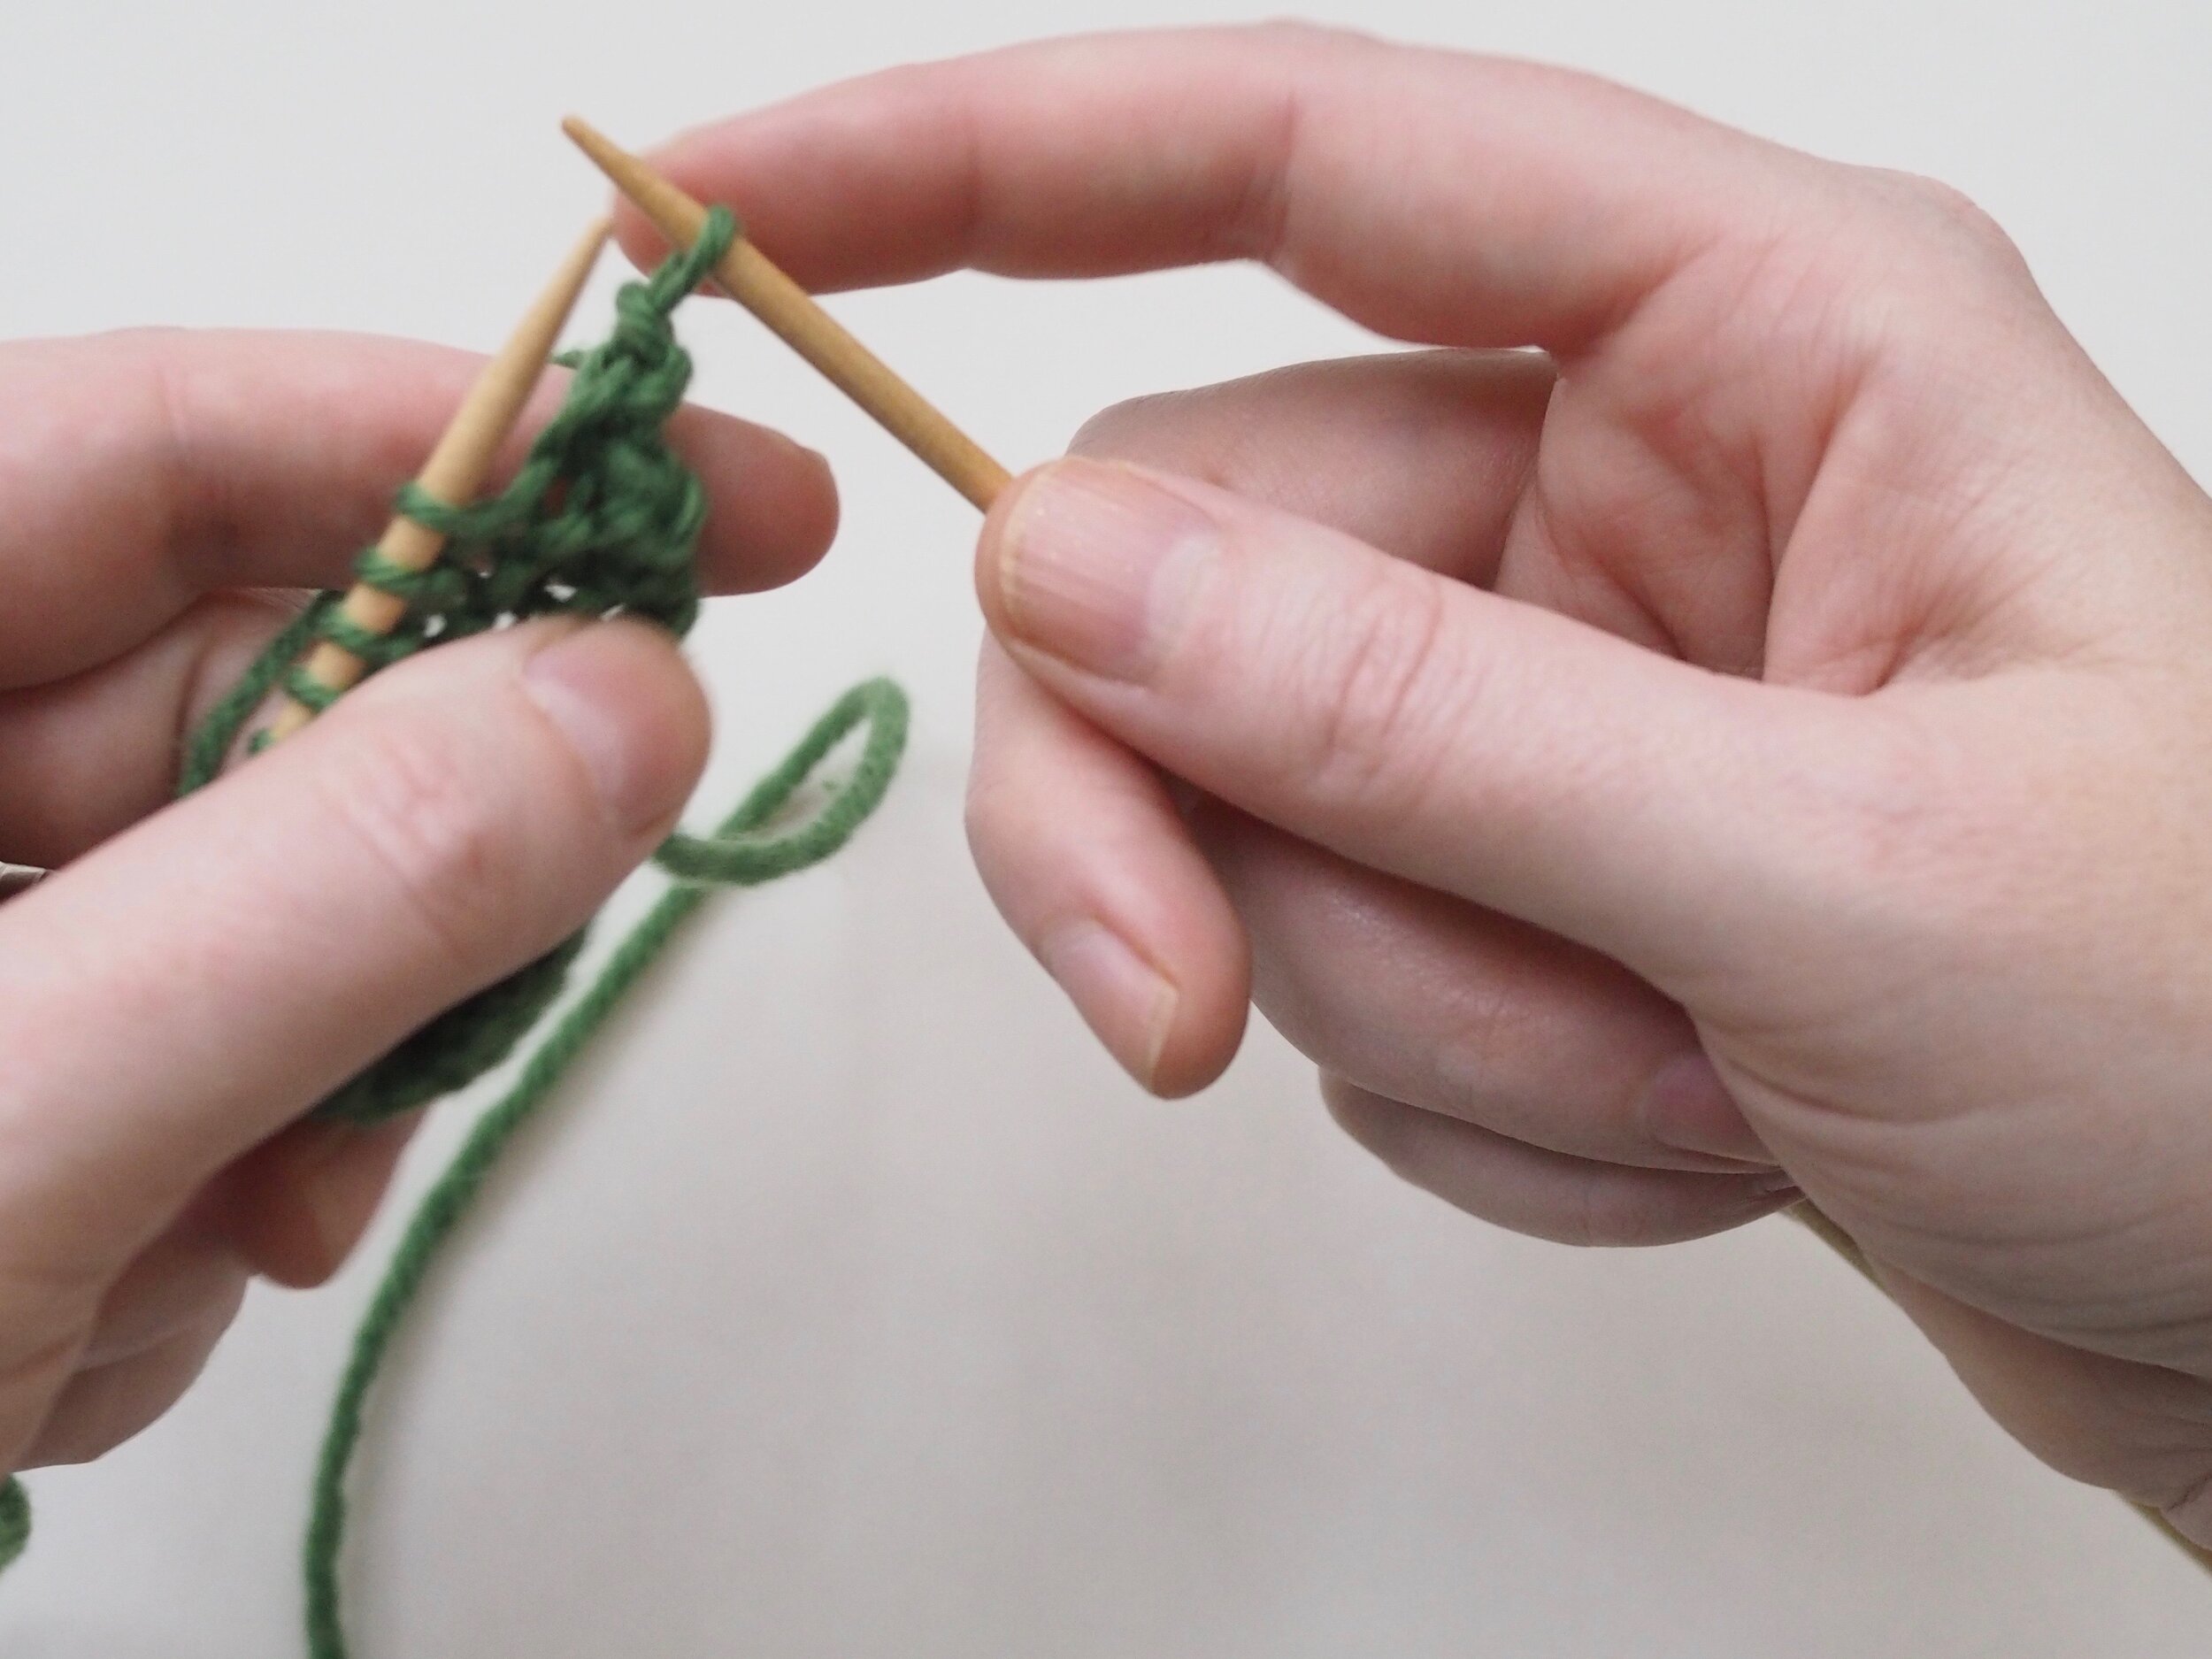
3. Secure the Bind Off
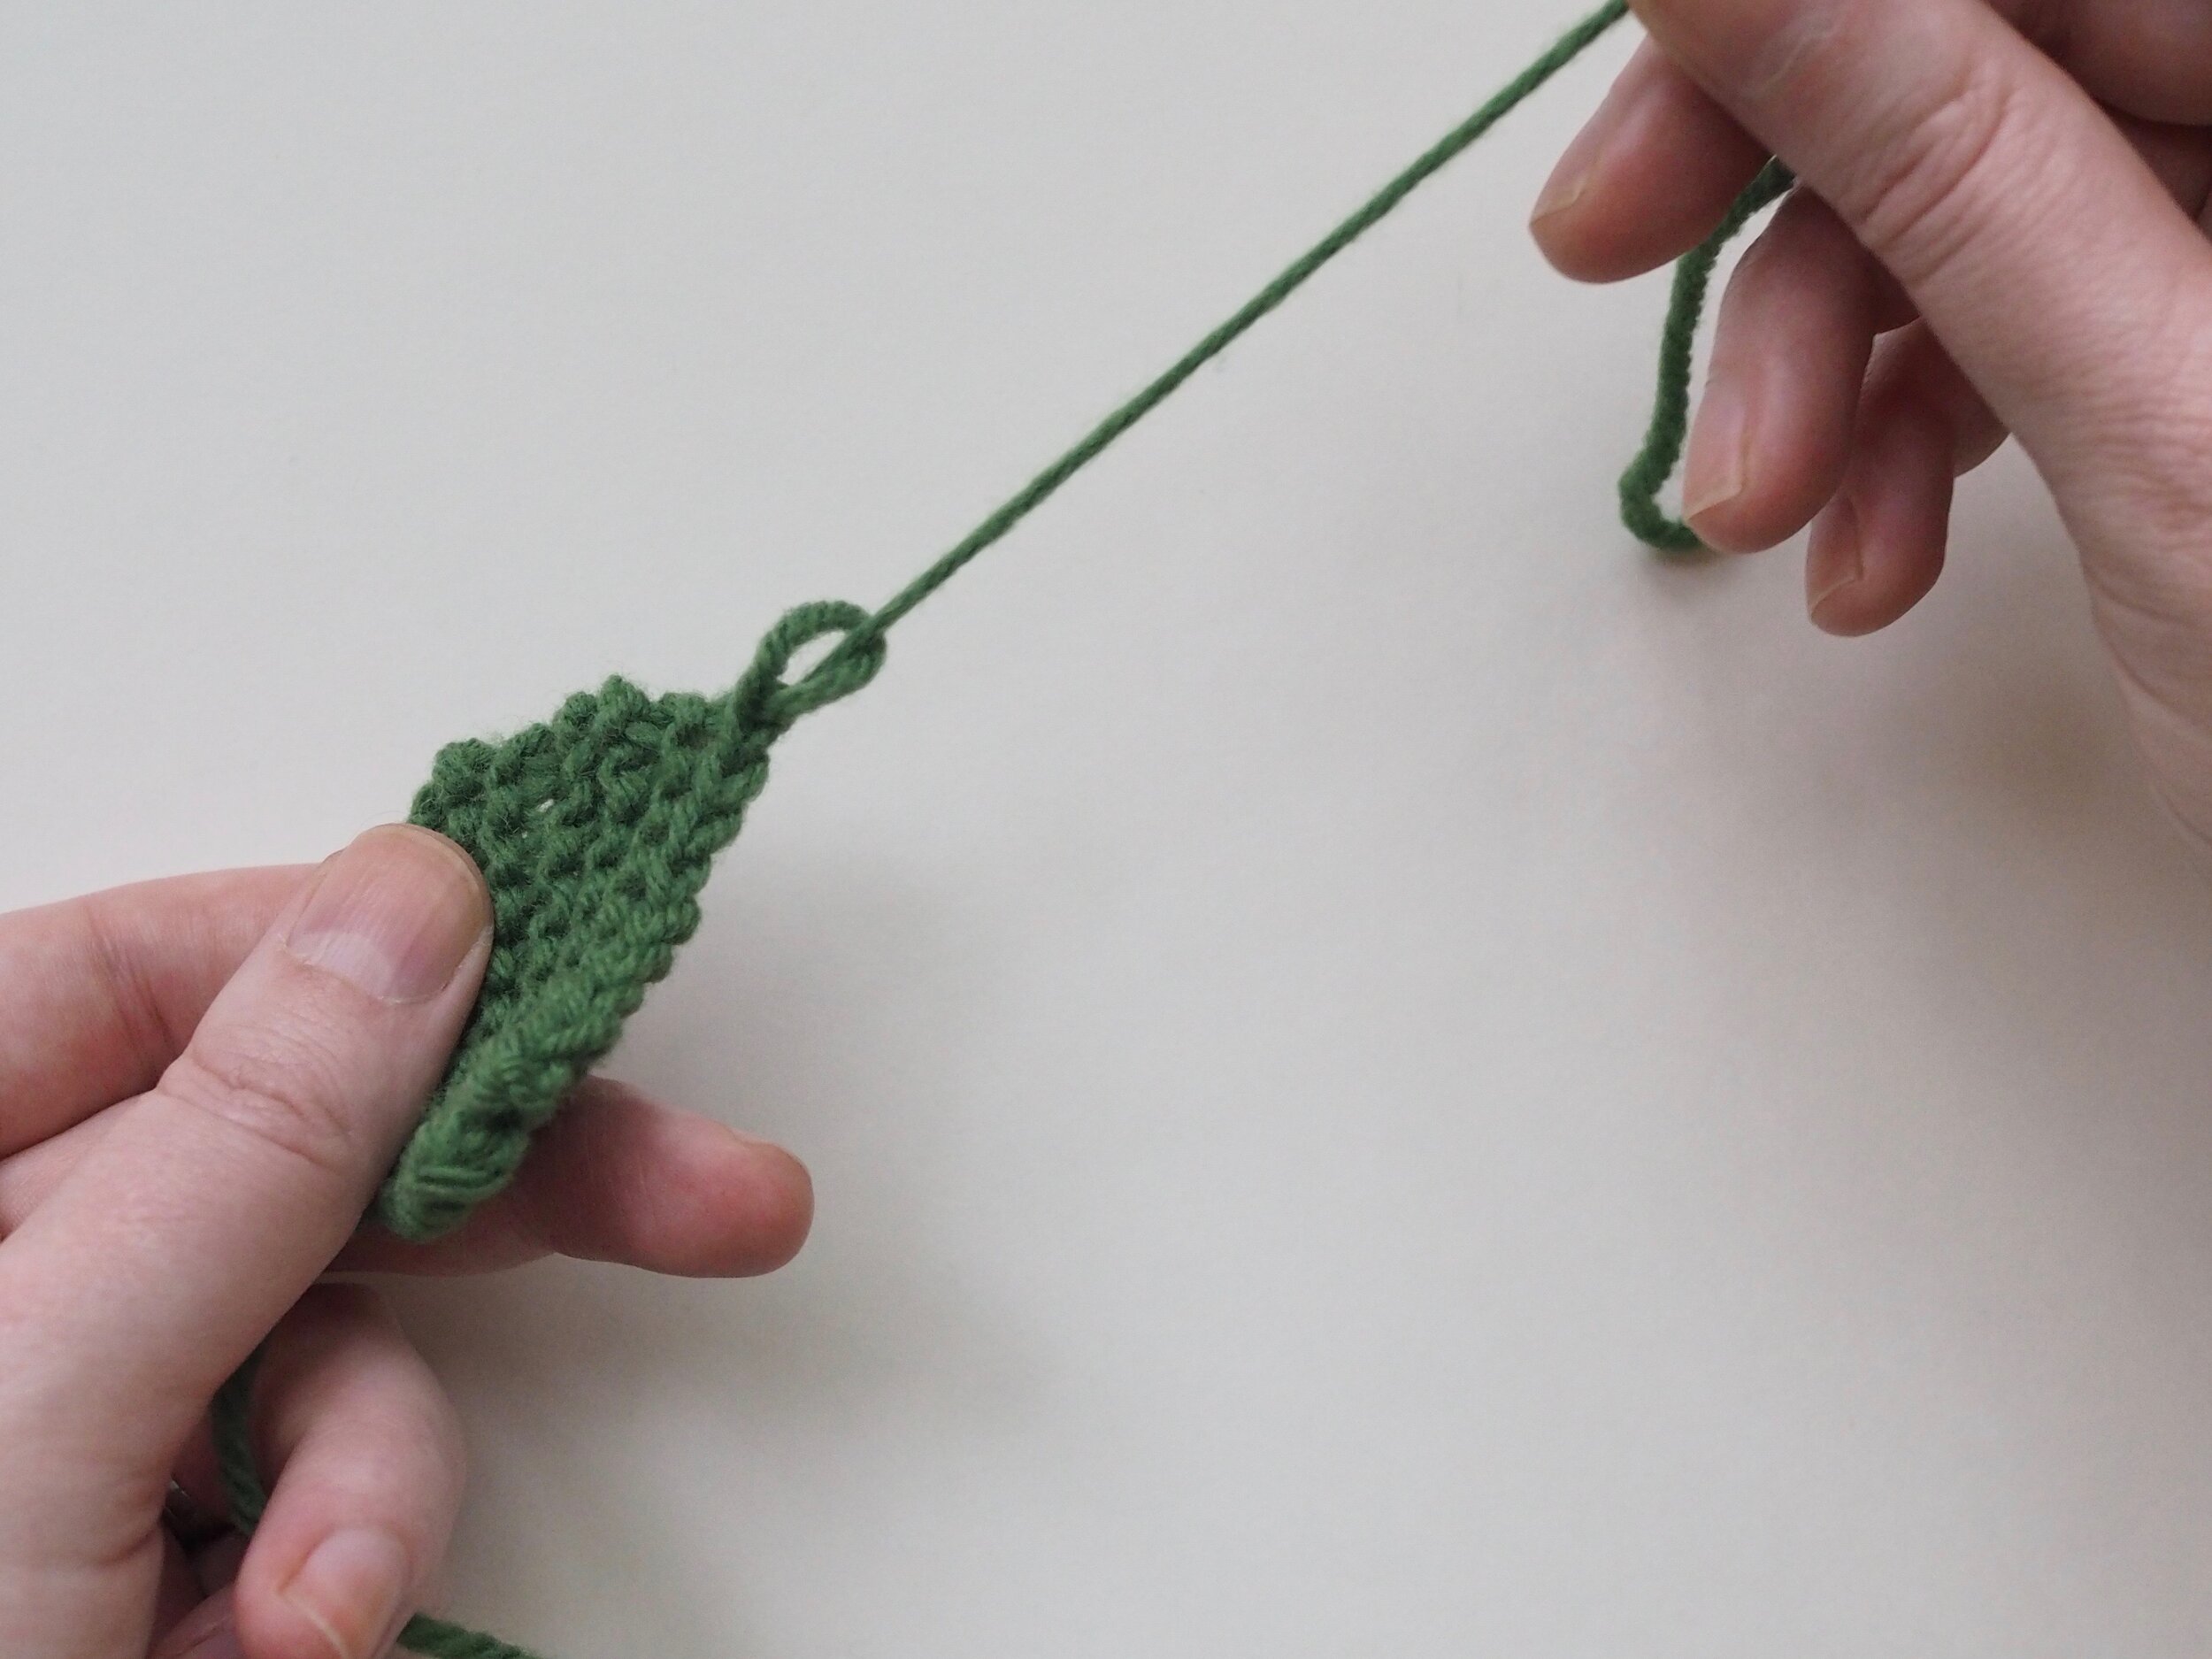
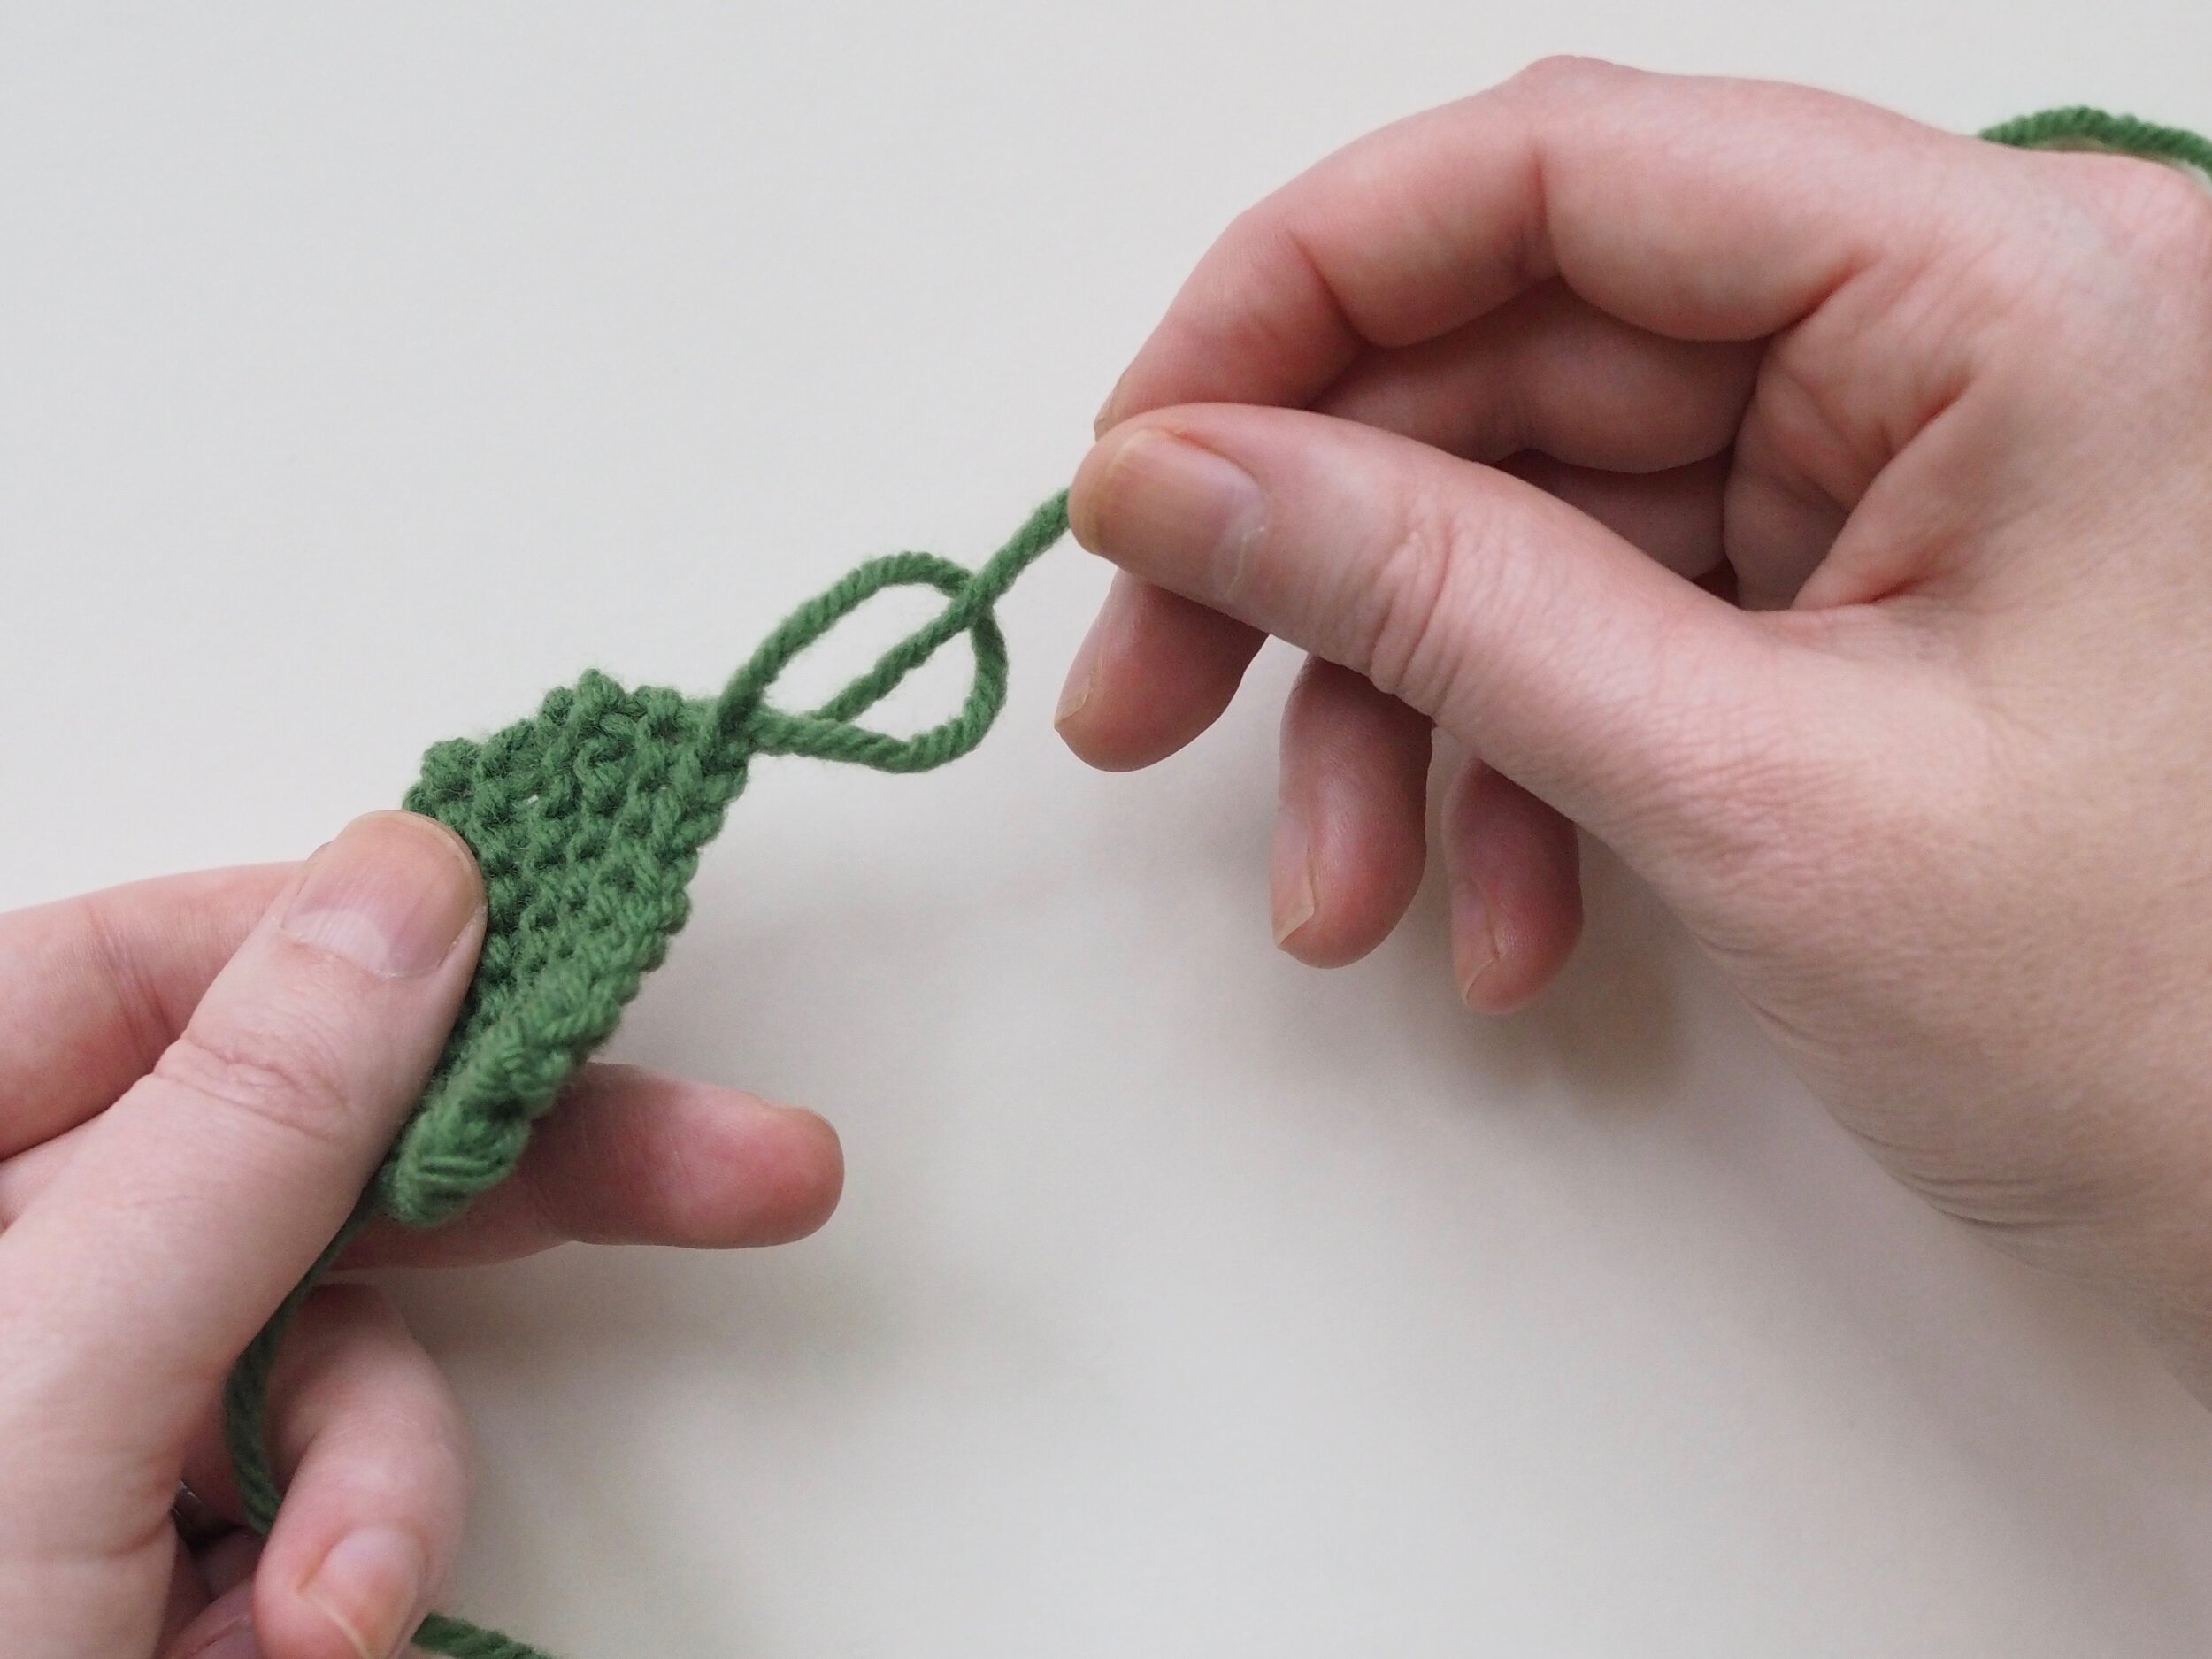
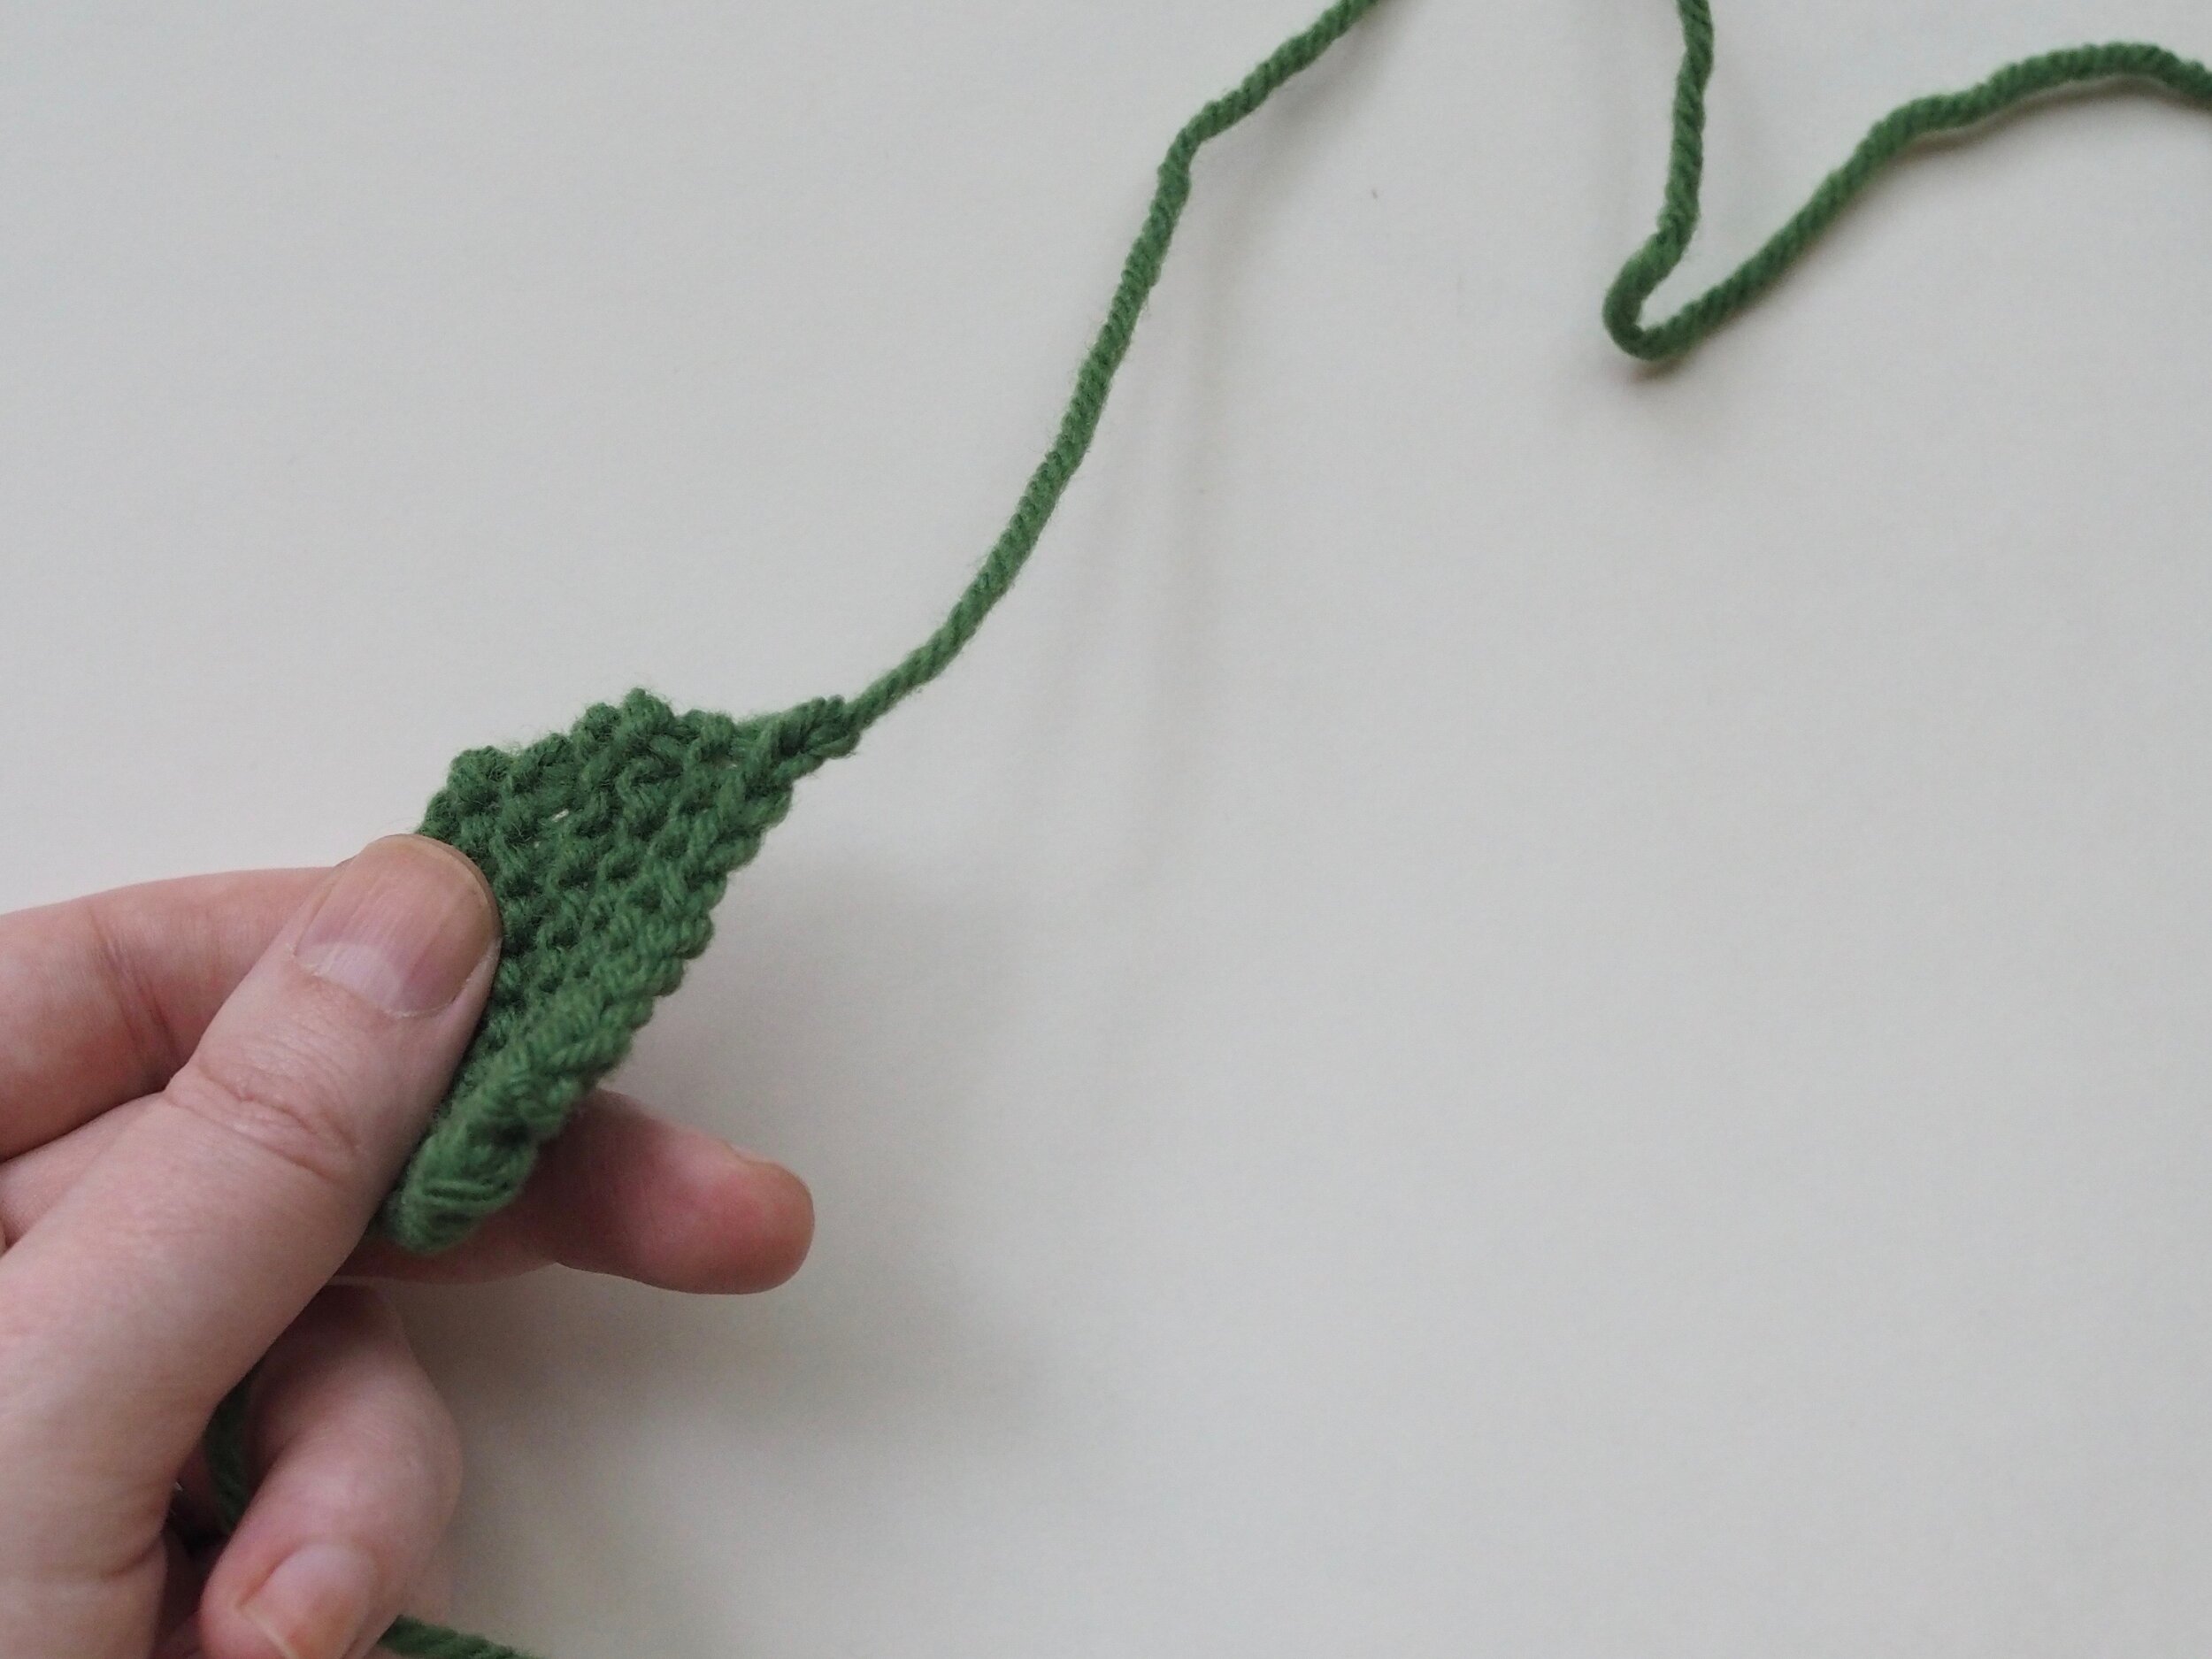
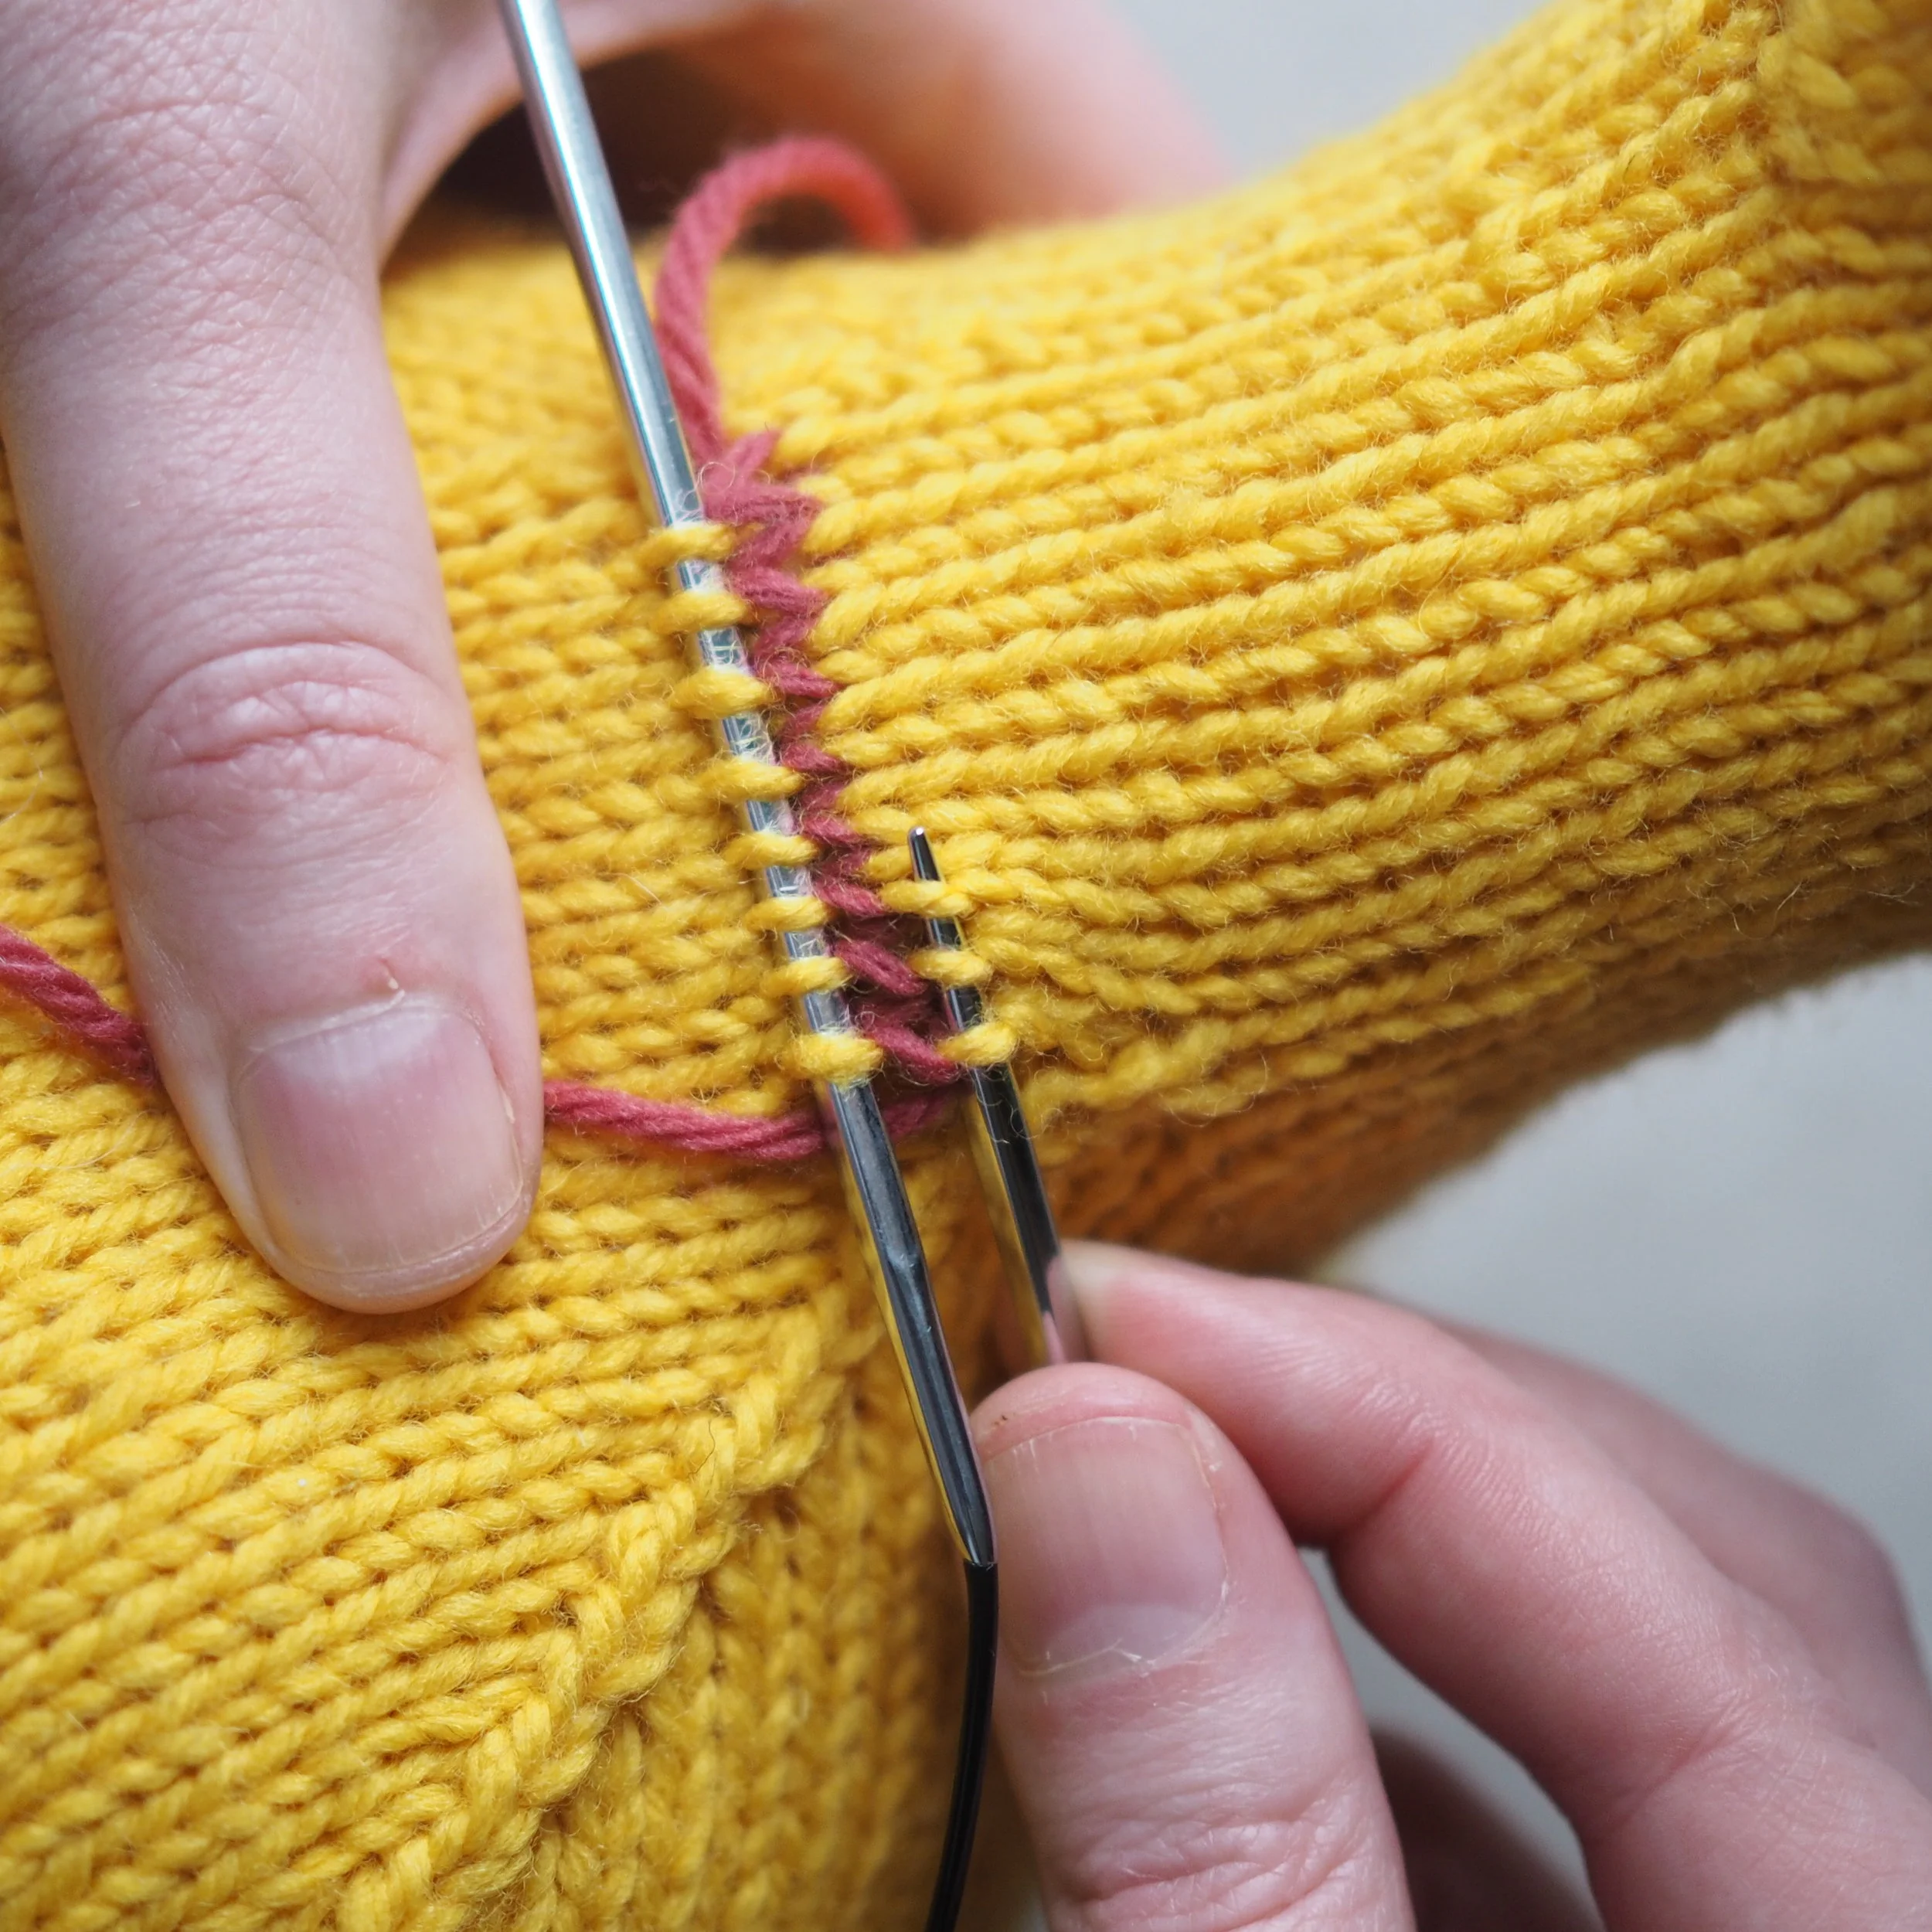
(a) Enlarge the final loop slightly and remove from the needle. Cut or break the yarn leaving at least a 6” tail (more if you intend to seam with it). (b) Pull the tail through the final stitch and (c-e) pull tight to secure. If not using the tail to seam, use a tapestry or darning needle to hide the tail on the back side of your knitted fabric. (For a helpful tutorial on various methods for weaving in ends visit https://www.purlsoho.com/create/weaving-in-your-ends/)
With your knowledge of casting on, the knit stitch, and binding off (plus a little bit of seaming) you could make an endless number of square or rectangular objects from coasters and cowls, to scarves and ponchos. I’ve designed a simple, fingerless glove pattern to put your new skills to use!
Continue on to Part IV - Beginner’s Mitts (COMING SOON)>>>


Learn how to knit and make a beginner-friendly kitty!
This 24-page booklet walks you step-by-step through the following knitting techniques: casting on, the knit stitch (continental style), the make one increase, ssk and k2tog decreases, binding off and the purl stitch. The booklet is paired with the Itty Bitty Knitty Kitty Pattern, a beginner-friendly pattern specifically designed to help new knitters practice their skills.

Designed for the very beginning knitter, the Itty Bitty Knitty Kitty will help you practice casting on, the knit stitch, increasing, decreasing, and binding off. This is the pattern for the Kitty only and does not include the Knitting 101 materials.
Uses approximately 100 yds of worsted weight yarn