While you can certainly improvise embroidery (and I suggest you do at some point!), to learn, I recommend working an established design. You can do this in three primary ways: draw, trace or transfer or you can purchase a pre-printed design, which are becoming more and more widely available.
Draw
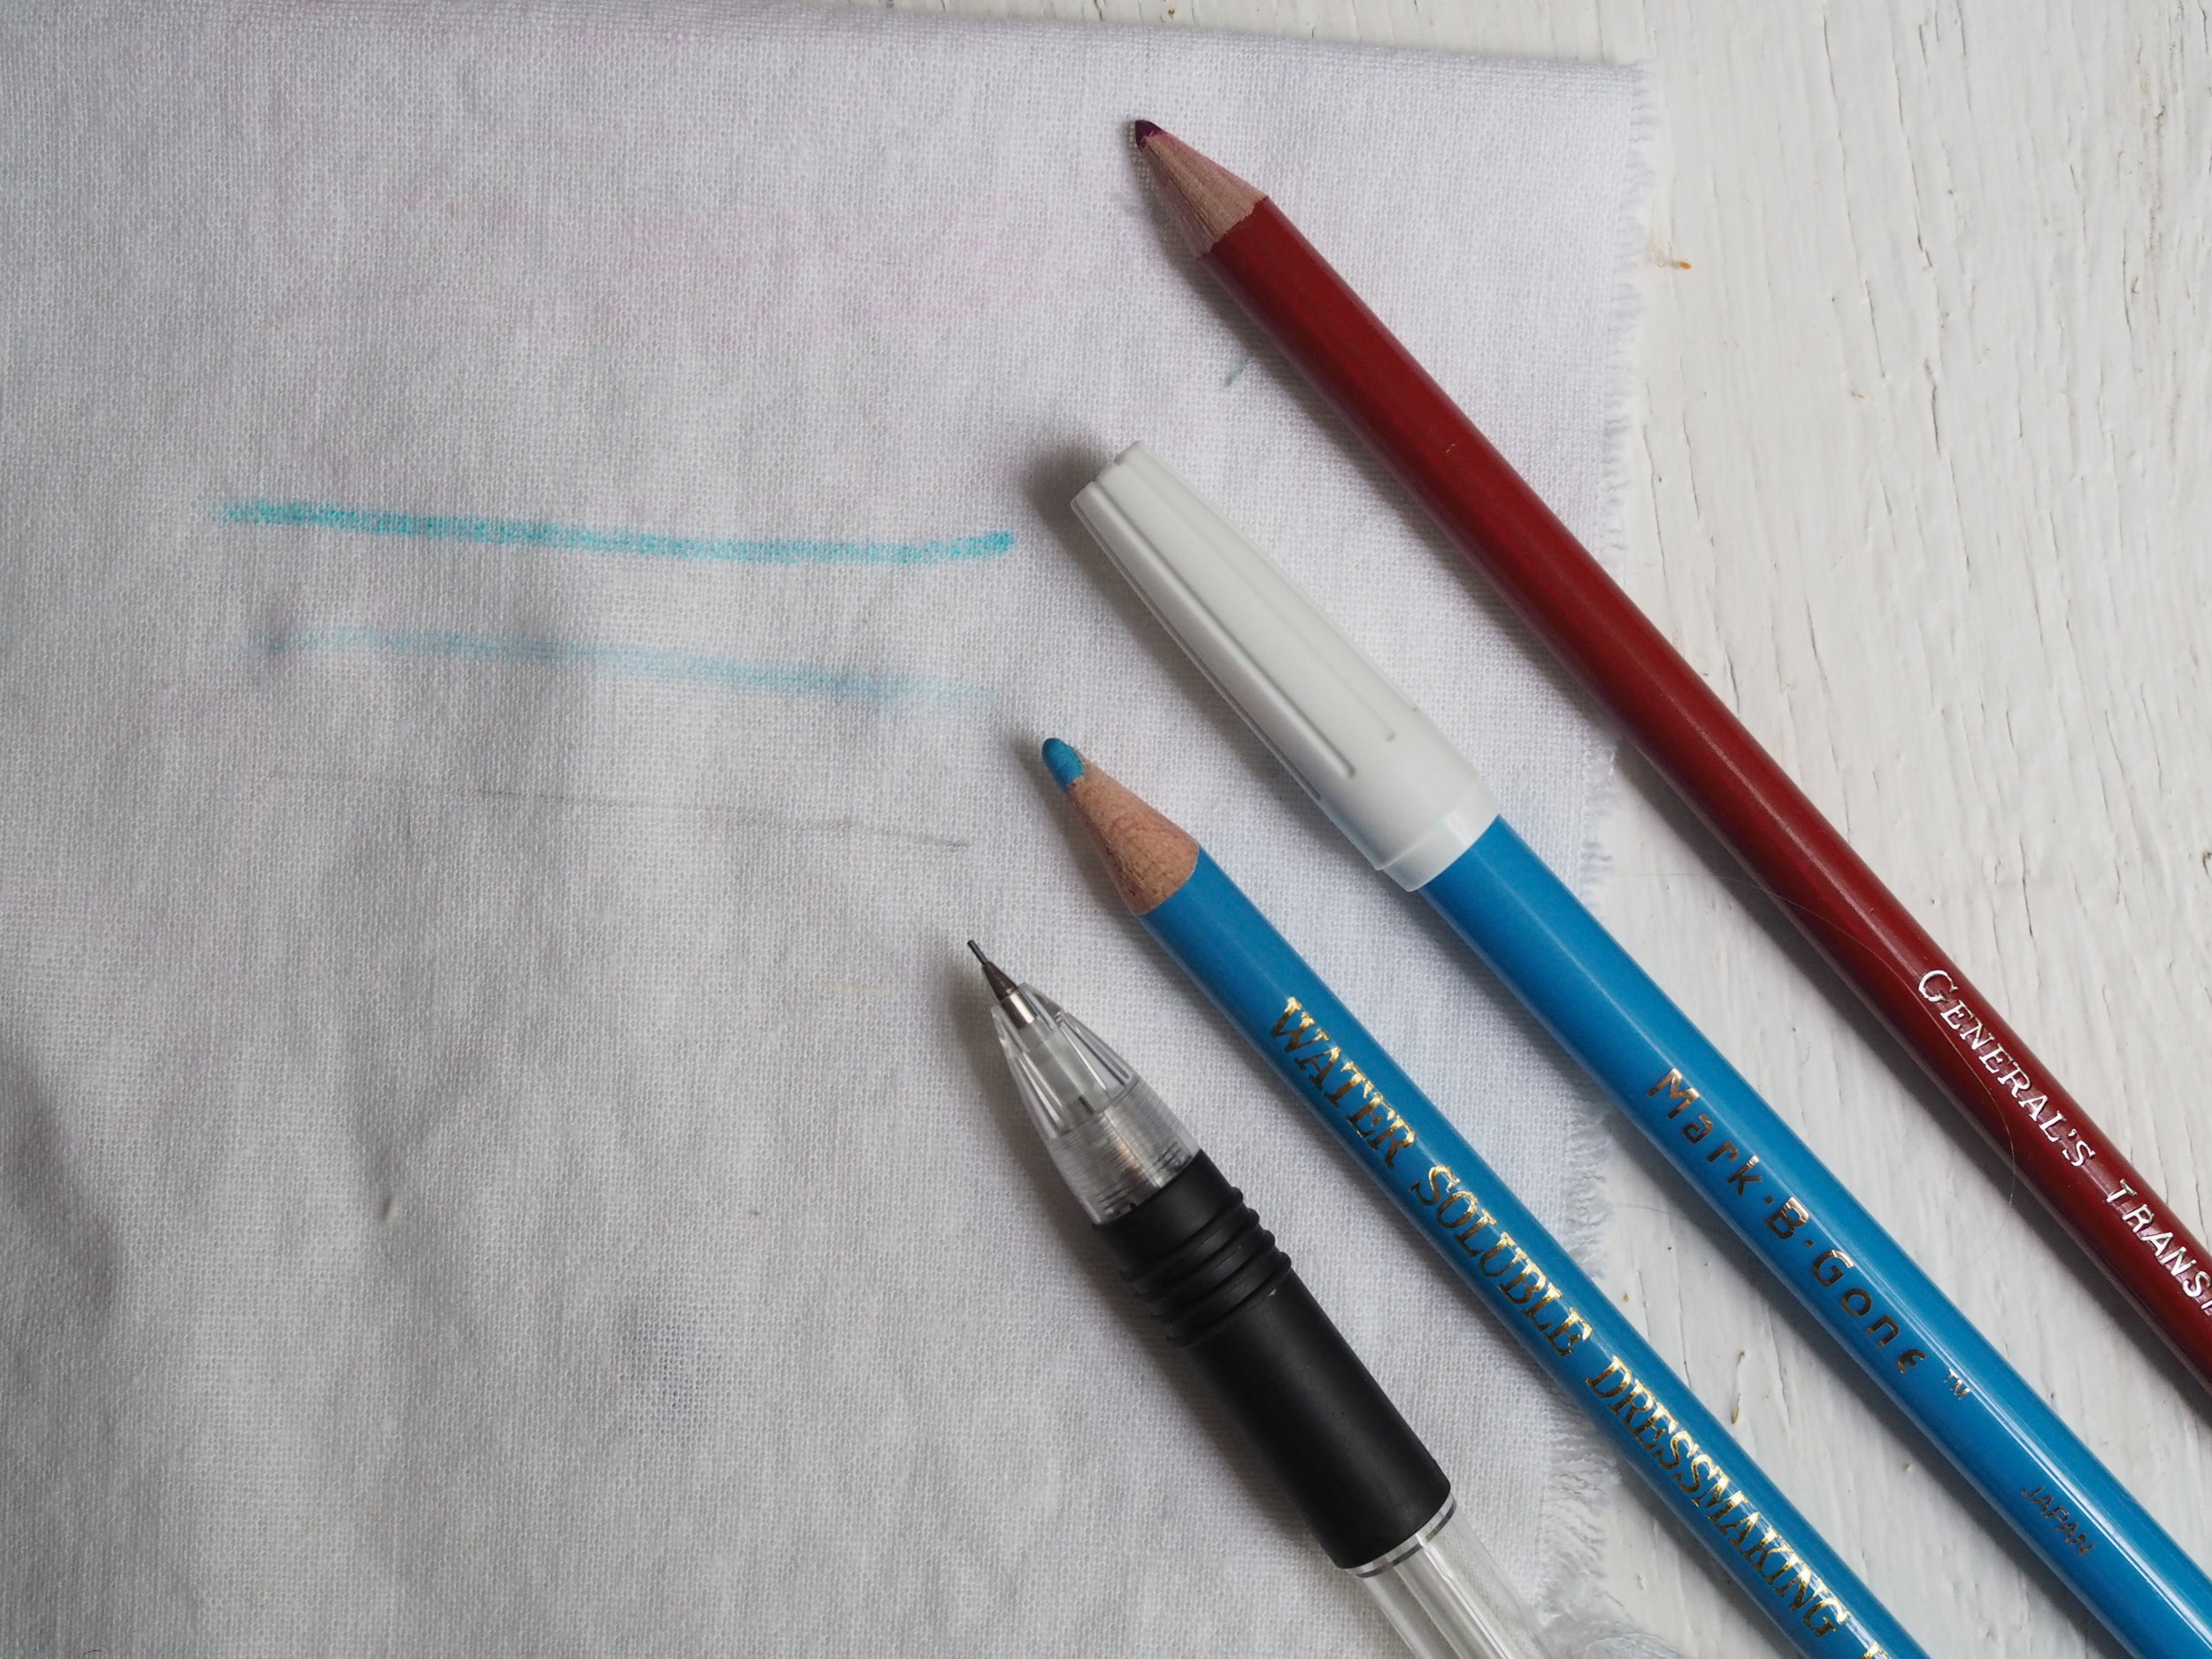
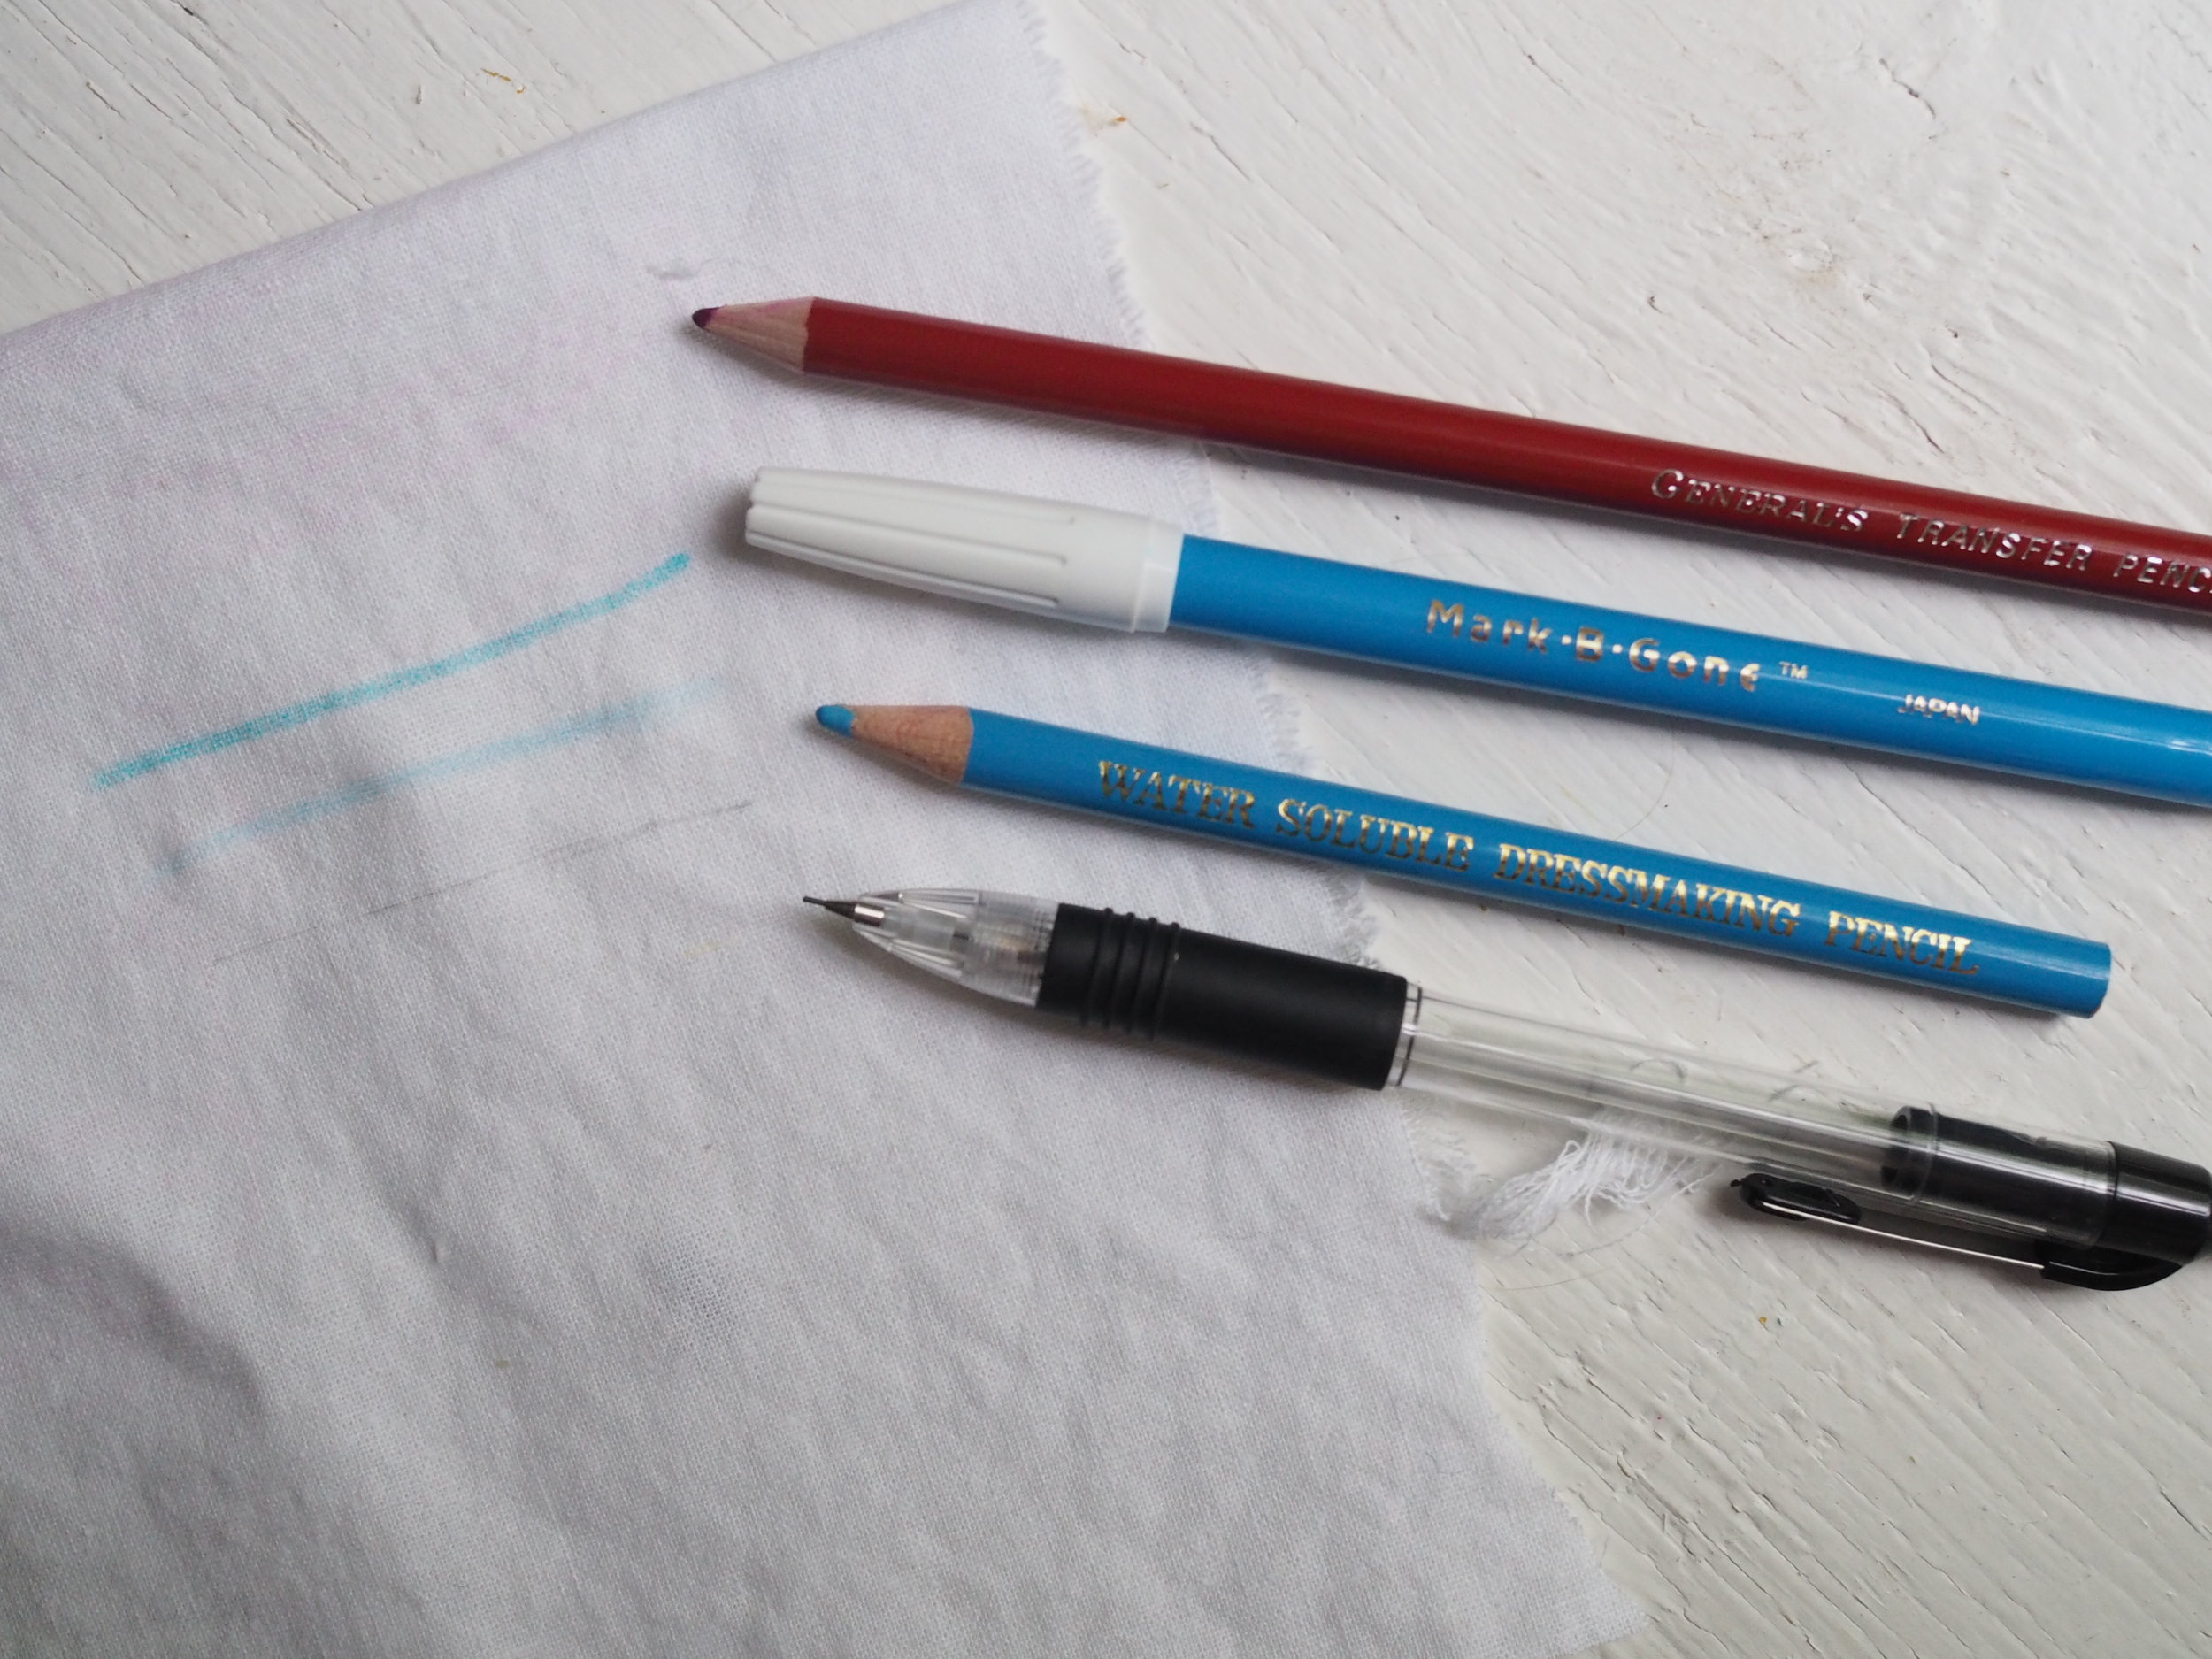
Draw is exactly what it implies. You draw the design you wish to embroider directly on your fabric. The pro is that you can make the design anything you want, but it can be harder to adjust once you've drawn it without starting from scratch. You can draw on your fabric with a number of tools, (from bottom to top in above photo)
- A regular pencil (a thin mechanical pencil gives a delicate line). You might be able to erase it, but it is pretty much permanent.
- A water soluable dressmaker's pencil - you can sharpen to a fine line and erase with water if needed.
- A water soluable dressmaker's pen - this is a darker line and can be washed out, but is generally thicker.
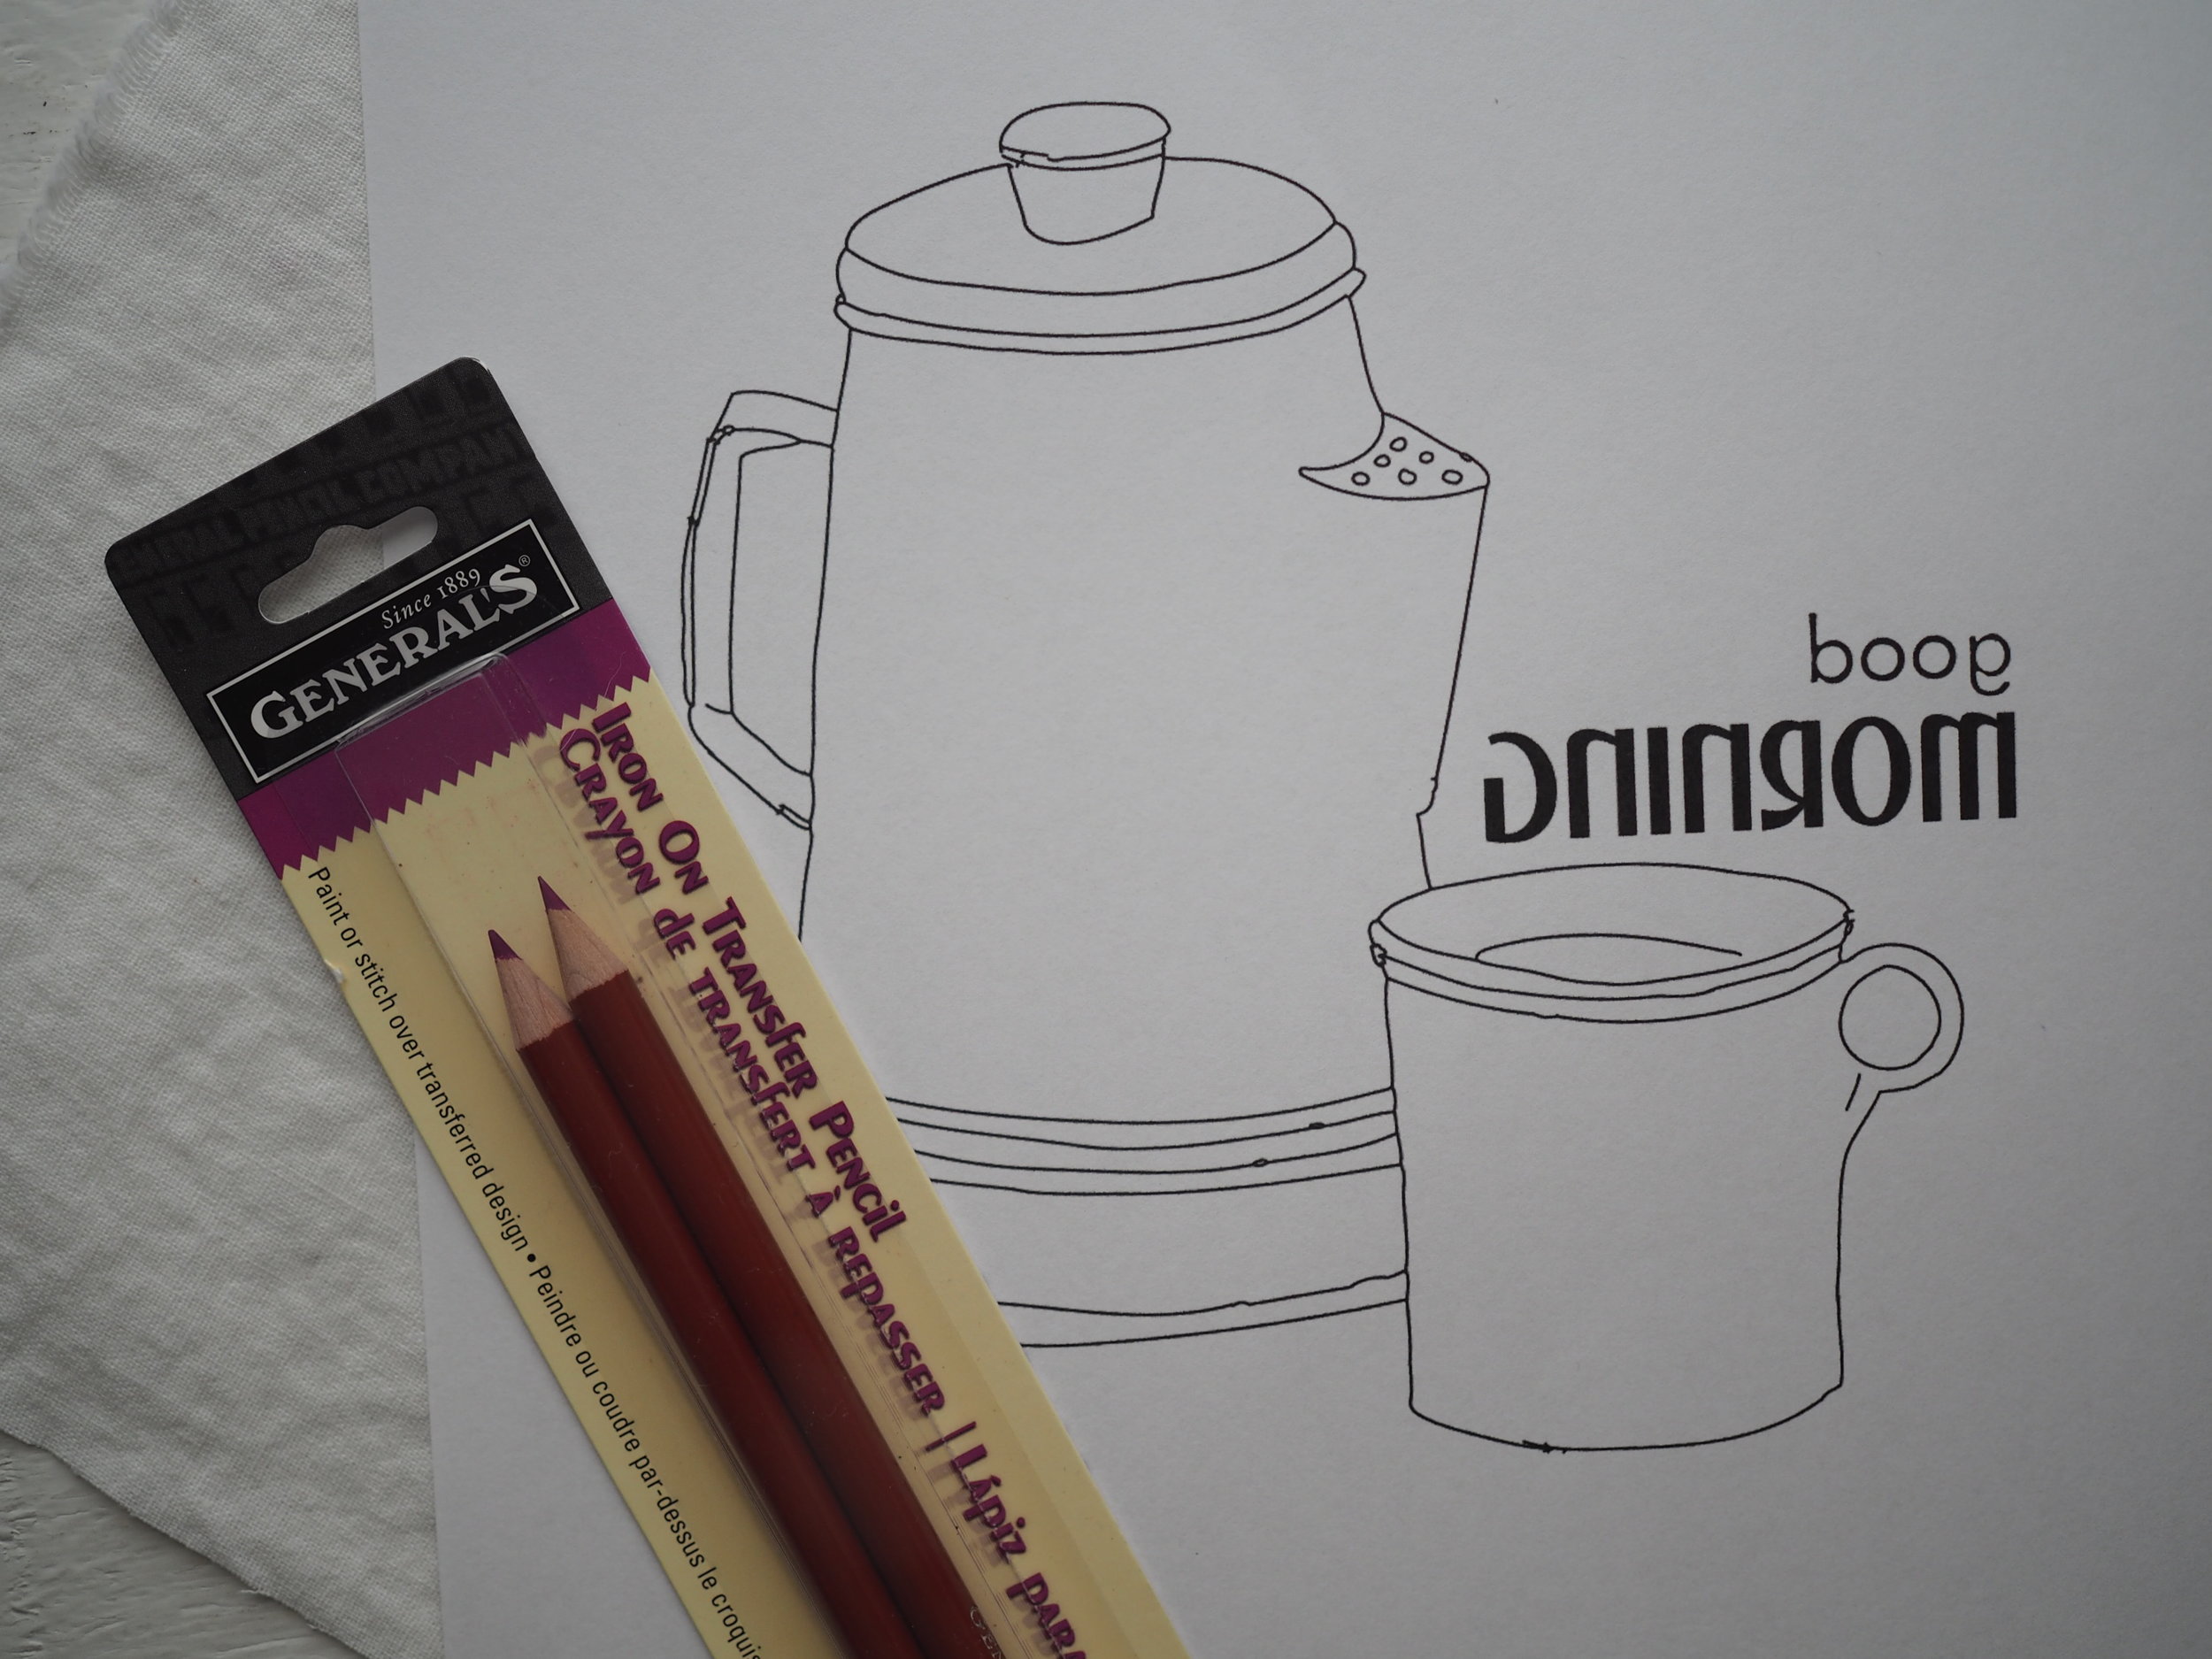
- The top tool is a iron-on transfer pencil, which we'll discuss later.
If you're working on a dark fabric, look for white dressmaker's pencils and pens.
Trace
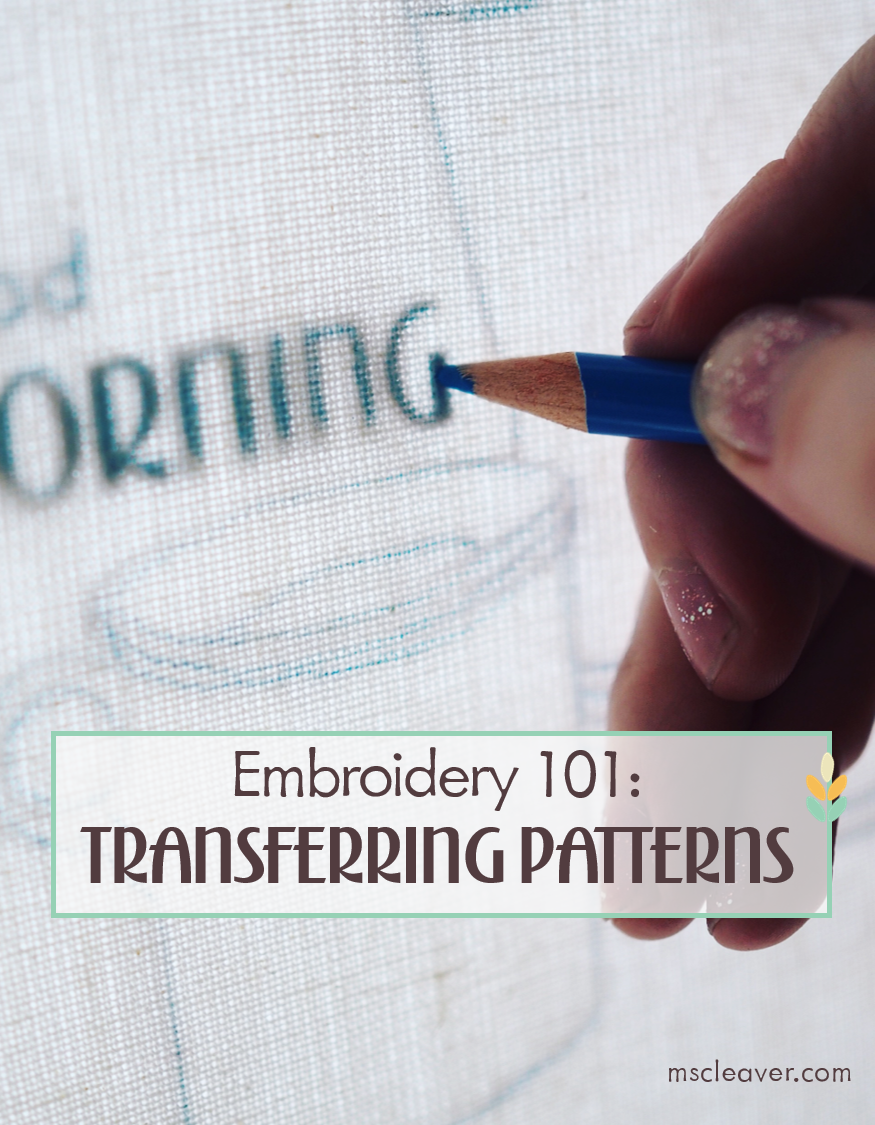
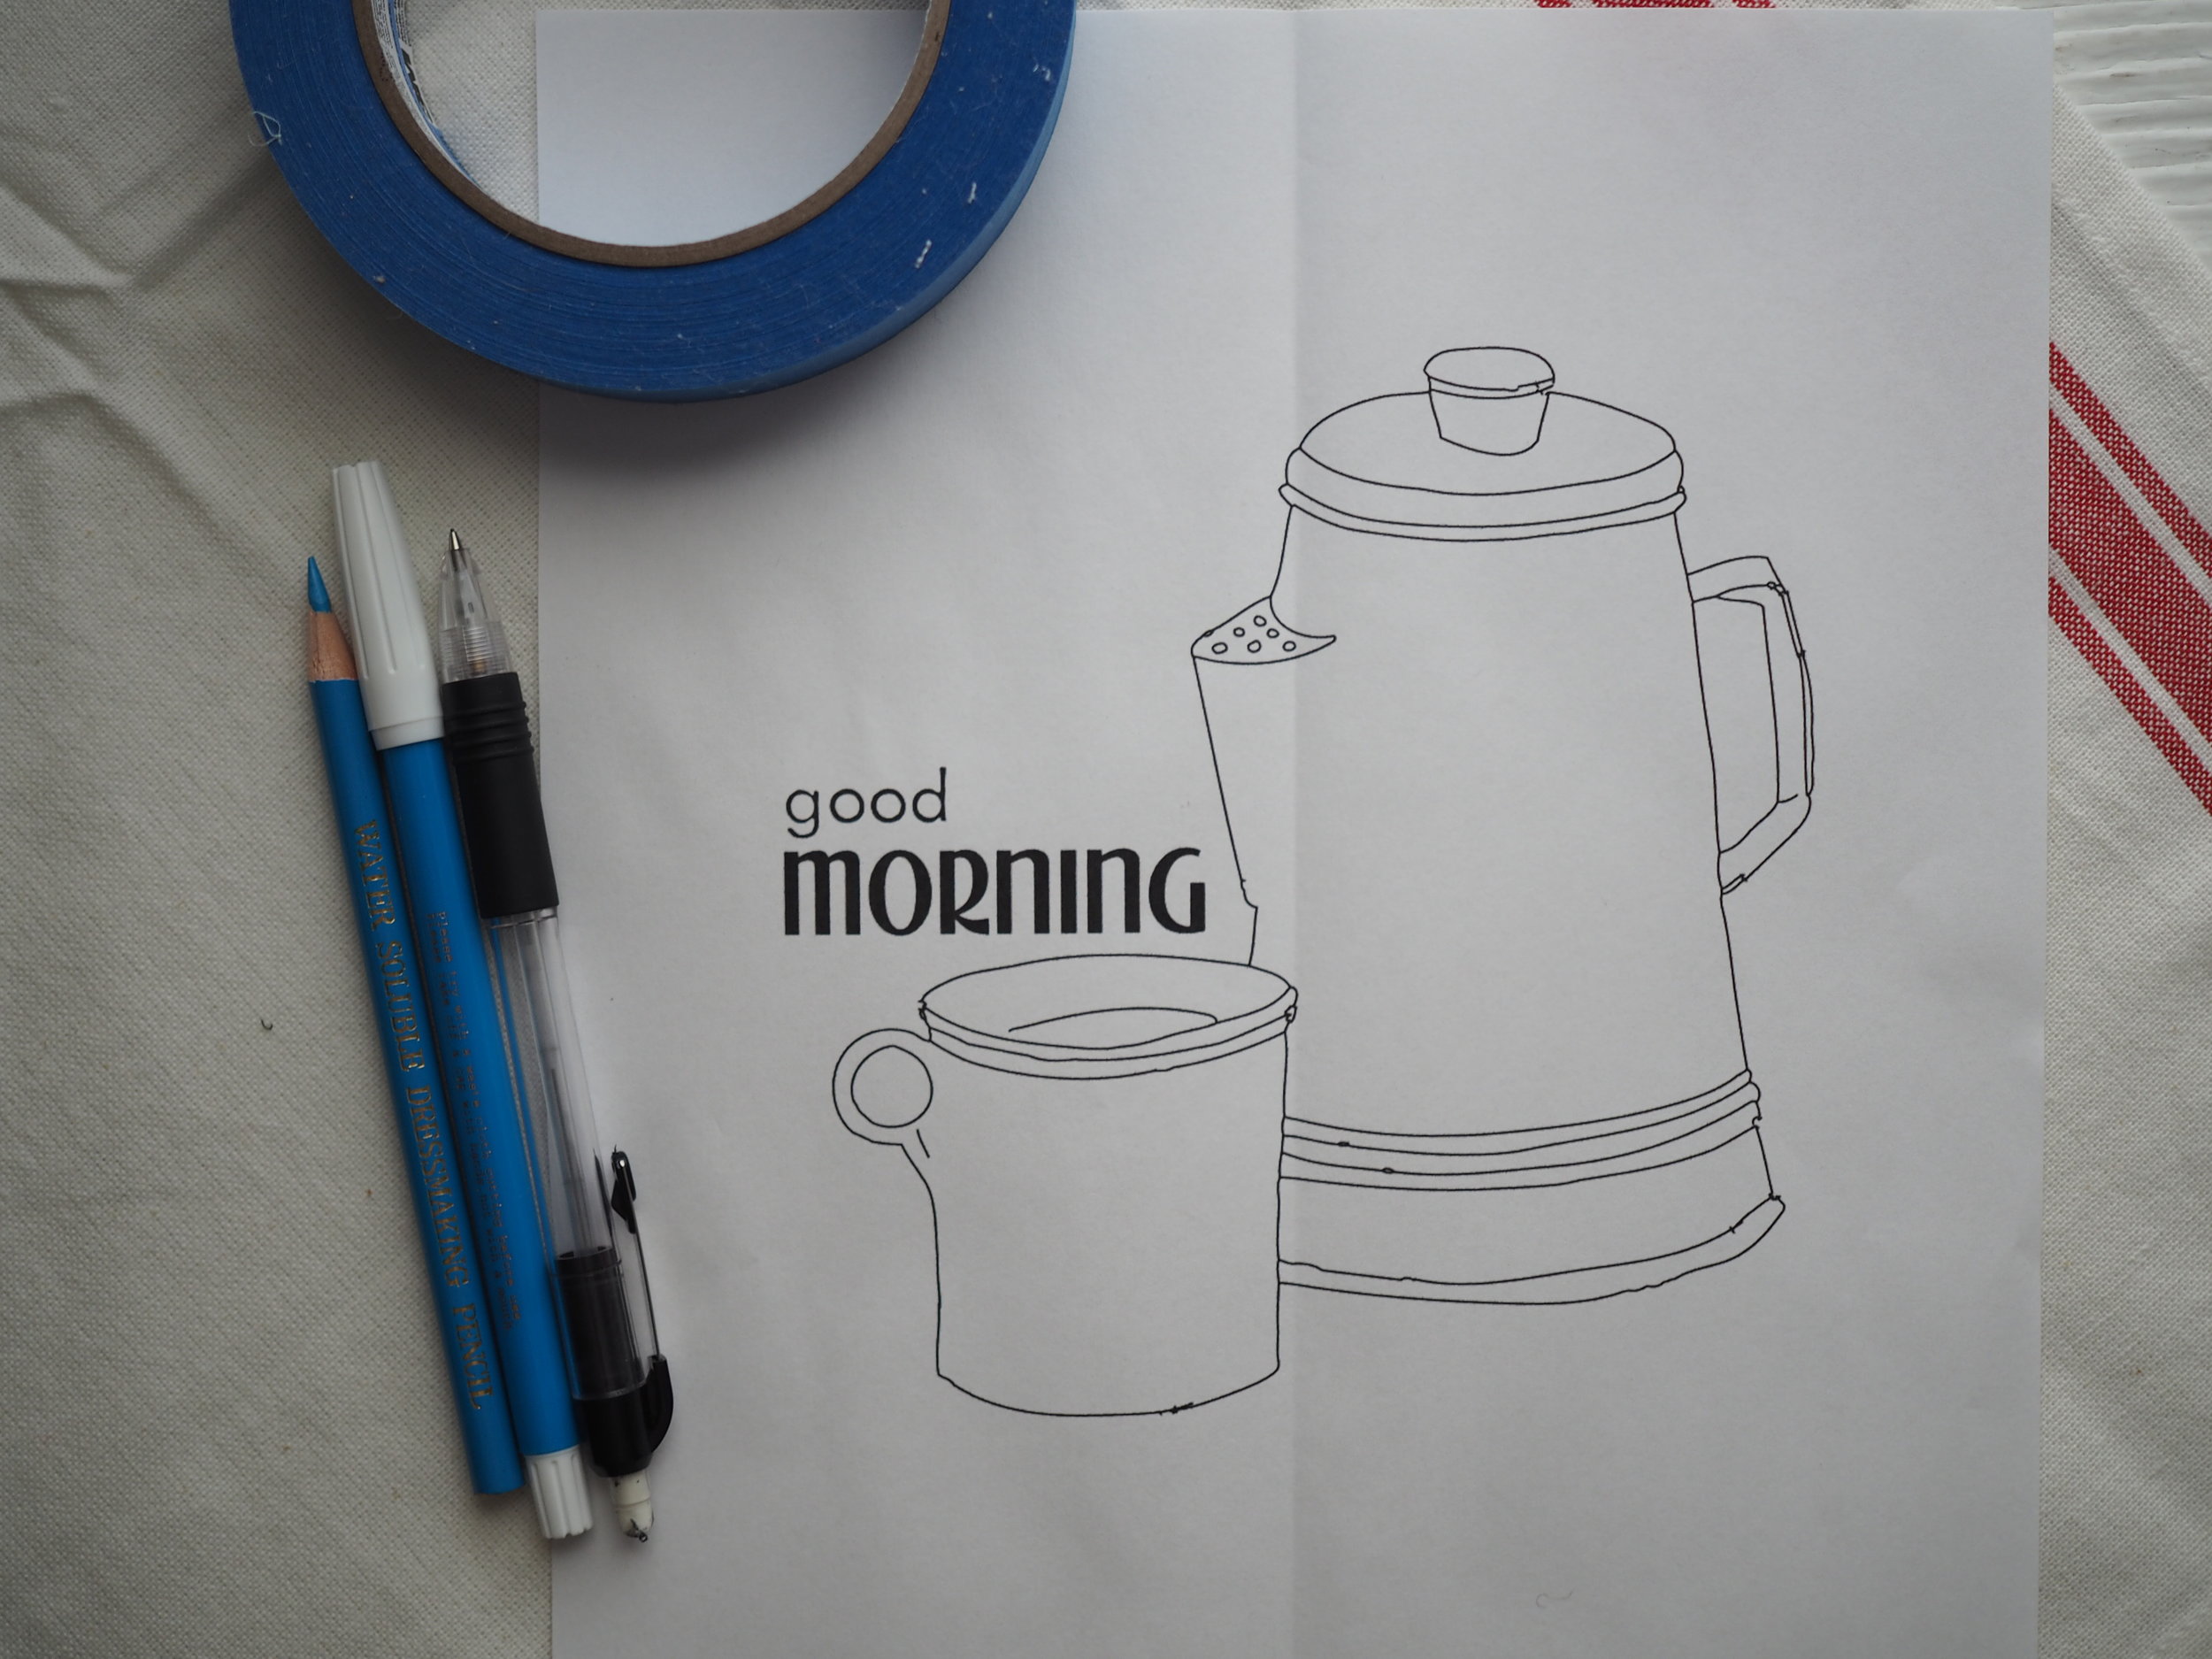
Tracing is my favorite transfer method. You can tweak the design on paper as much as you want beforehand and then when you're happy with the design and scale of your image, you then transfer to the final fabric. To trace, you'll need any one of the tools listed above, plus some painters tape and a bright window (or a lightbox).
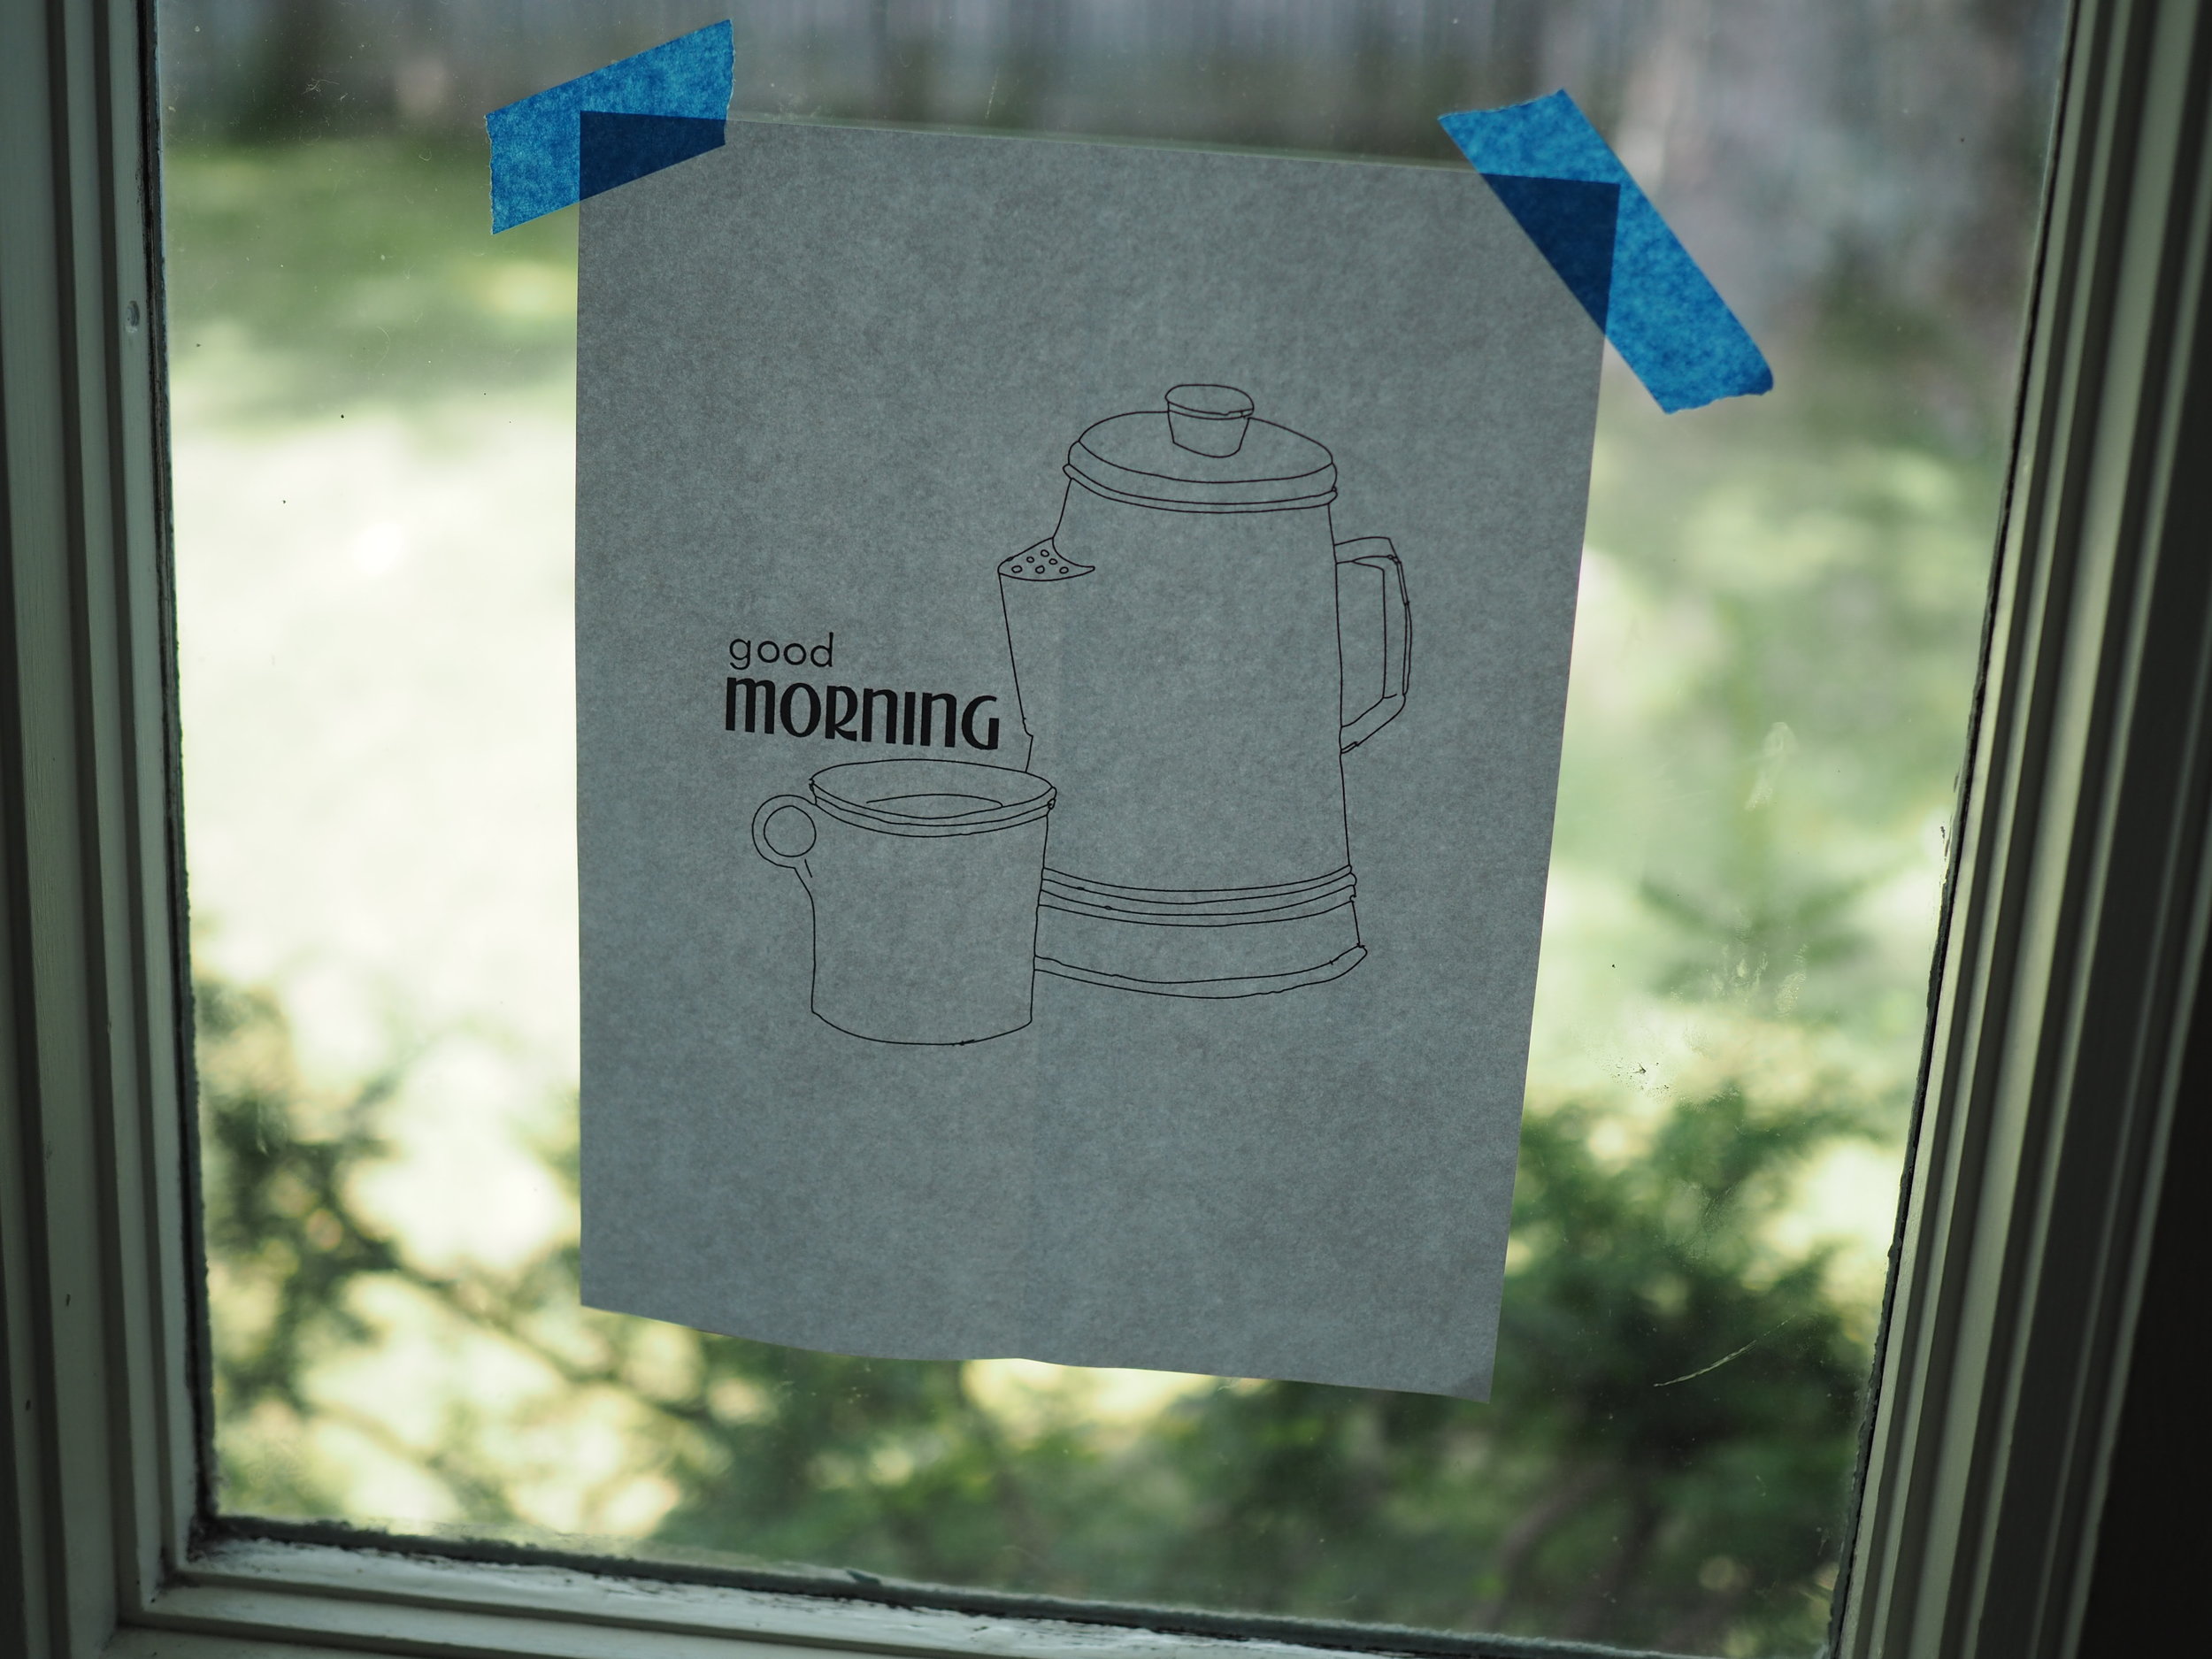
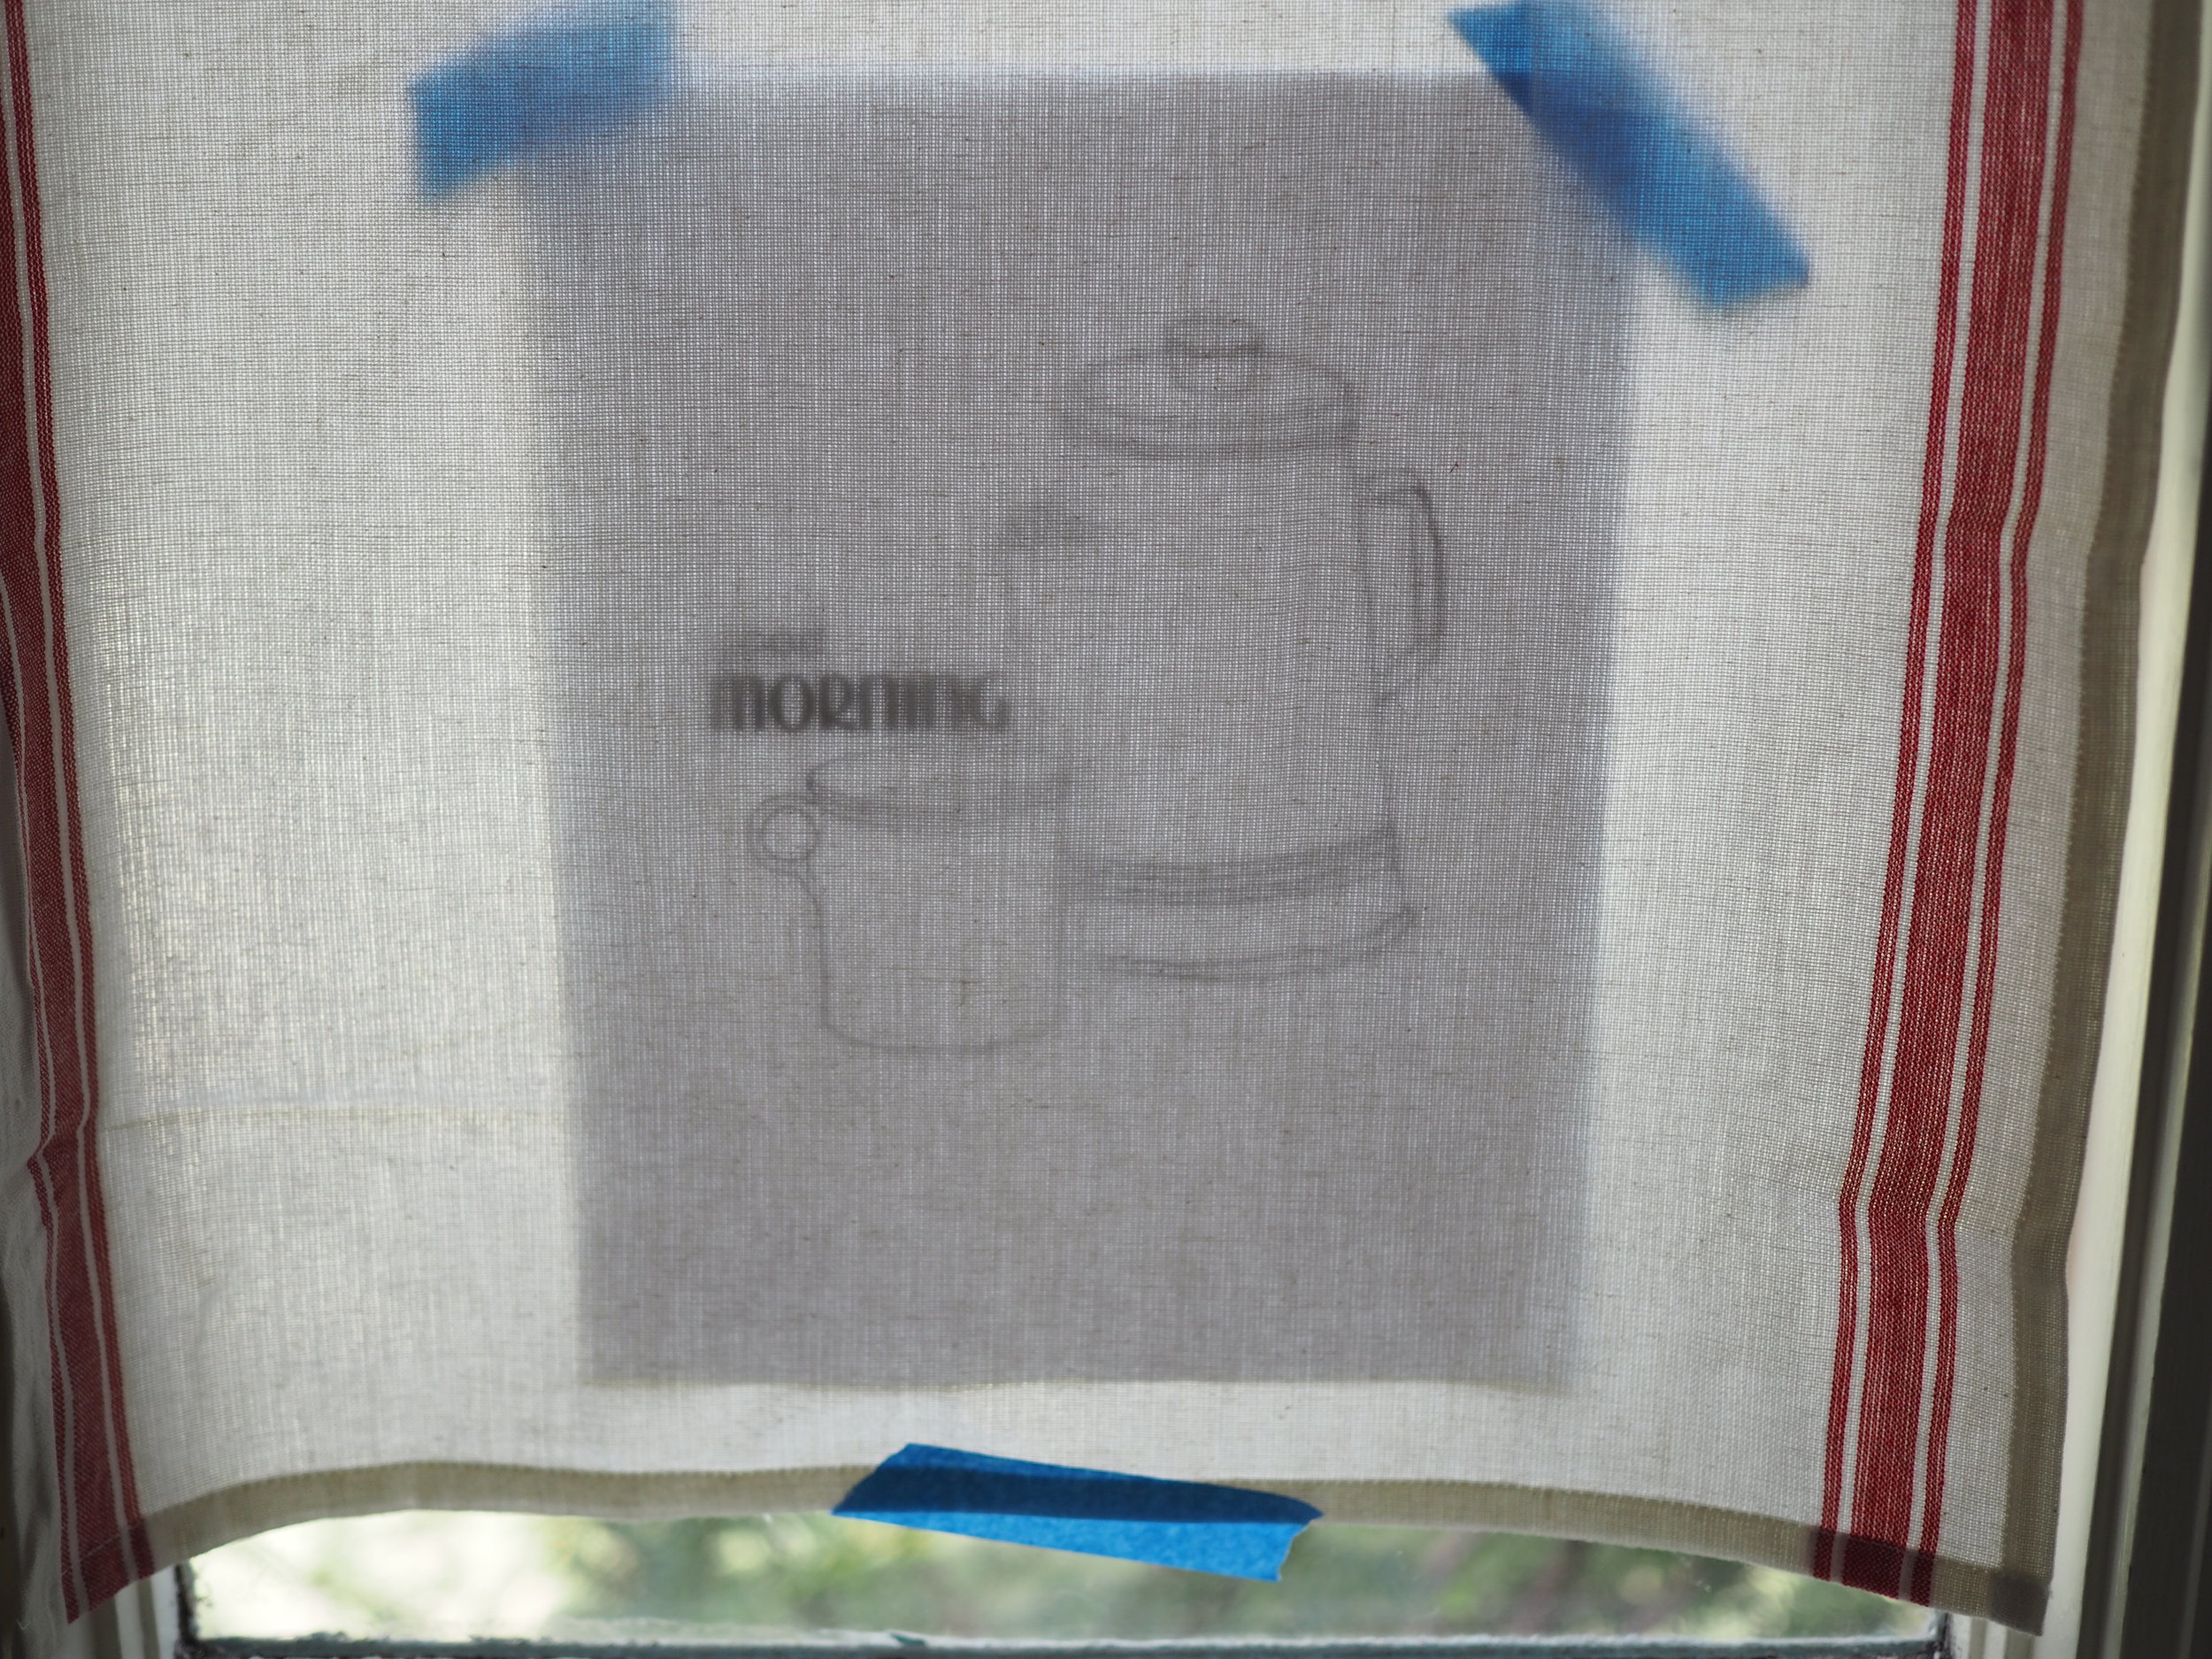
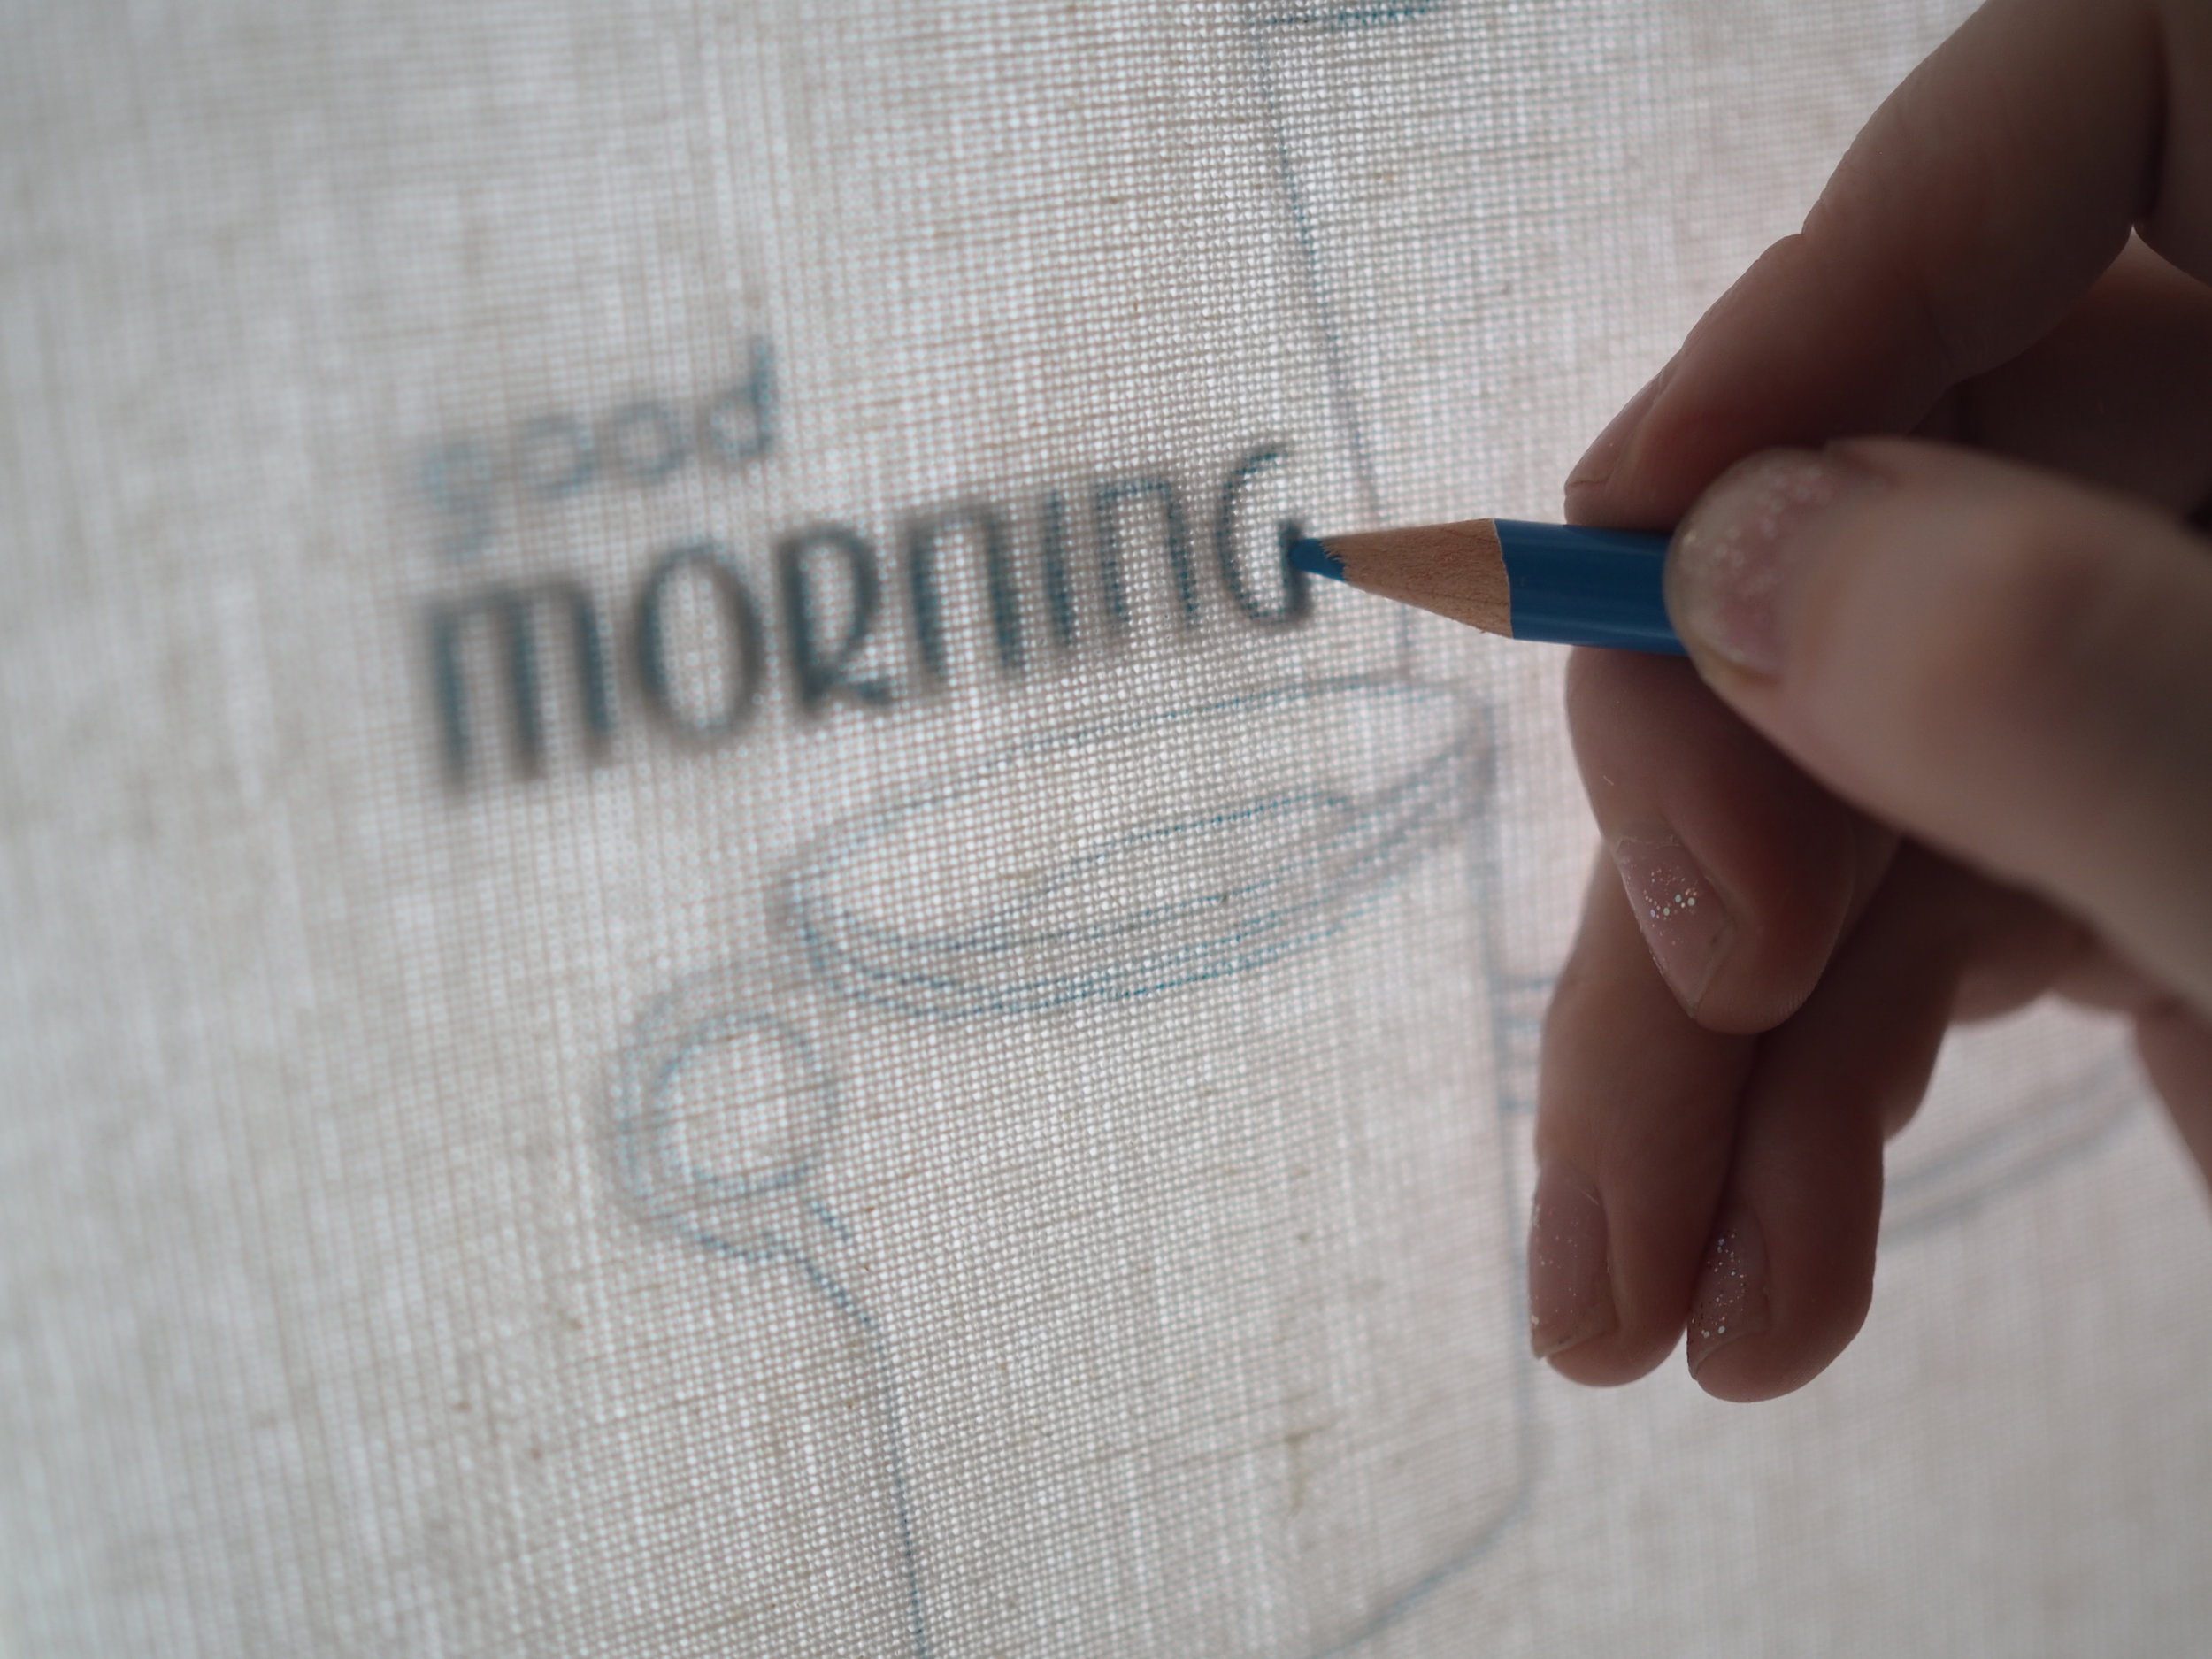
Take your final design and tape it up against your window. Tape the fabric over the image, so it is placed where you want. Tape the fabric securely so it doesn't shift as you trace. If it's sufficiently sunny (or you're using a lightbox) you should be able to see the image to trace easily. Using your tool of choice (my preference is the water soluable pencil or pen) trace the entire image, coloring in lines thicker or thinner as the design dictates.
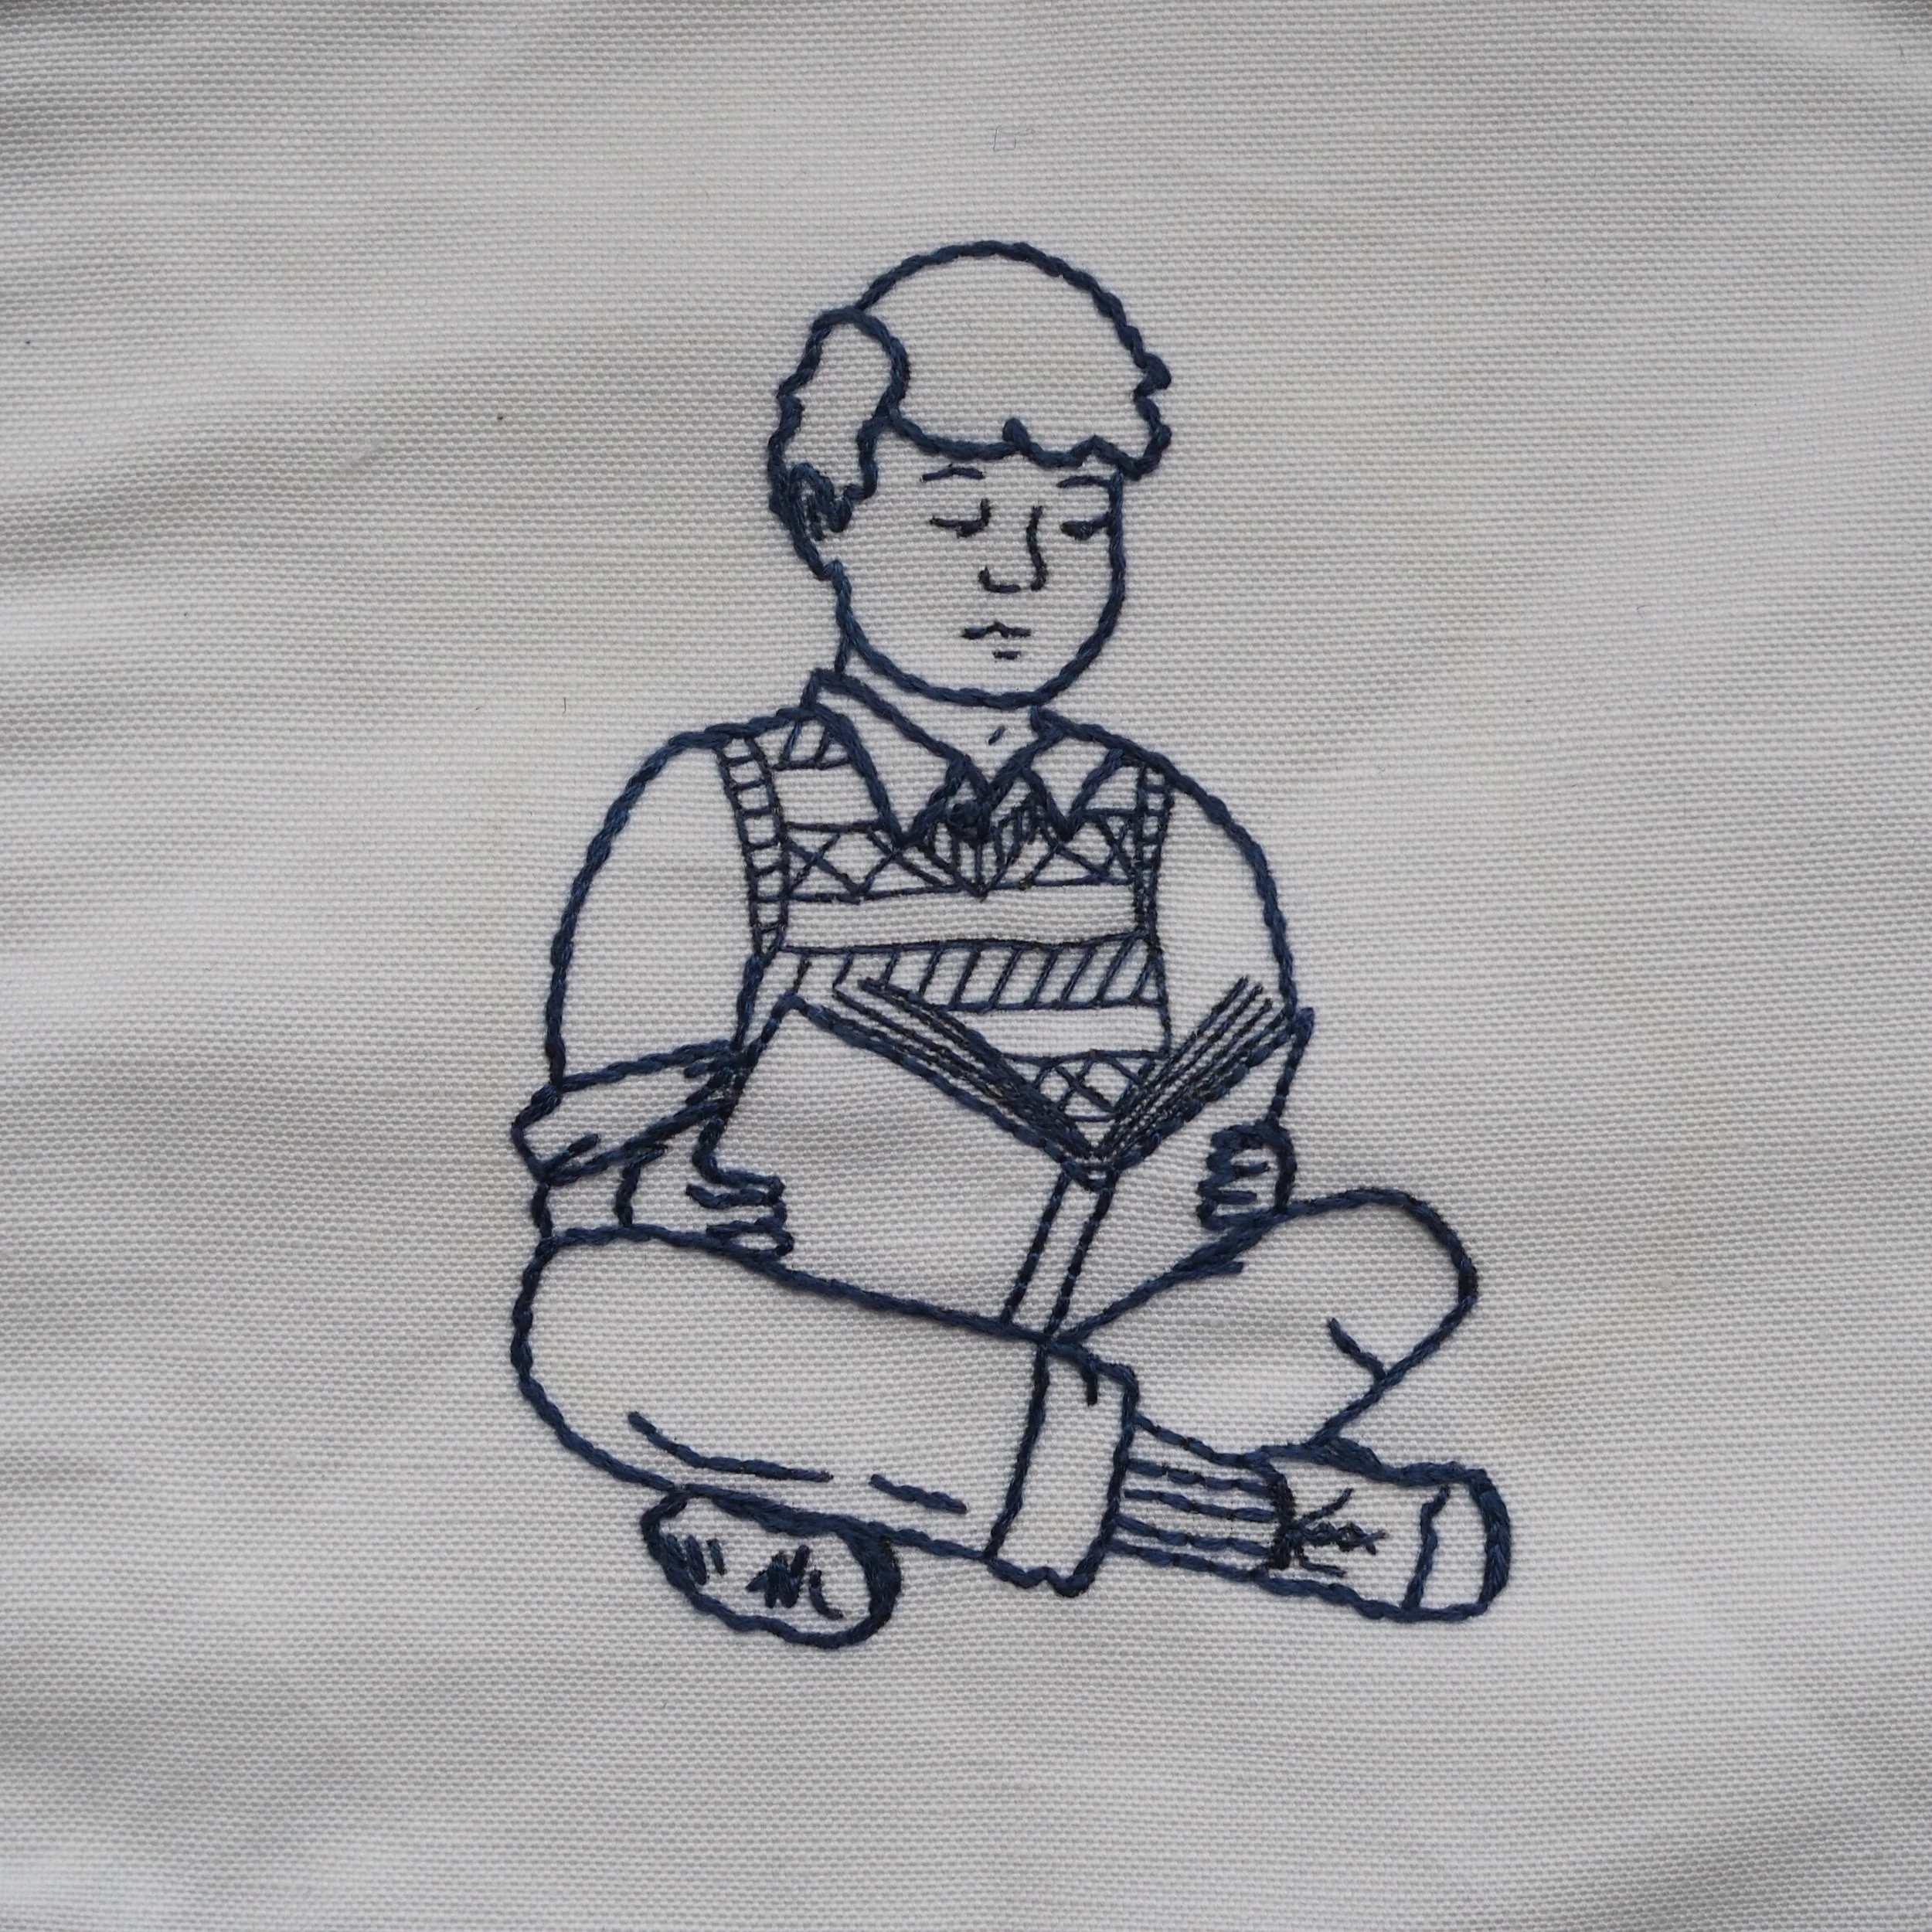
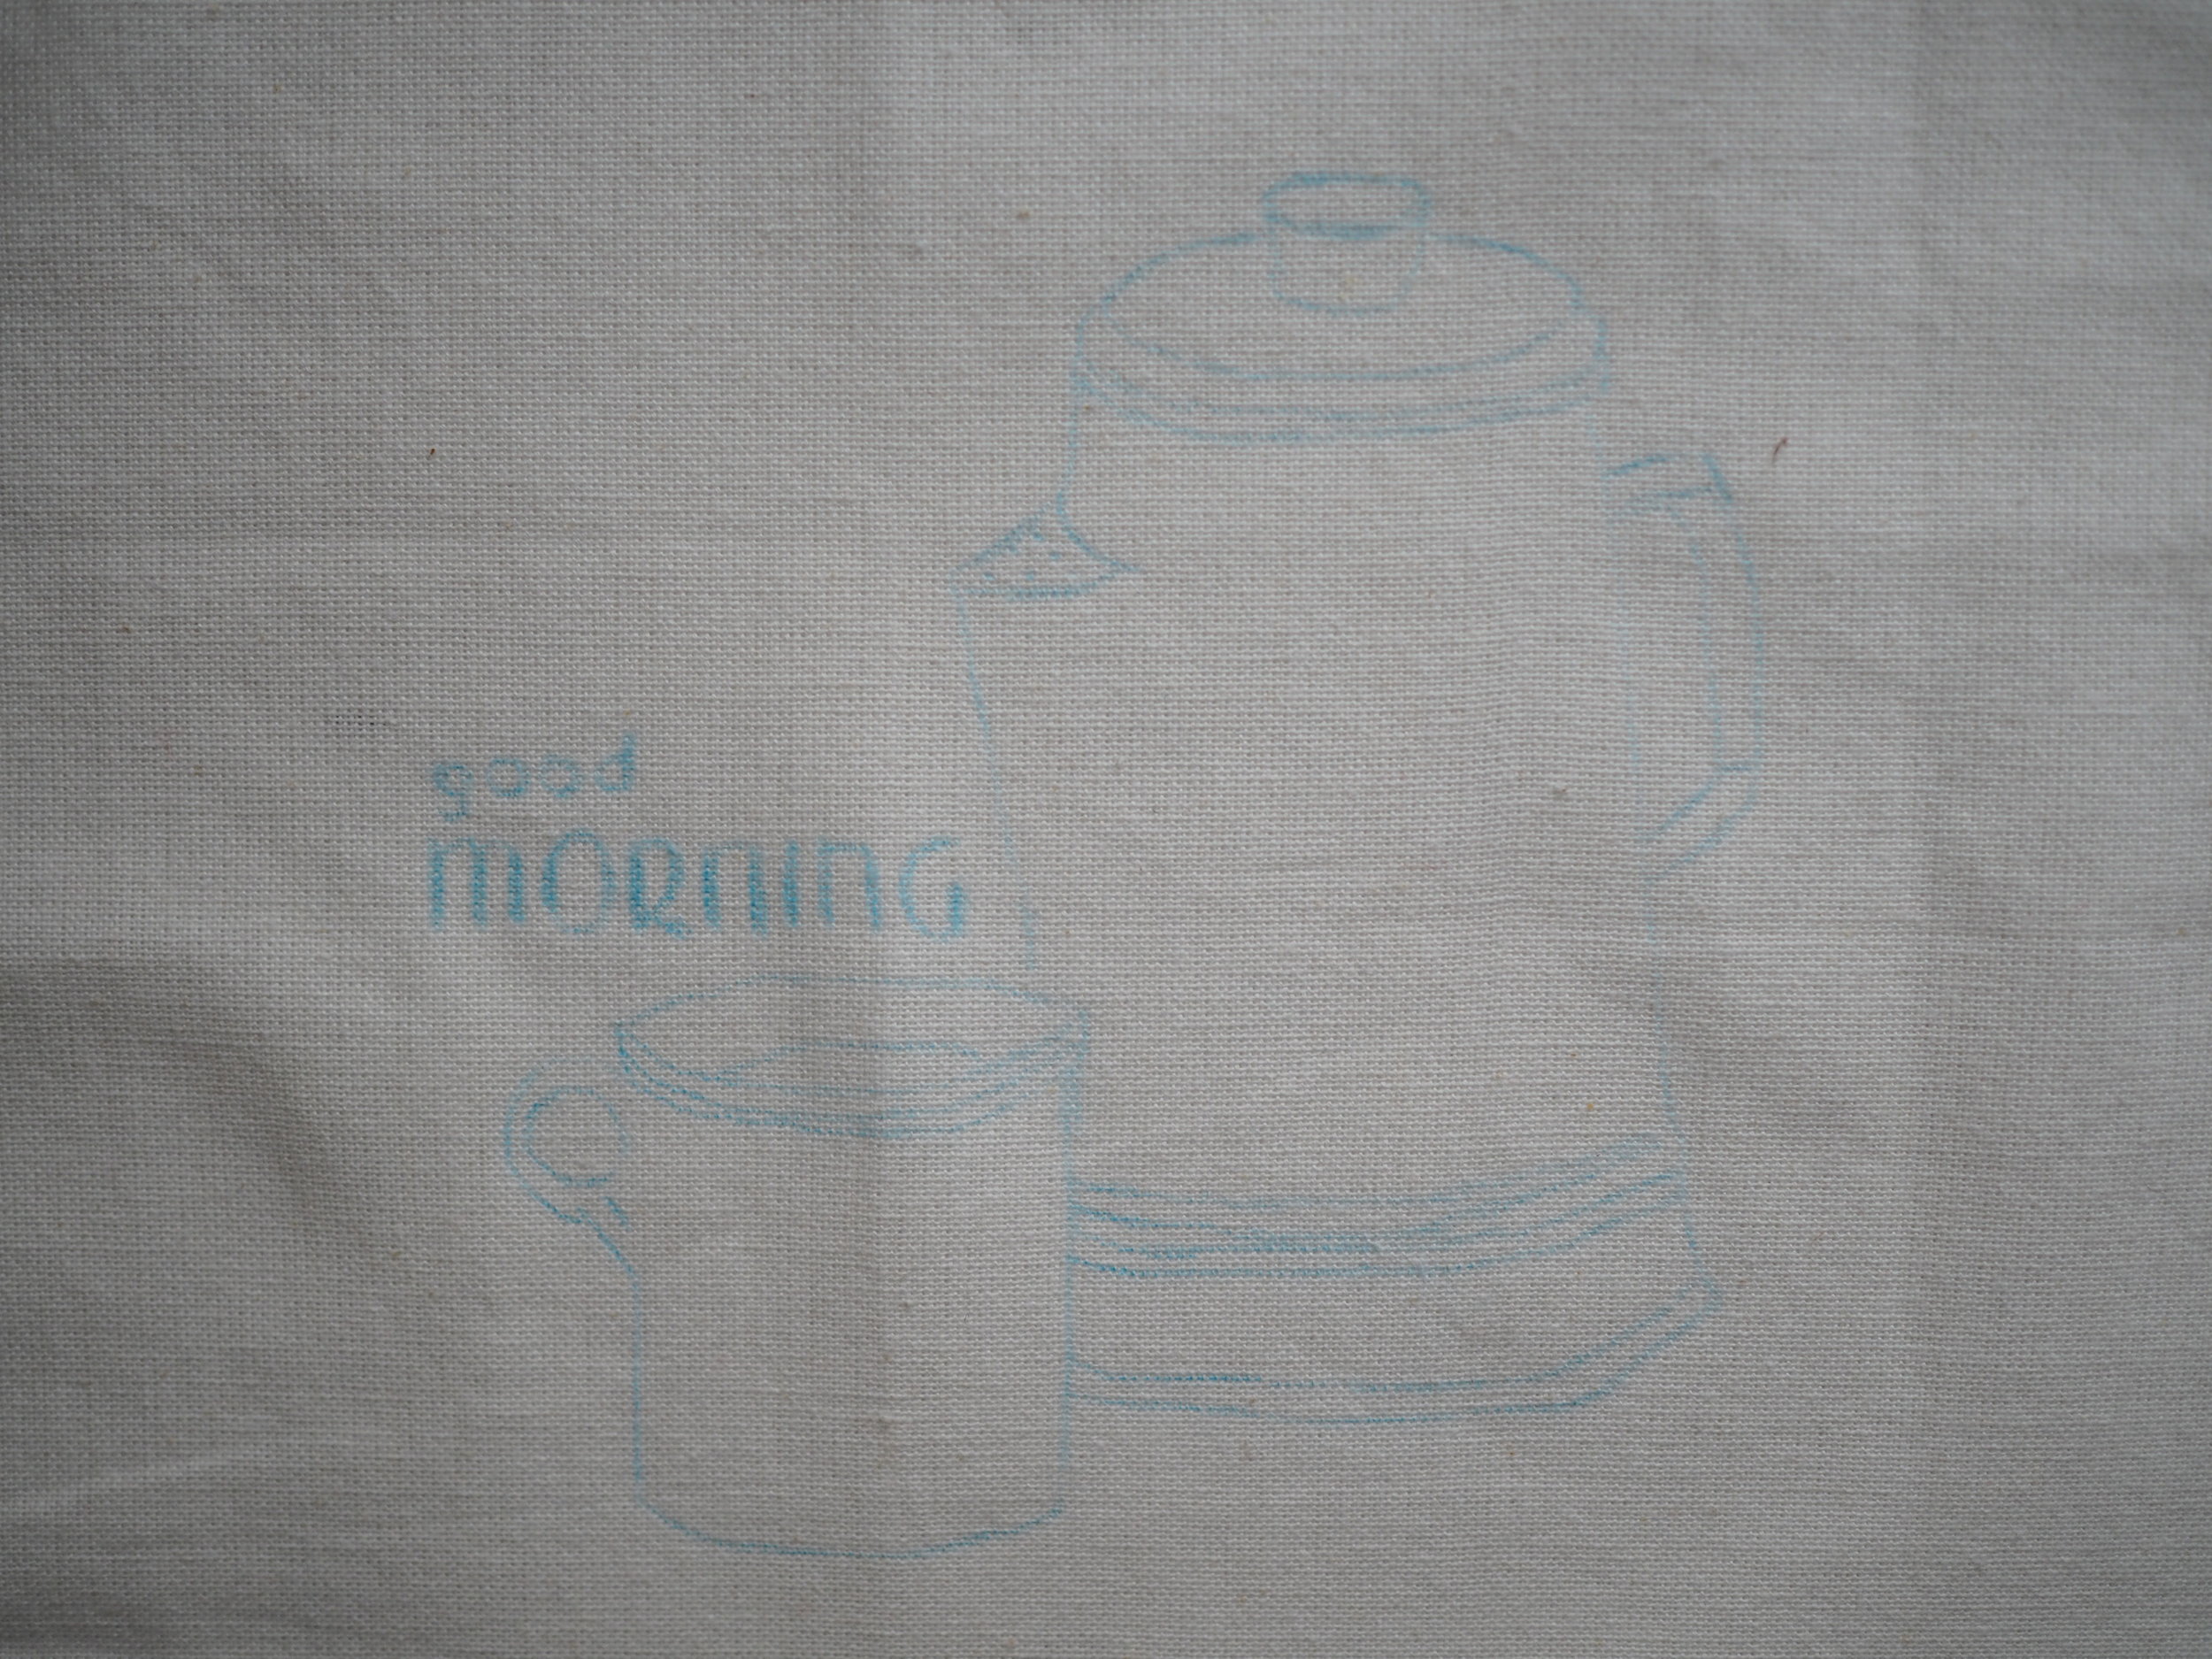
When you remove the fabric (last image) you should have a light copy of the design to stitch over.
Iron-on Transfer
I don't really recommend this method, since the marks the transfer pencils make are permanent and, honestly, really hard to see, but it's an available method, so I thought I'd share.
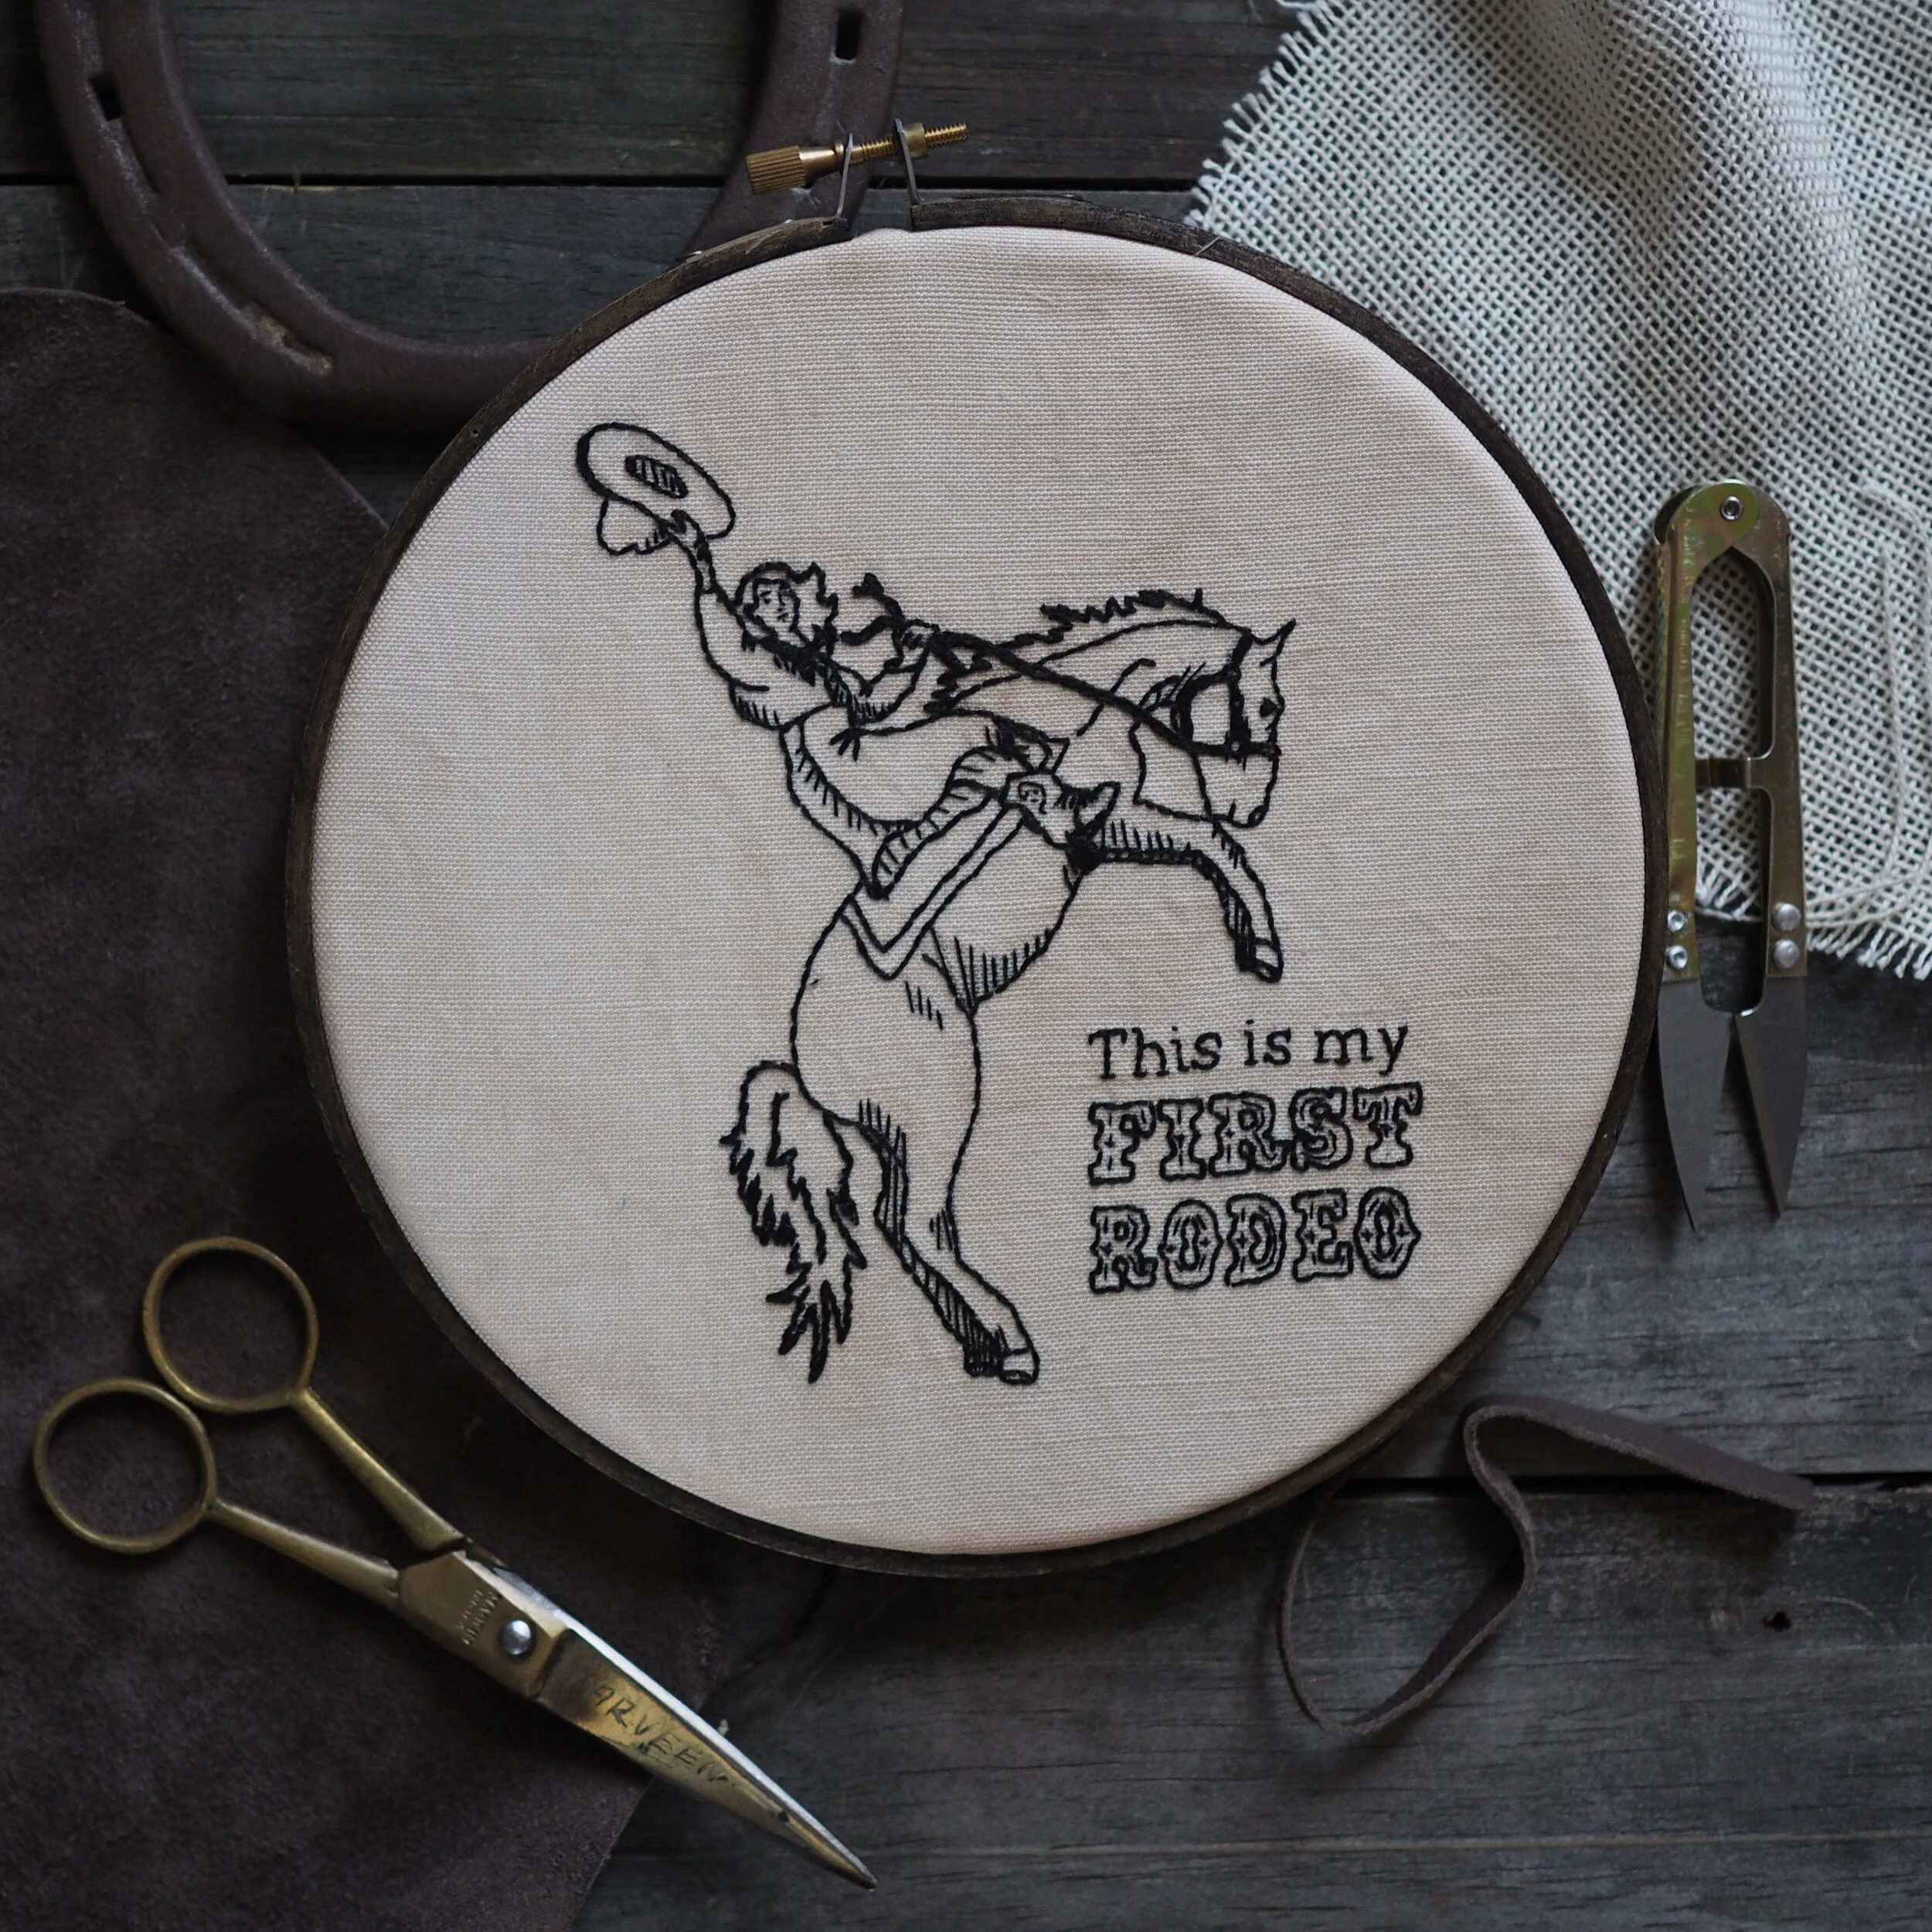
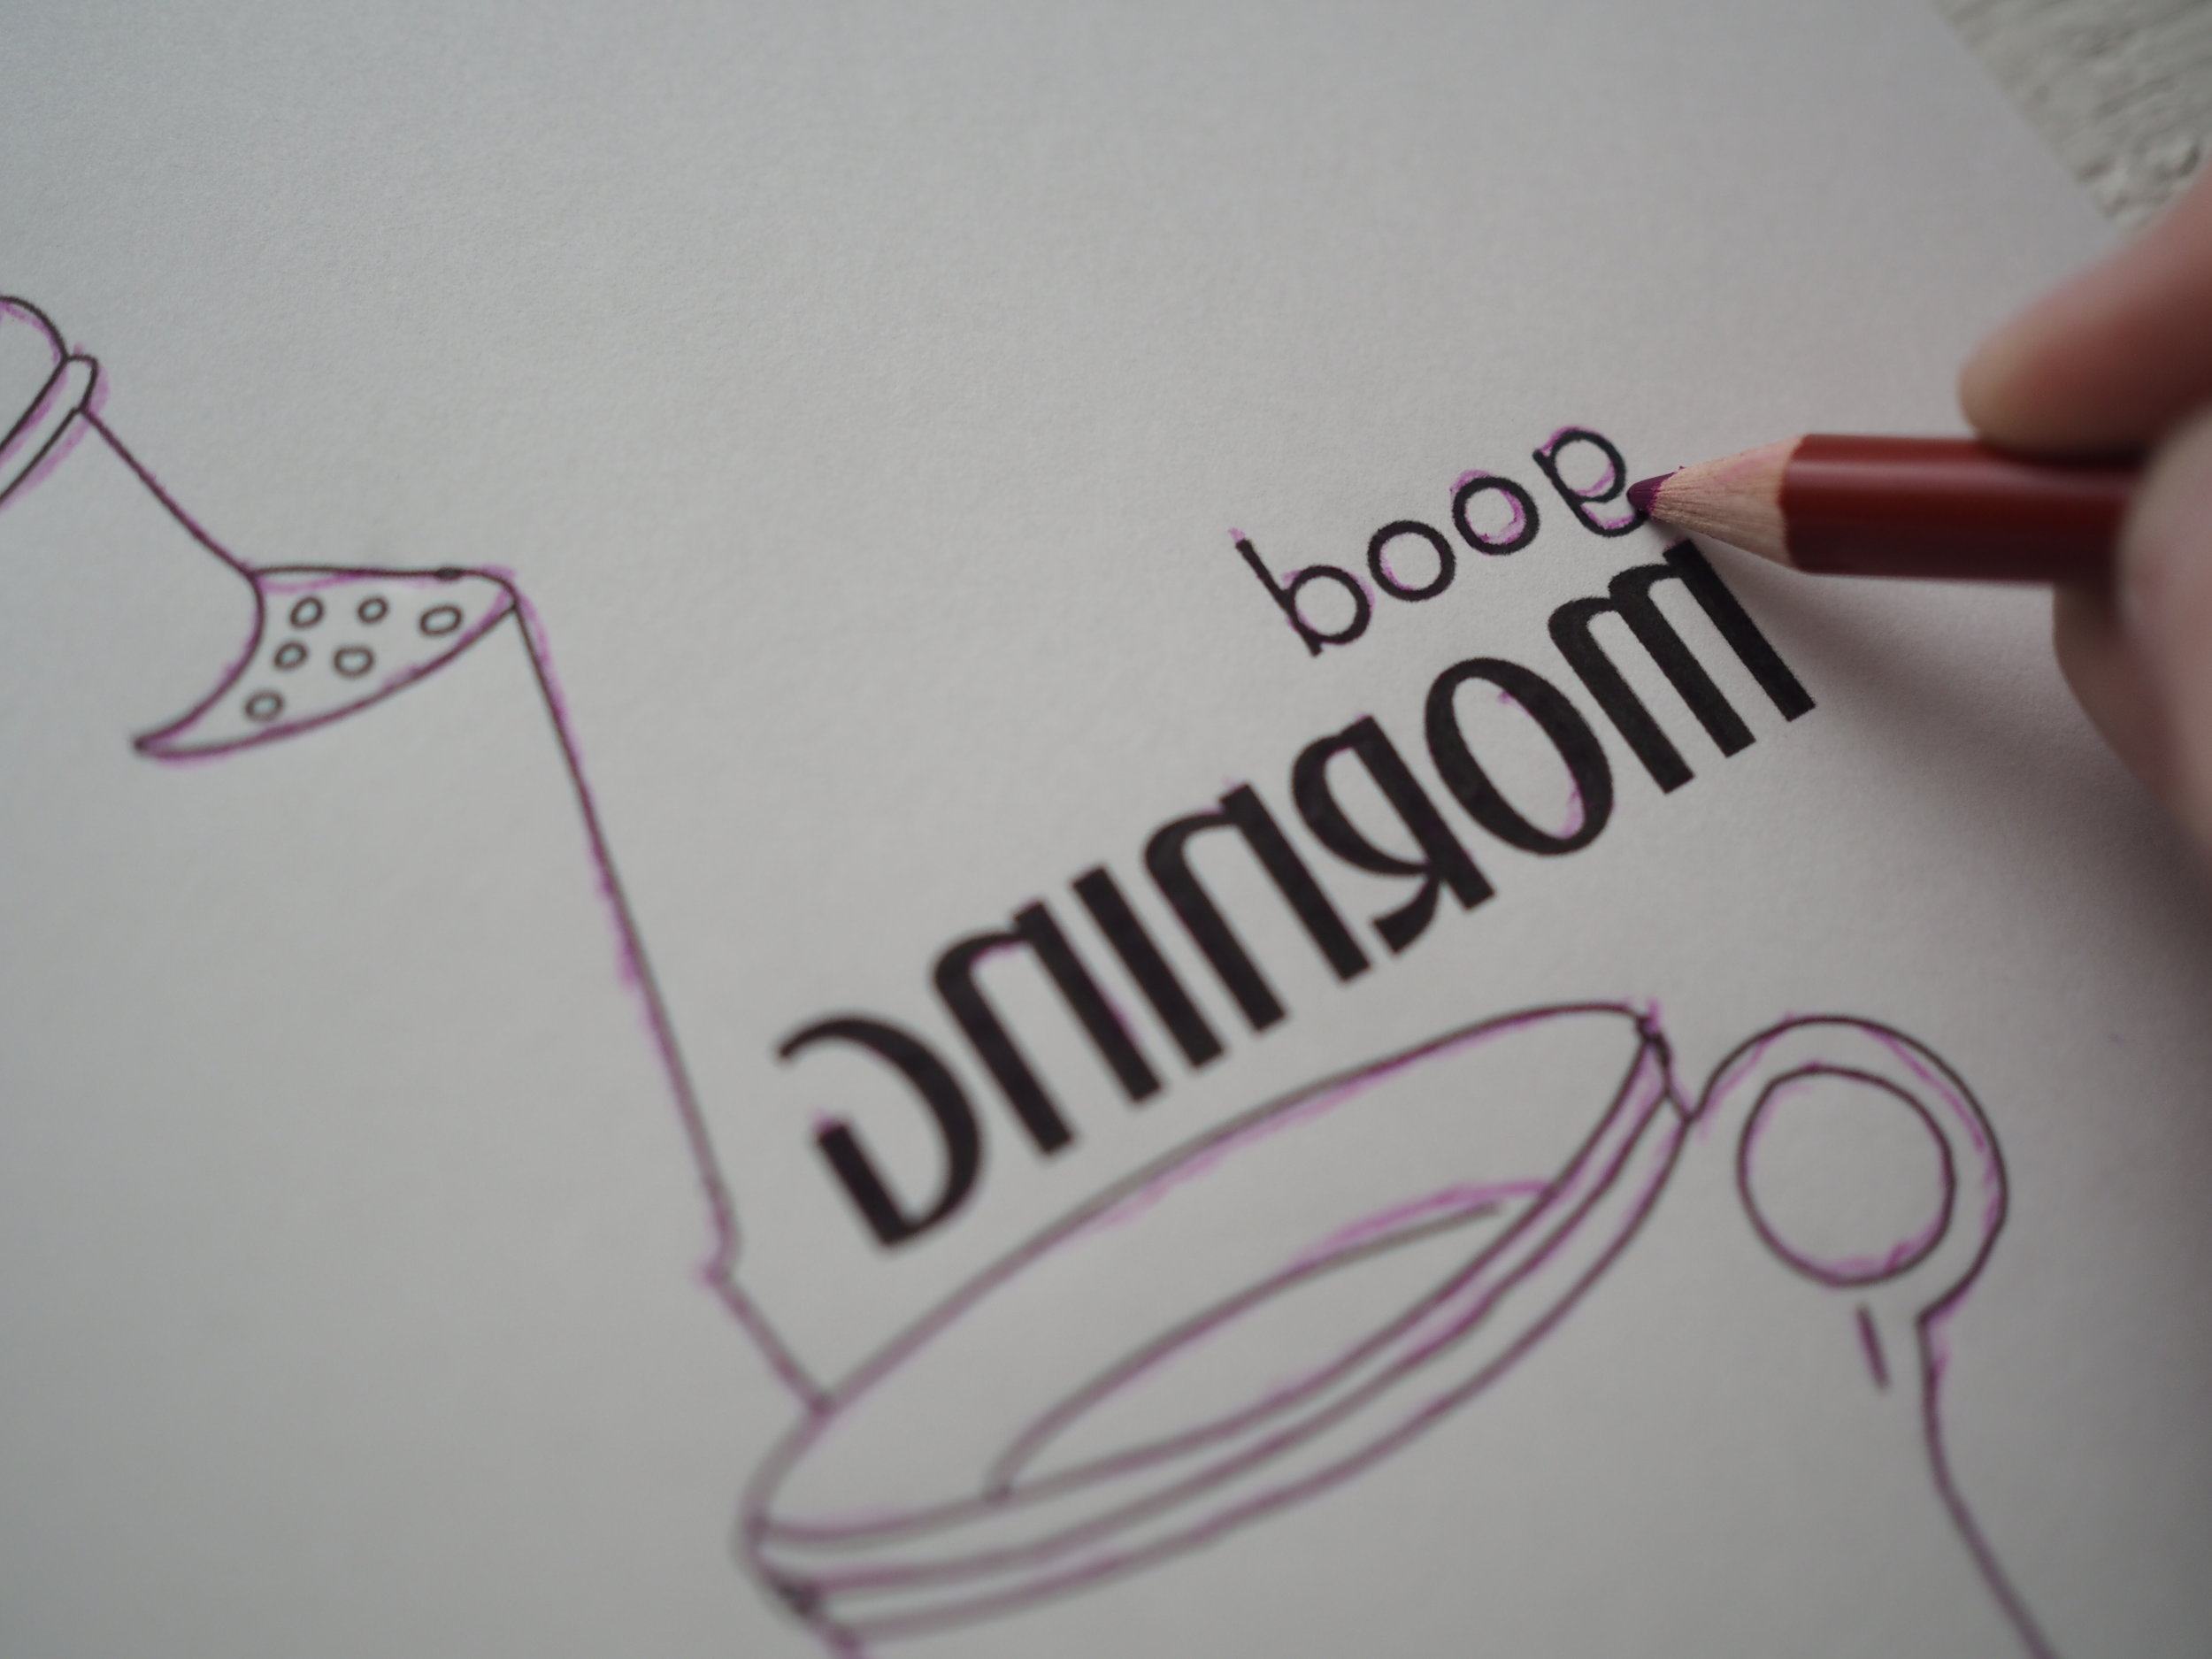
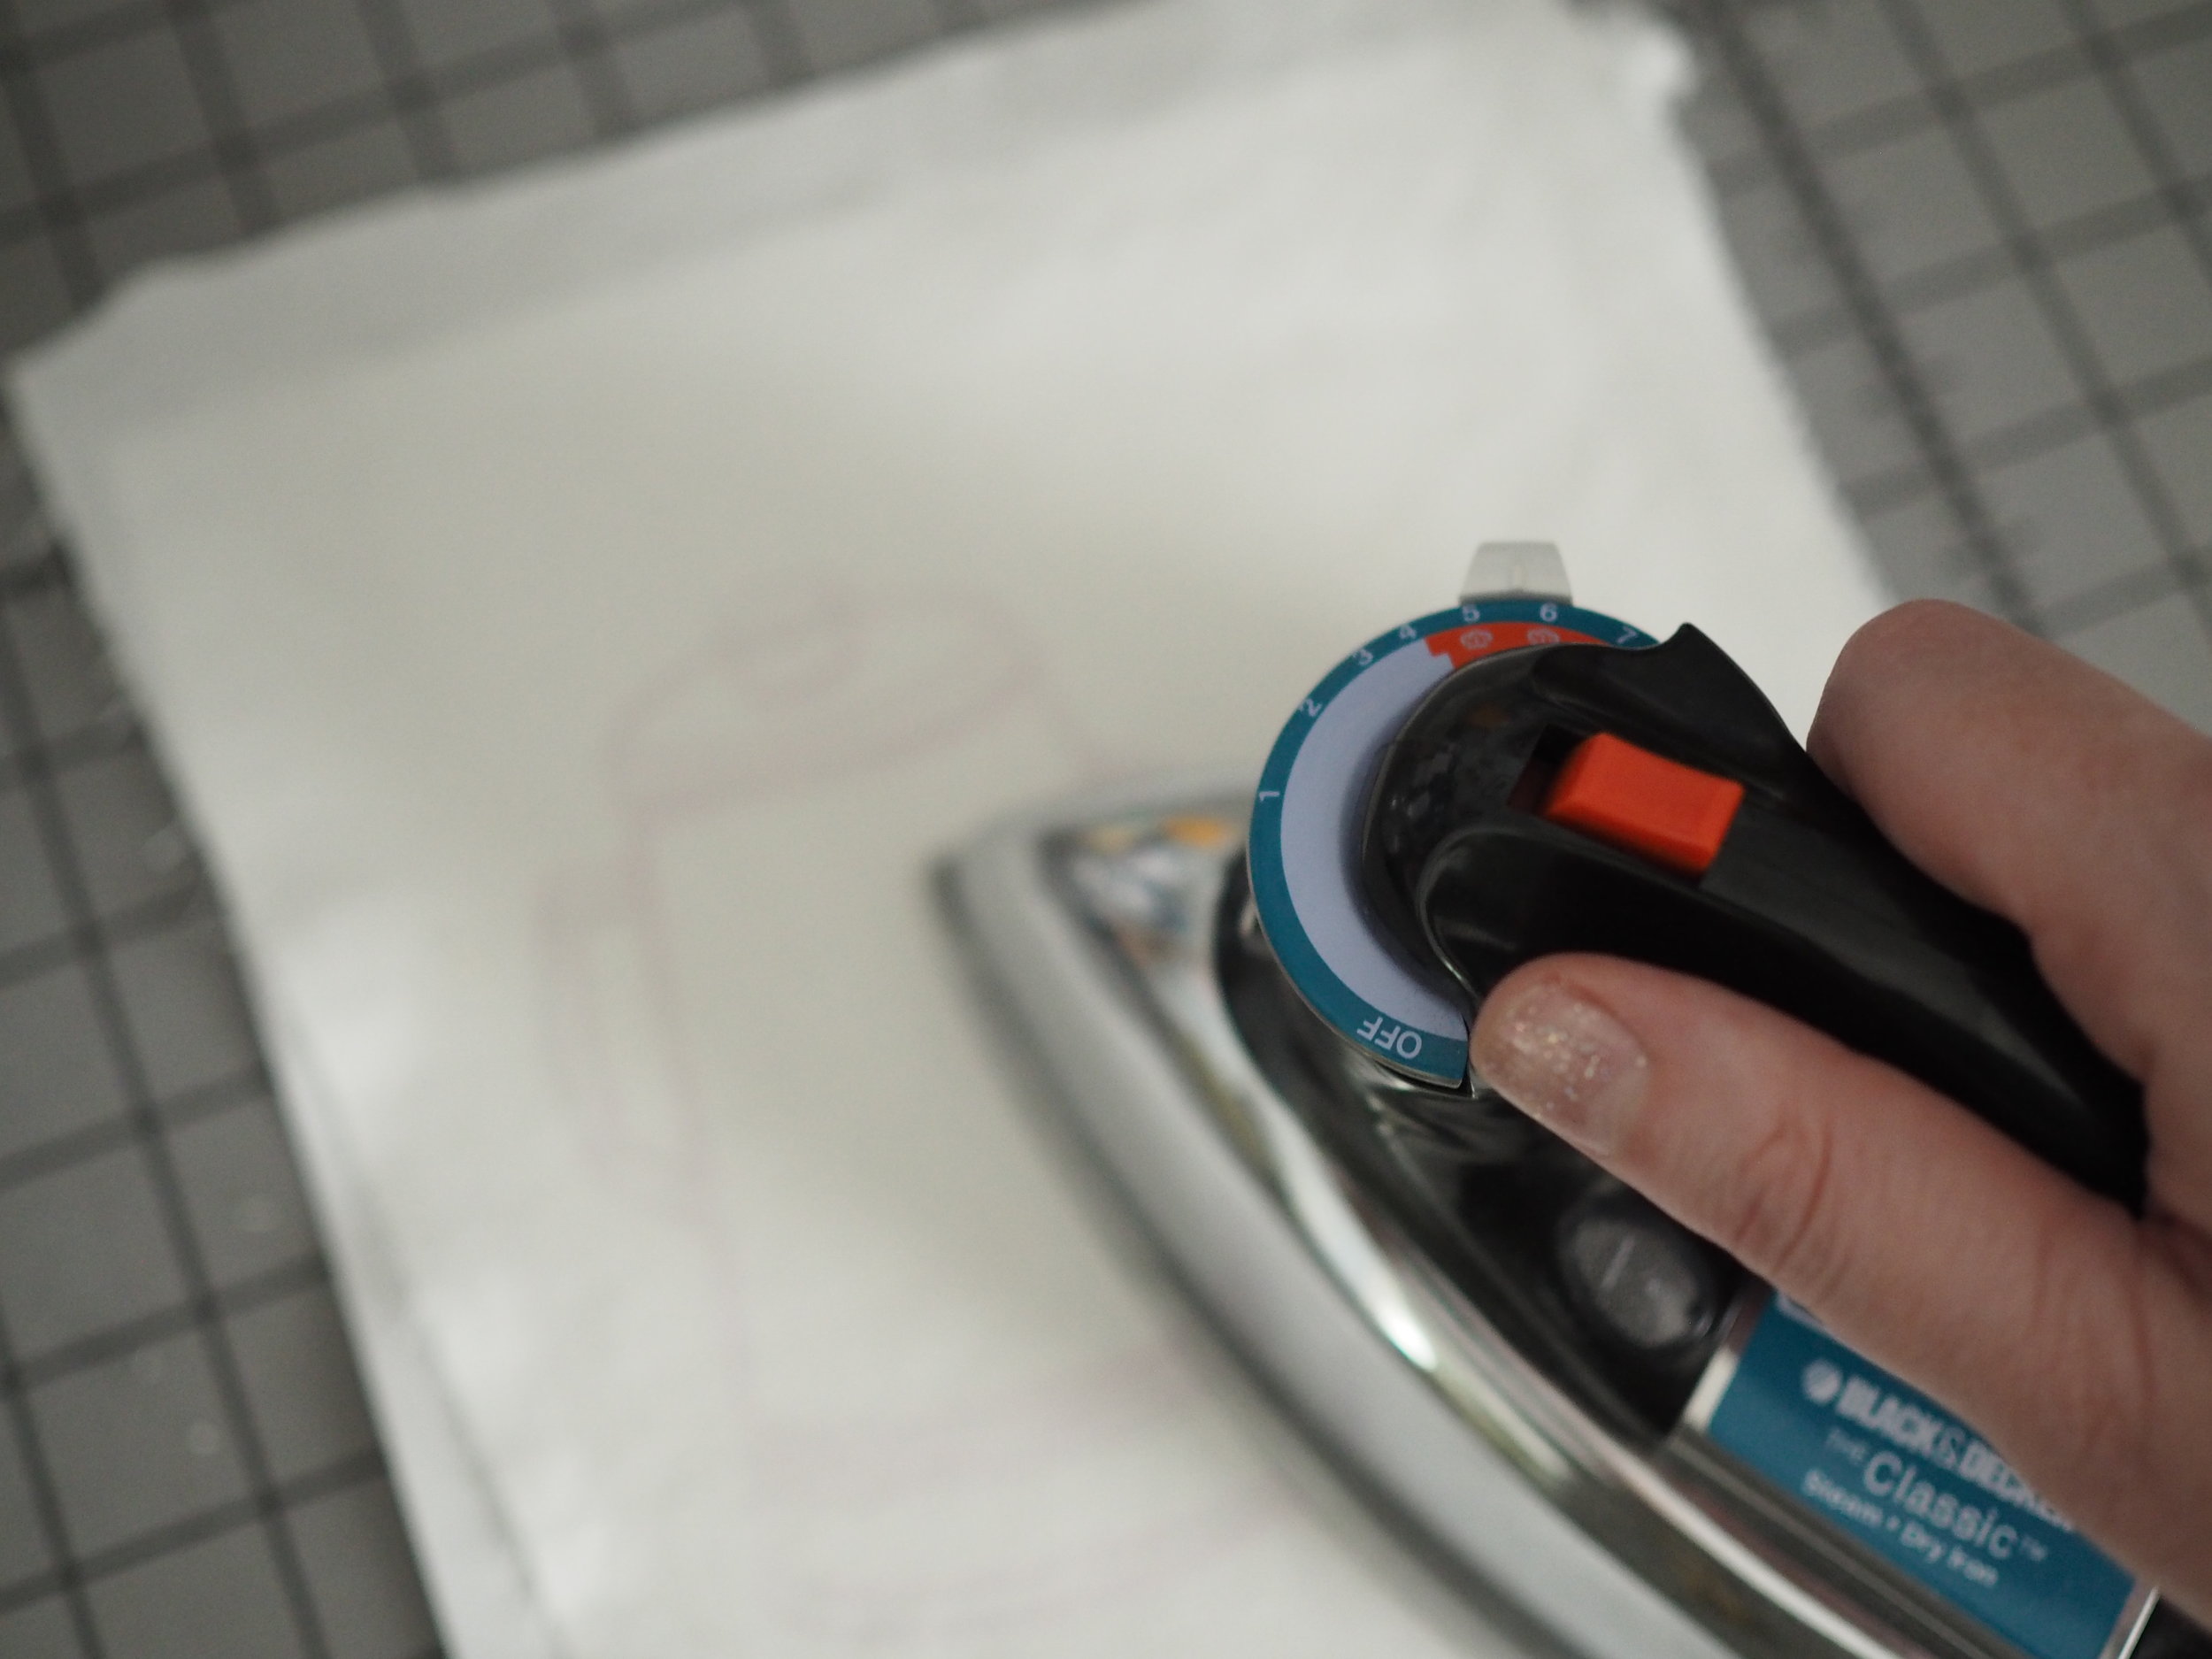
To do a iron-on transfer, you'll need to print or copy your final image as a mirror of what you want the finished design to look like. That is, any text should be backwards, etc. Using a iron-on transfer pencil, darkly trace your design on the paper. Then using an iron set on medium heat, press the image, traced side down, on the fabric. It will leave a faint pink mark. (Last image - can you see it? Squint really hard.)
Once you've got the image on your fabric, we'll get it in a hoop and start stitching!!