Embroidery floss is one of those supplies that seems to sneak up on you. I did for me. I'd buy a couple of skeins for a project here, then a half-dozen for another project there. I'll tell myself that I'd wind them onto the little cardboard bobbins, and organize them into binders or boxes, but more often than not I'd pull them from directly from the skeins until I wound up with a tangled mess.
In truth, even when I did bother with the bobbins, I never really cared for them. The floss would get kinked on the card, I'd have to do a bunch of unwinding and re-winding ever time I'd need a new length of floss, and they never stayed put in their binder pages. It was more trouble than it was worth.
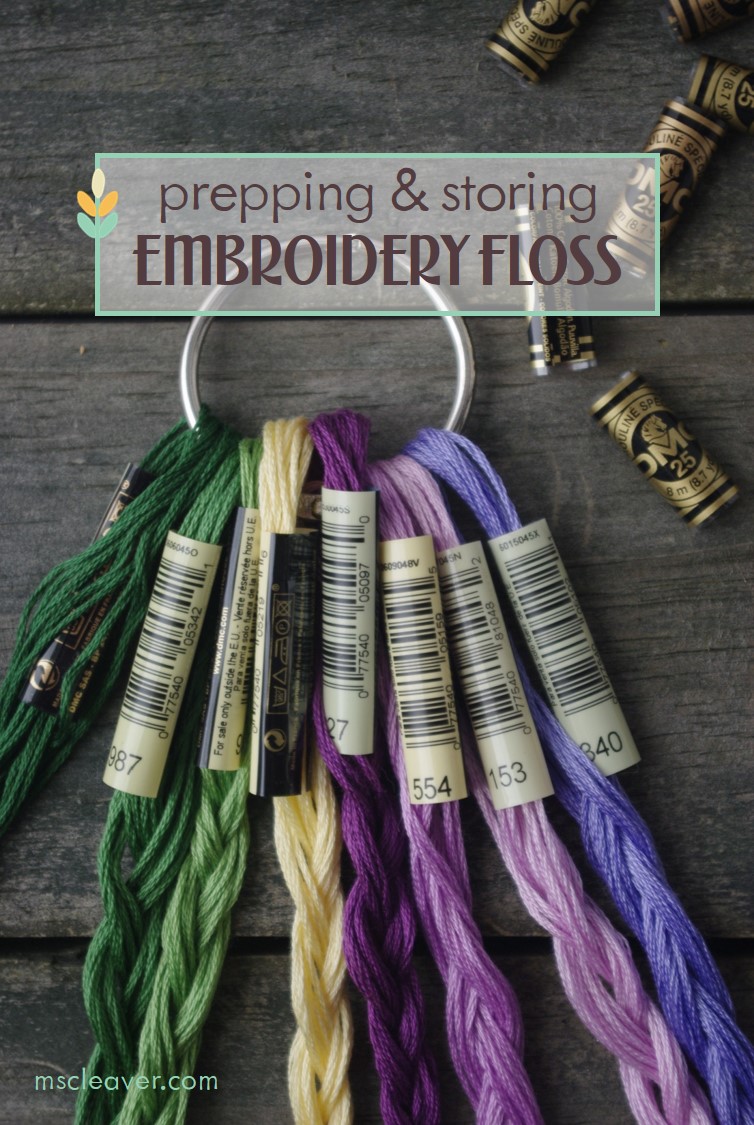
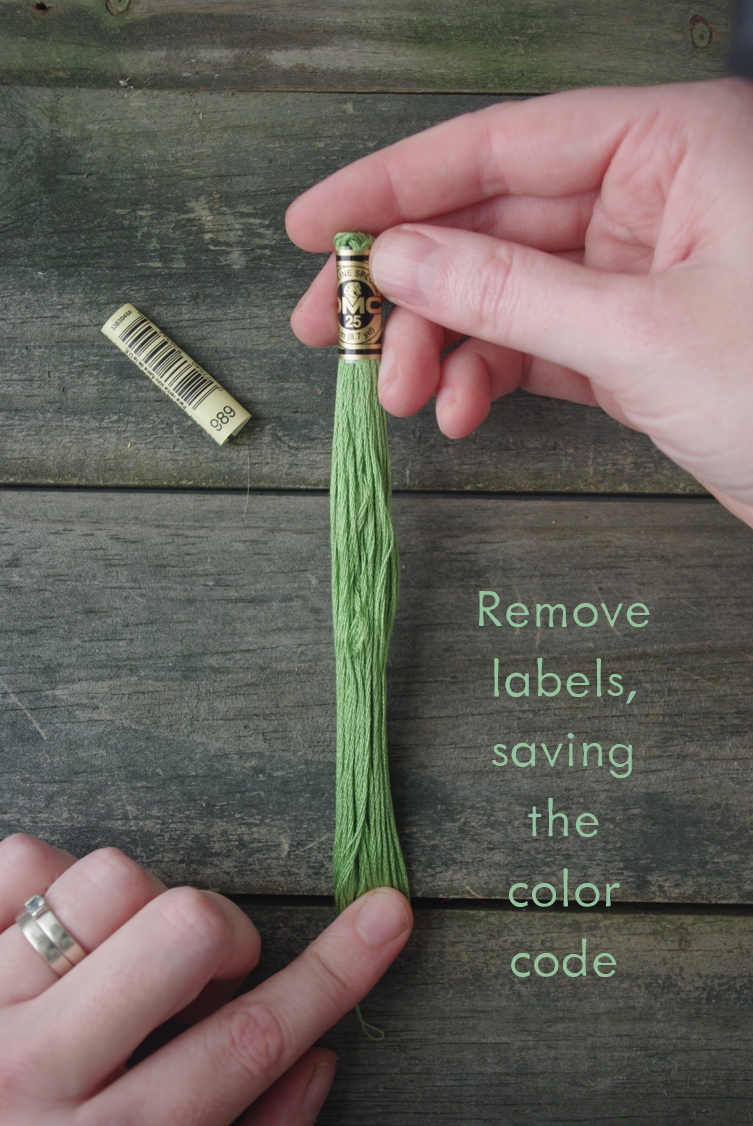
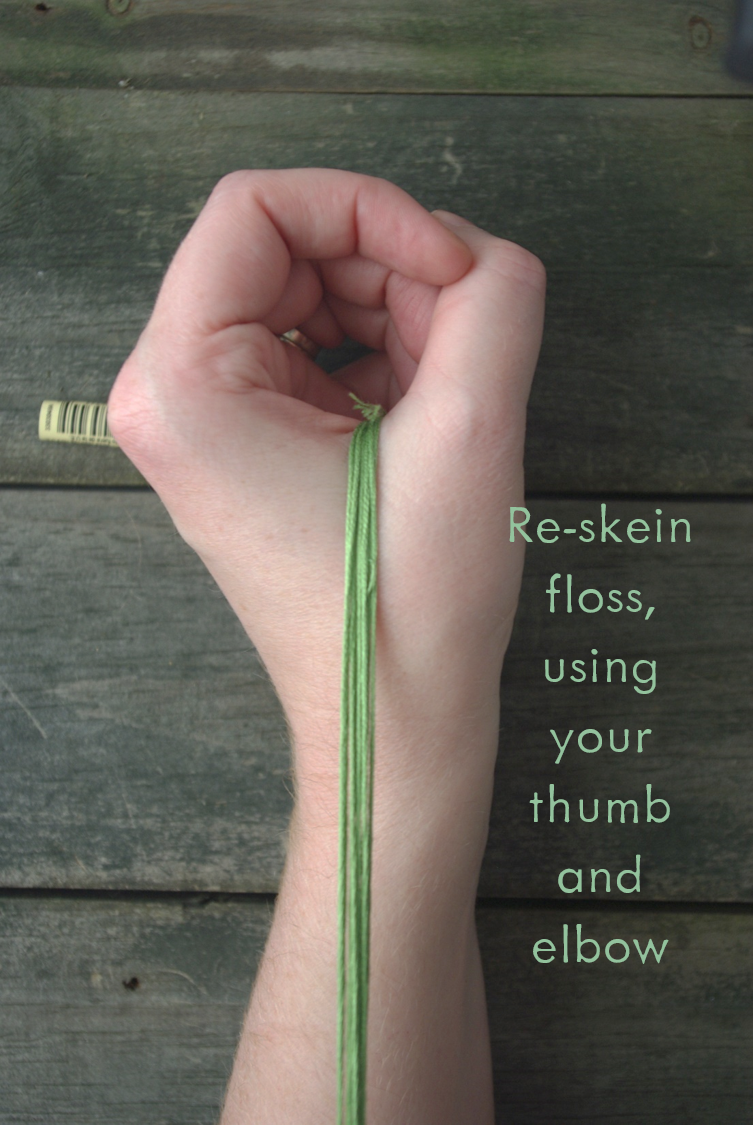
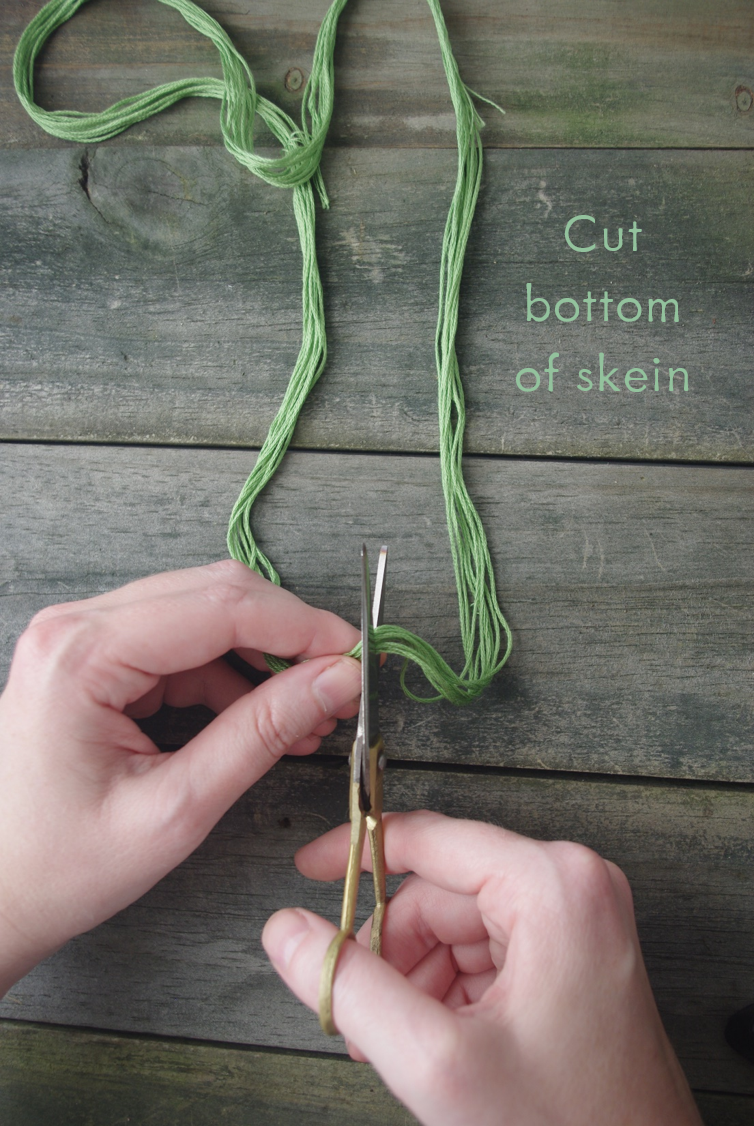
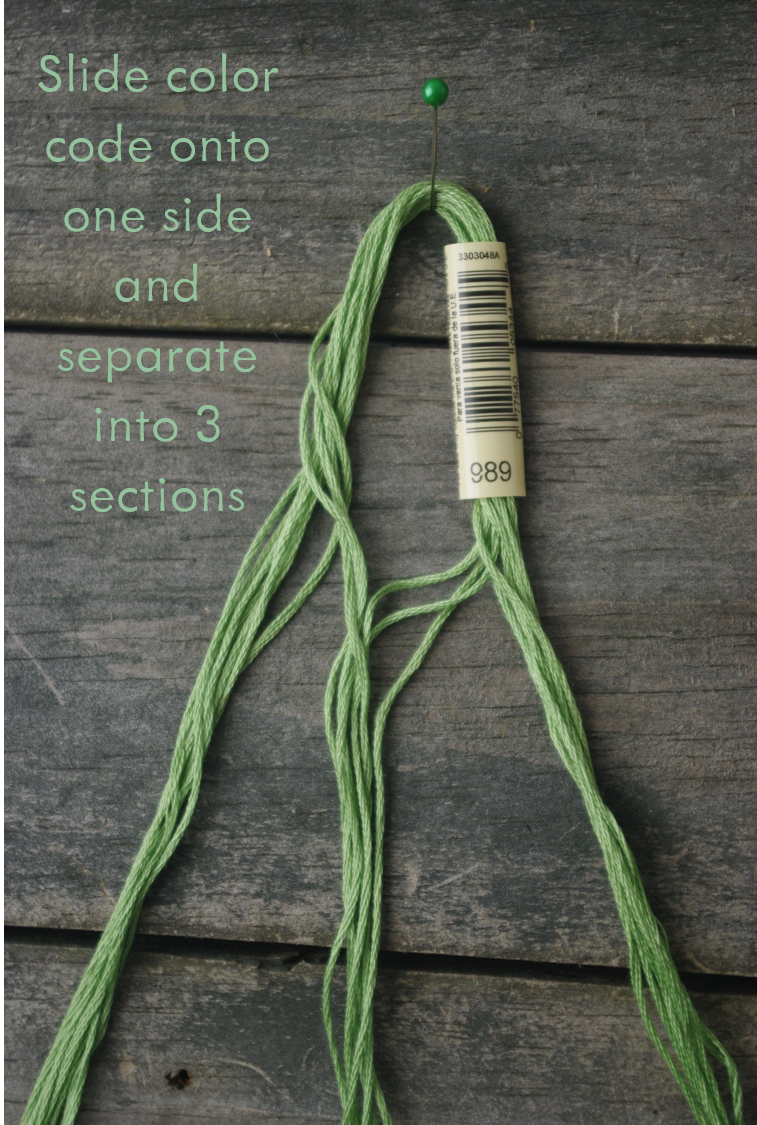
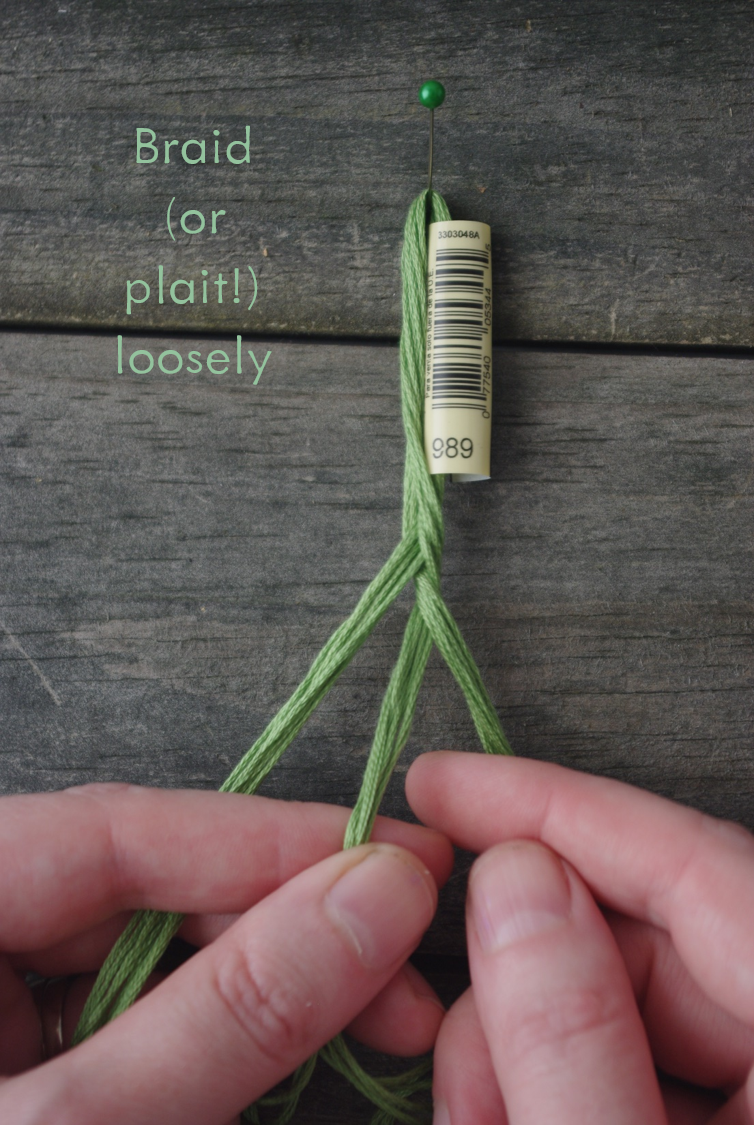
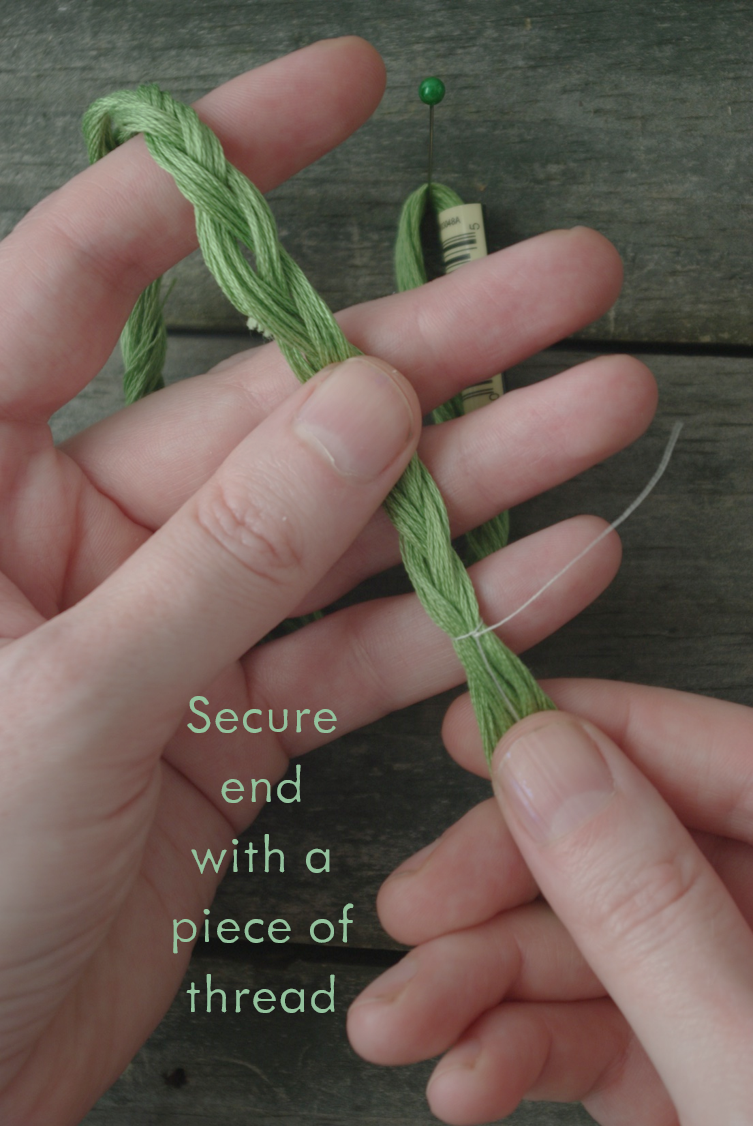
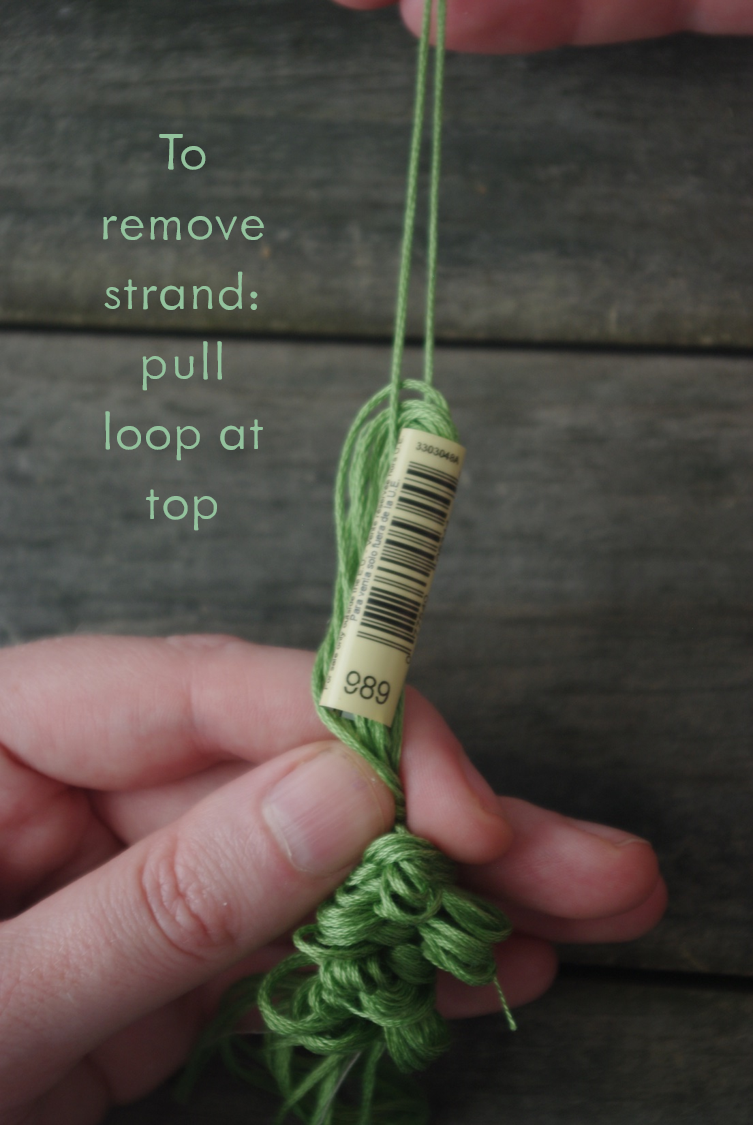
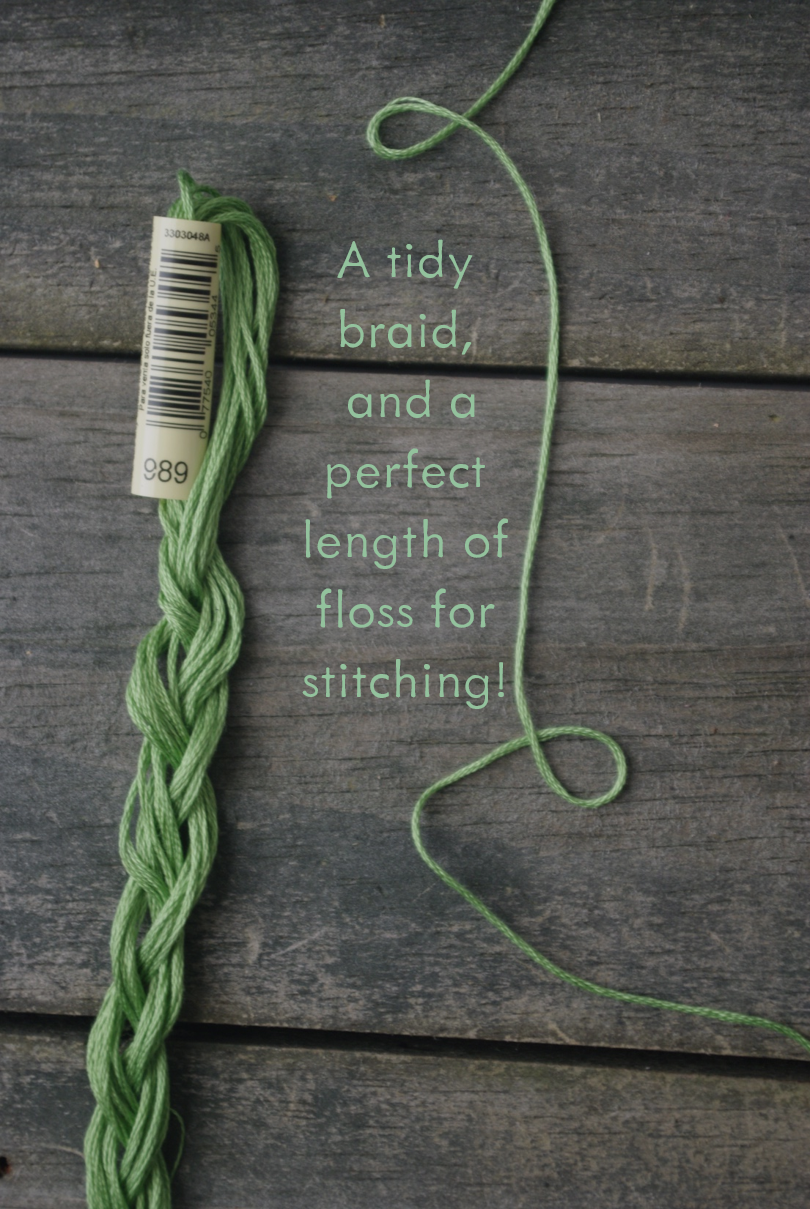
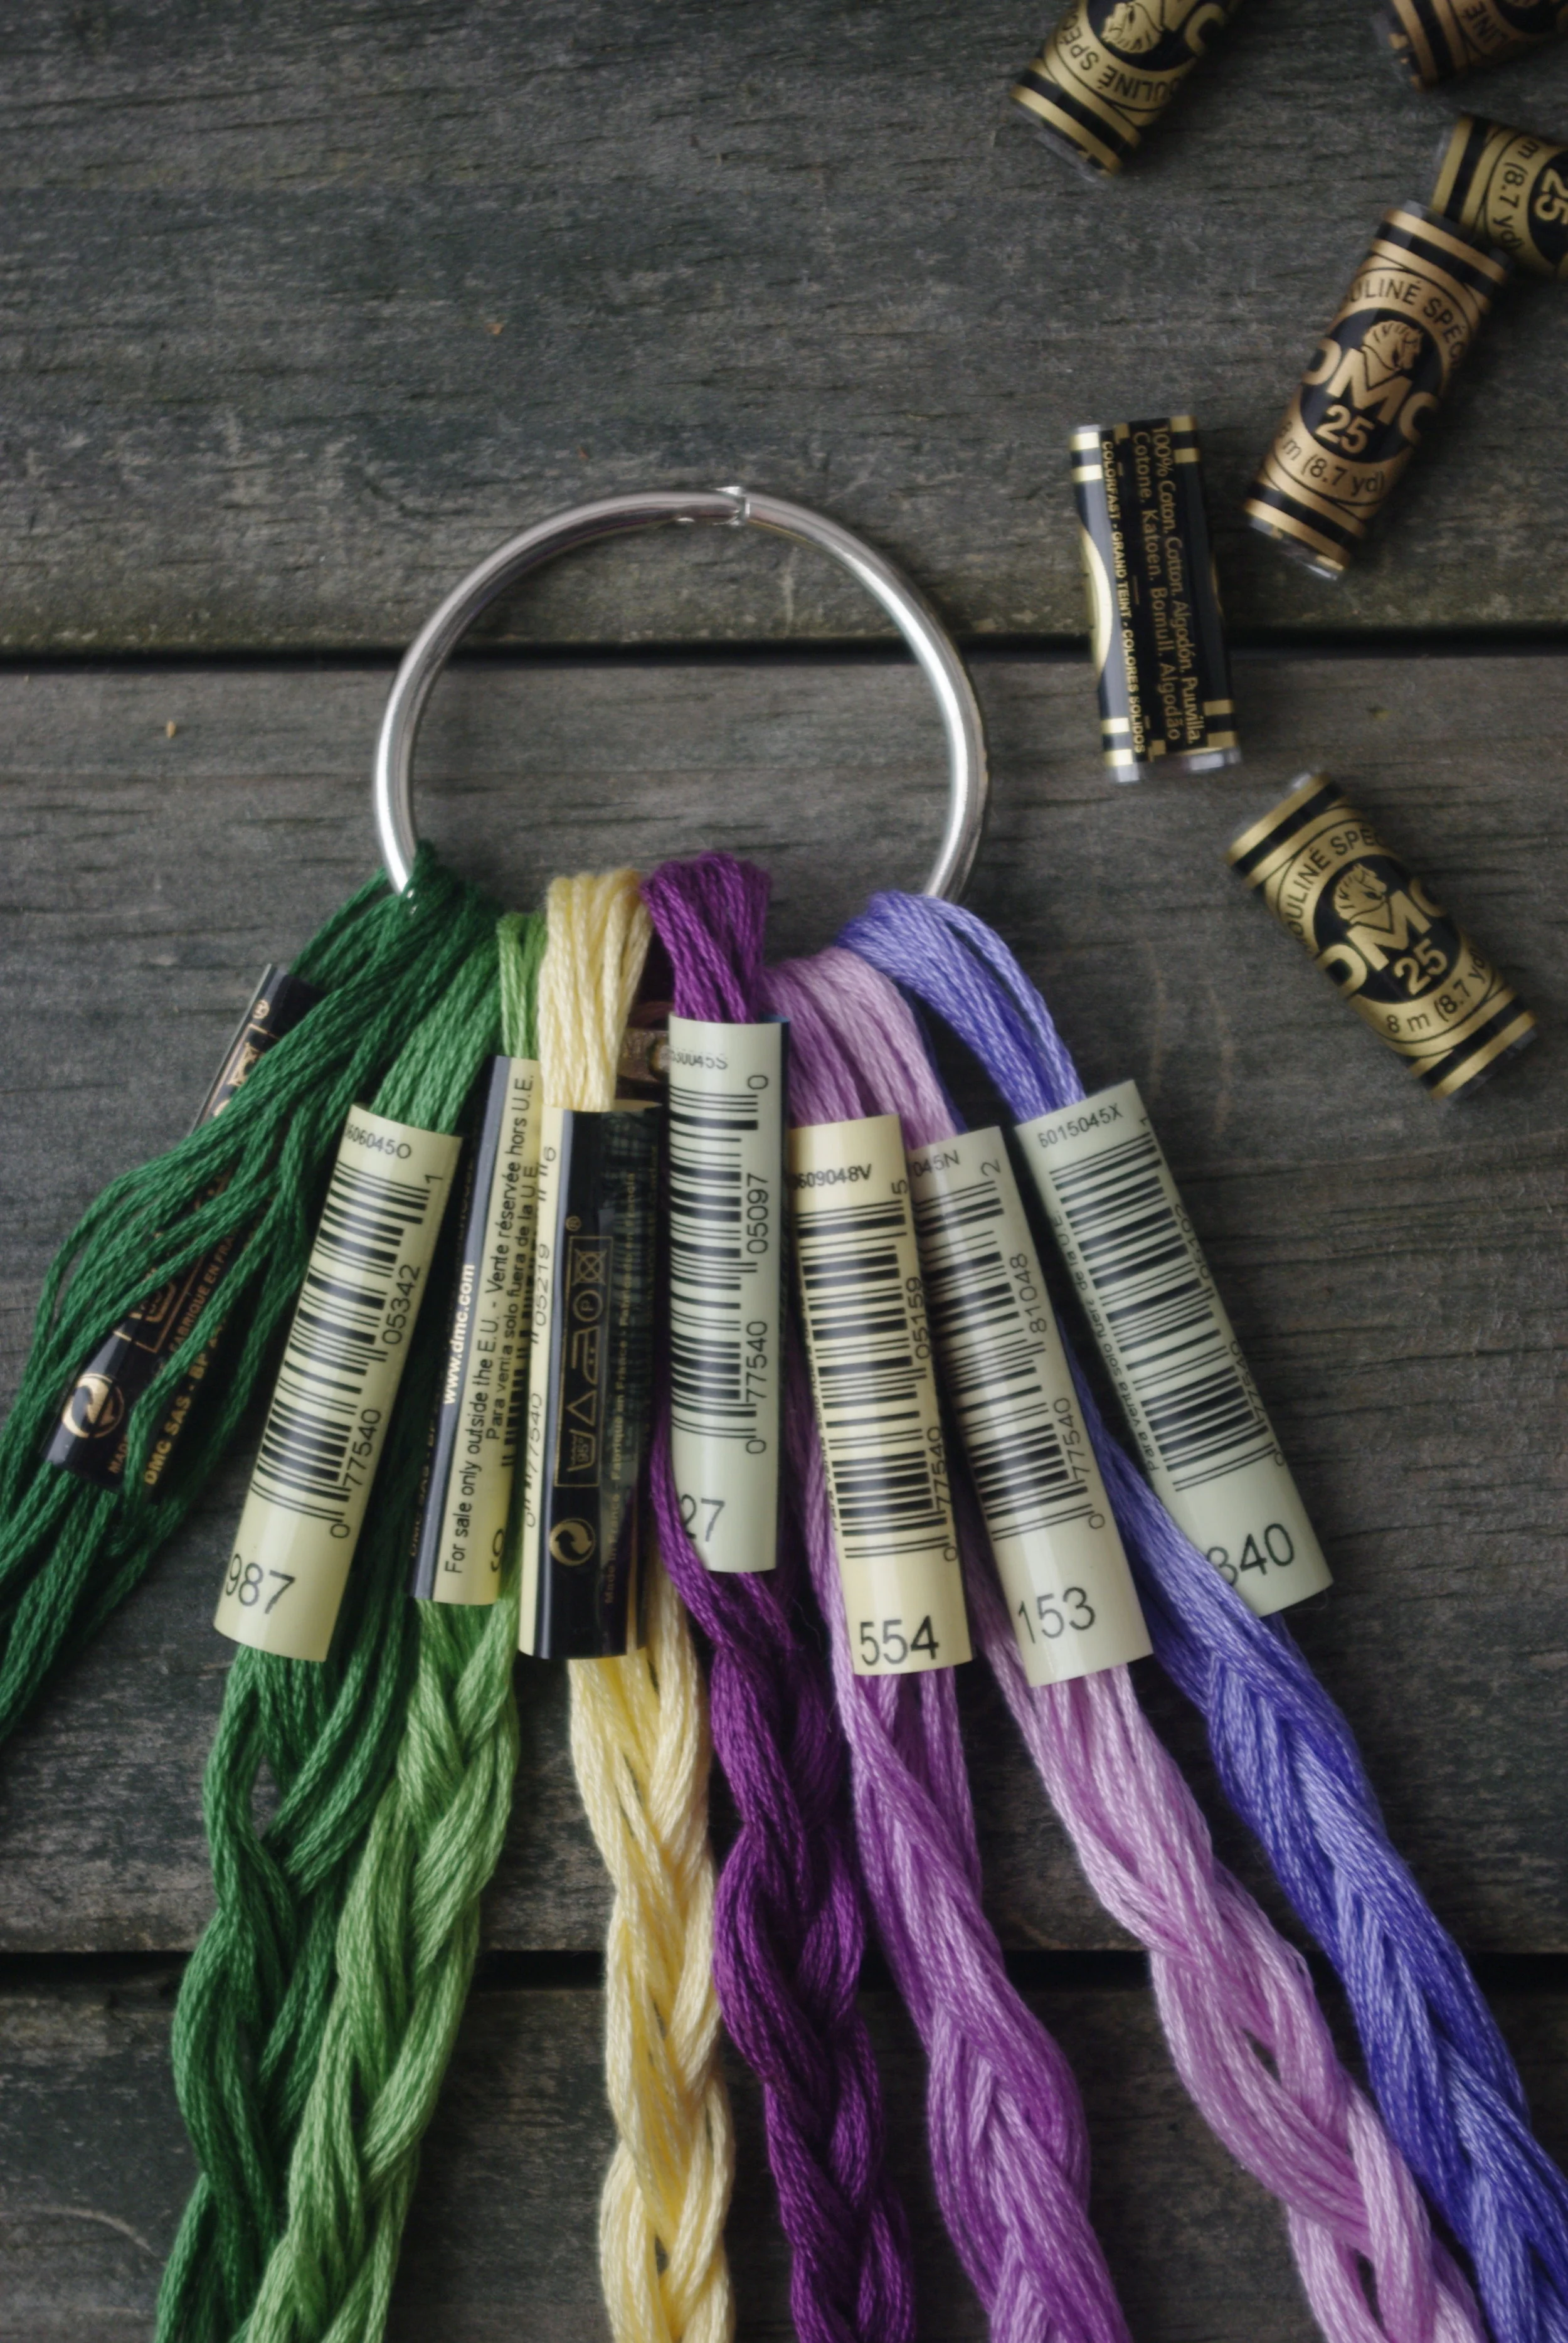
Then an acquaintance introduced me to floss braids and it was a gamer changer for me. No special equipment needed, quick and easy to do, and honestly, kind of pretty. And by using the existing label, I didn't have to rewrite the color code on anything, and spare lengths could be looped back through the label..But the best part was that the thread was already cut into perfect lengths for stitching.
Like I said, game changer.
EMBROIDERY KITS & PATTERNS