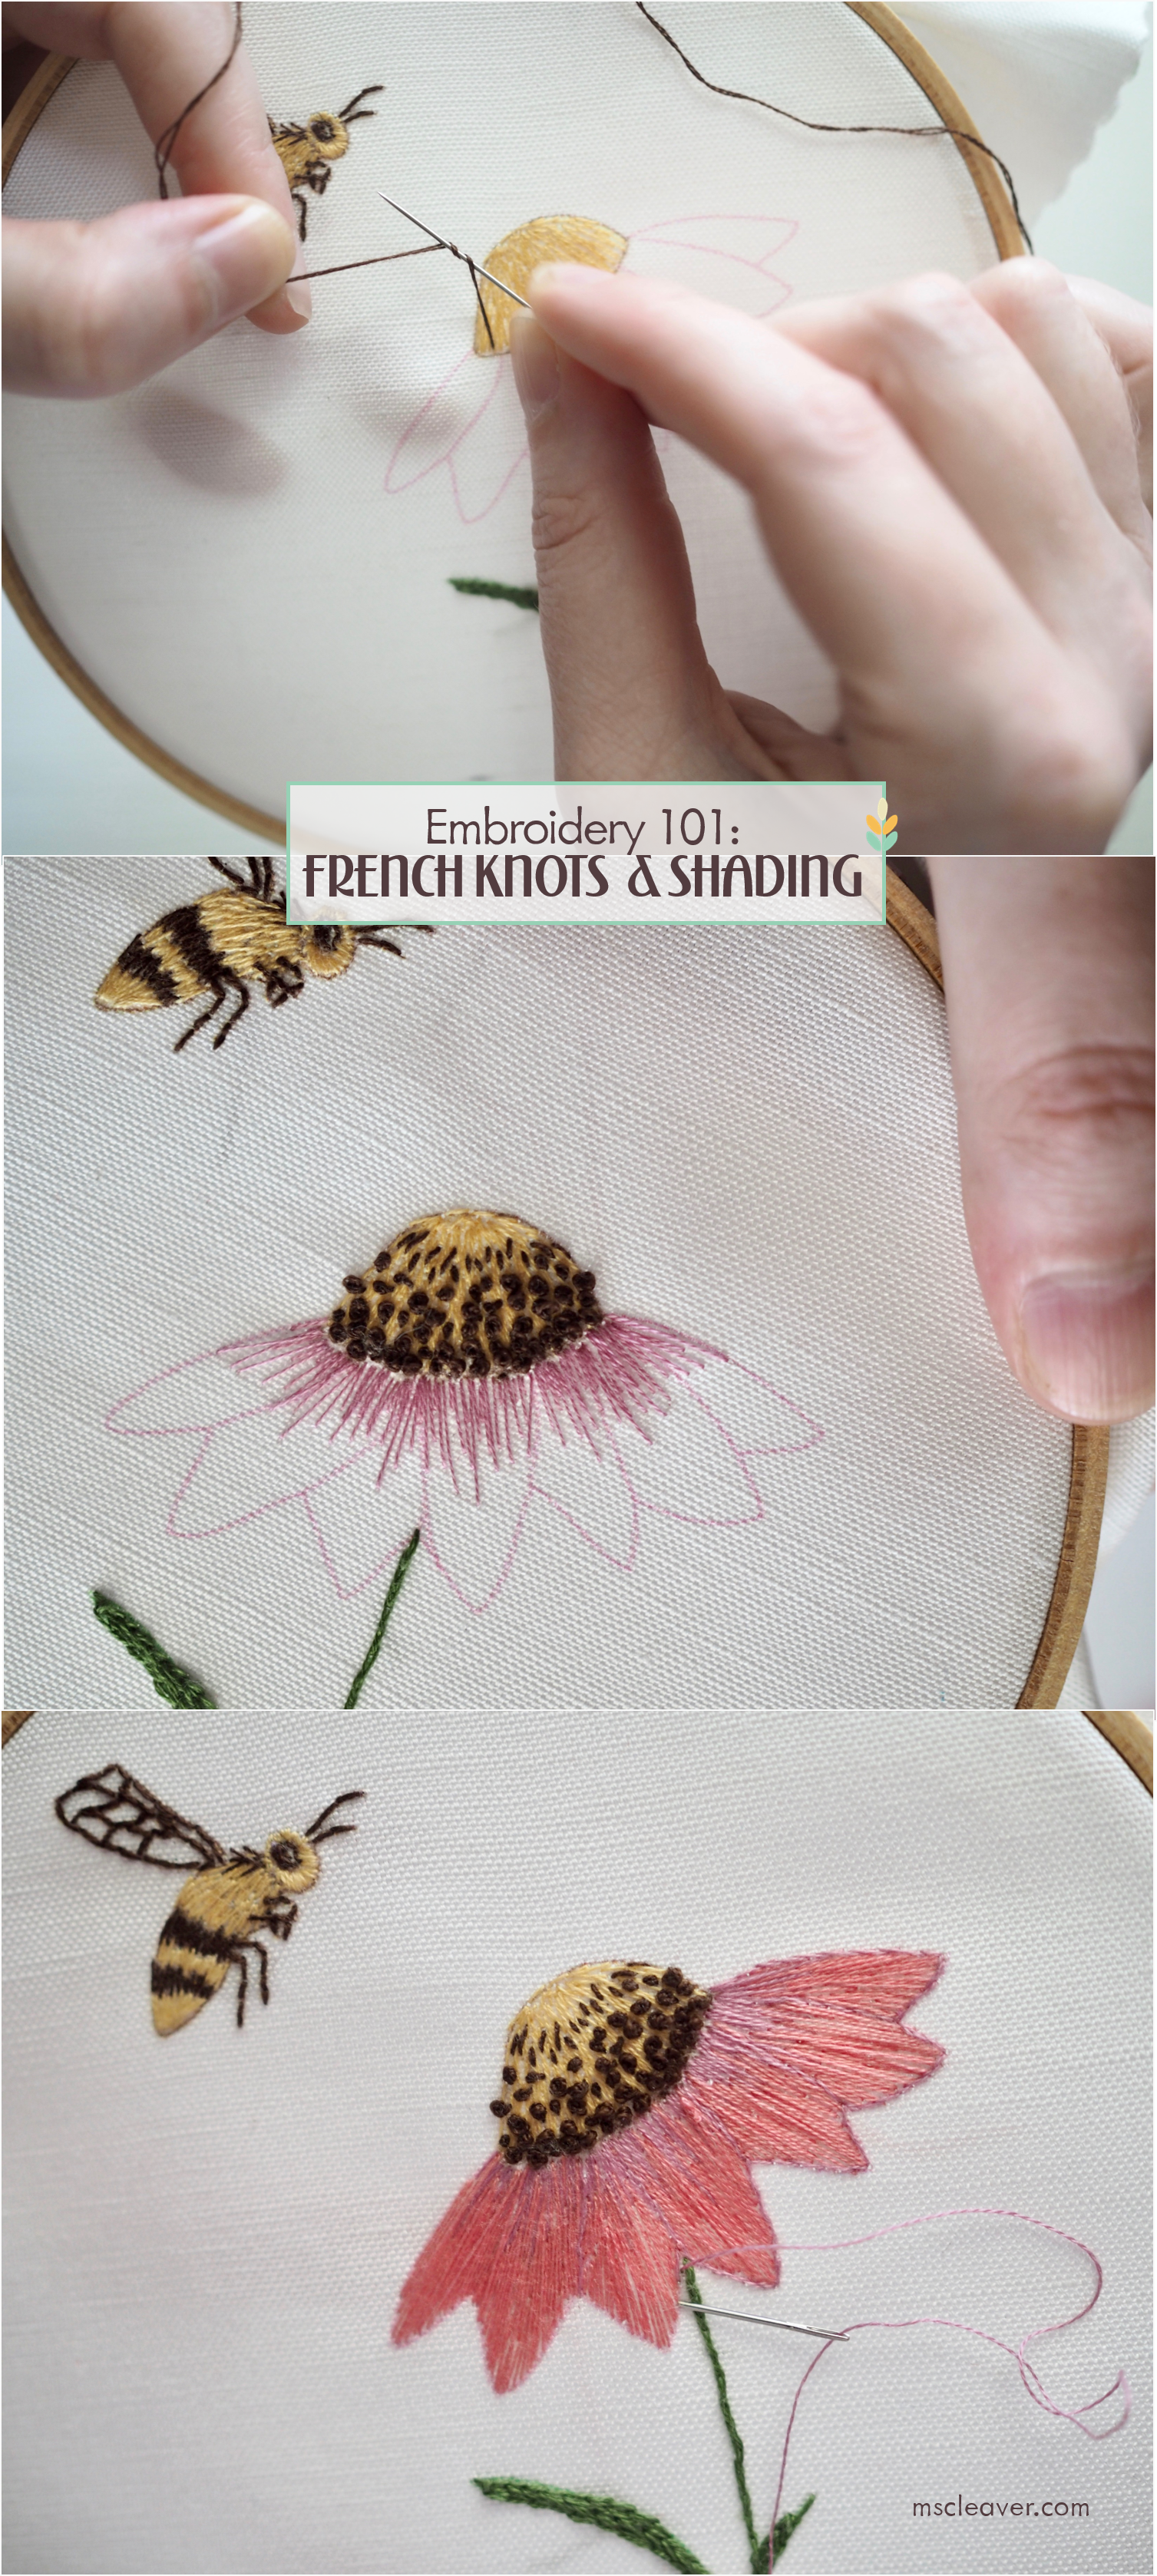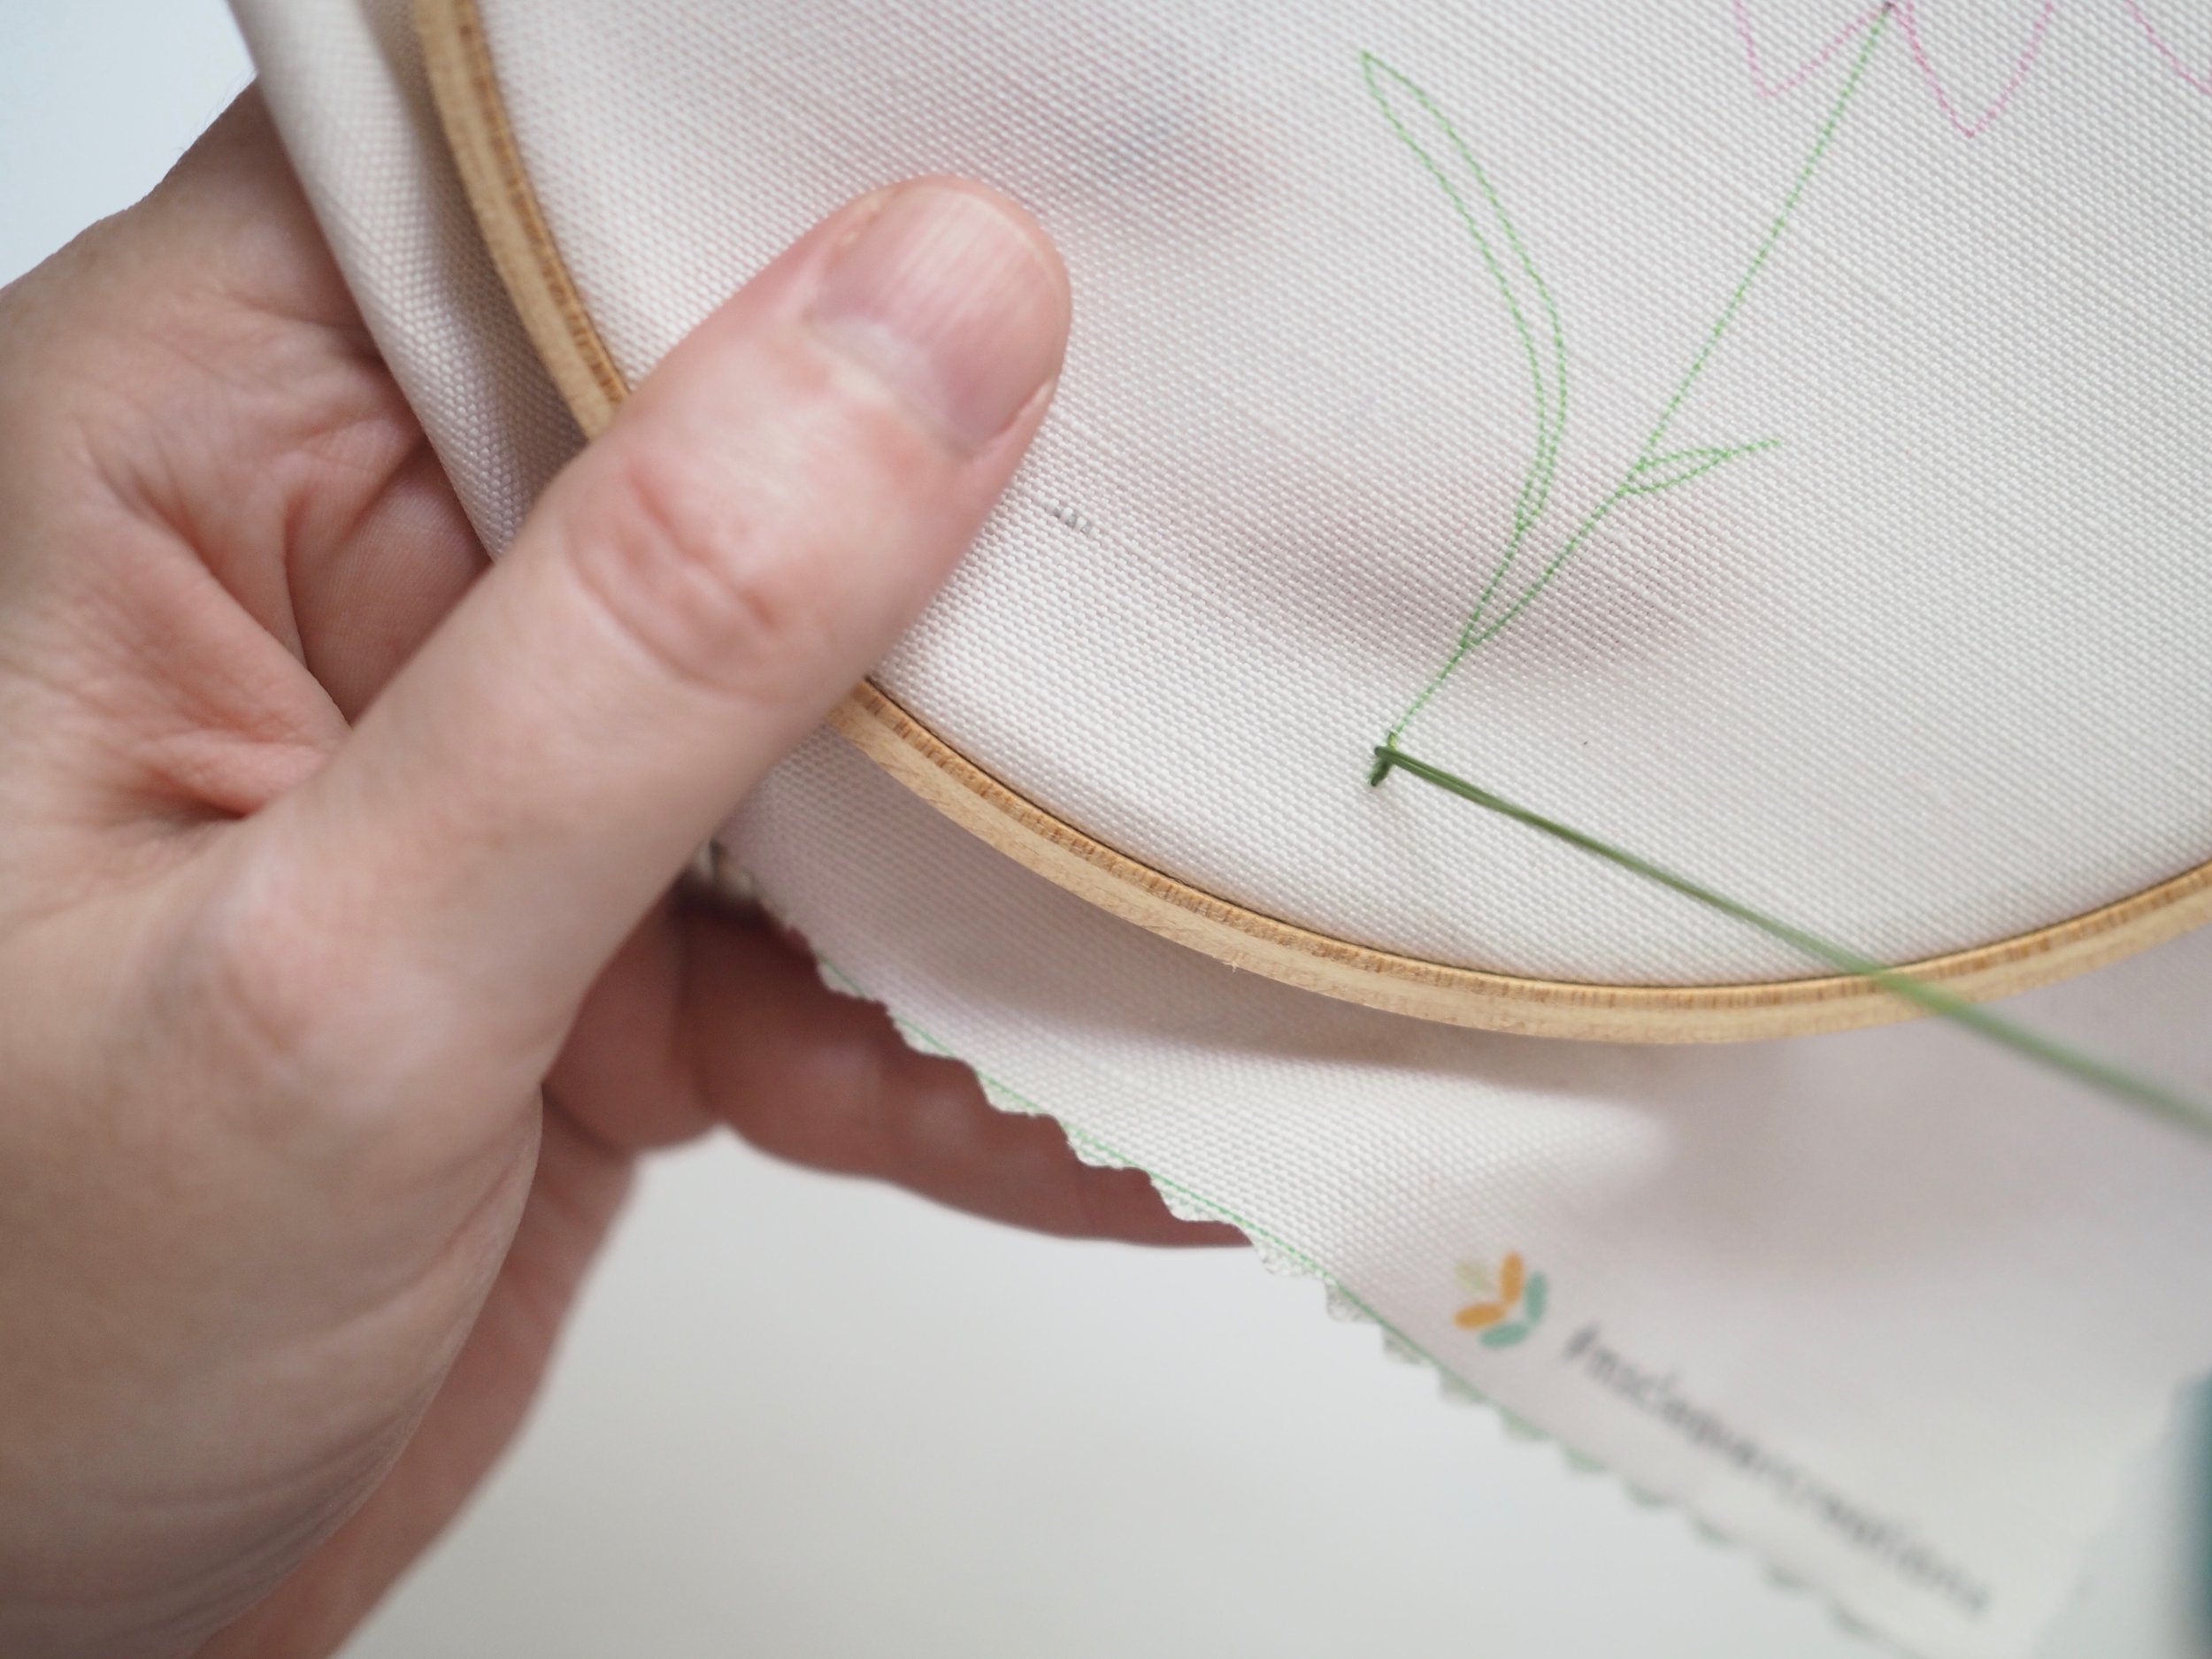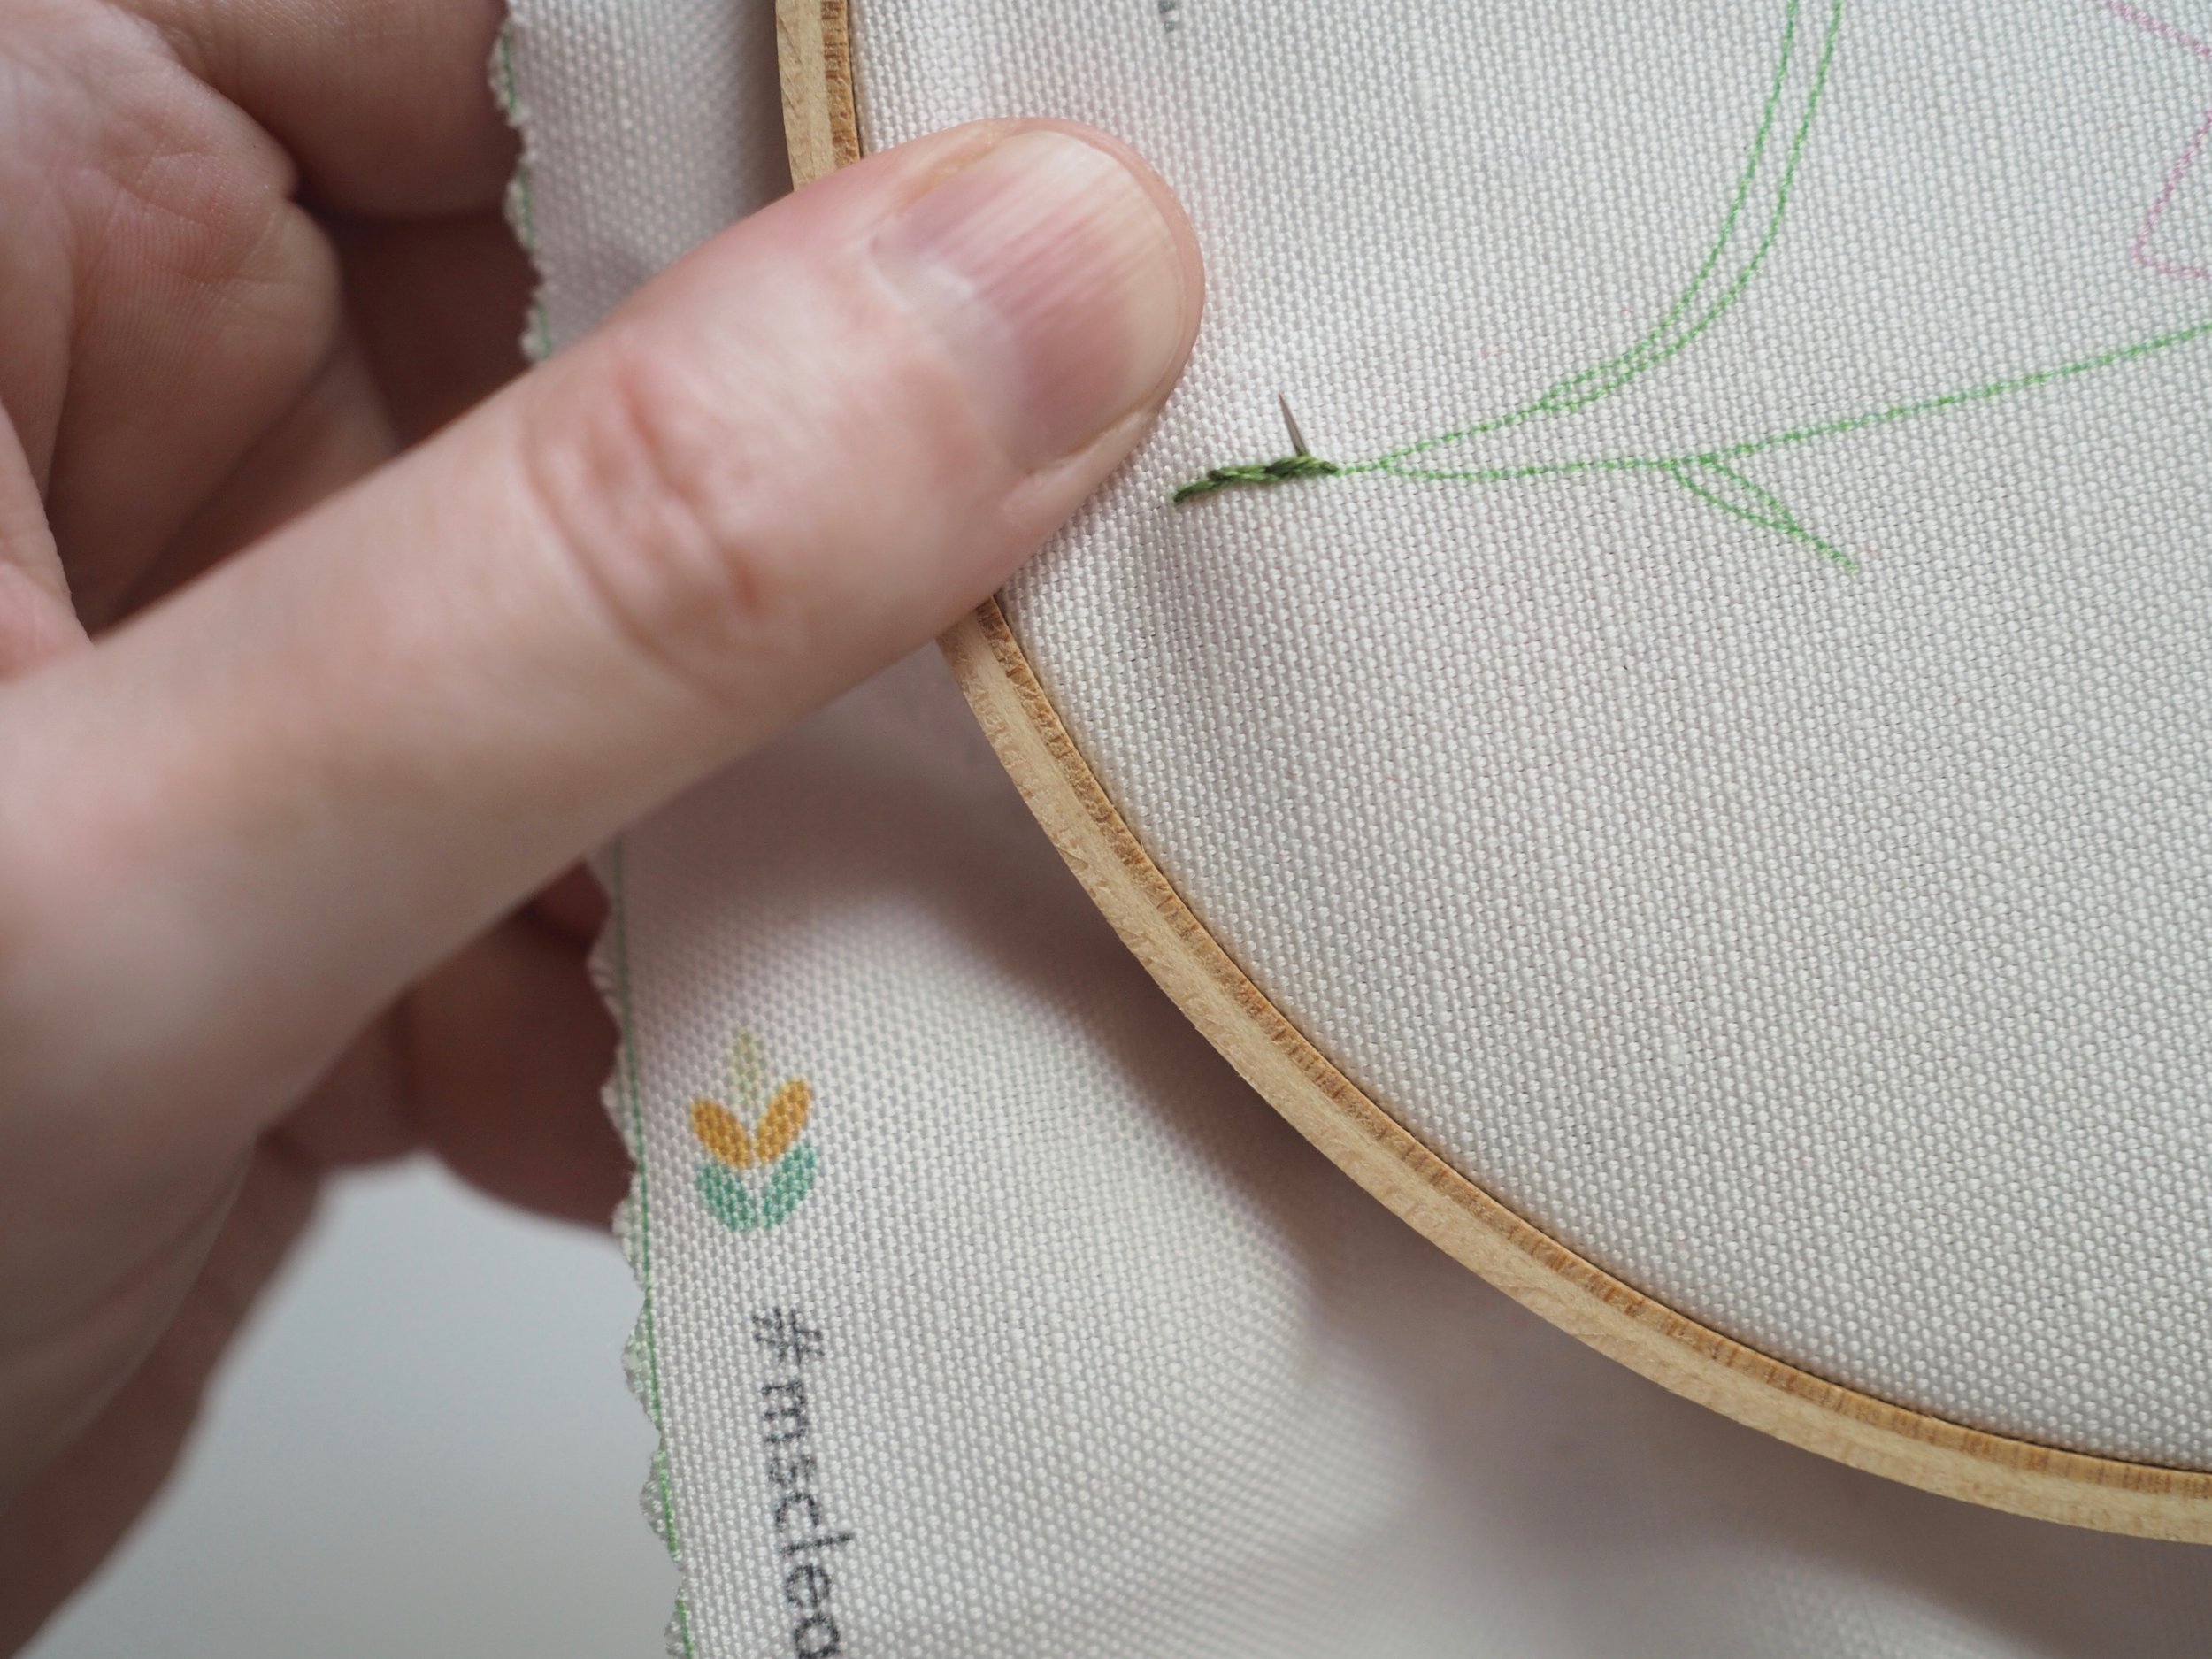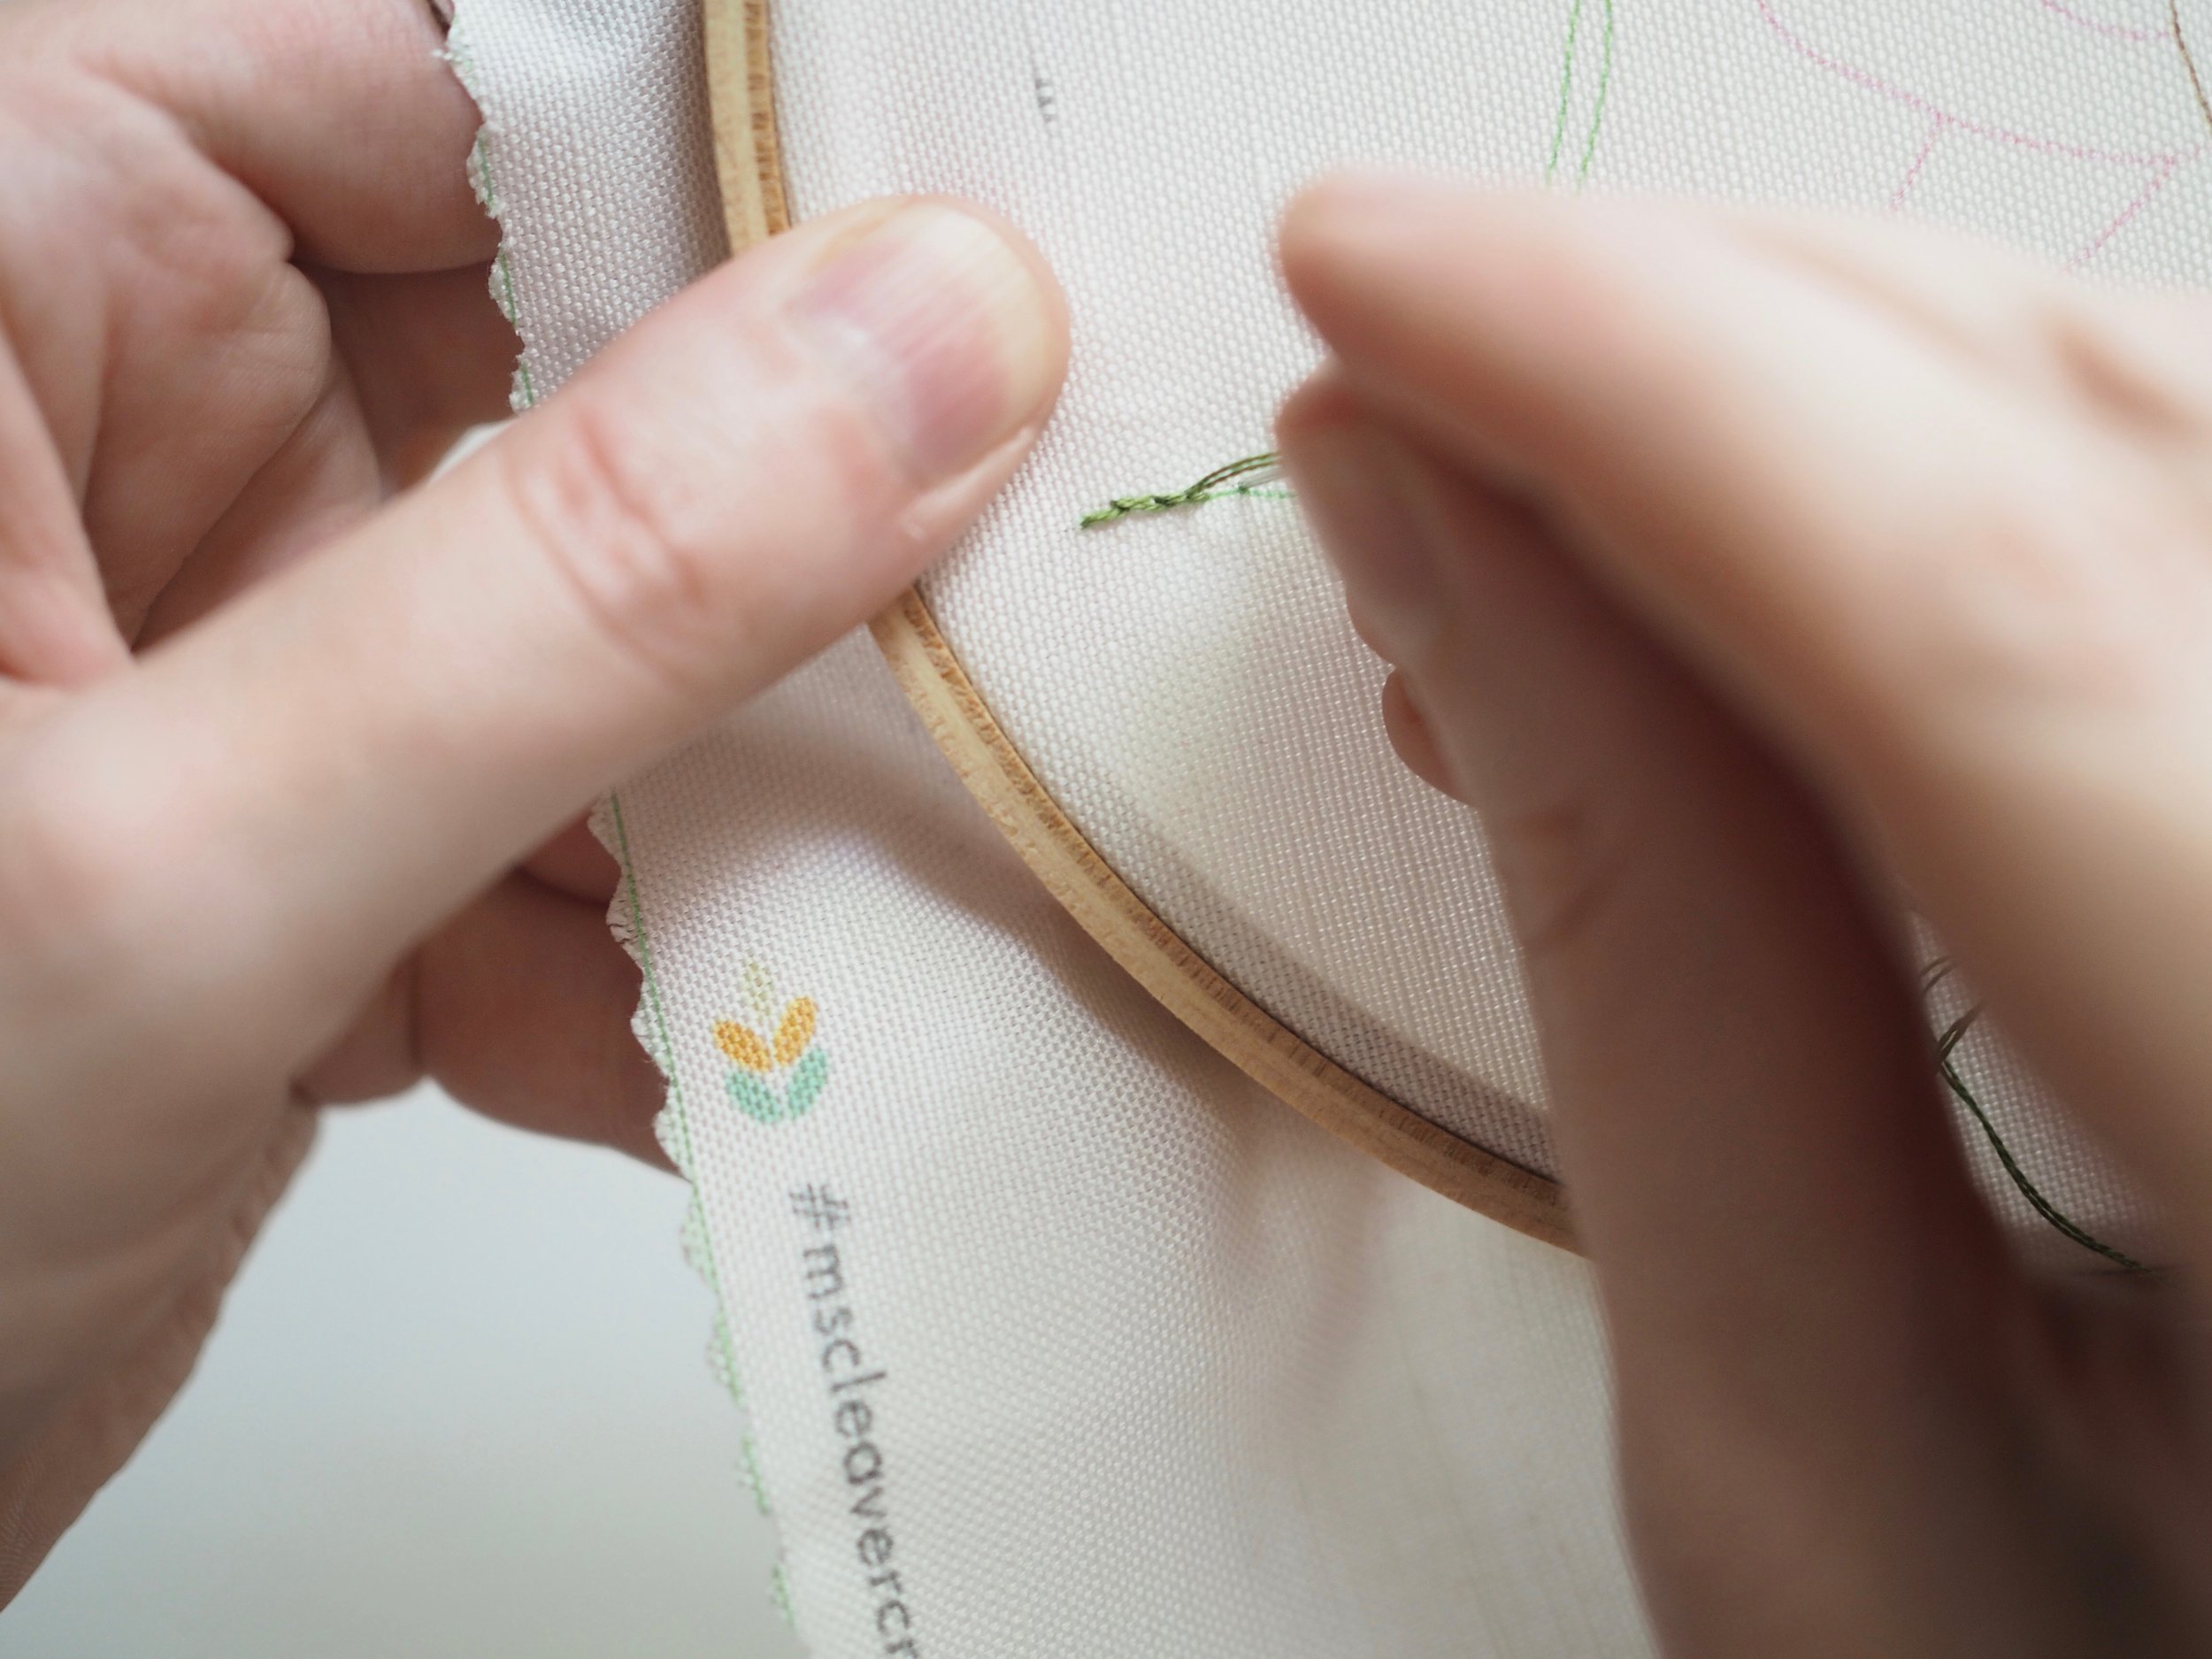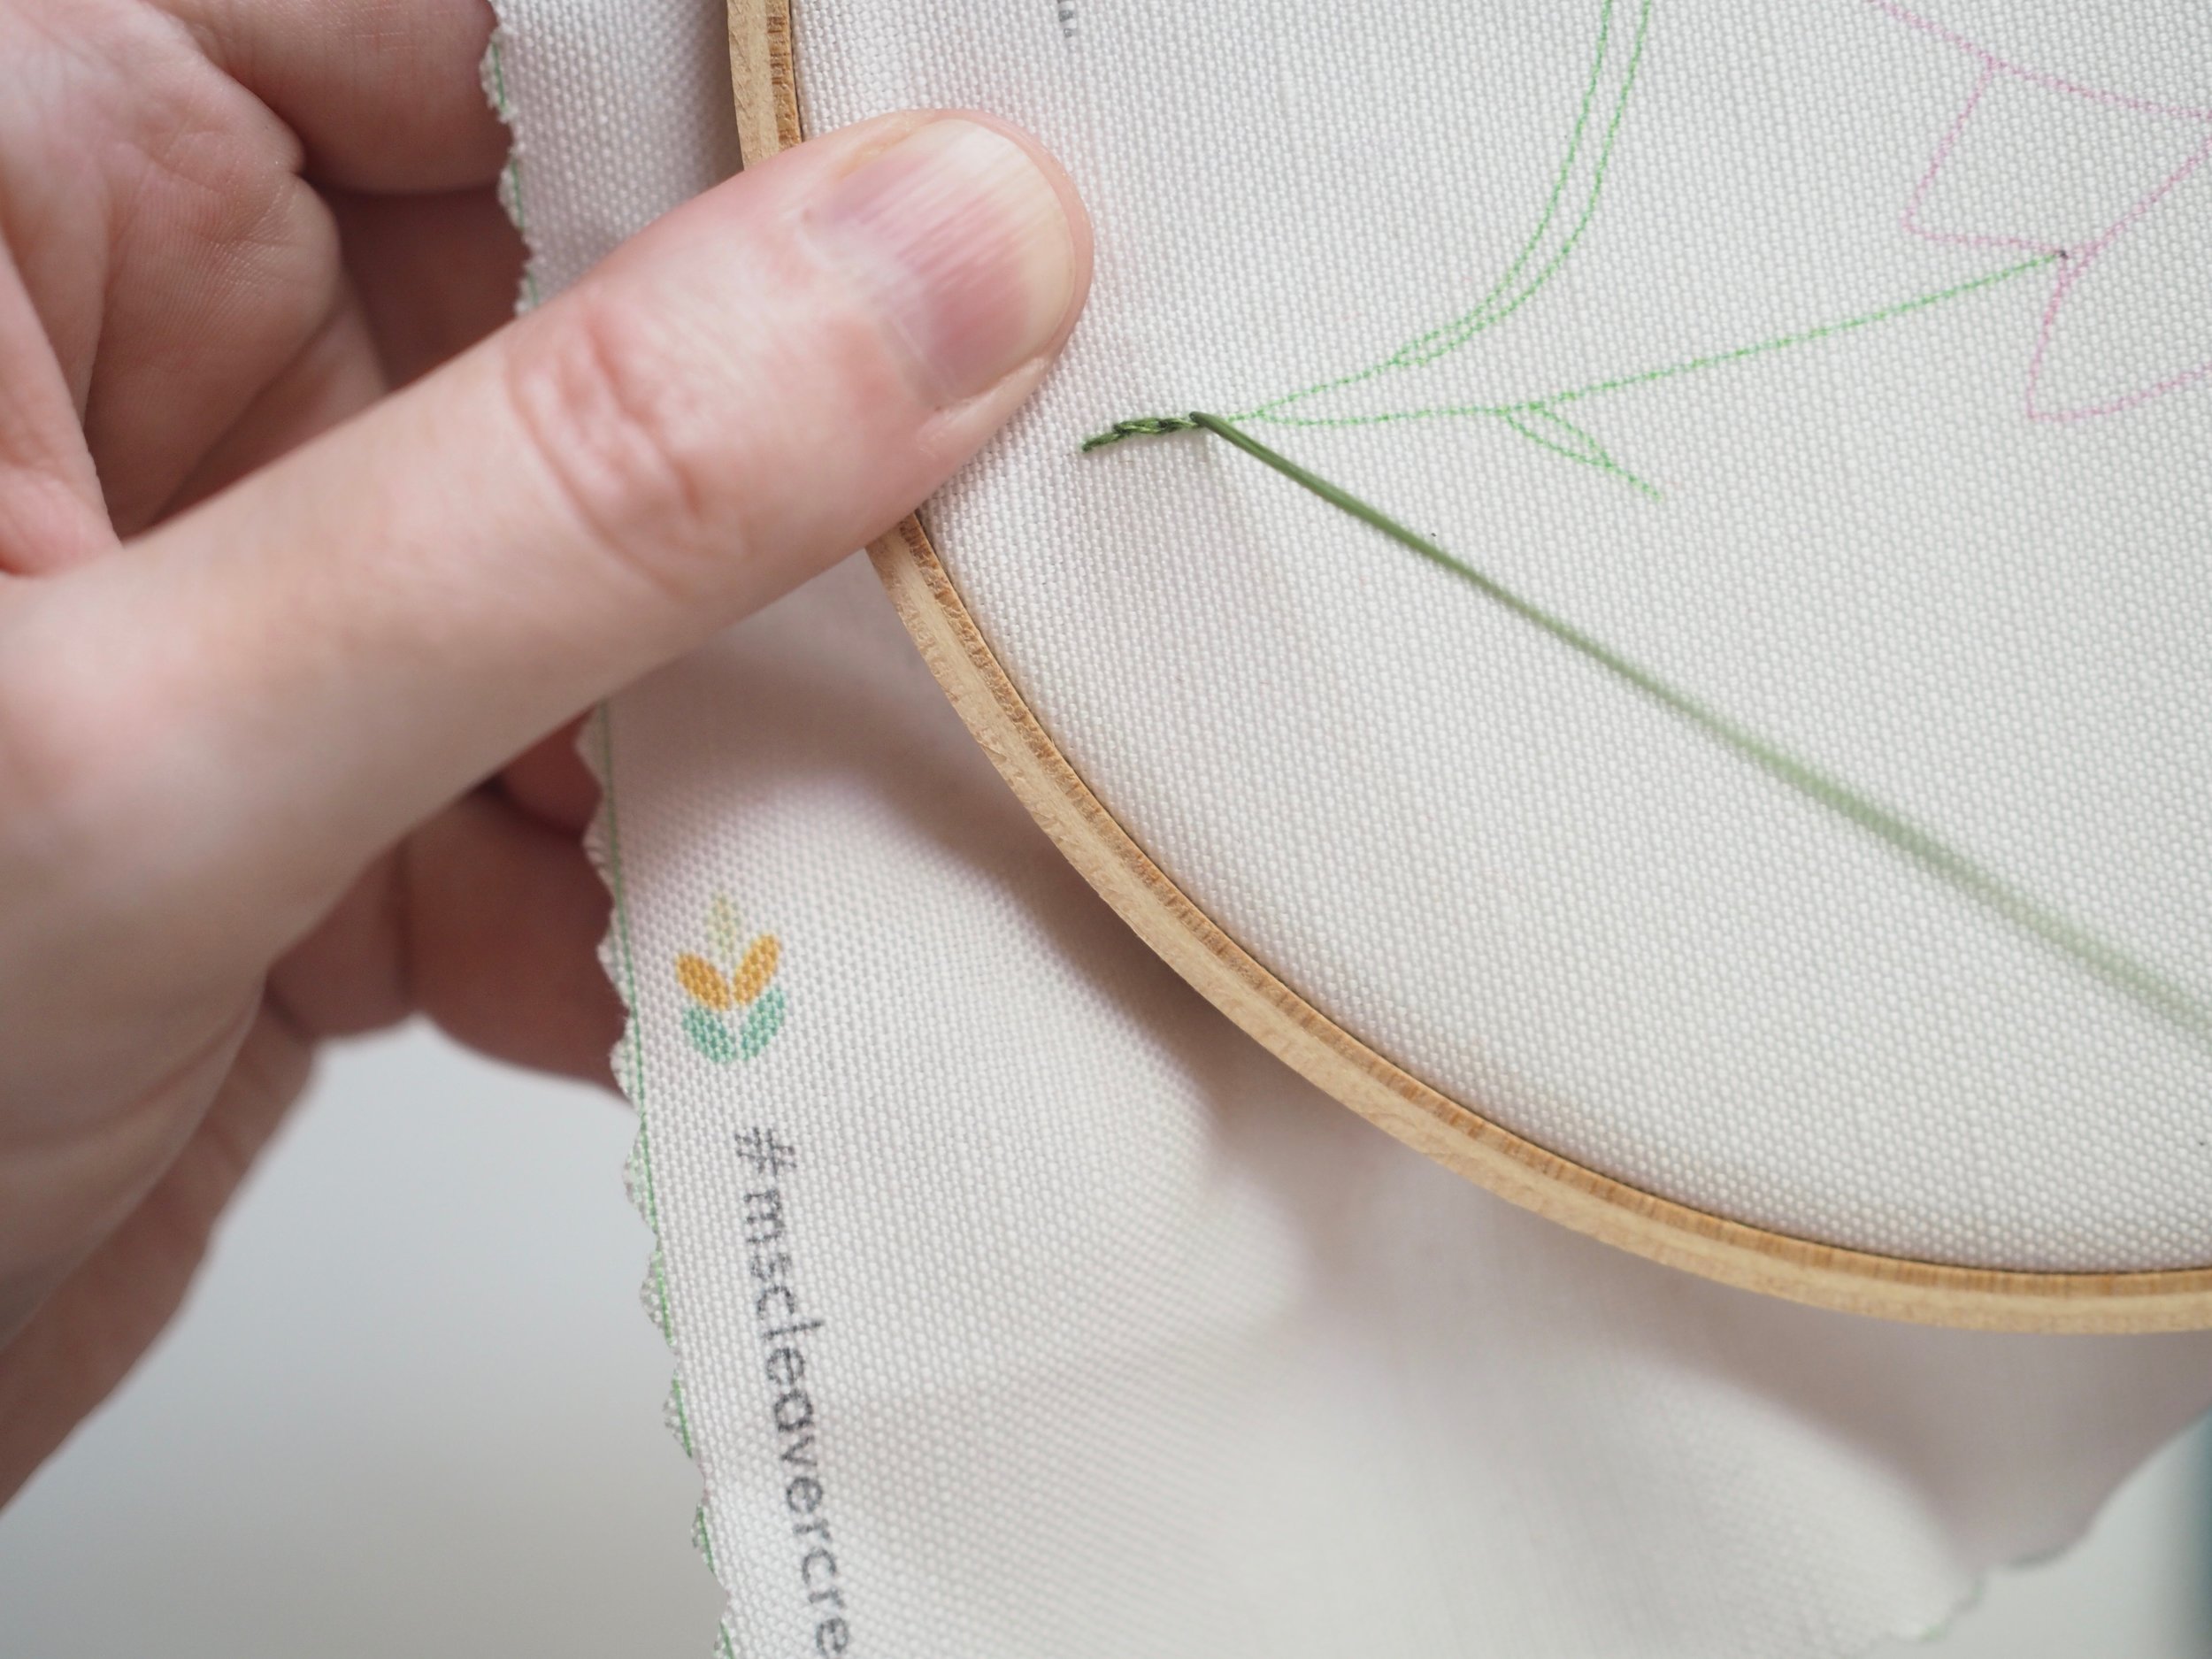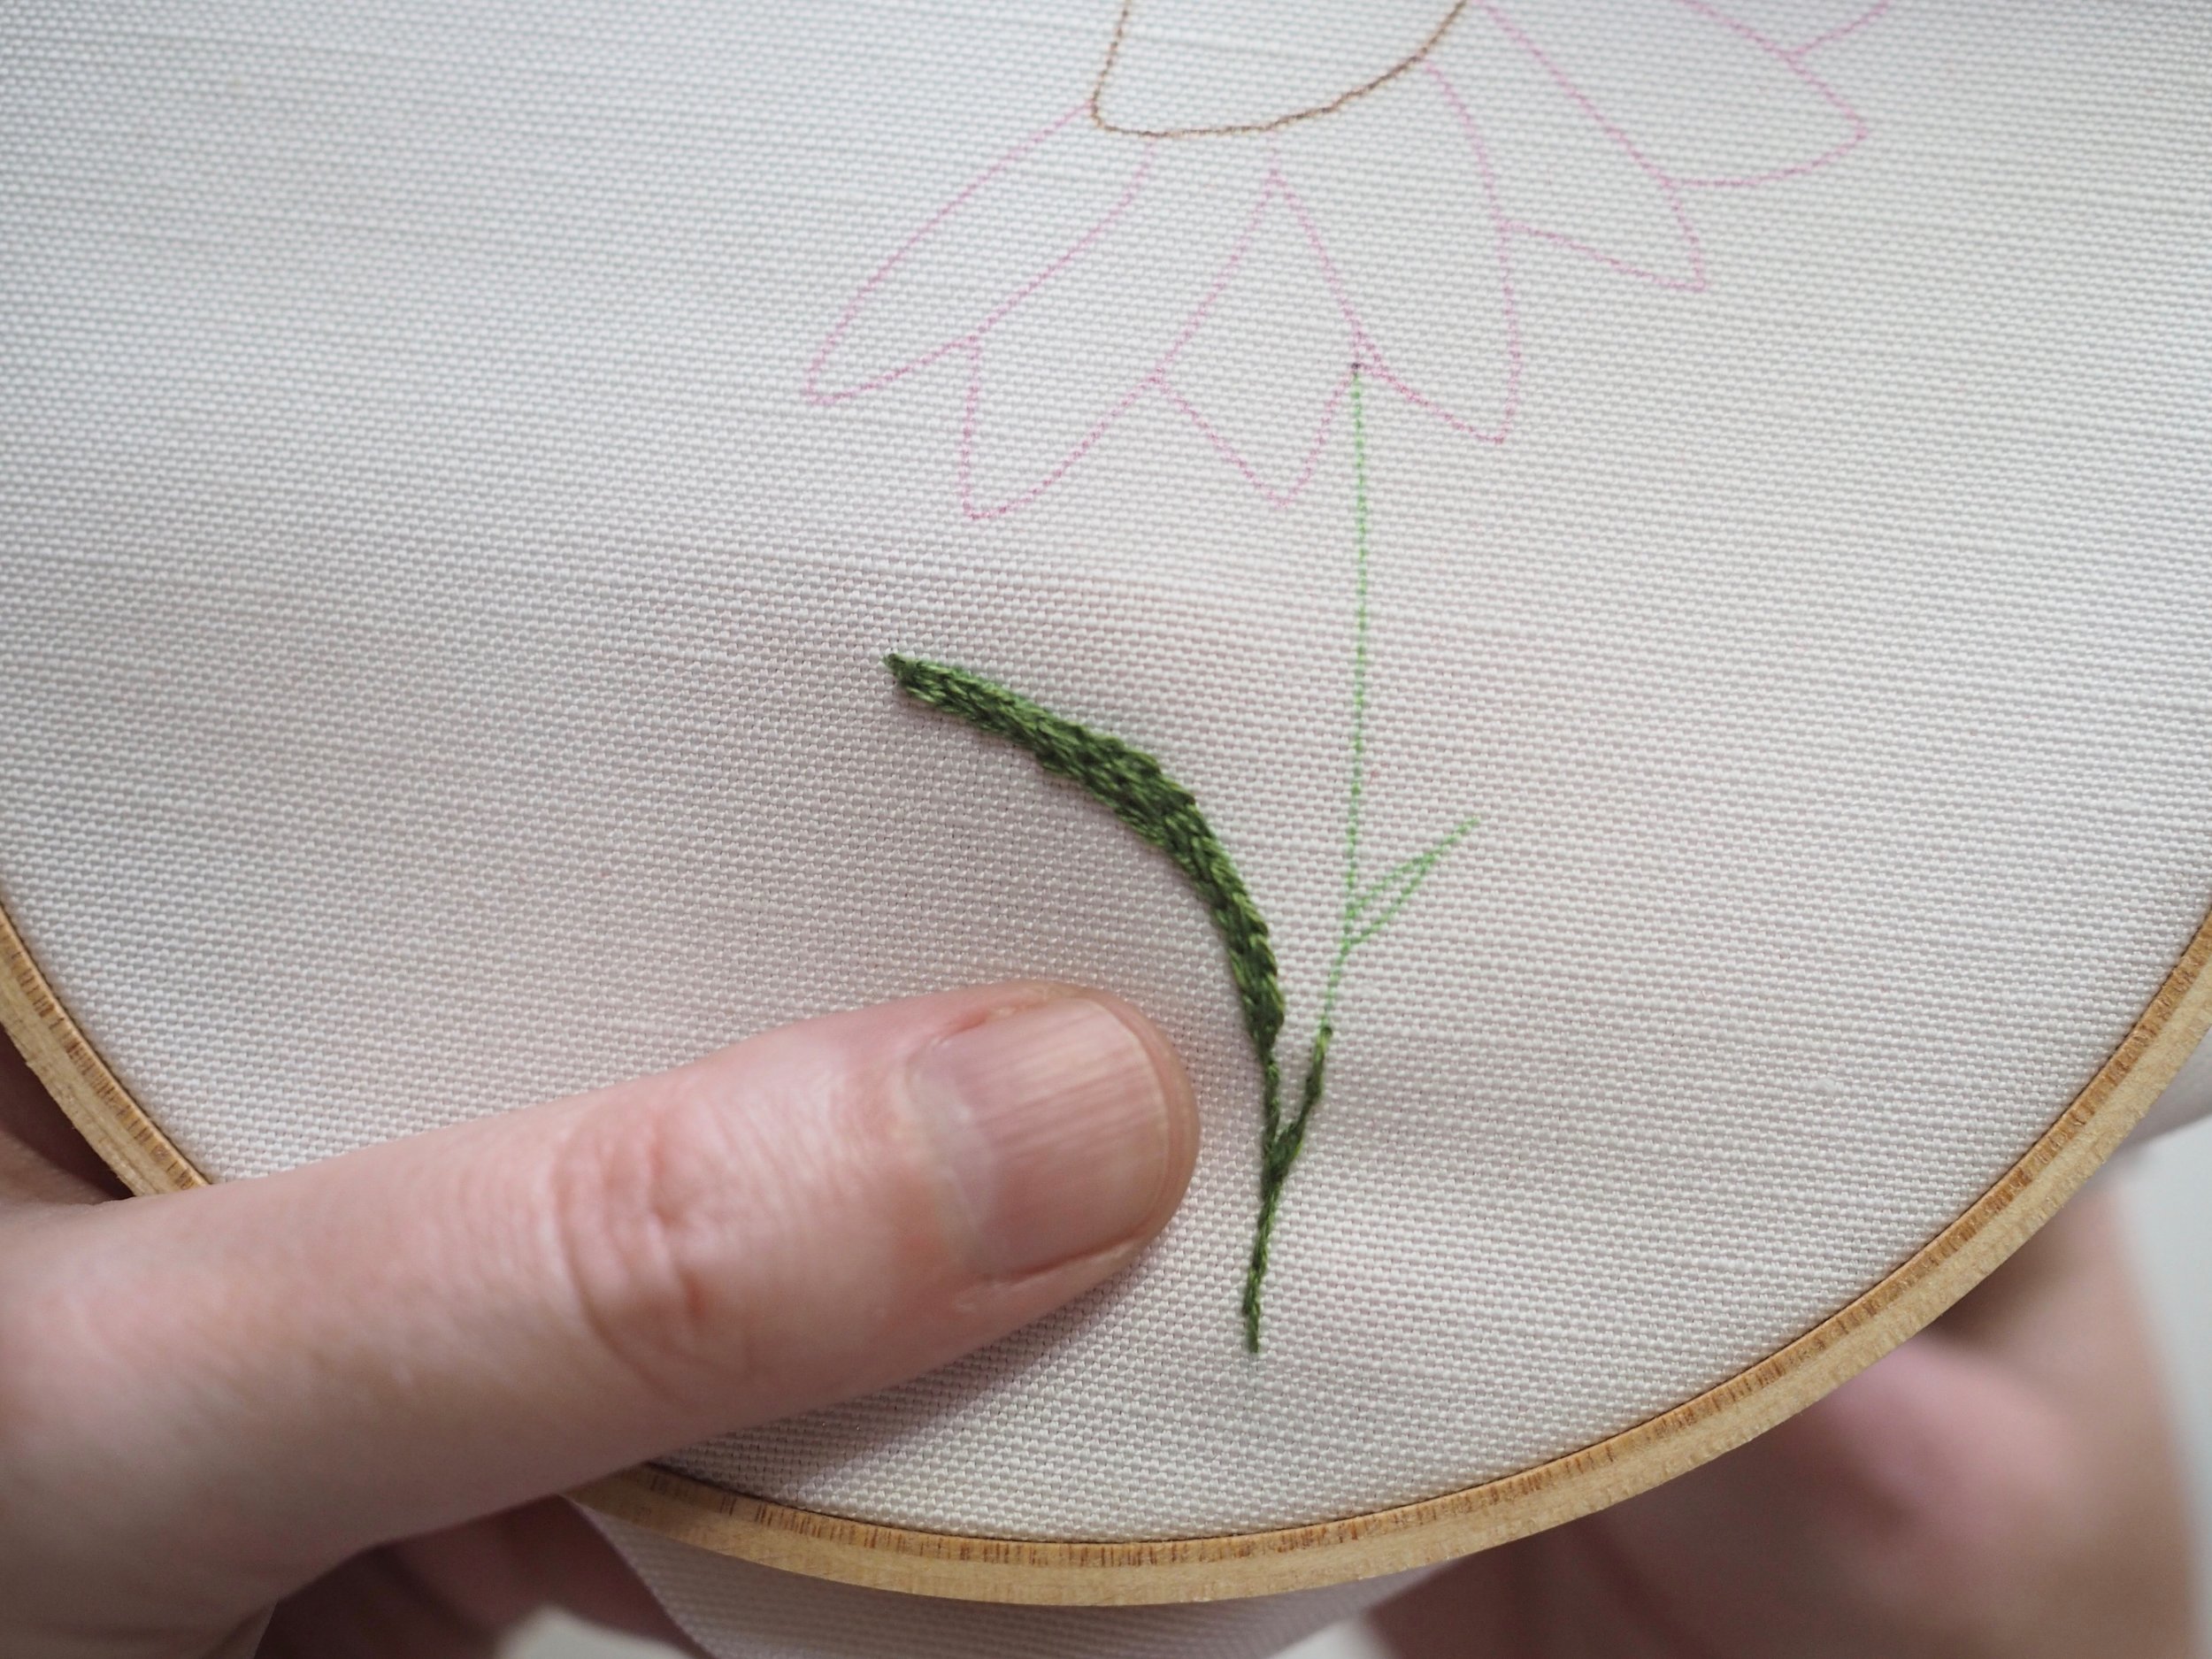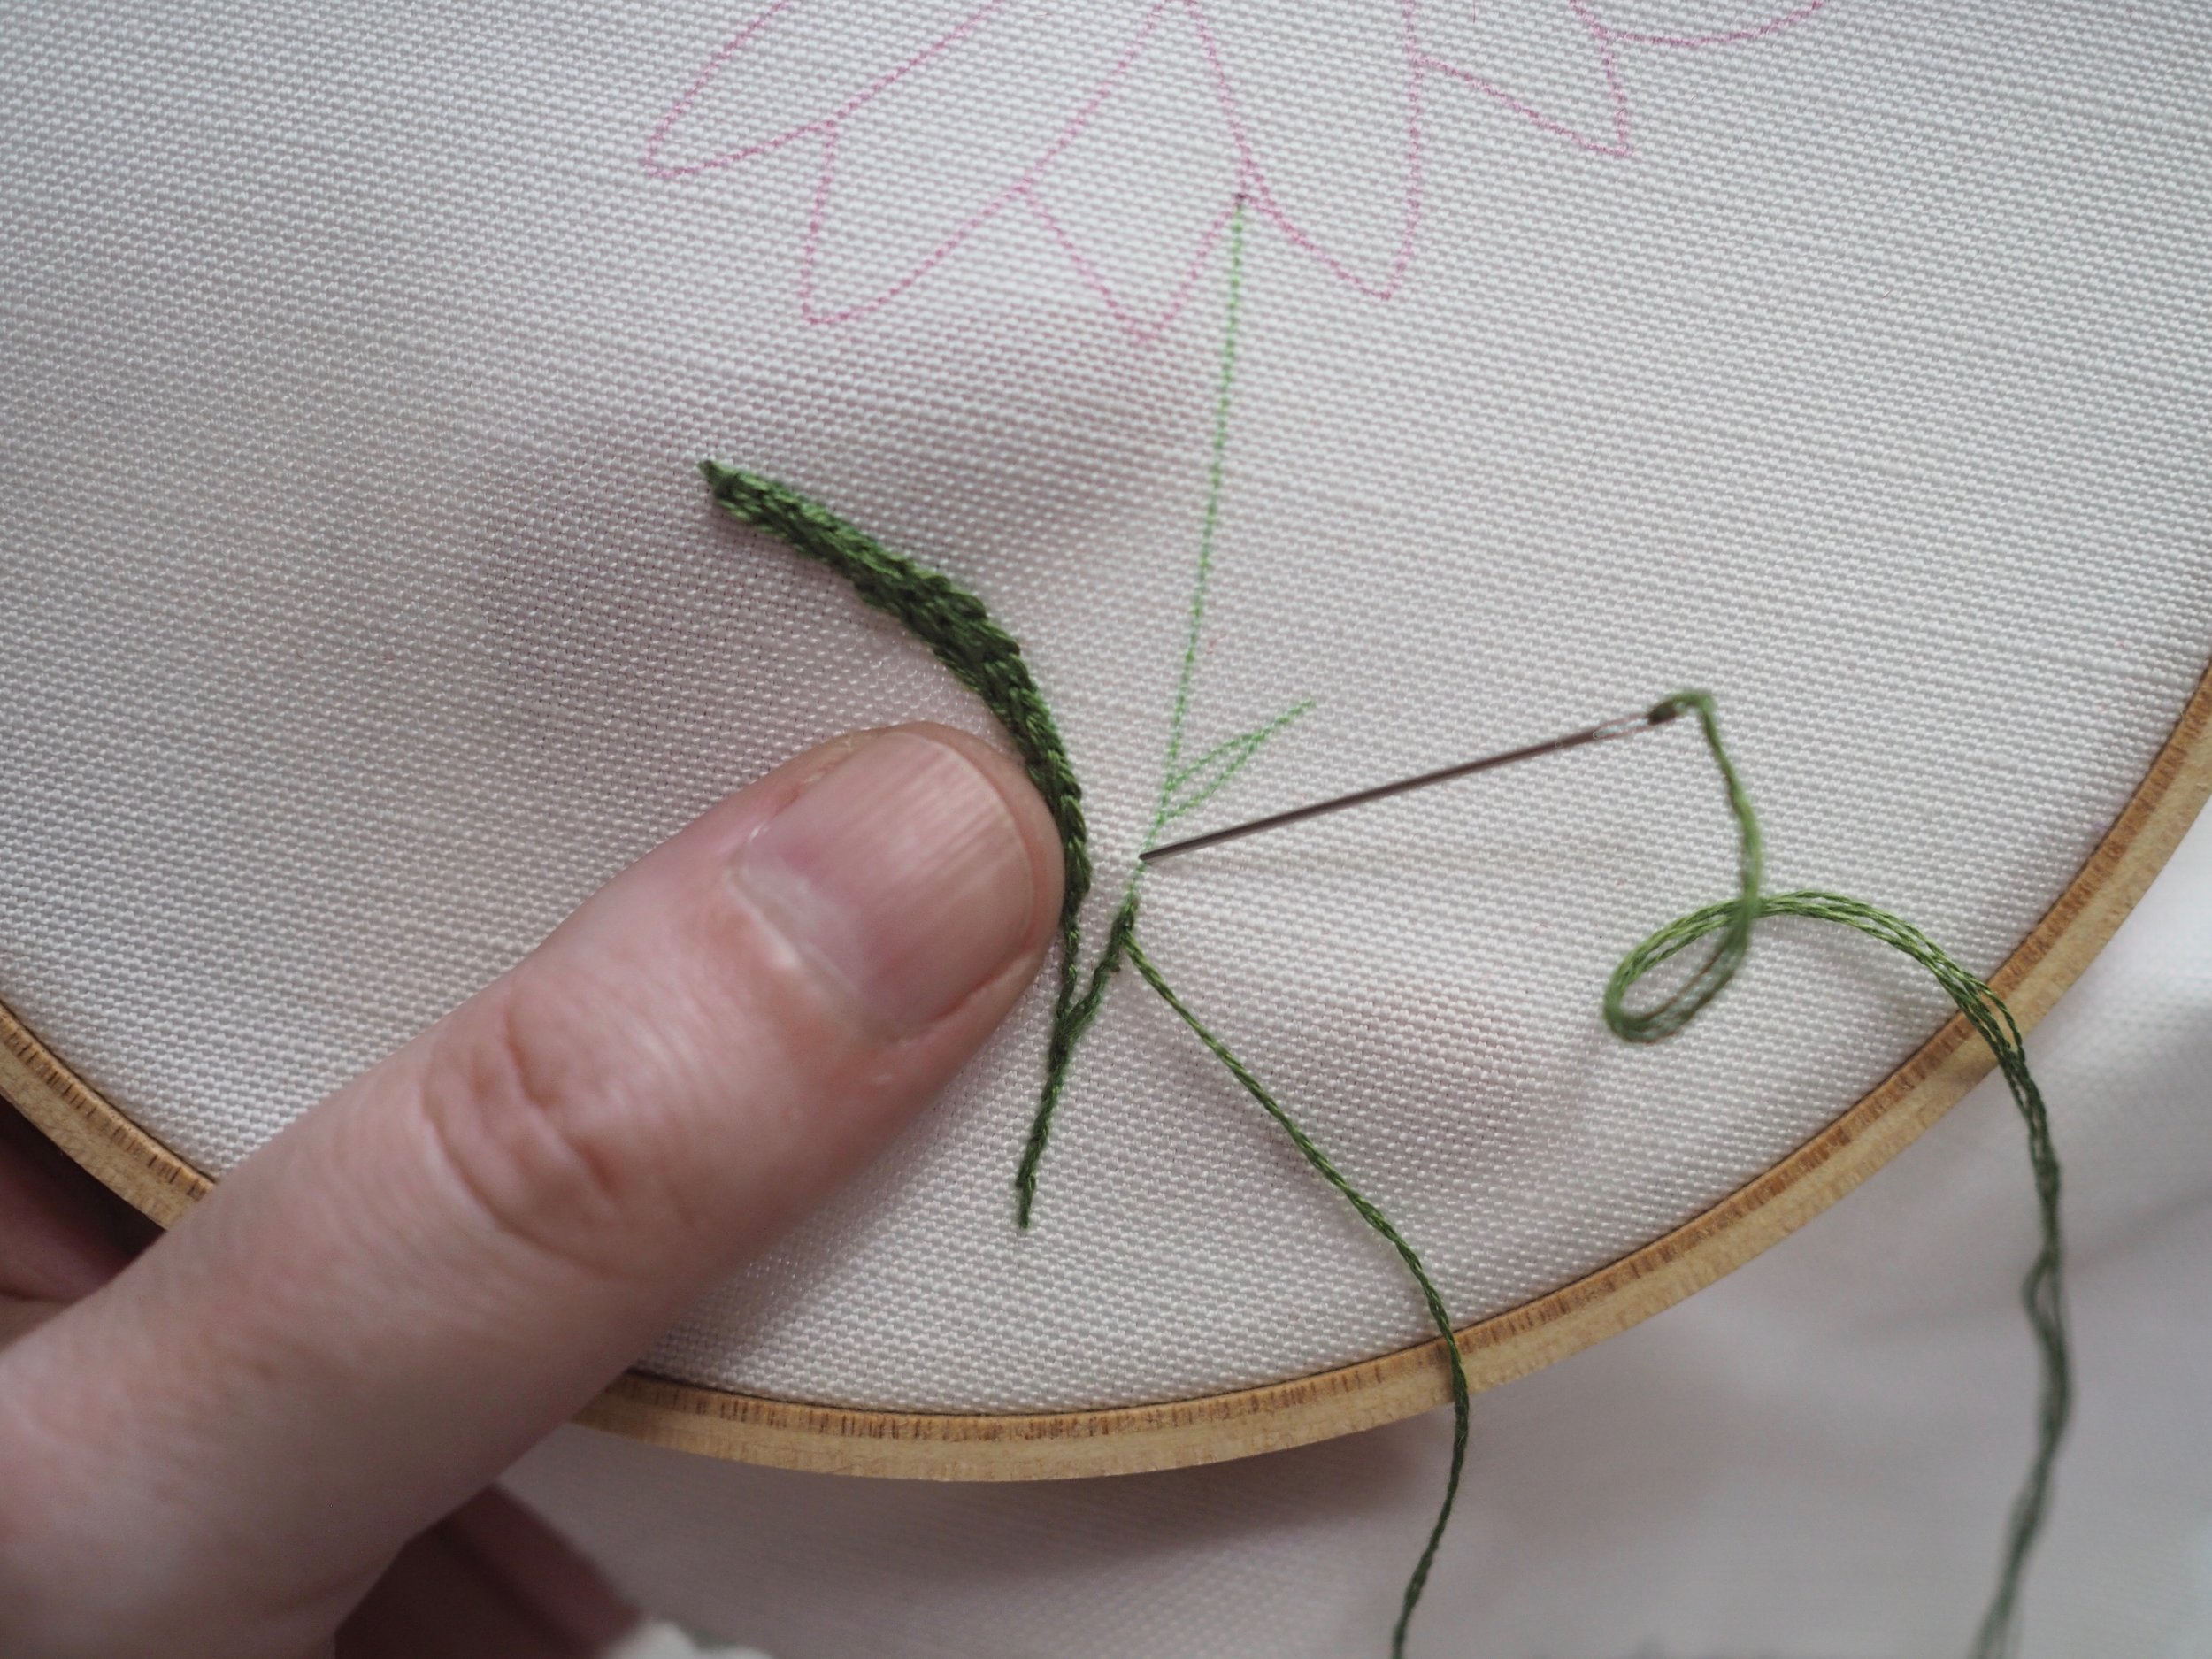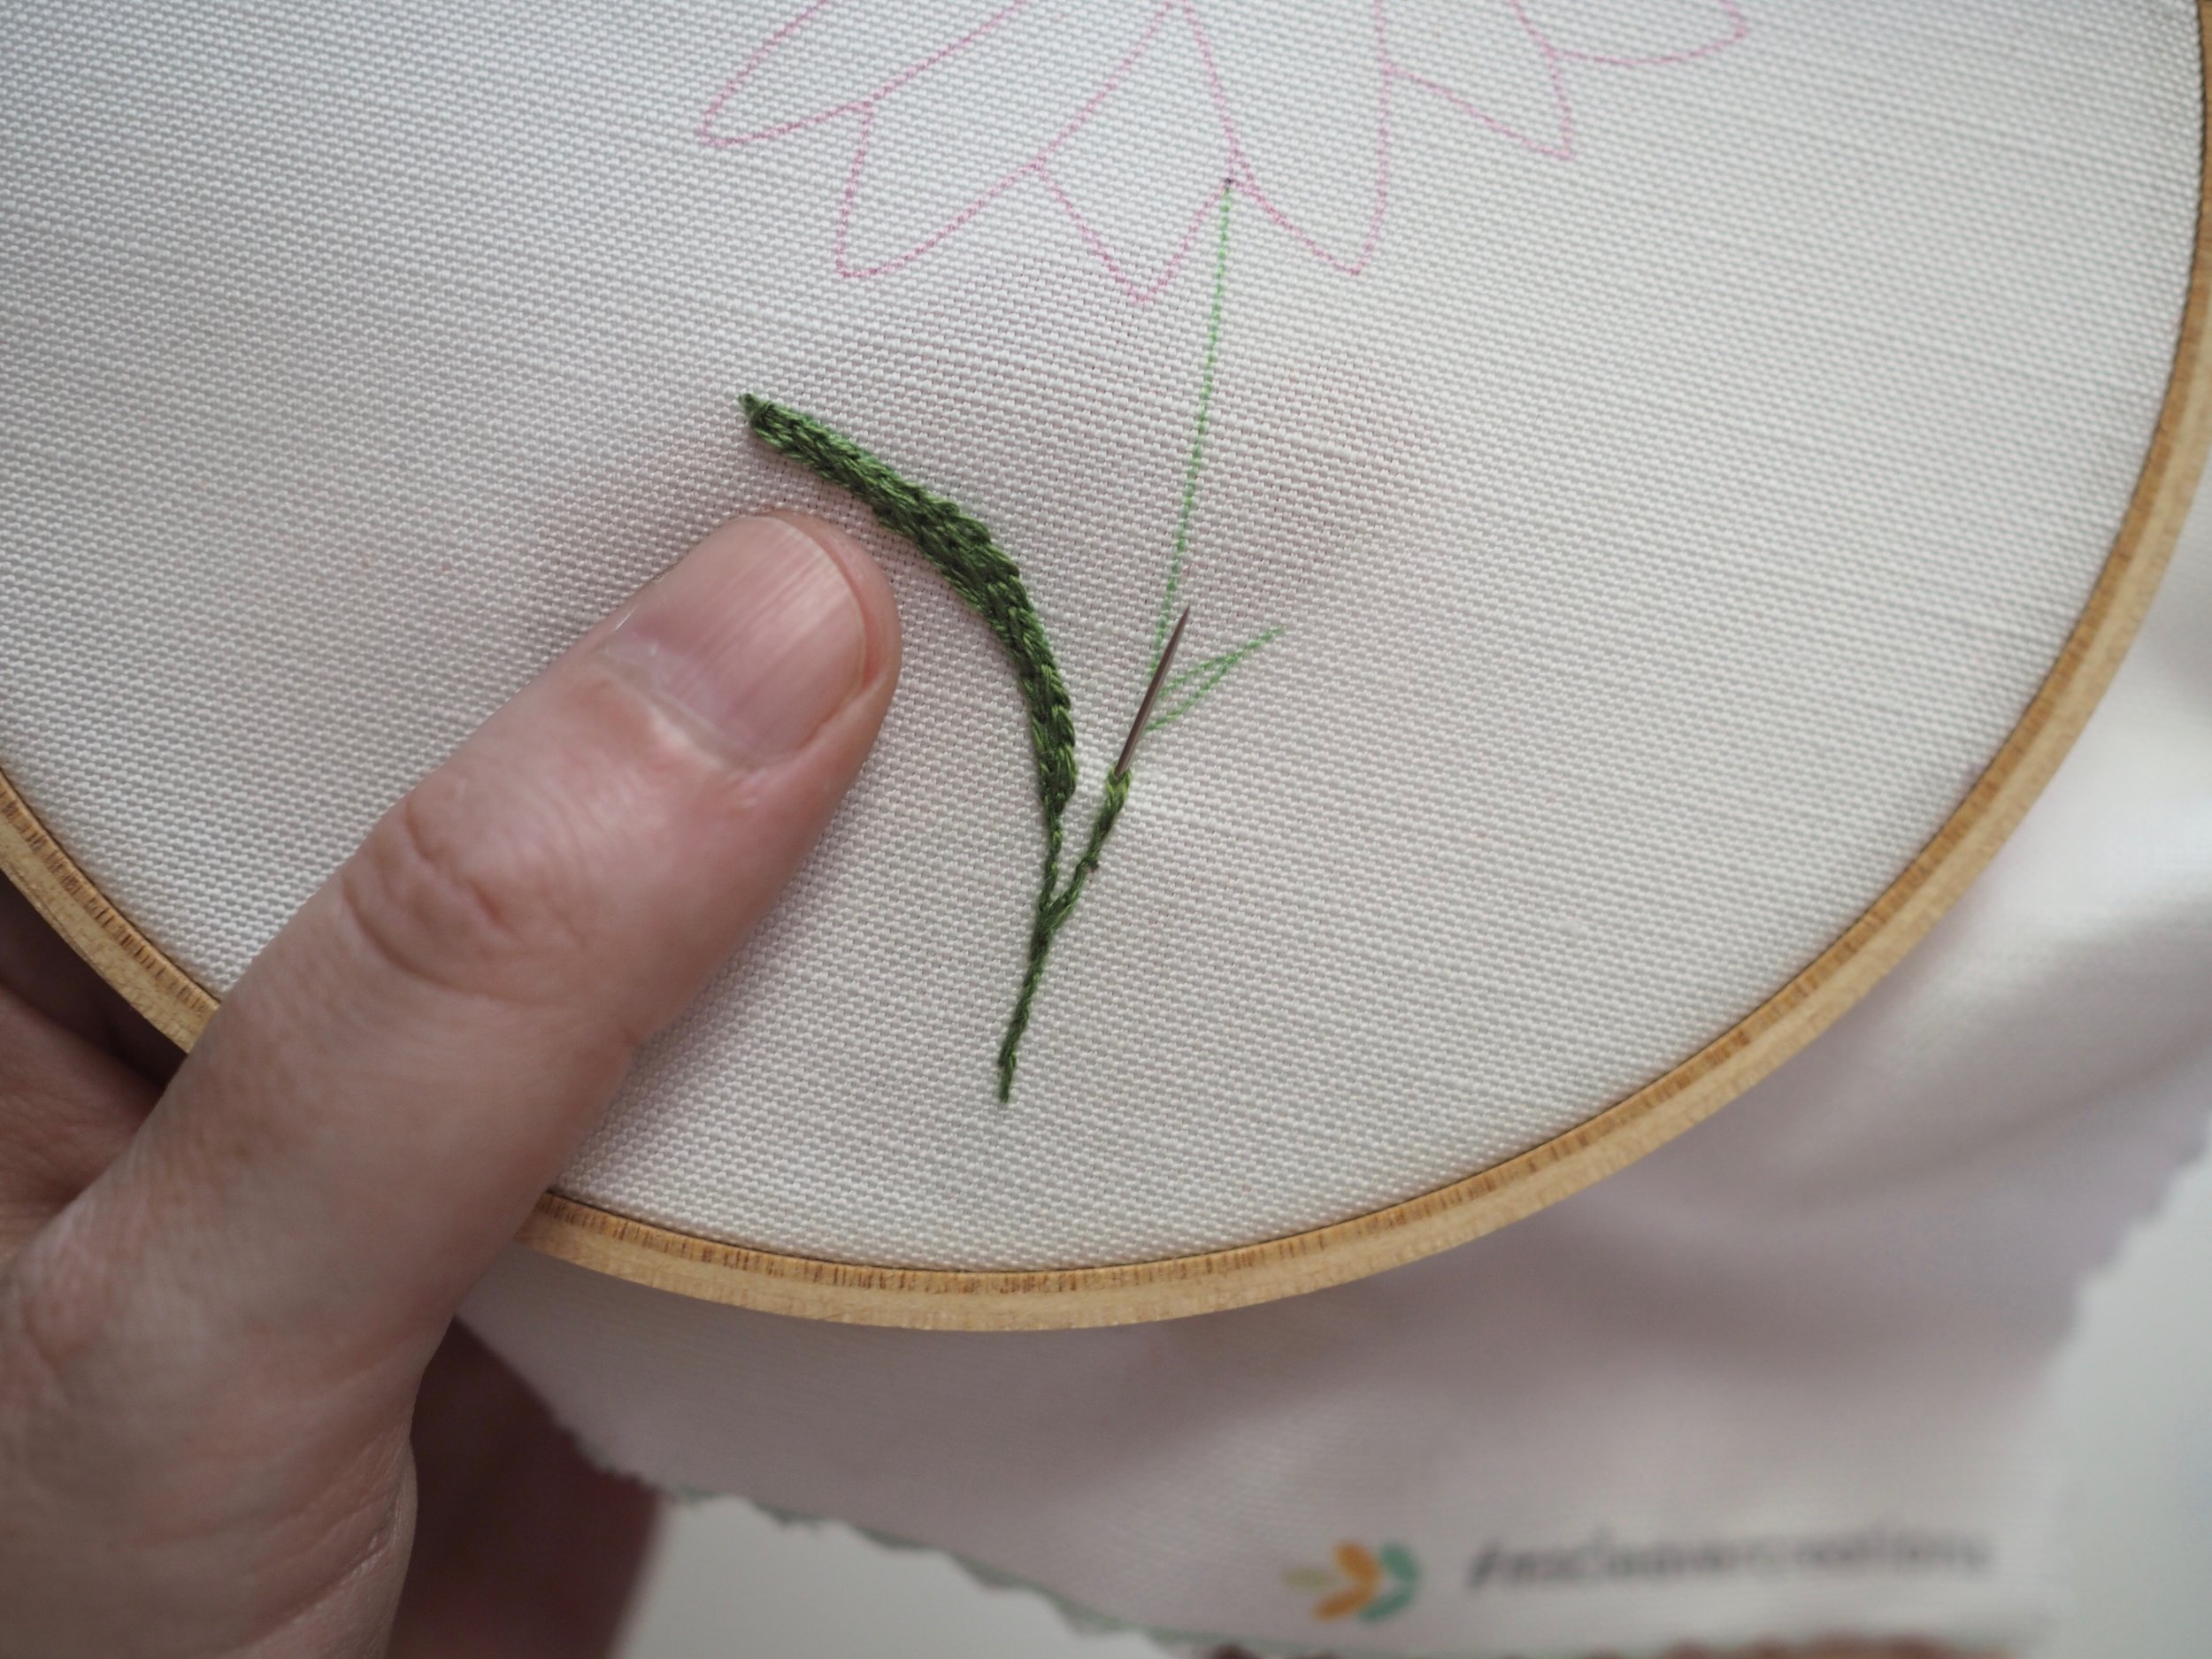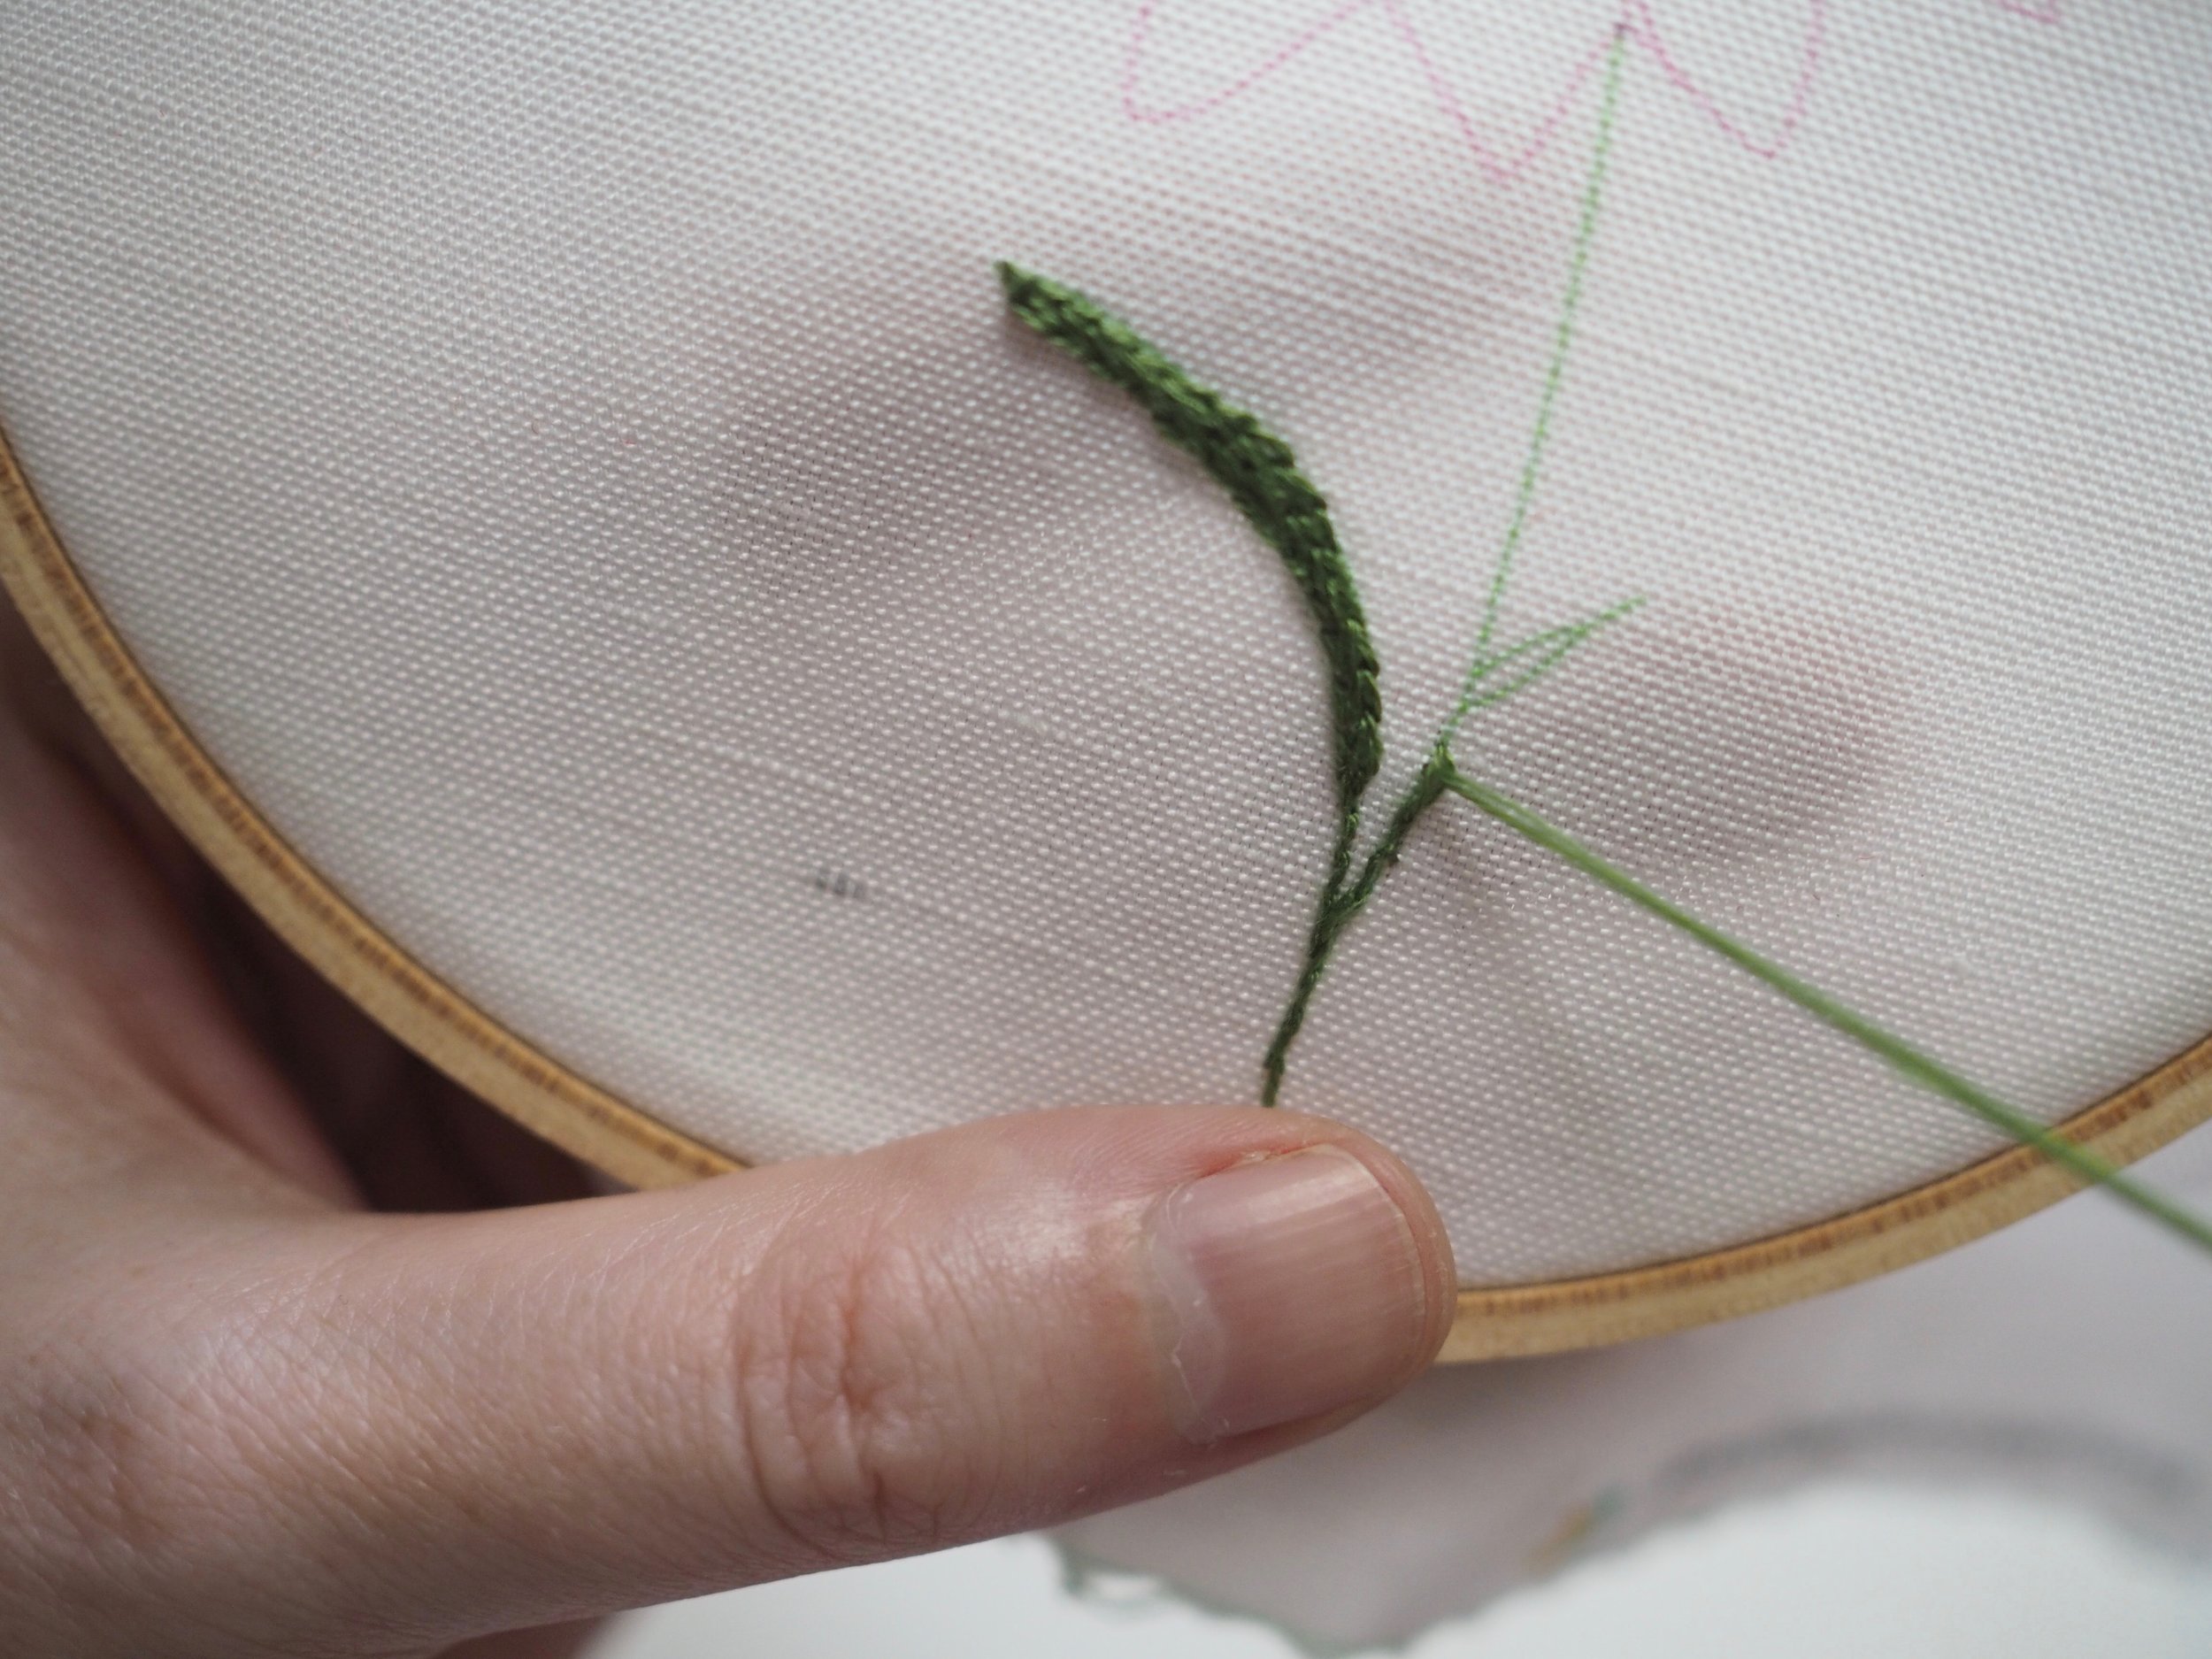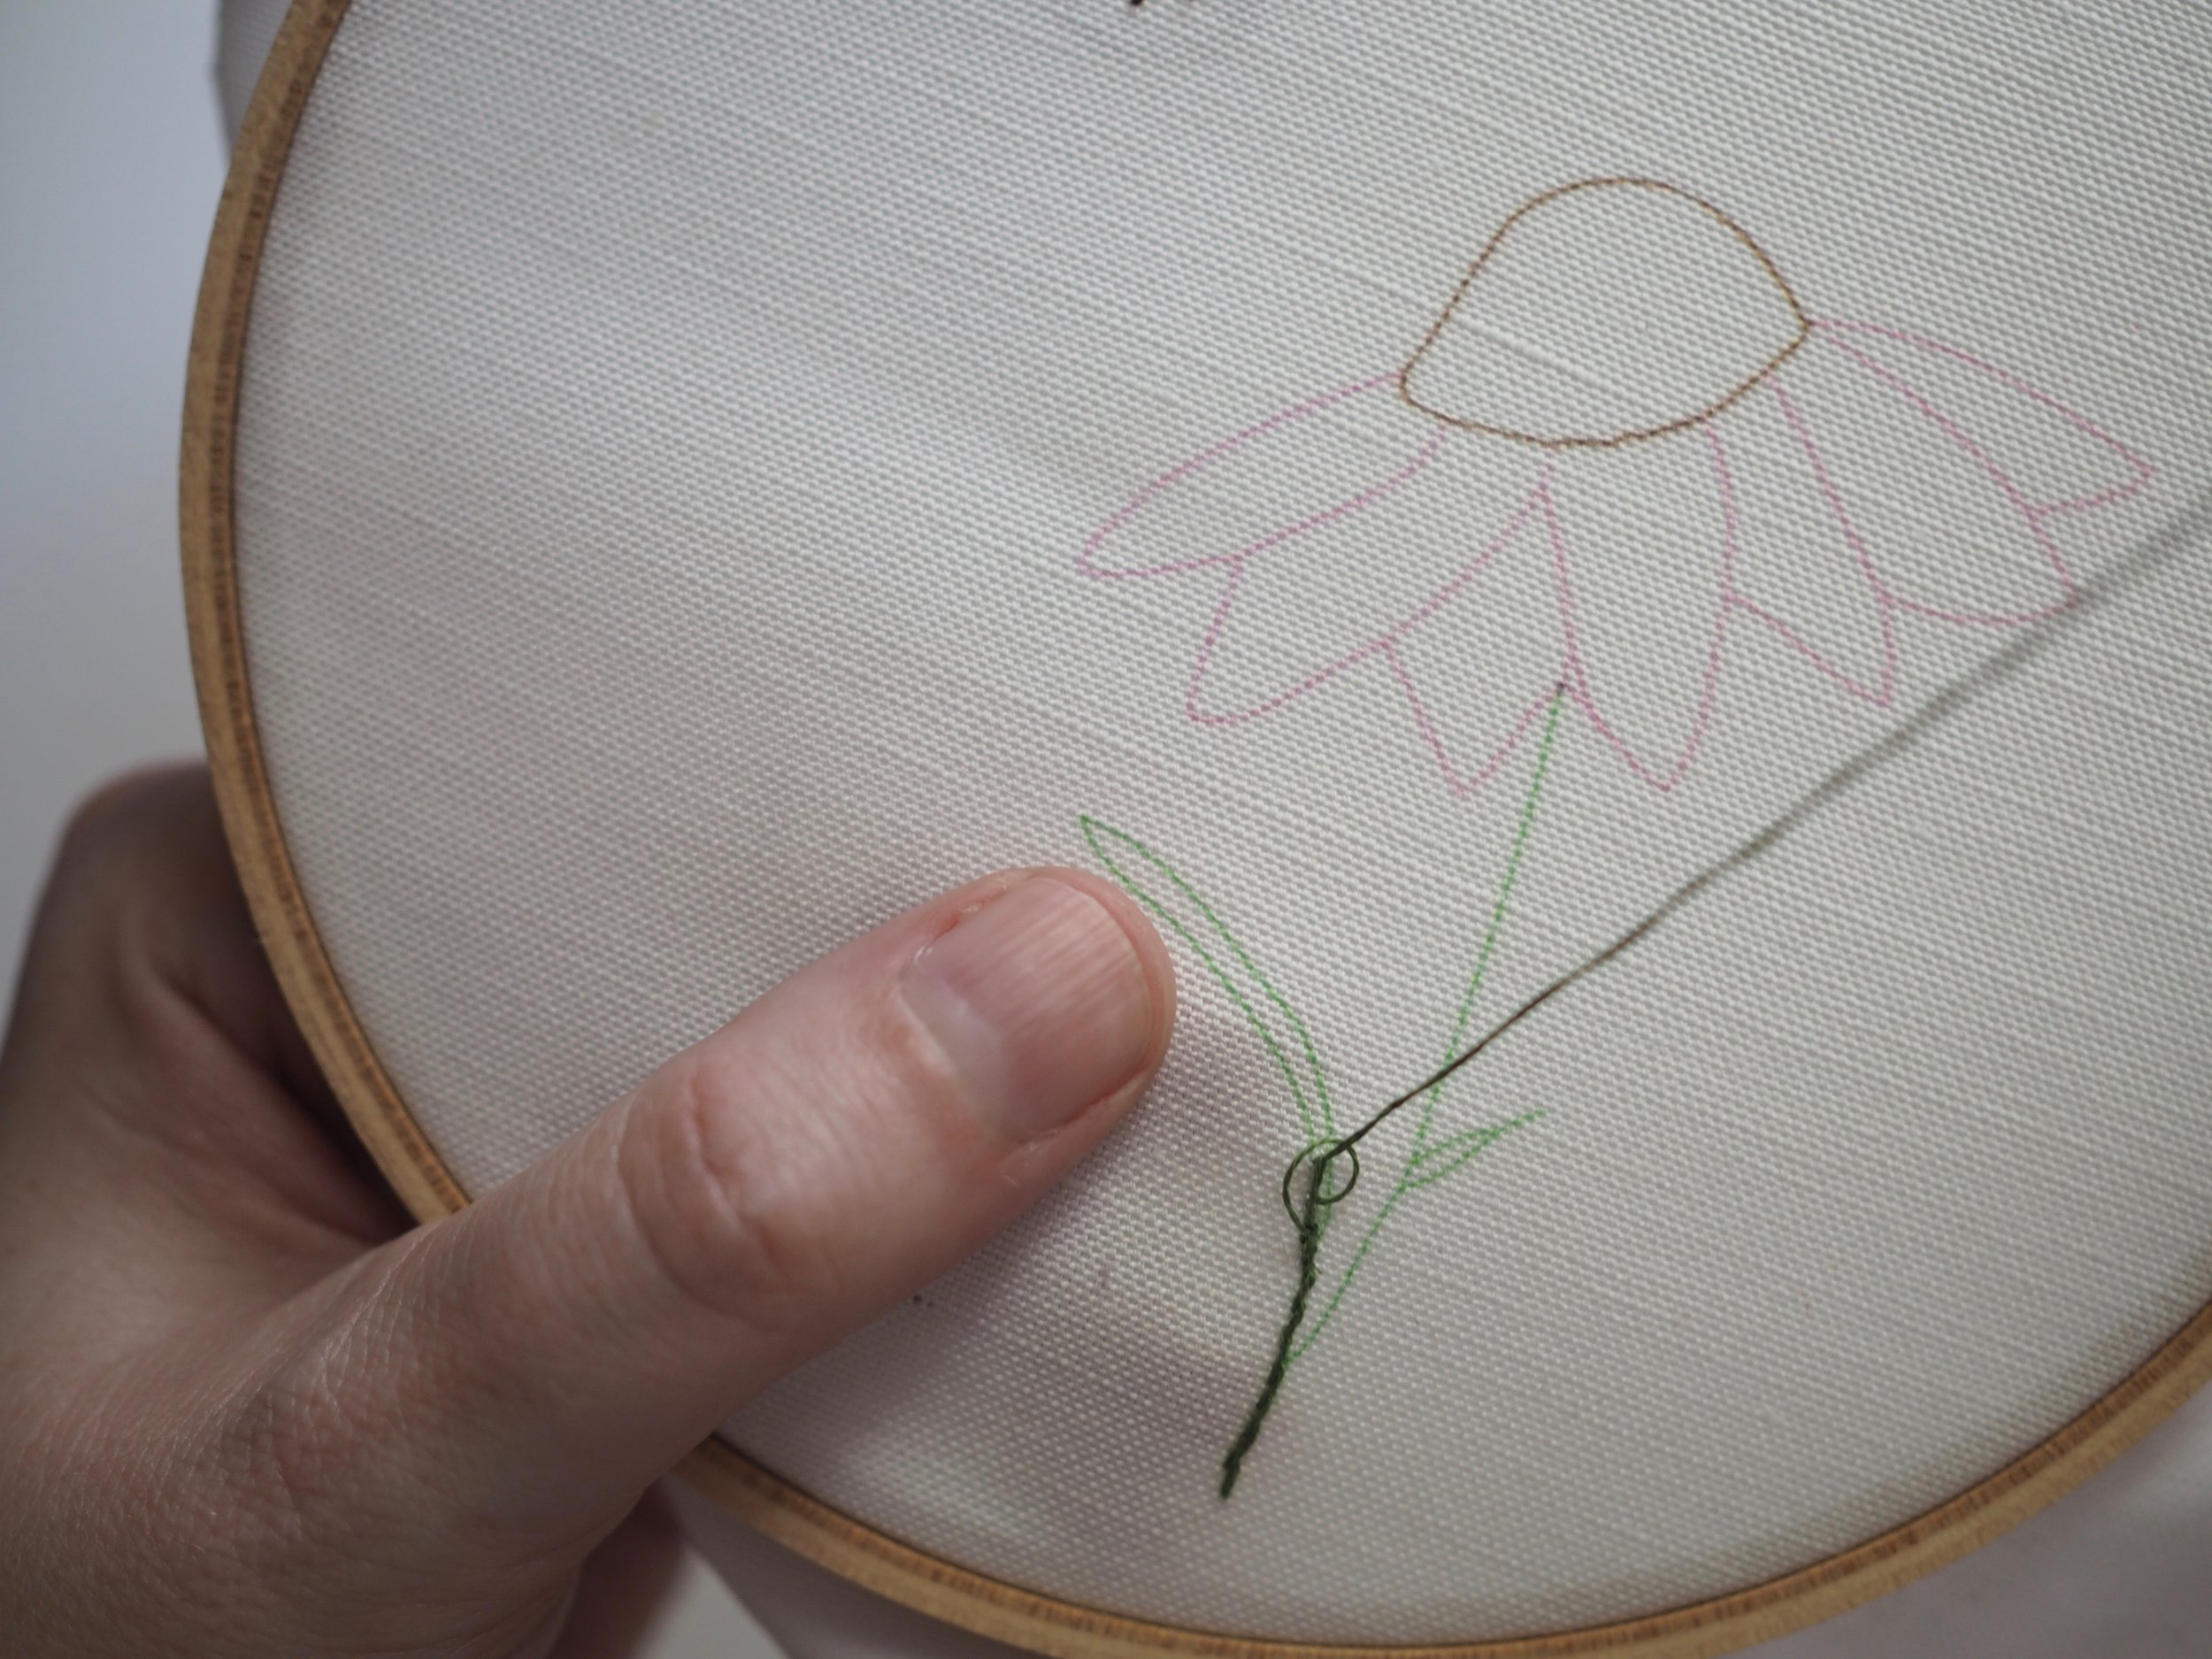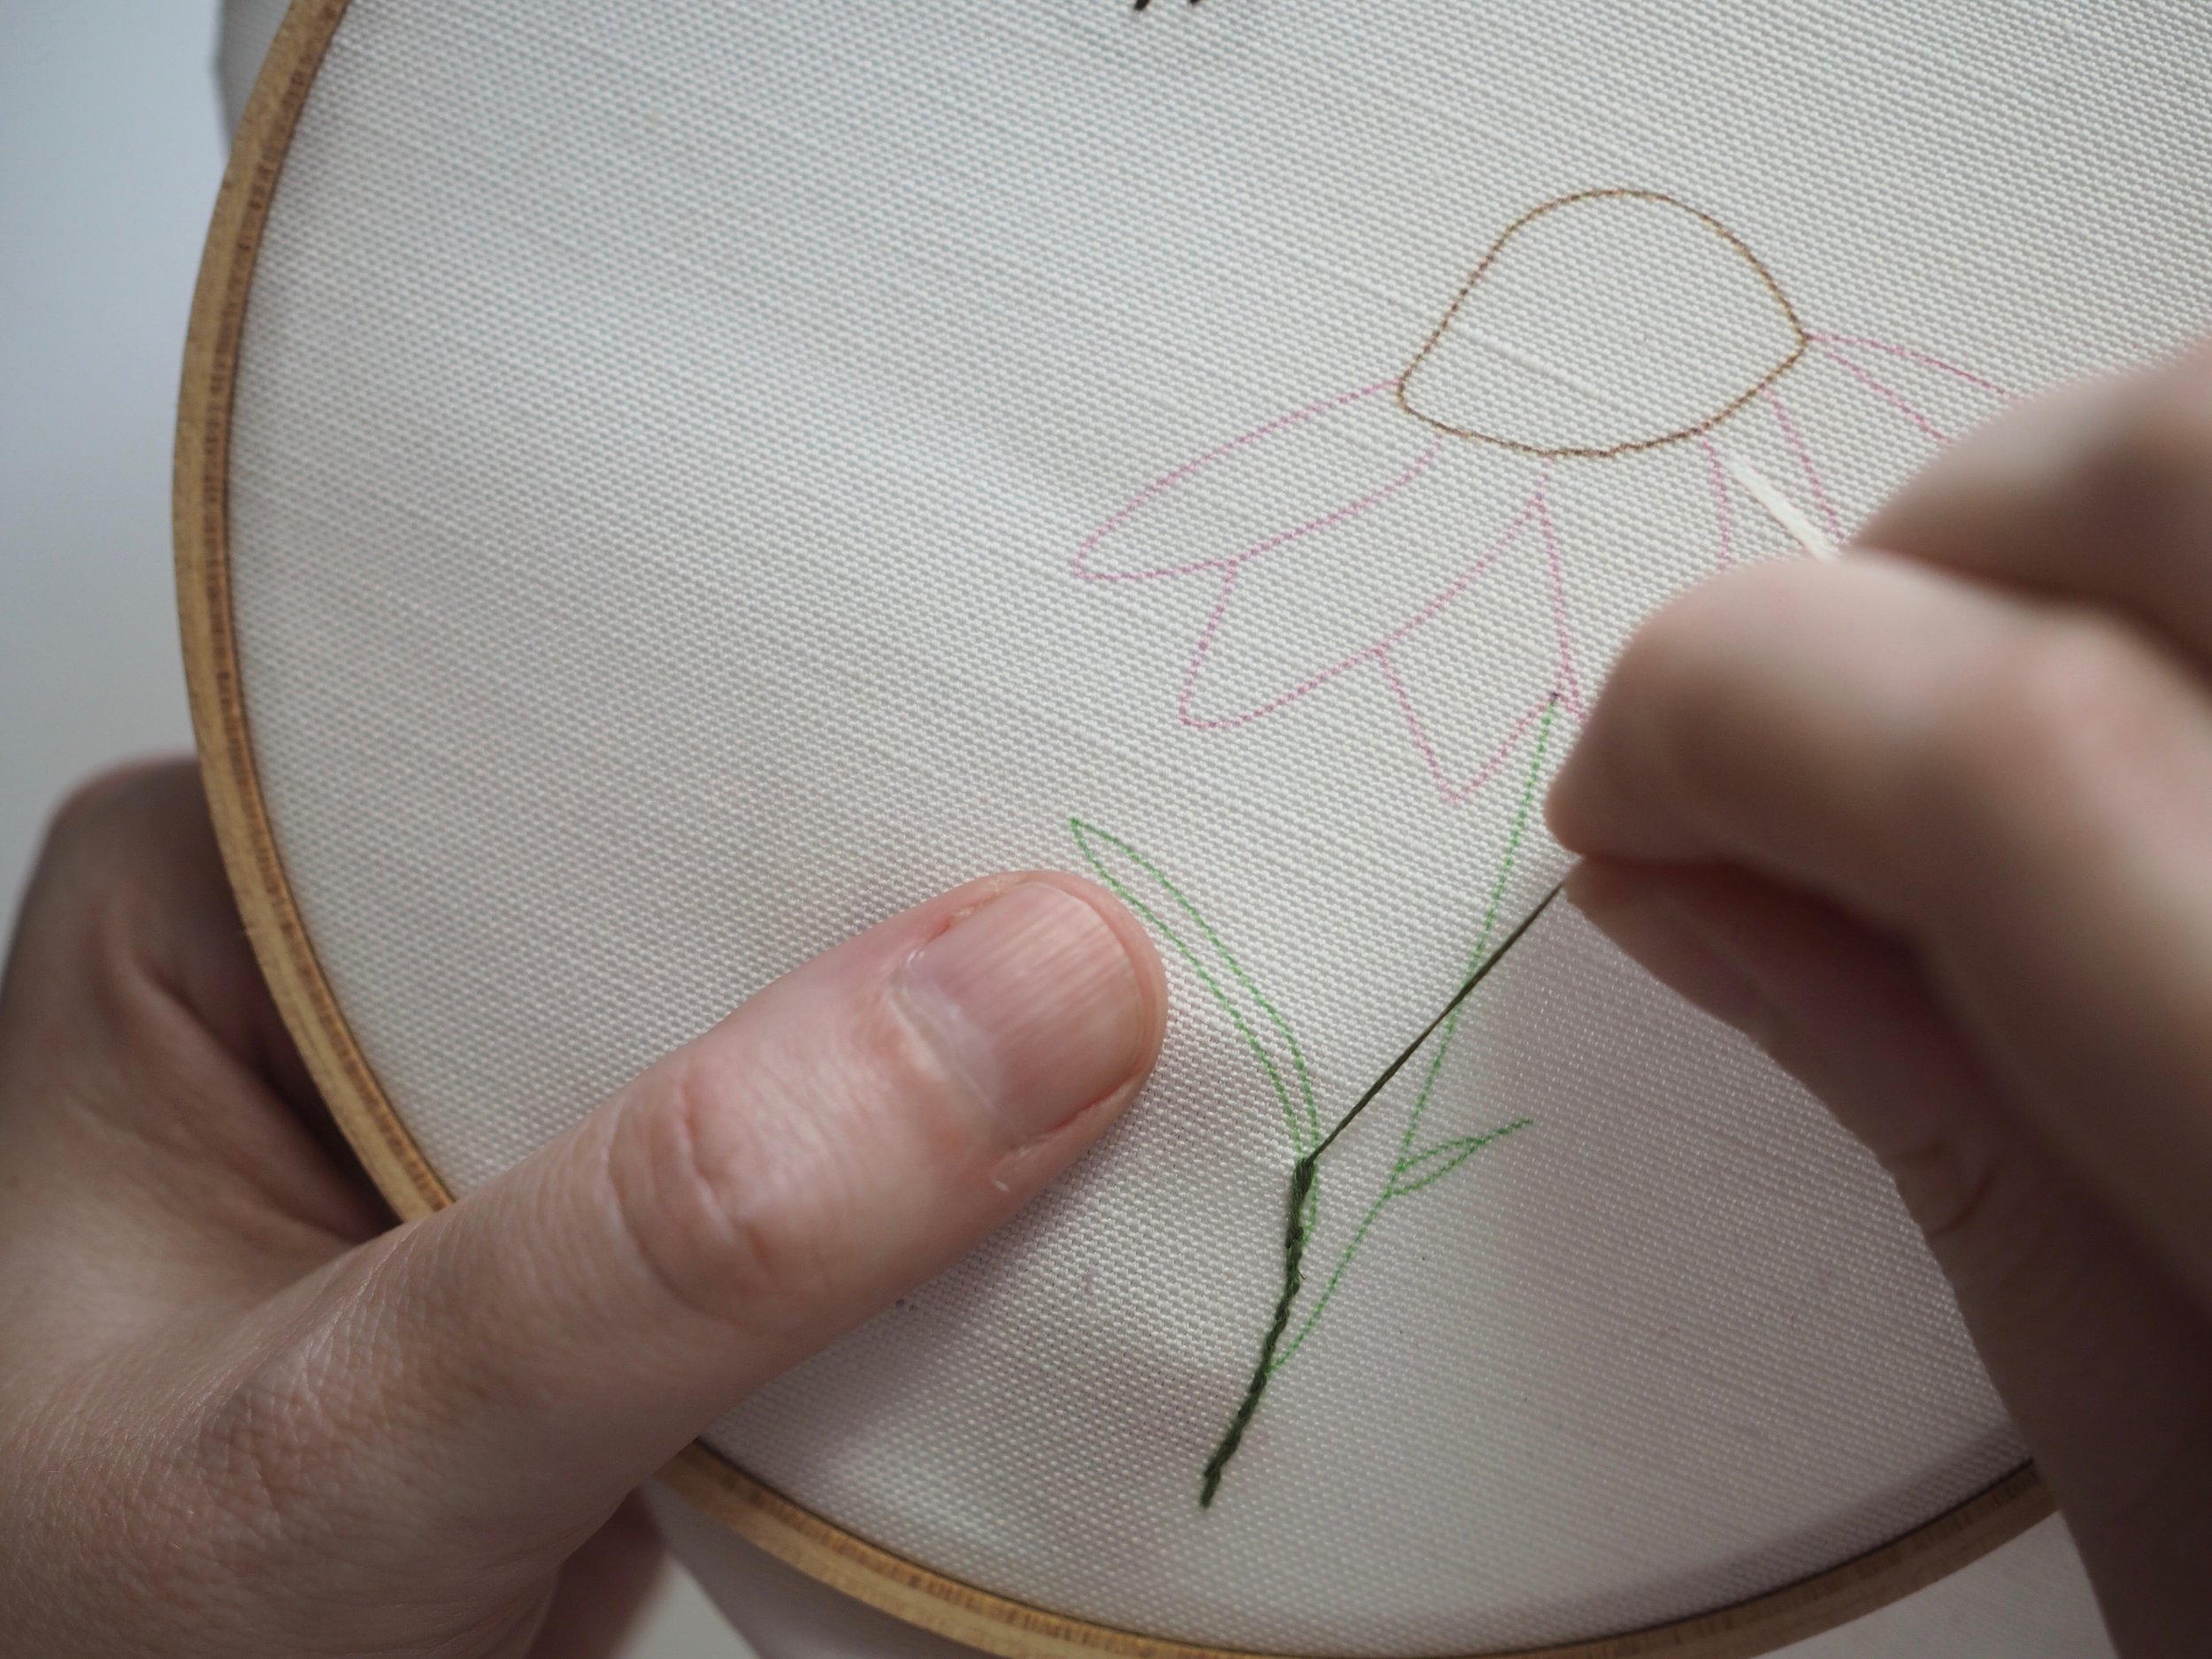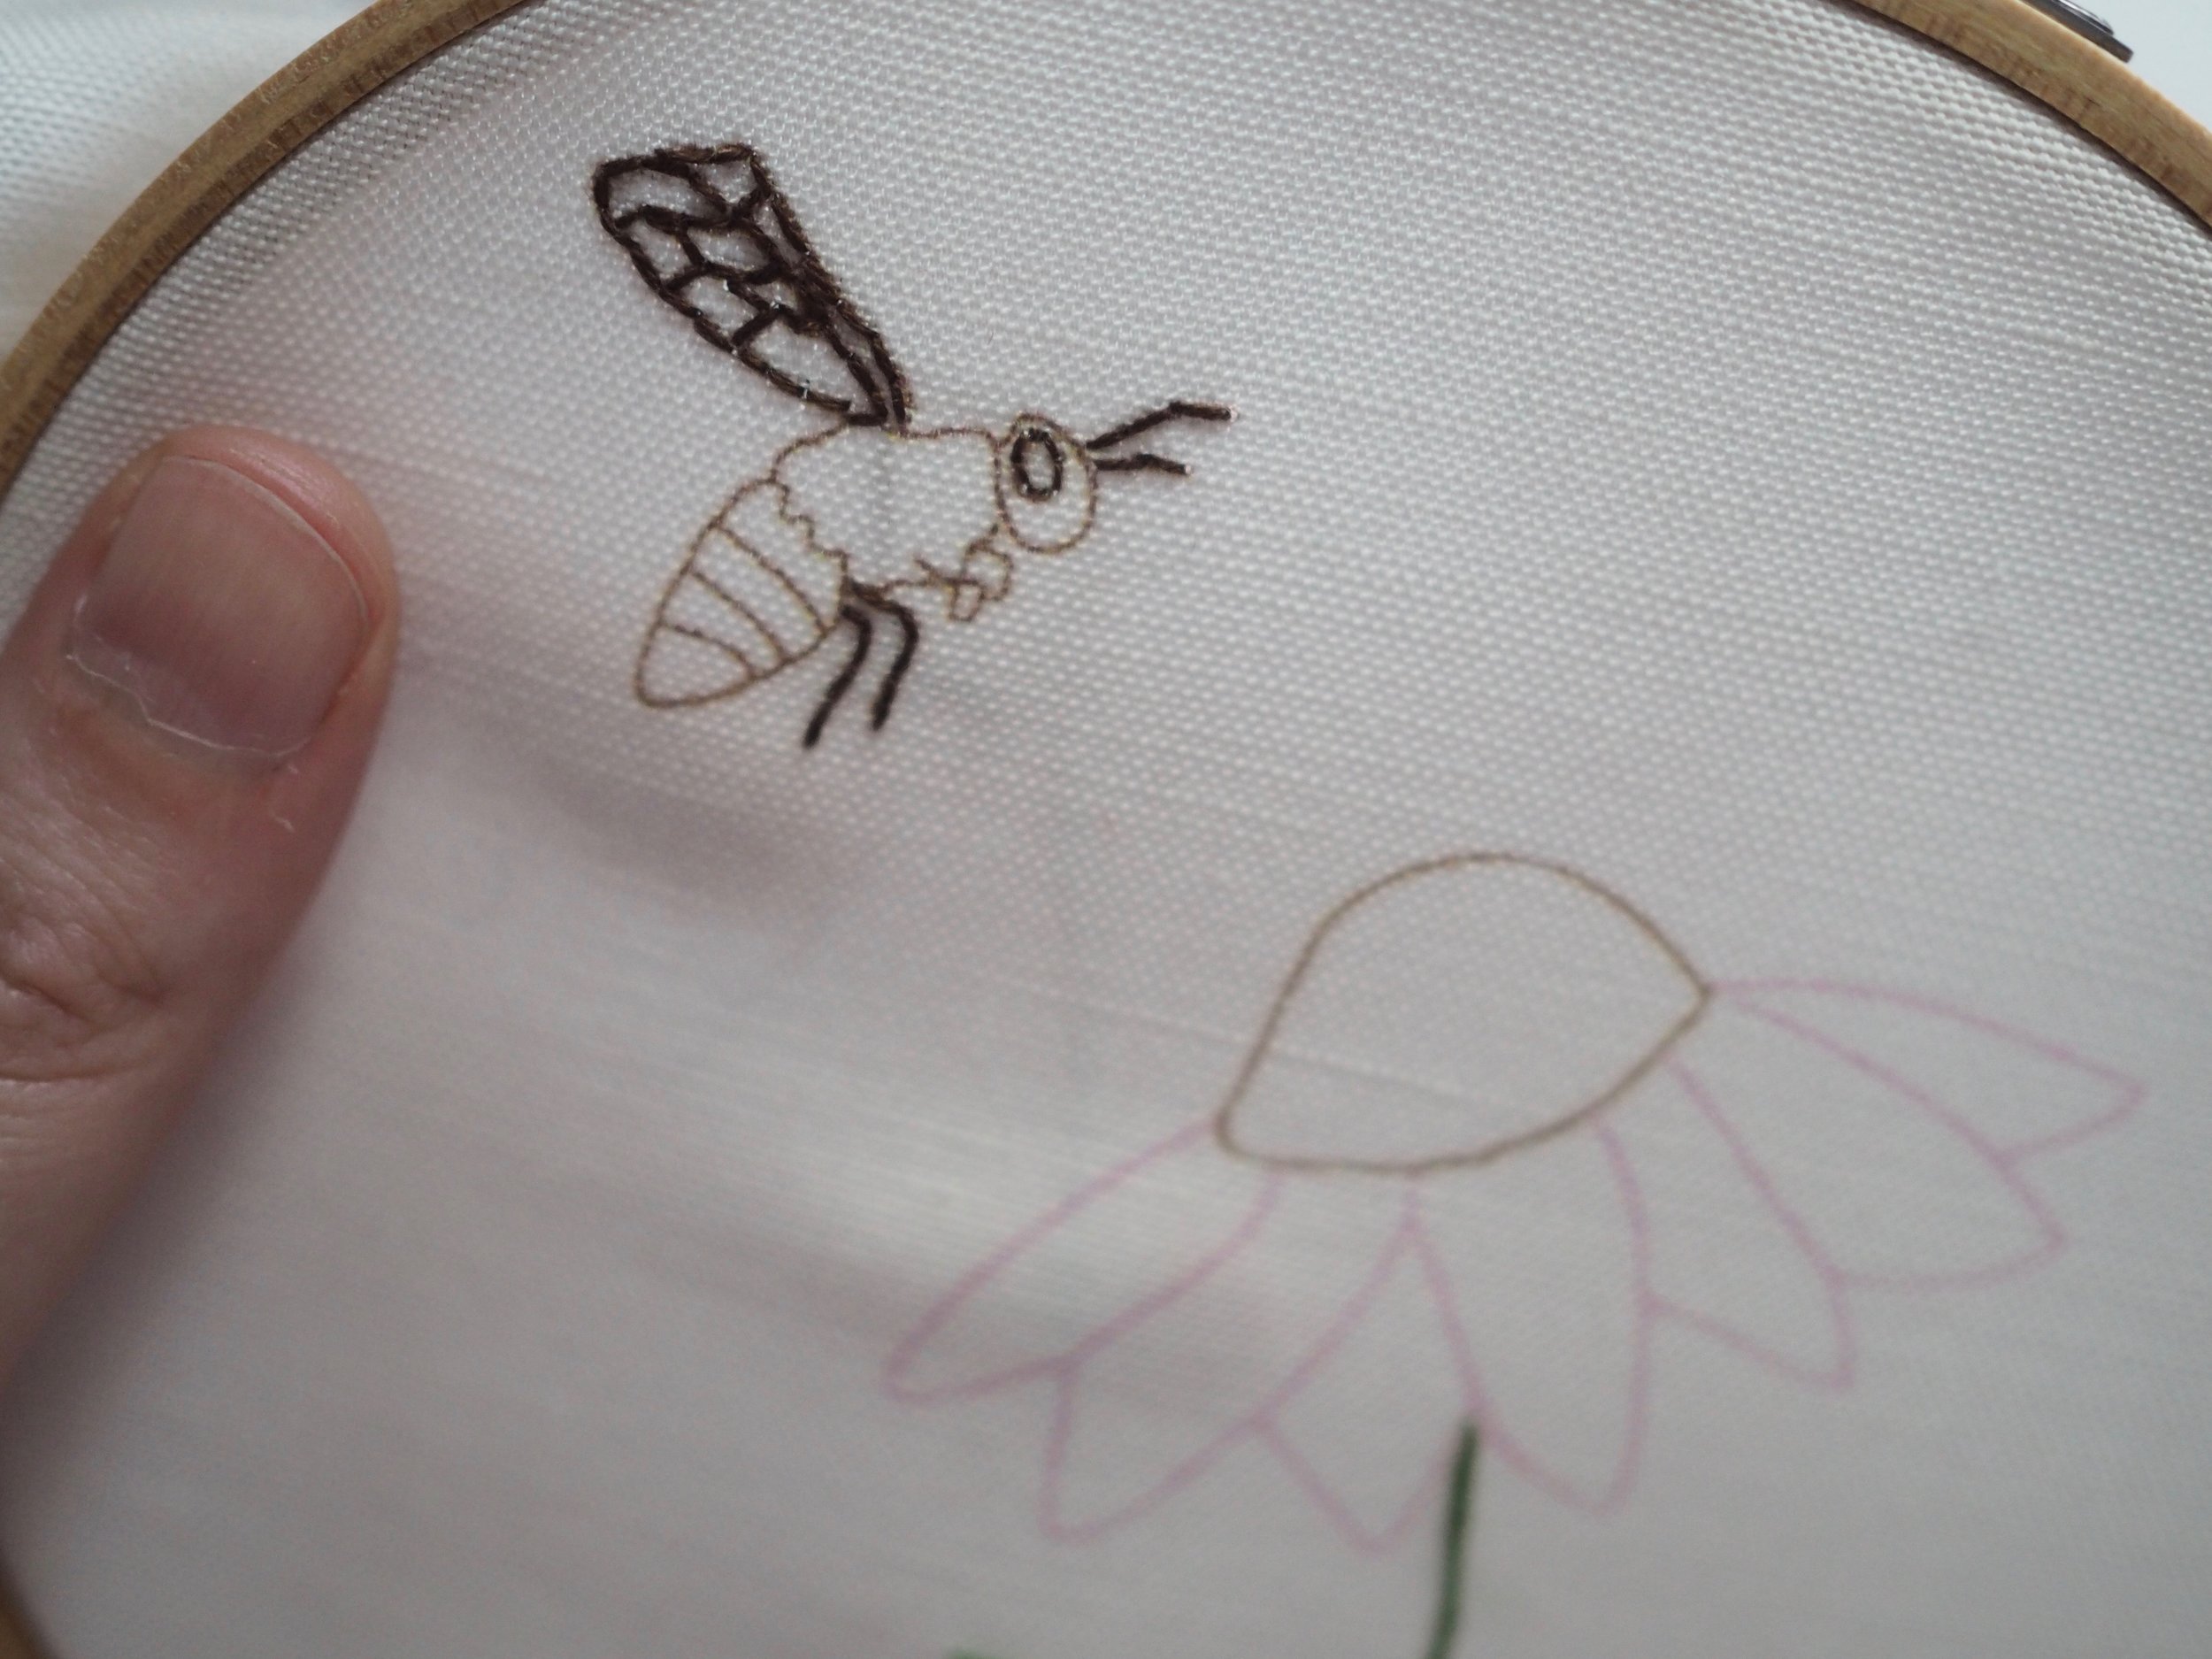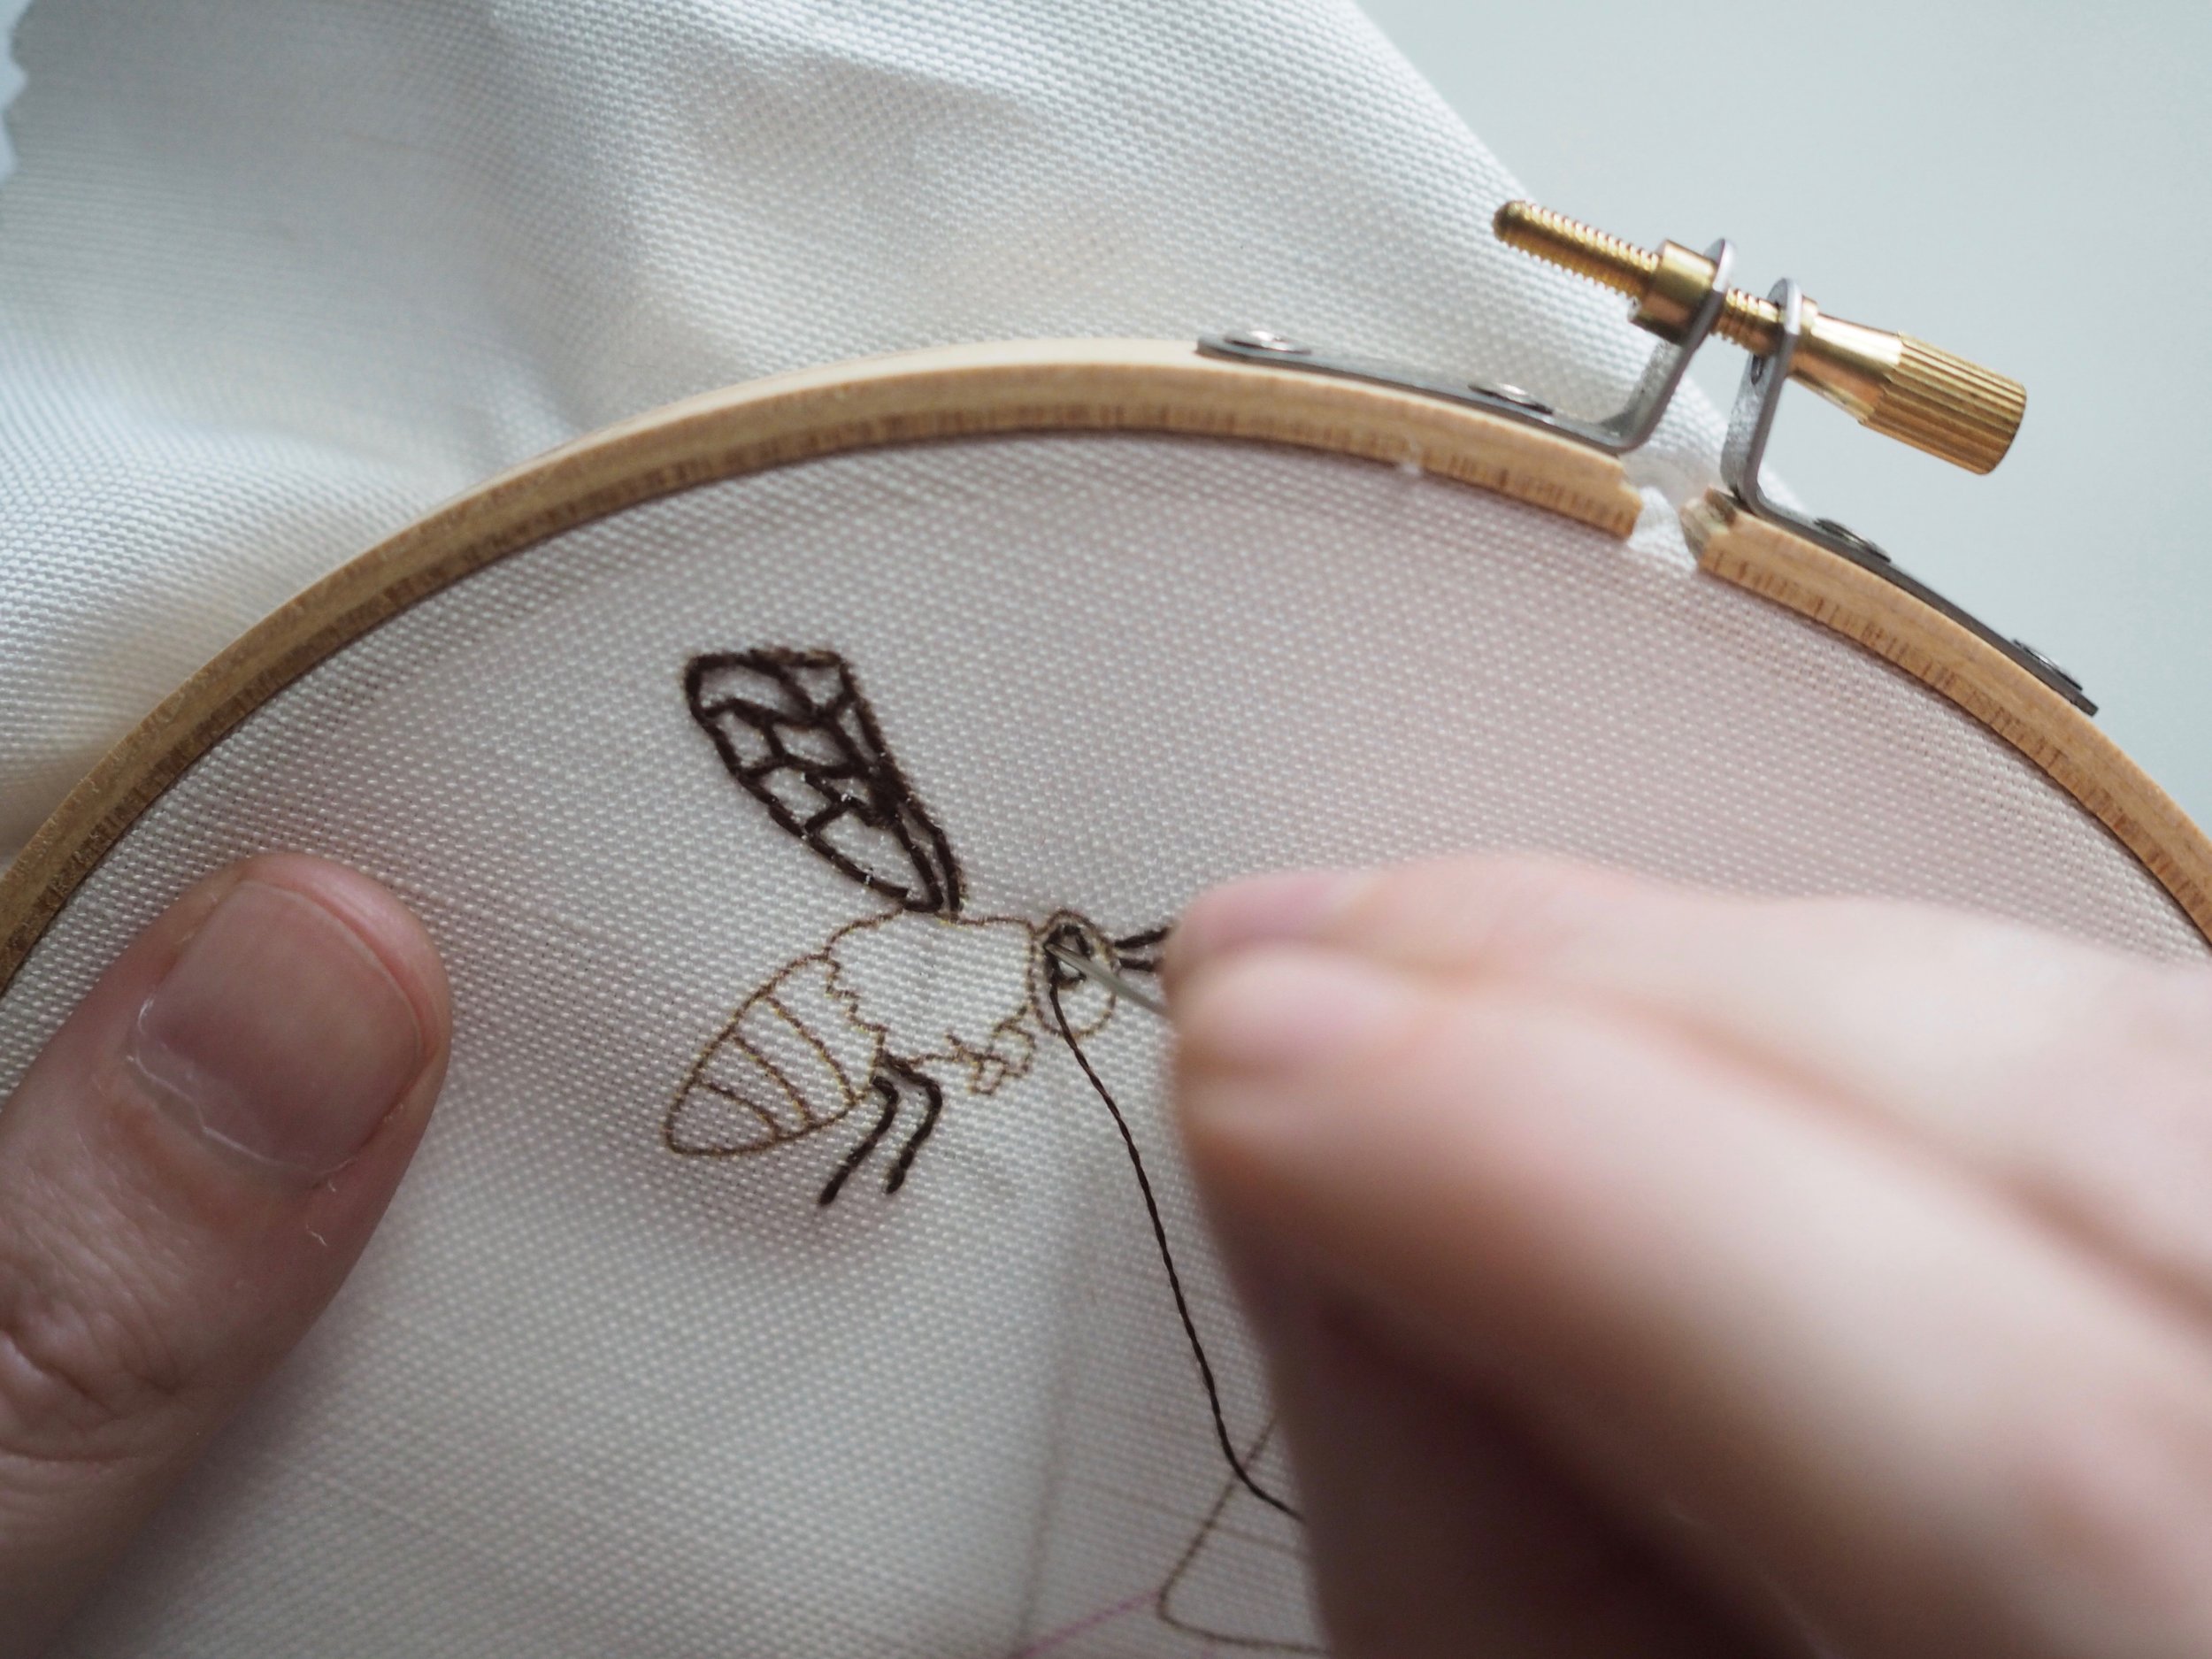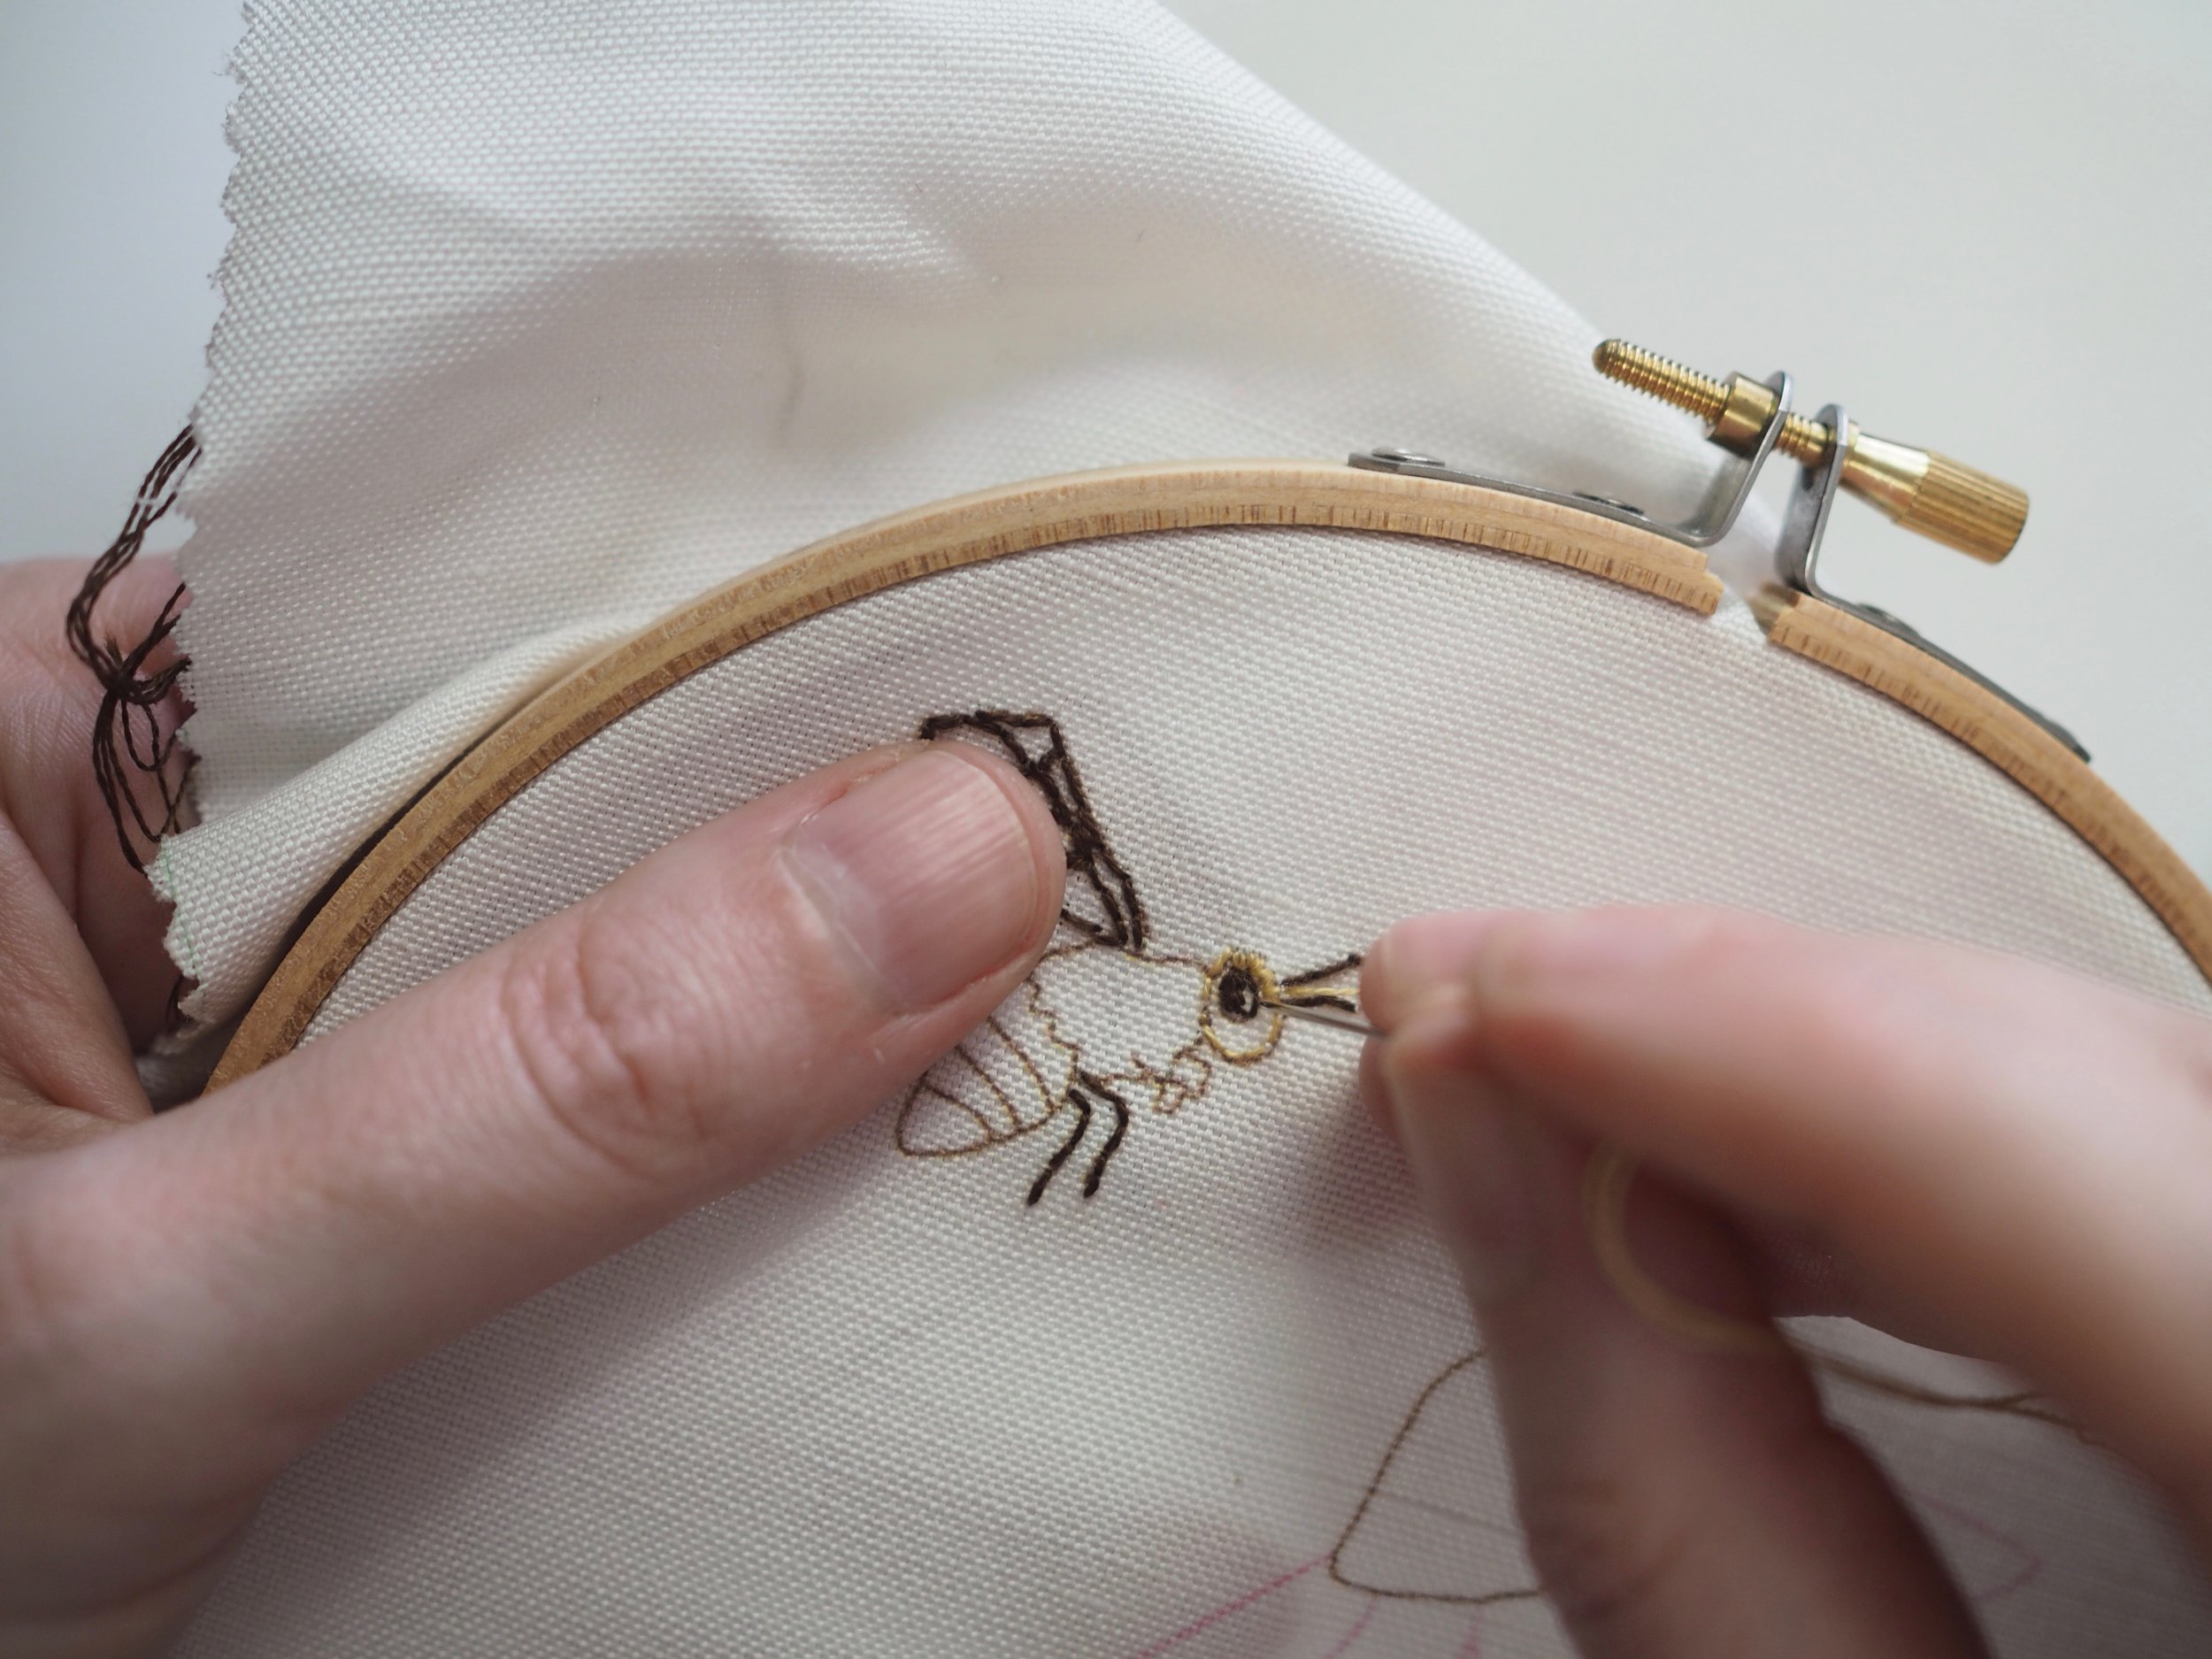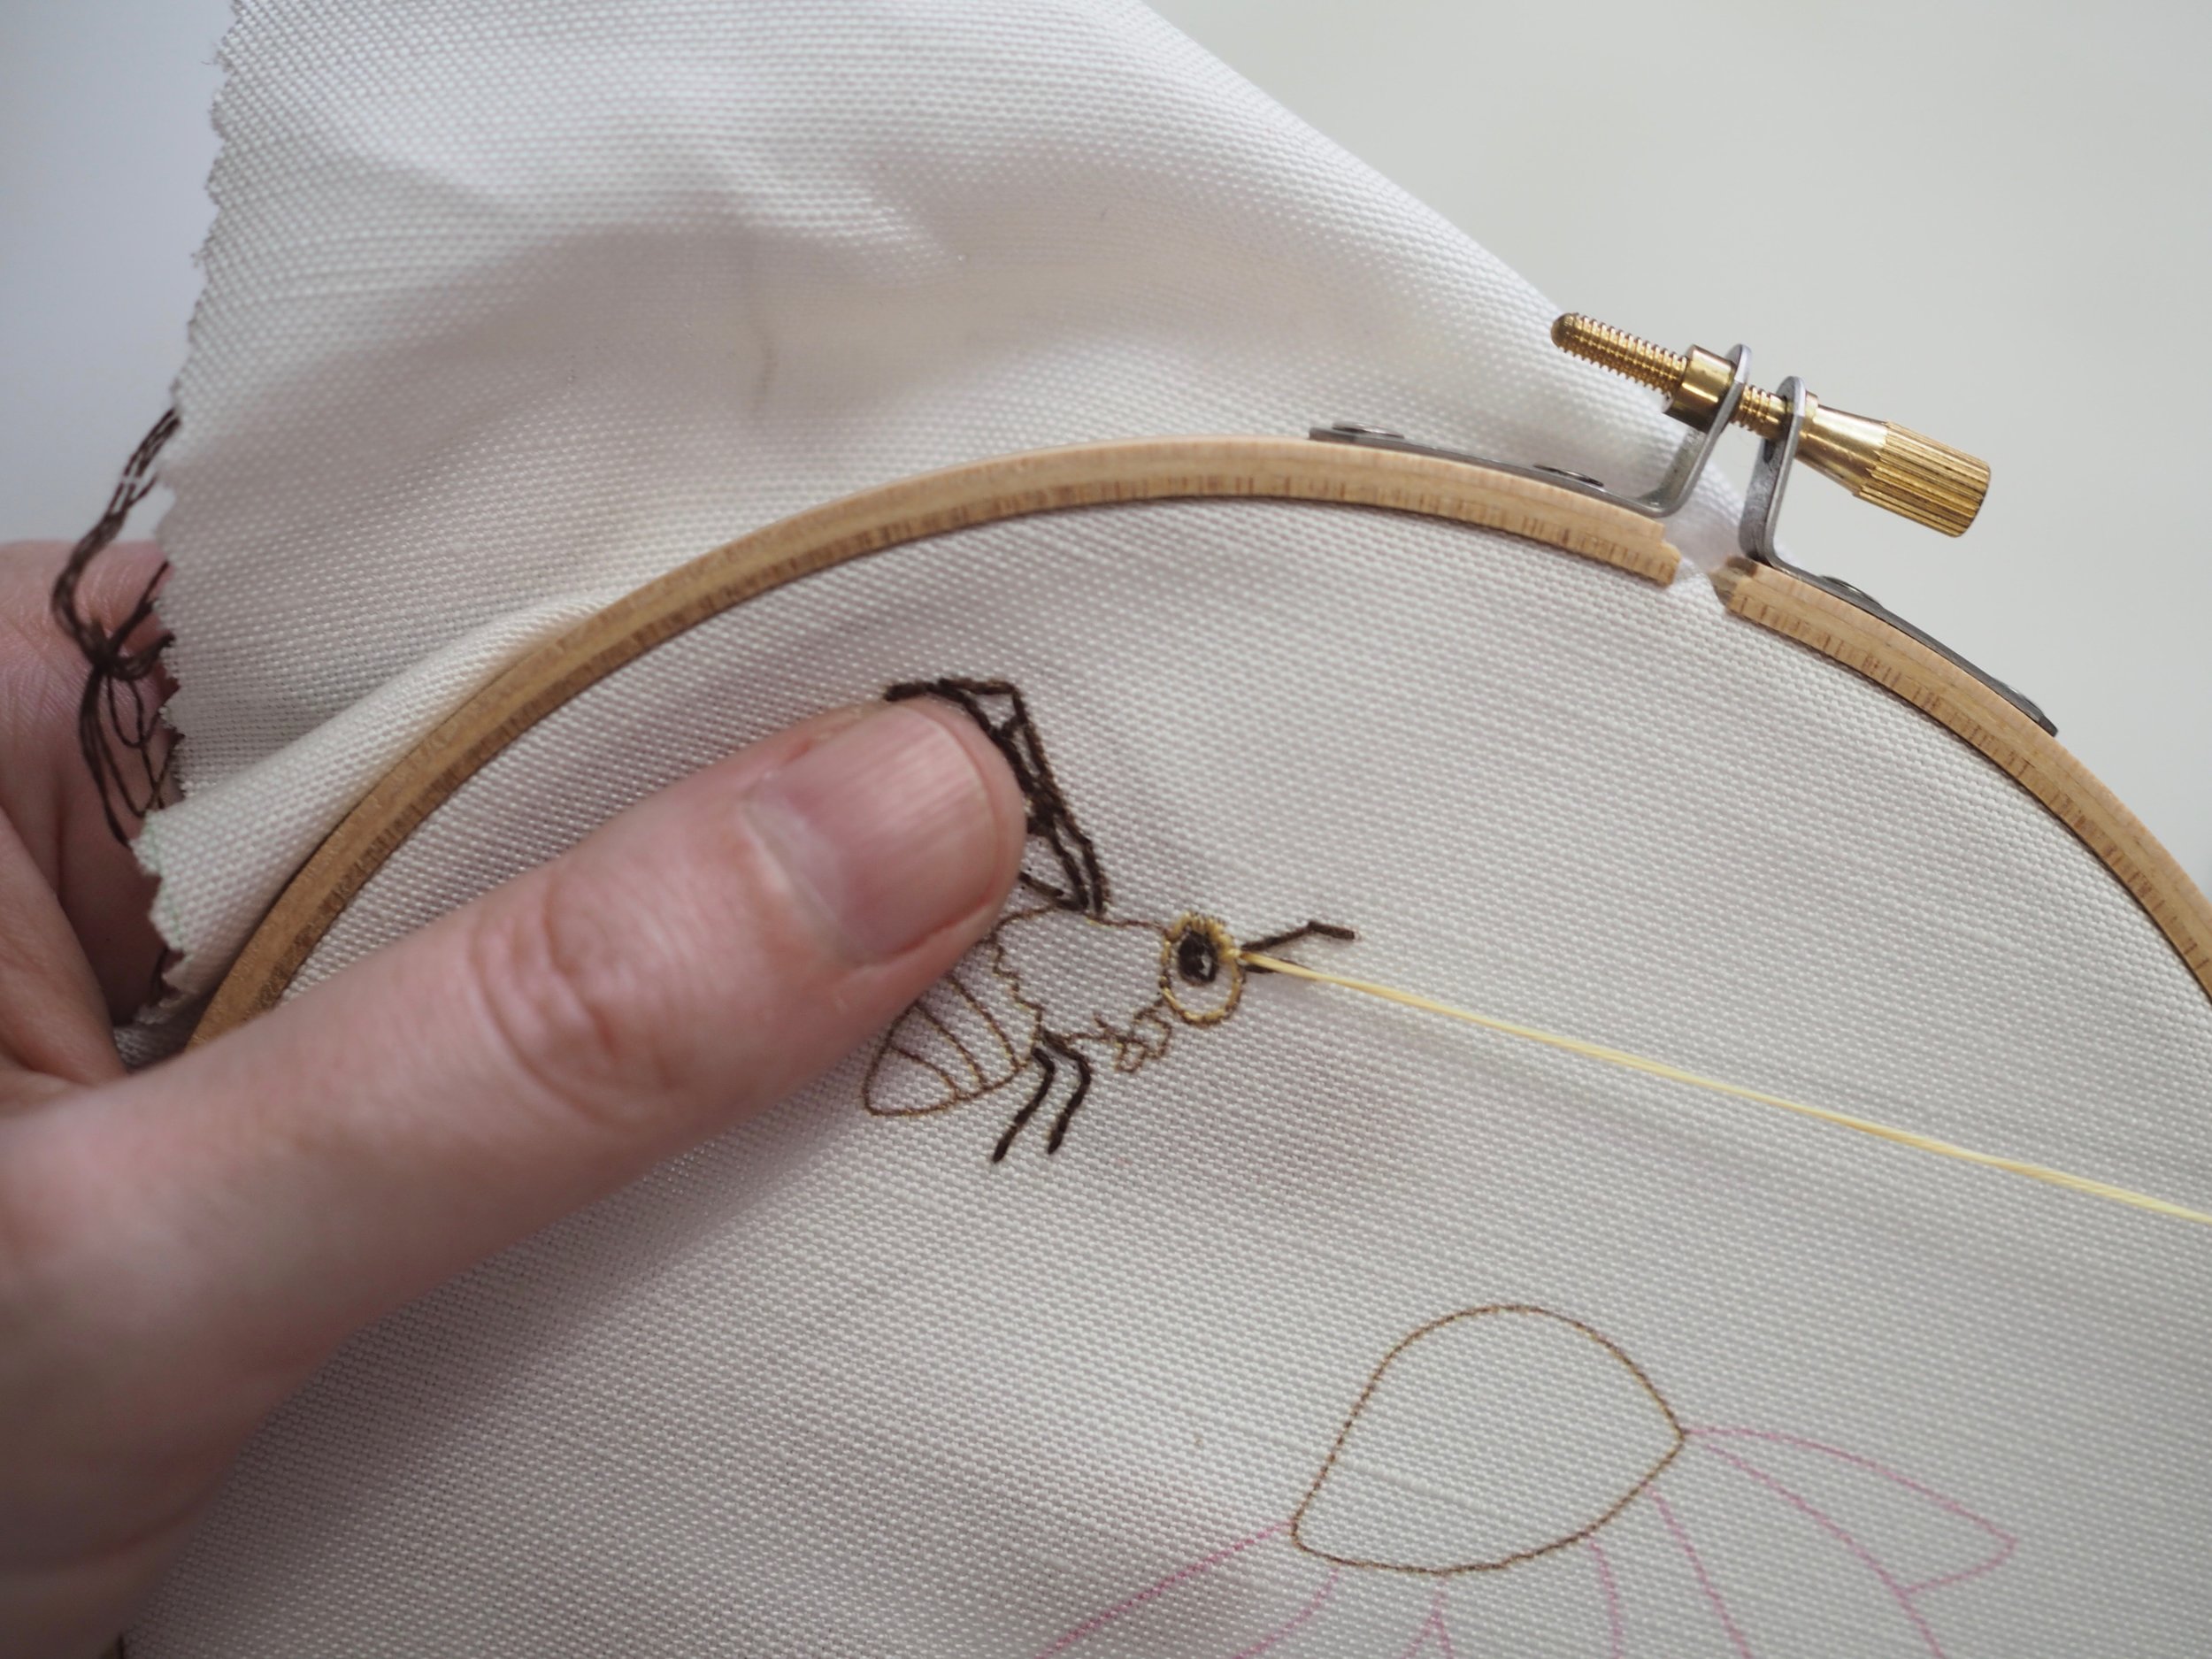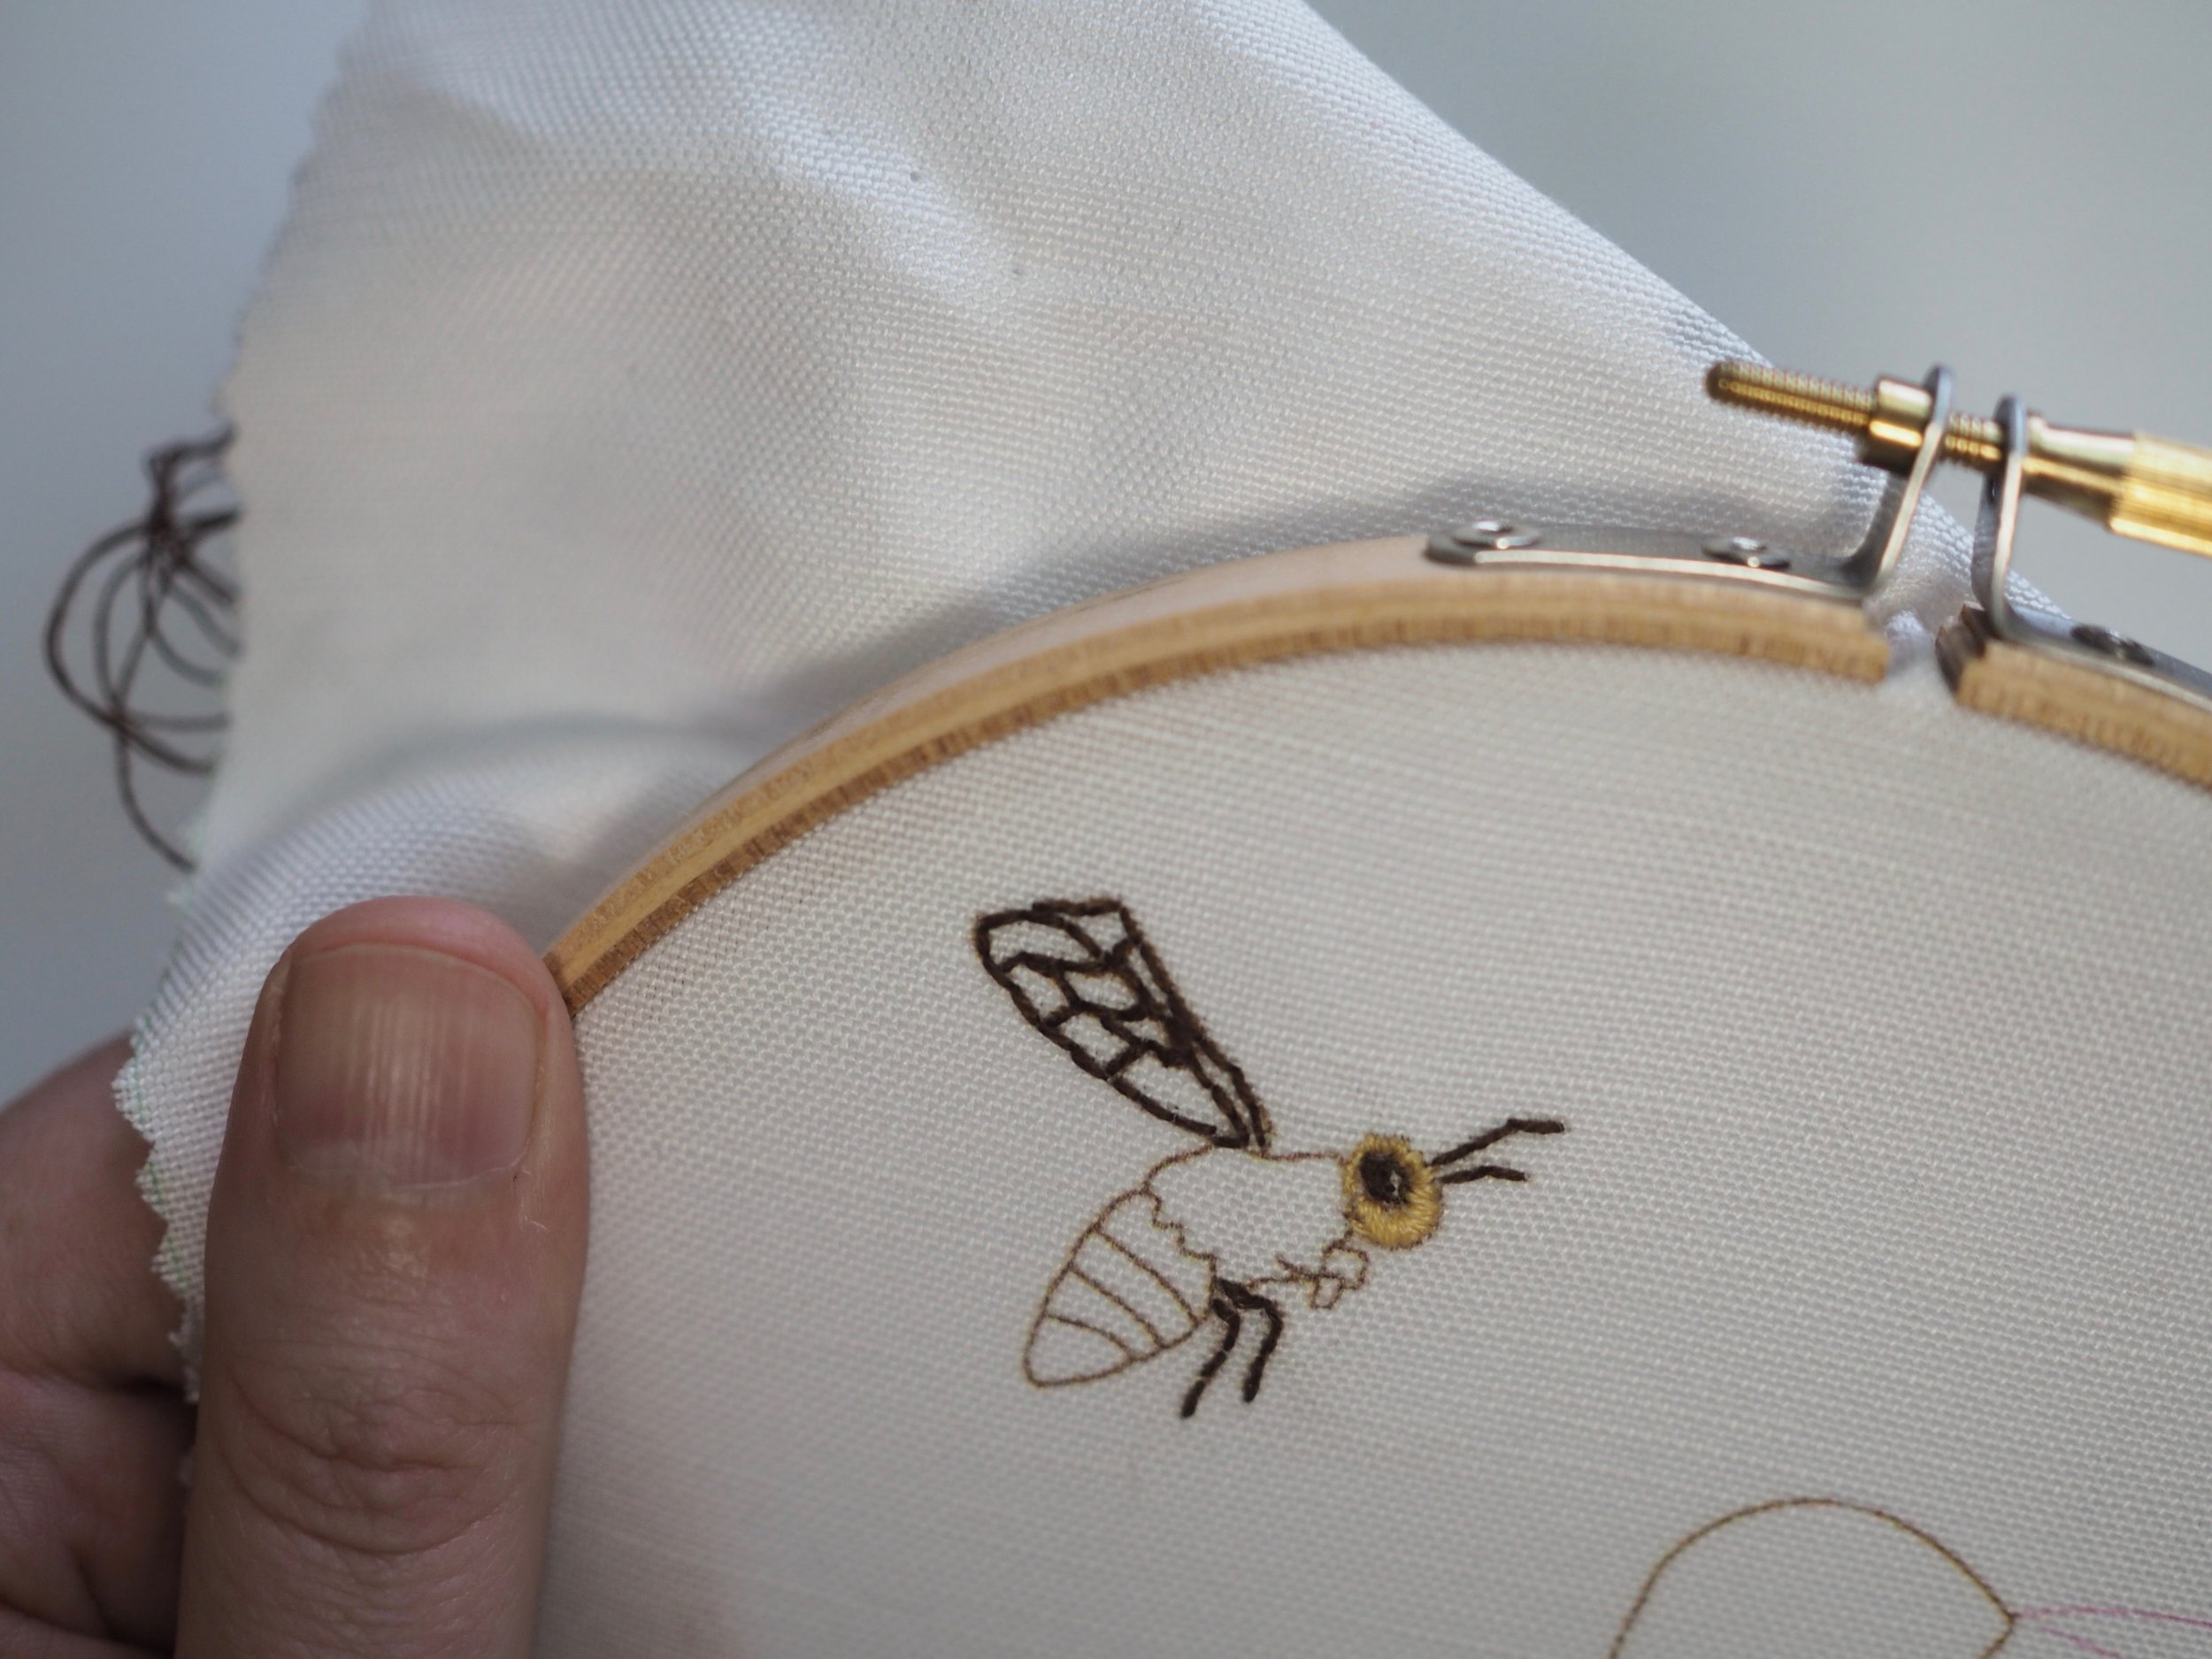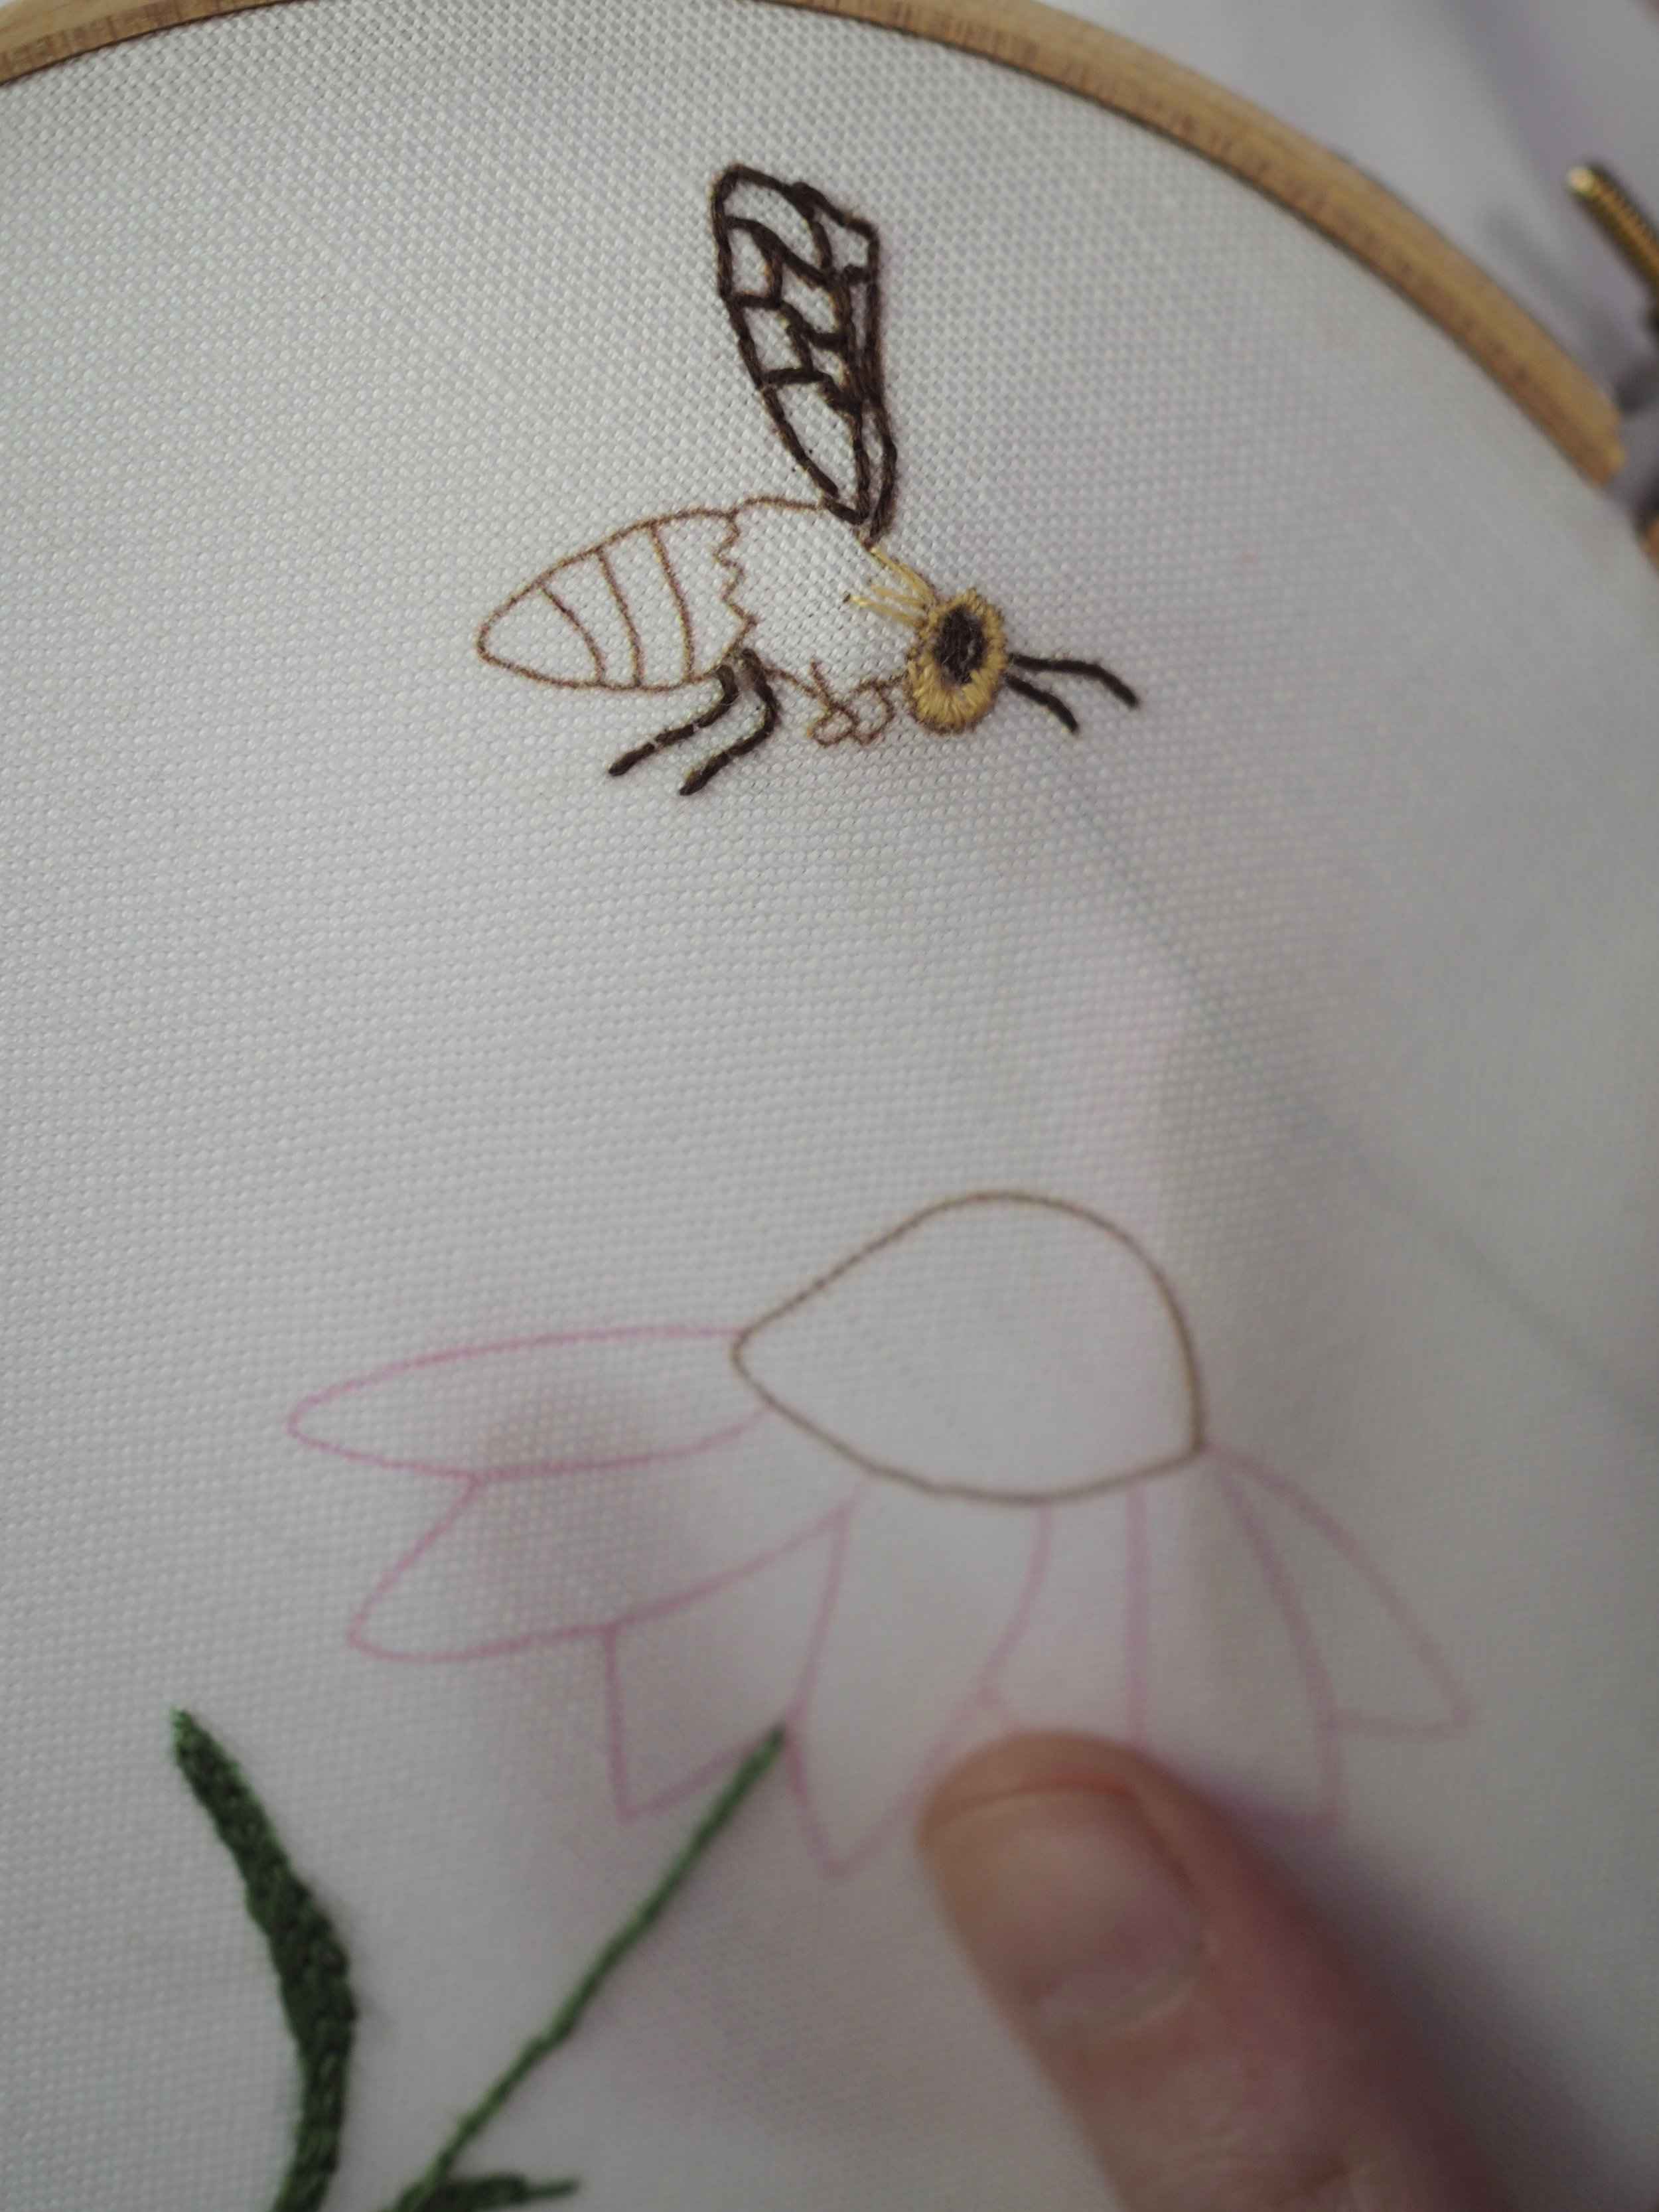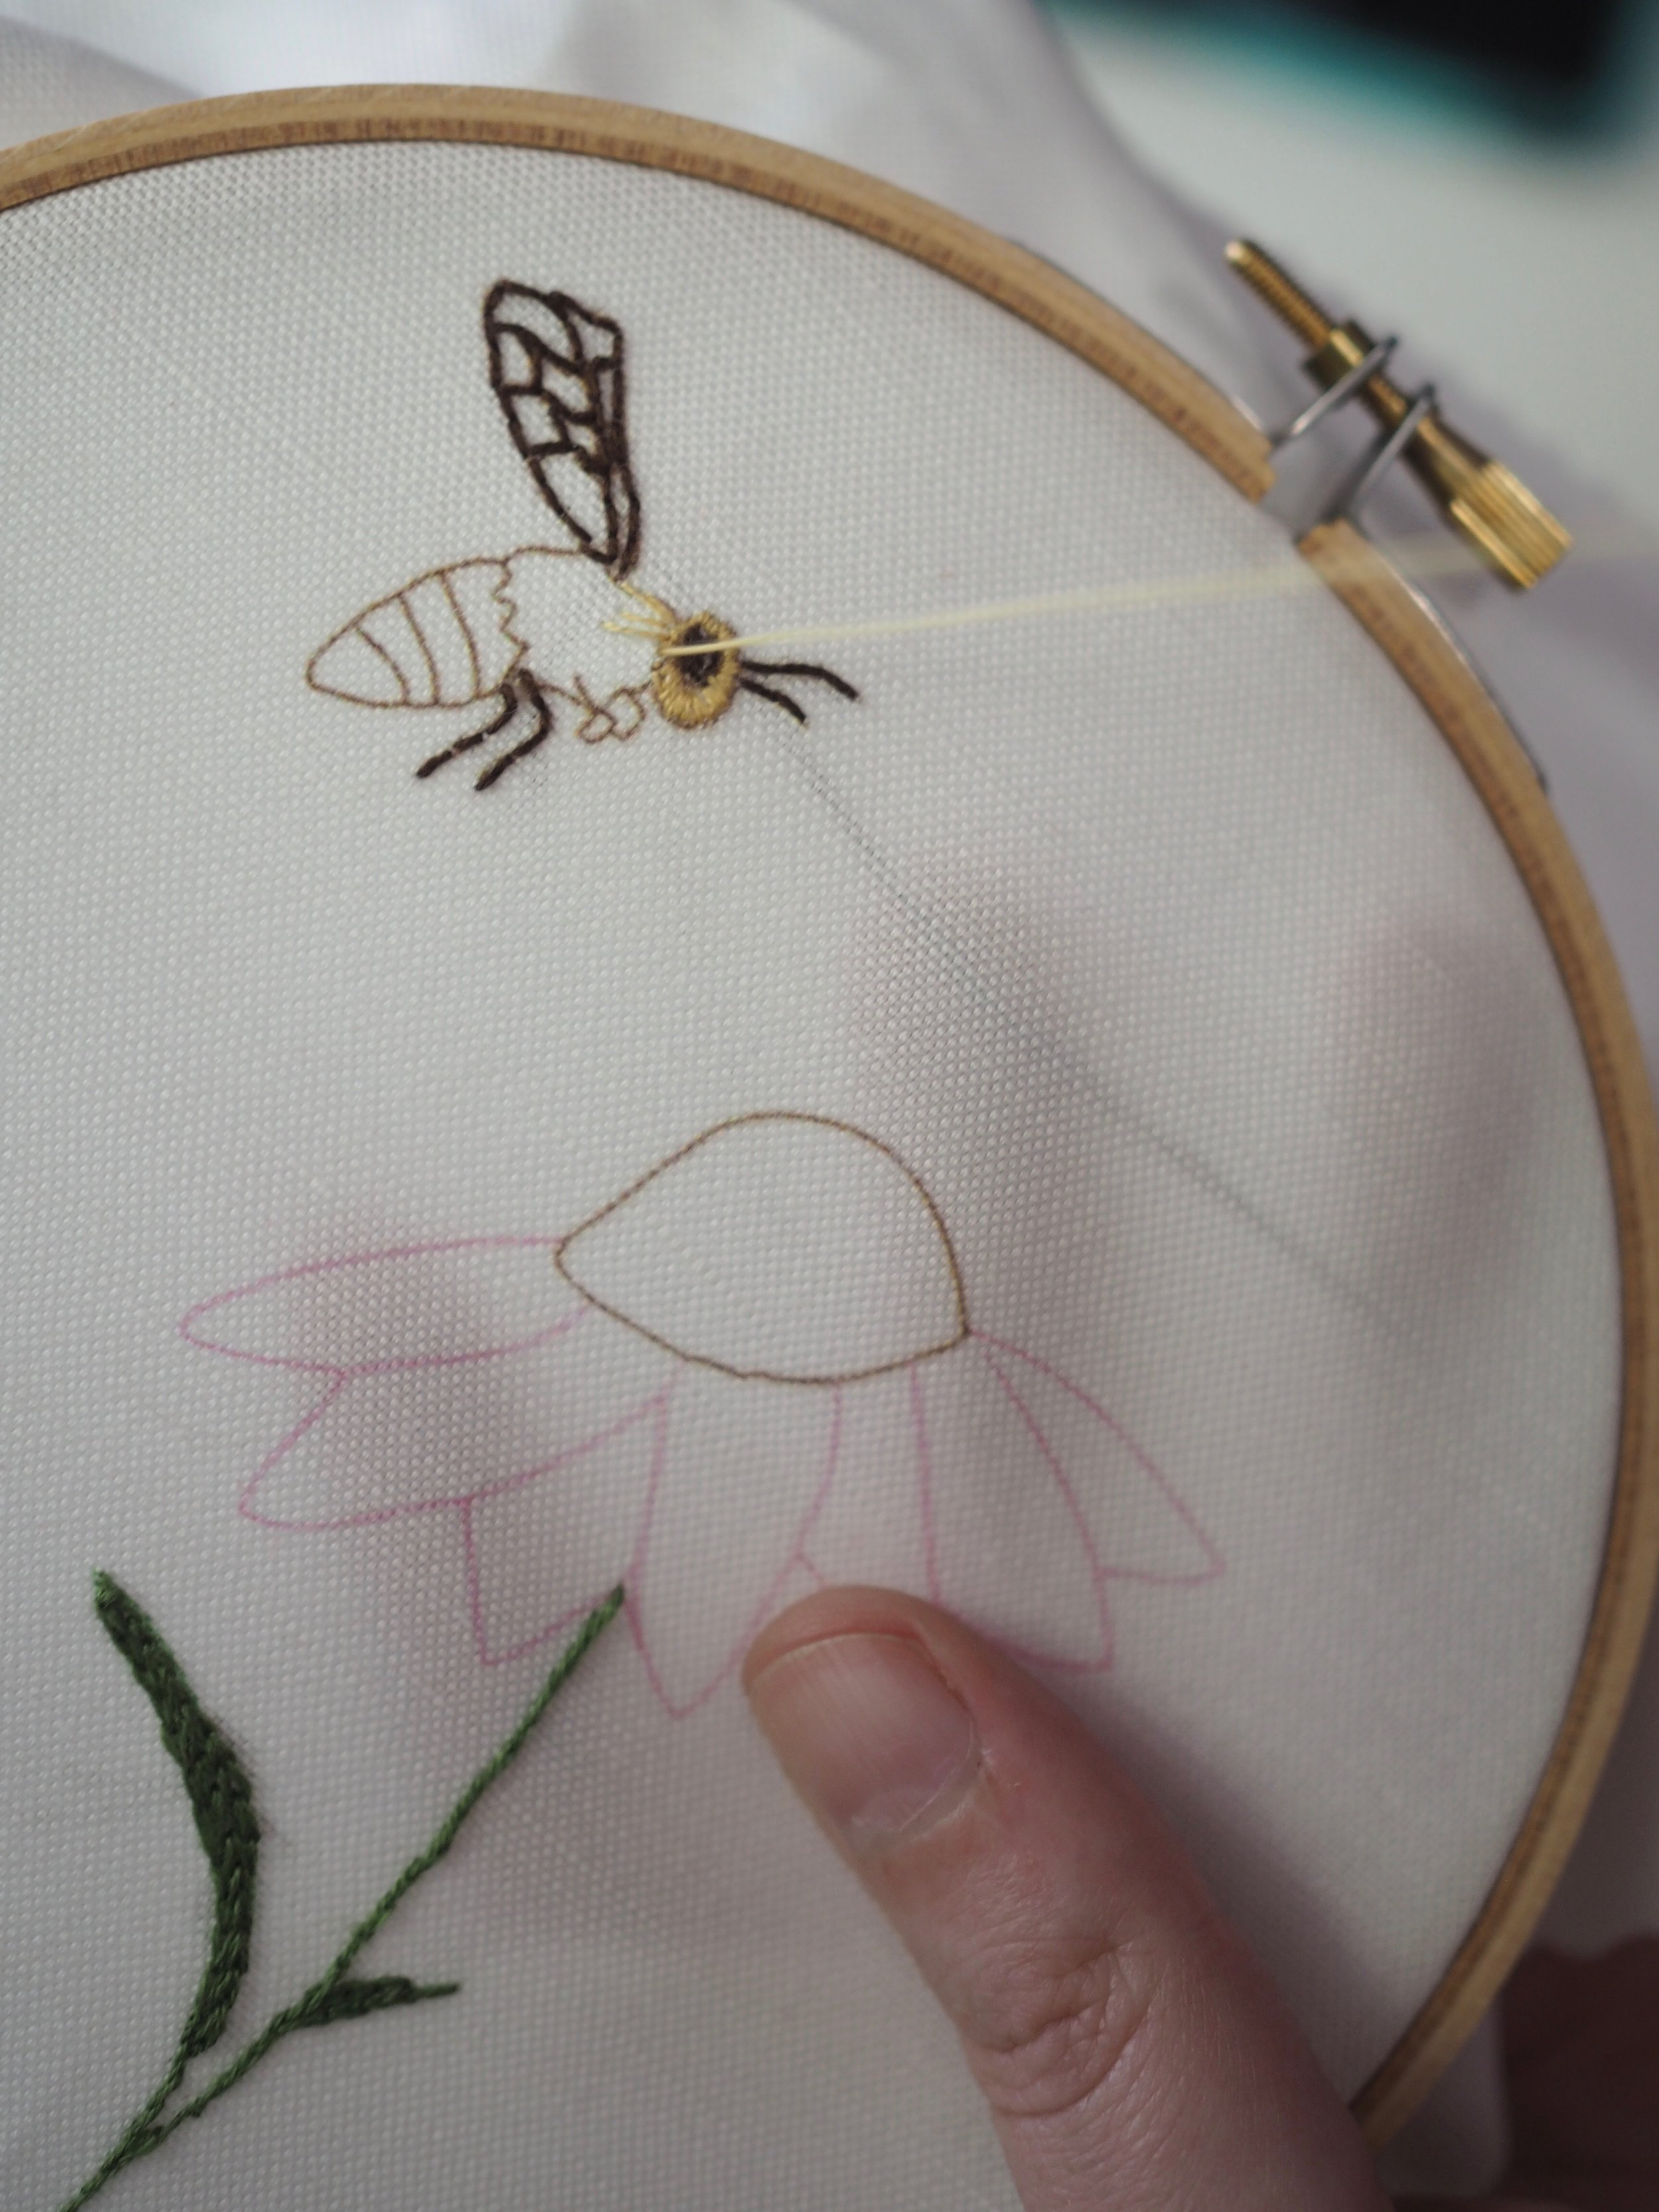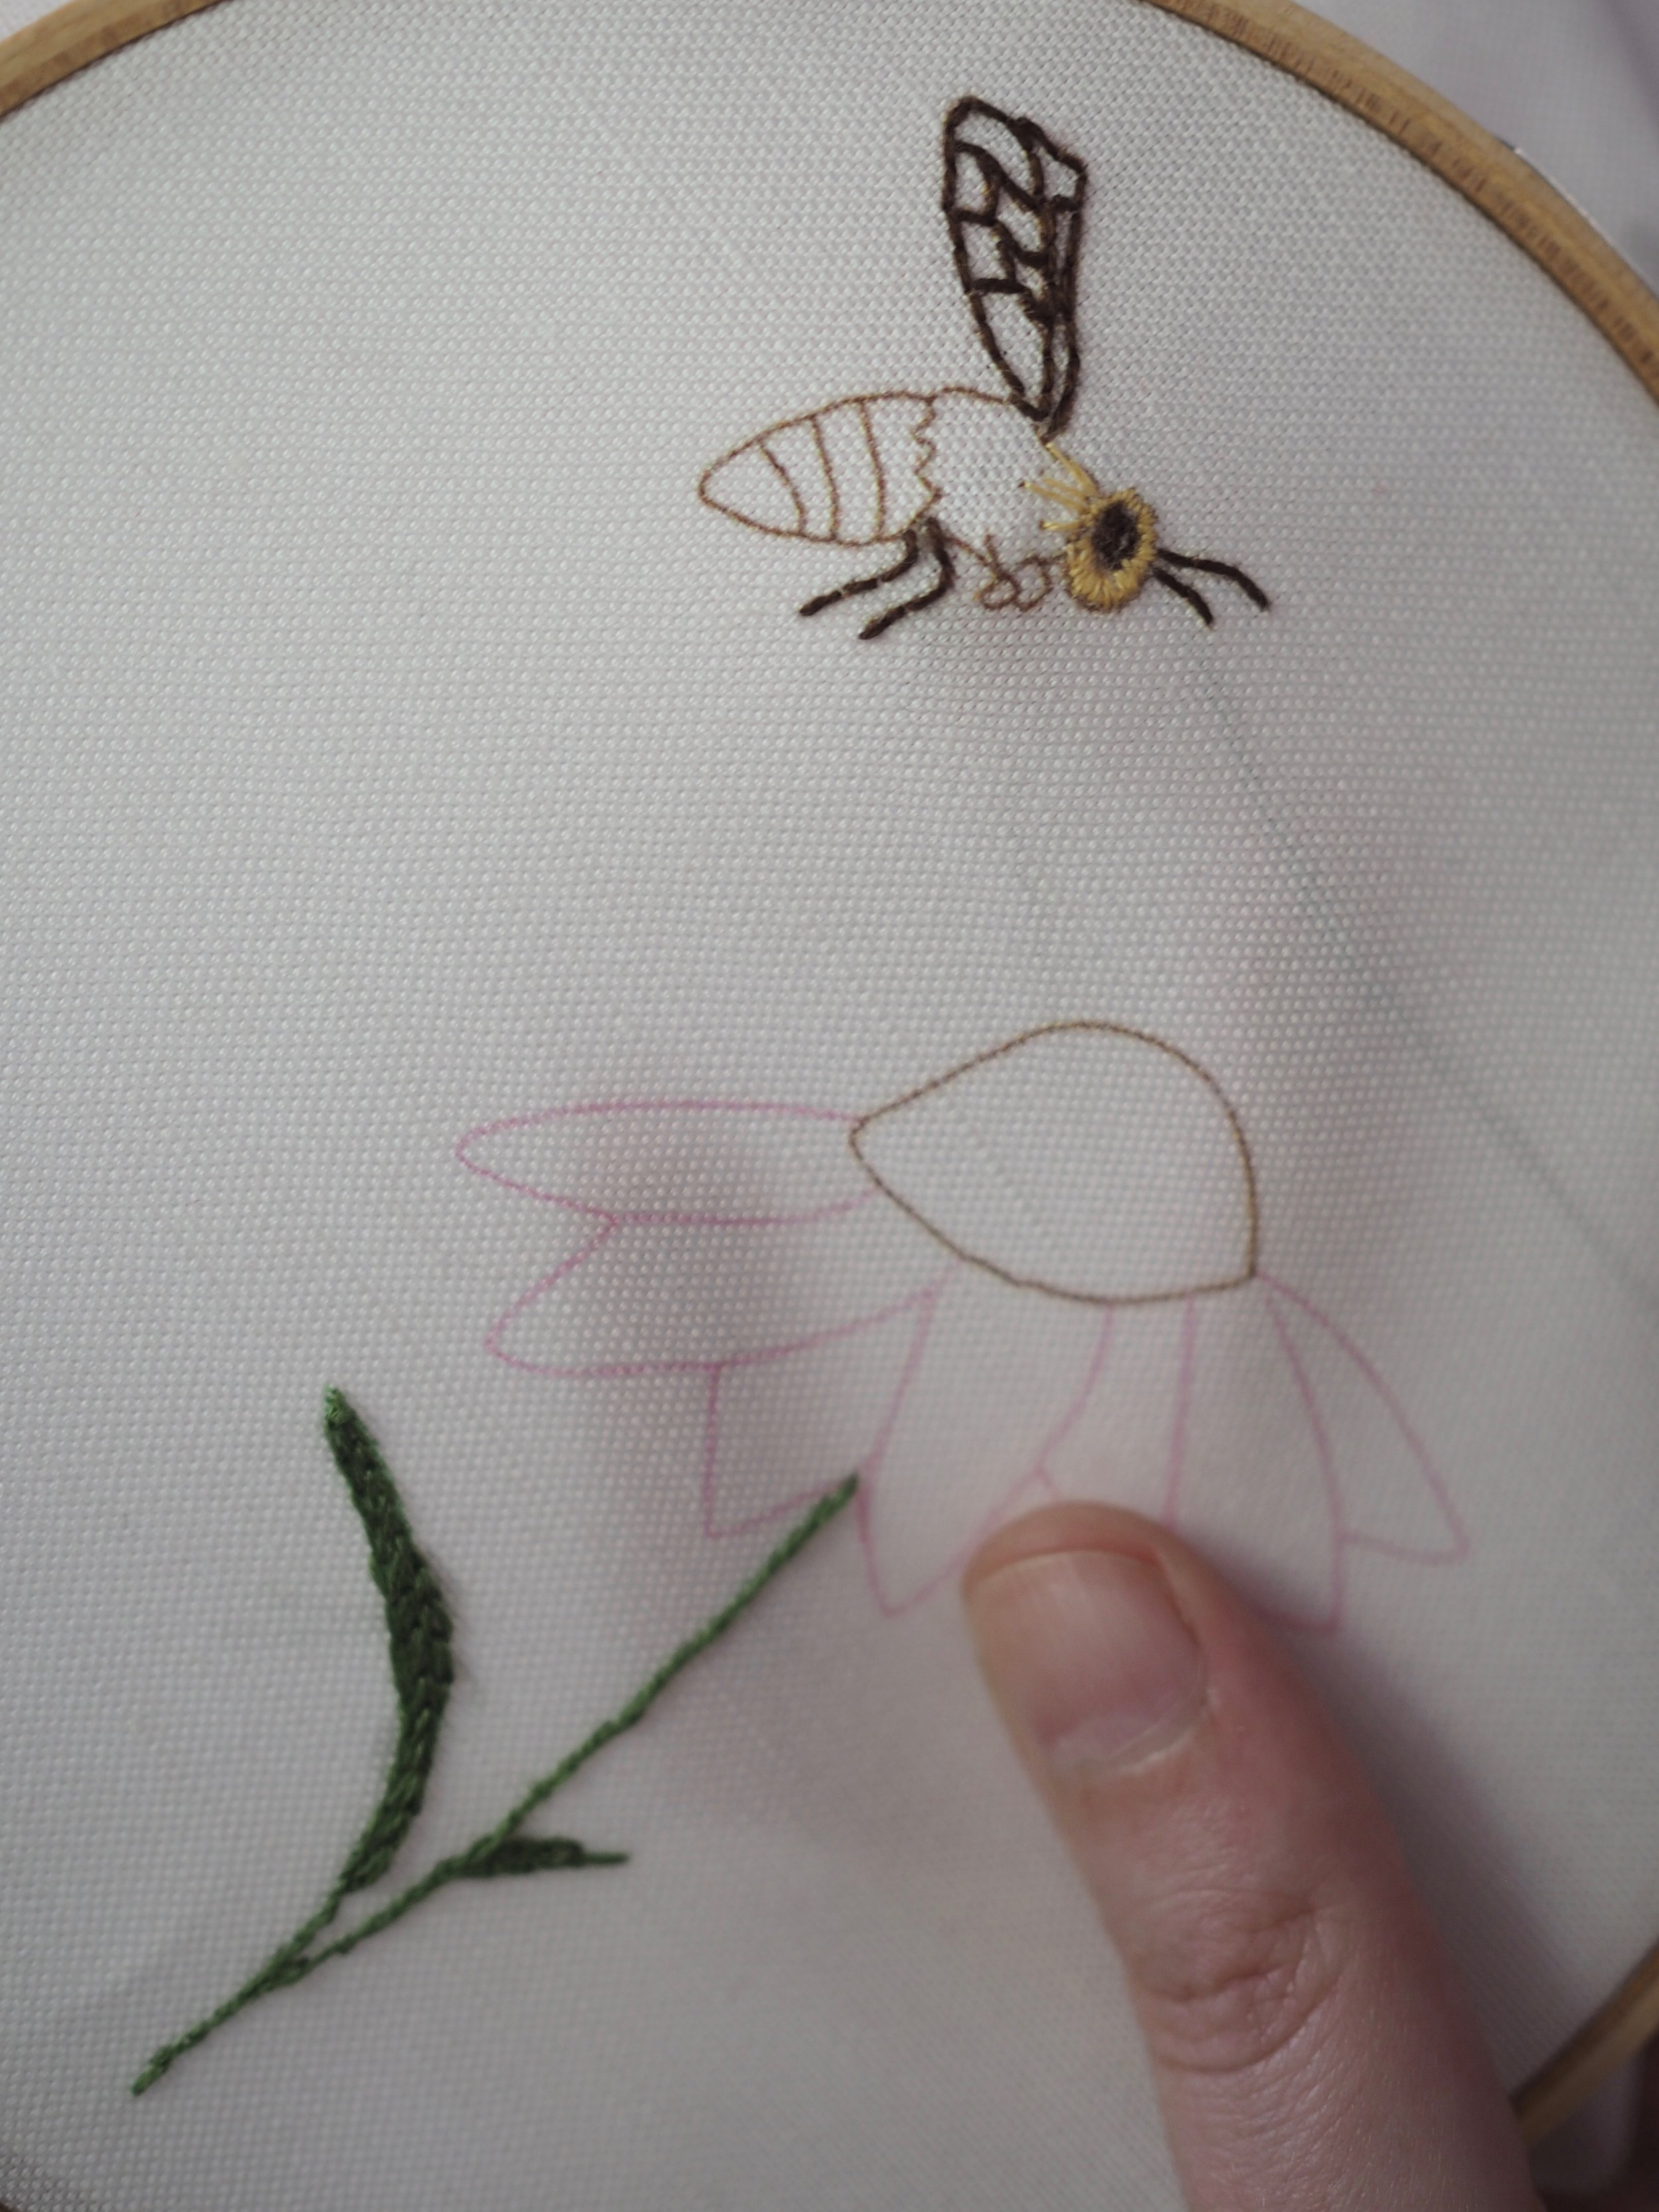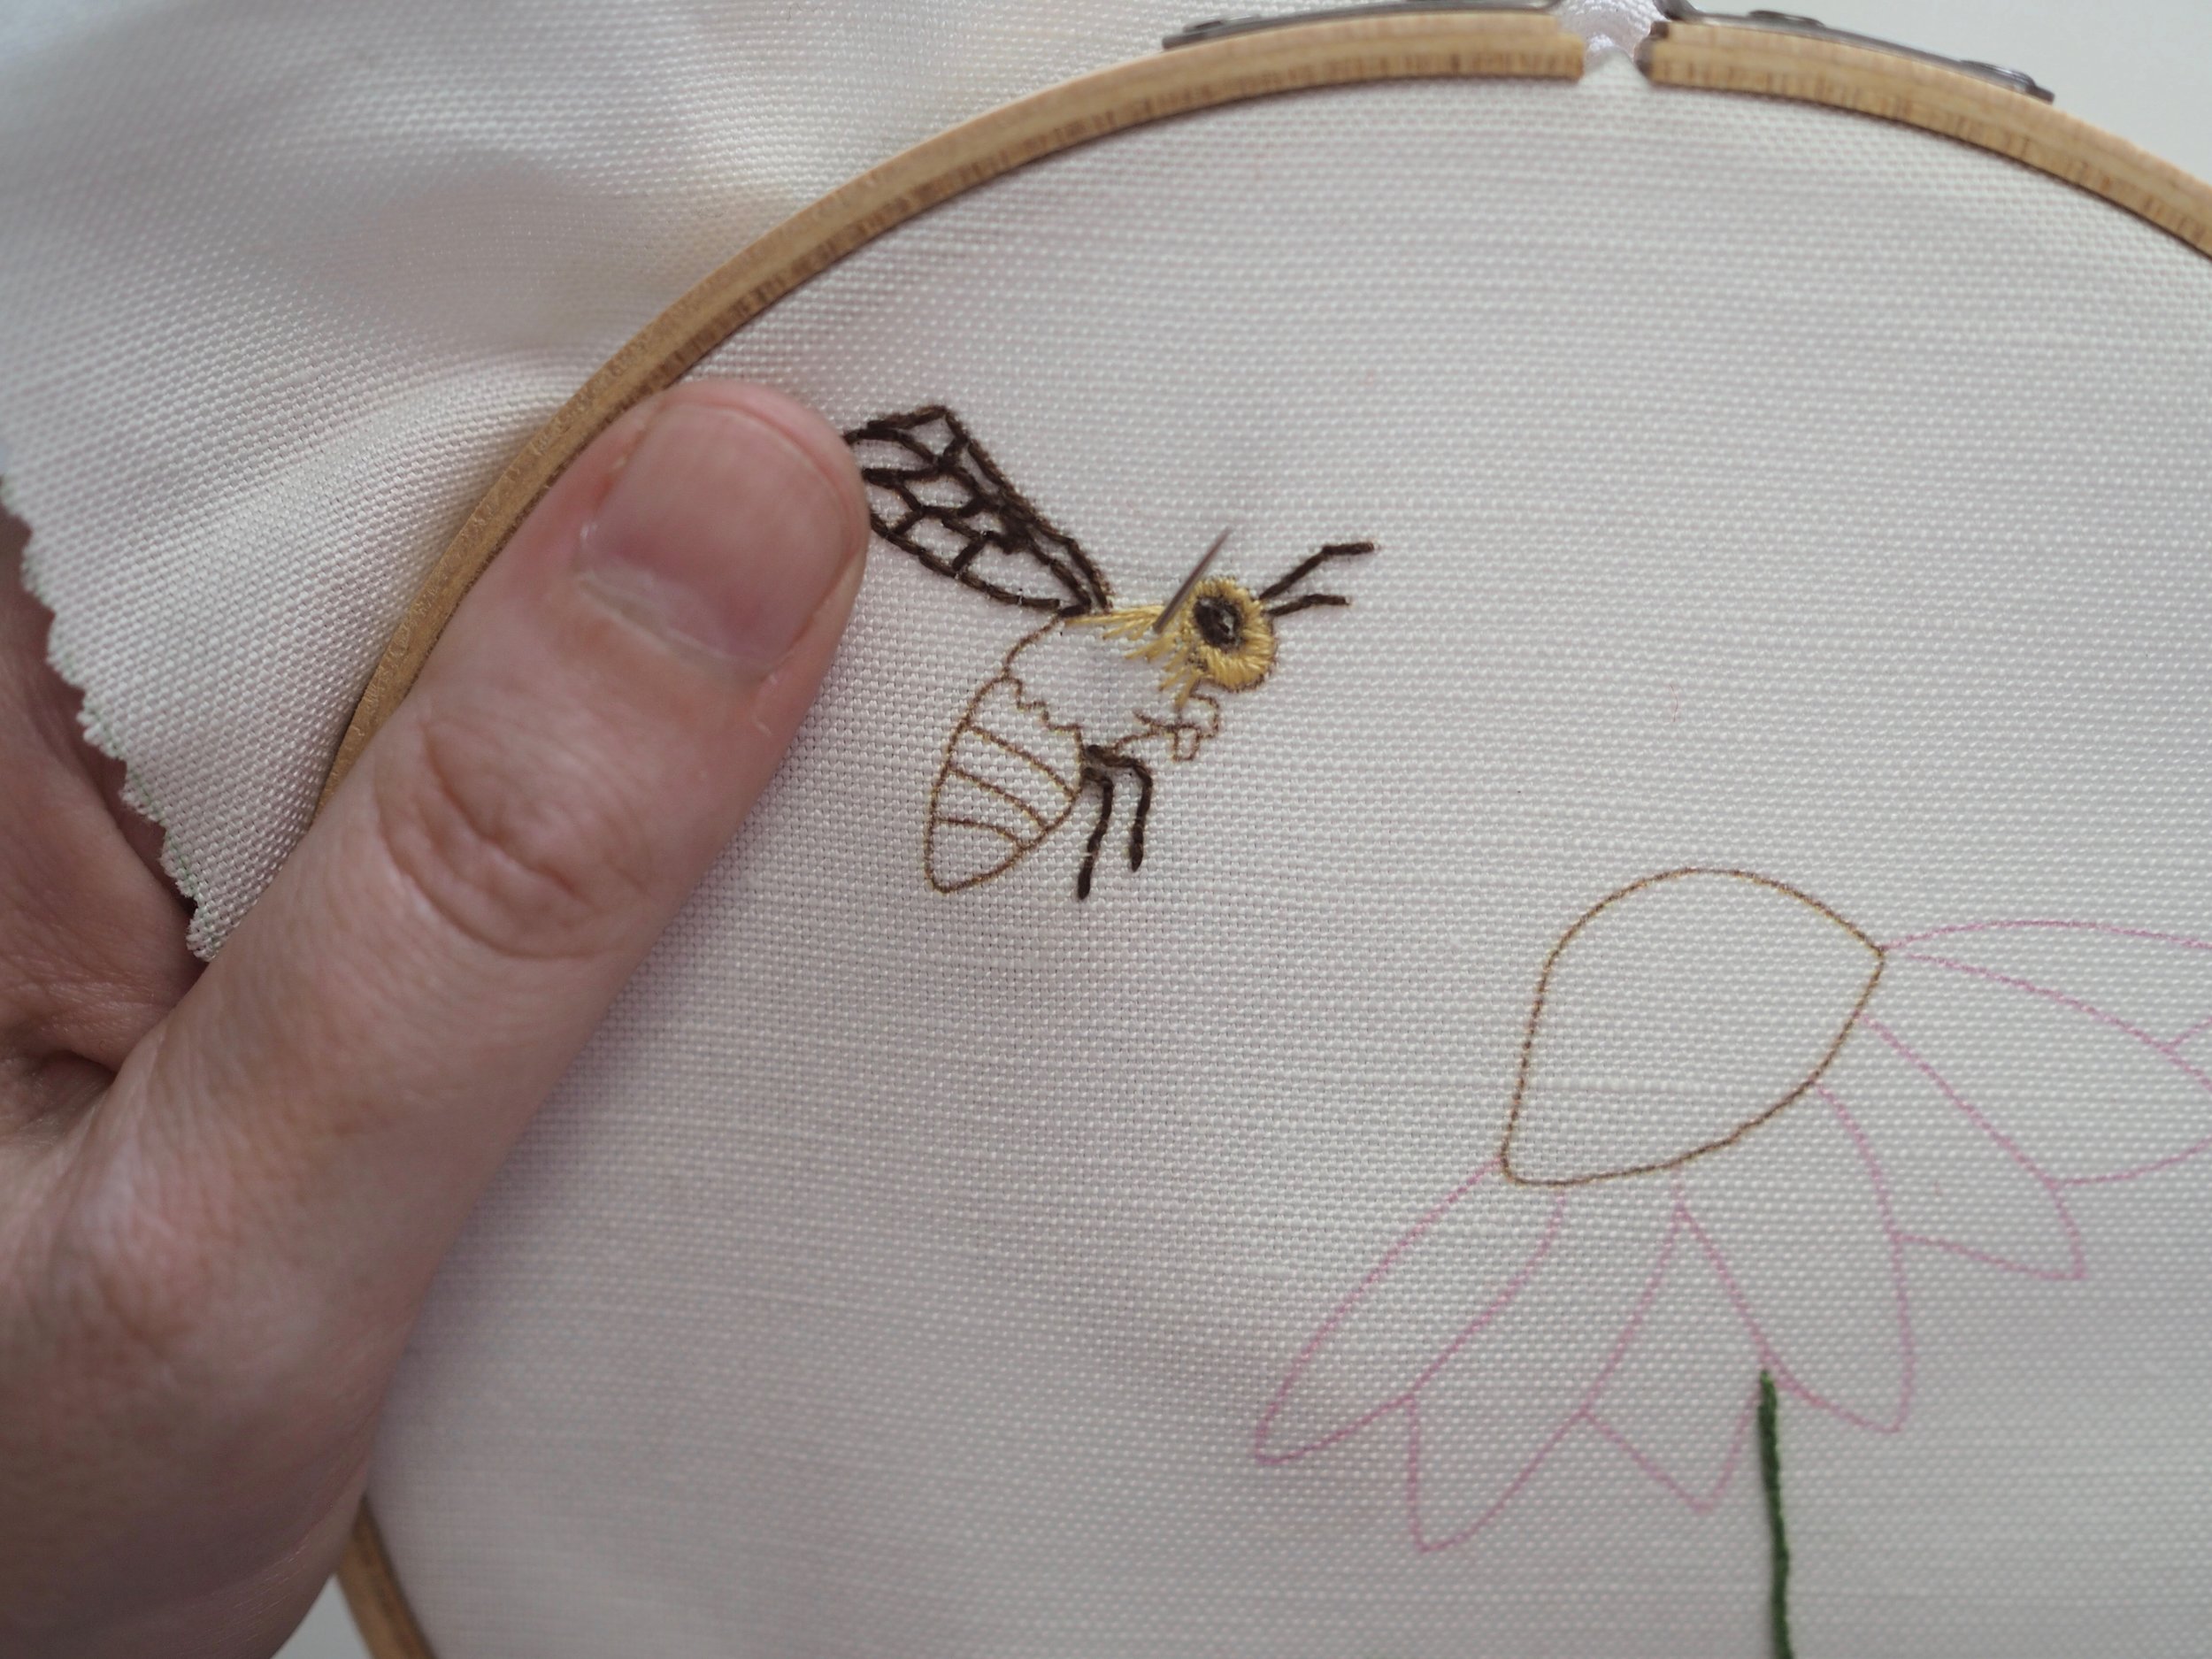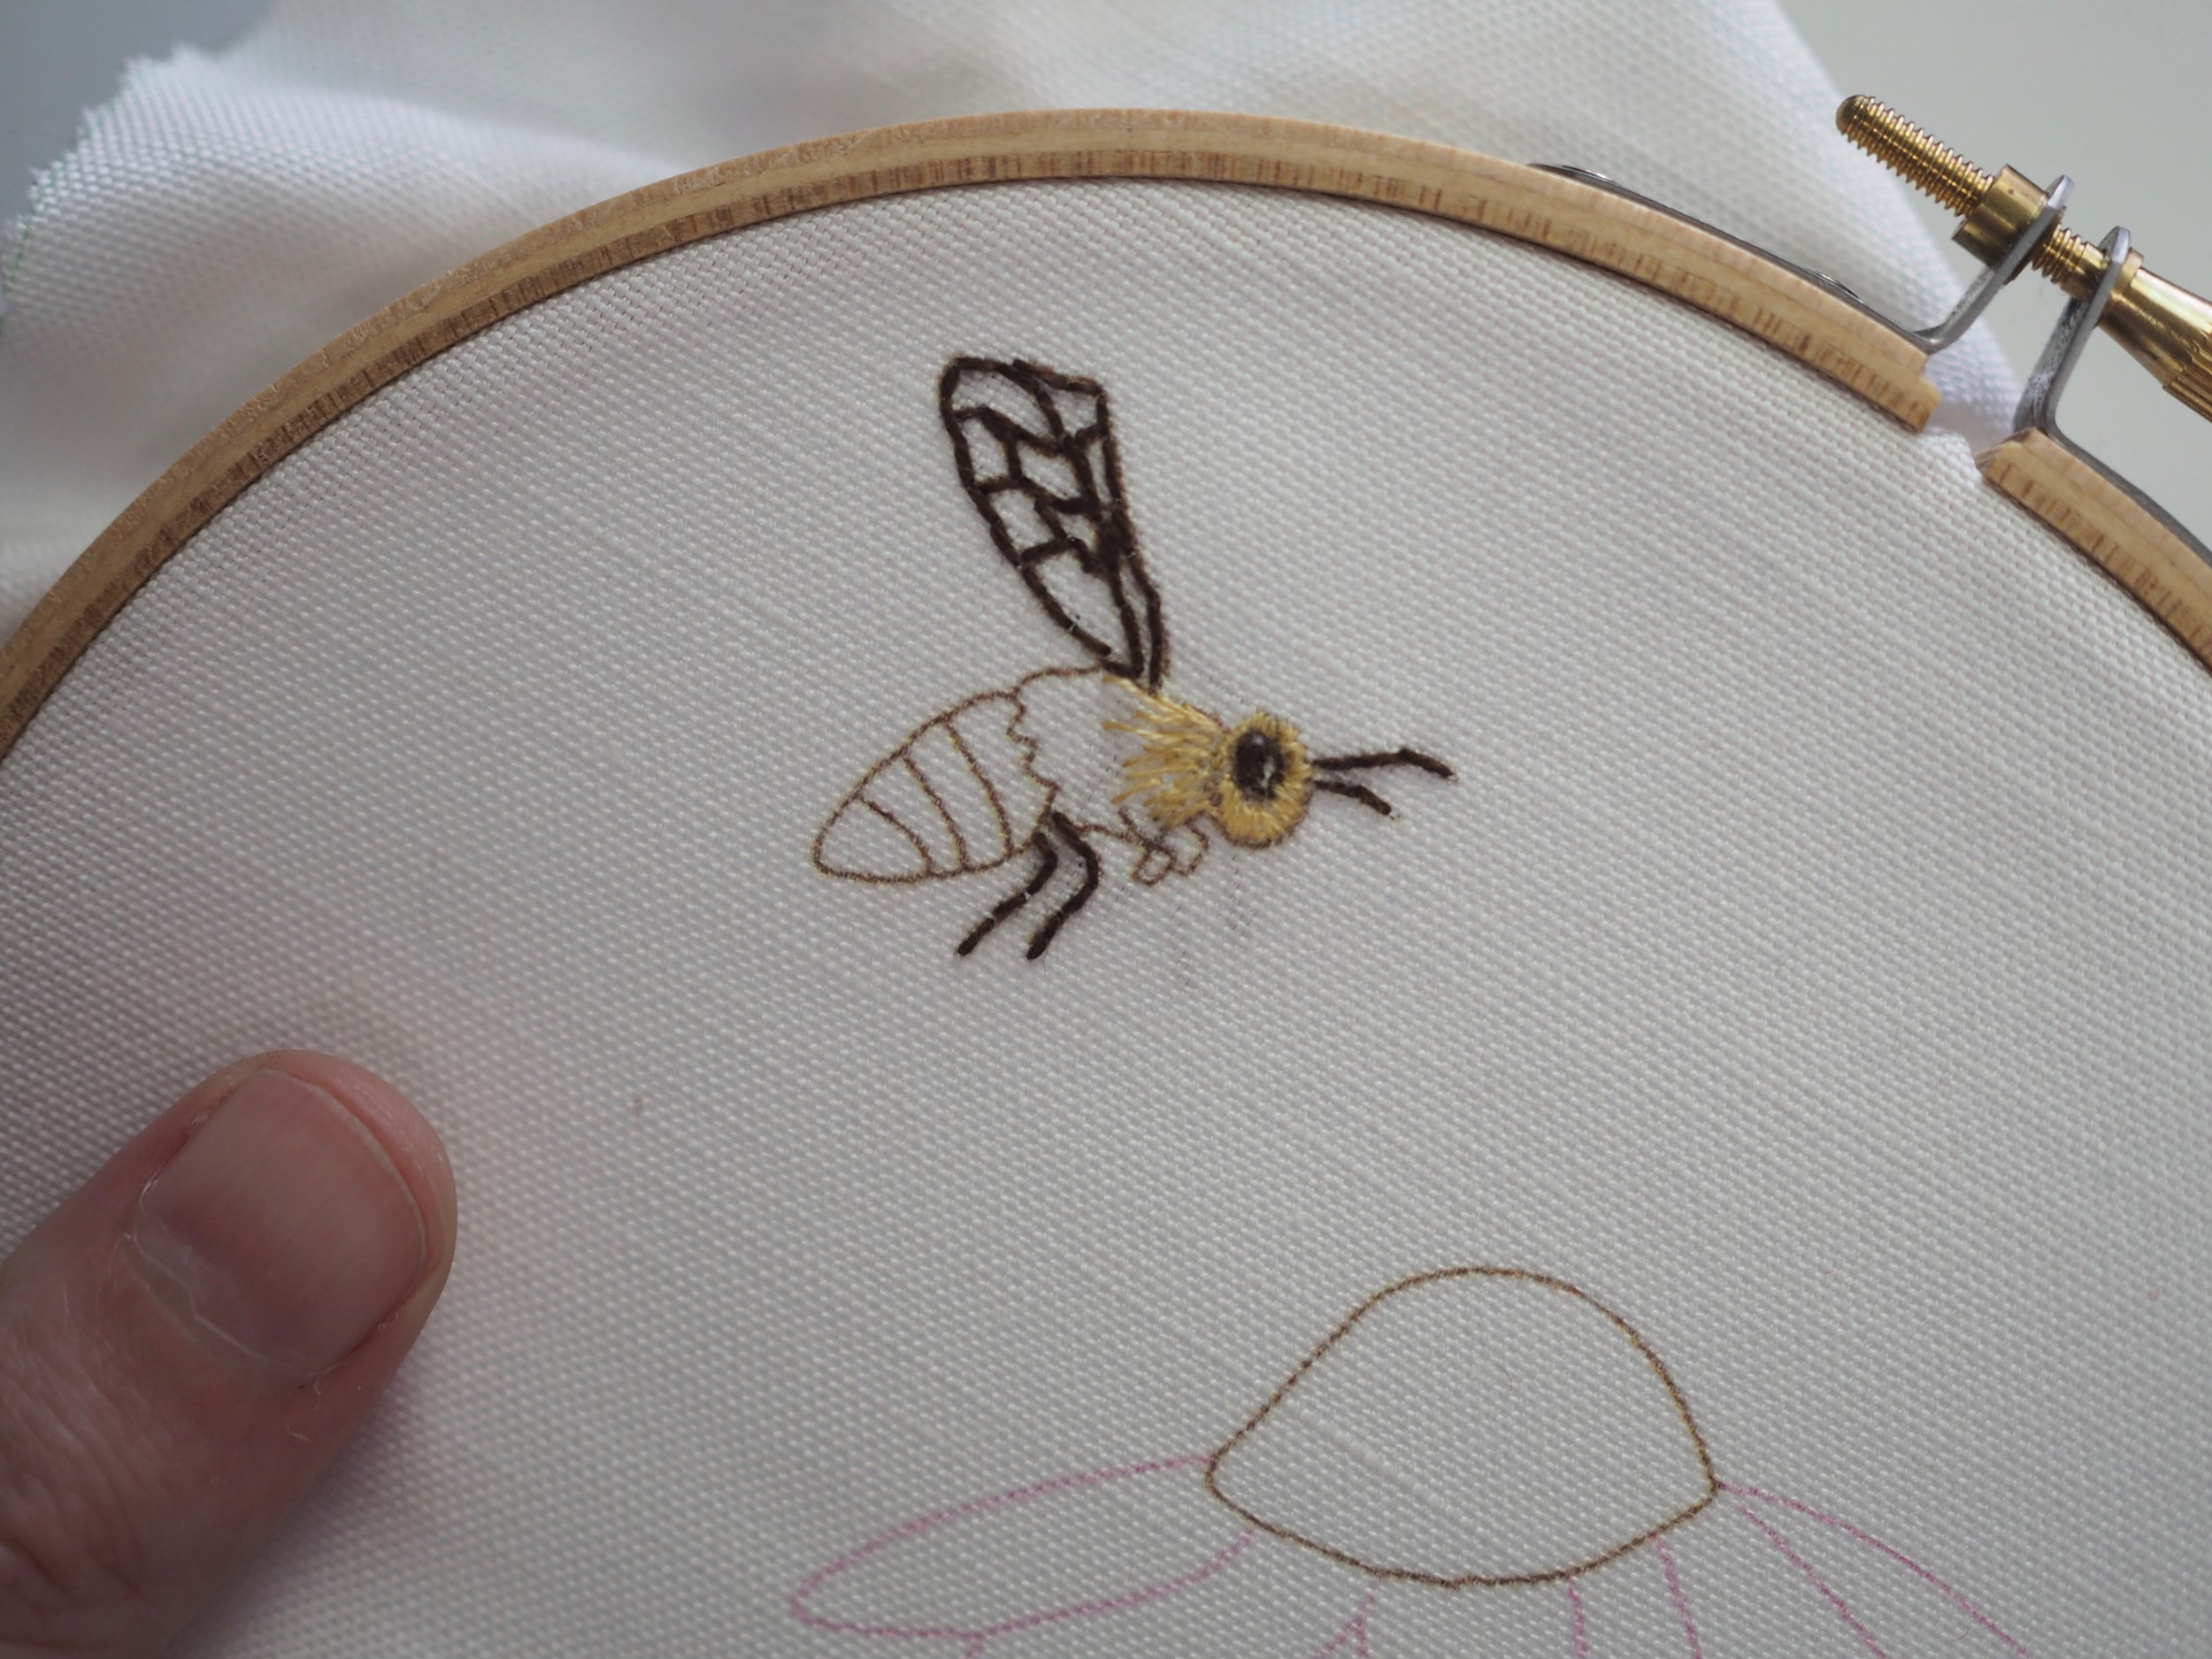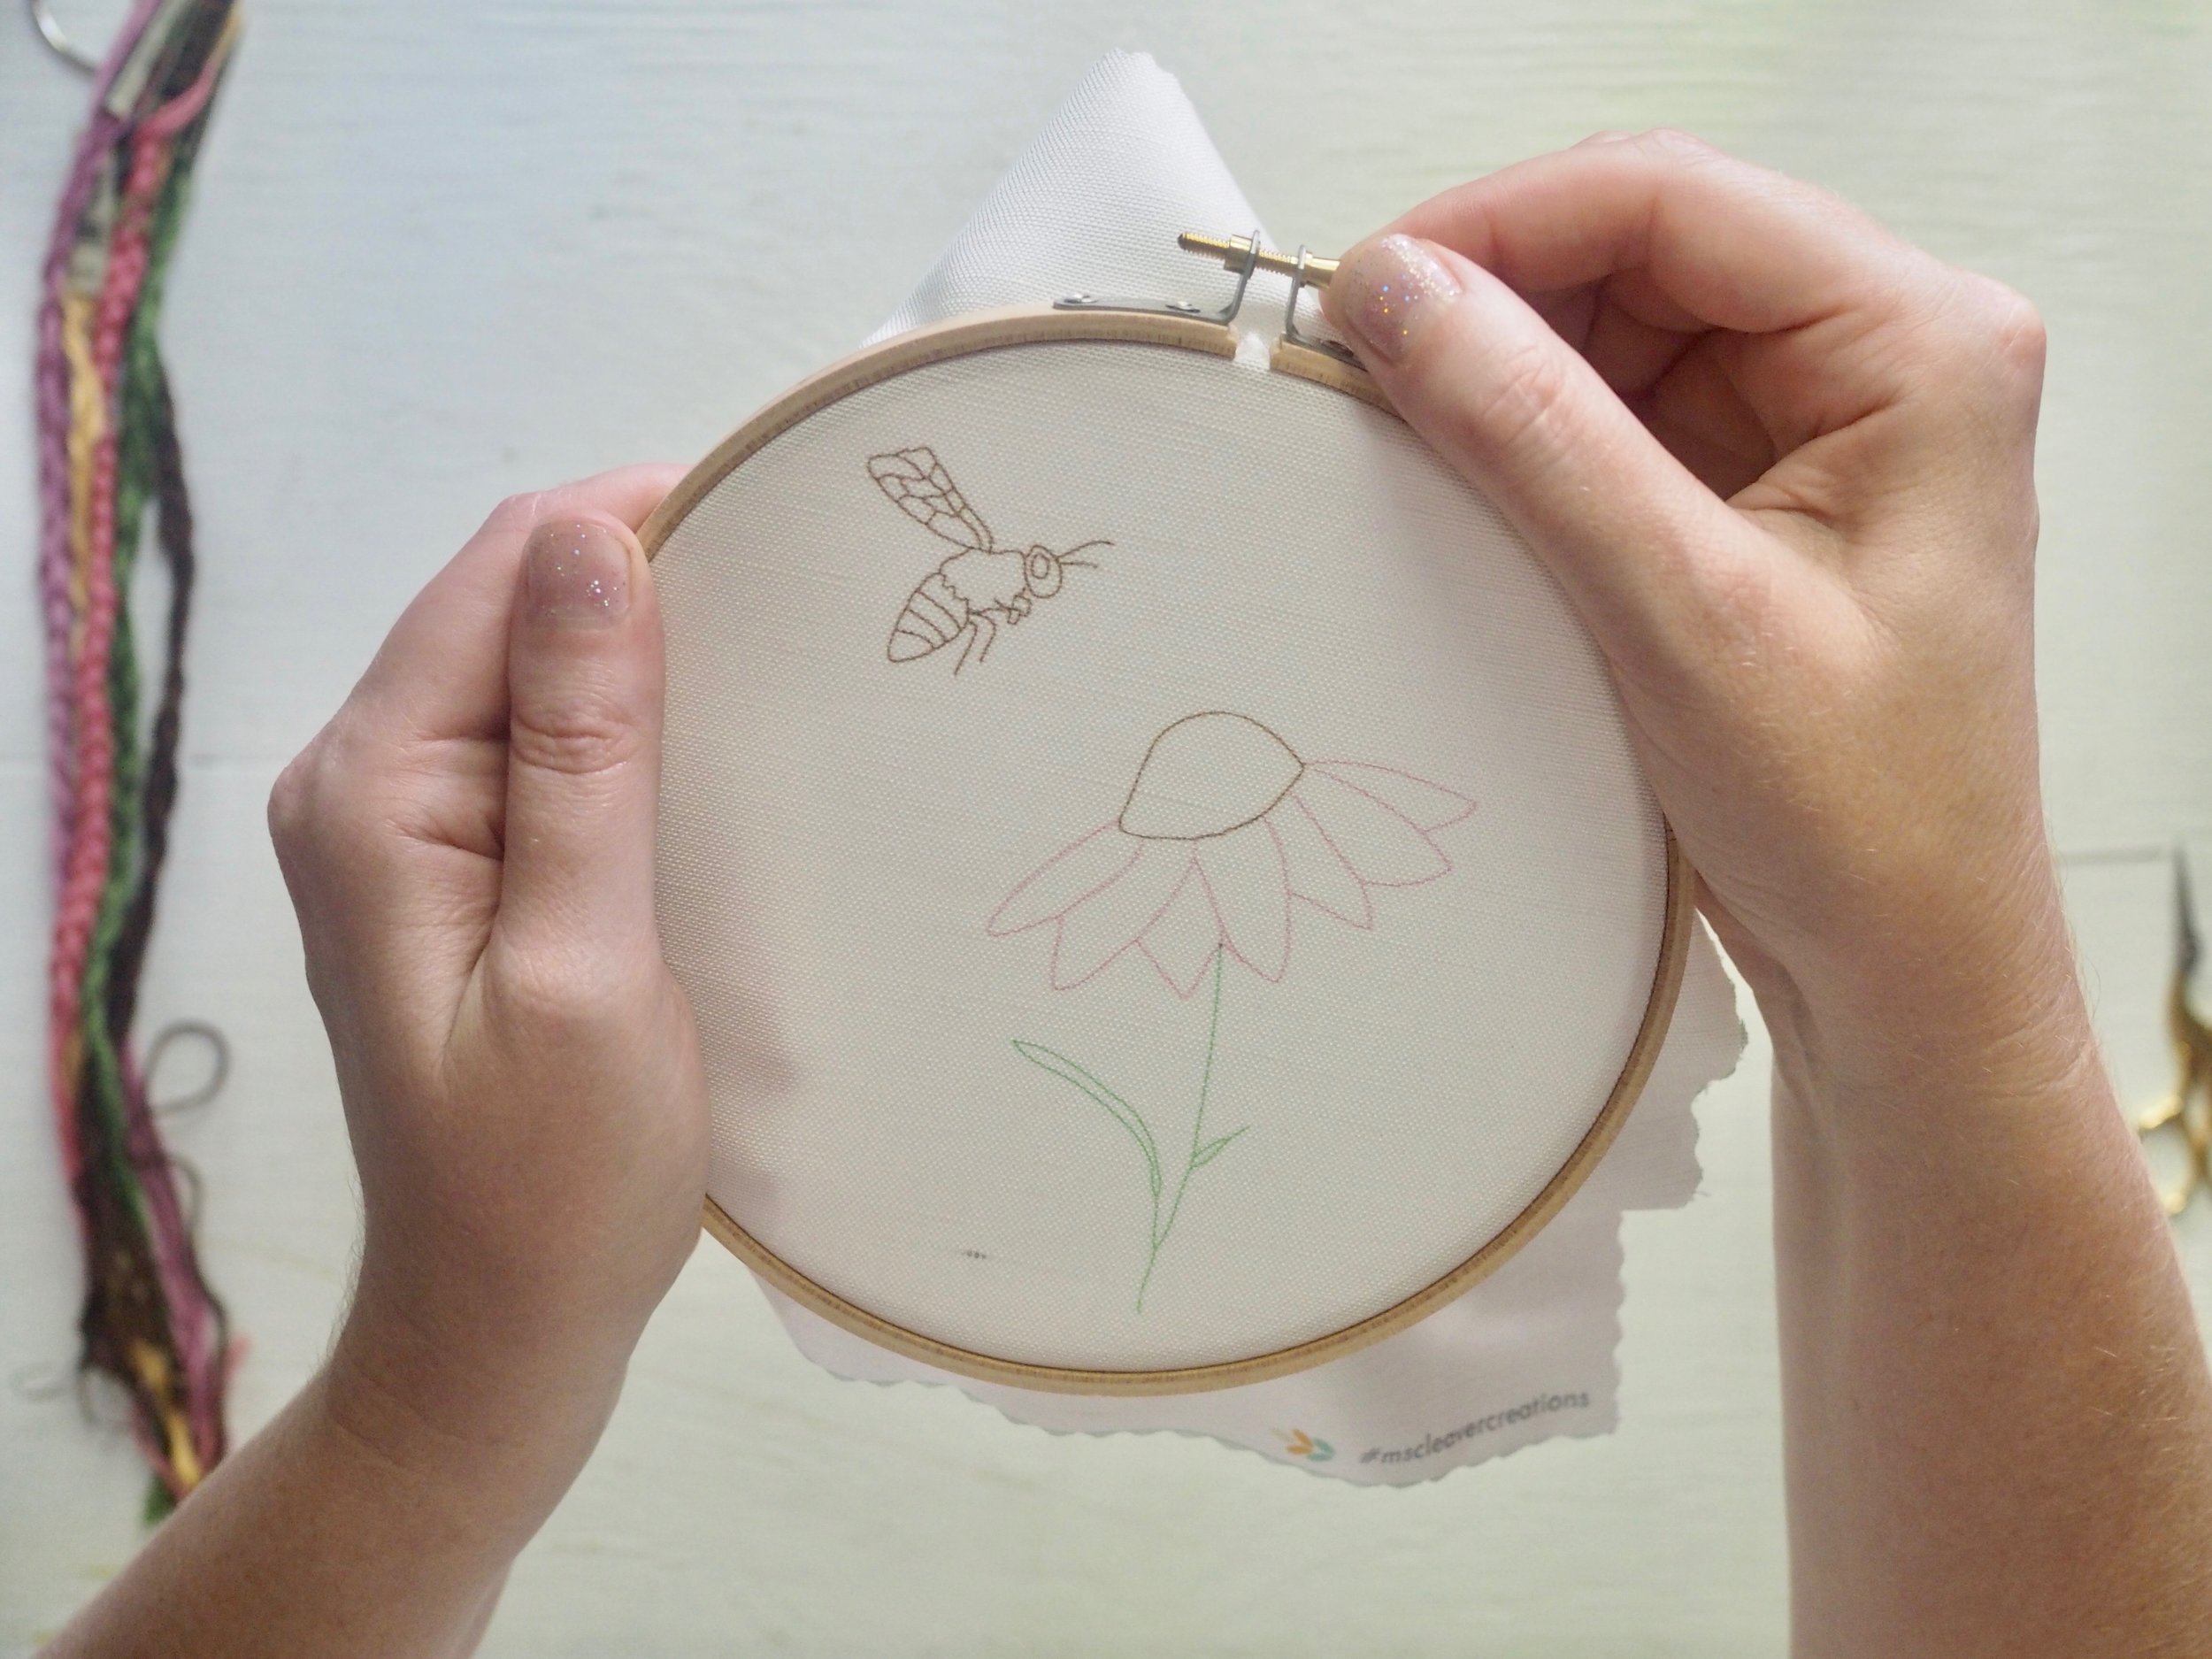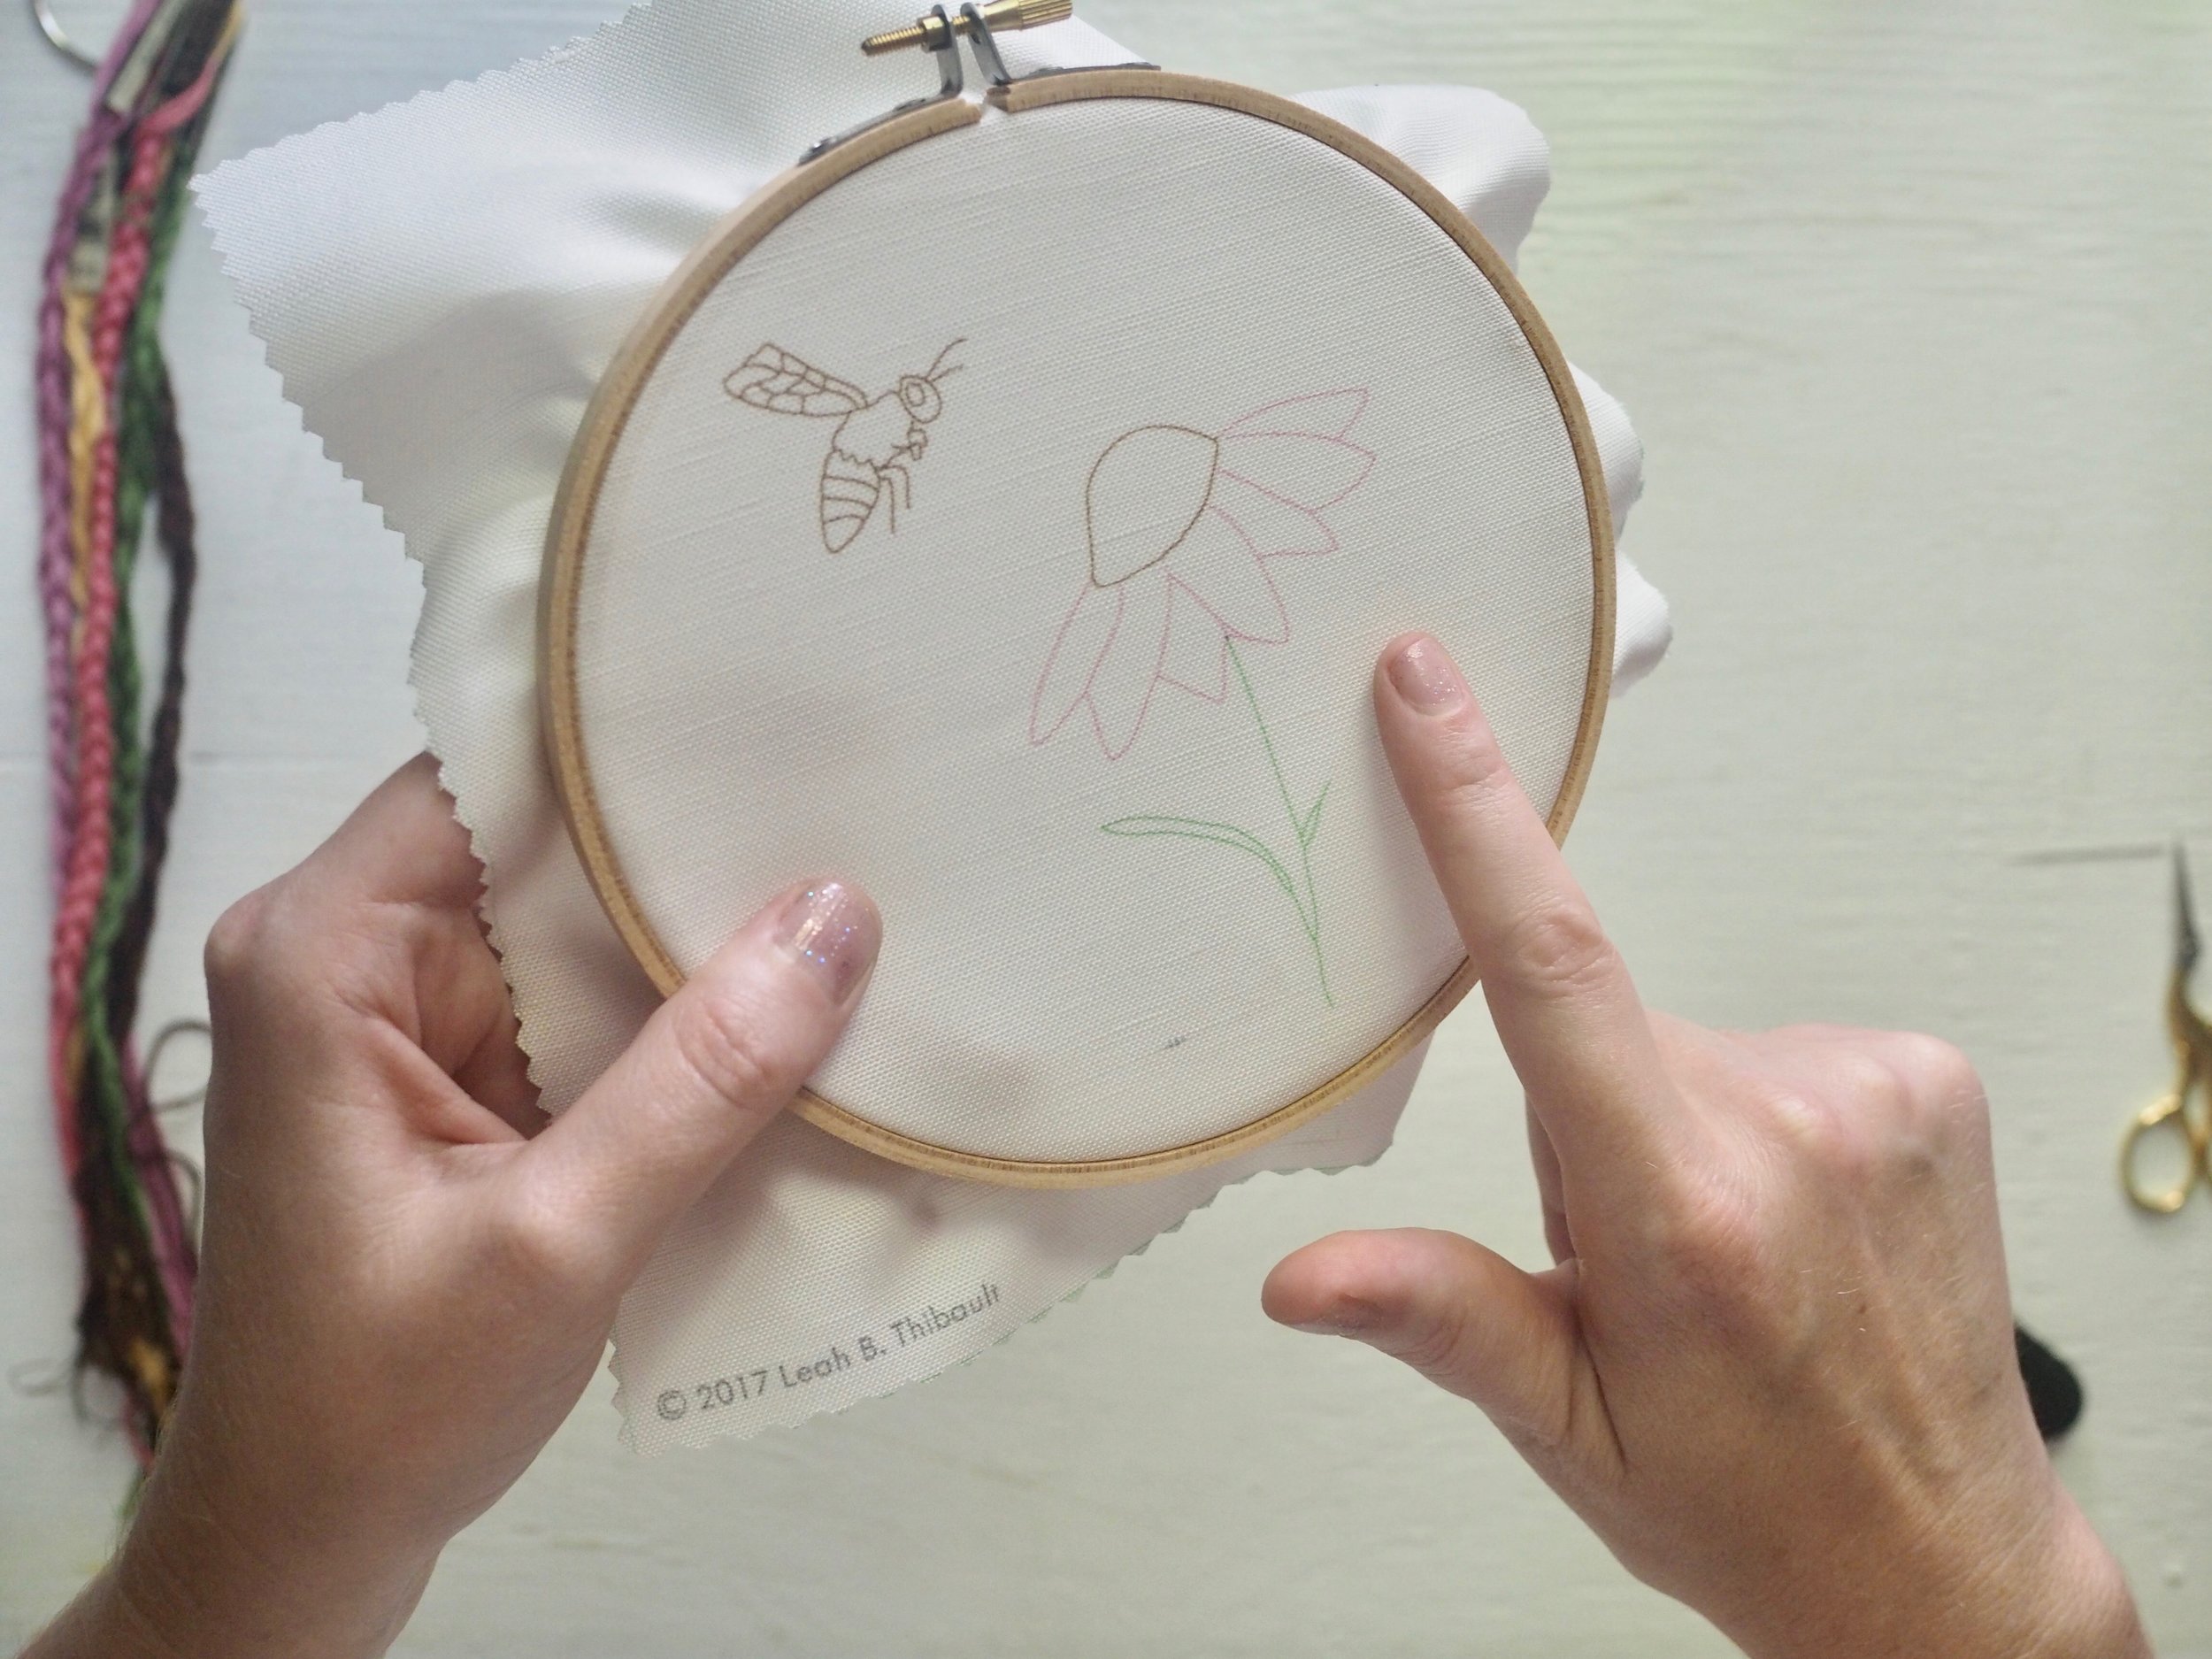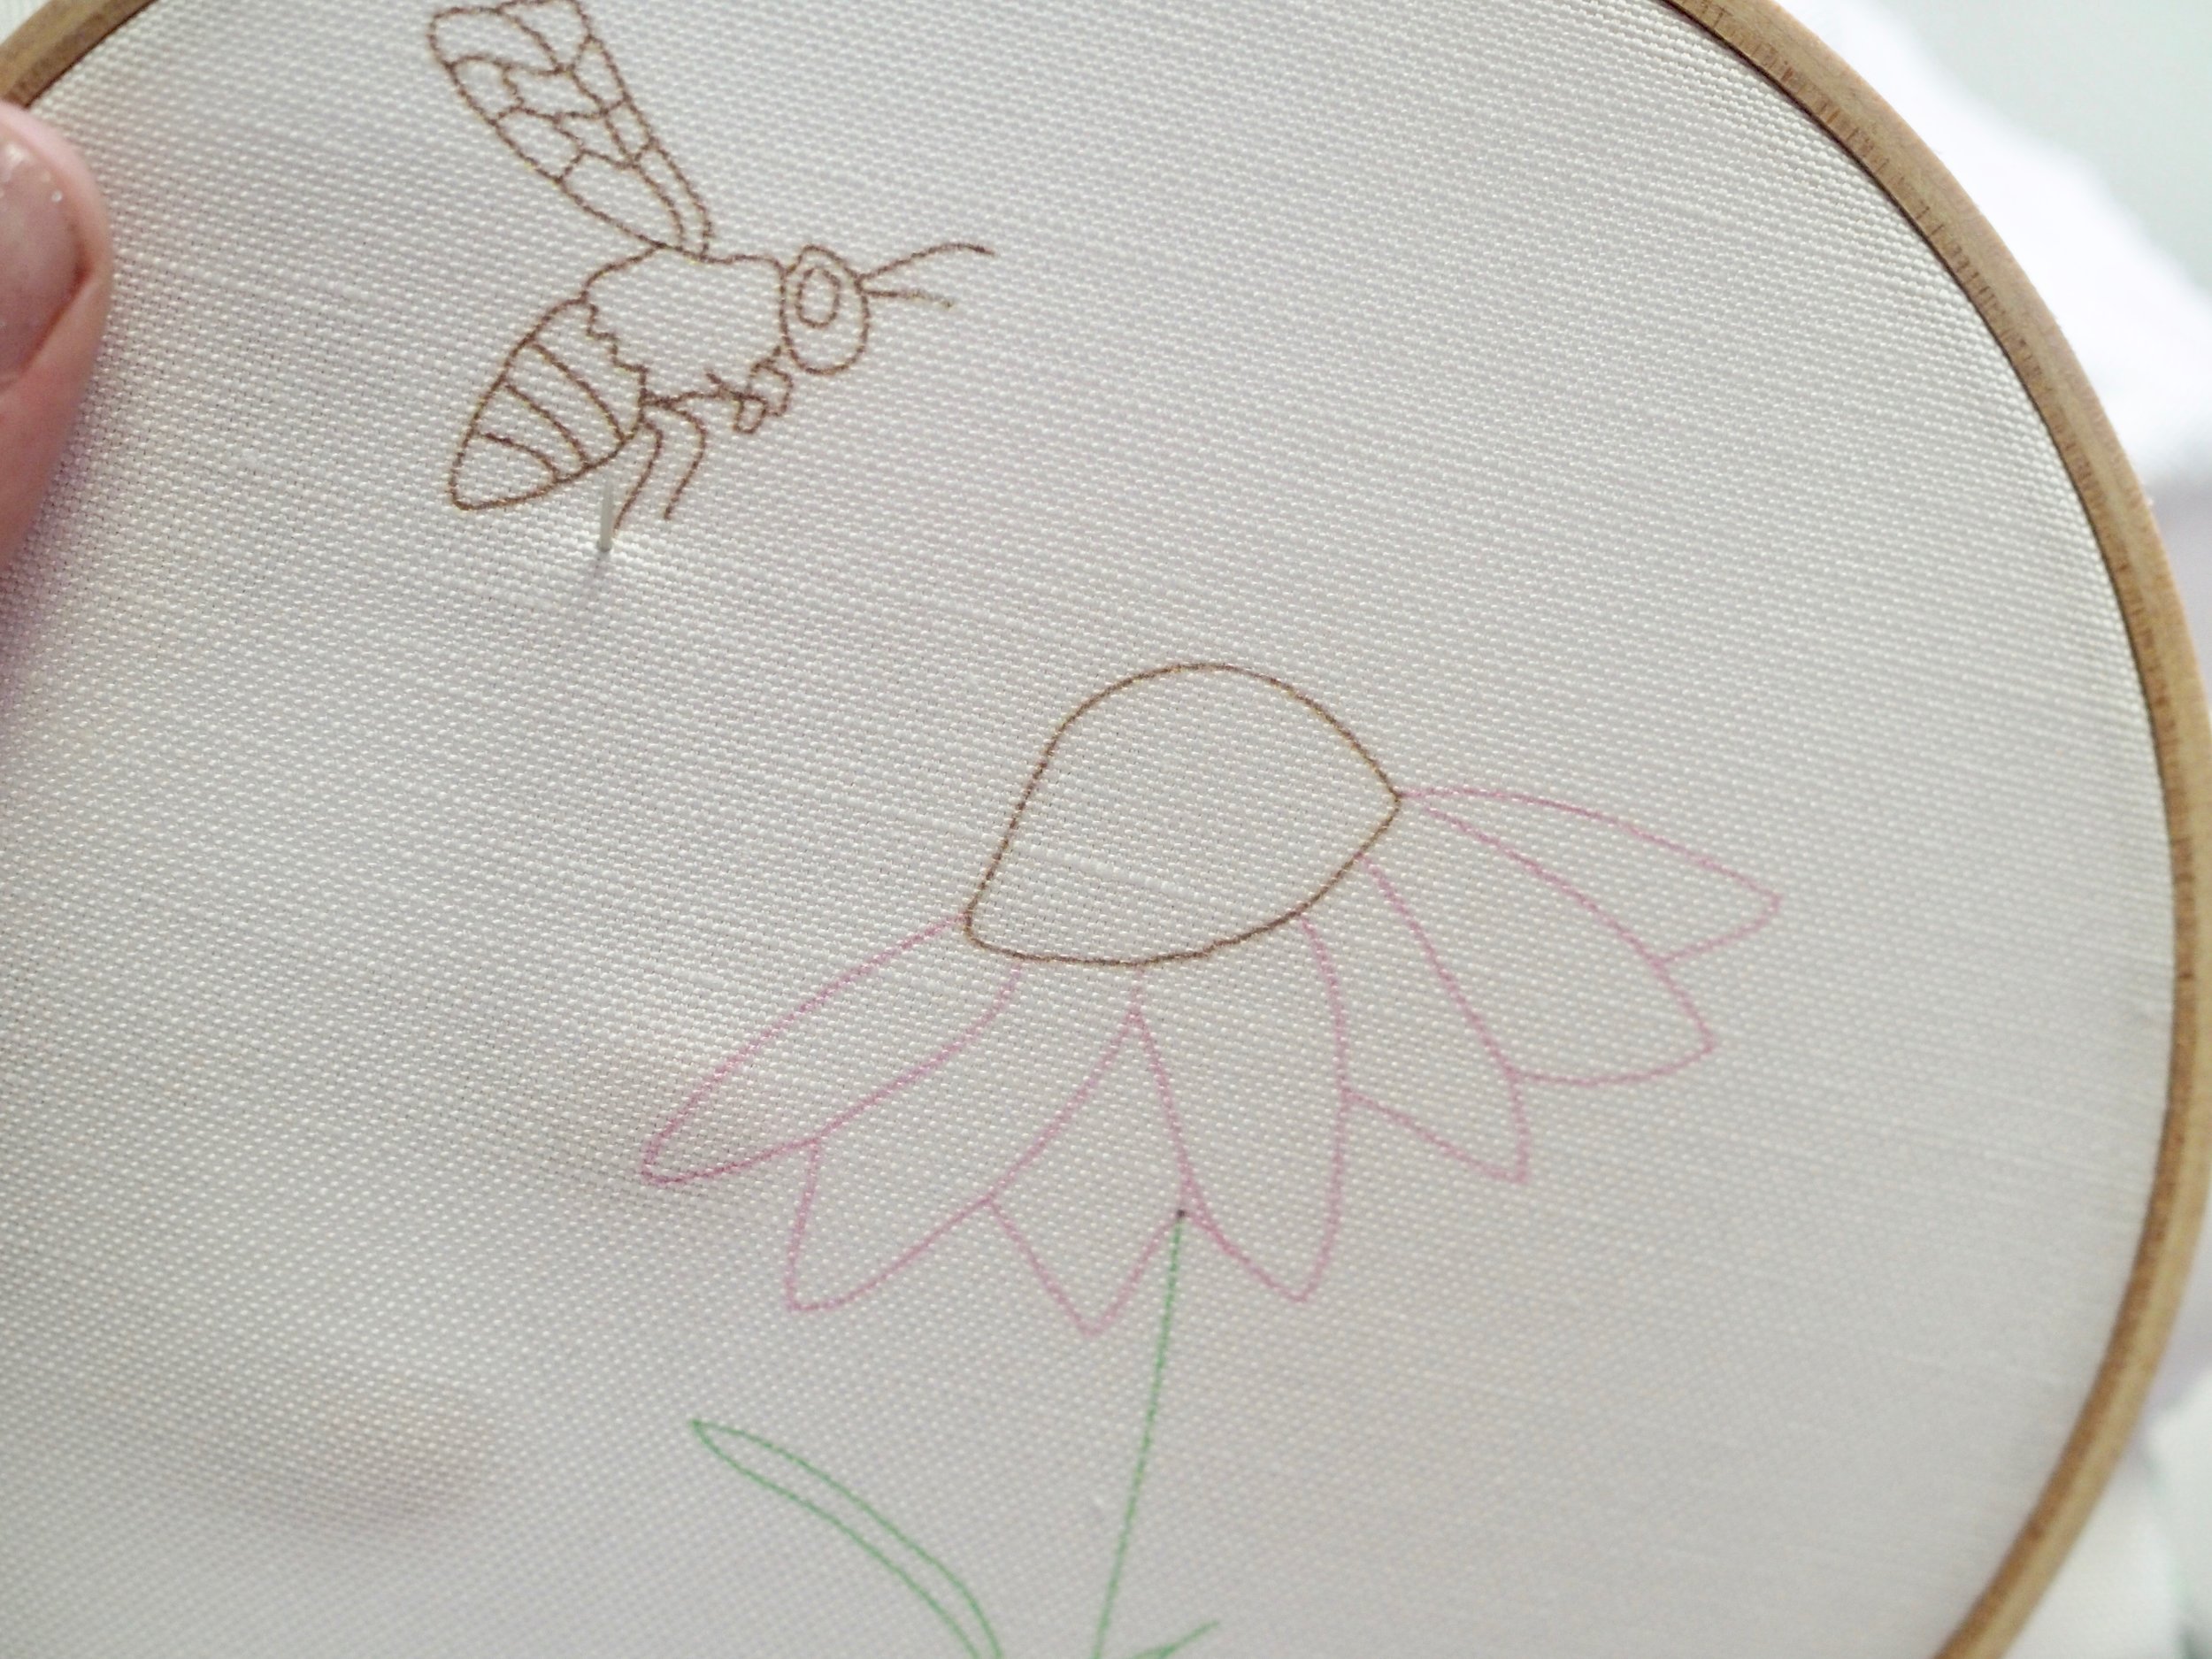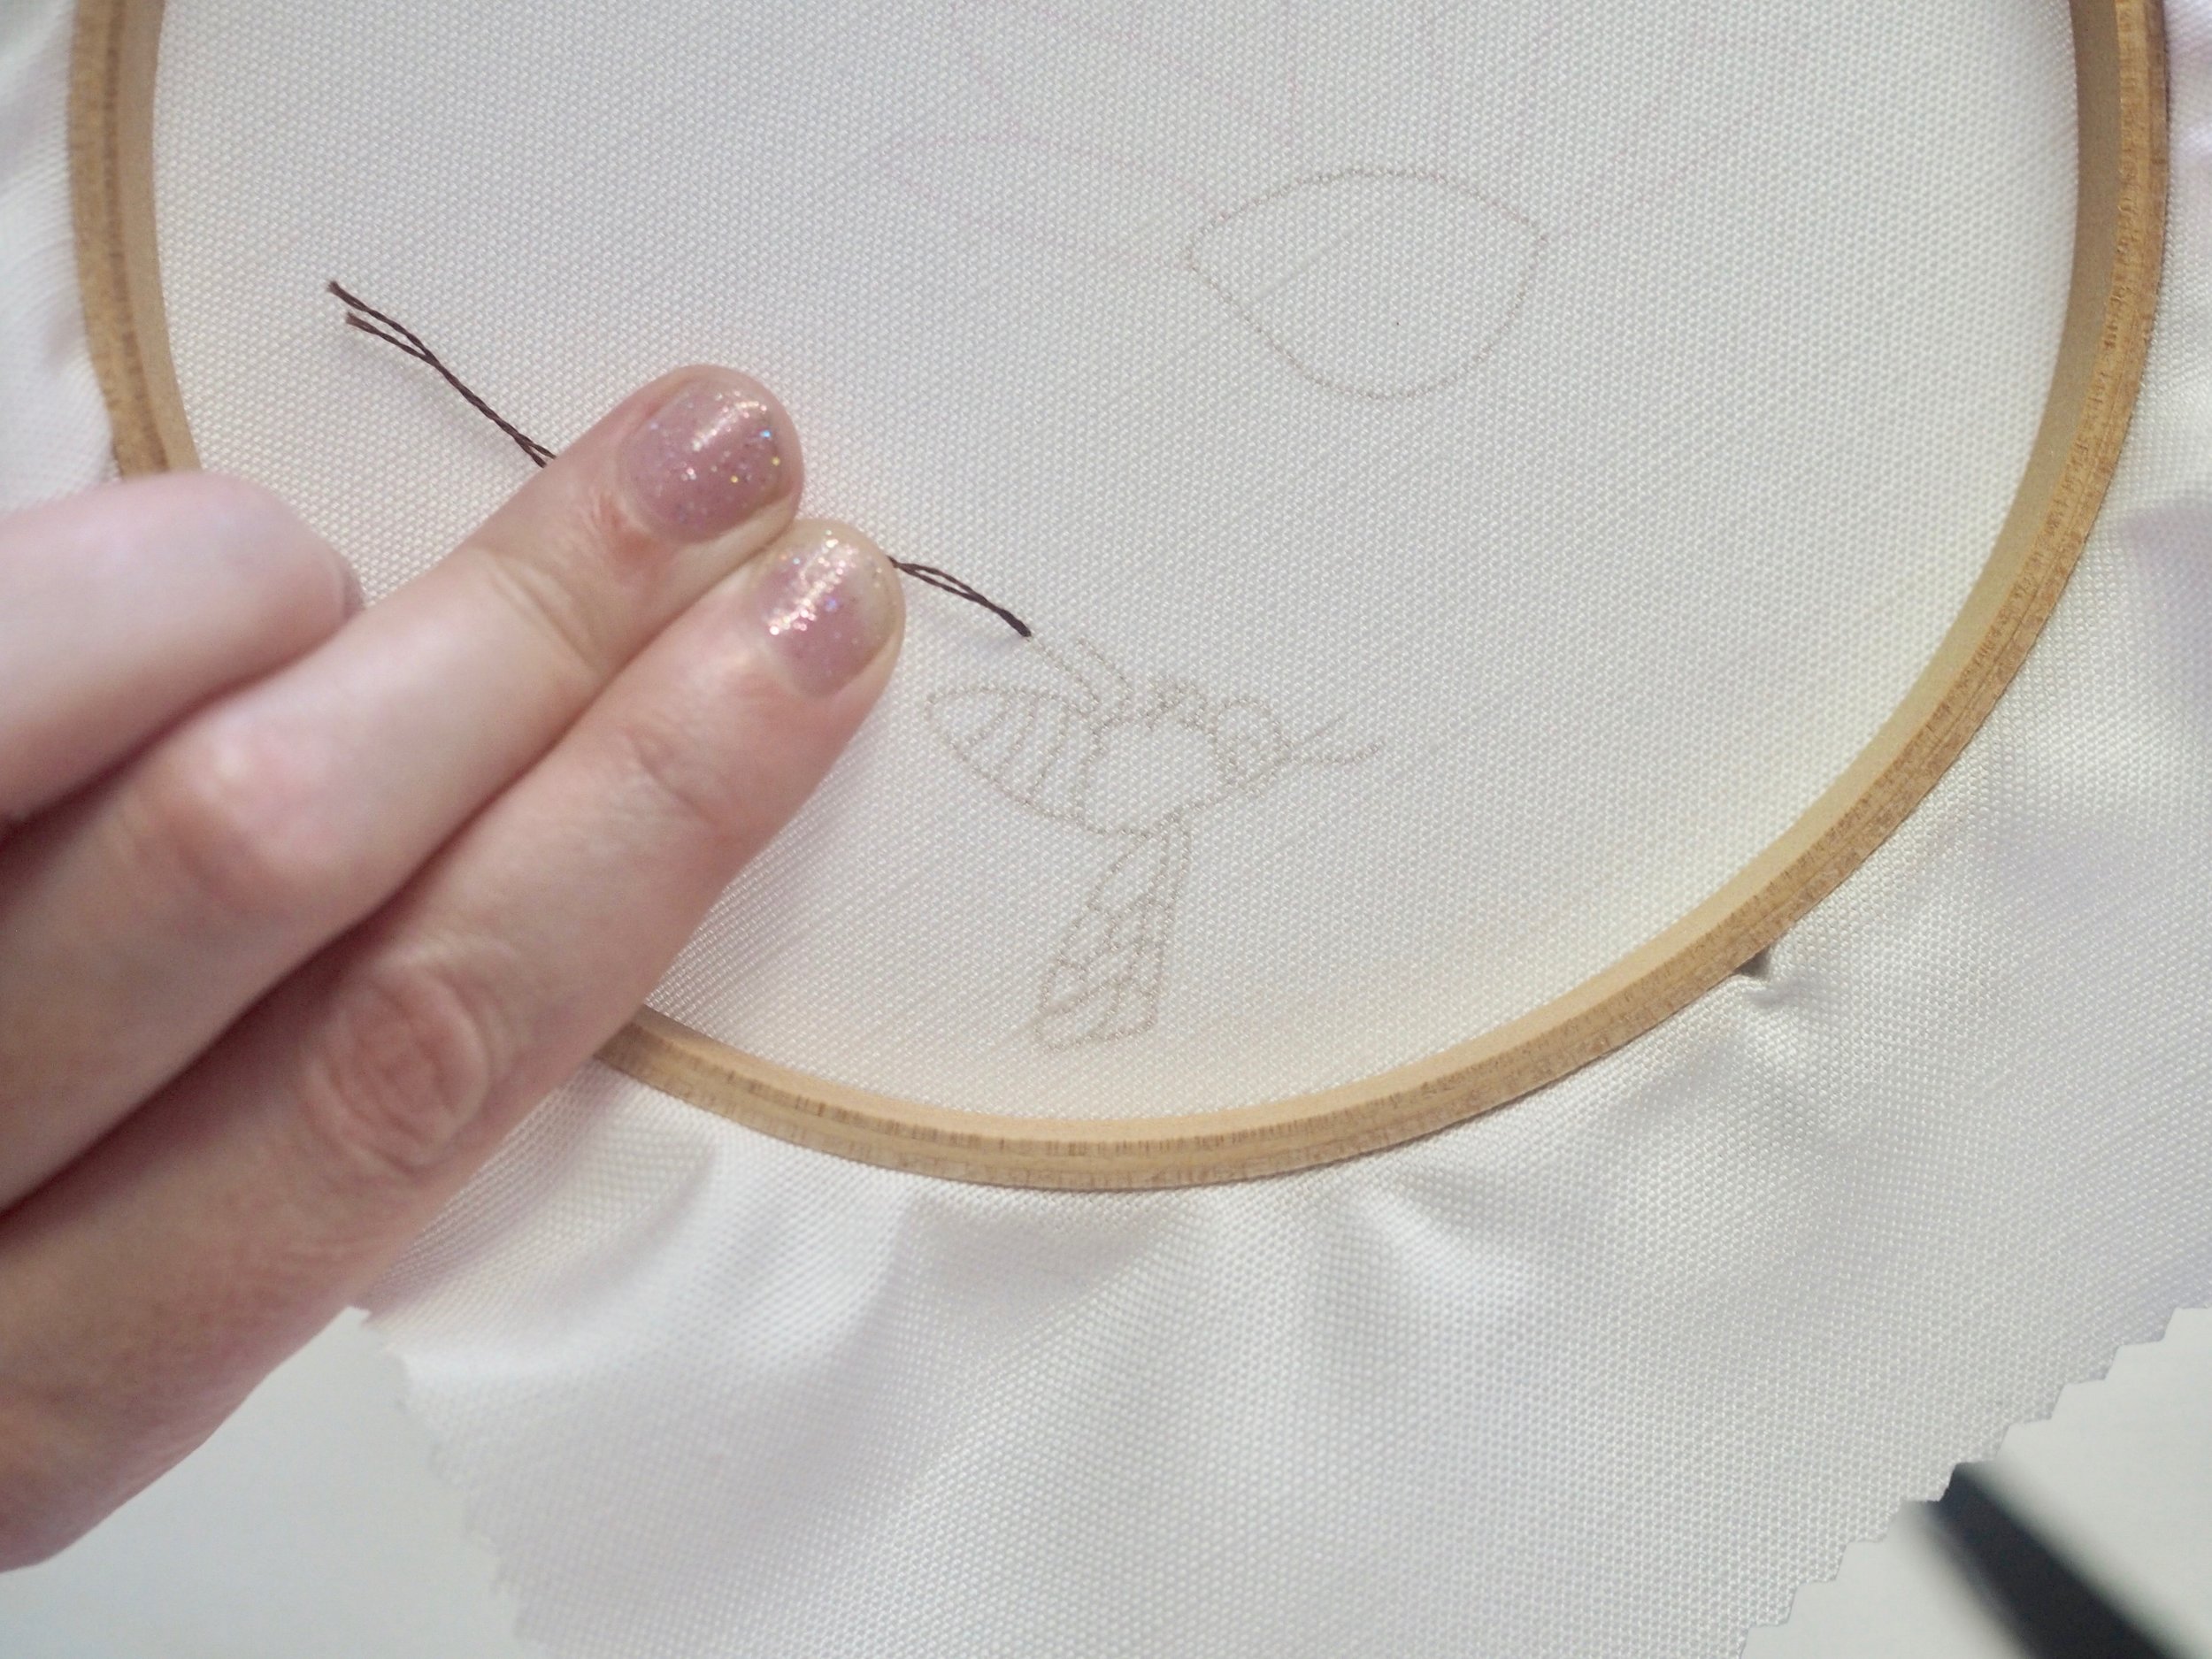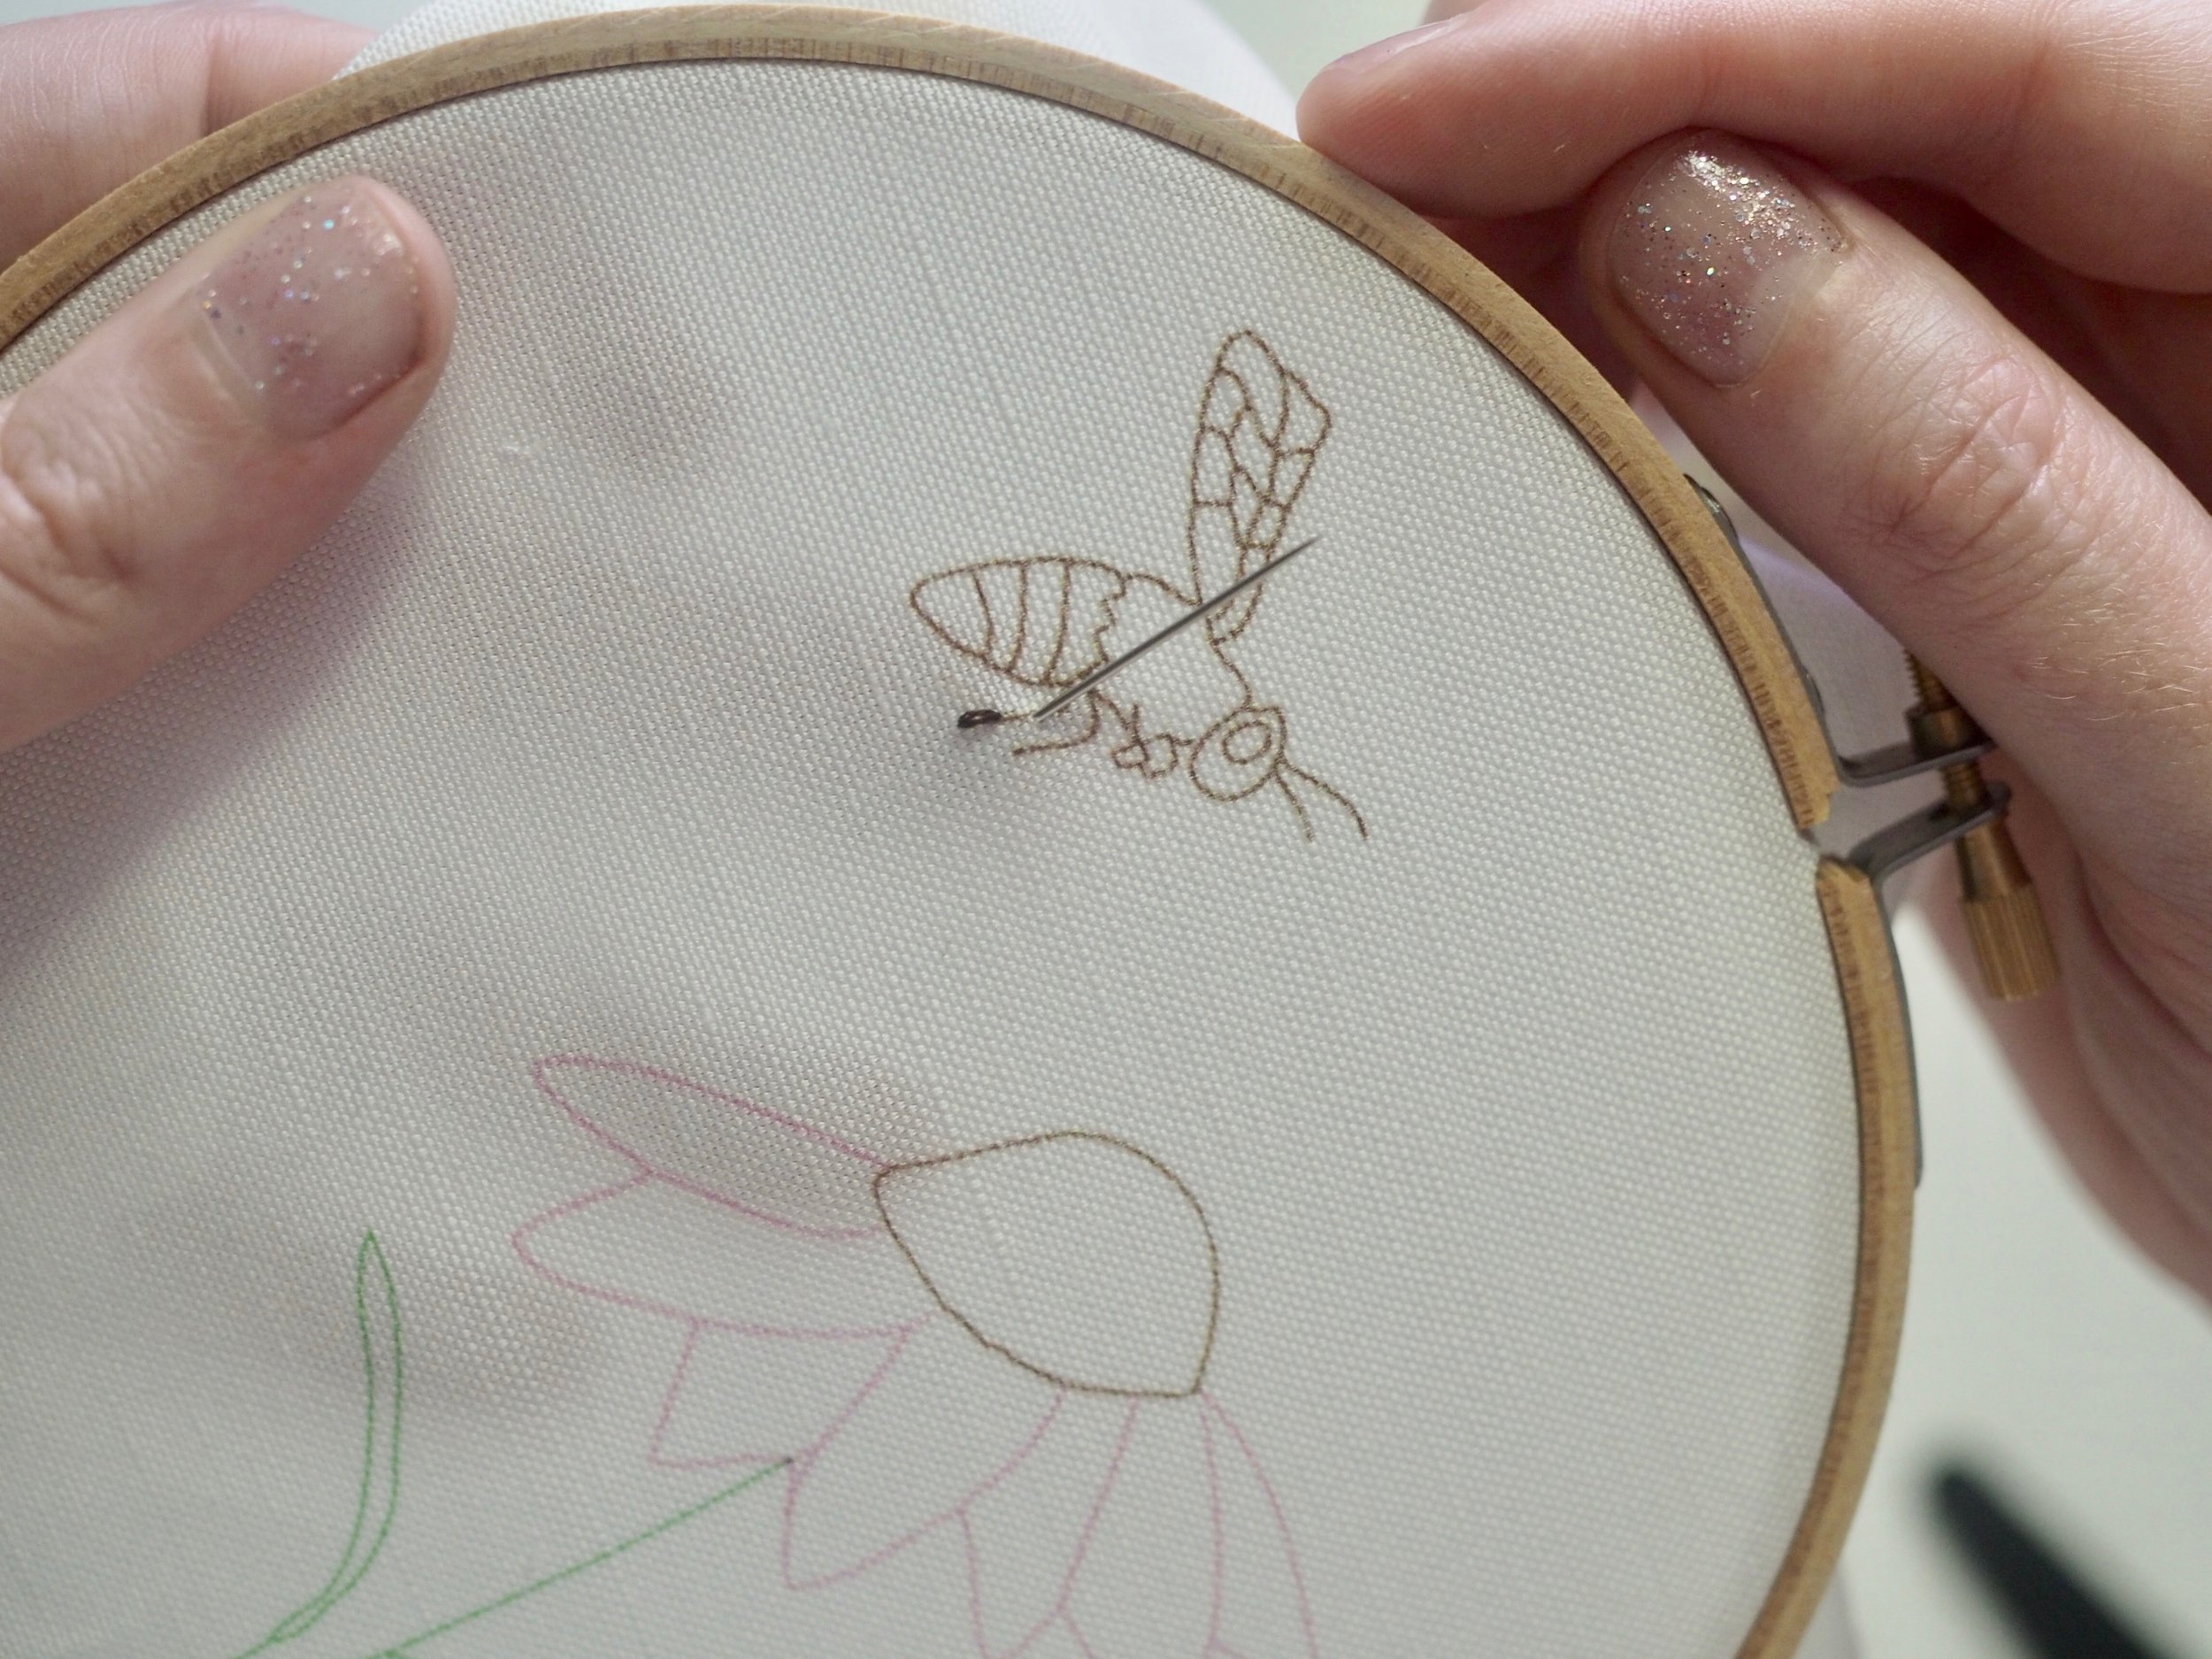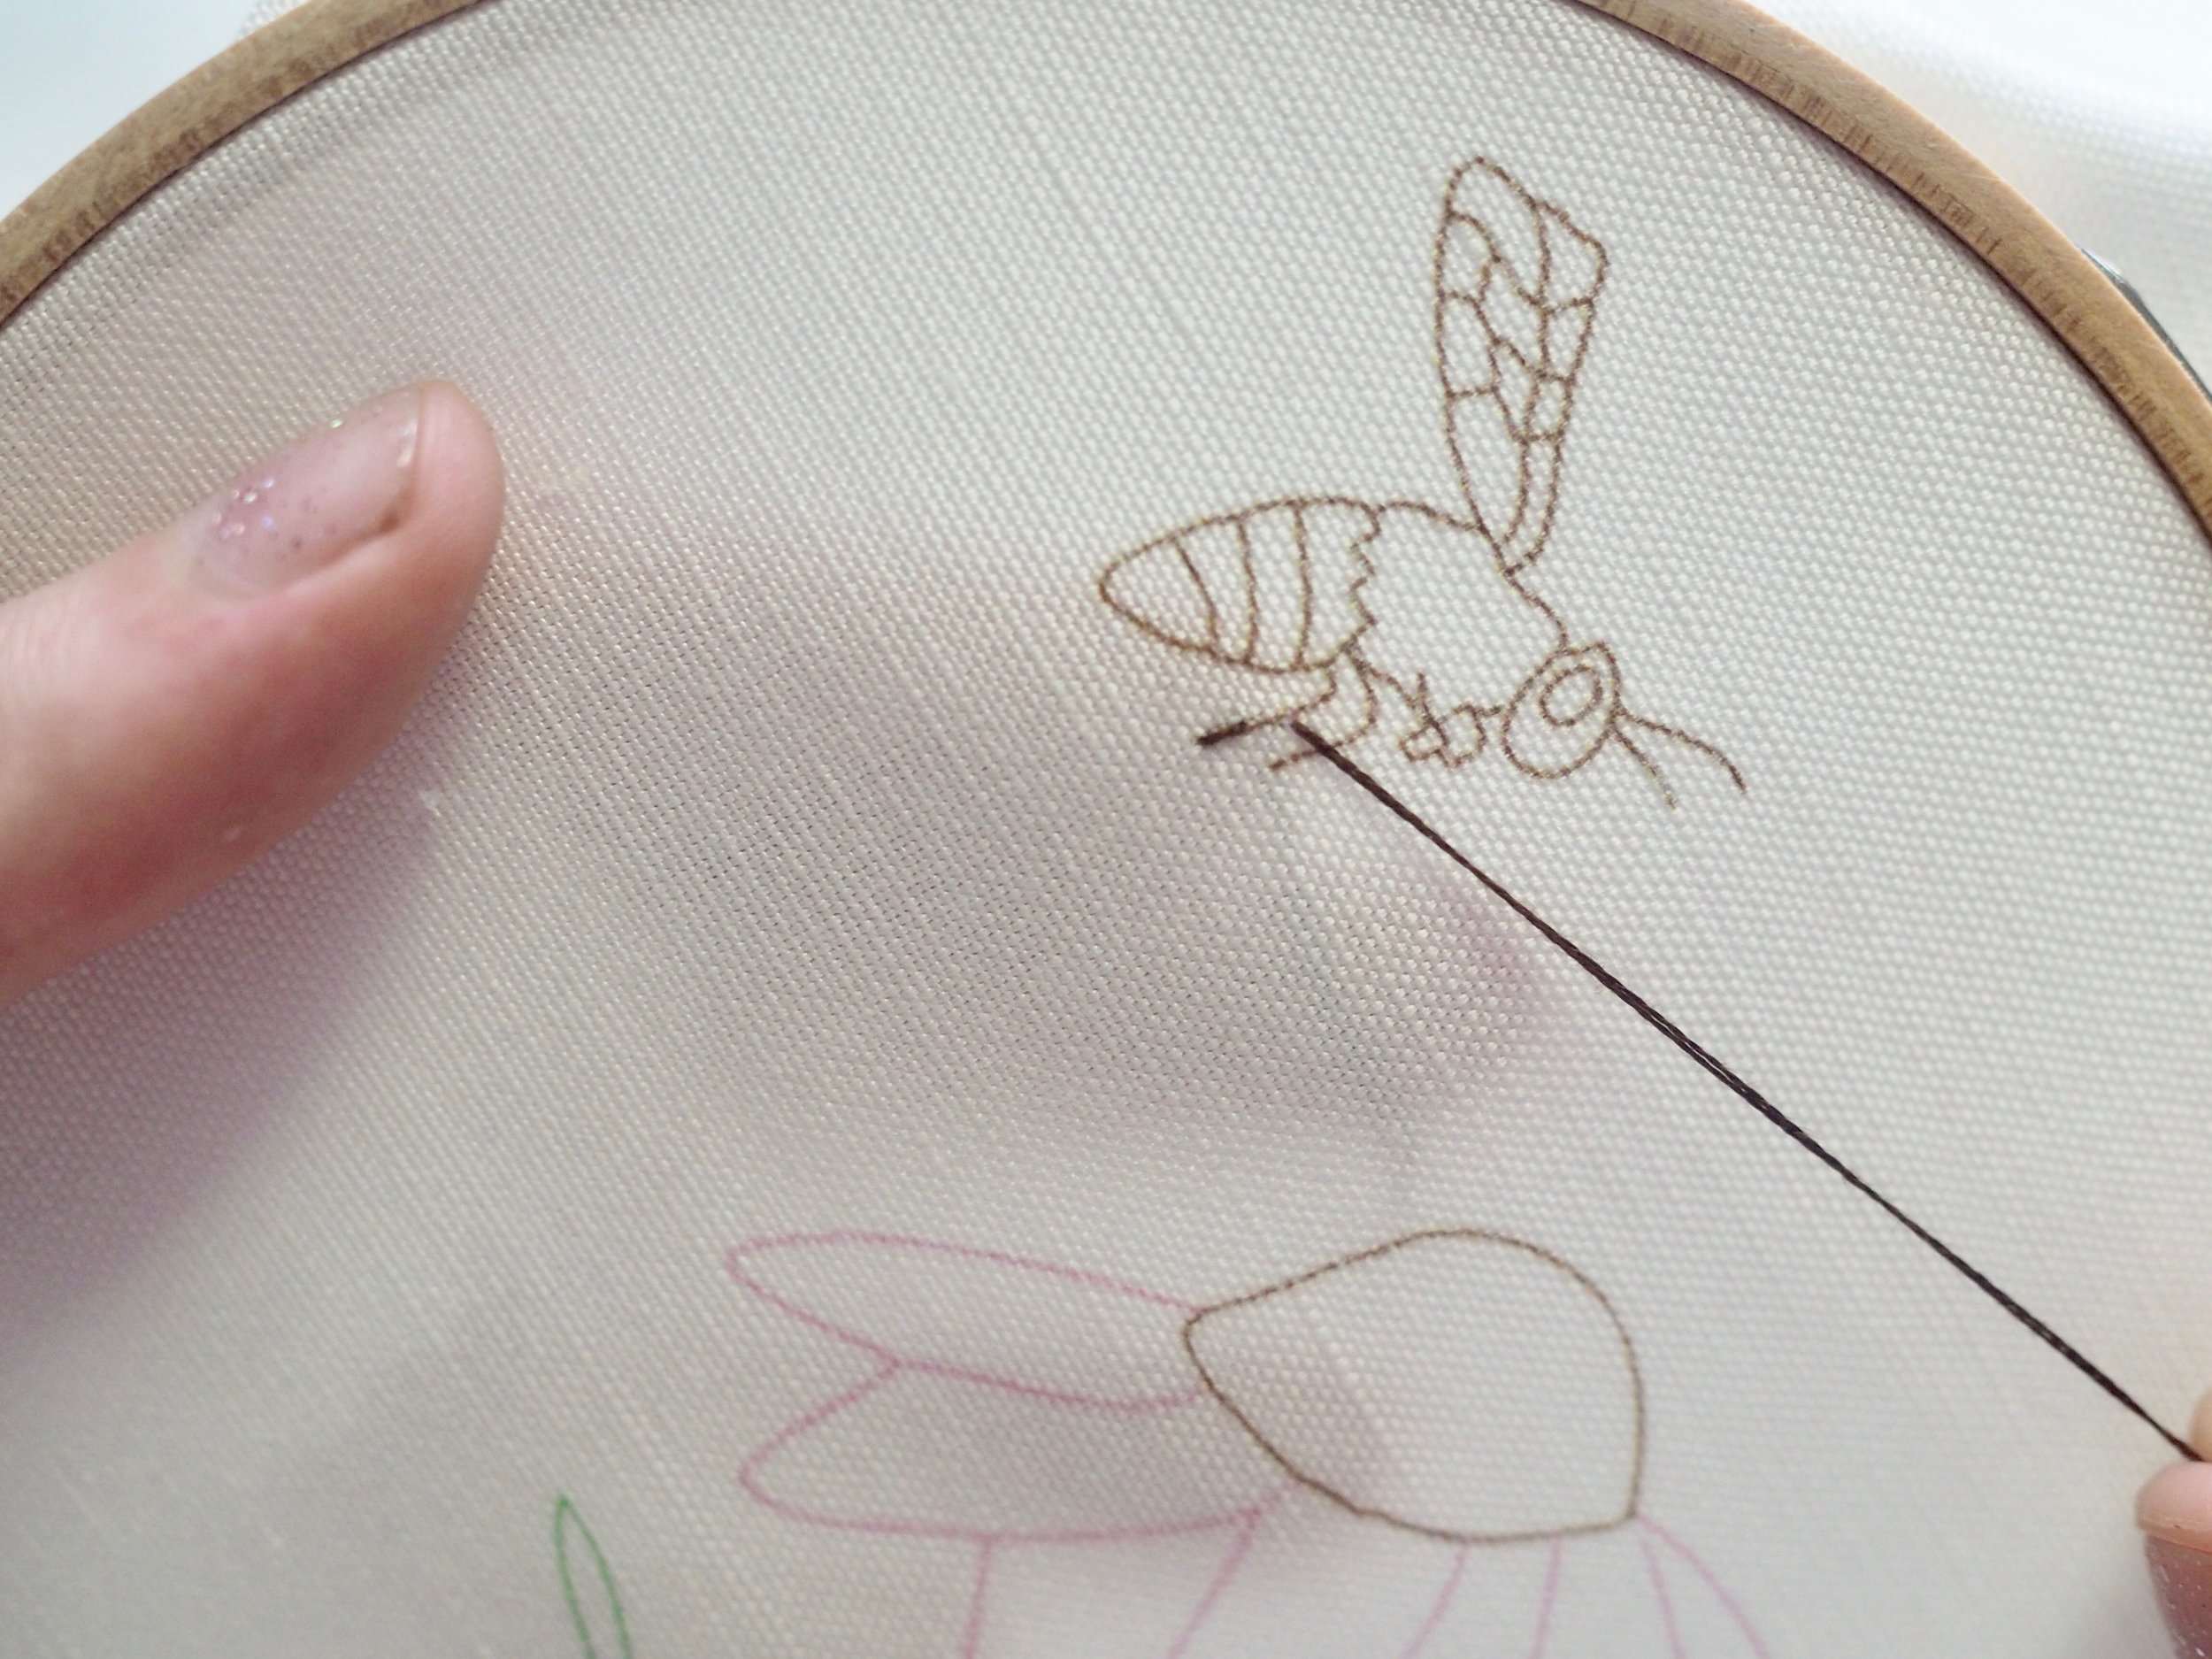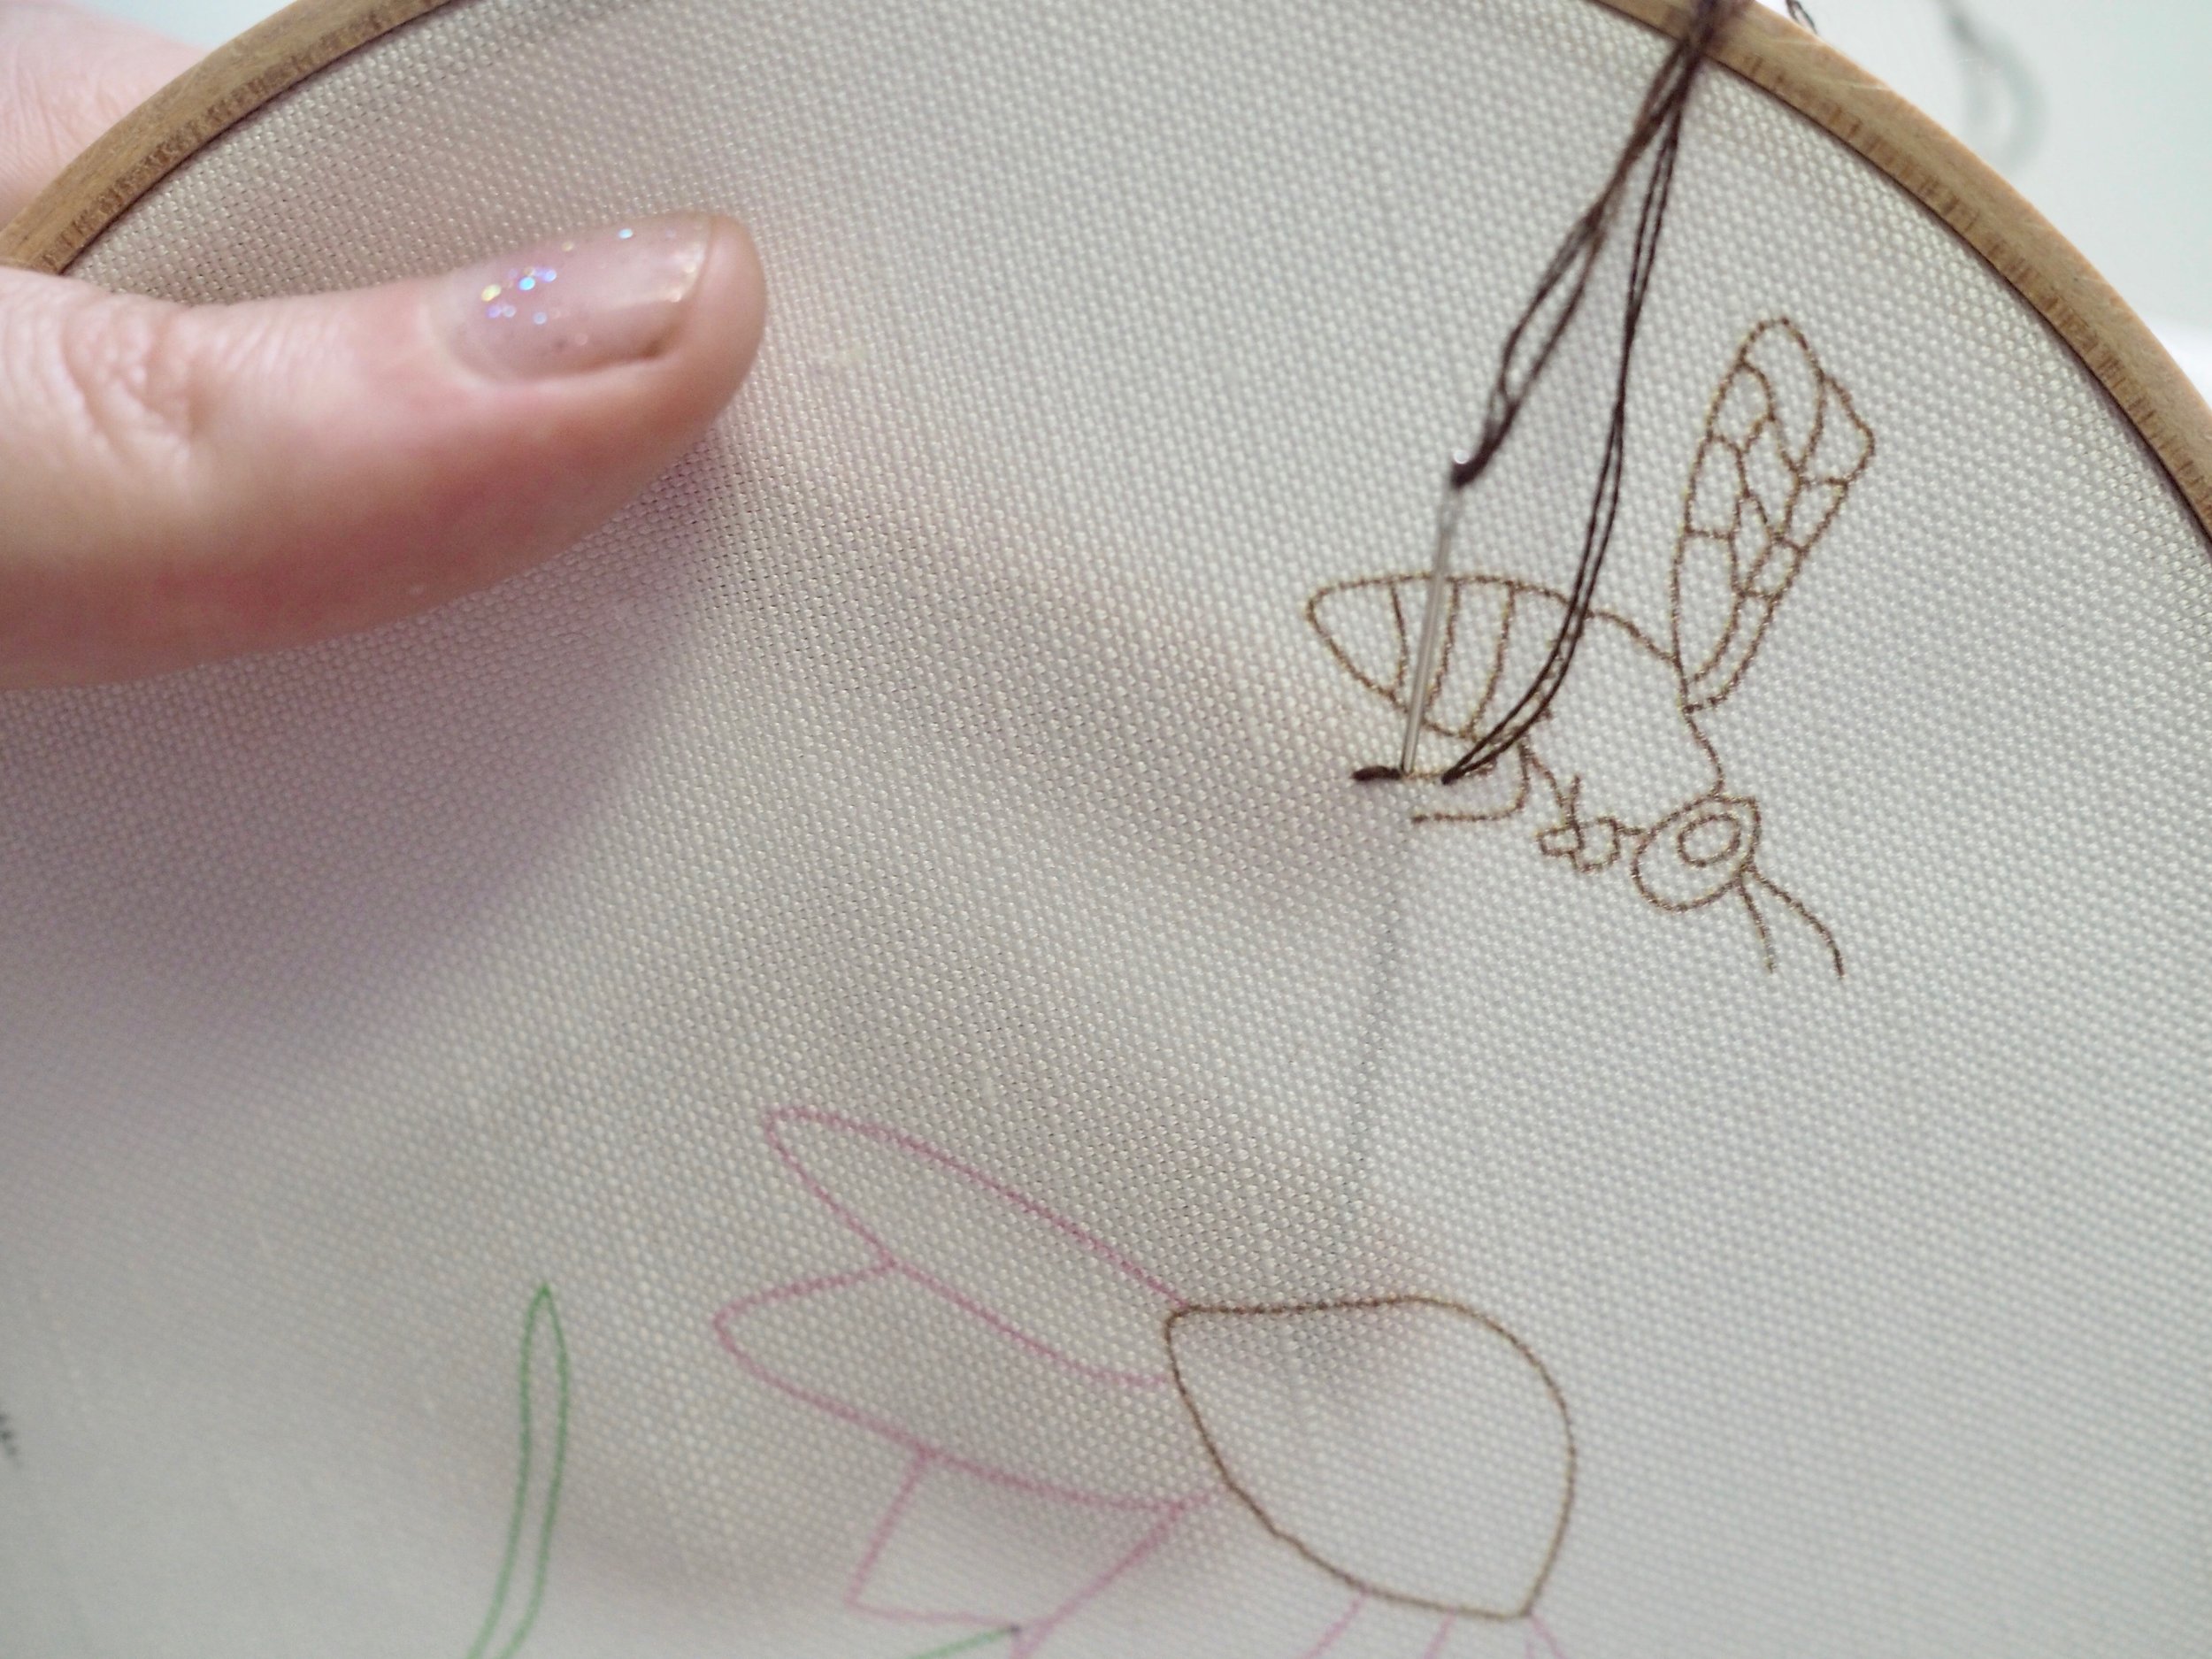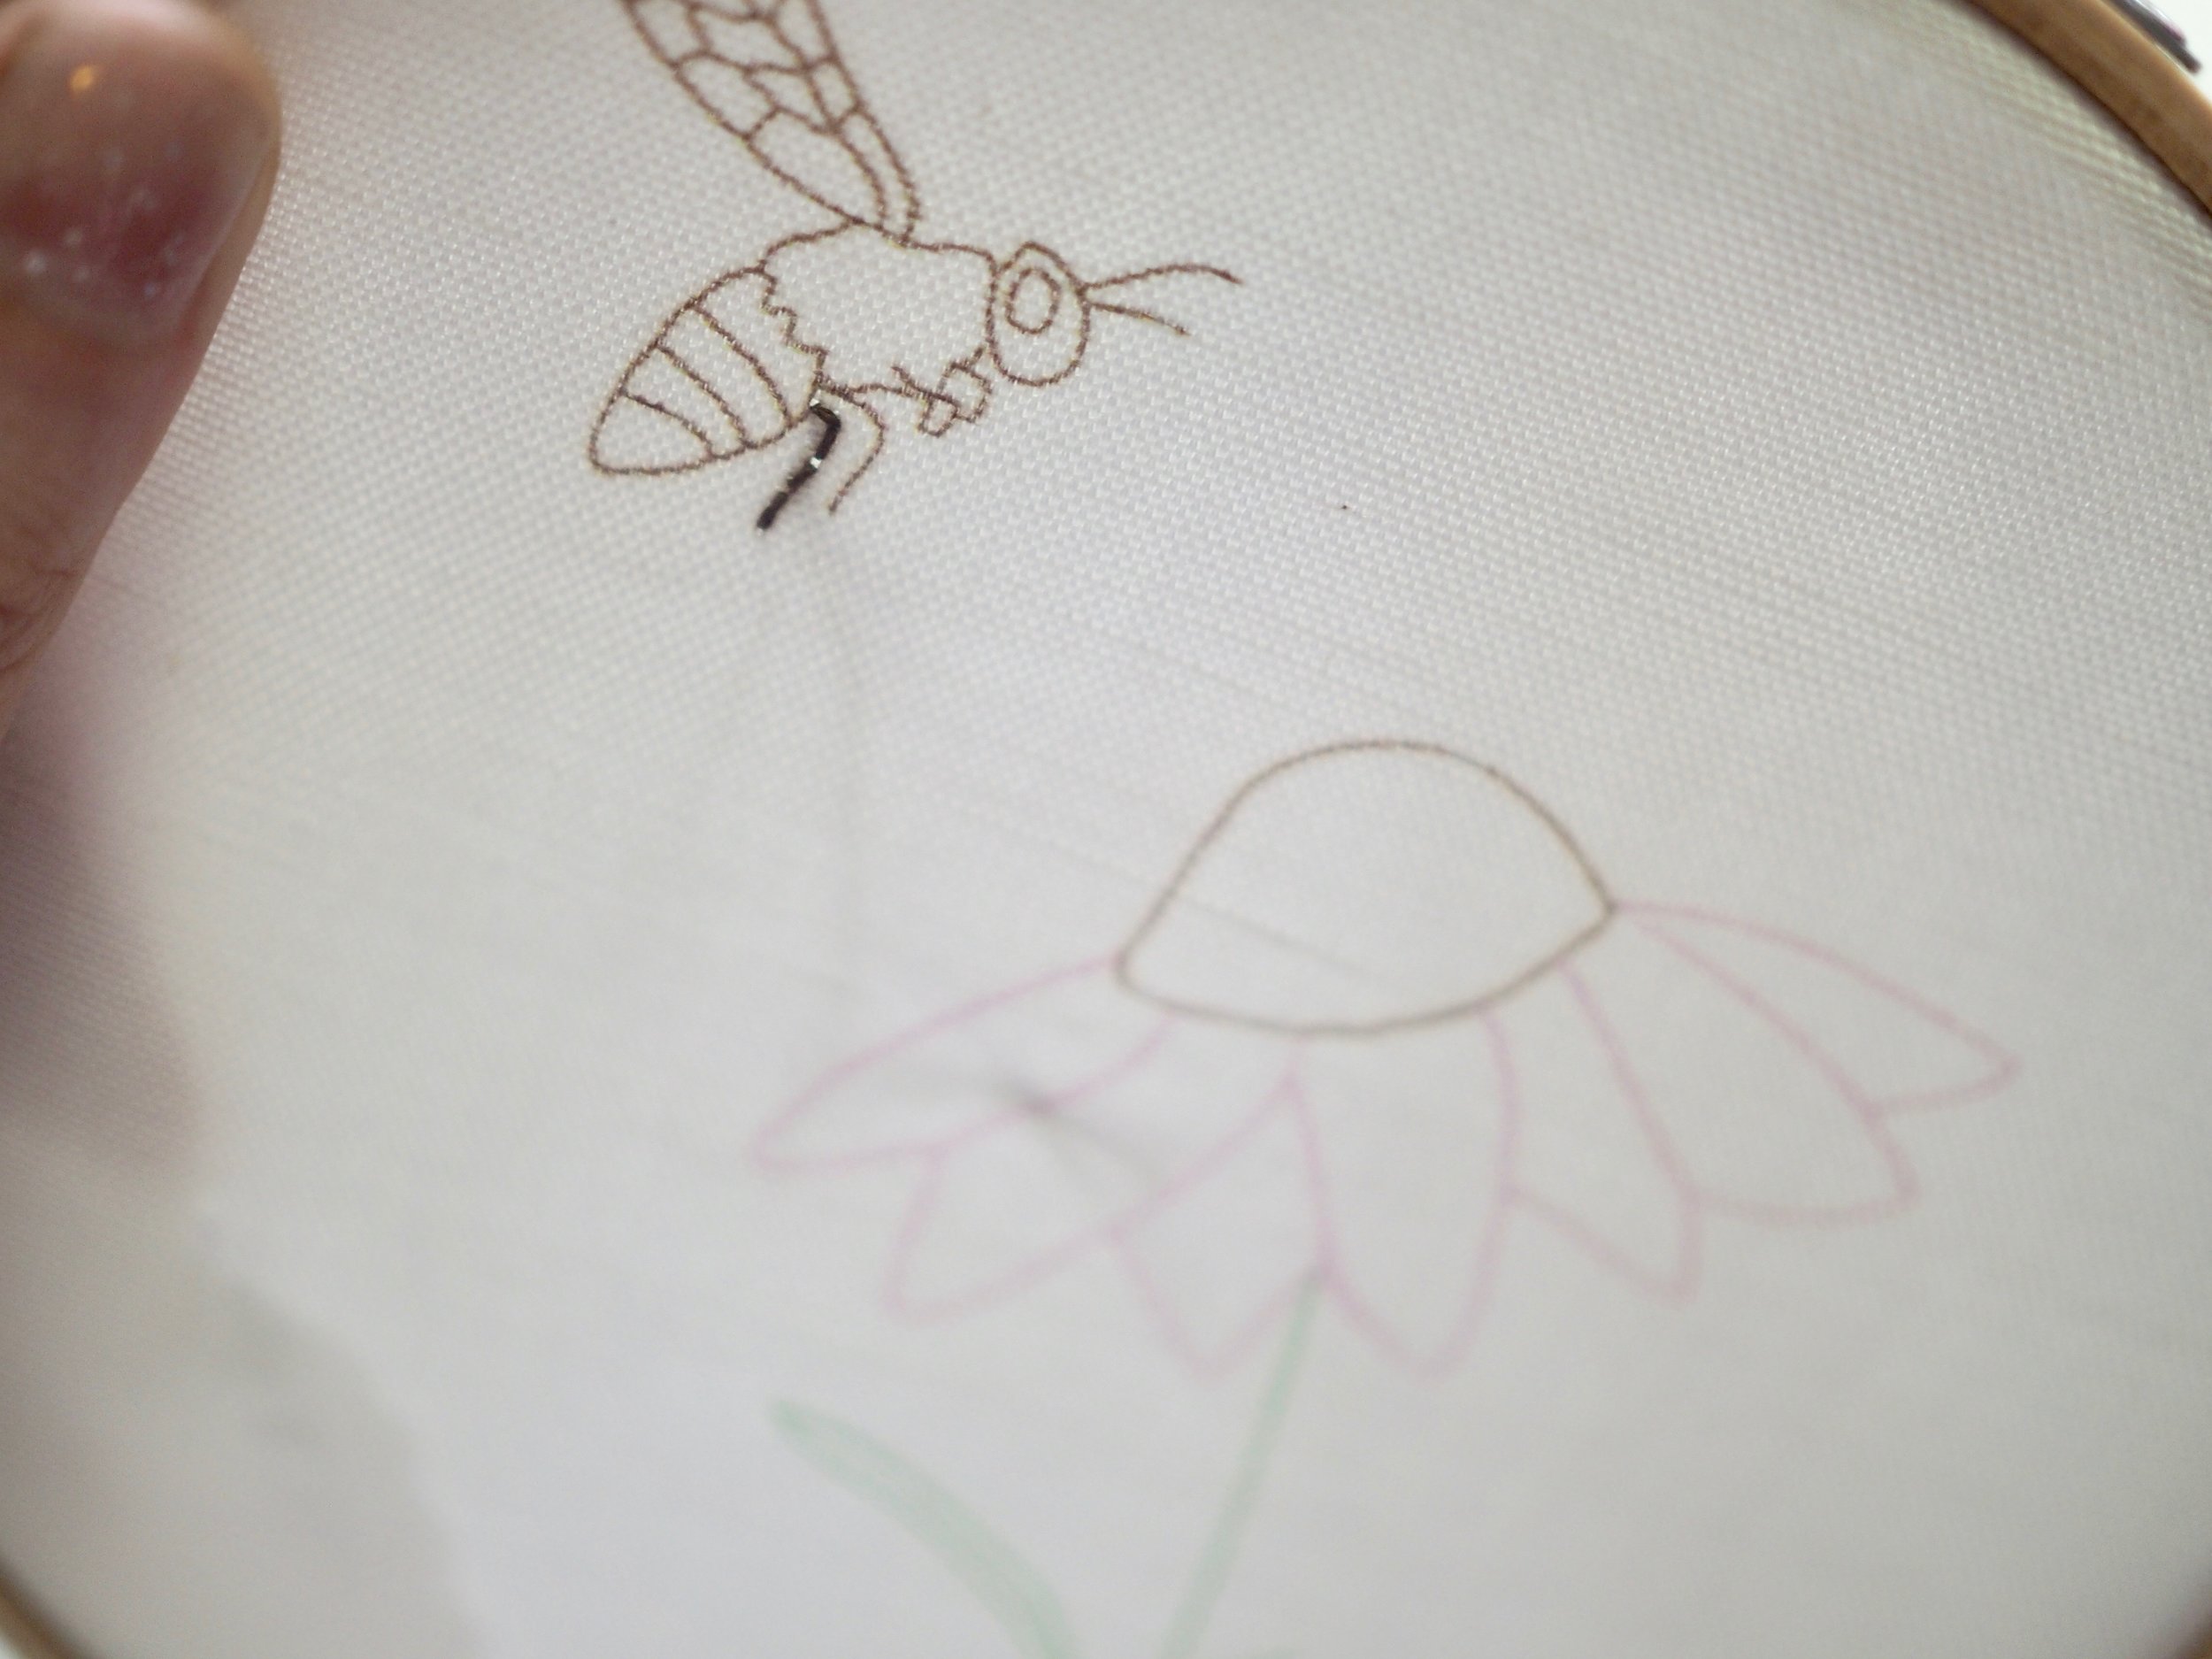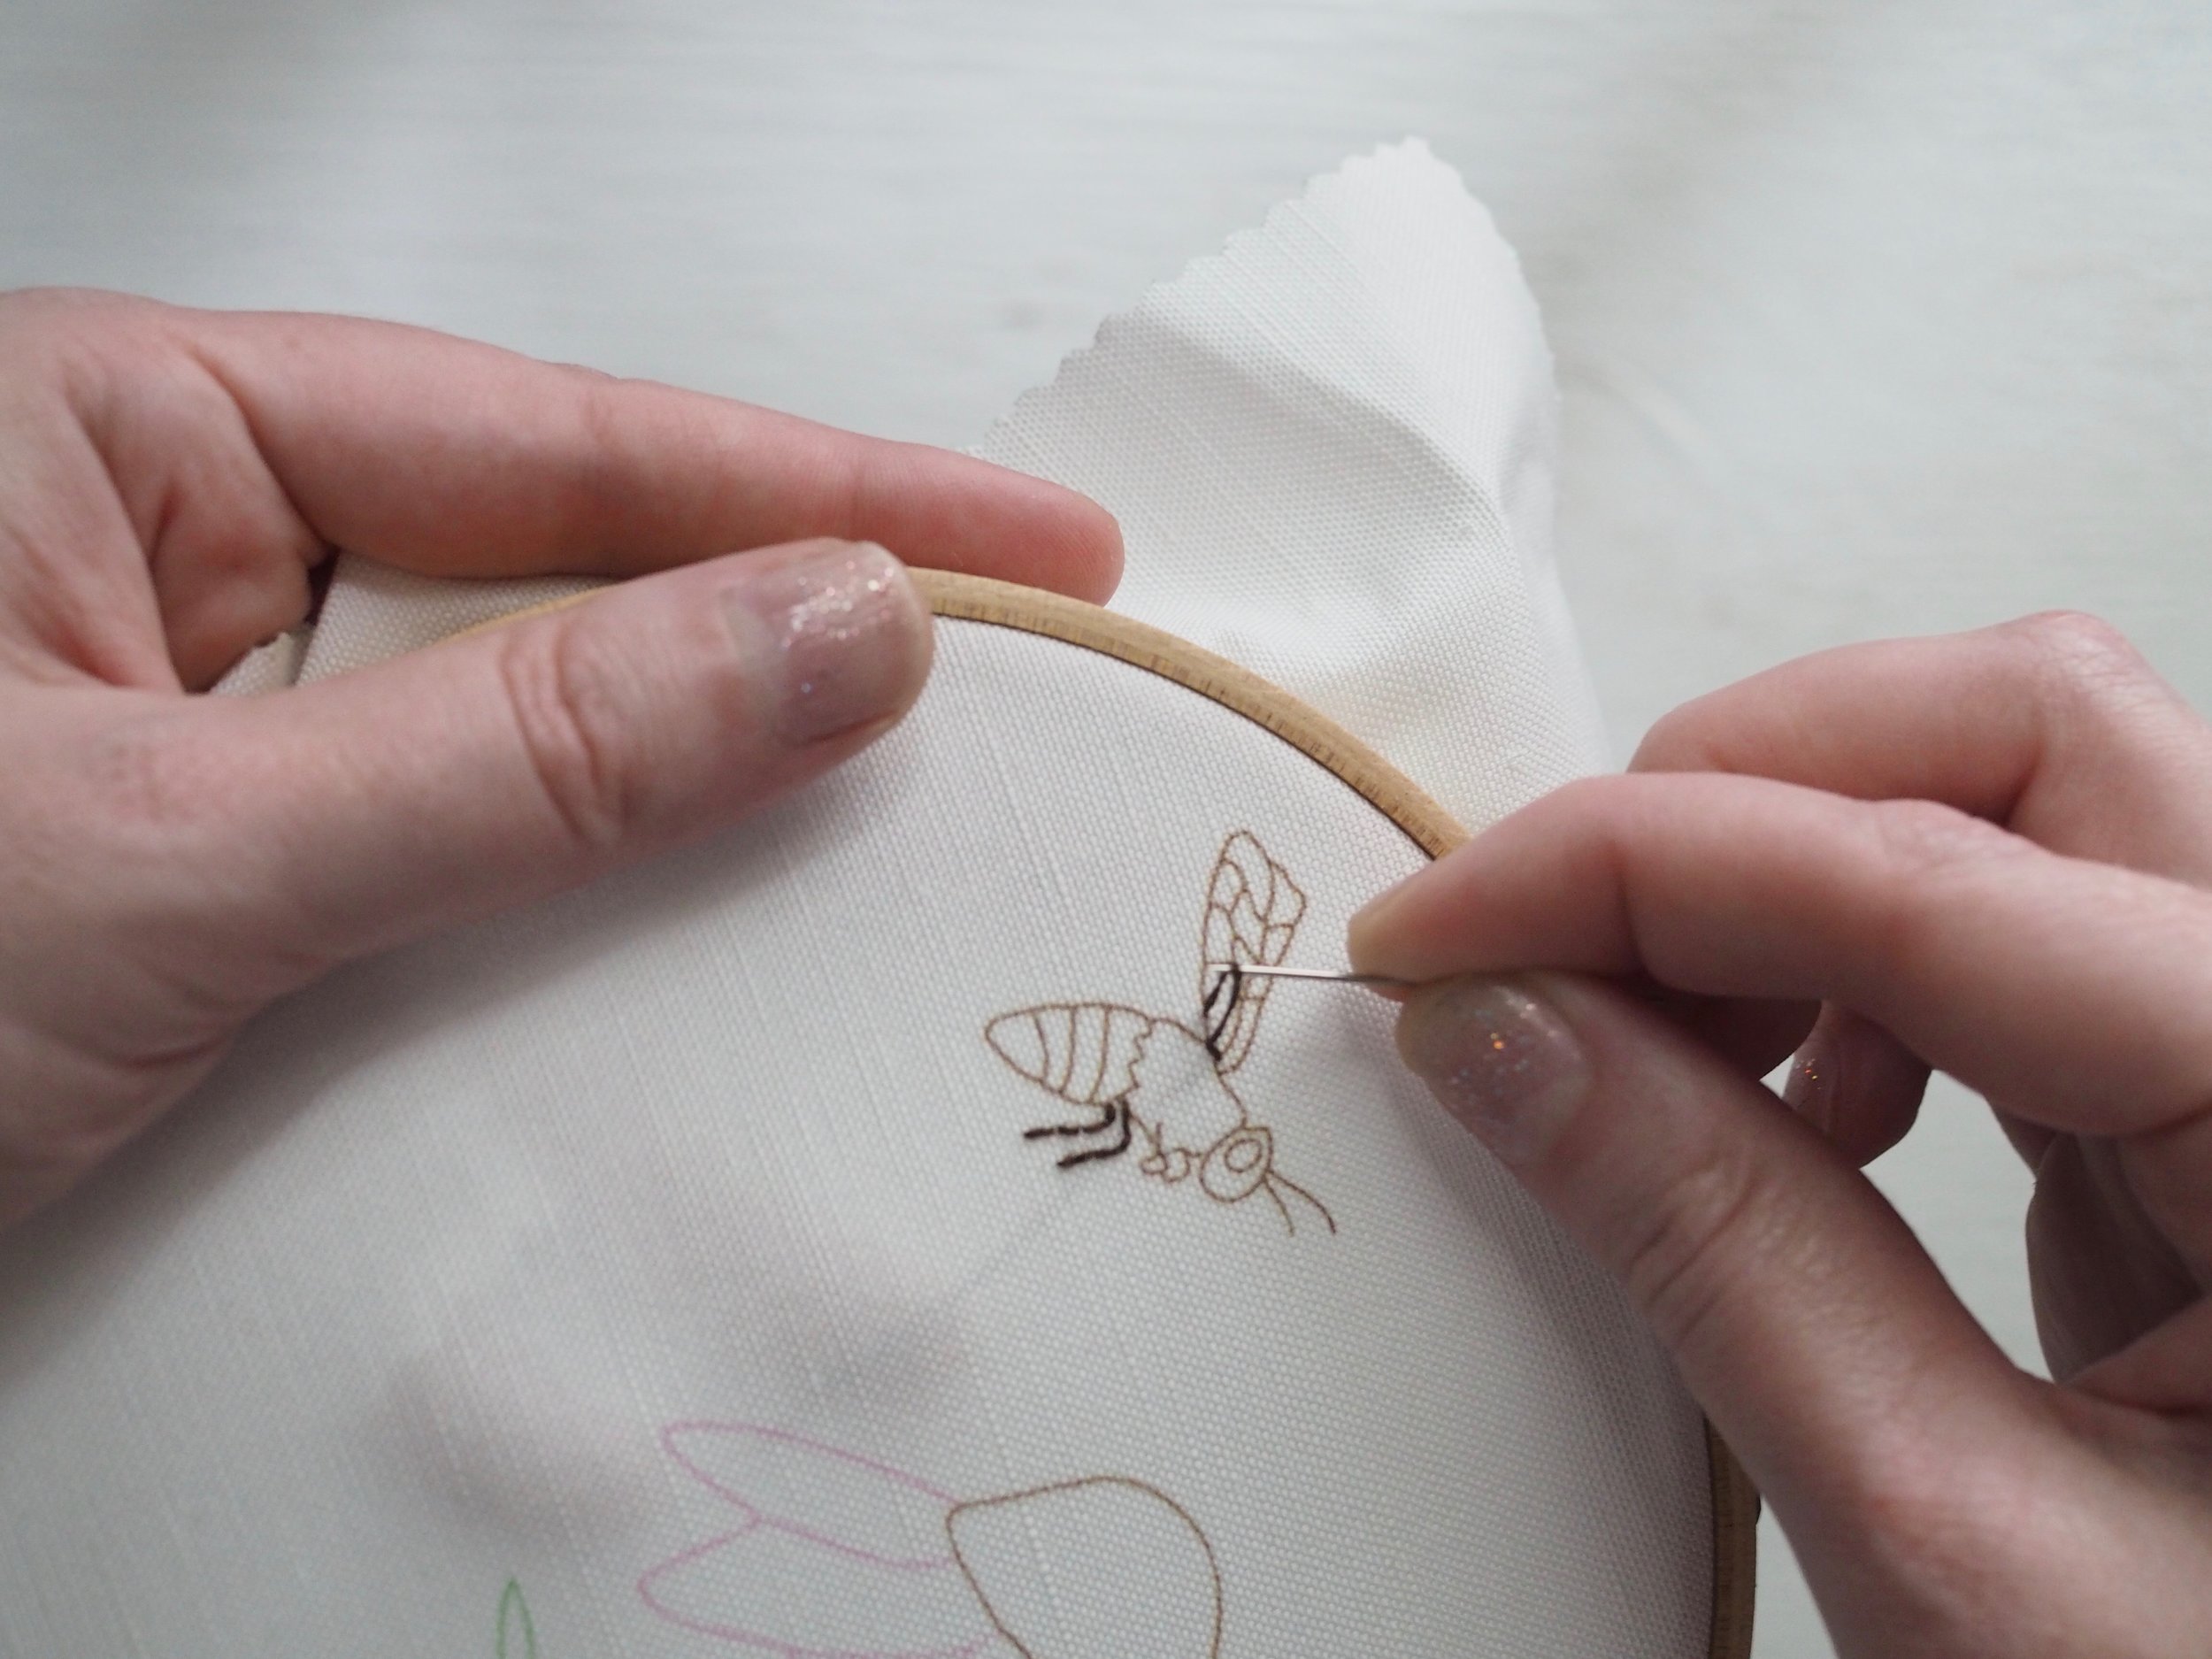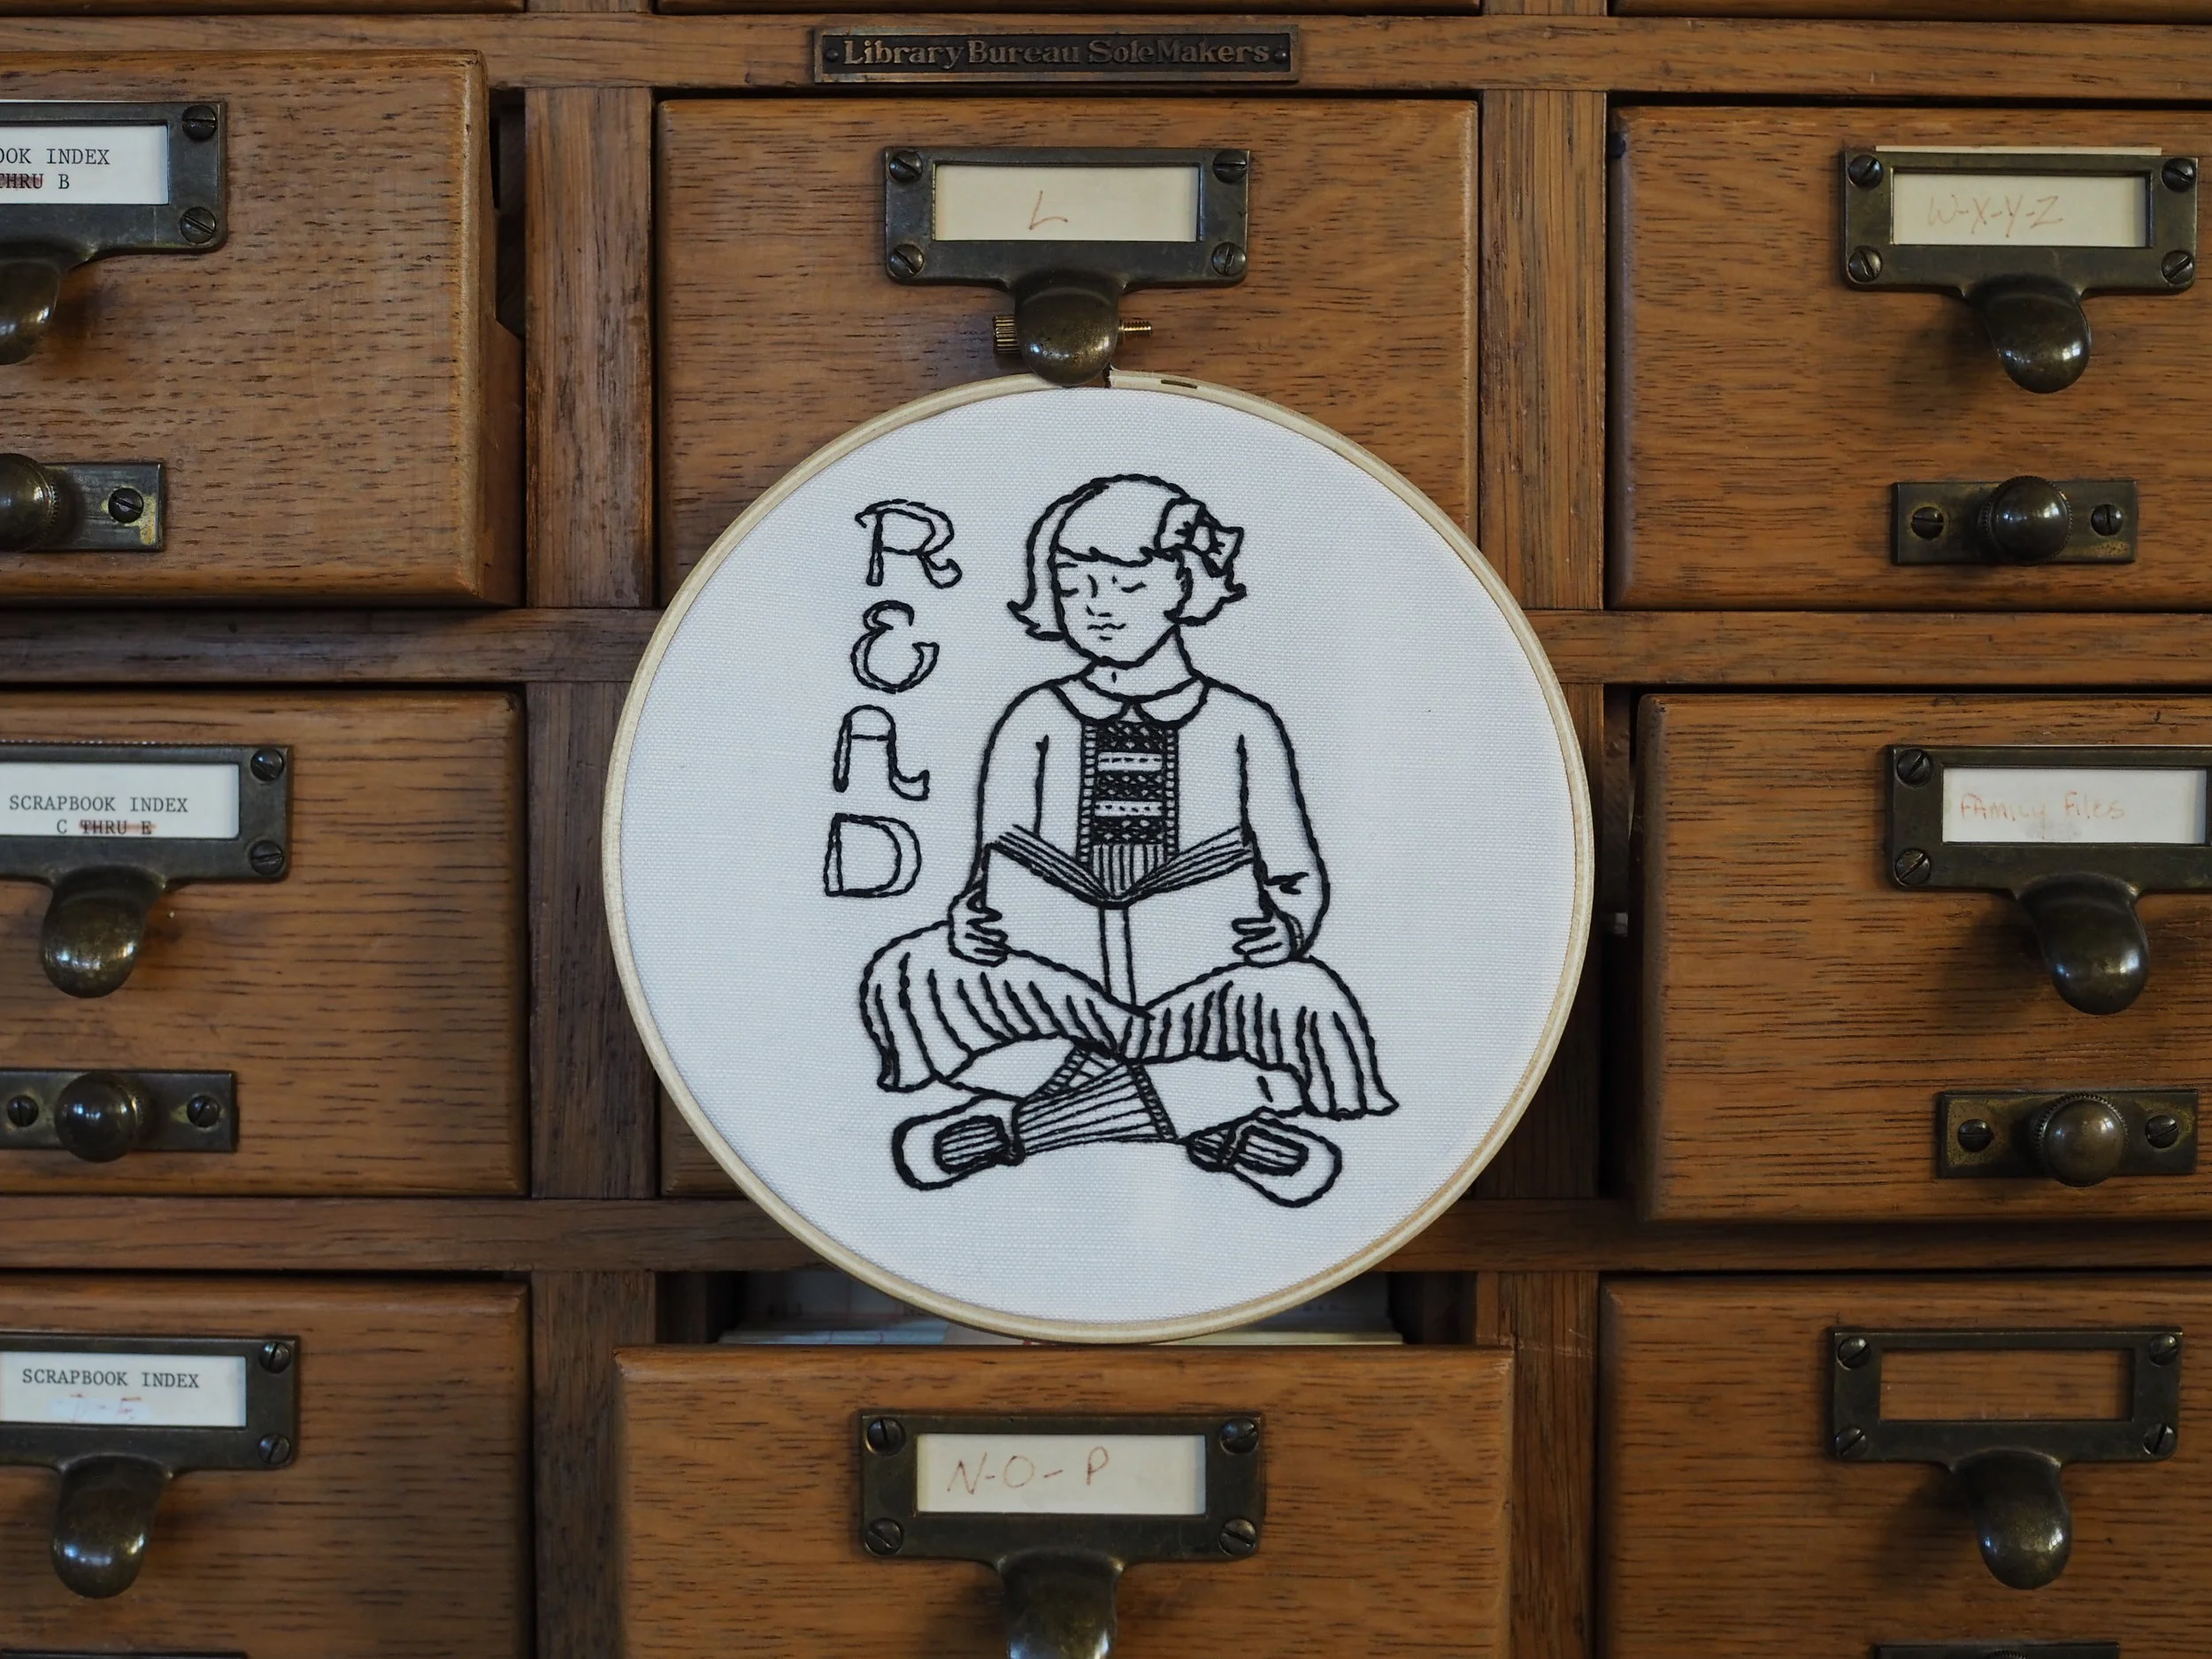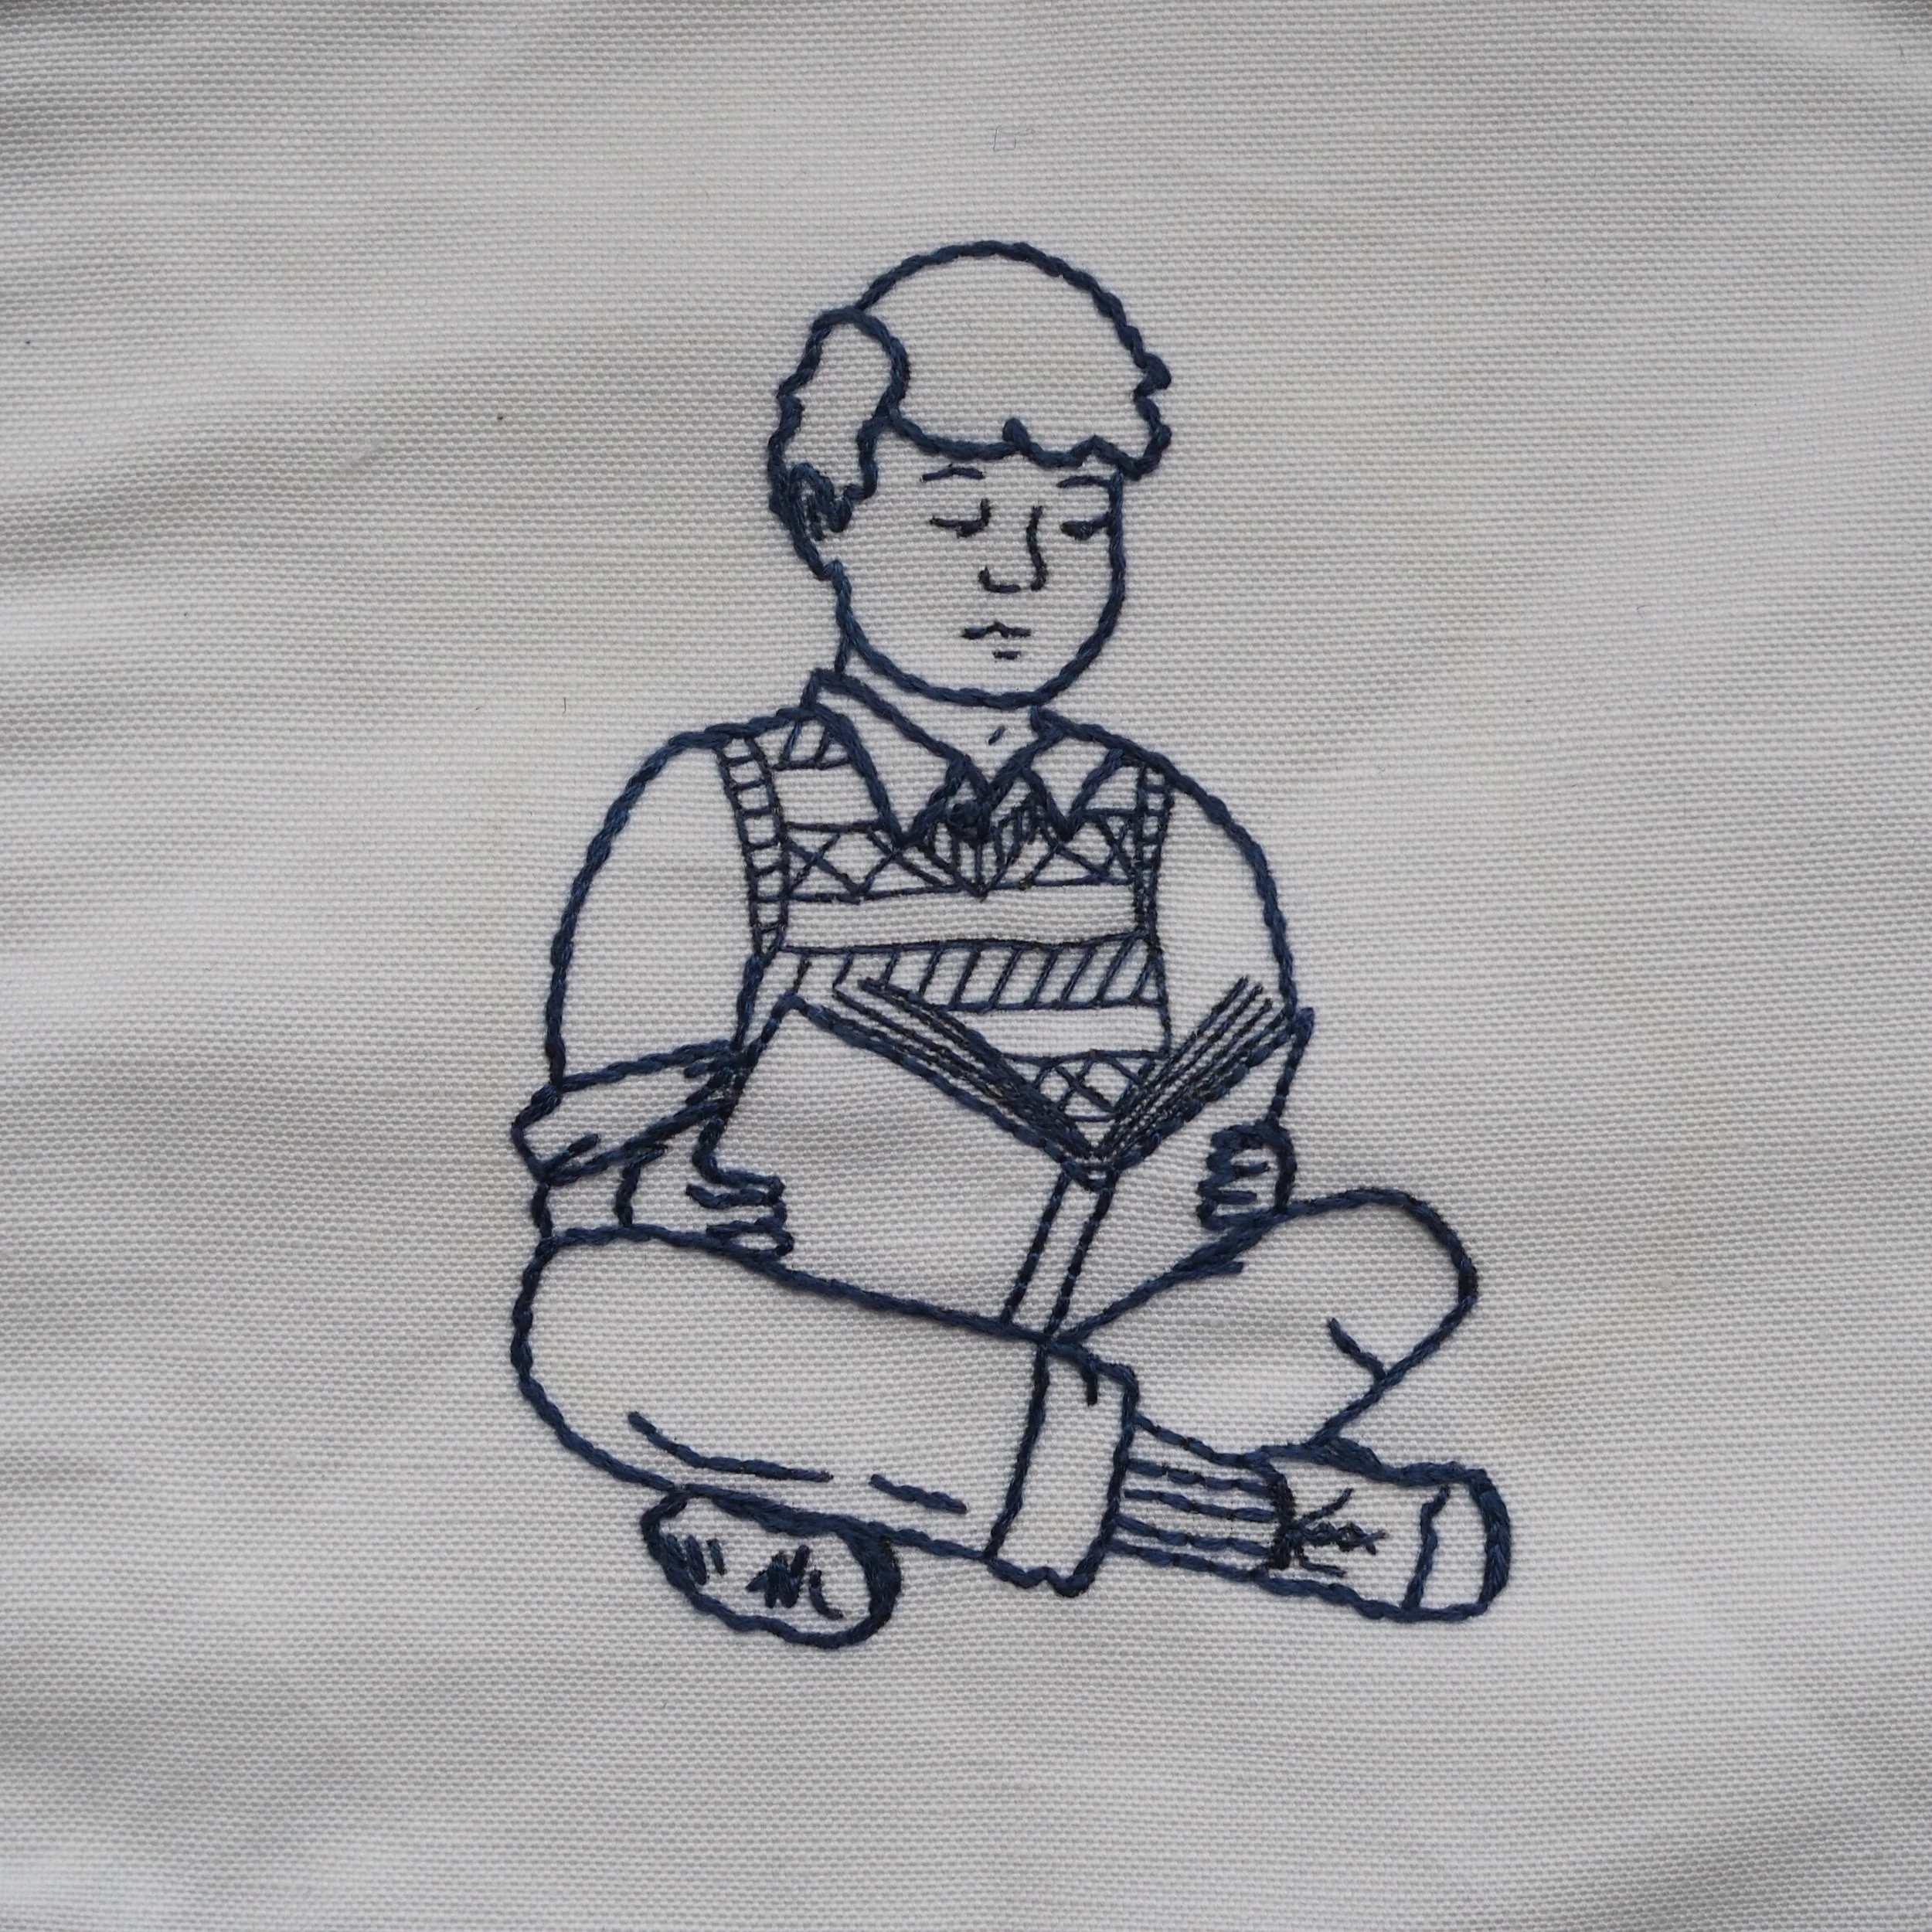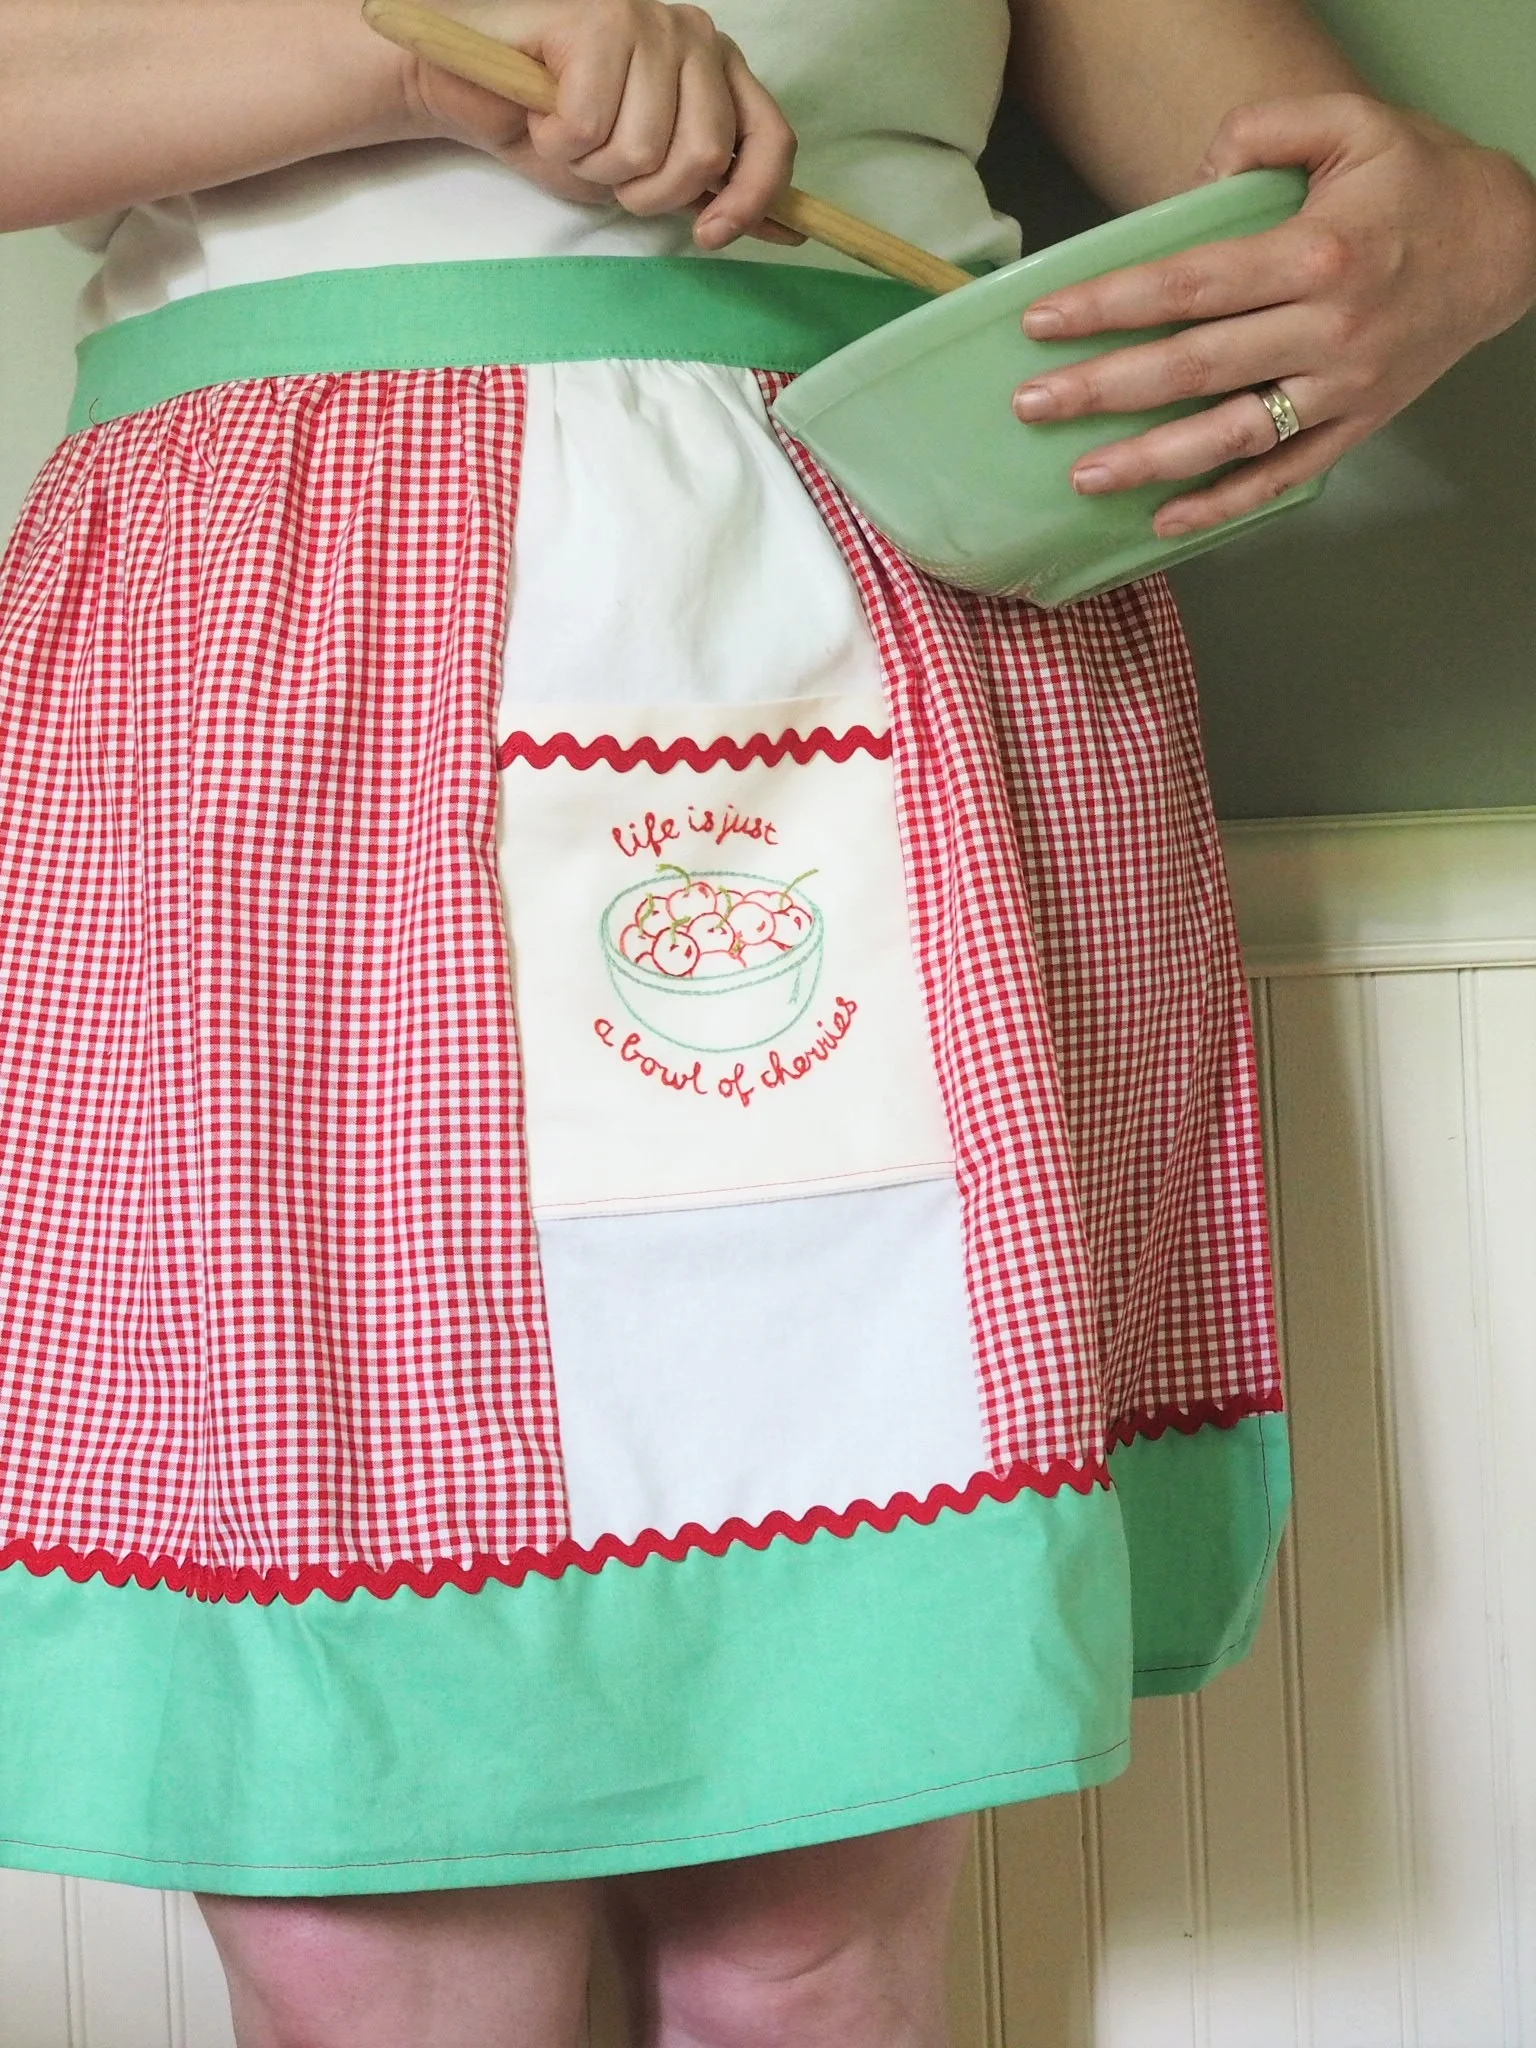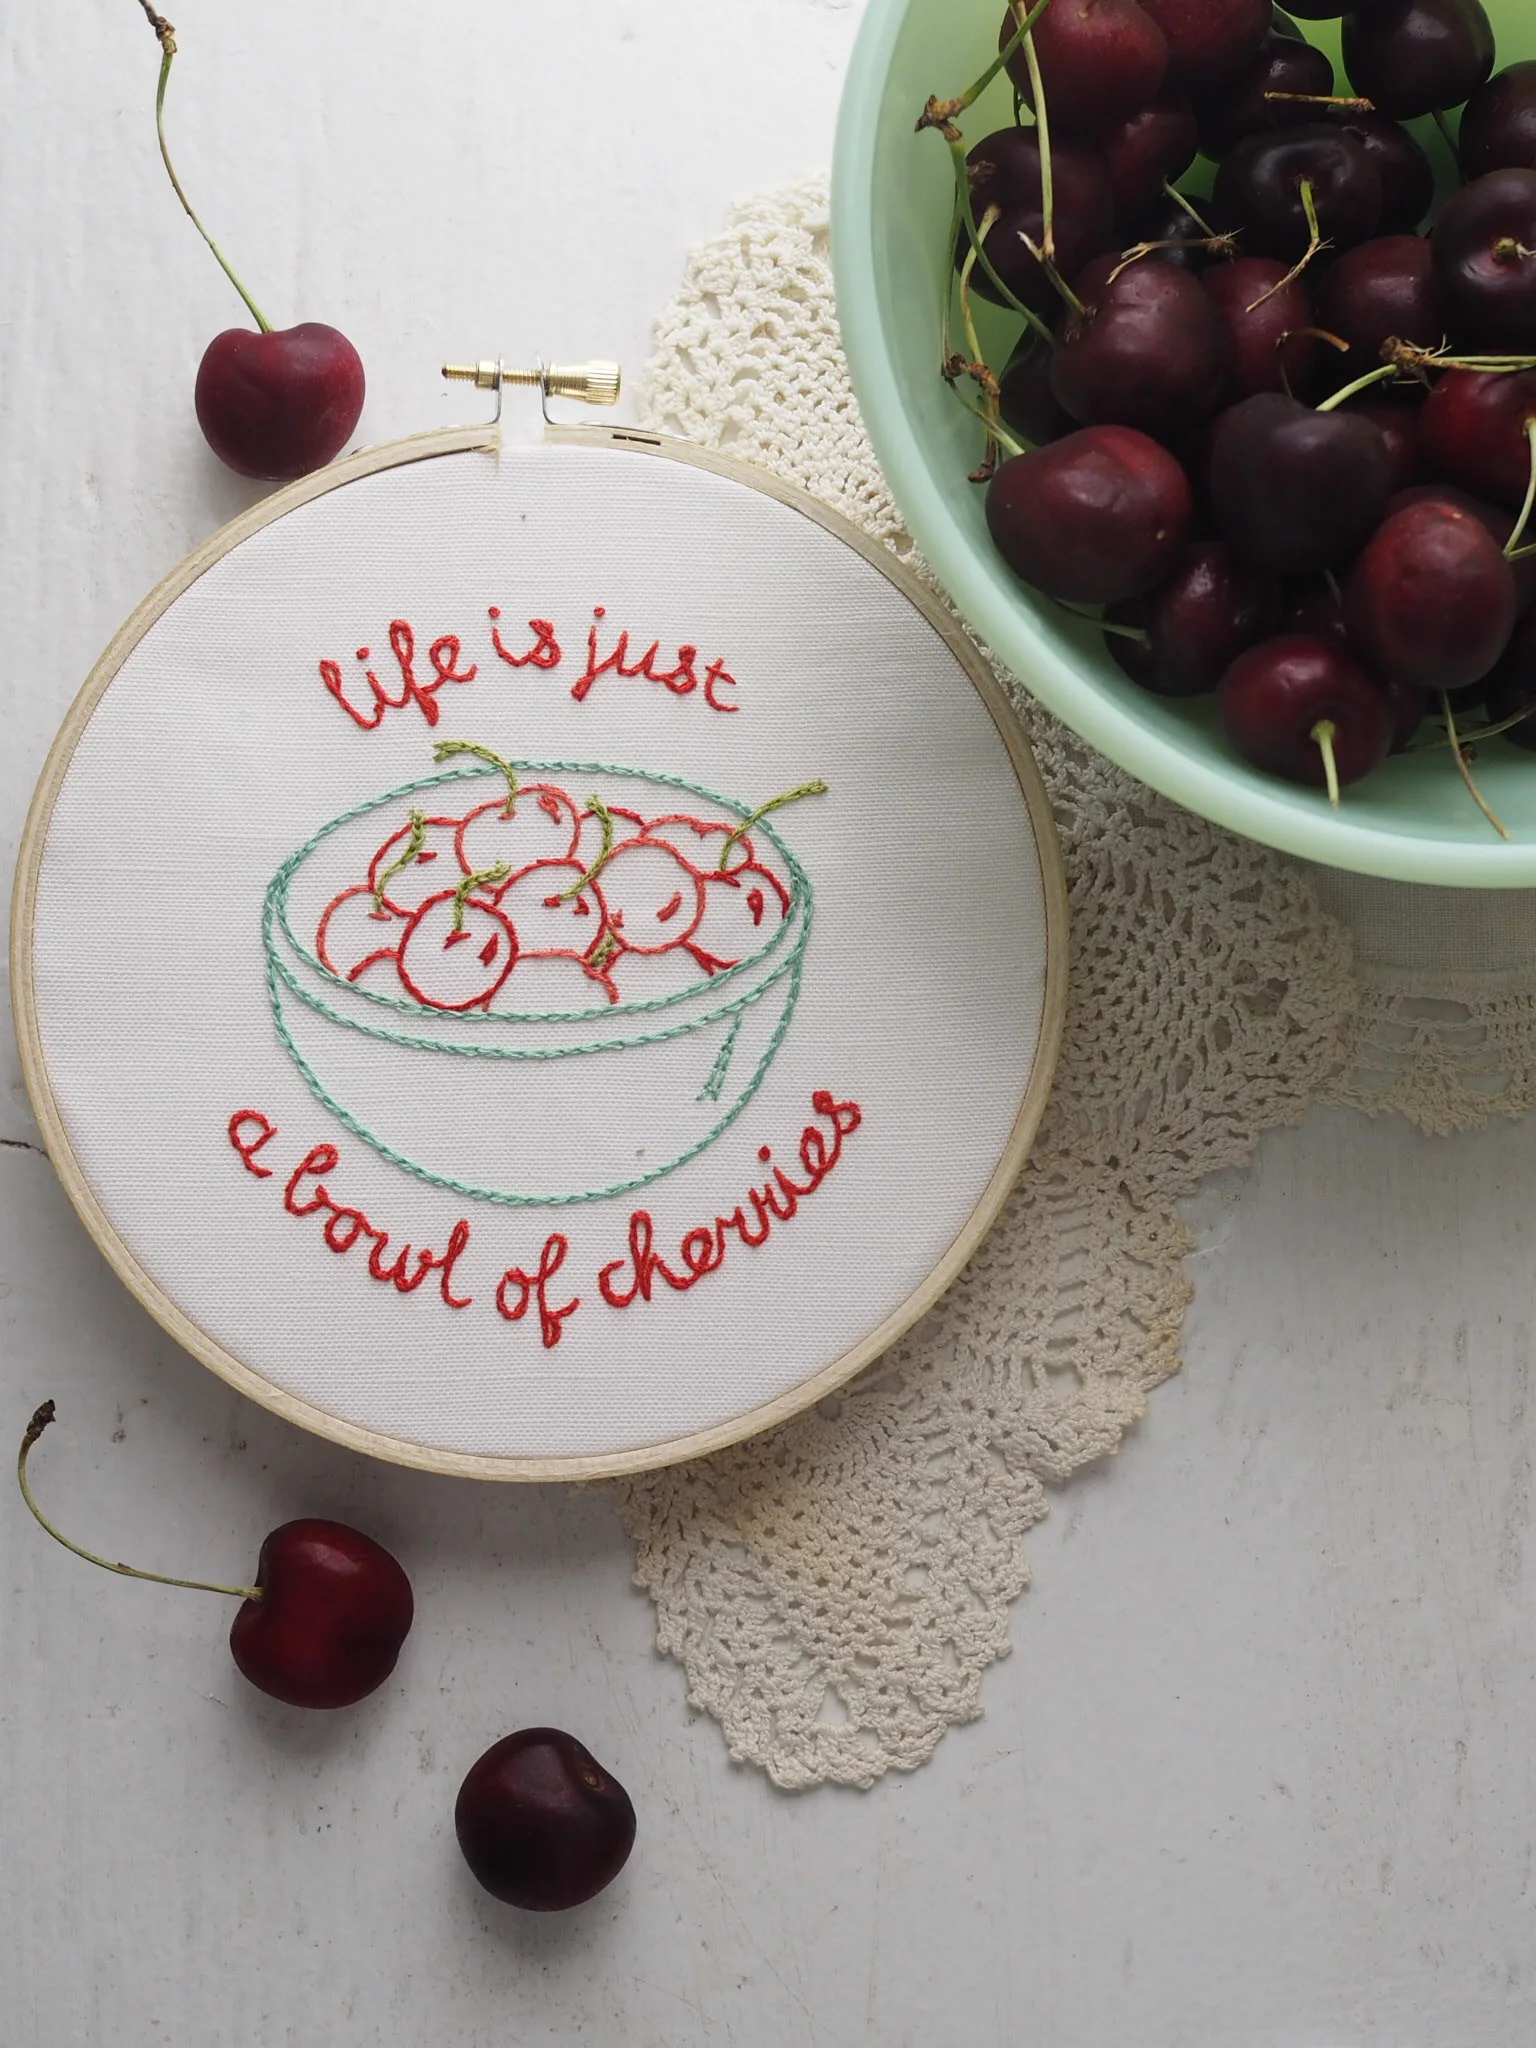

Today we'll look at more fill stitches, namely the French knot and using satin stitch to blend colors. Then it's on to the last step - finishing your hoop to hang!
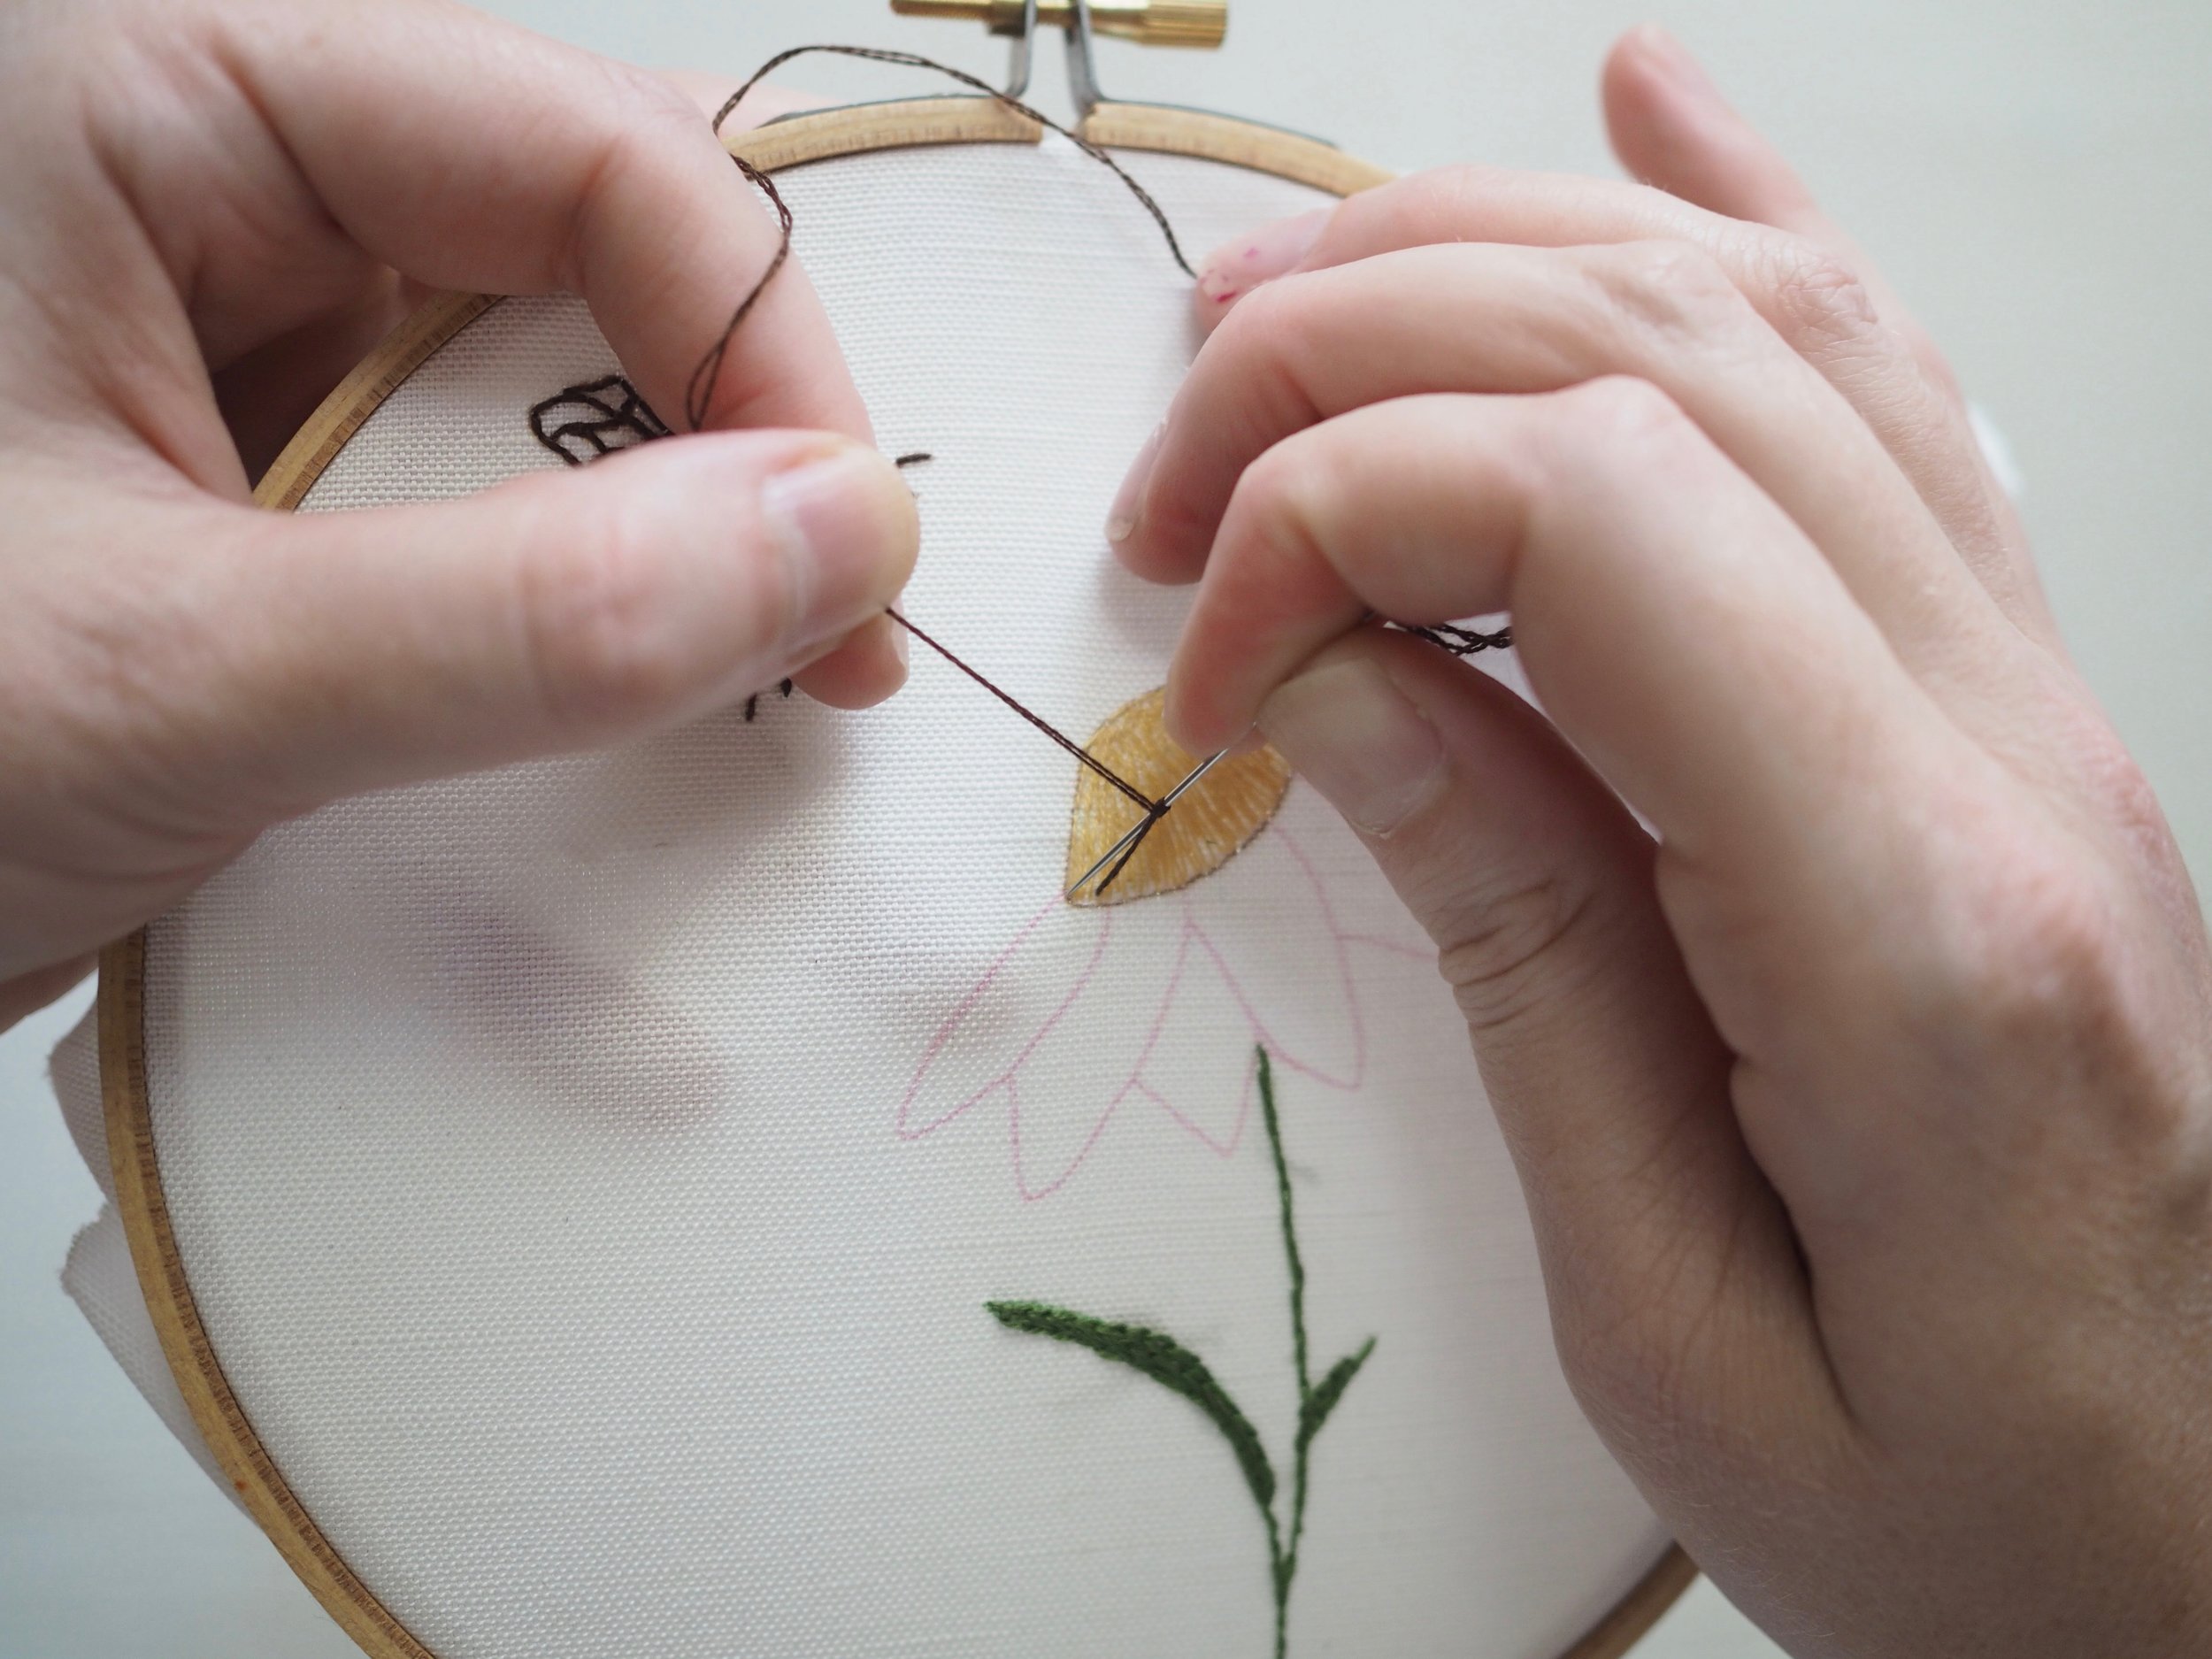
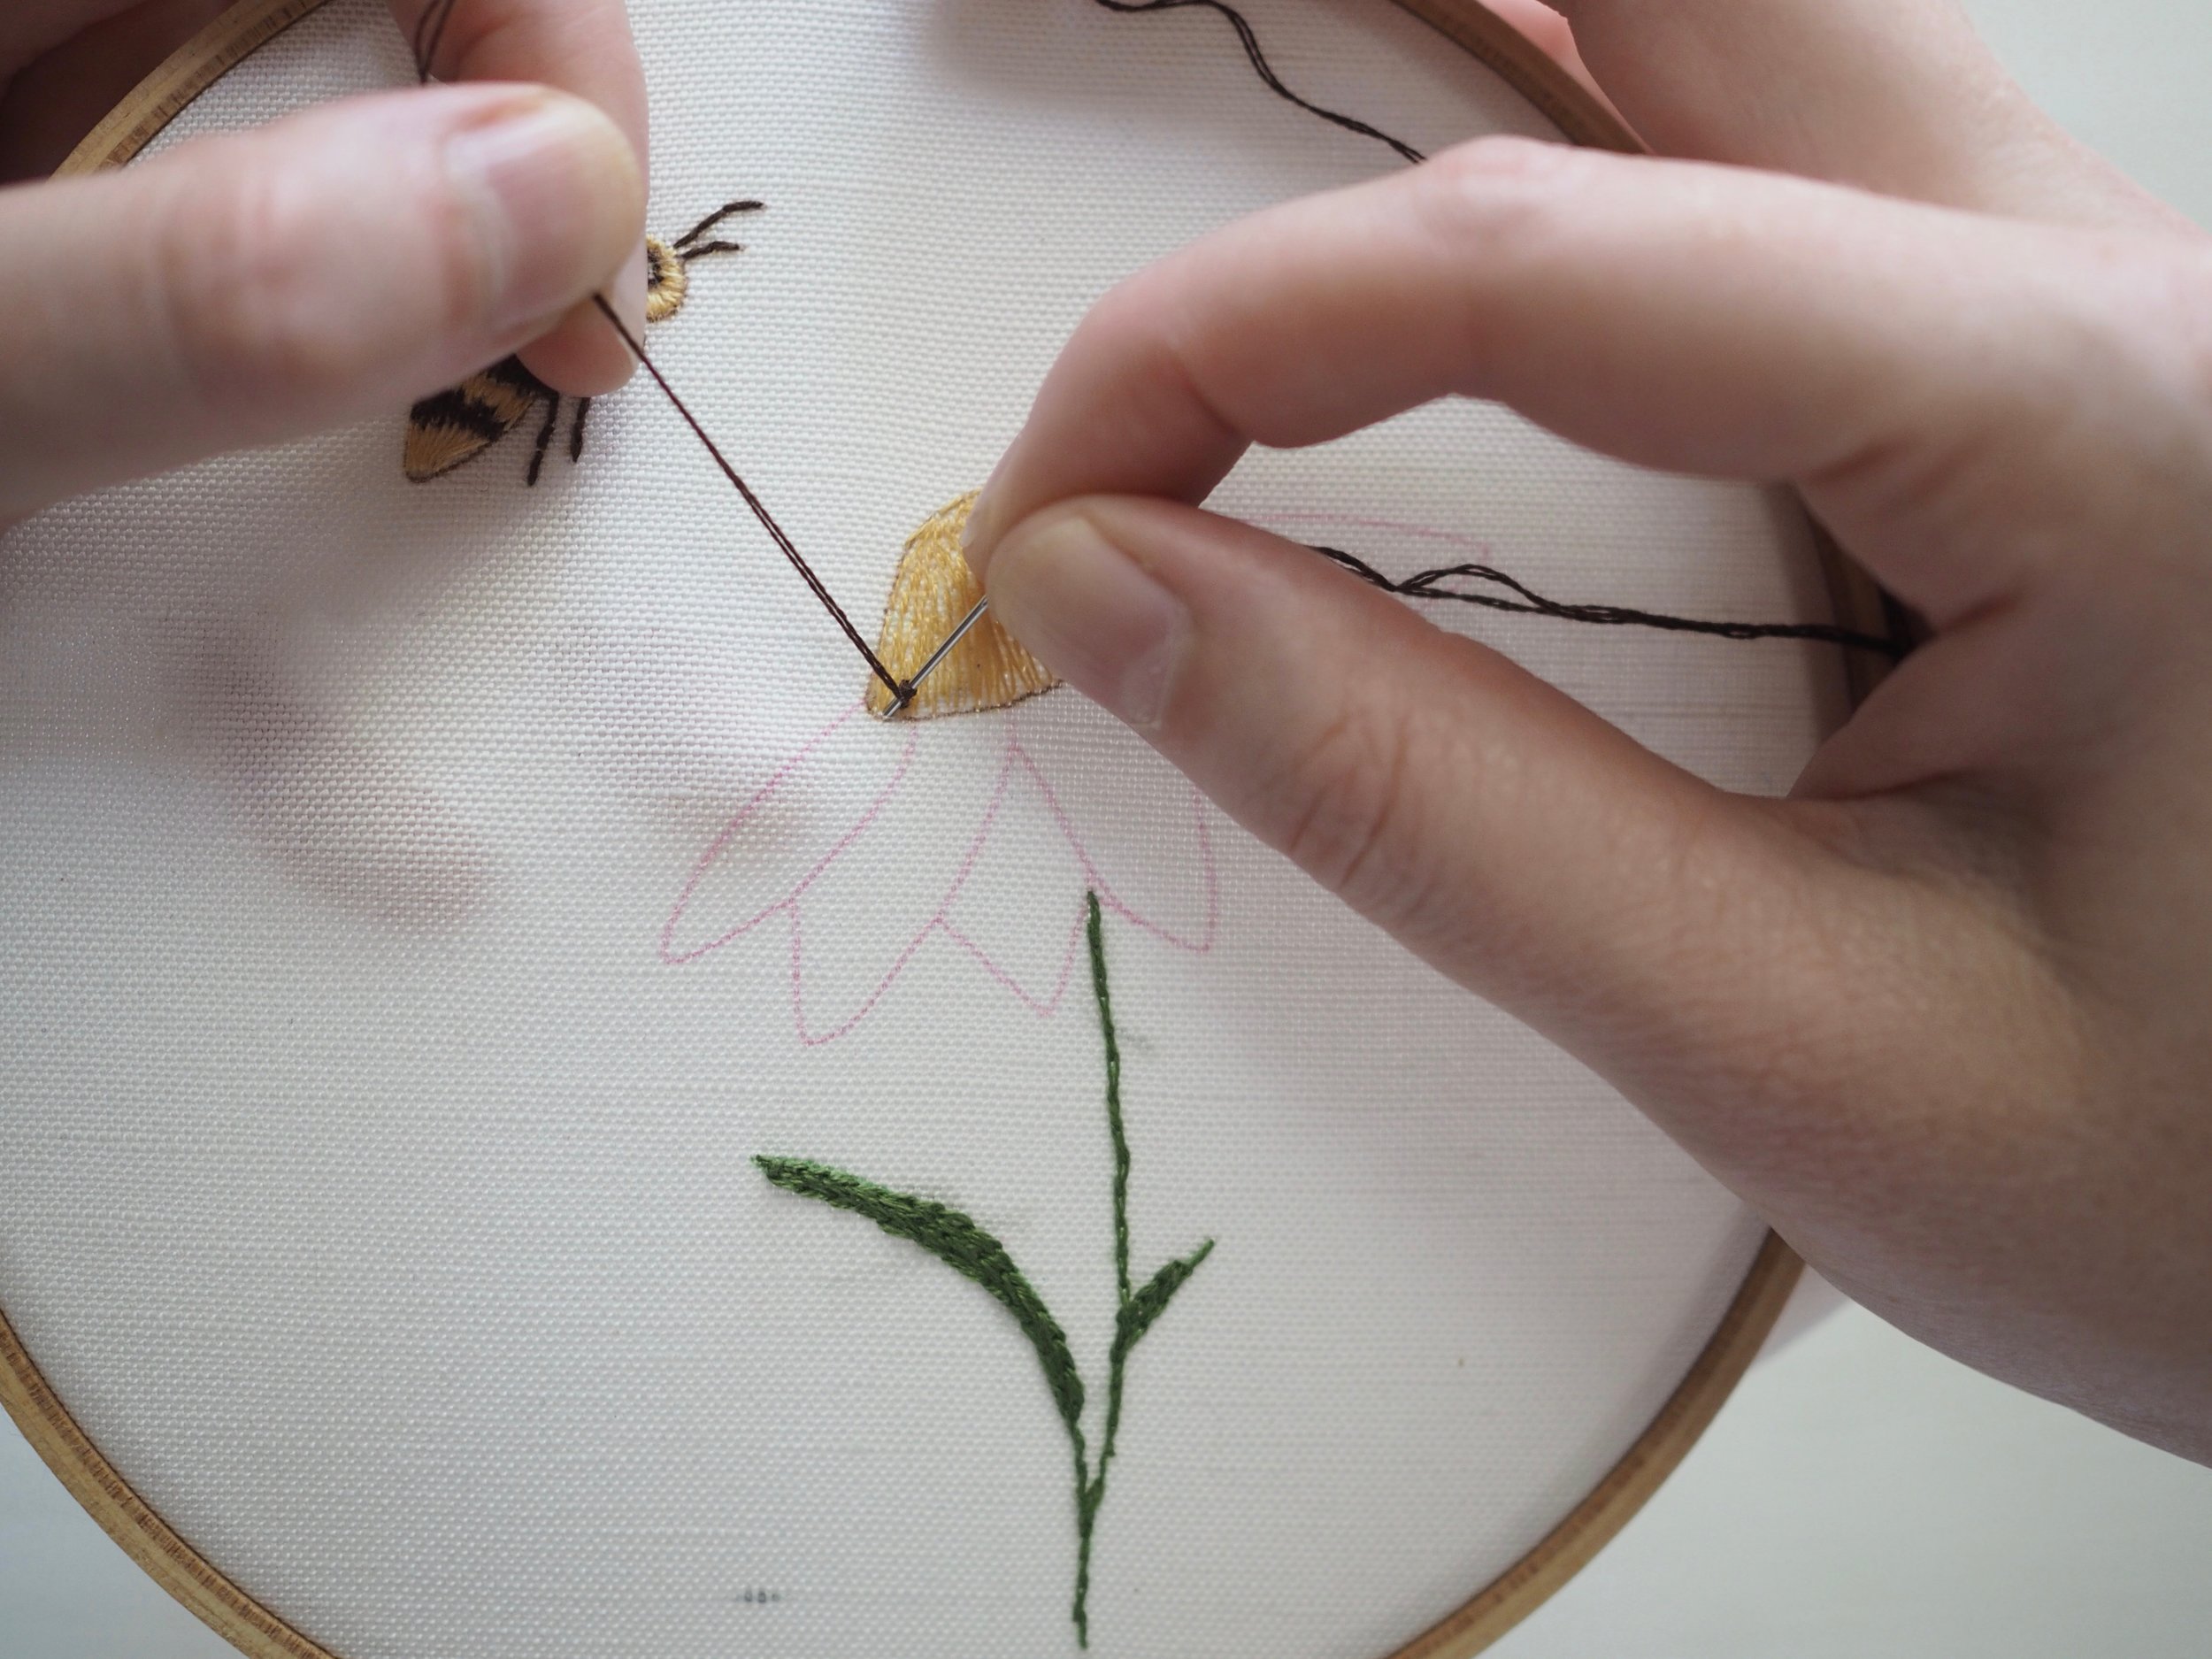
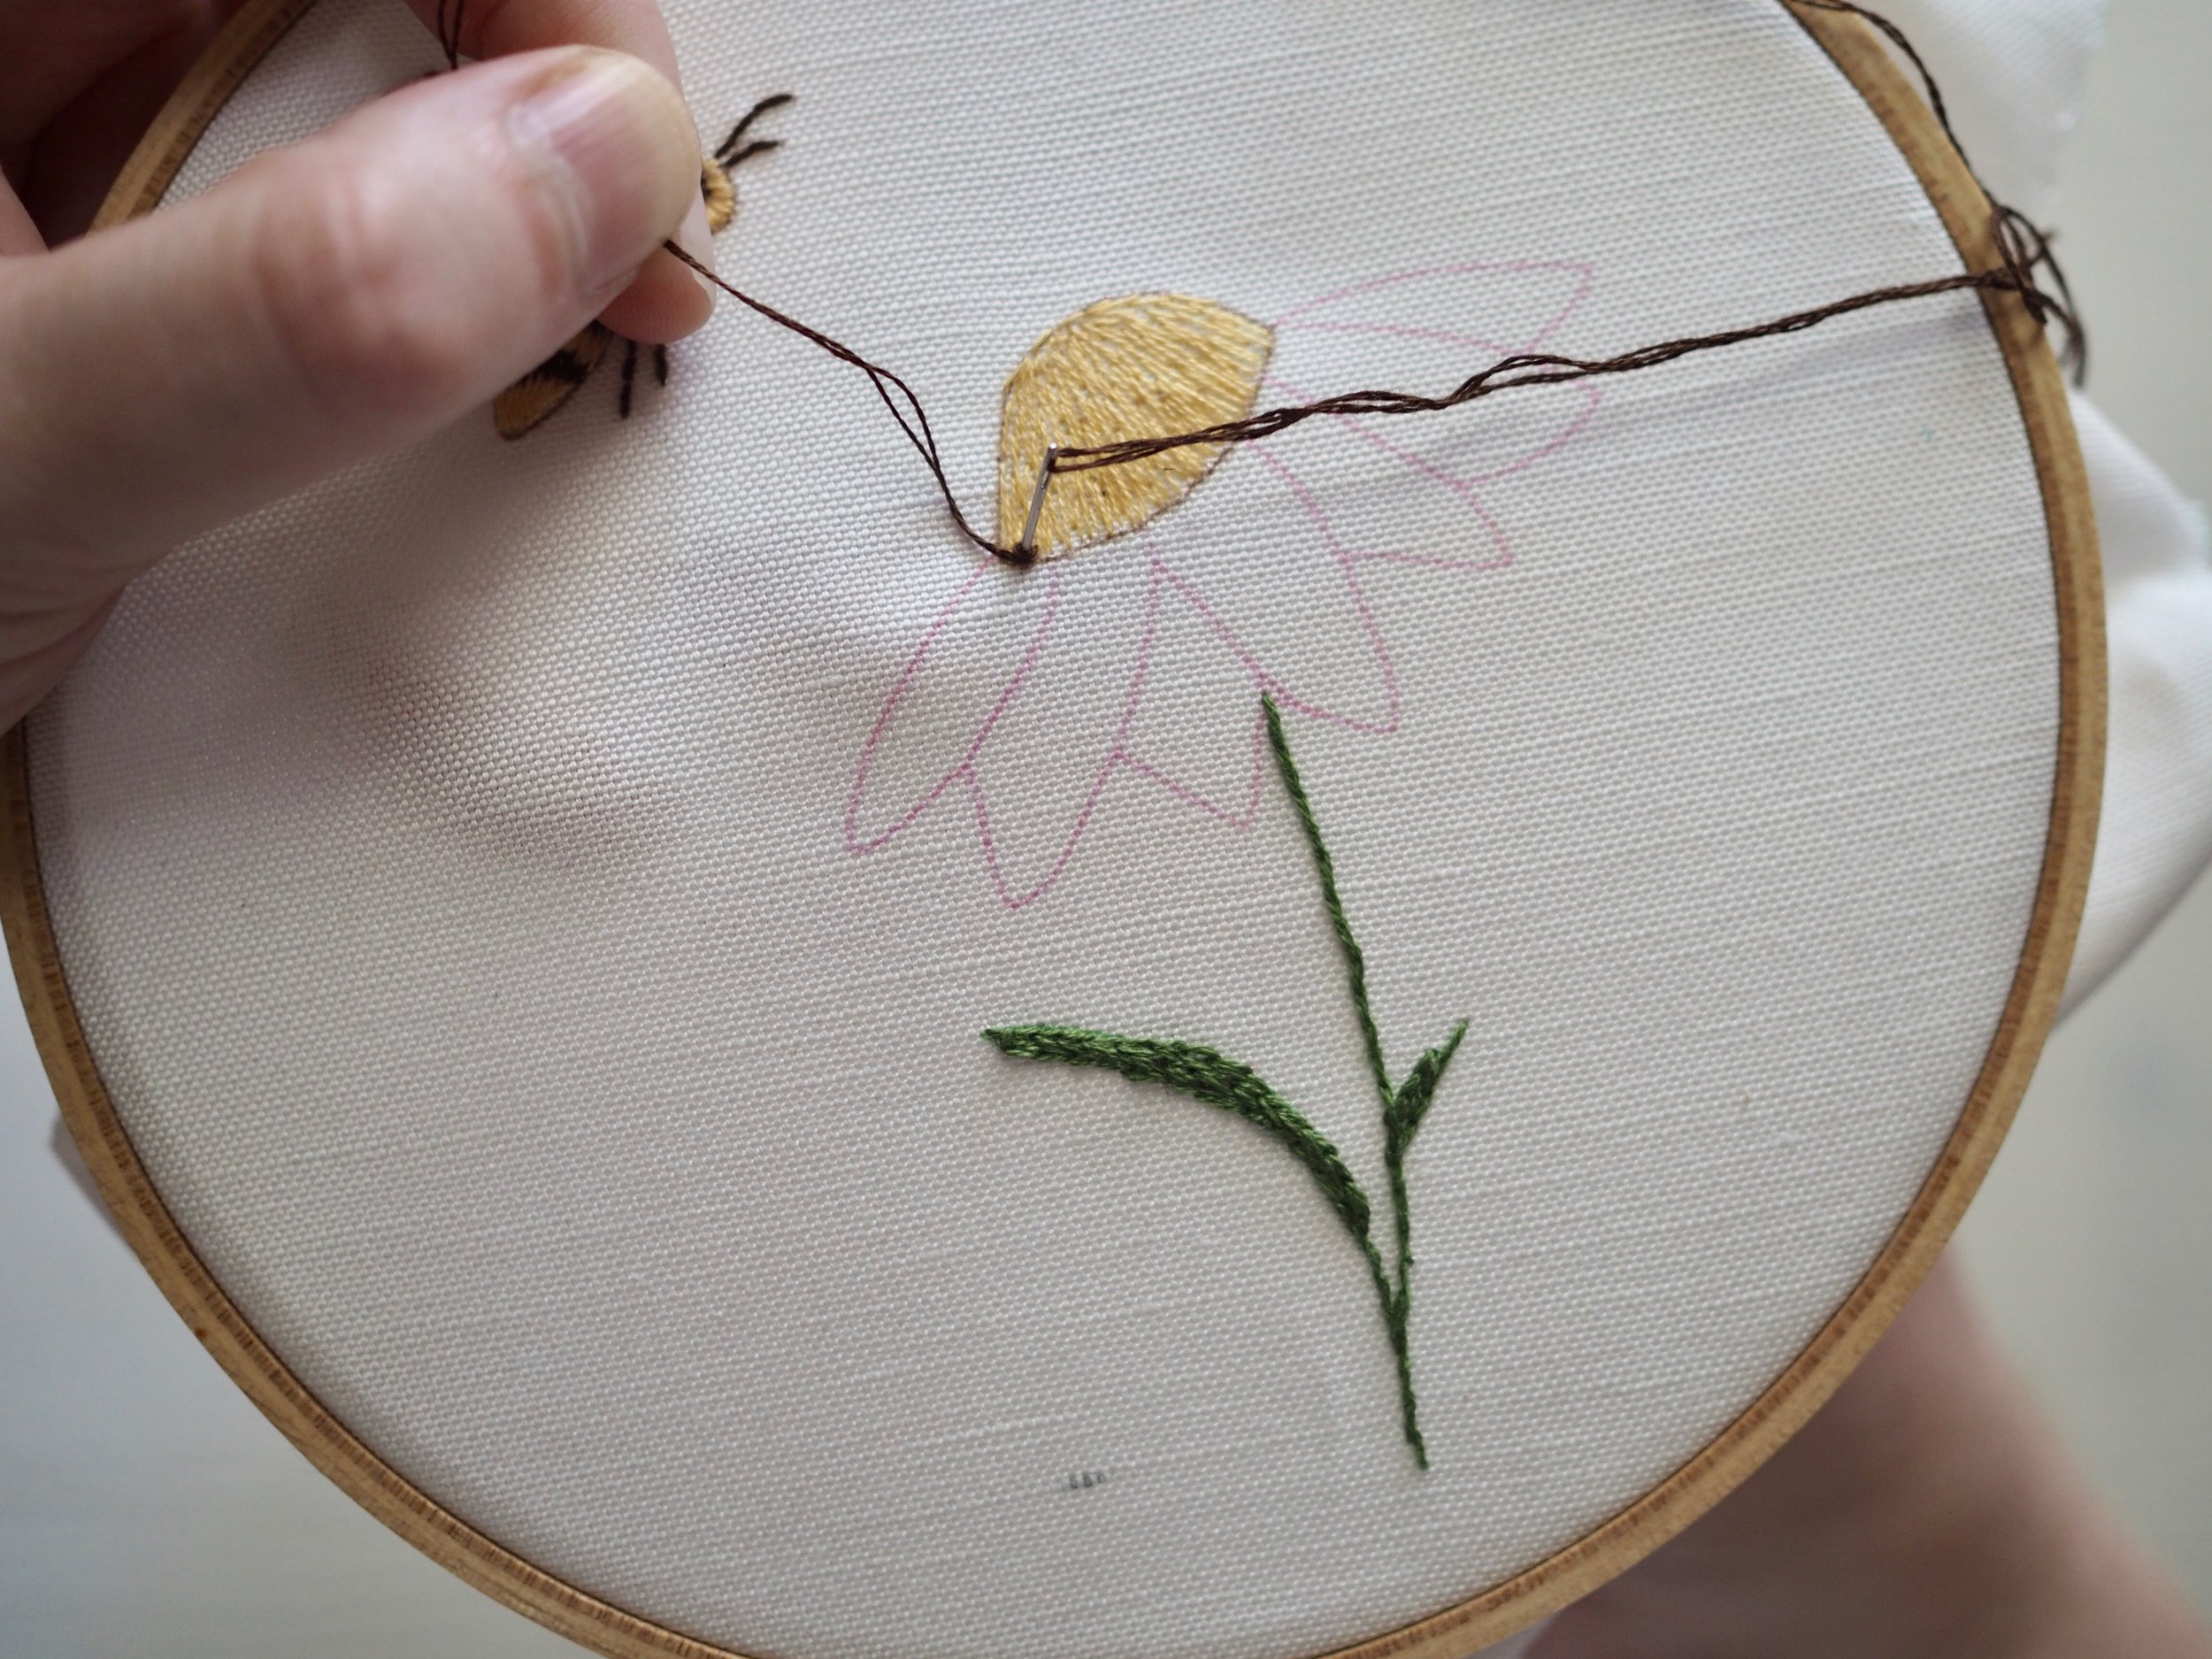
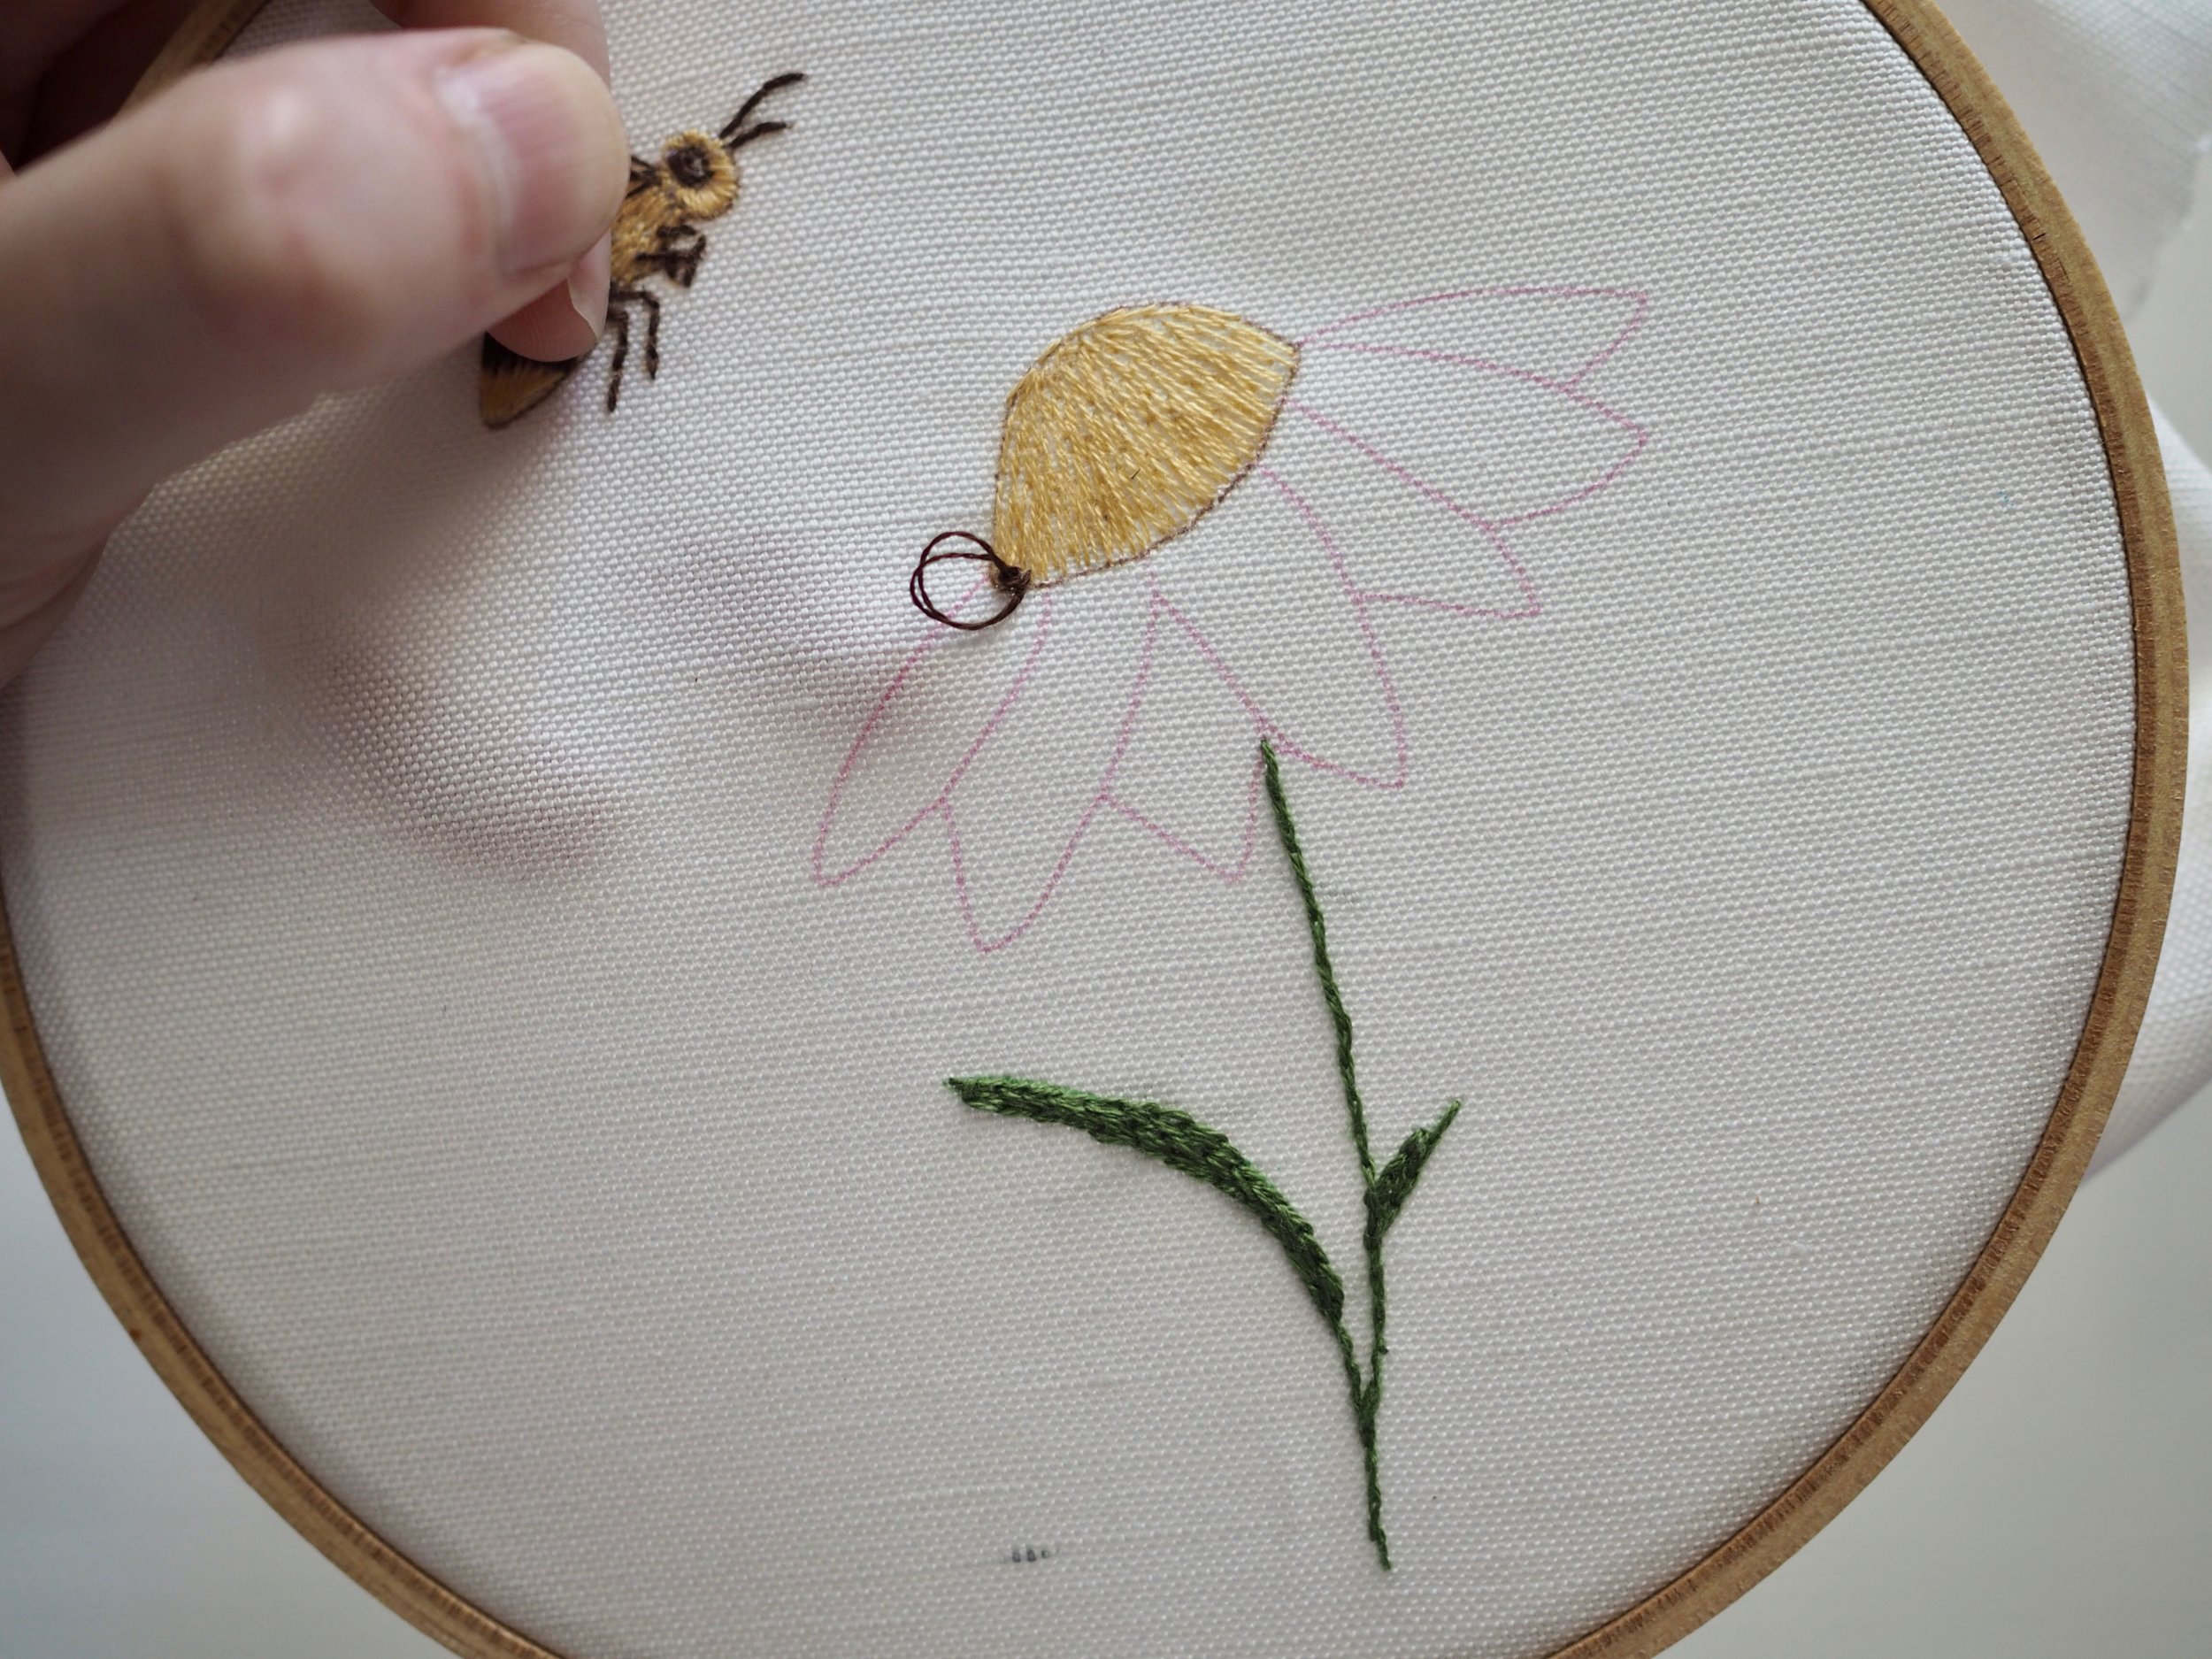
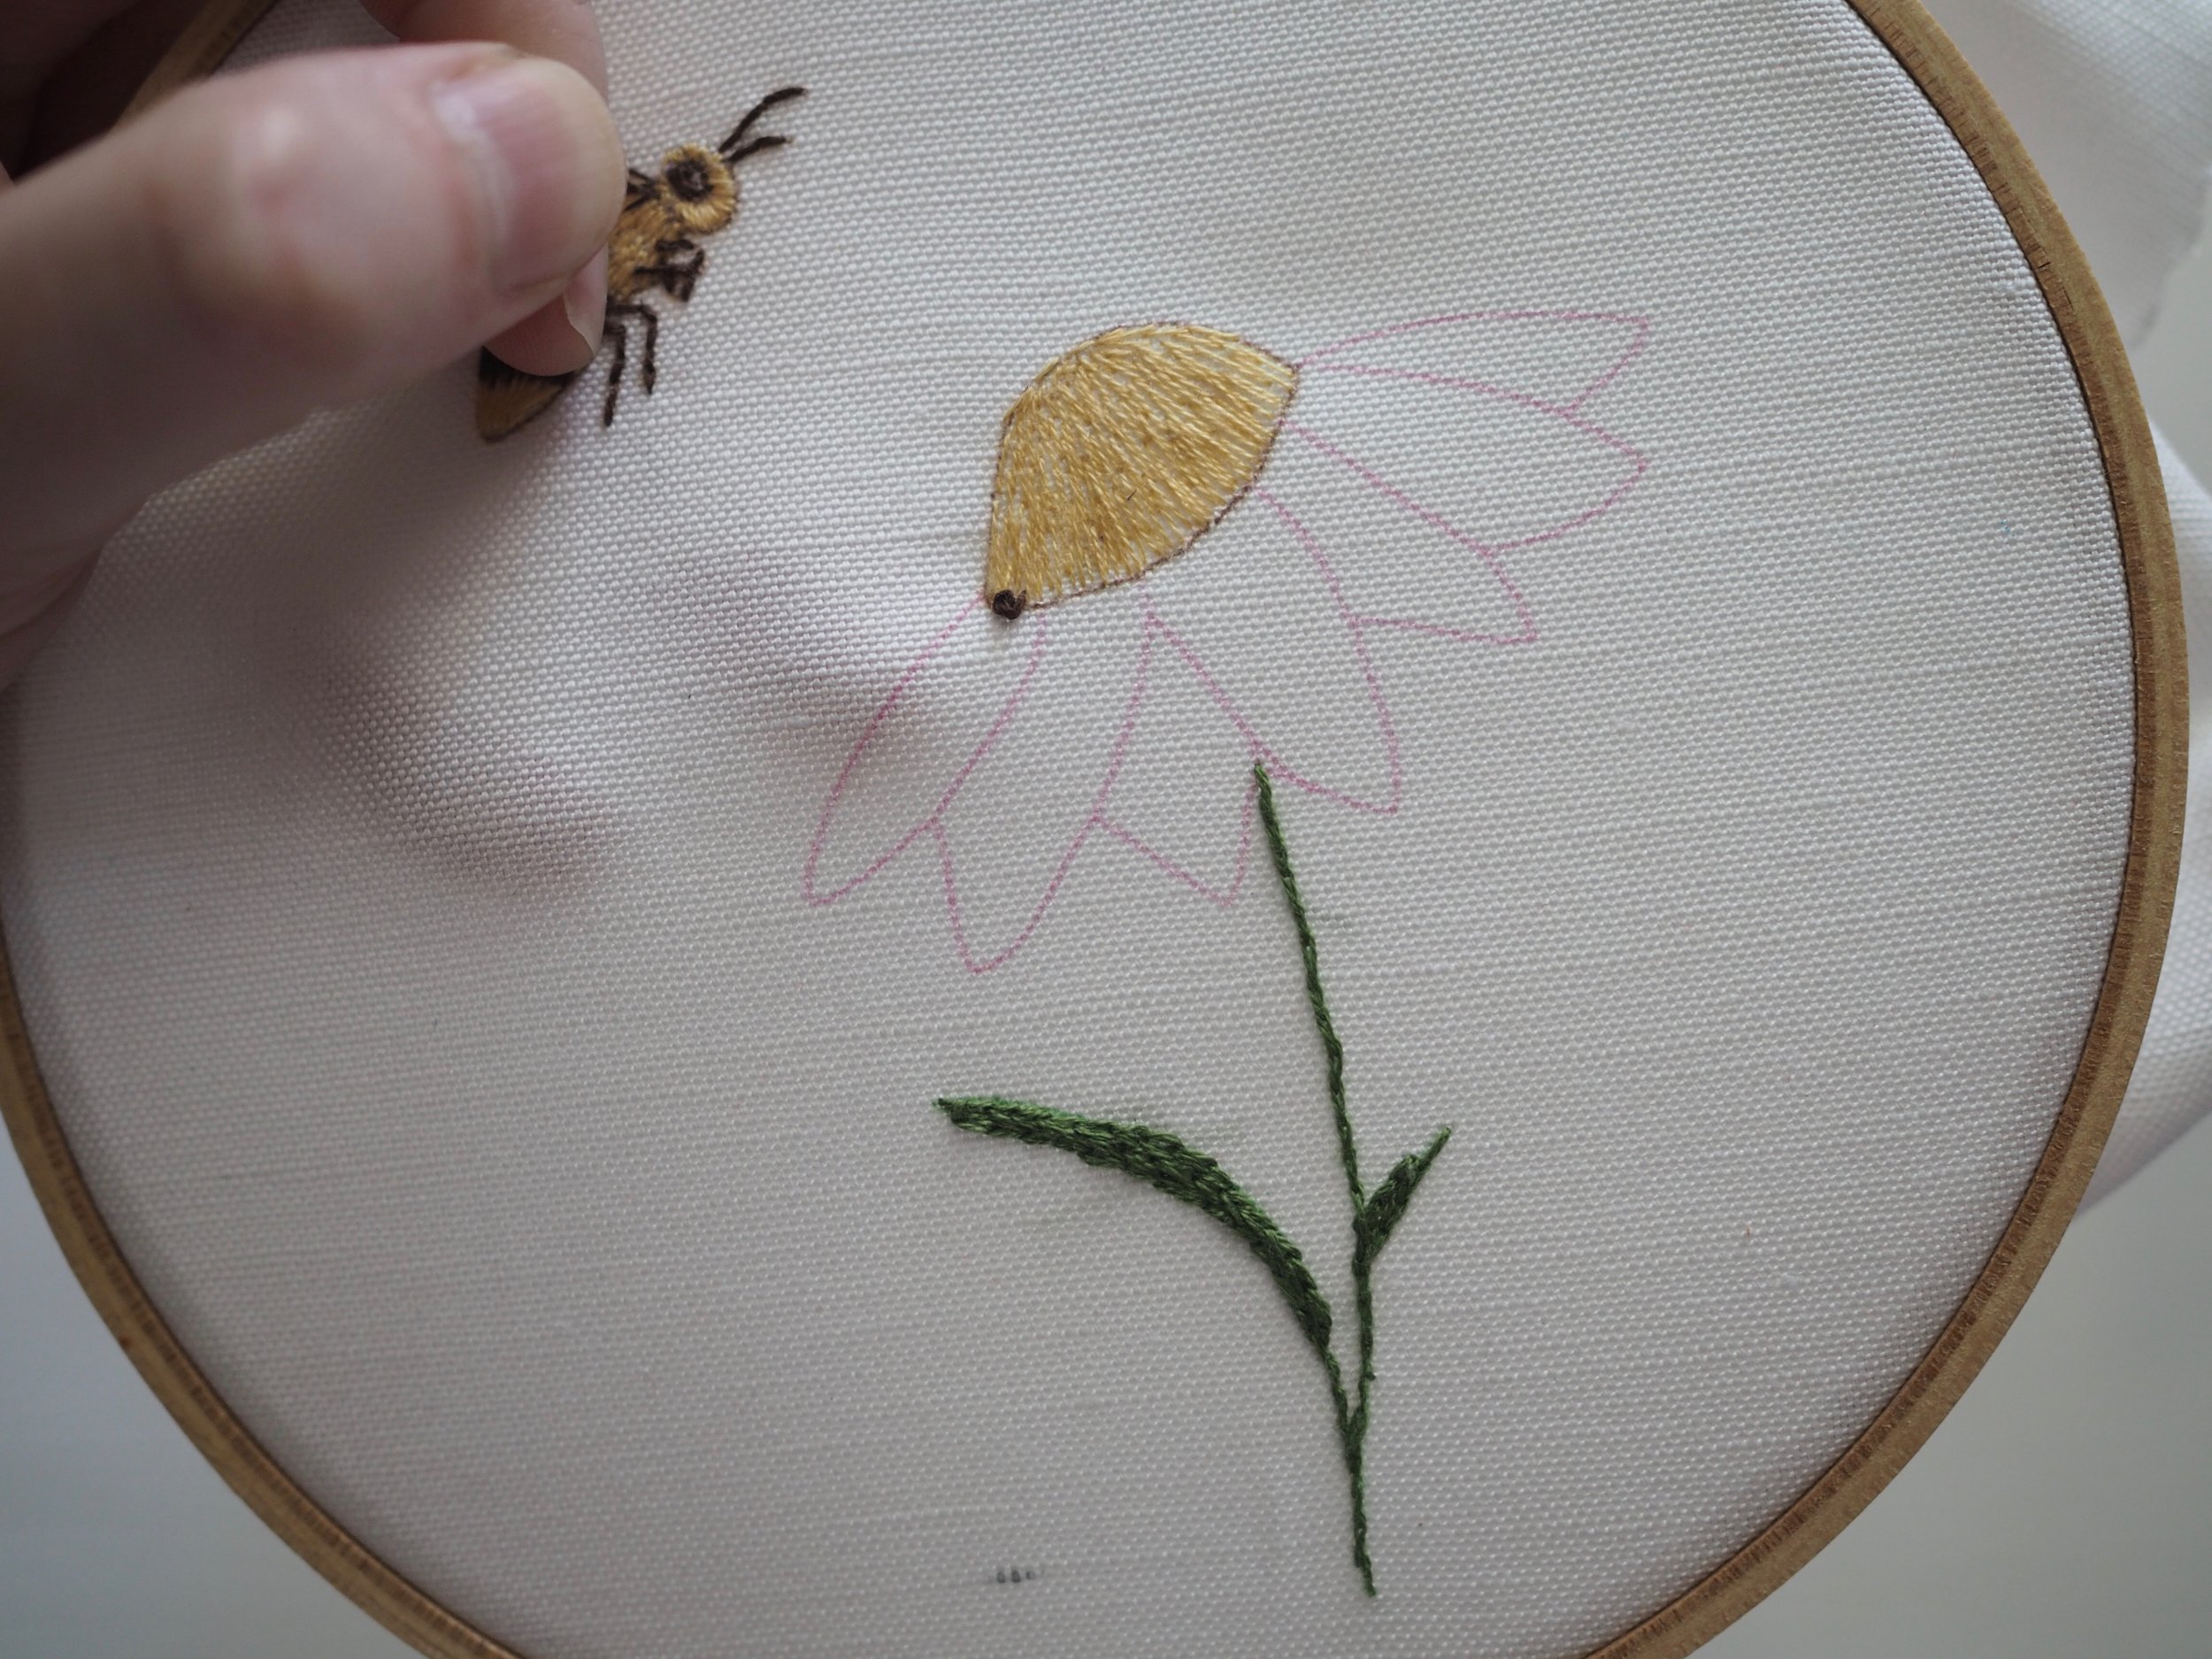
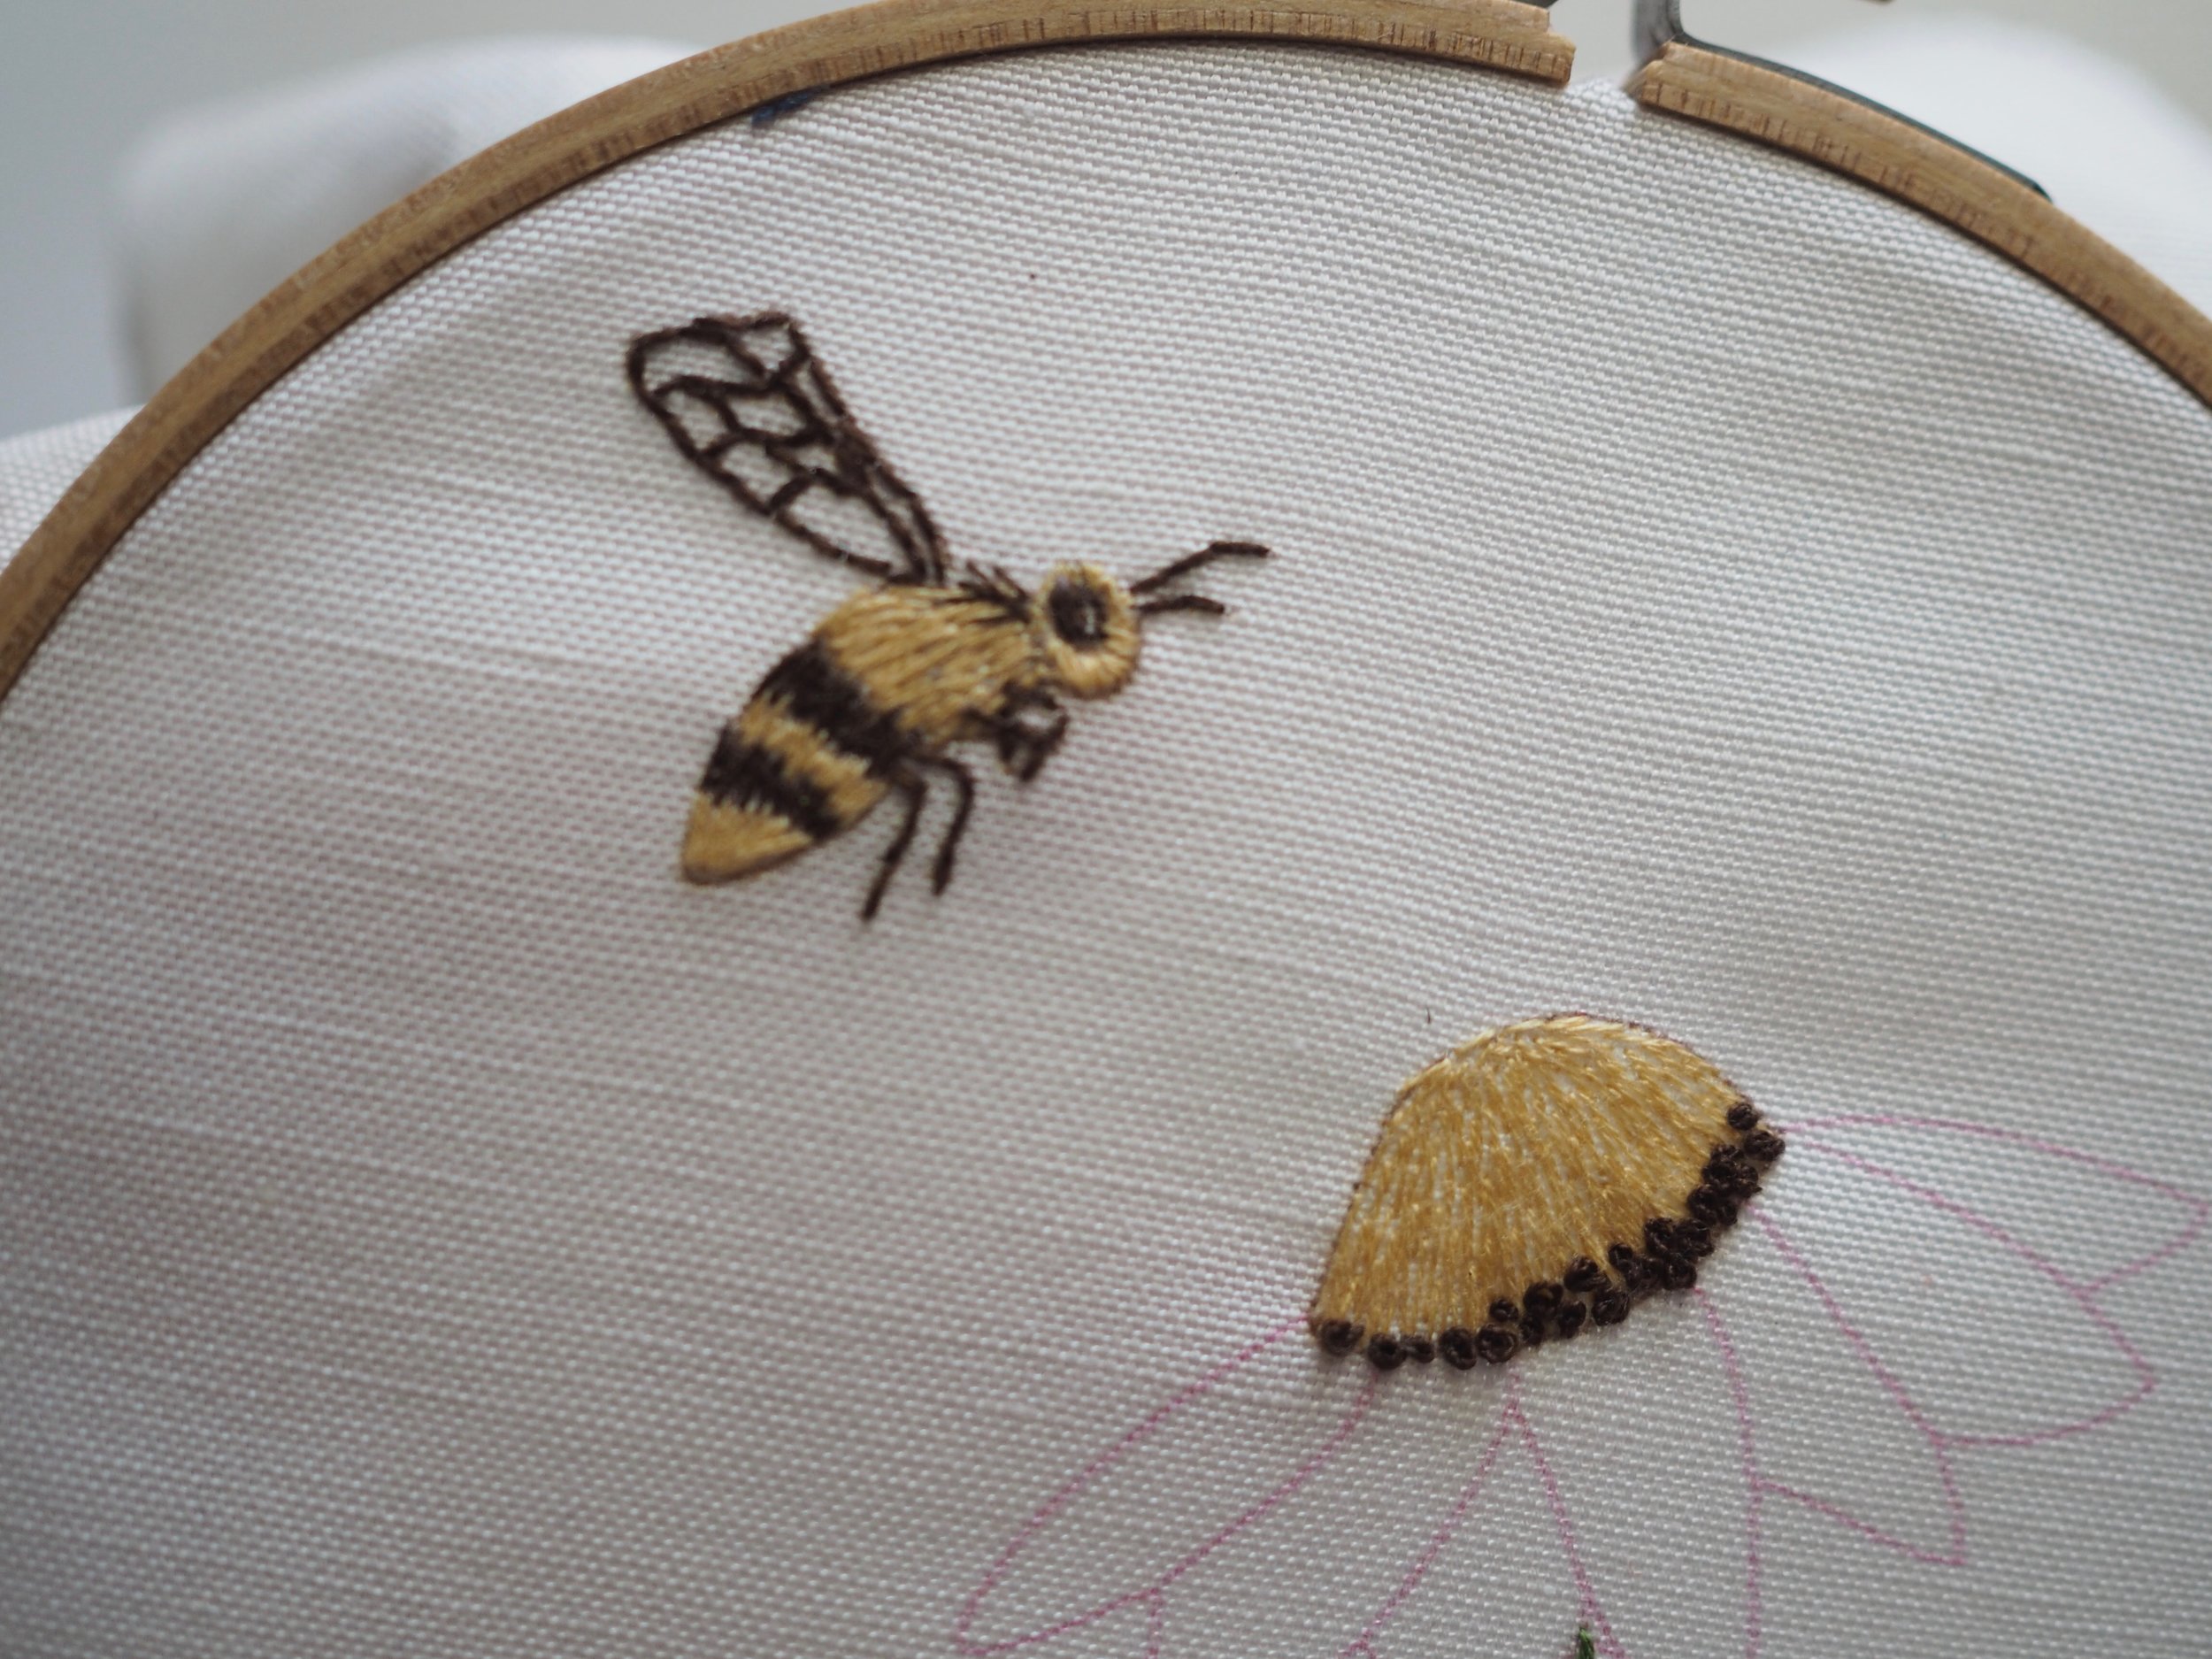
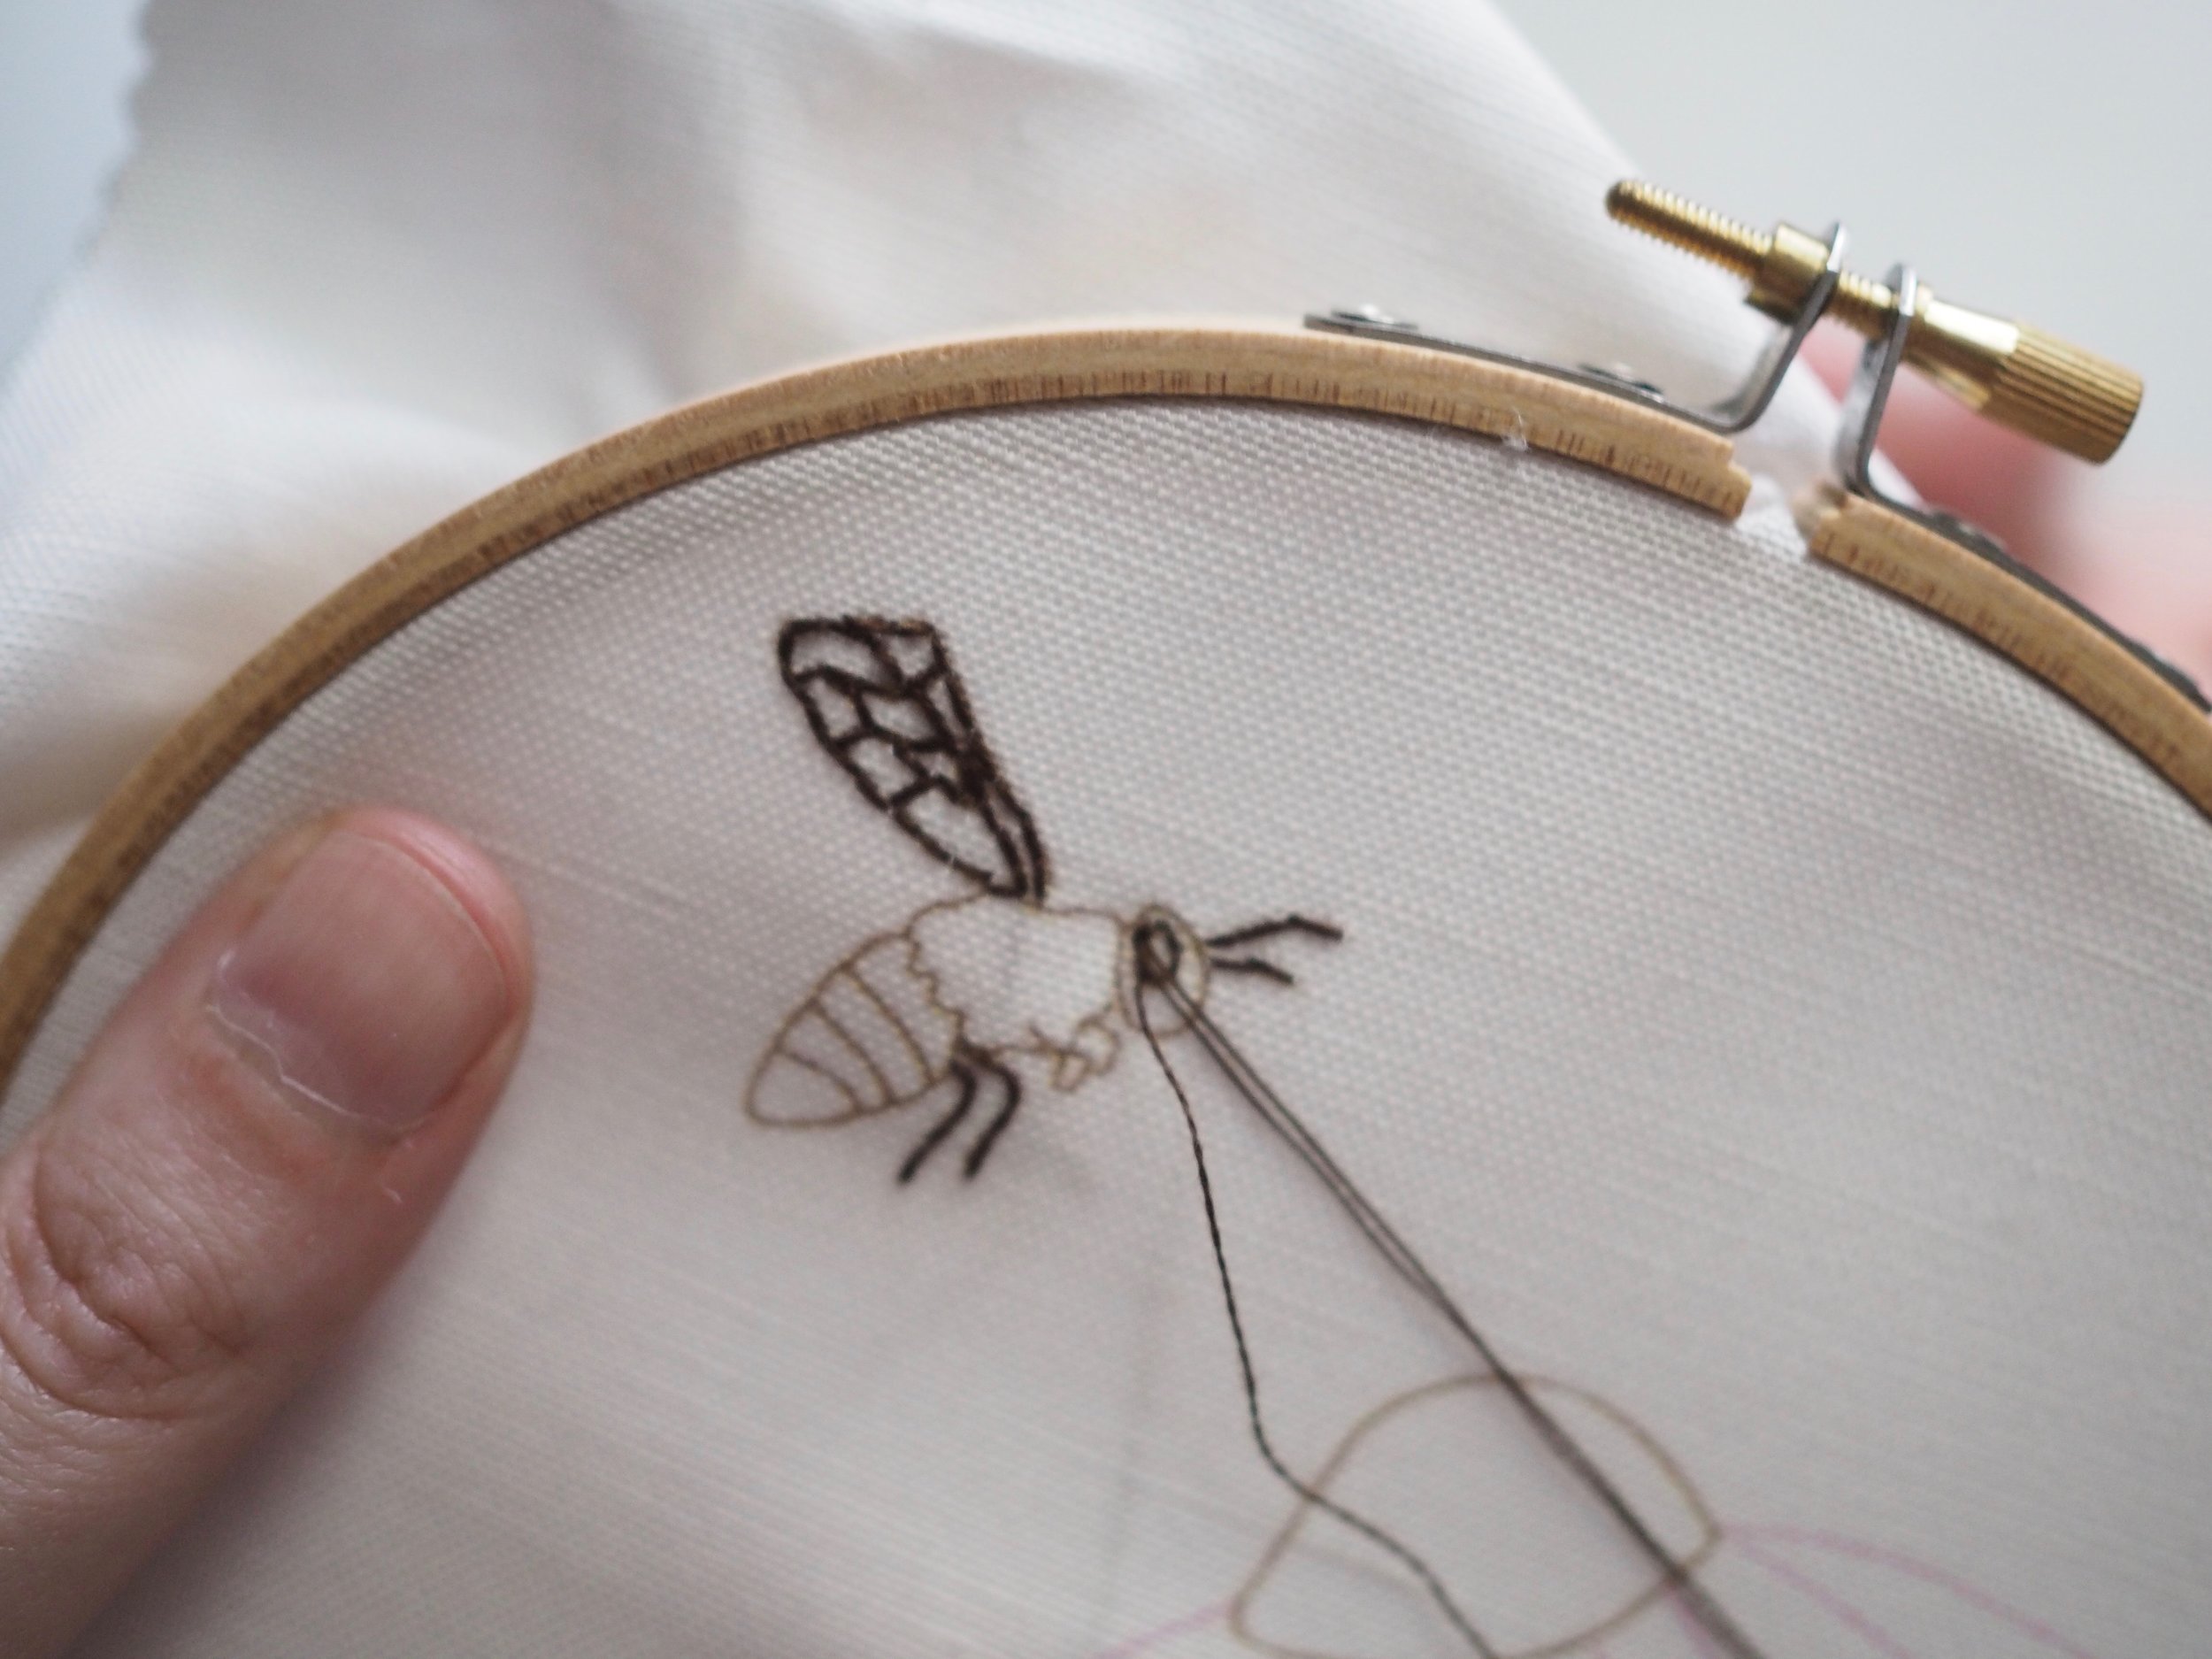
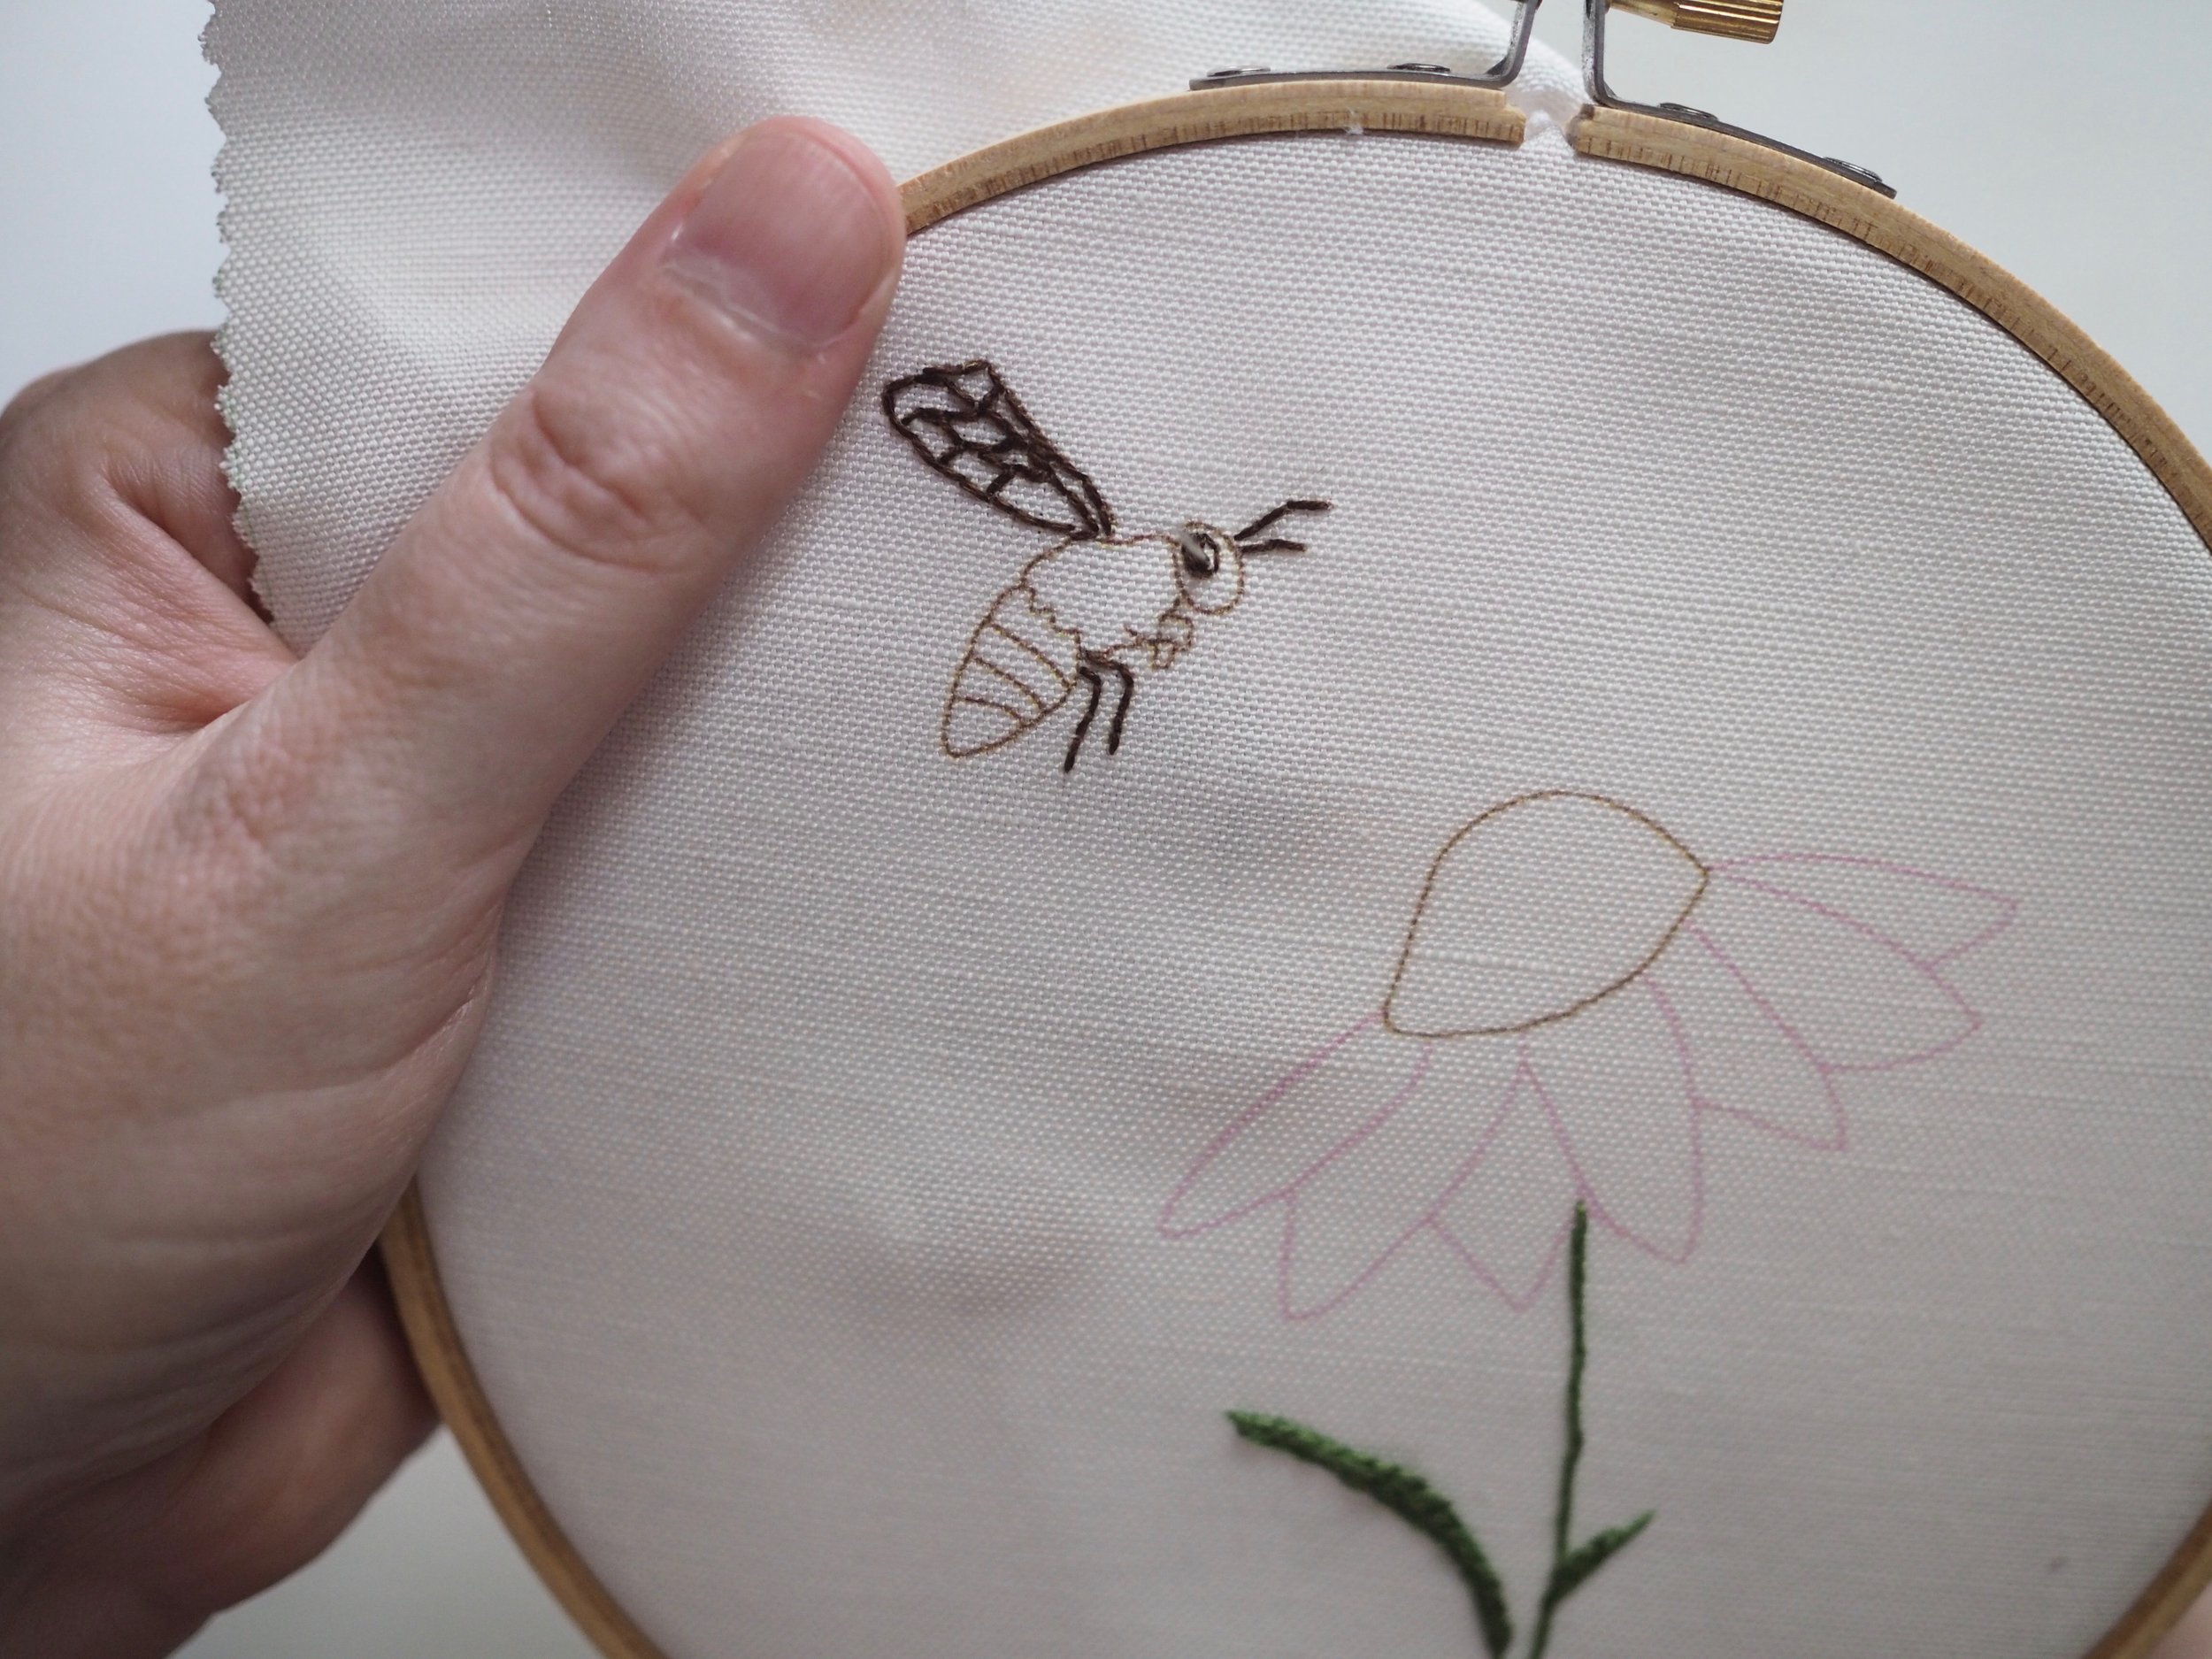
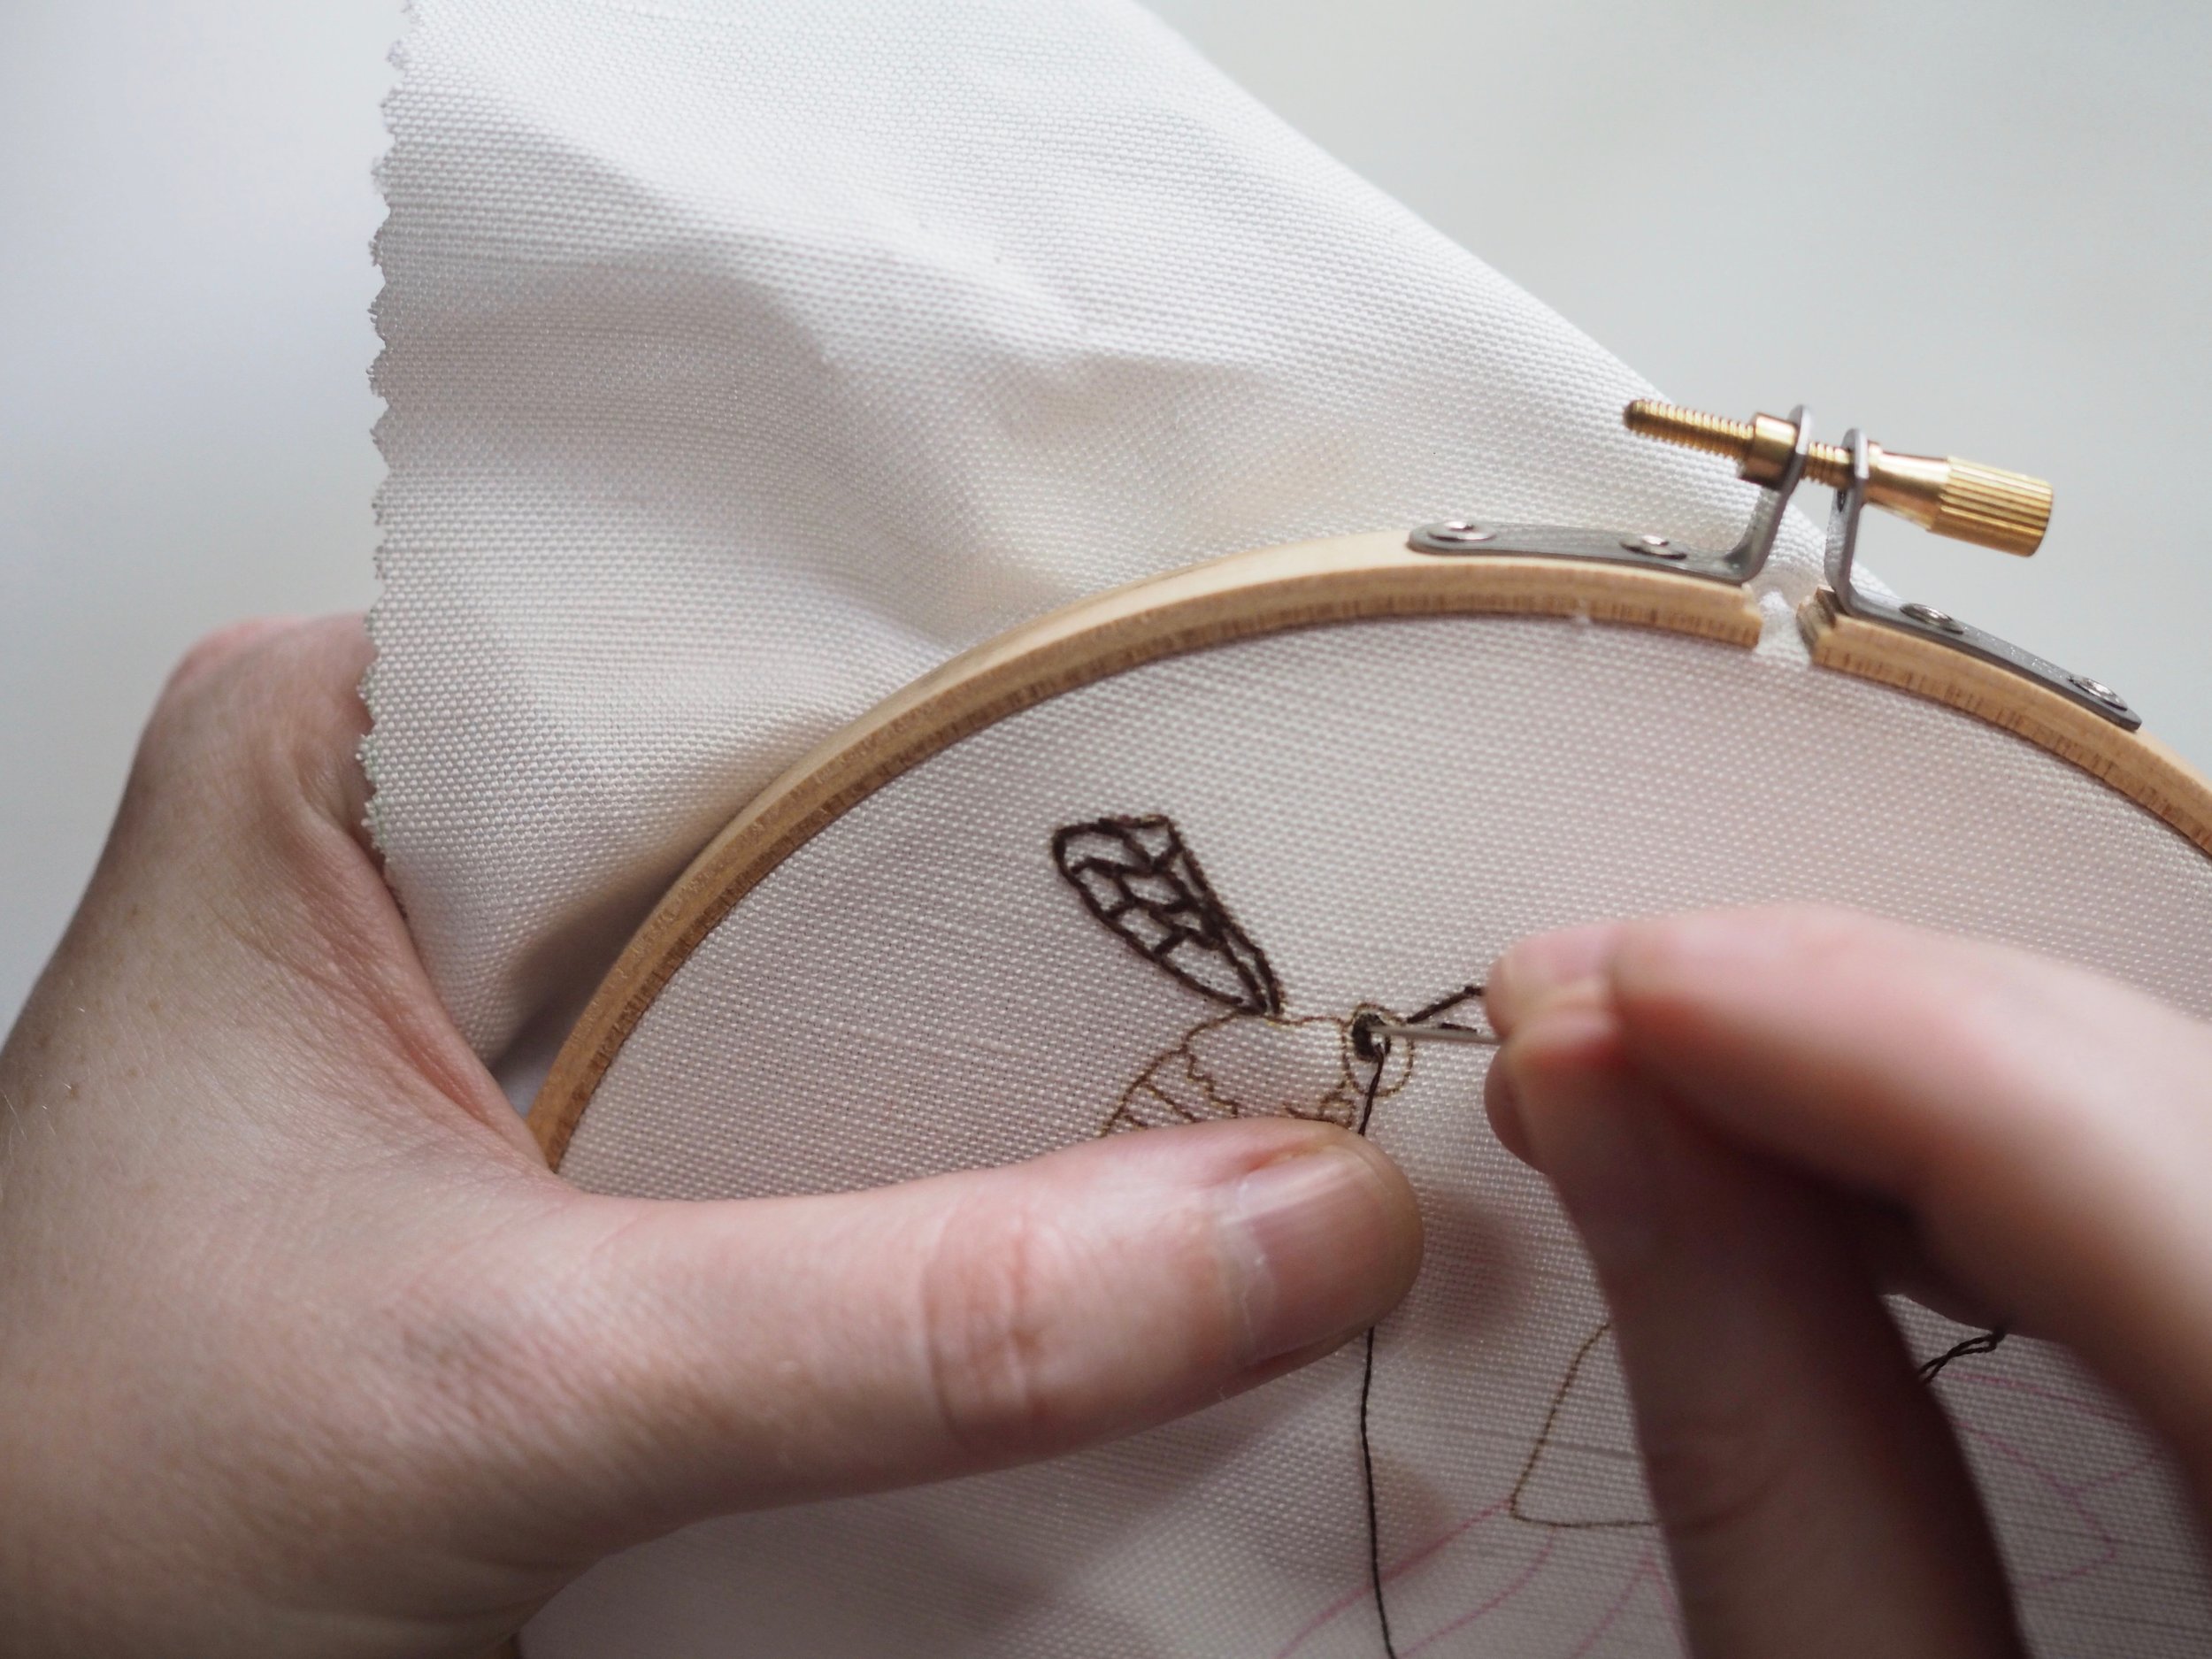
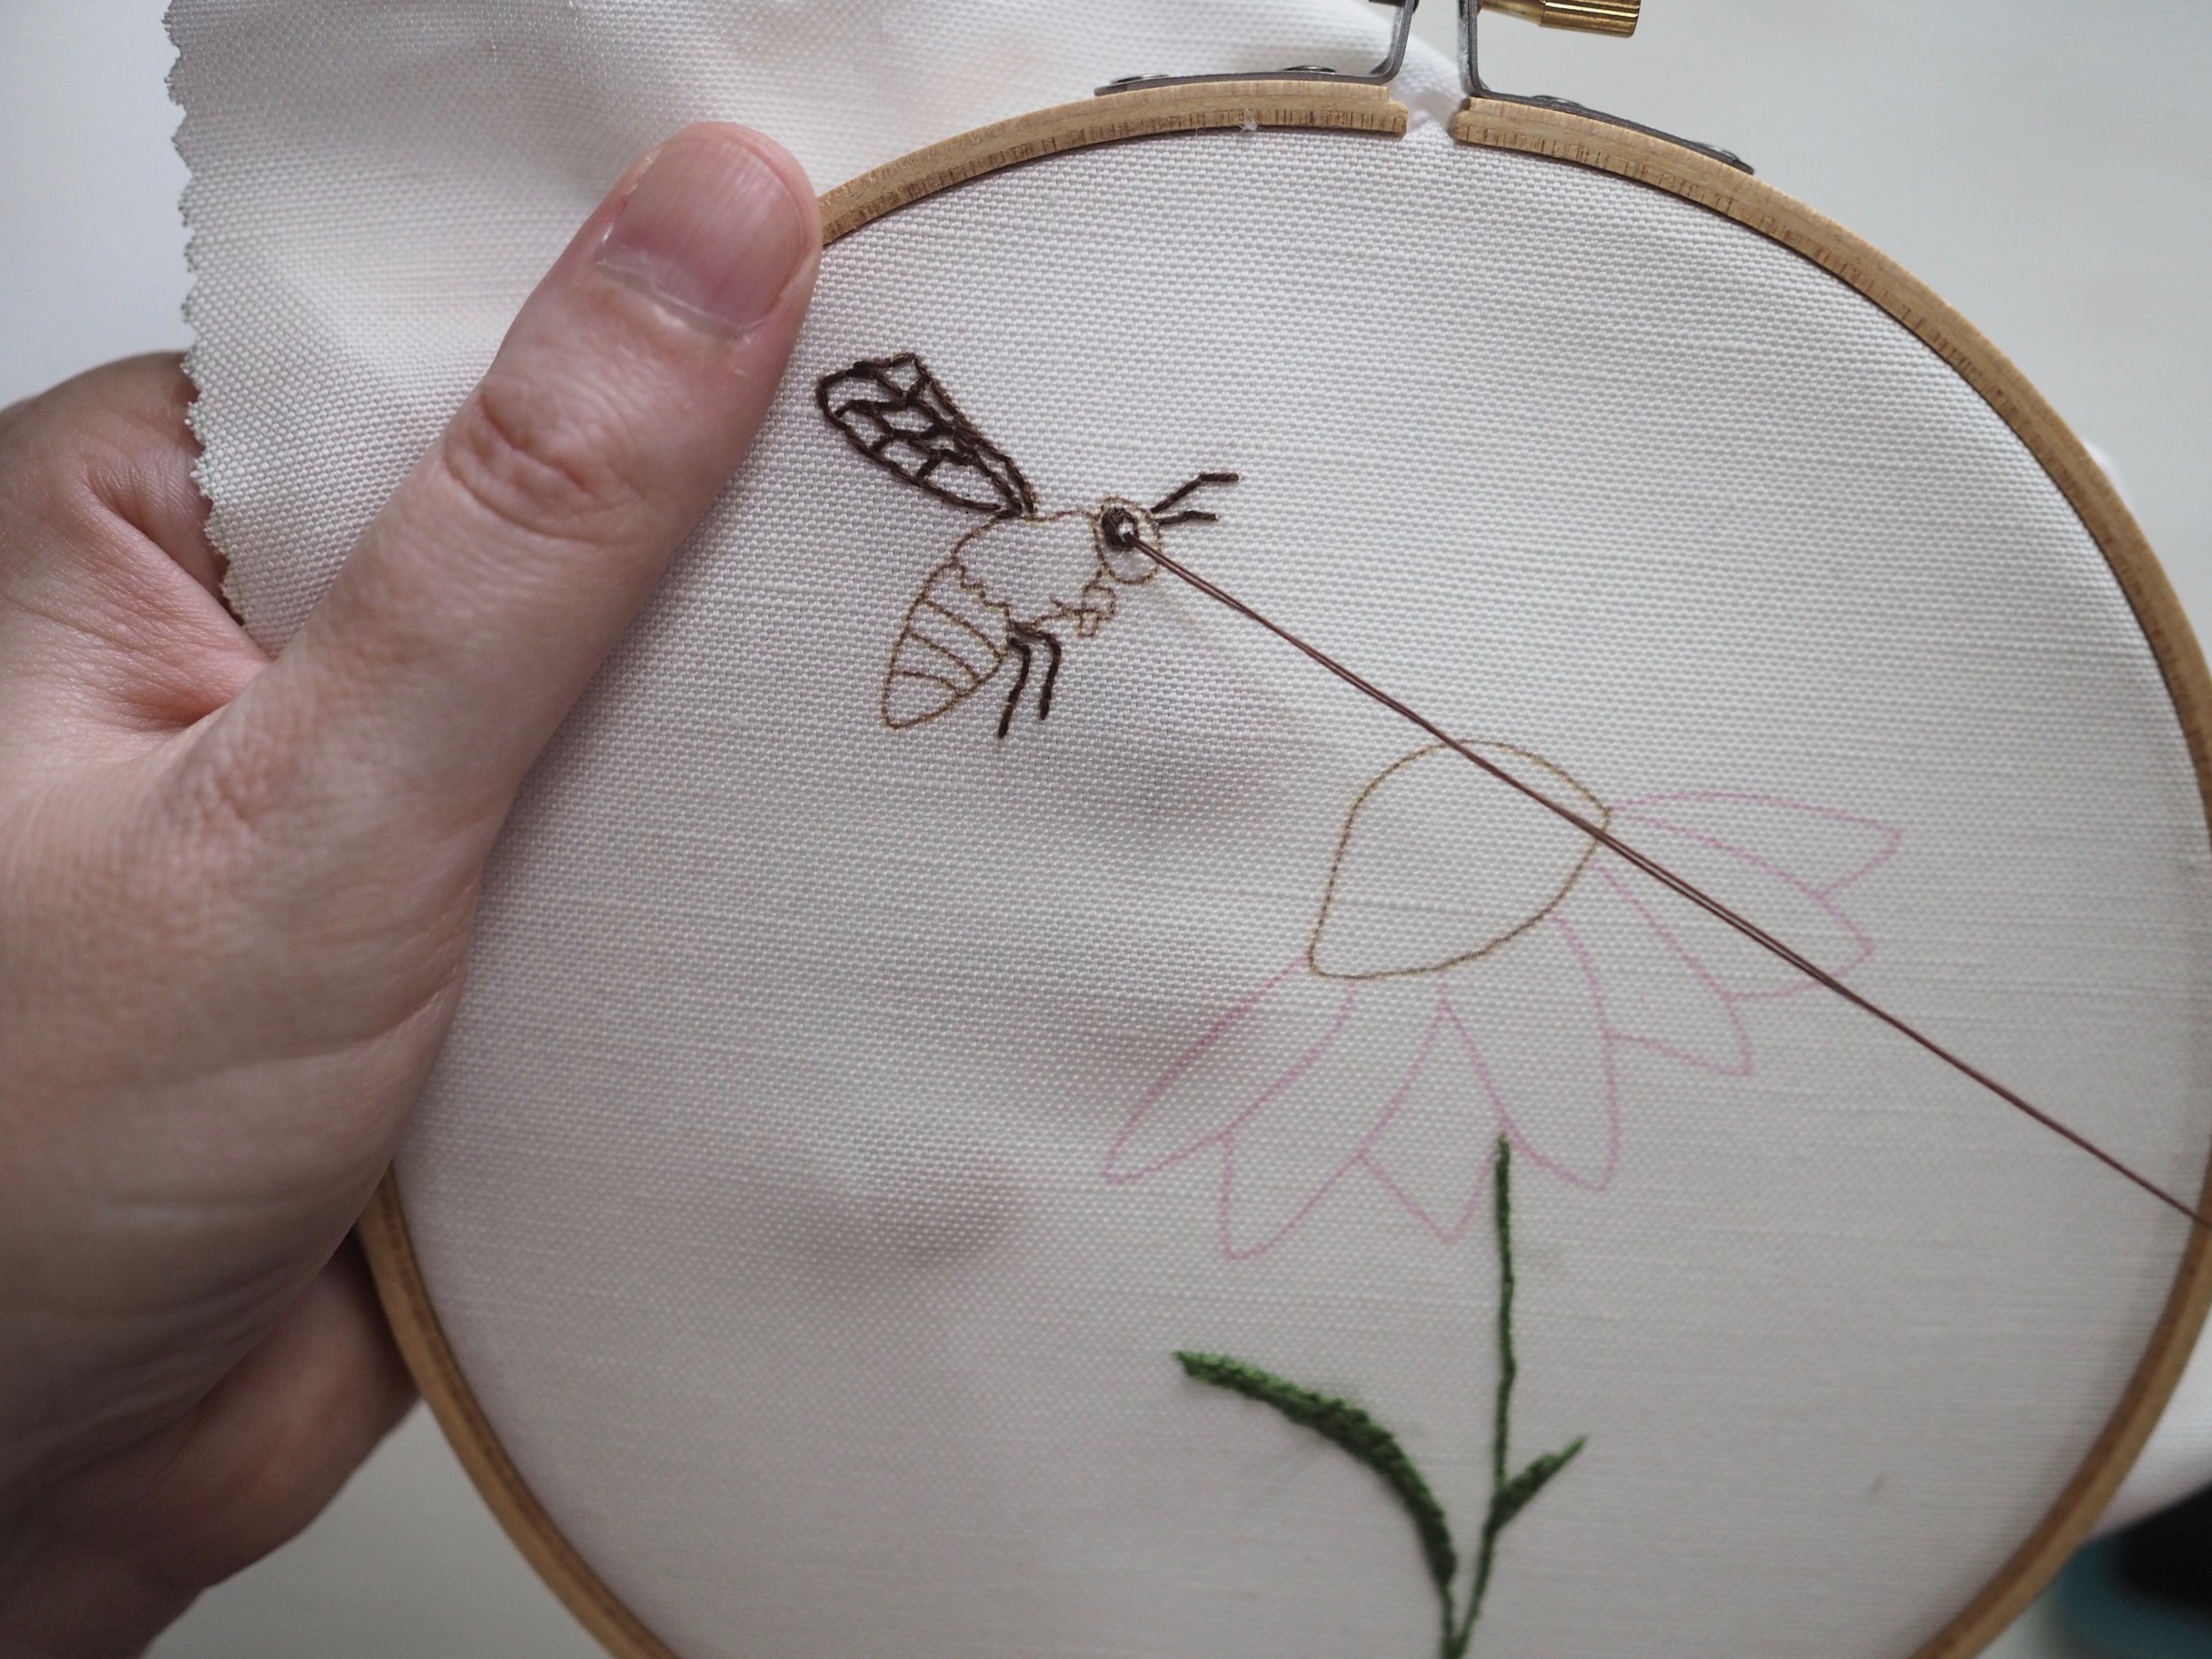
FRENCH KNOT
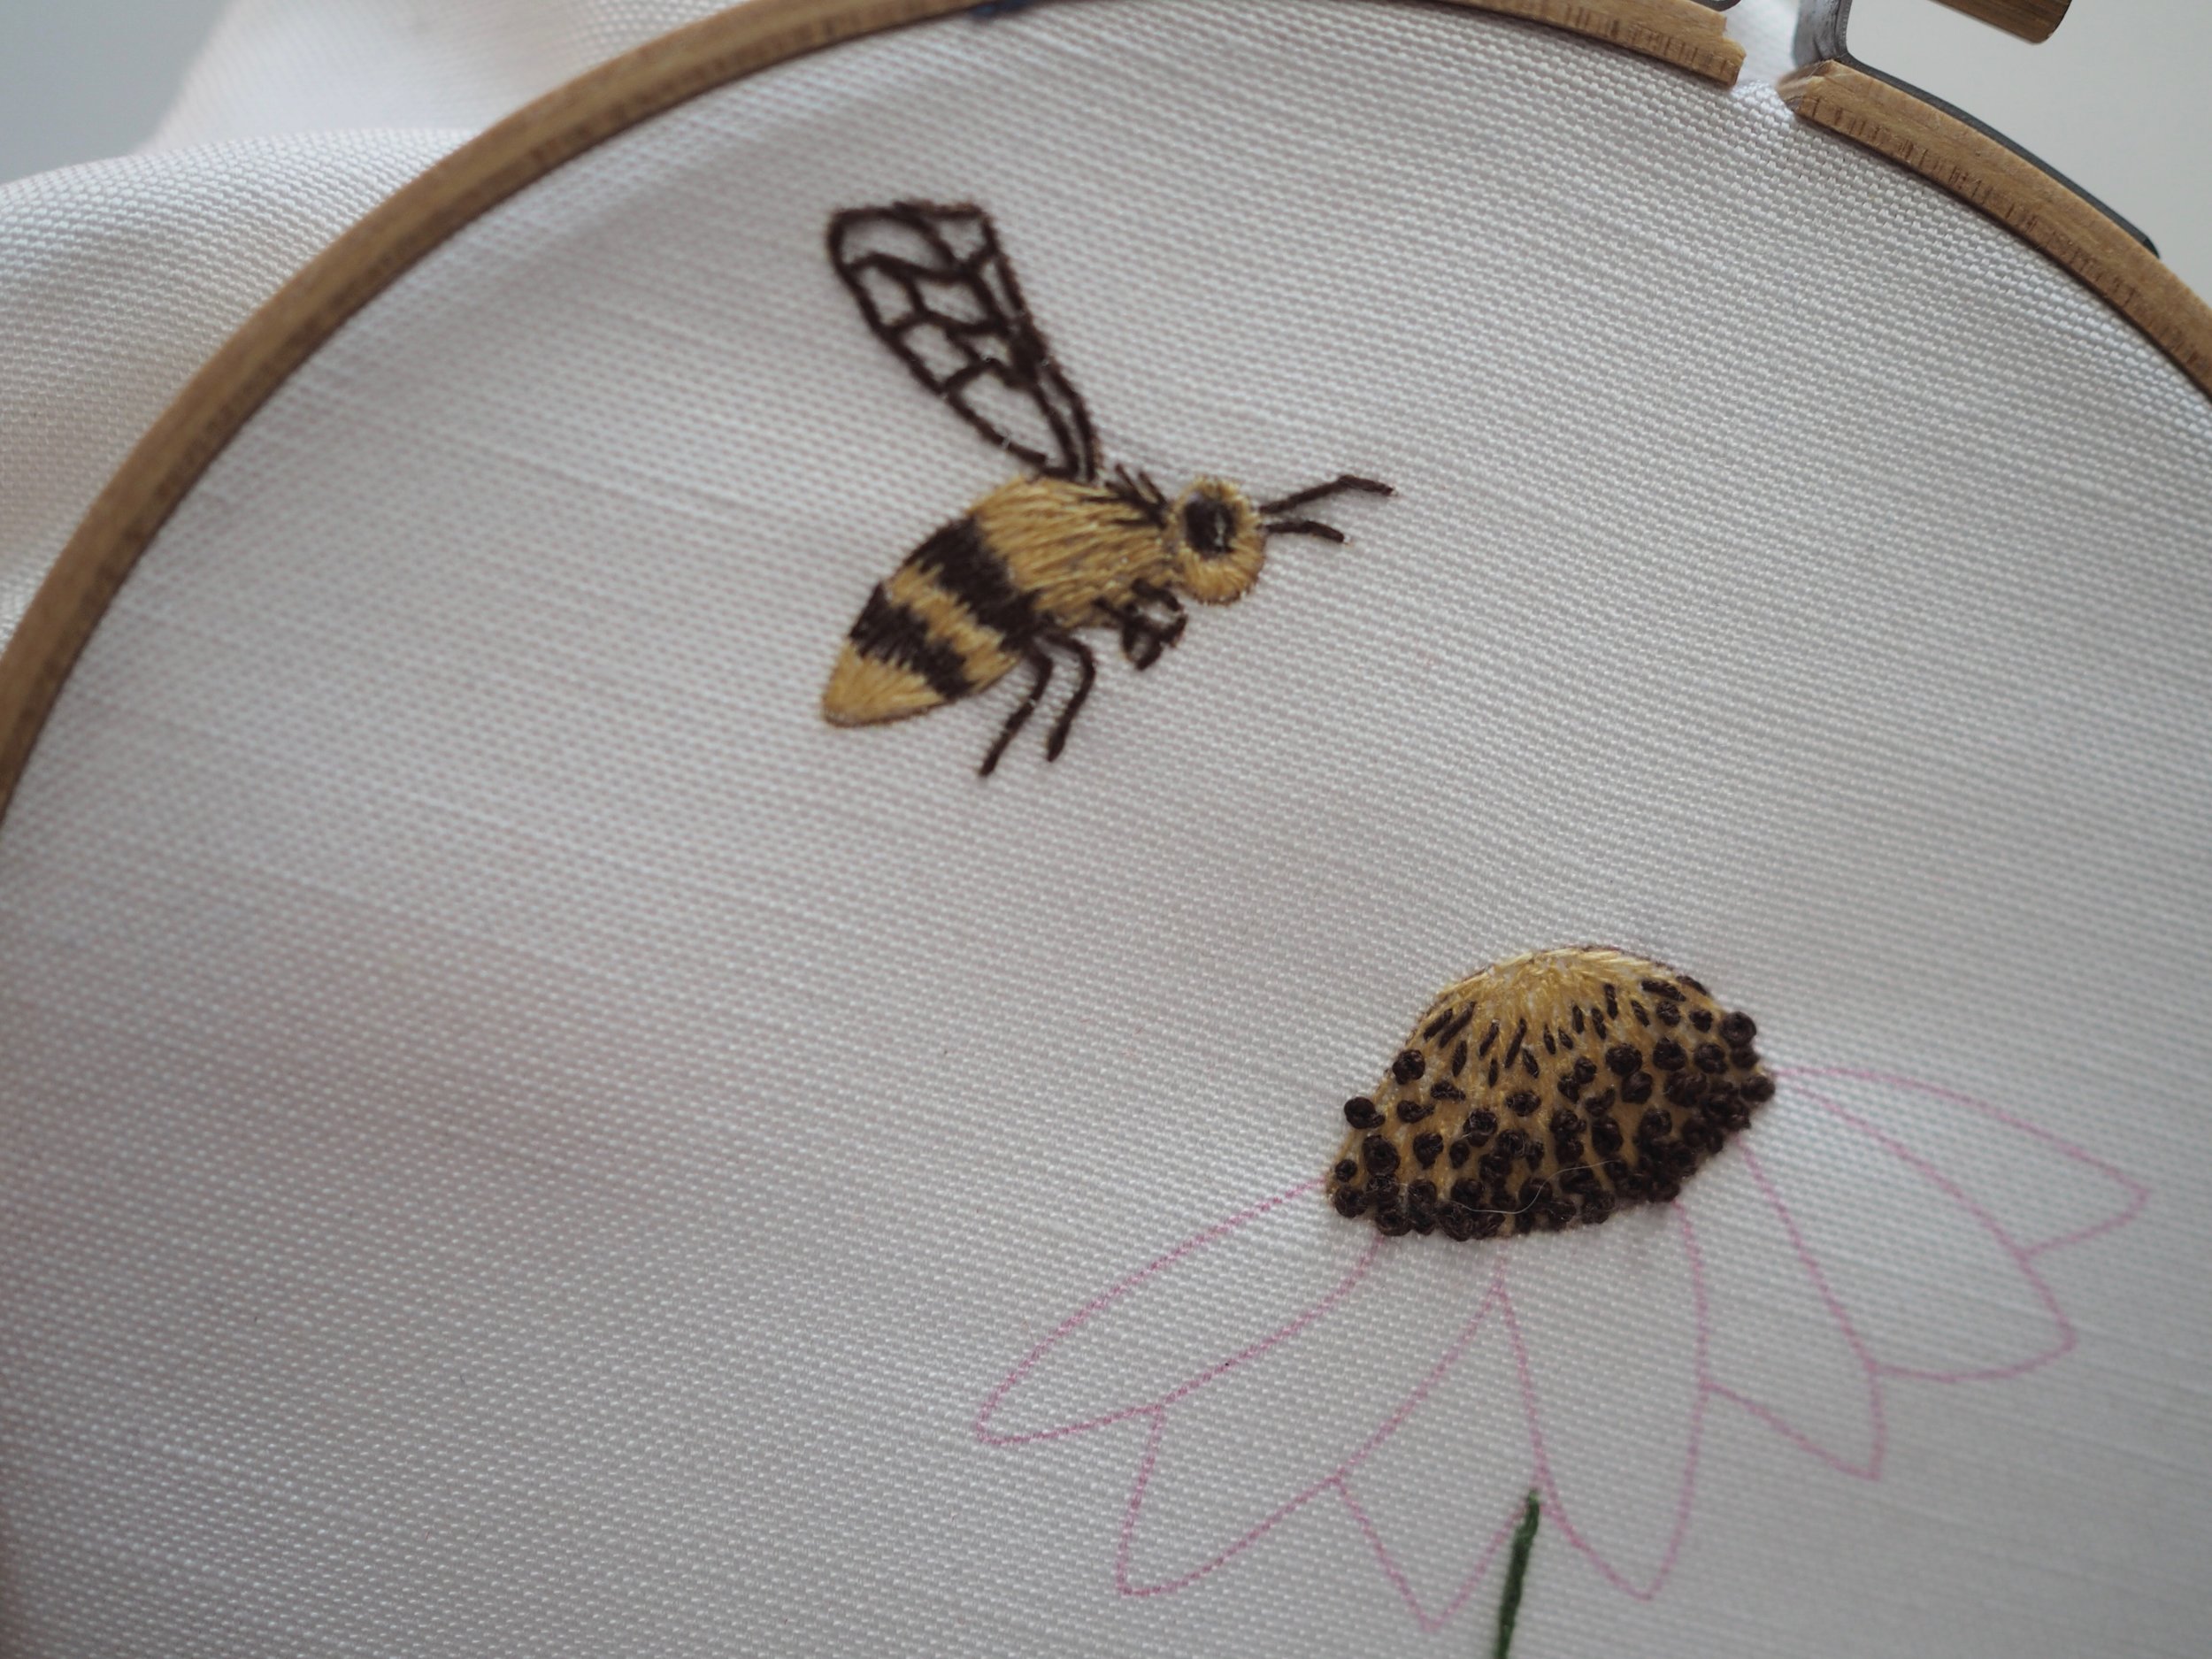
The classic stitch for adding texture, the French knot is a great addition to your stitching vocabulary.
FRENCH KNOT
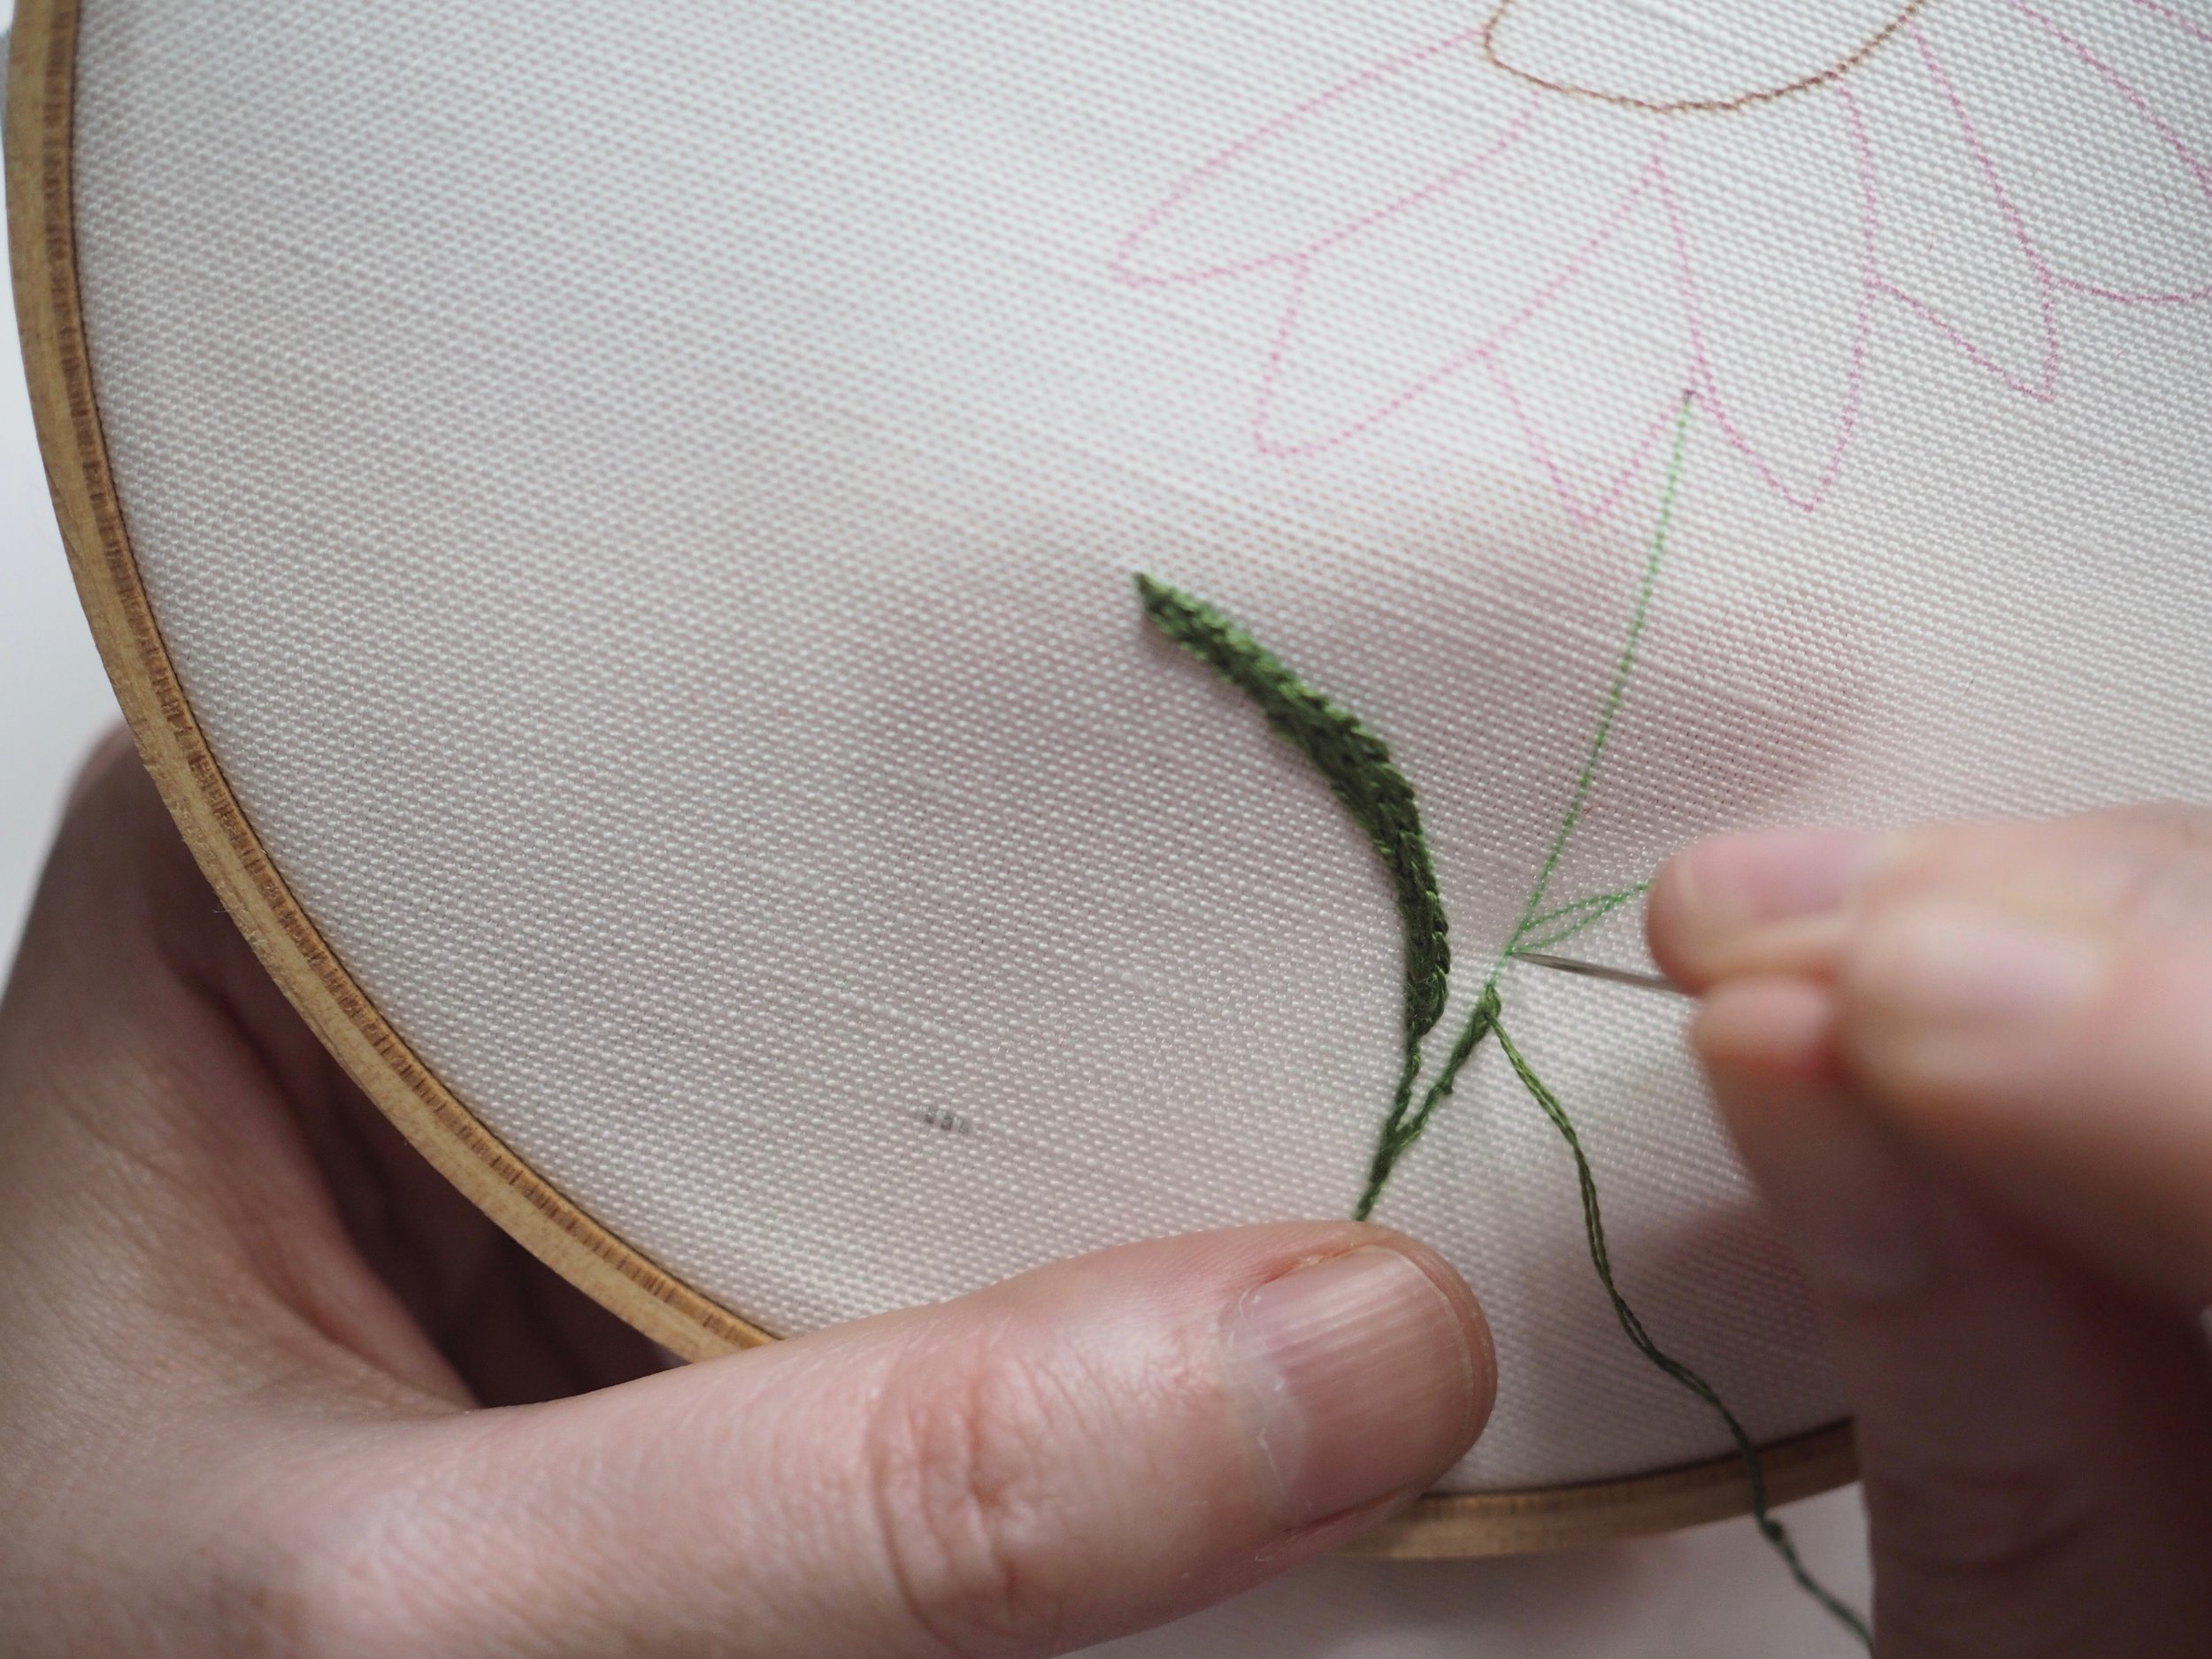
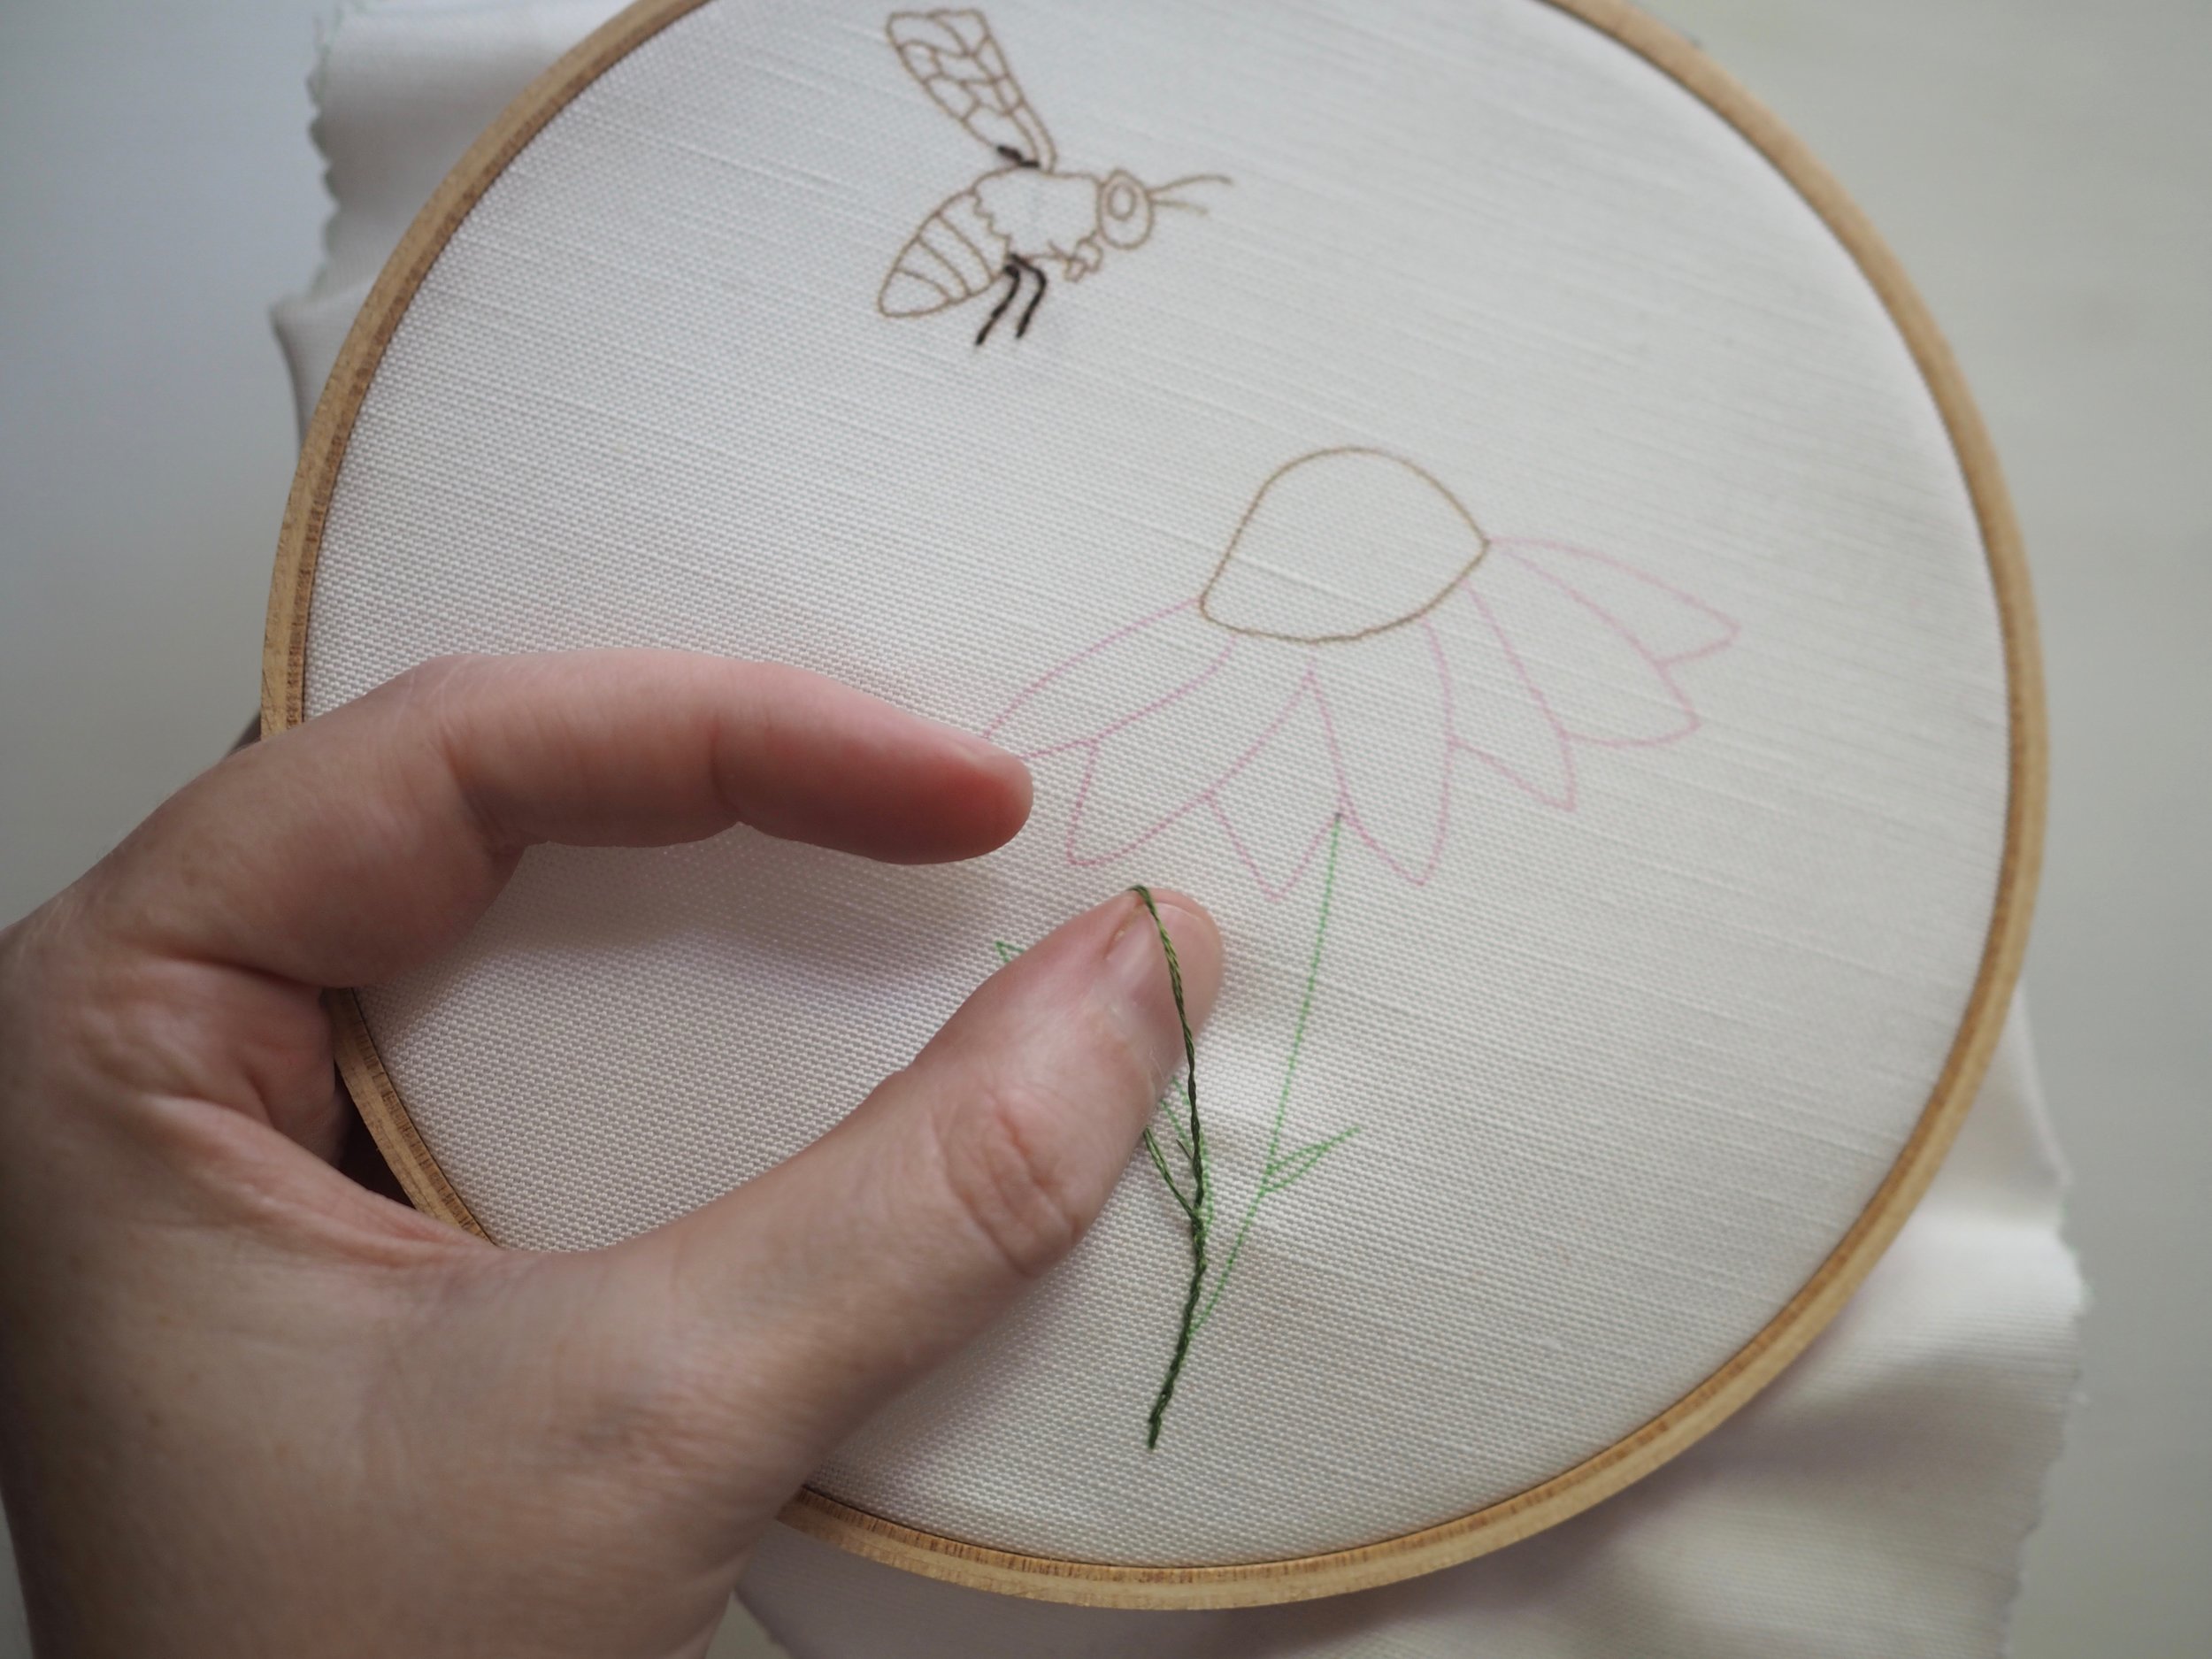
- Secure thread at back of fabric.
- Bring up needle through fabric at desired position.
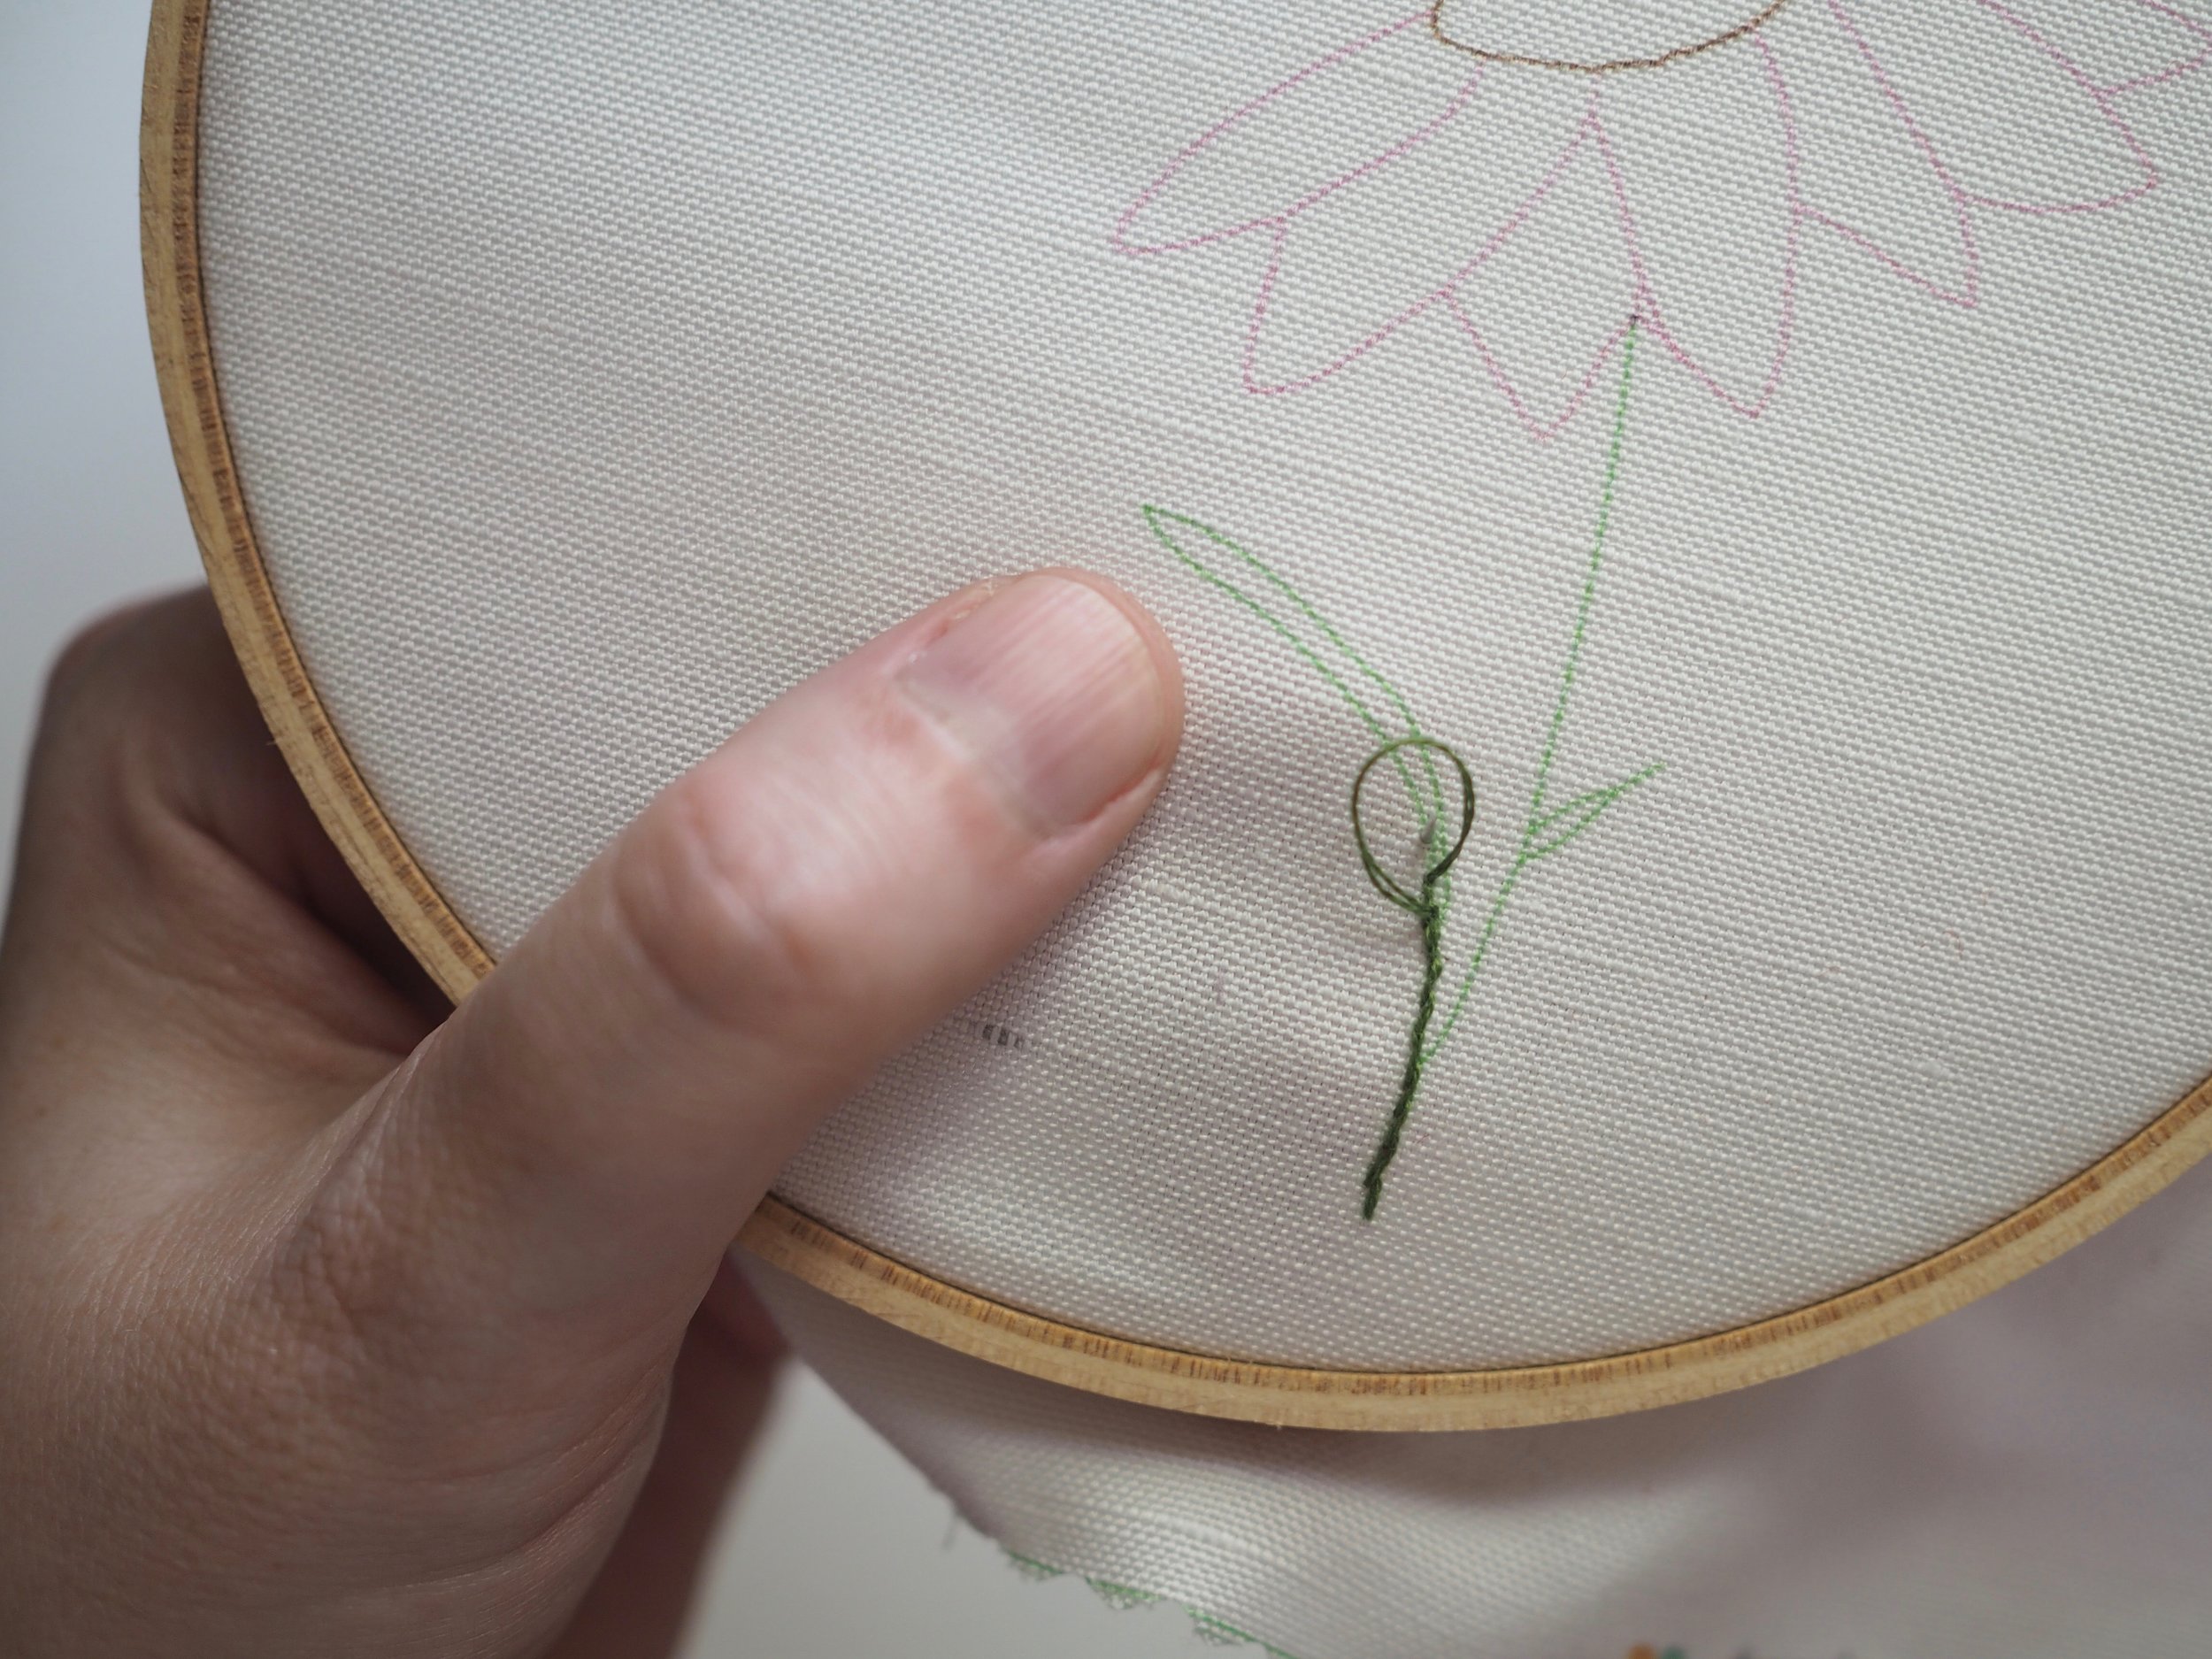
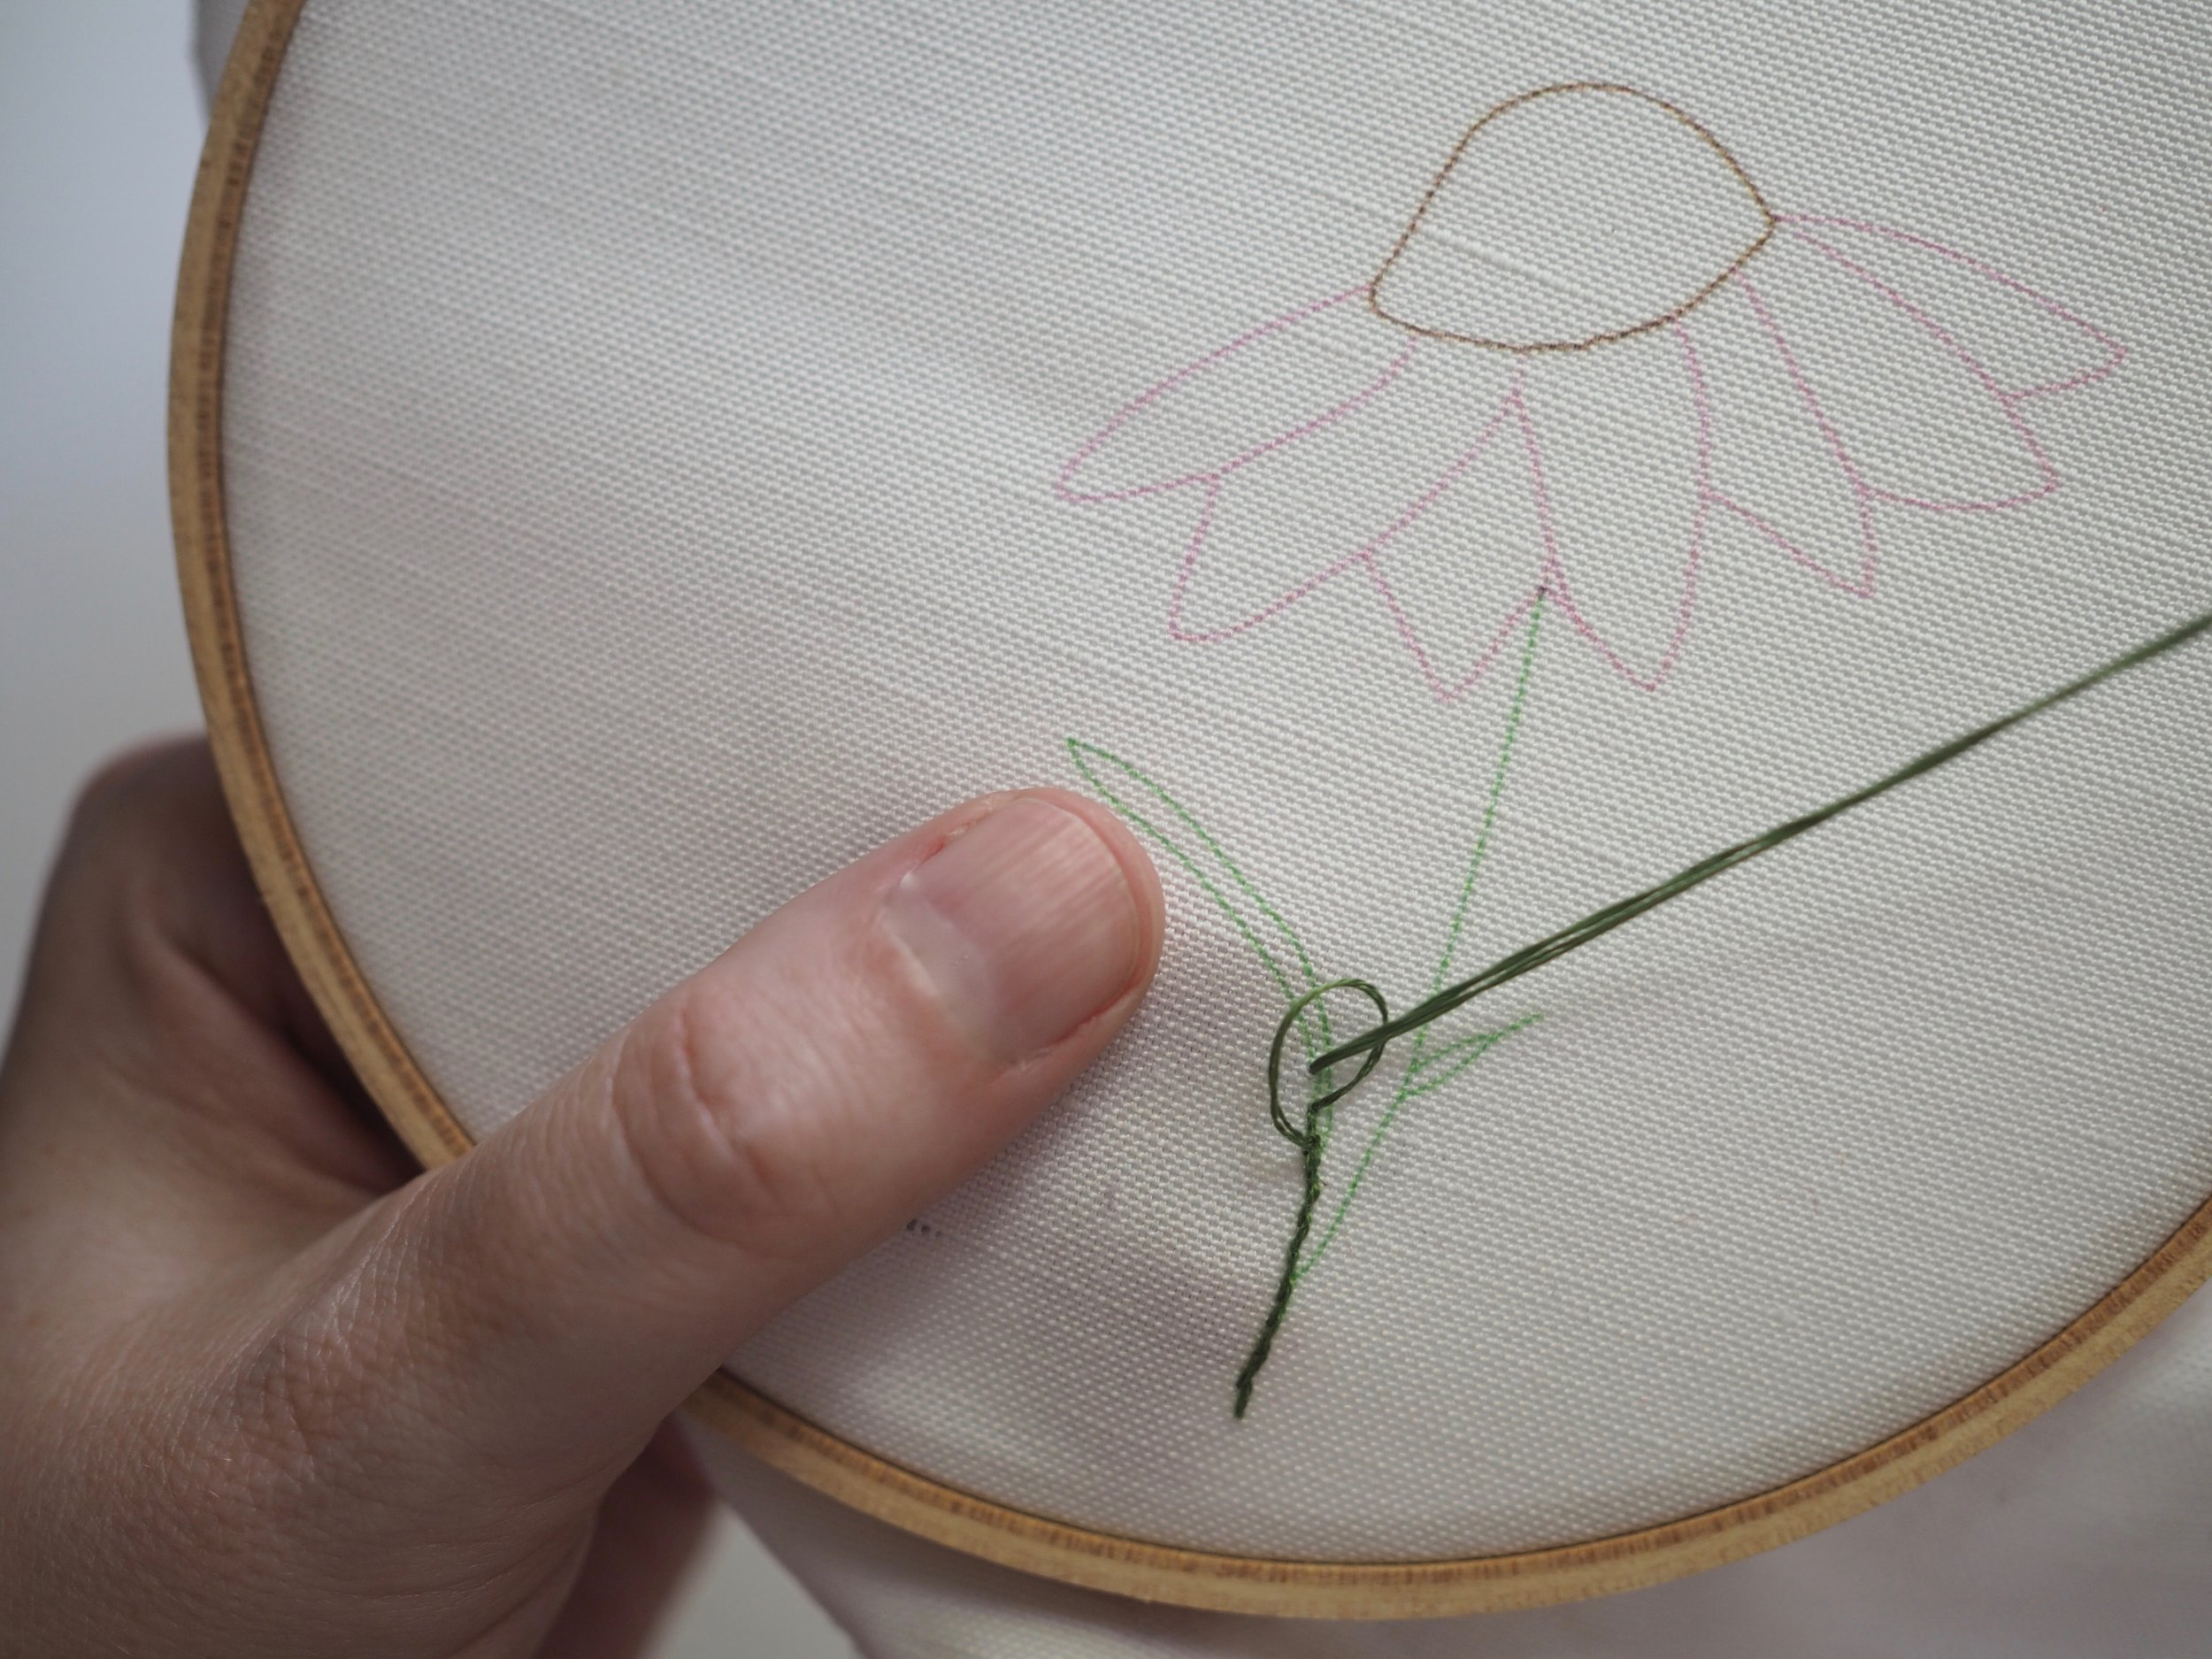
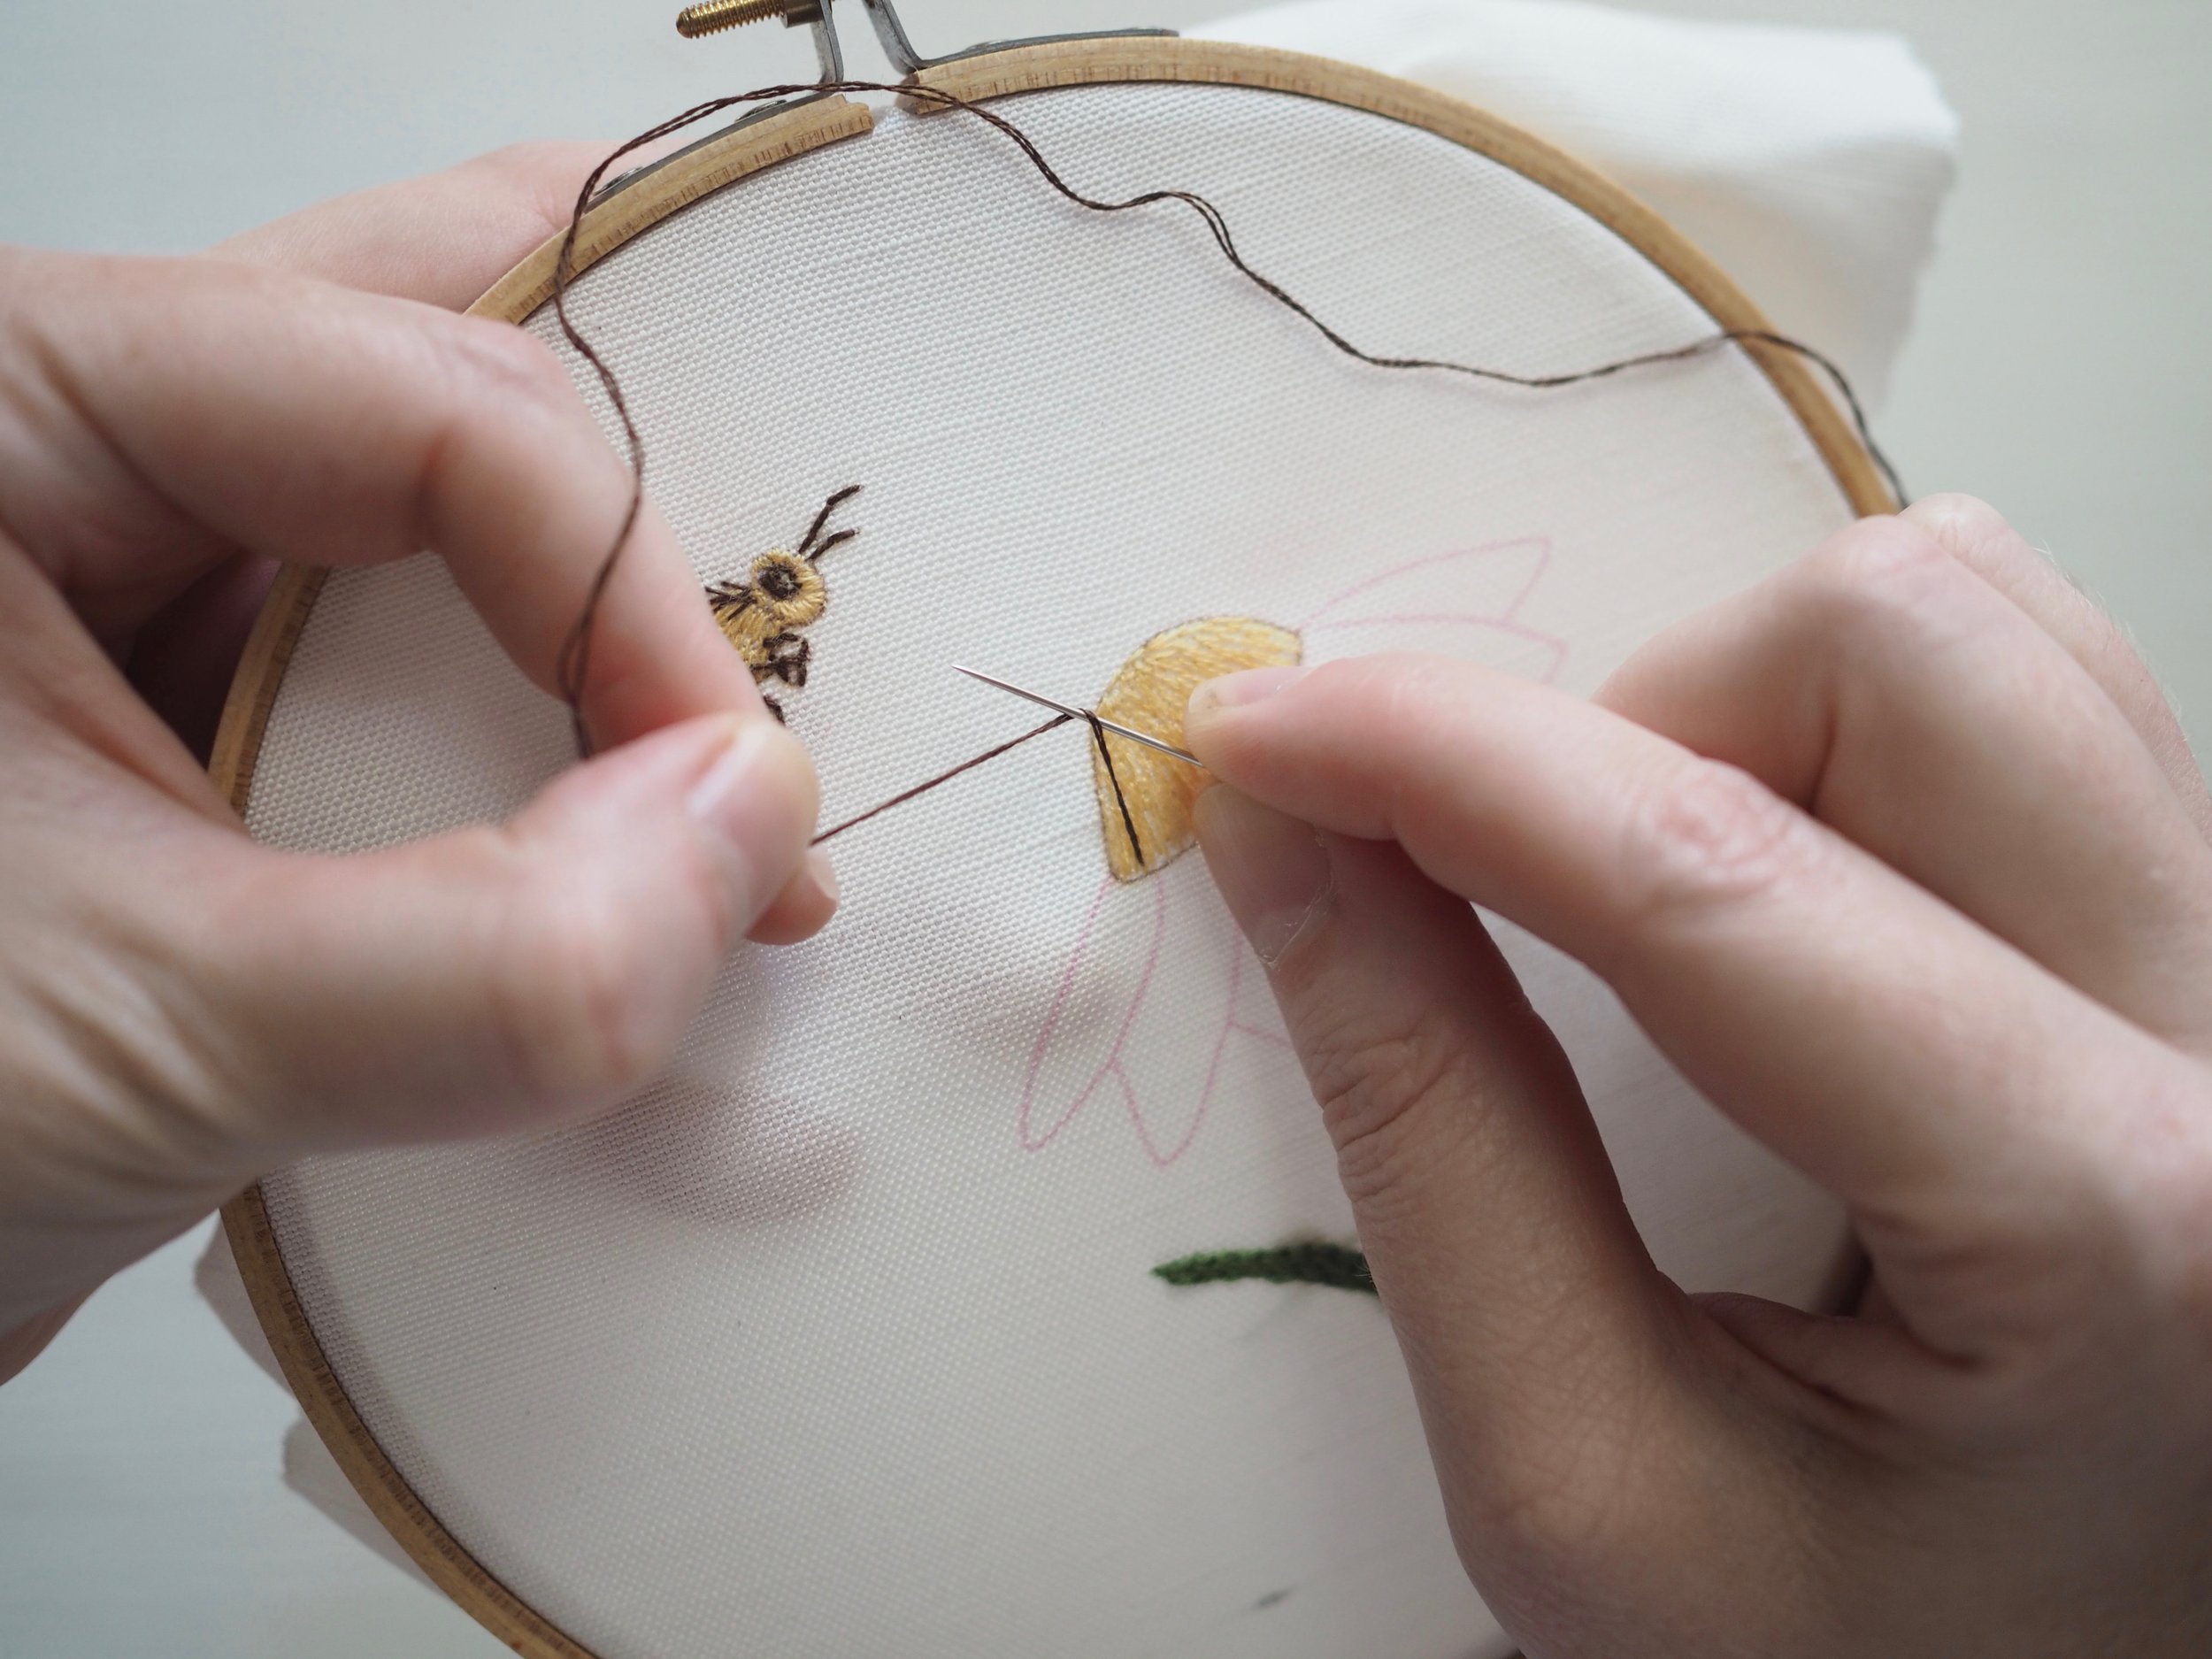
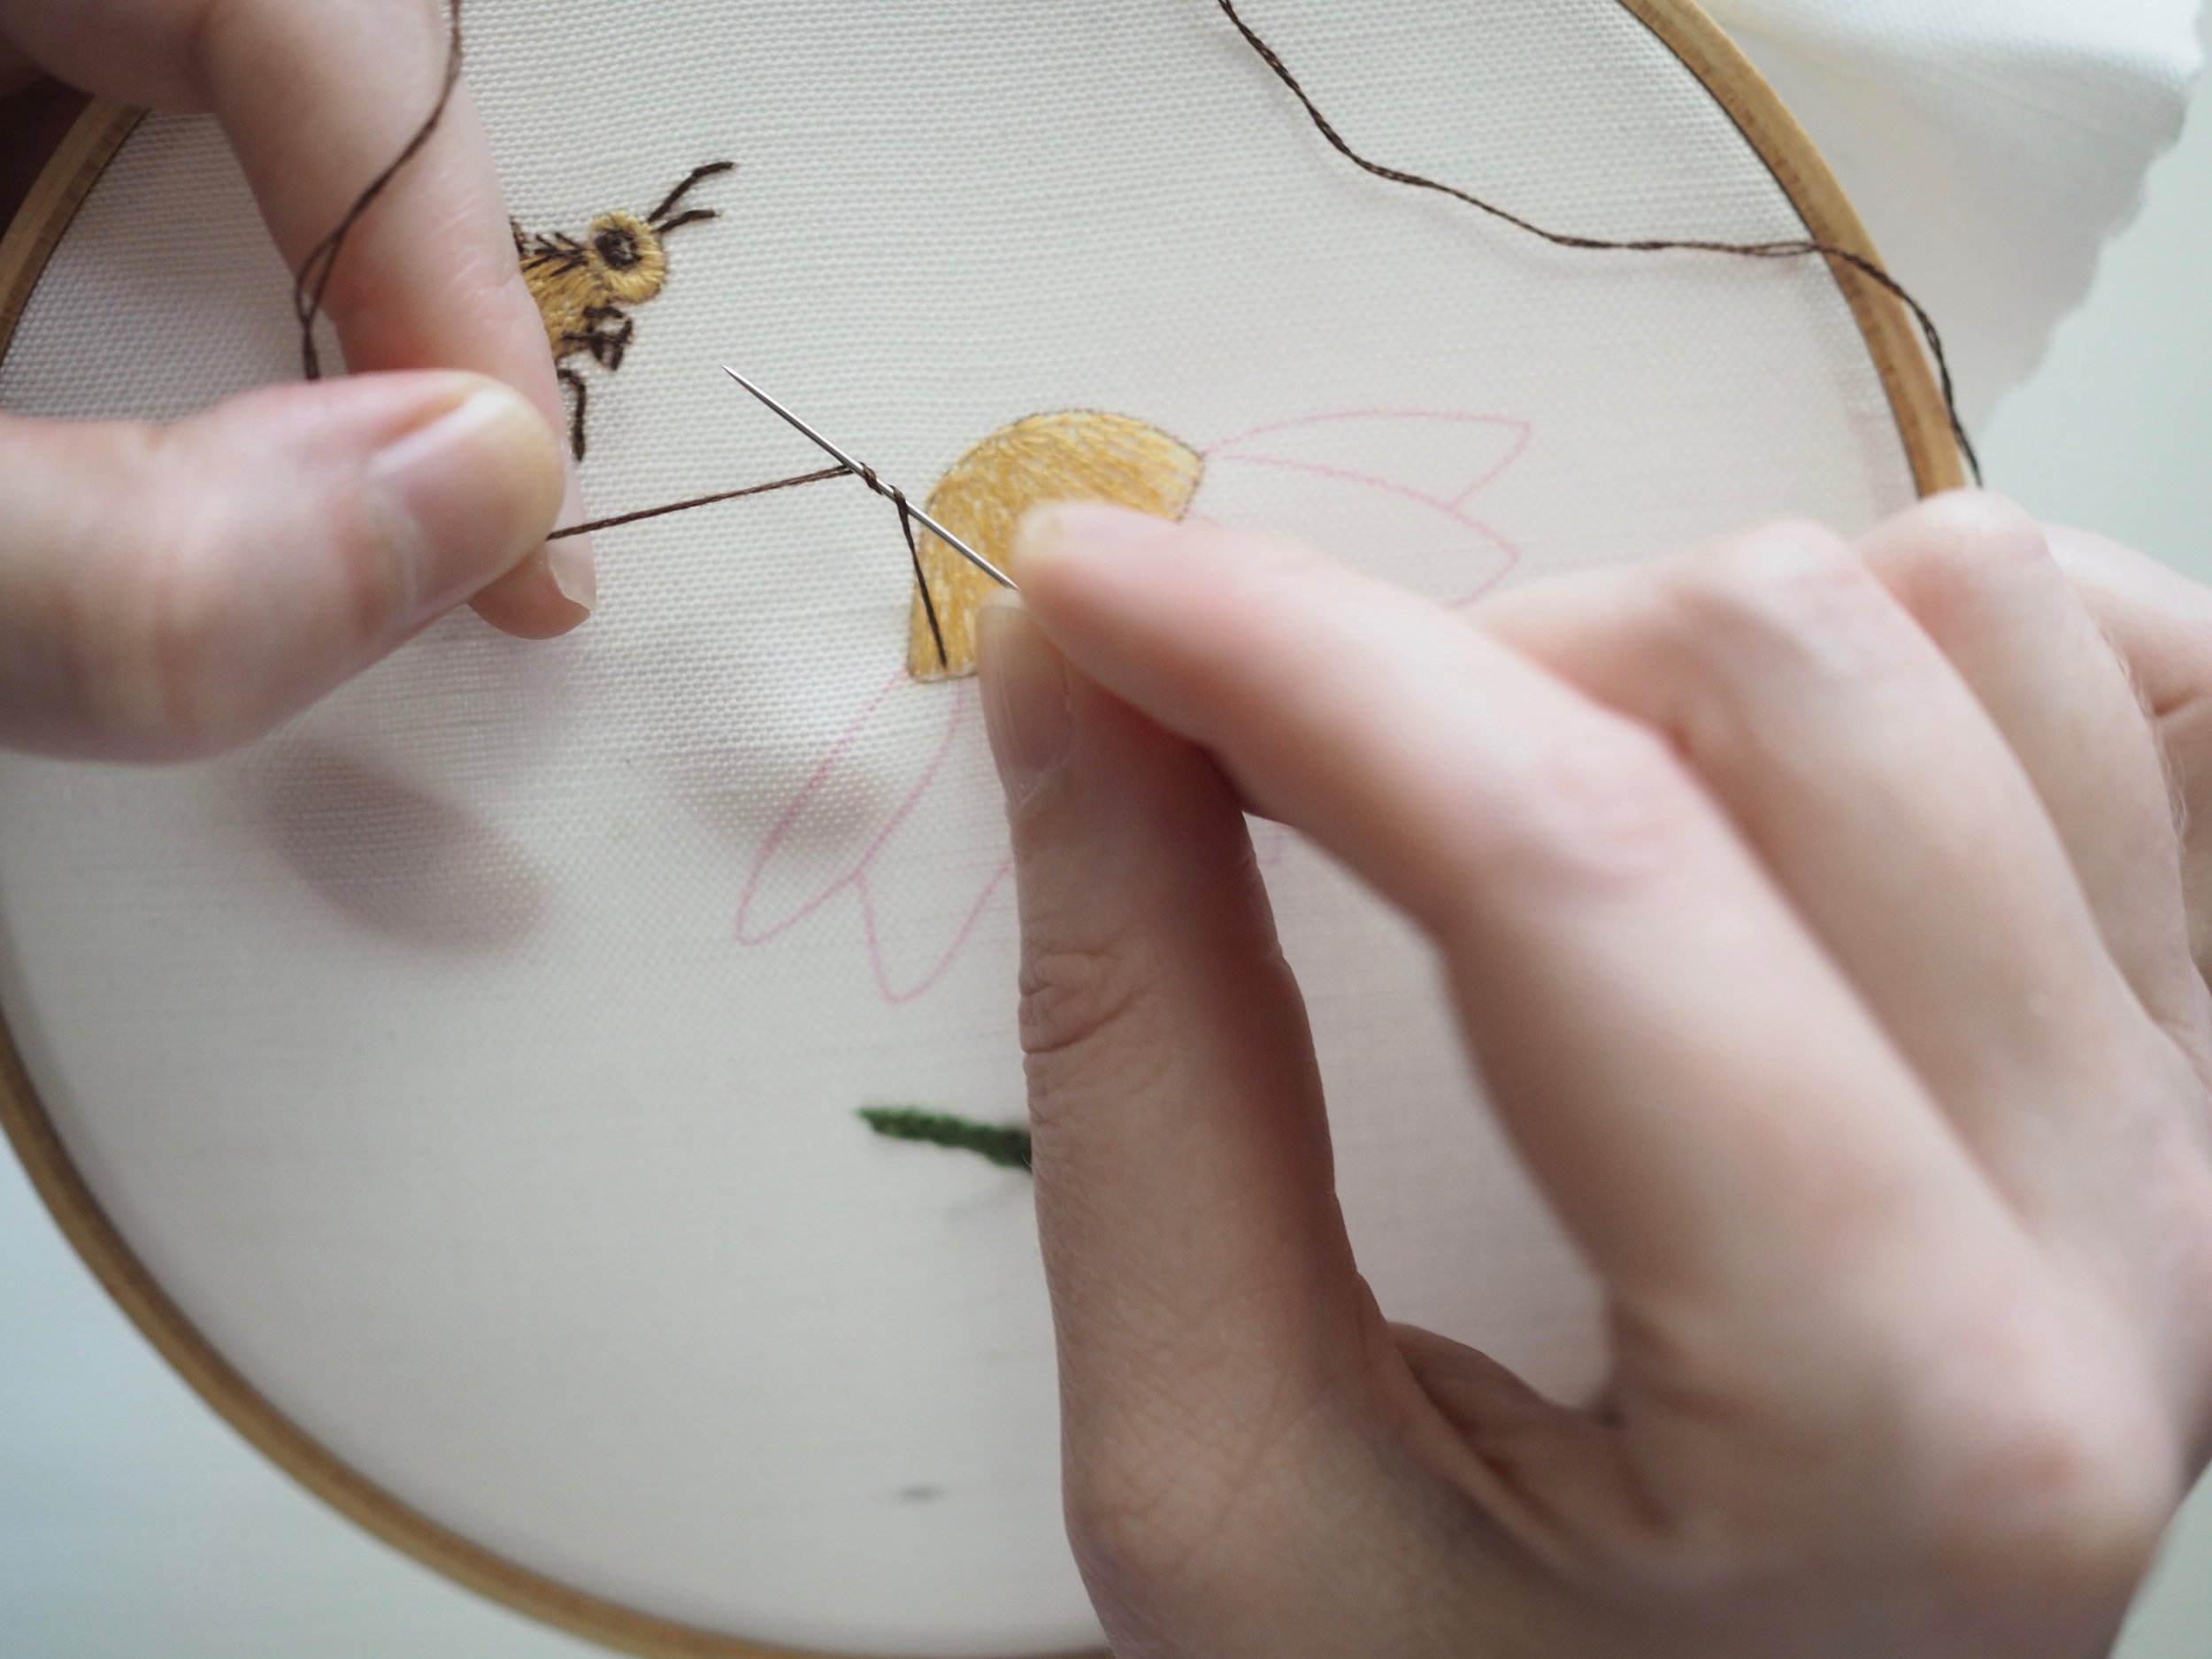
- With needle pointing away from fabric, wrap thread around shank of needle 2-3 times. (The more wraps, the bigger the finished knot).
- Holding onto the yarn tail until it becomes too short, push the needle down through the fabric just next to the spot it came up in. Pull snugly against fabric.
Repeat steps 2-4.
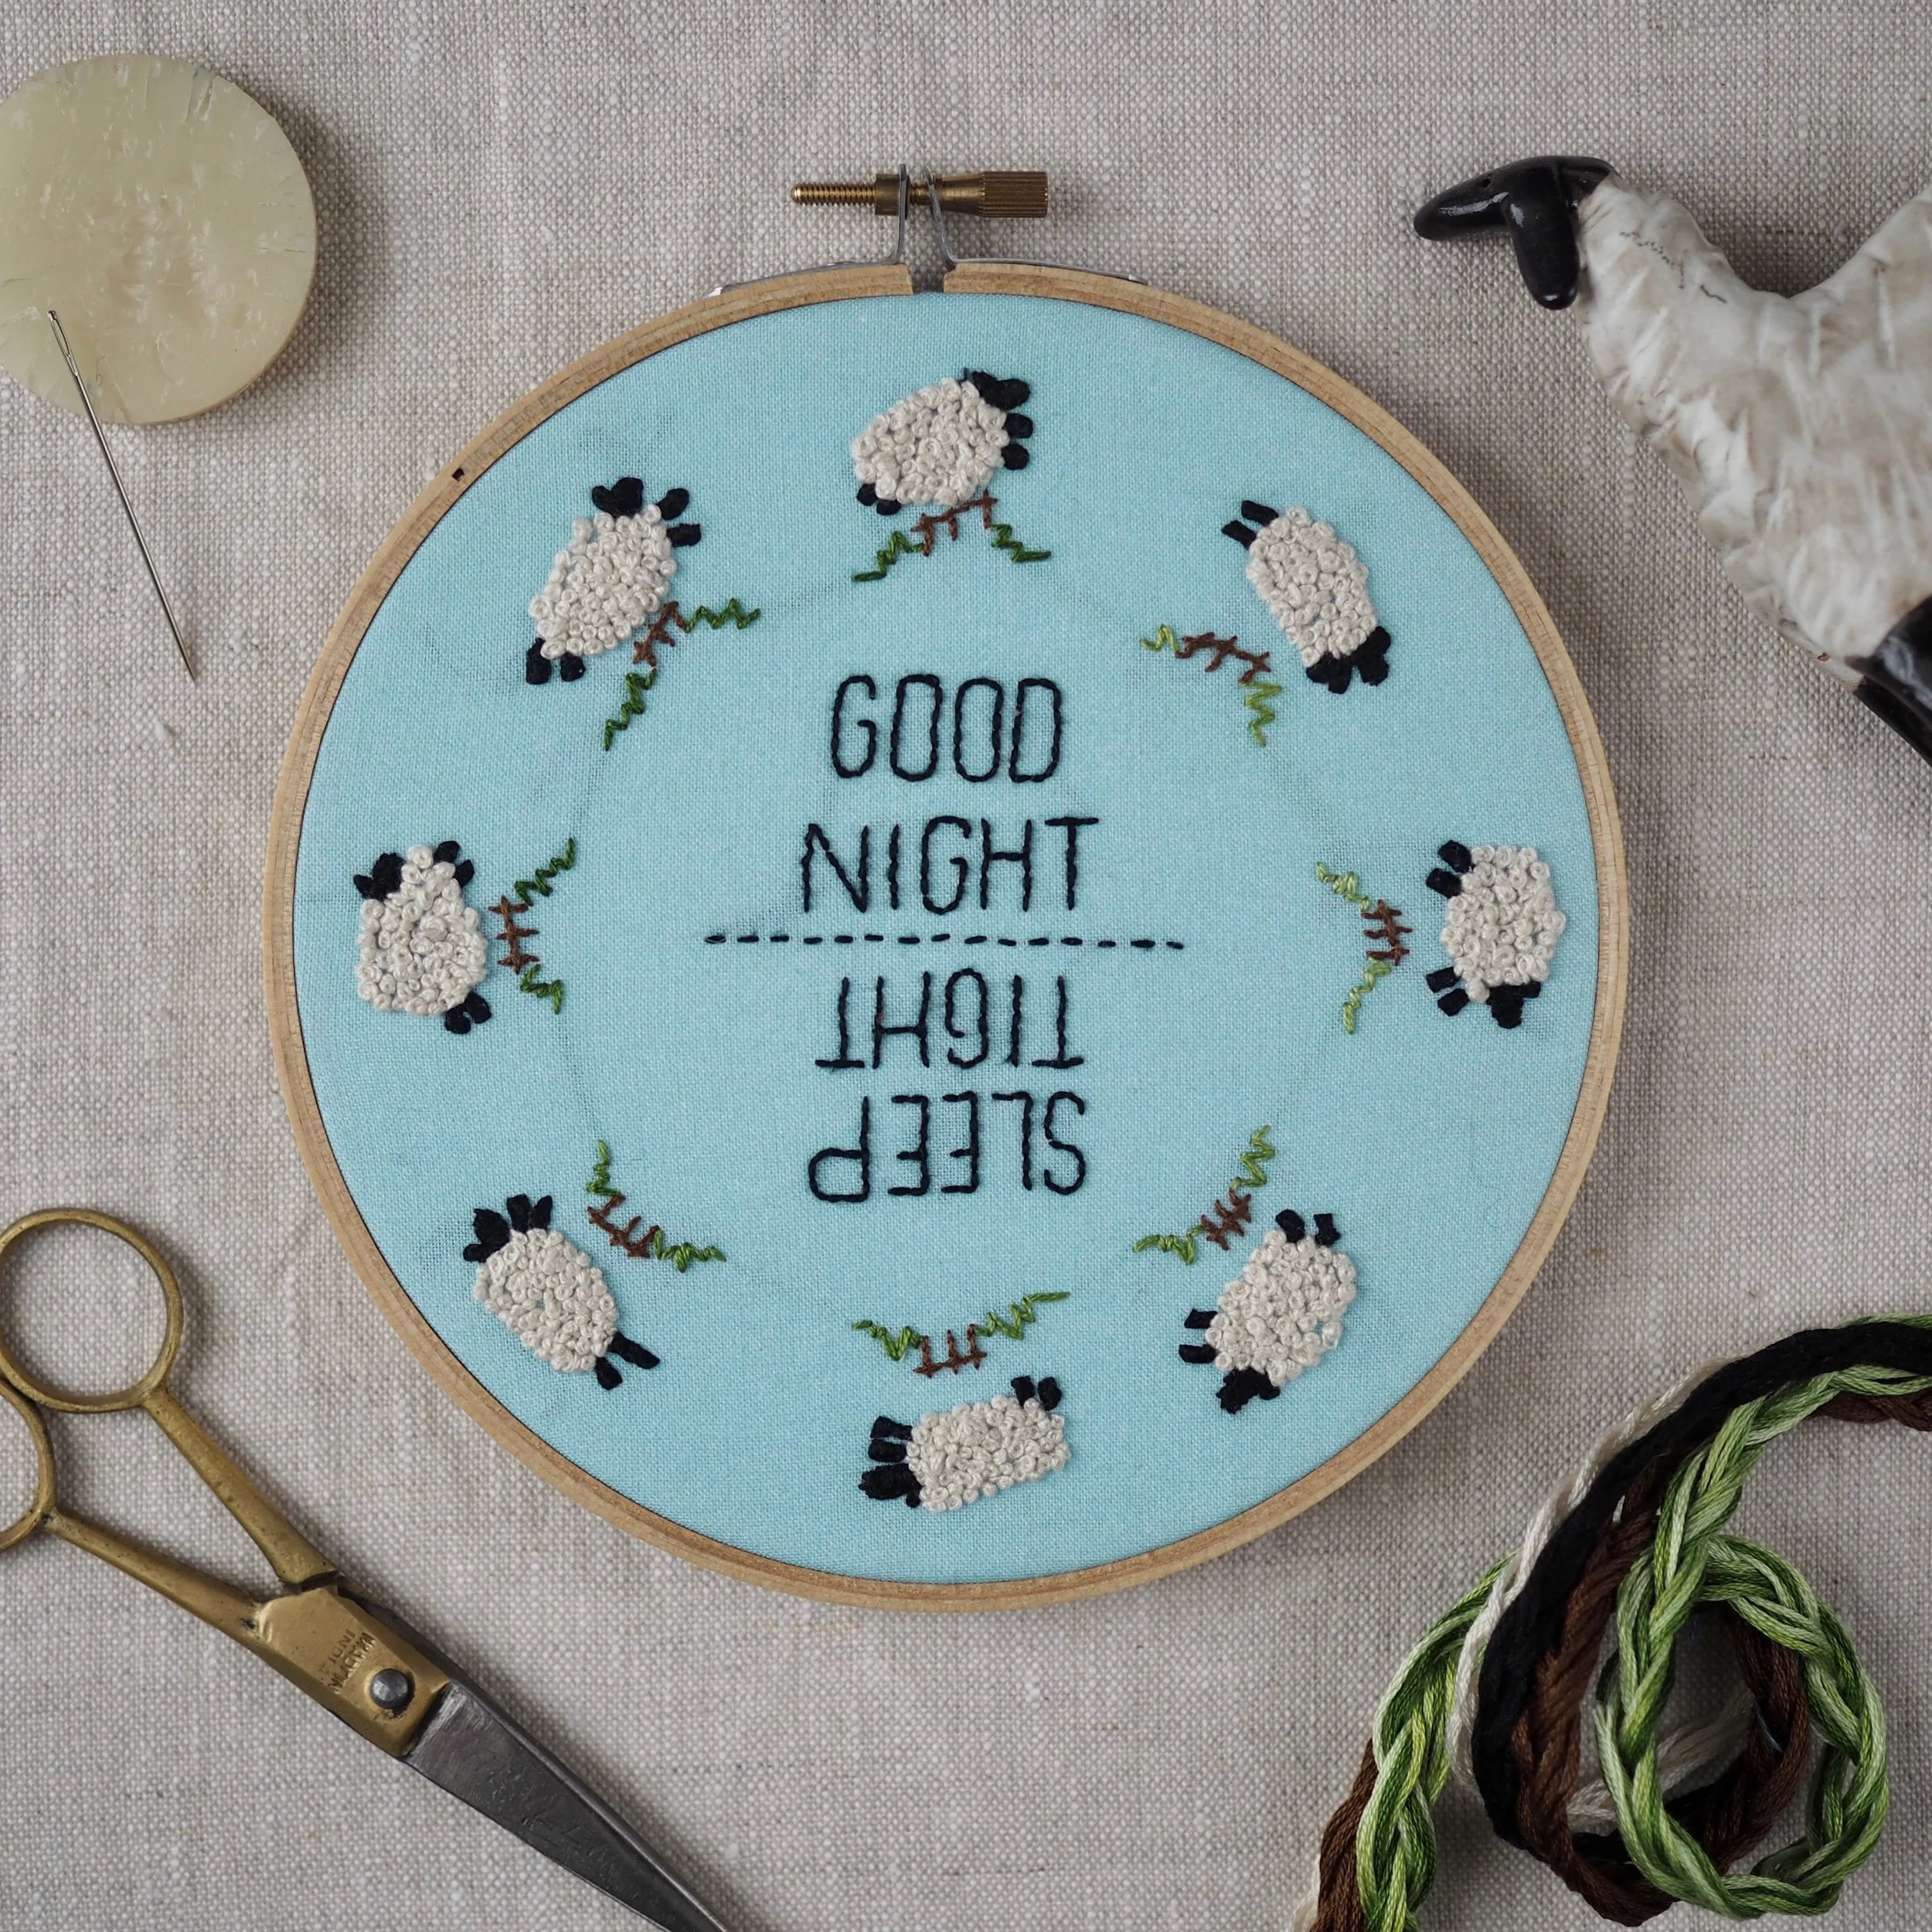
Excellent for eyes, textured fill on things like hair, clouds, sheep.
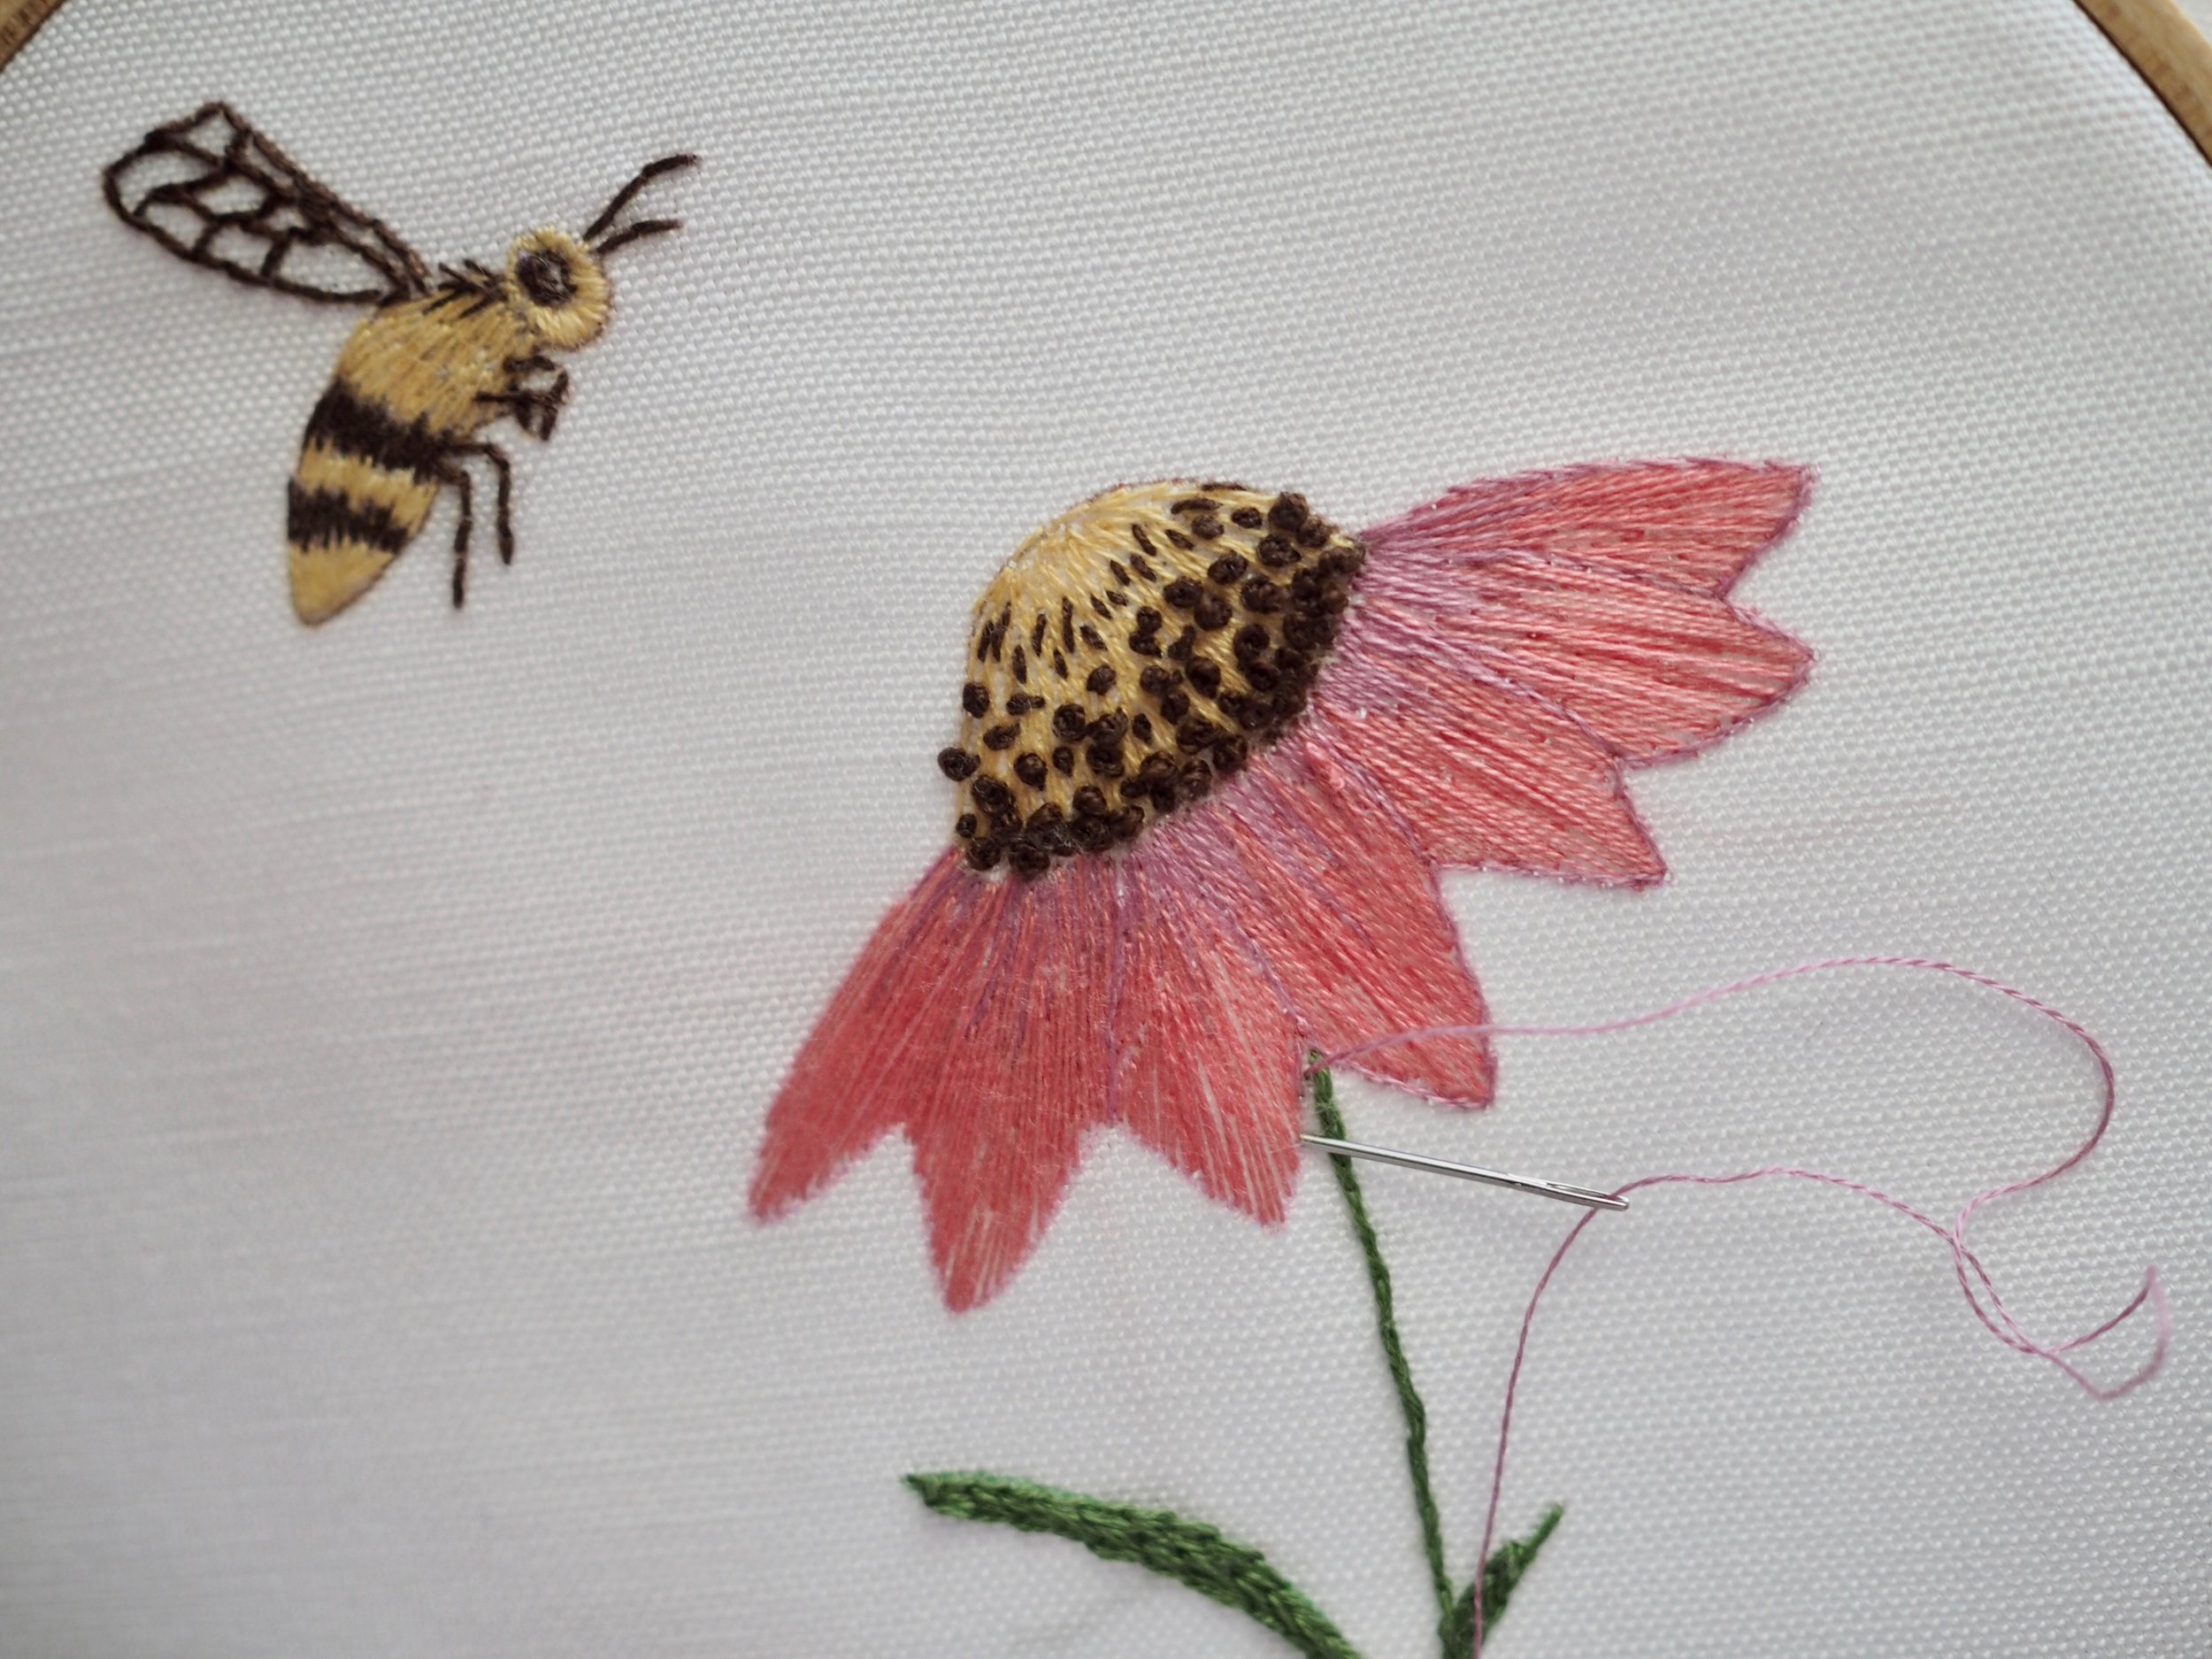
SHADING
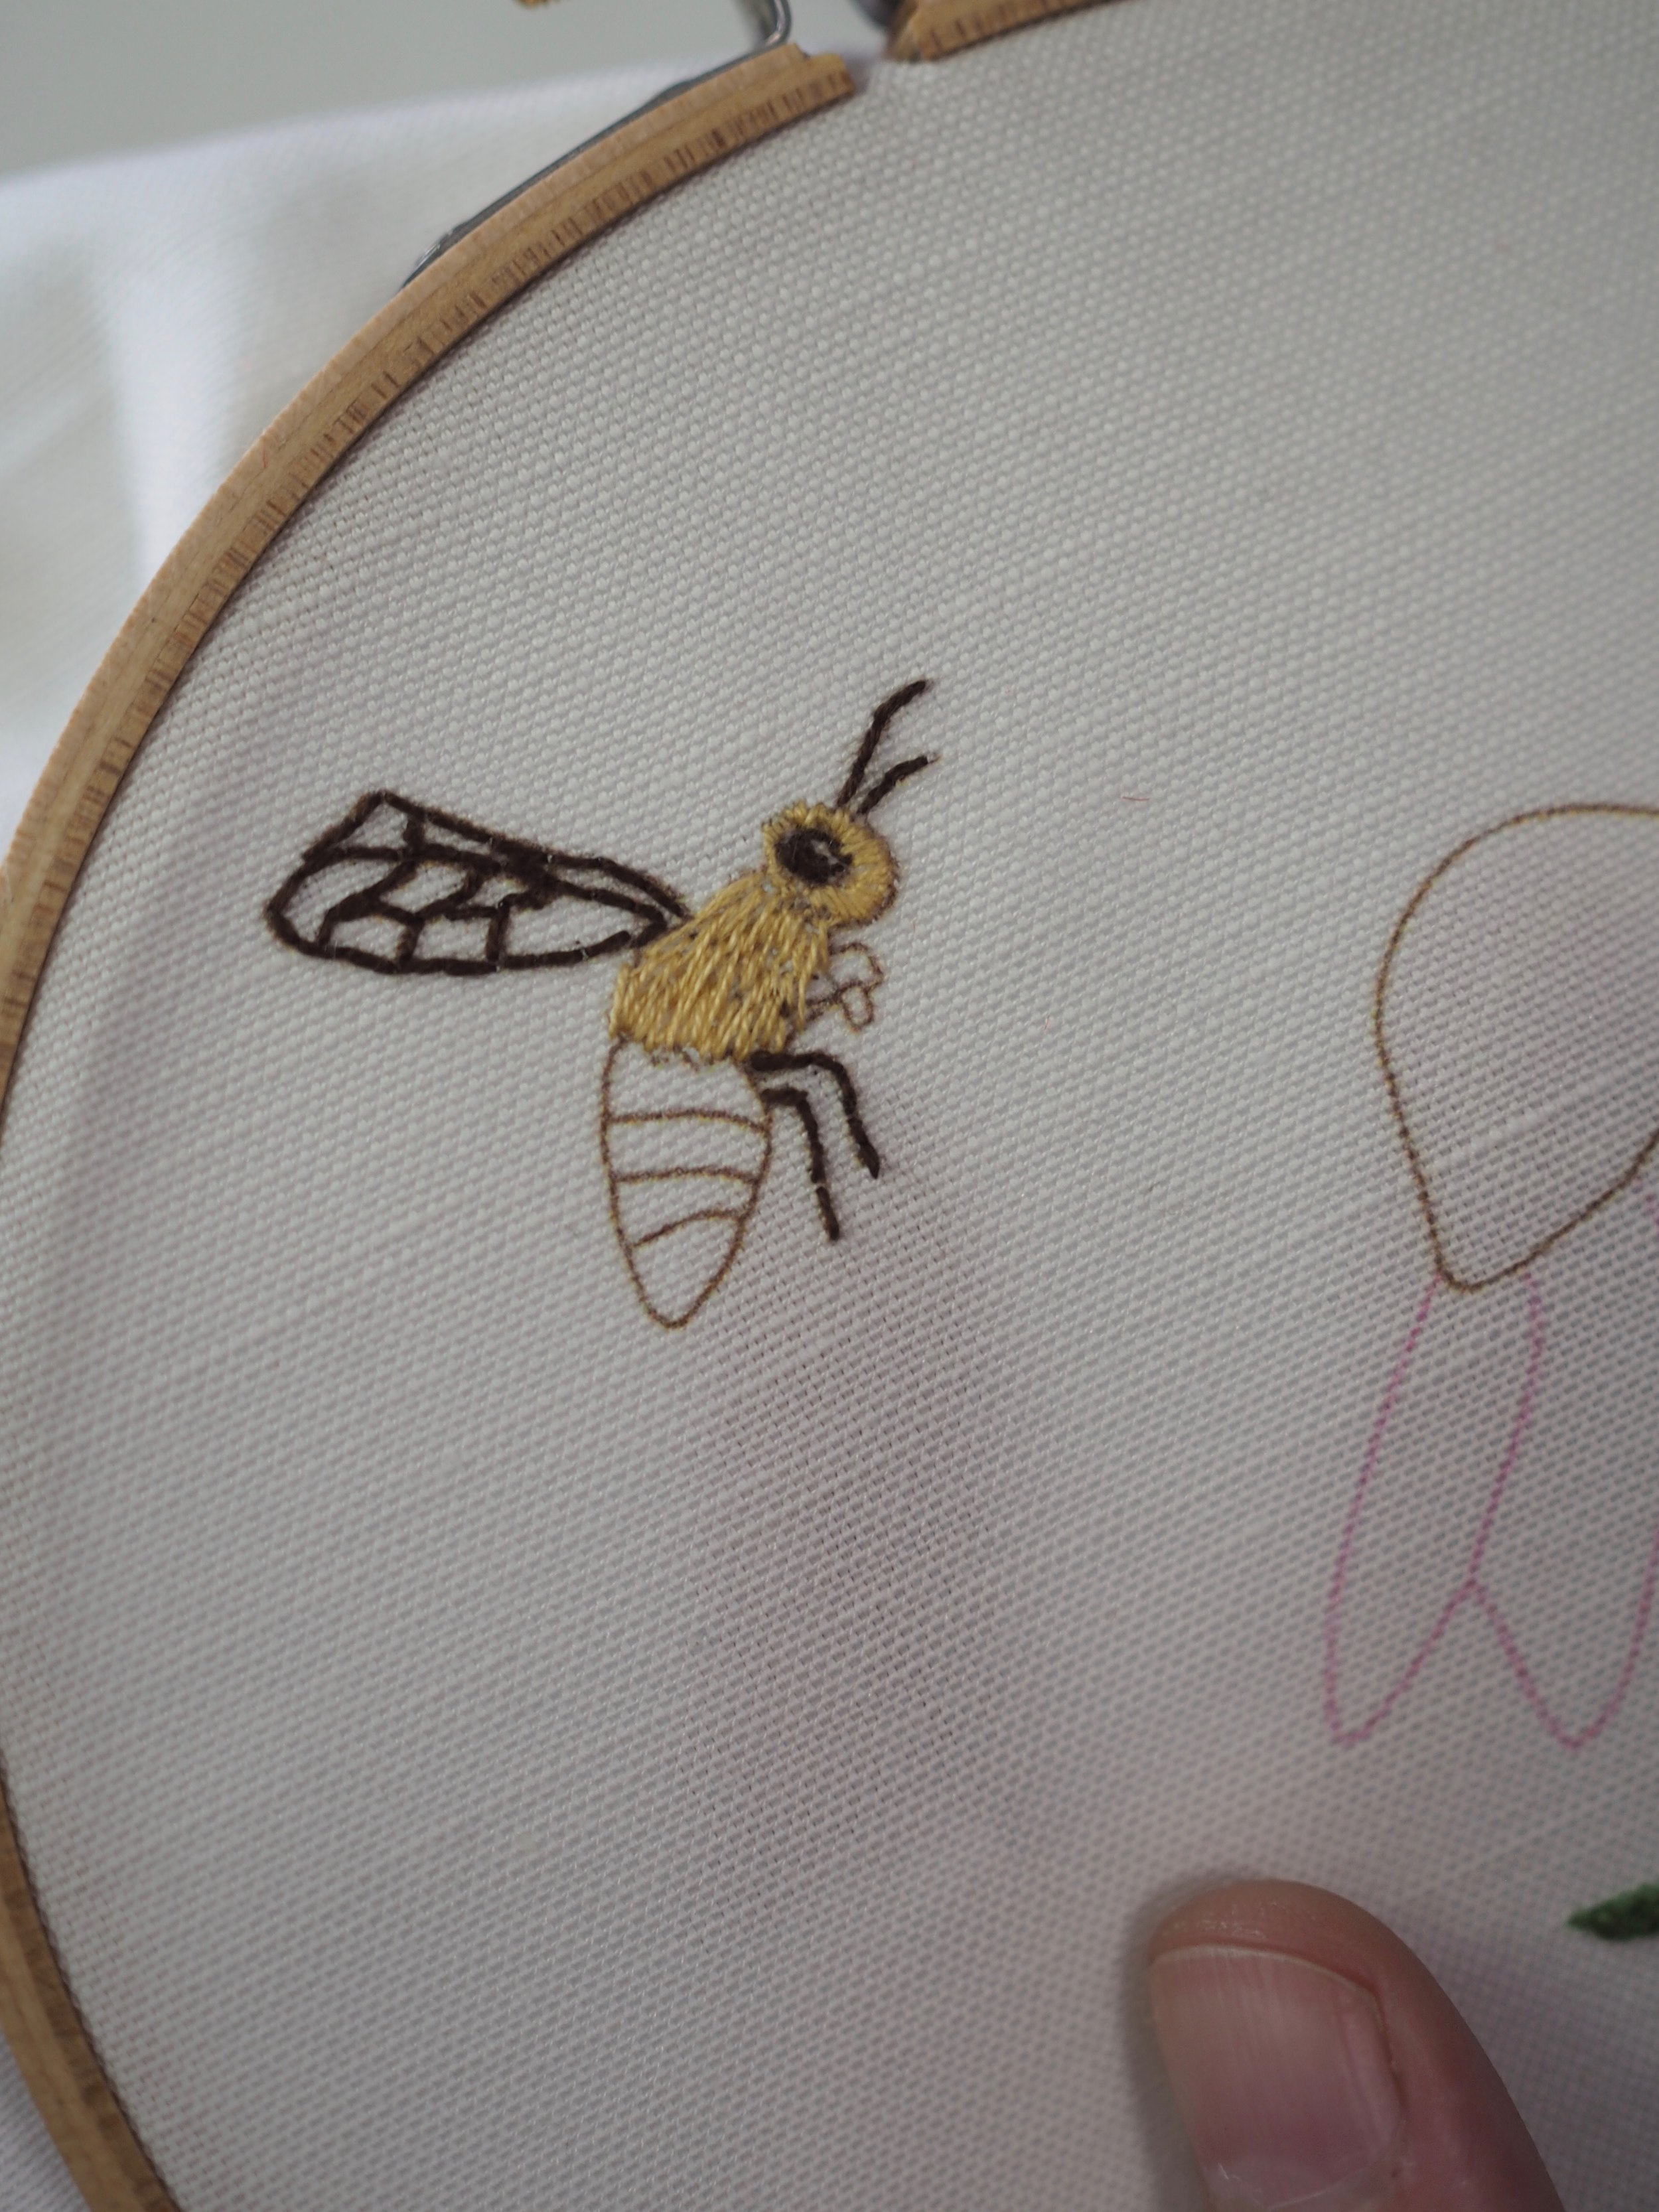
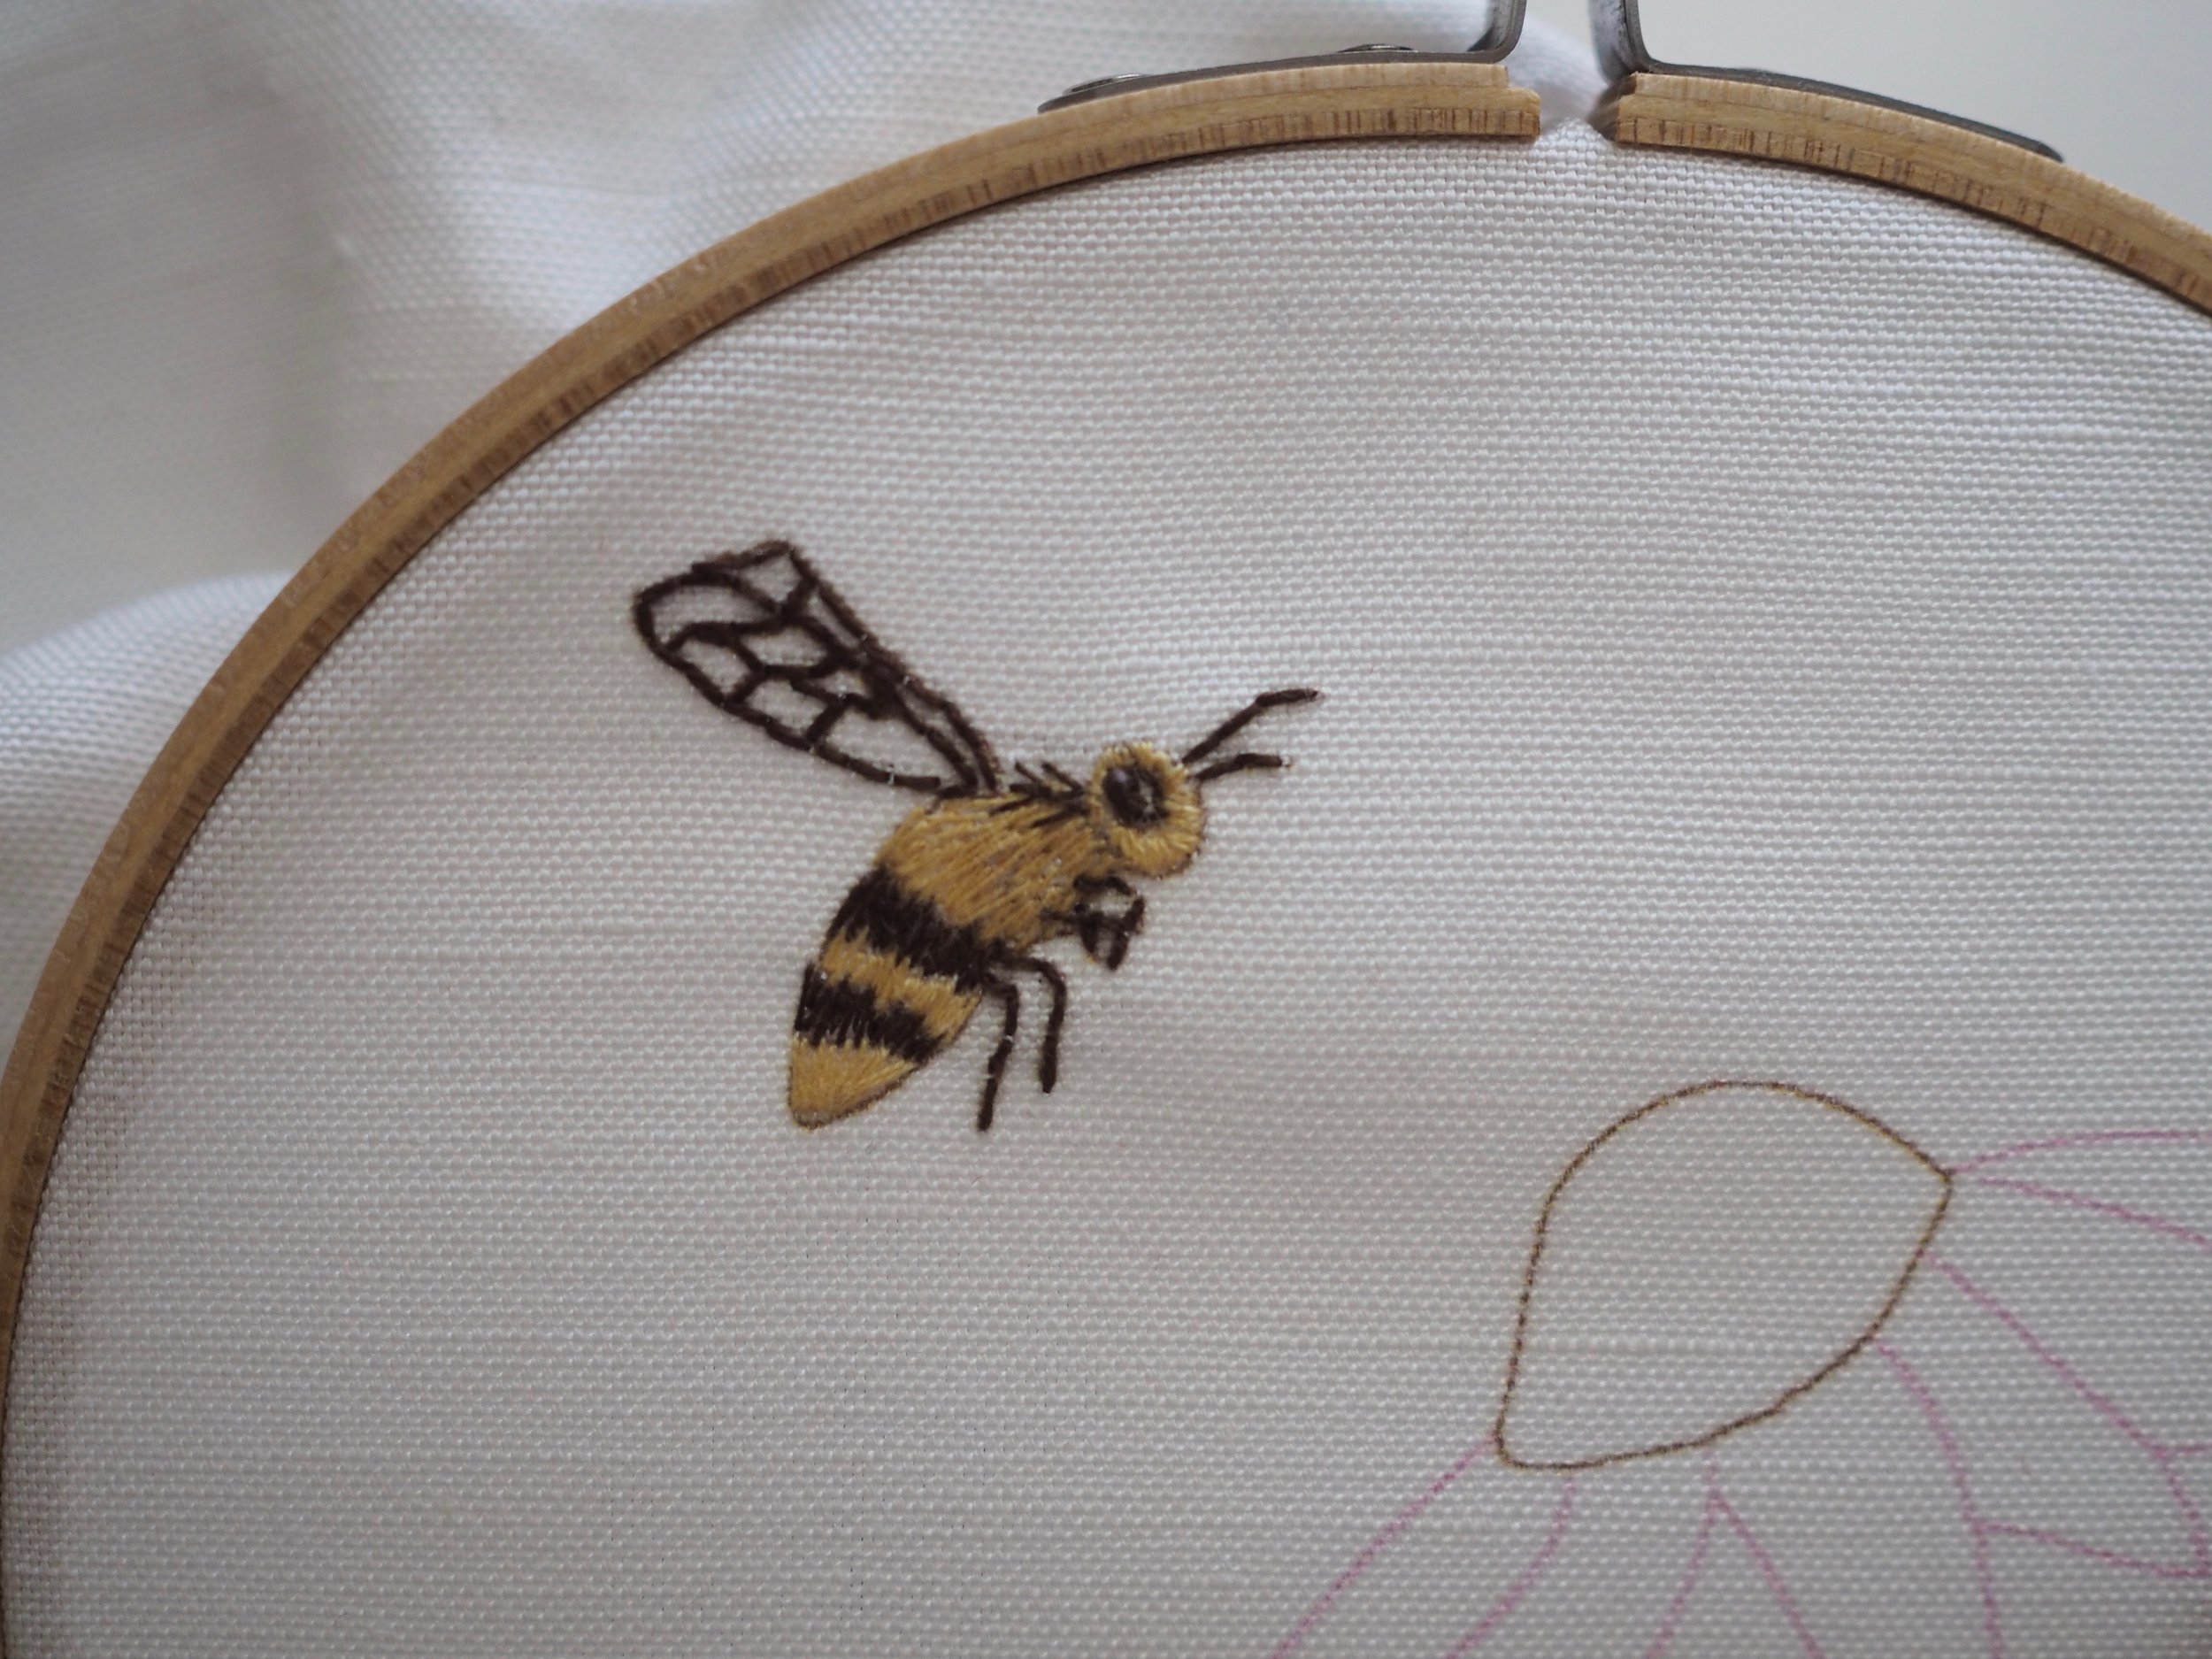
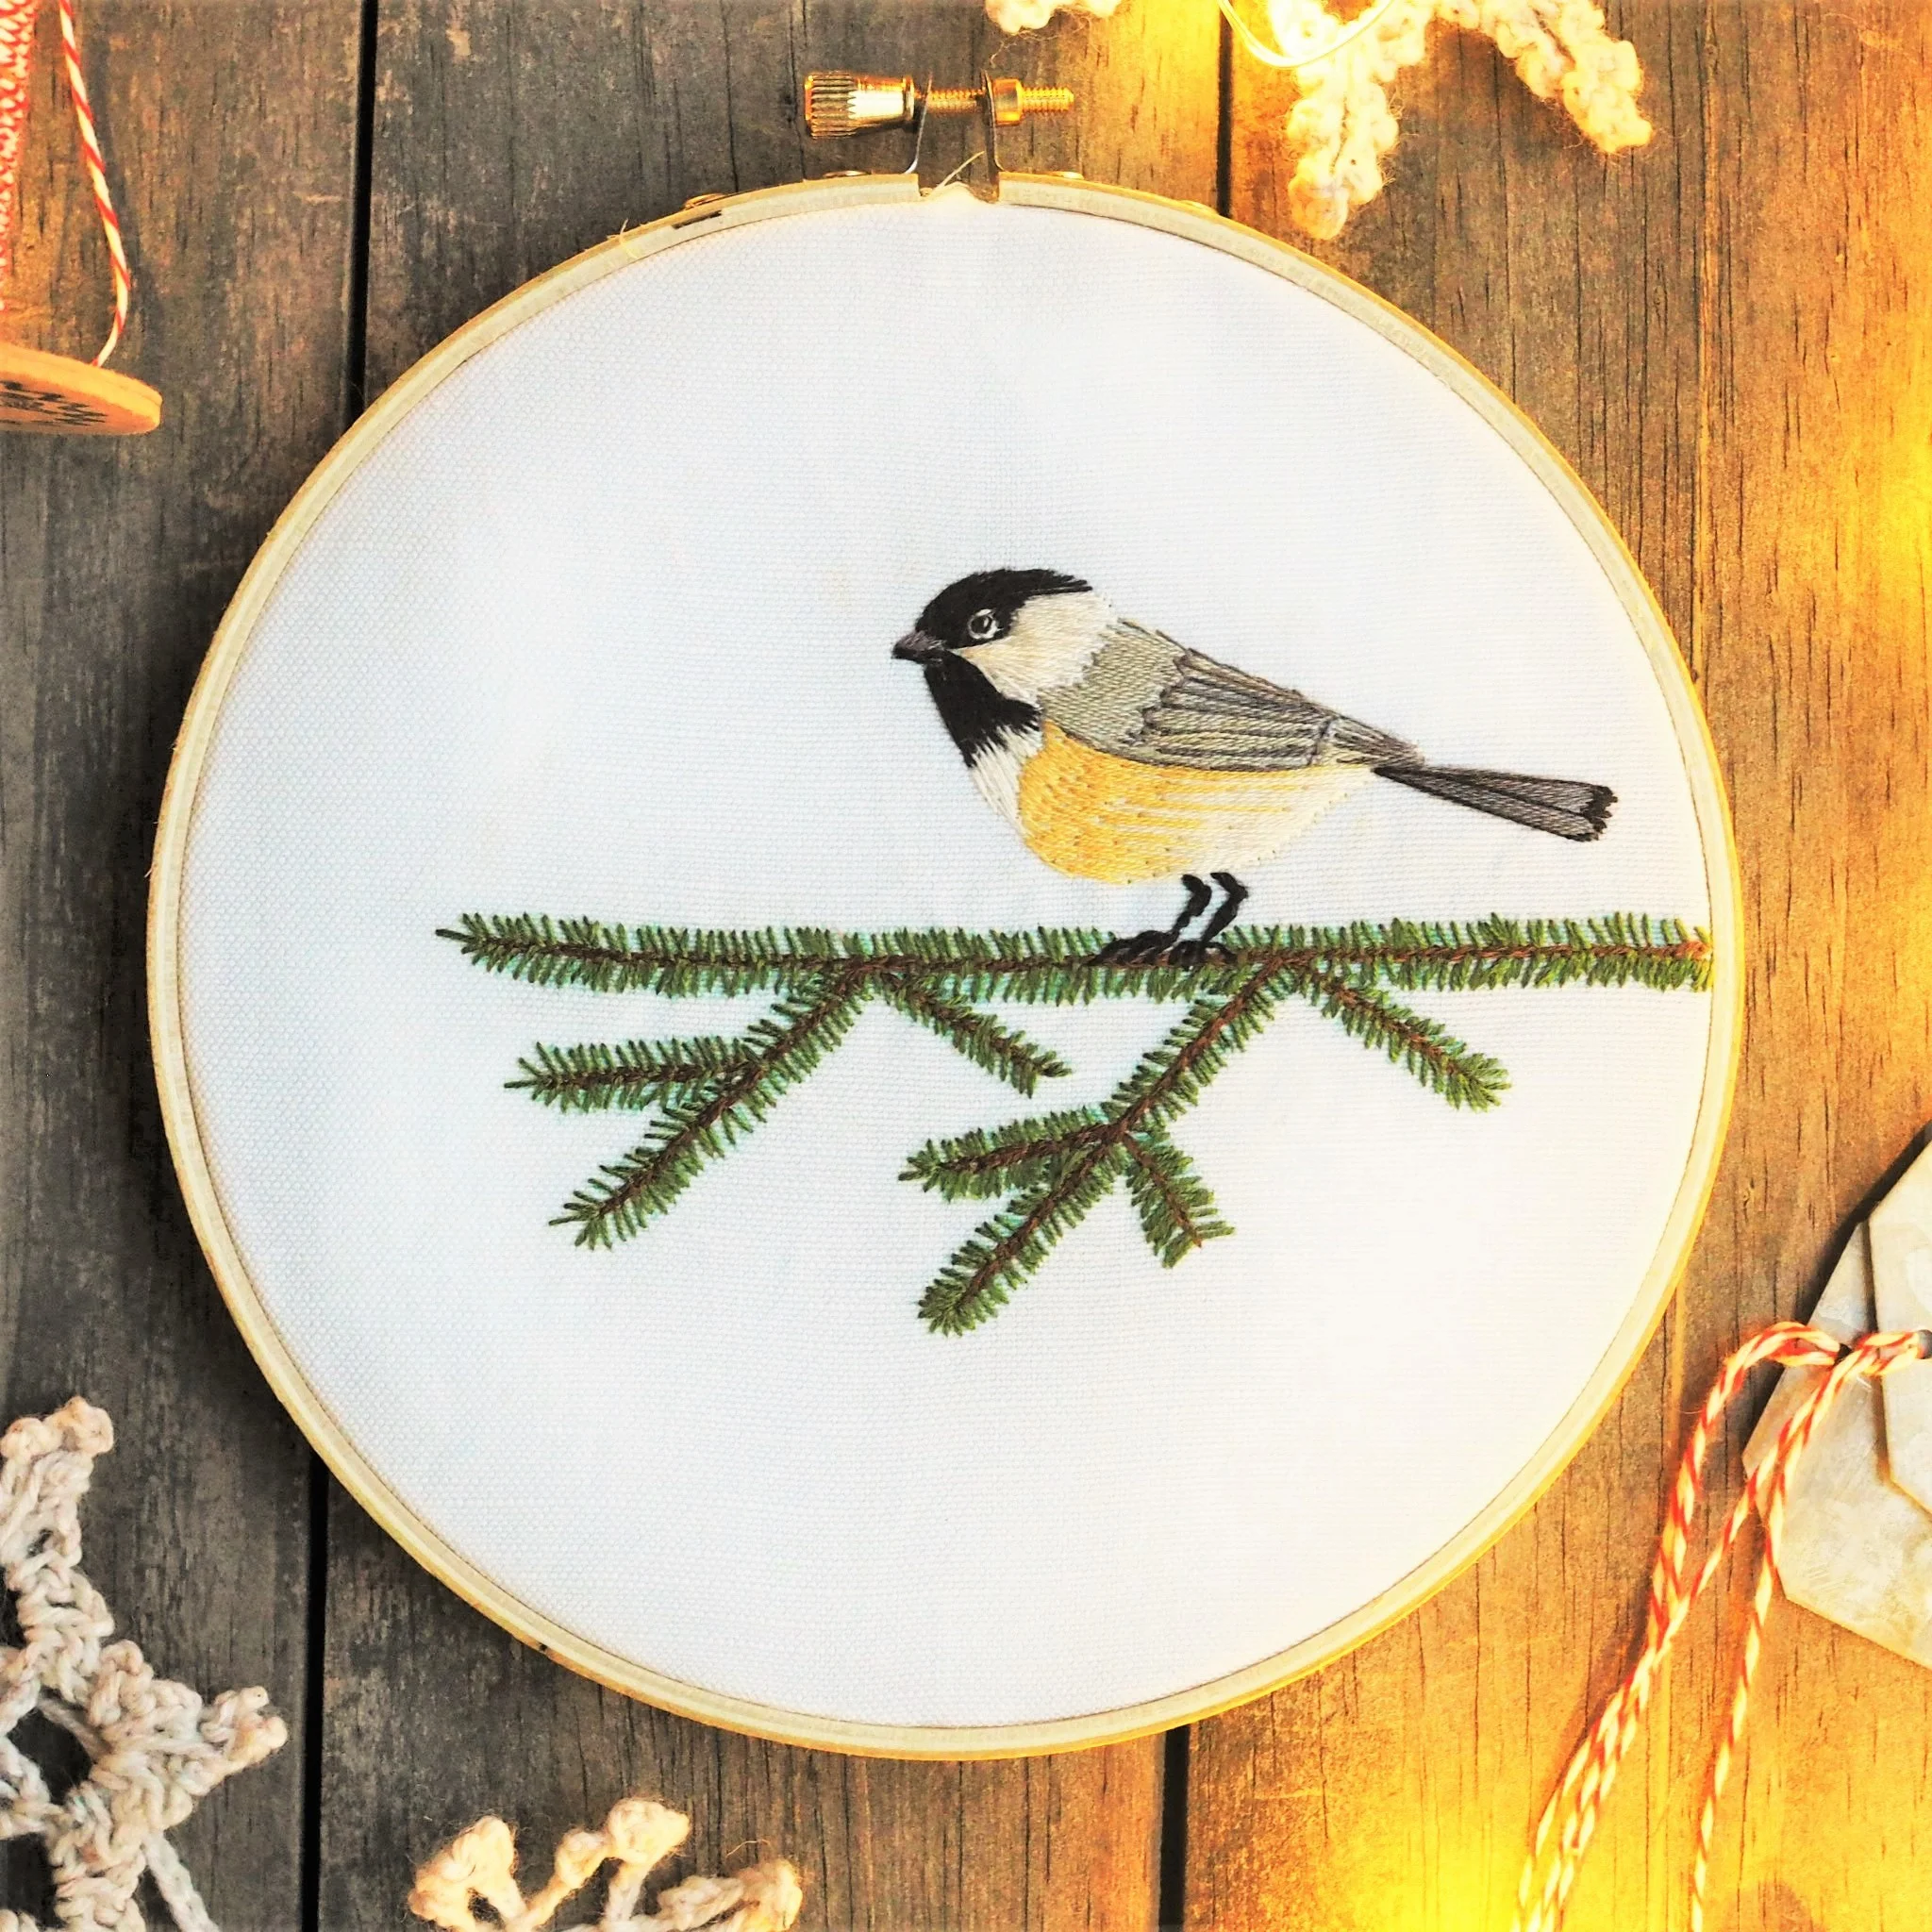
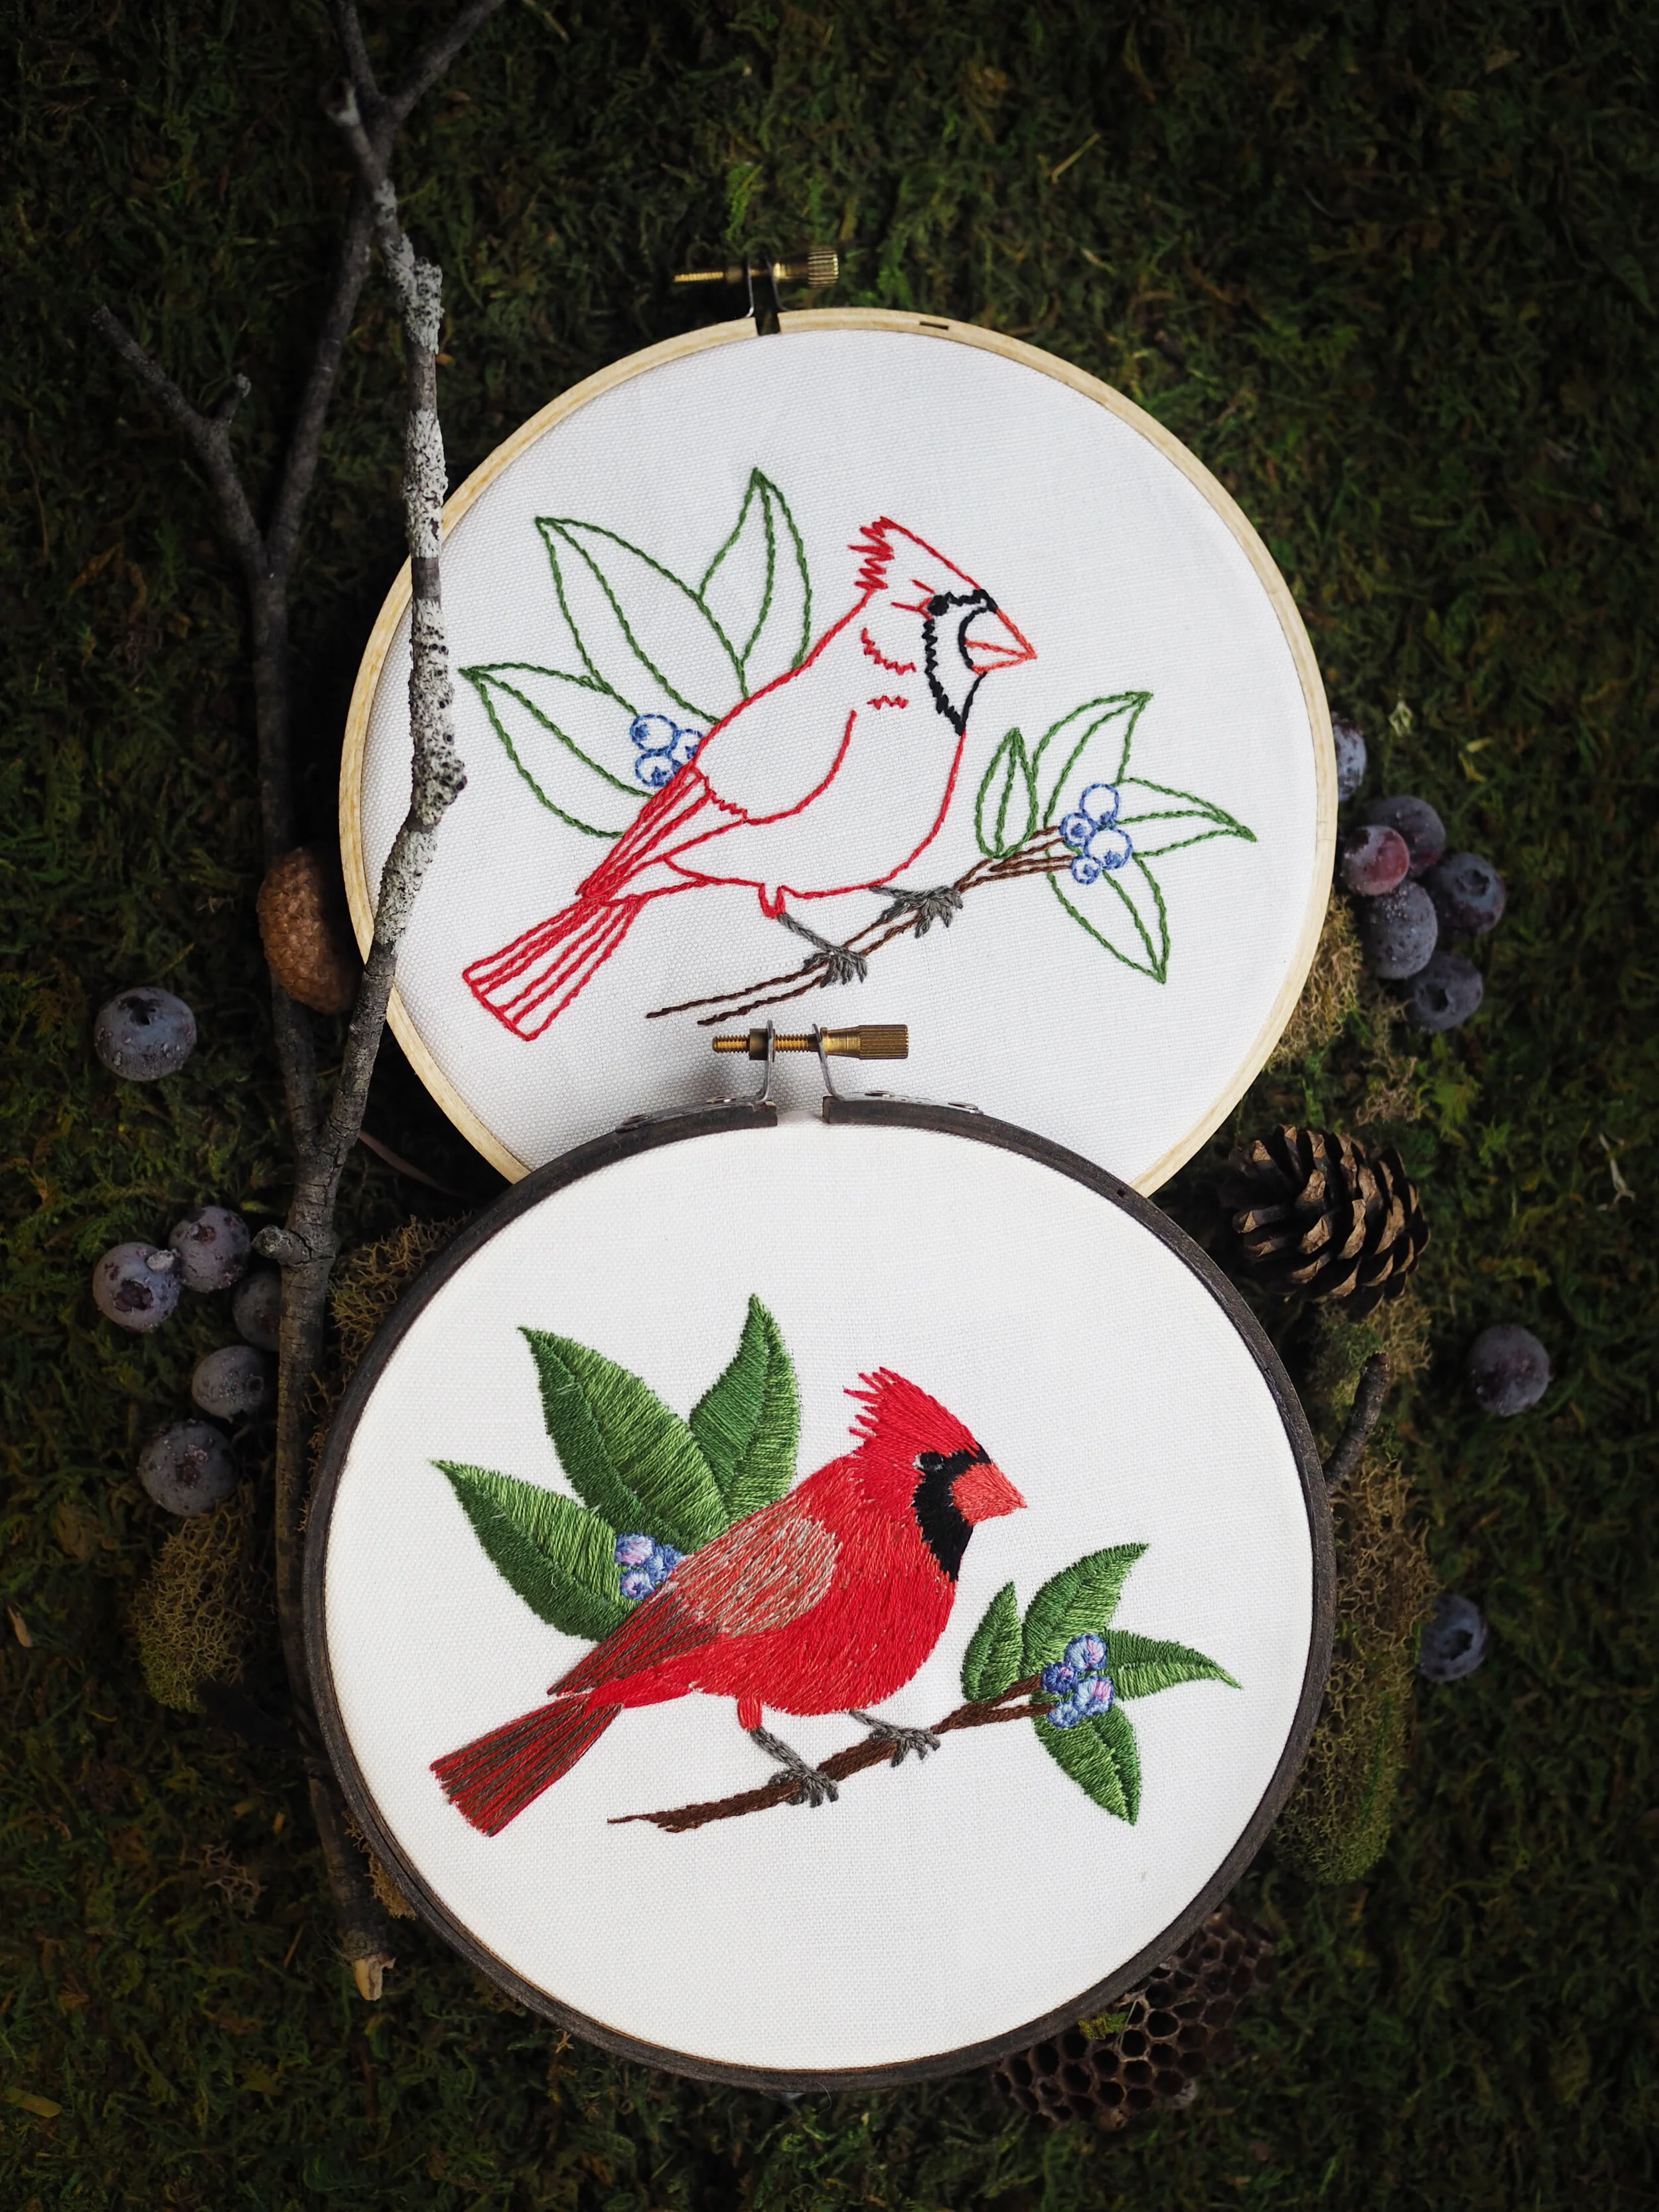
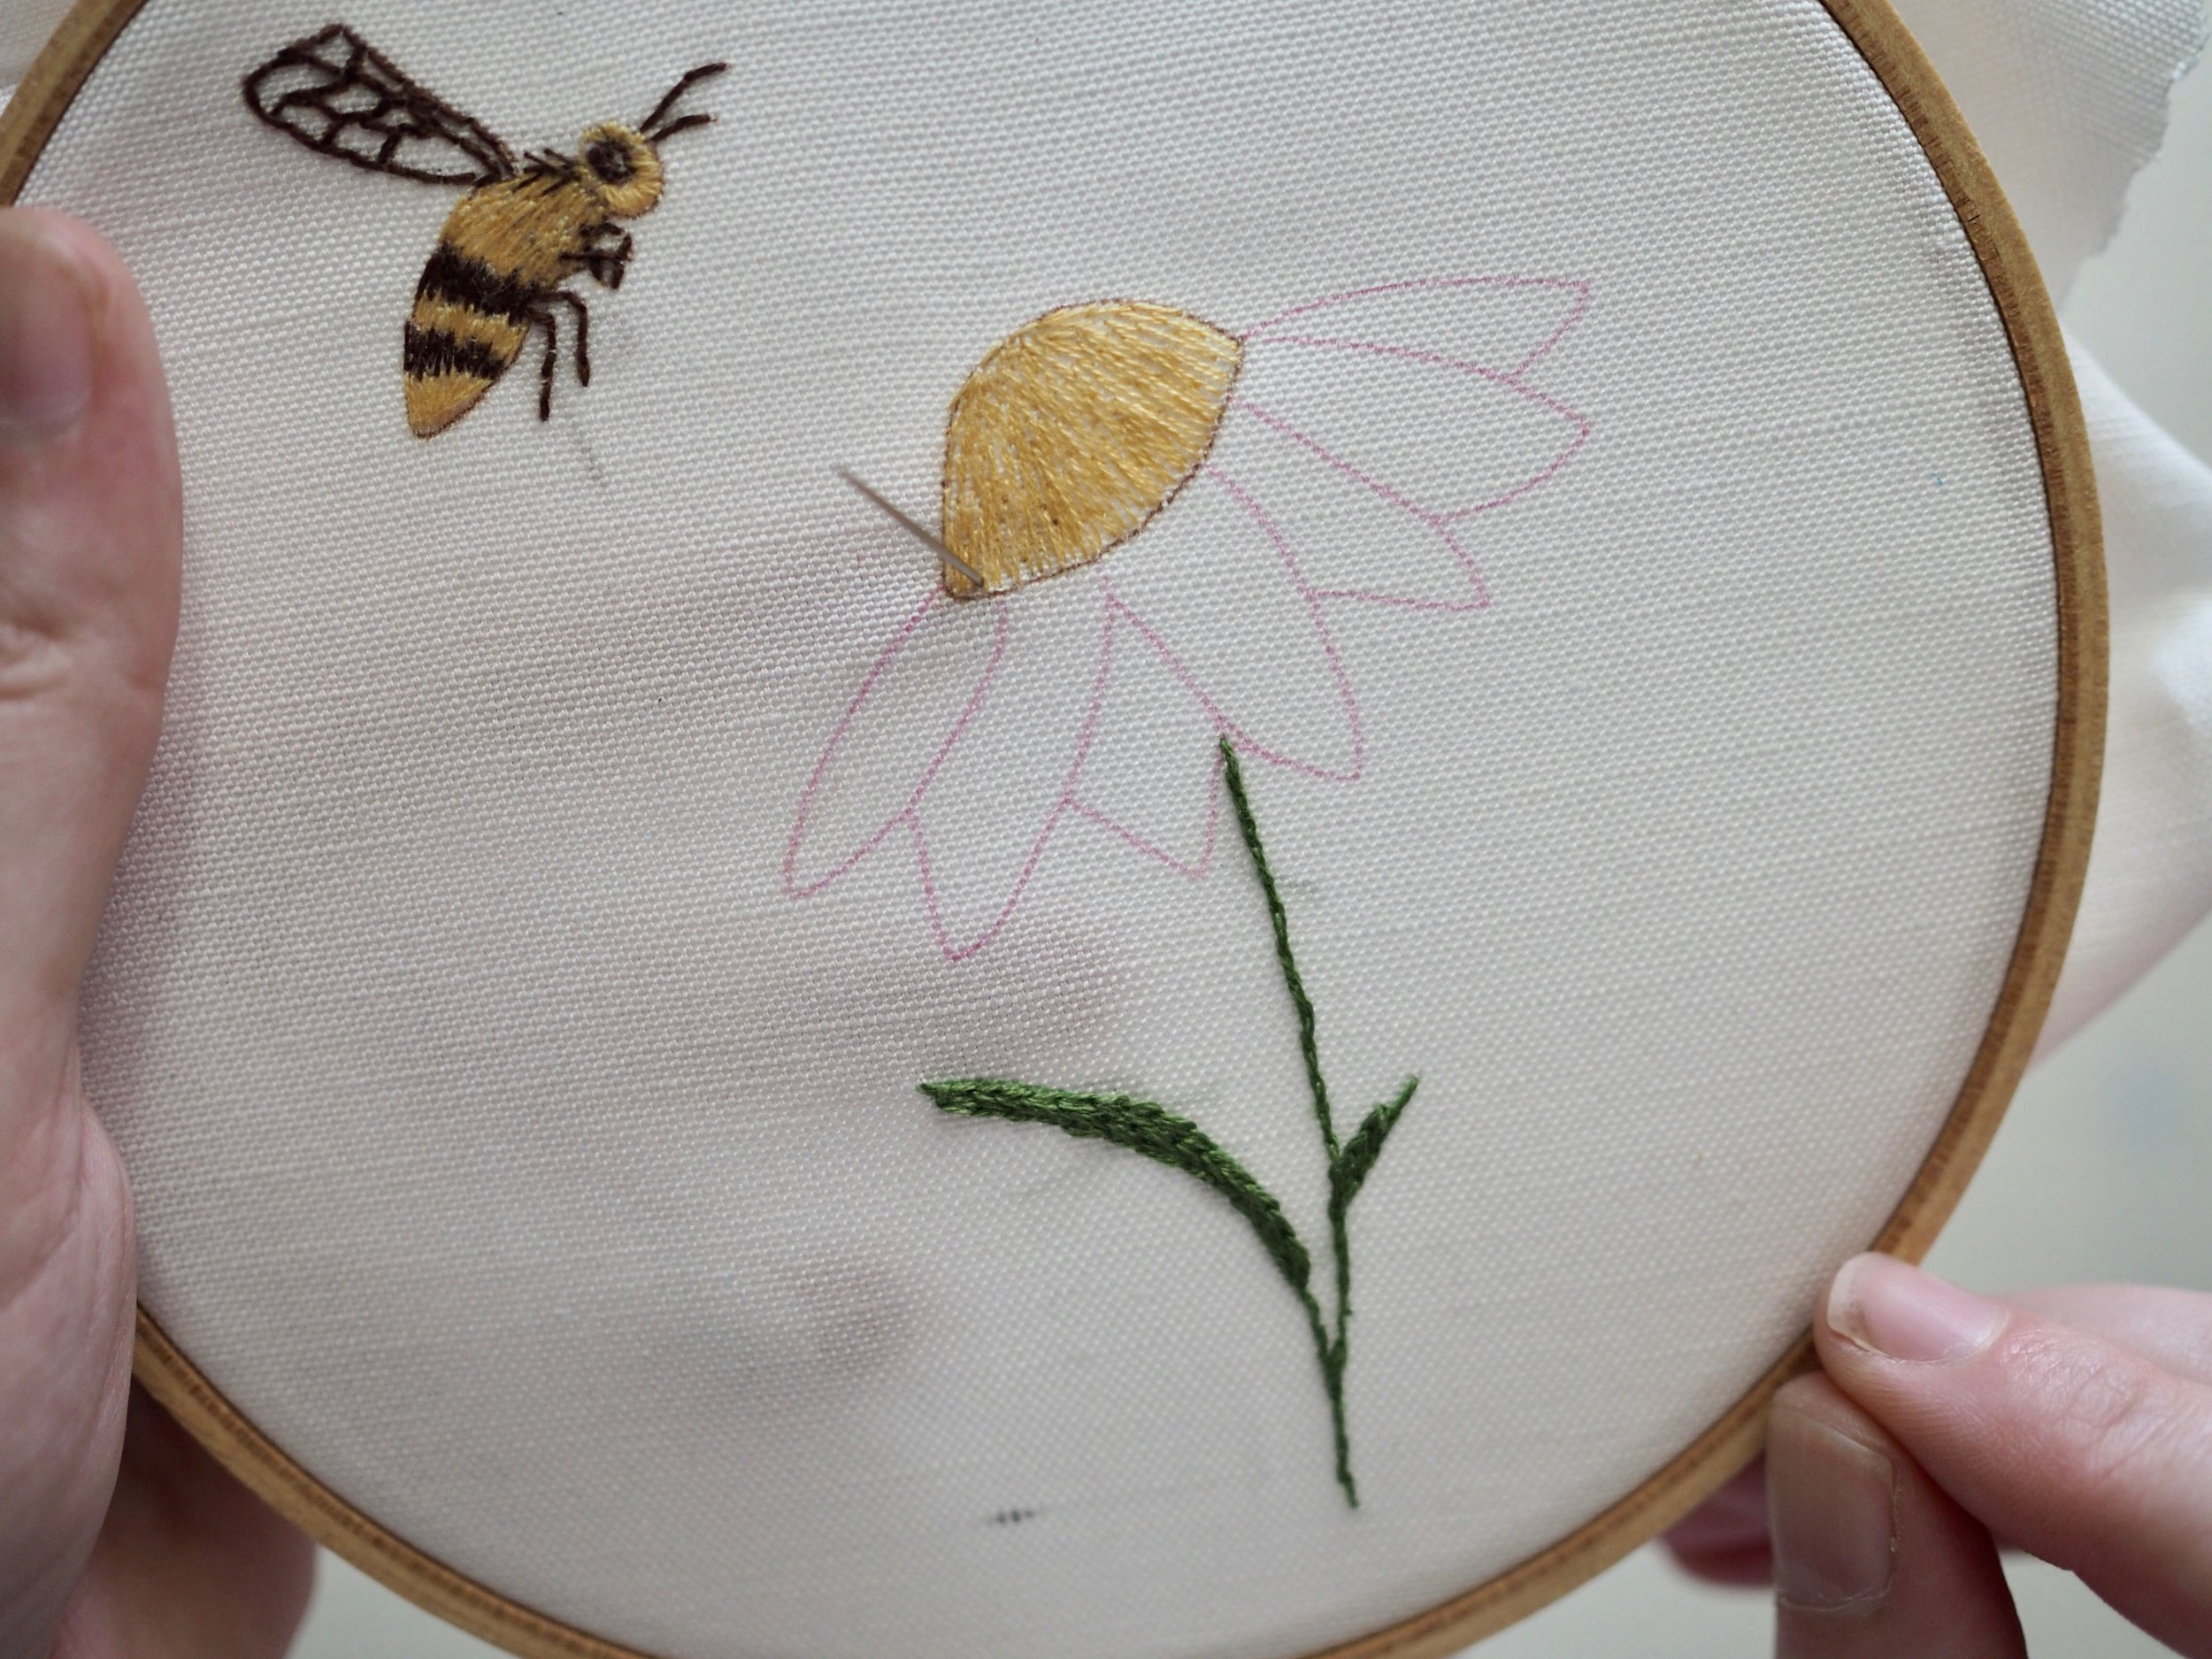
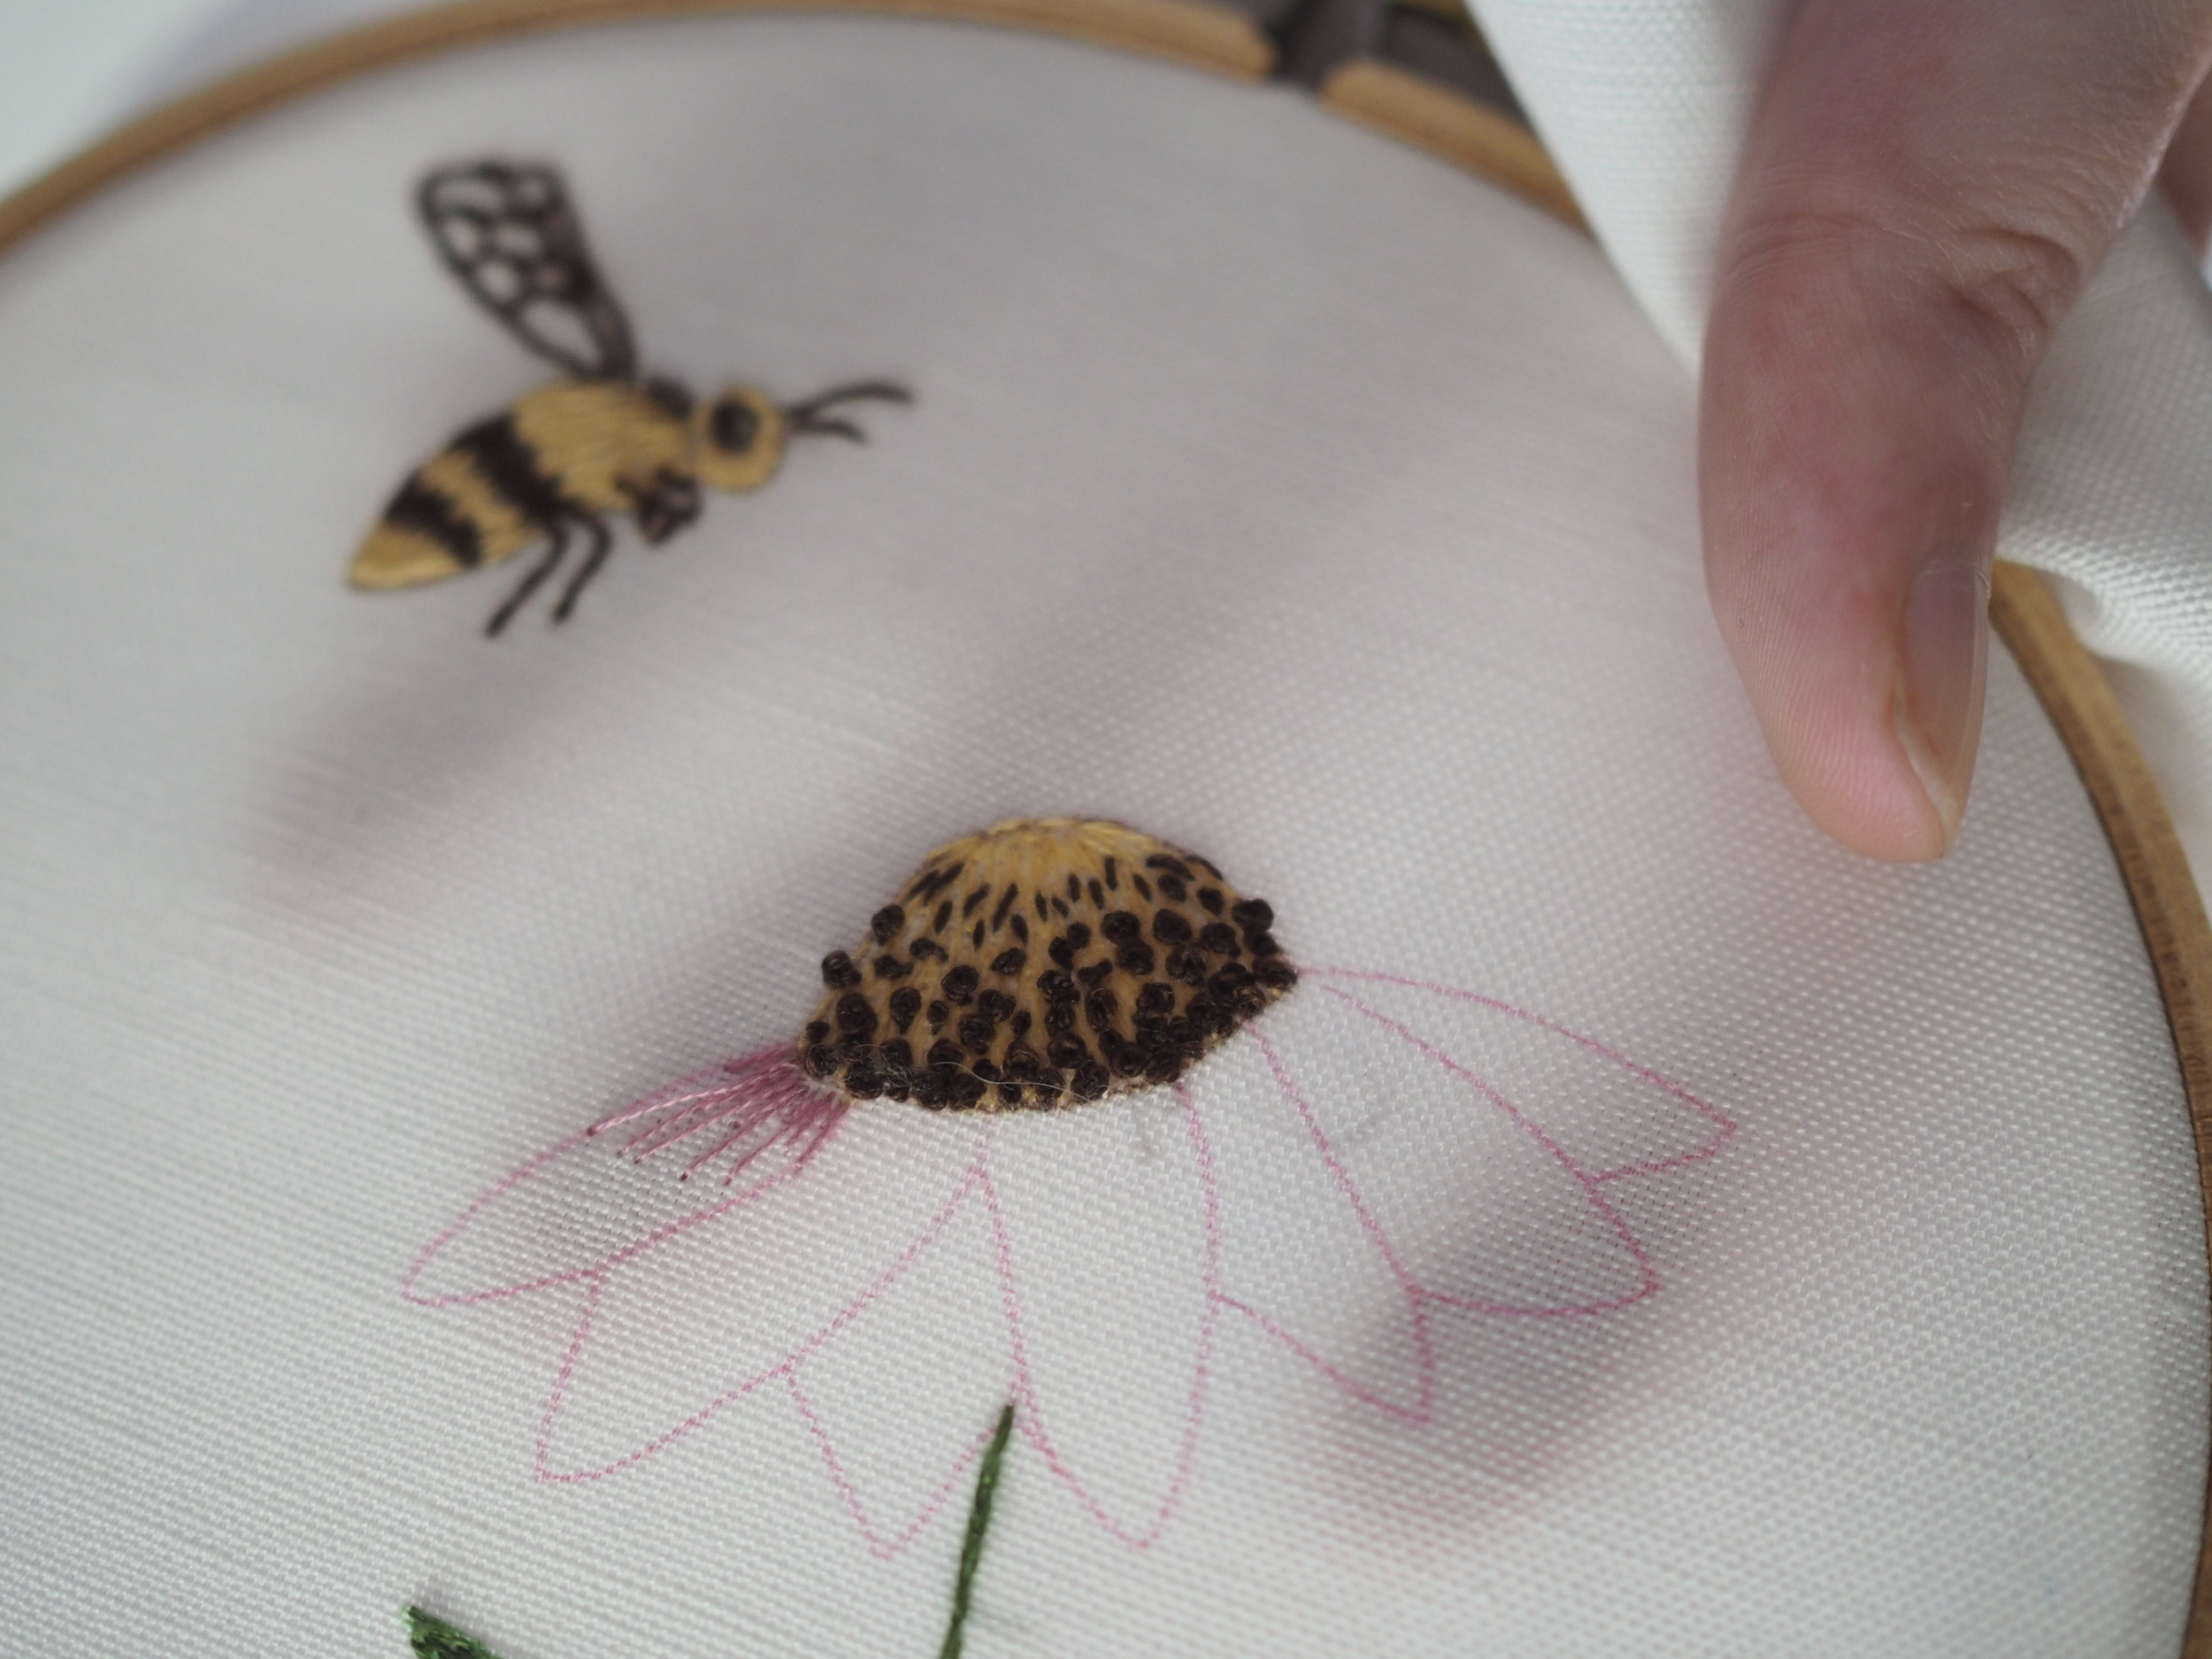
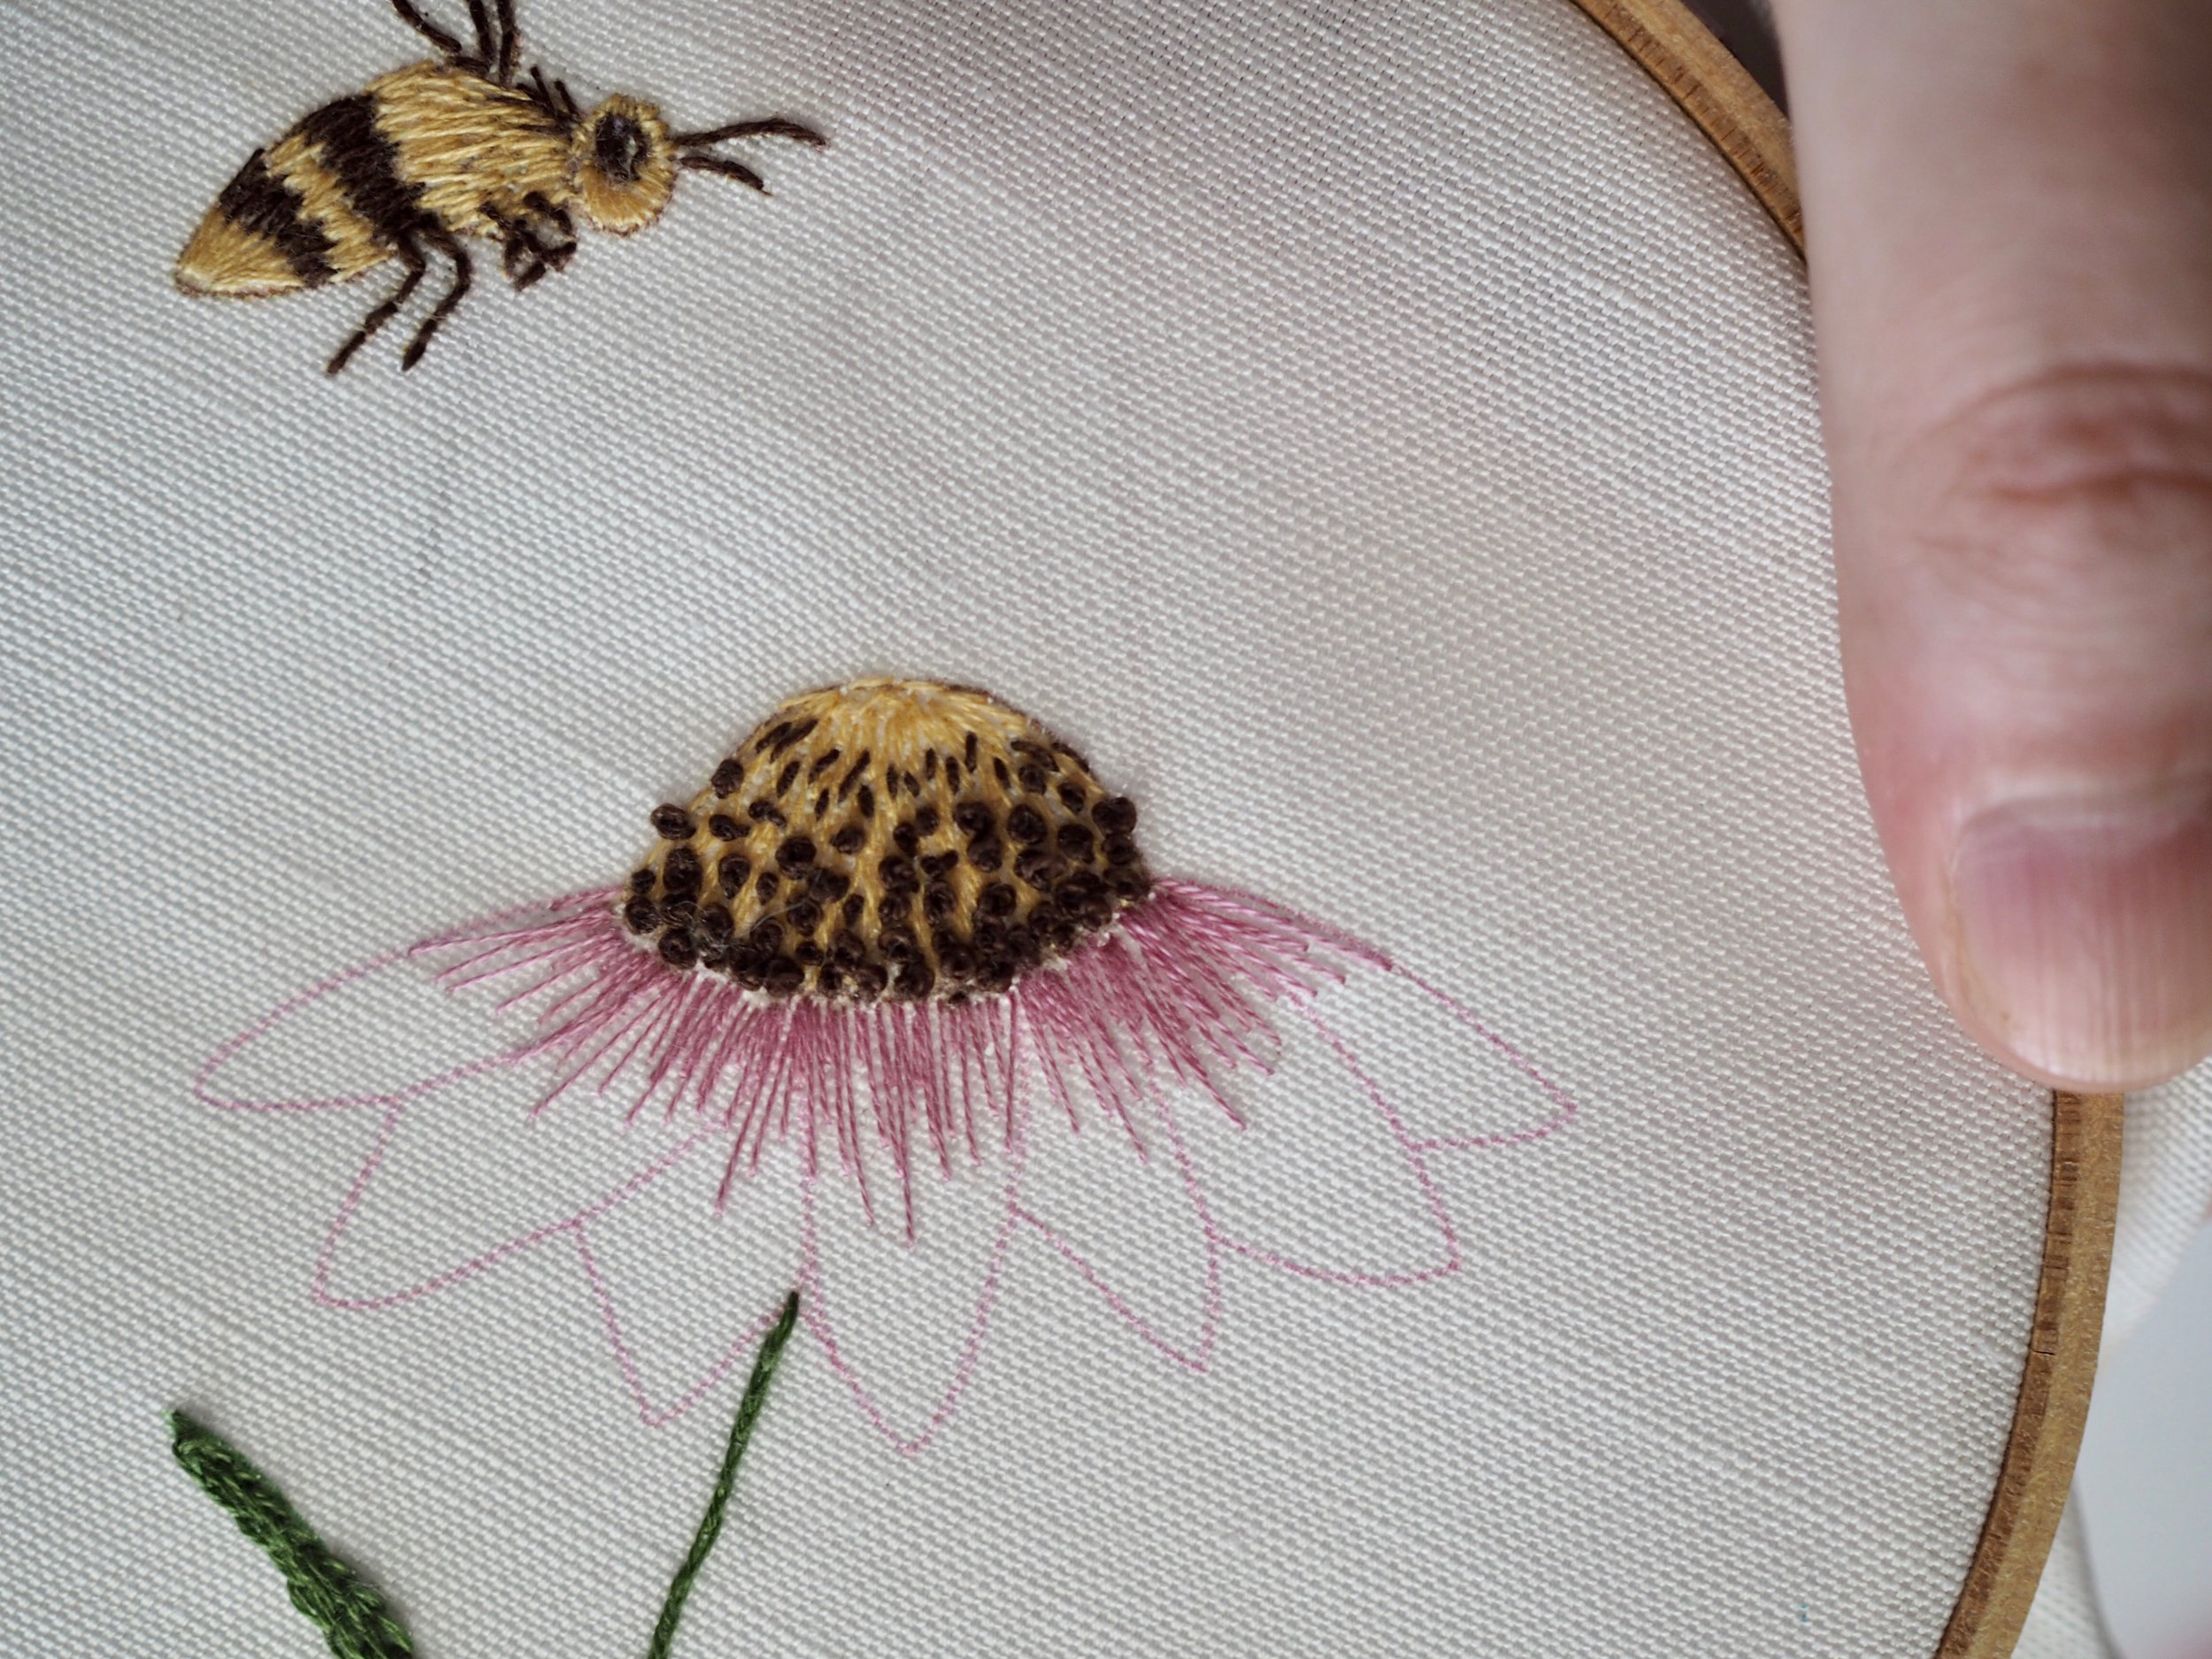
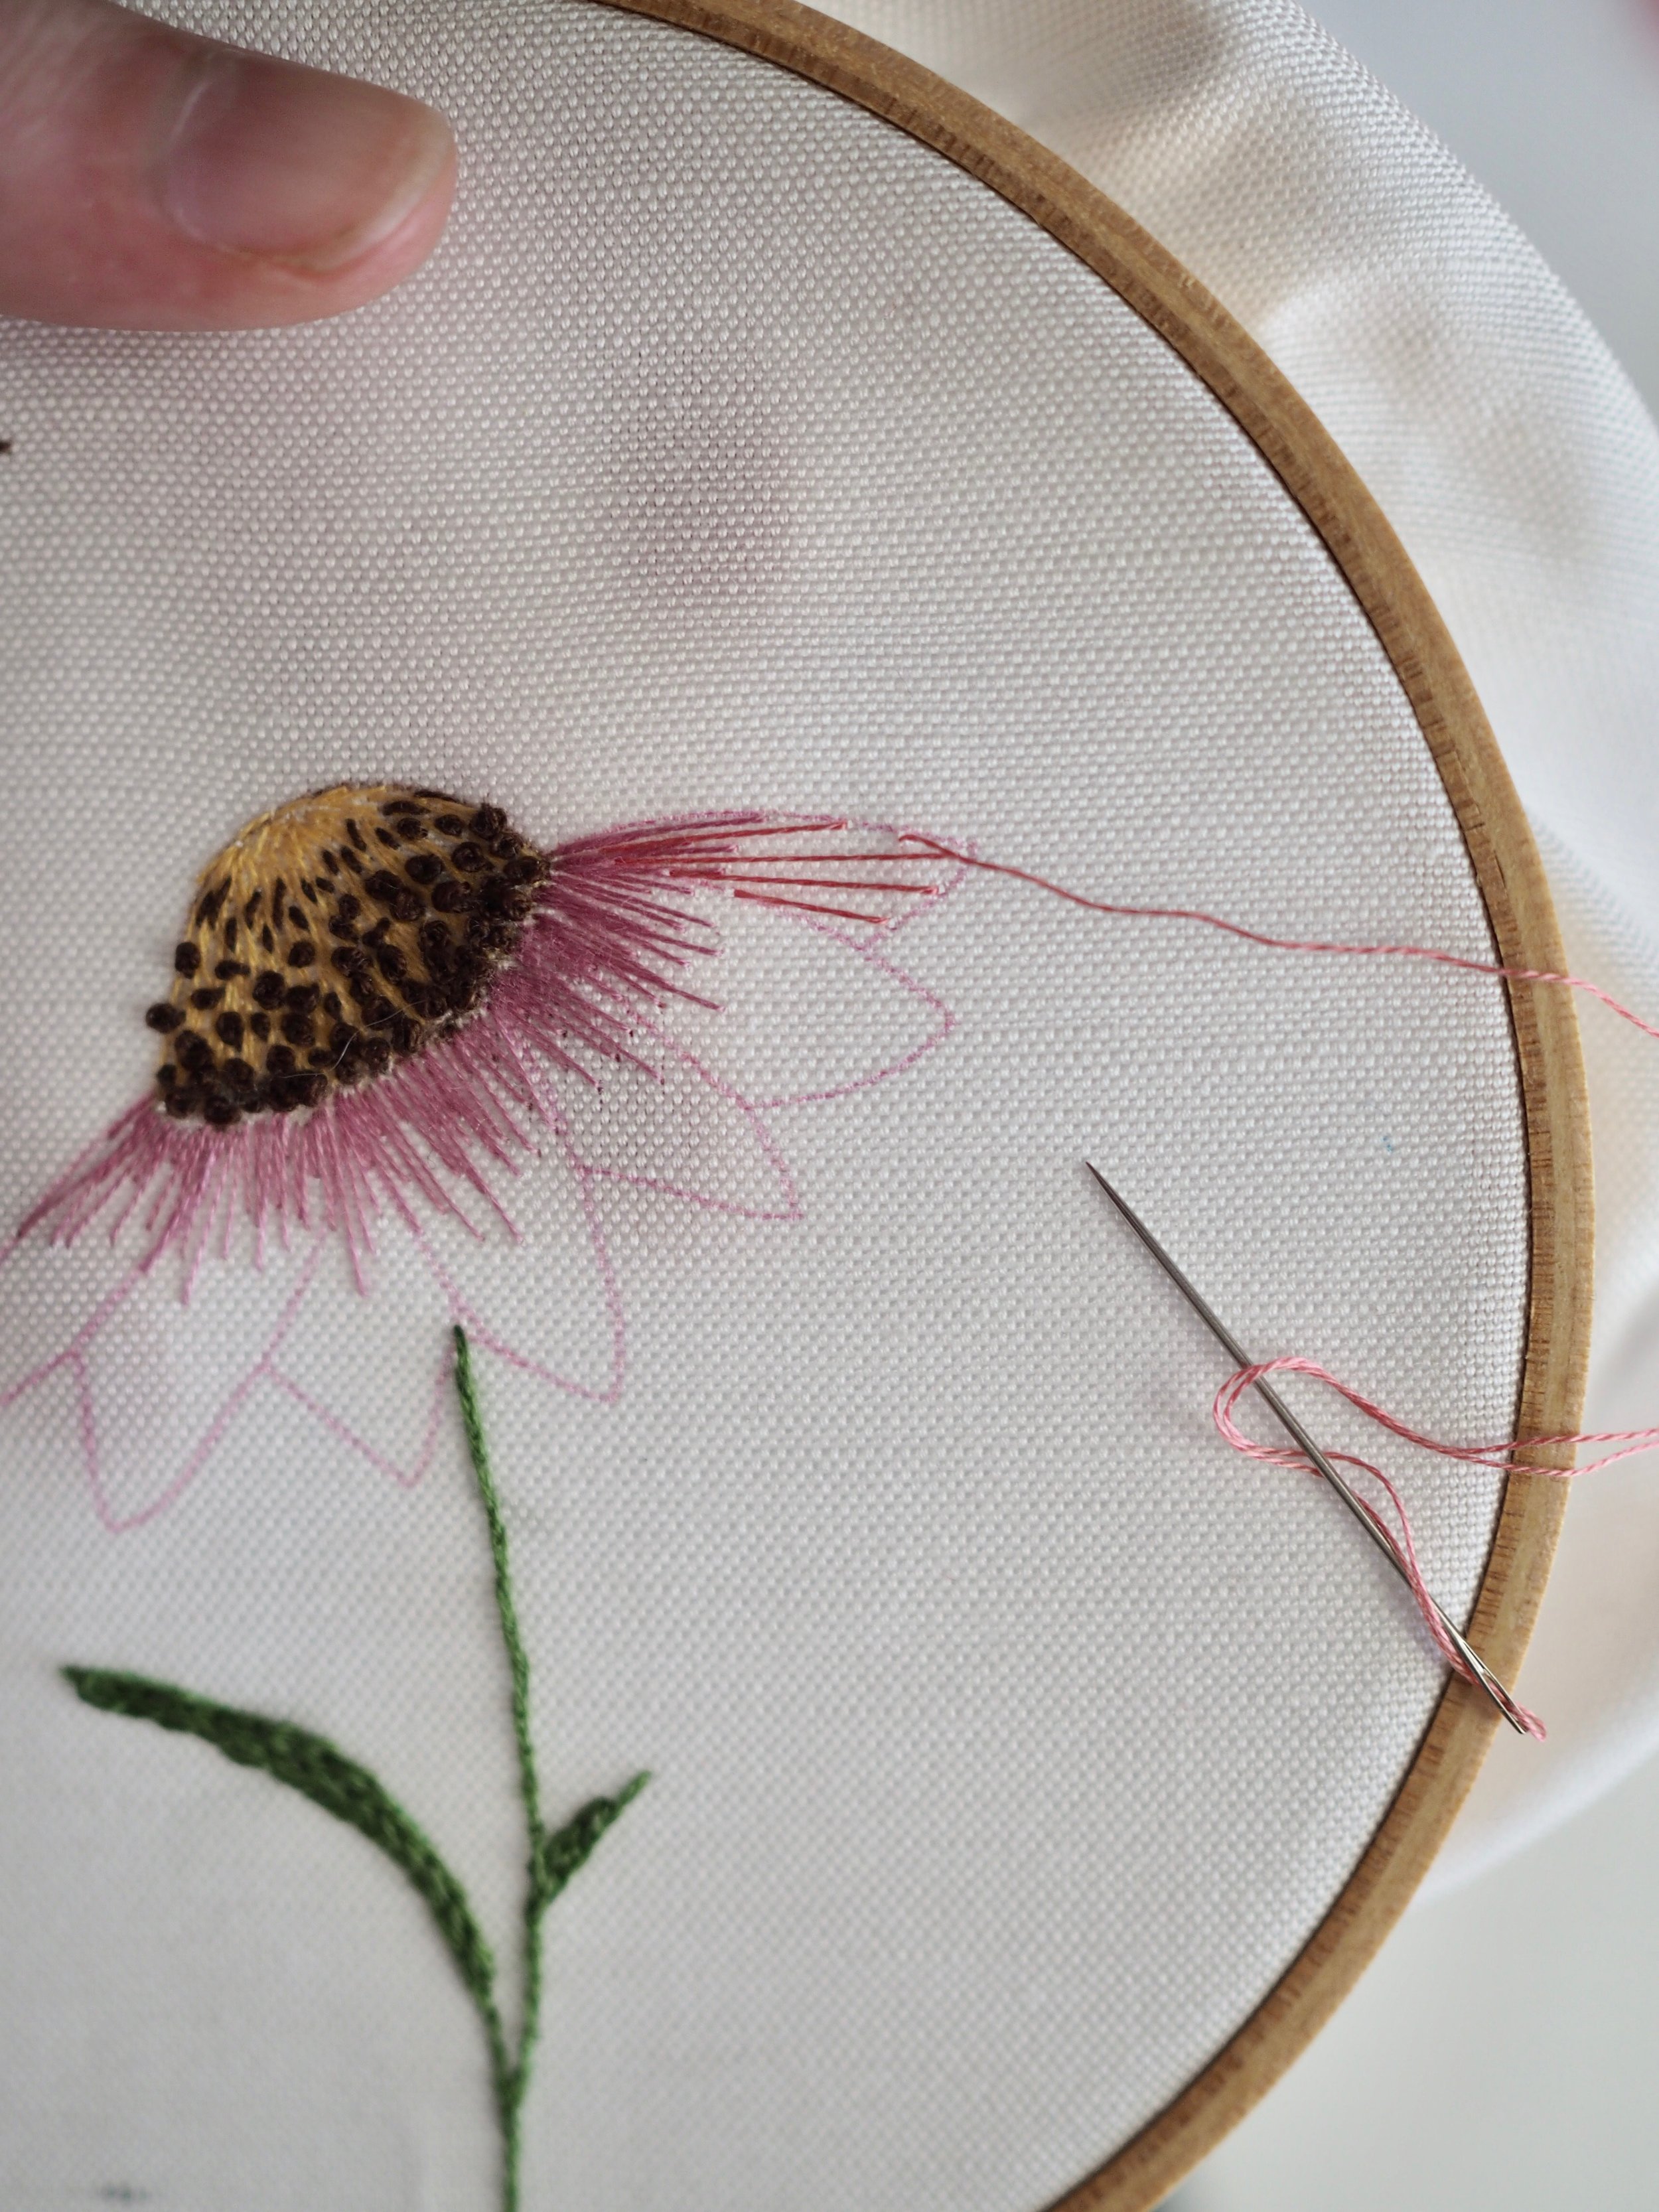
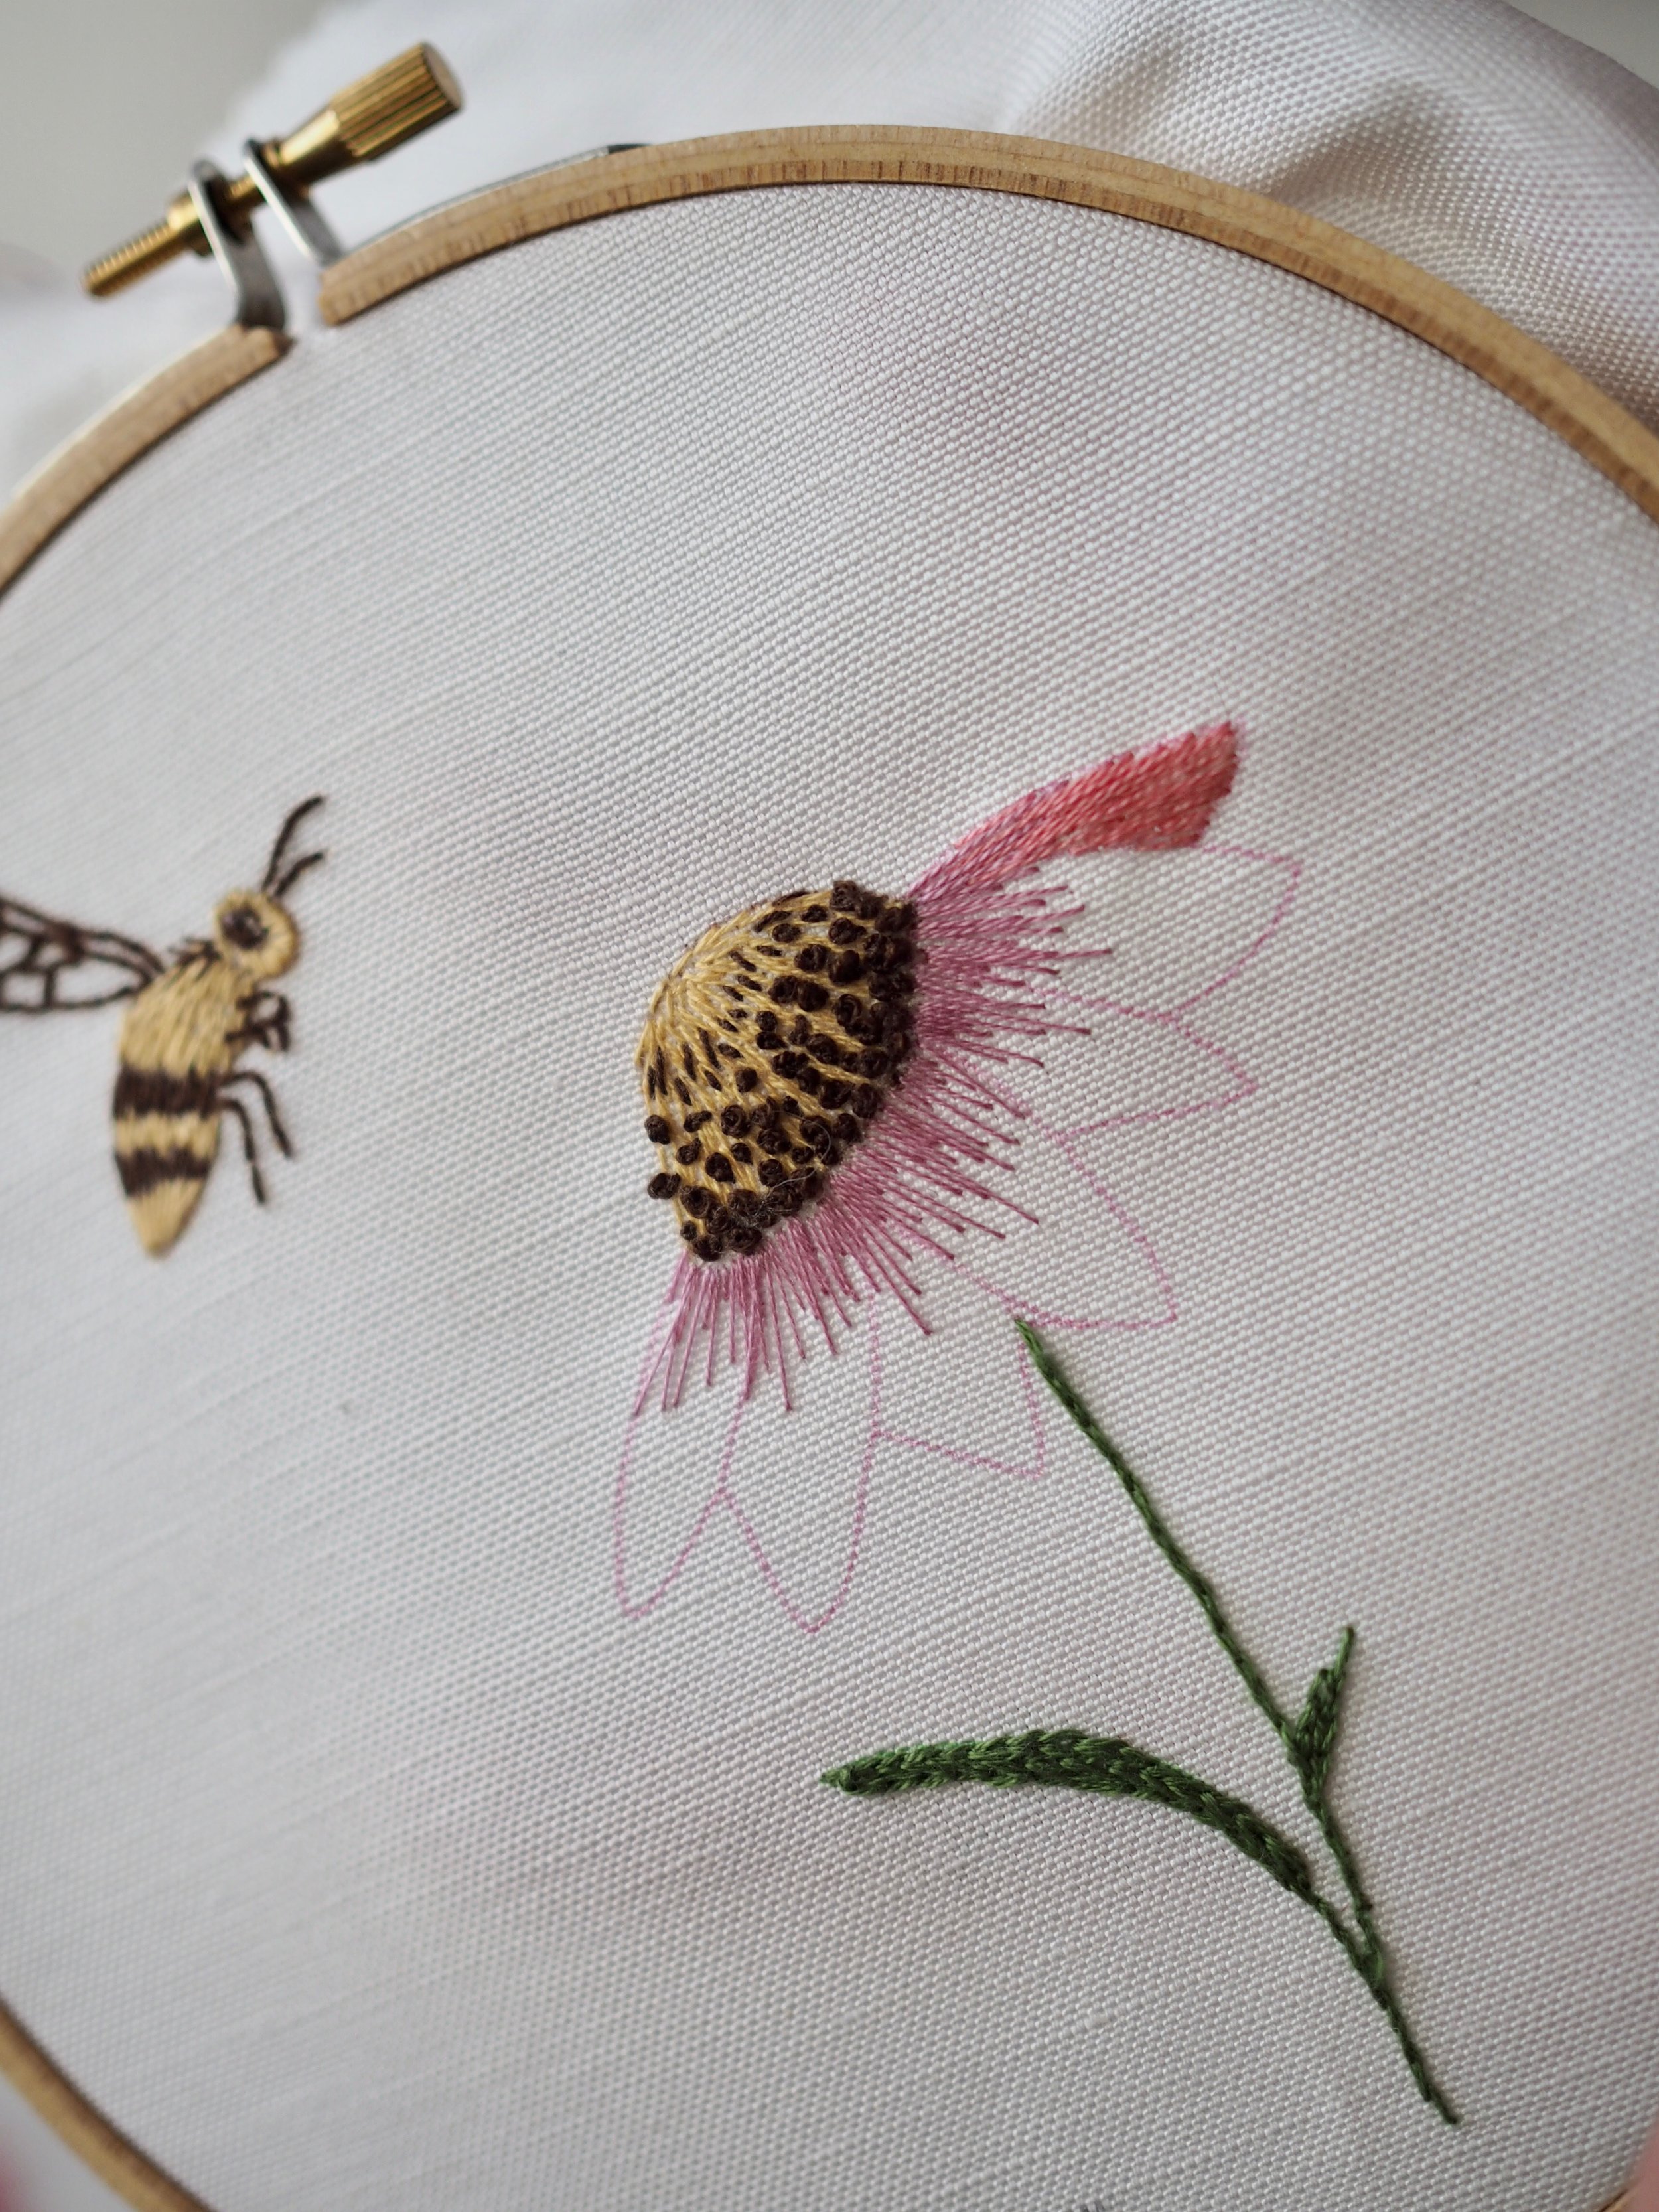
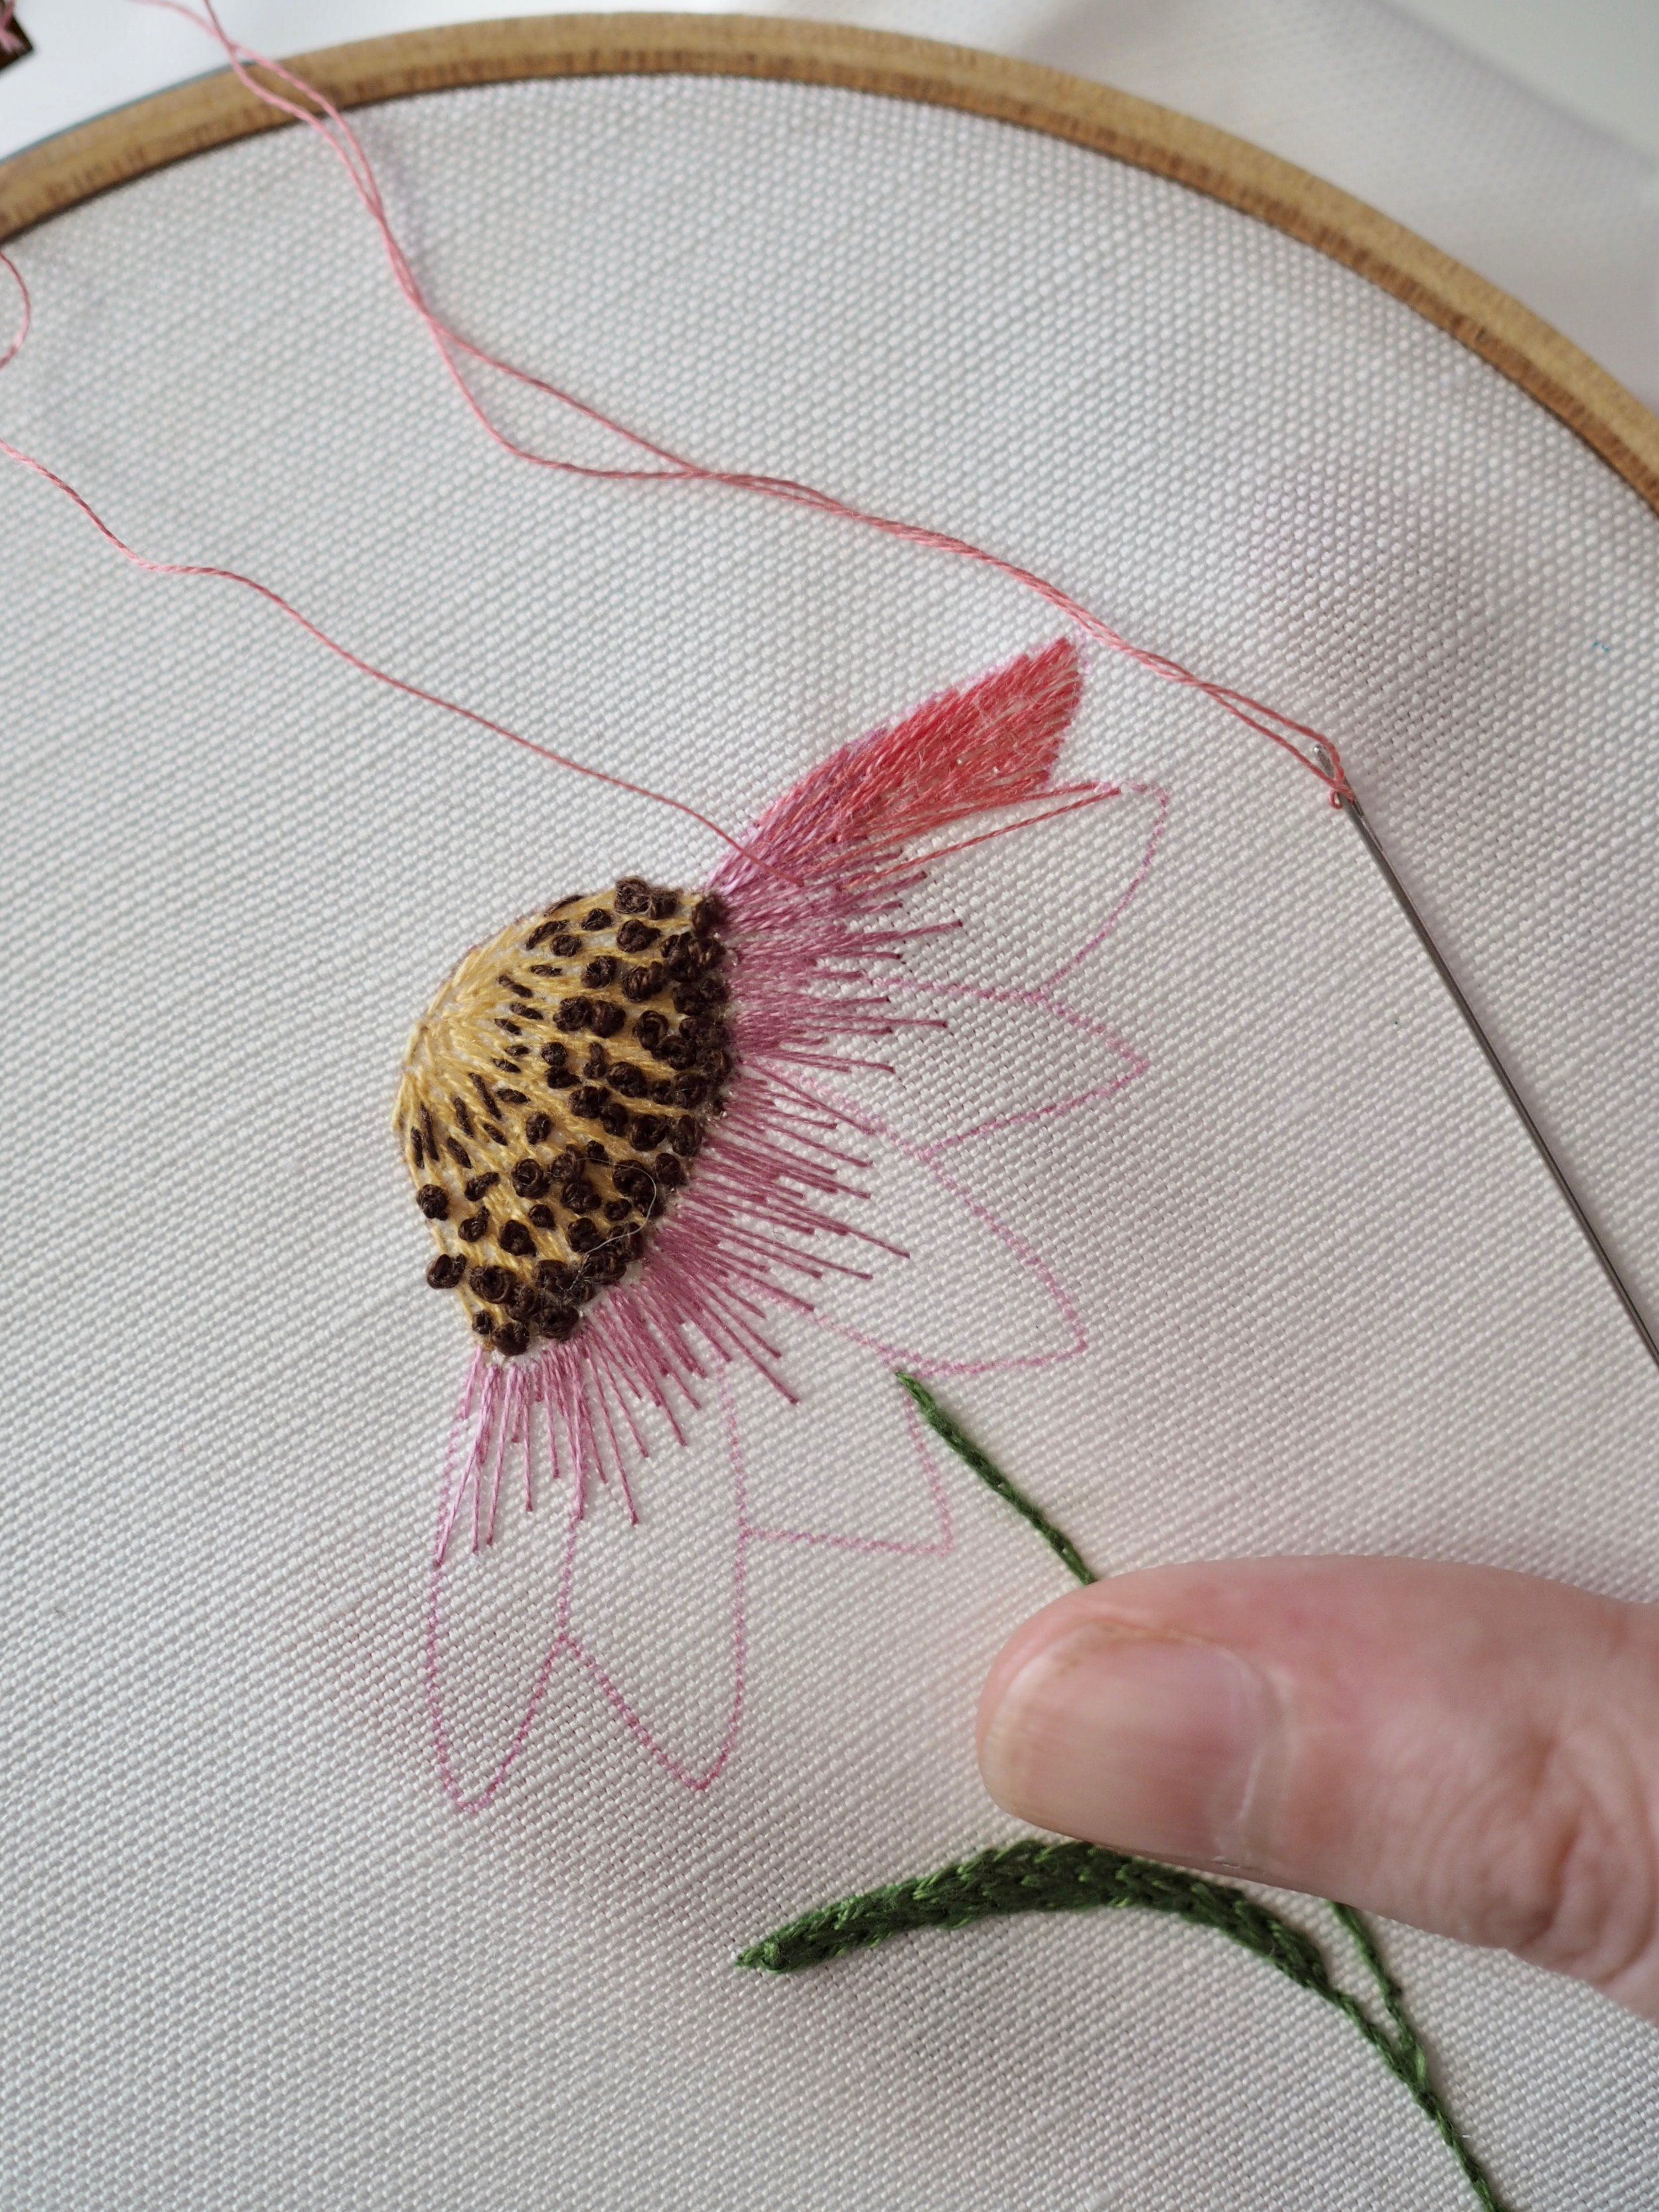
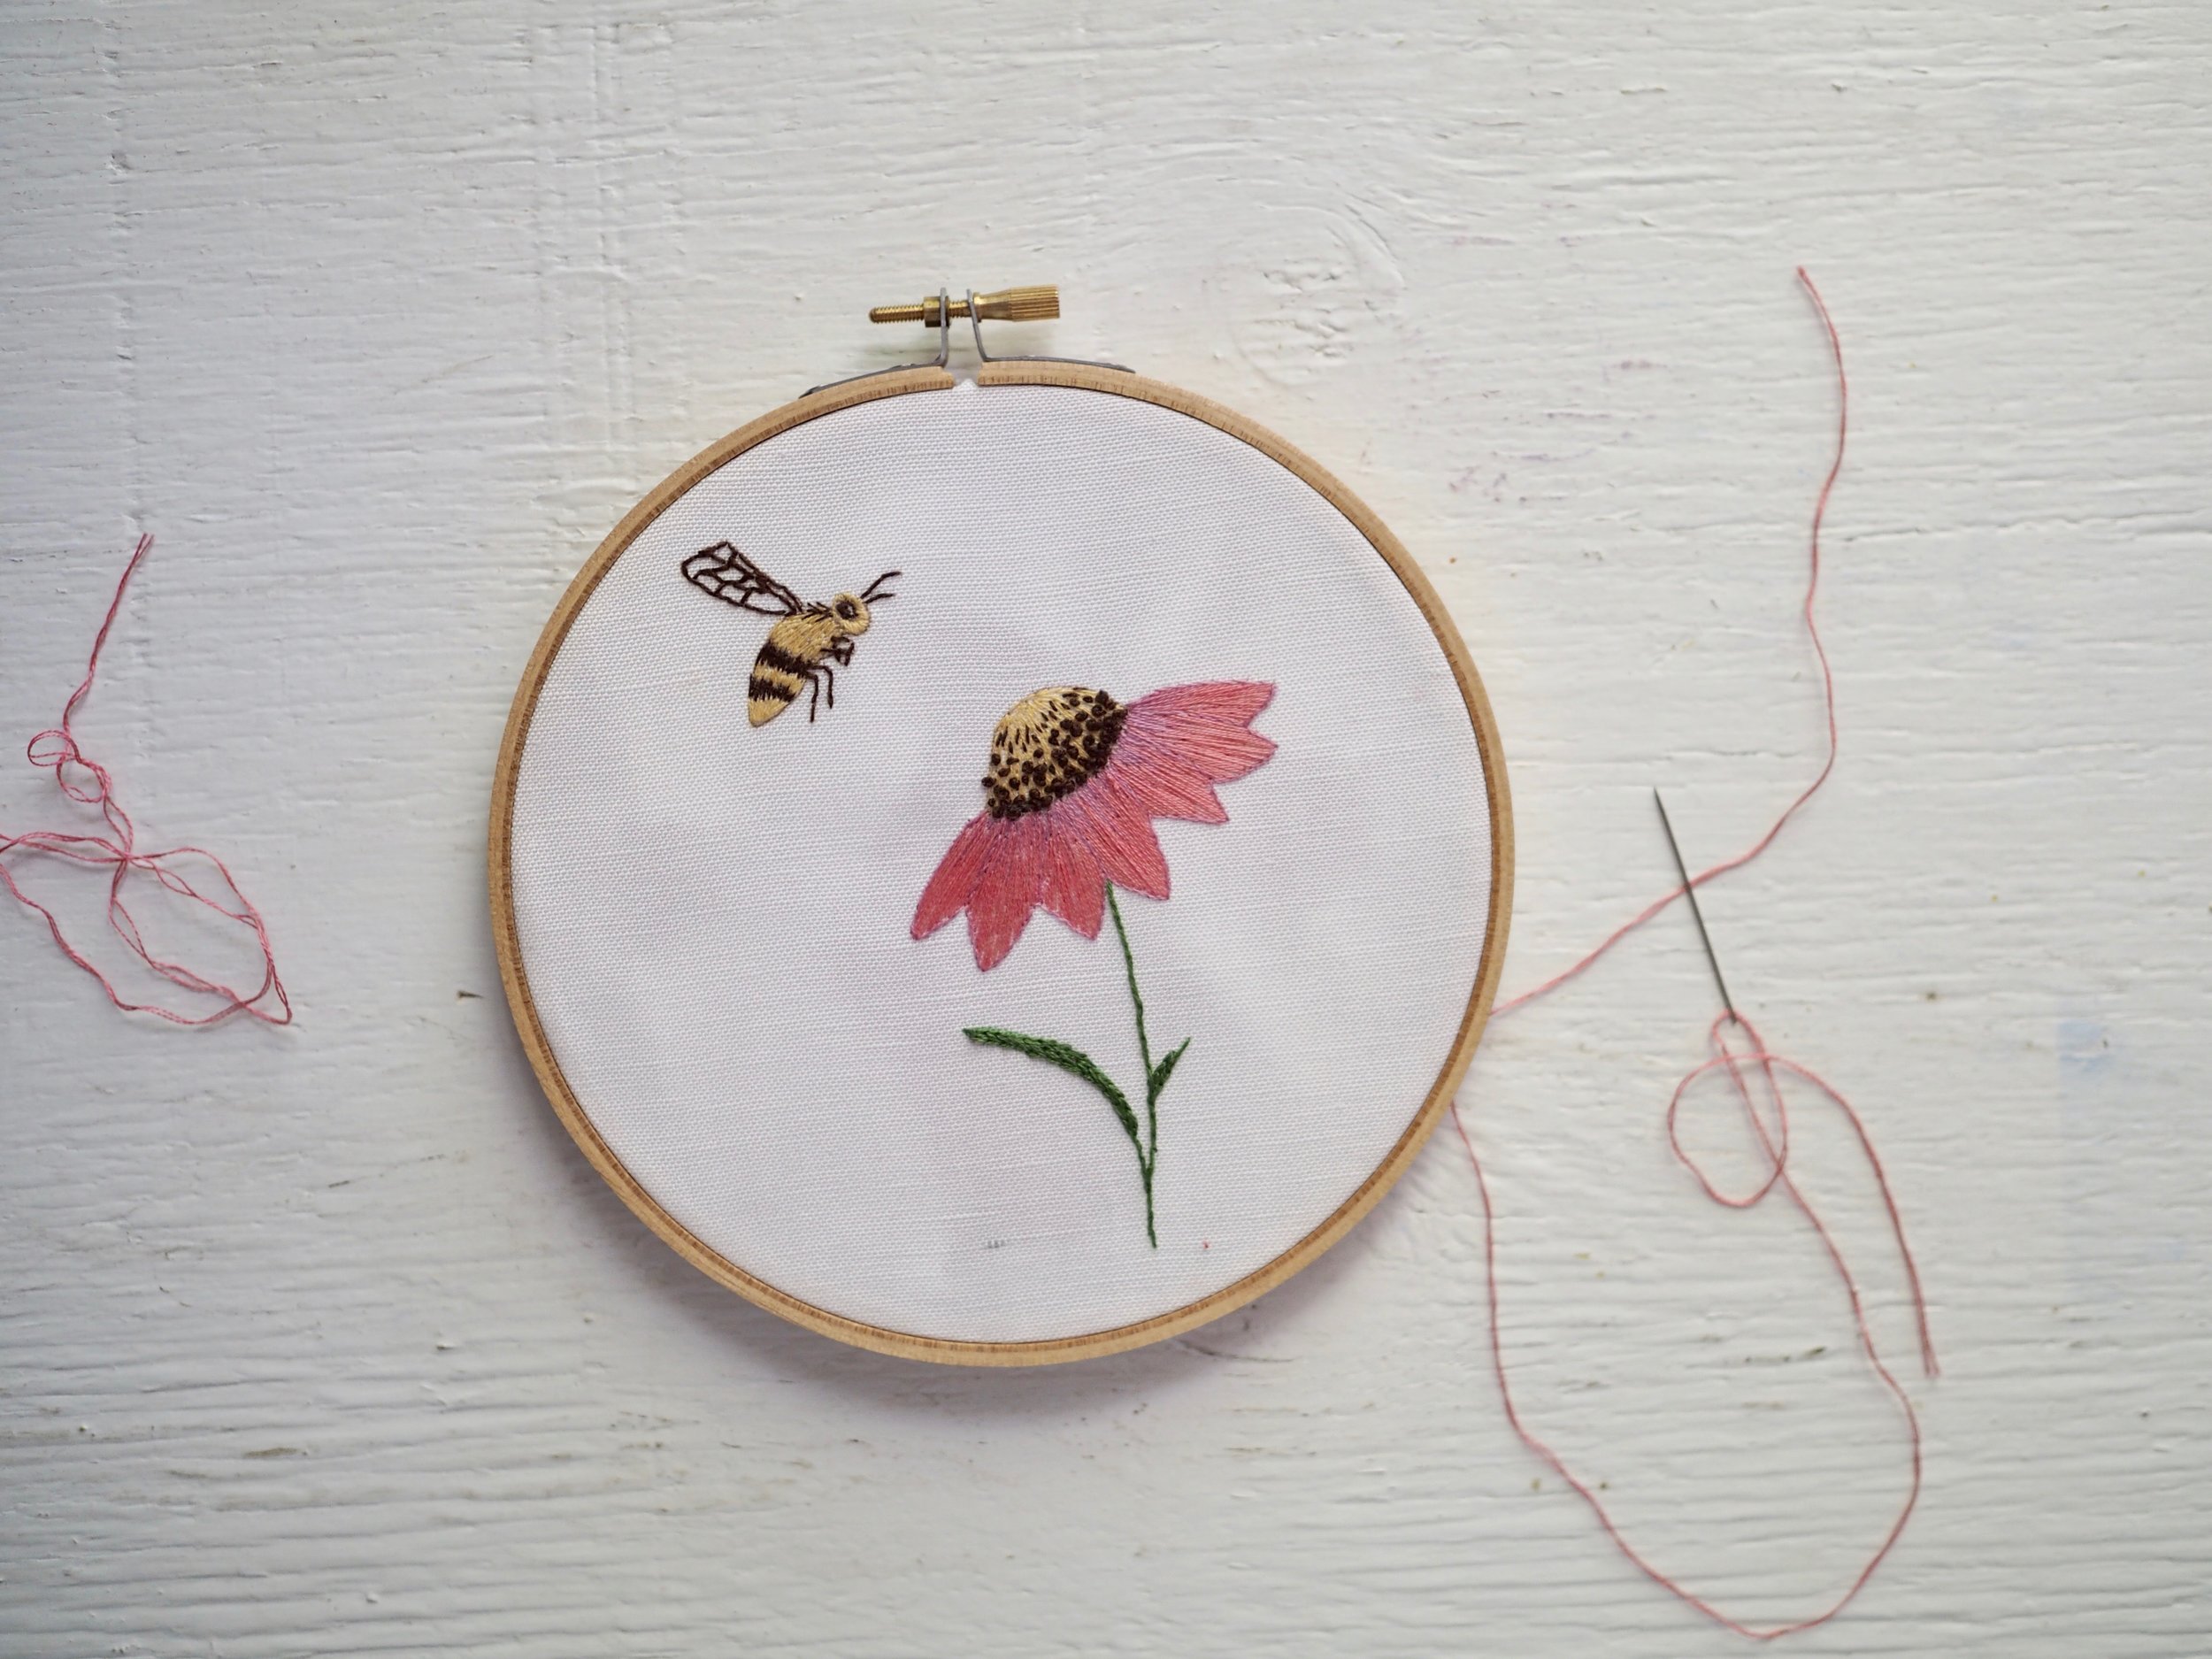
To create blended or shaded colors, I use "hairy" satin stitch, but instead of using one color for the entire section, I use a contrast color for one or two "rows".
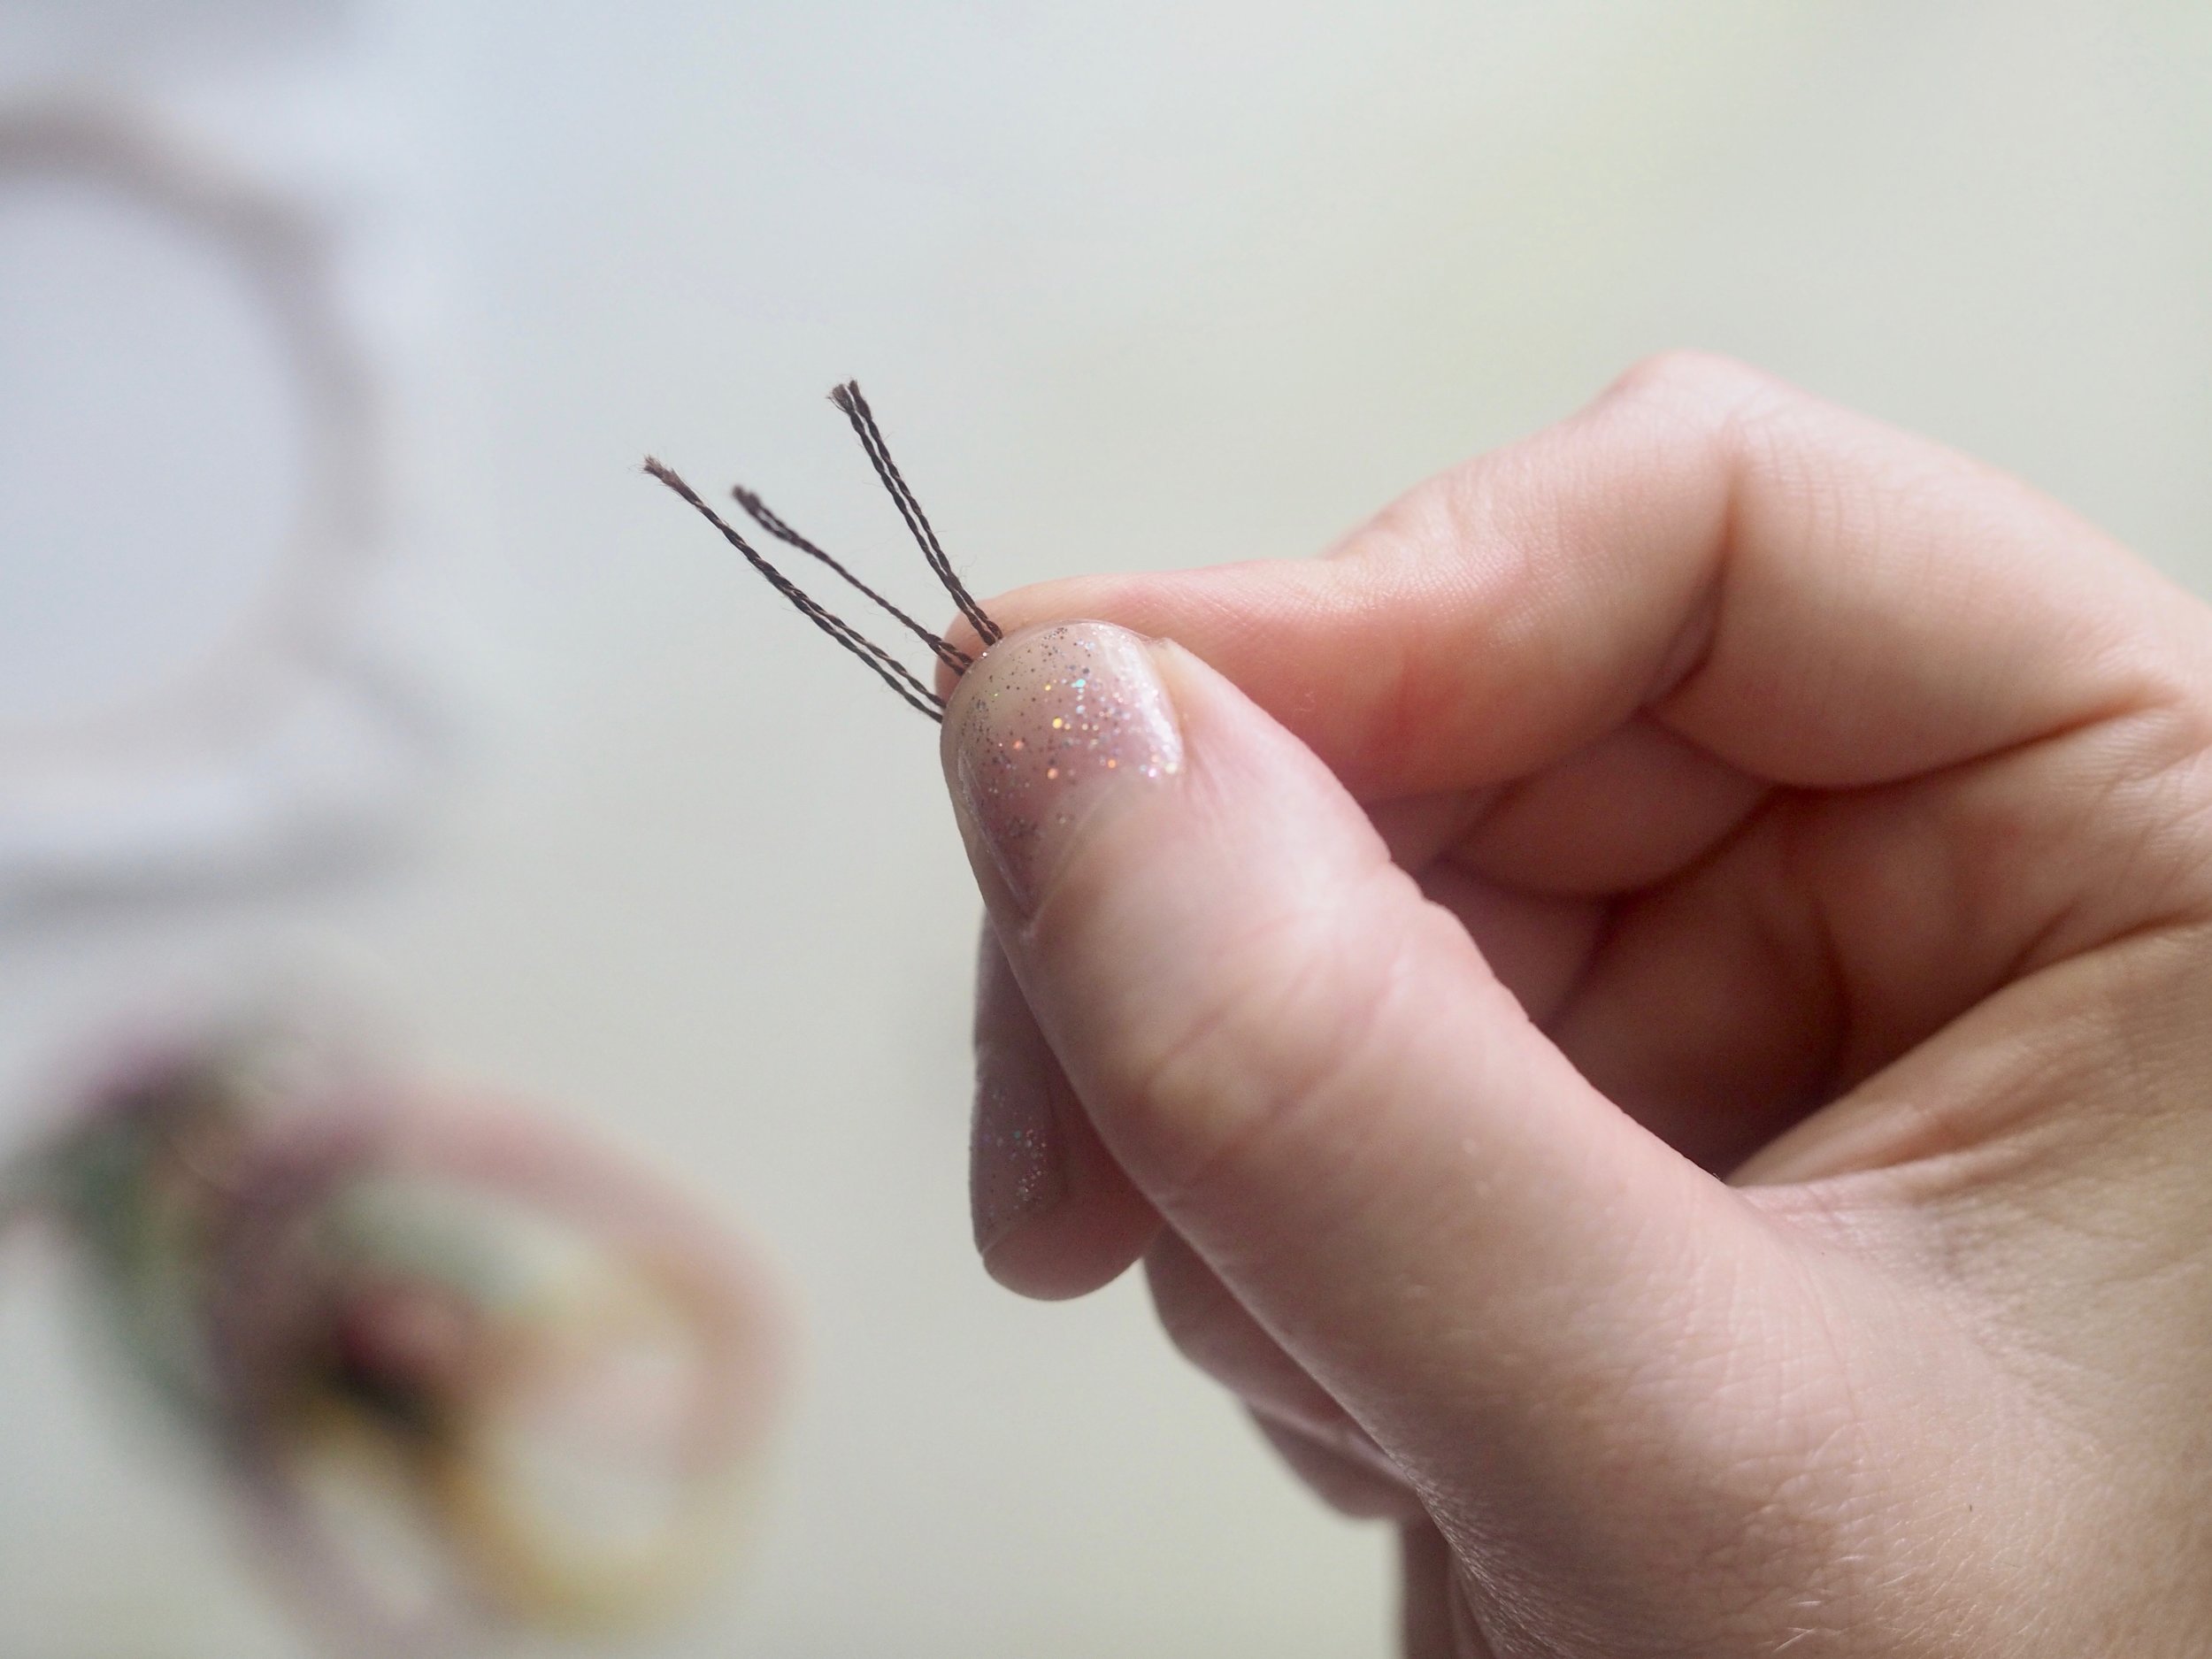
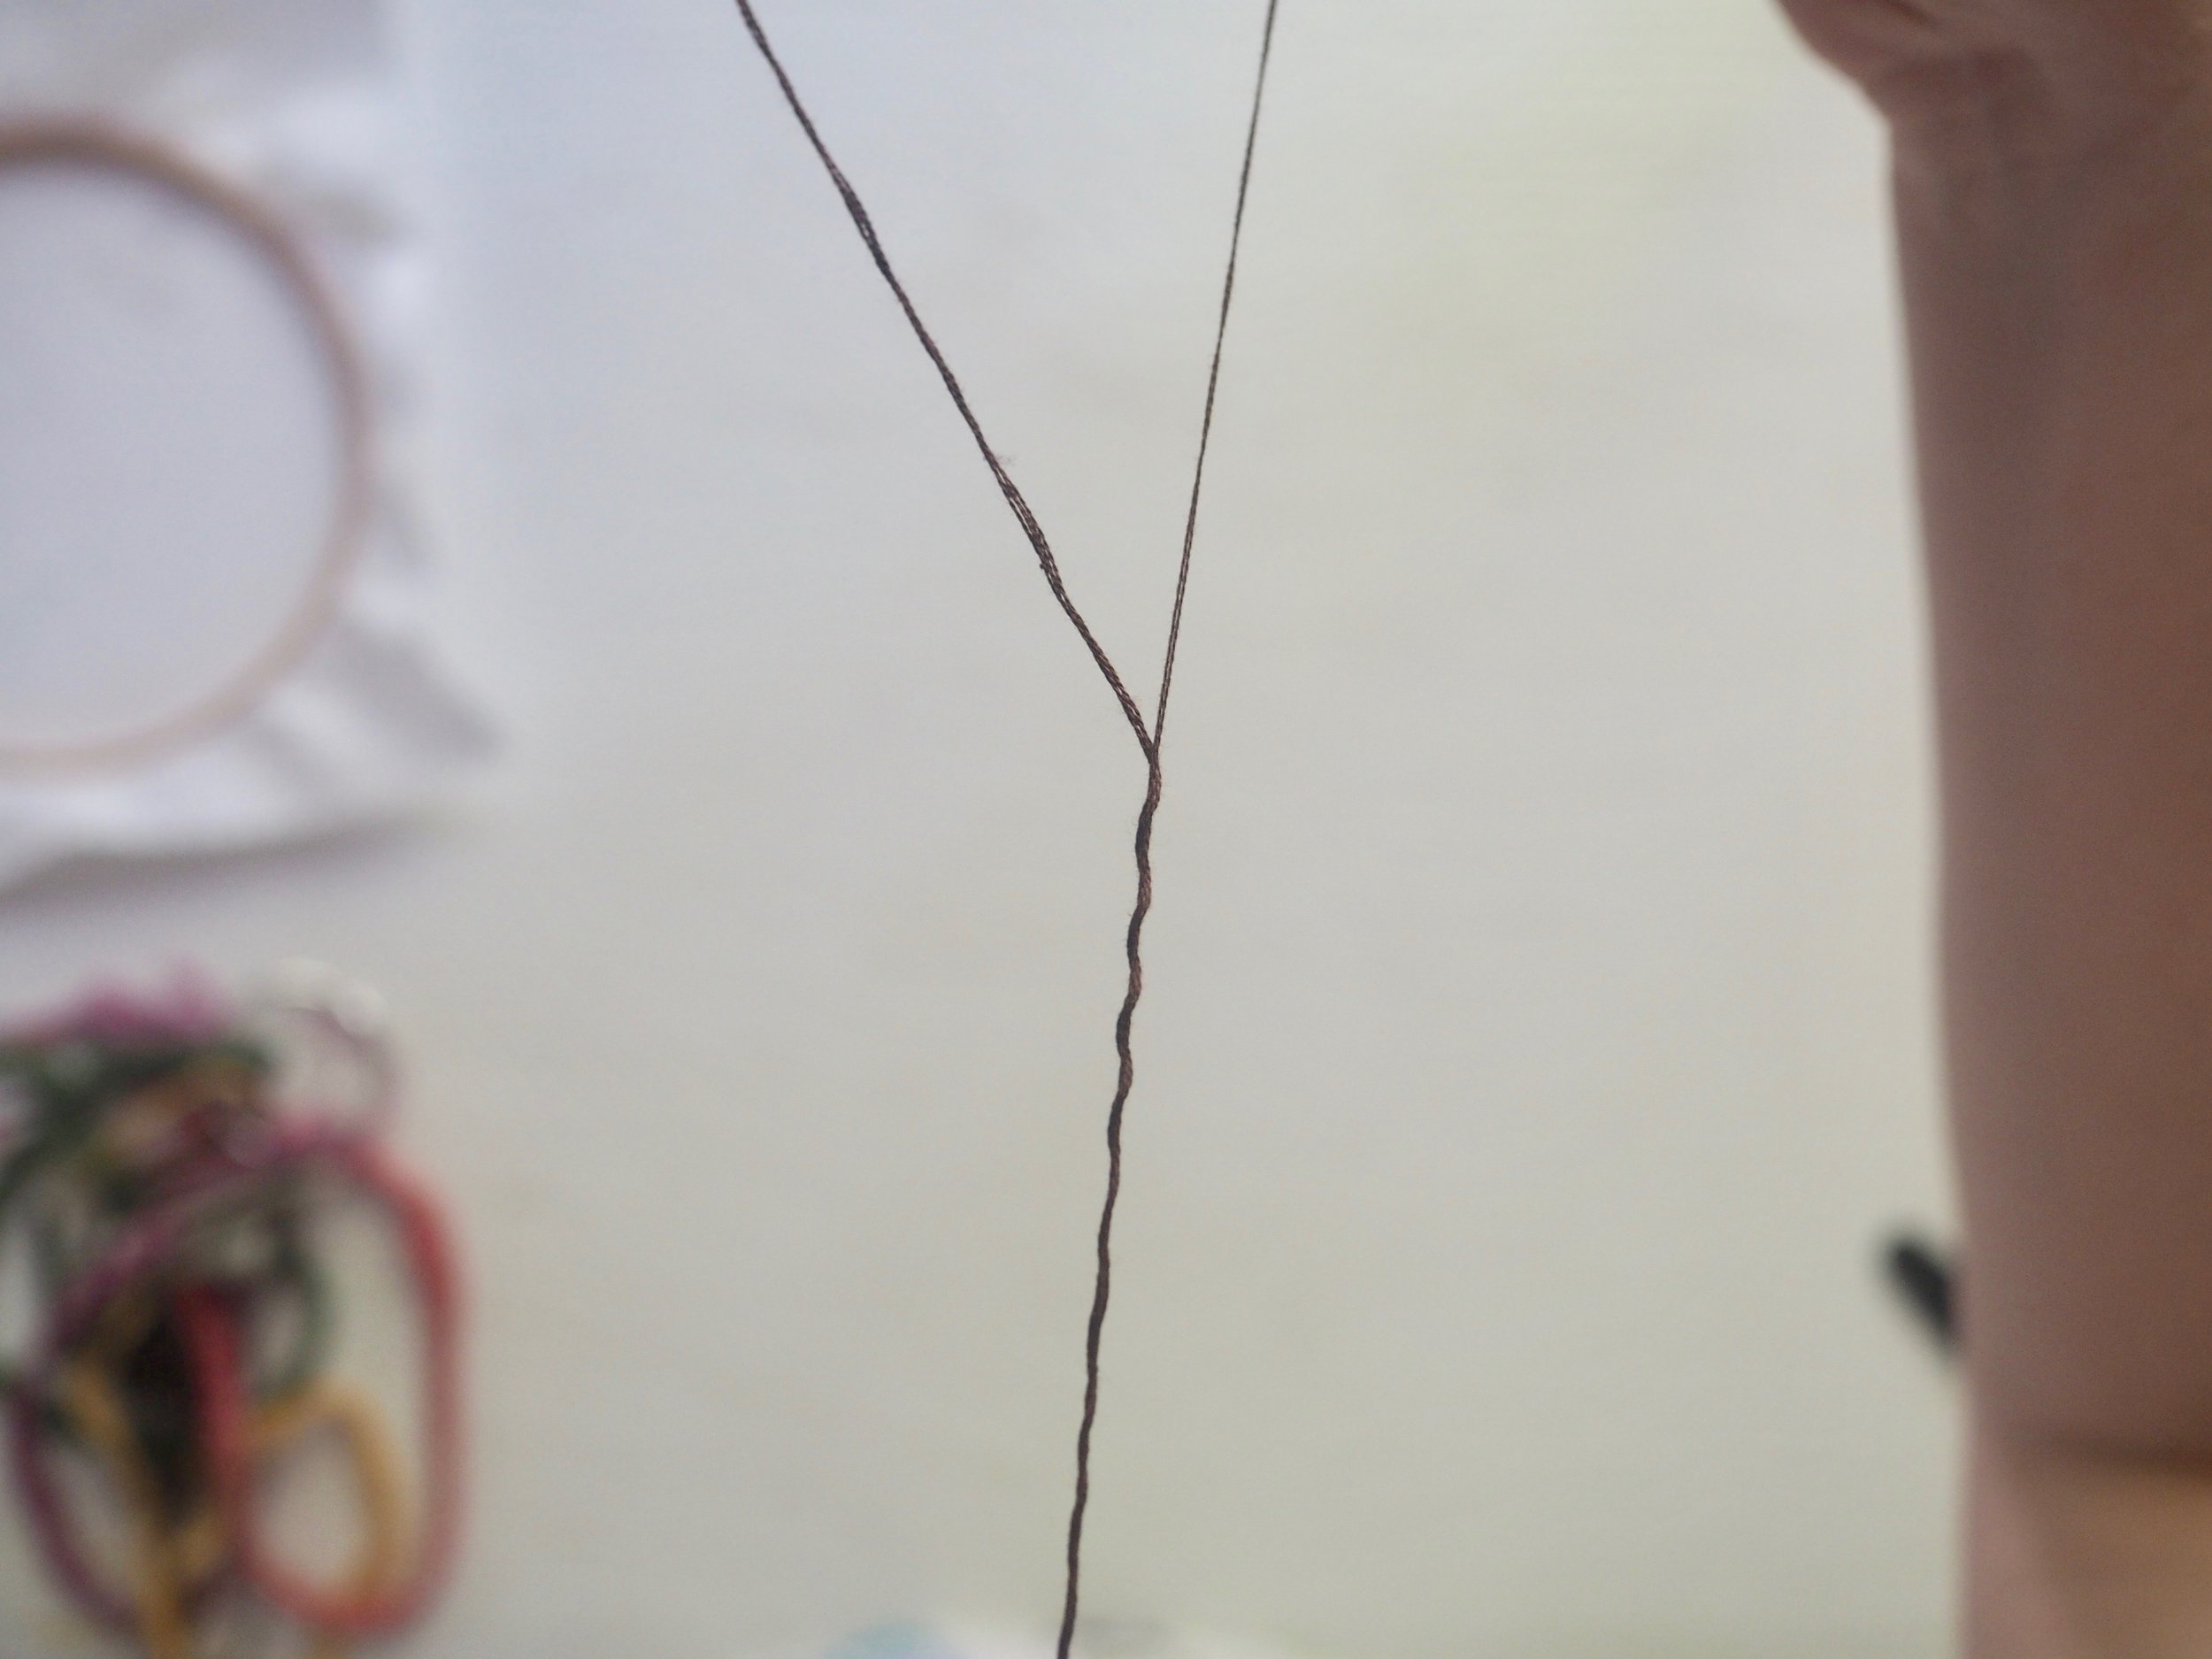
Again, think of it like coloring with a very sharp colored pencil. Using a single ply will give you a more blended look than 2 or more plys.
To subtly define the individual petals and clean up the edges, I used backstitch to outline each petal in a single ply of the darker shade.
BLANKET STITCH and FINISHING YOUR HOOP
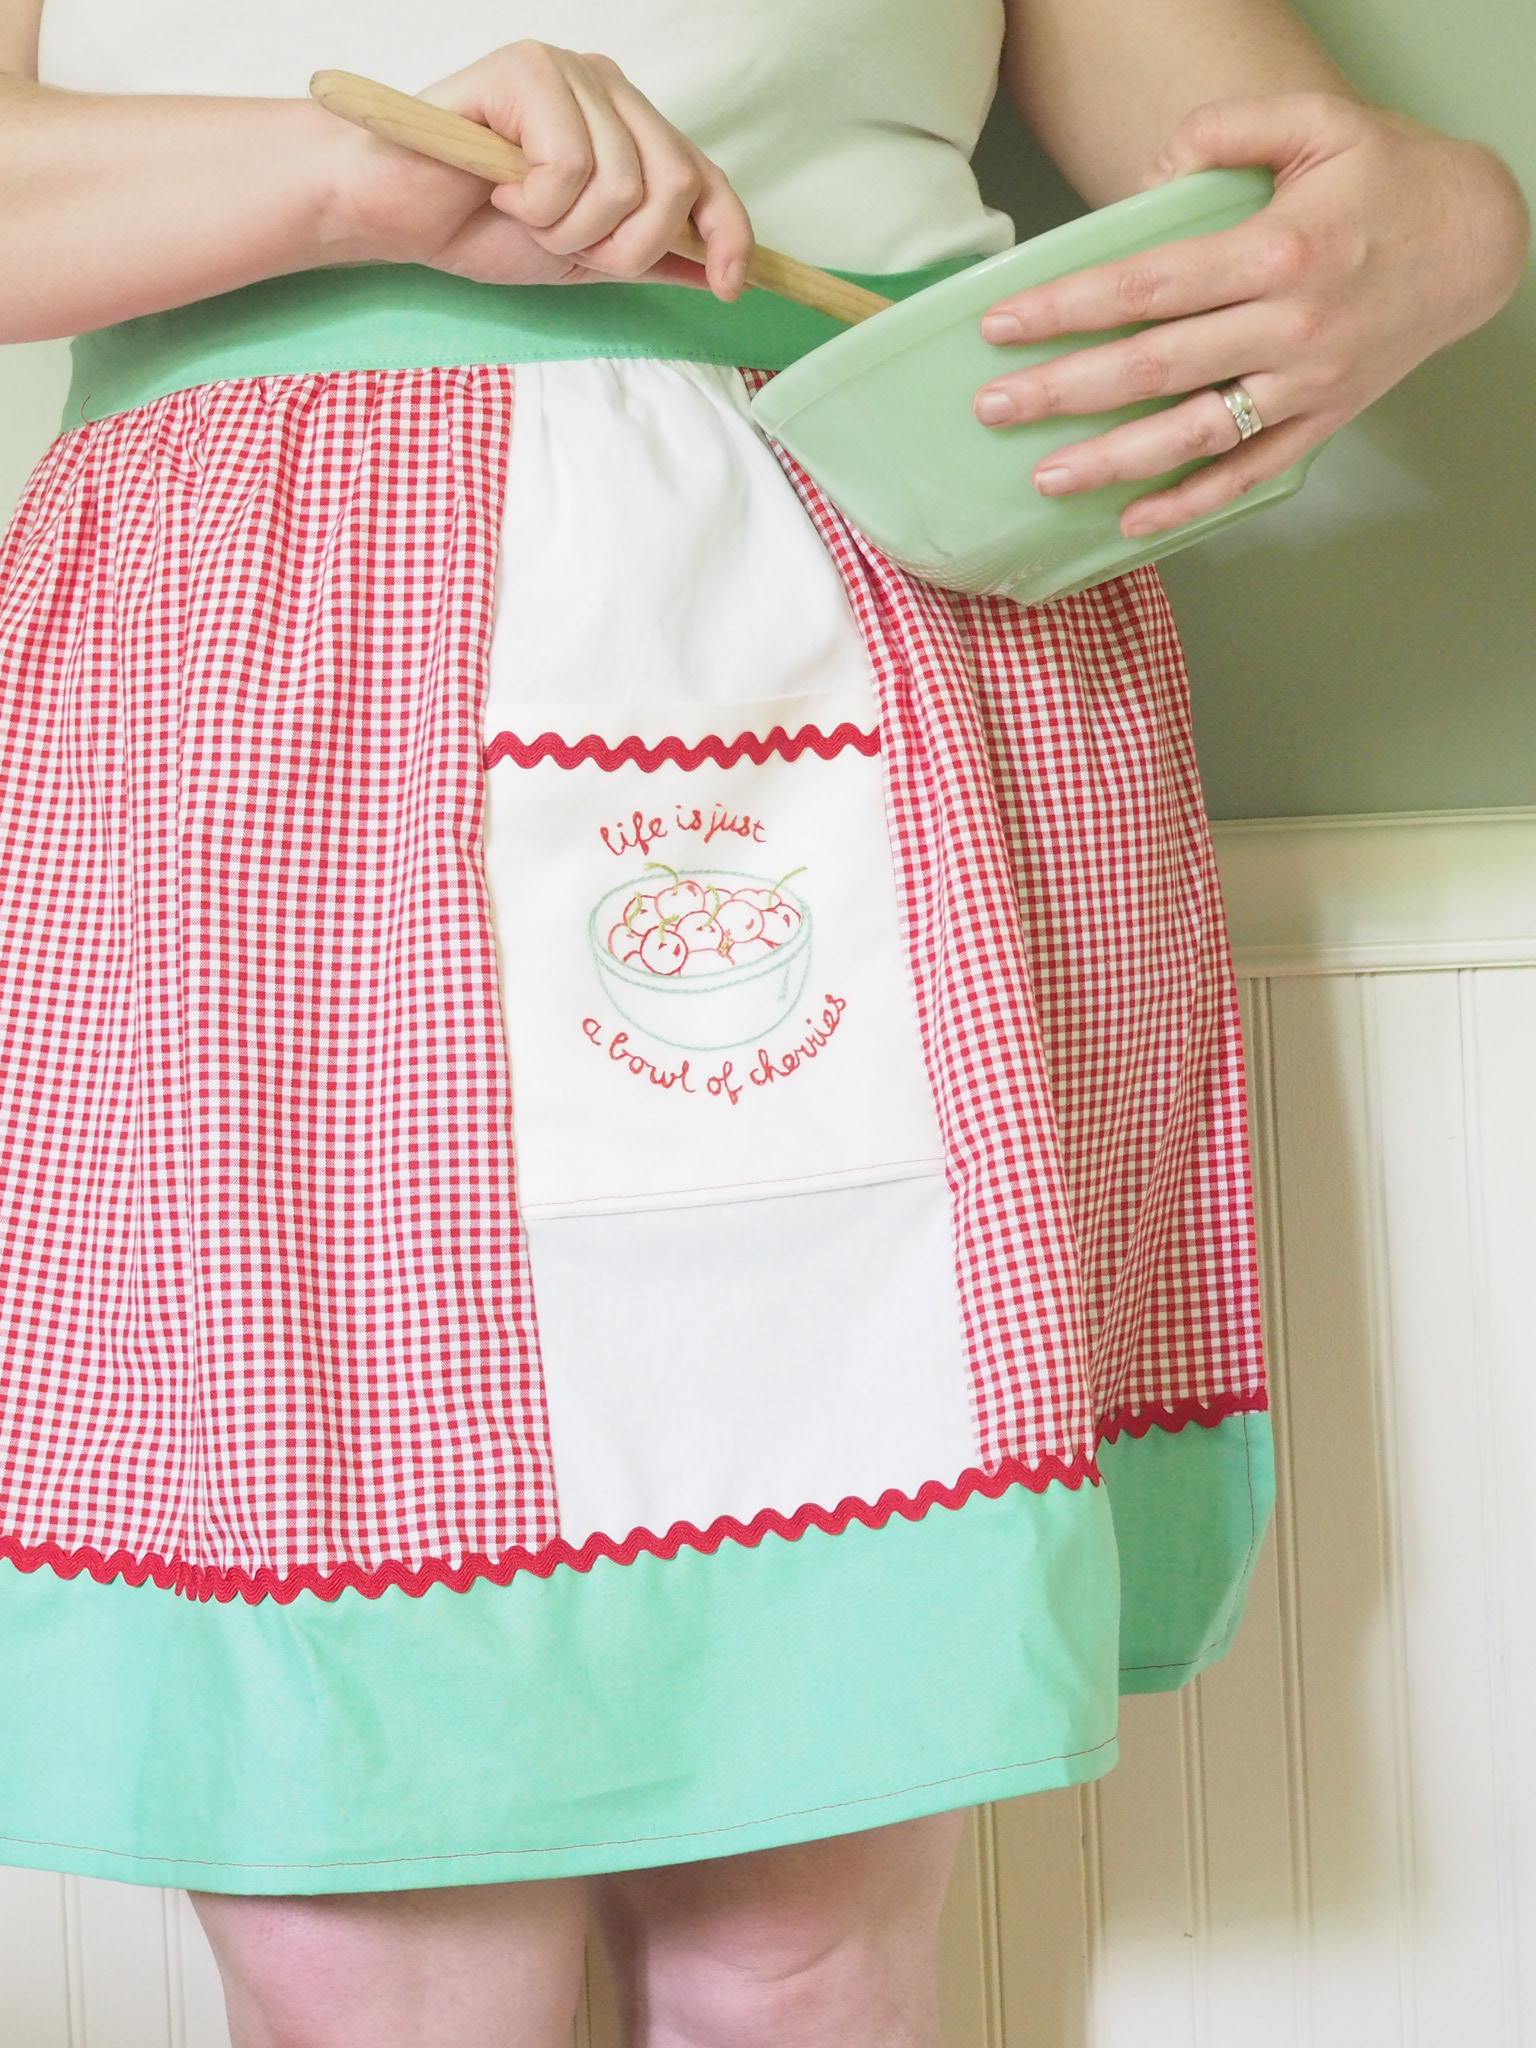
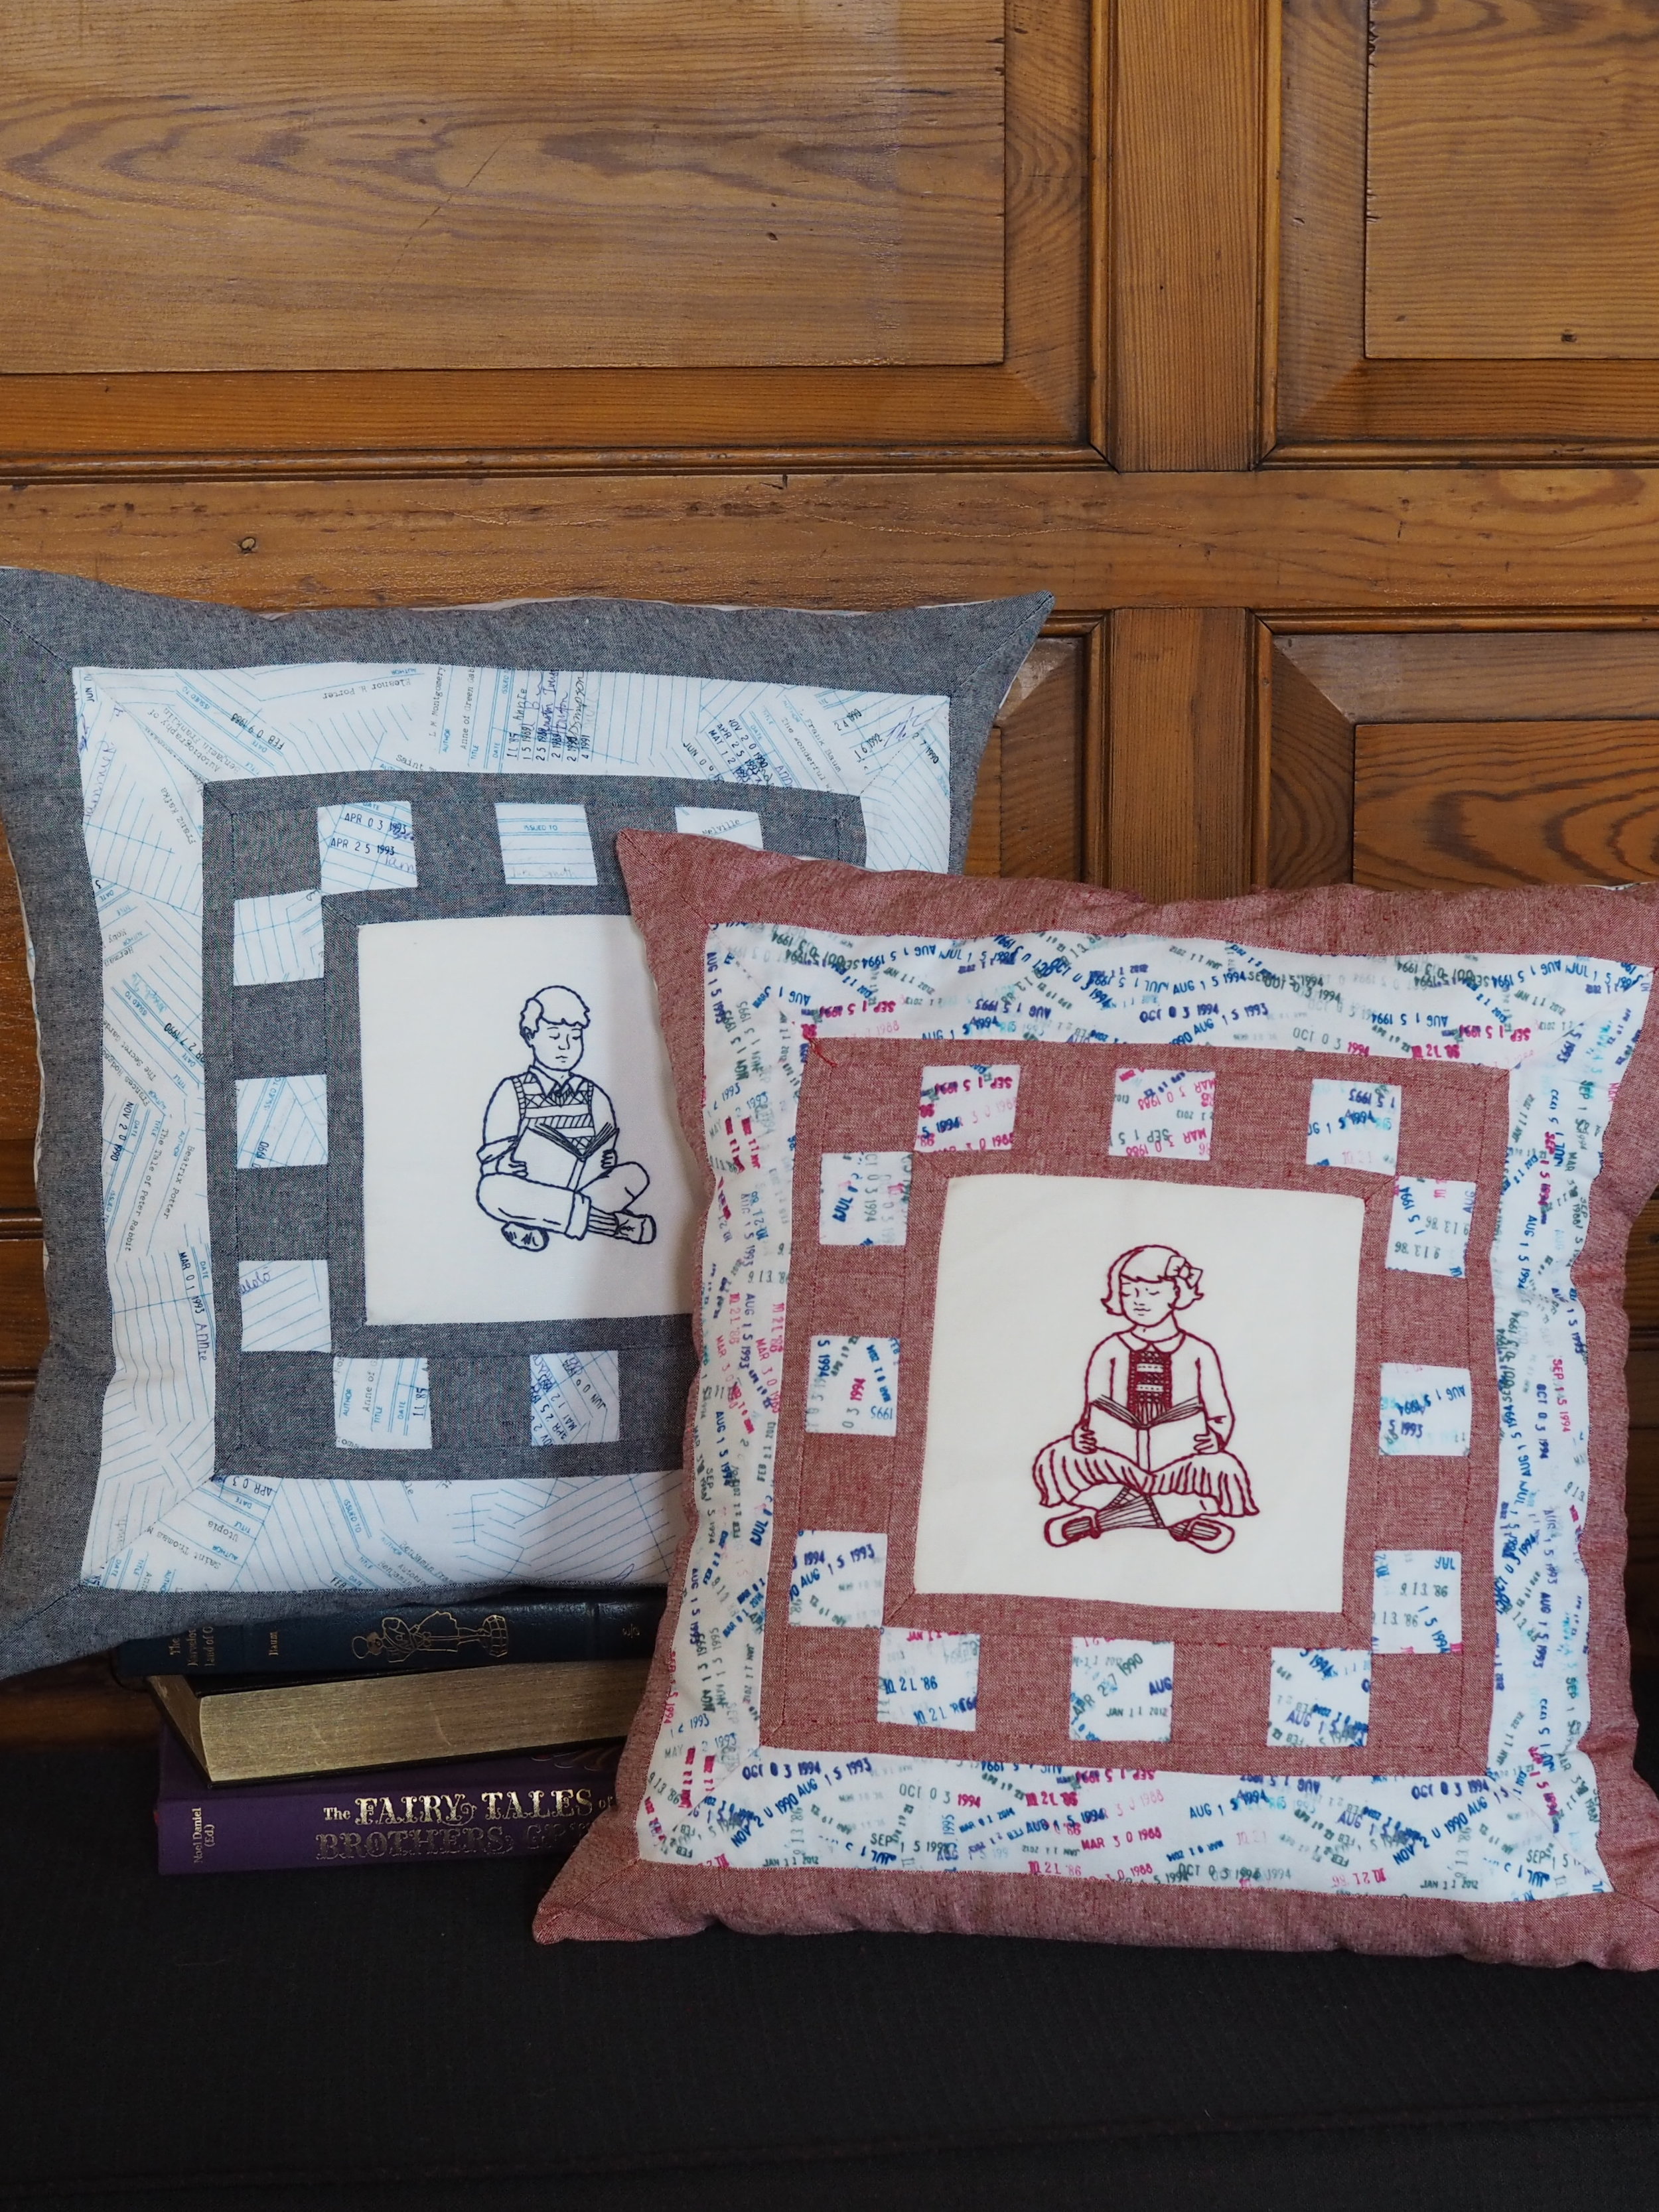
While you could certainly do any number of things with your finished stitching (make it into a pillow, quilt square, a pocket, etc.) my favorite thing to do is frame it in the hoop.
FINISHING THE HOOP
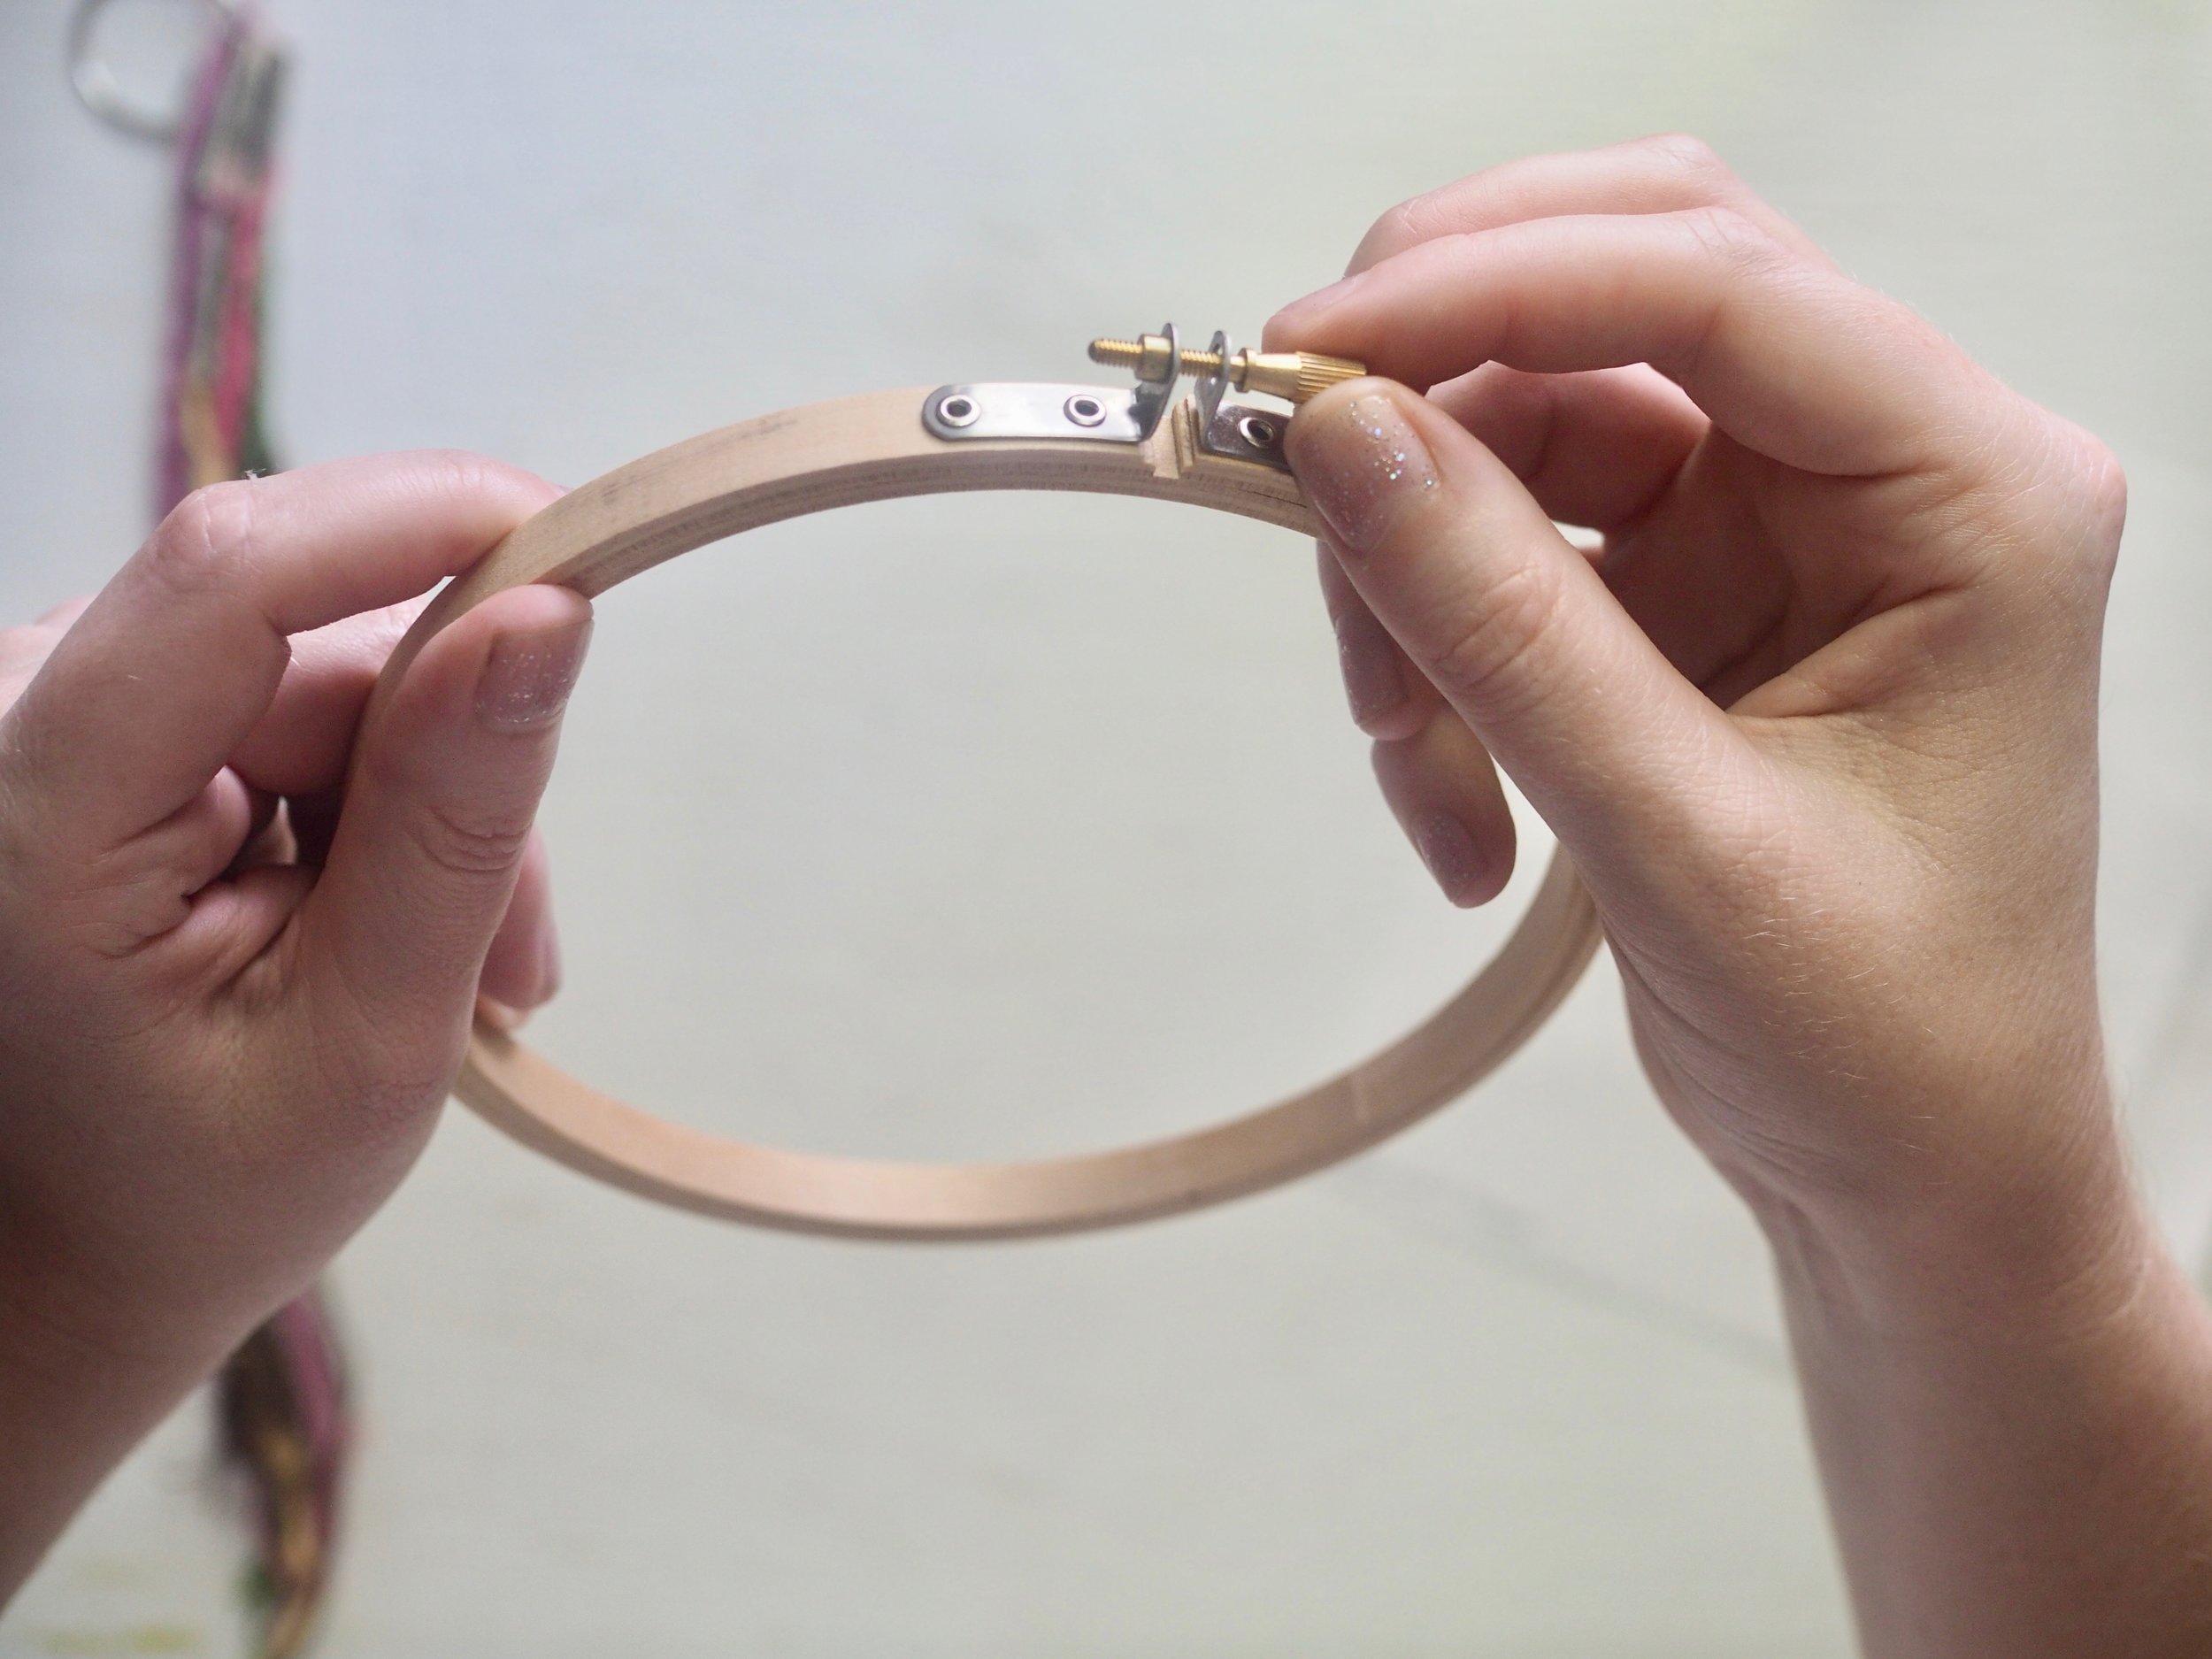
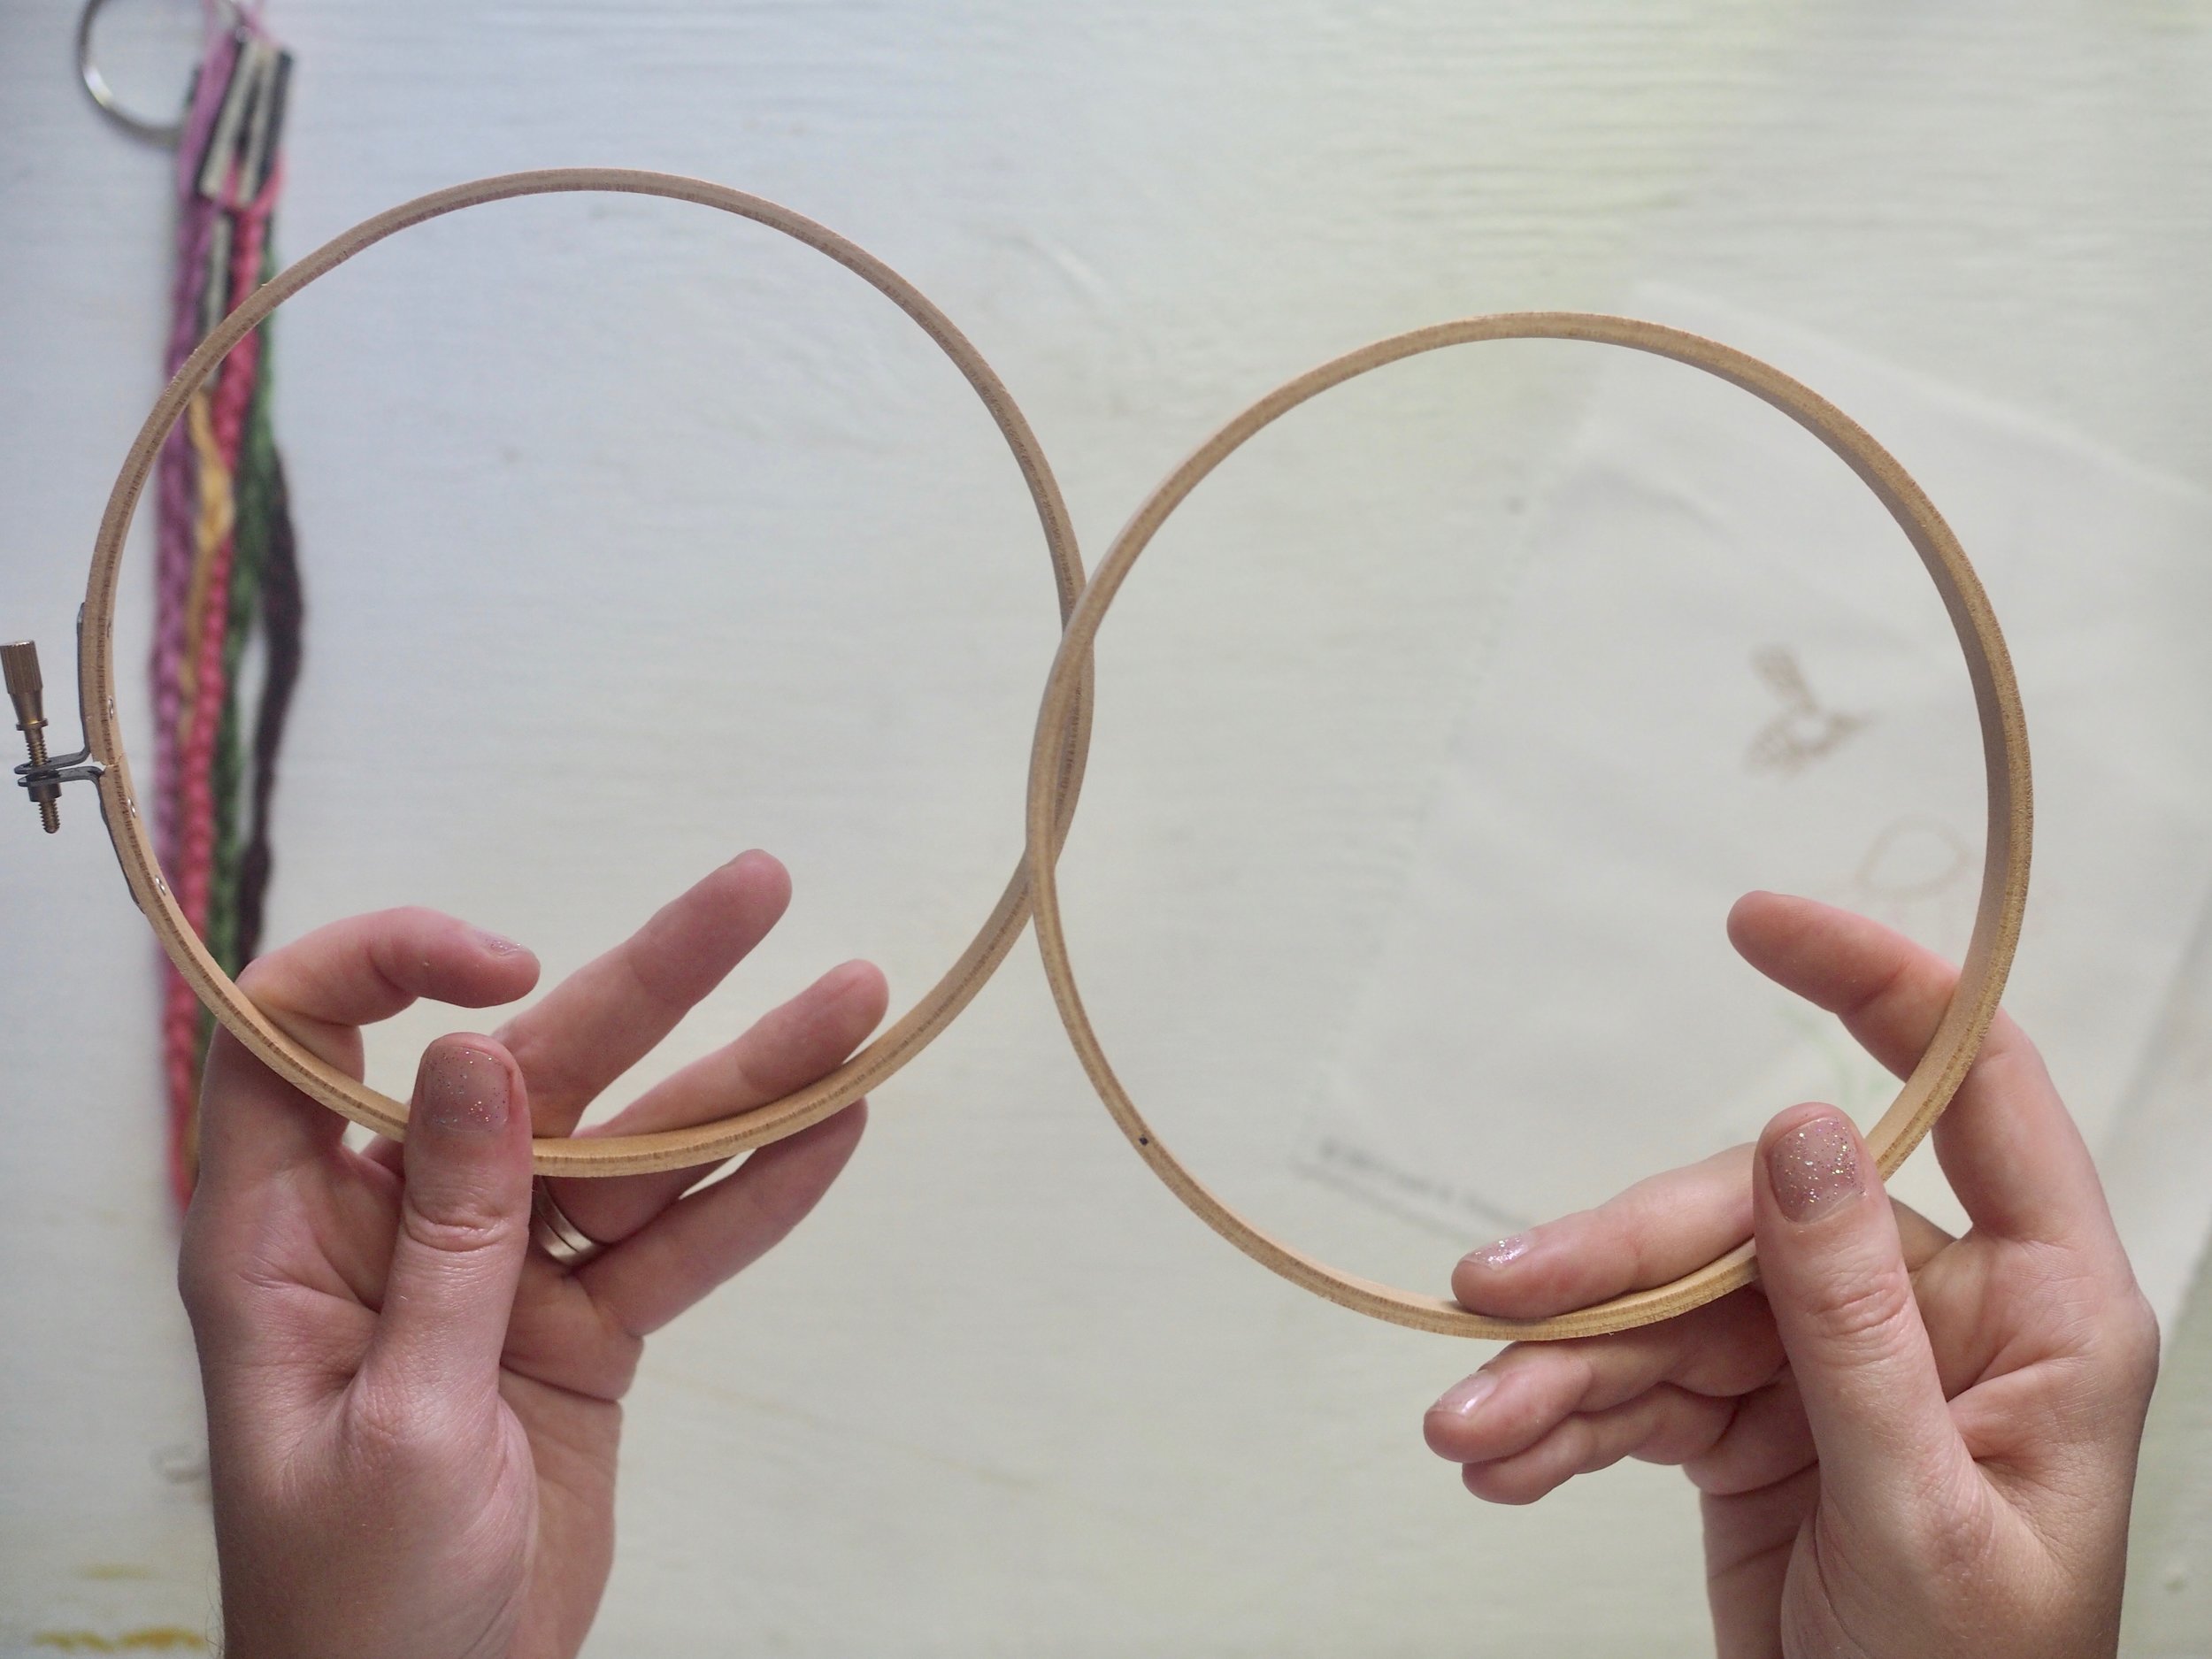
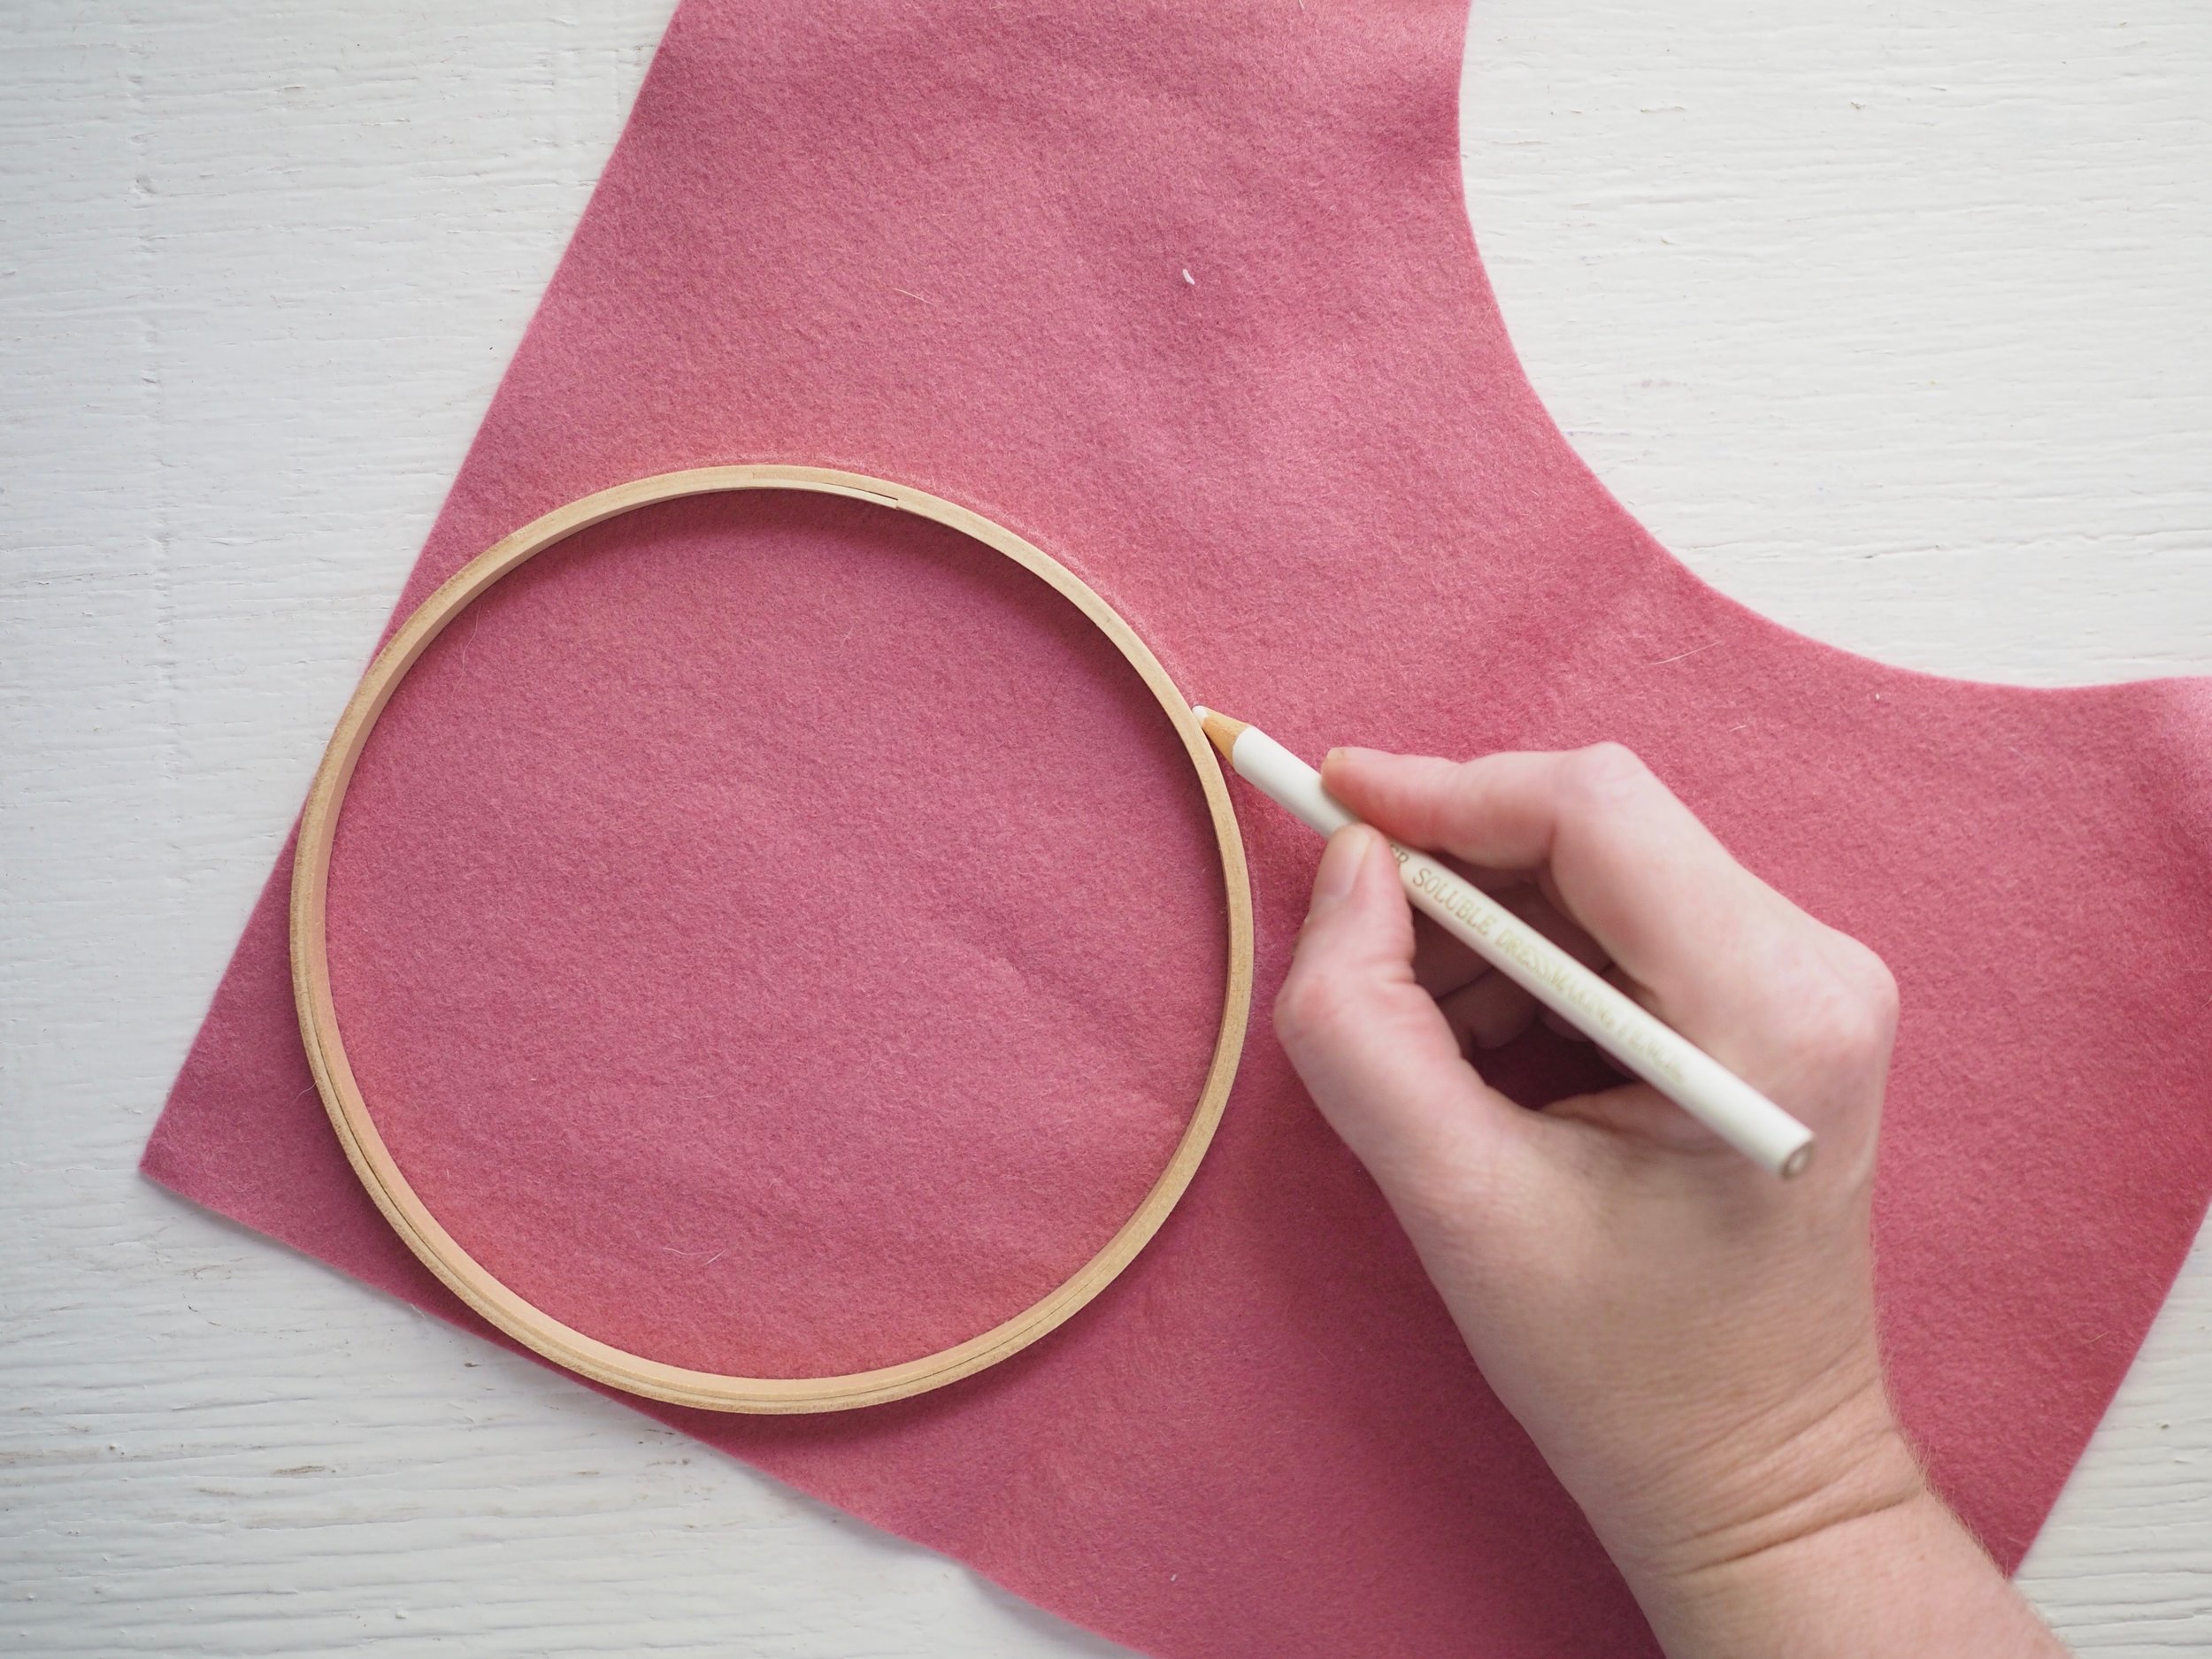
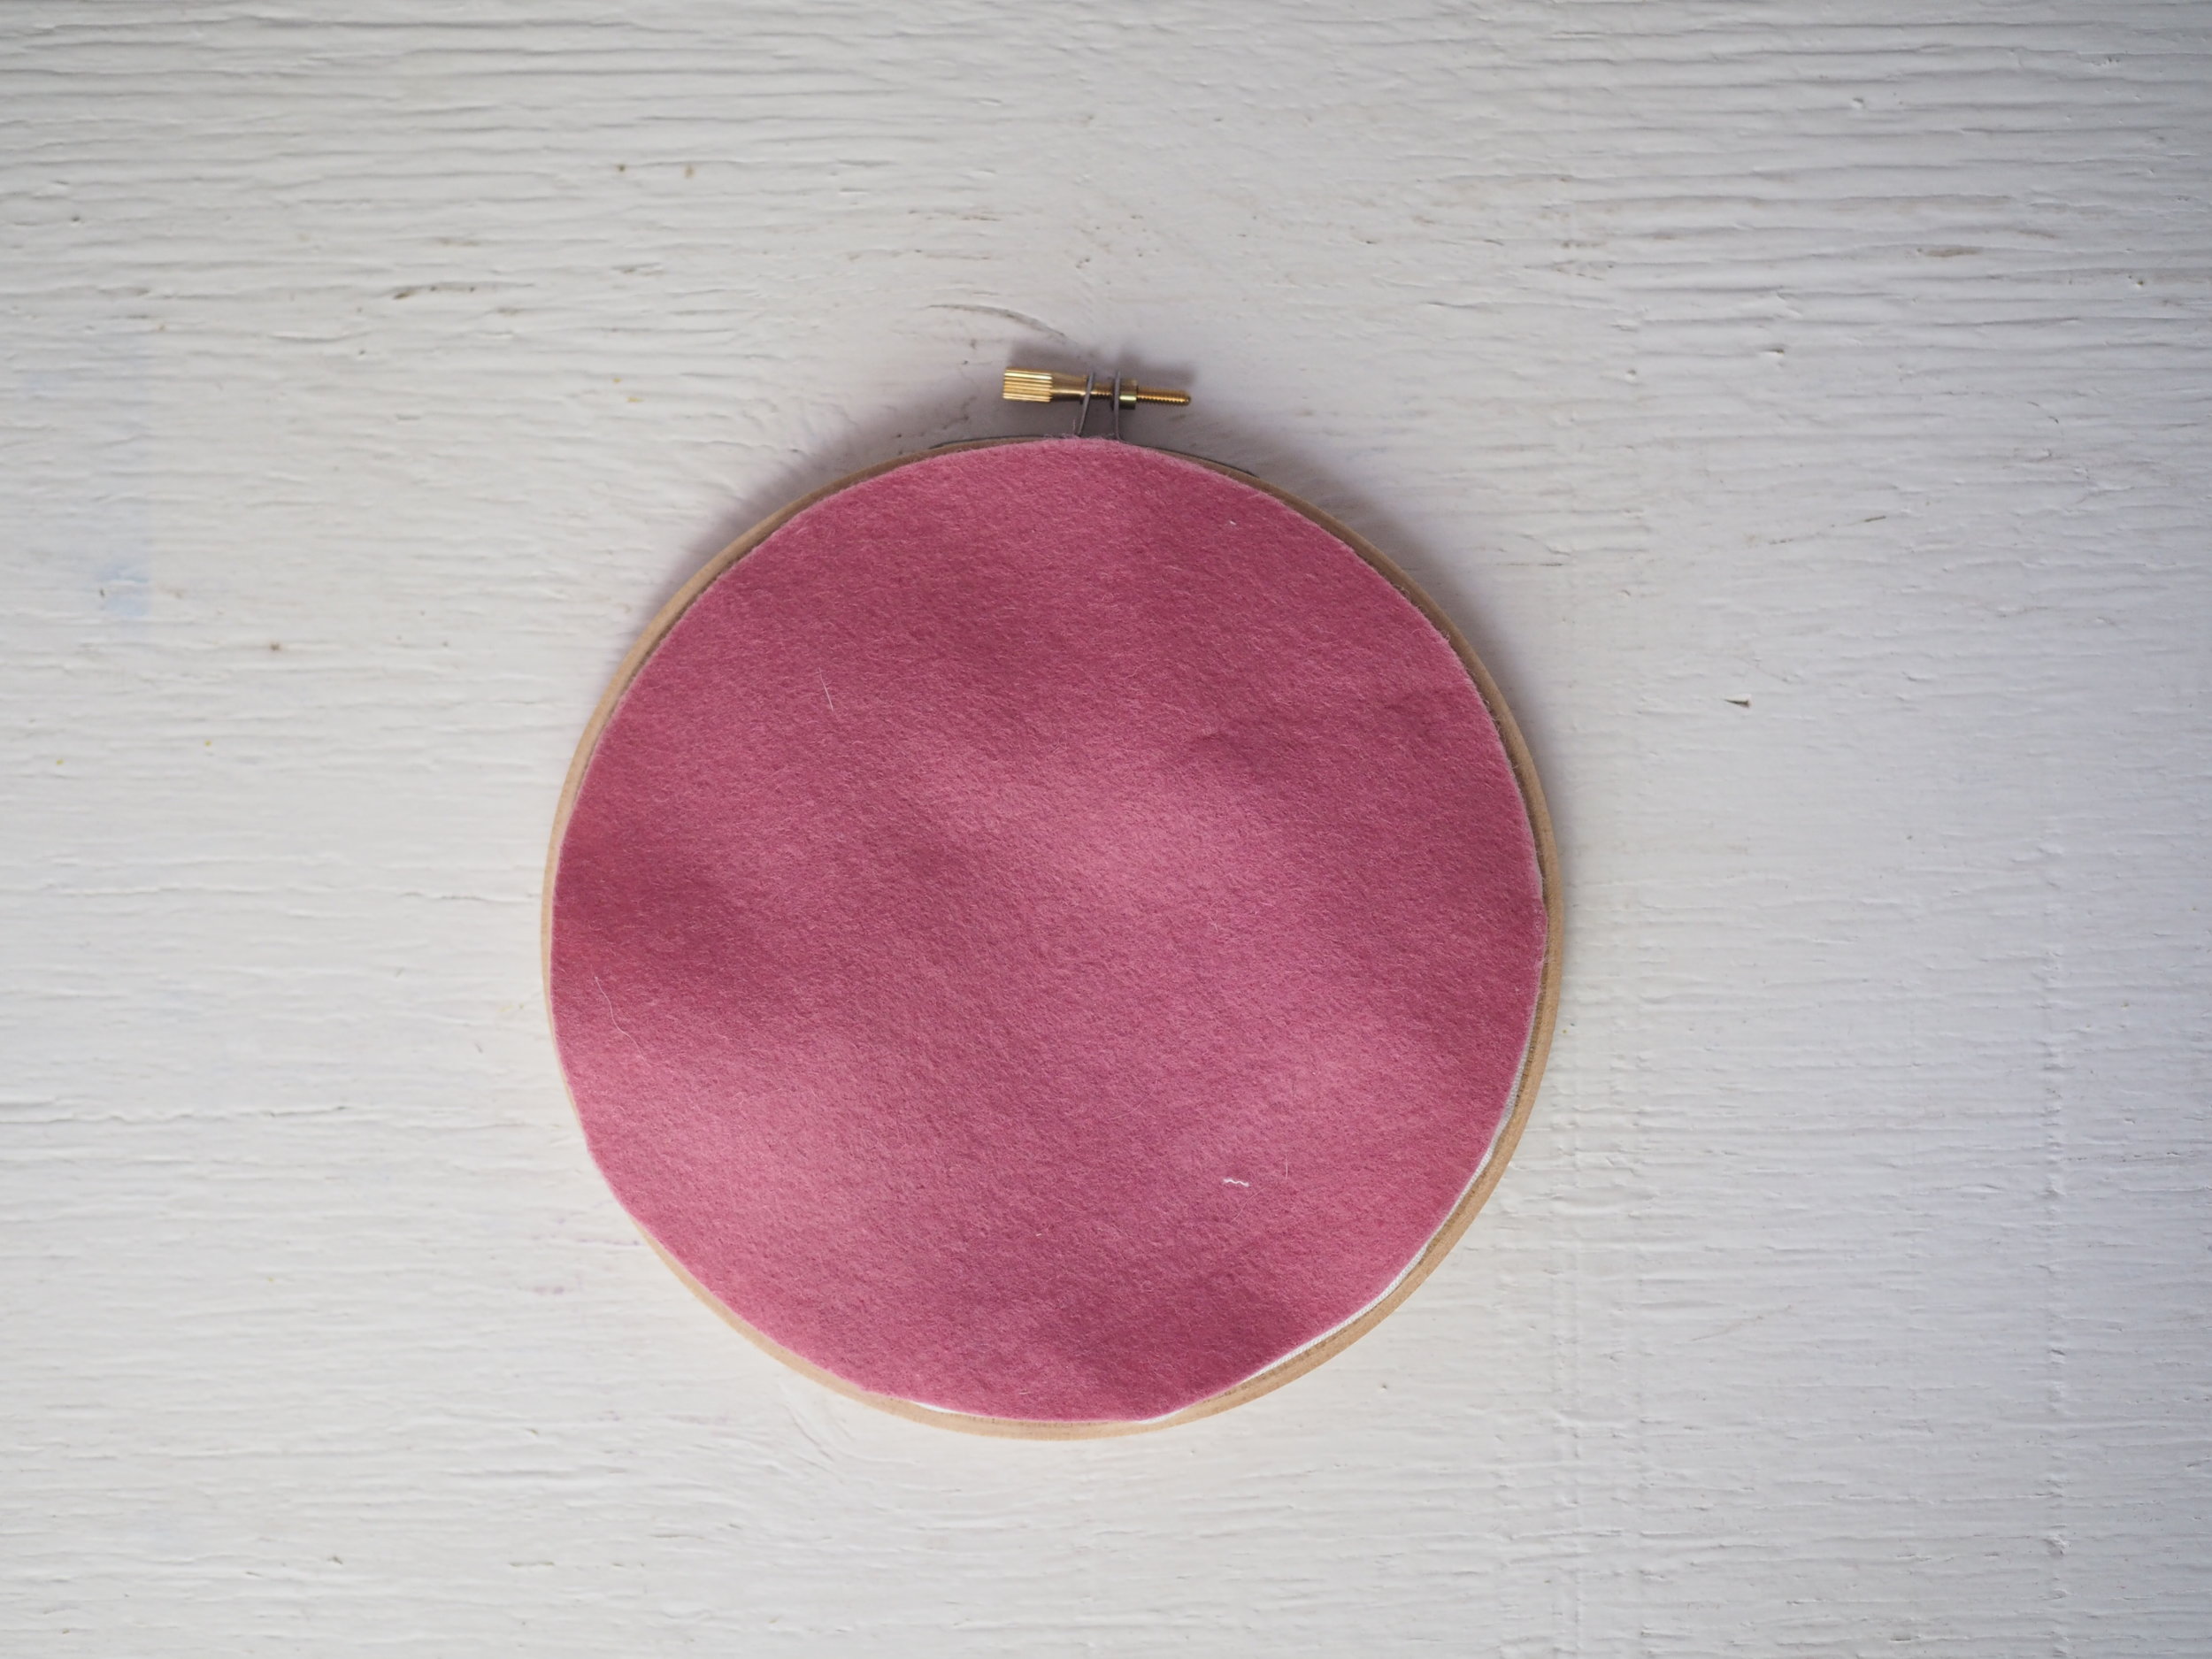
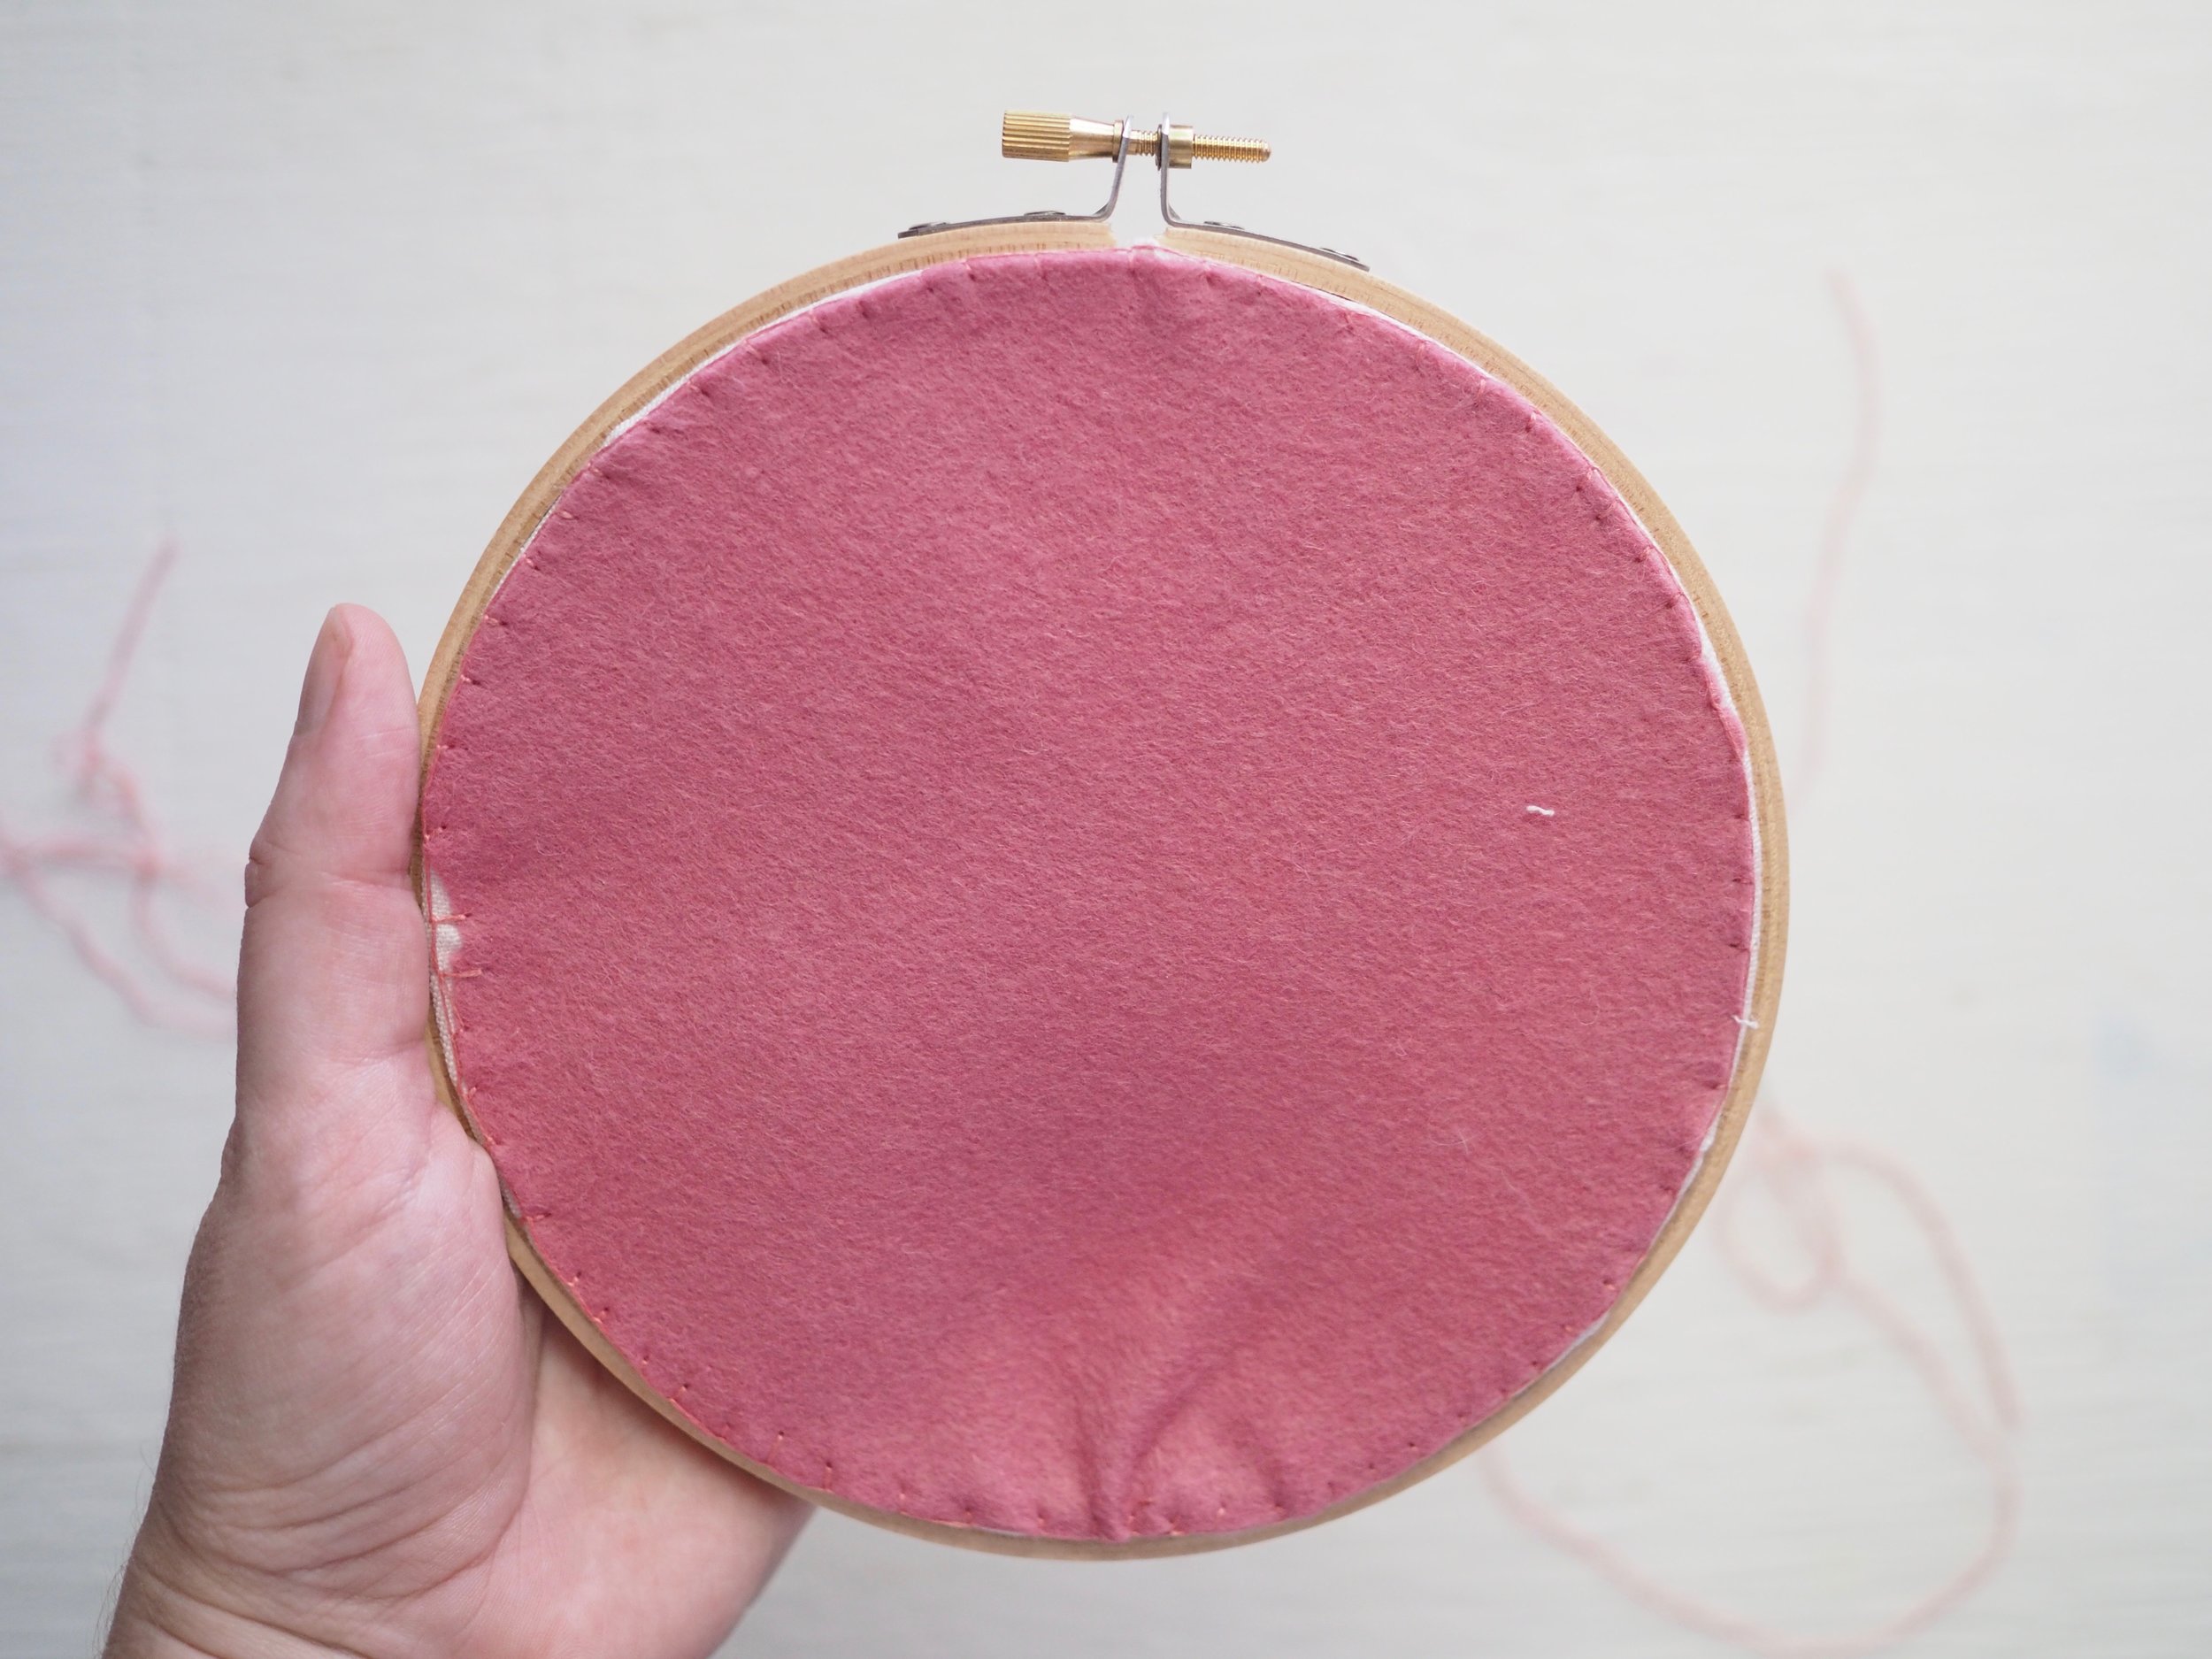
- Using the smaller inner hoop, trace a circle unto some felt and set aside.
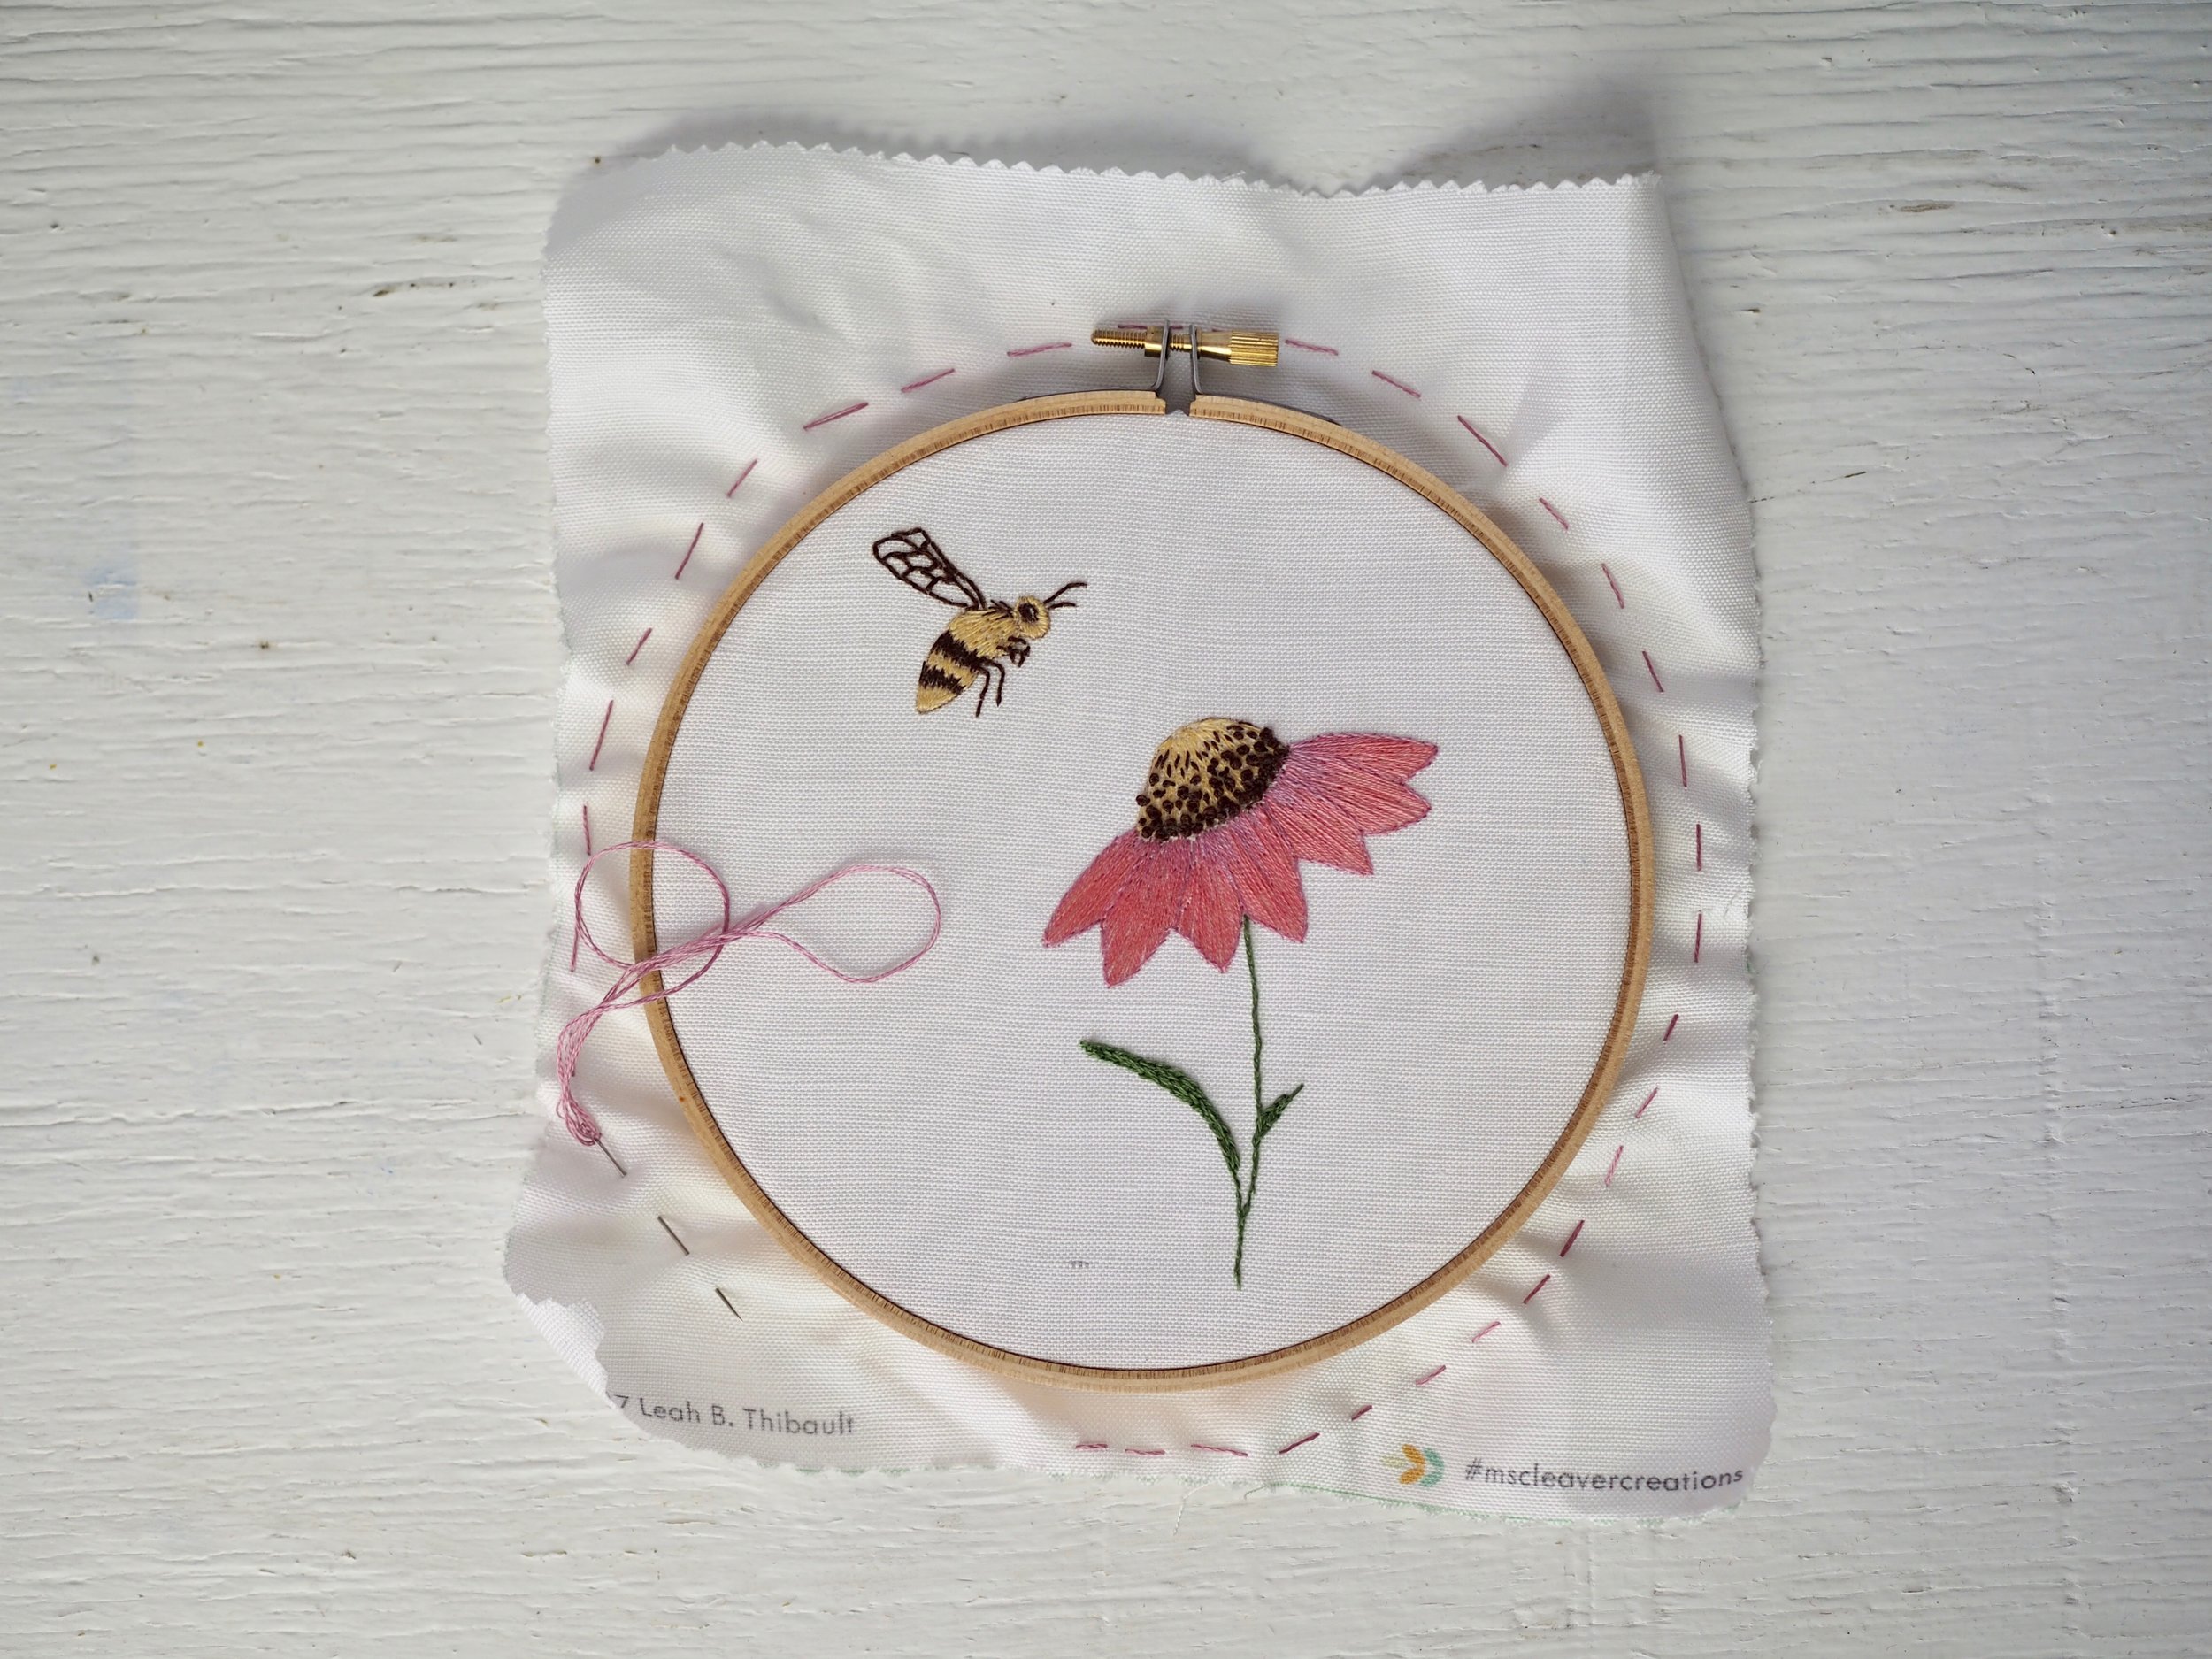
- Put the inner hoop back on and make sure your finished image is placed where you want it in the hoop.
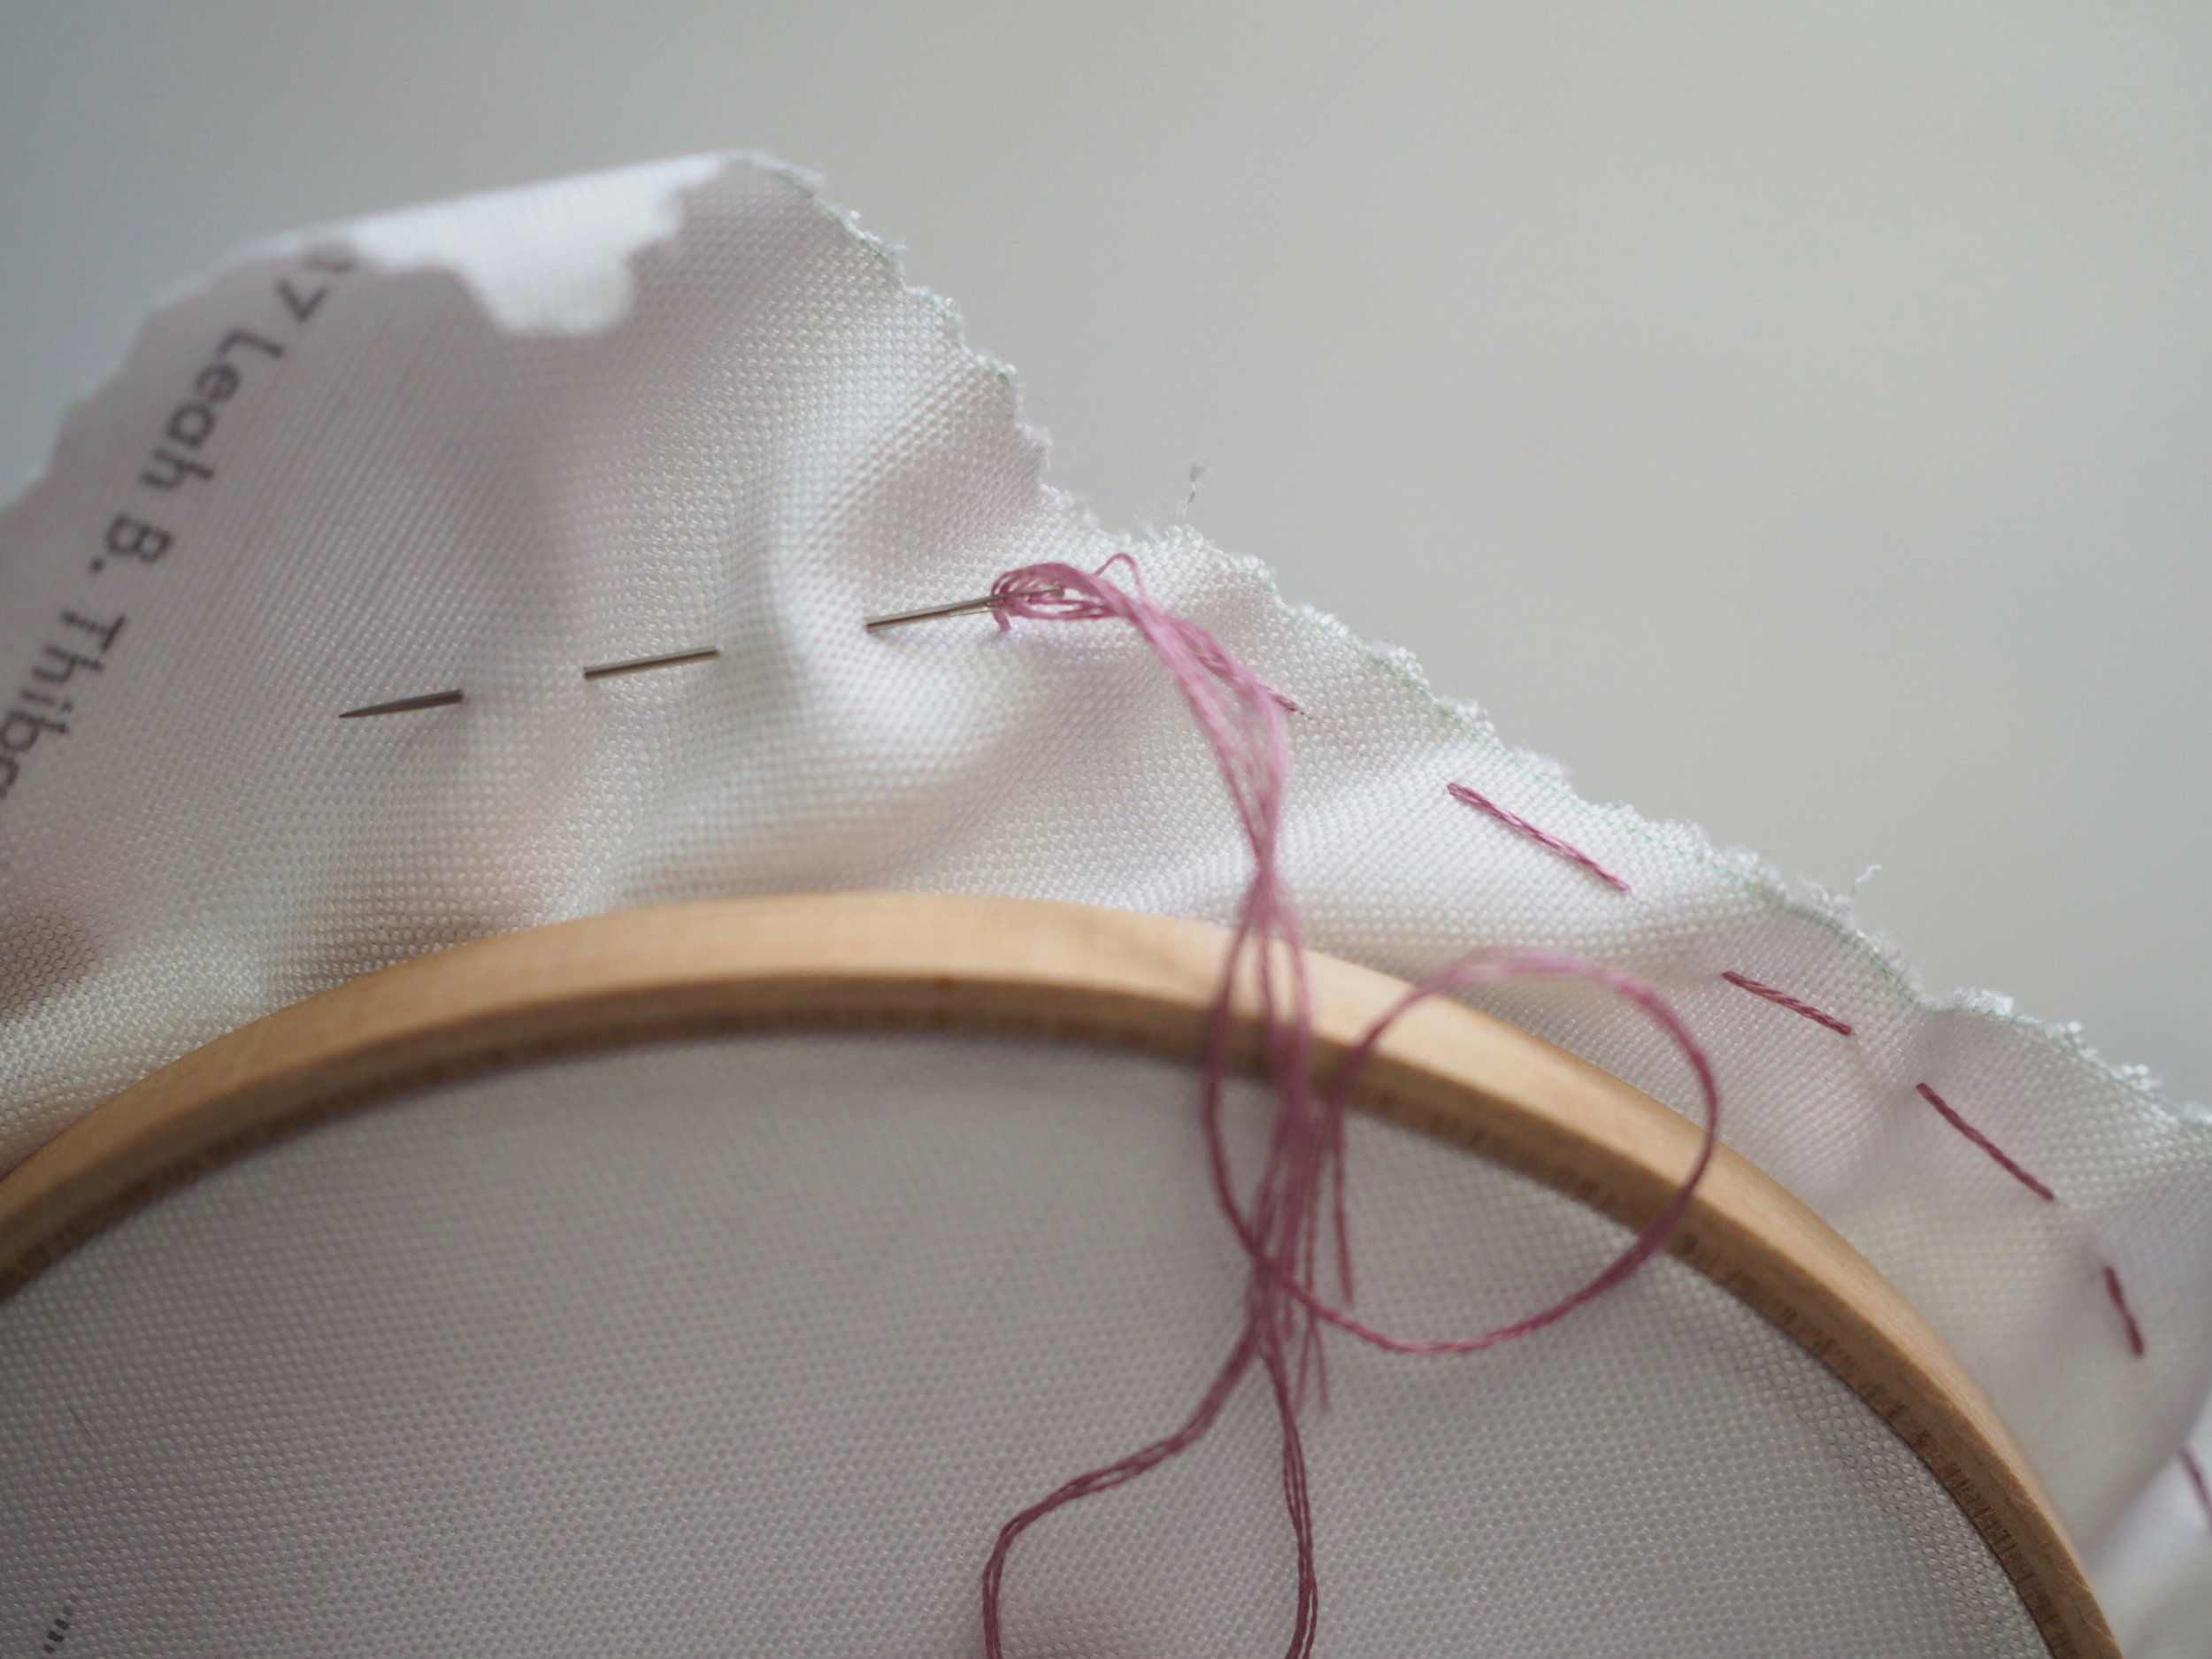
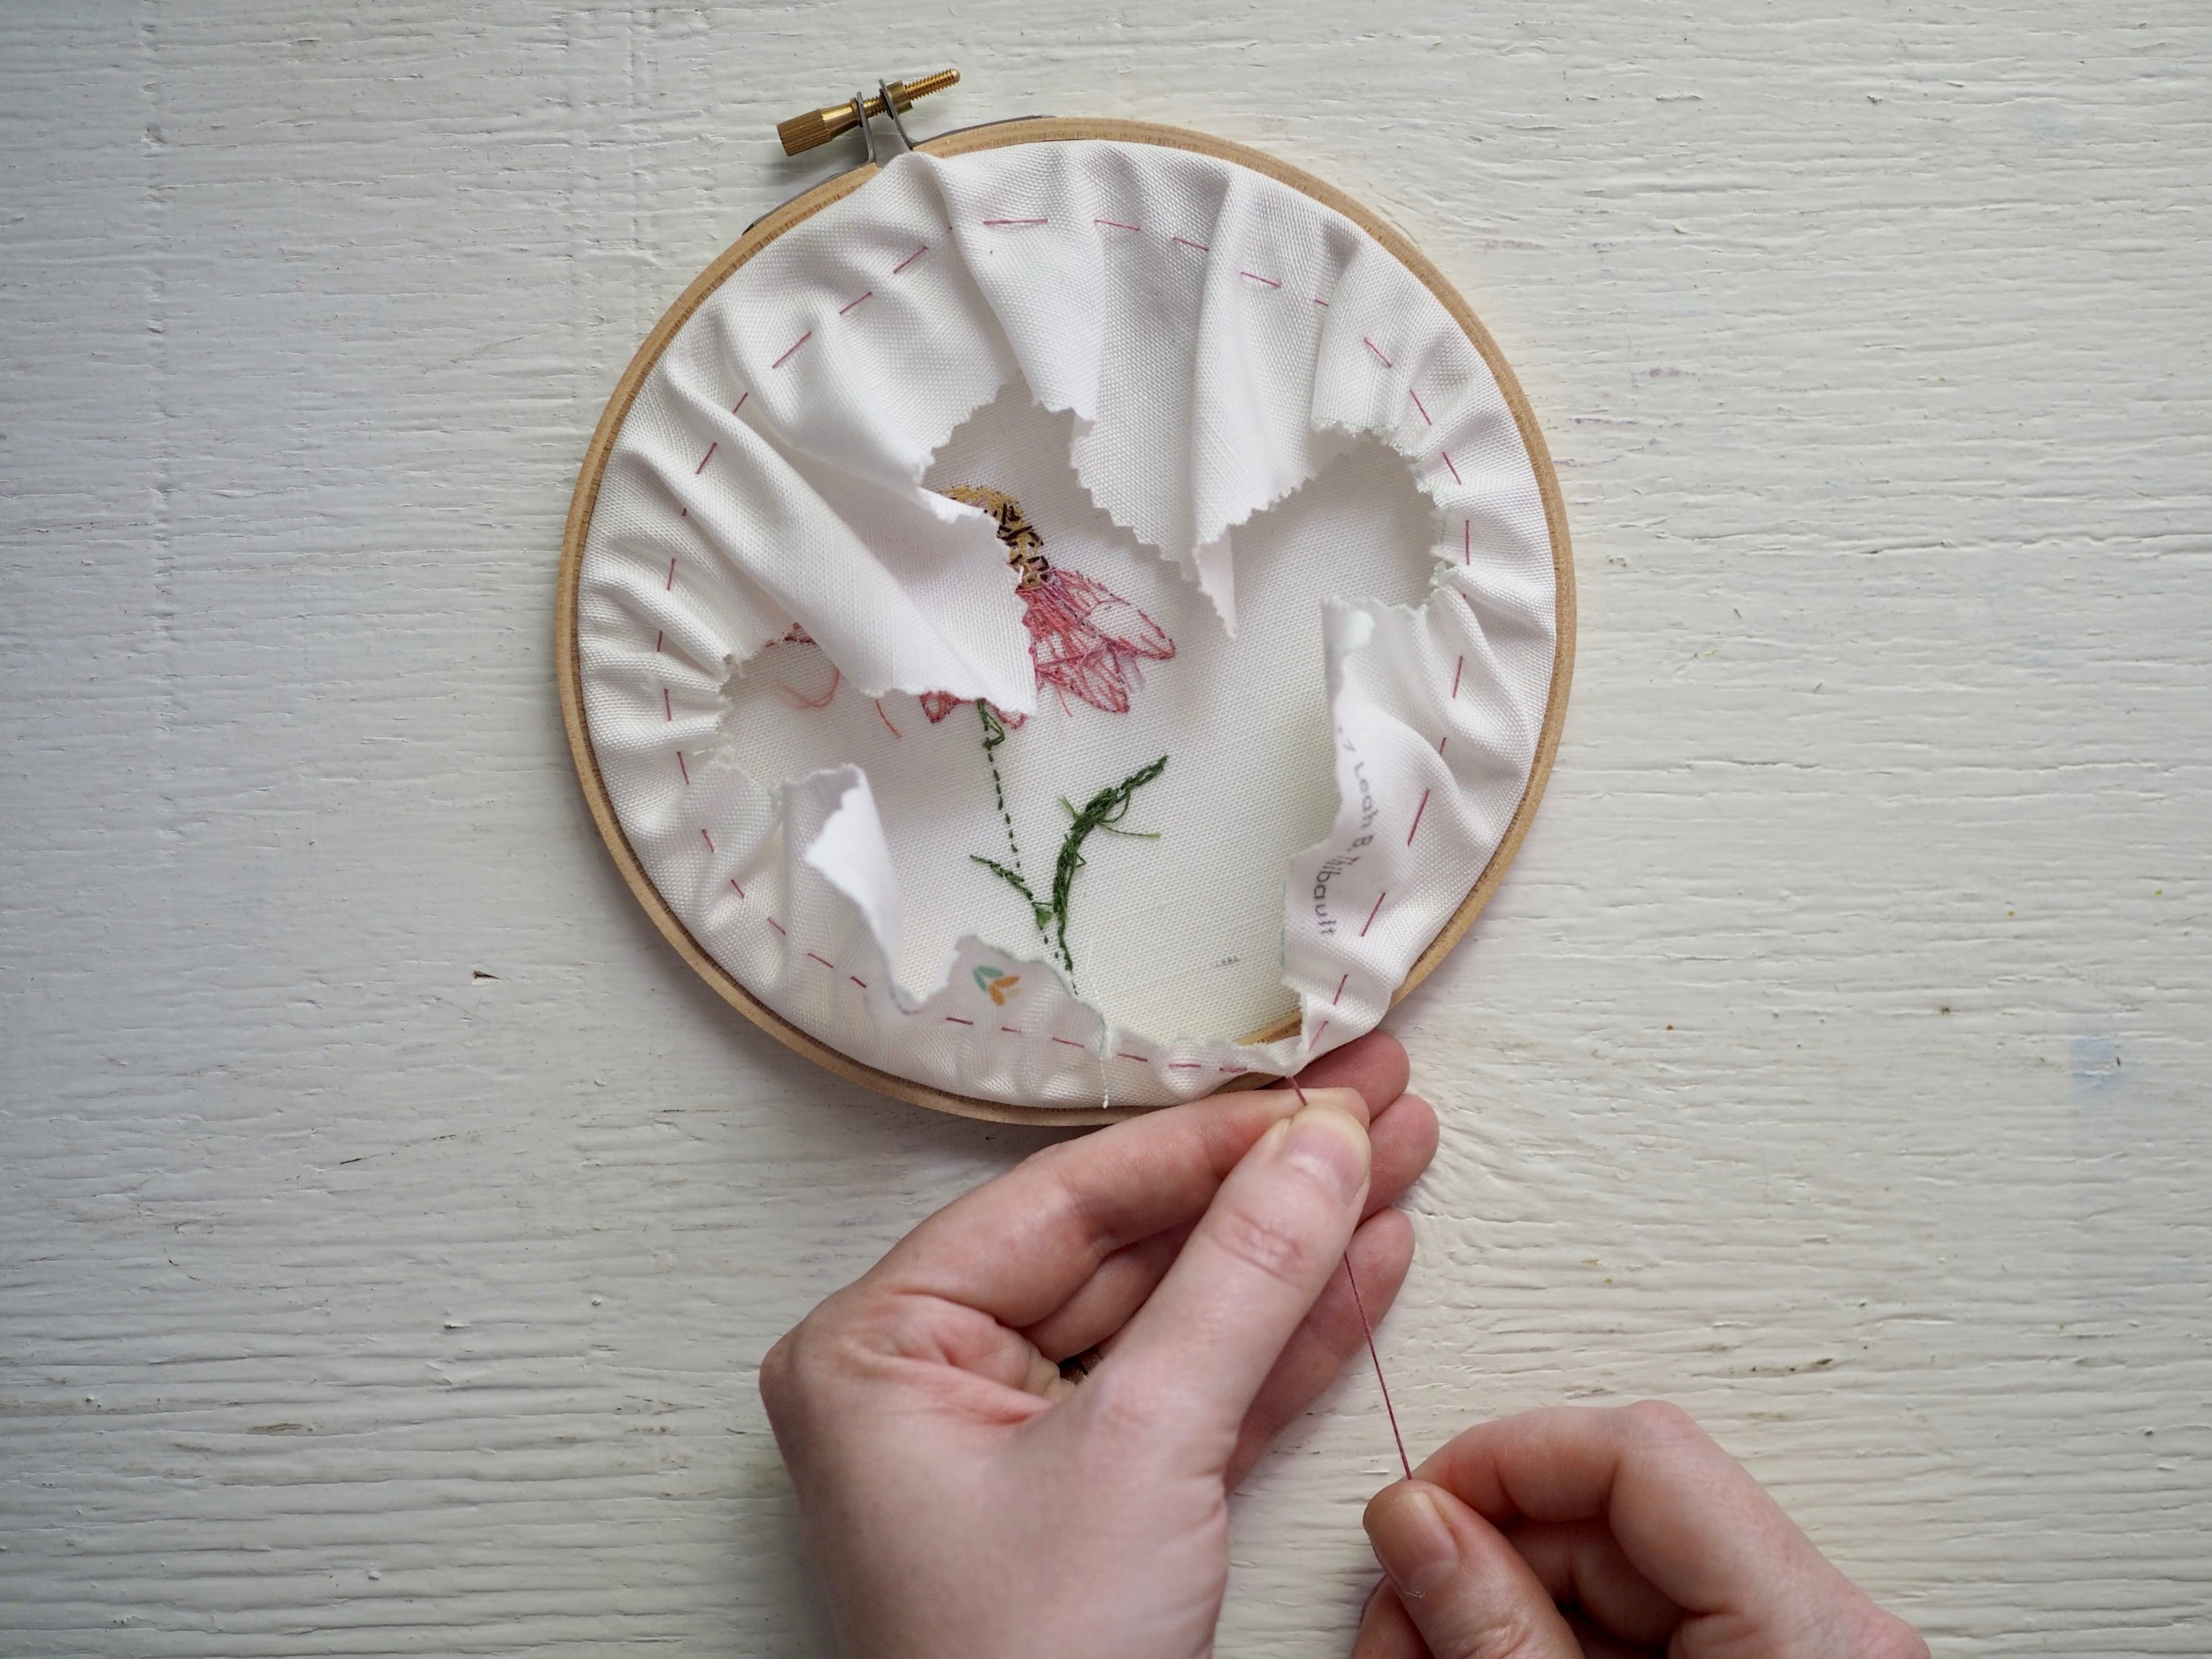
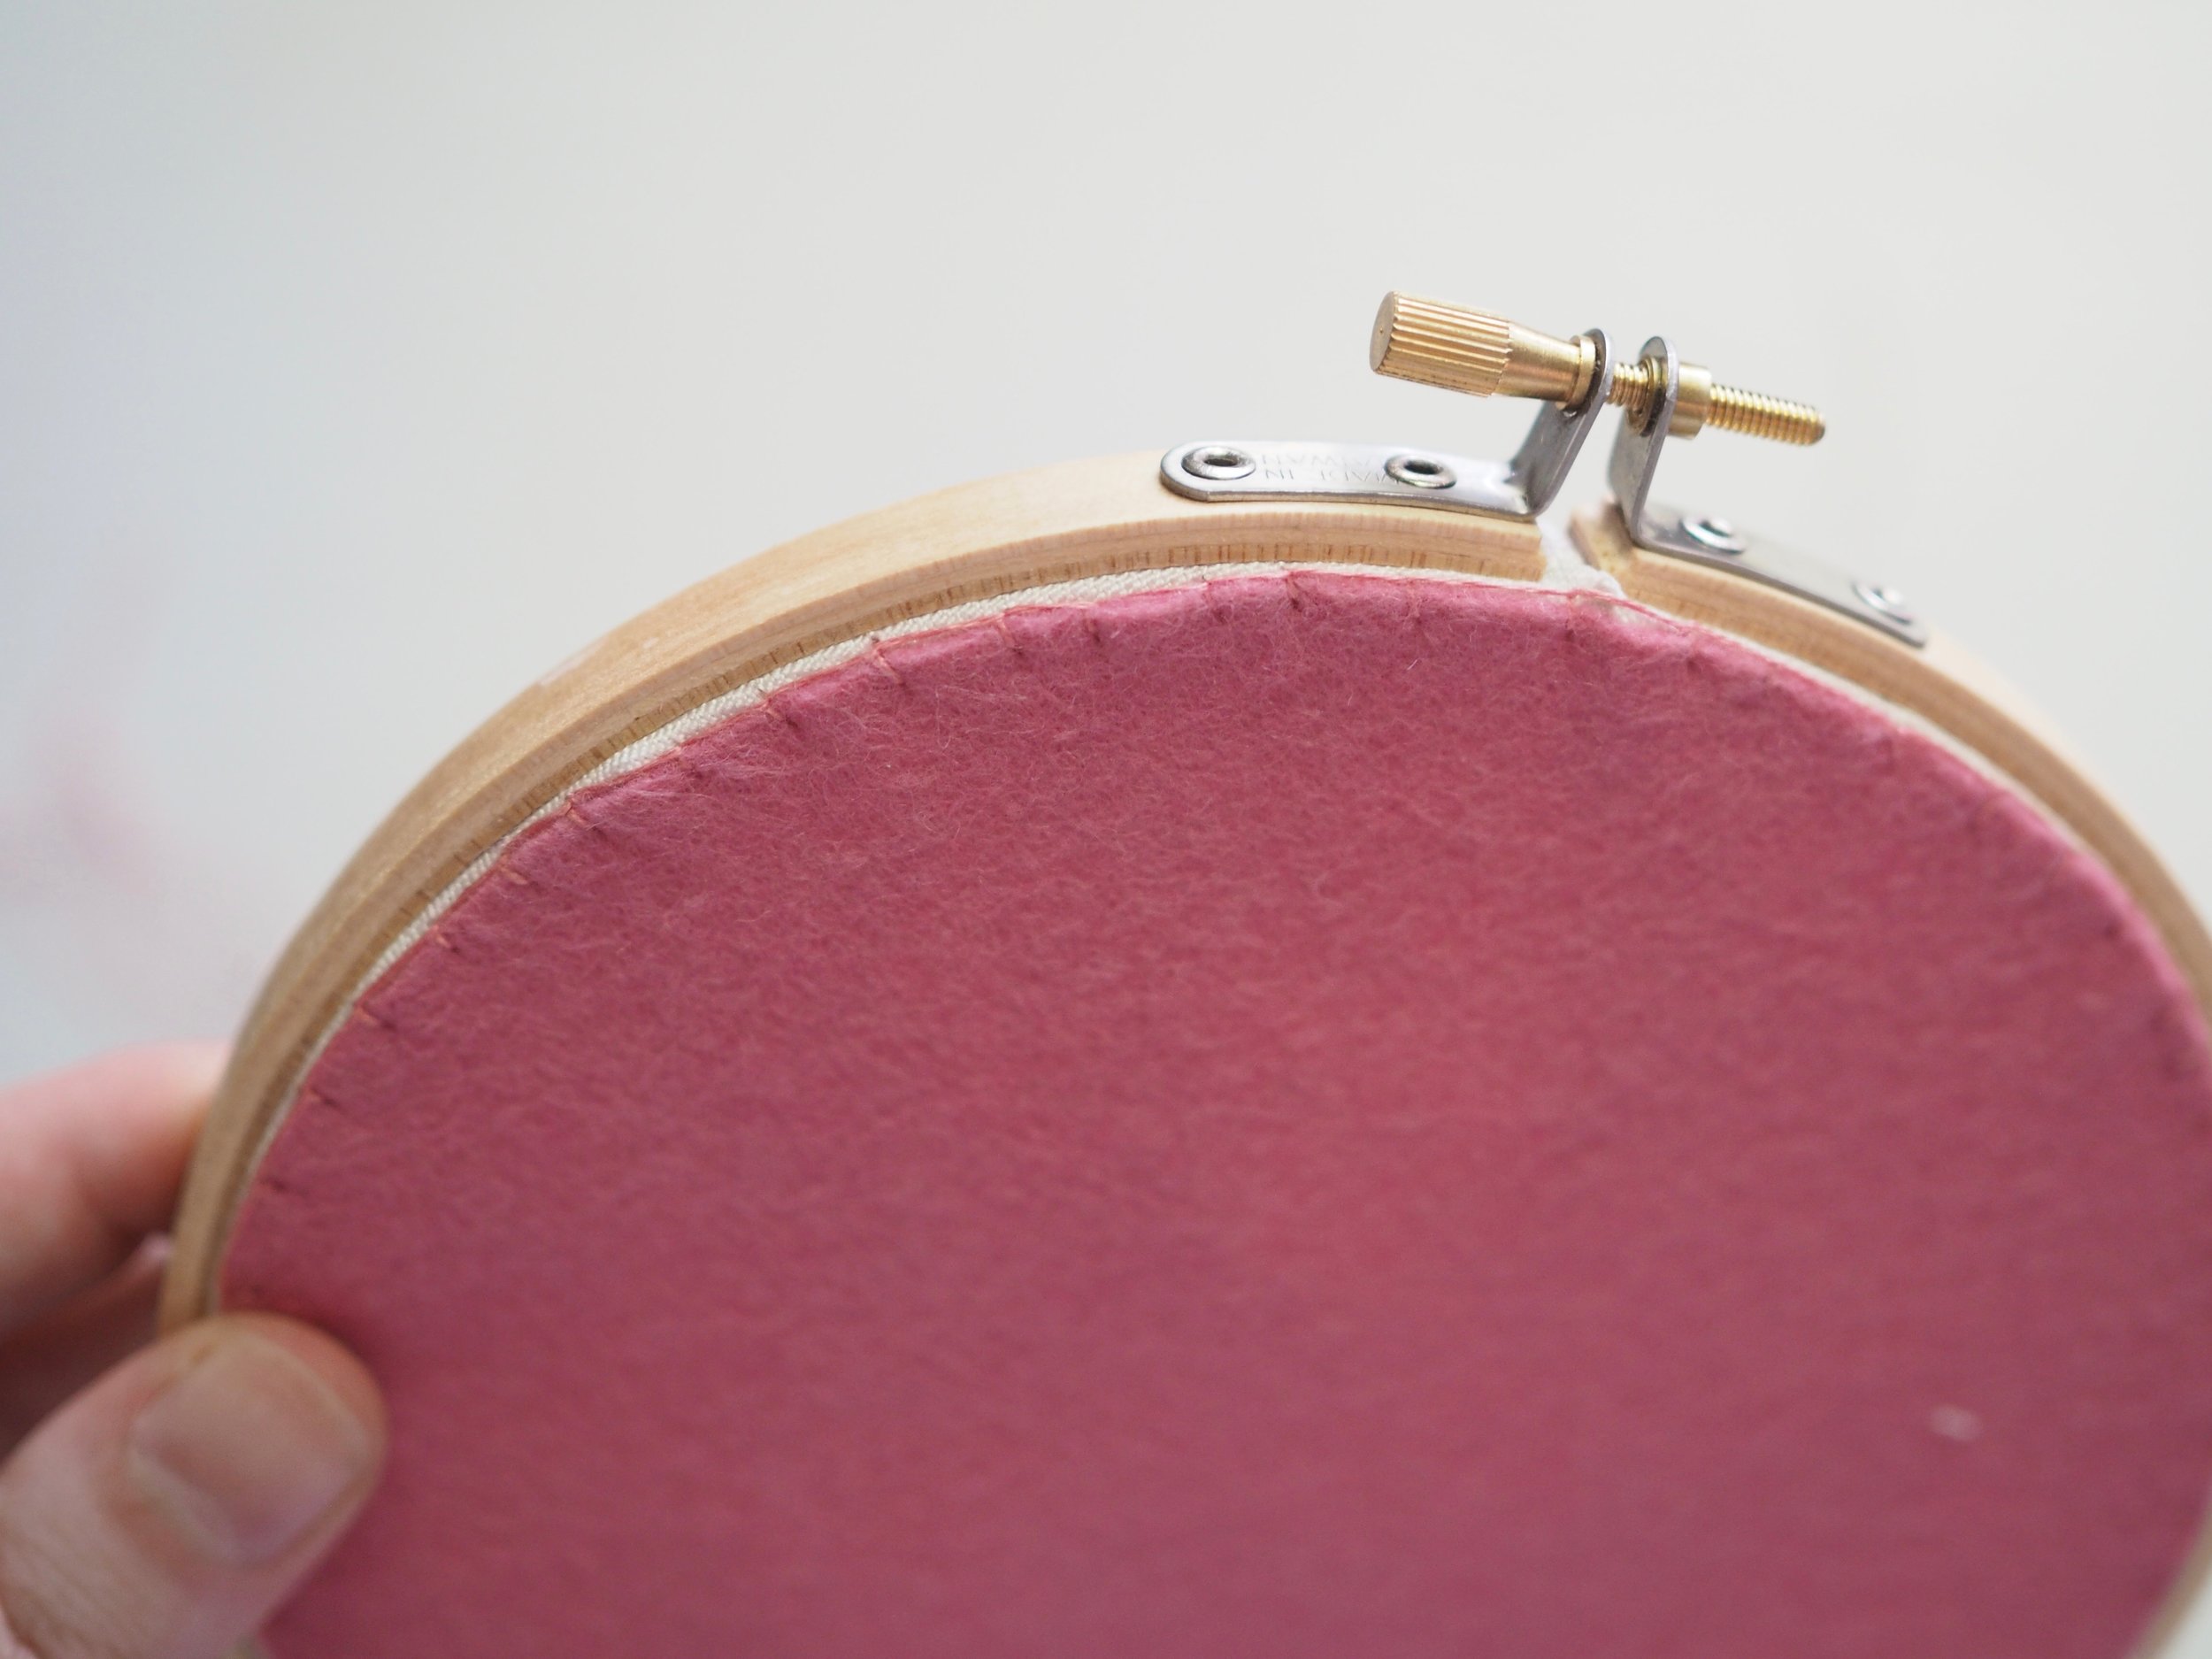
- Run a long line of basting stitches about a 1/2" from the edge of the inner hoop, securing at one end and leaving a long tail.
- Pull on the tail to gather the extra fabric around the back of the hoop.
- Place the felt circle over the gathered fabric and attach with a whip stitch or a blanket stitch (see below)
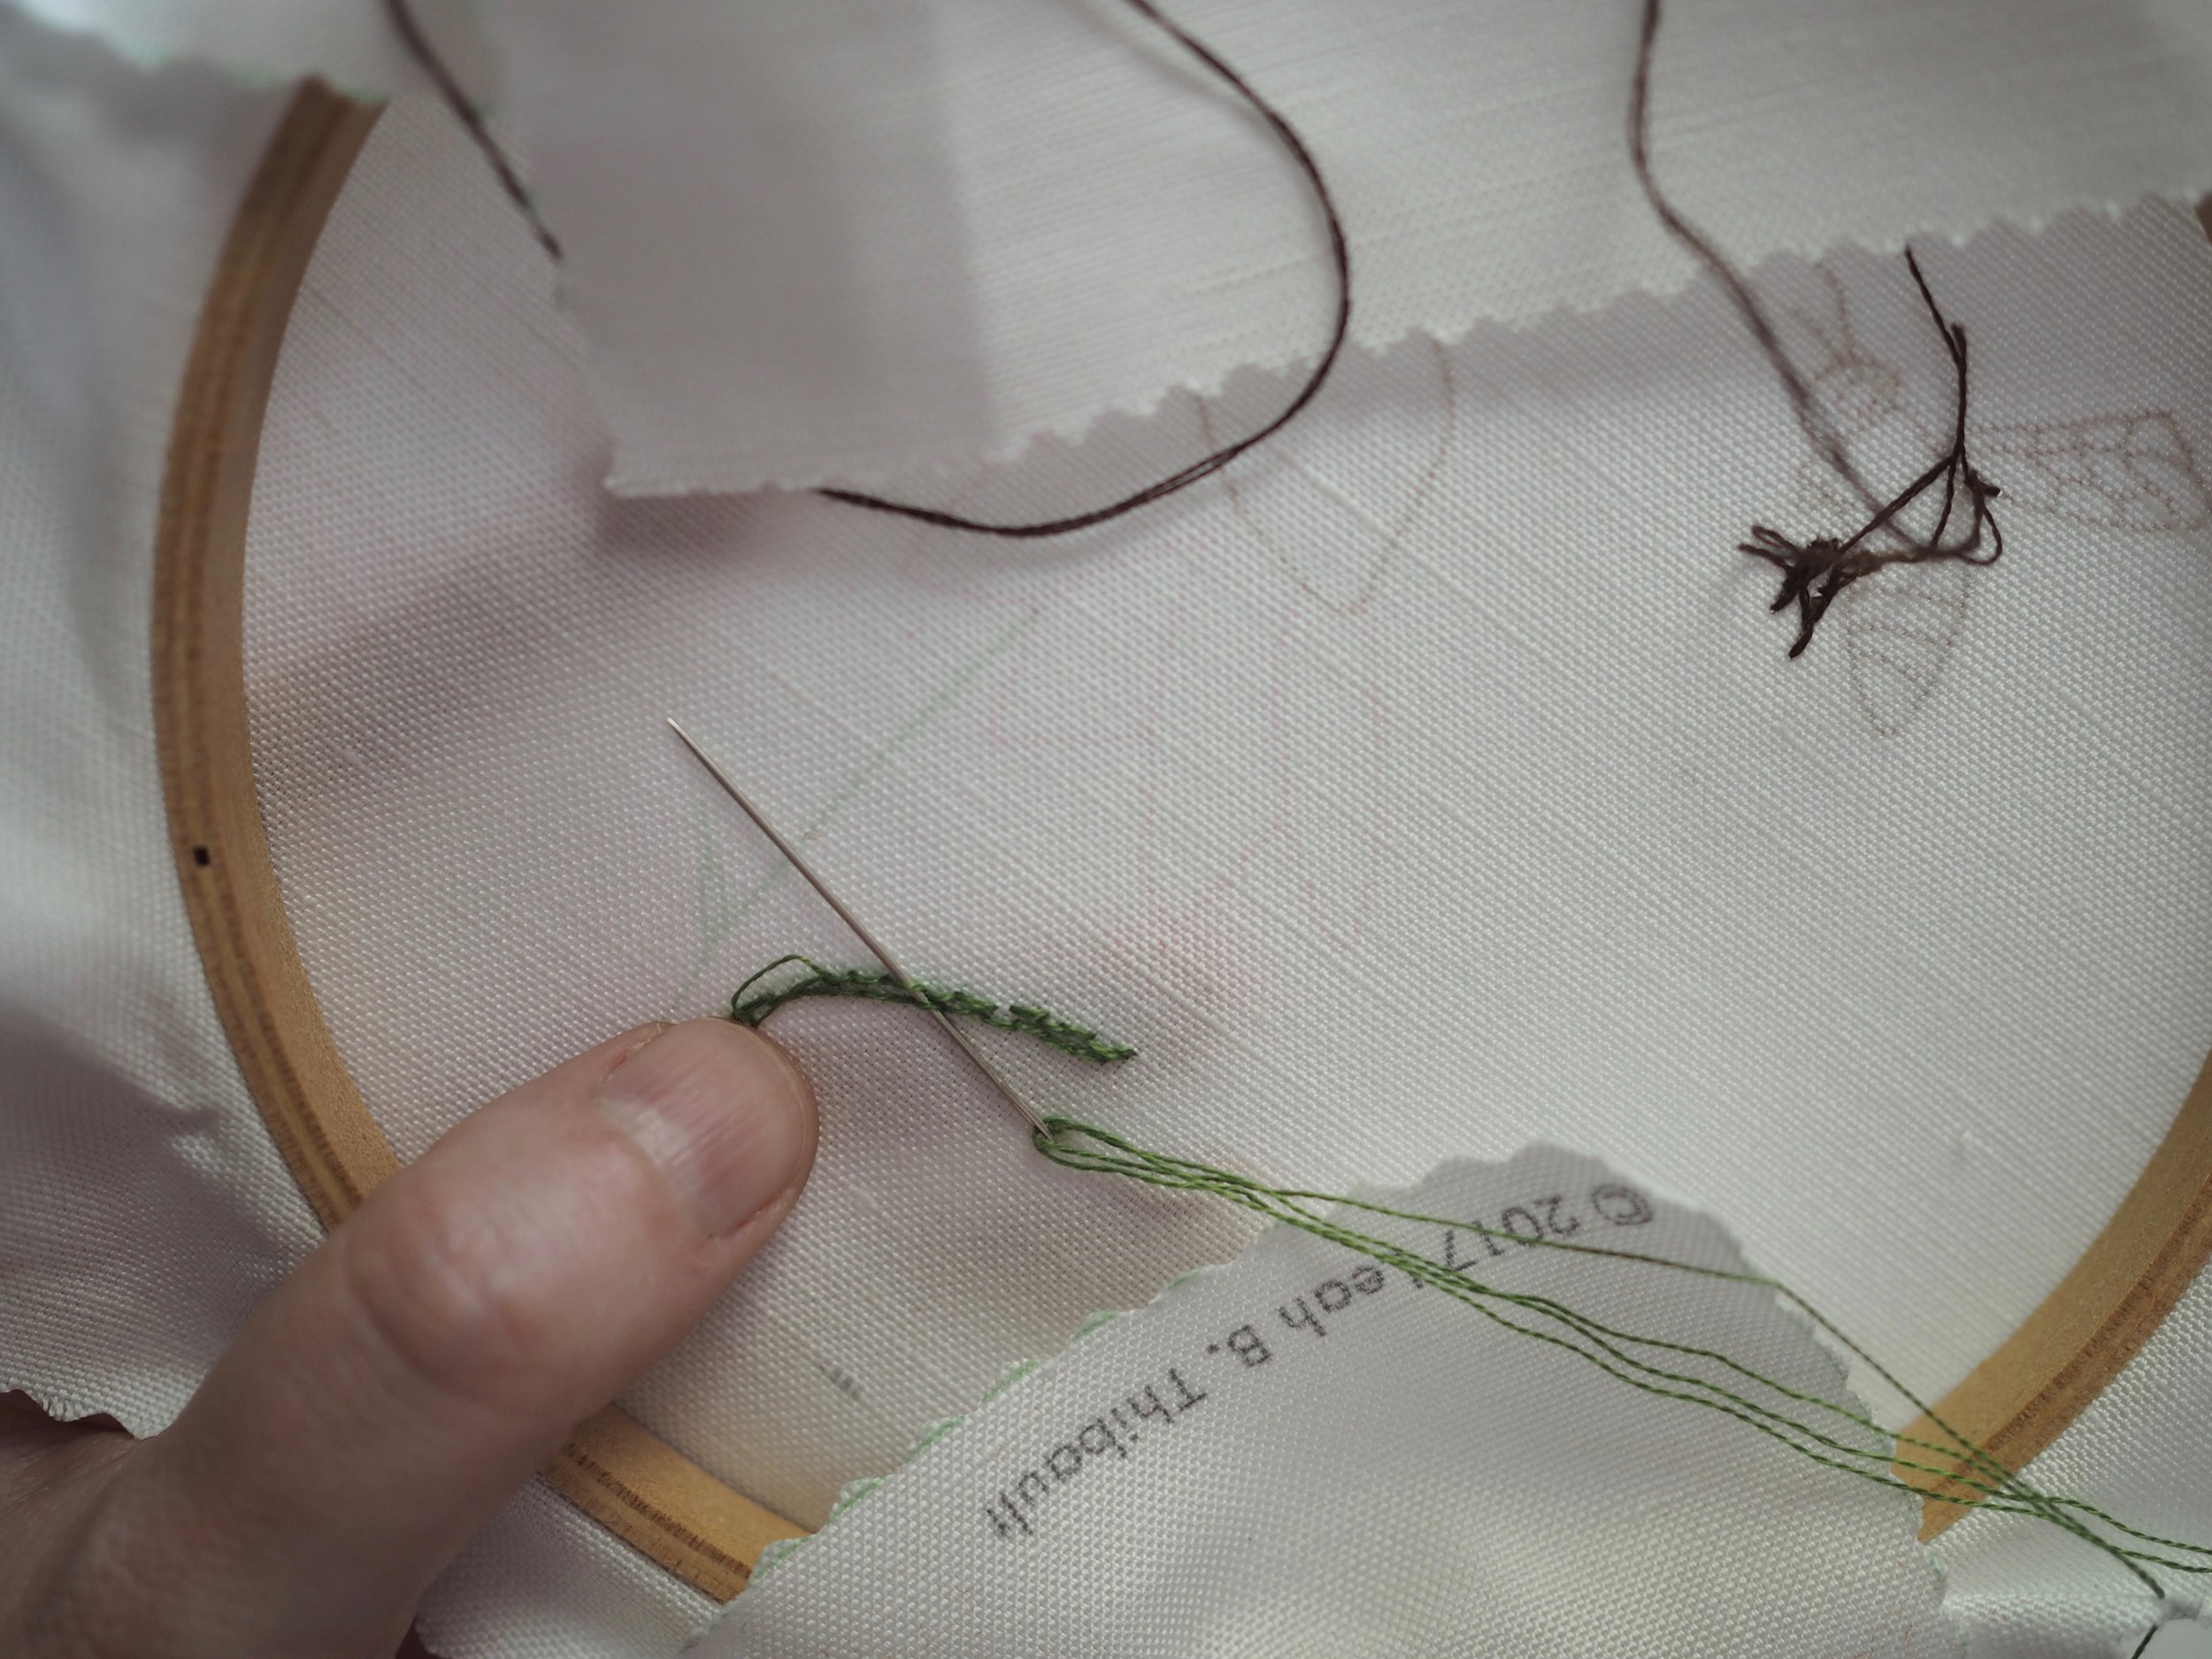
BLANKET STITCH
So named because it was often used to finish the edges of wool blankets, this is my favorite way to sew two pieces of felt together, or create a tidy edge.
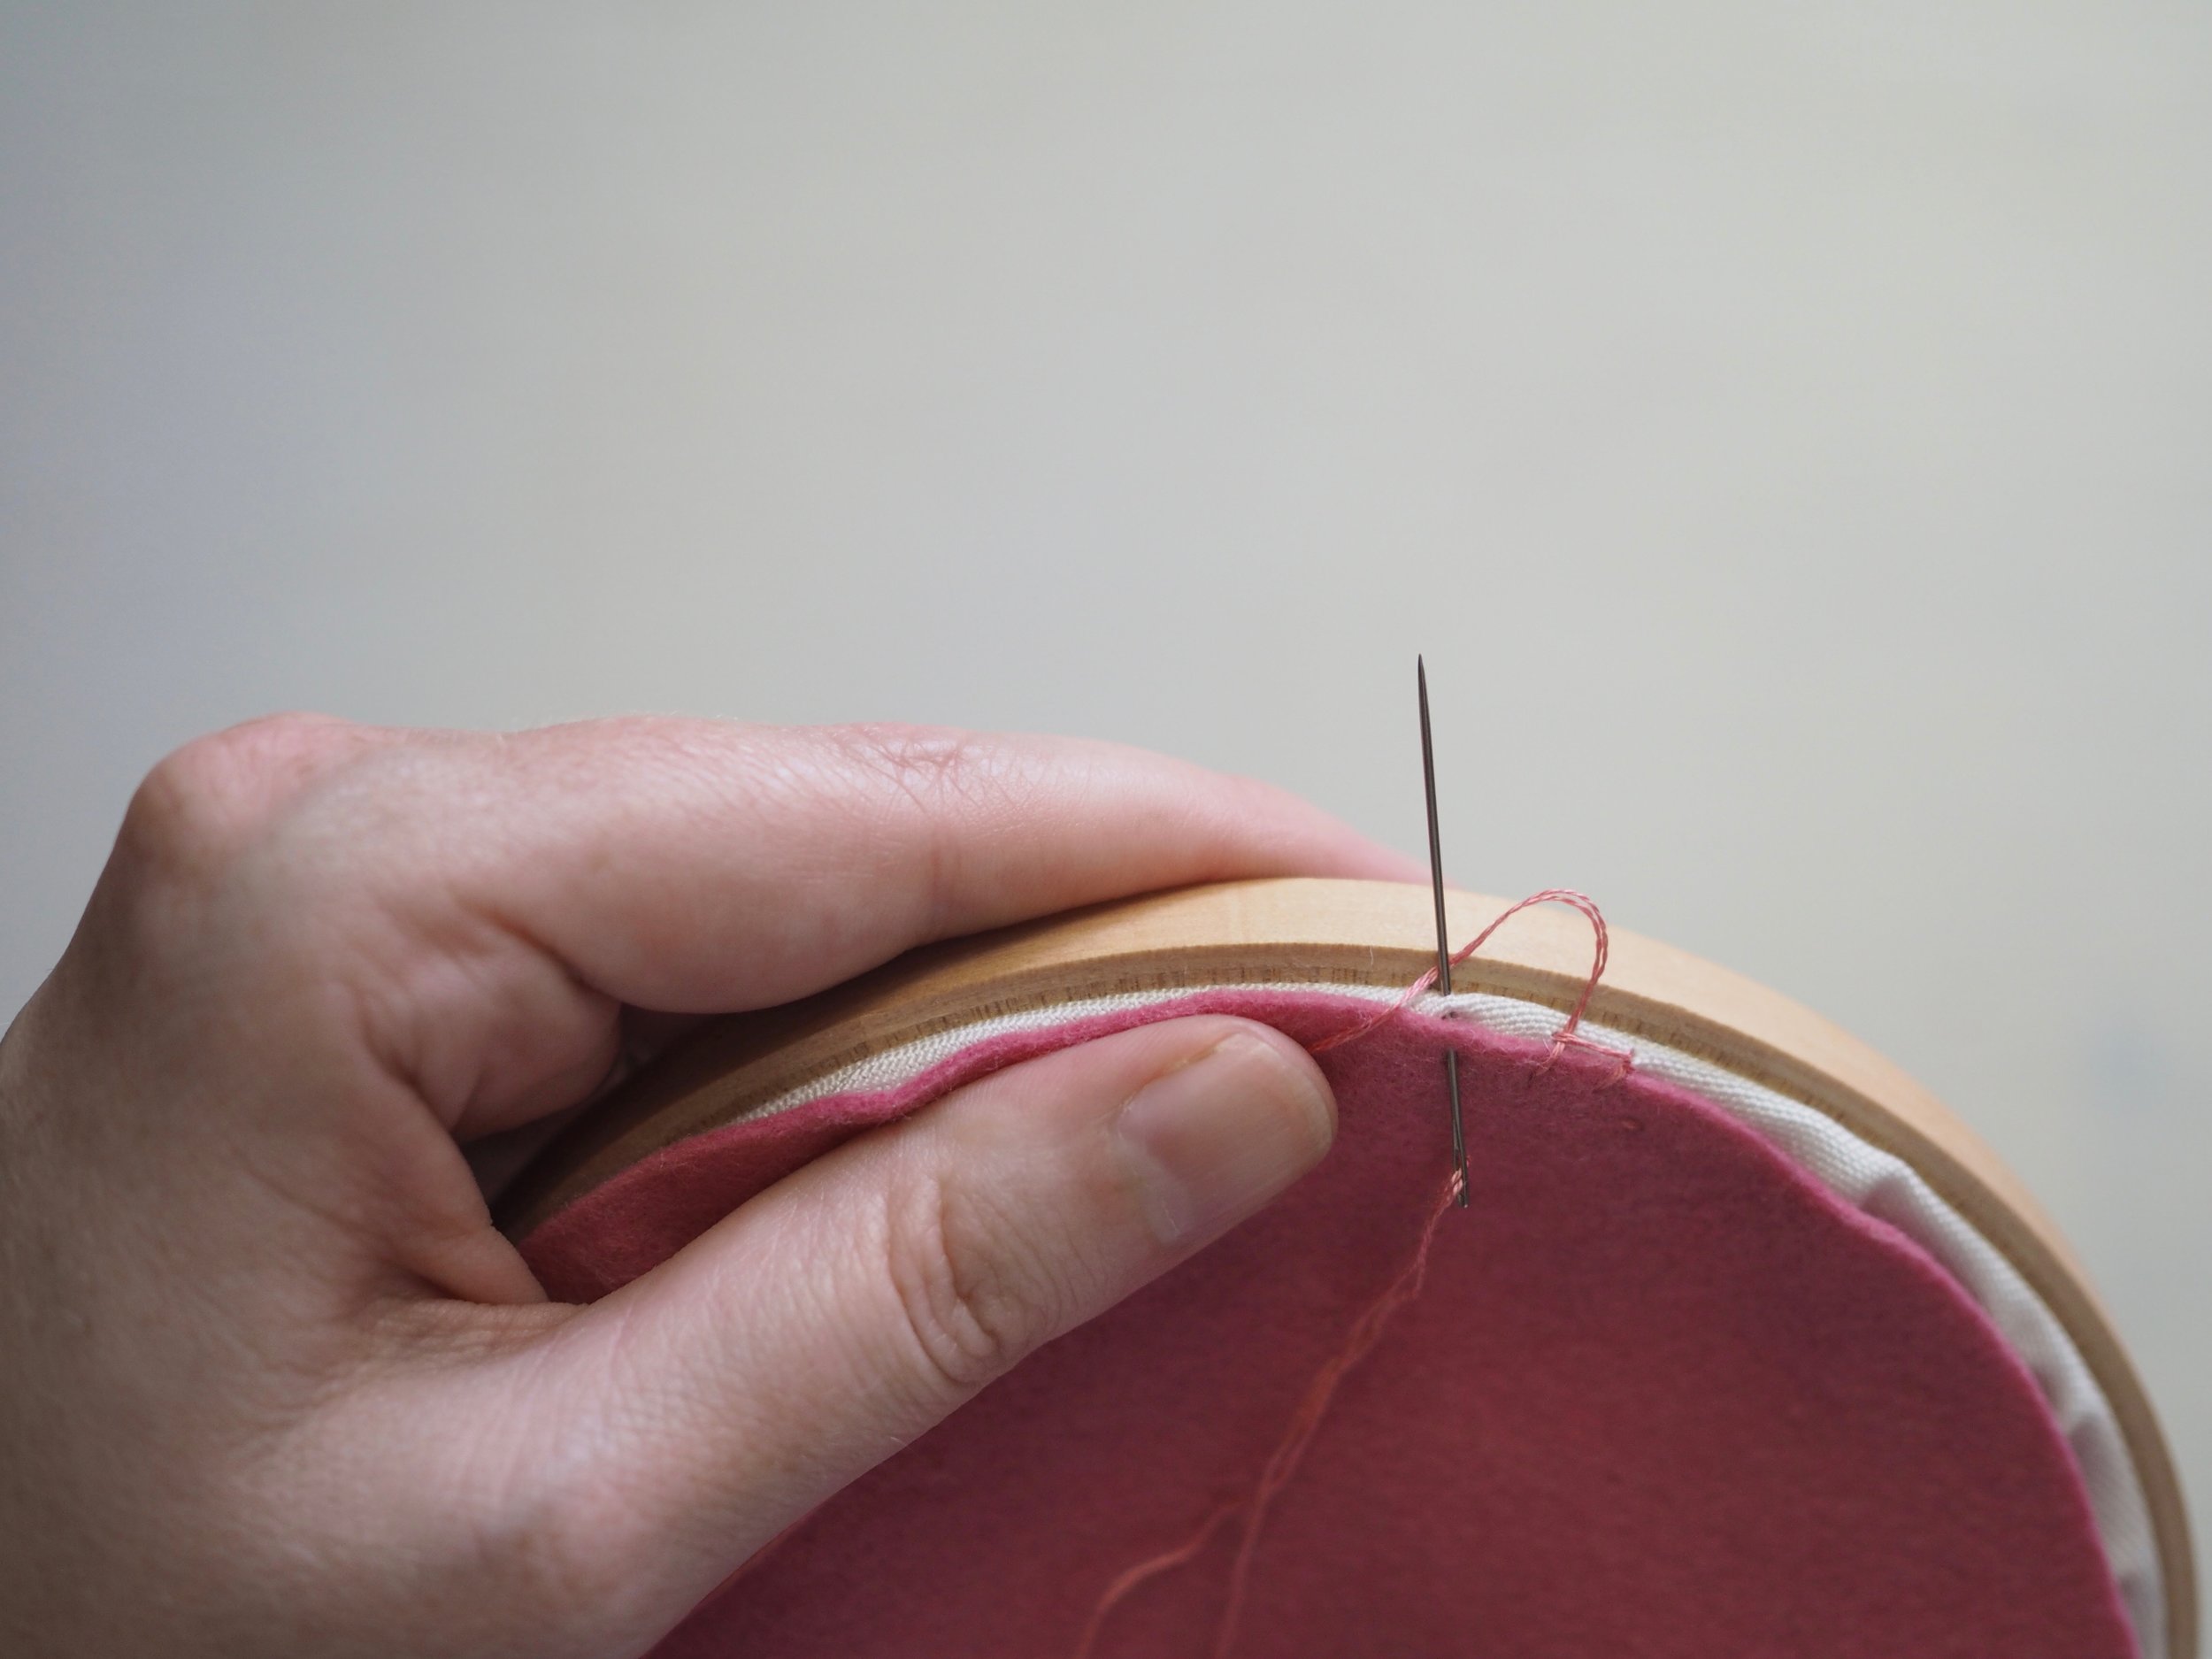
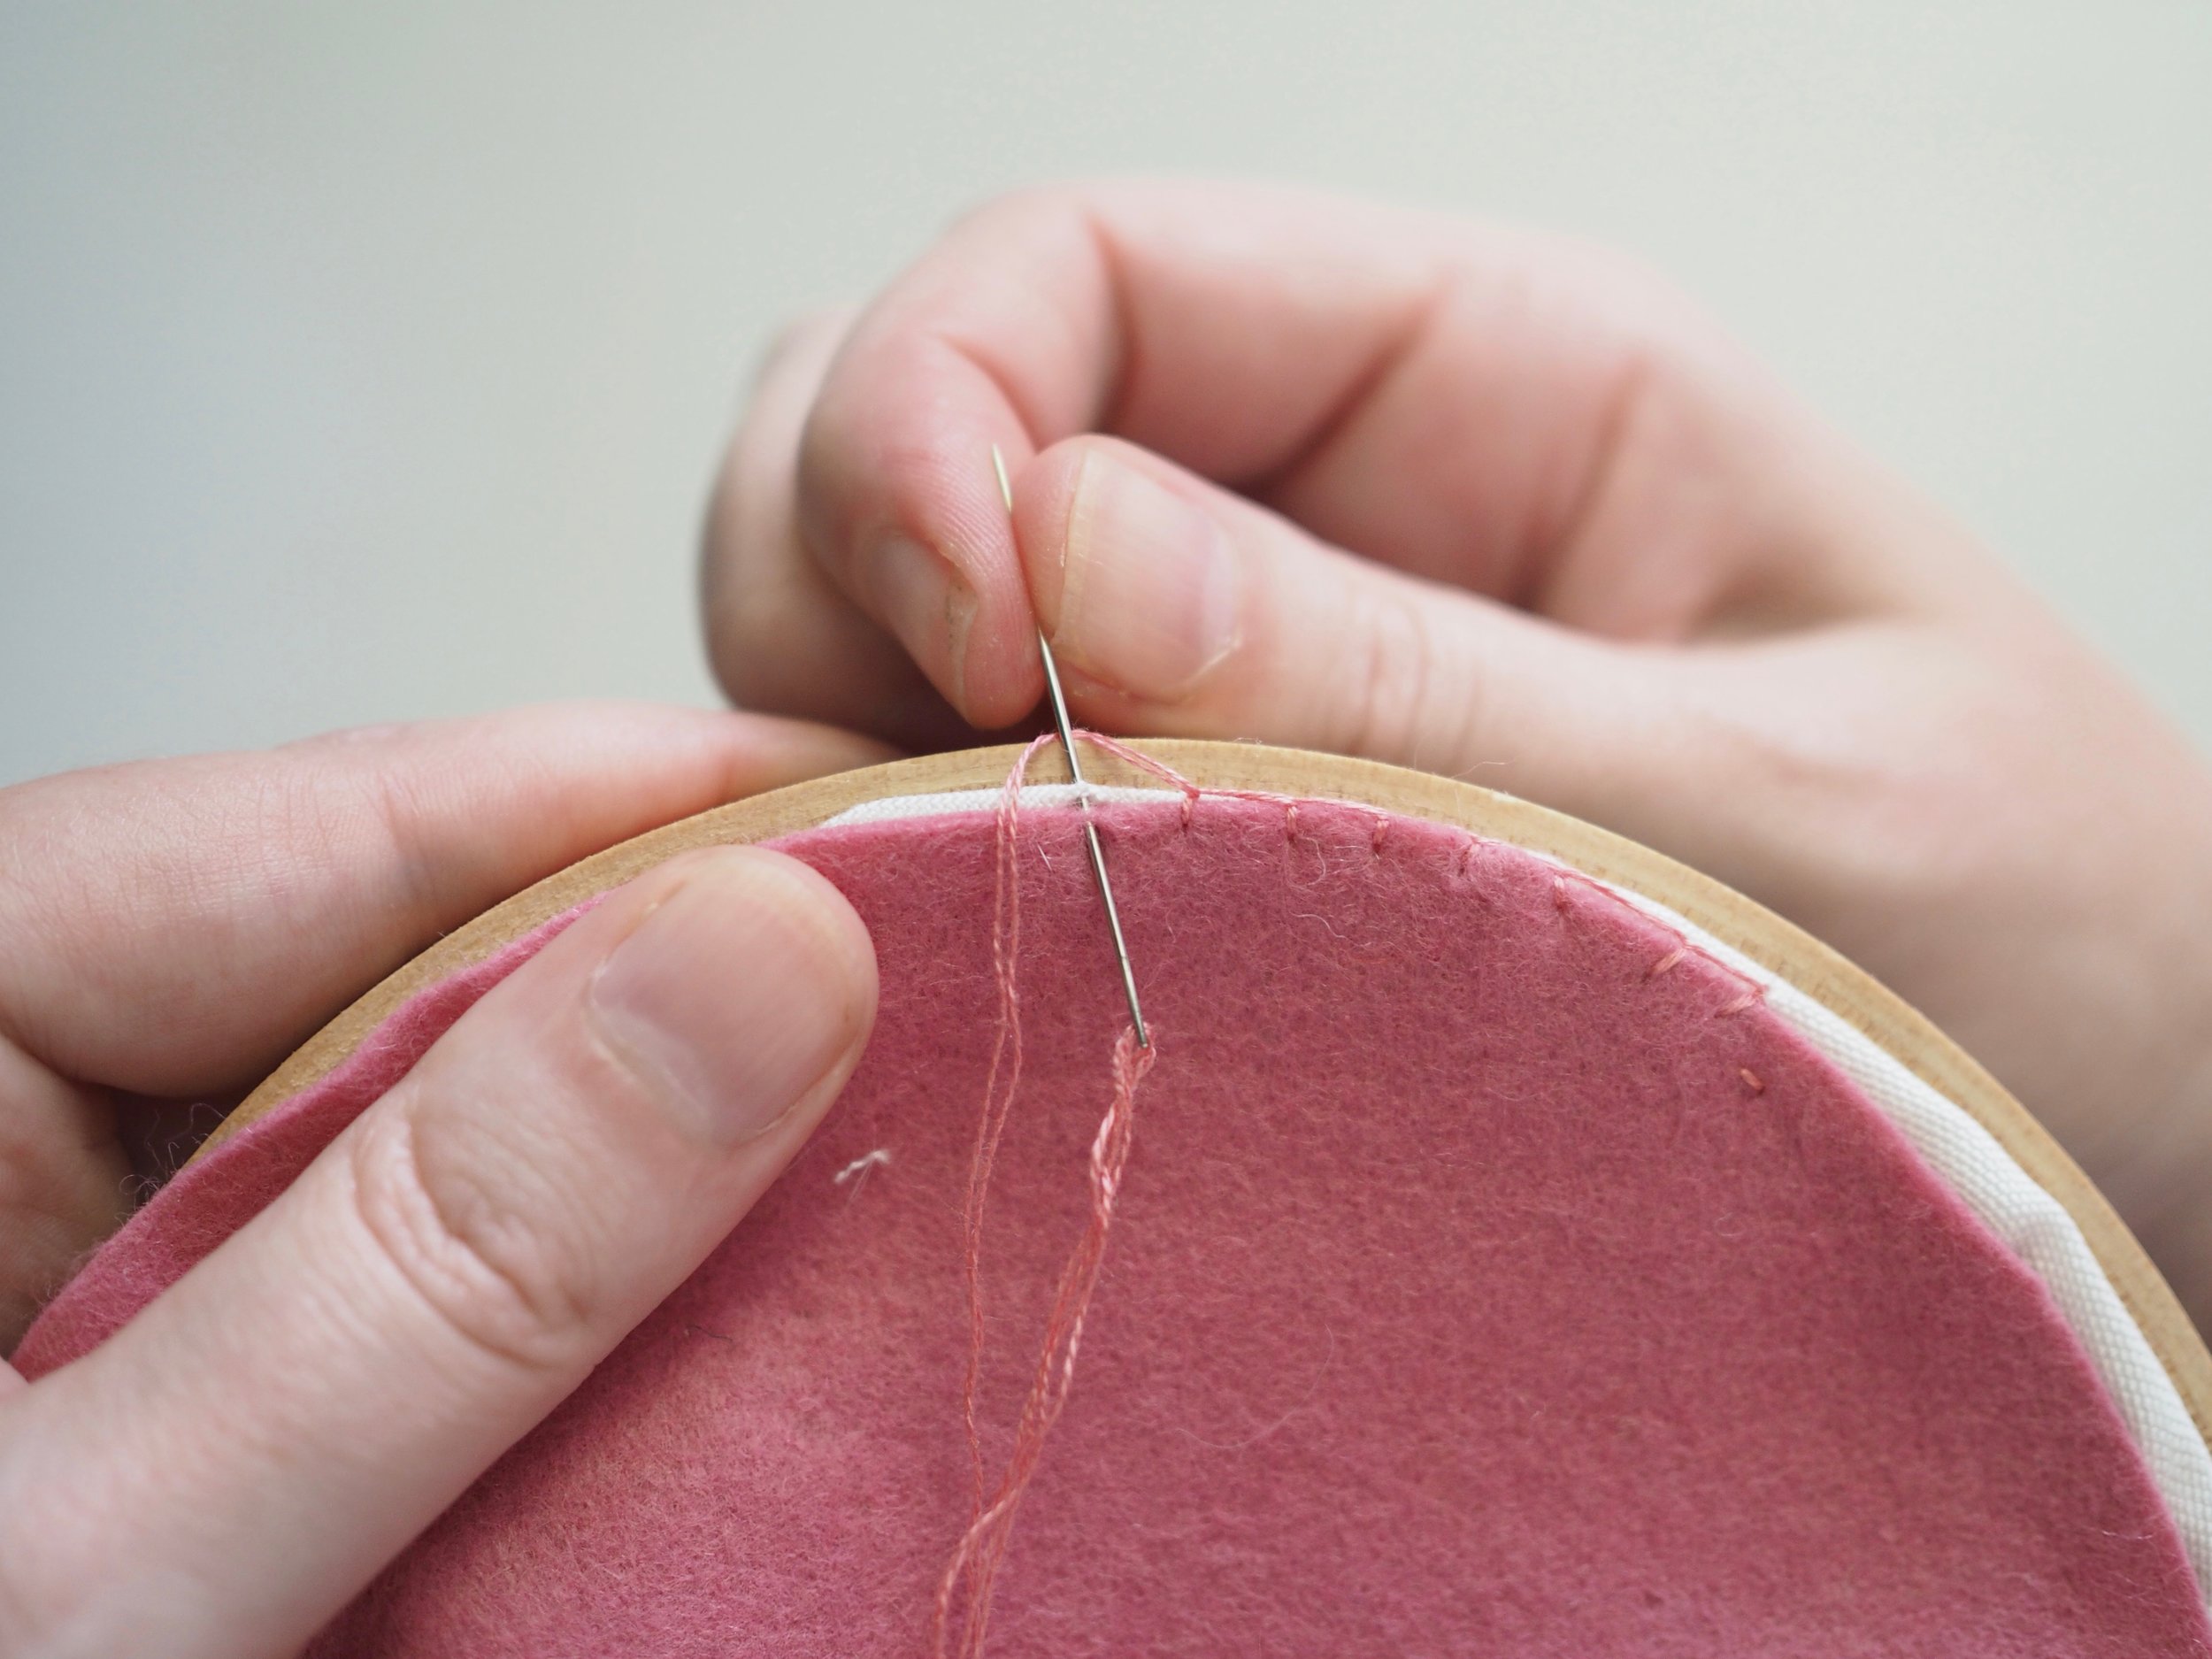
- Leaving a long tail, insert your needle back to front about 1/4” from edge of fabric. Pull thread around outside edge of fabric and re-insert in needle at same spot, making a loop. Send your needle sideways under this loop at the top edge of the fabric, grabbing a bit of the fabric to anchor your thread.
- Insert needle back to front 1/4” from previous stitch at same distance from edge. Pull needle so thread tail is trapped along edge of fabric.
Repeat step 2.
For a one-stop guide to all the stitches covered in this series, click here for a downloadable PDF of basic stitches


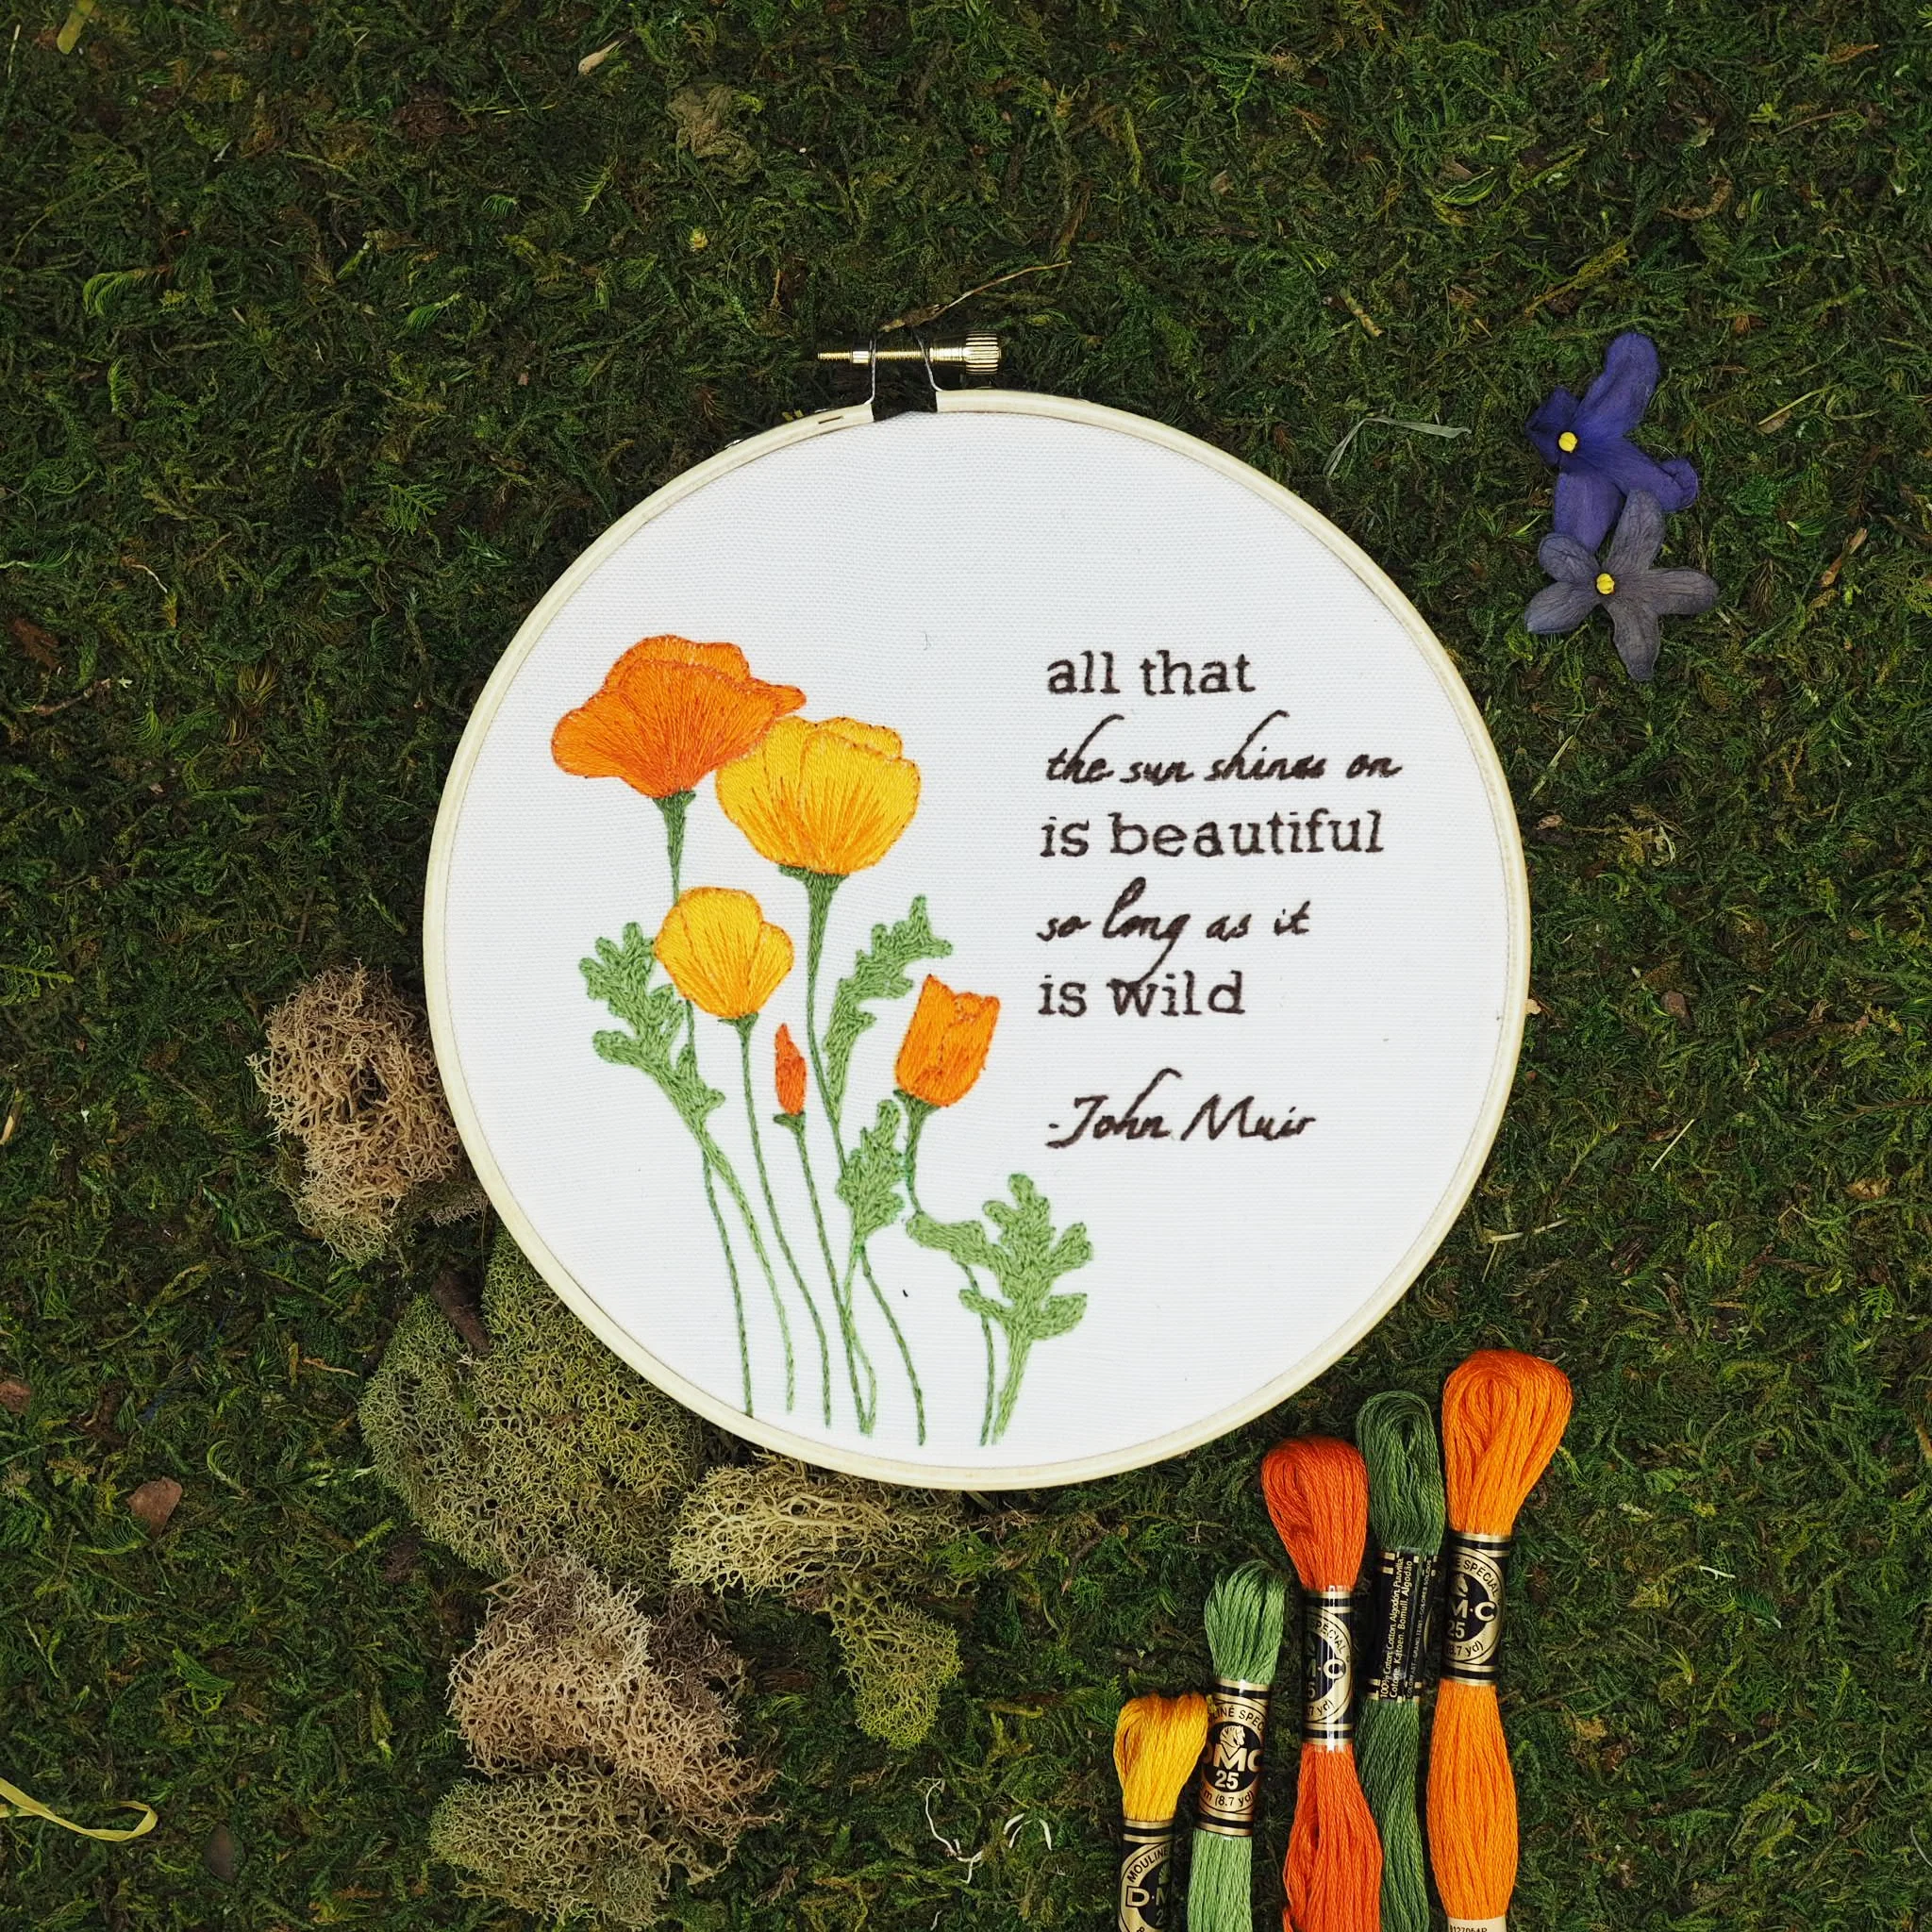
A nature inspired design for spring, this kit serves as a good opportunity to practice shading
—-
With the design pre-printed on a beautiful linen-blend fabric, stitching a heirloom quality piece of embroidery is almost as simple as coloring!
Embroidery kits make great gifts (including for yourself!) and are a wonderfully meditative activity that comes with a beautiful product at the end.
Hang your finished piece right in the hoop (I’ll show you how!), frame it, or sew it into a cushion, bag or quilt.
New to embroidery? Each kit comes with a 2-page color guide to basic stitches or check out the tutorial library for tips and step-by-step instructions.
——
COMPLETE EMBROIDERY KIT
Contains everything you need to stitch a beautiful wall-hanging.
High-quality Linen/Cotton Fabric pre-printed with design
6” wooden hoop
5 skeins of DMC Embroidery Floss
Embroidery needle
Guide to basic embroidery stitches (additional tutorials available at MsCleaver.com)
Complete kit packaged in a sturdy reusable kraft envelope suitable for gifting.
Have more floss than you know what to do with, or want to pick your own colors? Purchase the pre-printed panel only in the drop-down menu above. Also available as a PDF Pattern.