
You've got your design on your fabric (either by transfer, drawing or pre-printed designs) and gathered your supplies. Now what?
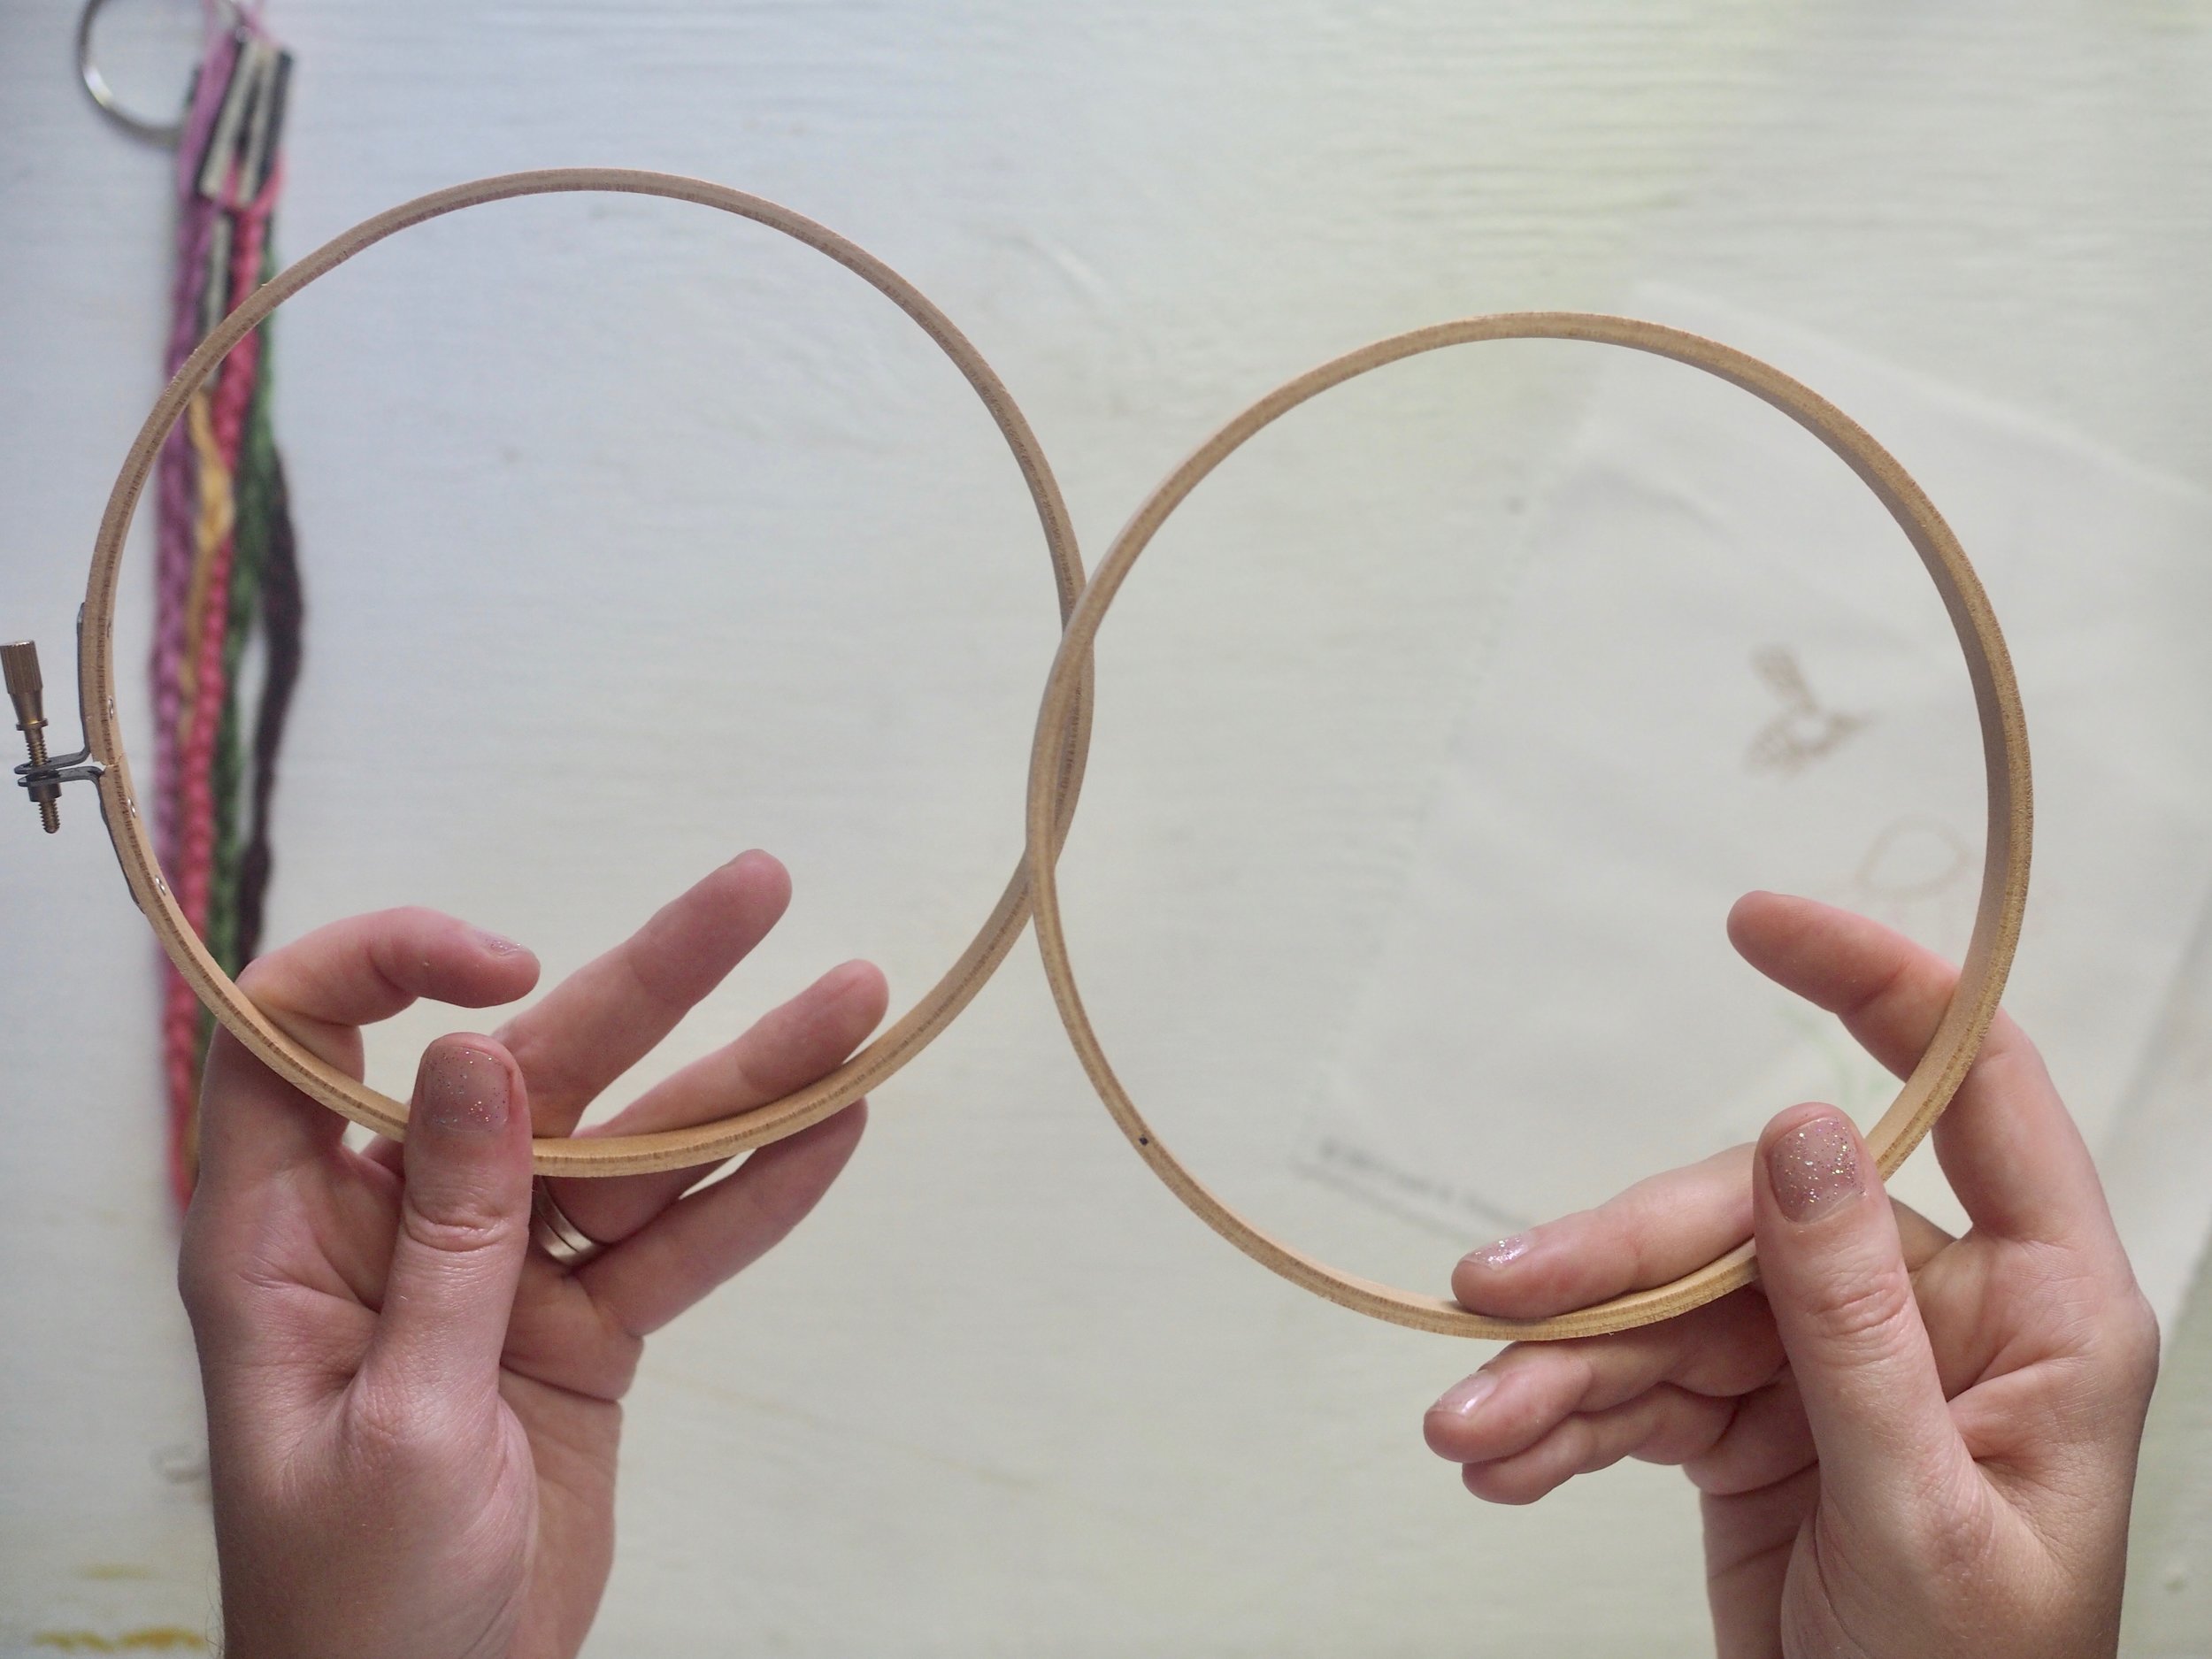
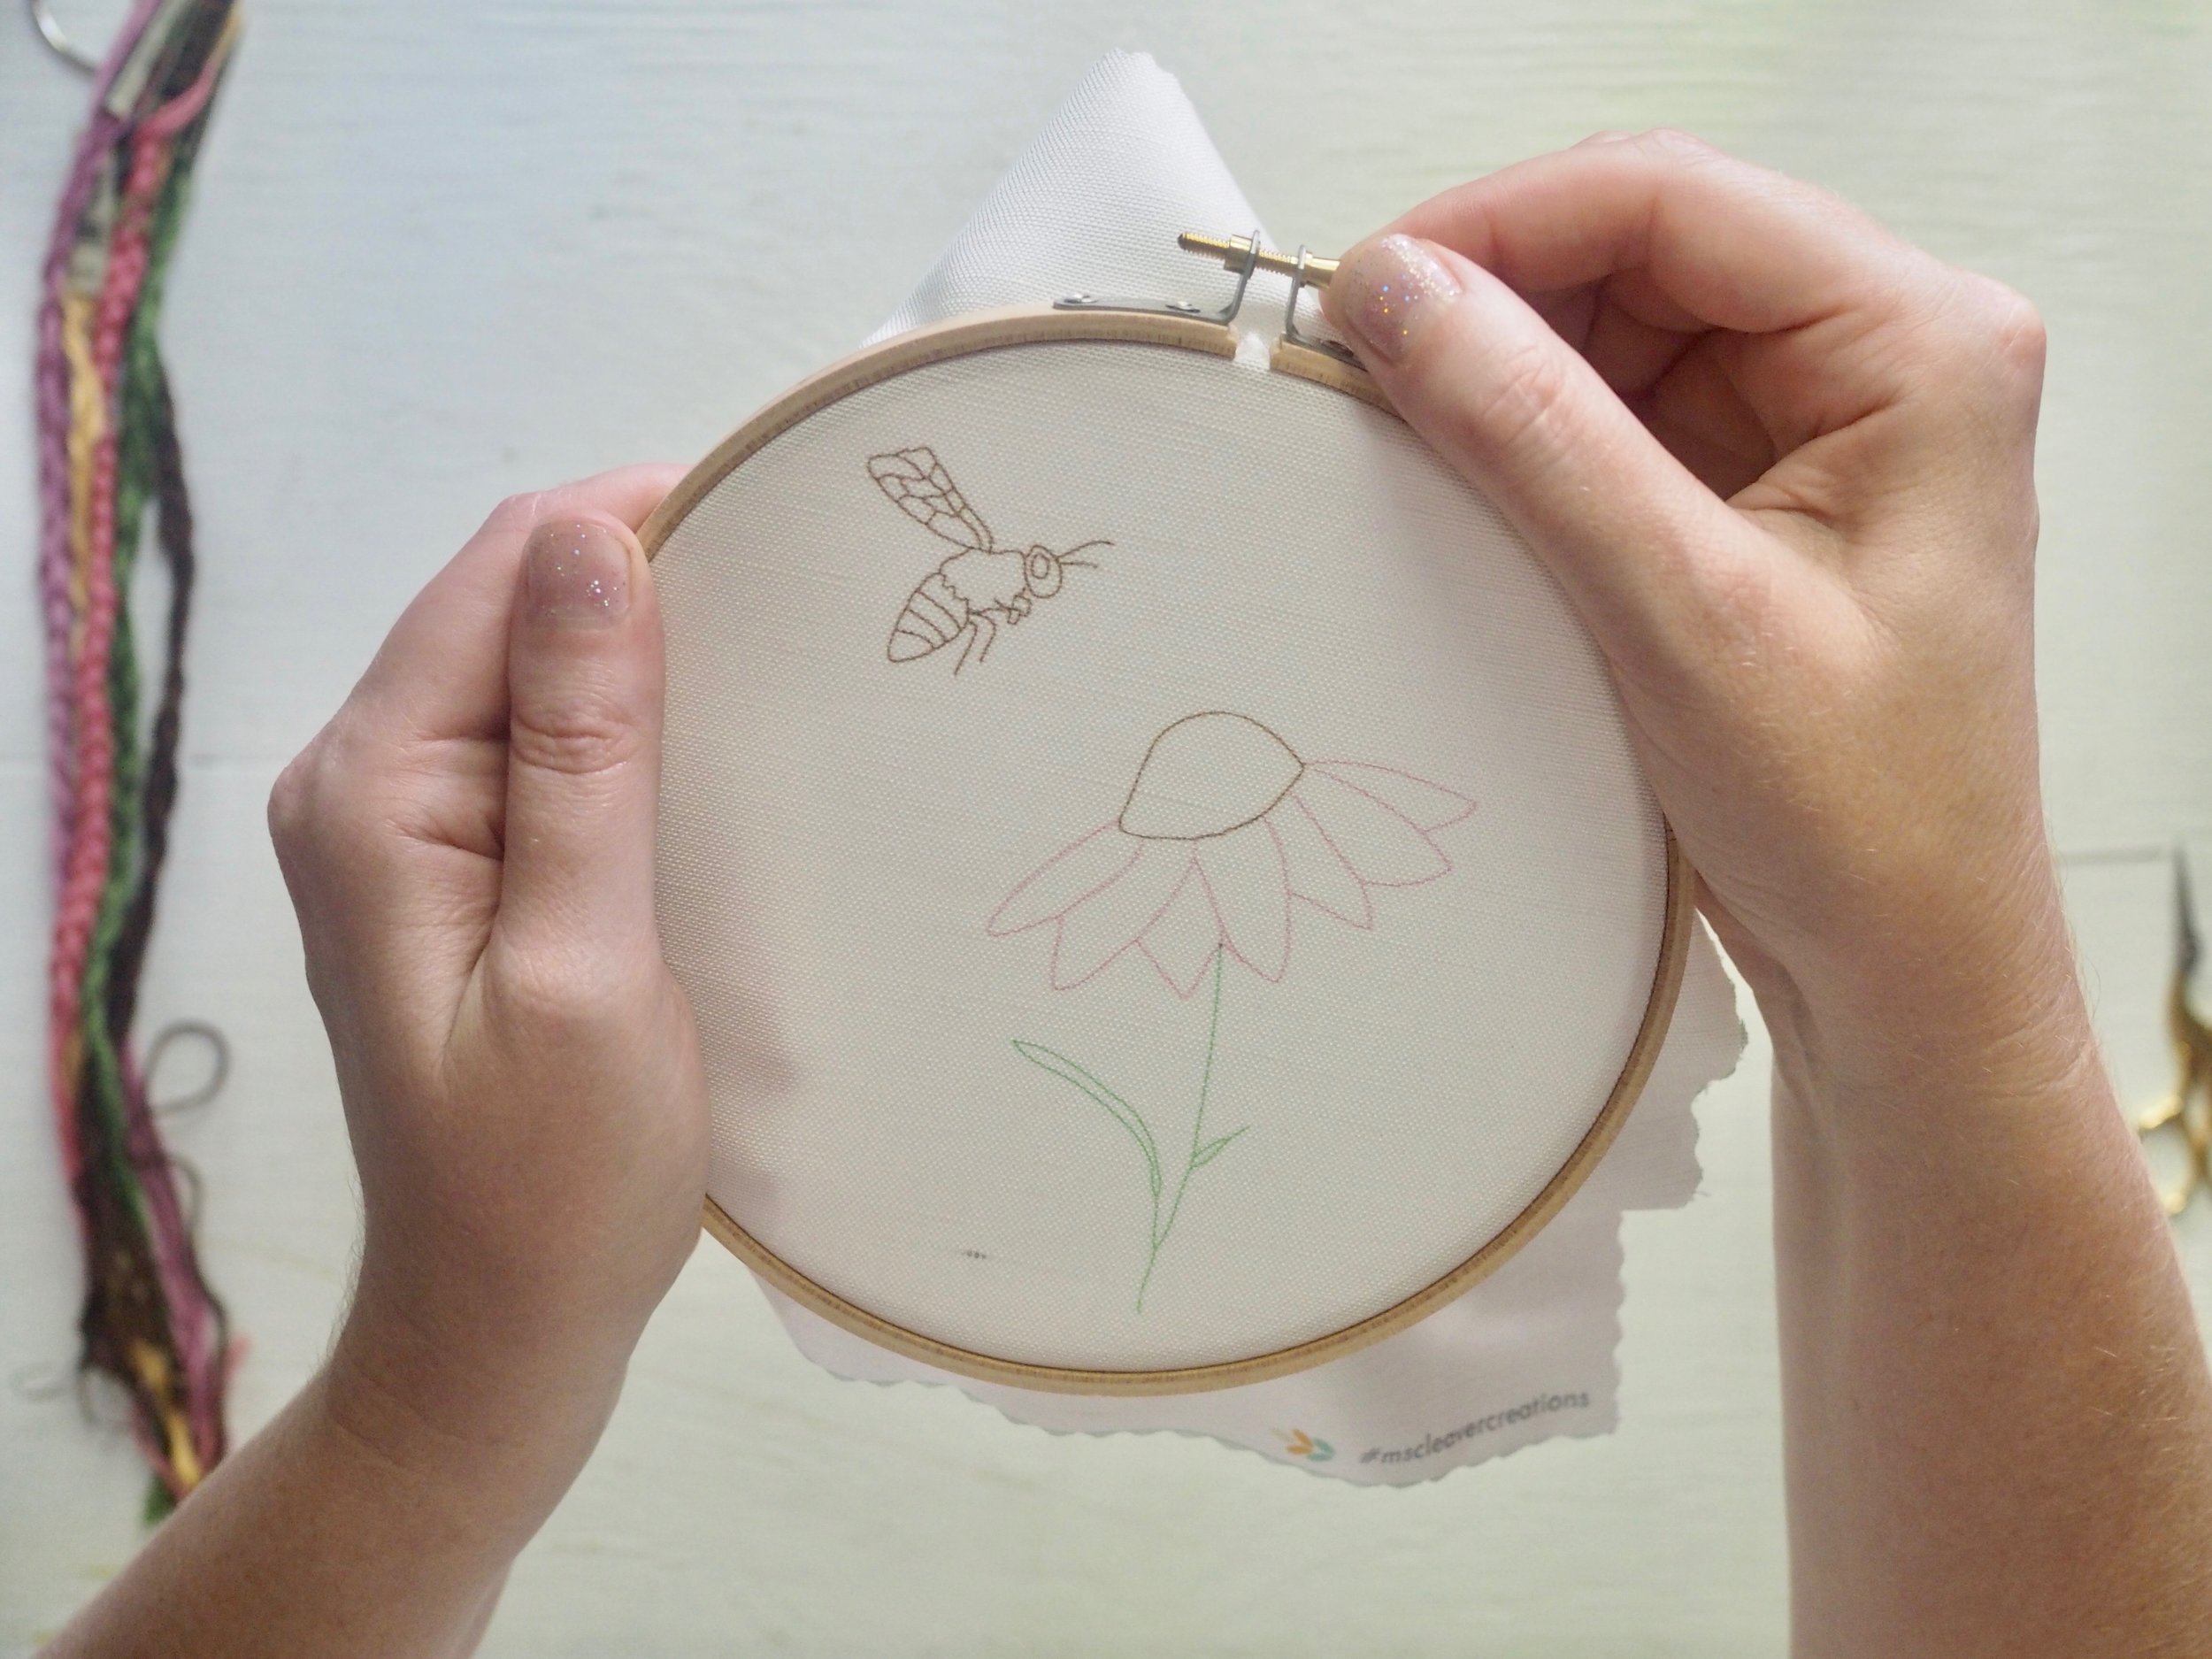
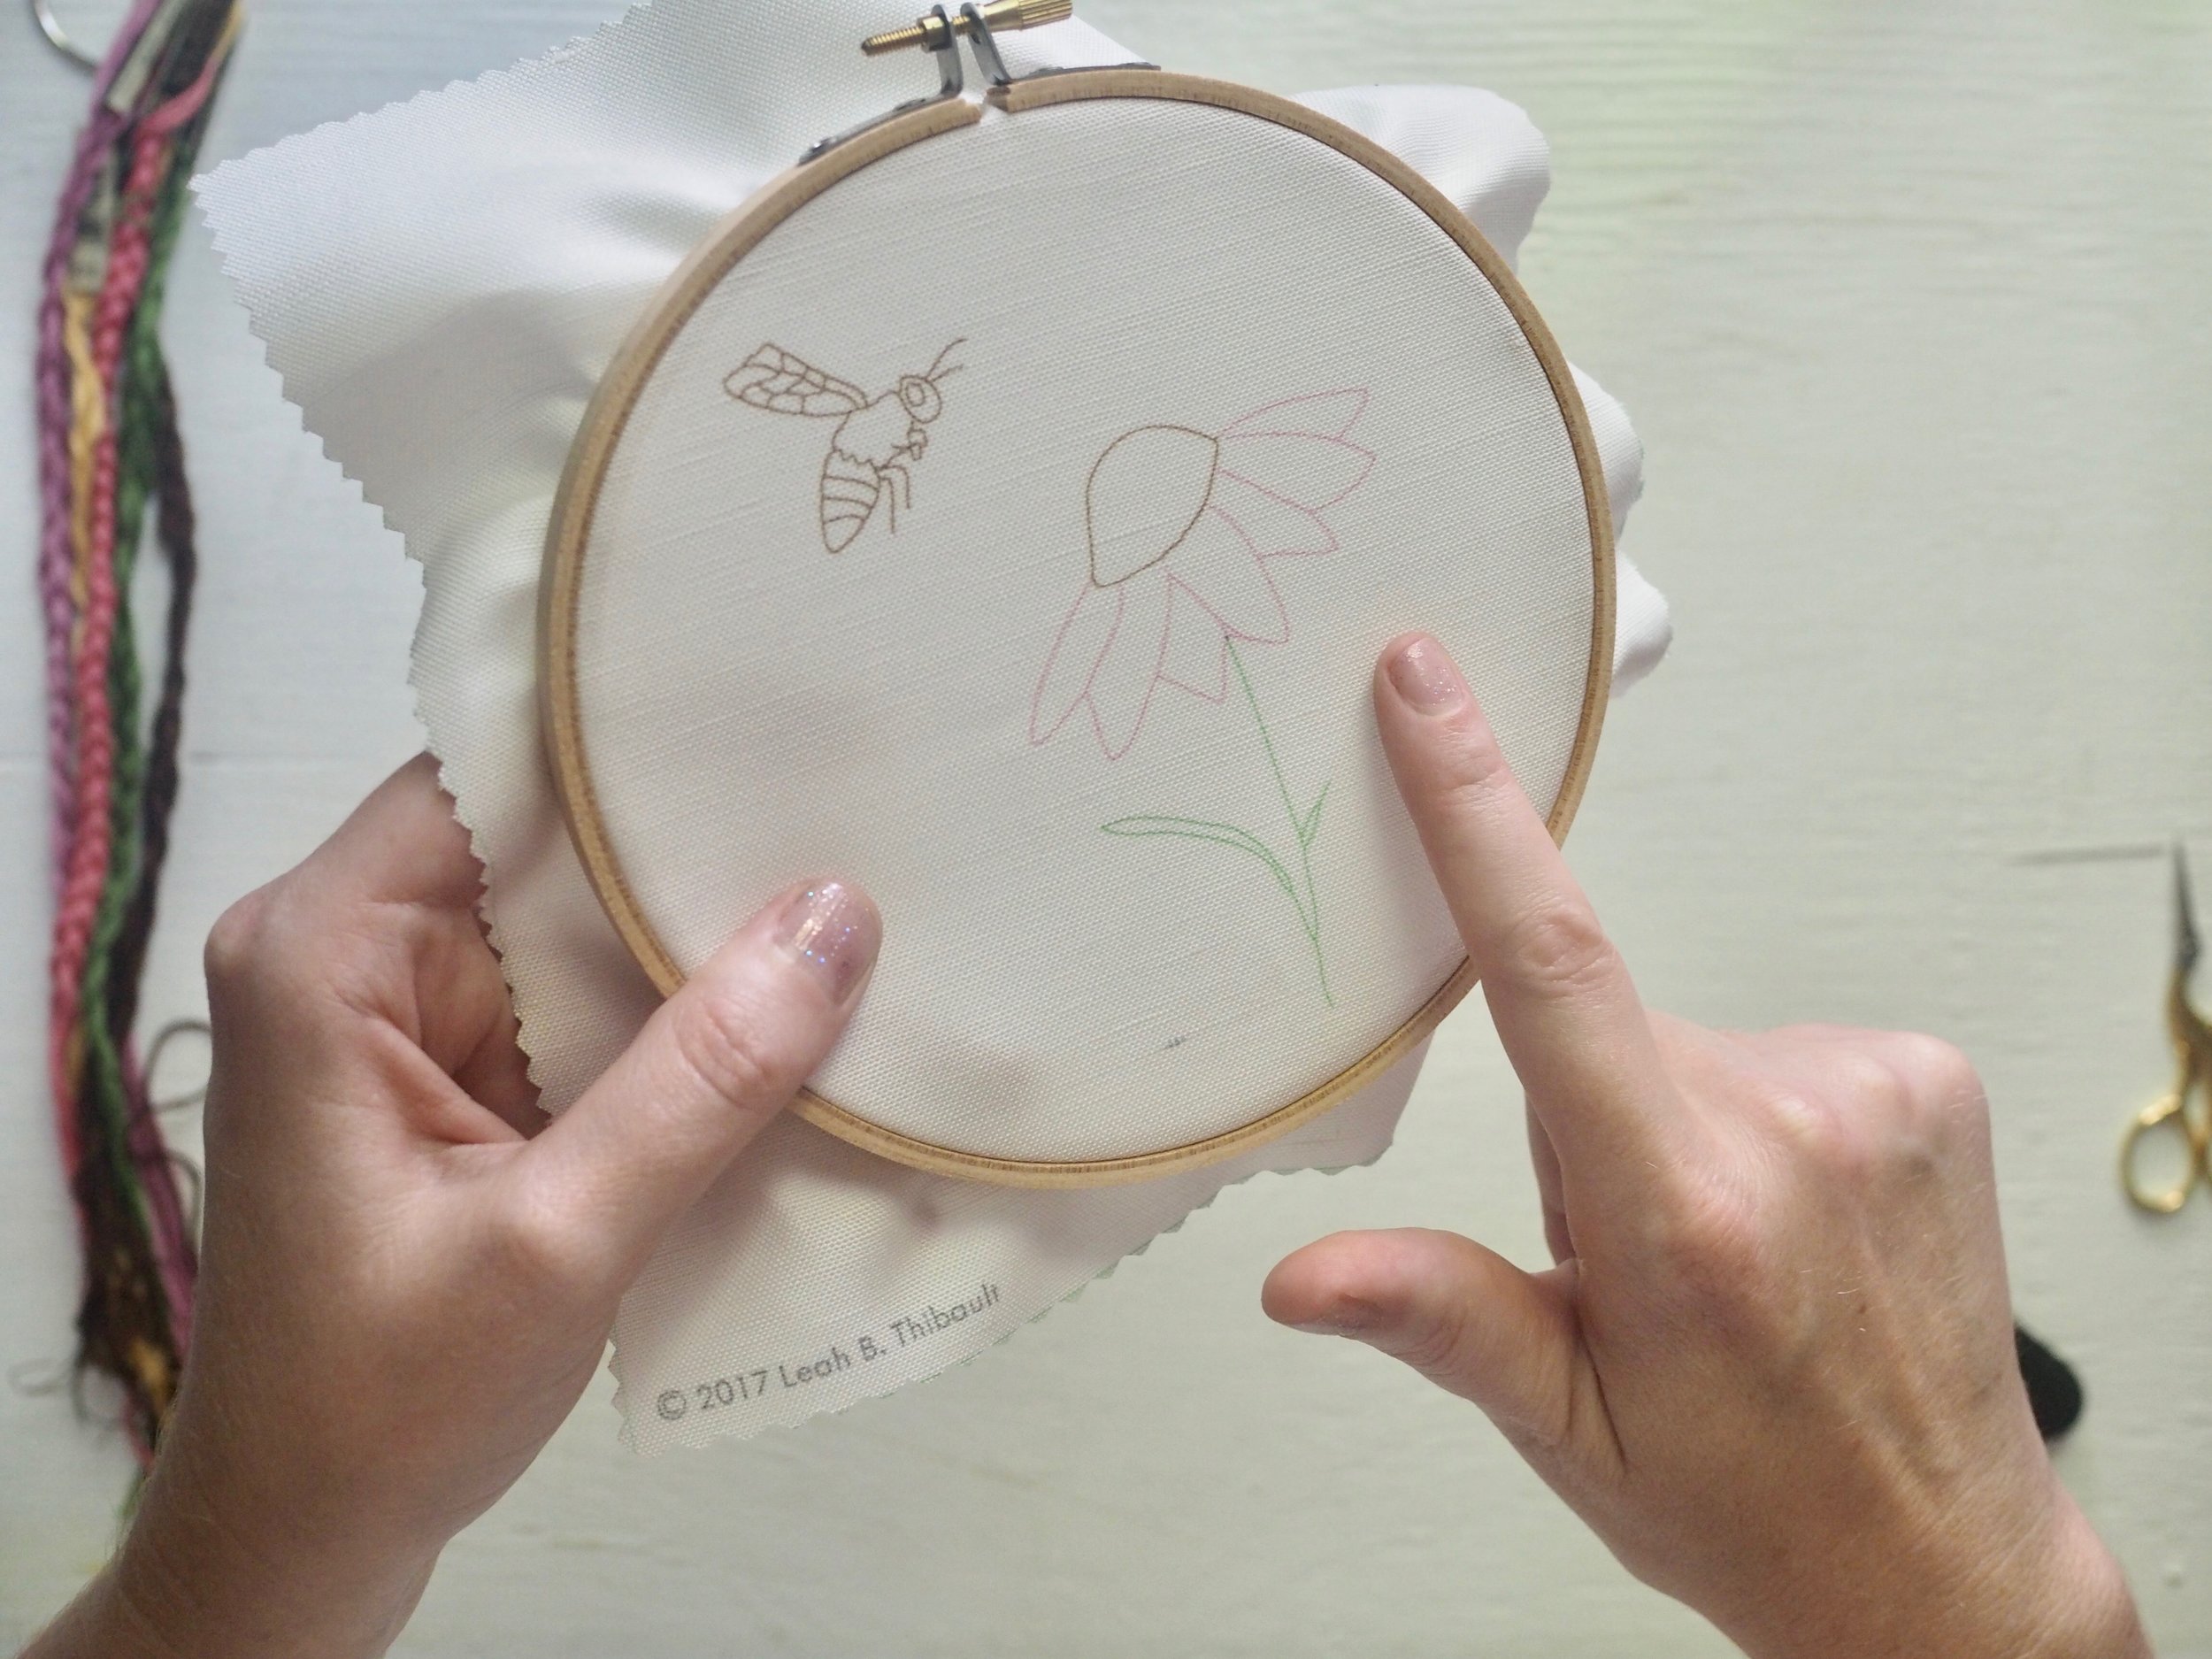
First, you've got to get your fabric in your hoop. Embroidery hoops come in two pieces, the outer "open" hoop with a screw closure and the inner closed hoop. Hoops are most often found in wood and plastic. I prefer wooden hoops because of the warmer feel and they make great inexpensive frames, just make sure to get one that is reasonably thick. When possible, I like to fit my whole design in the hoop without having to keep moving it across the fabric, so most of my designs will fit a 6" hoop, which I find the most comfortable to hold. Hoops can also be found in 4", 7", 8" diameters or there are straight edged stretchers for larger projects. If you're just starting out, a handful of 6-inchers will get you far.
Prepping the Hoop
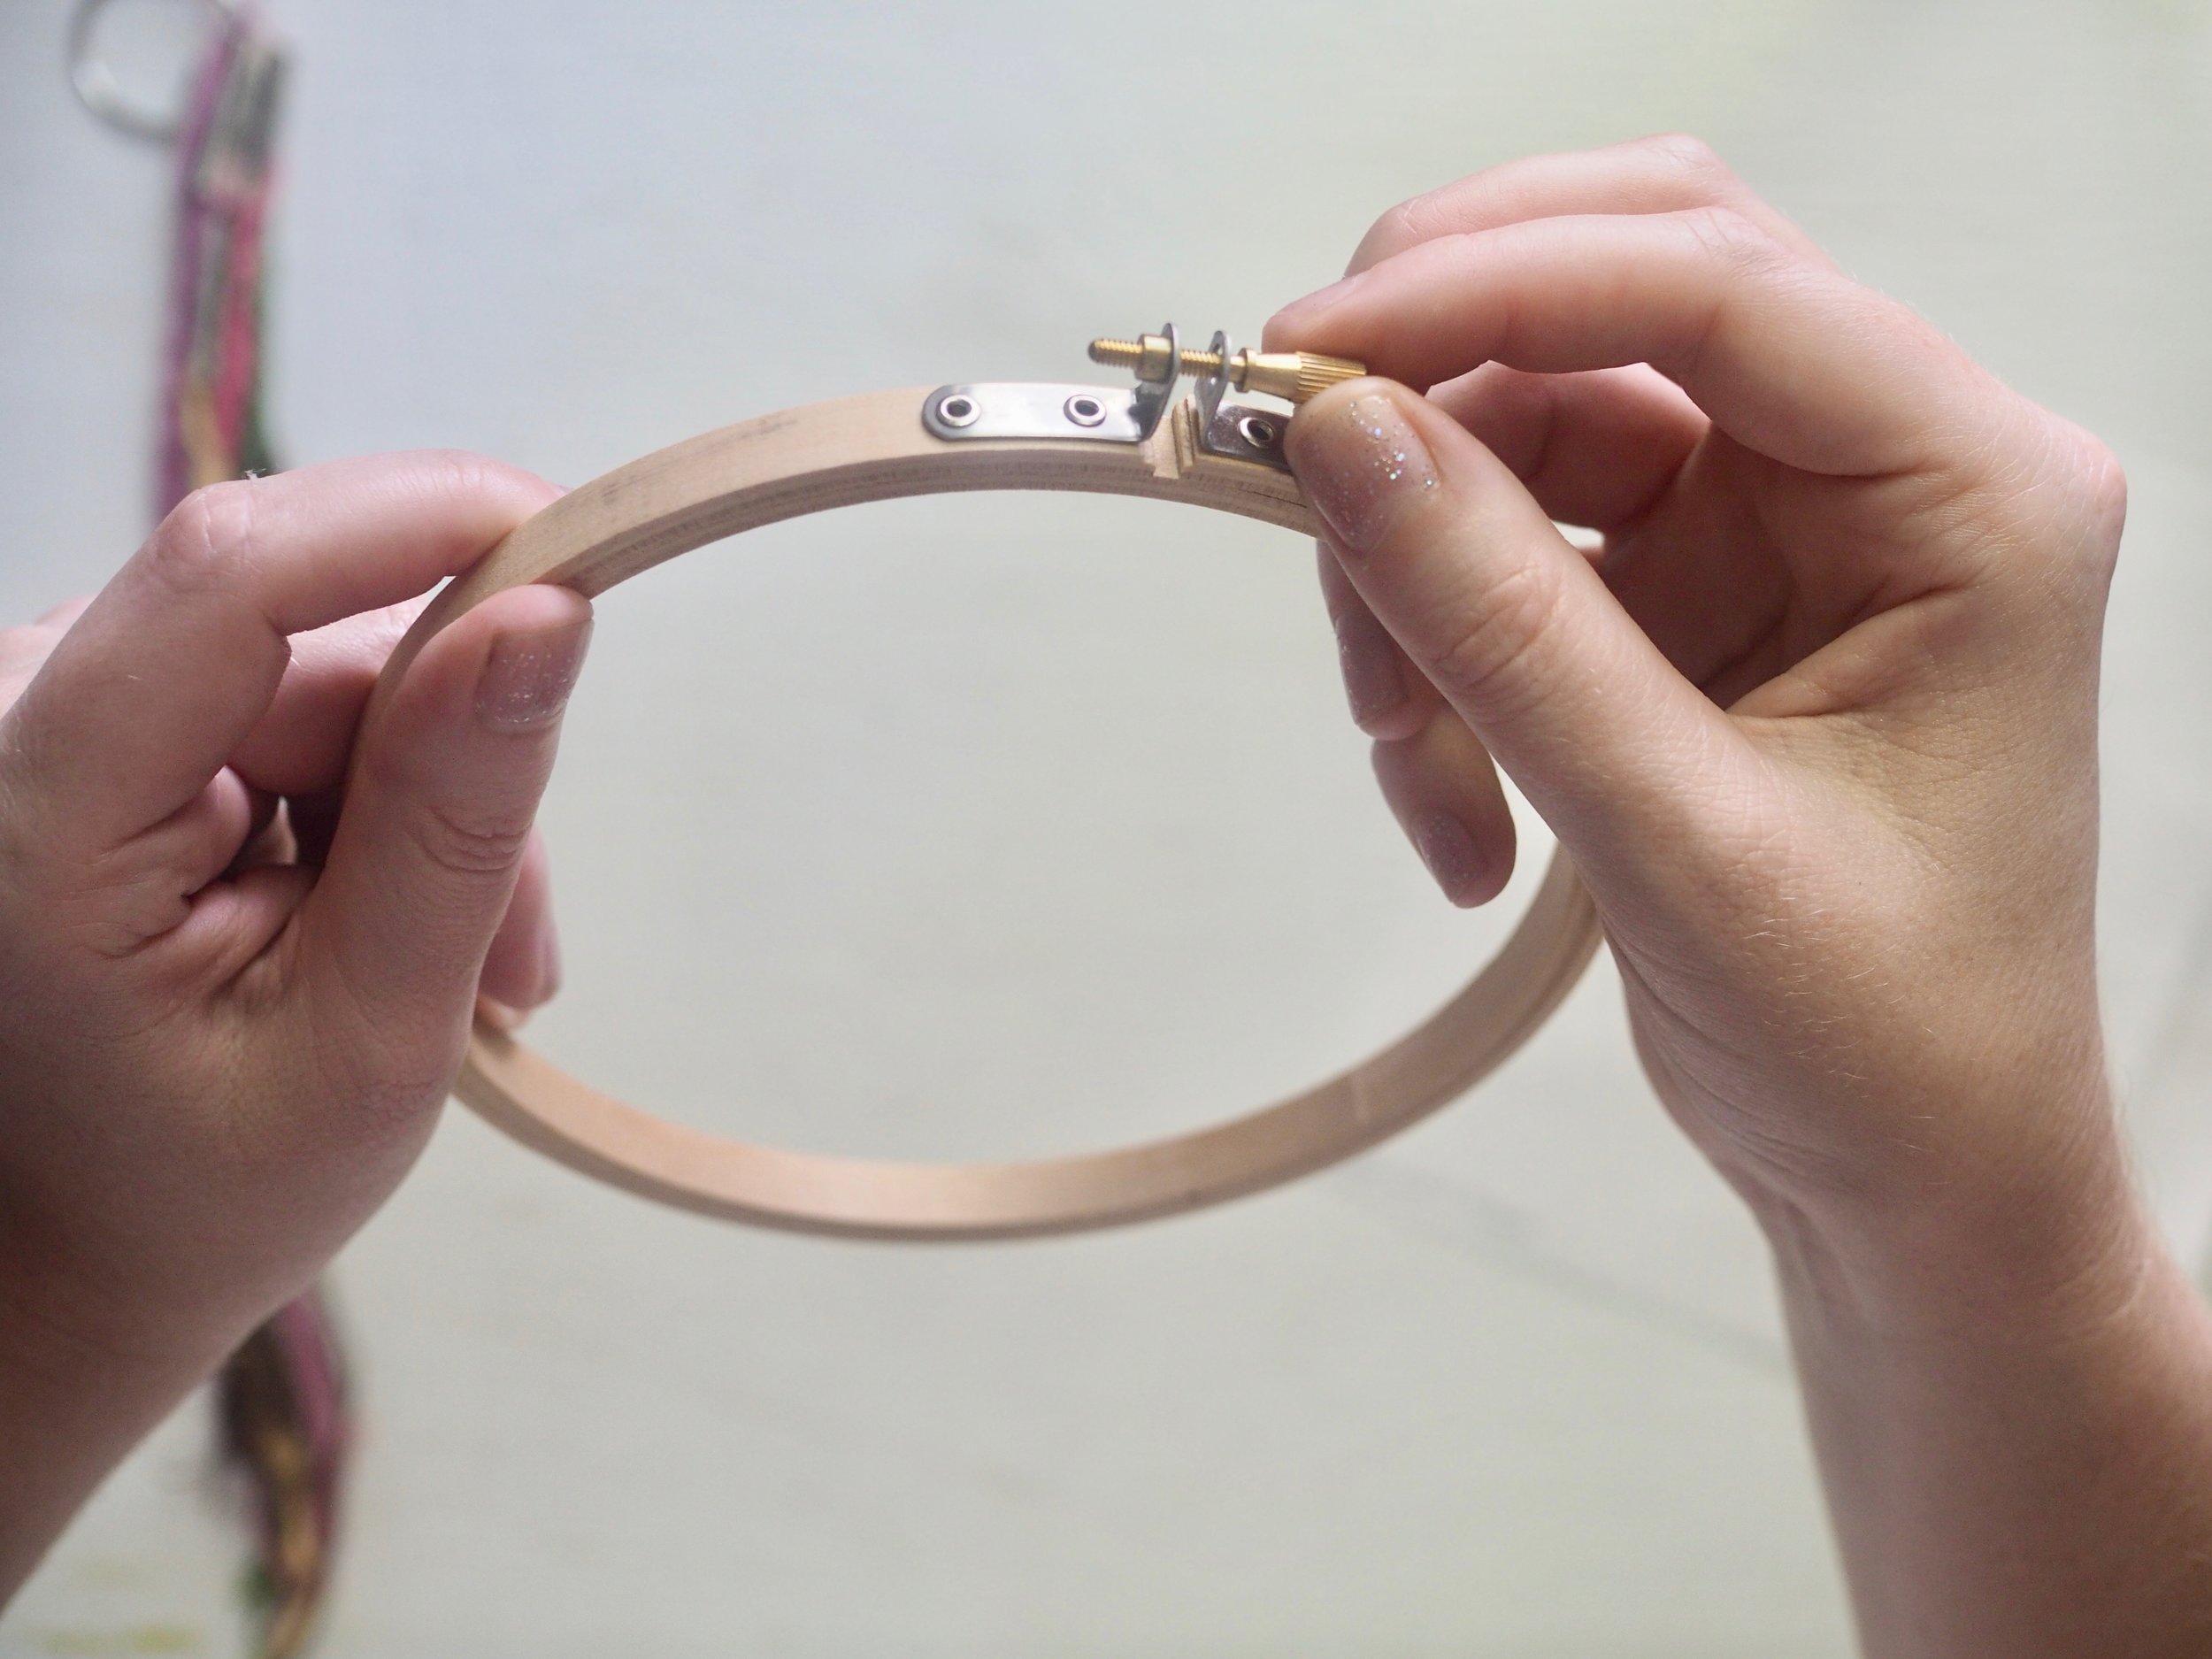
I generally prefer to put the inner hoop on the back, which I'll show here, but others prefer to do it with the inner hoop on top, try both and see what you prefer! First, loosen the nut at the top to allow the inner hoop to drop out easily.
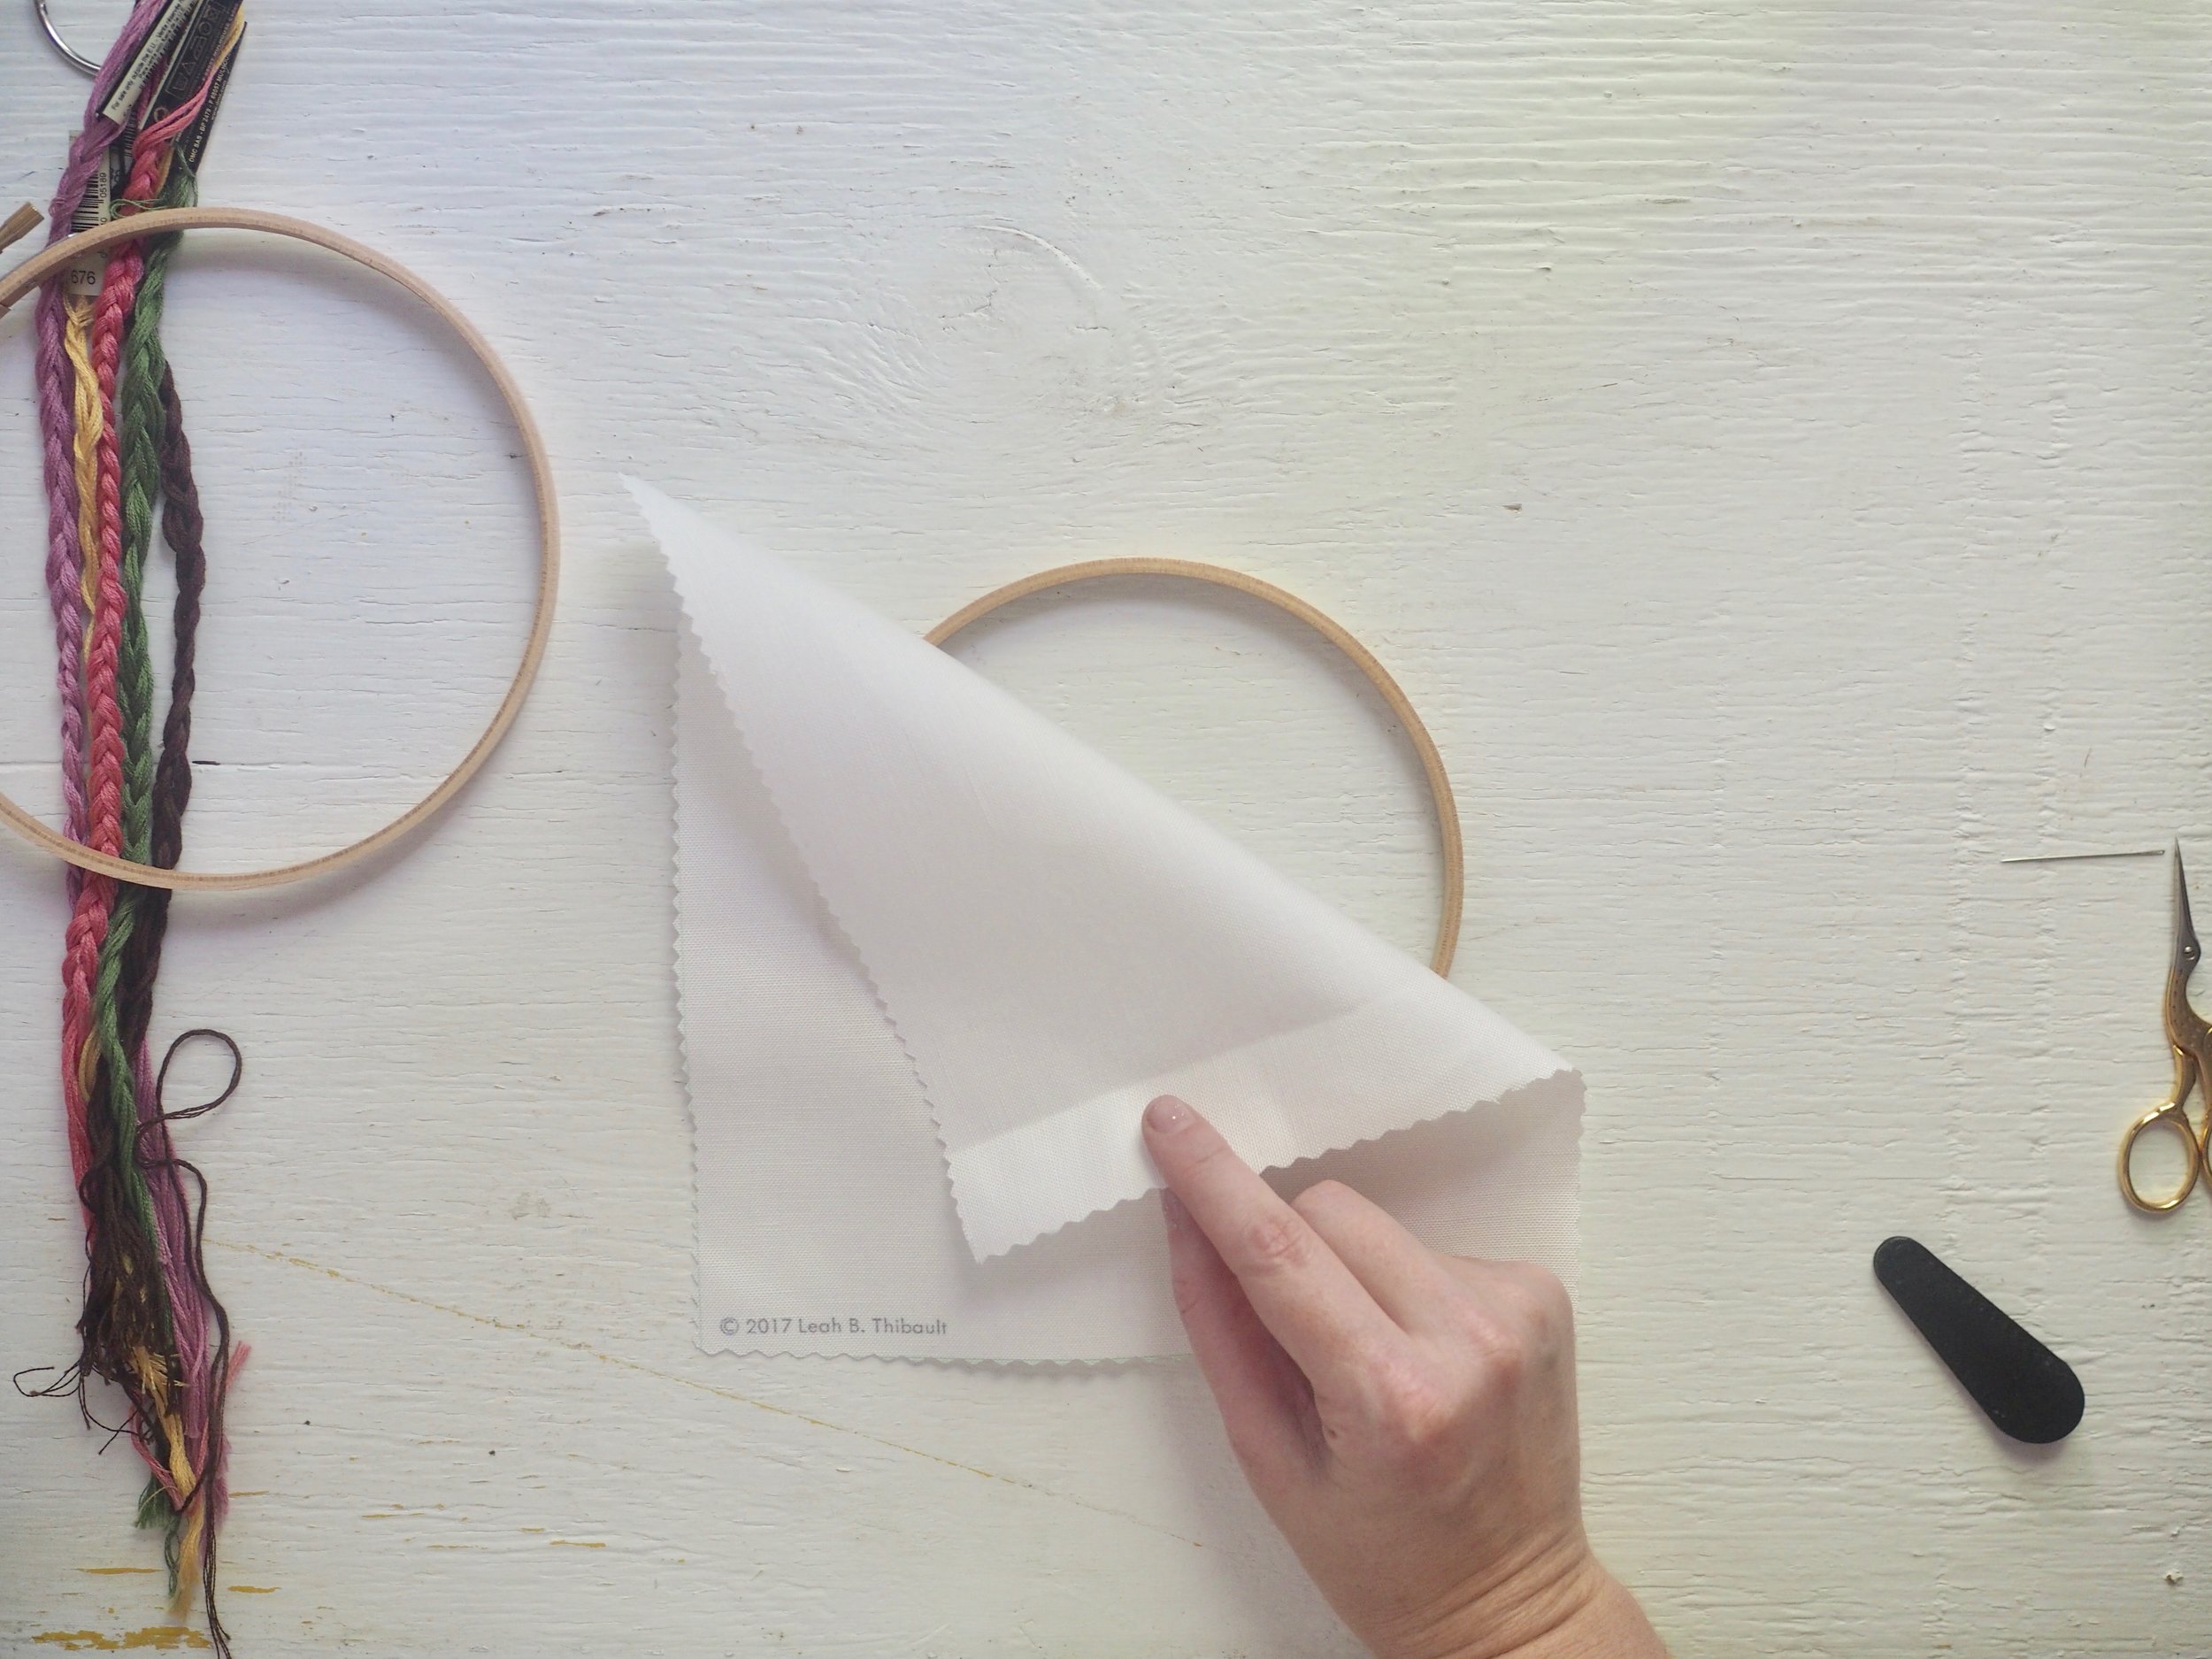
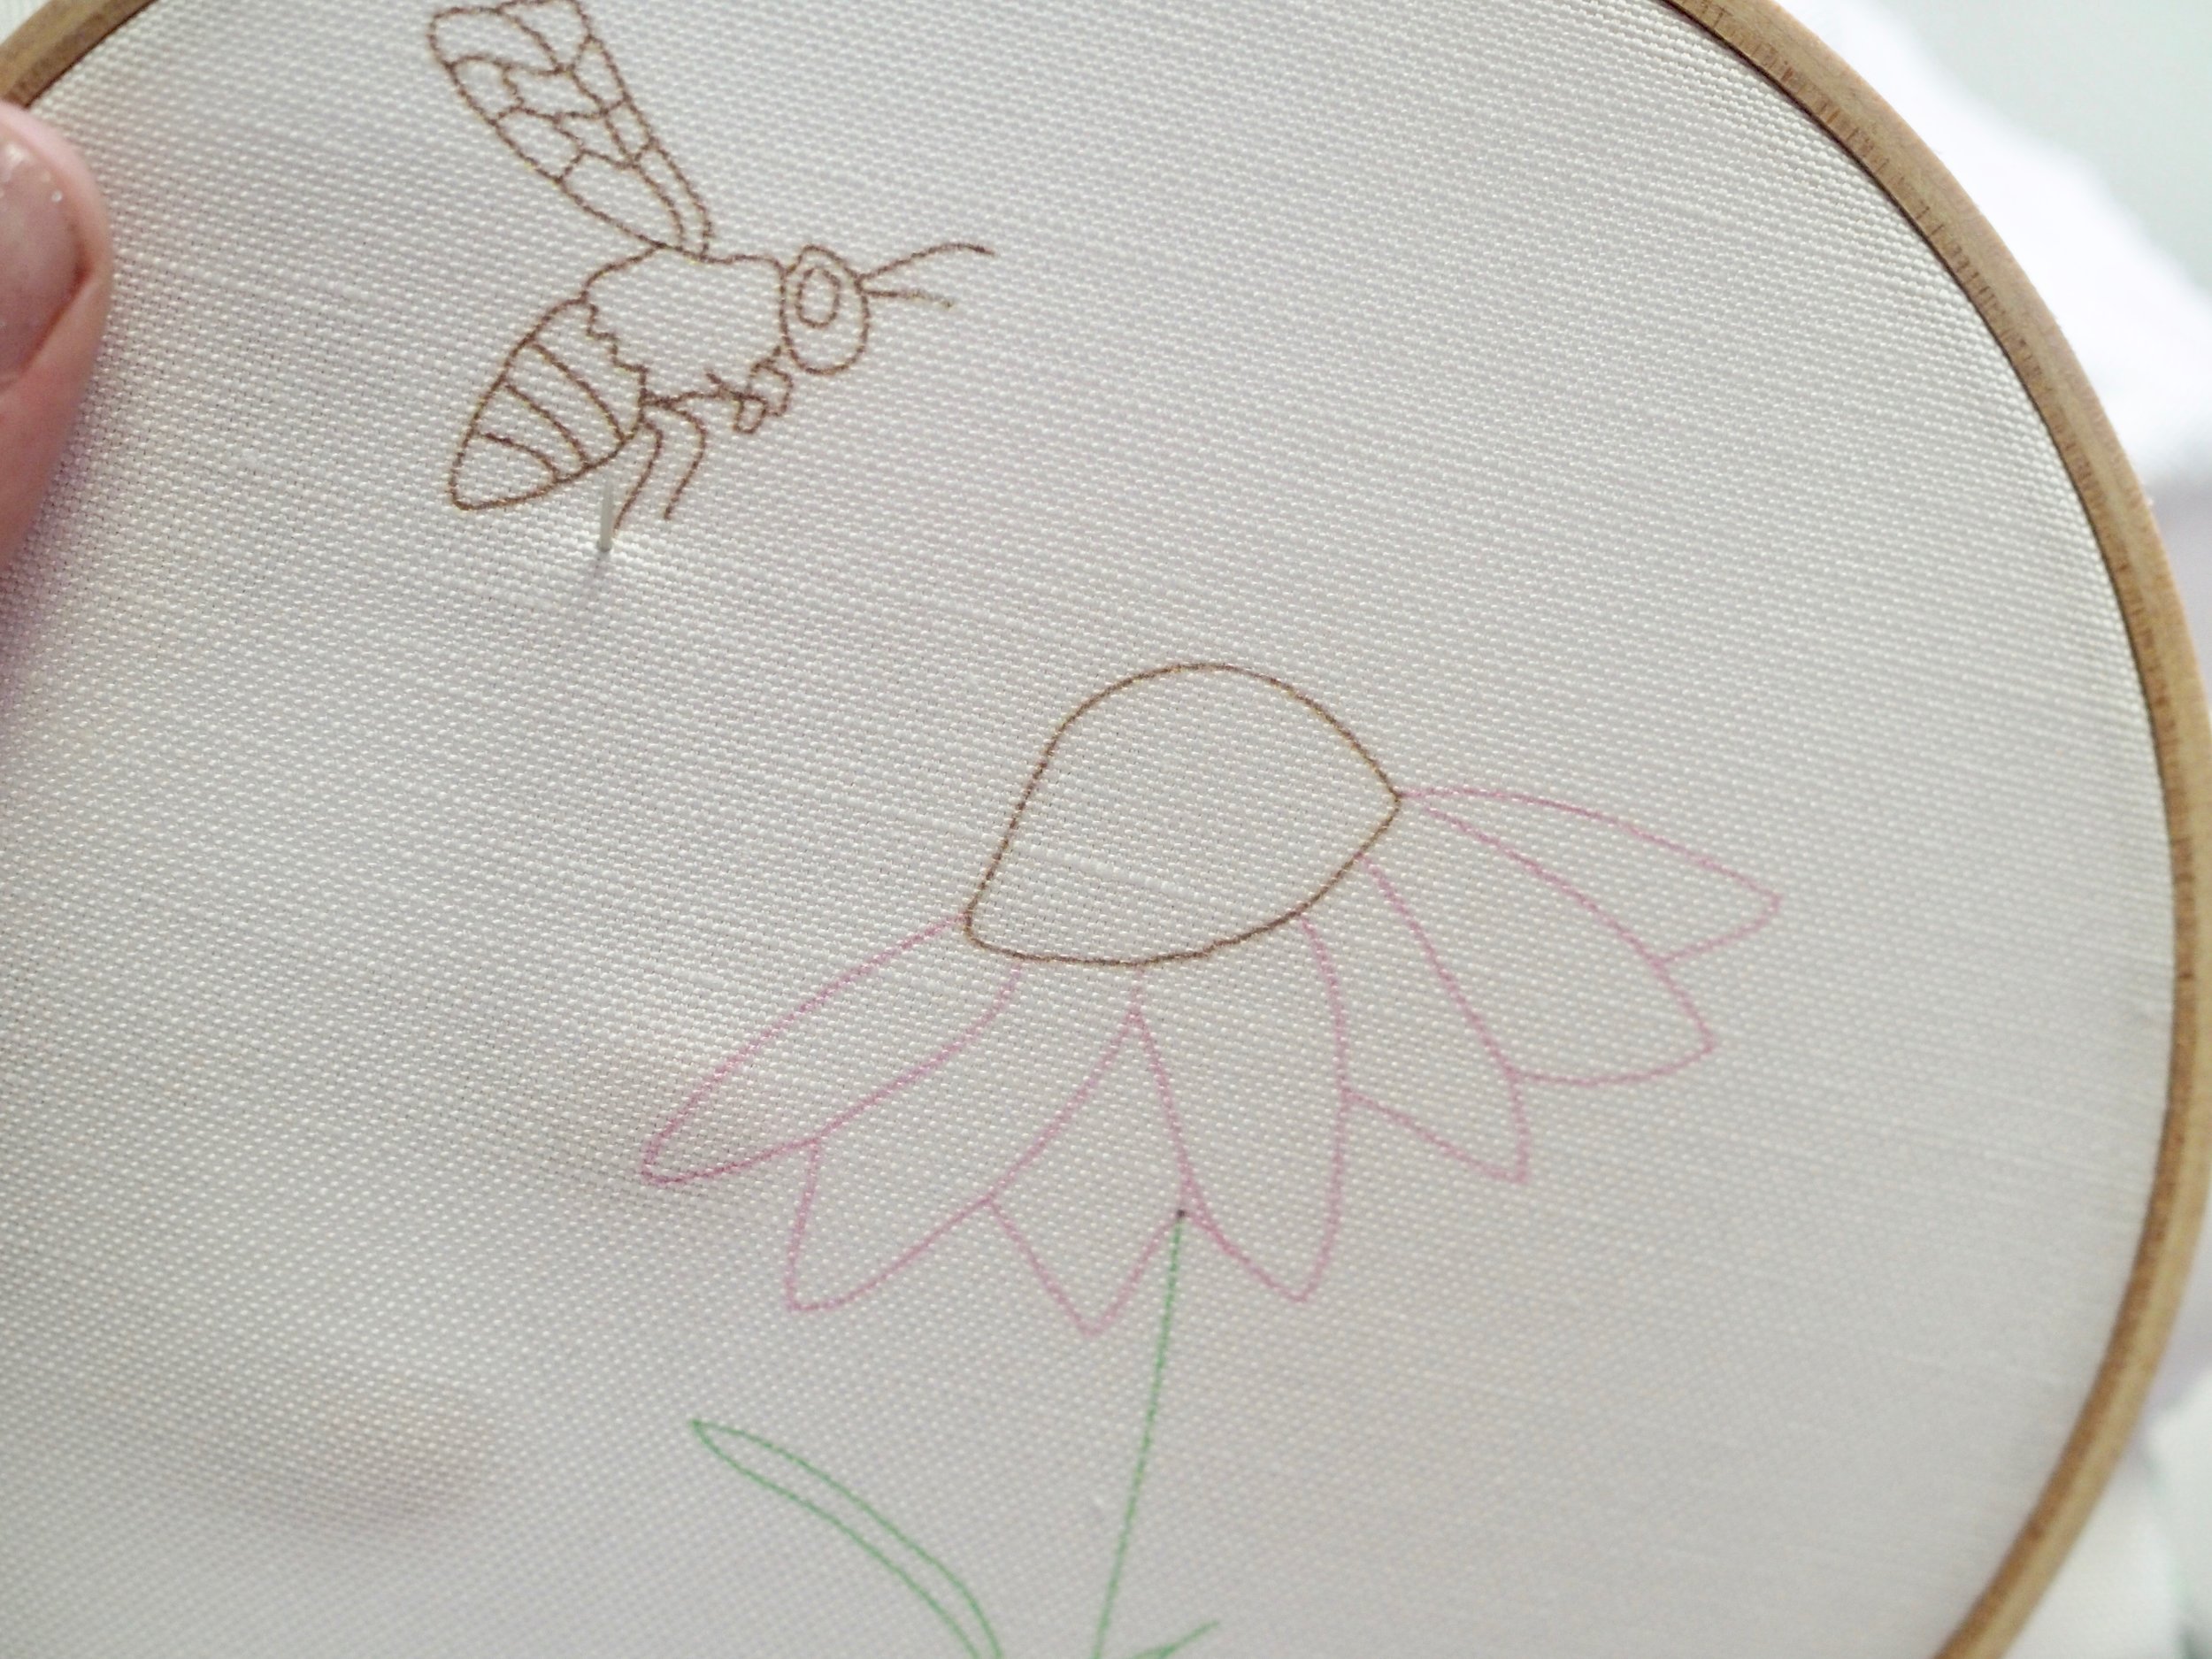
Place your fabric, design up, on top of the smaller inner hoop. If the whole design fits in your hoop, center it. For larger designs that don't fit the hoop, center the part you're planning to work on first.
Testing the Hoop Tension
Place the larger outer hoop on top, trapping the fabric between the inner and outer hoops. I usually put the screw at the top of the hoop, but place it wherever it will be in your way the least. Pull the fabric tightly around the inner hoop, making sure the design looks even and tighten the screw until the fabric is well-tensioned between the two parts of the hoop. It should have only a slight amount of give and will feel like a drum head when tapped. If it's too tight, you're needle will squeak as you stitch. Too loose and you risk distorting the design.
Separating Plys
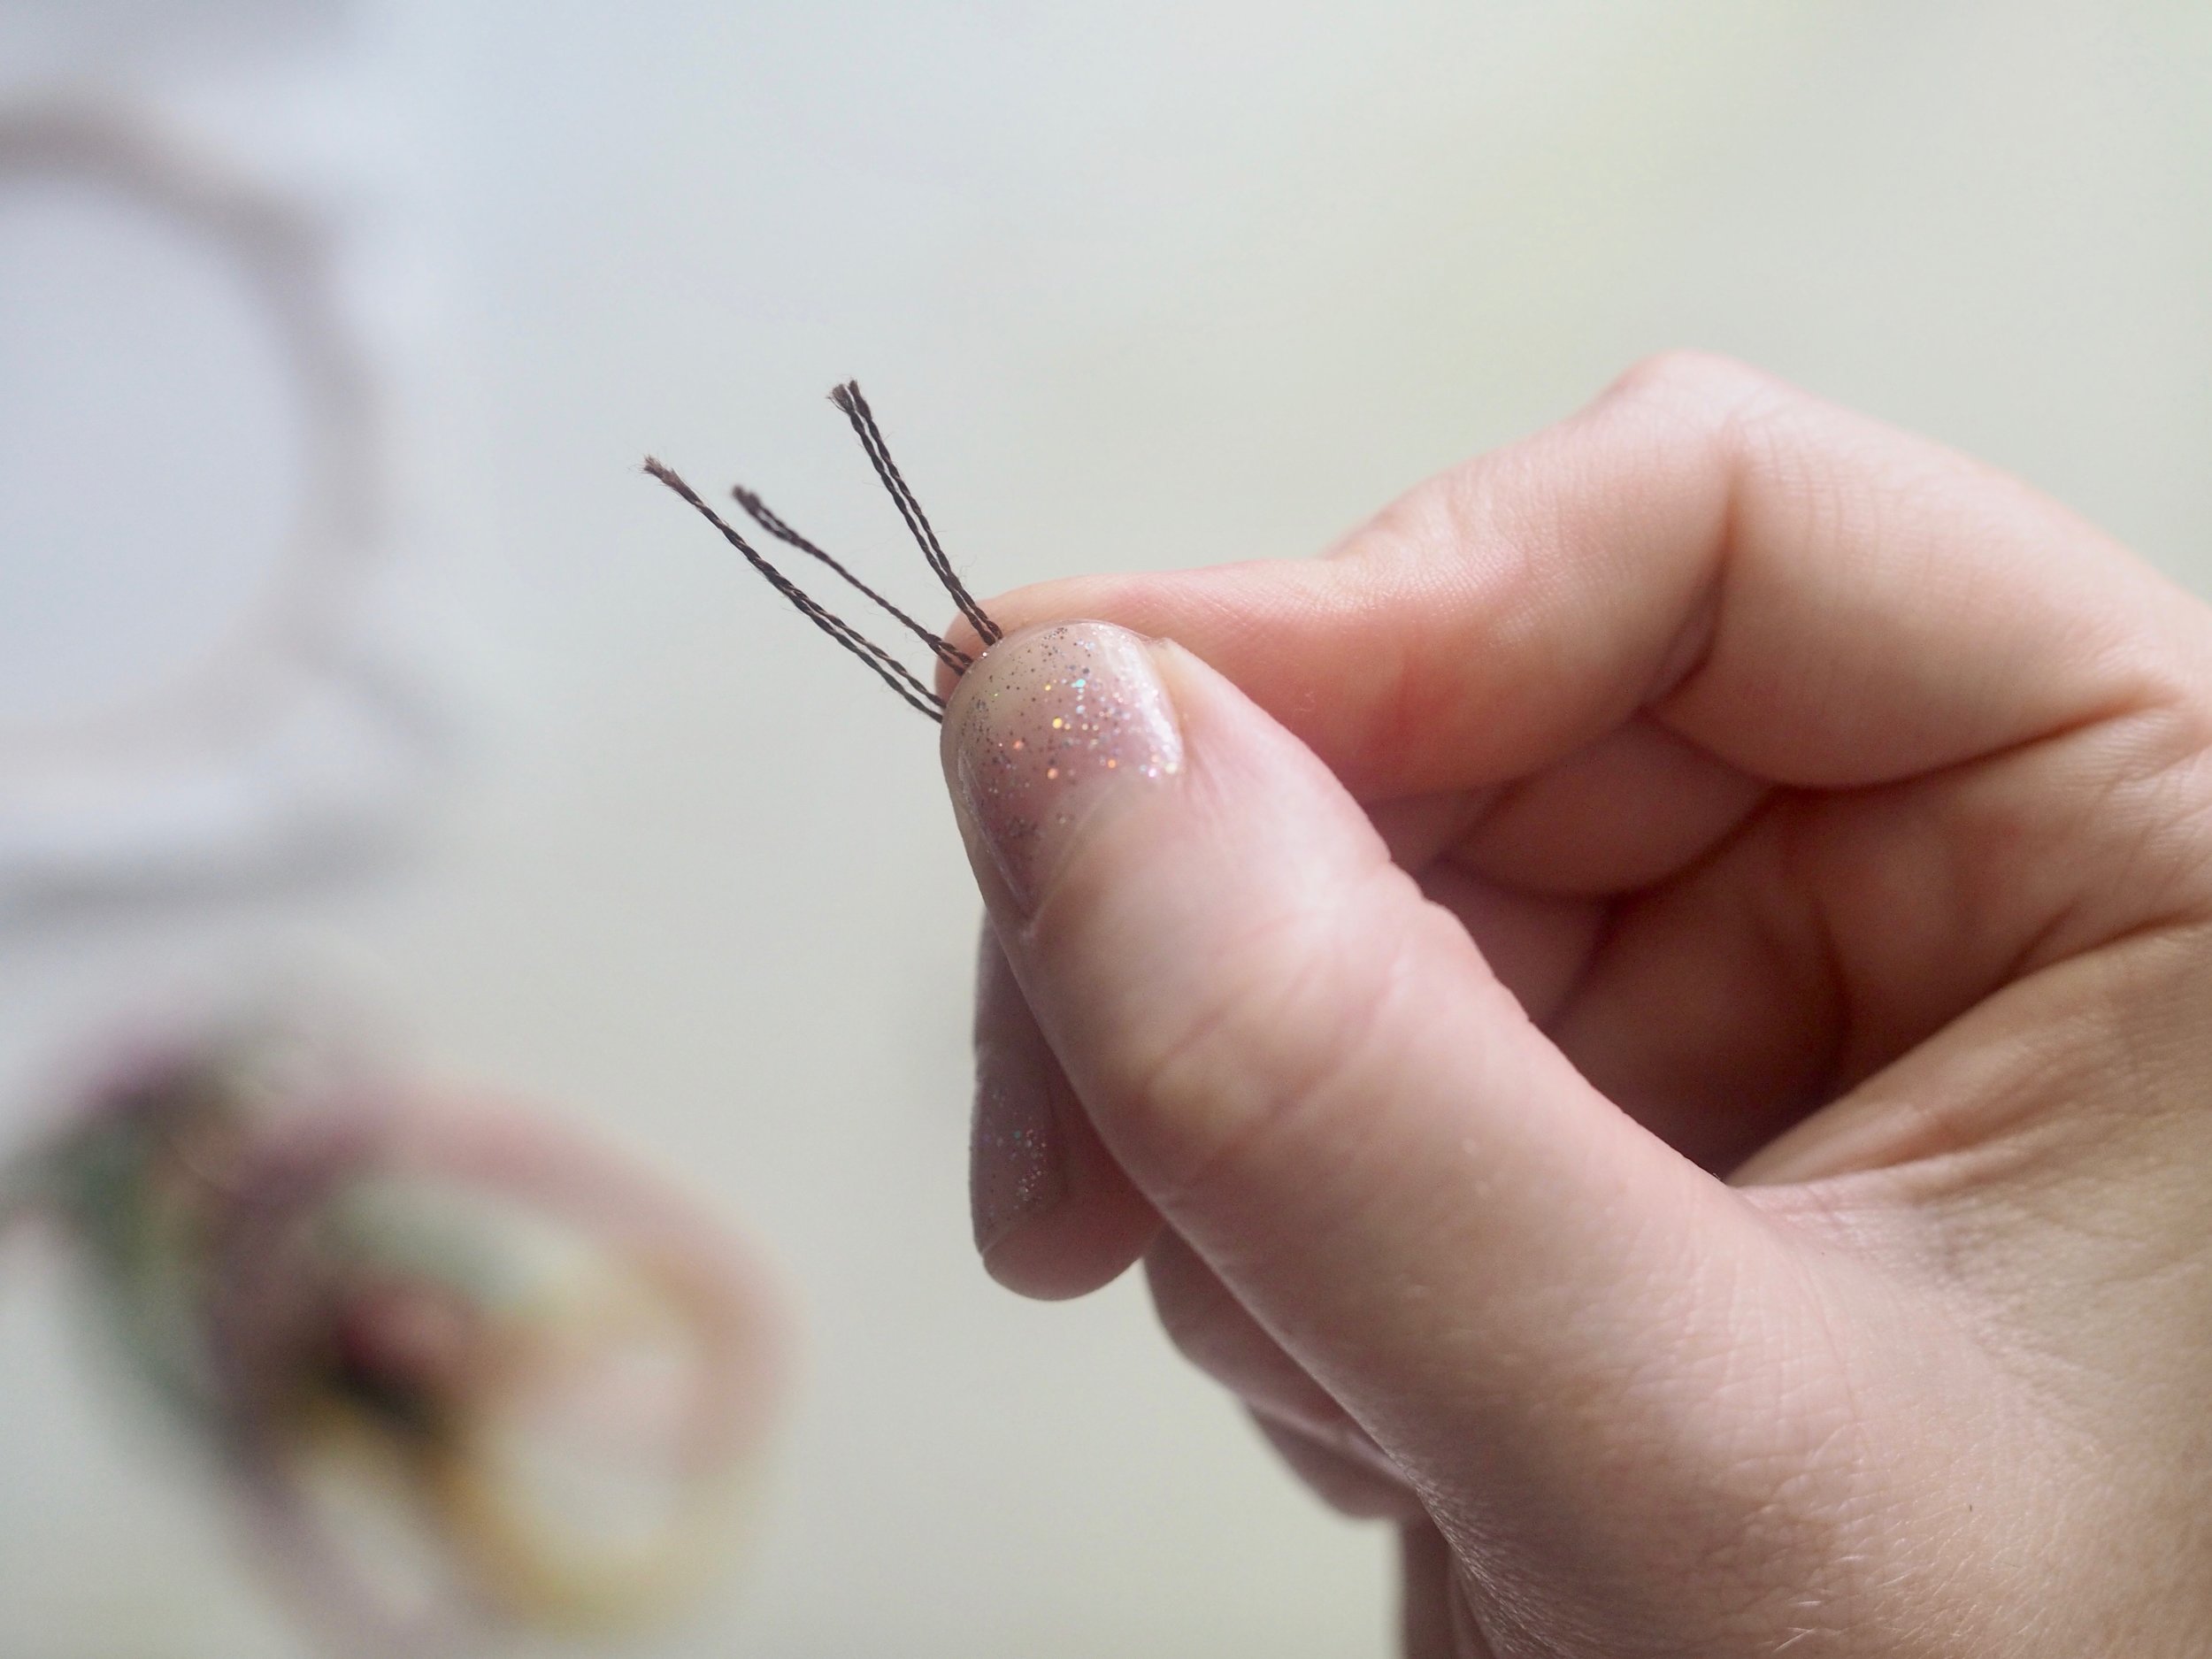
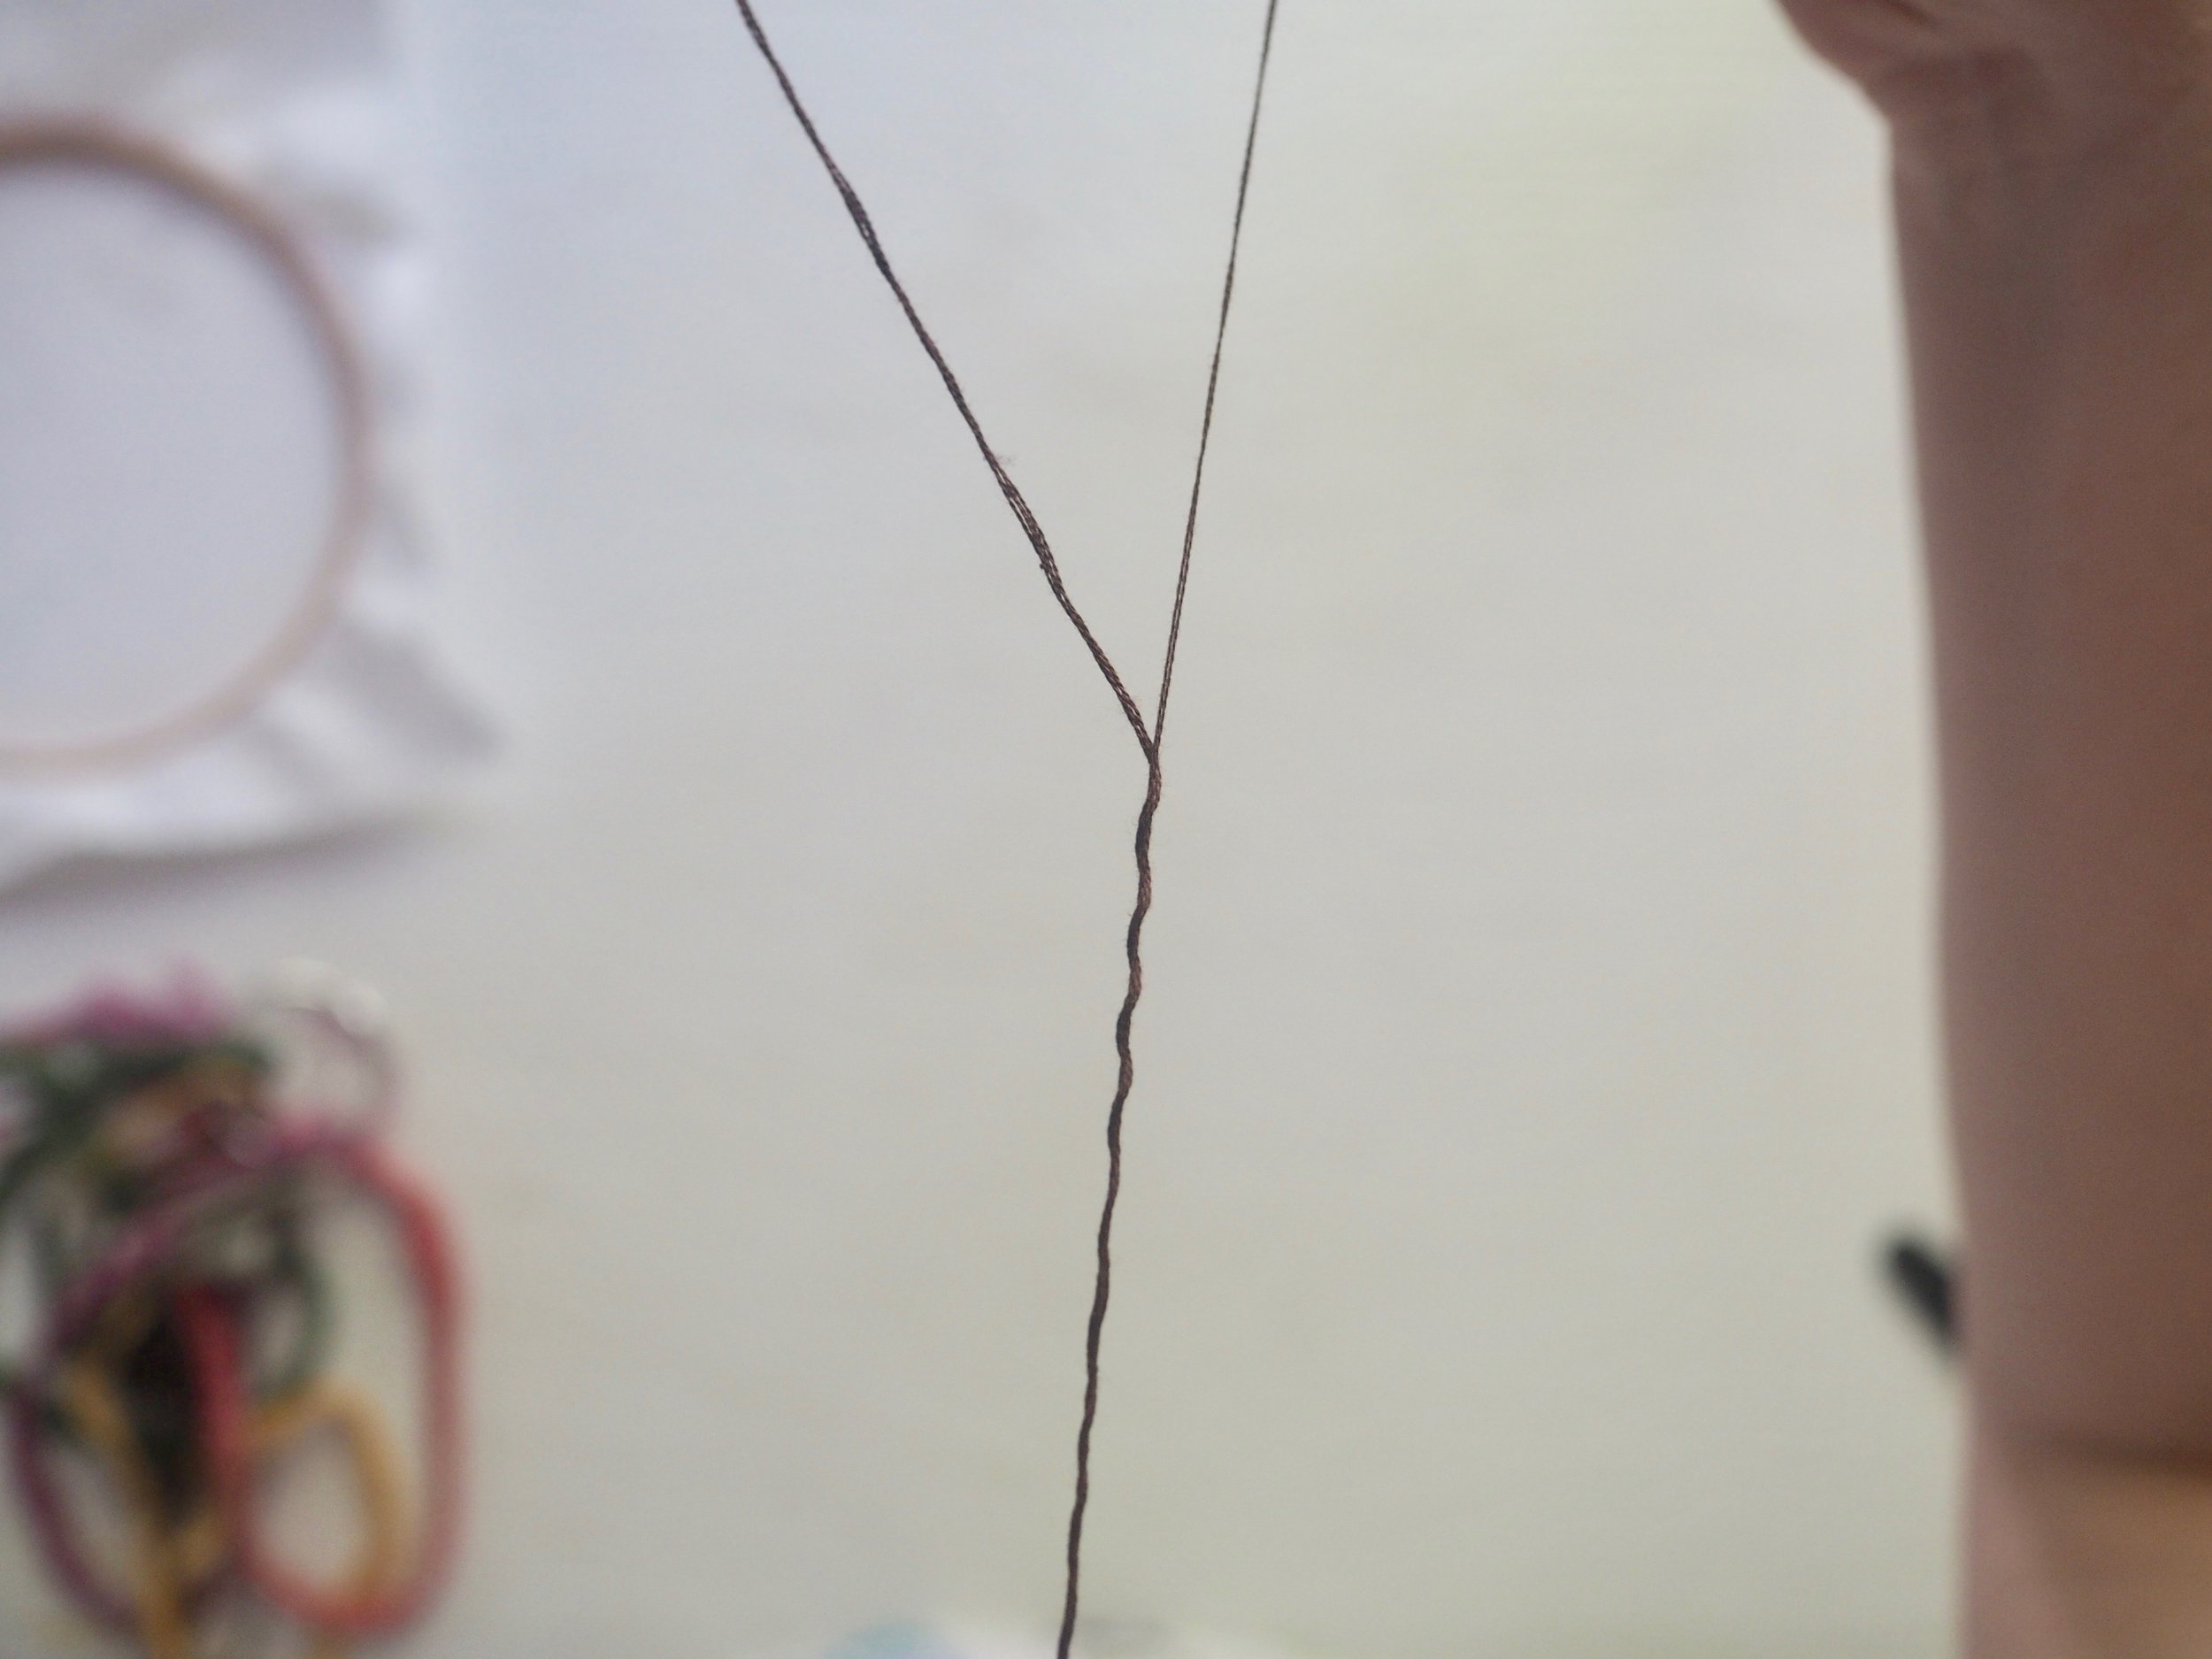
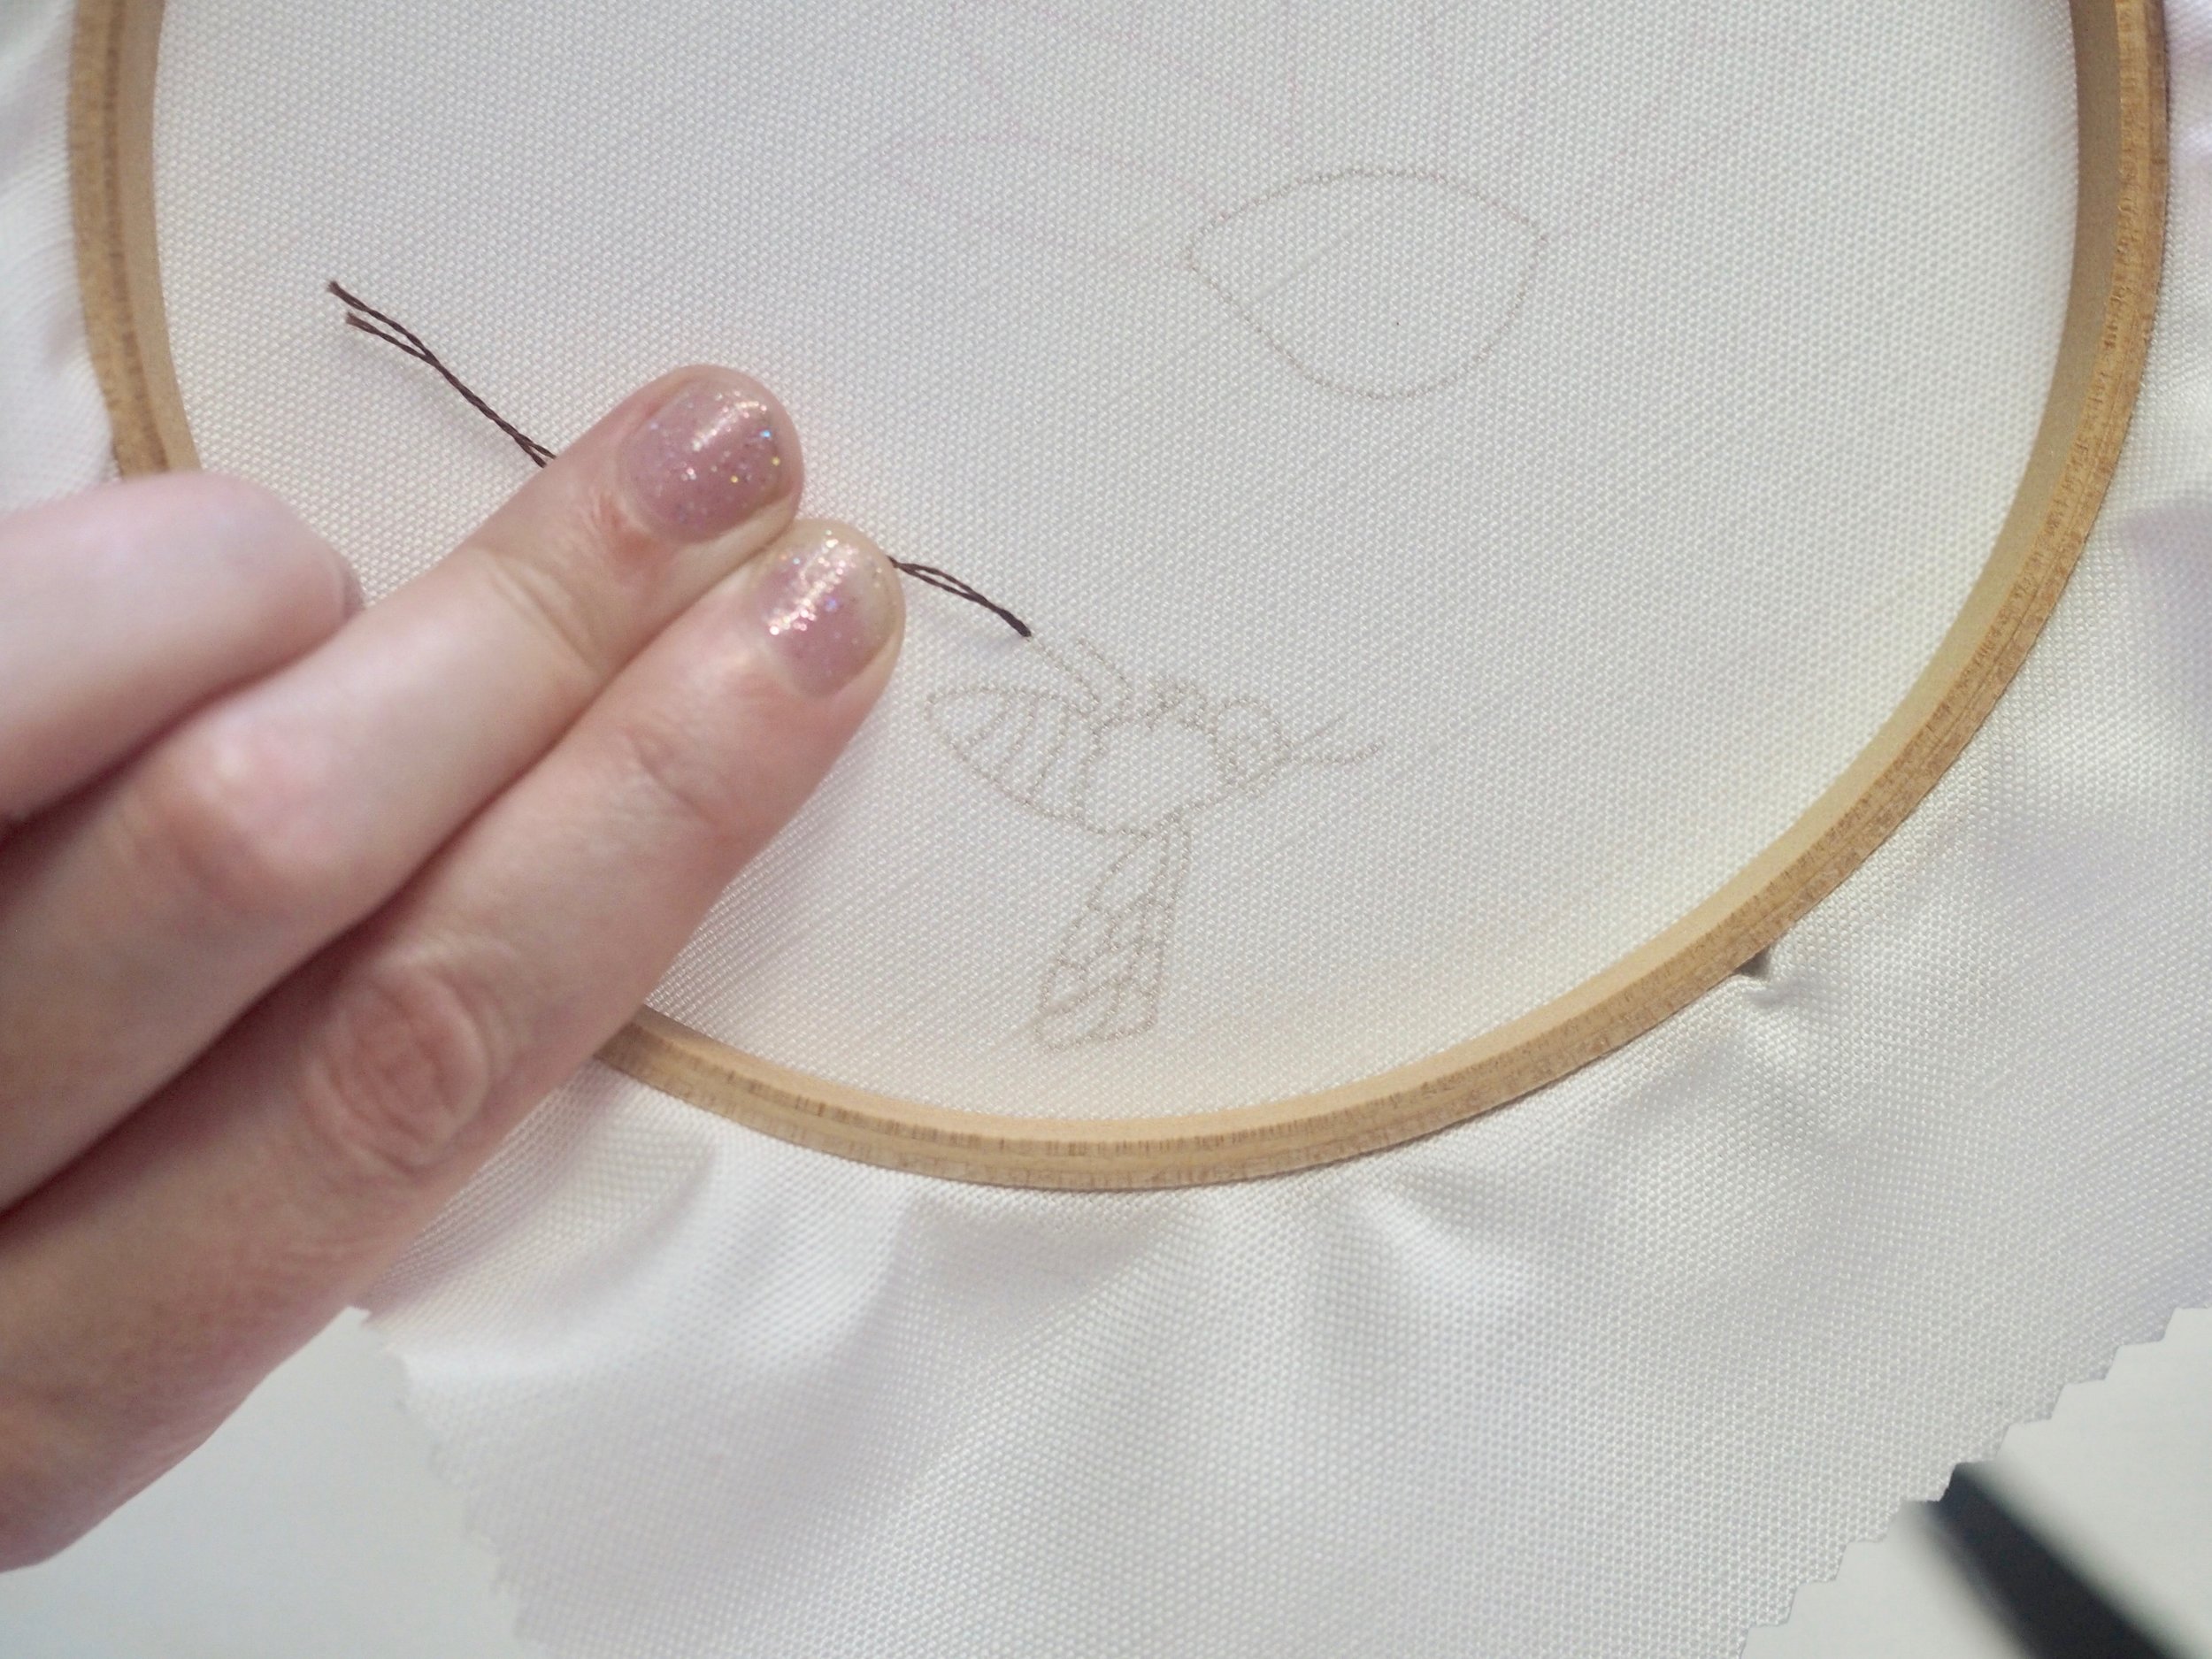
Pick the thread color you wish to work with first and cut a length about 1 yard (36 inches) long, or the distance between your fingers and the center of your chest. If you've used my thread prep tutorial, your thread will already be the perfect length. For this tutorial we're using 6-strand embroidery floss (DMC is the most common brand). If you're using Perle cotton or another tightly twisted thread, skip this step.
6-strand floss is so-called because it's made of six individual plys that are very loosely twisted together. Depending on the thickness of line you want, you can stitch with up to all six plys for a thick line, to one ply for a very fine line. For most standard stitching, I use 2-3 plys, except for satin stitch (we'll cover it later), which I always work with 1 ply.
Here, we'll use 2 plys. To separate plys, take the number of plys (2) you wish to use in your dominant hand, with the remaining plys (4) in your non-dominant hand. Pull your hands apart and the floss will begin to form a "Y" shape. It can be helpful to hold the loose end between your teeth to keep the floss from tangling as it separates.
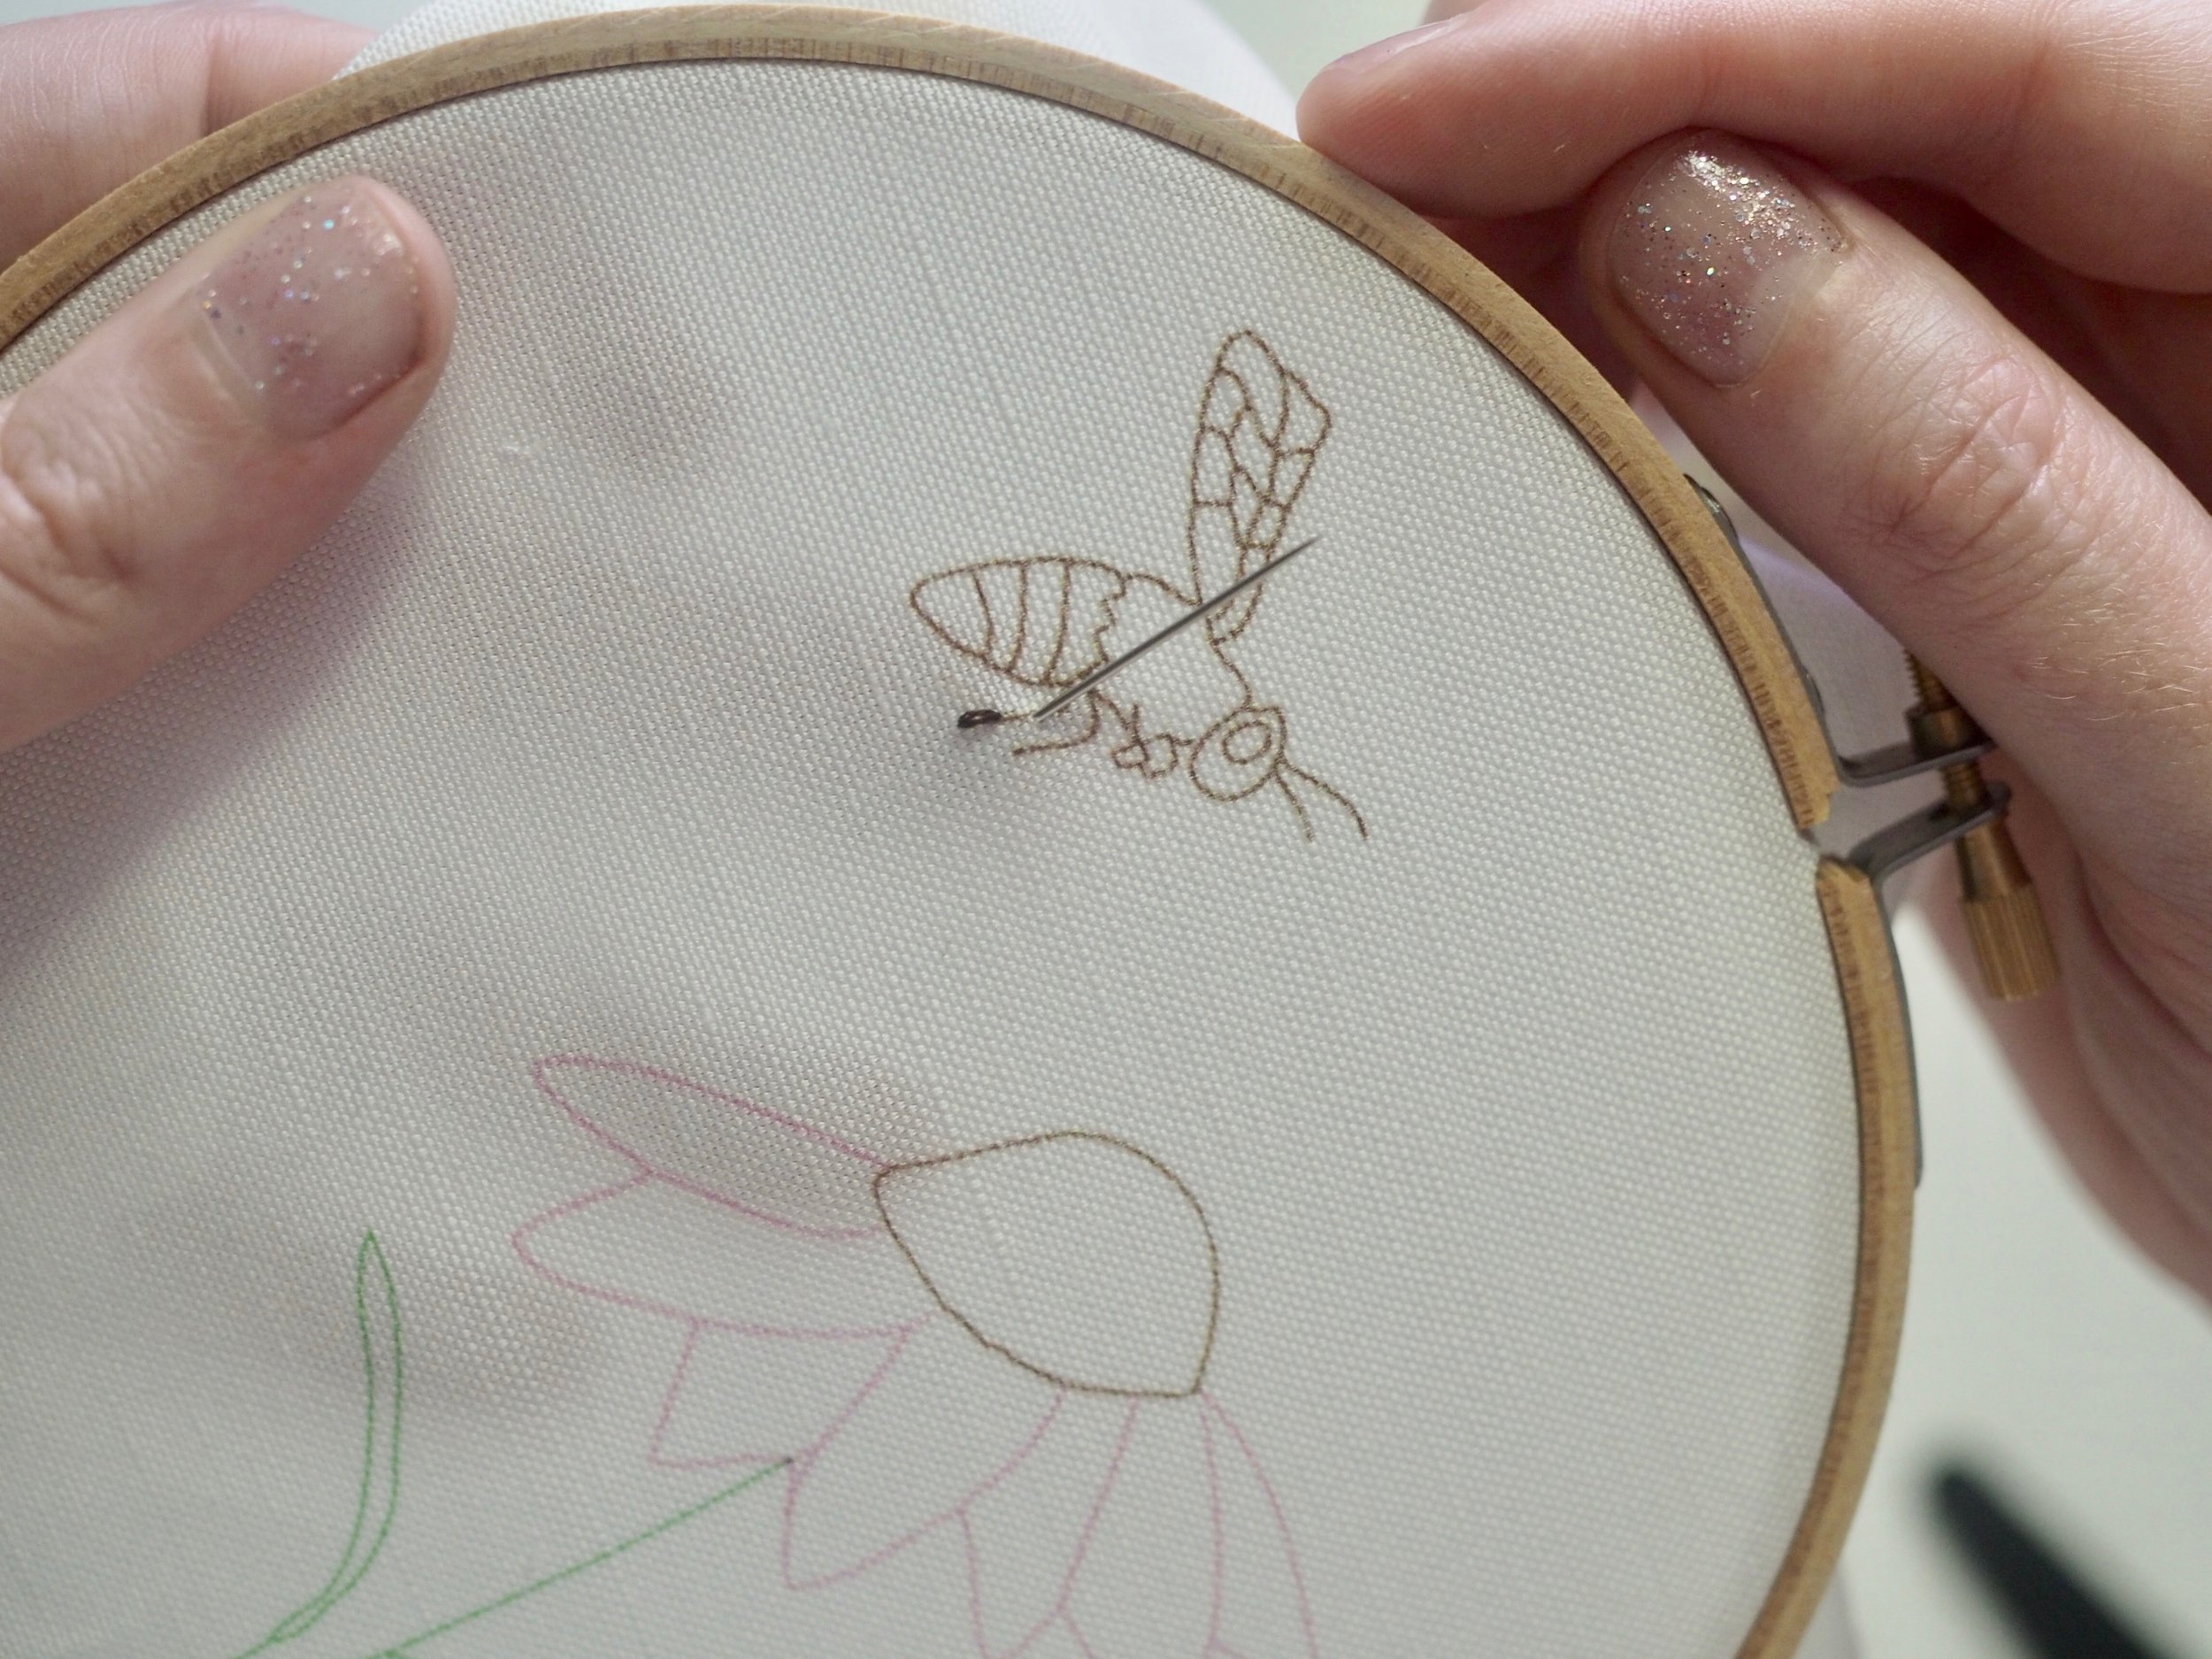
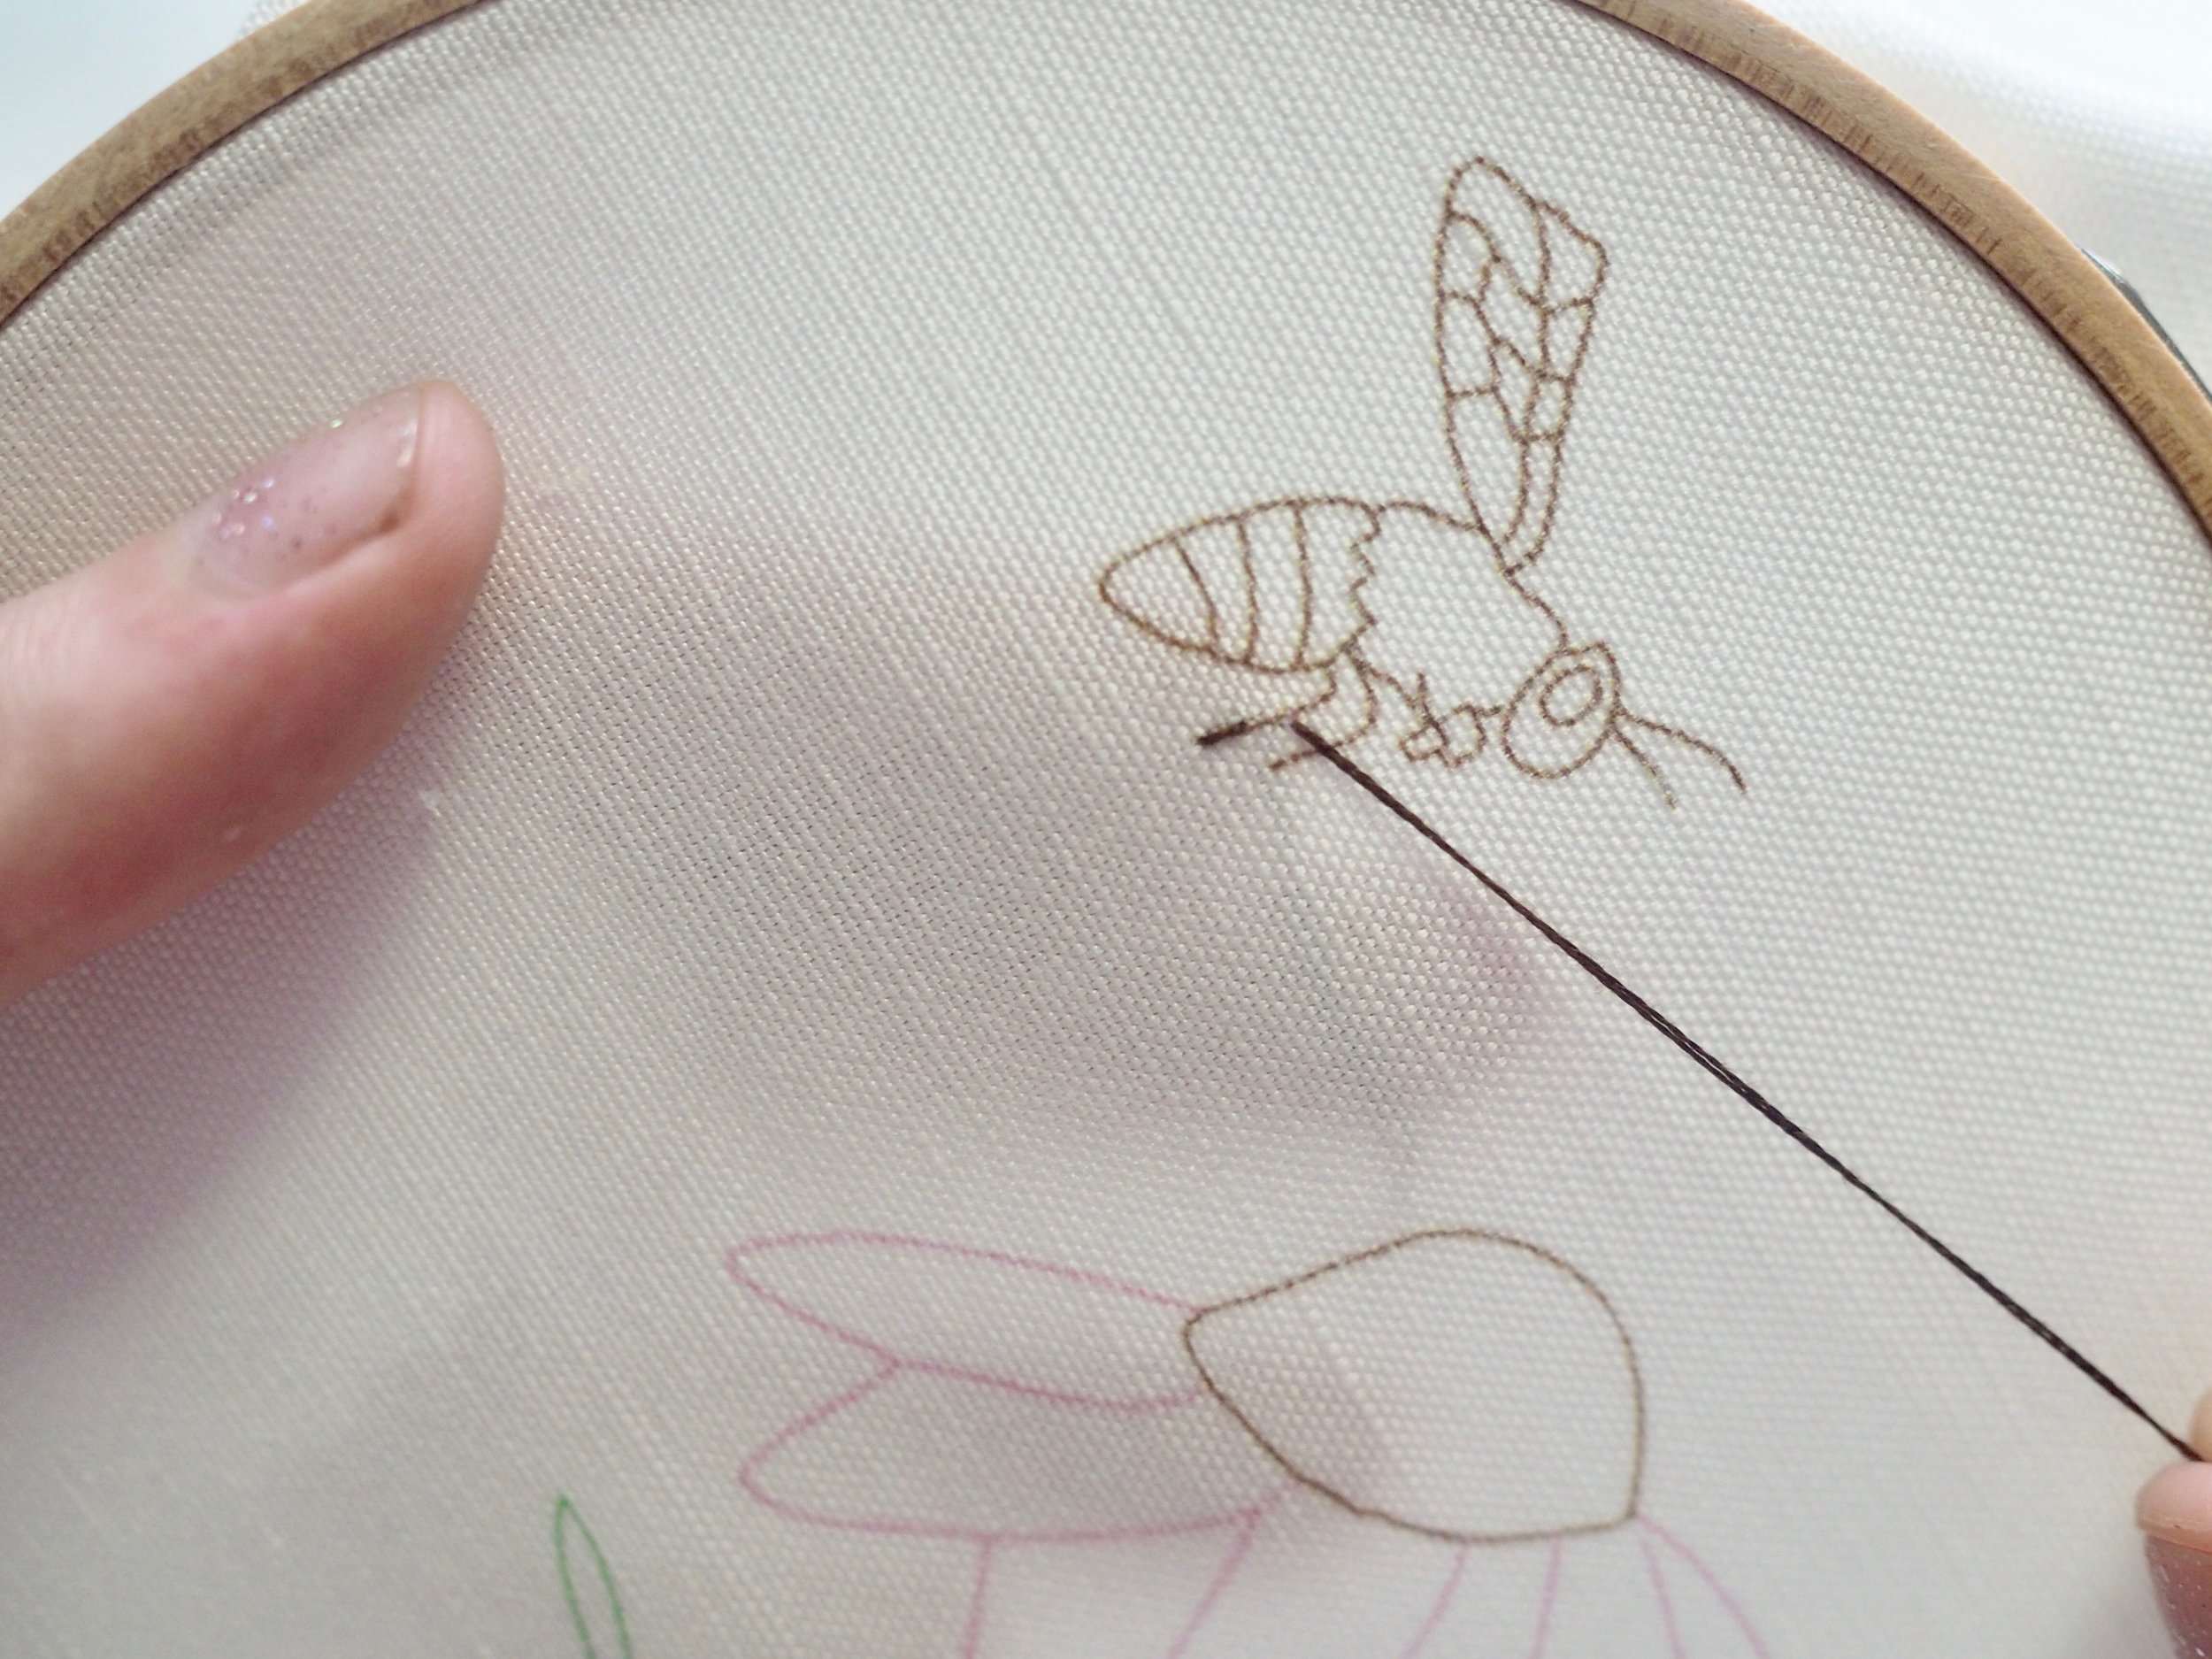
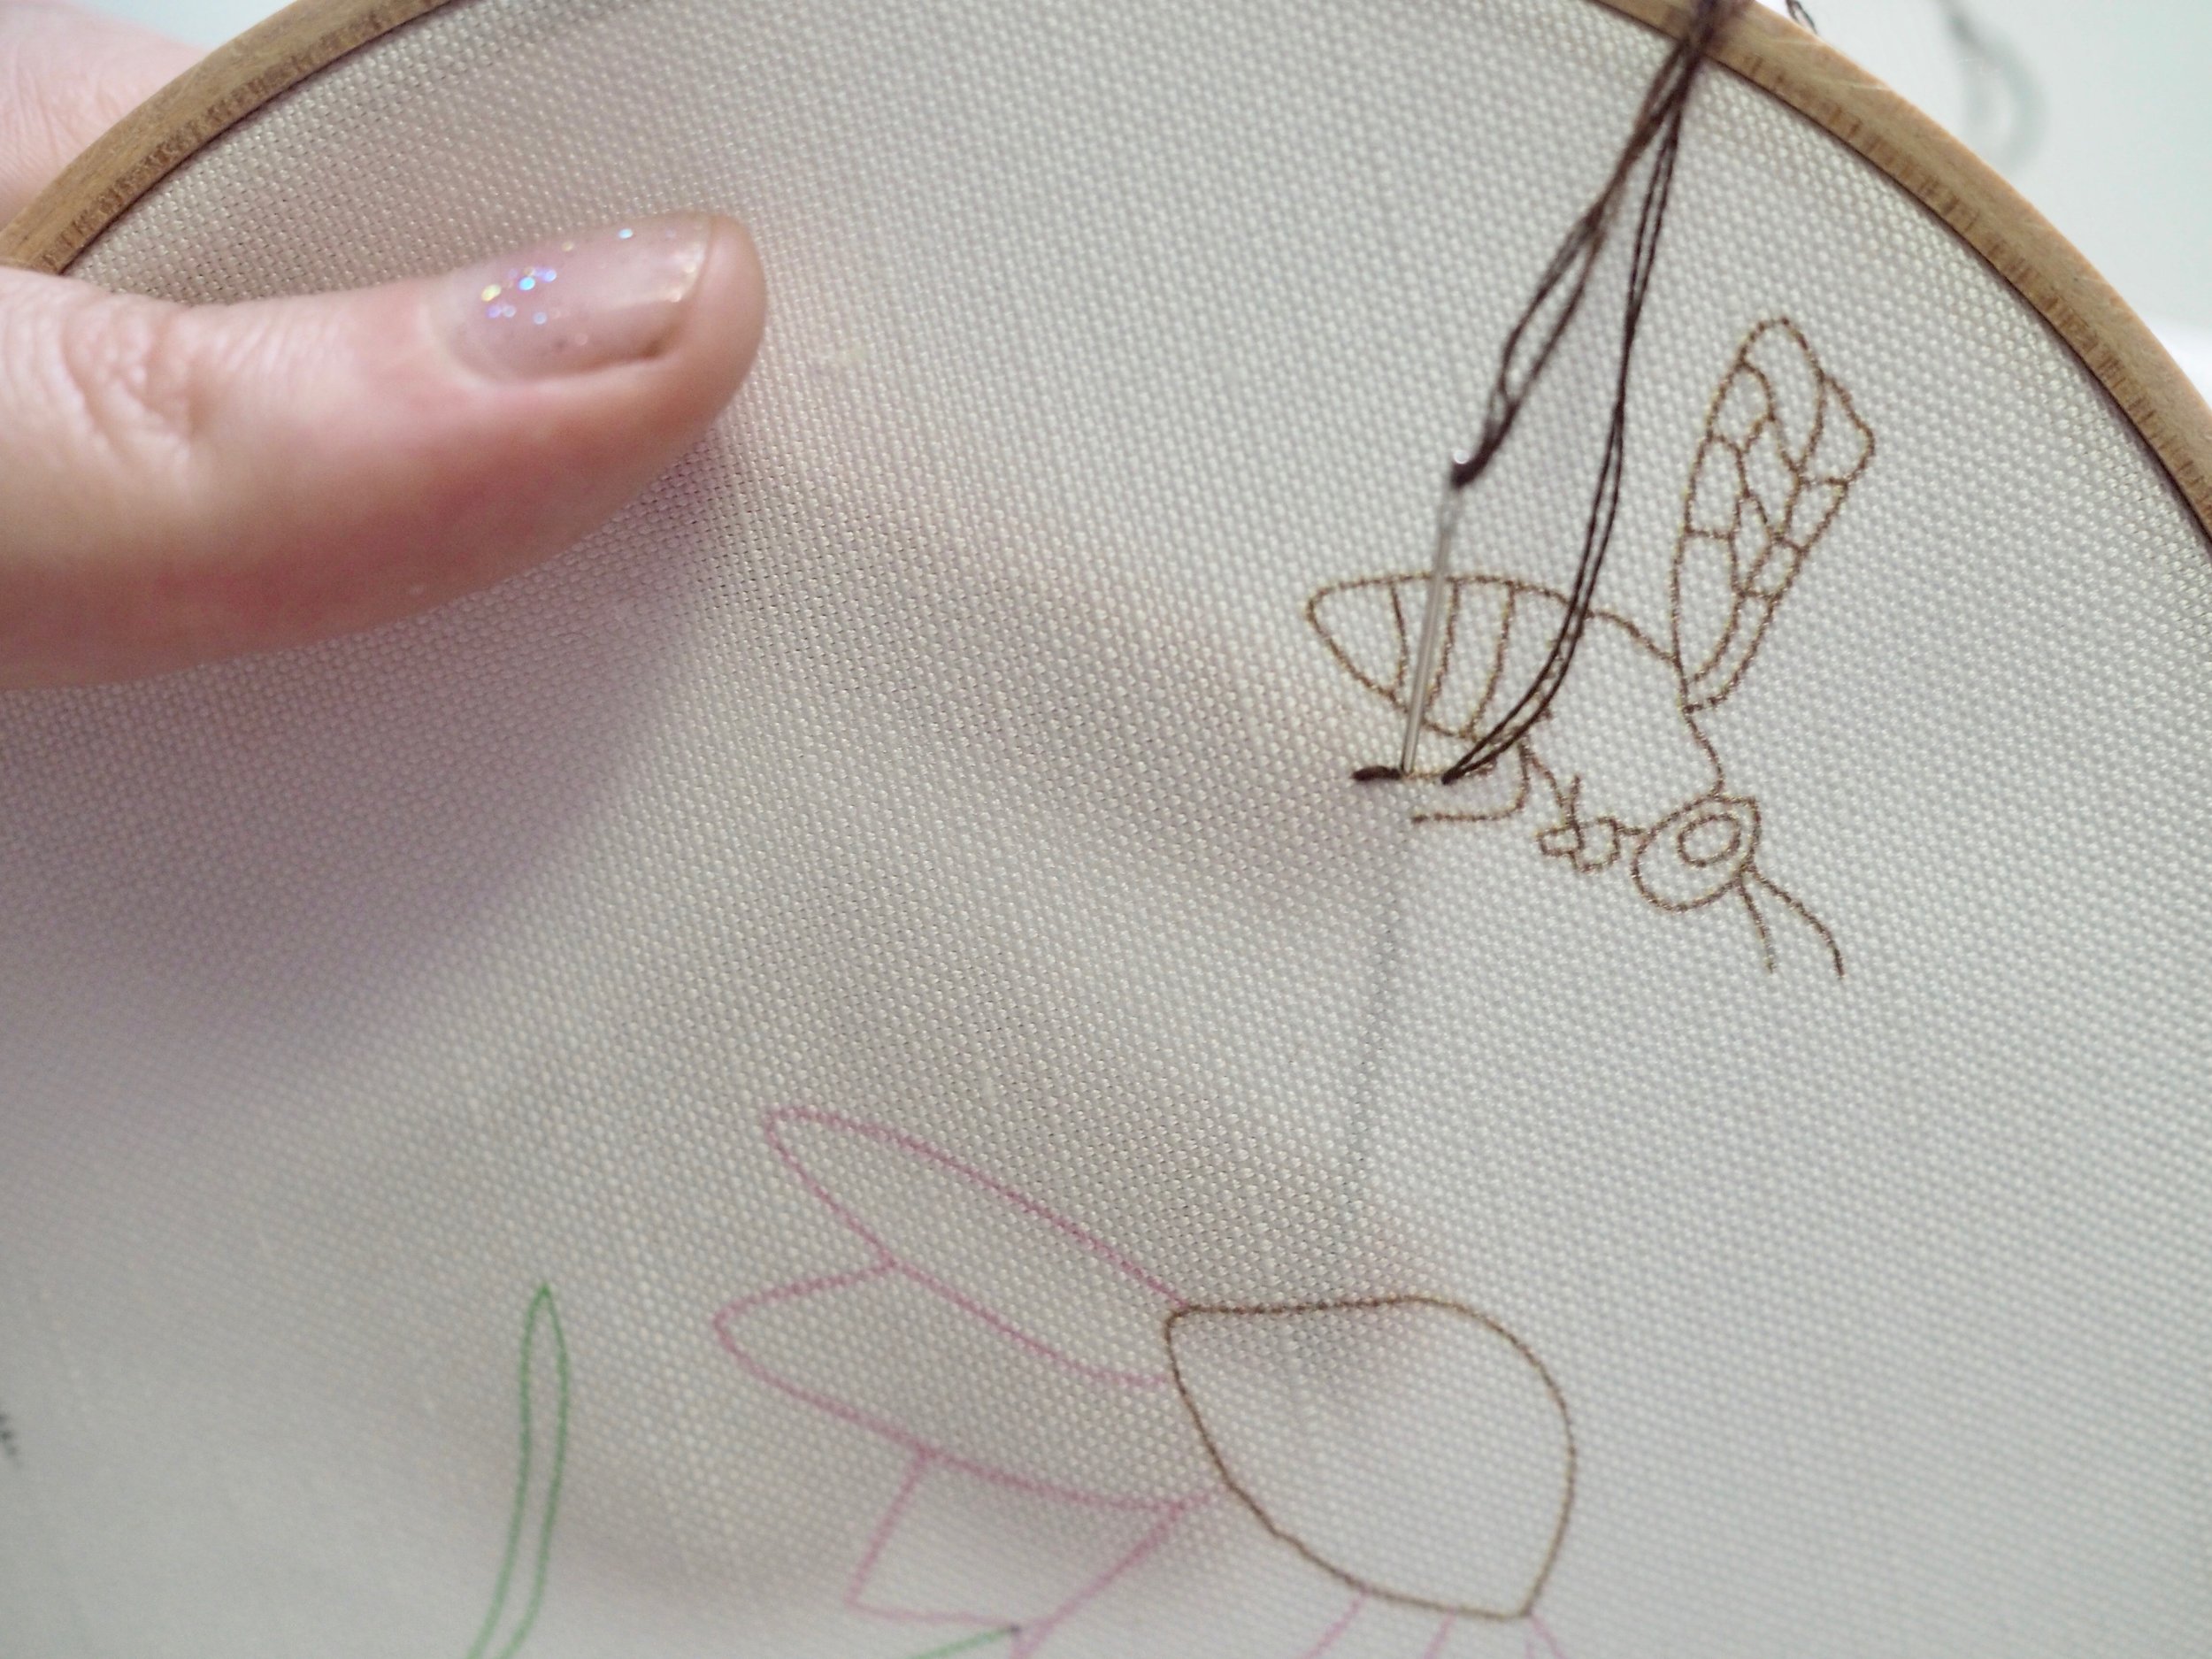
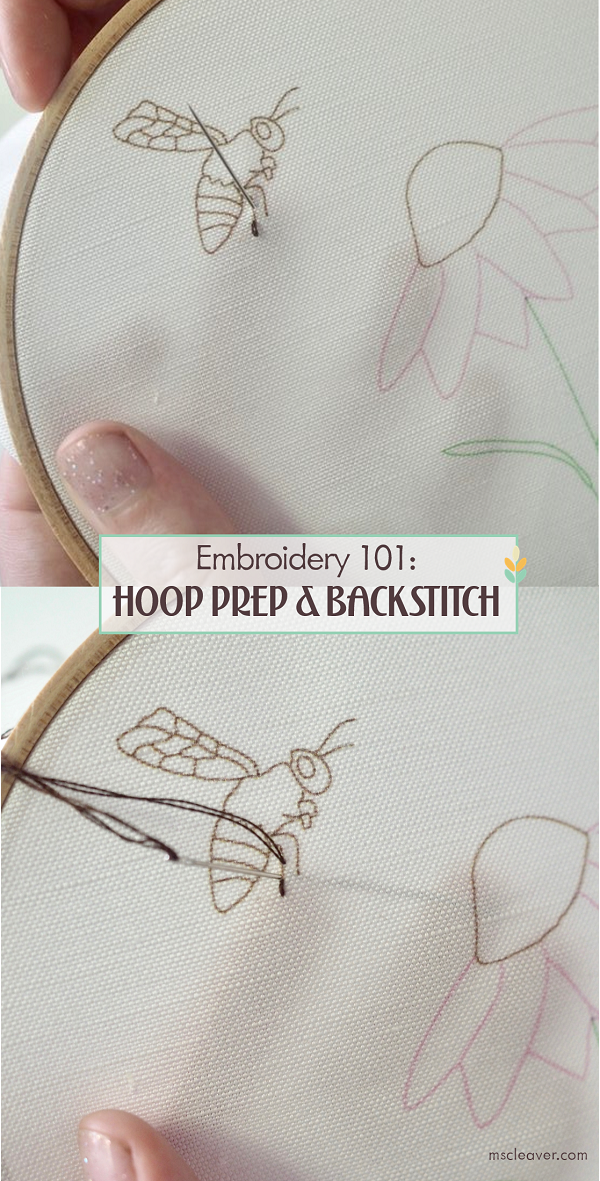
Back Stitch
Back stitch will get you incredibly far in the world of embroidery. You could do an entire project with the one stitch. It's great for straight lines, text and turning corners.
As it's name implies, back stitch works backward - you put the needle up through the fabric a stitch length away from your previous stitch and the the needled is insert back down by the end of the previous stitch.
Because of this backward nature, it's great to start any stitching line with as it holds the floss in place after a few stitches with no need for knots, simply hold the thread tail with your hoop hand until established.
Back Stitch:
1. Make a stitch of desired length.
2. Along the design line, bring up the needle the length of one stitch away from previous stitch.
3. Bring needle backward and push down at the end of the previous stitch.
Repeat steps 2-3.
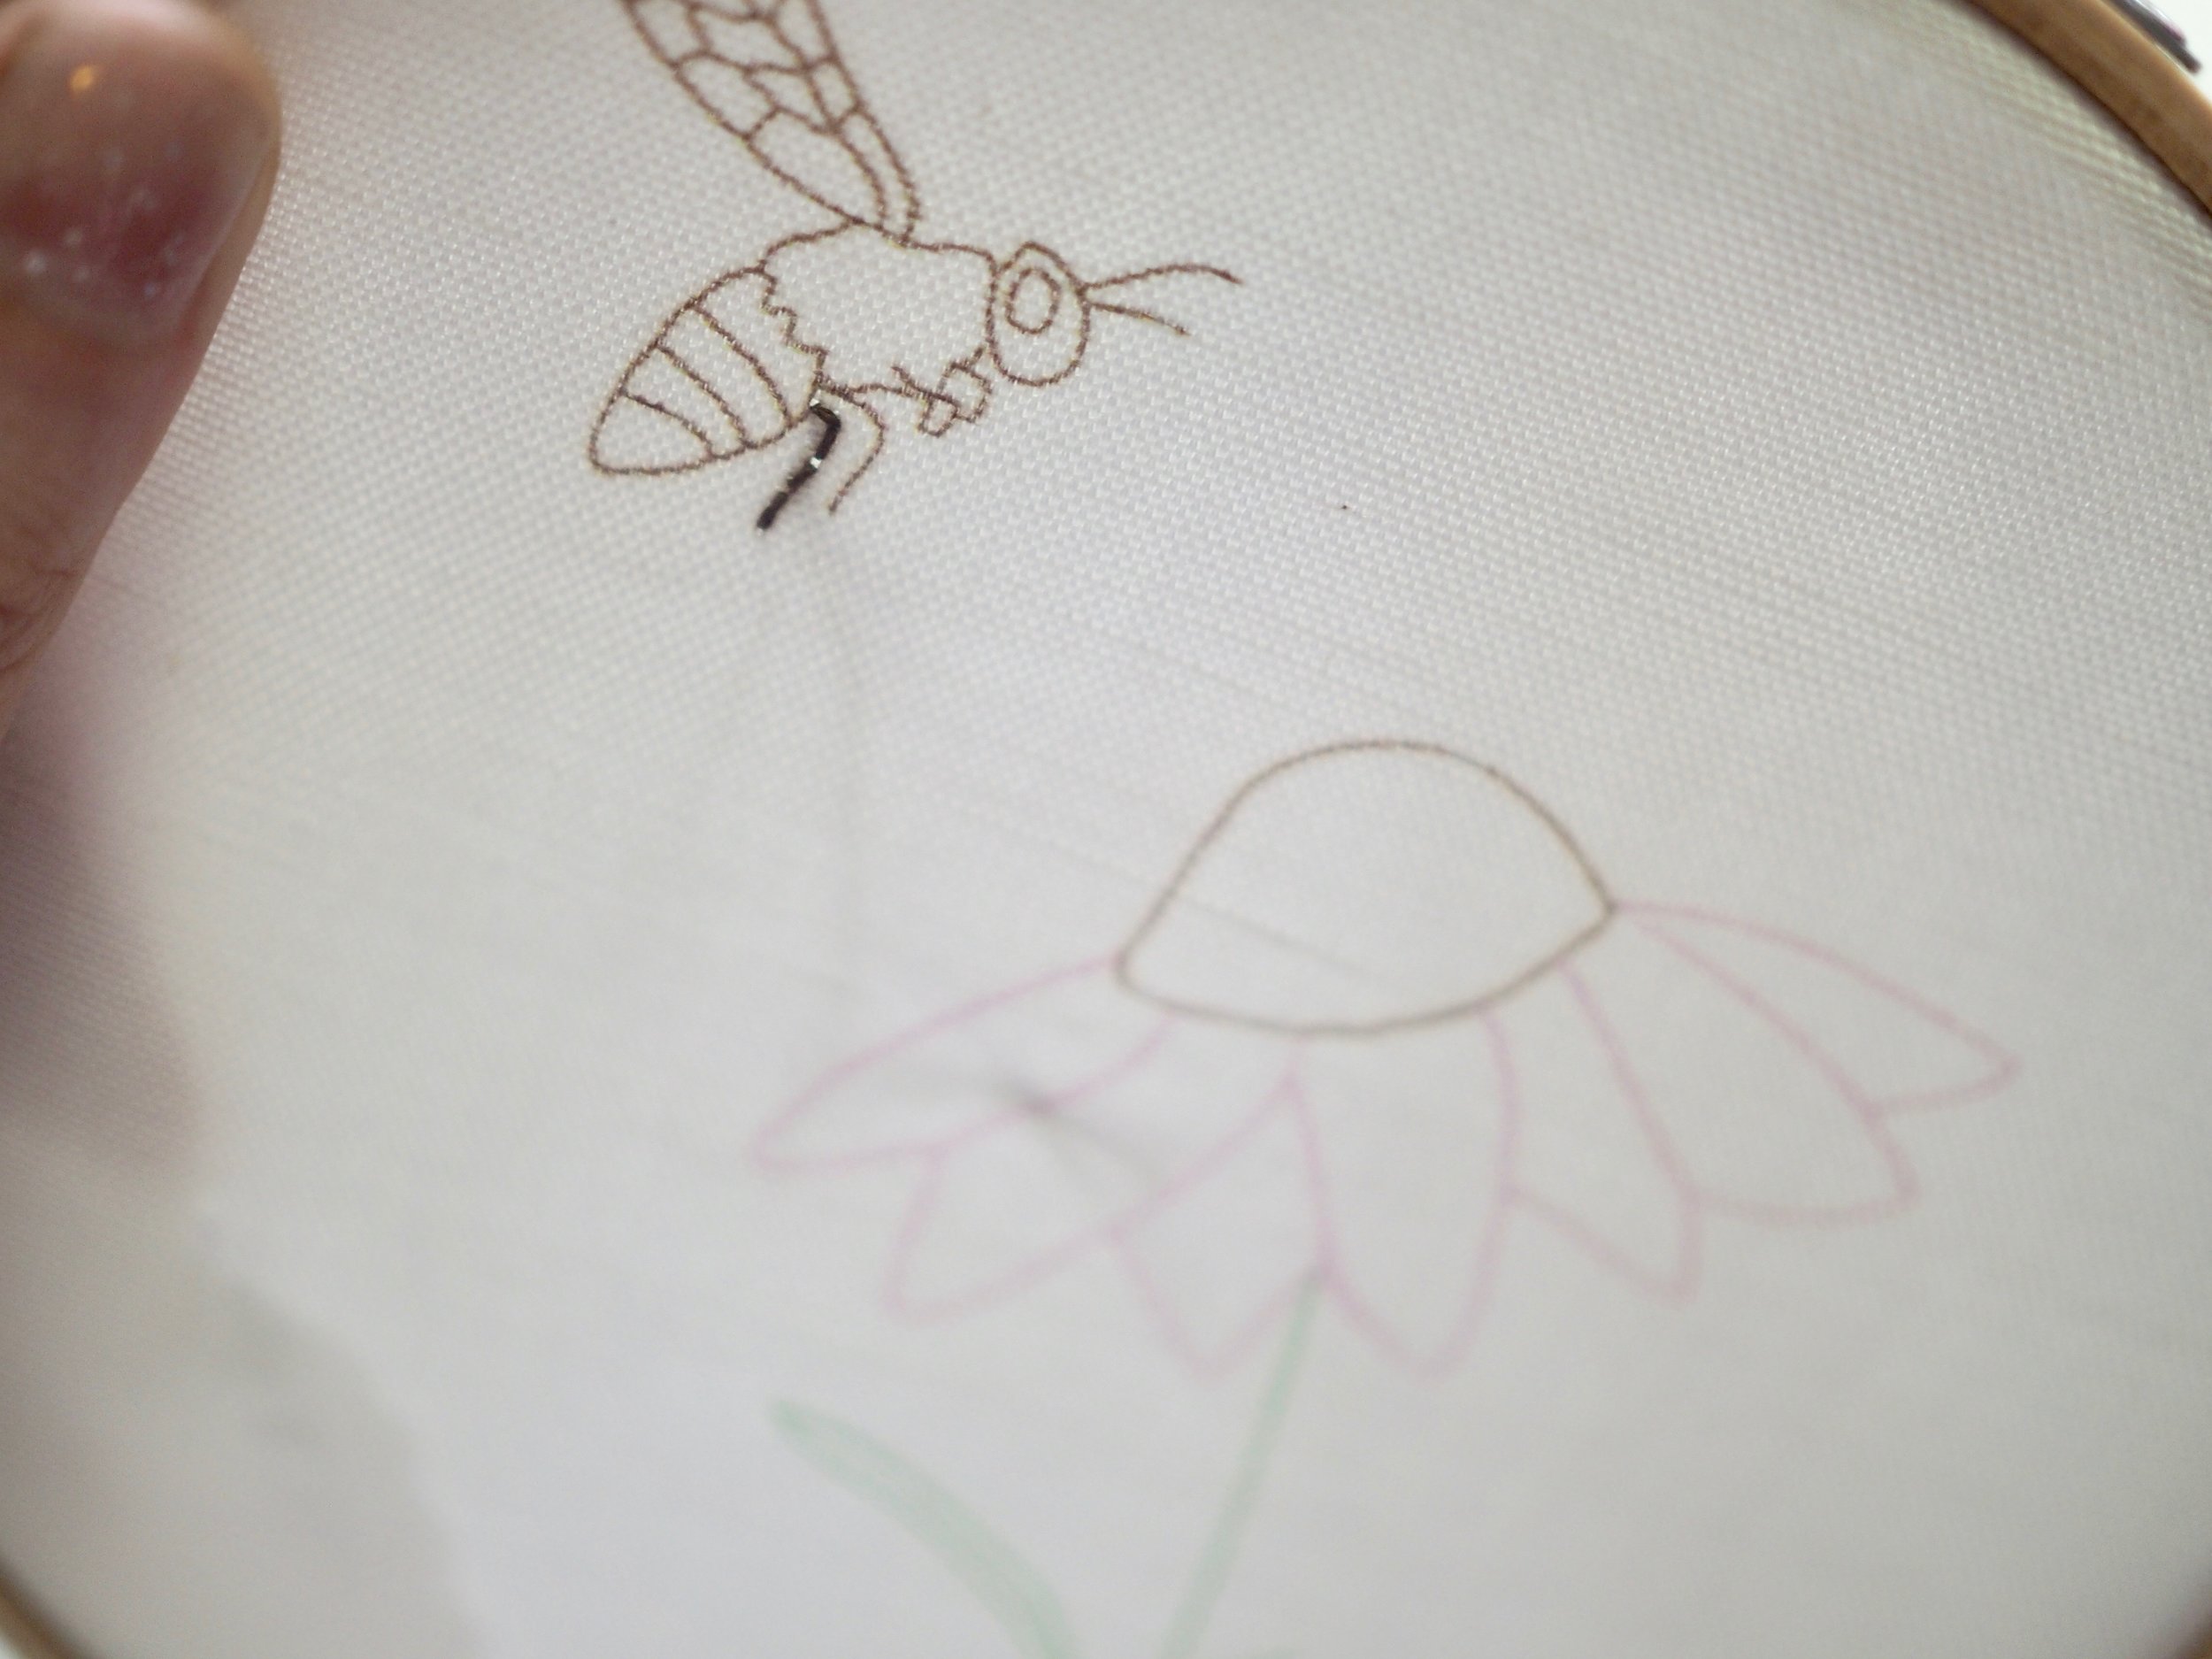
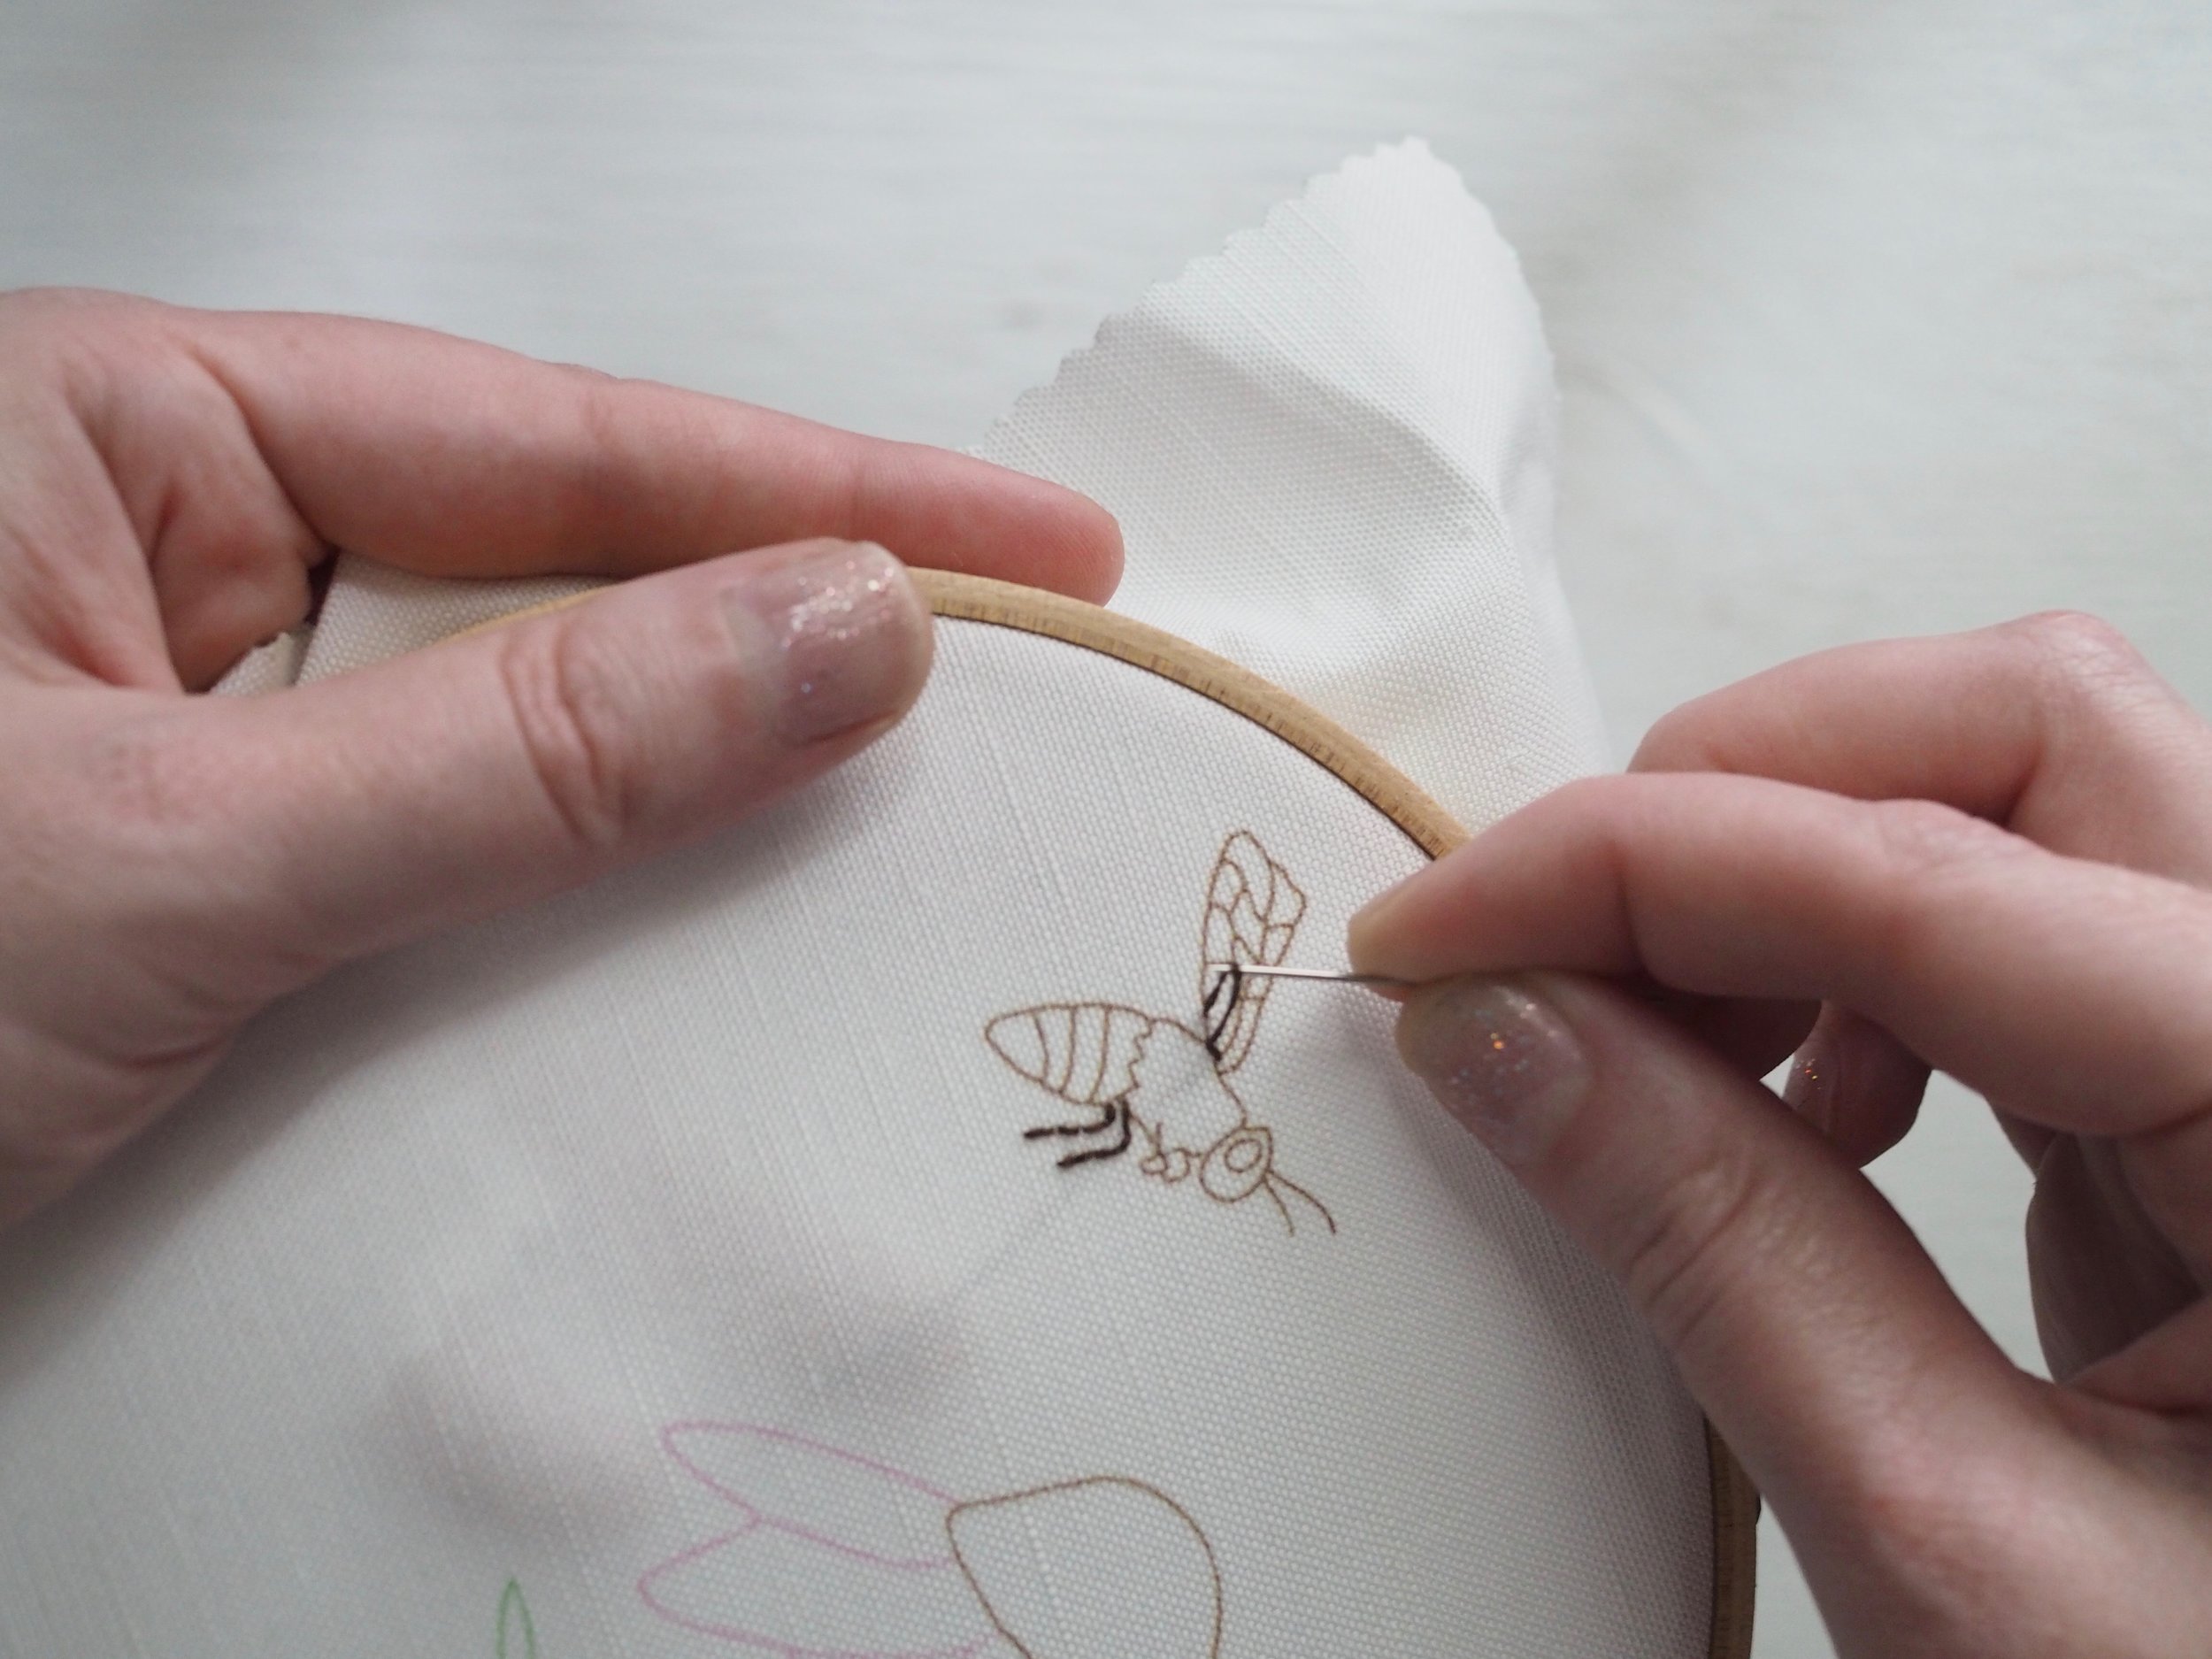
The bee leg shown here is made of four back stitches. A good stitch length will vary by the design, for example, tight curves will require shorter stitches. I generally work most stitches 1/8" to 1/4" long. Try to keep your stitches even (this will get easier with time), but don't worry too much about perfection, you're going for an overall effect and no one is going to look at individual stitches.
Fixing Mistakes
If you DO wish to pull out a stitch (or two), simply remove the needle from the thread, use the needle to pick out any wayward stitches, re-thread and carry on. If it's all knotted up, use fine-tipped scissors (like the iconic stork embroidery snips) to cut out the offending stitches and re-stitch. Any offending needle holes can usually be steamed out with an iron.
I'll go into detail on other outlining stitches in the next post, but until then you can Click here for a downloadable PDF of basic stitches

A nature inspired design for spring, this kit serves as a good opportunity to practice shading
—-
With the design pre-printed on a beautiful linen-blend fabric, stitching a heirloom quality piece of embroidery is almost as simple as coloring!
Embroidery kits make great gifts (including for yourself!) and are a wonderfully meditative activity that comes with a beautiful product at the end.
Hang your finished piece right in the hoop (I’ll show you how!), frame it, or sew it into a cushion, bag or quilt.
New to embroidery? Each kit comes with a 2-page color guide to basic stitches or check out the tutorial library for tips and step-by-step instructions.
——
COMPLETE EMBROIDERY KIT
Contains everything you need to stitch a beautiful wall-hanging.
High-quality Linen/Cotton Fabric pre-printed with design
6” wooden hoop
5 skeins of DMC Embroidery Floss
Embroidery needle
Guide to basic embroidery stitches (additional tutorials available at MsCleaver.com)
Complete kit packaged in a sturdy reusable kraft envelope suitable for gifting.
Have more floss than you know what to do with, or want to pick your own colors? Purchase the pre-printed panel only in the drop-down menu above. Also available as a PDF Pattern.


