So the danger of beginning to post a tutorial series before you've taken all the photos for it is after posting the first two sections, you might get a massive paper-cut on your finger, which would make for less than appealing tutorial photos, so you have to wait for it to heal and then you go to Canada on vacation for a week, and then suddenly it's been a month. Or is that just me?
In any case, today we'll look at the other basic outlining stitches (stem, split, and chain) and start down the rabbit hole that is satin stitch.
Needles threaded and paper-cut free?
Let's go!
STEM STITCH
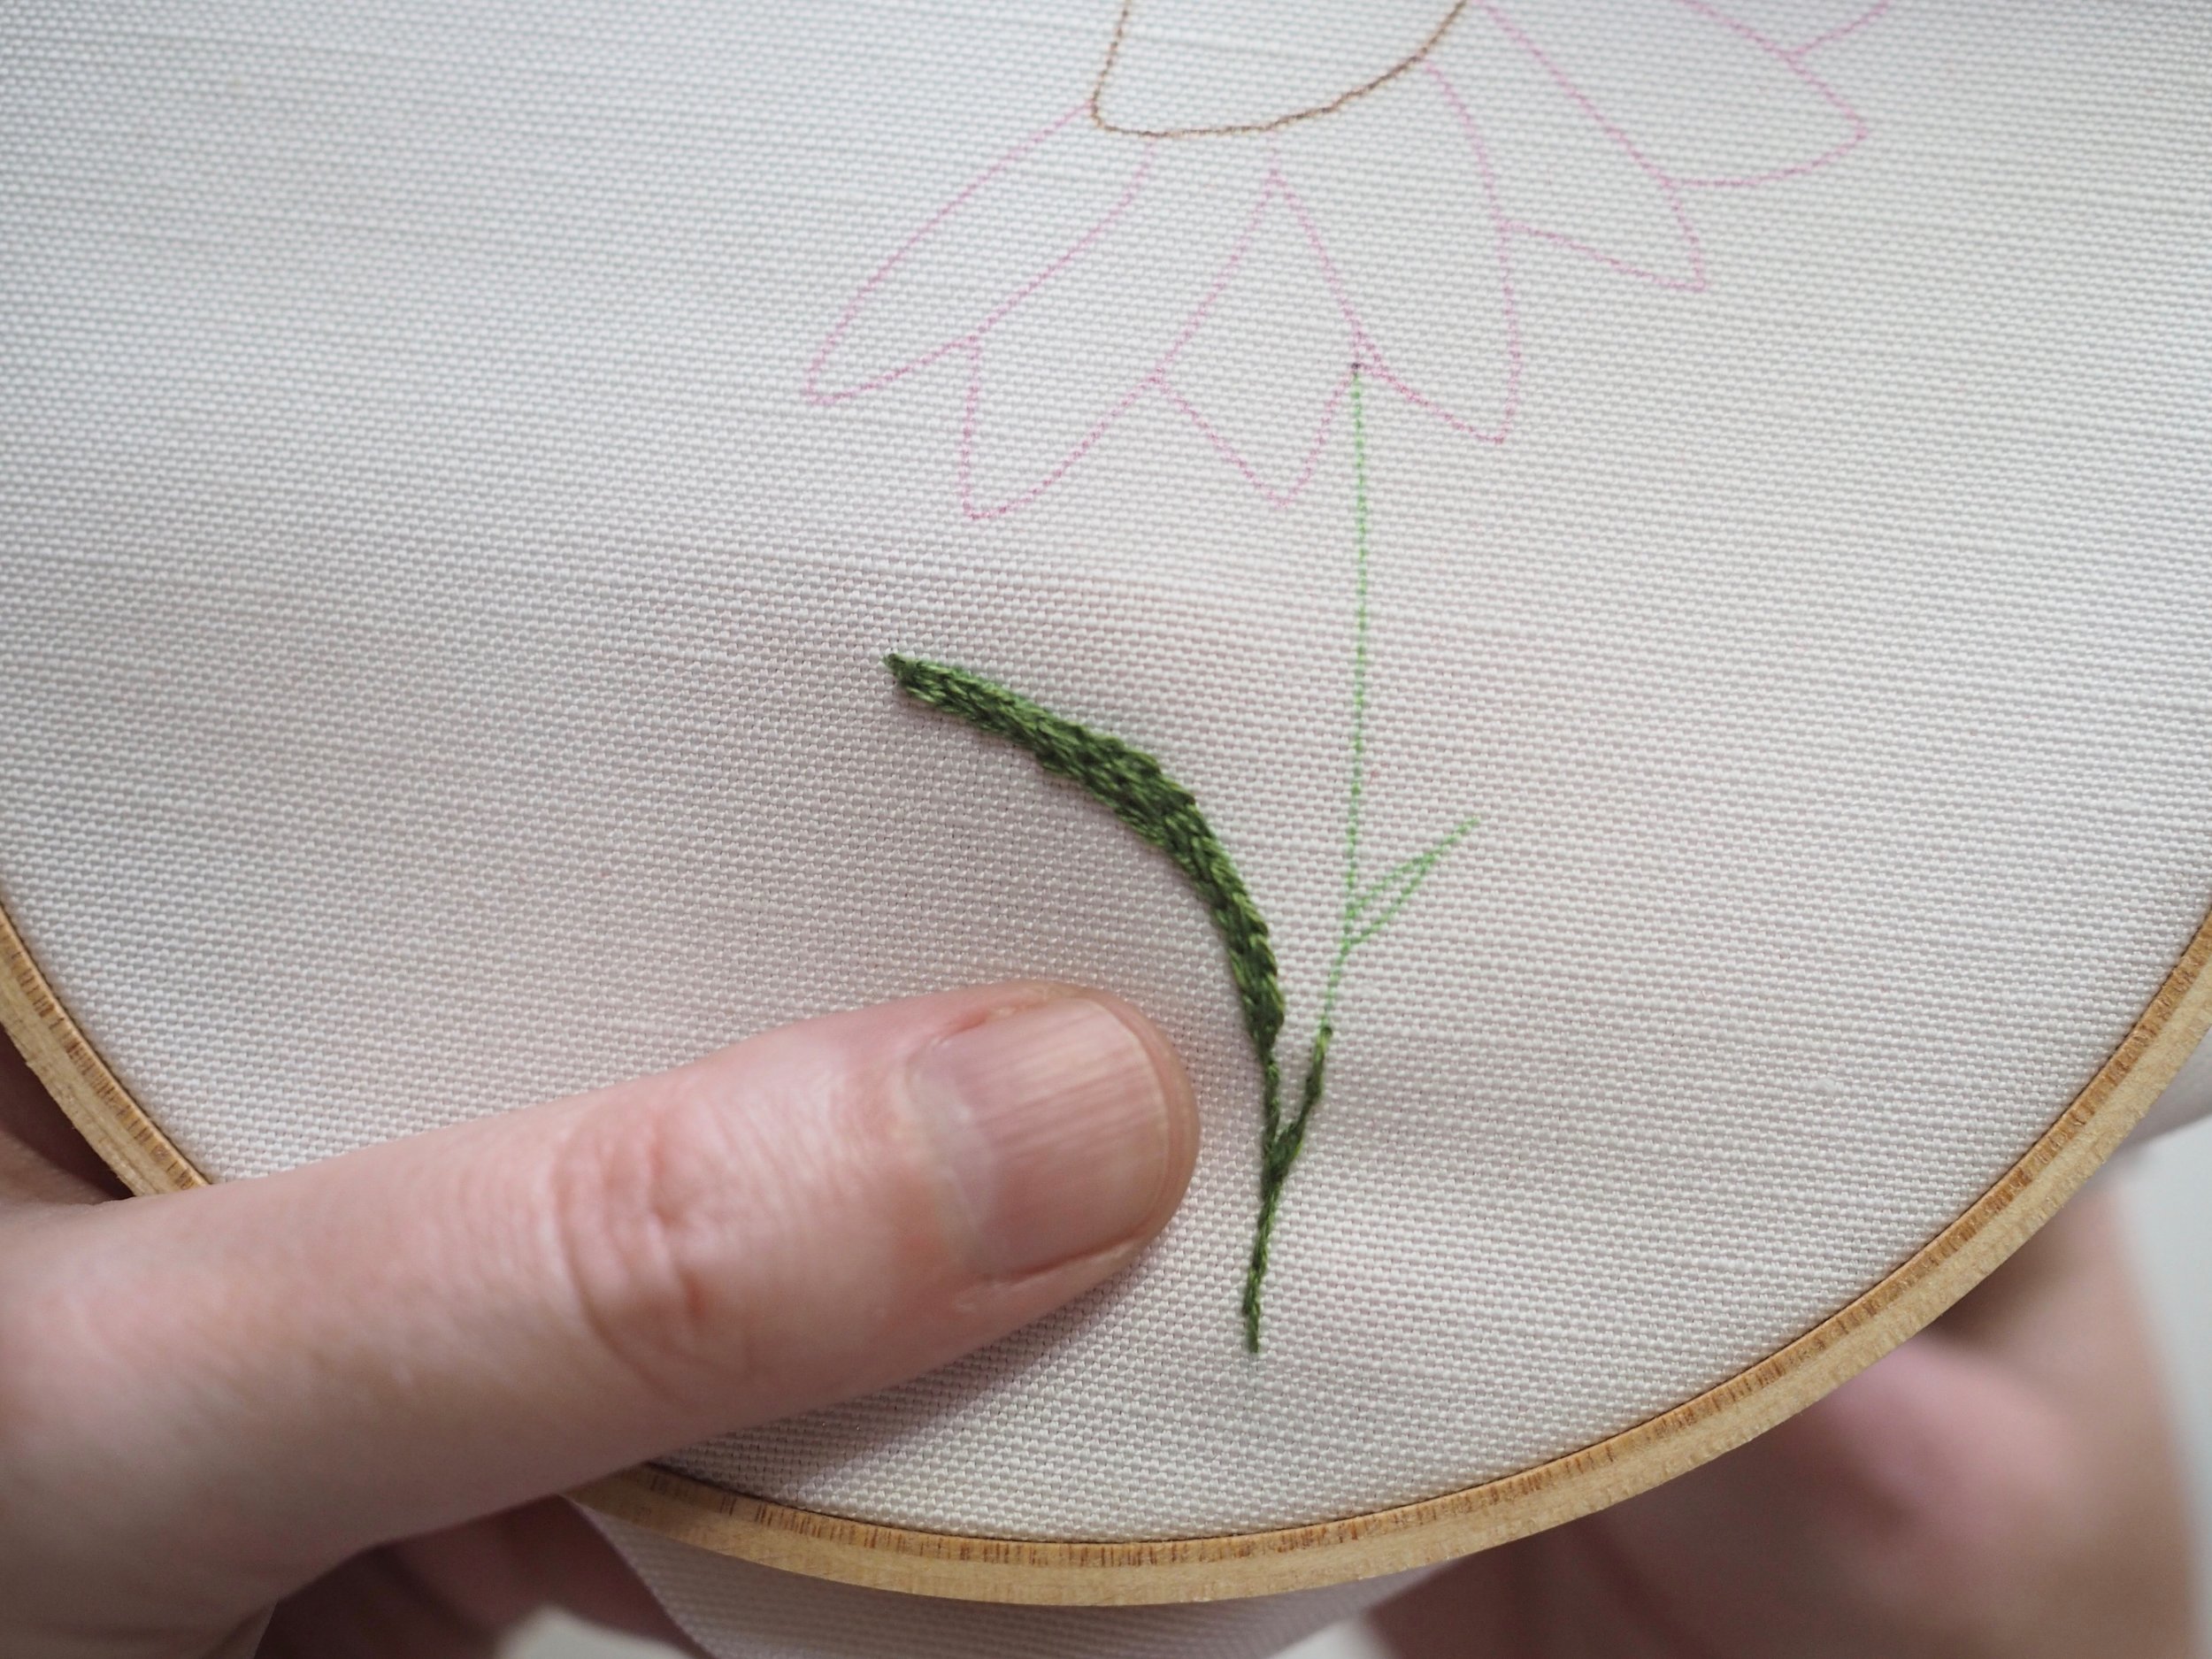
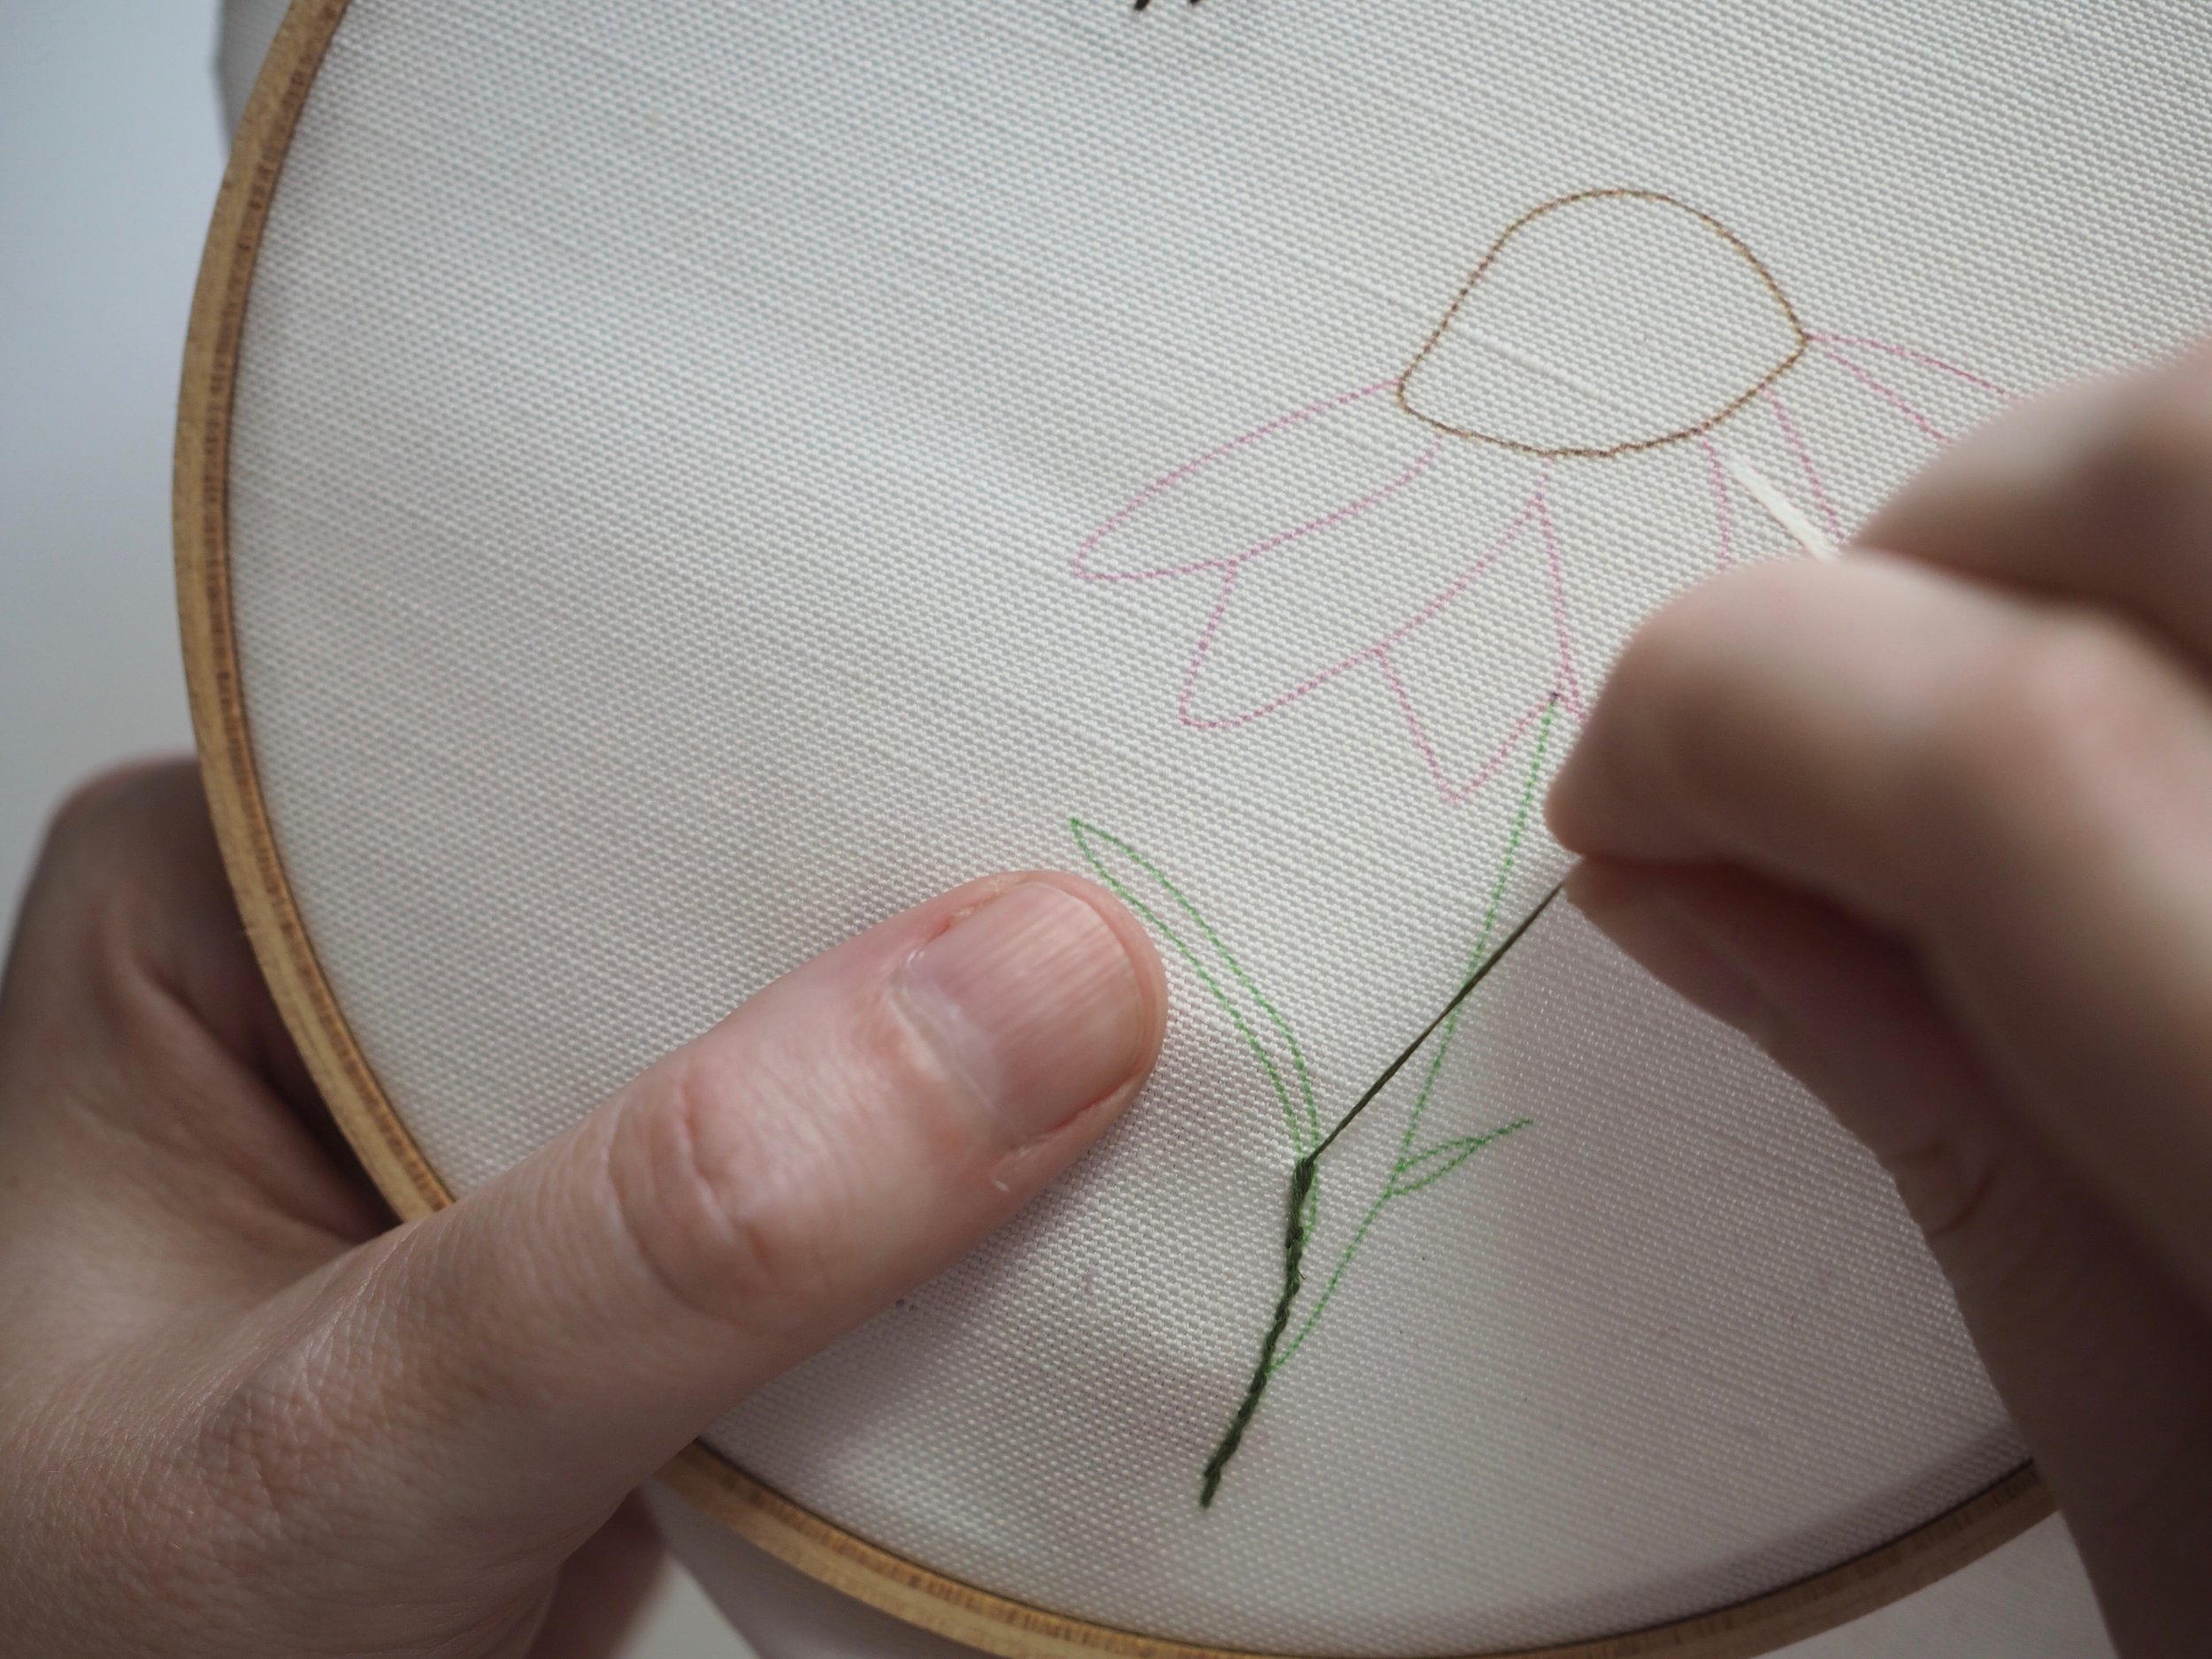
Stem stitch is my personal favorite outlining stitch. It curves beautifully, and I find it easier to stitch alongside my previous stitch than to evenly split the plys (as in split stitch below). As the name implies, its great for curving lines, like stems (or rivers or hair, etc.).
STEM STITCH
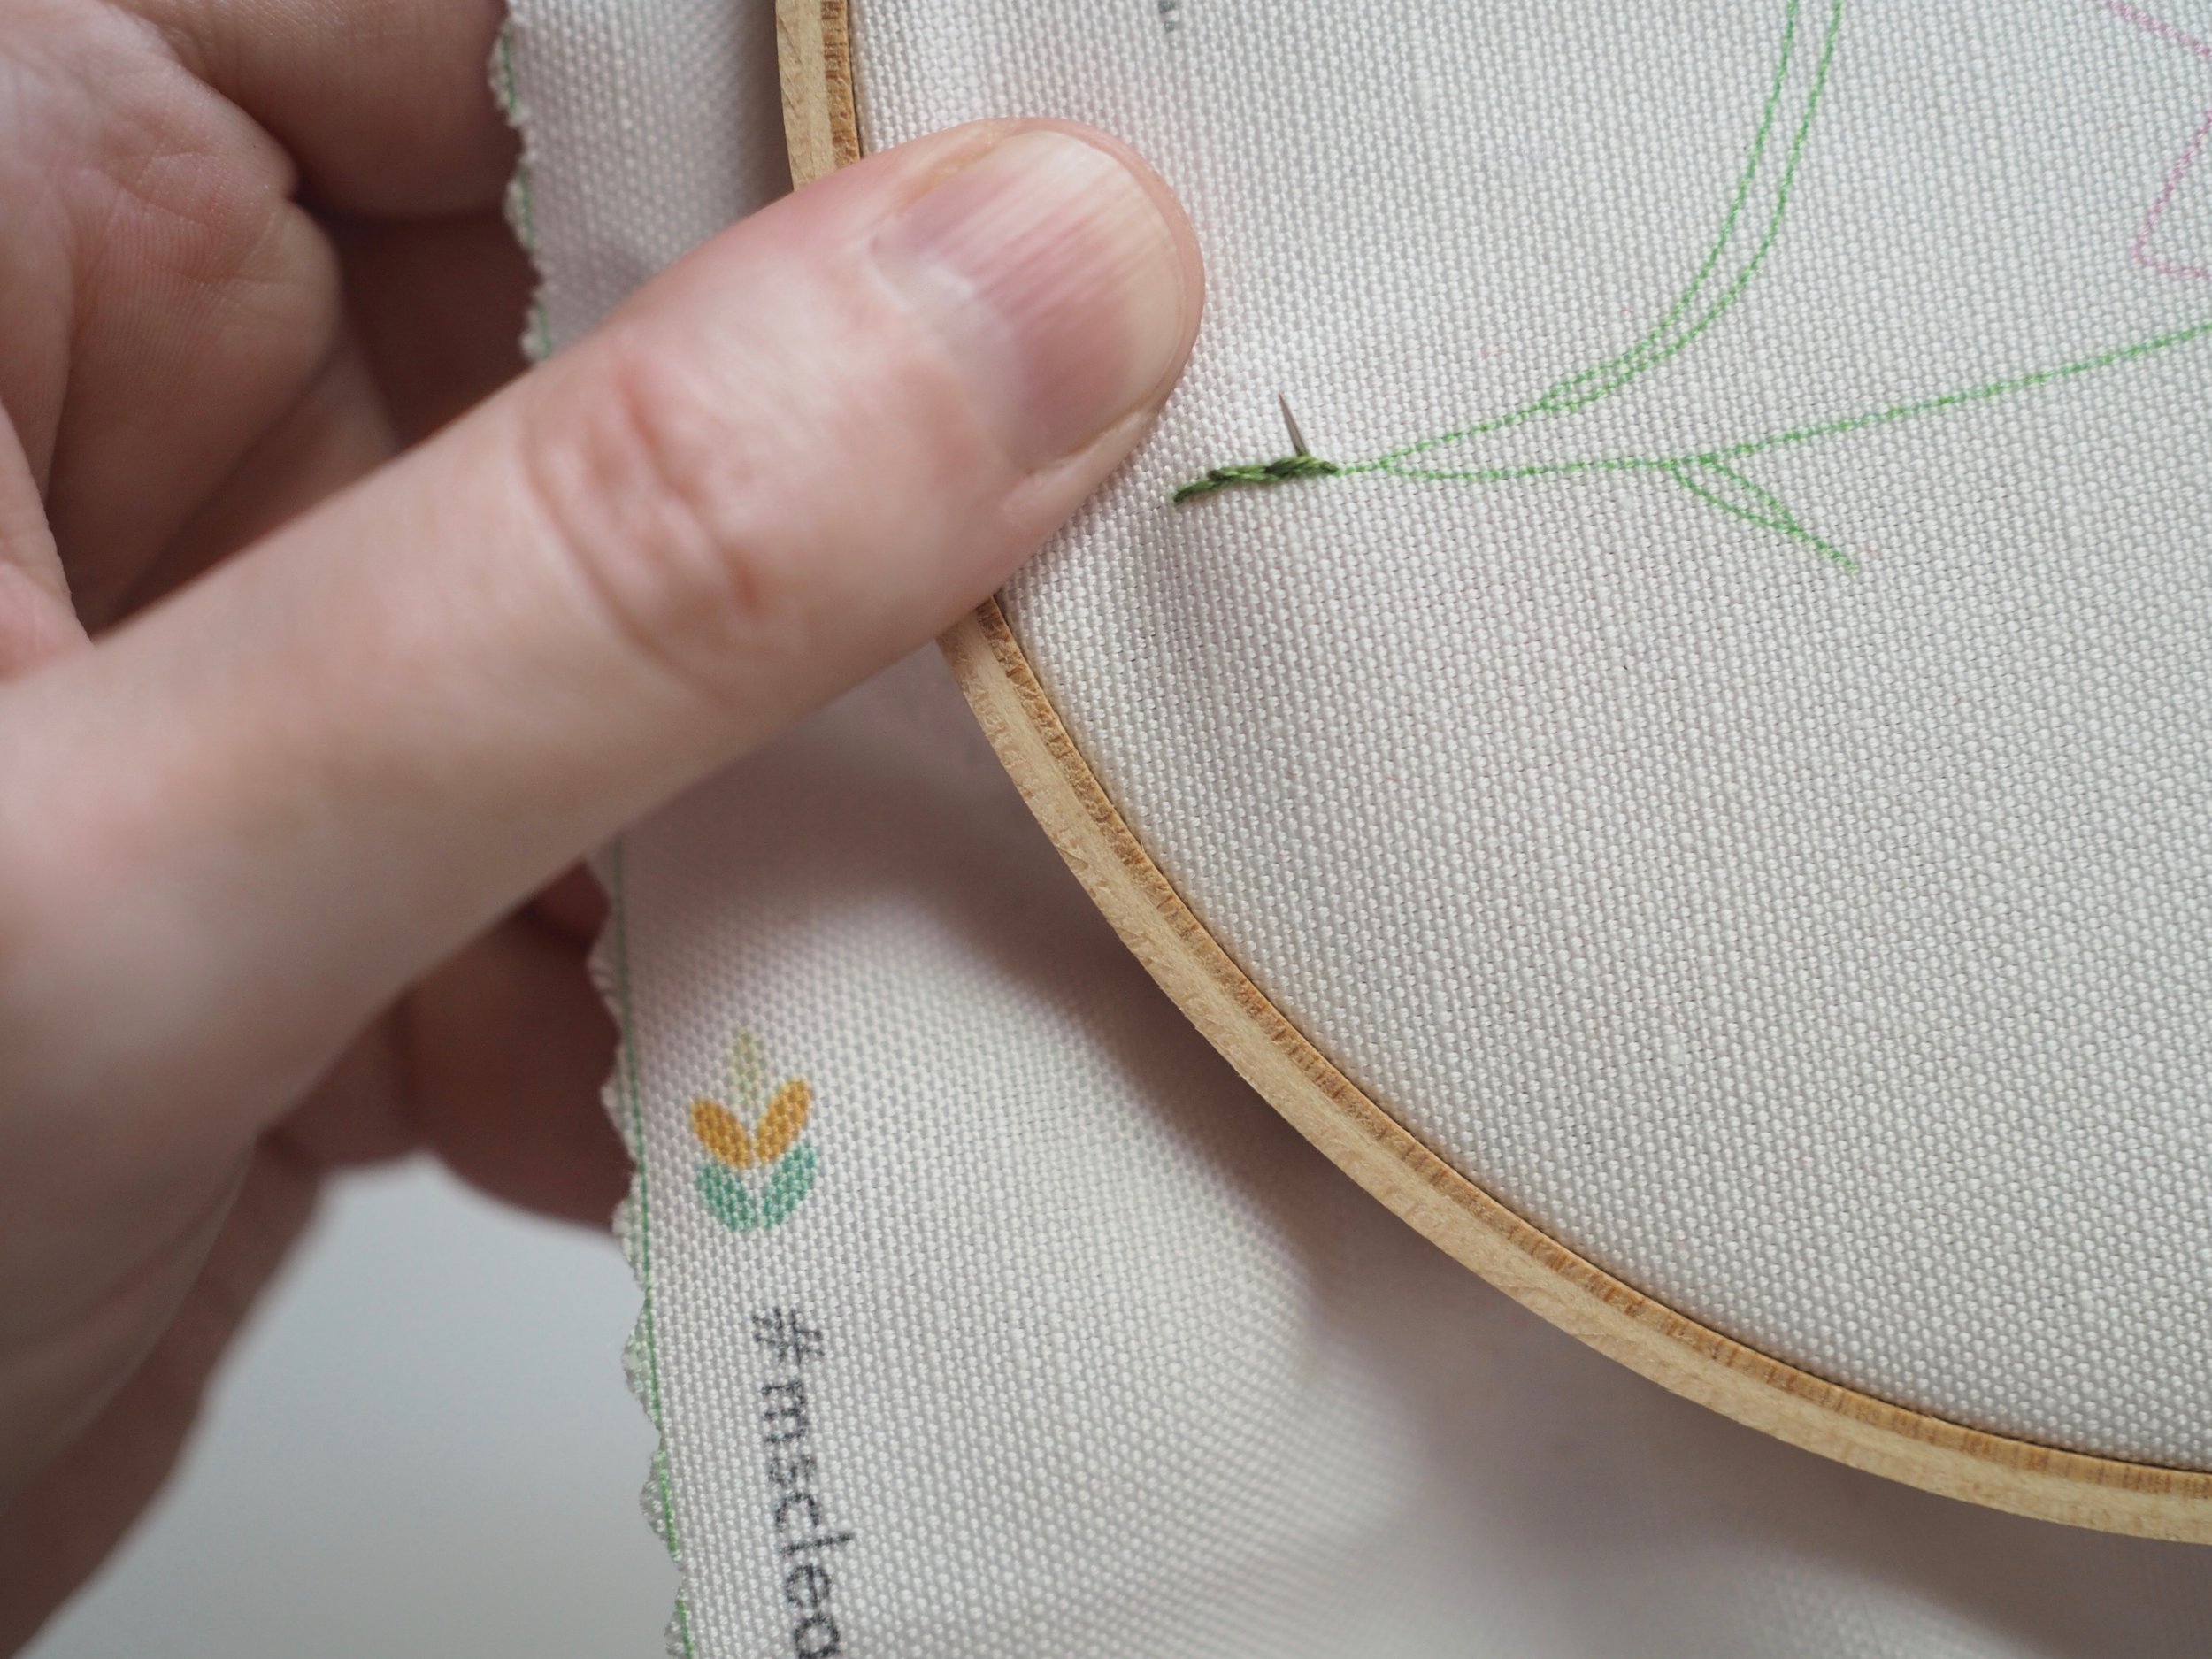
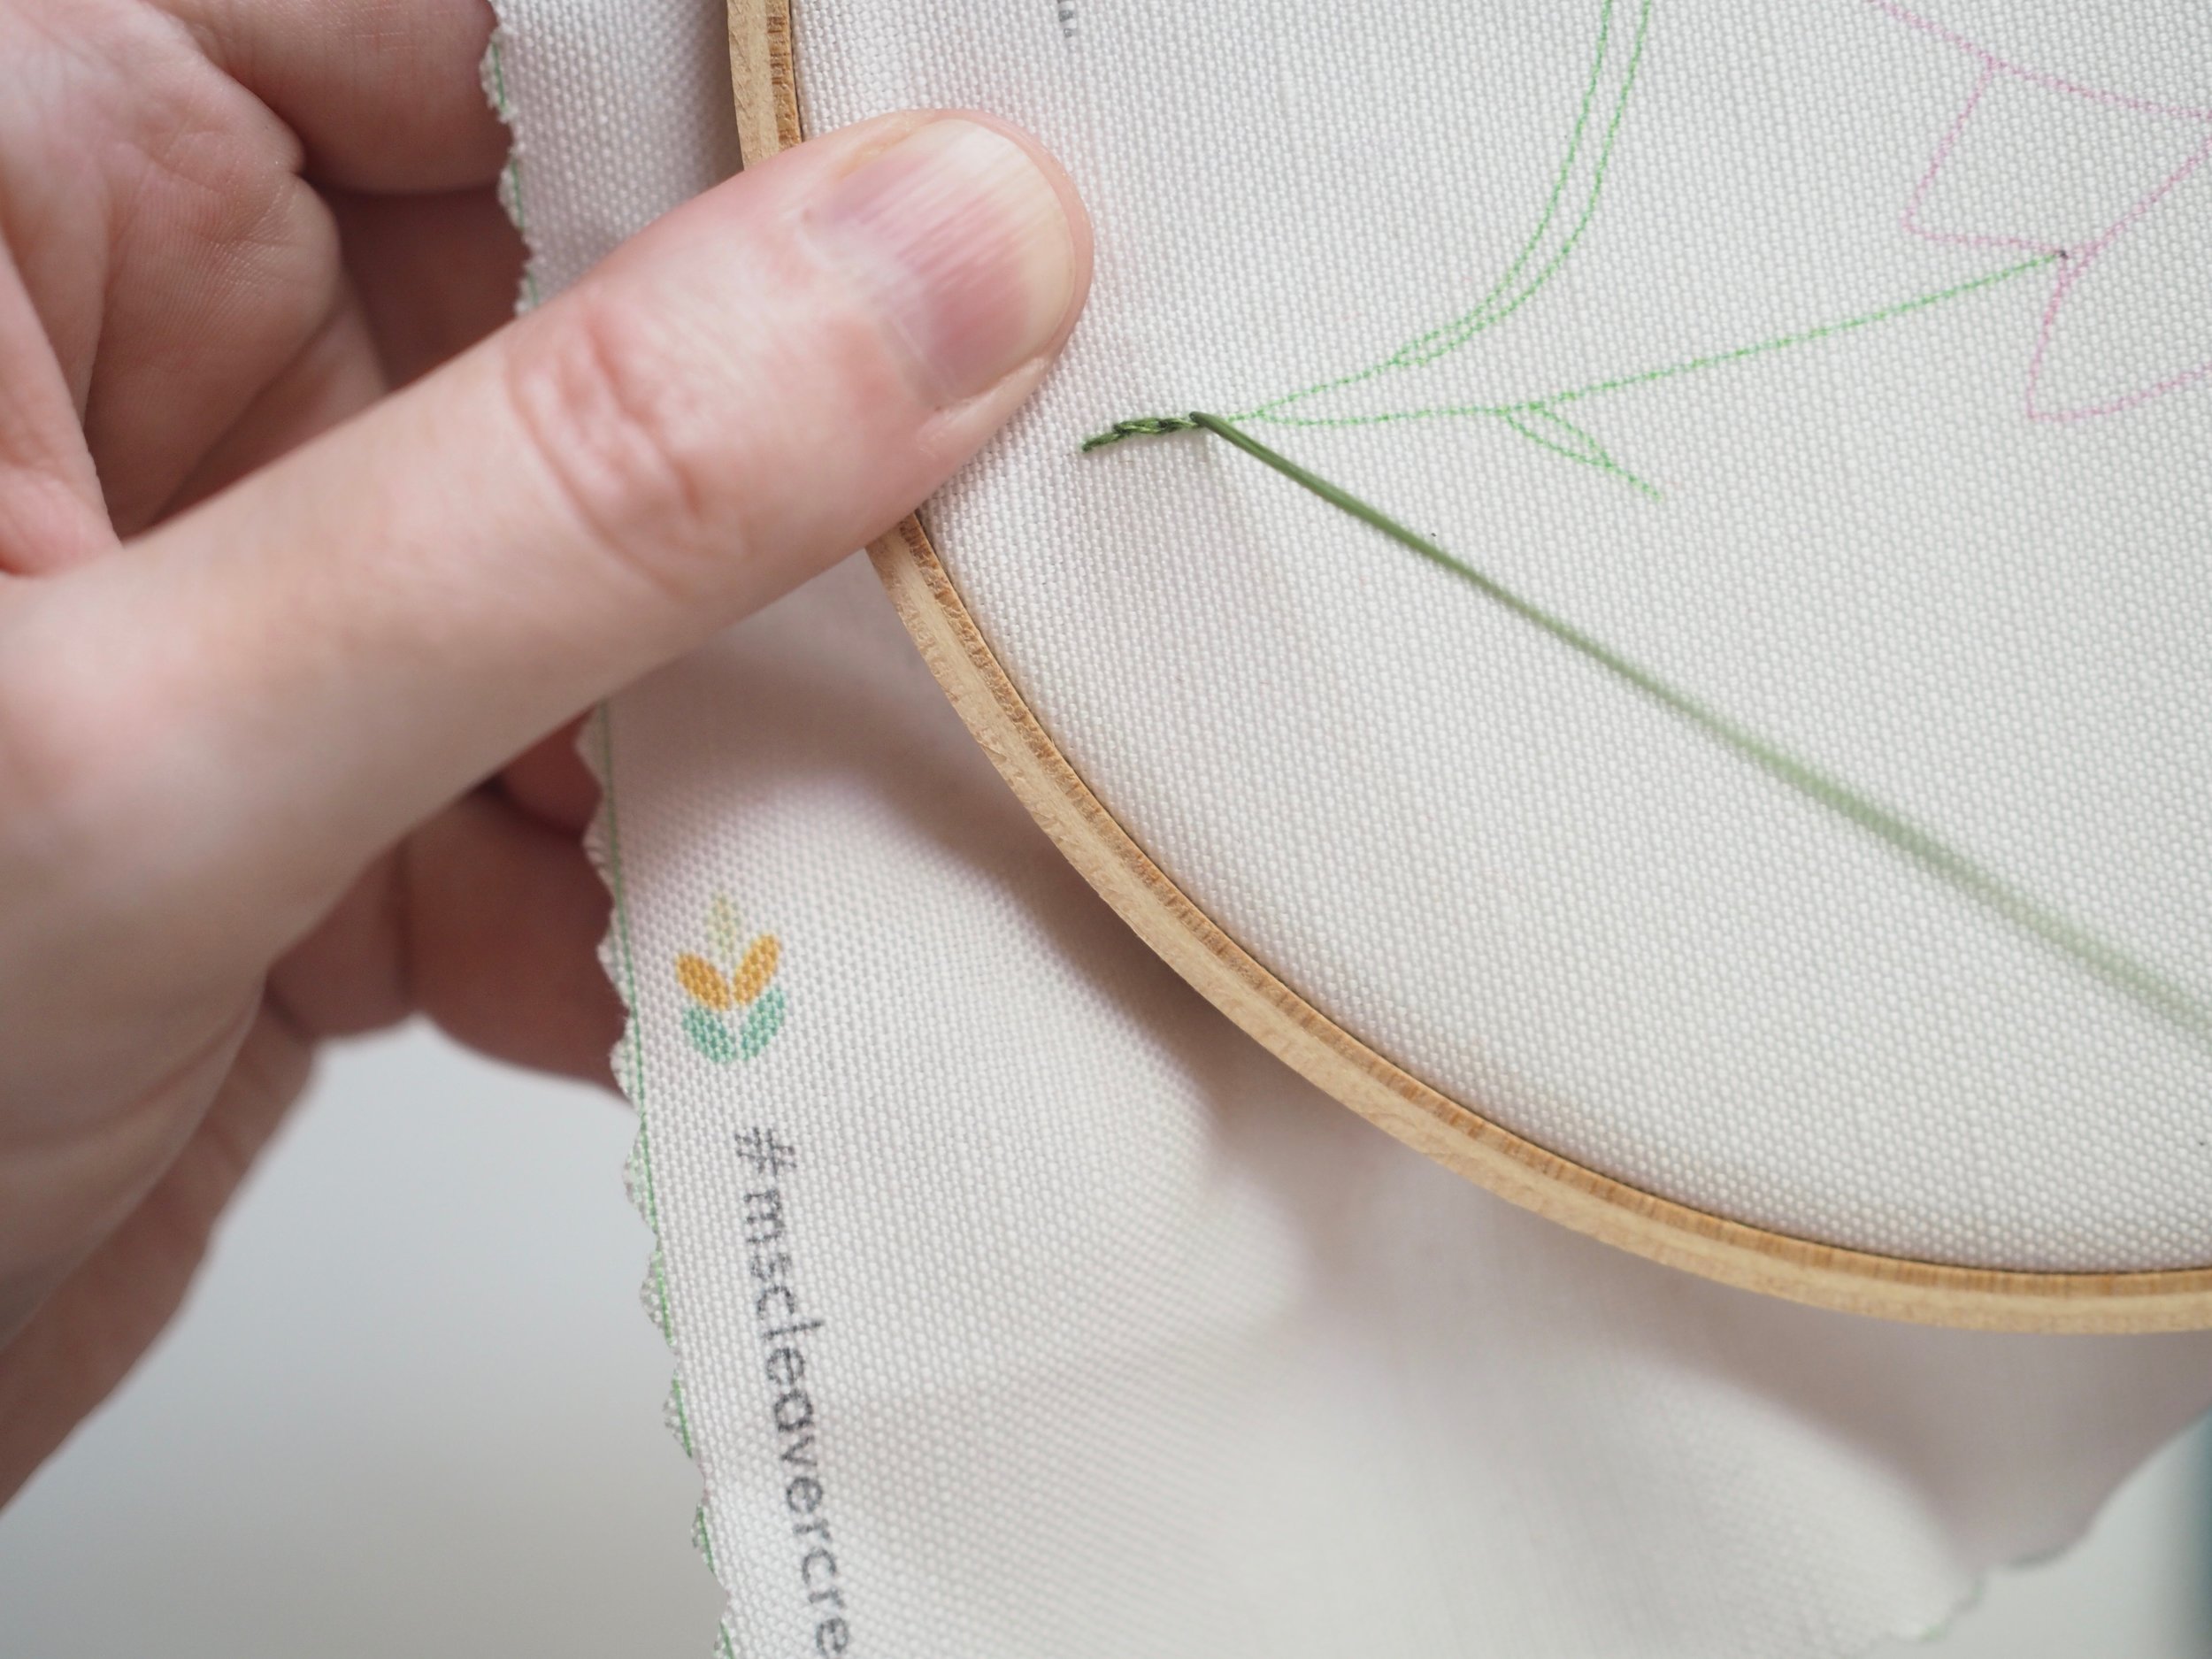
1. Make a stitch of desired length.
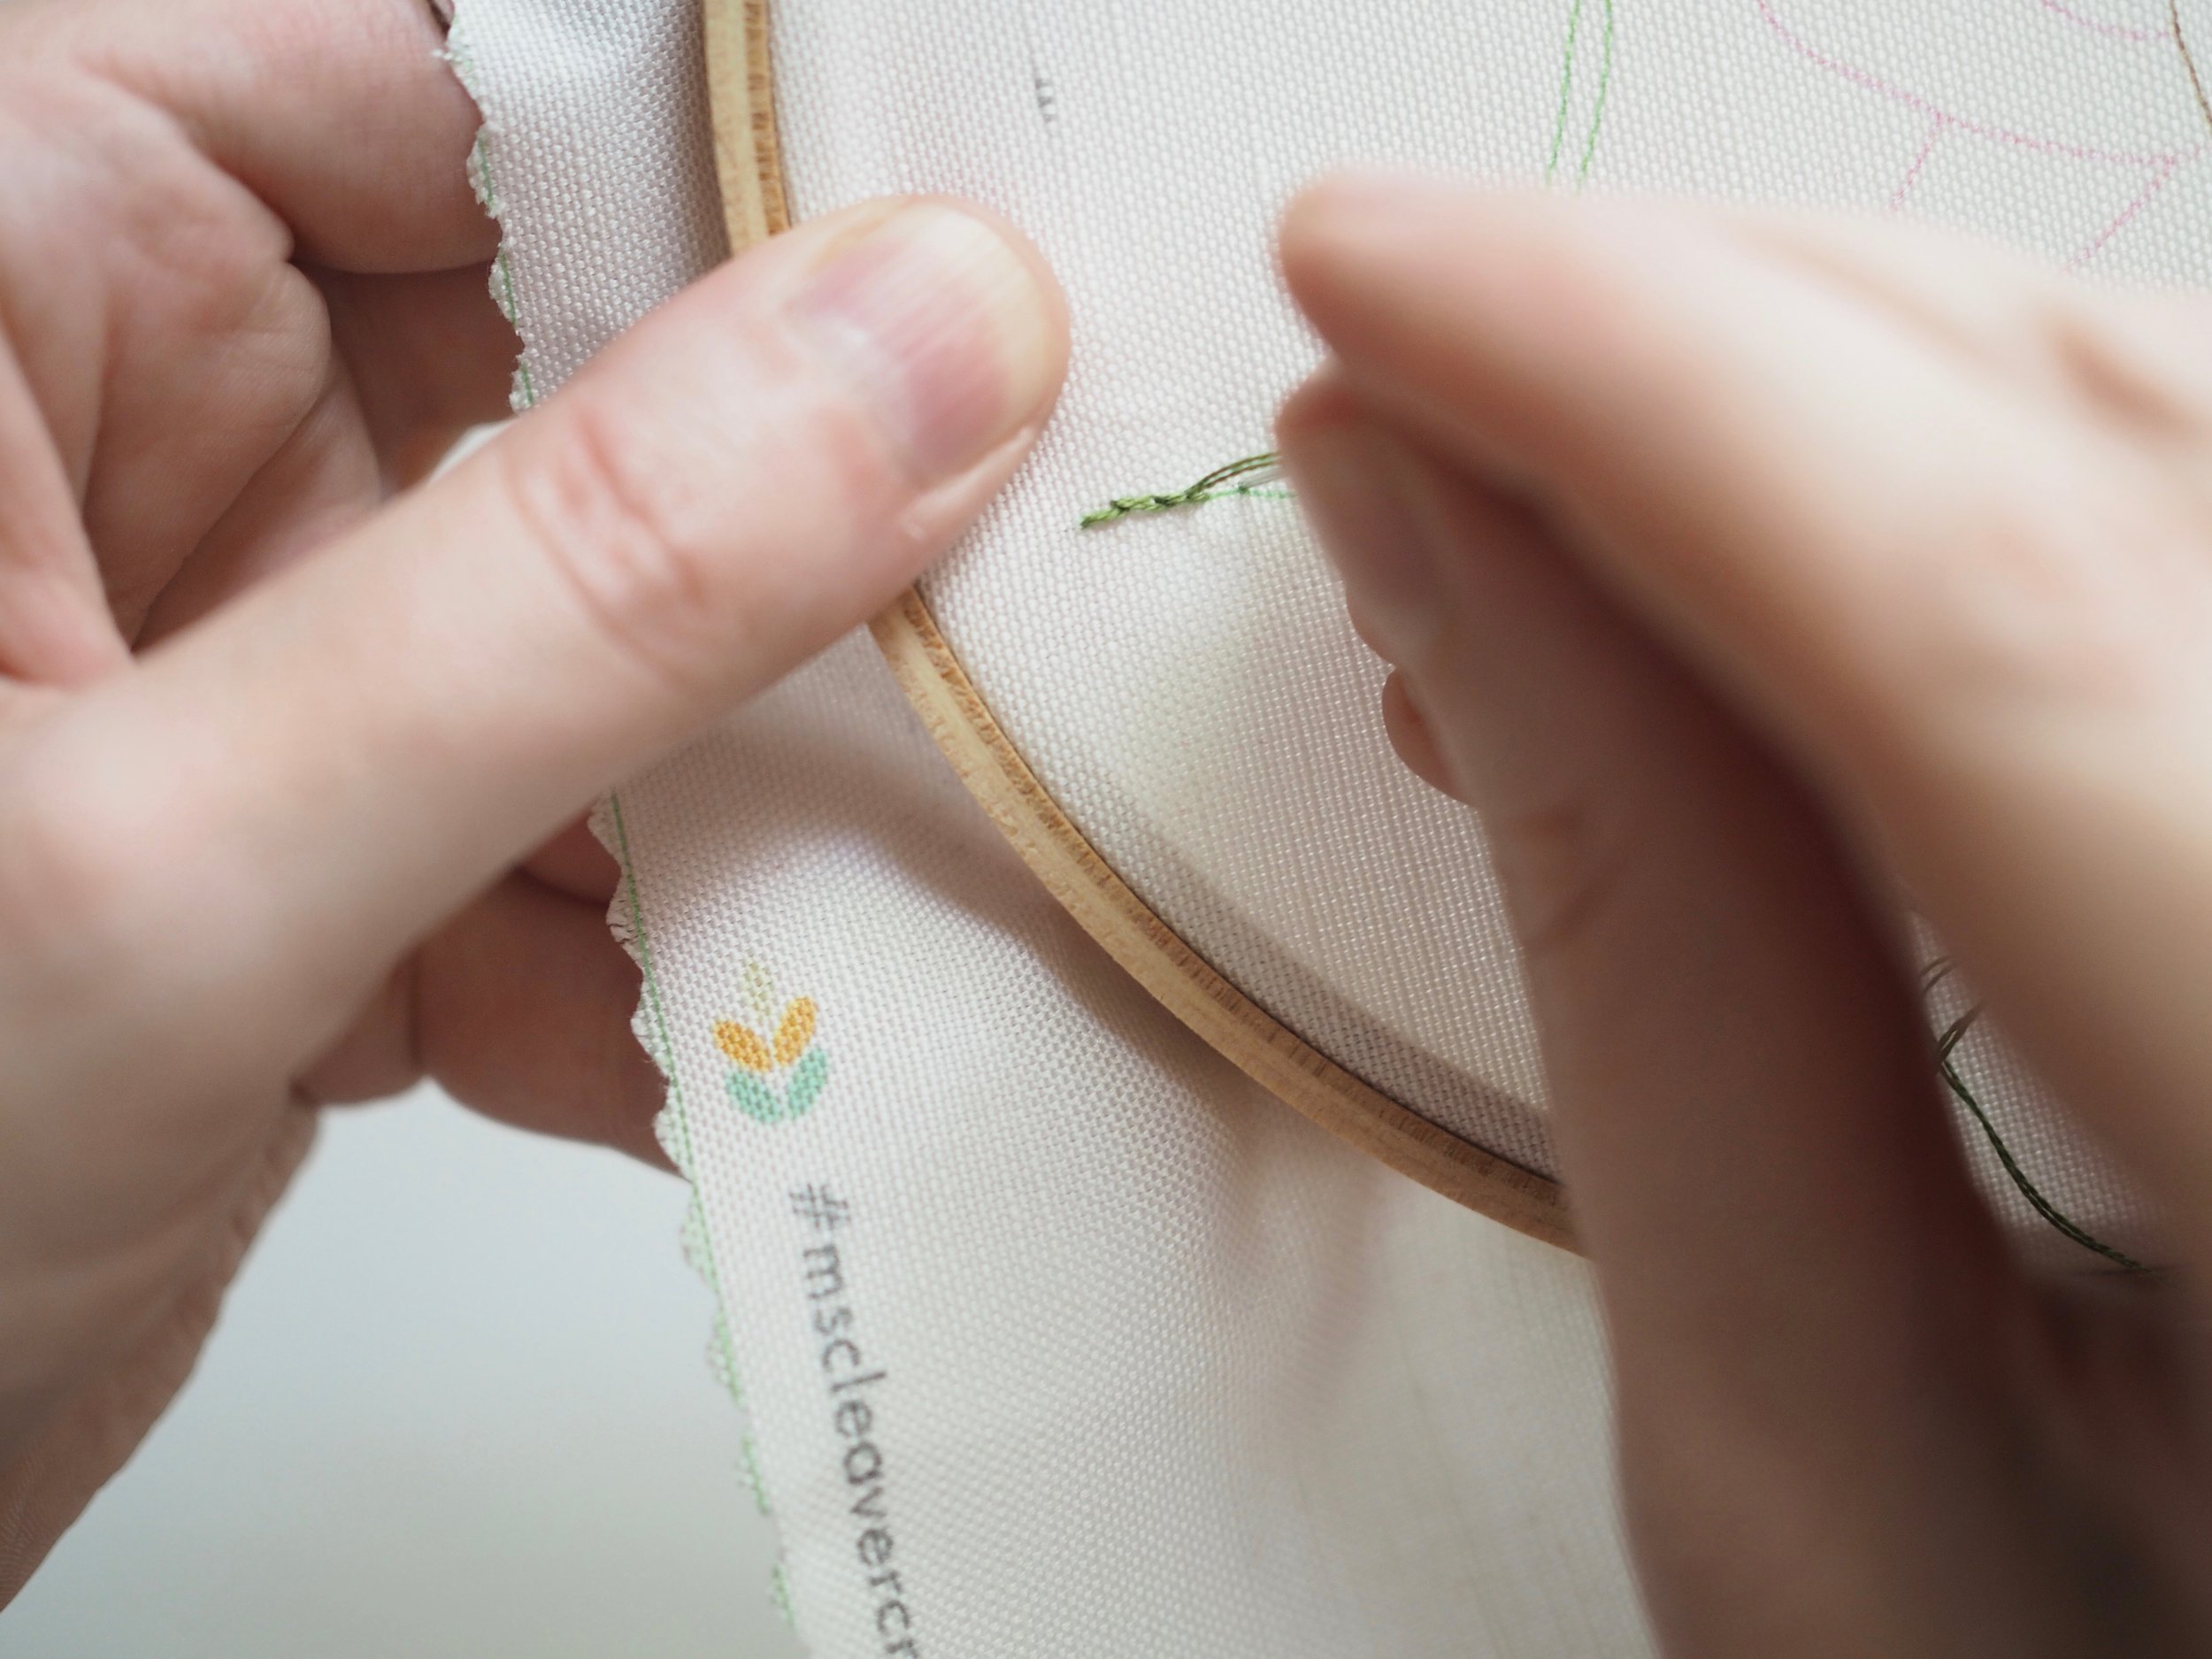
2. Along the design line, bring up the needle at the center of the previous stitch, pushing the plys of the previous stitch to the side (left or right, but be consistent).
3. Bring needle forward and push down through the fabric at the same stitch length as first stitch.
Repeat steps 2-3.
SPLIT STITCH
The split stitch and stem stitch are pretty much two sides of the same coin. They're almost identical to work and can be used in the same way, though they do vary in appearance, with stem stitch having a more twisted rope appearance, while split stitch looks more like a mini chain.
SPLIT STITCH
1. Make a stitch of desired length.
2. Along the design line, bring up the needle in the center of the previous stitch, splitting the plys evenly.
3. Bring needle forward and push down through the fabric at the same stitch length as first stitch.
Repeat steps 2-3.
Excellent for straight or curving lines, thicker borders.
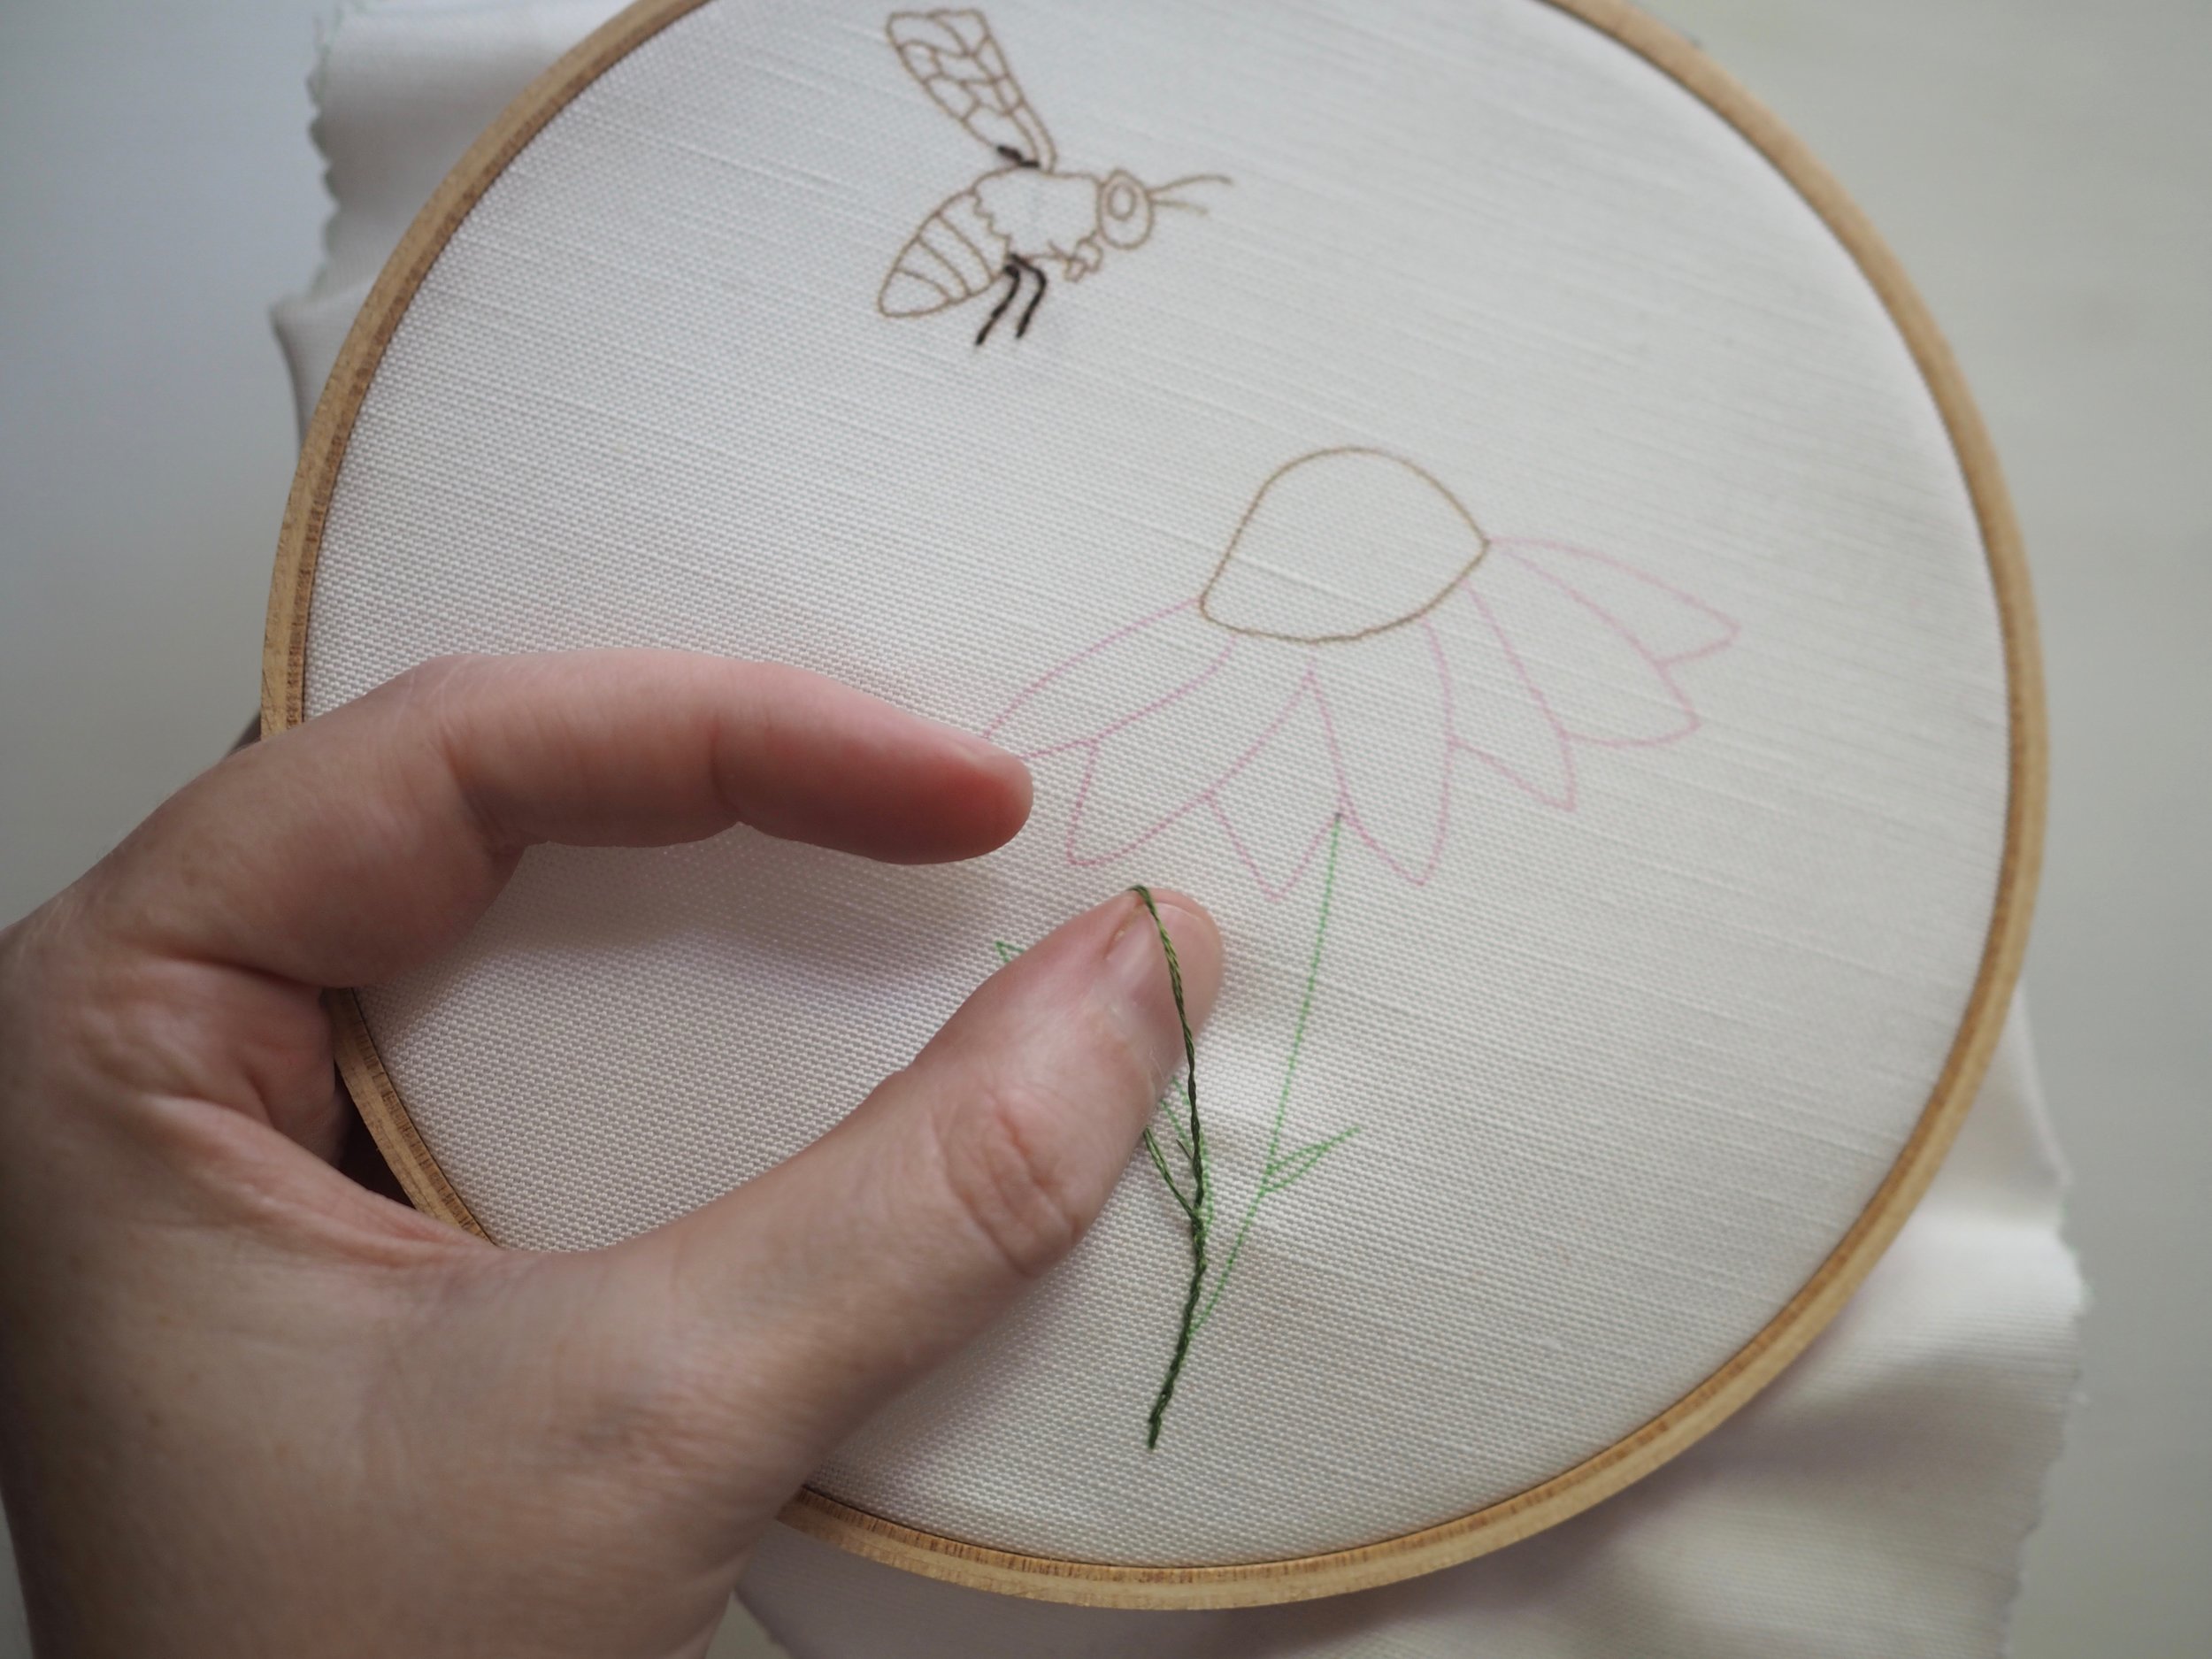
CHAIN STITCH
Not a chain of fools, but a lovely stitch for thick lines that work lovely as outlines and (as used here) fill for smaller areas. It's a little more involved than the other outlining stitches, but when used as a line, you get one twice as thick. You can also use a single chain stitch individually as drops, petals or leaves.
CHAIN STITCH
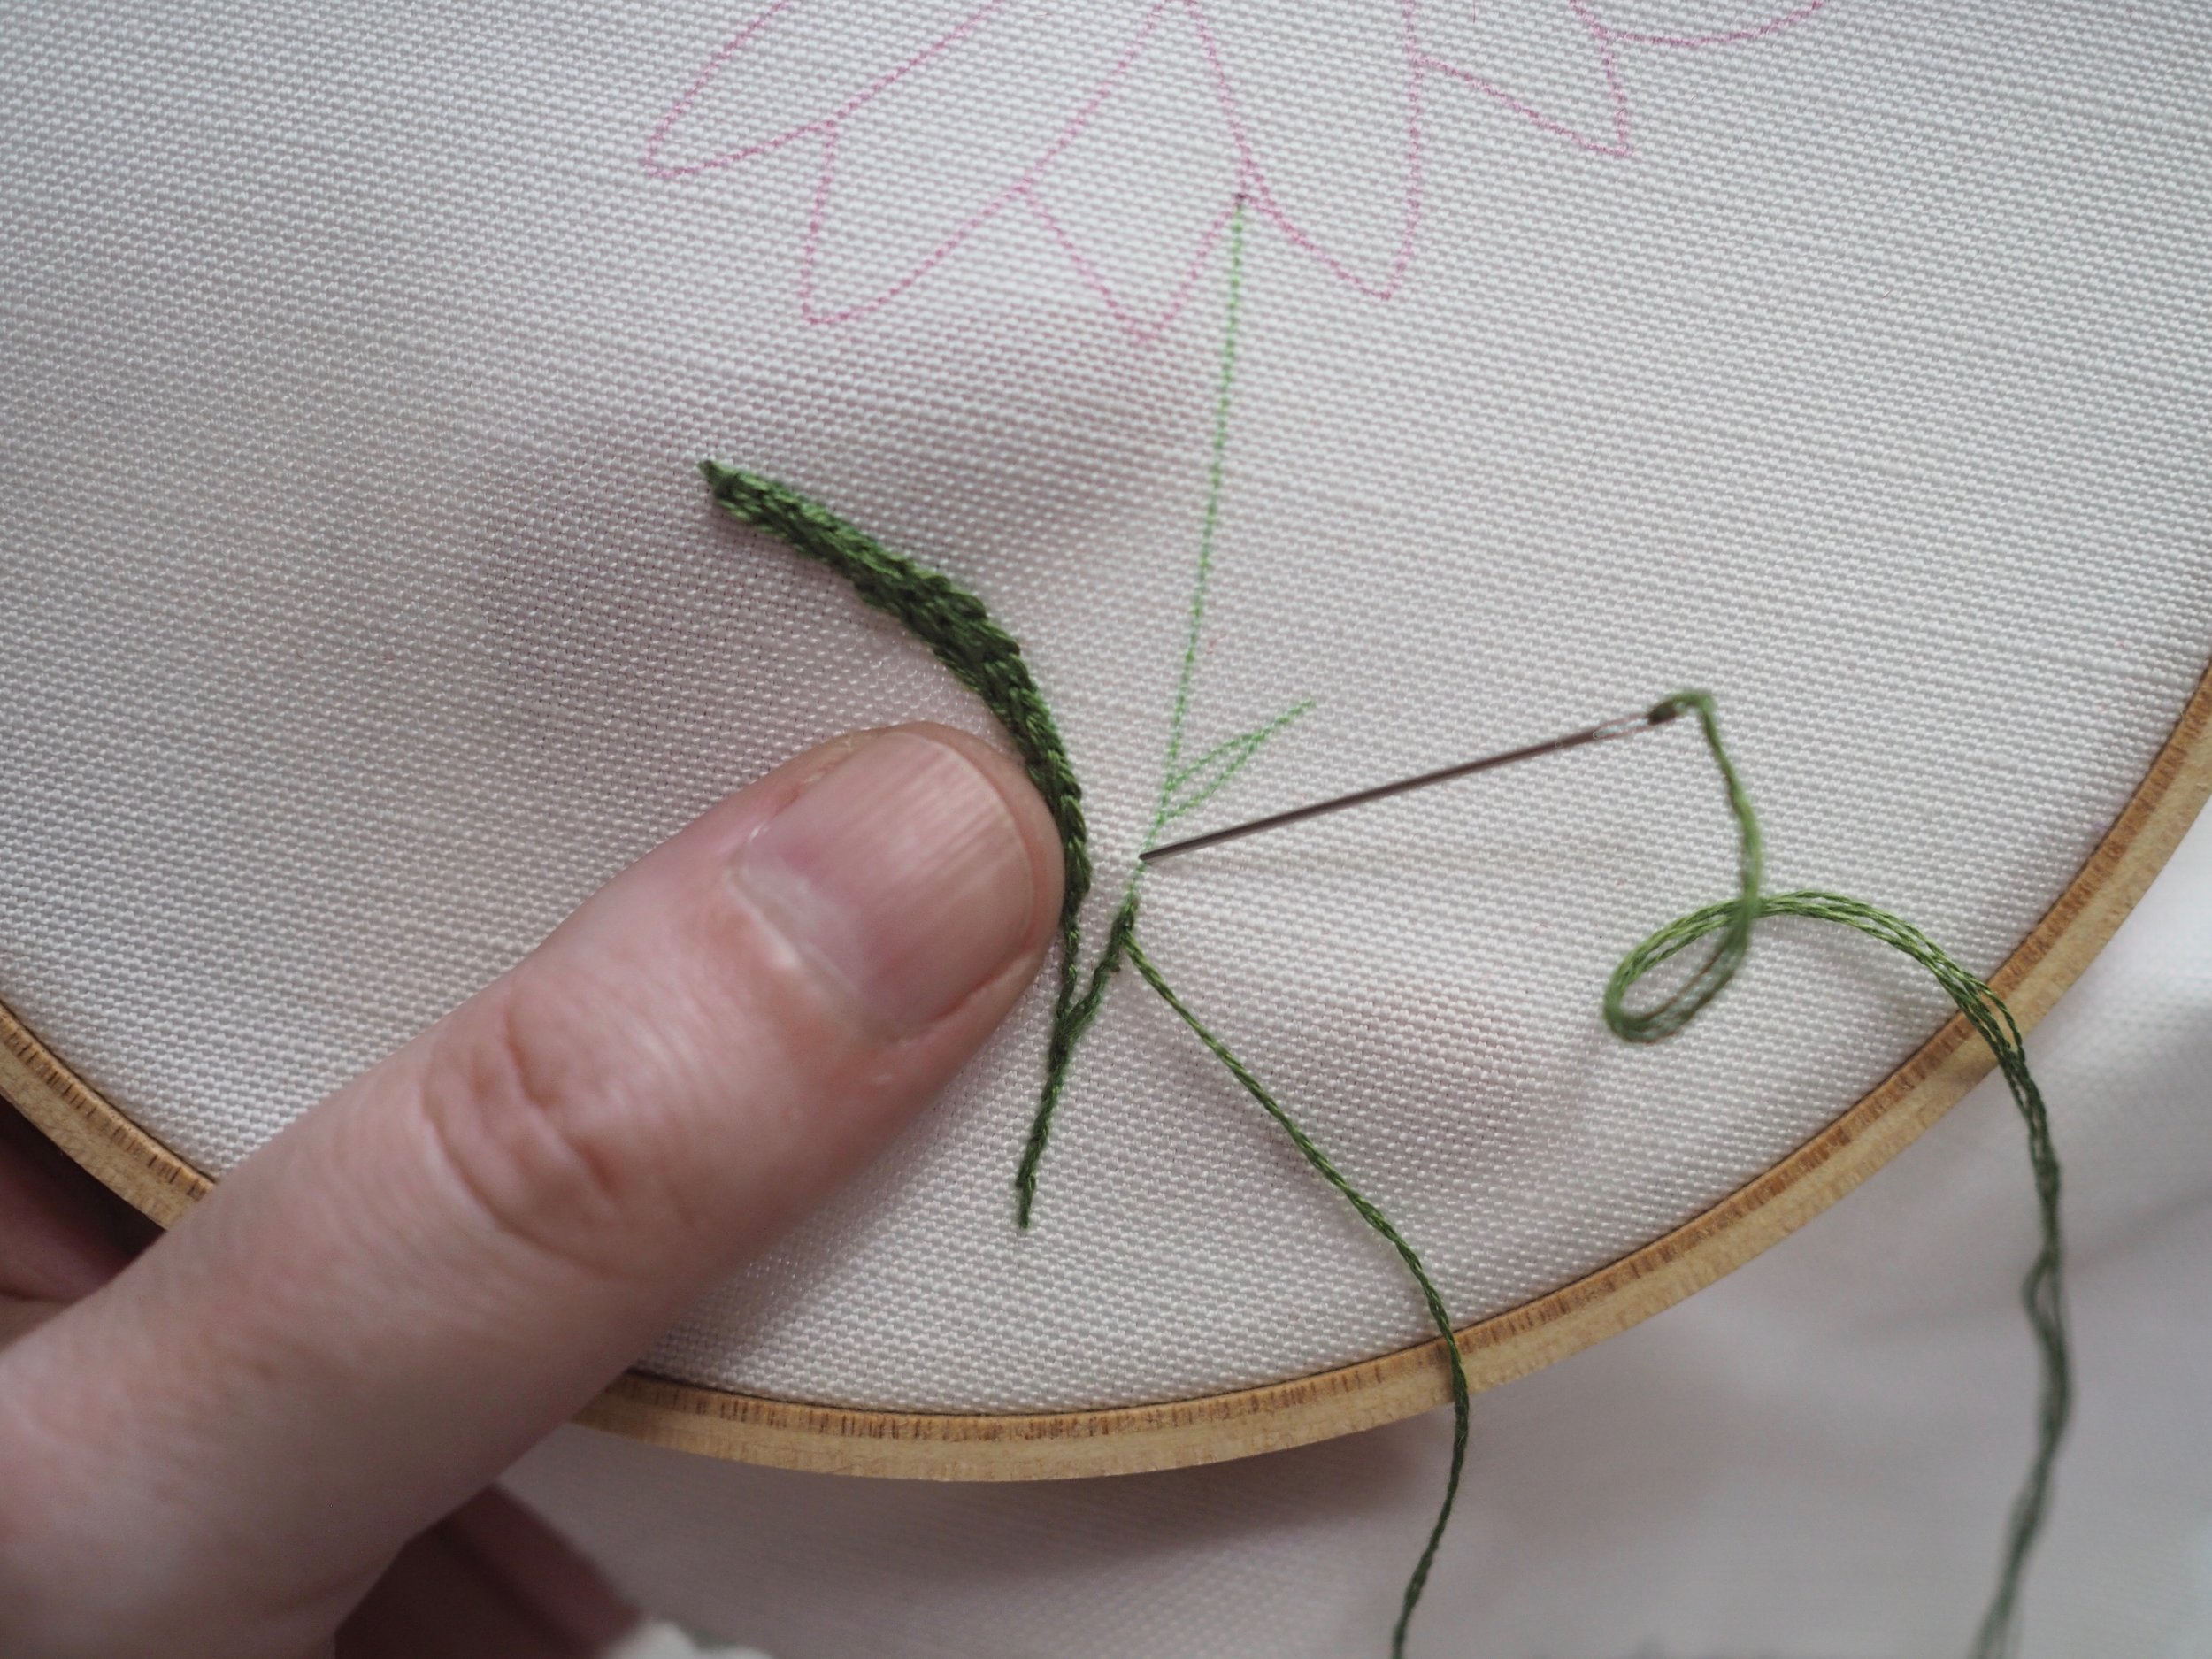
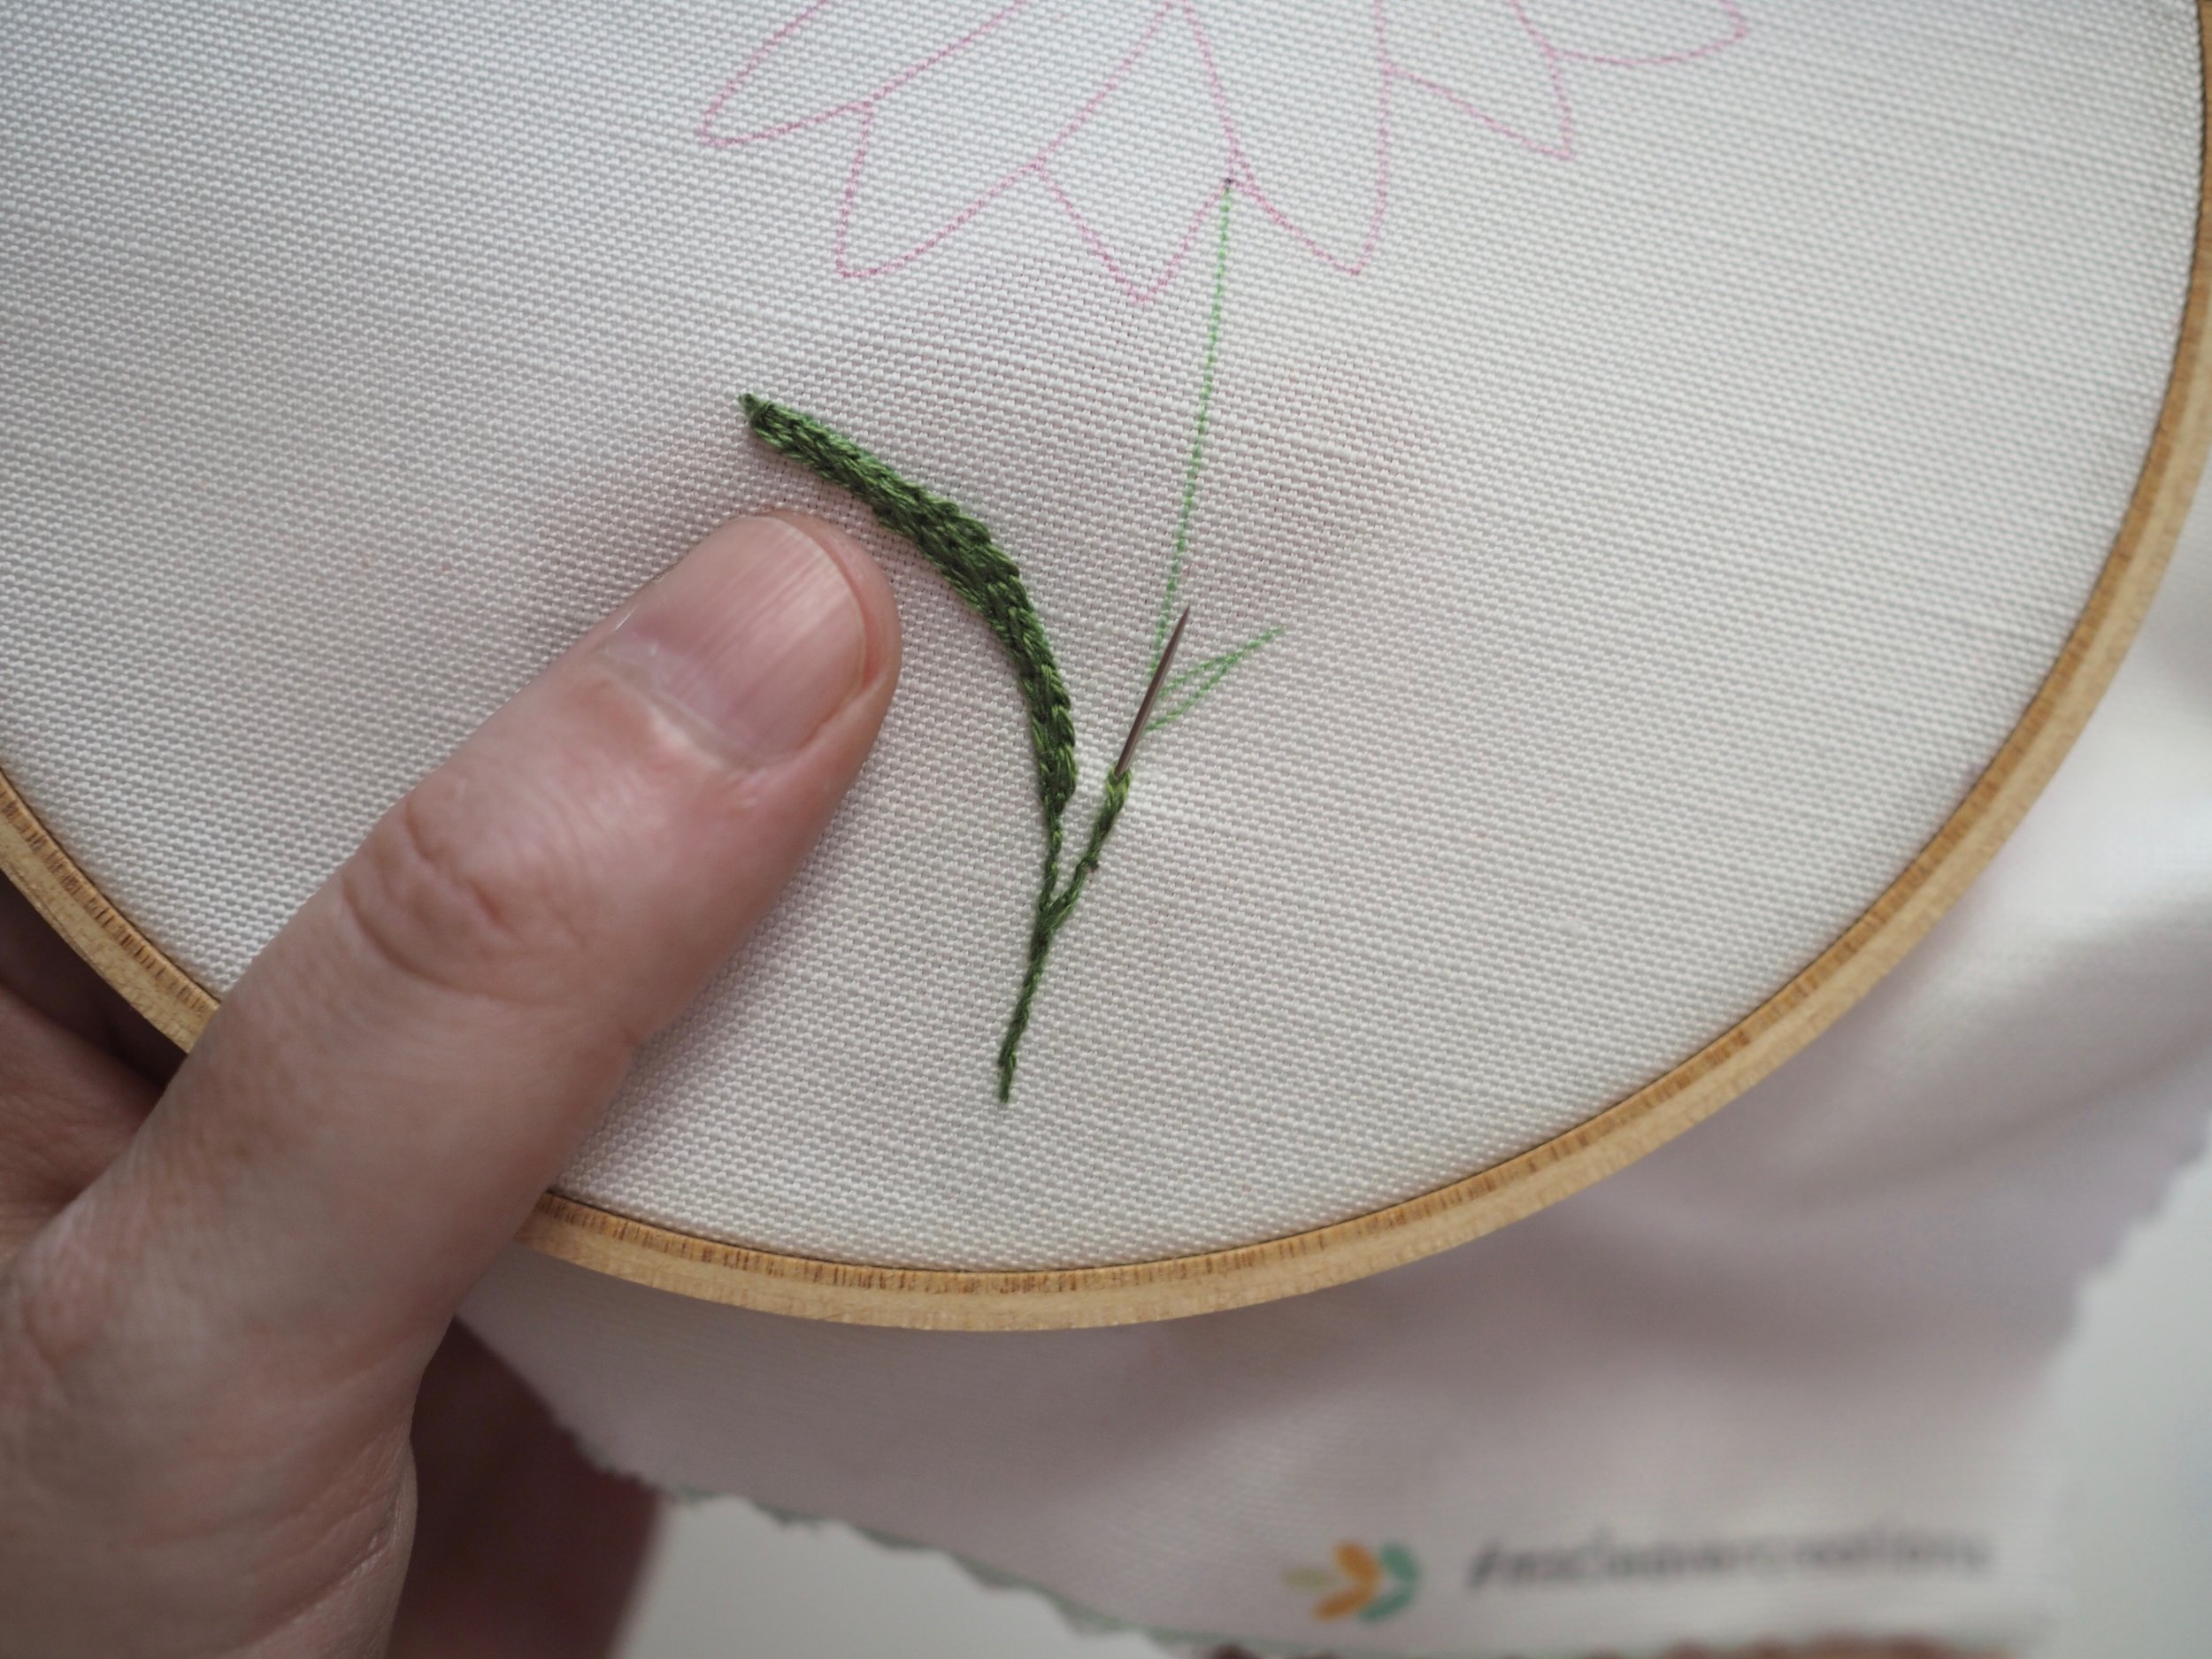
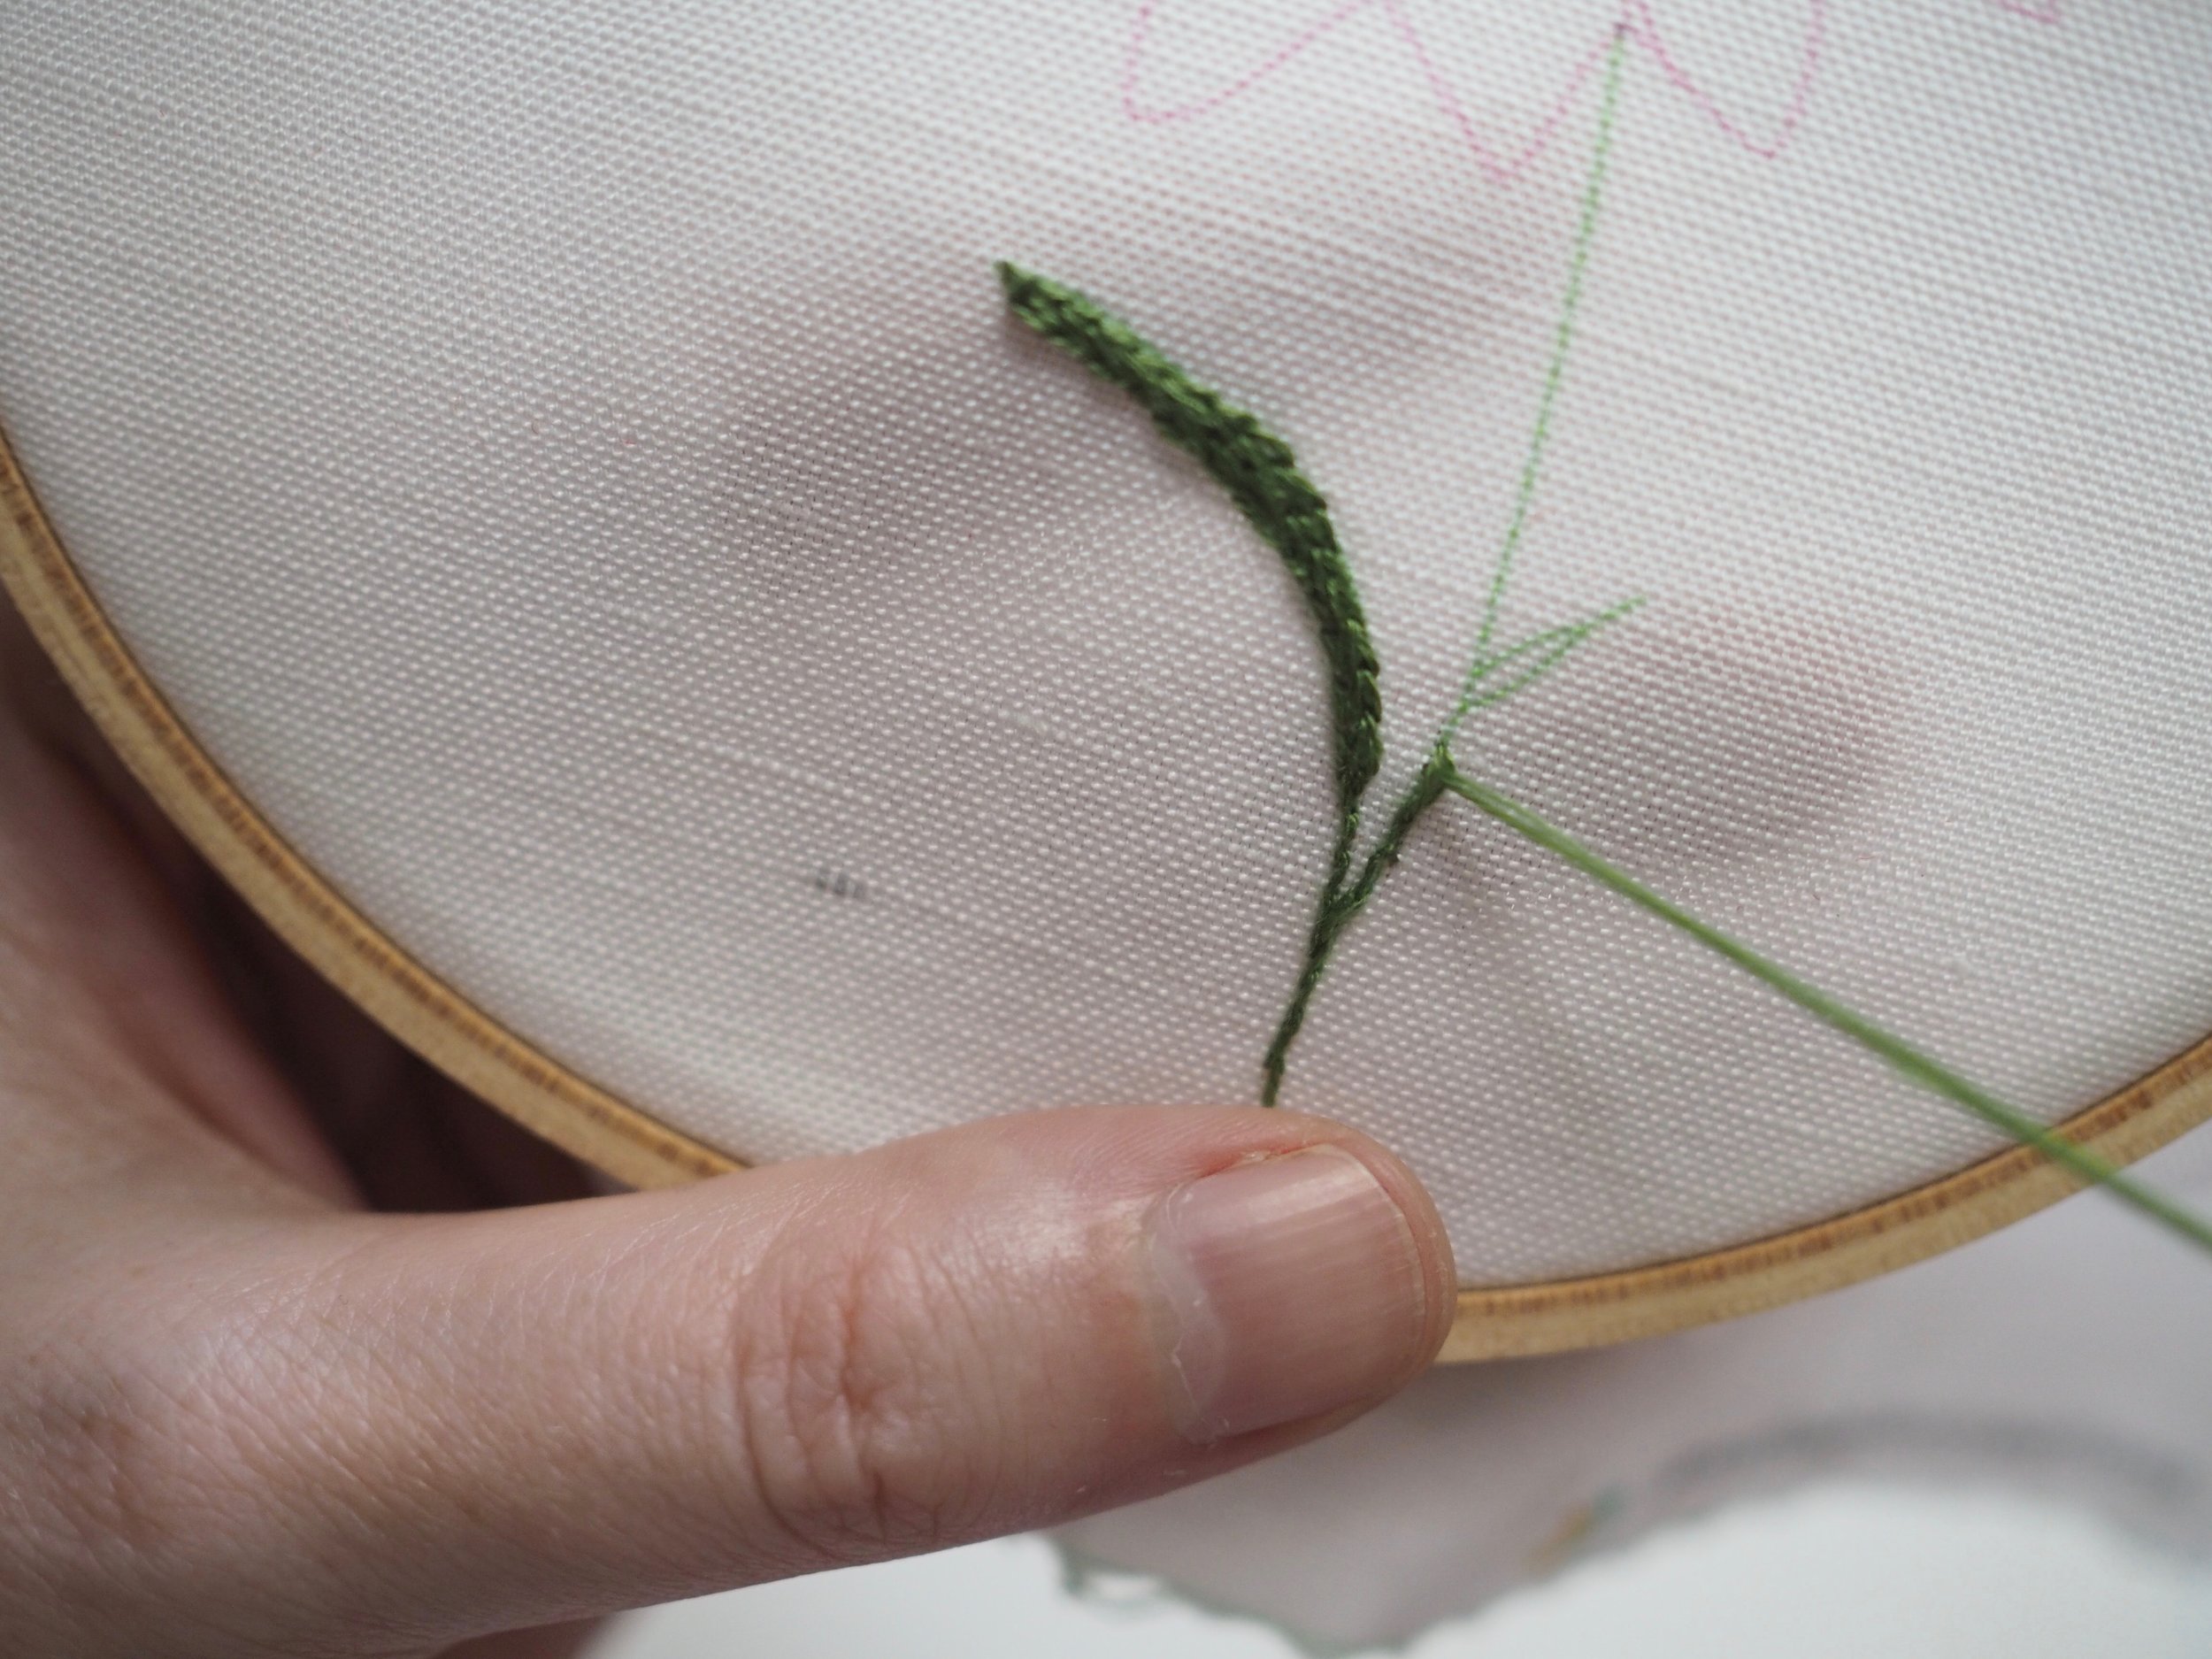
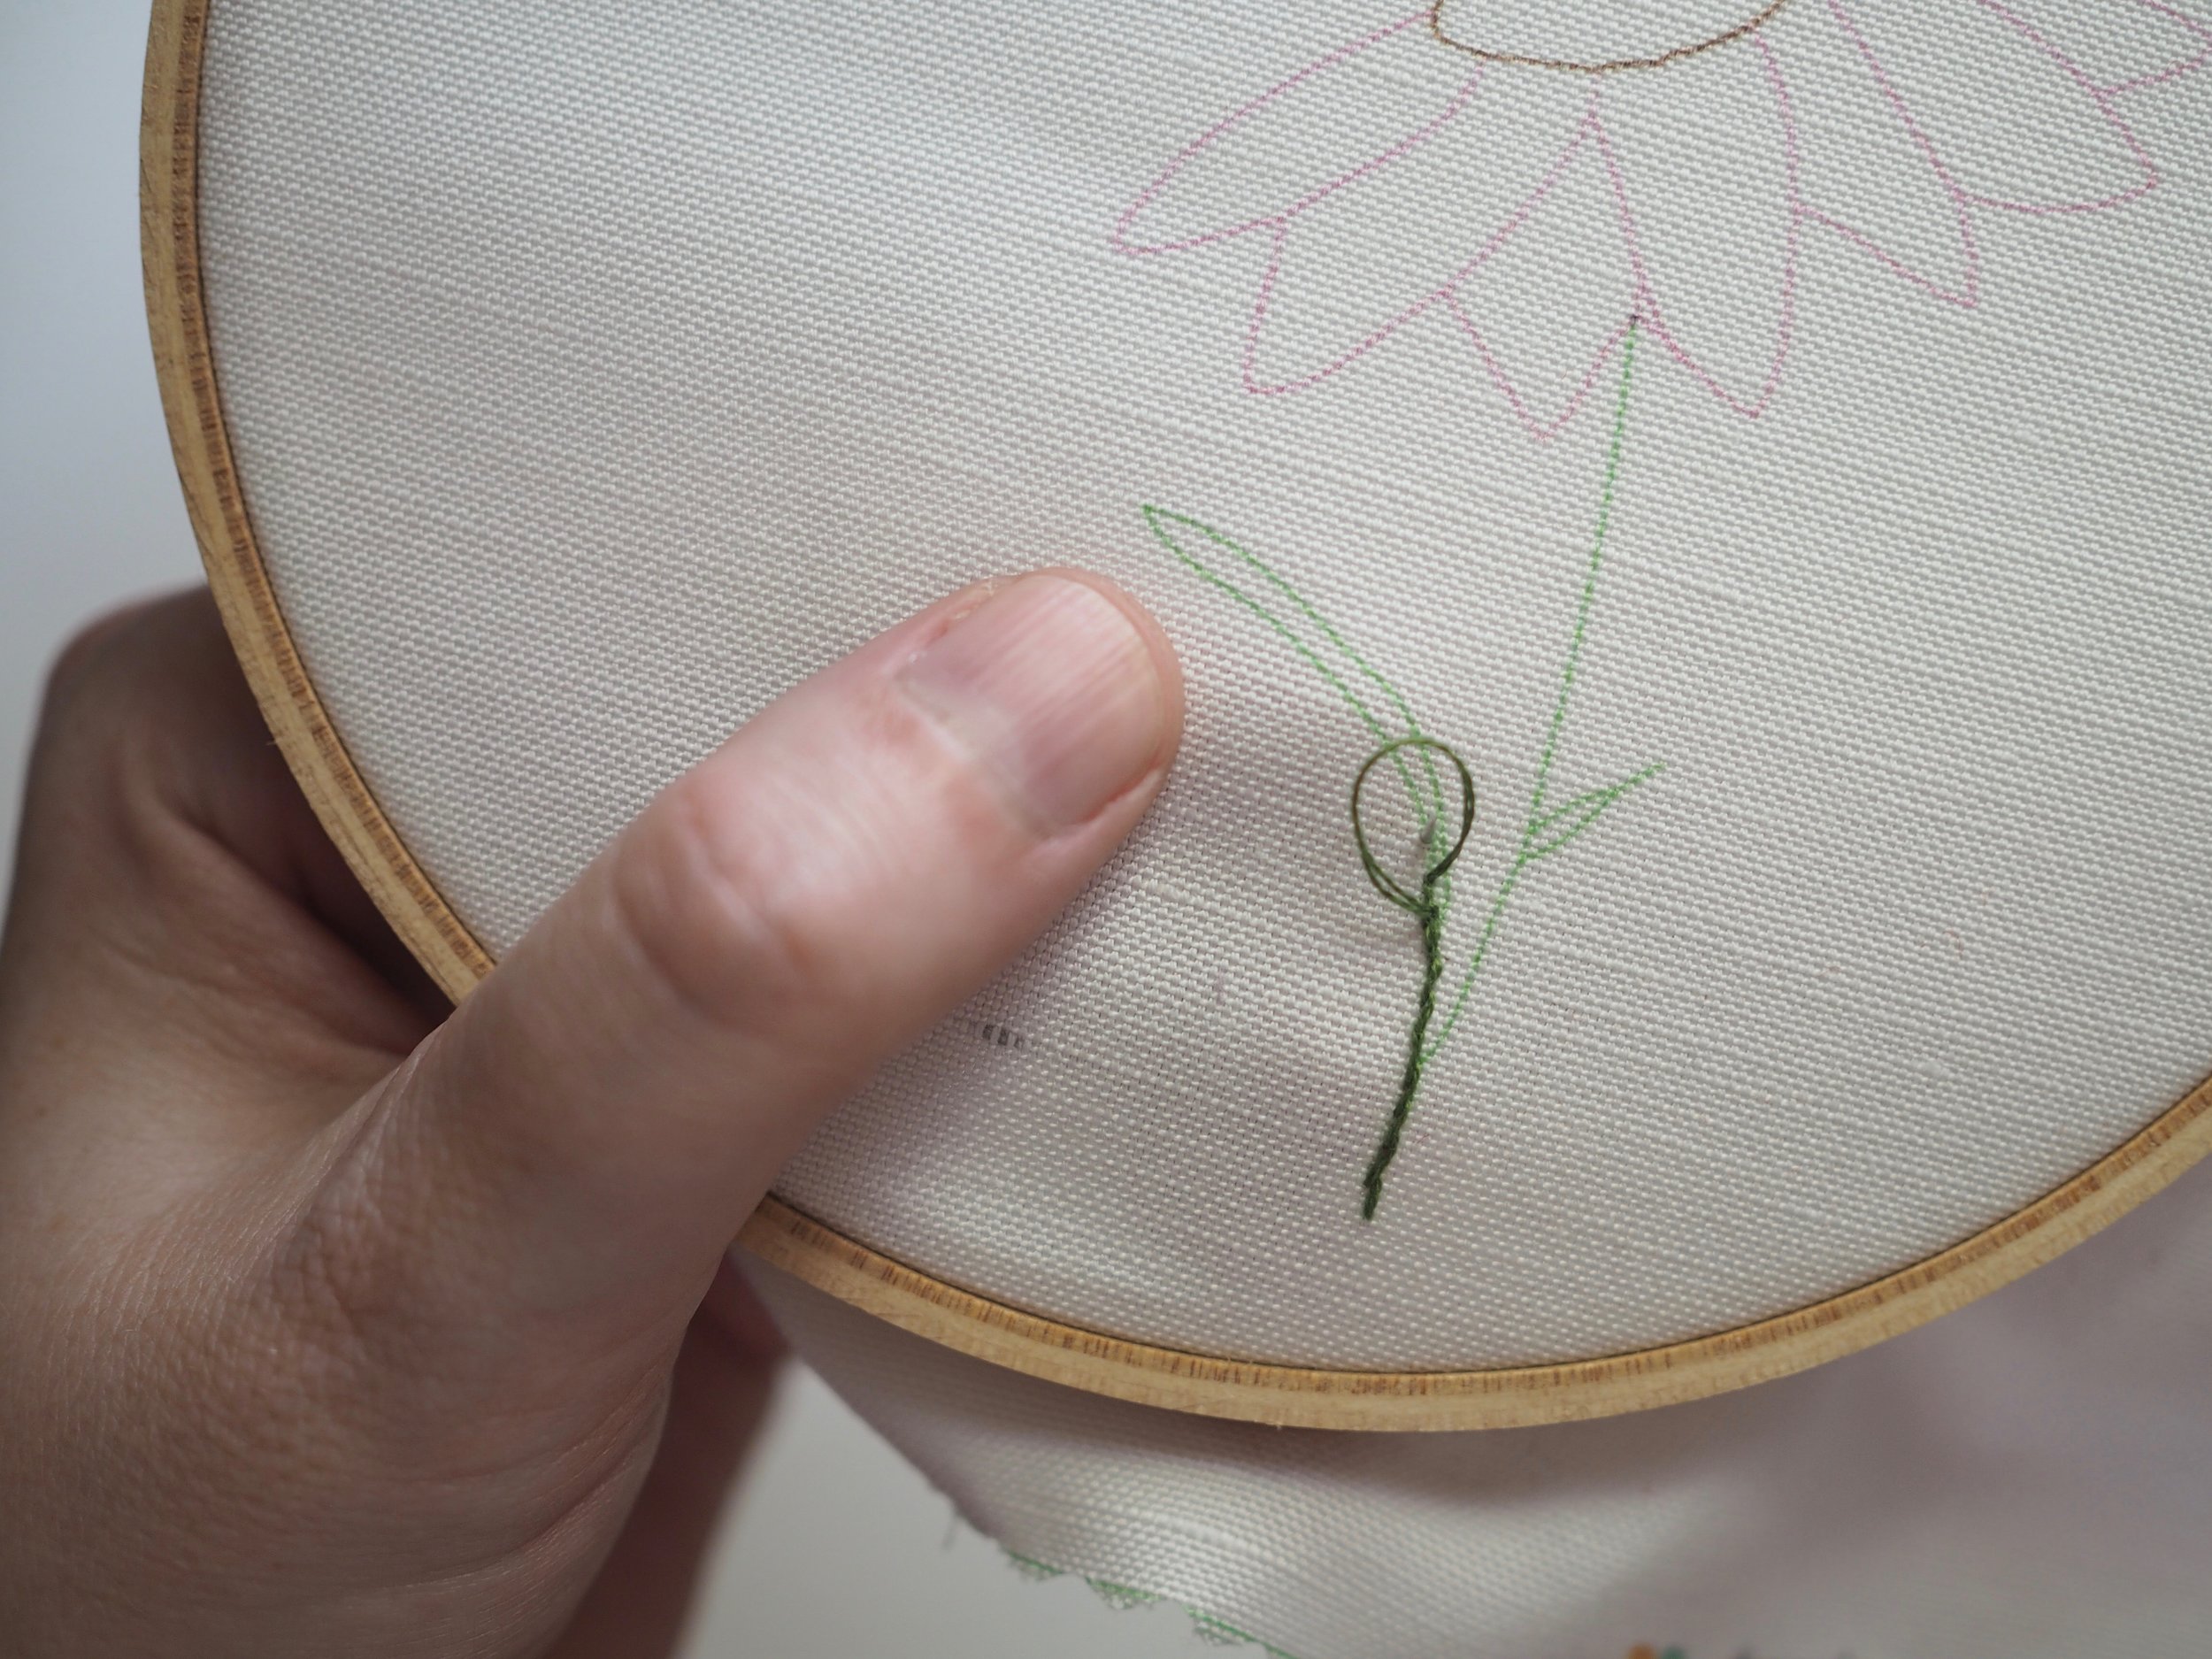
1. Bring needle up through fabric, then push back through at same spot, leaving a small loop of desired length.
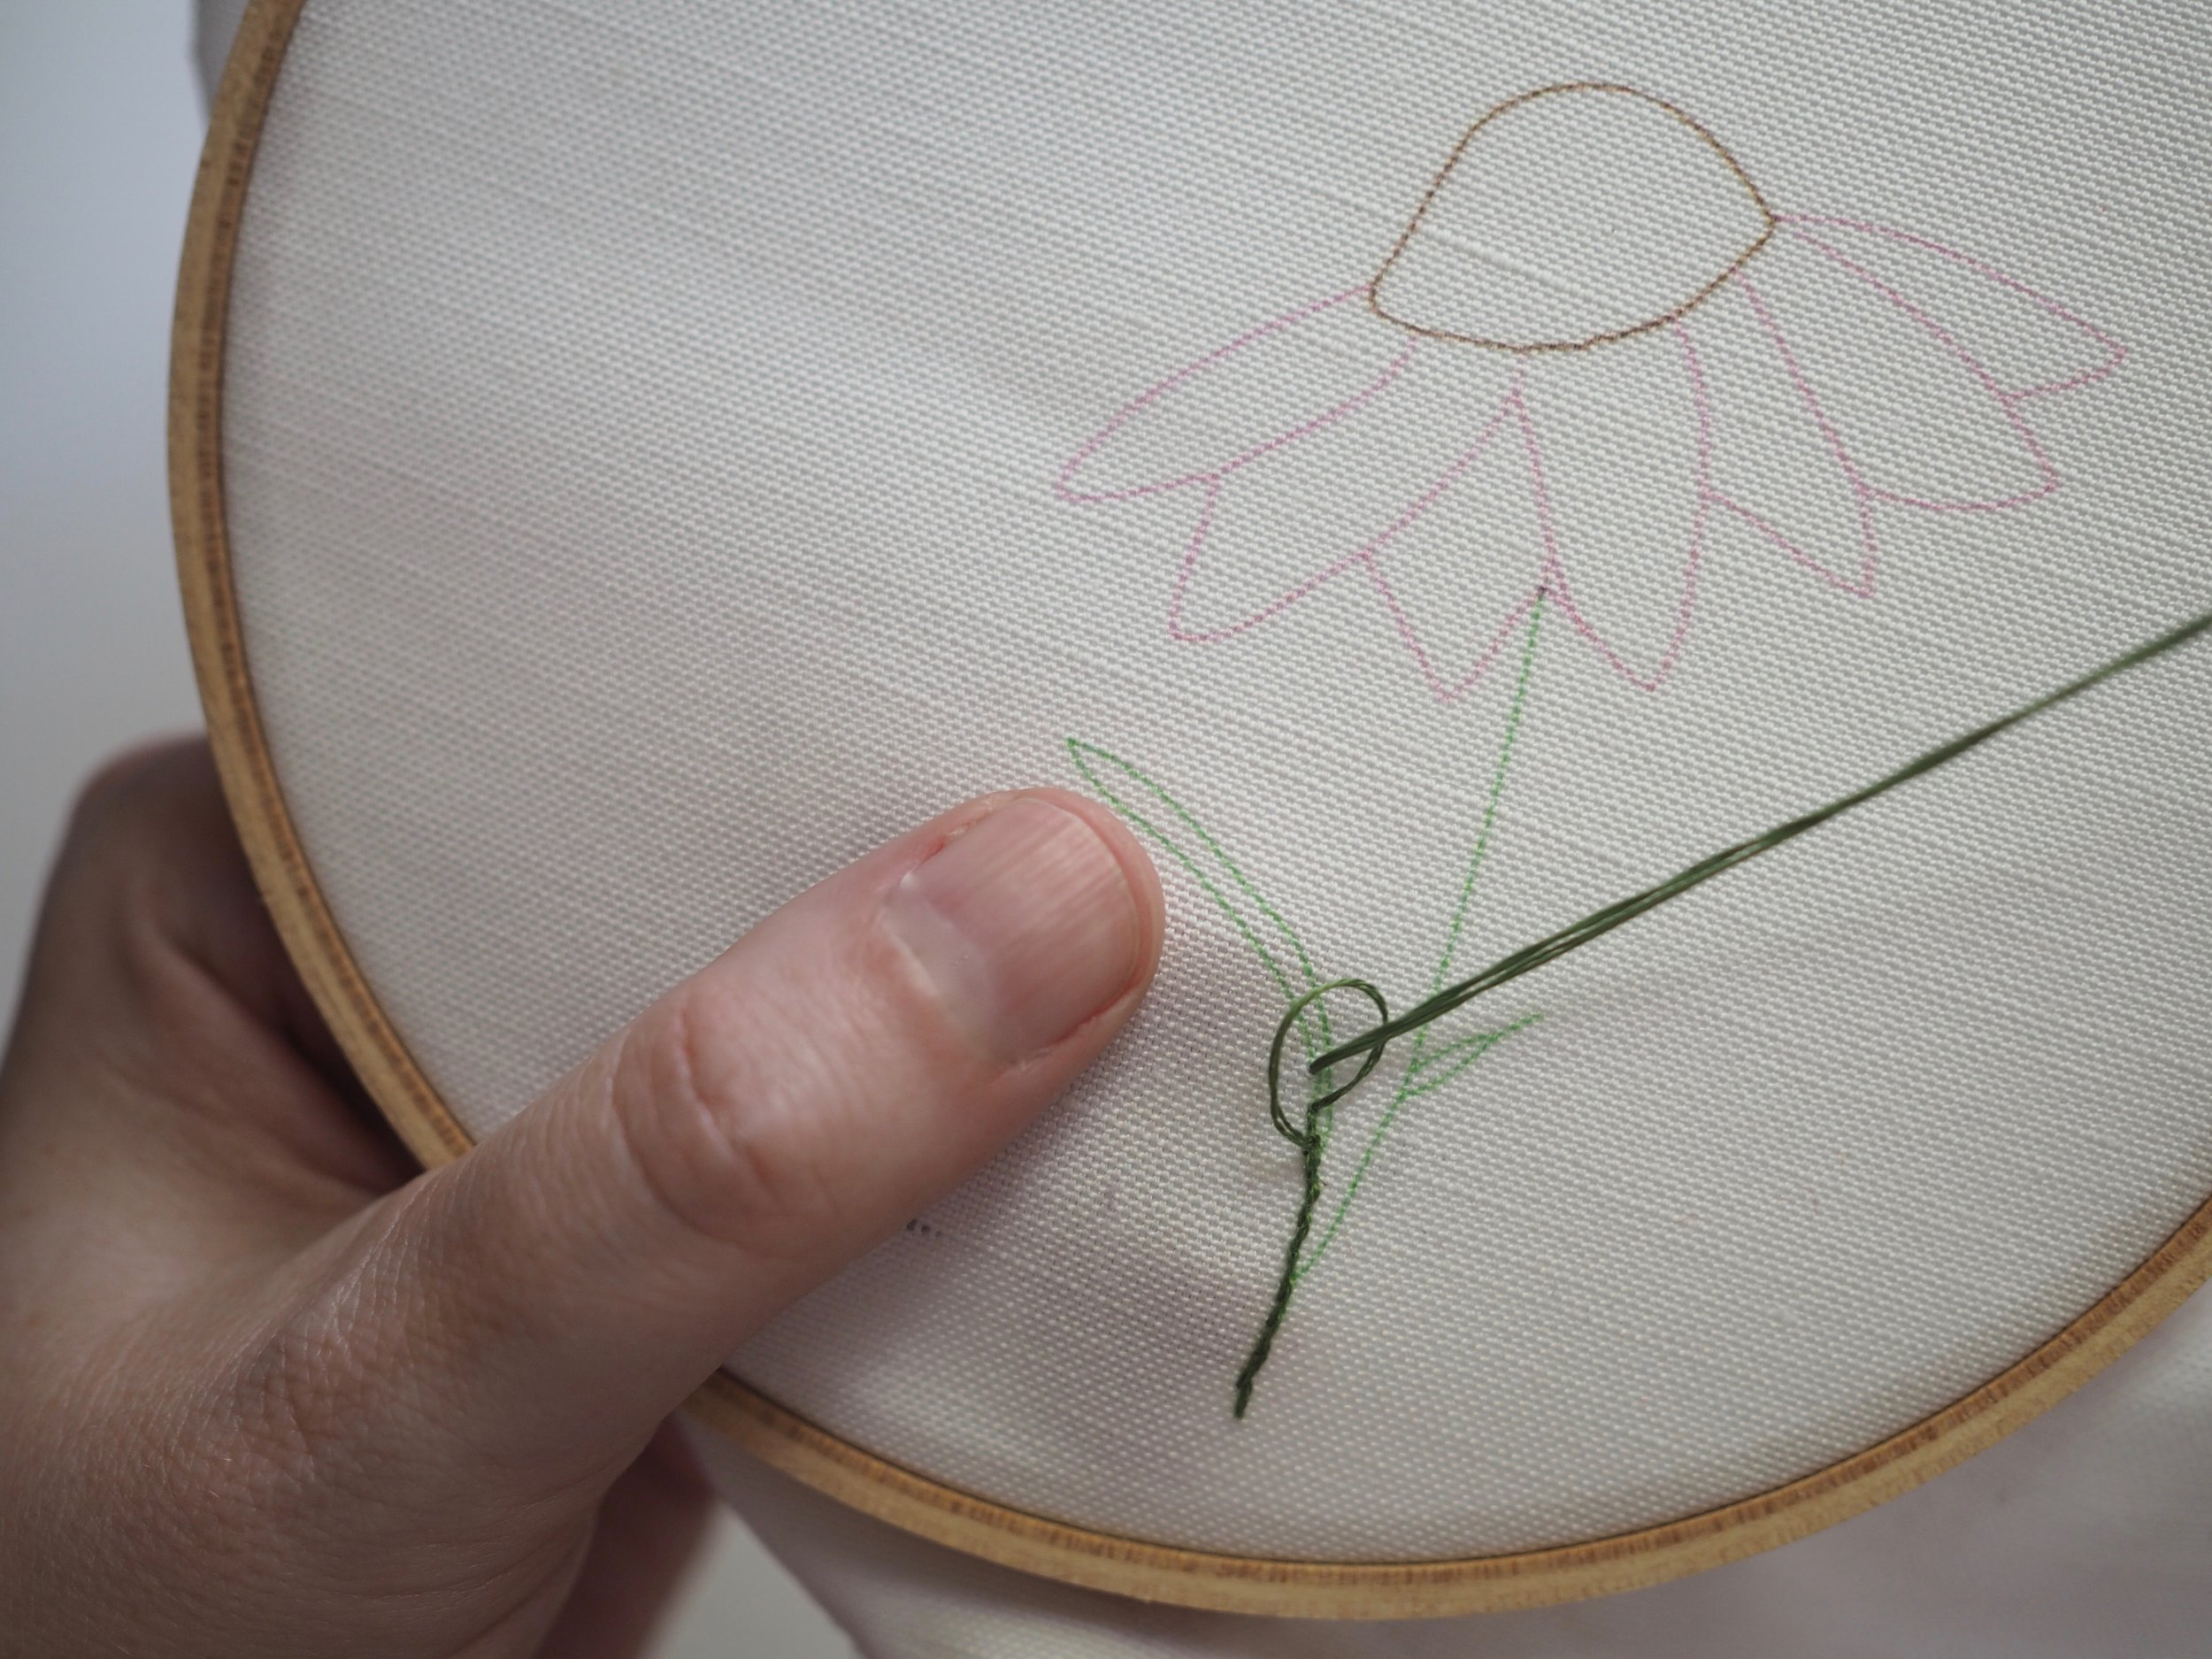
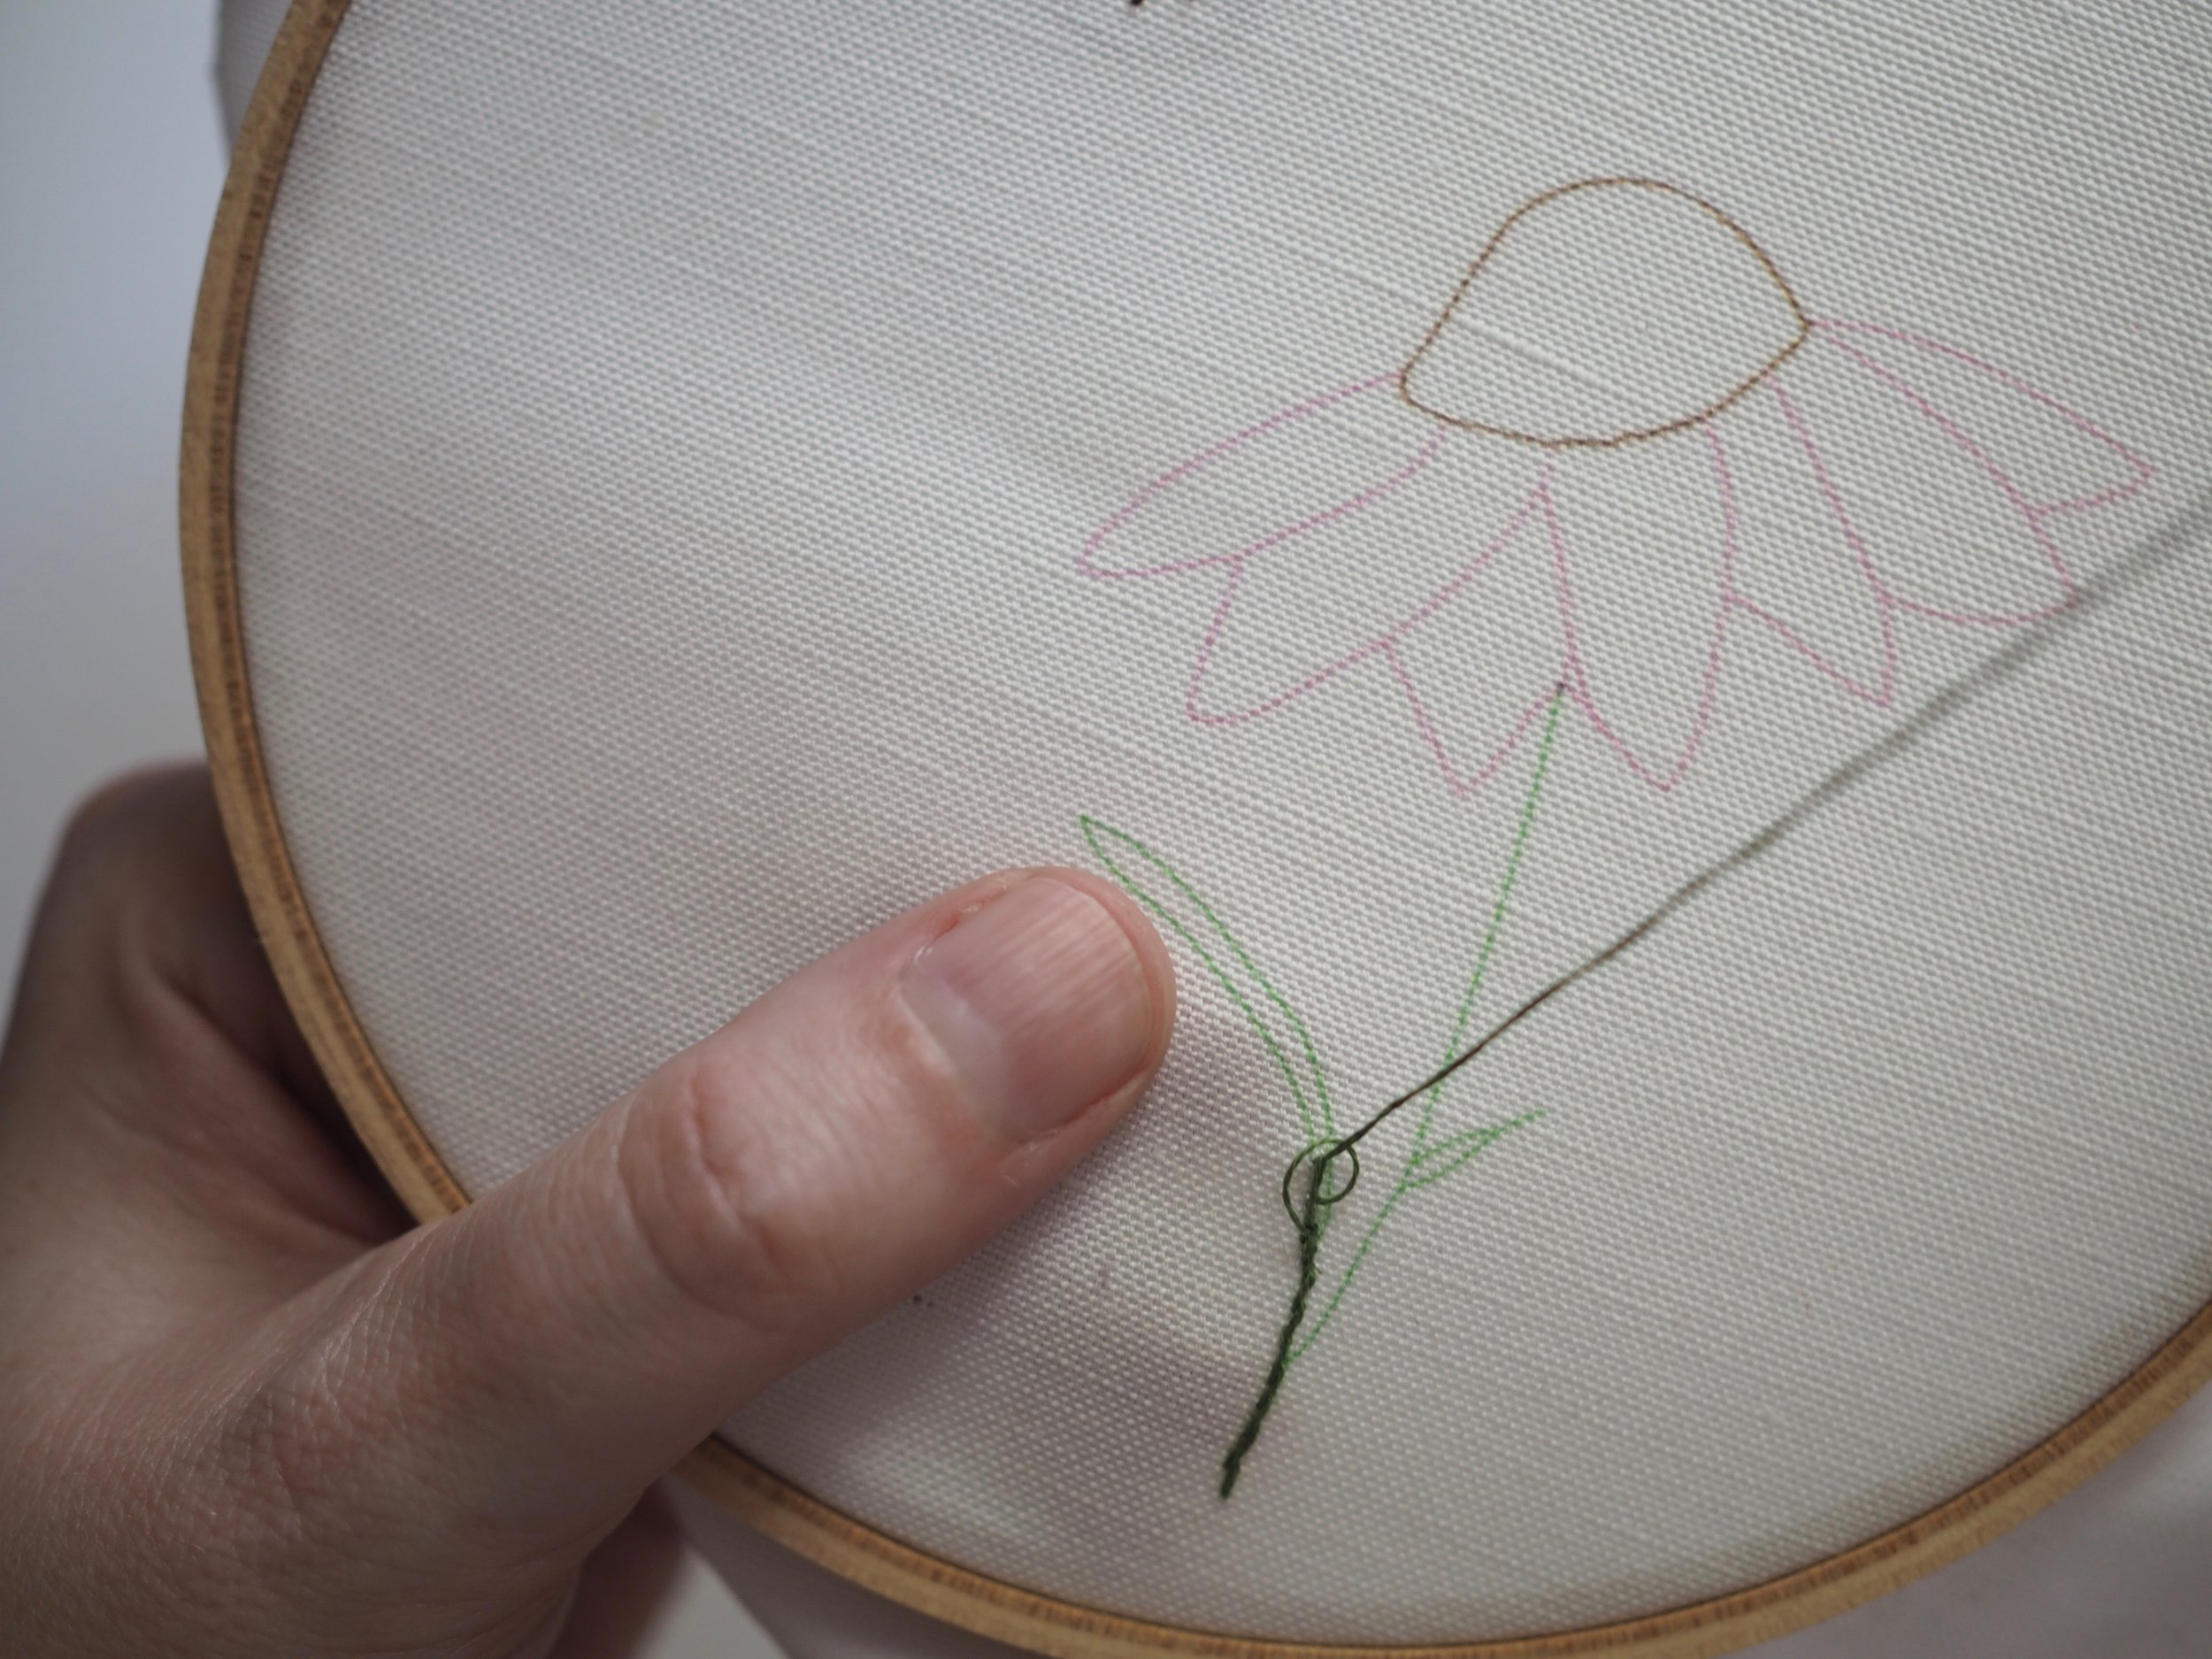
2. Along the design line, bring needle up through fabric at the base of the loop you just made (on the inside of the loop), then re-insert needle along the design line at the desired length of the loop, trapping the thread tail under the needle and pull tight.
Repeat step 2.
SATIN STITCH (SMOOTH)
Ah, satin stitch. For so long this was my stitching nemesis. I never felt like I could get it look, well, satiny and my edges always looked a mess. Two things changed this for me:
- Practice.
- Using 1 ply.
When you're using a single ply, it's much easier to fill in gaps and make small adjustments and really, it doesn't take all that much longer to do than with multiple plys.
SATIN STITCH
1. Outline area to fill with an outline stitch. If a large area is to be filled, stitch randomly within fill area to provide padding. (Both of these are optional)
2. Starting at one side, pull up needle just outside outline stitching and pull across fill area.
3. Push needle down through fabric just outside the outline stitching.
4. Bring up needle on same side as step 2 right next to previous stitch.
Repeat steps 2-4
In general, I'd recommend thinking about working satin stitch as if you were coloring with a very sharp colored pencil. You're going to see the direction of the lines, it's not a blended or smooth as a crayon or a marker, but isn't that kind of the point?
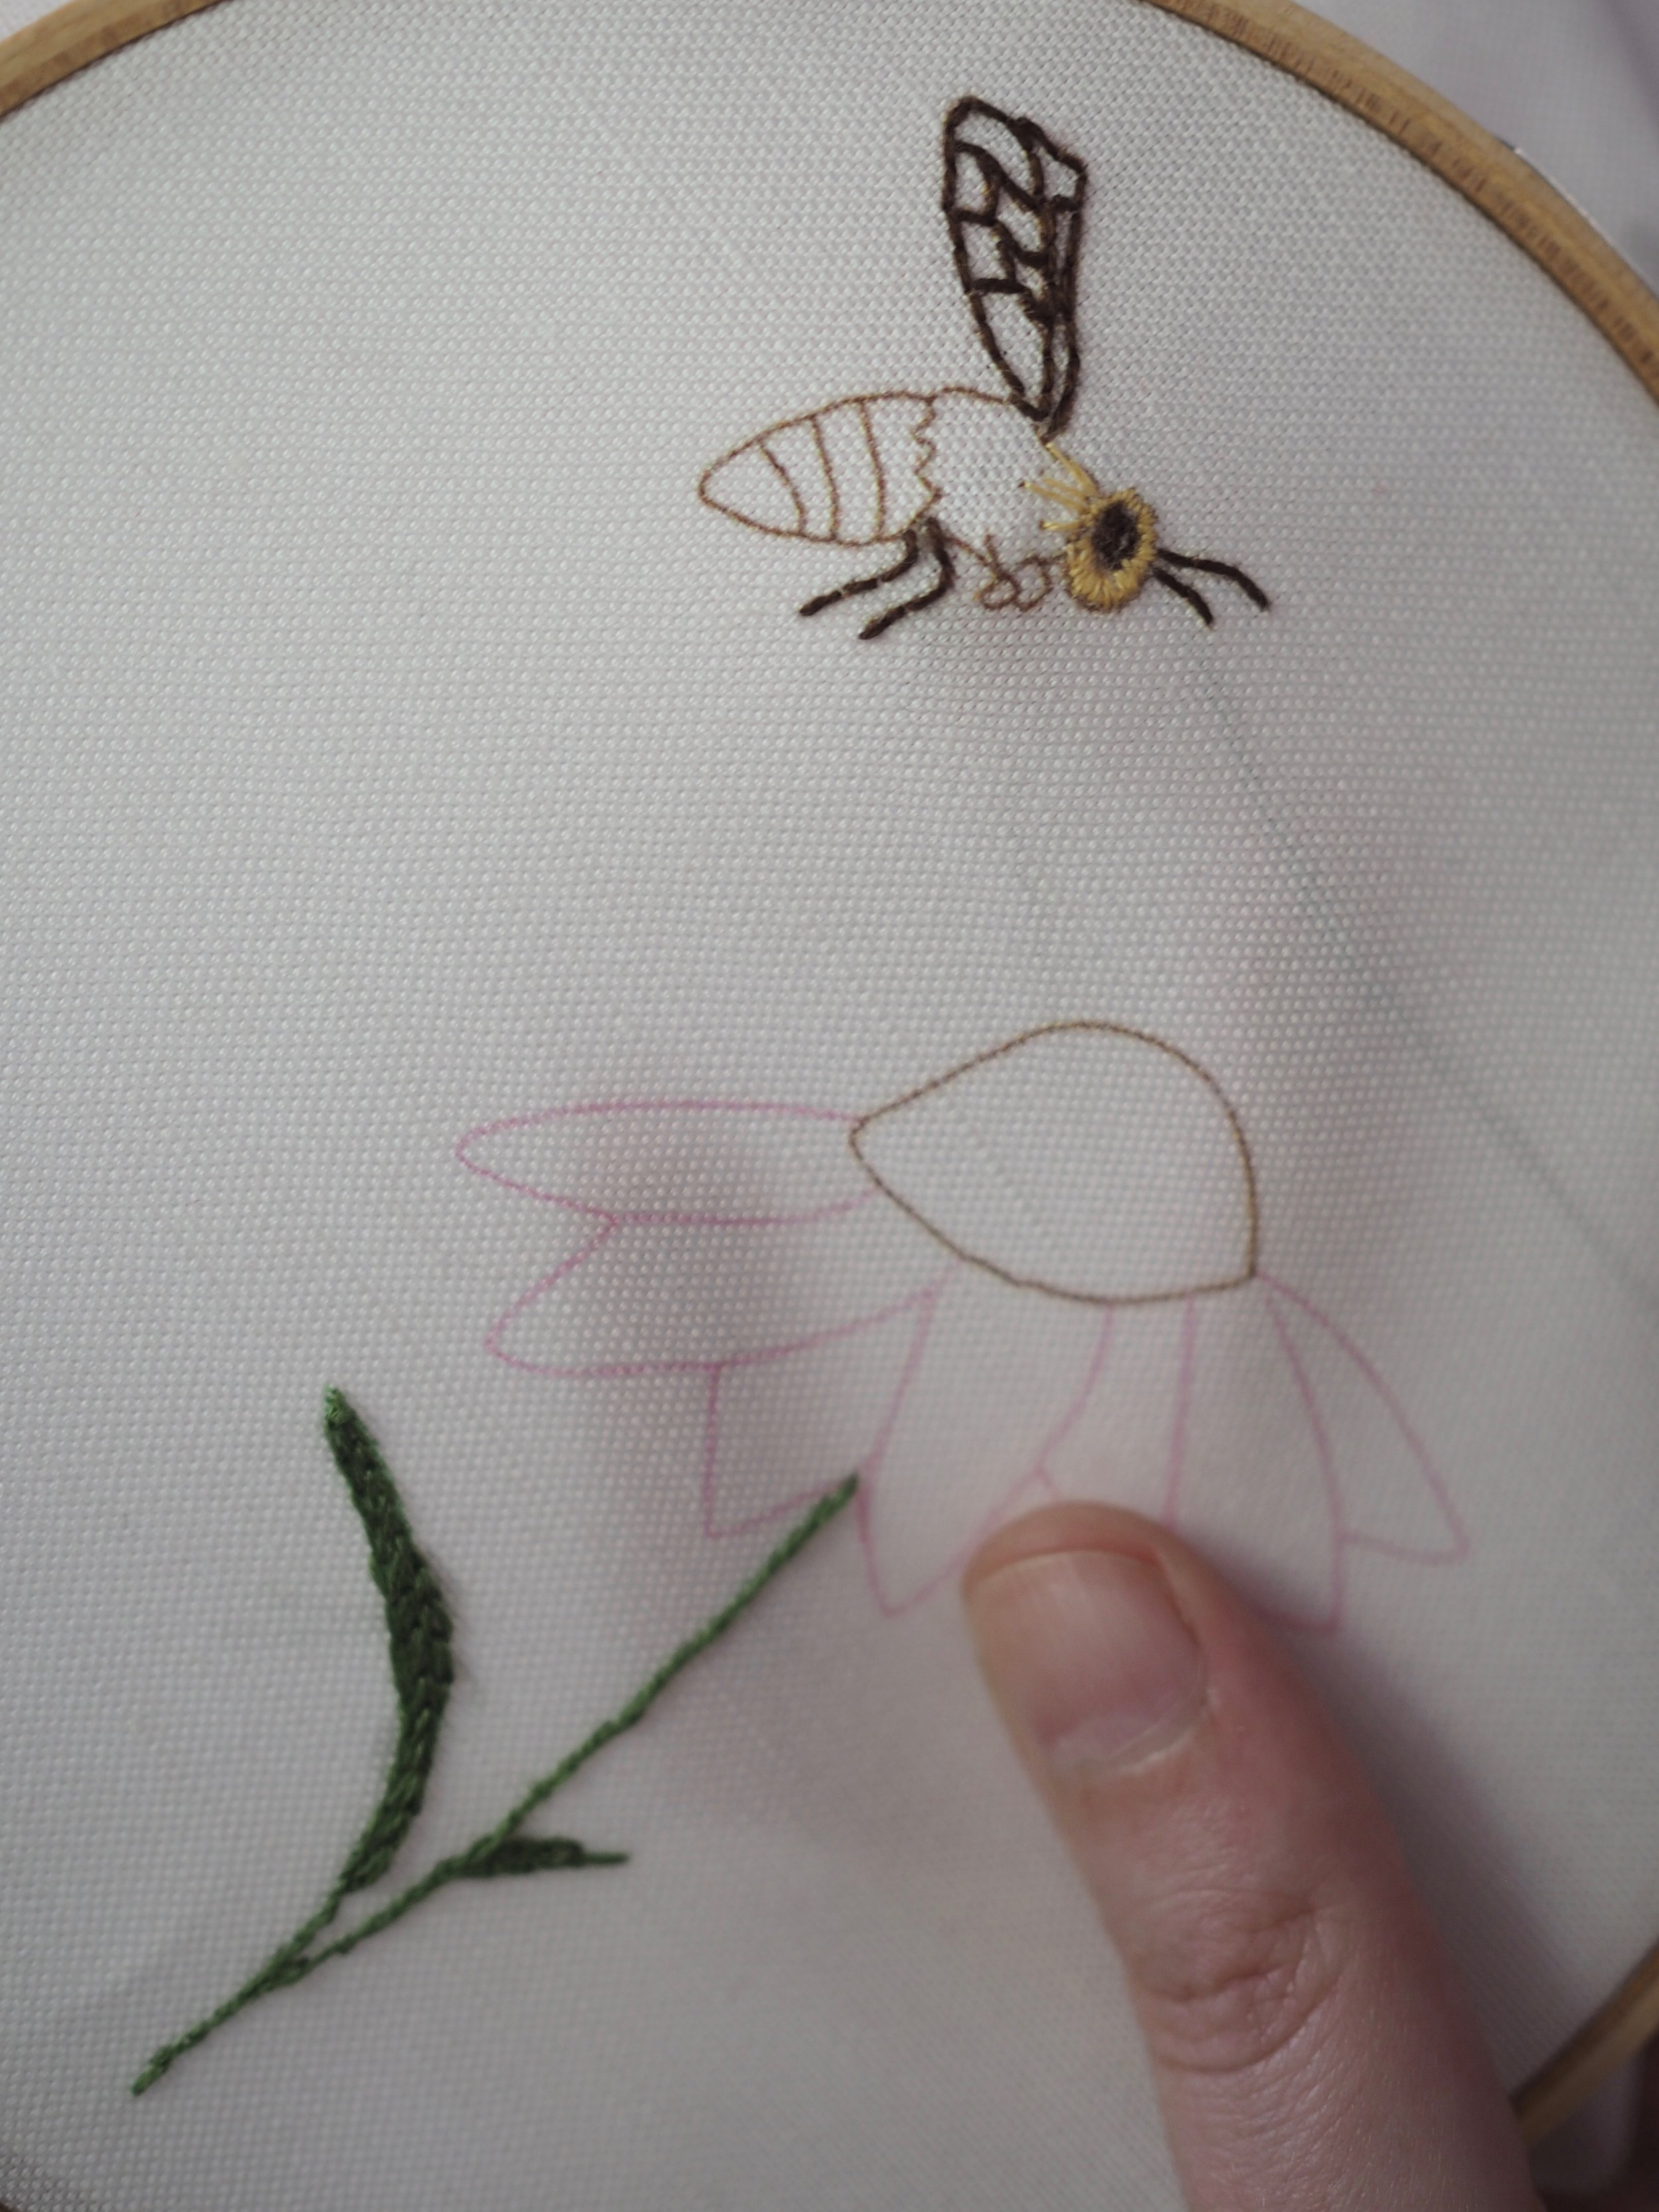
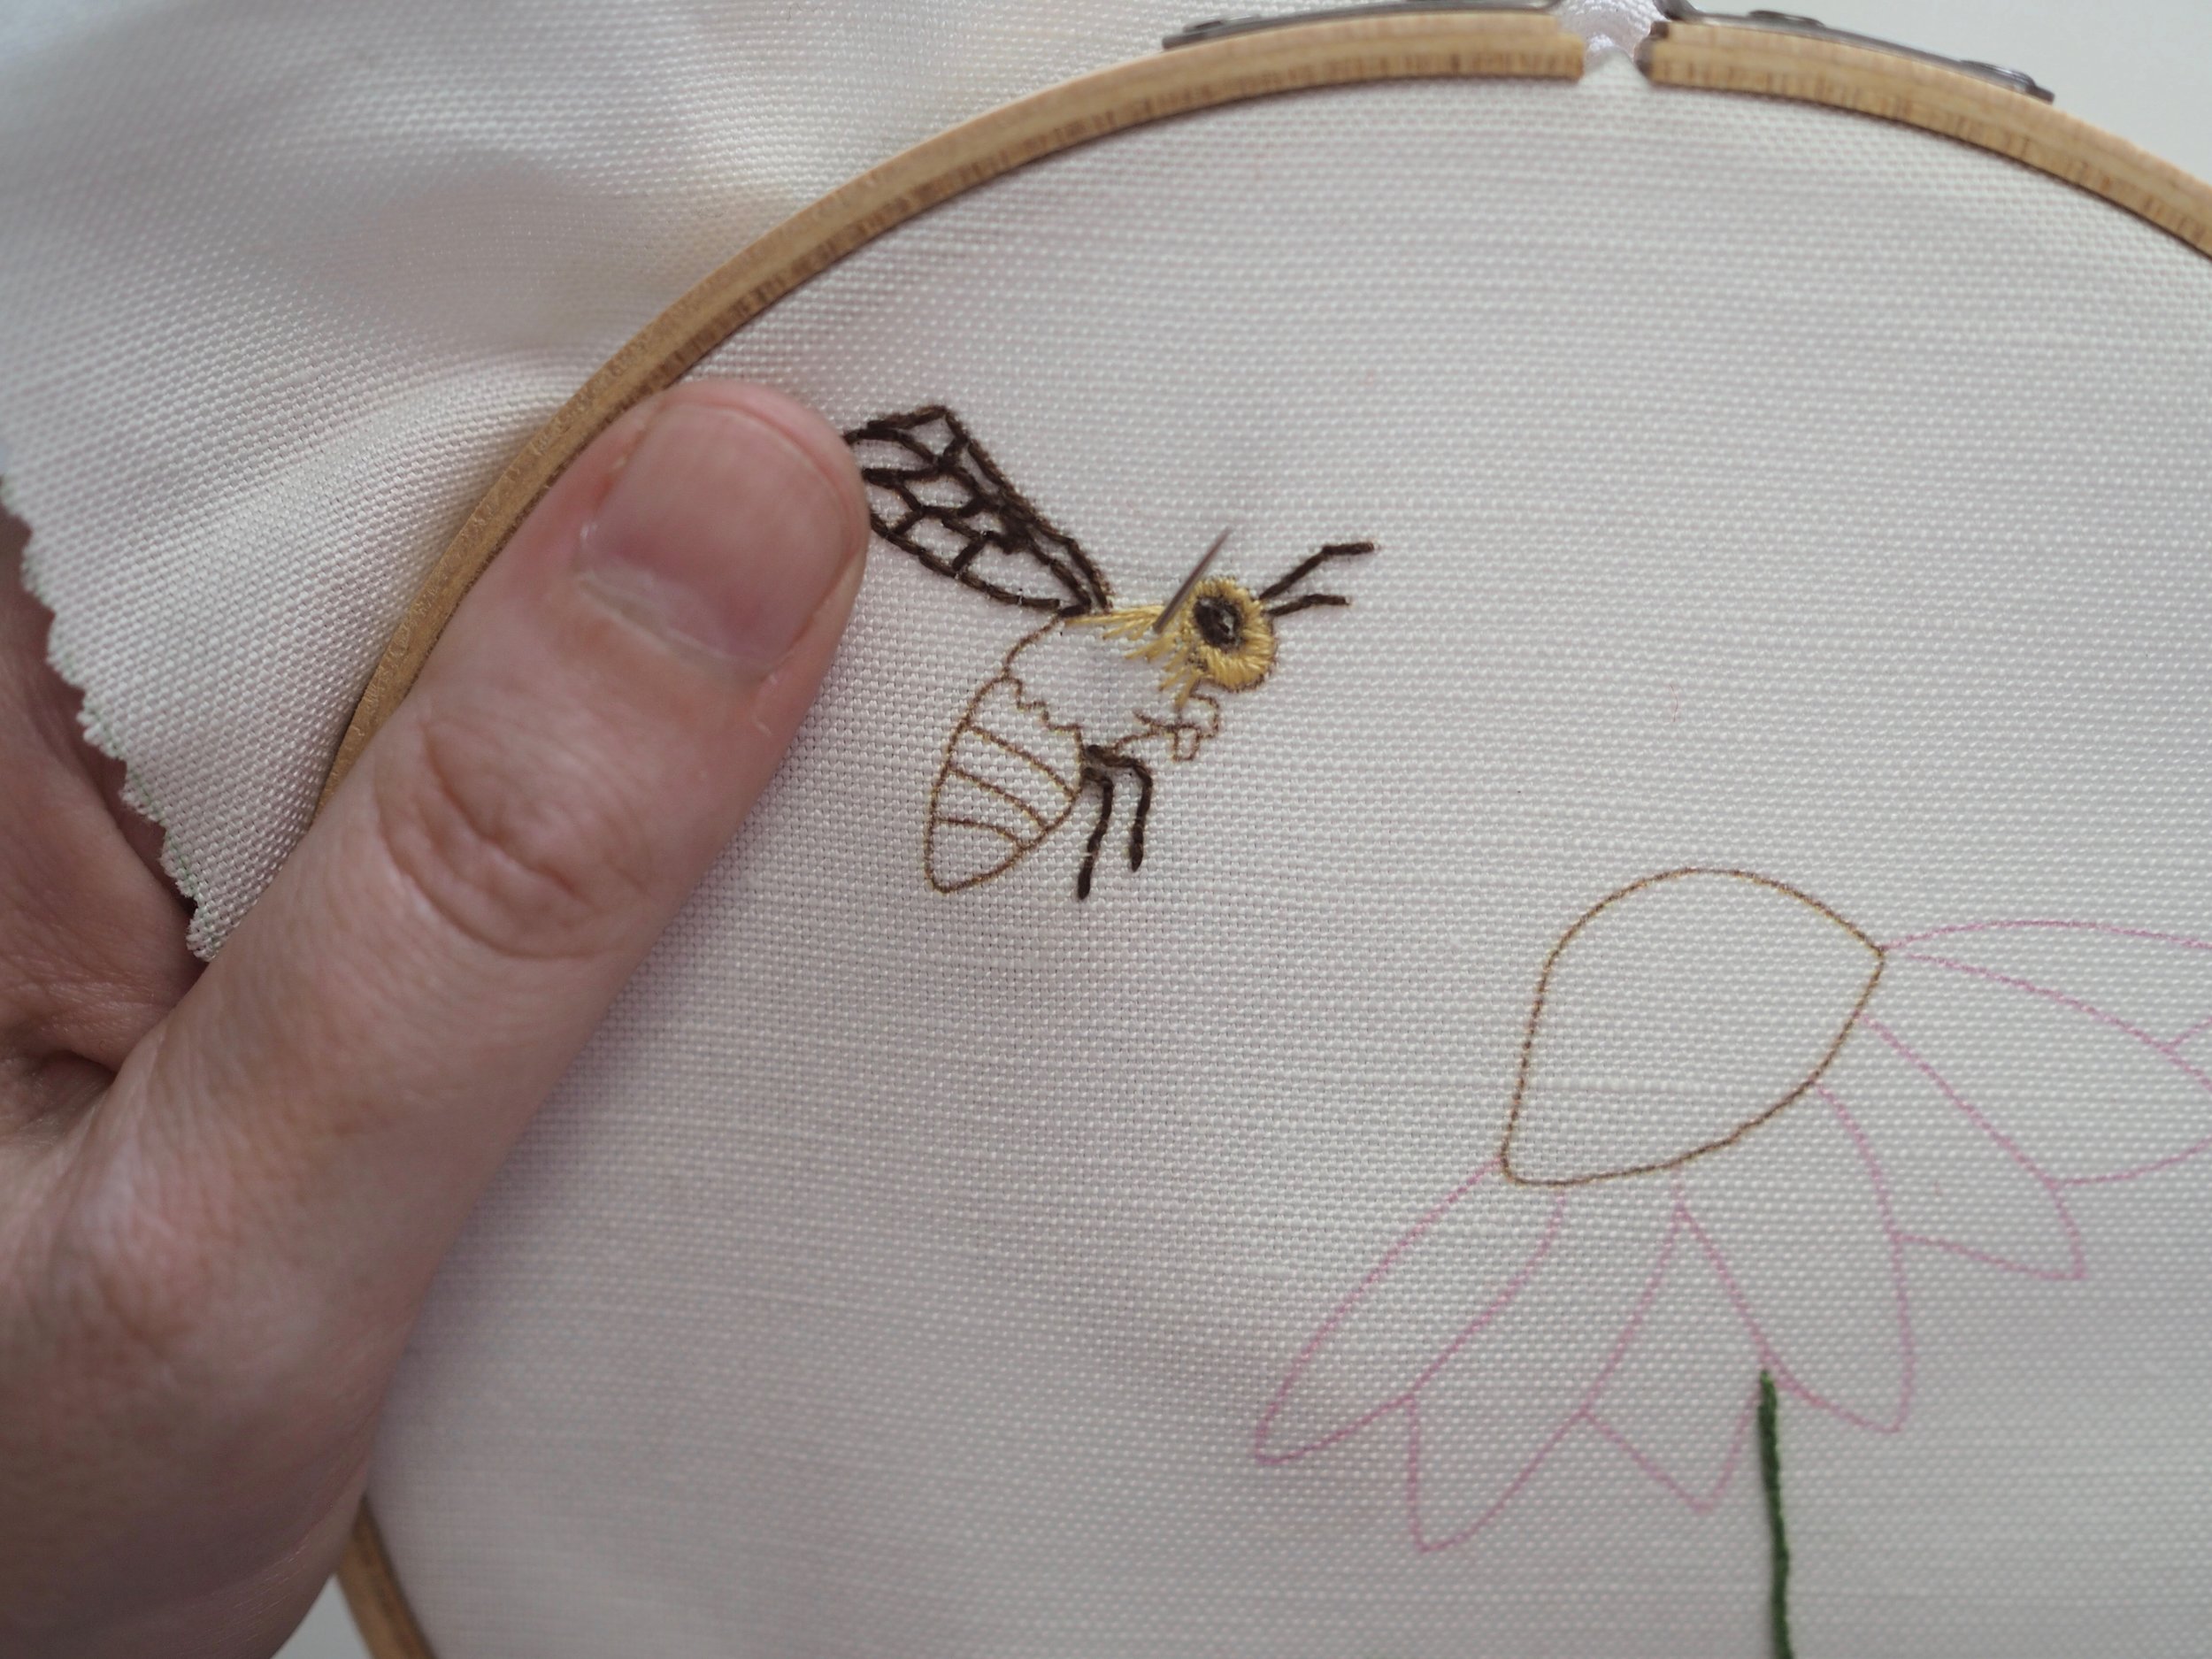
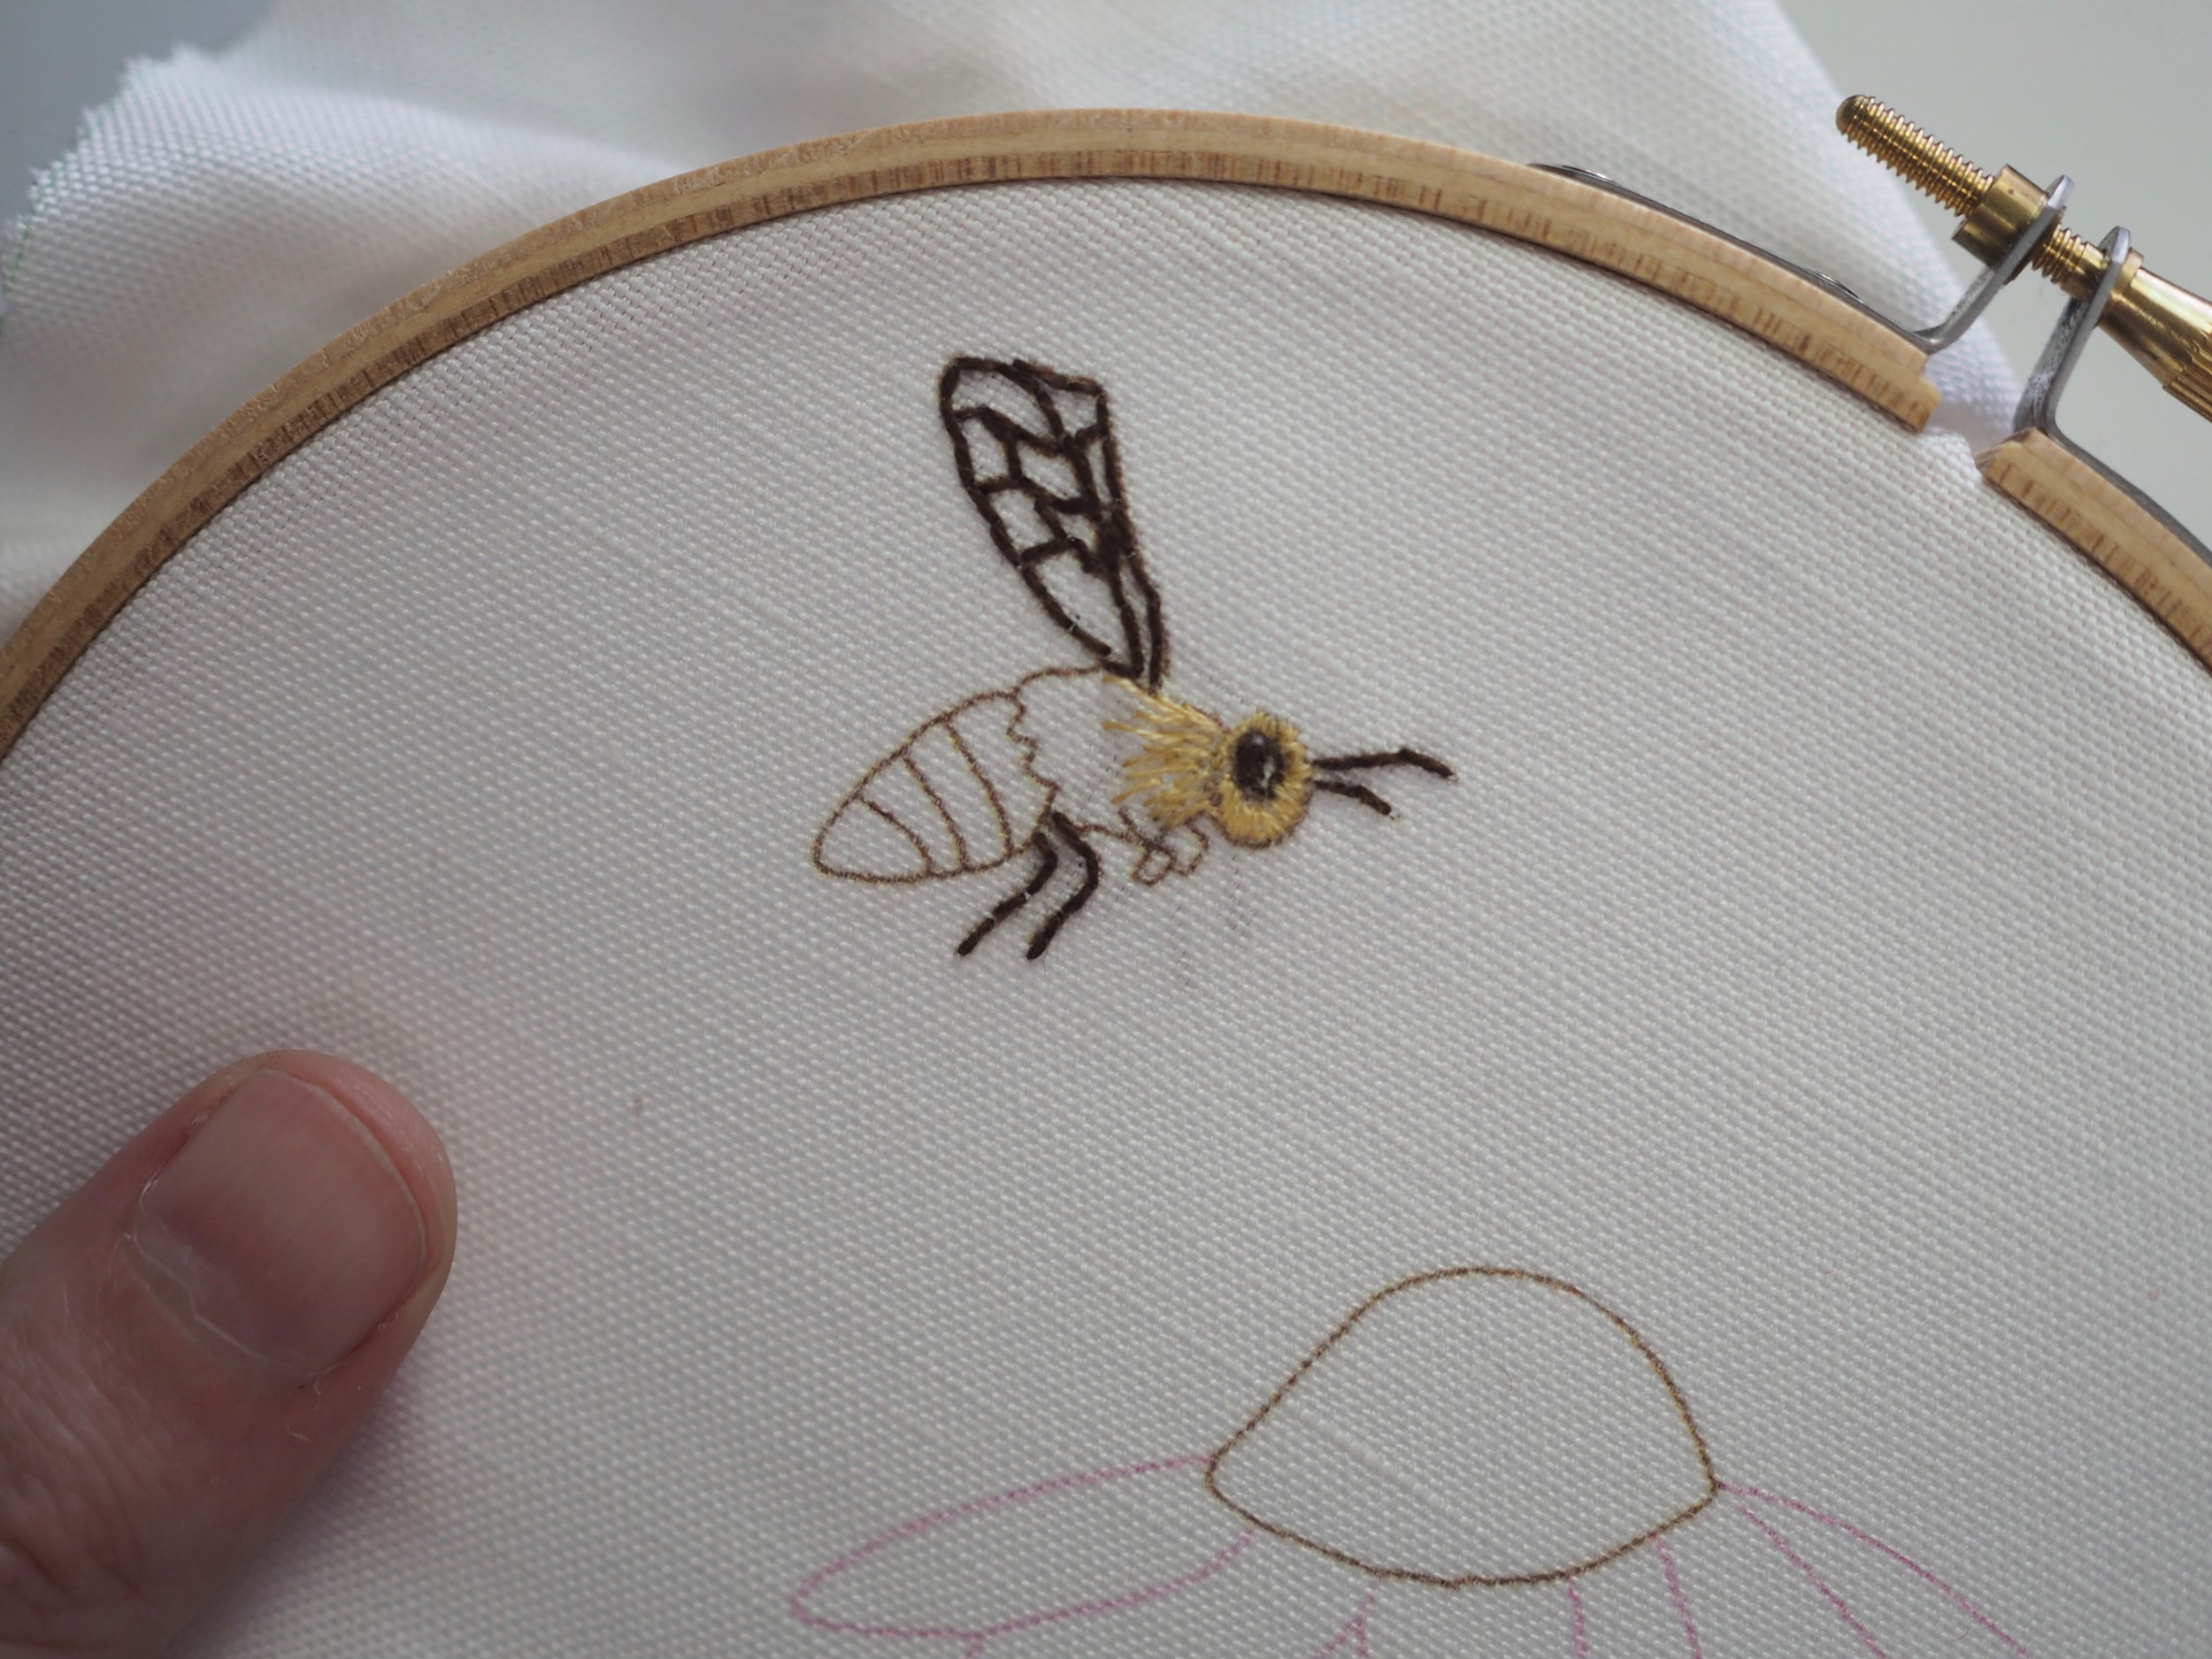
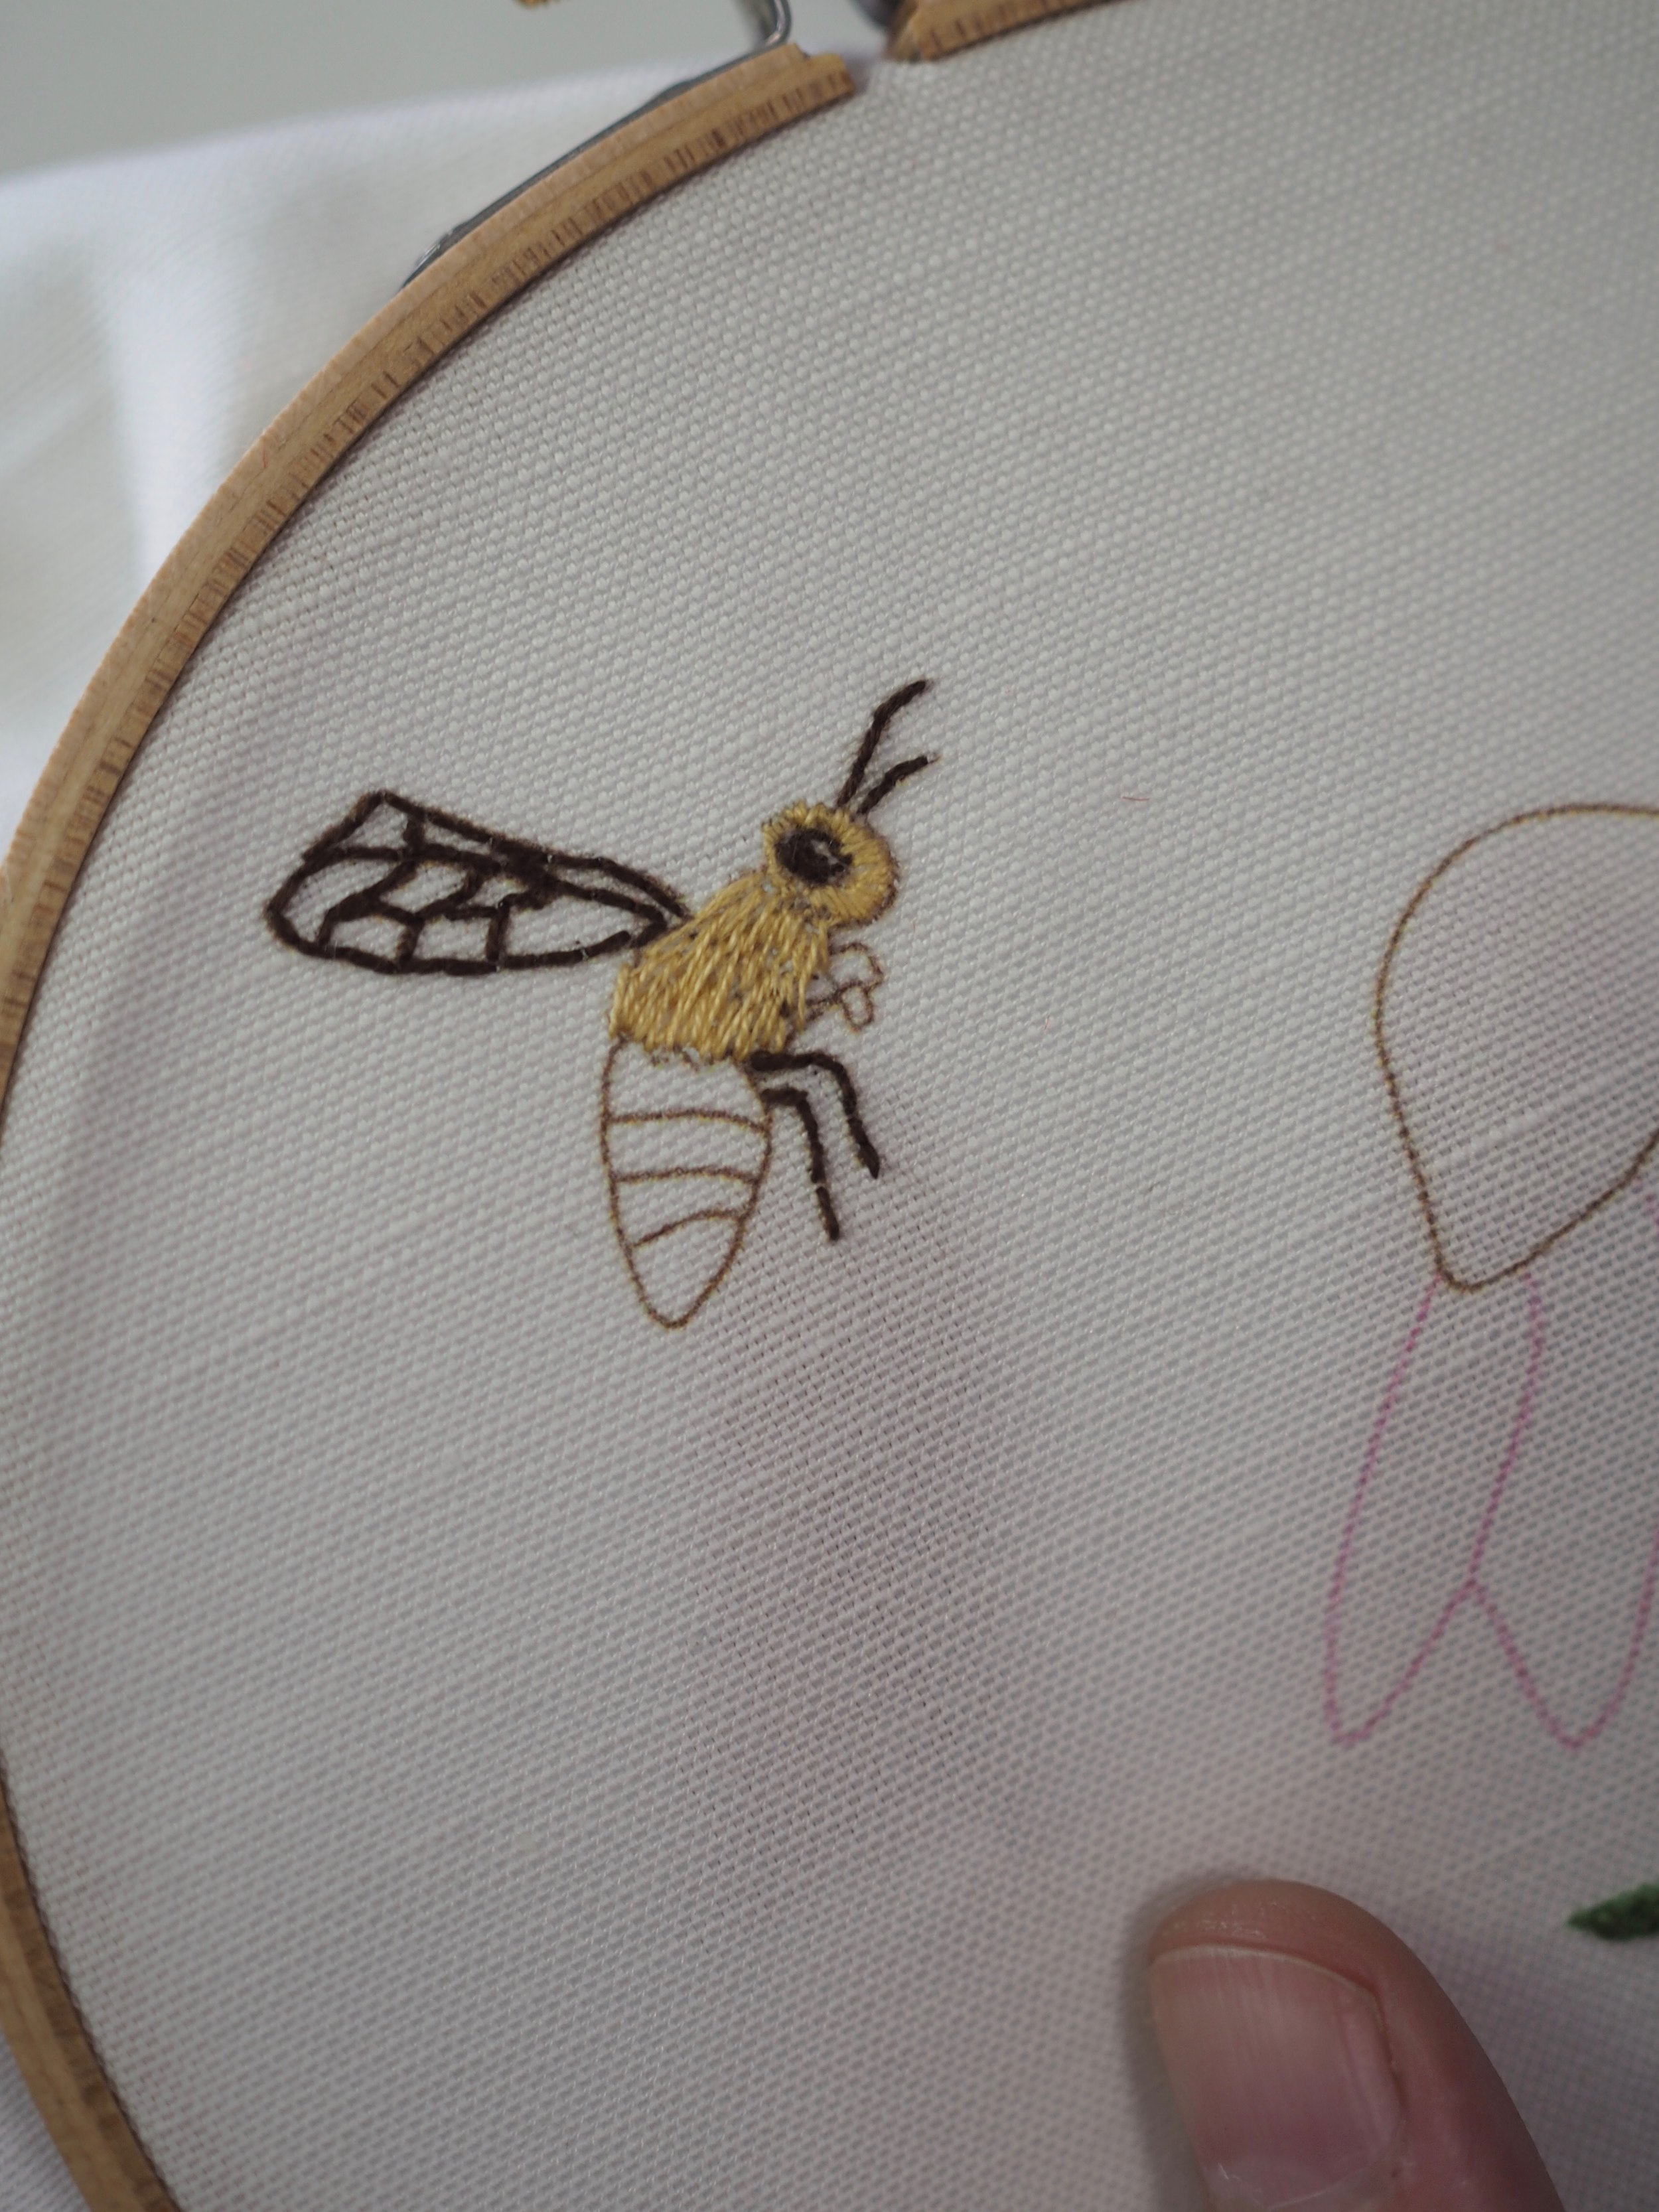
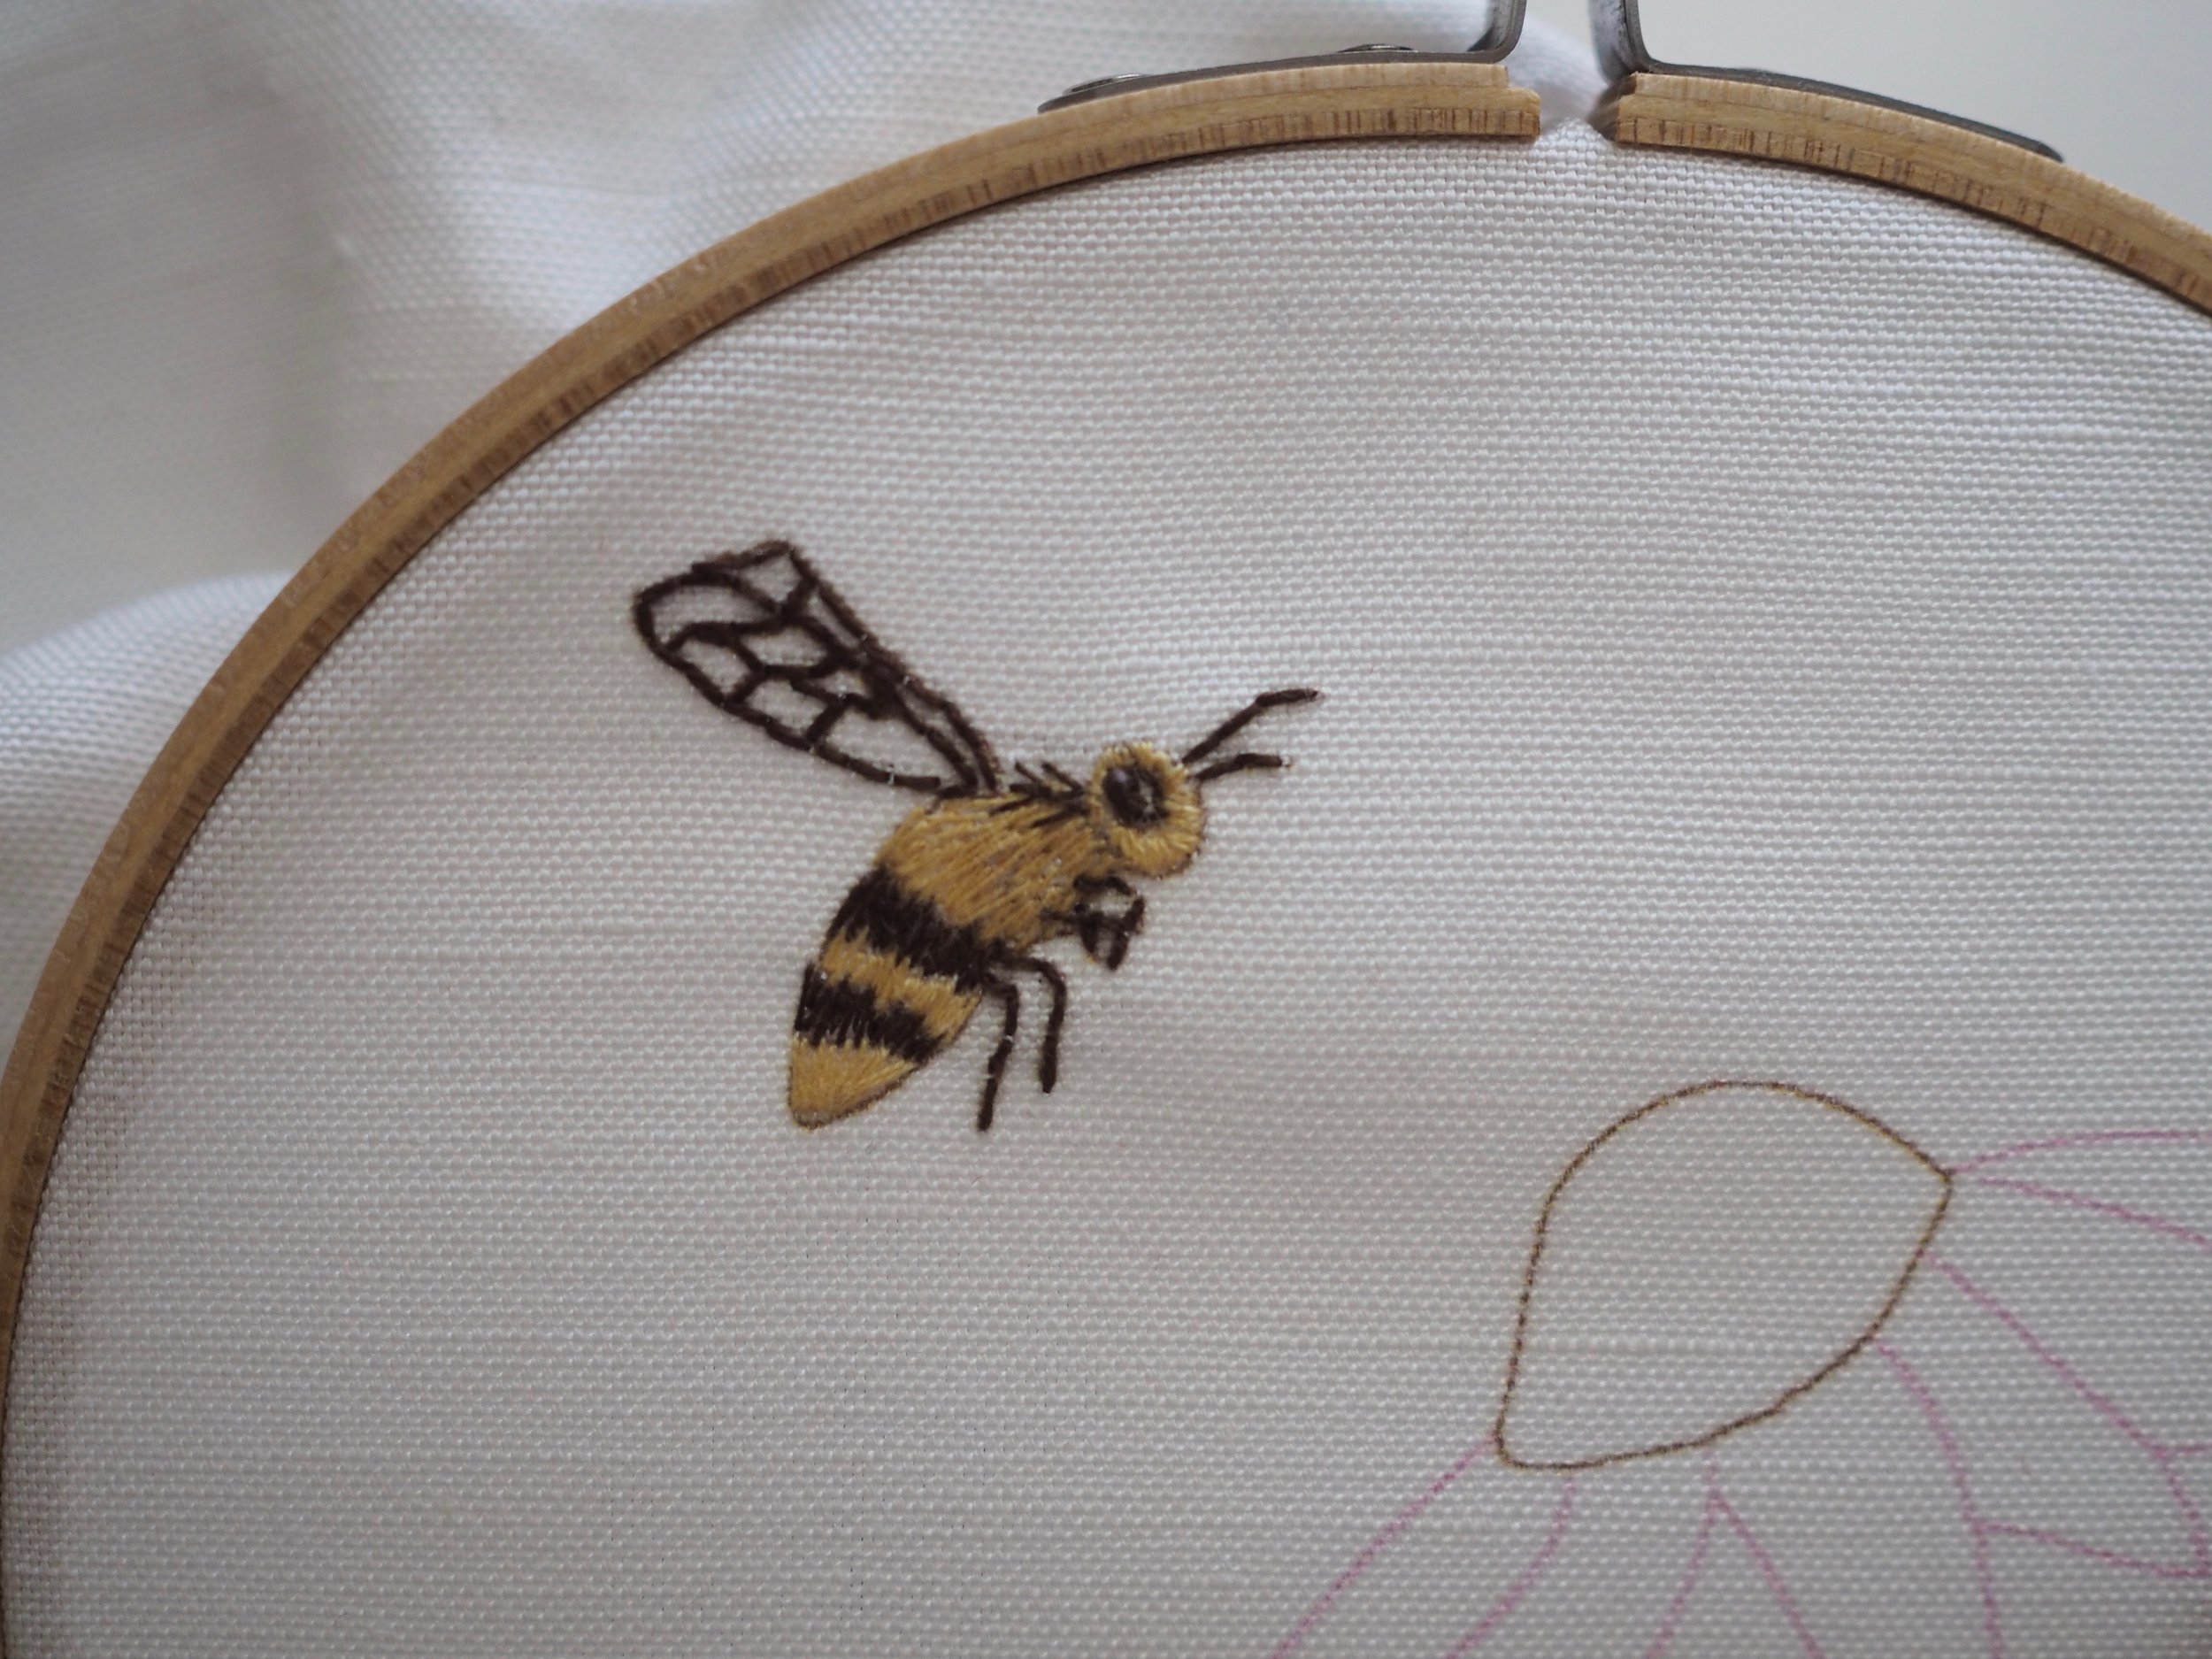
SATIN STITCH (HAIRY)
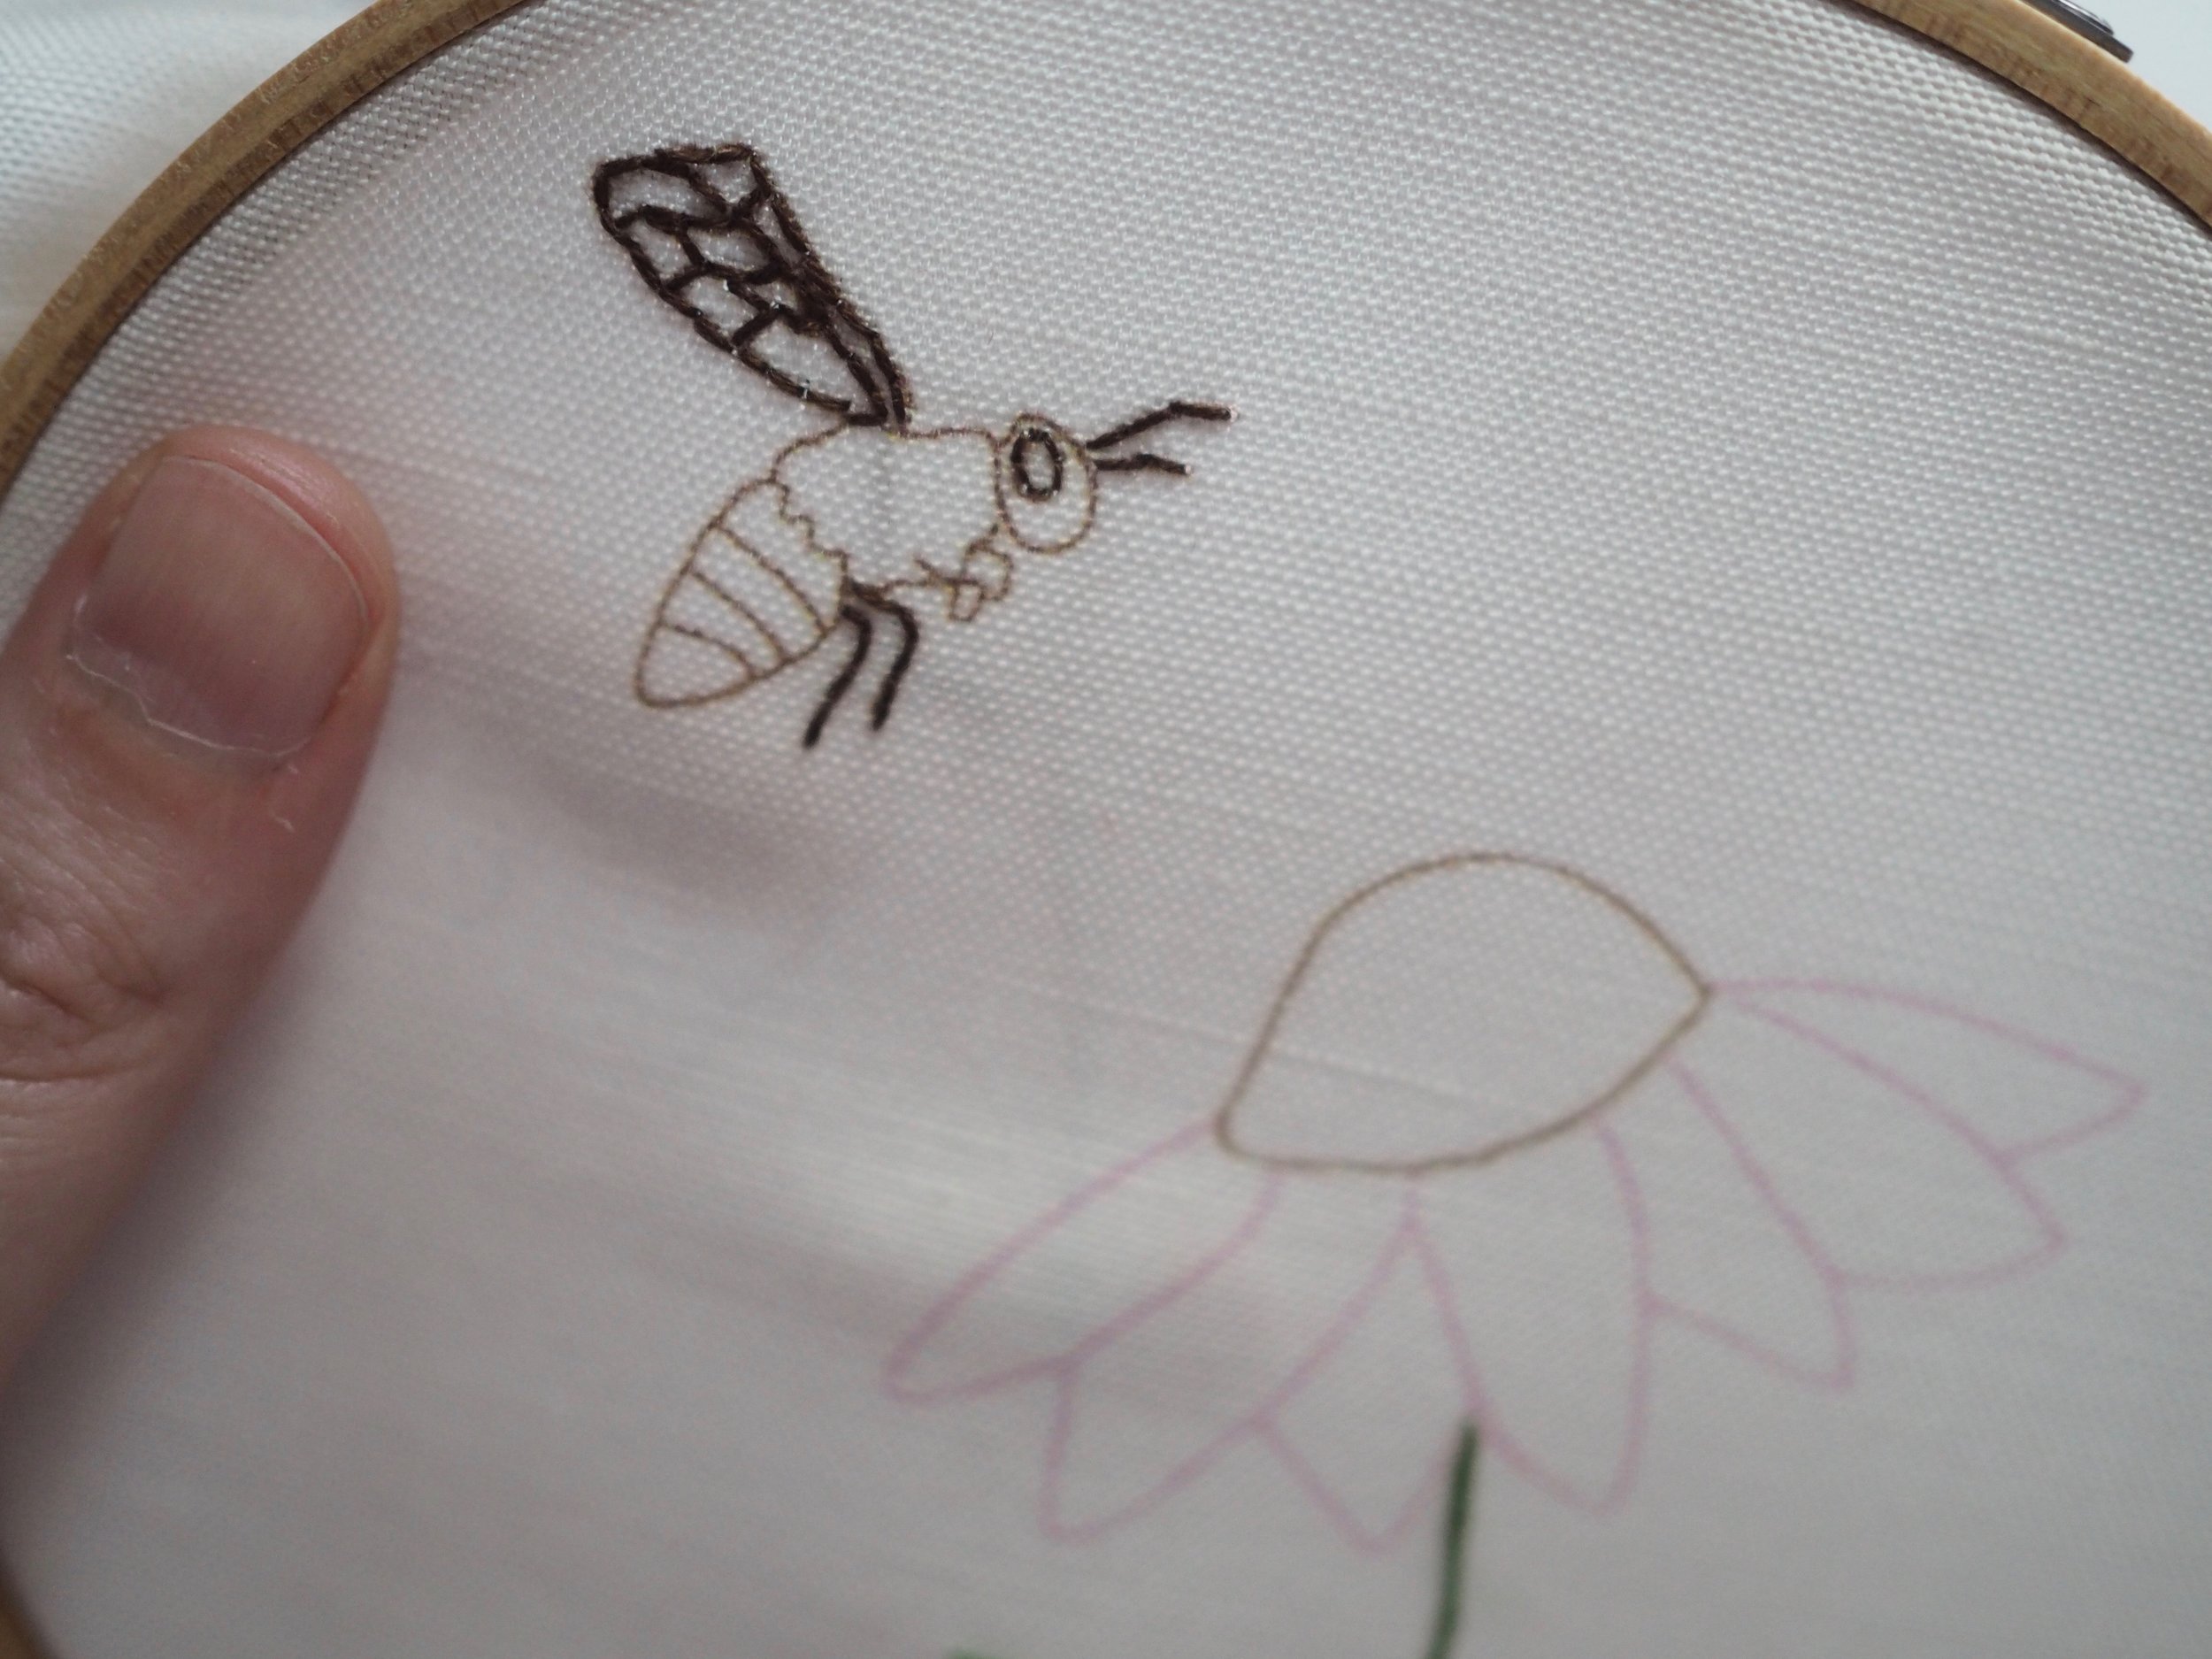
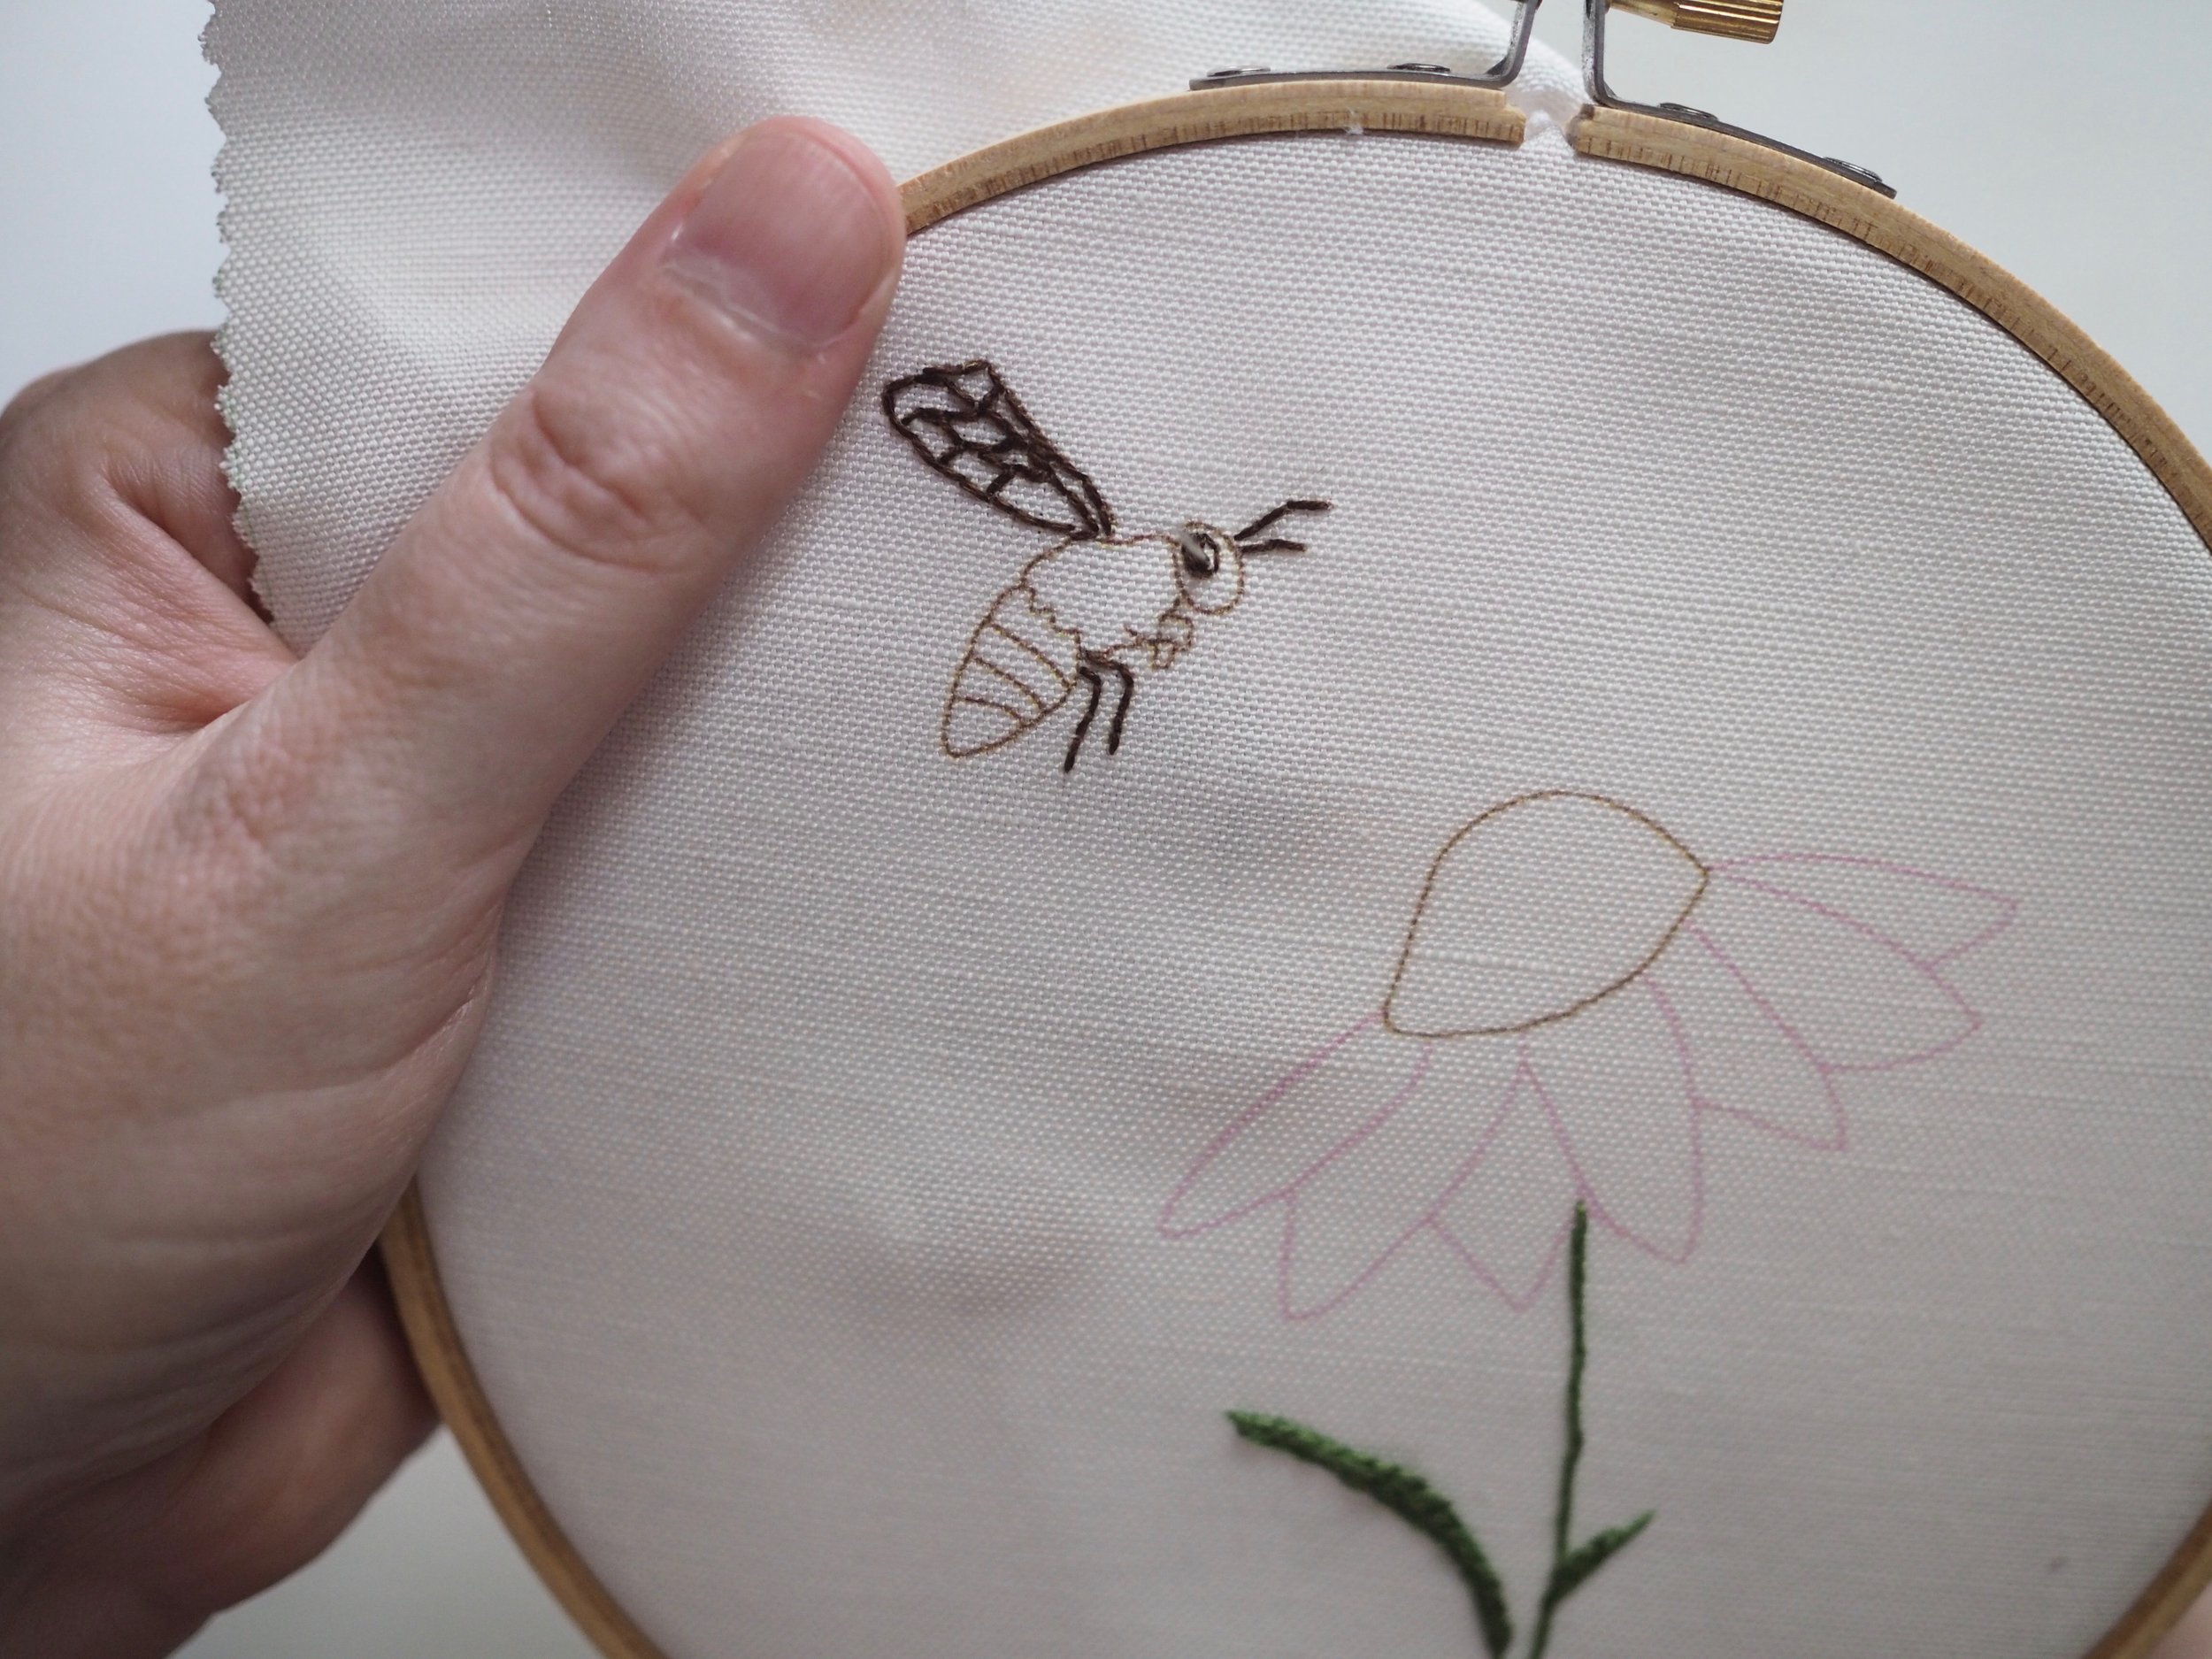
Is this still satin stitch? I think so. You get a glossy appearance, but I think this looks more natural, like fur, and serves as a great basis for shading, which we'll cover in the next post.
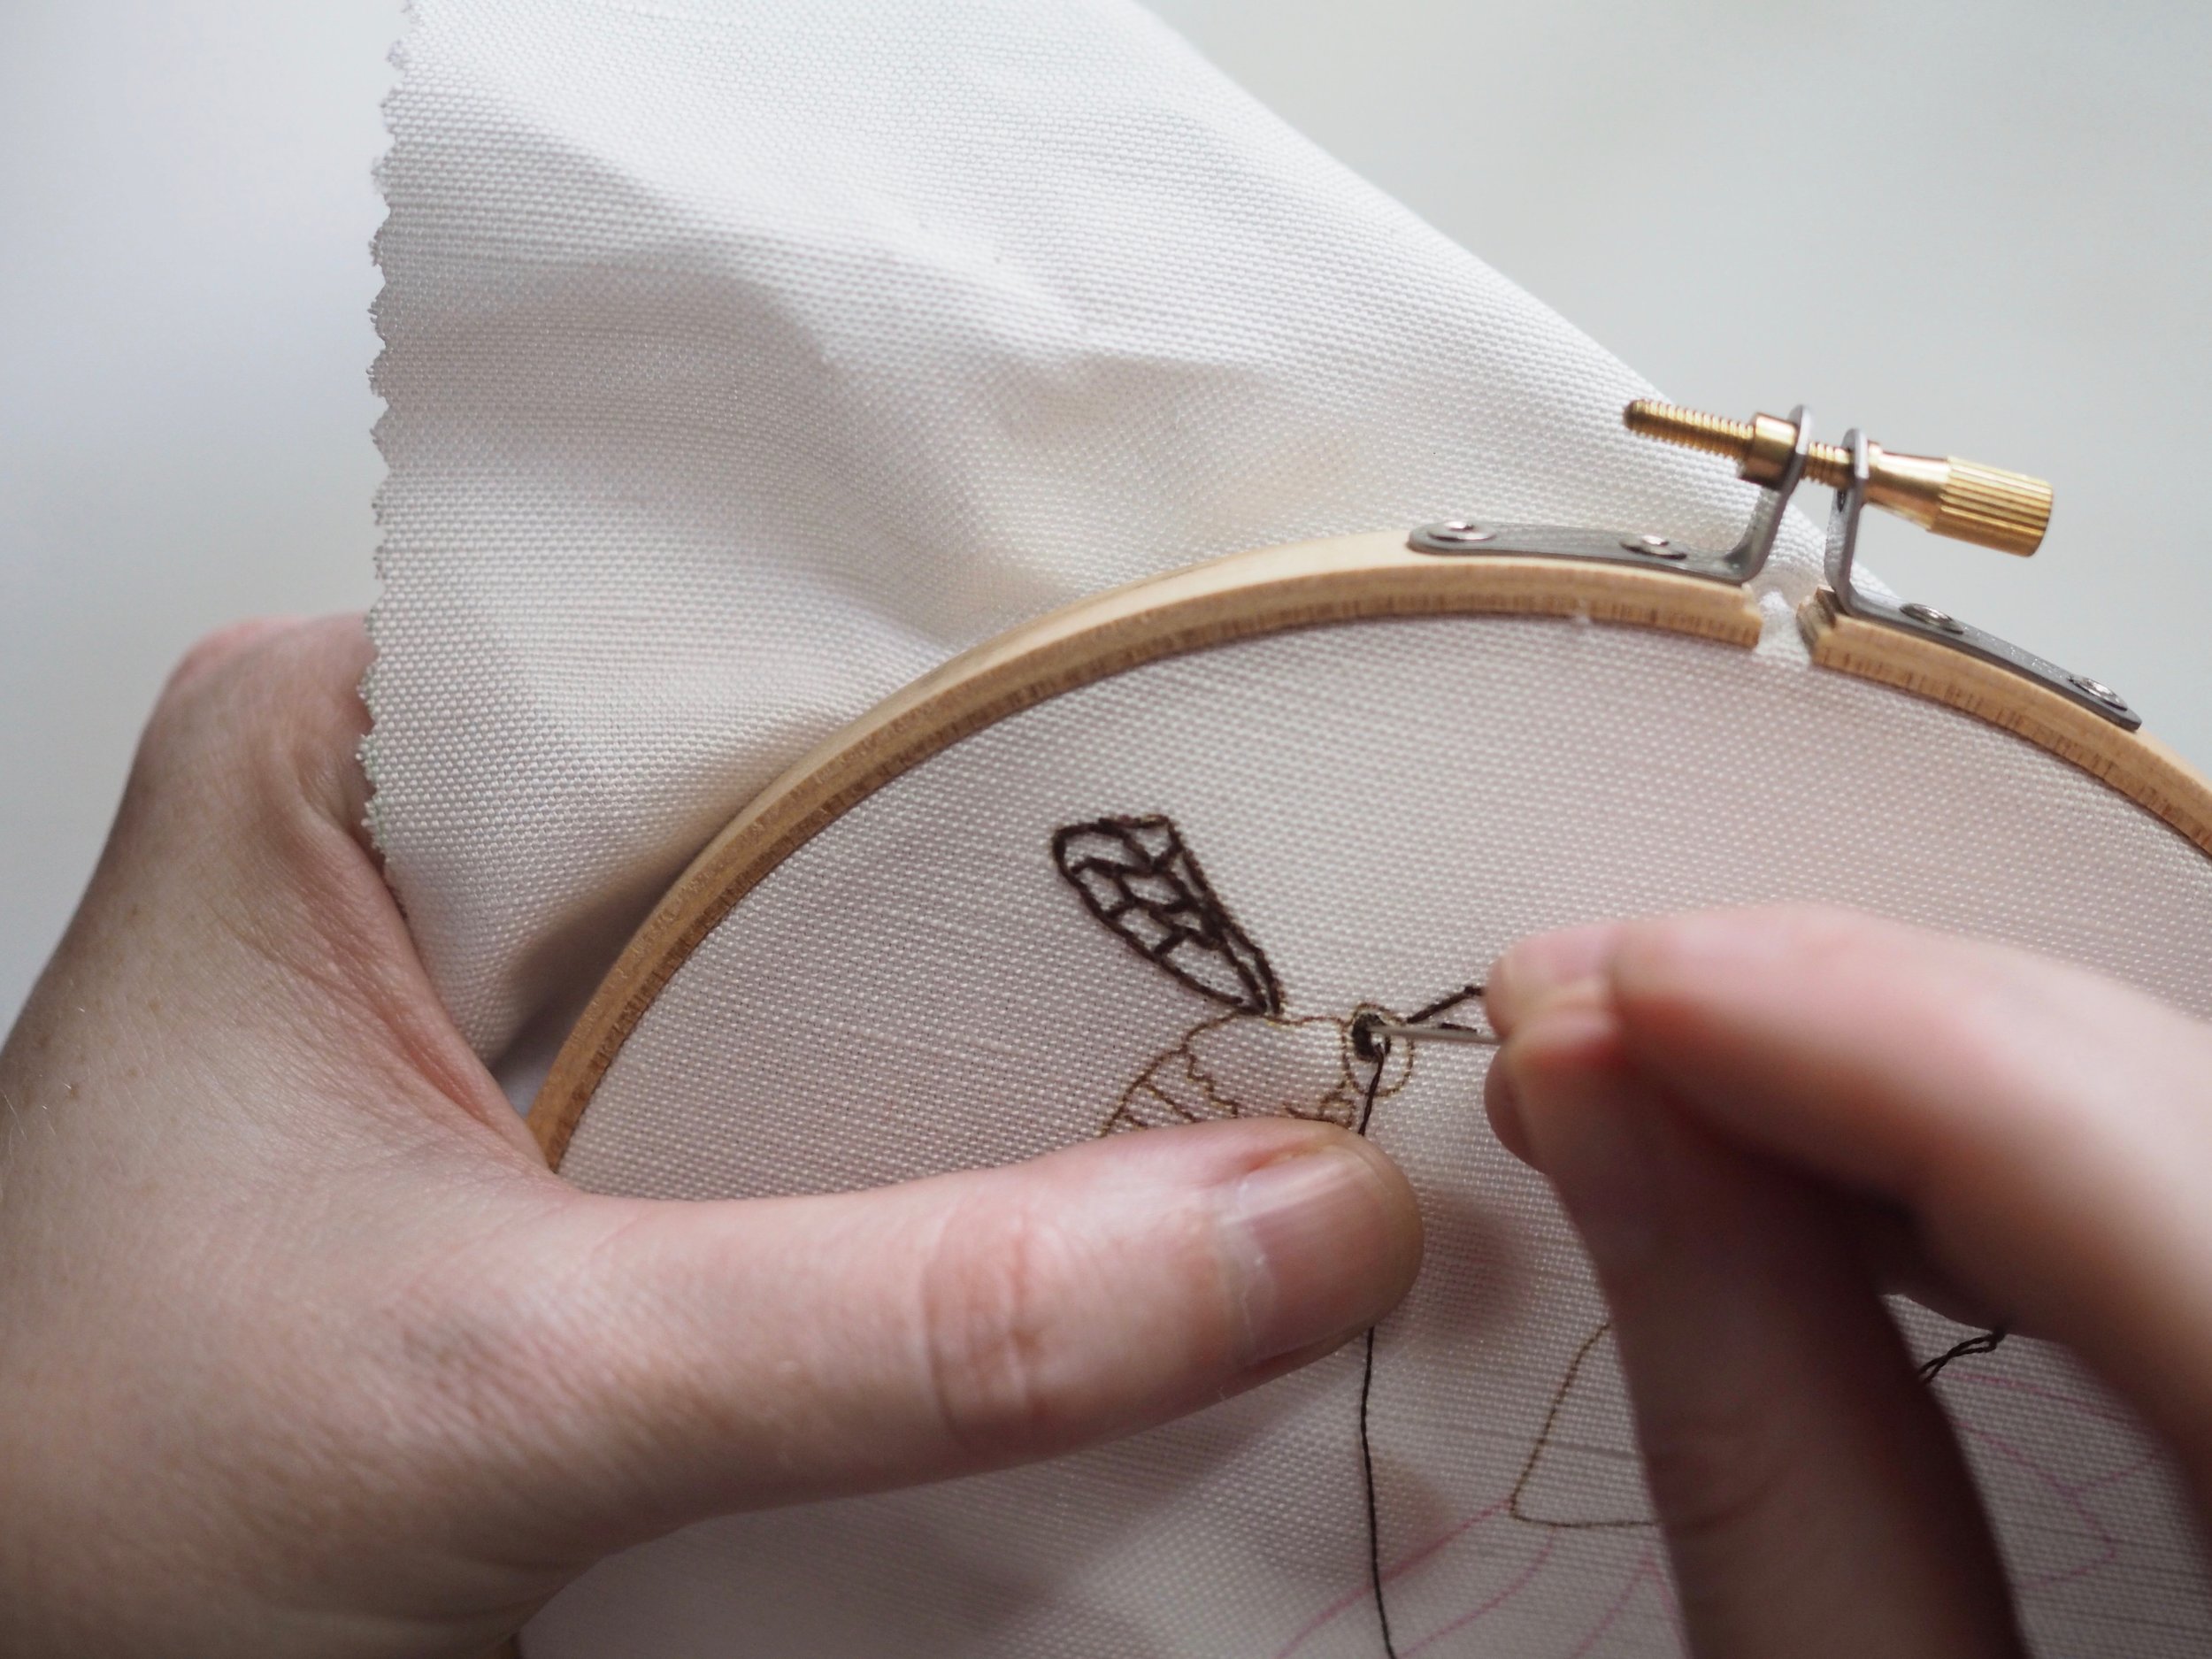
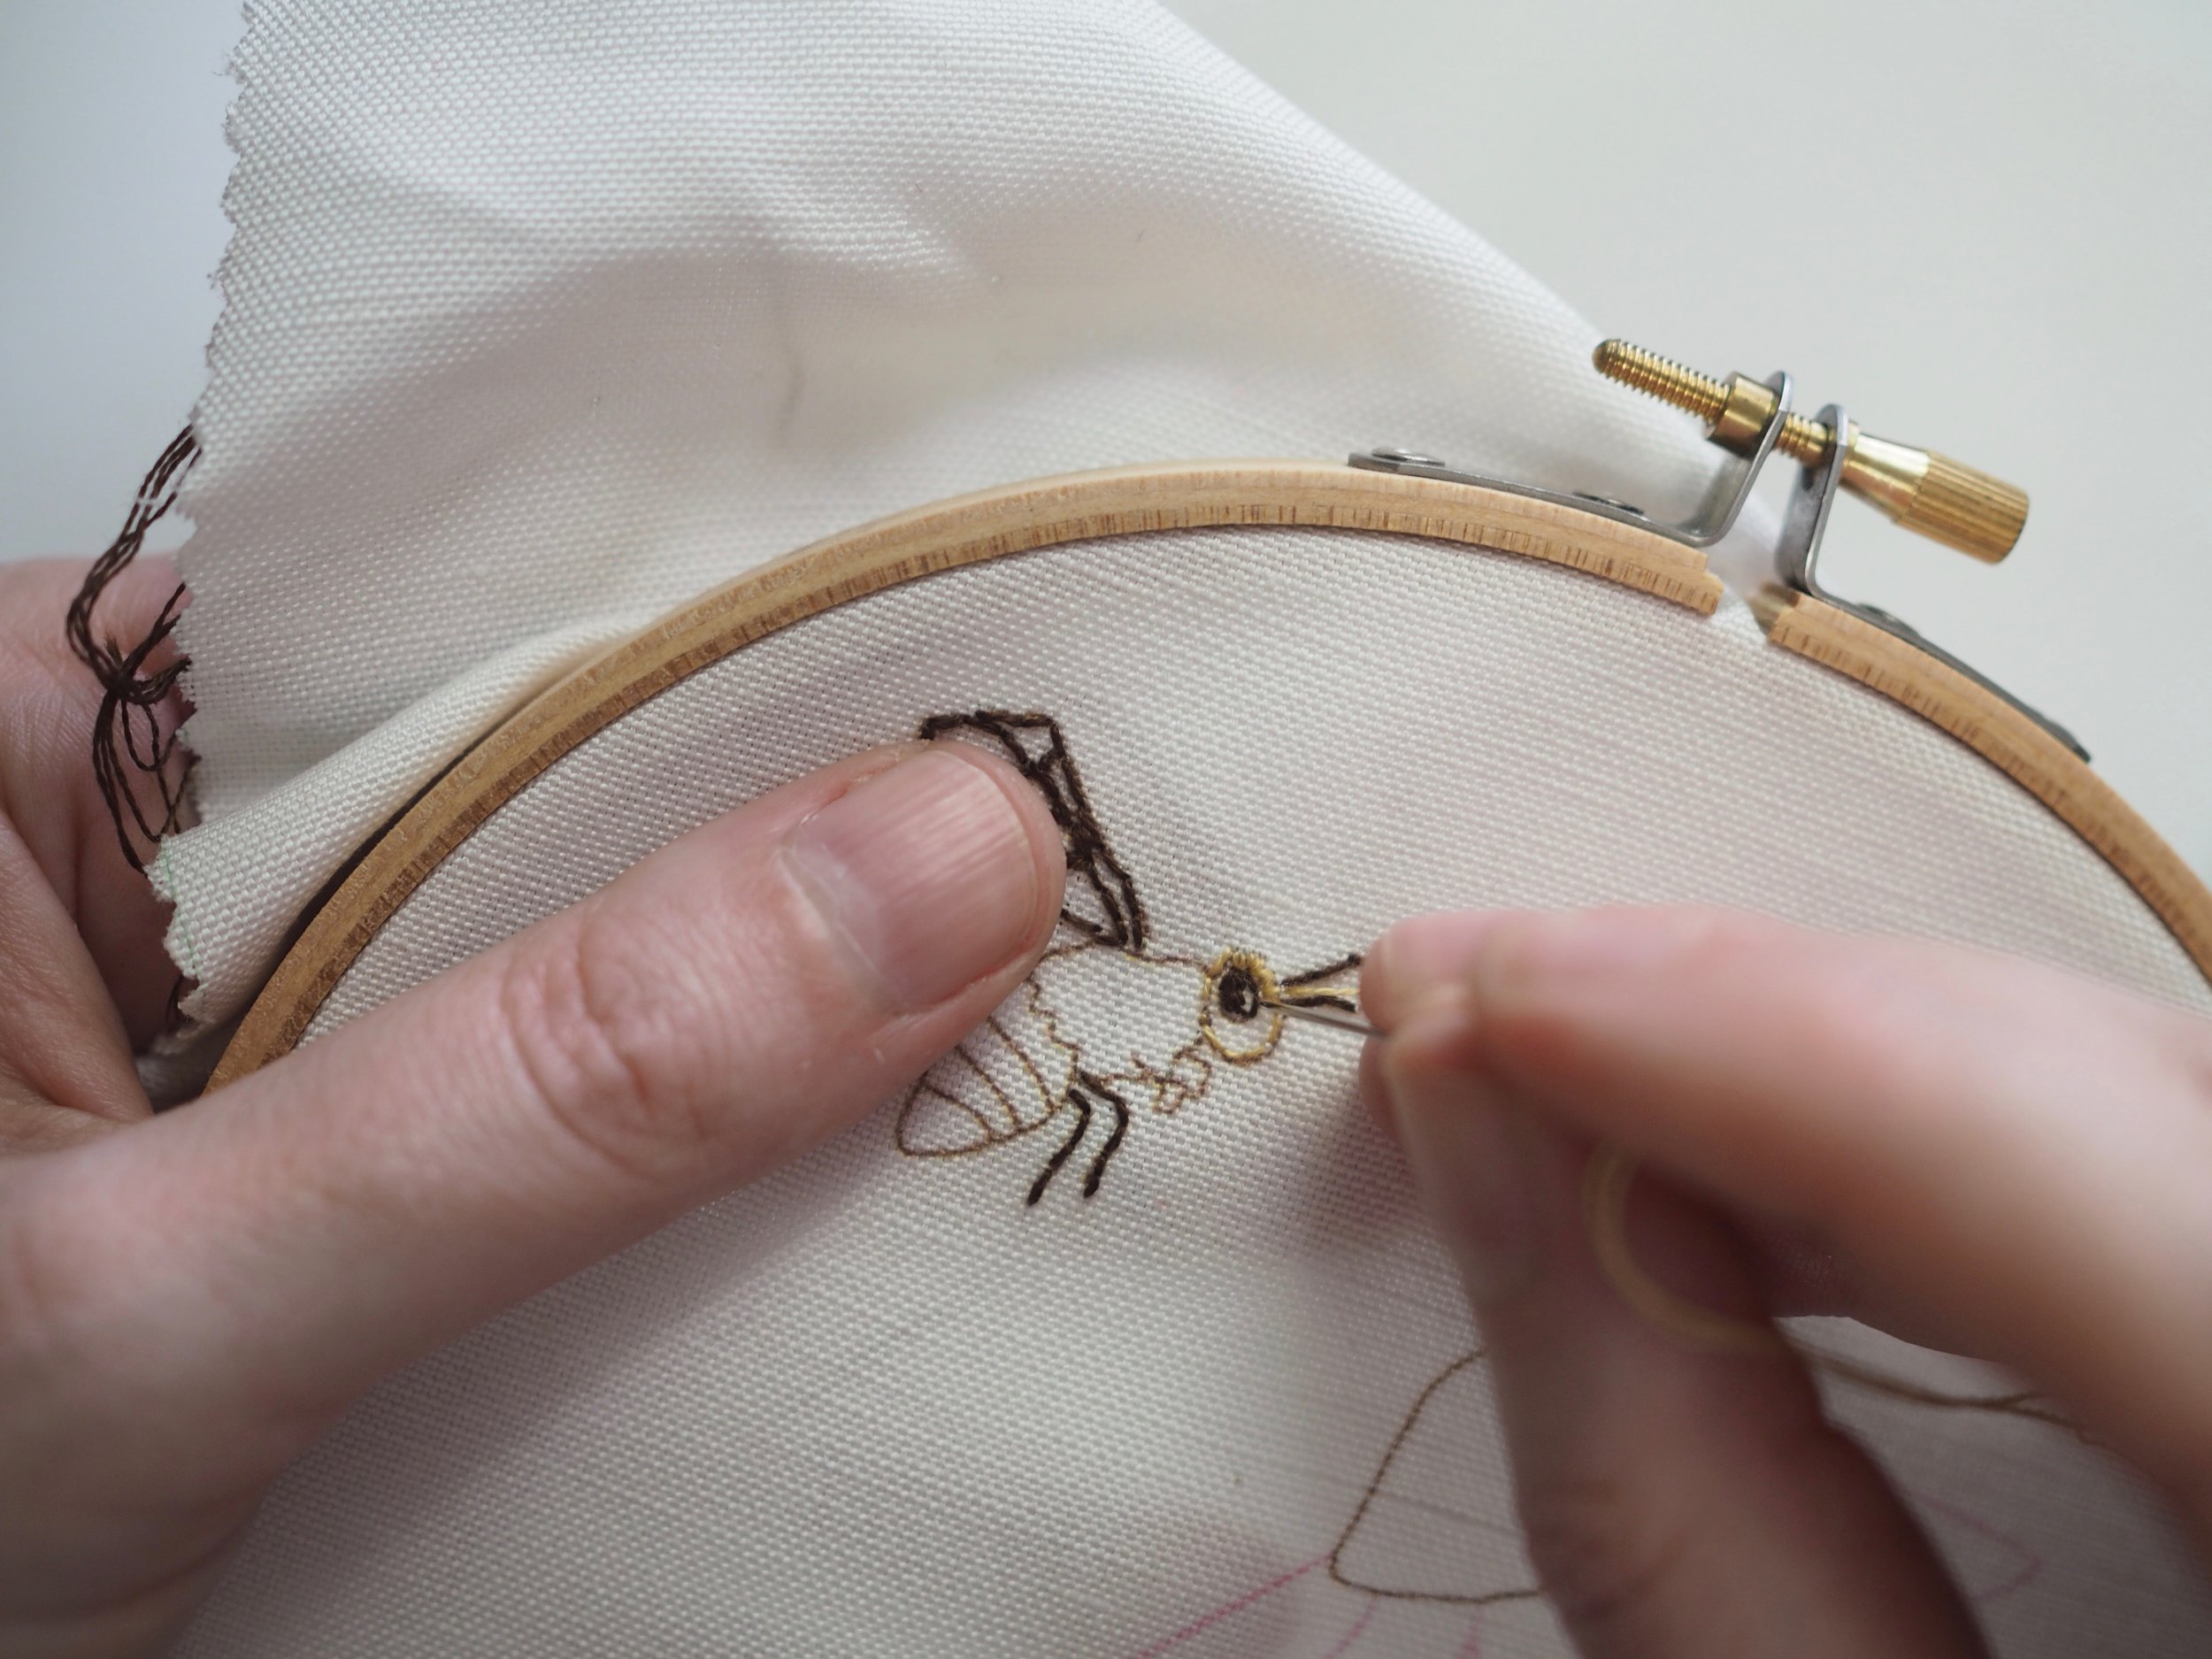
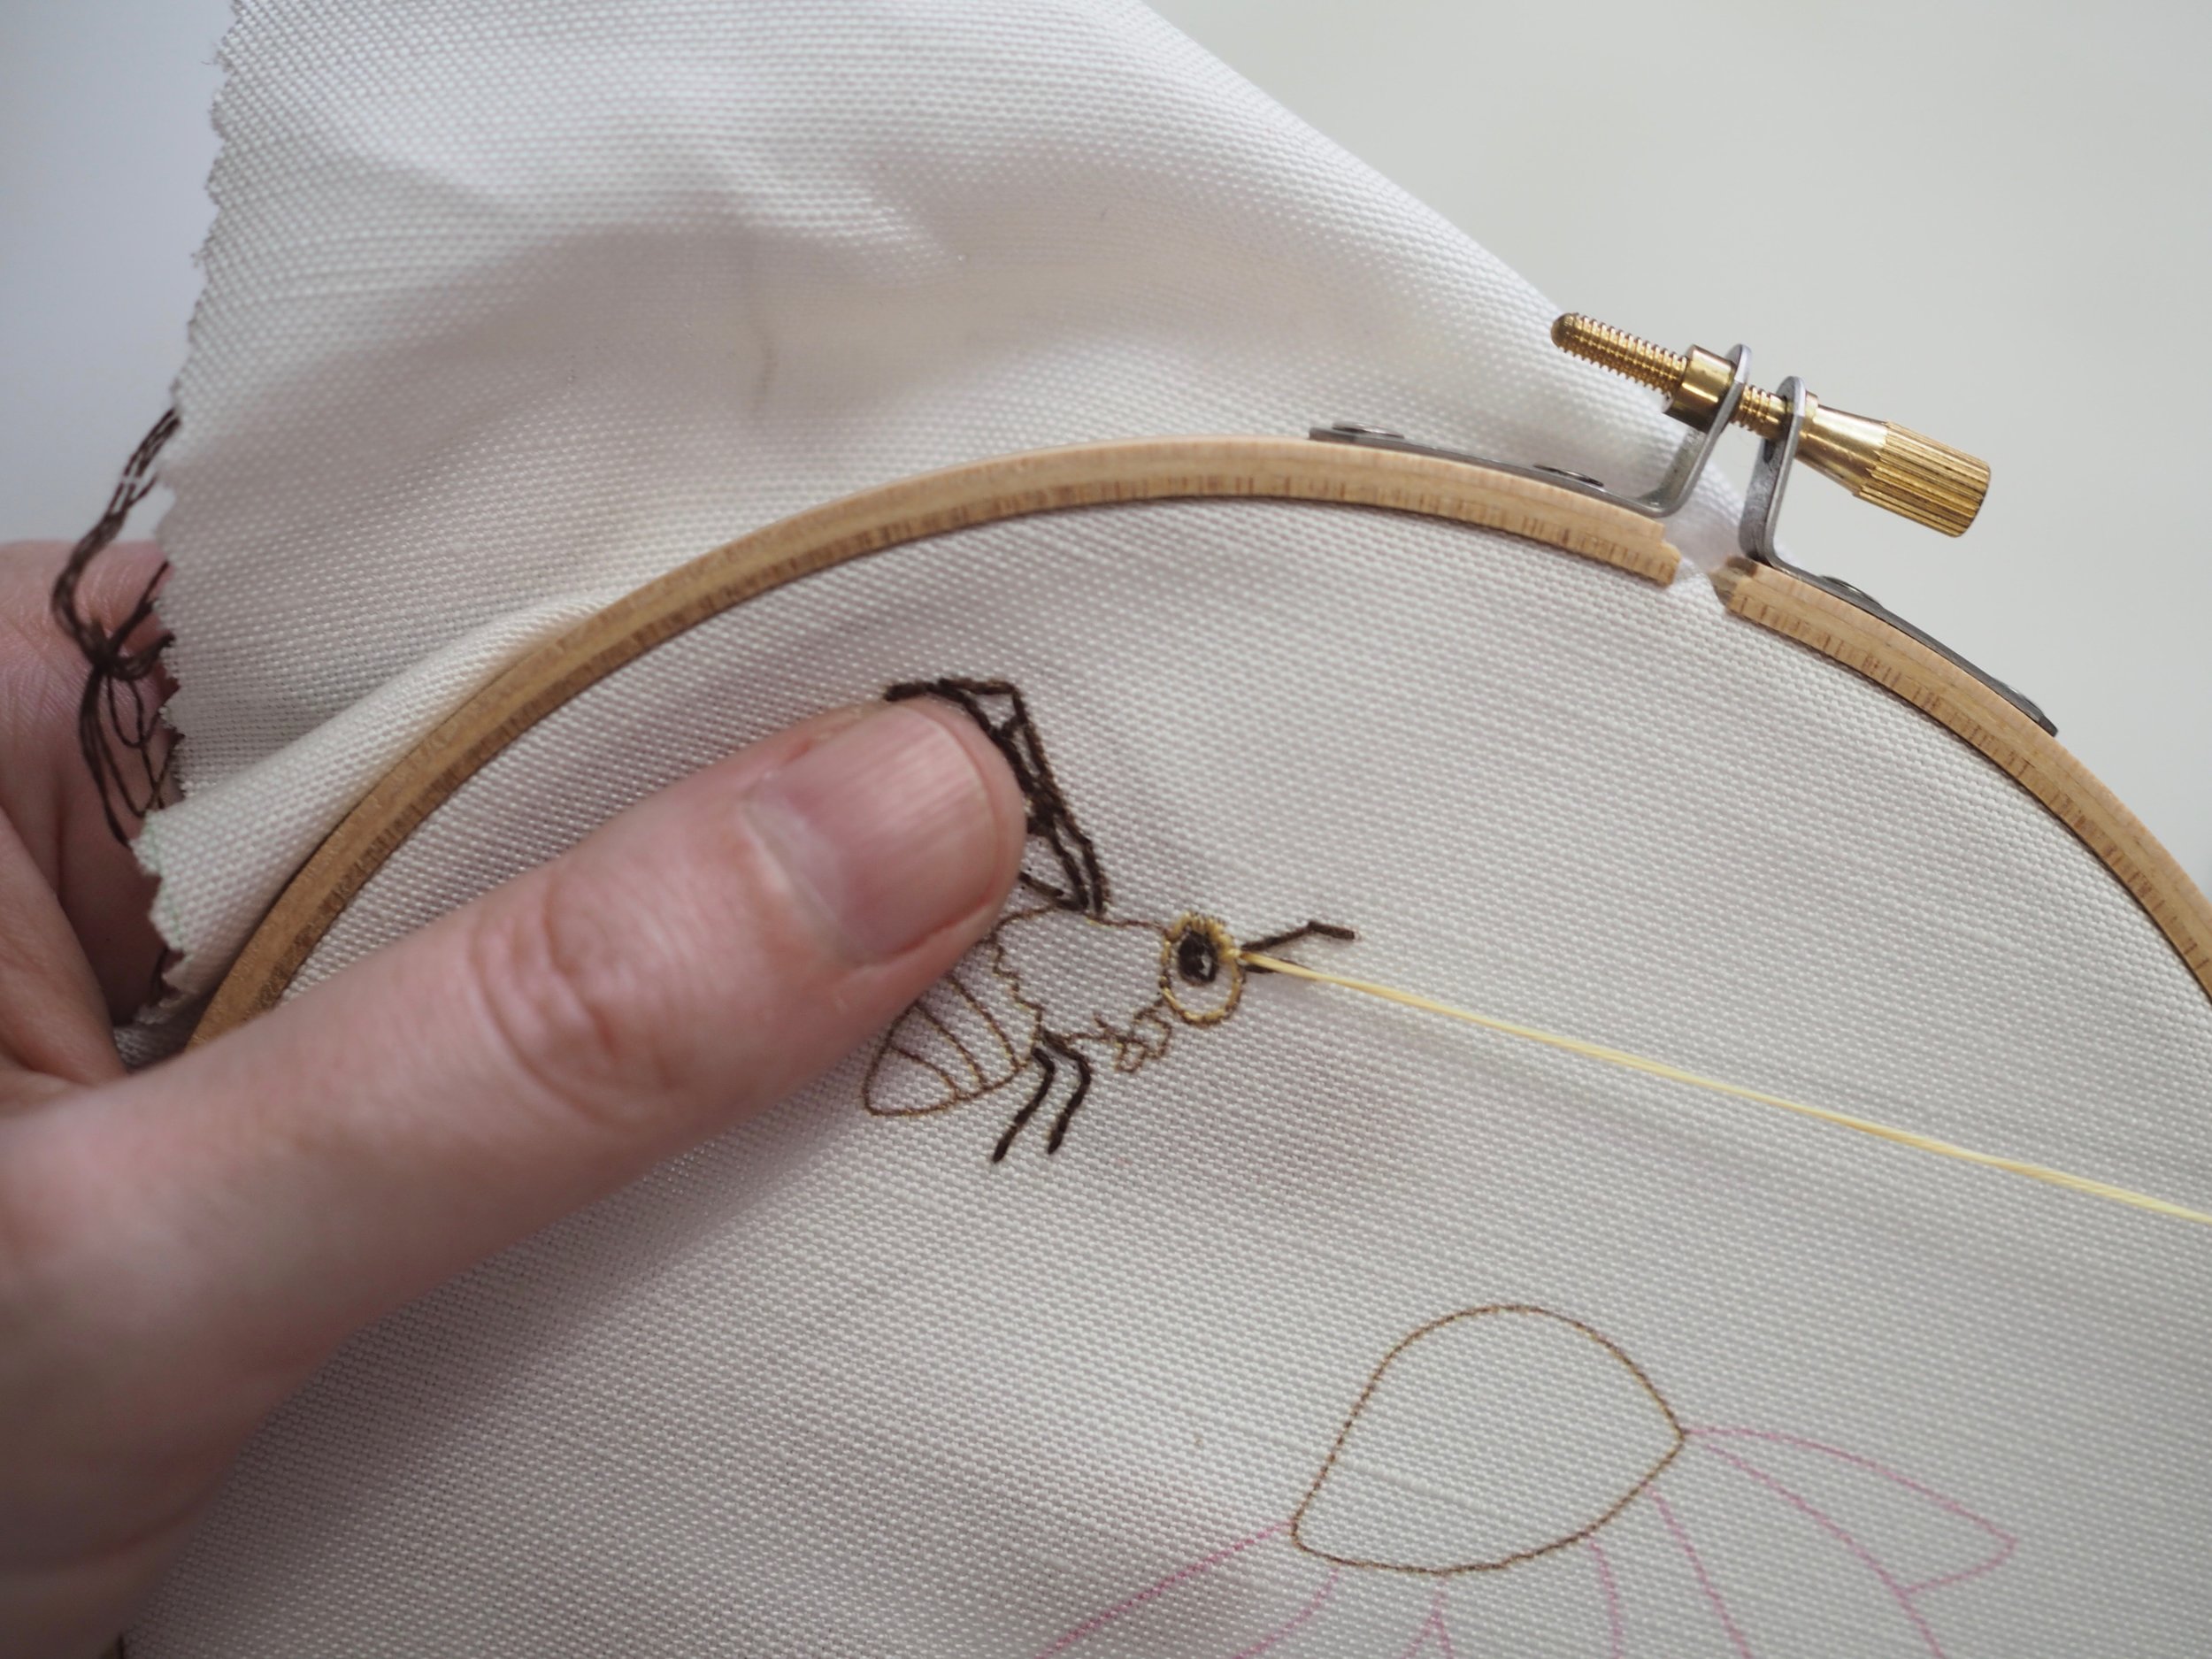
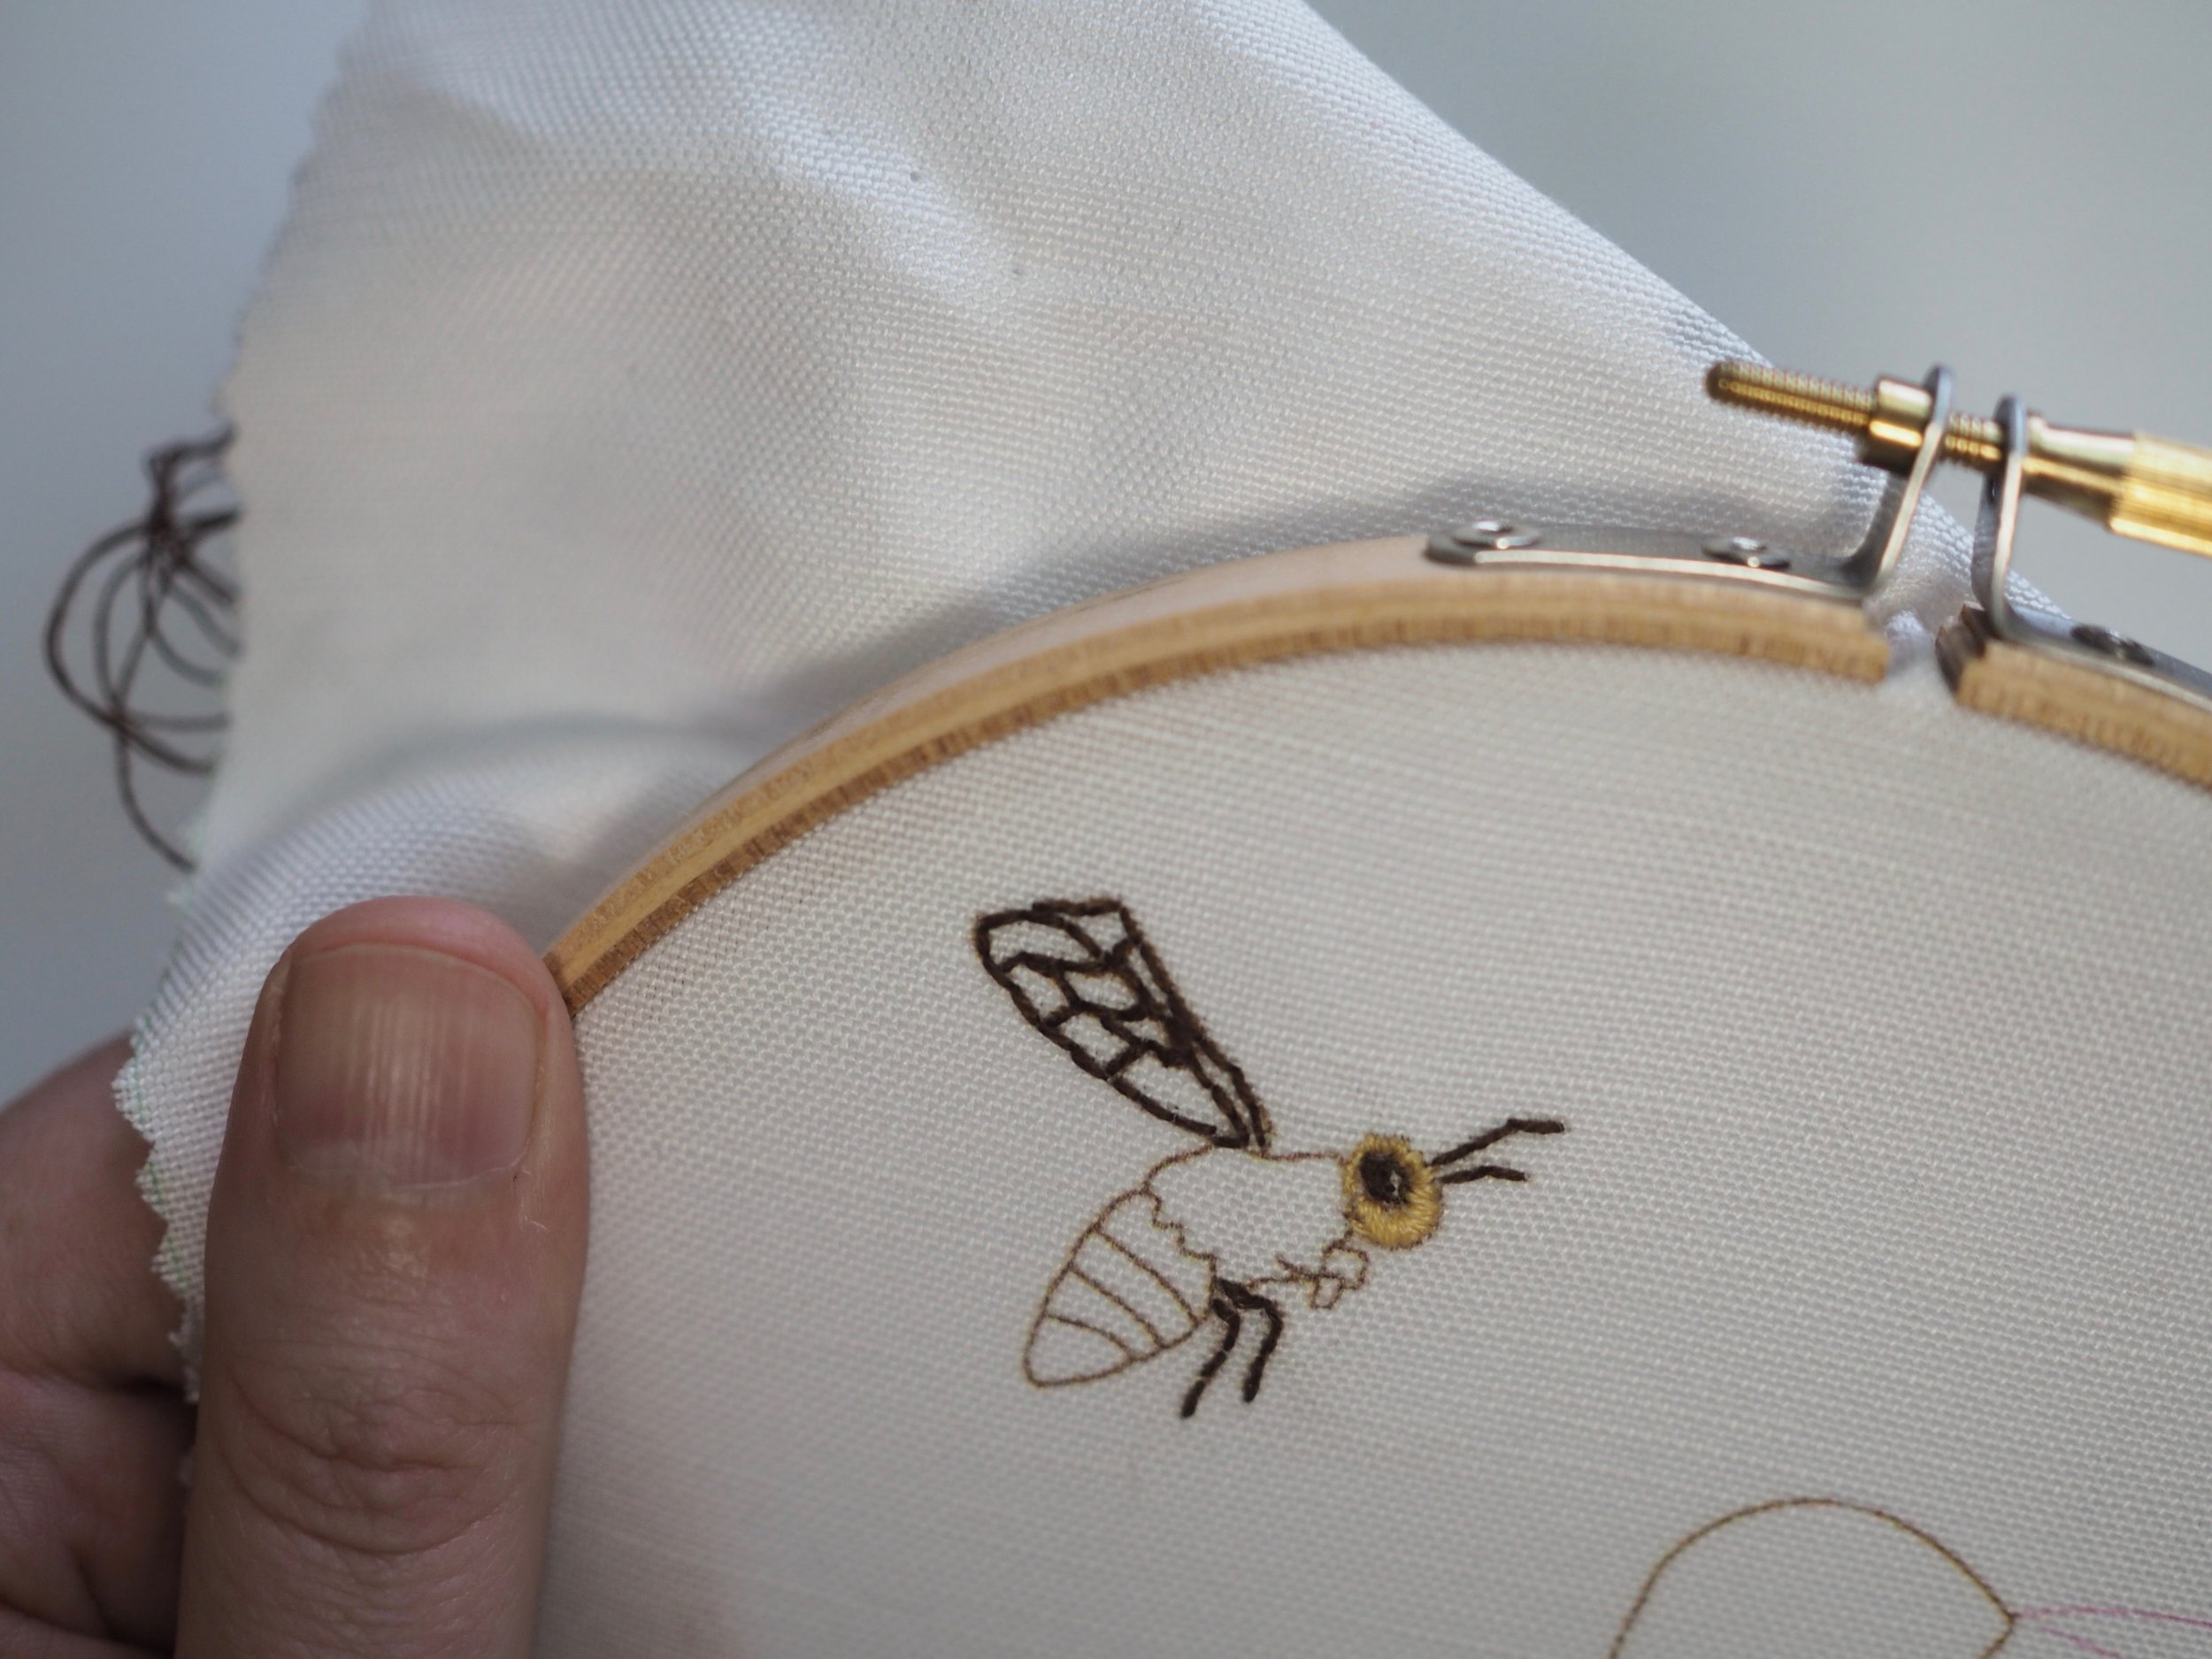
For "hairy" or "furry" satin stitch, I like to start out making lines in the direction I want in 3-5 different lengths. Because the ends are staggered, you don't have to loop back underneath to the opposite starting point like with smooth satin stitch. Make one "row" of the staggered stitches. When working the next row, start some of your stitches in between the first row stitches and some starting at the end of the first row stitches. Basically, you don't want any clear "lines." Continuing adding "rows" until your area is filled.
In the example above, you can see about three "rows" in the main body of the bee, with one staggered row each for the remaining brown and yellow tail portions.
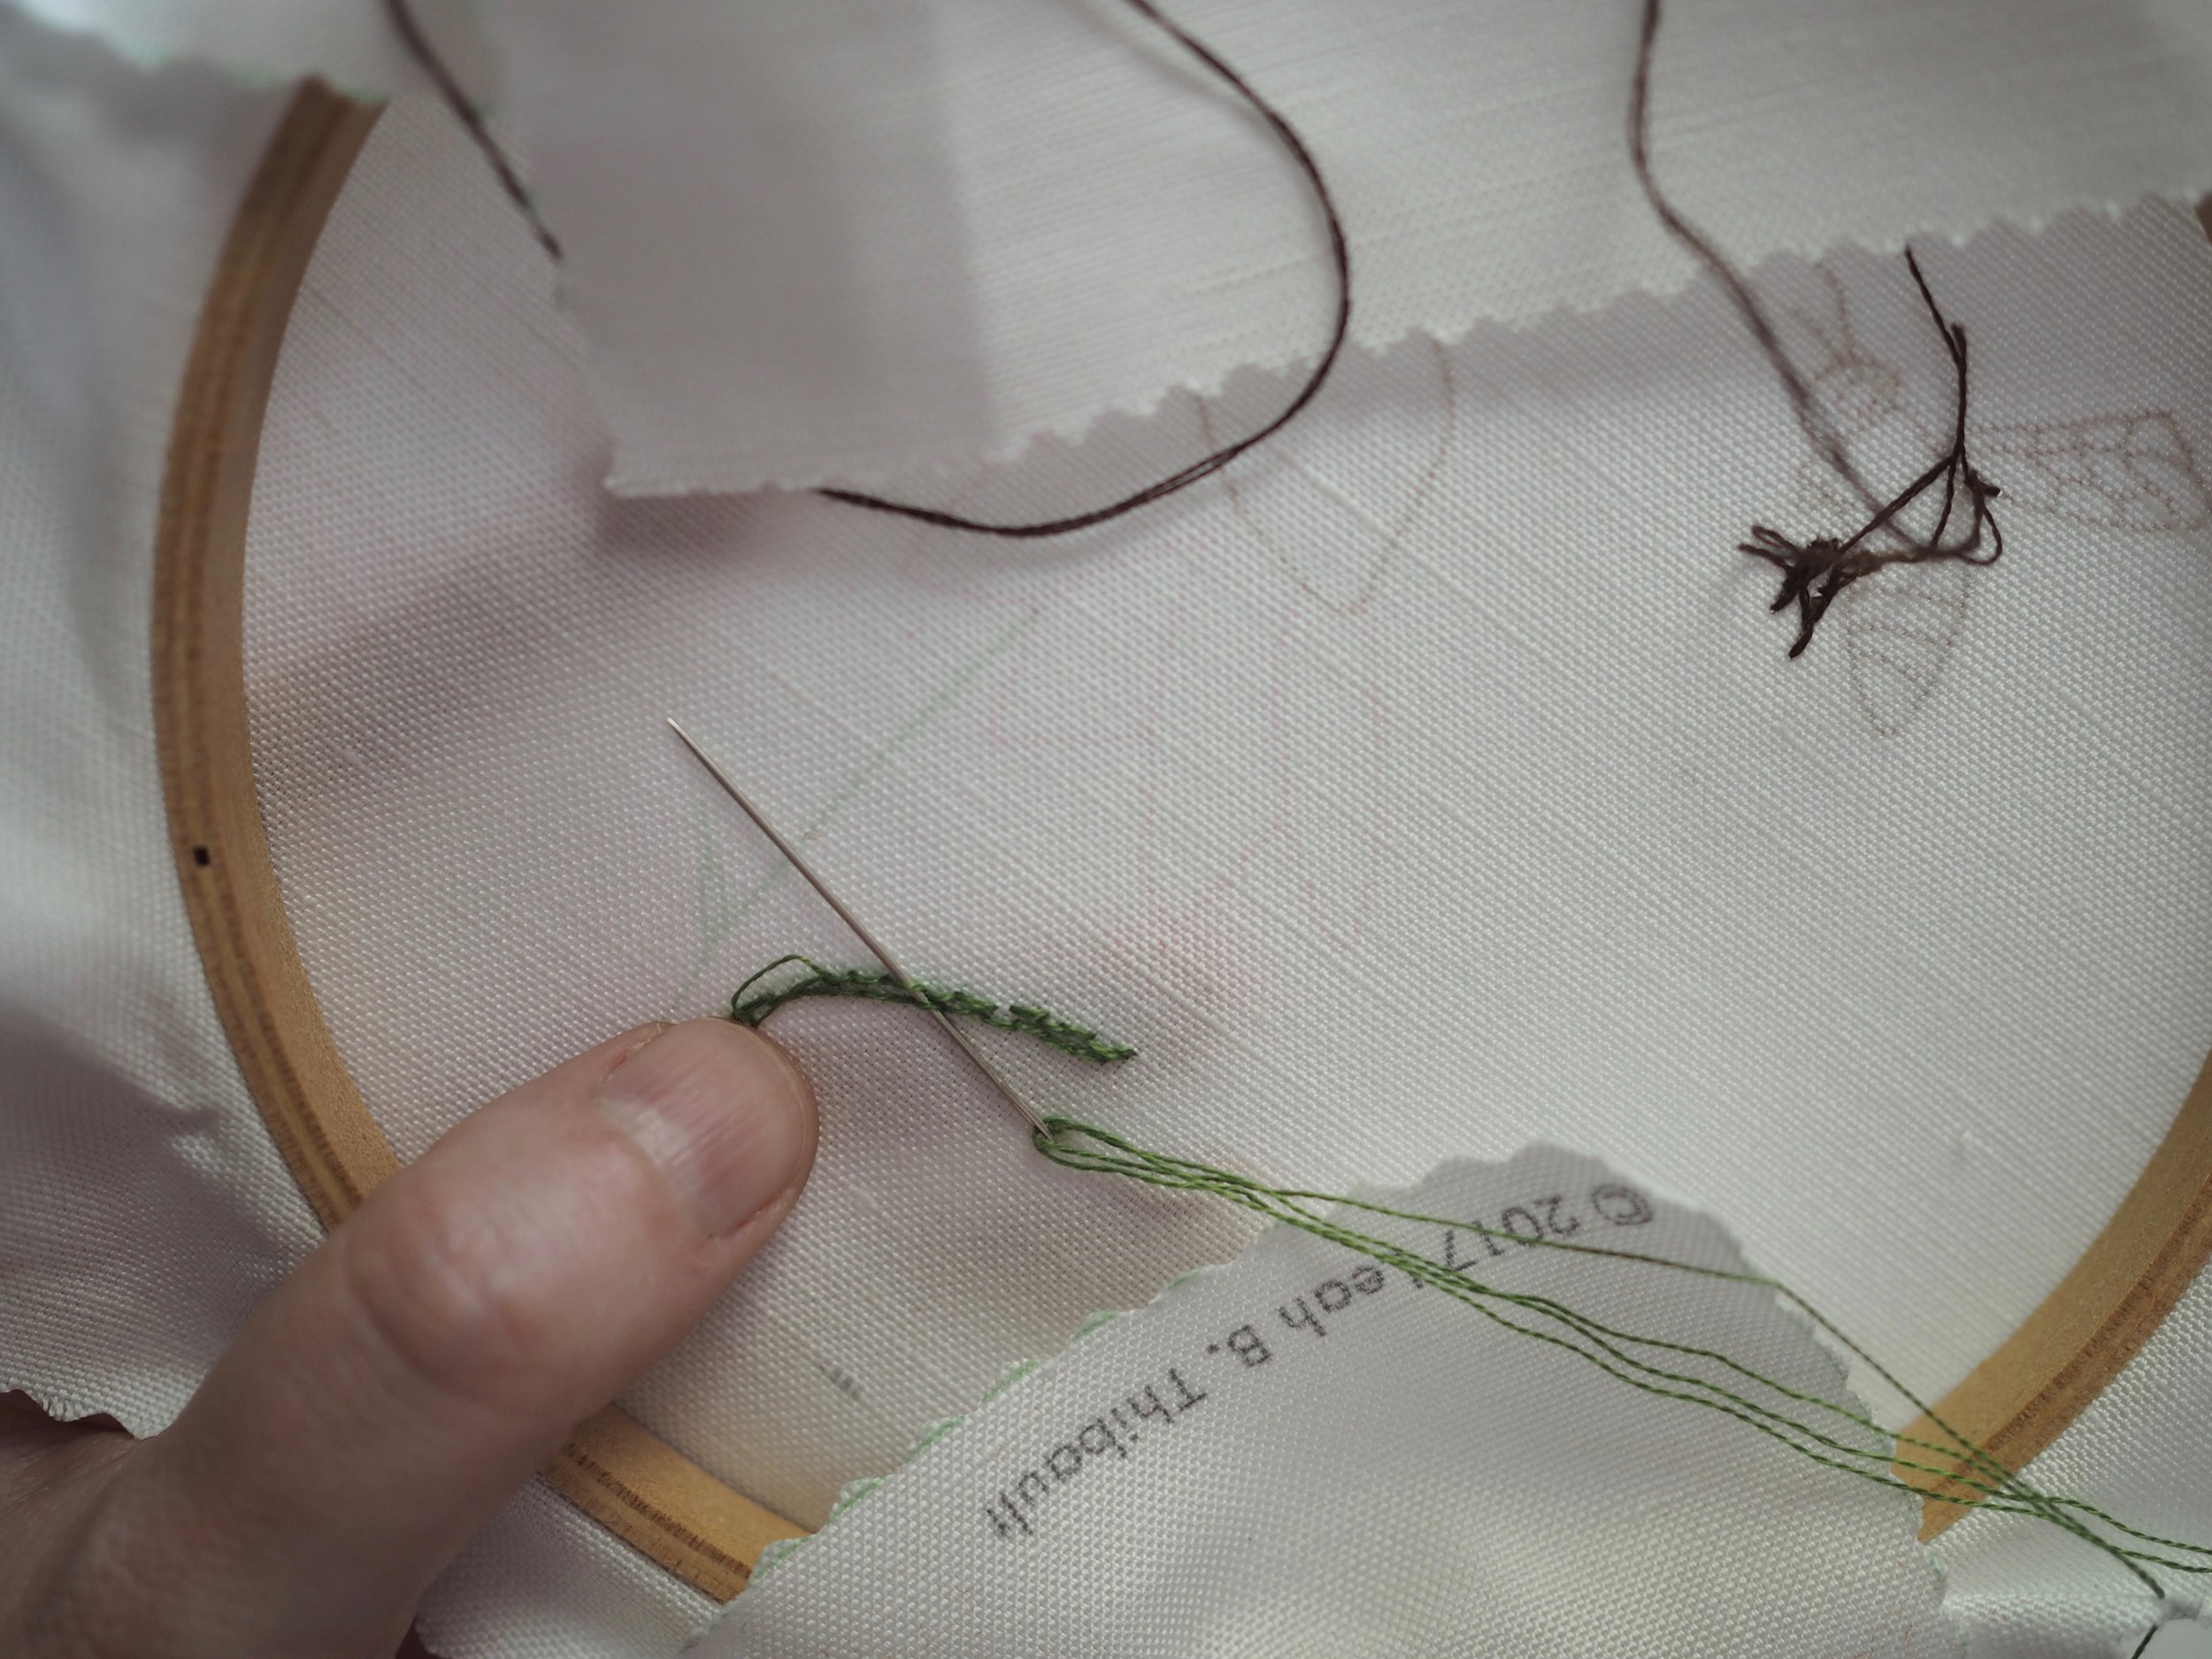
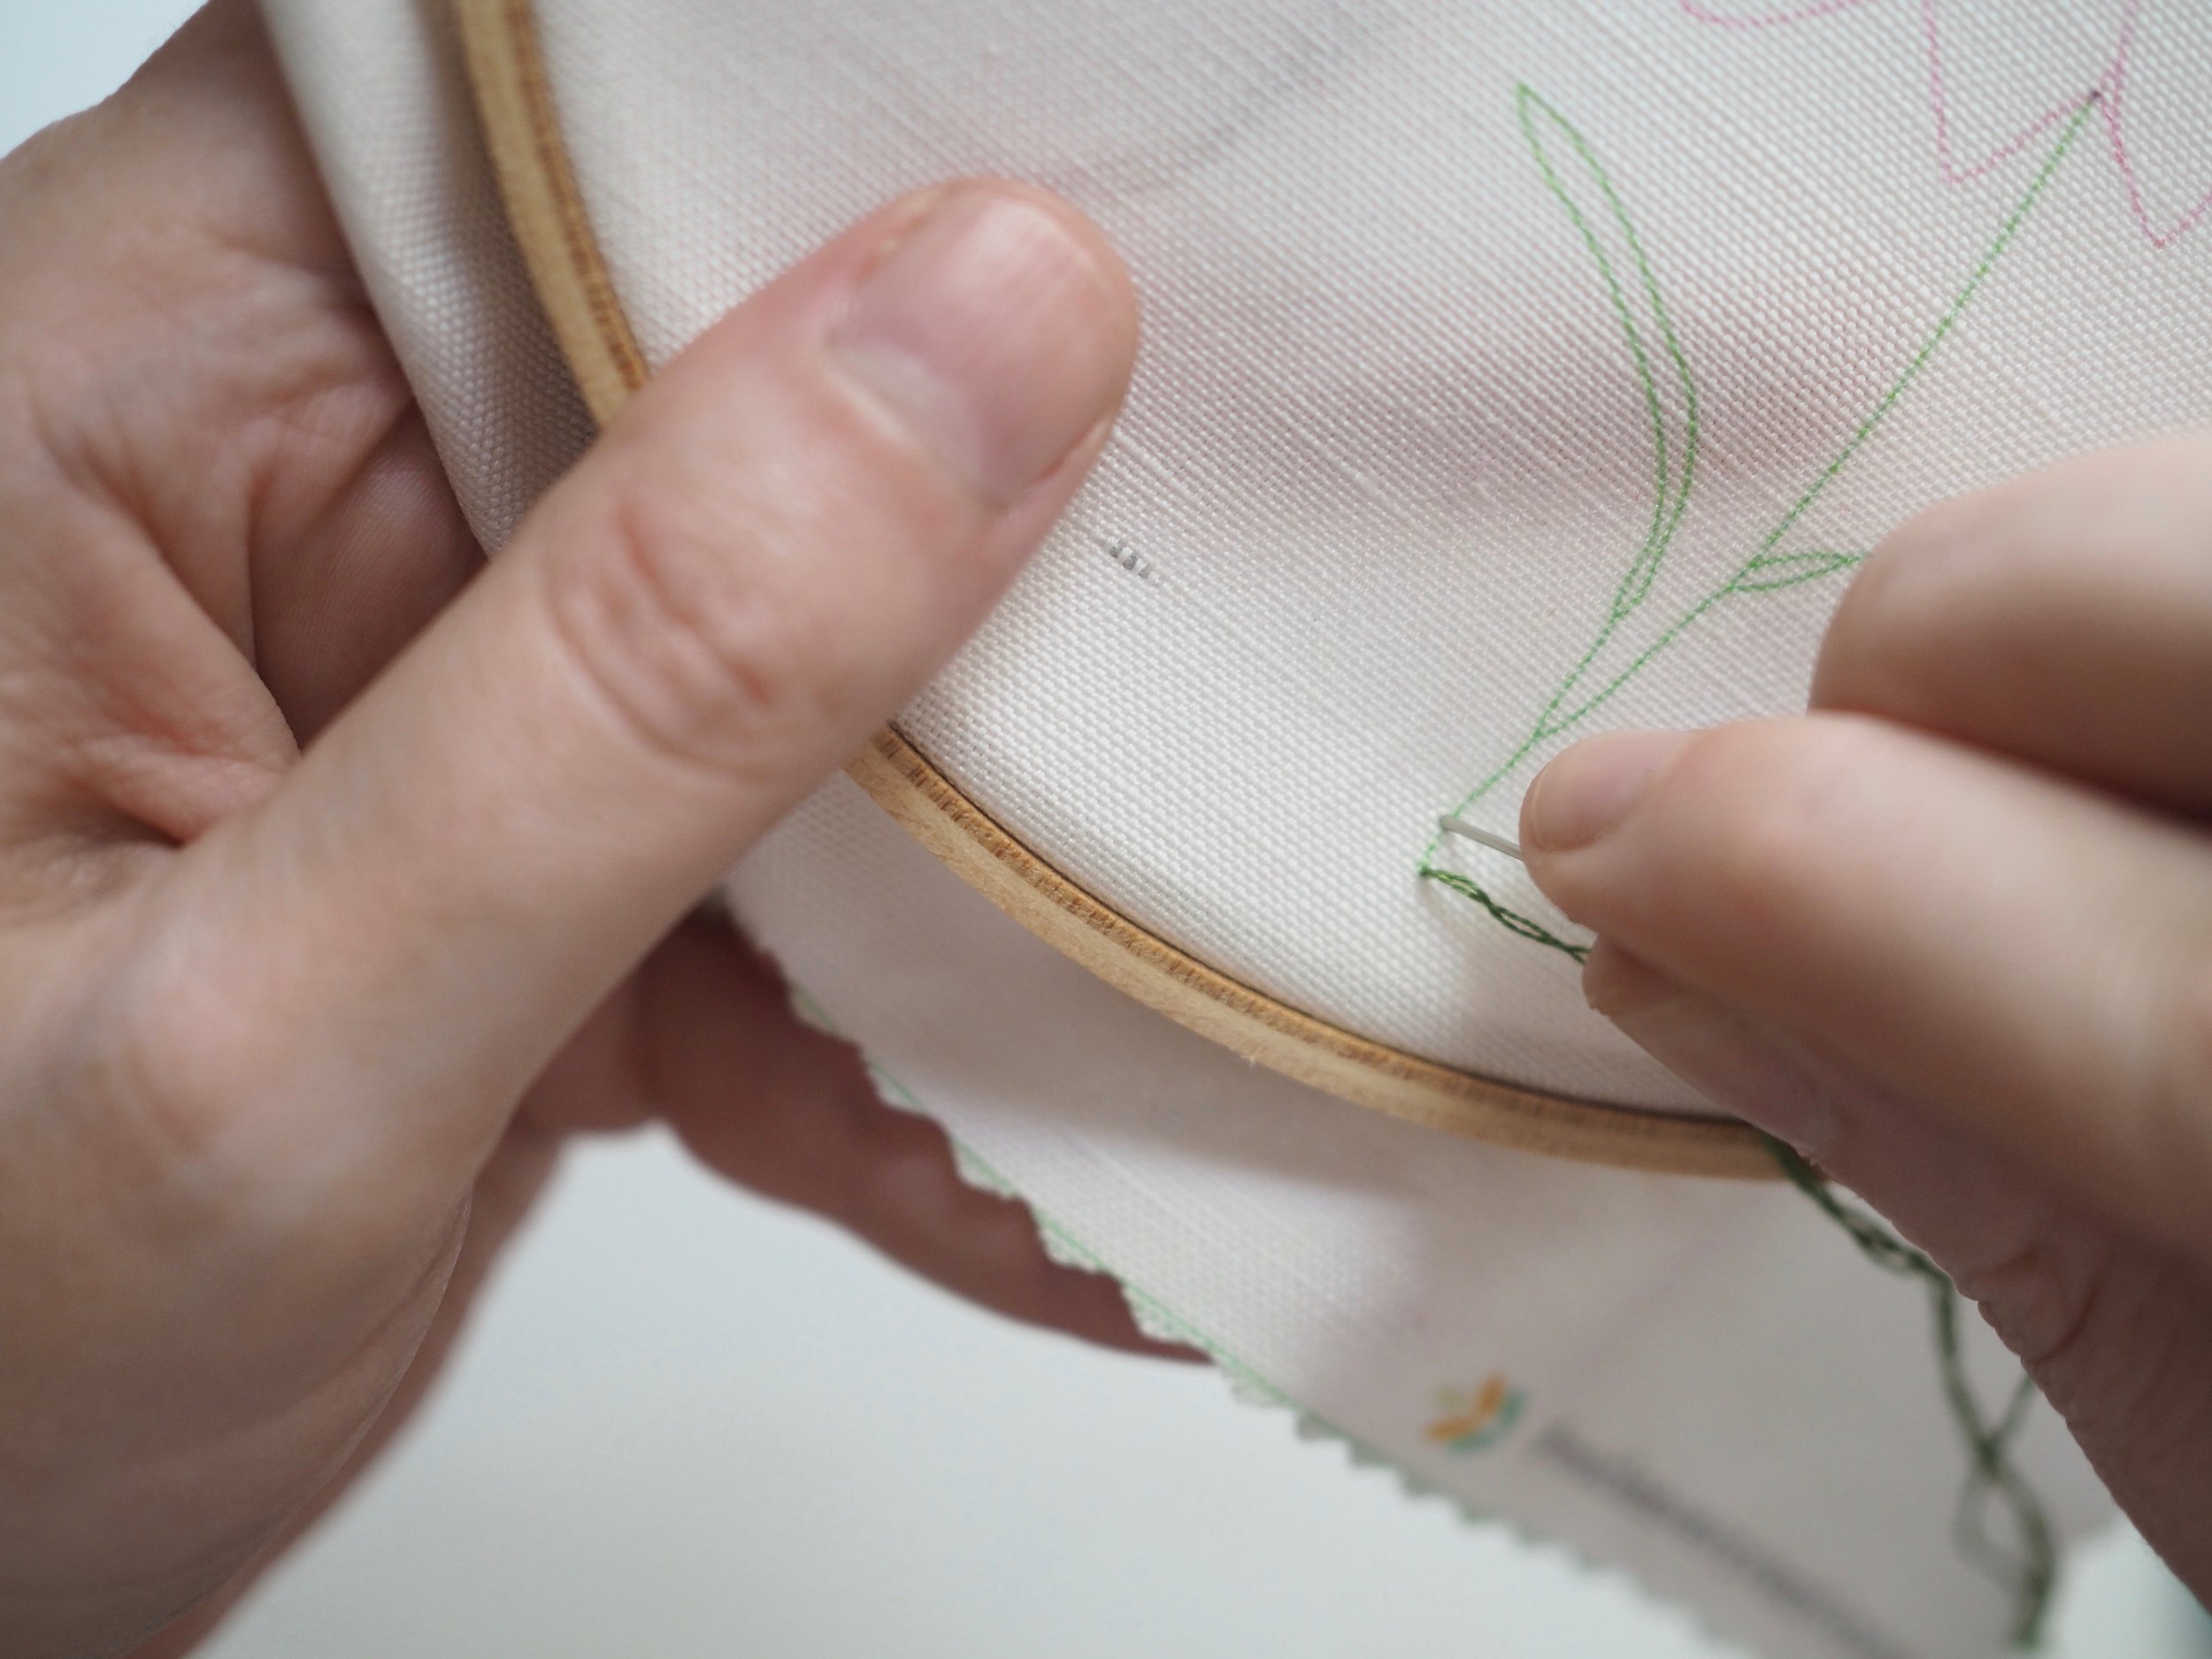
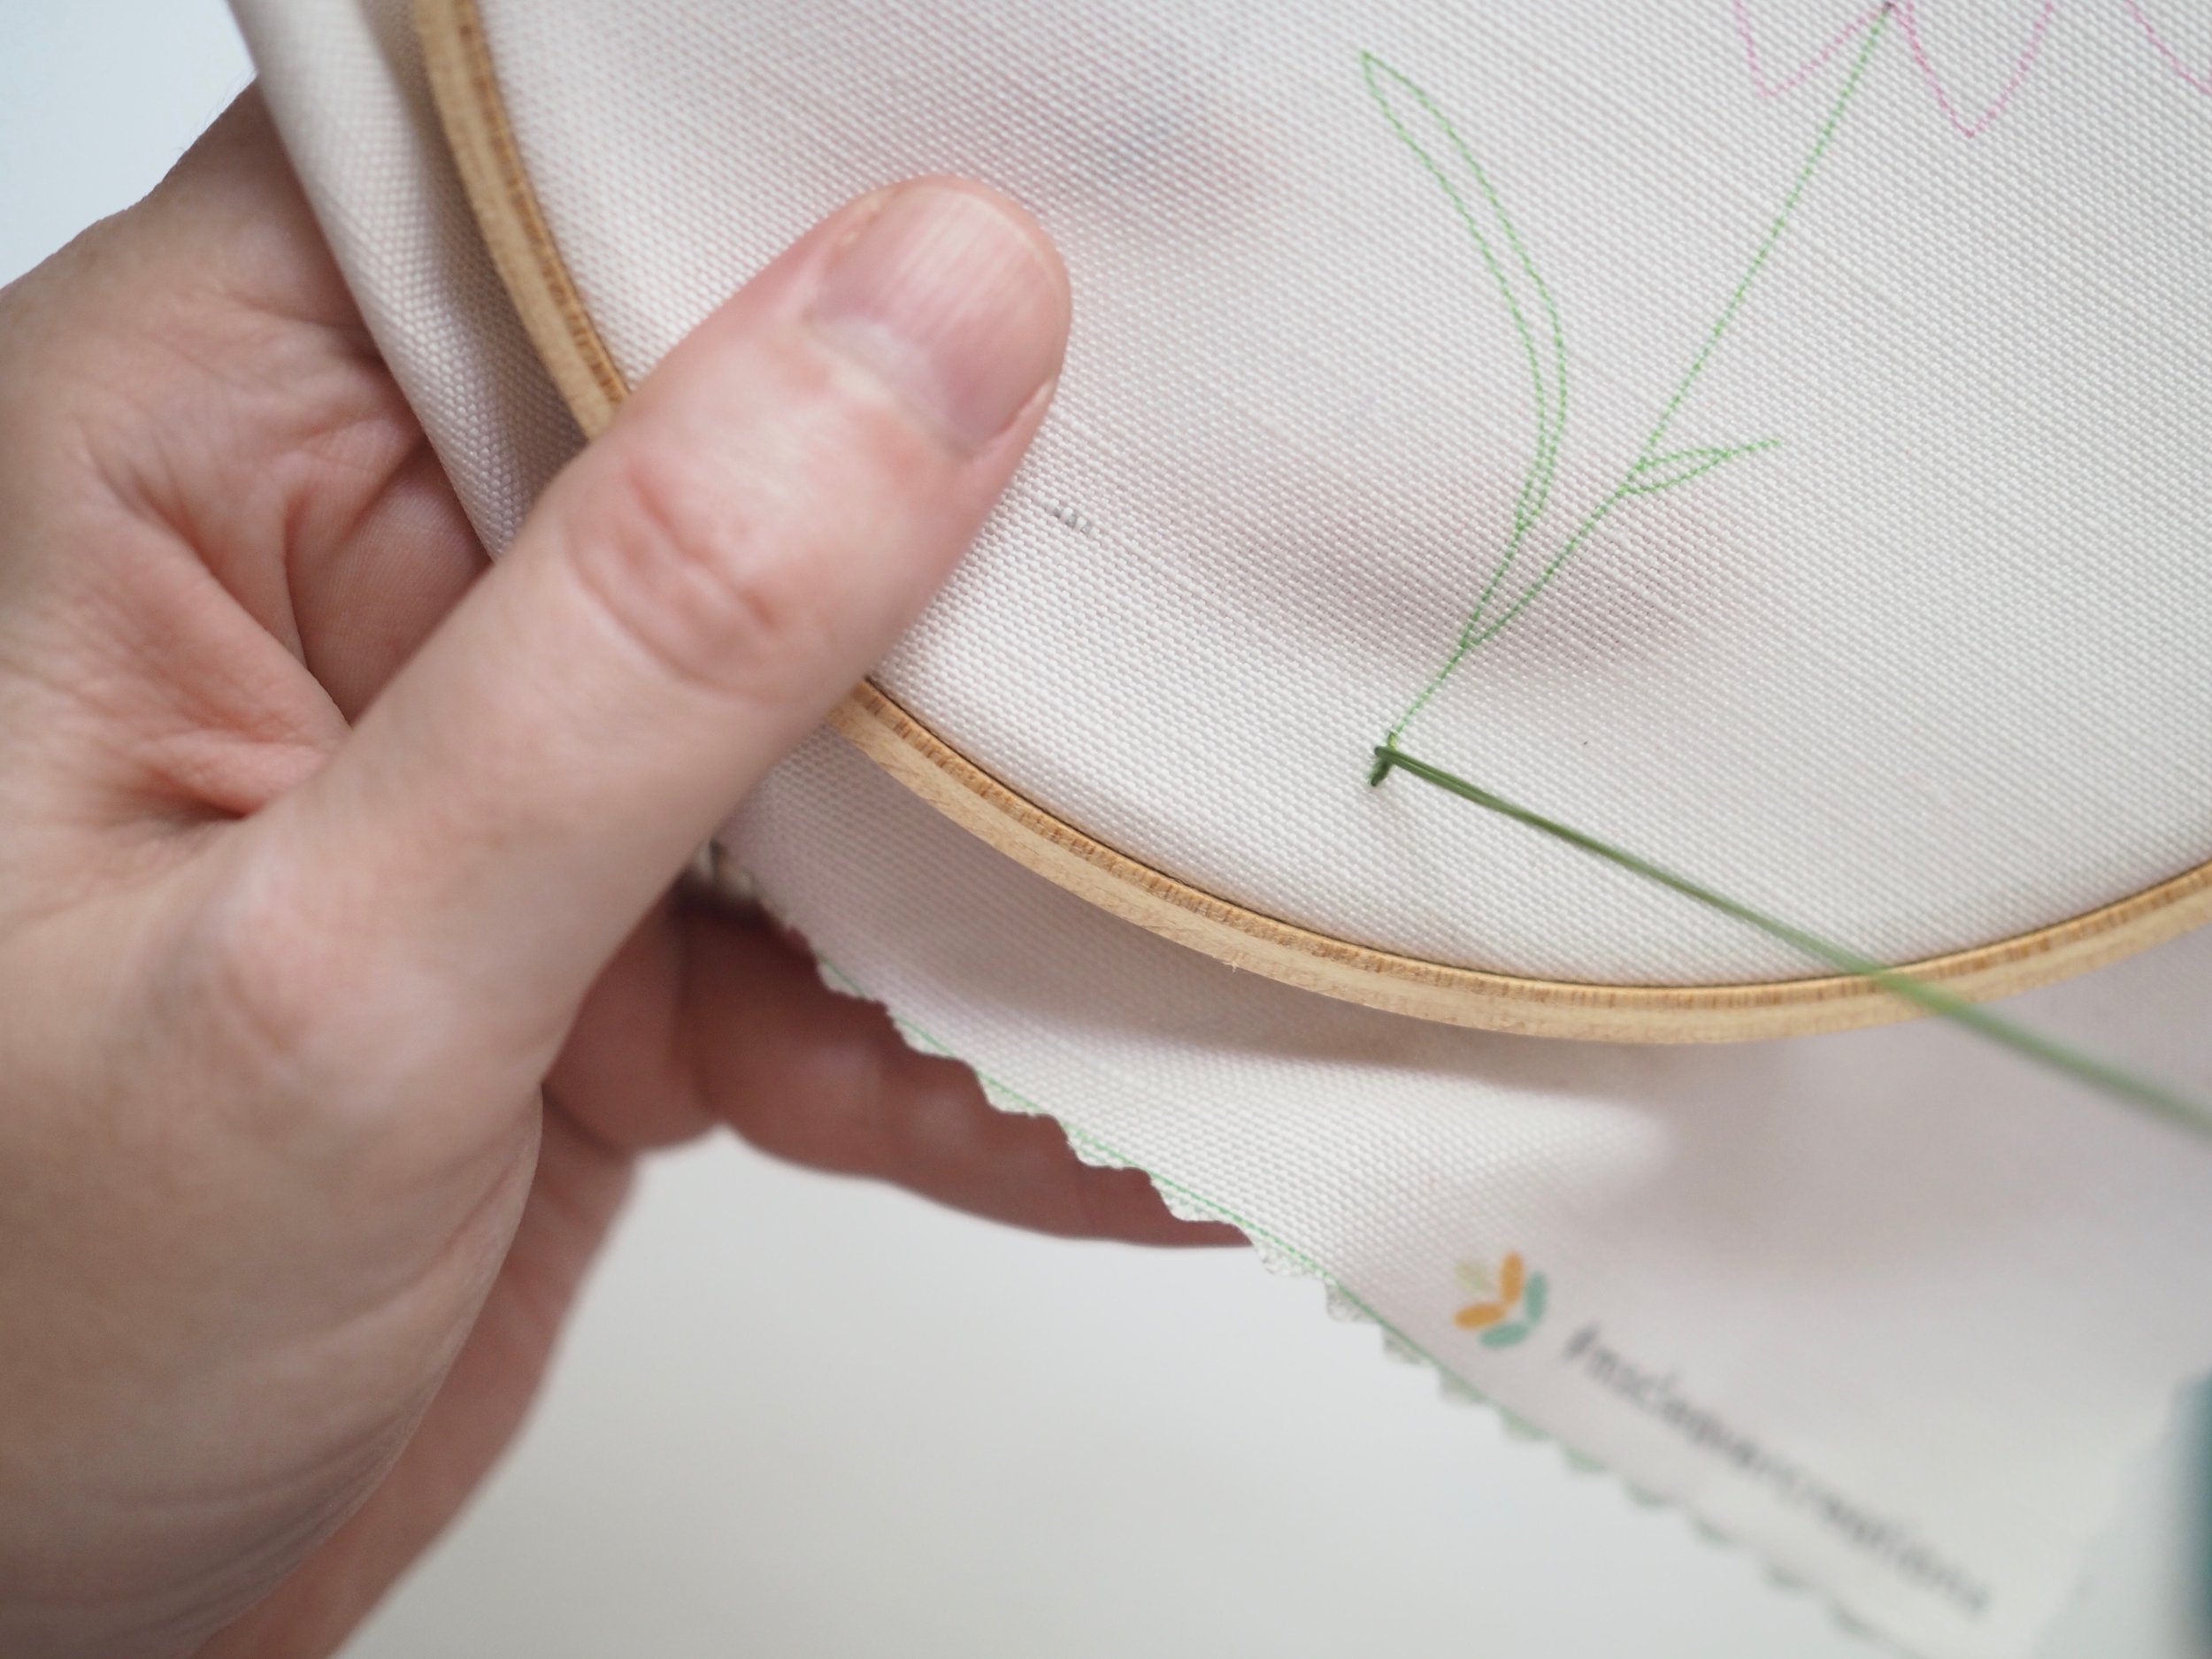
KEEPING THE BACK TIDY
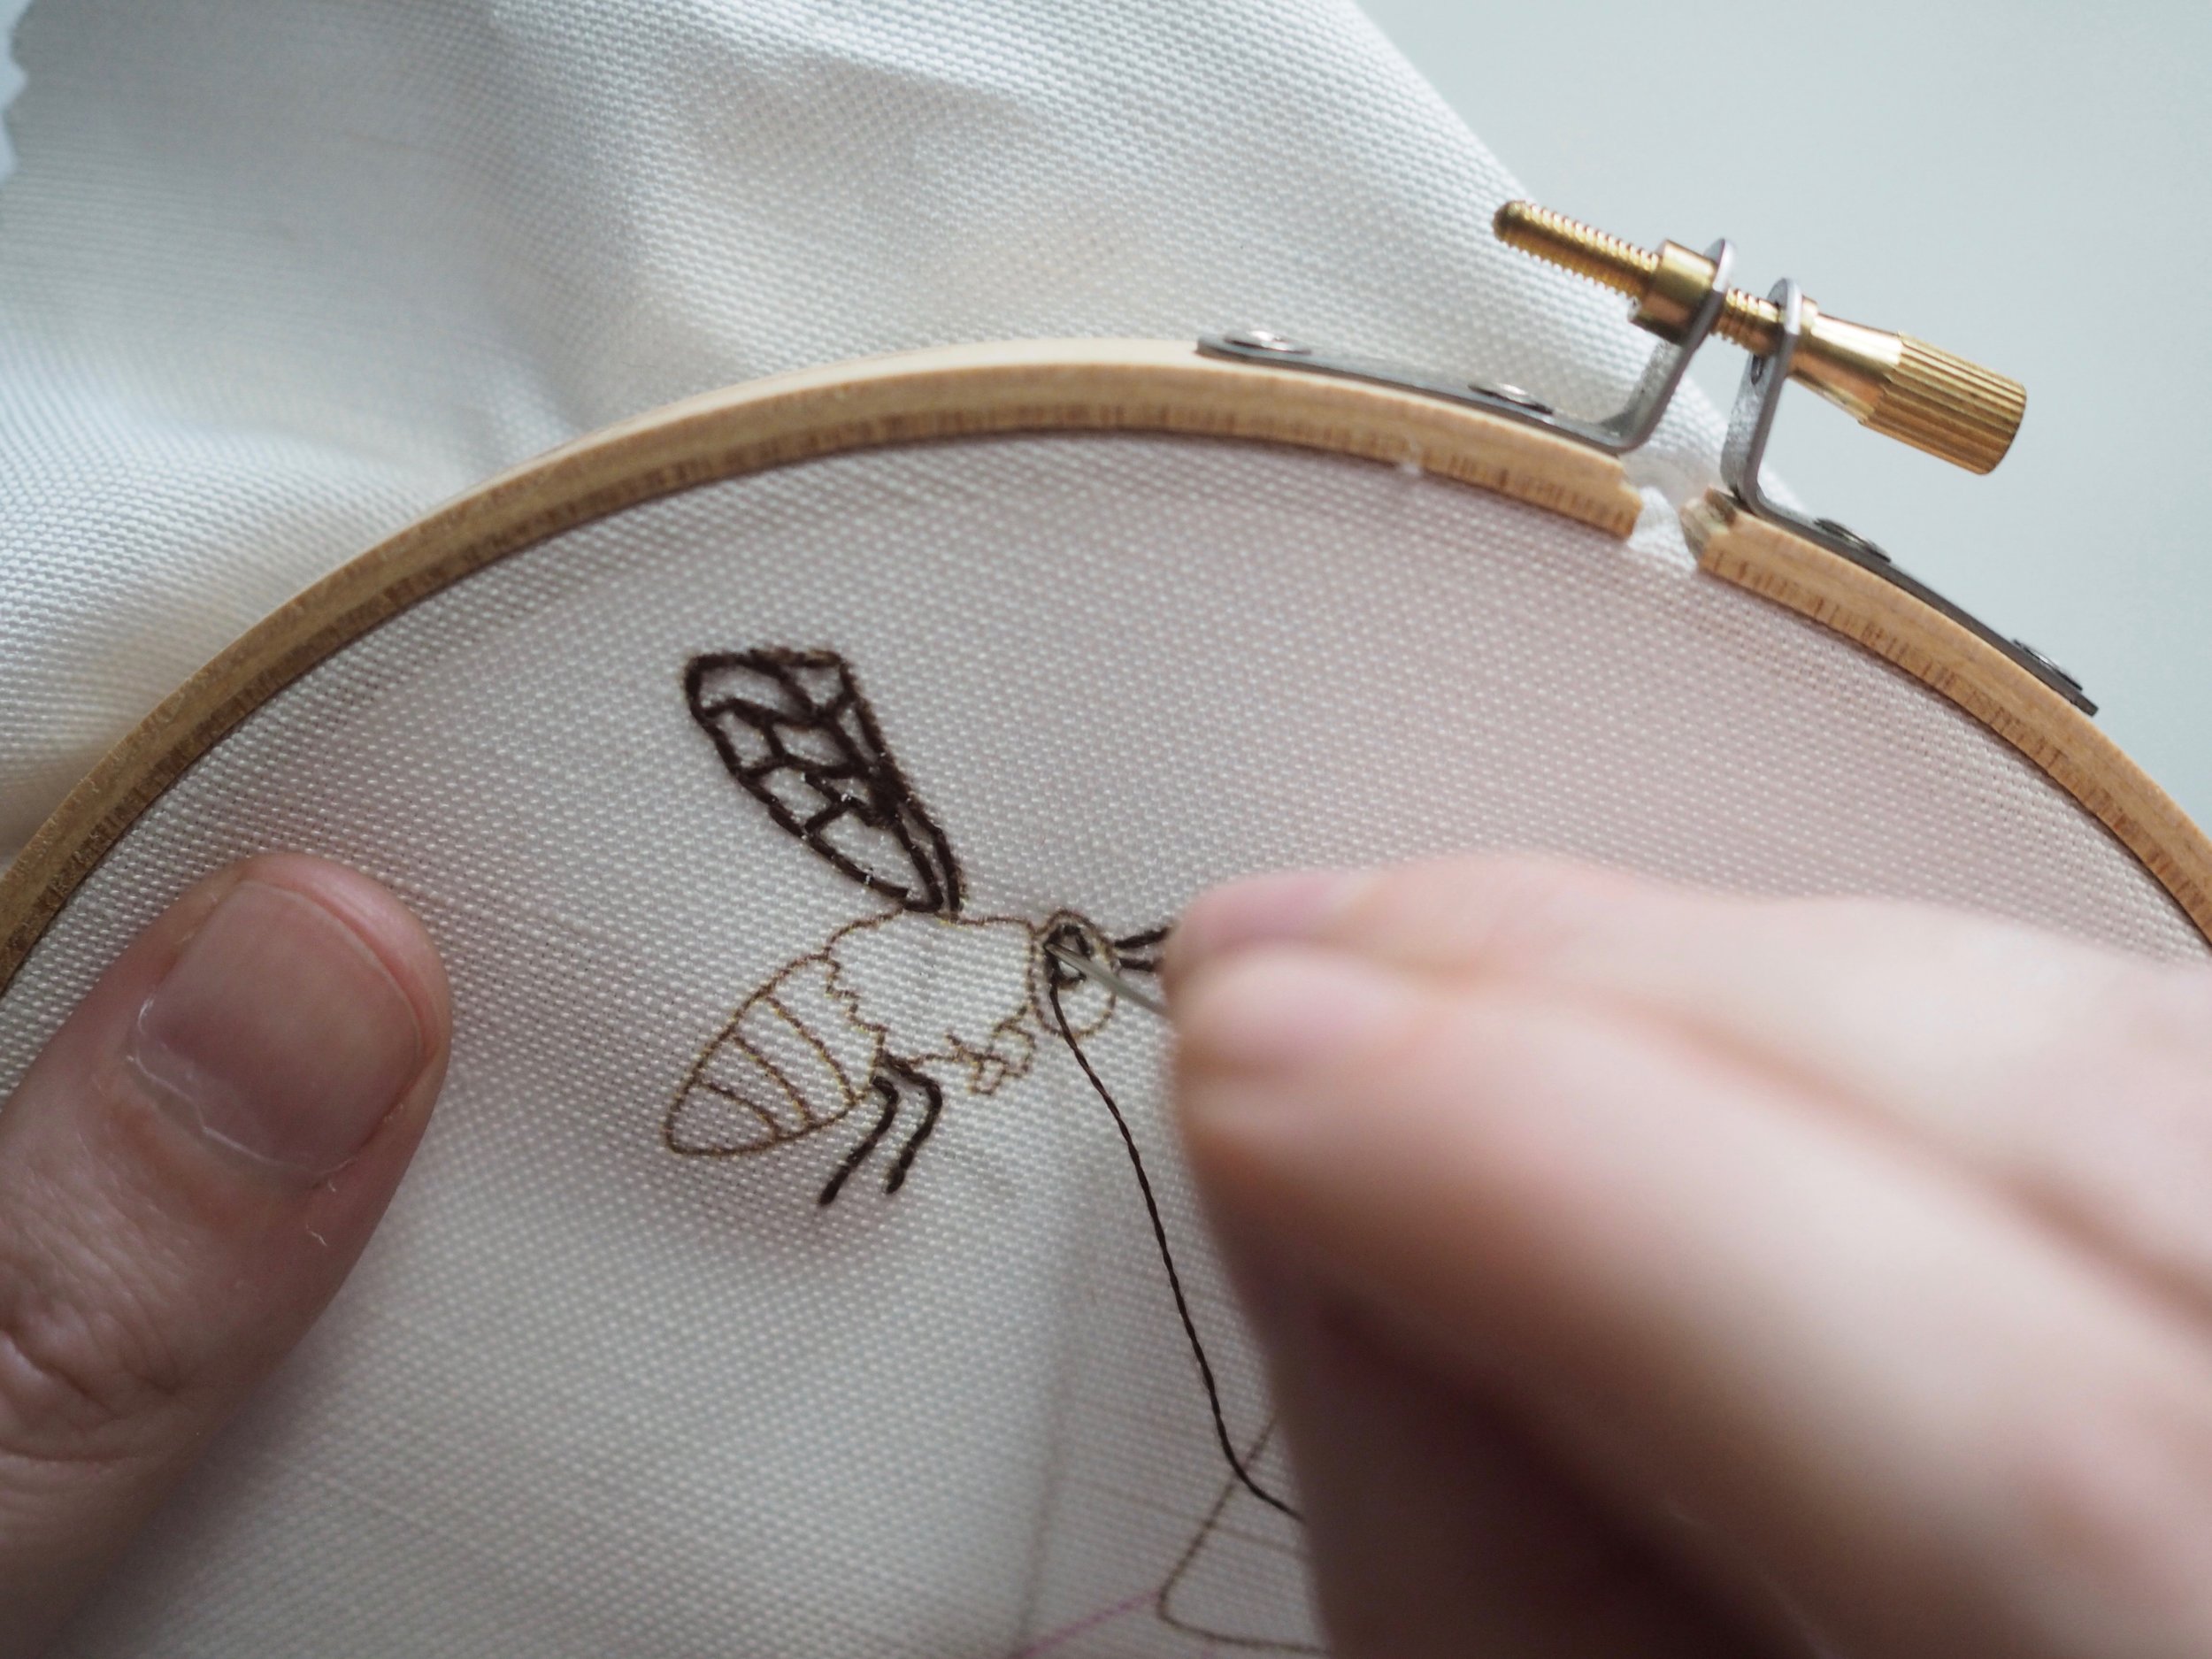
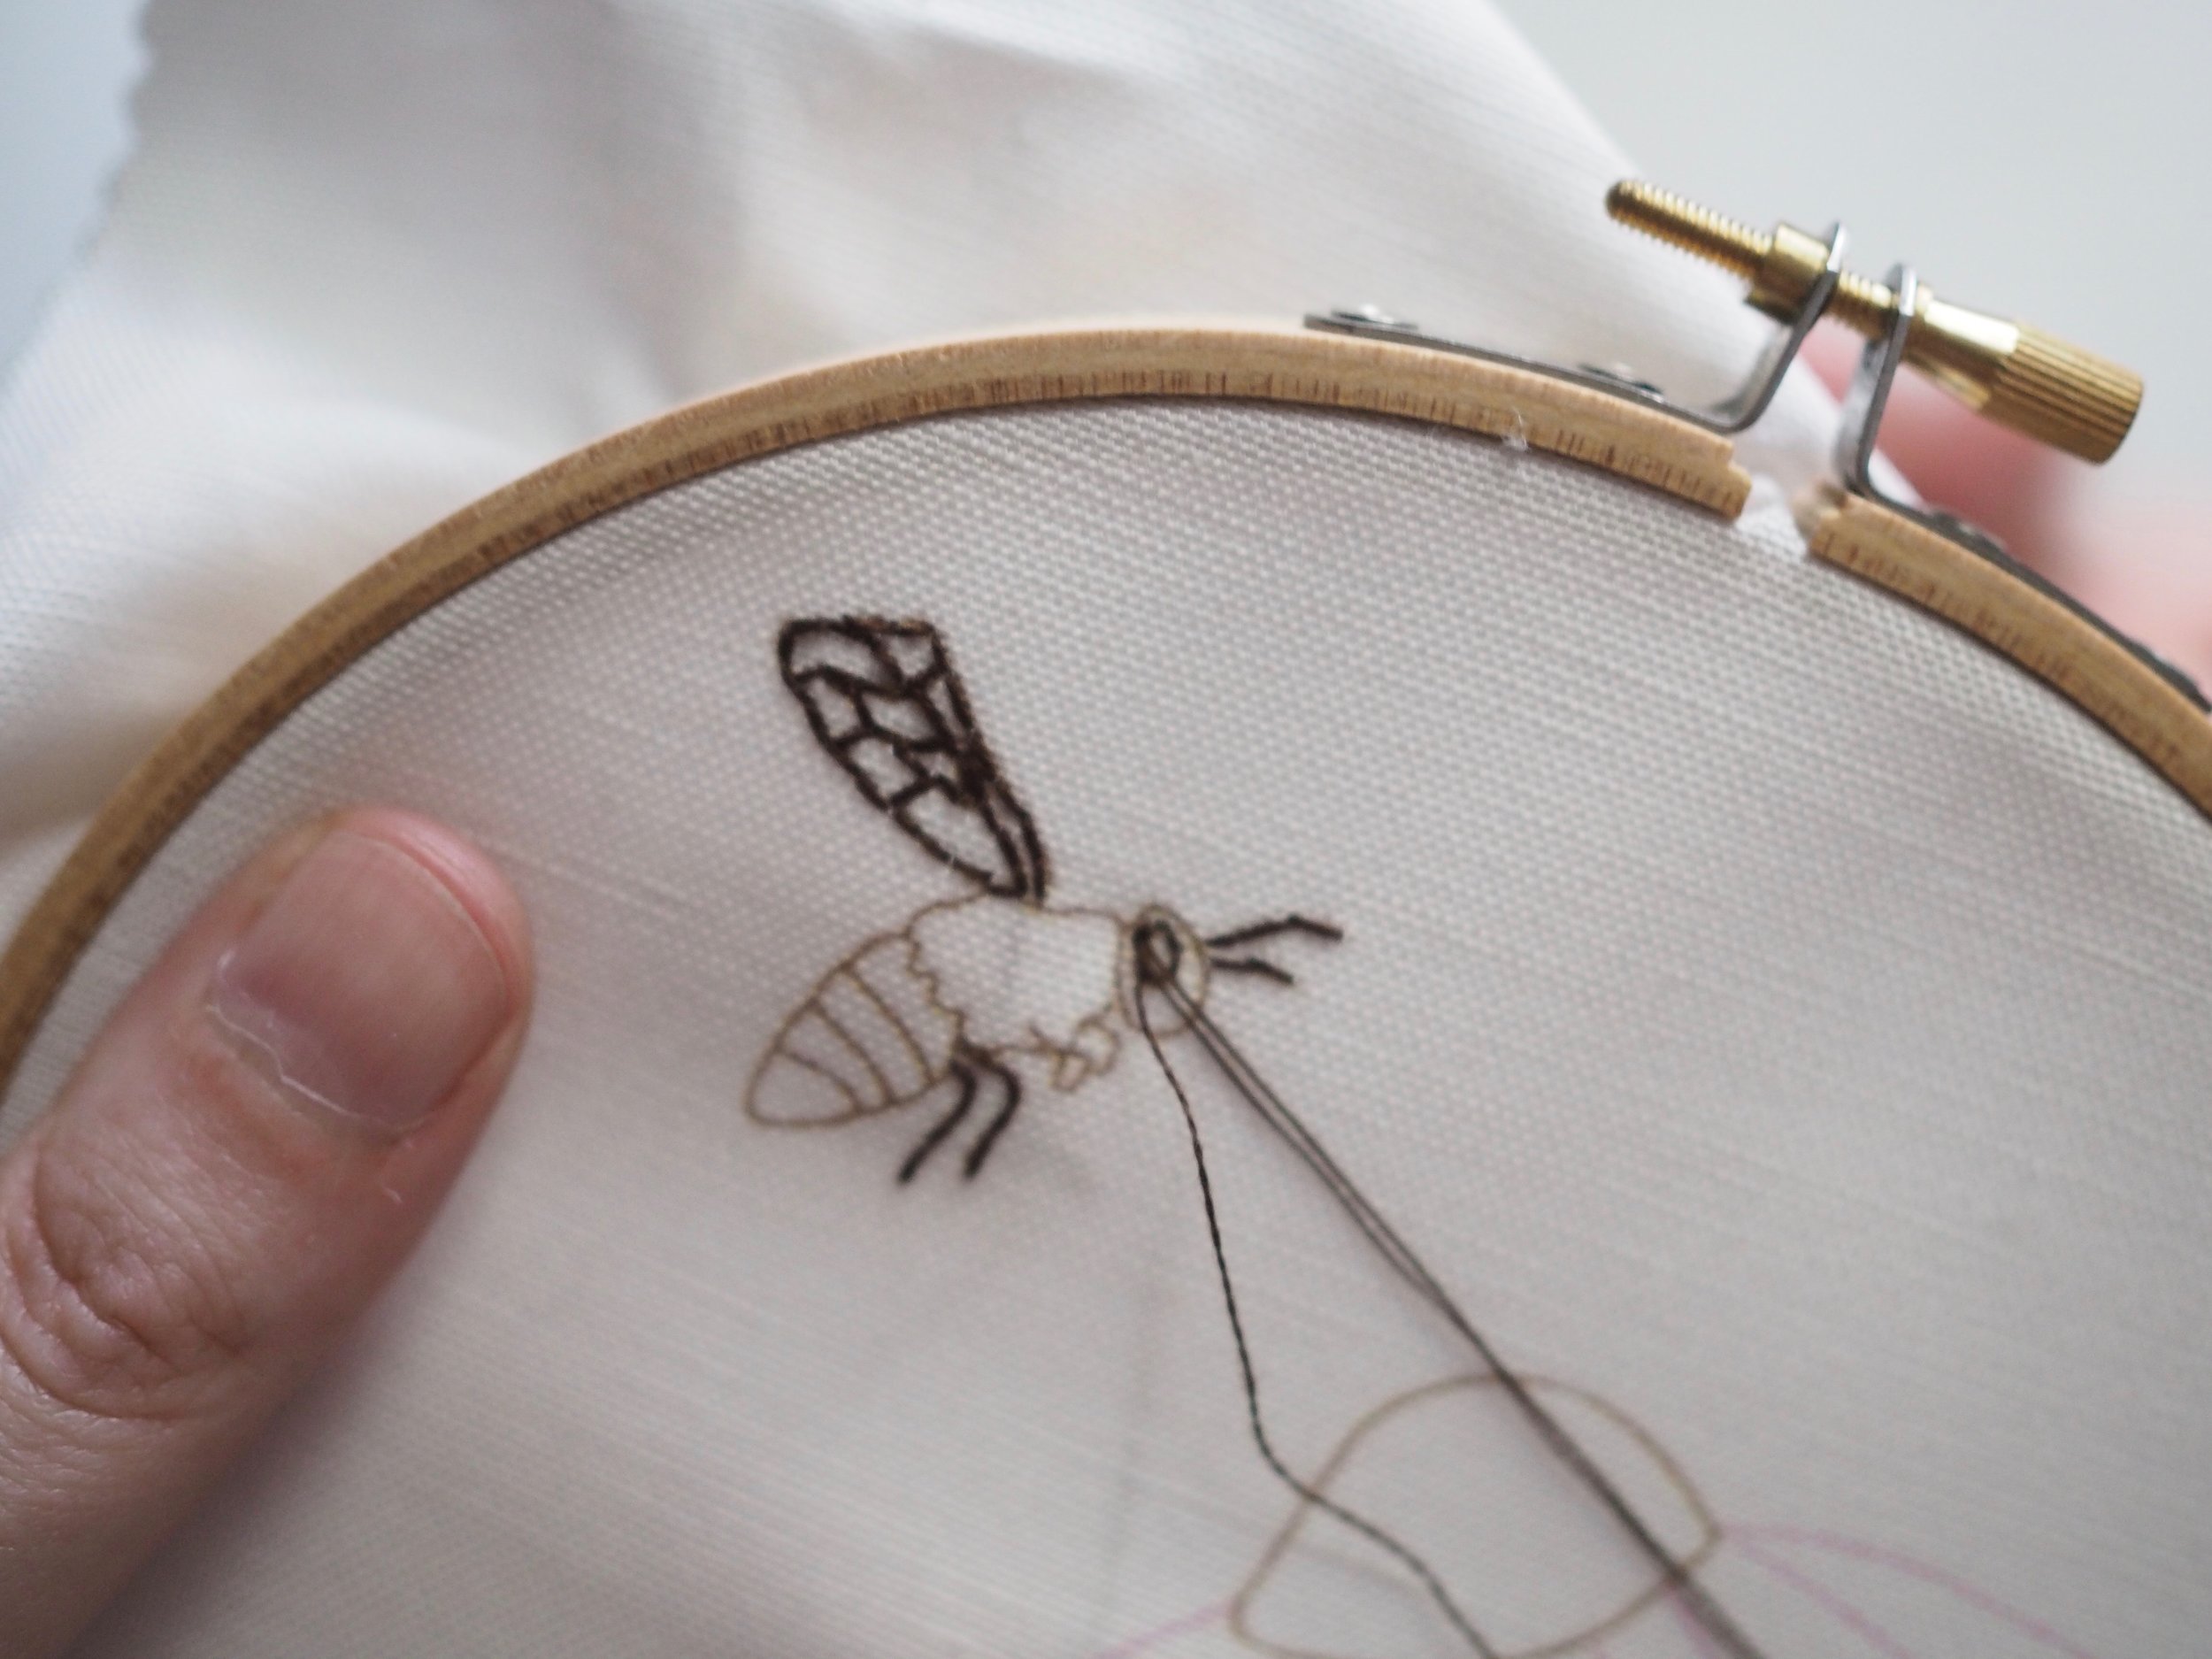
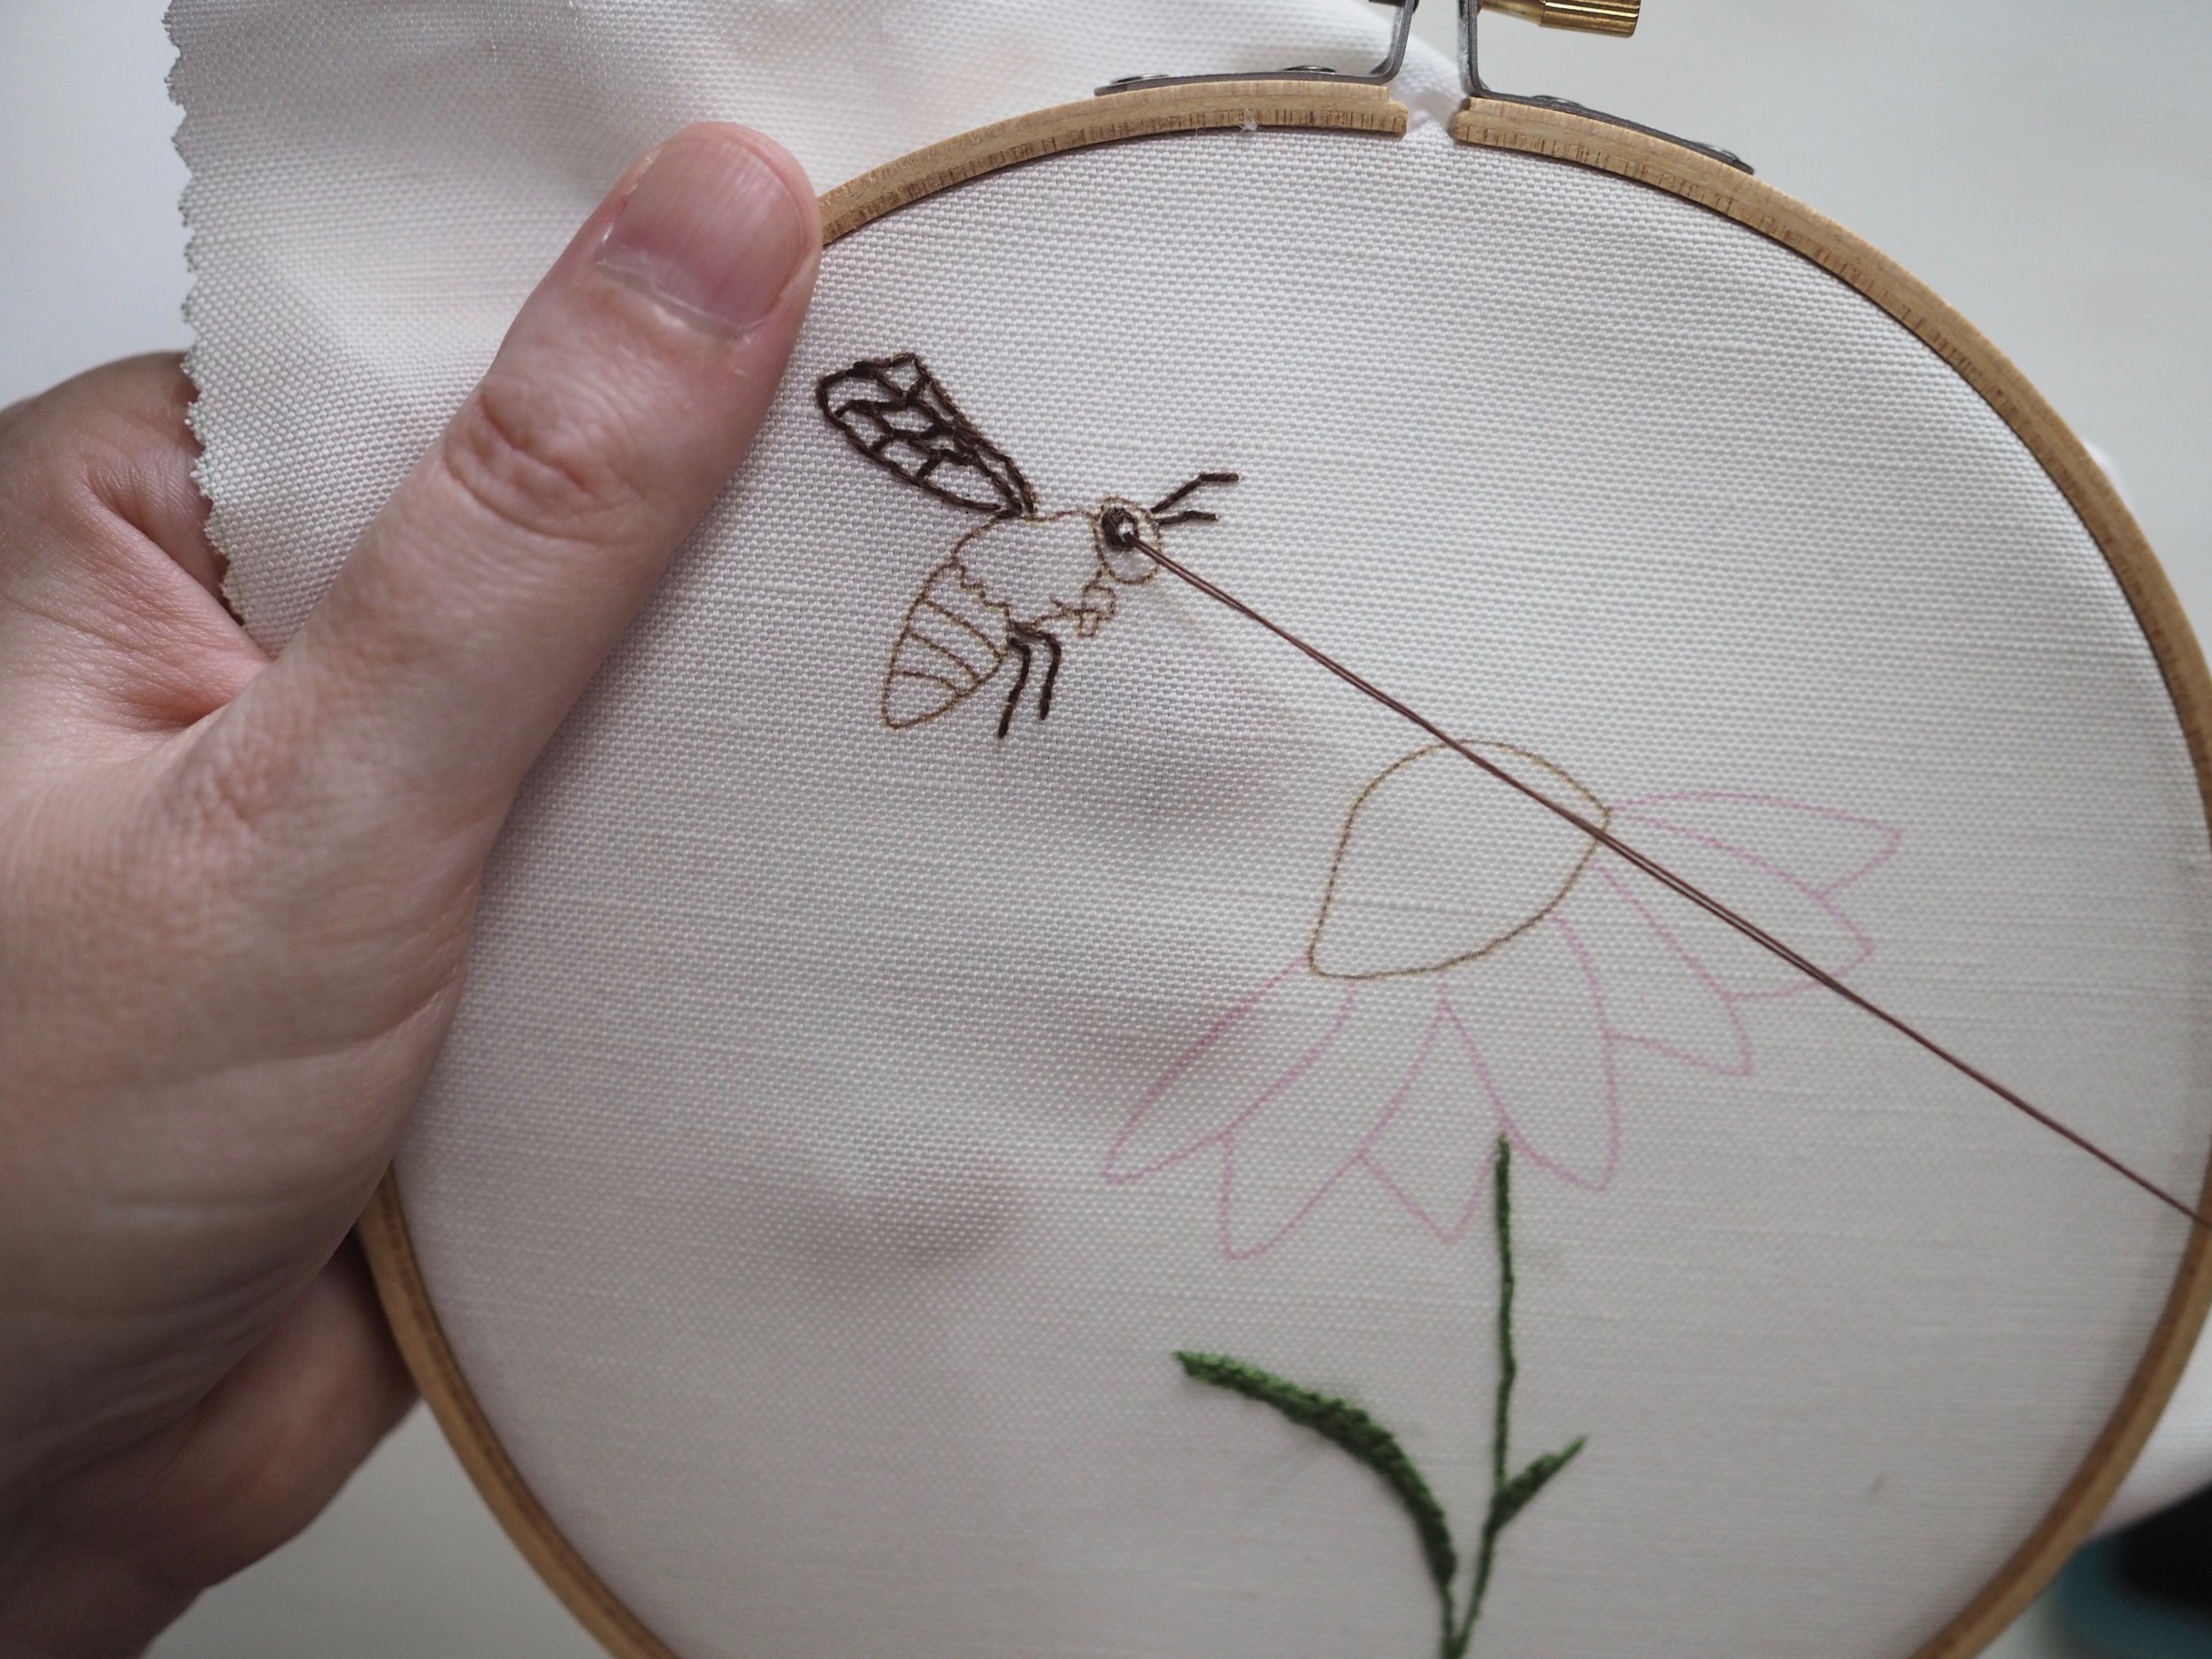
When I talk about embroidery, someone will always invariably ask me how to keep the back tidy. The truth is, since I usually hang my hoops on a wall, or use them on a pillow and you don't see the back, I generally don't much care what my backs look like. But, if the back is visibe and you are concerned, my tidy back tips are this:
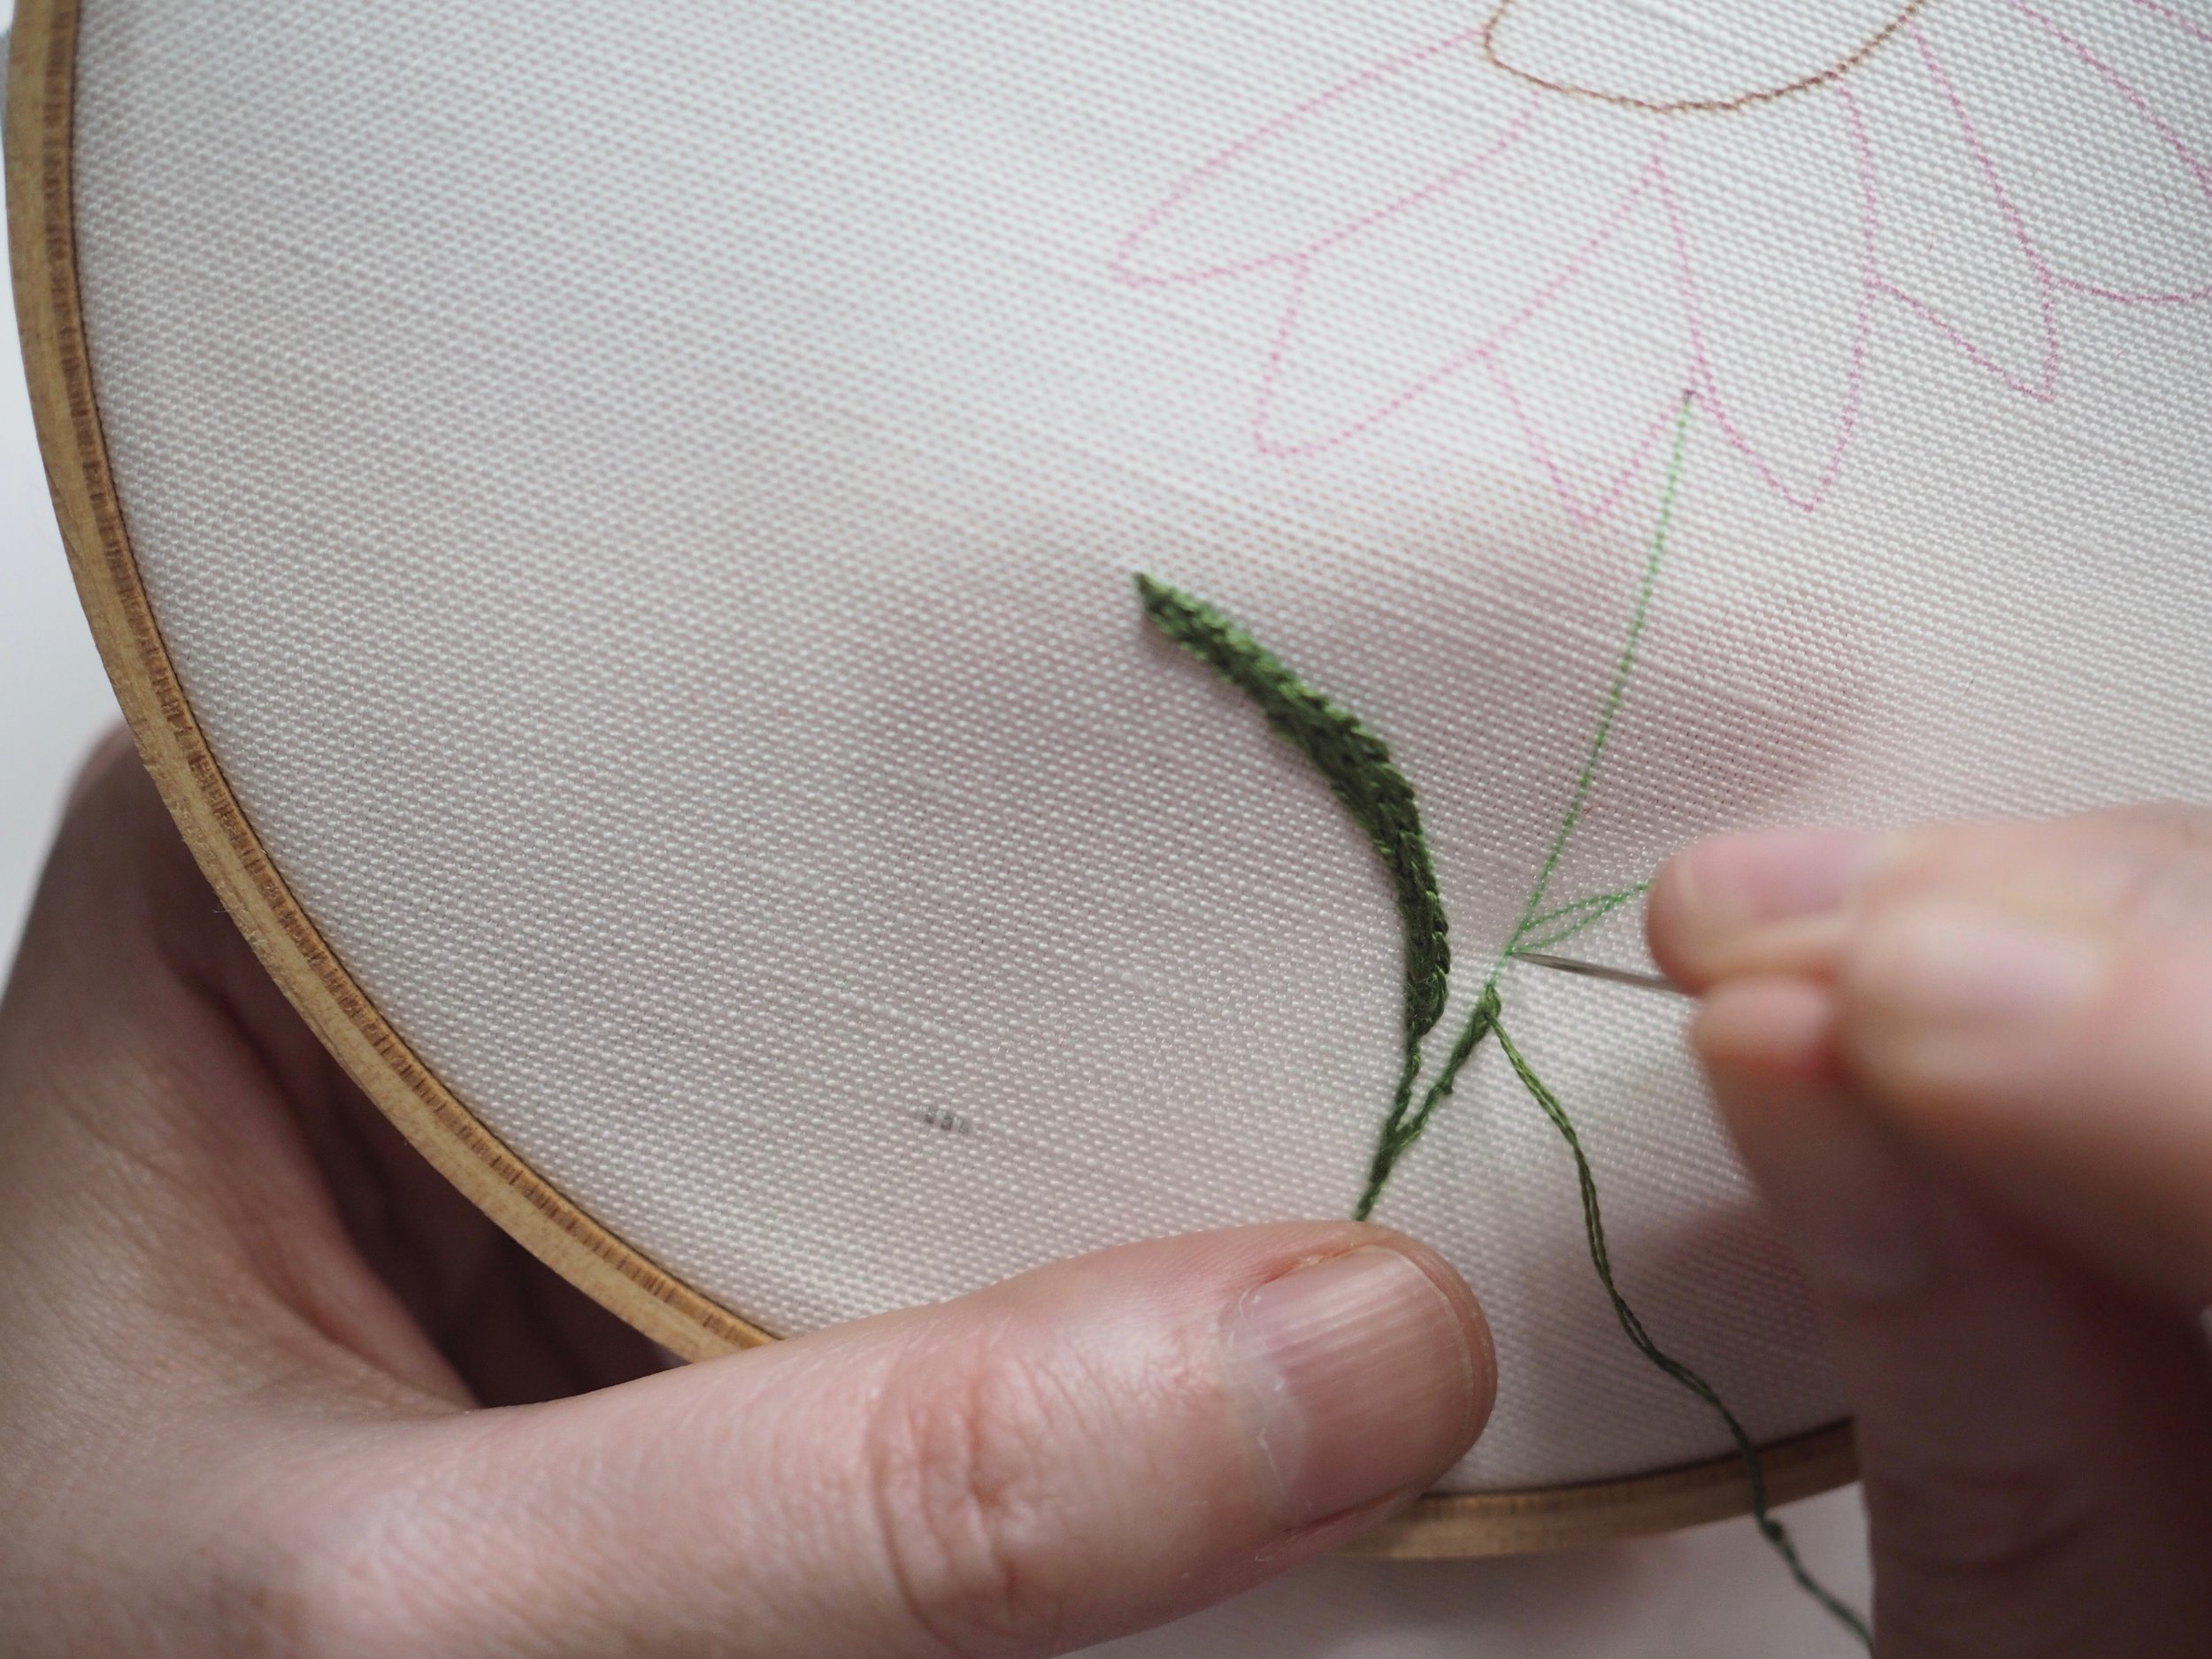
- If you have to move to a spot more than an inch away, cut the thread and anchor it anew in the new location OR
- Weave the working thread through the existing stitches (as seen above) until you reach your new starting spot.
That's it, pretty simple!
NEXT UP
- Shading with "hairy" satin stitch
- French knots
- Blanket Stitch
- Finishing the back
- Until then you can Click here for a downloadable PDF of basic stitches

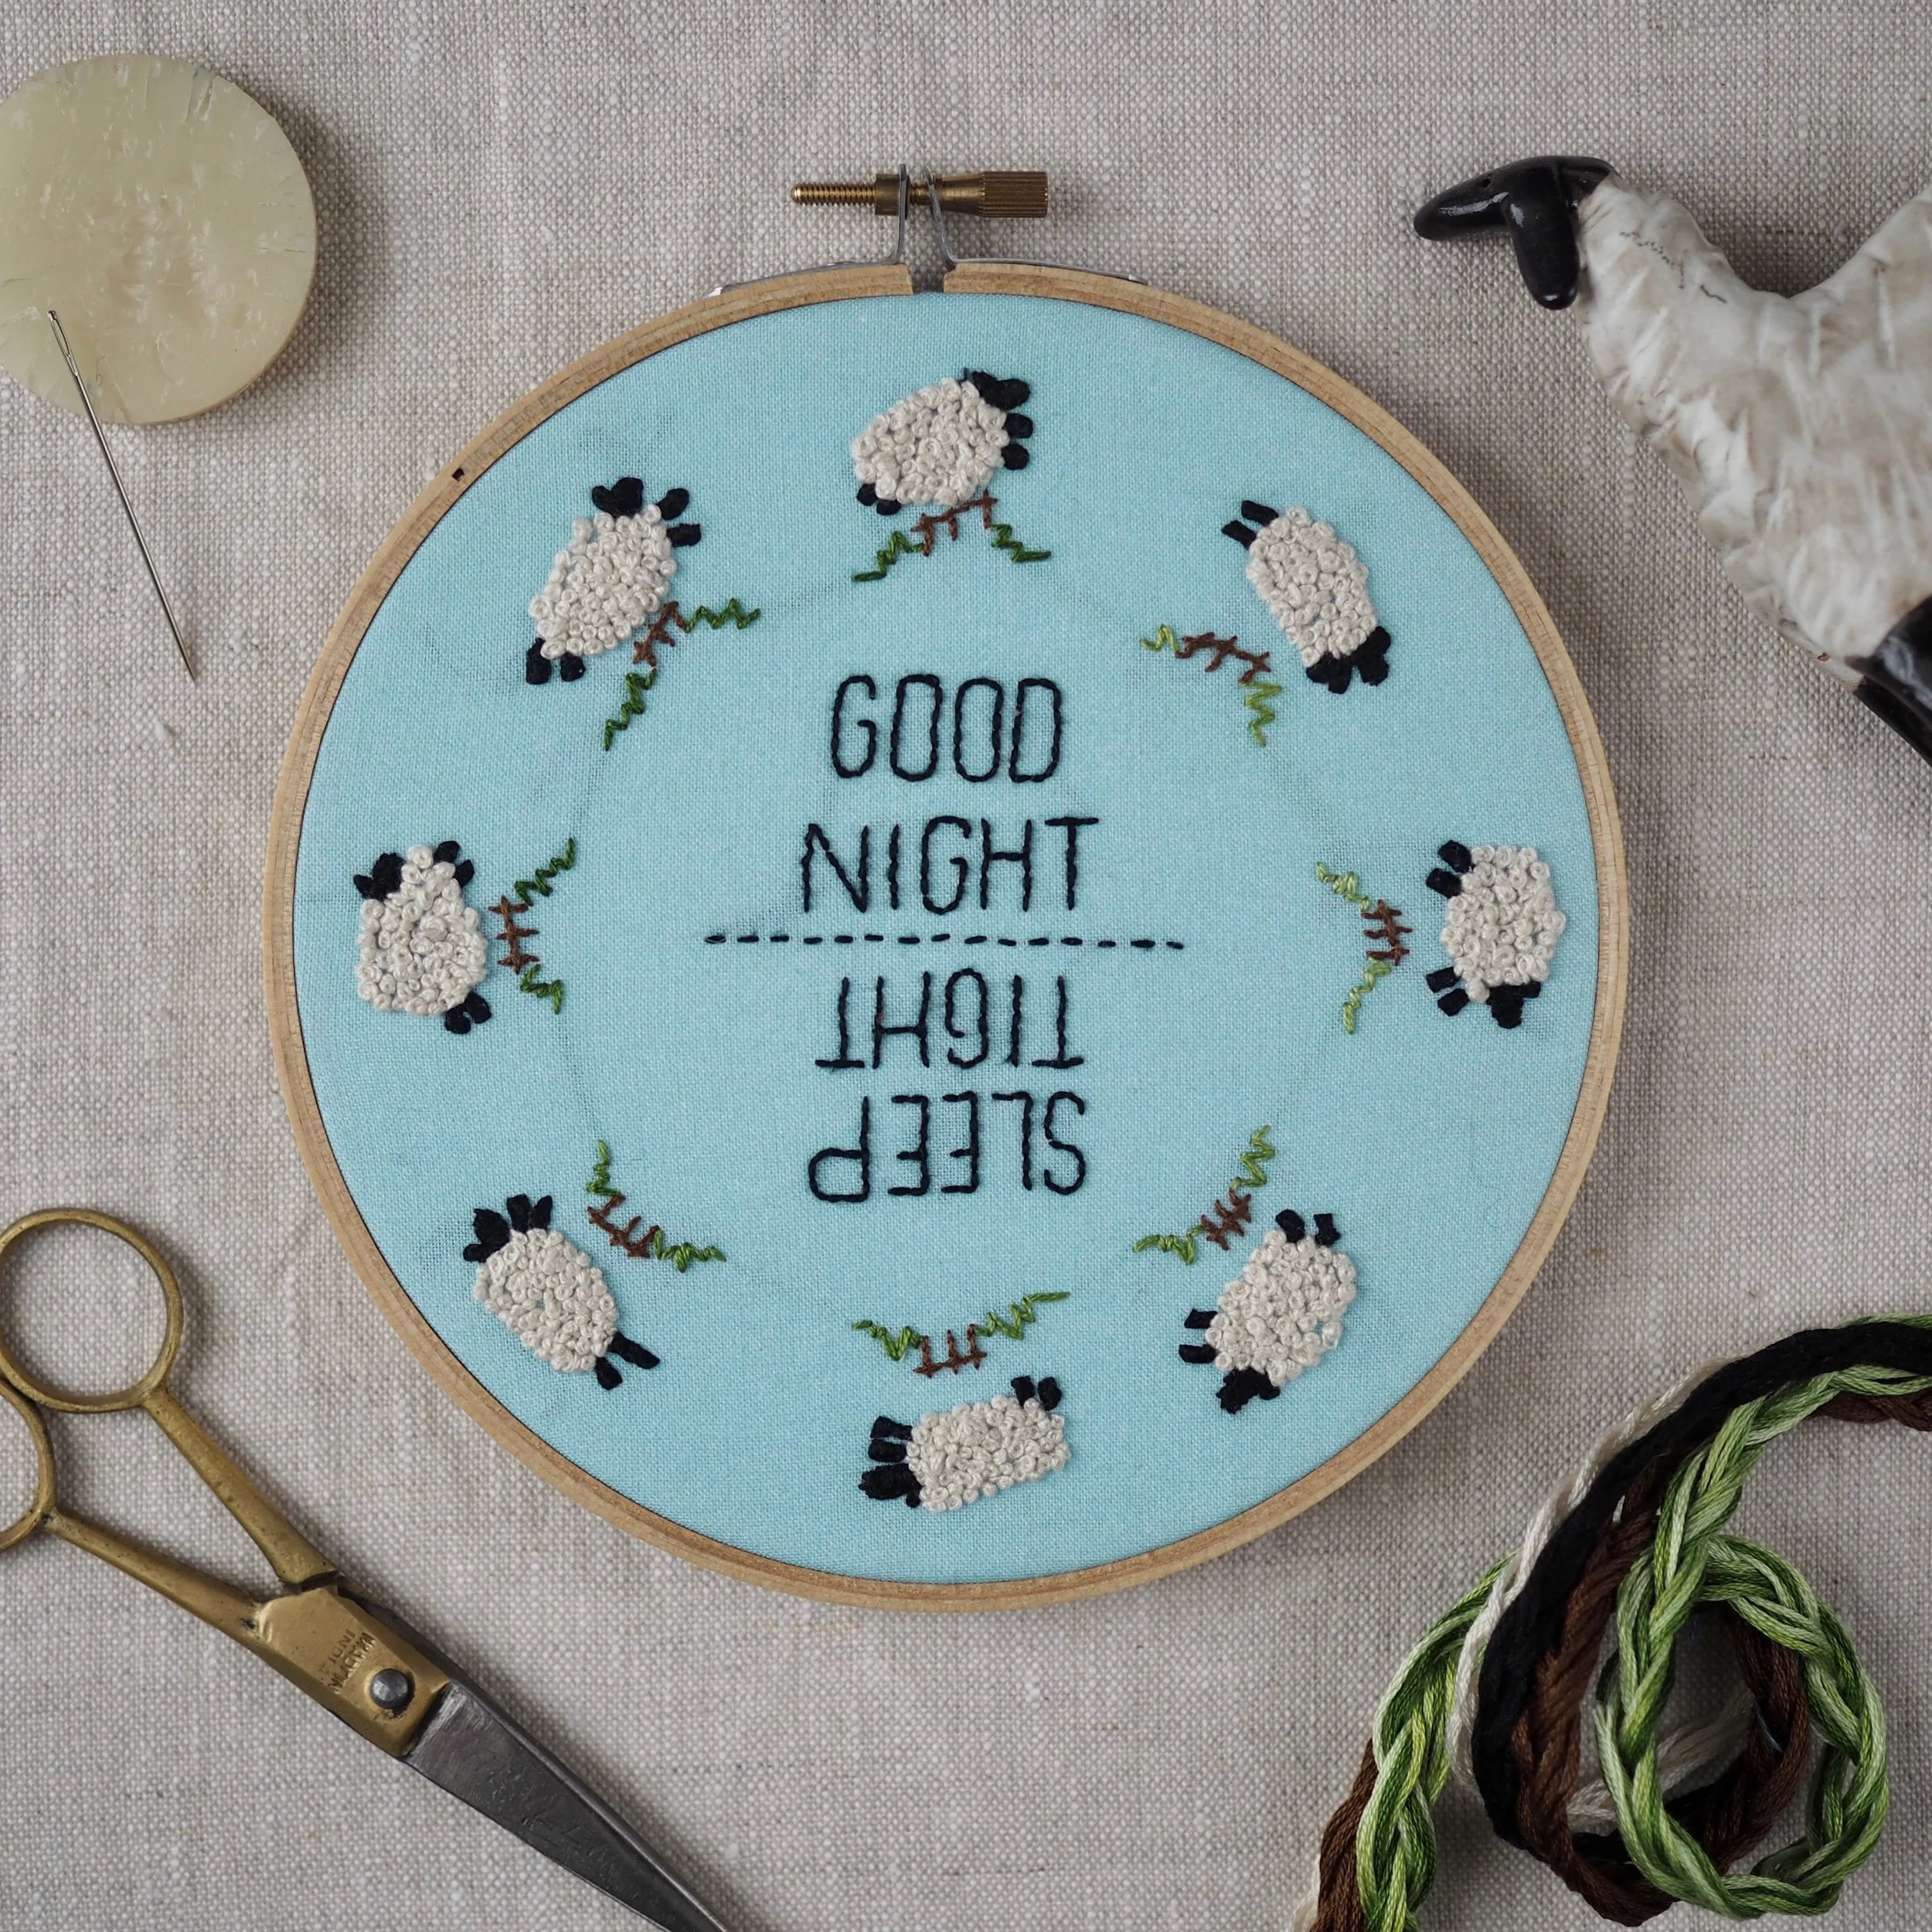
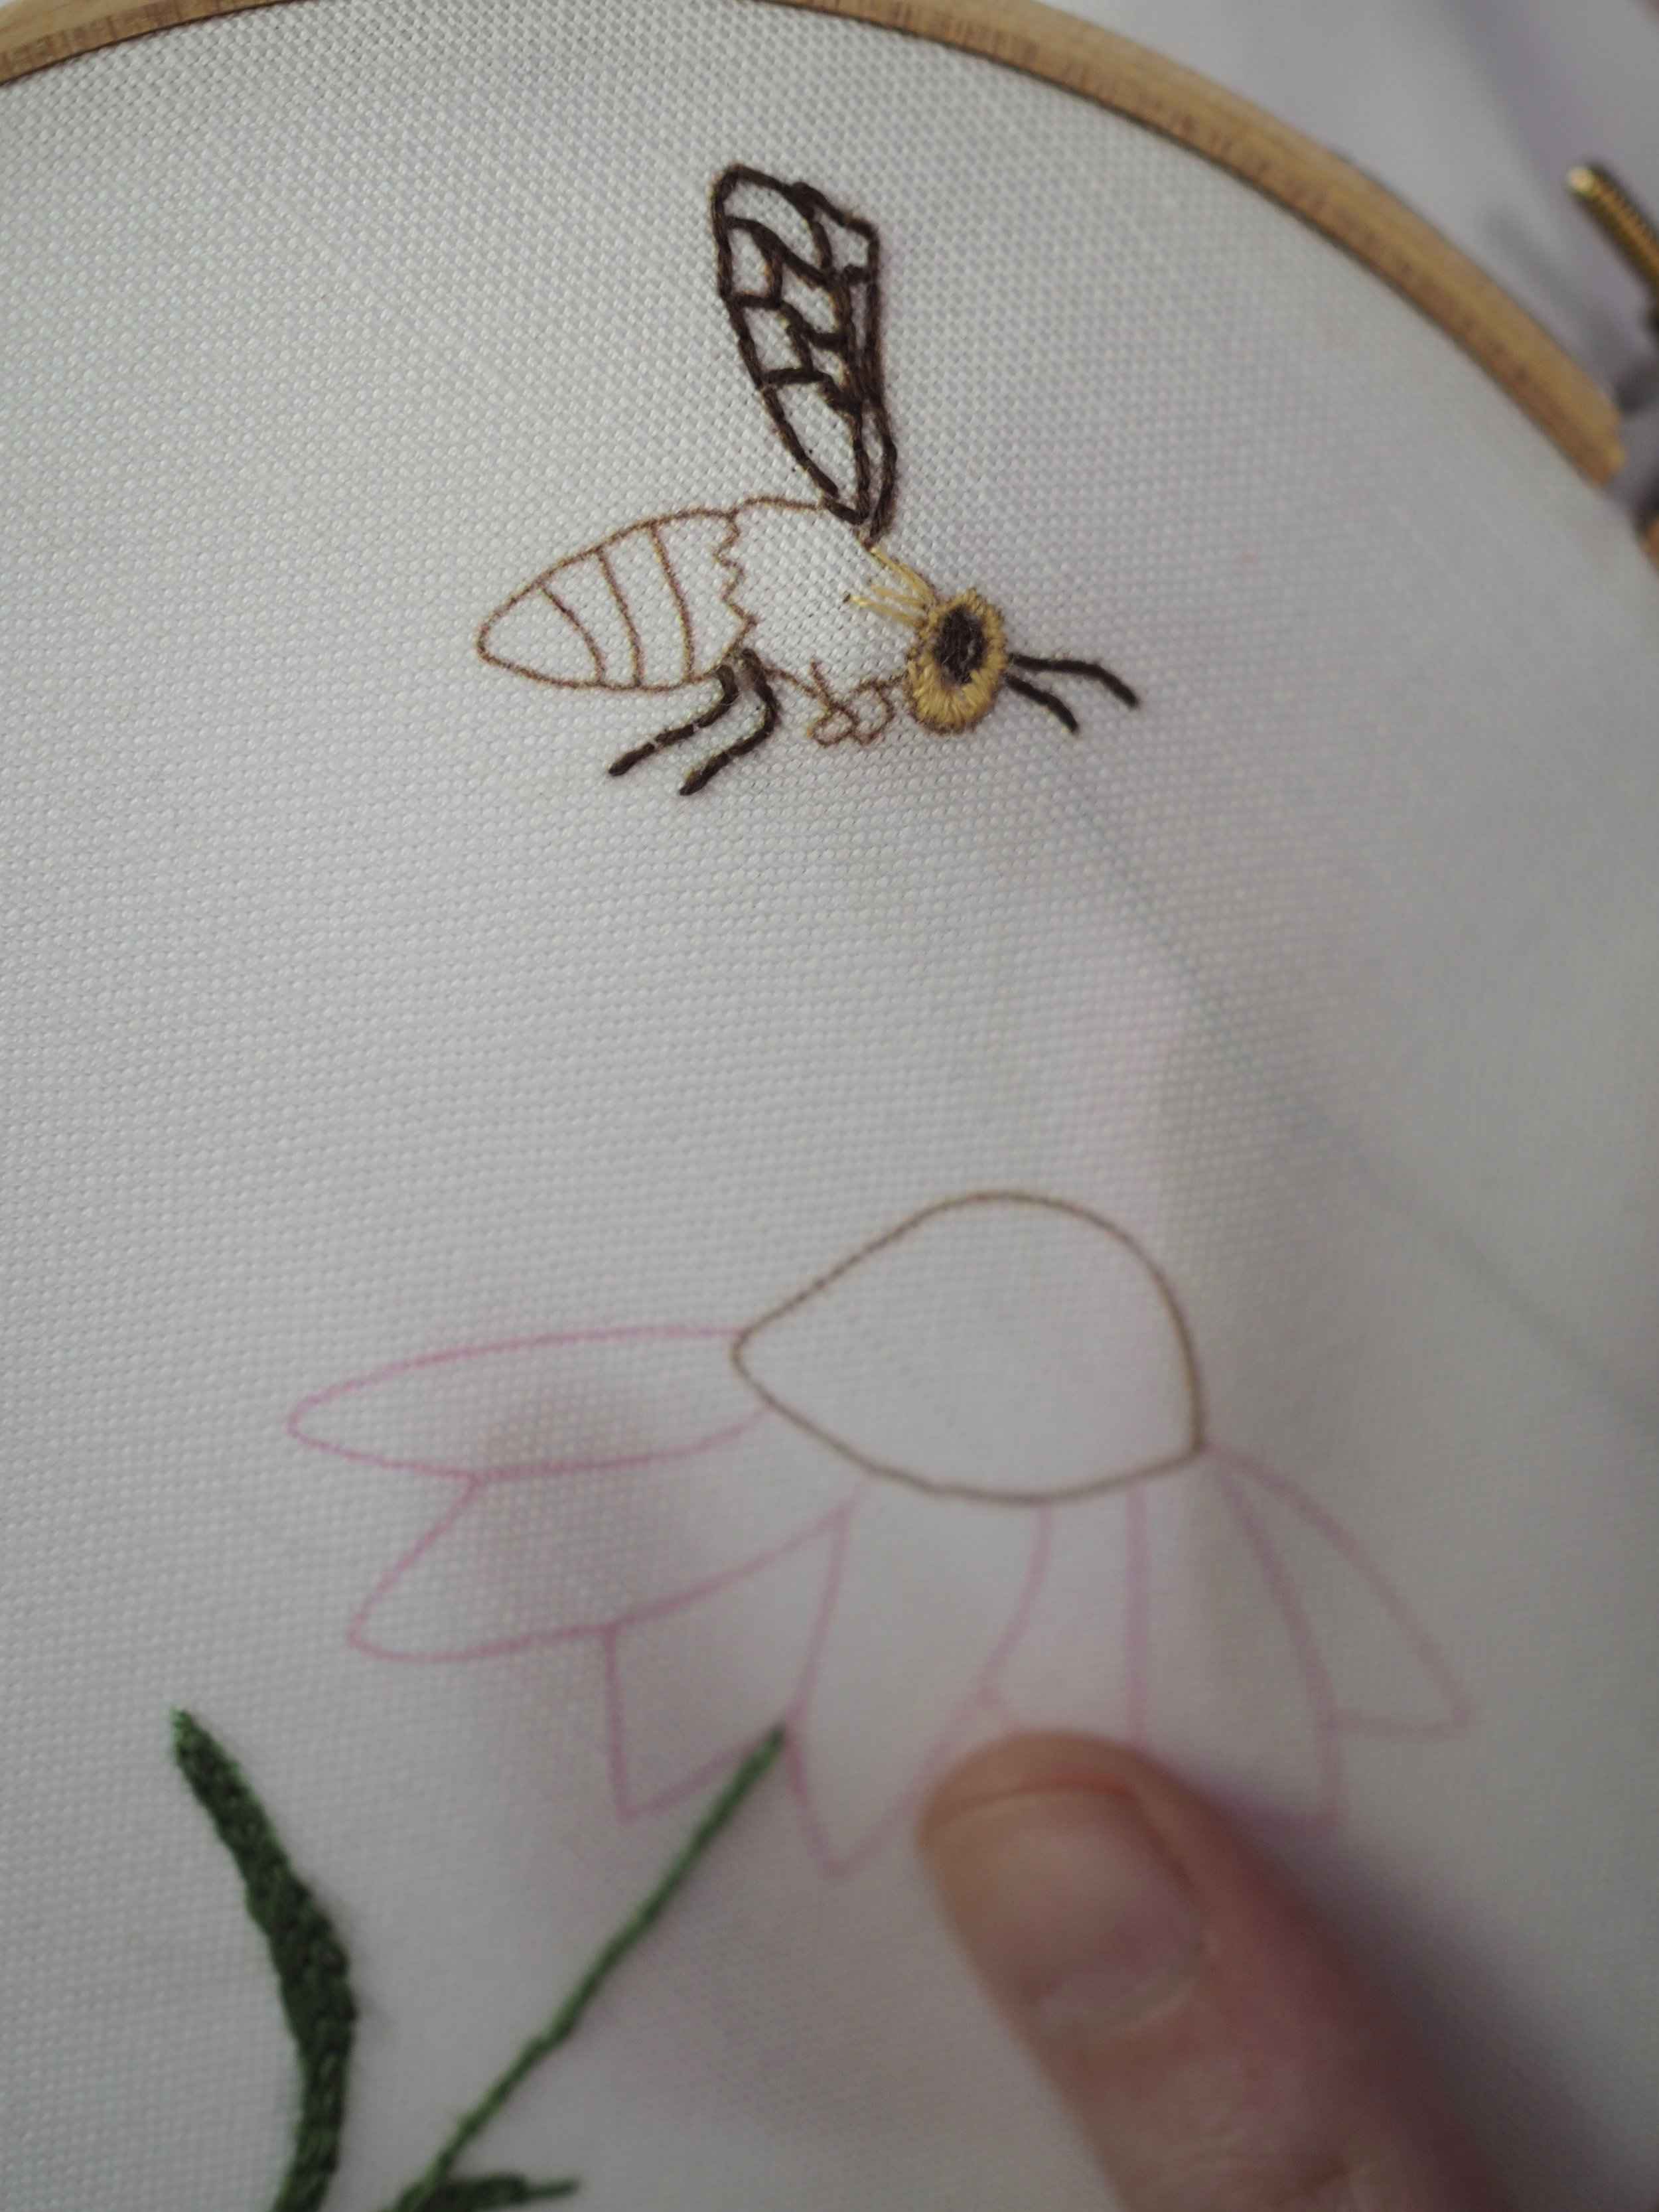
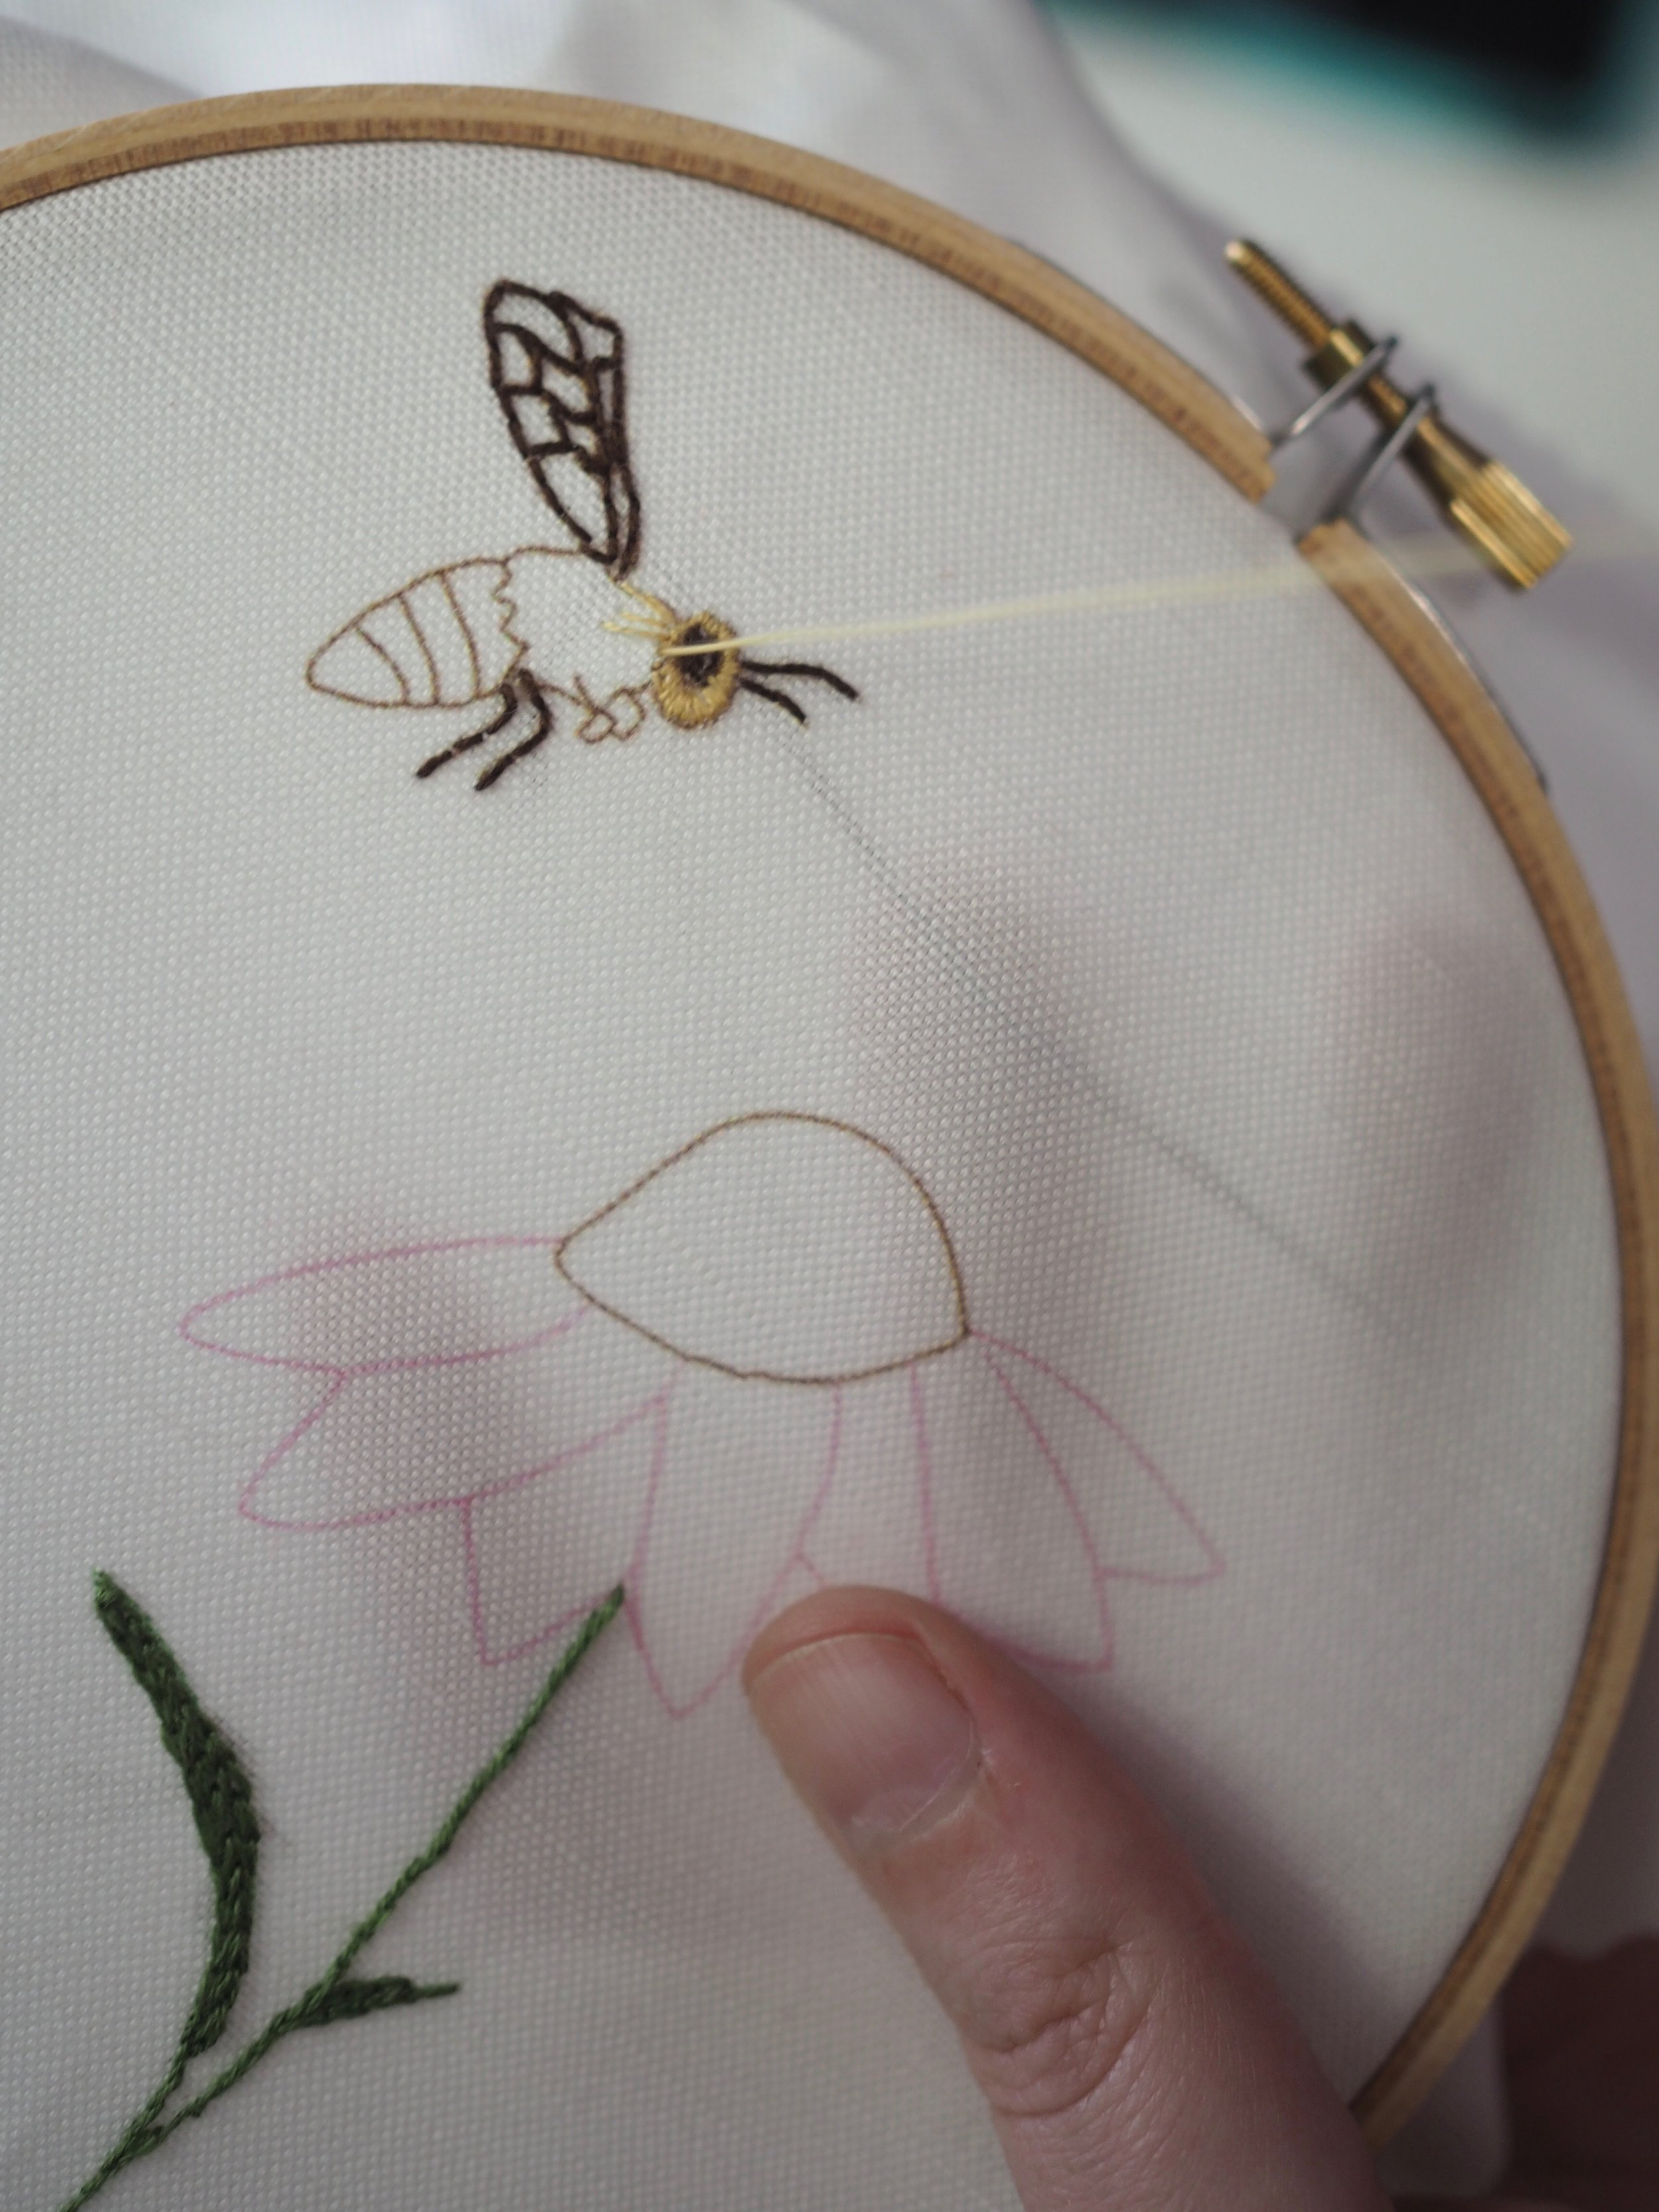
A nature inspired design for spring, this kit serves as a good opportunity to practice shading
—-
With the design pre-printed on a beautiful linen-blend fabric, stitching a heirloom quality piece of embroidery is almost as simple as coloring!
Embroidery kits make great gifts (including for yourself!) and are a wonderfully meditative activity that comes with a beautiful product at the end.
Hang your finished piece right in the hoop (I’ll show you how!), frame it, or sew it into a cushion, bag or quilt.
New to embroidery? Each kit comes with a 2-page color guide to basic stitches or check out the tutorial library for tips and step-by-step instructions.
——
COMPLETE EMBROIDERY KIT
Contains everything you need to stitch a beautiful wall-hanging.
High-quality Linen/Cotton Fabric pre-printed with design
6” wooden hoop
5 skeins of DMC Embroidery Floss
Embroidery needle
Guide to basic embroidery stitches (additional tutorials available at MsCleaver.com)
Complete kit packaged in a sturdy reusable kraft envelope suitable for gifting.
Have more floss than you know what to do with, or want to pick your own colors? Purchase the pre-printed panel only in the drop-down menu above. Also available as a PDF Pattern.