Quebec City (or an old city with a young one)

(Click on any photo for a larger version)

Activities

Aside from looking up a couple articles on "Quebec with kids" months prior to leaving on the trip, we did no planning for our week-long stay except for booking a hotel on the Rue St. Anne. So our daily schedule was pretty much as follows:

  1. Get up and have breakfast (either in a cafe, or the banana bread I brought)
  2. Walk to see something new we hadn't seen yet
  3. Get lunch
  4. Head back to the hotel for downtime (naps, reading, watching French cartoons on Telemagino)
  5. Go out to dinner
  6. Wander some more, maybe watch Cirque performers 
  7. Head back to the hotel

This rhythm worked out really well for all of us. Little Miss Cleaver enjoyed the cartoons ( despite not knowing a lick of French), I read an entire book, and we never felt rushed or overtired.  

Best Activities for Young Kids

Little Miss Cleaver is 4 1/2 and these were the biggest hits on the trip for her.

Free Stuff

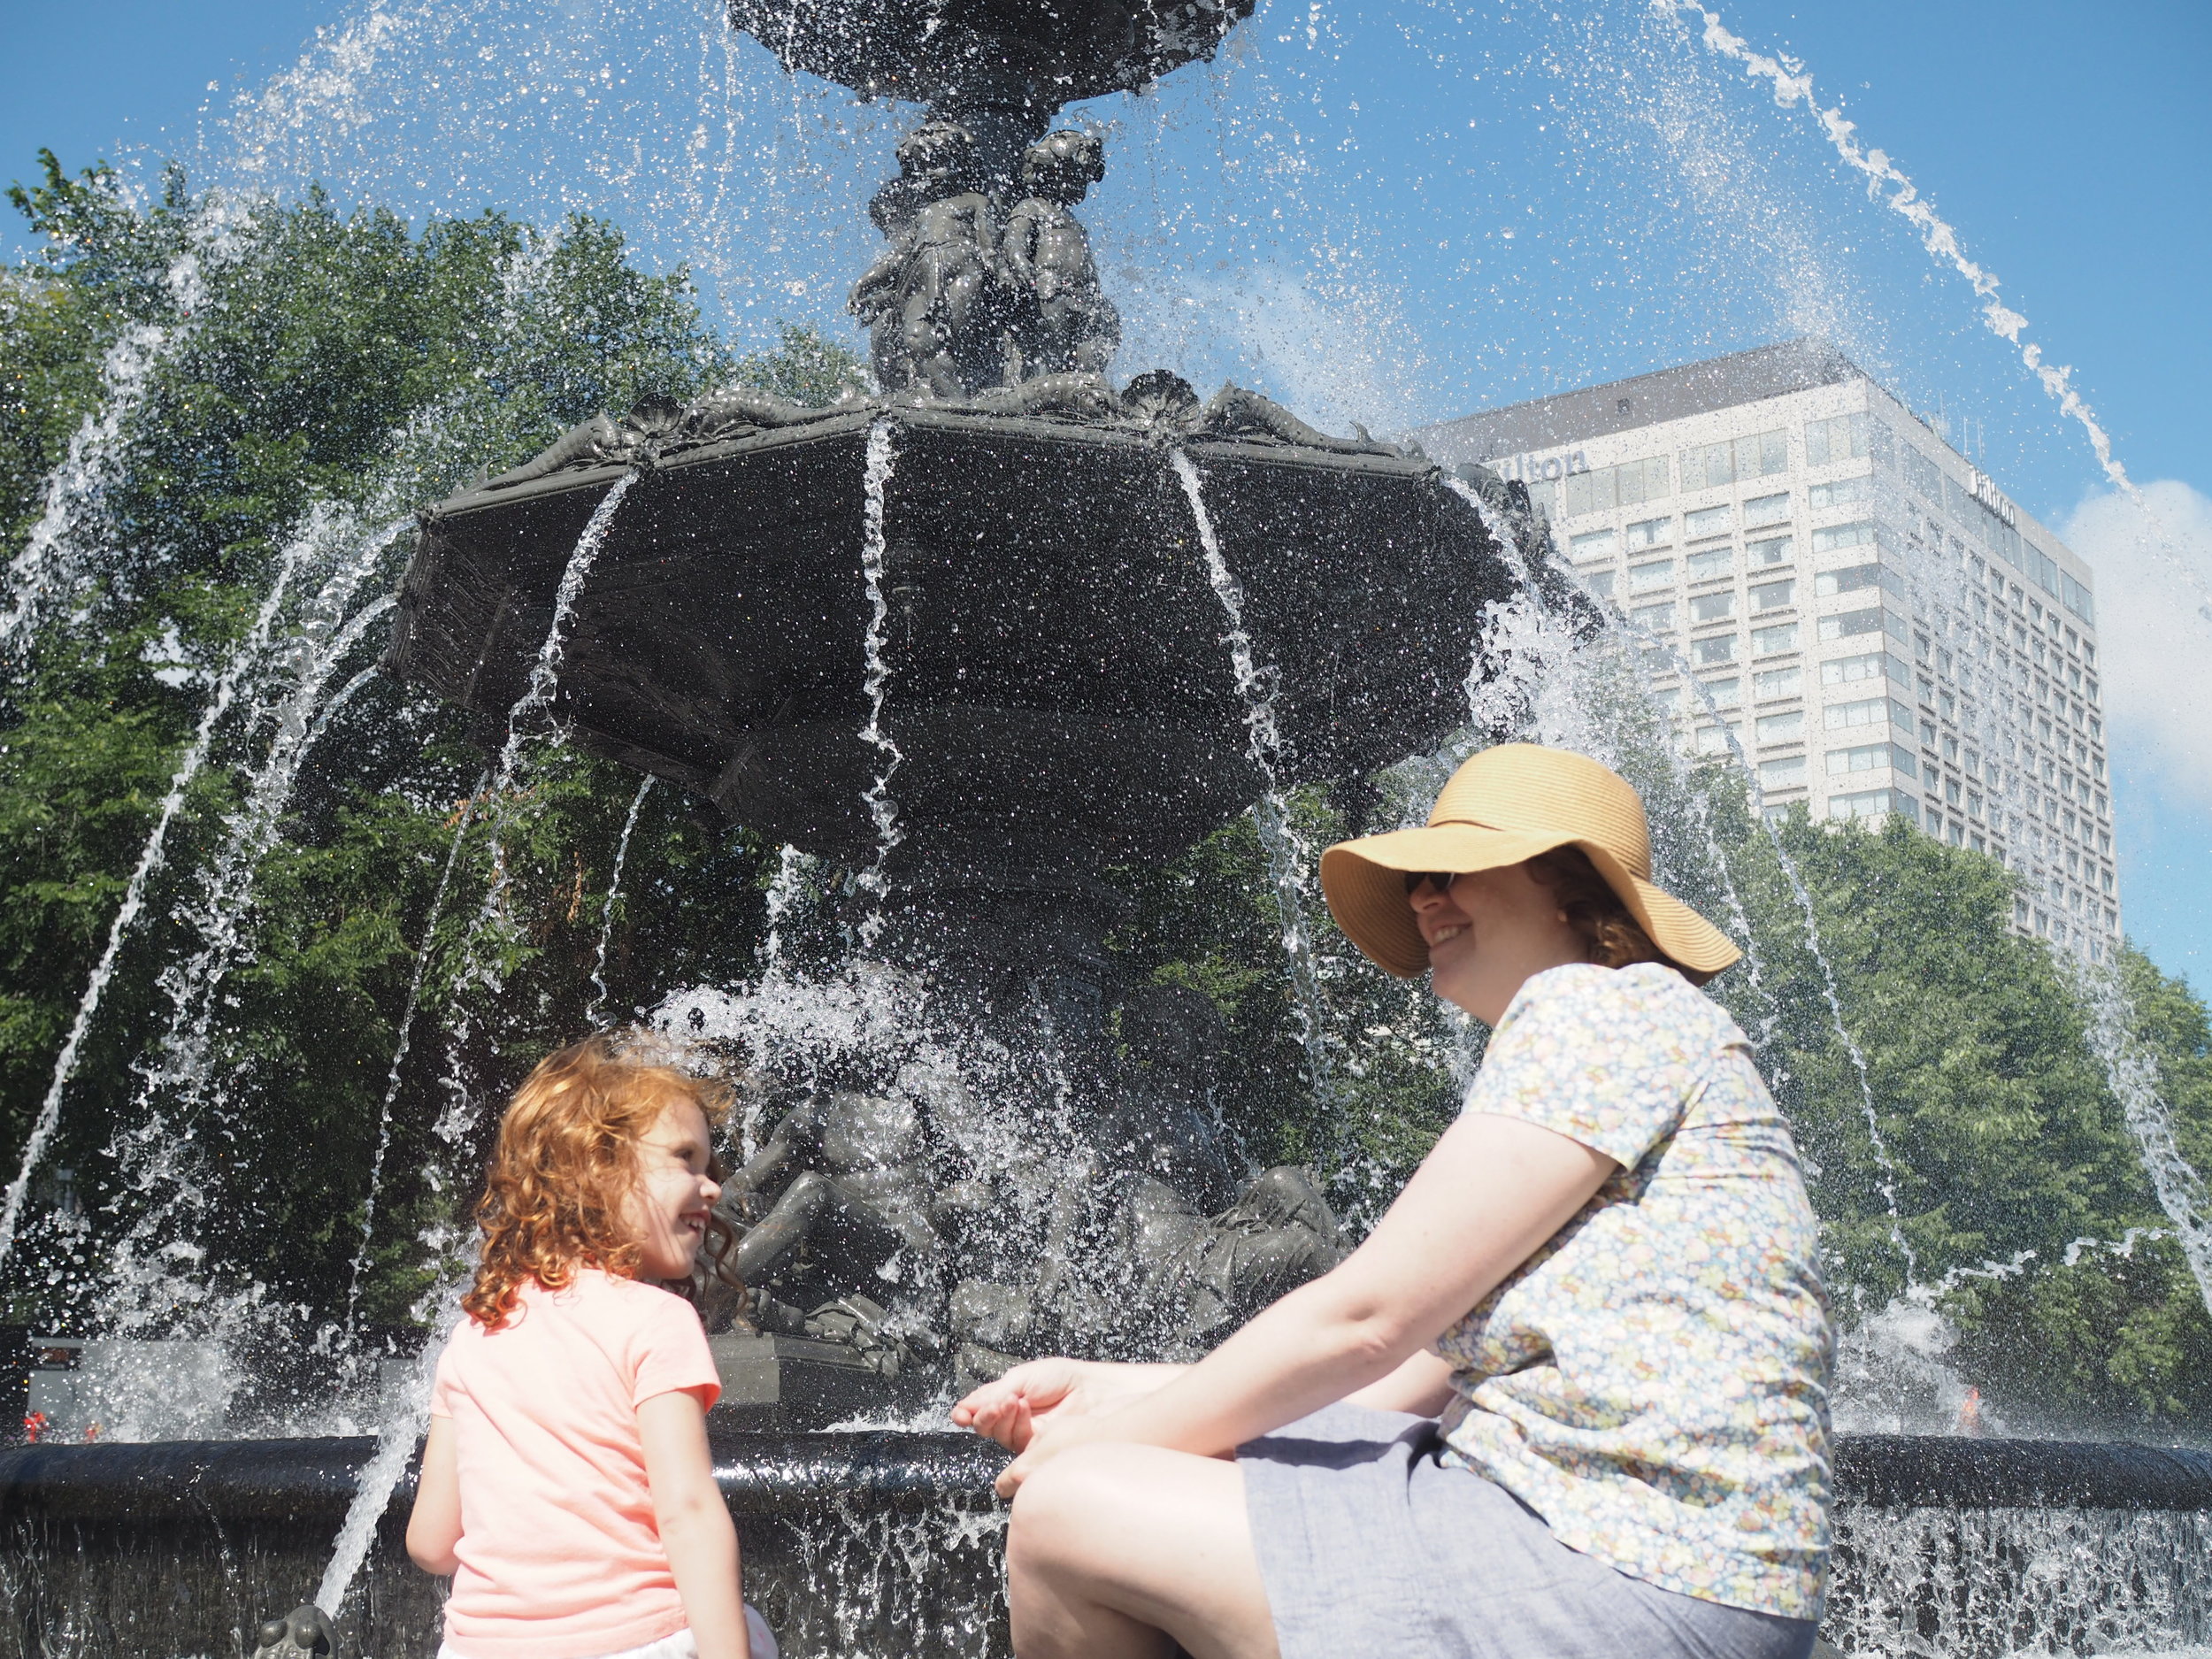
  • The splash pad/fountain outside Quebec City Town Hall and across from the Hotel Clarendon - it's huge, the water goes super high and the pattern is so long you can't guess where it's coming from next and it lights up at night. It's a kids dream.
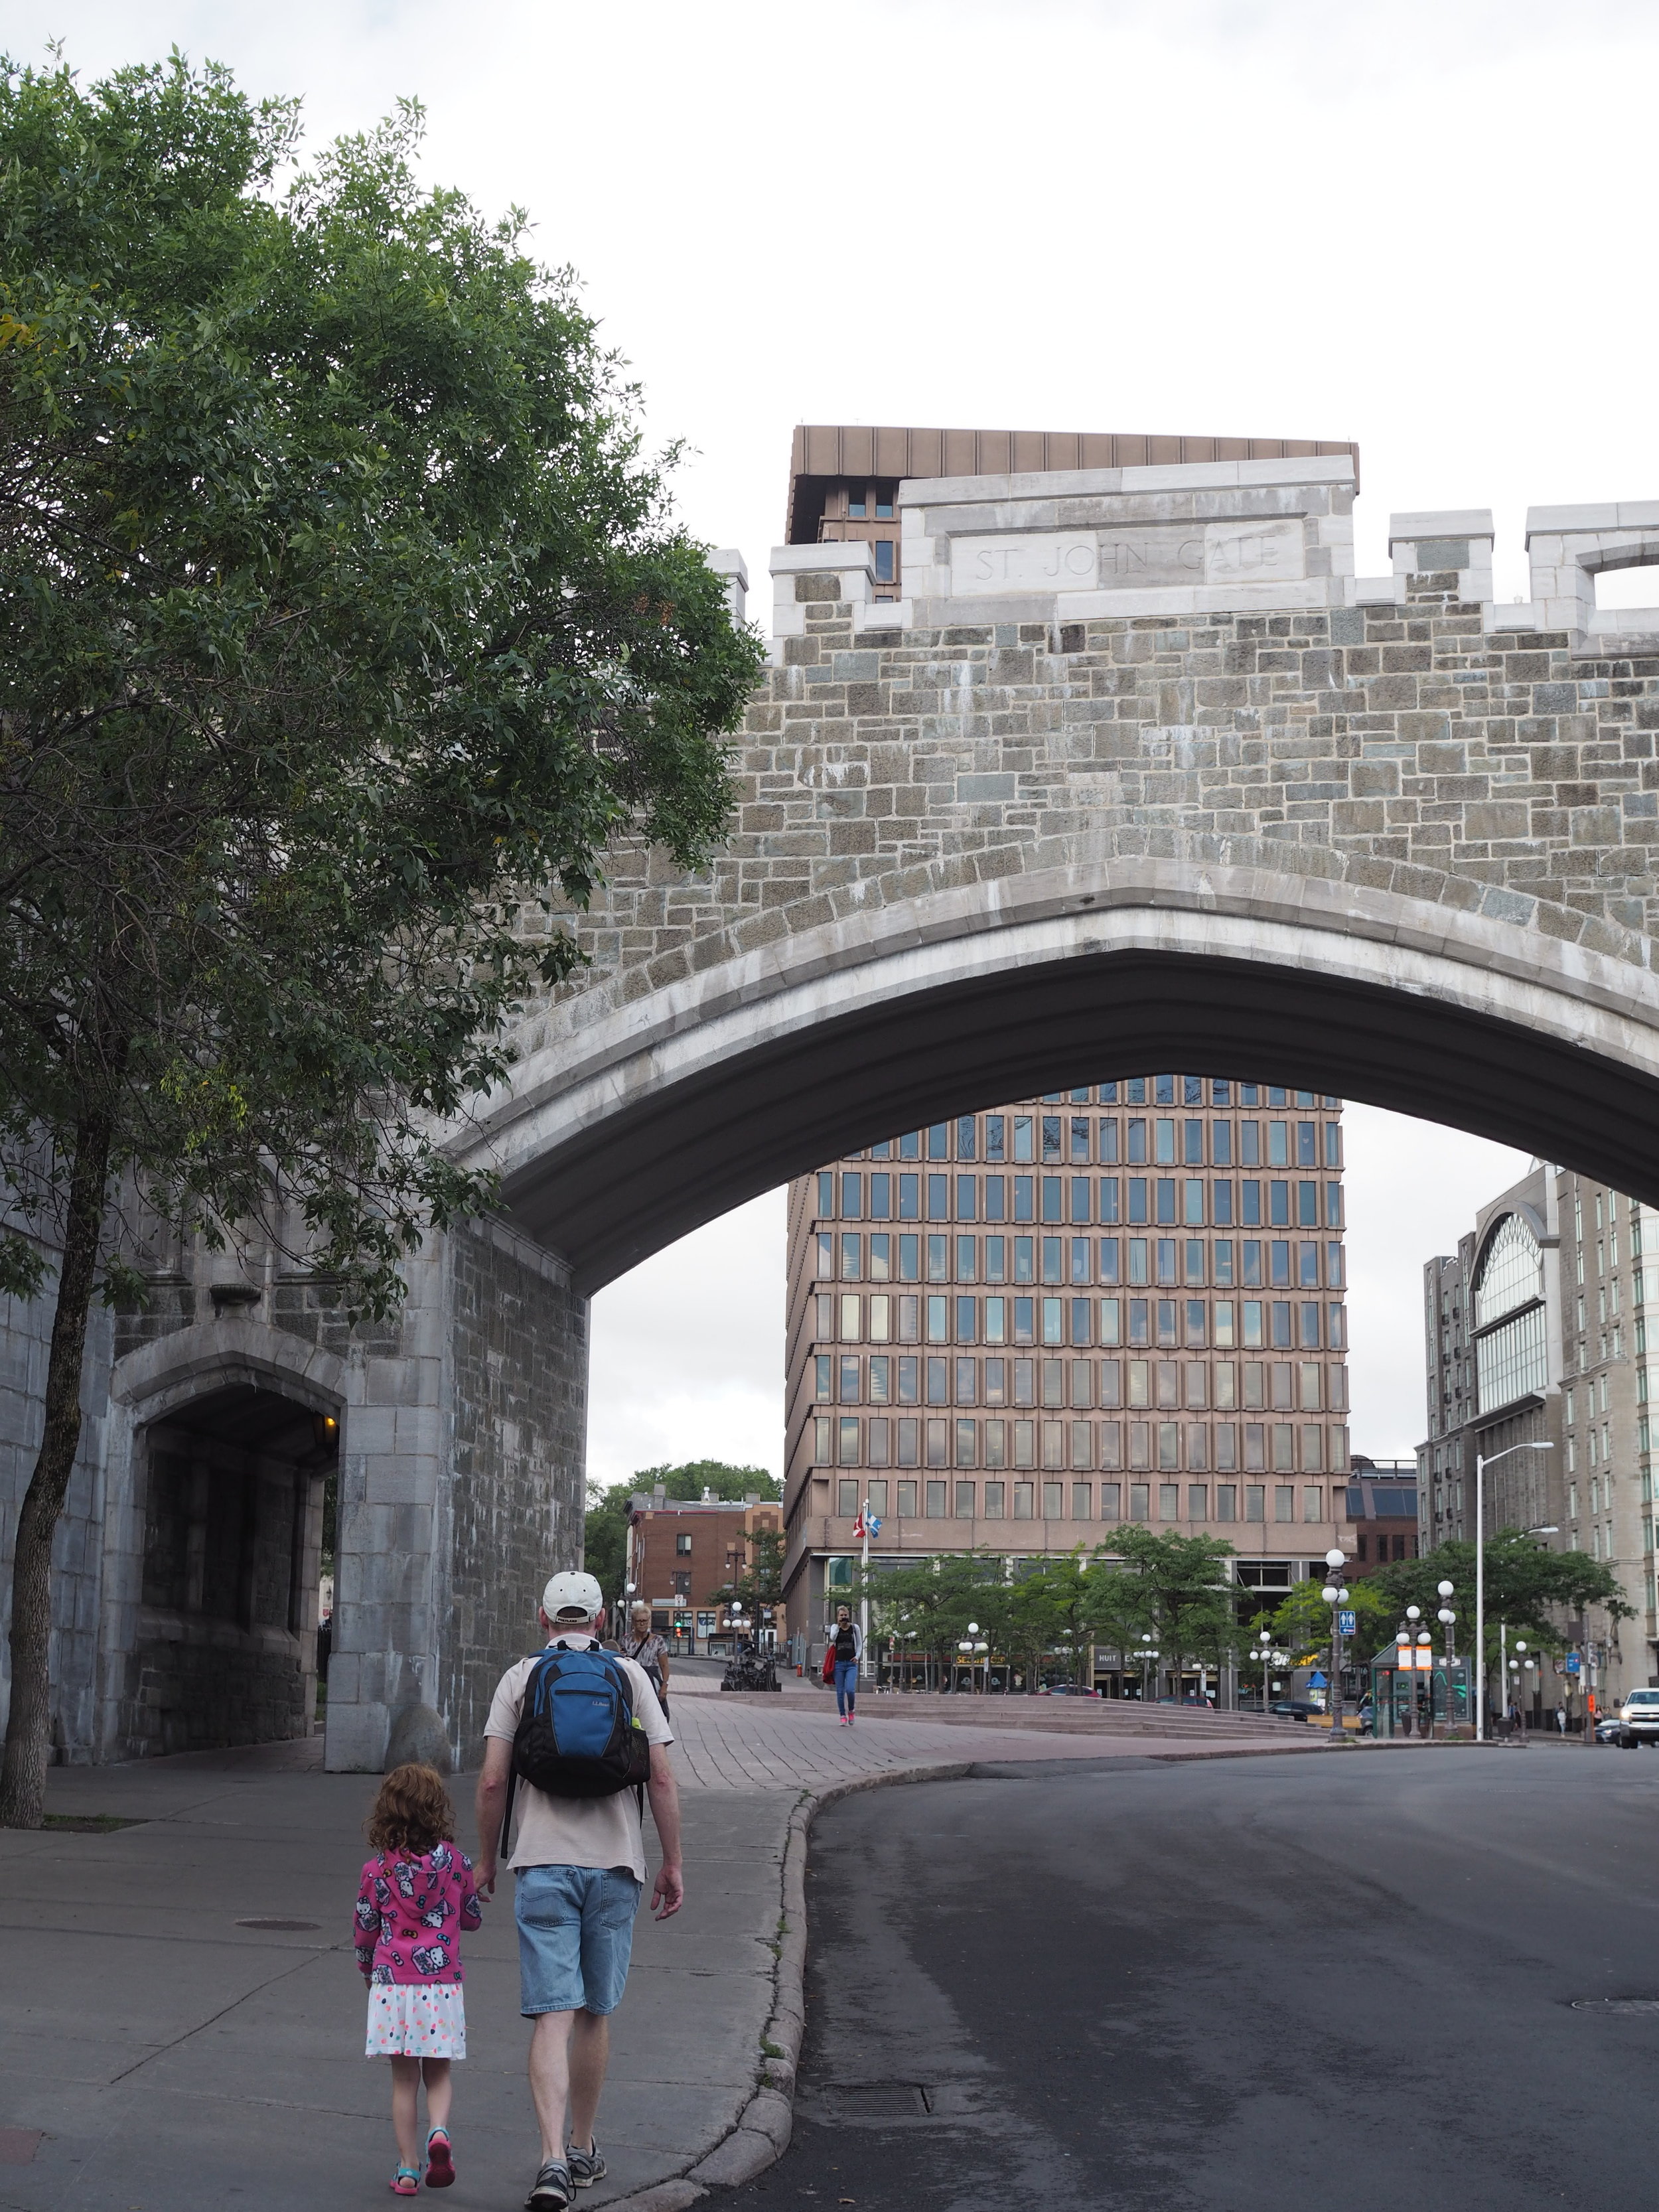
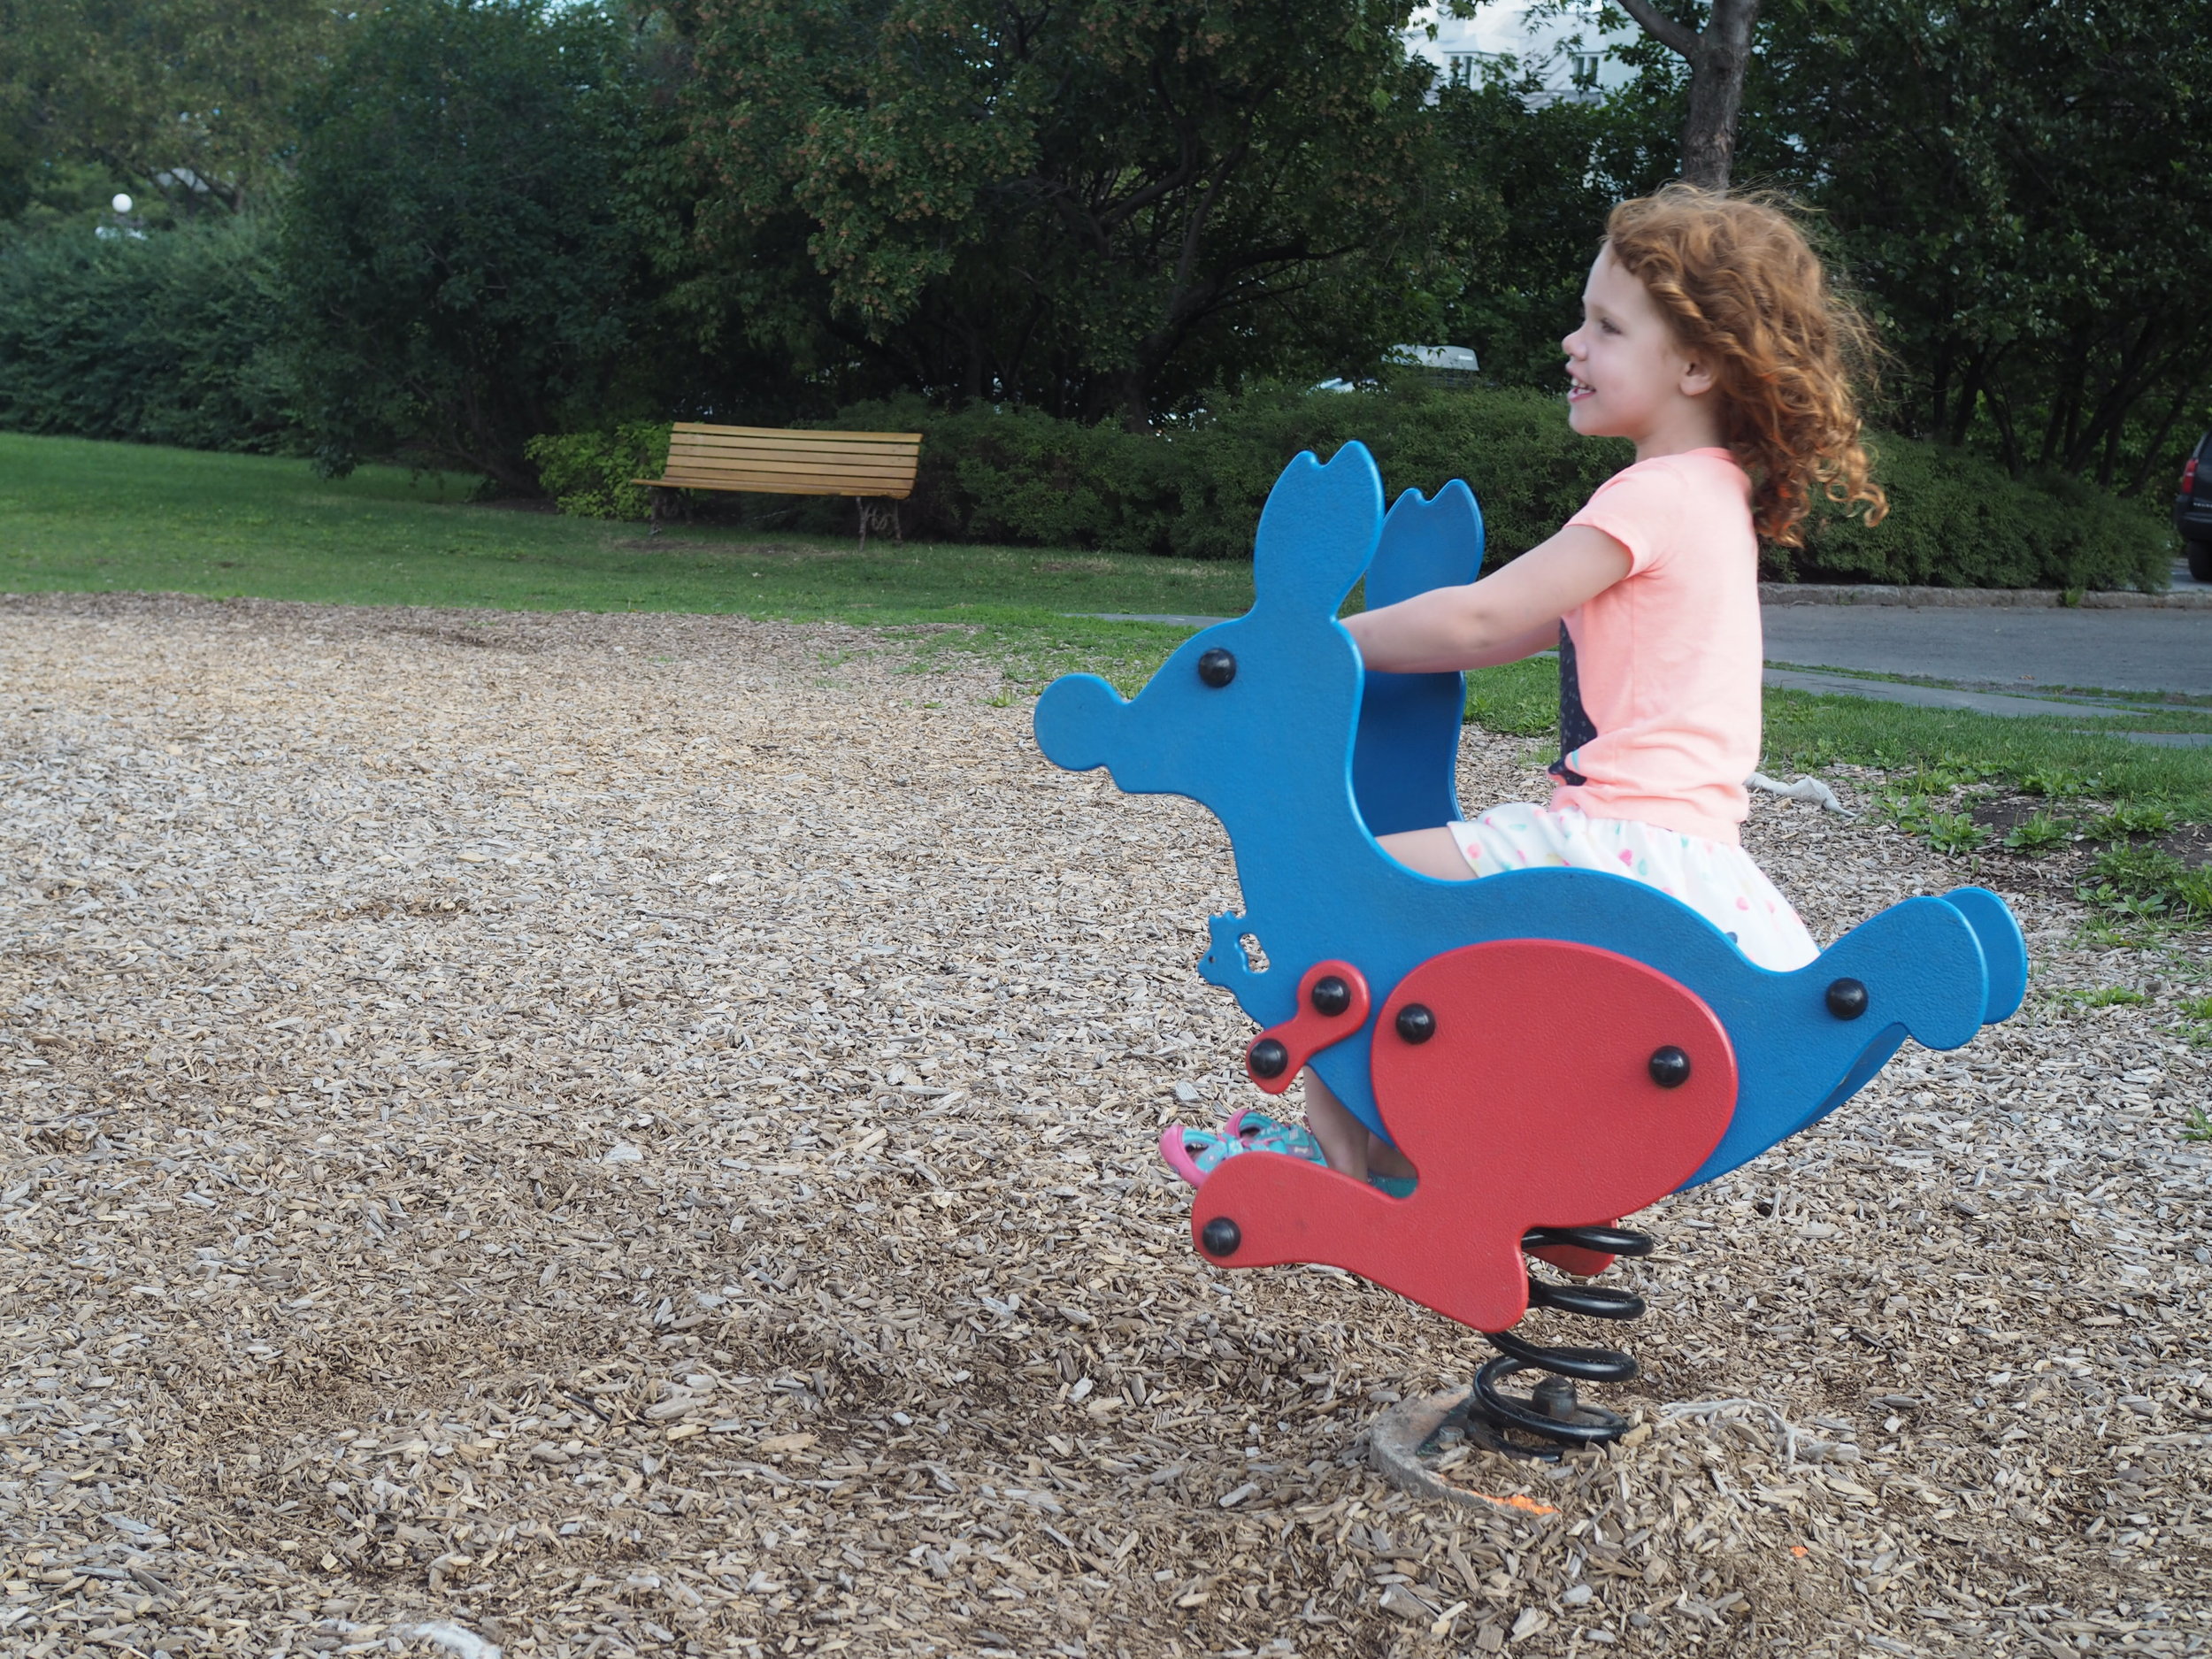
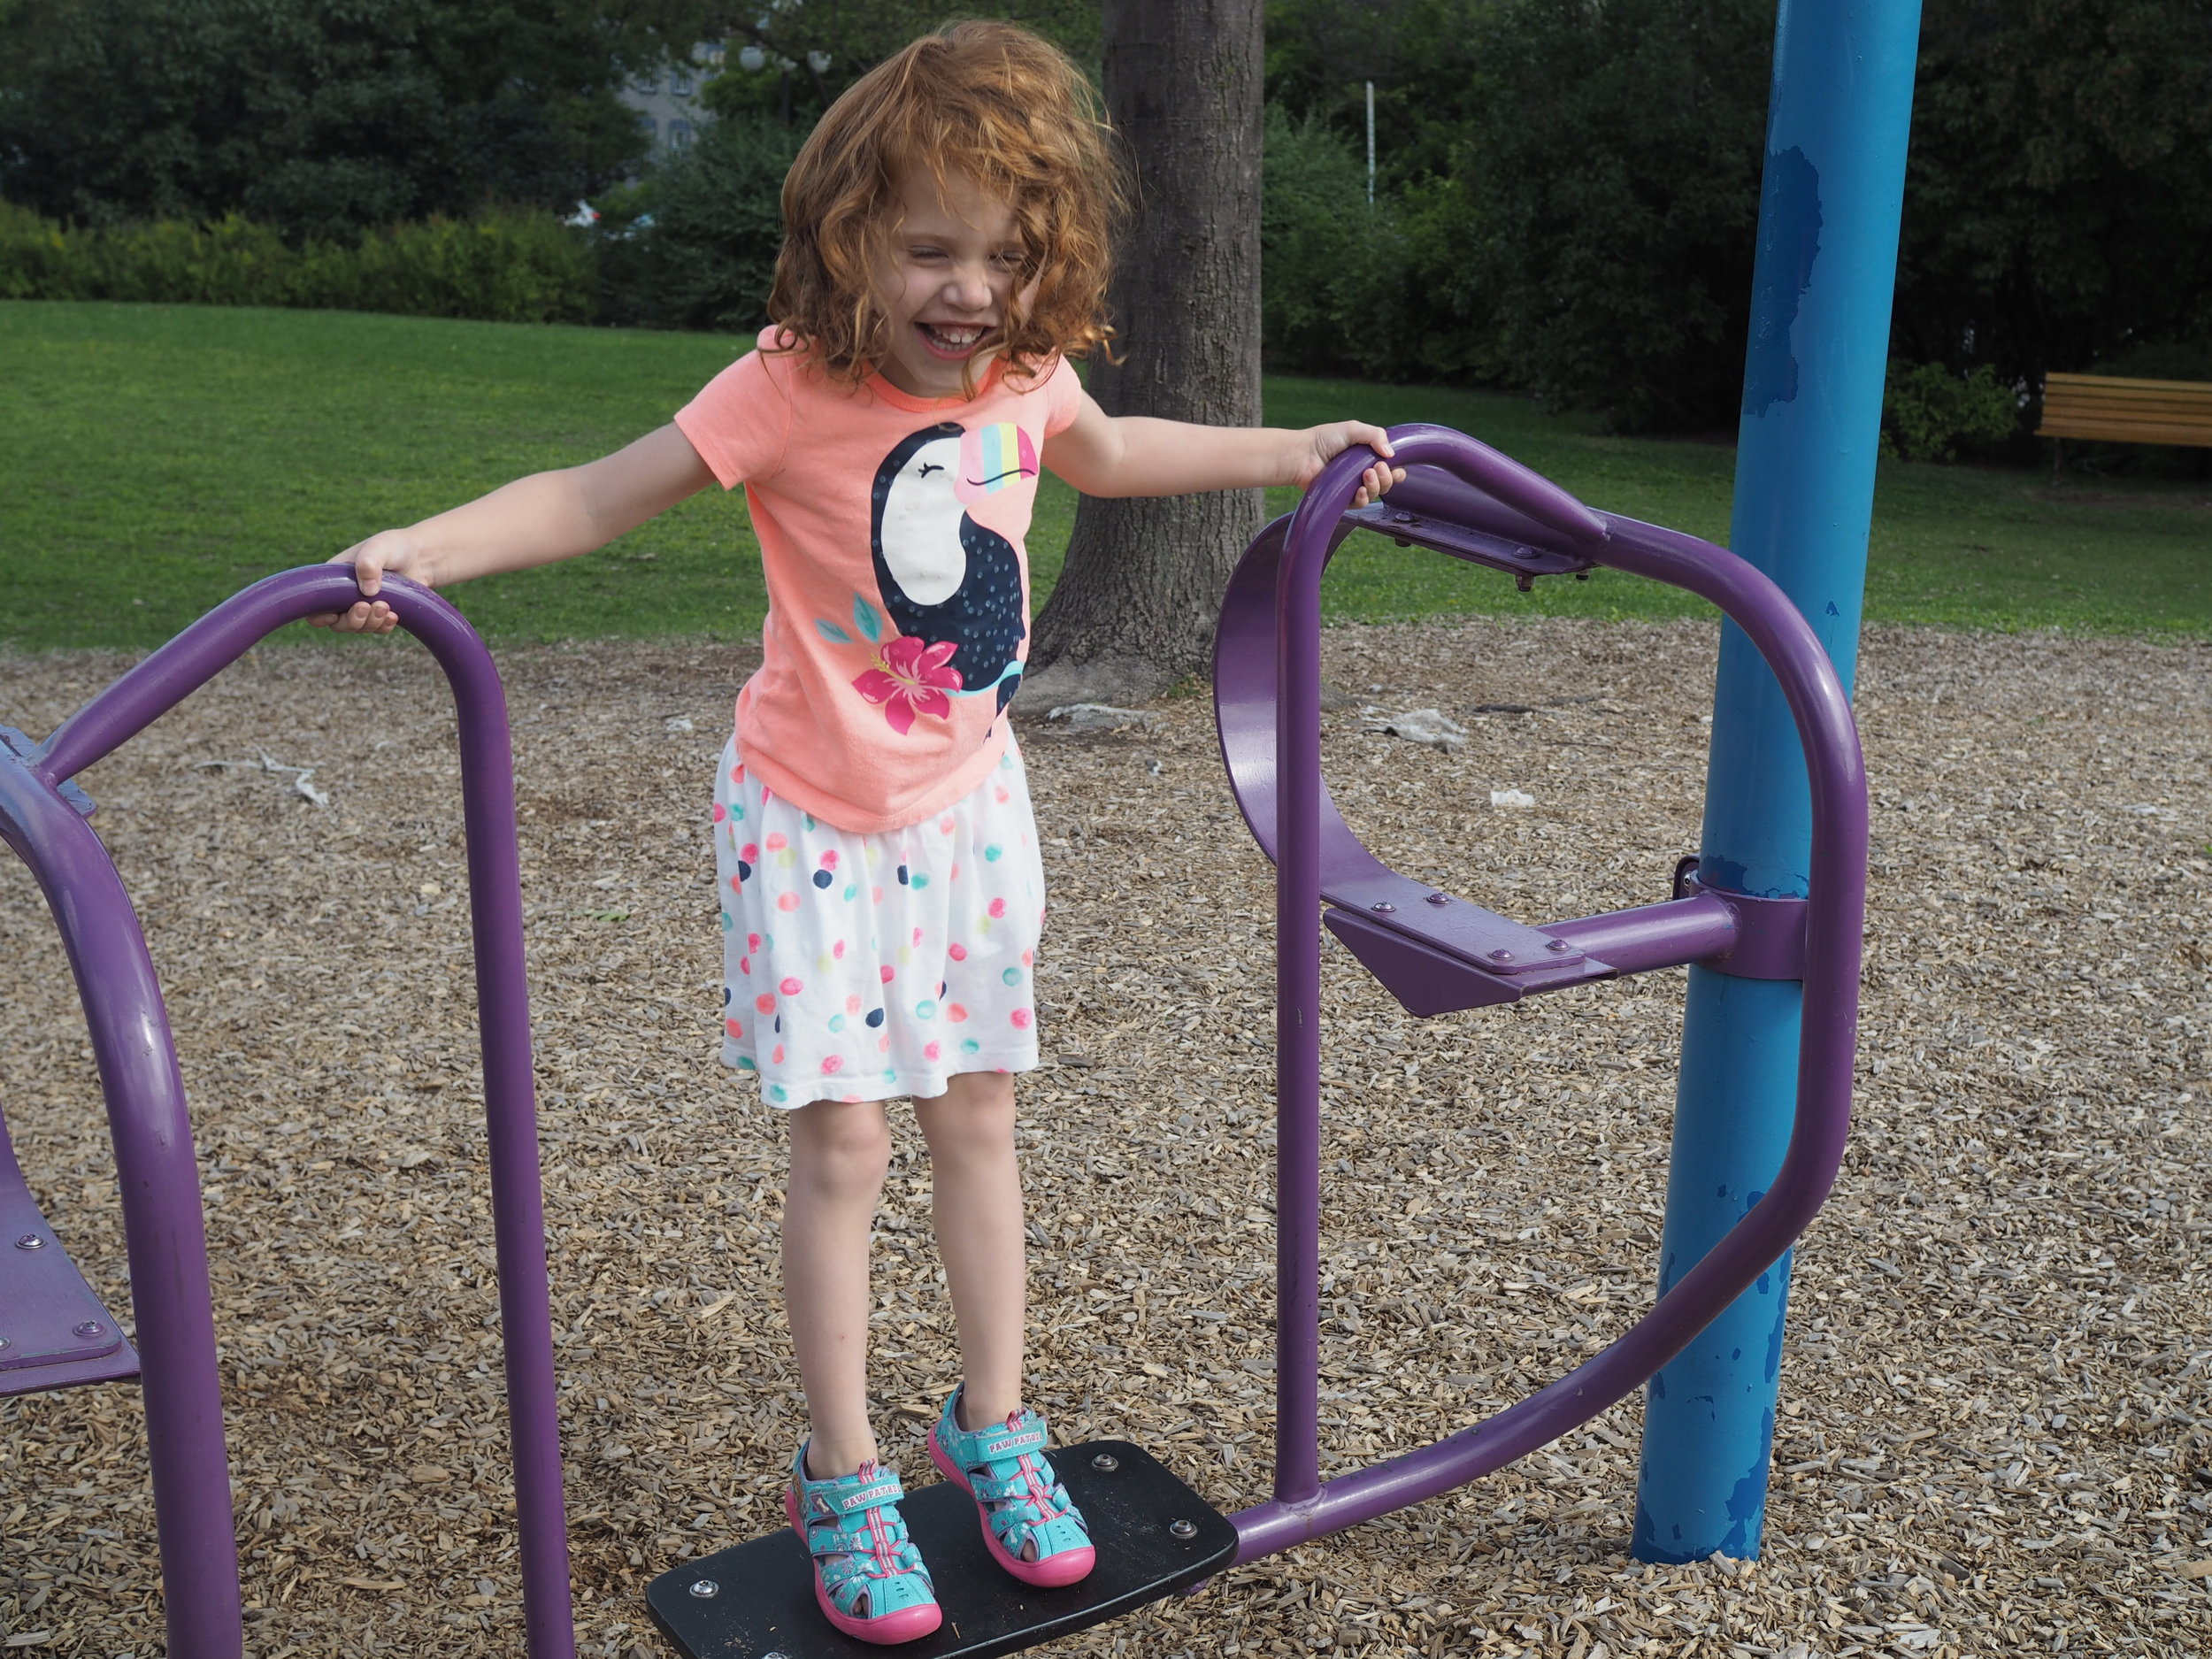
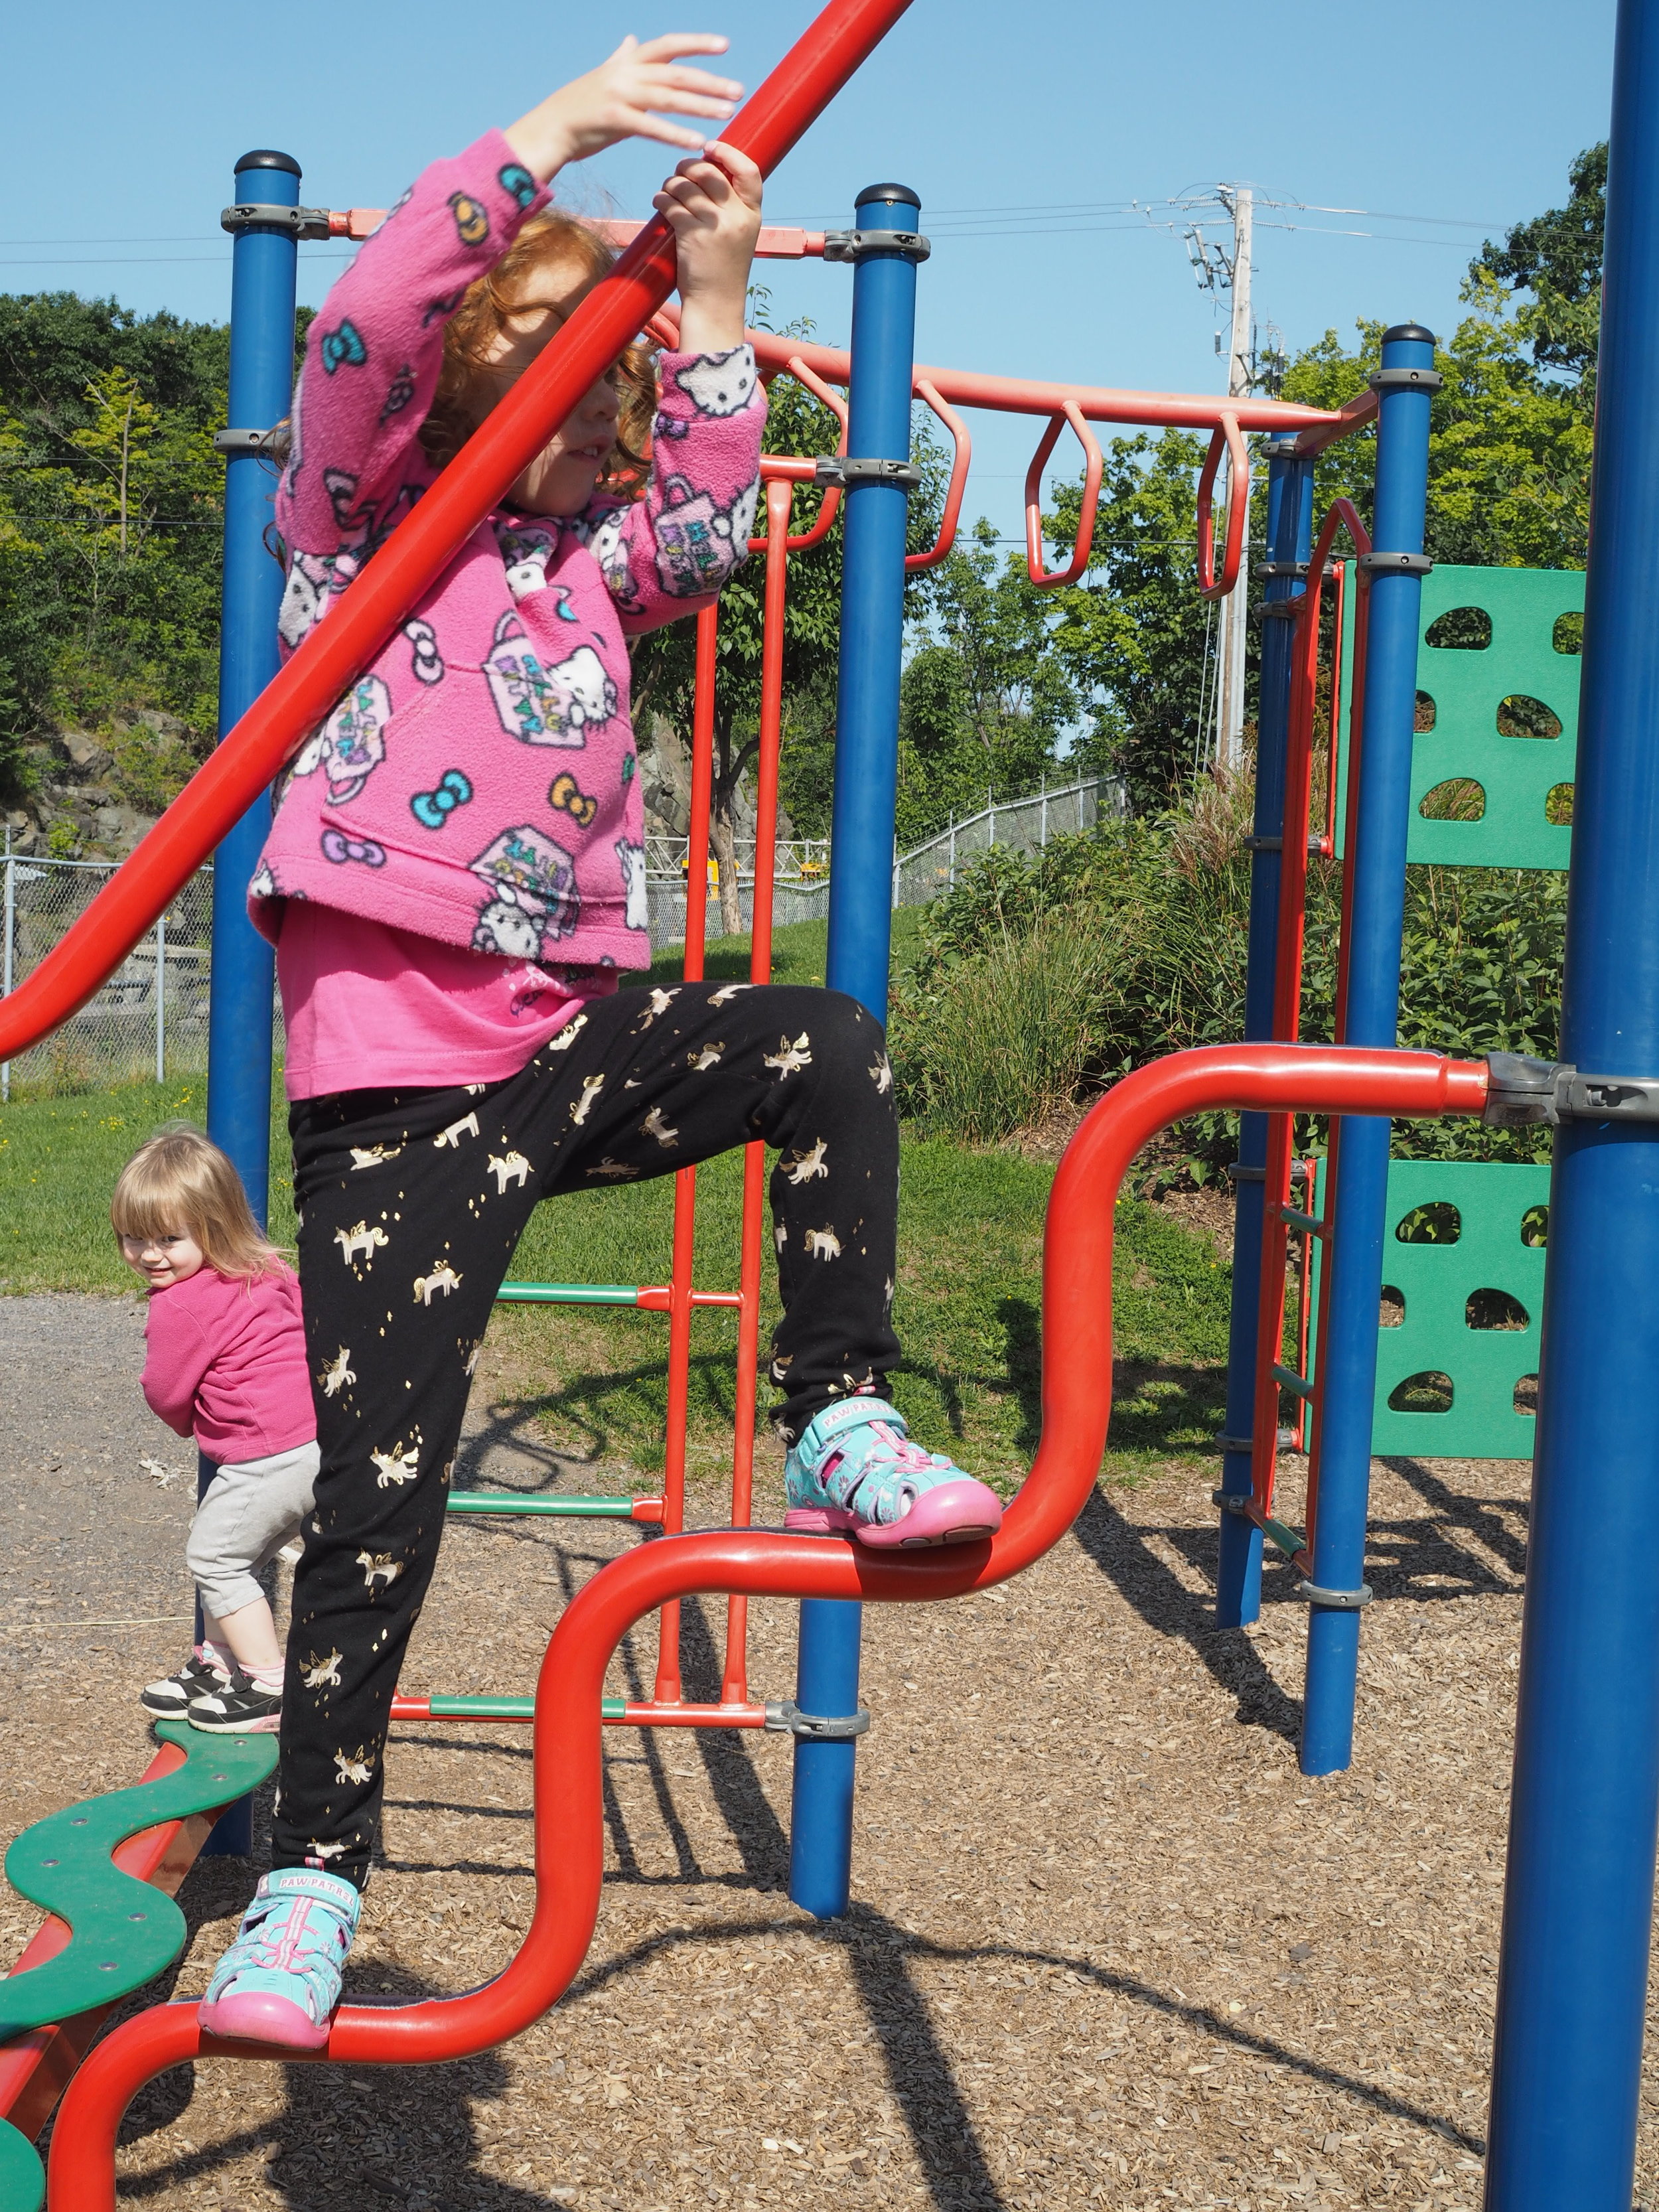
  • Playground at the parc de l'Esplanade. We stopped here at least once a day. There's some standard playground equipment and a smaller splash pad. It's a great free spot to let kids run off steam and maybe make some new international friends for an hour. This is also were the horse carriages line up, so you can see horses and try your hand at scaling the very steep hills that make up the old city's fortifications
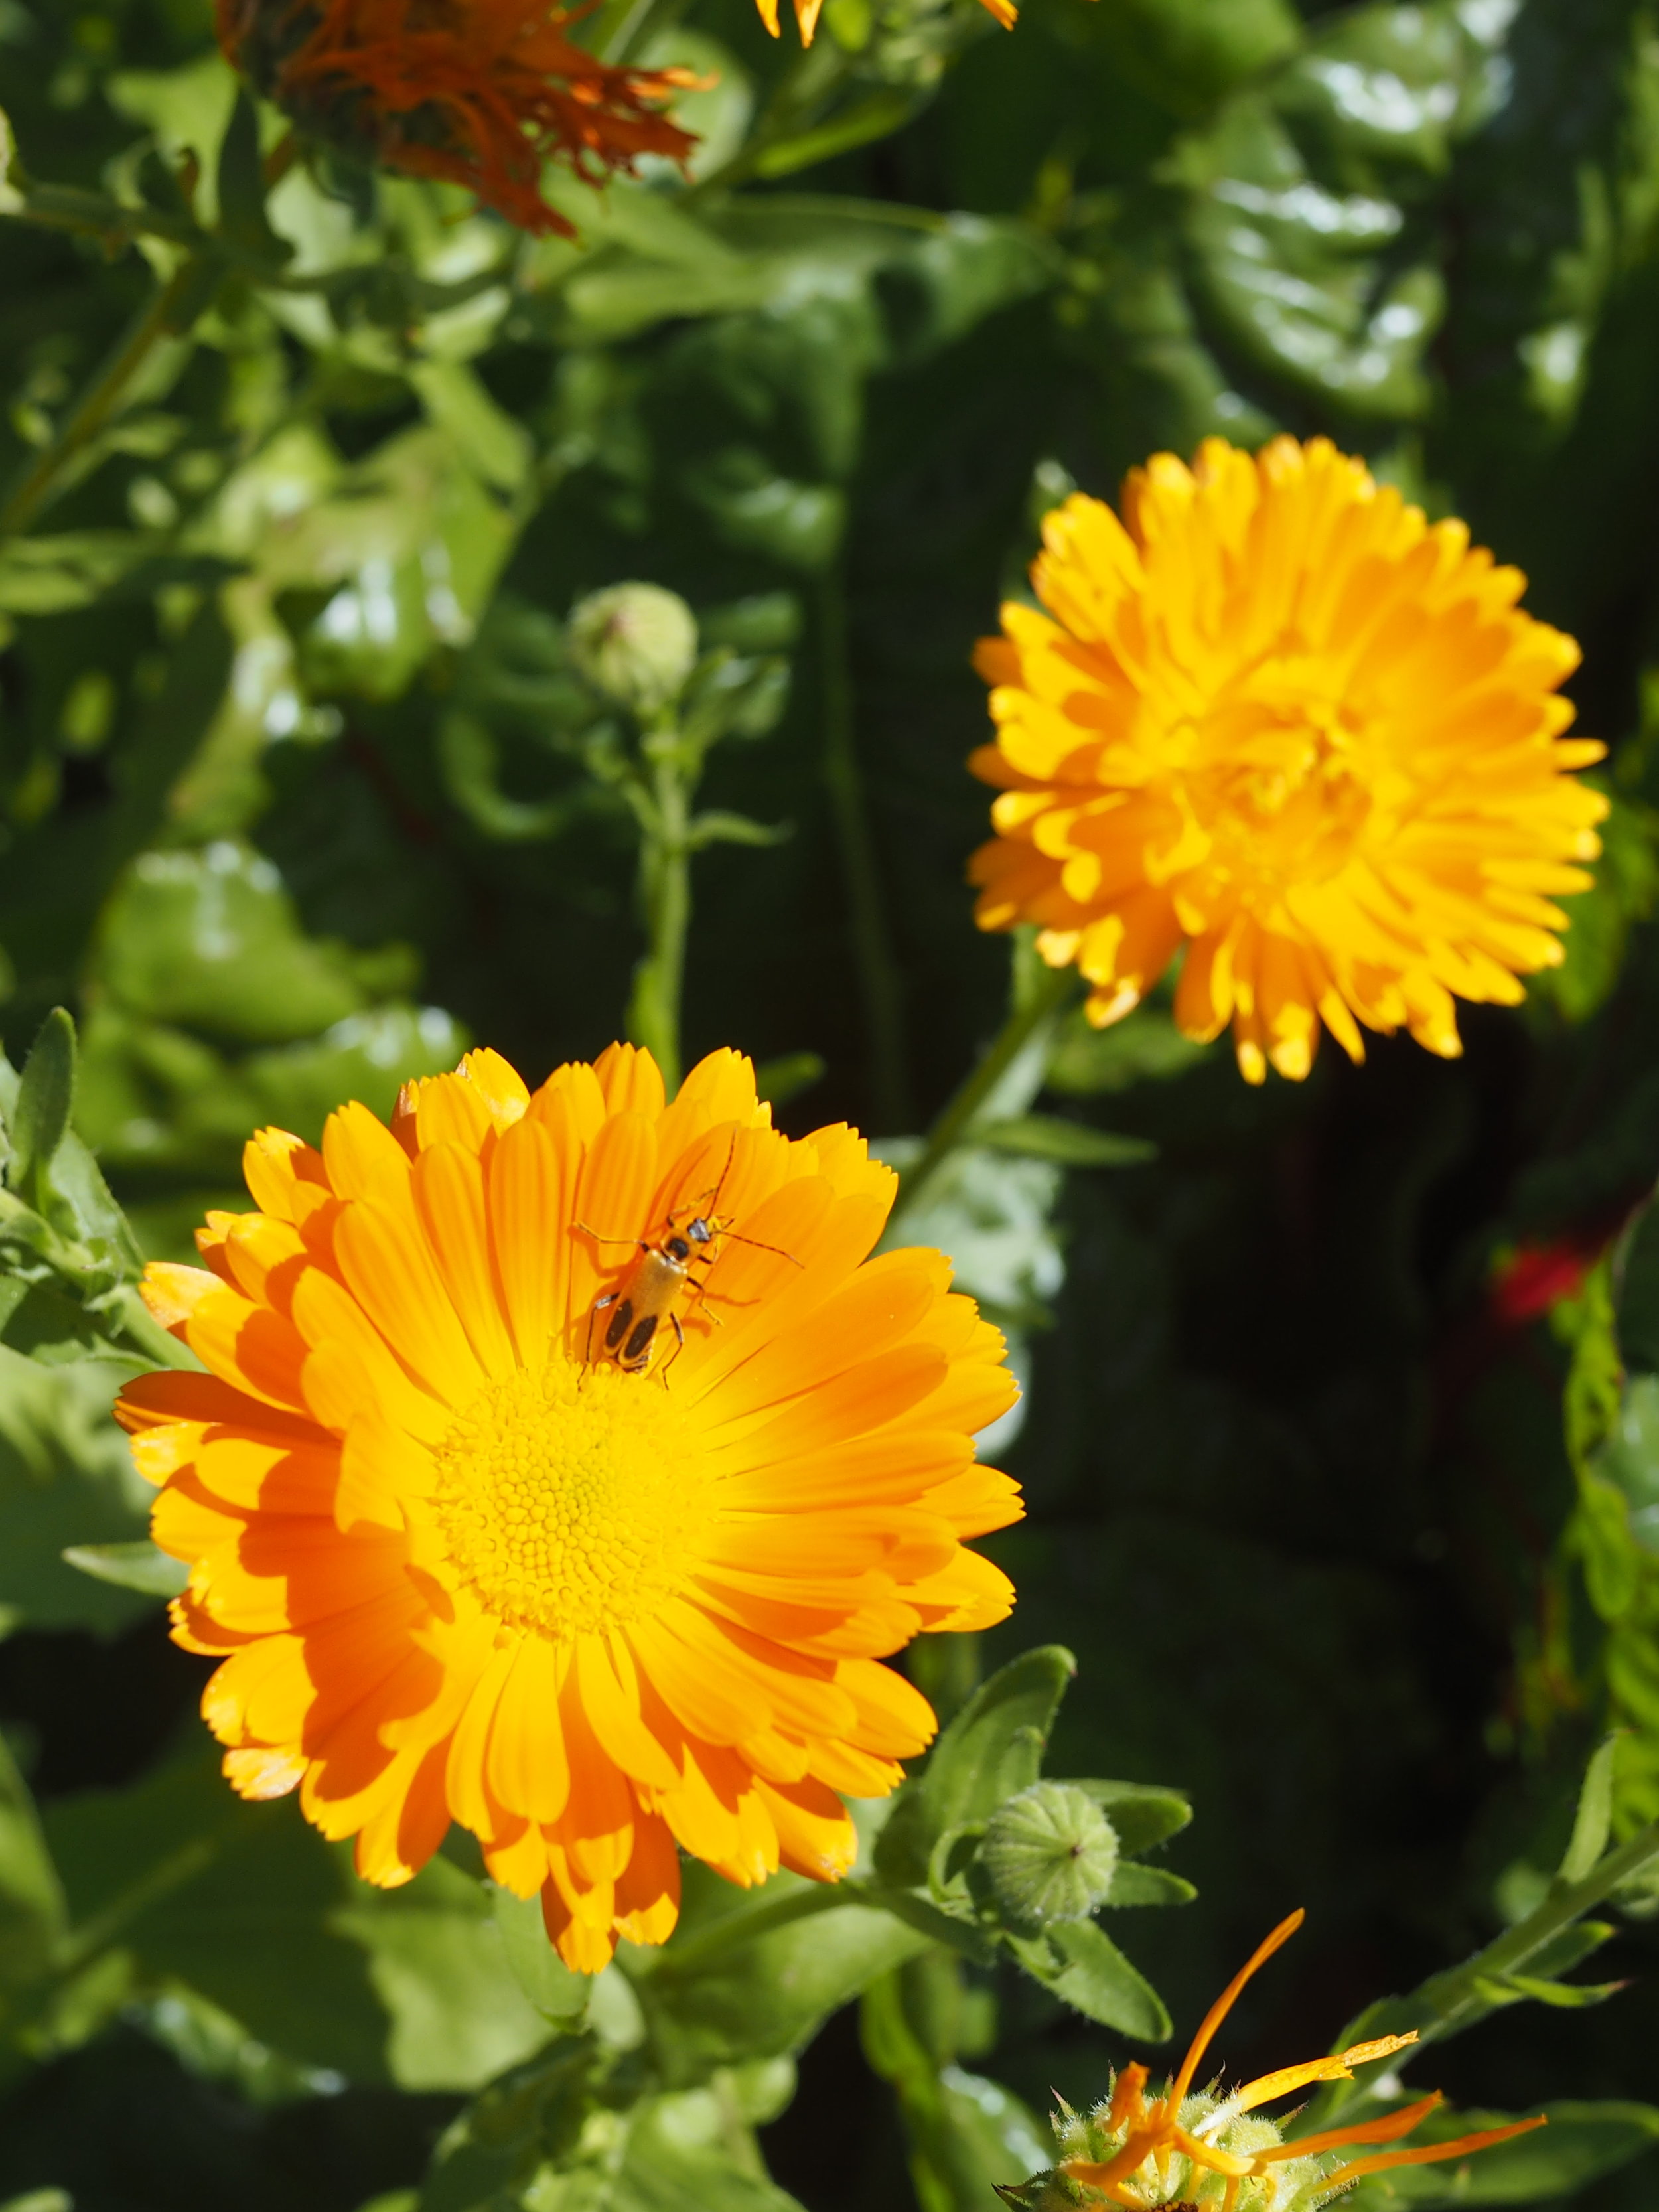
  • The Plains of Abraham - basically Quebec City's central park. There's no playgrounds here (as far as I could see), but LMC loved following the painted footsteps that lead to the Museum and engaging in some sidewalk chalk art with the provided chalk. For me, I loved the Joan d'Arc gardens. 
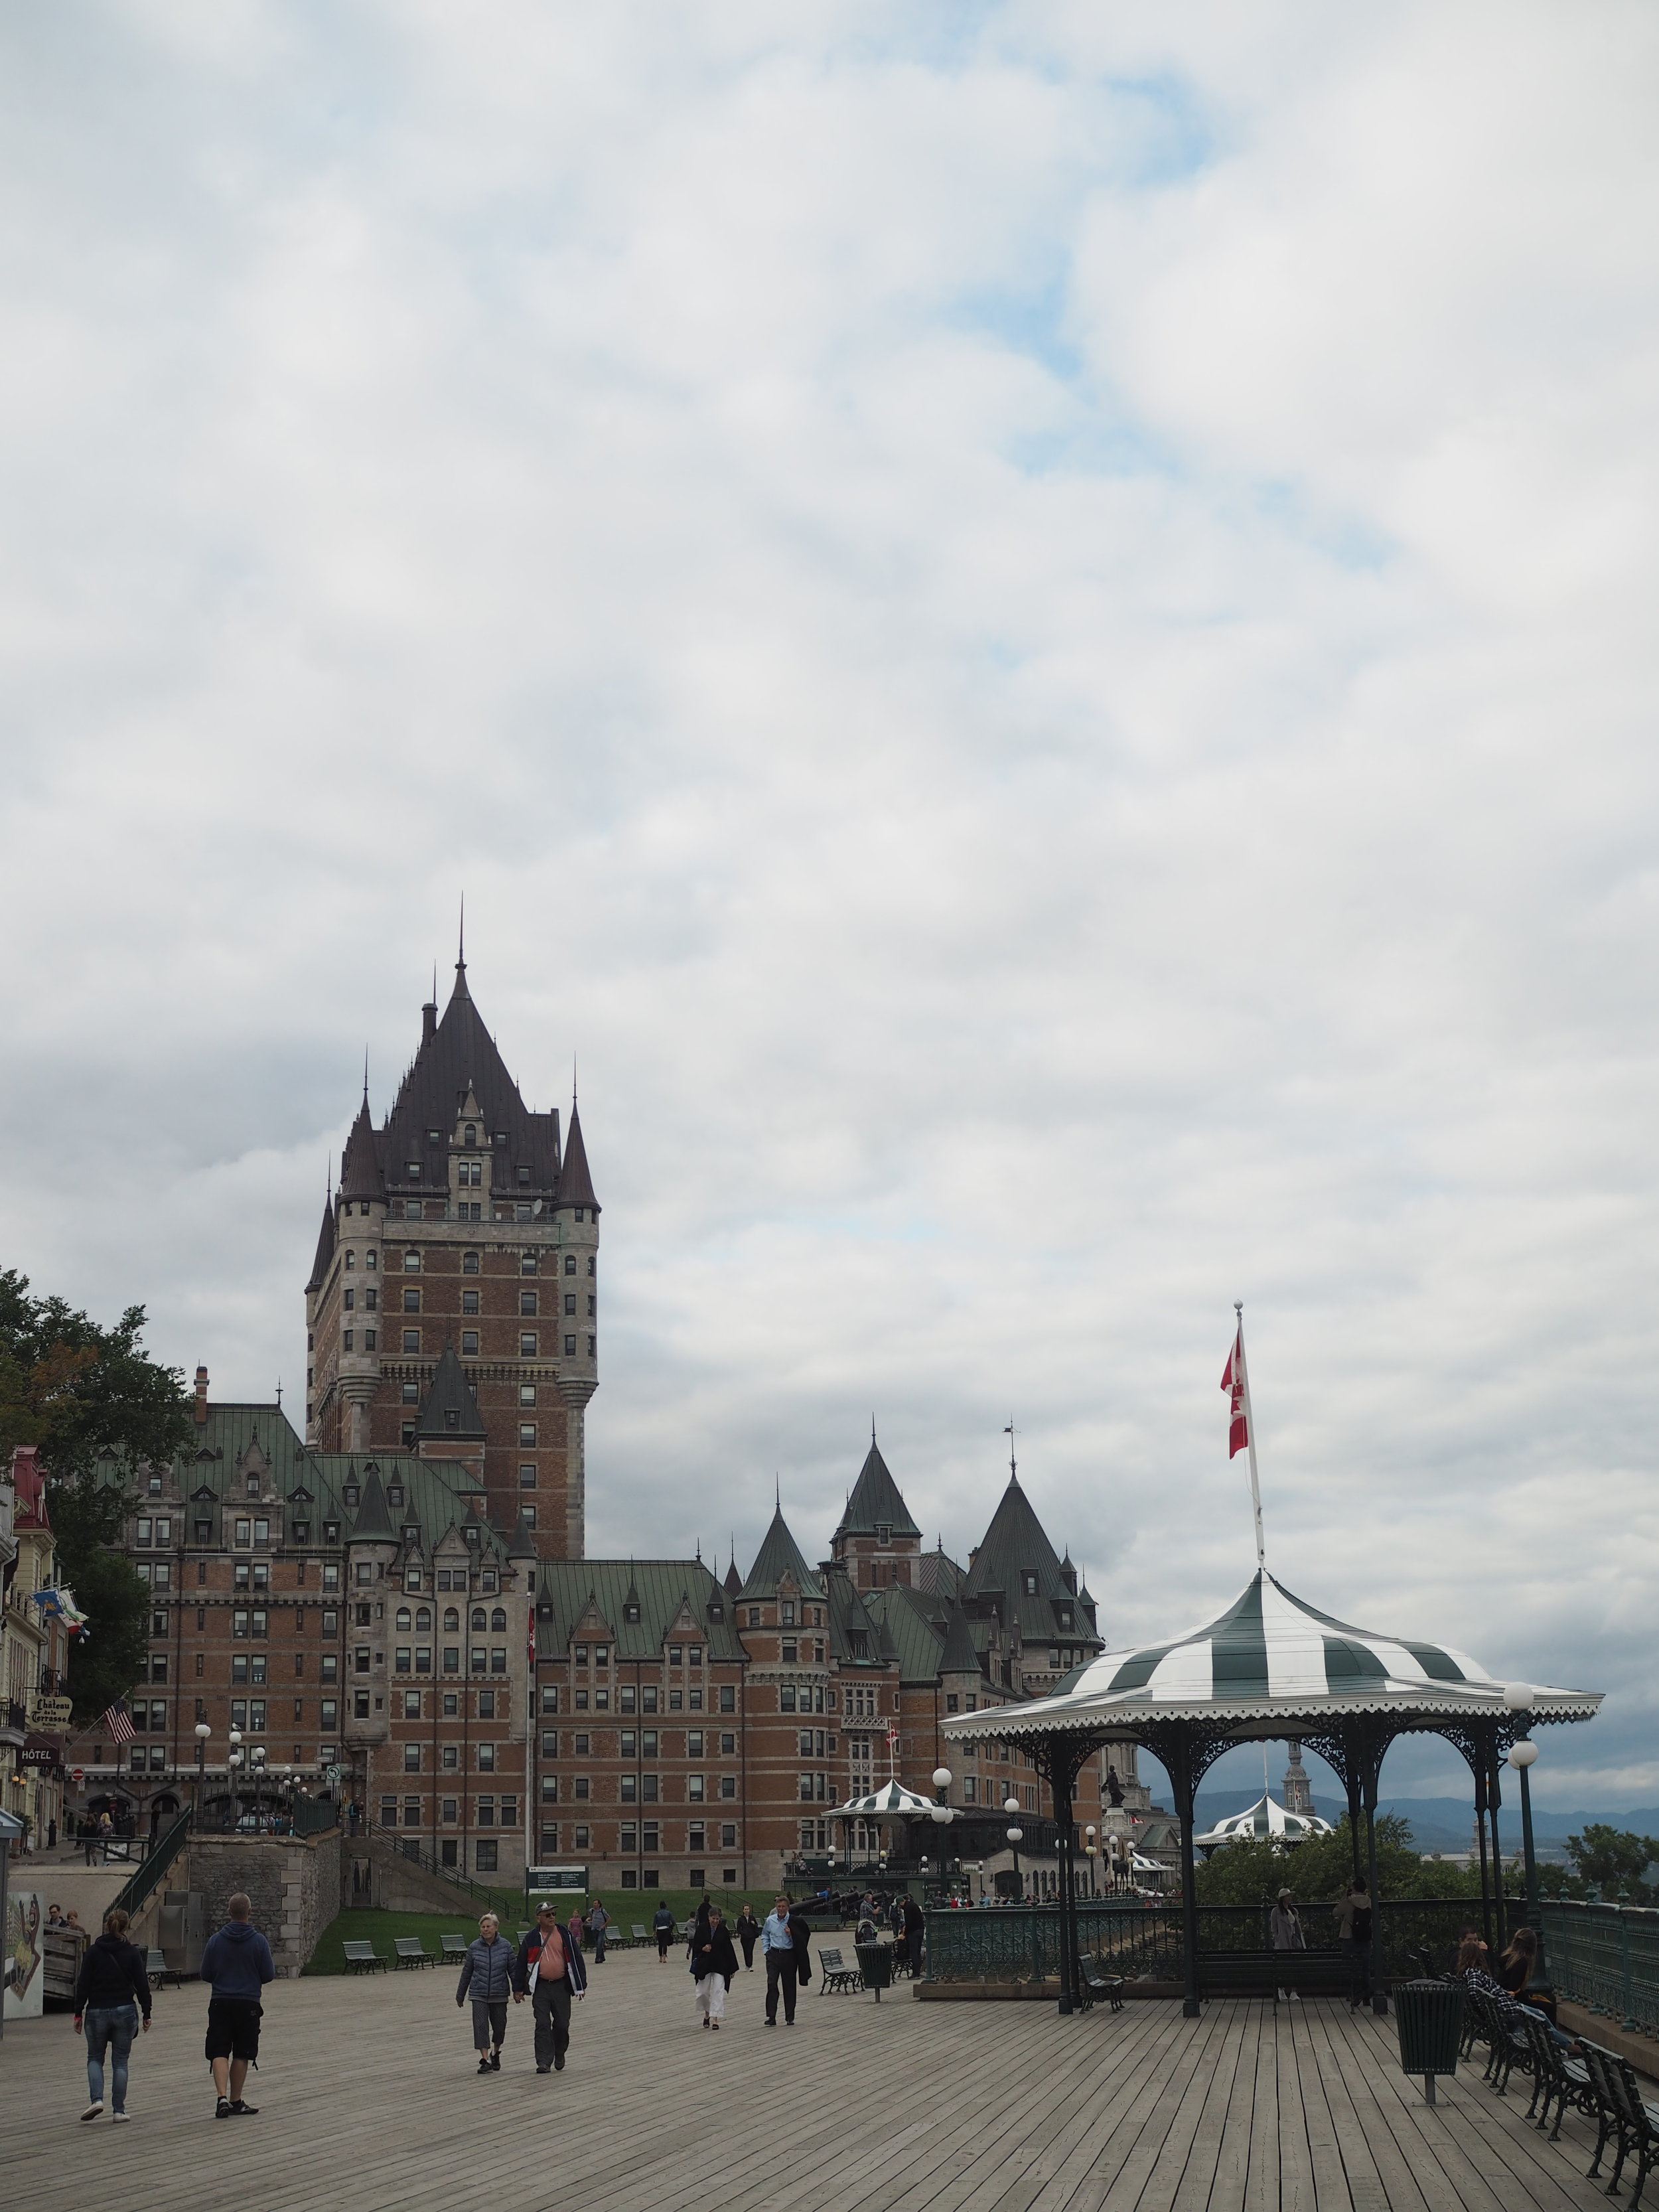
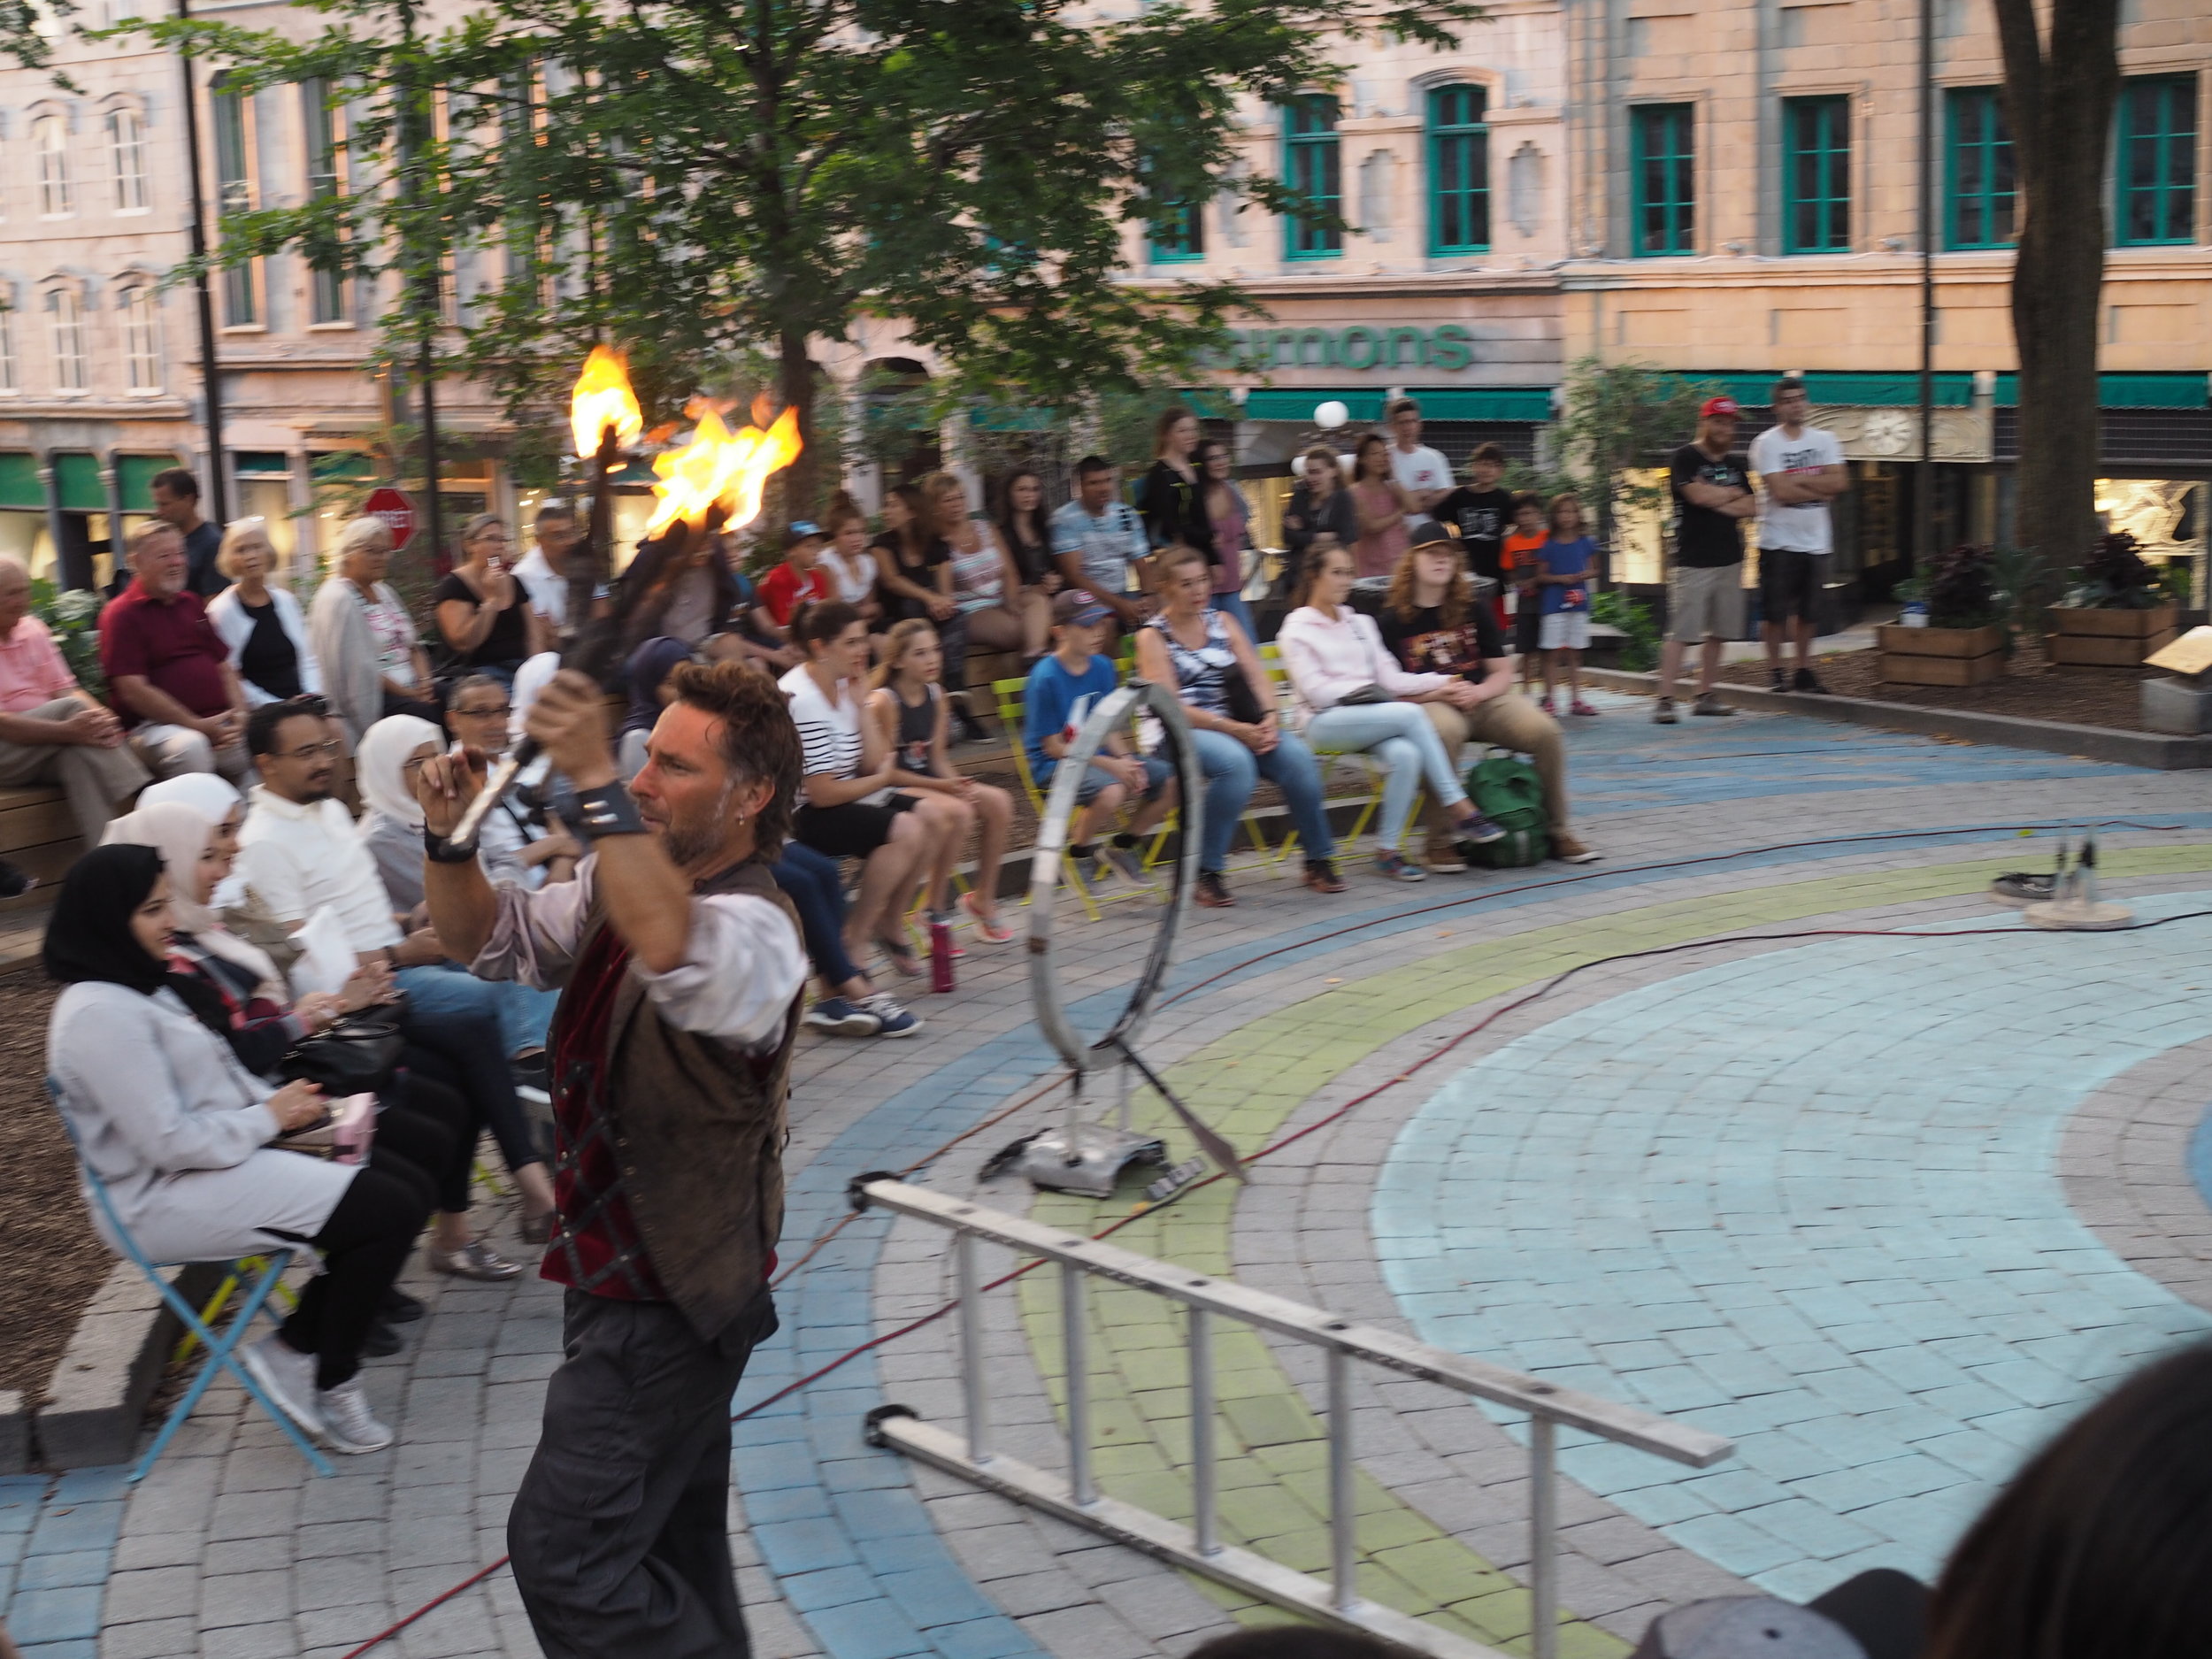
  • Cirque Perfomers - every night at 7ish and sometimes during the day, you can catch circus performers doing their act in front of the Chateau Frontenac or in the square behind city hall. It's usually solo or duo performers and can be pretty fun! 
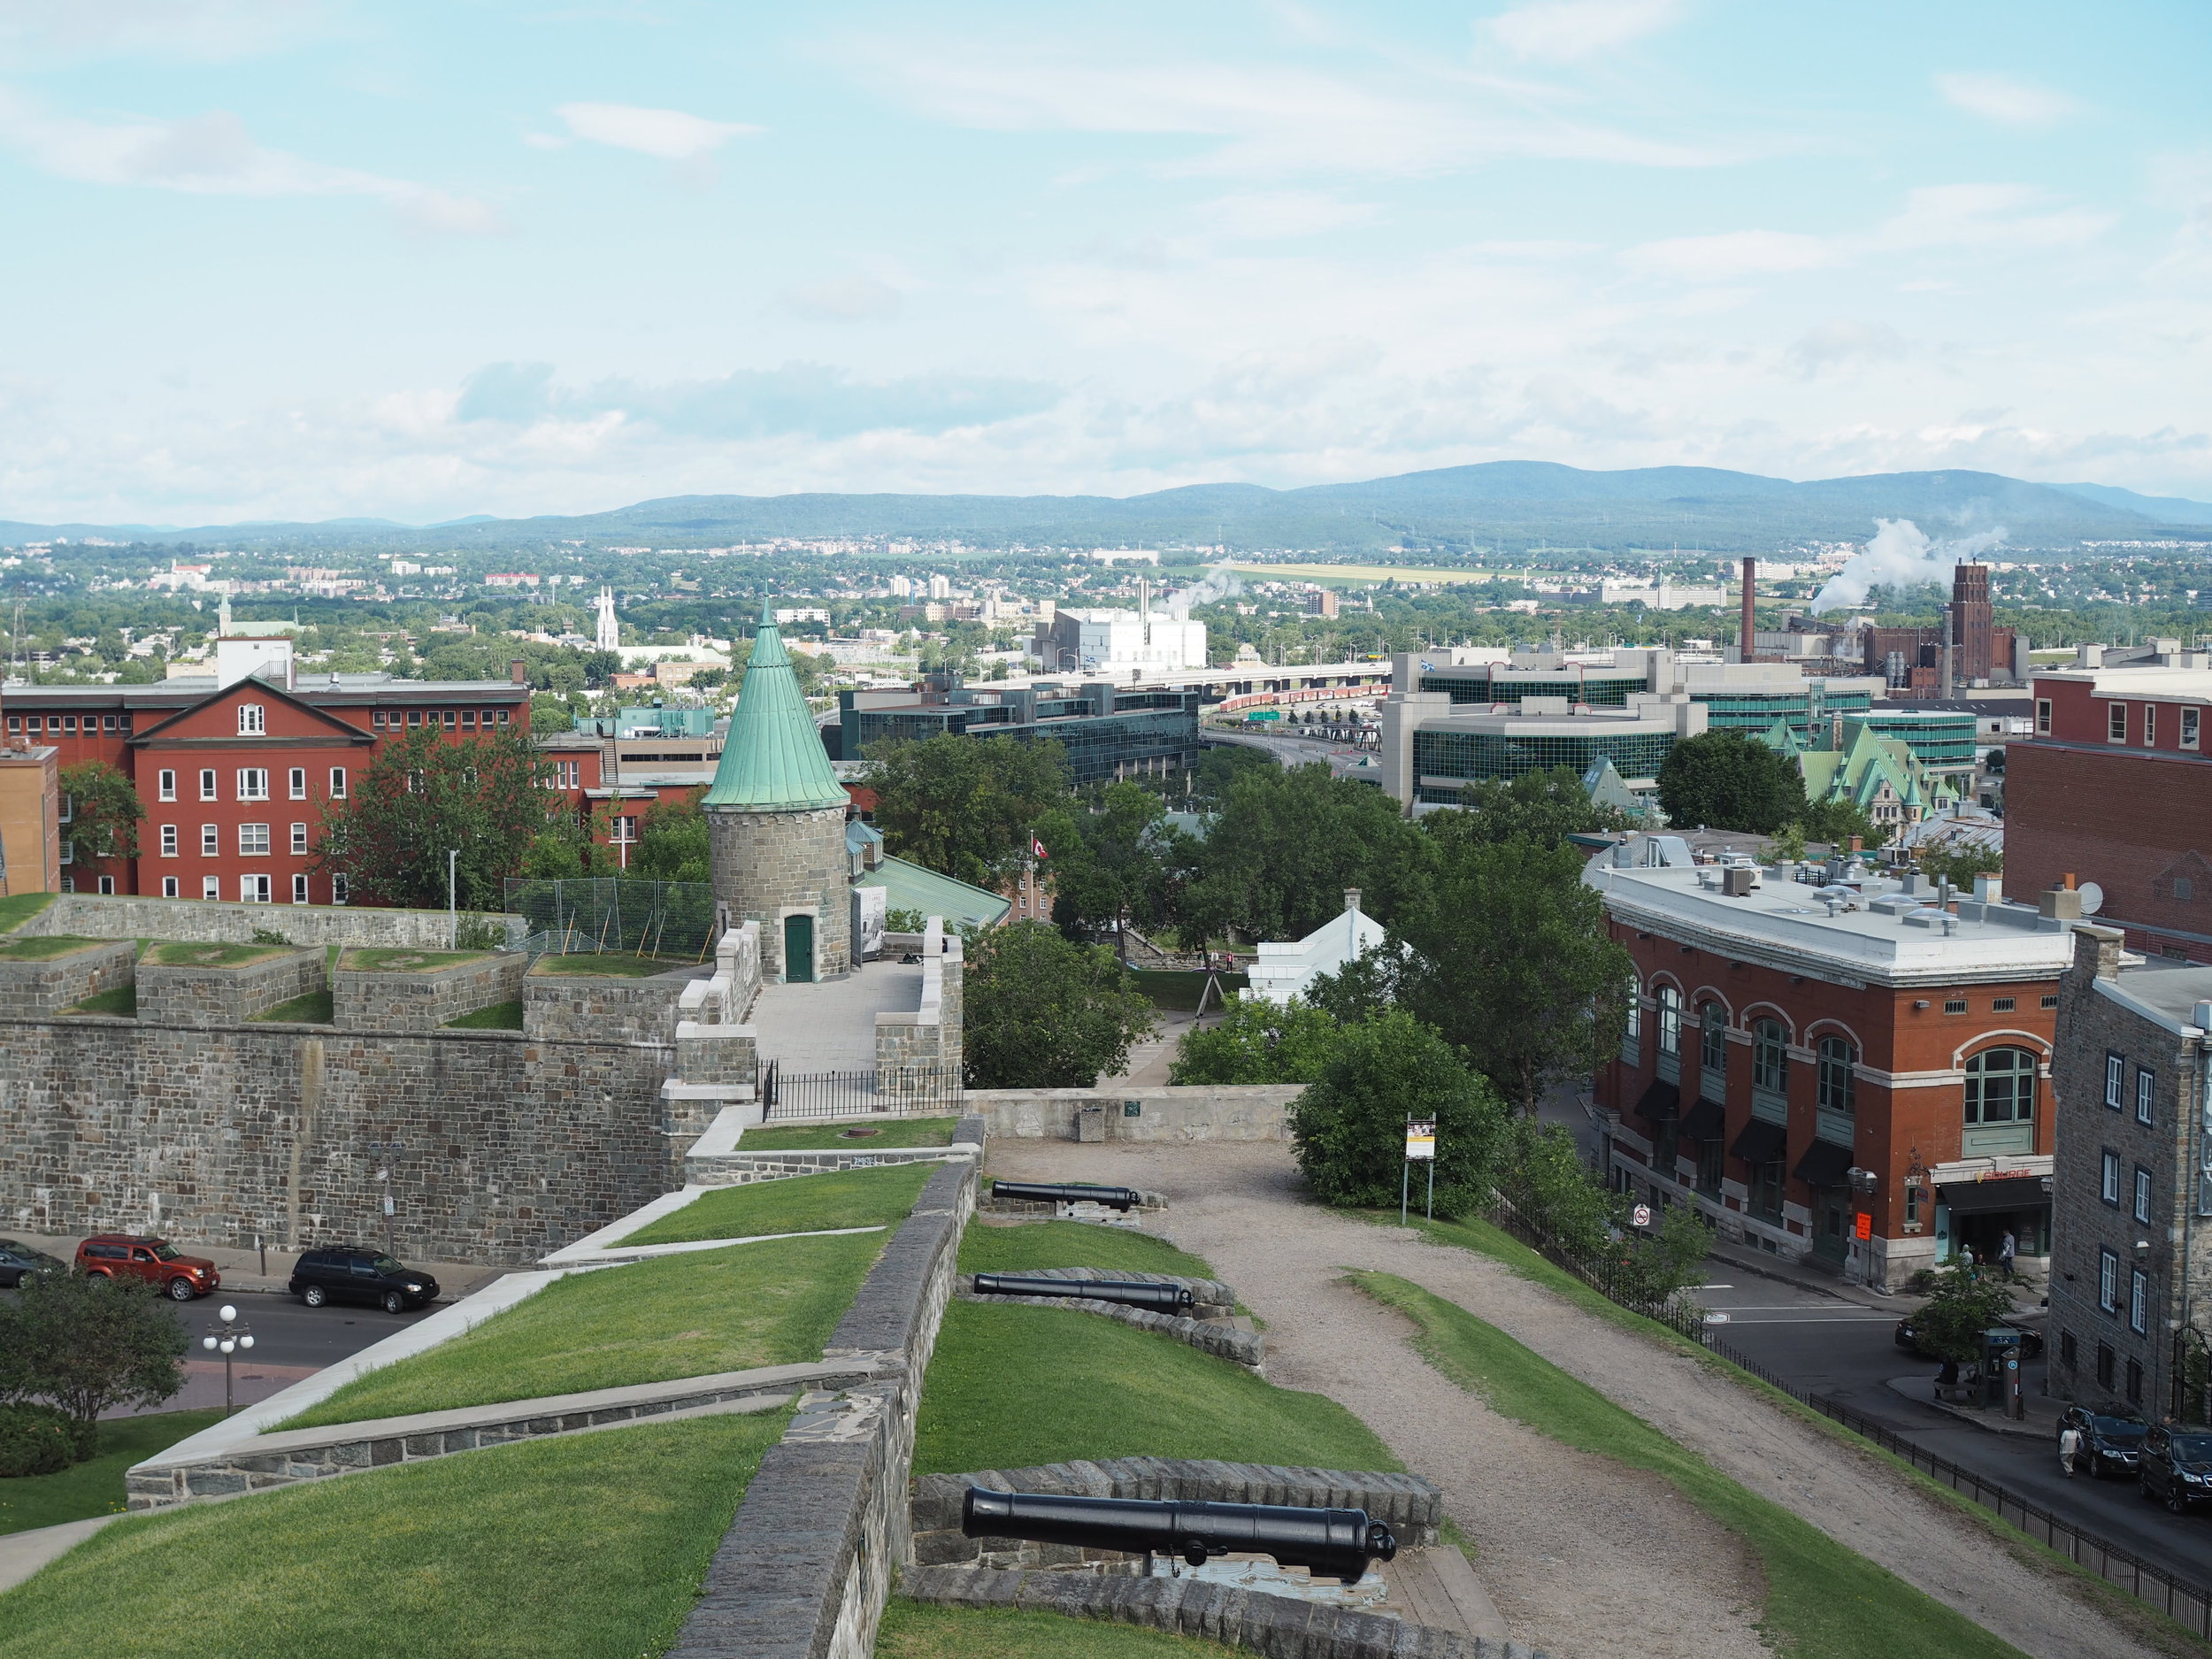
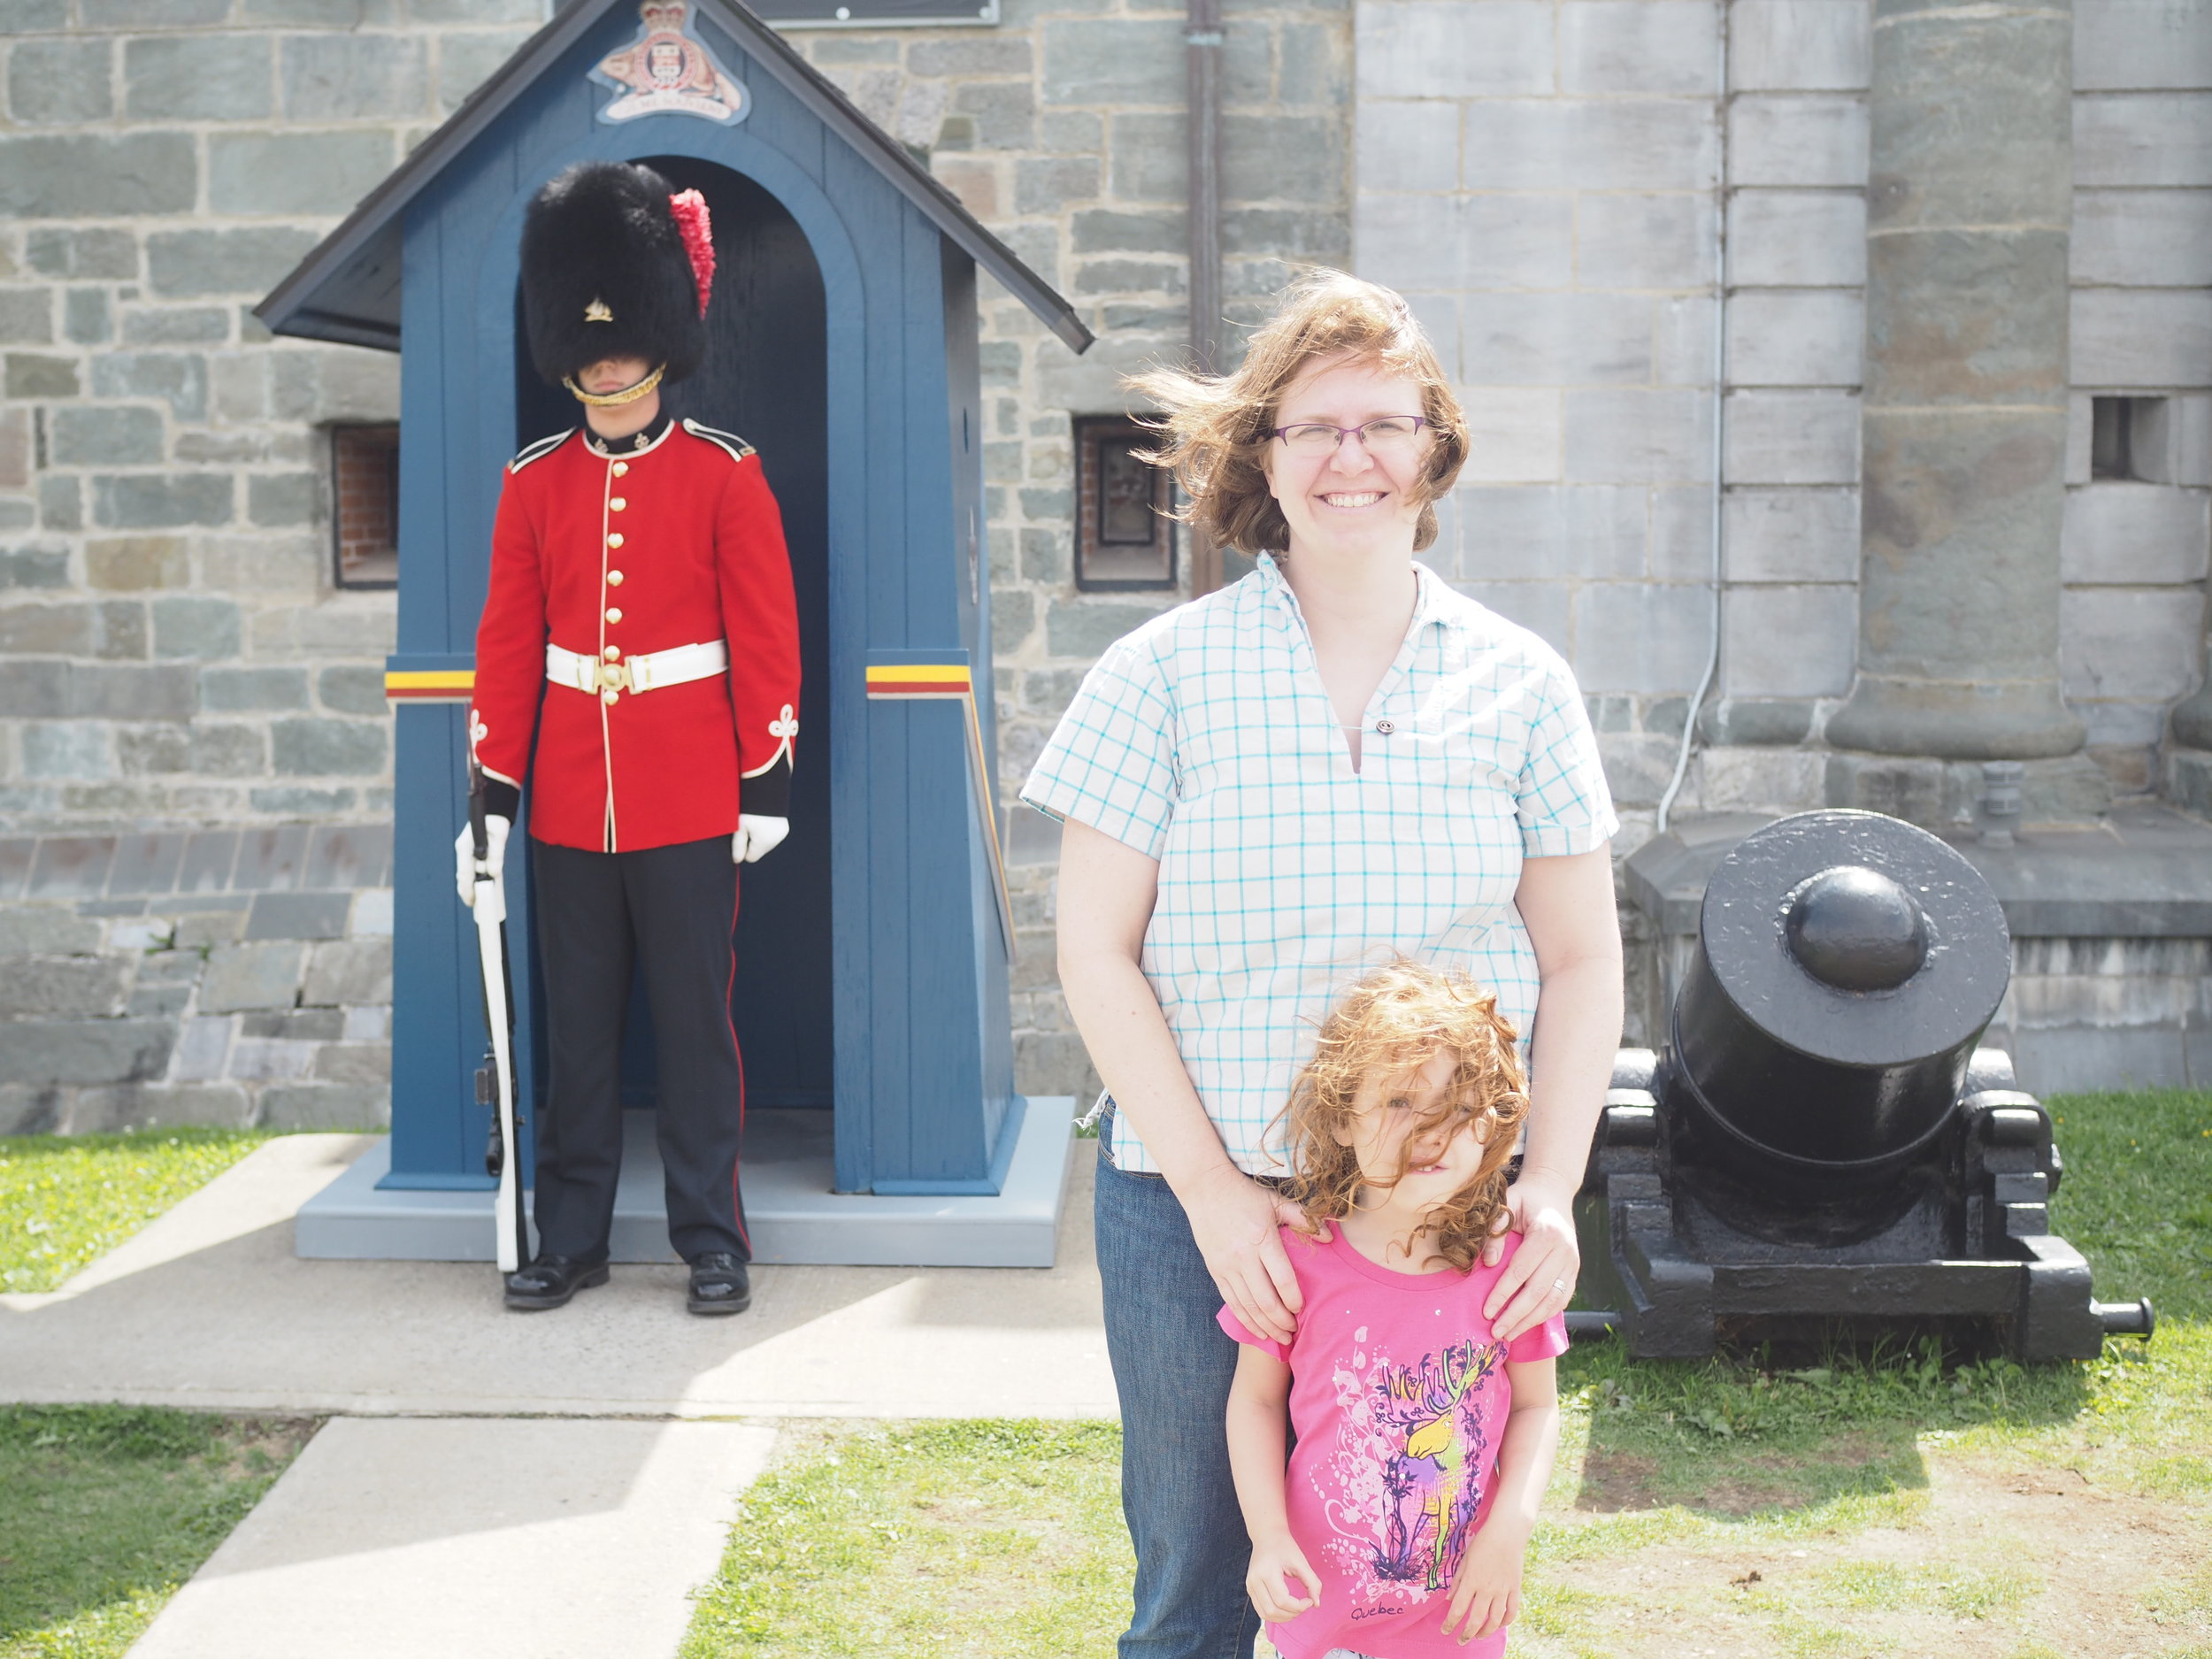
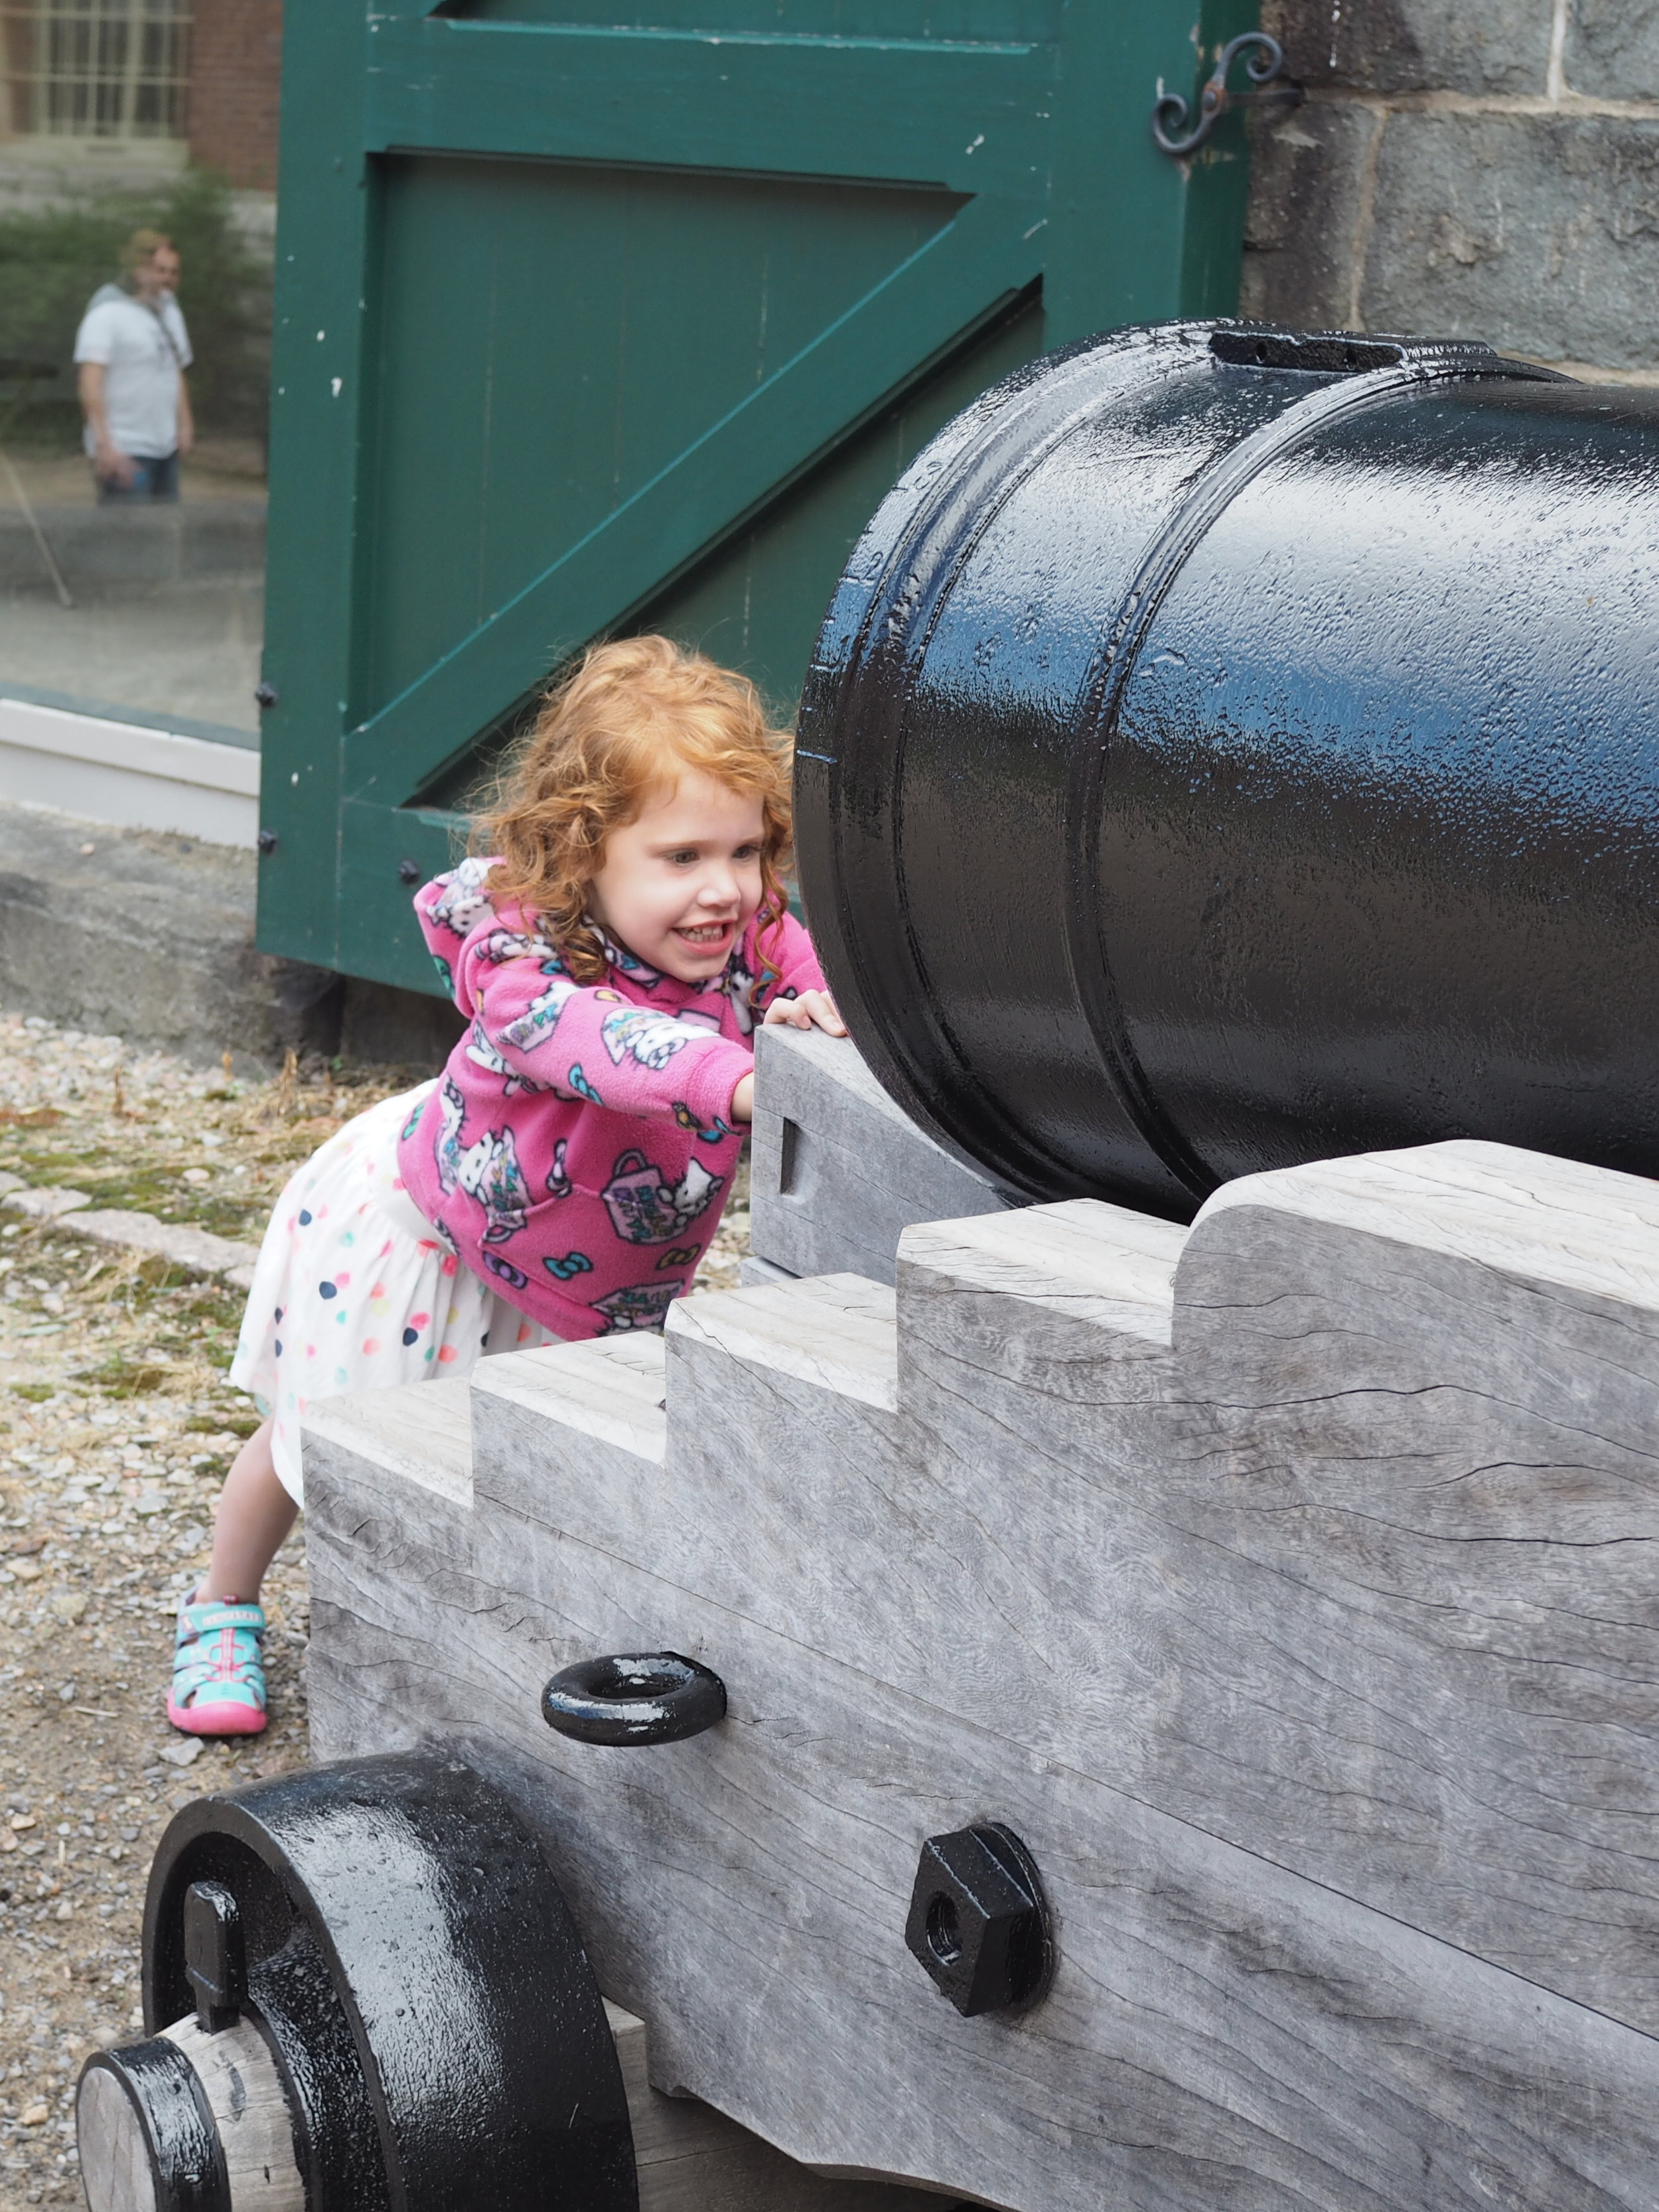
  • Cannons. There are cannons everywhere and I think she climbed unto every one. If they can balance on their own, grownups can take the time to read a few of the historical signs. 
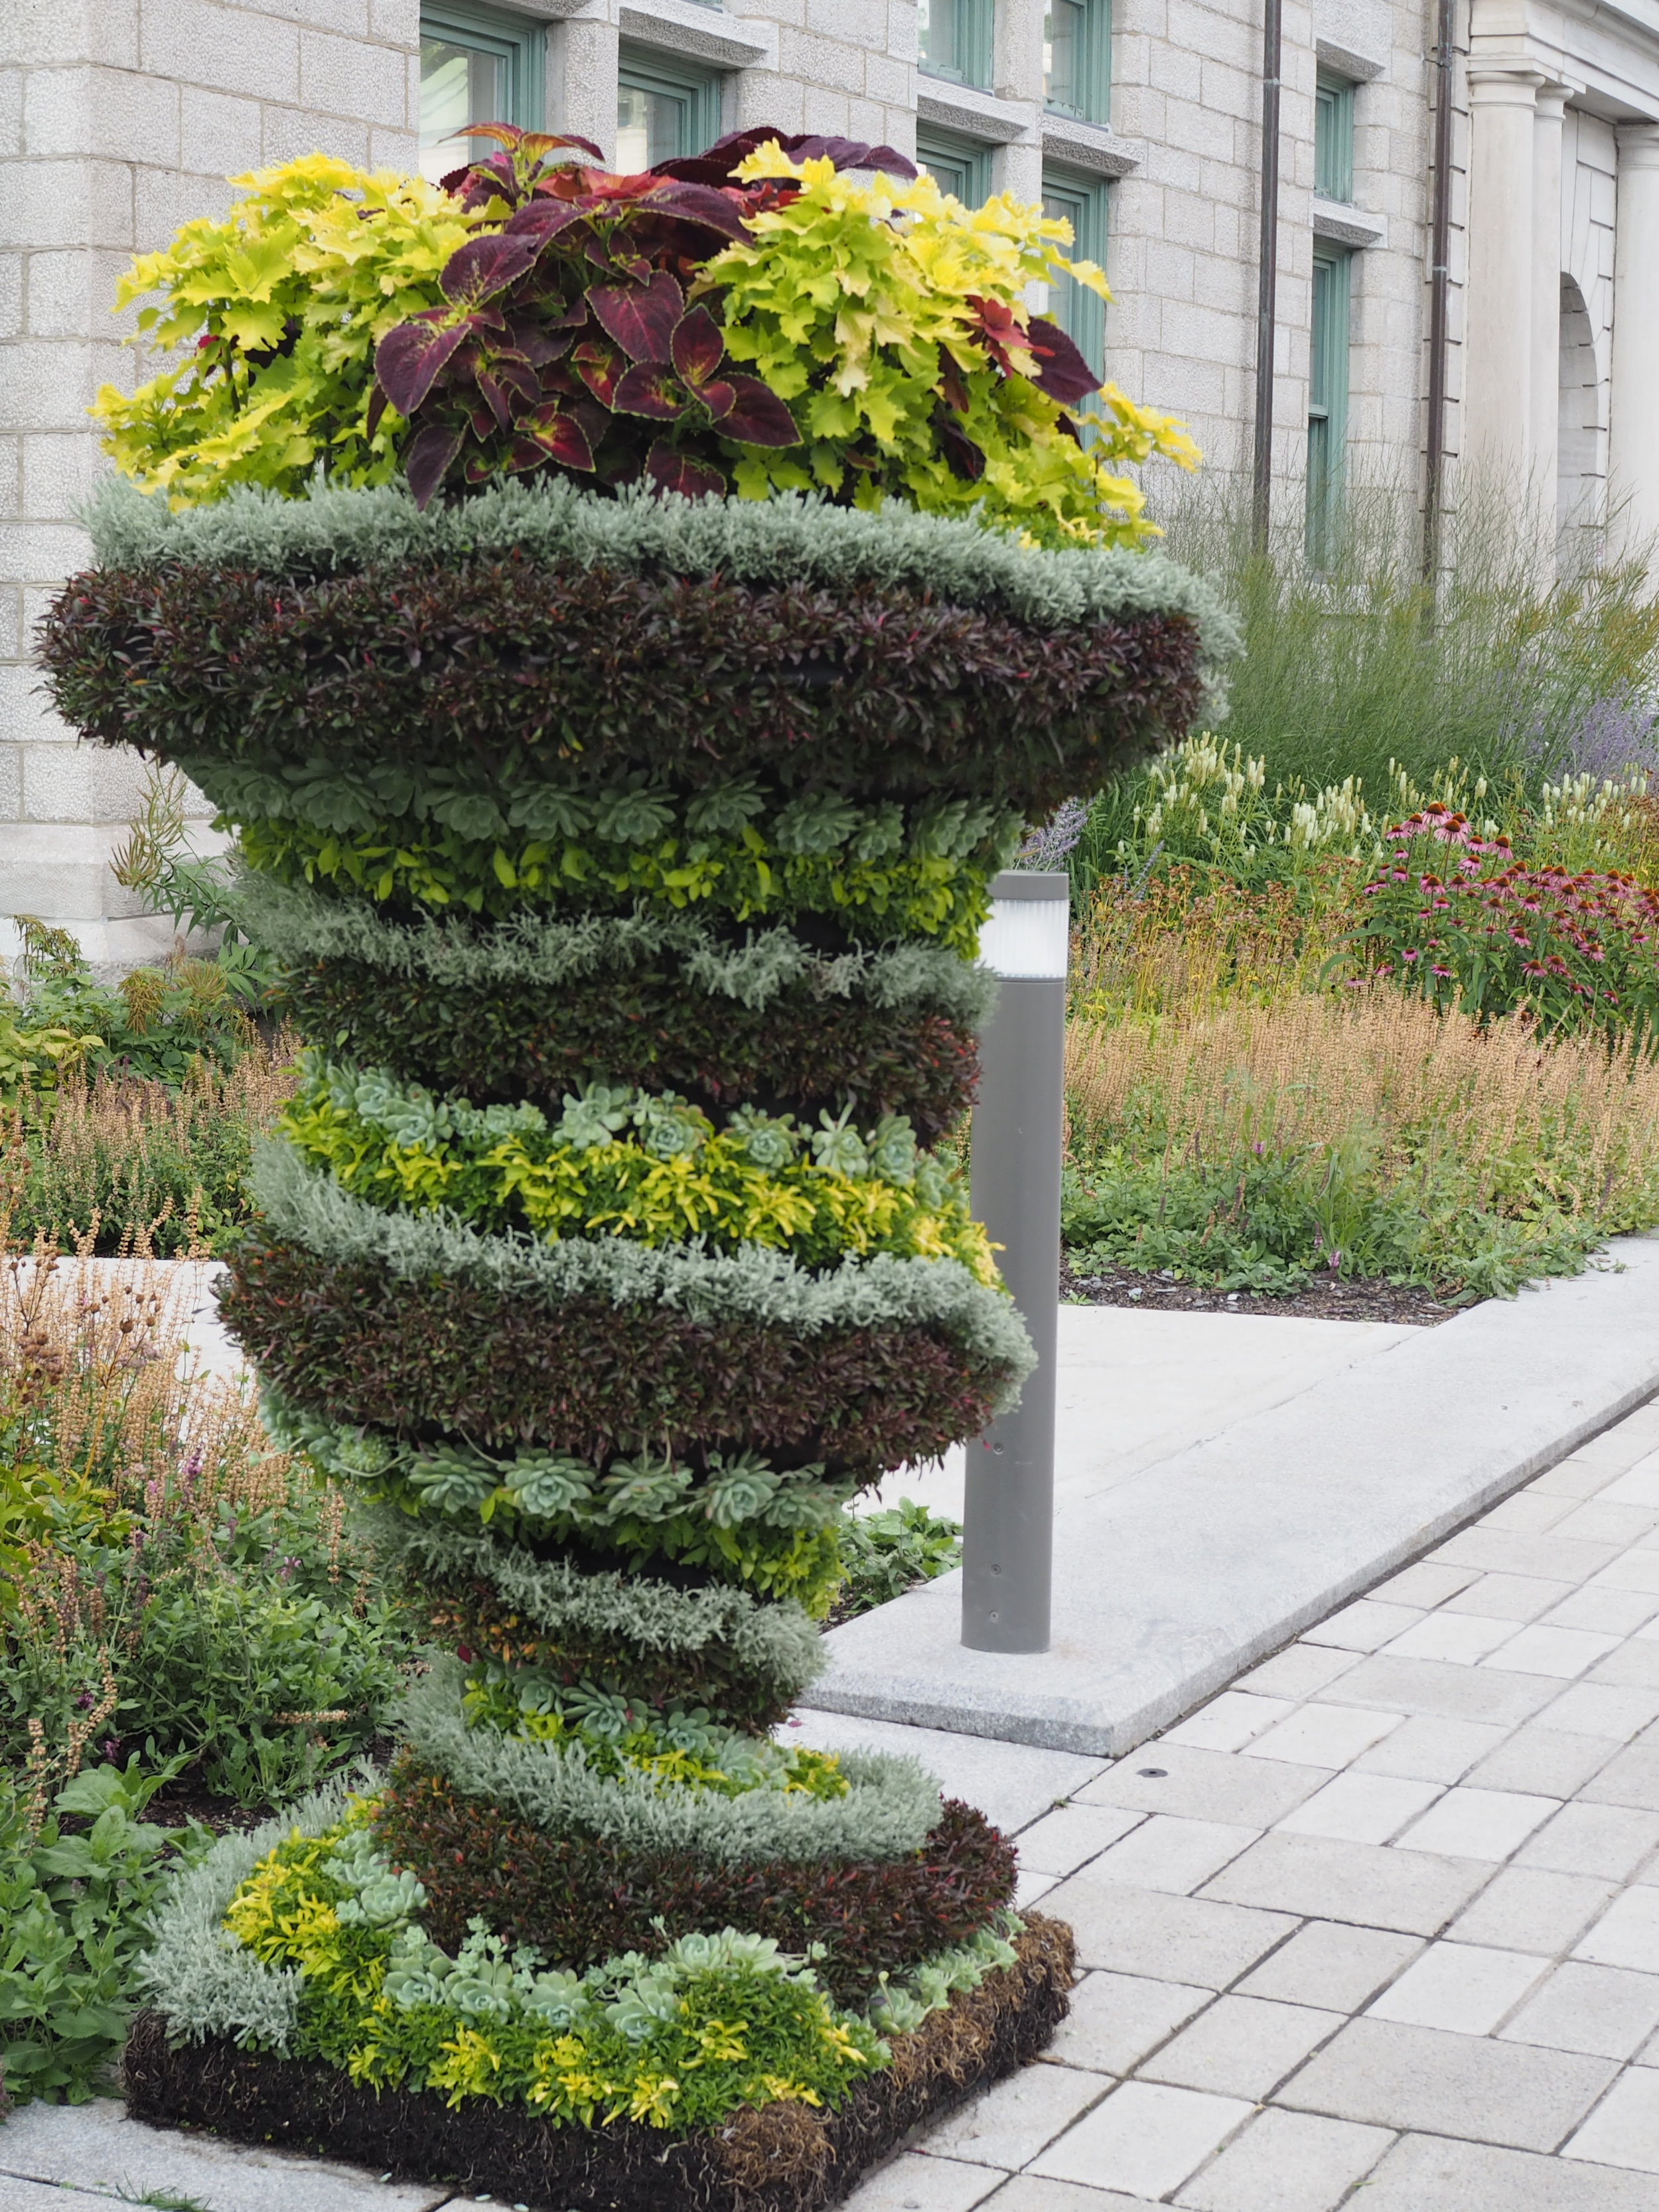
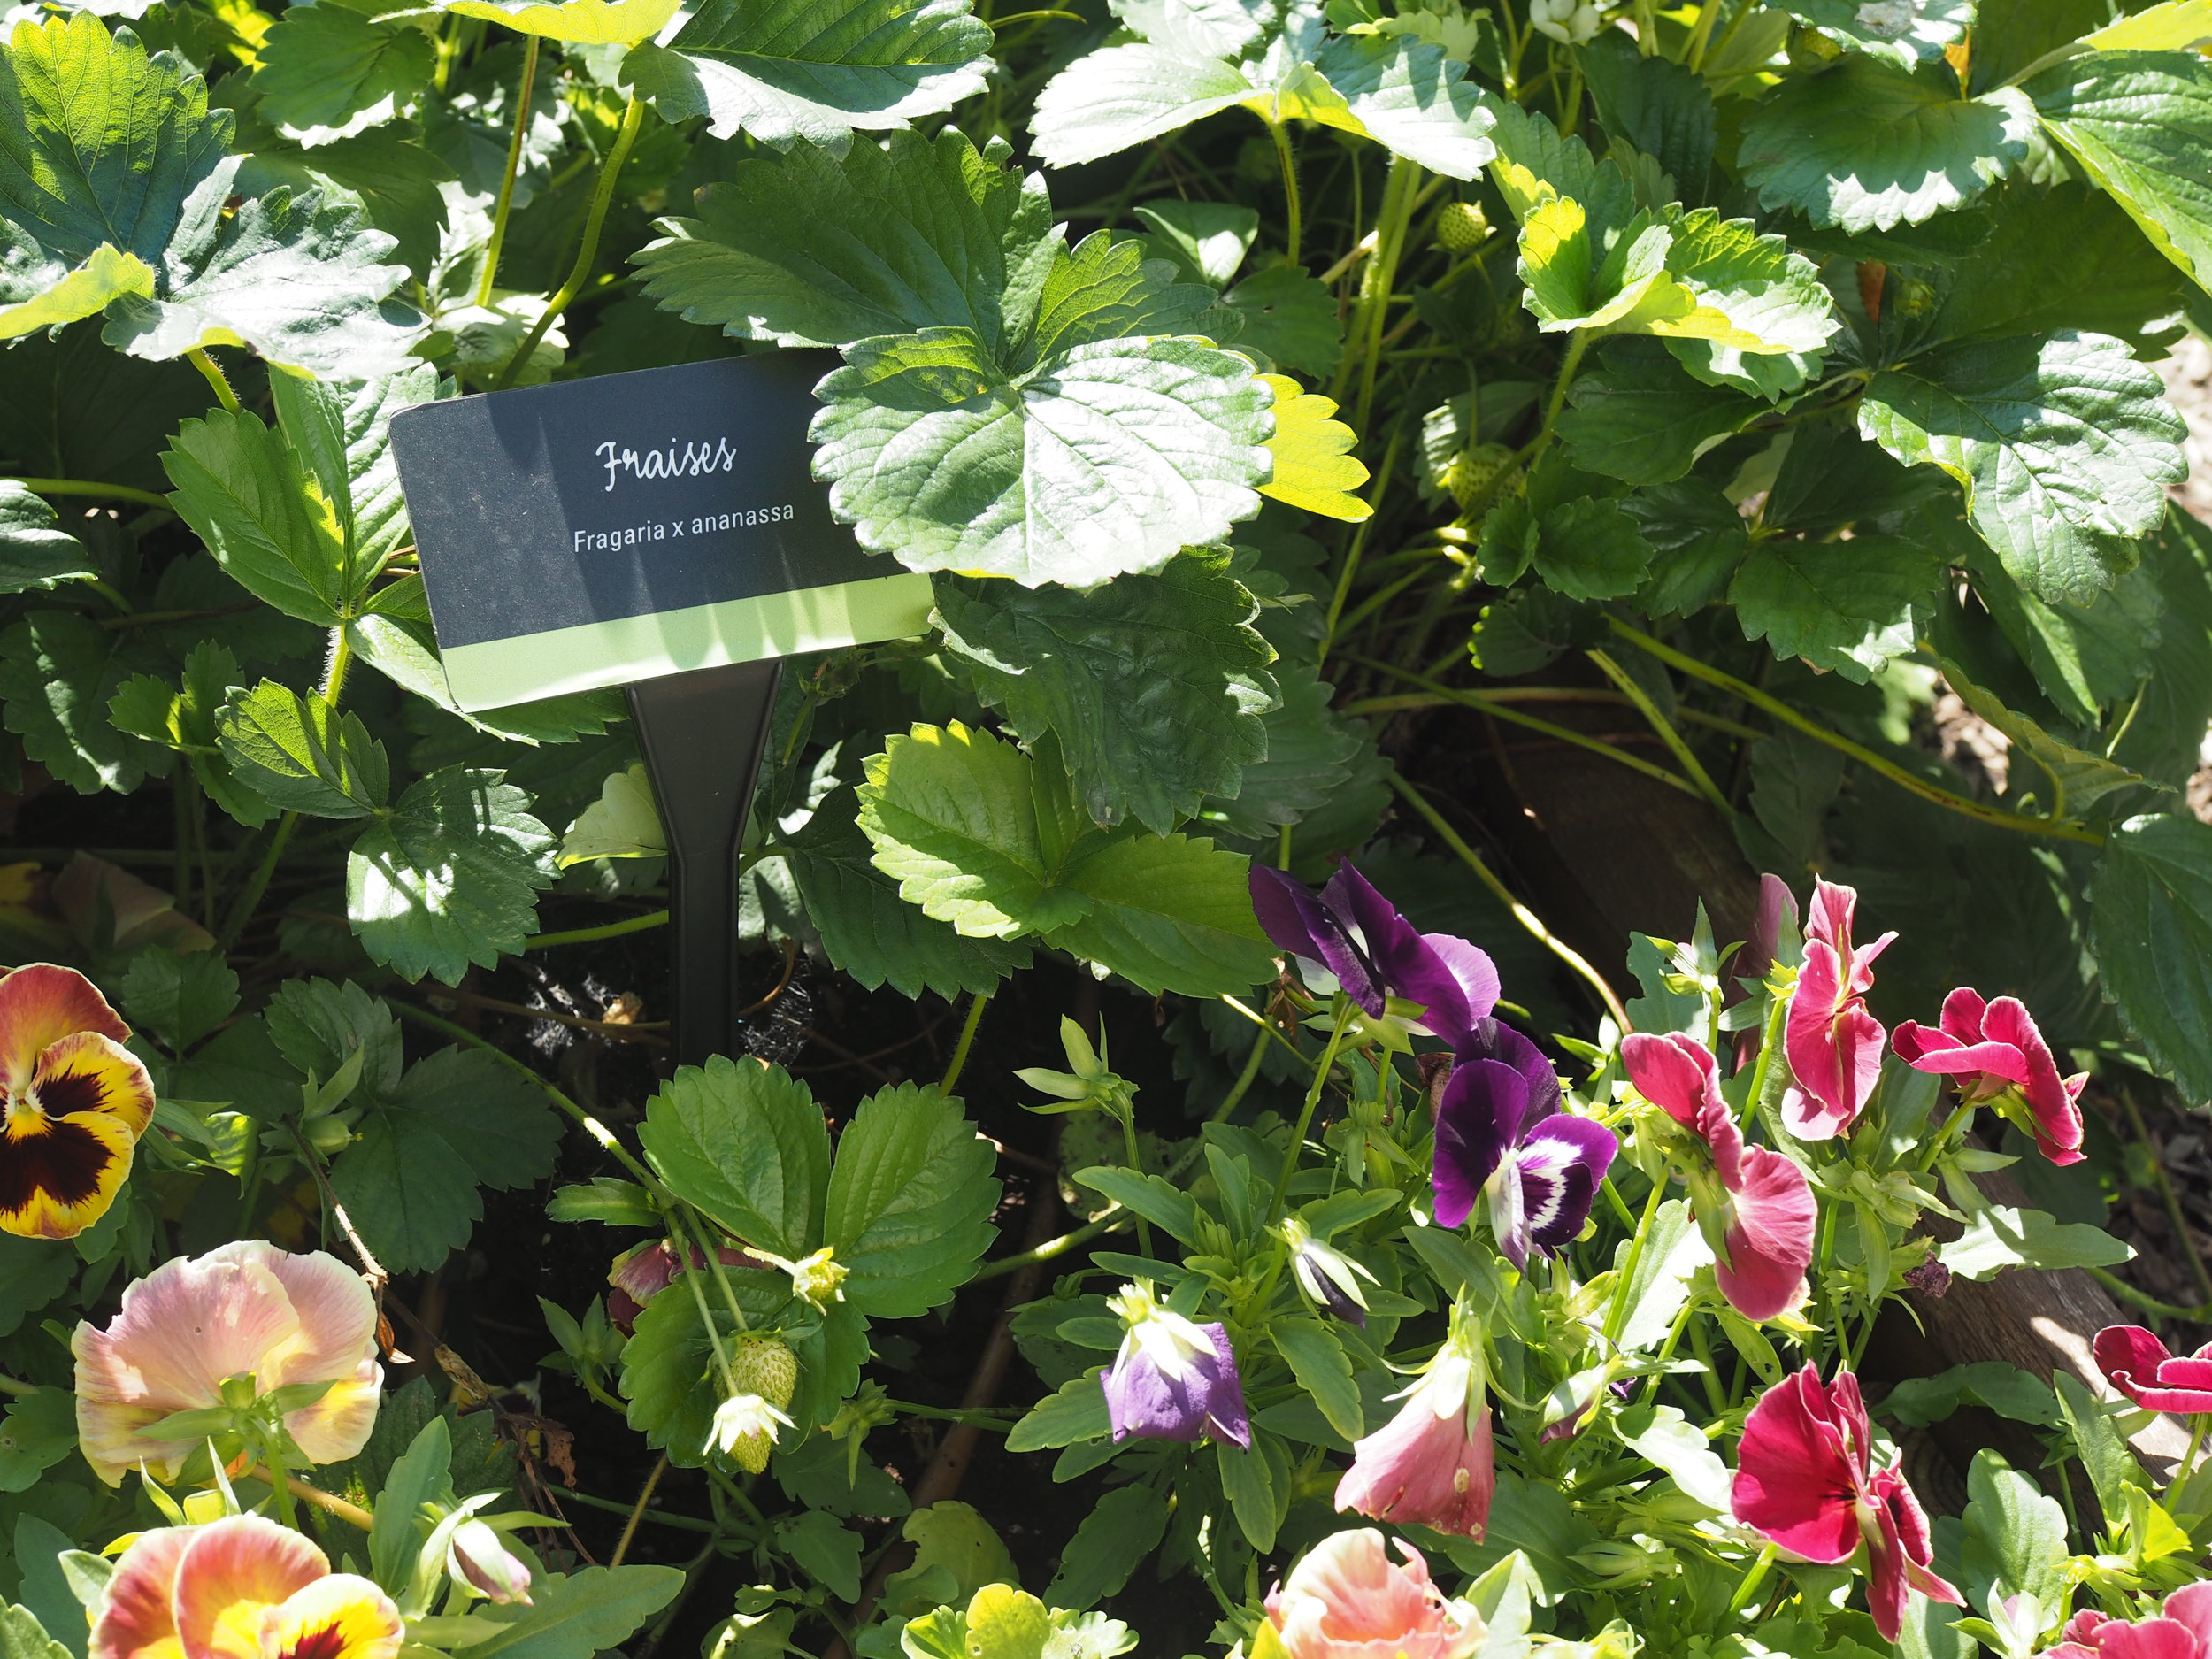
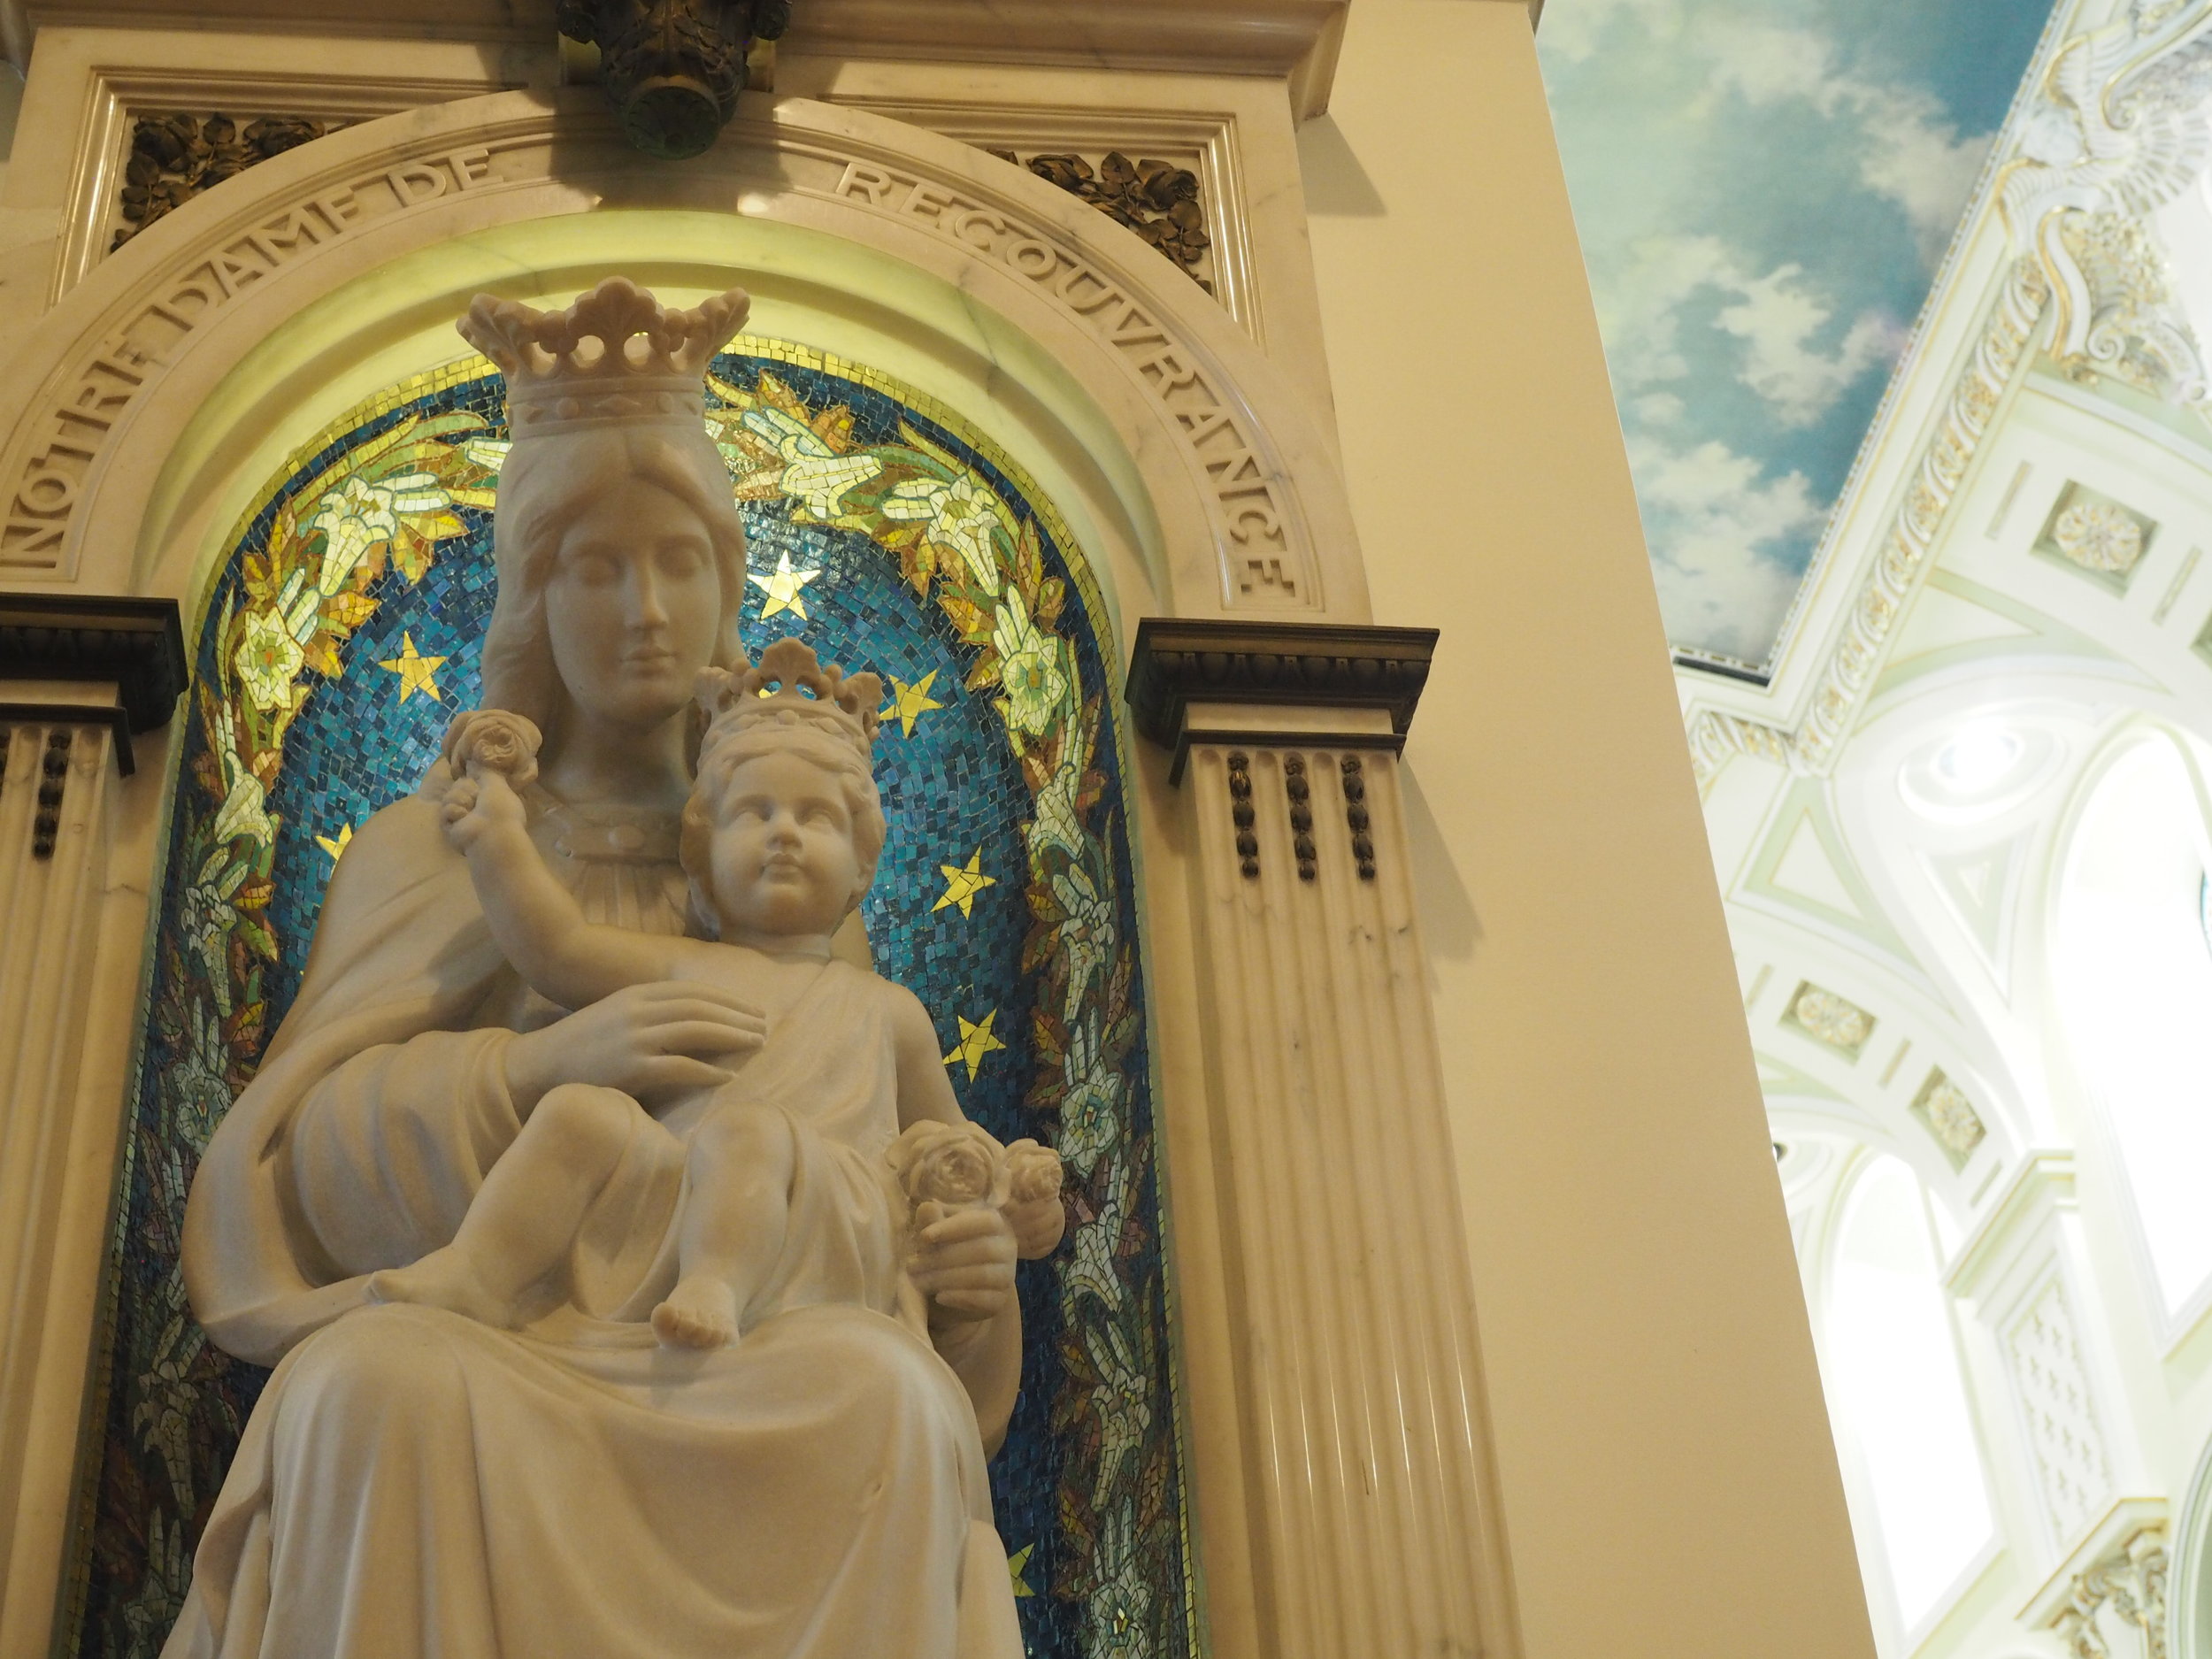
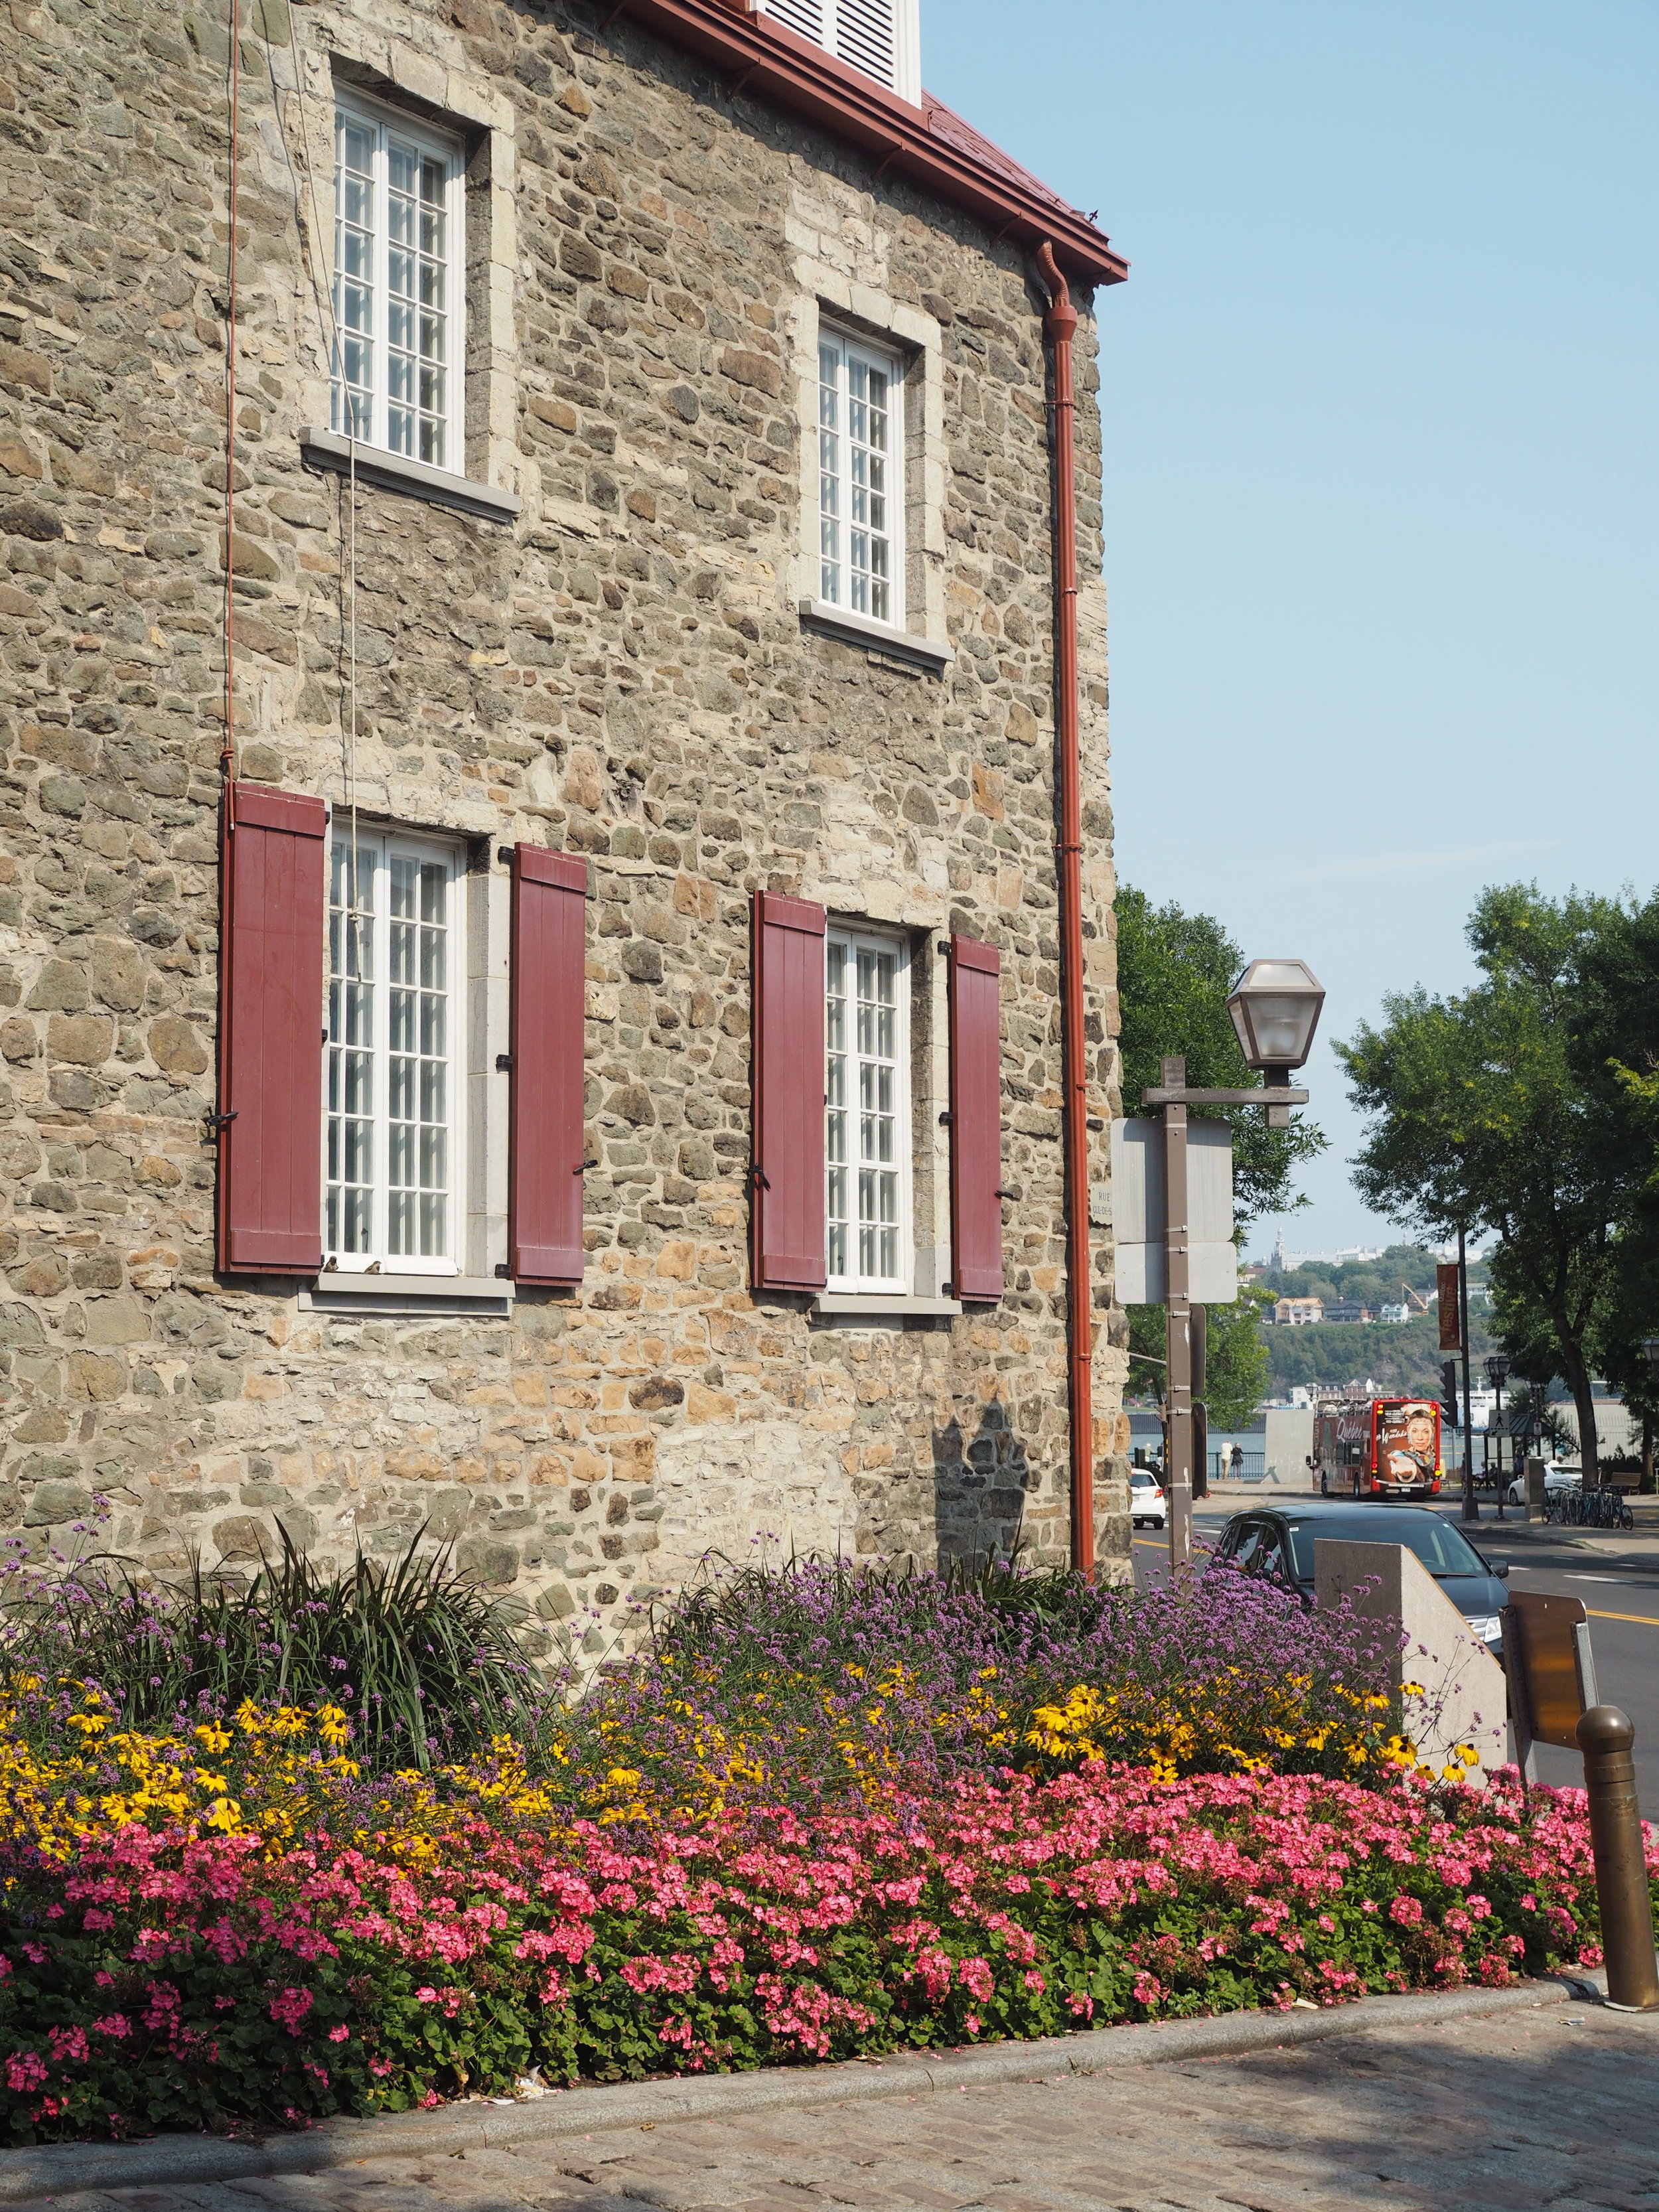
  • Just wandering around - there's tons of cool fountains and statues to see, pretty gardens everywhere and truly foreign things like active payphones. 

Paid activities

The free stuff was mostly her favorites (because of course!), but these were big hits too:

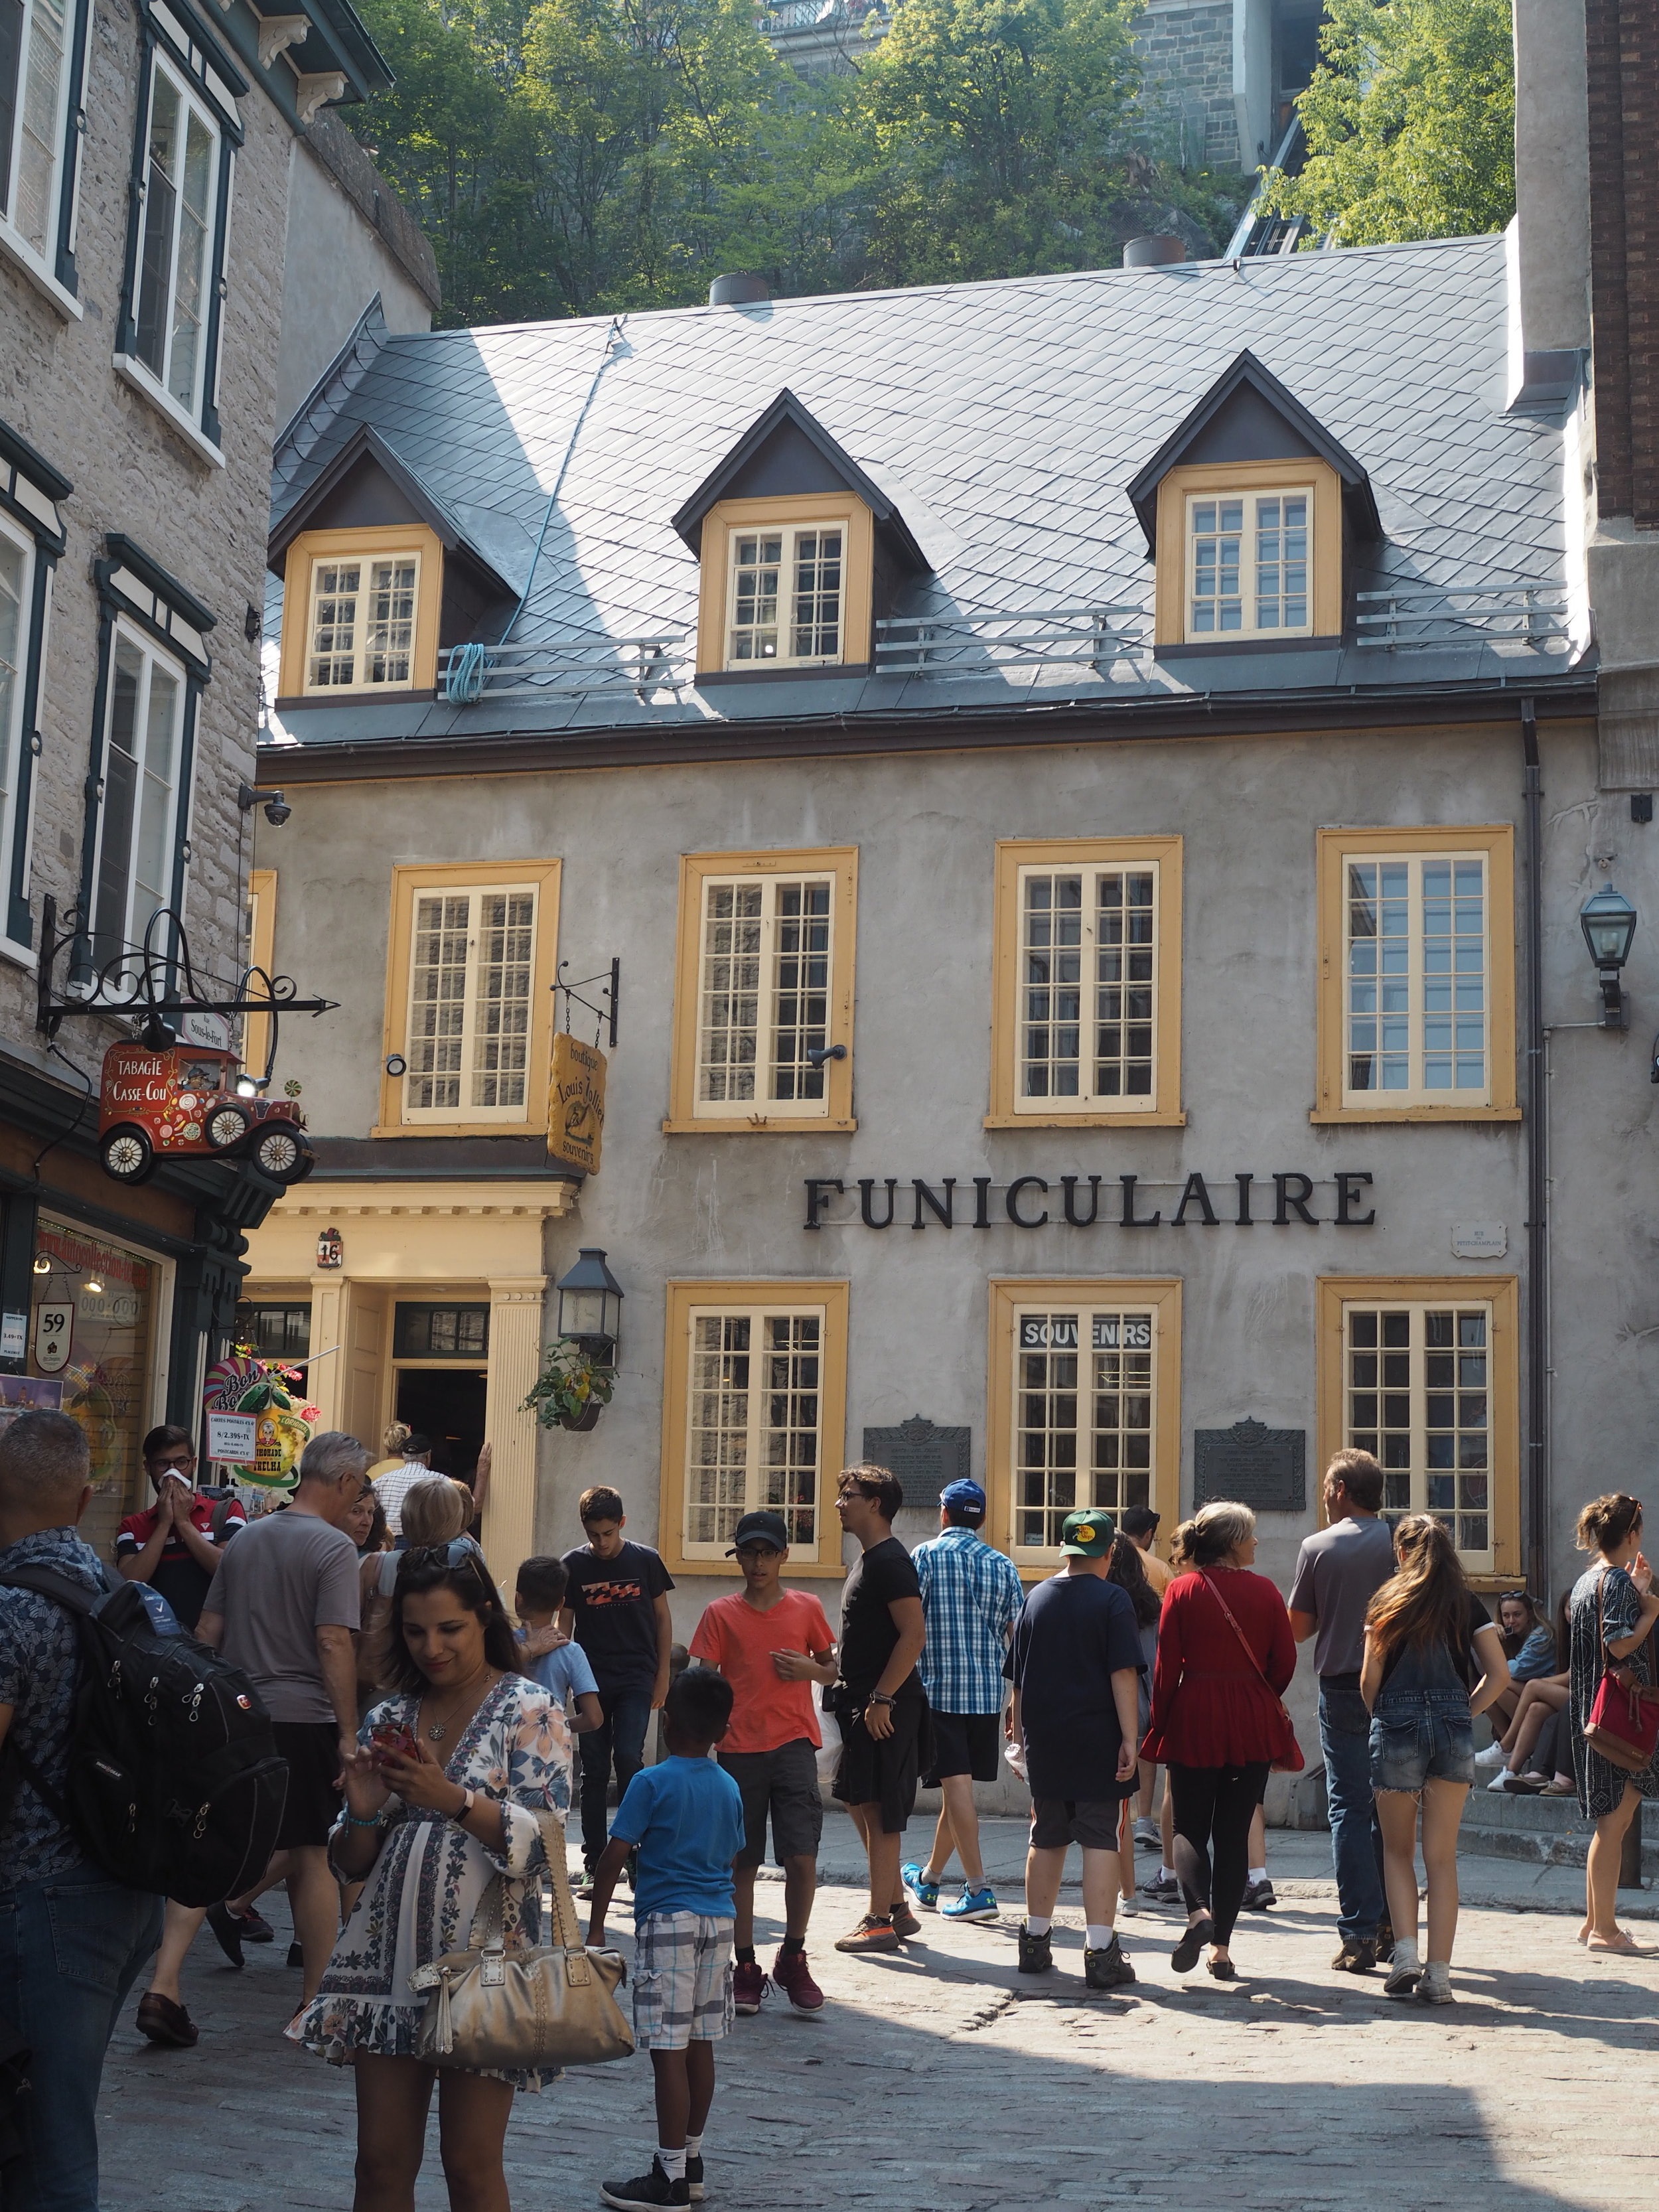
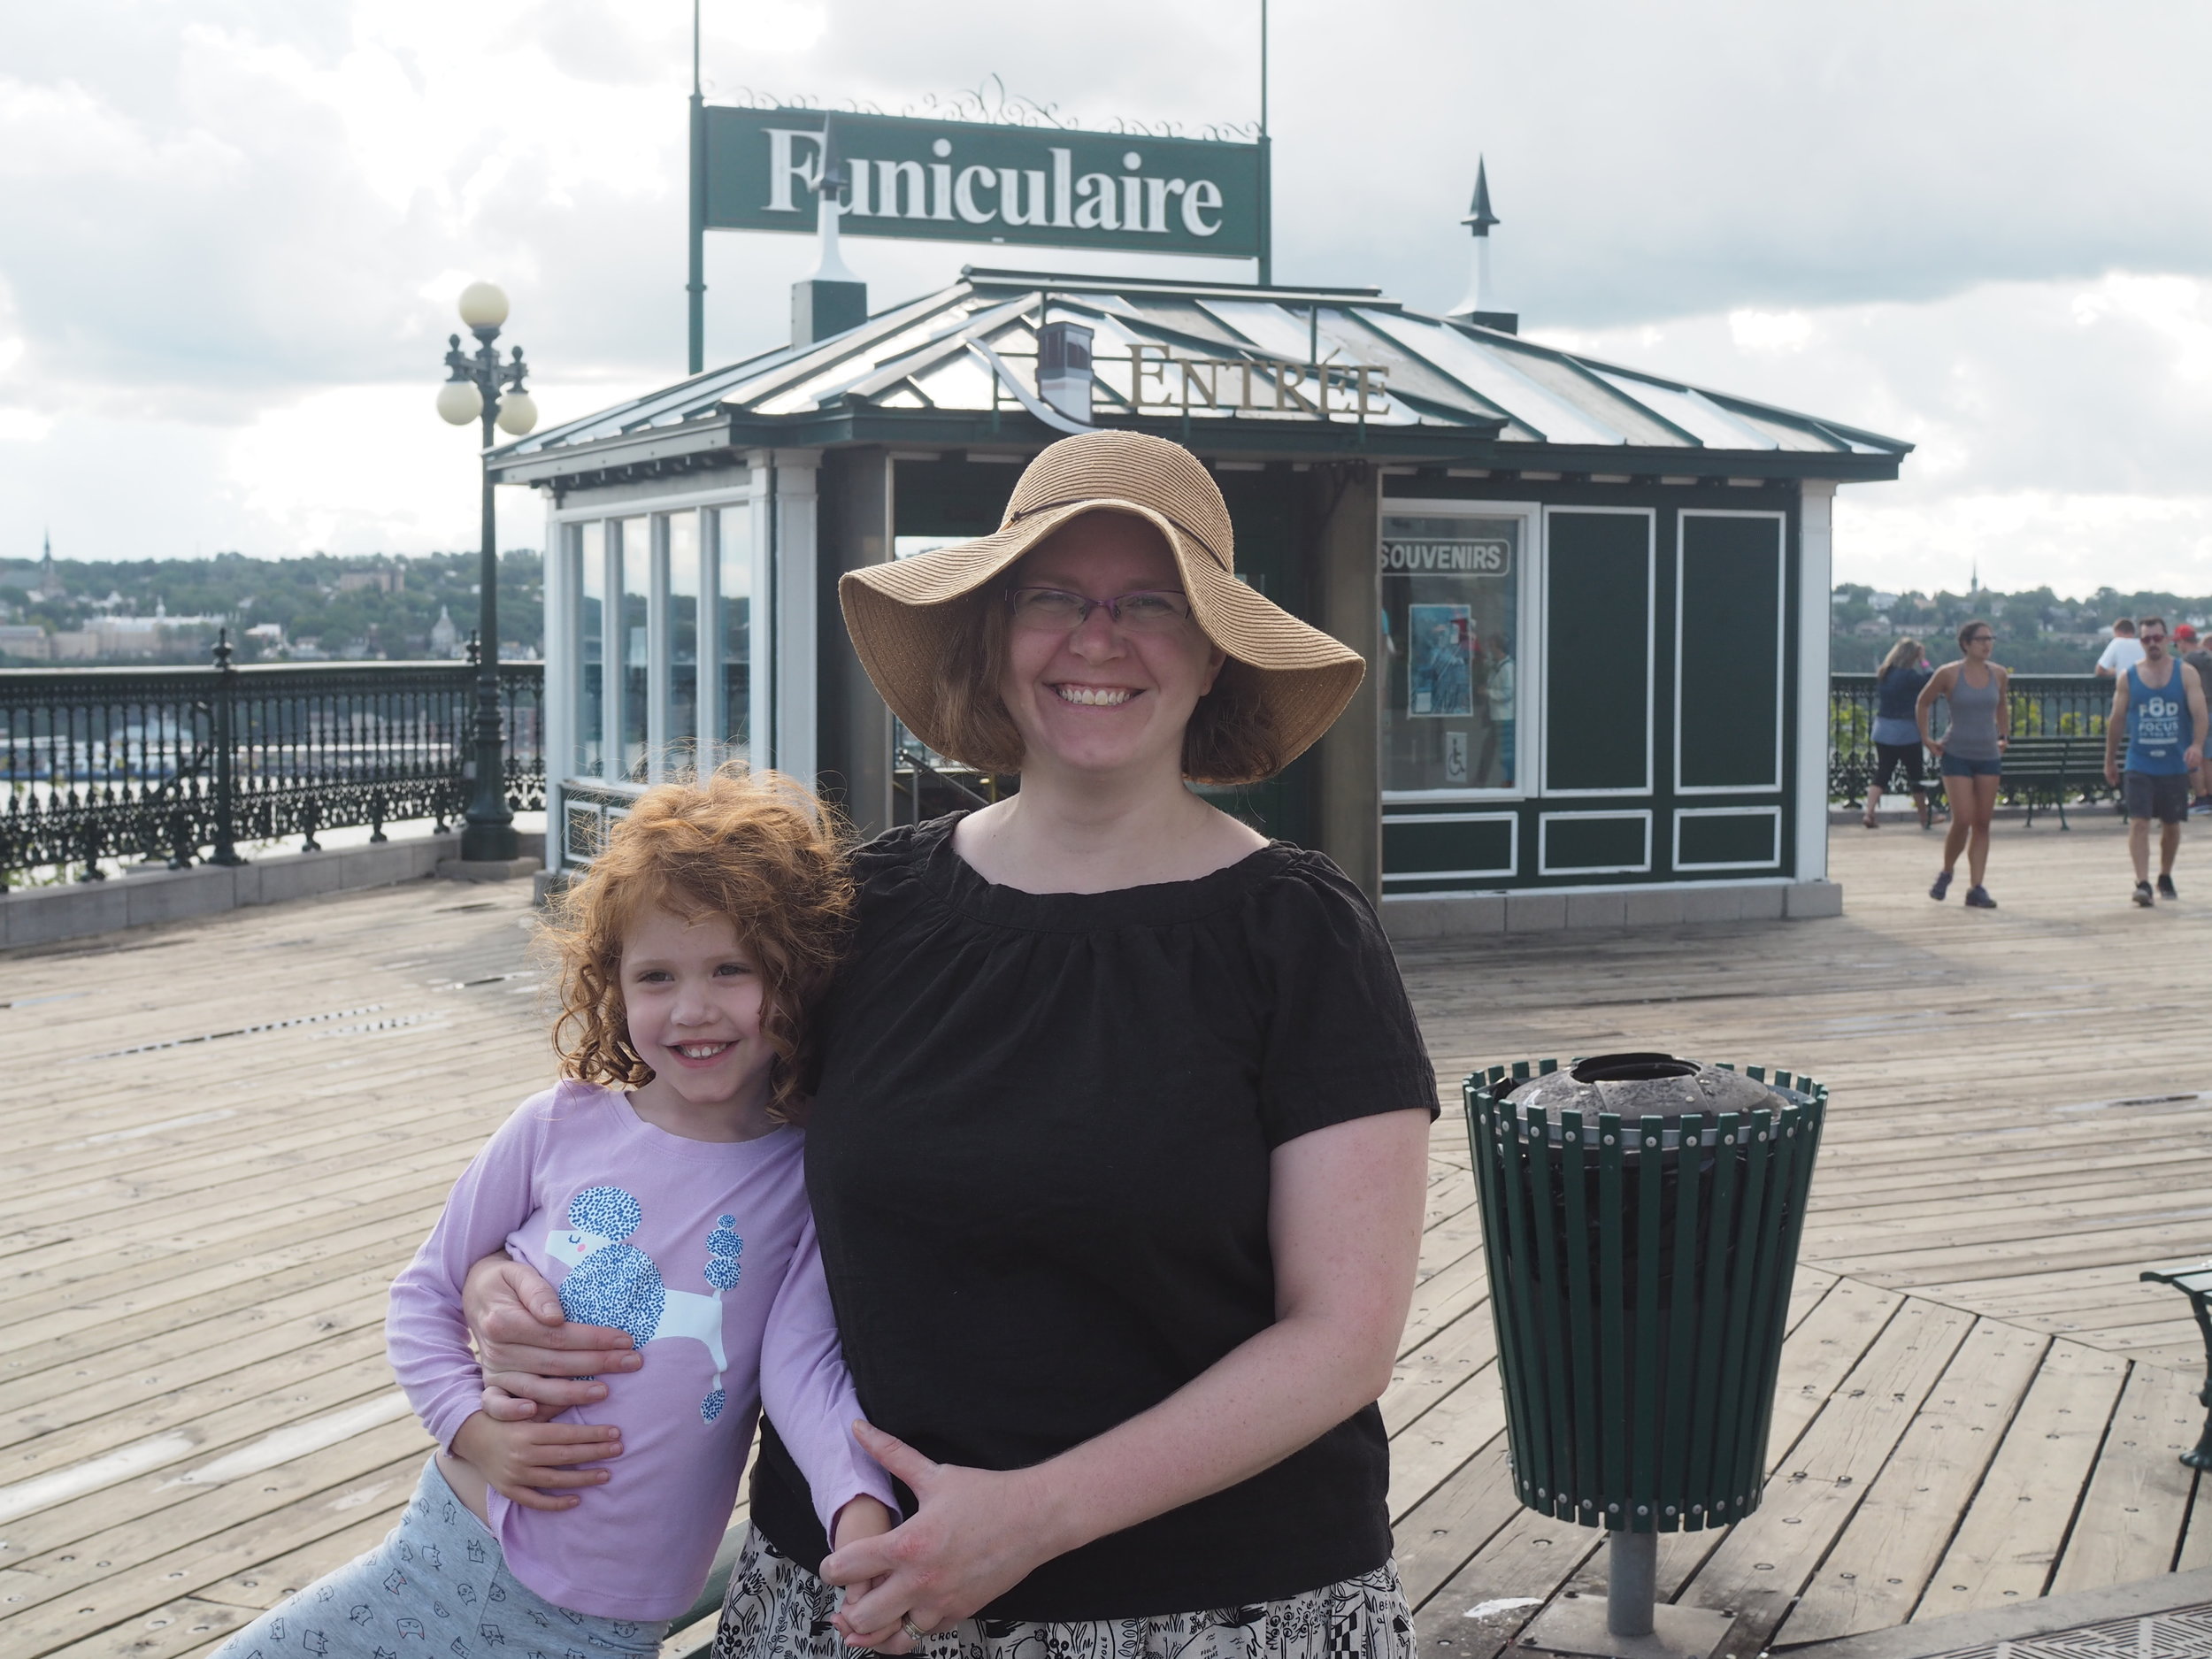
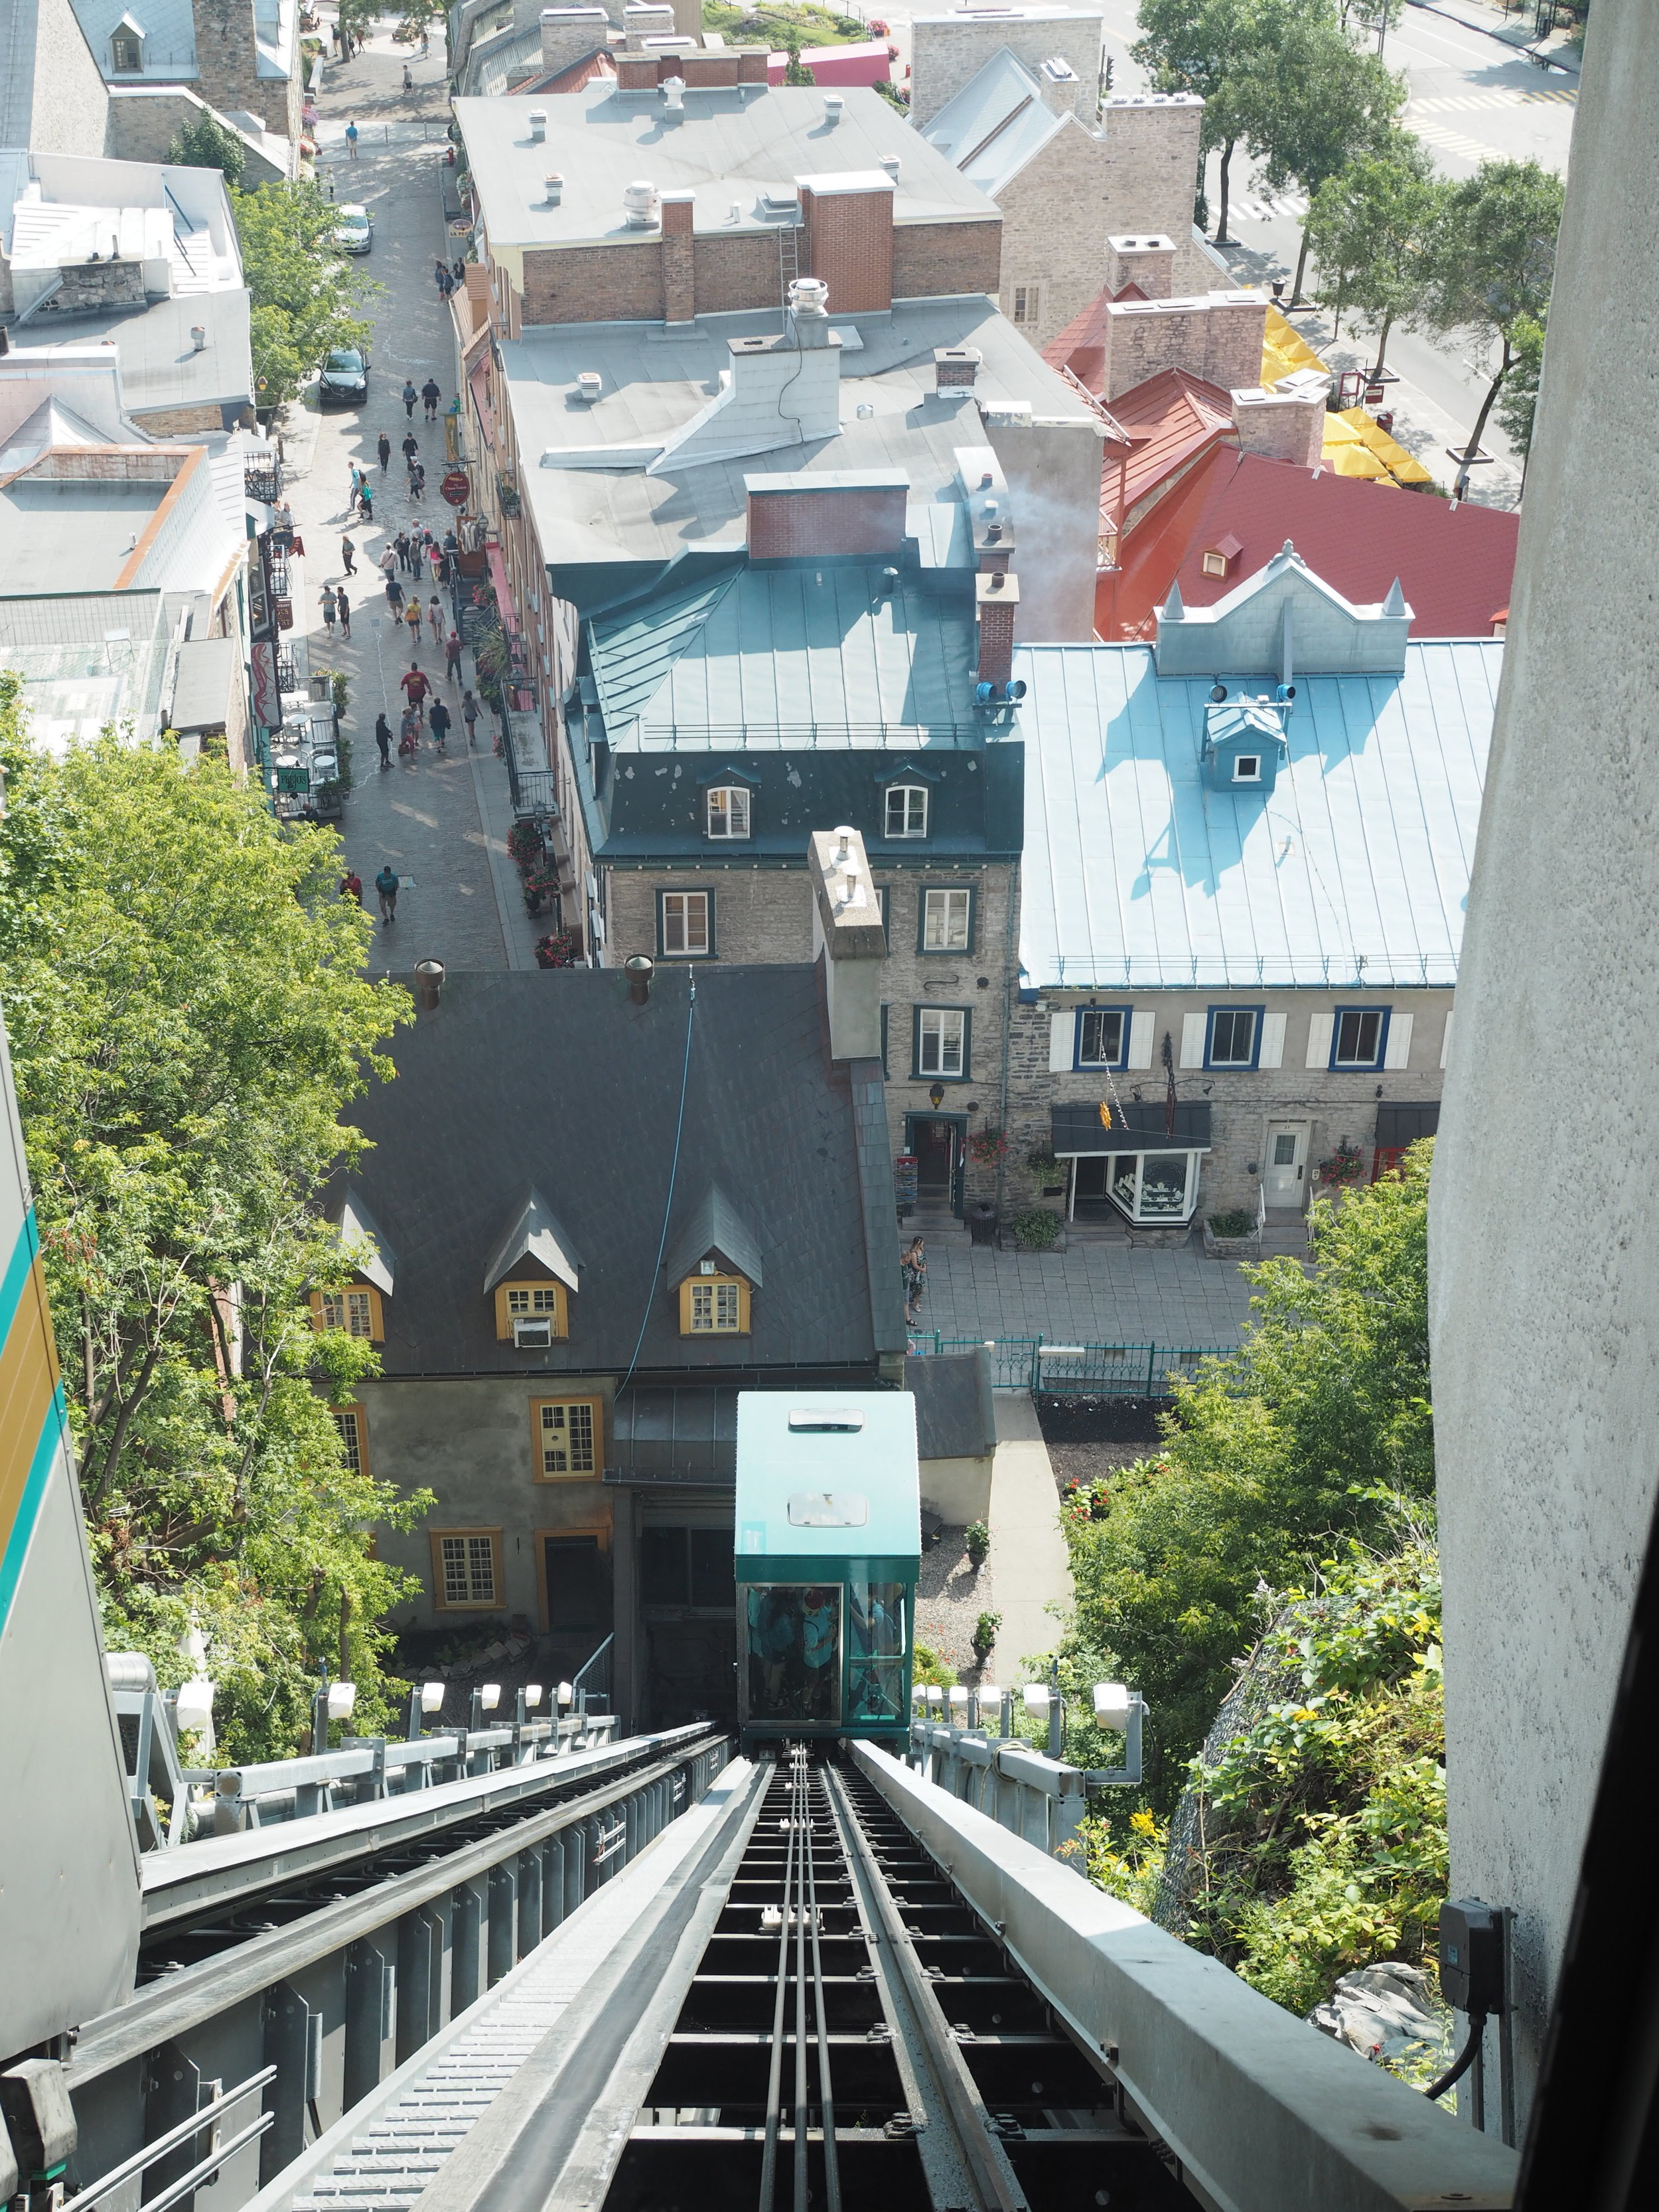
  • The Funicular - we took it going down in the morning when it was less crowded. Young kids ride free if they fit under the turnstile.
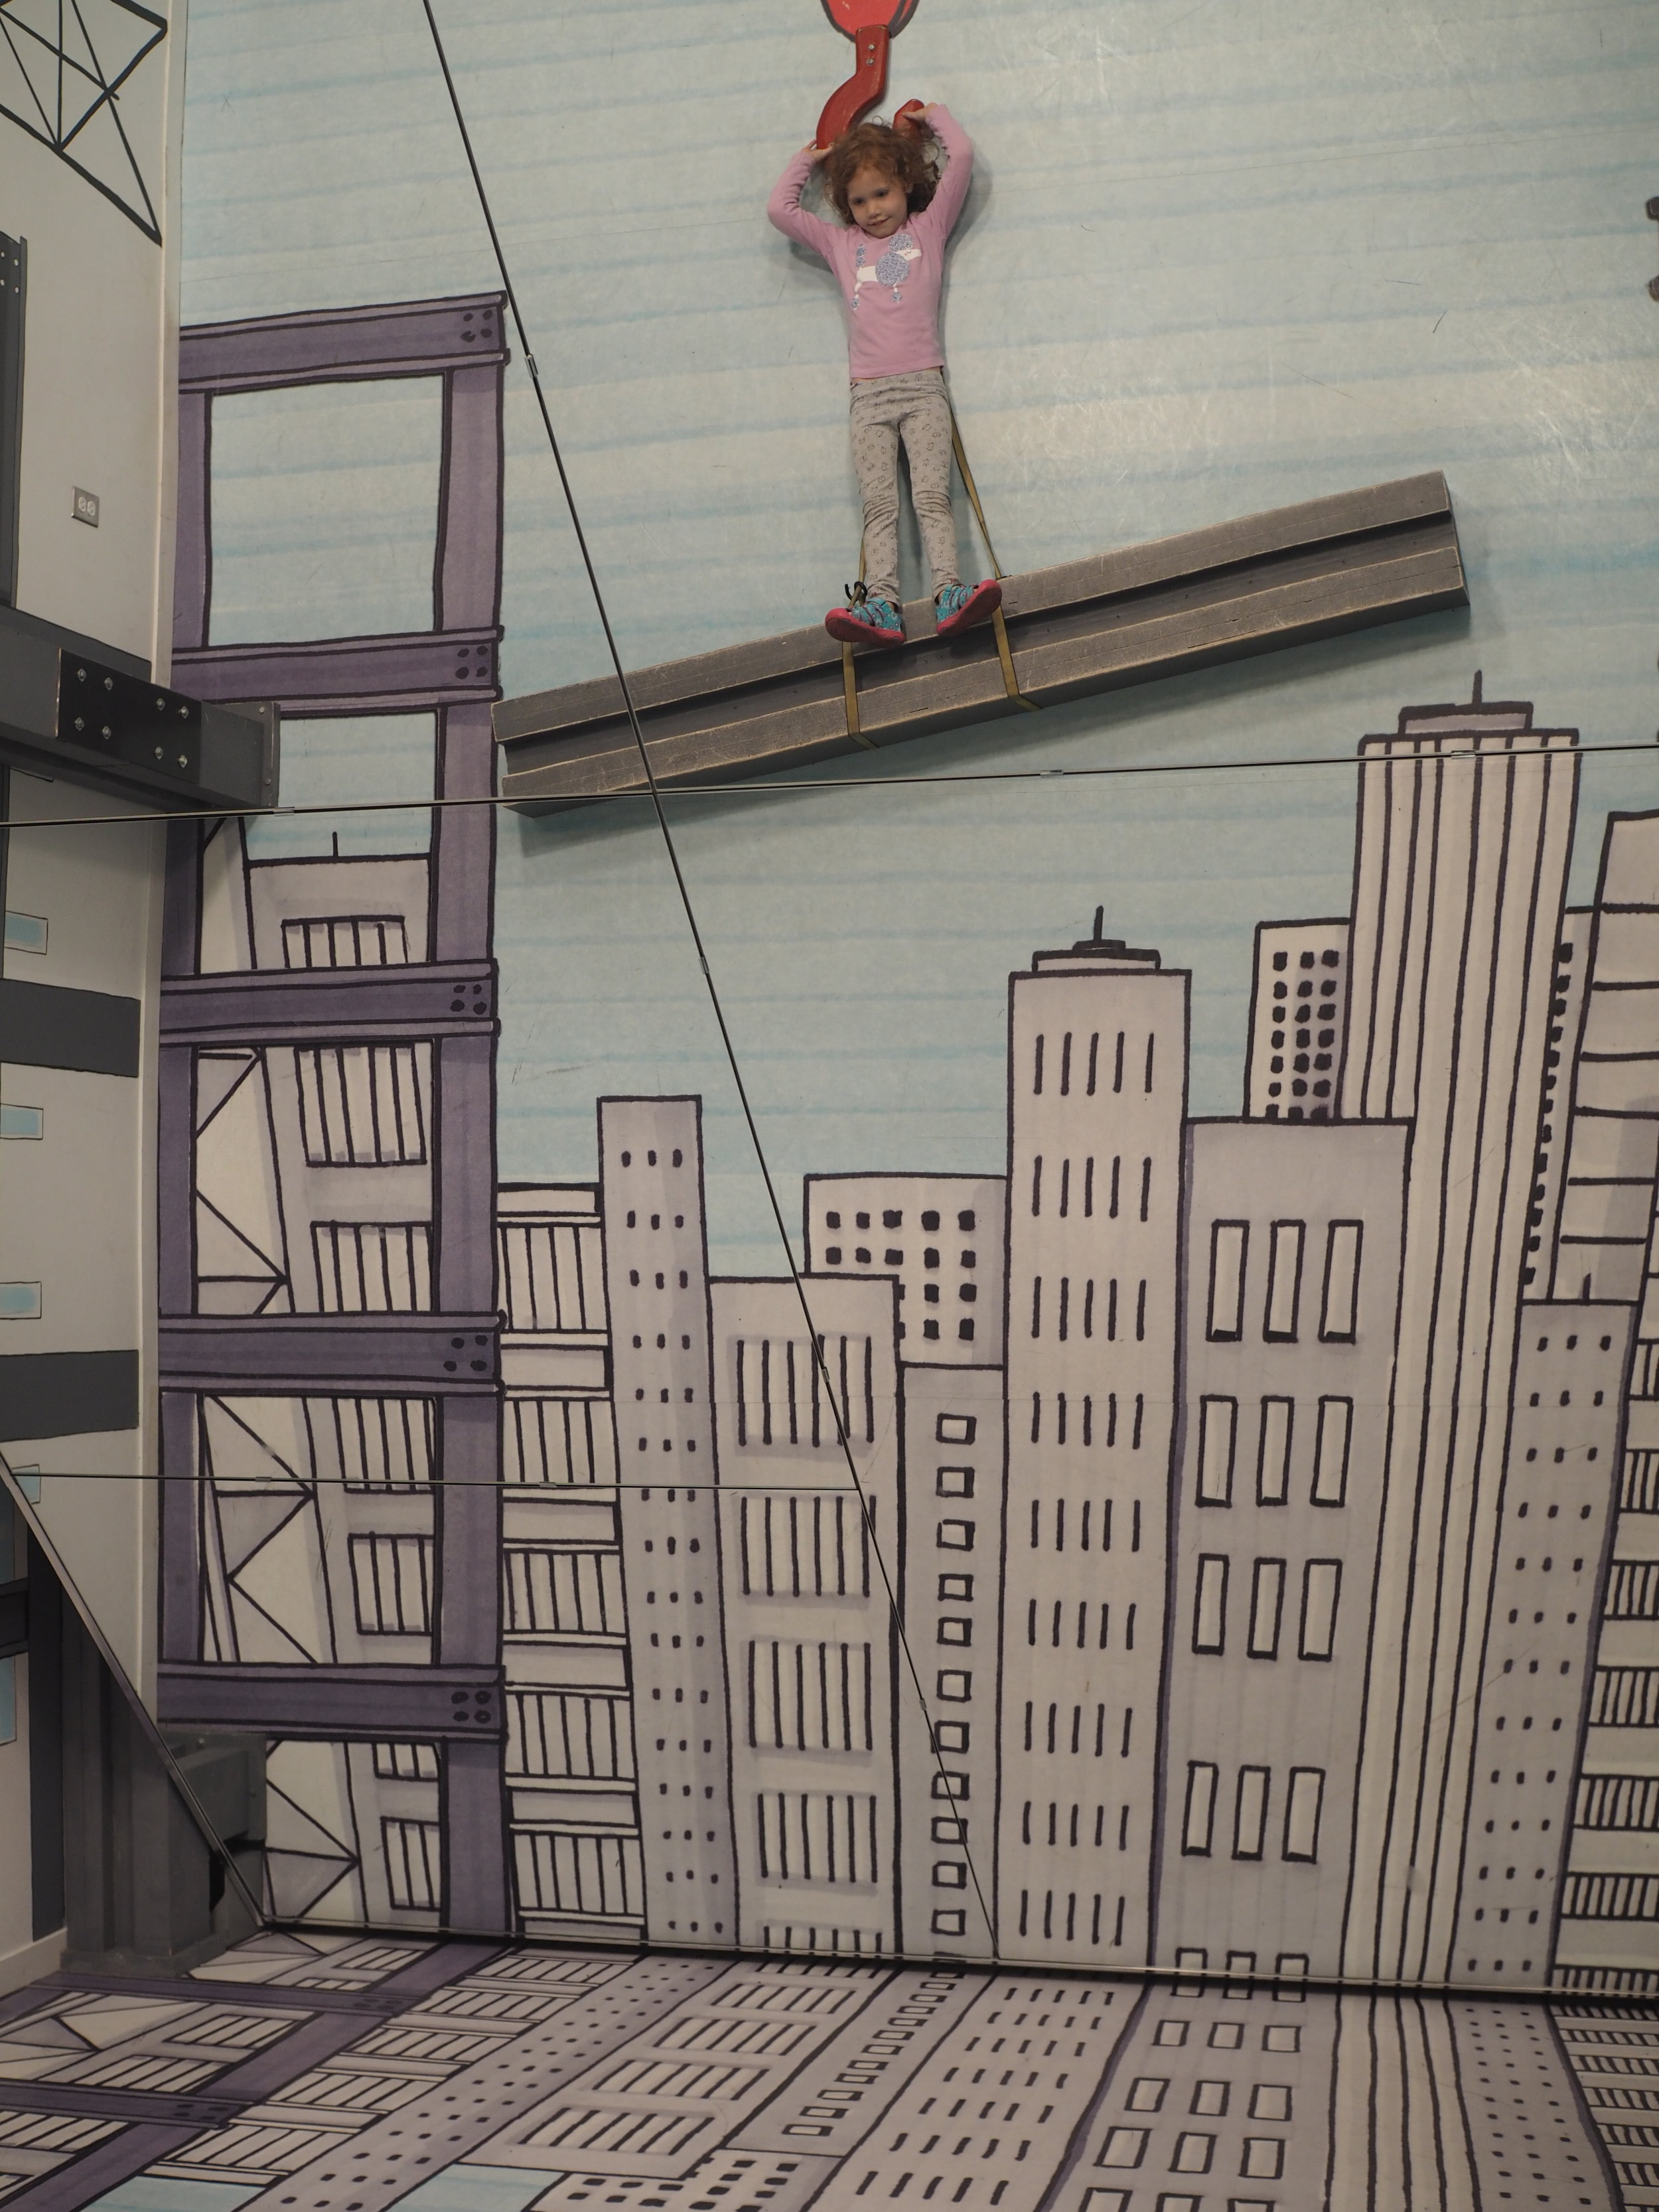
  • La Musee de la civilsation - As a lifelong Tintin fan, I count it amazing luck that they happened to have a special exhibit on Herge when we were there, but for kids, get the pass (it's free with admission) to Il était une fois. Down on the bottom floor, it has amazingly high-quality costumes for both kids and grownups to wear and fun fairy-tale themed play areas that include a witch's house where you can mix a brew in a bubbling cauldron, and a jousting area where you can slay a dragon. There's also some good interactive exhibits on the 2nd floor. Lunch at the outdoor cafe on the main floor was good too! 
  • Getting a balloon from a street vendor. She's still talking about how much she loves that mermaid. 
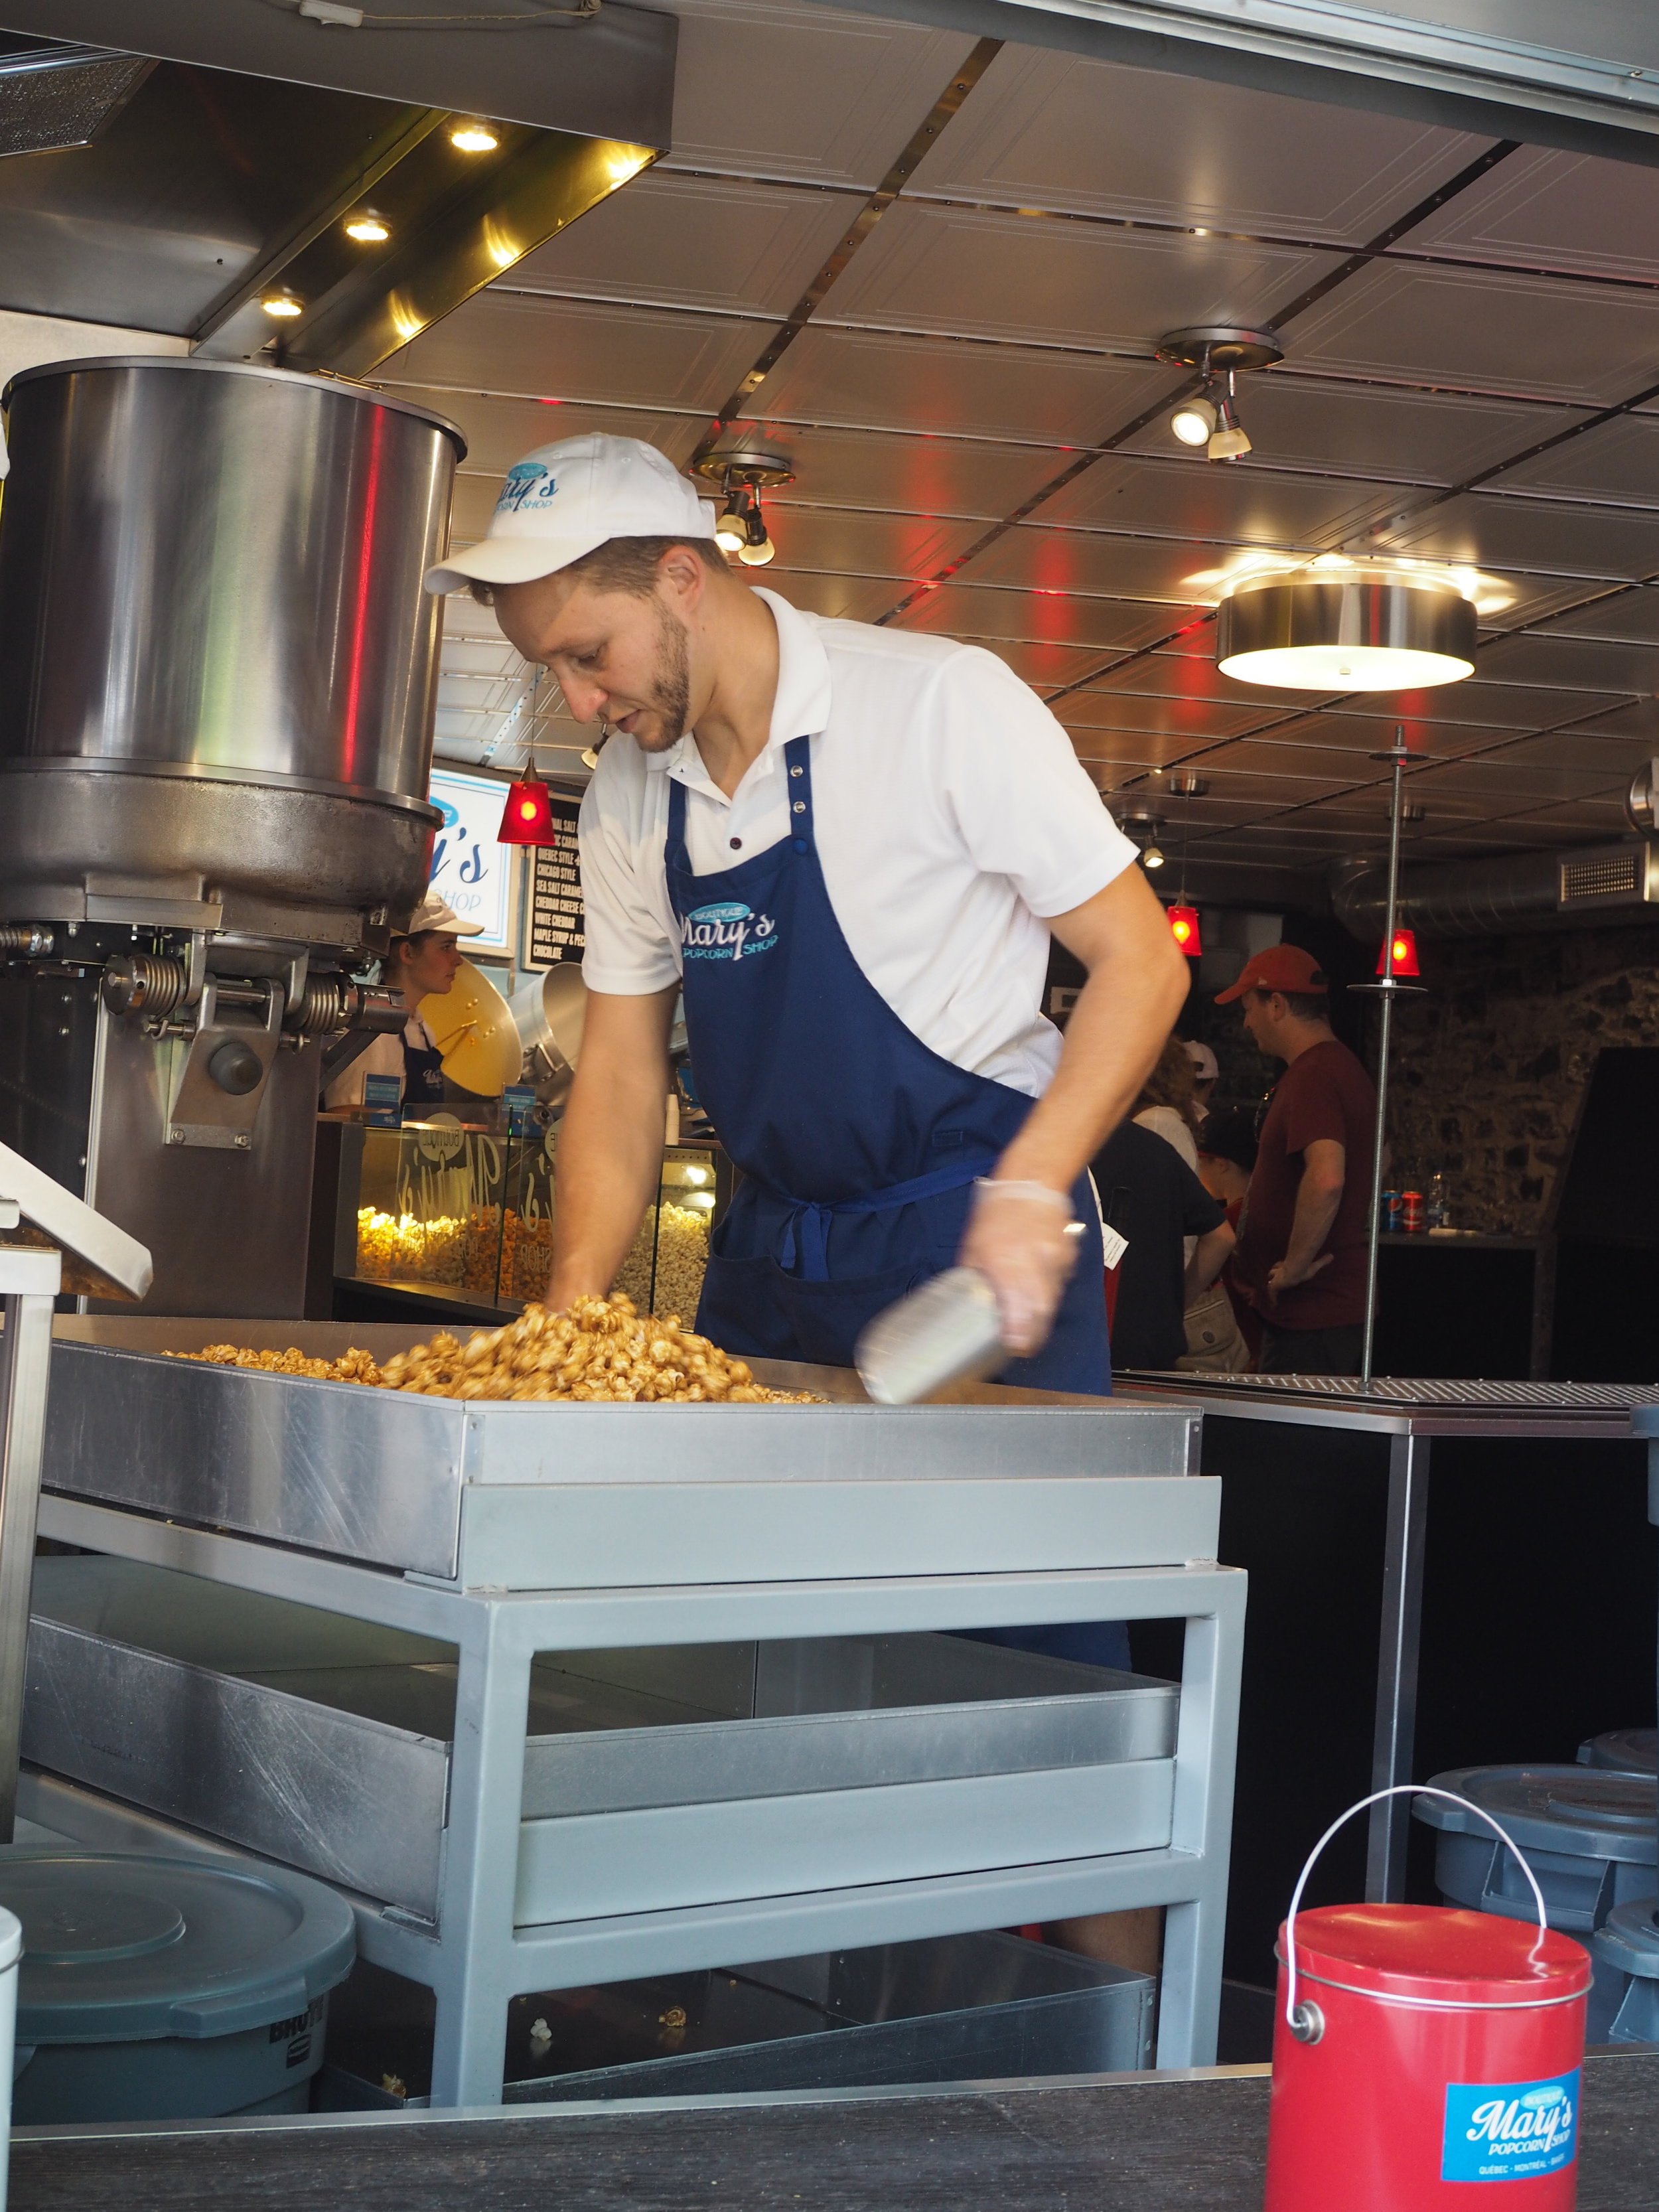
  • Mary's Popcorn - they have two locations in Old Quebec and the smell is irresistible. You can buy a small bag for cheap, don't bother resisting. 
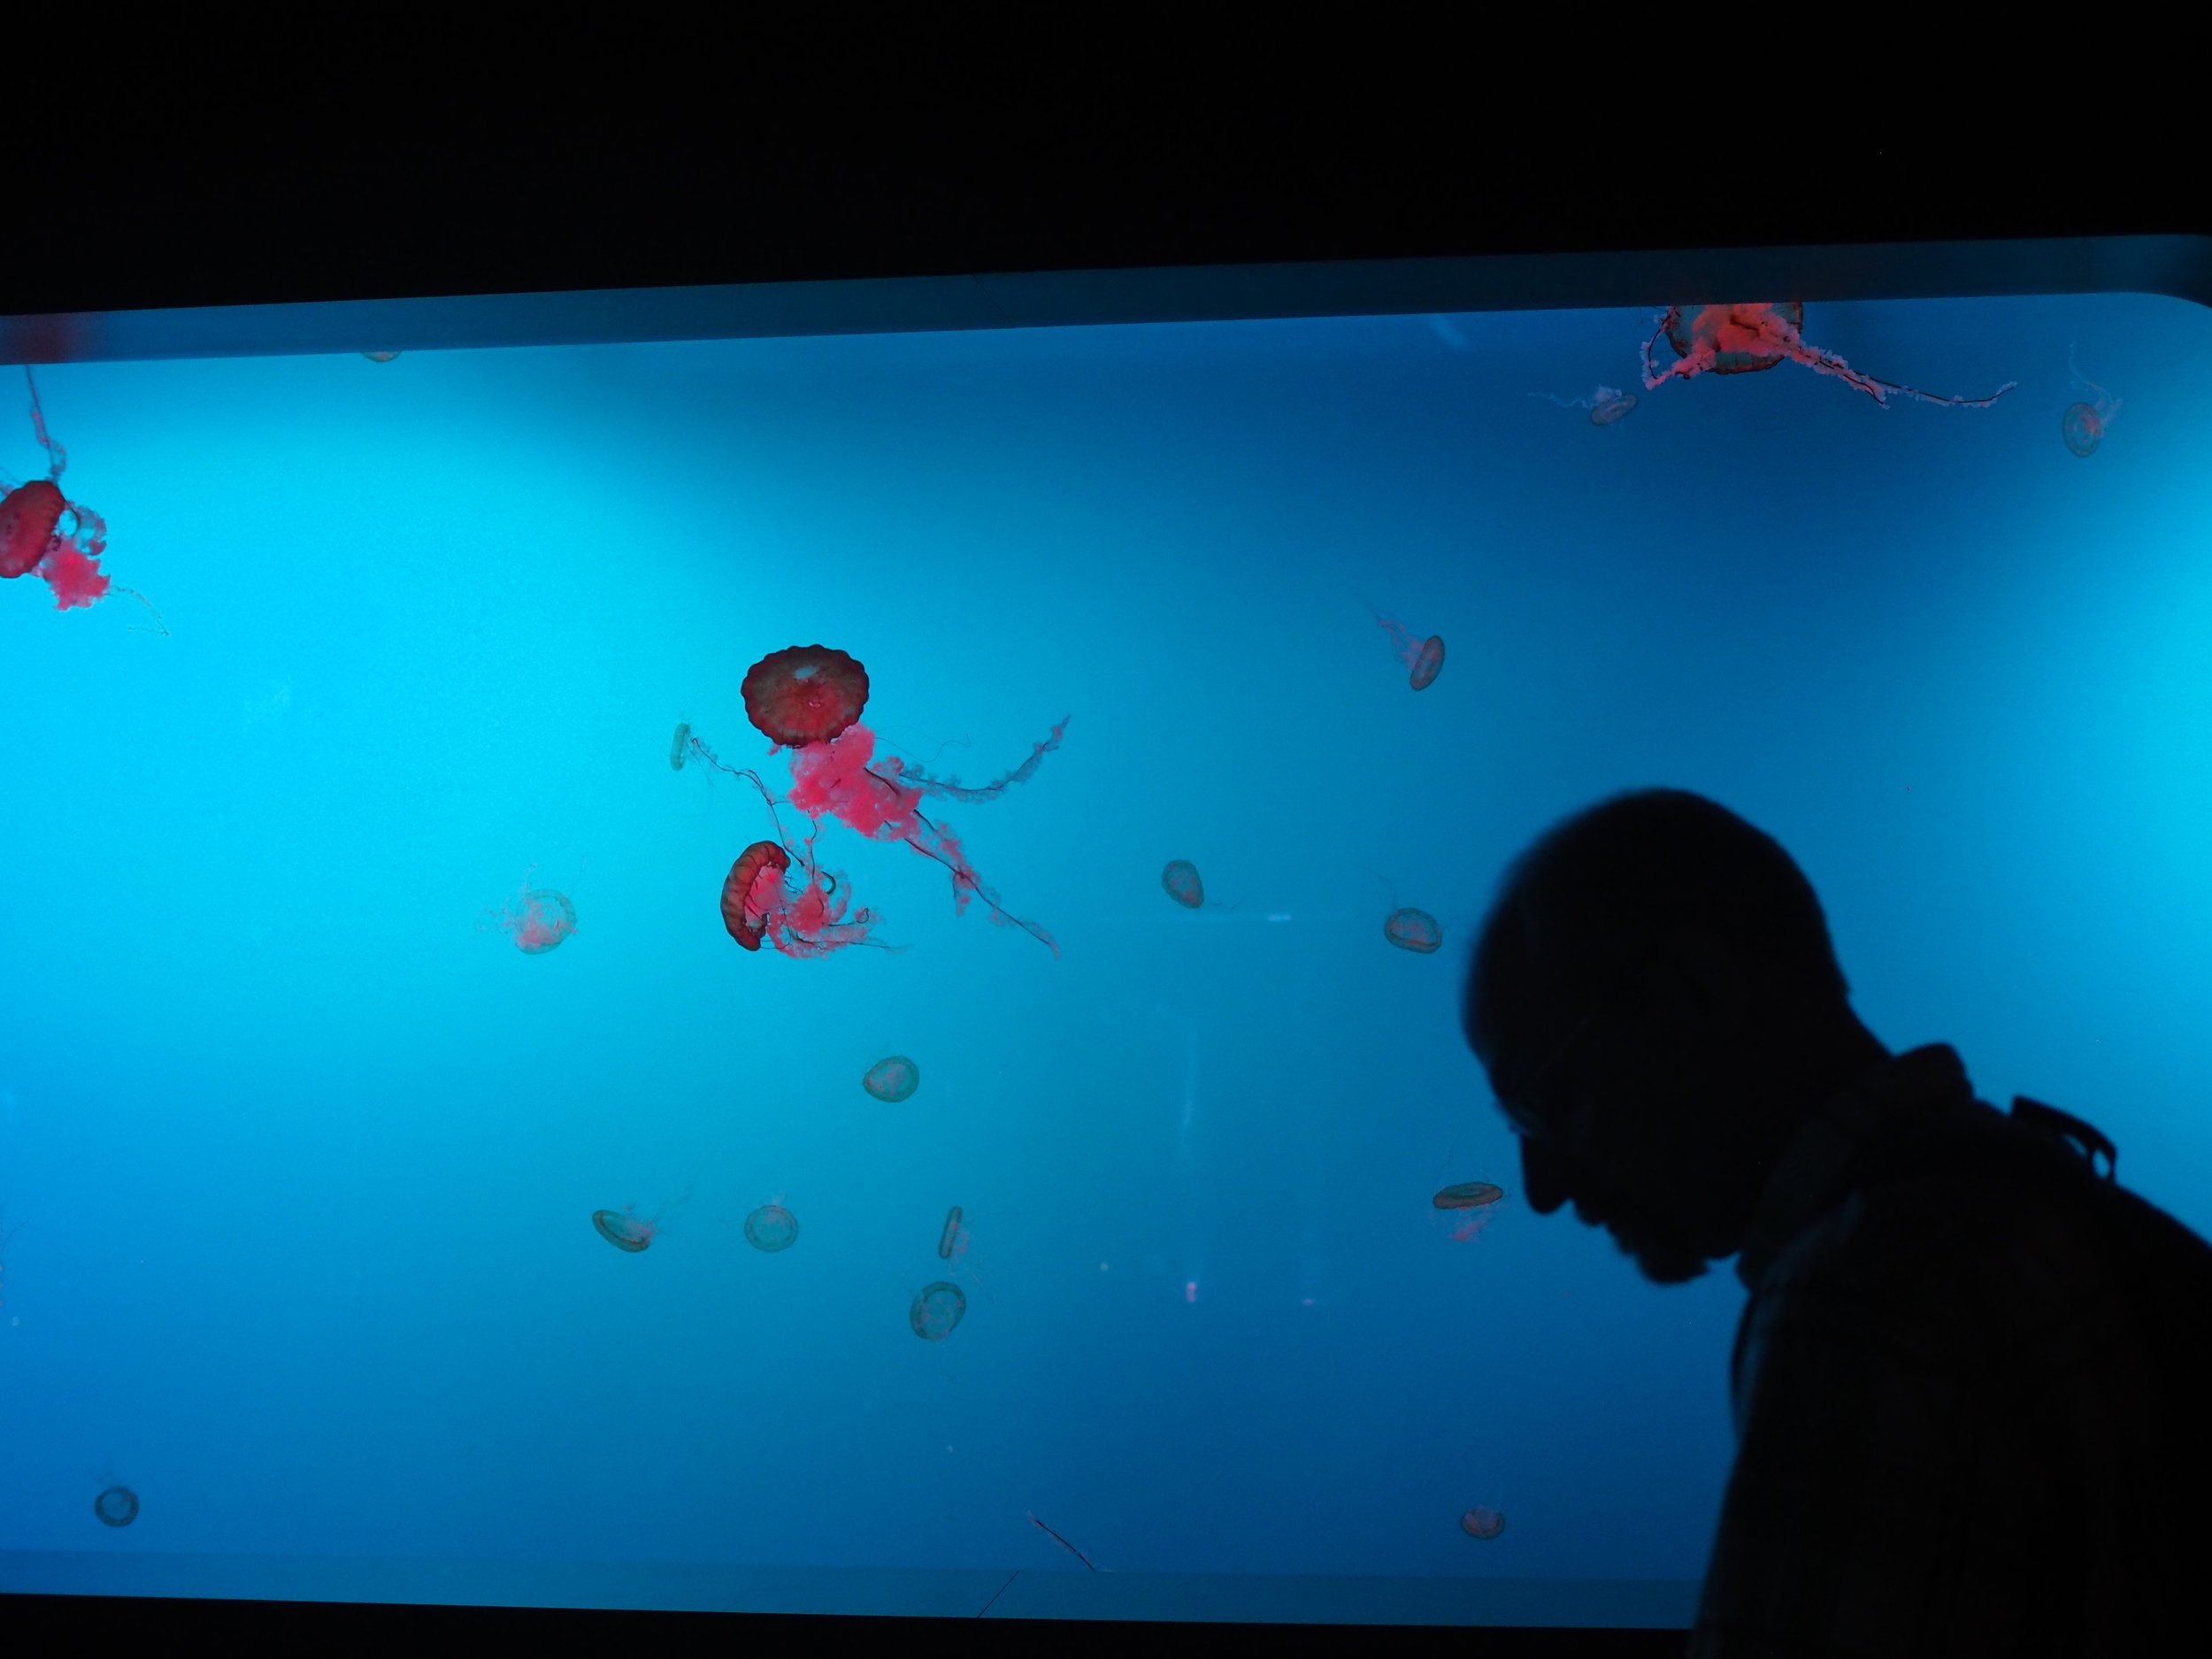
  • The Aquarium of Quebec - this is the one thing we drove to, stopping on our way out of town. It's a smaller aquarium, but it's got biggies like a polar bear, a touch tank with really friendly manta rays, and a cool jellyfish exhibit. The grounds are also lovely and, yep, there's a playground here too. 


Food

The food on our trip was so good, I'm still dreaming about/trying to figure out if I can recreate it at home. There are a staggering amount of restaurants within walking distance of the old city - a lot of them pub-style. I never had a bad meal in the city, but here are a few of my can't miss picks.

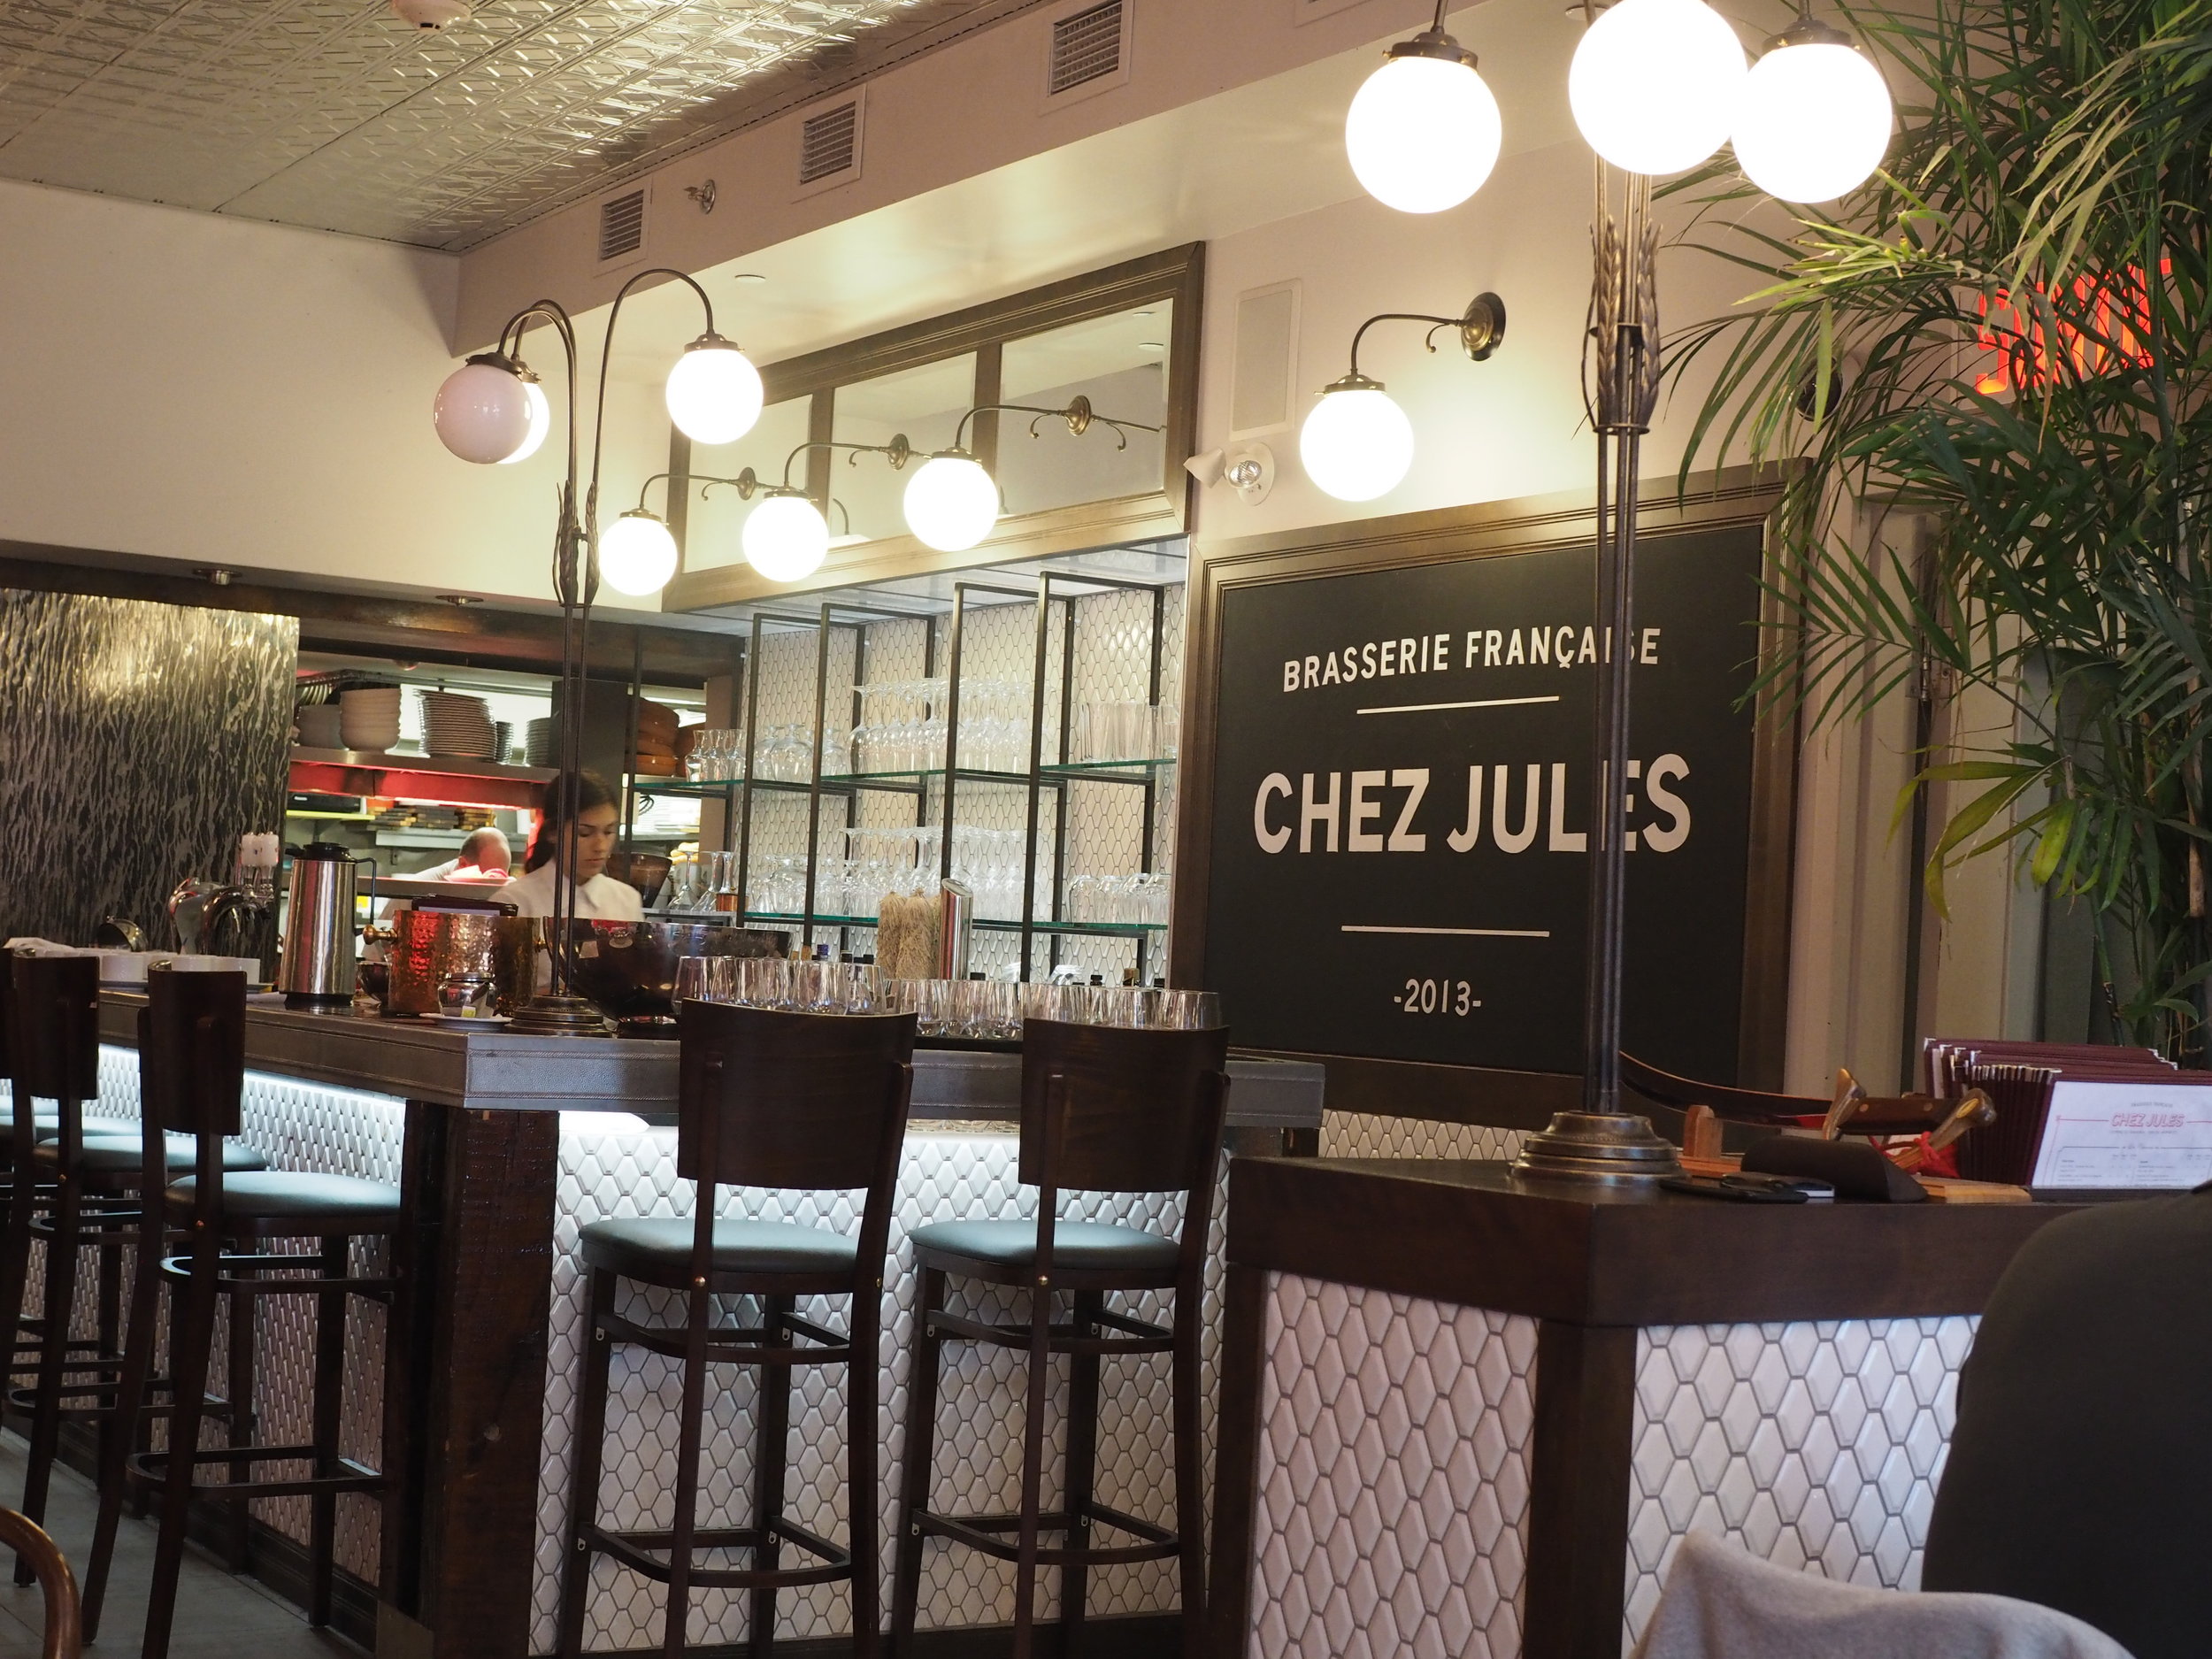
  • Chez Jules  - a reservation is highly suggested, but completely worth it. The dinner we had here was the best of our trip. The service was divine (the waiters were the most kind with my elementary French), the atmosphere makes you feel like you're in France and the food is amazing. I had le boeuf a la Bourguignonne, which was the most tender beef I've ever had and a delicious crepe Suzette. Mr. Cleaver has the sole and chocolate mousse, which he also recommends. LMC had noodles. 
  • Cochon Dingue - the breakfast here was amazing! We got there early and the place started filling up fast right as we were leaving, so if you're a late riser, I'd say reservations here as well. I'd recommend any of the sweet breakfast options (we tried French toast, waffles, and crepes) and go for the chocolat chaud a l'ancienne, which (like coffee and tea) is a free option with any breakfast. They were also the most kid-friendly place we visited with coloring books for kids.
  • La Maison Smith - - primarily a coffee shop/bakery, this is a great place to grab a quick croissant or lunch. The croque monsieur I had there was worthy of a sit-down restaurant.
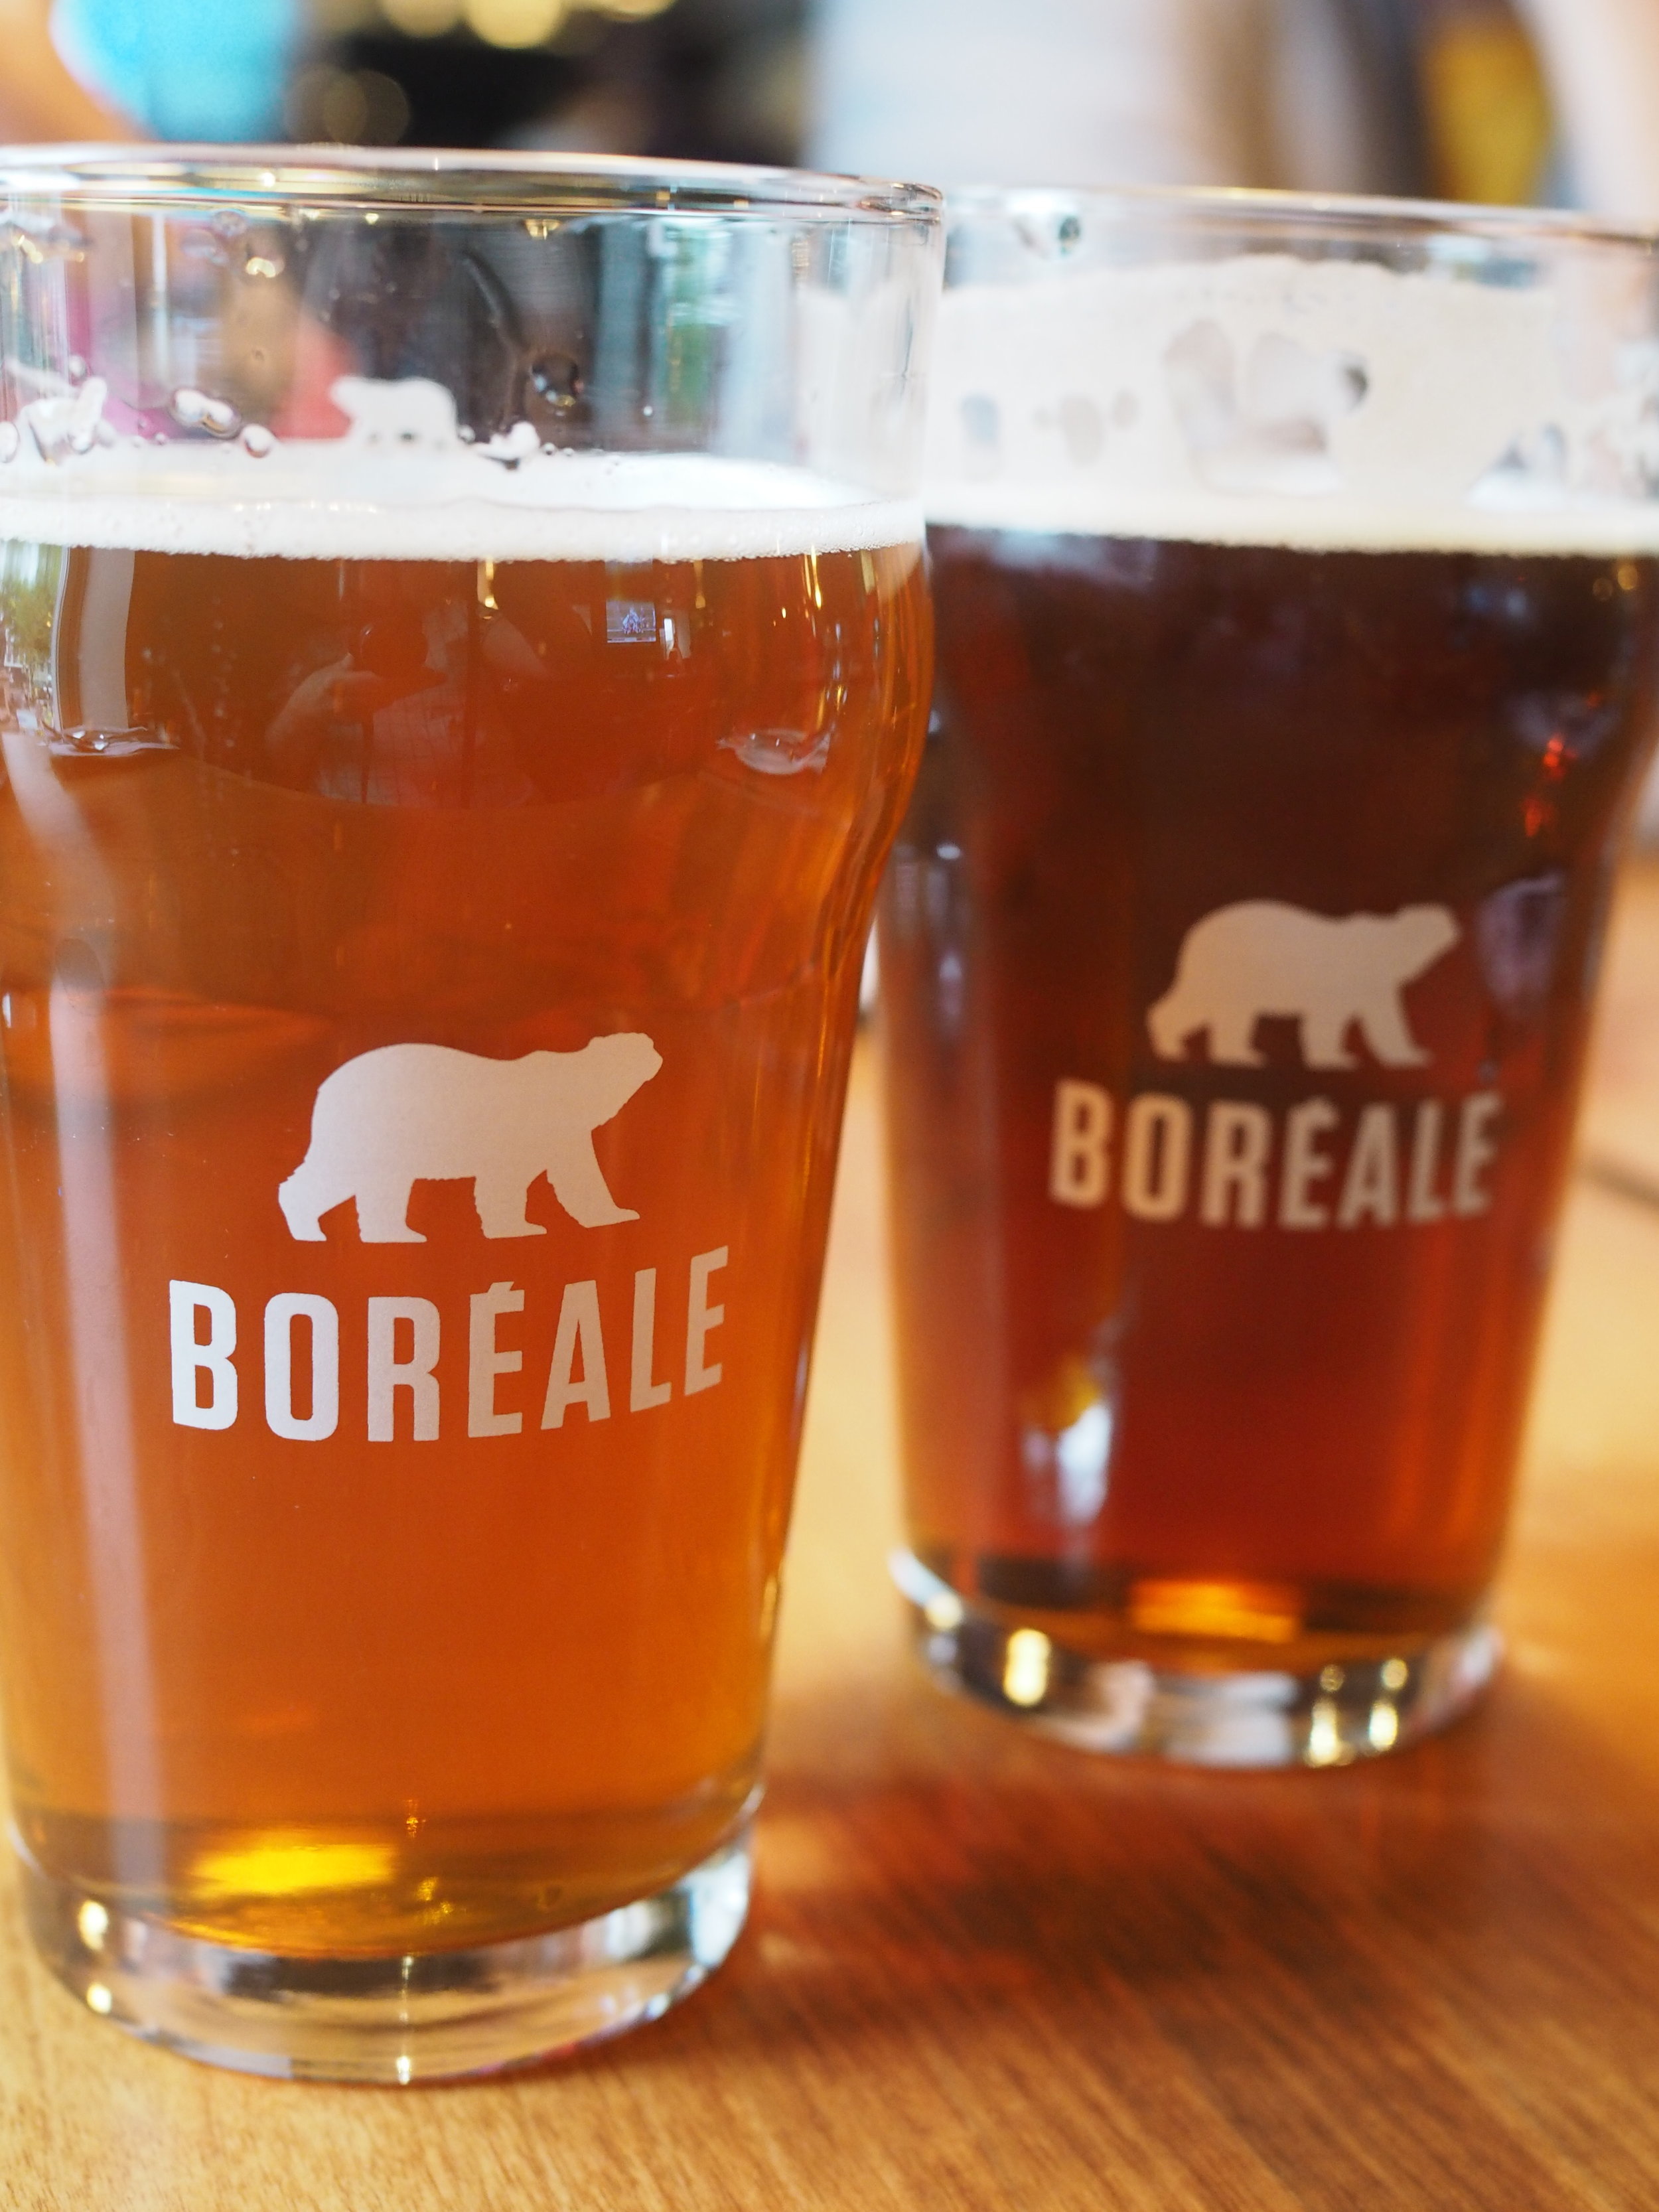
  • Boreale  -Available in pretty much any restaurant you go to, Boreale is brewed outside of Montreal and only available in Quebec. I particularly liked the cuivree. Do yourself a favor and go for the full pint. 
  • La Piazetta - a little off the main stretches of restaurants, this was a nice break from the near ubiquitous pub-food with excellent salads, pasta and pizza.
  • La Cidrerie et Vergers Pedneault - this small shop in the lower city offers tastings of its many hard cider varieties, a must for a cider nut like myself. 

Yesterday, as I drove LMC to her pre-K class she asked if we could go back to Quebec soon. A ringing endorsement if I ever heard one. 

Print Friendly and PDF Follow
follow us in feedly

Embroidery 101: Stem Stitch, Split Stitch, Chain Stitch, and Satin Stitch

Embroidery 101 Satin Stem Split Chain.jpg

So the danger of beginning to post a tutorial series before you've taken all the photos for it is after posting the first two sections, you might get a massive paper-cut on your finger, which would make for less than appealing tutorial photos, so you have to wait for it to heal and then you go to Canada on vacation for a week, and then suddenly it's been a month. Or is that just me? 

In any case, today we'll look at the other basic outlining stitches (stem, split, and chain) and start down the rabbit hole that is satin stitch. 

Needles threaded and paper-cut free? 

Let's go!

STEM STITCH

Stem stitch is my personal favorite outlining stitch. It curves beautifully, and I find it easier to stitch alongside my previous stitch than to evenly split the plys (as in split stitch below). As the name implies, its great for curving lines, like stems (or rivers or hair, etc.). 

STEM STITCH
1. Make a stitch of desired length.
2. Along the design line, bring up the needle at the center of the previous stitch, pushing the plys of the previous stitch to the side (left or right, but be consistent).
3. Bring needle forward and push down through the fabric at the same stitch length as first stitch.
Repeat steps 2-3.
 

SPLIT STITCH

The split stitch and stem stitch are pretty much two sides of the same coin. They're almost identical to work and can be used in the same way, though they do vary in appearance, with stem stitch having a more twisted rope appearance, while split stitch looks more like a mini chain. 

SPLIT STITCH
1. Make a stitch of desired length.
2. Along the design line, bring up the needle in the center of the previous stitch, splitting the plys evenly.
3. Bring needle forward and push down through the fabric at the same stitch length as first stitch.
Repeat steps 2-3.
Excellent for straight or curving lines, thicker borders.

CHAIN STITCH

Not a chain of fools, but a lovely stitch for thick lines that work lovely as outlines and (as used here) fill for smaller areas. It's a little more involved than the other outlining stitches, but when used as a line, you get one twice as thick. You can also use a single chain stitch individually as drops, petals or leaves.

CHAIN STITCH
1. Bring needle up through fabric, then push back through at same spot, leaving a small loop of desired length.
2. Along the design line, bring needle up through fabric at the base of the loop you just made (on the inside of the loop), then re-insert needle along the design line at the desired length of the loop, trapping the thread tail under the needle and pull tight.
Repeat step 2.
 

SATIN STITCH (SMOOTH)

Ah, satin stitch. For so long this was my stitching nemesis. I never felt like I could get it look, well, satiny and my edges always looked a mess. Two things changed this for me:

  1. Practice.
  2. Using 1 ply. 

When you're using a single ply, it's much easier to fill in gaps and make small adjustments and really, it doesn't take all that much longer to do than with multiple plys. 

SATIN STITCH
1. Outline area to fill with an outline stitch. If a large area is to be filled, stitch randomly within fill area to provide padding.  (Both of these are optional)
2. Starting at one side, pull up needle just outside outline stitching and pull across fill area.
3. Push needle down through fabric just outside the outline stitching.
4. Bring up needle on same side as step 2 right next to previous stitch.
Repeat steps 2-4

In general, I'd recommend thinking about working satin stitch as if you were coloring with a very sharp colored pencil. You're going to see the direction of the lines, it's not a blended or smooth as a crayon or a marker, but isn't that kind of the point? 

SATIN STITCH (HAIRY)

Is this still satin stitch? I think so. You get a glossy appearance, but I think this looks more natural, like fur, and serves as a great basis for shading, which we'll cover in the next post. 

For "hairy" or "furry" satin stitch, I like to start out making lines in the direction I want in 3-5 different lengths. Because the ends are staggered, you don't have to loop back underneath to the opposite starting point like with smooth satin stitch. Make one "row" of the staggered stitches. When working the next row, start some of your stitches in between the first row stitches and some starting at the end of the first row stitches. Basically, you don't want any clear "lines." Continuing adding "rows" until your area is filled.

In the example above, you can see about three "rows" in the main body of the bee, with one staggered row each for the remaining brown and yellow tail portions. 

KEEPING THE BACK TIDY

When I talk about embroidery, someone will always invariably ask me how to keep the back tidy. The truth is, since I usually hang my hoops on a wall, or use them on a pillow and you don't see the back, I generally don't much care what my backs look like. But, if the back is visibe and you are concerned, my tidy back tips are this:

  1. If you have to move to a spot more than an inch away, cut the thread and anchor it anew in the new location OR
  2. Weave the working thread through the existing stitches (as seen above) until you reach your new starting spot.

That's it, pretty simple! 

NEXT UP


Print Friendly and PDF Follow
follow us in feedly

Introducing Dal

I'm pleased to introduce Dal - part of Quince and Co's Spice Collection. I love Lark, Quince's worsted weight wool. It's a simple workhorse yarn, but it lends itself to texture so well - as demonstrated by the knit/purl basketweave texture and cables on Dal. Knit and purl stitches combine for a cushy body, while a stockinette sleeve keeps this cozy raglan from being too busy. The width of the front-center panel scales with sizing, to be flattering on a range of figures. 

I'm in love with the rich golden hues of Carrie's Yellow, but Dal would also look great in olivey-green, like Wasabi; a steel blue like Sage; or the deep Merlot of Barolo:

The pattern is available for $7 USD from the following online shops:

MsCleaver.com   ||   Quince & Co.   ||      Ravelry

If you knit it and participate in social media, use #quincedal to share and/or tag me @mscleaver !  

I'd love to see your version!!!


Print Friendly and PDF Follow
follow us in feedly

FO Roundup - Summer 2017

One of the most fun parts of being a designer is seeing how others interpret your designs. Here are a few of my favorite finished objects (FOs) of late,  including some of my lesser-made patterns (click on any photo to visit the knitter's Ravelry and/or Instagram page):

Maian - knit by DinkyDebbie

Maian - knit by DinkyDebbie

Ripley - knit by Victorious Wool

Ripley - knit by Victorious Wool

Ripley - knit by VictoriousWool

Ripley - knit by VictoriousWool

Kaeryn - knit by sweepea

Kaeryn - knit by sweepea

Domenic Duck - Design By Leah B. Thibault, knit by Traceyknits5

Domenic Duck - Design By Leah B. Thibault, knit by Traceyknits5

Atlee- Knit by java1994

Atlee- Knit by java1994

Atlee- Knit by java1994

Atlee- Knit by java1994

Ezekiel Saw - design by Leah B. Thibault, knit by knitterripper

Ezekiel Saw - design by Leah B. Thibault, knit by knitterripper

Want to share your knits with me? Tag me @mscleaver on Instagram, or if it's on Ravelry, I'll see it. :) 


Print Friendly and PDF Follow
follow us in feedly

Summer of Basics: Mélilot Shirt

Karen Templer of Fringe Association is hosting a make-along called The Summer of Basics. The idea behind it being to make 3 garments (knitted or sewn) over three months that would be workhorse garments for the maker.

For my second basic - I've gone back to an previousy made pattern - Deer and Doe's Mélilot Shirt.  I made another version last summer (which apparently never made it on the blog), and I had a list of modifications I knew I wanted to make this go around.

I flattened out the shoulder line, raising the outer edge by an inch to give myself more room in the sleeves and widened the body by 1/2 inch on each side seam, by shifting the pattern over when I cut it. I then adjusted the length of the sleeve cuffs and collar stand to match the additional width. The new fit works great and I used my Curved Narrow Hem Tutorial for that very curvy hem. 

The fabric is a linen blend from JoAnn's, which makes me feel a little bit like a member of the Beach boys in their 1960s heyday, perfectly summery and not a bad thing in my book! :) 

I've already sewn up my final basic, but I need to grab some photos! 


Print Friendly and PDF Follow
follow us in feedly

My Body Model - Designing on Real Bodies

mybodymodelrenocardi
Renovation Cardigan
Reno Swatch
Prairie Wife Sketch
Atlee Original Sketch
Lady Heartrose

If you follow me on Instagram, you may have seen me mention mybodymodel a handful of times.  MyBodyModel is the brainchild of my friend Erica, and is a web-based tool for building sketching templates, also known as croquis, to your exact measurements.

I can't tell you how excited I am by this project. As a designer, I use croquis all the time in sketching out my design ideas. It sames me time from having to redraw the figure and allows me to focus on the clothing design. For quite some time, I've been using the same croquis, seen above in the sketches for Prairie Wife, Atlee and Lady Heartrose. I found it by doing a Google image search for "plus size croquis."

If you click on that Google search, you'll find that the fashion sketch definition of "plus-size" feels not quite right. The croquis I've been using seems much more in line with the 34-inch bust standard most of my samples have to been knit in, than anything resembling plus-size.

So while my standard croquis gets the job done for basic communication purposes, it falls short in several ways.

First, it's not a great tool for scaling designs. When I grade, I work off a spreadsheet and make some general assumptions about how to grade different design elements - for example, is the button band the same width for all sizes, or would it look better if it's wider on the larger sizes? Sketching on different body types helps me make that decision in a more informed way. 

Second, I often see comments when new designs come out along the lines of "that's nice, but not for my body." Unlike sewing, where additional samples can be made in the span of hours, new knit samples usually take weeks. Which means having samples photographed in various sizes is often not possible, so makers may have to wait months to see someone close to their body type post a finished object photo to get a sense of how a particular design would work for them.   MyBodyModel helps with both of those shortcomings.

MyBodyModel is currently in the midst of a Kickstarter fundraiser, and I've backed at the designer level to get access to 3 custom croquis. For me, I would use the following measurements for my croquis:

  1. The standard set of measurements I use for my 34"  sample
  2. My own measurements as a "middle of the range" example
  3. The largest set of measurements from my grading spreadsheet

By doing this, I would have a range of body types to sketch on and design for. 

Even if you're not a designer, having a sketching template of your own measurements would be highly valuable. You could plan adaptations like sleeve or skirt length, and "try on" a number of different styles without actually having to commit to making items.

As some examples. I've used MyBodyModel's sample sheet of croquis, developed from real testers measurements to sketch out two of my designs - the upcoming Renovation Cardigan (above) and the Lamina Pullover (below).

If MyBodyModel successfully funds its Kickstarter, I'll be testing the Beta phase of the software and I can't wait to give it a try. If having more realistic sketching figures seems like a good idea to you, I  highly encourage you to go chip-in on the Kickstarter, which runs until August 24th. 

Lamina by Leah B. Thibault
Mybodymodellamina
Print Friendly and PDF Follow
follow us in feedly

Embroidery 101: Prepping the Hoop, Back Stitch and Fixing Mistakes

Embroidery 101 Backstitch.png

You've got your design on your fabric (either by transfer, drawing or pre-printed designs) and gathered your supplies. Now what? 

First, you've got to get your fabric in your hoop. Embroidery hoops come in two pieces, the outer "open" hoop with a screw closure and the inner closed hoop. Hoops are most often found in wood and plastic. I prefer wooden hoops because of the warmer feel and they make great inexpensive frames, just make sure to get one that is reasonably thick. When possible, I like to fit my whole design in the hoop without having to keep moving it across the fabric, so most of my designs will fit a 6" hoop, which I find the most comfortable to hold. Hoops can also be found in 4", 7", 8" diameters or there are straight edged stretchers for larger projects.  If you're just starting out, a handful of 6-inchers will get you far.

Prepping the Hoop

I generally prefer to put the inner hoop on the back, which I'll show here, but others prefer to do it with the inner hoop on top, try both and see what you prefer! First, loosen the nut at the top to allow the inner hoop to drop out easily.

Place your fabric, design up, on top of the smaller inner hoop. If the whole design fits in your hoop, center it. For larger designs that don't fit the hoop, center the part you're planning to work on first.

Testing the Hoop Tension

Place the larger outer hoop on top, trapping the fabric between the inner and outer hoops. I usually put the screw at the top of the hoop, but place it wherever it will be in your way the least. Pull the fabric tightly around the inner hoop, making sure the design looks even and tighten the screw until the fabric is well-tensioned between the two parts of the hoop. It should have only a slight amount of give and will feel like a drum head when tapped. If it's too tight, you're needle will squeak as you stitch. Too loose and you risk distorting the design. 

Separating Plys

Pick the thread color you wish to work with first and cut a length about 1 yard (36 inches) long, or the distance between your fingers and the center of your chest. If you've used my thread prep tutorial, your thread will already be the perfect length. For this tutorial we're using 6-strand embroidery floss (DMC is the most common brand). If you're using Perle cotton or another tightly twisted thread, skip this step. 

6-strand floss is so-called because it's made of six individual plys that are very loosely twisted together. Depending on the thickness of line you want, you can stitch with up to all six plys for a thick line, to one ply for a very fine line. For most standard stitching, I use 2-3 plys, except for satin stitch (we'll cover it later), which I always work with 1 ply. 

Here, we'll use 2 plys. To separate plys, take the number of plys (2) you wish to use in your dominant hand, with the remaining plys (4) in your non-dominant hand. Pull your hands apart and the floss will begin to form a "Y" shape. It can be helpful to hold the loose end between your teeth to keep the floss from tangling as it separates. 

Back Stitch

Back stitch will get you incredibly far in the world of embroidery. You could do an entire project with the one stitch. It's great for straight lines, text and turning corners.

As it's name implies, back stitch works backward - you put the needle up through the fabric a stitch length away from your previous stitch and the the needled is insert back down by the end of the previous stitch.

Because of this backward nature, it's great to start any stitching line with as it holds the floss in place after a few stitches with no need for knots, simply hold the thread tail with your hoop hand until established. 

Back Stitch:
1. Make a stitch of desired length.
2. Along the design line, bring up the needle the length of one stitch away from previous stitch.
3. Bring needle backward and push down at the end of the previous stitch.
Repeat steps 2-3.

The bee leg shown here is made of four back stitches. A good stitch length will vary by the design, for example, tight curves will require shorter stitches. I generally work most stitches 1/8" to 1/4" long. Try to keep your stitches even (this will get easier with time), but don't worry too much about perfection, you're going for an overall effect and no one is going to look at individual stitches.

Embroidery 101 Tutorial

Fixing Mistakes

If you DO wish to pull out a stitch (or two), simply remove the needle from the thread, use the needle to pick out any wayward stitches, re-thread and carry on. If it's all knotted up, use fine-tipped scissors (like the iconic stork embroidery snips) to cut out the offending stitches and re-stitch. Any offending needle holes can usually be steamed out with an iron. 

I'll go into detail on other outlining stitches in the next post, but until then you can Click here for a downloadable PDF of basic stitches


Print Friendly and PDF Follow
follow us in feedly

Embroidery 101: Transferring a Design to Fabric

Embroidery 101 Transferring Patterns.png

While you can certainly improvise embroidery (and I suggest you do at some point!), to learn, I recommend working an established design. You can do this in three primary ways: draw, trace or transfer or you can purchase a pre-printed design, which are becoming more and more widely available. 

embroidery transfer tools

Draw

Draw is exactly what it implies. You draw the design you wish to embroider directly on your fabric. The pro is that you can make the design anything you want, but it can be harder to adjust once you've drawn it without starting from scratch. You can draw on your fabric with a number of tools, (from bottom to top in above photo)

  • A regular pencil (a thin mechanical pencil gives a delicate line). You might be able to erase it, but it is pretty much permanent.
  • A water soluable dressmaker's pencil - you can sharpen to a fine line and erase with water if needed.
  • A water soluable dressmaker's pen - this is a darker line and can be washed out, but is generally thicker.
  • The top tool is a iron-on transfer pencil, which we'll discuss later.

If you're working on a dark fabric, look for white dressmaker's pencils and pens. 

Trace

Tracing is my favorite transfer method. You can tweak the design on paper as much as you want beforehand and then when you're happy with the design and scale of your image, you then transfer to the final fabric. To trace, you'll need any one of the tools listed above, plus some painters tape and a bright window (or a lightbox).

Take your final design and tape it up against your window. Tape the fabric over the image, so it is placed where you want. Tape the fabric securely so it doesn't shift as you trace. If it's sufficiently sunny (or you're using a lightbox) you should be able to see the image to trace easily. Using your tool of choice (my preference is the water soluable pencil or pen) trace the entire image, coloring in lines thicker or thinner as the design dictates. 

When you remove the fabric (last image) you should have a light copy of the design to stitch over. 

Iron-on Transfer

I don't really recommend this method, since the marks the transfer pencils make are permanent and, honestly, really hard to see, but it's an available method, so I thought I'd share. 

To do a iron-on transfer, you'll need to print or copy your final image as a mirror of what you want the finished design to look like. That is, any text should be backwards, etc. Using a iron-on transfer pencil, darkly trace your design on the paper. Then using an iron set on medium heat, press the image, traced side down, on the fabric. It will leave a faint pink mark. (Last image - can you see it? Squint really hard.)

Once you've got the image on your fabric, we'll get it in a hoop and start stitching!!

Click here for a downloadable PDF of basic stitches


Print Friendly and PDF Follow
follow us in feedly

Fresh Mint Ice Cream Recipe (with Chocolate Chips)

Fresh Mint Ice Cream with Chocolate Chips

Is there anything more summery than ice cream? 

Growing up, we had an ice cream maker. It was a behemoth of a thing, one of the old-fashion kinds that had an electric churn inside an outer container you had to fill with crushed ice and rock salt. We didn't use it much, rock salt and heavy cream weren't things we usually had sitting around the house, but once a summer it would make an appearance. The sound of the motor still rings clear in my mind, a sound of anticipation, the harbinger of deliciousness to come. When we did make it, it was always vanilla. I never recall getting any fancier than that, but to a kid, it was enough.

When Mr. Cleaver and I got married, we got a small, more modern ice cream maker as a wedding gift. It held about a quart and had a bowl you froze in the freezer, no rock salt required. I've tried making a dozen or so batches or ice cream and sorbet in that maker, with limited success. It never seemed to truly freeze/whip up properly and the ice cream would melt ridiculously fast. So this summer we decided to upgrade. Based on the recommendation of America's Test Kitchen, we purchased a Cuisinart ICE-21 (in pink of course!), and while we've only used it twice thus far, these results have been so much better that the bowl has earned a permanent spot in our freezer and heavy cream a regular spot on our shopping list.

My favorite part of homemade ice cream is using what's in season to make it really fresh ice cream. The obvious options - strawberries, raspberries, etc - all make delicious ice creams and sorbets,  but the herb garden is also a great place to turn to for ingredients. Especially in the early weeks of a garden before the berries ripen - and anyway, it doesn't get any more classic than Mint Chocolate Chip. Unless you count vanilla, of course.

Fresh Mint Ice Cream with Chocolate Chips 

Makes 1 1/2 Quarts (approx. 12 servings)

  • 3/4 cup granulated sugar
  • pinch salt
  • 2 cups fresh mint leaves (peppermint or chocolate mint preferred)
  • 1 cup 2% milk
  • 2 cups heavy cream 
  • 1 Tablespoon vanilla extract
  • 1 to 1 1/2 cups mini chocolate chips or chopped chocolate (optional)

Combine sugar and salt in a large bowl and top with mint leaves. With a muddler or the bottom of a sturdy wooden spoon, crush mint into the sugar to release oils. Pour in milk and cream and stir until sugar dissolves. Cover bowl and place in back of refrigerator, preferably overnight, but a minimum of 3 hours until mixture is quiet cold.

Set up ice cream maker, per manufacturer's directions. Strain mint leaves out of milk/cream mix and pour into ice cream maker. When ice cream begins to appear firm, add chocolate. While tempting to eat directly out of the machine, taste a bit, and then scoop the rest into a reusable container and store in the freezer for several hours until firm. Serve in bowls or cones and enjoy!


Fresh Mint Ice Cream with Chocolate Chips

            Serves 12 (1 1/2 quarts)     Ingredients:         3/4 cup granulated sugar pinch of salt 2 cups fresh mint leaves (pepperment or chocolate mint preferred) 1 cup milk 2 cups heavy cream 1 Tbl vanilla extract 1 to 1 1/2 cups mini chocolate chips or chopped chocolate           
Print Friendly and PDF Follow
follow us in feedly

Your Questions - Part I

My Studio

I recently ran a little giveaway on Instagram and one of the contest requirements was to either 1) suggest a tutorial or 2) ask me a question. Yes, I shamelessly pump my followers for blog content ideas! For tutorials, a beginner's guide to embroidery was the overwhelming ask and is currently in the works, but in the interim, I thought I'd answer the non-tutorial related questions. 

Here's a question for you:  how do you balance your work as a maker with your domestic and family life? You seem to have a great time doing both! - Carneykar

Balance.  That's the eternal question, isn't it? Ask any tightrope walker and they'd tell you that balance isn't a one-time trick and you've got it all figured out; instead it takes focus, constant adjusting and having a big stick to help even you out doesn't hurt. At least, that's what I'd guess they say, I don't know any tightrope walkers. 

In terms of mindset, making is a priority for me. You first make time in your life for what you need, (i.e. go to work to make money to feed your family and pay your mortgage, clean laundry, etc.) and then you prioritize (I hope) what you love, and I love both my family and making things.  

Making is as habitual for me as brushing my teeth, so I always have a variety of projects or ideas in the works and I give myself tools to work on them whenever an opportunity arises. Most of my sample knitting is done either on my carpool days or while I'm watching tv at the end of the day. I  always carry a knitting or embroidery project in my bag so I can stitch during lunch breaks or while waiting for appointments. I keep paper around to draw out new ideas and a notebook in my nightstand to jot down story ideas. I'm almost always doing something, but the majority of the time, making is how want to spend my "me time," even if it's for work purposes.

My daughter's playroom and my studio share a space - so we can "play" together. I've learned what I can and can't do with my daughter around: gardening or baking together - a hearty yes; tracing sewing patterns while she's coloring - yes;  cutting out fabric - no way. I've also learned to do everything in bits and pieces. When I really need to focus or do computer work, I work during naptime and I'm usually the last one in the house awake by a long shot. 

As much as I (mostly) enjoy all the aspects of my handmade business and want to grow it, I try to be forgiving of myself when I choose not to work.  I stayed up late last night weaving in ends and blocking a sample that is due shortly. I've got three more projects with deadlines in the queue, but if my daughter asks me to nap with her on the weekend, I probably will, because I know those chances to snuggle and plan her epic "Happy Heart Day" party before we fall asleep are short-lived.

I would also be remiss if I didn't give HUGE credit to Mr. Cleaver. He does 90% of the cooking and laundry in our household and the majority of things like grocery shopping as well. This means when I get home from work, I get to spend time with my daughter instead of rushing to make dinner and I can clean up the dishes in stages across the evening. I work from home one day a week now, which means I can help out more on the laundry/dinner/shopping front and try out fancy new recipes - which again I do in pieces. For example I made some spaetzle with pesto the other day - I made the pesto first thing in the morning before my workday started; mixed the dry ingredients and set out the pots I needed at my lunch break; and then dove into making it while Little Miss Cleaver watched My Little Pony after pickup from preschool. 

I'm certainly not prefect. Somedays I'm not as present with my family as I want to be. I'm terrible at actually taking a break. I wouldn't recommend eating off my floors.  It often feels like it takes me twice as long to get something done as I'd like it to. But I've also become more aware that life has a rhythm and an ebb and flow. So I keep my eyes on the wire, adjust as necessarily, and allow myself to be supported by those who help bring balance to my life. 

Beach Beauties in Progress

 I would like to know what is the inspiration for your designs? - cclynn14

A writer friend of mine introduced me to the phrase "plot bunnies" - the definition being that once you get one idea, it seems to multiply like rabbits until you have more ideas than time. I'd say the same is true for both my knitting and embroidery design.

Inspiration is everywhere, you just have to open and patient. I'm constantly seeing something that triggers an idea for a new design and that trigger can vary widely - I've designed four shawls based on bird-titled songs from my favorite bands, I've got a colorwork sweater in the works that came from a peeling wall paper image I saw in a friend's Instagram post about their home renovation.

Of course, if I didn't tell you that, you probably wouldn't see the connection, even if I placed them side by side. I find inspiration almost works like a dream - it takes familiar things, takes and element or two of familiarity - a mood or a color -  and shifts it into something different. With that wallpaper sweater, there's a muted color palate similar to the original and both have patterns with a circular quality, but that's about it. The songbird shawls set out to capture a mood (Leading Bird), a rather literal translation of the lyrics (Paper Bird and Tributary, aka "Cage the Songbird"), or the layout of the performers on stage (yet to be released Darlingside-inspired shawl).  

My embroidery designs are much more illustrative, and more literal in translation from concept to final design.  Often when I introduce someone to embroidery, I'll teach them by drawing a daisy on the fabric for them to trace- the Coneflower design took that idea and made it a bit more formal. (That pattern is also a secret sampler, which you'll see in the Embroidery 101 series coming up). With my embroidery designs, I'm often illustrating my dream life - something slightly agrarian and rooted in a sense of place, with a timeless quality. When I wanted to come up with a summer-themed hoop, I started thinking about all the things that would be a dream summer to me - inner tubing on a lazy river, rope swings, leaping off a dock into a lake, sun hats on the beach. Of all those ideas, the sun hats won out (see design in progress above), but it doesn't mean I won't revisit the other ones next year.  

One thing I've had to adjust to in designing is the forward-looking nature of it - as soon as I hit my current deadlines, I'm going to be working heavily on Christmas/Winter designs, in August.  Magazine work generally works on a 6-9 month lead time, so I'm designing summer sweaters in January and am knee deep in wool in July.  In those cases, mood boards from the call for submission are a great help, or I'll use Pinterest to make my own.  I'll often collect images for years before they coalesce into something - I'd been collecting images of strong rural women in early 20th paintings and photographs for sometime before it was translated into the Prairie Wife Cardigan and I'm far from done playing with that concept.  I still have a treasure trove of inspiration I've yet to translate yet - art from Andrew Wyeth and Barbara Cooney, Anne of Green Gables and my love of 1950s sci-fi - all hundreds of design bunnies, just waiting to be born. 

Something else you'd like to know? Ask in the comments below and I'll include it Part II.


Print Friendly and PDF Follow
follow us in feedly