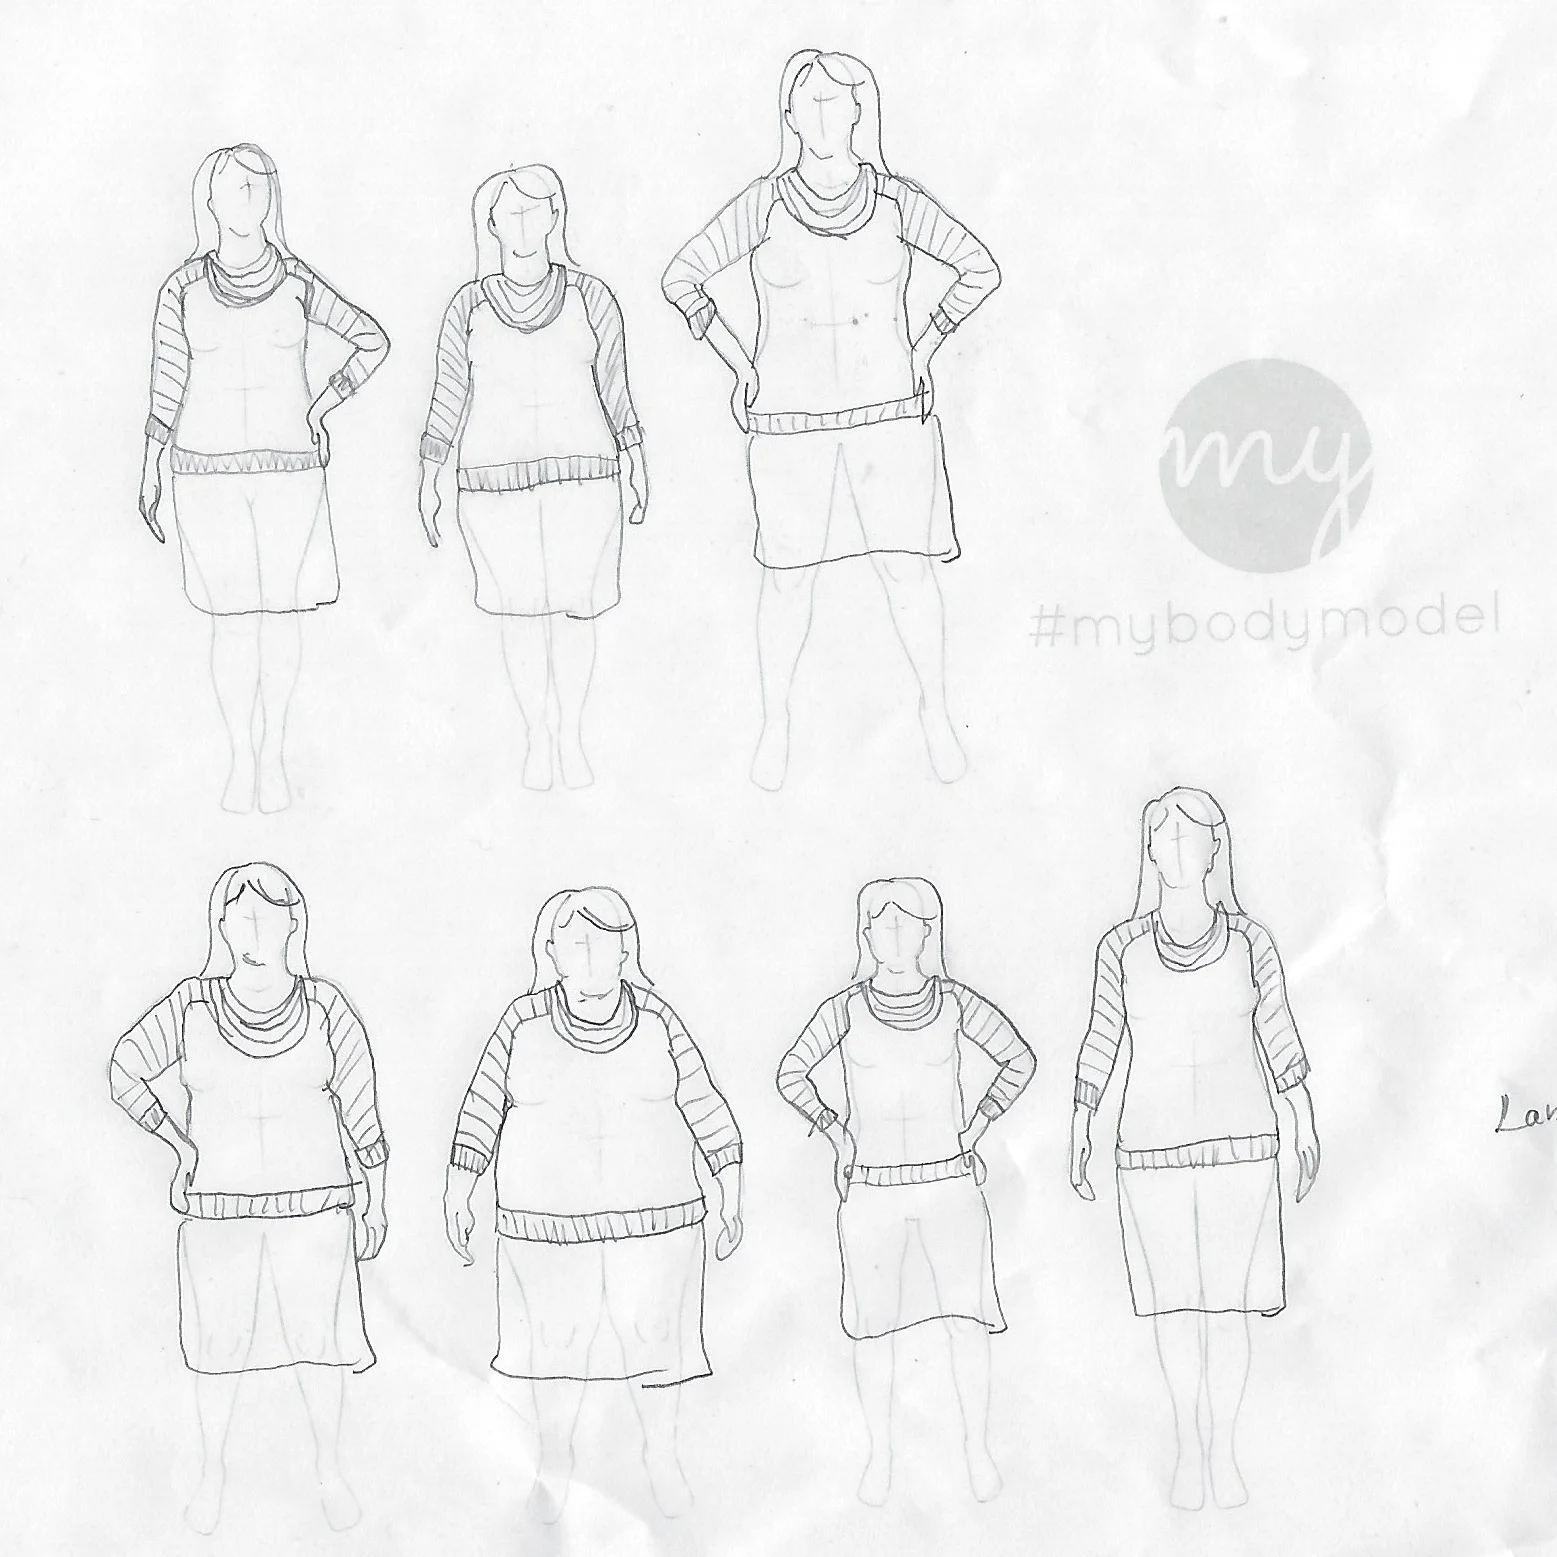
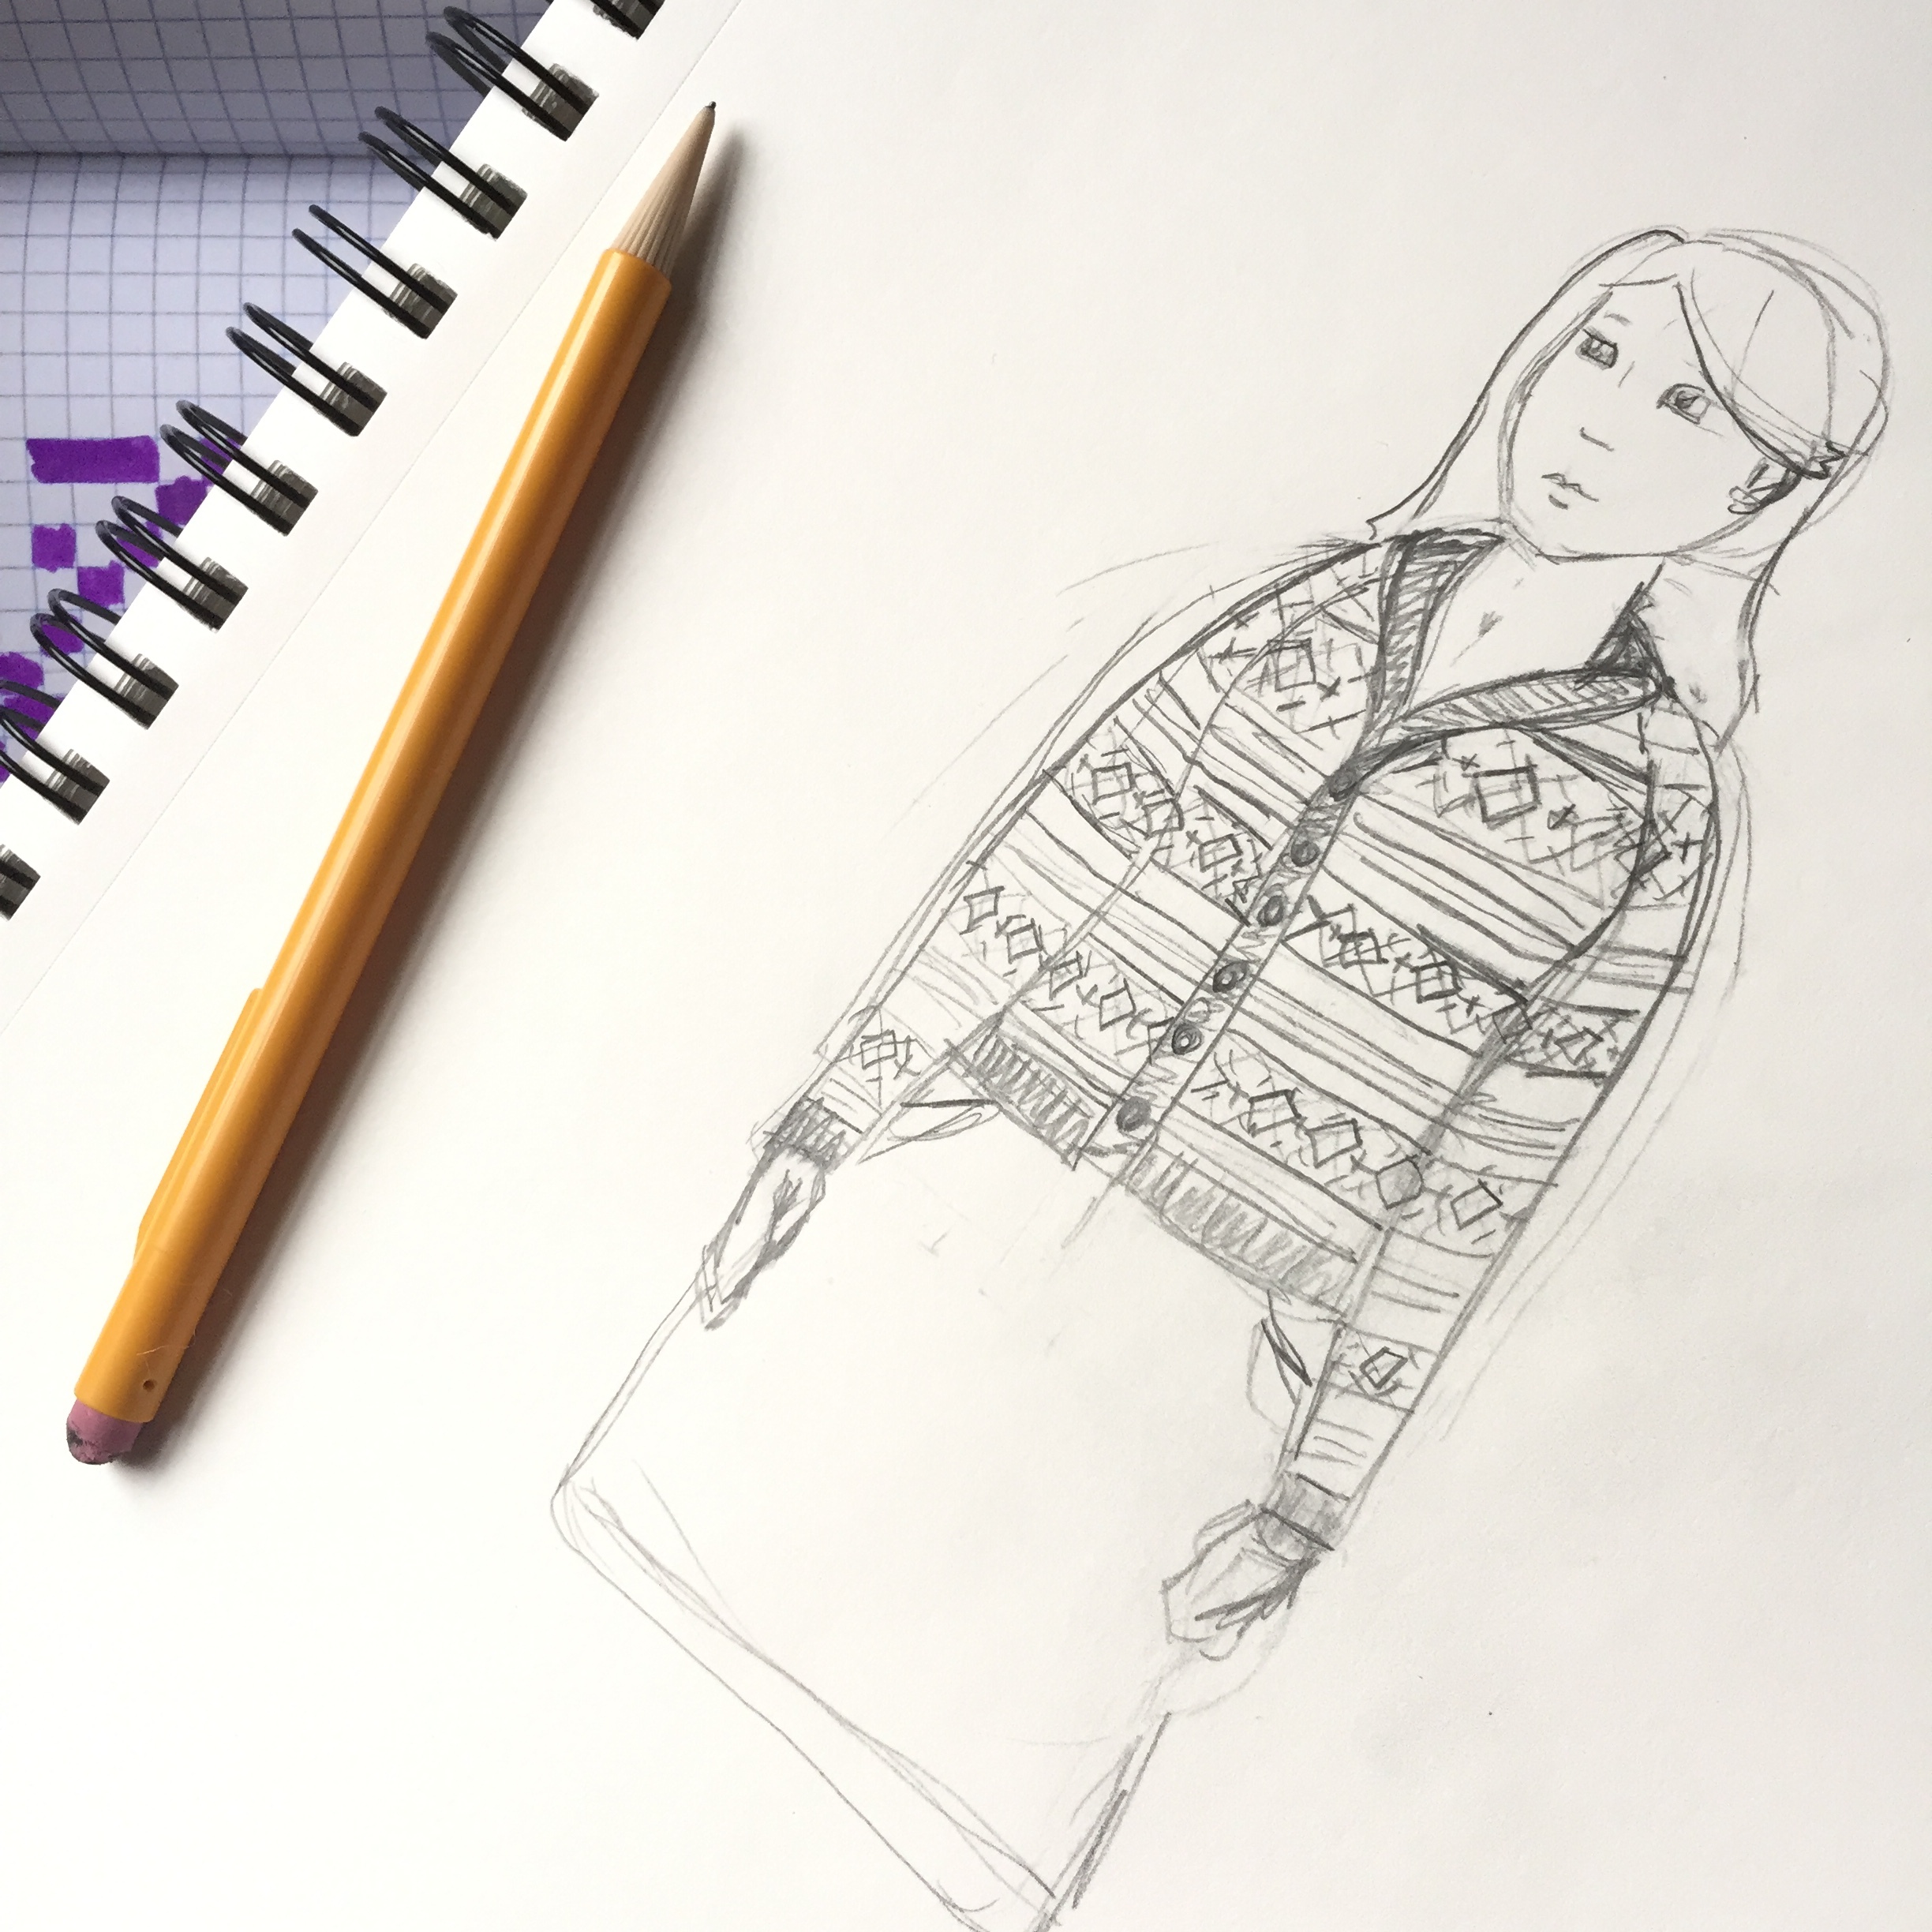
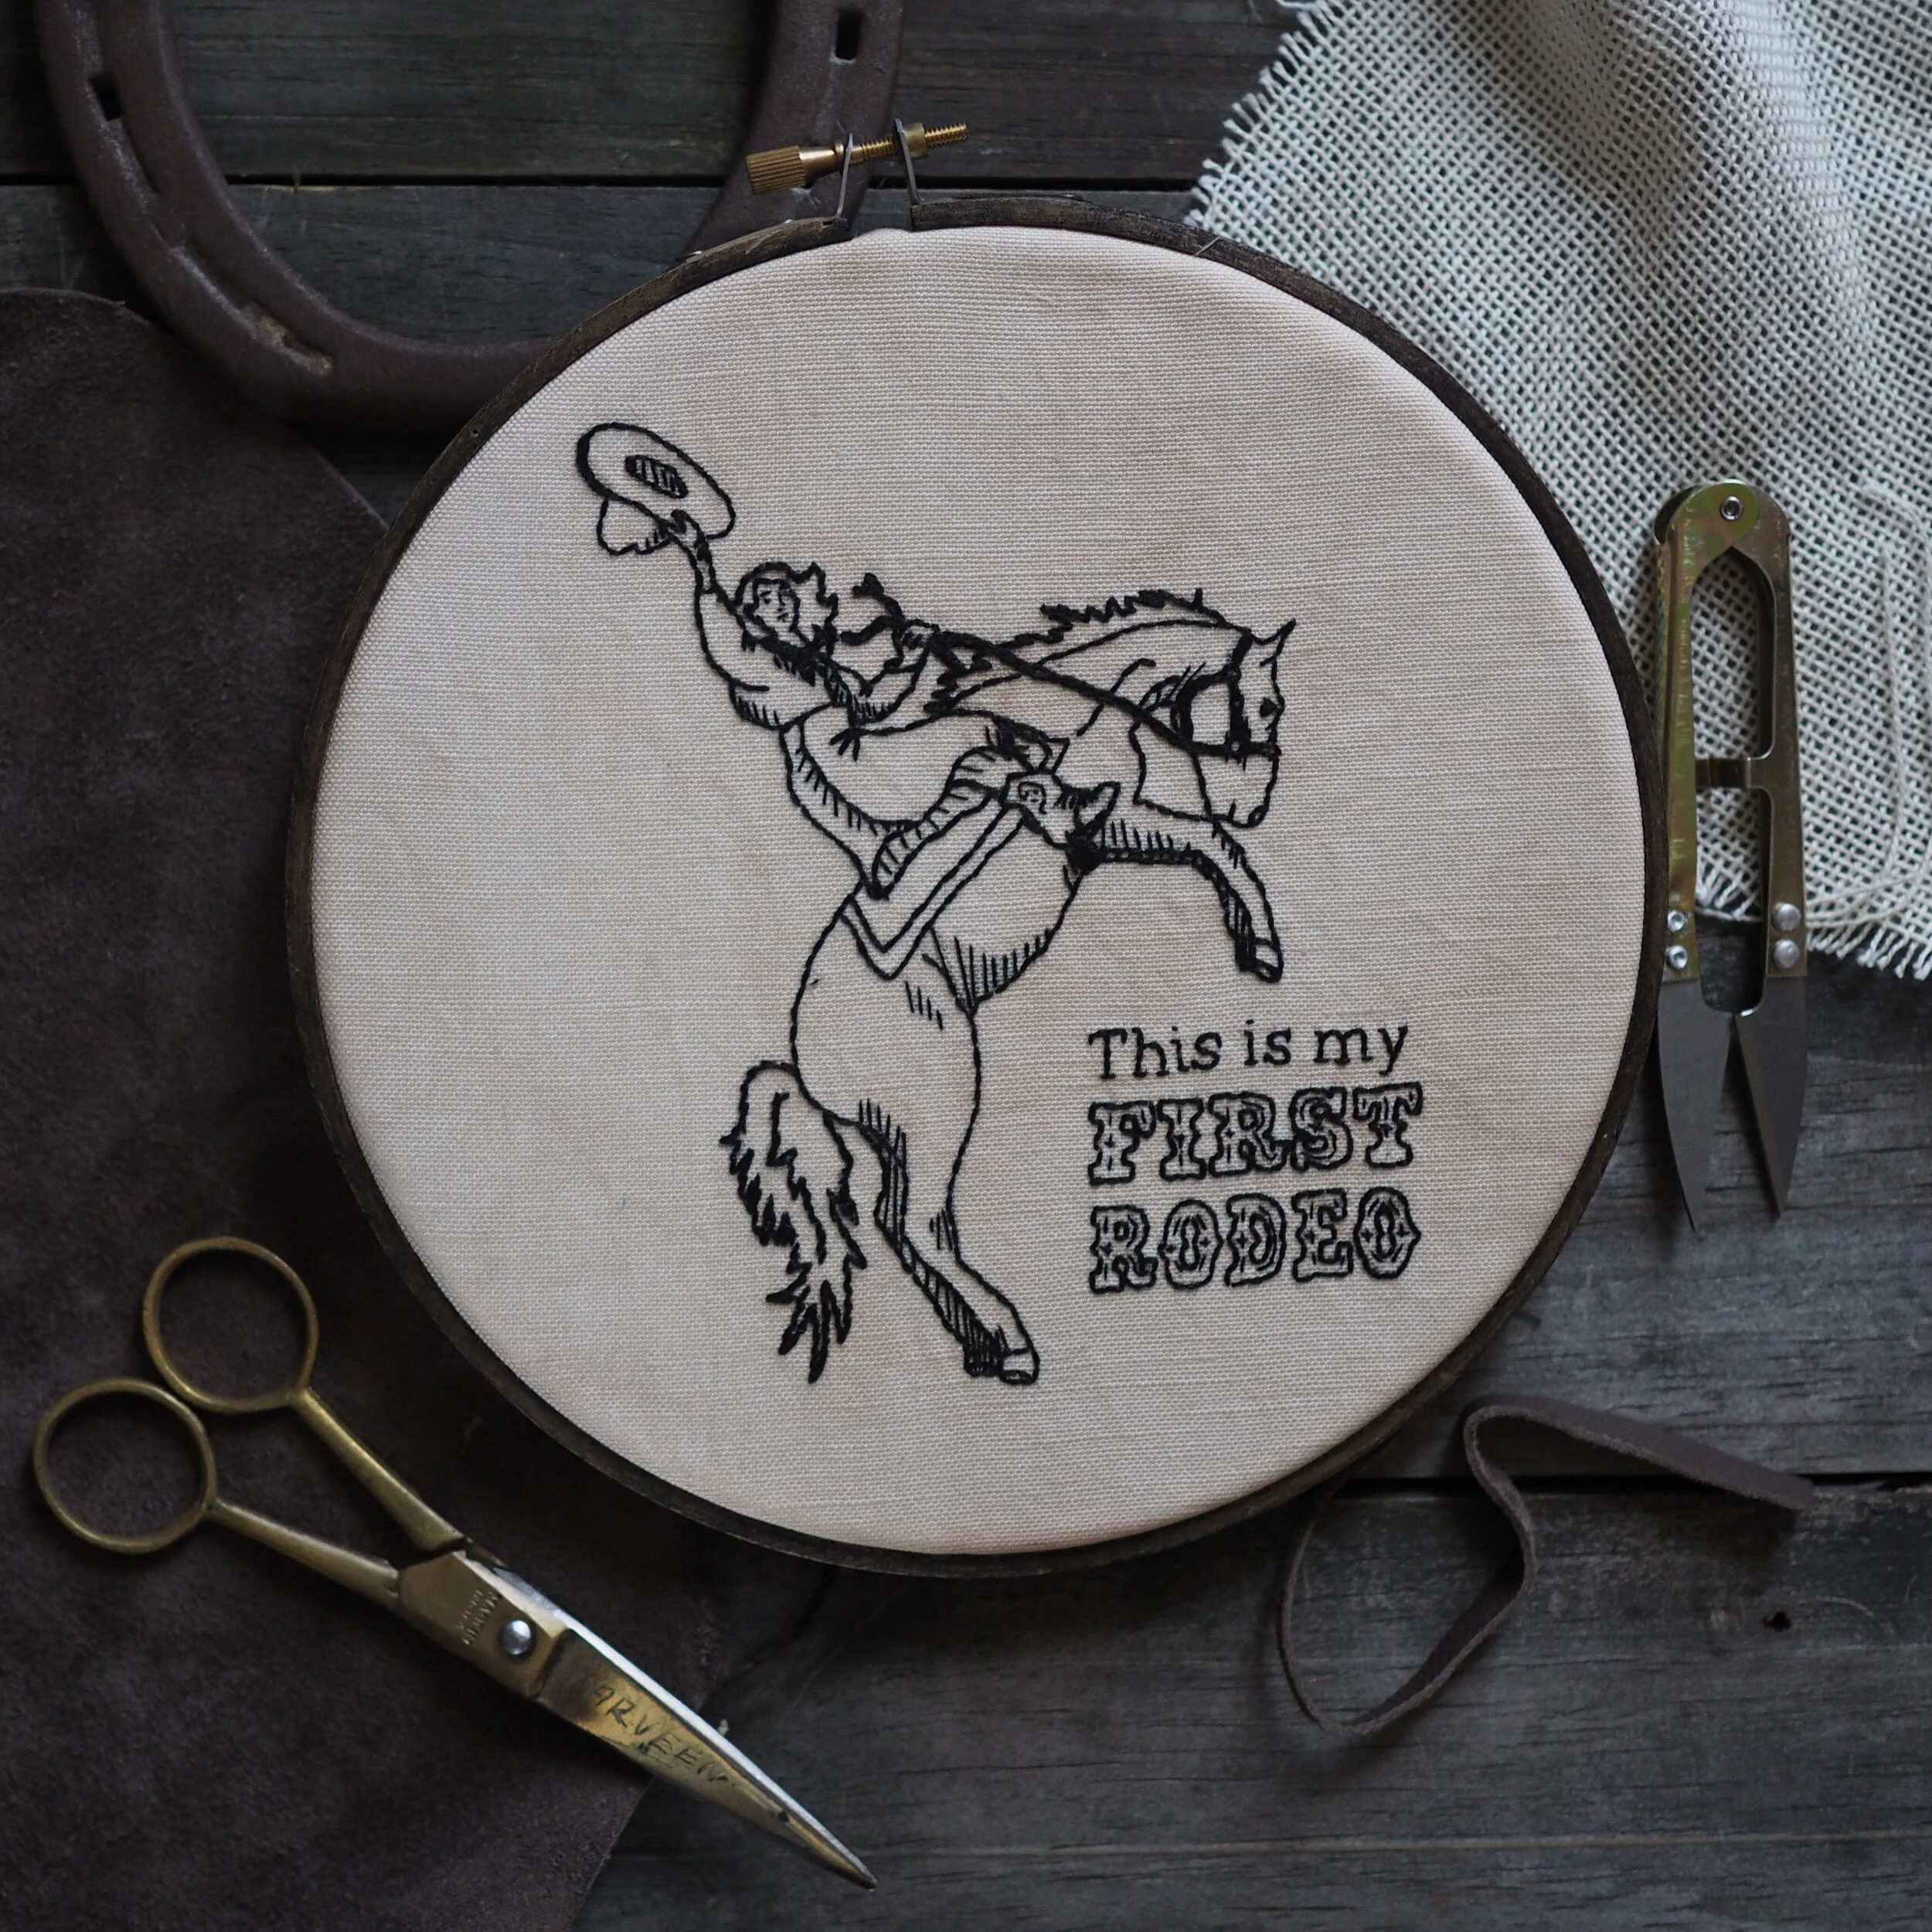
One of the most fun parts of being a designer is seeing how others interpret your designs. Here are a few of my favorite finished objects (FOs) of late, including some of my lesser-made patterns (click on any photo to visit the knitter's Ravelry and/or Instagram page):
Maian - knit by DinkyDebbie
Ripley - knit by Victorious Wool

Ripley - knit by VictoriousWool
Kaeryn - knit by sweepea

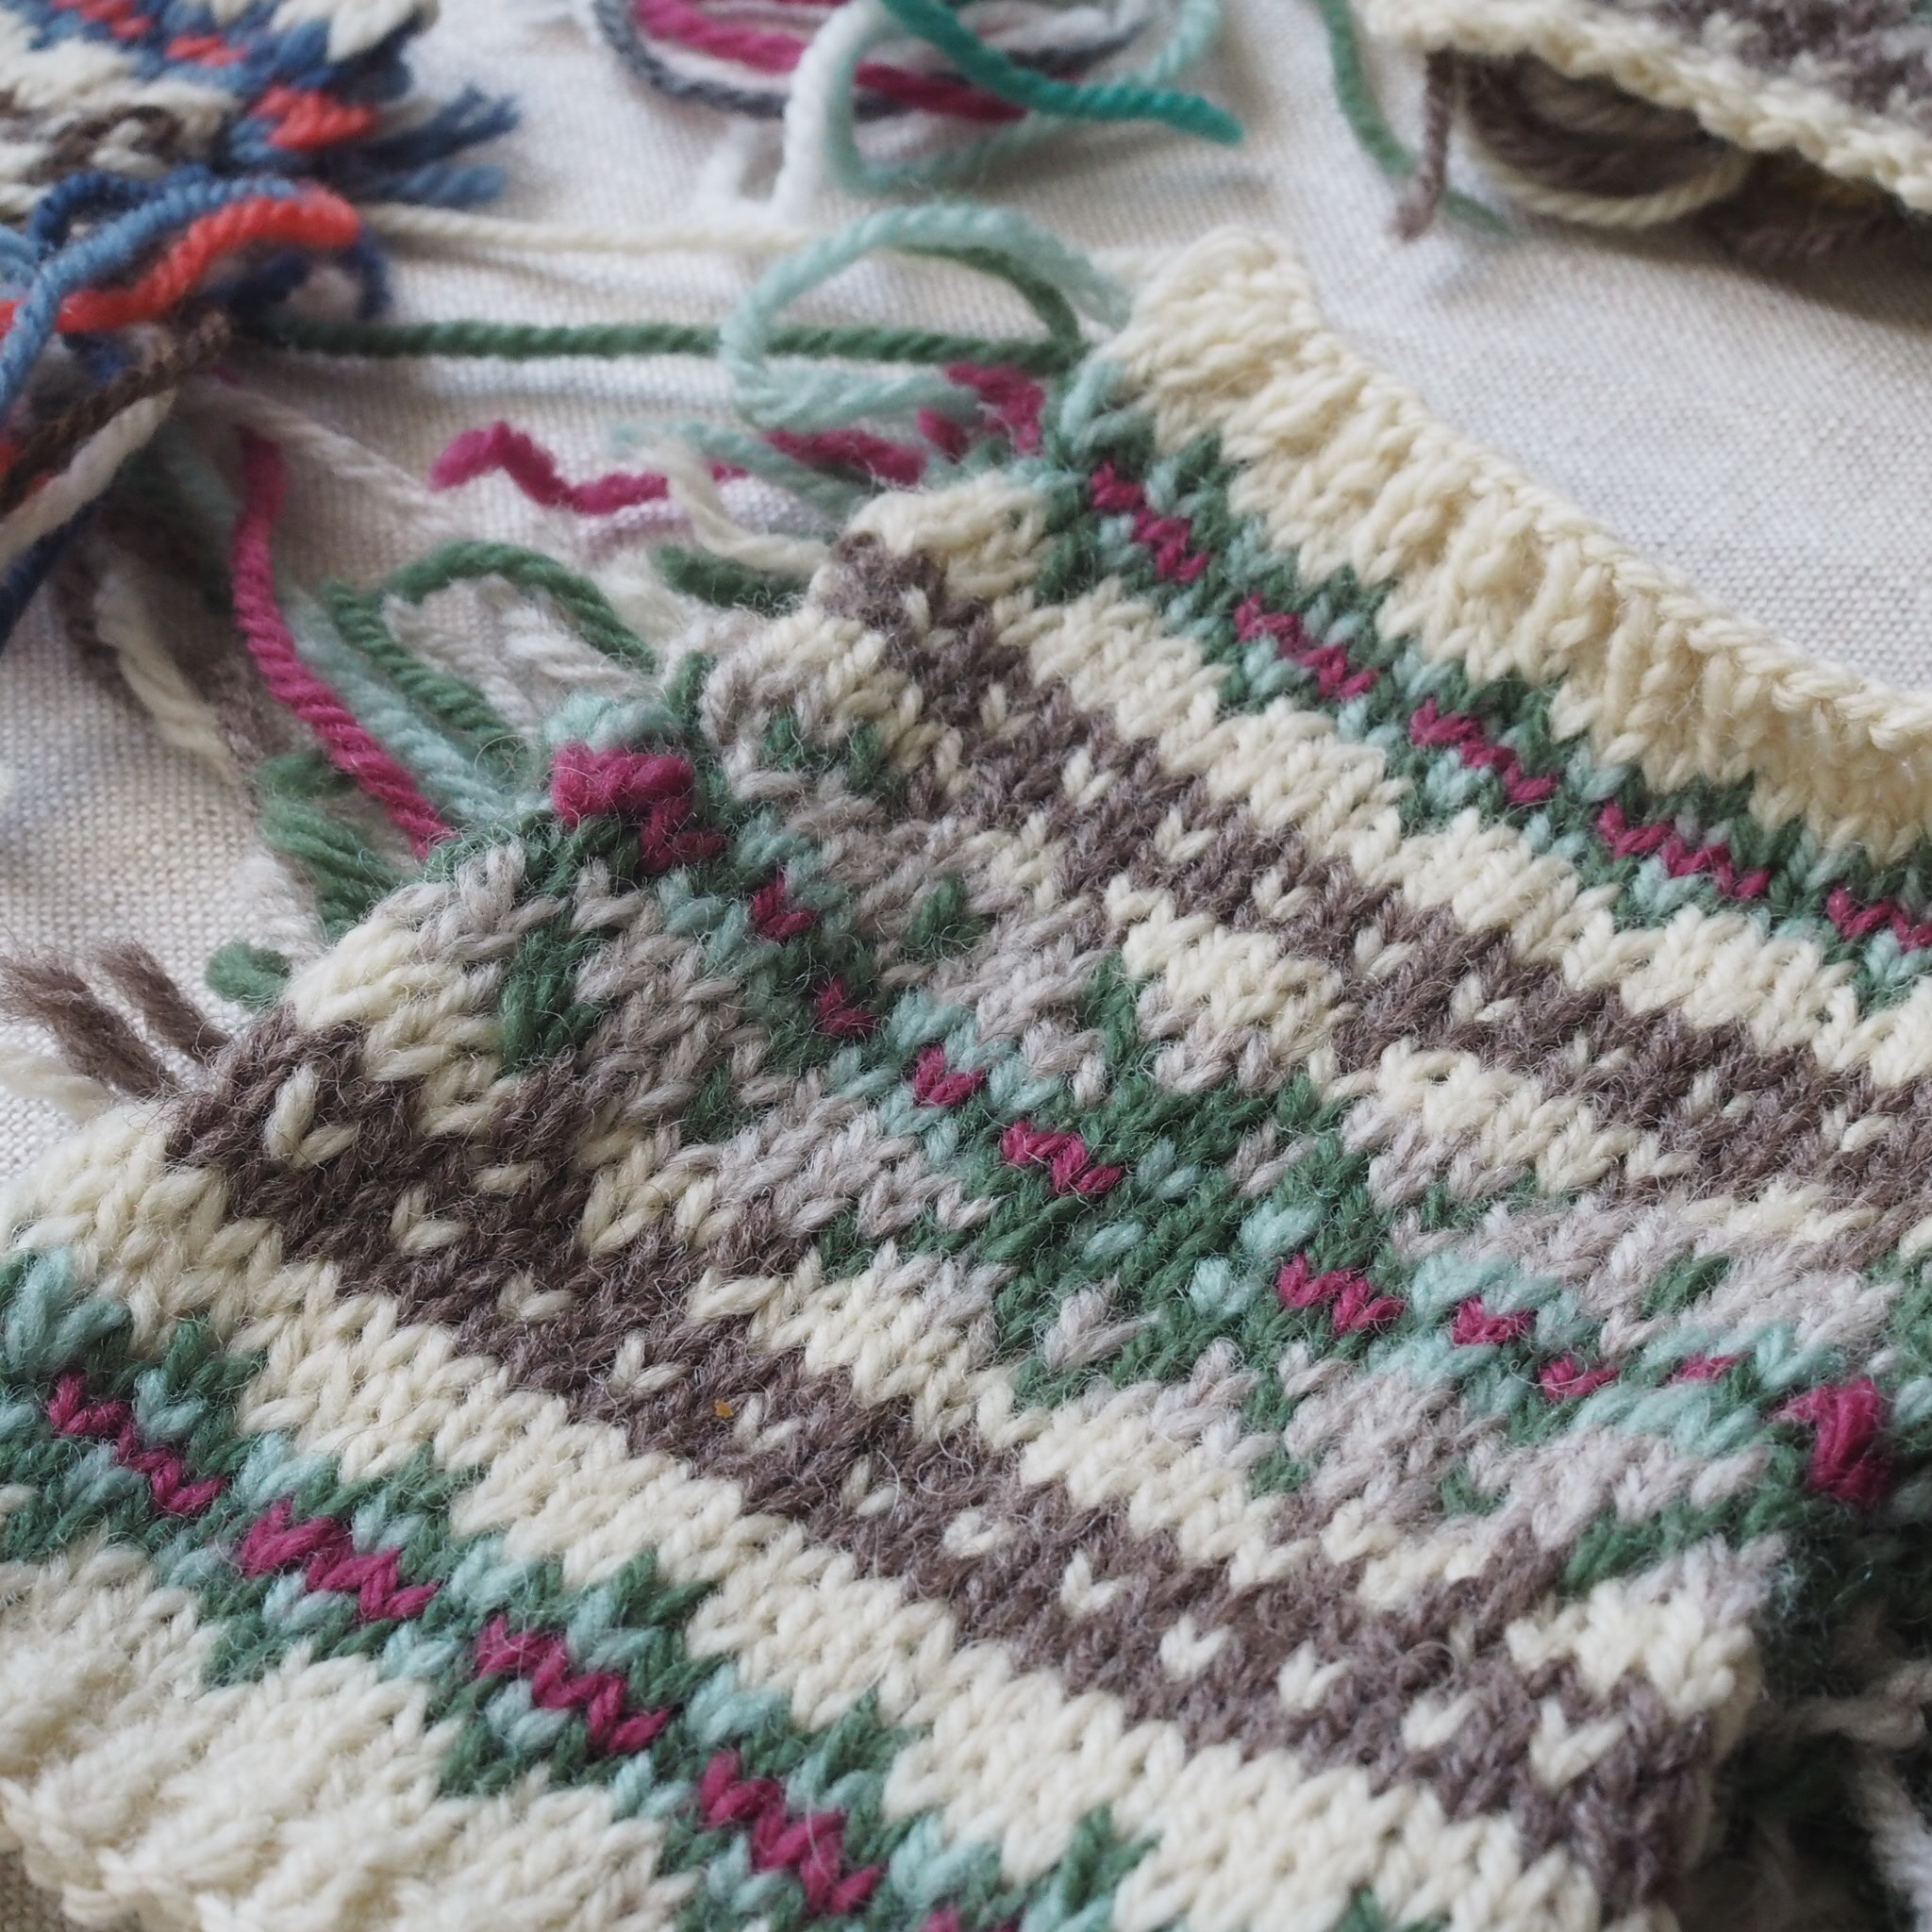
Domenic Duck - Design By Leah B. Thibault, knit by Traceyknits5

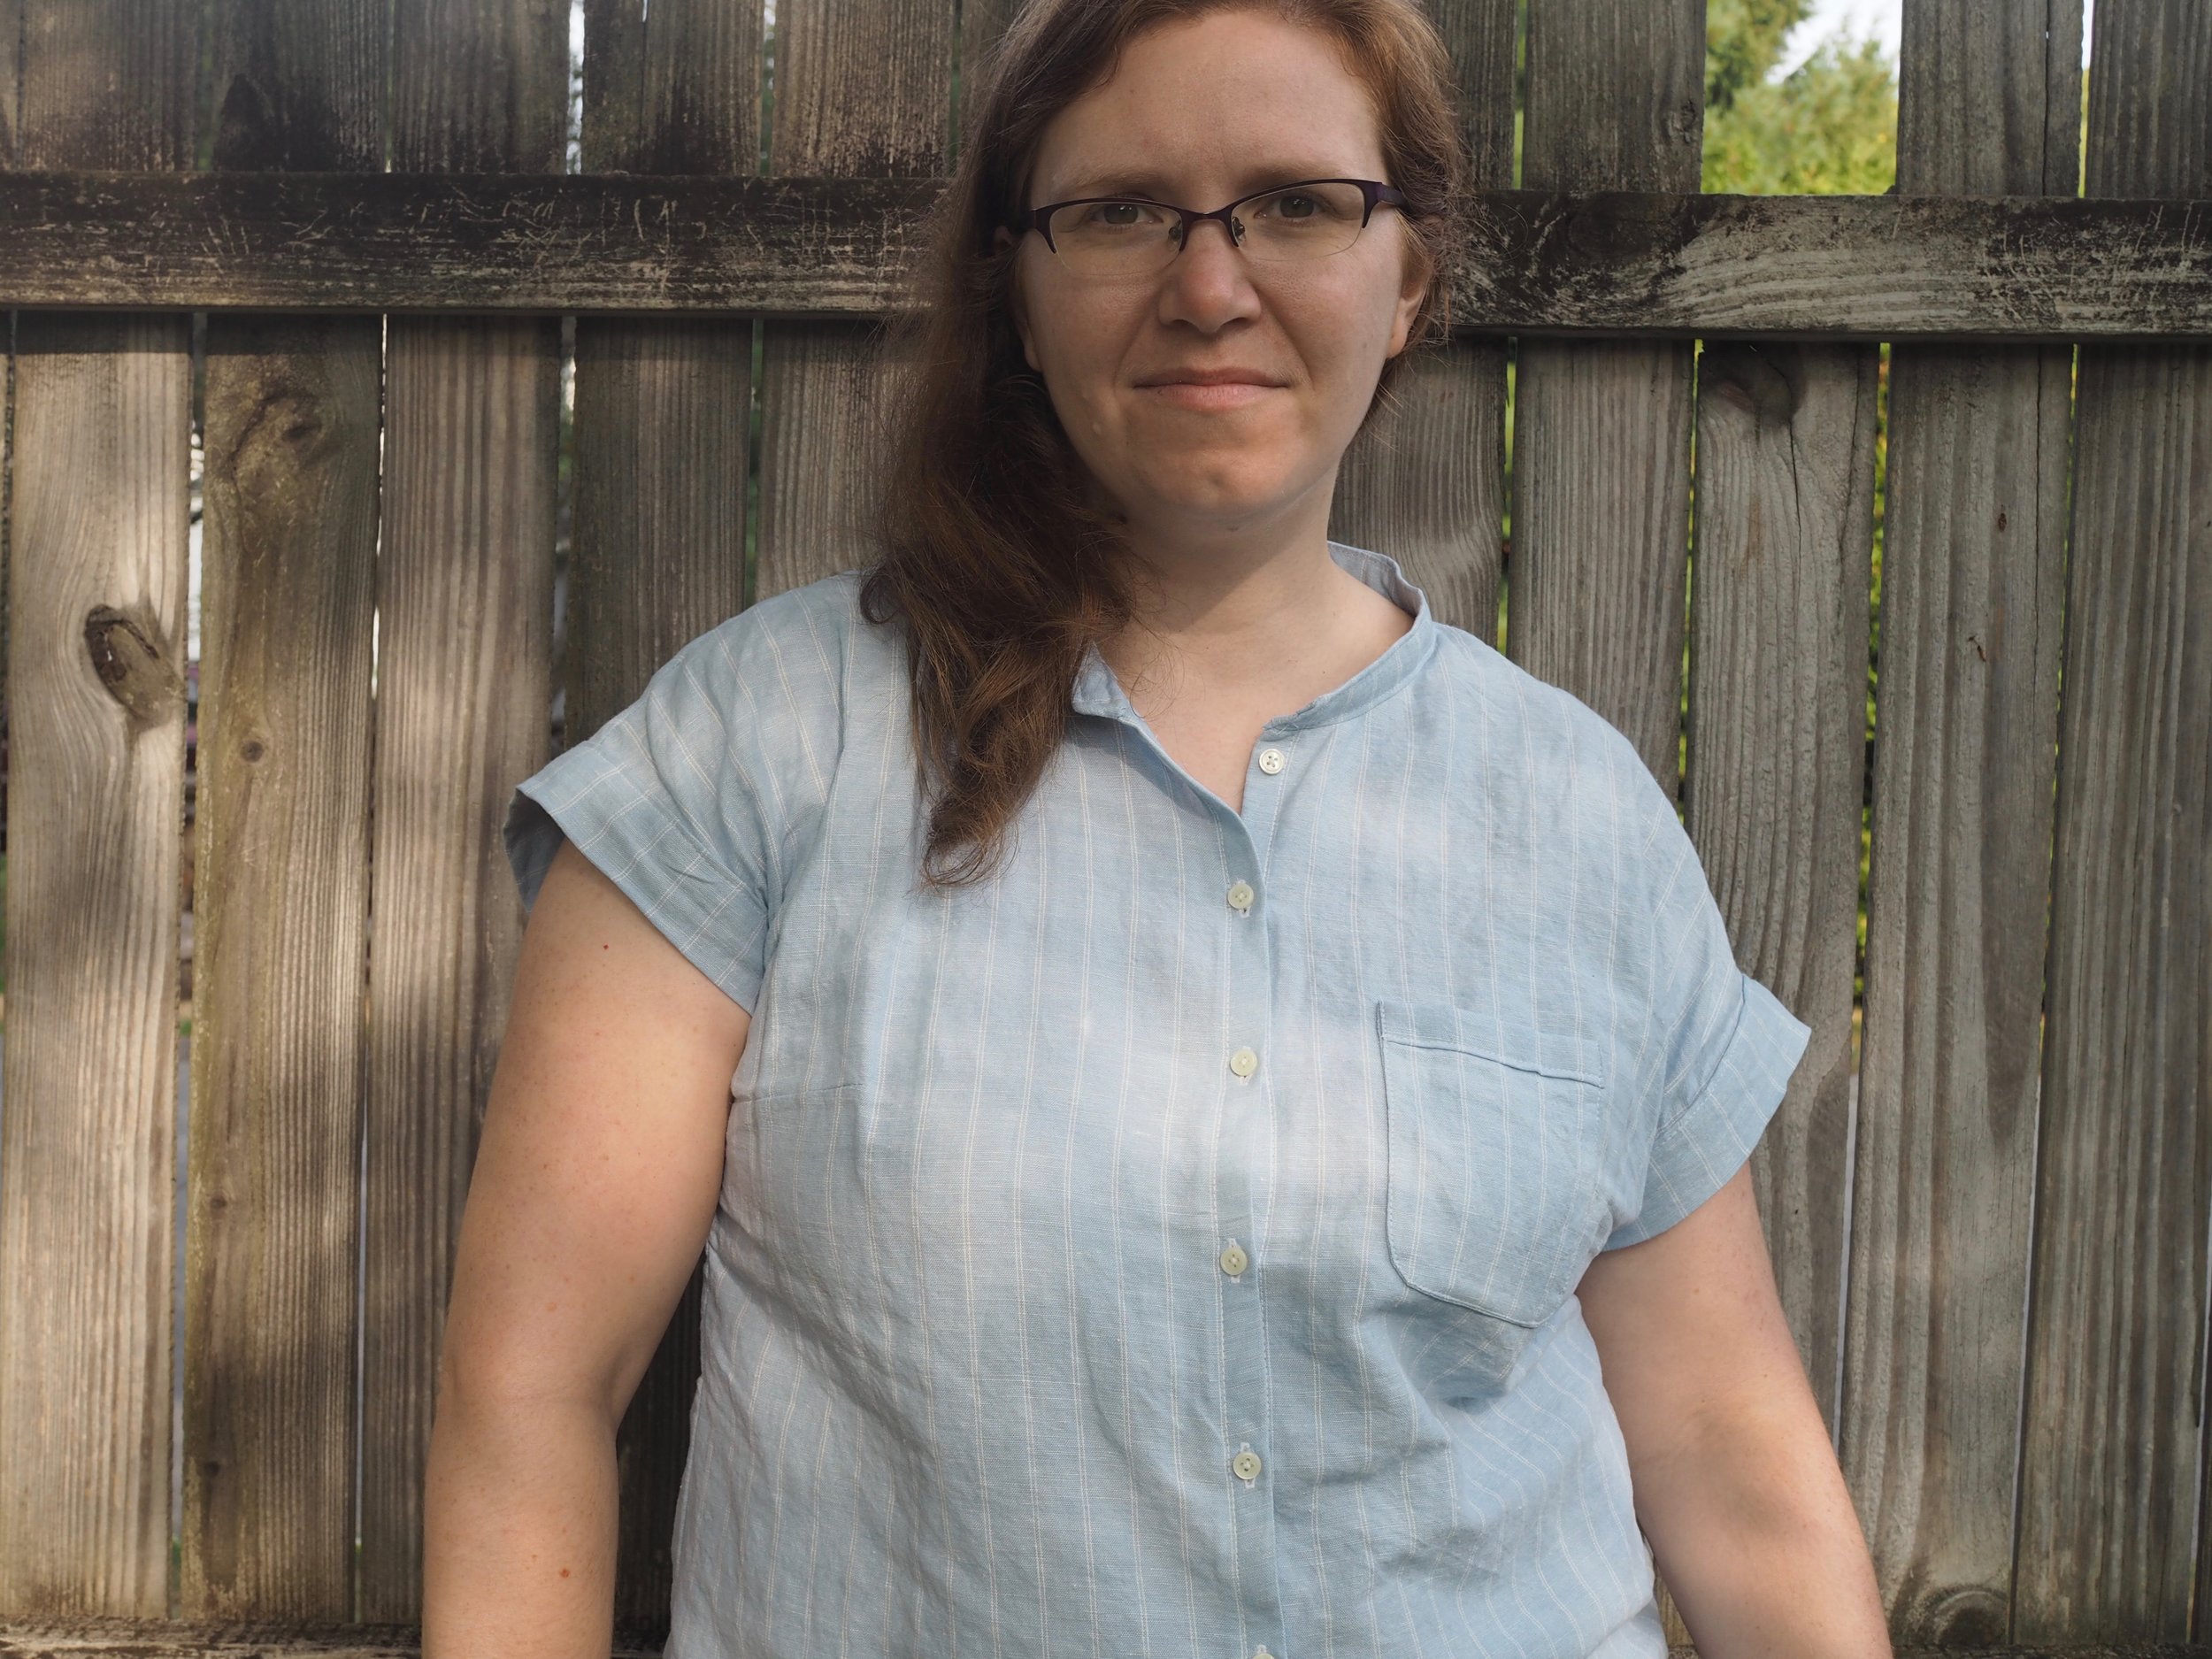
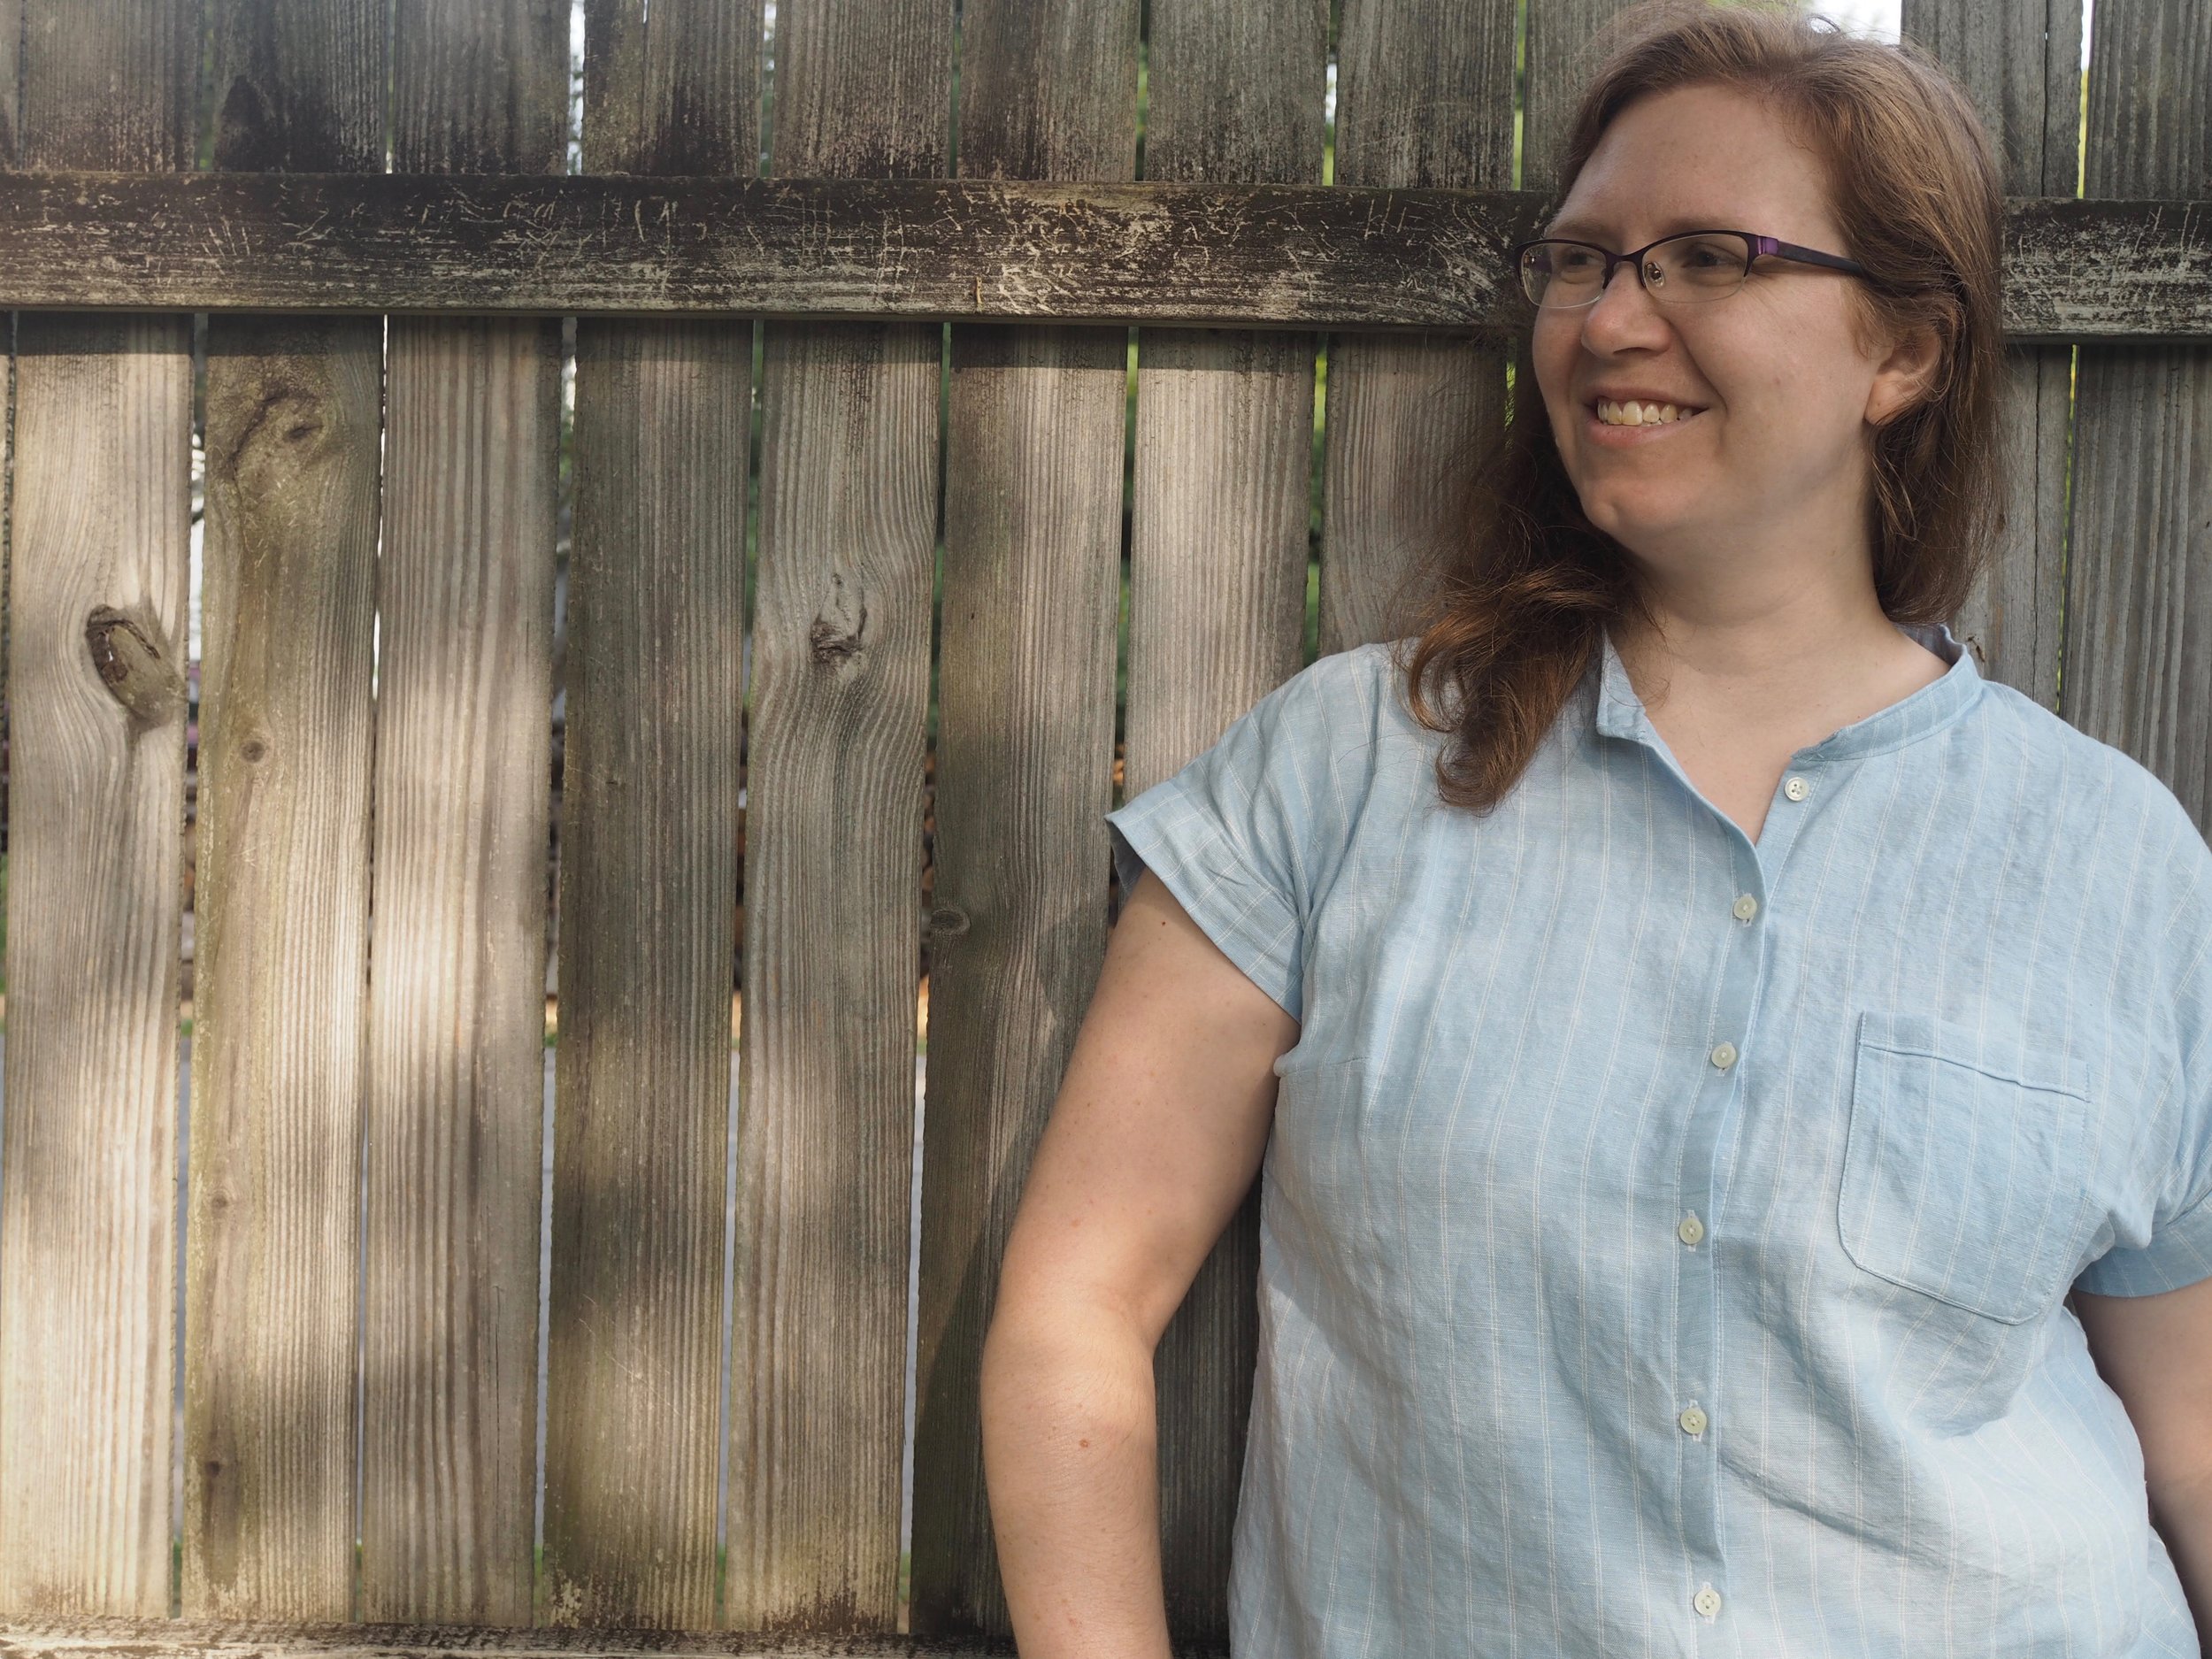
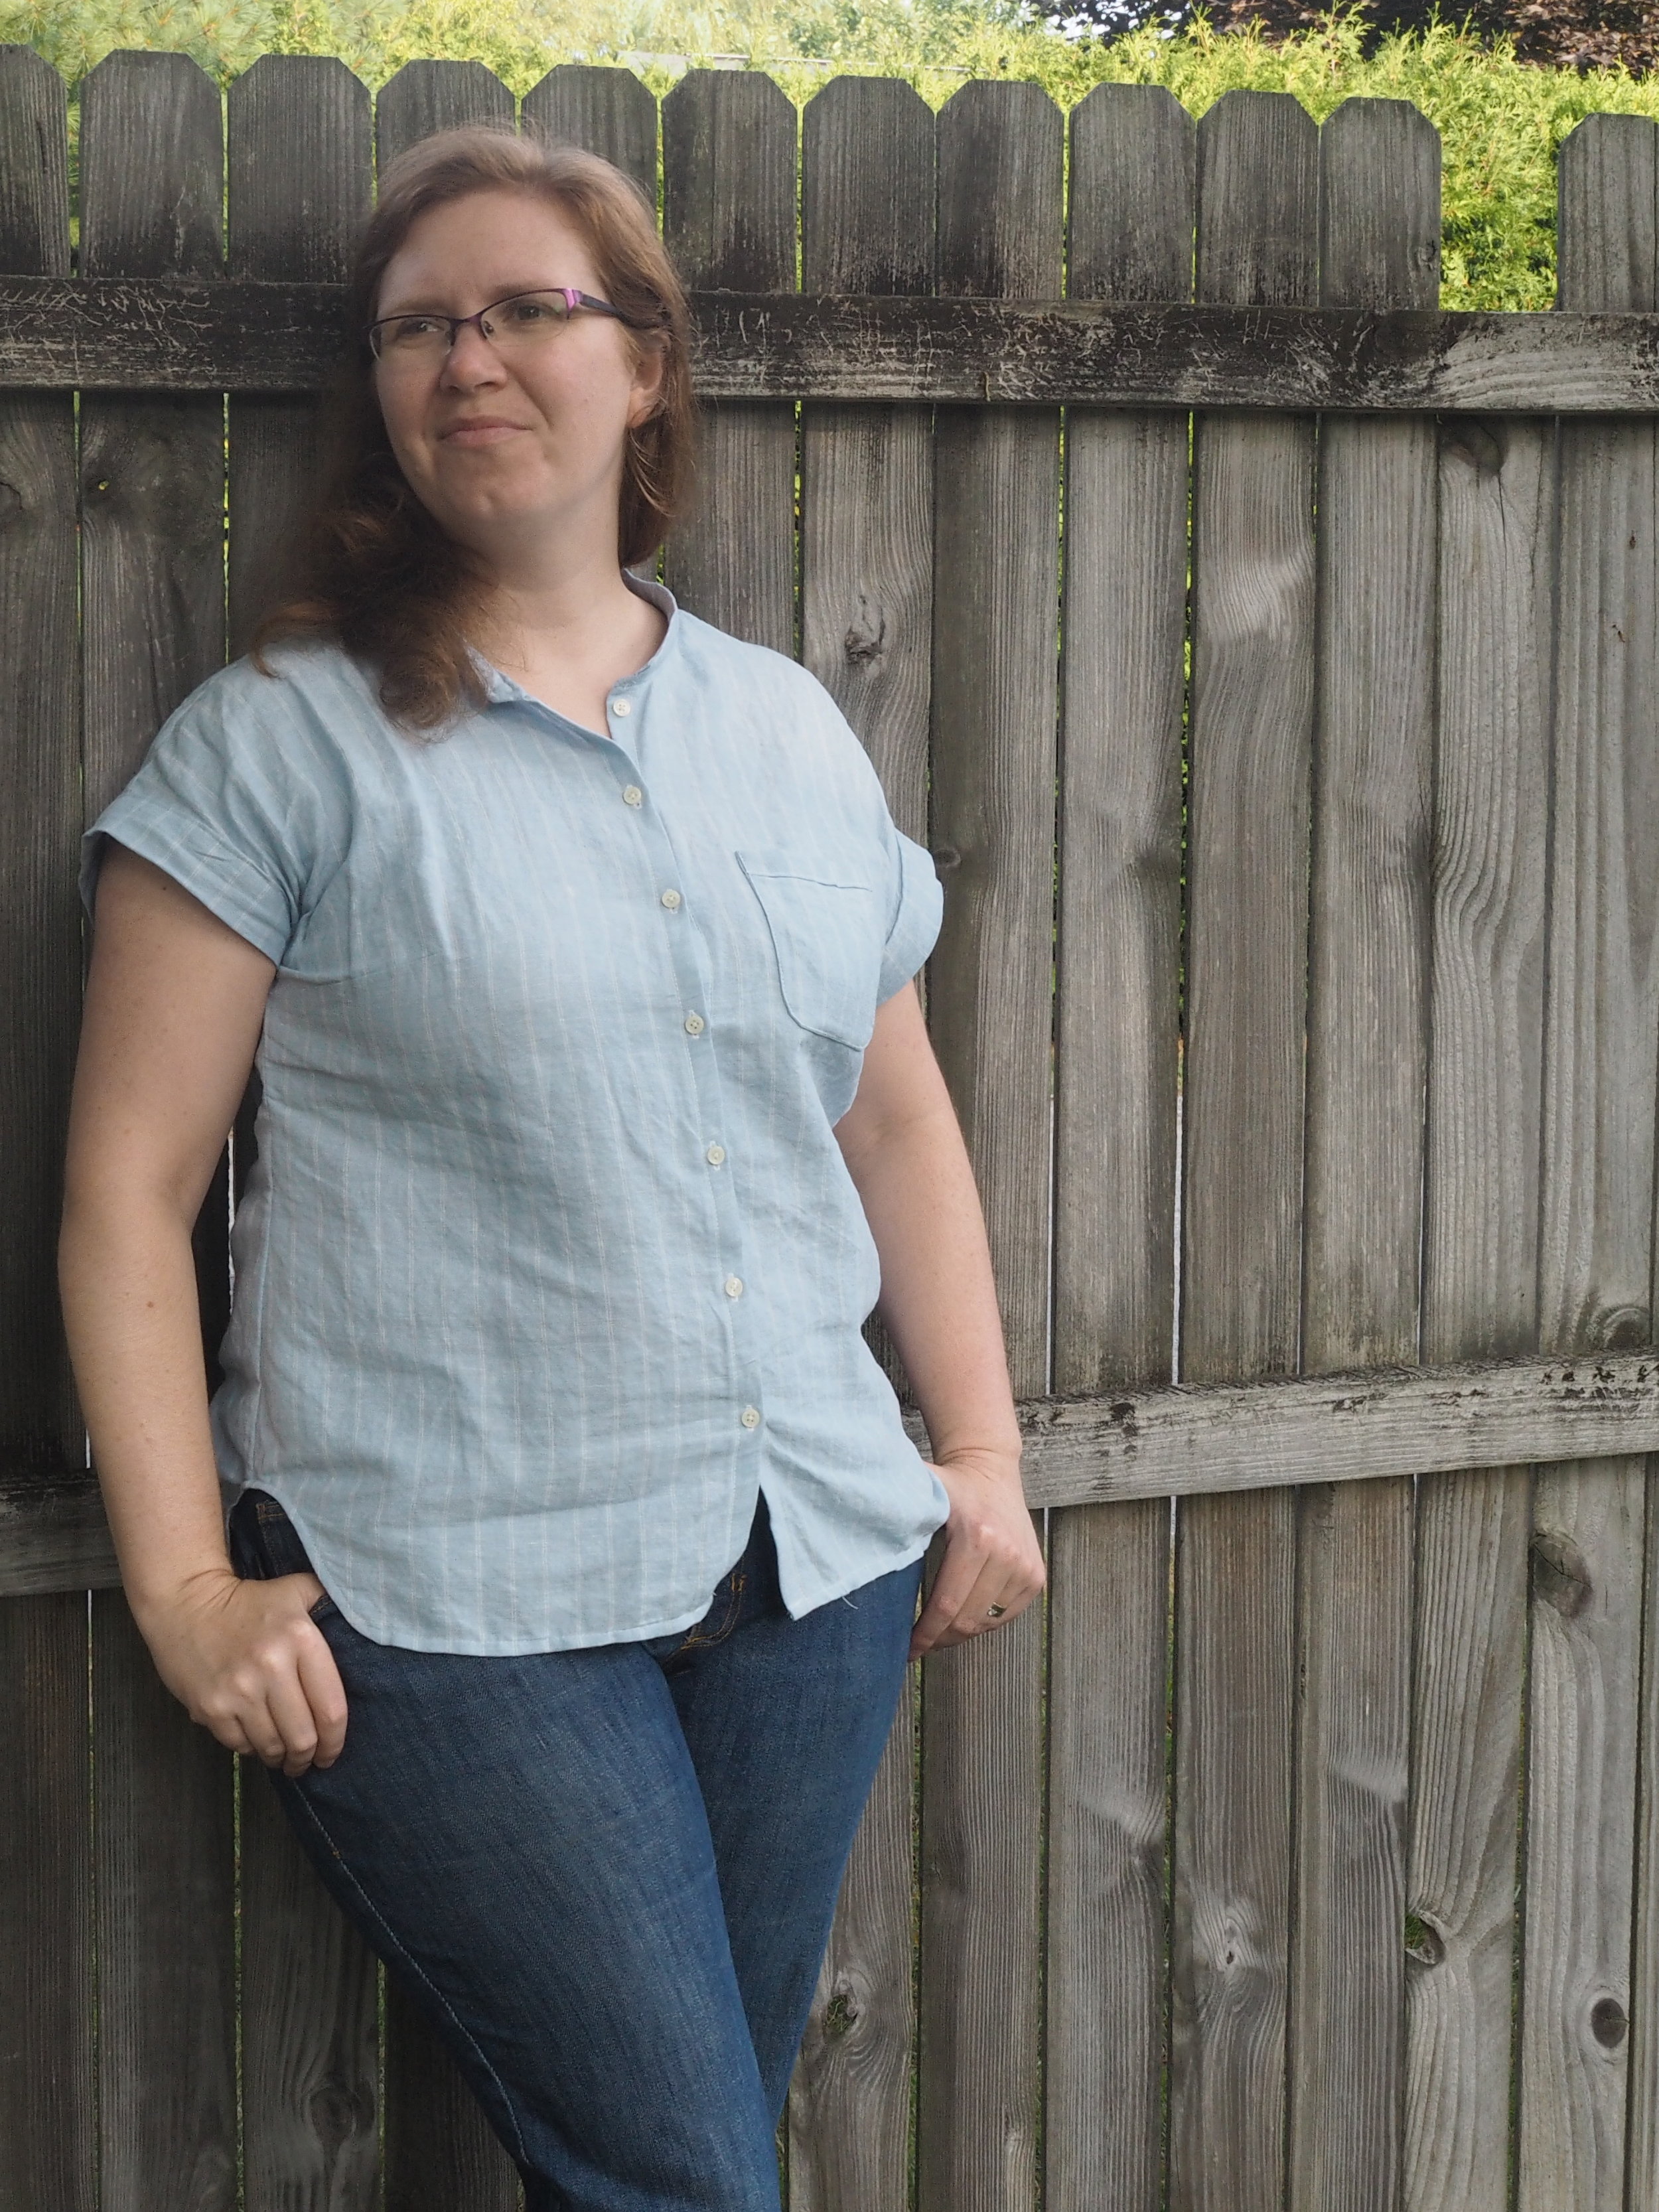
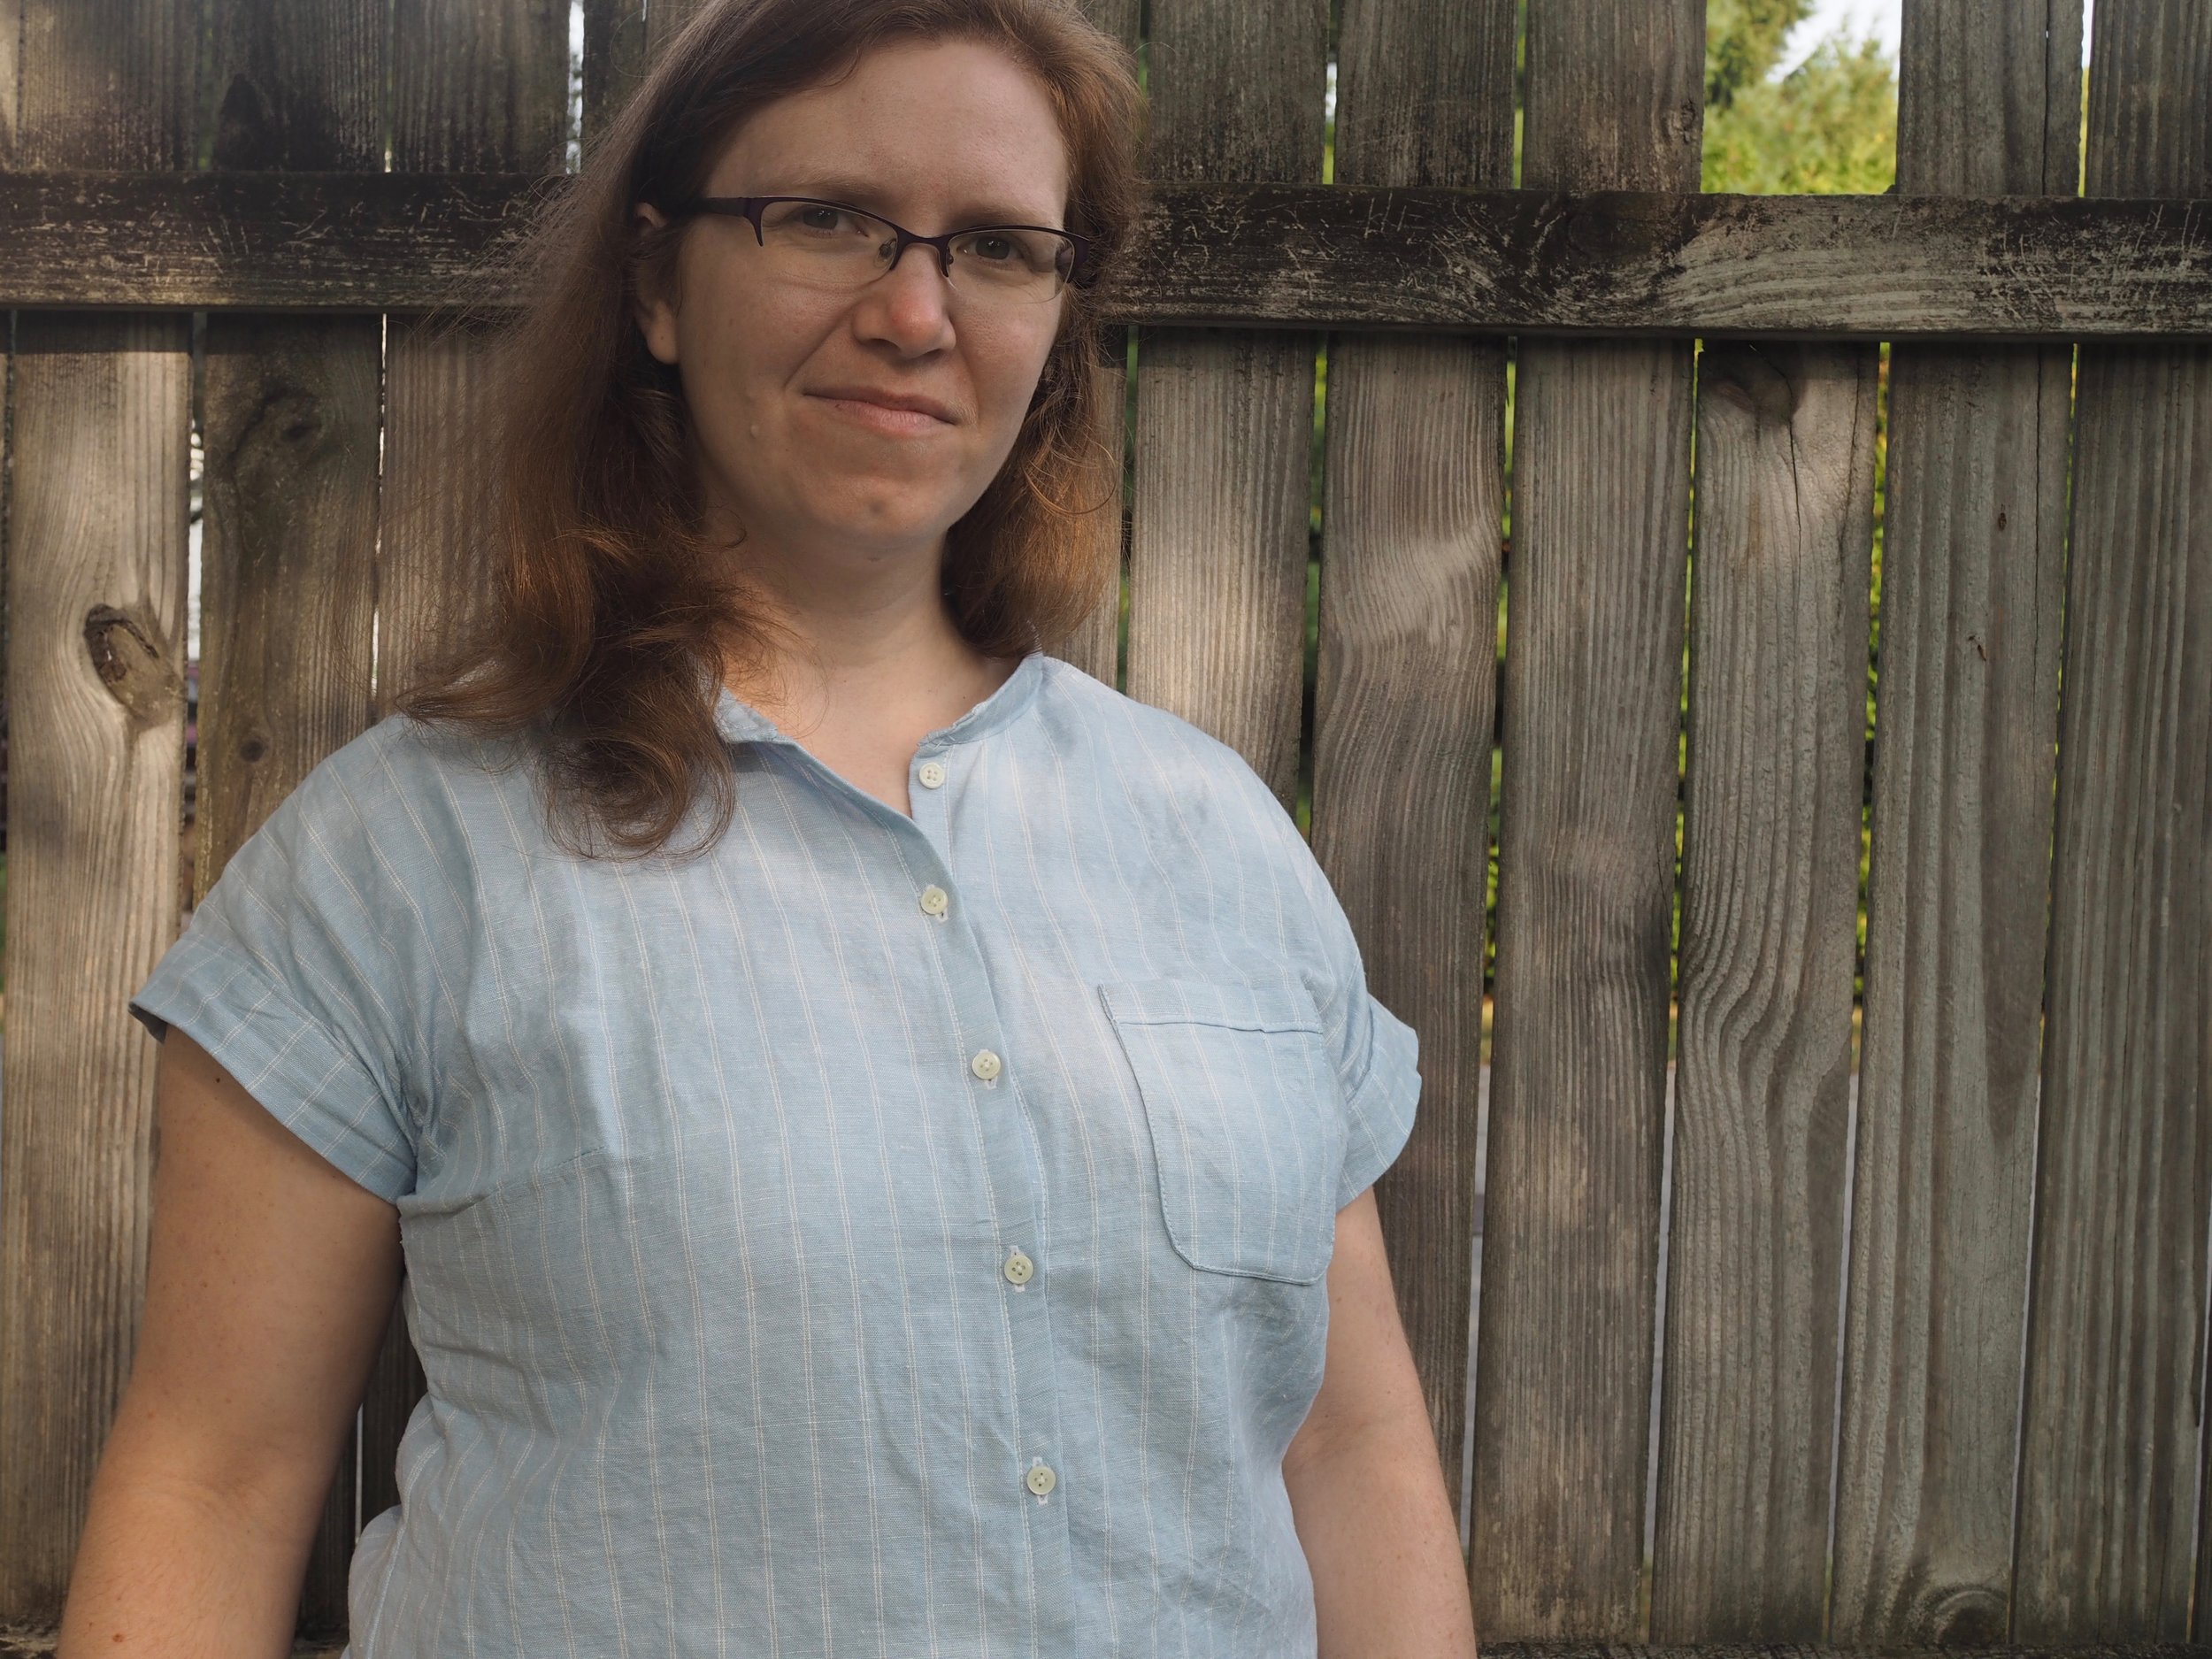
Atlee- Knit by java1994

Atlee- Knit by java1994

Ezekiel Saw - design by Leah B. Thibault, knit by knitterripper
Want to share your knits with me? Tag me @mscleaver on Instagram, or if it's on Ravelry, I'll see it. :)
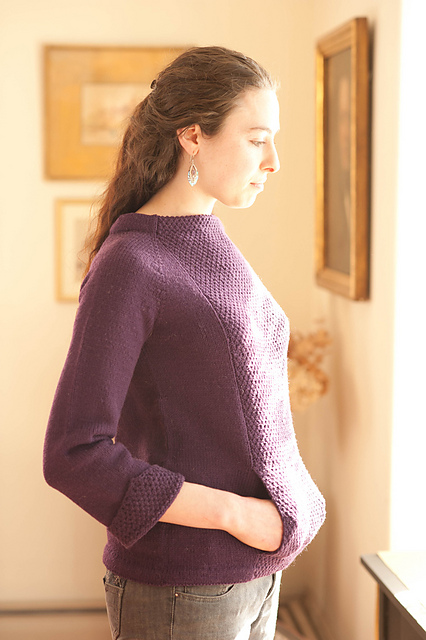
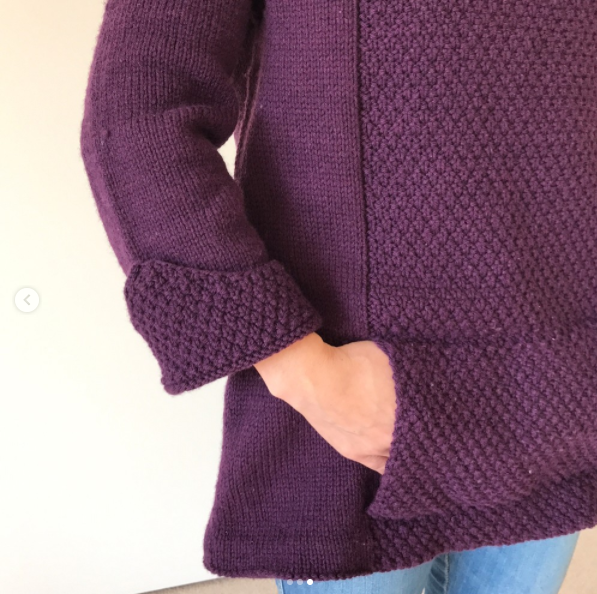
A comfortable, cozy, A-line pullover with a moss stitch panel and kangaroo pocket in the front. The sweater is worked from the top down and finished at the bottom edge with a turned hem. The sleeves end in a turned cuff--for a little extra flair.
- 30½ (32¾, 34¾, 36¾, 39, 41, 43¼, 45¼, 47¼, 49½, 51½, 53½, 55½, 57¾, 59¾)” bust circumference
- 1340-2680 yds of Worsted weight yarn, sample shown in Quince & Co. Lark in Frank’s Plum 114
- 36-inch circular needle, US 6 - 4.0 mm and US 5 – 3.75 mm
- 23 stitches and 32 rows = 4 inches in Stockinette
Learn more about Kaeryn in the Chronicles
Photos © Carrie Bostick Hoge

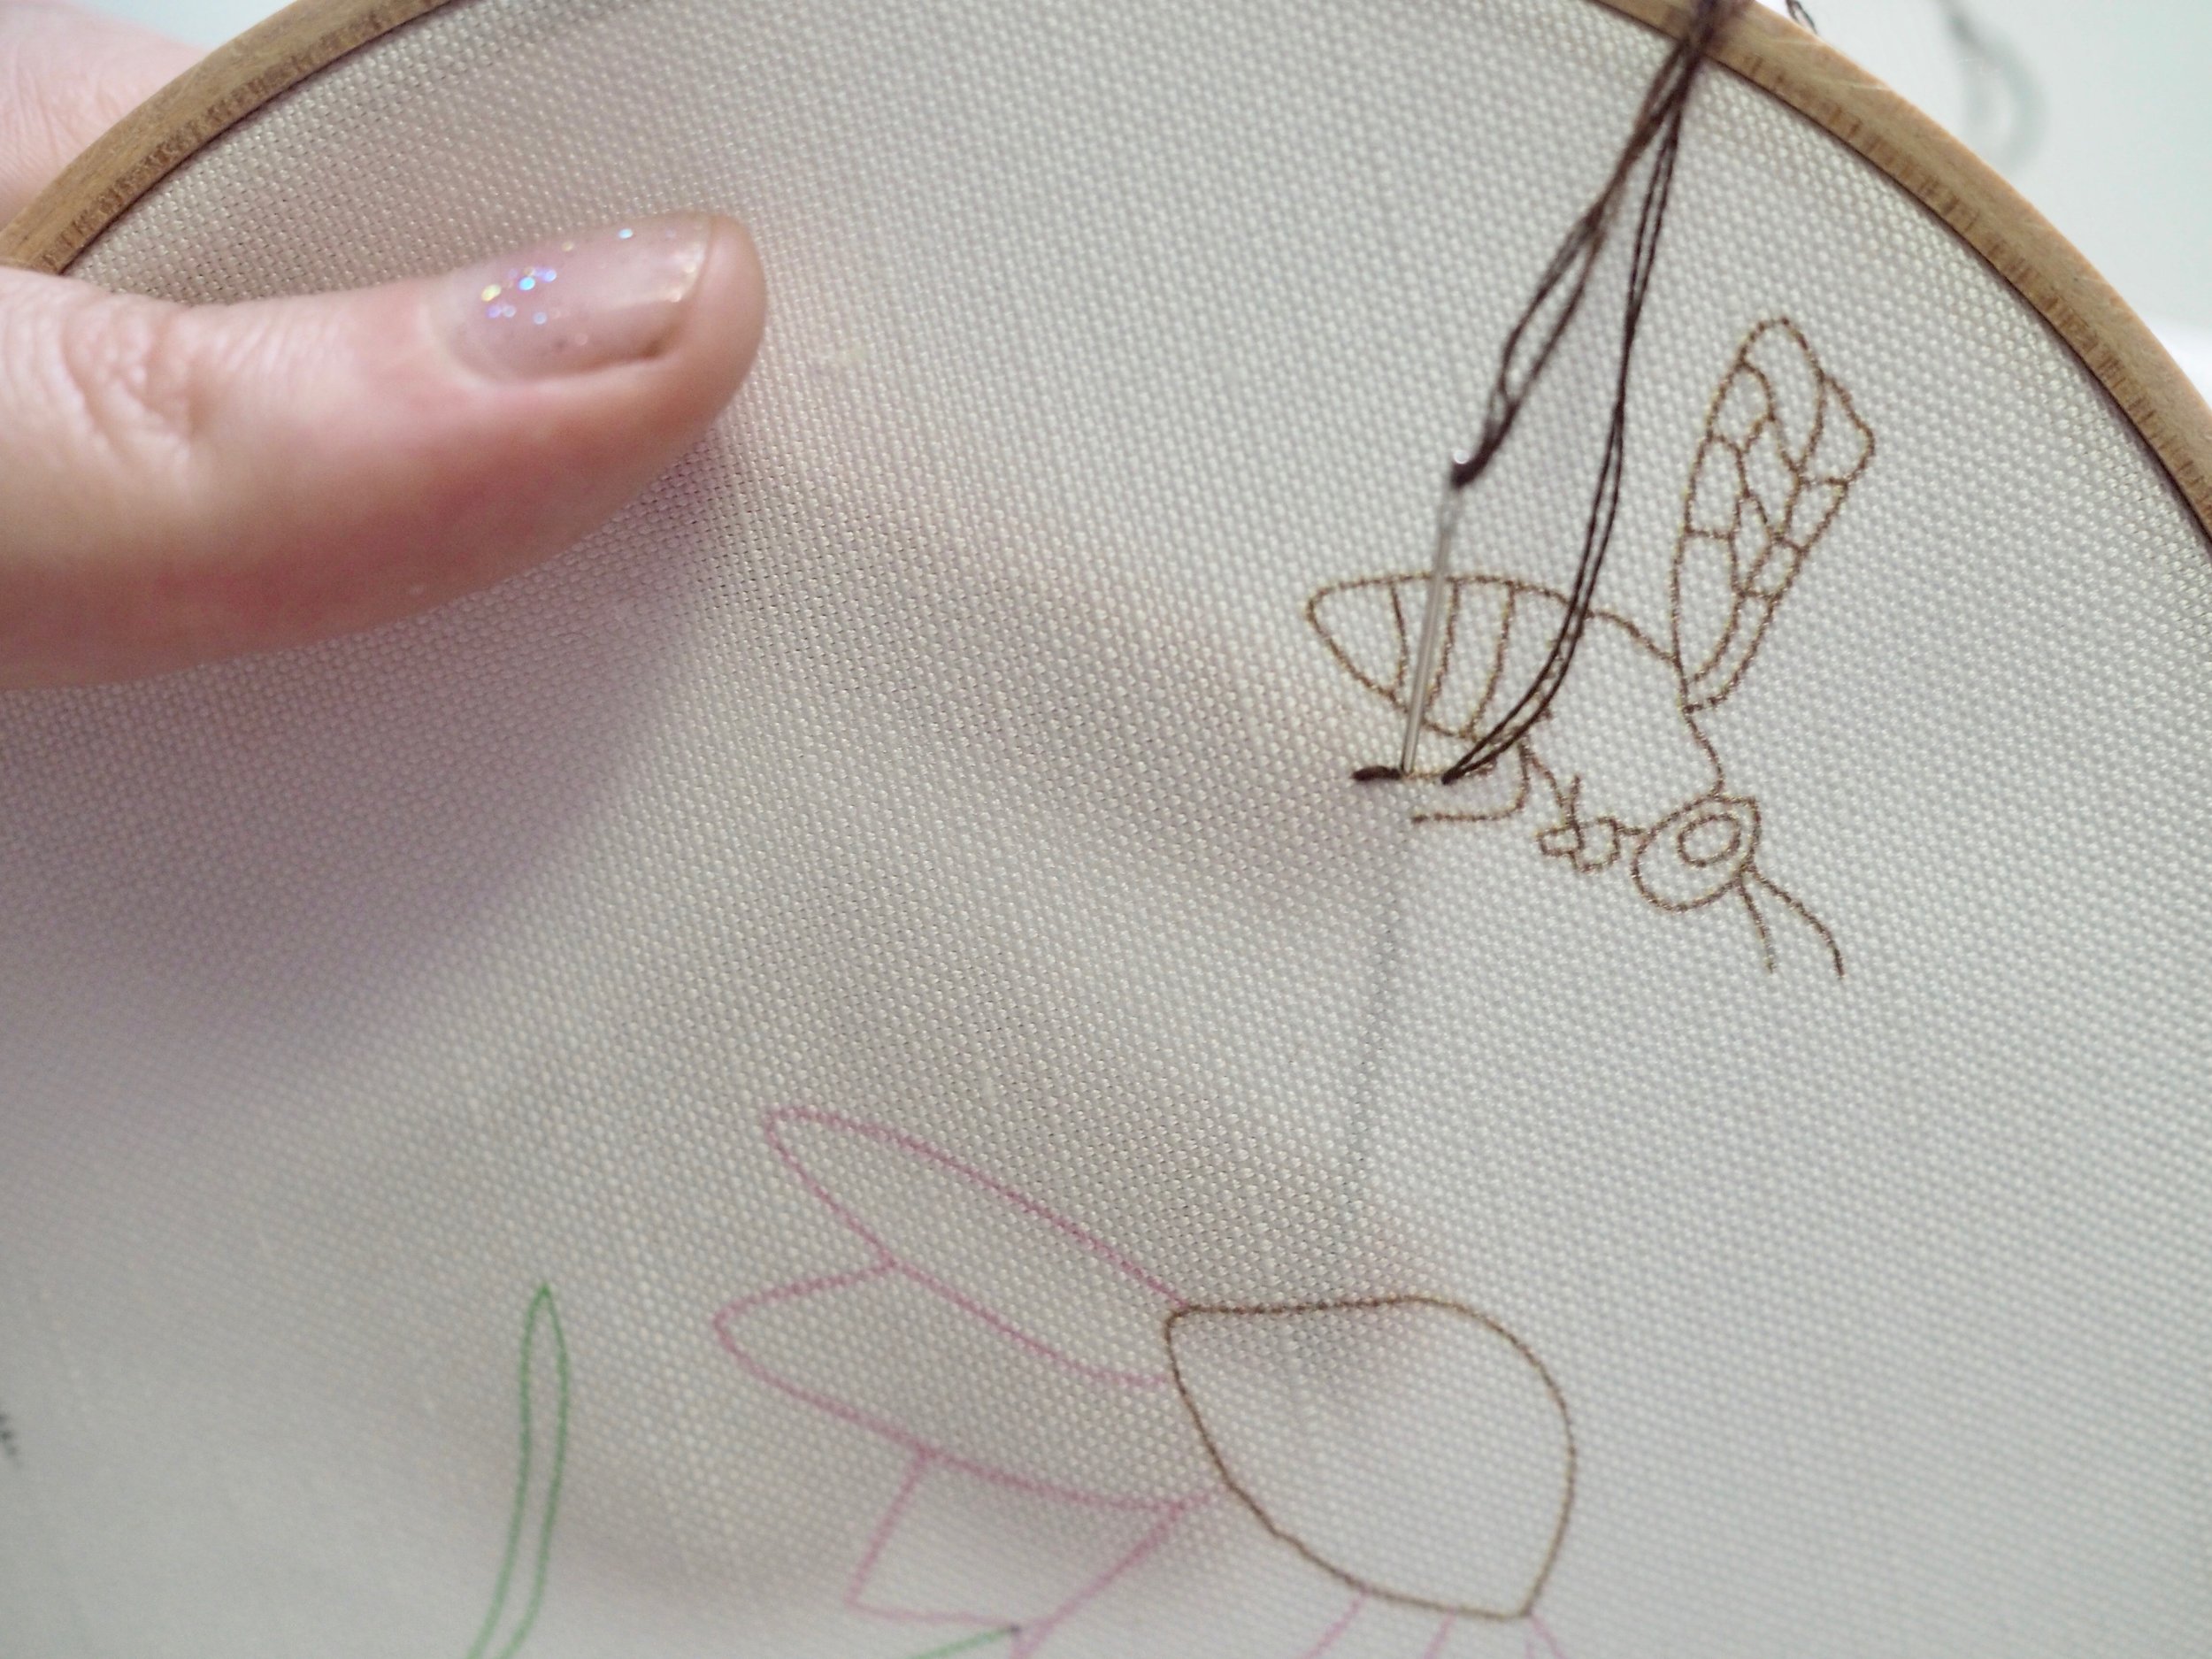
Every so often, a design bursts, Athena-like, fully formed from its creator’s head. Ezekiel Saw is one such design for me. I had a clear vision of a triangle shawl in two-similarly toned, but distinct colors with detailed open lace bands. The subtly marled palette of CoopKnits’ Socks Yeah! provided the perfect material for bringing that vision to life.
The Wave and Wheel lace pattern of the bands creates a wheel within a wheel motif, reminiscent of an old folk song about an altogether different kind of vision, “Ezekiel Saw Da Wheel.”
66”/167 cm wingspan, 27” from center back to point
Yarn: Socks Yeah! by CoopKnits (75% Superwash Merino, 25% nylon; 230yd [212m]/50g)
MC: 2 skeins Ammolite (102) and CC: 1 skein Axinite (103) Sample uses all of suggested yarn.Needles: 24” circ in size US 5 / 3.75 mm
Gauge: 18 sts and 38 rows = 4”/10 cm in St st
Learn more about Ezekiel Saw in the Chronicles
View it on Ravelry
Photos © Bristol Ivy/Ms. Cleaver Creations

Finished Size:
11 inches/ 28 cm tall.
Yarn:
Brown Sheep Co. Lambs Pride Super
Wash; 200 yds/ 183 m per 3.5 oz /
100g skein; 100% wool:
MC: #SW169 Sunshine Yellow or 200 yds worsted weight yarn.
CC: #SW038 Alabaster or 25 yds worsted weight yarn
• 1 yard black yarn or embroidery thread.
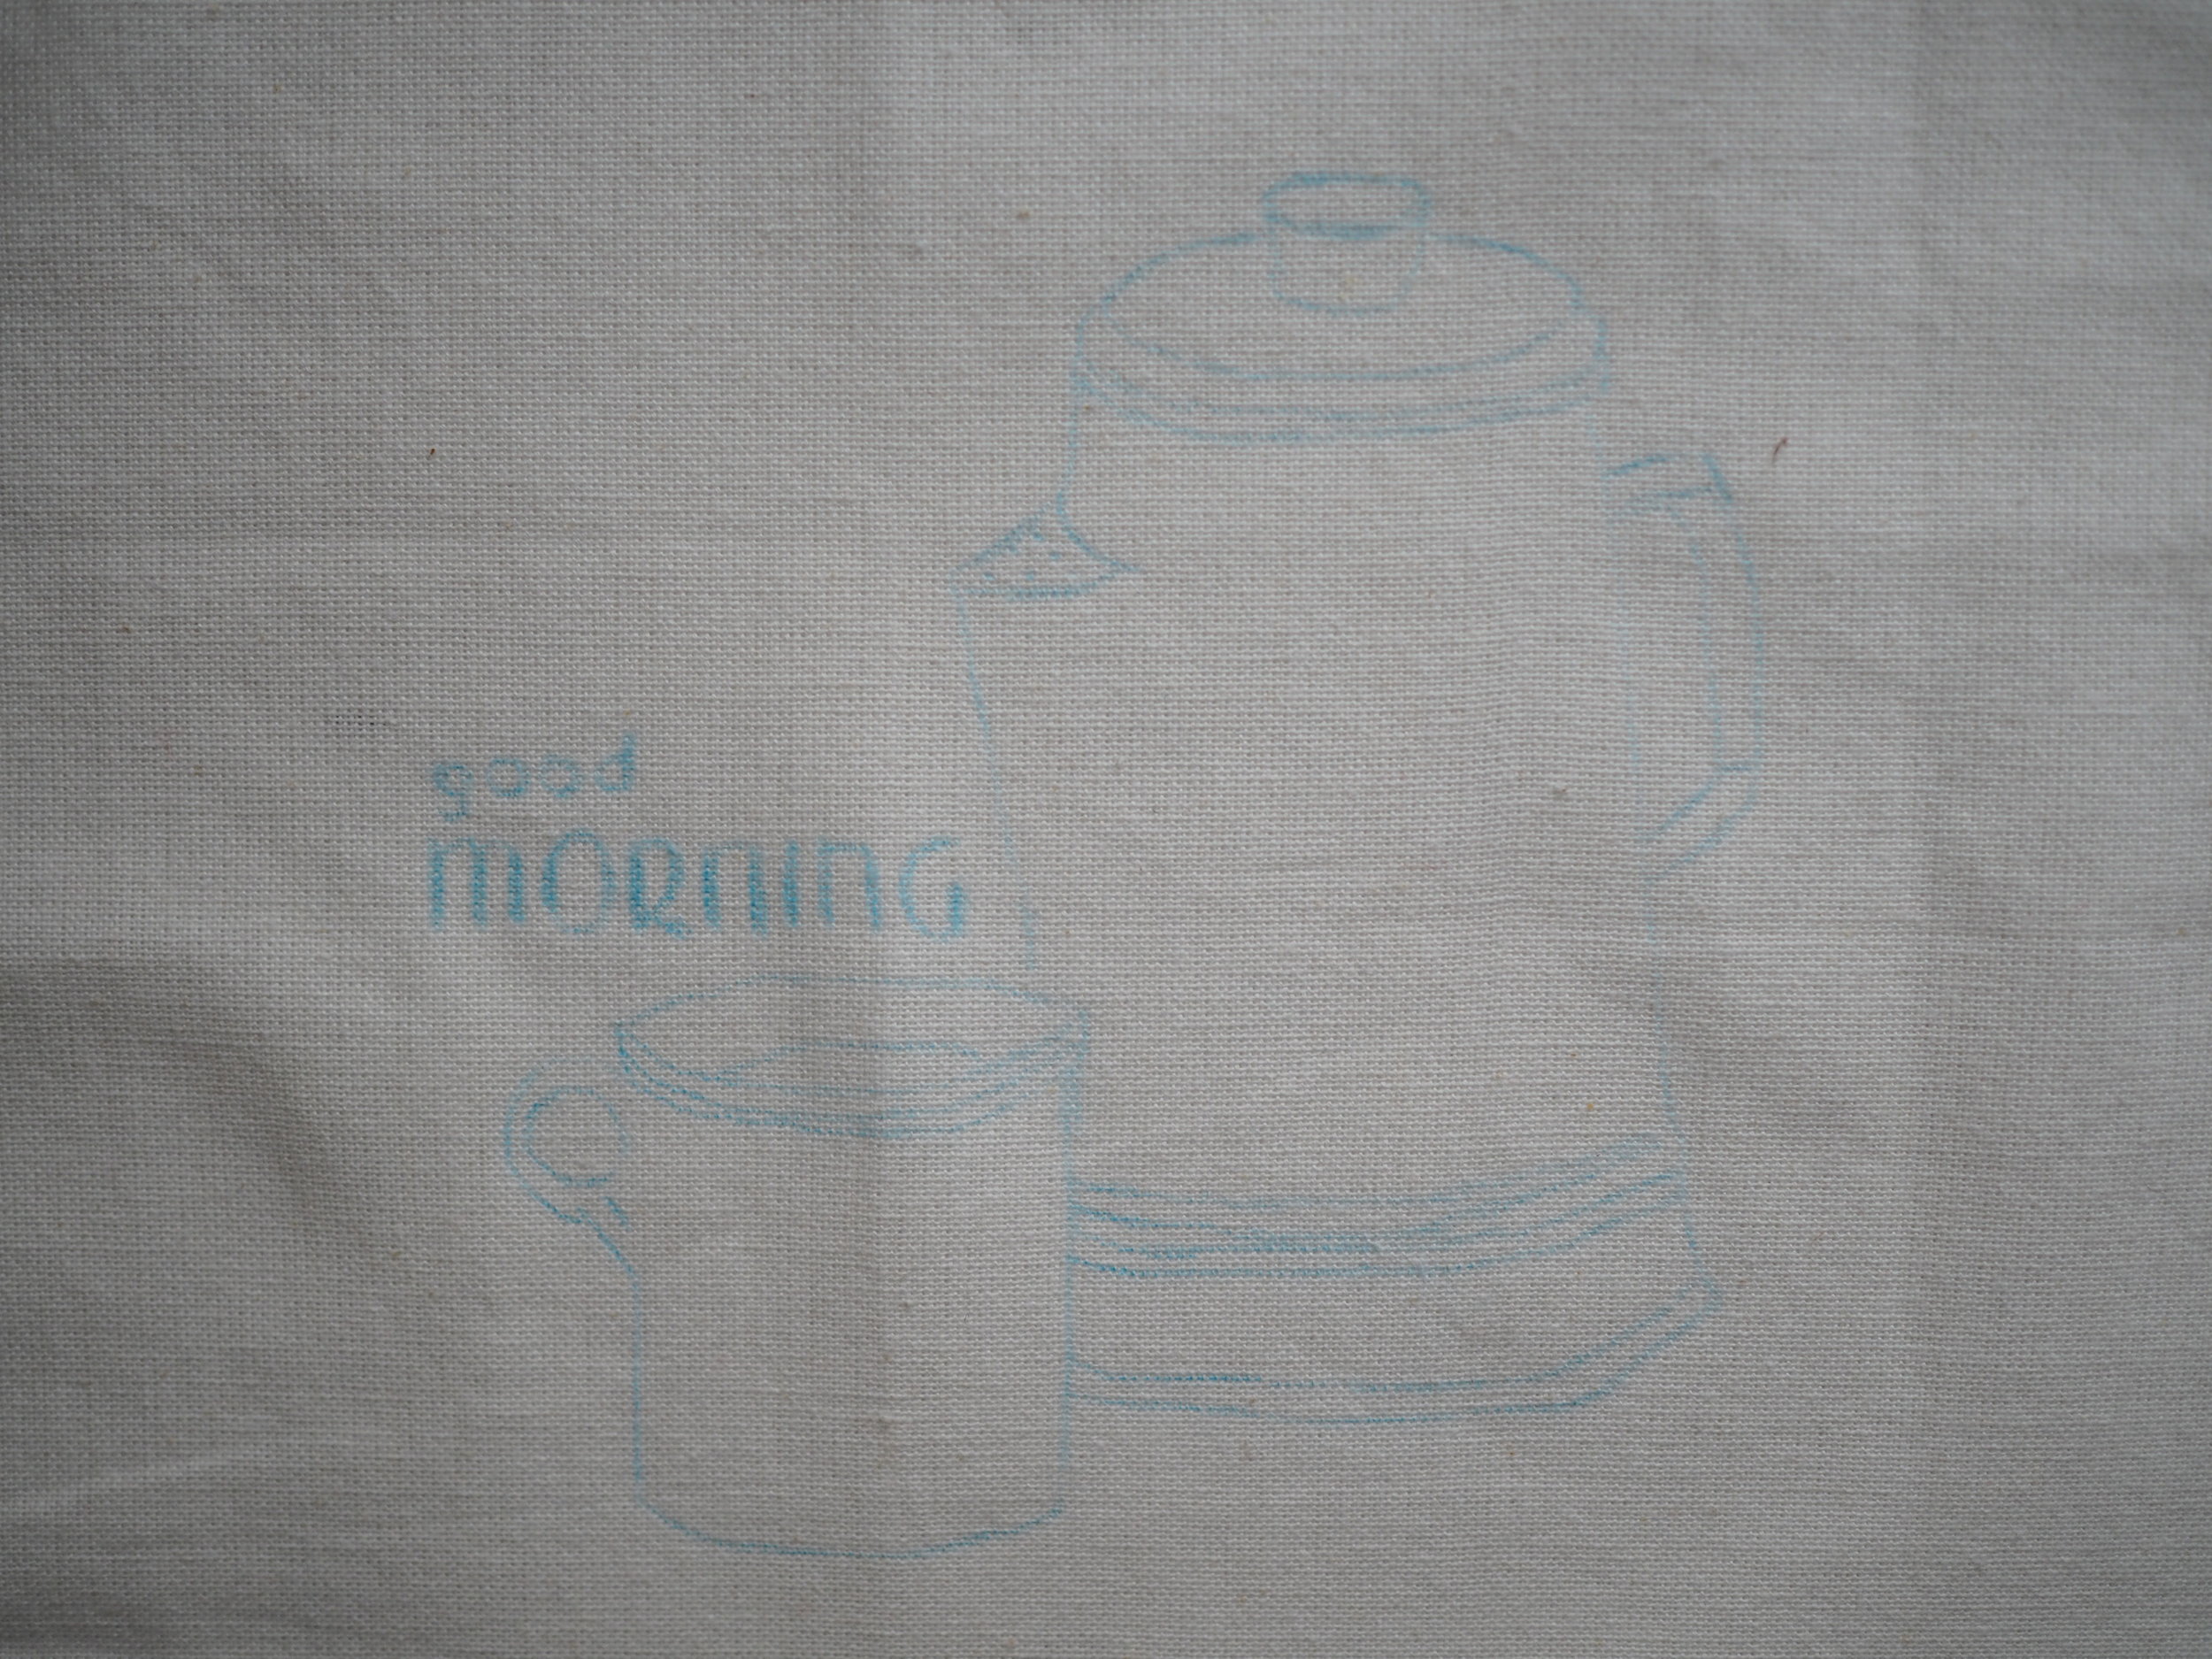
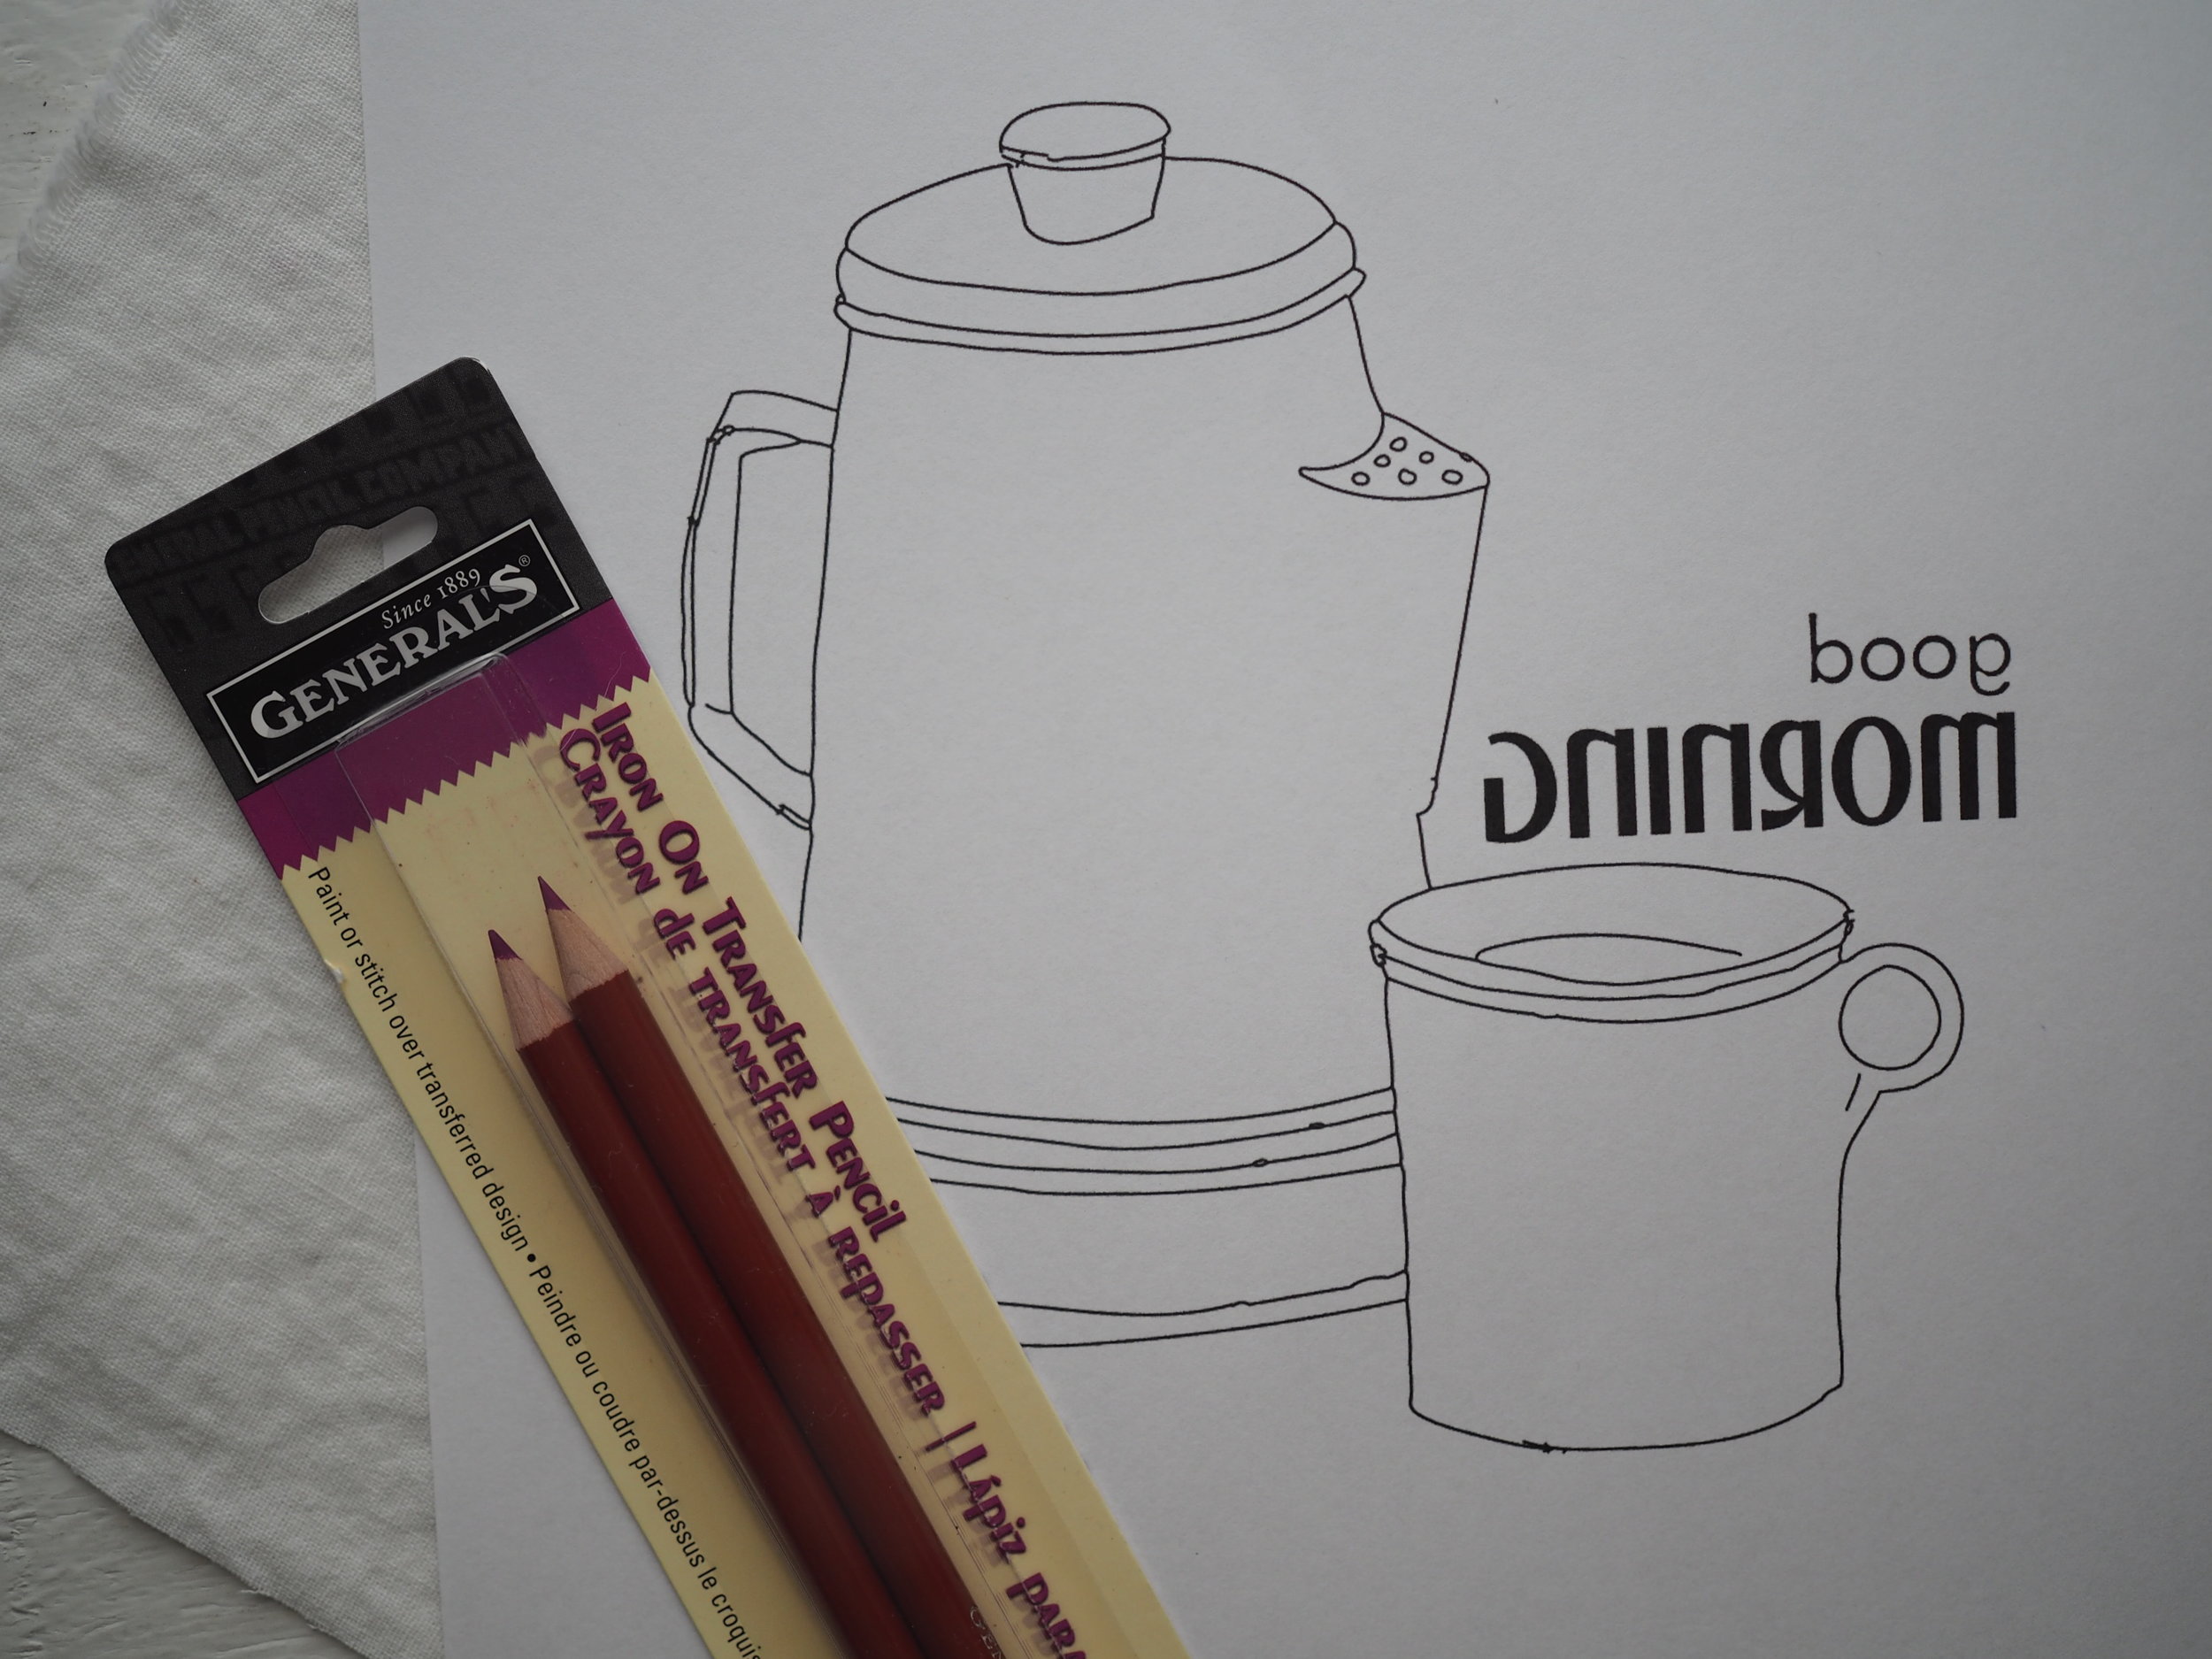
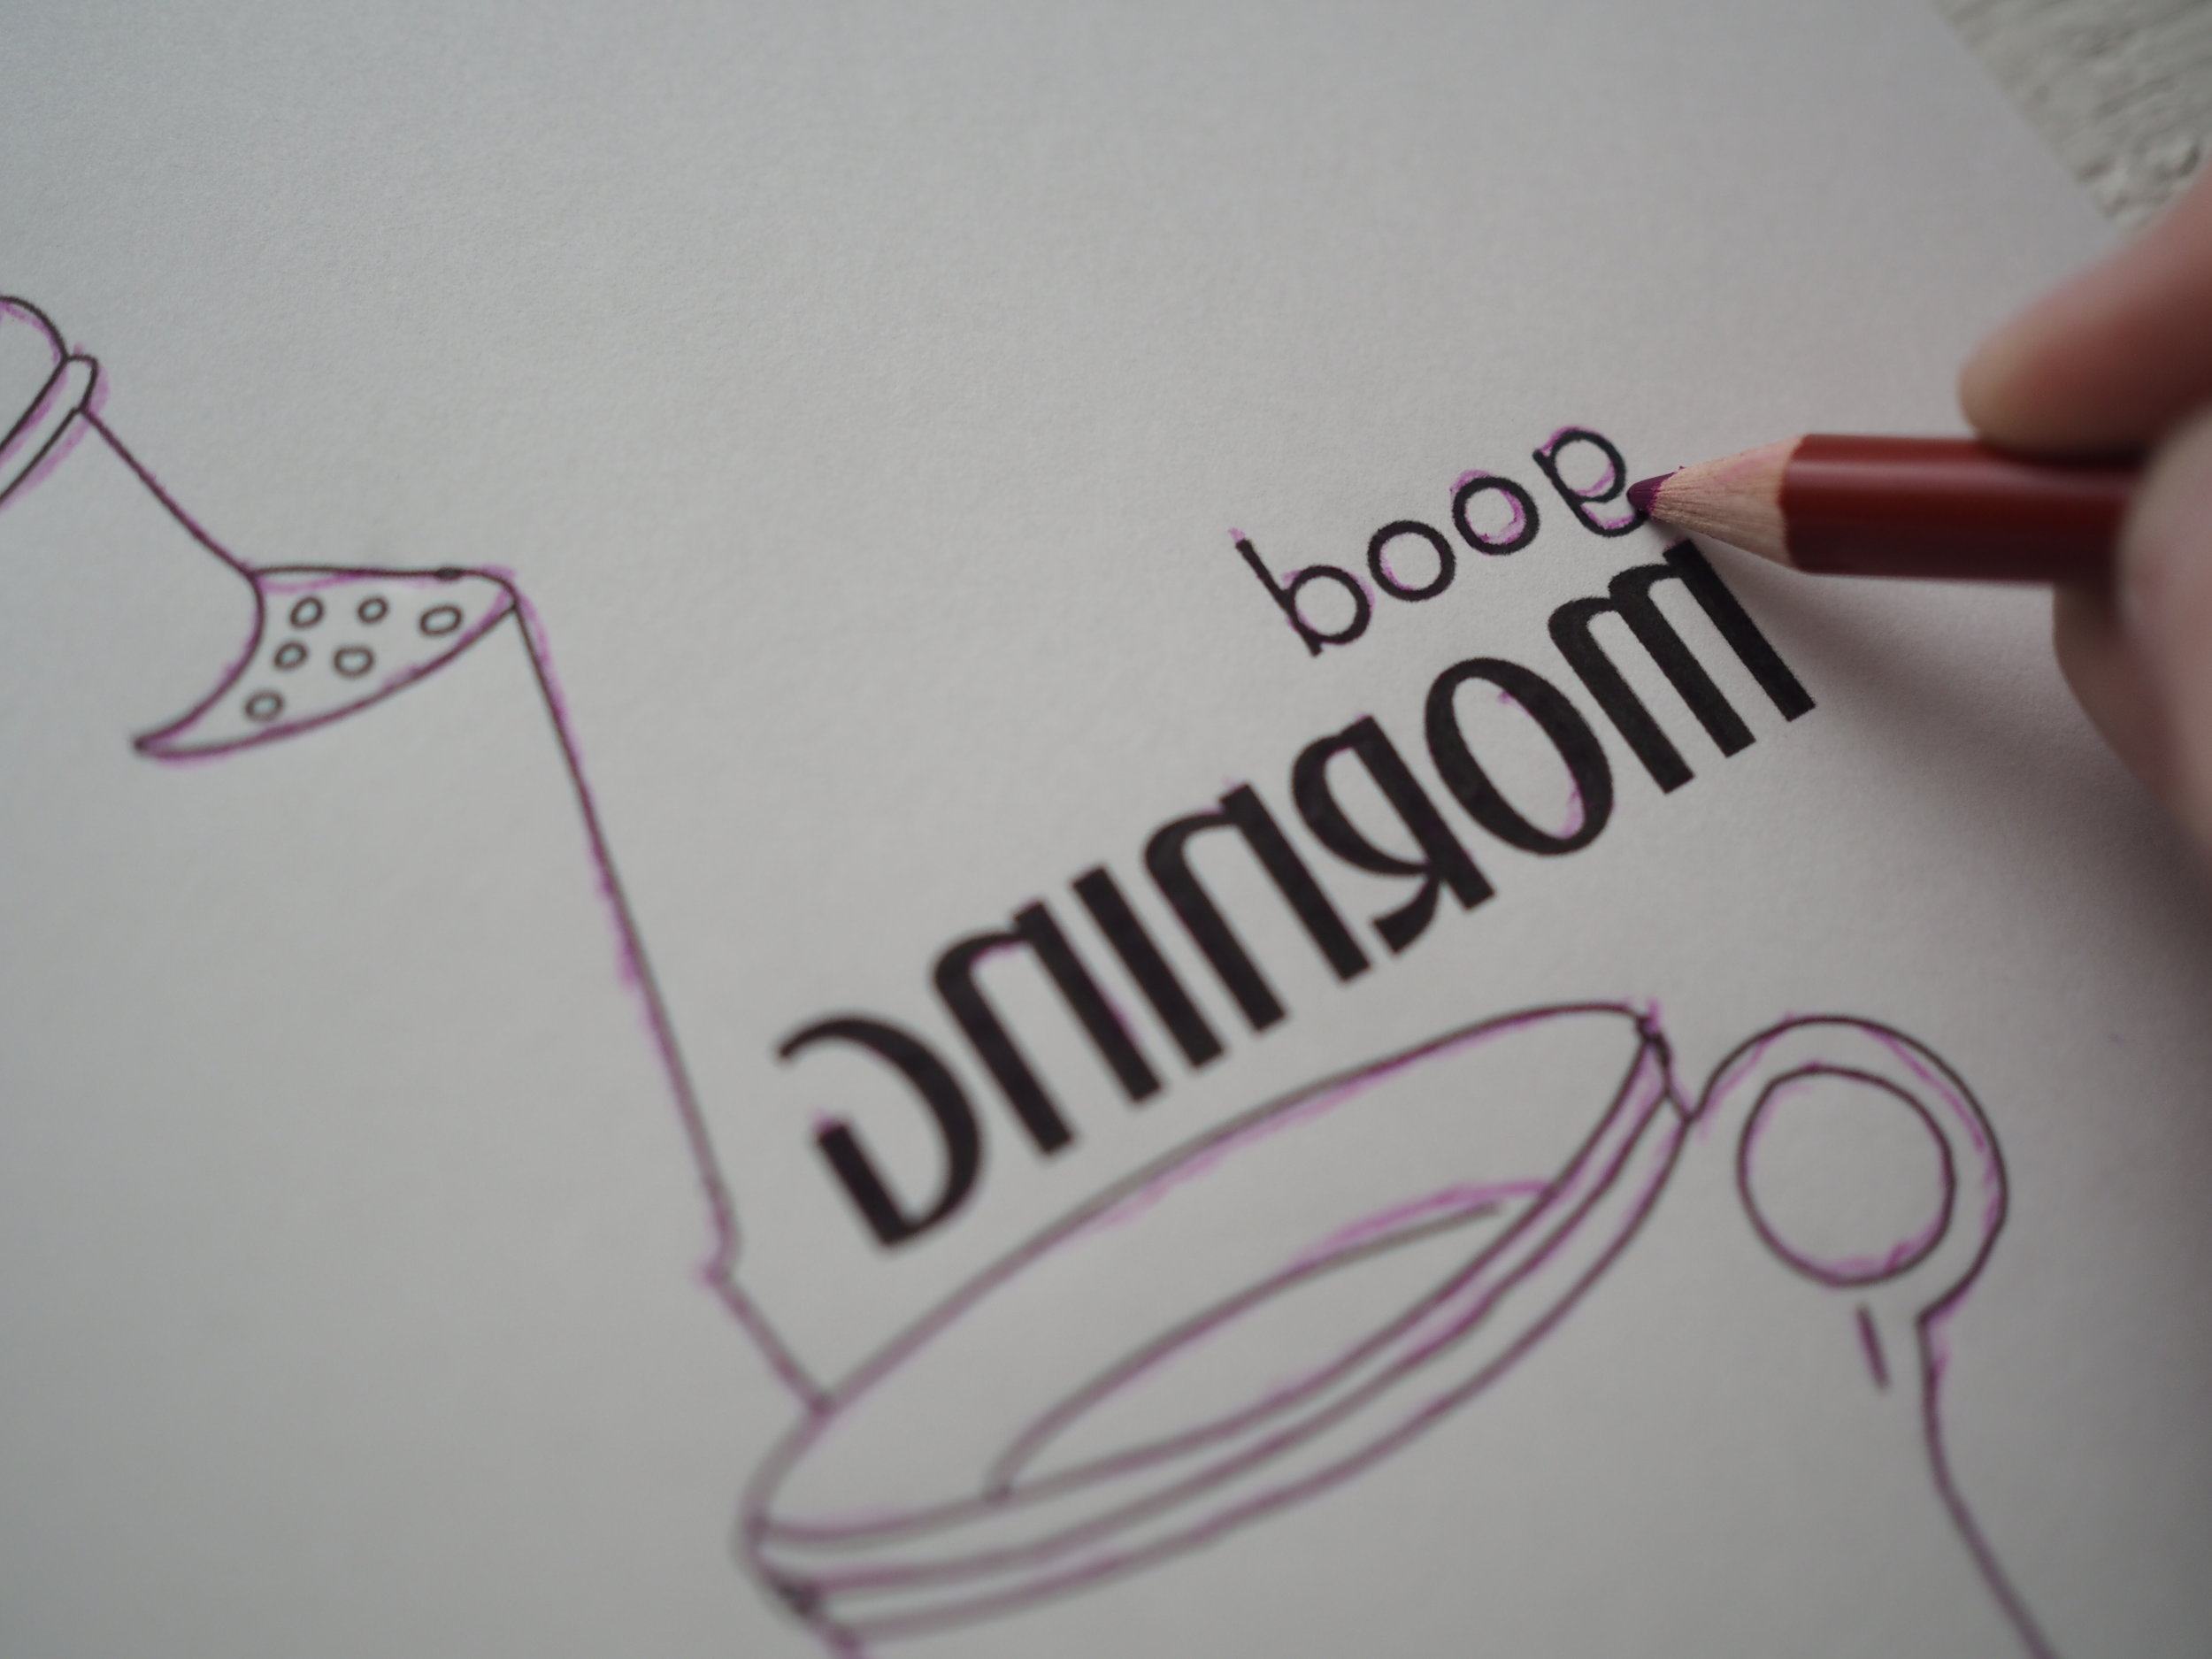
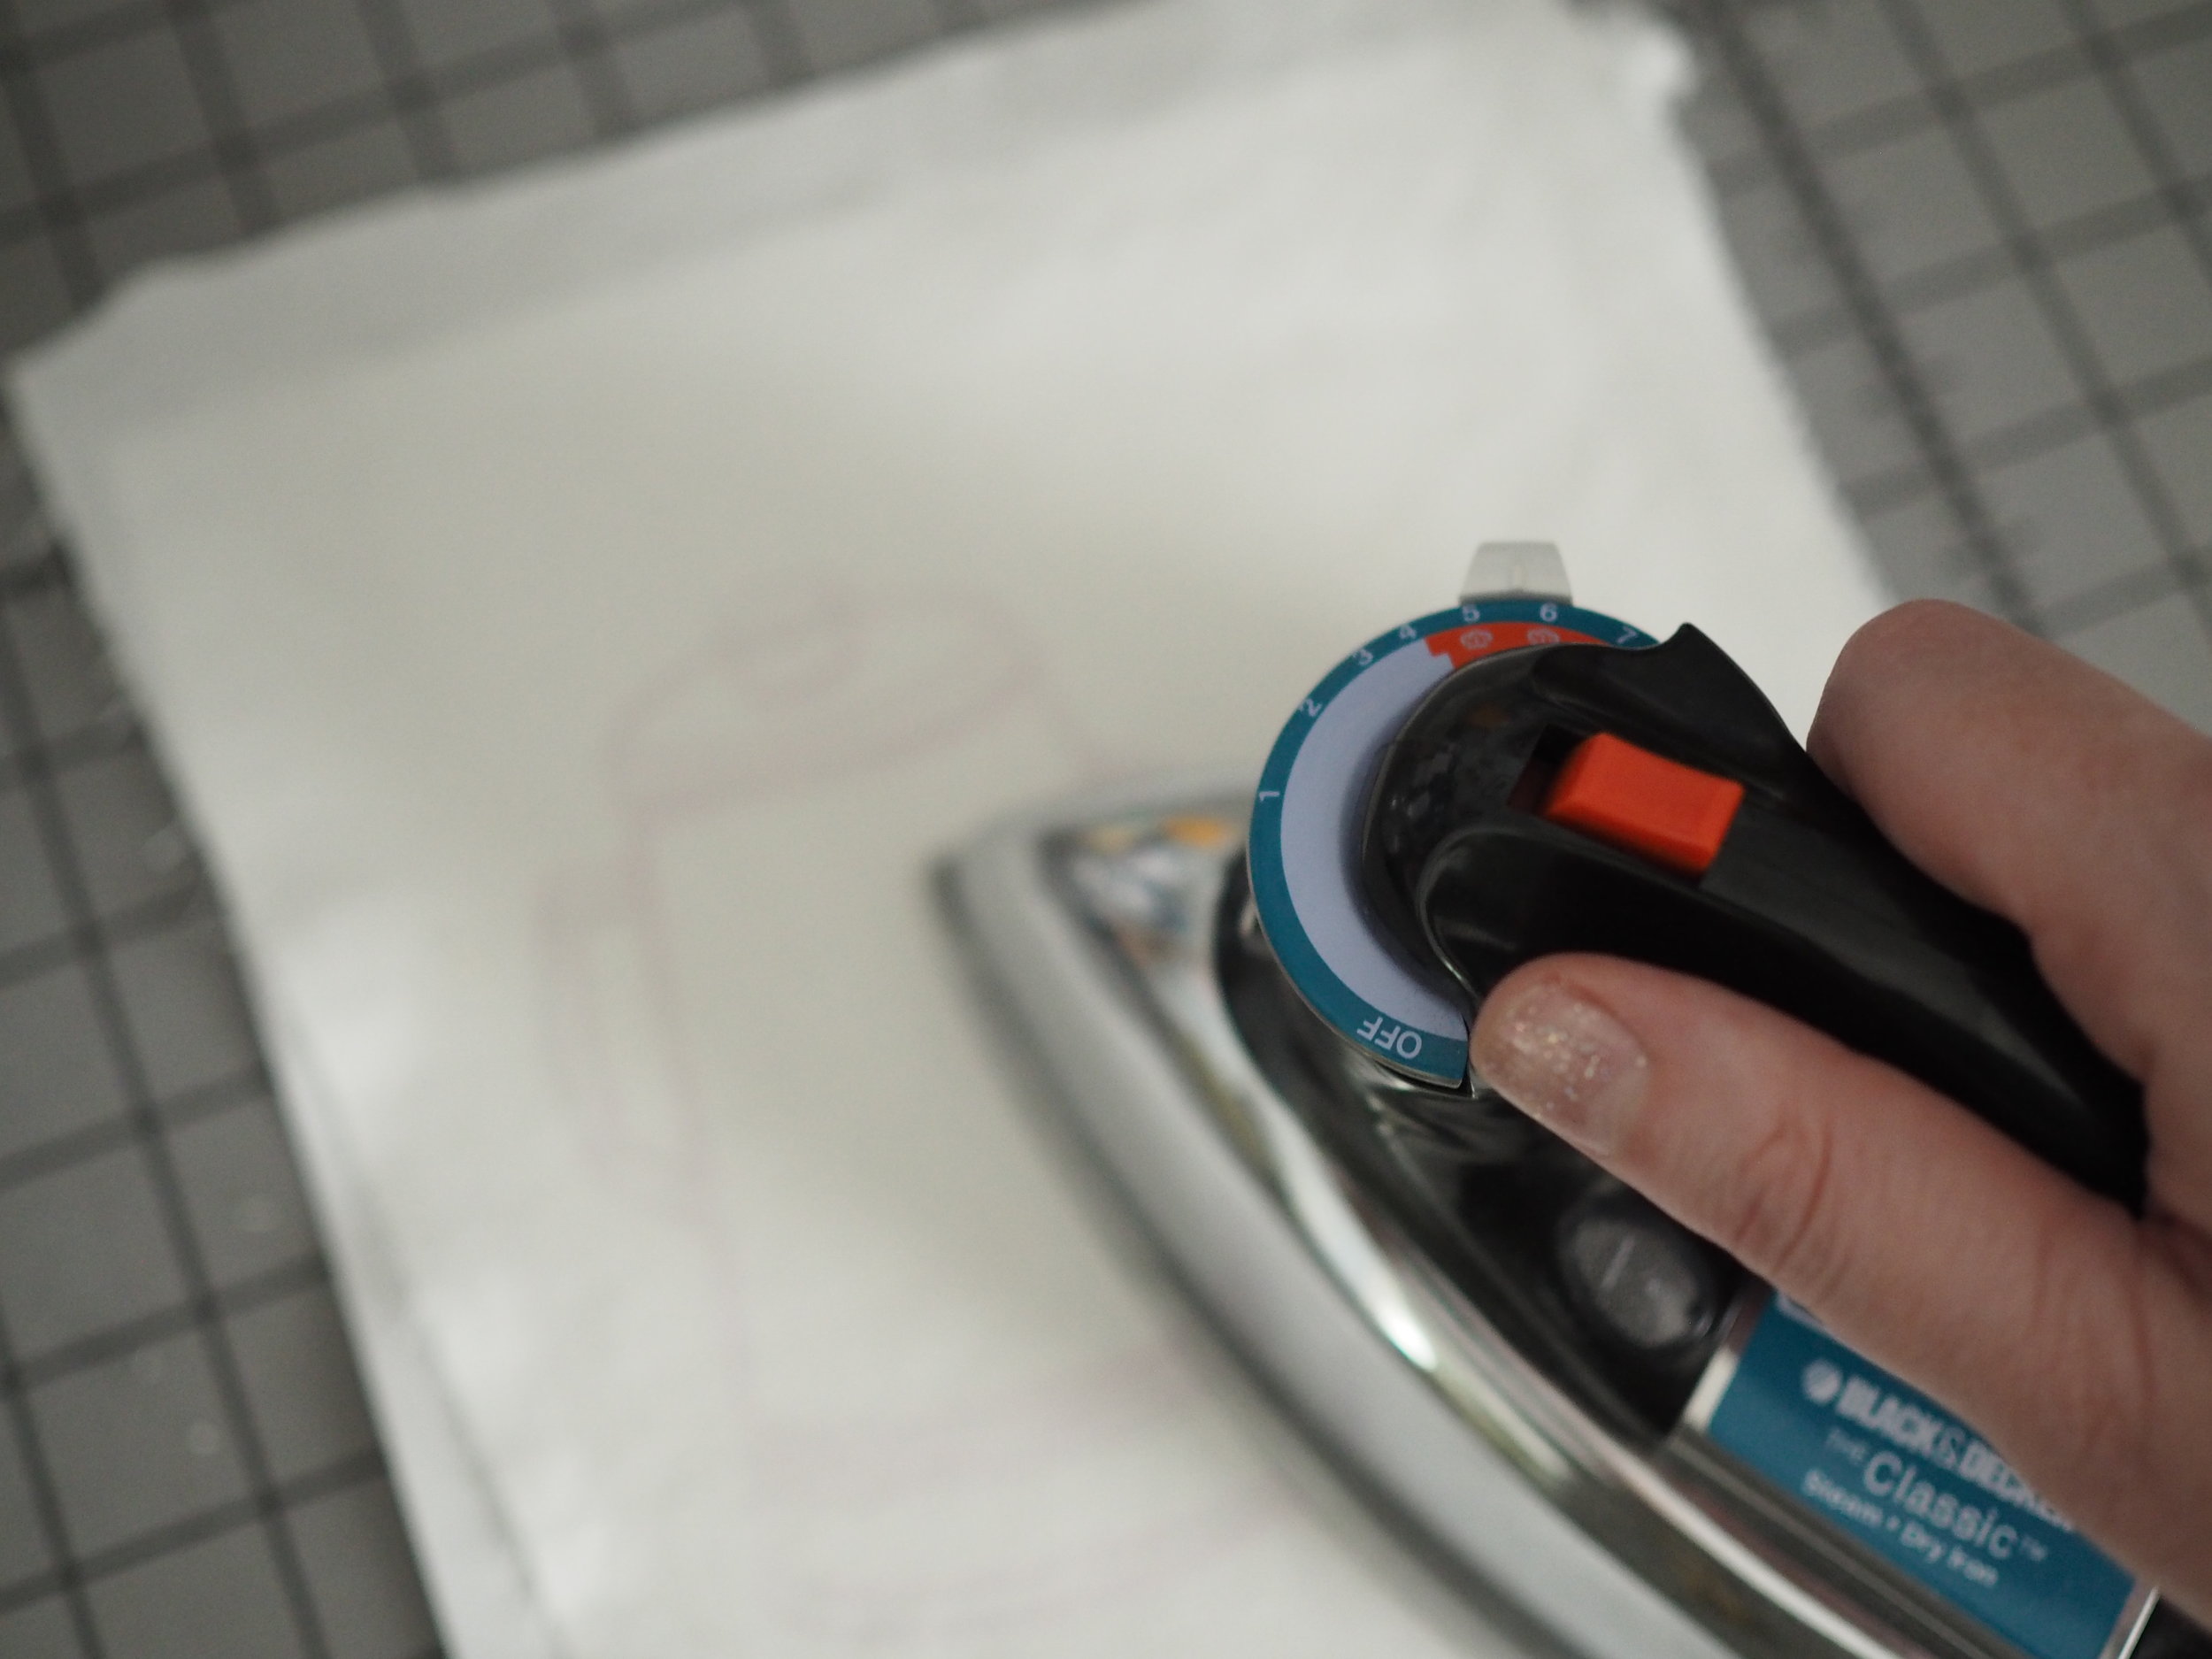
Pattern is knit in the round from the bottom up with a short-row tail. Wings and beak are picked up seamlessly with an afterthought technique. The first few rounds of all appendages will be fiddly, but it is easier if you use the magic loop technique.
Step by step tutorial available at MsCleaver.com
Also available as a complete kit.
Learn more about Domenic (Duck) in the Chronicles
Photos © Leah B. Thibault

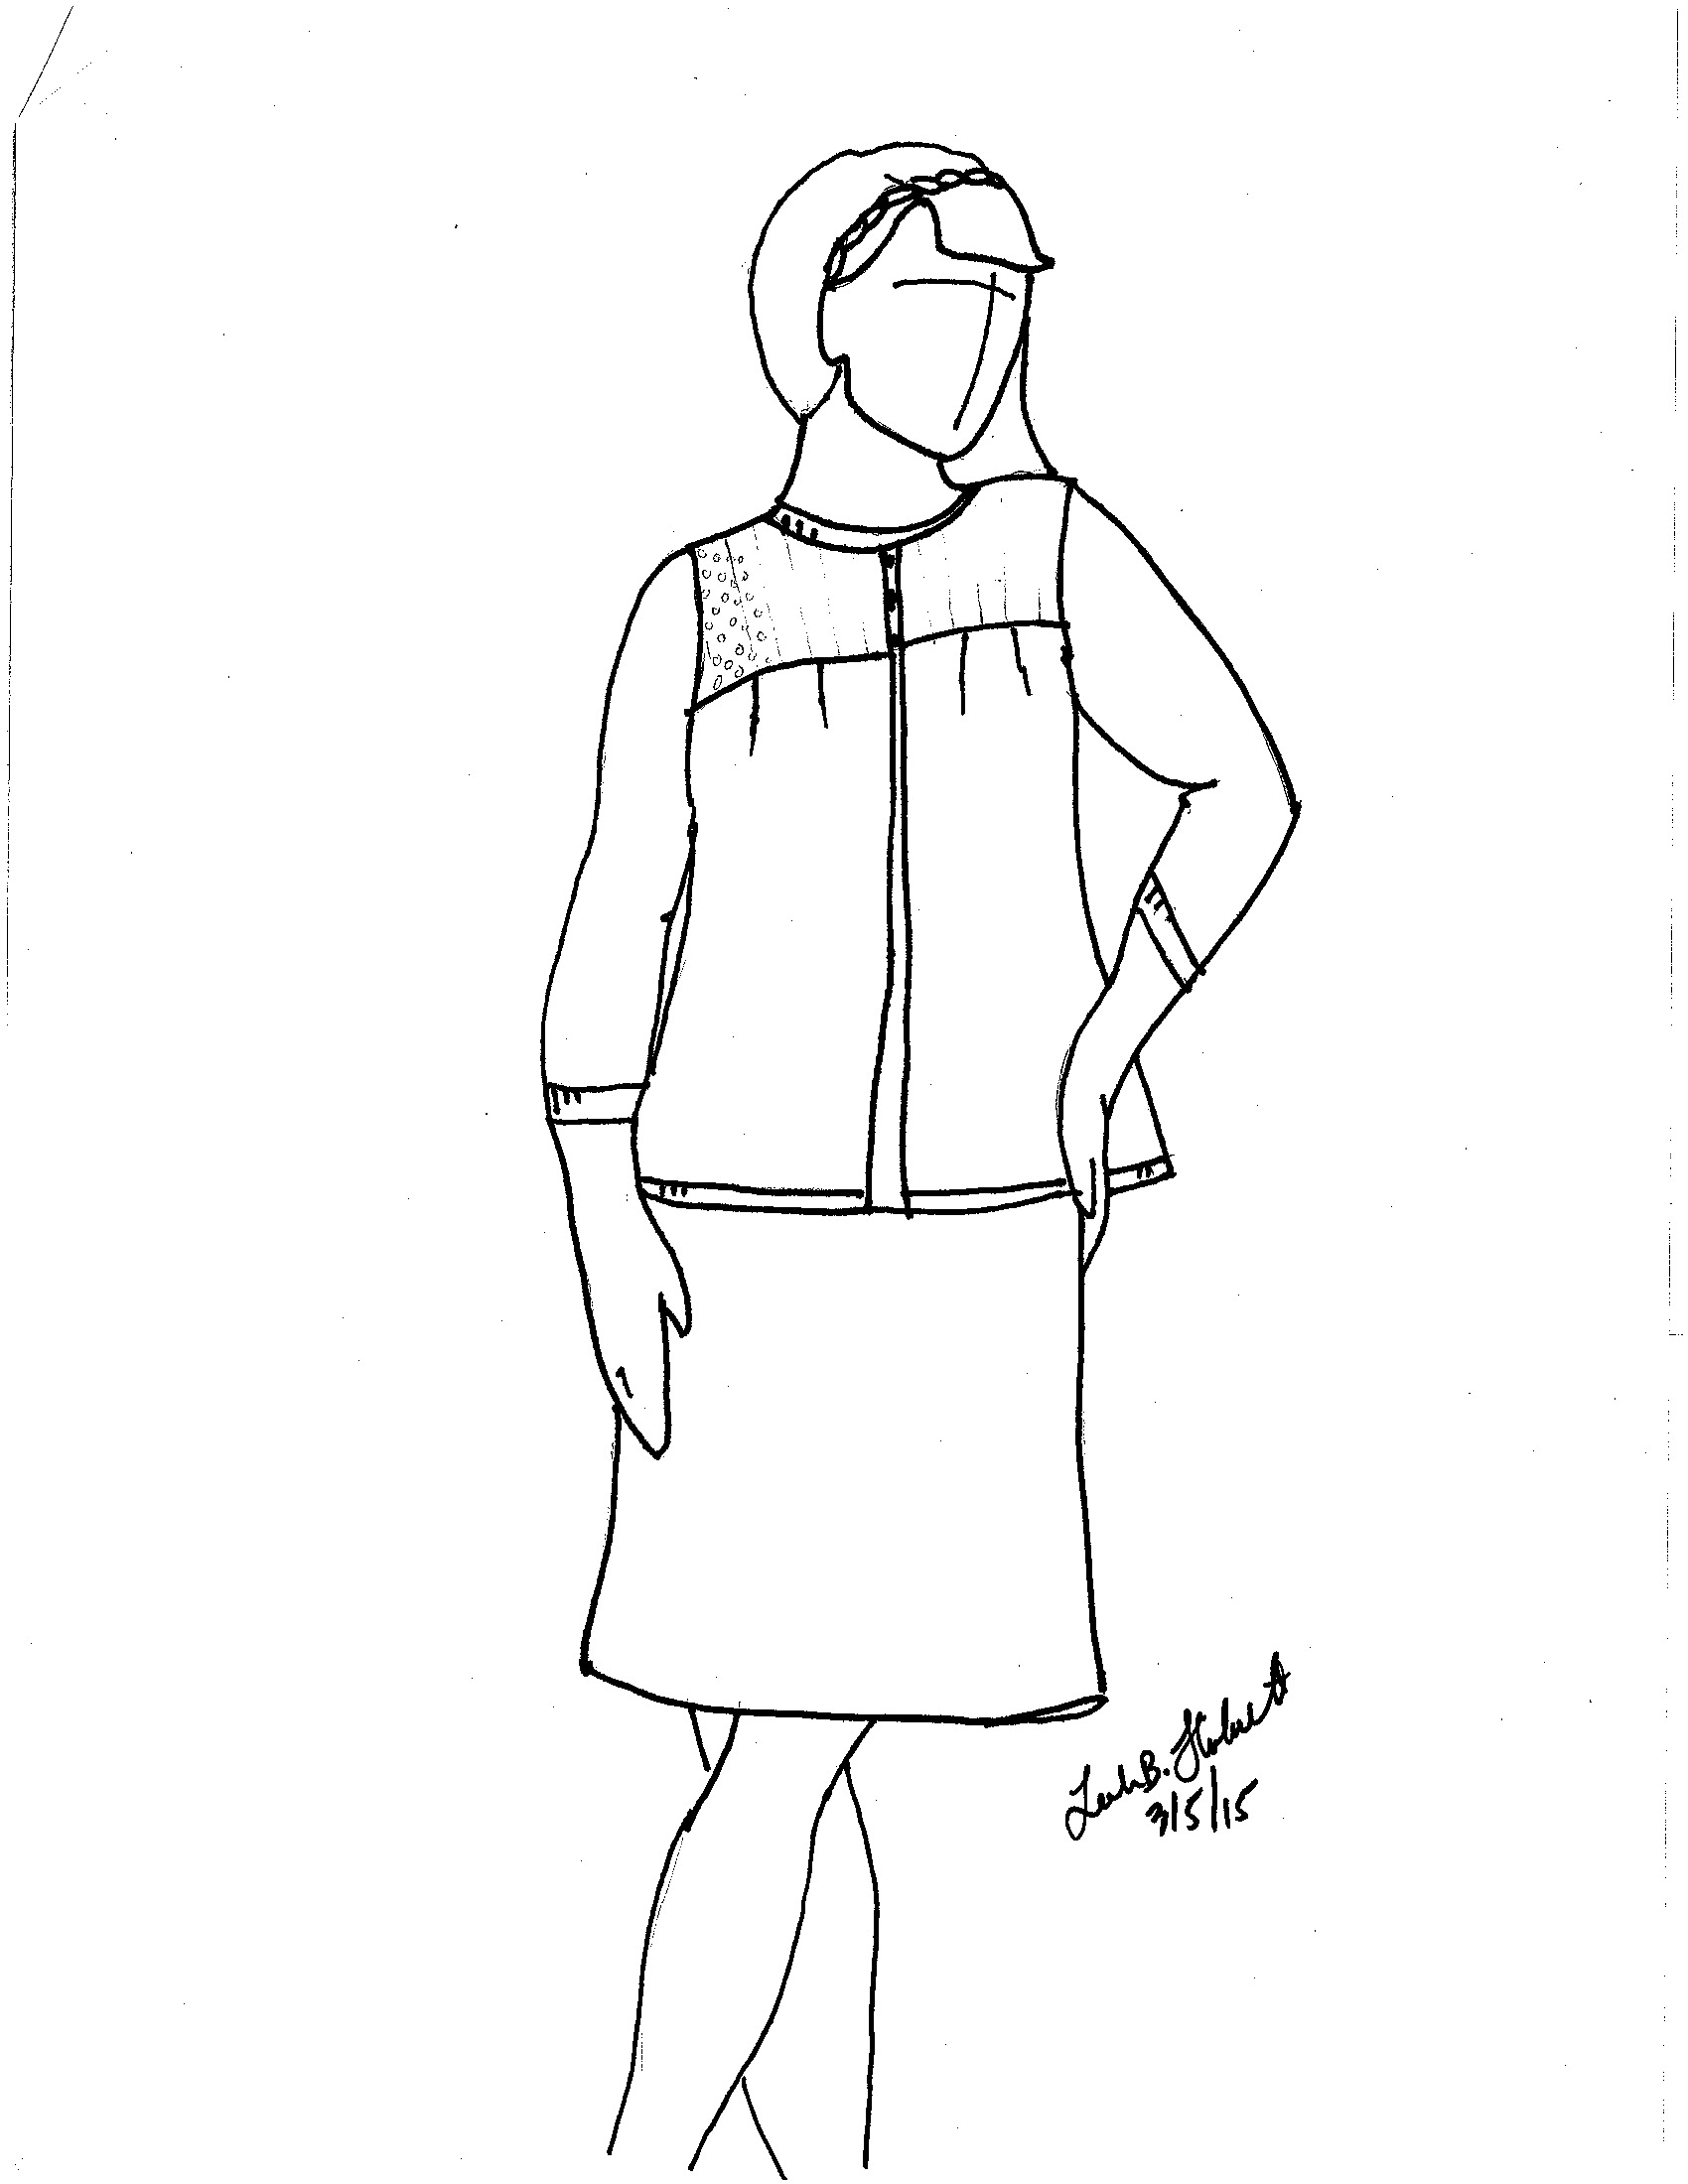
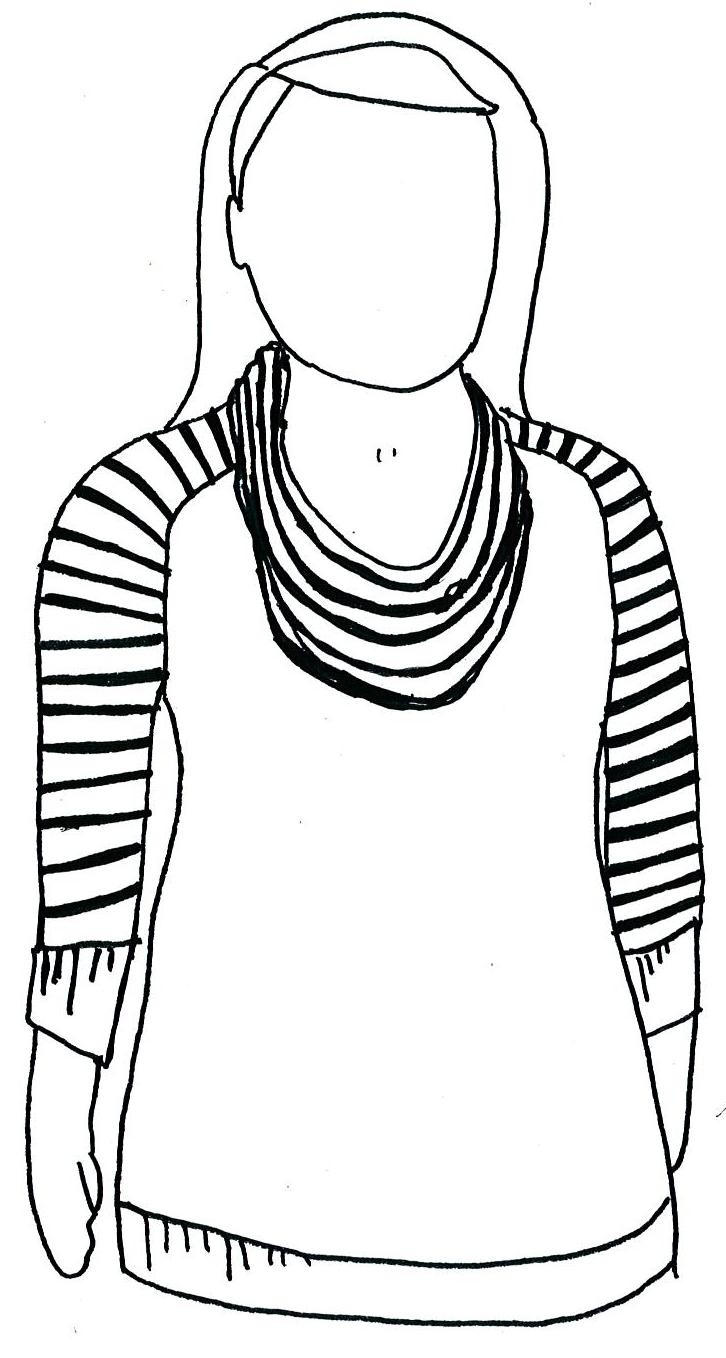
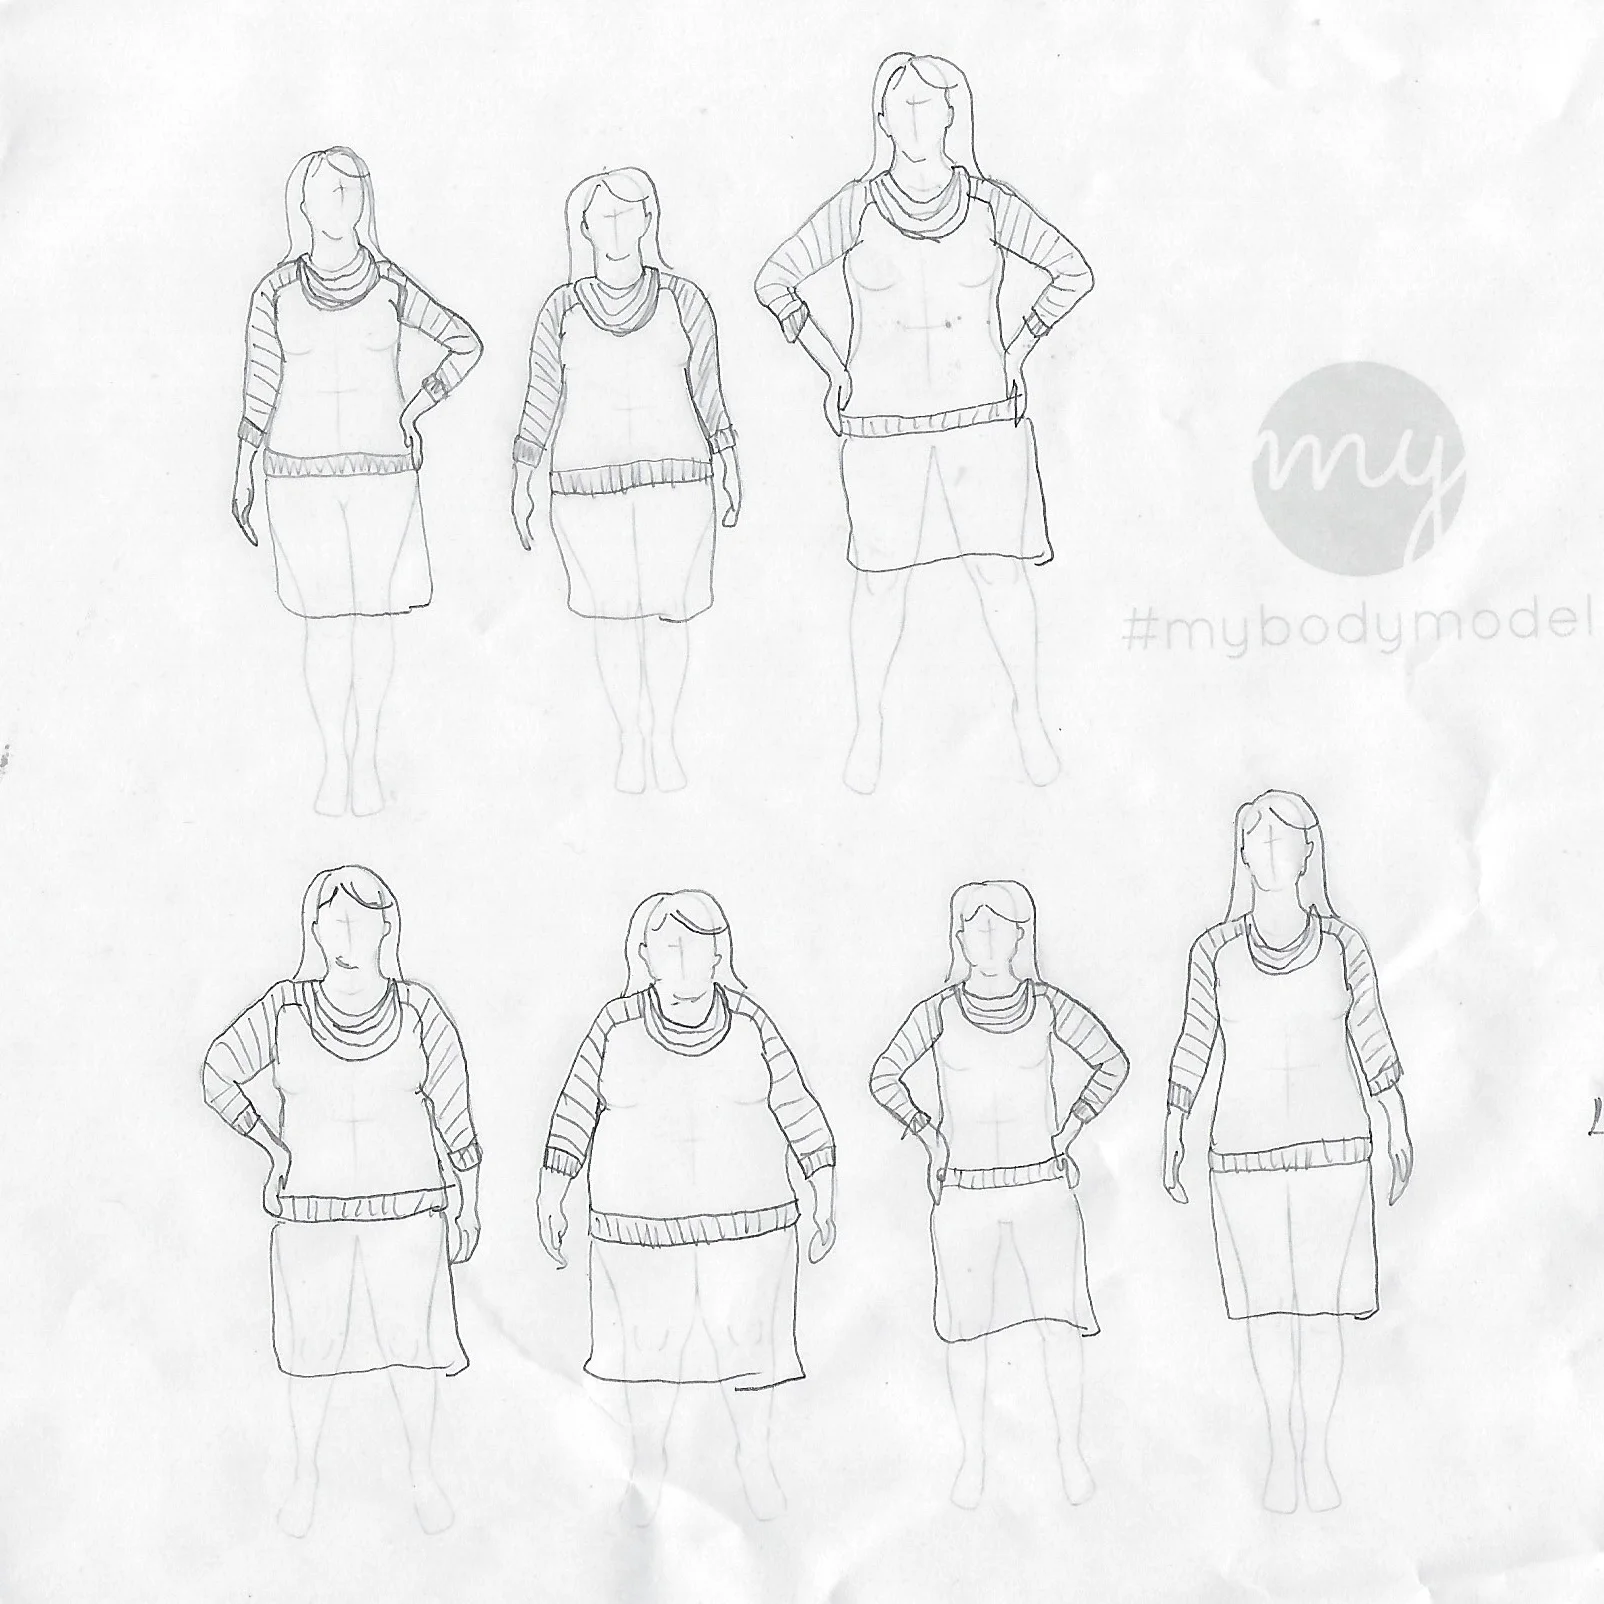
Summer begs for basics, and Atlee delivers. In Cleaner Cotton™ Willet, with an a-line shape, scooped neckline and textural details in the yoke, Leah B. Thibault’s tee is a picture-perfect essential for easy days in the sun.
Shown in size 35” / 89 cm with 1” / 2.5 cm positive ease
- Bust Circumference: 33 (35, 36¾, 39¾, 43¼, 45, 48, 50)" [84 (89, 93.5, 101, 110, 114.5, 122, 127) cm] bust circumference
- Yarn: 5 (5, 6, 6, 7, 7, 7, 8) skeins of Willet by Quince & Co in Sail (701)(100% cleaner cotton; 160yd [146m]/50g)
- Needles:
32” circ in size US 5 / 3.75 mm
16” circ in size US 4 / 3.5 mm
set dpns in size US 4 / 3.5 mm
- Gauge: 25 sts and 33 rows = 4”/10 cm in St st on larger needles
Learn more about Atlee in the Chronicles
View it on Ravelry
Photos © Pam Allen

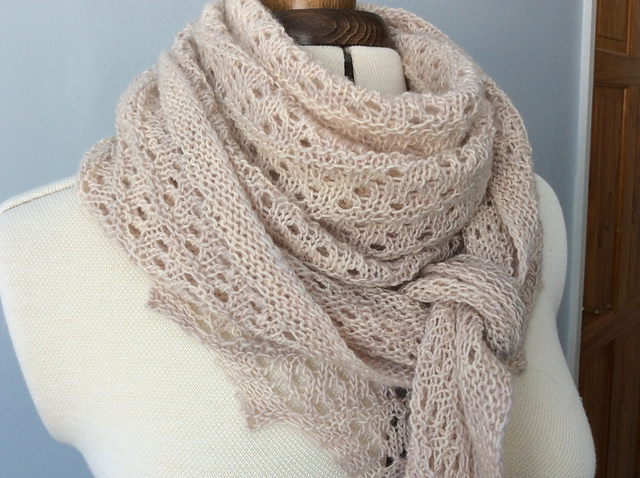
Just south of the Texan fields where the goats and sheep that supply Piper’s fibers graze, once flourished several rich Mesoamerican cultures. One of the best-known imprints these civilizations left behind were the stairstep temples made famous by the Mayans and Aztecs. A distinctive shape that lends itself well to knitted shawl construction.
The shawl is worked from the tip up, with a 5 stitch-wide garter stitch border. Increases are done via yarnovers at the start and end of each RS lace row, as well as with backward loop cast on sts in the garter stitch between lace sections.
Skills required : knitted cast on, backward loop cast on, increasing, decreasing, binding off.
Charts and line-by-line instructions included.
- 52 “ wingspan, 25” depth
- 610 yds of Fingering weight yarn, sample shown in Quince & Co. Piper in Avocet 610
- 32-inch circular needle, US 6 - 4.0 mm
- 18 sts and 7 rows= 4 inches in chevron lace, after blocking
Learn more about Maian in the Chronicles
Photos © Emma Sampson

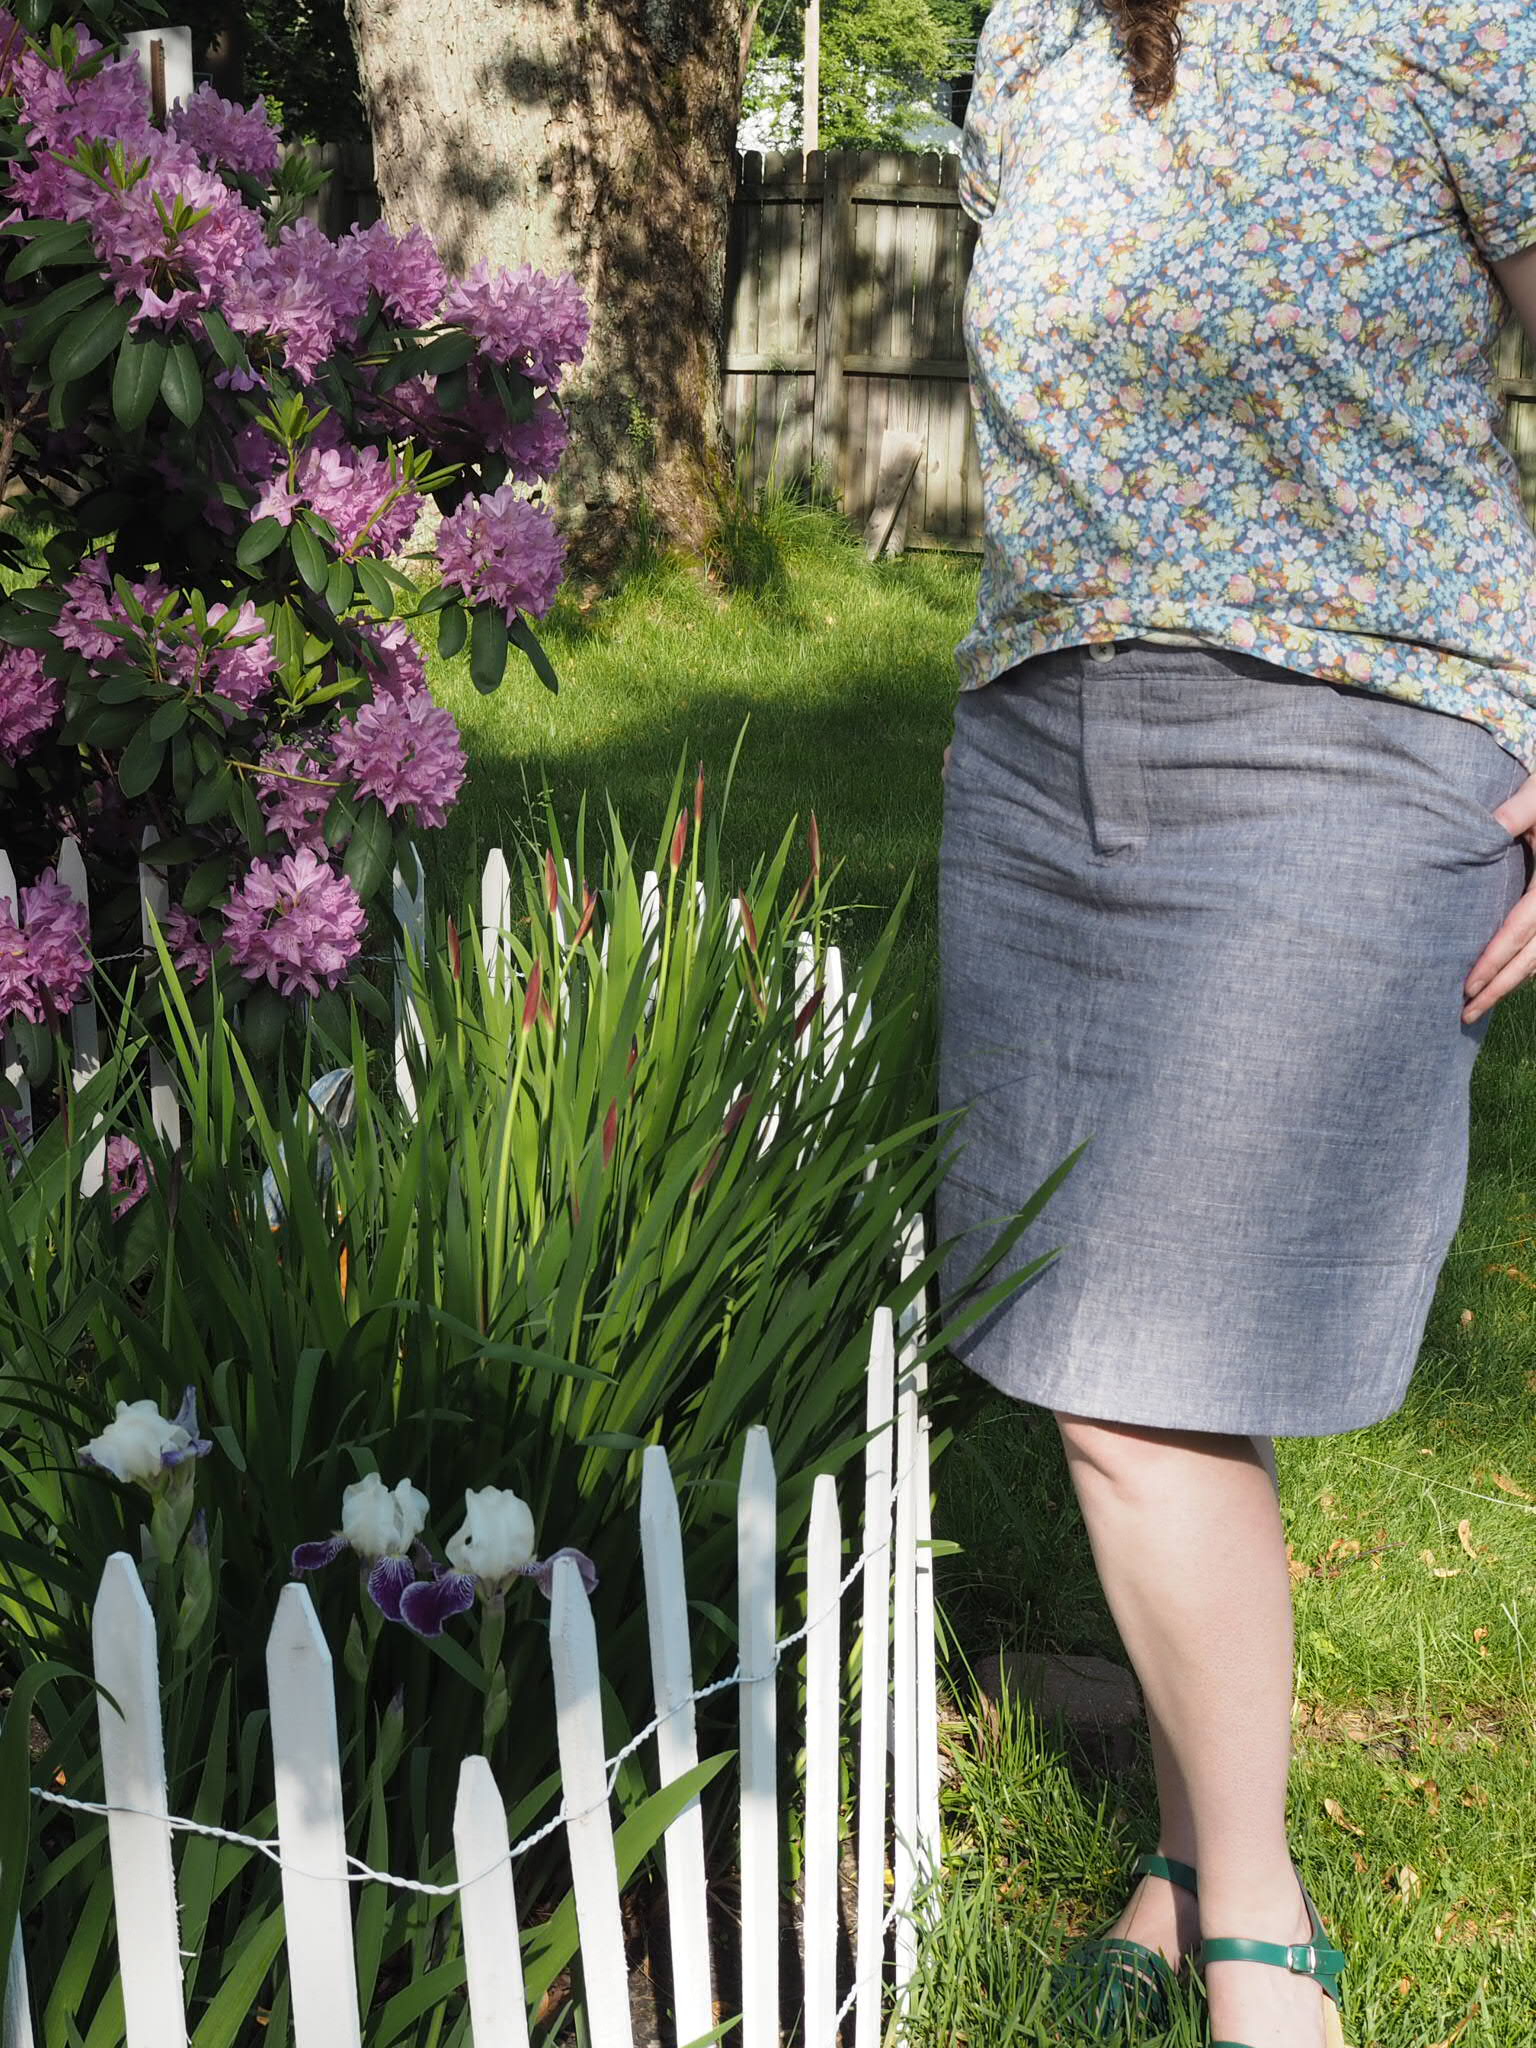
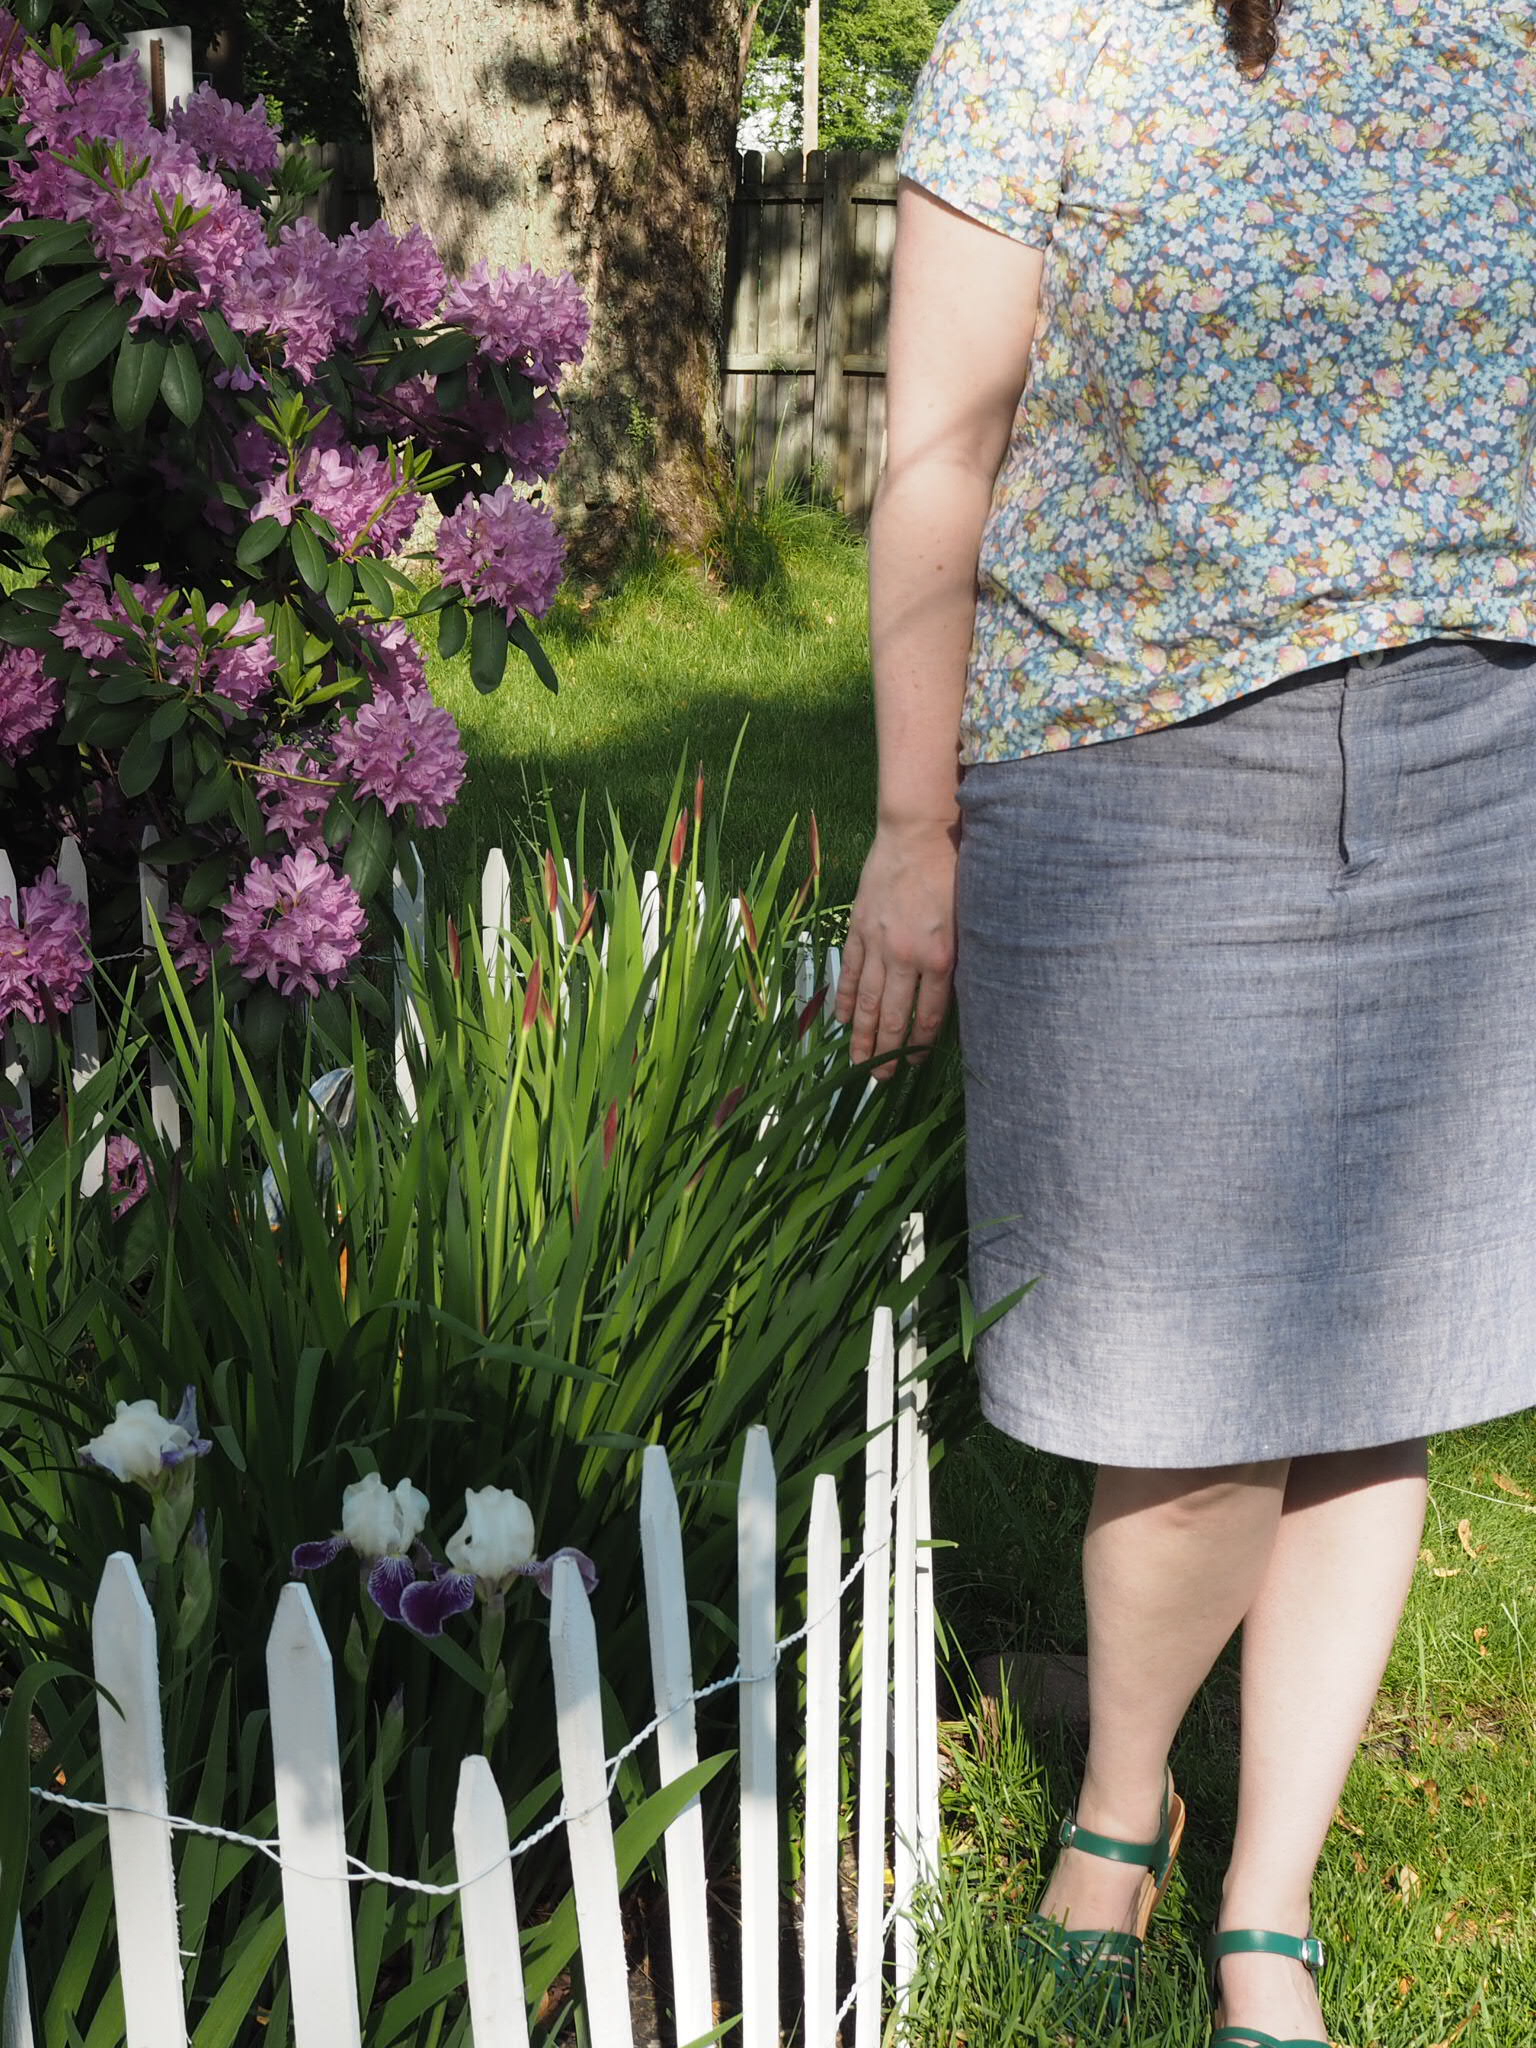
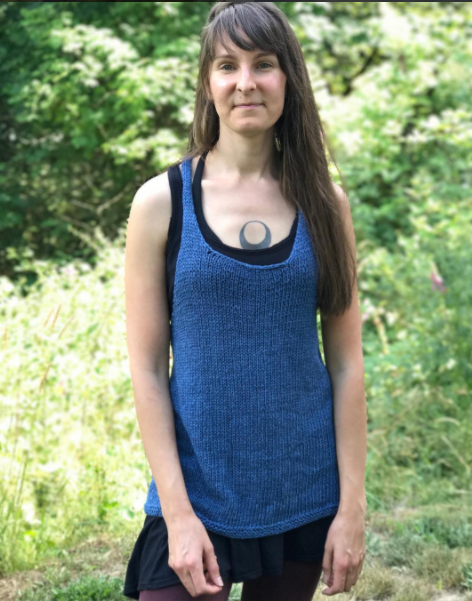
Bare those sun-worshipping shoulders in Ripley, designed by Leah B. Thibault. This racer-back tank is knitted in the round from the bottom up in Kestrel linen, shaped with side and back darts, and embellished with a beautiful vine lace detail at the back. For those seeking a true summer knit, this beauty is for you.
FINISHED MEASUREMENTS:
30 (32, 34, 37¼, 40¼, 42¼, 45½, 47½)" [76 (81.5, 86.5, 94.5, 102, 107.5, 115.5, 120.5) cm] bust circumference; shown in size 32" [81.5 cm] with 2" [5 cm] negative ease
YARN:
kestrel / cove 503 / 5 (5, 5, 6, 6, 7, 7, 8) skeins
NEEDLES:
32" circular in size US 10 [6 mm] / one spare circular in size US 10 [6 mm]
GAUGE:
15½ sts and 22 rnds = 4" [10 cm] in stockinette stitch, after blocking
SKILLS REQUIRED:
Knitted cast on, wrap-and-turn short rows, three-needle bind off (links provided). Chart and line-by-line instructions included.