No Chill, No Spread, Cut Out Cookies

No chill no spread cut out cookies

A confession. I've never liked sugar cookies.

I don't know what recipe my mom used, I seem to recall it had lemon extract in it, but while I found the decorating fun, I never actually wanted to eat the cookies we made around holiday time. It was all too sweet, too artificial tasting. 

Now, as a mom myself, I wanted to share the fun of Christmas Cookie decorating with Little Miss Cleaver, but I wanted a cookie base that actually tasted good. 

This is third year these cookies have been in holiday rotation and in my book, this recipe is a winner. It's almost halfway between a sugar cookie and shortbread in taste, no weird lemon falvor and I'm happy to eat them plain if the kid poops out on decorating (not likely this year).

The biggest hassle of them is that it makes a TON of cookies - 4-5 dozen depending on your cutter (we fill five 13"x 18" half-sheets), so I've included a half batch recipe below as well.

As for frosting, I whisk up a batch of the world's easiest frosting, which once you've made it once, you'll never have to look at the recipe again. 

To print, select button at bottom of post.

Cut Out Cookies - Full Batch (makes 48-60 cookies)

  • 1 cup (2 sticks) unsalted butter, chilled and cut into small cubes

  • 1 cup granulated sugar

  • 3/4 tsp kosher salt

  • 2 large eggs

  • 1 teaspoon vanilla

  • 4 cups all-purpose flour

  • 3/4 cup cornstarch

Cut Out Cookies - Half Batch (makes 24-30 cookies)

  • 1/2 cup (1 stick) unsalted butter, chilled and cut into small cubes

  • 1/2 cup granulated sugar

  • slightly less than 1/2 tsp kosher salt

  • 1 large egg

  • 1/2 teaspoon vanilla

  • 2 cups all-purpose flour

  • 6 Tablespoons cornstarch

Preheat oven to 375 Degrees Fahrenheit.

Using a stand mixer or wooden spoon, cream together cold butter and sugar until it reaches an even consistency (Tip: if using a spoon, use the spoon end to pound the butter into the sugar until it starts to look like coarse sand before attempting to stir). 

Add eggs one by one, until mixed in completely. Stir in vanilla. 

Add flour, salt and cornstarch and mix until dough starts to form a ball. (Tip: If working by hand, it may help to kind of knead the dough together with your hands).  

Working with about 1/4 to 1/2 of the dough at a time, roll out the dough to an even thickness of 1/4 inch. Cut out shapes and place on a parchment-lined cookie sheet, placing shapes with narrow parts in the center of the sheet .

Bake for approximately 11 minutes or until edges turn slightly brown. 

Cool on a wire rack completely before frosting. 

Easy Frosting

  • 2-3 Cups powdered sugar

  • About 5 tablespoons water

  • Food coloring

In a large bowl, add water to sugar a little bit at a time and whisk together until frosting reaches desired consistency. For ease of frosting, you'll want it to start to pull off the whisk in a slow thick line, rather than sticking completely or dripping off.

If desired, section out some of the frosting into a separate bowls and add food coloring drop by drop until desired color is achieved. 

Using a spatula, transfer frosting to a pastry bag fitted with a decorating tip. Twist pastry bag shut or tie with a twisty-tie to seal and decorate away! 

(And before anyone asks, the sweater cookie cutter came from this kit that I got at Christmas Tree Shops, the other cutters are from Le Roux Kitchen)

Cookie recipe adapted from https://bakingamoment.com/how-to-bake-easy-and-delicious-cutout-cookies-with-neat-edges/ 

2017-12-10 09.26.24.jpg

Print Friendly and PDF Follow
follow us in feedly

Getting in the Holiday Spirit

This weekend I had a little fun with some sheep ornaments I was making. I hope it brings a little holiday joy to you too.

You can also pick up one of these little guys in the shop for your own tree!


Print Friendly and PDF Follow
follow us in feedly

Tidings Craft Fair

Giftworthy

Southern Maine Folks! 

This Sunday, December 3rd, I'll be participating in my first craft fair! I'll be one of the many wonderful vendors at Tidings Craft & Art Fair at the Ocean Gateway in Portland. I'll have all my embroidery and knitting kits on hand, and some special fair deals. 

There's free parking , live music, and kids activities - so come on by!

Not in Maine? You can always order via the online shop, but if there's something you have your heart set on, I'd suggest ordering before Sunday, as I won't be restocking these items before the holidays. 

More details on the Tidings Fair can be found on their Facebook Page.

tidings-poster-2017 (1).jpg
Print Friendly and PDF Follow
follow us in feedly

Indie Design Gift Along 2017 - Shawls & Cowls

It's GIft Along Time again! 

Every year a growing group of independent knitwear designs band together on Ravelry to host a knit-along to kick start your holiday gift knitting! 

This year there are 311 designers from 31 countries and 6 continents, with over 18,150 patterns eligible for the giftalong's 2,000+ prizes.


From now until midnight EST on Nov 28, over 5,000 of those patterns are 25% off with the code giftalong2017


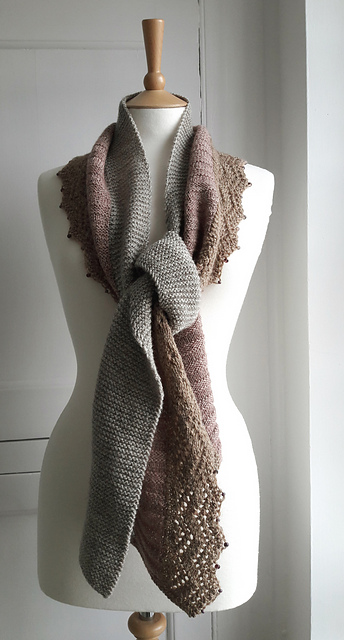
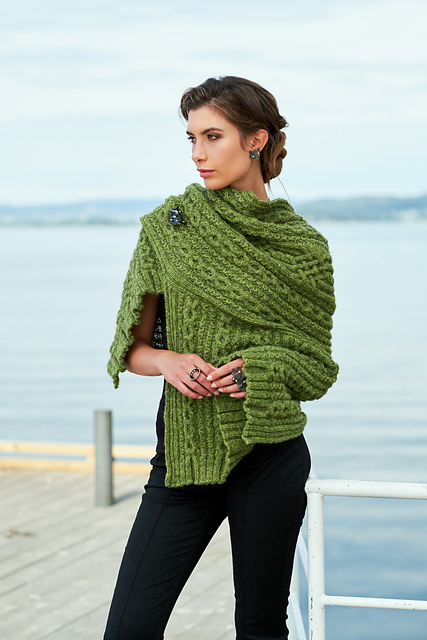
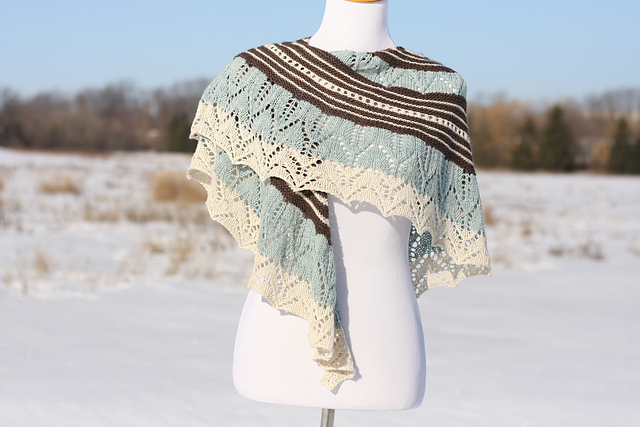
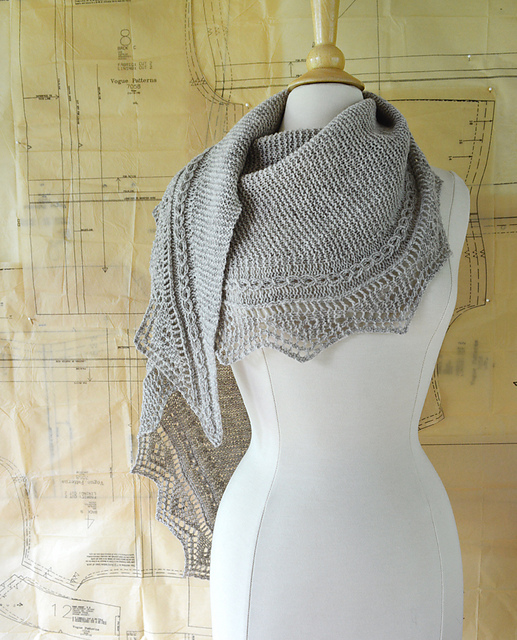
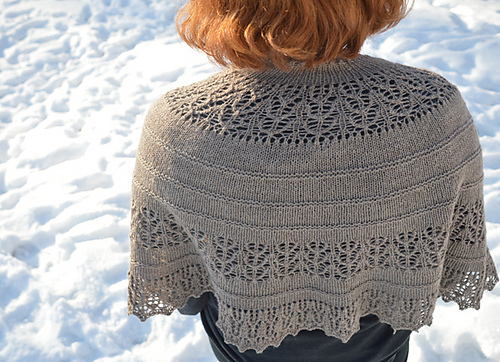
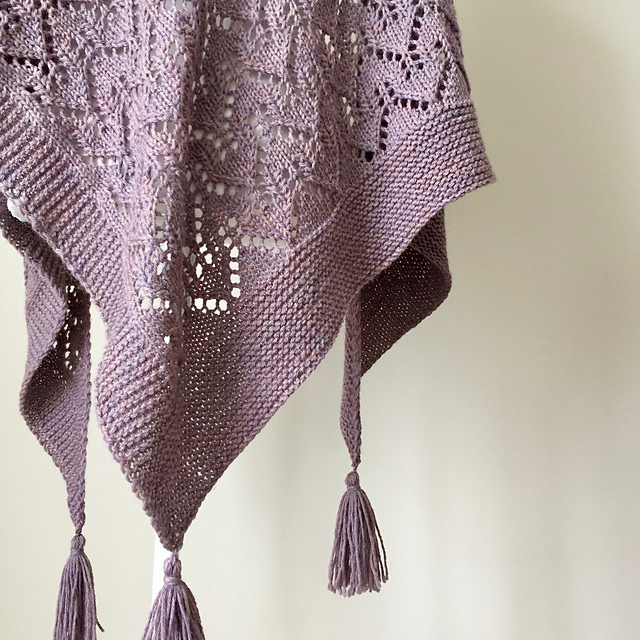
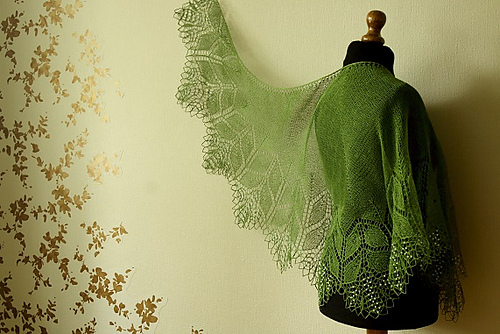
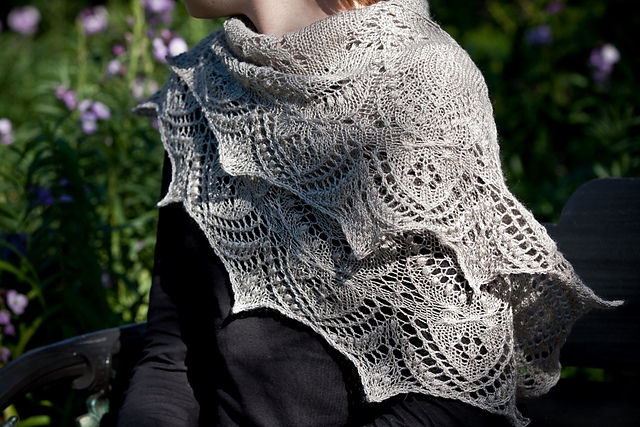
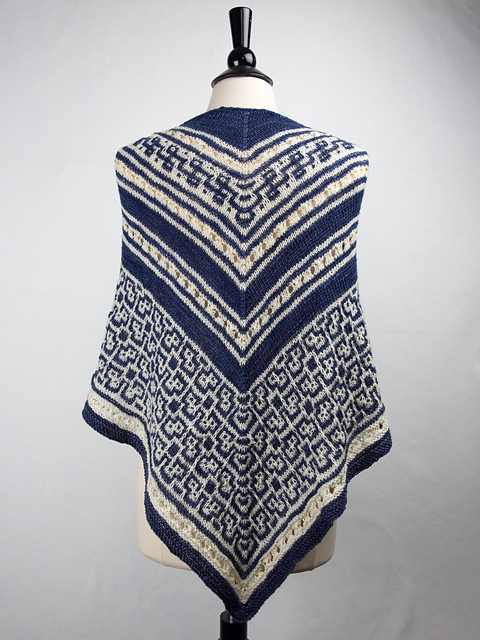
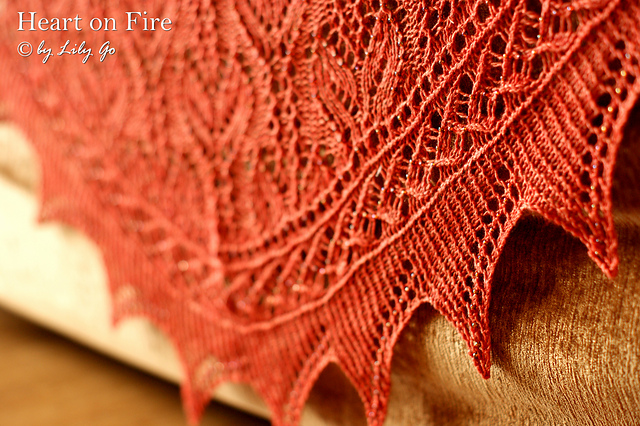
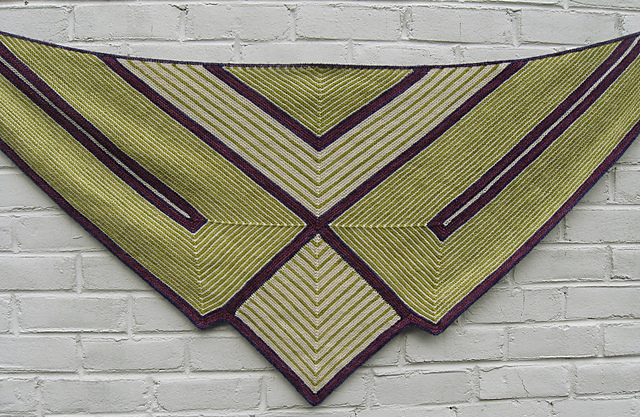
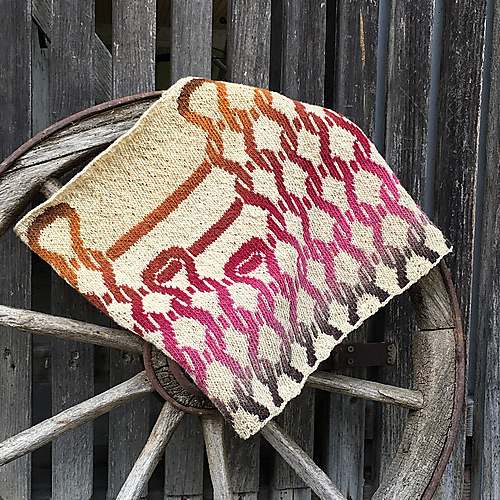
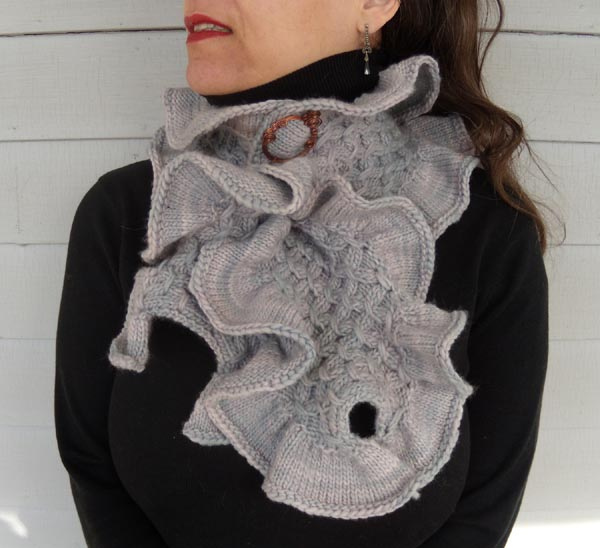
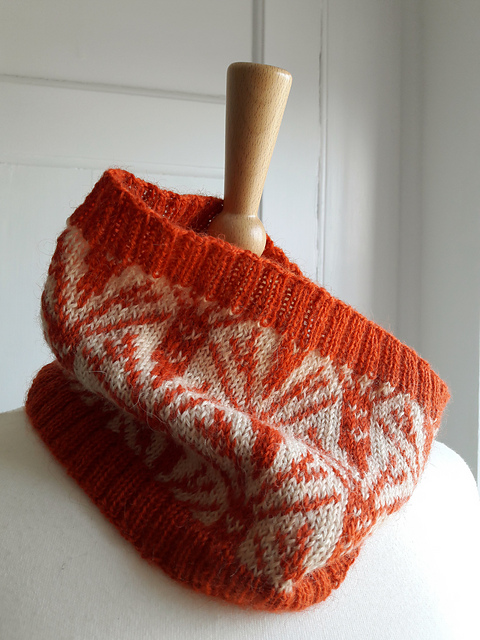
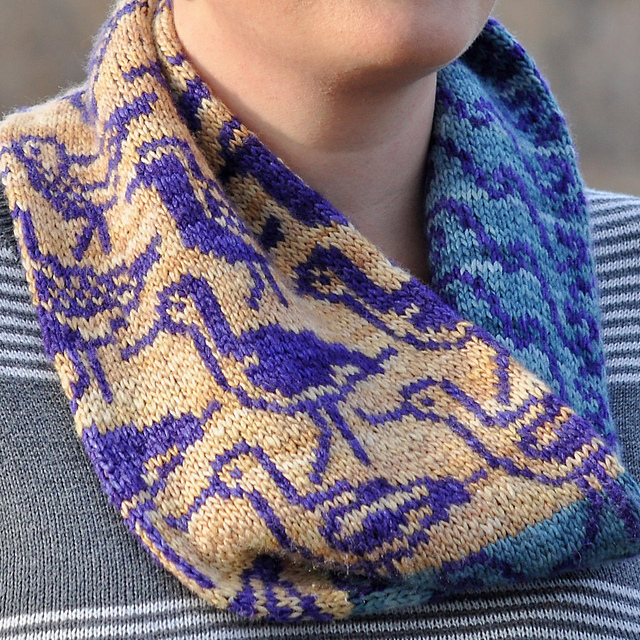
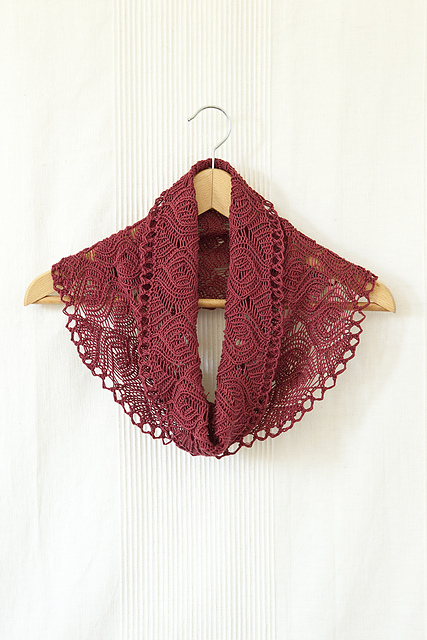
But 5,000 patterns is a lot to look through, so over the next few days, I'll be highlighting some of my personal favorites from the offerings - today I'm wrapping up my list of favs with shawls and cowls.

Clicking on any photo above will take you to an individual pattern page, or you can see all my Gift Along favorites on Ravelry here. 

I've got 16 patterns in the sale,  including two sweaters.  

As an added bonus, all kits on MsCleaver.com are also 25% off for the same time/same code. - ENDING TONIGHT!

Happy gifting!!


Print Friendly and PDF Follow
follow us in feedly

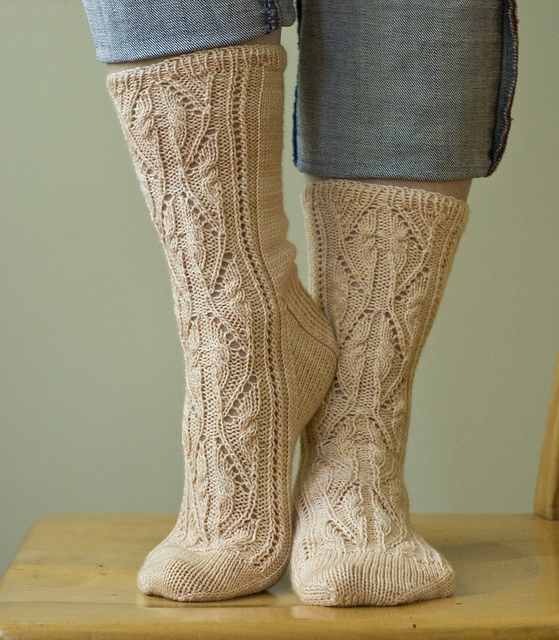
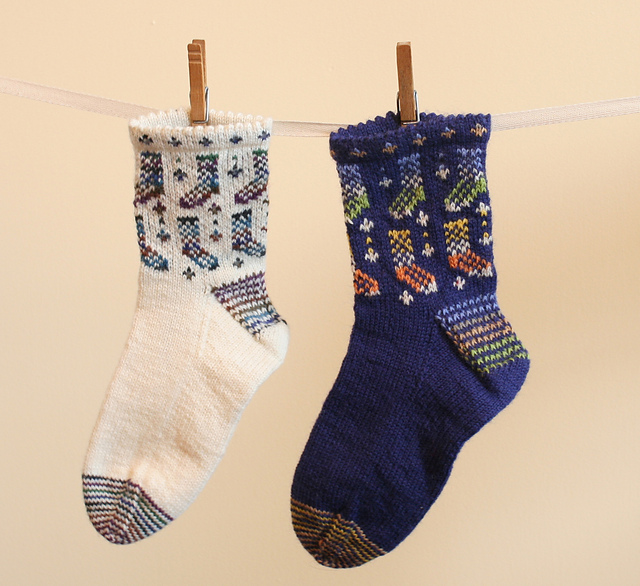
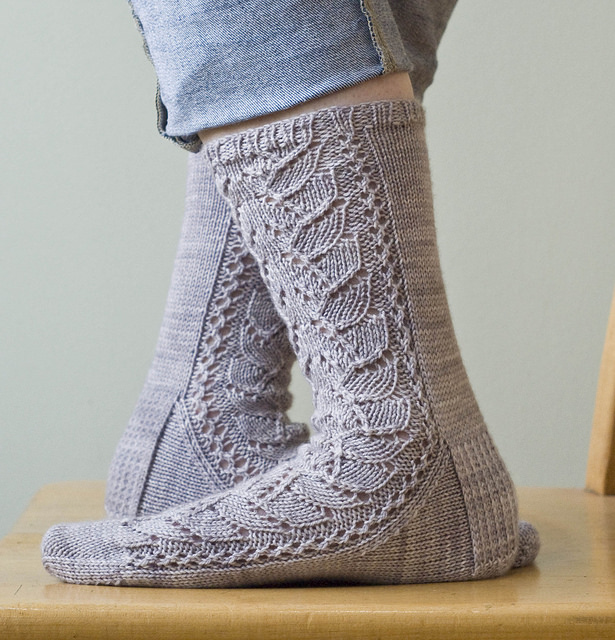
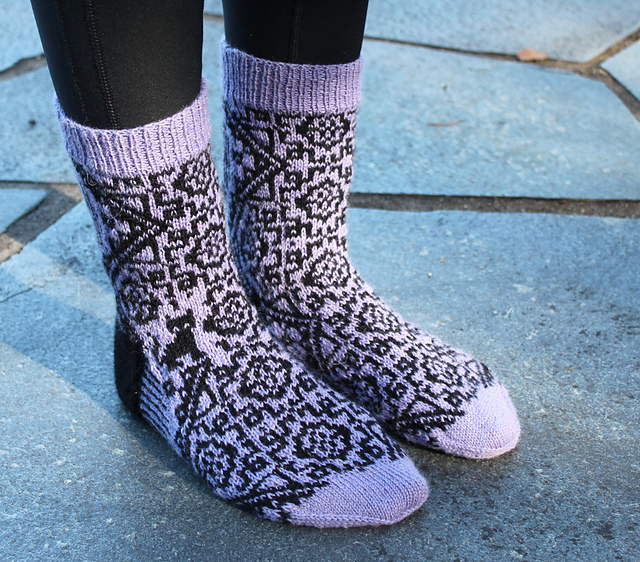
Indie Design Gift Along 2017 - Socks & Hats

It's GIft Along Time again! 

Every year a growing group of independent knitwear designs band together on Ravelry to host a knit-along to kick start your holiday gift knitting! 

This year there are 311 designers from 31 countries and 6 continents, with over 18,150 patterns eligible for the giftalong's 2,000+ prizes.

From now until midnight EST on Nov 28, over 5,000 of those patterns are 25% off with the code giftalong2017

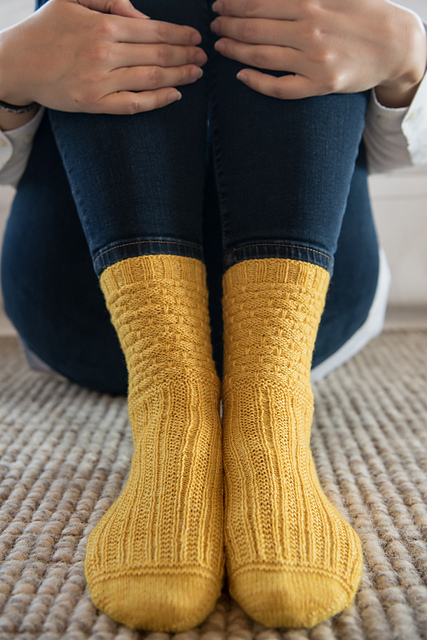
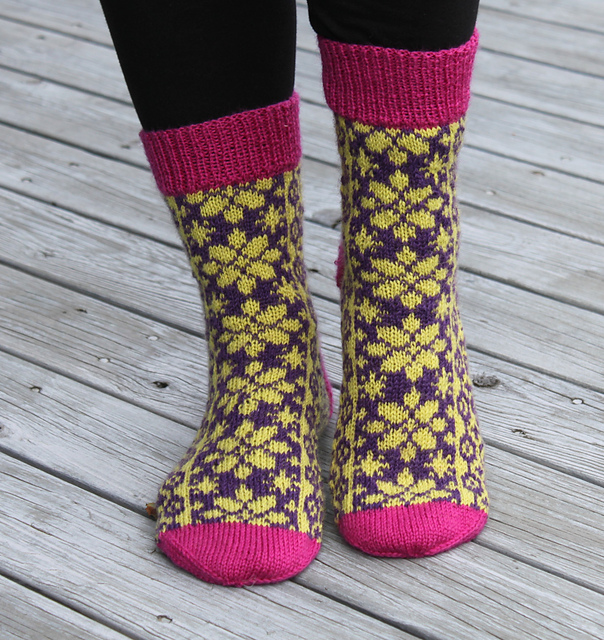
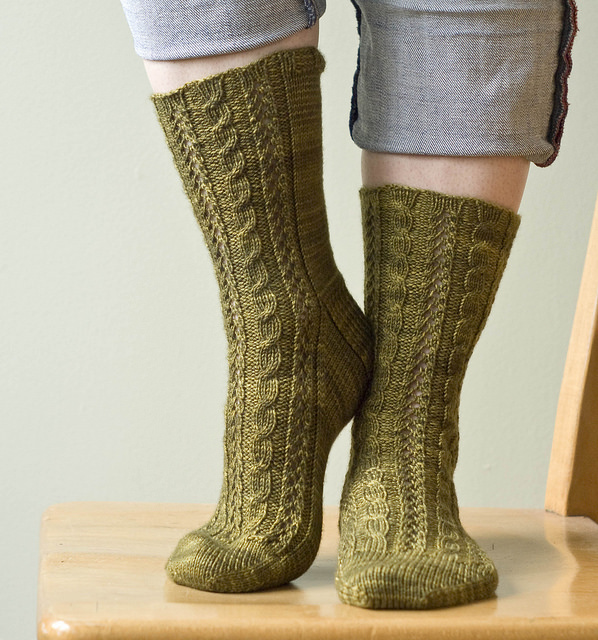
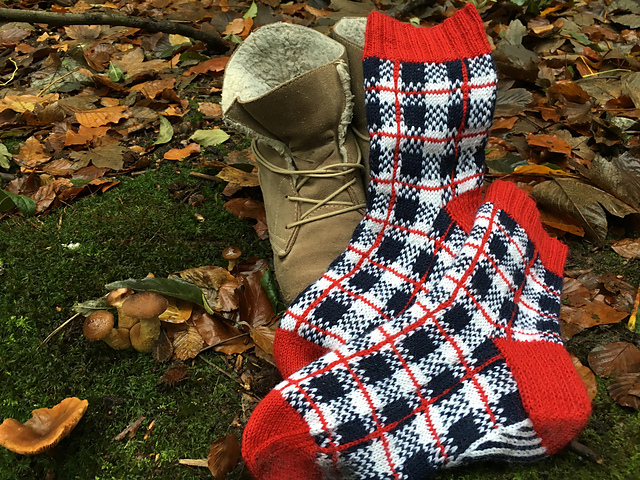
But 5,000 patterns is a lot to look through, so over the next few days, I'll be highlighting some of my personal favorites from the offerings - today we'll be looking at those most gift-able of knits, Hats & Socks.

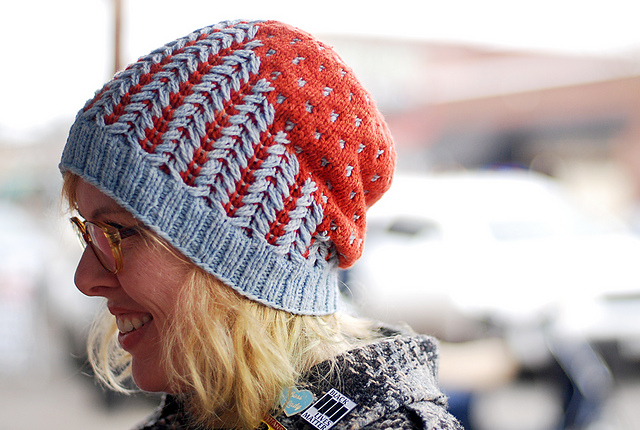
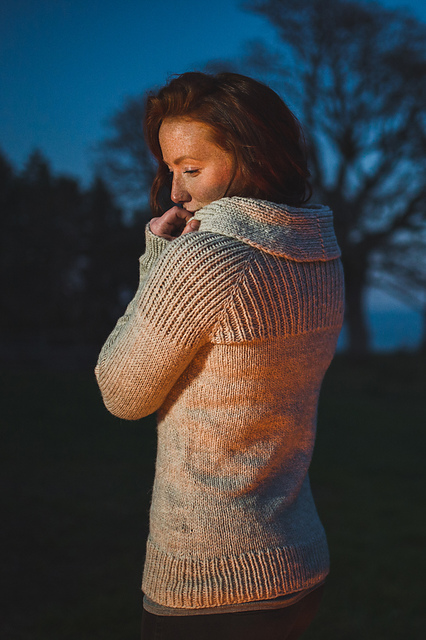
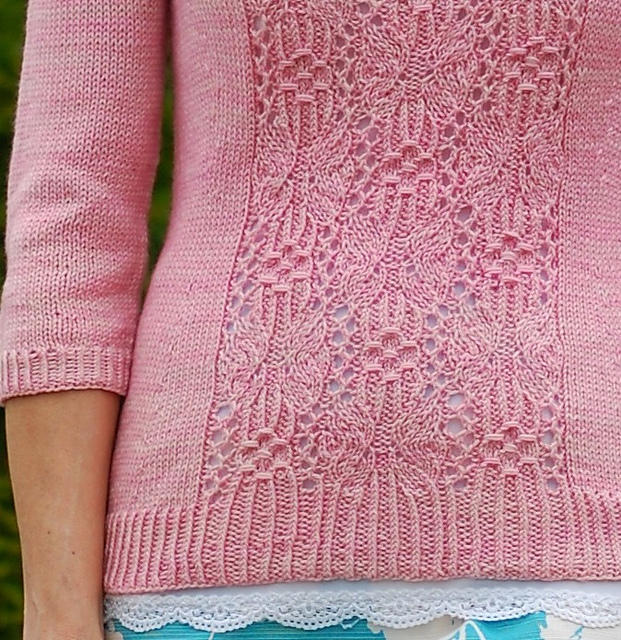
Clicking on any photo above will take you to an individual pattern page, or you can see all my Gift Along favorites on Ravelry here. 

I've got 16 patterns in the sale,  including two sweaters.  As an added bonus, all kits on MsCleaver.com are also 25% off for the same time/same code.

Happy gifting!!


Print Friendly and PDF Follow
follow us in feedly

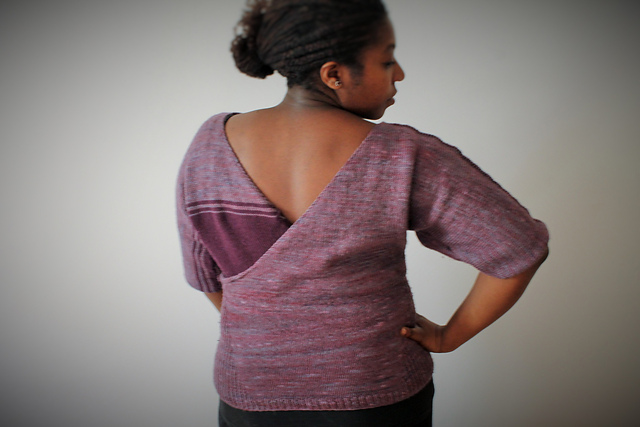
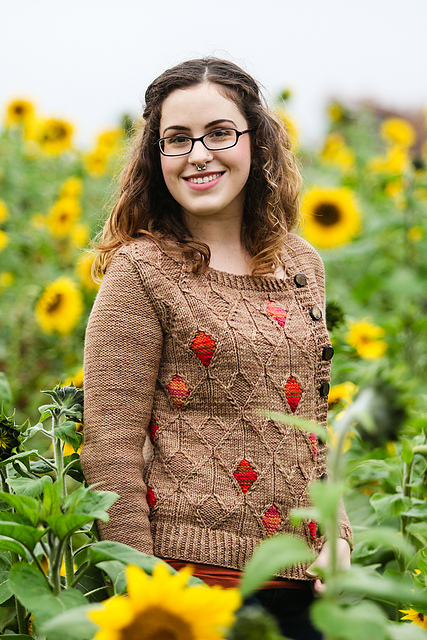
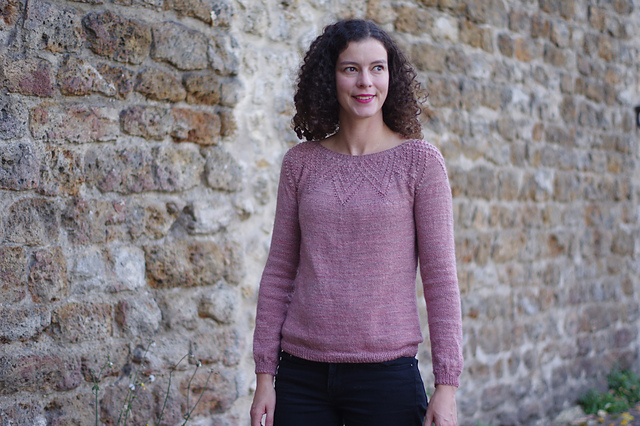
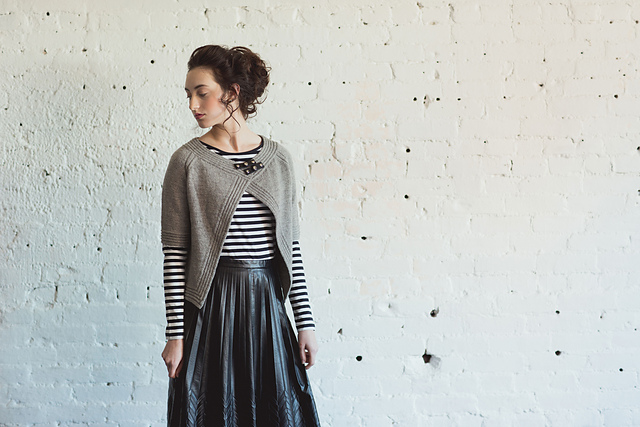
Indie Design Gift Along 2017 - Women's Sweaters

It's GIft Along Time again! 

Every year a growing group of independent knitwear designs band together on Ravelry to host a knit-along to kick start your holiday gift knitting! 

This year there are 311 designers from 31 countries and 6 continents, with over 18,150 patterns eligible for the giftalong's 2,000+ prizes.

From now until midnight EST on Nov 28, over 5,000 of those patterns are 25% off with the code giftalong2017

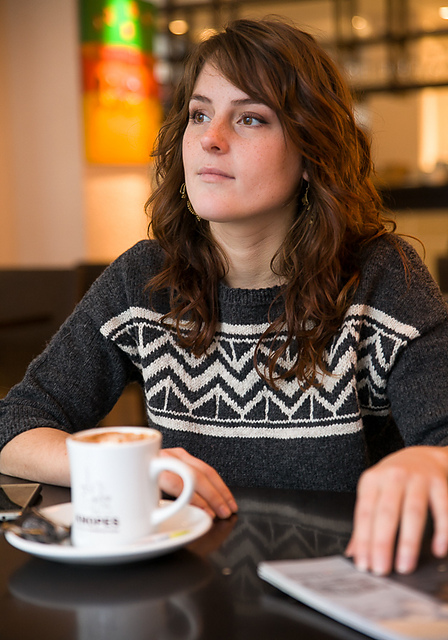
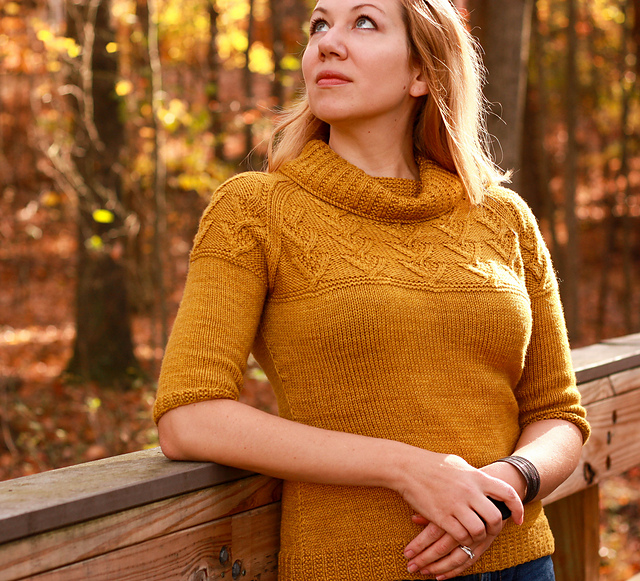
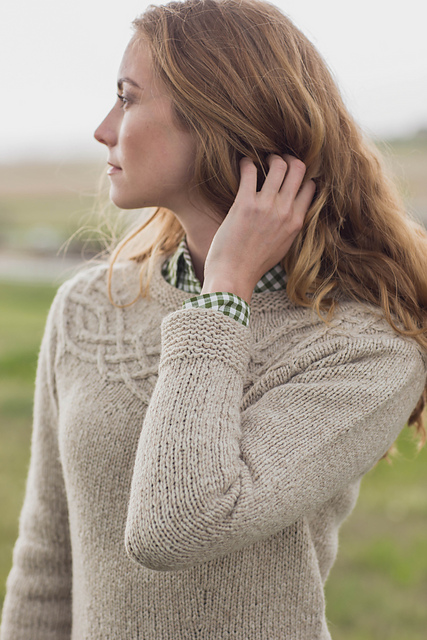
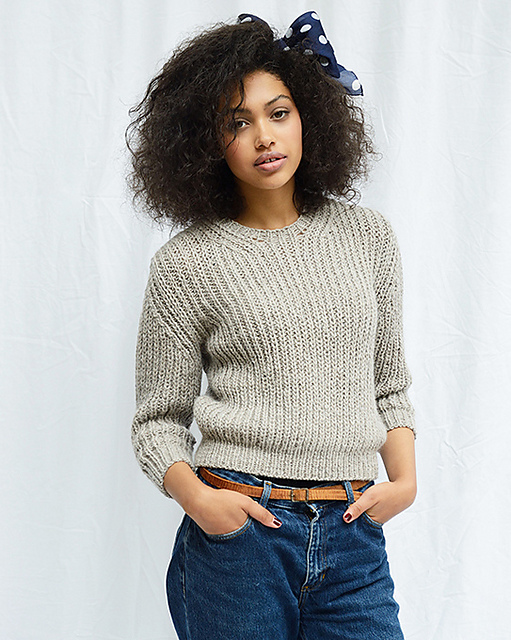
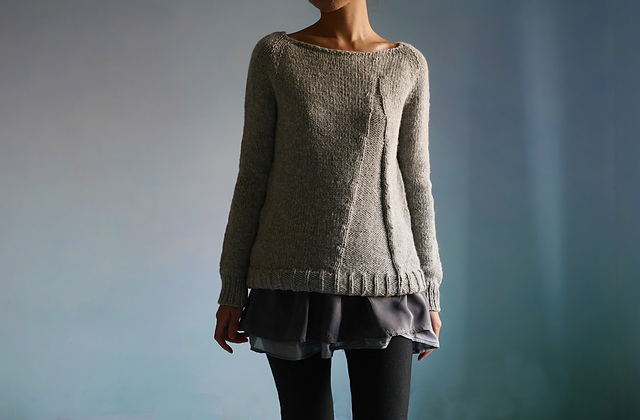
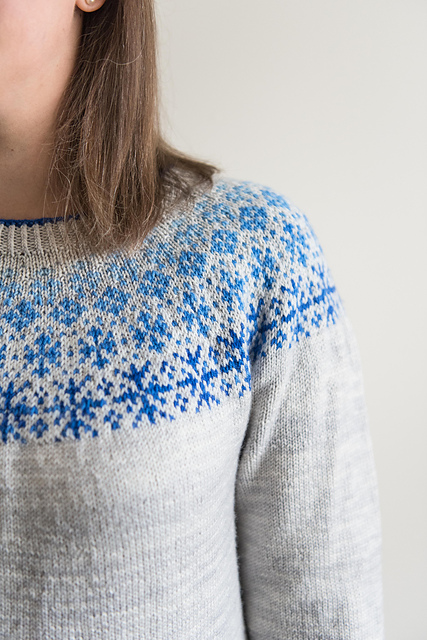
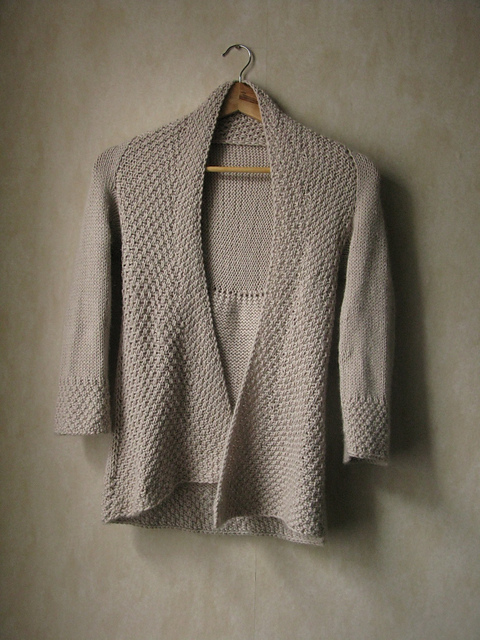
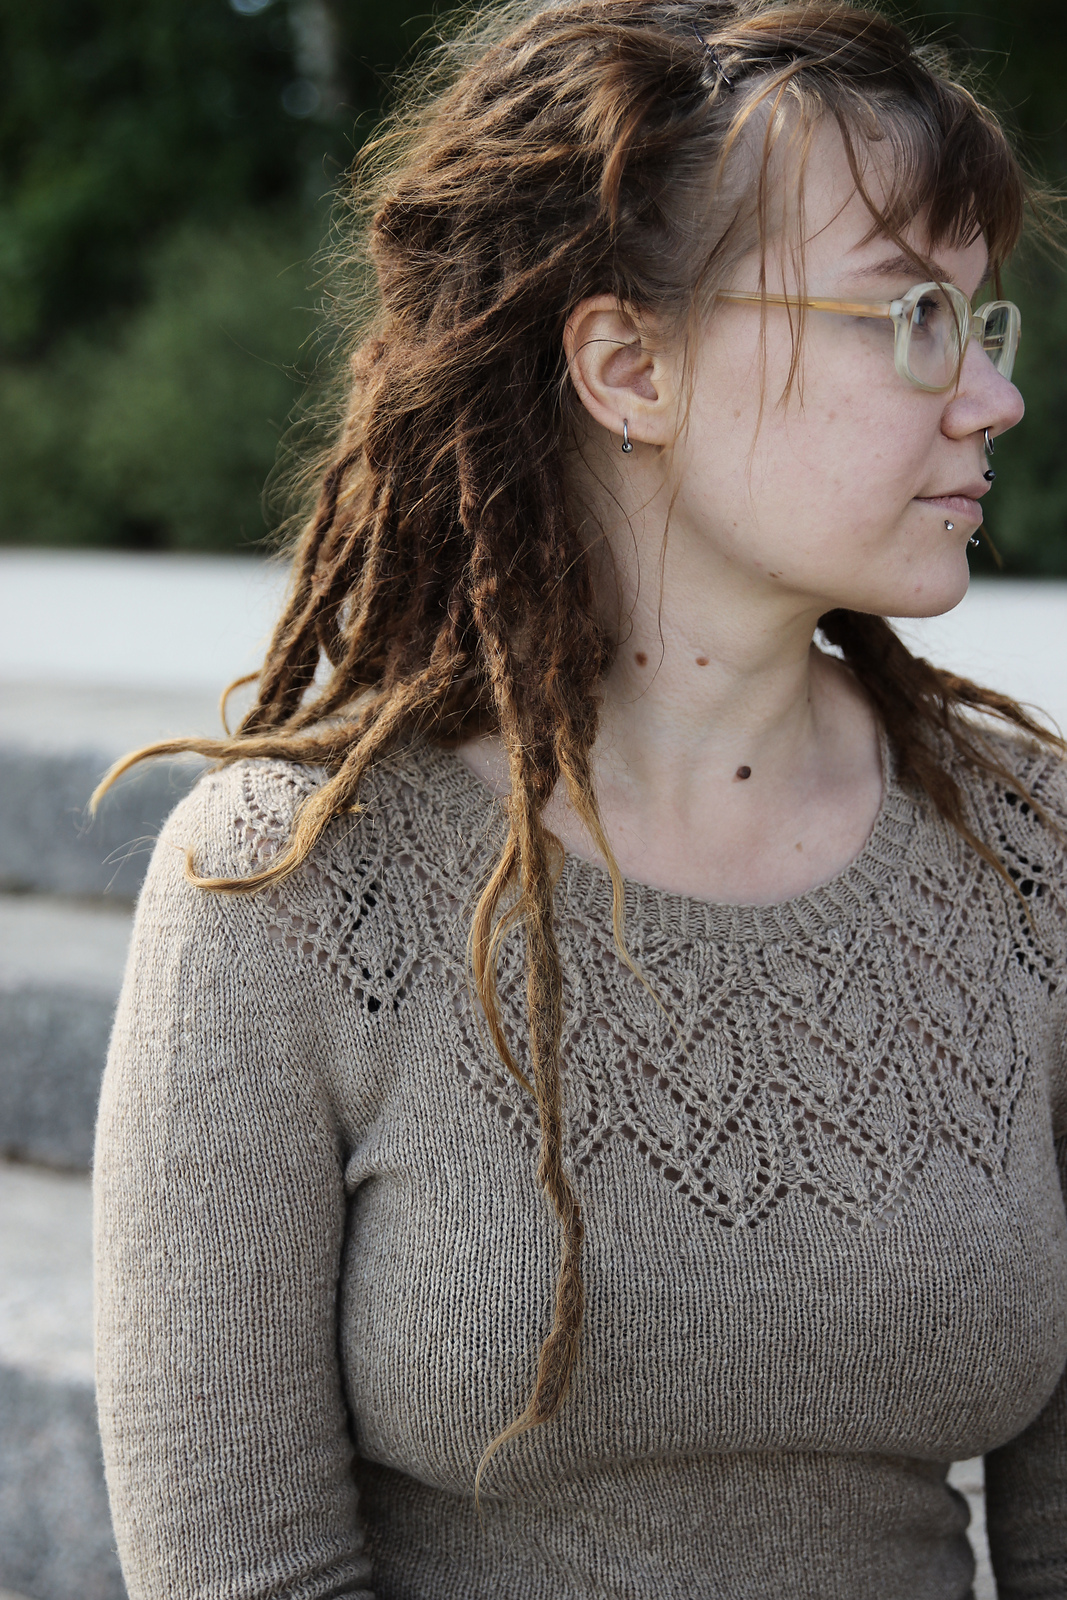
But 5,000 patterns is a lot to look through, so over the next few days, I'll be highlighting some of my personal favorites from the offerings - starting with Women's Sweaters.

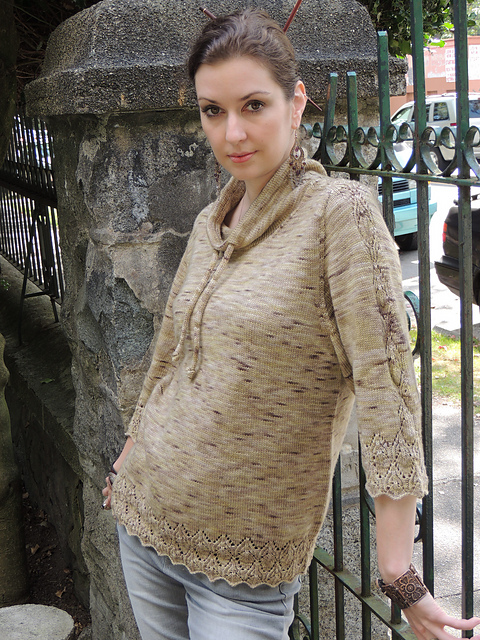
Clicking on any photo above will take you to an individual pattern page, or you can see all my Gift Along favorites on Ravelry here. 

I've got 16 patterns in the sale,  including two sweaters.  As an added bonus, all kits on MsCleaver.com are also 25% off for the same time/same code.

Happy gifting!!


Print Friendly and PDF Follow
follow us in feedly

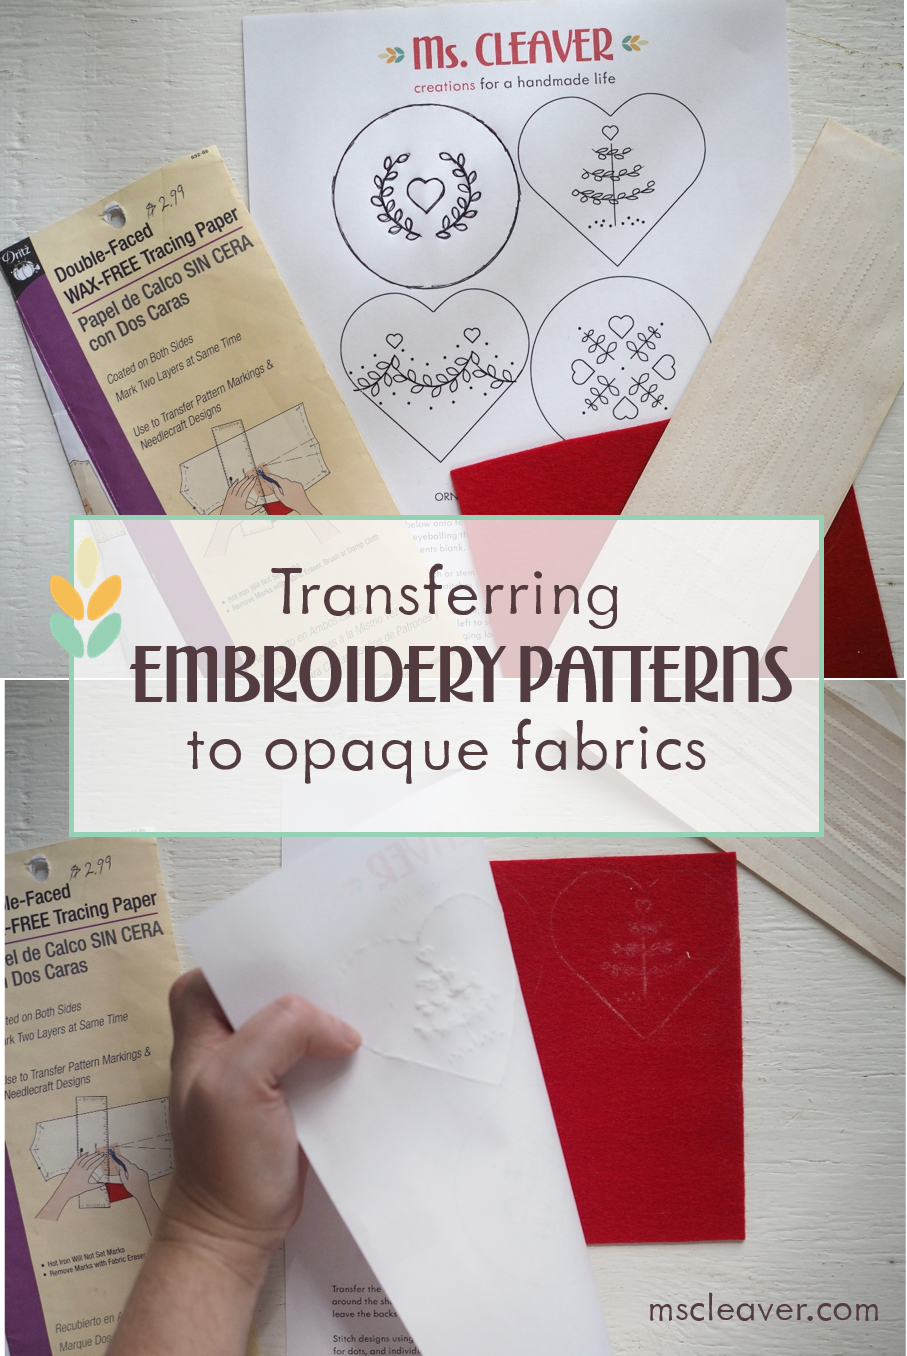
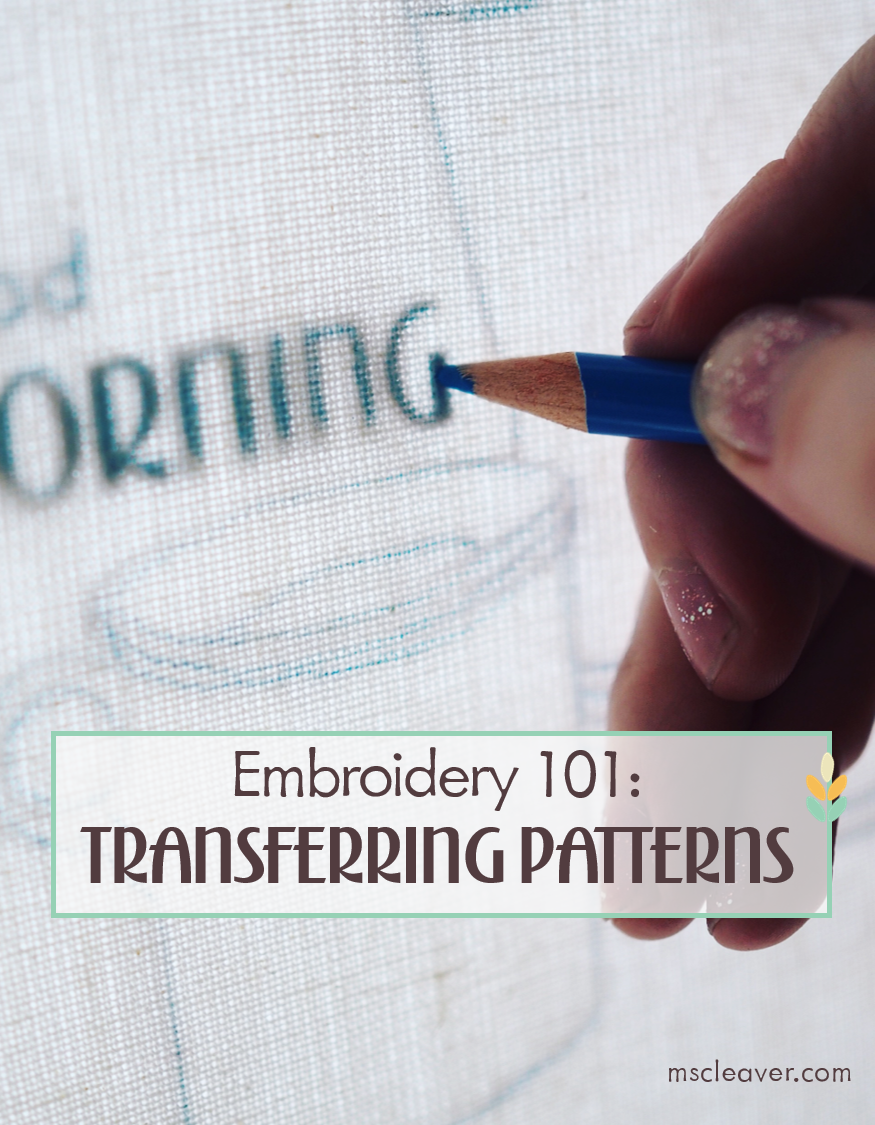
Transferring Embroidery Patterns to Opaque Fabric

transferring embroidery to opaque fabric.png
PA190219.jpg
PA190227.JPG

Generally, when it comes to transferring a printed pattern on to fabric for embroidery, my favorite (easy and cheap) method is to tape it to a window and trace.  But what do you do if you can't see through the fabric, even with a window/light box? 

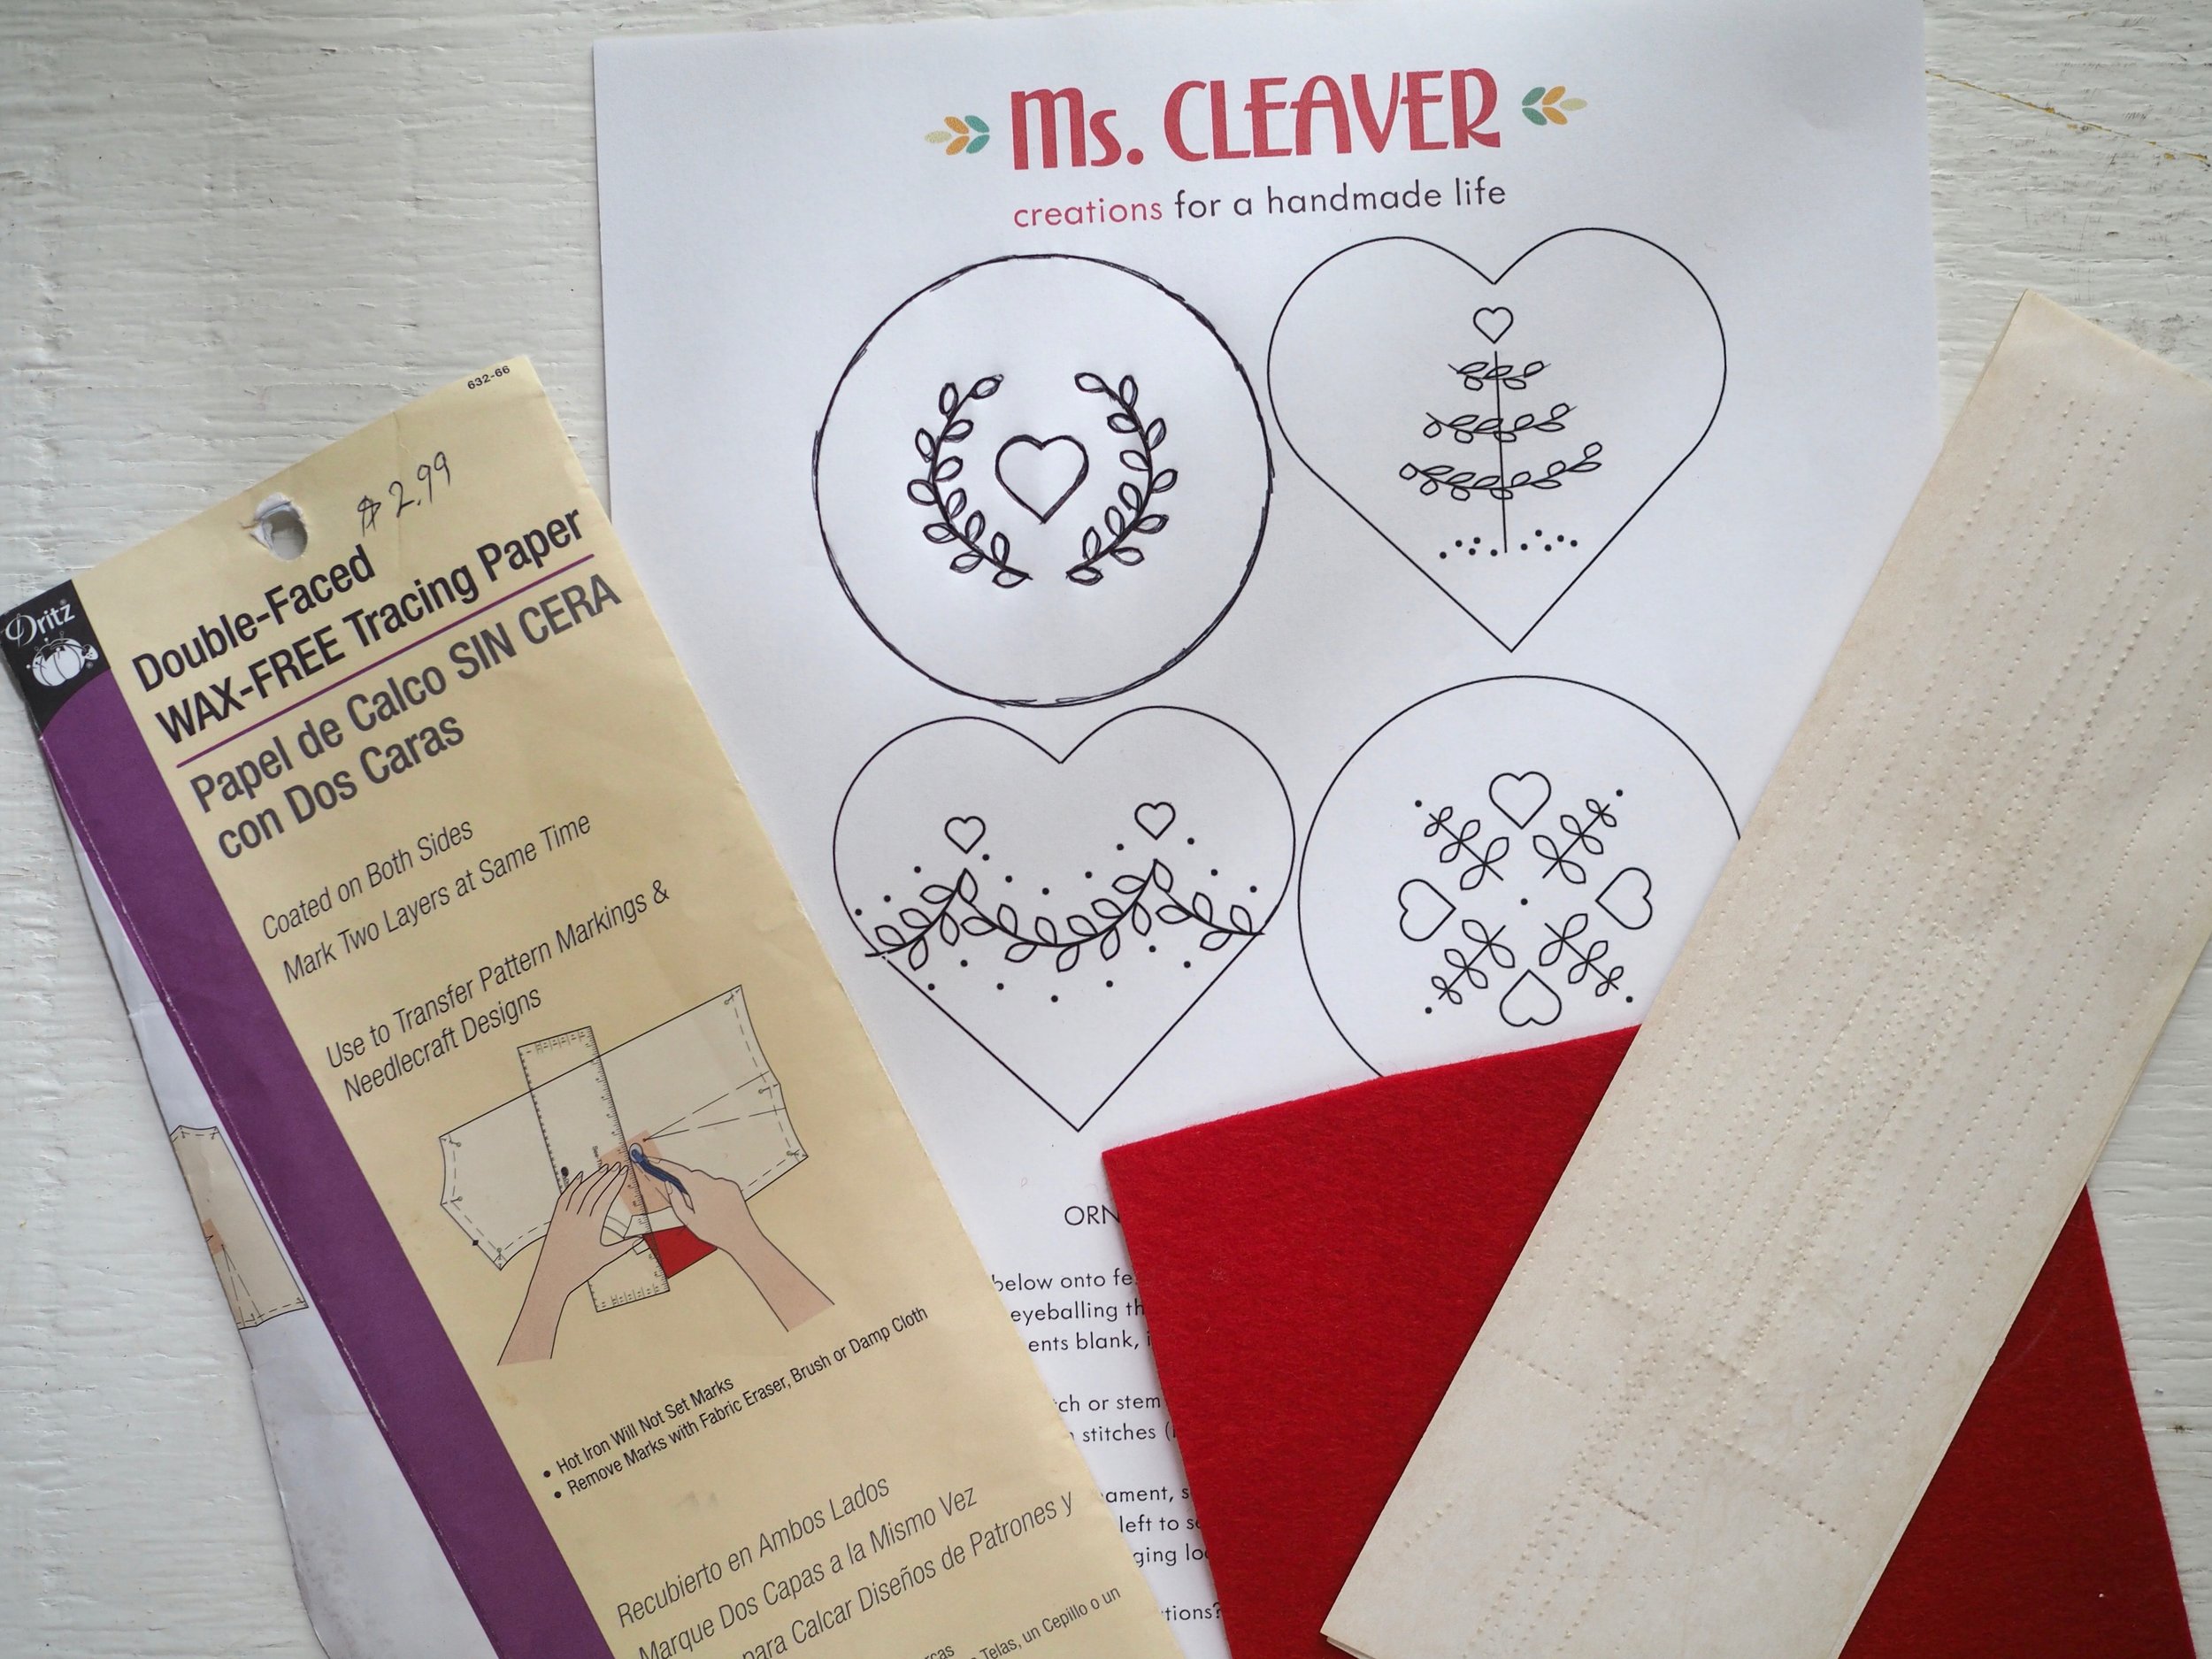
Enter tracing paper. 

A pretty common notion in the sewing world, my mother taught me to mark my sewing fabric with tracing paper and a jagged edged wheel. For transferring embroidery designs, we'll skip the transfer wheel and use a pen, pencil or stylus to do pretty much the same thing.

Transferring an Embroidery Pattern to Opaque Fabric

To transfer an image to opaque fabric you will need the following:

  • Fabric
  • Embroidery design printed to appropriate scale and facing the finished direction
  • Single-sided transfer/tracing paper in a contrast color (I used double-sided here, because it's what I had on hand. In a pinch, you could rub a piece of chalk generously across a sheet of paper and use that.)
  • A pen, dull pencil, or stylus. Something with a decent point to get details, but not so pointy you poke through the paper.
  • Chalk pencil or water-soluble pen (optional)
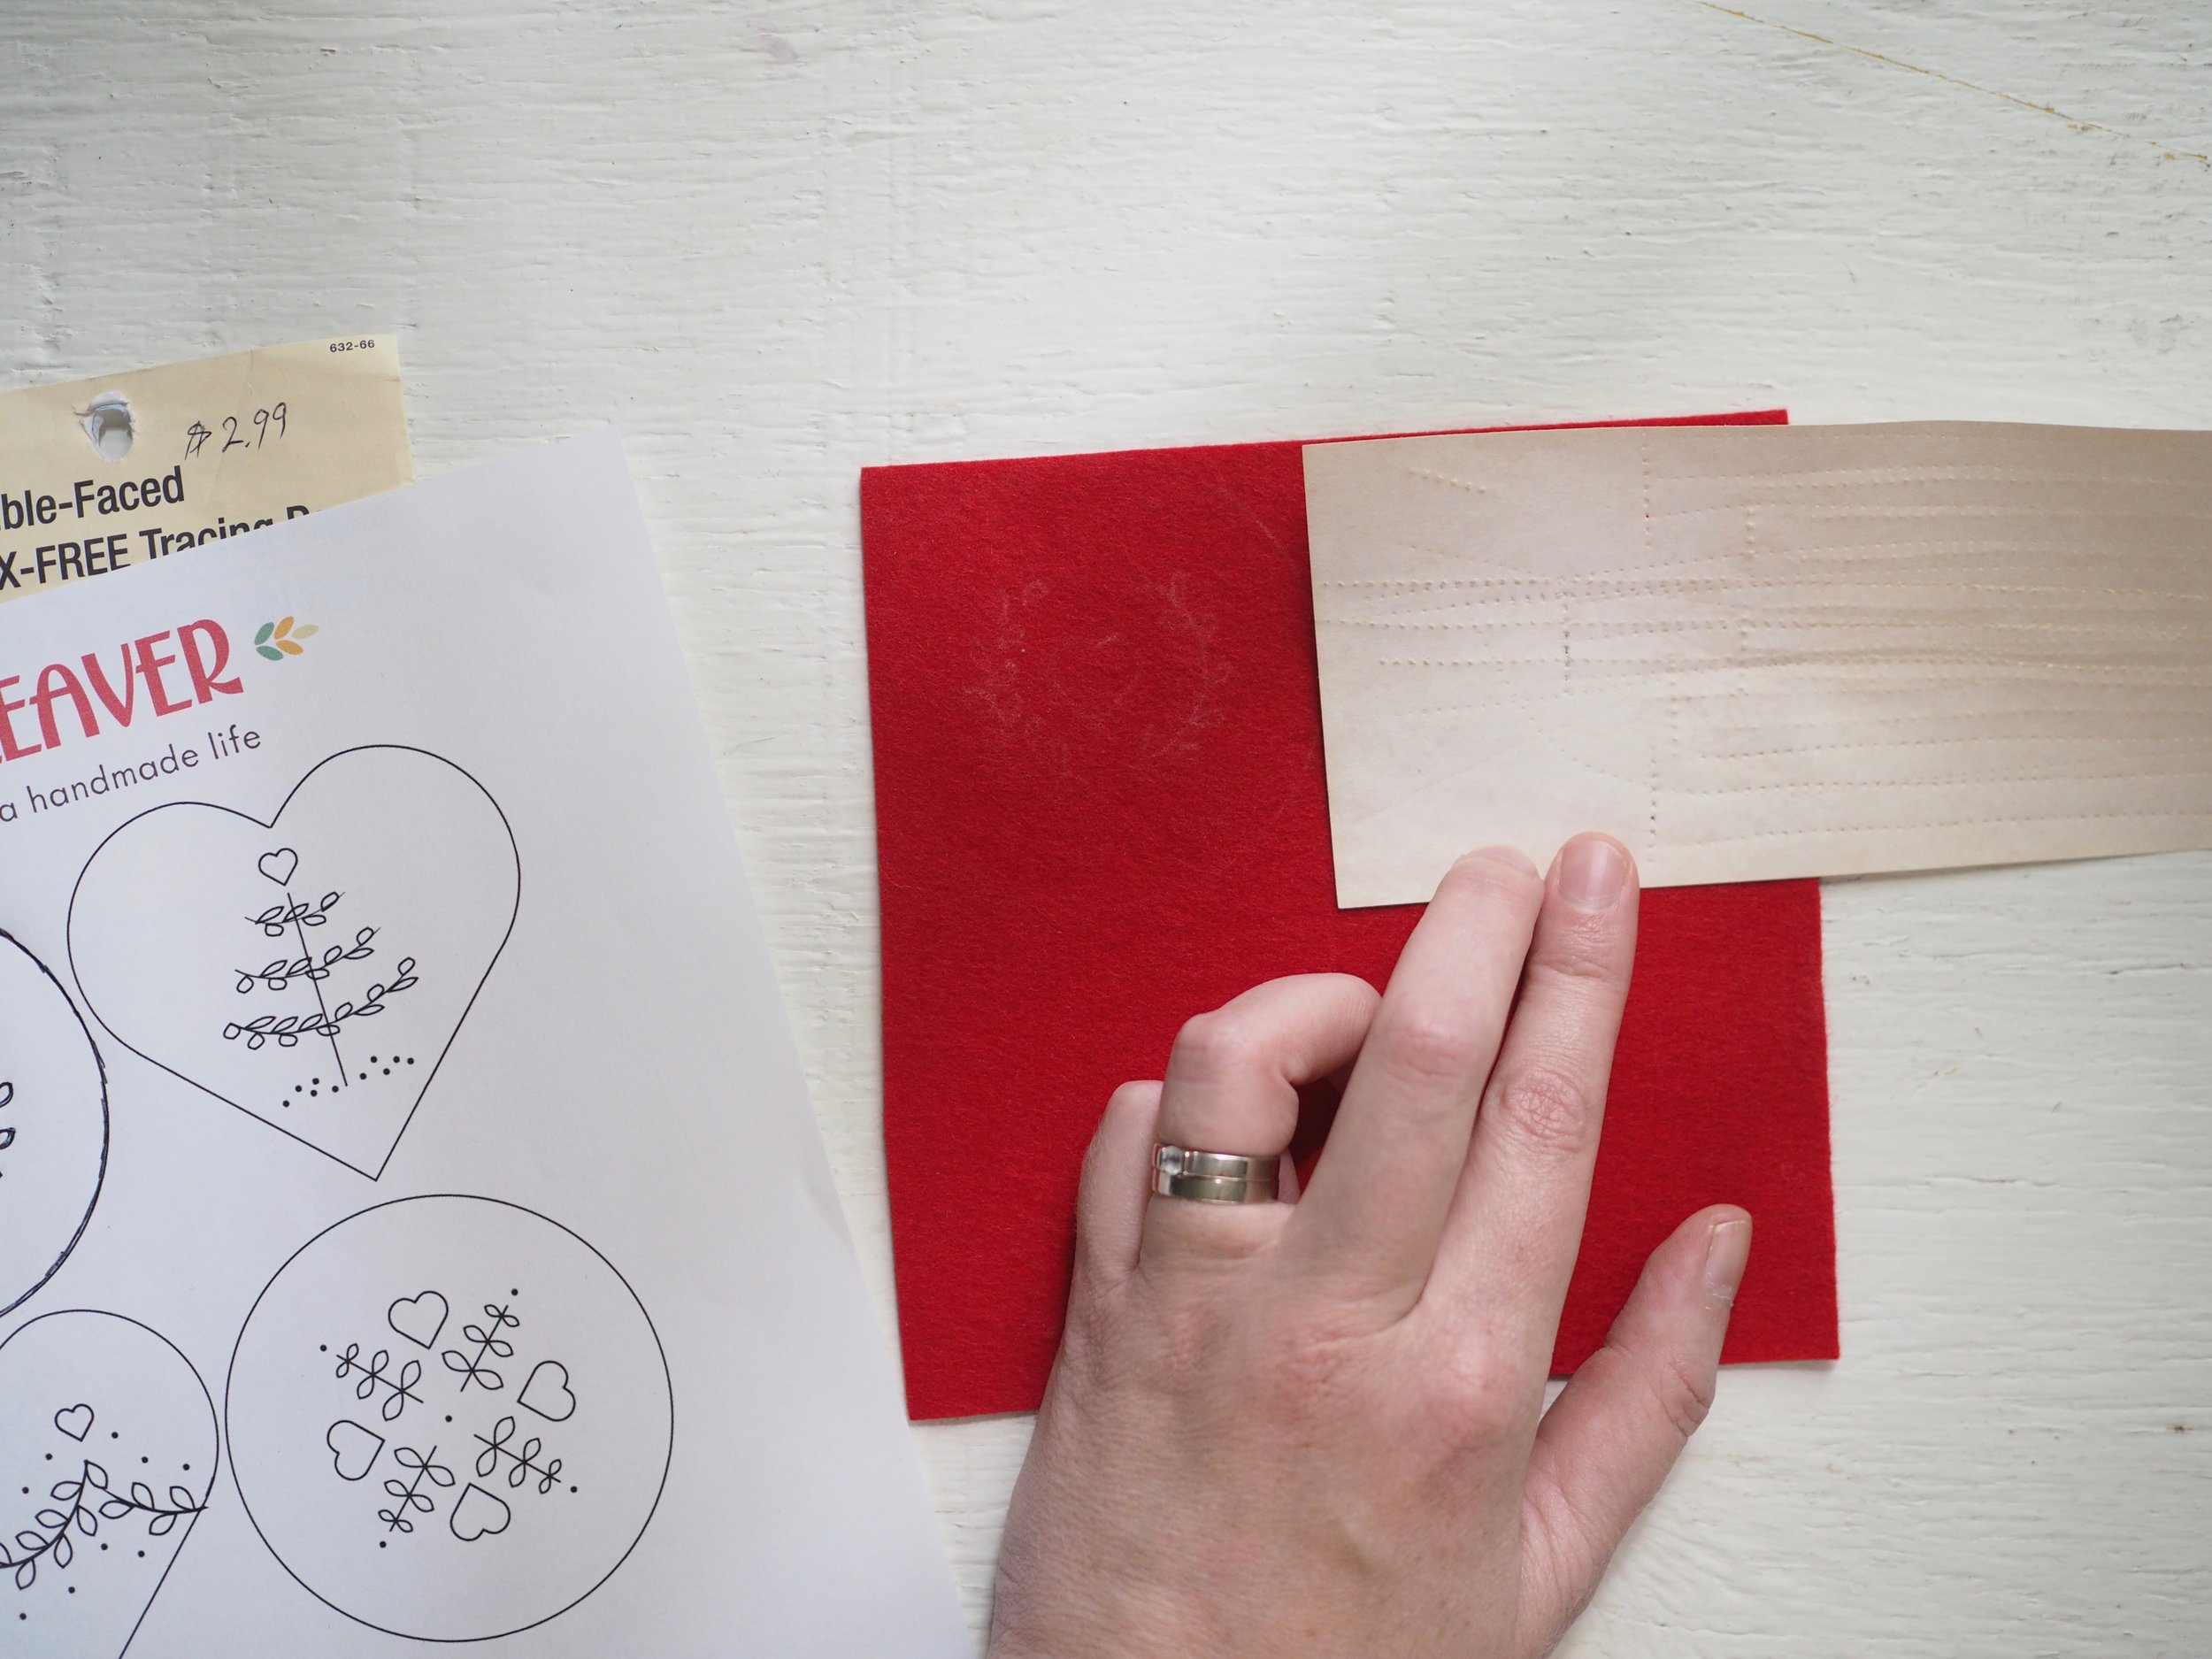
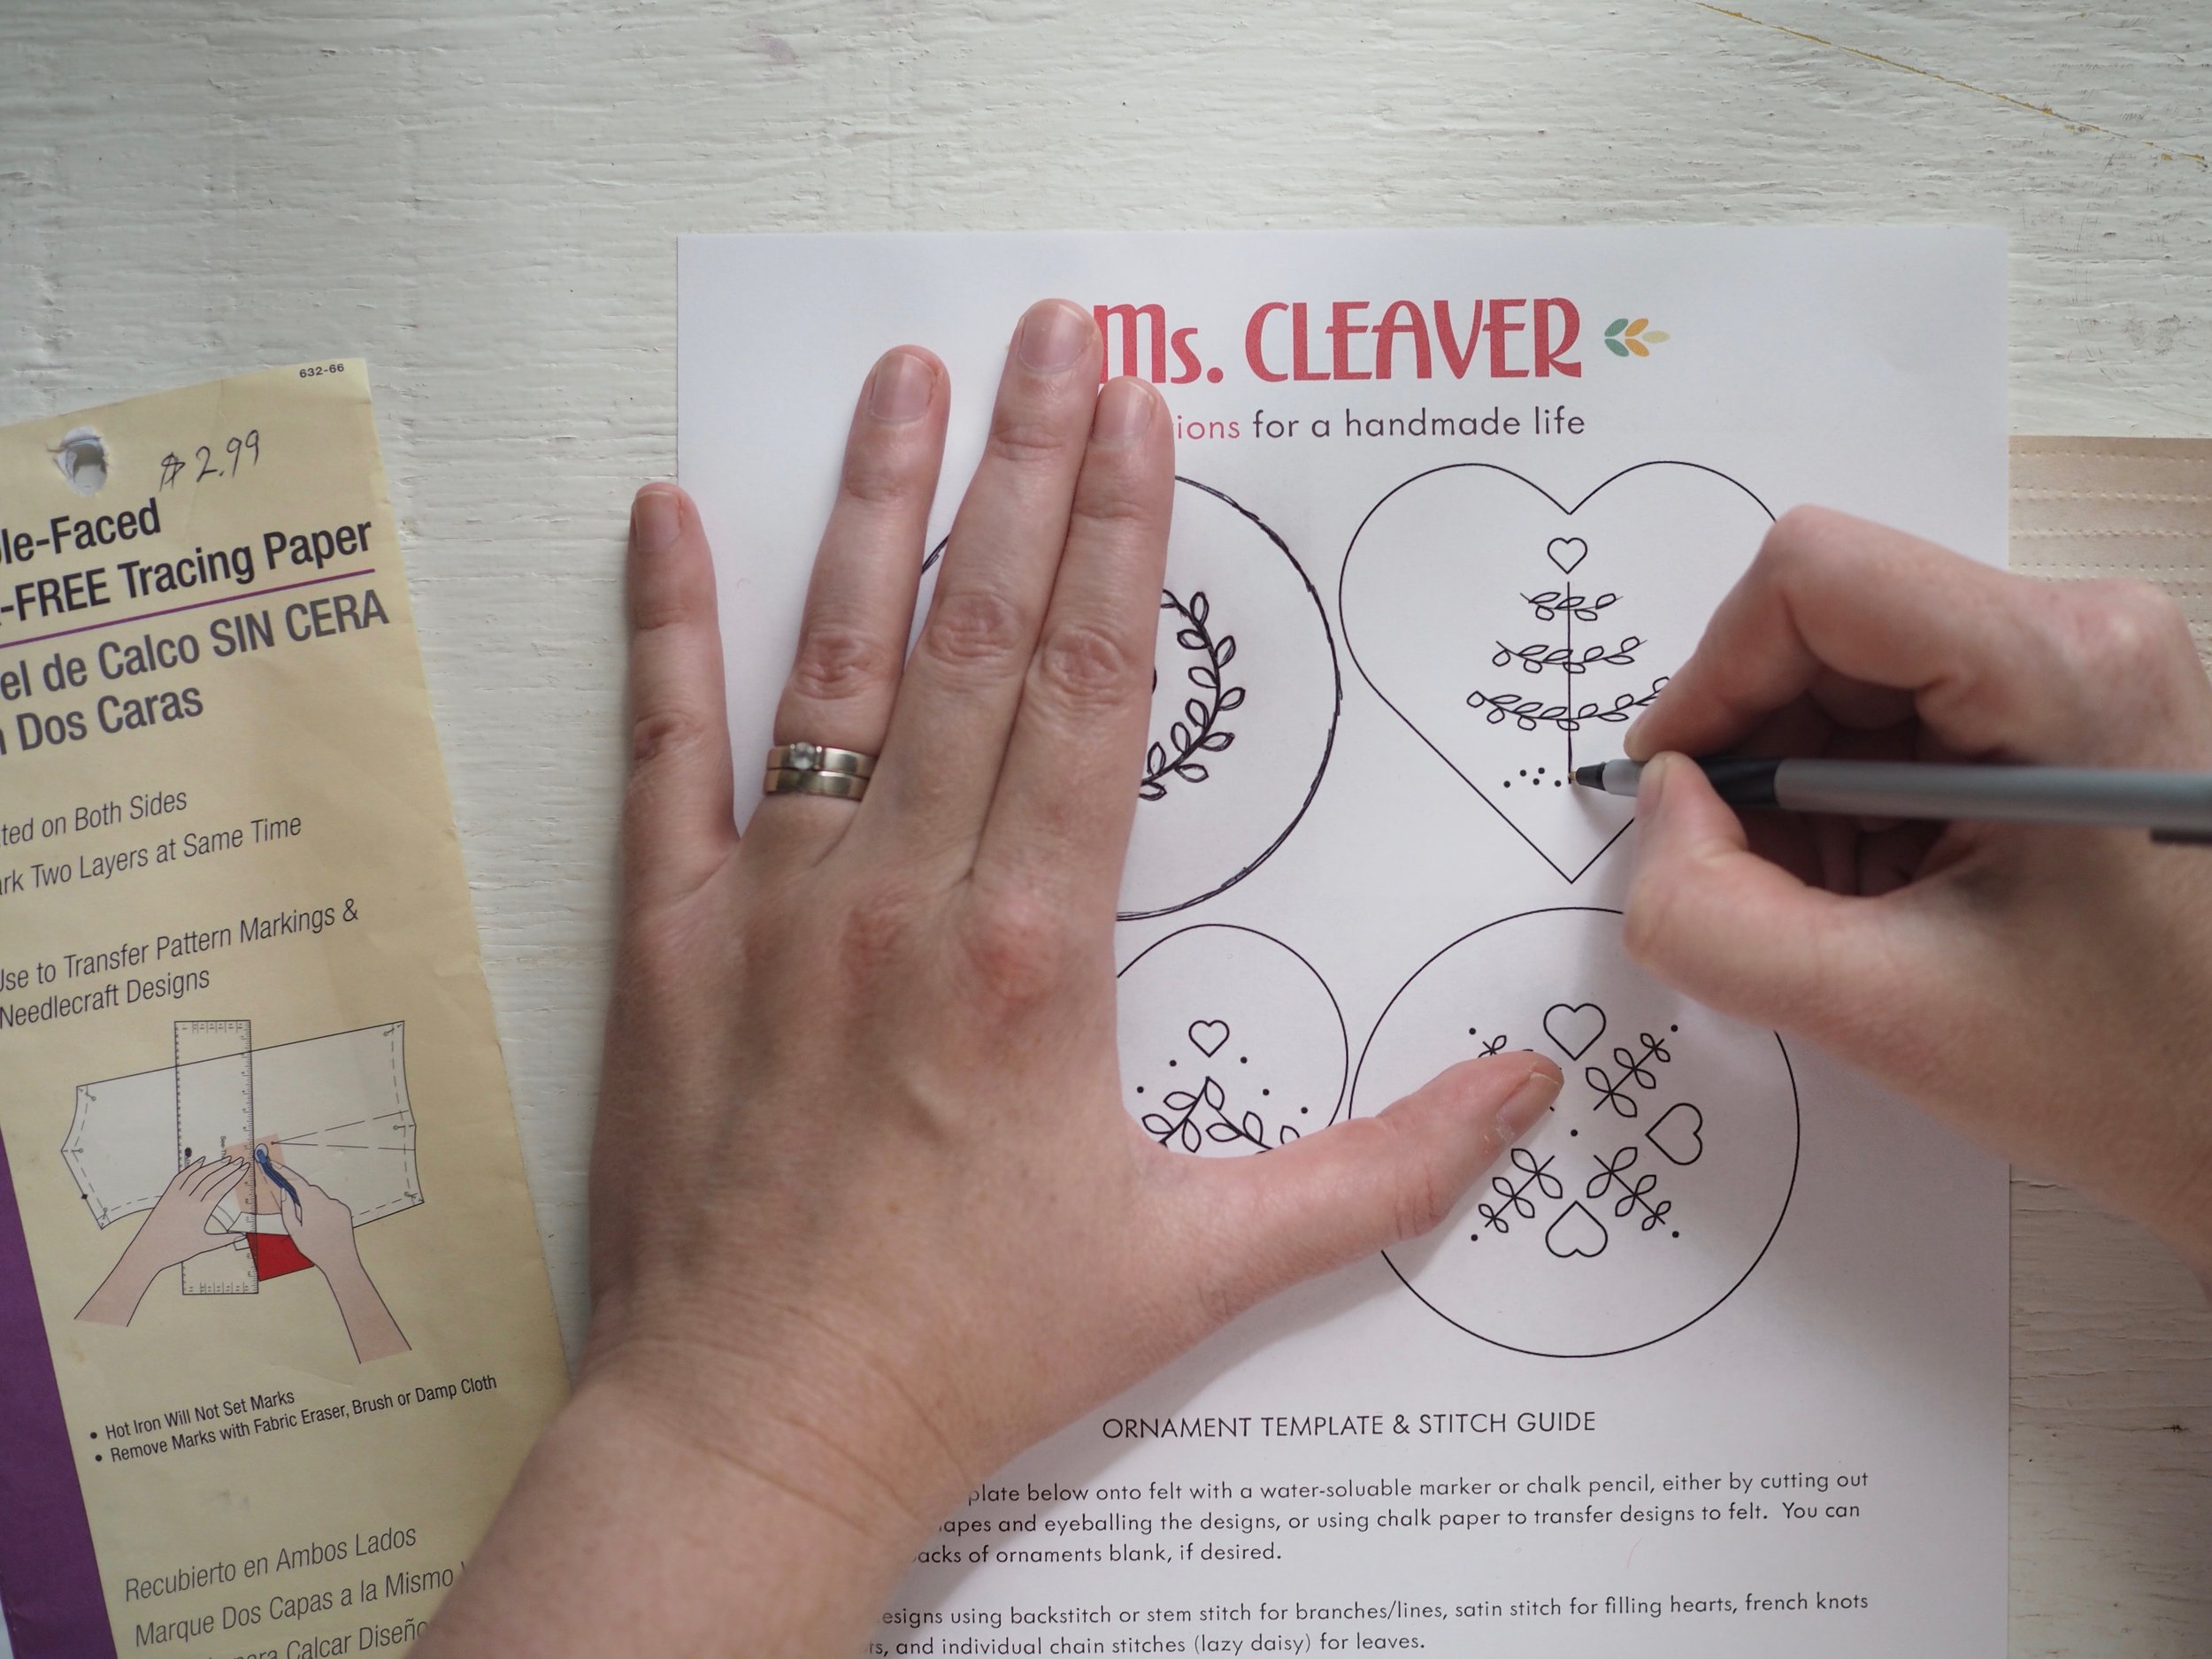
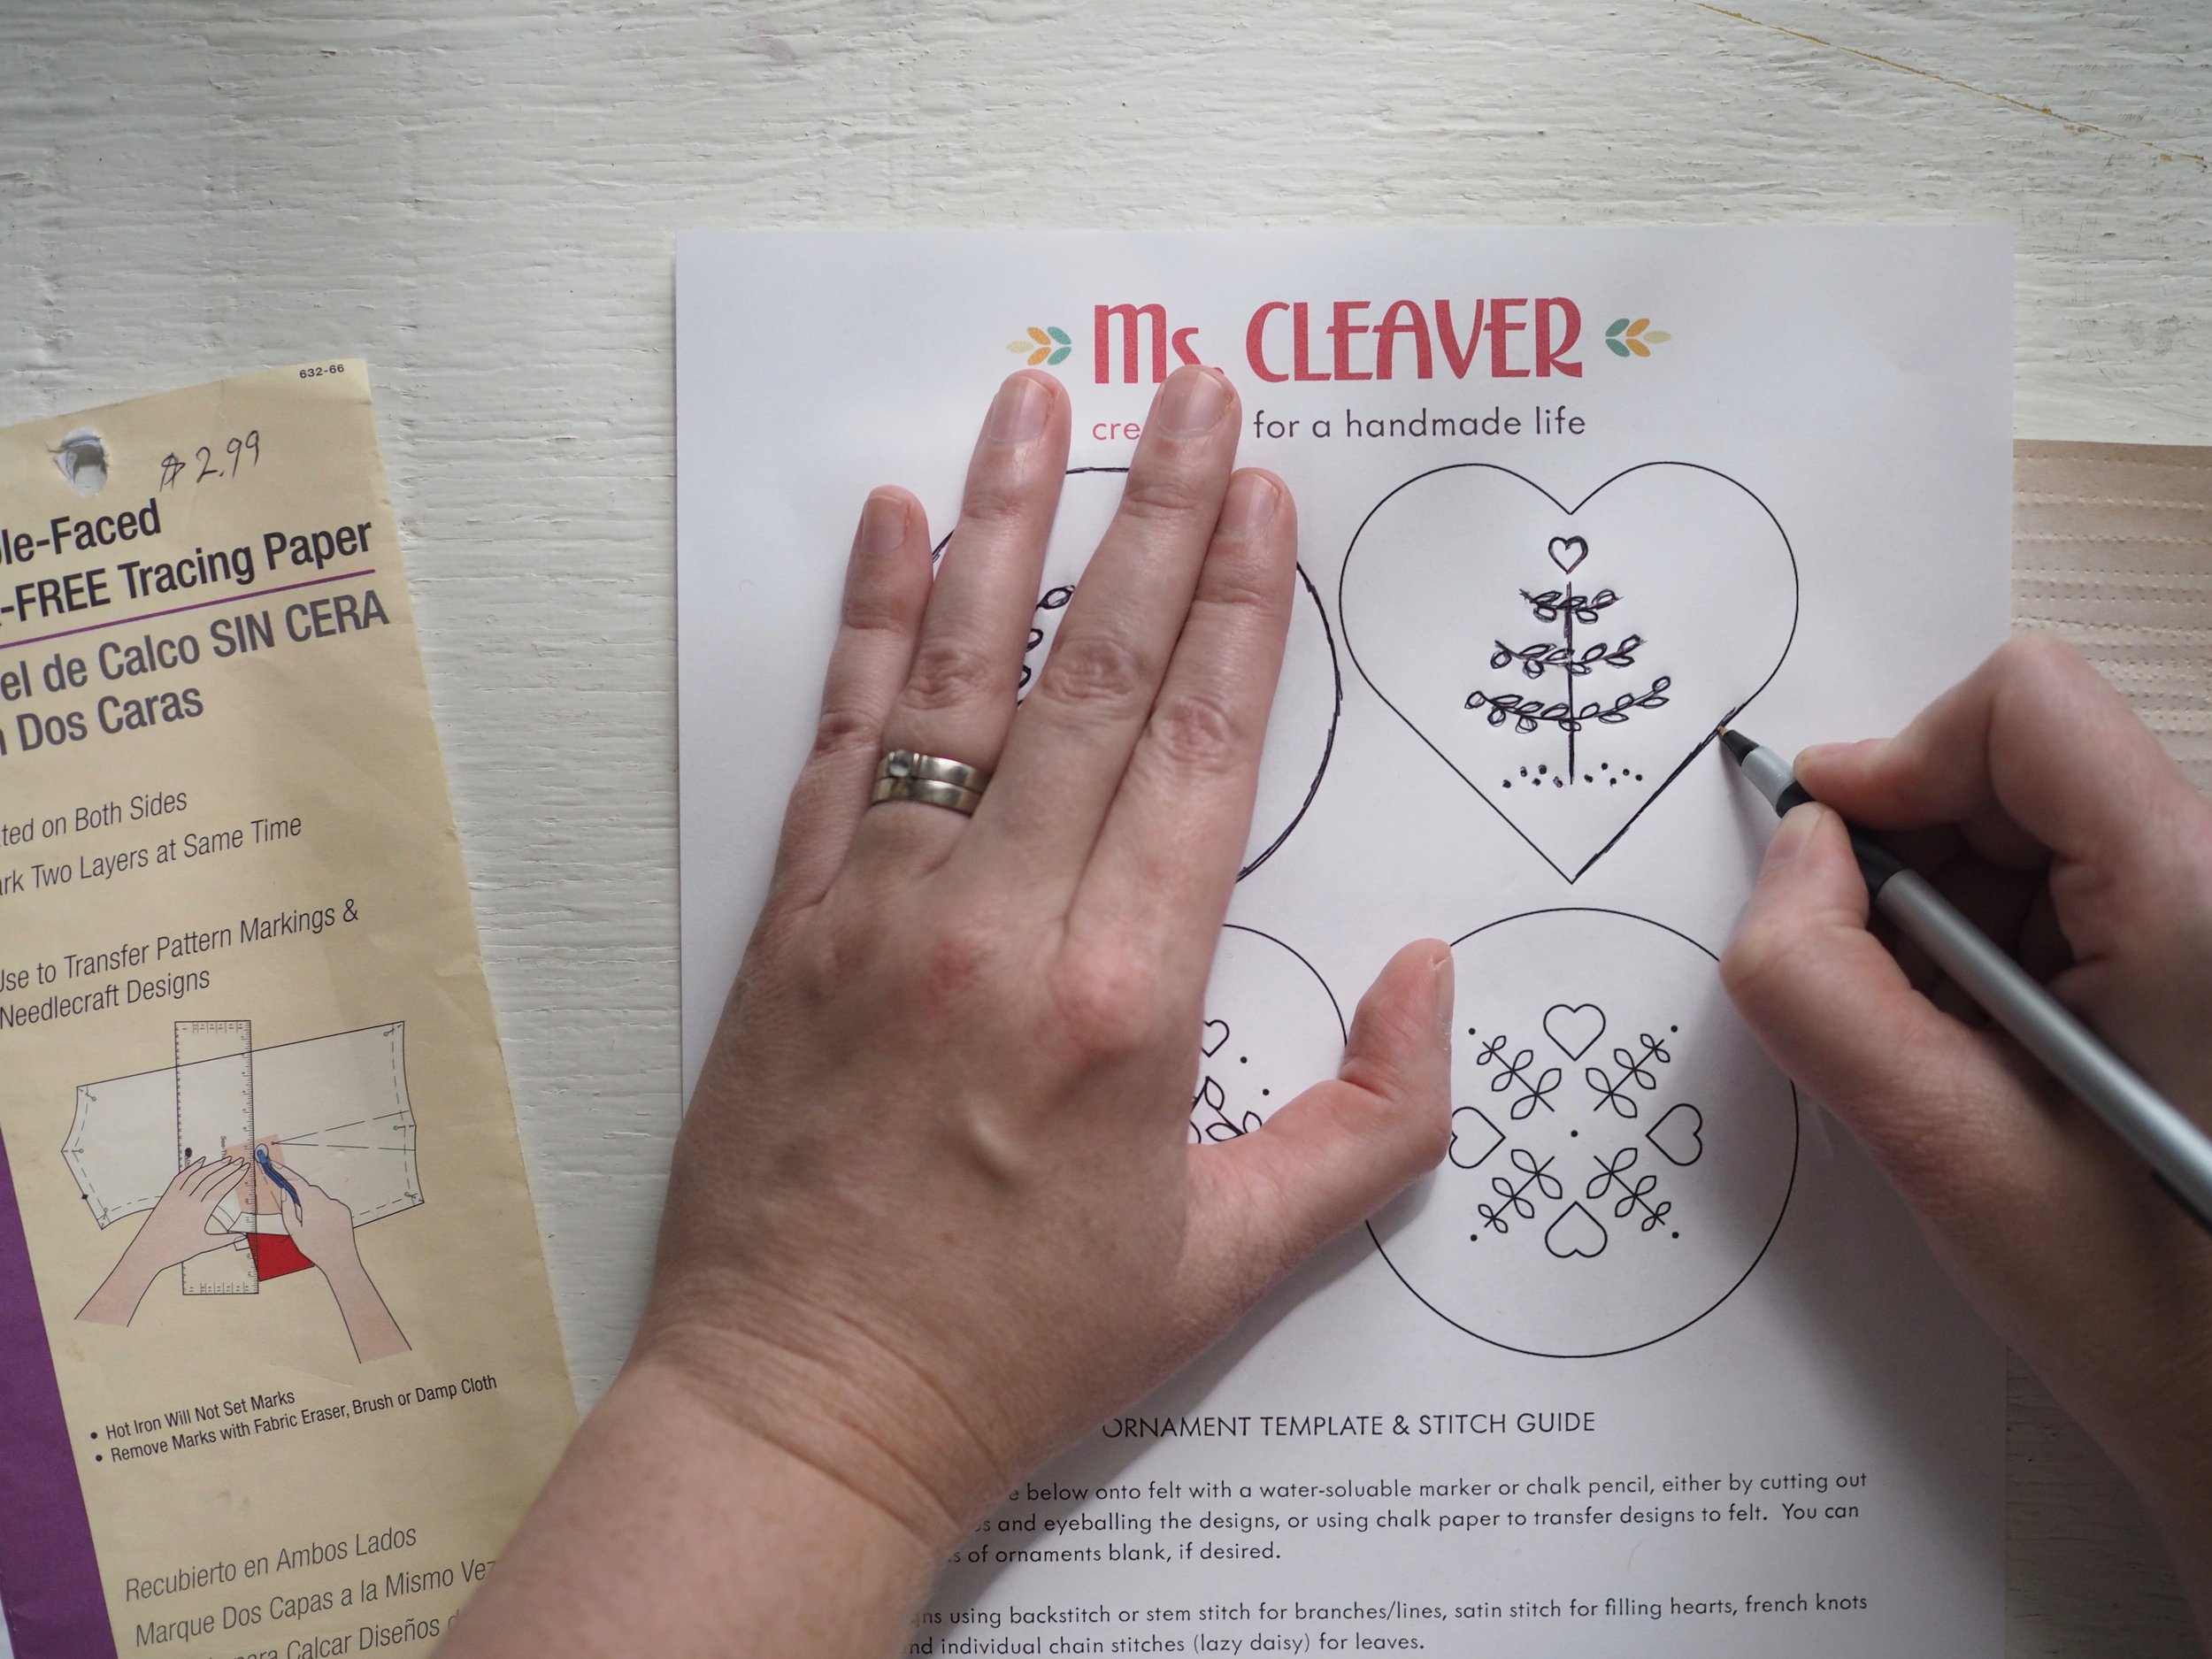
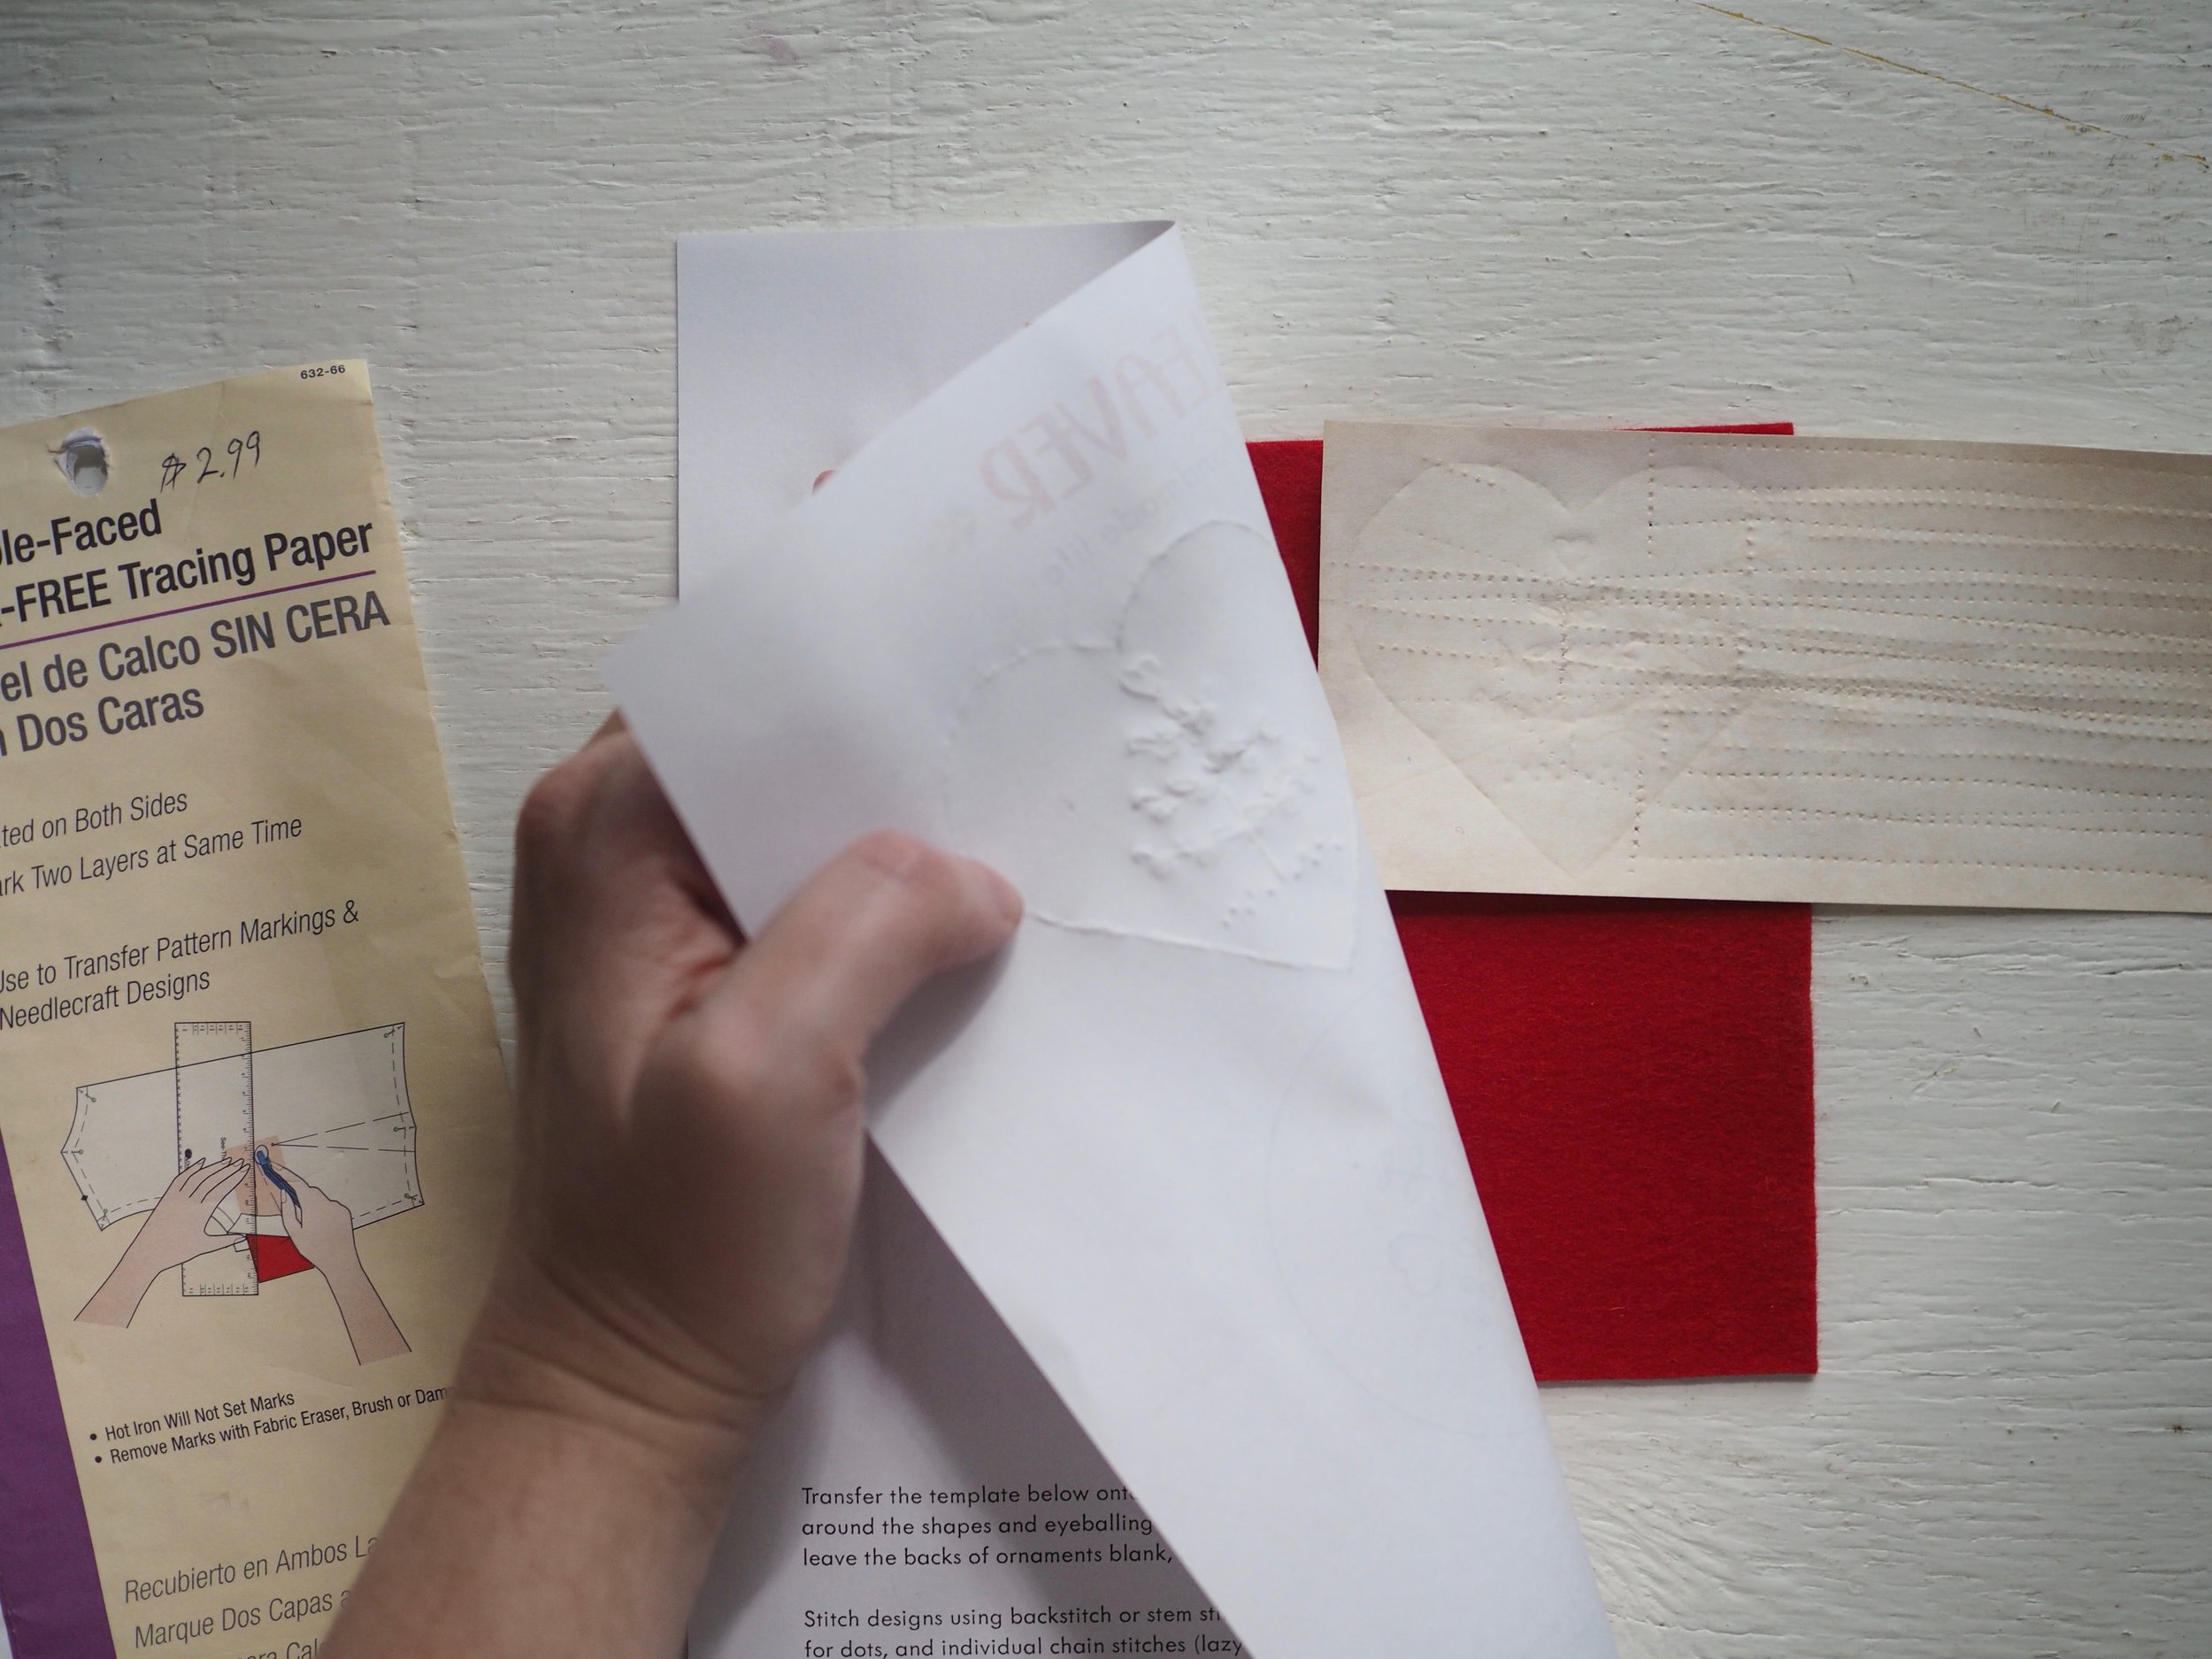
  1. Sandwich the transfer paper, chalk side down, between the fabric.
  2. Trace over the pattern using your pen, pressing firmly and going over each line several times as needed to make a clean mark. 
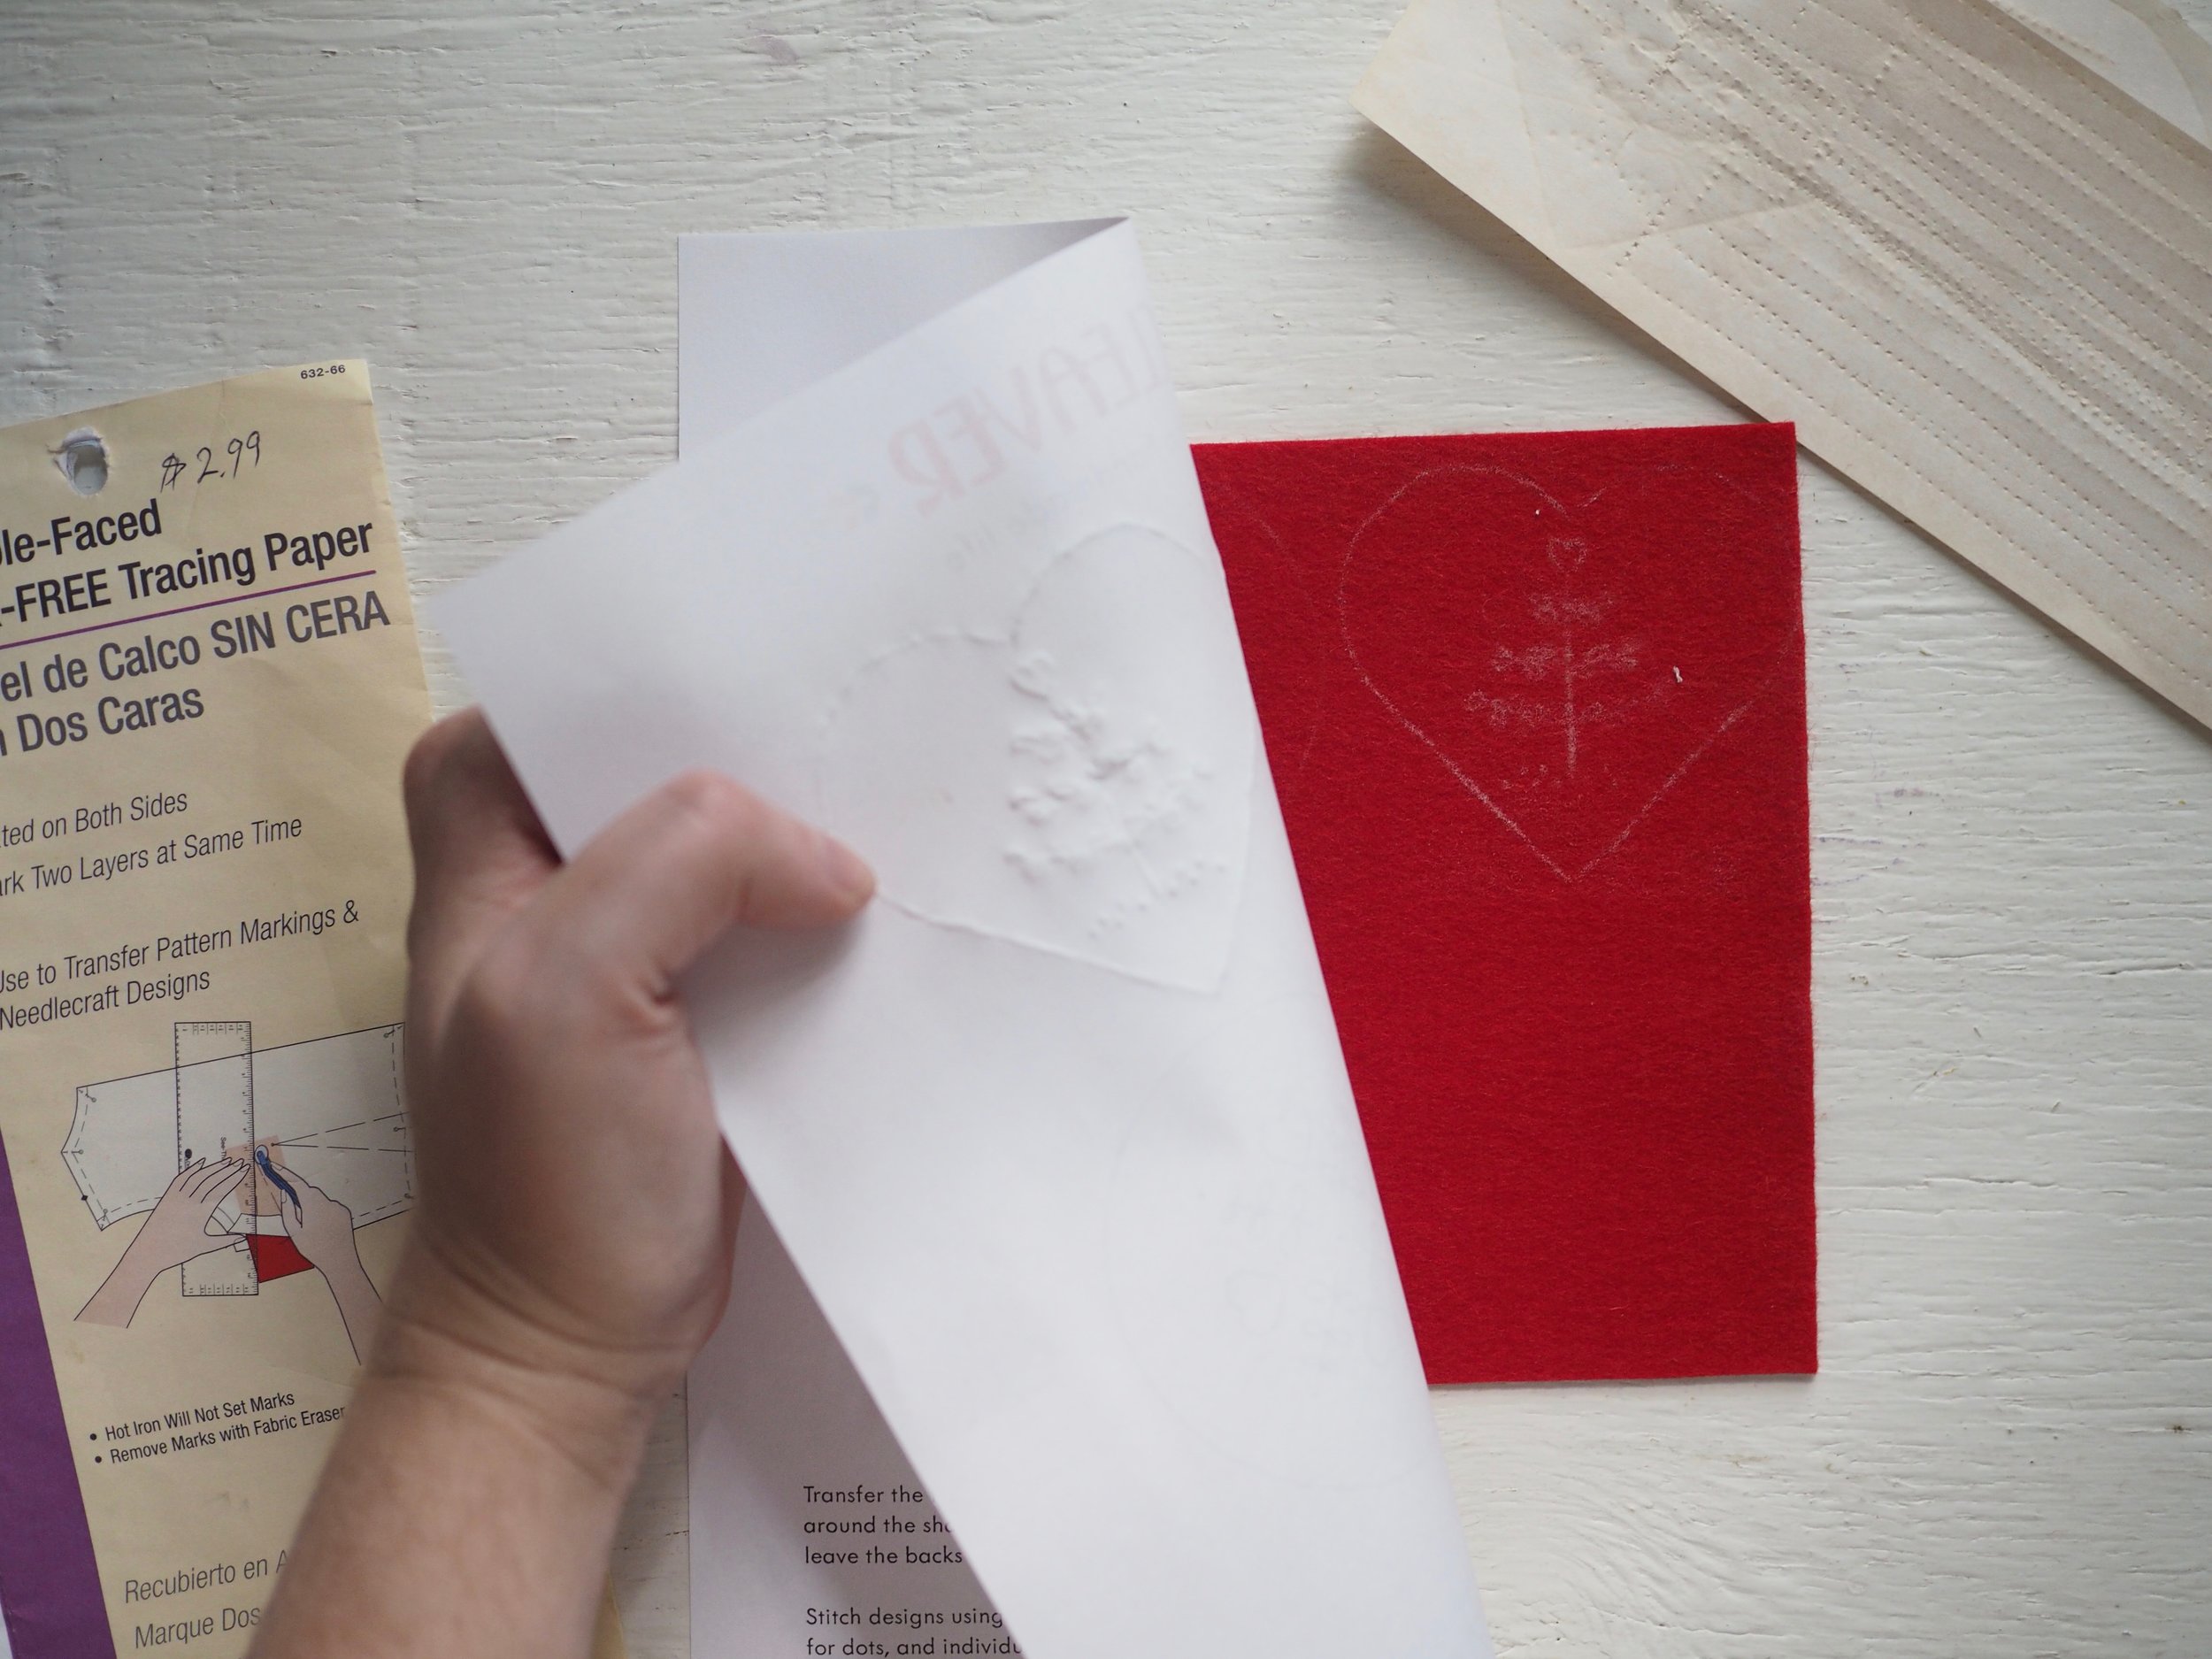
  3. Remove pattern and transfer paper.
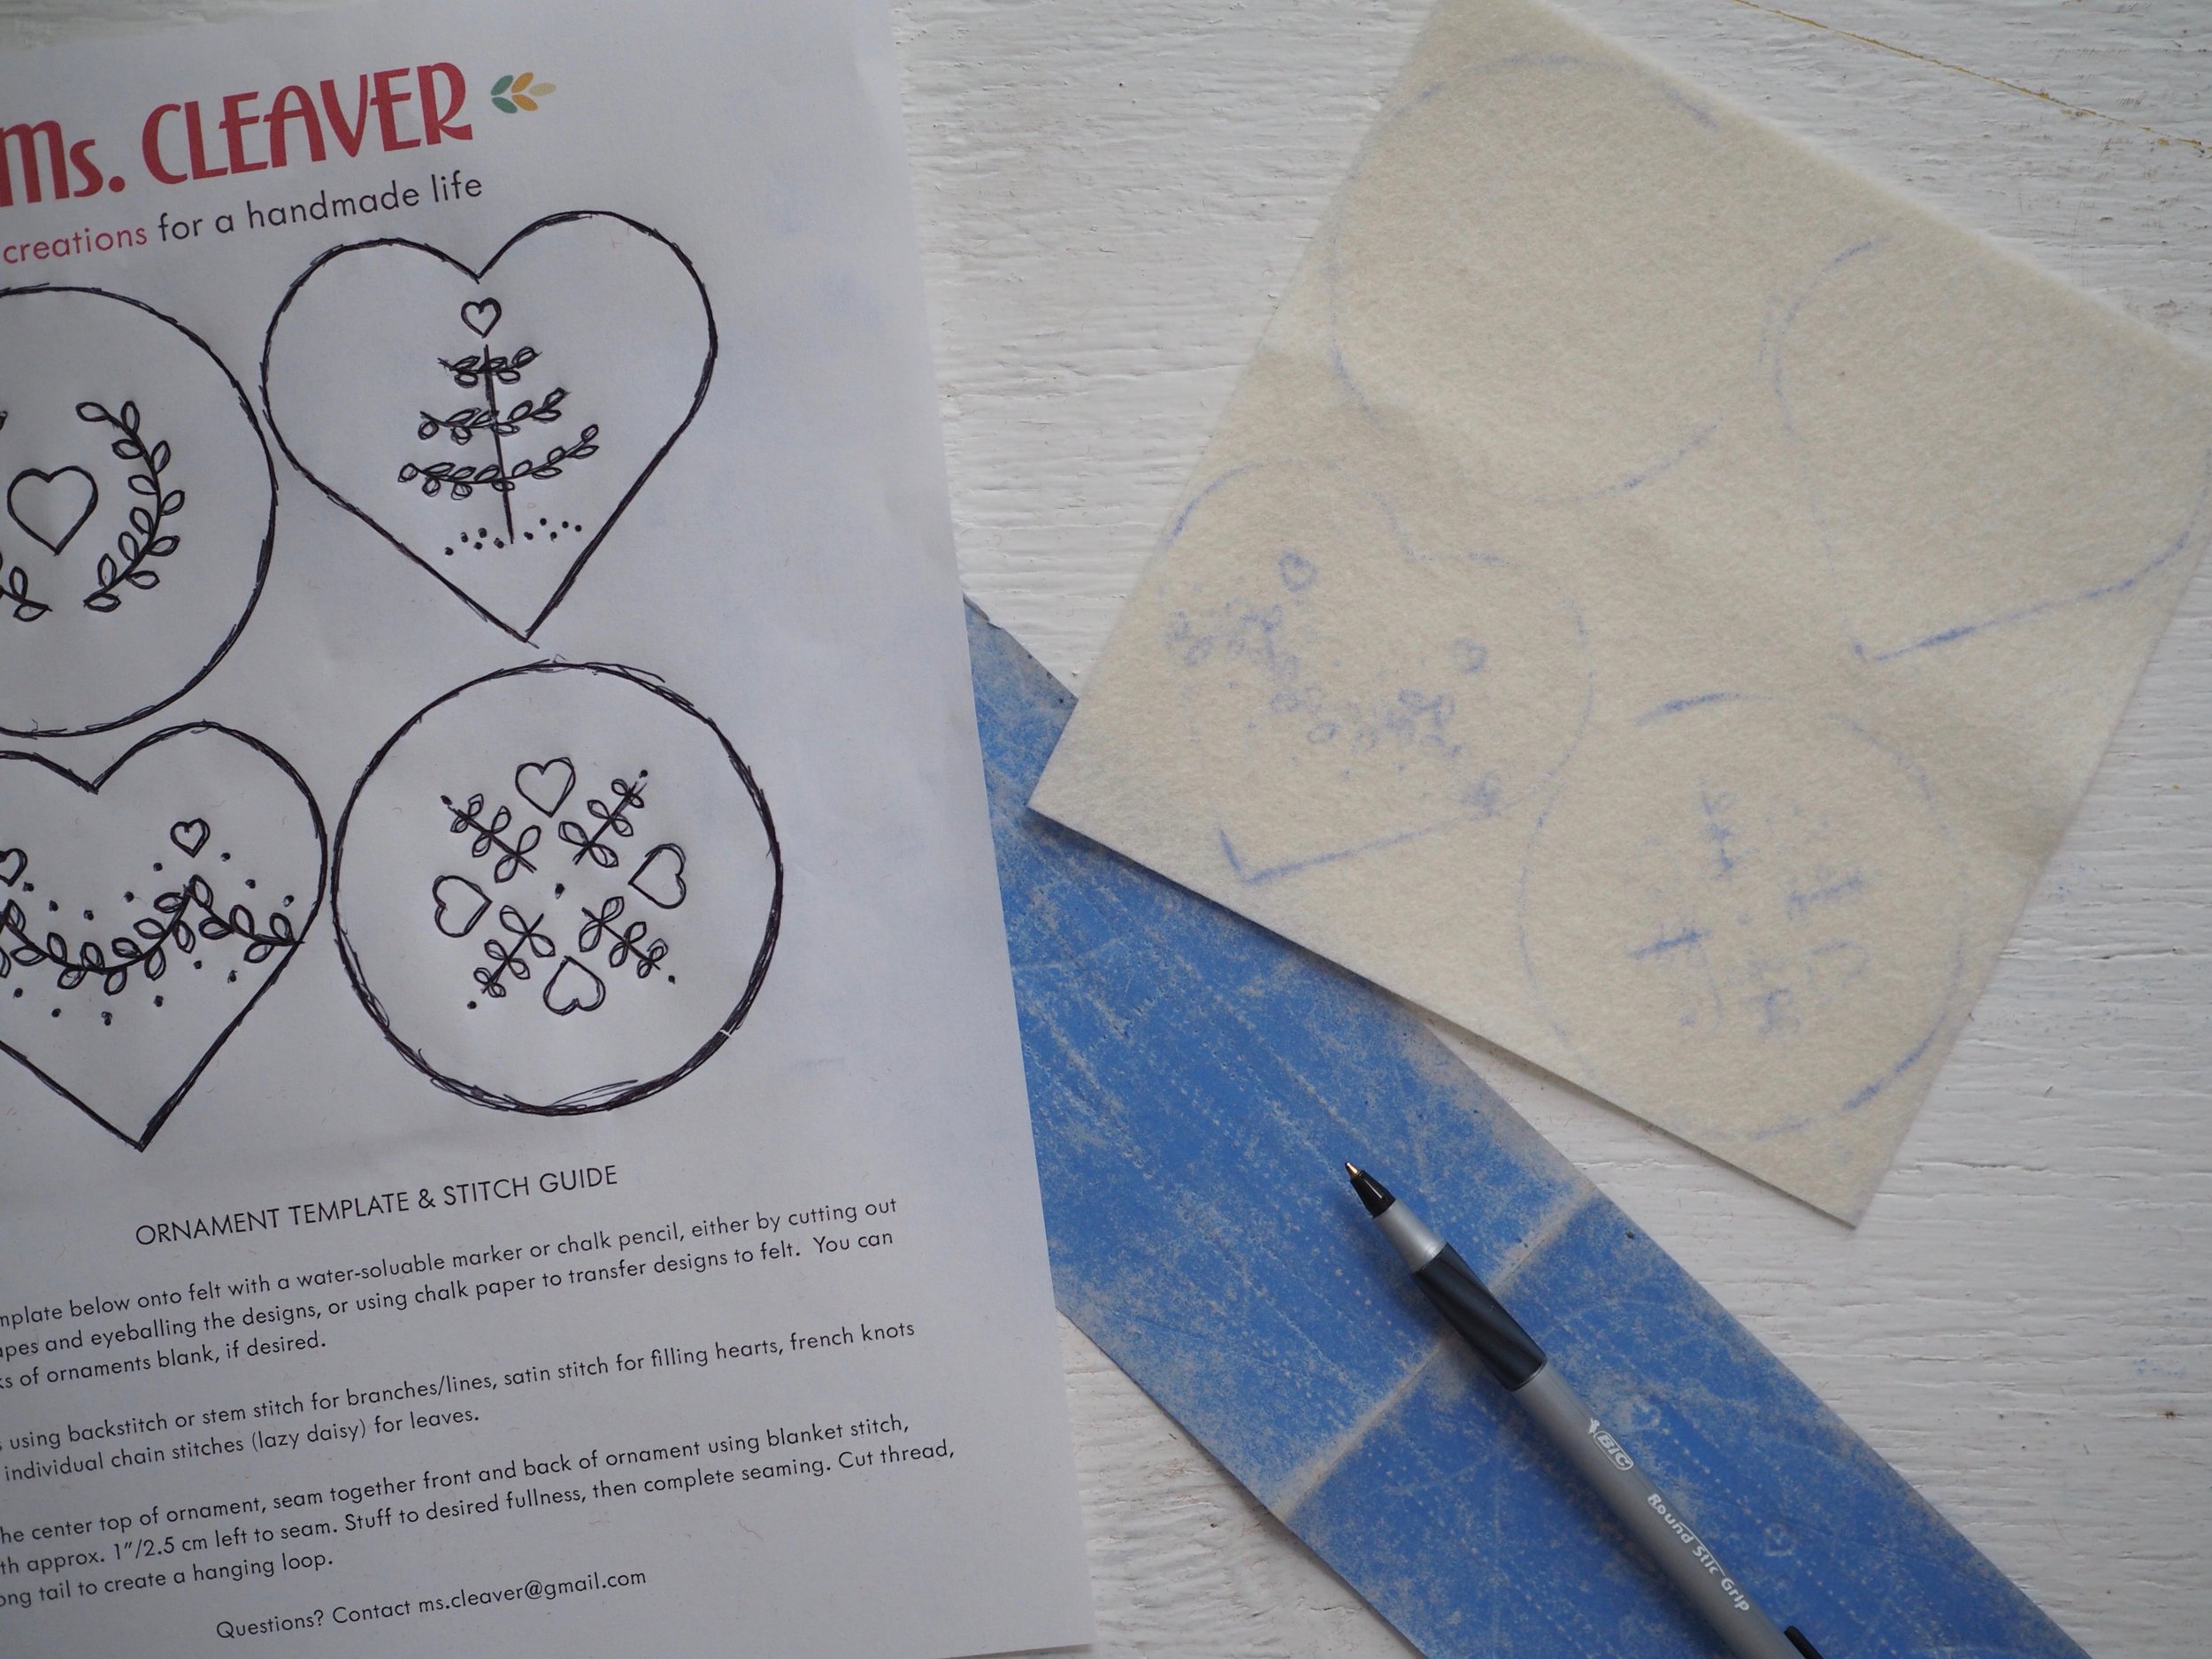
  4. The chalk marks can be very light and easy to brush off - if desired, trace over your marks with a chalk pencil or water-soluble marker for a more clear line.

That's it! Easy-peasy, right? 


Print Friendly and PDF Follow
follow us in feedly

FO Roundup - Fall 2017

One of the most fun parts of being a designer is seeing how others interpret your designs. Here are a few of my favorite finished objects (FOs) of late, with a focus on cool winter-y gray and blues, and shawls on chairs. (click on any photo to visit the knitter's Ravelry and/or Instagram page):

Toulouse - knit by lovegrayhues

Toulouse - knit by lovegrayhues

Lamassu - knit by ninafer

Lamassu - knit by ninafer

Woodland hat knit by elainemaxseb

Woodland hat knit by elainemaxseb

Dal, knit by rie4

Dal, knit by rie4

Eiswasser knit by lucidfuse

Eiswasser knit by lucidfuse

Atlee - knit by kishpai

Atlee - knit by kishpai

Summer Rain knit by NeweJersey

Summer Rain knit by NeweJersey

Want to share your knits with me? Tag me @mscleaver on Instagram, or if it's on Ravelry, I'll see it. :) 


Print Friendly and PDF Follow
follow us in feedly

Corrugated Ribbing Tutorial (for Two Hands)

Corrugated Ribbing Tutorial
Woodland Hat and Mittens

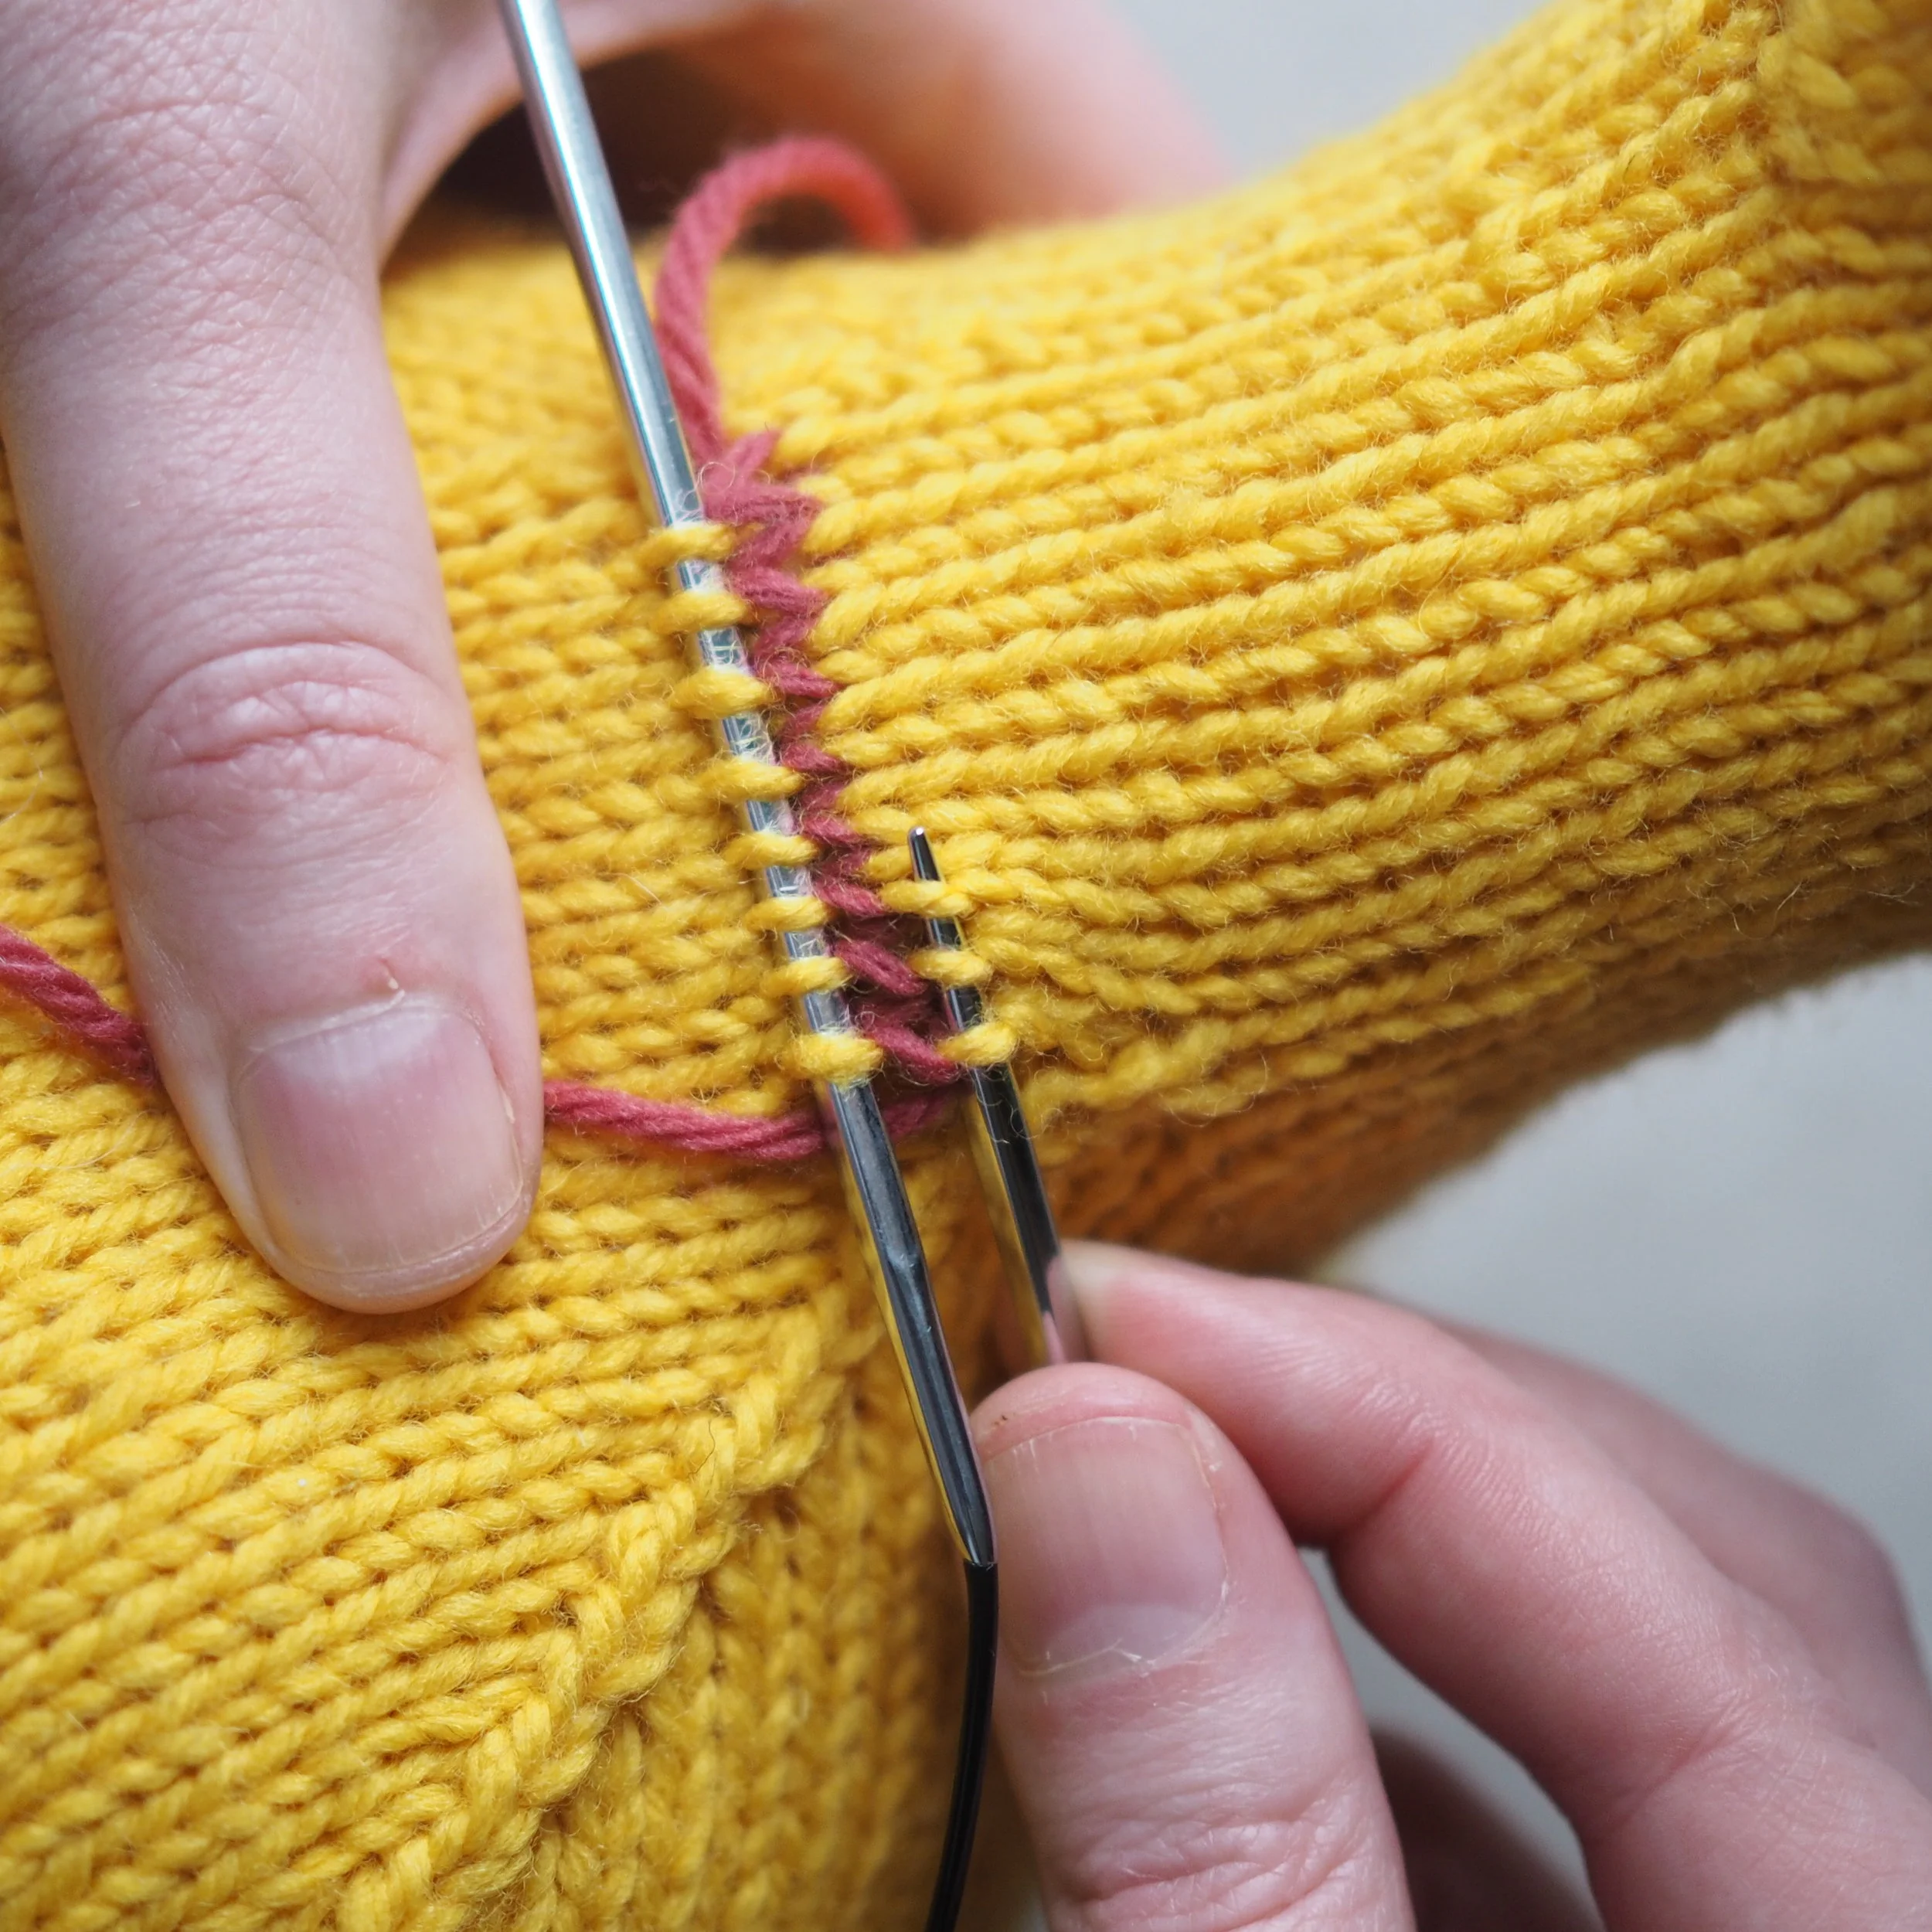
Corrugated, or two-color ribbing, is a common decorative edging on many colorwork designs, including my Woodland Mittens. It has a great effect, but it can be a bit trickier than regular colorwork, which is usually done all in knit stitches.

I'm typically a "picker" or continental style knitter, but this tutorial will use both the "picking" and "throwing" techniques for the most efficient way to work this pattern. Not familiar with continental style? This is a helpful tutorial. 

By working the rib with two hands this way, you don't have to fuss with dropping and picking up a different color for each stitch.

For the purposes of this tutorial, the green will be our contrasting color, or CC; and the grey will be the main color, or MC. This tutorial also assumes you will be working in the round.

One important thing to know before you start, two-color ribbing will have less recovery/elasticity than regular ribbing, so you may wish to go down a needle size, especially if you're replacing a solid rib with a corrugated one.  

P9150001.jpg

To start, cast on in your CC and join in round. Knit one round in CC.

Join your MC at the start of the round. From here, you will knit in the CC, and purl in the CC.

Holding the yarn

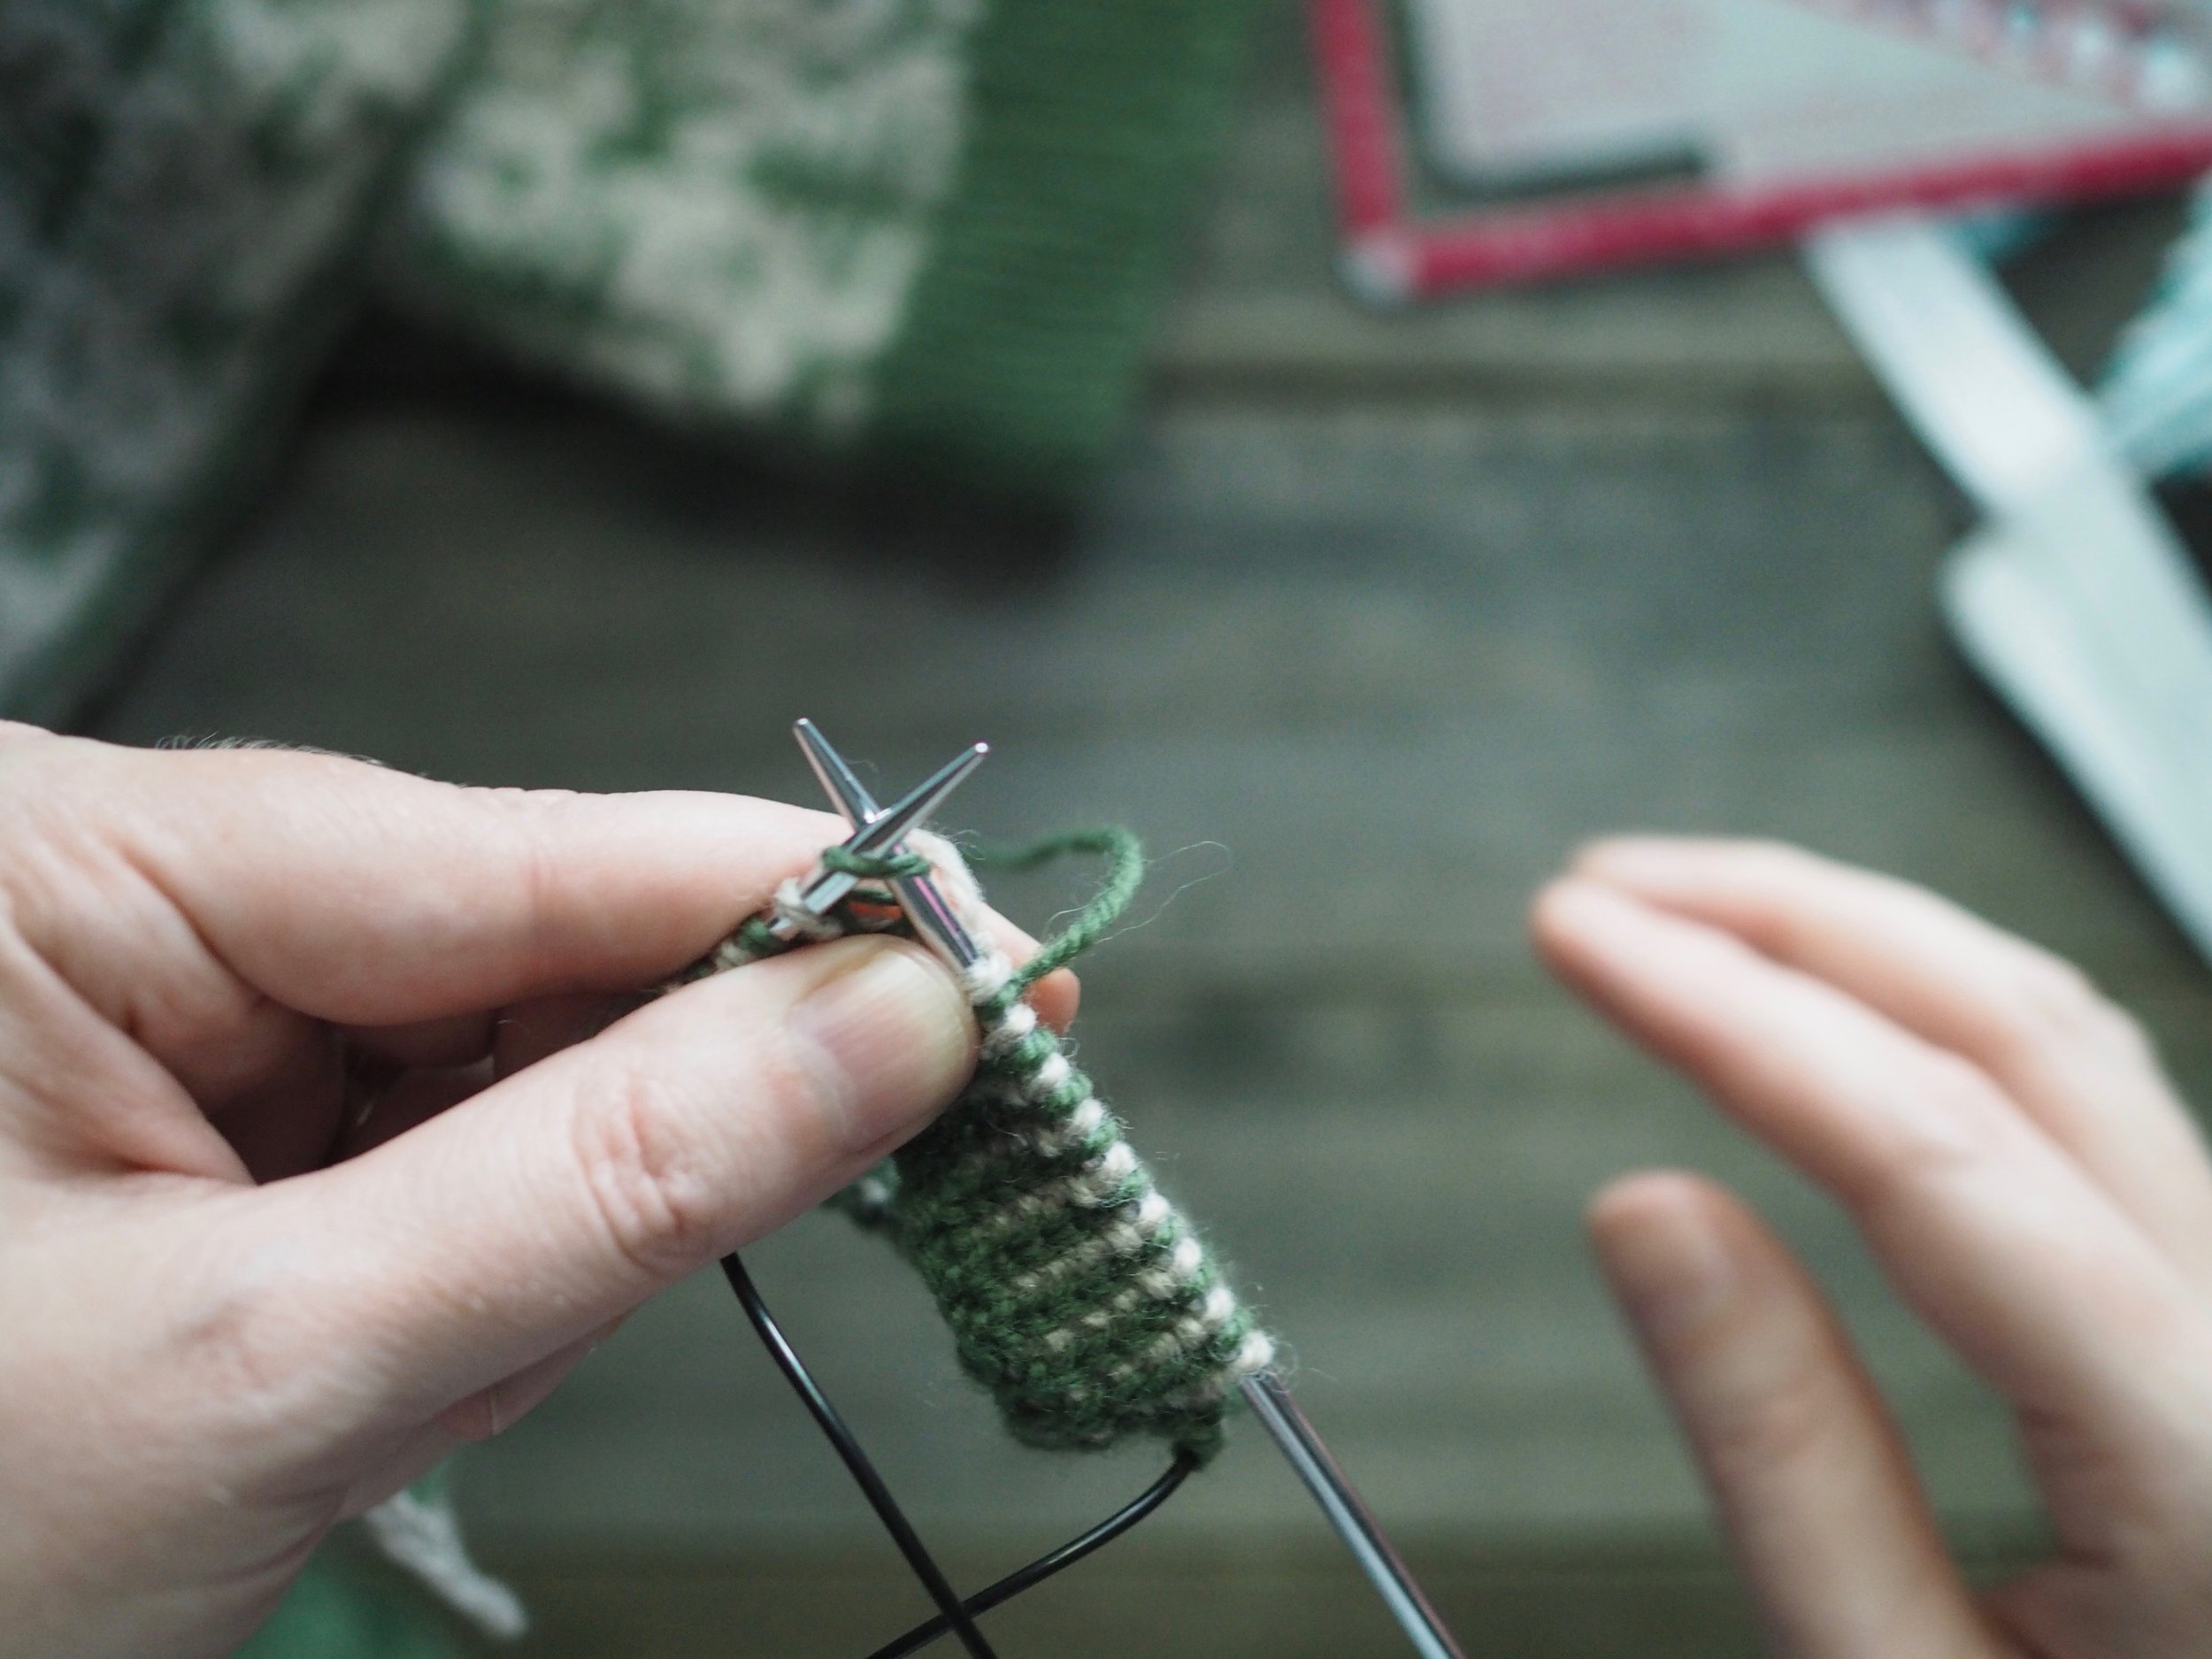
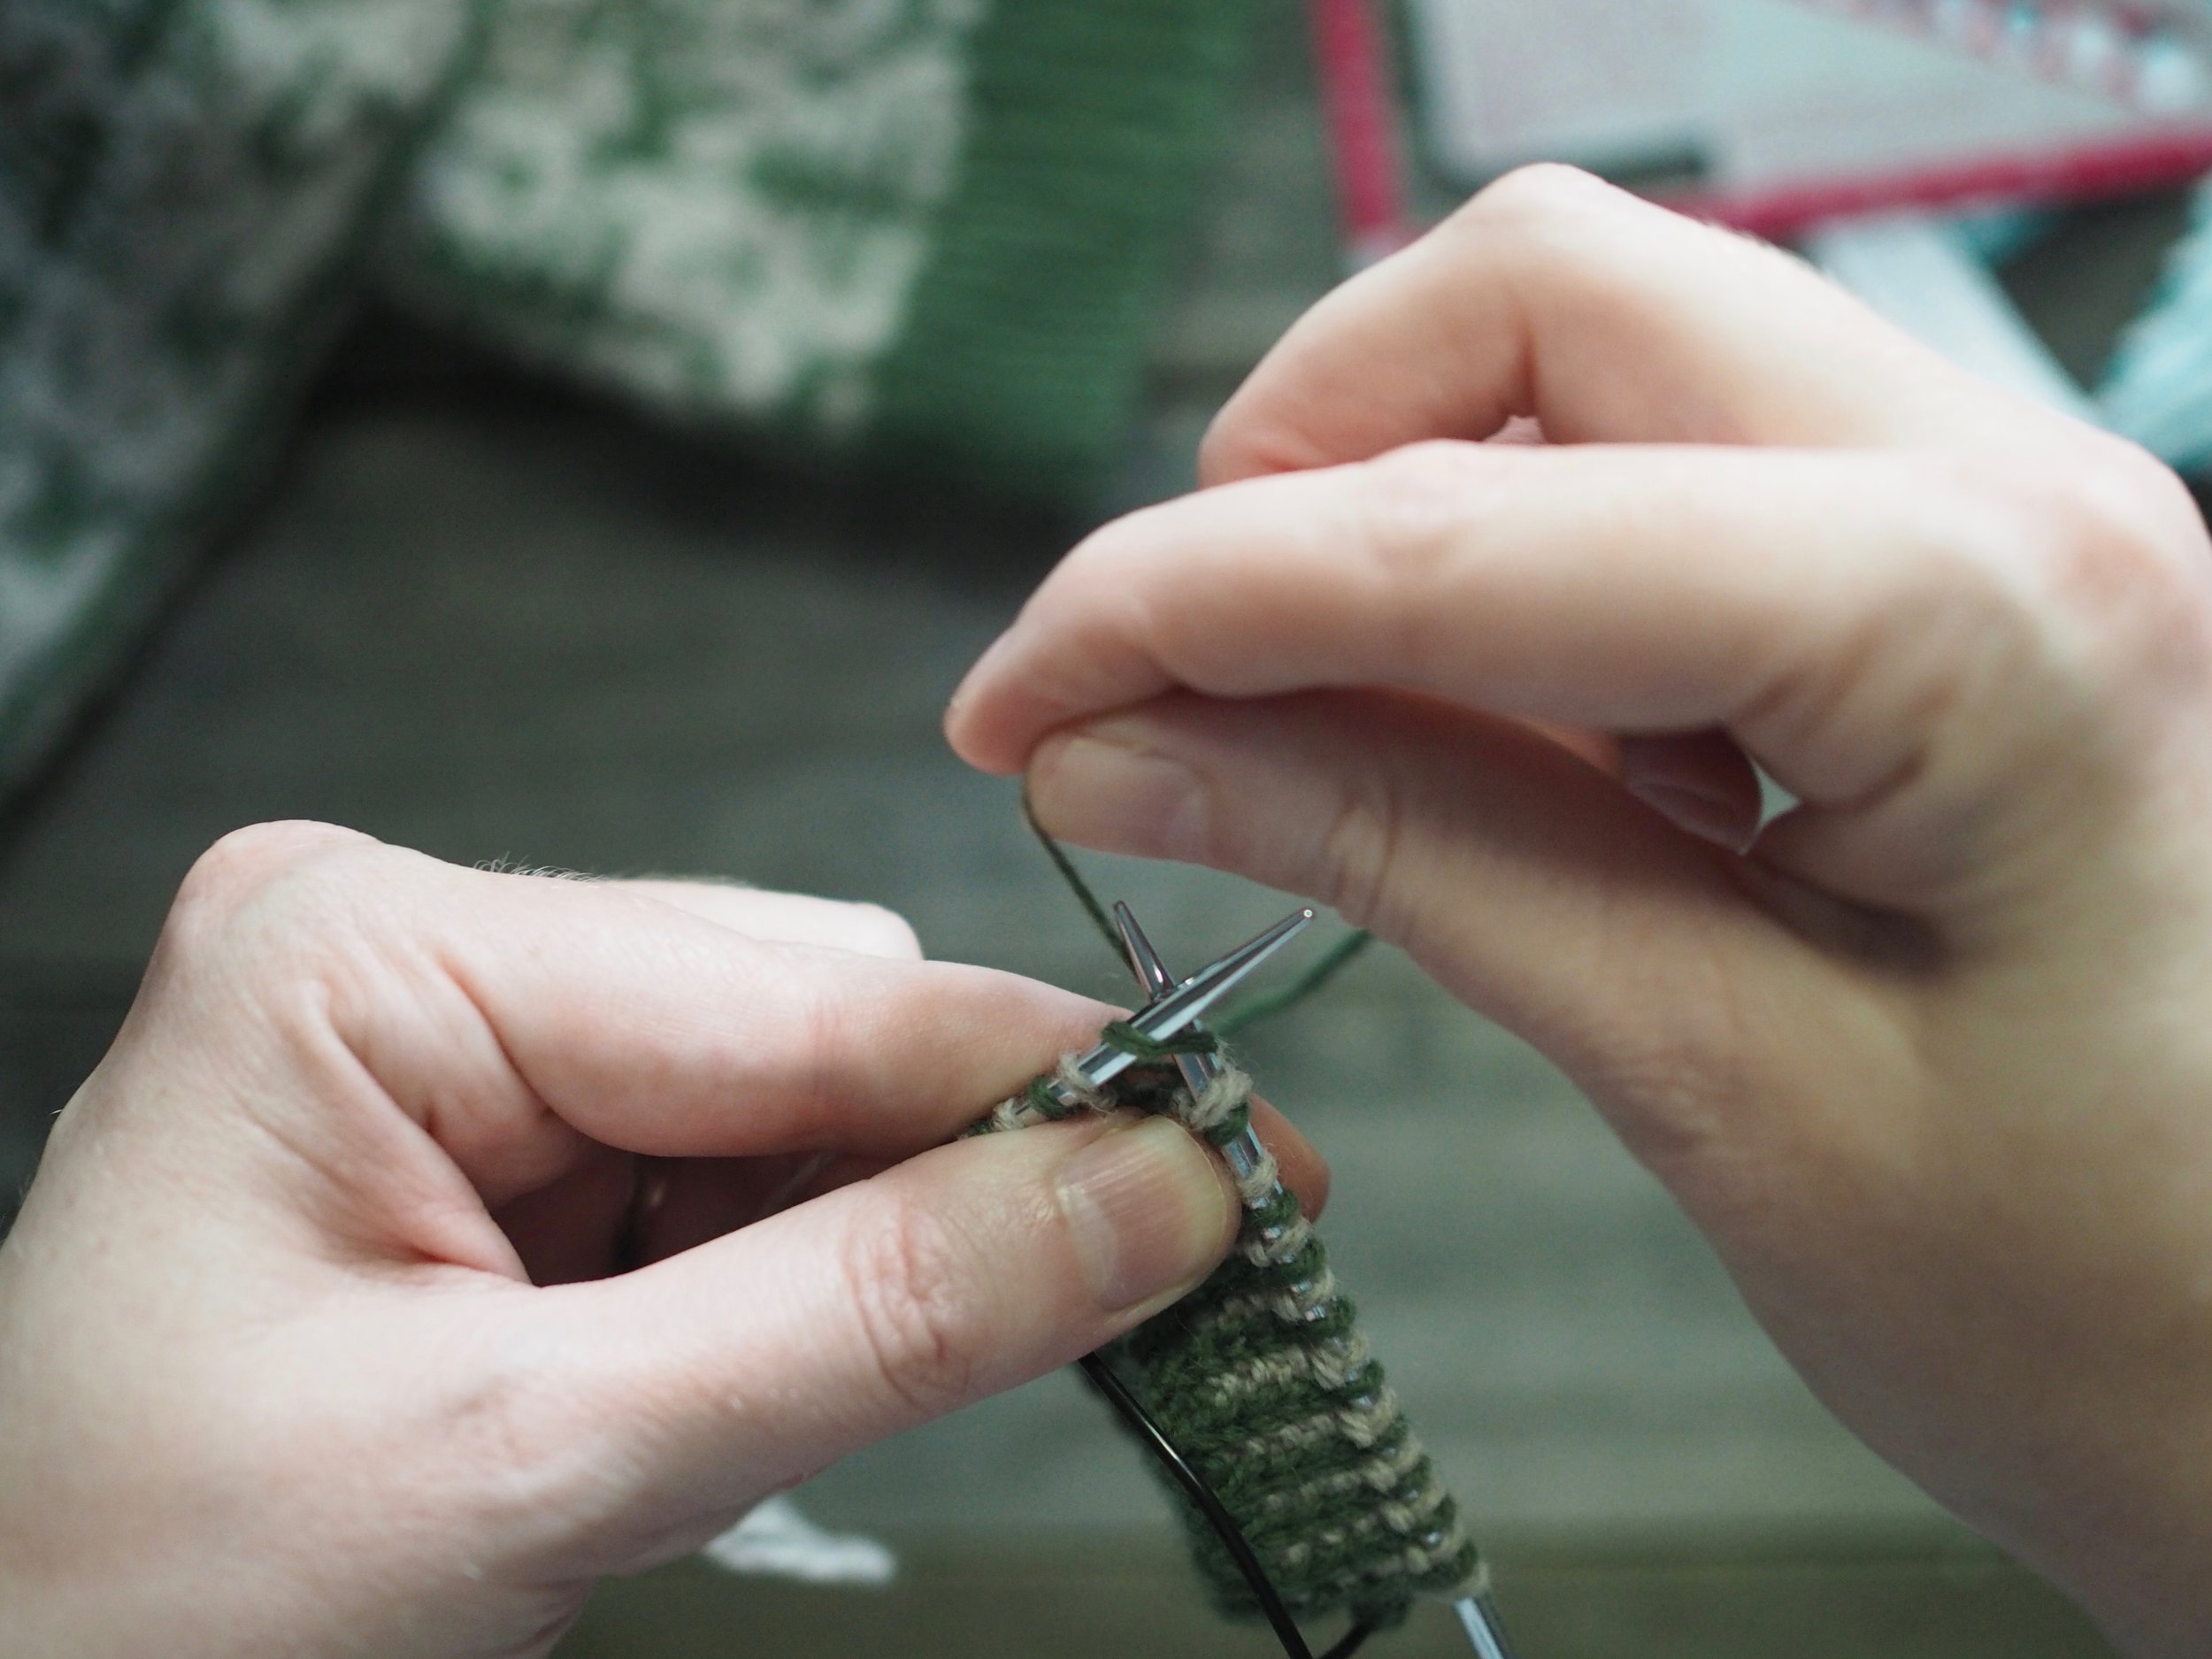
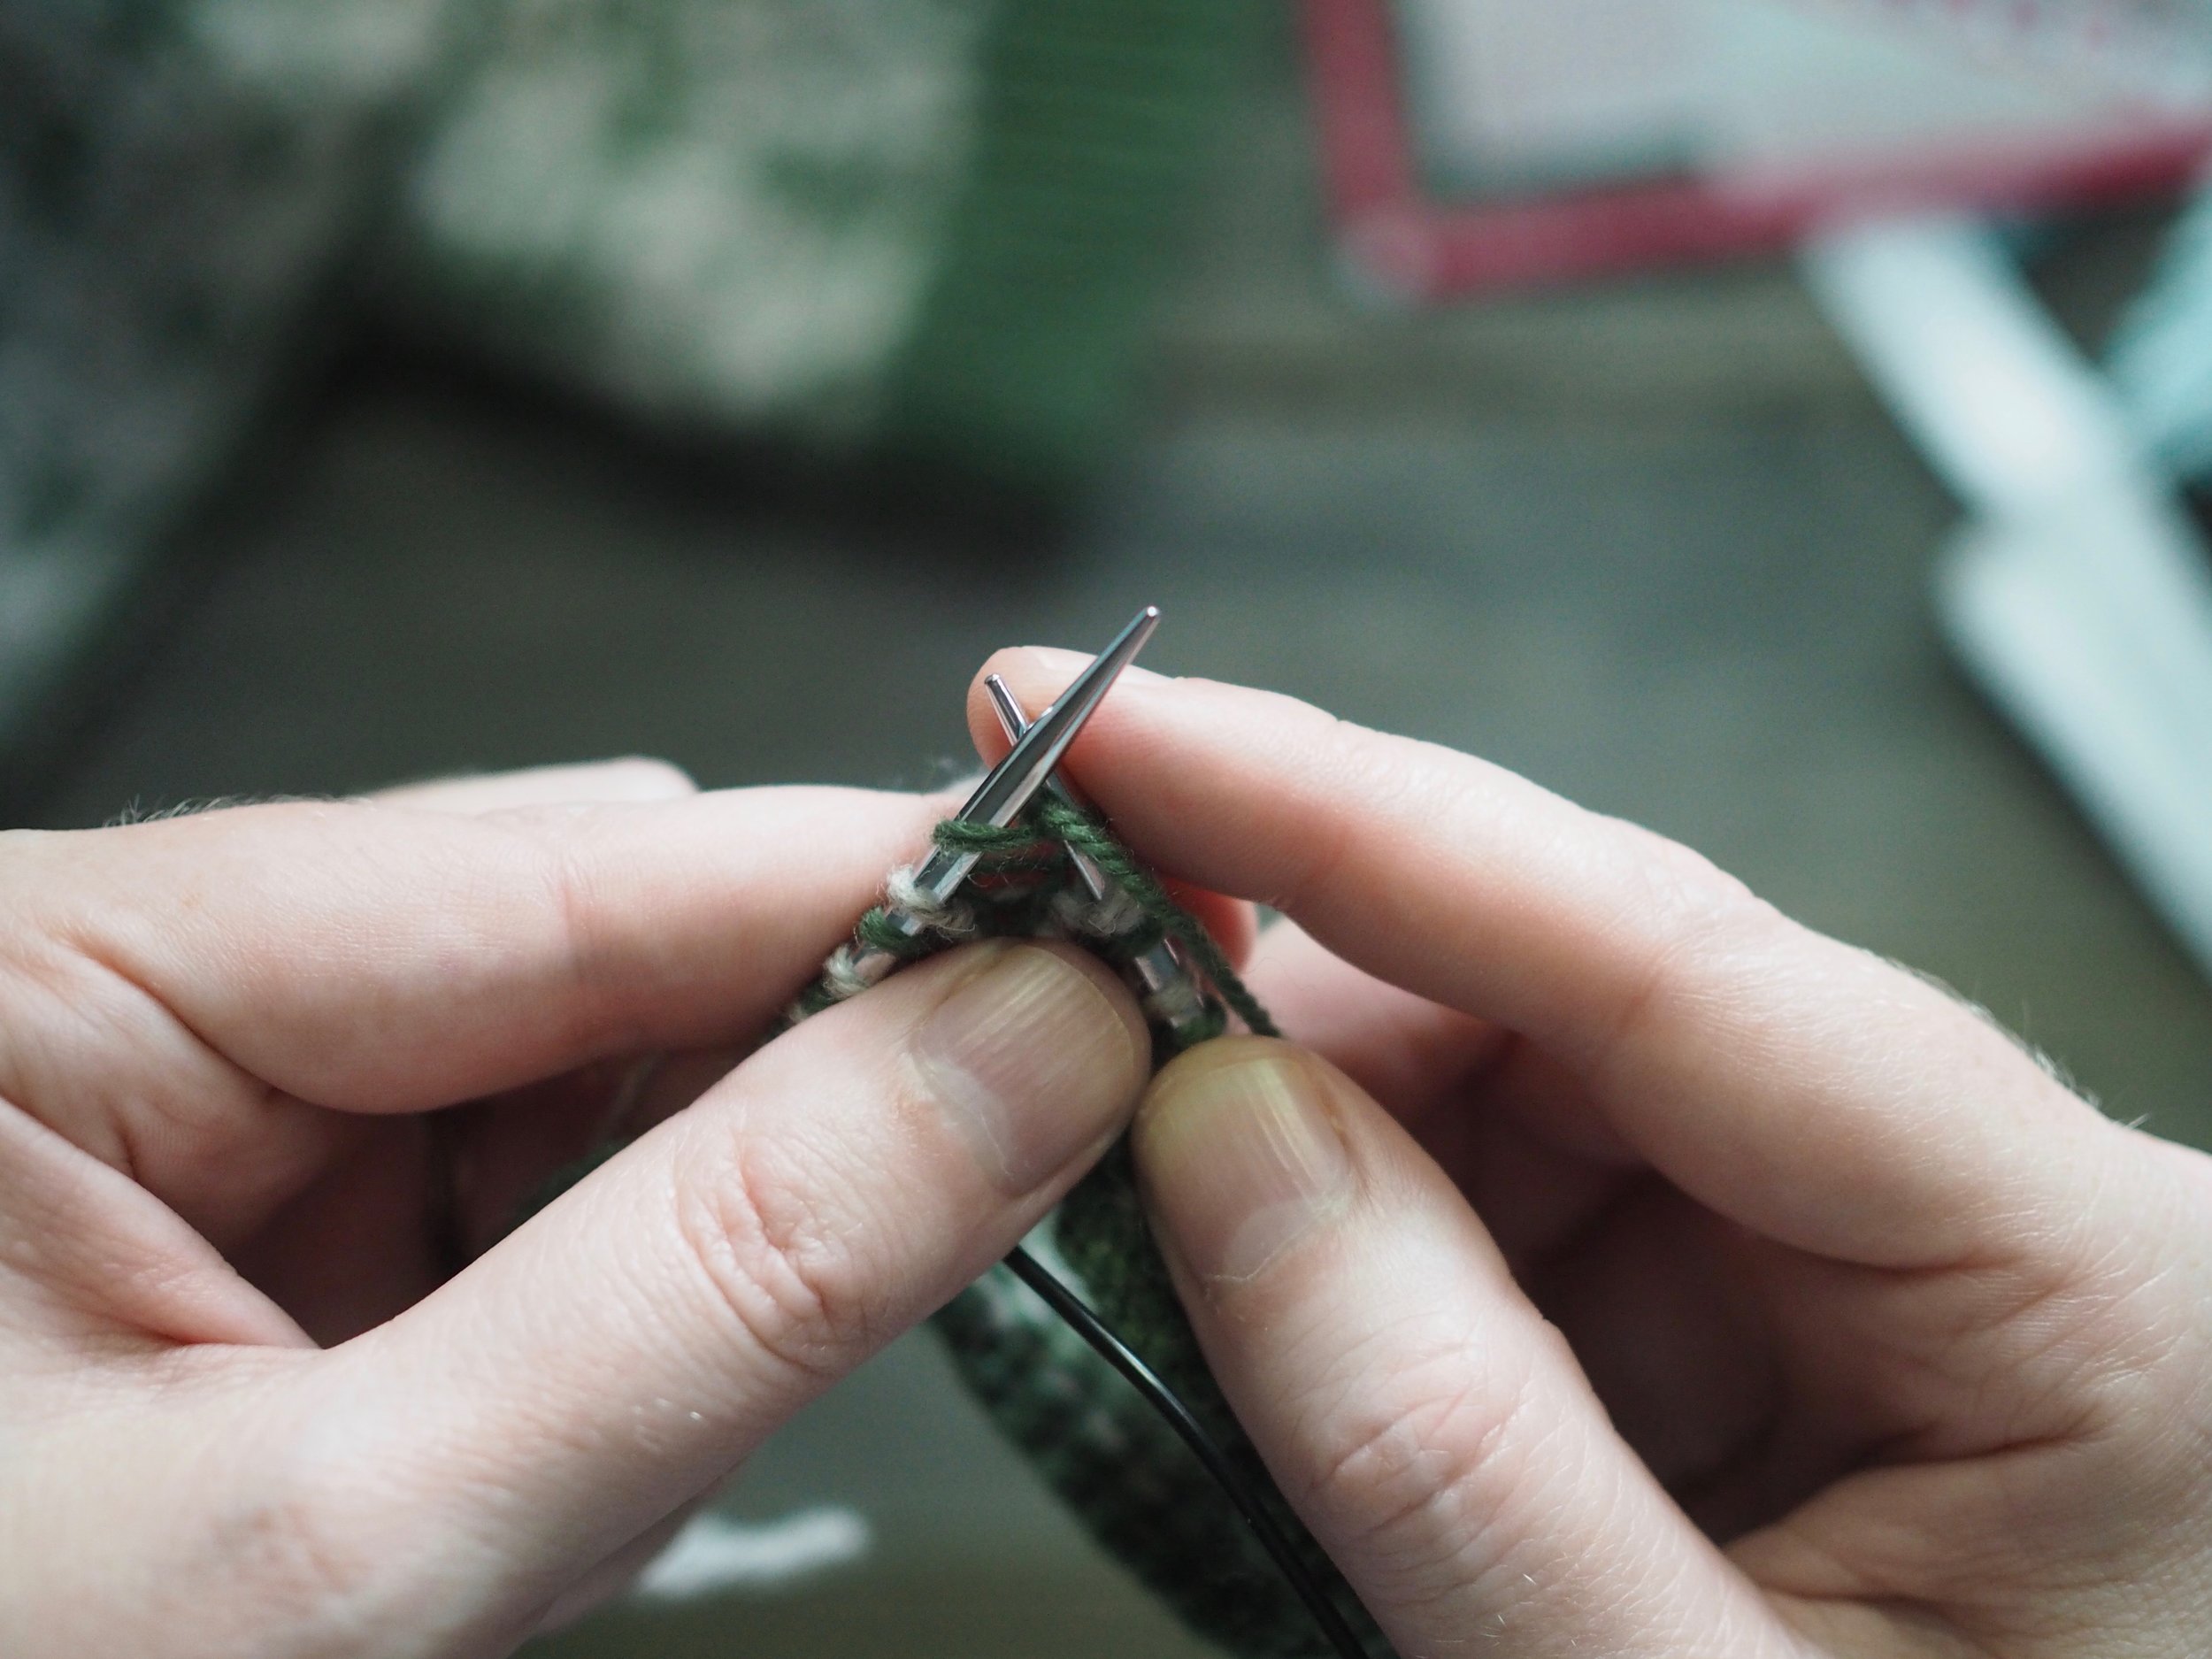
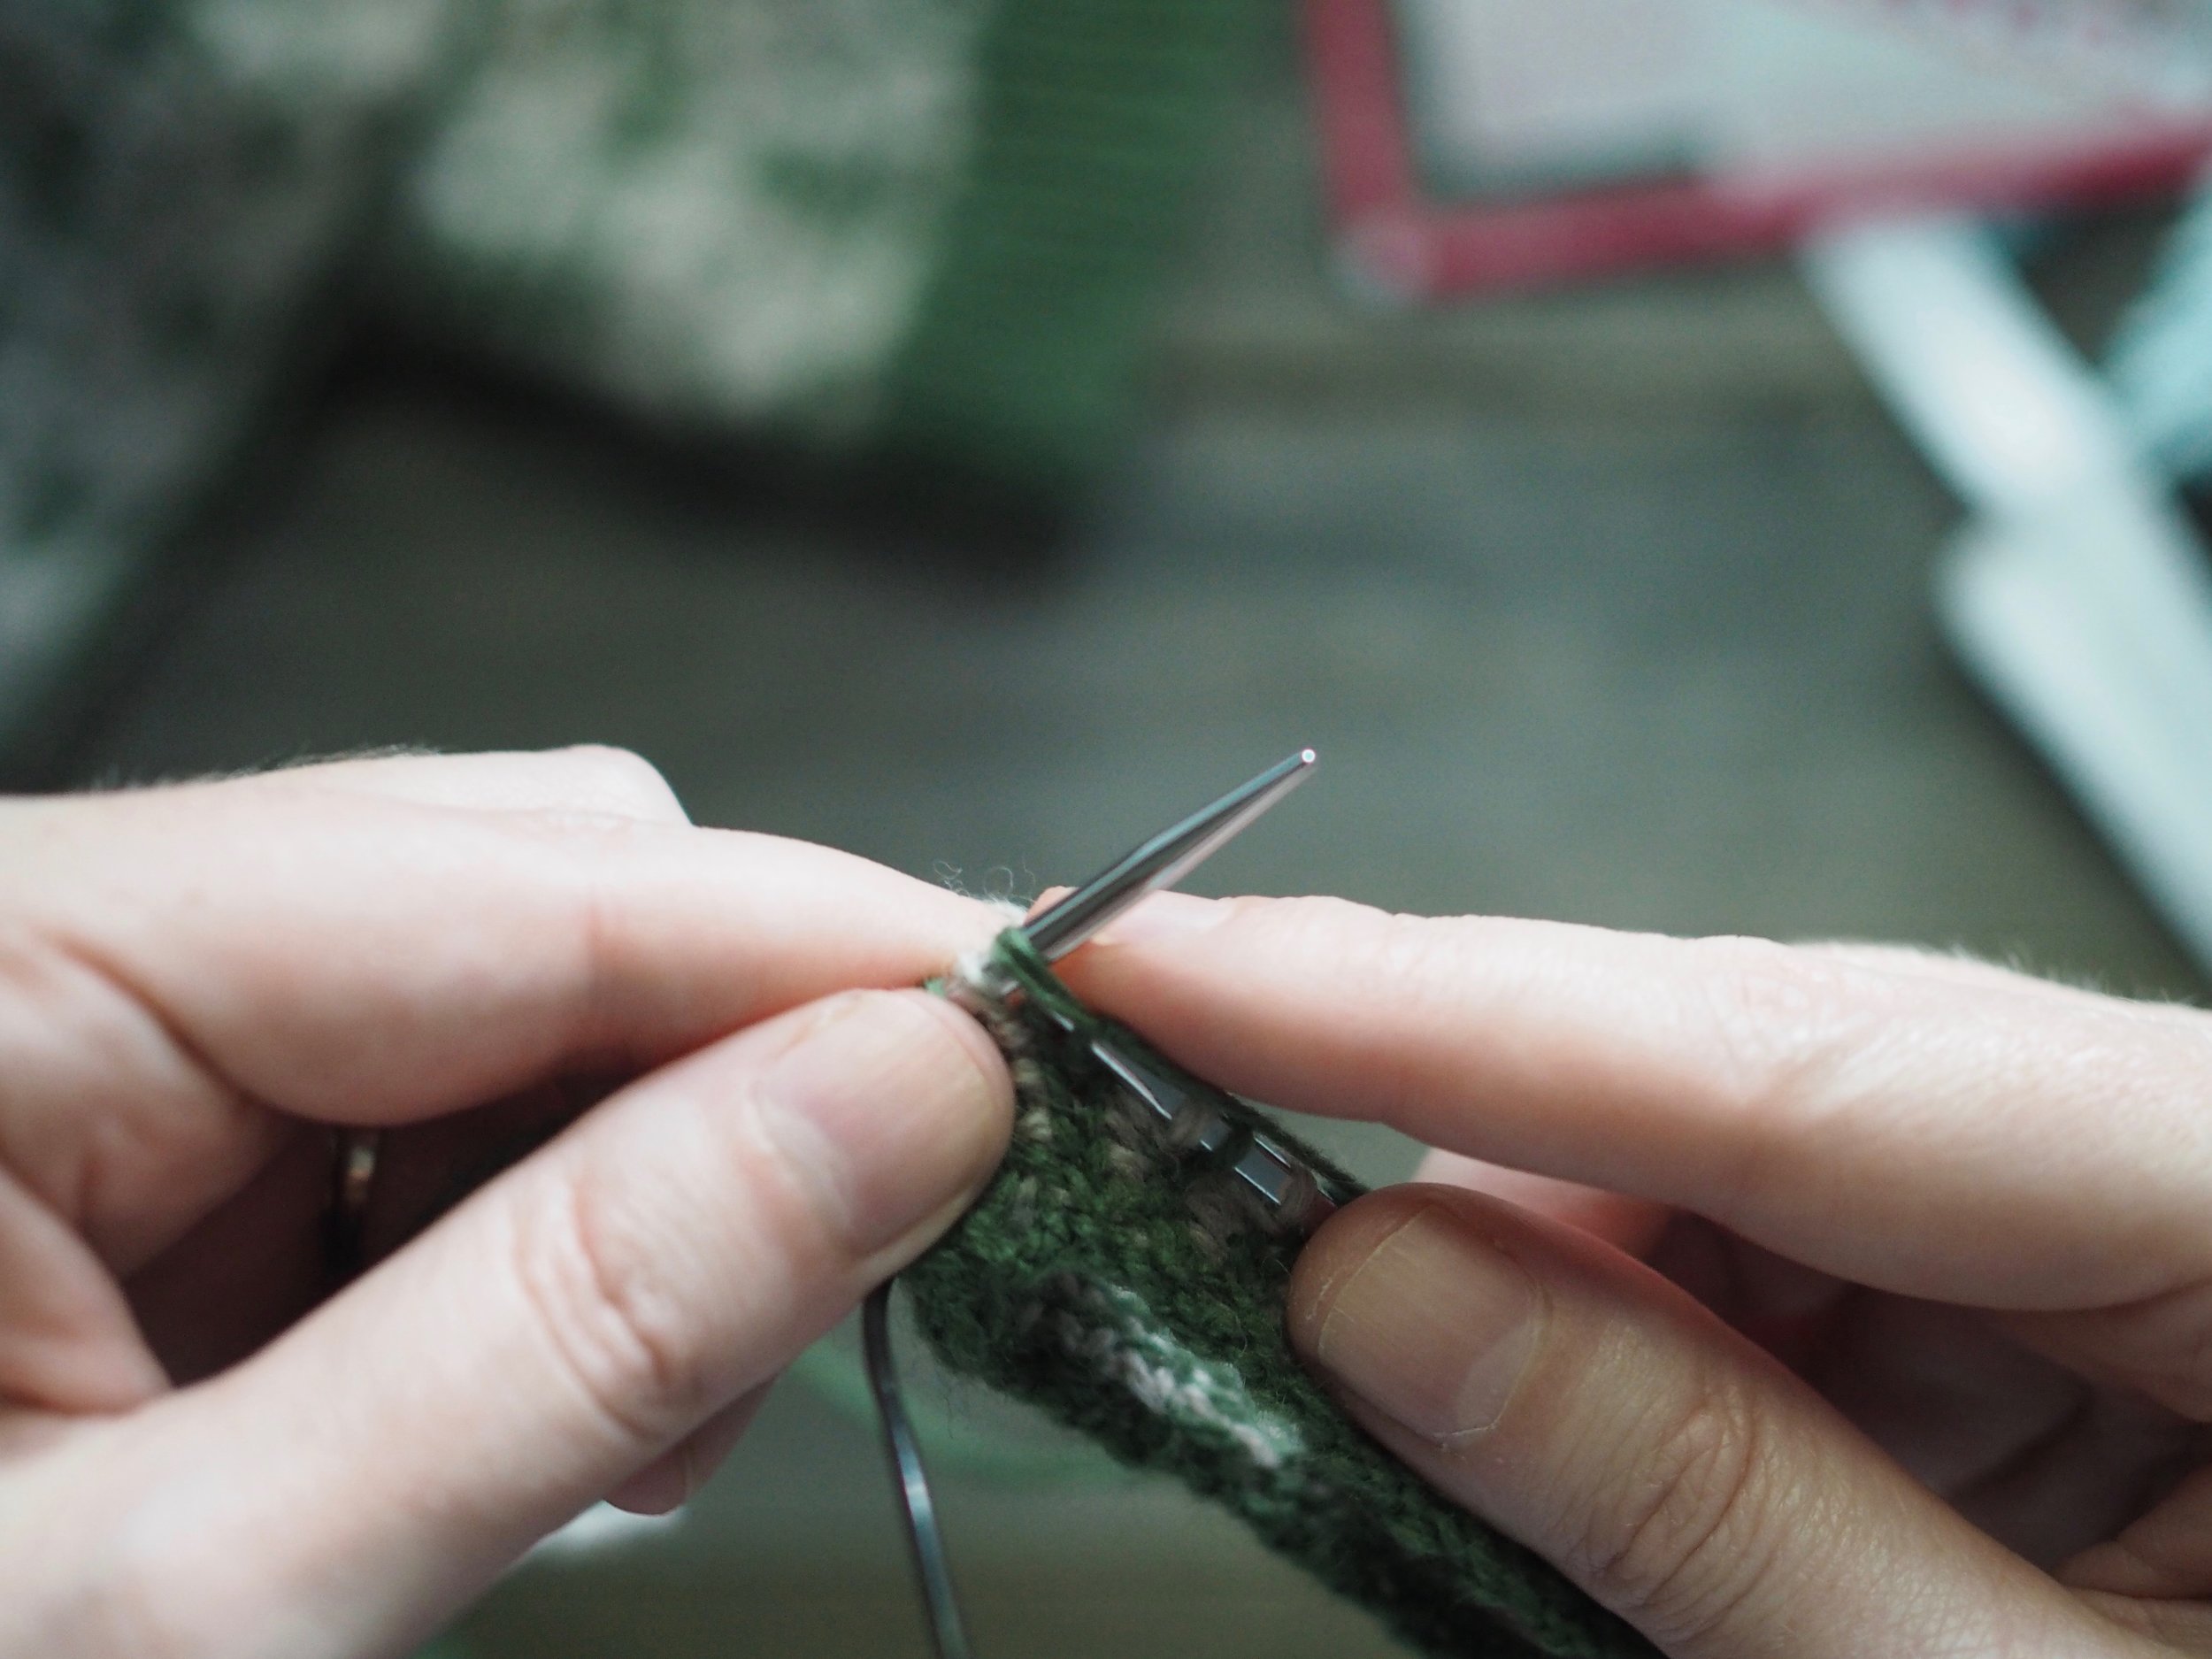
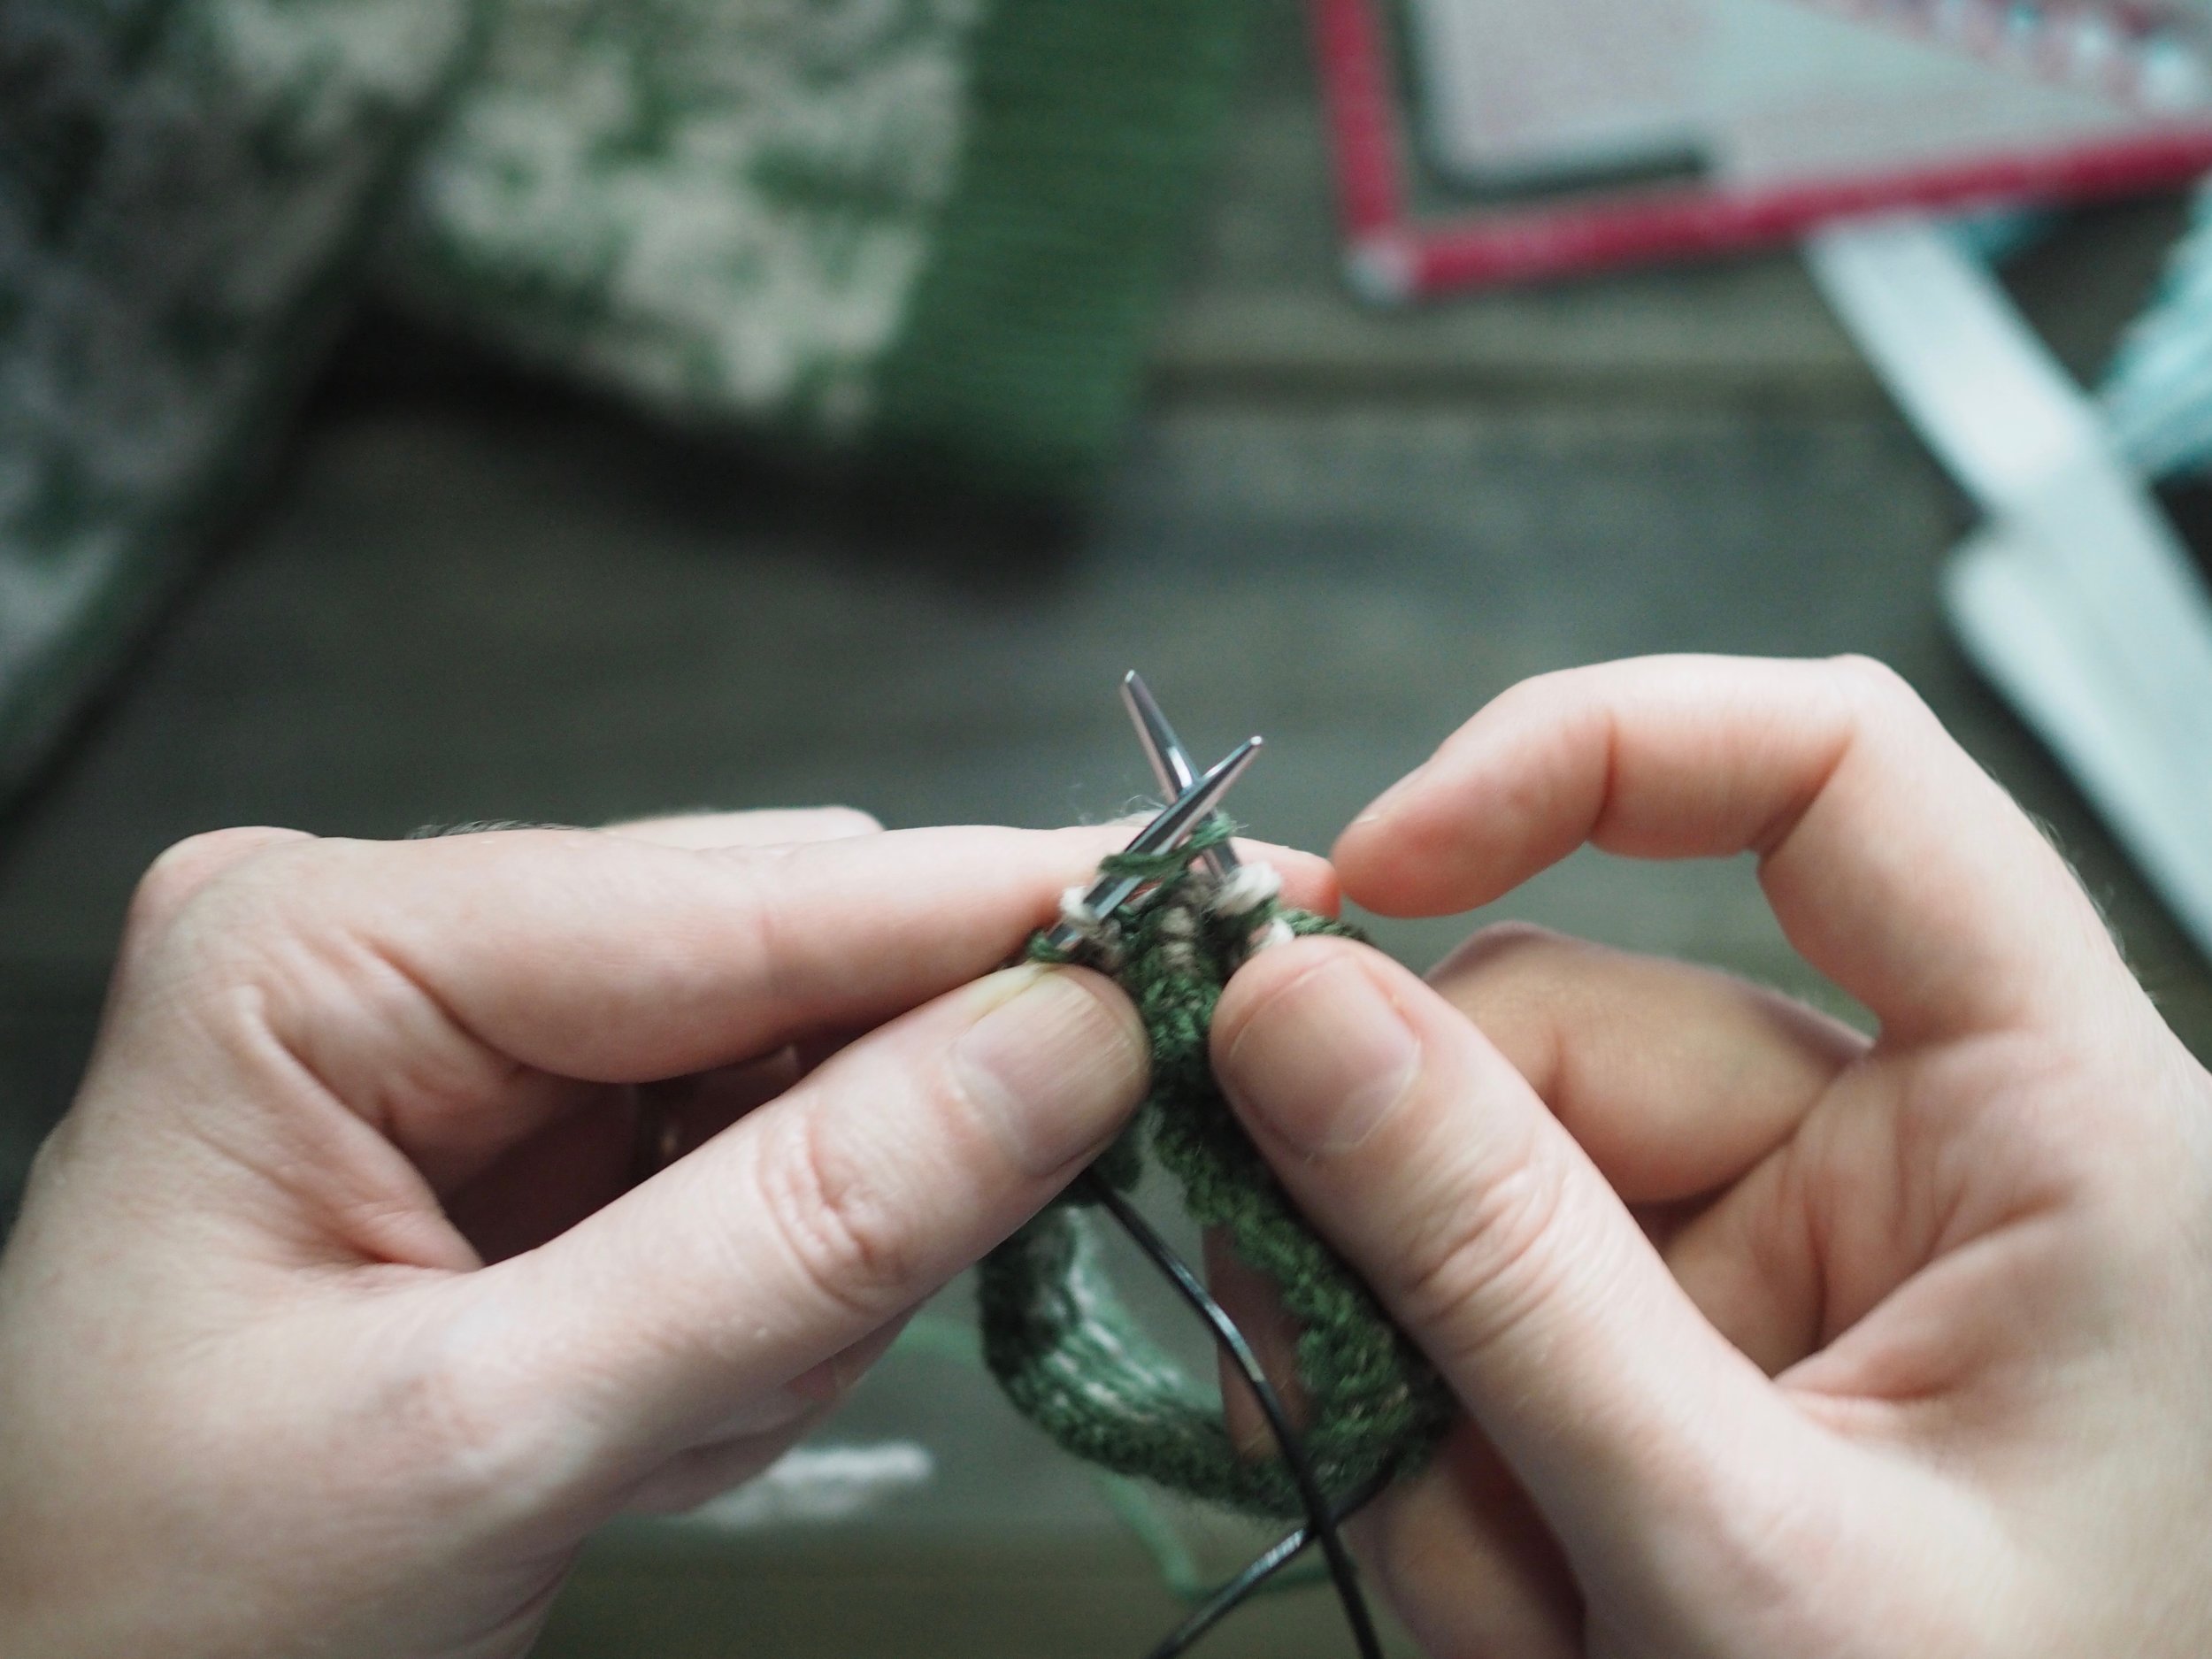
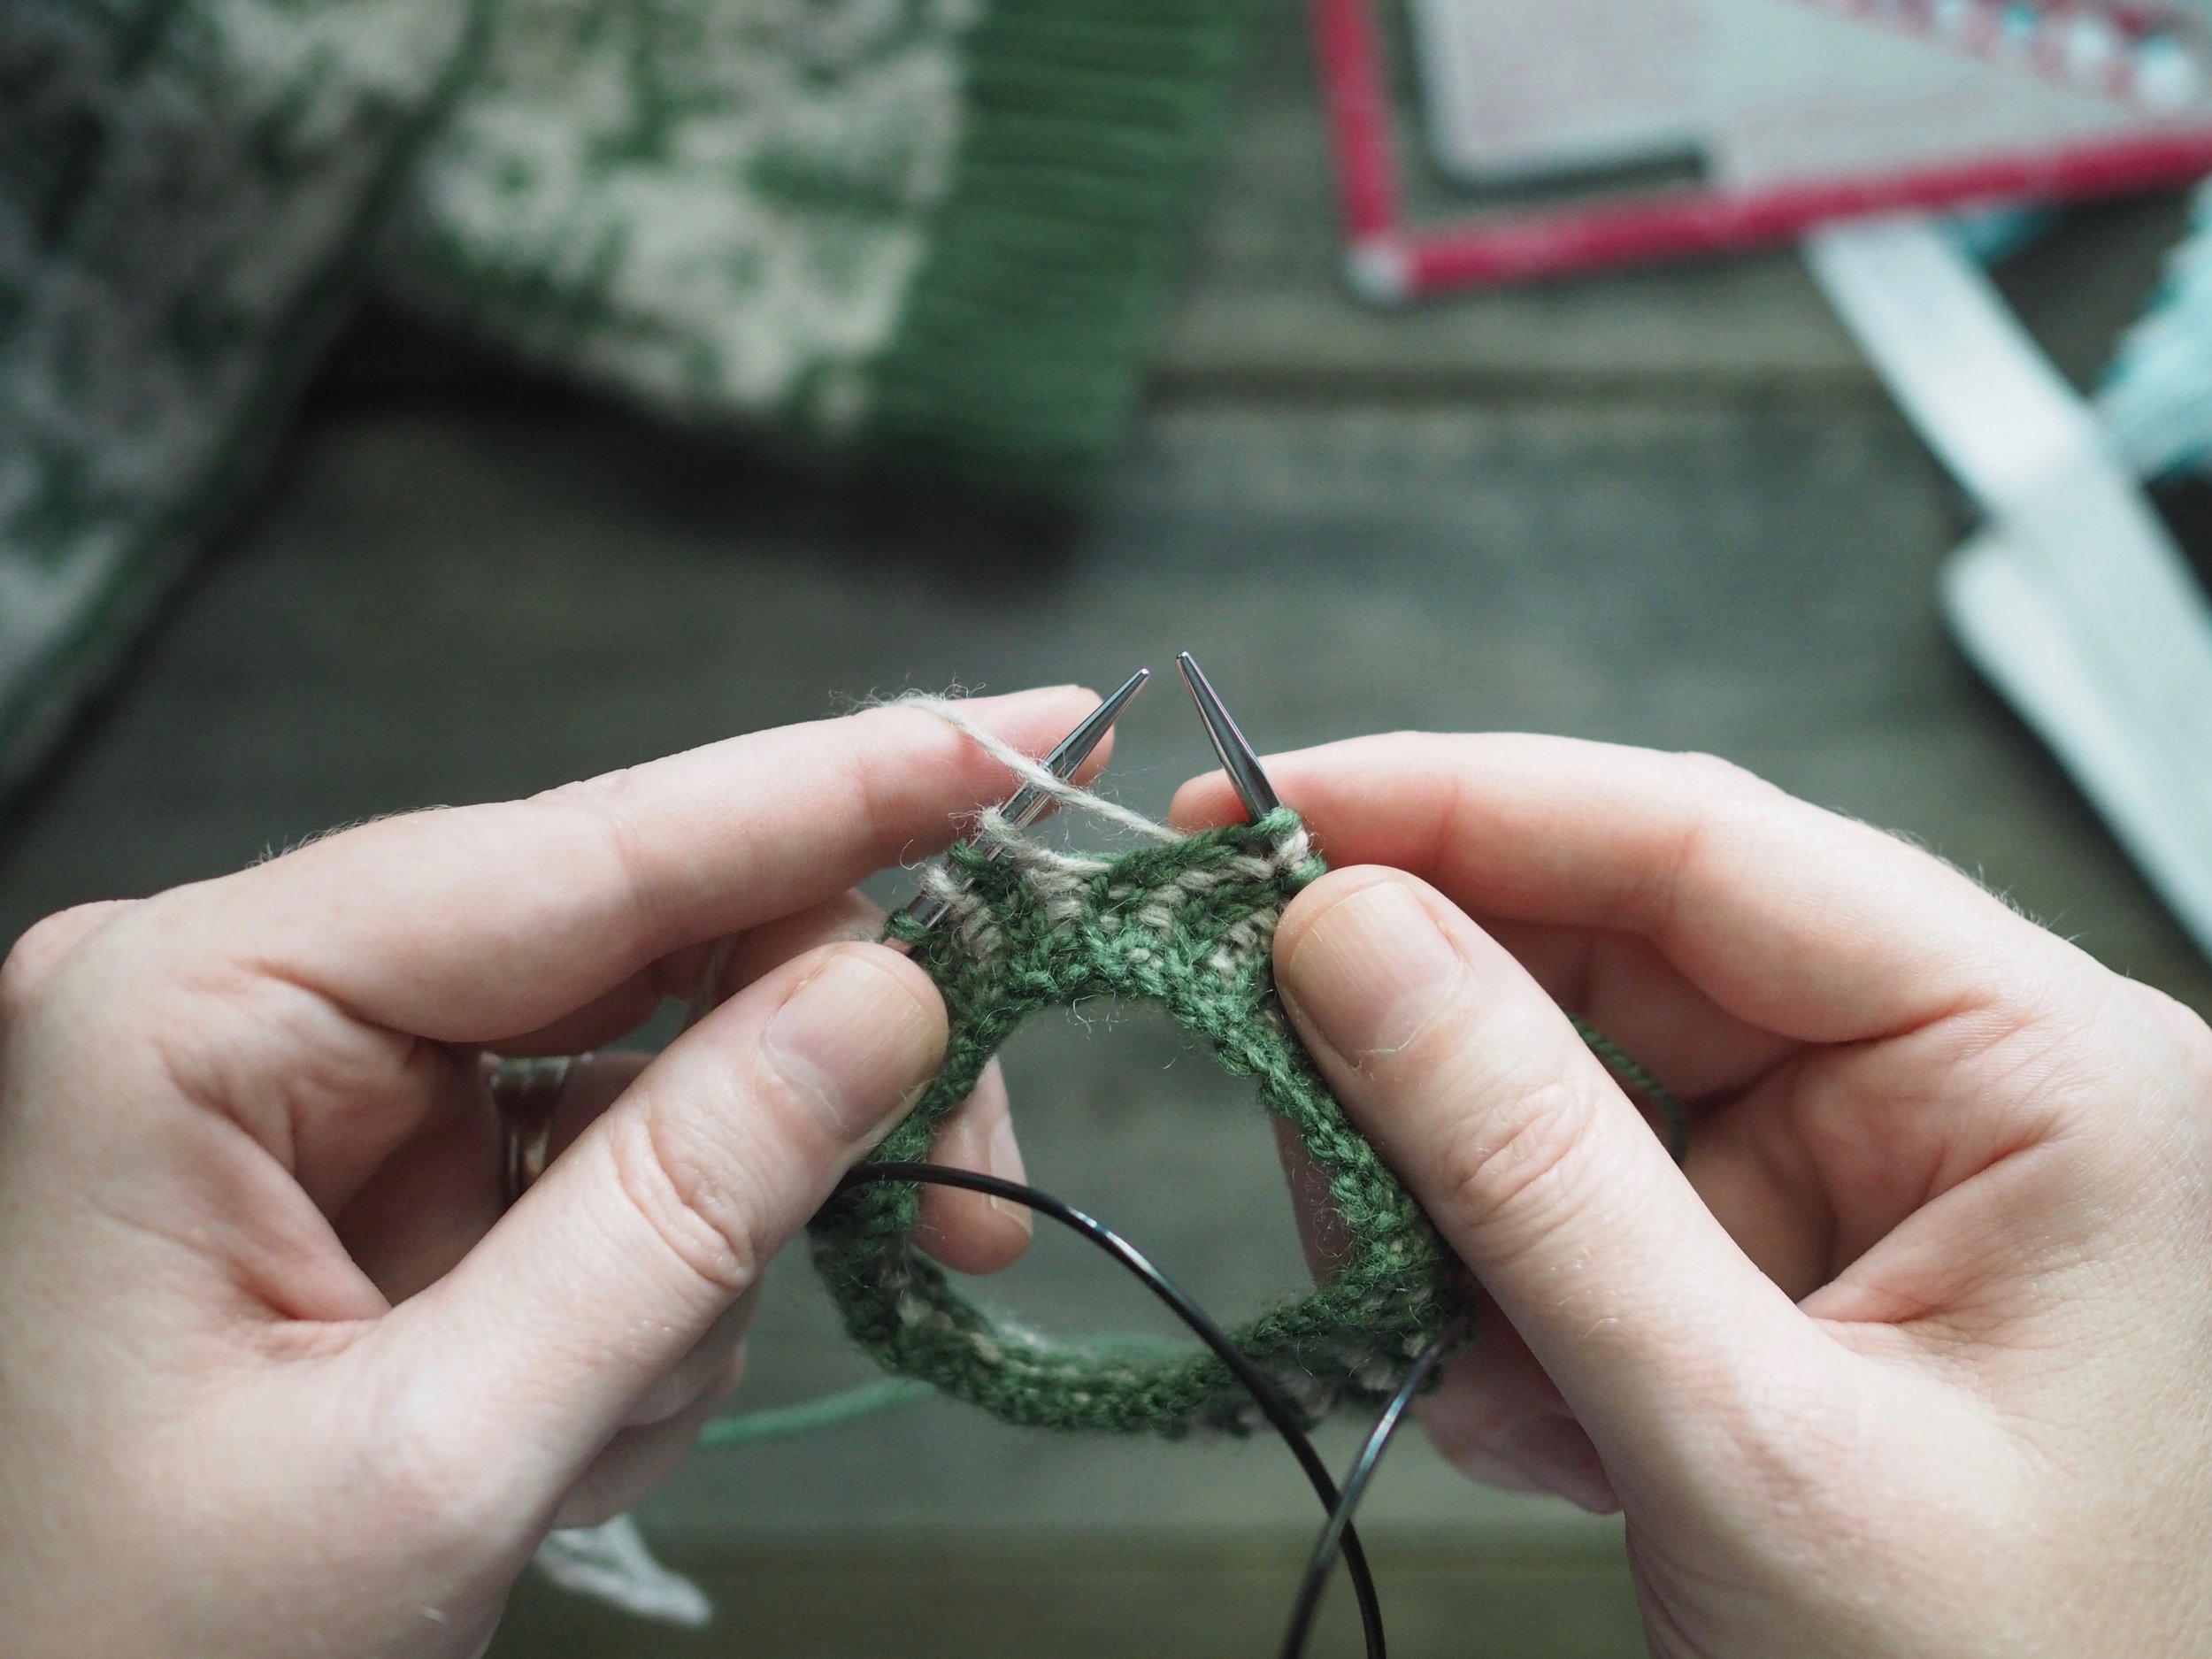
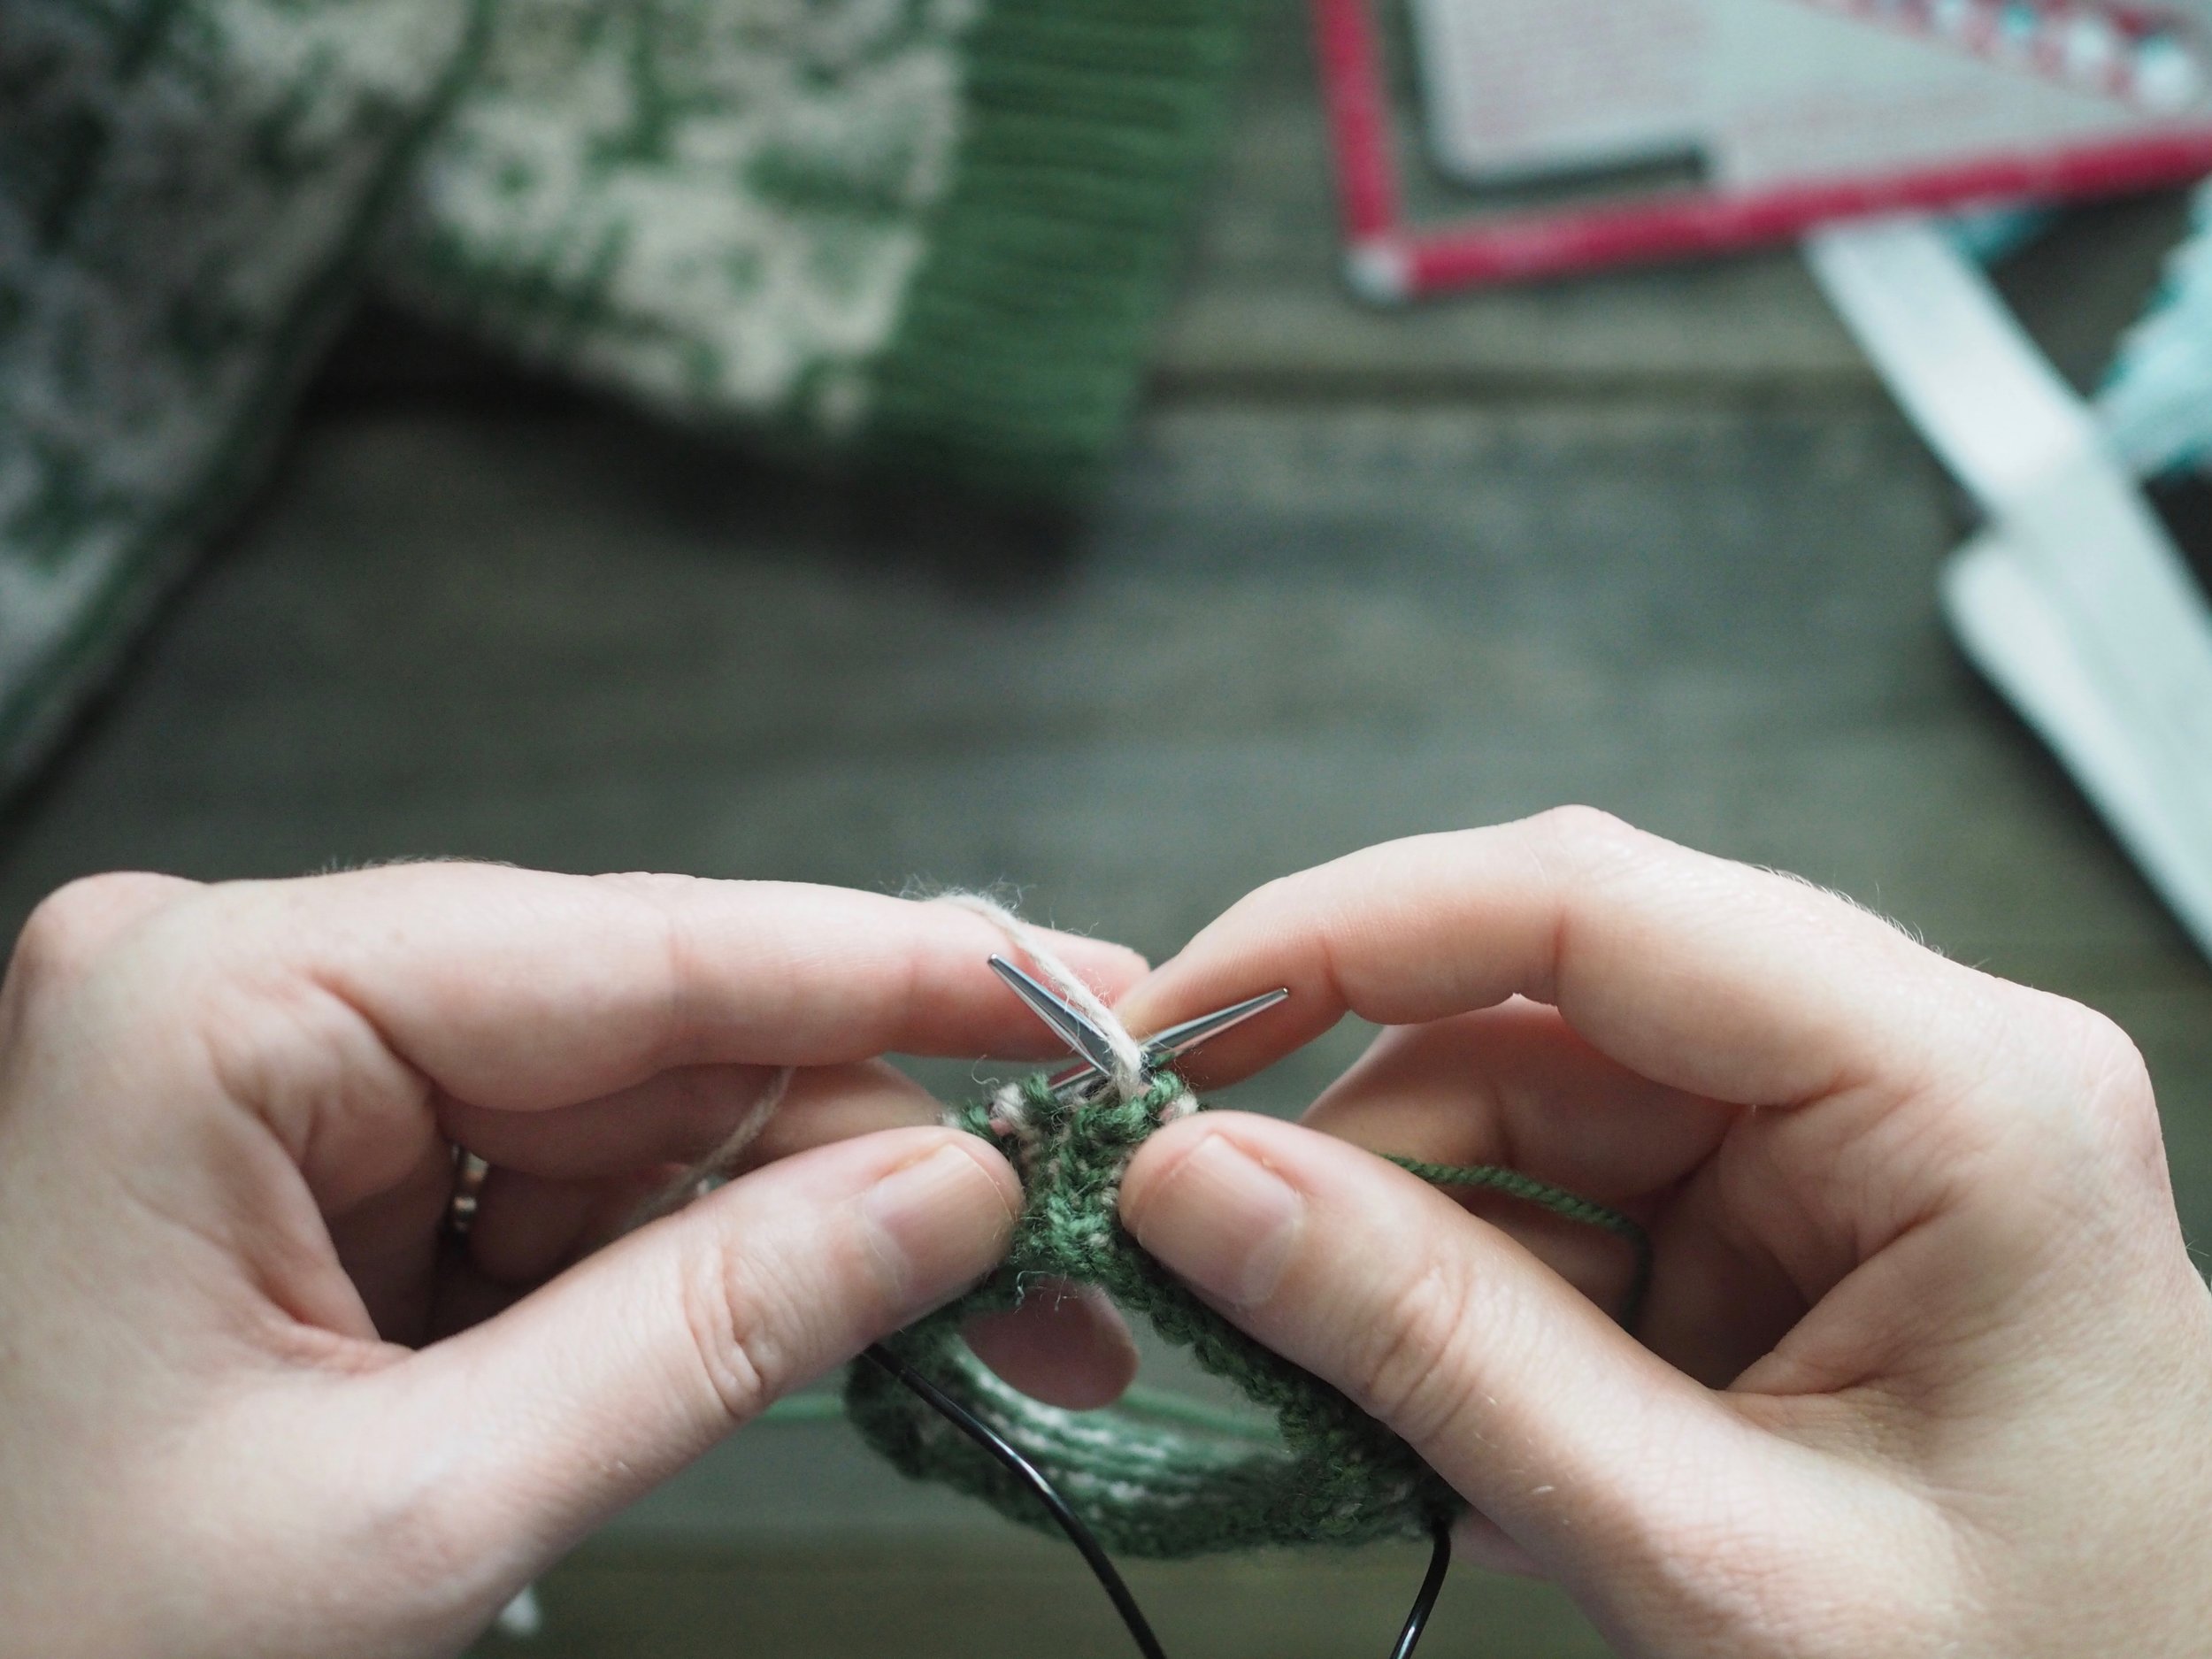
Take your CC, or the color you will be doing knit stitches with, and hold it in your right hand. Take the MC, or the color you will be doing purl stitches with, and hold it in your left hand, tensioning the yarn around your pinky finger as in Continental style. To begin, both yarns should be behind the needles, with the CC in front of the MC. 

Step 1: With the yarn held in your right hand, work a knit stitch by "throwing" or wrapping the yarn around the needle with your right hand. 

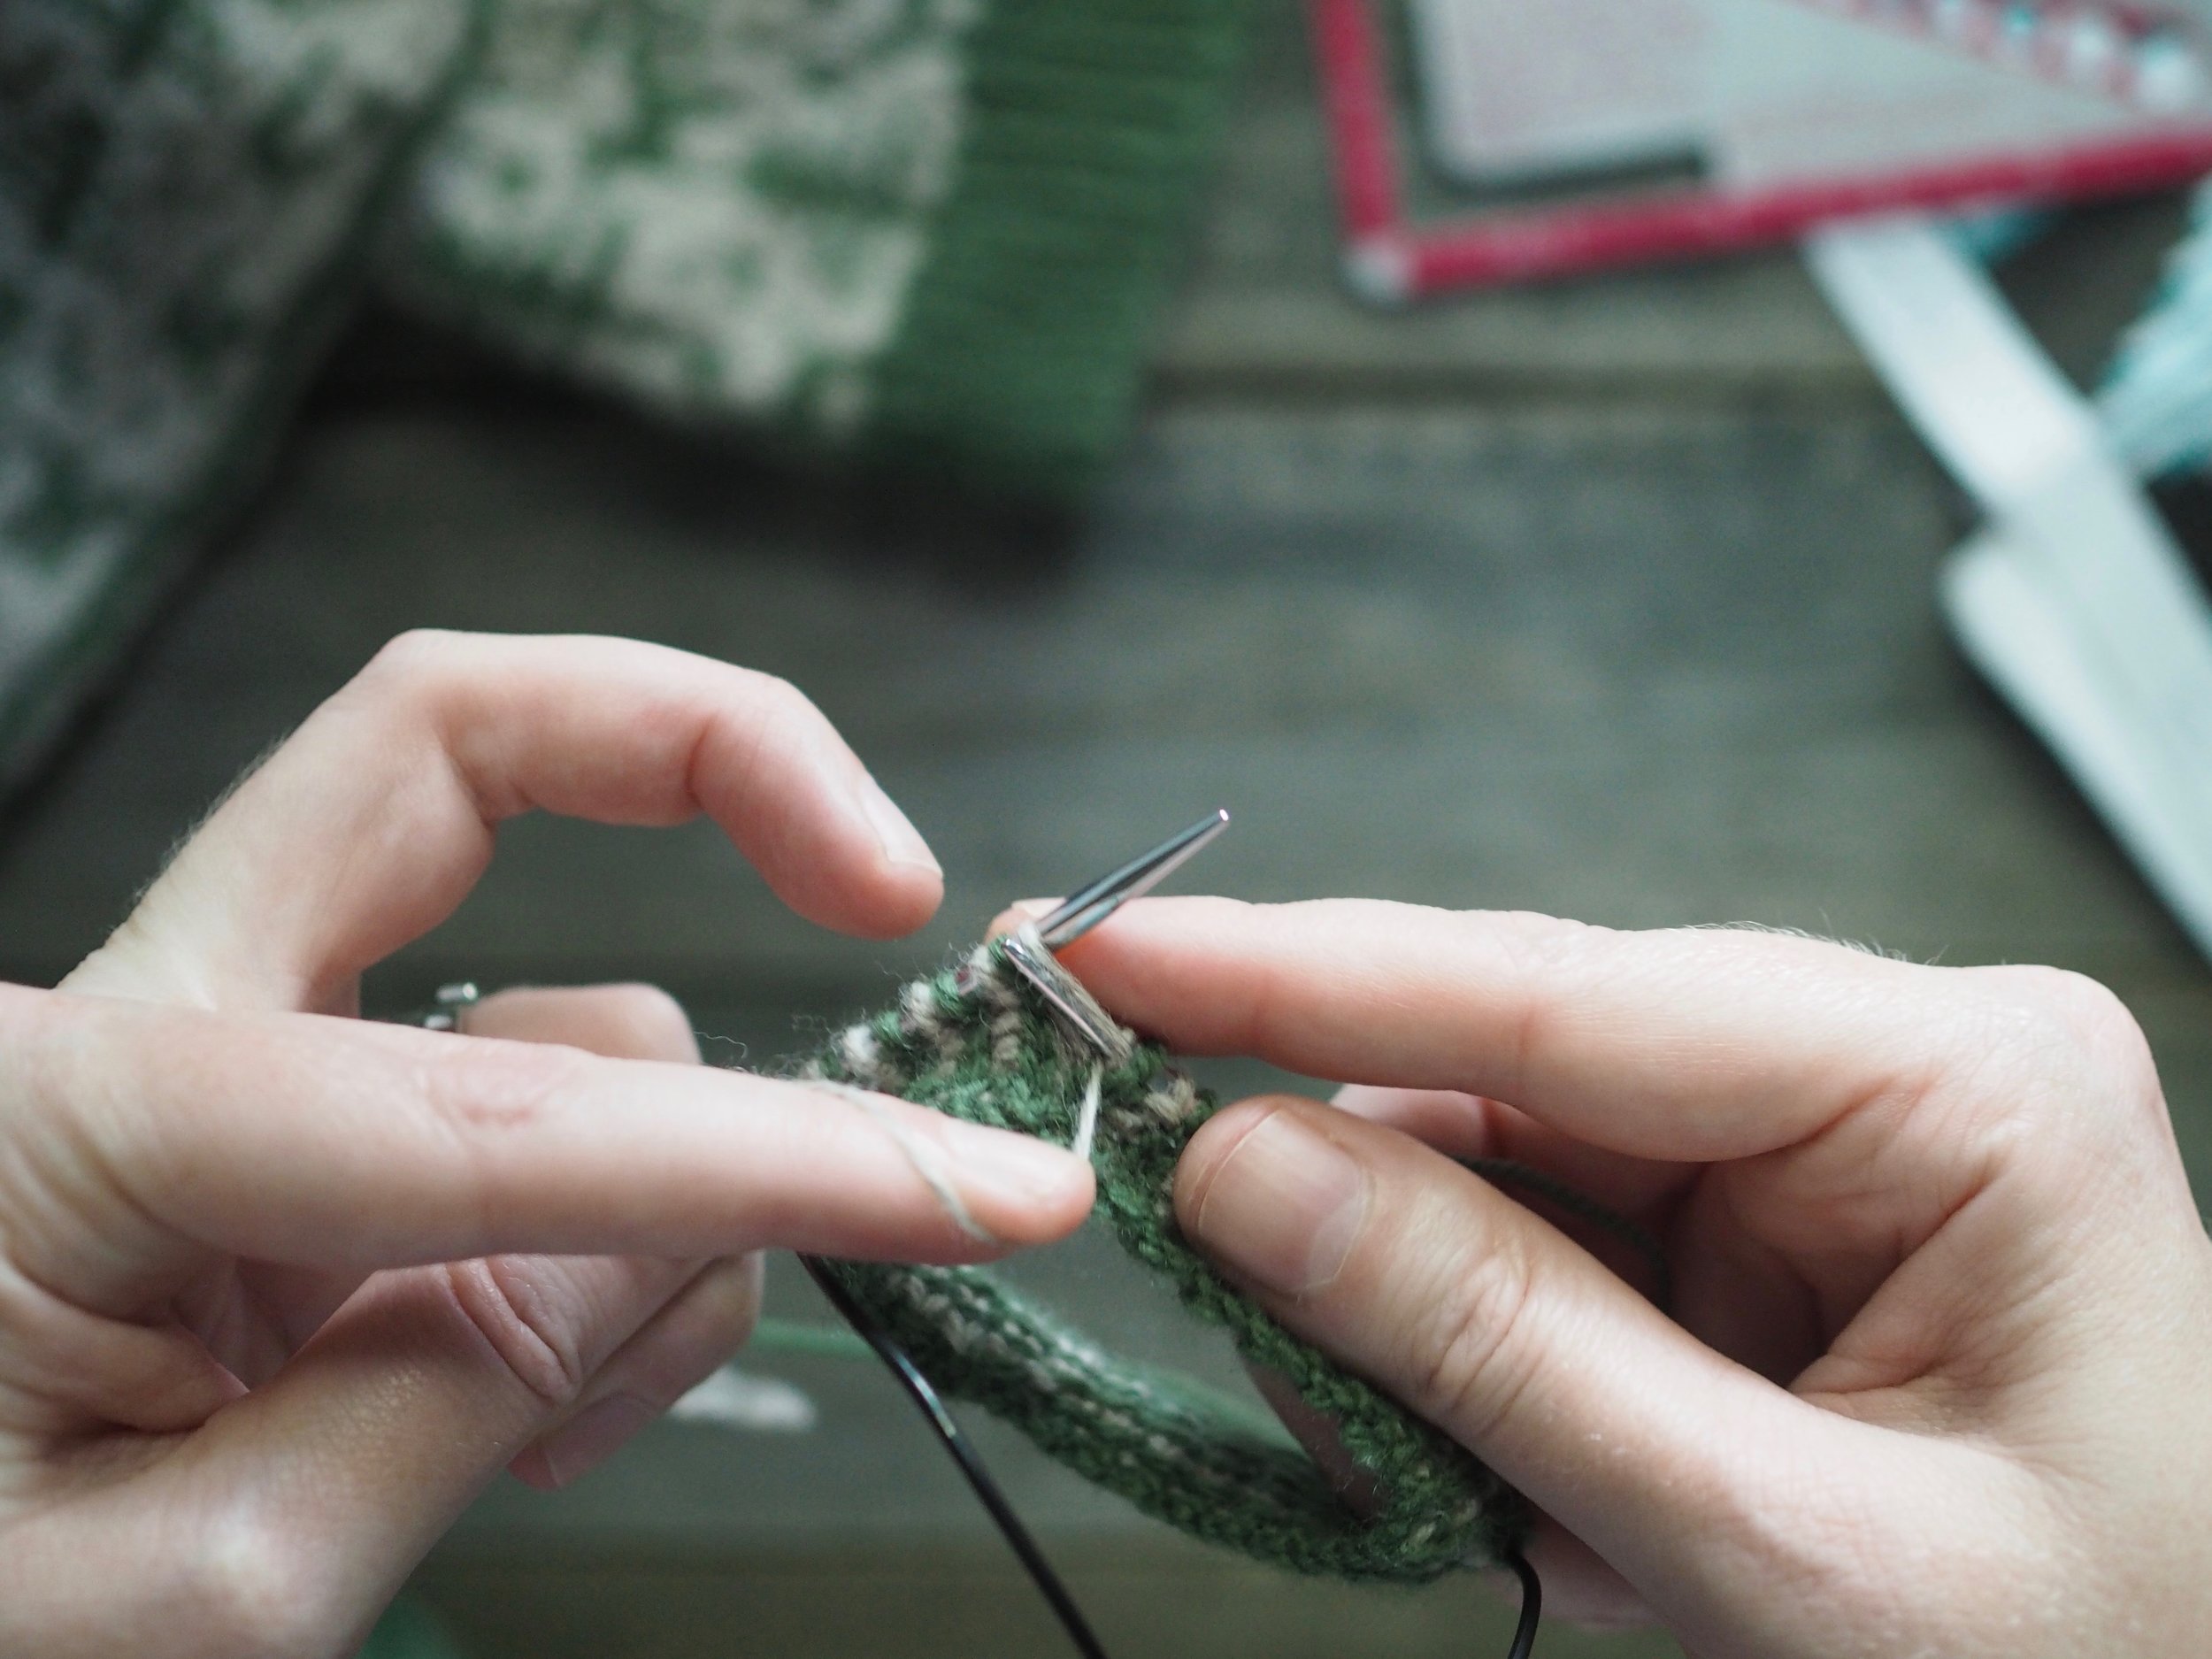
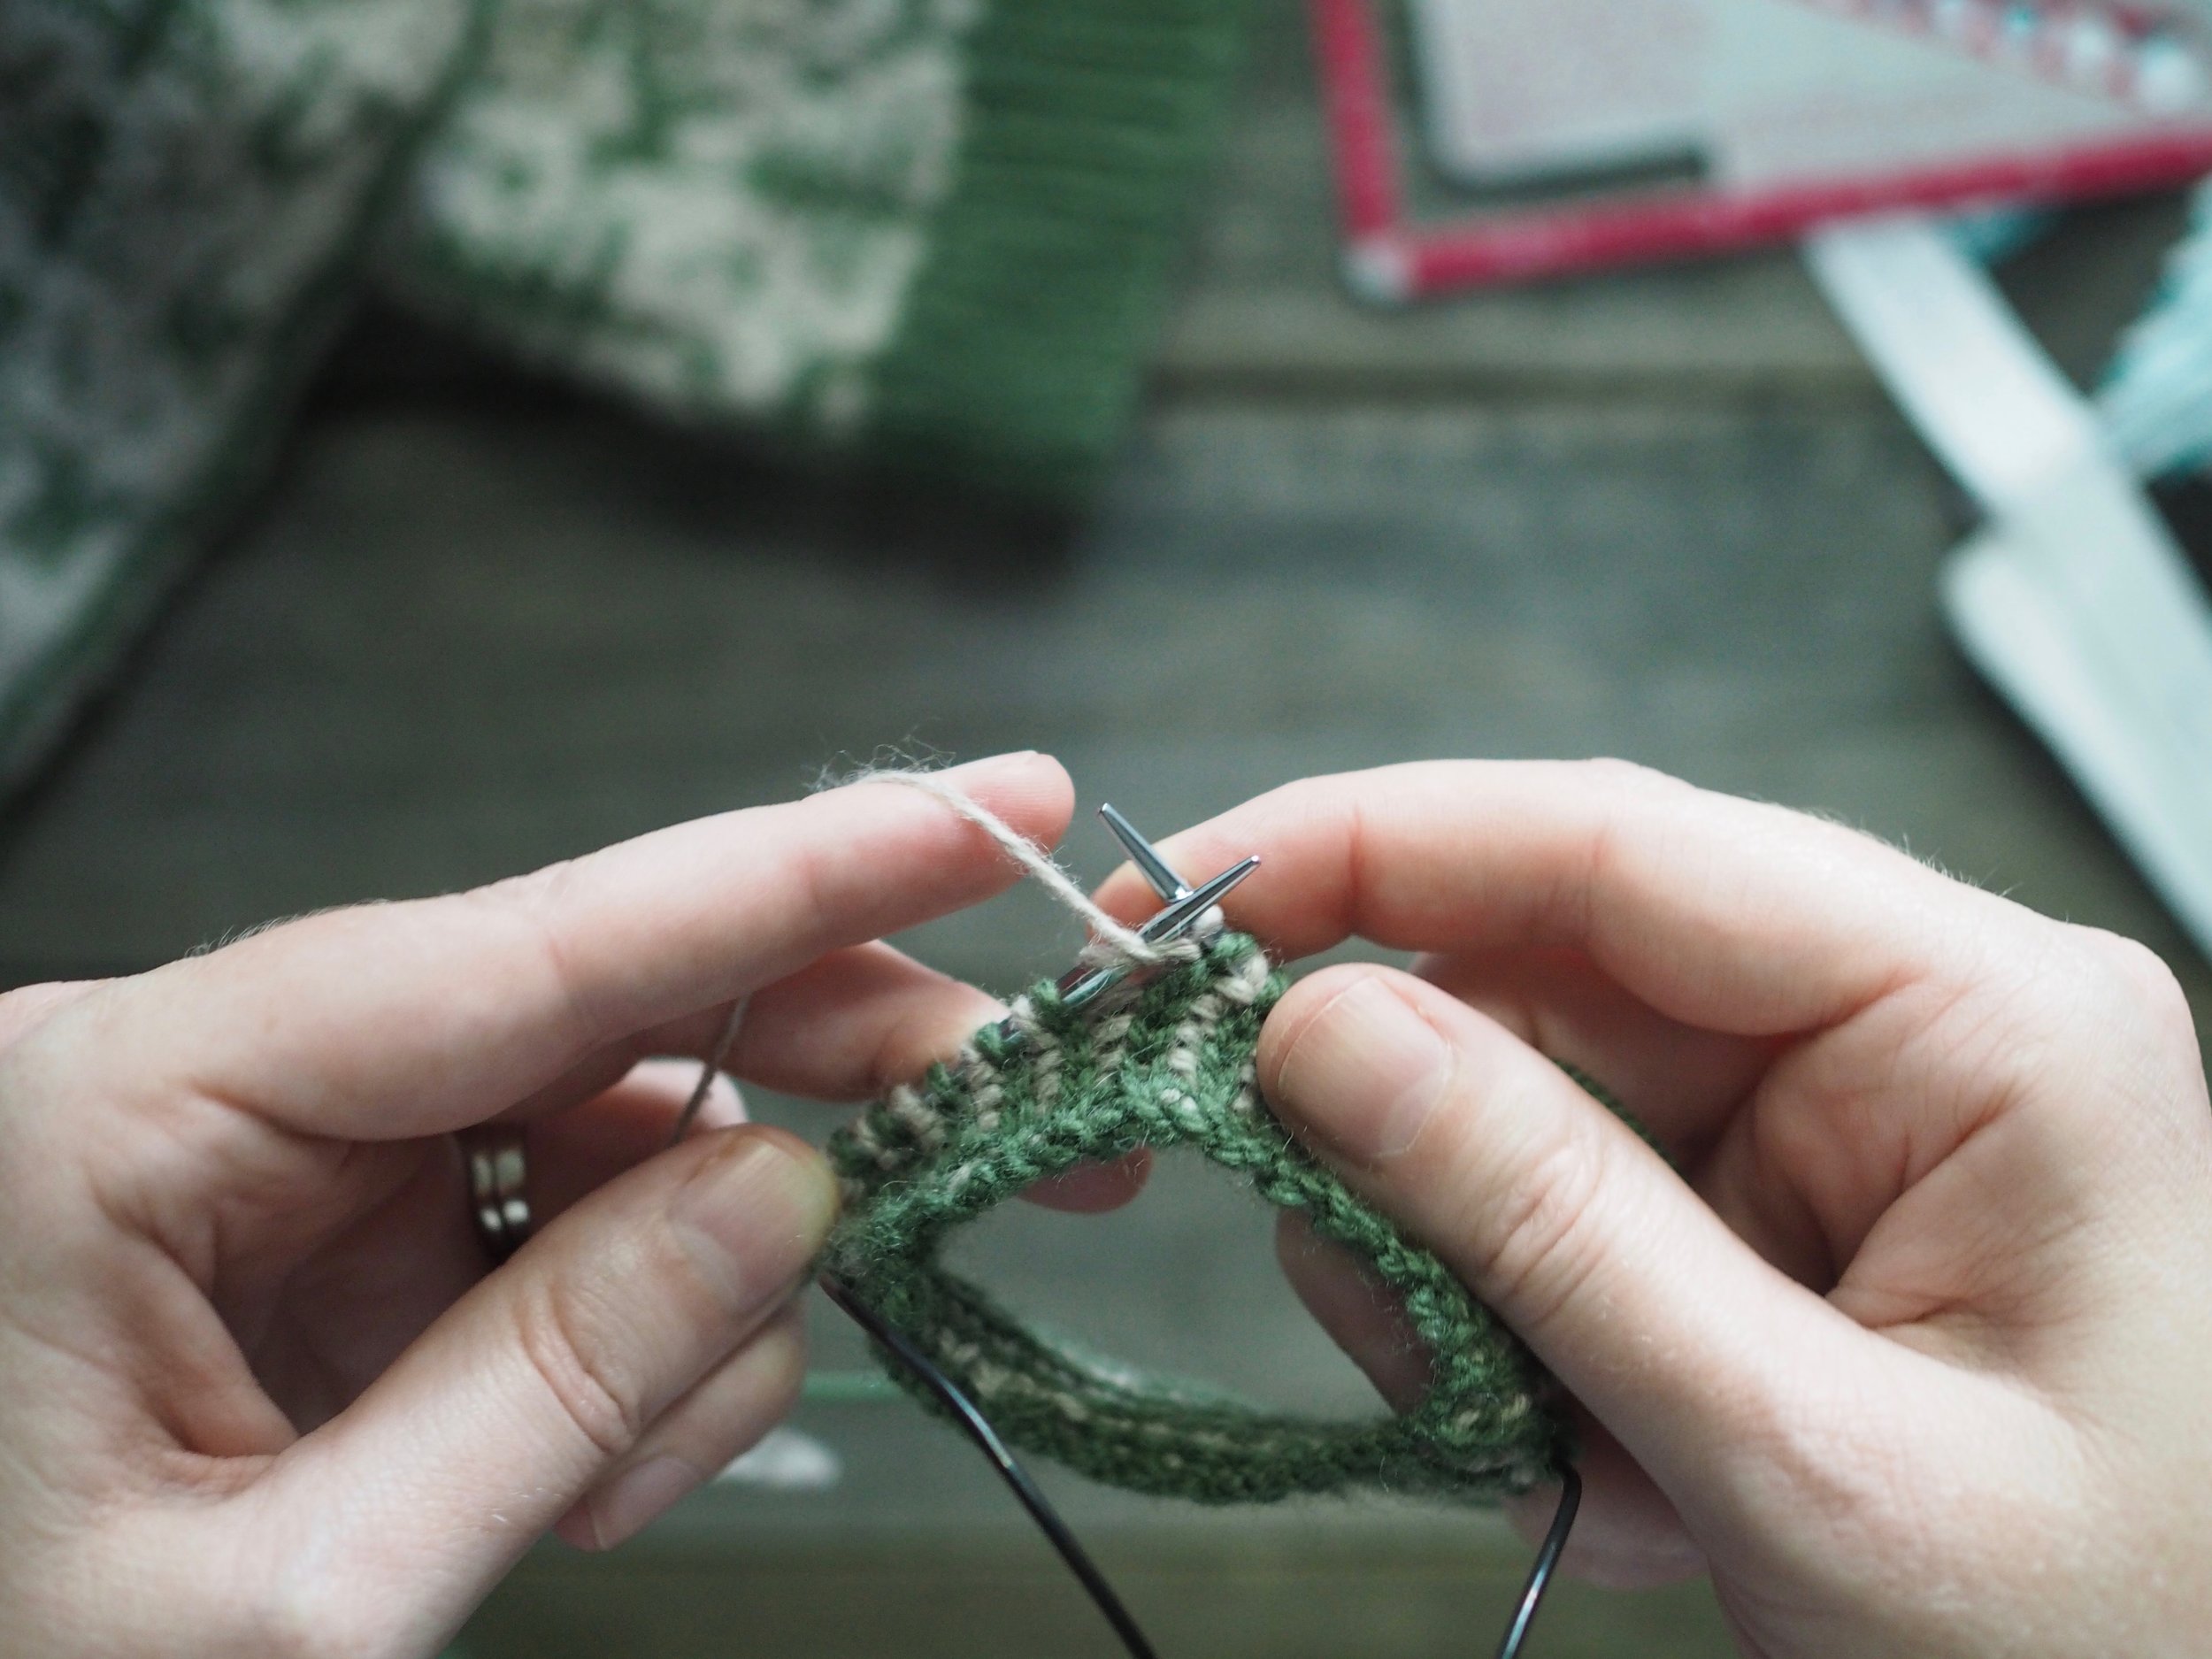
Step 2: Shift the left hand needle, so the MC yarn is in front of the work. Purl the next stitch Continental-style. Shift yarn back behind work.

Repeat Steps 1 and 2 until you reach the desired length of rib! 

Ready to Get Knitting?!

Print Friendly and PDF Follow
follow us in feedly

Fall Family Fun

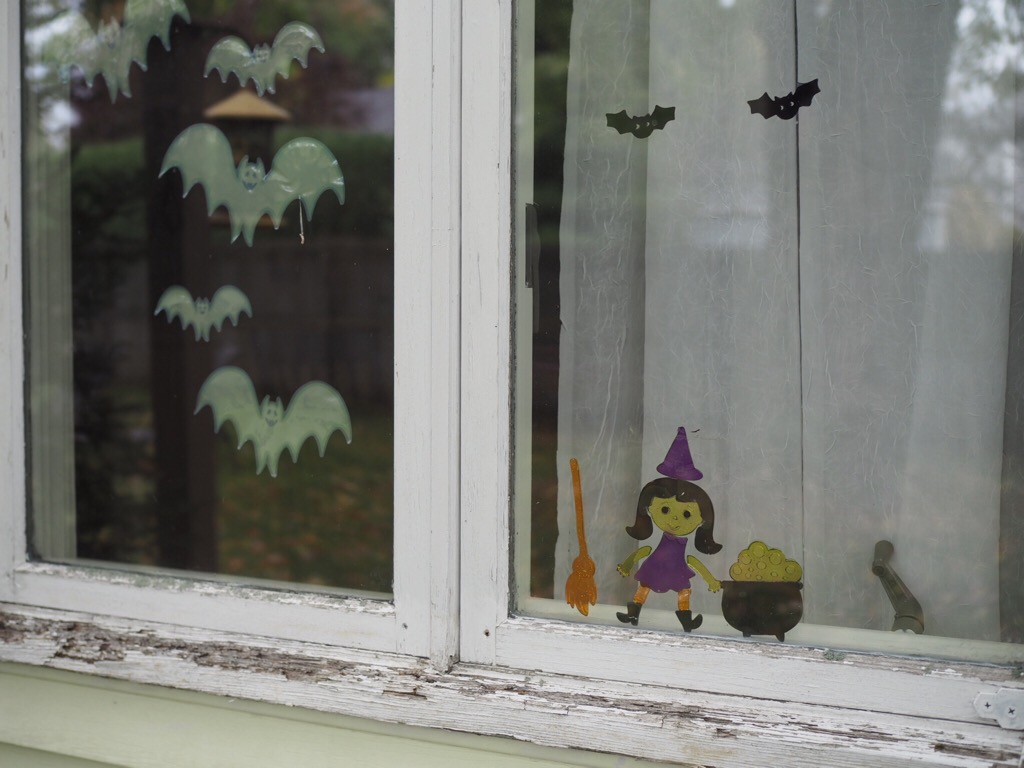
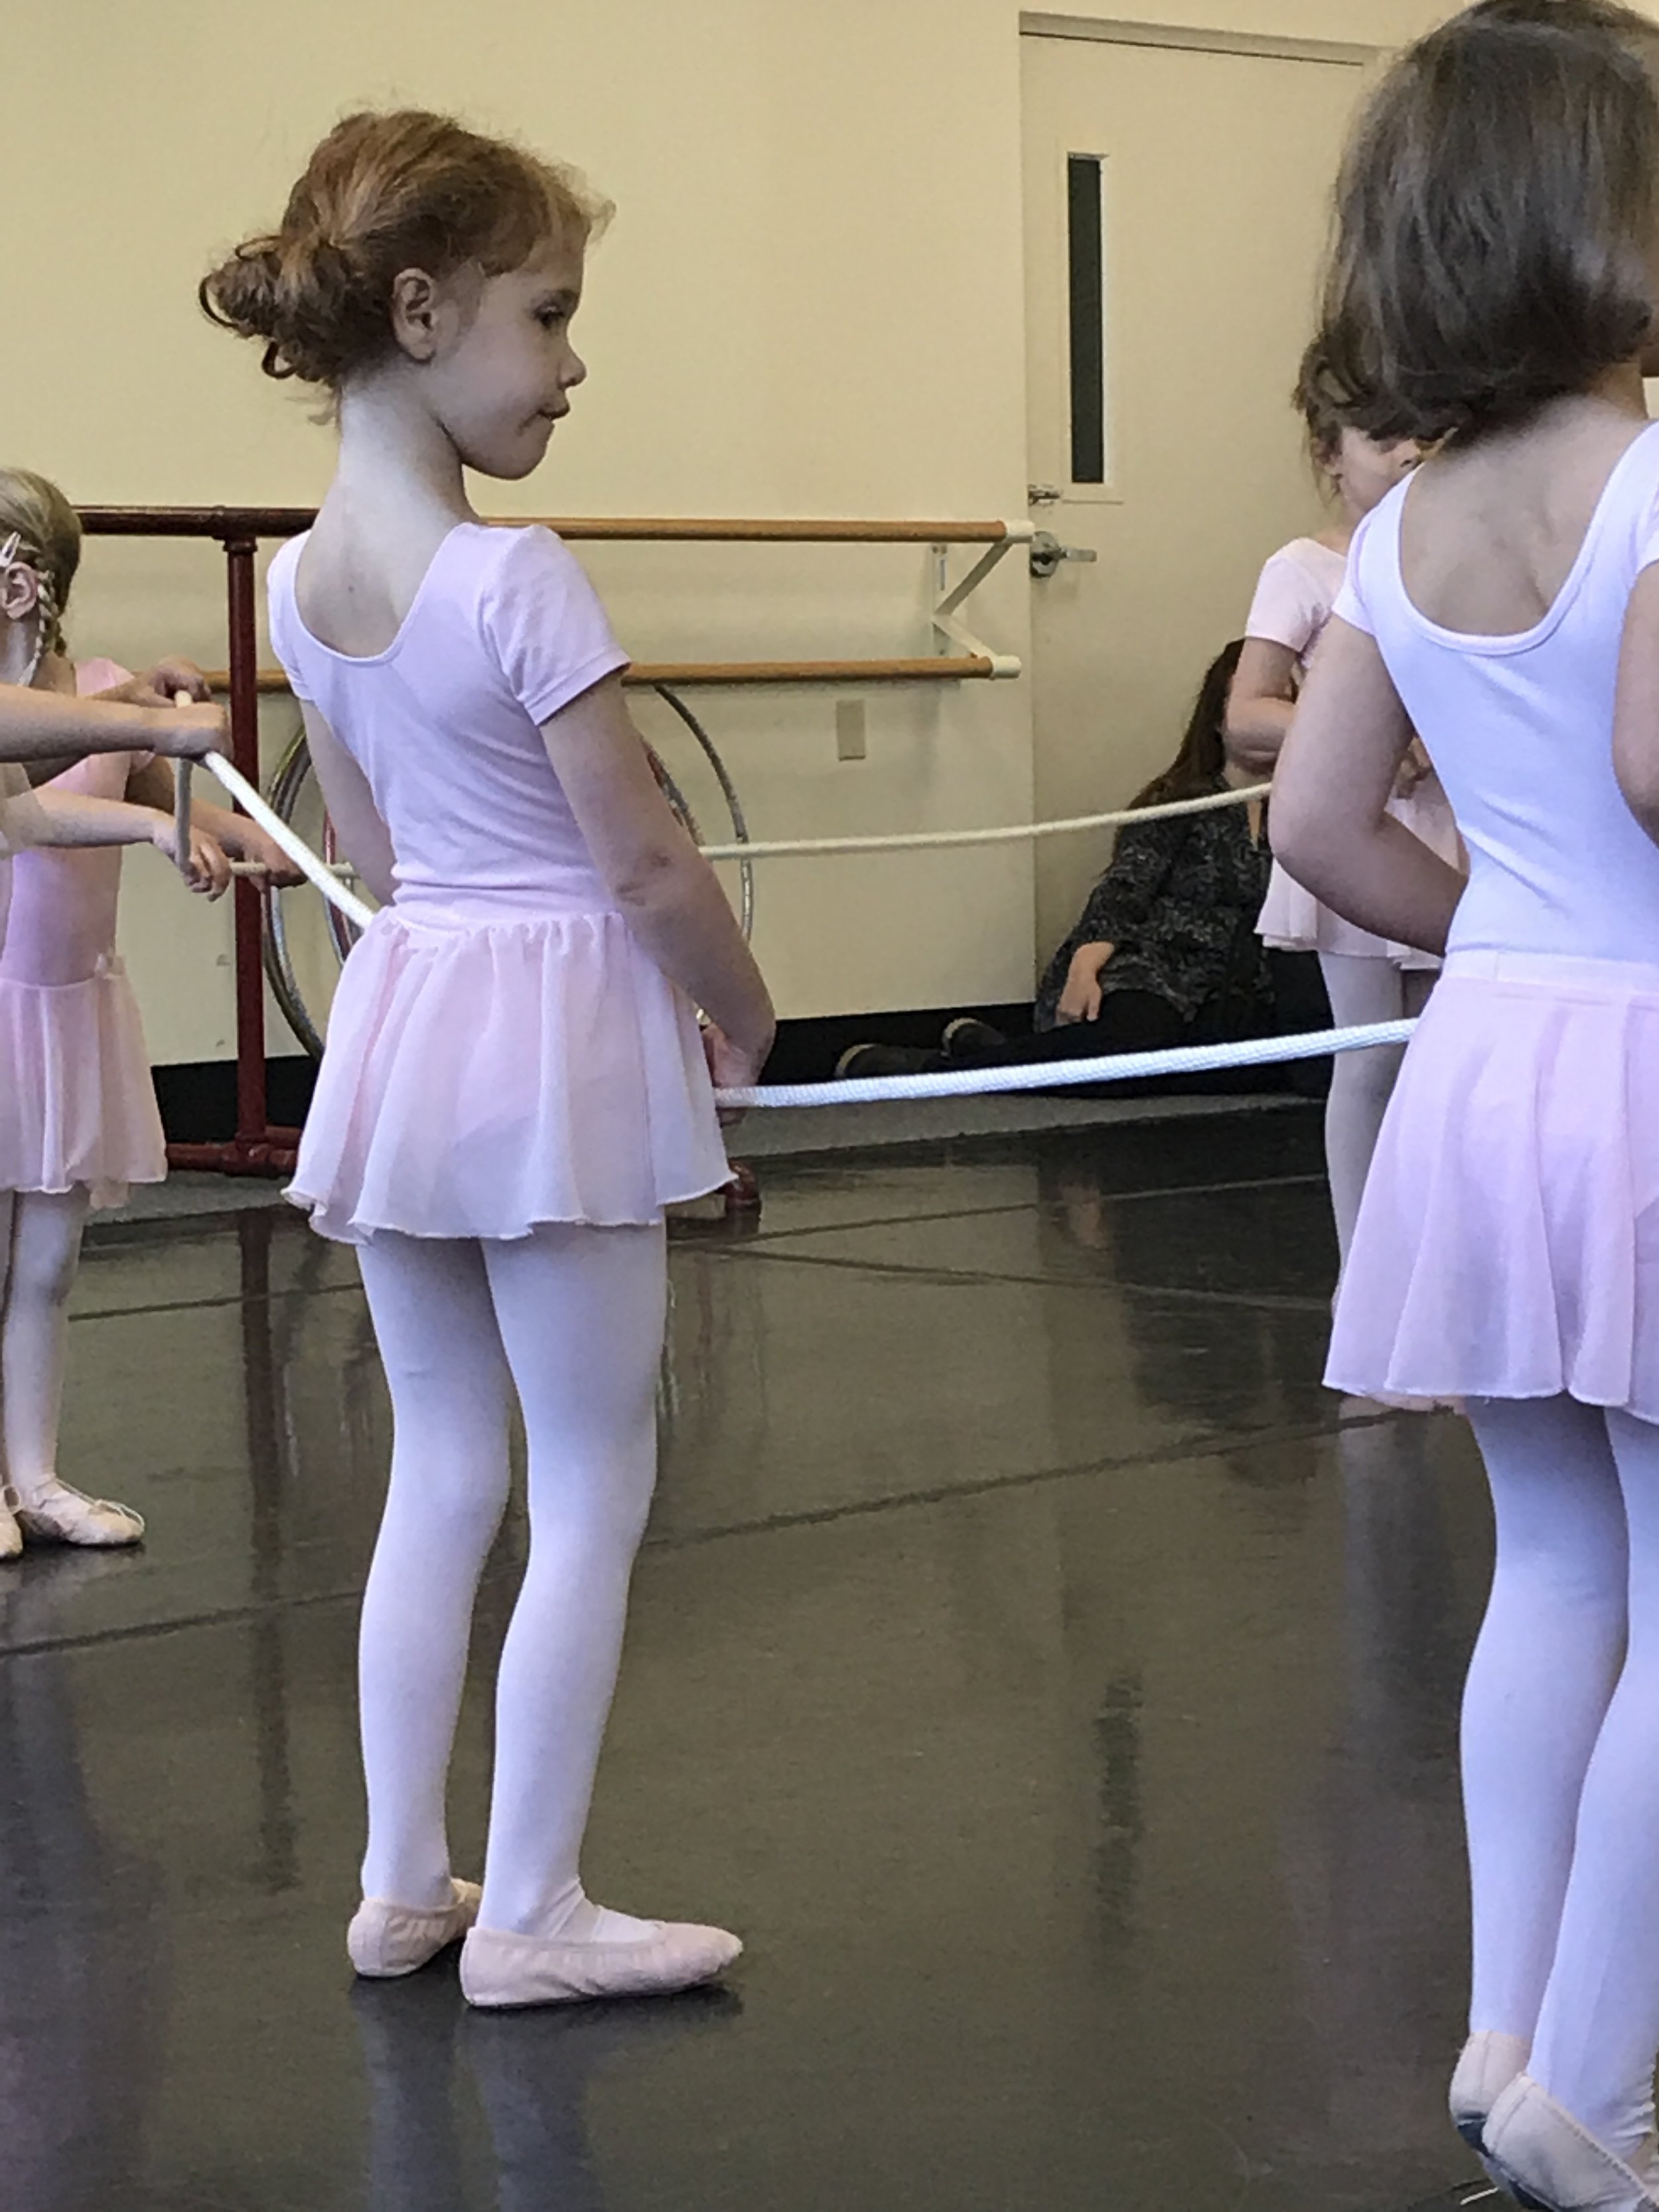
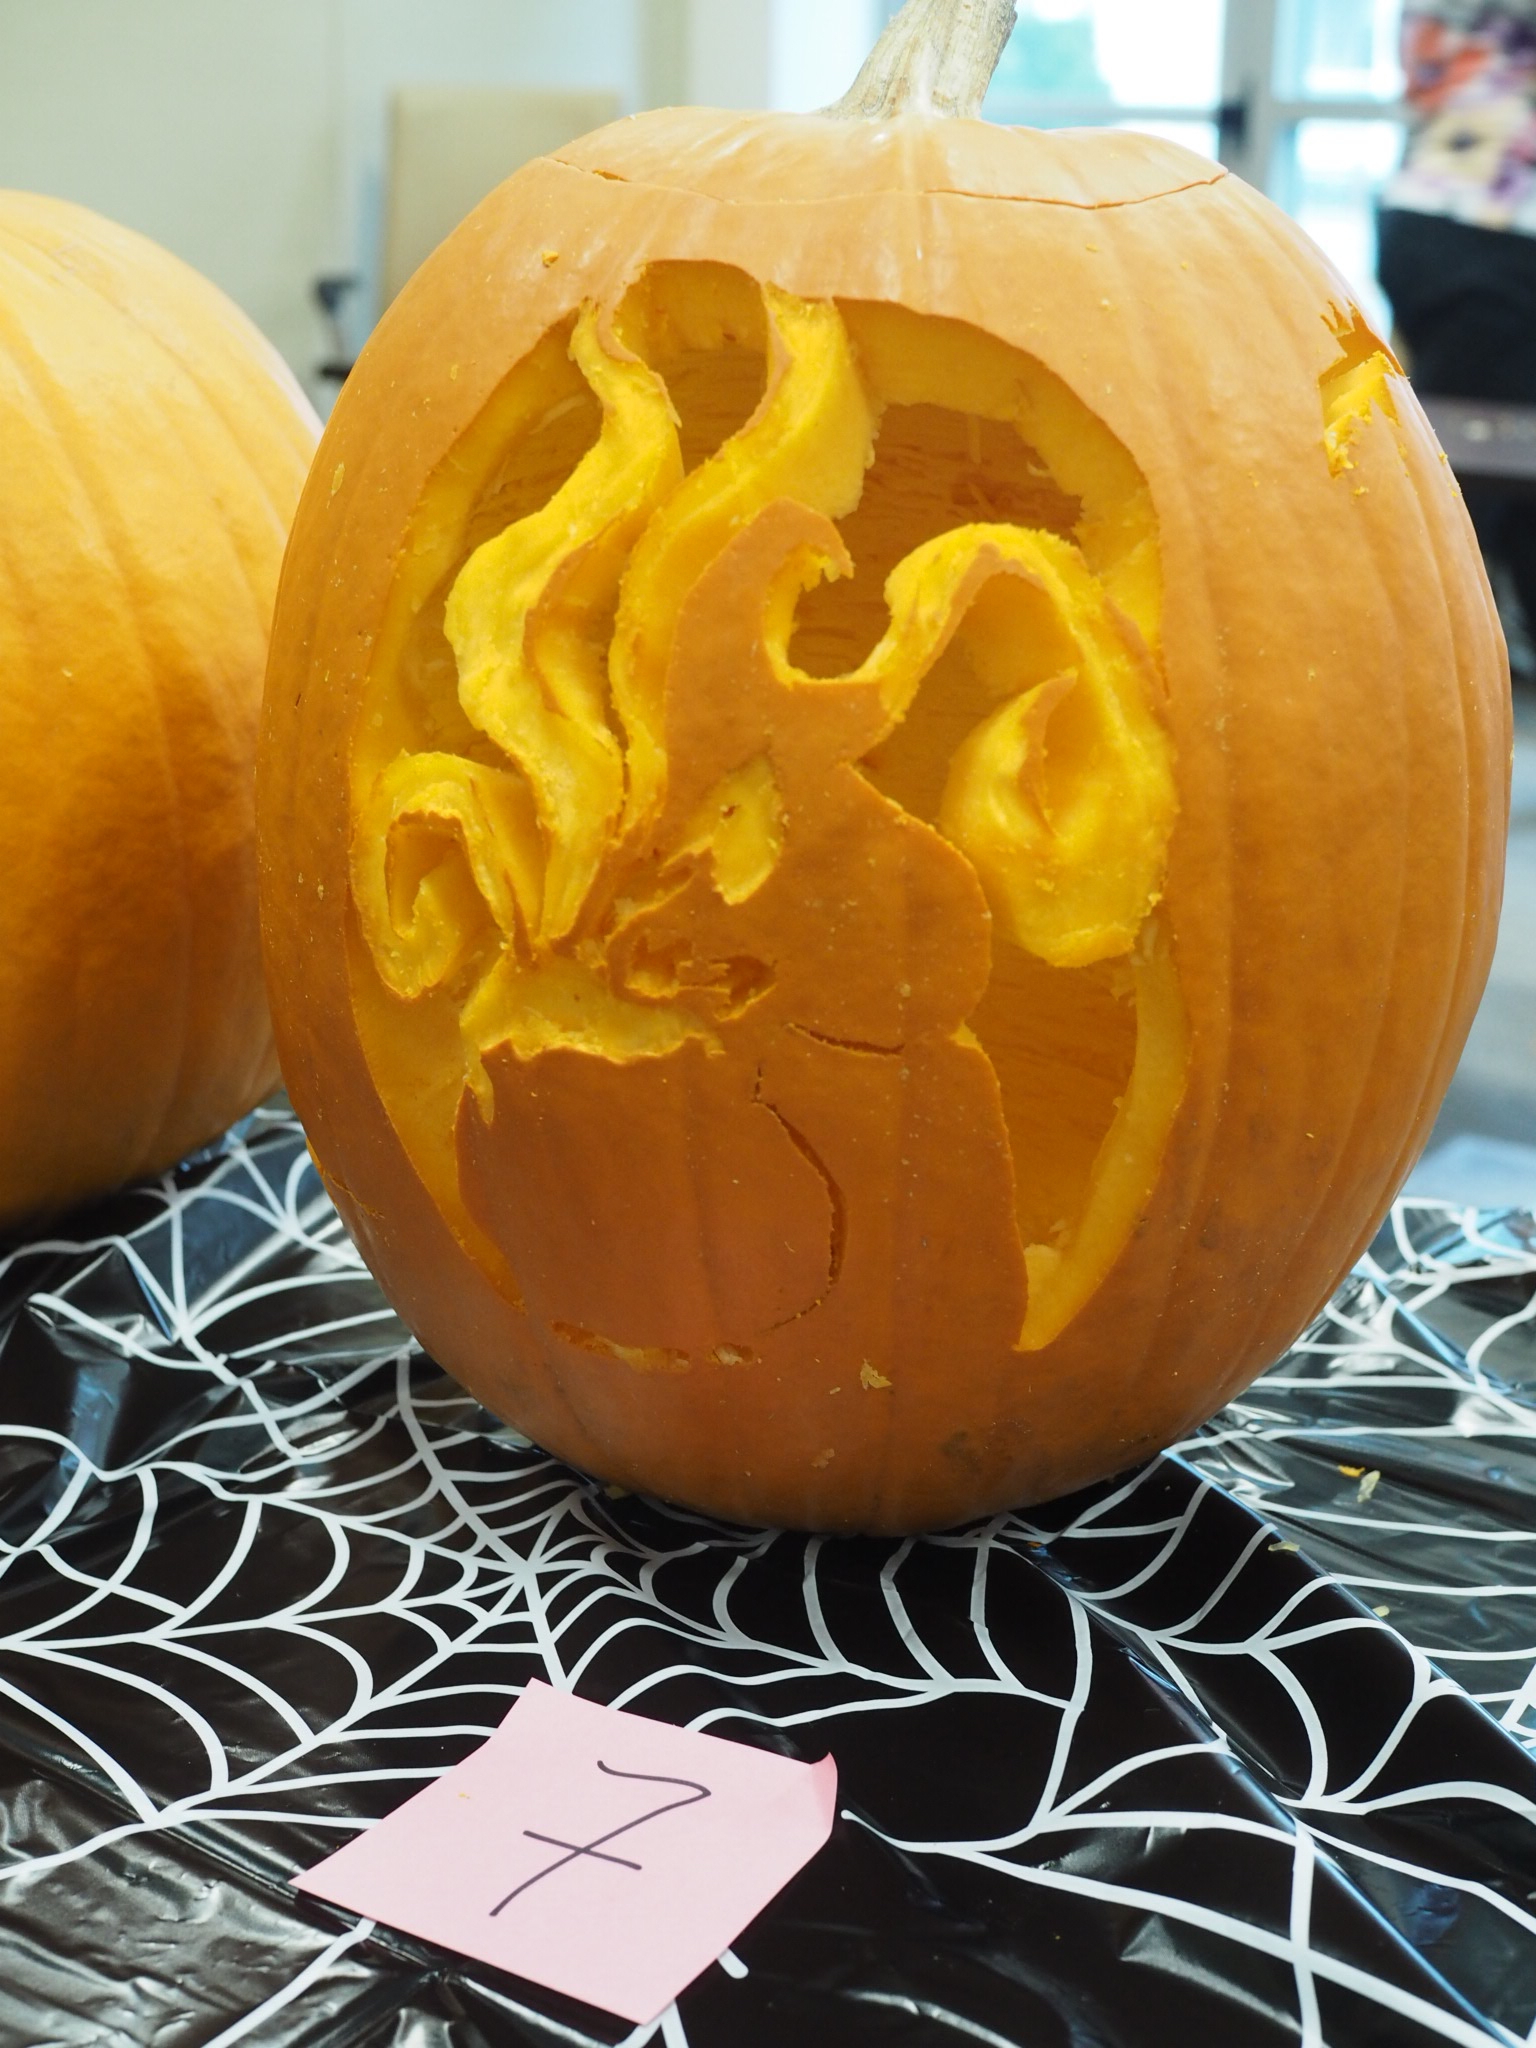
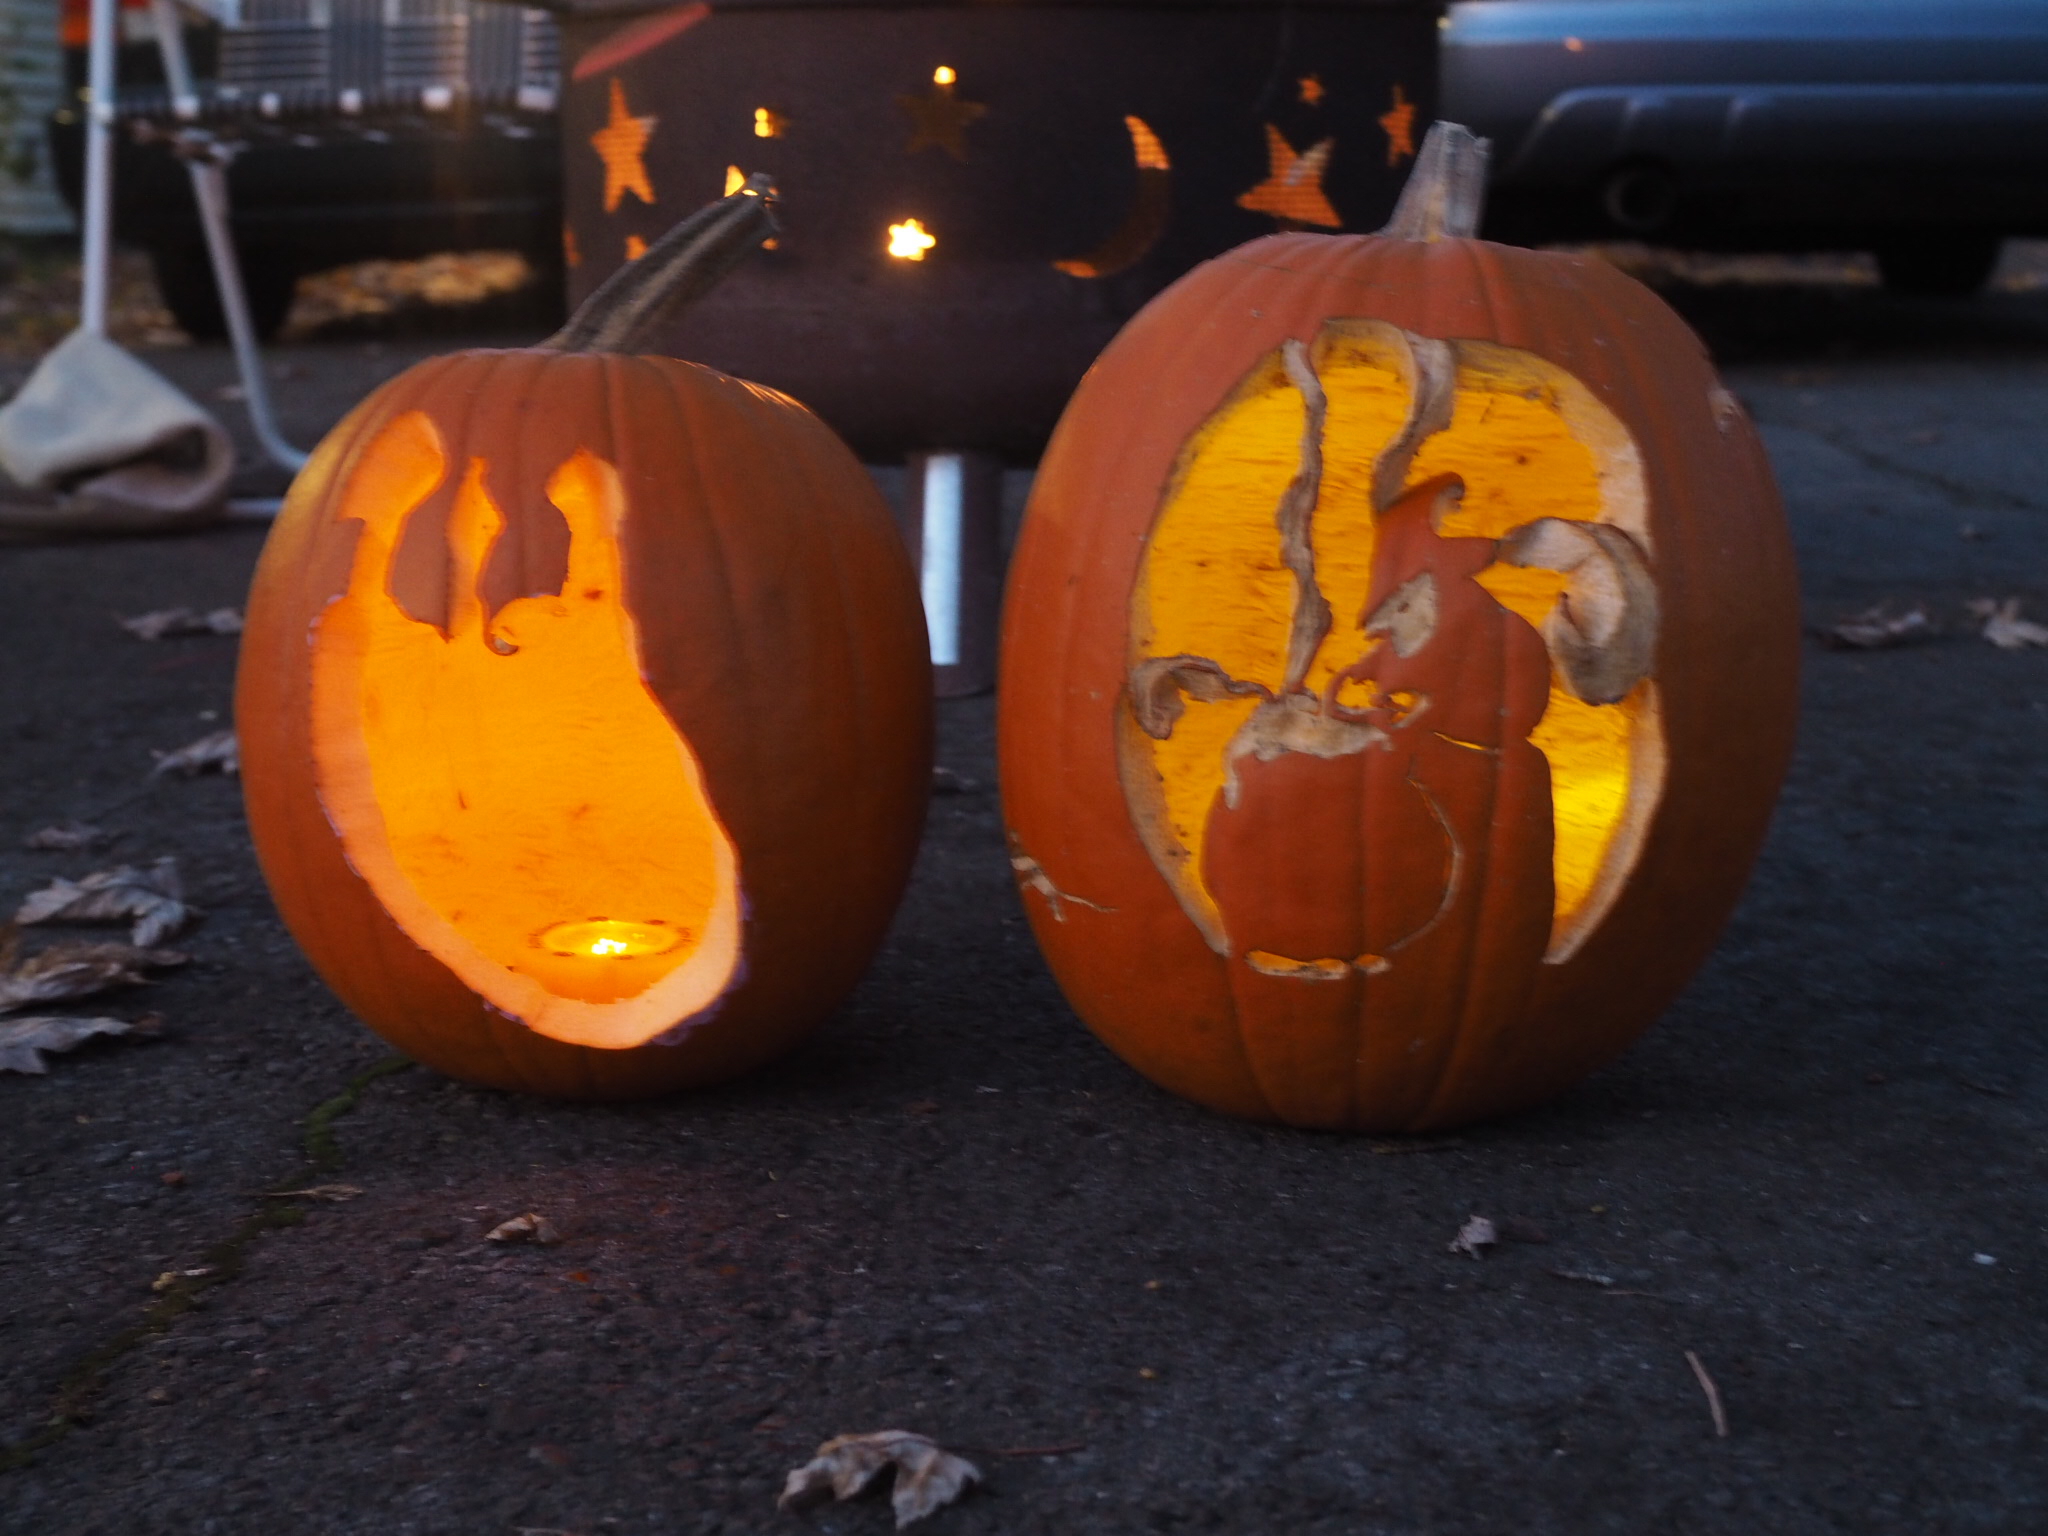
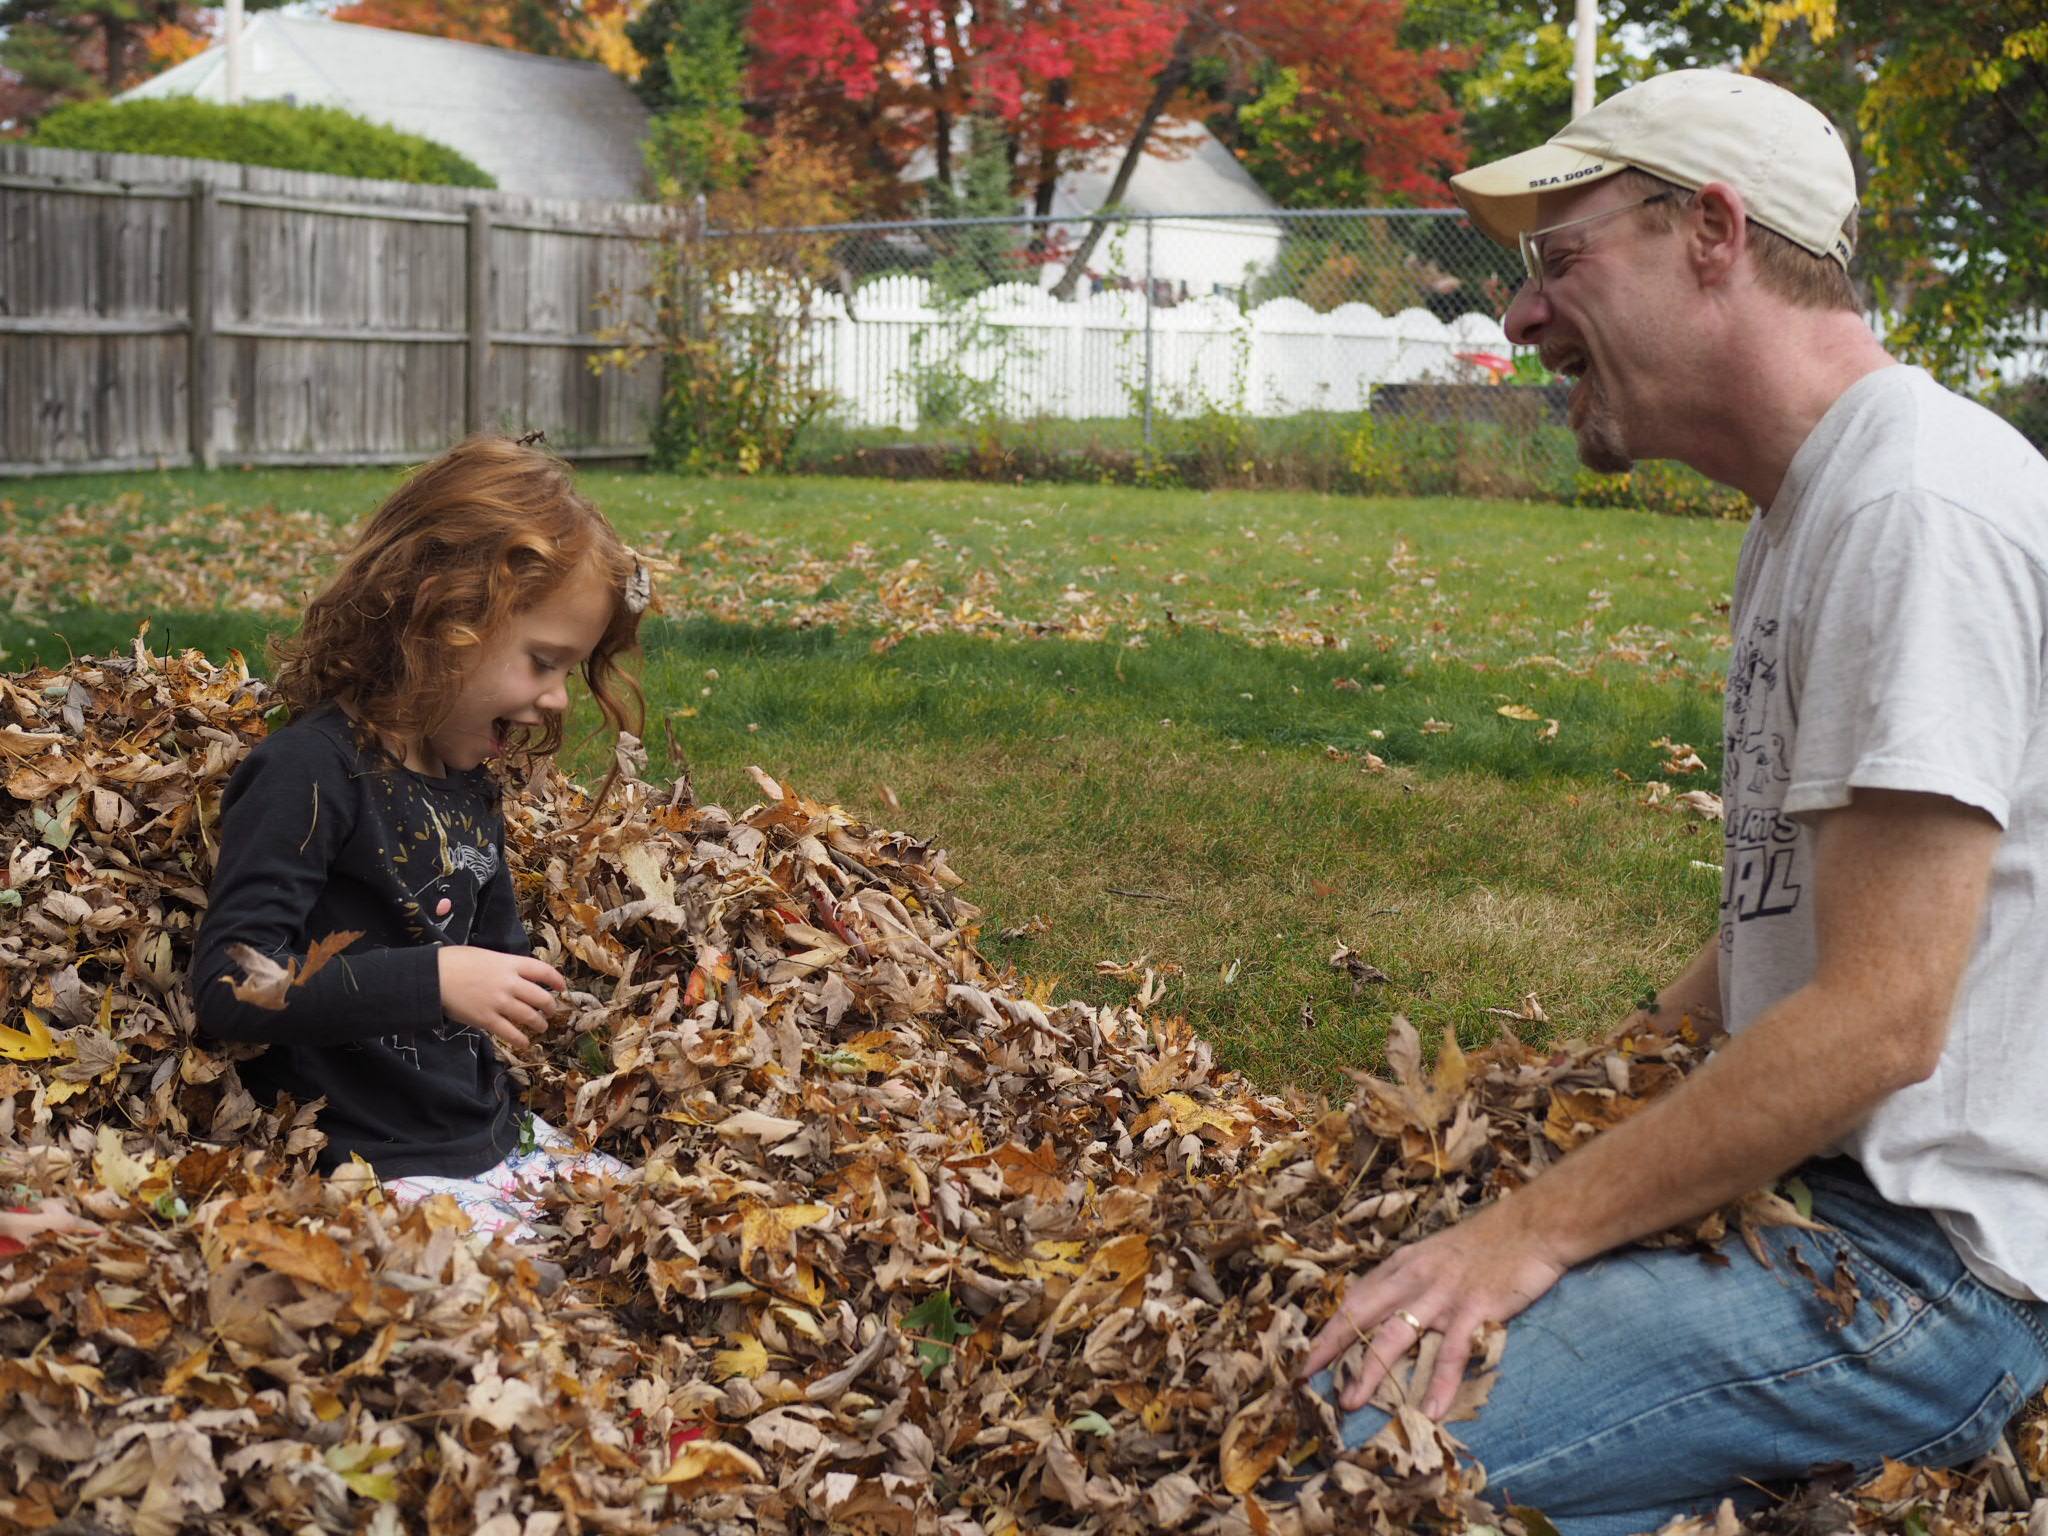
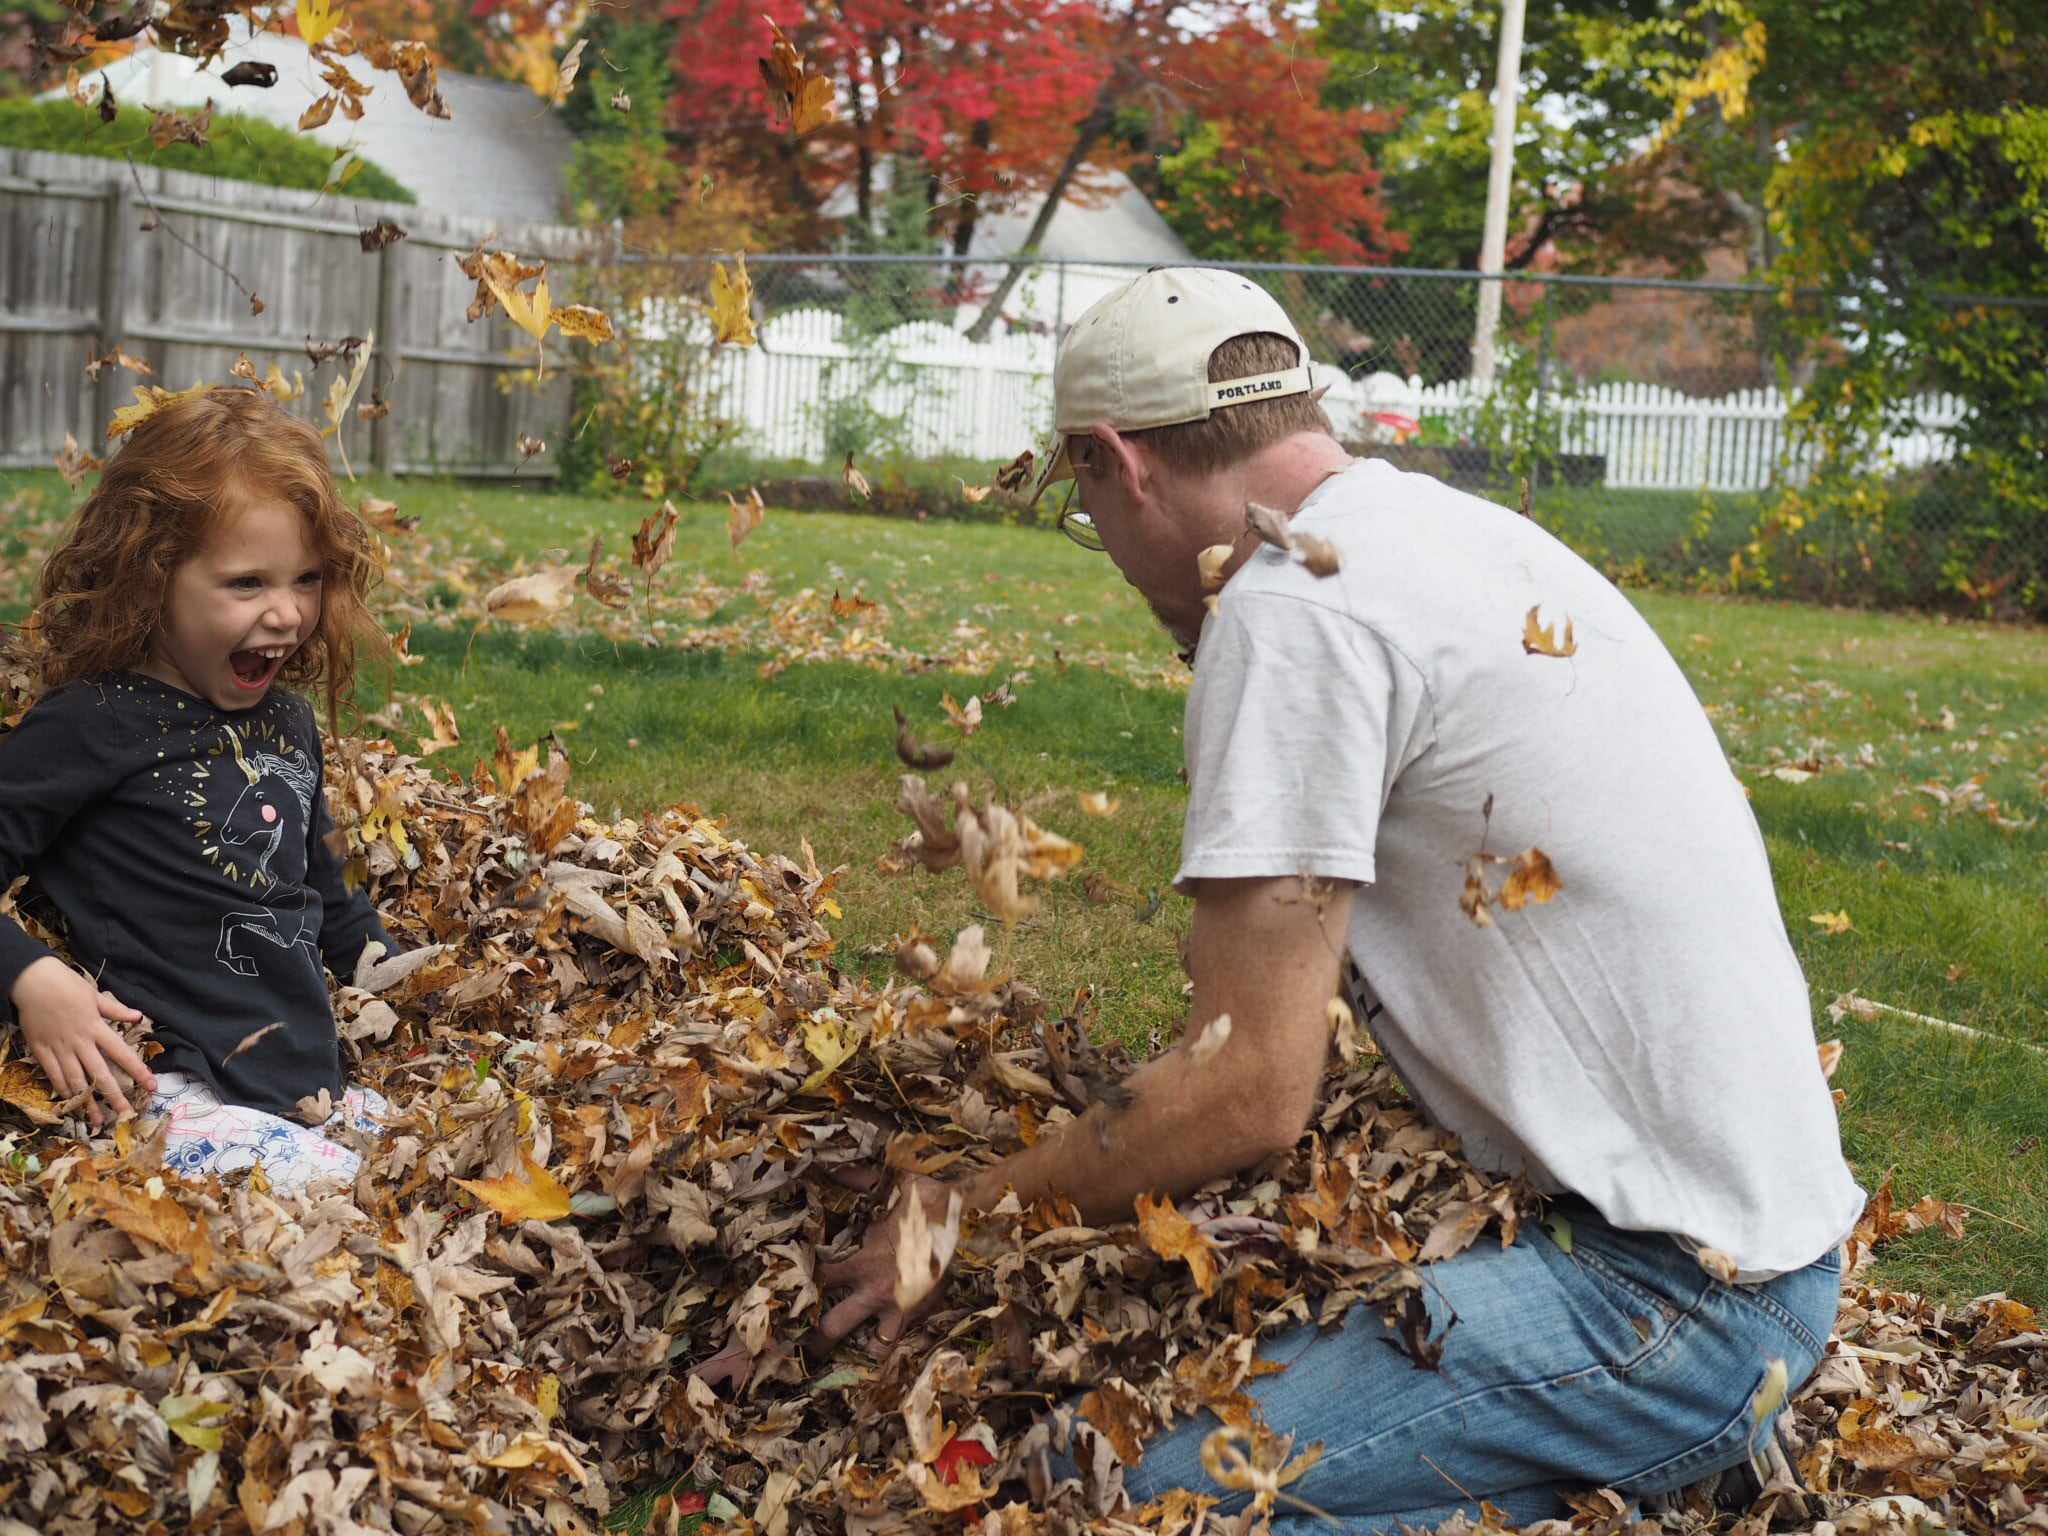
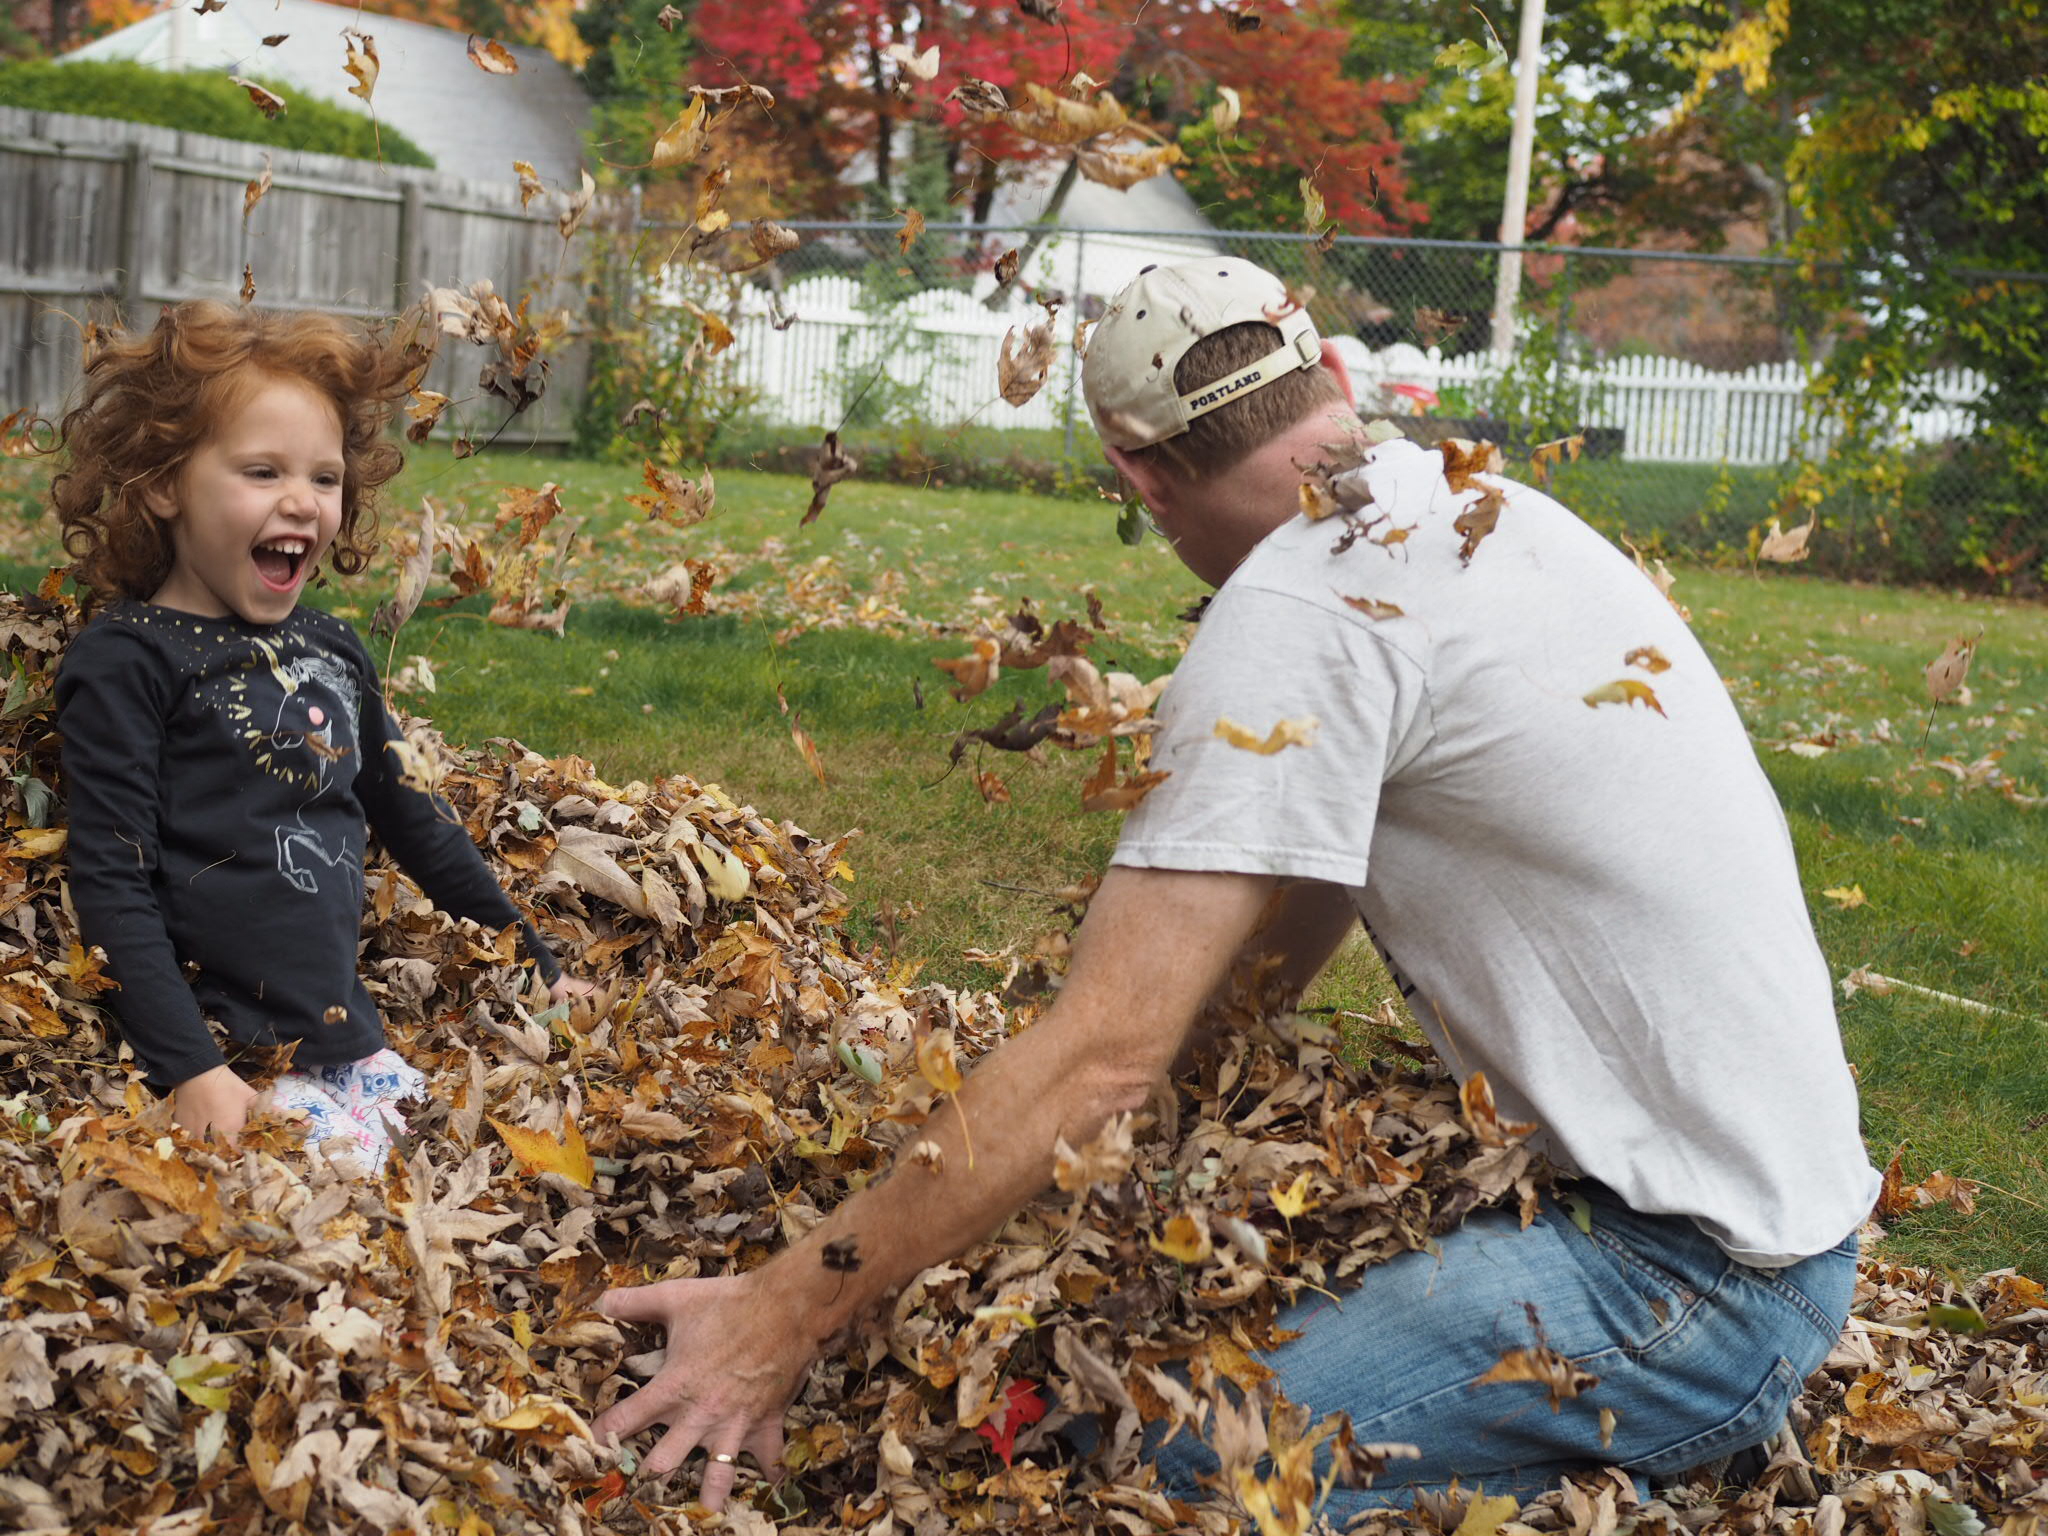
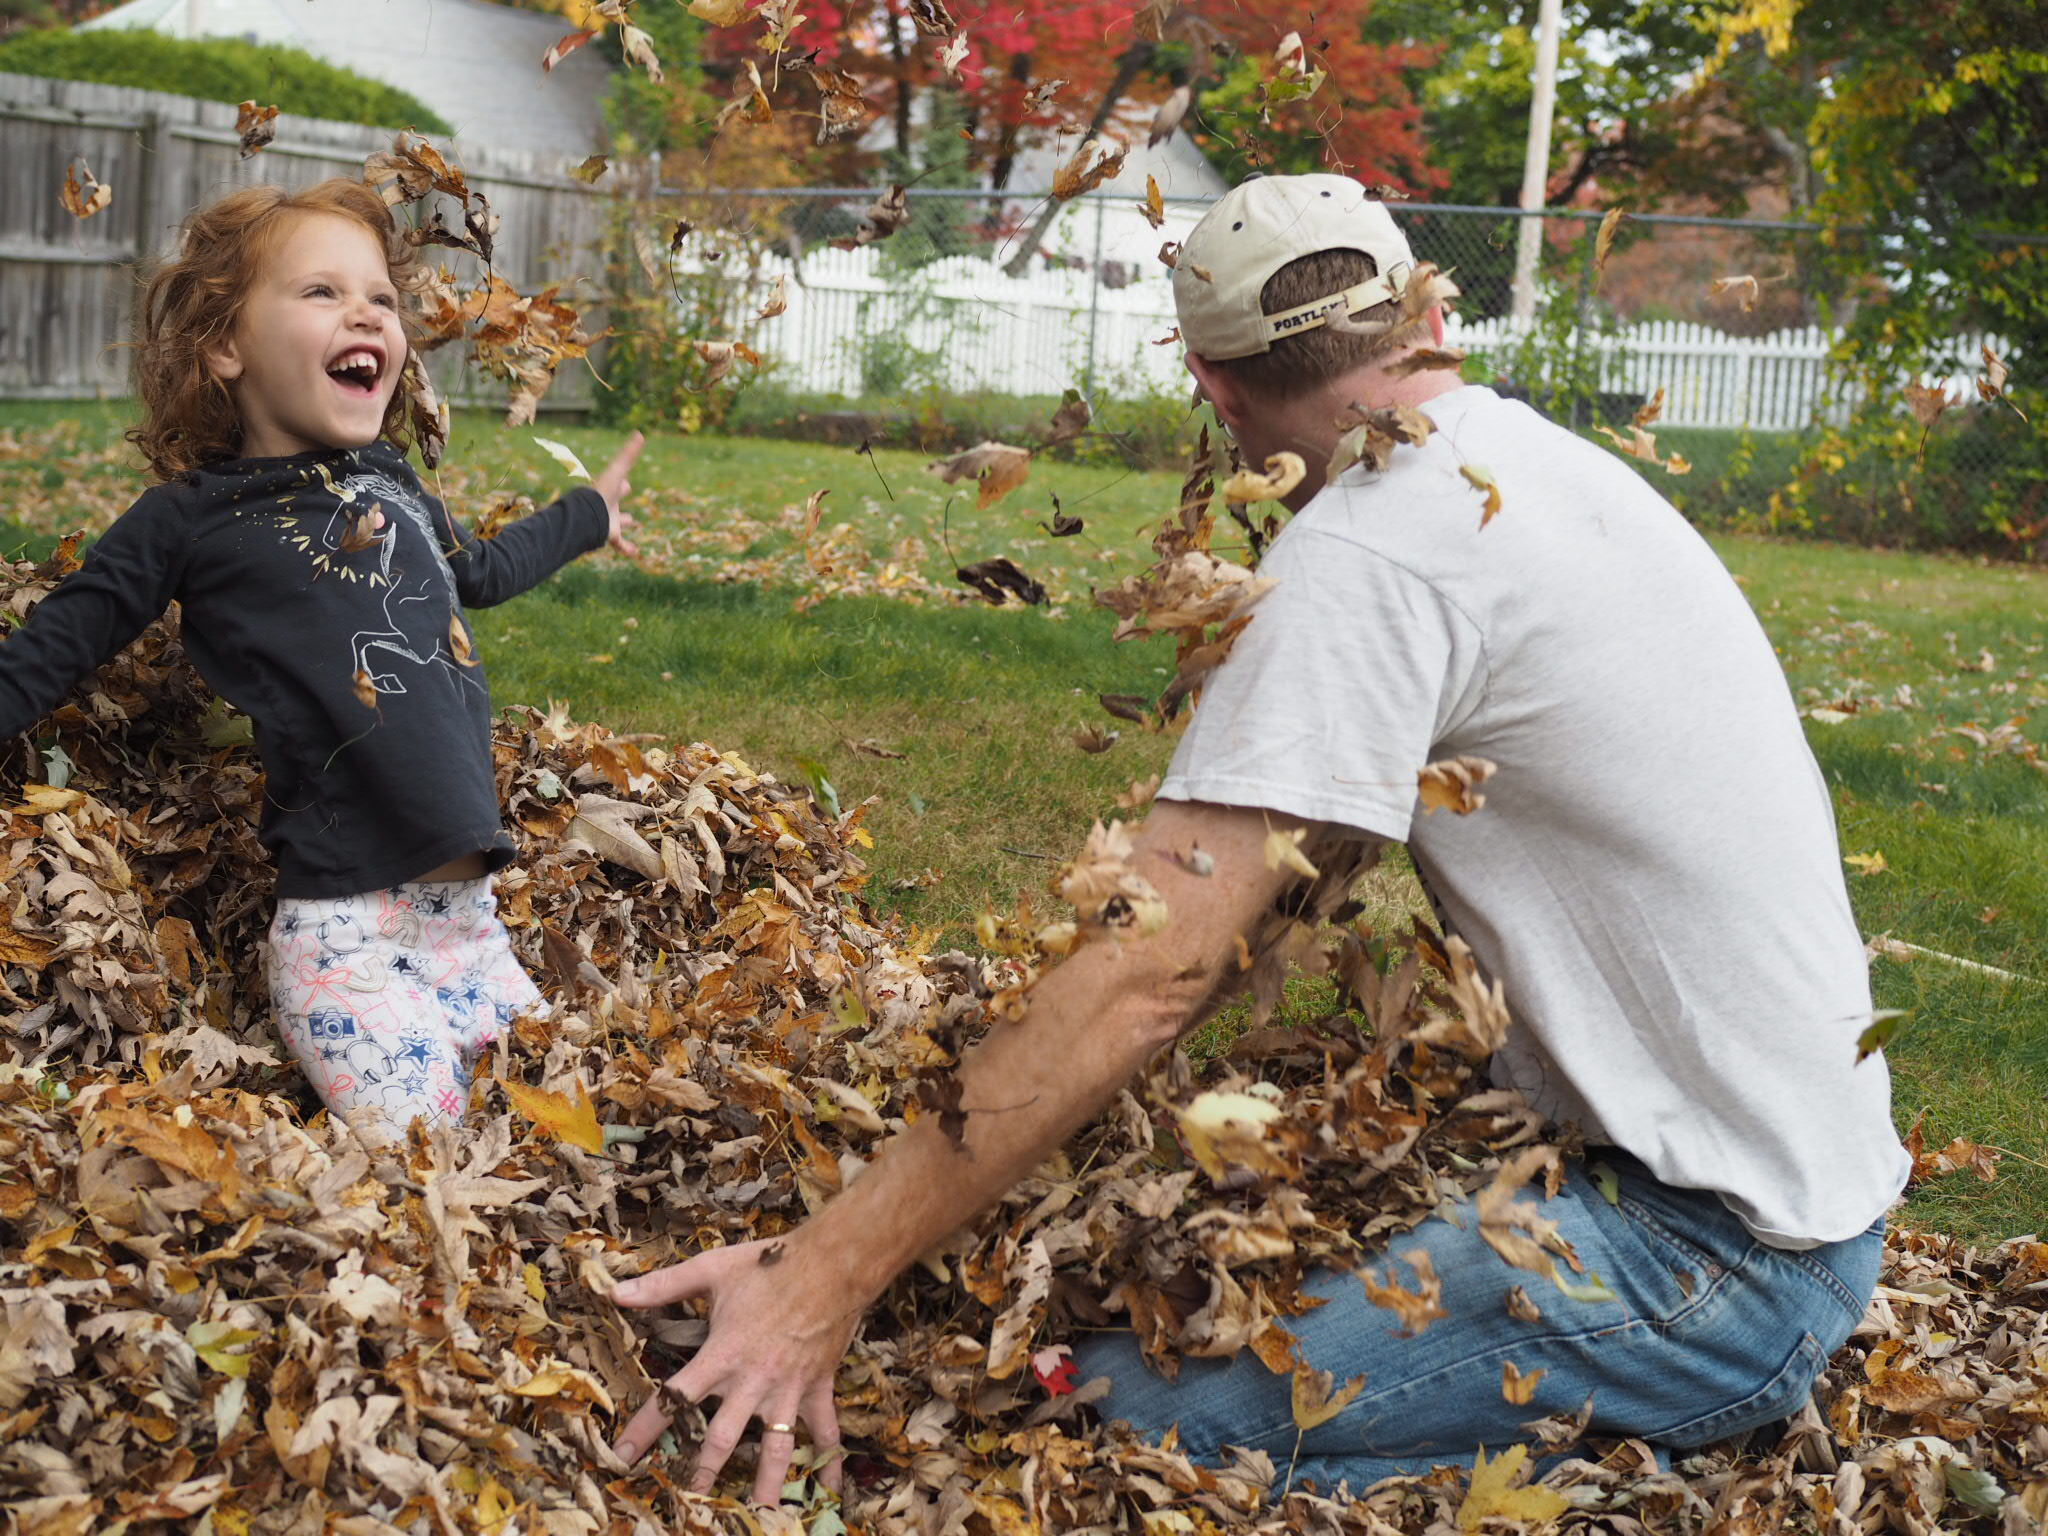
While I spent a lot of time in October working hard to get the WOODLAND collection ready for release (and fighting a a few colds), I also made sure to I made time to enjoy my favorite season with my favorite people. So there were leaf piles, and ballet classes (I just die every time I see her in that uniform), pumpkin carving, painting and decorating. 

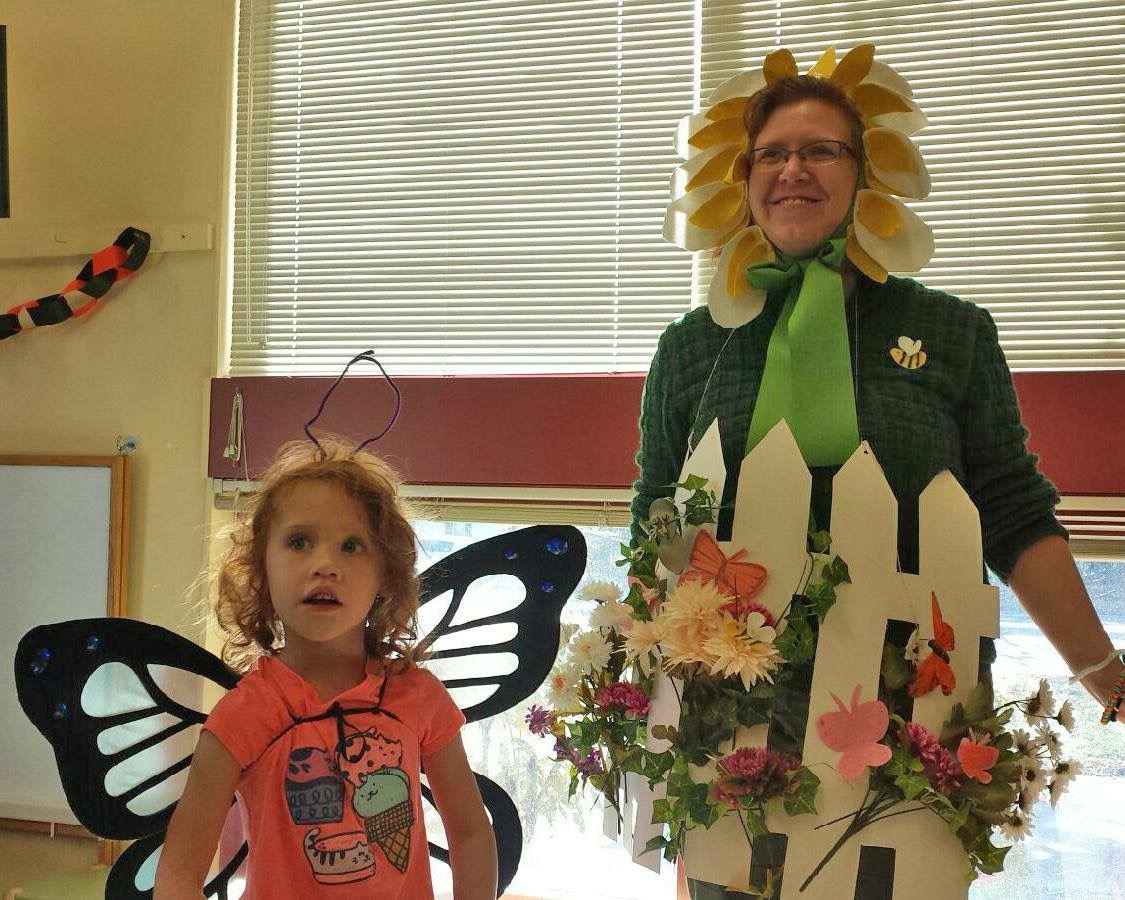
One of my favorite things to do at Halloween is make themed family costumes (see 20152016  and pre-LMC, 2011), which I will continue to do as long as LMC puts up with it. So about 10 days before Halloween when she decided to be a butterfly instead of an owl, I had to do a little creative thinking, but I think the garden costume I came up with worked out great. Mr. Cleaver was supposed to be a gardener originally, but since I was laid low with a sinus infection on Halloween night, I let him take the better costume out on the town, which he was a great sport about.  

Either way we gave out and received loads of candy and LMC went to bed wishing everyday could be Halloween. All-in-all, a pretty good October.


Print Friendly and PDF Follow
follow us in feedly