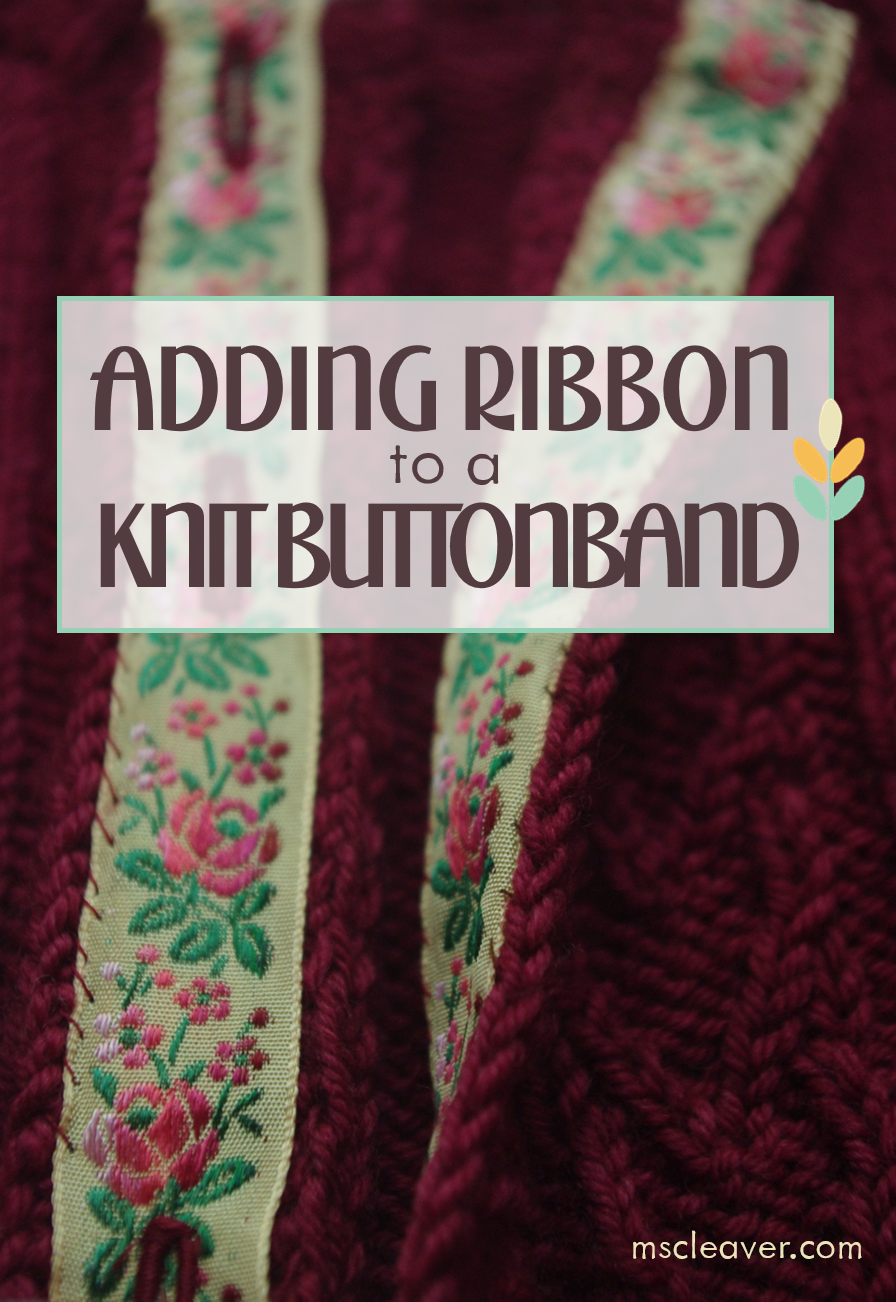
Adding A Ribbon Backing to Your Knit Button Band

Adding Ribbon to a Knit Buttonband.png

Why Reinforce A Button Band?

Both of my recent pattern releases, Lady Heartrose and Prairie Wife, suggest that you use ribbon to reinforce the button bands. If you're one of those knitters who hates finishing, you may think why bother?  You certainly don't have to, most of my sweaters to date don't have any kind of reinforcement, but there are several reasons to consider it. 

  1. It will keep your fabric from curling (though ribbing may already take care of that).
  2. It will help prevent gaping at the bust if you intend to button up.
  3. It will help prevent the button band and button holes from getting stretched out over time.
  4. If it's a steeked piece, it can cover up the cut ends of yarn. 
  5. It's a nice little surprise inside the cardigan and looks really pretty!

What Supplies Do I Need?

  1. Your blocked cardigan.
  2. Approximately 2 yards of a sturdy ribbon, such as Petersham, Grosgrain, or other firmly woven ribbon, that just as wide or slightly less wide than your knit button band. If you're doing something like a long sweater coat, measure the length first. (The ribbon used in this post is from Vintage Ribbons on Etsy). 
  3. A sewing machine with buttonhole capabilities. (You could always sew the buttonholes by hand, but this tutorial won't cover that).
  4. The buttons you are planing to use. 
  5. Needle and thread to match your yarn.
  6. Pins or clips.
  7. Seam ripper or button hole cutter.
  8. Fray Check (optional).
Adding A Ribbon Backing to Your Knit Button Band

Measuring and Marking your Ribbon

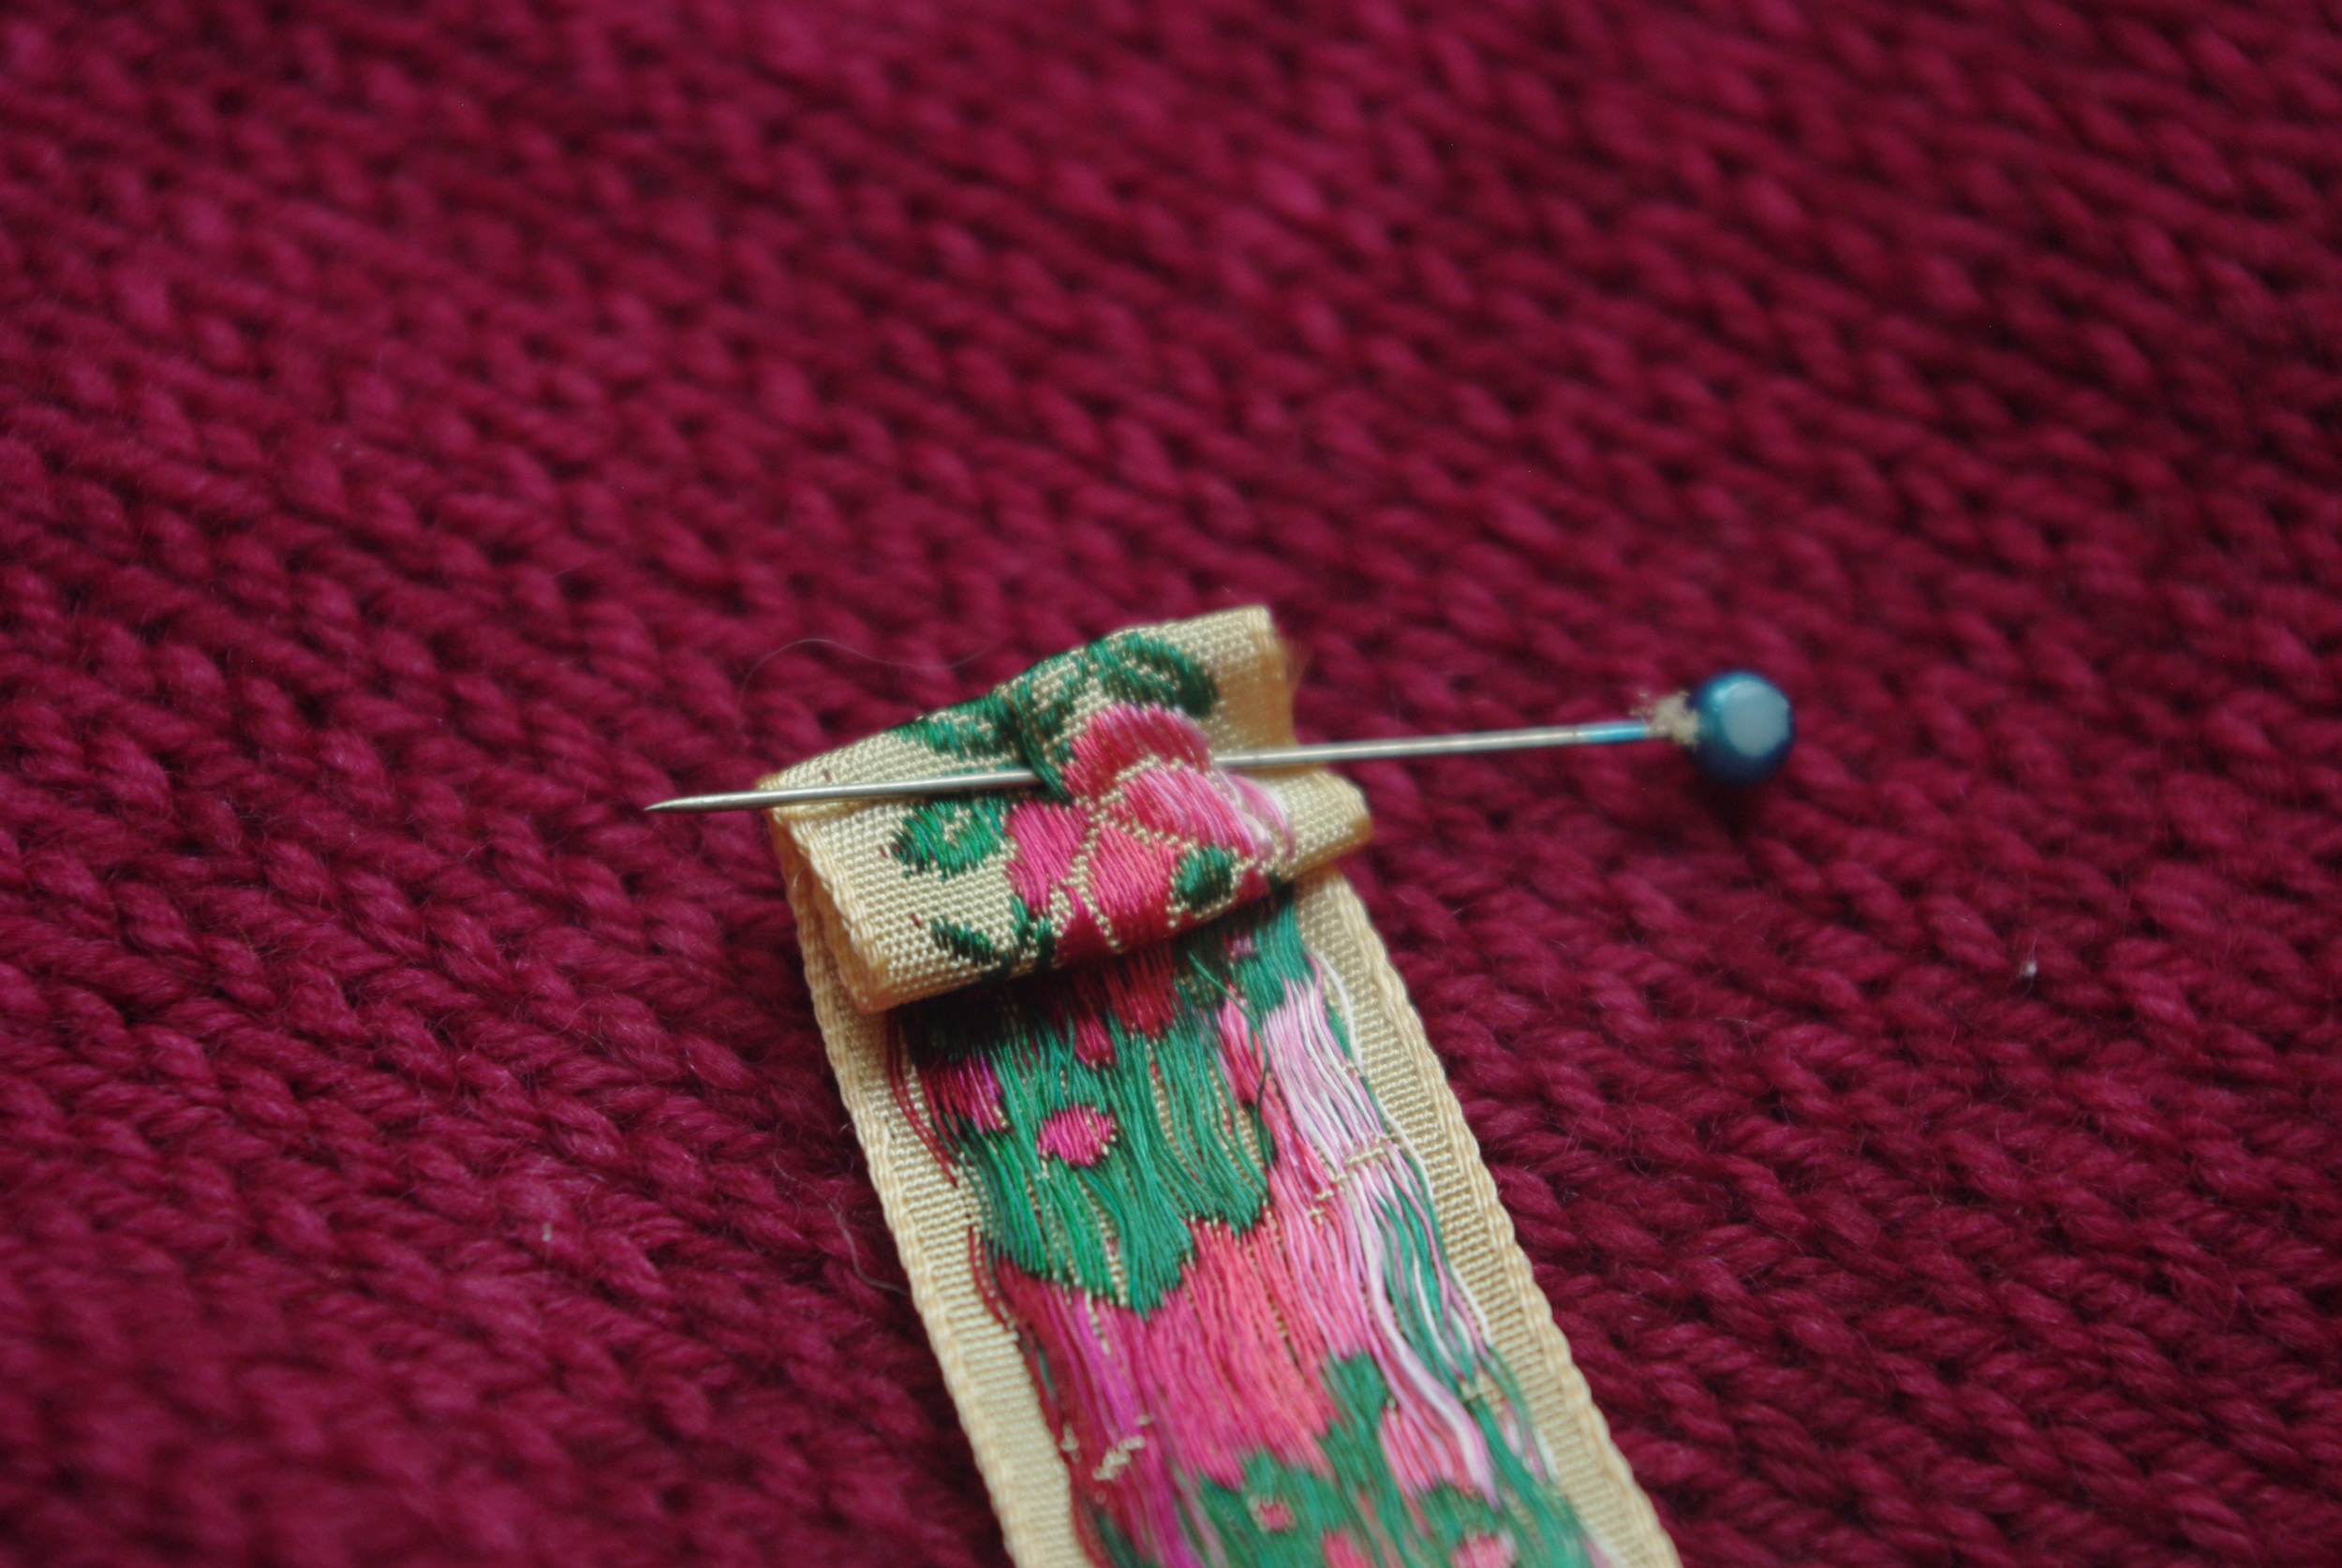
The first thing to do is measure, cut and mark your ribbon. To measure, lay your finished and blocked cardigan on a flat surface. It's very important that the piece is blocked, otherwise the band may be too short. Match the length of your ribbon to the length of the knit band and add an extra inch or so to each side, enough that you can fold it under to make a neat edge (as seen above). Cut a second piece of ribbon to the same length and set aside. The unmarked ribbon will be used to back the button side of the cardigan. Now we'll mark the buttonhole side.

With the ribbon flat against the buttonhole side. Place a pin at the top of each knit buttonhole. If you have a patterned ribbon, you may be able to use the pattern to make your placement more exact/even, but it's more important that the pins line up with the actual knit buttonholes.

Adding A Ribbon Backing to Your Knit Button Band

Testing the Buttonhole Size

Using a scrap piece of ribbon and the buttonhole feature on your machine, test out your buttonhole size to make sure the button can fit through easily. The ribbon button hole is likely to be a lot longer than the knit one. 

Once you have confirmed the proper size, mark the ends of the buttonhole on your ribbon (the top being the pin you already put in). 

Use your machine and sew the buttonholes on the ribbon.

Adding A Ribbon Backing to Your Knit Button Band

Finishing the Buttonholes

Before you slice into them, double check that your buttonholes still line up. If they do use a seam ripper or buttonhole cutter to open up your buttonholes. Adding a drop of fray check to the buttonhole as desired. Set aside to dry if using fray check for the recommended amount of time. 

Adding A Ribbon Backing to Your Knit Button Band

Attaching the Ribbon to the Sweater

Fold over the top and bottom of the ribbon, whip-stitching closed as desired, then making sure that the buttonholes line up and both the ribbon and the button band are flat, pin or clip the ribbon to the inside of the button band. Starting on the outside edge, whip-stitch ribbon to knit fabric. To help keep the stitches even, use the knit fabric as your guide, here I did one stitch per knit row. Work your way down the outside edge and up the inside edge, making sure the ribbon lays flat. Unless your button band is very wide, there's no need to tack down the ribbon buttonhole around the knit buttonhole beyond securing the ribbons at the edges.

For more detailed instruction on how to whip-stitch see DMC's embroidery guide).

Repeat process for button side. 

Sew on buttons on across from buttonhole and you're done! Enjoy wearing your snazzy-looking and sturdy button bands!

Adding A Ribbon Backing to Your Knit Button Band


Print Friendly and PDF Follow
follow us in feedly

Introducing: Lady Heartrose

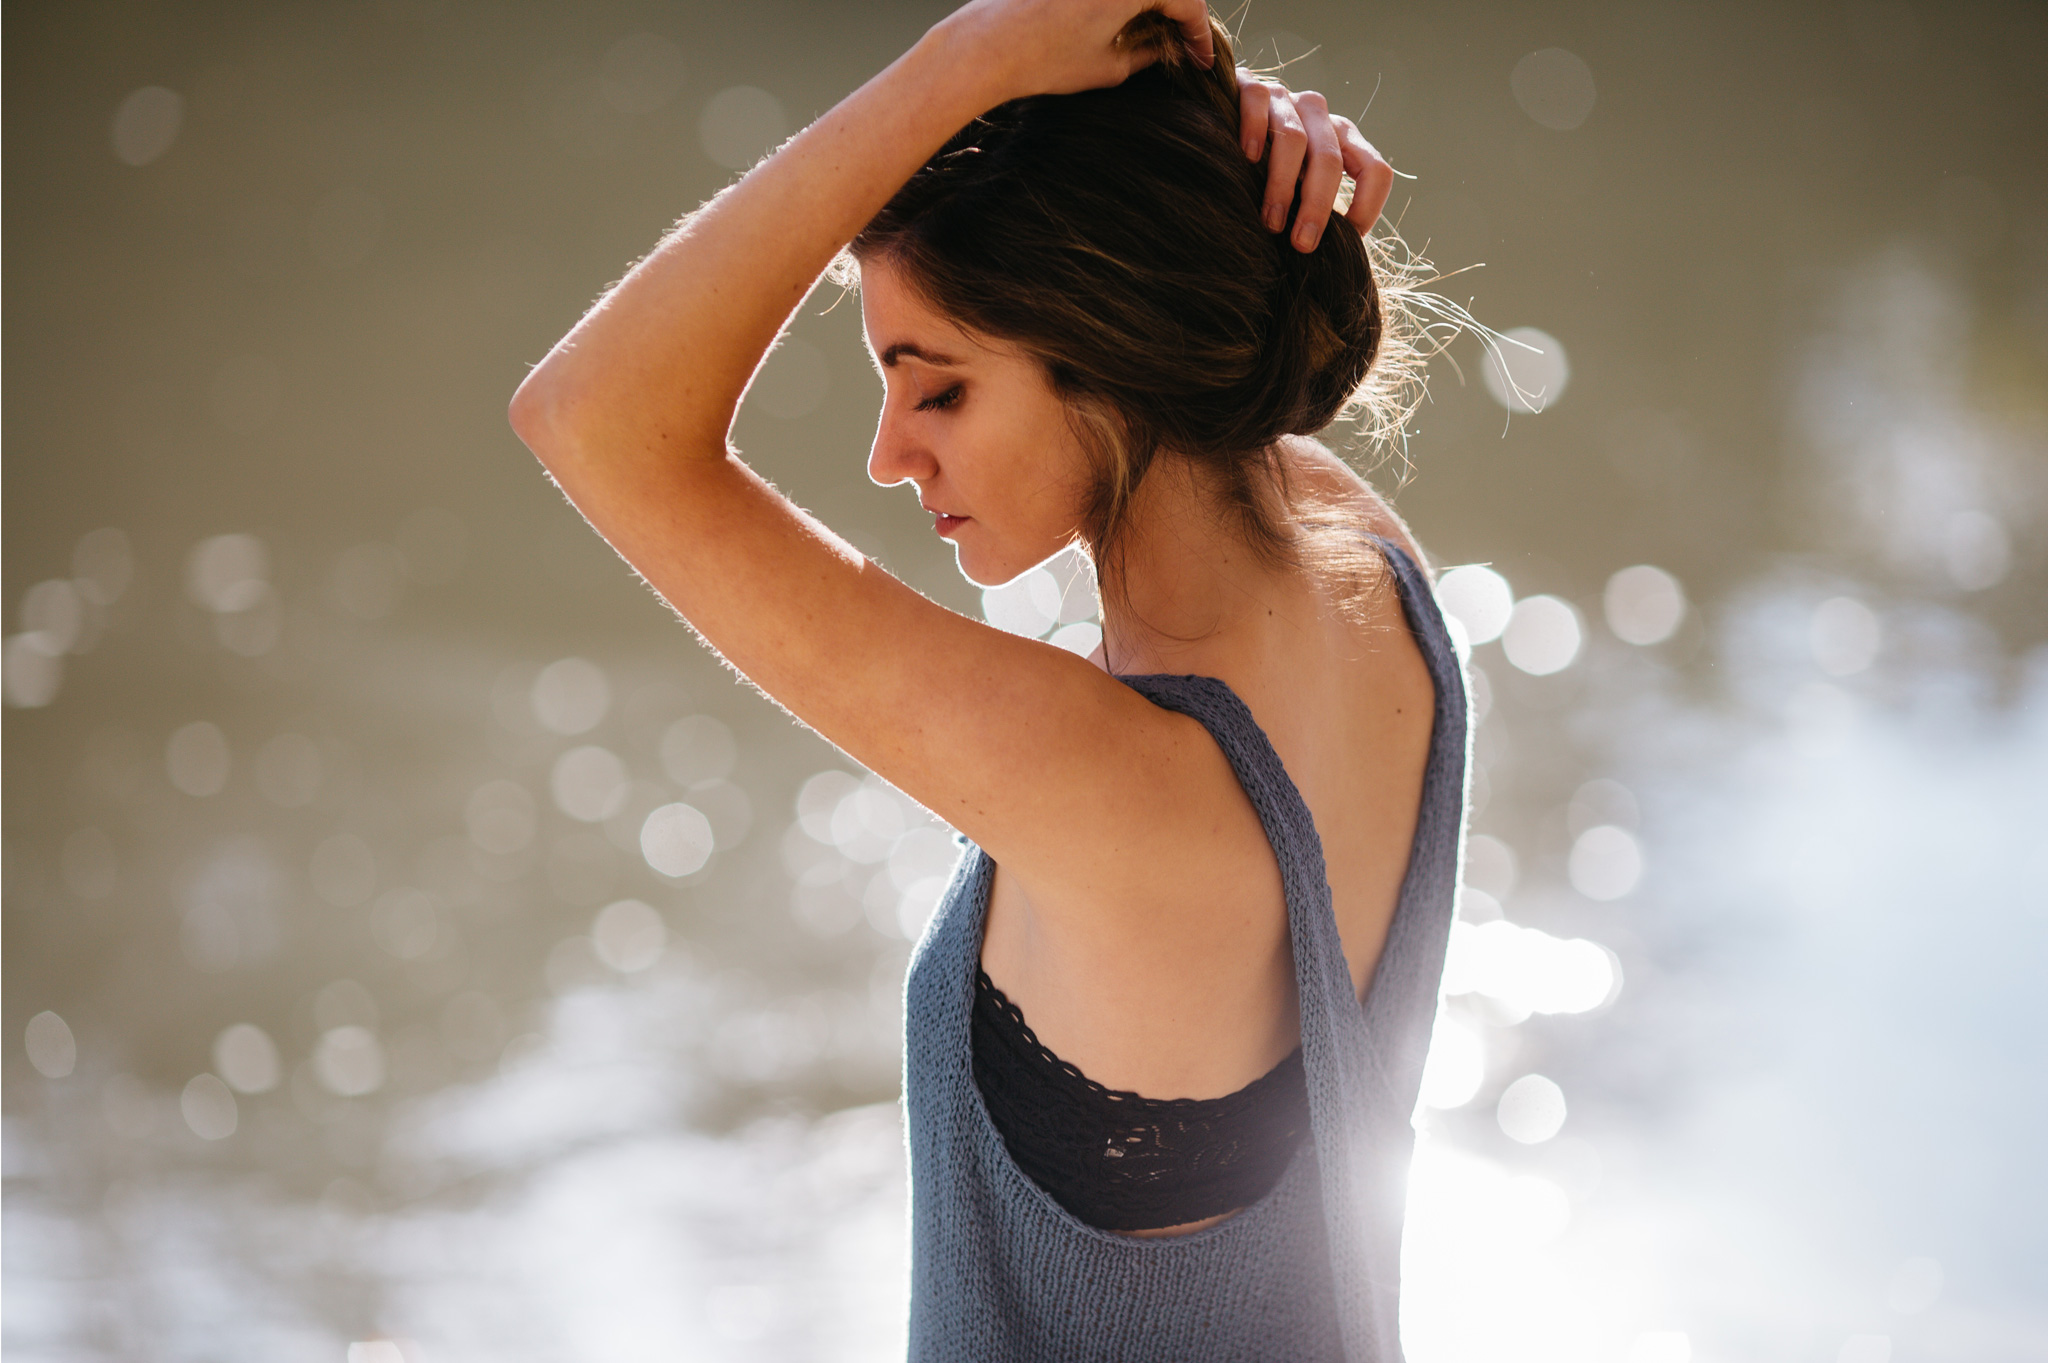
Lady Heartrose designed by Leah B. Thibault for Ms. Cleaver Creations

I've already written a fair amount about Lady Heartrose, which has been way too long delayed by other deadline knitting, but I'm pleased to finally release it out into the world!

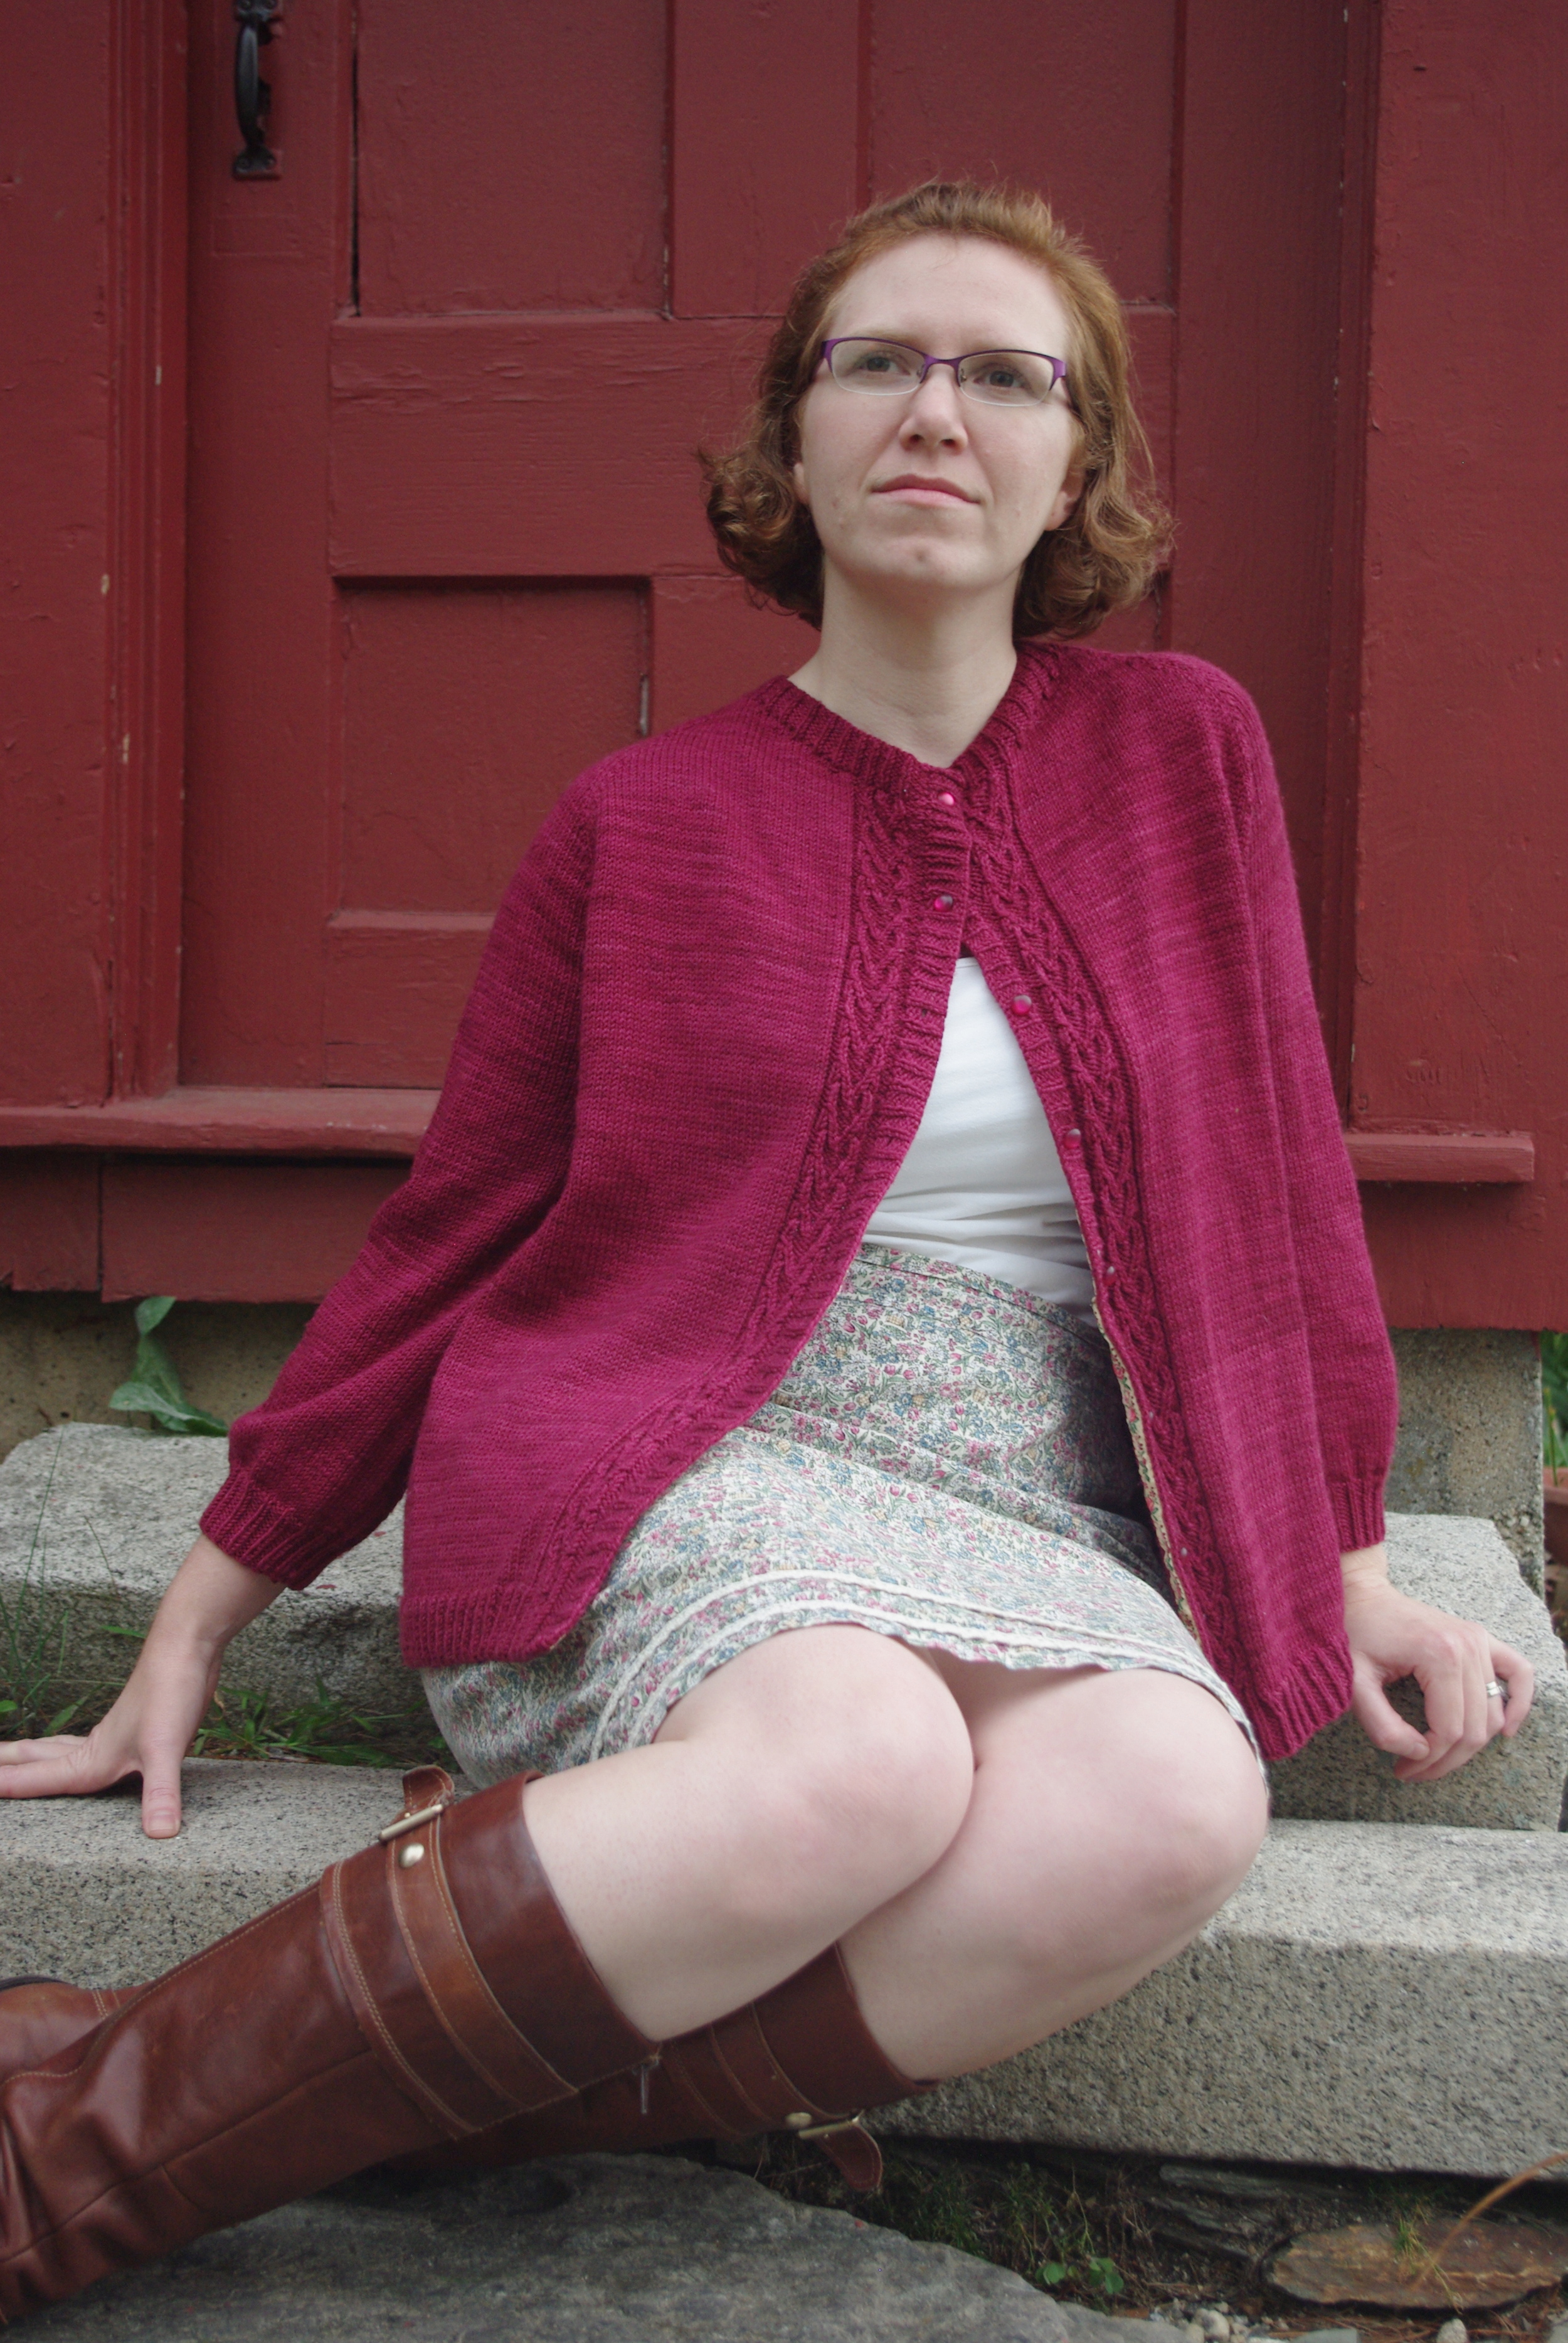
A companion to the pint-sized Heartrose, the grown up version is a ladylike A-line cardigan with slighty puffed 3/4 to bracelet length sleeves and the same sweet heart cable down the front. It buttons all the way down if you wish, but can also be worn buttoned at the top-only for maximum swing, as shown here. 

The pattern is knit from the bottom-up seamlessly, with raglan-style sleeve. The button band is then picked up and worked last. The cable elements are confined to the starts and rends of rows, which,  when combined with the simple, seamless construction, would make this a great beginner/car/ tv-knitting sweater. 

The sample is knit up in the soft and drapey Swans Island Washable Wool DK in Malbec, a rich wine-like color, that suits this more grown-up version. 

A big thanks to Bristol Ivy for the photos and Martha Wissing for the technical editing. 

If you really love A-Line sweaters, wait for a second pattern announcement and special discount coming later this week! (Don't want to miss a pattern? Sign up for the newsletter!)

Pattern Details 

Sizes

Bust Circumference: 34 (36, 37 ¾, 39 ¼, 40 ½, 42 ½, 46 ½, 50)”/ 86.5 (91.5, 96, 99.5, 103, 108, 118, 127) cm. To be worn with 1-2 inches of positive ease.

Sample knit in size 39 ¼, with approximately 2”/5 cm of positive ease. (Wondering about ease?- Check this post out!)

Yarn

9 (10, 10, 11, 11, 12, 13, 14) skeins Swans Island Washable Wool DK in Malbec/EWS205 [100% Washable Organic Merino Wool]; 140 yds [128 m] per 50g or approximately 1210 (1310, 1390, 1450, 1515, 1600, 1775, 1940) yards of DK weight yarn.

Purchase

Lady Heartrose is available for purchase for $7.00 USD via the following methods:

Ravelry  //  Ms. Cleaver Creations  //  Love Knitting (coming soon)

Want to knit a matching adult/kid set? Get the pair for $3.oo off the individual prices! (Discount automatically applied to Ravelry purchases. Already have Heartrose? The discount will still apply!)
Ravelry  //  Ms. Cleaver Creations


Print Friendly and PDF Follow
follow us in feedly

Coming Soon....

Lady Heartrose
Prairie Wife Cardigan

Two new sweater patterns coming soon.  Want to find out when they do? Sign up for the mailing list below!


Print Friendly and PDF Follow
follow us in feedly

What I'm Working On

I have so many ideas these days of things I want to design, make, create and only so much time and/or energy to do such a small portion of them. It's a bit frustrating, but better than having no ideas or motivation!

After two months of straight deadline knitting, my time has opened up somewhat, and I've picked up my long-neglected Lady Heartrose Cardigan, which is inching ever closer to being finished, though I'm nervous about running out of yarn and having a heckuva time finding the kind of buttons I want. I'm thinking about holding off publishing it to do a double photo shoot with that sage lace number, which is the next knit in my queue. It's in some gorgeous Shalimar Yarn that I can't wait to knit more with.  There are going to be a lot of sweater from me this fall. 

I've also been swatching and sketching, coming up with new ideas for sweaters and embroidery projects. I've been talking with yarn dyers and companies and am trying to figure out my schedule for designs, because I have so many projects now that I have to schedule things (which is awesome and a little bit scary).

In this midst of all this, I've managed to make a 30 minute skirt for Little Miss Cleaver in 40 minutes, which was a rip-roaring success that was worn three days in a row before I insisted it needed washing. (Fabric from BeautifulWork) and spend some time with friends, and even drop in on Thursday afternoon knitting at KnitWit, where my Belacqua Cardigan sample can be found hanging by the Quince & Co. yarns. 

It's a good time for making. :) 

(PS - all these photos are from my Instagram feed, if you're into that sort of thing).

Print Friendly and PDF Follow
follow us in feedly

Design Diary: Lady Heartrose - Grading and Calculations

Design Spreadsheet by Ms. Cleaver

I've always considered one of my greatest strengths to be the fact that I'm pretty much equally right-brained/left-brained, analytic/artistic, or concrete/creative. 

While it makes me a great utility player, this dichotomy has it pros and cons. When I worked in a primarily creative environment, the highly creative folks pushed me into more administrative positions, but now that I work with primarily analytic people I get to do all the fun wacky creative things. It's been much more rare to find something that scratches both those itches, however.

And then I met knitwear design...

Textiles and drawing and geometry and Excel spreadsheets! When I design a sweater, I get to do it all.

As many designers will tell you, making something in one size is easy (especially if it's your size), making it work across 8-10 sizes? That's the difficult part and the reason why you'll see so many free patterns that are one-size only.  

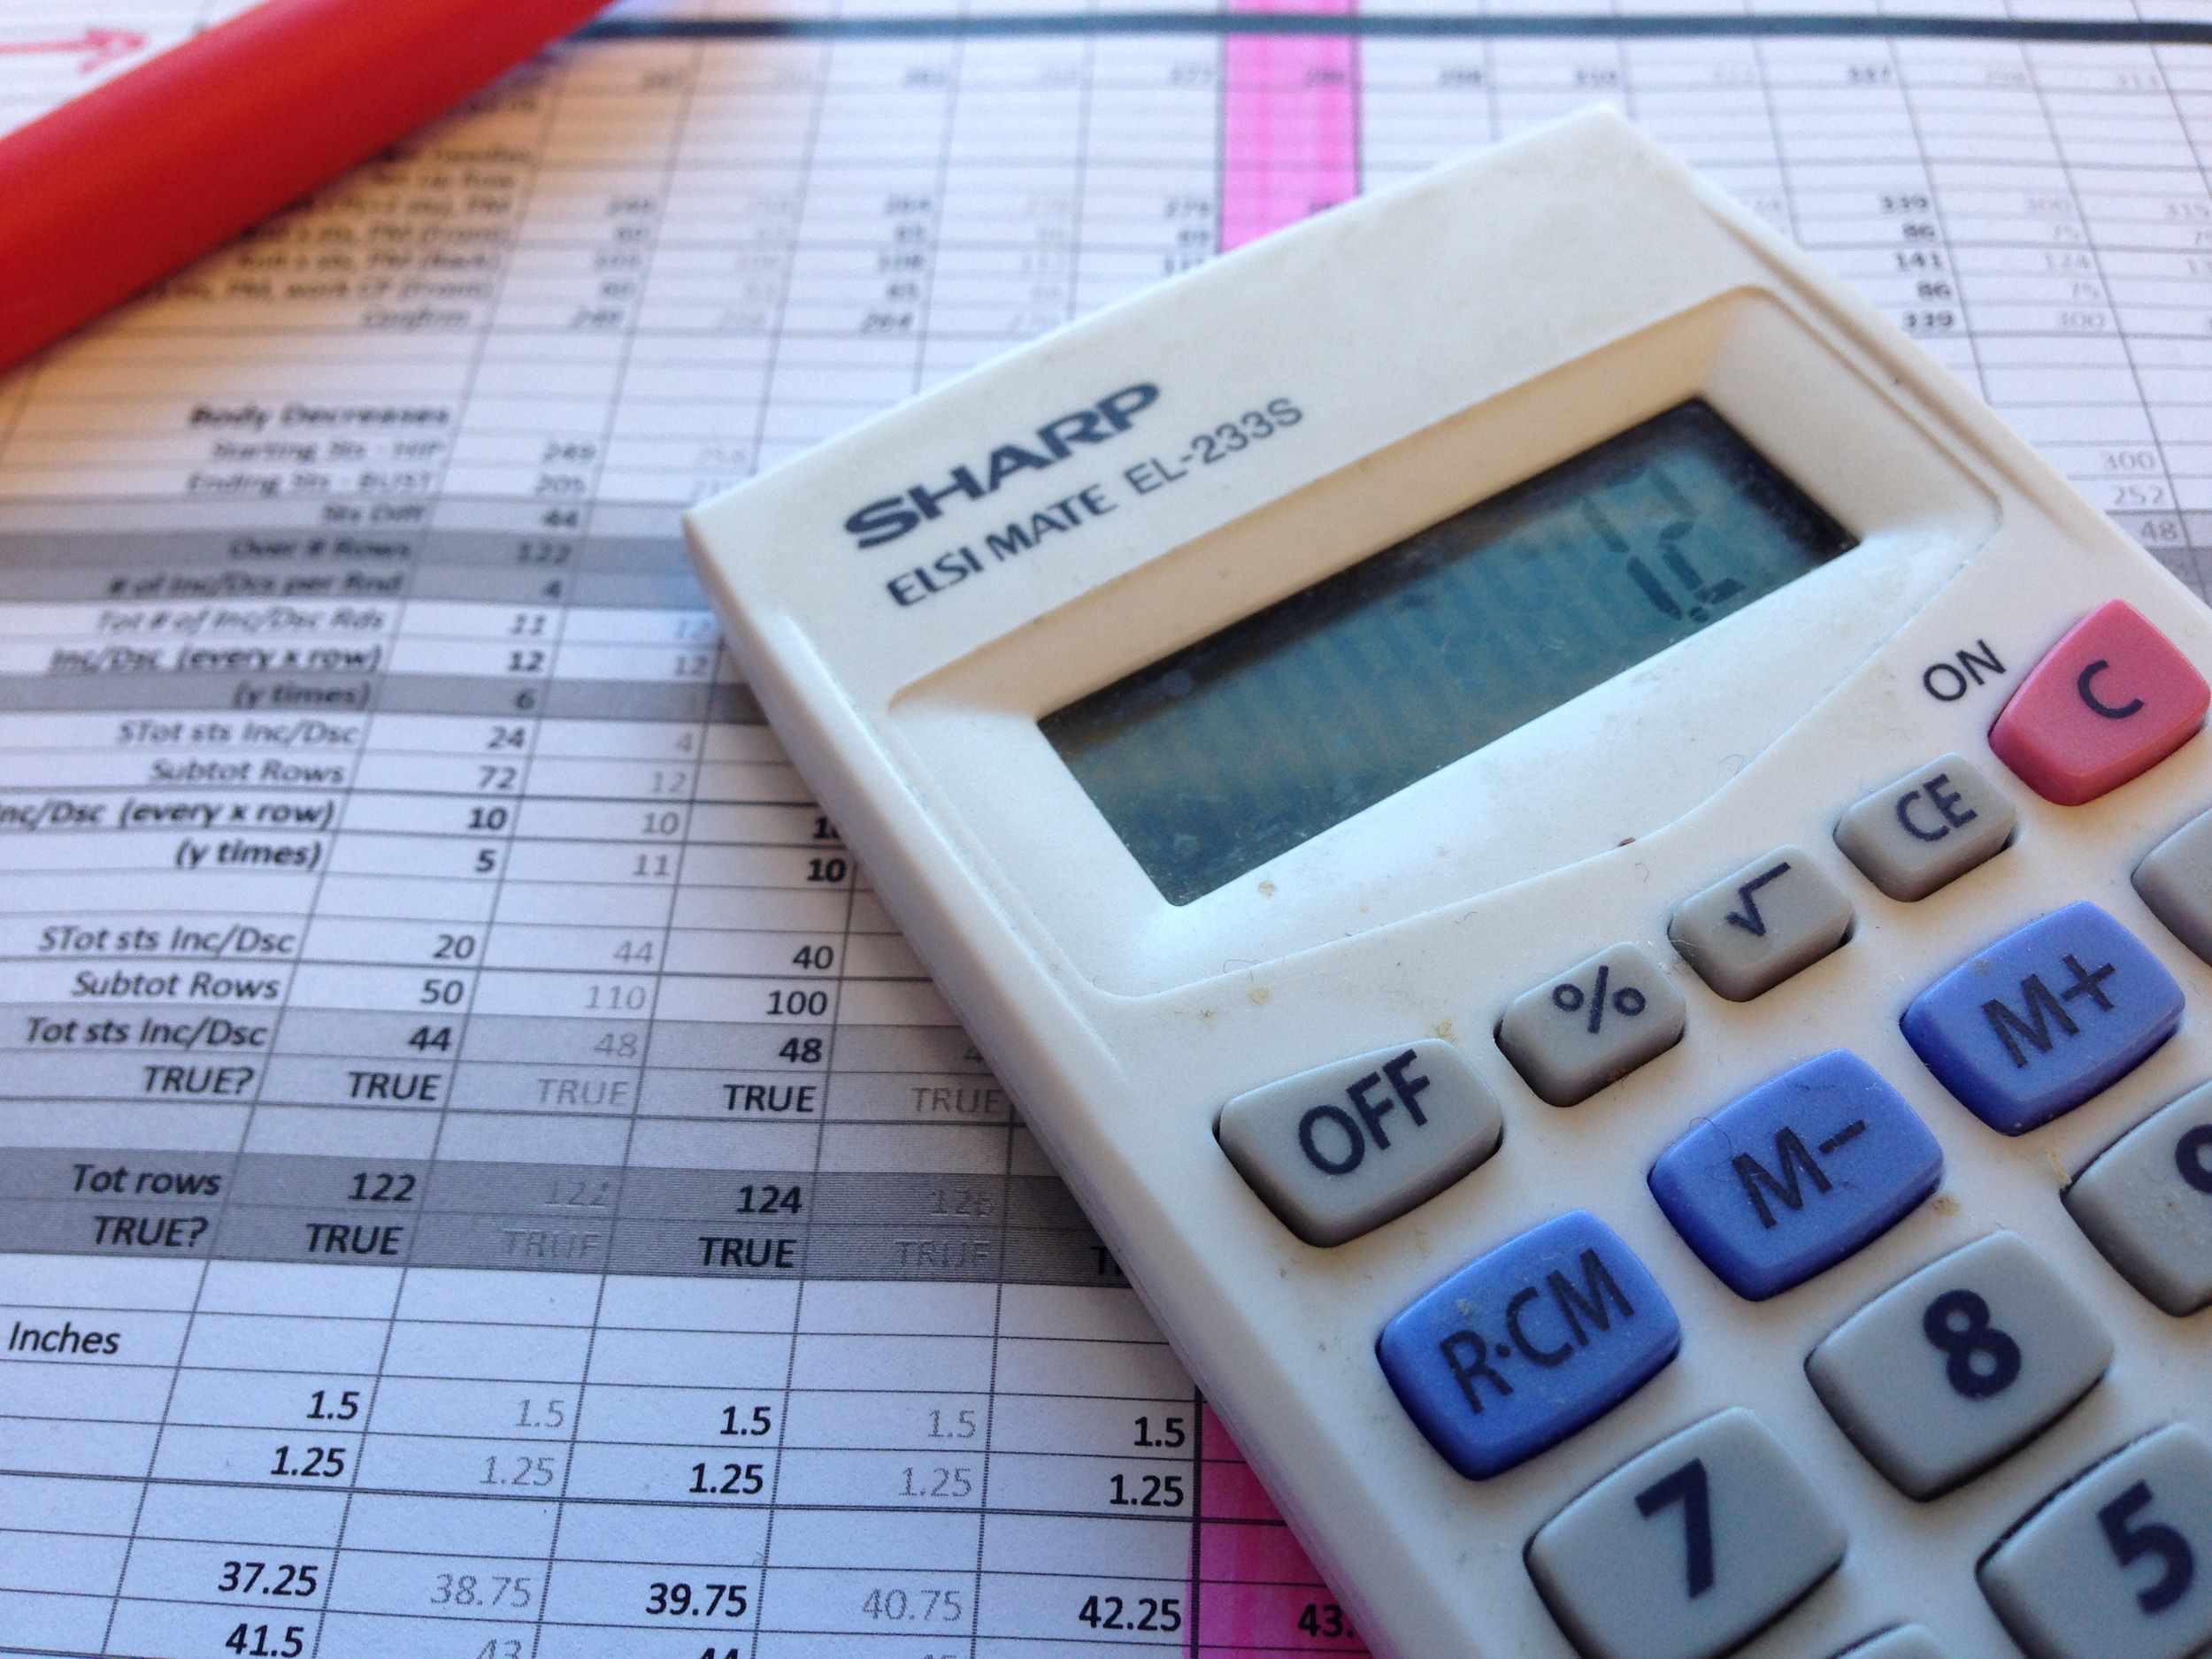
Grading can be terribly time consuming, but I derive genuine pleasure from a well-designed Excel spreadsheet.At it's most basic, the spreadsheets take the body measurements and translate them to stitch counts based on my swatch, but after 5 years of designing, my template sheets have gotten increasingly complex and sophisticated and I'm pretty pleased with my latest iteration.

My sizing is all based on ASTM International Standards for Body Measurements (from a few years ago), which gives me more confidence in my sizing than when I was mushing it together from various sources.My current version also shows ALL my calculations (See the screenshot for an example), as well as regular confirmations that I'm still on stitch count and within my desiring sizing.

It helps me make sure I'm not missing anything and is a helpful bit of information to have on hand for tech editors and pattern support requests, especially when the latter comes months or years after I released a design. 

At this point is also when I lock down the nitty-gritty of the design details - width of the button band, depth of the ribbing at the sleeves/hem etc. My highly scientific method for determining these? Holding my index finger and thumb apart to what looks like a good width/depth and measuring the space with a ruler, making sure it looks relatively proportional to my sketch. Similarly when it comes to ease, I take a cloth tape measure and myself or a mannequin and see what looks right and matches the sketch. For this pattern, I wanted the hem to be fairly swingy, so there's 7-10 inches of ease at the hips (with the larger amounts at the top of the range). 

 It often feels like overkill to do the full grading before I cast on, but I like my instructions to flow fairly smoothly from one size to the next, so if I have to make a bunch of adjustments to half the sizes, I try to even it out across the size range as much as possible. Of course, that's not to say I won't calculate a portion (like the body) just to be able to cast on - I'm only human after all.

Any questions about the grading process? My favorite Excel formula? The trickiest bit to calculate? Put them in the comments below!

Next up - Sample Knitting!

Print Friendly and PDF Follow
follow us in feedly

Design Diary: Lady Heartrose - Swatching

Heartrose Swatches by Ms. Cleaver
Heartrose Swatch by Ms. Cleaver

Usually I sketch before I swatch, but in this case, since I worked a little backwards.

The yarn here is Swans Island DK Washable Wool Merino in Malbec. The original child's cardigan was in a hand-dyed fingering weight washable wool from the Woolen Rabbit. For the grown-up version I wanted something with similar properties, but in a slightly larger, more knit-able, scale. For that, the Swans Island was a perfect match, with the Malbec a nice feminine, but grown-up colorway.

[Full disclosure: I had ID'd this as my dream yarn a while back, and then earned access to some  yarn support from Swans Island following the publication of my  Breakwater Pullover].

Unless I know I want a particularly dense or flowy fabric, I generally begin swatching with the needle size indicated on the ball band. The swatches here are done on US 6/4.0 mm and US 7/4.5 mm. I learned to knit on size 7 needles, and as such, I've always had a bit of a soft-spot for them.

While the 7s resulted in a bit looser fabric, the main difference in these swatches is the scale of the cable pattern. The size 6 swatch uses the same cable pattern from the childre's cardigan, while the size 7 swatch doubles the thickness of the rib and cables. 

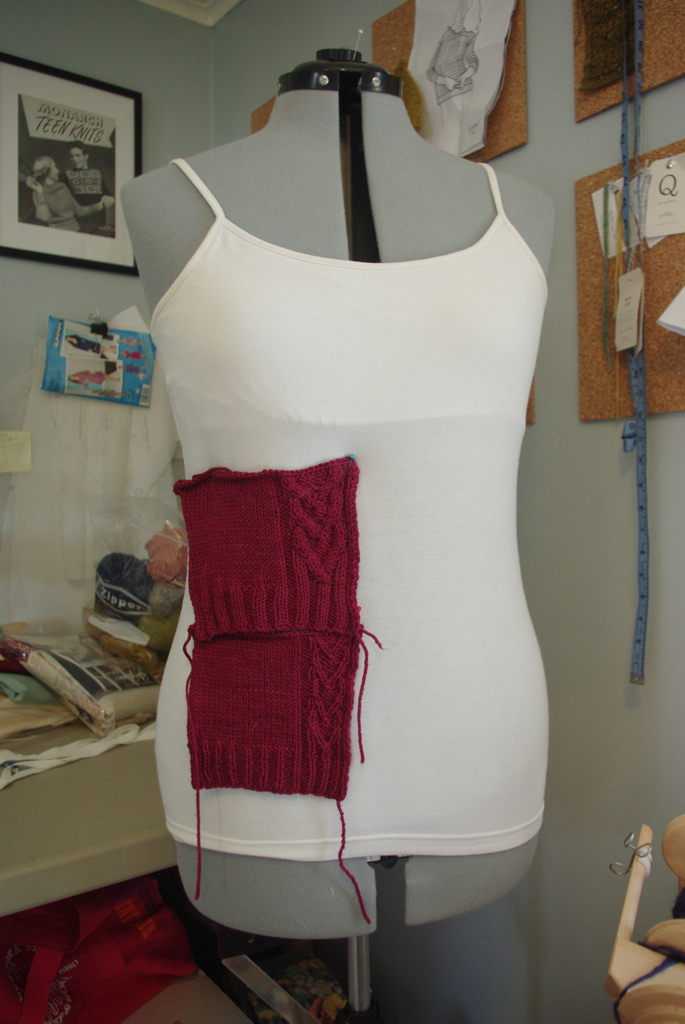
I gently washed and blocked both swatches (just flattening and not stretching), which is extra important in super-wash yarns, which I've found have a tendency to grow. Then I pinned on various place of my unnamed dress form  to see how it hangs and feels in scale to the body. Unless I'm doing a sample for a publisher, I usually keep the form at my own measurements, which is a 38-39" bust. 

Scale is the key here. If Lady Heartrose was a fall/winter cardigan, I'd go with the thicker version in a heart-beat, but for a spring/summer garment, I want something more delicate, so the thinner cable it is. The size 6 fabric also just looks a bit "cleaner" to me, so size 6 swatch wins overall!

Next up - practical math and complex spreadsheets!! 

Print Friendly and PDF Follow
follow us in feedly

Design Diary: Lady Heartrose - Sketching

Lady Heartrose Sketch

Just in time for Valentine's, a design with a little love - Lady Heartrose and my first post chronicling my process of pulling together a new knit design.

Oftentimes I swatch first, sometimes I sketch first, but usually by the time I get around to sketching a design, I already have a pretty good idea of what I'm going to do, so I don't tend to make more than a few versions, mostly to tweak things like necklines. 

This one, being based, on the child's cardigan was even easier. The questions are pretty basic - aline like the original, or fitted?  A-line. What kind of sleeve? Something a little fuller and 3/4 length, because I think it's the most flattering/wearable. Still raglan, still crew-neck.

I usually use this "plus-size" croquis for most of my sketches, though sometimes I'll trace over a  photo of a celebrity or blogger if they provided some kind of inspiration or if I have a certain type of "ideal wearer" in mind. .  Here I just wanted something simple, sweet and lady-like. So she got a bob and a pencil skirt. She's probably looking over at a cup of tea and a slice of sweet quickbread or cake. 

Next up: Swatching!!


Print Friendly and PDF Follow
follow us in feedly