

I've always considered one of my greatest strengths to be the fact that I'm pretty much equally right-brained/left-brained, analytic/artistic, or concrete/creative.
While it makes me a great utility player, this dichotomy has it pros and cons. When I worked in a primarily creative environment, the highly creative folks pushed me into more administrative positions, but now that I work with primarily analytic people I get to do all the fun wacky creative things. It's been much more rare to find something that scratches both those itches, however.
And then I met knitwear design...
Textiles and drawing and geometry and Excel spreadsheets! When I design a sweater, I get to do it all.
As many designers will tell you, making something in one size is easy (especially if it's your size), making it work across 8-10 sizes? That's the difficult part and the reason why you'll see so many free patterns that are one-size only.
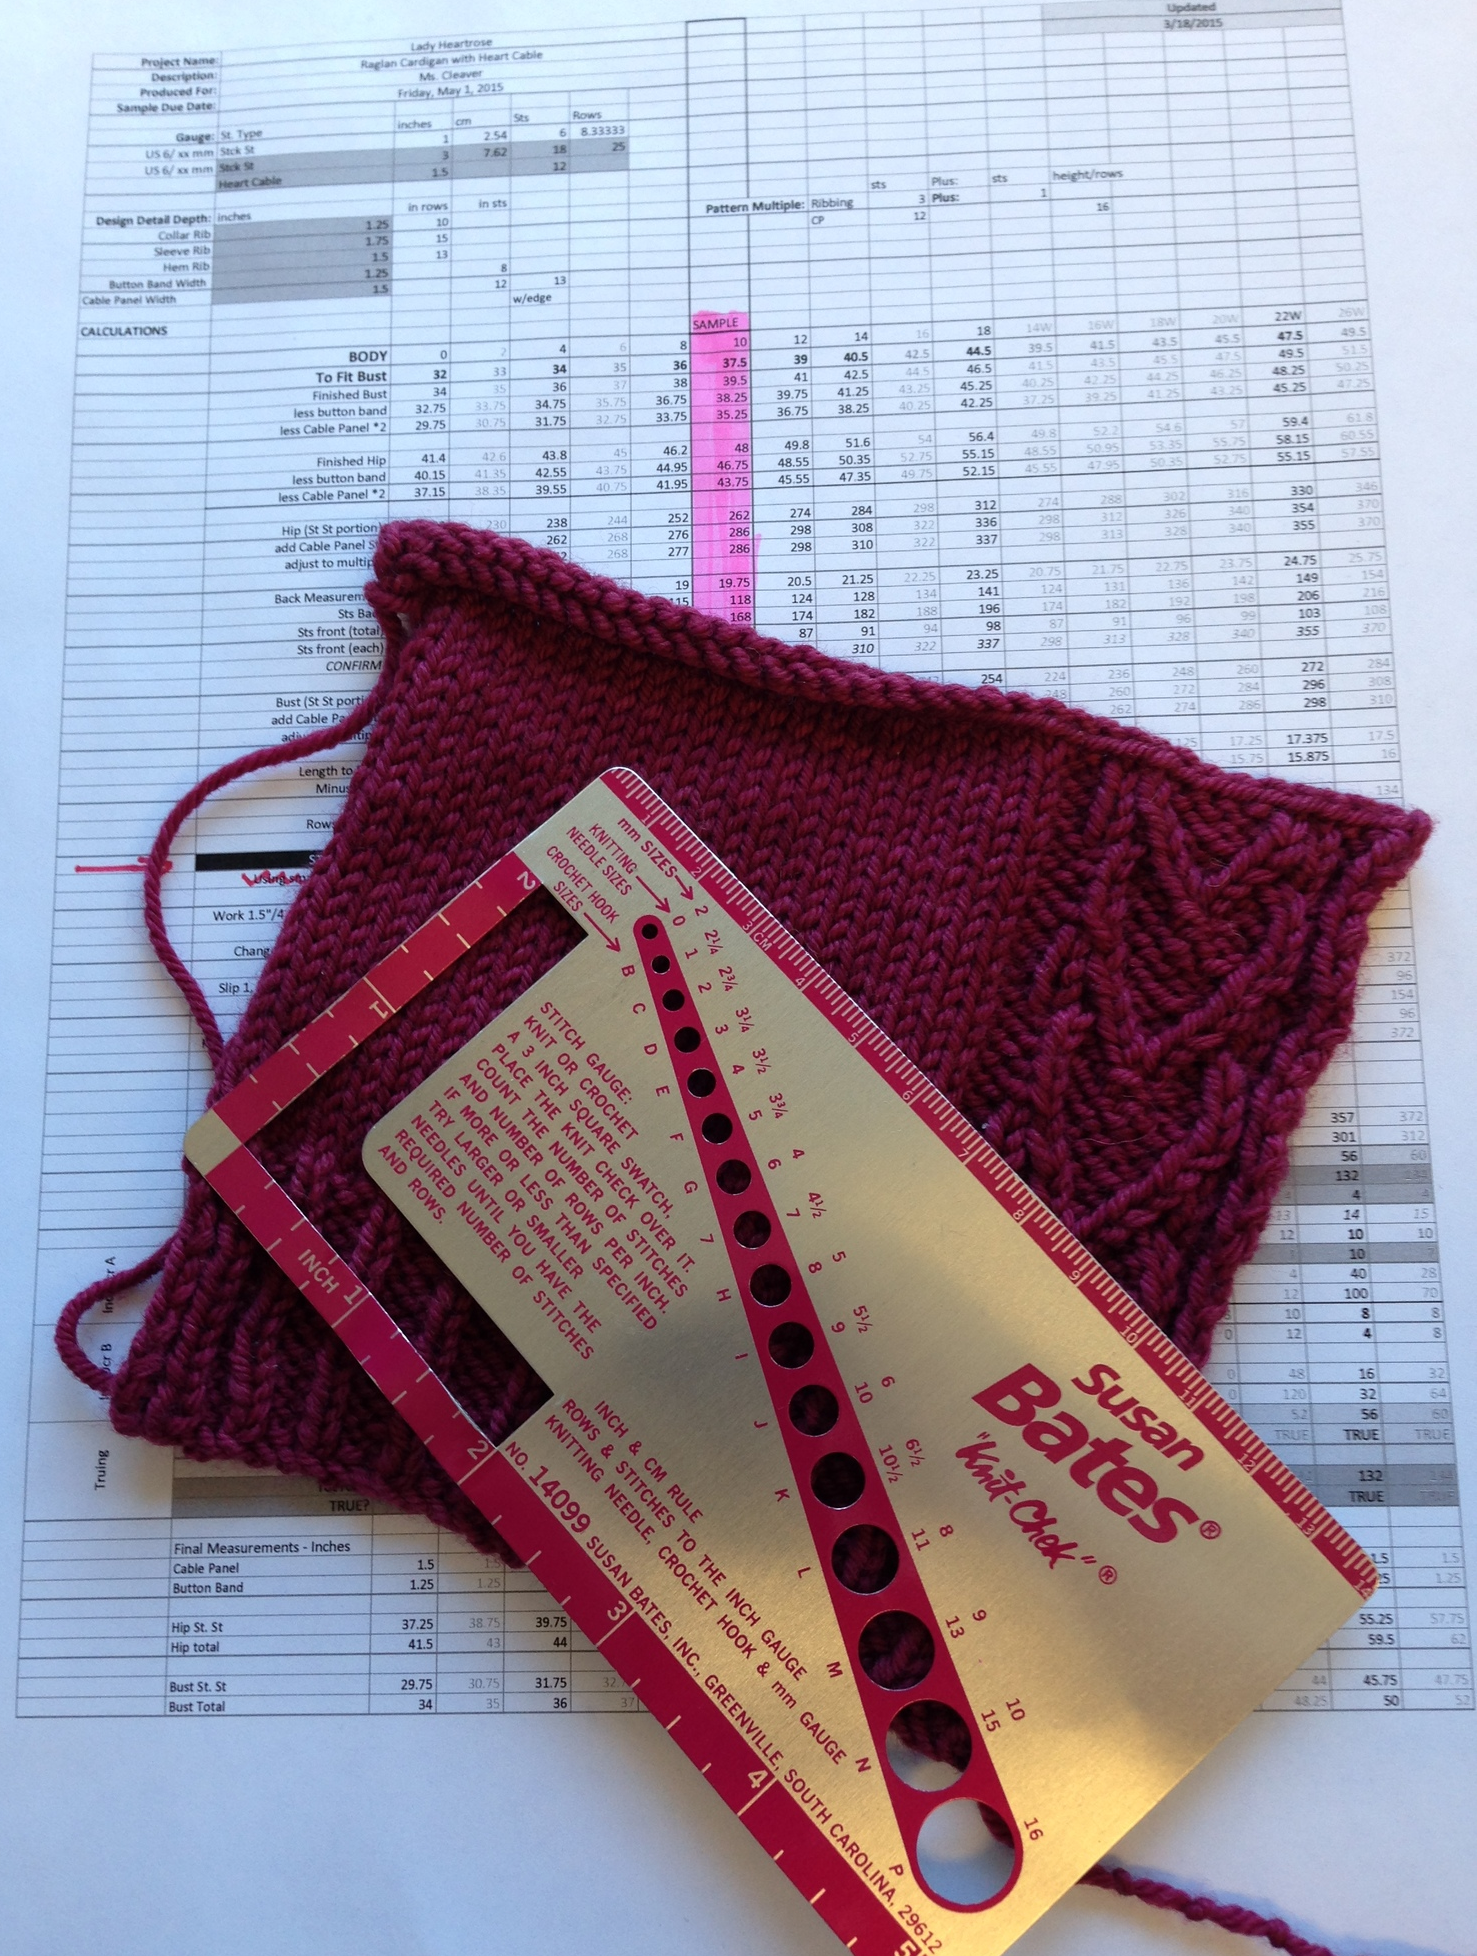
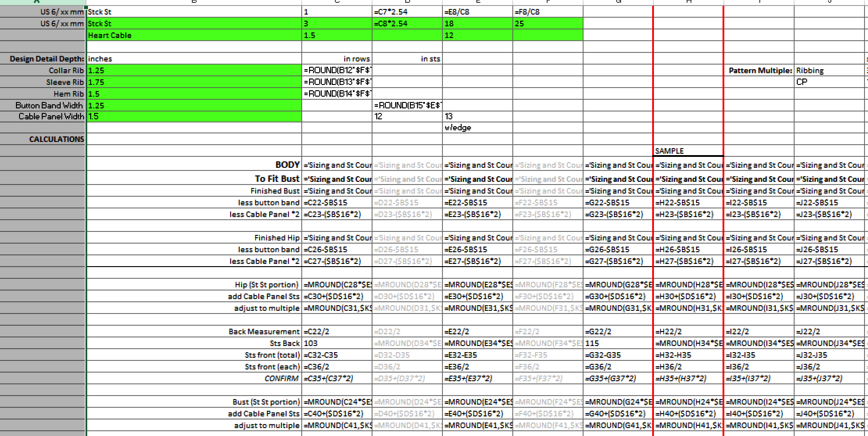
Grading can be terribly time consuming, but I derive genuine pleasure from a well-designed Excel spreadsheet.At it's most basic, the spreadsheets take the body measurements and translate them to stitch counts based on my swatch, but after 5 years of designing, my template sheets have gotten increasingly complex and sophisticated and I'm pretty pleased with my latest iteration.
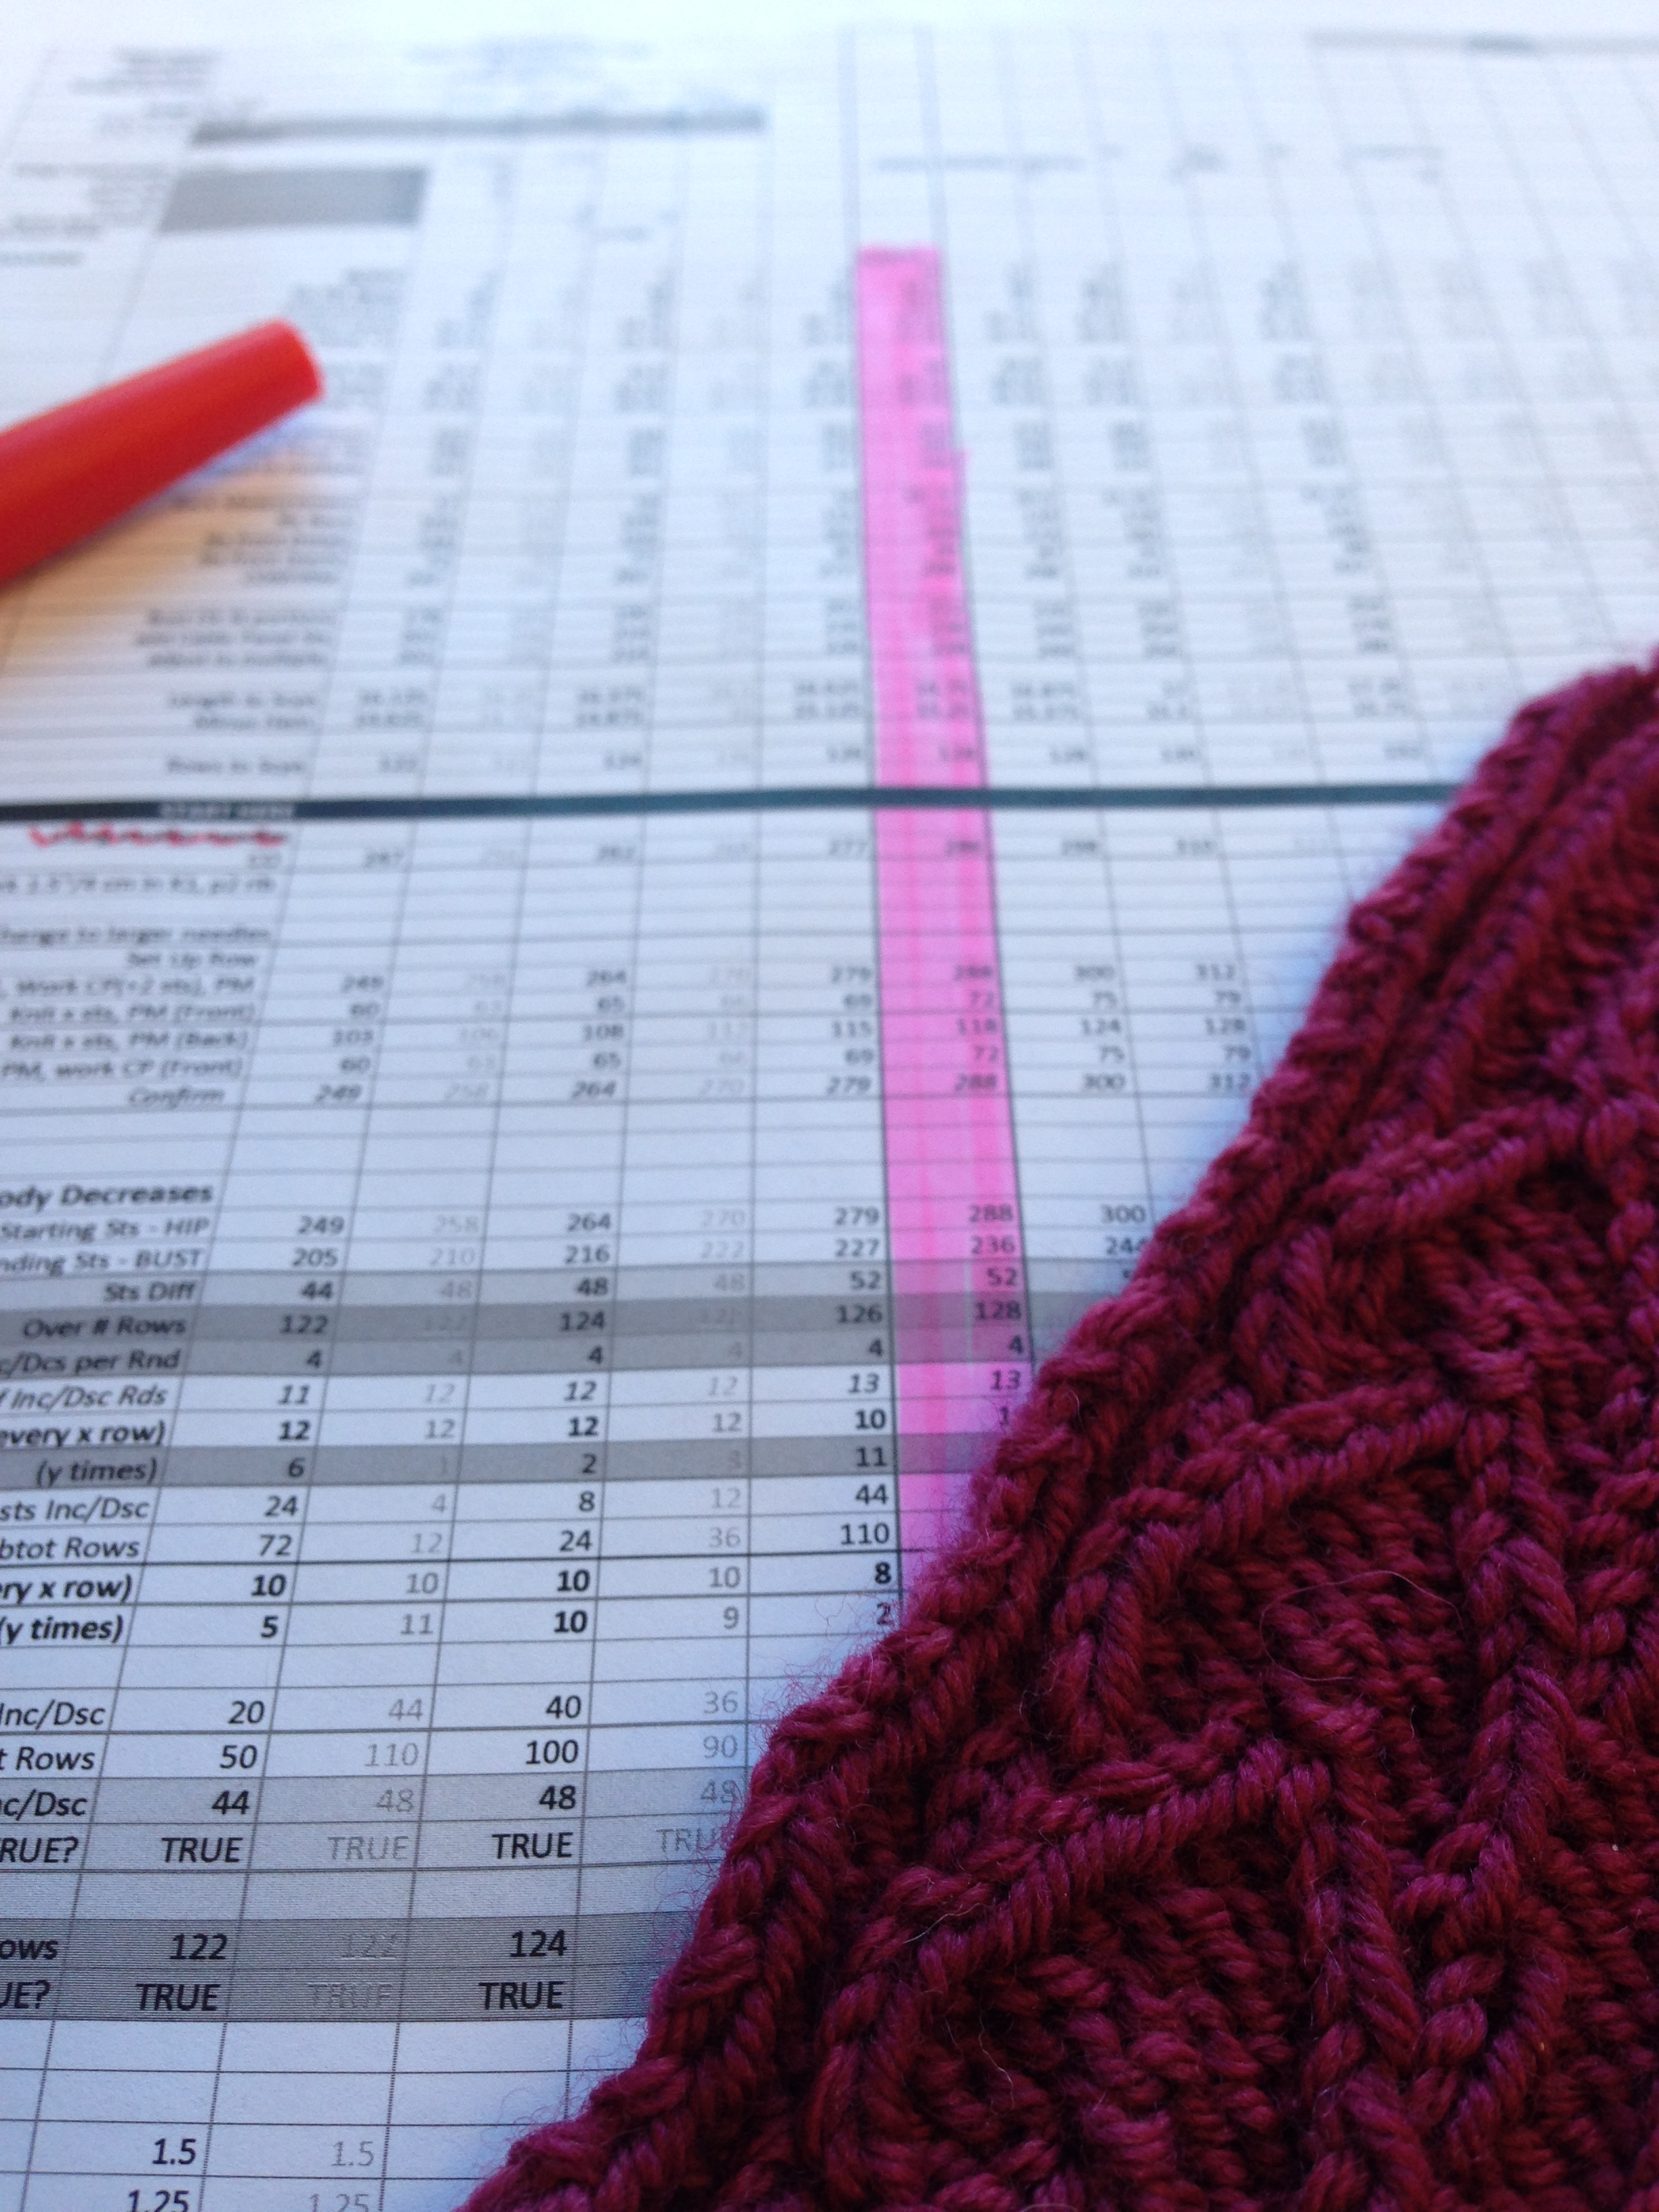
My sizing is all based on ASTM International Standards for Body Measurements (from a few years ago), which gives me more confidence in my sizing than when I was mushing it together from various sources.My current version also shows ALL my calculations (See the screenshot for an example), as well as regular confirmations that I'm still on stitch count and within my desiring sizing.
It helps me make sure I'm not missing anything and is a helpful bit of information to have on hand for tech editors and pattern support requests, especially when the latter comes months or years after I released a design.
At this point is also when I lock down the nitty-gritty of the design details - width of the button band, depth of the ribbing at the sleeves/hem etc. My highly scientific method for determining these? Holding my index finger and thumb apart to what looks like a good width/depth and measuring the space with a ruler, making sure it looks relatively proportional to my sketch. Similarly when it comes to ease, I take a cloth tape measure and myself or a mannequin and see what looks right and matches the sketch. For this pattern, I wanted the hem to be fairly swingy, so there's 7-10 inches of ease at the hips (with the larger amounts at the top of the range).
It often feels like overkill to do the full grading before I cast on, but I like my instructions to flow fairly smoothly from one size to the next, so if I have to make a bunch of adjustments to half the sizes, I try to even it out across the size range as much as possible. Of course, that's not to say I won't calculate a portion (like the body) just to be able to cast on - I'm only human after all.
Any questions about the grading process? My favorite Excel formula? The trickiest bit to calculate? Put them in the comments below!
Next up - Sample Knitting!