Why Reinforce A Button Band?
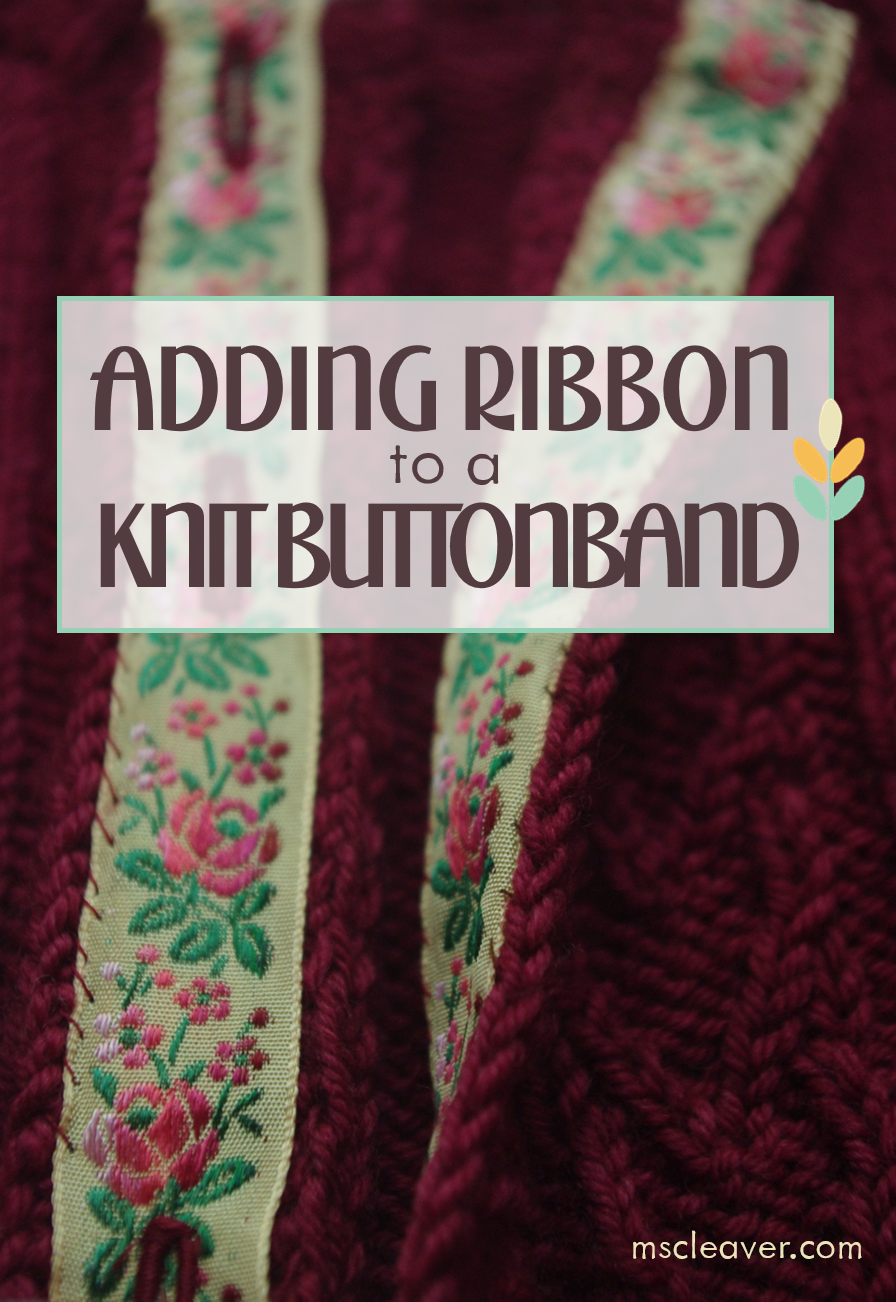
Both of my recent pattern releases, Lady Heartrose and Prairie Wife, suggest that you use ribbon to reinforce the button bands. If you're one of those knitters who hates finishing, you may think why bother? You certainly don't have to, most of my sweaters to date don't have any kind of reinforcement, but there are several reasons to consider it.
- It will keep your fabric from curling (though ribbing may already take care of that).
- It will help prevent gaping at the bust if you intend to button up.
- It will help prevent the button band and button holes from getting stretched out over time.
- If it's a steeked piece, it can cover up the cut ends of yarn.
- It's a nice little surprise inside the cardigan and looks really pretty!
What Supplies Do I Need?
- Your blocked cardigan.
- Approximately 2 yards of a sturdy ribbon, such as Petersham, Grosgrain, or other firmly woven ribbon, that just as wide or slightly less wide than your knit button band. If you're doing something like a long sweater coat, measure the length first. (The ribbon used in this post is from Vintage Ribbons on Etsy).
- A sewing machine with buttonhole capabilities. (You could always sew the buttonholes by hand, but this tutorial won't cover that).
- The buttons you are planing to use.
- Needle and thread to match your yarn.
- Pins or clips.
- Seam ripper or button hole cutter.
- Fray Check (optional).
Measuring and Marking your Ribbon
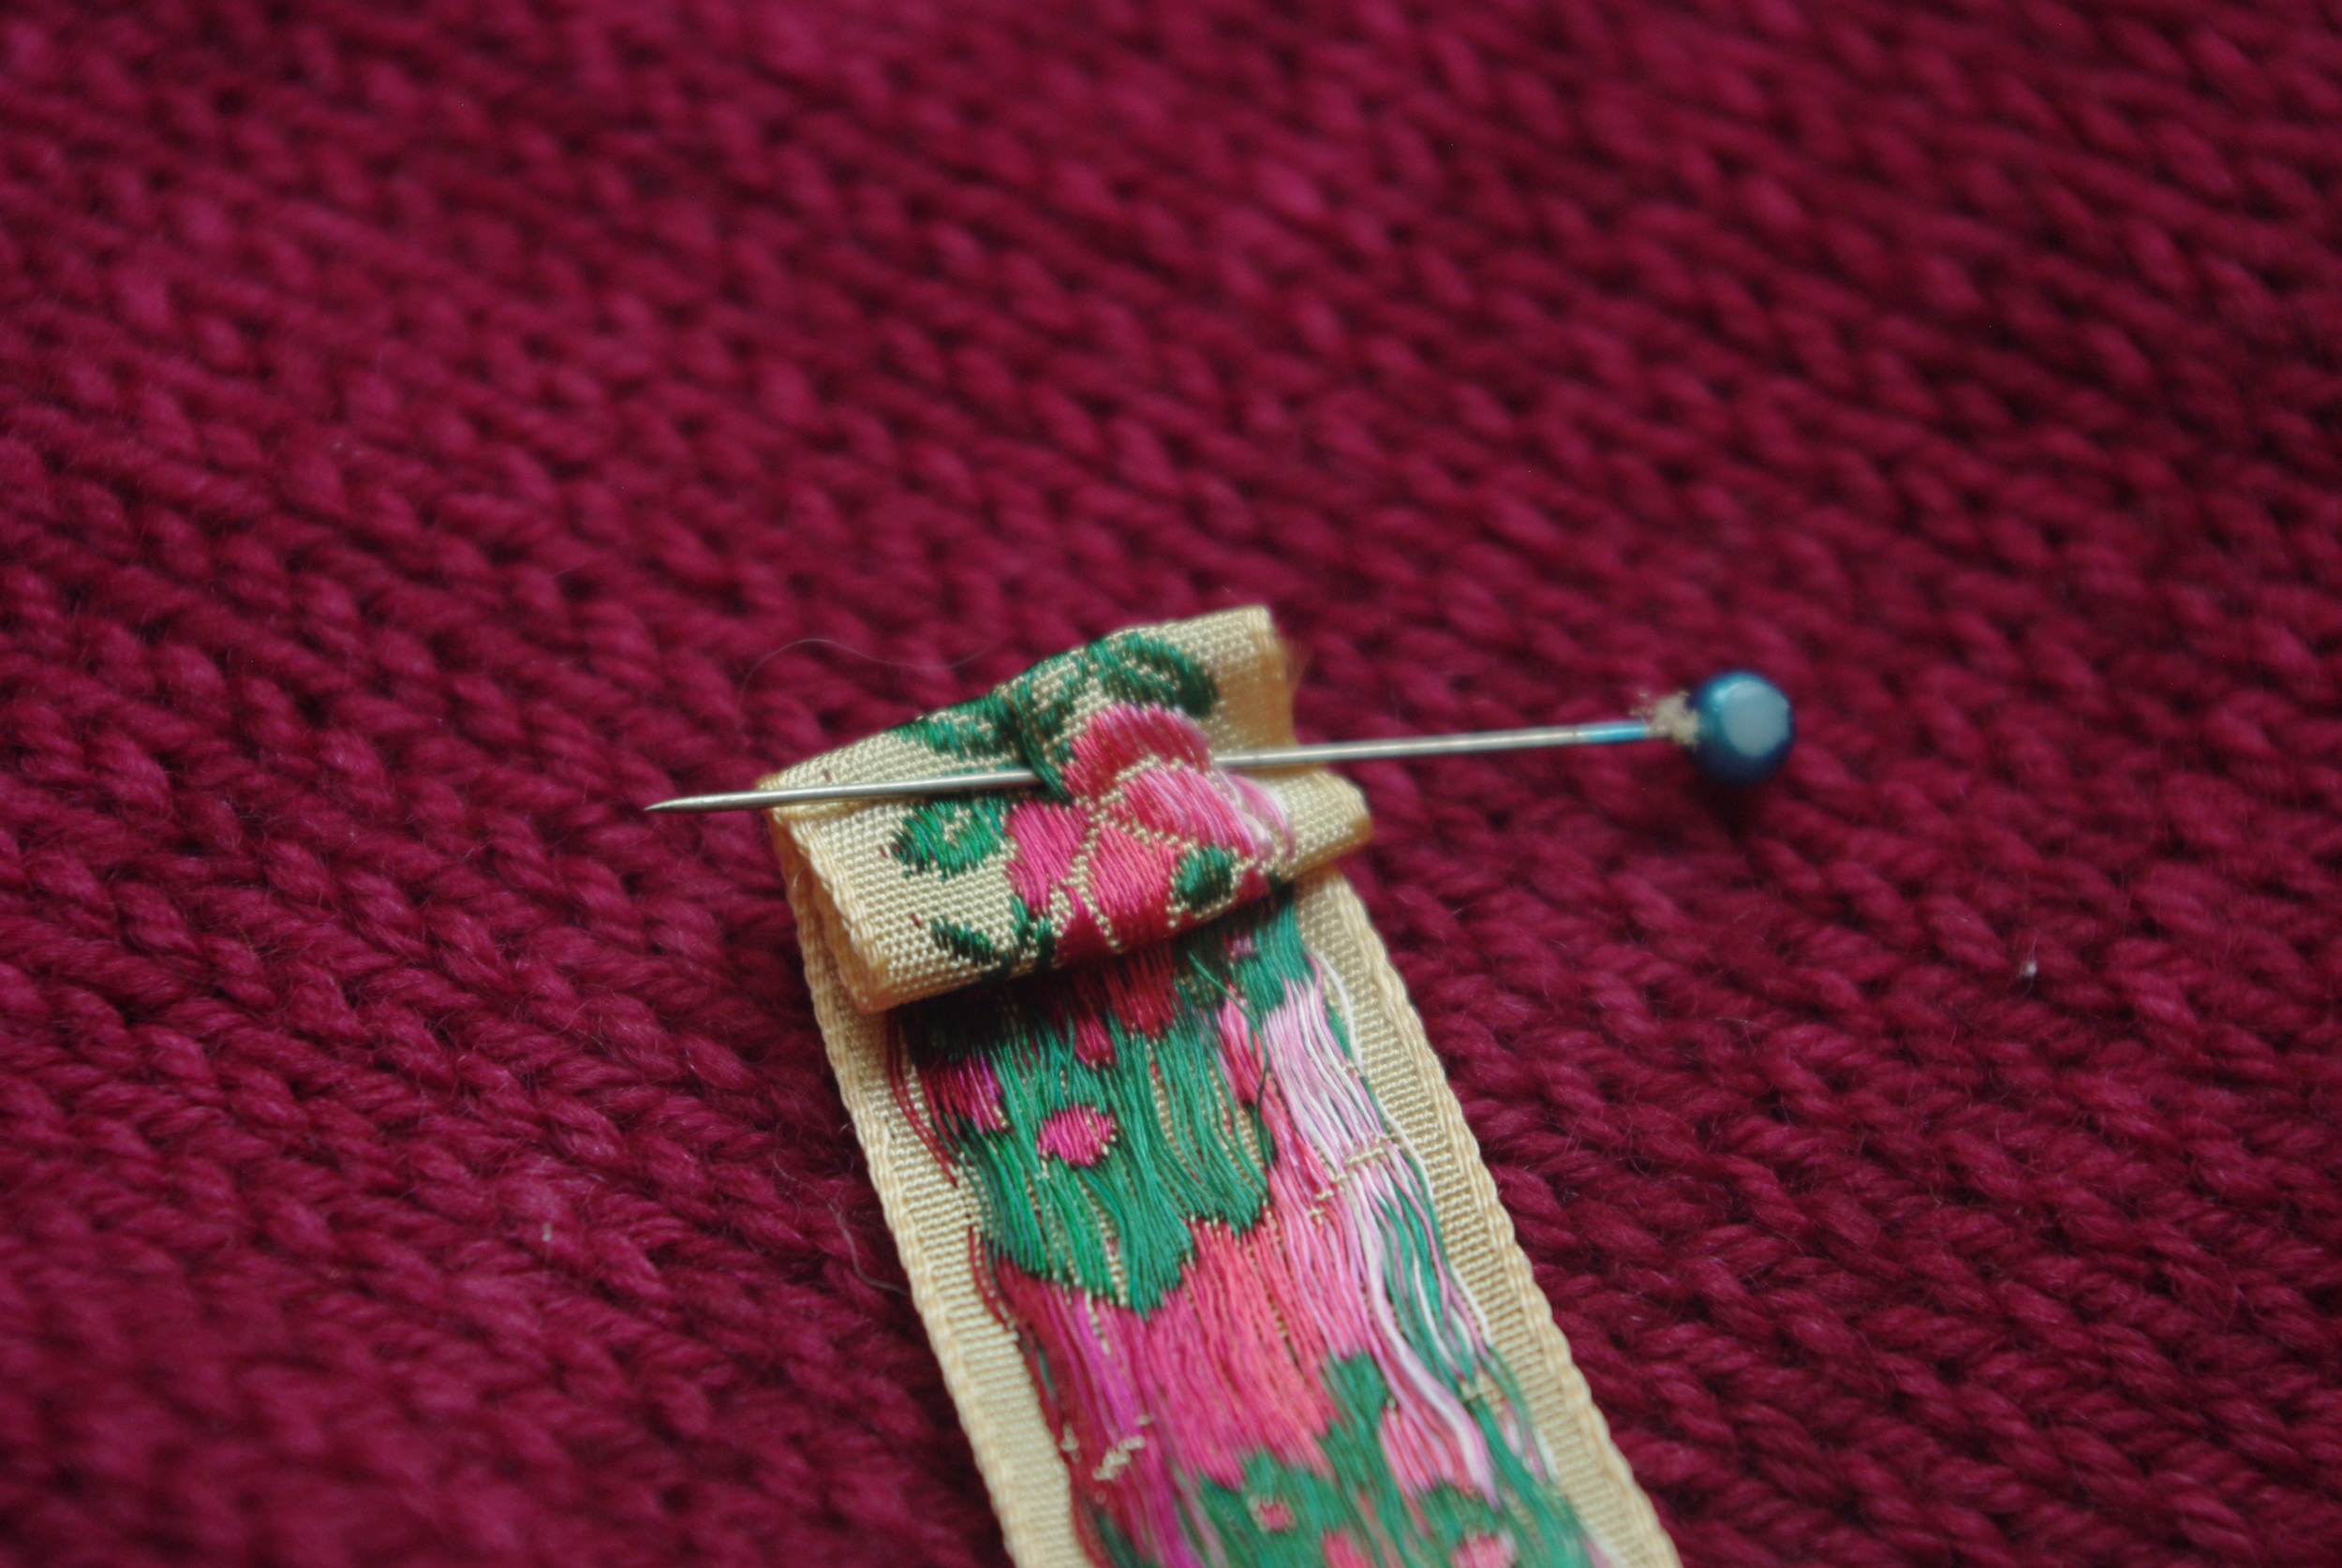
The first thing to do is measure, cut and mark your ribbon. To measure, lay your finished and blocked cardigan on a flat surface. It's very important that the piece is blocked, otherwise the band may be too short. Match the length of your ribbon to the length of the knit band and add an extra inch or so to each side, enough that you can fold it under to make a neat edge (as seen above). Cut a second piece of ribbon to the same length and set aside. The unmarked ribbon will be used to back the button side of the cardigan. Now we'll mark the buttonhole side.
With the ribbon flat against the buttonhole side. Place a pin at the top of each knit buttonhole. If you have a patterned ribbon, you may be able to use the pattern to make your placement more exact/even, but it's more important that the pins line up with the actual knit buttonholes.
Testing the Buttonhole Size
Using a scrap piece of ribbon and the buttonhole feature on your machine, test out your buttonhole size to make sure the button can fit through easily. The ribbon button hole is likely to be a lot longer than the knit one.
Once you have confirmed the proper size, mark the ends of the buttonhole on your ribbon (the top being the pin you already put in).
Use your machine and sew the buttonholes on the ribbon.
Finishing the Buttonholes
Before you slice into them, double check that your buttonholes still line up. If they do use a seam ripper or buttonhole cutter to open up your buttonholes. Adding a drop of fray check to the buttonhole as desired. Set aside to dry if using fray check for the recommended amount of time.
Attaching the Ribbon to the Sweater
Fold over the top and bottom of the ribbon, whip-stitching closed as desired, then making sure that the buttonholes line up and both the ribbon and the button band are flat, pin or clip the ribbon to the inside of the button band. Starting on the outside edge, whip-stitch ribbon to knit fabric. To help keep the stitches even, use the knit fabric as your guide, here I did one stitch per knit row. Work your way down the outside edge and up the inside edge, making sure the ribbon lays flat. Unless your button band is very wide, there's no need to tack down the ribbon buttonhole around the knit buttonhole beyond securing the ribbons at the edges.
For more detailed instruction on how to whip-stitch see DMC's embroidery guide).
Repeat process for button side.
Sew on buttons on across from buttonhole and you're done! Enjoy wearing your snazzy-looking and sturdy button bands!


