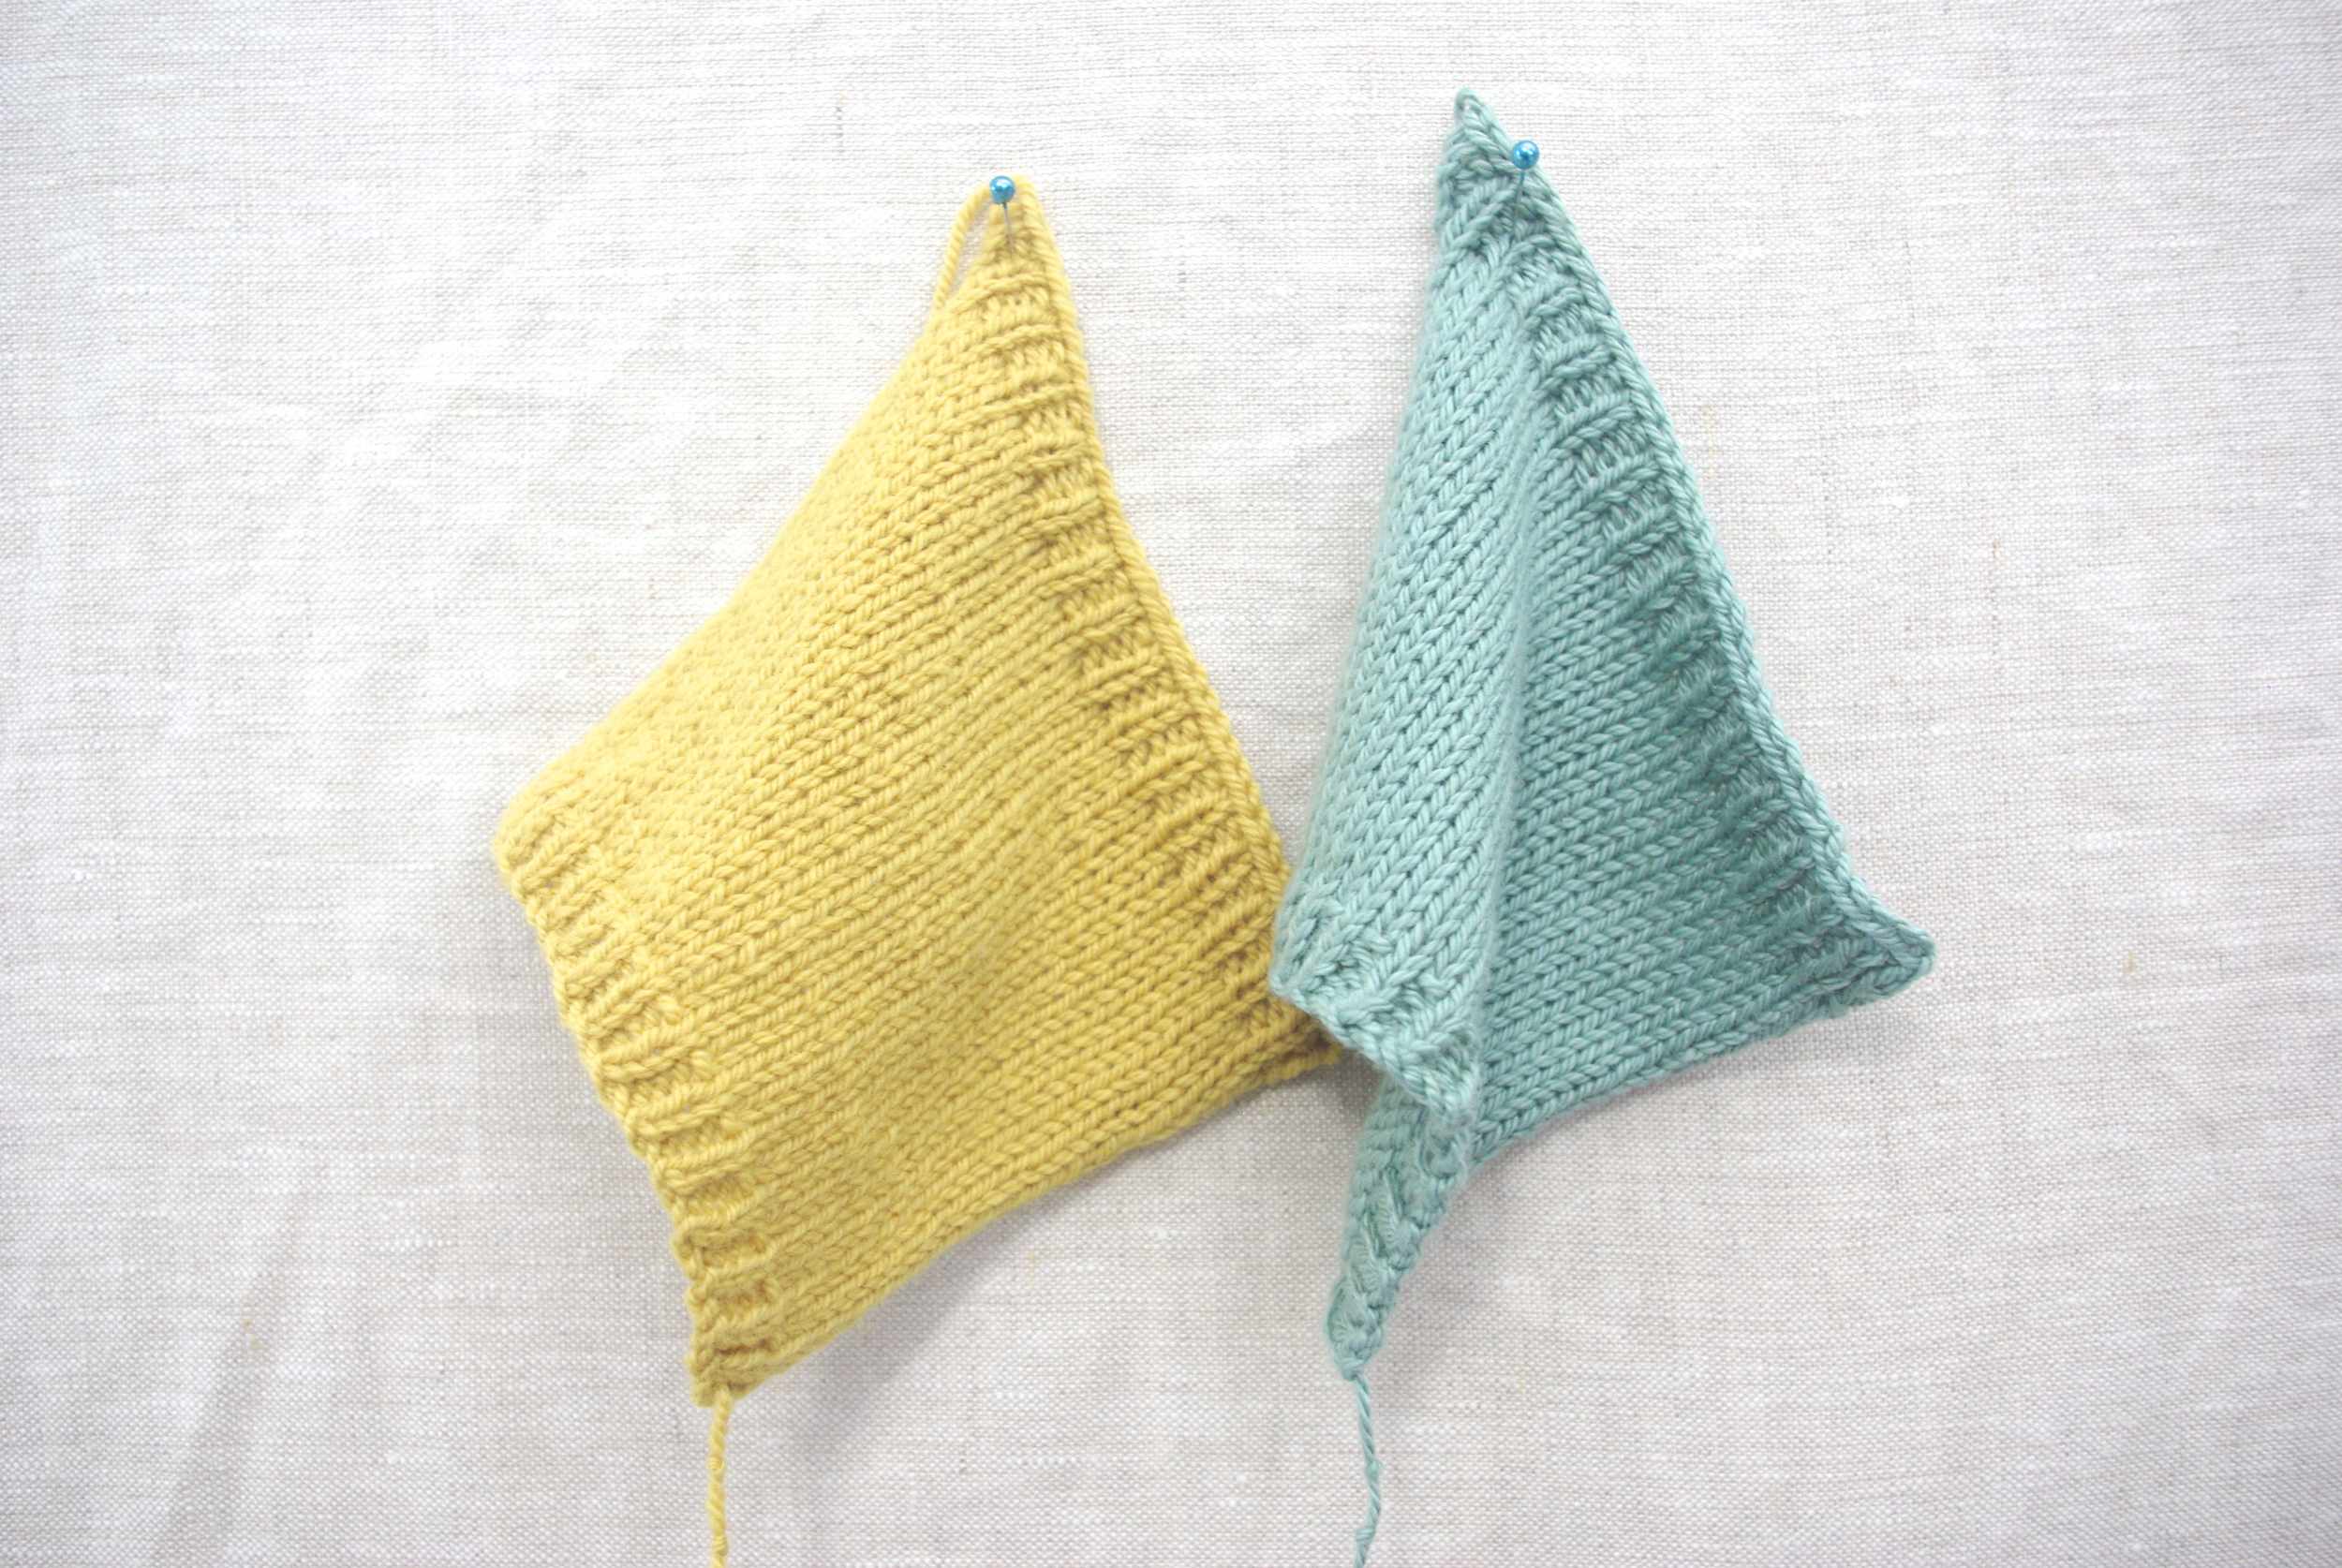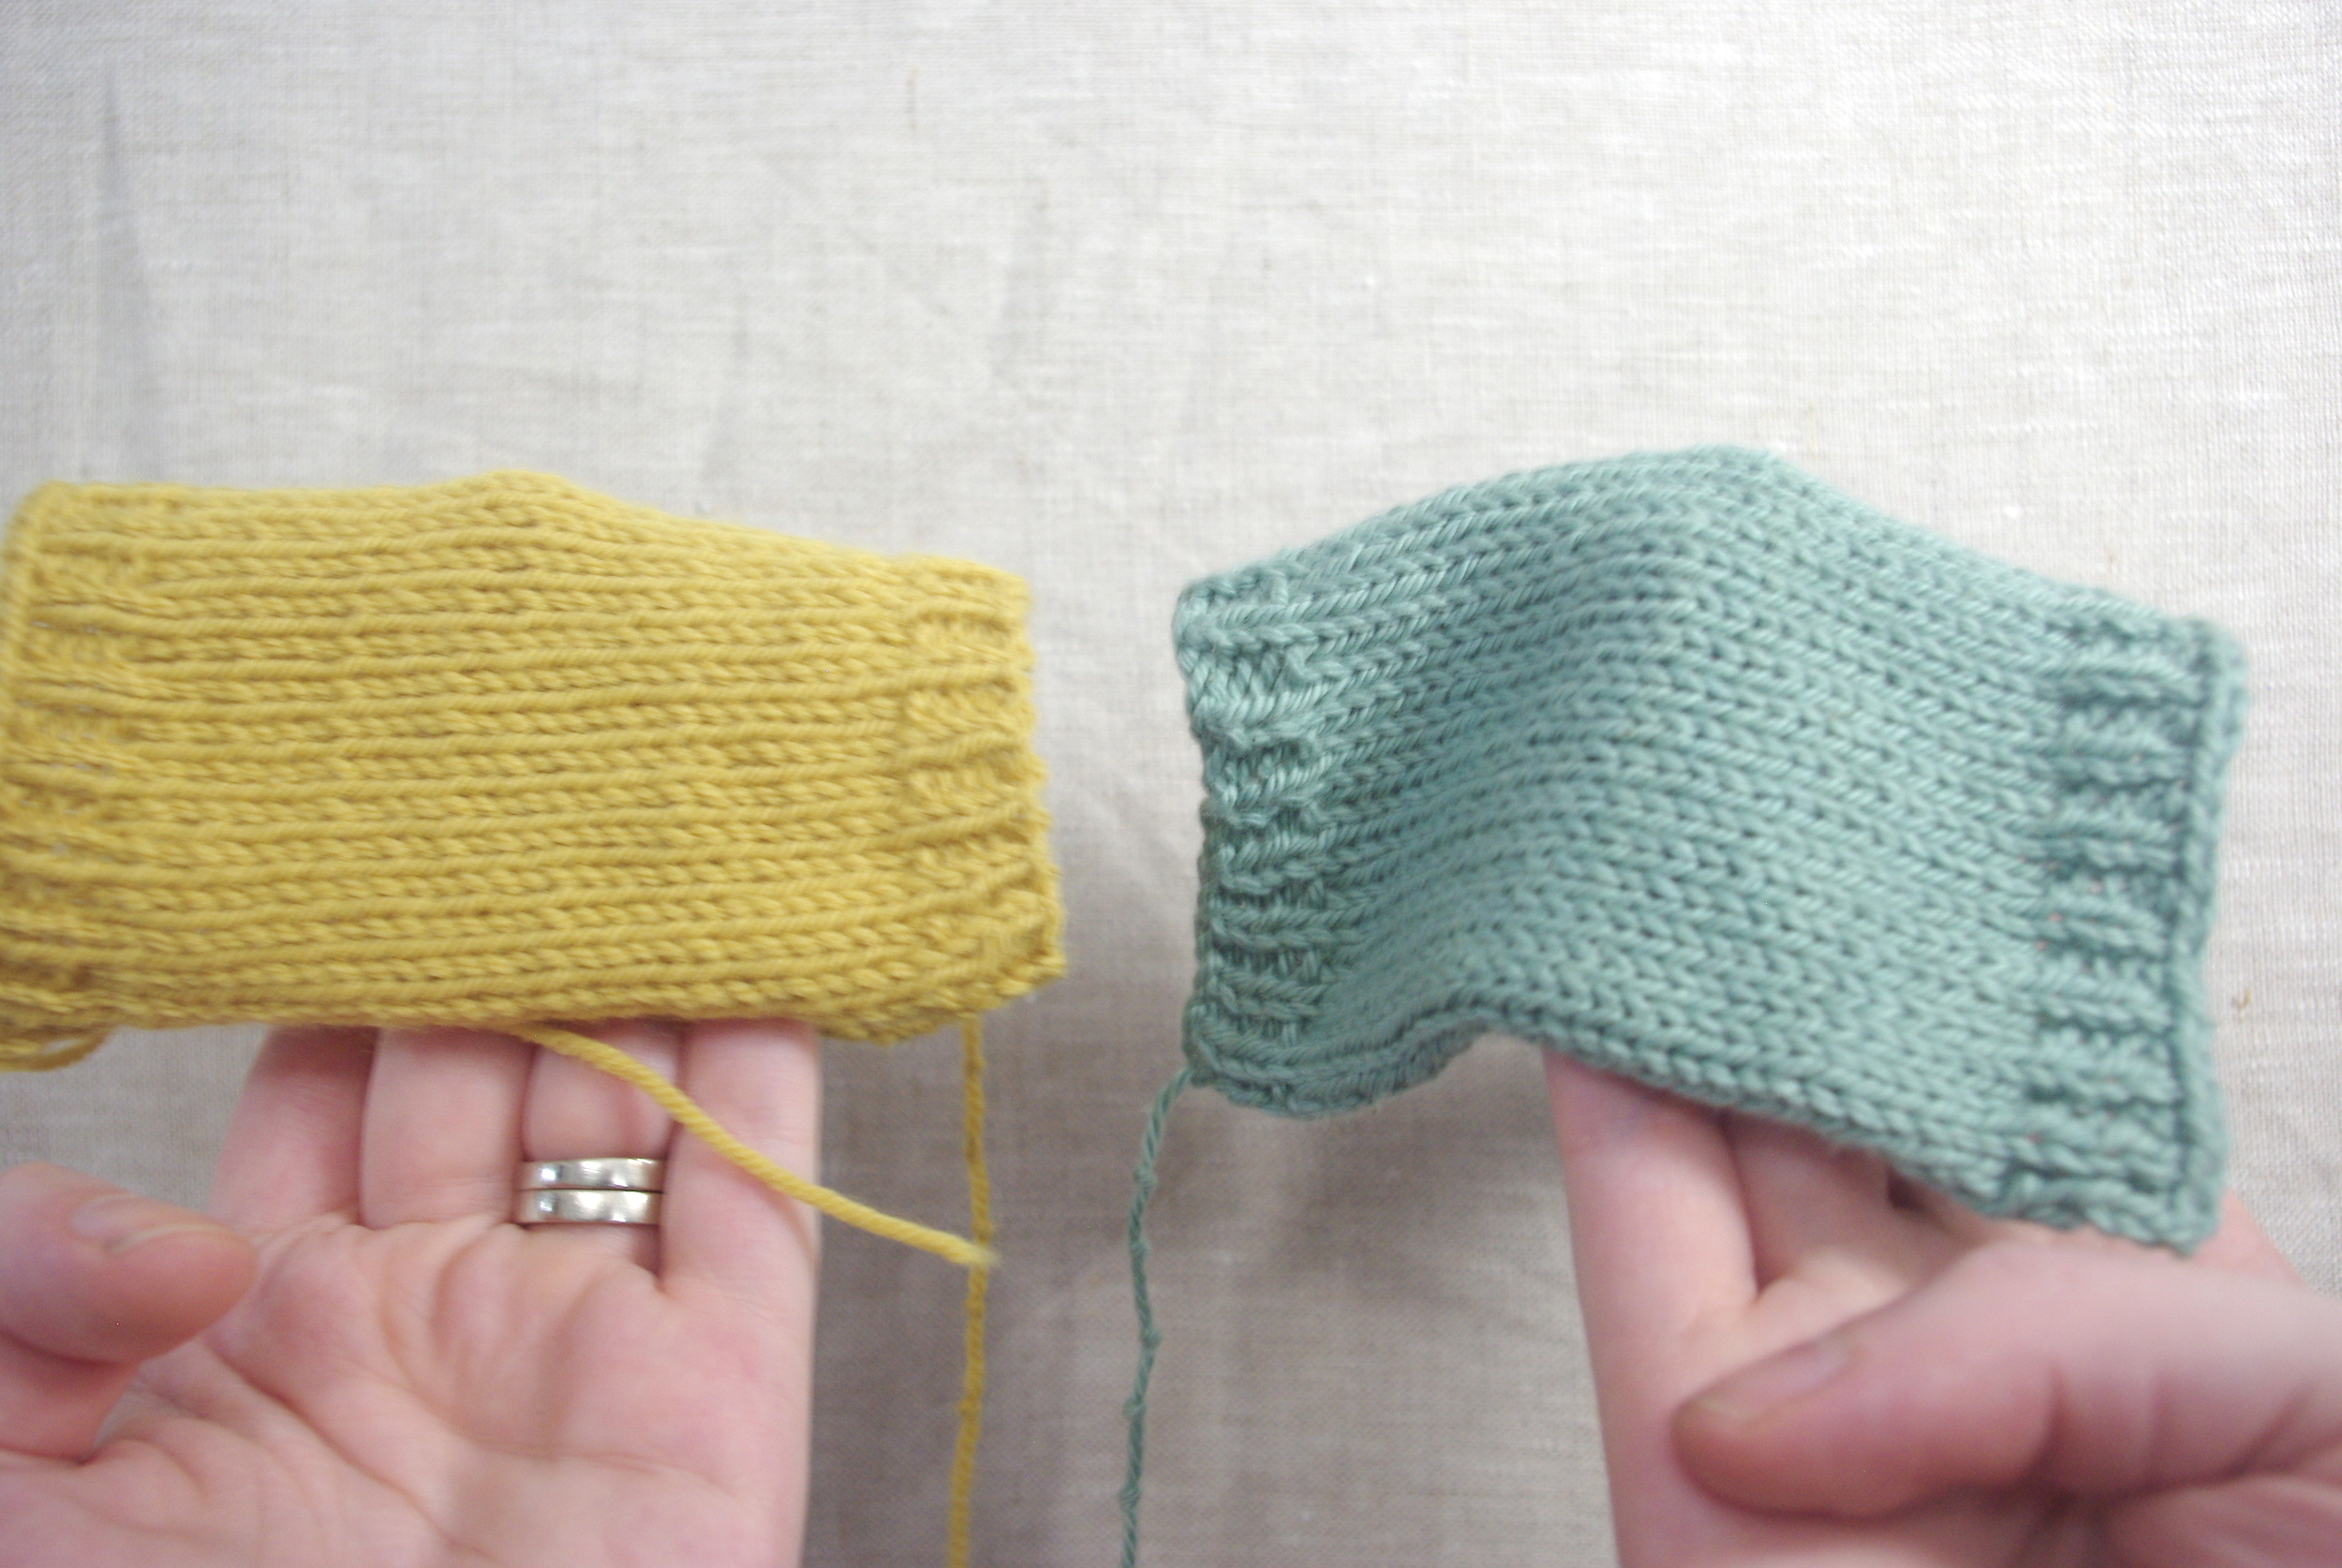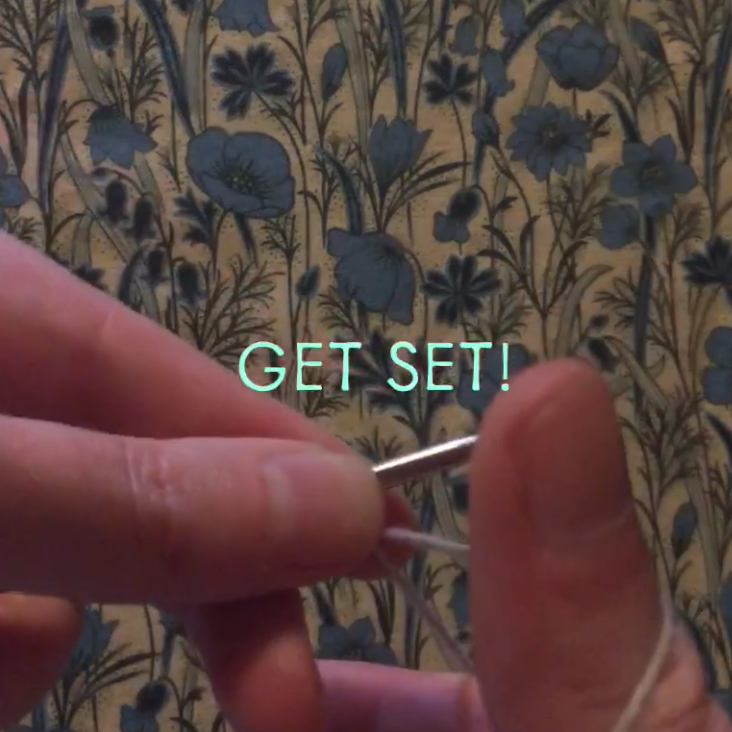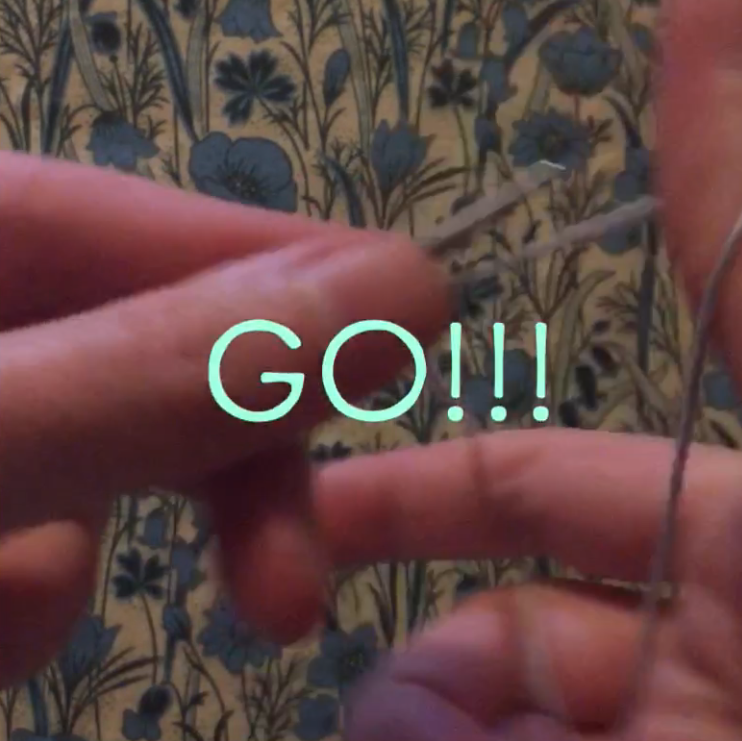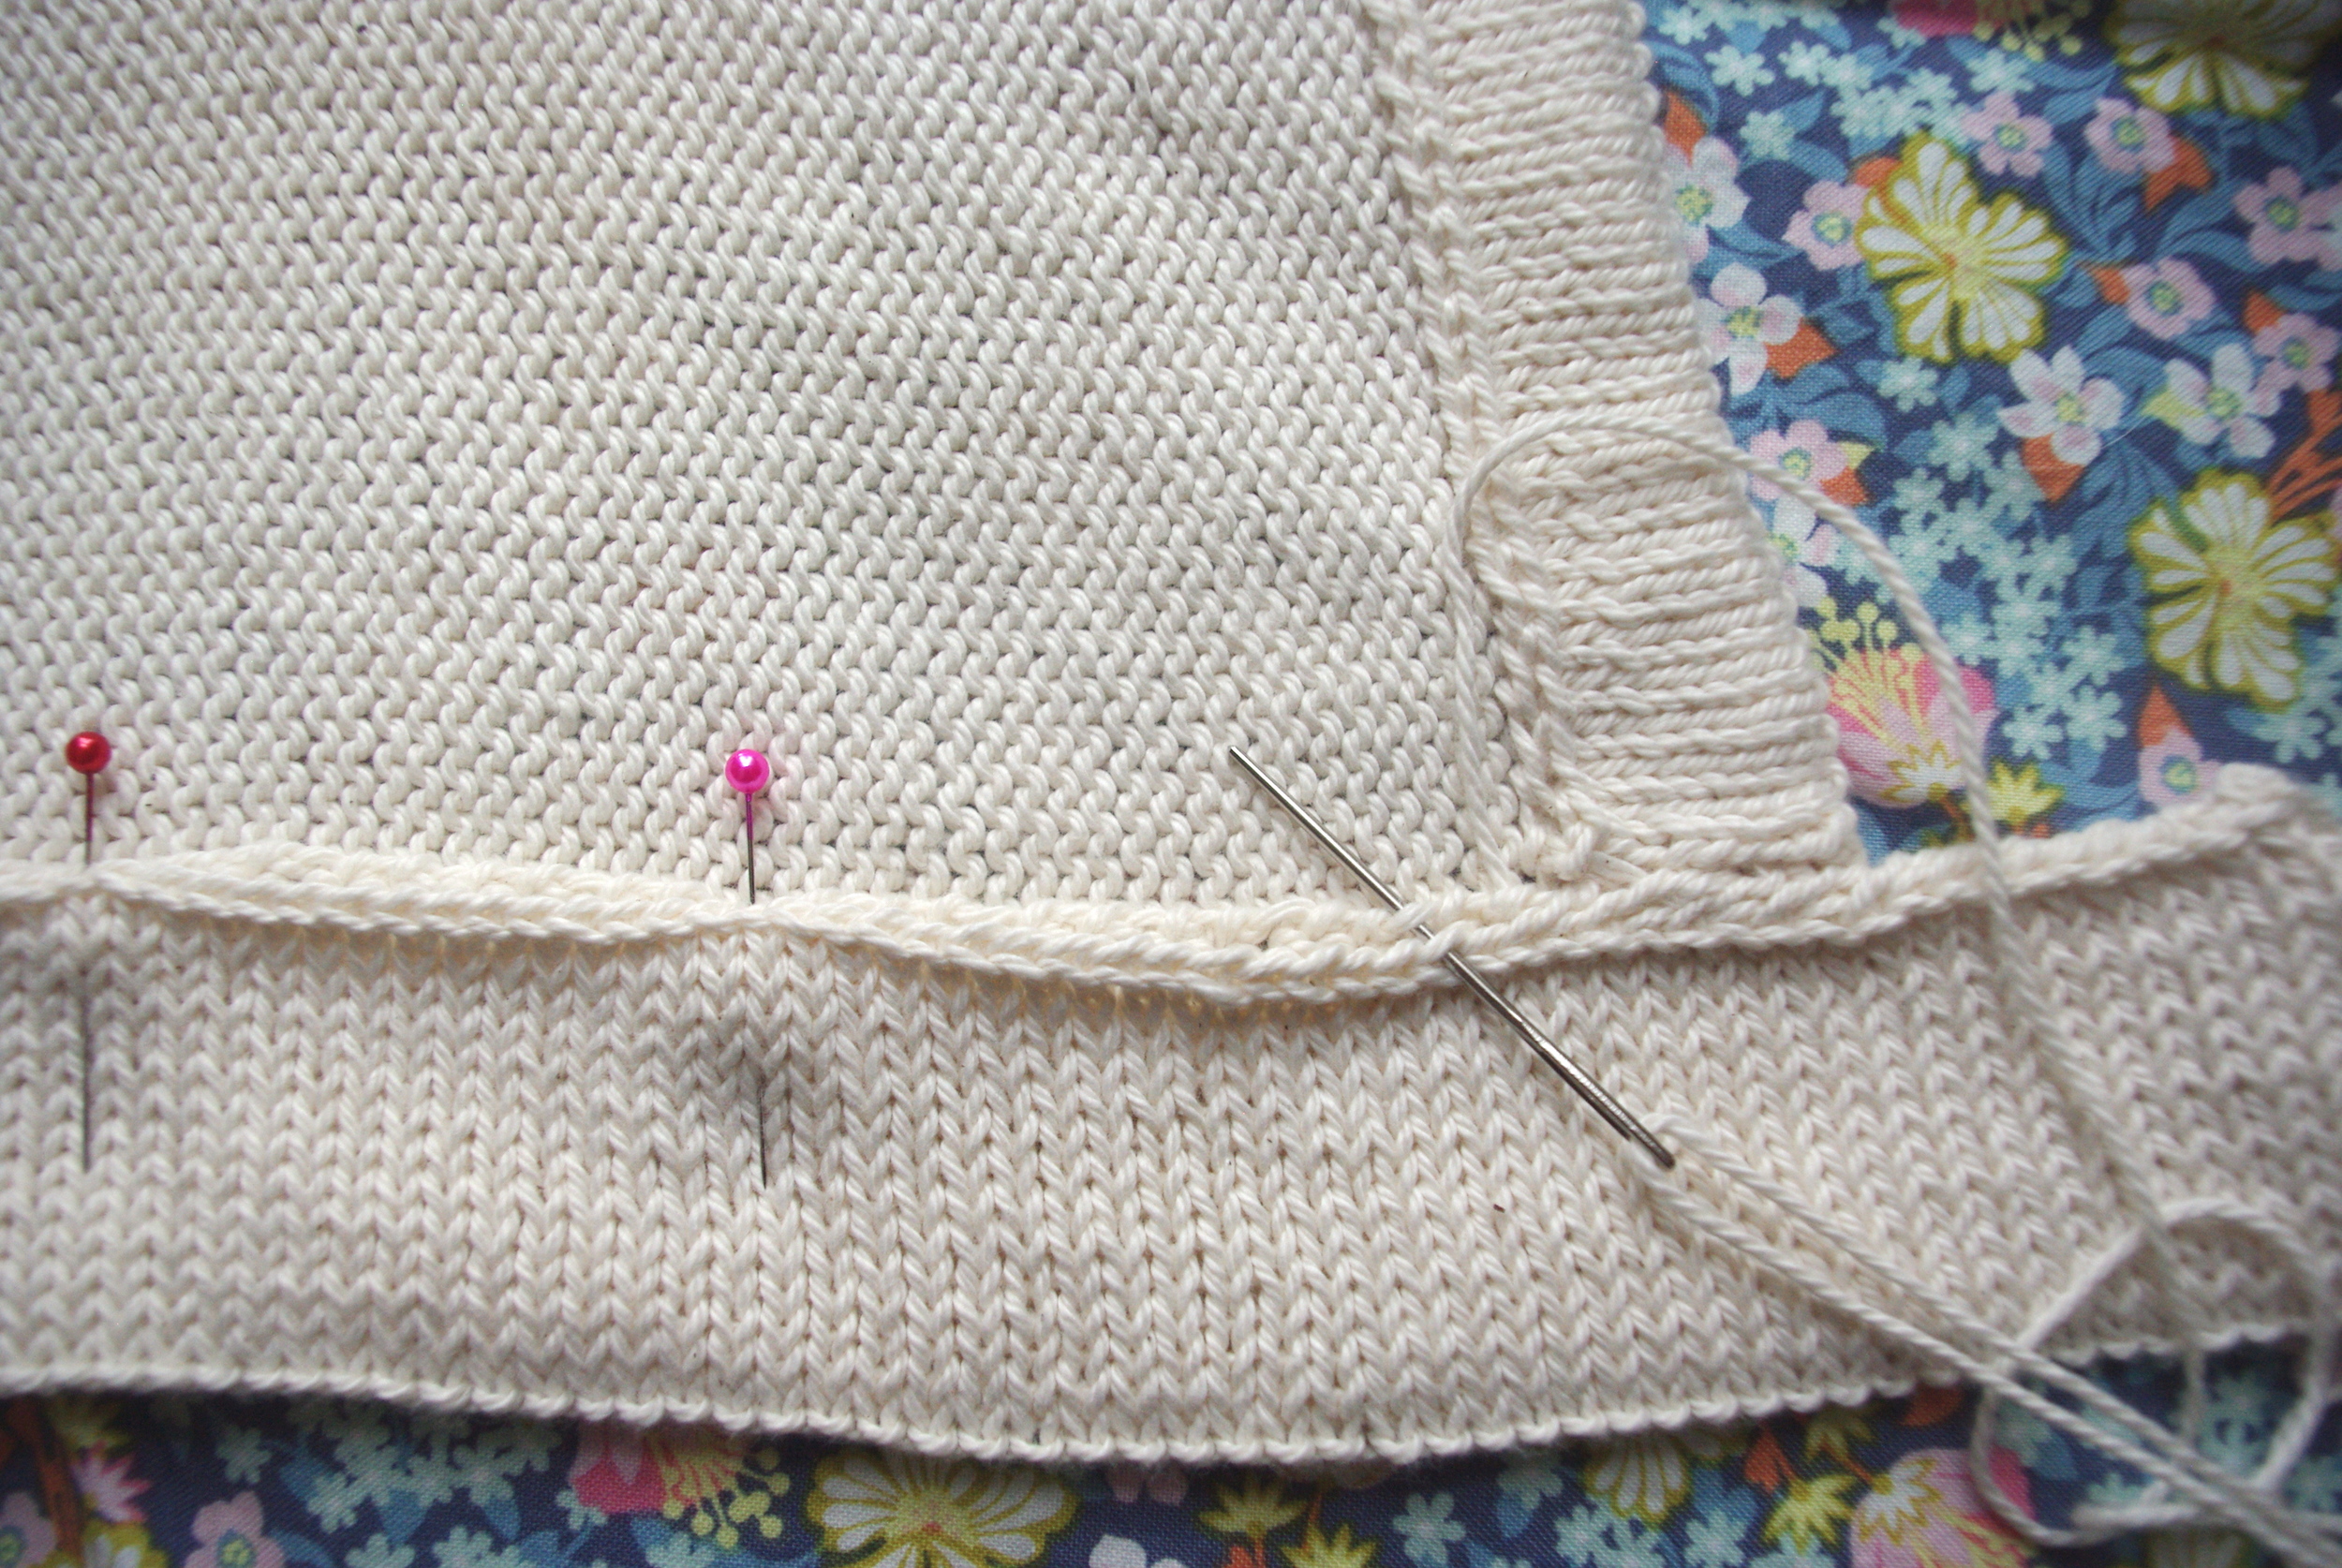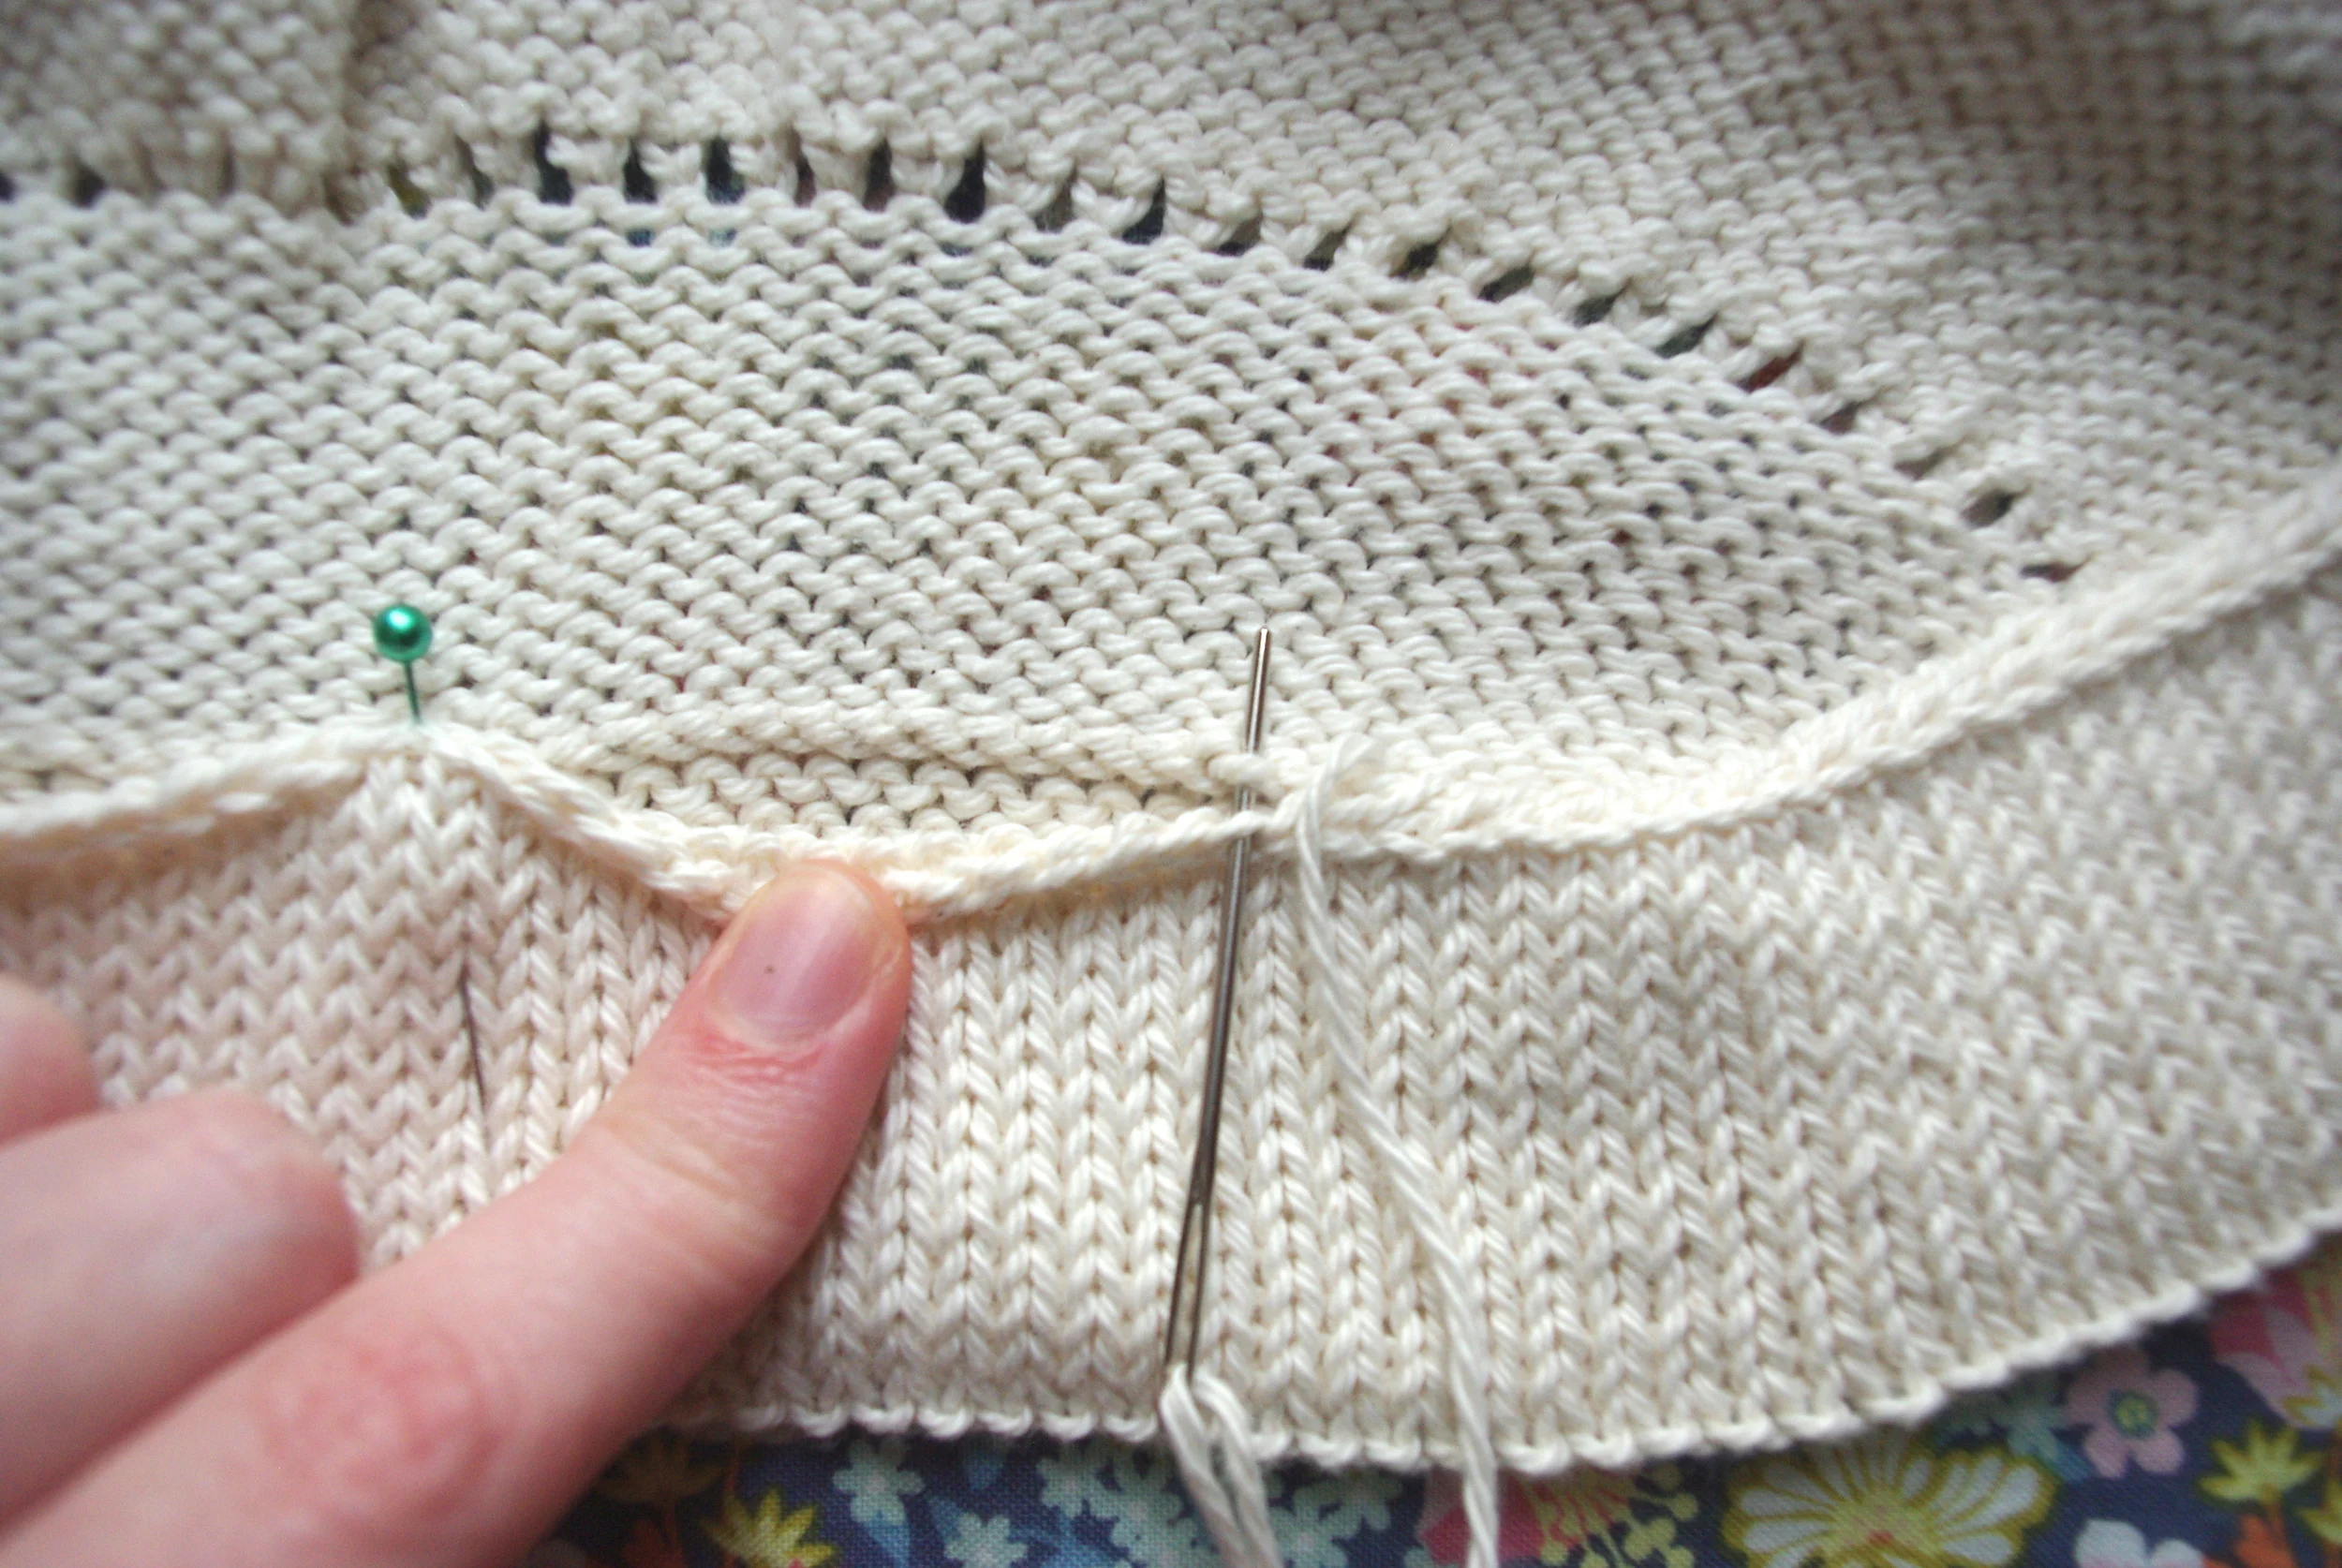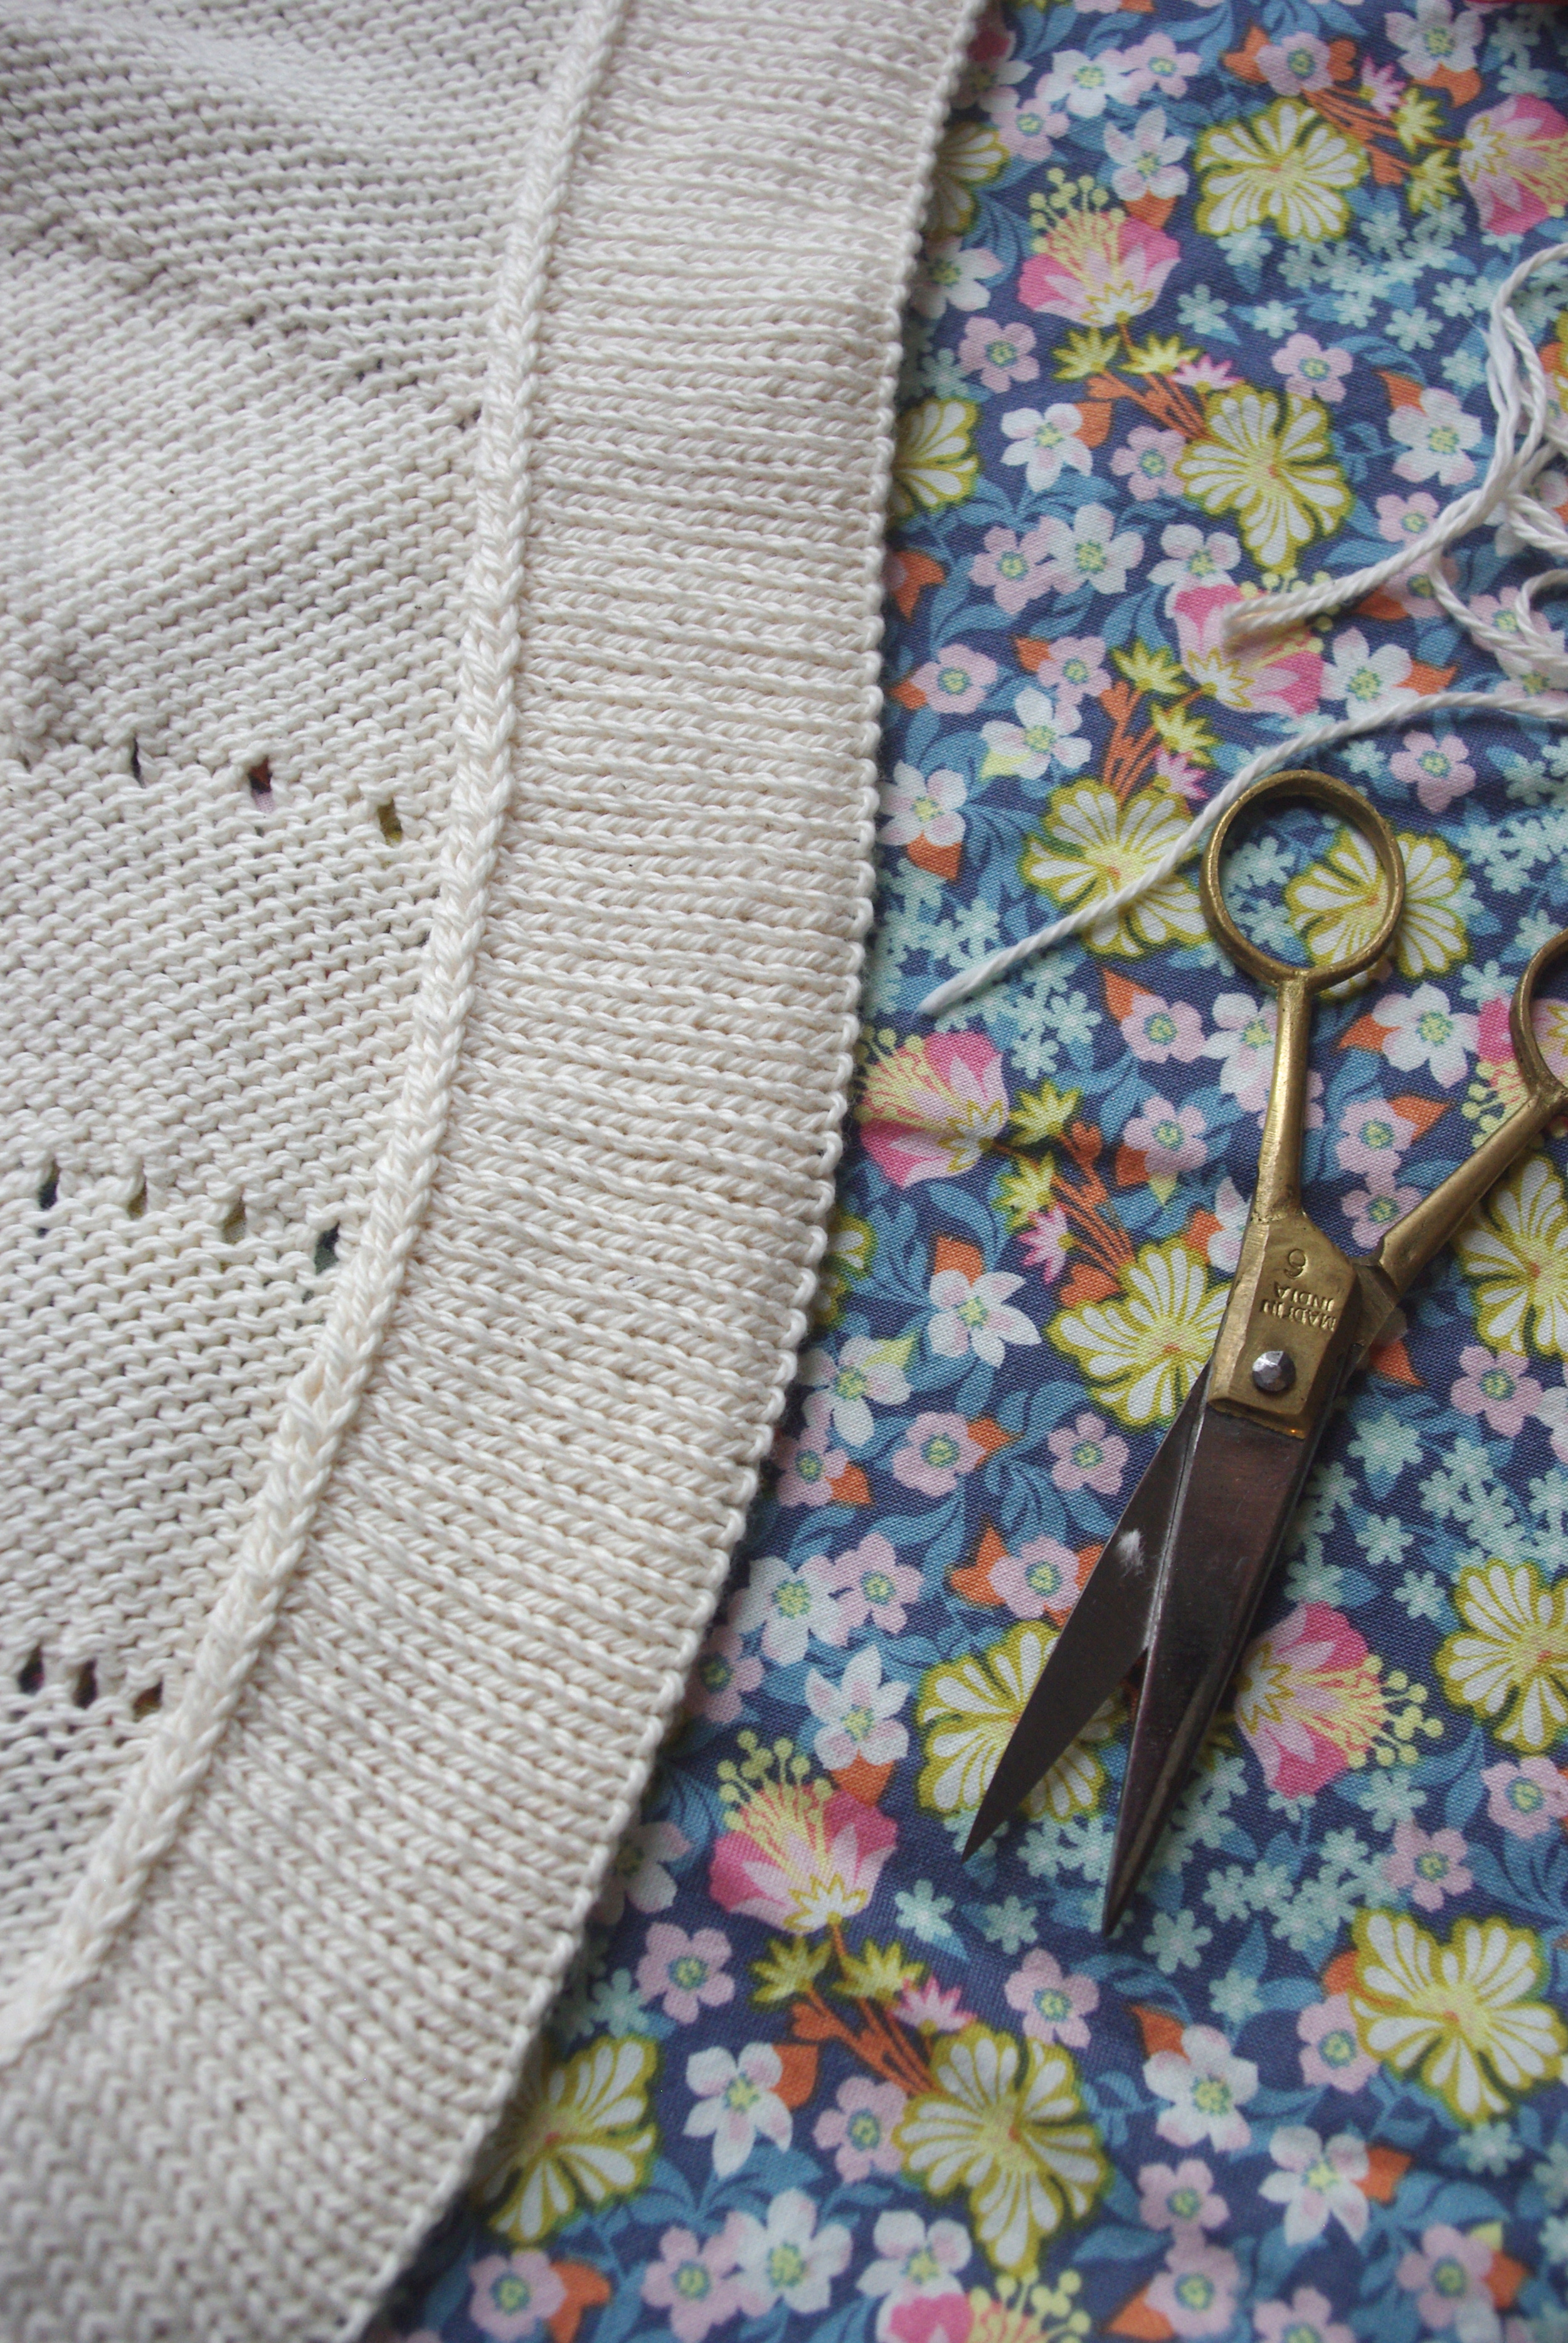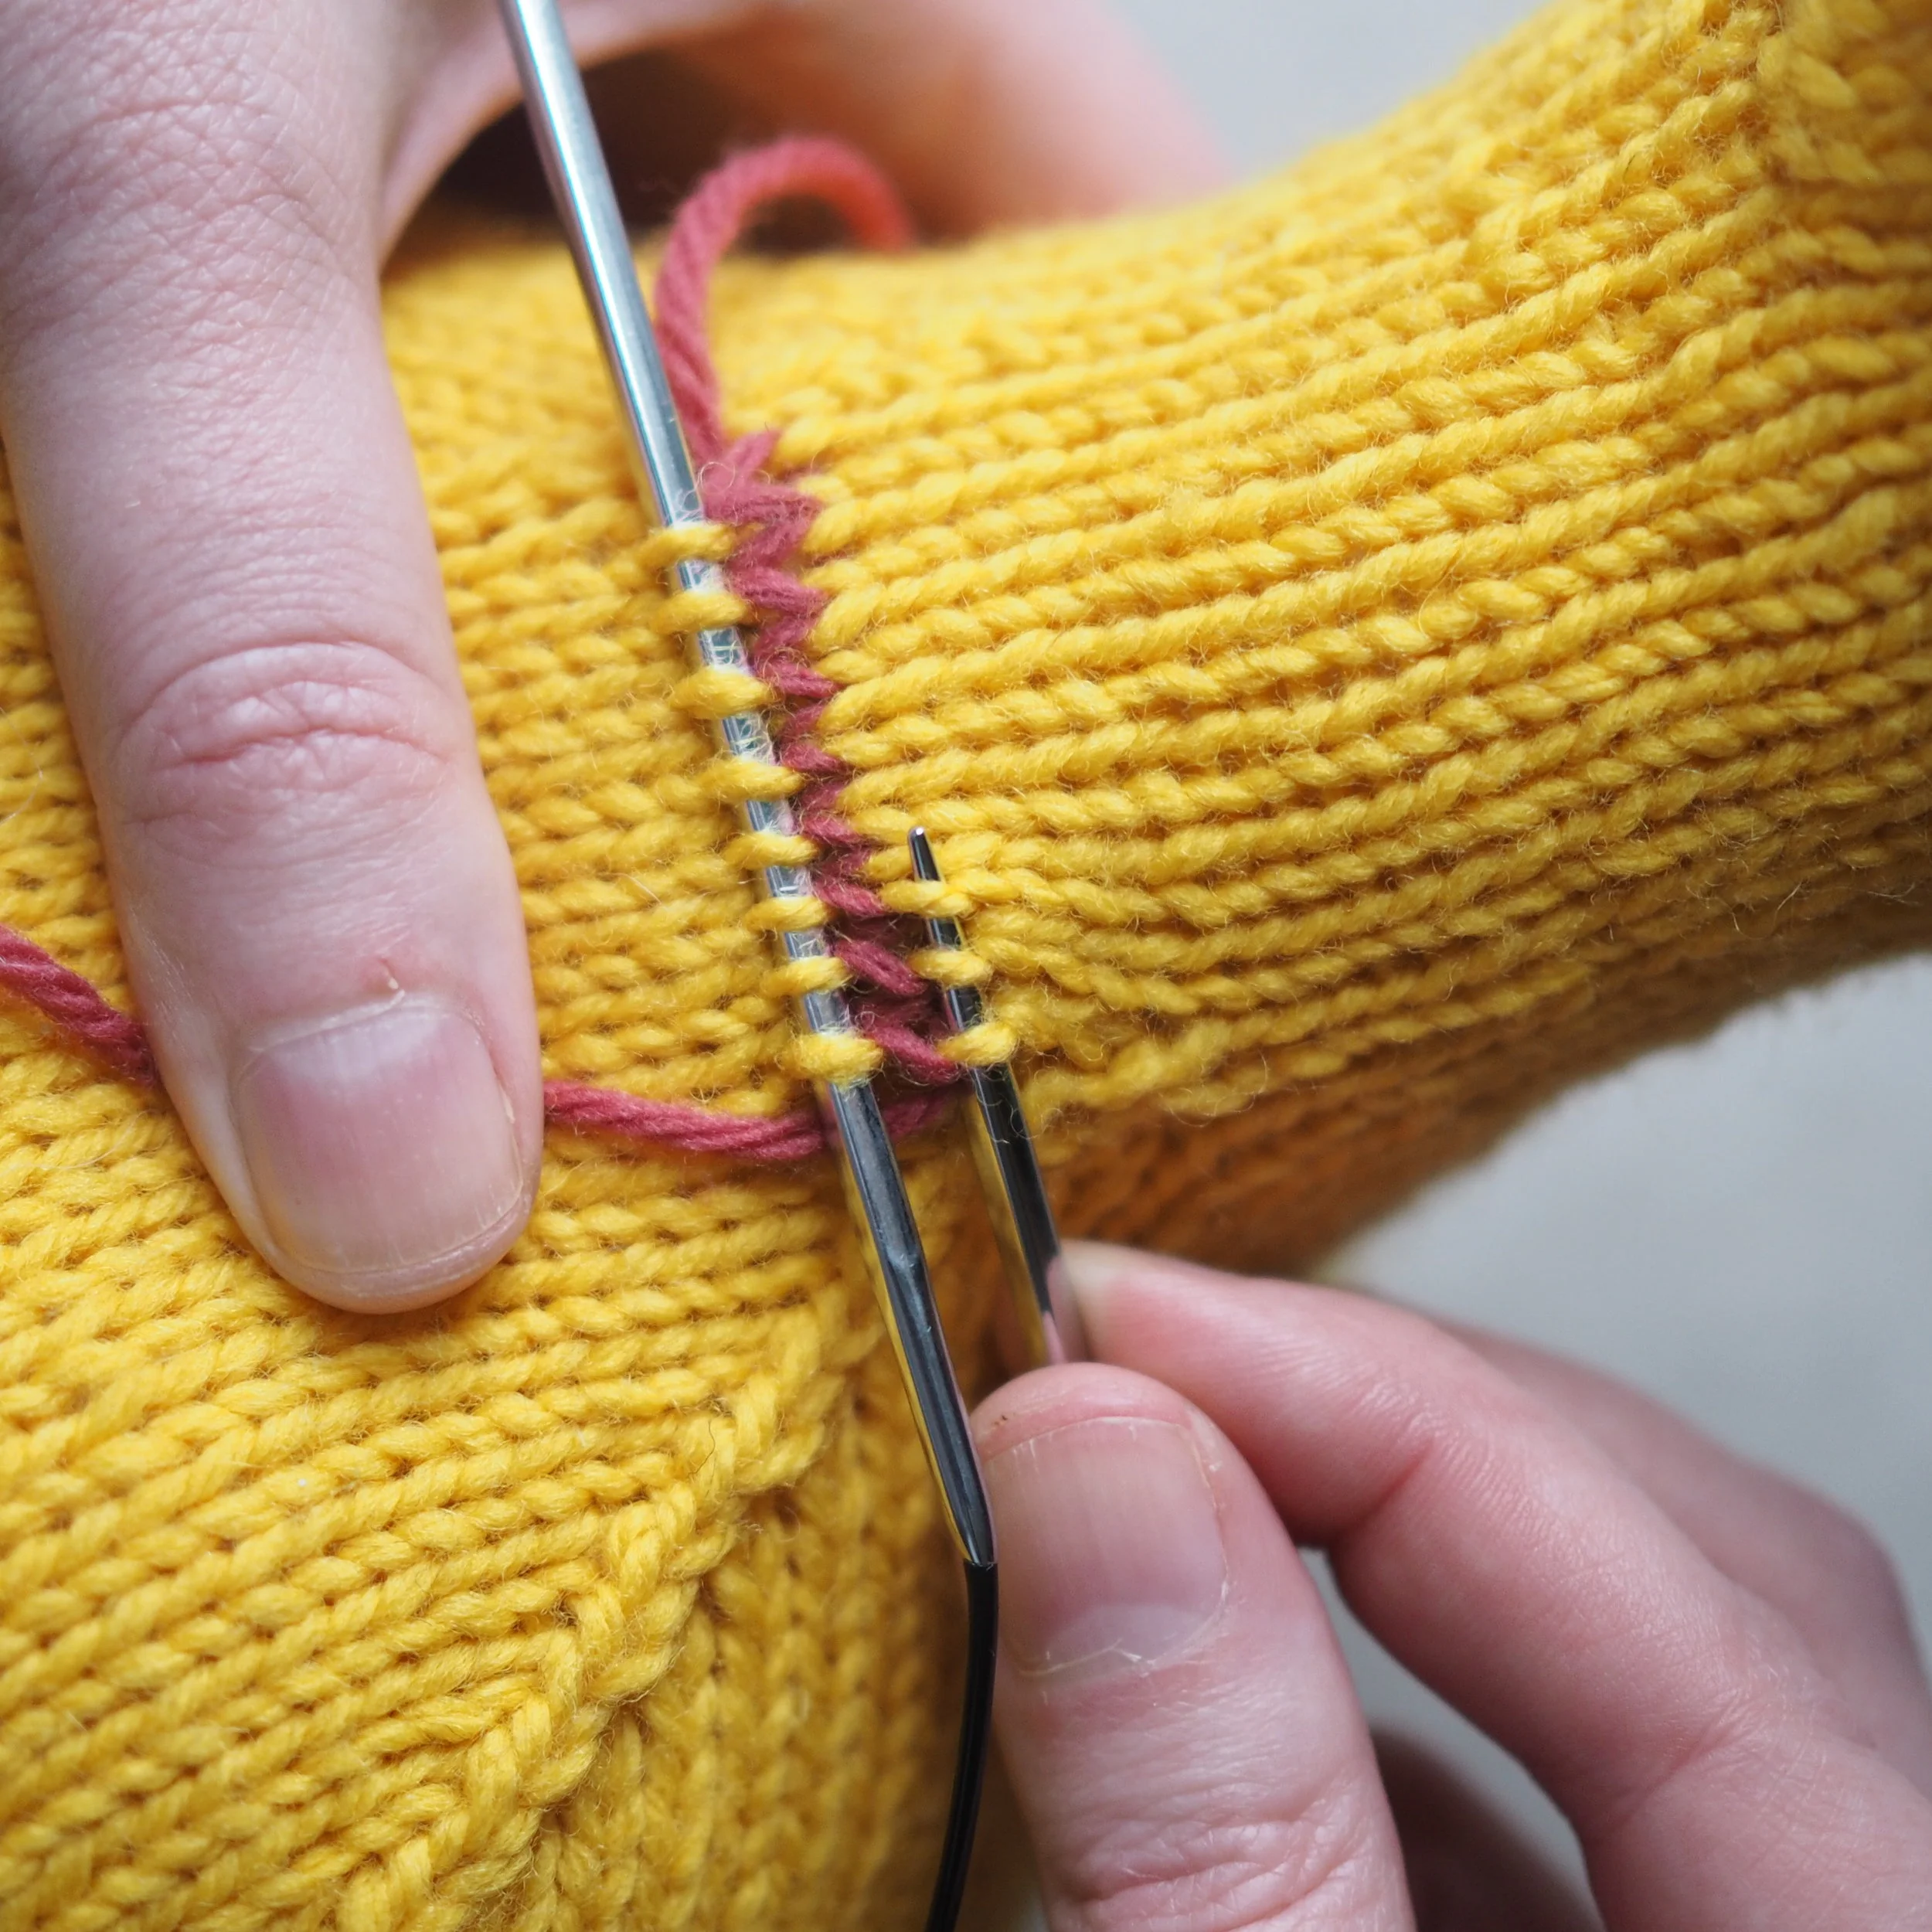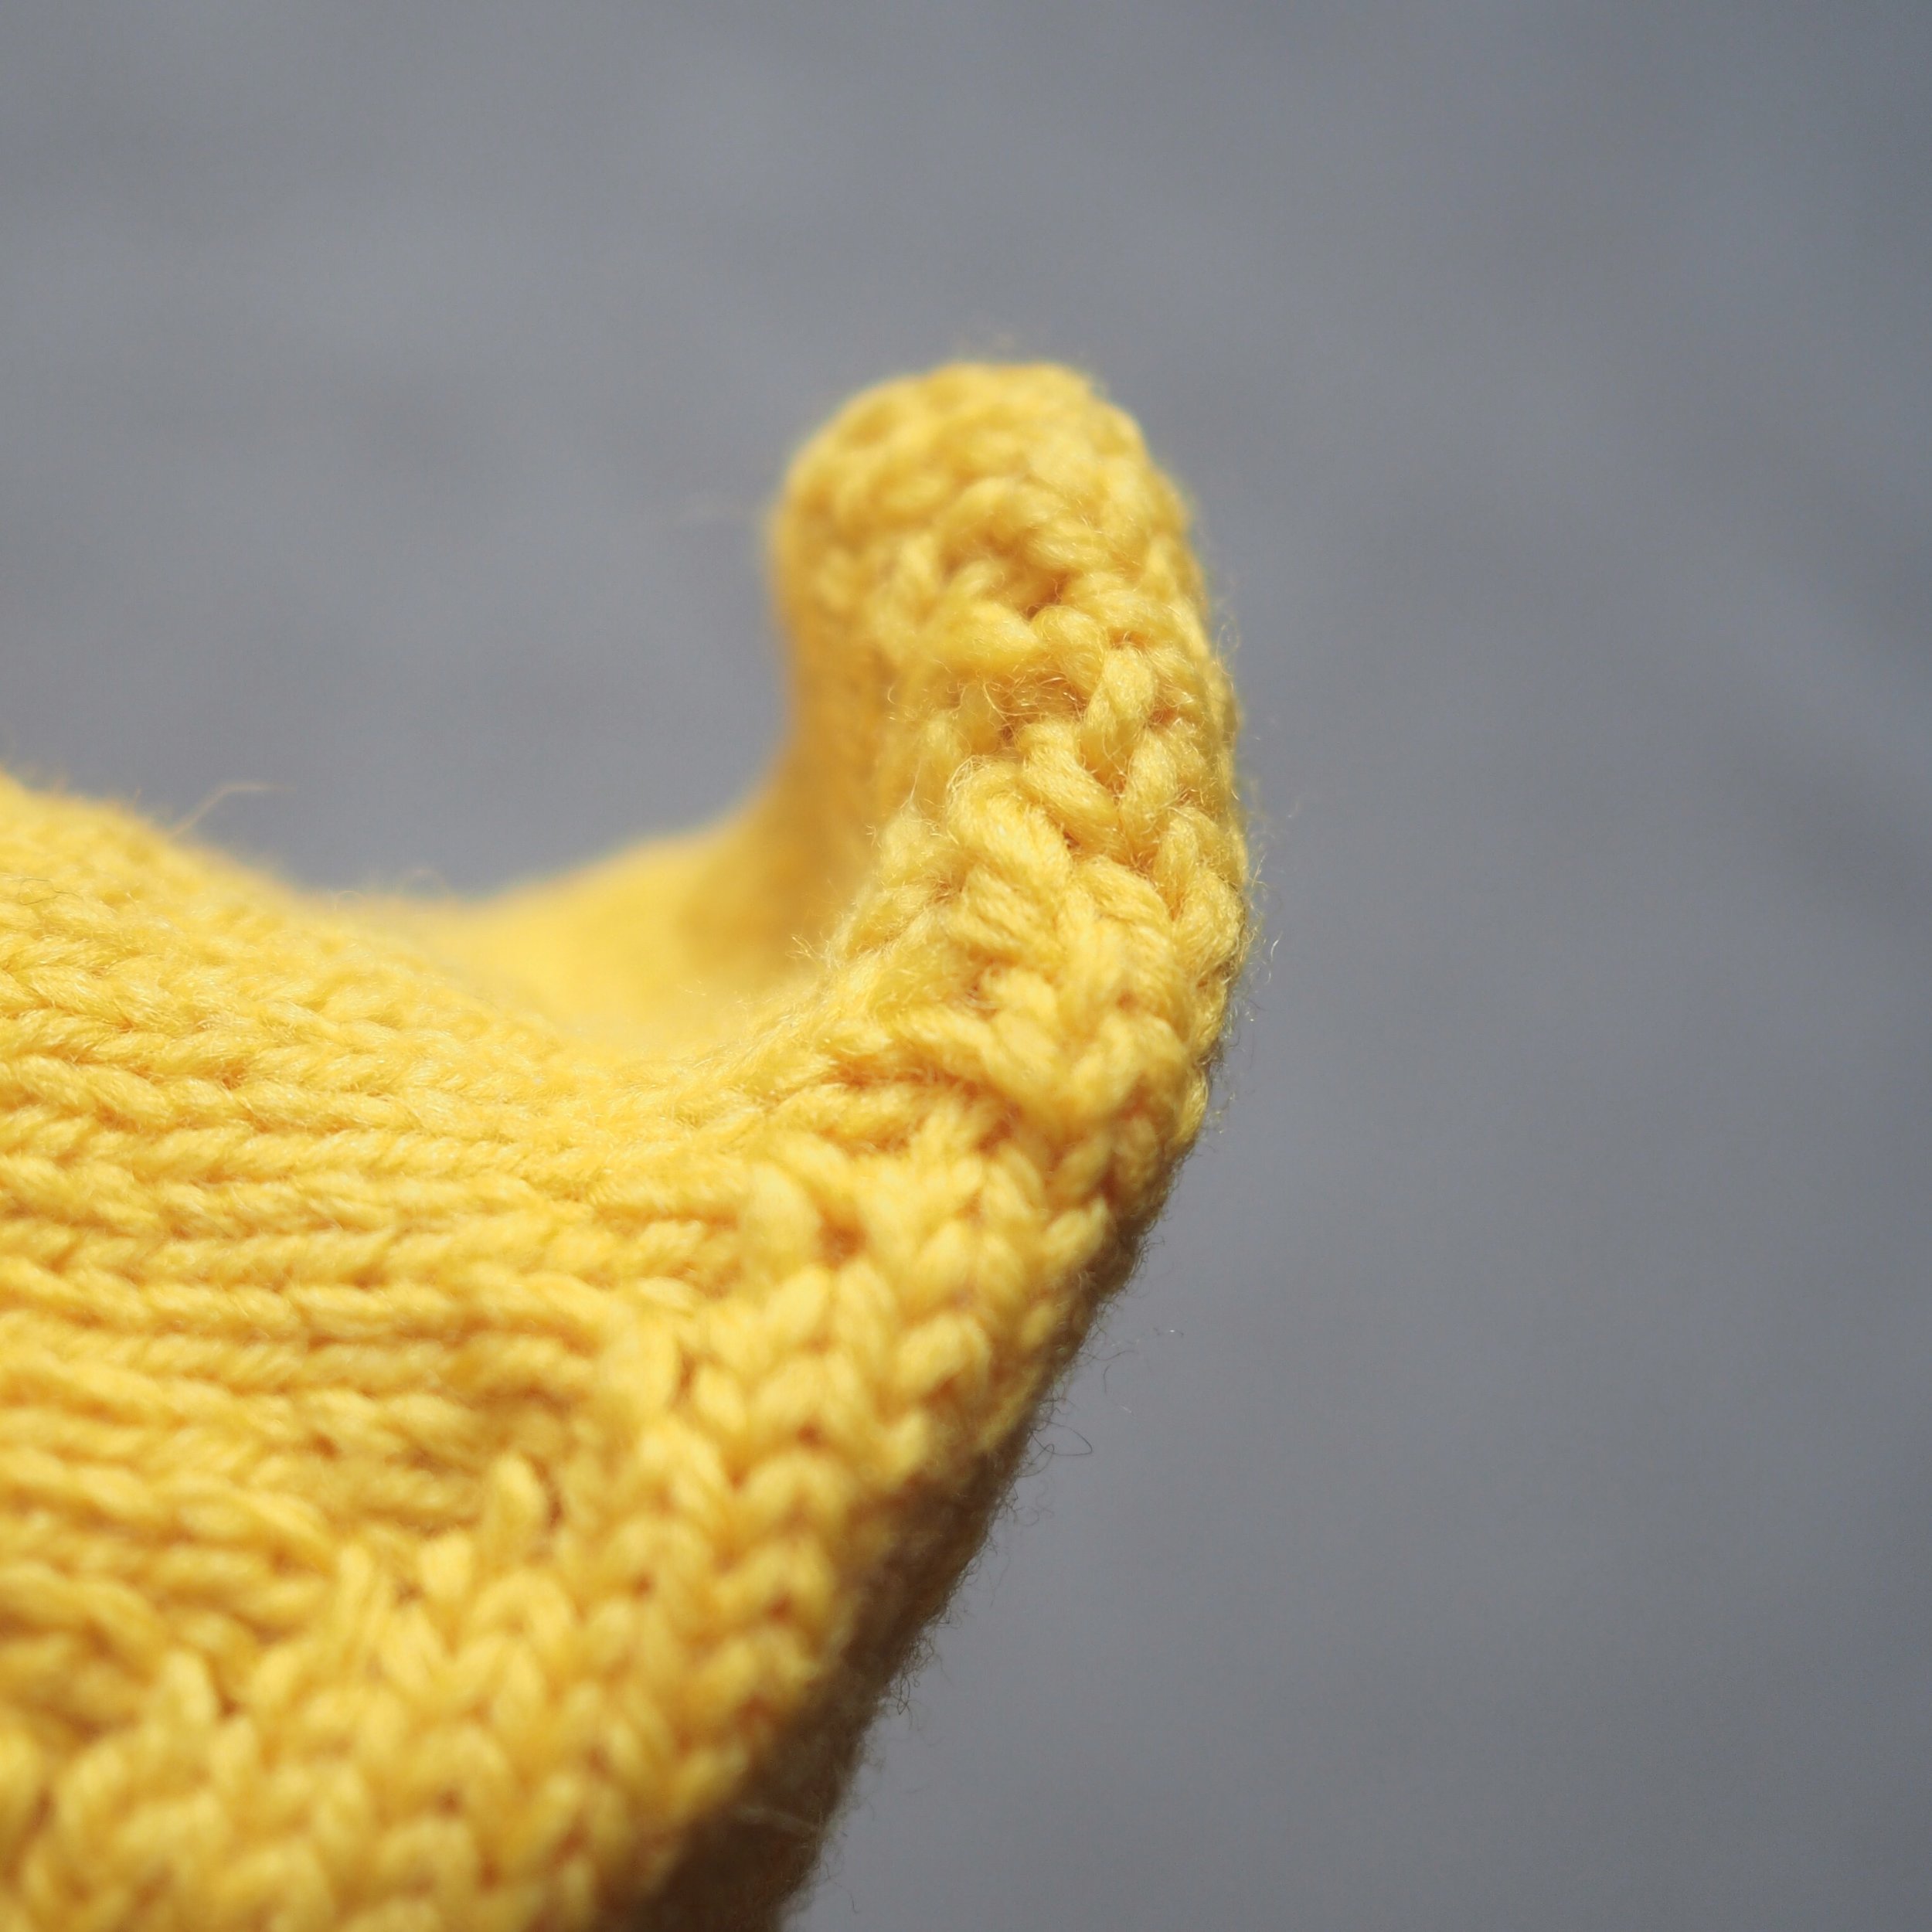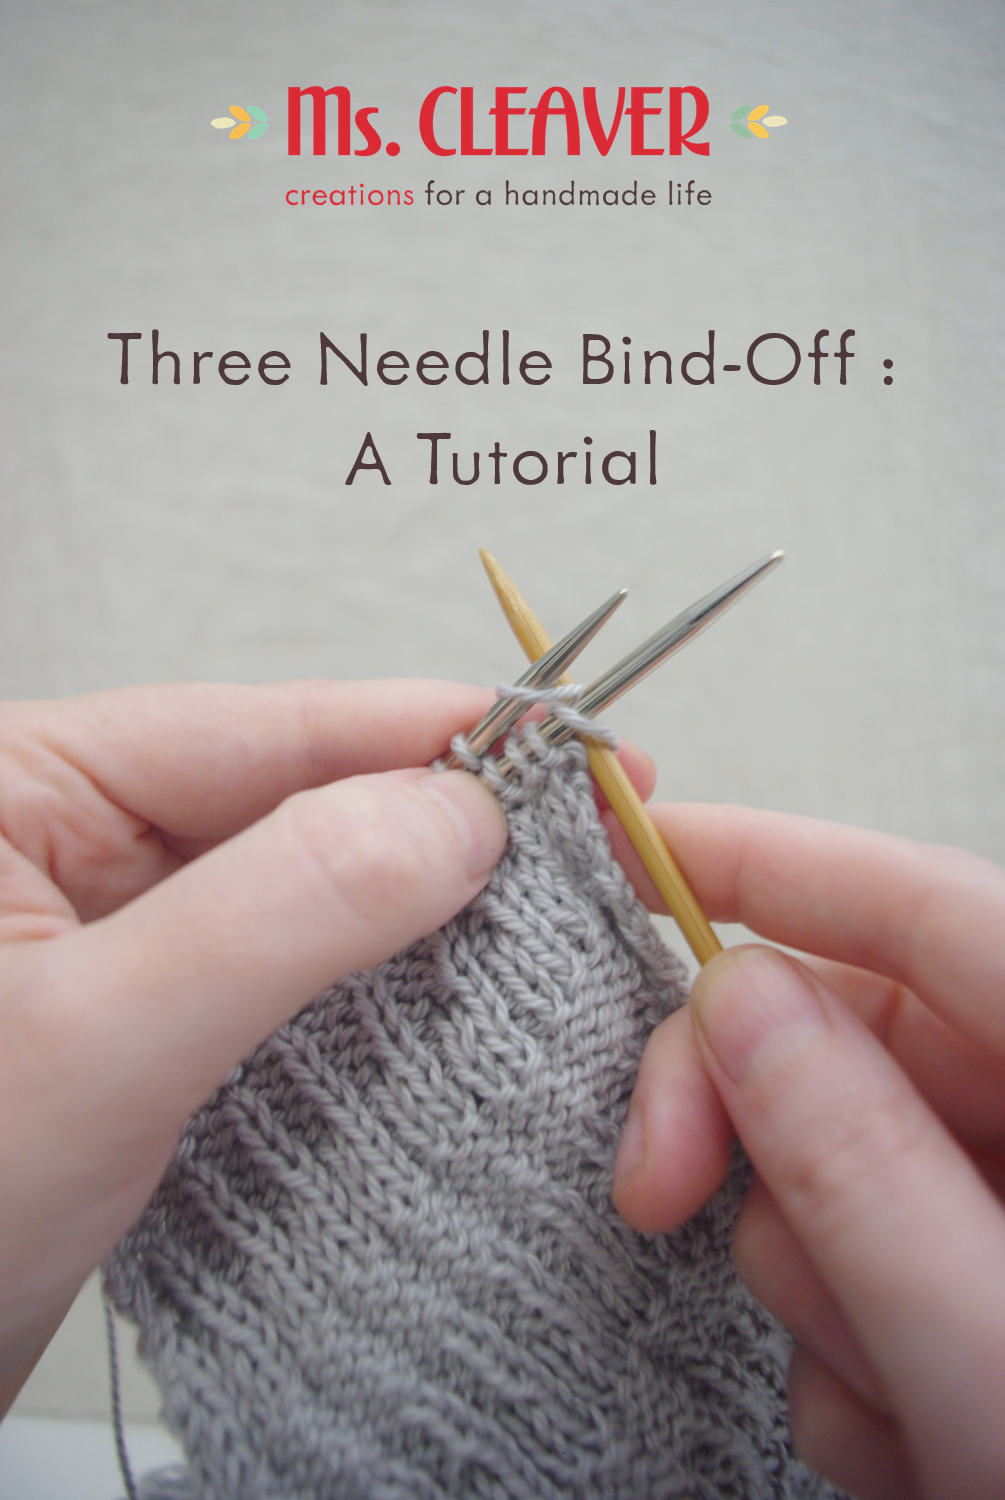
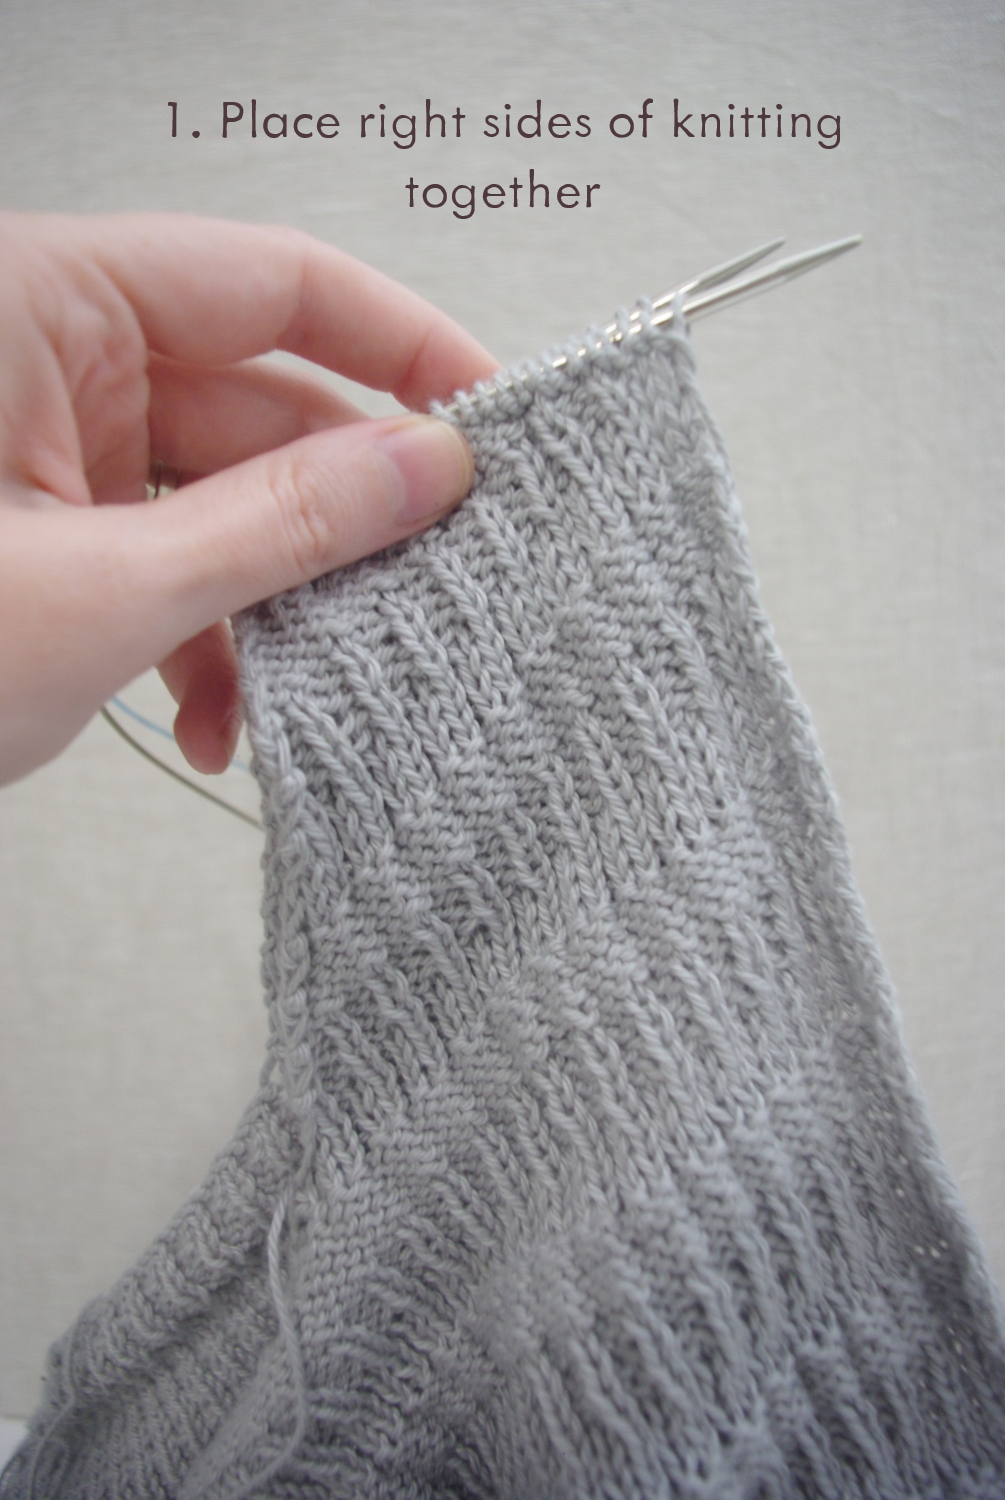
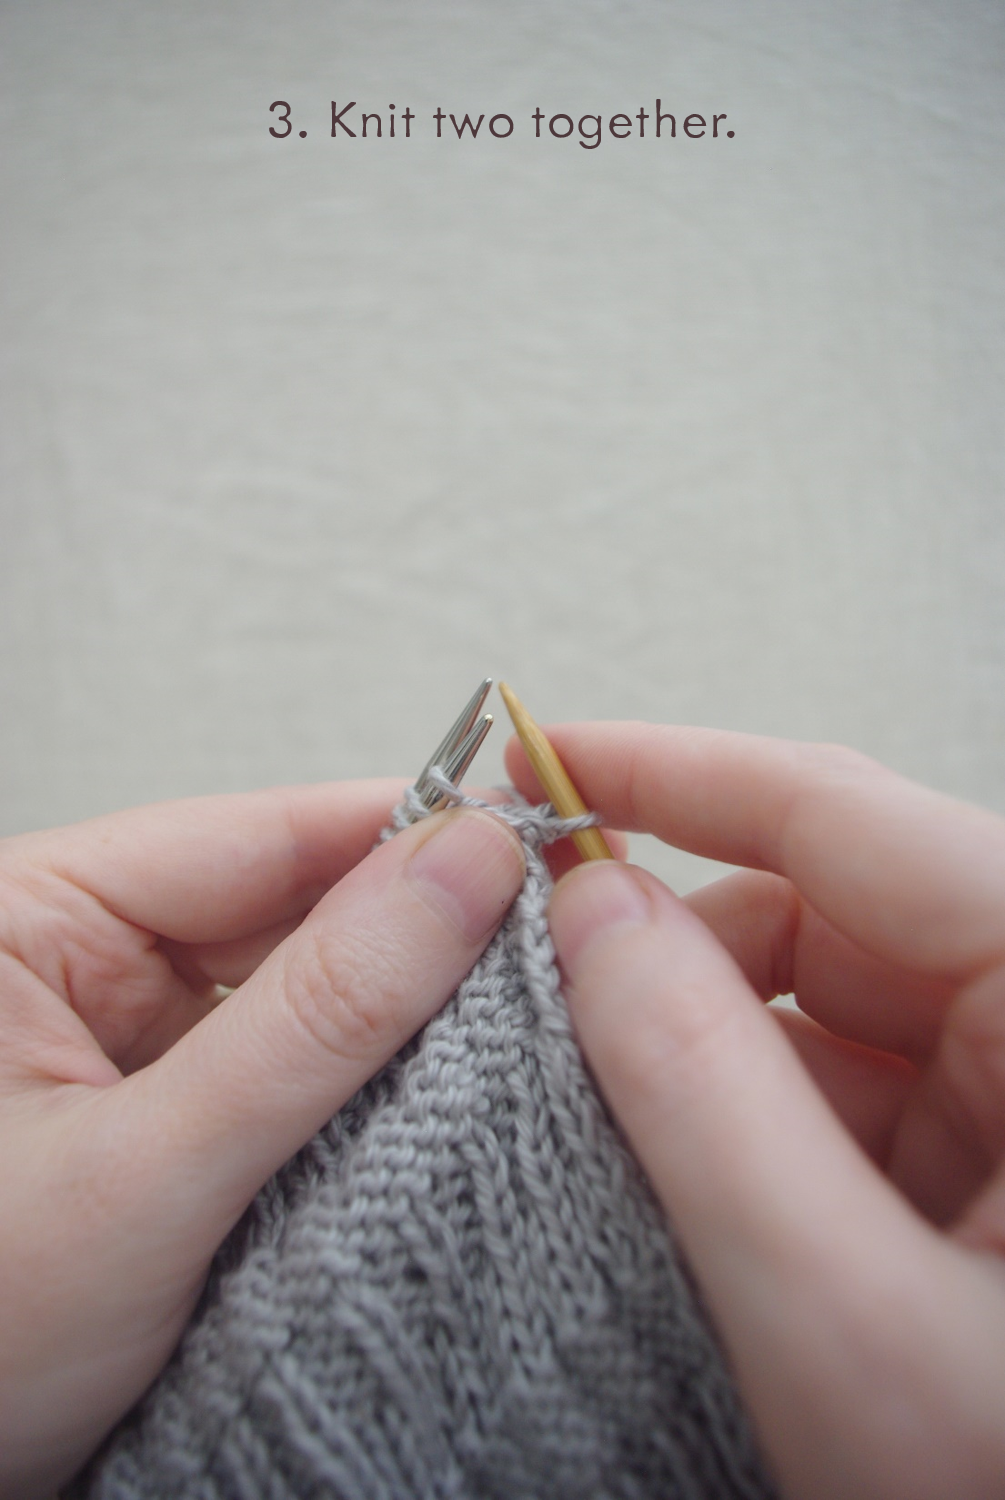
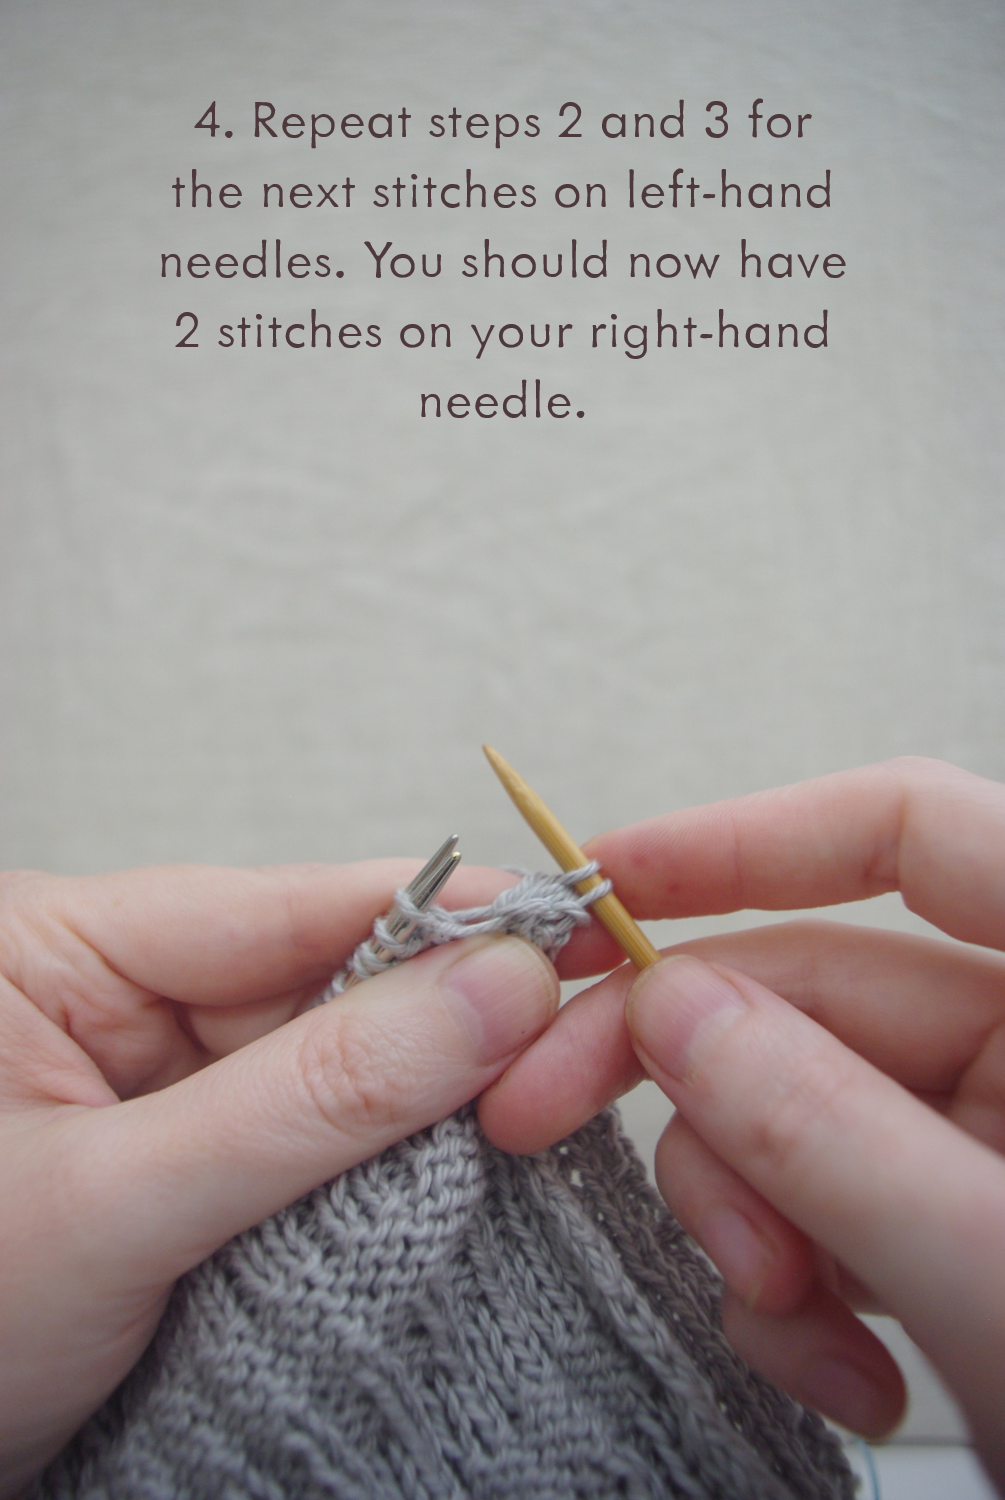
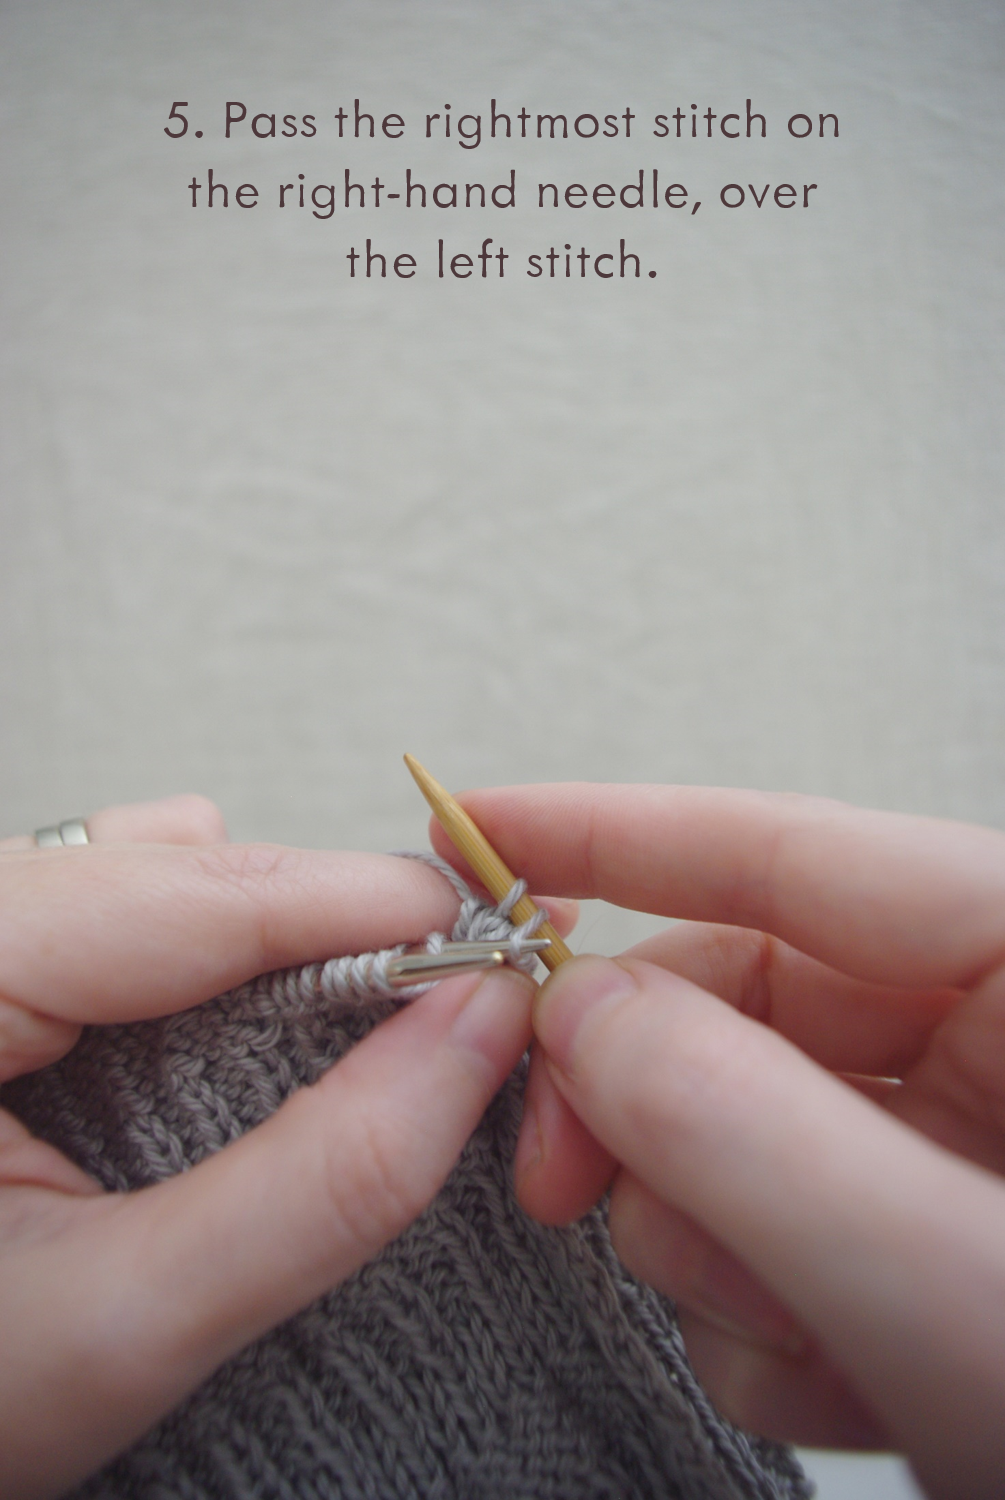
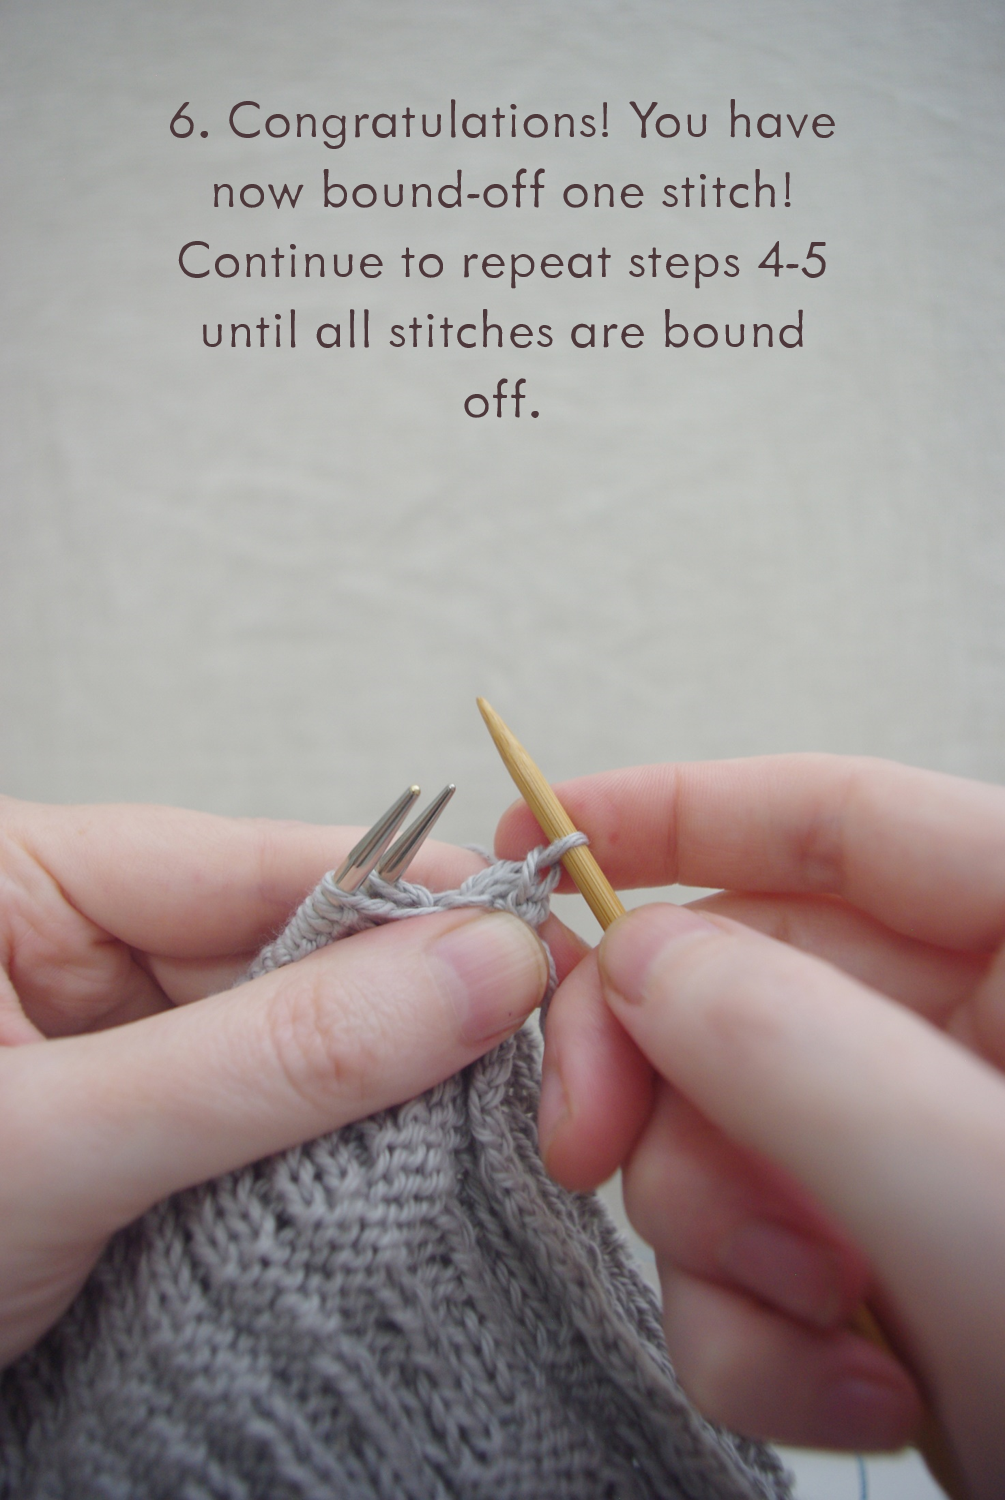
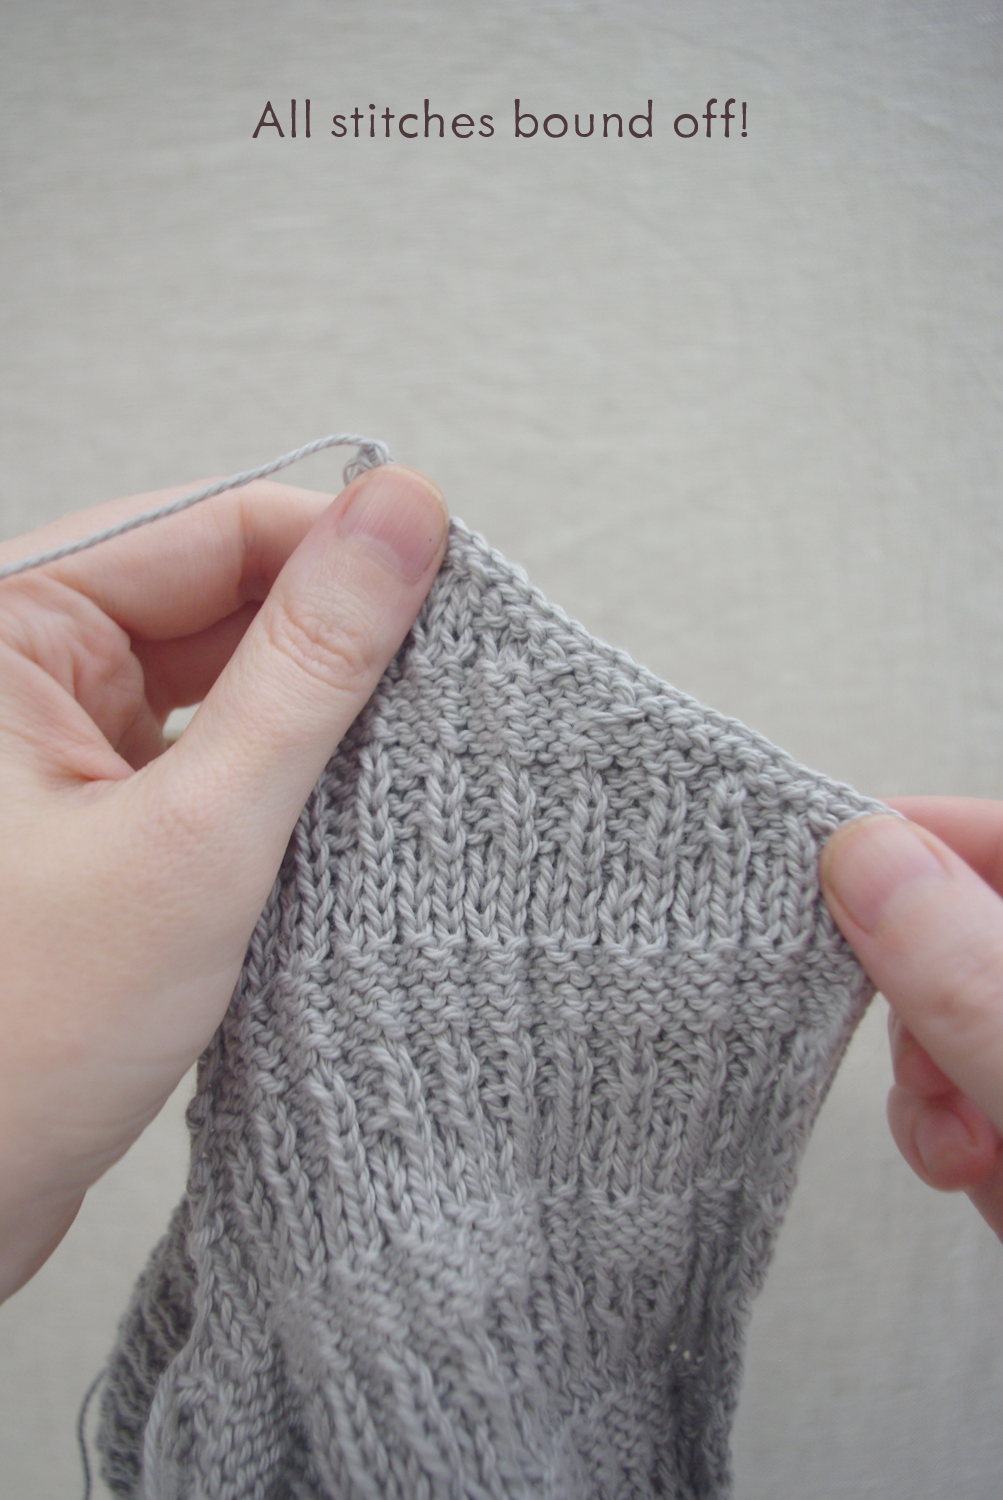
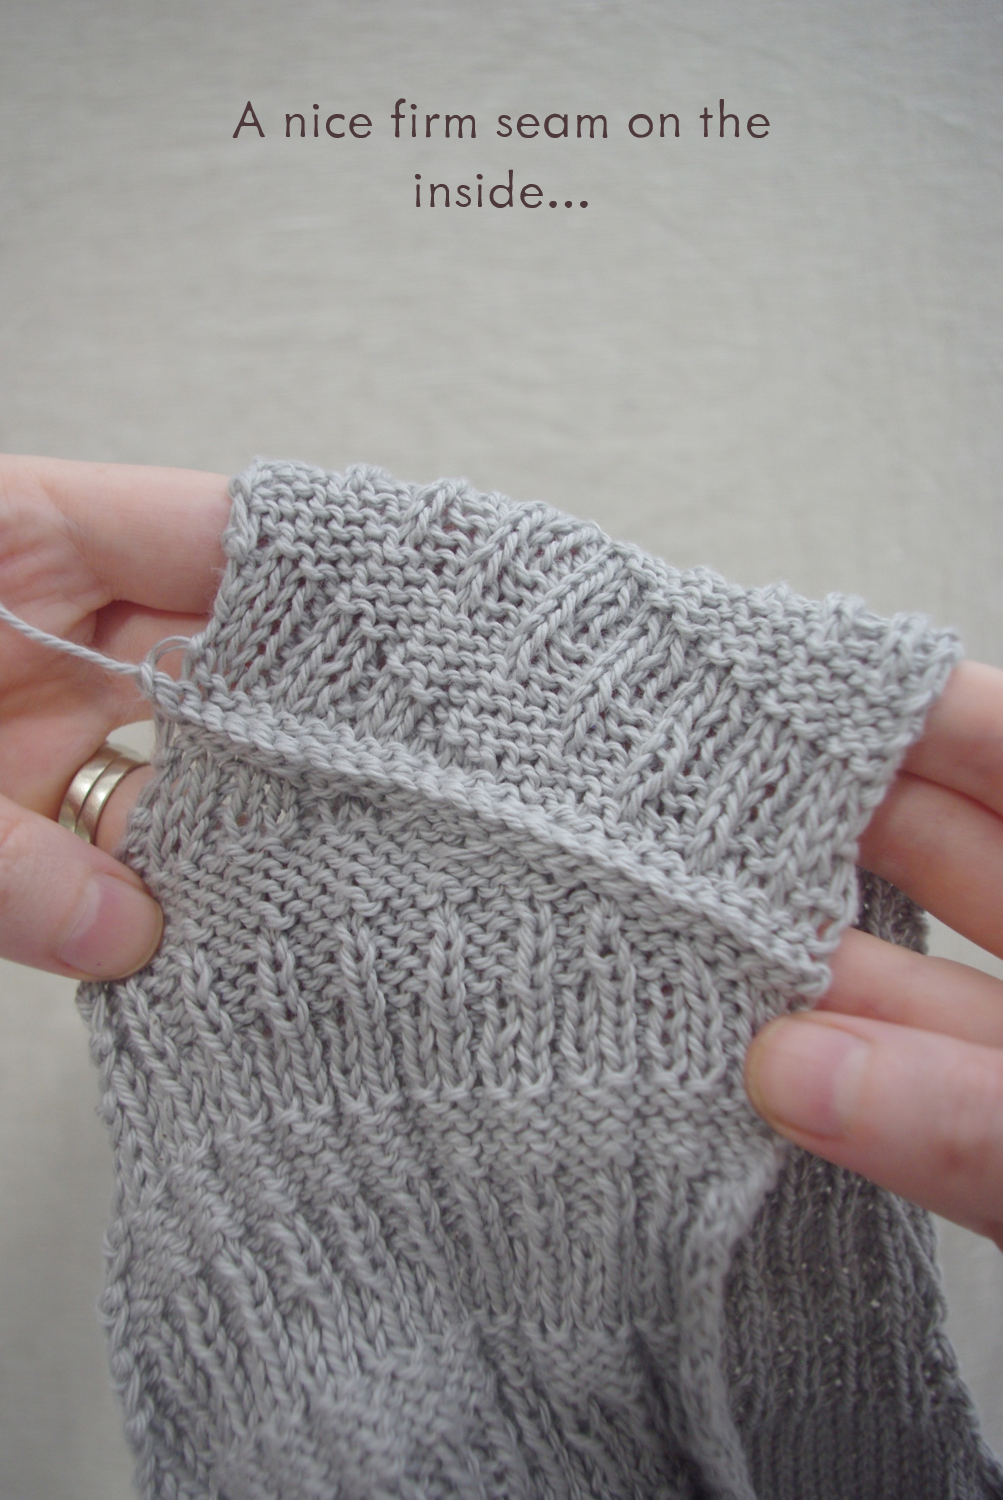
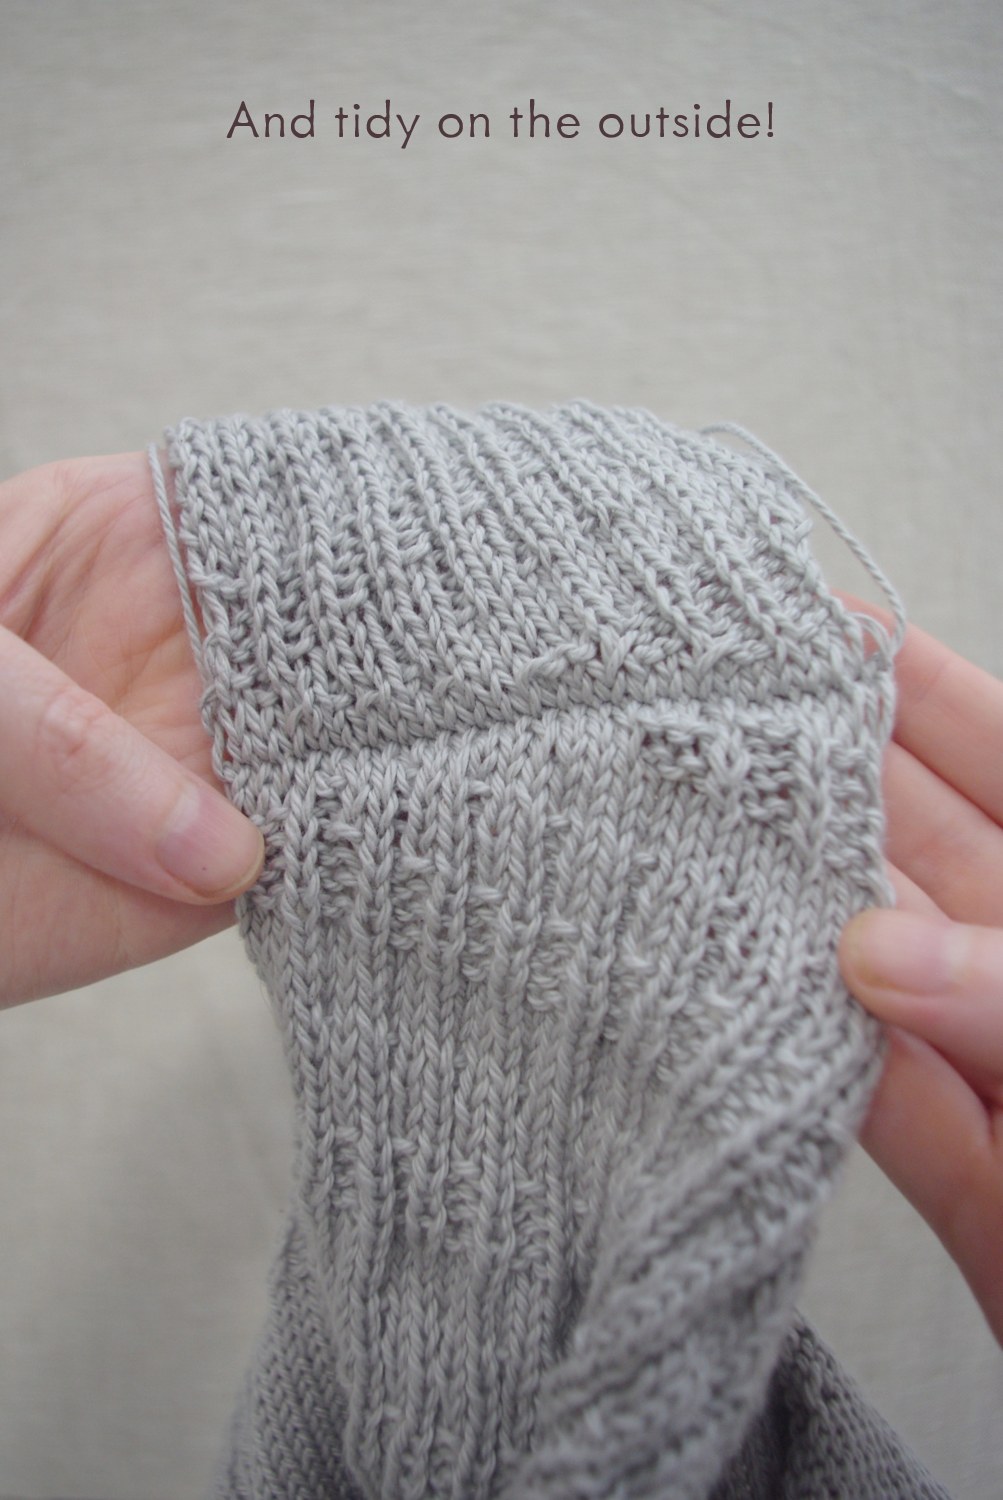
A few people knitting Atlee had mentioned that they'd never done a three needle bind-off before, so I thought I'd post a real quick tutorial. Once you see how easy it is, you'll be kicking yourself for not learning it ages ago (I did!). Prefer to see it in motion? There's a quick video on my Instagram.

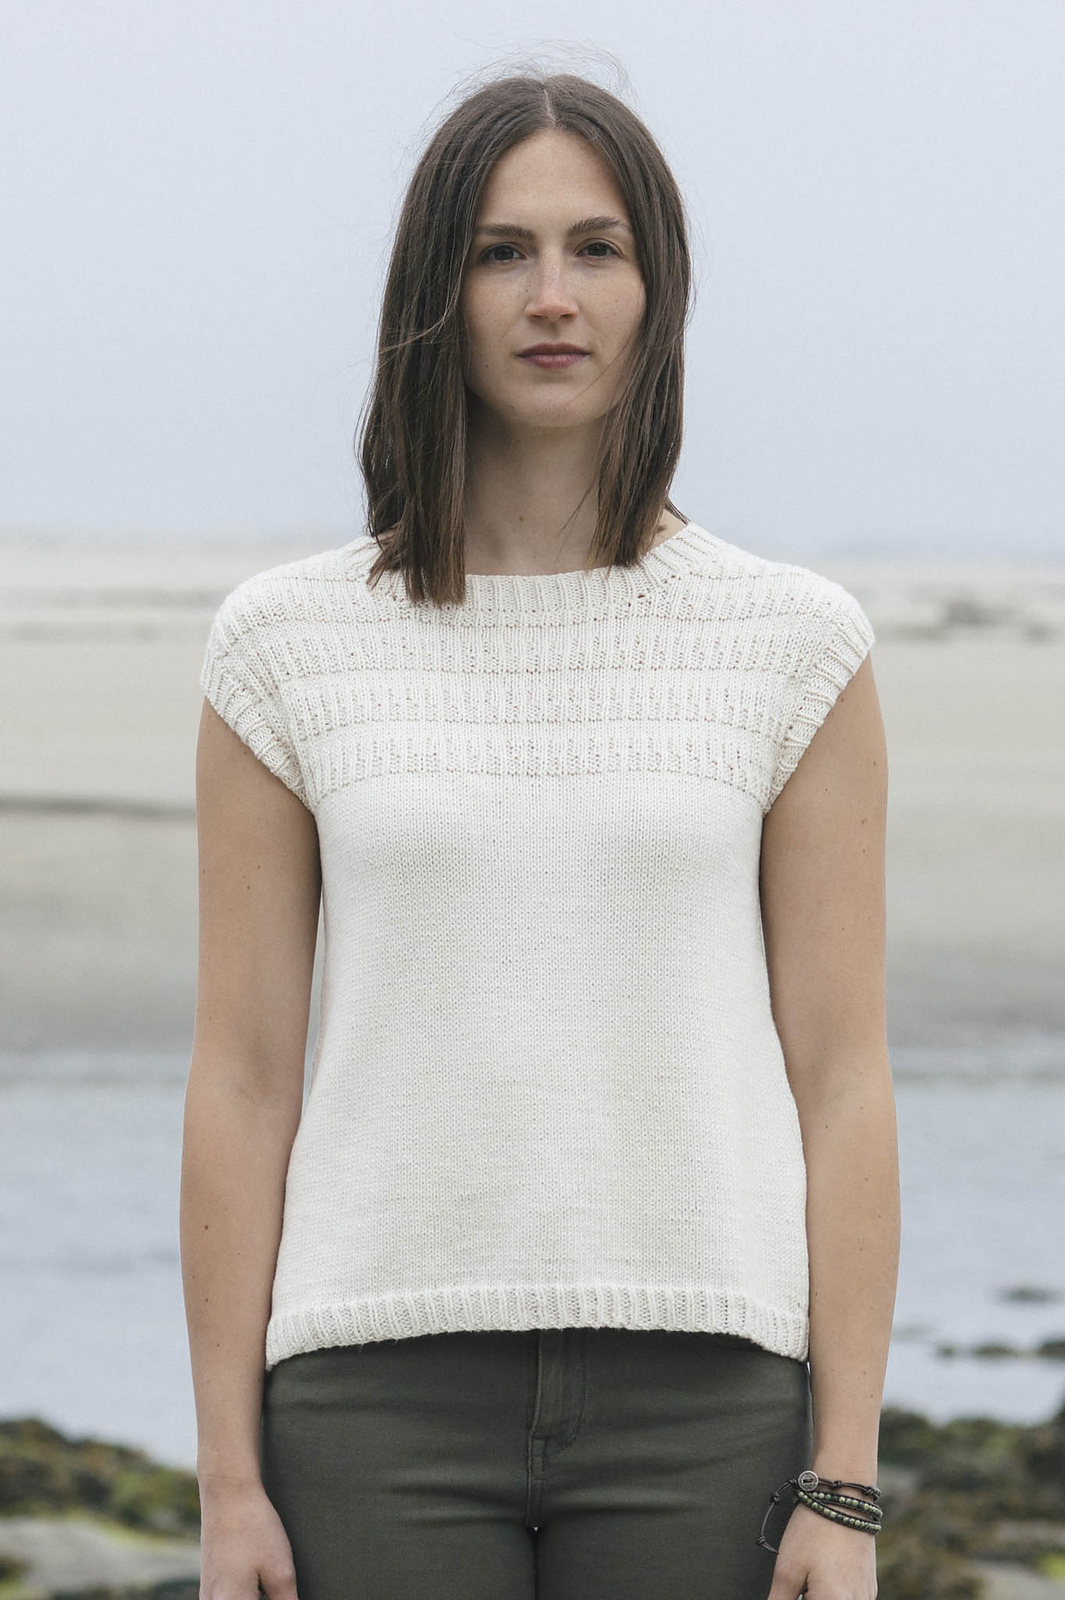
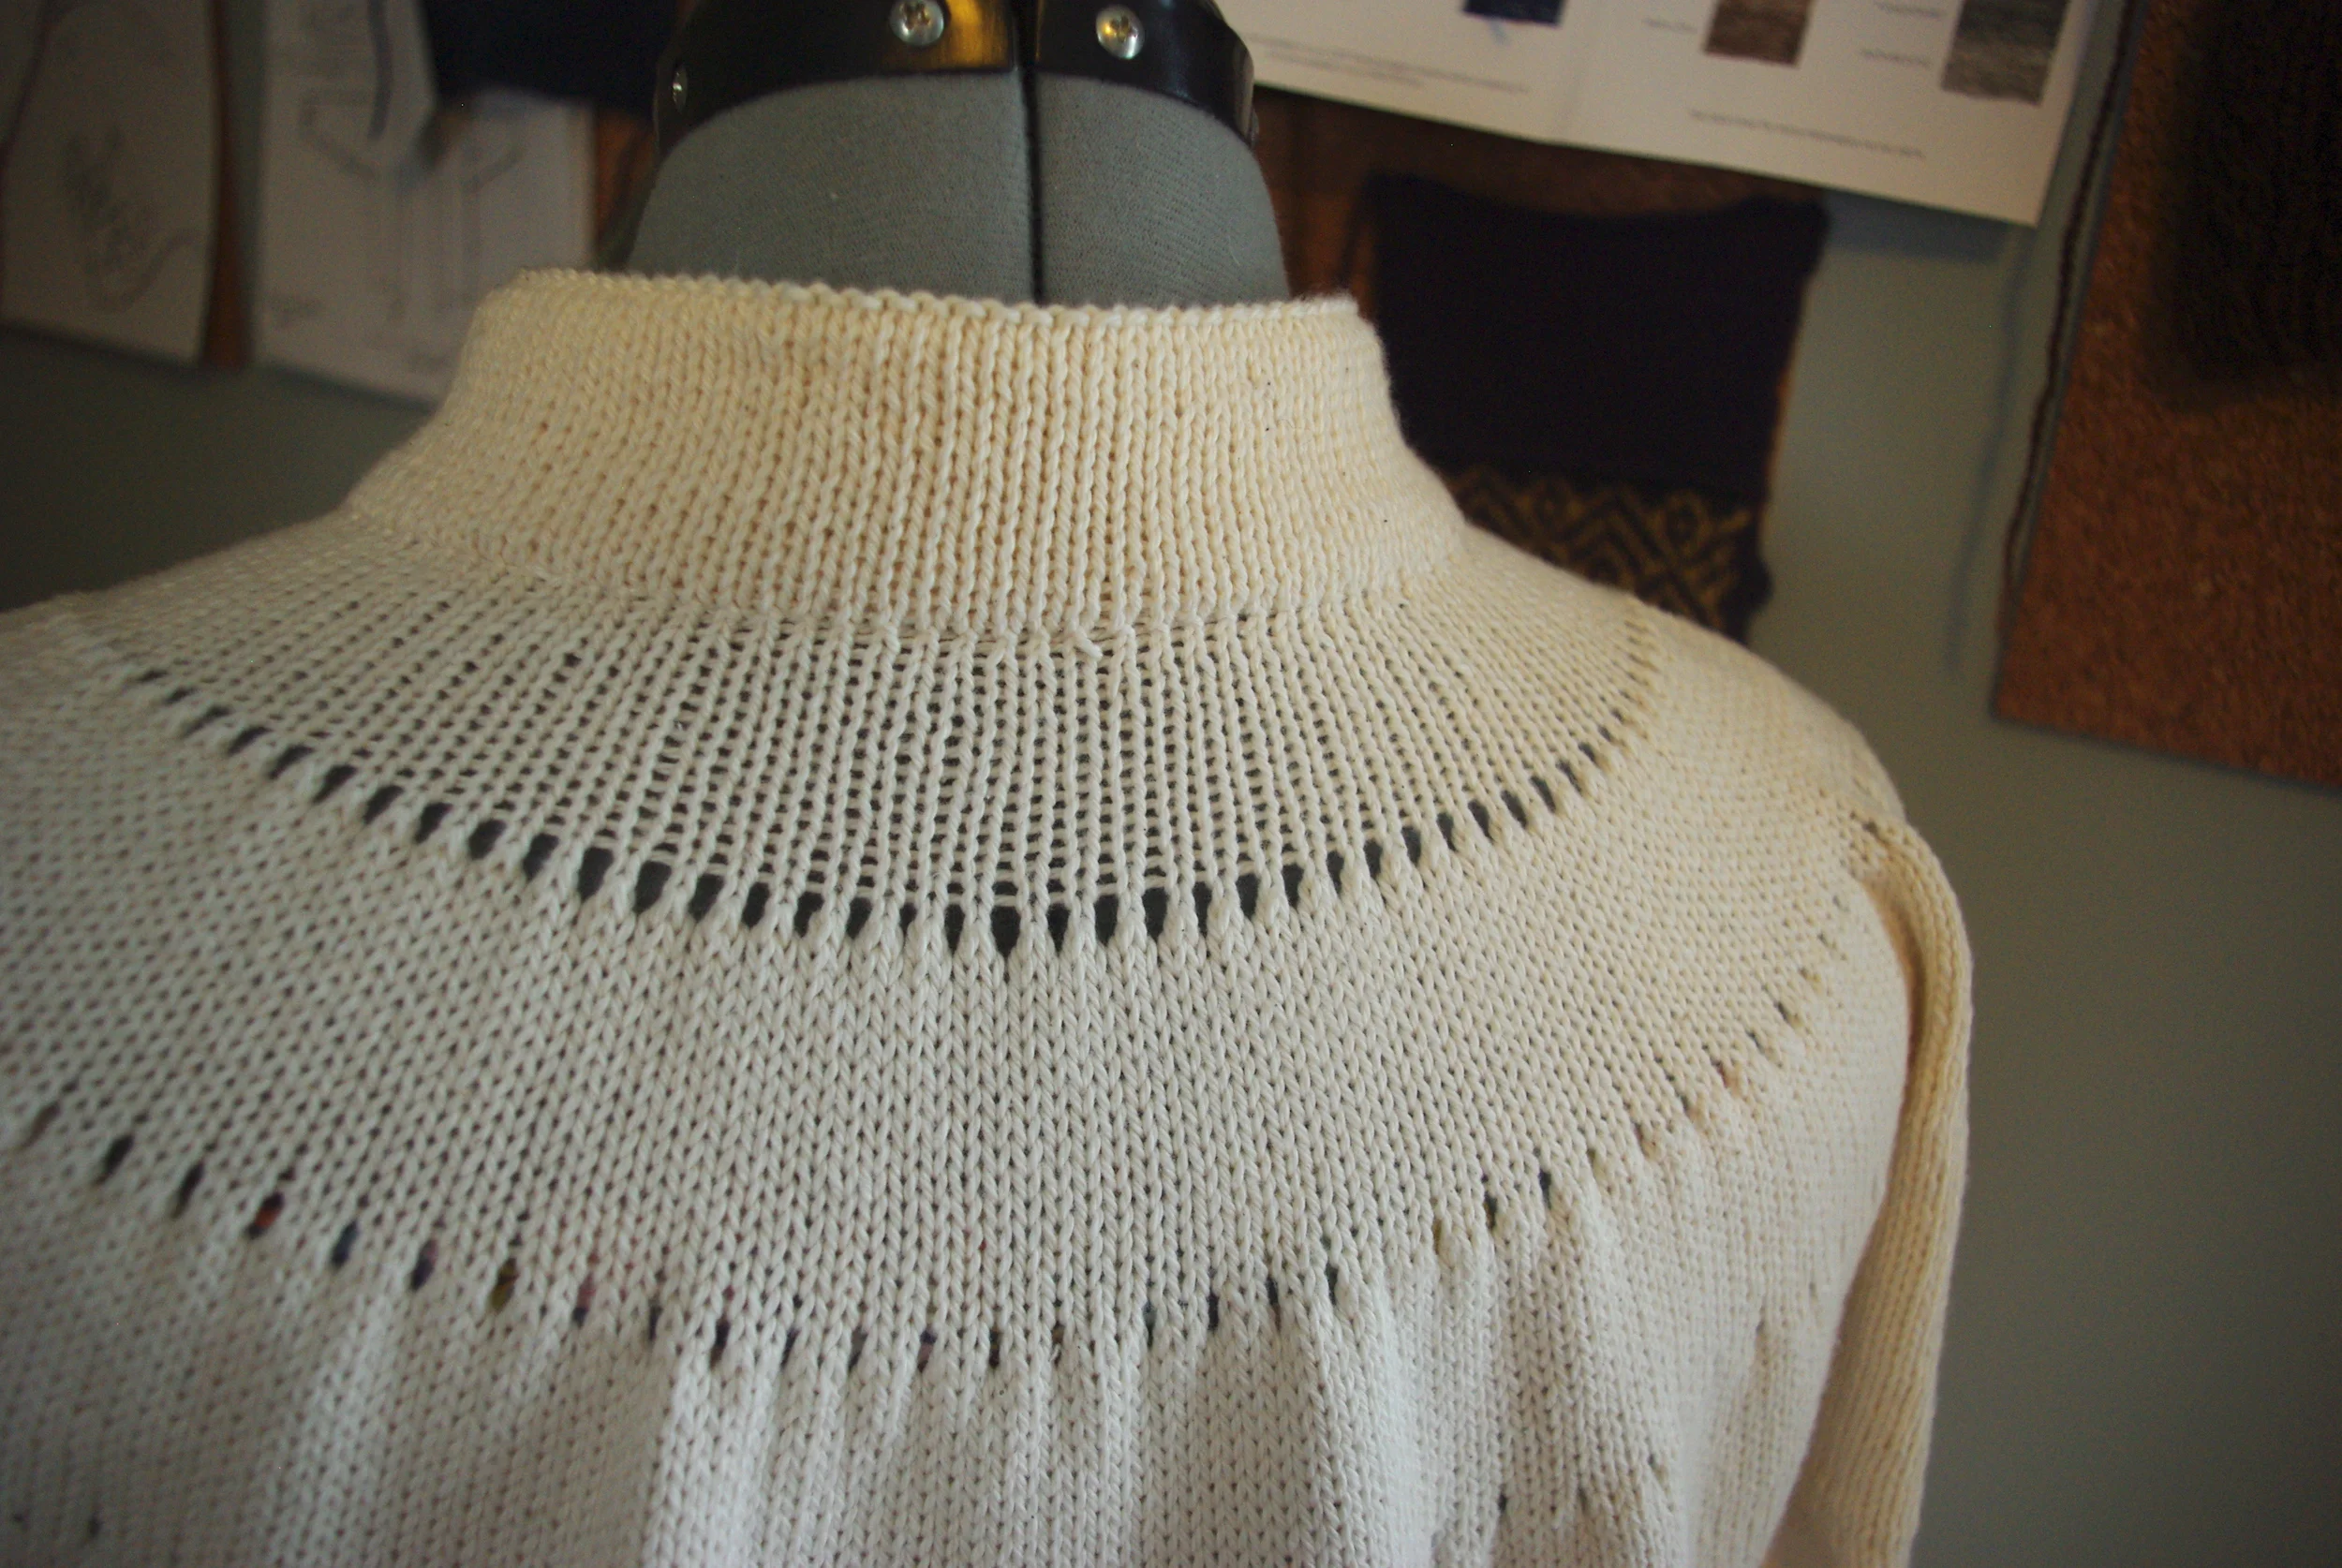
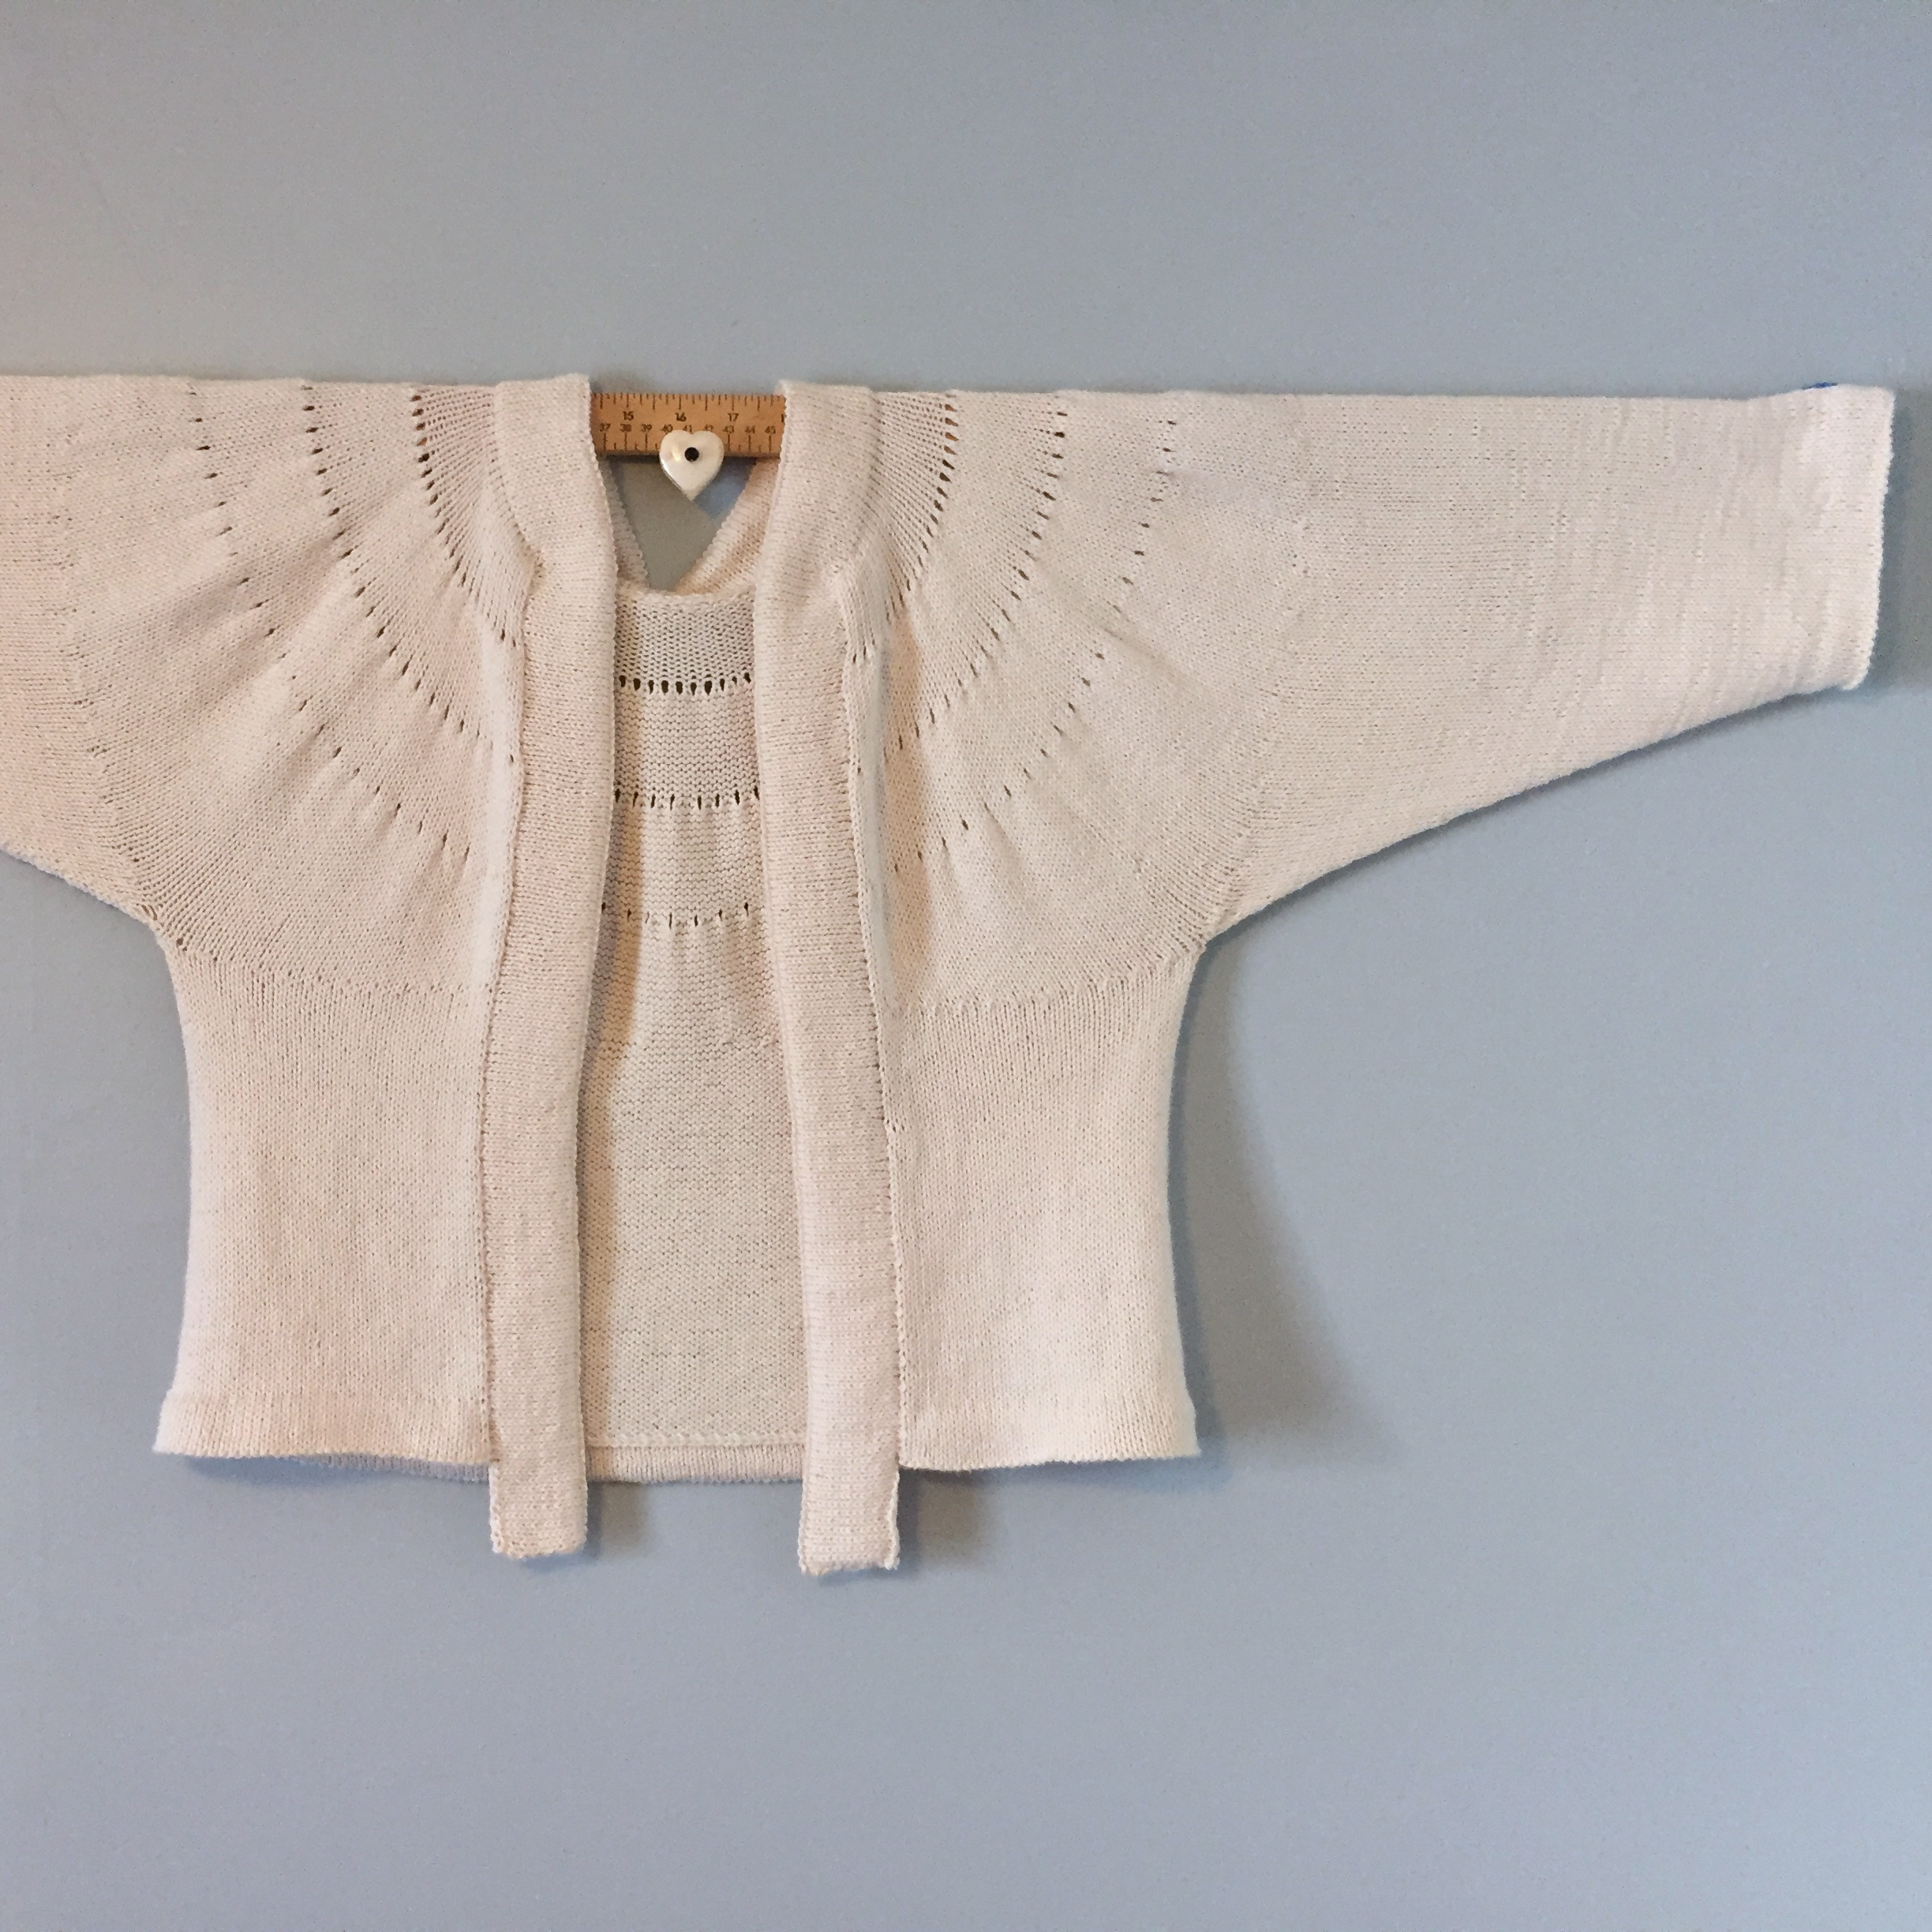
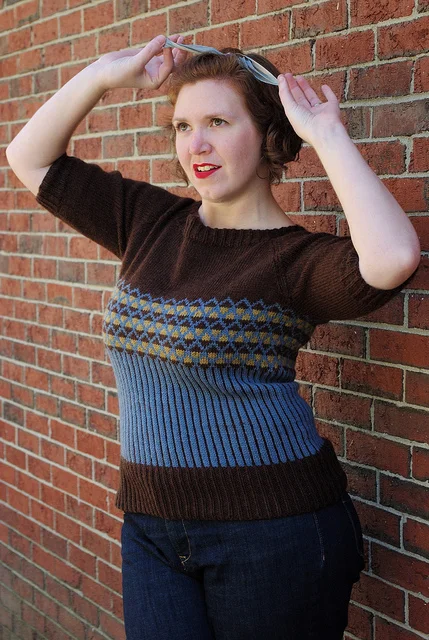
Summer begs for basics, and Atlee delivers. In Cleaner Cotton™ Willet, with an a-line shape, scooped neckline and textural details in the yoke, Leah B. Thibault’s tee is a picture-perfect essential for easy days in the sun.
Shown in size 35” / 89 cm with 1” / 2.5 cm positive ease
- Bust Circumference: 33 (35, 36¾, 39¾, 43¼, 45, 48, 50)" [84 (89, 93.5, 101, 110, 114.5, 122, 127) cm] bust circumference
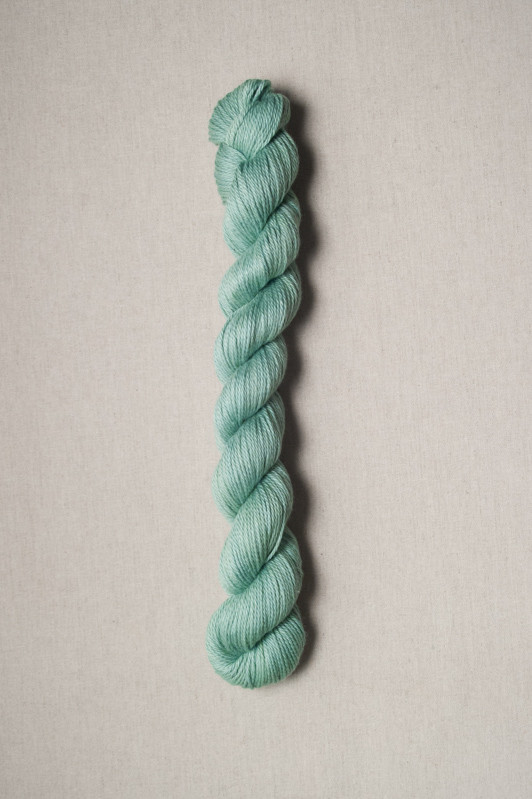
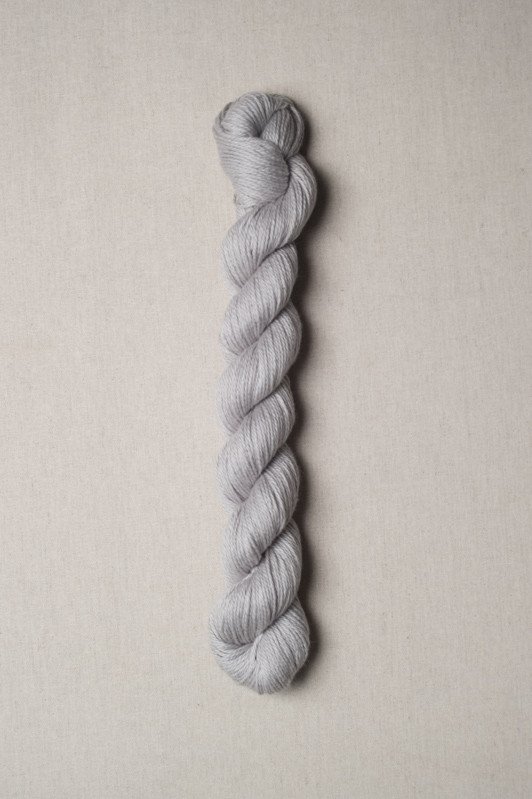
- Yarn: 5 (5, 6, 6, 7, 7, 7, 8) skeins of Willet by Quince & Co in Sail (701)(100% cleaner cotton; 160yd [146m]/50g)
- Needles:
32” circ in size US 5 / 3.75 mm
16” circ in size US 4 / 3.5 mm
set dpns in size US 4 / 3.5 mm
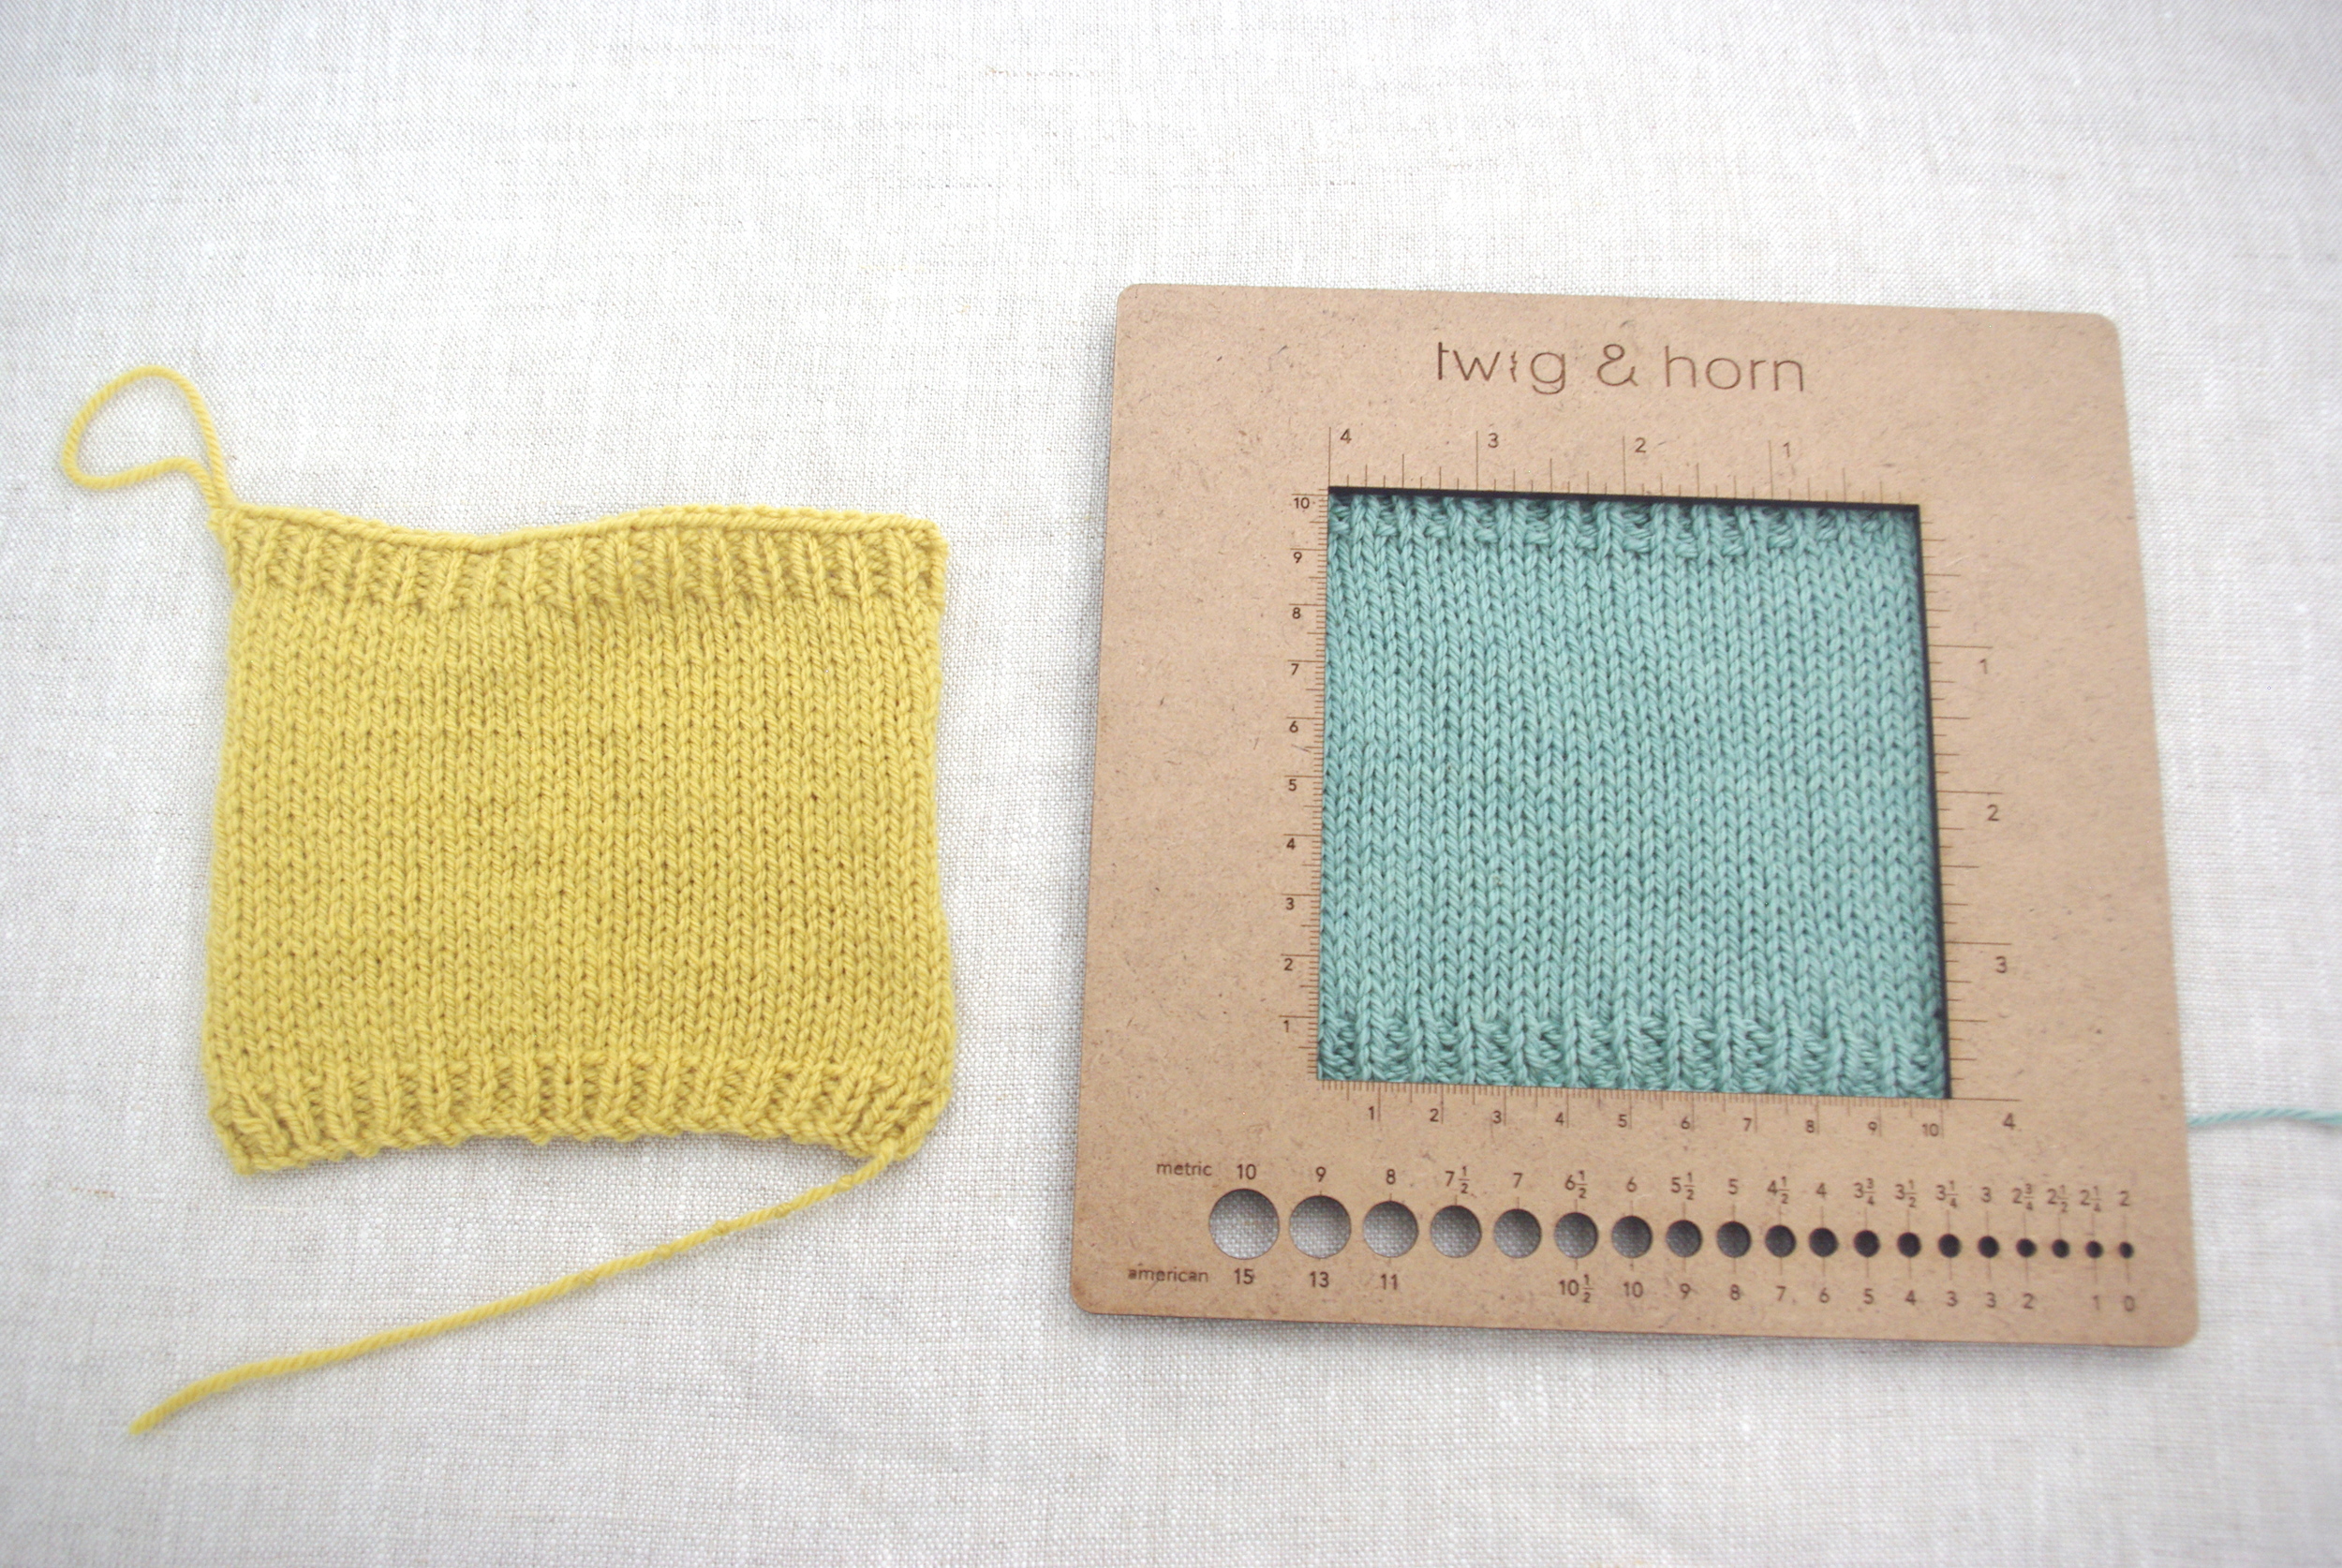
- Gauge: 25 sts and 33 rows = 4”/10 cm in St st on larger needles
Learn more about Atlee in the Chronicles
View it on Ravelry
Photos © Pam Allen