FO Roundup - Fall 2017

One of the most fun parts of being a designer is seeing how others interpret your designs. Here are a few of my favorite finished objects (FOs) of late, with a focus on cool winter-y gray and blues, and shawls on chairs. (click on any photo to visit the knitter's Ravelry and/or Instagram page):

Toulouse - knit by lovegrayhues

Toulouse - knit by lovegrayhues

Lamassu - knit by ninafer

Lamassu - knit by ninafer

Woodland hat knit by elainemaxseb

Woodland hat knit by elainemaxseb

Dal, knit by rie4

Dal, knit by rie4

Eiswasser knit by lucidfuse

Eiswasser knit by lucidfuse

Atlee - knit by kishpai

Atlee - knit by kishpai

Summer Rain knit by NeweJersey

Summer Rain knit by NeweJersey

Want to share your knits with me? Tag me @mscleaver on Instagram, or if it's on Ravelry, I'll see it. :) 


Print Friendly and PDF Follow
follow us in feedly

Corrugated Ribbing Tutorial (for Two Hands)

Corrugated Ribbing Tutorial
Woodland Hat and Mittens

Corrugated, or two-color ribbing, is a common decorative edging on many colorwork designs, including my Woodland Mittens. It has a great effect, but it can be a bit trickier than regular colorwork, which is usually done all in knit stitches.

I'm typically a "picker" or continental style knitter, but this tutorial will use both the "picking" and "throwing" techniques for the most efficient way to work this pattern. Not familiar with continental style? This is a helpful tutorial. 

By working the rib with two hands this way, you don't have to fuss with dropping and picking up a different color for each stitch.

For the purposes of this tutorial, the green will be our contrasting color, or CC; and the grey will be the main color, or MC. This tutorial also assumes you will be working in the round.

One important thing to know before you start, two-color ribbing will have less recovery/elasticity than regular ribbing, so you may wish to go down a needle size, especially if you're replacing a solid rib with a corrugated one.  

P9150001.jpg

To start, cast on in your CC and join in round. Knit one round in CC.

Join your MC at the start of the round. From here, you will knit in the CC, and purl in the CC.

Holding the yarn

Take your CC, or the color you will be doing knit stitches with, and hold it in your right hand. Take the MC, or the color you will be doing purl stitches with, and hold it in your left hand, tensioning the yarn around your pinky finger as in Continental style. To begin, both yarns should be behind the needles, with the CC in front of the MC. 

Step 1: With the yarn held in your right hand, work a knit stitch by "throwing" or wrapping the yarn around the needle with your right hand. 

Step 2: Shift the left hand needle, so the MC yarn is in front of the work. Purl the next stitch Continental-style. Shift yarn back behind work.

Repeat Steps 1 and 2 until you reach the desired length of rib! 

Ready to Get Knitting?!

Print Friendly and PDF Follow
follow us in feedly

Fall Family Fun

While I spent a lot of time in October working hard to get the WOODLAND collection ready for release (and fighting a a few colds), I also made sure to I made time to enjoy my favorite season with my favorite people. So there were leaf piles, and ballet classes (I just die every time I see her in that uniform), pumpkin carving, painting and decorating. 

One of my favorite things to do at Halloween is make themed family costumes (see 20152016  and pre-LMC, 2011), which I will continue to do as long as LMC puts up with it. So about 10 days before Halloween when she decided to be a butterfly instead of an owl, I had to do a little creative thinking, but I think the garden costume I came up with worked out great. Mr. Cleaver was supposed to be a gardener originally, but since I was laid low with a sinus infection on Halloween night, I let him take the better costume out on the town, which he was a great sport about.  

Either way we gave out and received loads of candy and LMC went to bed wishing everyday could be Halloween. All-in-all, a pretty good October.


Print Friendly and PDF Follow
follow us in feedly

Introducing WOODLAND - A Ms. Cleaver Collection

I'm pleased to announce the launch of my first seasonal collection: WOODLAND.

Consisting of four new embroidery designs, three new knit designs and one old favorite, WOODLAND takes you through fall, to the holidays and beyond into winter. Projects range from beginner-friendly to the more complex and each design is available as a stand-alone pattern or as part of a complete kit of high quality materials like 100% wool felt and 100% wool American yarns, making your making all the more attainable.  

The four knitting patterns can be purchased as an e-book for $18.00 USD or individually ($5-$6 USD). Likewise, the embroidery hoop designs (Cabin, Ice Skater and Moose) can be purchased as a set for 20% off the individual price.  

Flip through the lookbook below, or check out the shop

Gift Worthy Knits.png
Print Friendly and PDF Follow
follow us in feedly

Slow Fashion October

If you hang around the sewings/knitting/maker community on social media, it's highly likely you've run into someone posting about #slowfashionoctober, started by (you guessed it), Karen Templer of Fringe Association. 

For those unfamiliar with the term, slow fashion, like the more common slow food, has many definition which may (or may not include): sourcing locally, sourcing ethically,  limiting purchases, and growing/making your own. In general, it is about being more conscious about your clothing purchases and is a reaction to "fast fashion," just like slow food is a reaction to "fast food." 

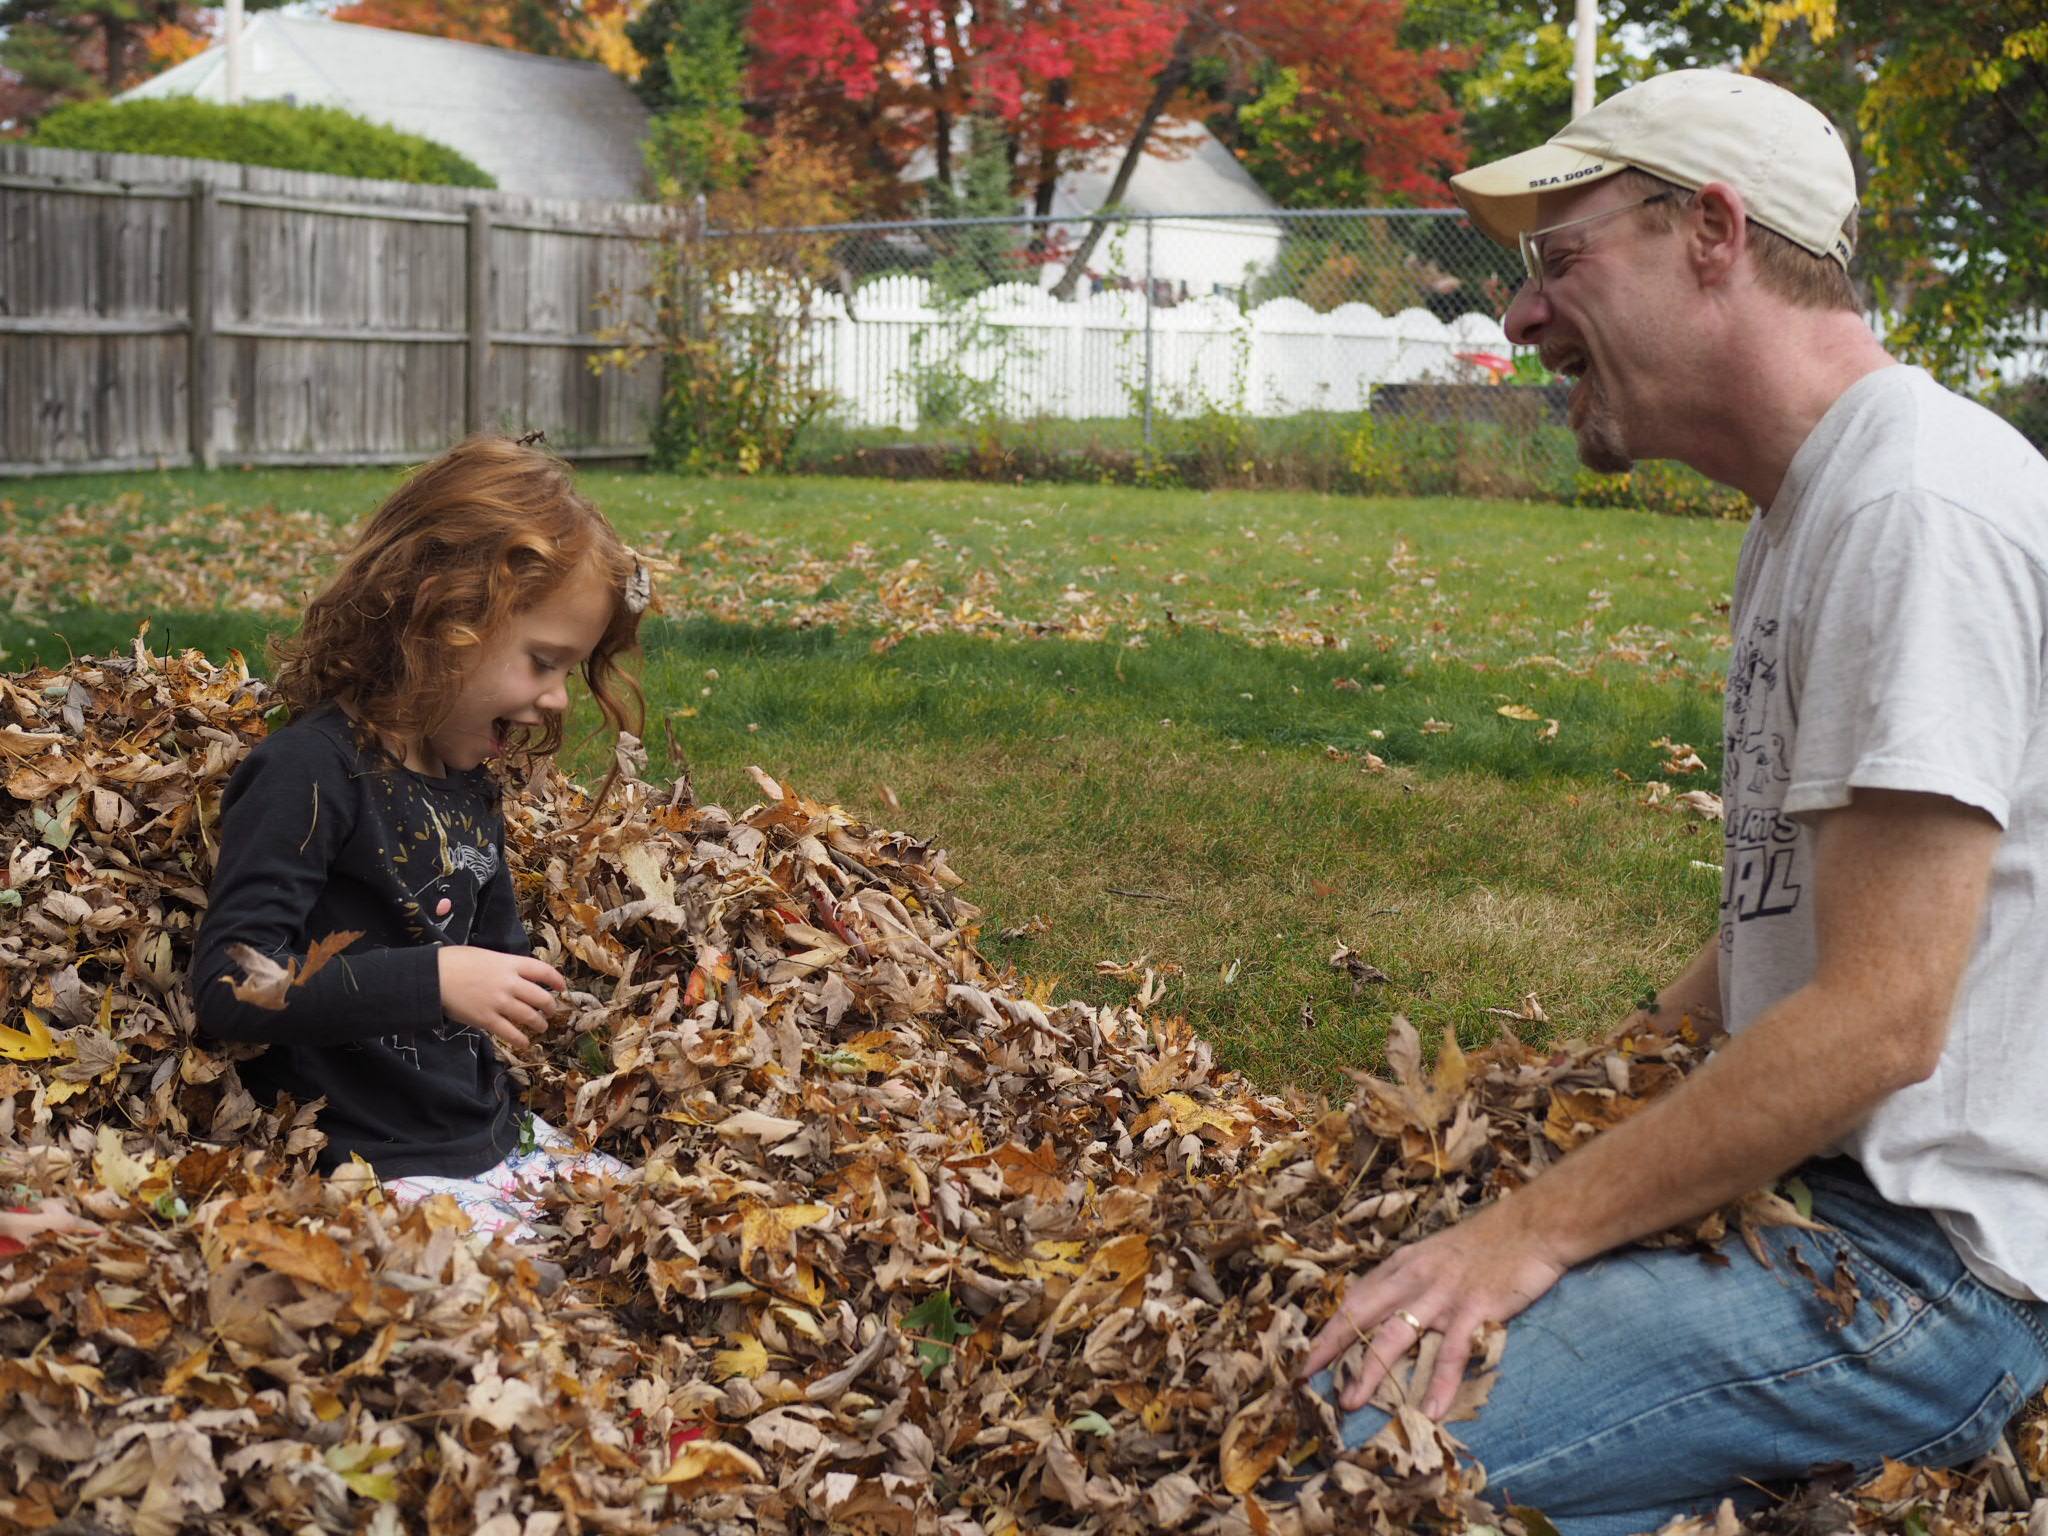
I wasn't really intending on participating, because, as with Me-Made-May, I feel that these sorts of things are better at engaging those in the early part of their making journeys. But life being what it is, I found I did have something to say. 

I sew and I knit the vast majority of my own clothes.  While I had been adding special me-made pieces to my wardrobe for several years, I really started making a habit of it back in 2014, when I made a pledge to myself to only purchase all my clothes from ethical sources. I did a lot of research into brands and while I found some real winners, a lot of what was out there didn't fit my style, or my budget. Since I already had the skills, it just became easier to make my own.

Fast forward a few years and I'd gotten a nice wardrobe of clothes I felt good about. Then I started taking some medication, which was/is super helpful for my anxiety, but came with the side effect of some significant weight gain.

The mental health trade off was more than worth it, but suddenly,I had a closet full of clothes that didn't fit at all or barely fit and were no longer flattering.

How do you do slow fashion when you legitimately need all new clothes?


It's something I struggled with a lot over the past year. To walk into a store and buy the things I needed felt like a failure of my morals, to continue to wear clothes that didn't fit was a daily knock on my self-esteem. 

I hit up the thrift and consignment stores, but the choices in my new size were extremely limited - there were literally only two pairs of shorts in my size in an entire Goodwill on one trip. I looked into online consignment sites and it wasn't much better.

So I returned to my sewing skills. But my time to sew is limited to a few hours on the weekend - so it's not like I can churn out a dozen items just like "that."

So, I came back to what the core of slow fashion is about for me:

What do I really need? How much is enough?


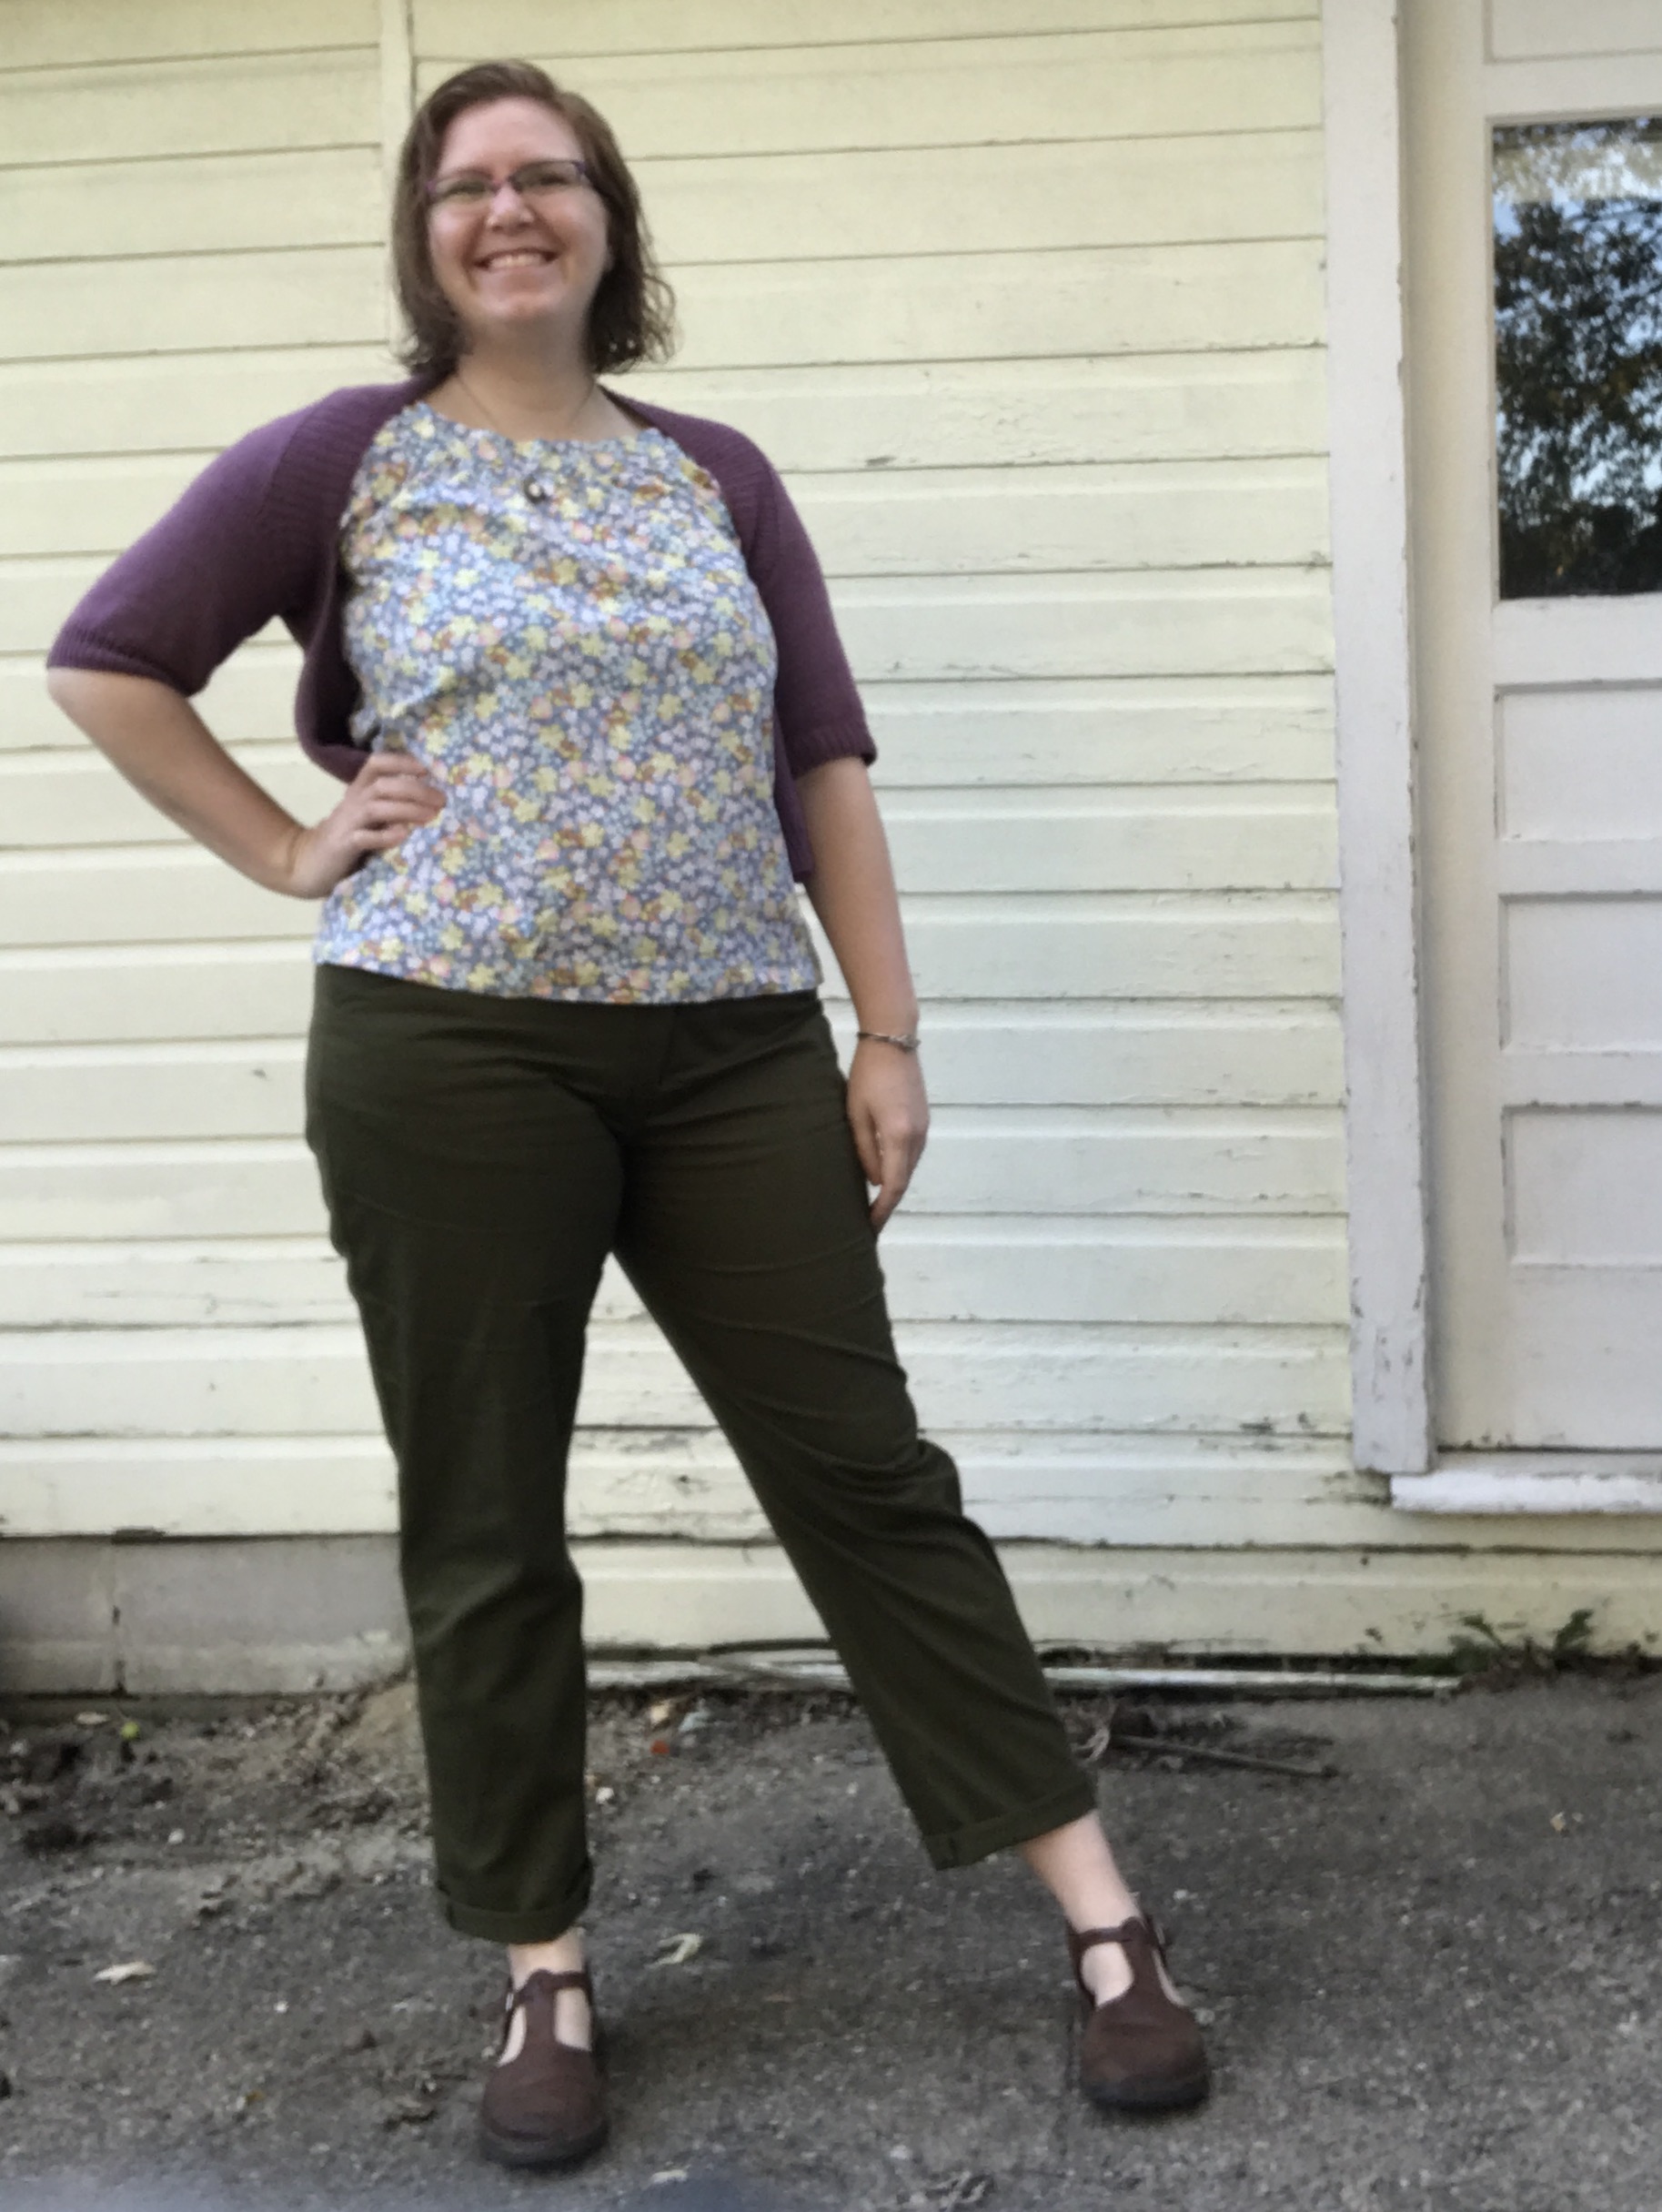
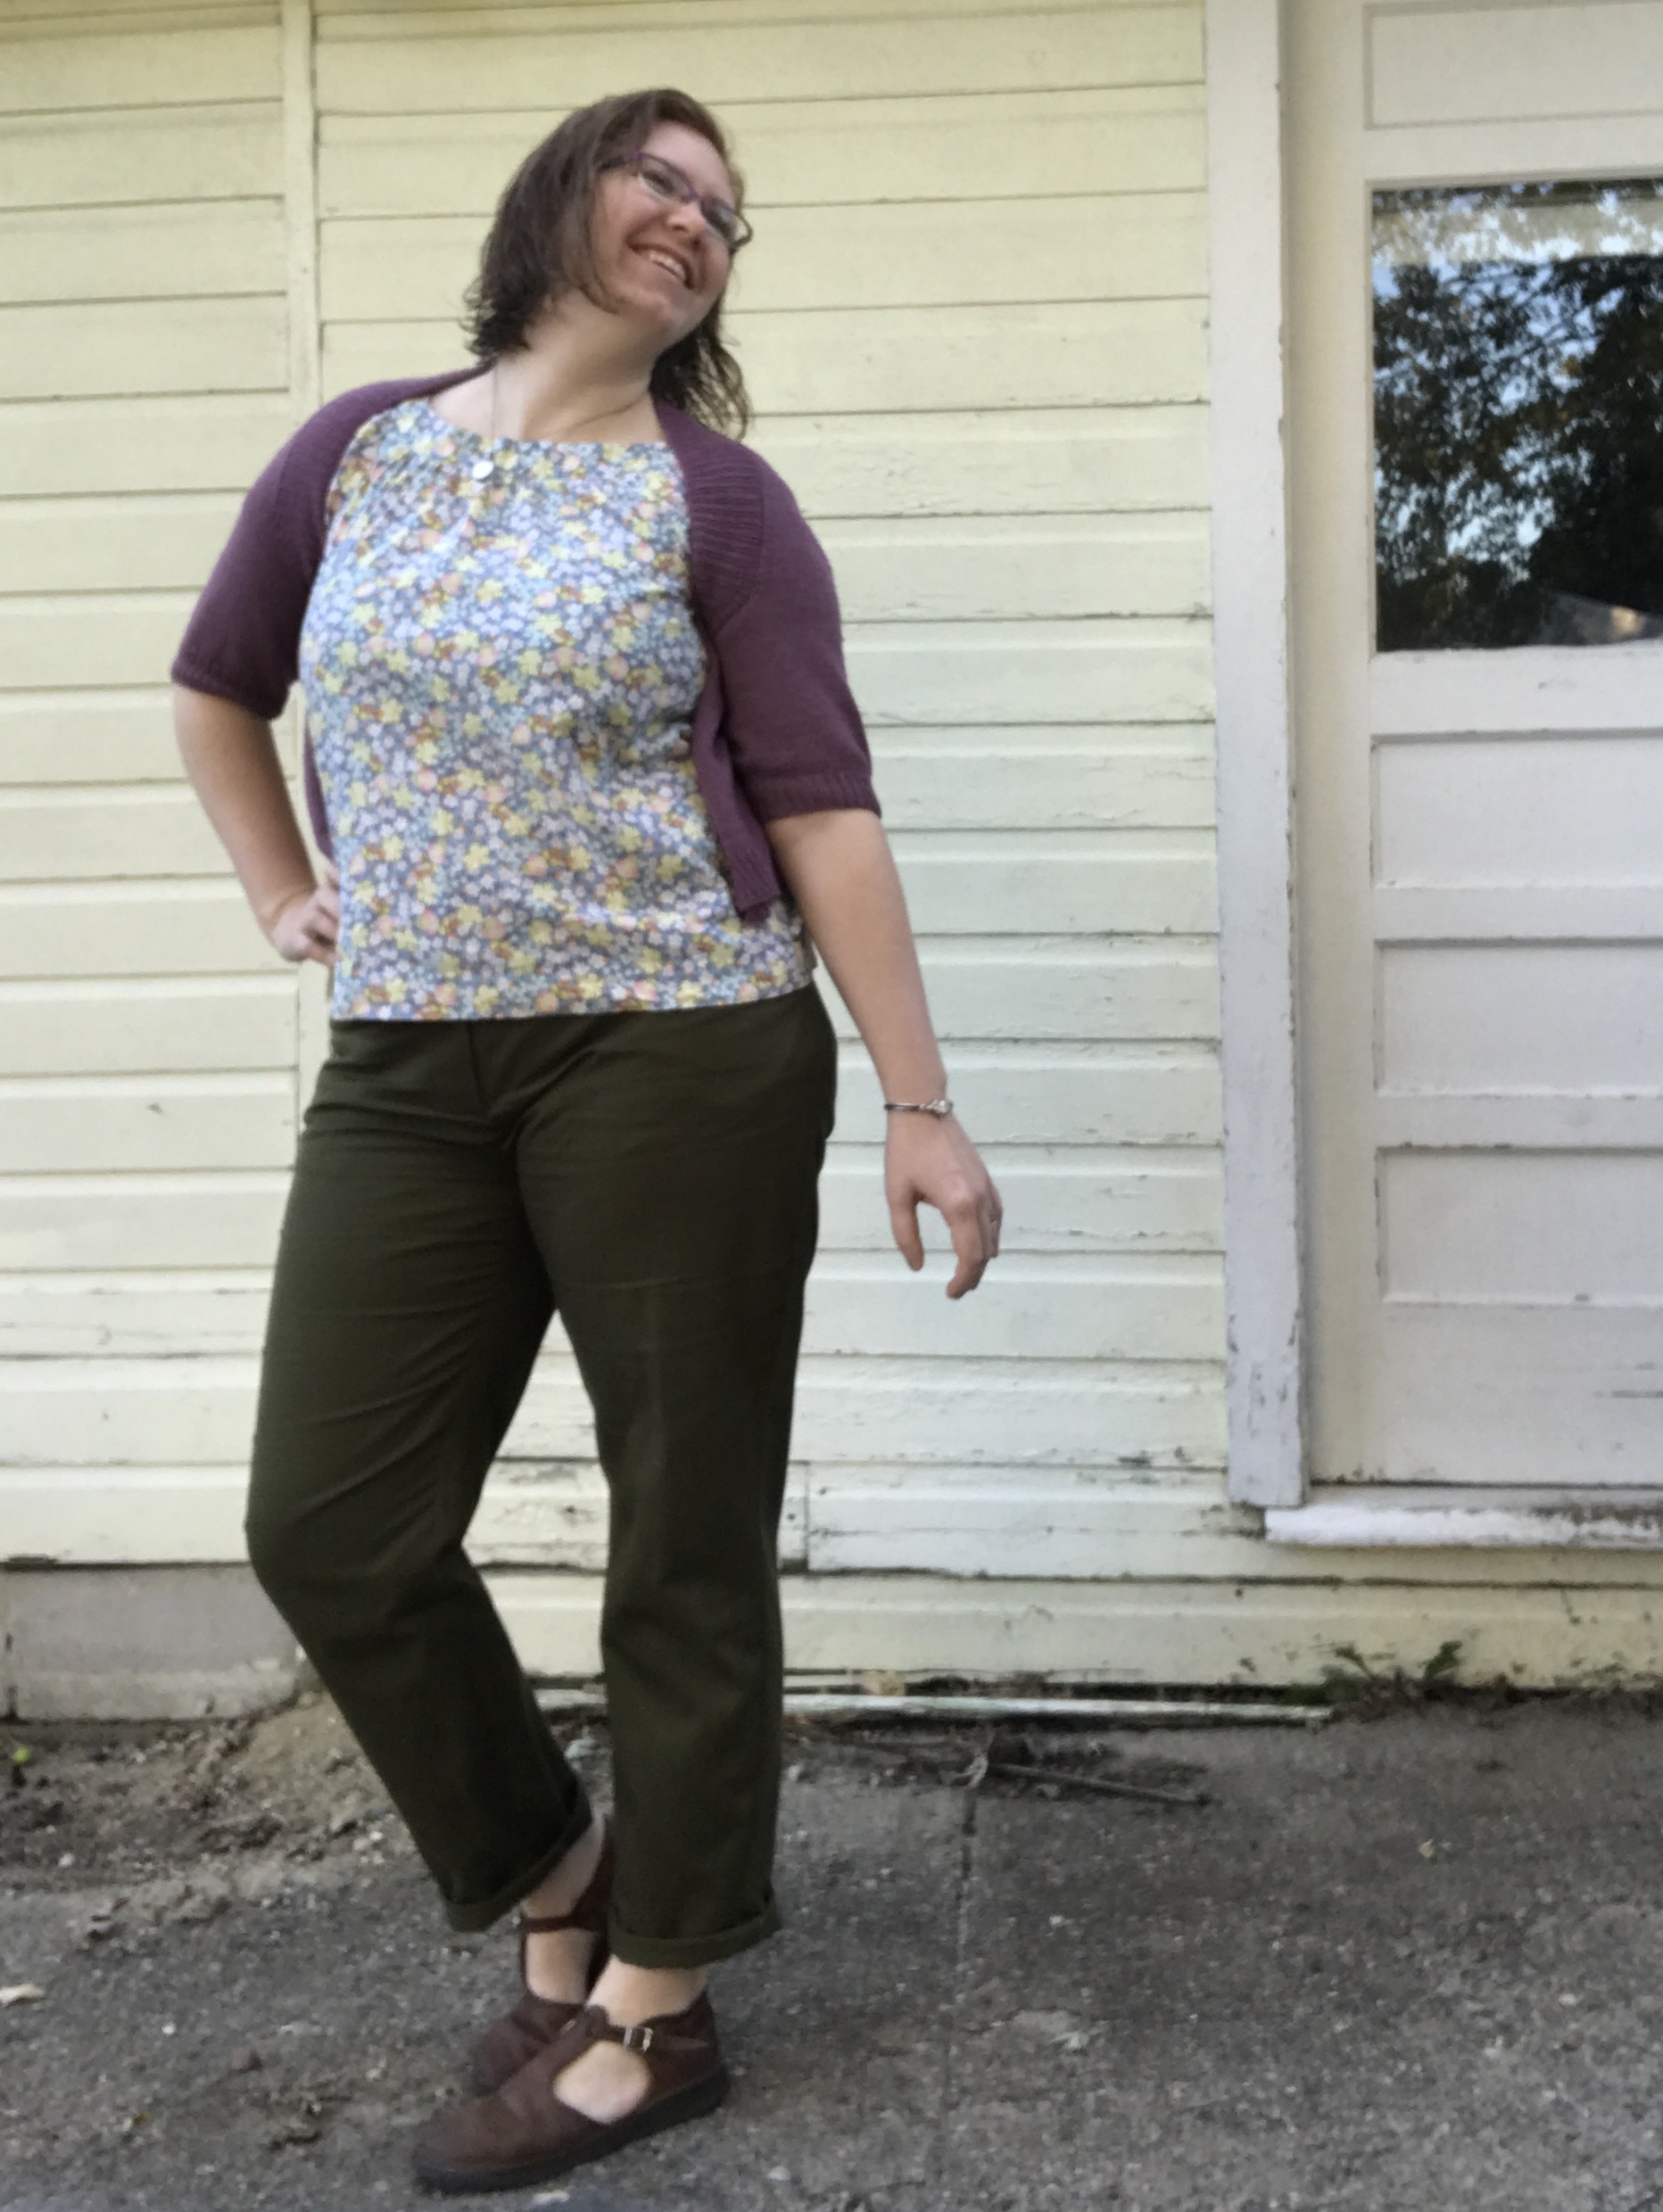
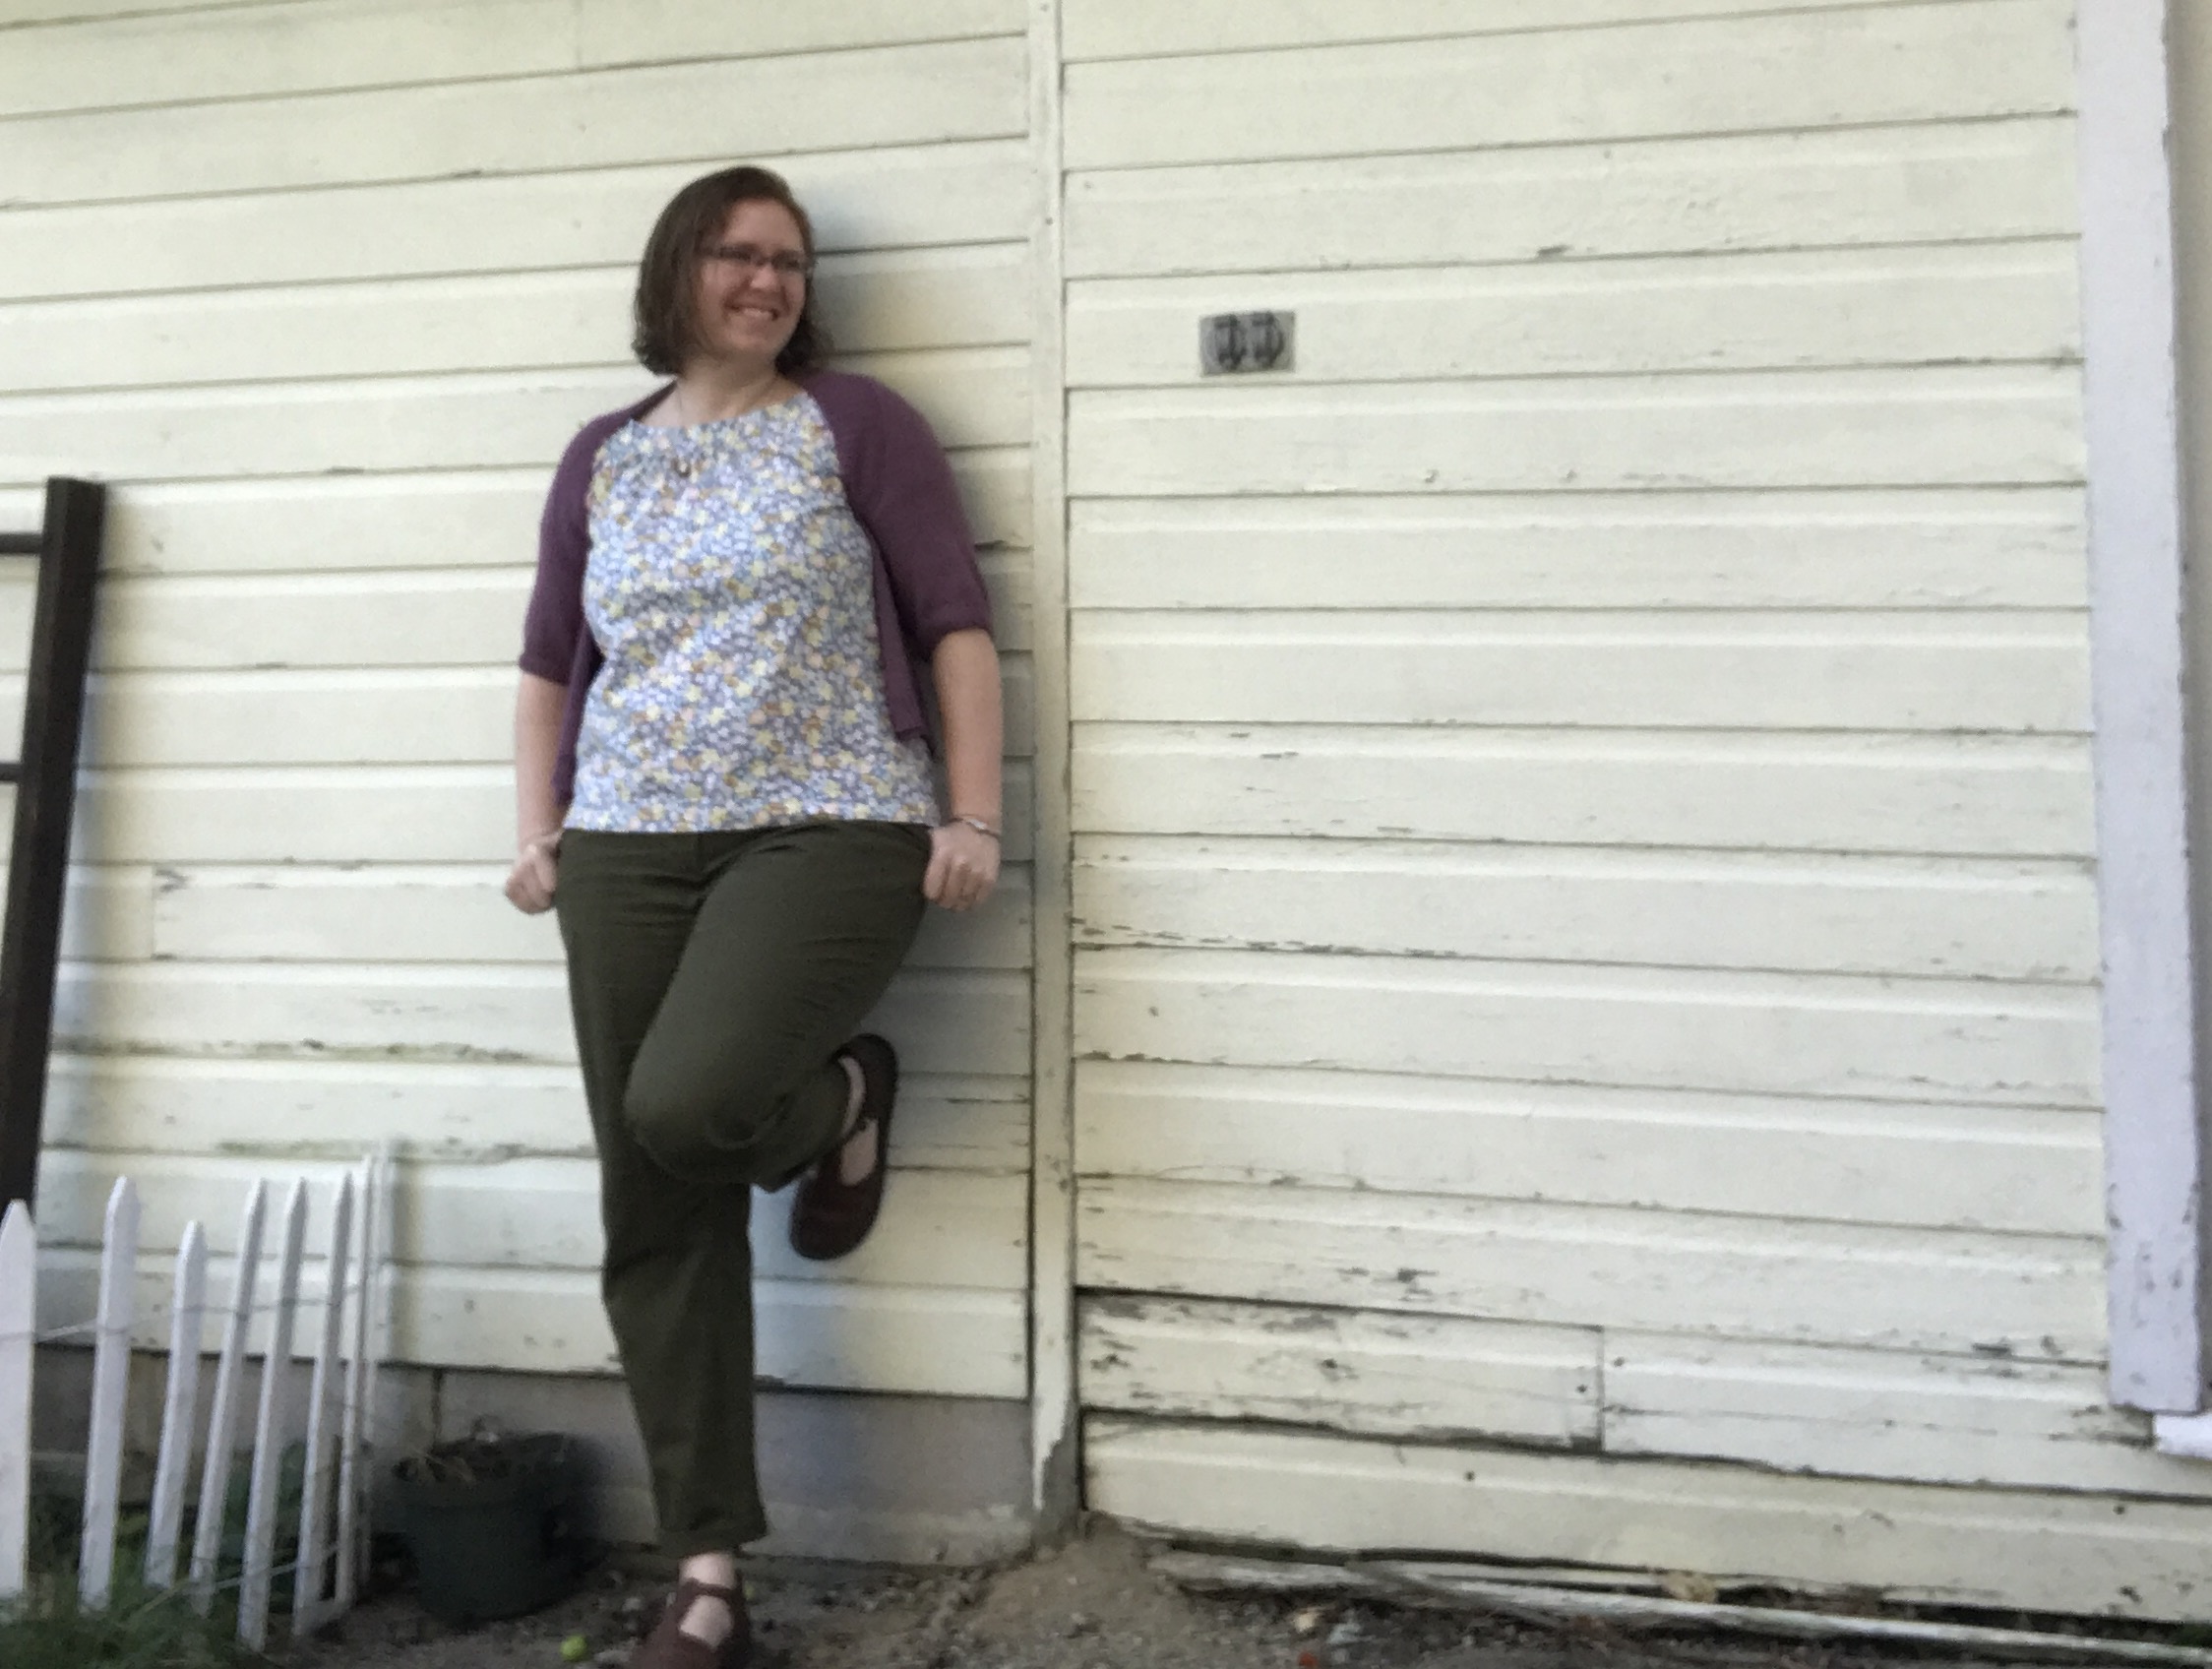
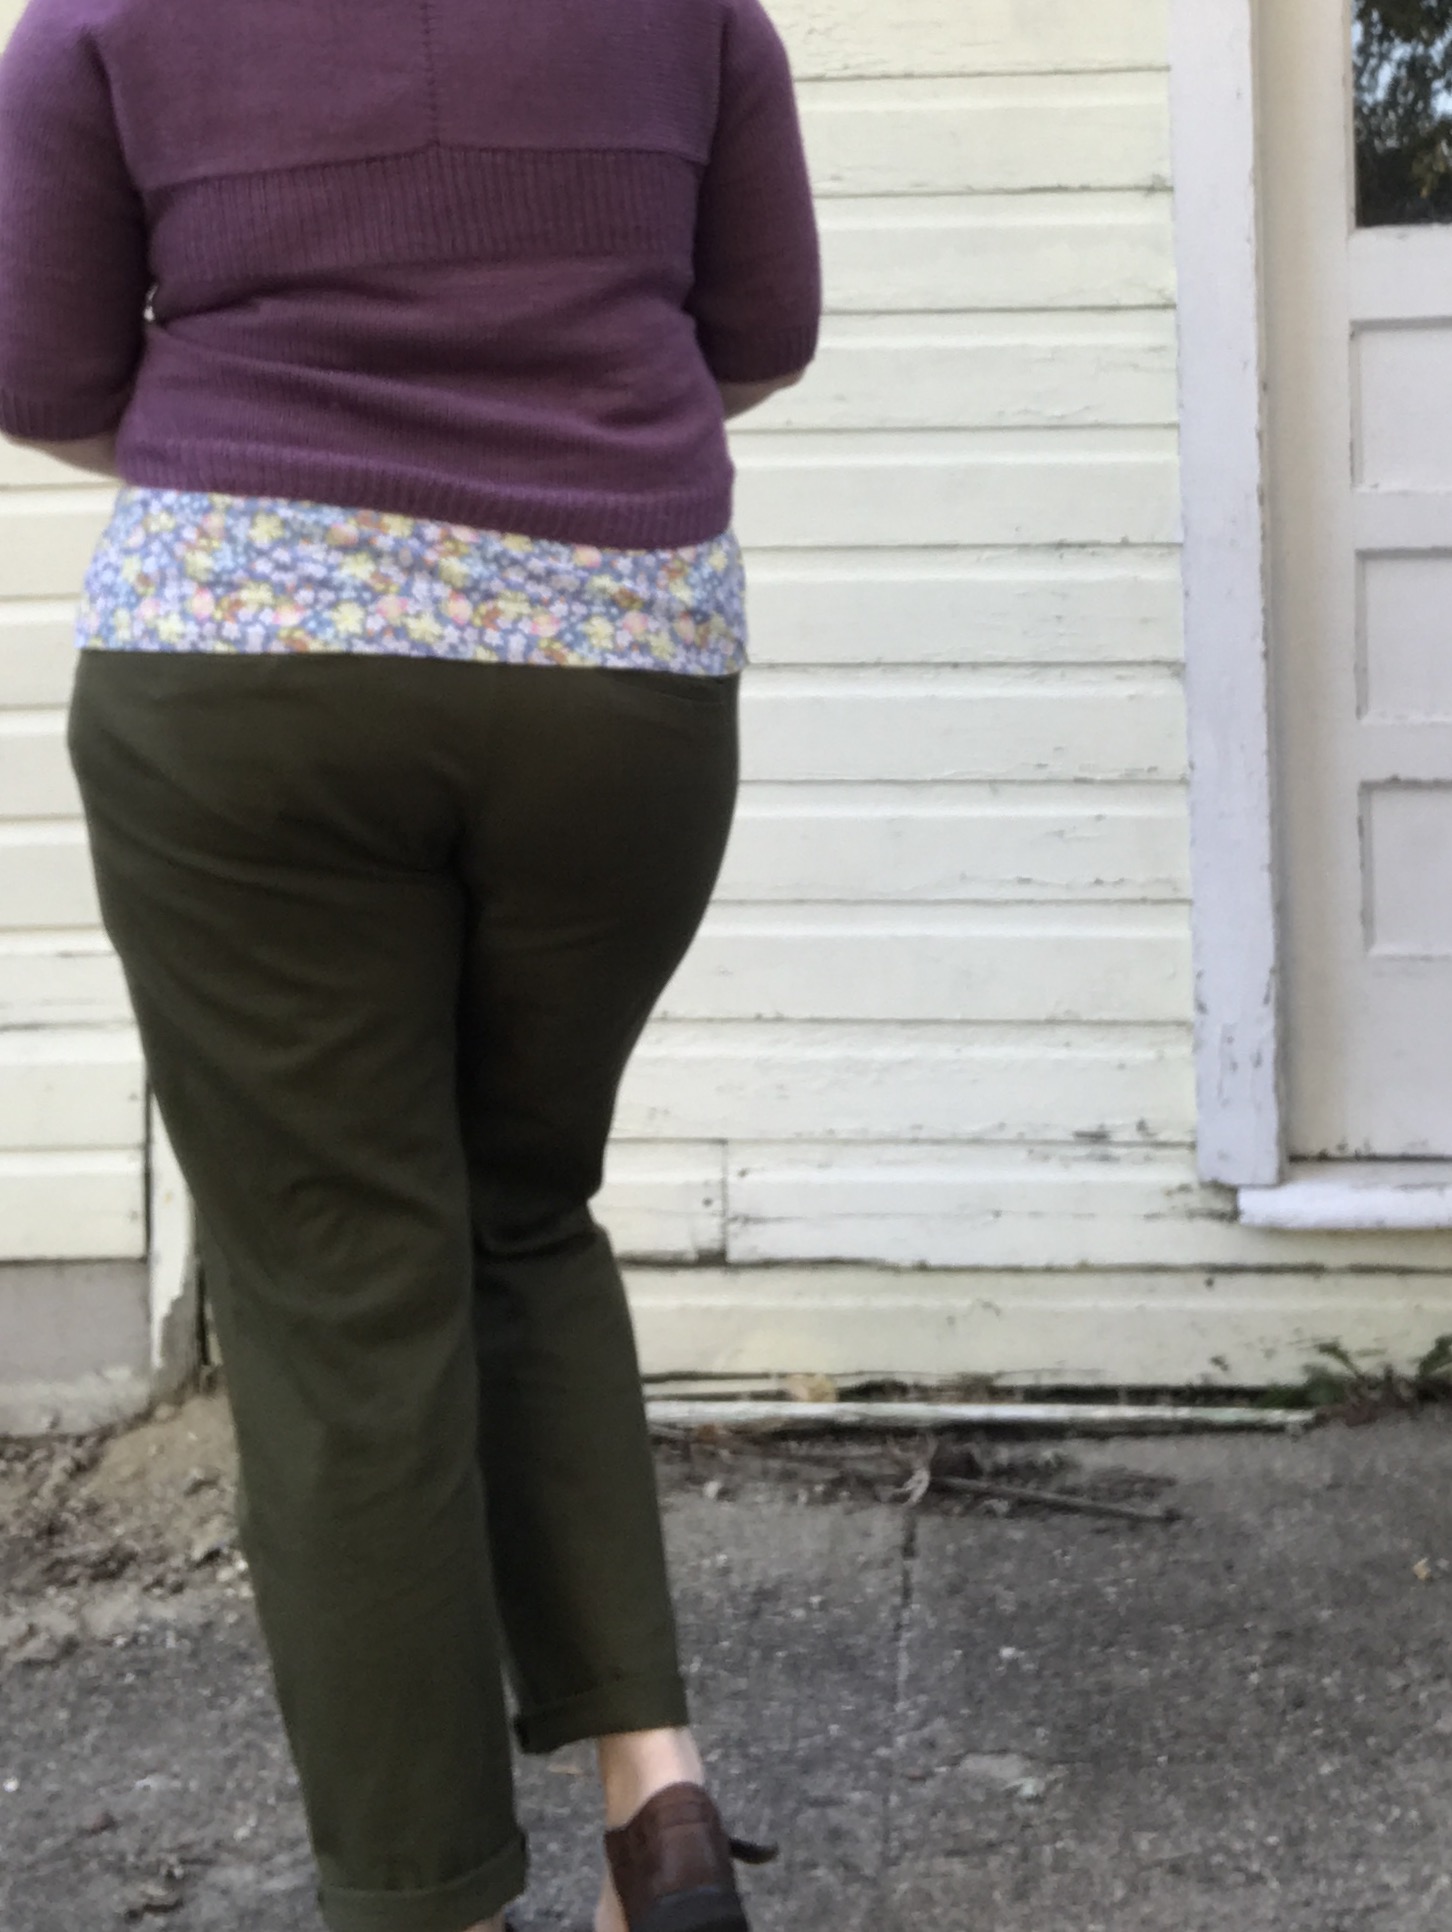
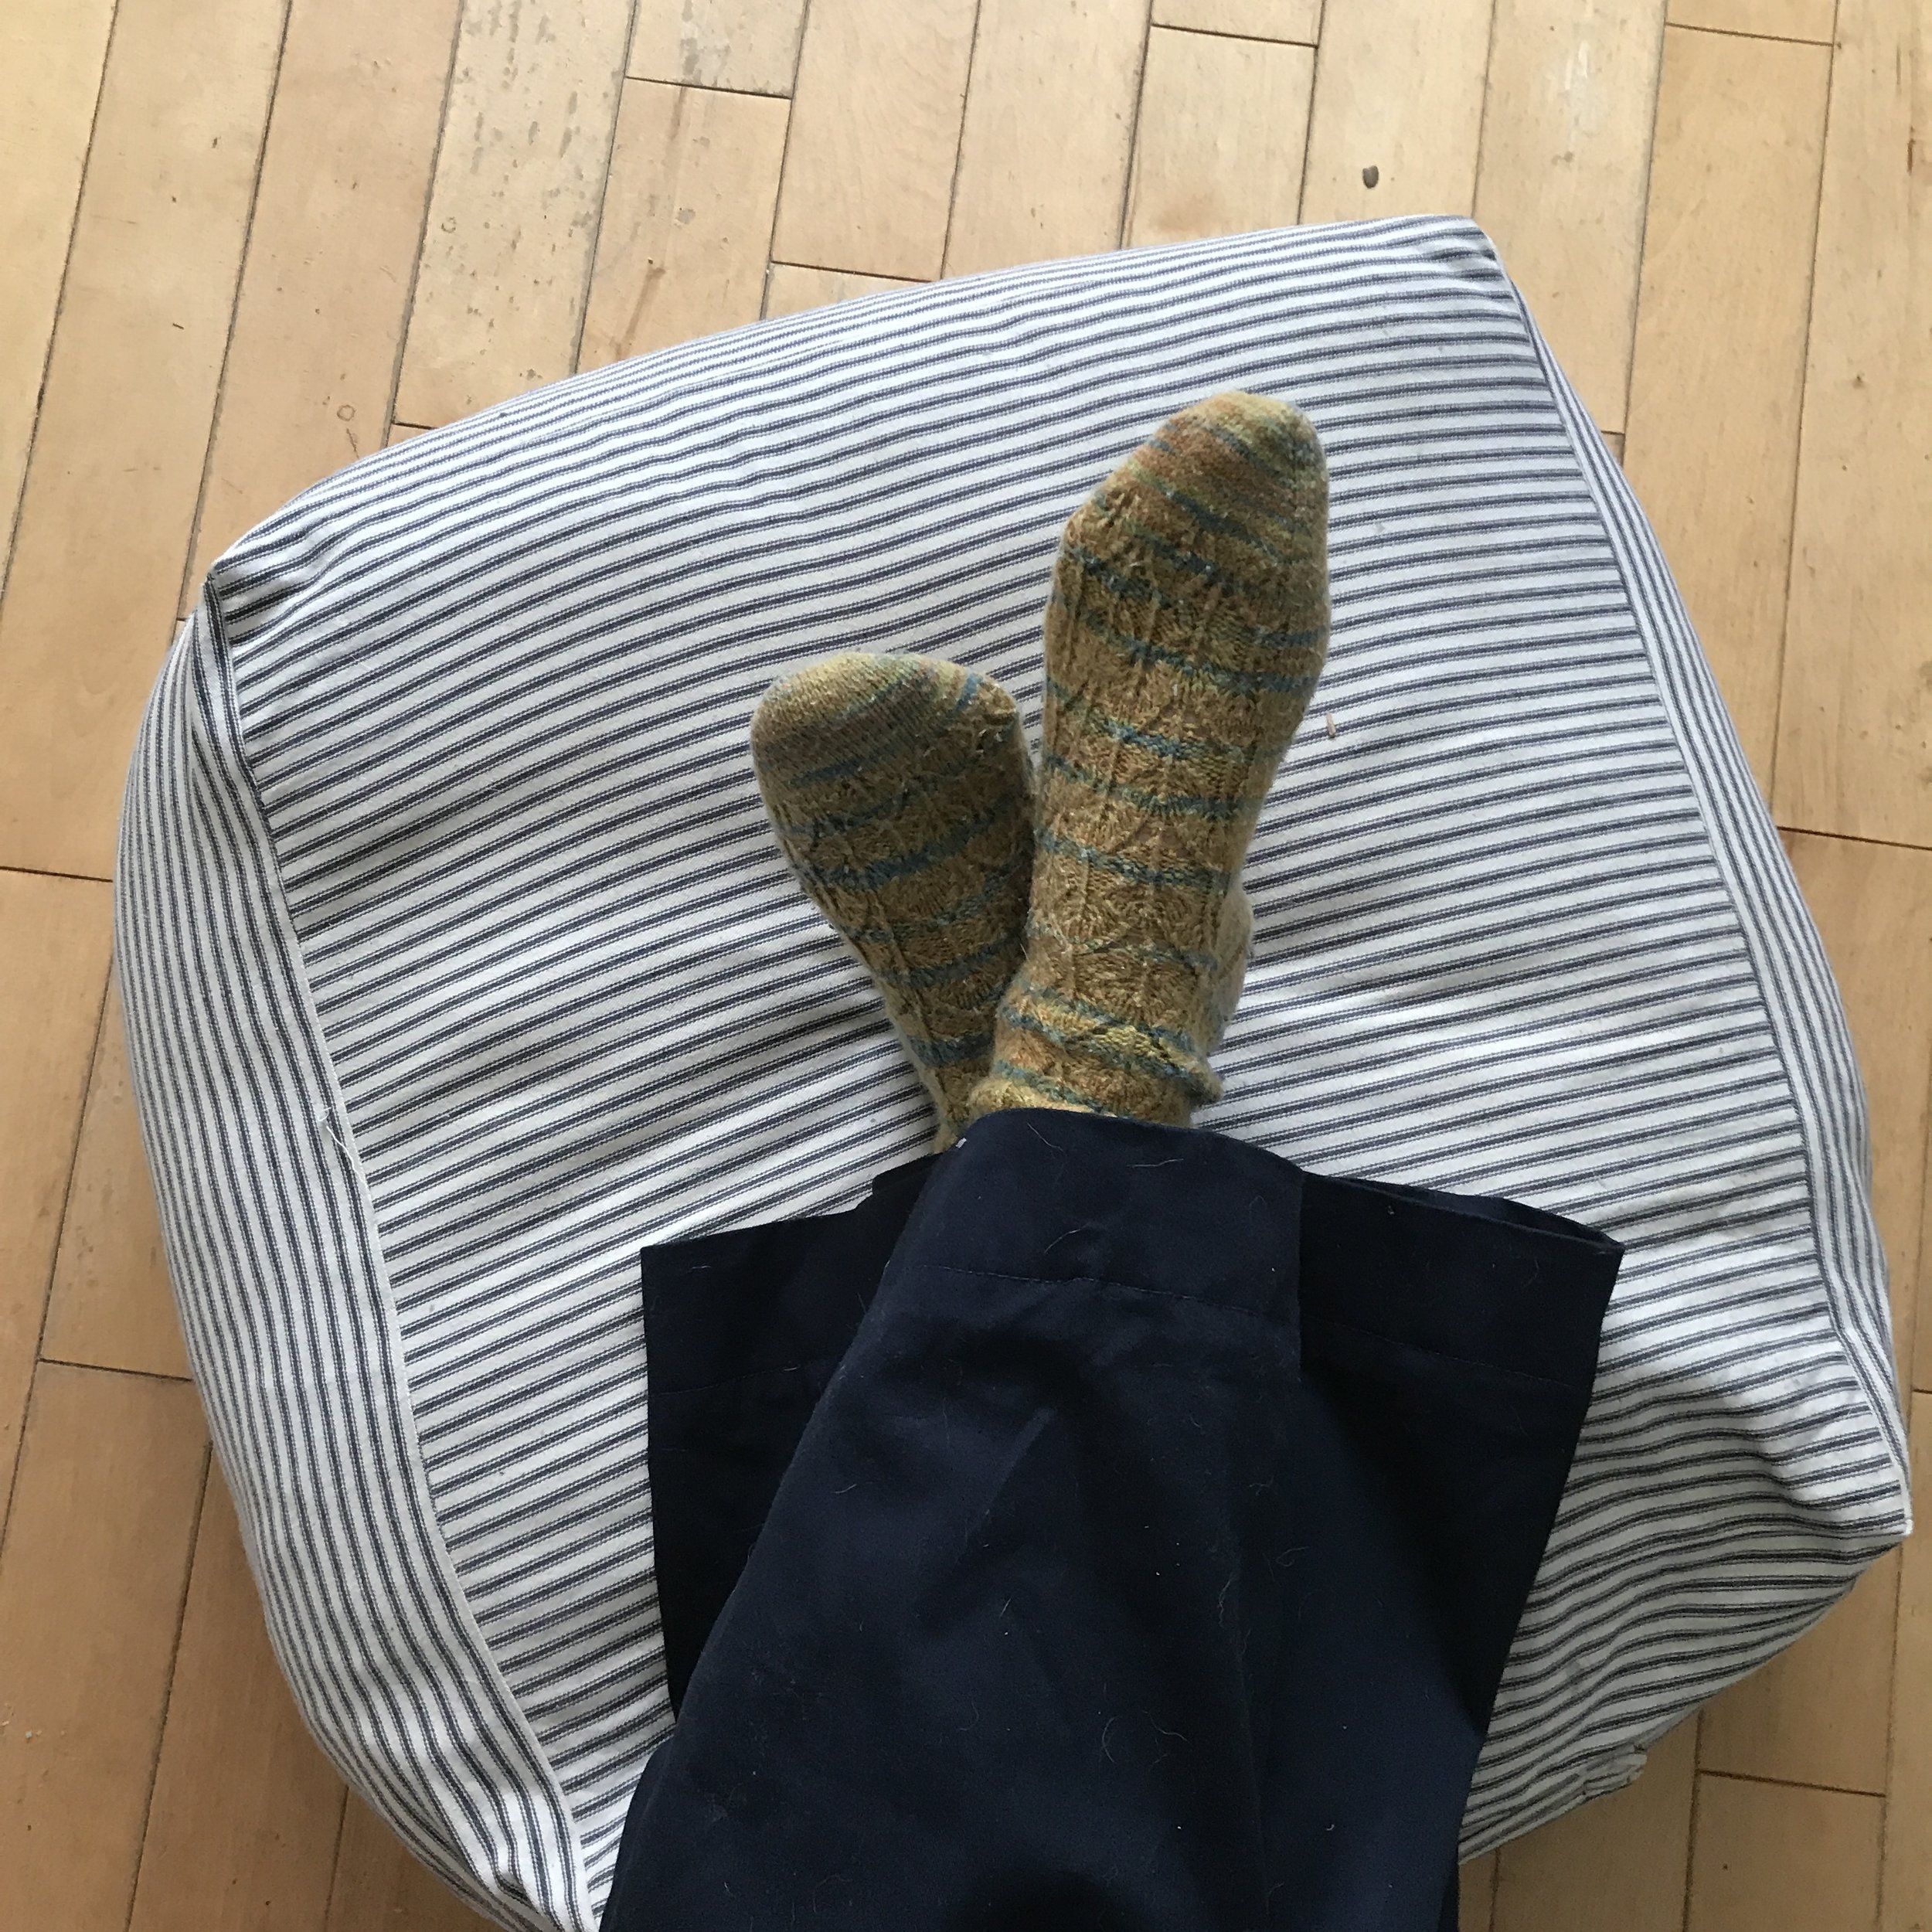
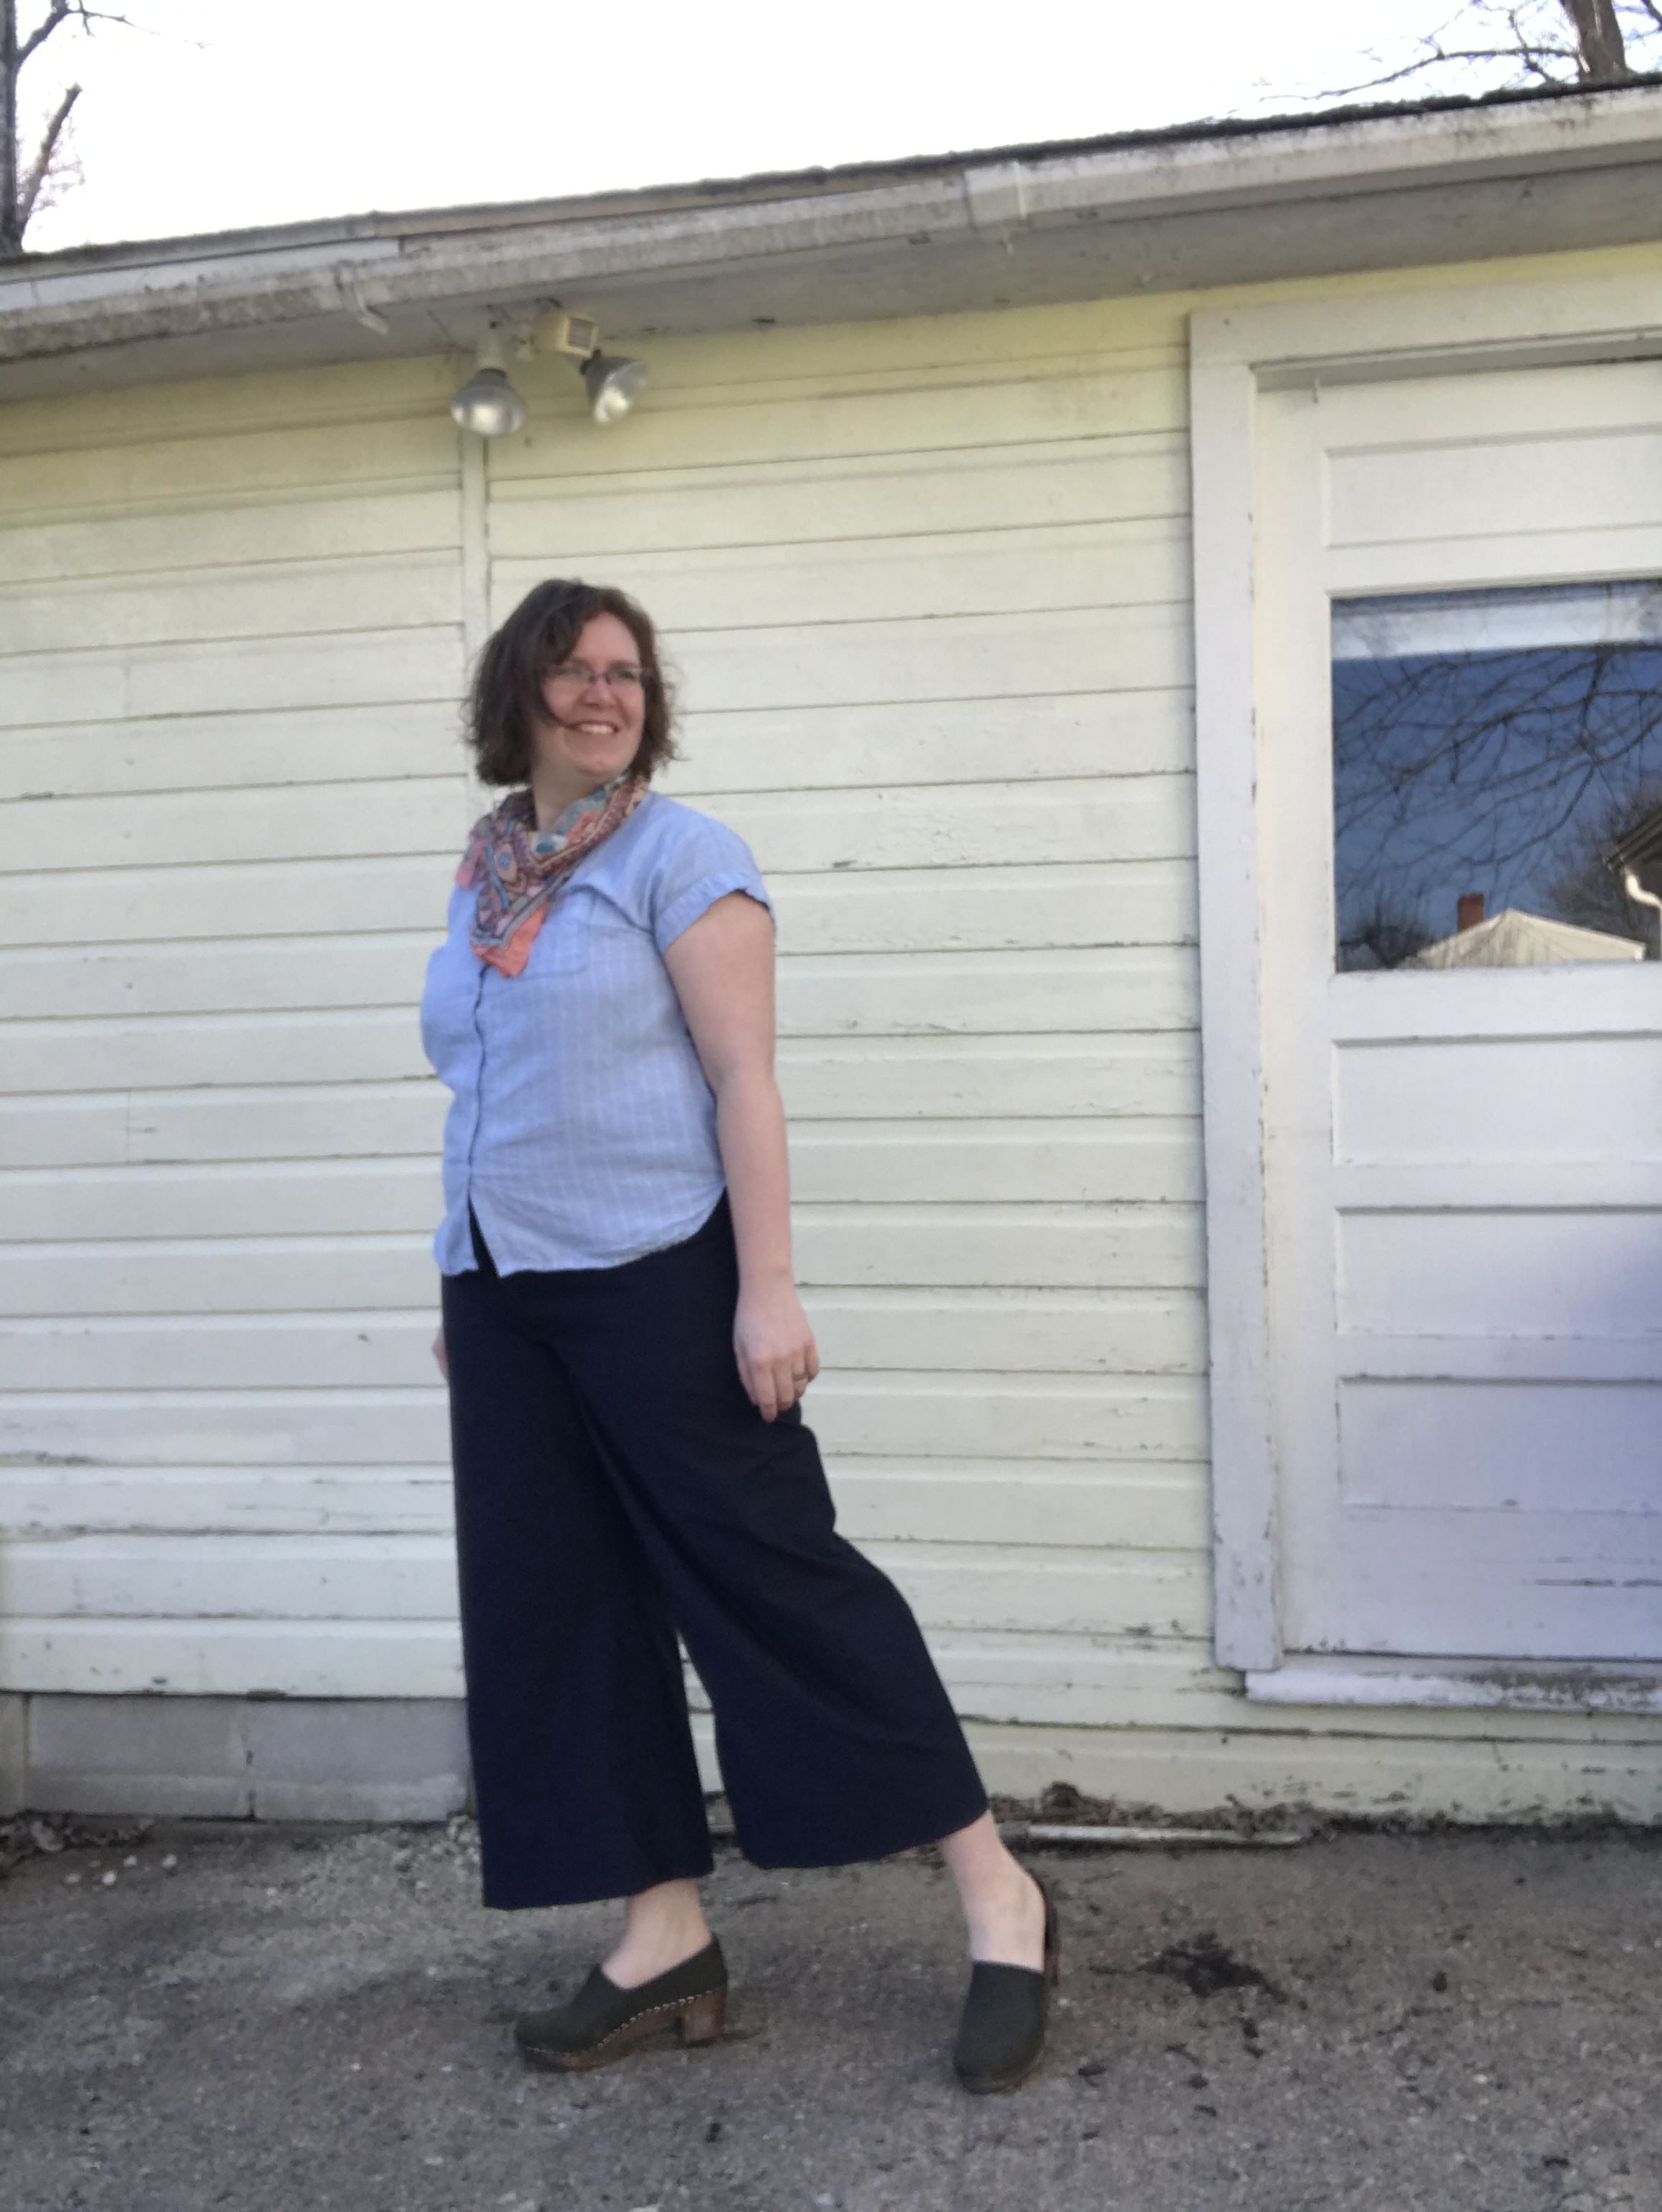
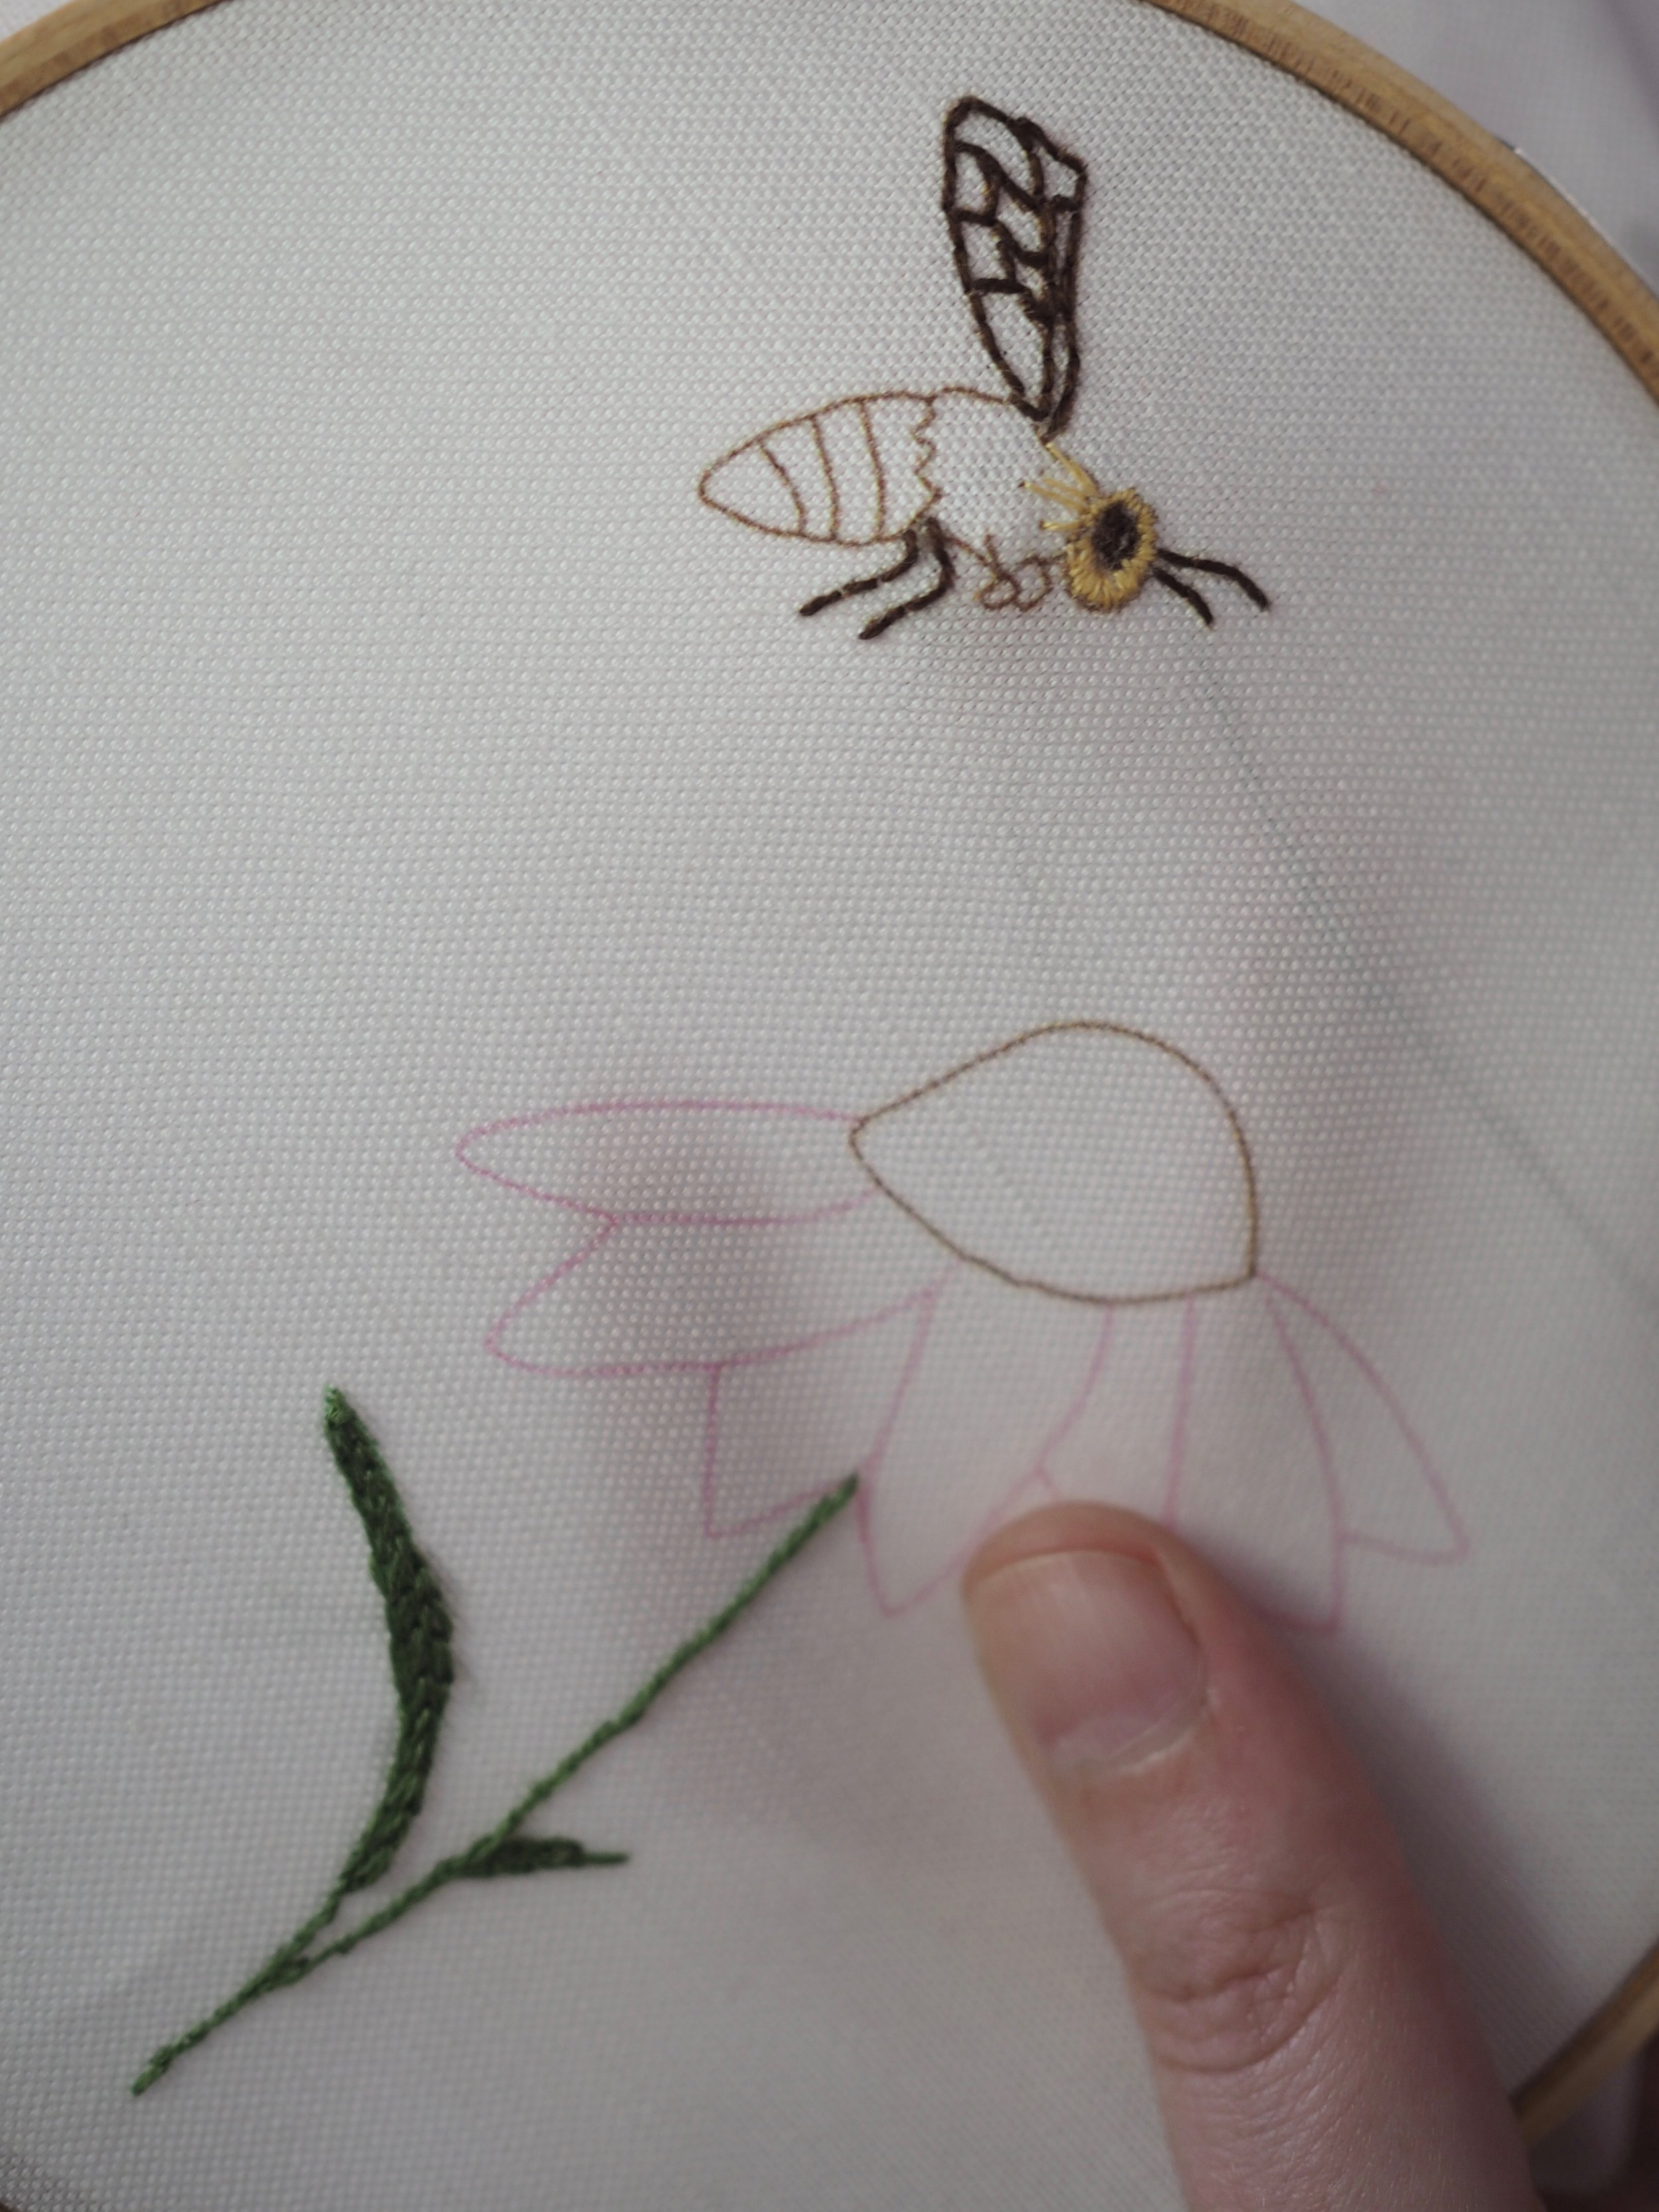
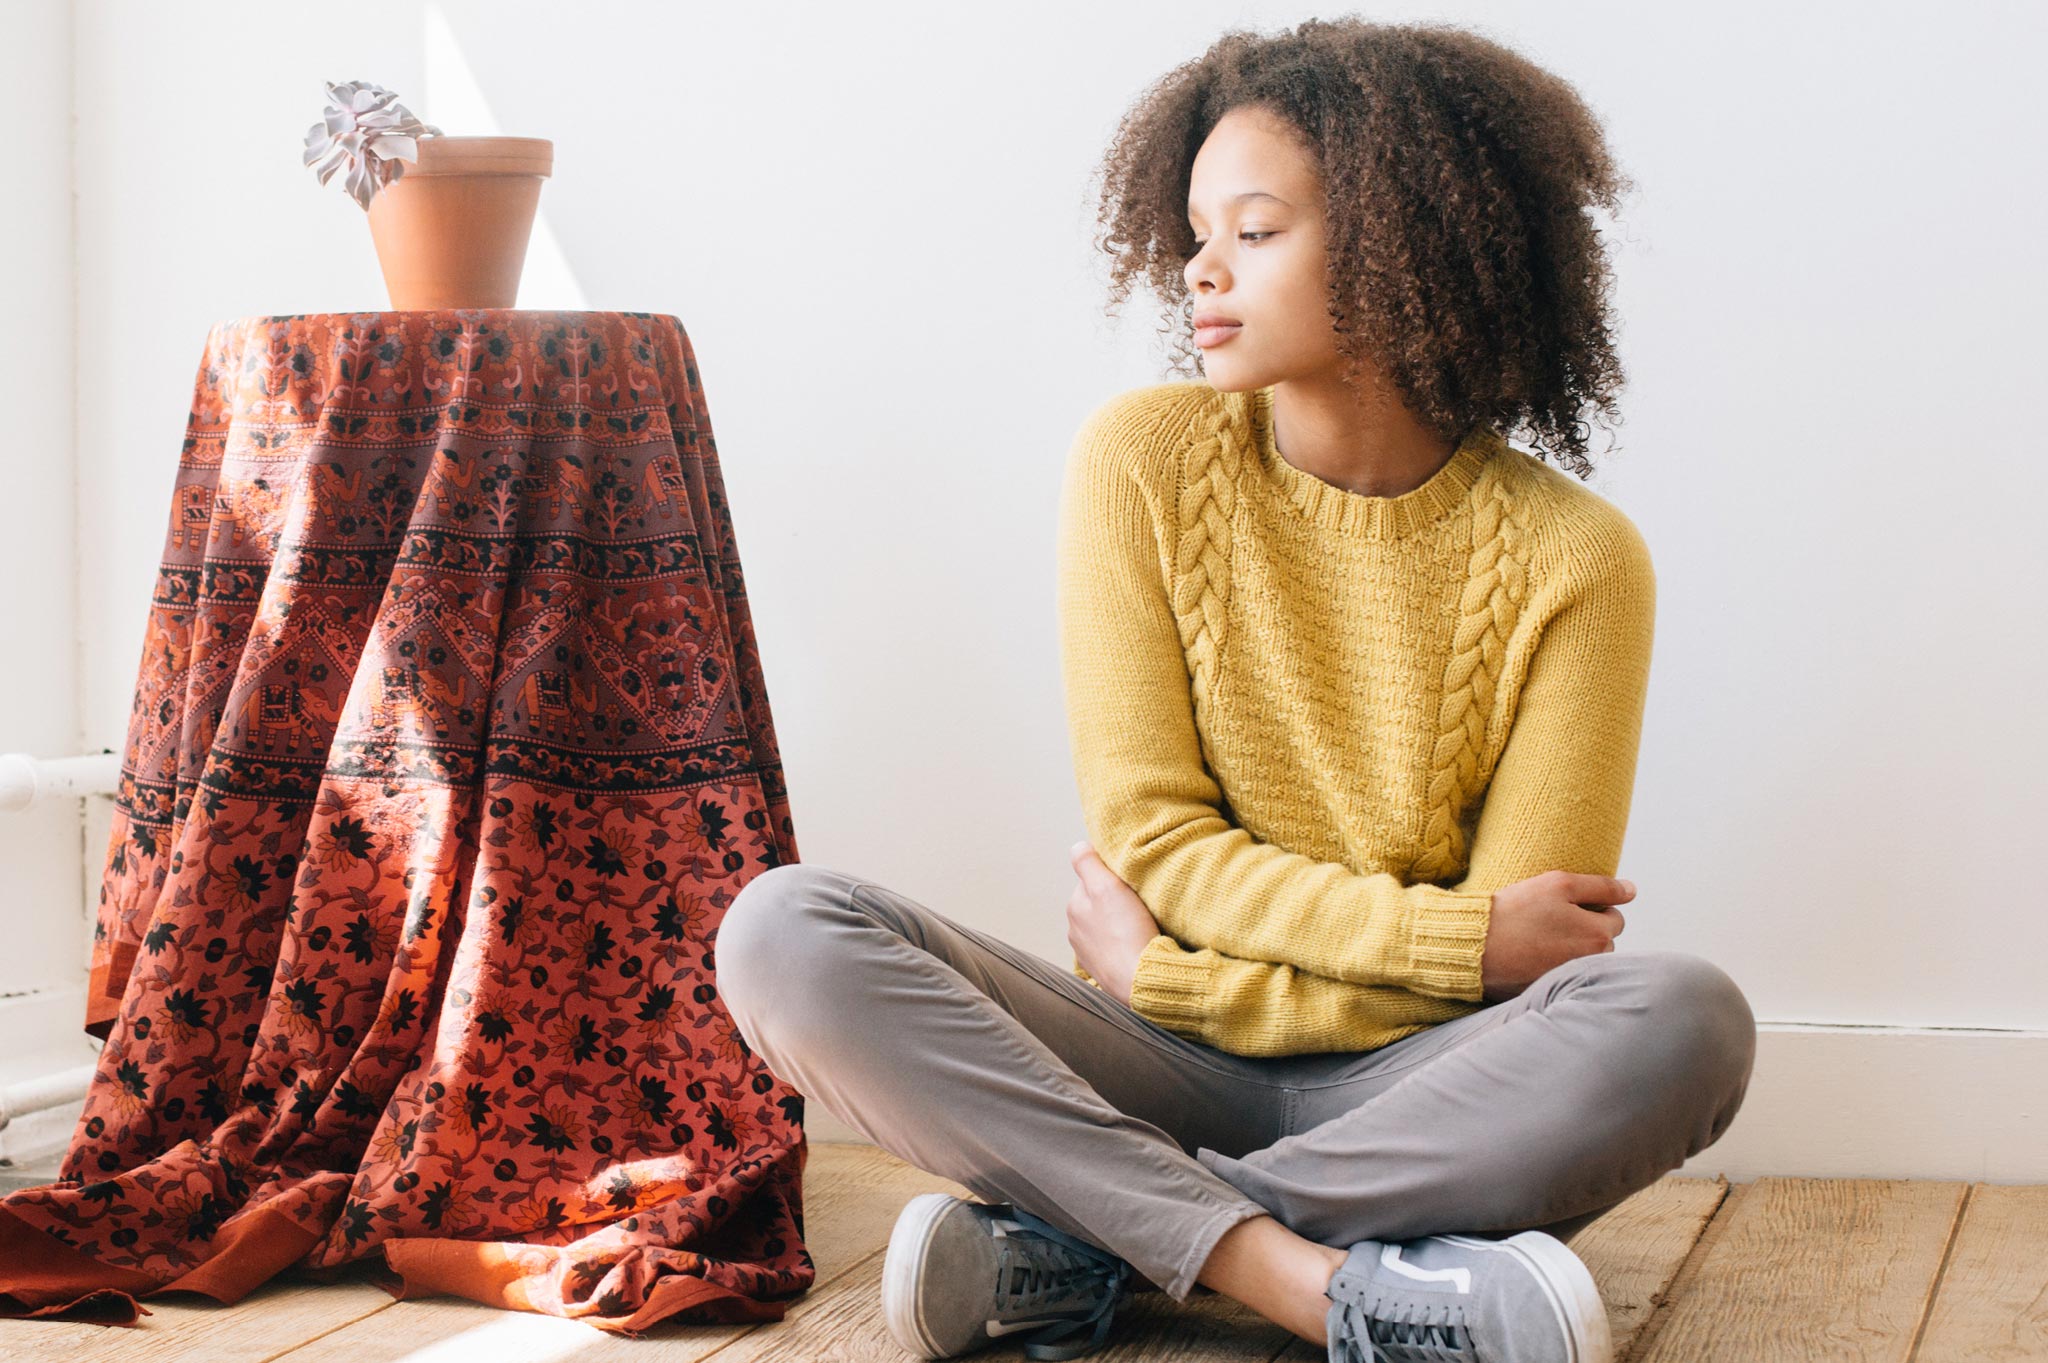
When you have no pants/trousers, two pair that fit is an amazing amount of variety. These photos are of one of those two pairs. The others are the navy blue cuffs you see in the cushion photo. Both are Thurlow Trousers, which I love because you fit the waist band last, making it easy to adjust and they have extra seam allowance built in for just that purpose.  I sewed them both in the past month. 

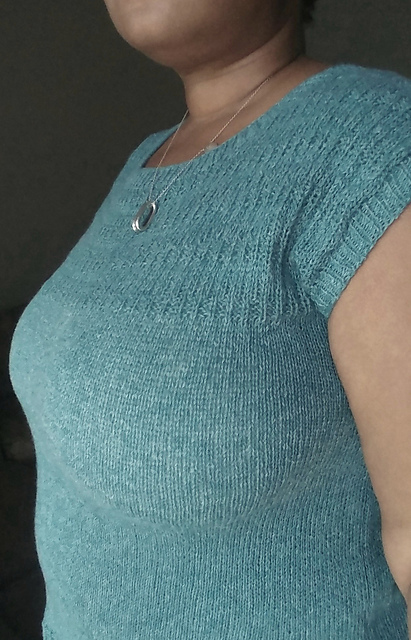
Last week, I cleaned out everything in my closet that didn't fit anymore and put in the pile for donation or (if I loved it) into the attic.  That left me with basically a) things I've sewed since April, b) knit dresses, and c) skirts. (T-shirts and sweaters that live in the bureau also mostly made the cut).  There's not a lot there, but I know I can wear every single piece of it, and that is an excellent kind of choice. 

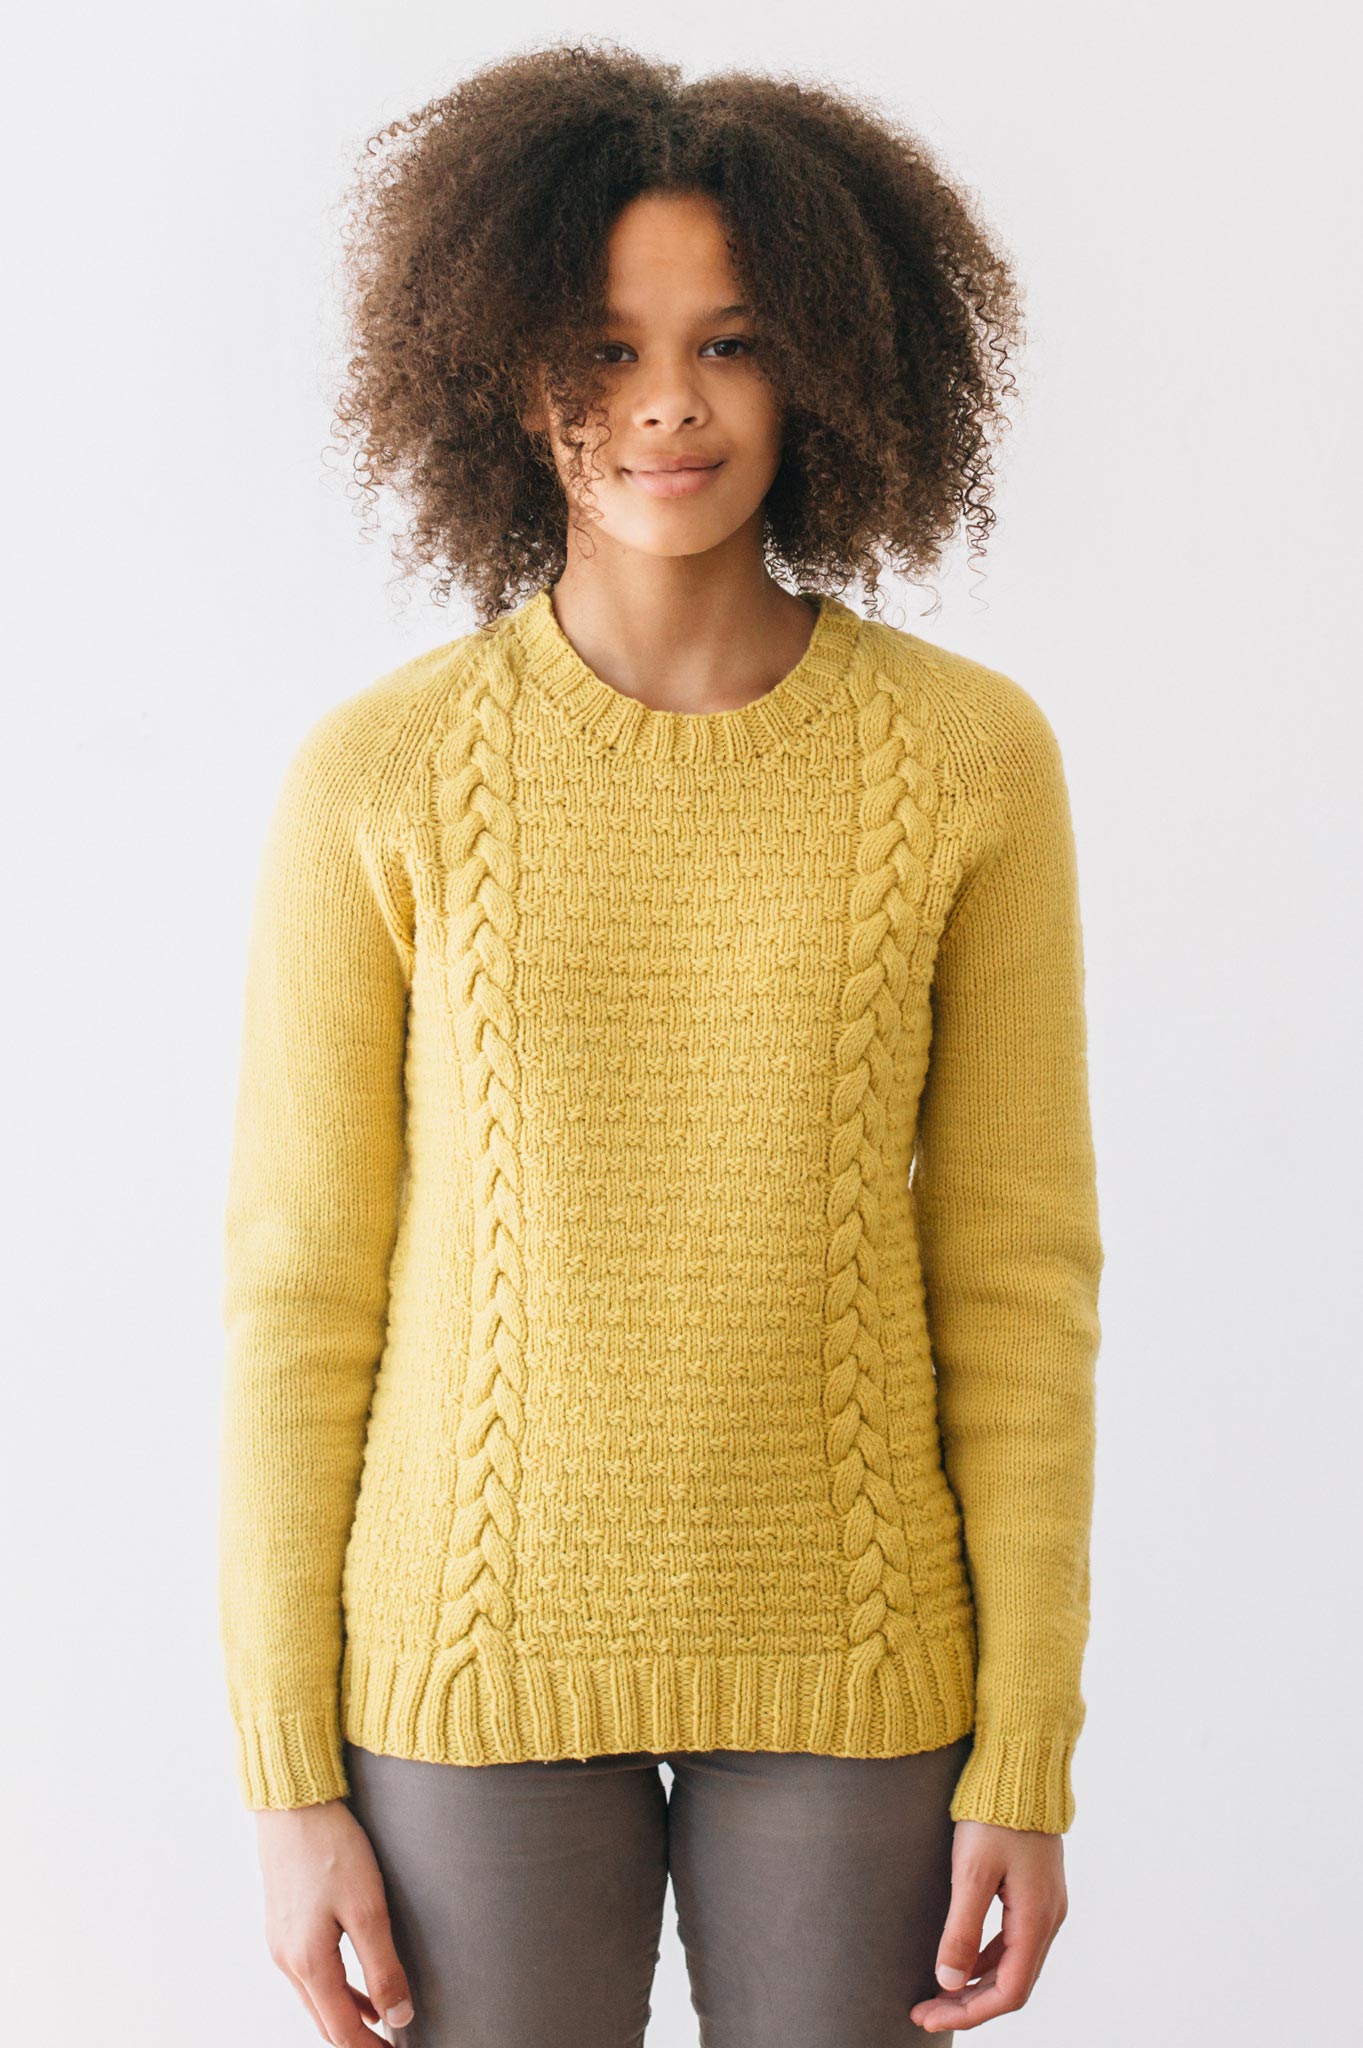
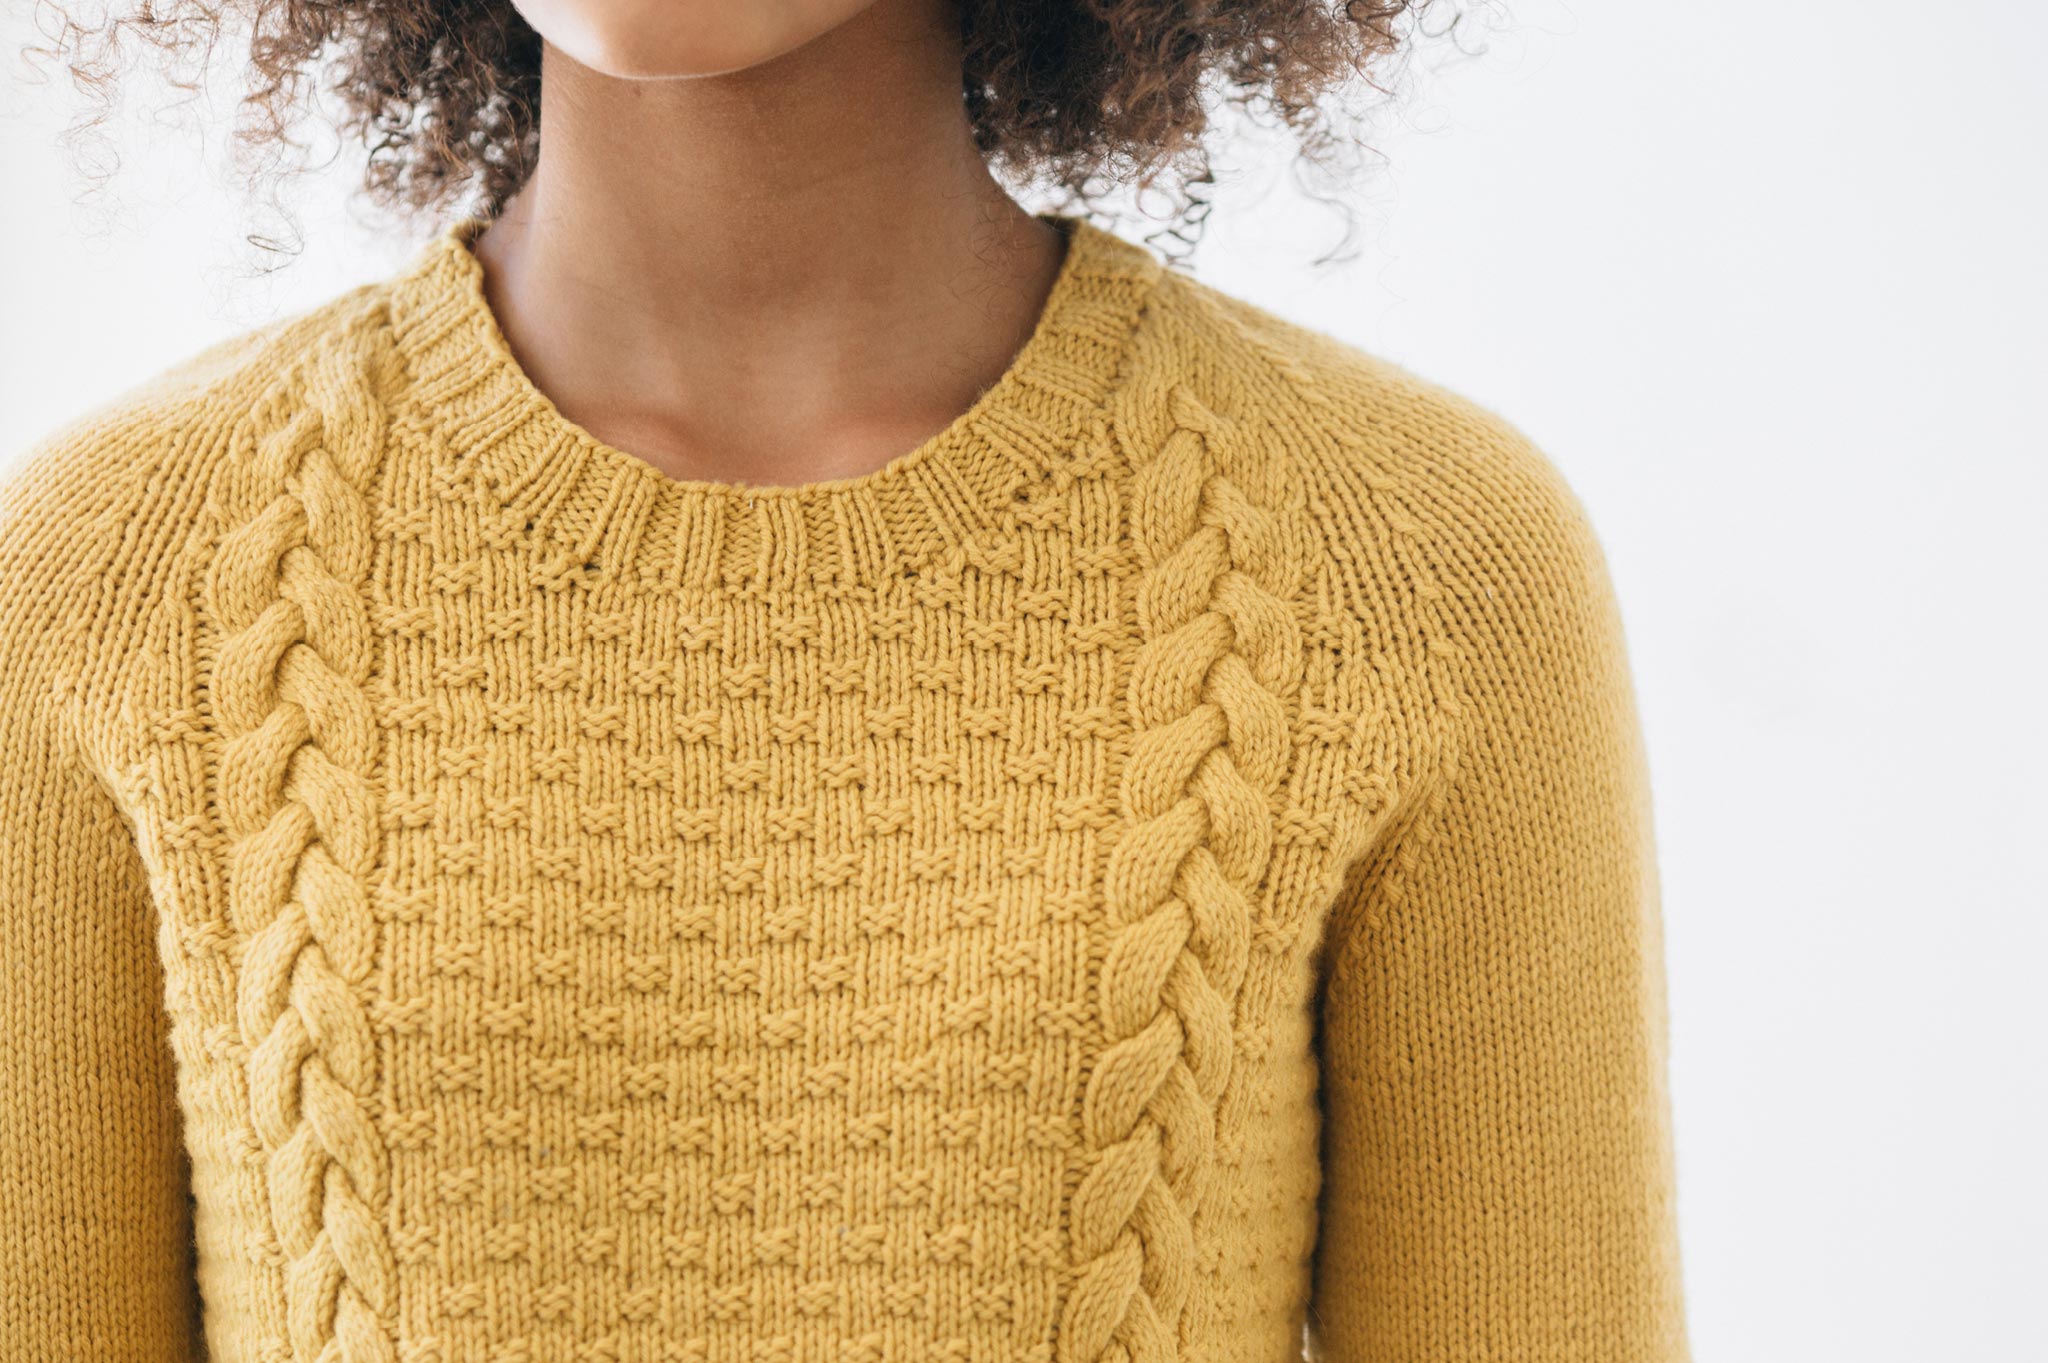
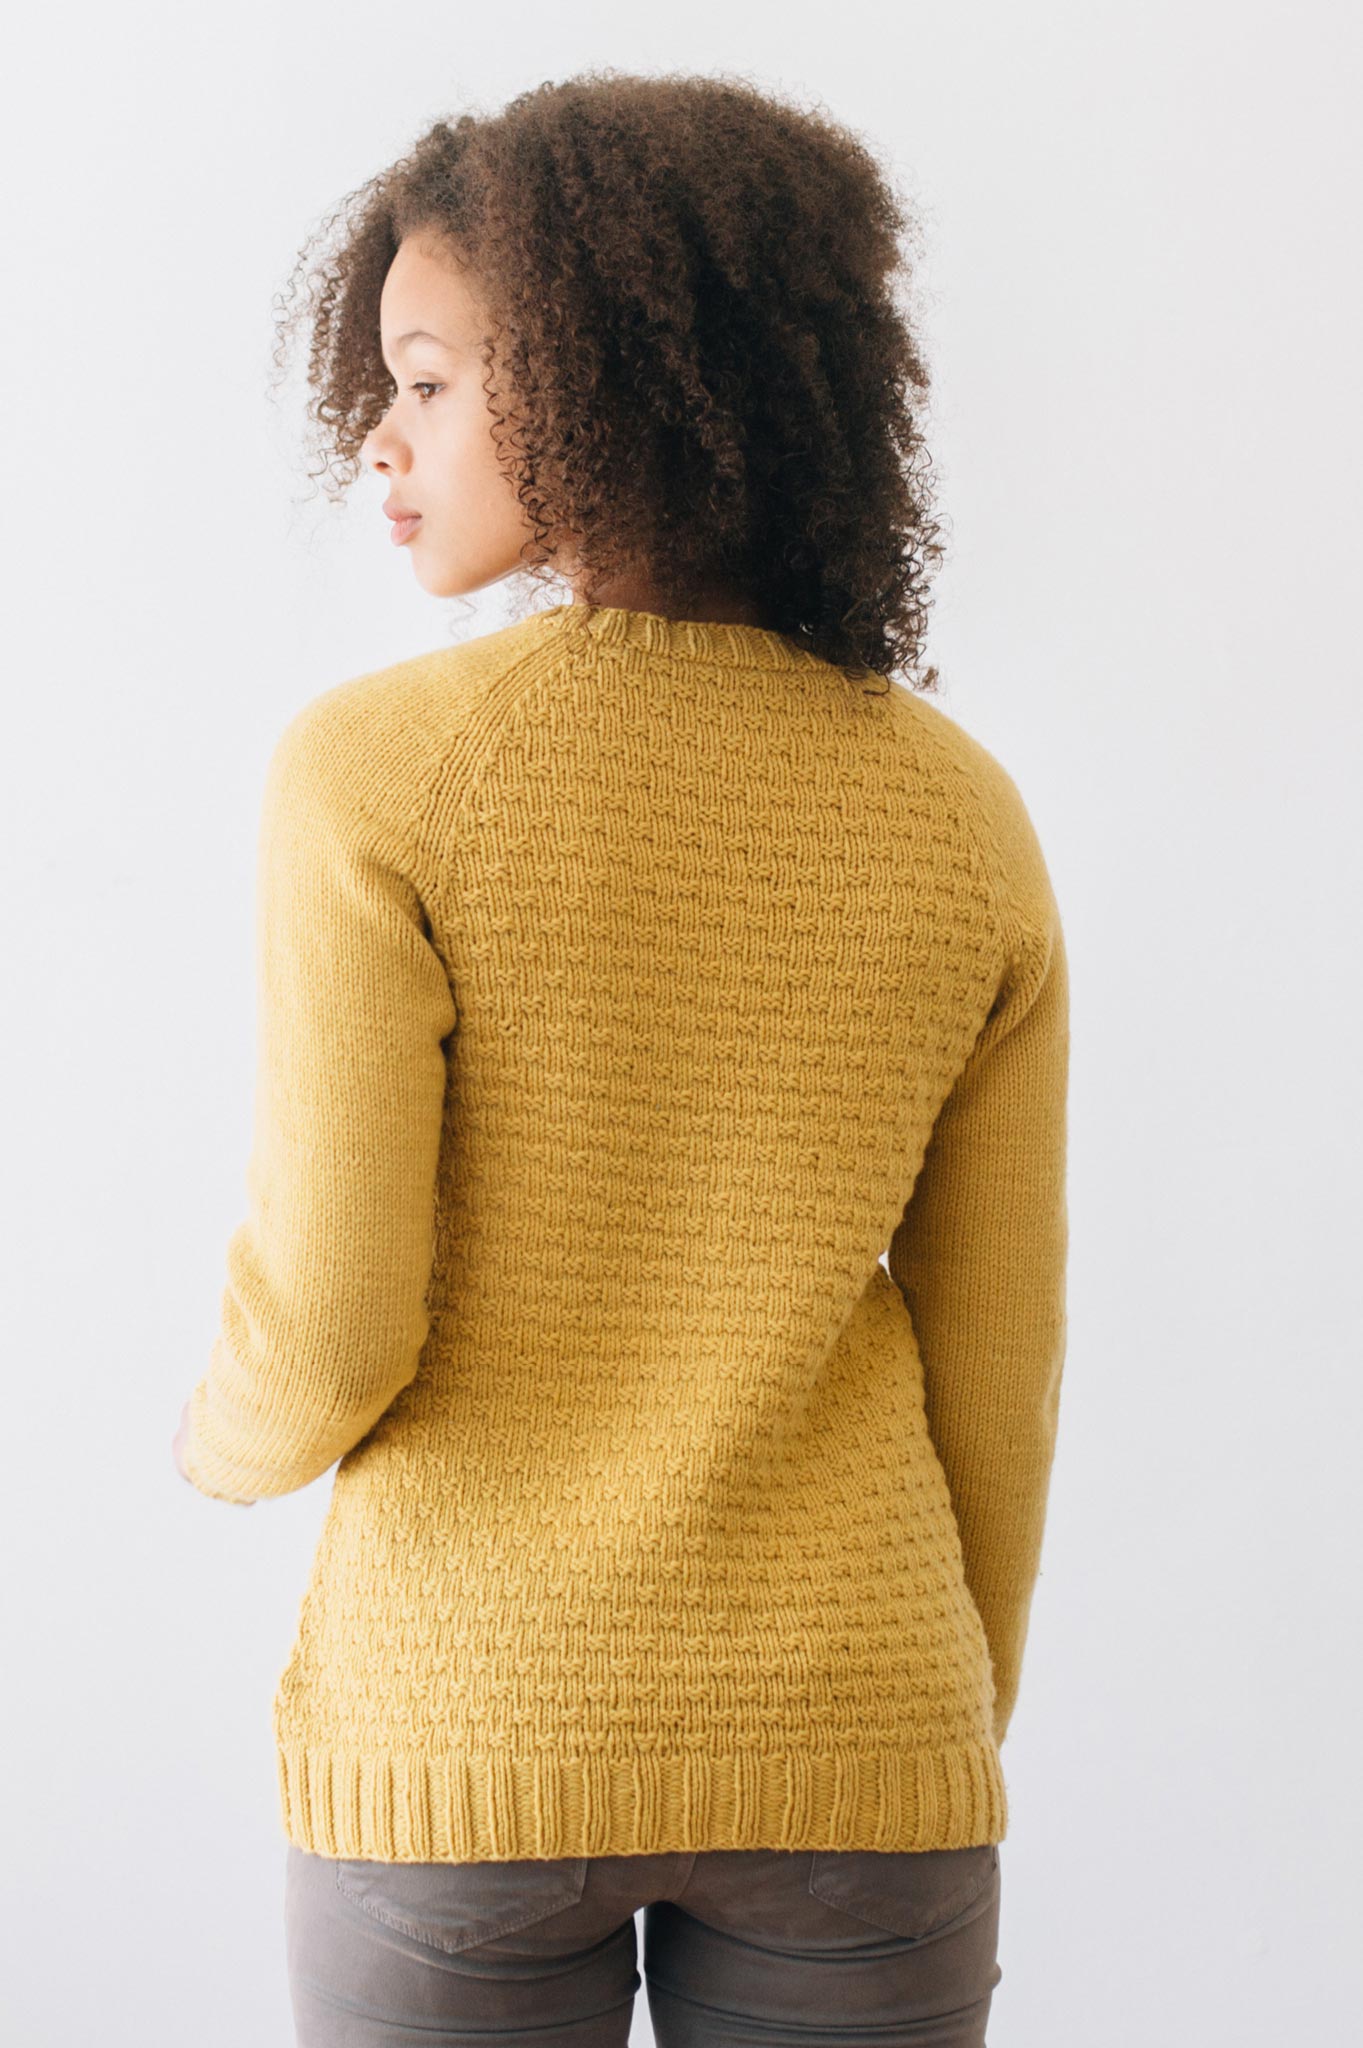
There are some noticeable gaps - I'd like a grey sweater, a few more work-appropriate long-sleeved shirts, some cords, and pair of jeans that I don't have to fight the zipper on, but it seems like a manageable list.  And I know exactly what should be on that list, because of they're the things I hated having to put away. 

I realize that I come from a place of privilege in that the limitations are all of my own making and not driven by financial necessity, but I have also found it empowering to know that self-constructed or not, I can work within these limitations.

A Few Other Thoughts on Sustainability

Though I'm definitely "From Away" and will always carry my California Girl upbringing in my heart, I have been accused more than once of having a "pioneer woman" and/or Yankee sensibility when it comes to 1)asking for help, 2) hard work and 3) waste.

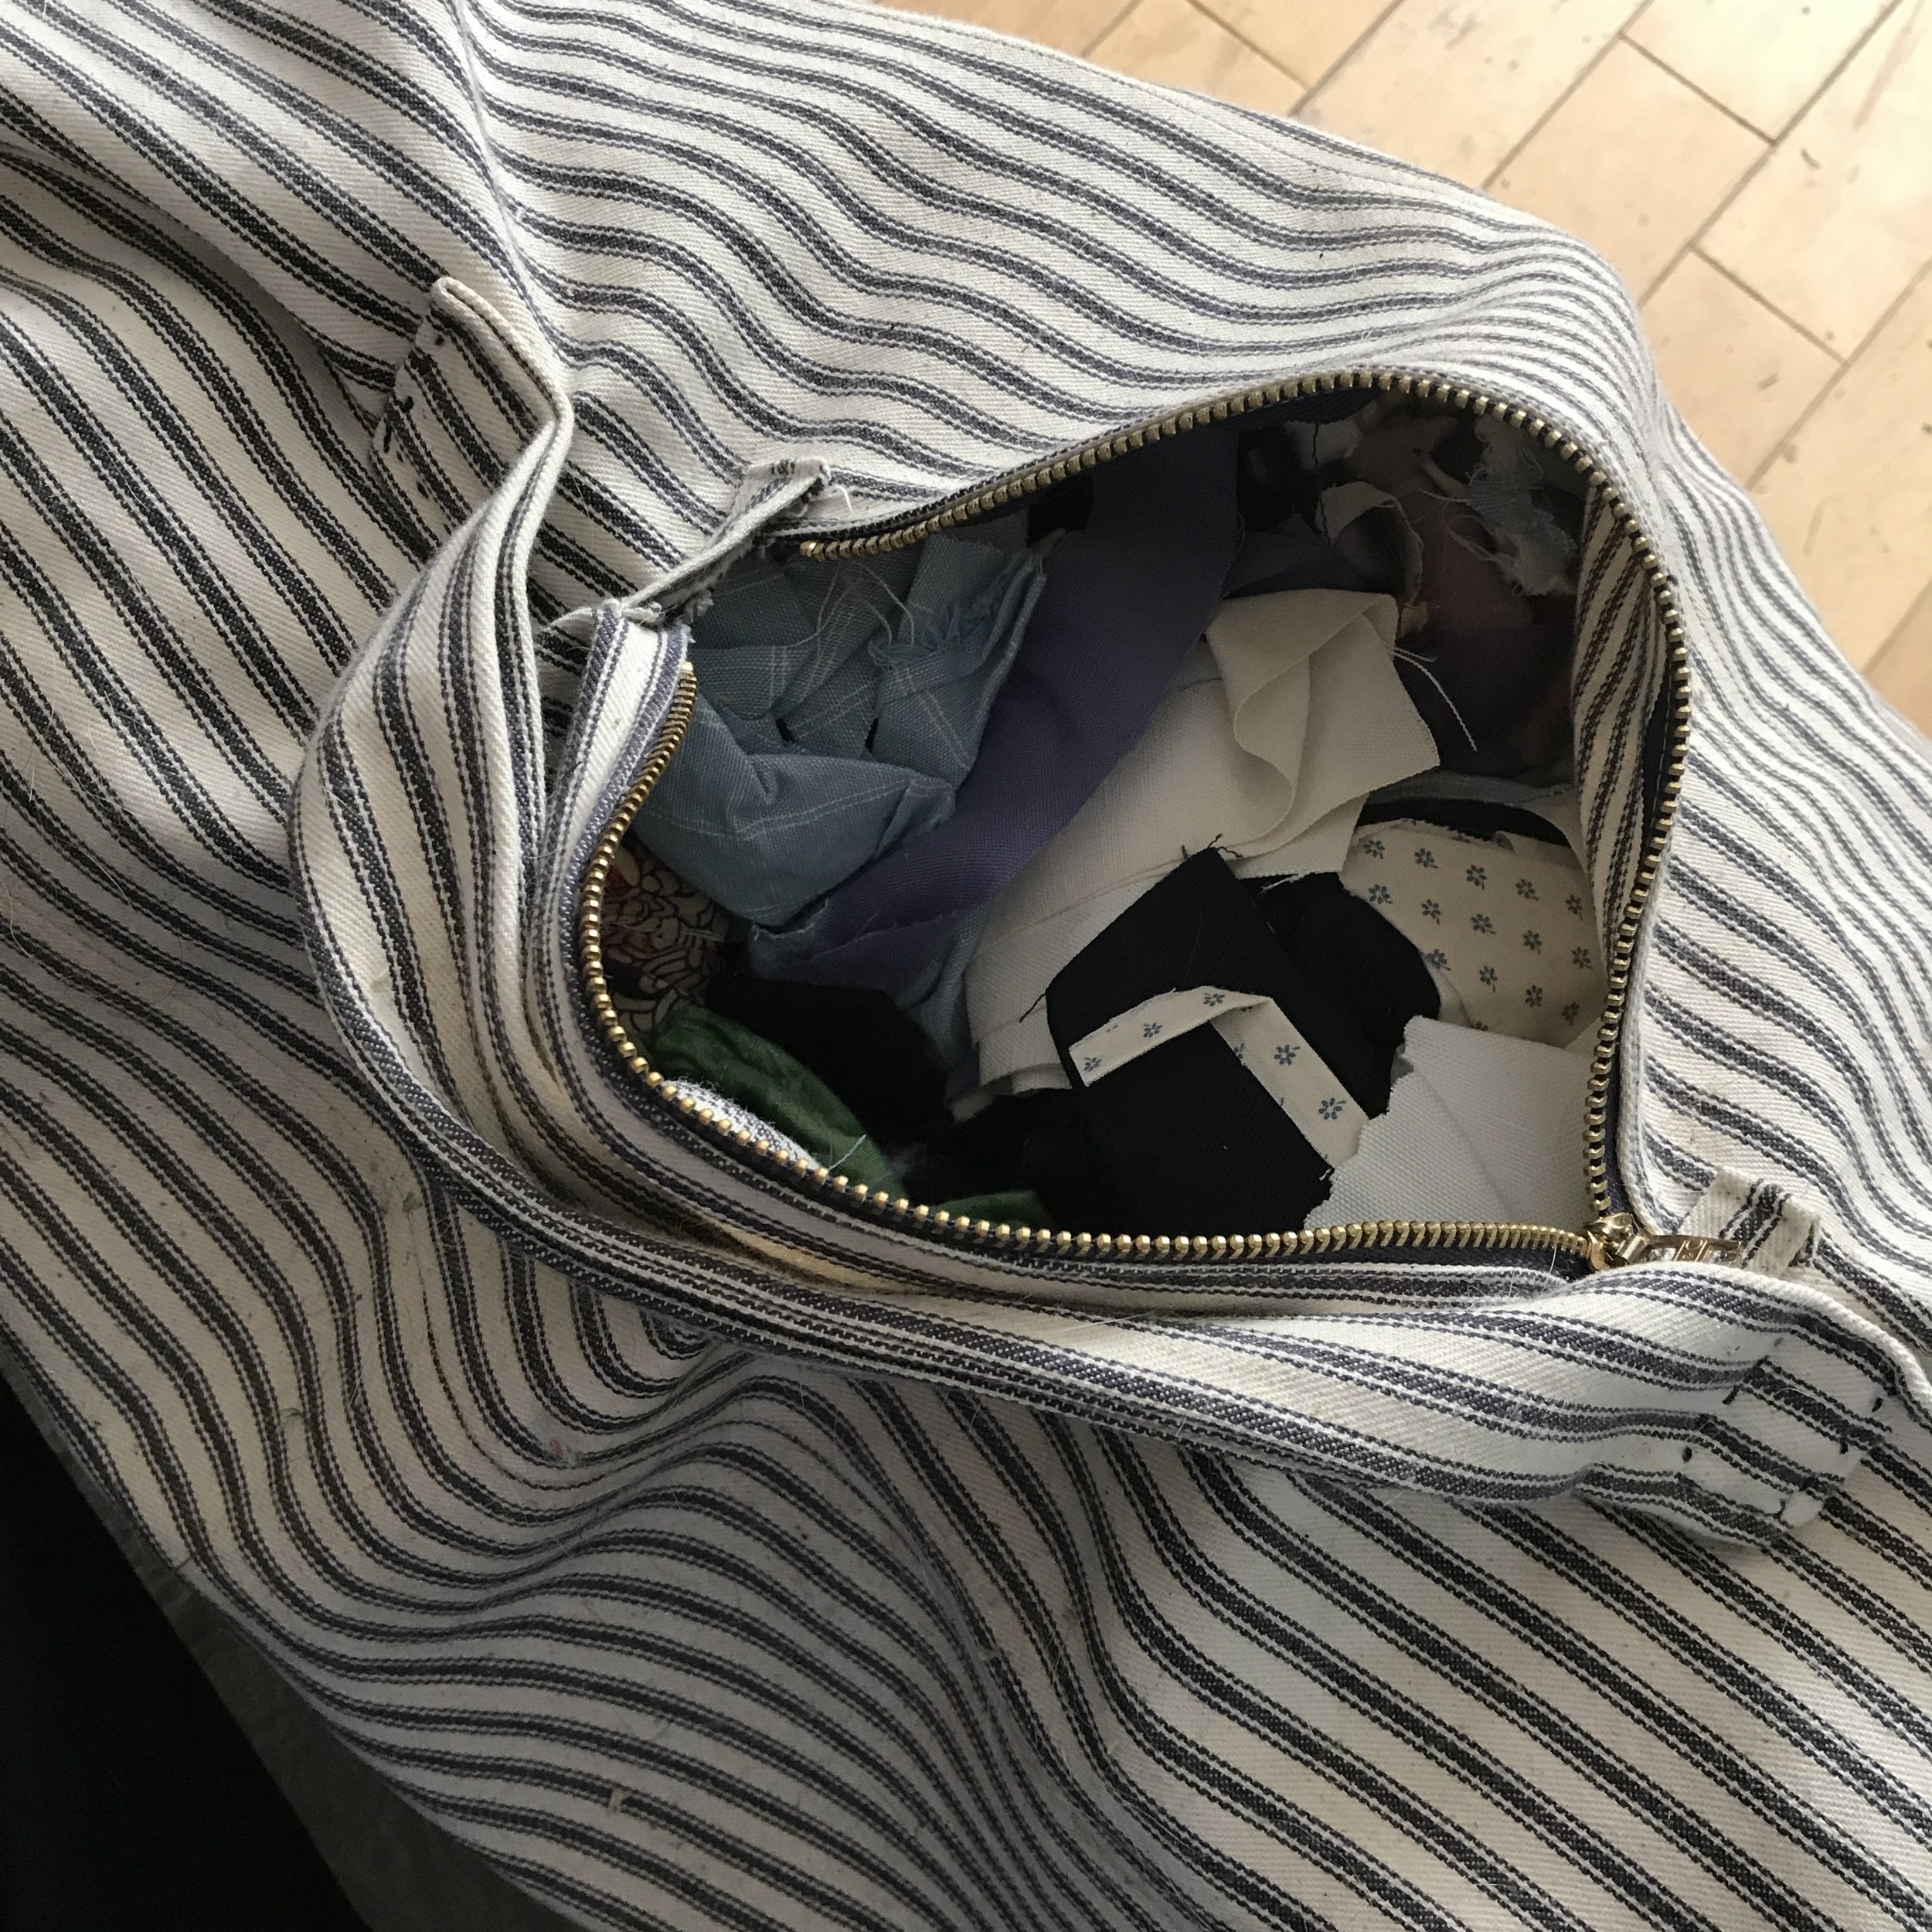
I always feel awful about throwing away fabric, so I don't. 

I have saved literally every scrap of fabric leftover from cutting out a pattern for six years, or at least since we moved into our house in 2011.

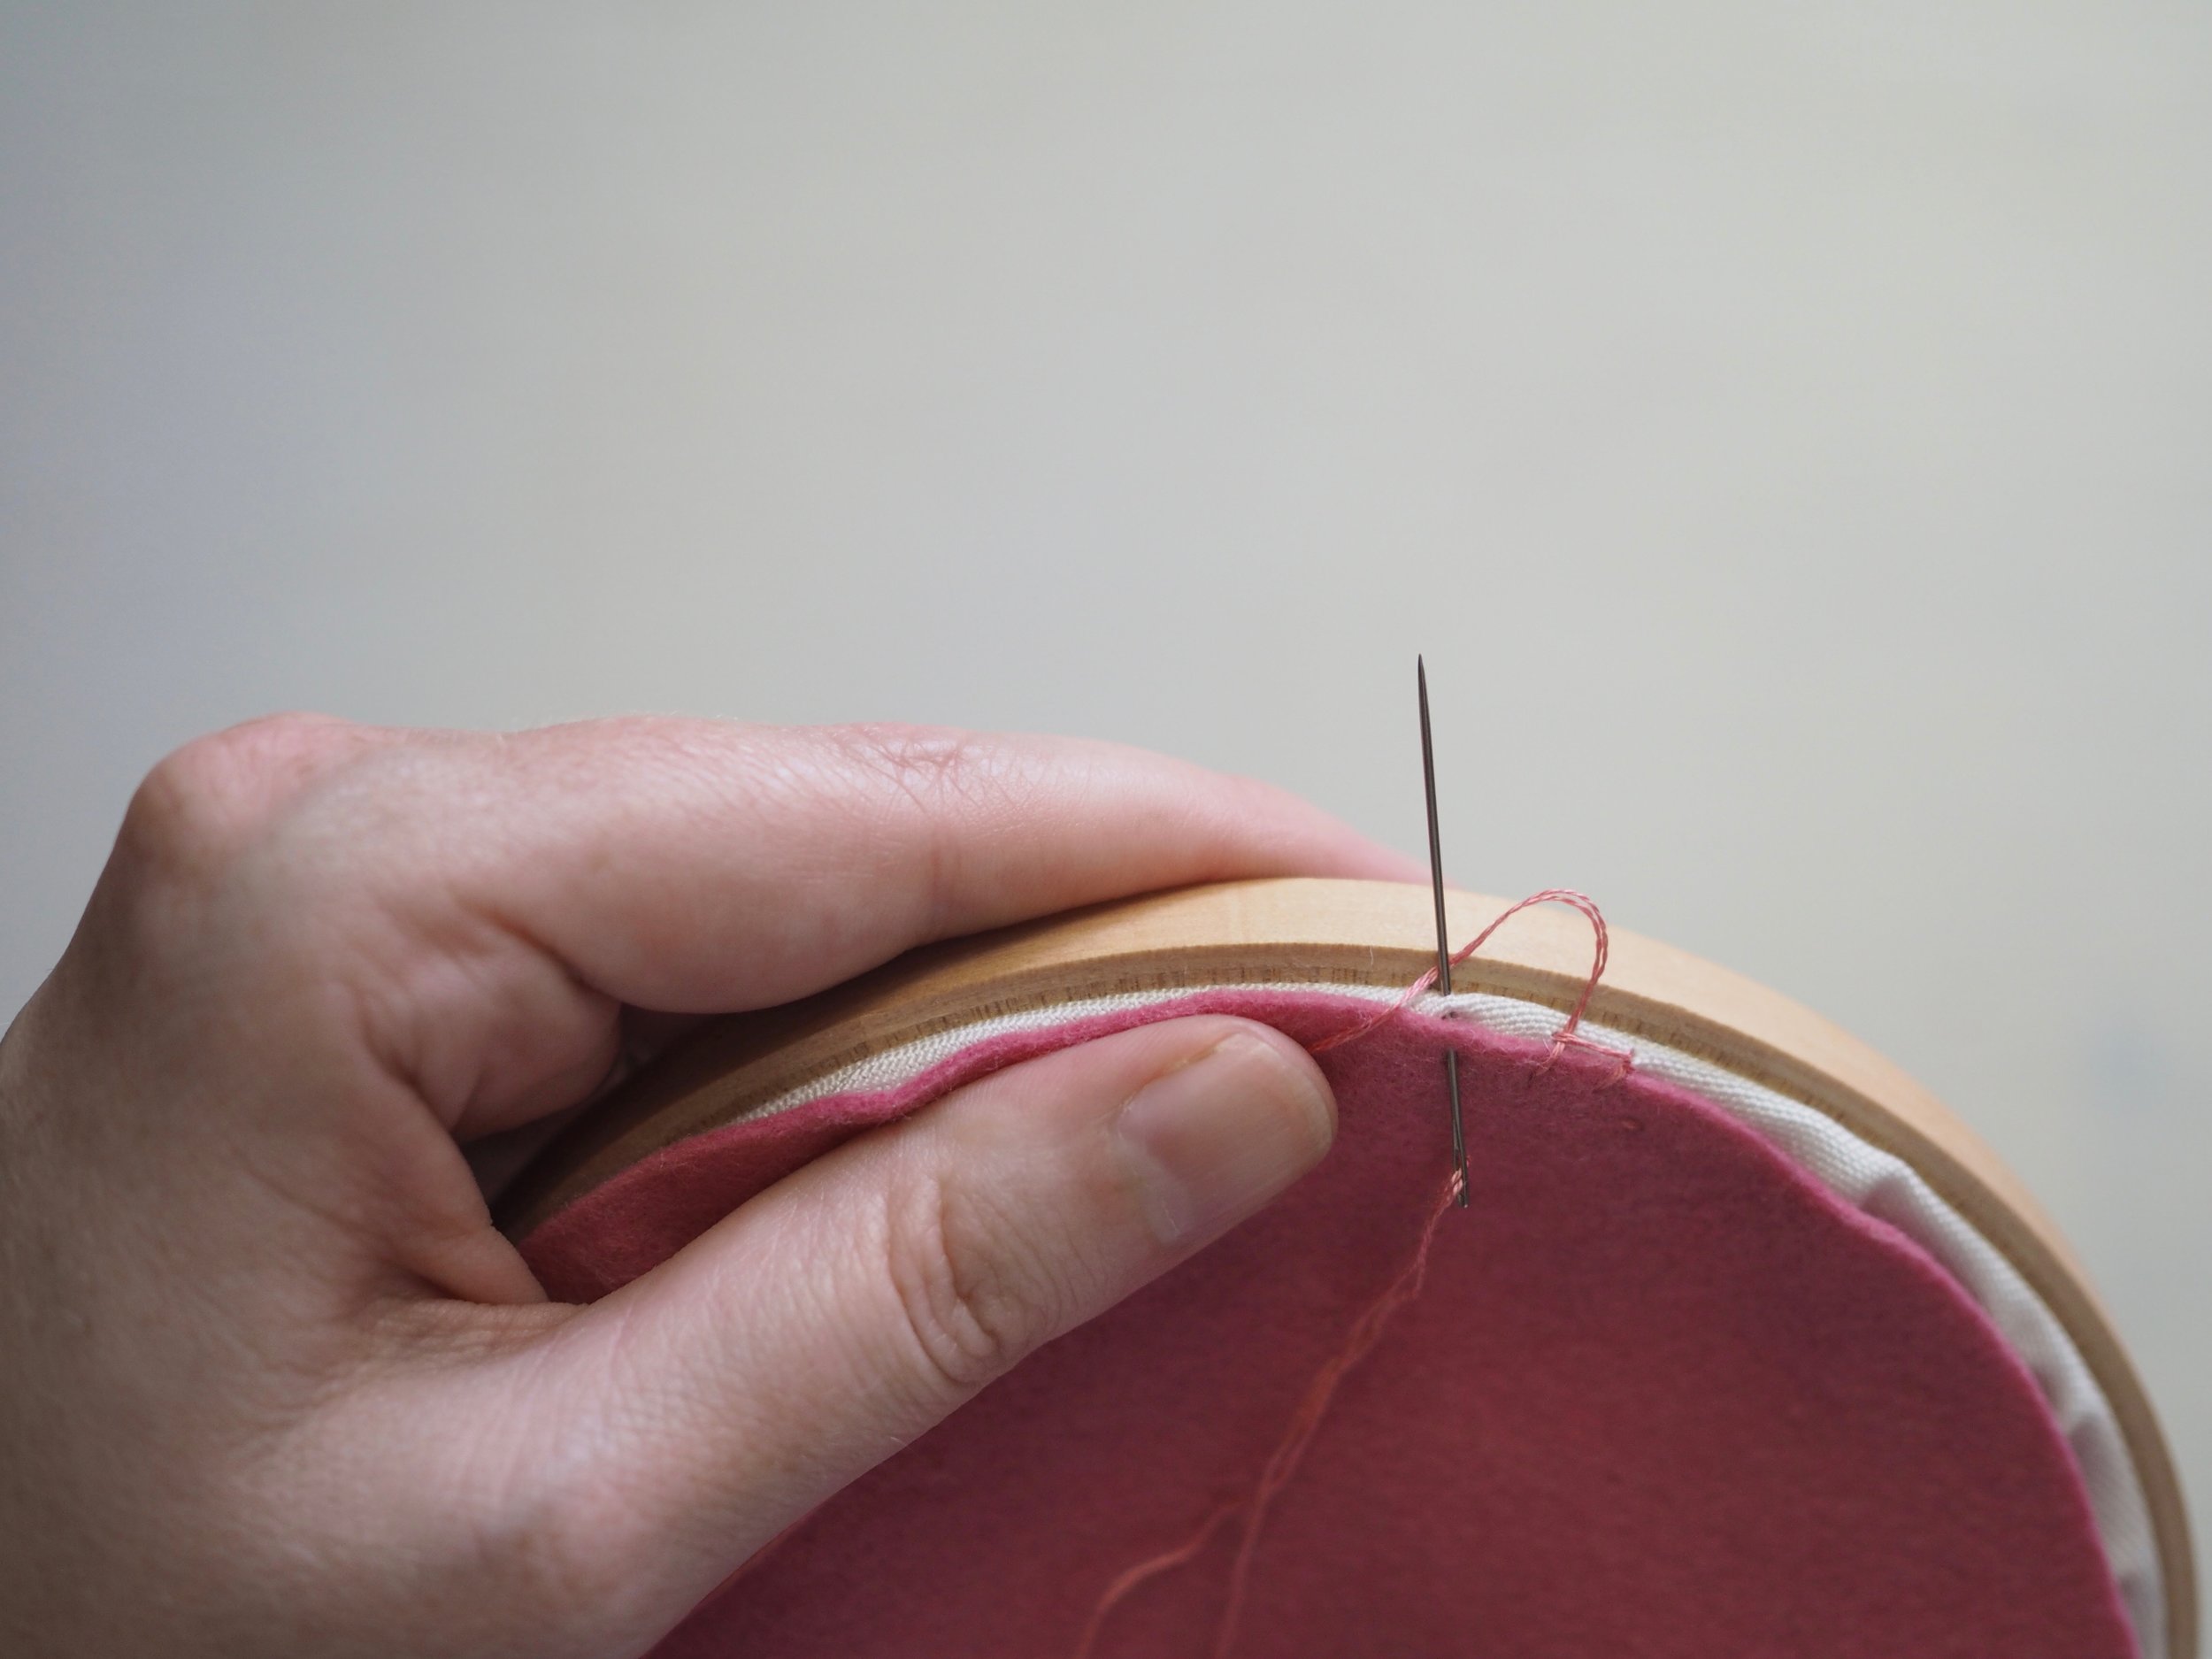
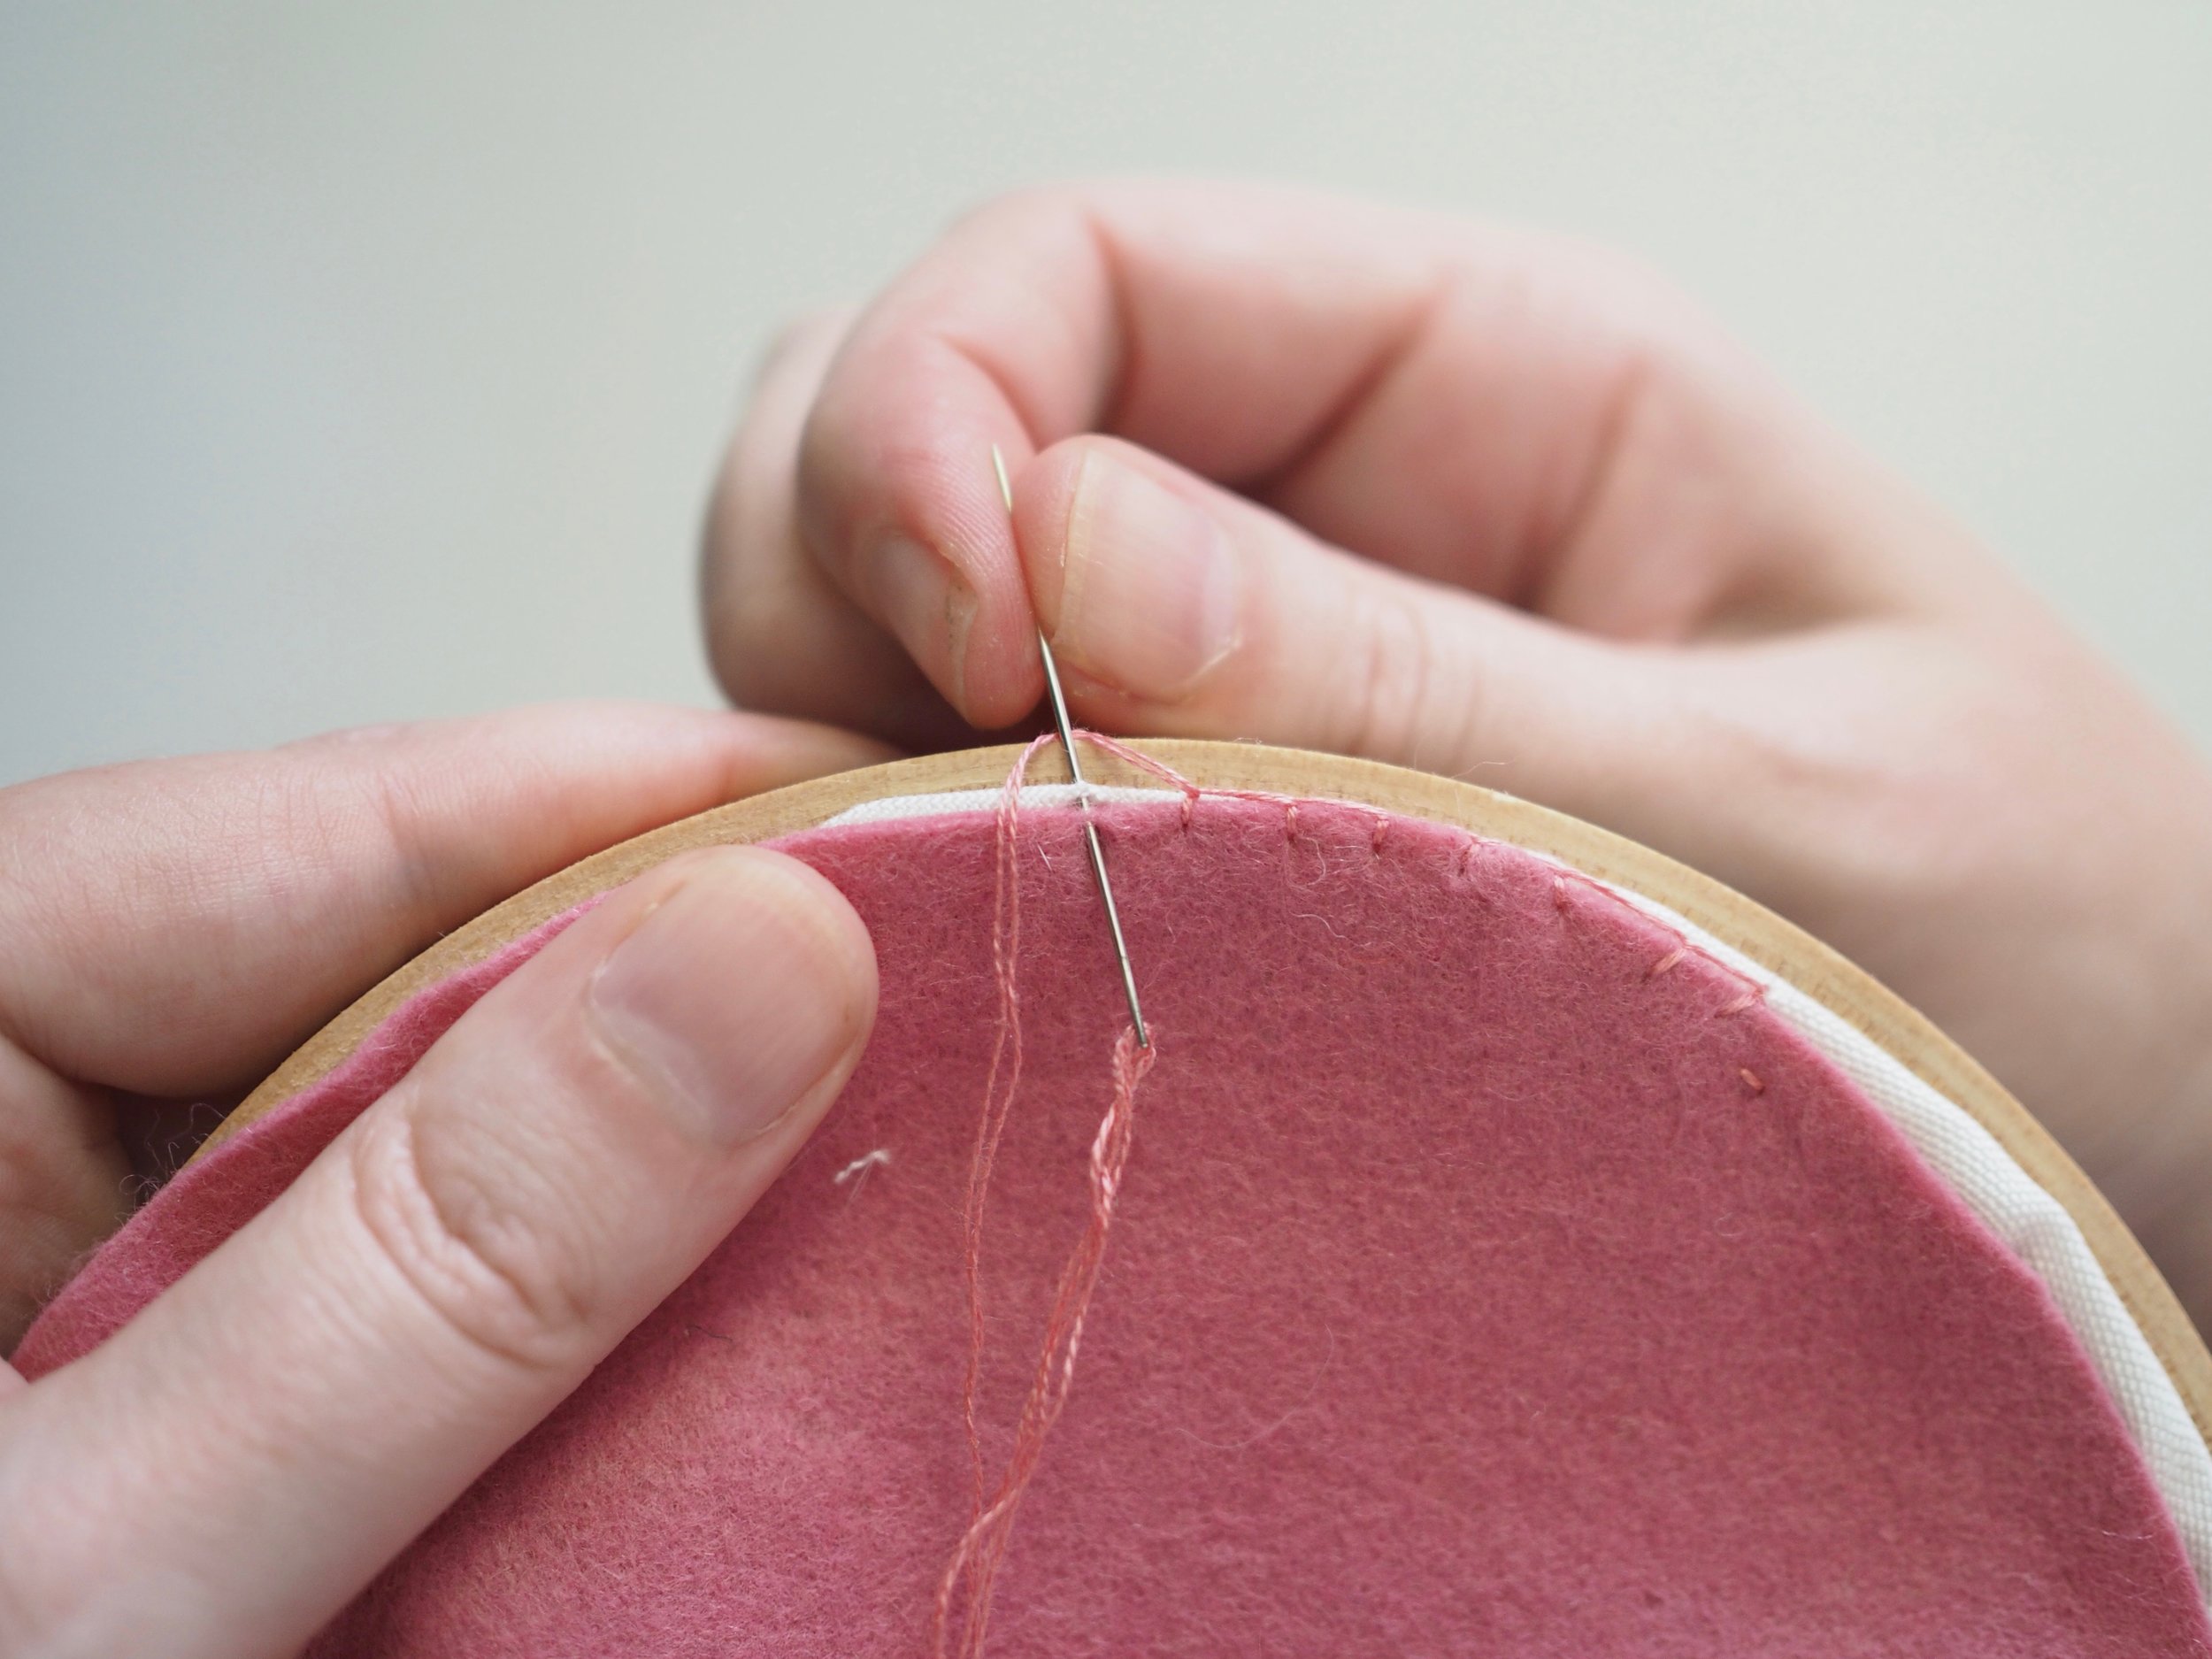
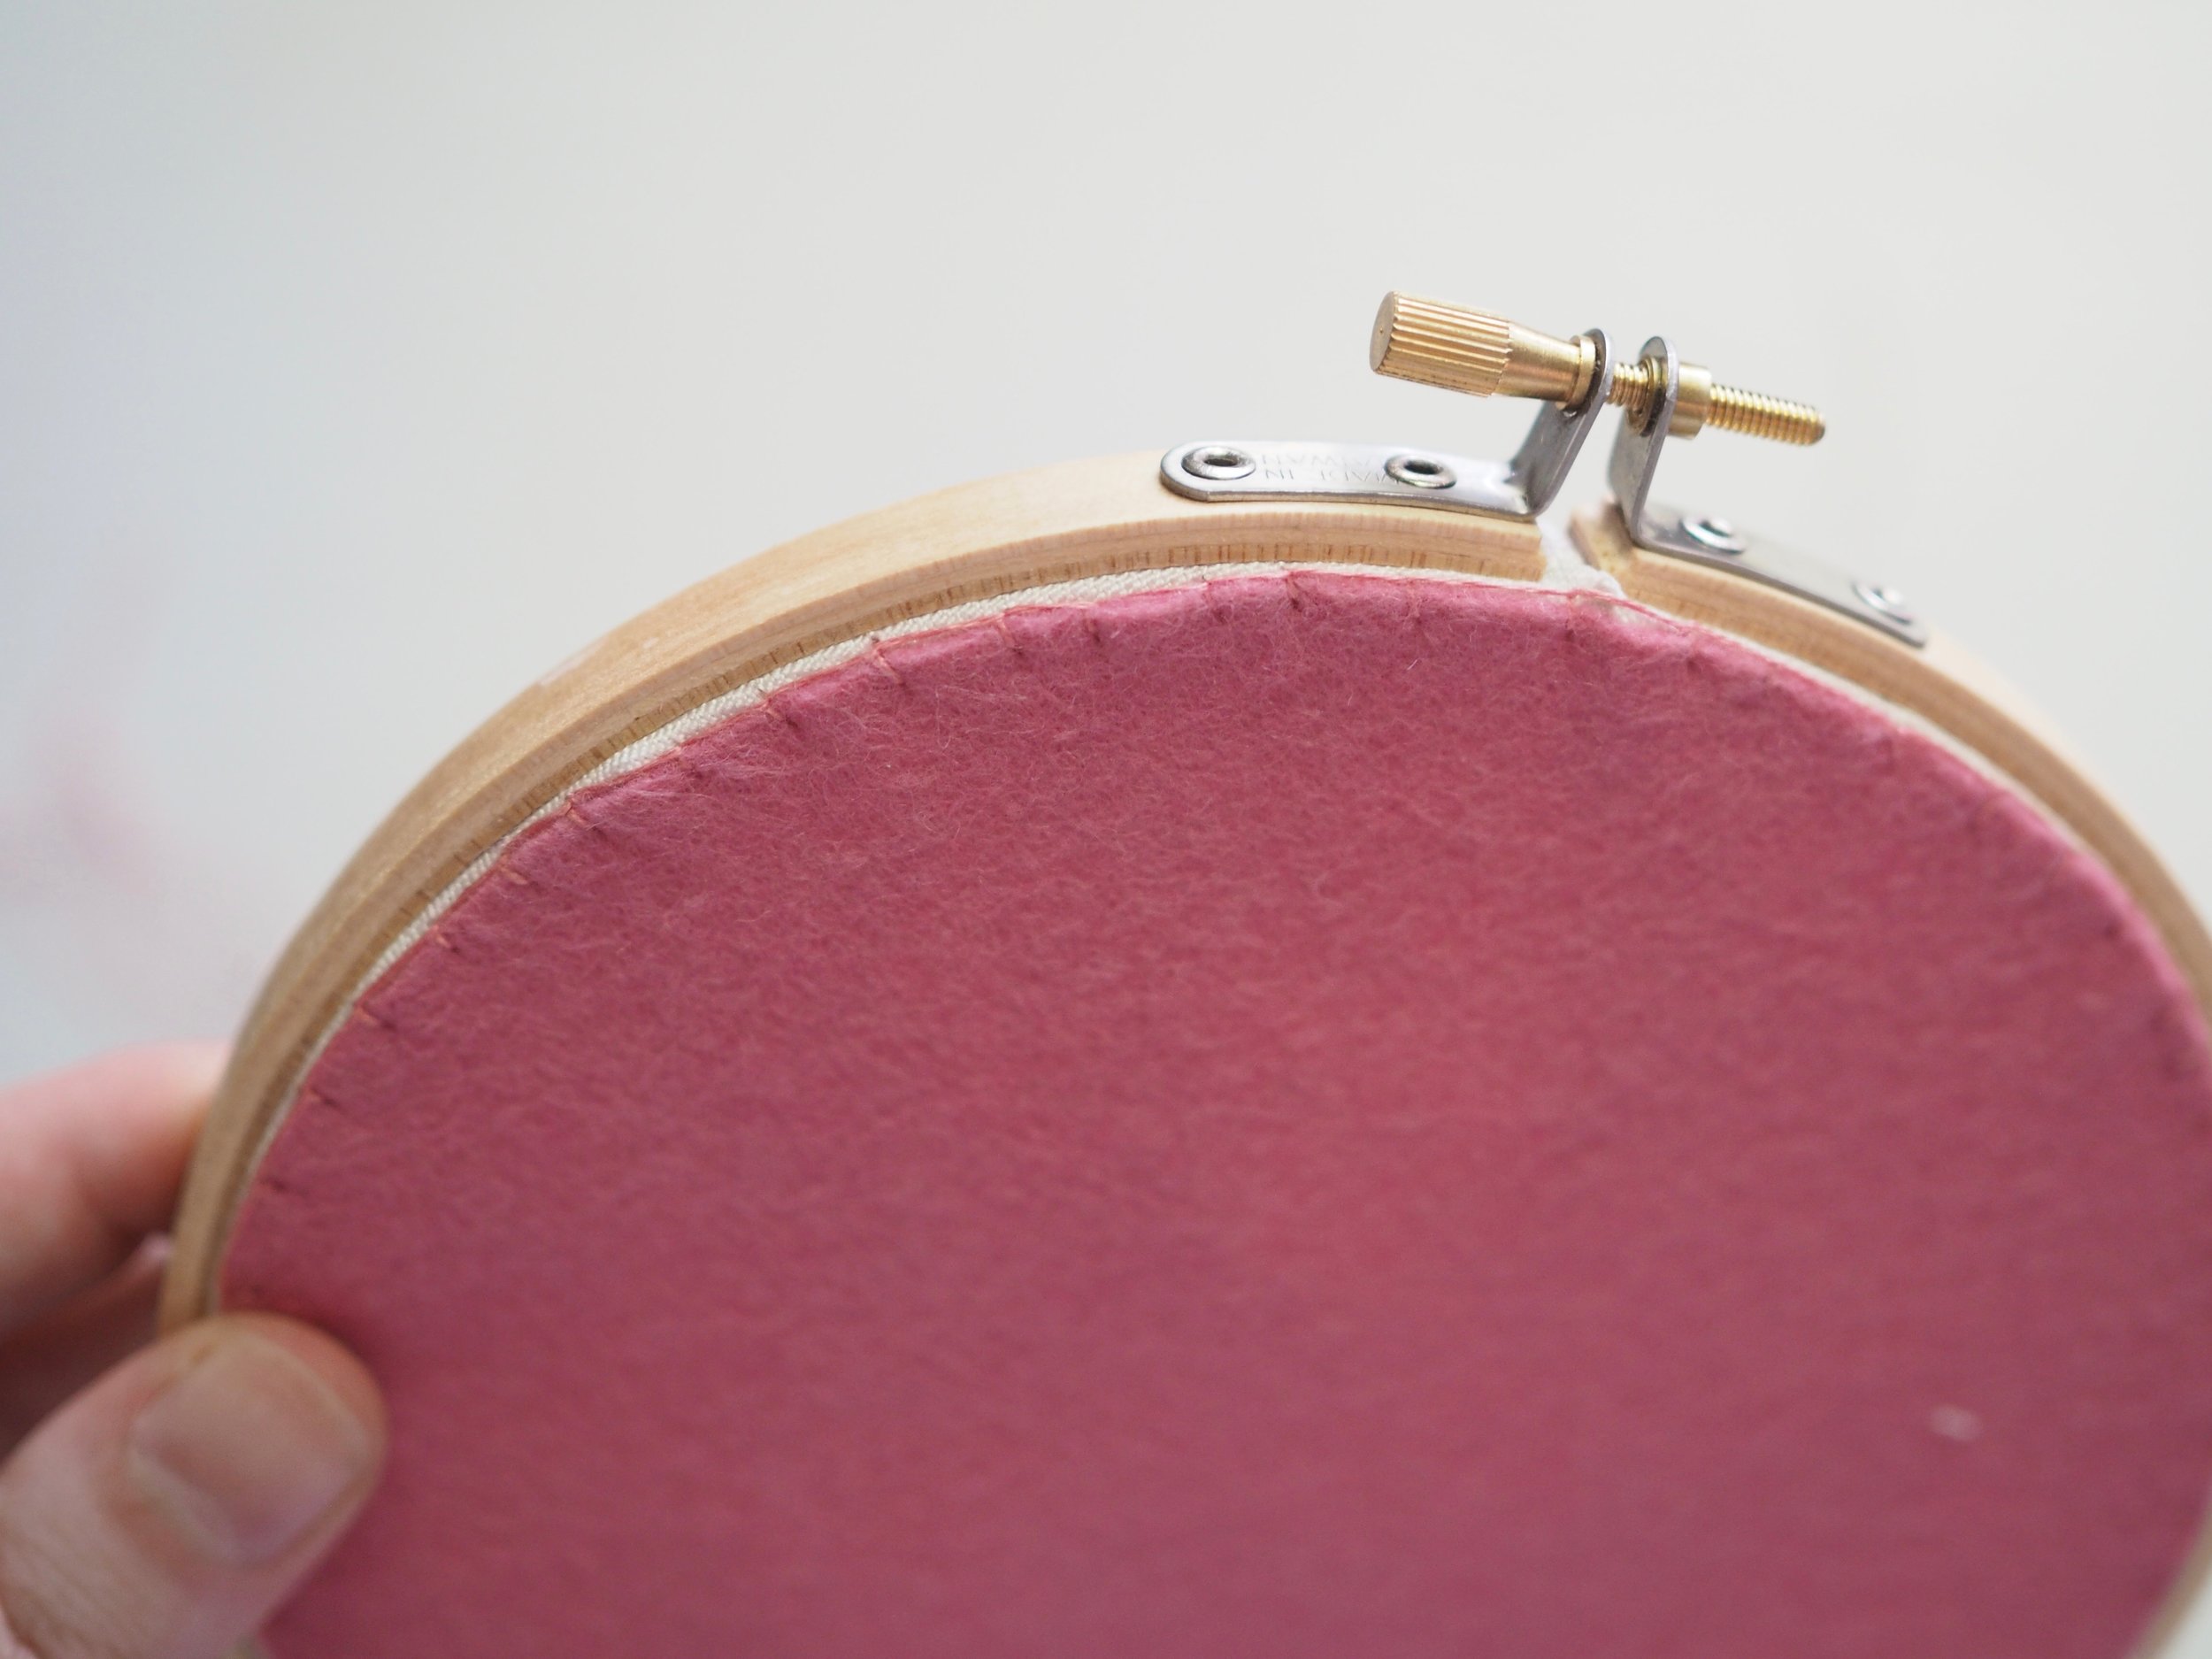
Those scraps, along with all the old knitting swatches I don't need anymore, and a few pieces of sofa stuffing our dog ripped out, filled about 5 gallon-sized Ziploc bags in my closet. A few months ago, I sewed up this rather comfy floor cushion and stuffed it with those scraps. It's super heavy, but worked great as a footstool. The funny thing is, I had to make the cushion with a zipper, because there is still room for more!! 

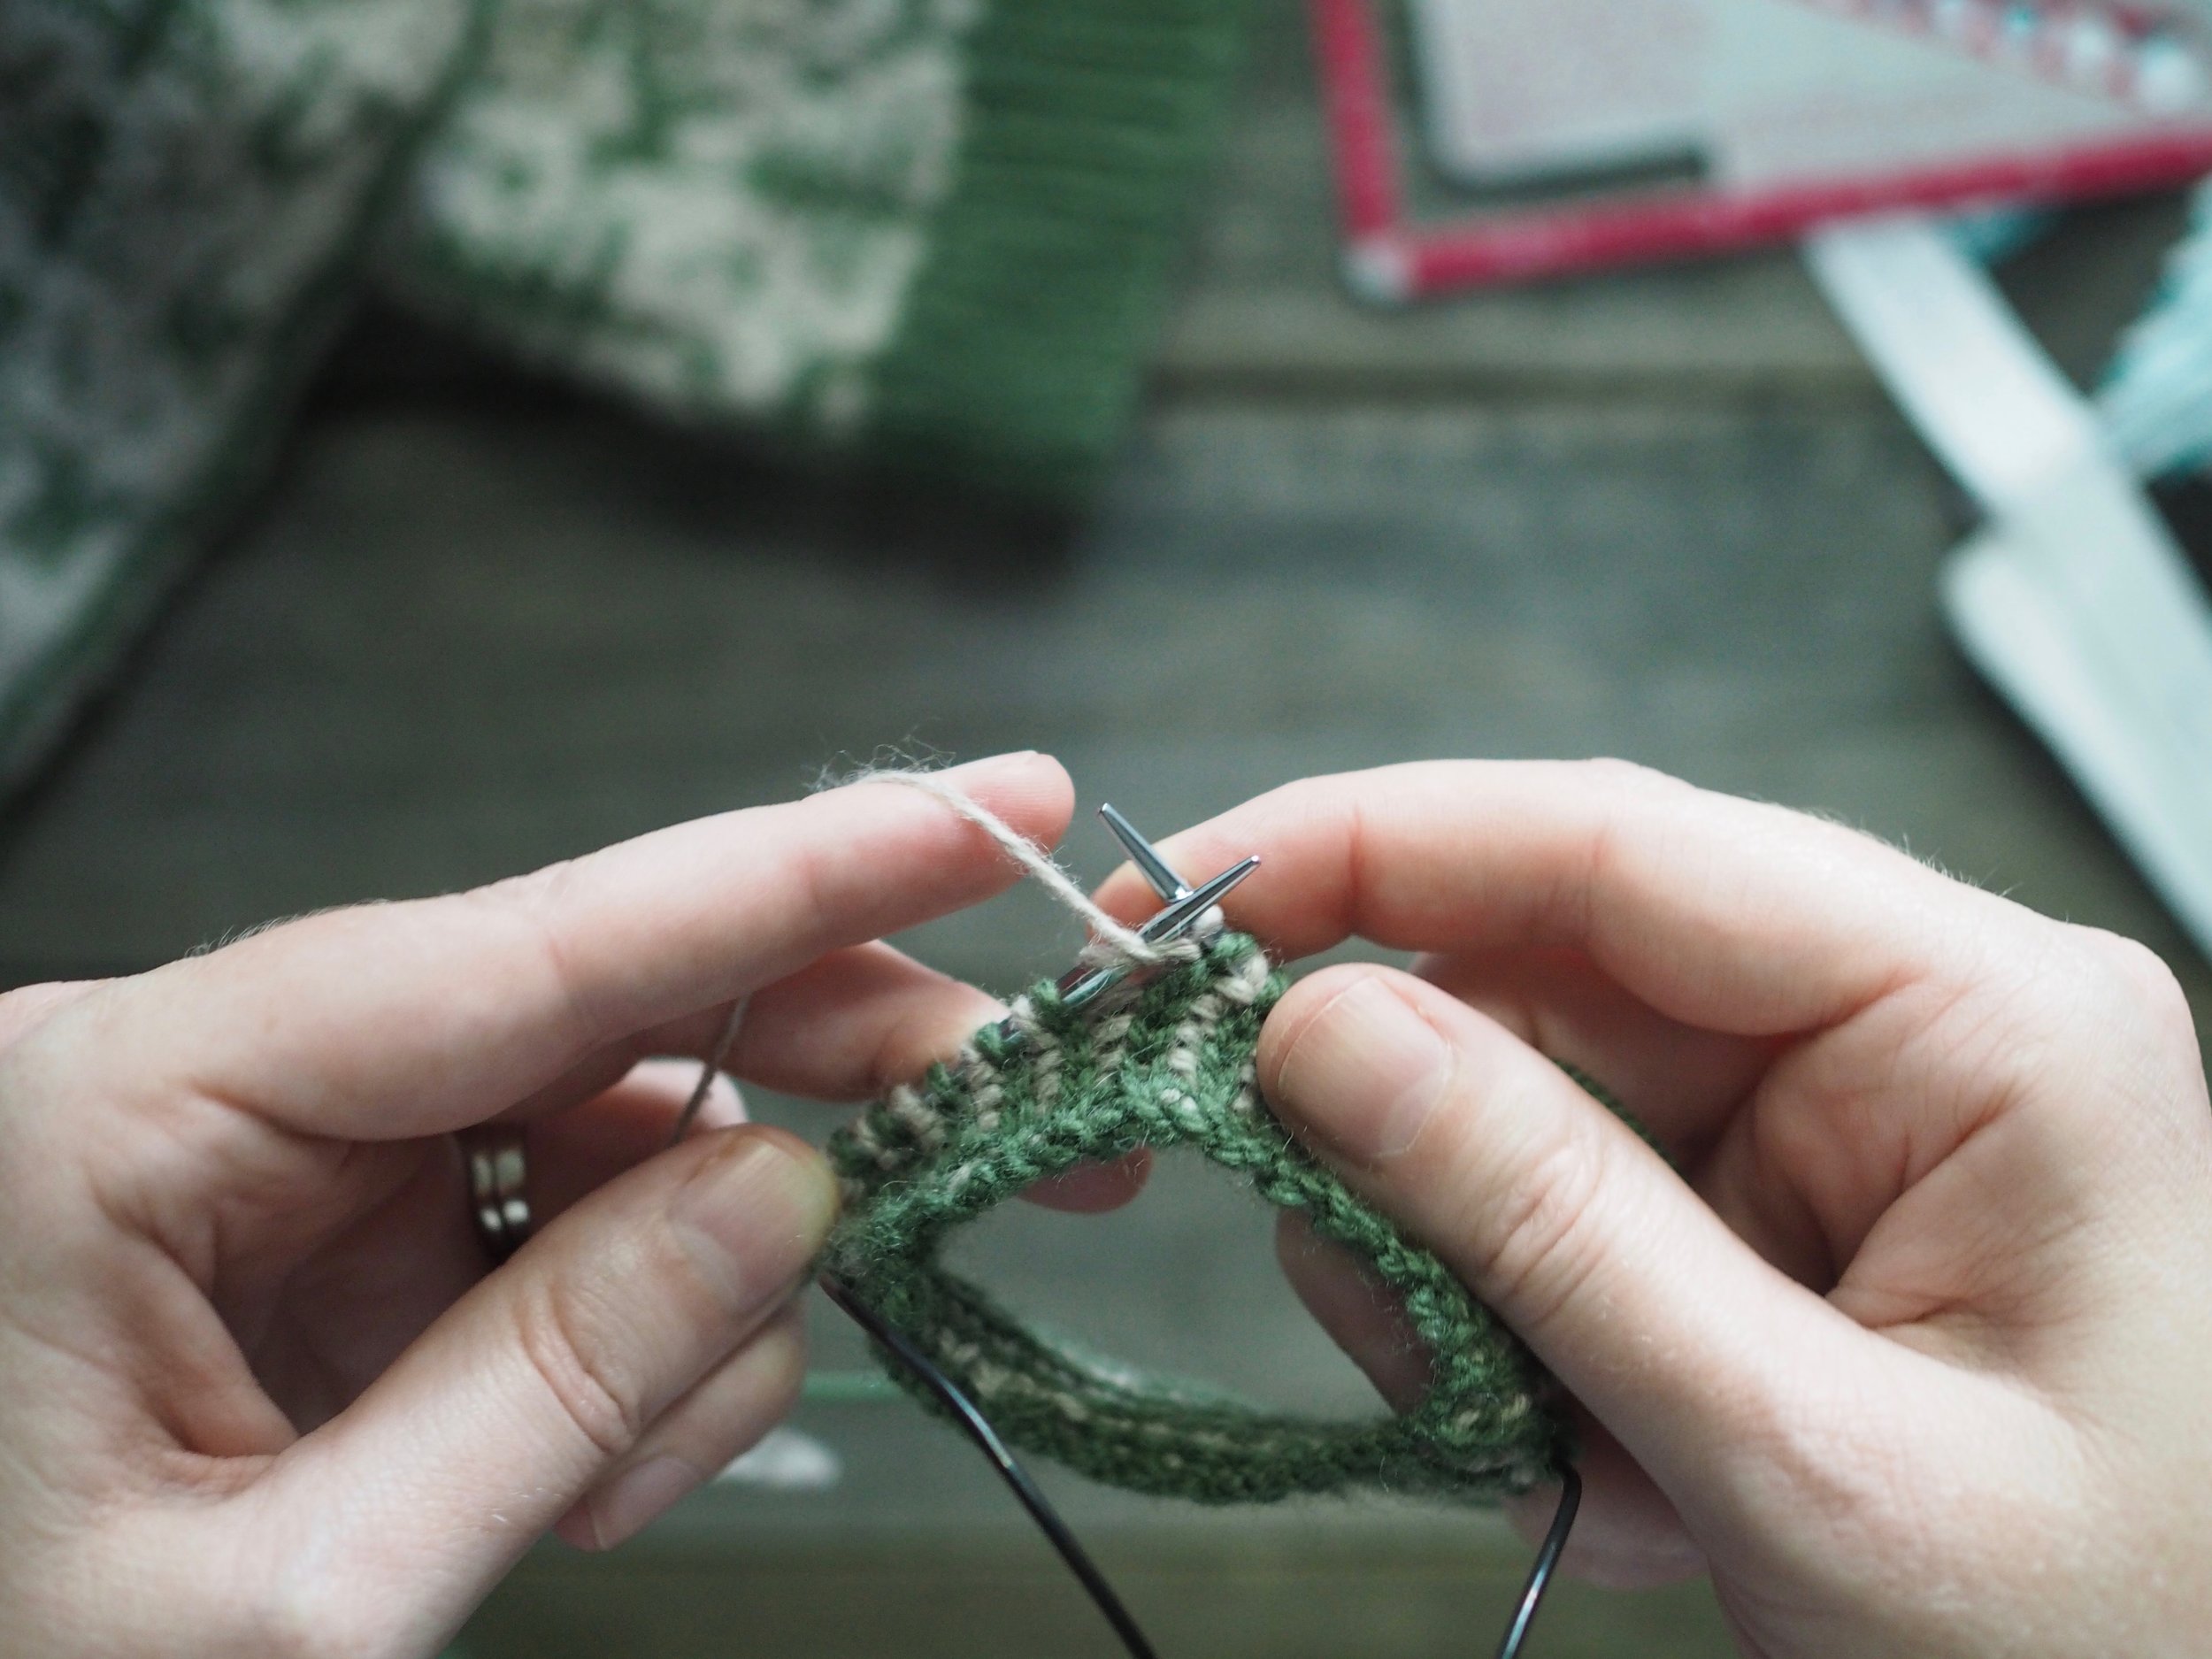
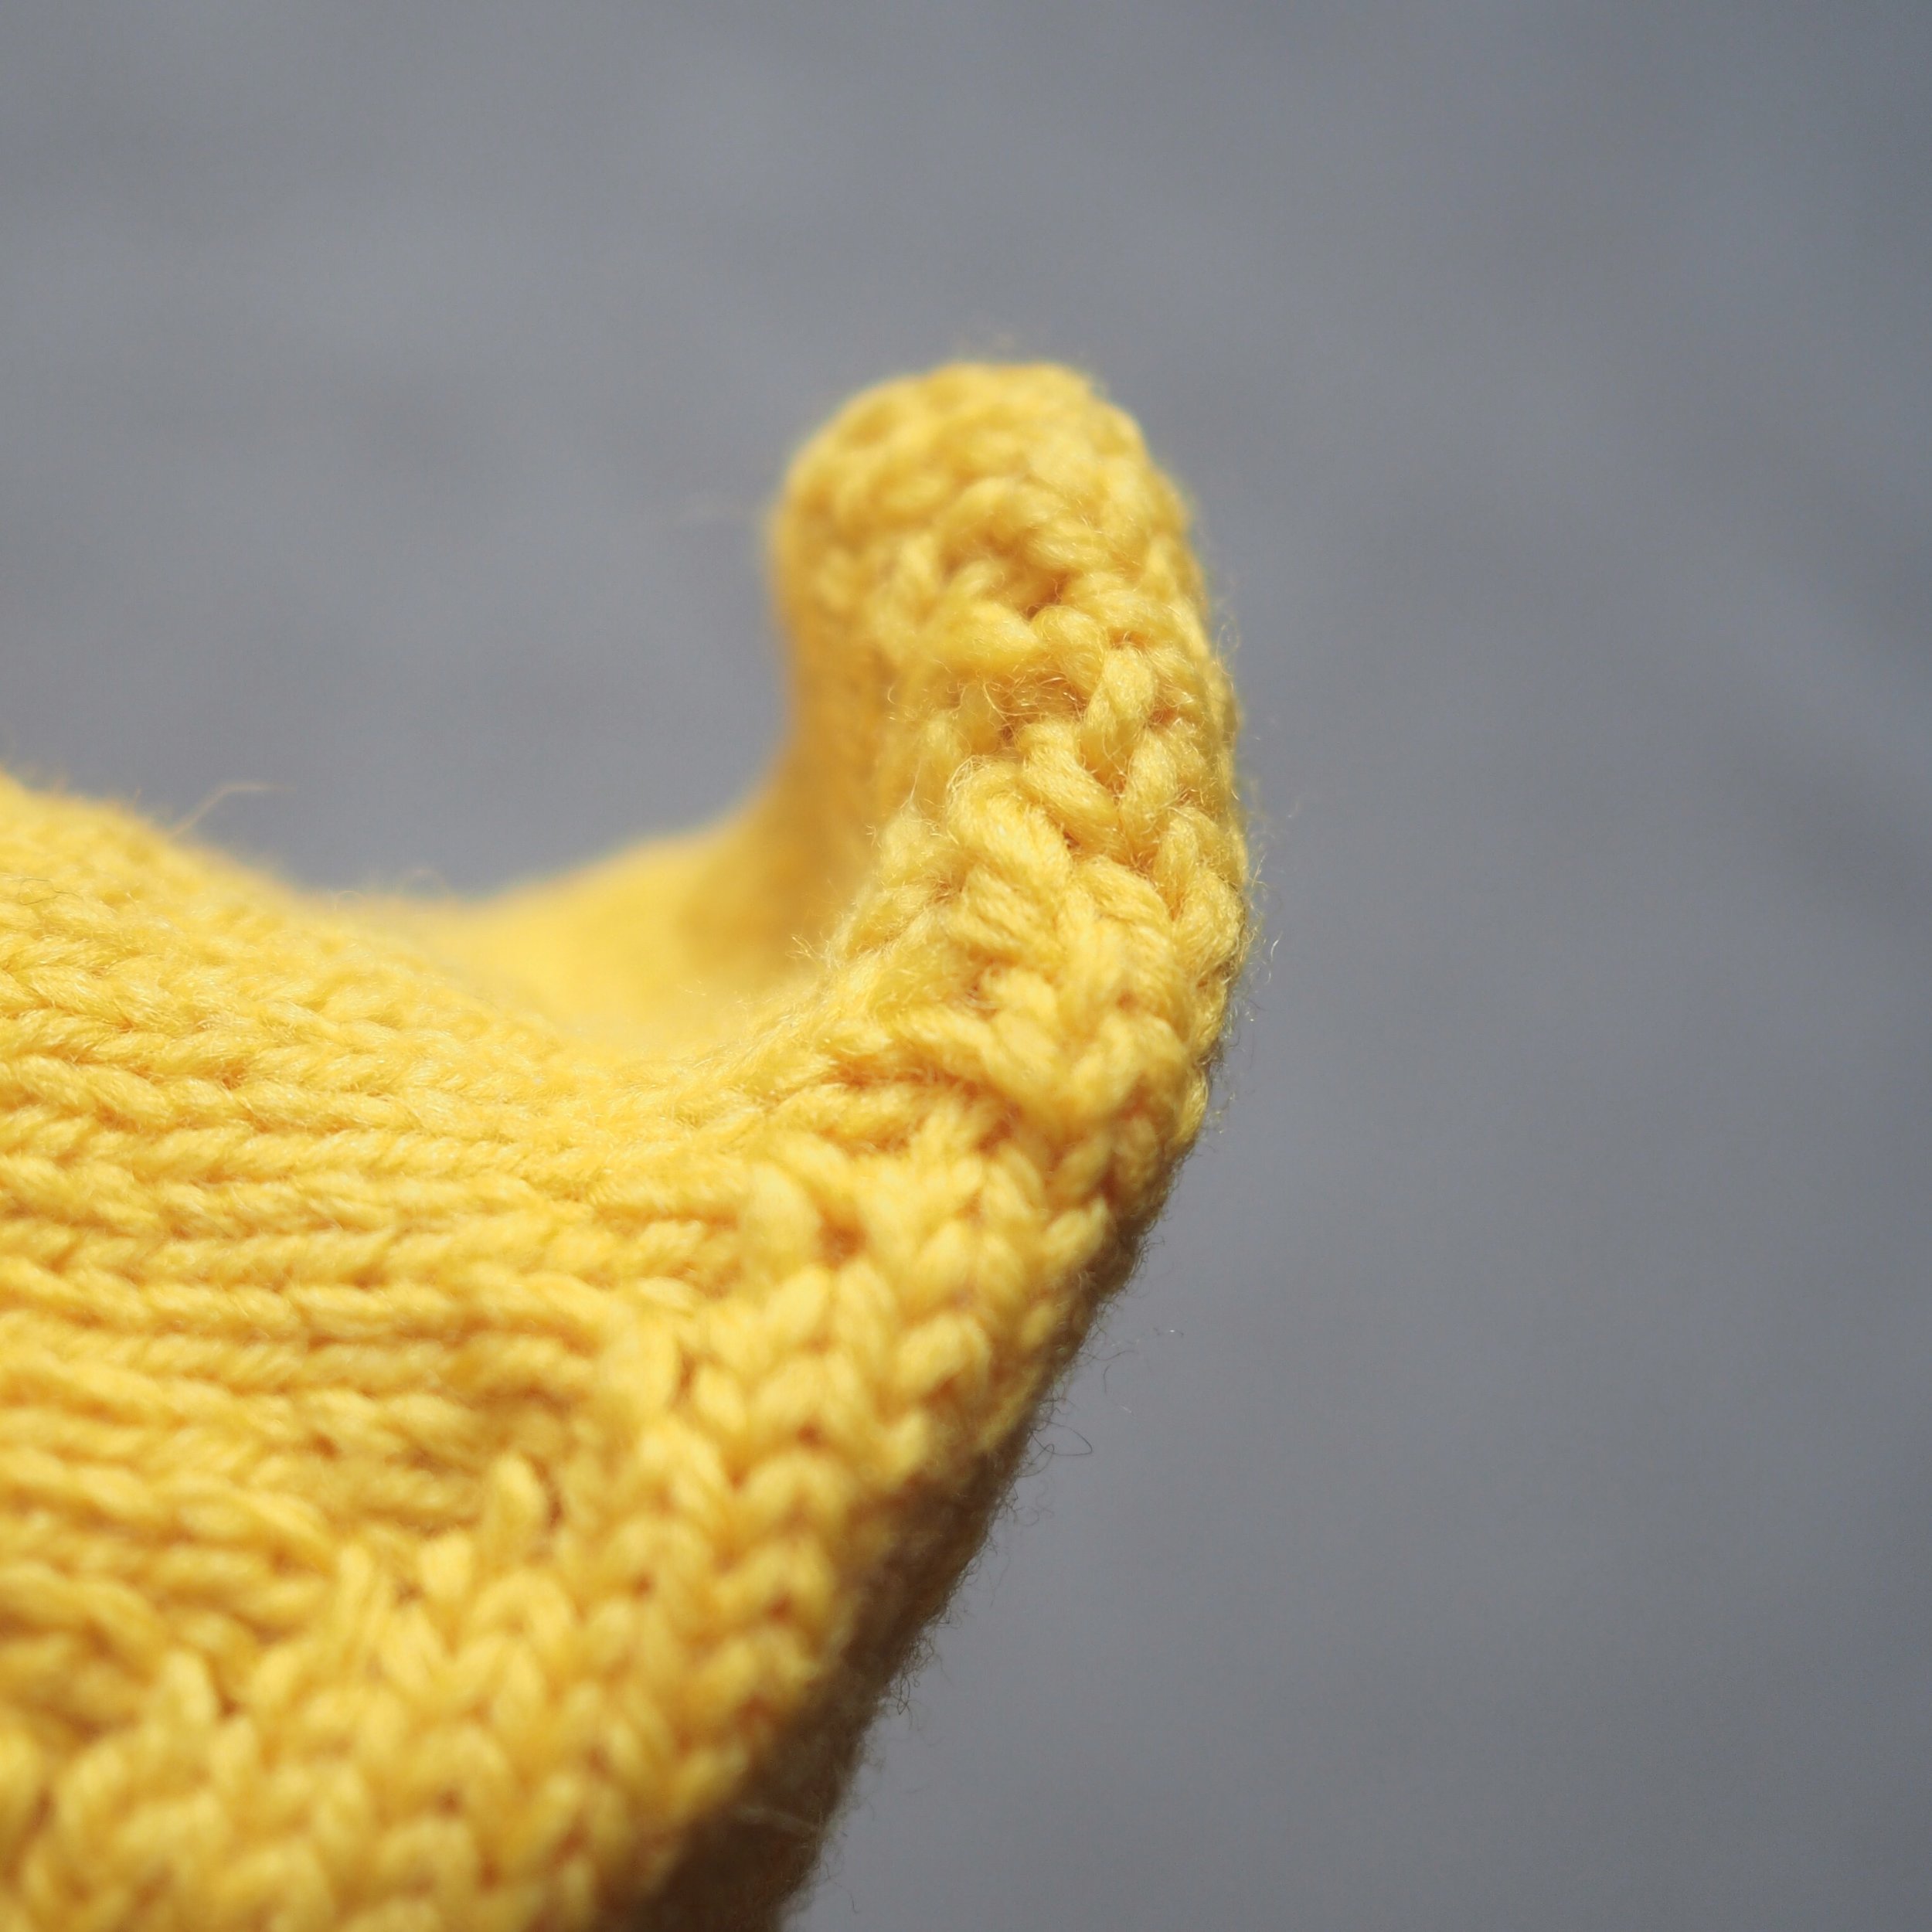
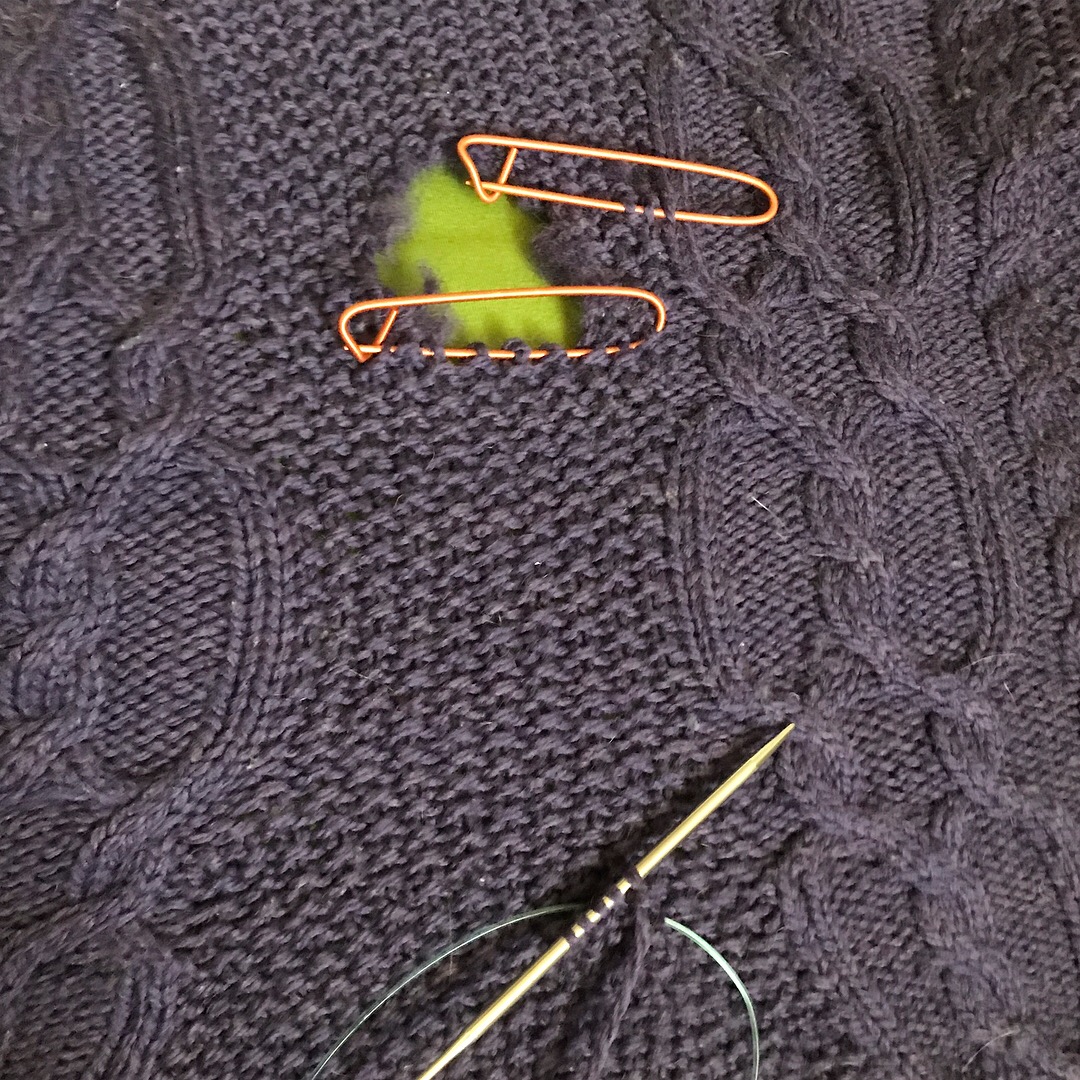
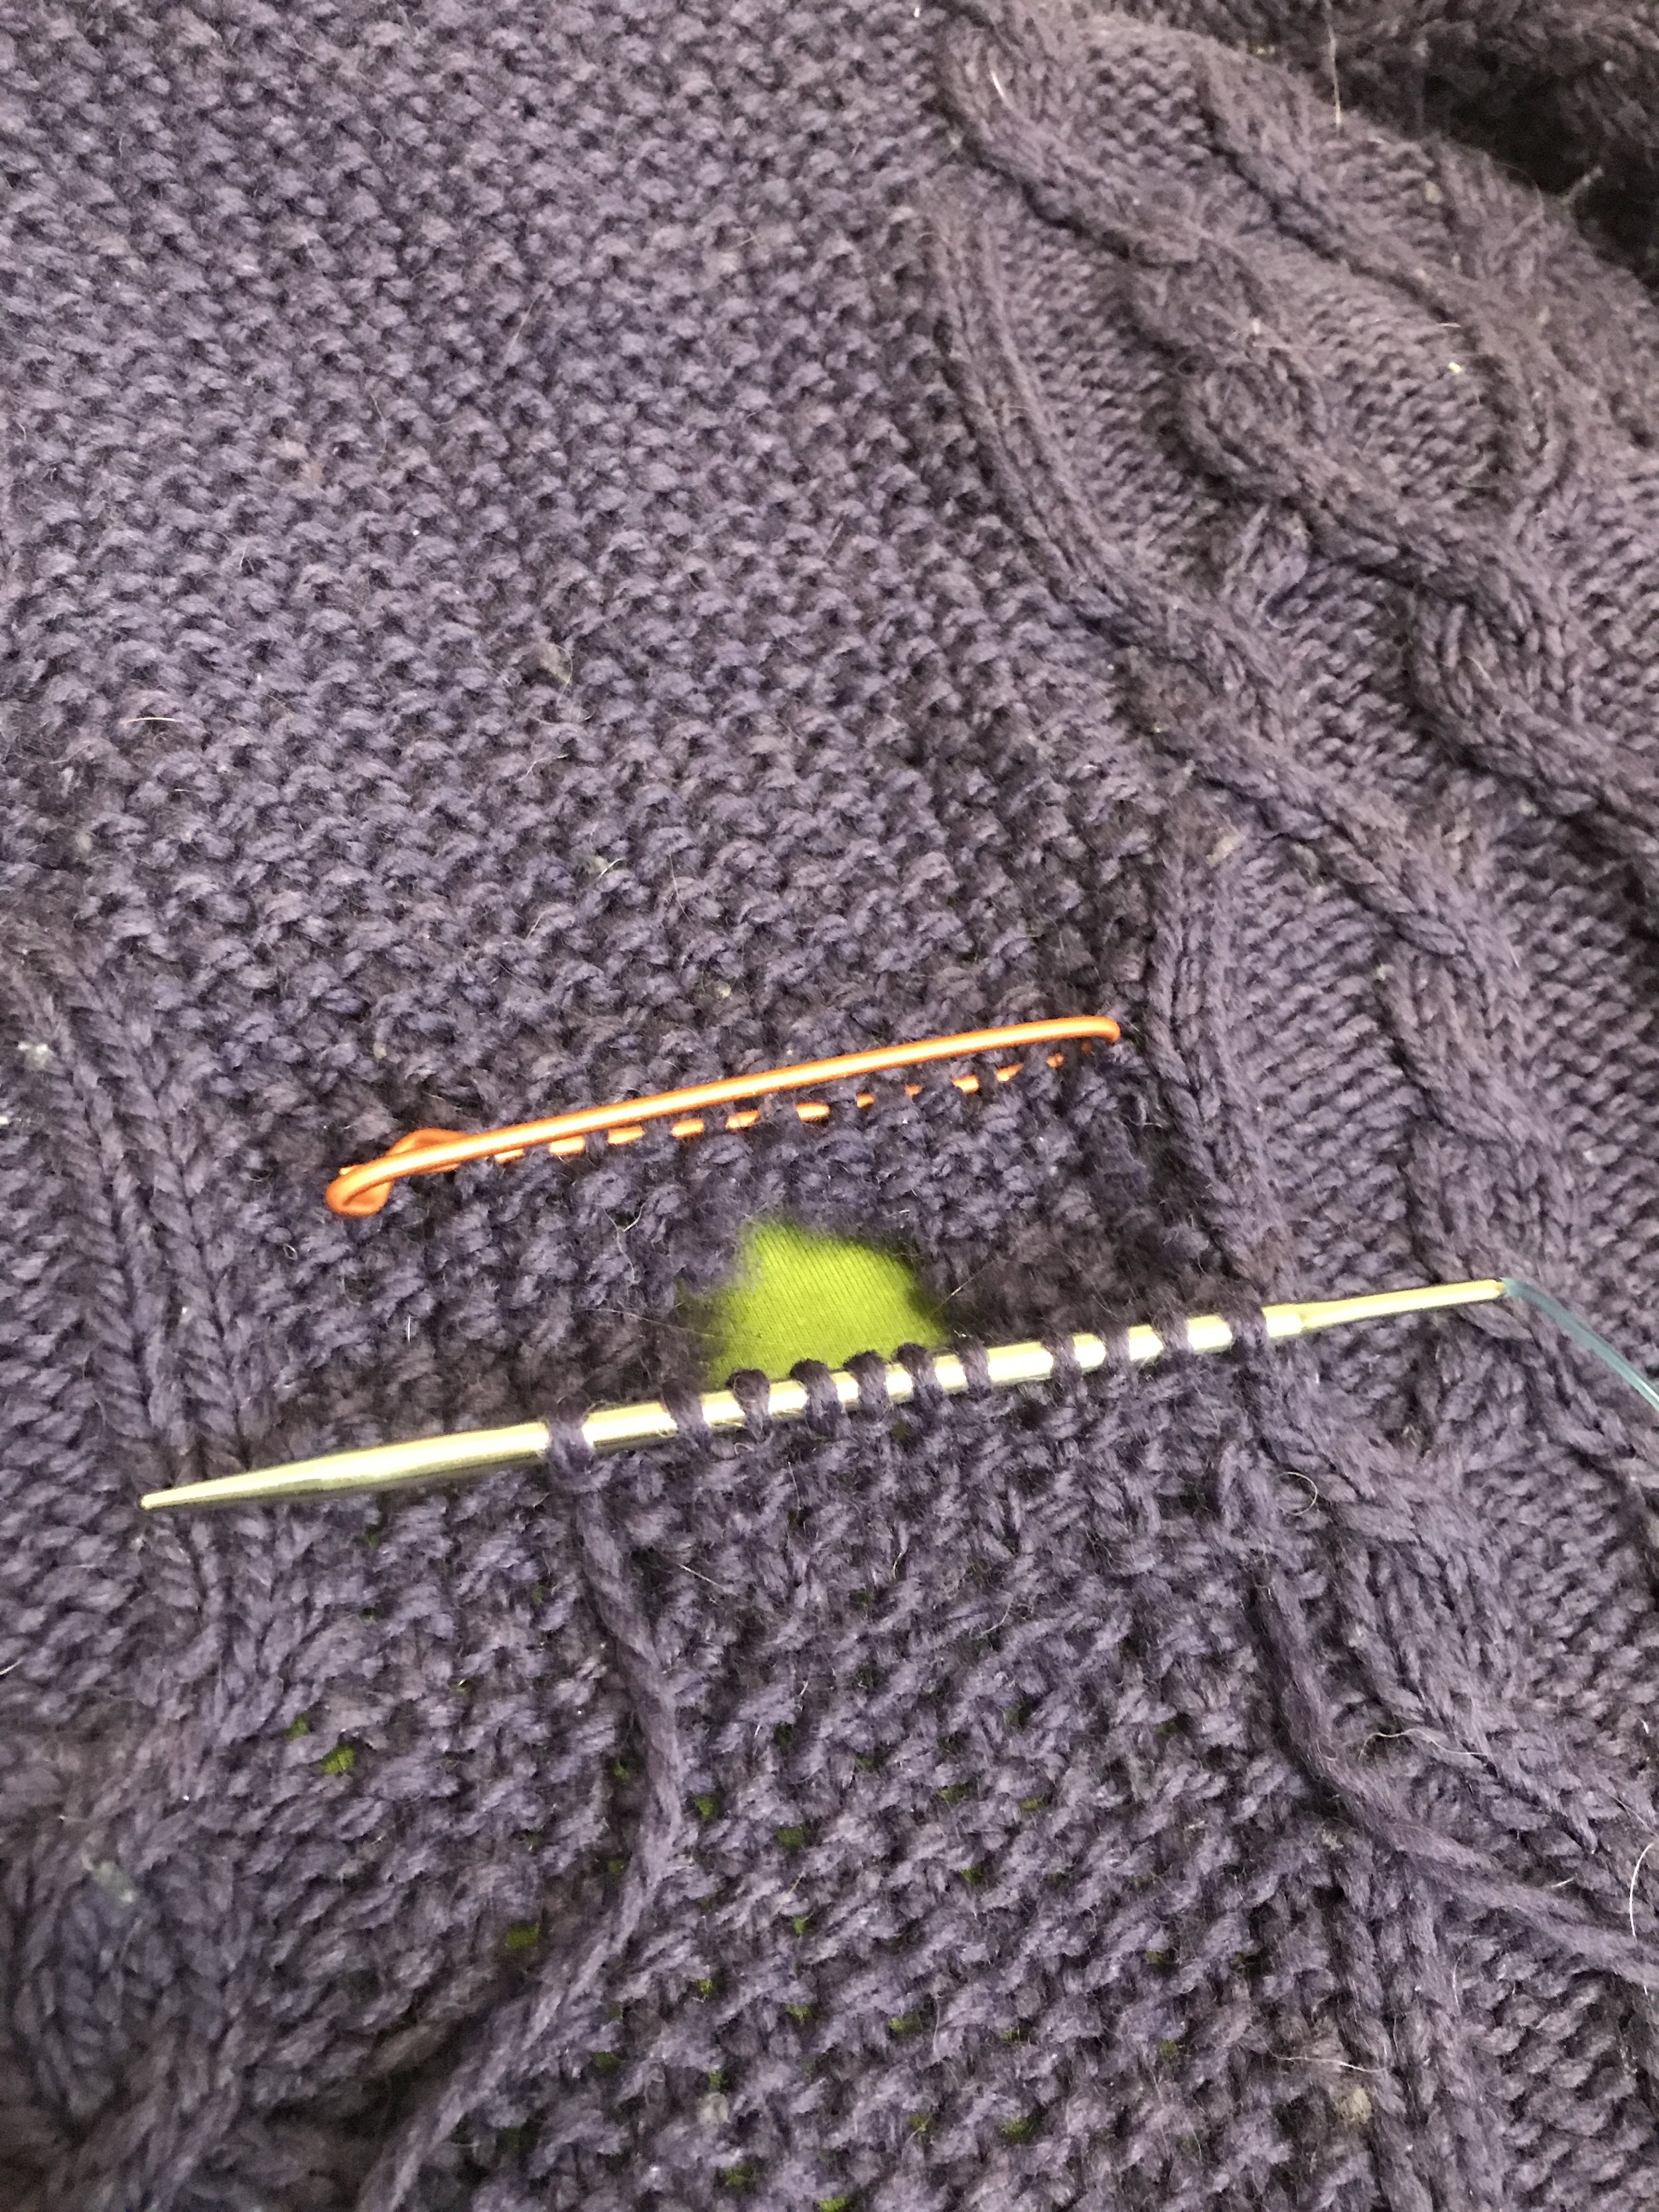
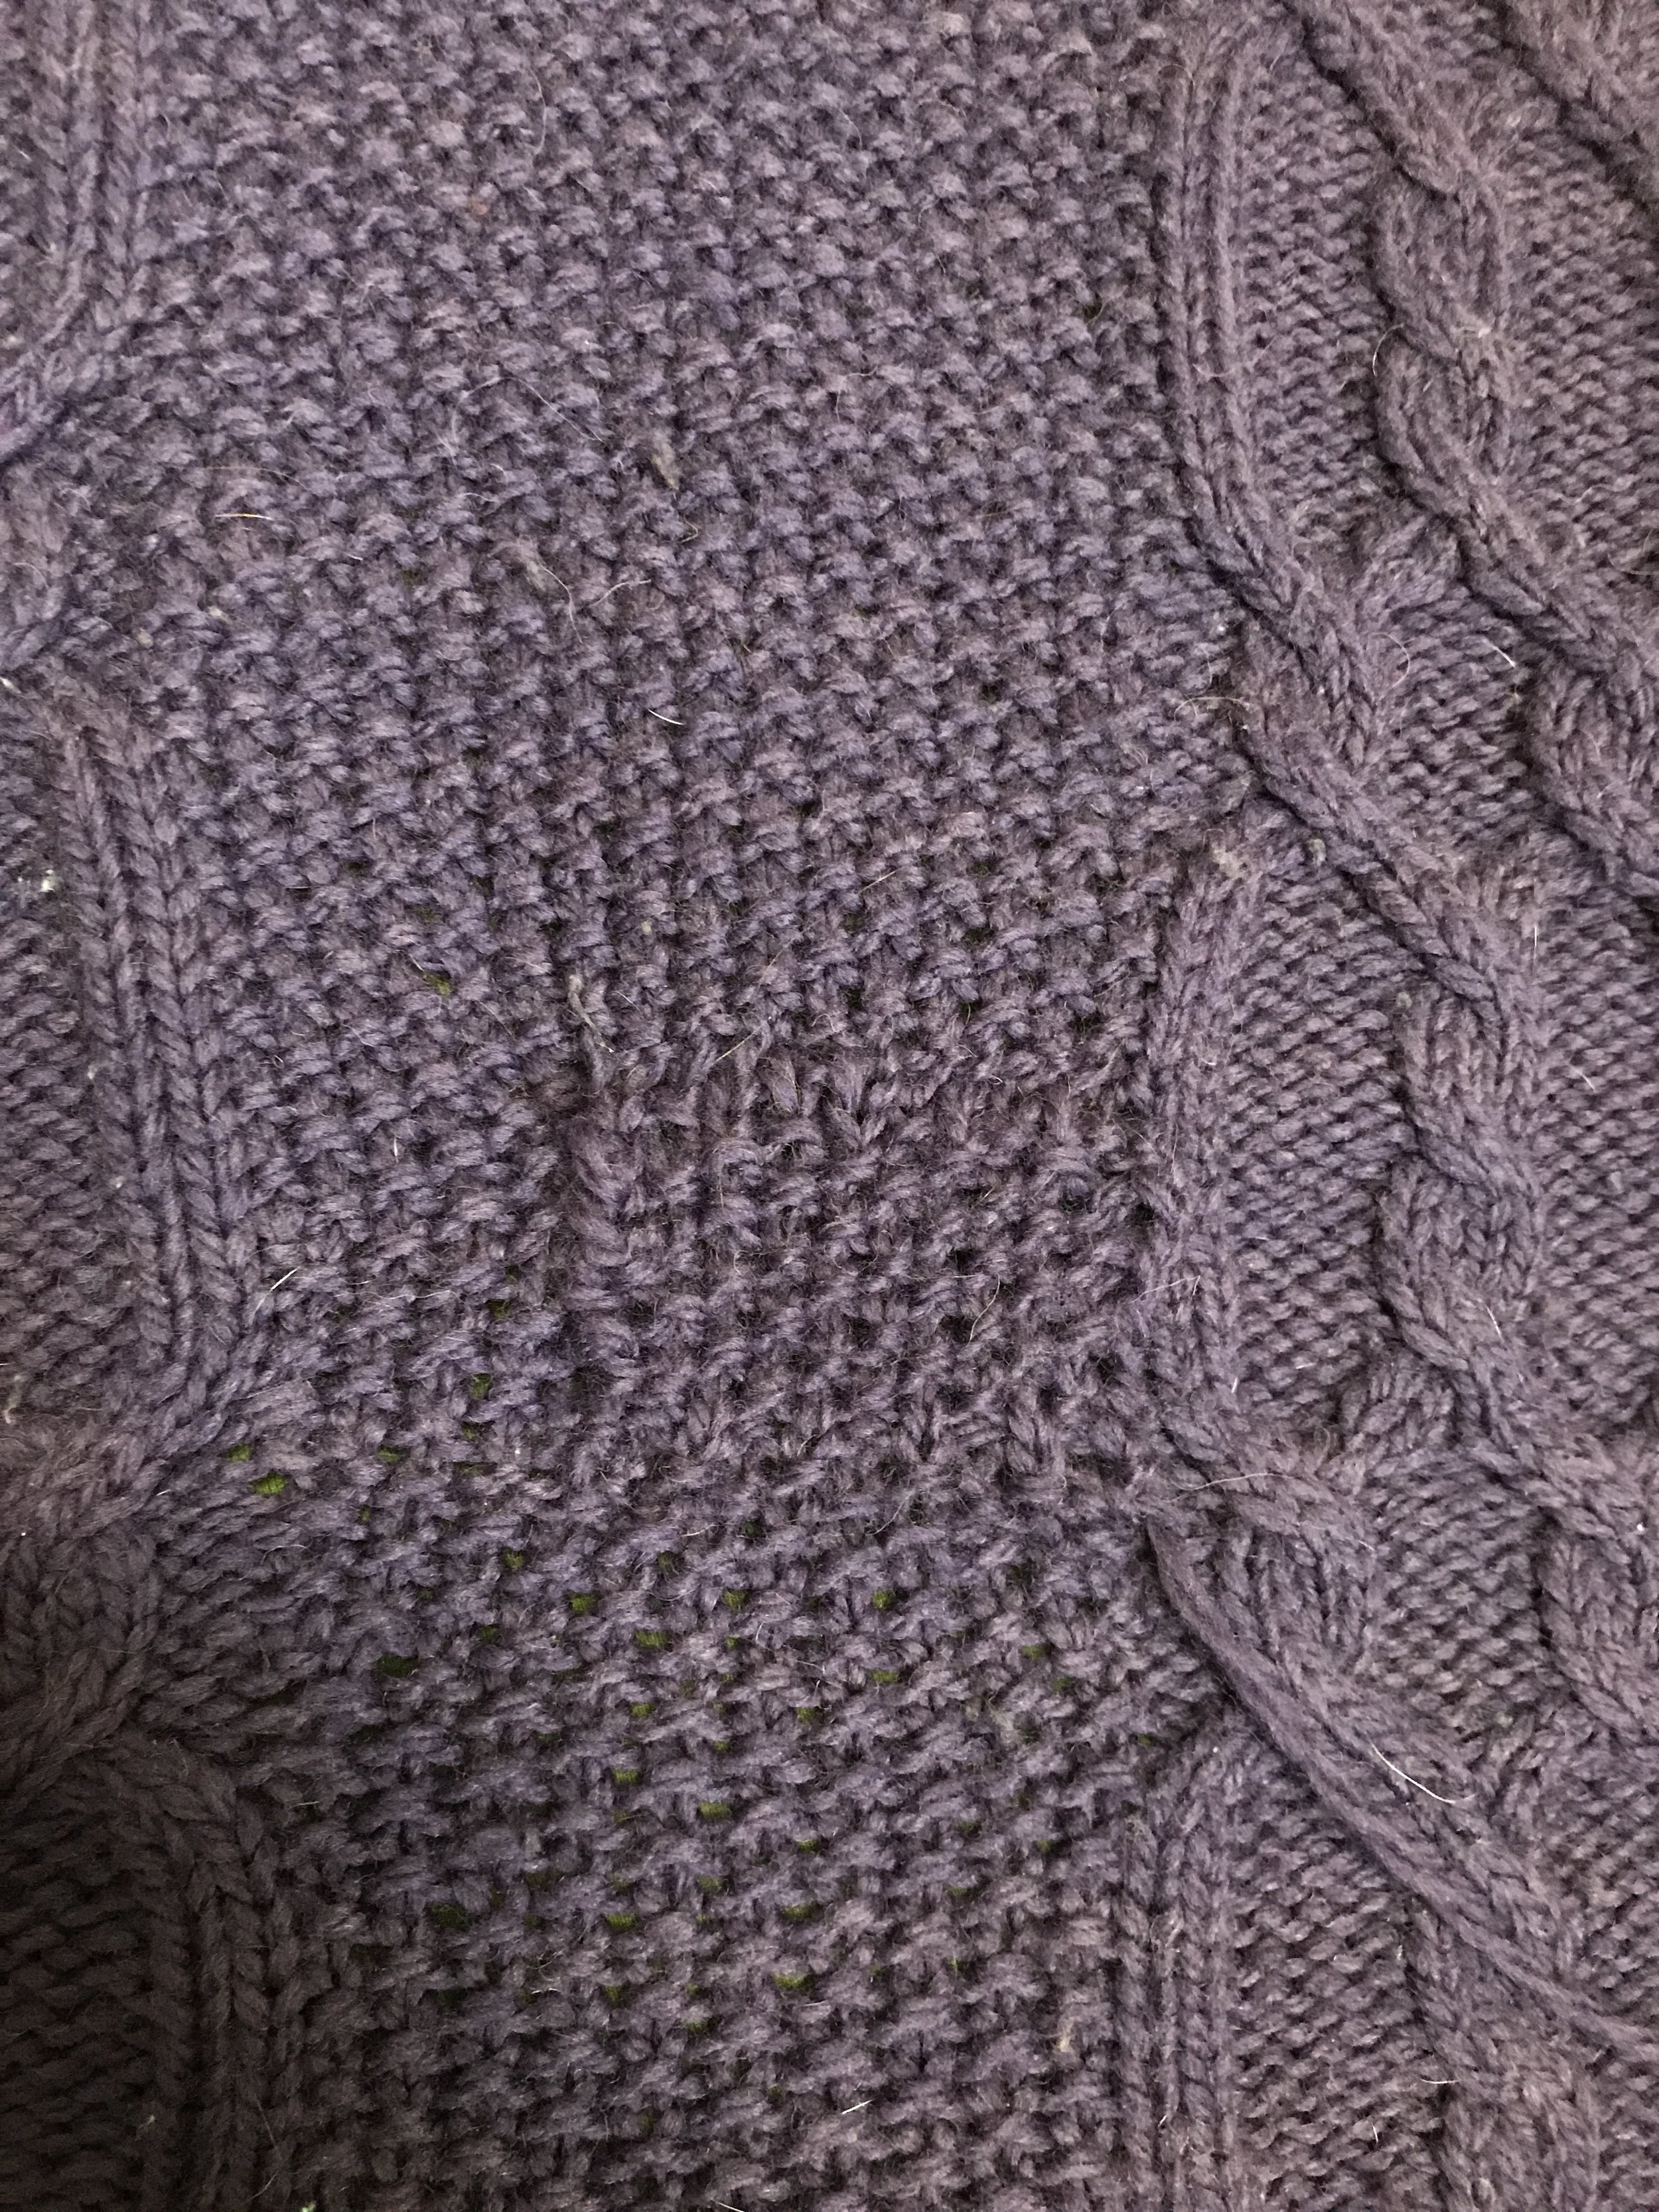
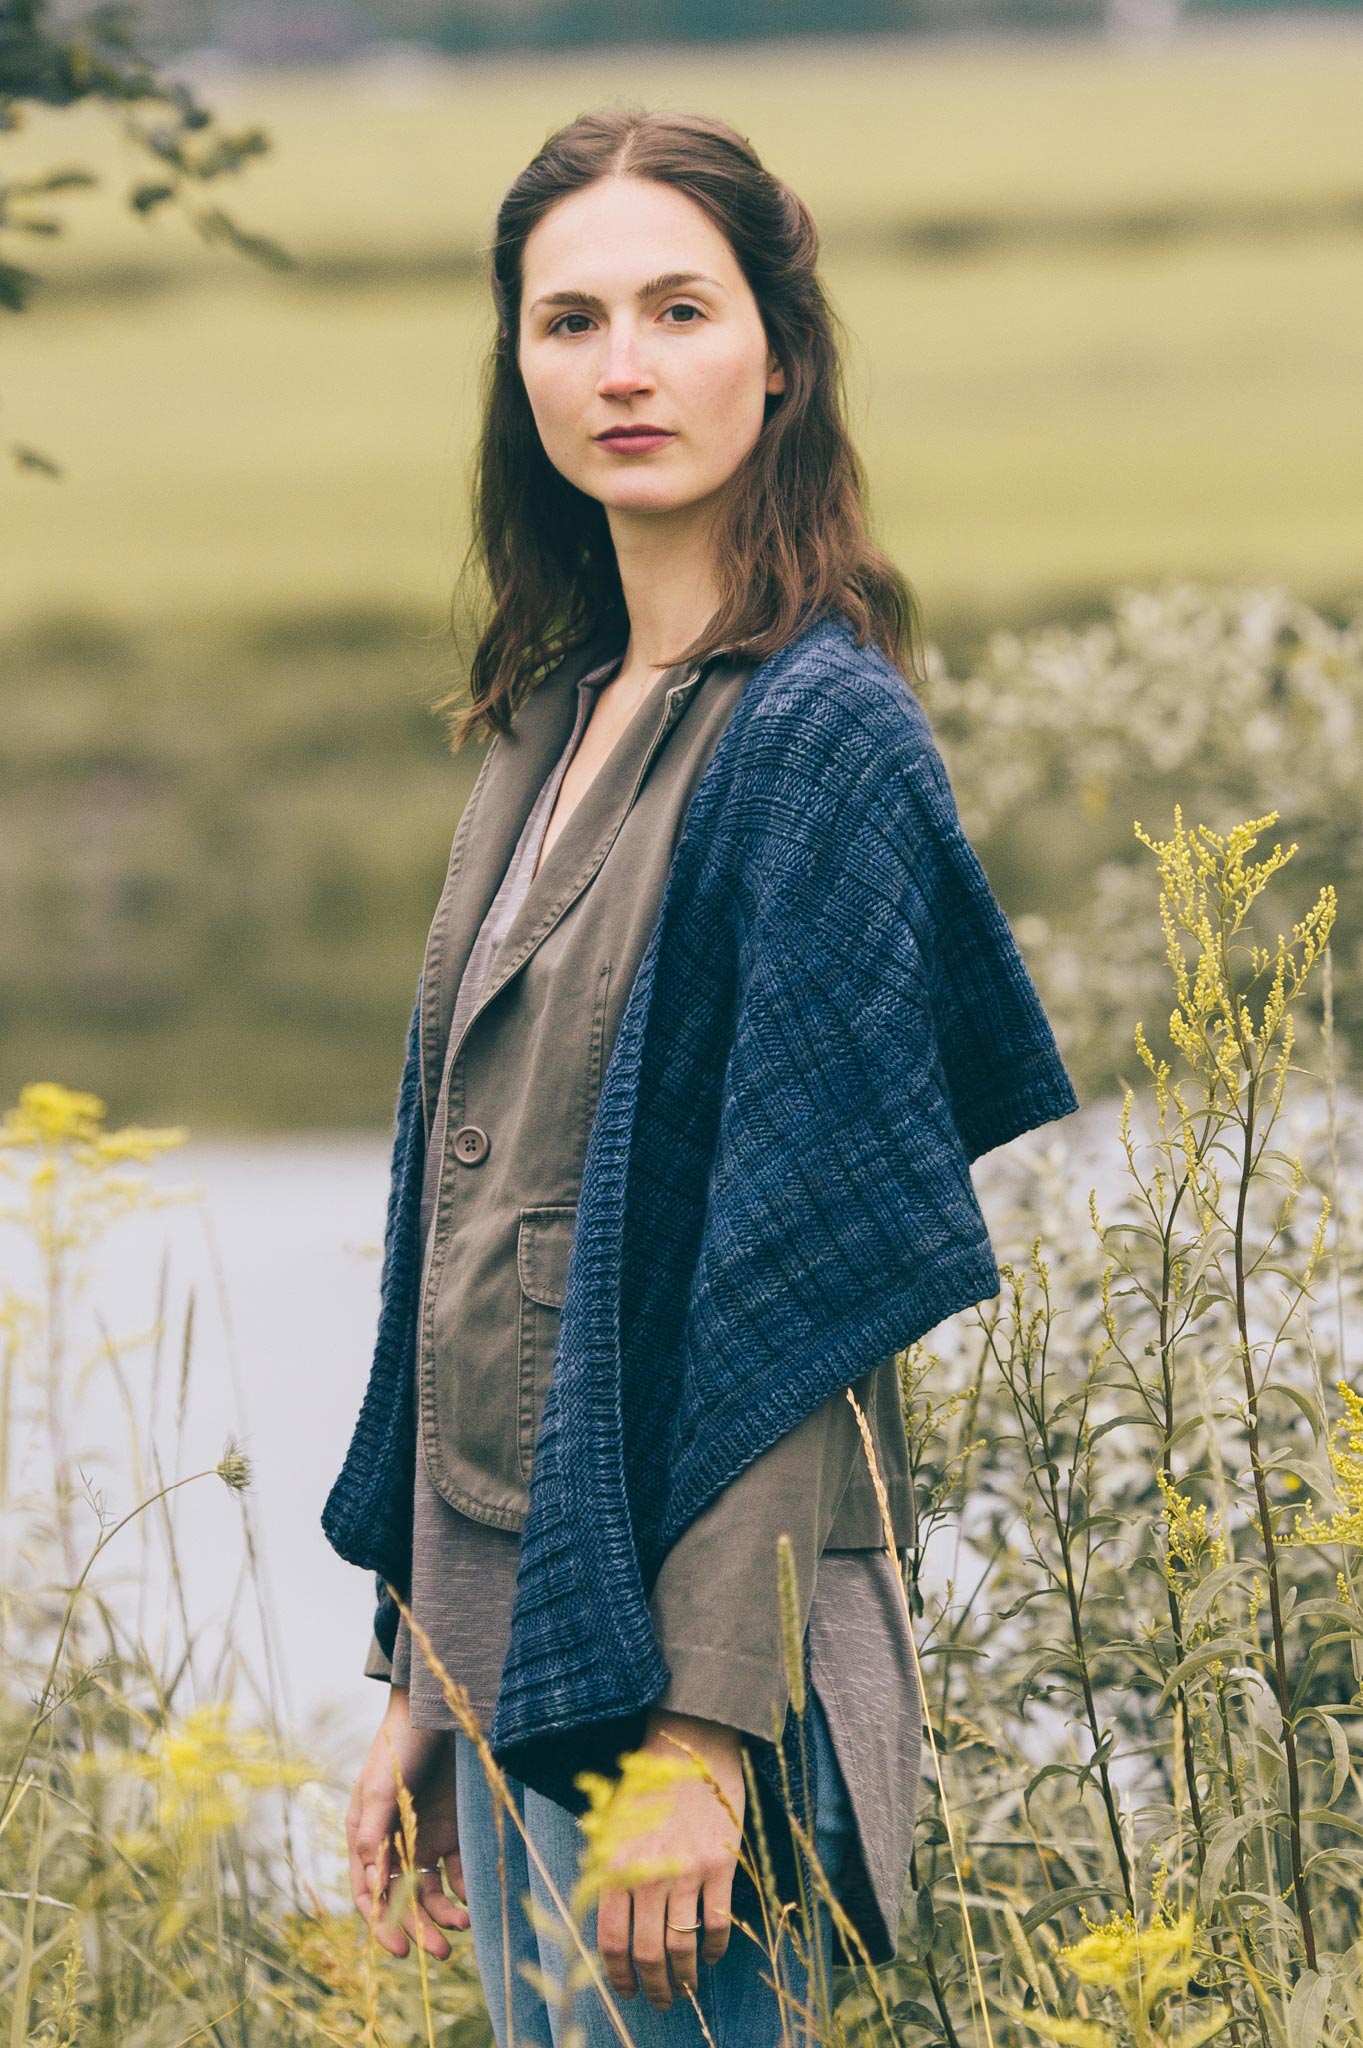
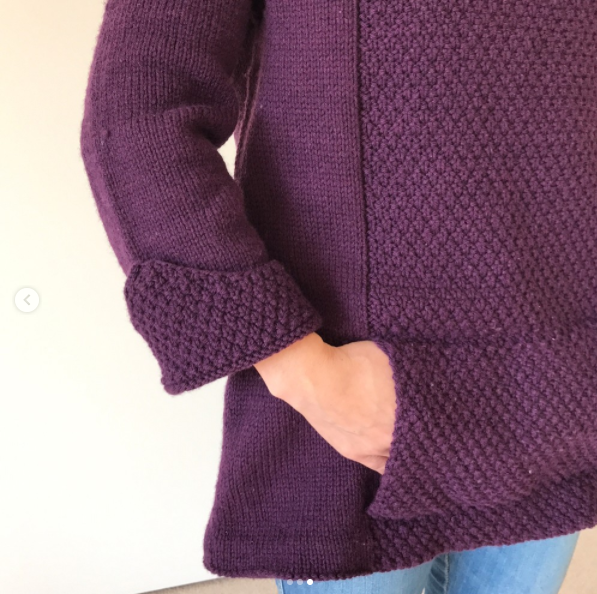
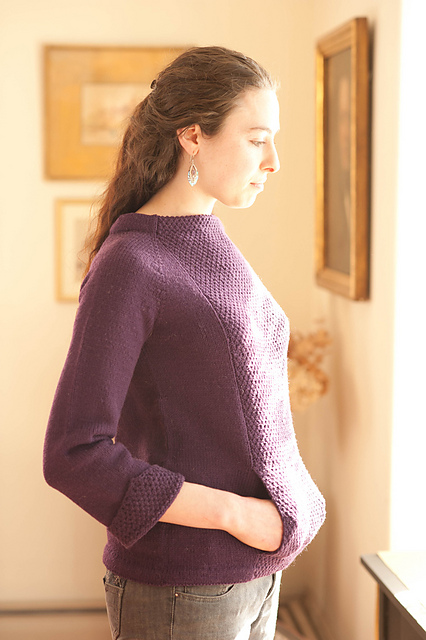
I was also faced with a dilemma when I did that closet clean-out and found a mouse (yes, ick!) had eaten several very large holes in a cardigan that would have otherwise still fit. Do I rip out the zipper and give it up for a lost cause, or can I fix it? 

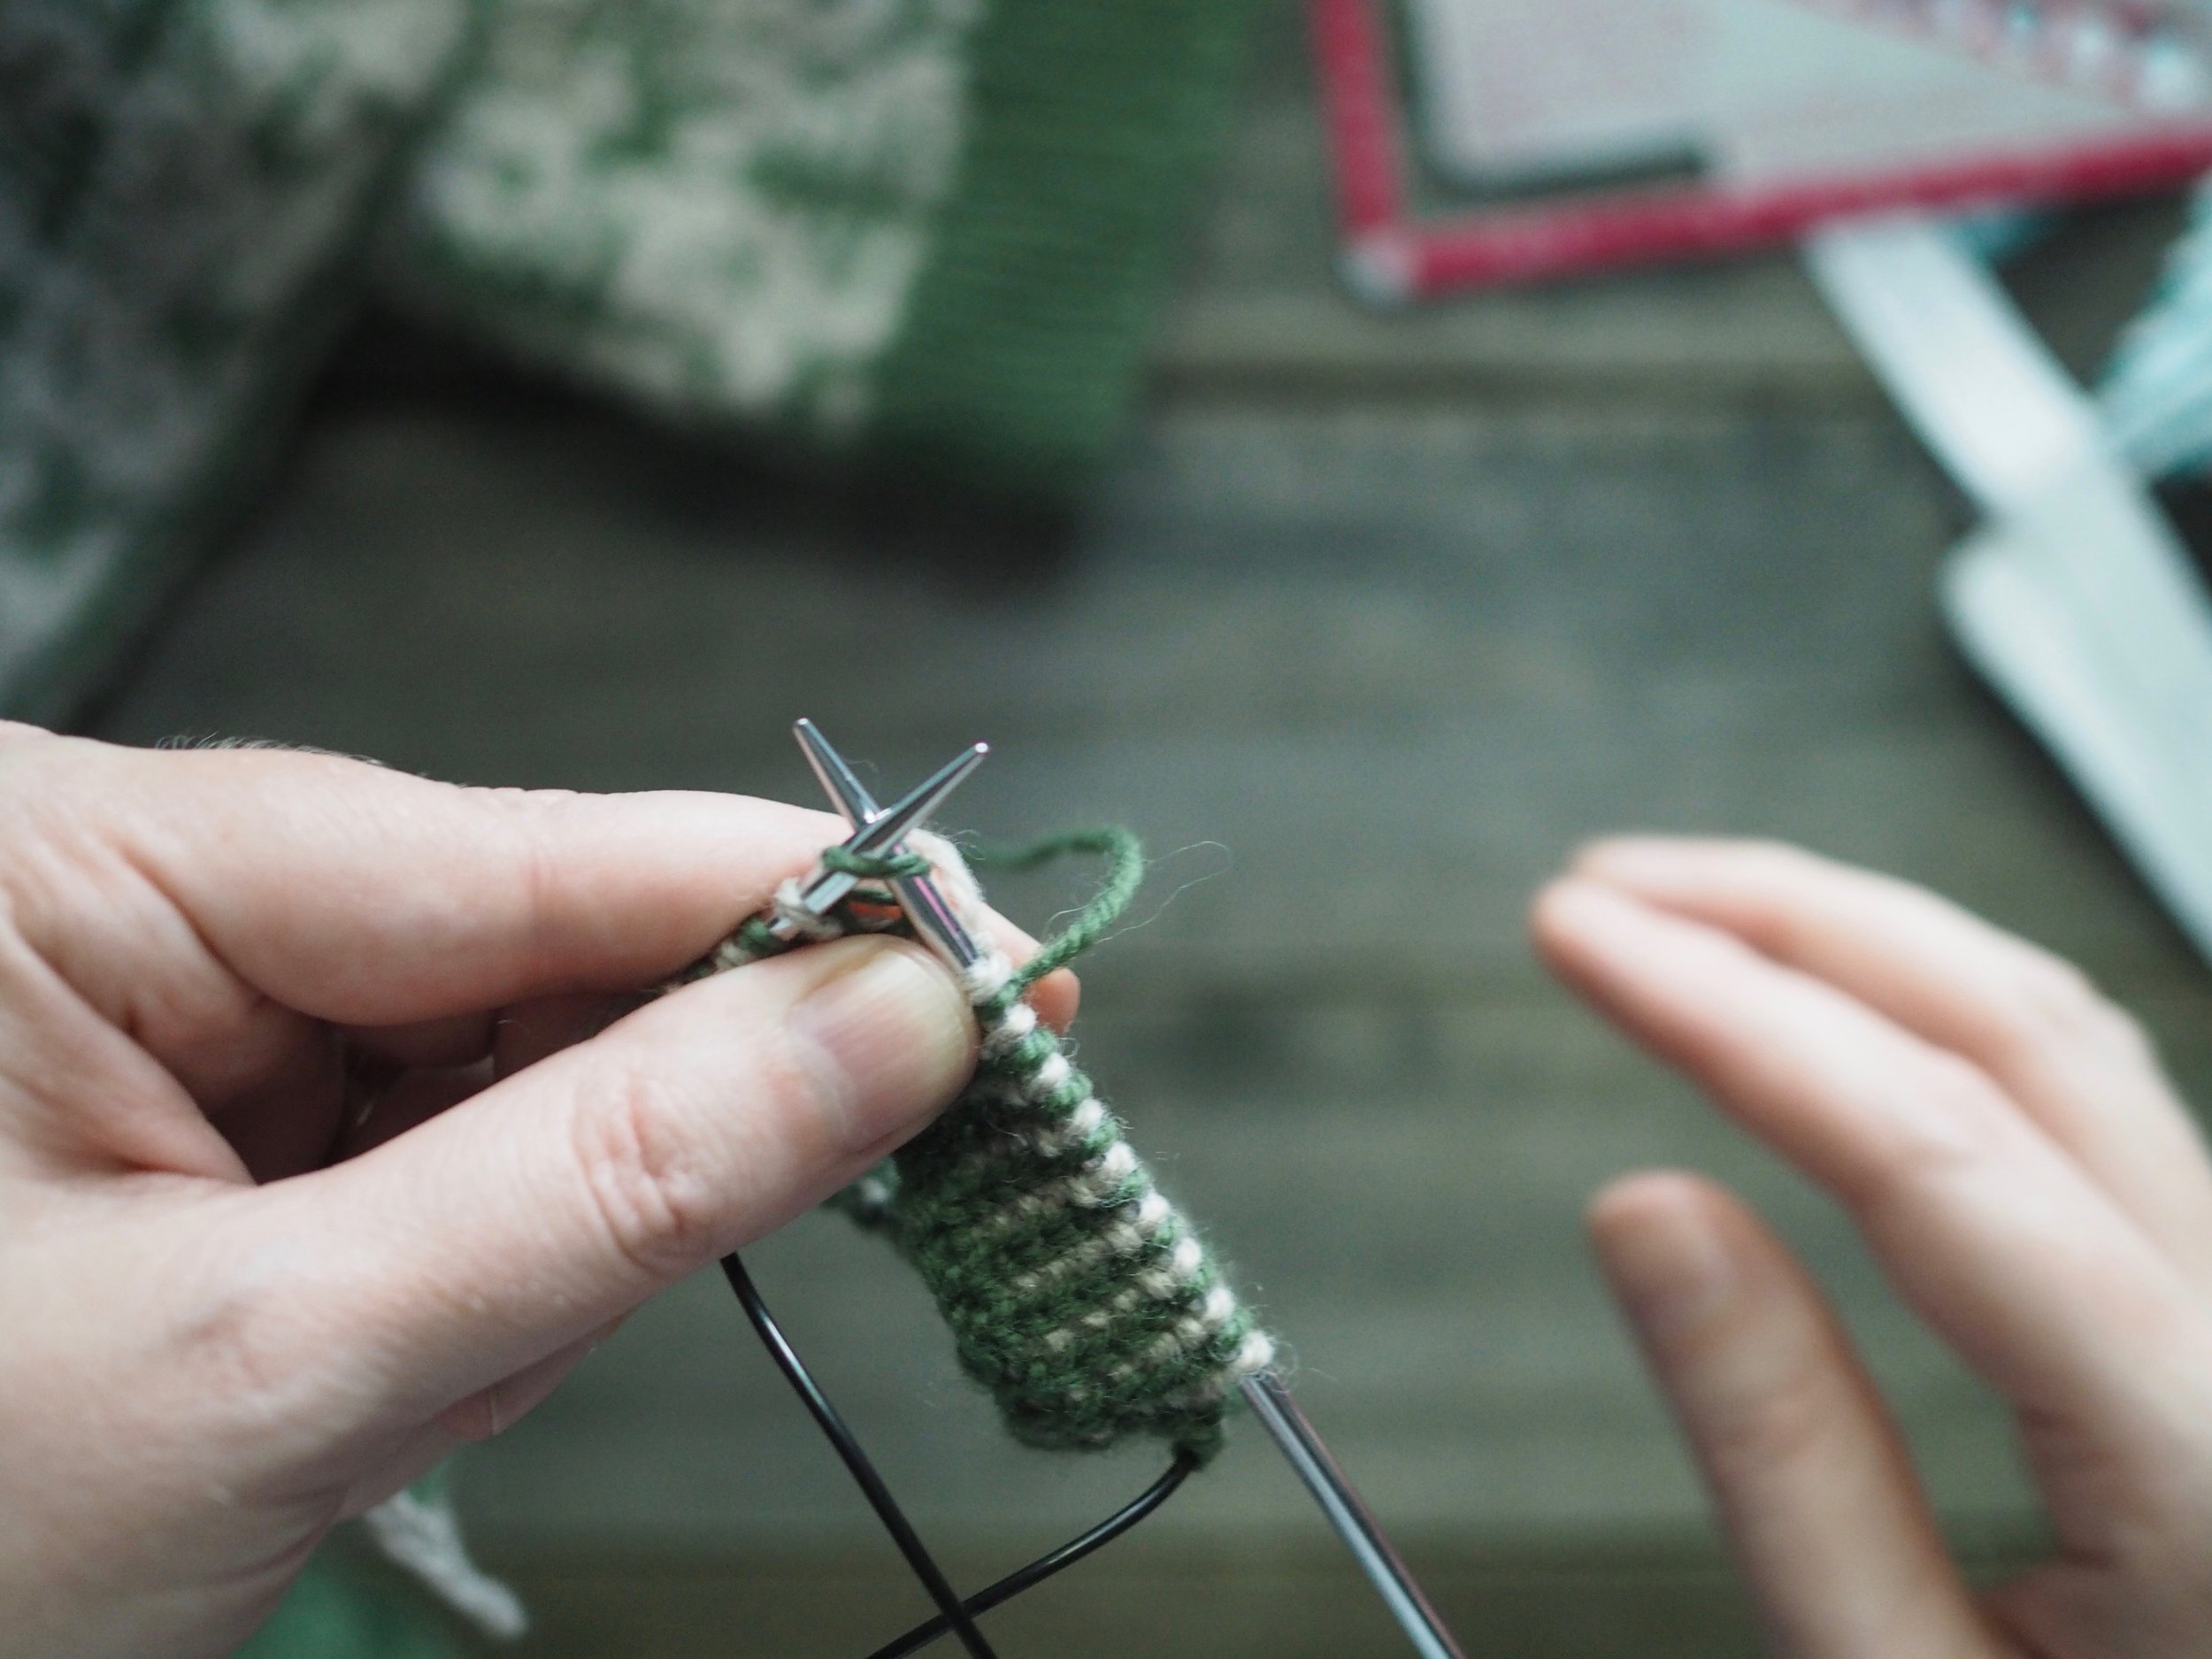
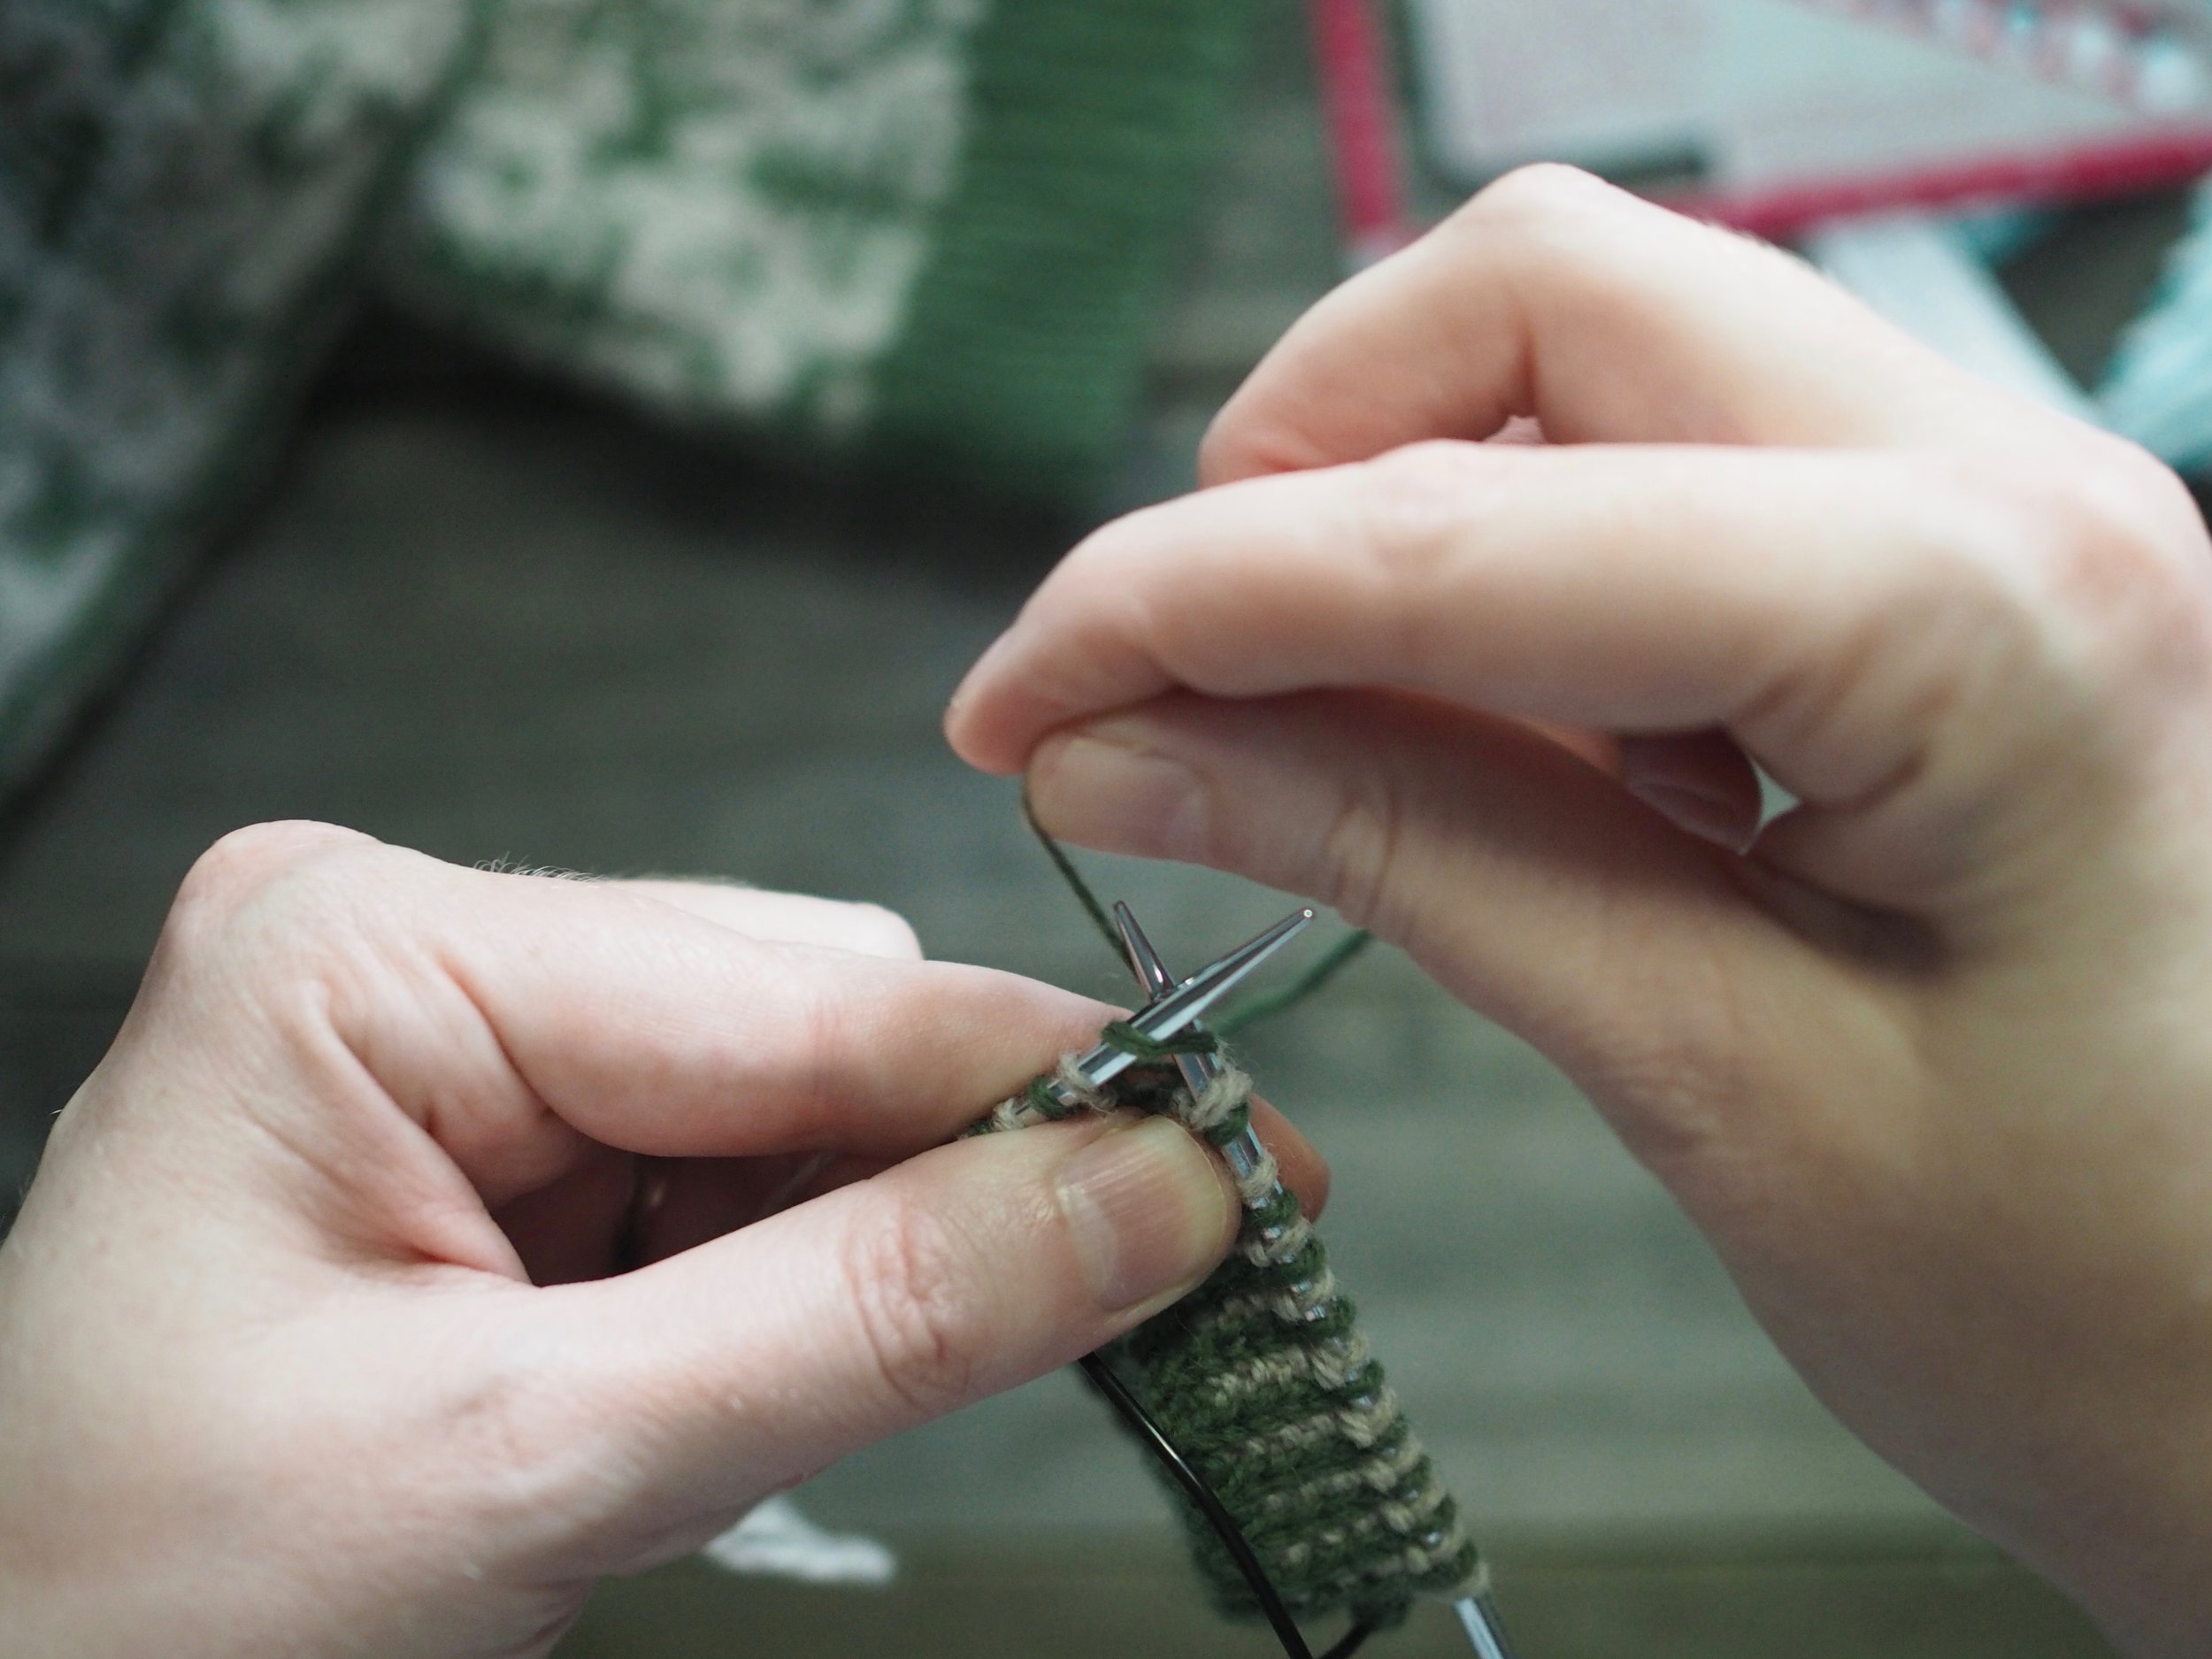
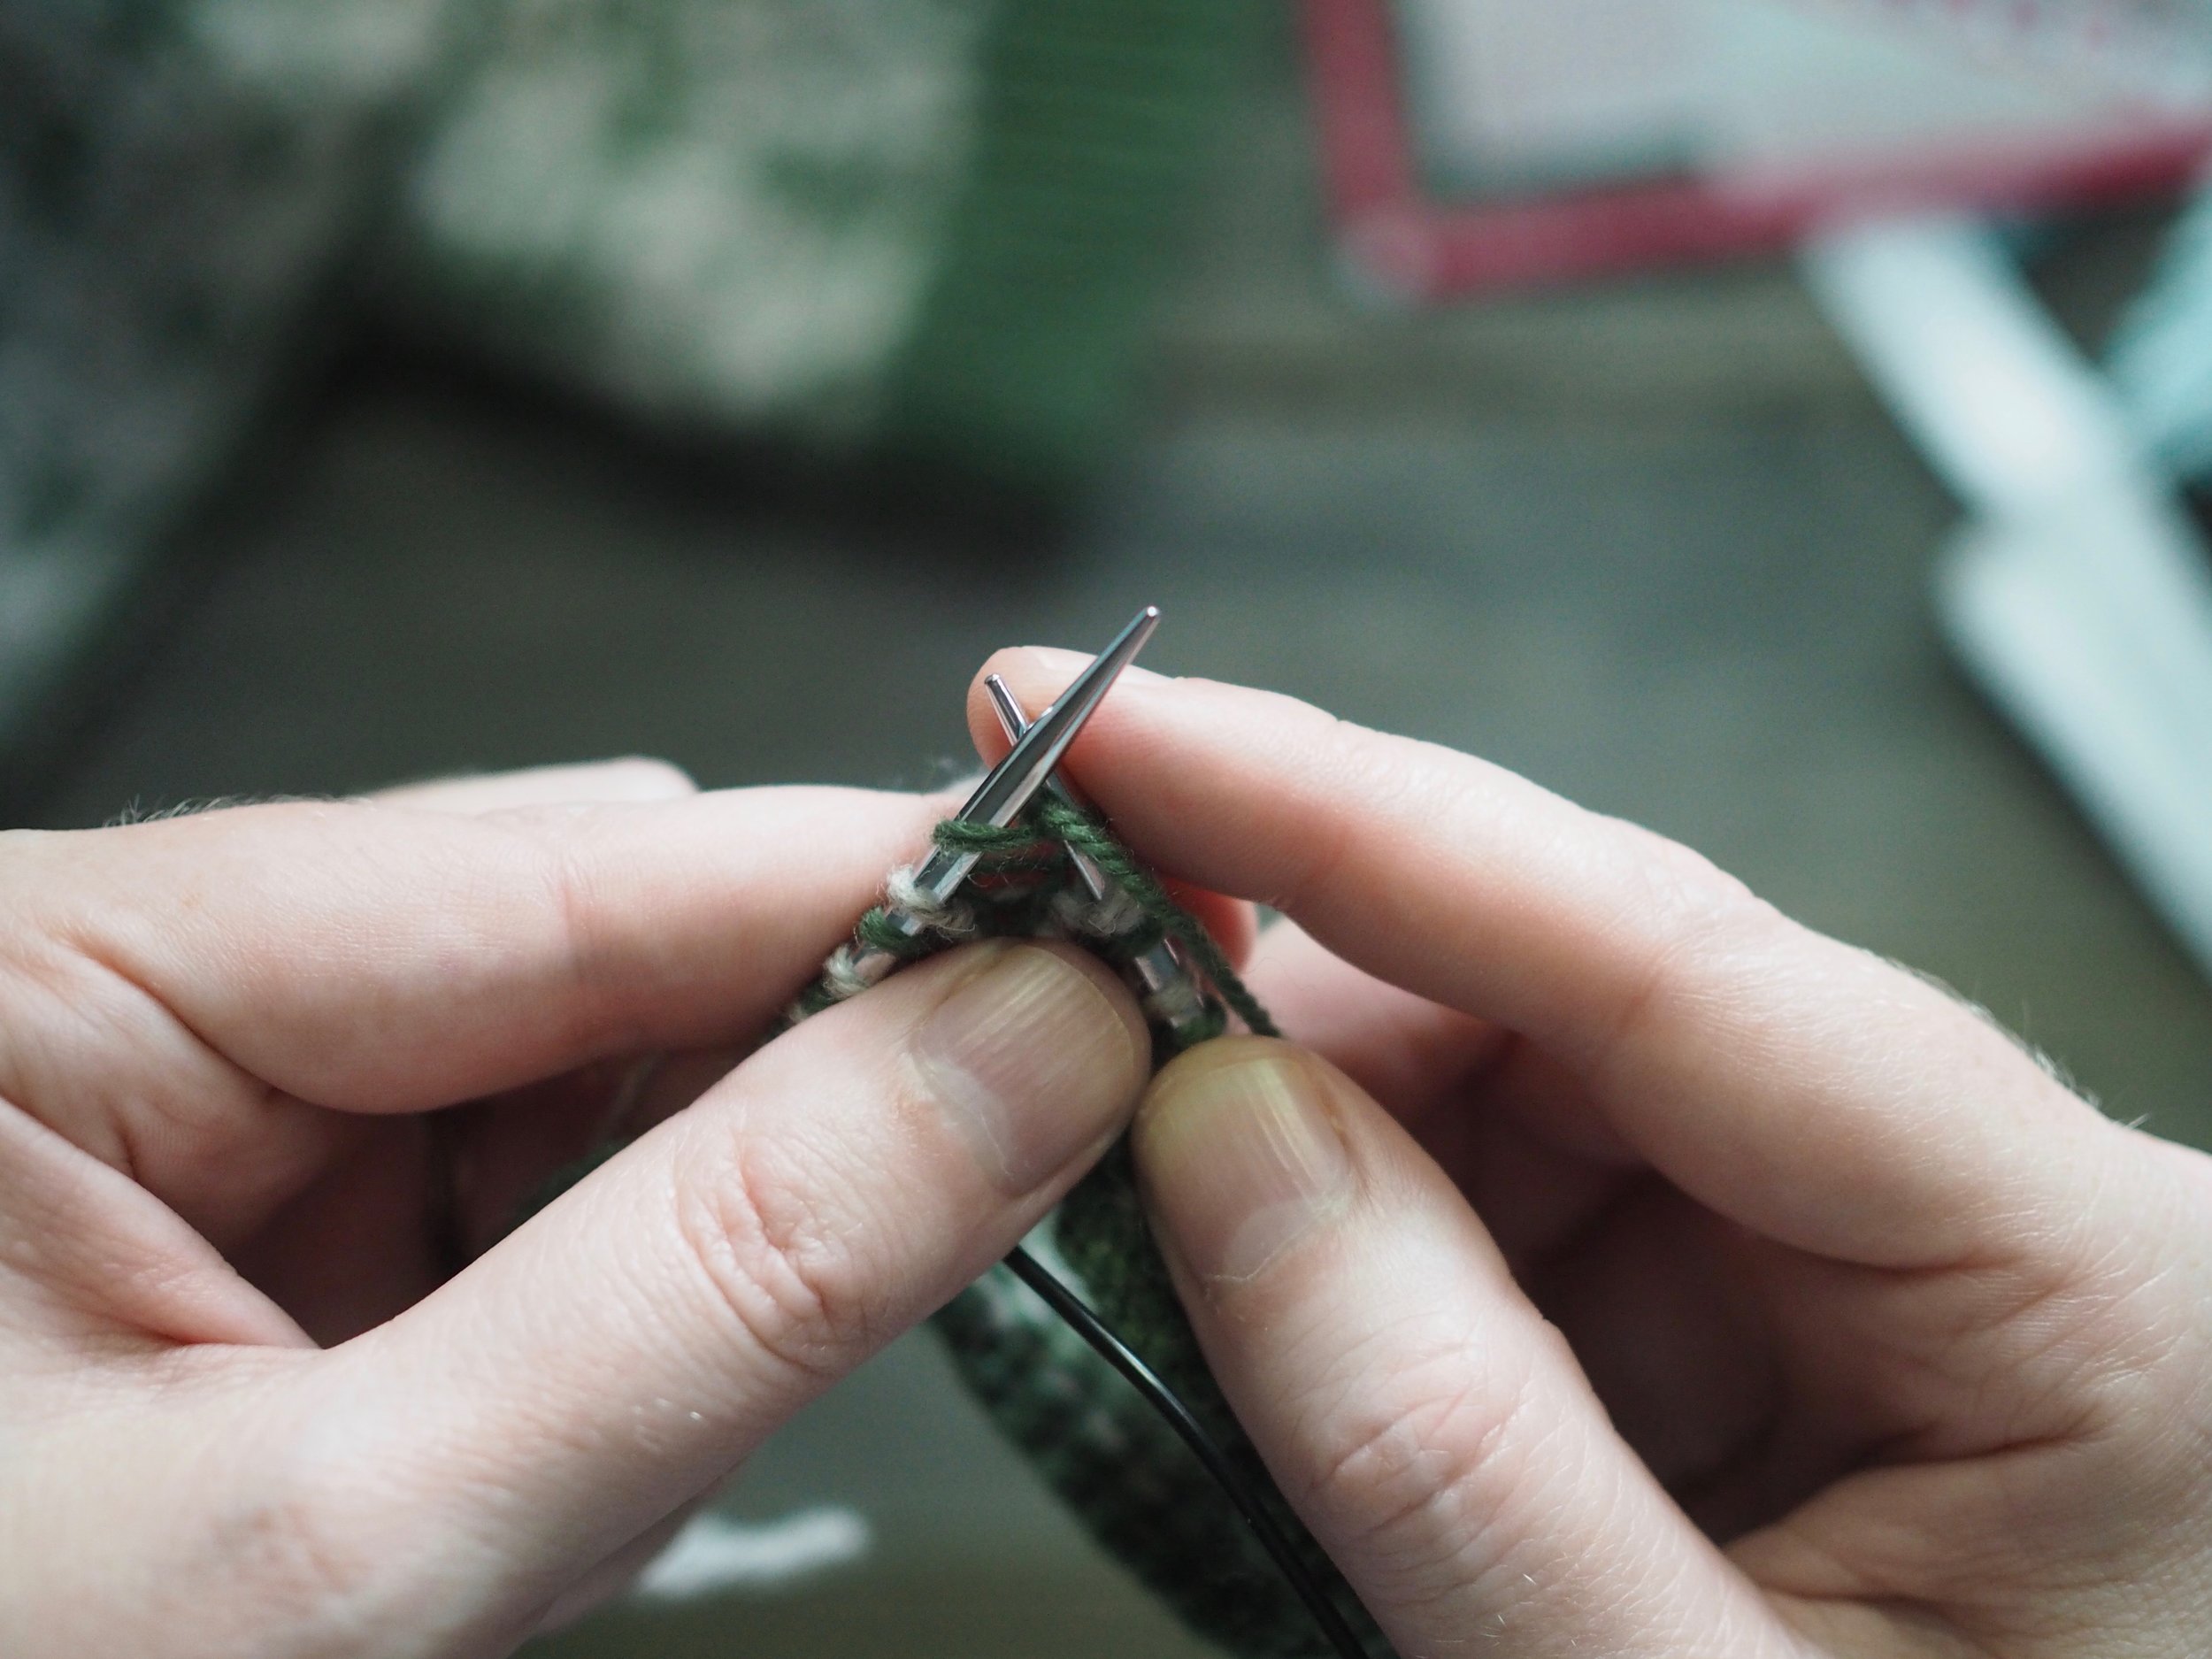
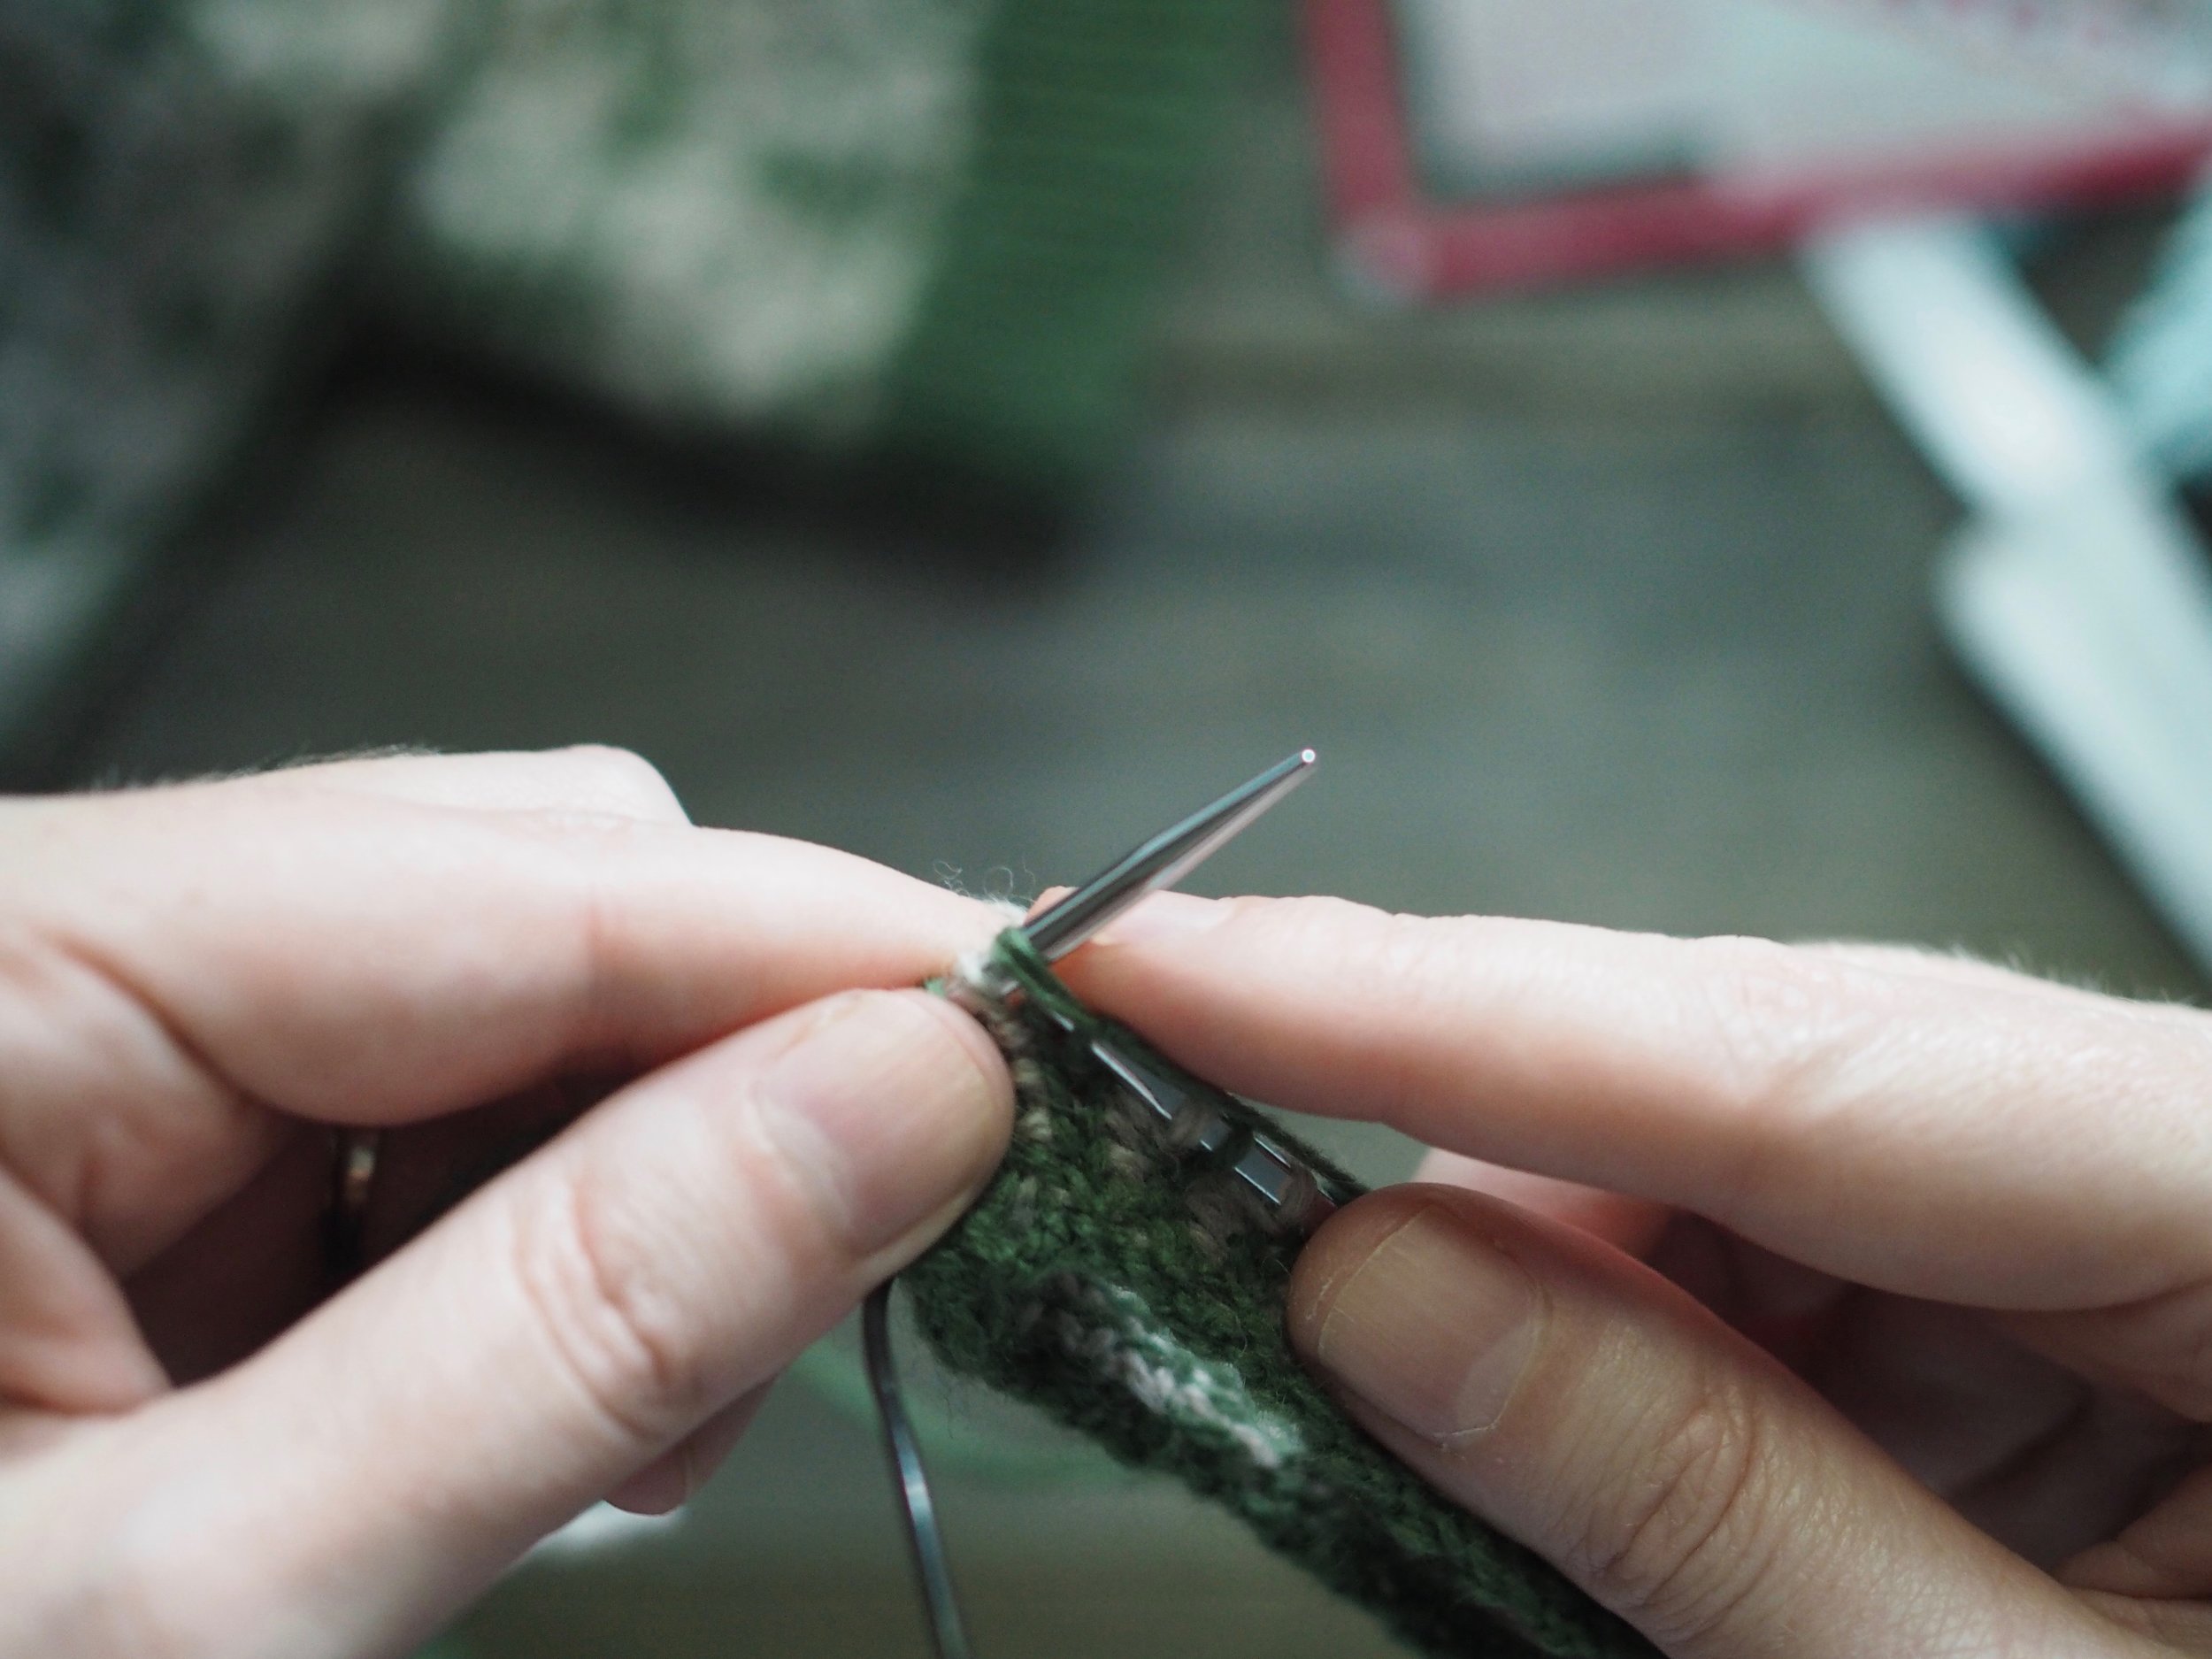
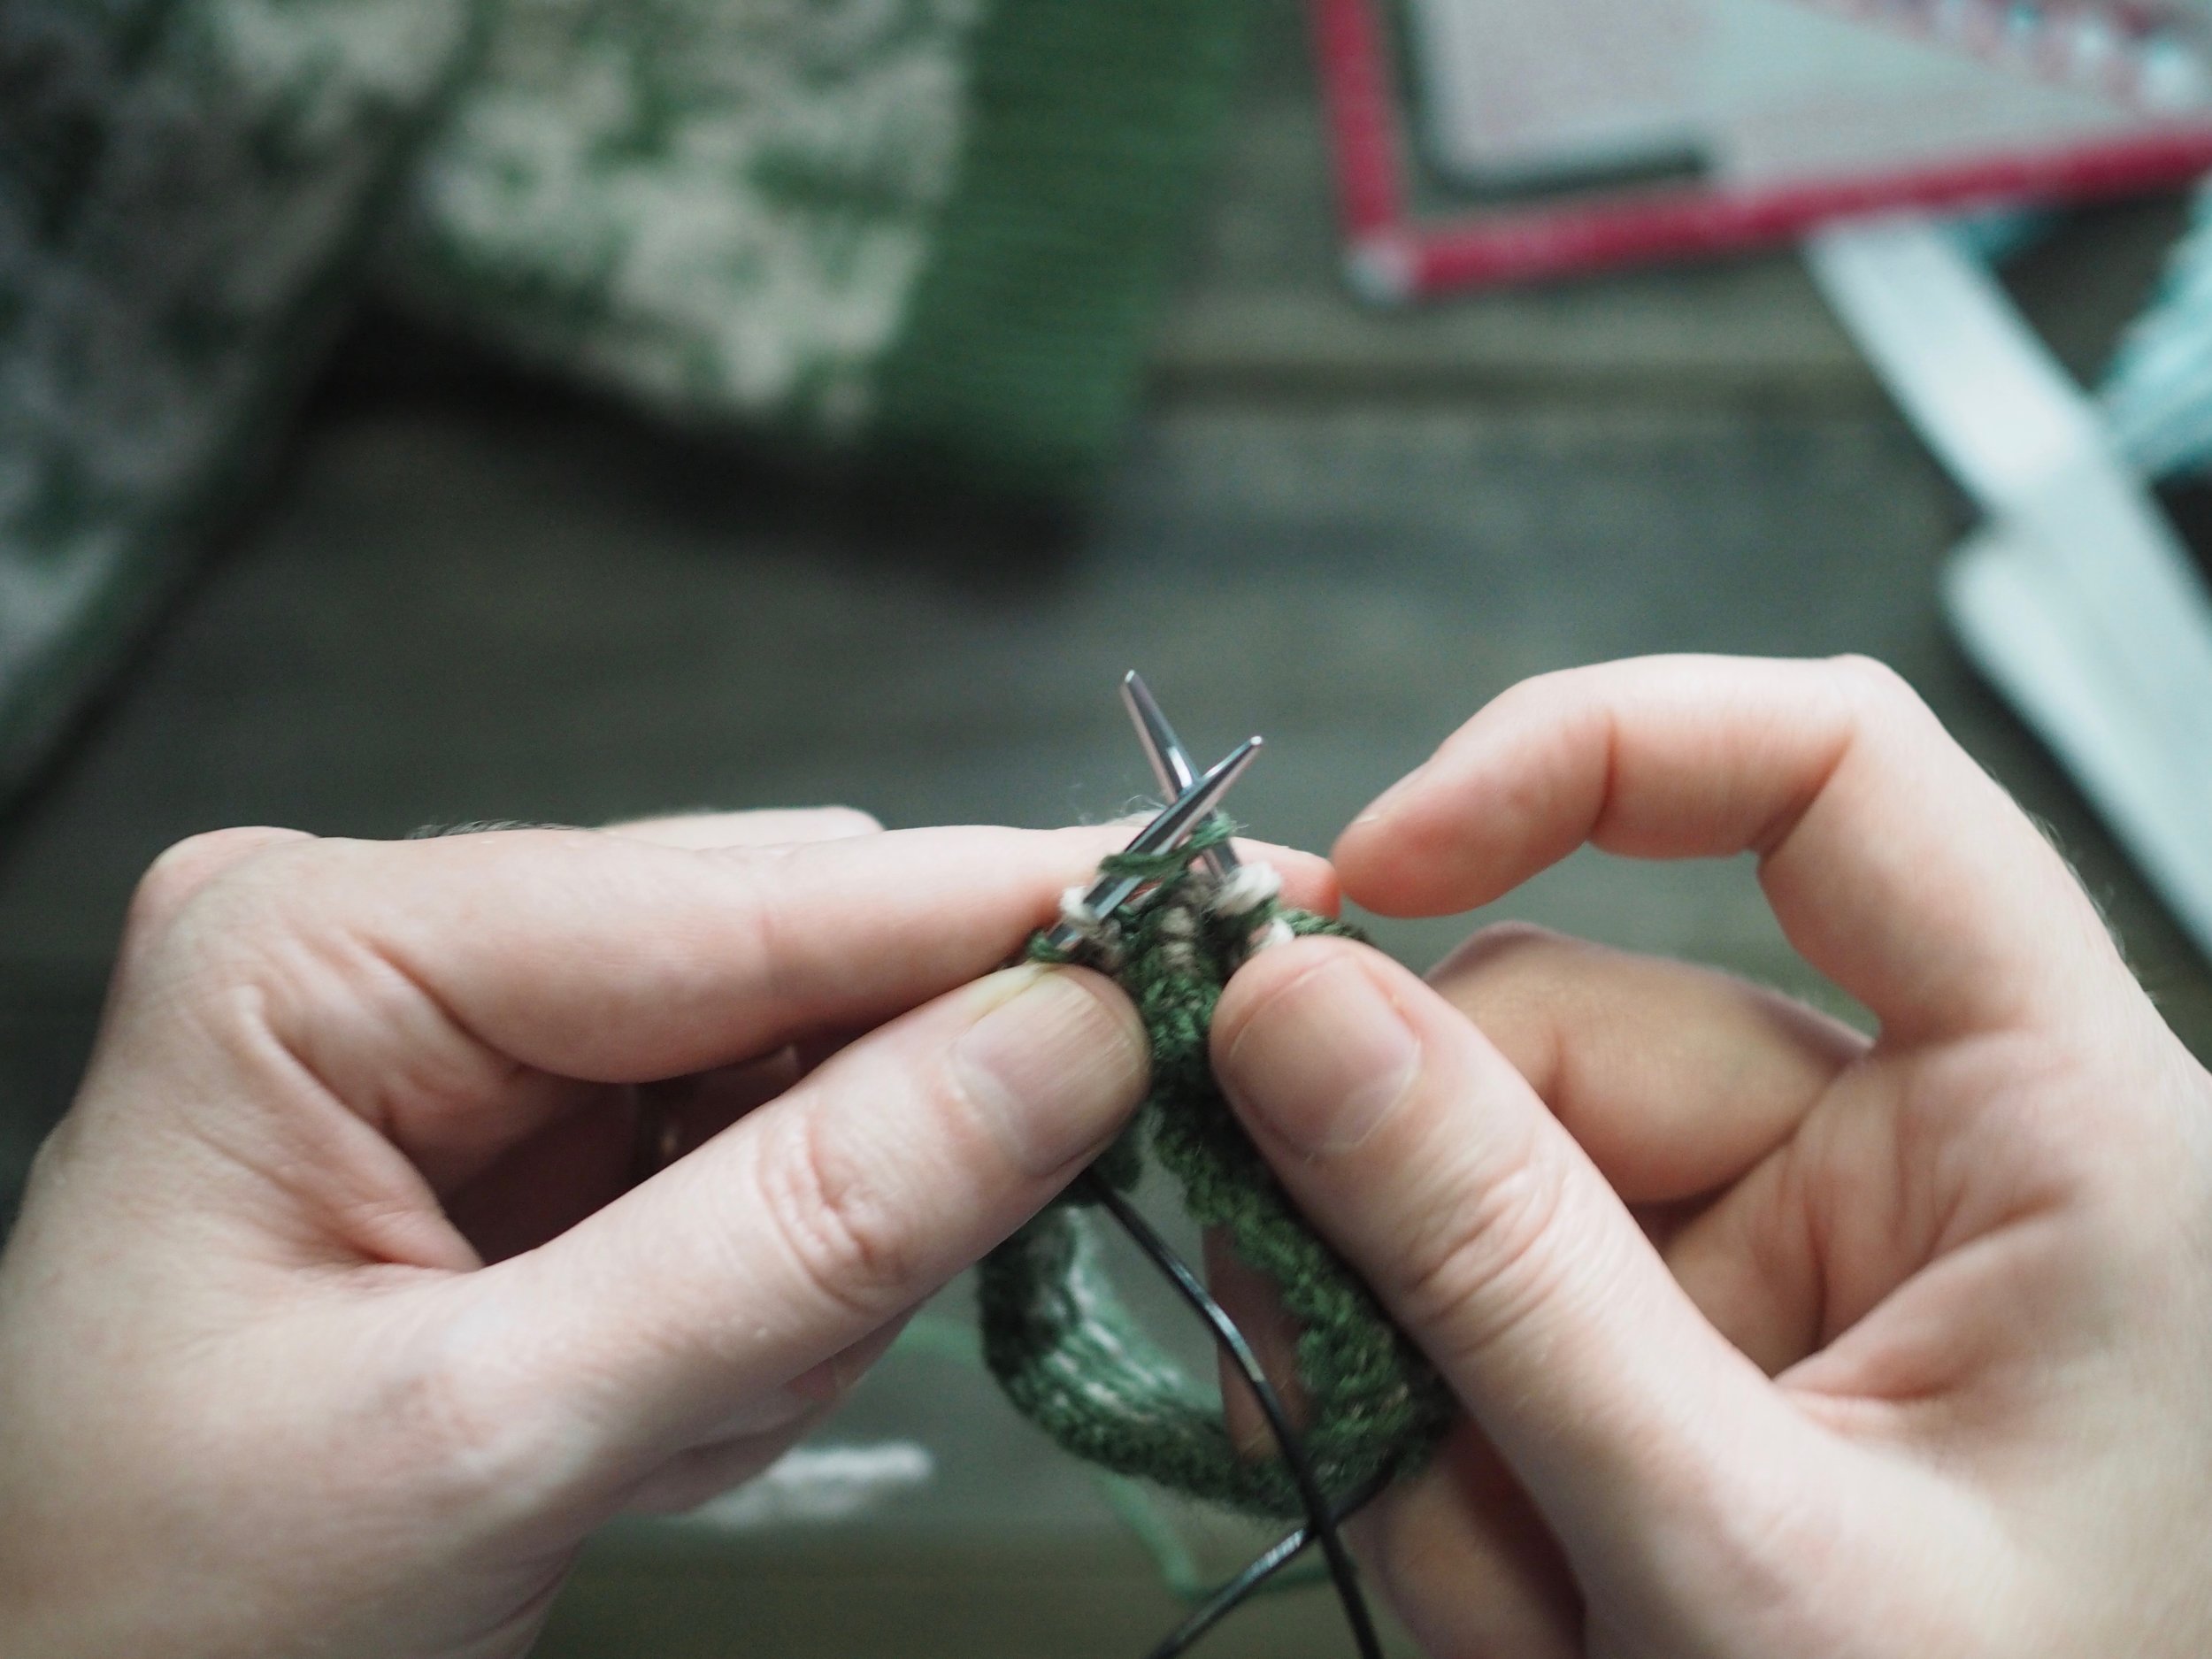
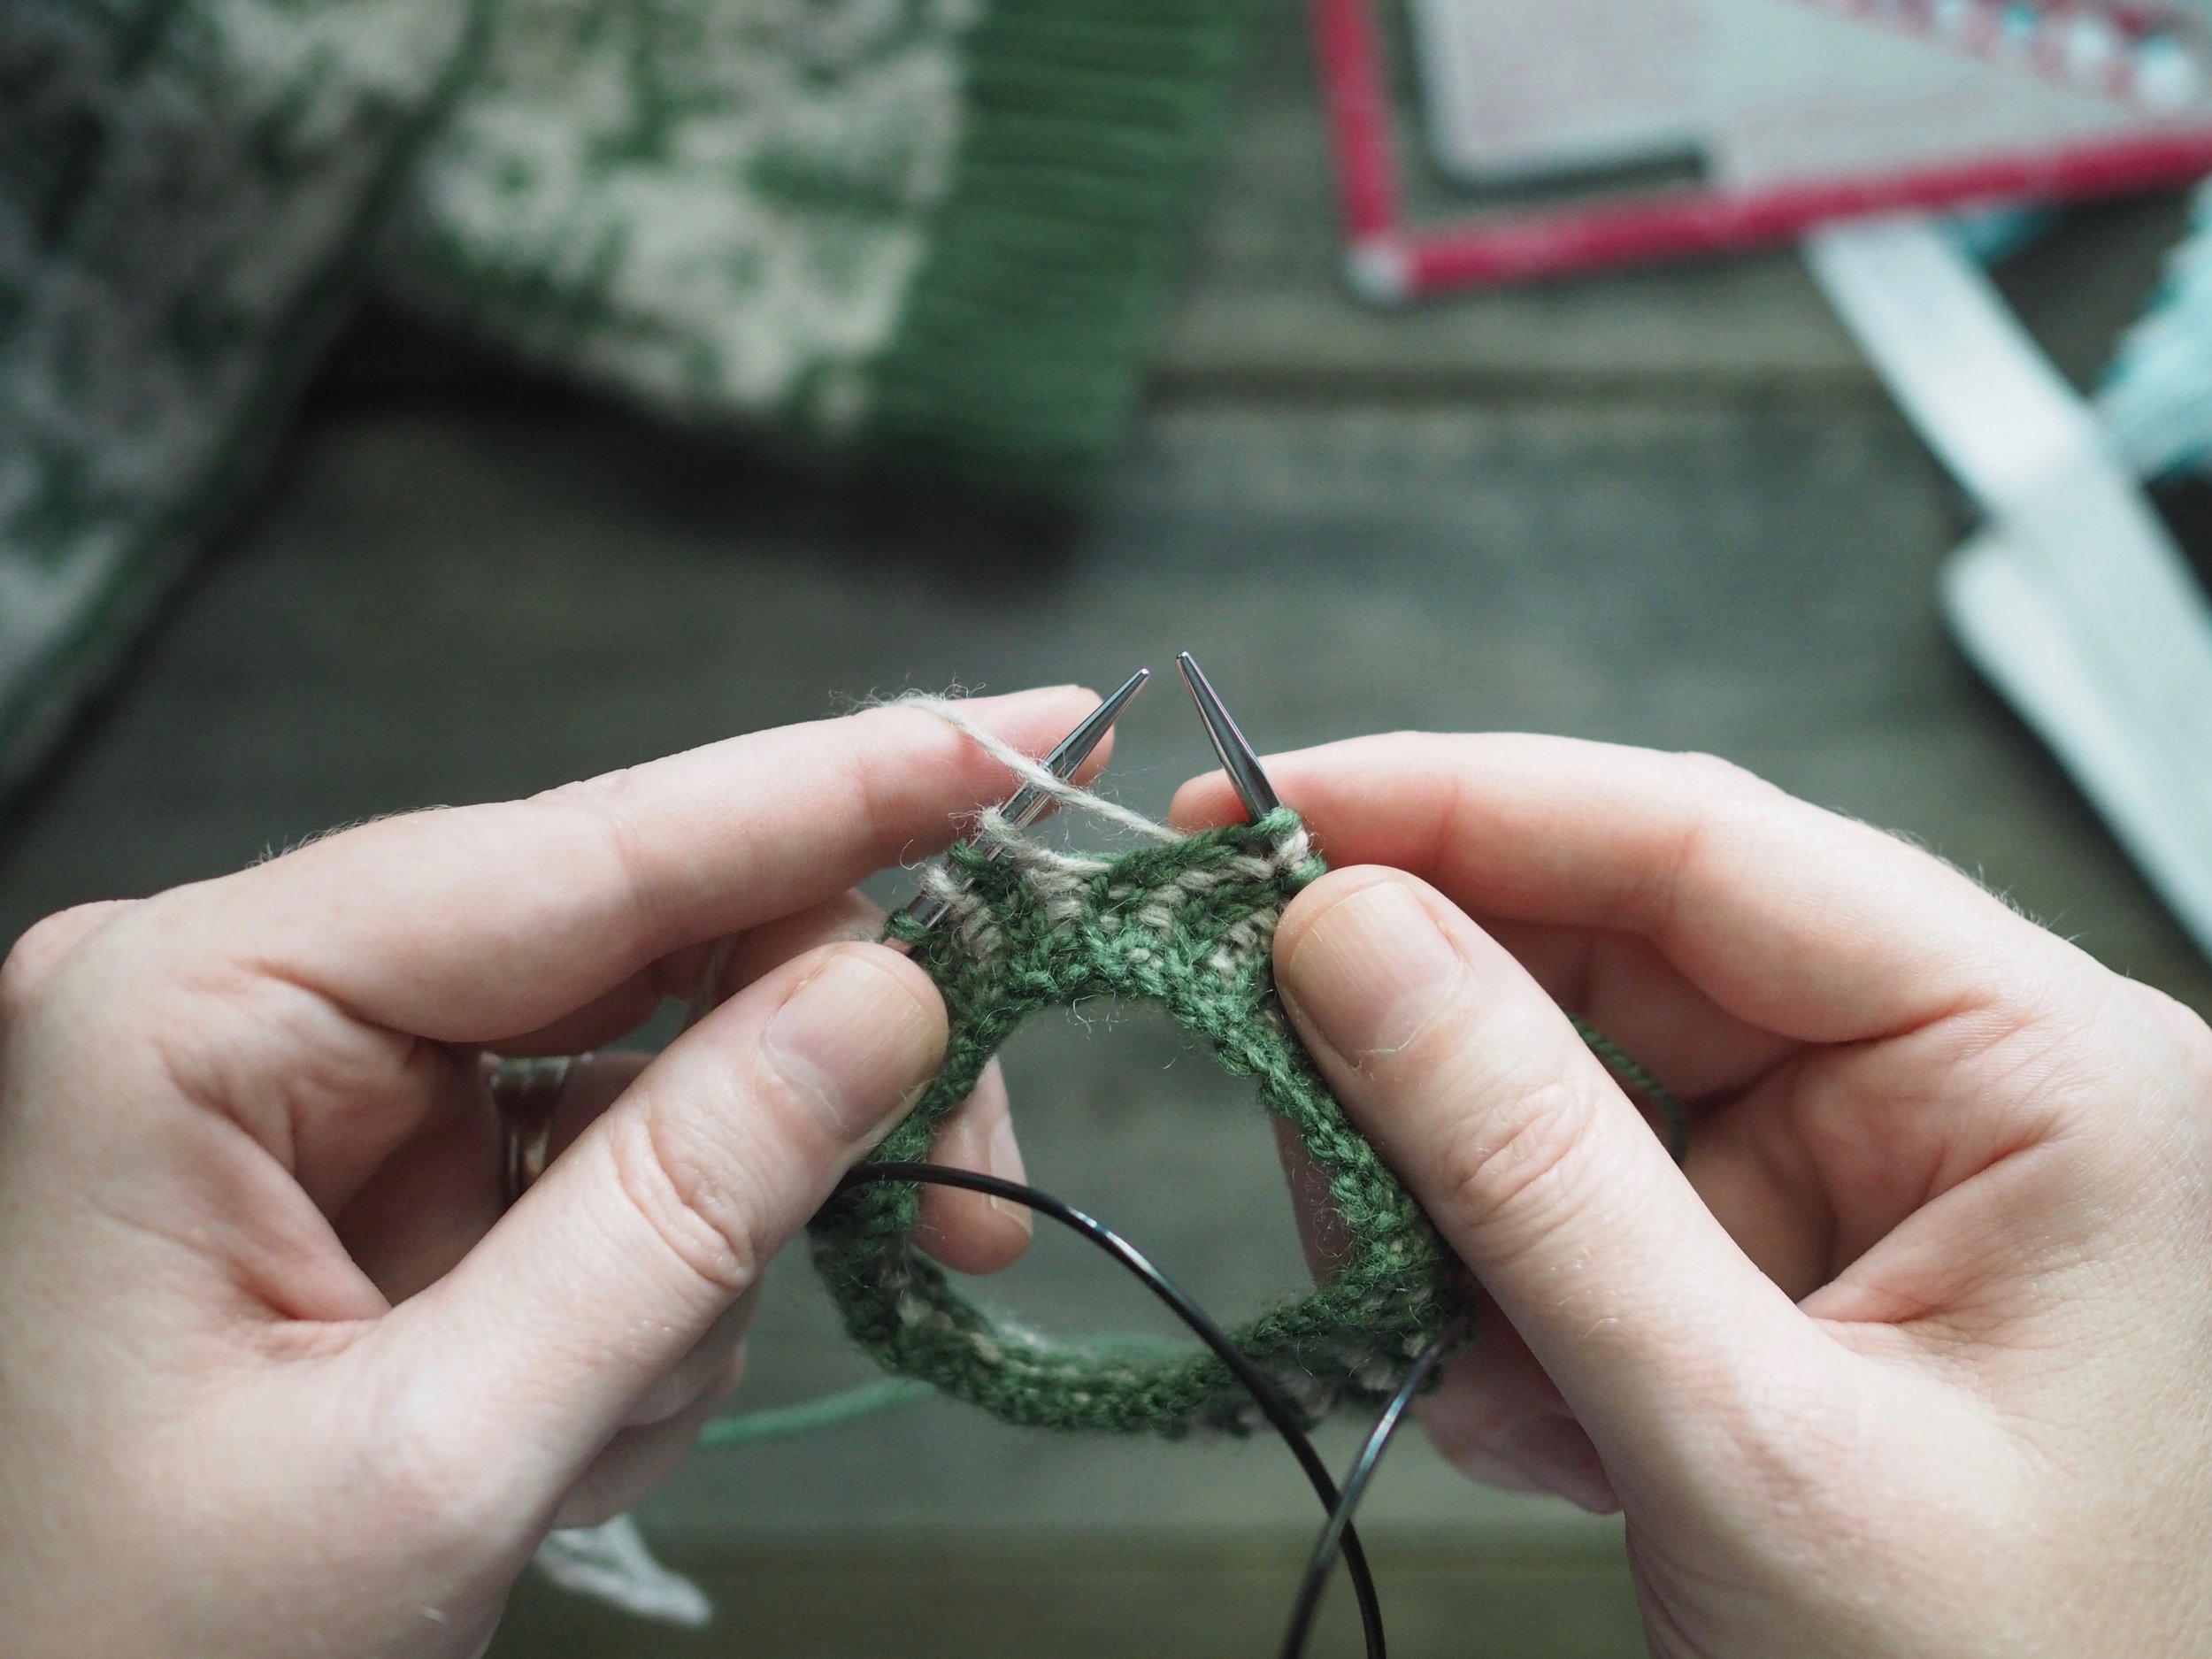
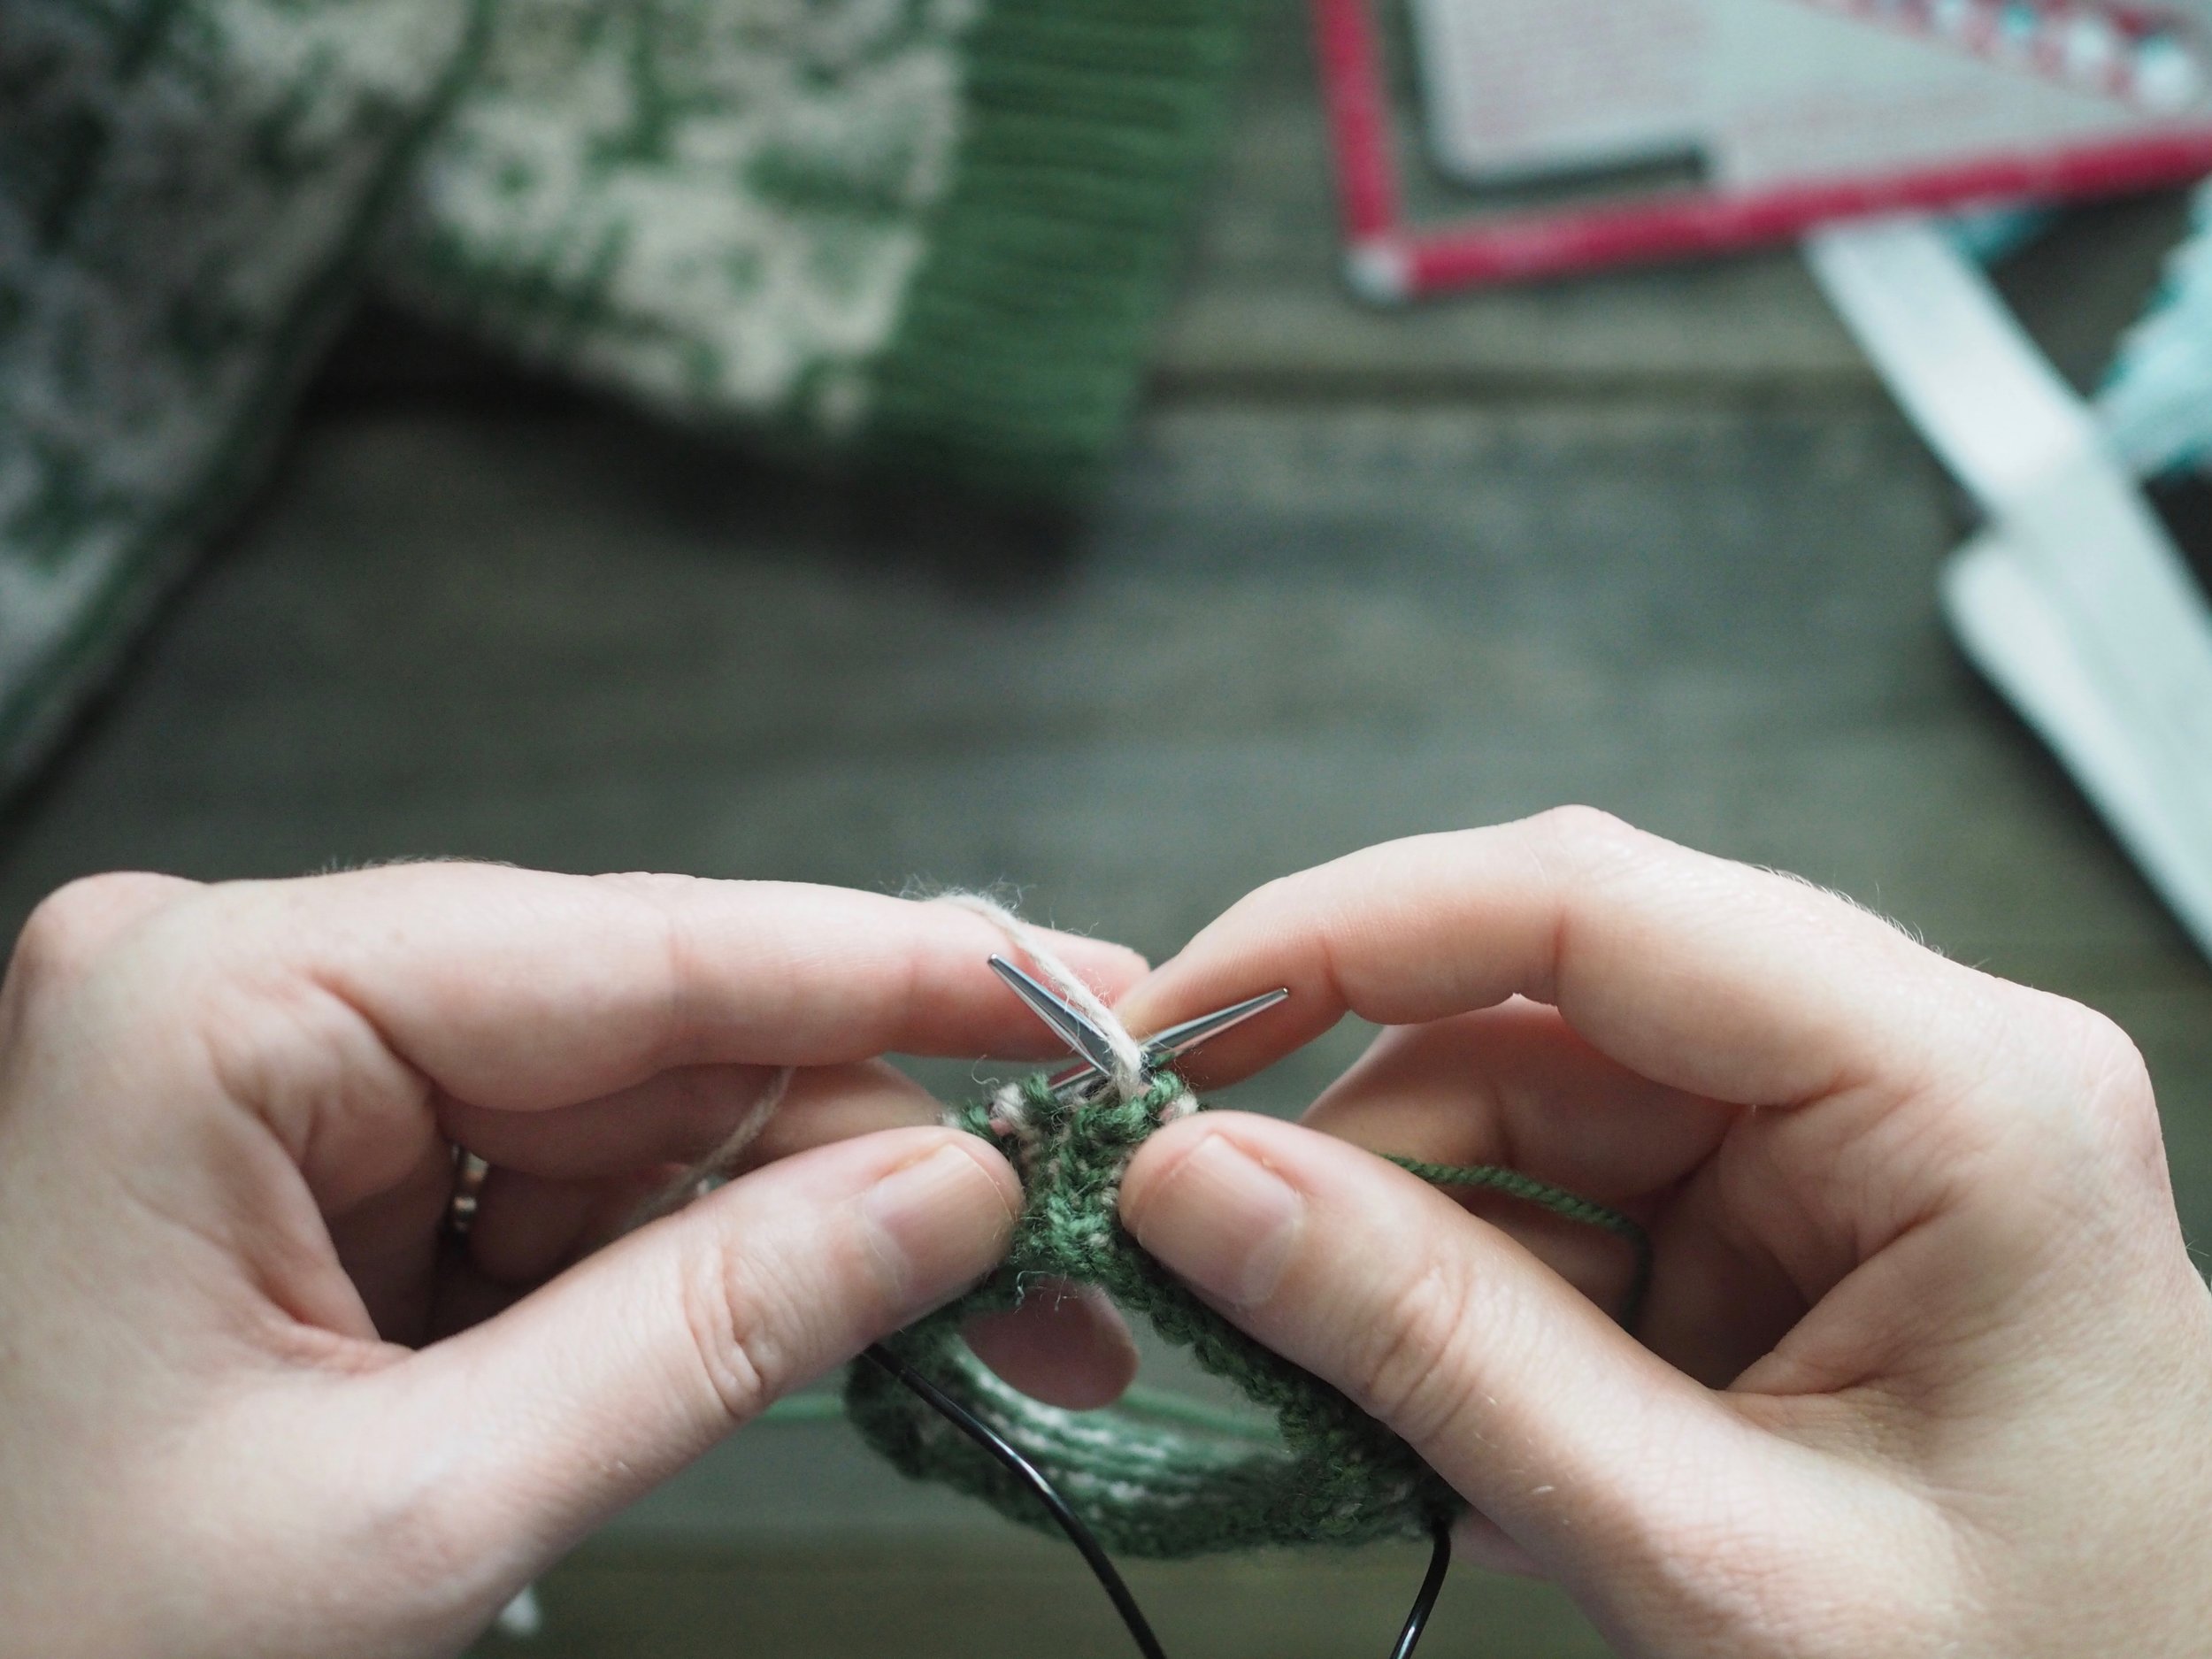
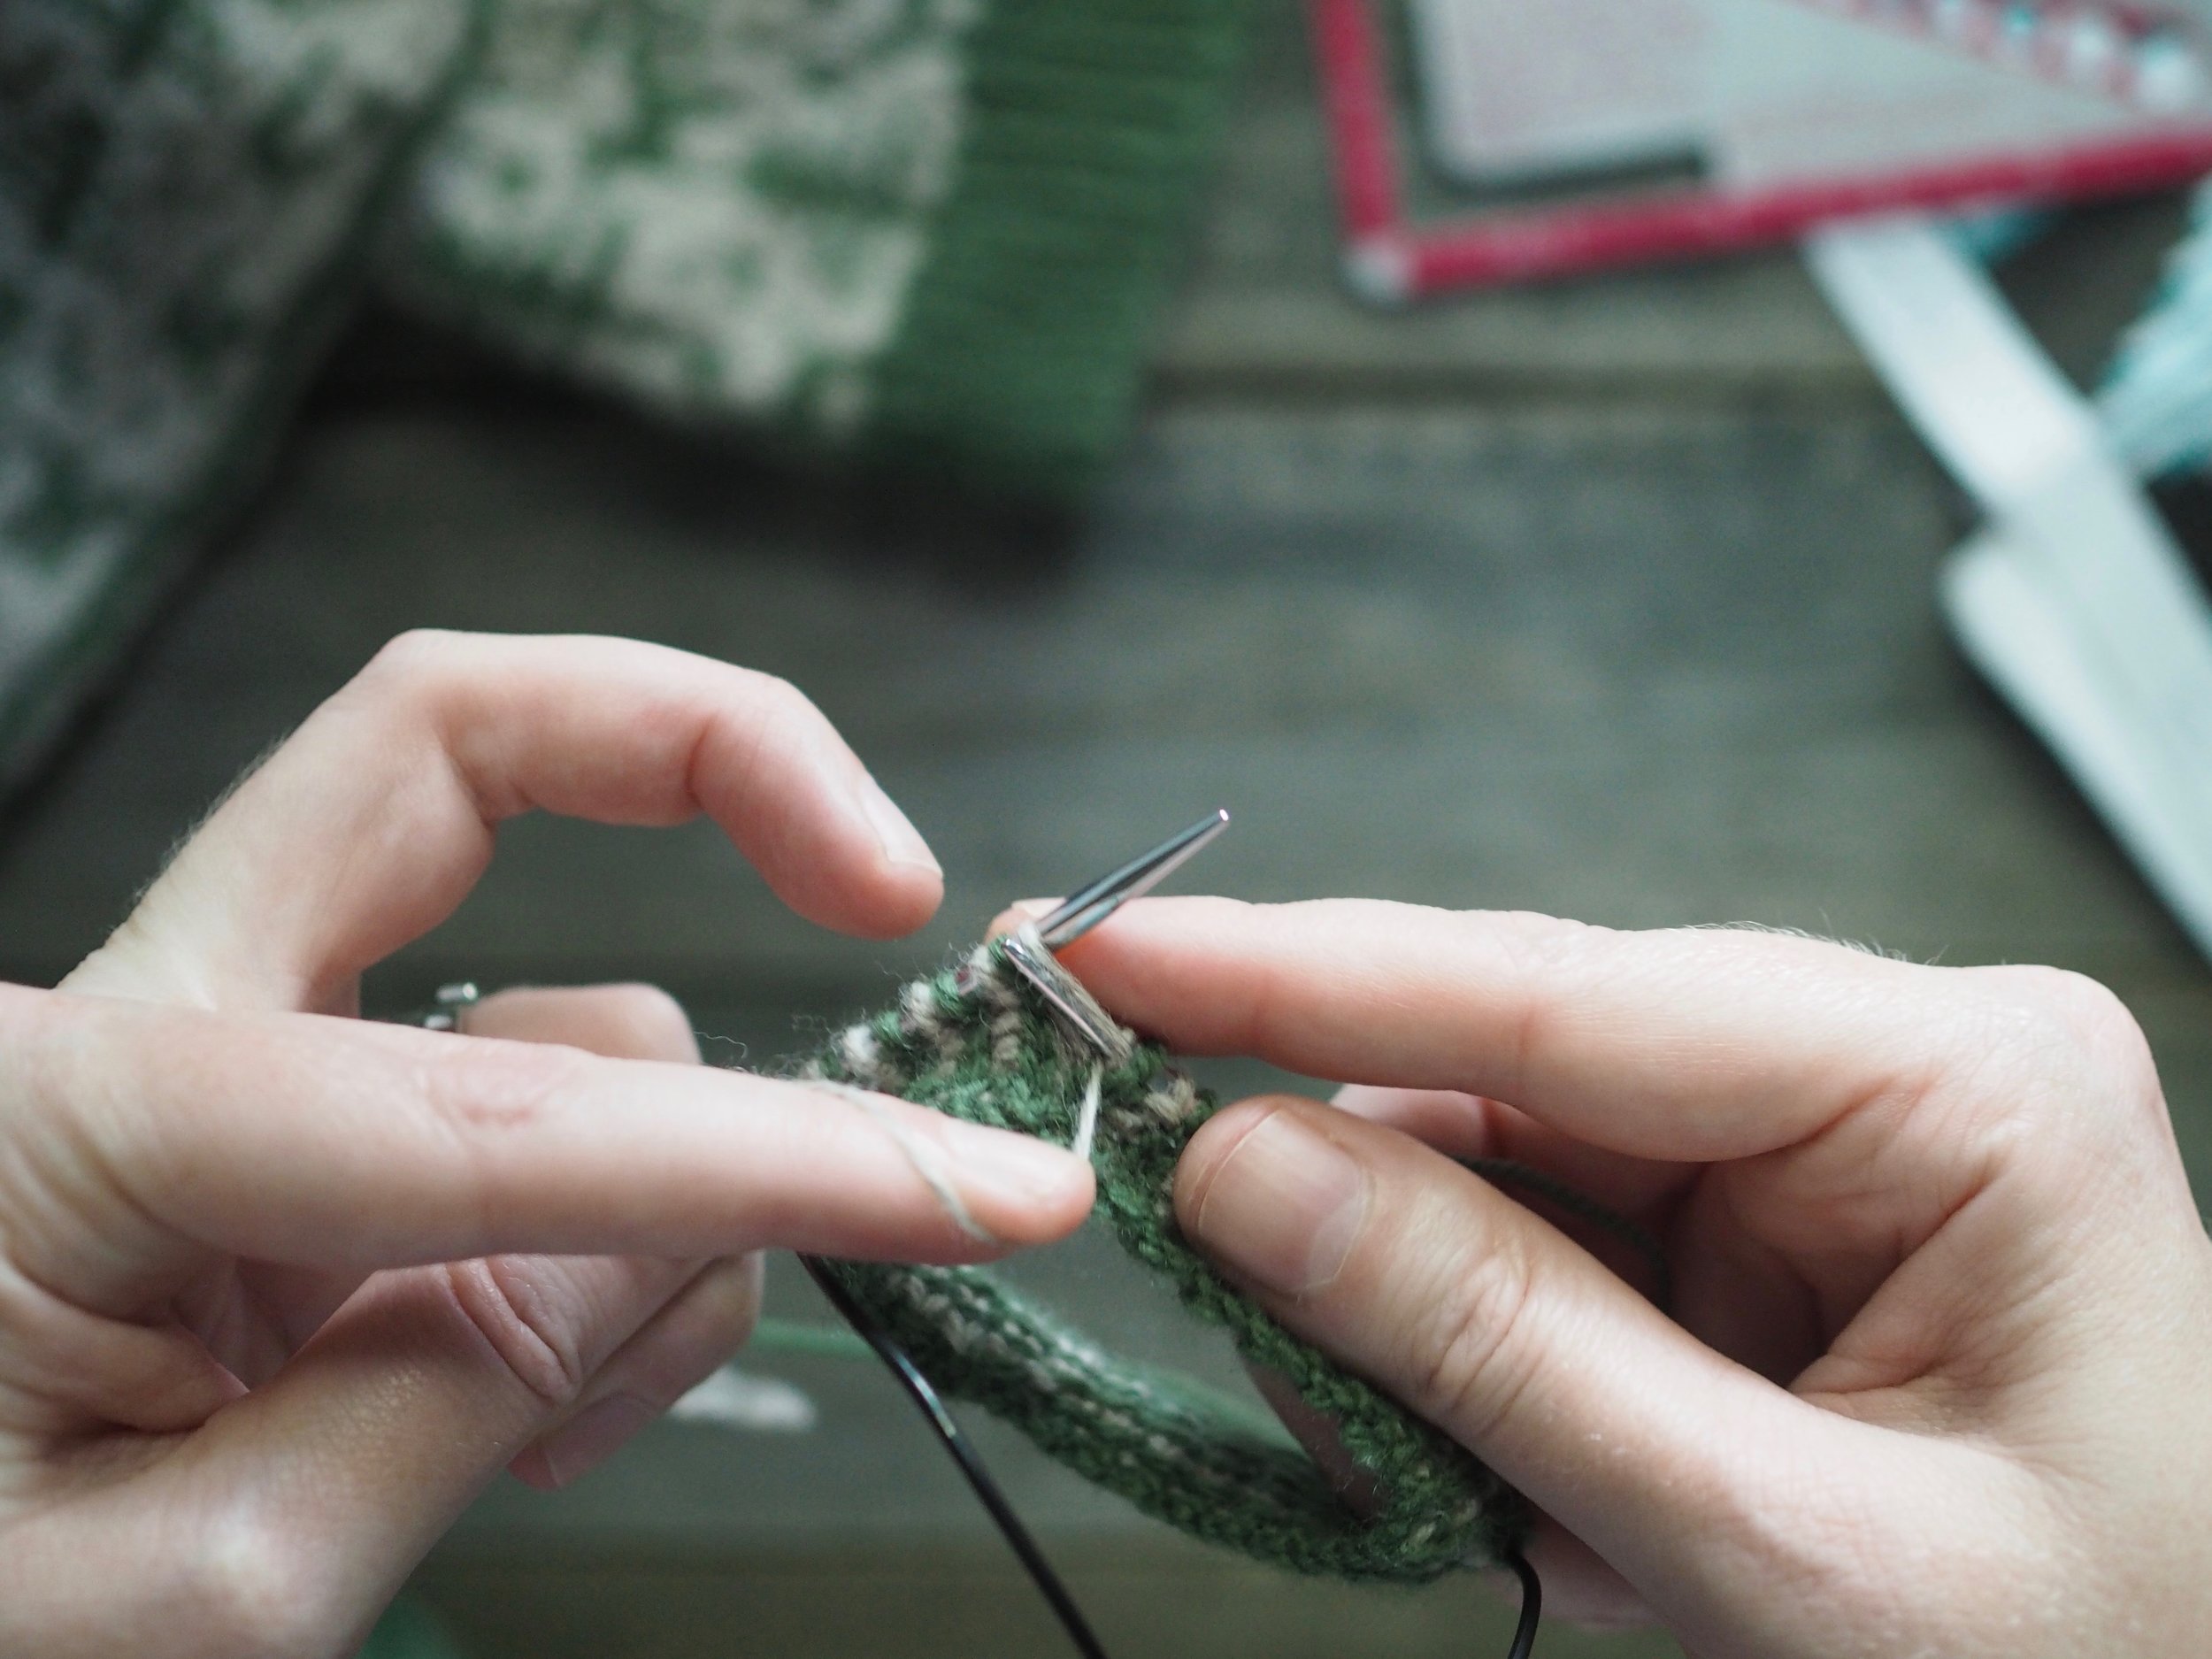
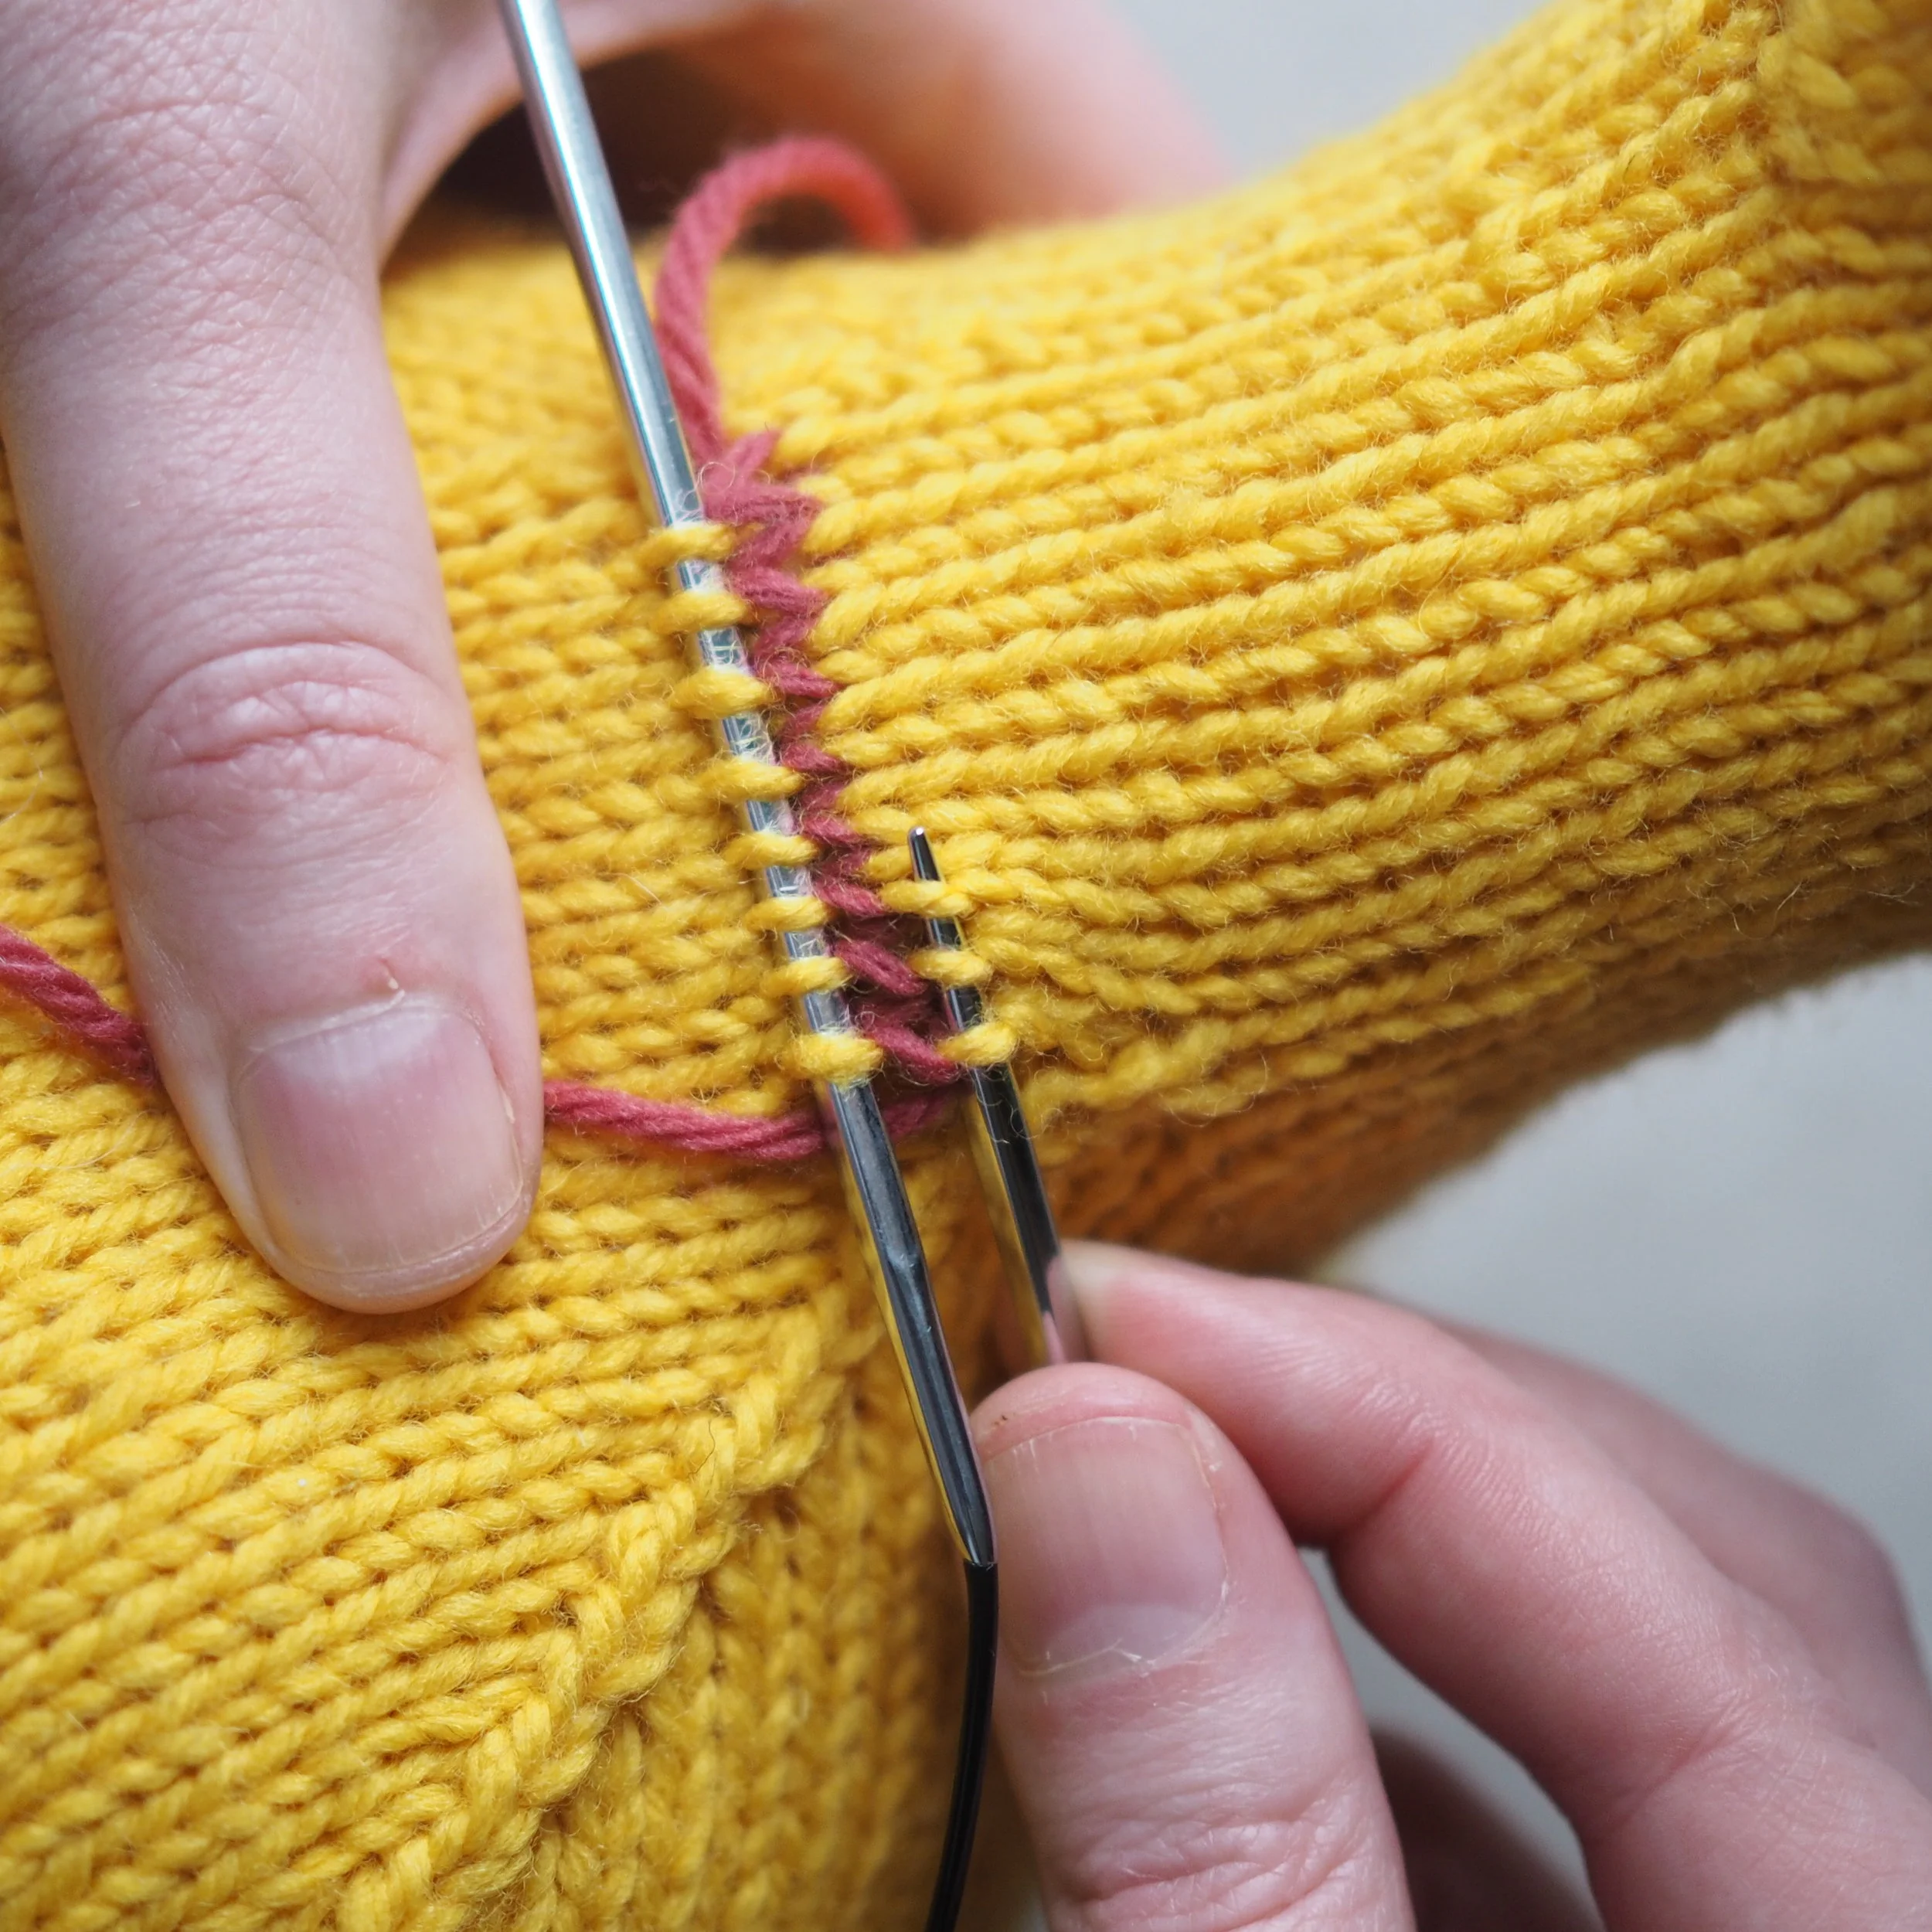
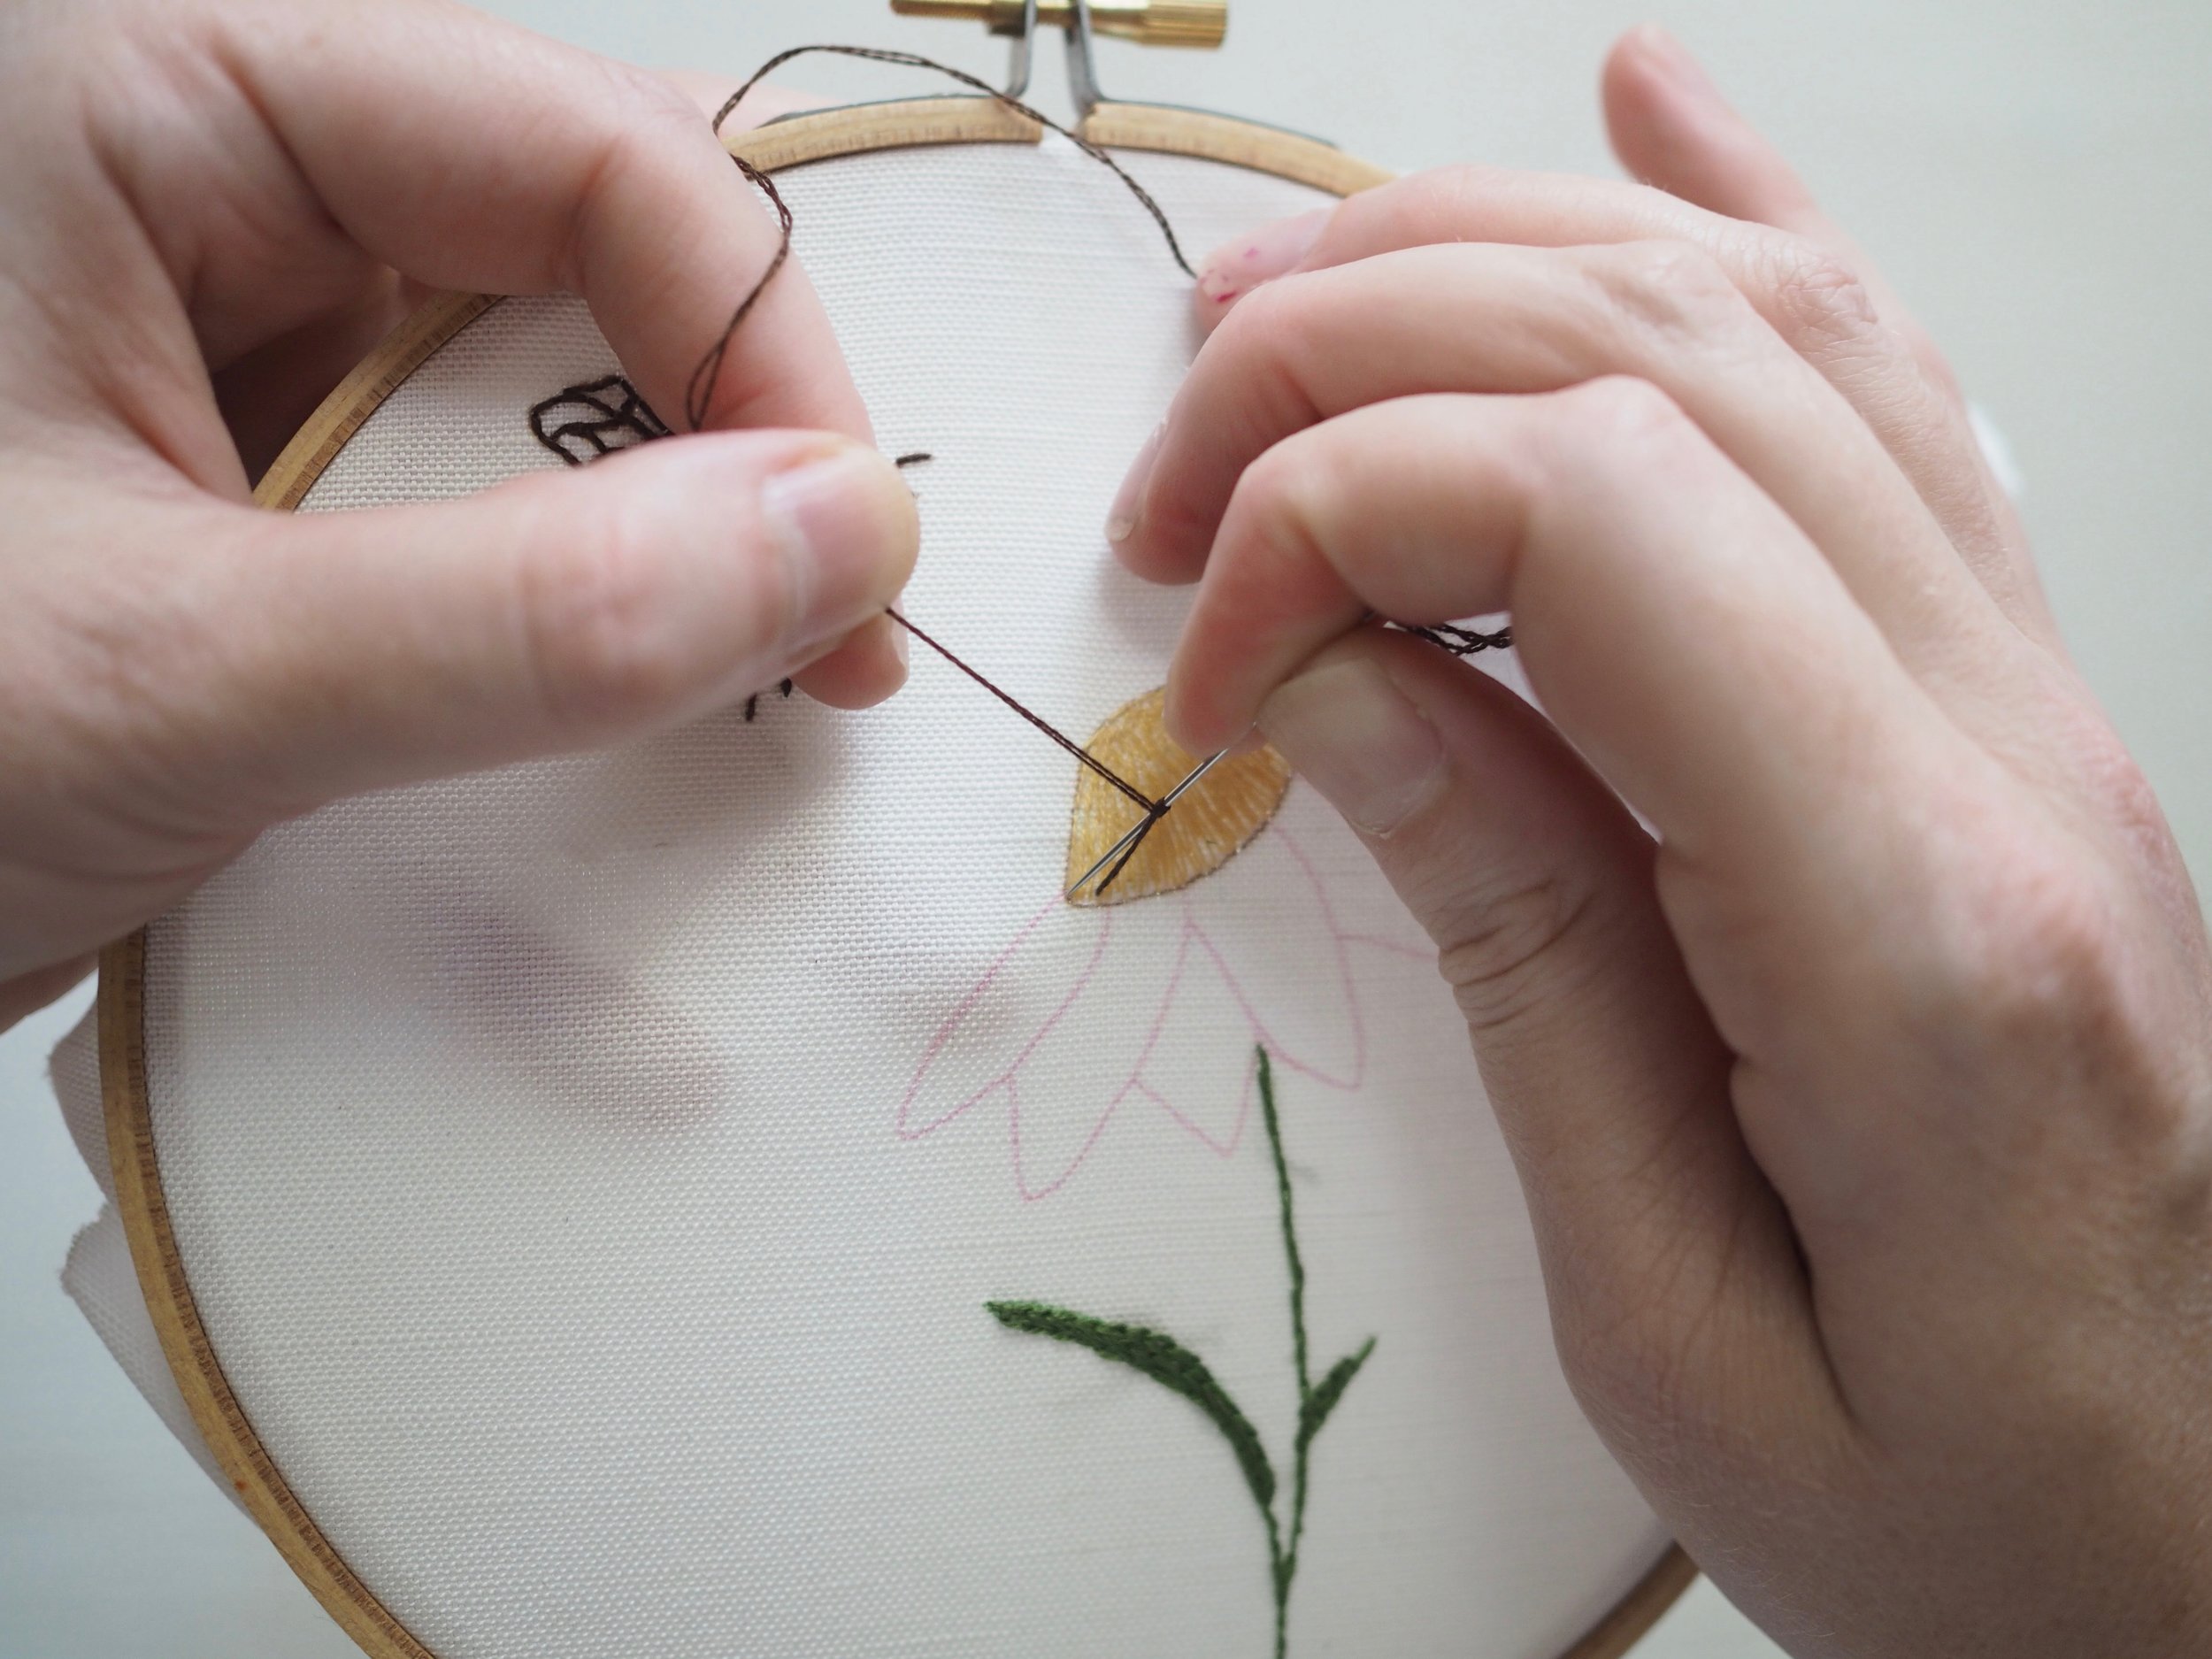
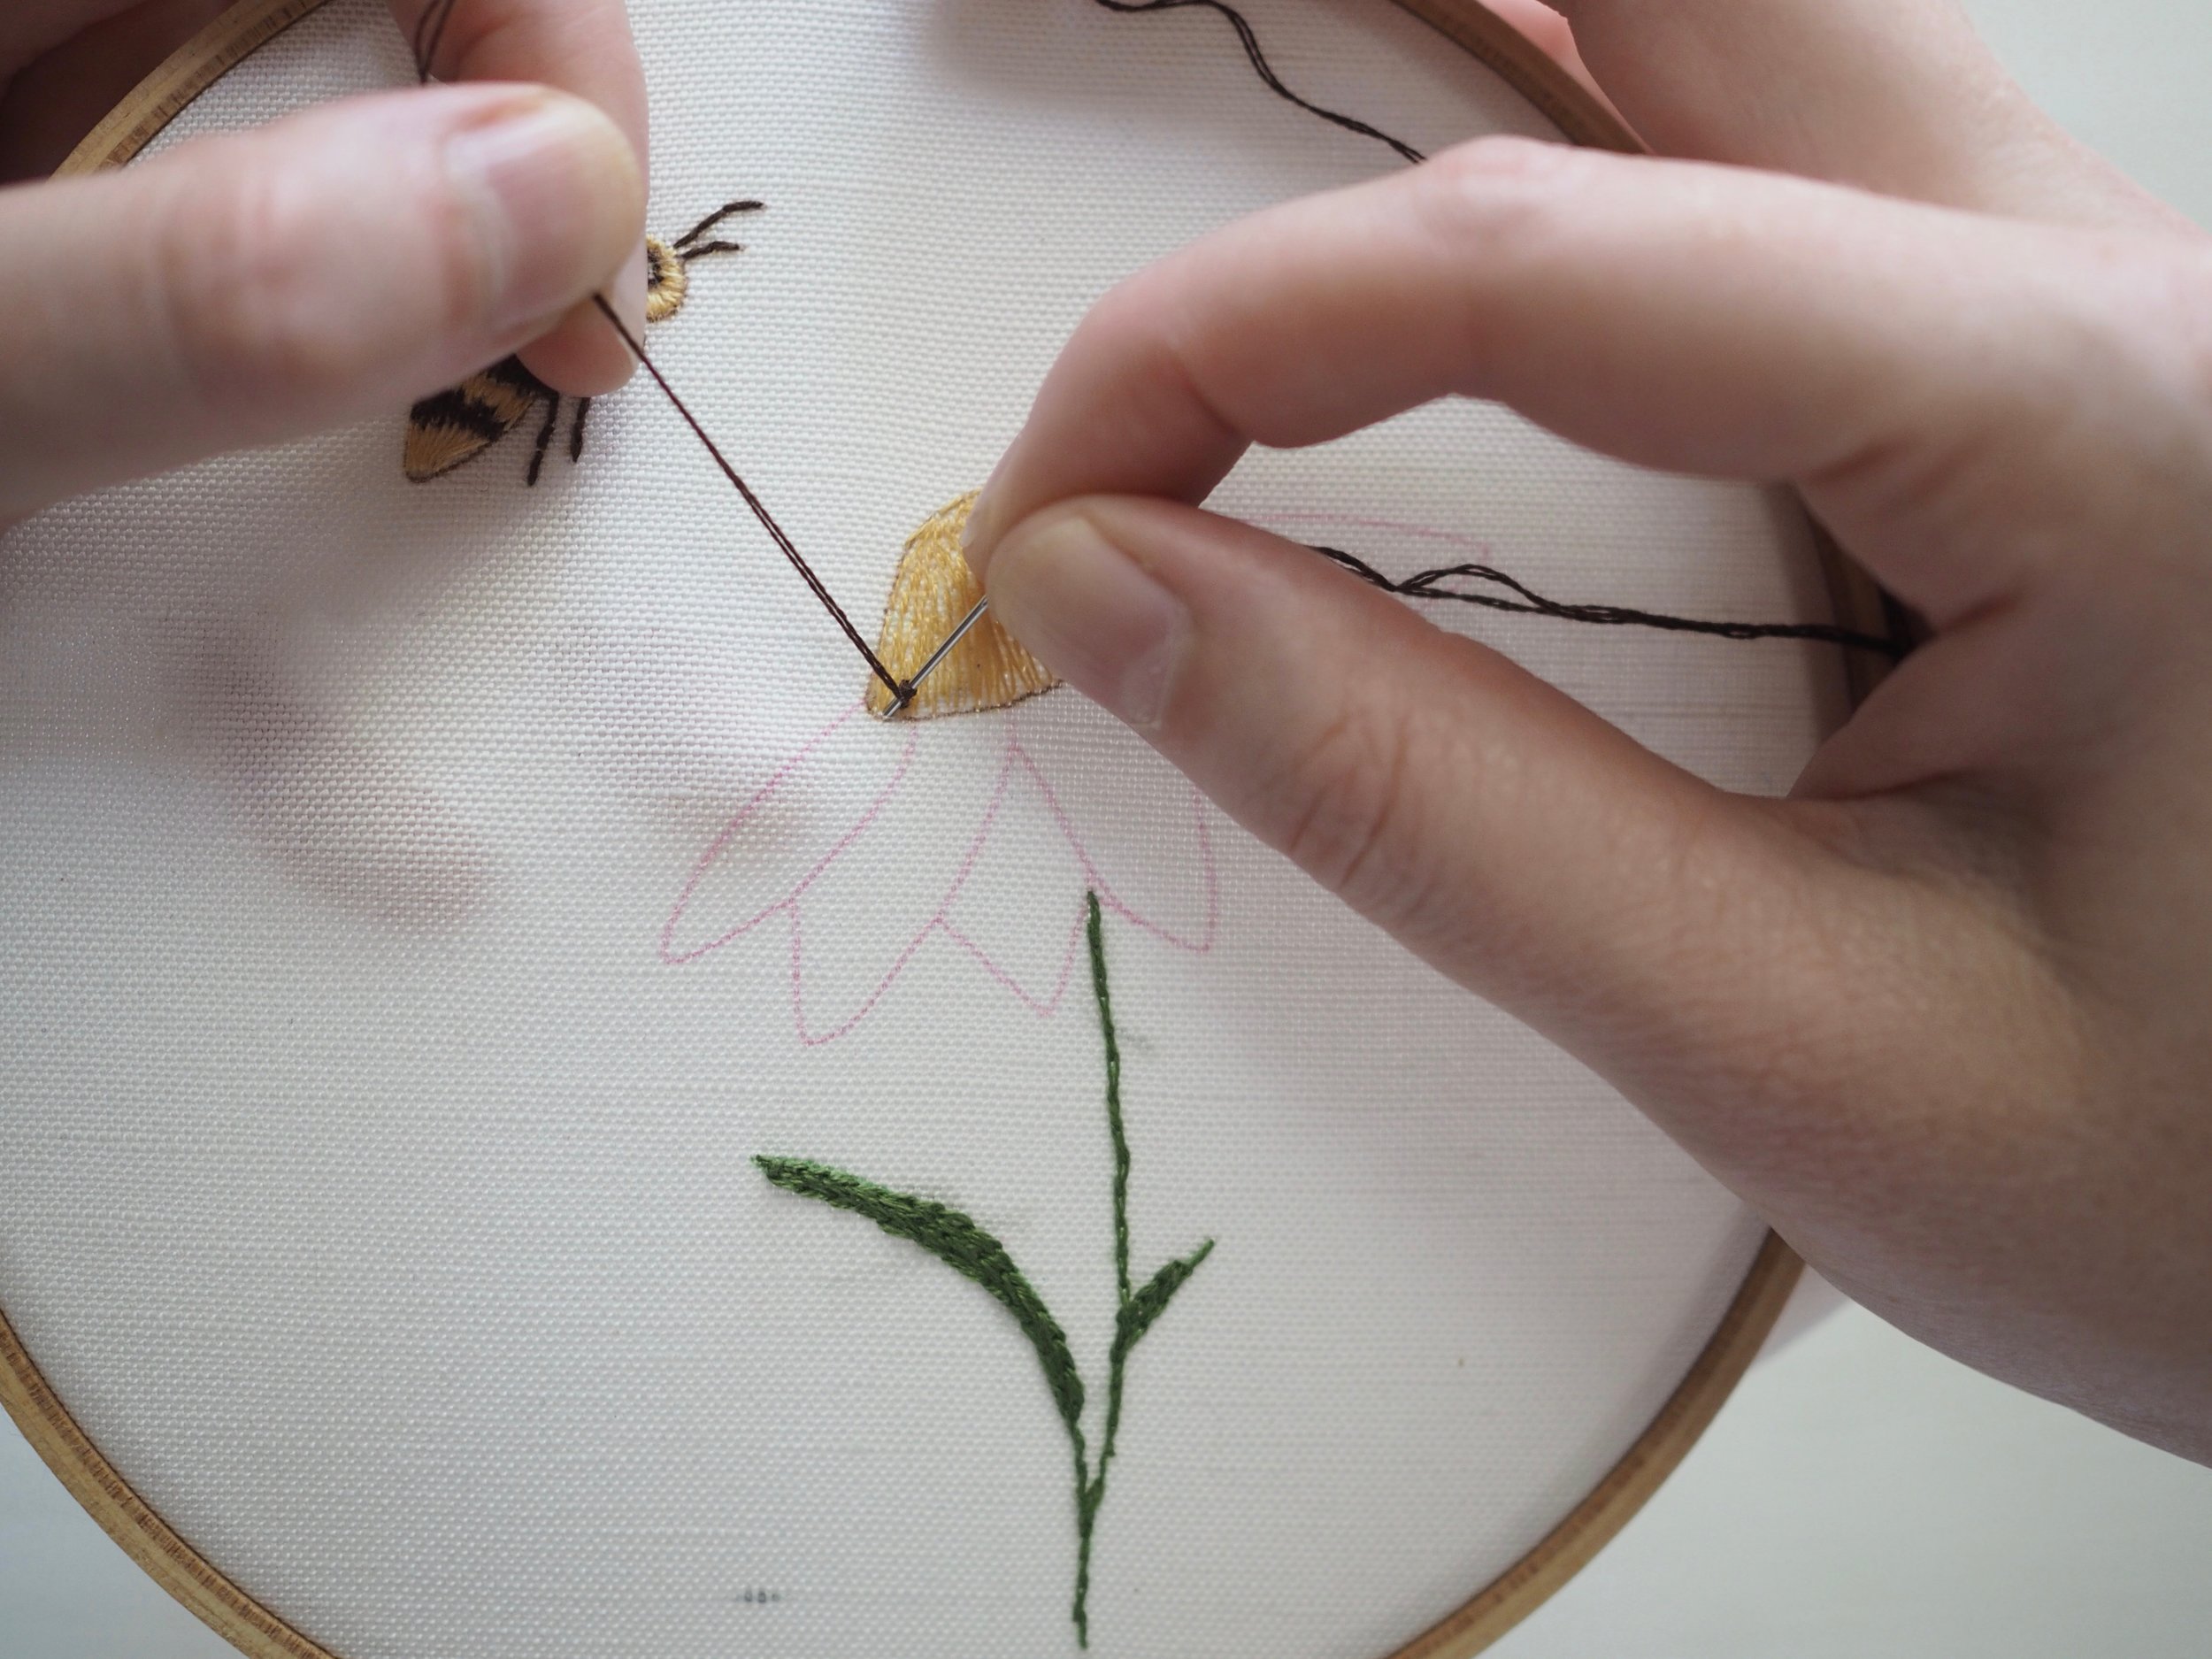
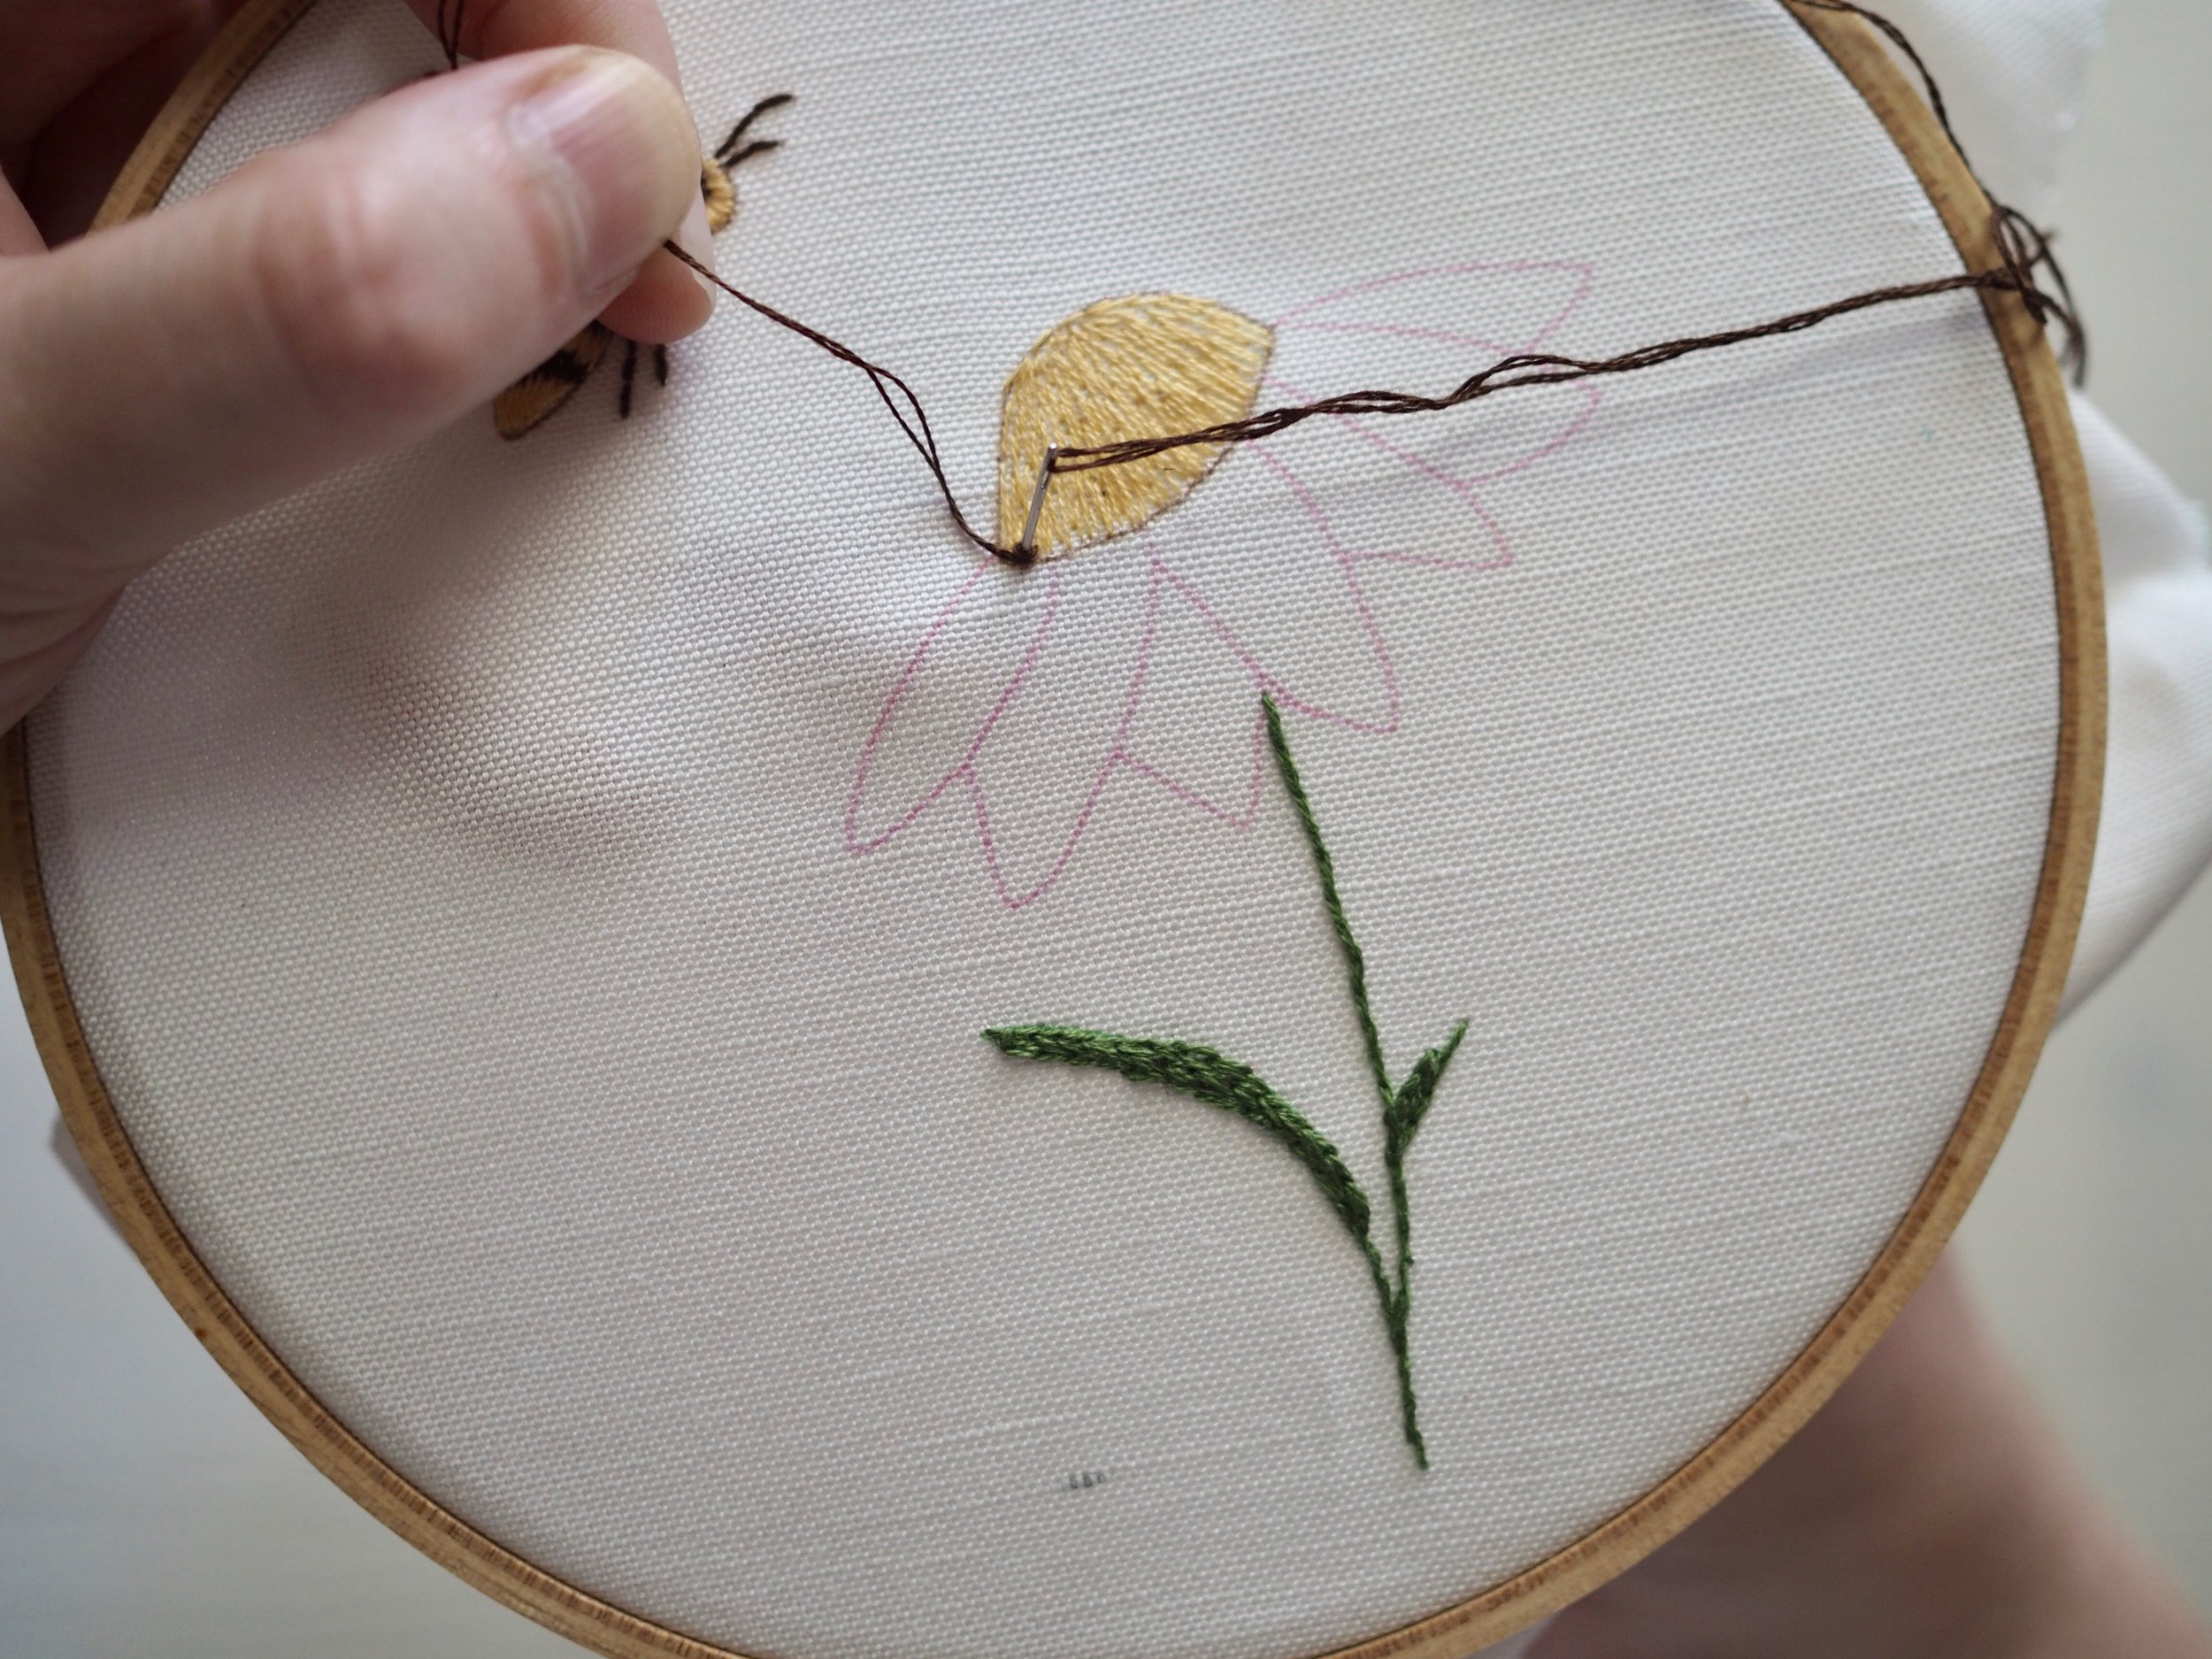
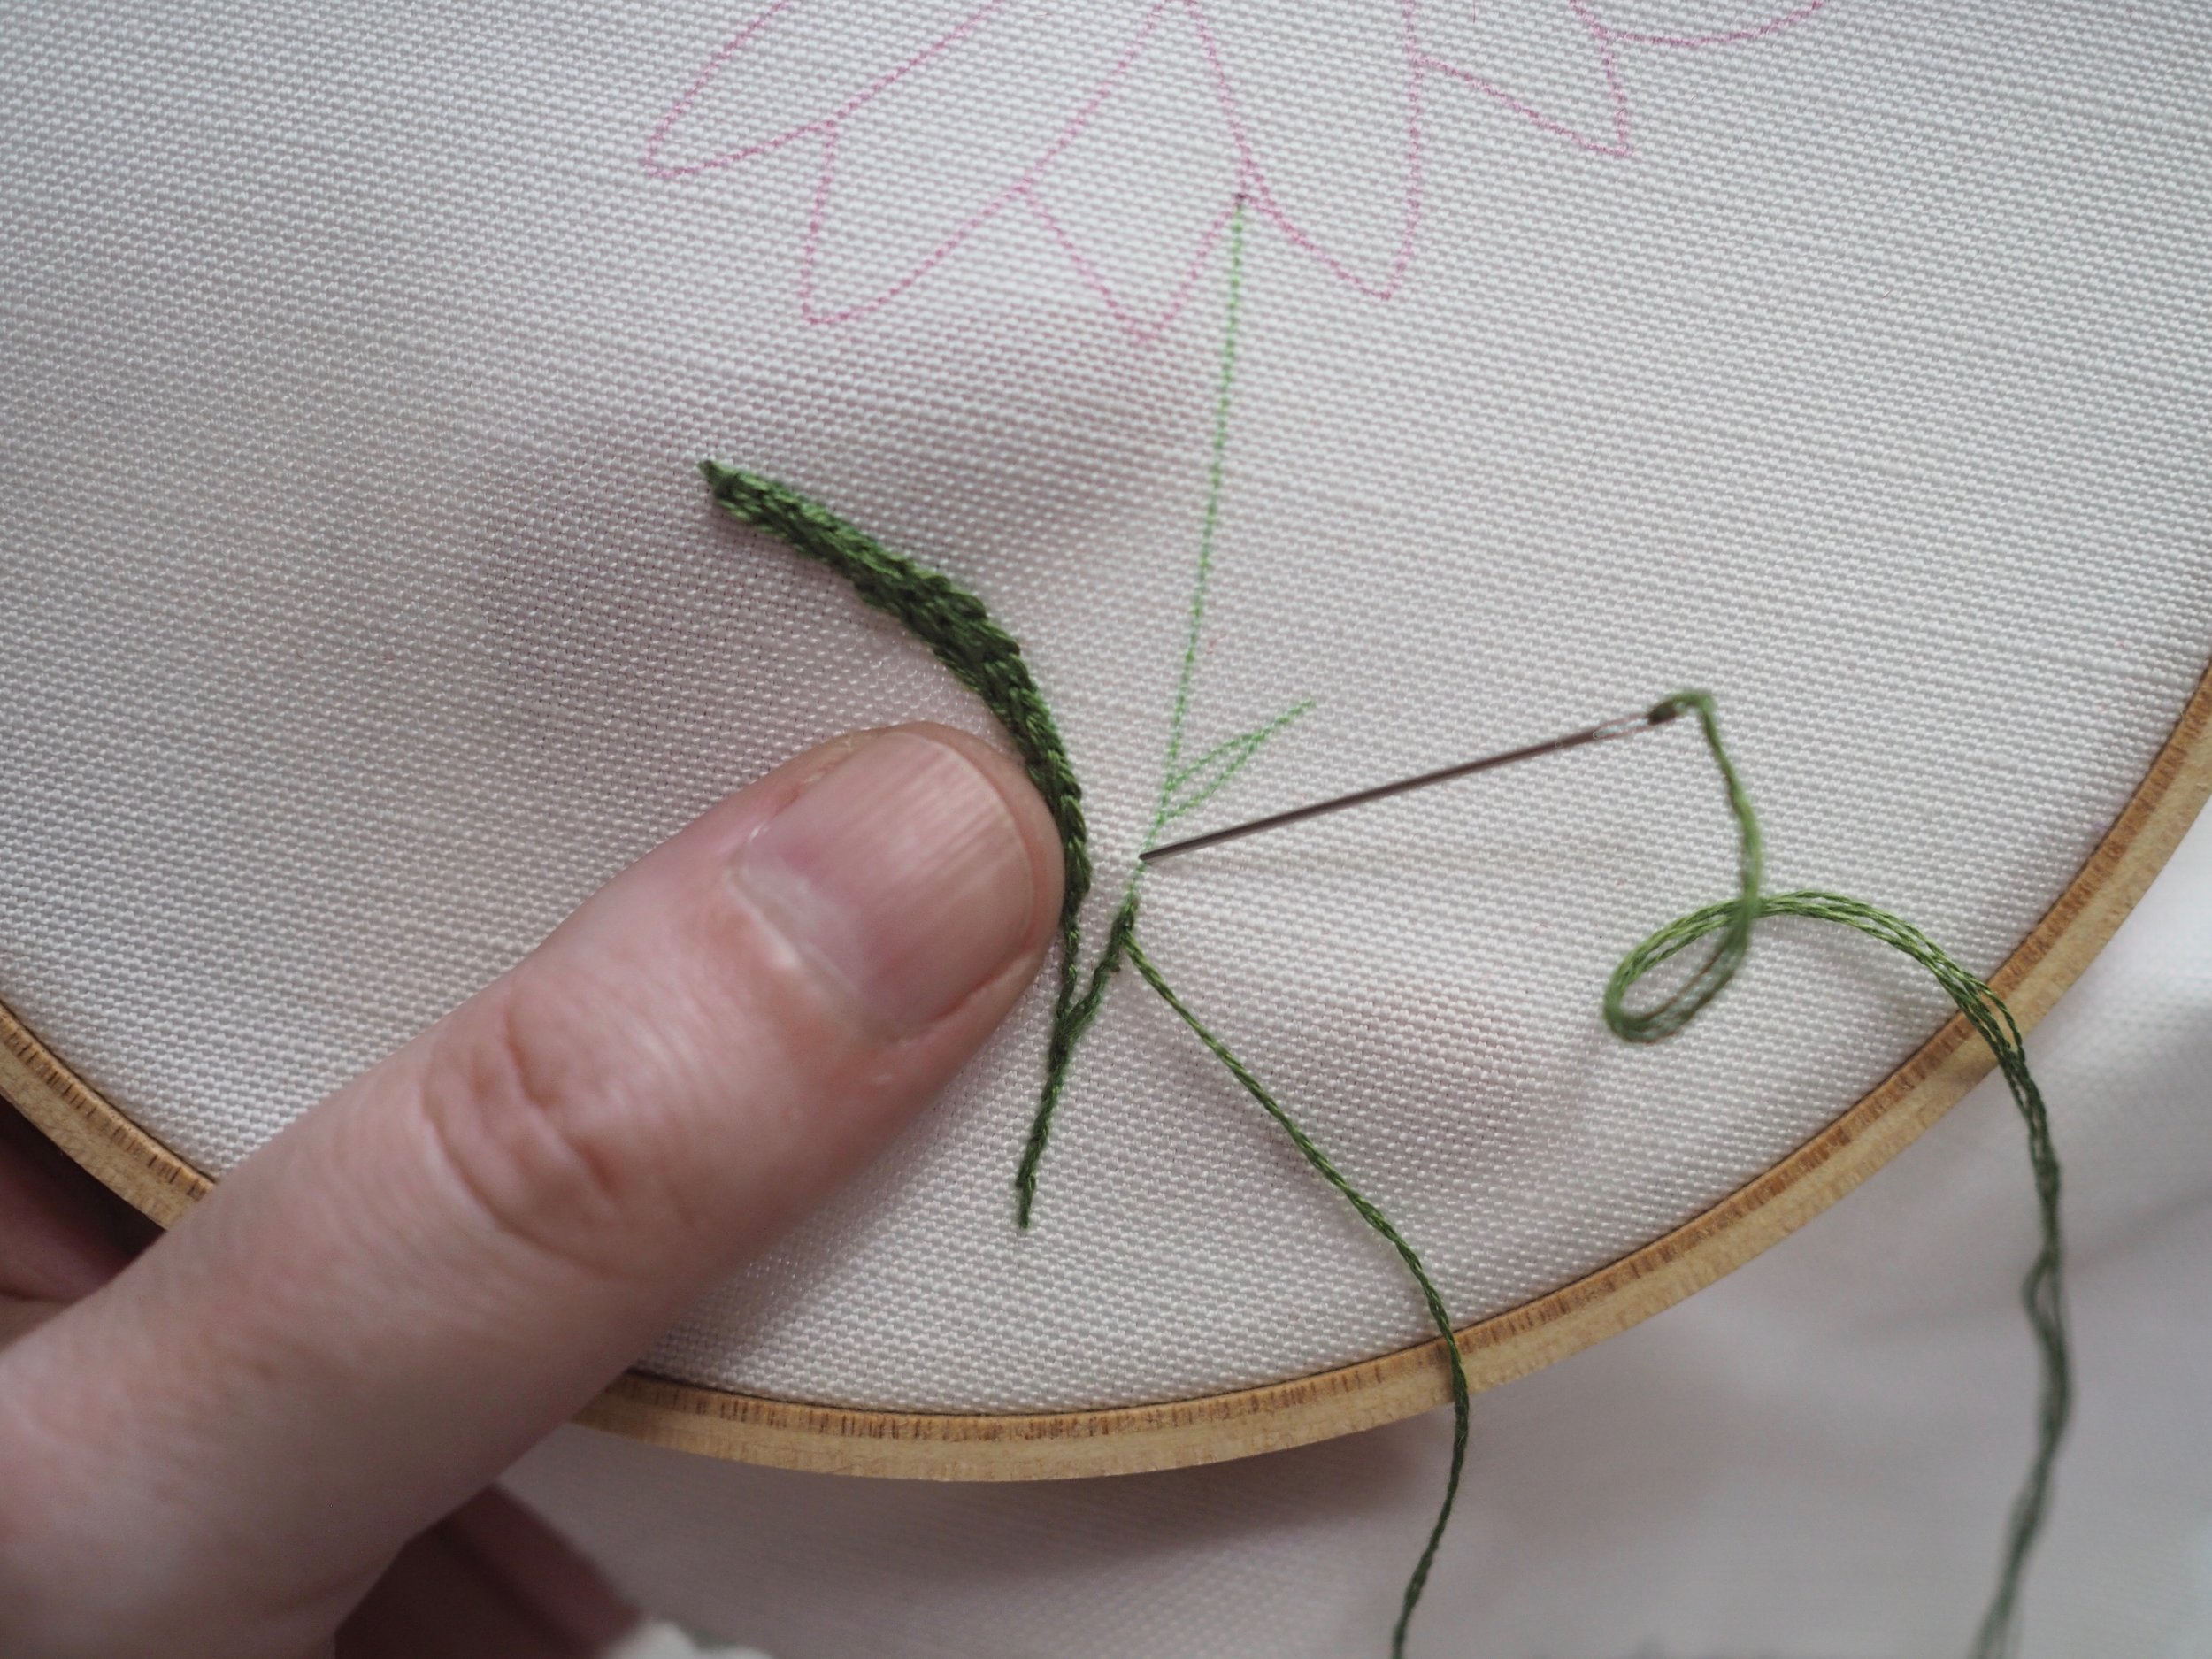
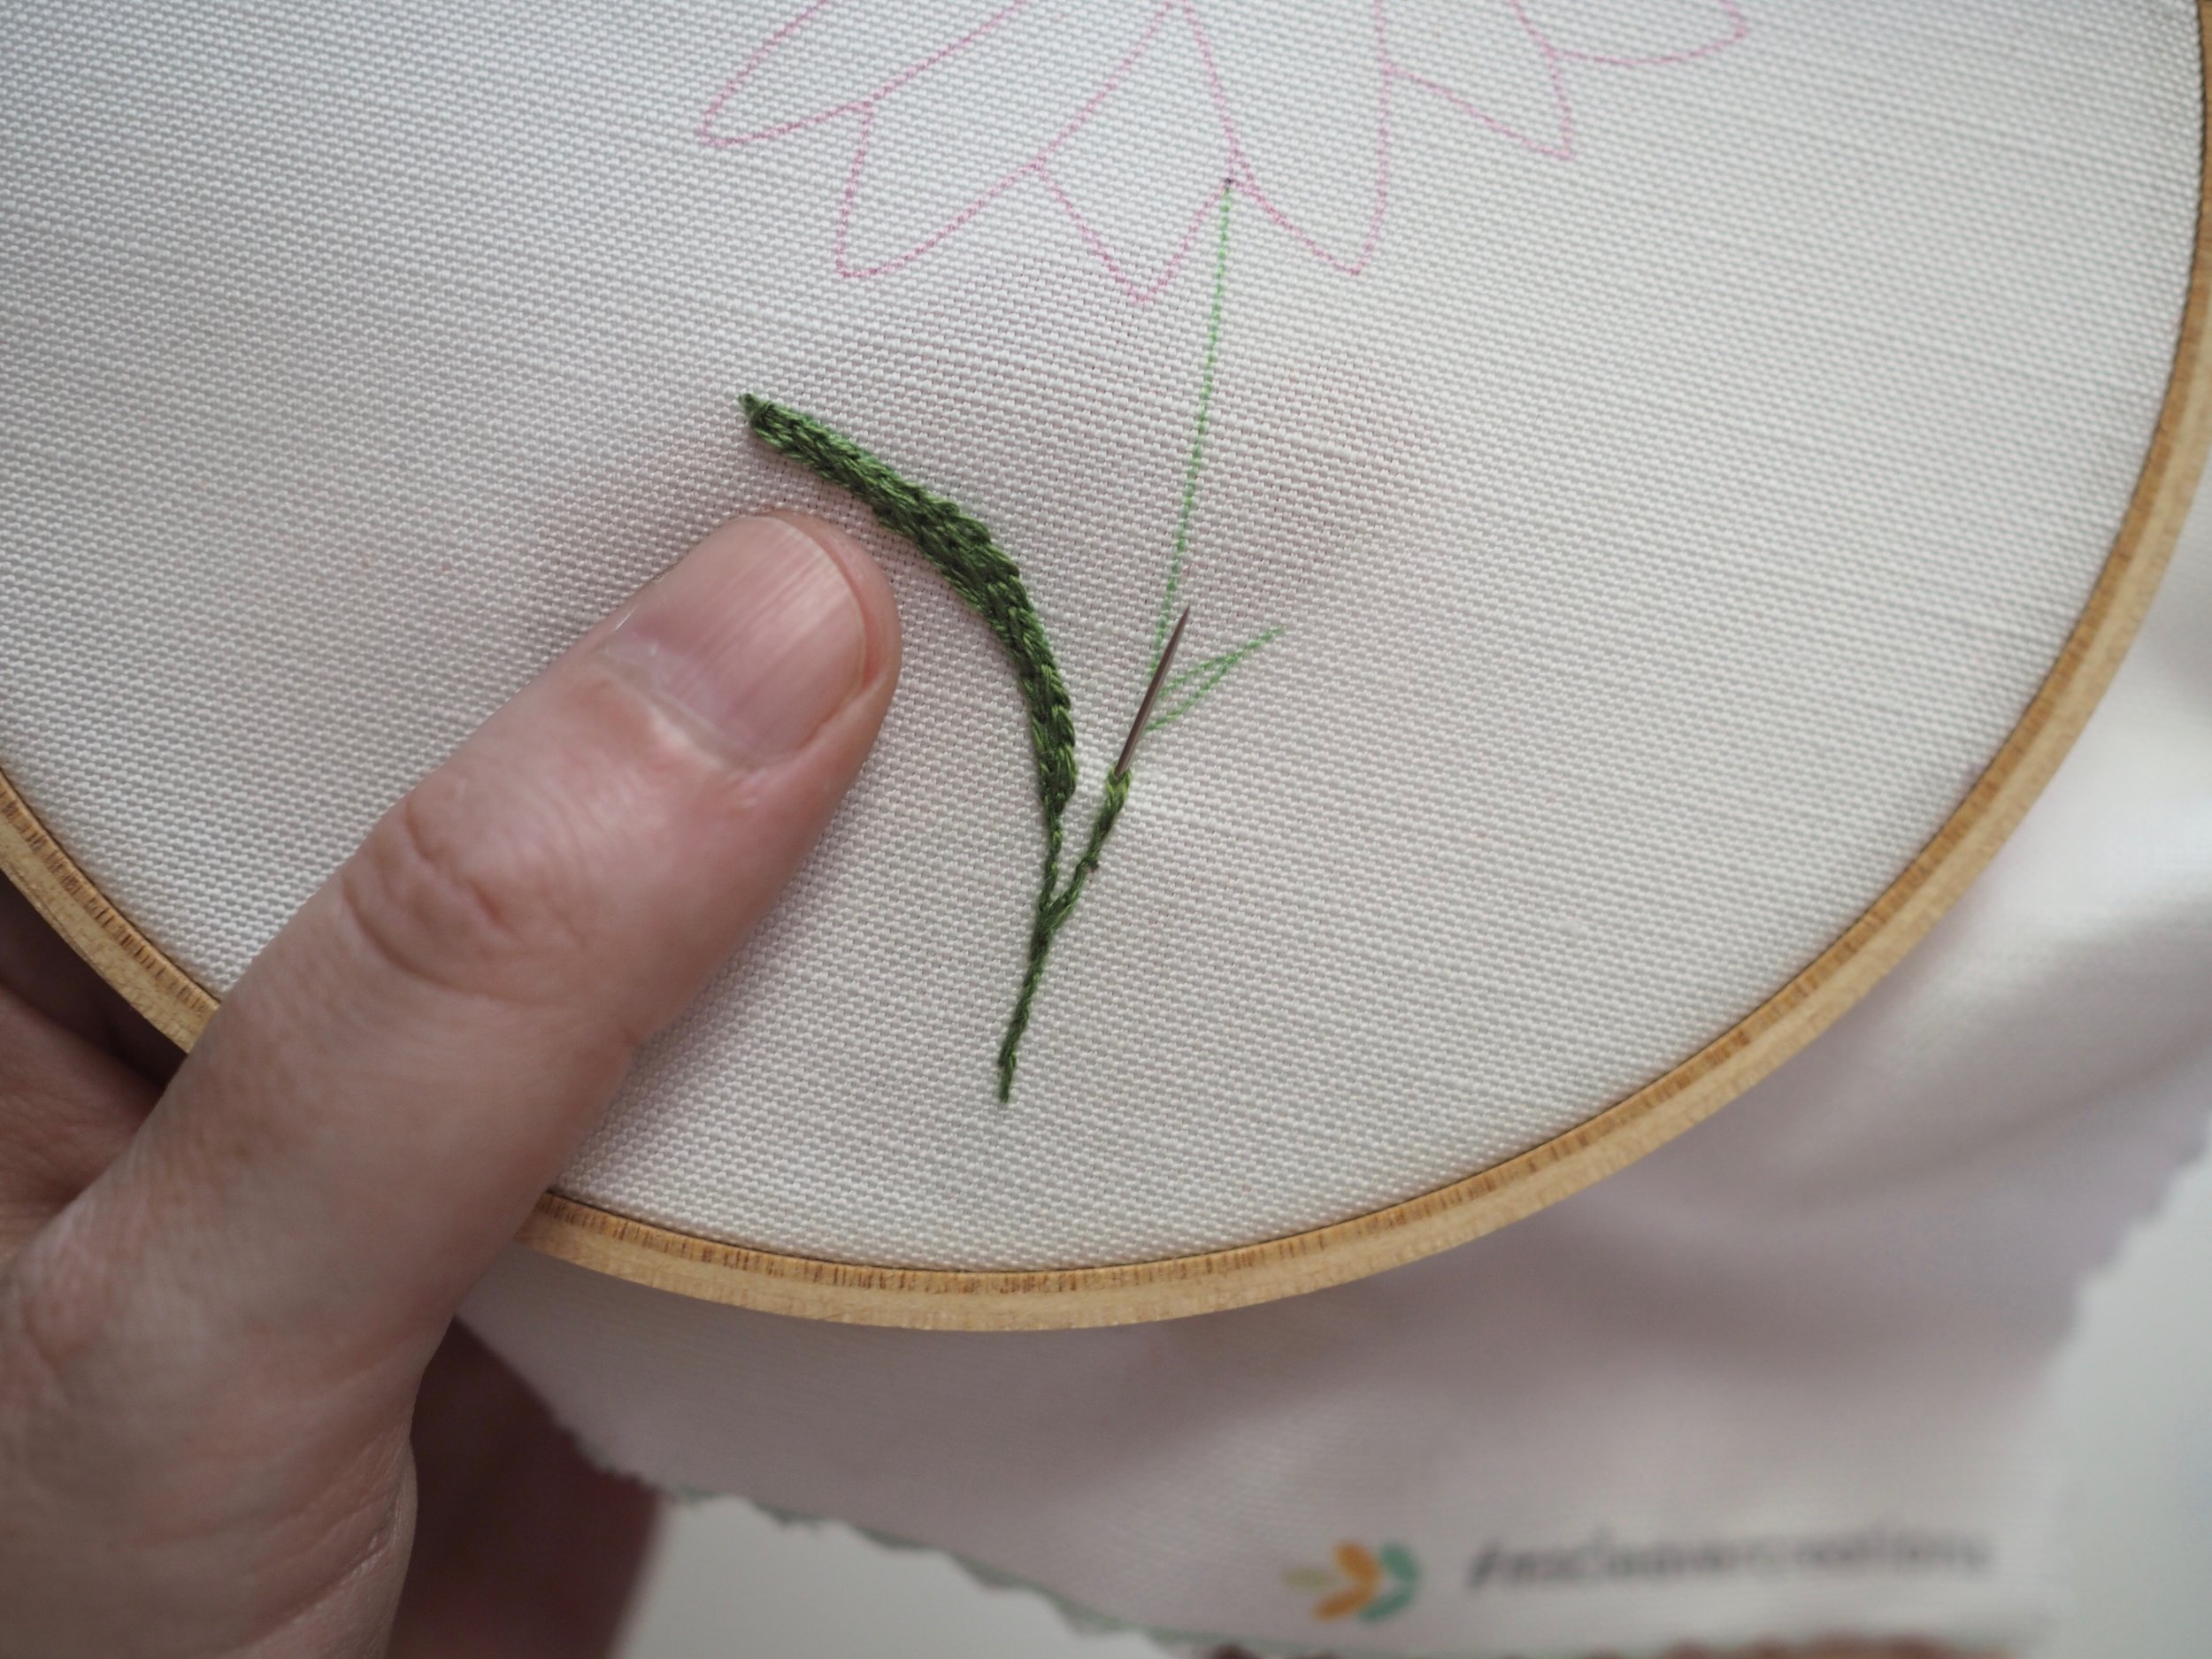
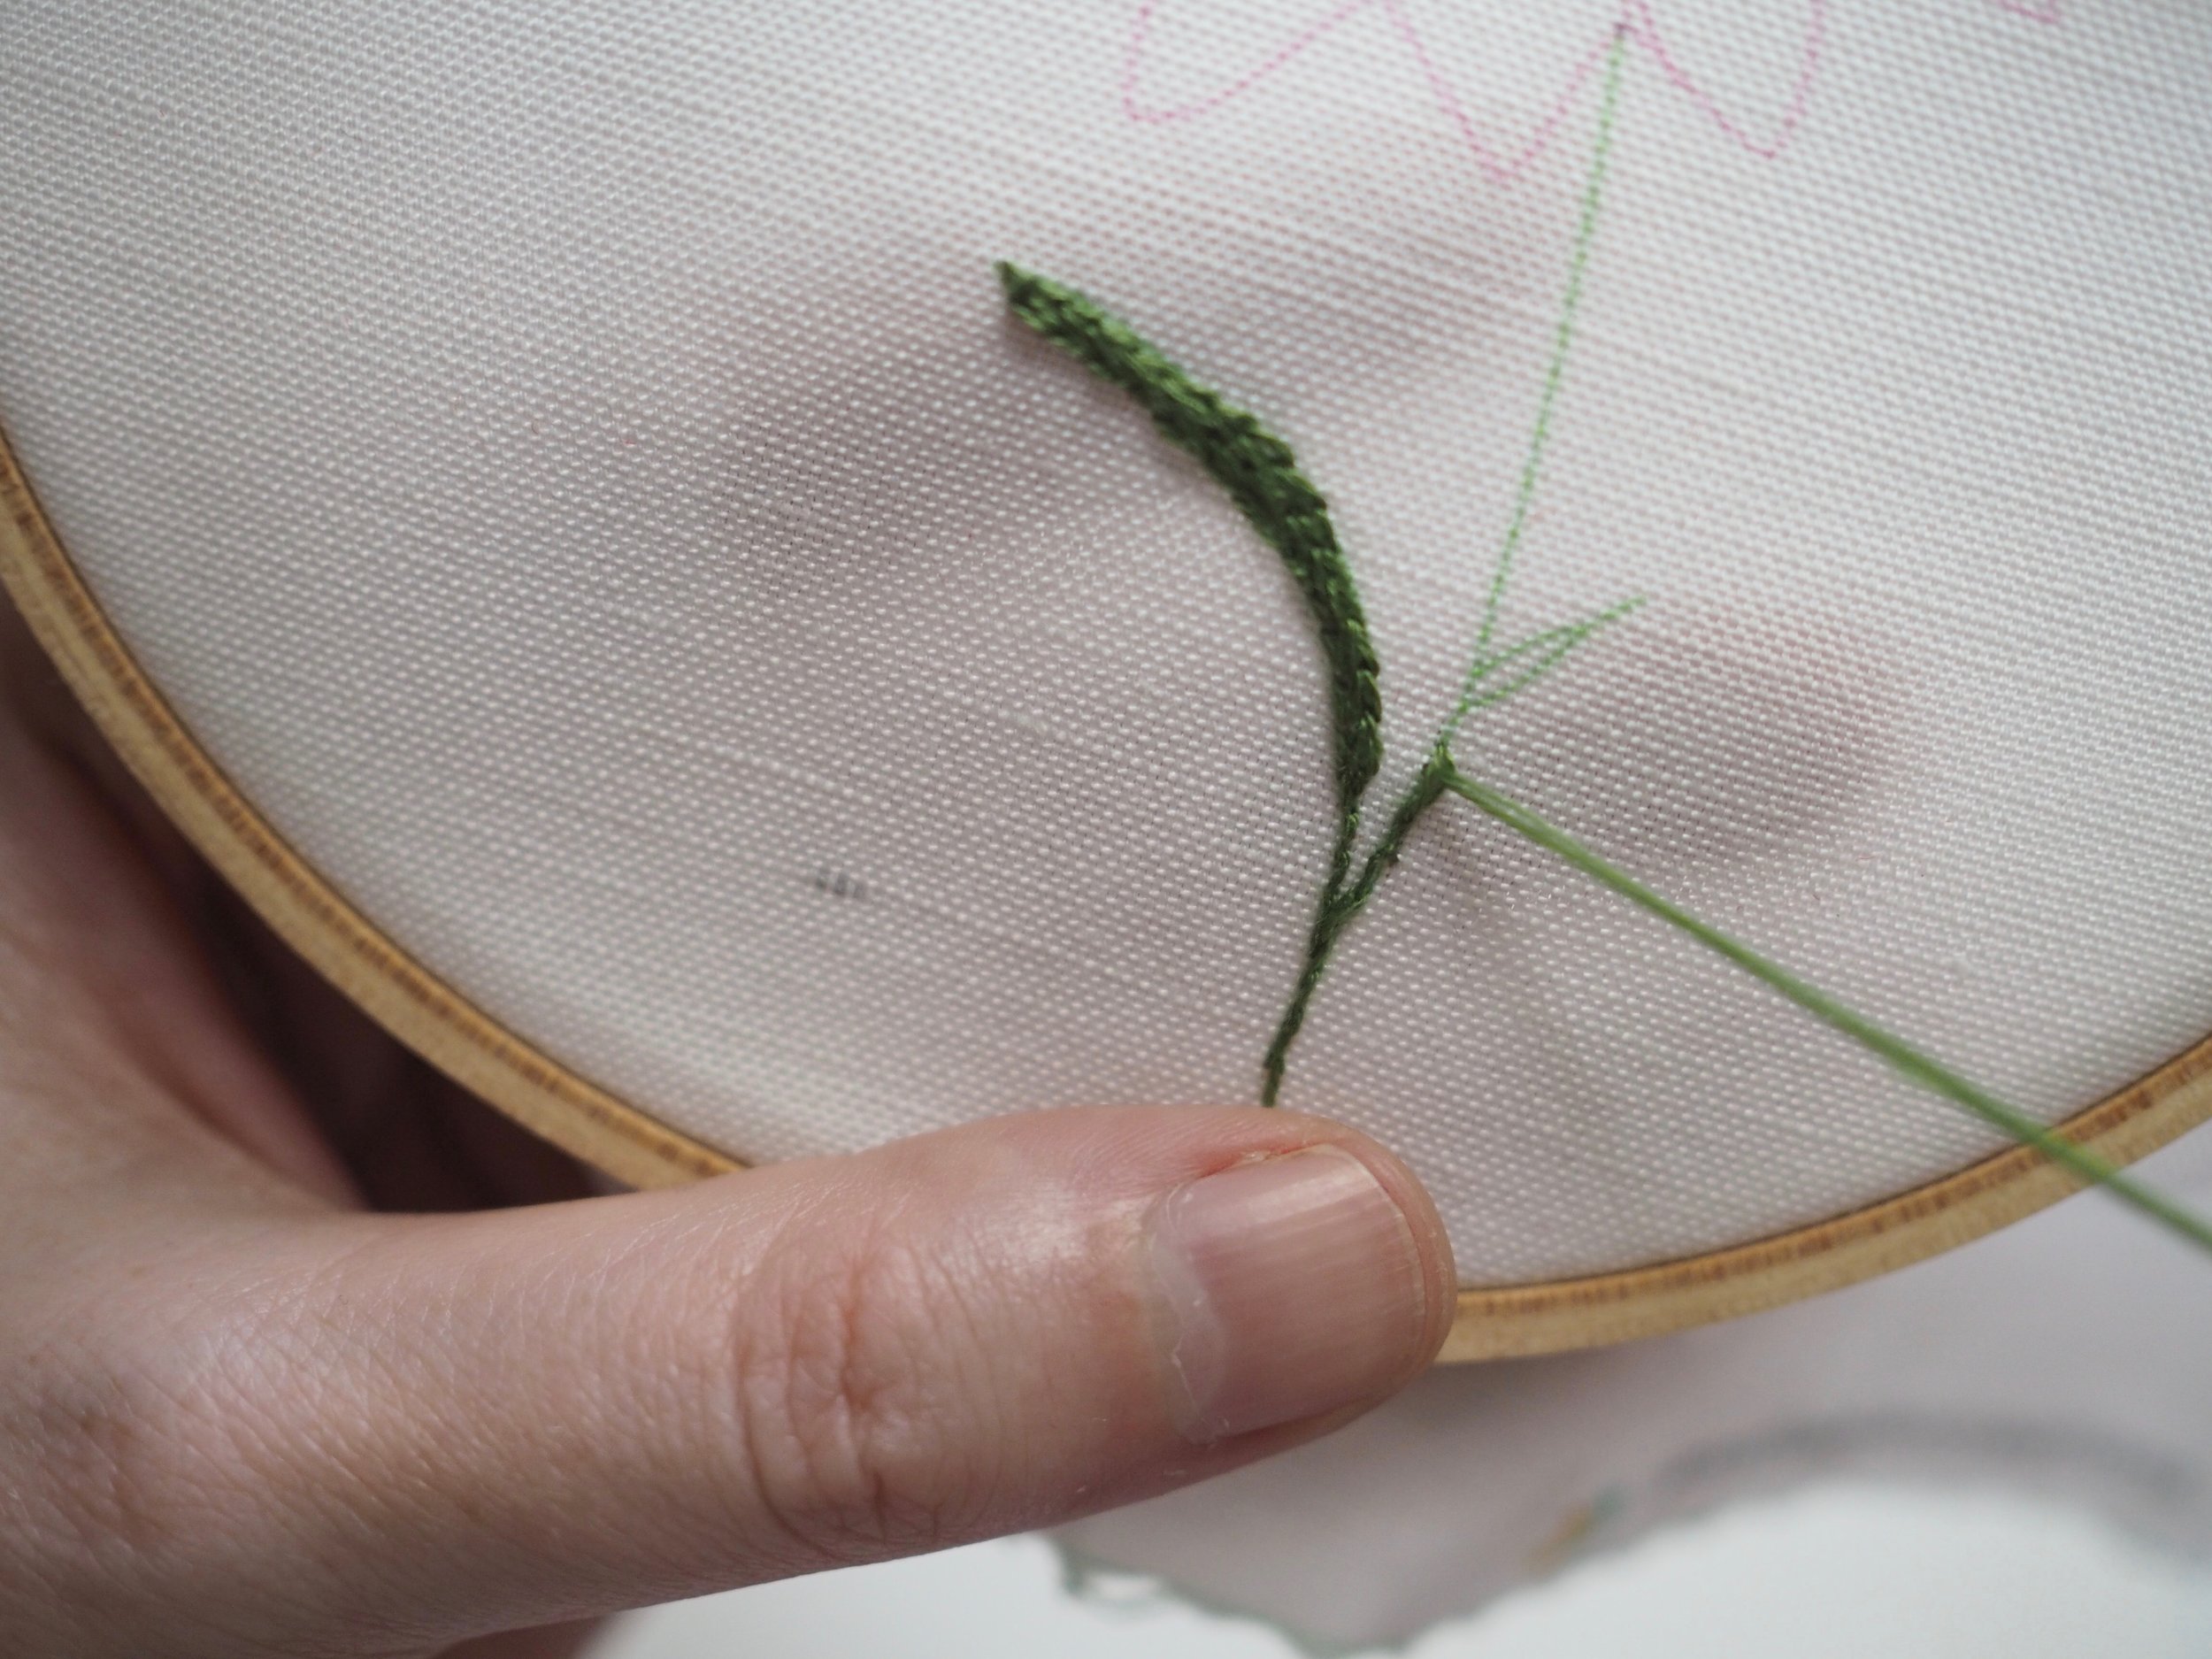
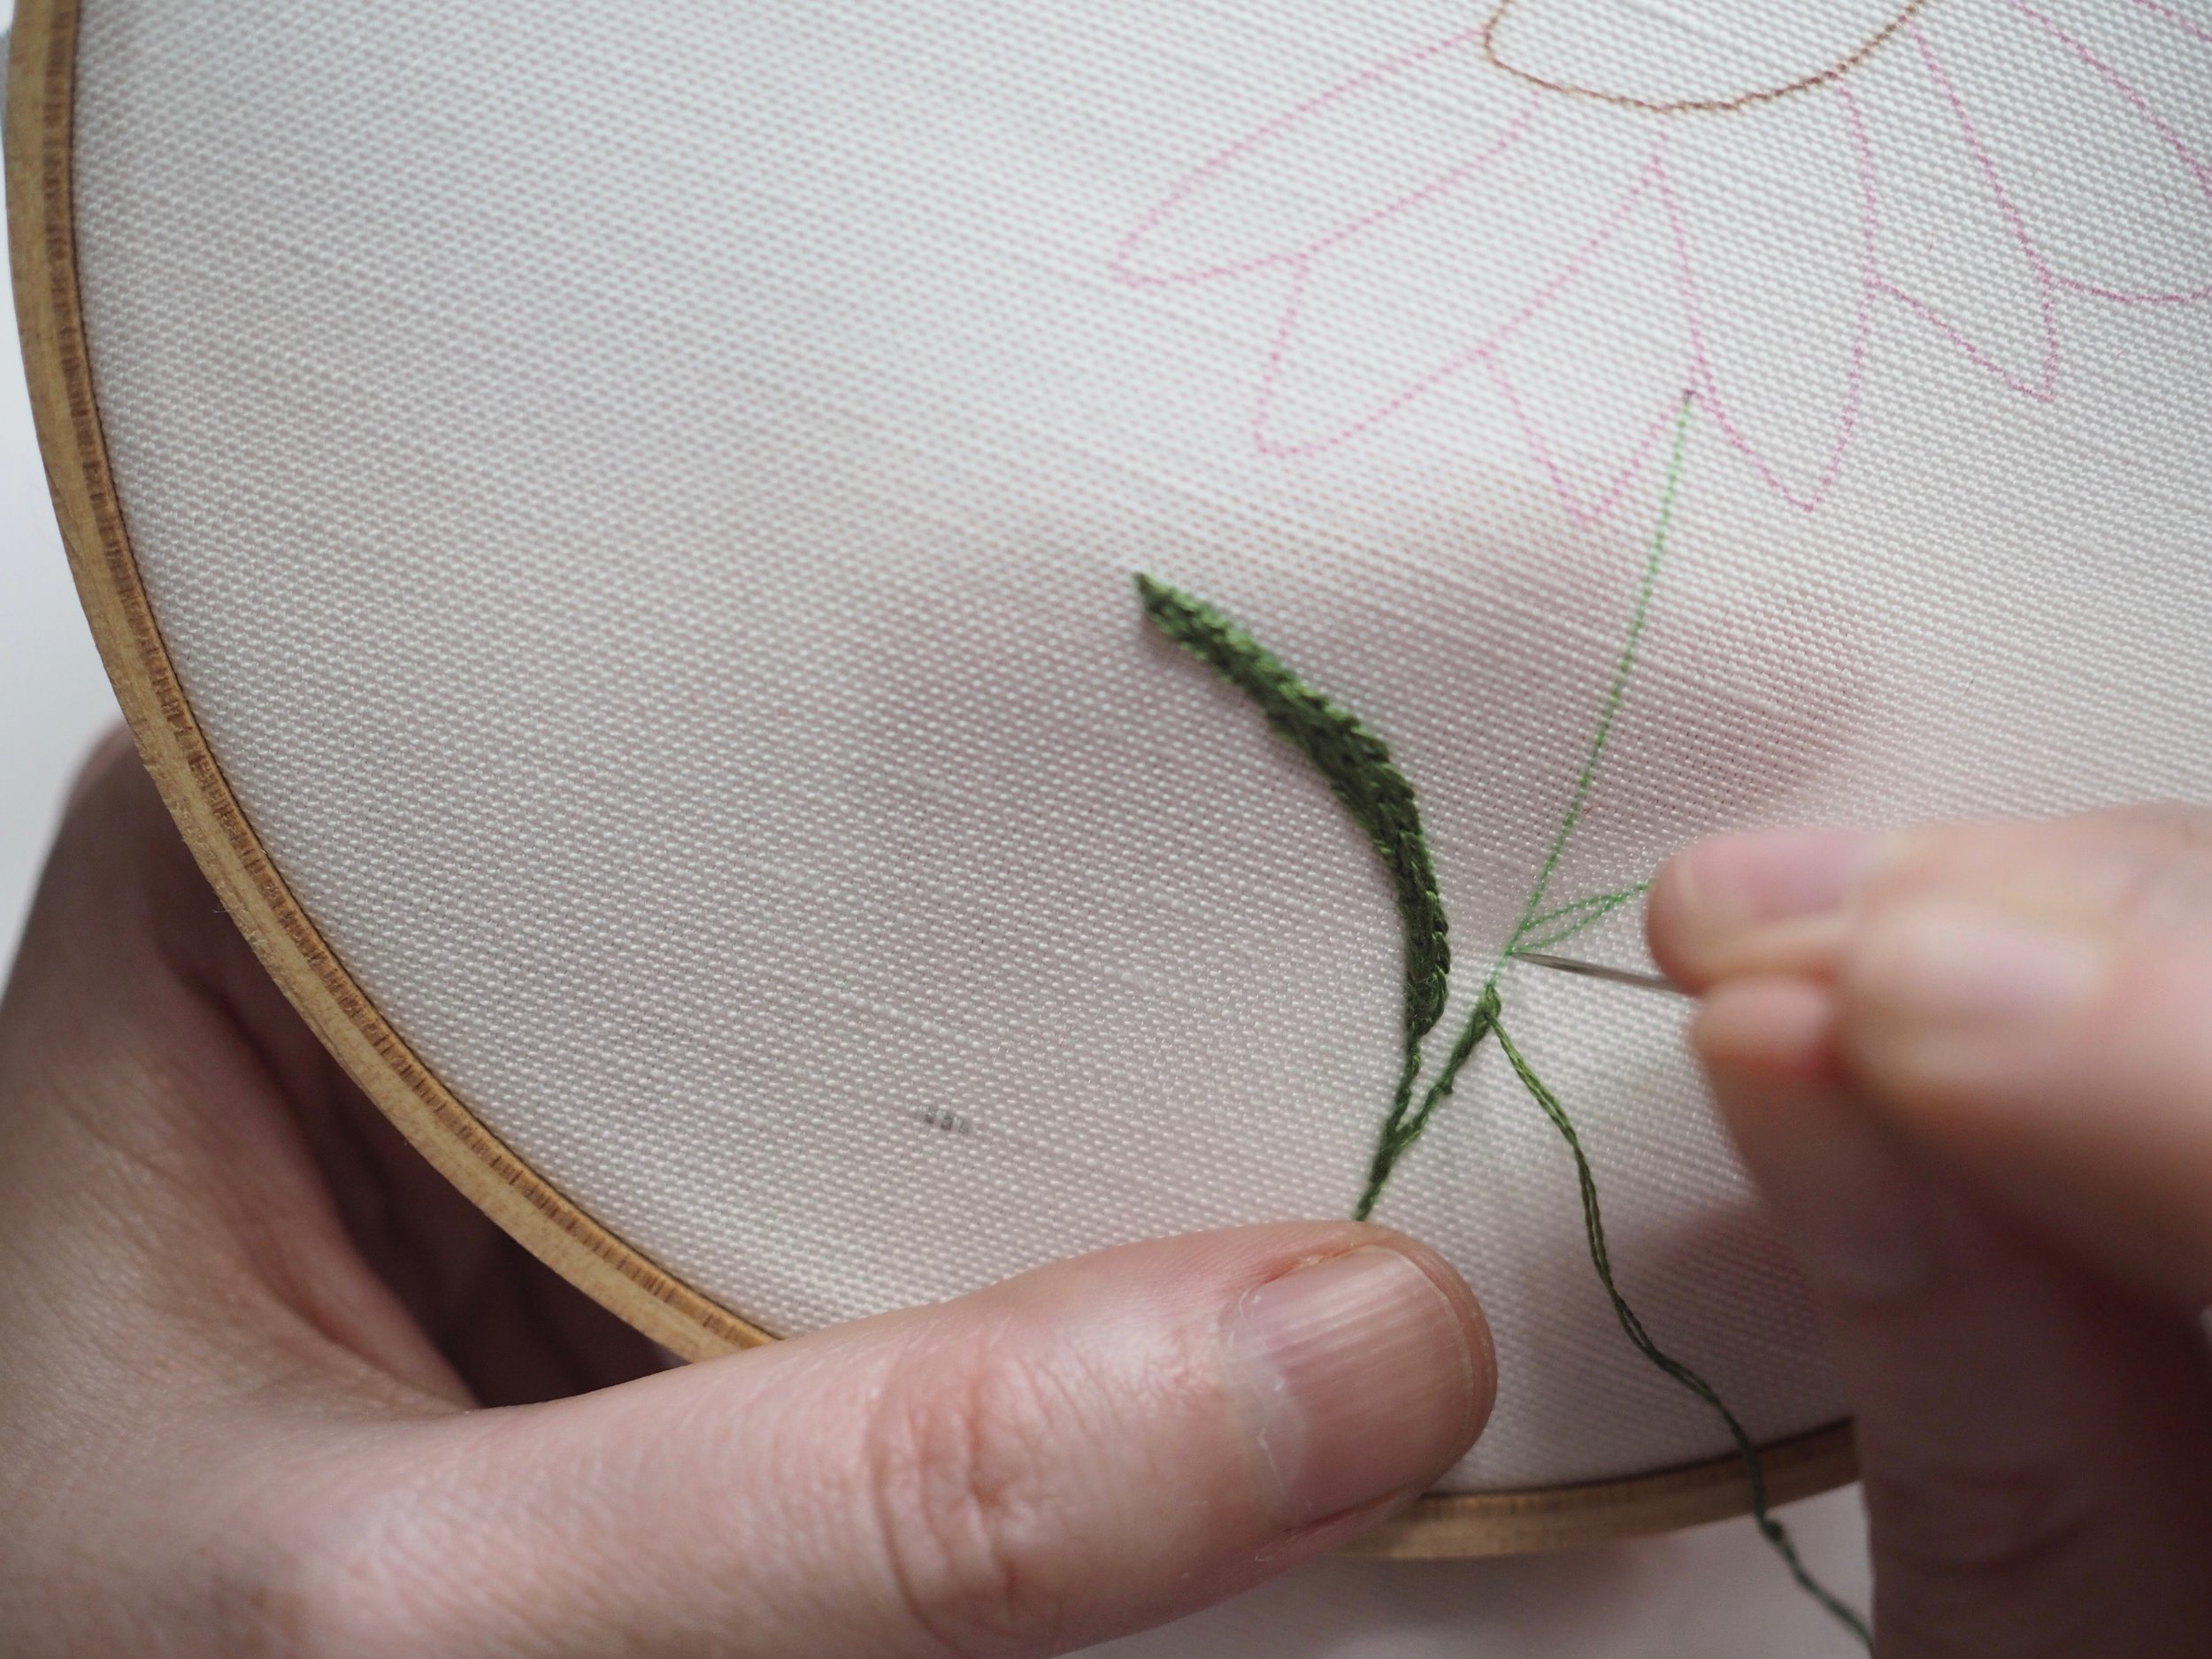
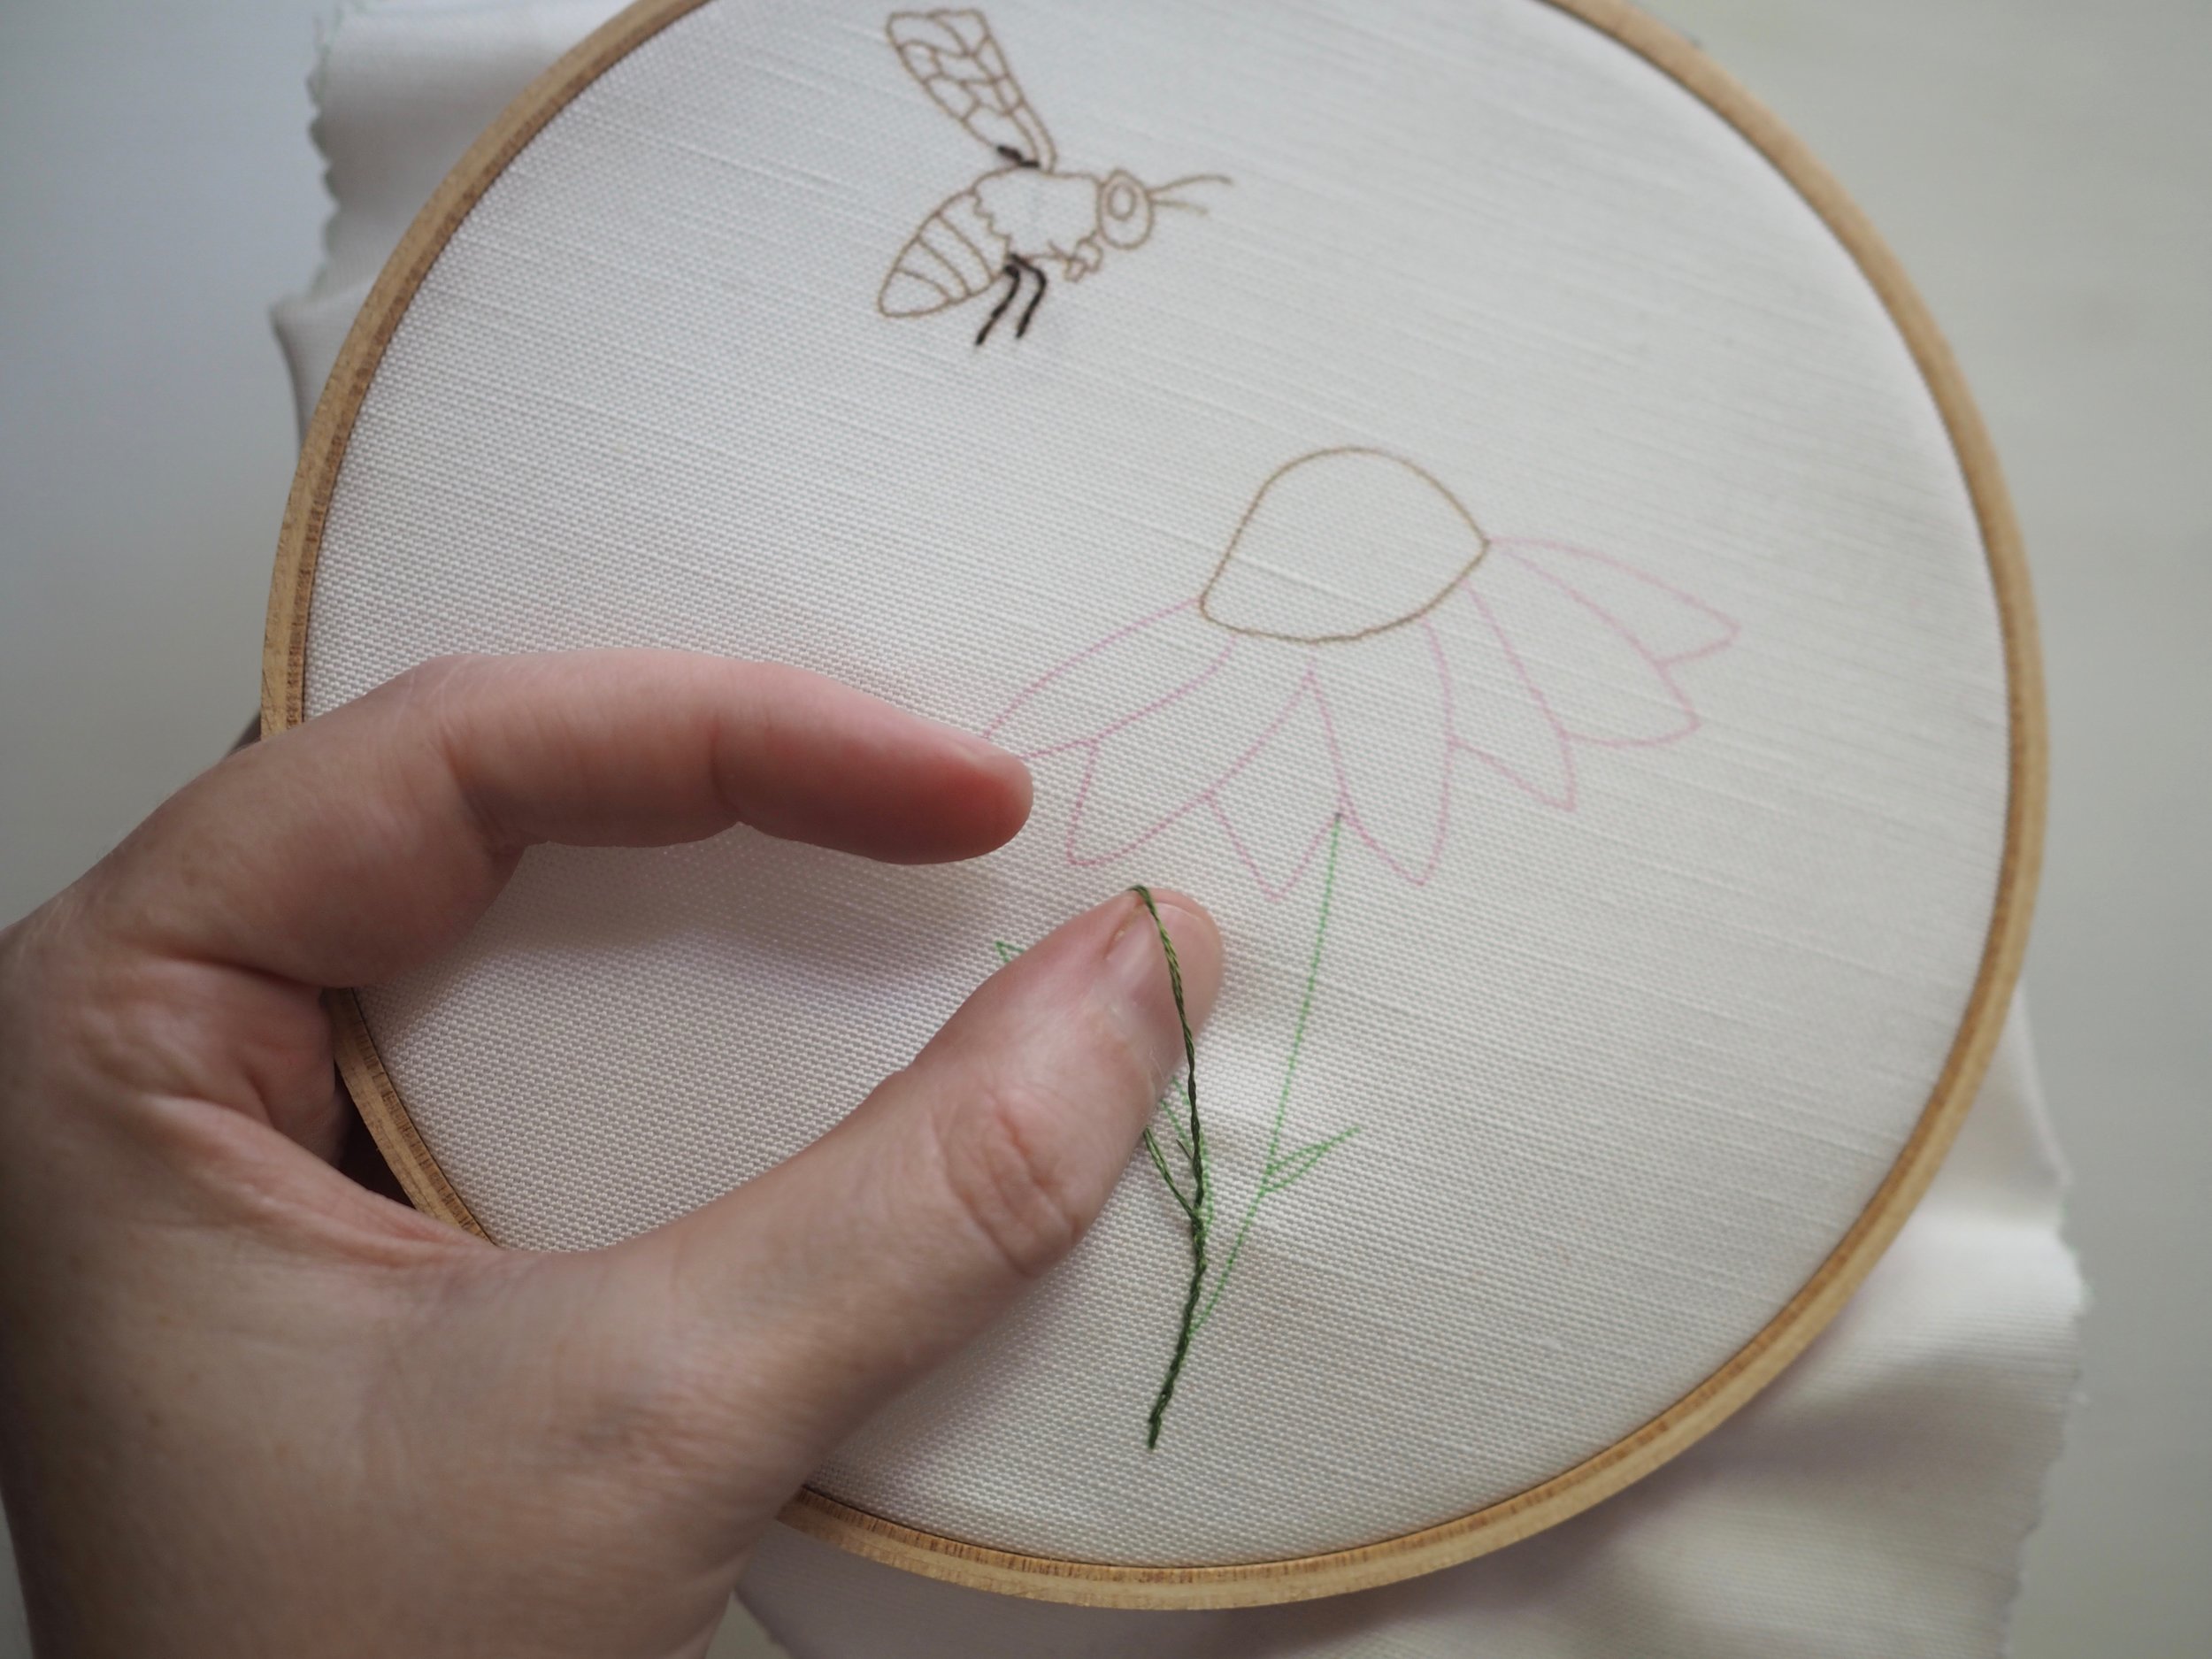
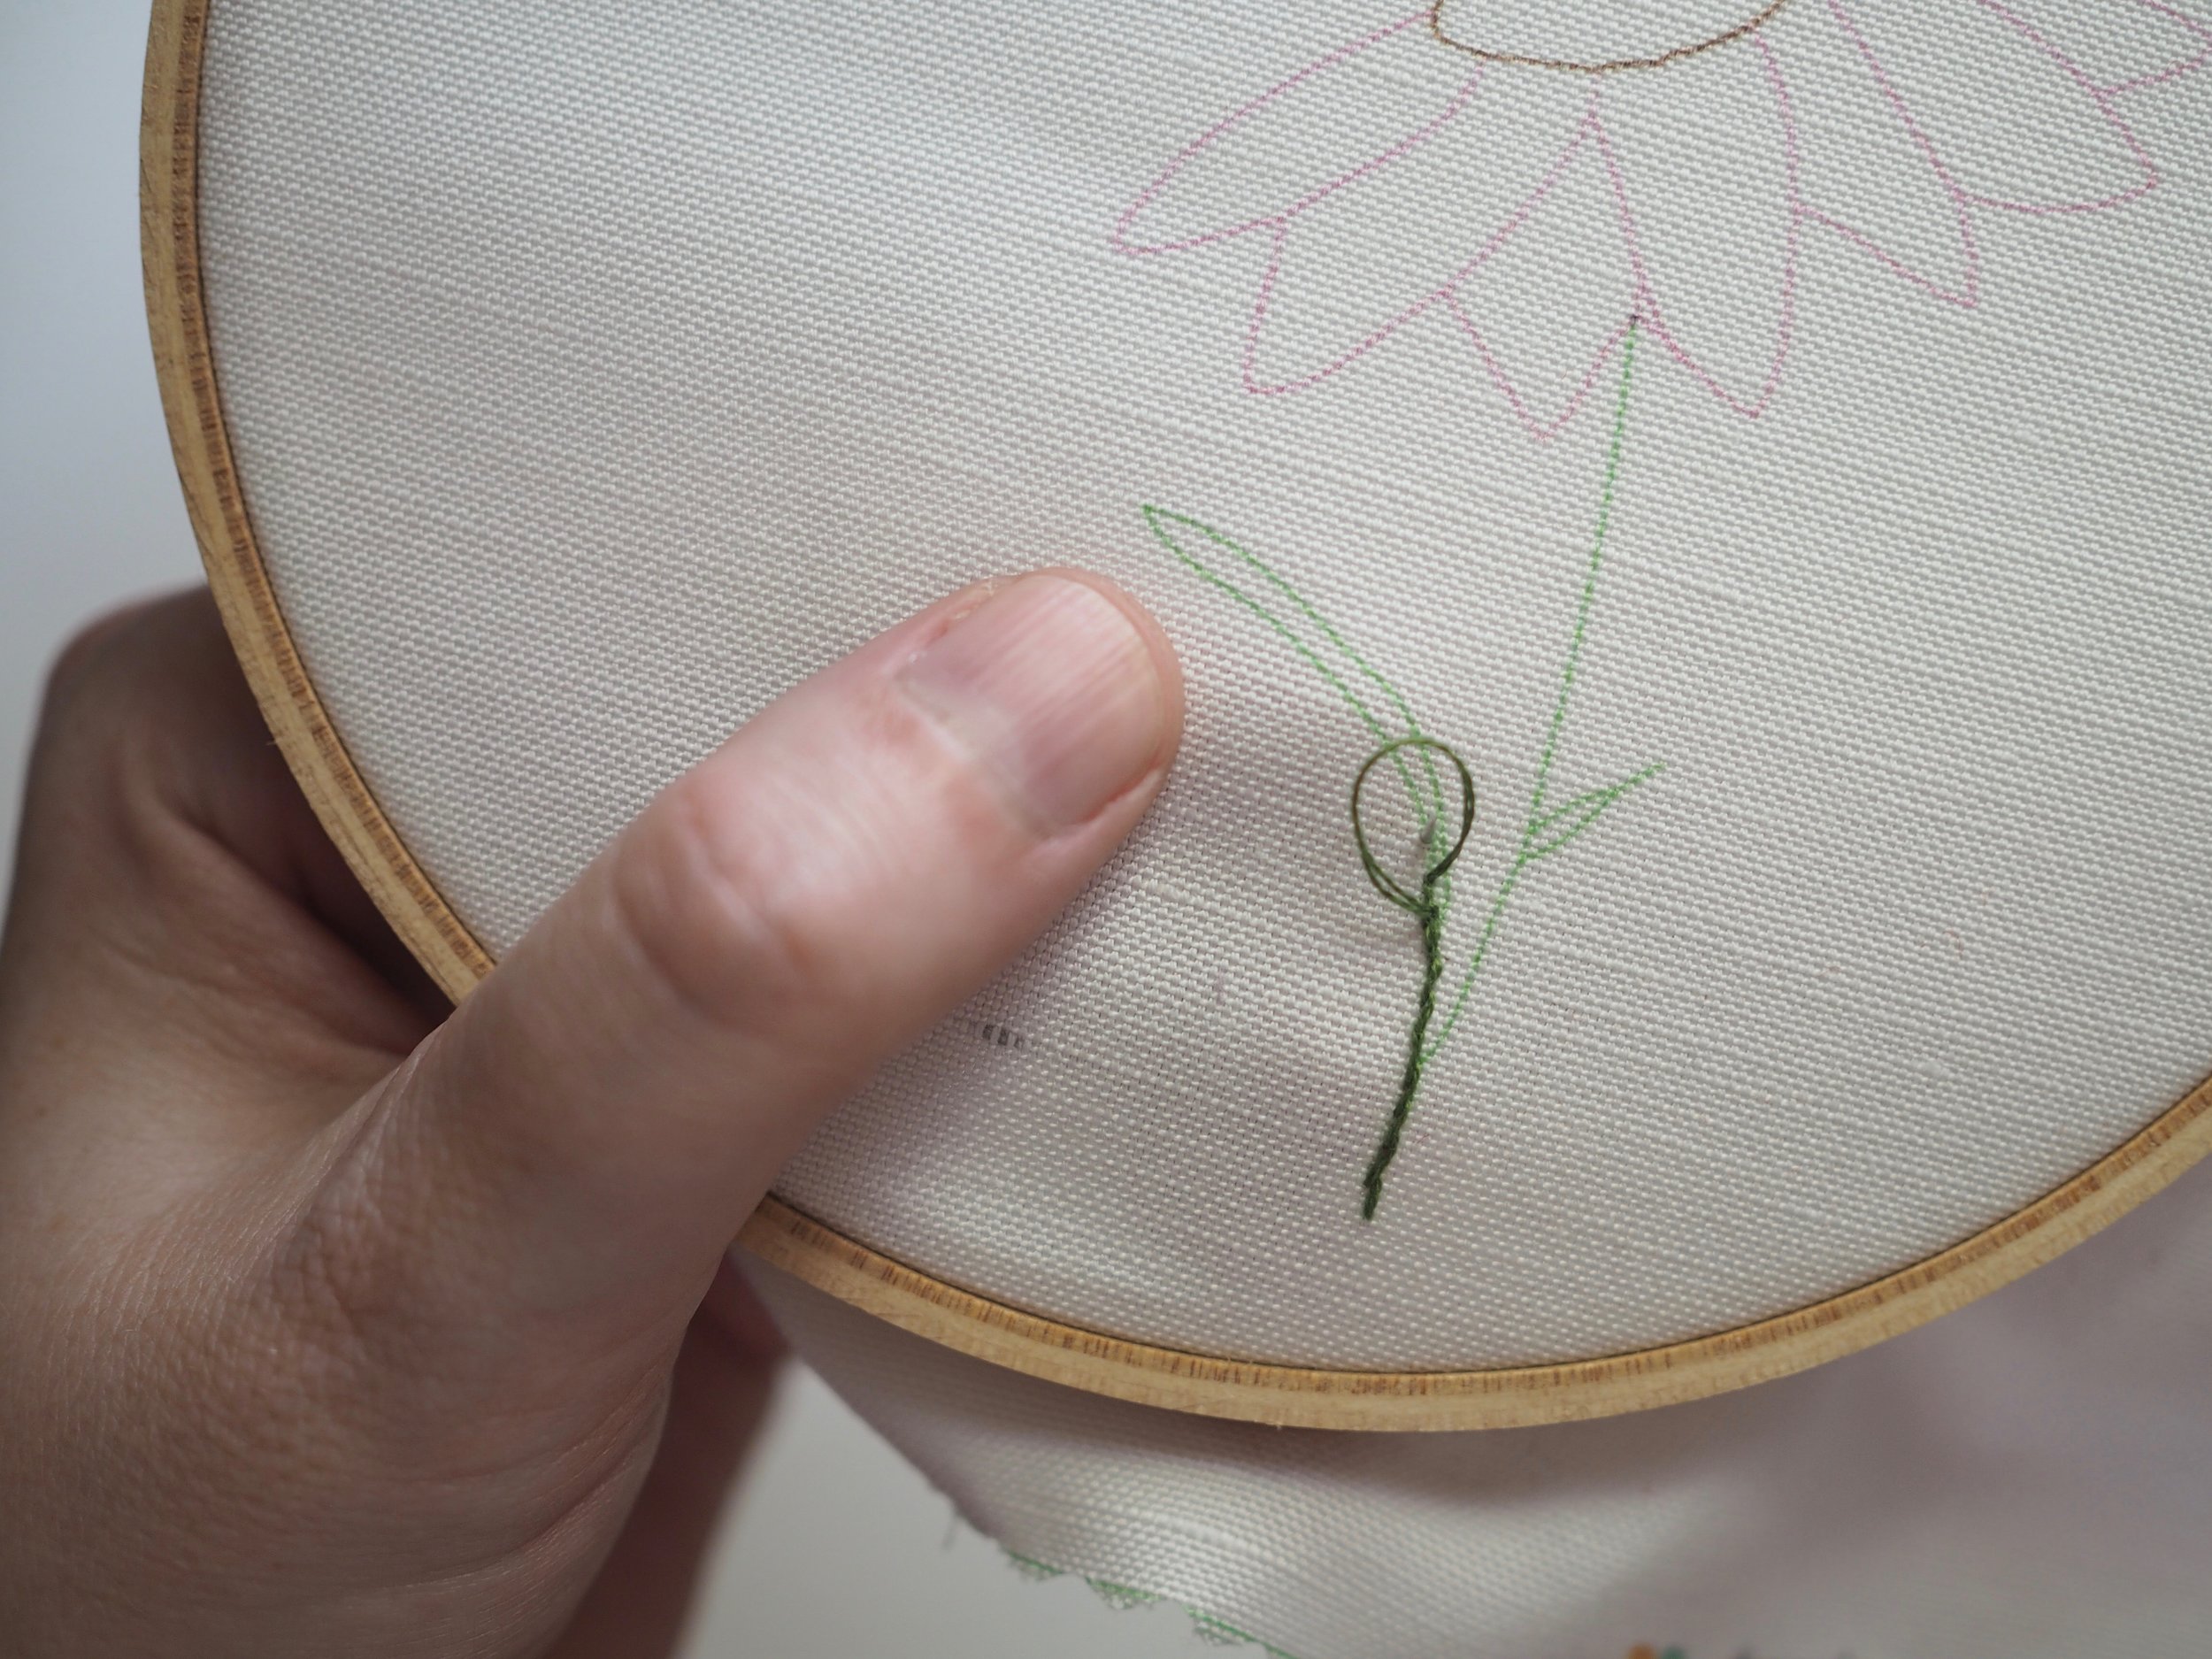
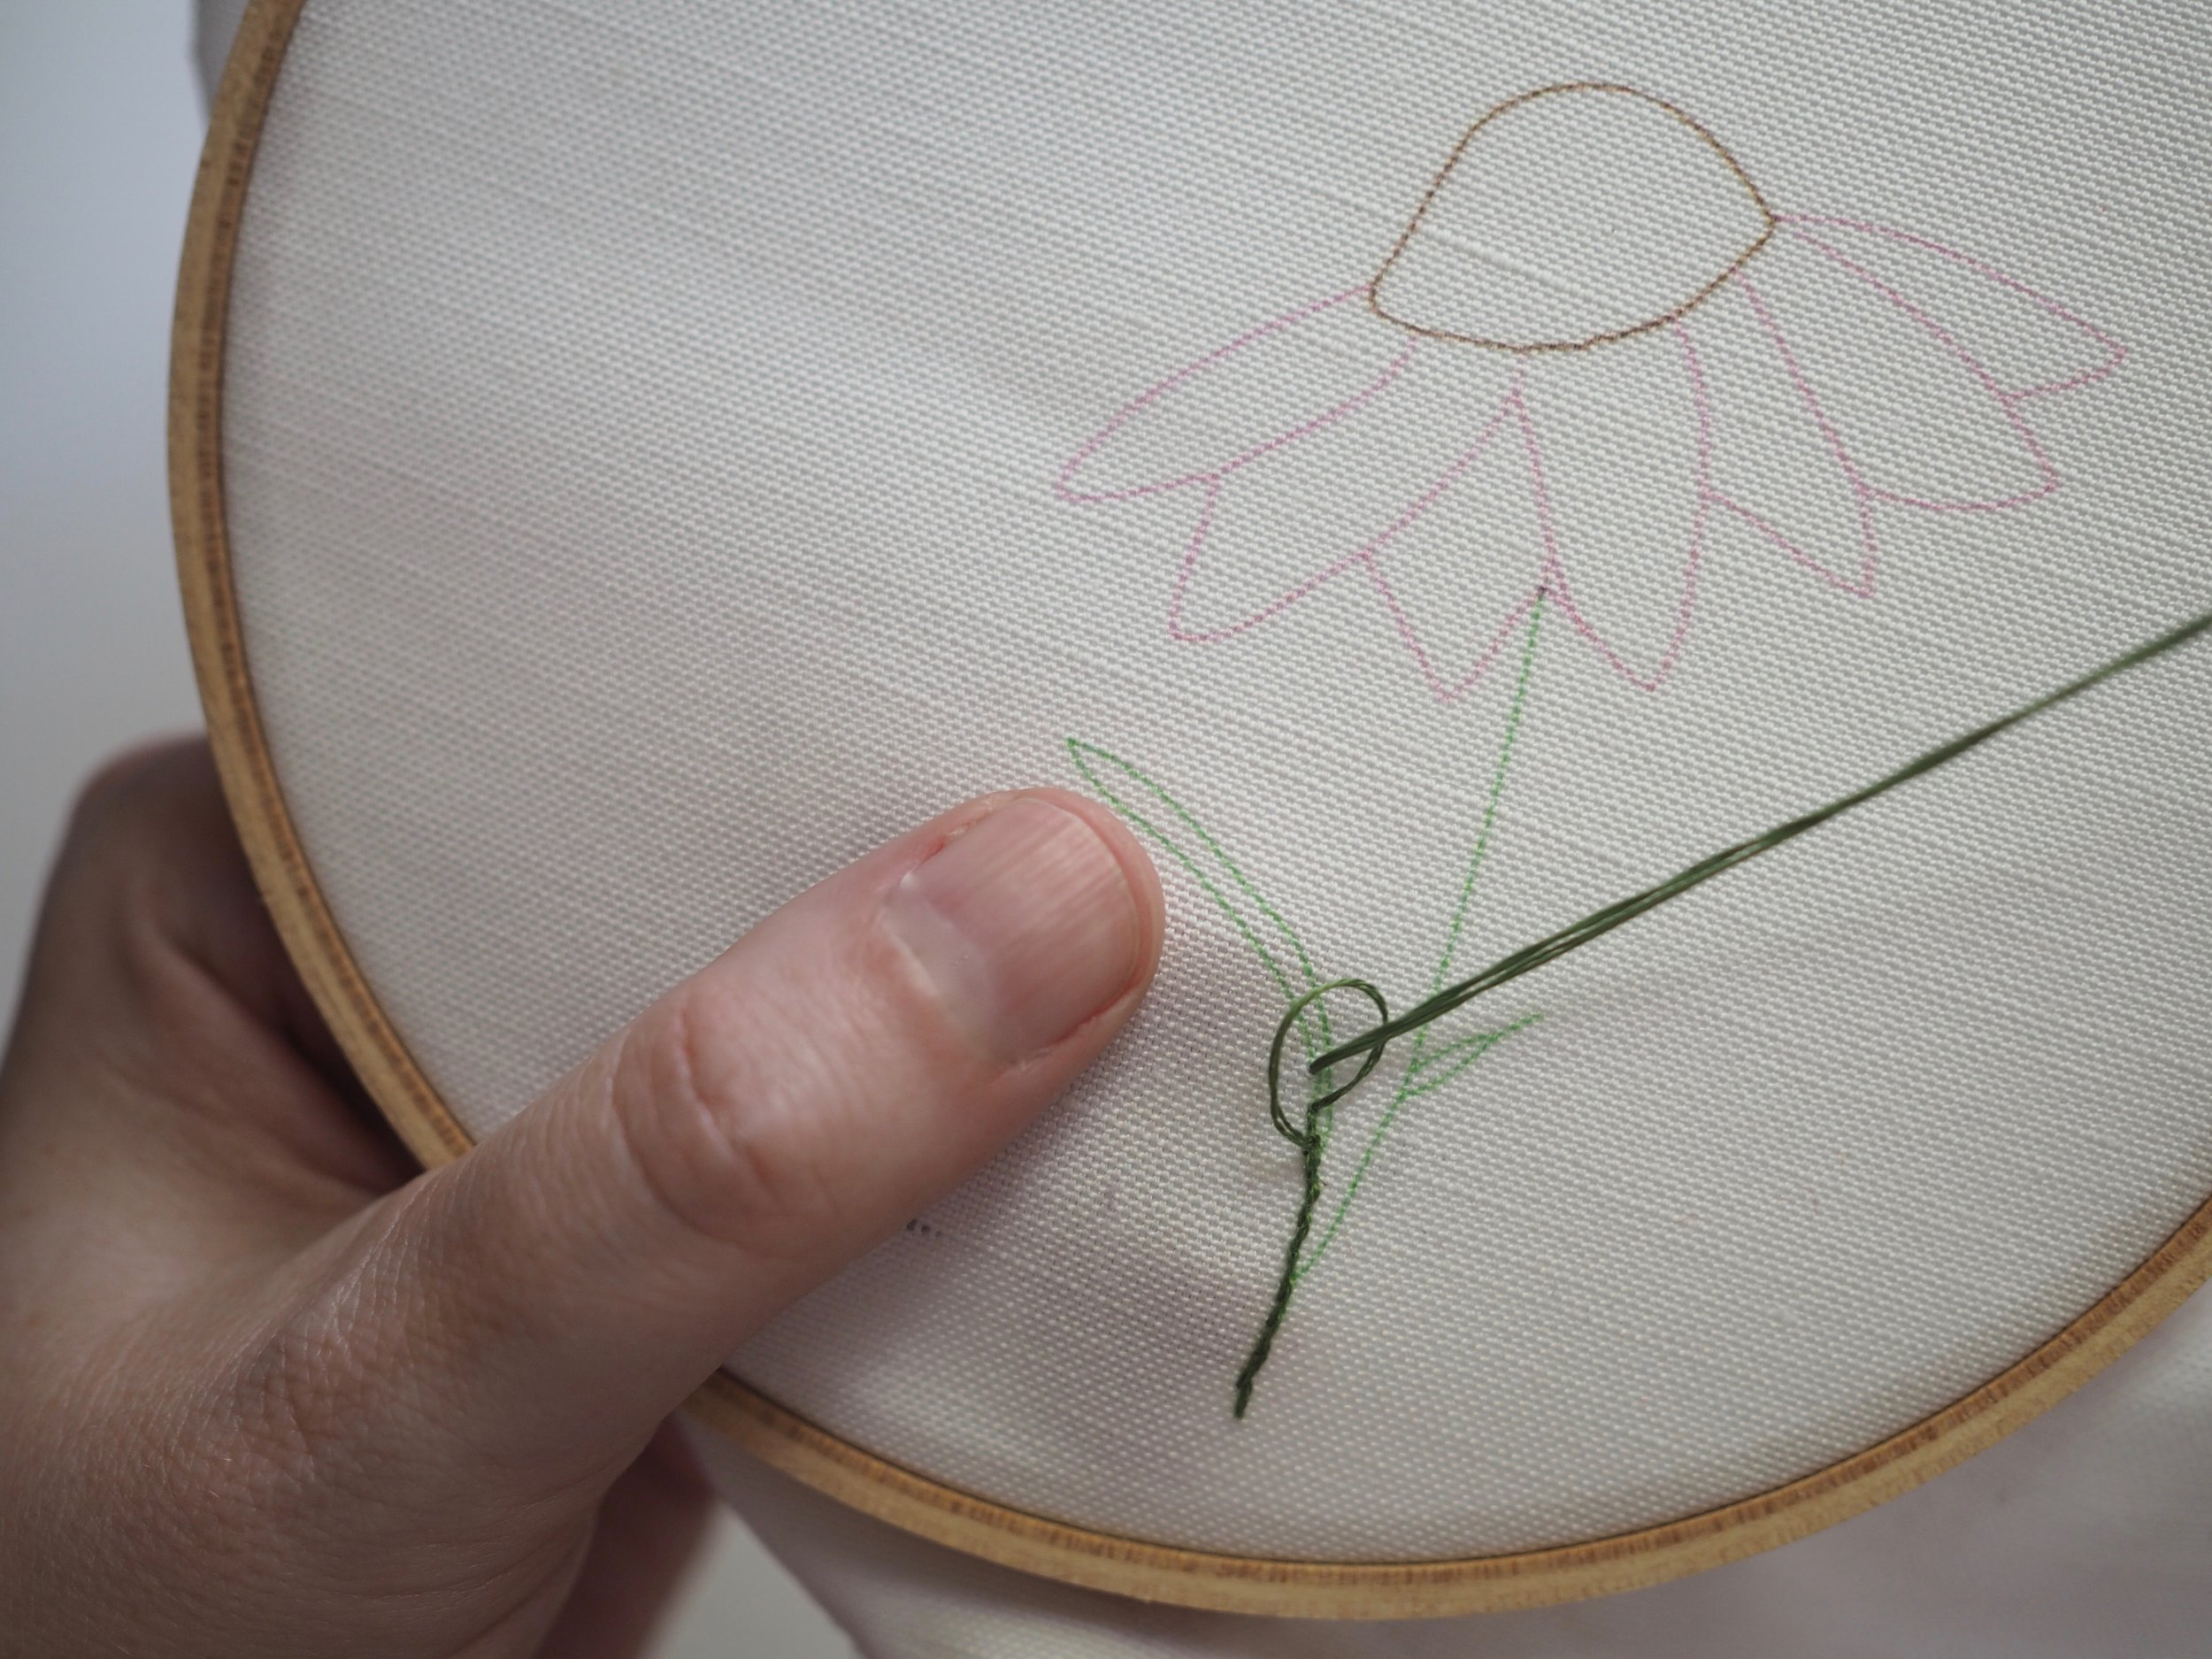
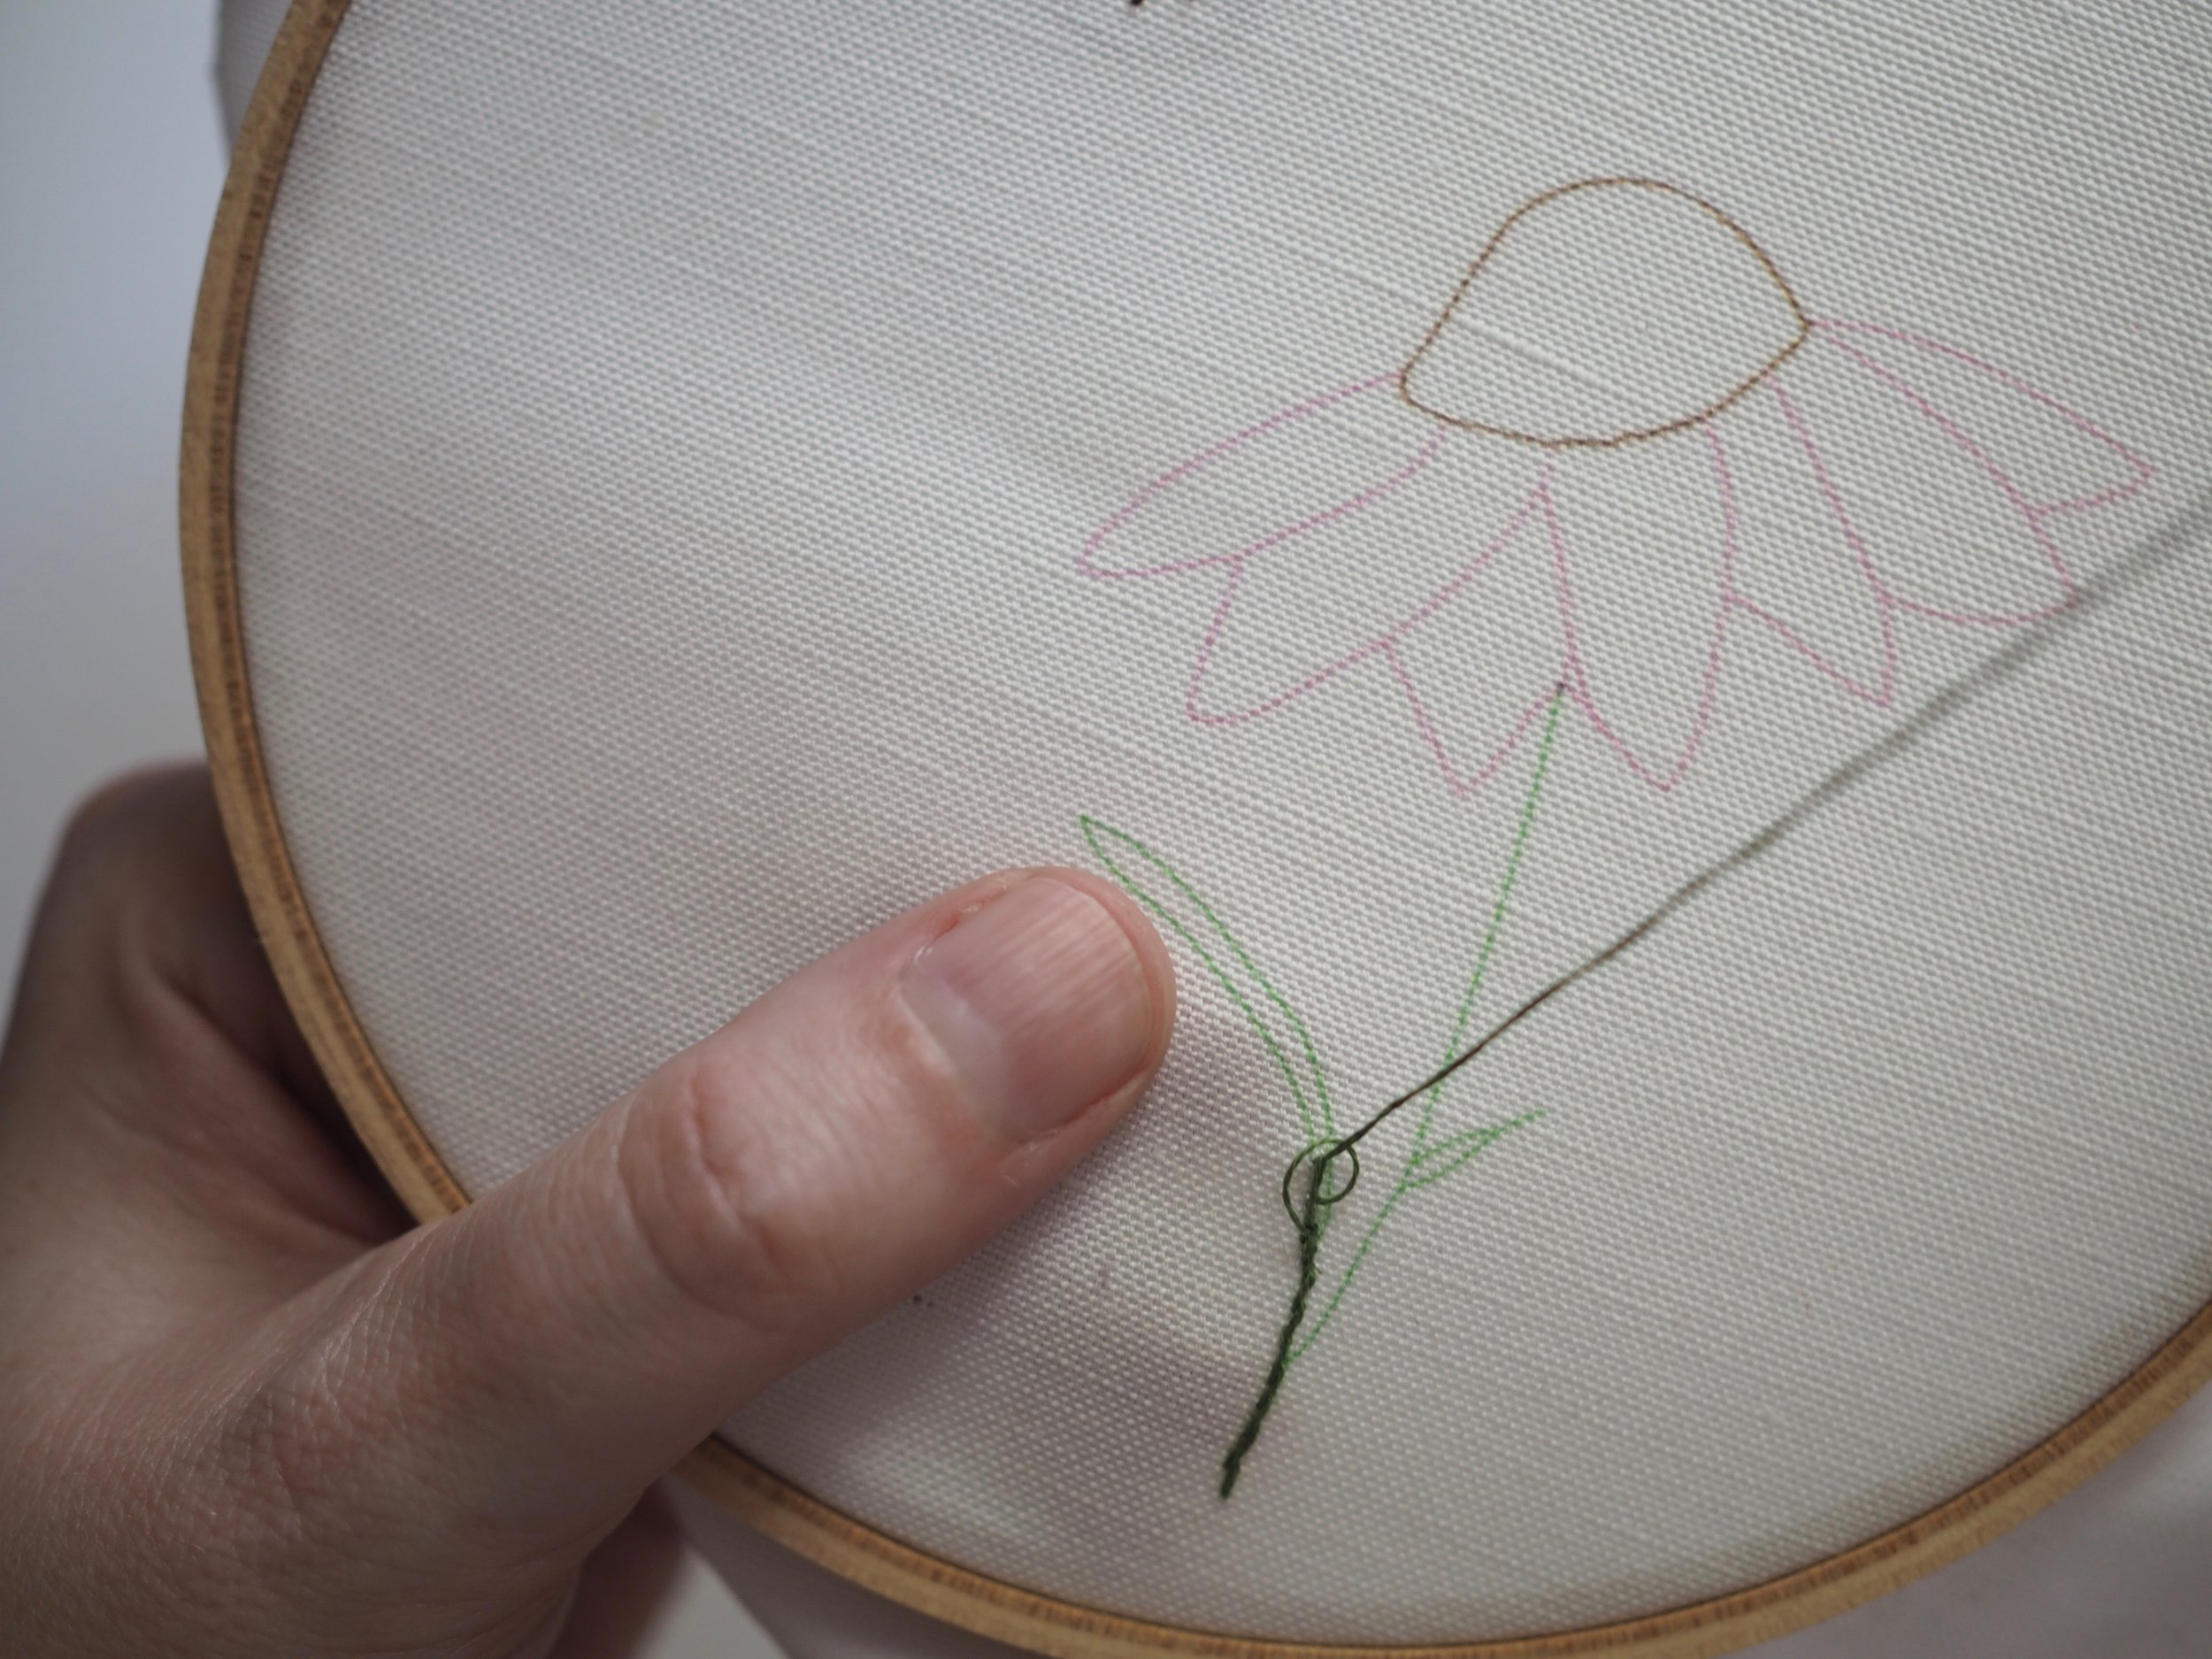
Even though I knit this sweater in 2010, I still had some of the yarn around, so I decided to give the mending a go. Should you be up for trying the same, here's my methodology: 

For large holes like these, I go down to the row beneath the first intact row under the hole and pick up enough stitches that there's 2-3 extra stitches on either side of the hole. From there, I knit back in forth in pattern, attaching it to the body by knitting two stitches together (one from my patch and one from the body) on either end of the patch, then Kitchener stitch the top together.

It took me about 30 minutes to fix the two large holes, which considering a sweater takes weeks to knit up in the first place, was a pretty fair trade off.  The key, I think, was to do it right away, (I fixed it the day after I found the holes) because once it goes into that mending pile, I seem to never really get around to it, making me question its importance in the first place.  


Print Friendly and PDF Follow
follow us in feedly

Introducing Becket

My dear friend Bristol Ivy is just about to release a book called "Knitting Outside the Box." She's awesome, the book is awesome and you should totally pre-order it

But, for me, I prefer to design within the box. Or boxes as it were.

That is, I love working within constraints. I've always found that some of my best creative leaps have come from some kind of restriction, be it a writing prompt, moodboard, or budget limitation. The freedom to create anything can be overwhelming, so sometimes I like to place restrictions on myself. 

After I had designed Leading Bird and Paper Bird, I decided I wanted to do a whole series of shawls (that wide-open palette) within three rules: 

  1. It had to be inspired by a song with the word "bird" in it.
  2. It had to use a shape not in the series yet
  3. It had to use a Quince yarn not in the series yet.

So I had done a semi-circular shawl in Owl and an elongated triangle in Tern. I started by coming up with my favorite bird-referencing songs:

  • Cage the Songbird (which became the traditional triangle shawl, Tributary); 
  • "Top of World" by Patty Griffin ("I'm afraid I broke the wings/Off that little songbird;"
  • "Here Stand" by The Ballroom Theives "Well, here I stand/A bird in hand/One foot in sea and one on land" 
  • The entire oeuvre of Brown Bird

(clearly, I'm not done with this idea yet and if I allow myself to be a bit liberal with the "bird" definition, "Maybe Sparrow" by Neko Case would be on there too.)

And then my favorite band, Darlingside, came out with an album called "Birds Say" and I just had to make a shawl around the title track. 


My first bit of inspiration was from the way Darlingside performs - as four voices around a single microphone, which translated itself to four trapezoids around a central point in a shape that's half-scarf, half-shawl (a scrawl?). The fabric design was easy - an irregular rib based on the rhythm of the song.  I knew from earlier swatching experiments that Quince's springy Phoebe would let the ribs "pop," while the semi-solid coloring keeps the eye moving horizontally, like reading sheet music. 

All of that pulled together to become the Becket shawl (Quince picks the final names), part of their Marsh Collection

The pattern is available for $6 USD for the individual pattern or $19 USD for the whole Marsh Collection from the following online shops:

MsCleaver.com   ||   Quince & Co.   ||      Ravelry

If you knit it and participate in social media, use #quincebecket to share and/or tag me @mscleaver !  

And here's one more song for the road (because I really can't help fangirl-ing)


Print Friendly and PDF Follow
follow us in feedly

Embroidery 101: French Knots, Shading, Blanket Stitch and Finishing

Embroidery 101 French Knots and Shading.jpg

Today we'll look at more fill stitches, namely the French knot and using satin stitch to blend colors. Then it's on to the last step - finishing your hoop to hang! 

FRENCH KNOT

The classic stitch for adding texture, the French knot is a great addition to your stitching vocabulary.

FRENCH KNOT

  1. Secure thread at back of fabric.
  2. Bring up needle through fabric at desired position.
  3. With needle pointing away from fabric, wrap thread around shank of needle 2-3 times. (The more wraps, the bigger the finished knot).
  4. Holding onto the yarn tail until it becomes too short, push the needle down through the fabric just next to the spot it came up in. Pull snugly against fabric.

Repeat steps 2-4.

Excellent for eyes, textured fill on things like hair, clouds, sheep.

SHADING

To create blended or shaded colors, I use "hairy" satin stitch, but instead of using one color for the entire section, I use a contrast color for one or two "rows".

Again, think of it like coloring with a very sharp colored pencil.  Using a single ply will give you a more blended look than 2 or more plys.

To subtly define the individual petals and clean up the edges, I used backstitch to outline each petal in a single ply of the darker shade.

BLANKET STITCH and FINISHING YOUR HOOP

While you could certainly do any number of things with your finished stitching (make it into a pillow, quilt square, a pocket, etc.) my favorite thing to do is frame it in the hoop. 

FINISHING THE HOOP

  1. Using the smaller inner hoop, trace a circle unto some felt and set aside.
  2. Put the inner hoop back on and make sure your finished image is placed where you want it in the hoop.
  3. Run a long line of basting stitches about a 1/2" from the edge of the inner hoop, securing at one end and leaving a long tail.
  4. Pull on the tail to gather the extra fabric around the back of the hoop.
  5. Place the felt circle over the gathered fabric and attach with a whip stitch or a blanket stitch (see below)

BLANKET STITCH

So named because it was often used to finish the edges of wool blankets, this is my favorite way to sew two pieces of felt together, or create a tidy edge.

  1. Leaving a long tail, insert your needle back to front about 1/4” from edge of fabric. Pull thread around outside edge of fabric and re-insert in needle at same spot, making a loop. Send your needle sideways under this loop at the top edge of the fabric, grabbing a bit of the fabric to anchor your thread.
  2. Insert needle back to front 1/4” from previous stitch at same distance from edge. Pull needle so thread tail is trapped along edge of fabric. 

Repeat step 2.

For a one-stop guide to all the stitches covered in this series,  click here for a downloadable PDF of basic stitches

Embroidery 101 Hoop finishing .jpg

Print Friendly and PDF Follow
follow us in feedly

Embroidery 101: Stem Stitch, Split Stitch, Chain Stitch, and Satin Stitch

Embroidery 101 Satin Stem Split Chain.jpg

So the danger of beginning to post a tutorial series before you've taken all the photos for it is after posting the first two sections, you might get a massive paper-cut on your finger, which would make for less than appealing tutorial photos, so you have to wait for it to heal and then you go to Canada on vacation for a week, and then suddenly it's been a month. Or is that just me? 

In any case, today we'll look at the other basic outlining stitches (stem, split, and chain) and start down the rabbit hole that is satin stitch. 

Needles threaded and paper-cut free? 

Let's go!

STEM STITCH

Stem stitch is my personal favorite outlining stitch. It curves beautifully, and I find it easier to stitch alongside my previous stitch than to evenly split the plys (as in split stitch below). As the name implies, its great for curving lines, like stems (or rivers or hair, etc.). 

STEM STITCH
1. Make a stitch of desired length.
2. Along the design line, bring up the needle at the center of the previous stitch, pushing the plys of the previous stitch to the side (left or right, but be consistent).
3. Bring needle forward and push down through the fabric at the same stitch length as first stitch.
Repeat steps 2-3.
 

SPLIT STITCH

The split stitch and stem stitch are pretty much two sides of the same coin. They're almost identical to work and can be used in the same way, though they do vary in appearance, with stem stitch having a more twisted rope appearance, while split stitch looks more like a mini chain. 

SPLIT STITCH
1. Make a stitch of desired length.
2. Along the design line, bring up the needle in the center of the previous stitch, splitting the plys evenly.
3. Bring needle forward and push down through the fabric at the same stitch length as first stitch.
Repeat steps 2-3.
Excellent for straight or curving lines, thicker borders.

CHAIN STITCH

Not a chain of fools, but a lovely stitch for thick lines that work lovely as outlines and (as used here) fill for smaller areas. It's a little more involved than the other outlining stitches, but when used as a line, you get one twice as thick. You can also use a single chain stitch individually as drops, petals or leaves.

CHAIN STITCH
1. Bring needle up through fabric, then push back through at same spot, leaving a small loop of desired length.
2. Along the design line, bring needle up through fabric at the base of the loop you just made (on the inside of the loop), then re-insert needle along the design line at the desired length of the loop, trapping the thread tail under the needle and pull tight.
Repeat step 2.
 

SATIN STITCH (SMOOTH)

Ah, satin stitch. For so long this was my stitching nemesis. I never felt like I could get it look, well, satiny and my edges always looked a mess. Two things changed this for me:

  1. Practice.
  2. Using 1 ply. 

When you're using a single ply, it's much easier to fill in gaps and make small adjustments and really, it doesn't take all that much longer to do than with multiple plys. 

SATIN STITCH
1. Outline area to fill with an outline stitch. If a large area is to be filled, stitch randomly within fill area to provide padding.  (Both of these are optional)
2. Starting at one side, pull up needle just outside outline stitching and pull across fill area.
3. Push needle down through fabric just outside the outline stitching.
4. Bring up needle on same side as step 2 right next to previous stitch.
Repeat steps 2-4

In general, I'd recommend thinking about working satin stitch as if you were coloring with a very sharp colored pencil. You're going to see the direction of the lines, it's not a blended or smooth as a crayon or a marker, but isn't that kind of the point? 

SATIN STITCH (HAIRY)

Is this still satin stitch? I think so. You get a glossy appearance, but I think this looks more natural, like fur, and serves as a great basis for shading, which we'll cover in the next post. 

For "hairy" or "furry" satin stitch, I like to start out making lines in the direction I want in 3-5 different lengths. Because the ends are staggered, you don't have to loop back underneath to the opposite starting point like with smooth satin stitch. Make one "row" of the staggered stitches. When working the next row, start some of your stitches in between the first row stitches and some starting at the end of the first row stitches. Basically, you don't want any clear "lines." Continuing adding "rows" until your area is filled.

In the example above, you can see about three "rows" in the main body of the bee, with one staggered row each for the remaining brown and yellow tail portions. 

KEEPING THE BACK TIDY

When I talk about embroidery, someone will always invariably ask me how to keep the back tidy. The truth is, since I usually hang my hoops on a wall, or use them on a pillow and you don't see the back, I generally don't much care what my backs look like. But, if the back is visibe and you are concerned, my tidy back tips are this:

  1. If you have to move to a spot more than an inch away, cut the thread and anchor it anew in the new location OR
  2. Weave the working thread through the existing stitches (as seen above) until you reach your new starting spot.

That's it, pretty simple! 

NEXT UP


Print Friendly and PDF Follow
follow us in feedly

Introducing Dal

I'm pleased to introduce Dal - part of Quince and Co's Spice Collection. I love Lark, Quince's worsted weight wool. It's a simple workhorse yarn, but it lends itself to texture so well - as demonstrated by the knit/purl basketweave texture and cables on Dal. Knit and purl stitches combine for a cushy body, while a stockinette sleeve keeps this cozy raglan from being too busy. The width of the front-center panel scales with sizing, to be flattering on a range of figures. 

I'm in love with the rich golden hues of Carrie's Yellow, but Dal would also look great in olivey-green, like Wasabi; a steel blue like Sage; or the deep Merlot of Barolo:

The pattern is available for $7 USD from the following online shops:

MsCleaver.com   ||   Quince & Co.   ||      Ravelry

If you knit it and participate in social media, use #quincedal to share and/or tag me @mscleaver !  

I'd love to see your version!!!


Print Friendly and PDF Follow
follow us in feedly

FO Roundup - Summer 2017

One of the most fun parts of being a designer is seeing how others interpret your designs. Here are a few of my favorite finished objects (FOs) of late,  including some of my lesser-made patterns (click on any photo to visit the knitter's Ravelry and/or Instagram page):

Maian - knit by DinkyDebbie

Maian - knit by DinkyDebbie

Ripley - knit by Victorious Wool

Ripley - knit by Victorious Wool

Ripley - knit by VictoriousWool

Ripley - knit by VictoriousWool

Kaeryn - knit by sweepea

Kaeryn - knit by sweepea

Domenic Duck - Design By Leah B. Thibault, knit by Traceyknits5

Domenic Duck - Design By Leah B. Thibault, knit by Traceyknits5

Atlee- Knit by java1994

Atlee- Knit by java1994

Atlee- Knit by java1994

Atlee- Knit by java1994

Ezekiel Saw - design by Leah B. Thibault, knit by knitterripper

Ezekiel Saw - design by Leah B. Thibault, knit by knitterripper

Want to share your knits with me? Tag me @mscleaver on Instagram, or if it's on Ravelry, I'll see it. :) 


Print Friendly and PDF Follow
follow us in feedly