Short rows are one of the most valuable shaping tools in a knitter's toolbox. With them you can turn heels, add bust darts, raise the back neck of a sweater, and make an adorably curly duck tail.
There are numerous ways to do short rows, but I'm sticking with the basic wrap and turn (W&T) version here.
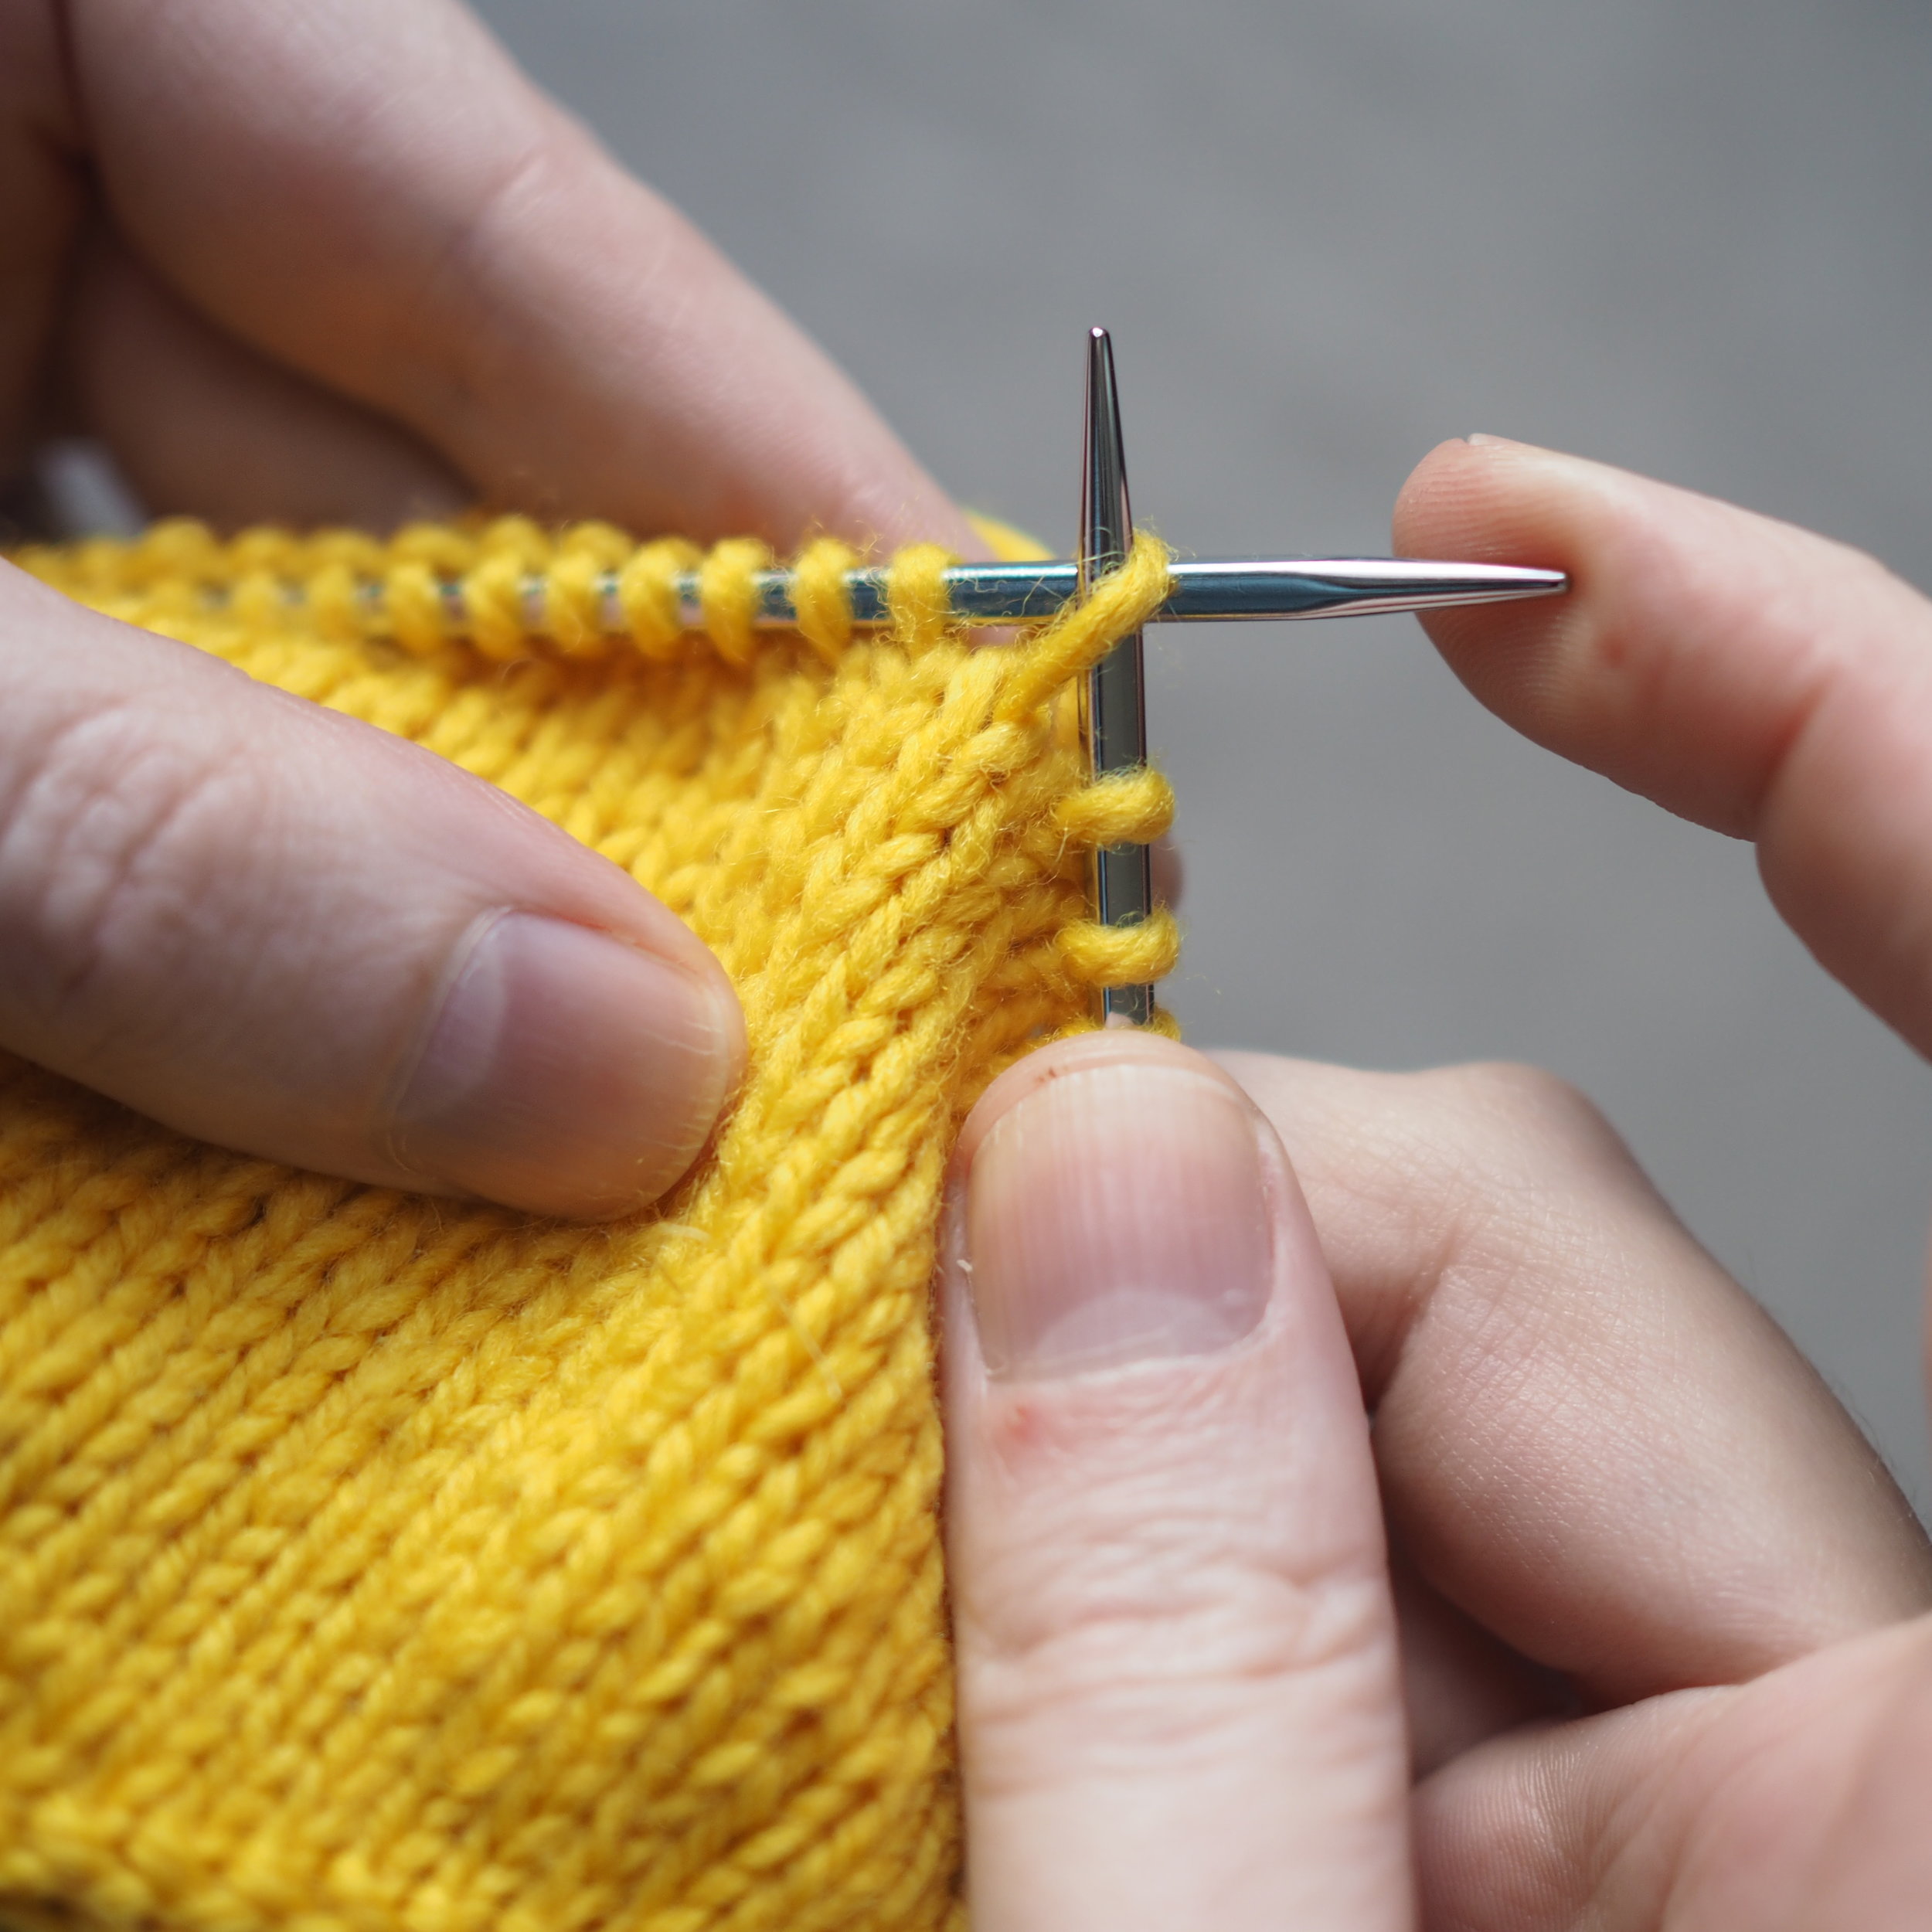


W&T Knitwise
- Knit number of stitches as indicated in pattern before wrap.
- To Wrap, slide next unknitted stitch to right hand needle, bring yarn to front, as if to purl.
- Slip st from right hand needle back to left hand needle, keeping yarn at front of work.
- Pull yarn to back of work. The first stitch on the left hand needle should now have a nice wrap around it.
- Turn work to opposite side, with yarn as to purl.
W&T Purlwise
- Purl number of stitches as indicated in pattern before wrap.
- To Wrap, slide next unworked stitch to right hand needle, bring yarn to back, as if to knit.
- Slip st from right hand needle back to left hand needle, keeping yarn at back of work.
- Pull yarn to front of work. The first stitch on the left hand needle should now have a nice wrap around it.
- Turn work to opposite side, with yarn as to knit.
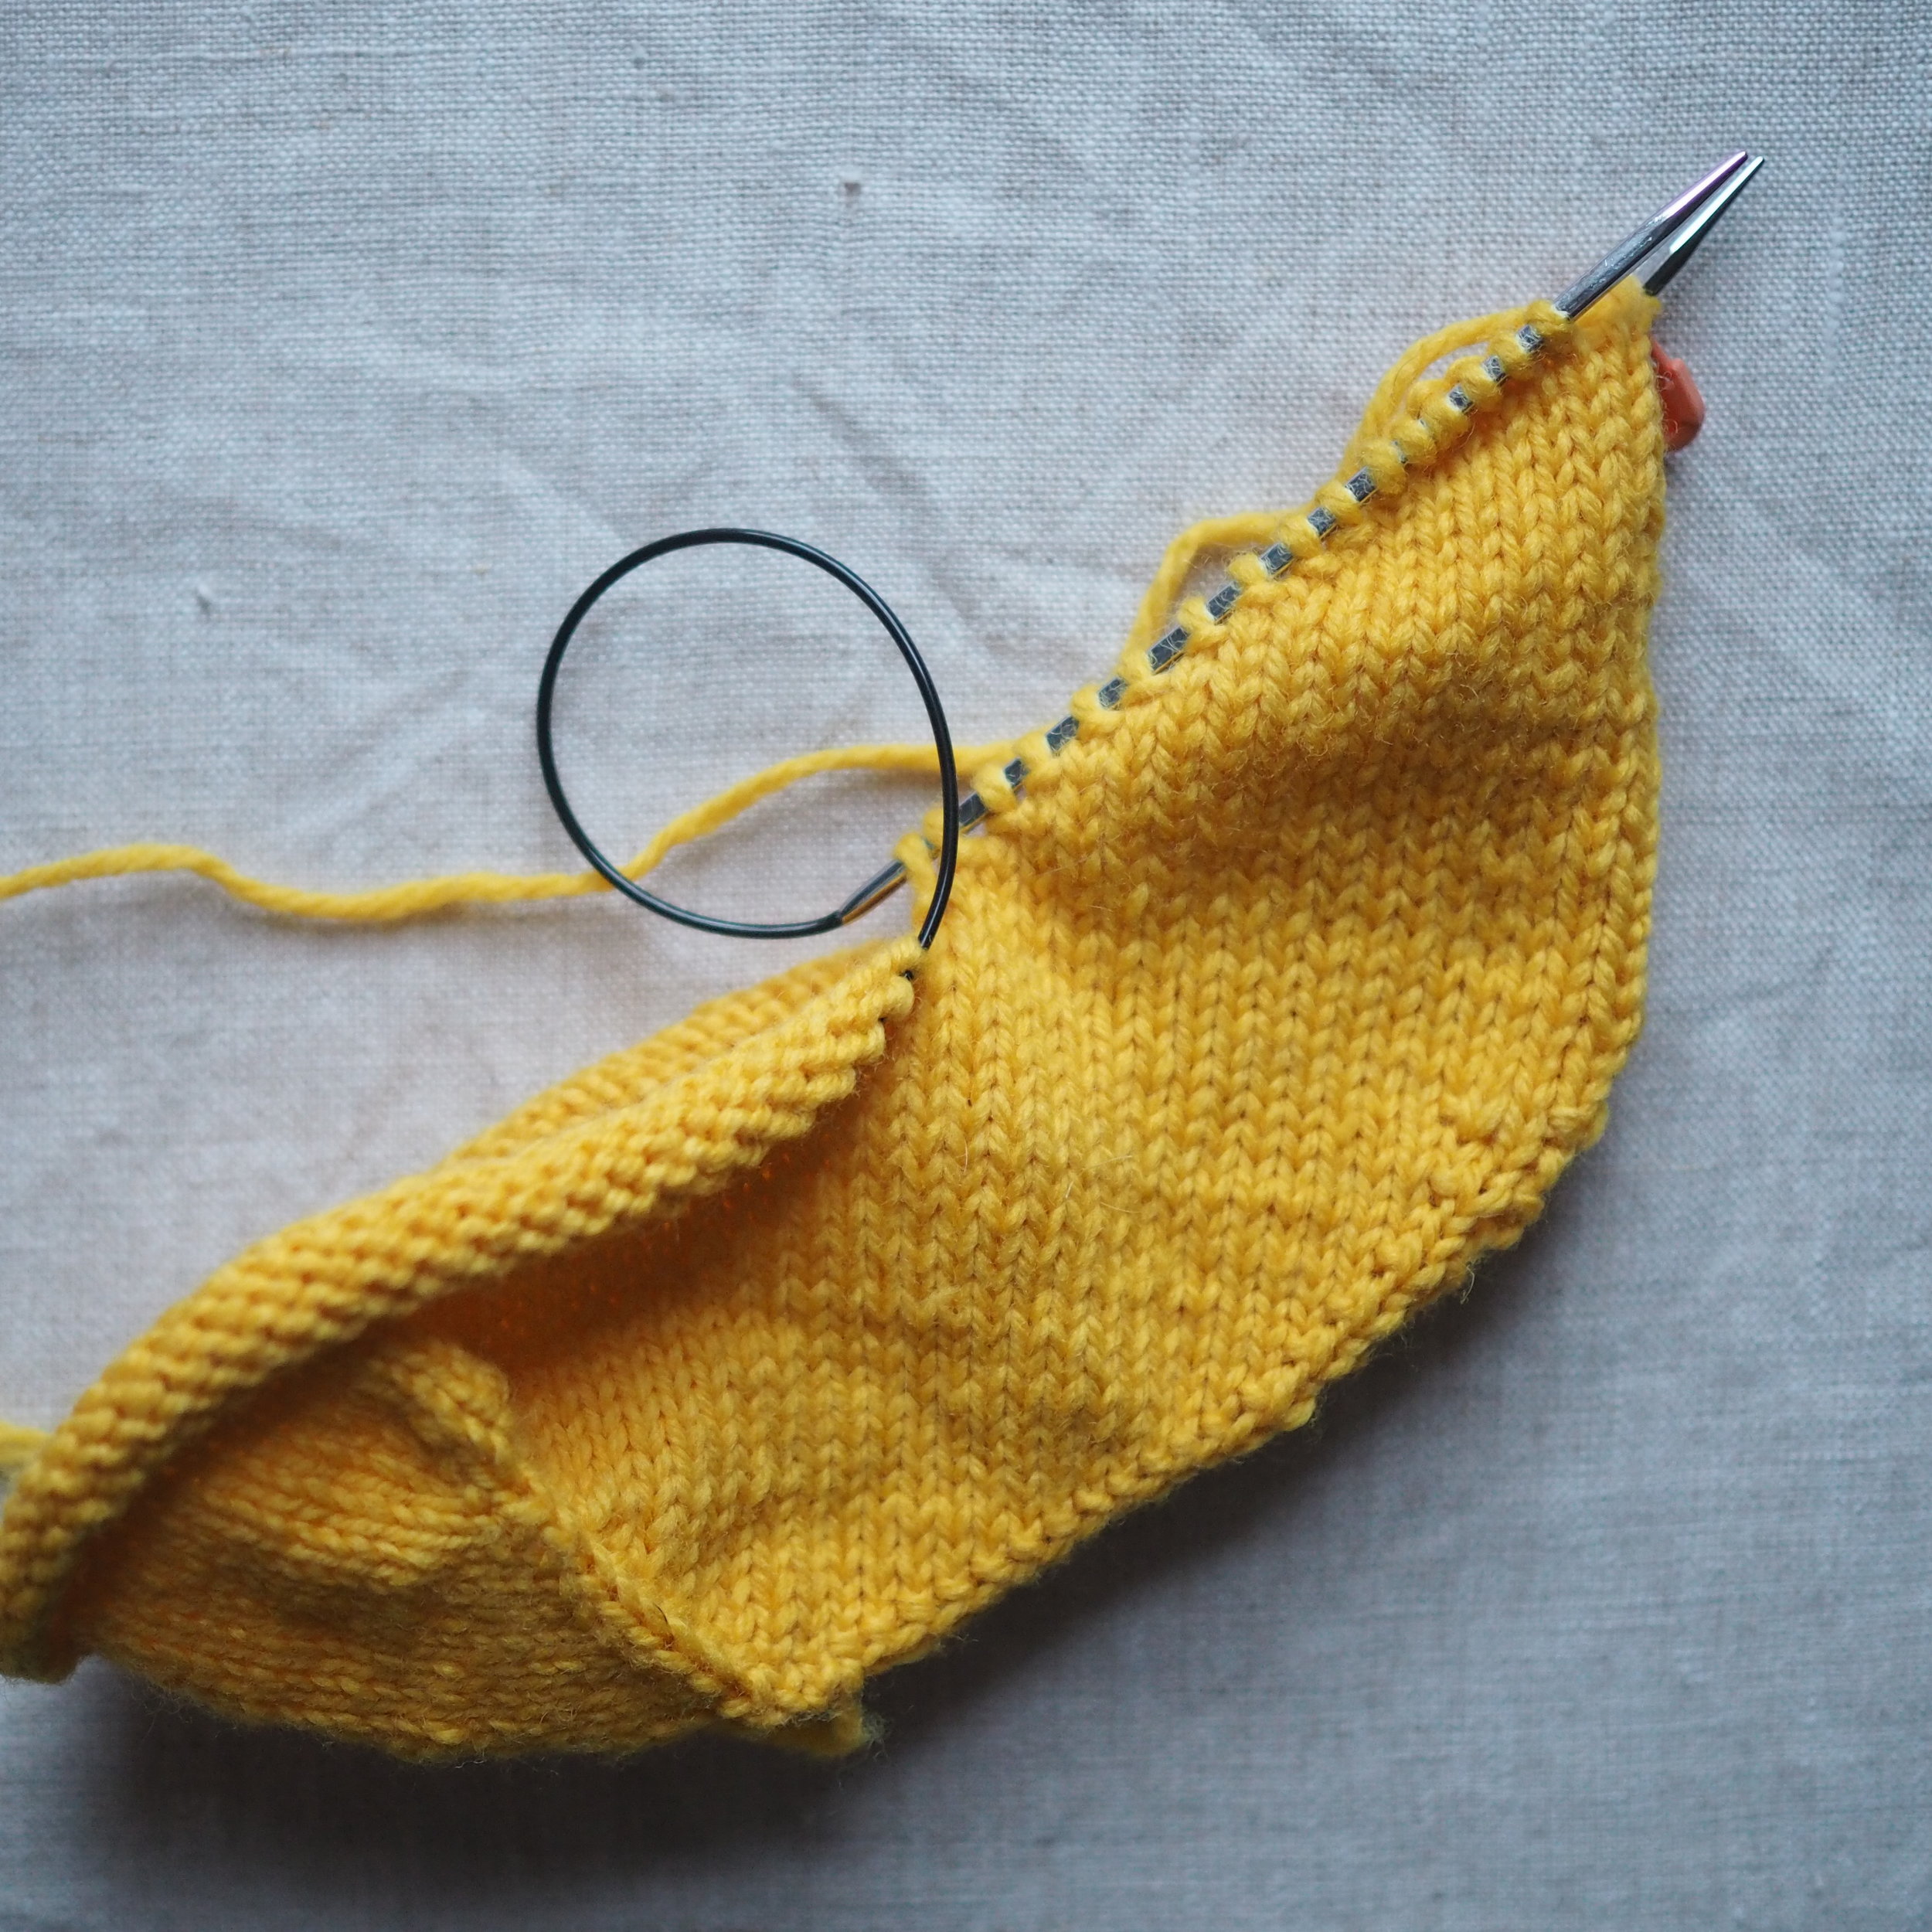
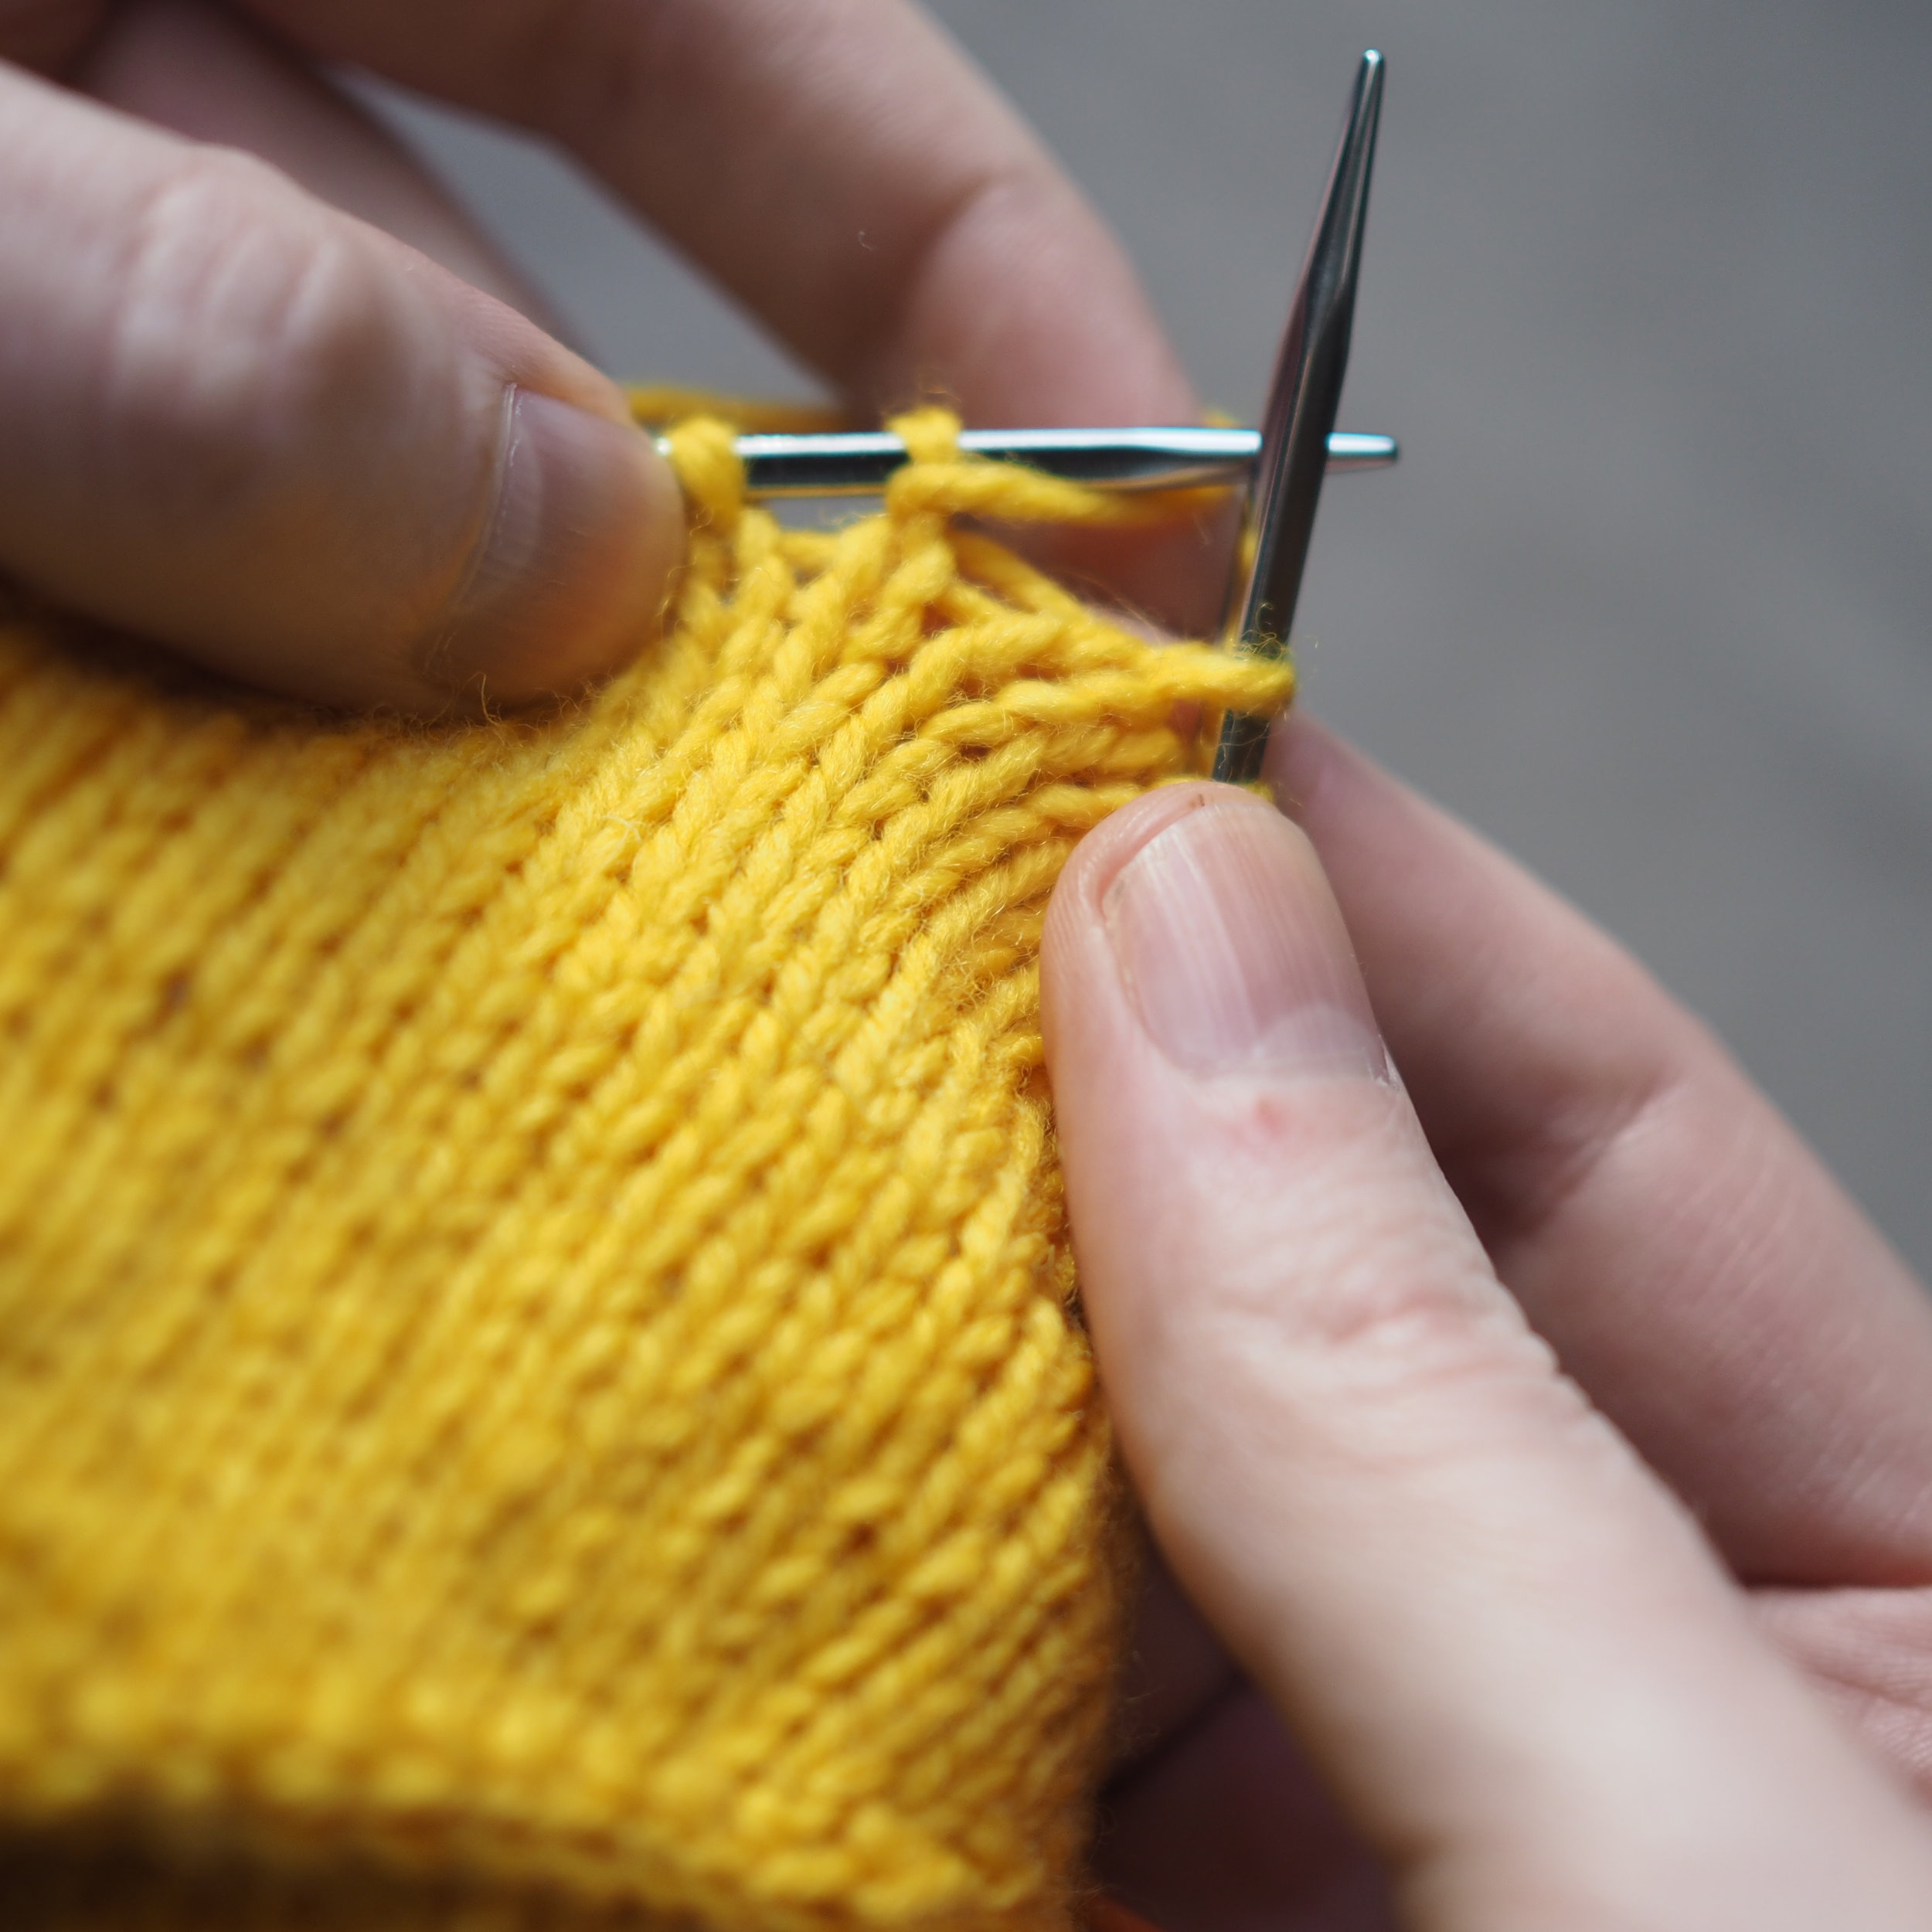
As you work the short rows across the tail, you'll start to form a triangle shape at one end, with a neat little wrap around each stitch.

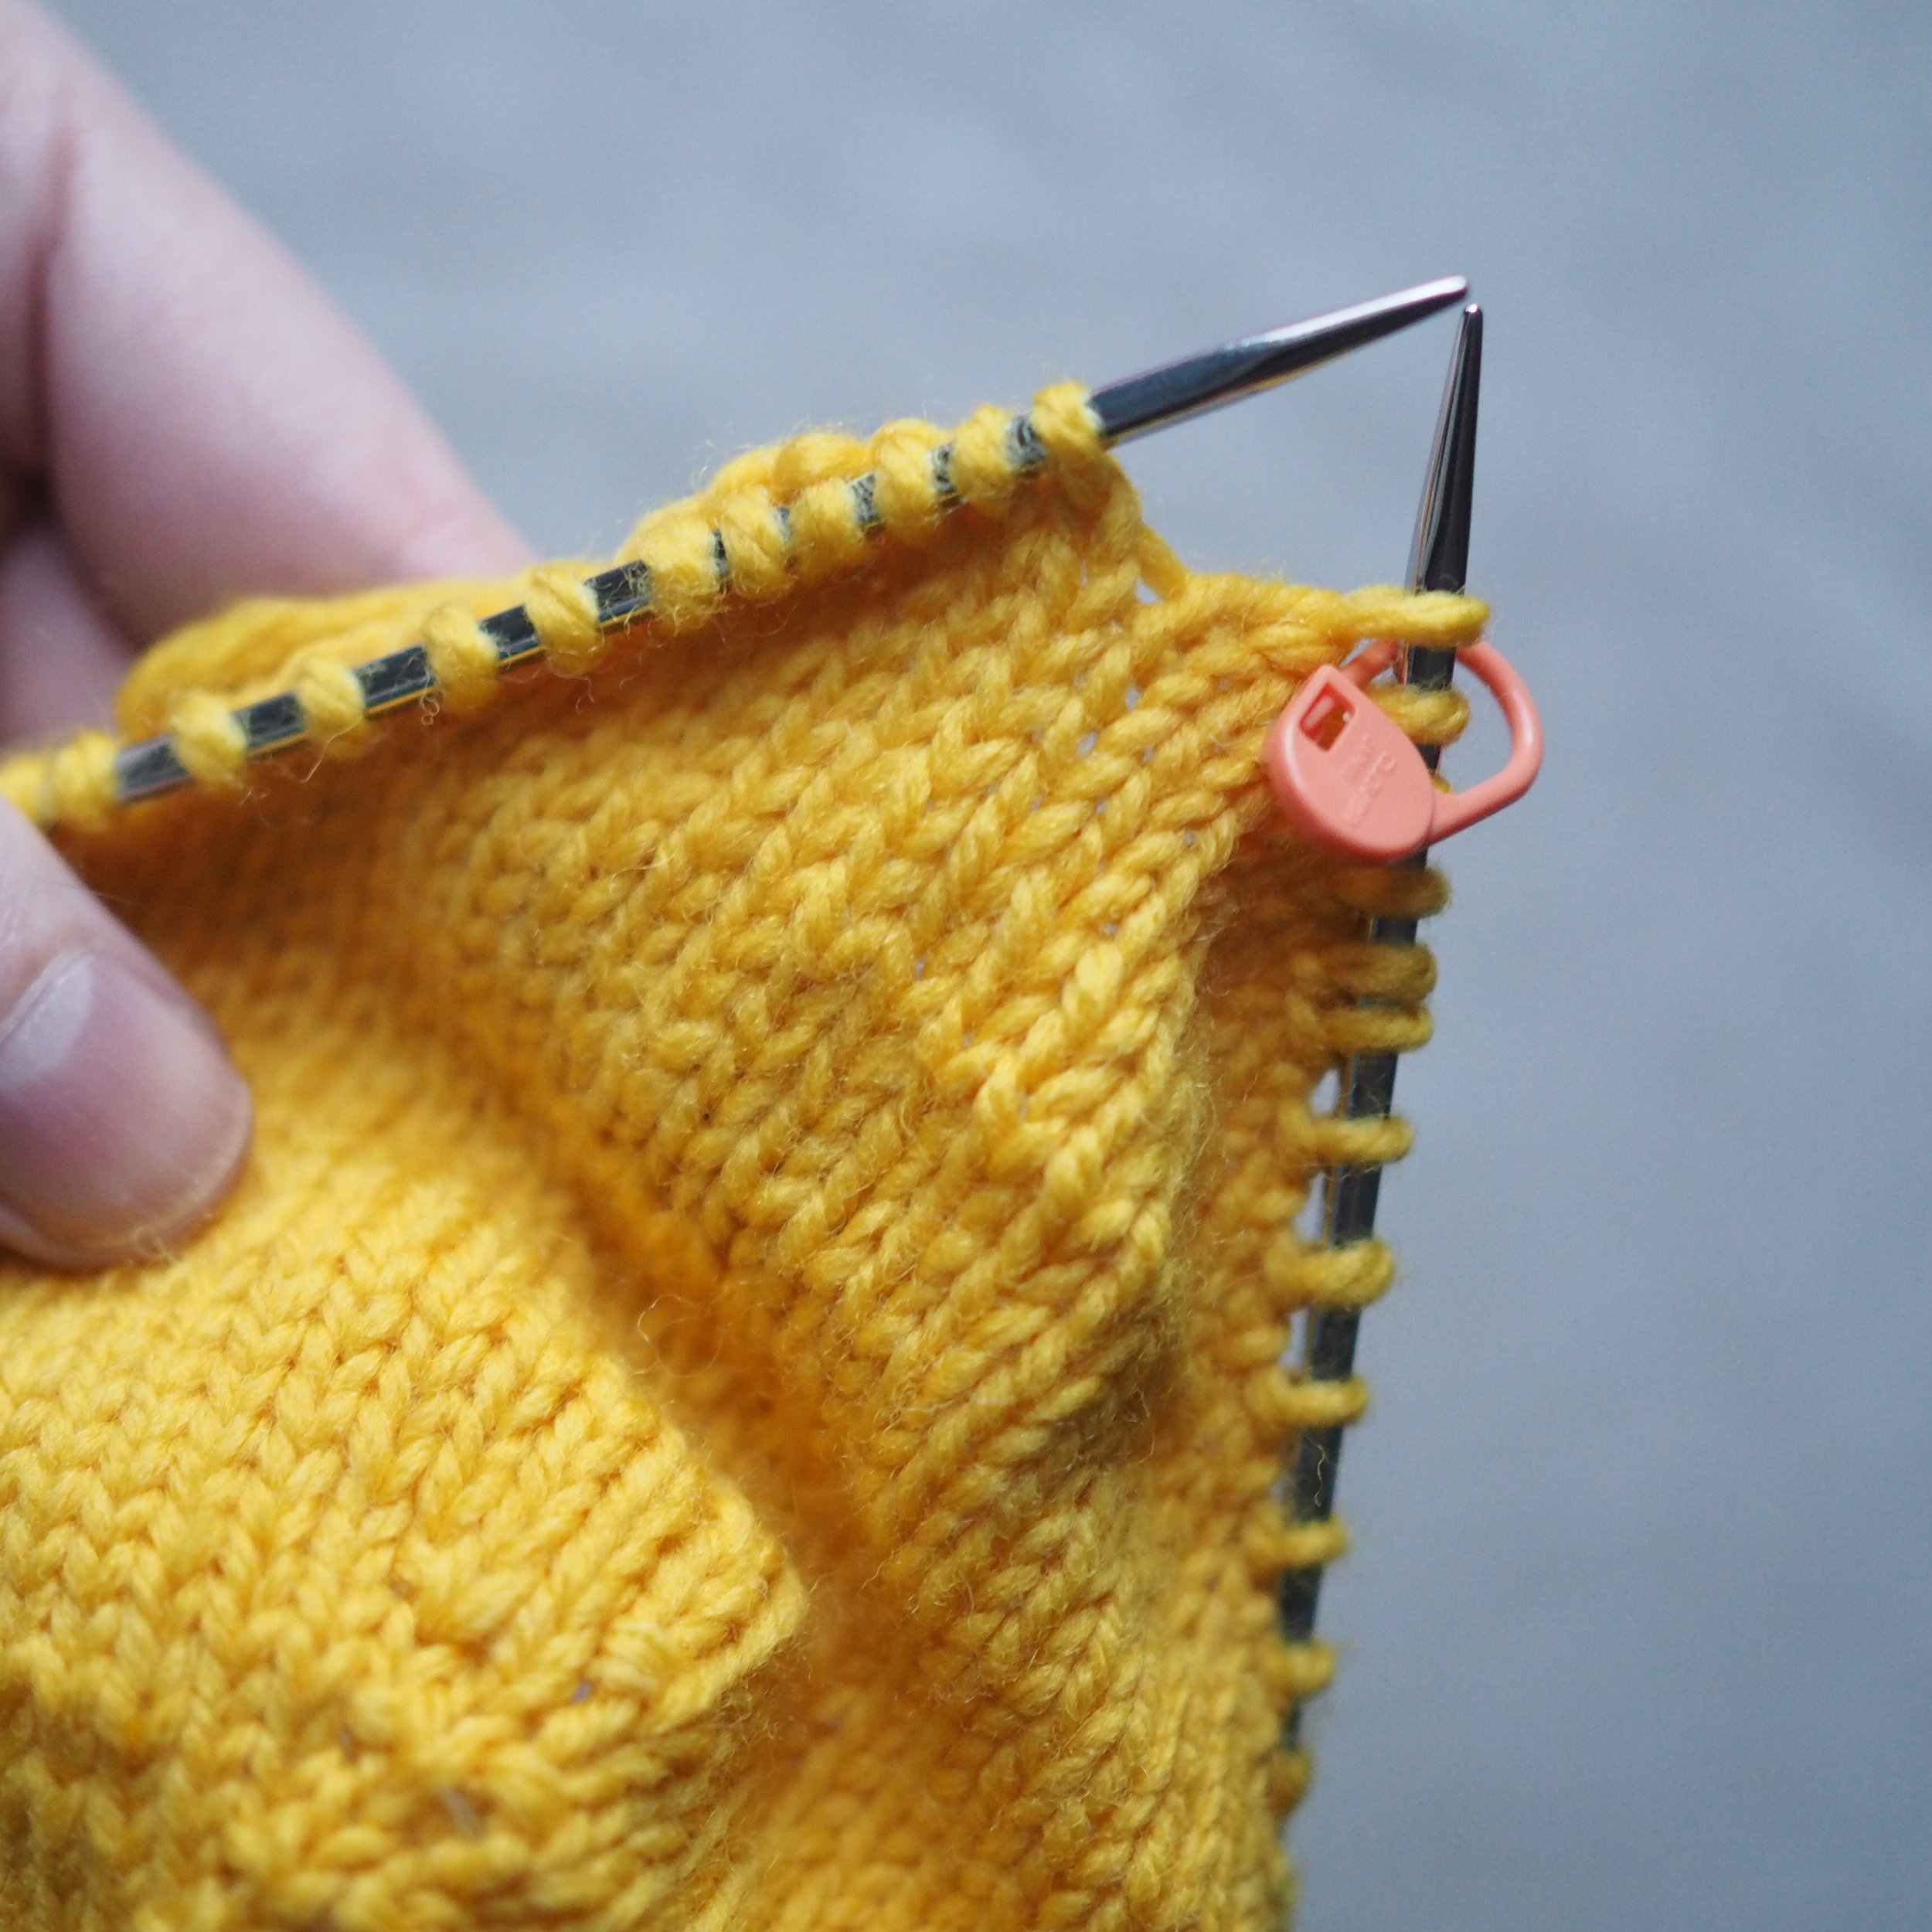
Curling the Tail
To give the tail it's adorable curl, the outside is going to need to be longer the the inner part of the curl. So you'll need to work a few short rows where the row stays the same length/doesn't get shorter. In this case, you will be re-wrapping a stitch you've already wrapped once.
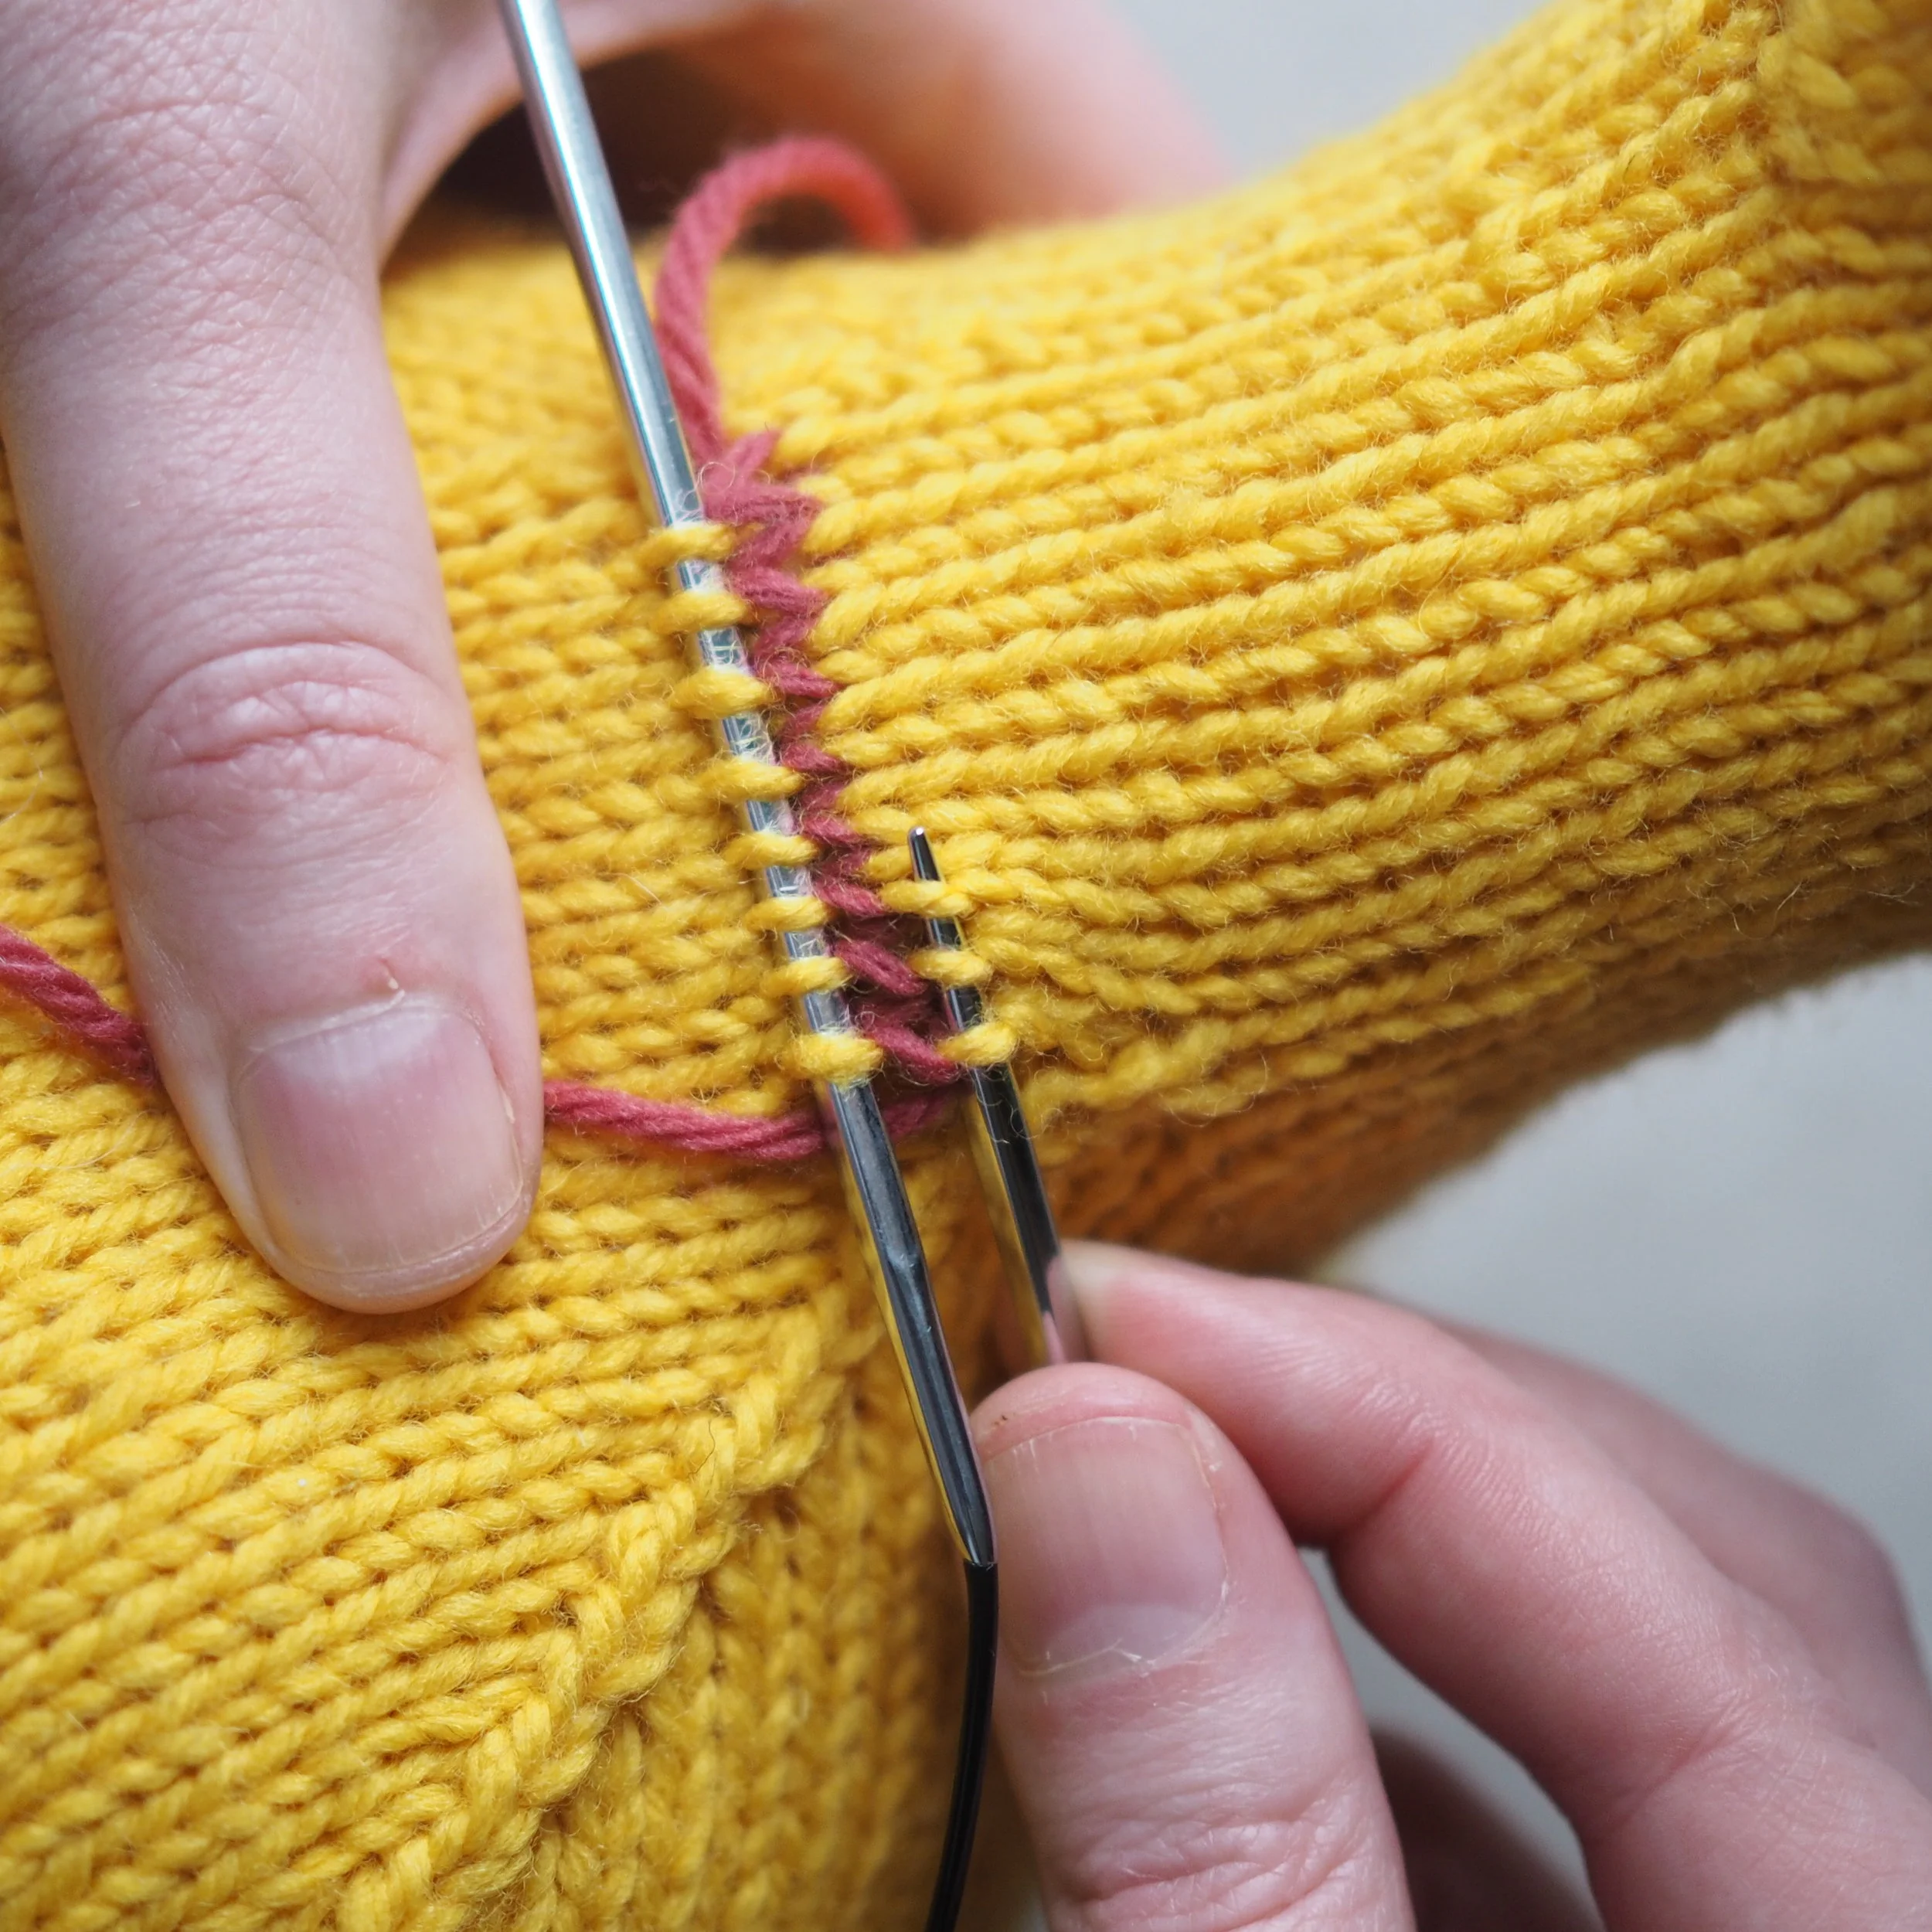
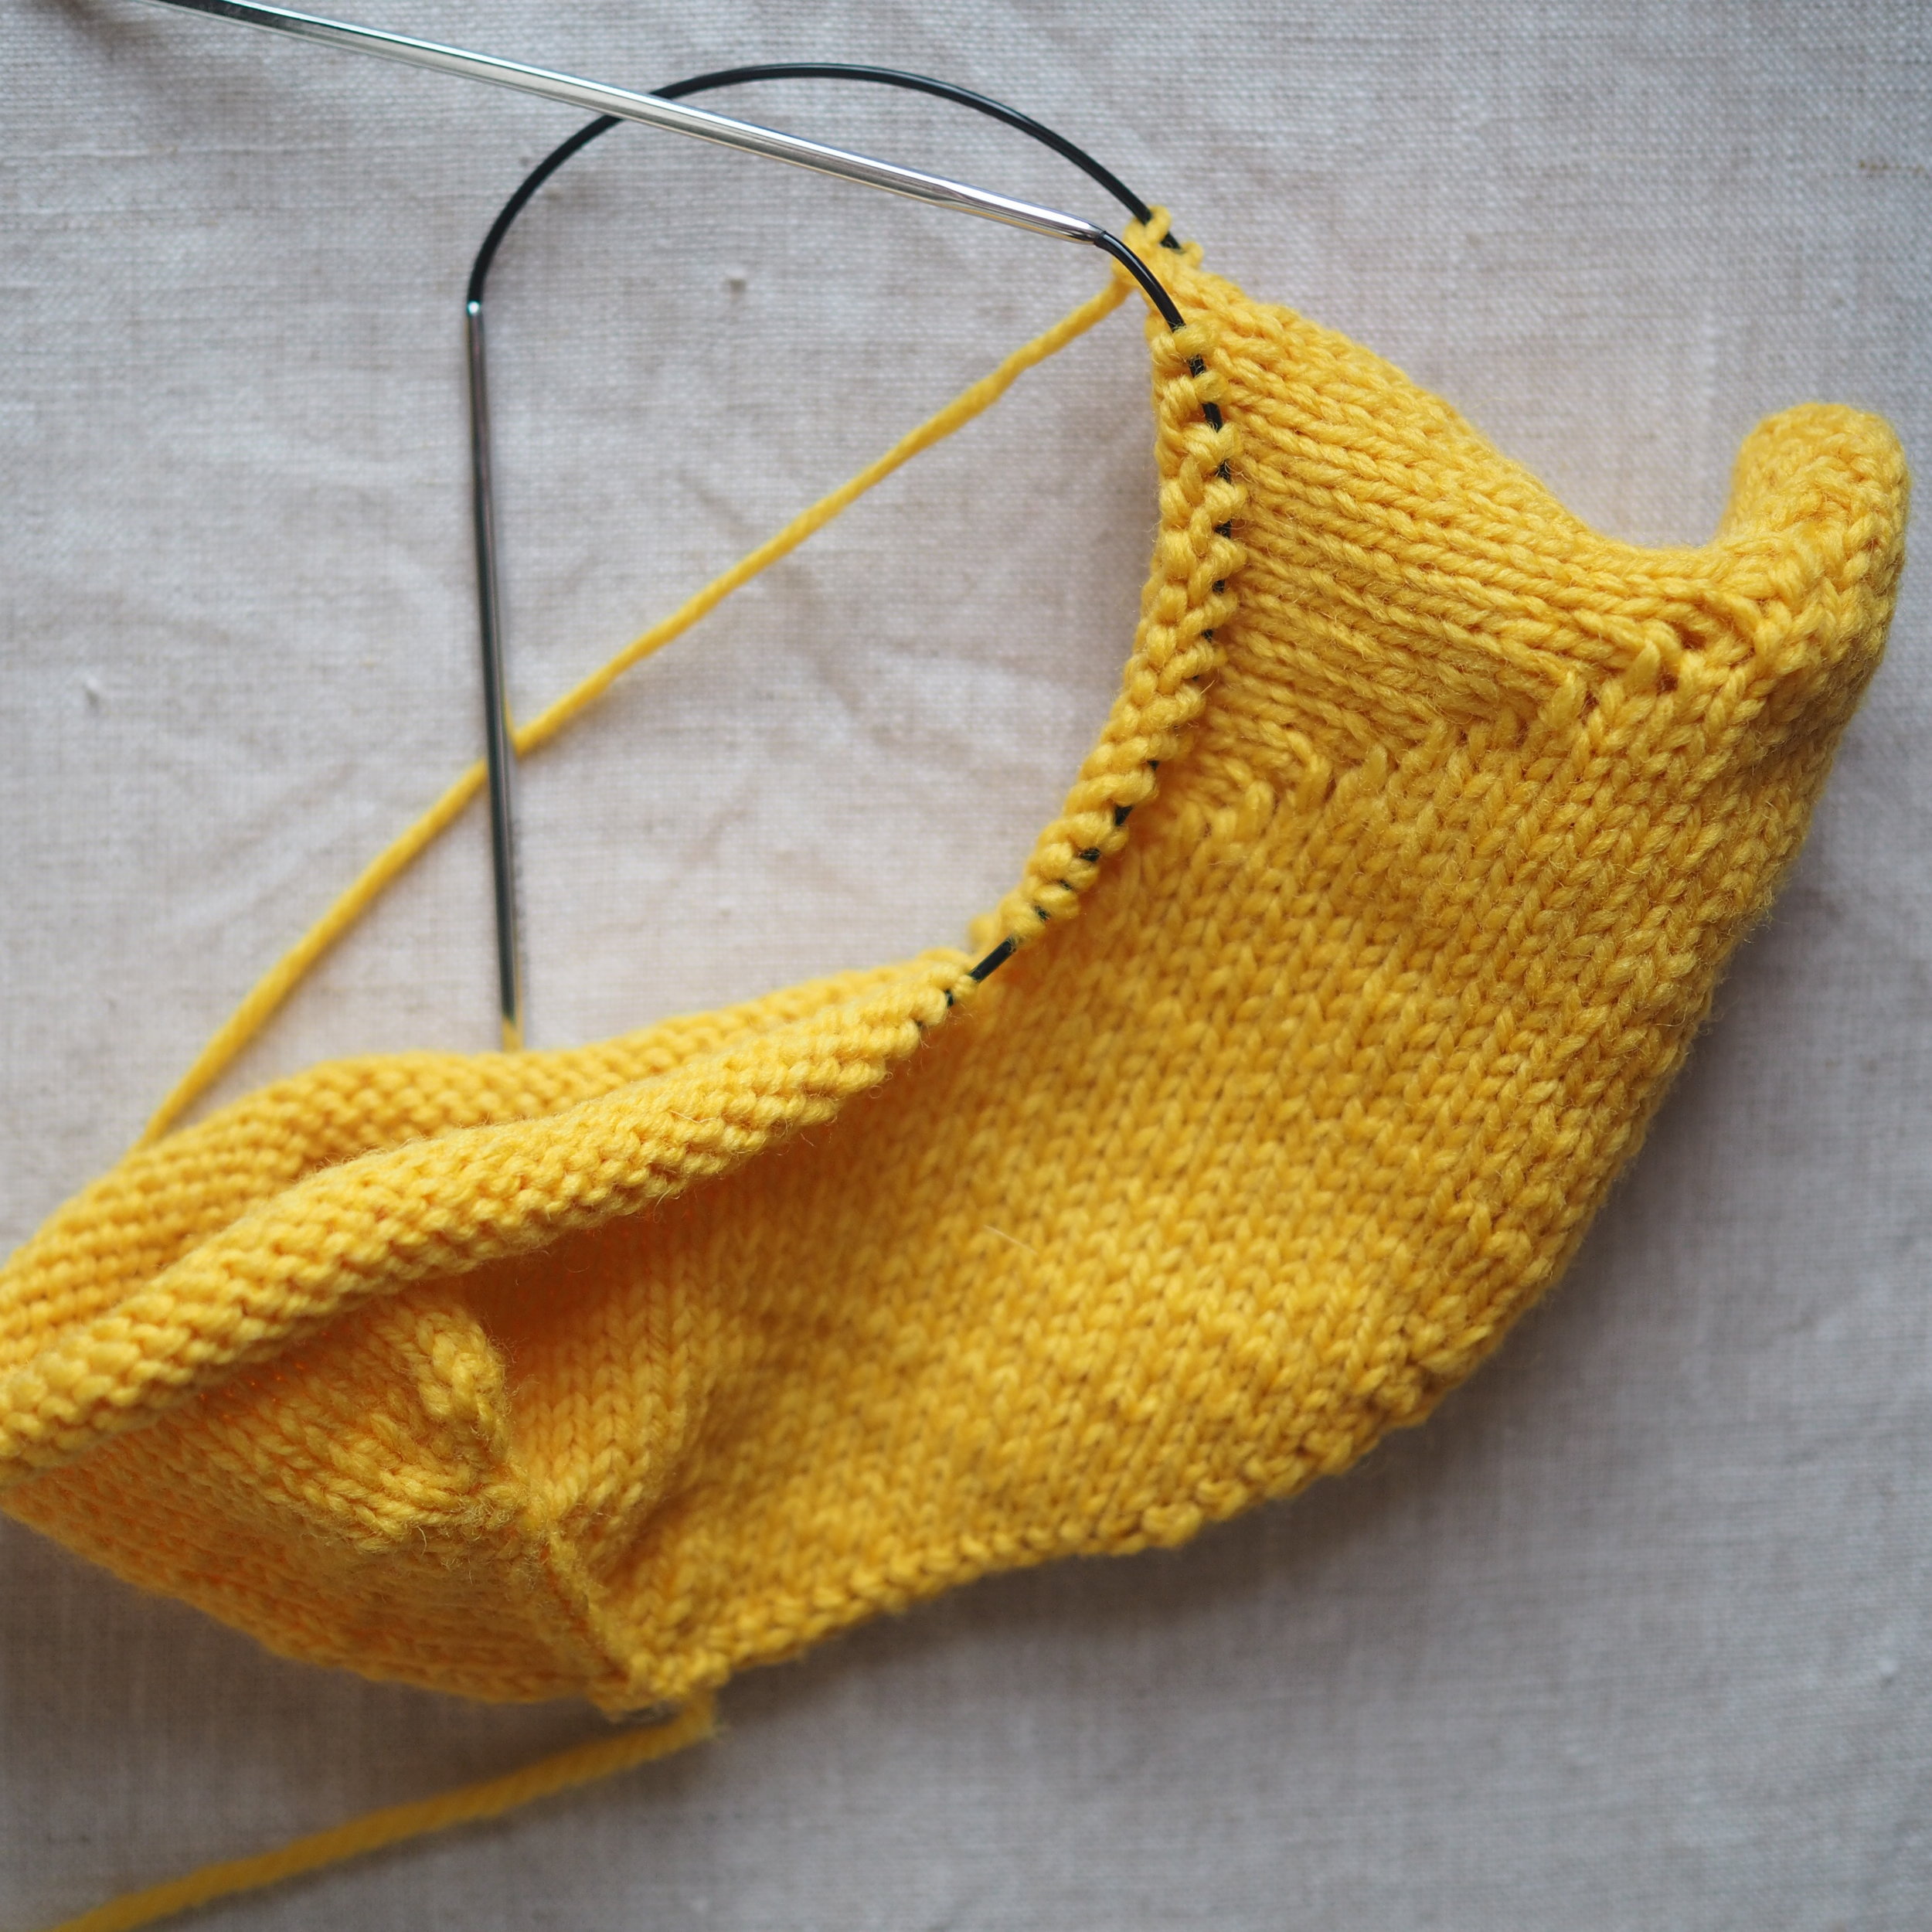
Picking up the Wraps
Depending of the short row, you may have one, two, or three wraps to pick up as you work your way back out to longer rows.


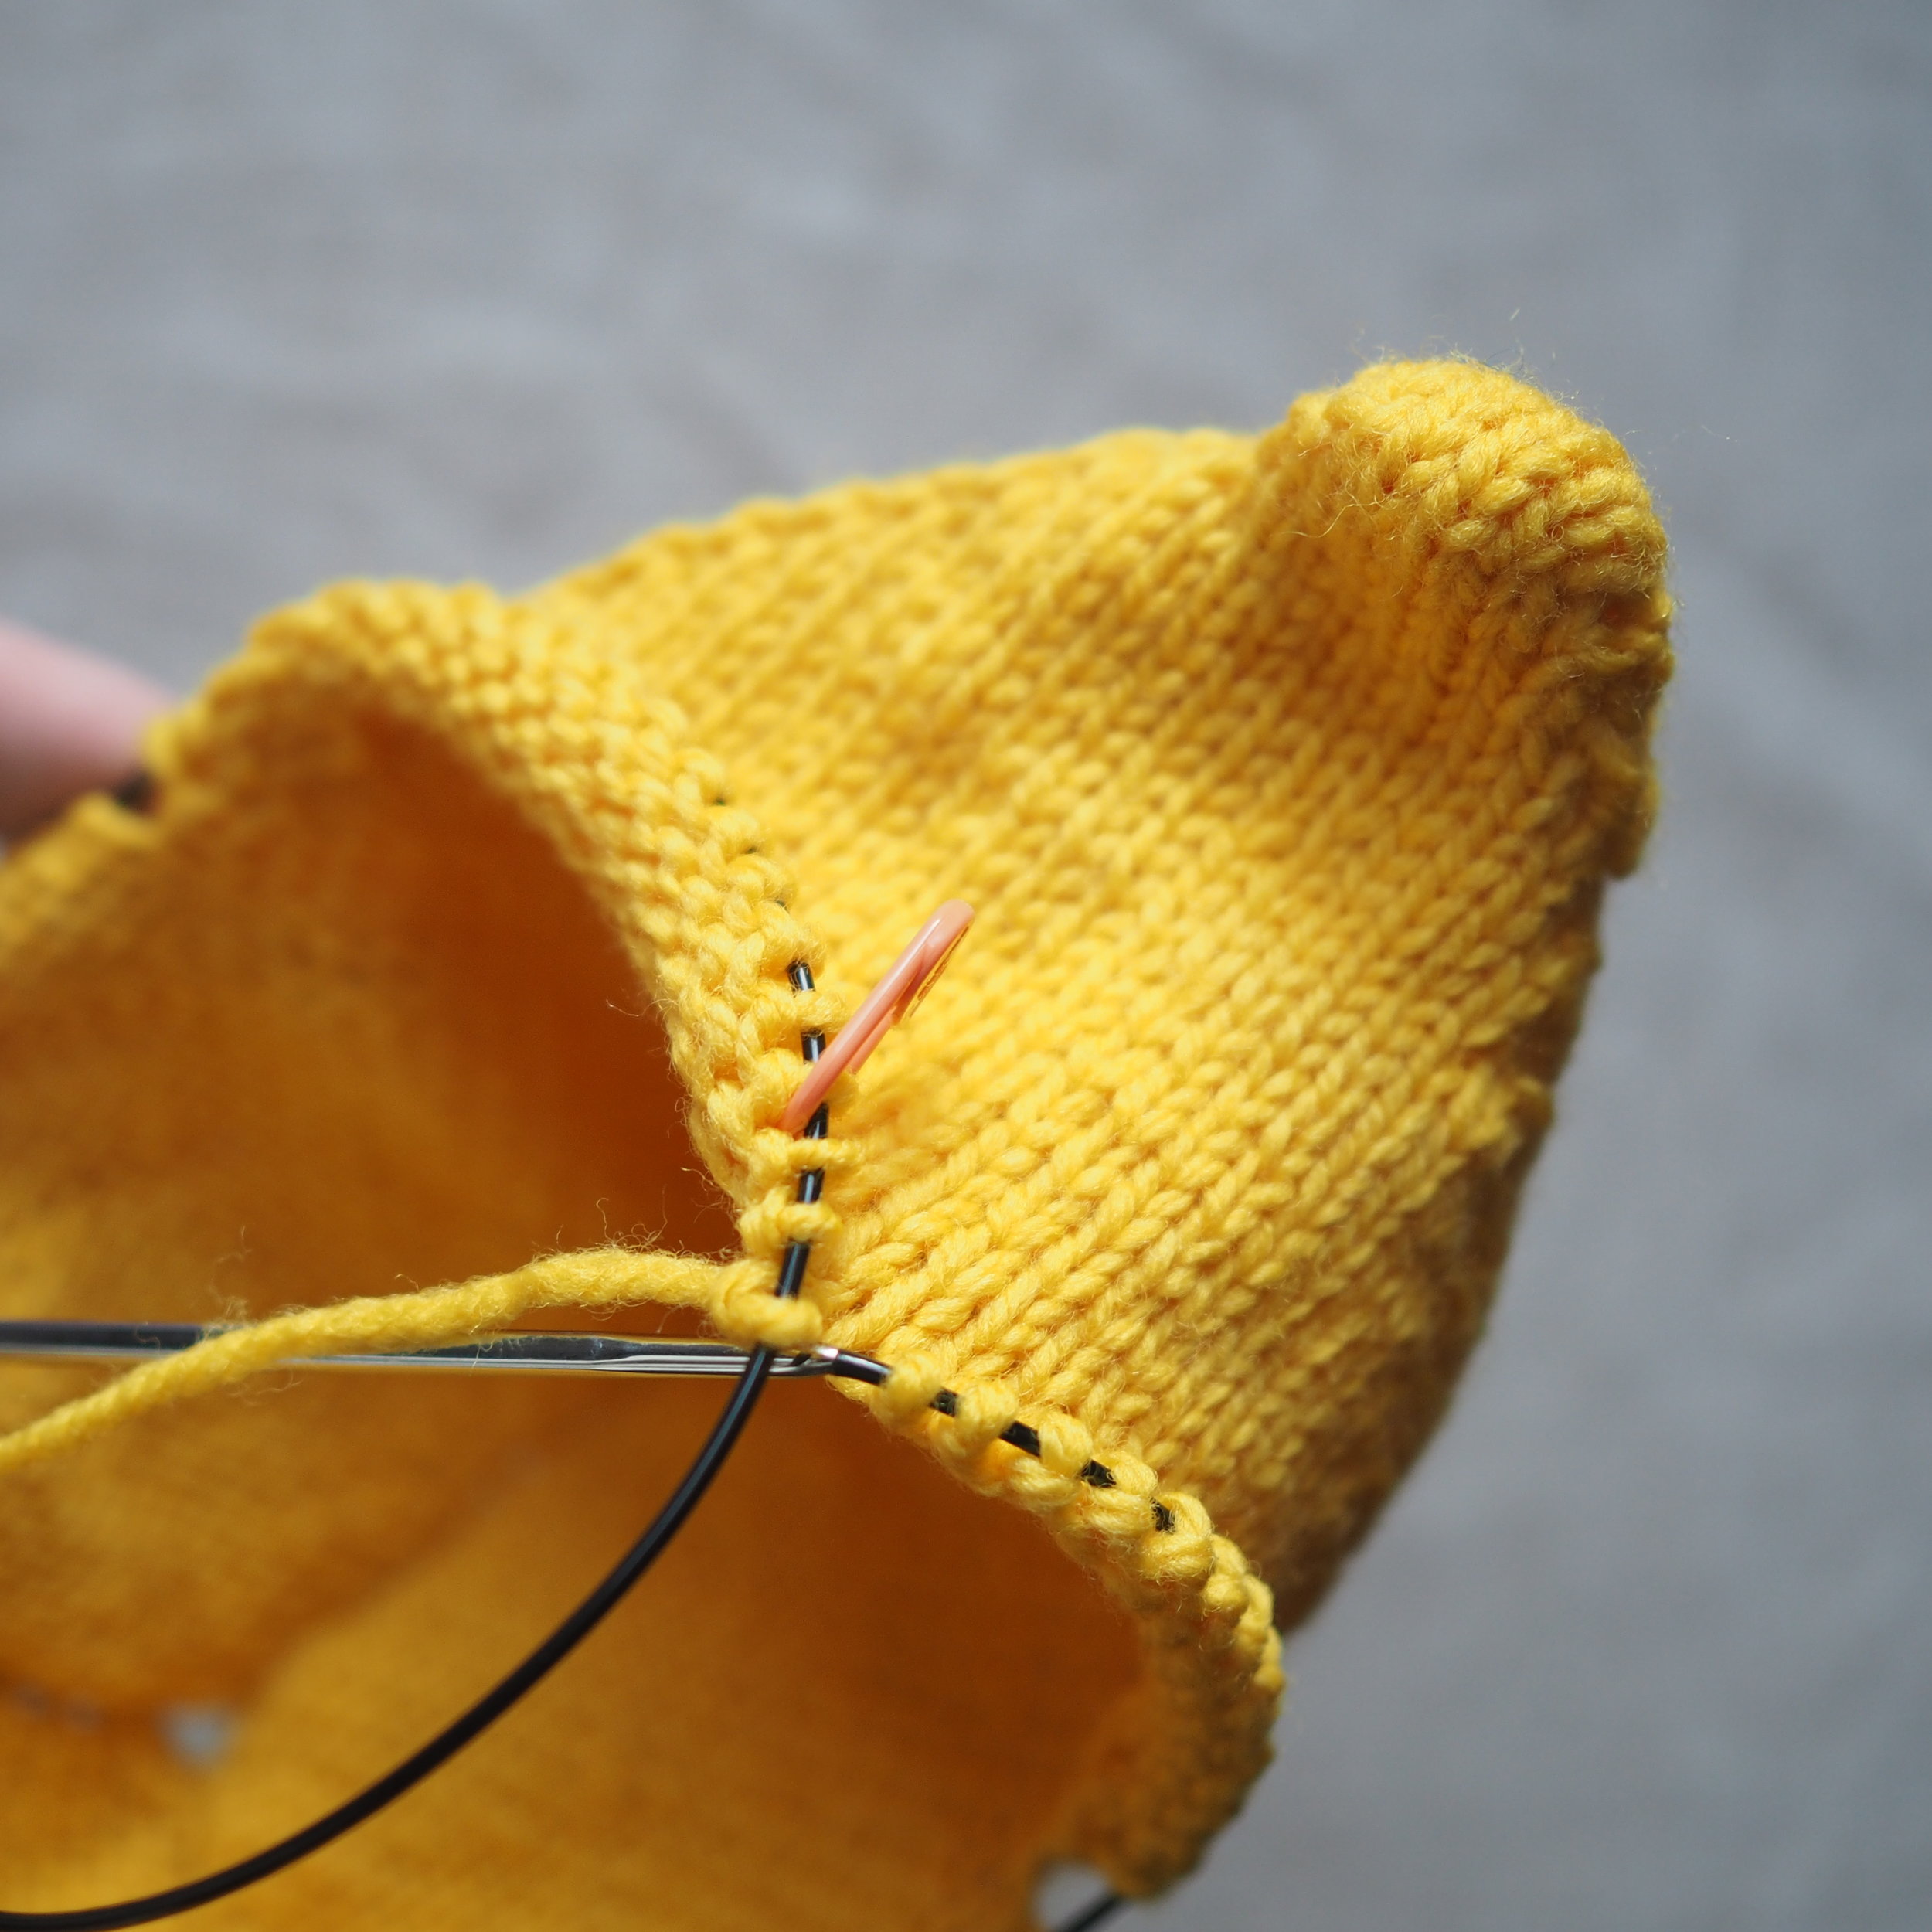
Knitwise
- Knit to first wrapped stitch.
- Using the right hand needle, pick up all wraps and slide them onto the left hand needle, making sure not to drop the original stitch that was wrapped.
- Knit through the stitch with all its wraps. This may be a k2tog, k3tog, or k4tog, depending on the number of wraps.
Purlwise
- Purl to first wrapped stitch.
- Using the right hand needle, pick up all wraps and slide them onto the left hand needle, making sure not to drop the original stitch that was wrapped.
- Purl through the stitch with all its wraps. This may be a p2tog, p3tog, or p4tog, depending on the number of wraps.
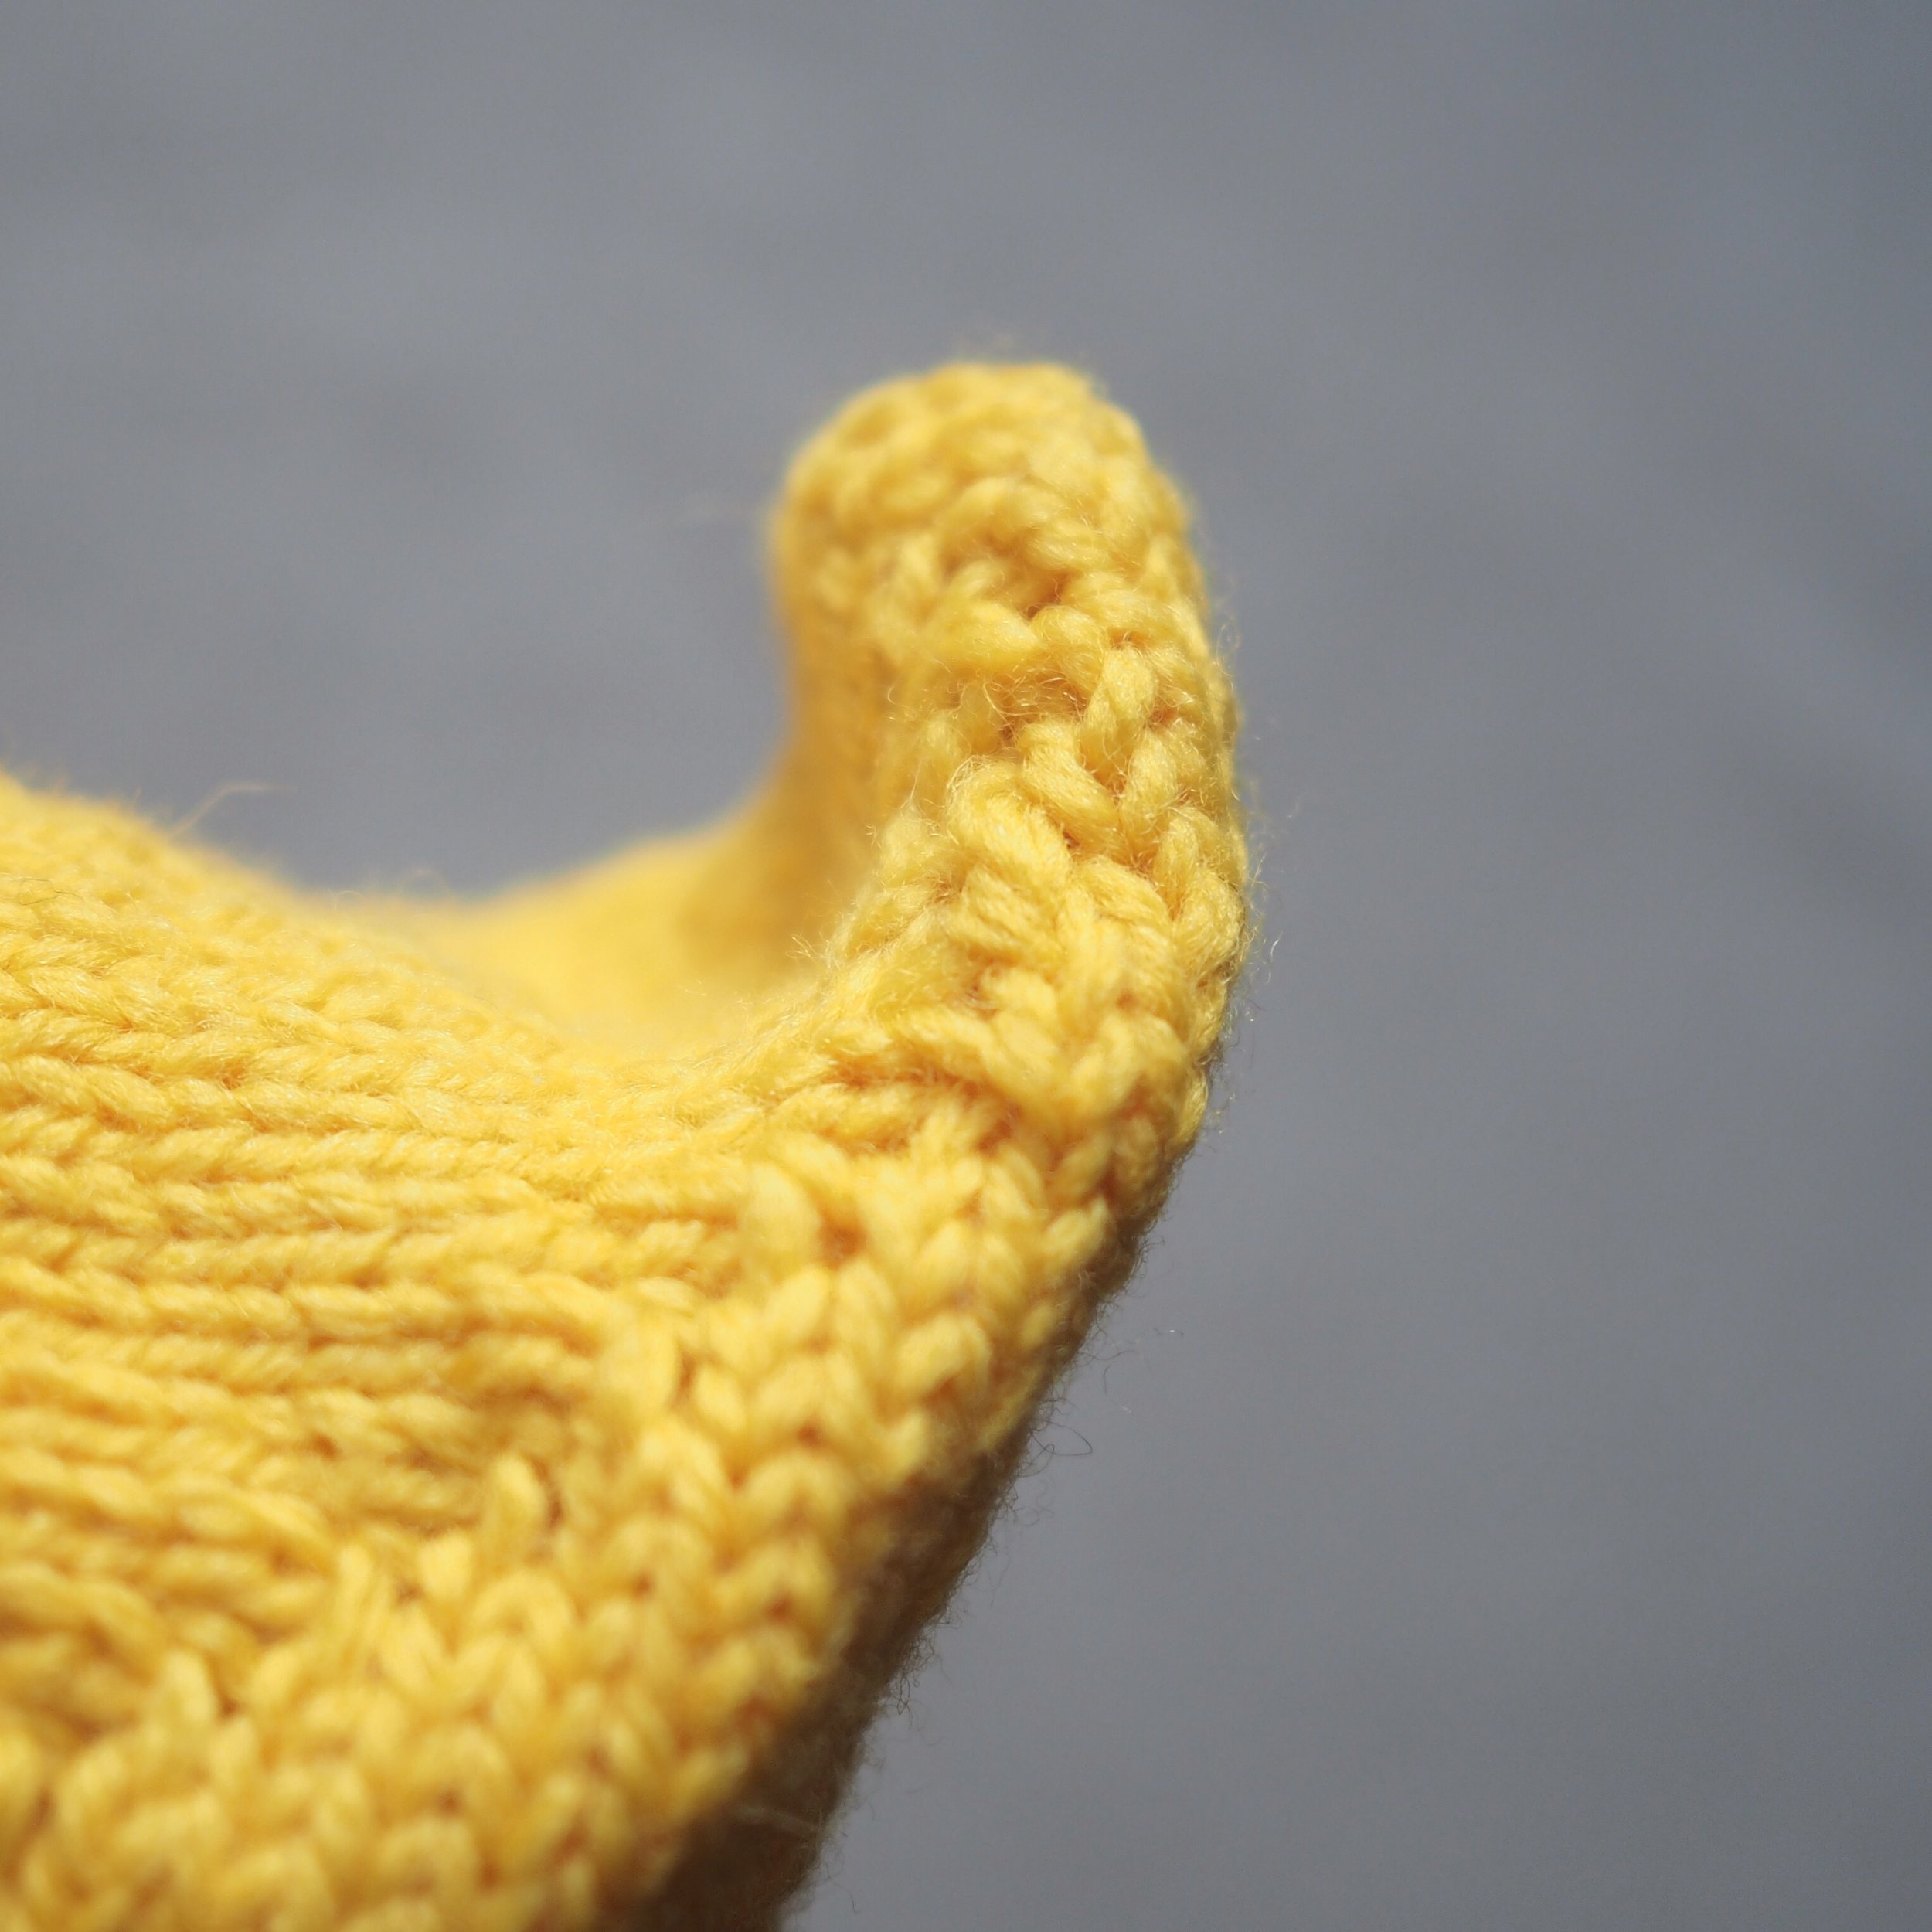
As you work the short rows back out, you'll close off the top of the triangle and have and cute little tail! Your project will also look like a shoe for a wide-footed gnome.
Up next: shaping the neck and setting up for afterthought appendages.