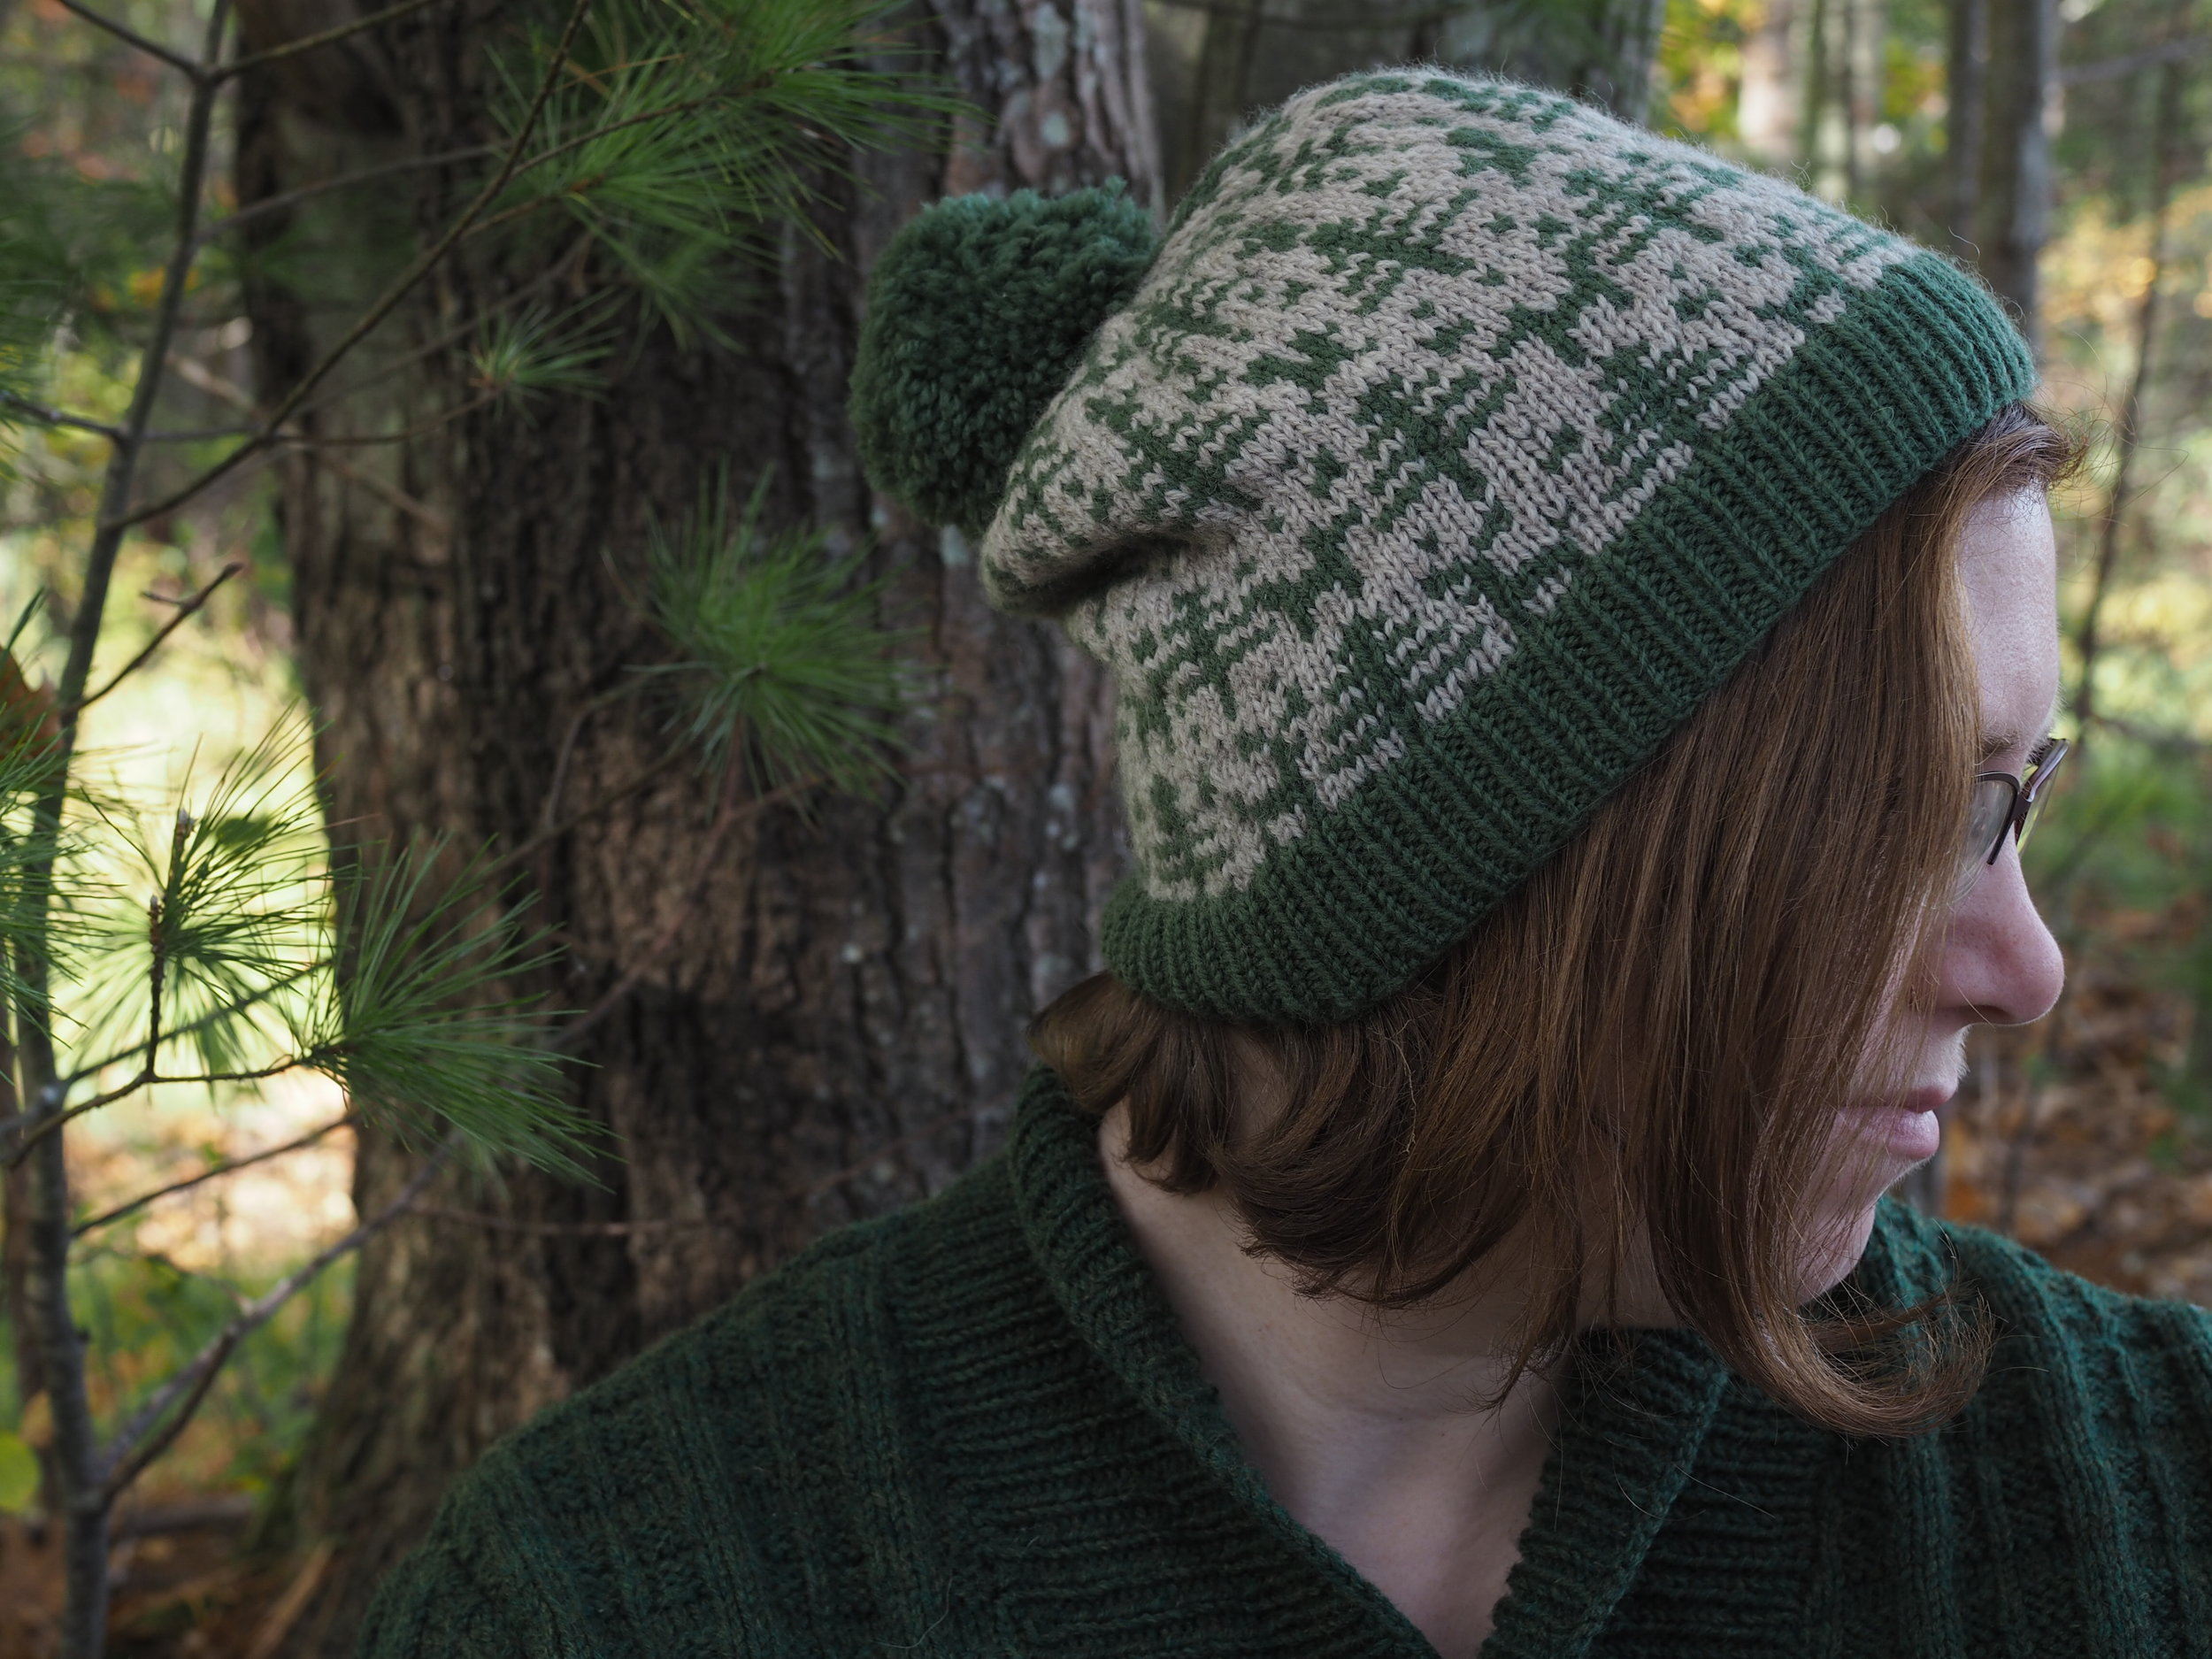
One of the most fun parts of being a designer is seeing how others interpret your designs. Here are a few of my favorite finished objects (FOs) of late, with a focus on cozy sweaters and comfy couches!
Caiterly - Knit by srblipscomb

Willamette Coat - knit by TIcheek

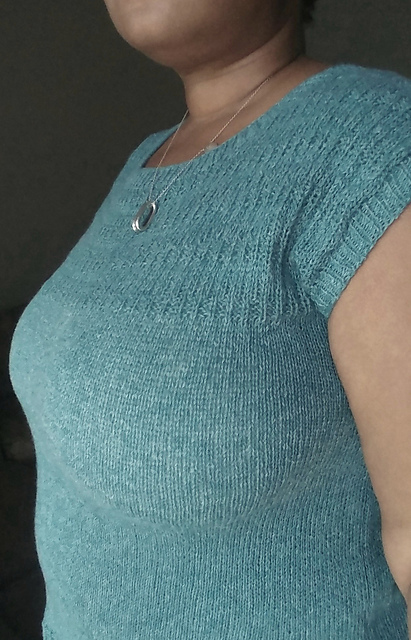
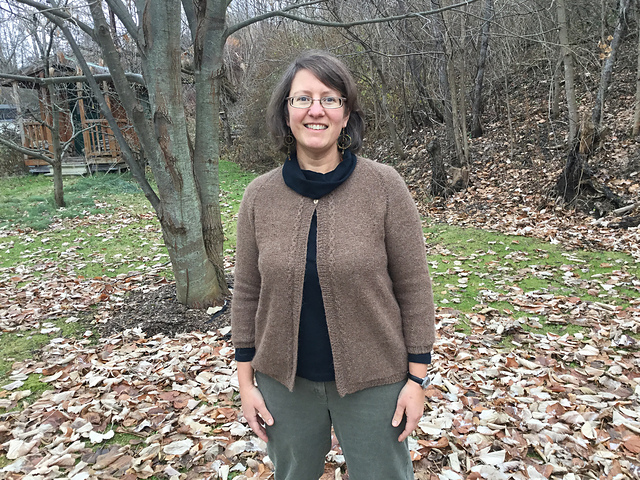
Alaria - knit by wmcurella

Alaria - knit by StephanieArrese

Cresting Waves Shawl - knit and dyed(!) by kquinnschroeder

Summer Rain Shawl - knit by maplebuttermom

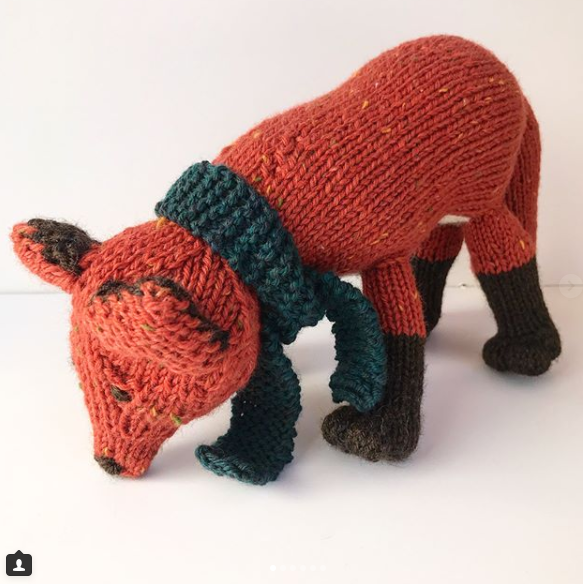
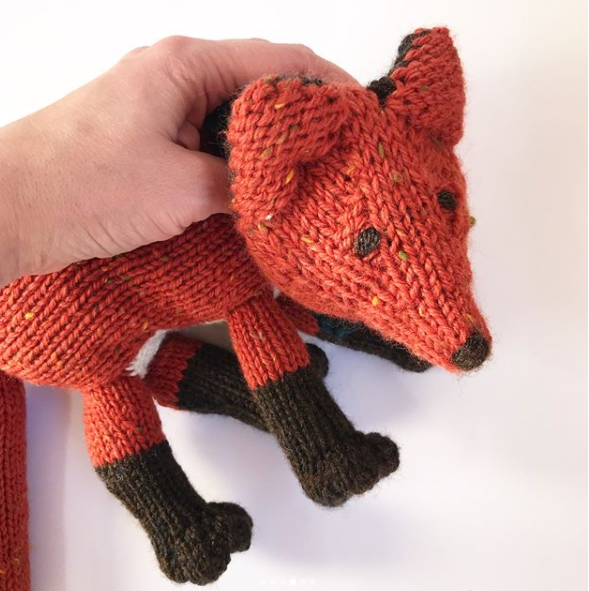
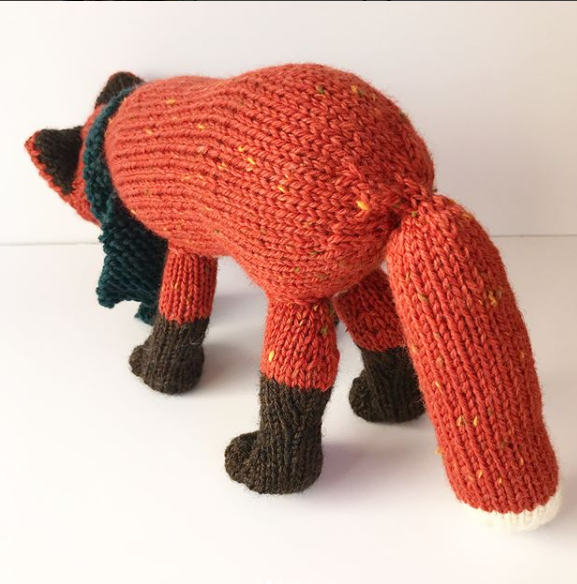
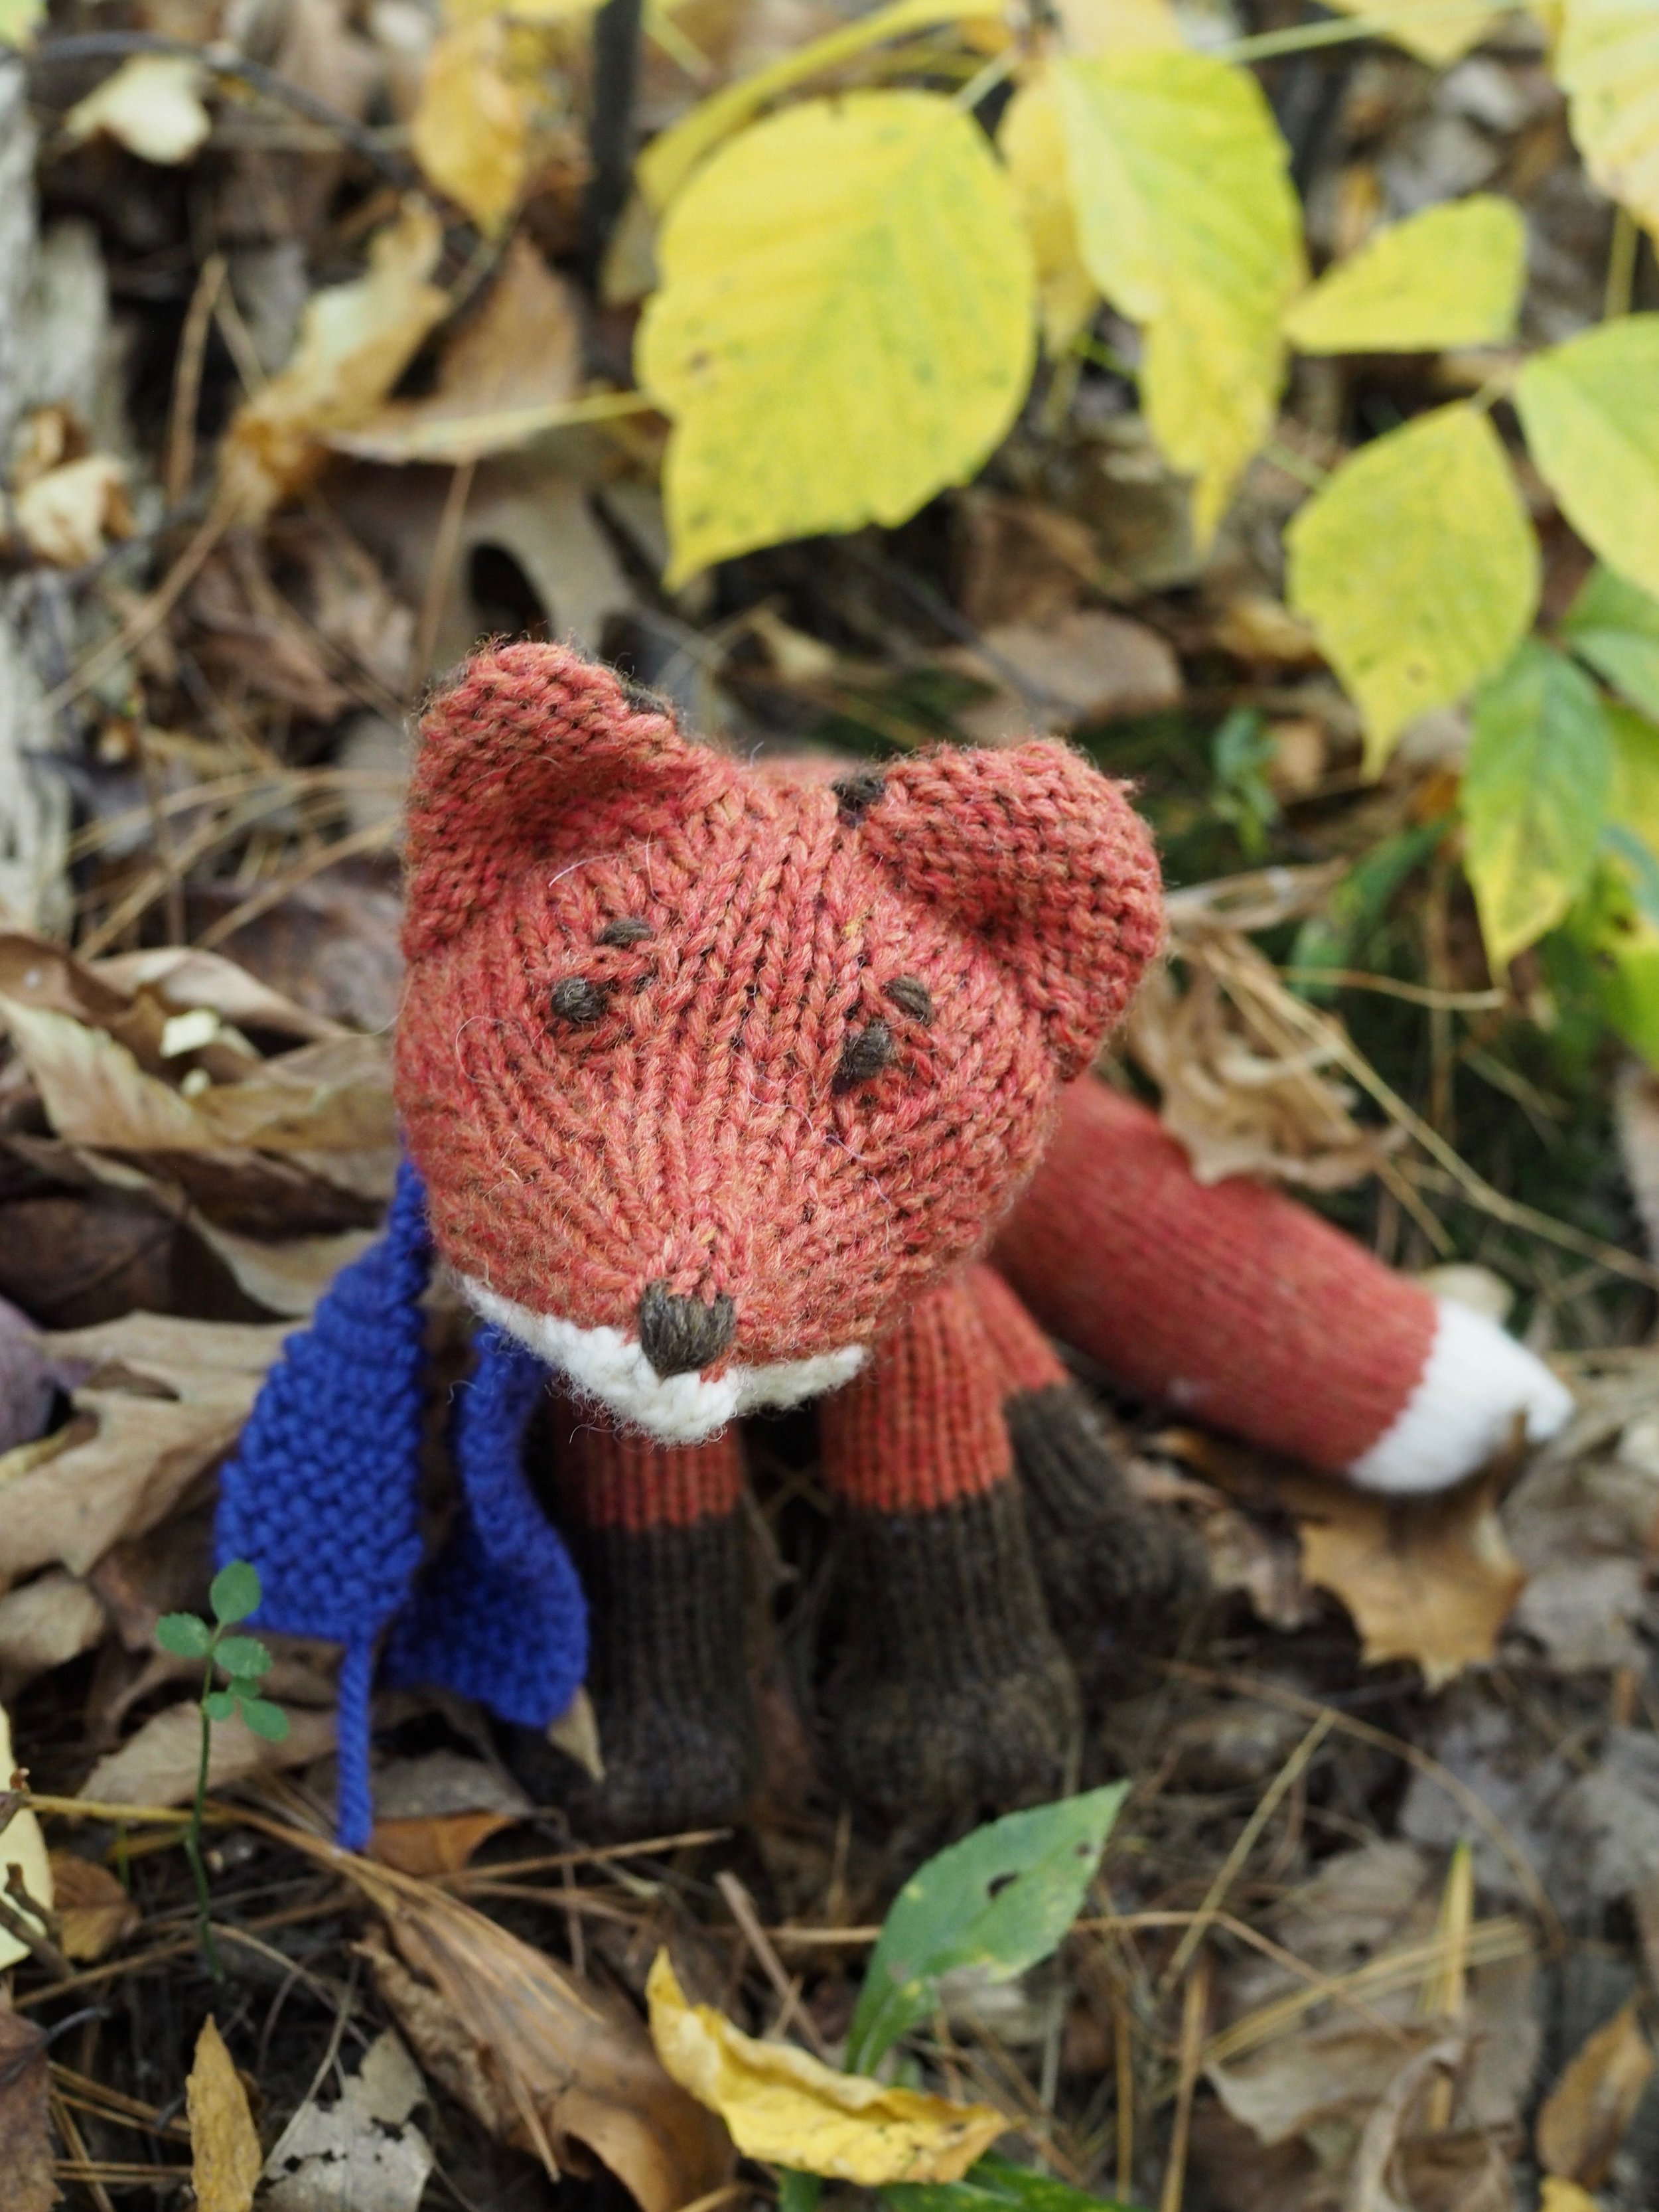
Fleet Fox - knit by littlelena
Want to share your knits with me? Tag me @mscleaver on Instagram, or if it's on Ravelry, I'll see it. :)