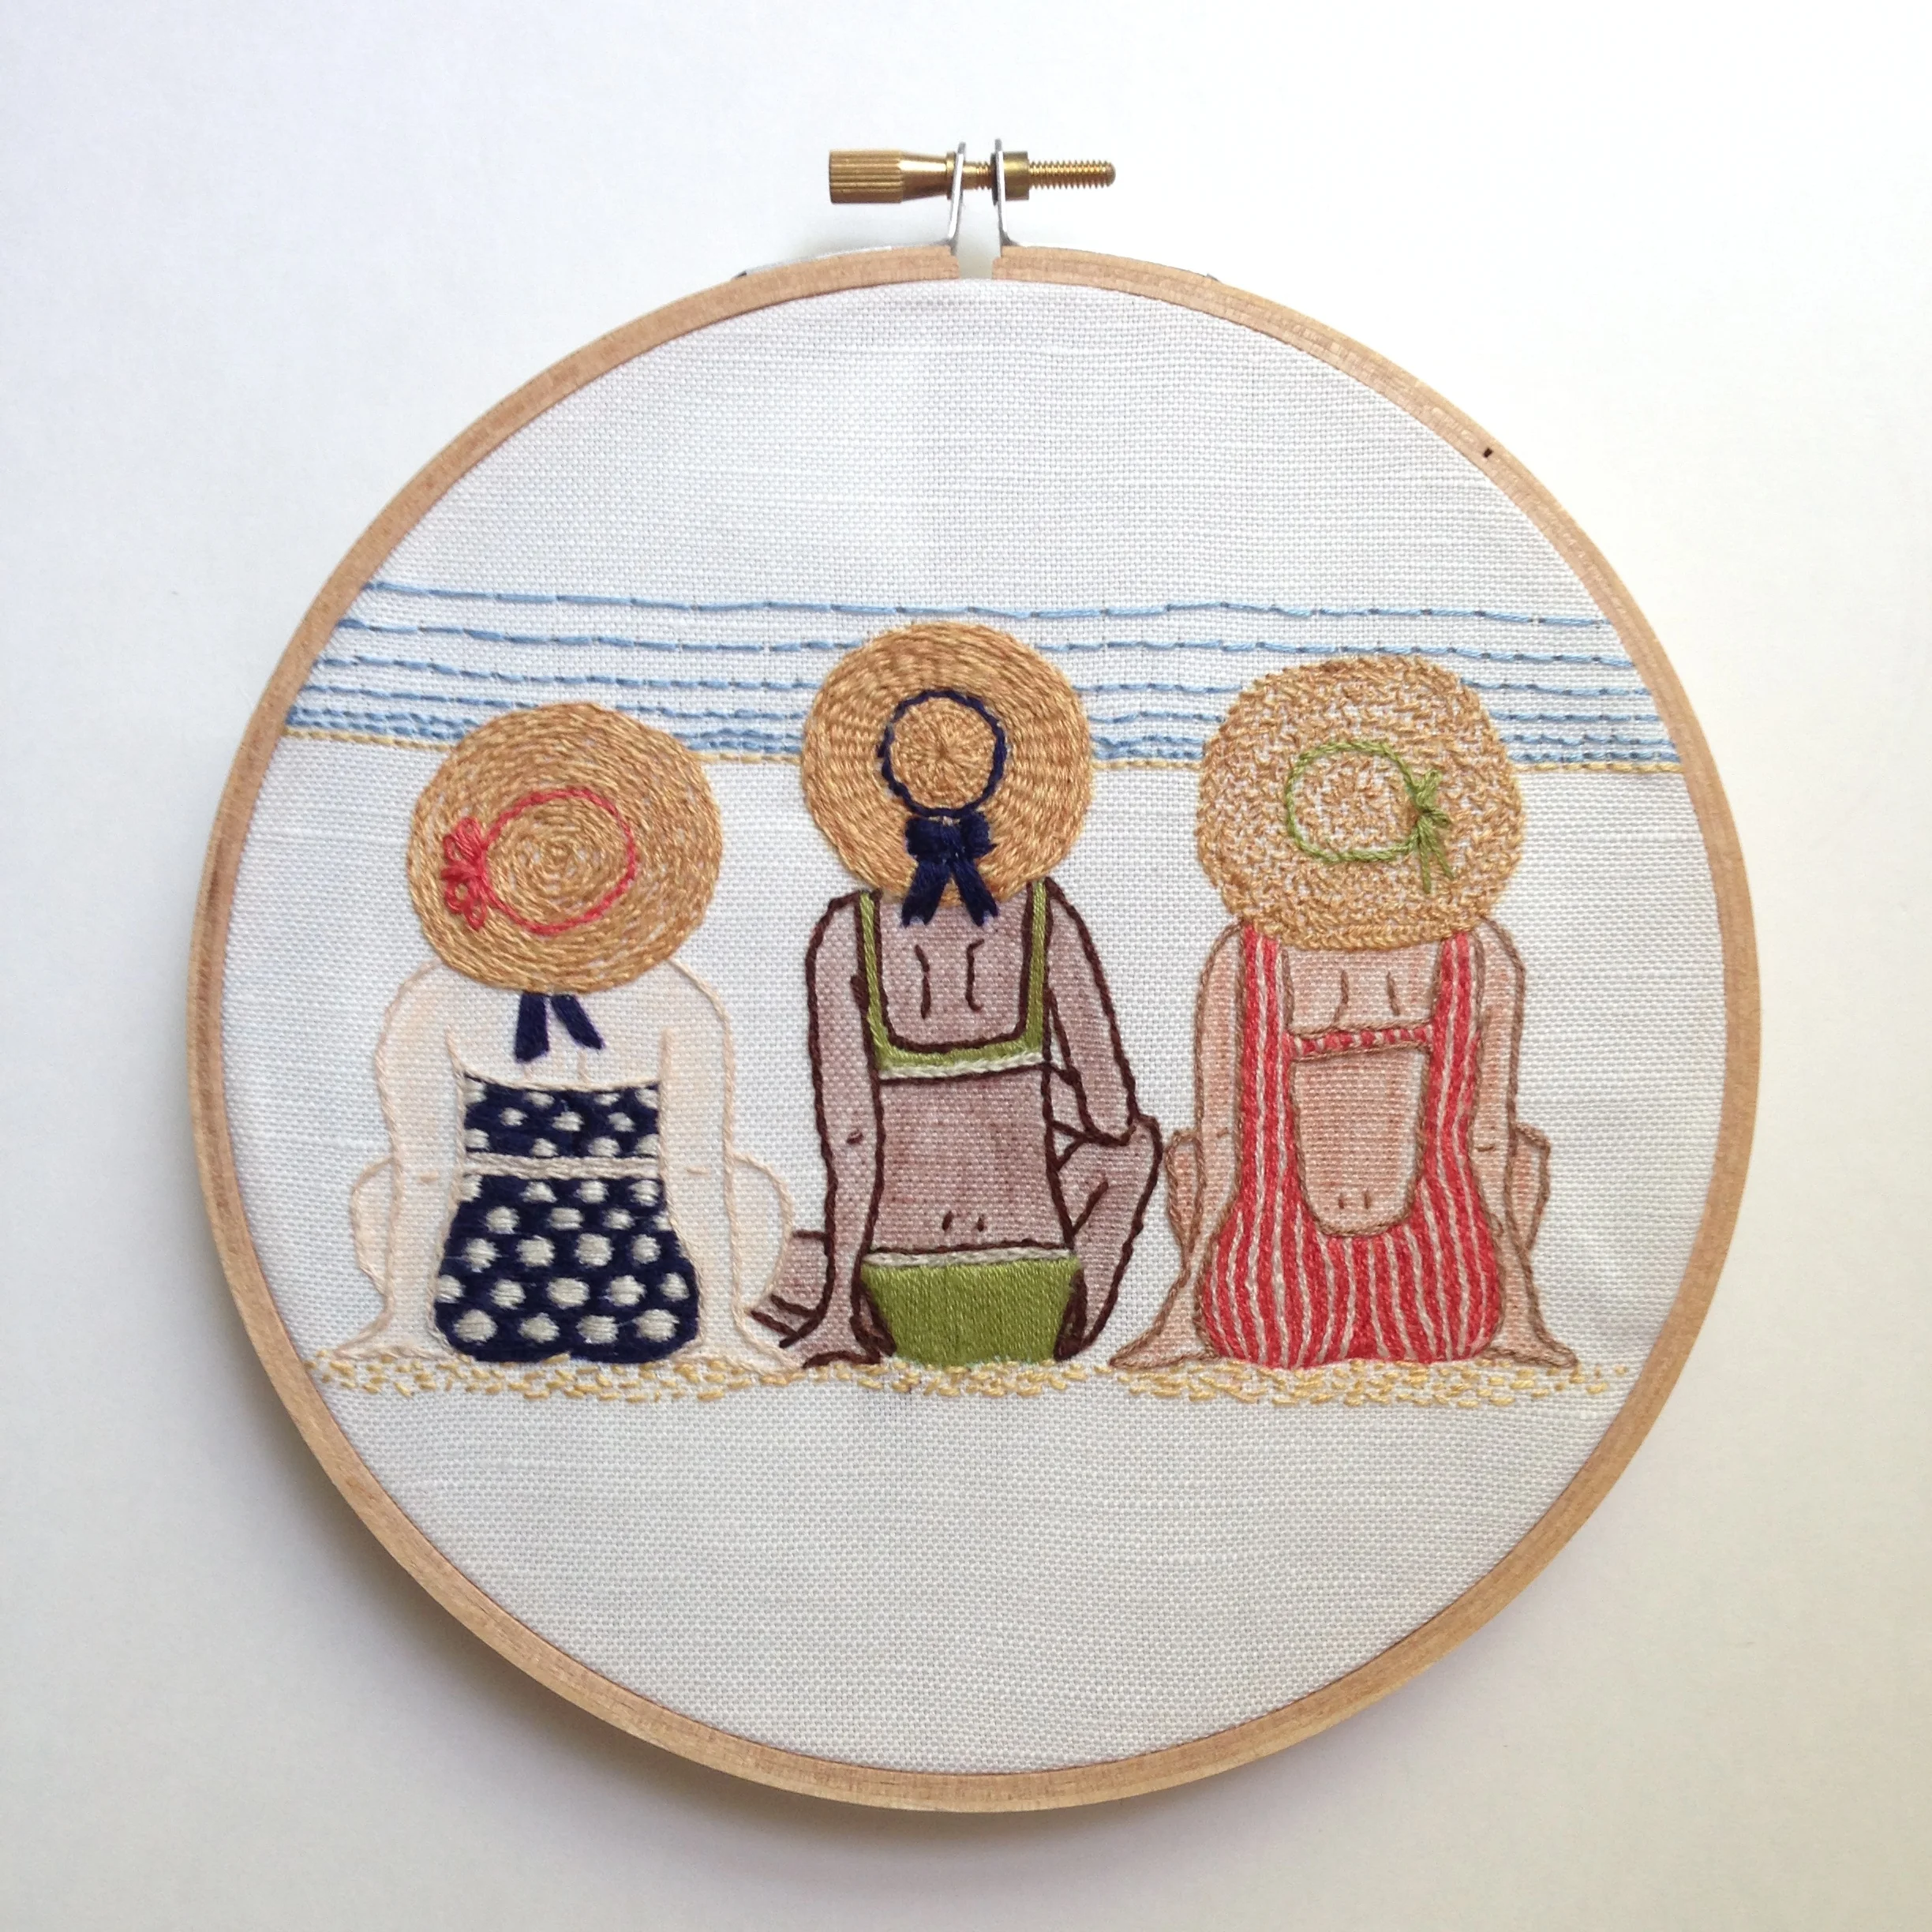


Is it possible to be nostalgic for a life you've never lived?
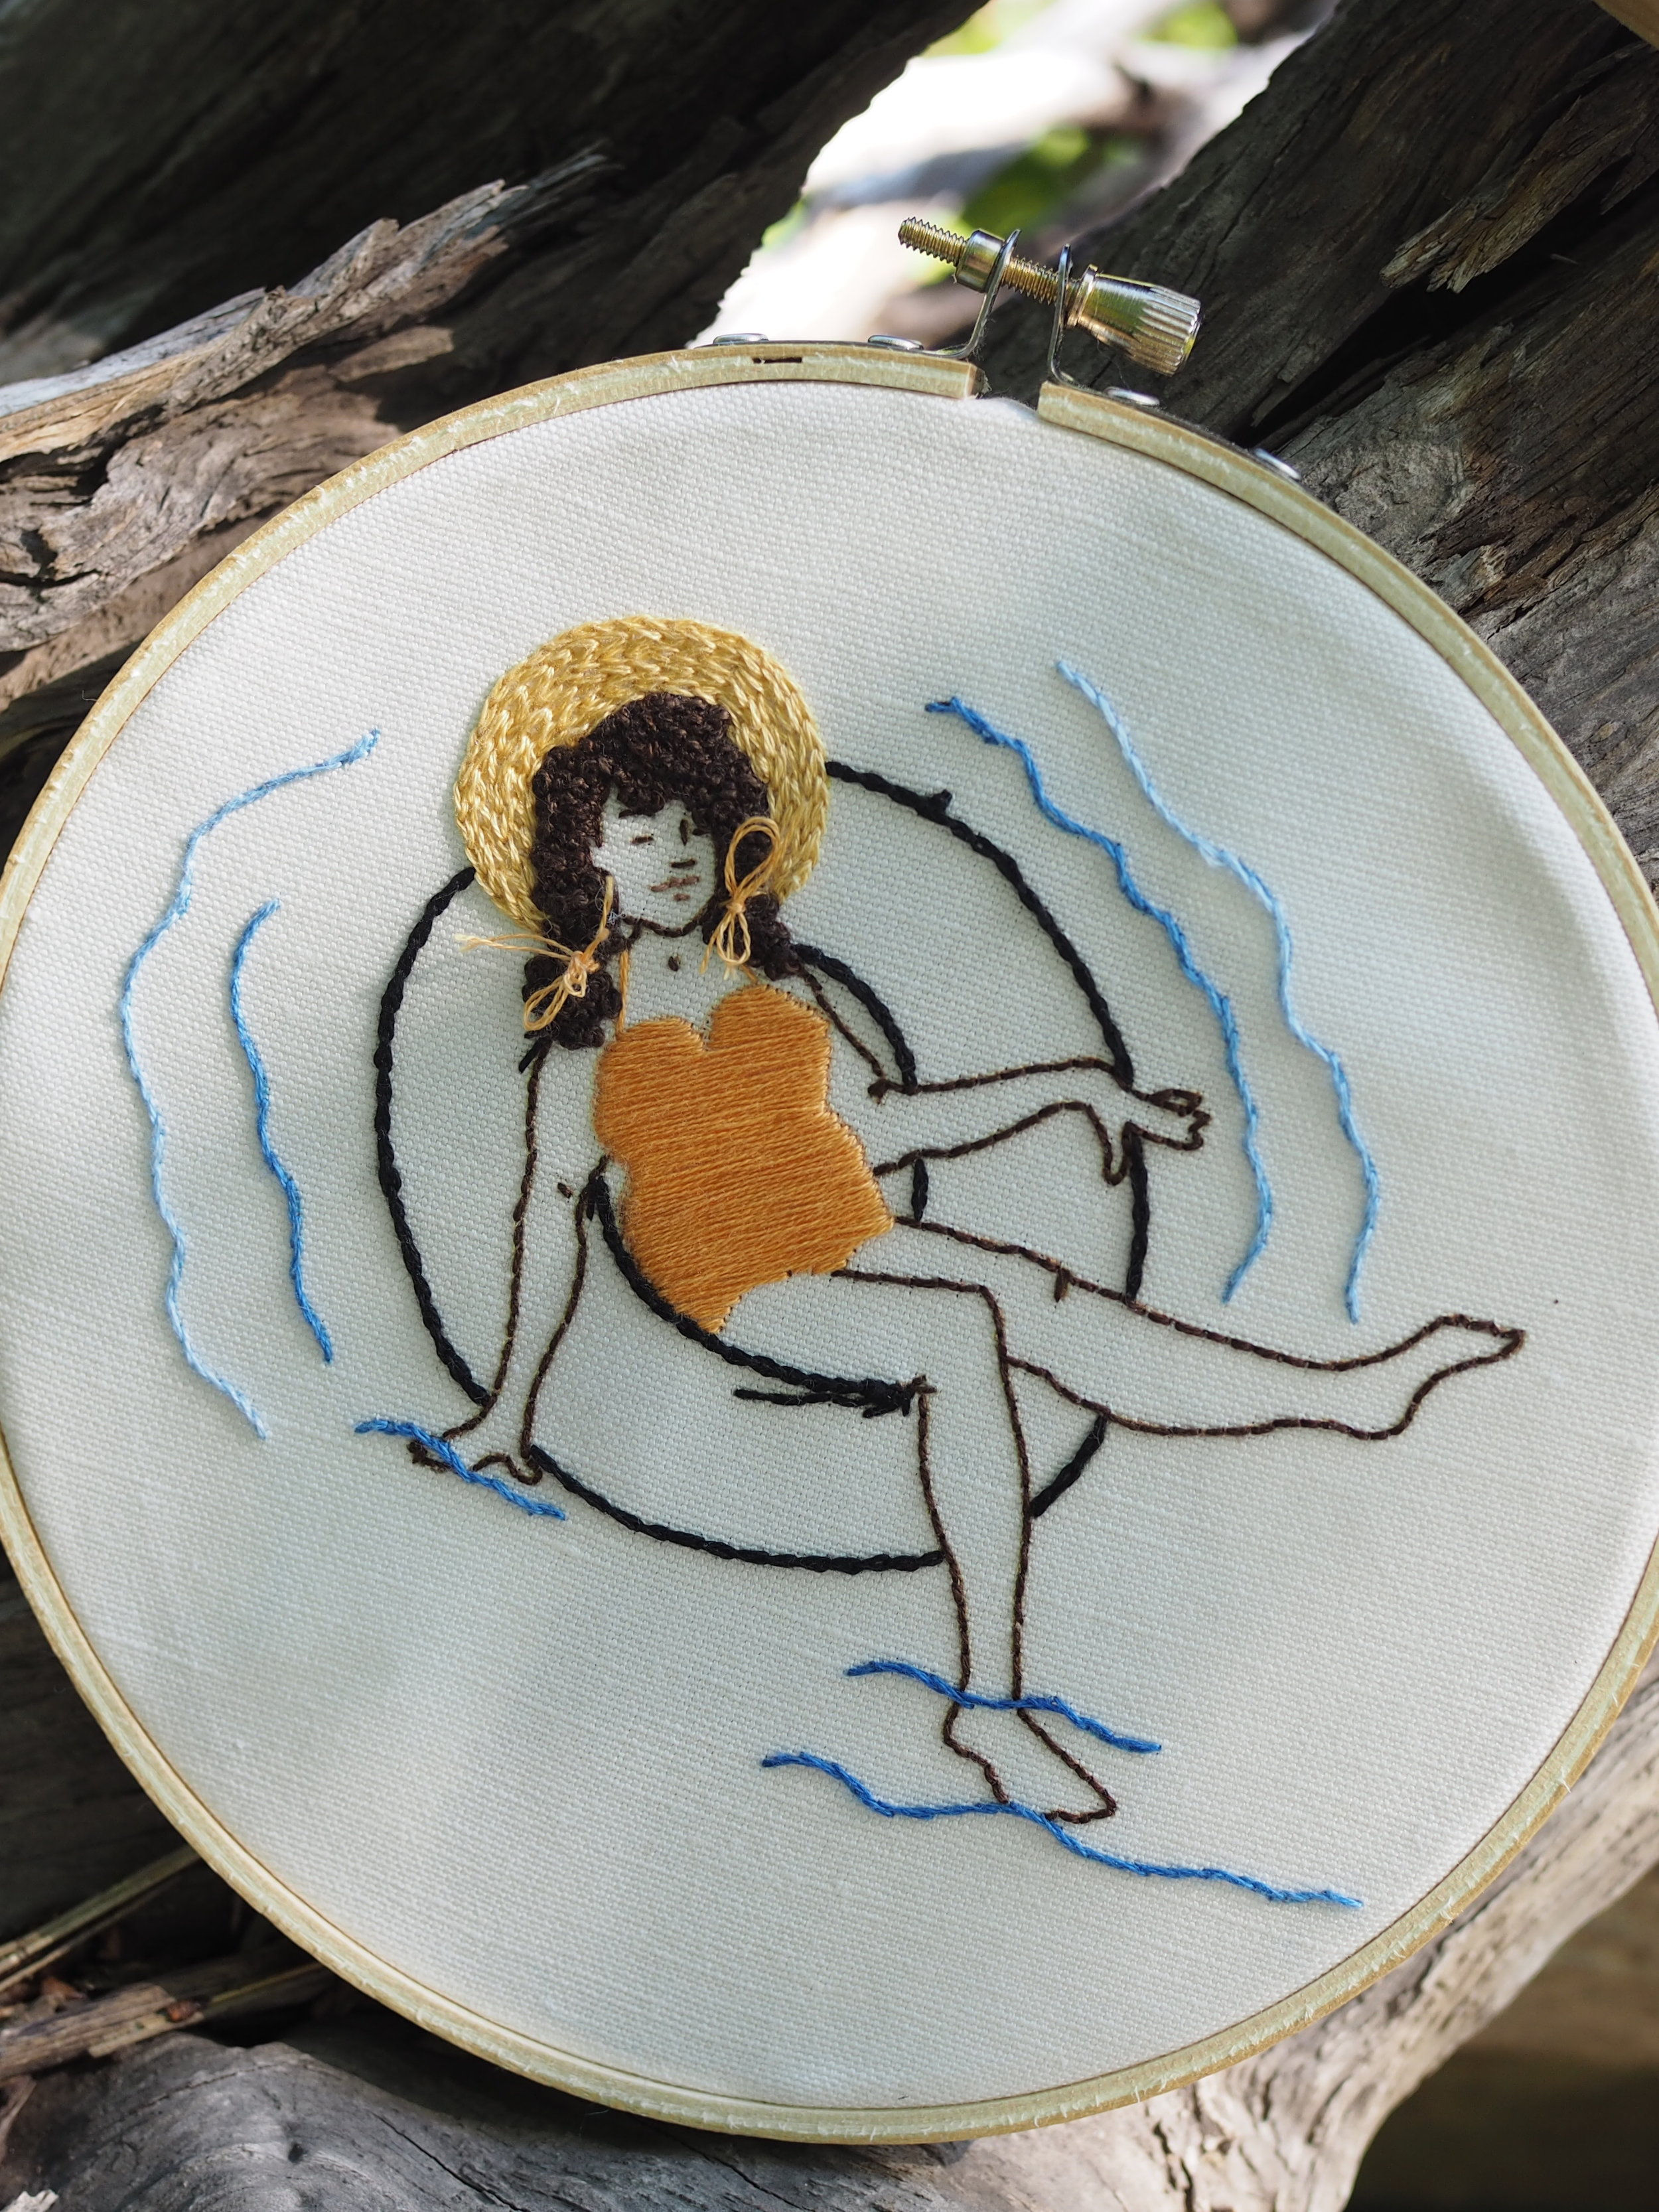
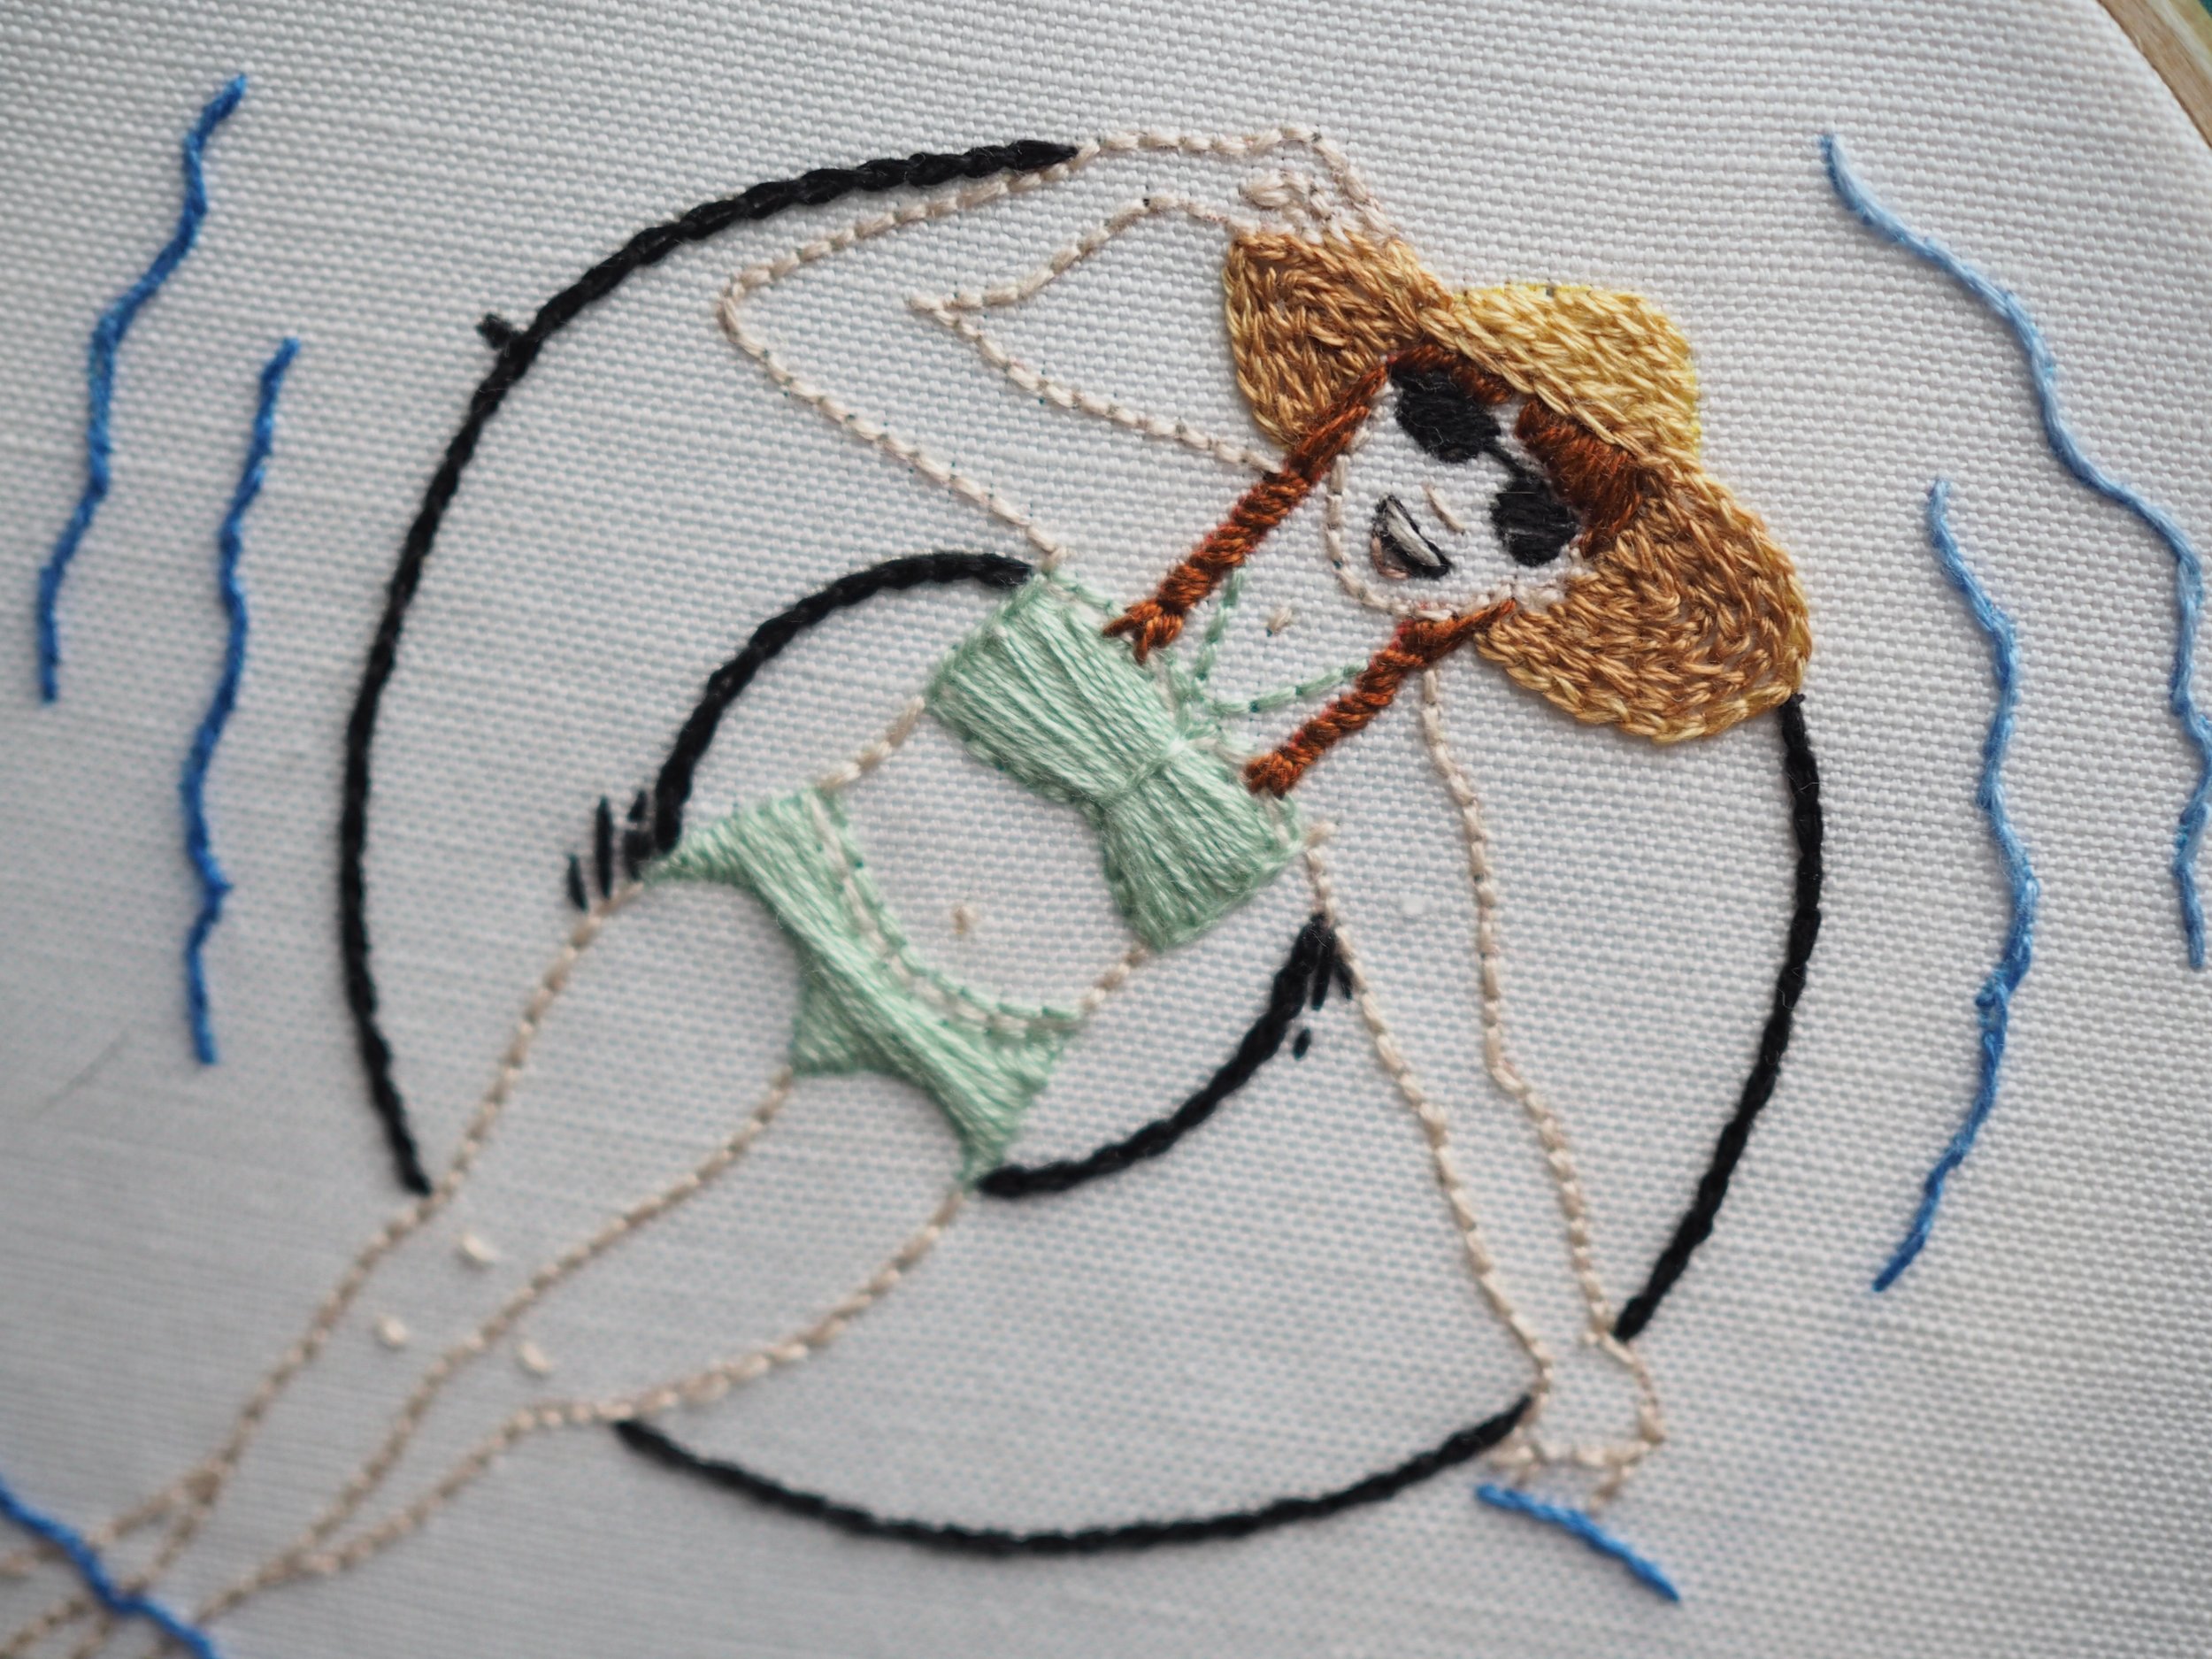
My idea of the perfect summer, for better or worse seems to be heavily colored by Country Time Lemonade commercials and reruns of the Andy Griffith Show that both played in heavy rotation during summer mornings in the late 1980s - I think summer should be swimming holes and floating docks in lakes and, yes, inner-tubing (with real tire inner tubes) down a lazy river.
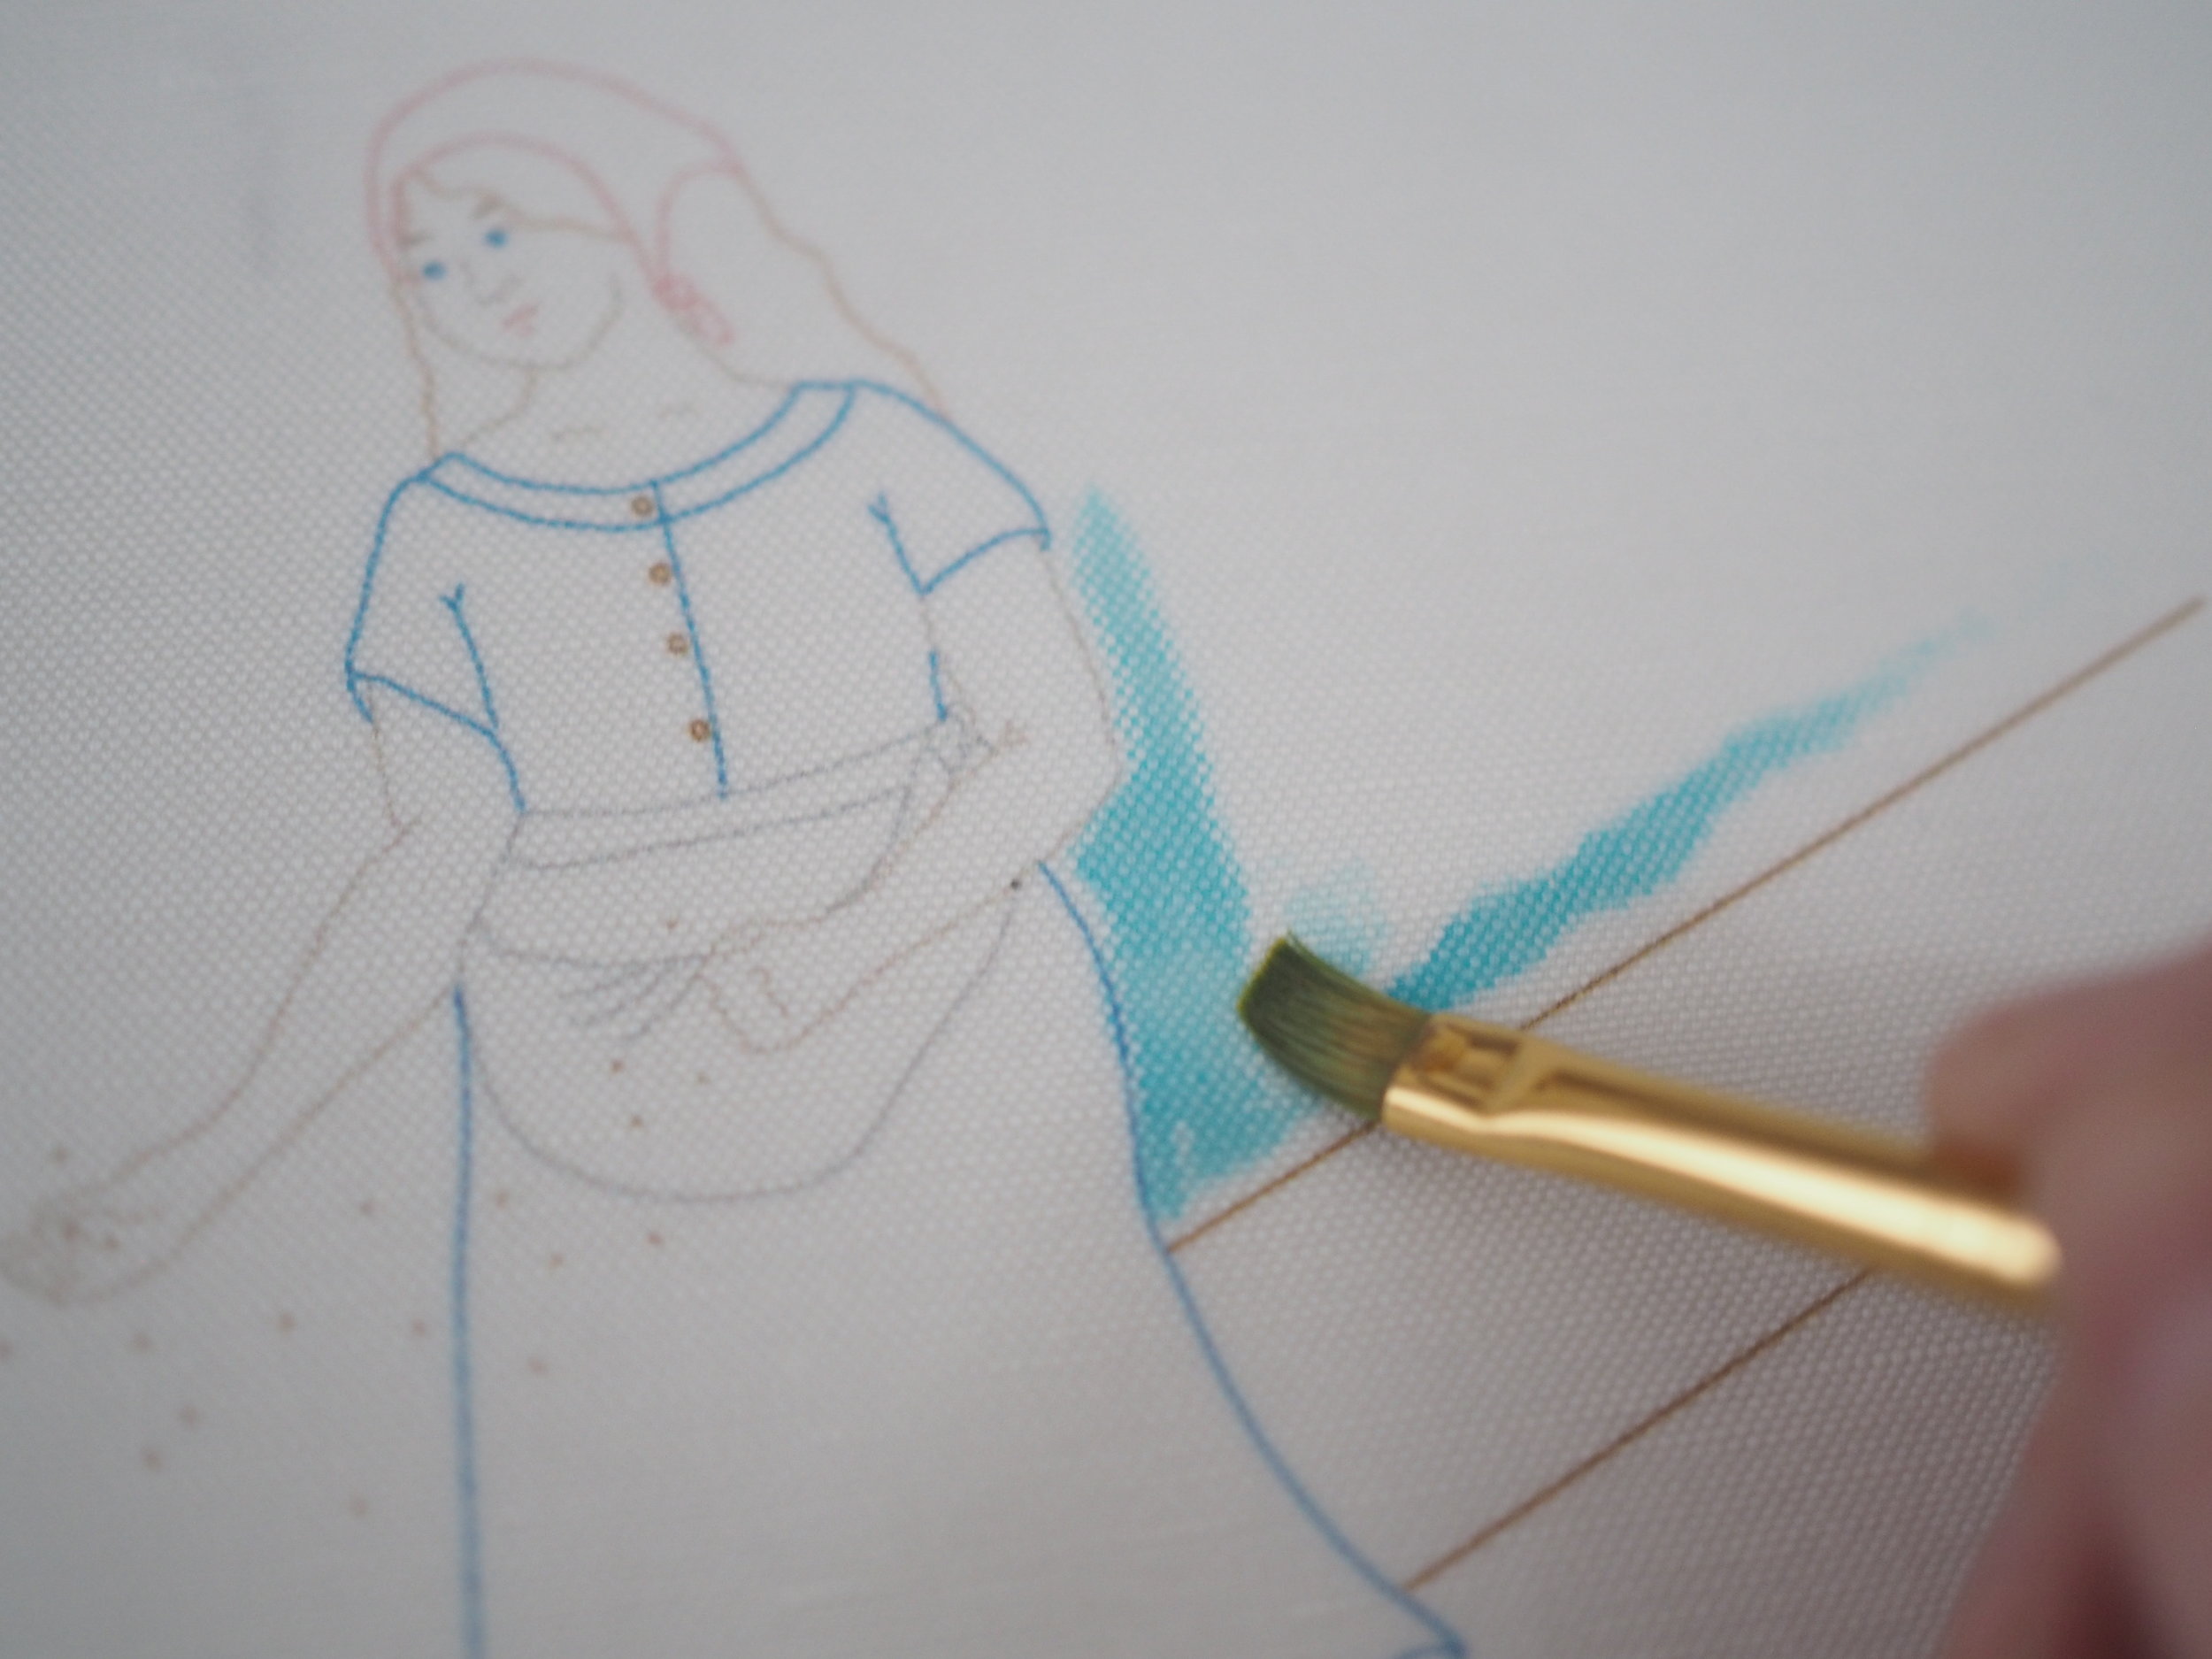
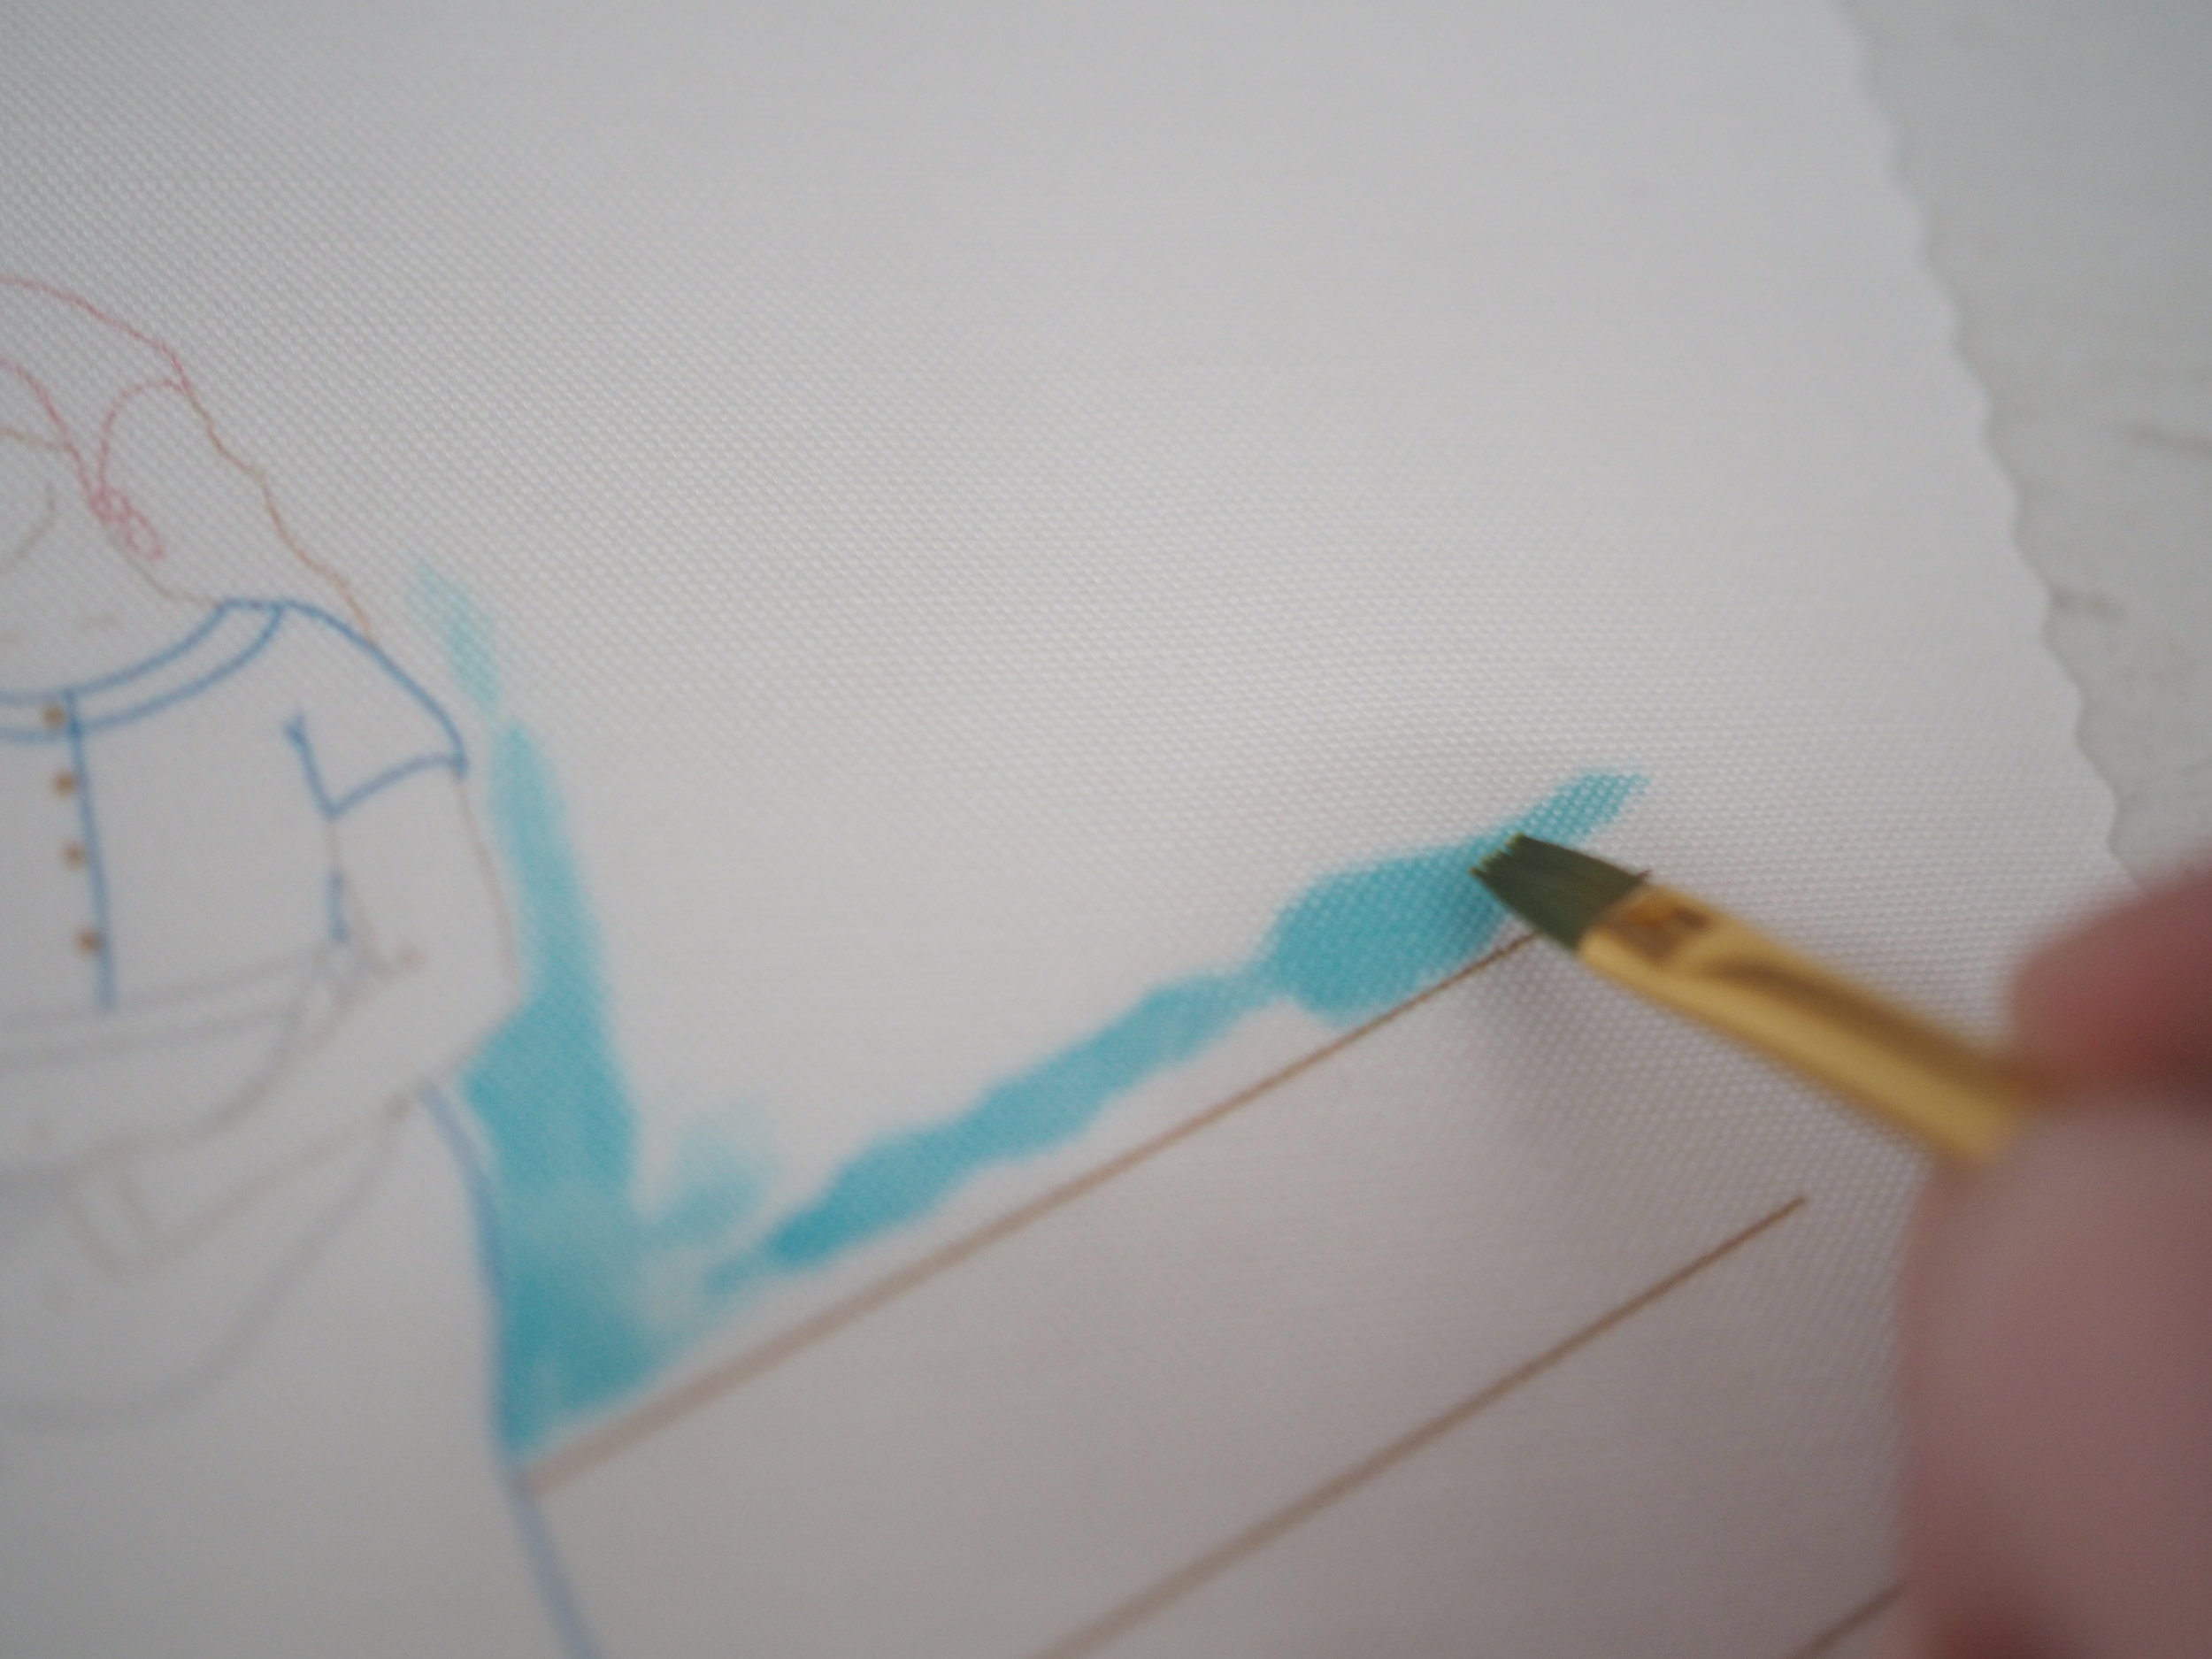
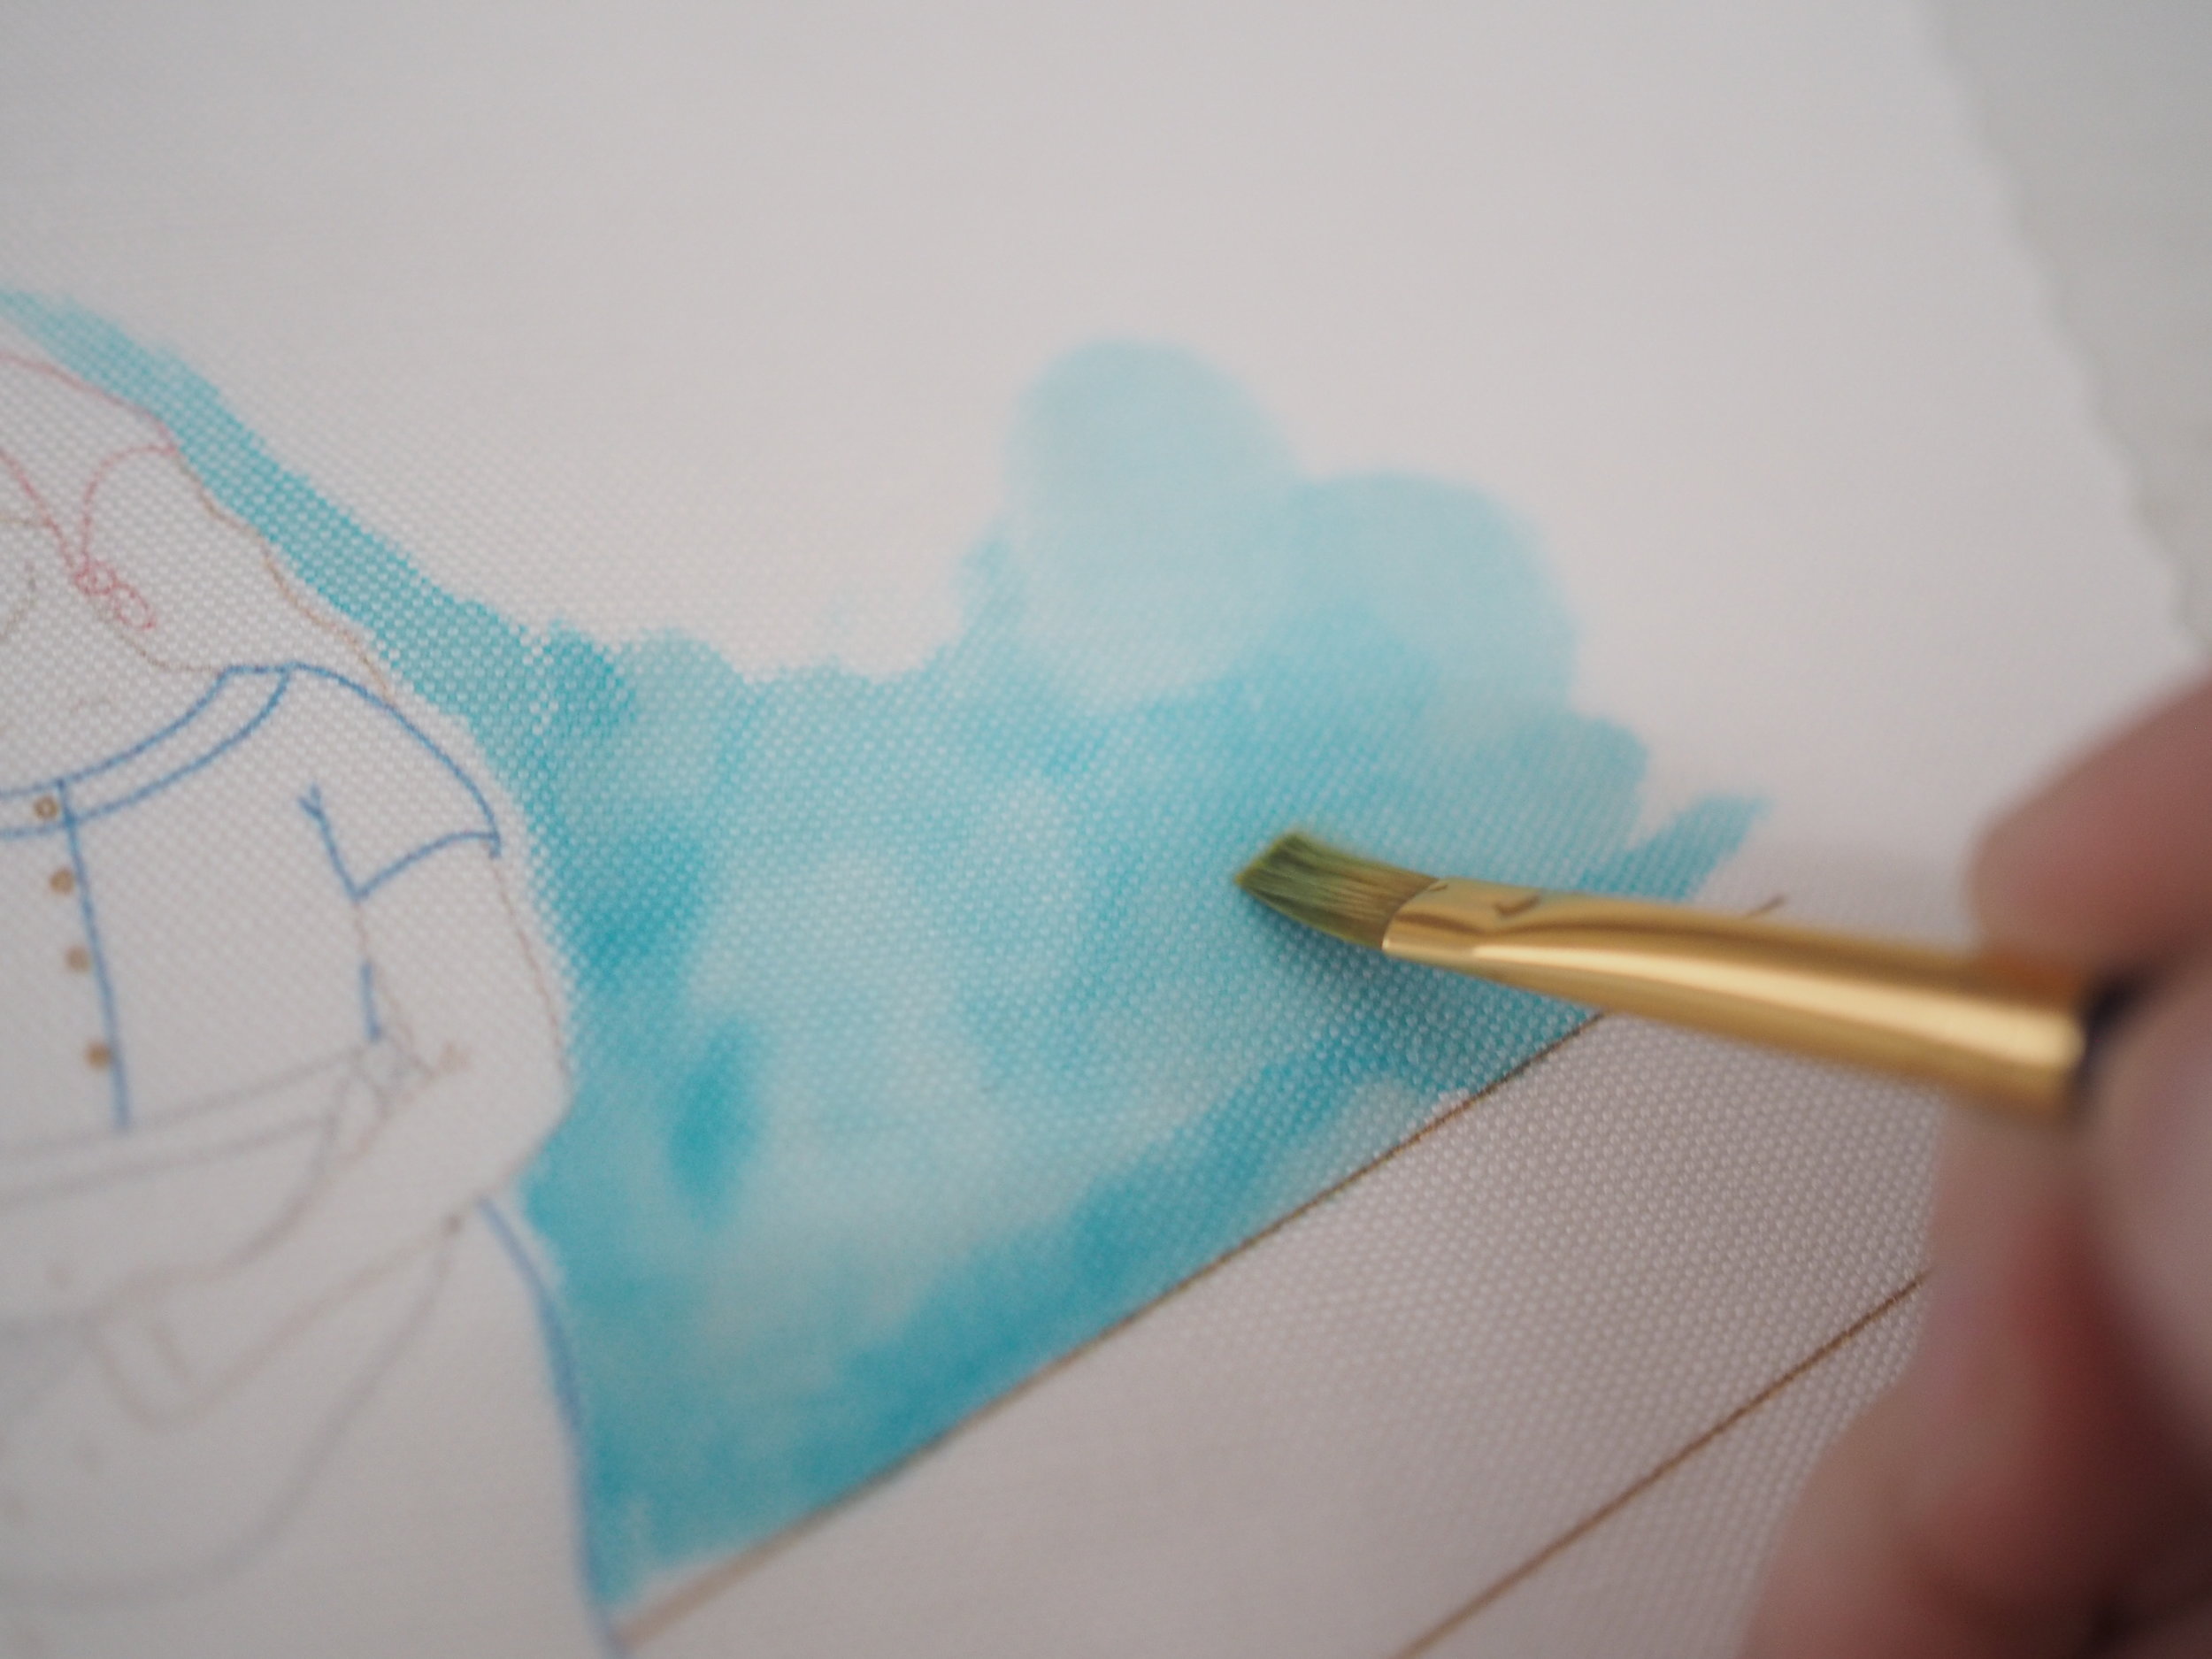
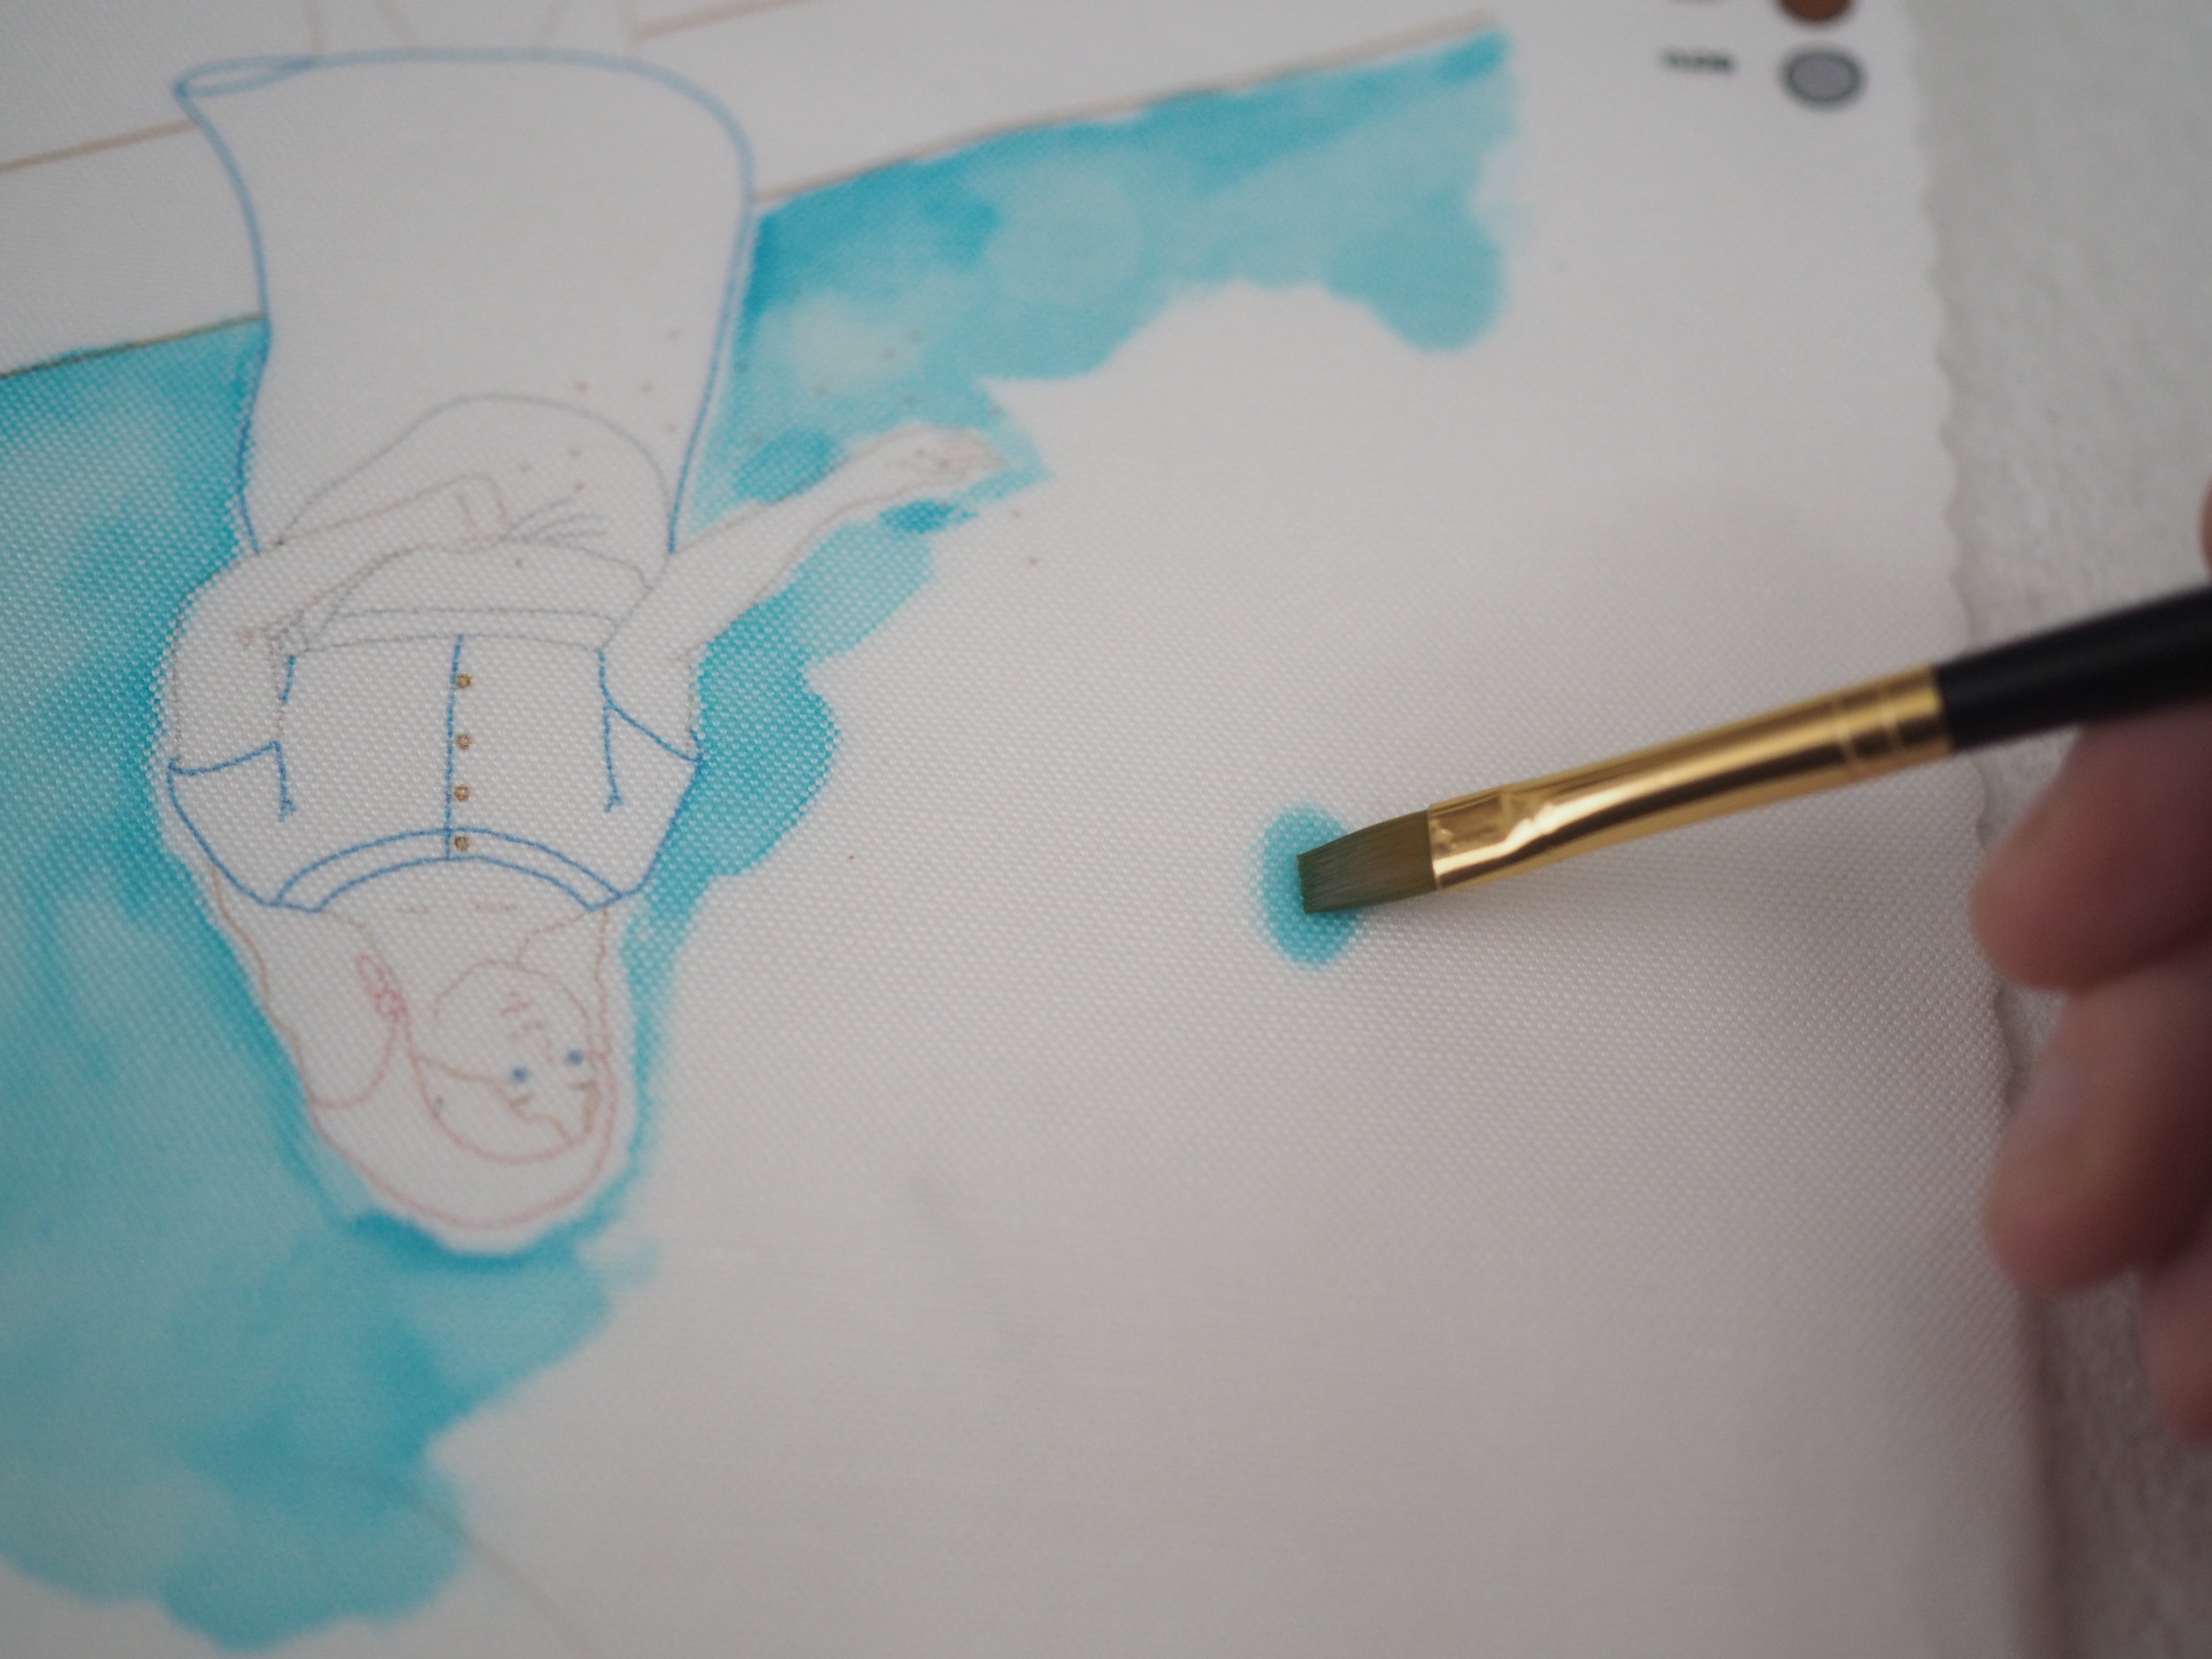
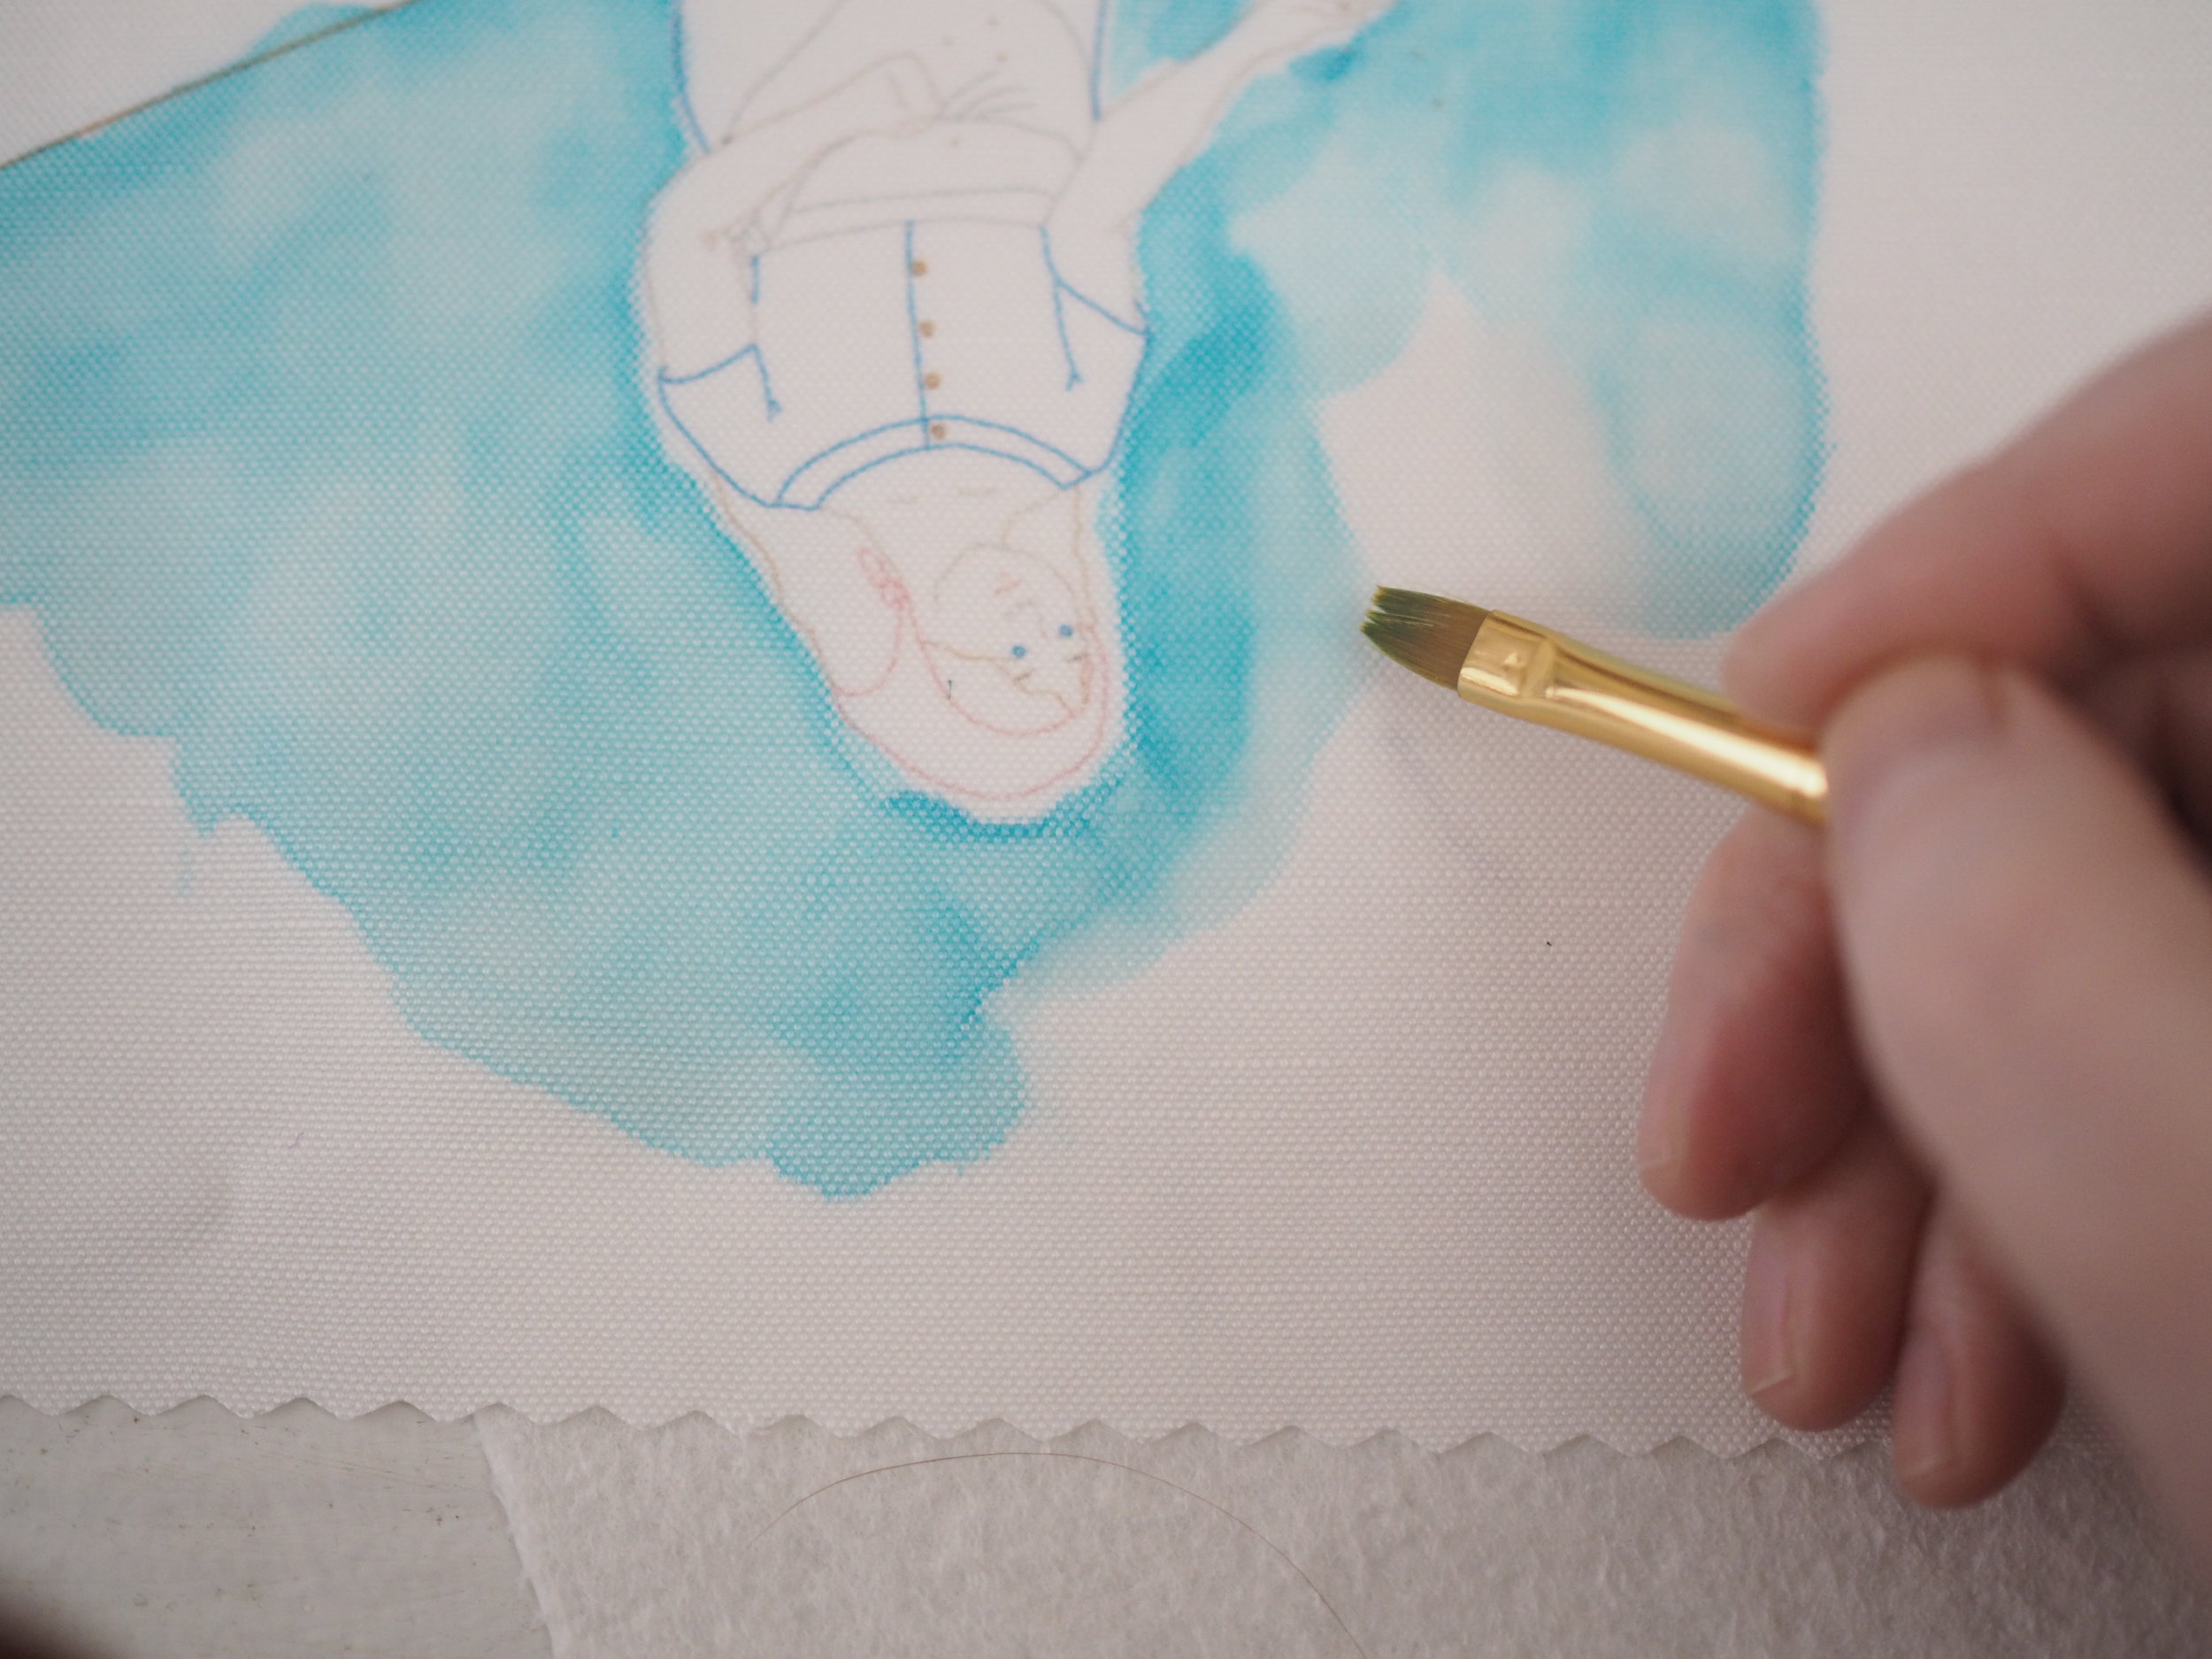
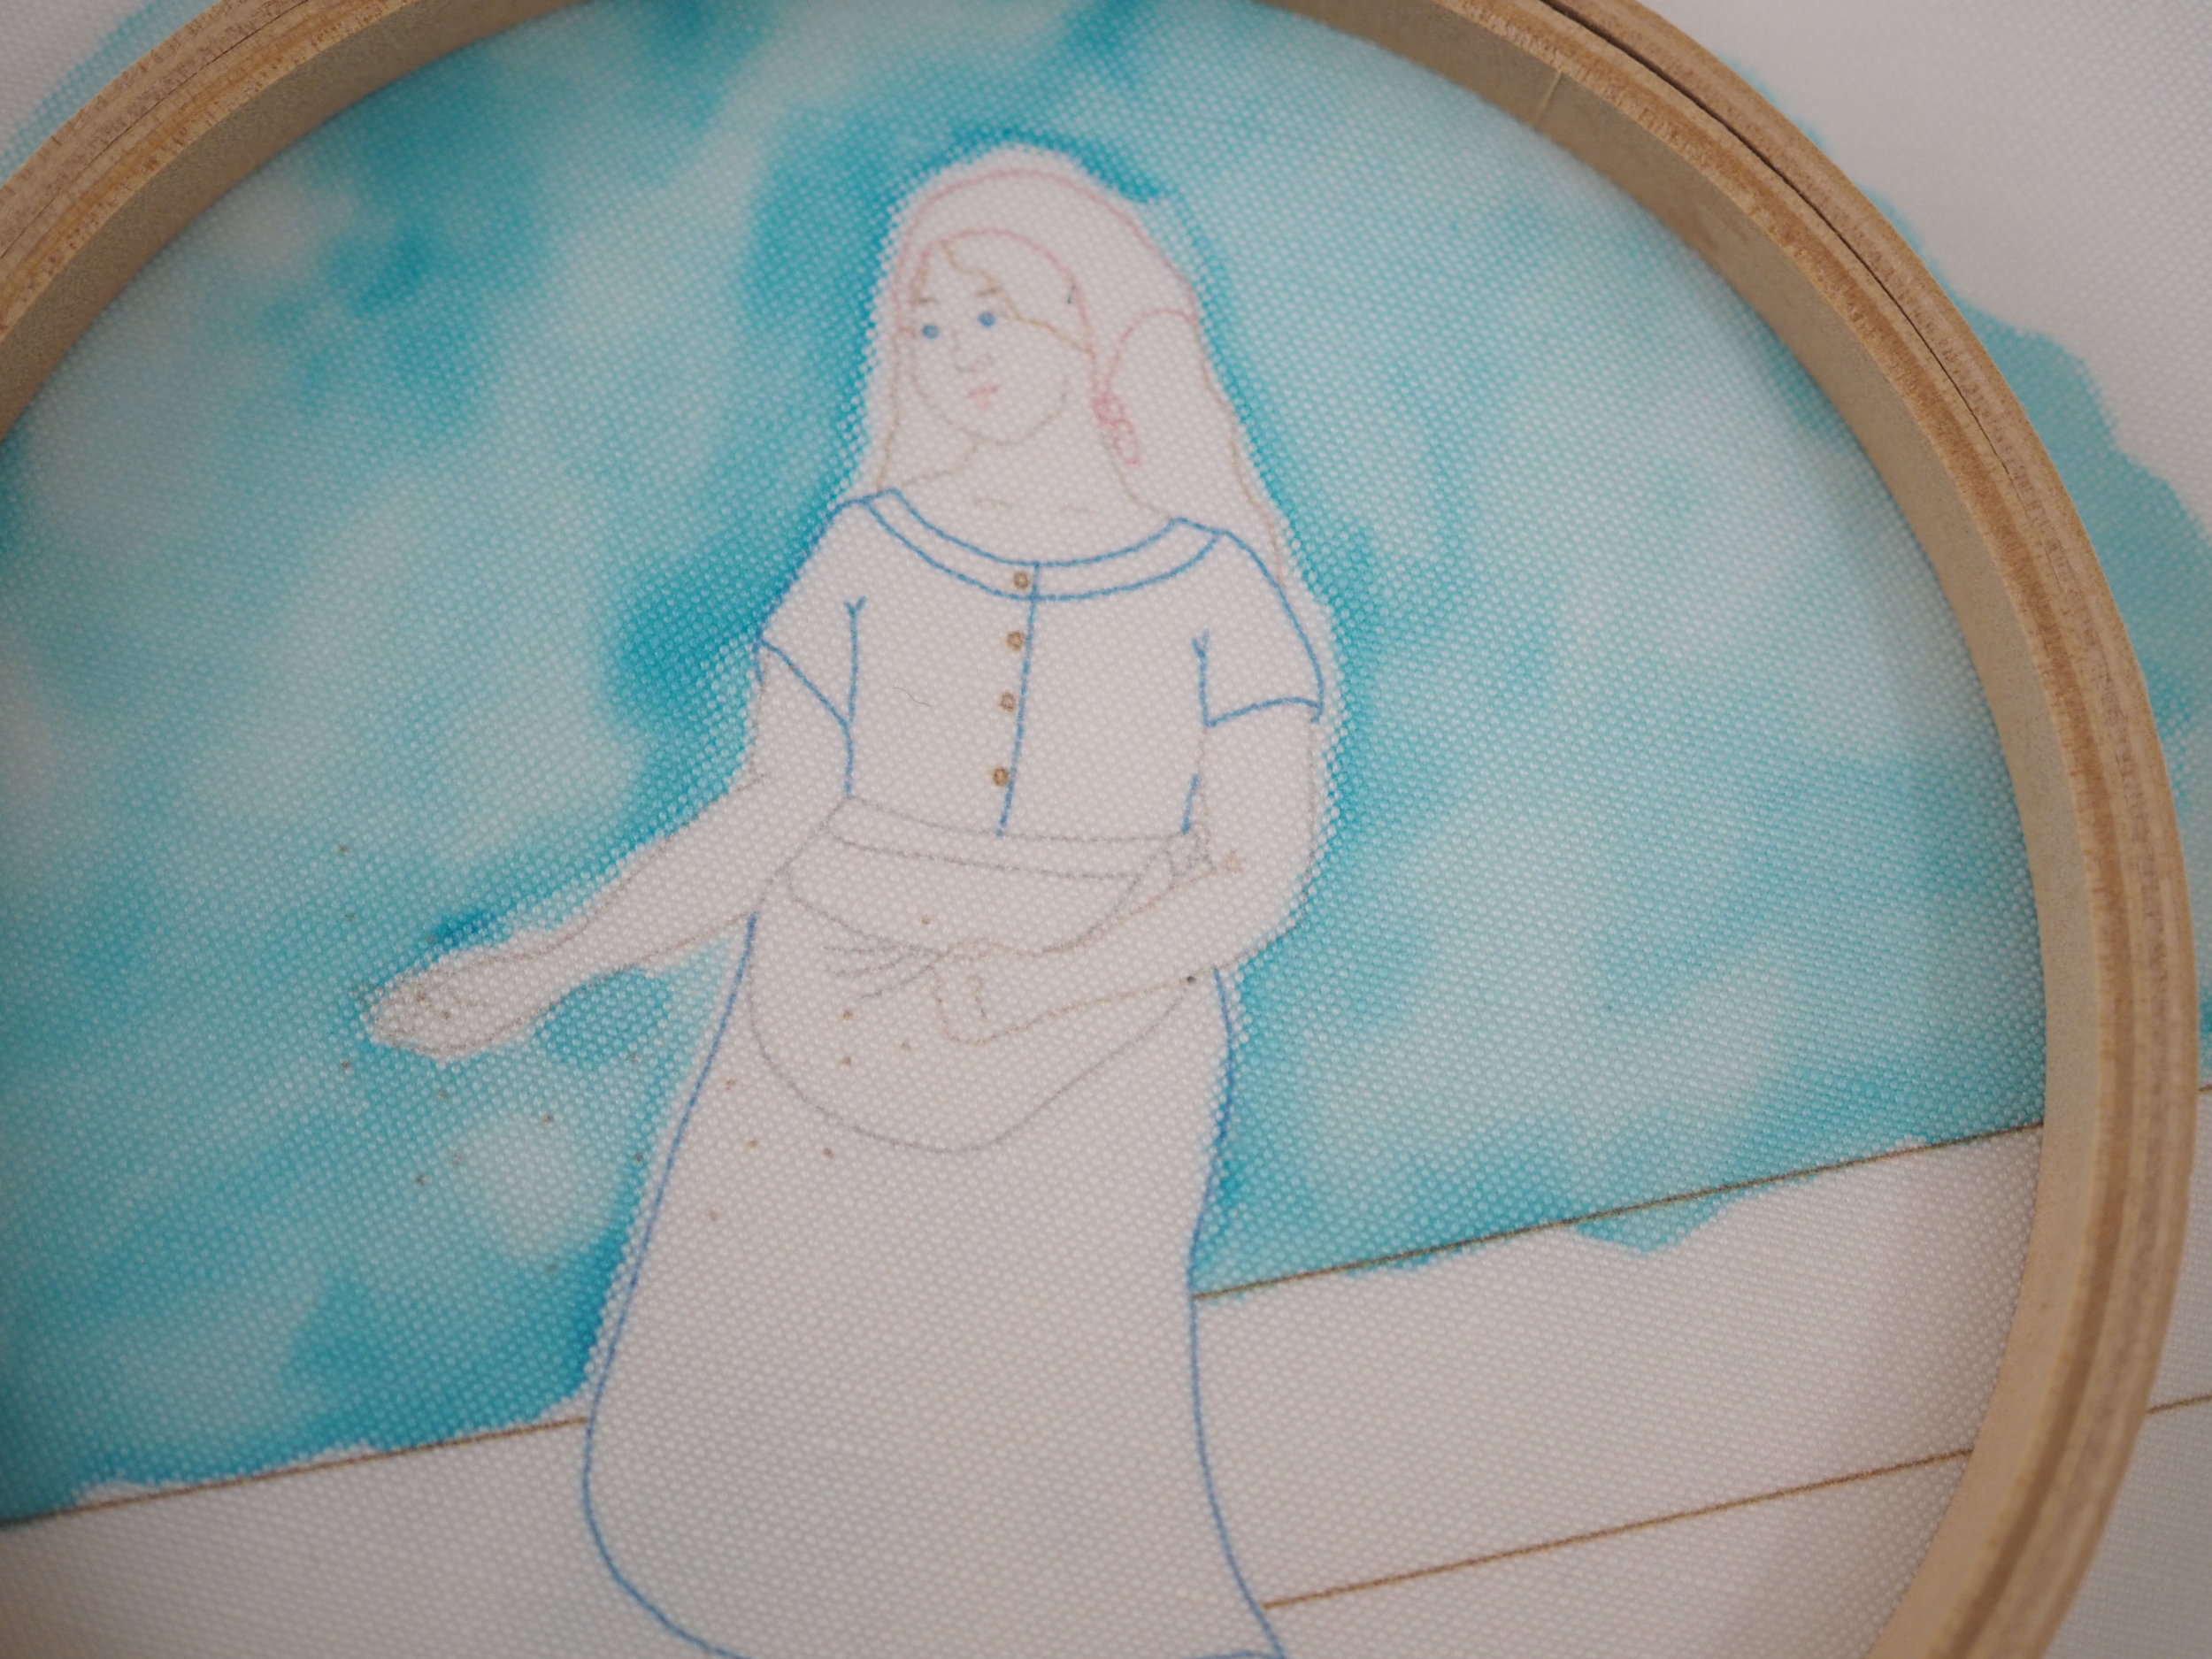
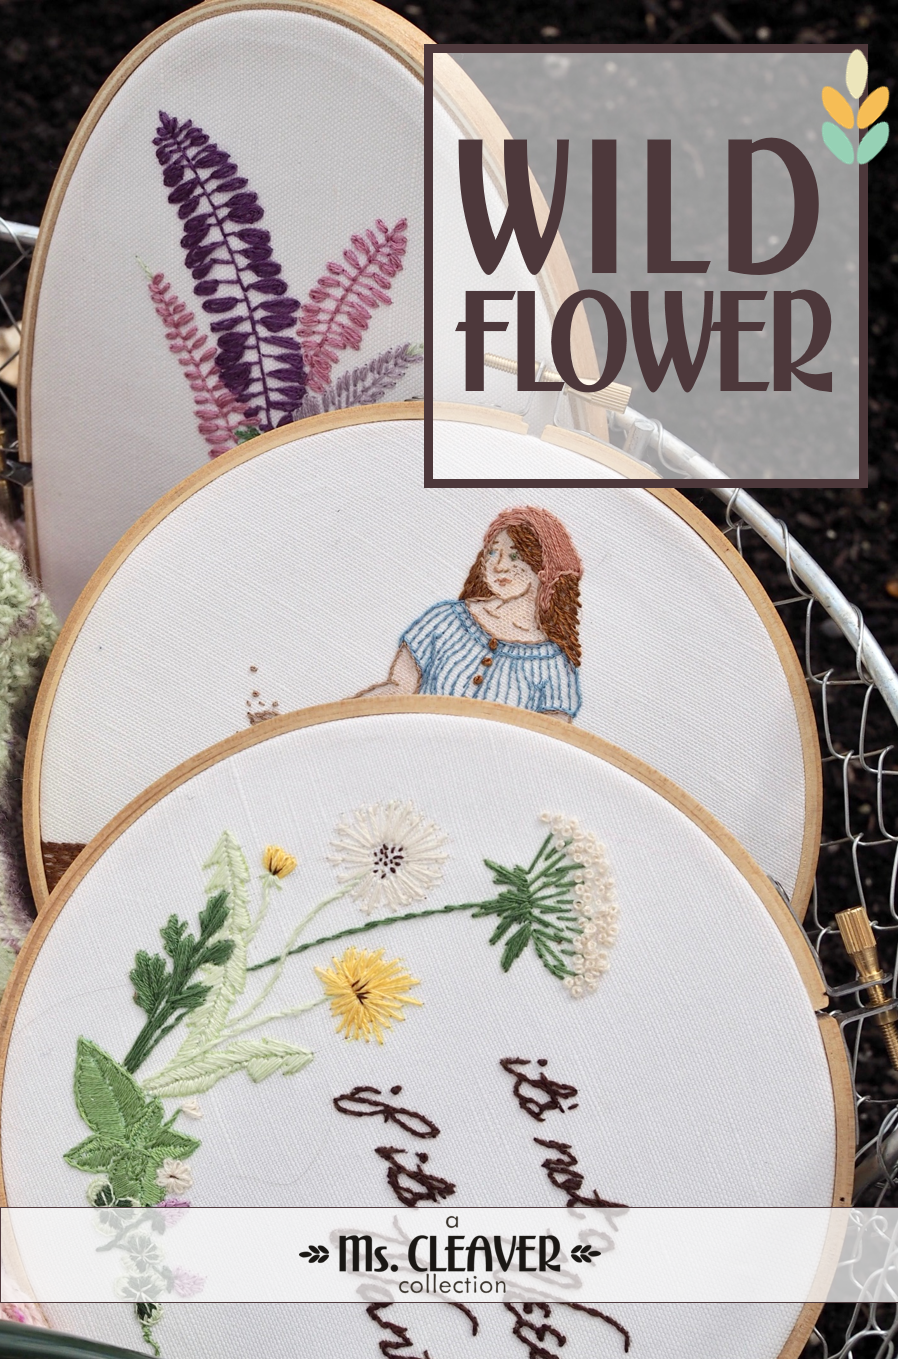
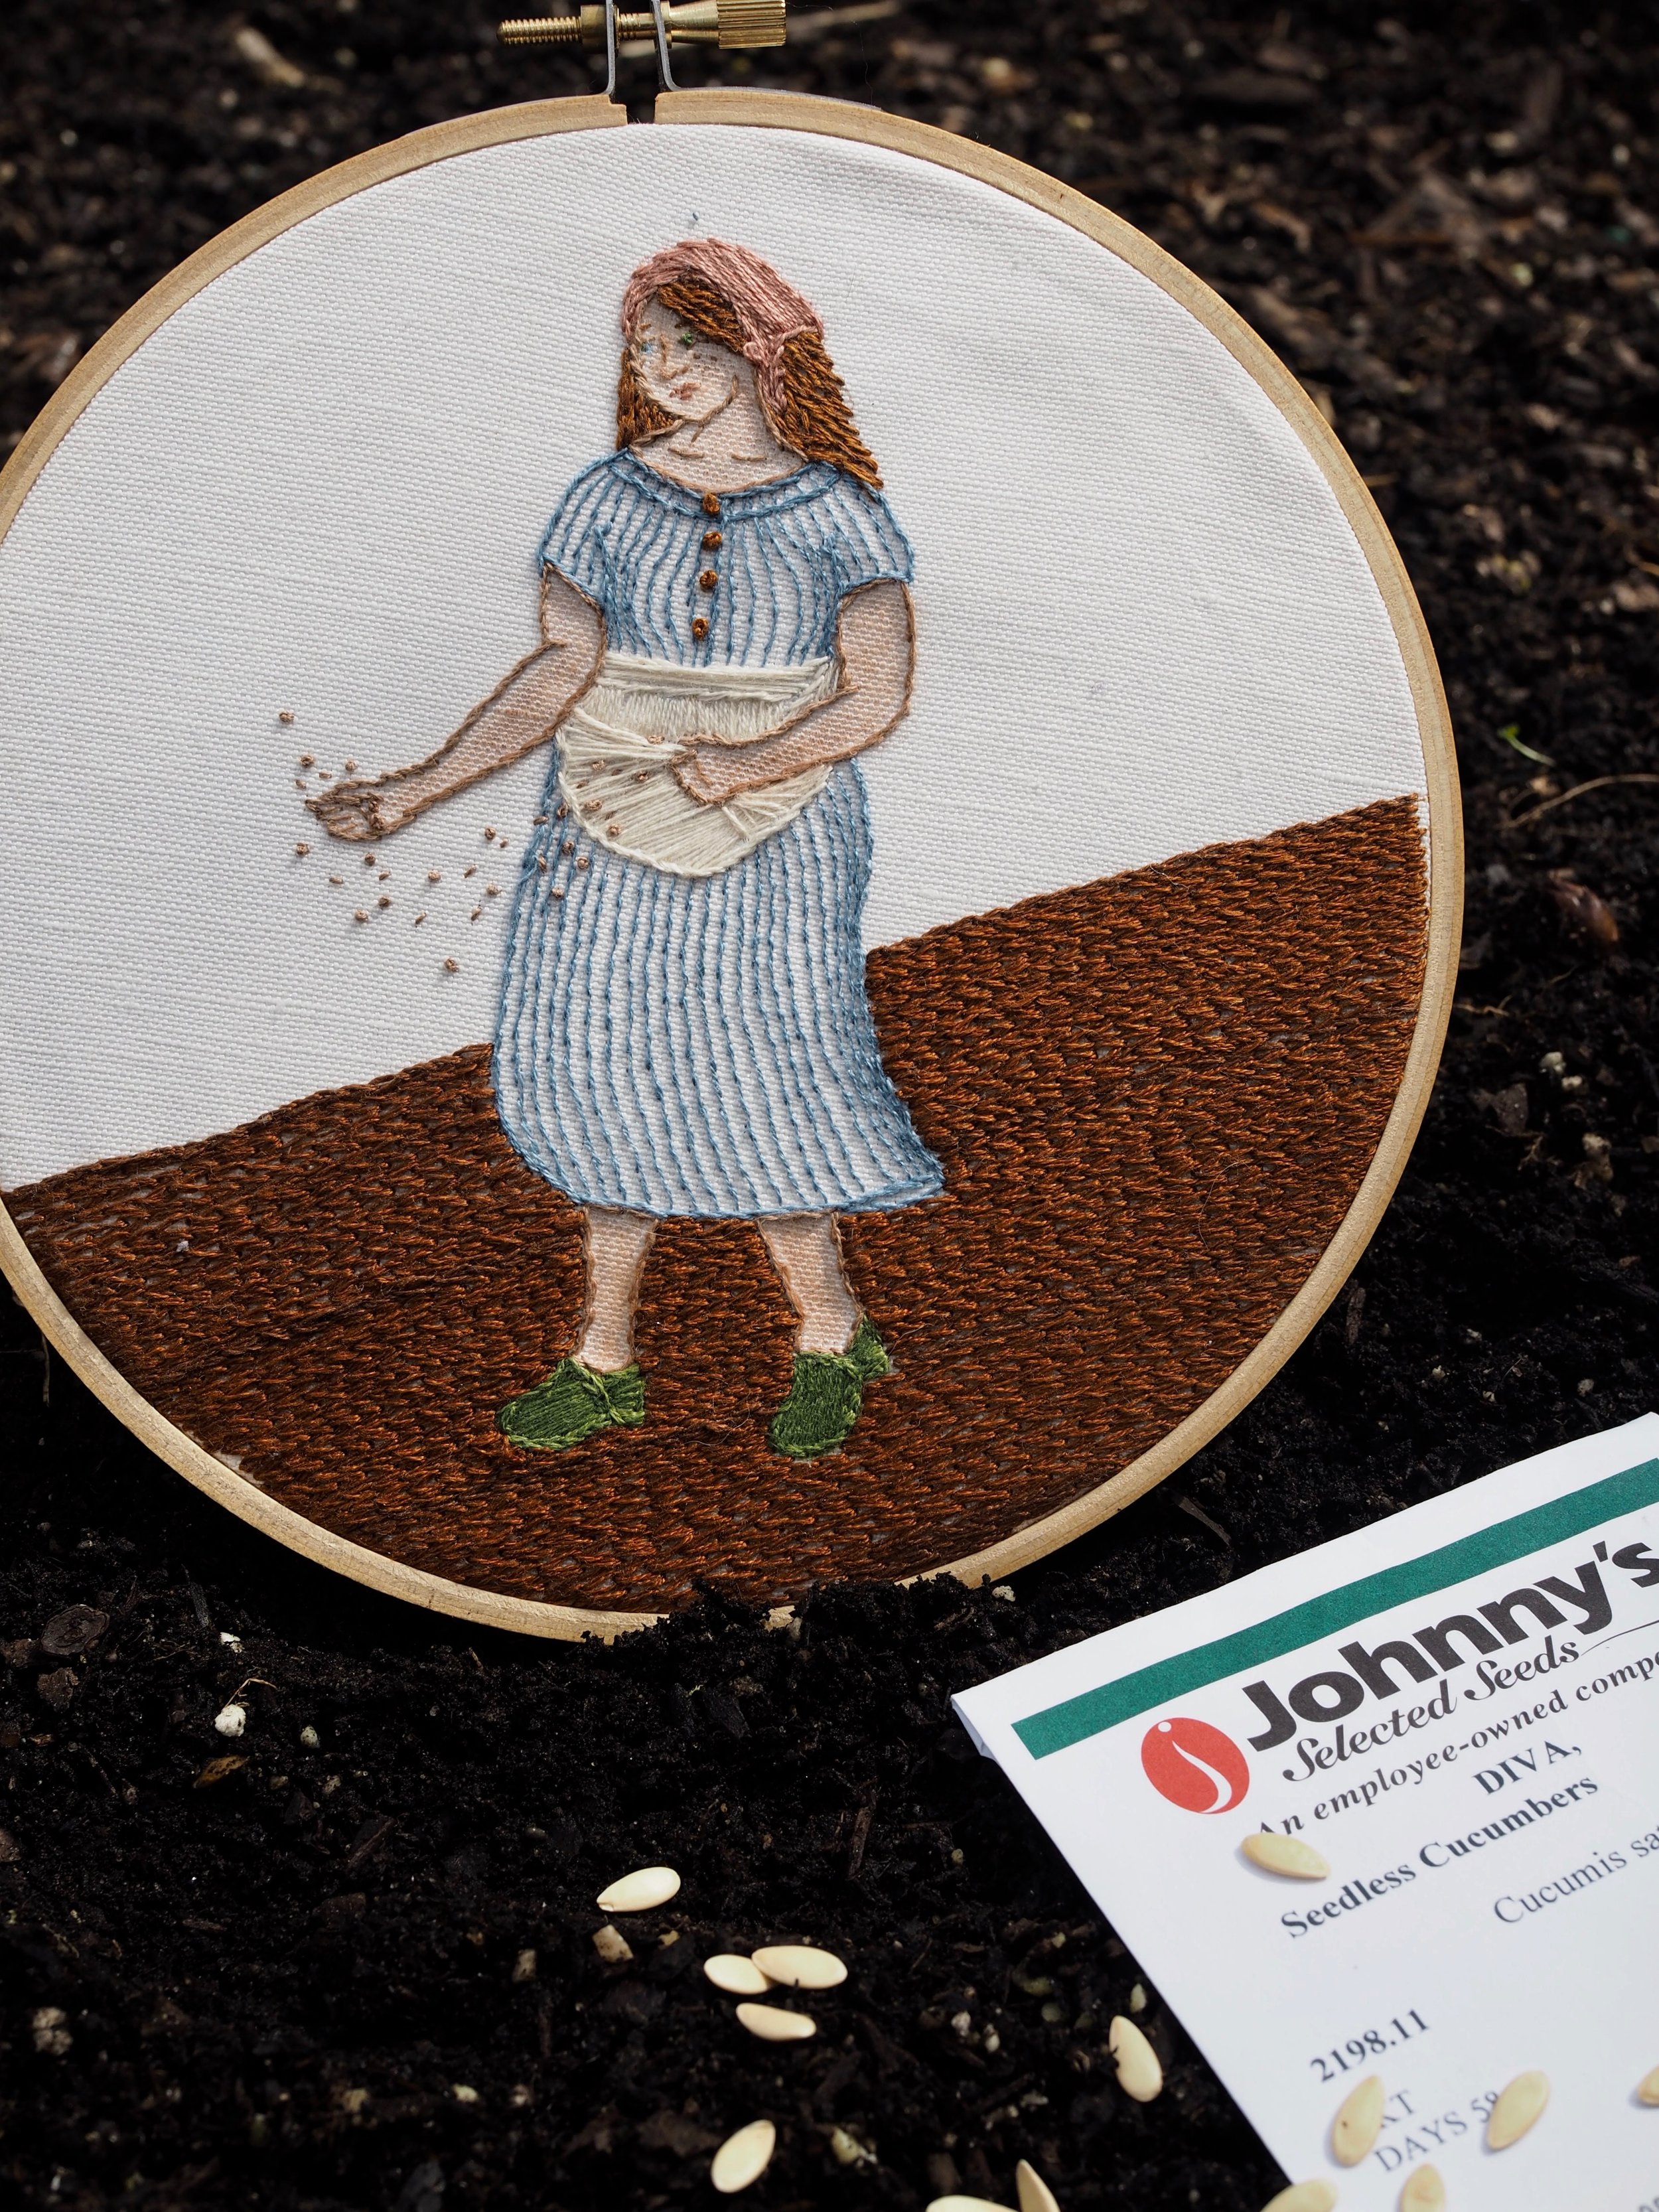
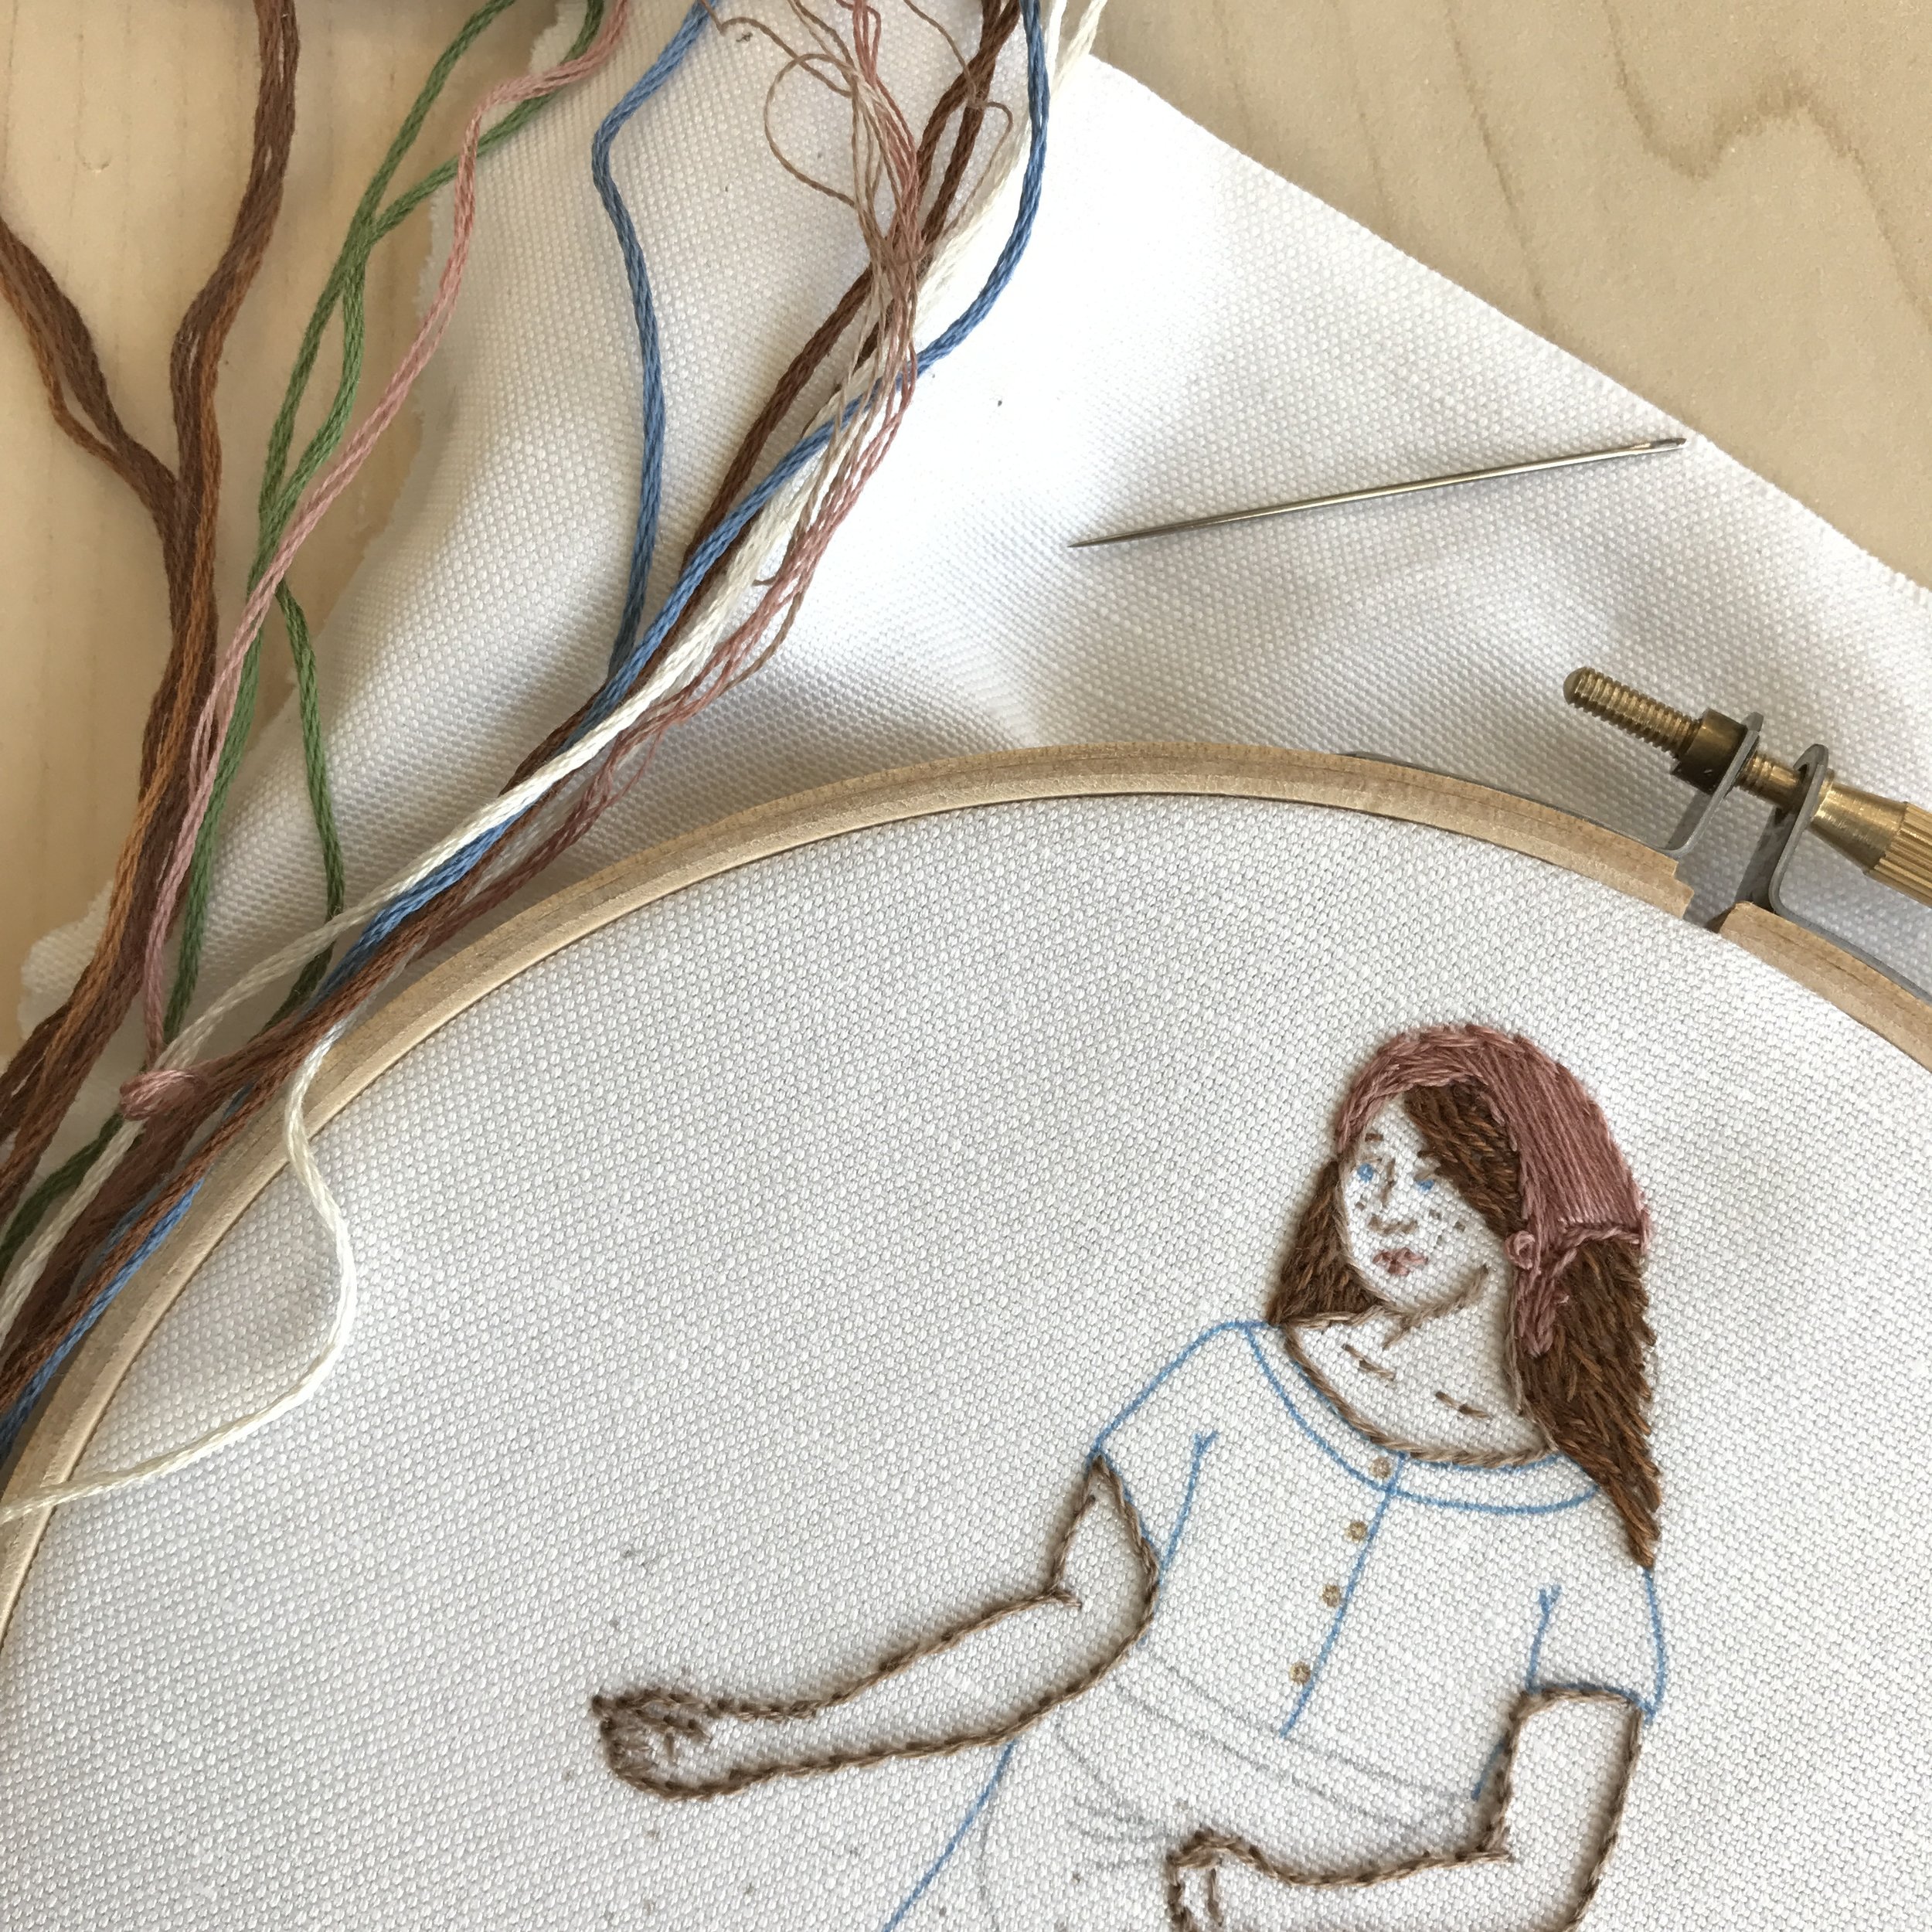
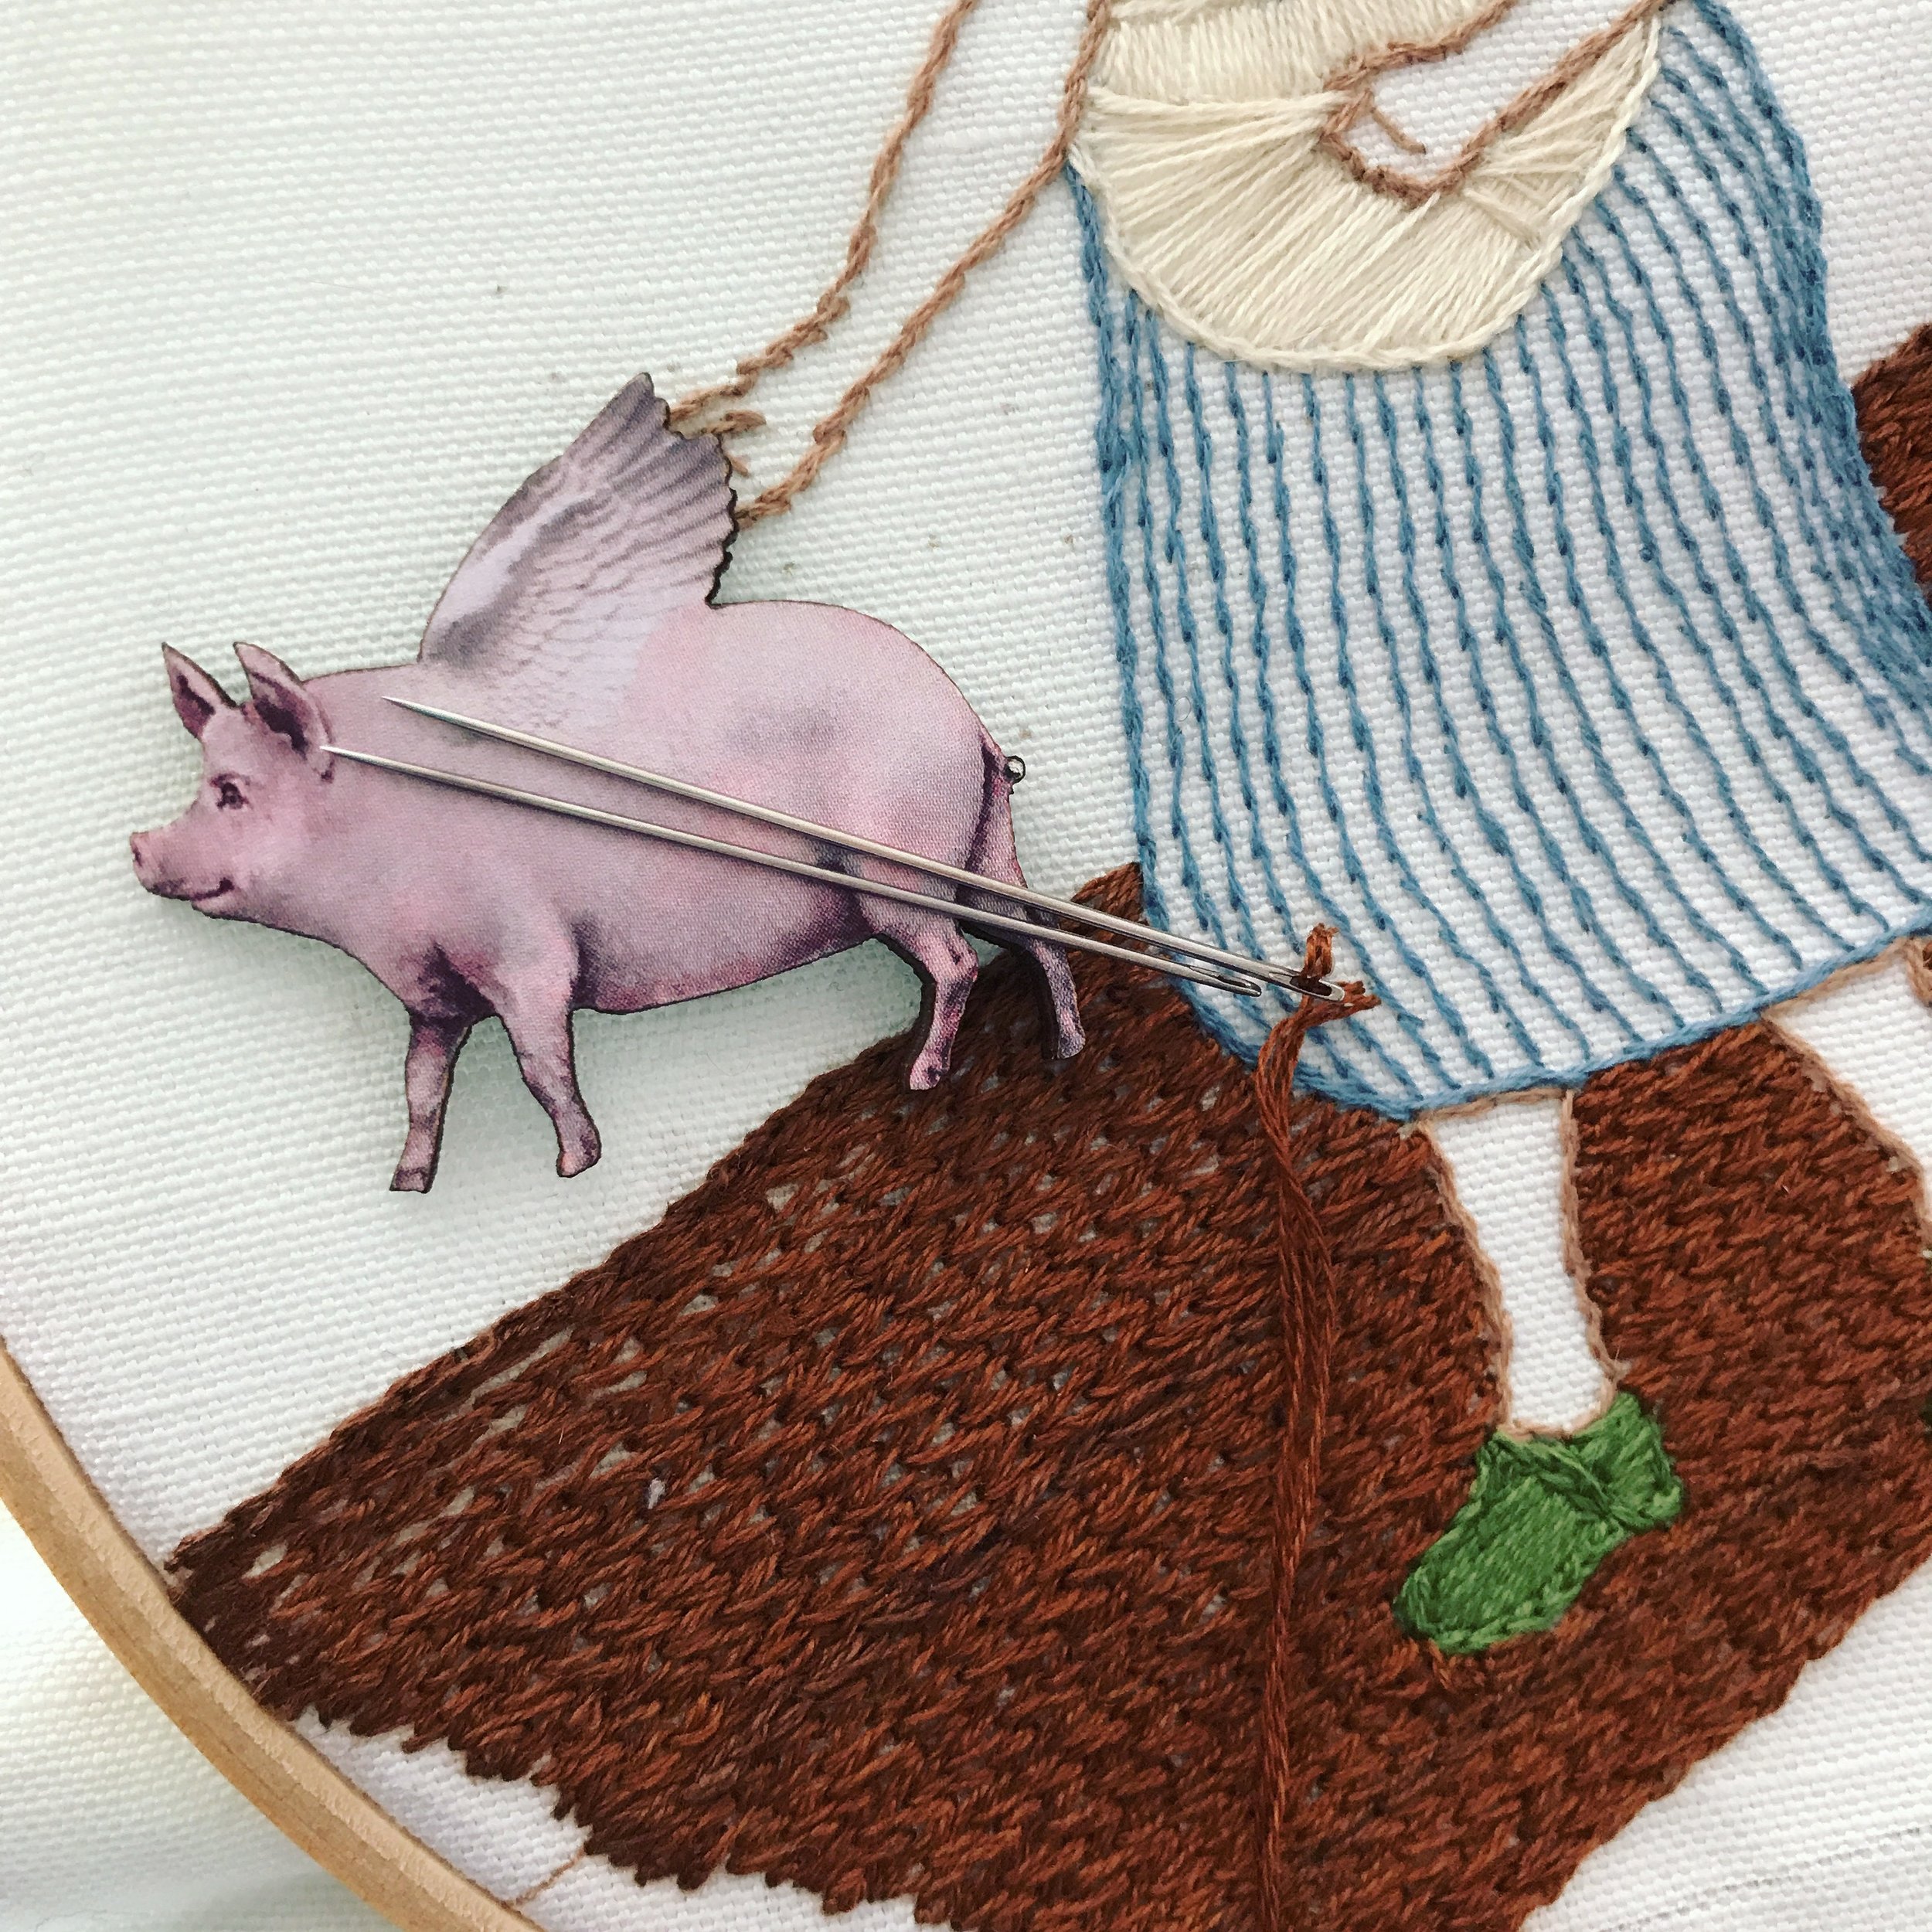
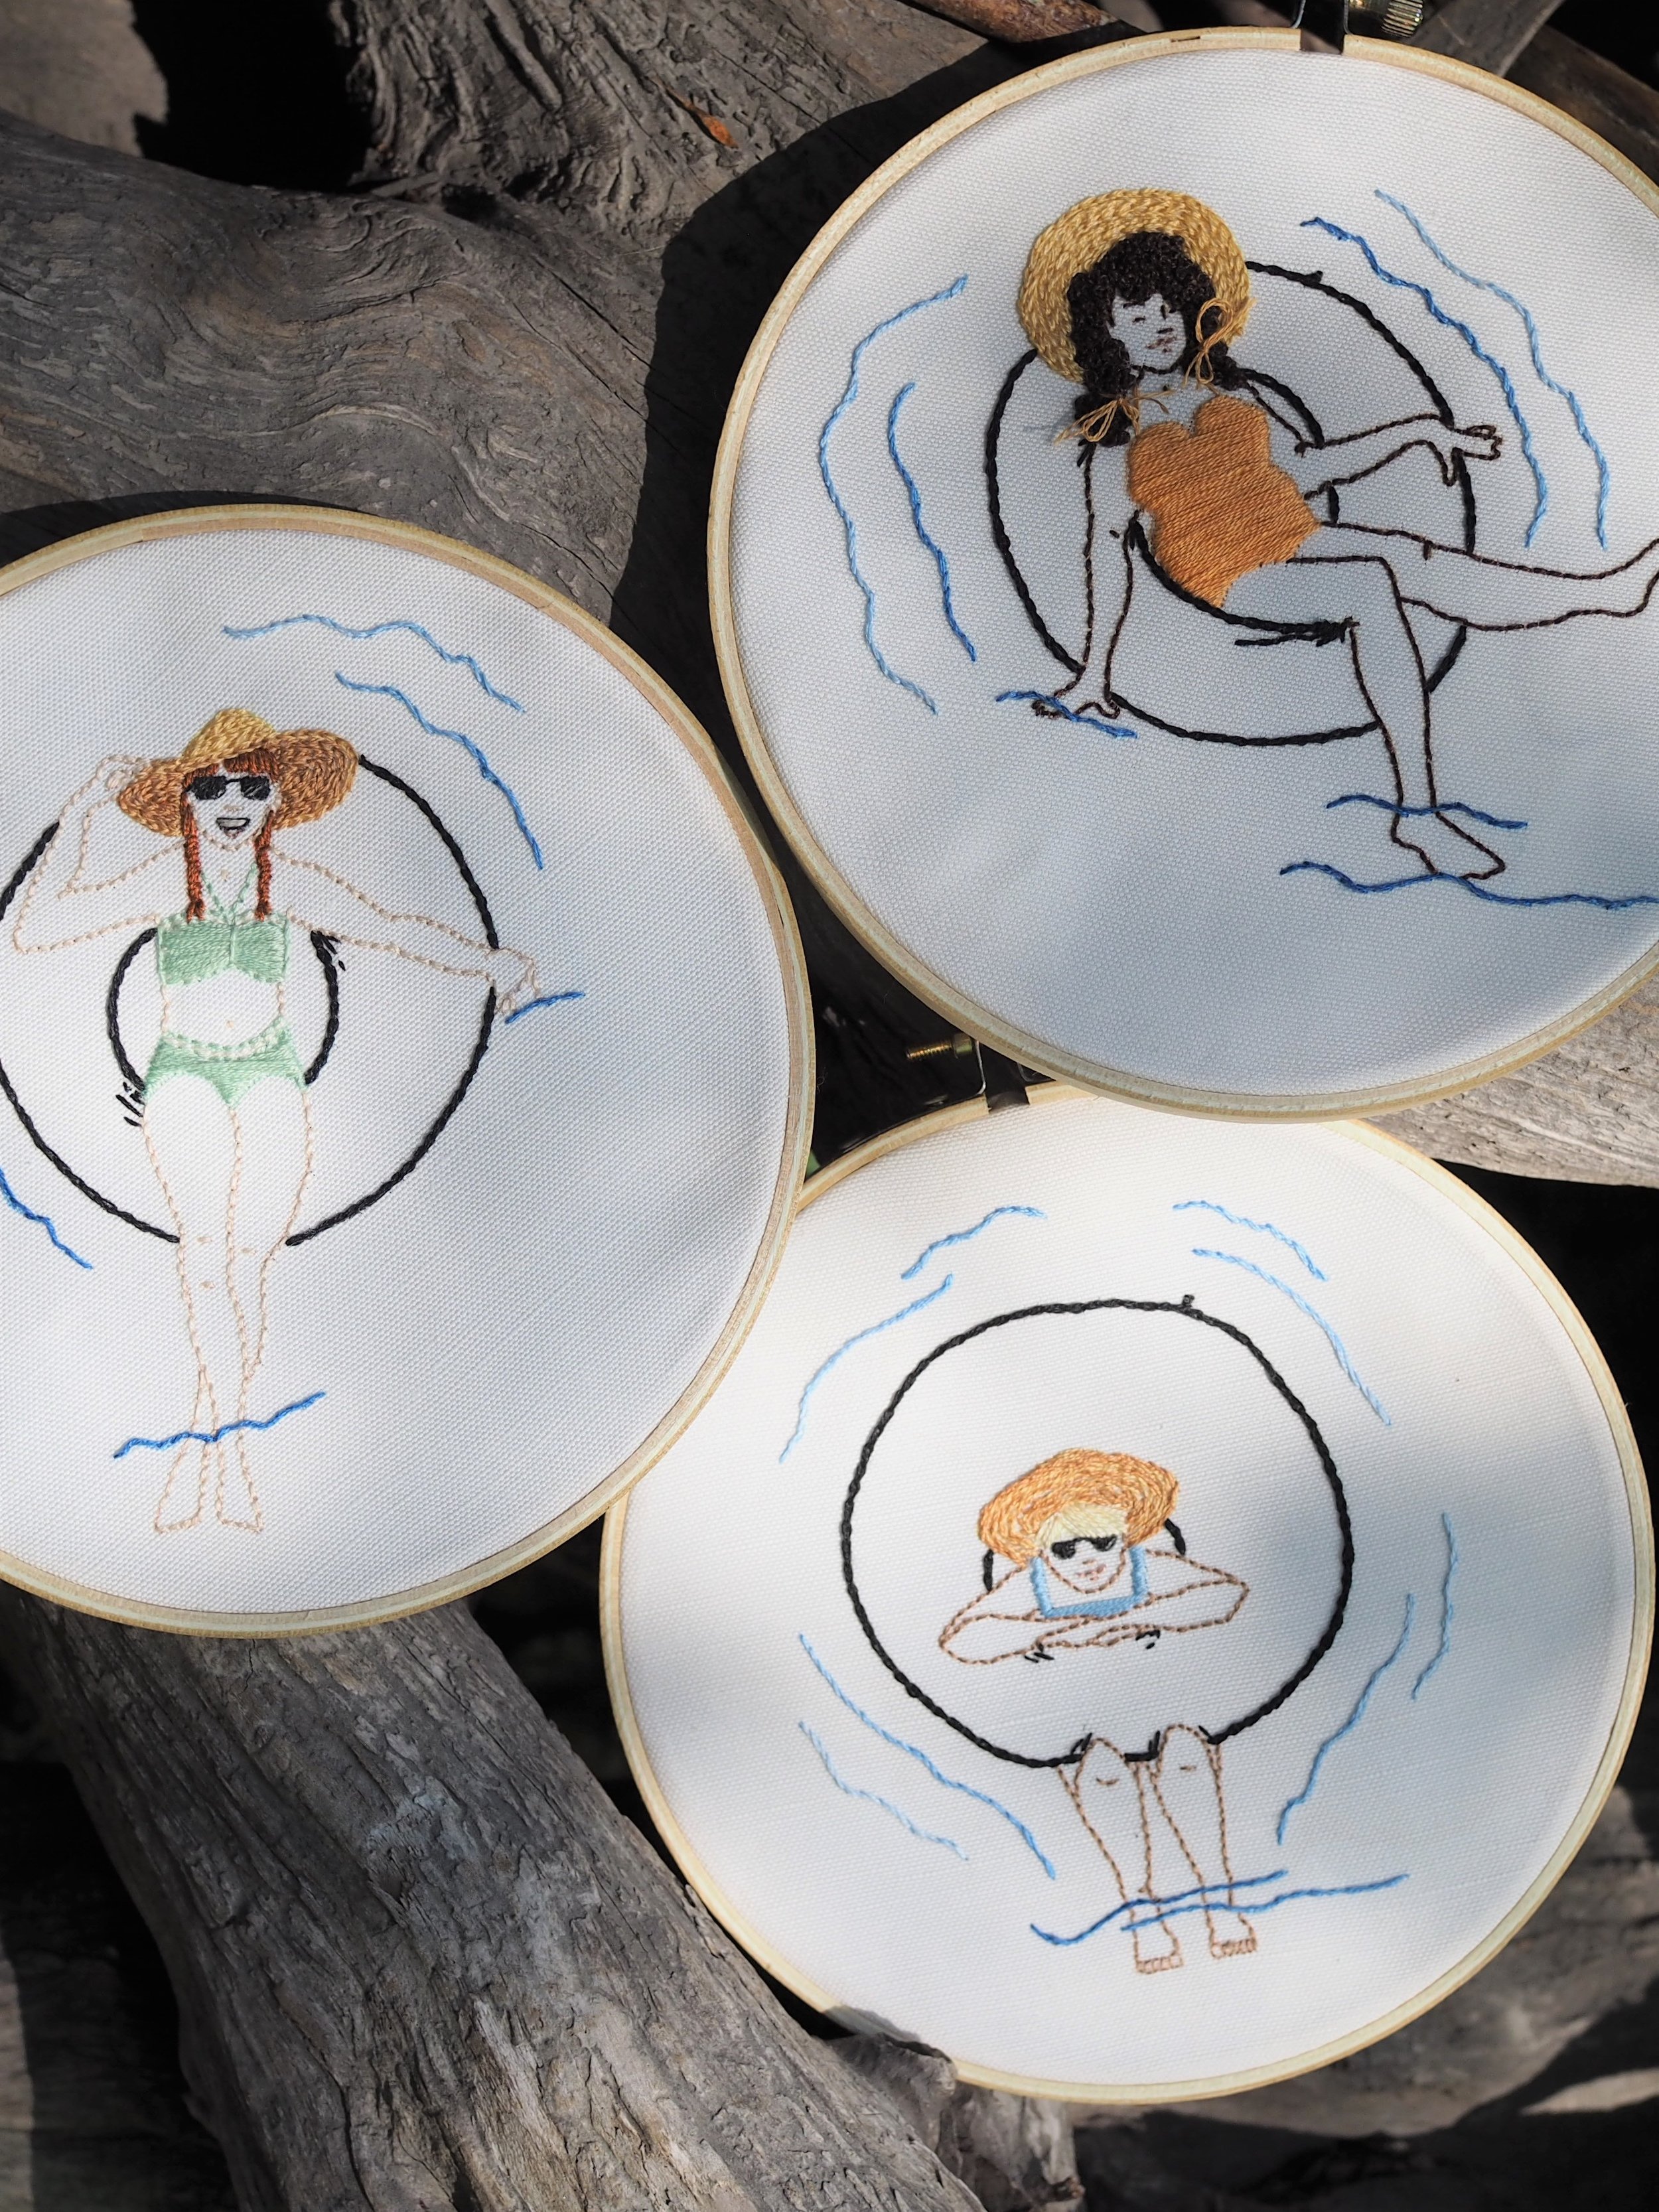
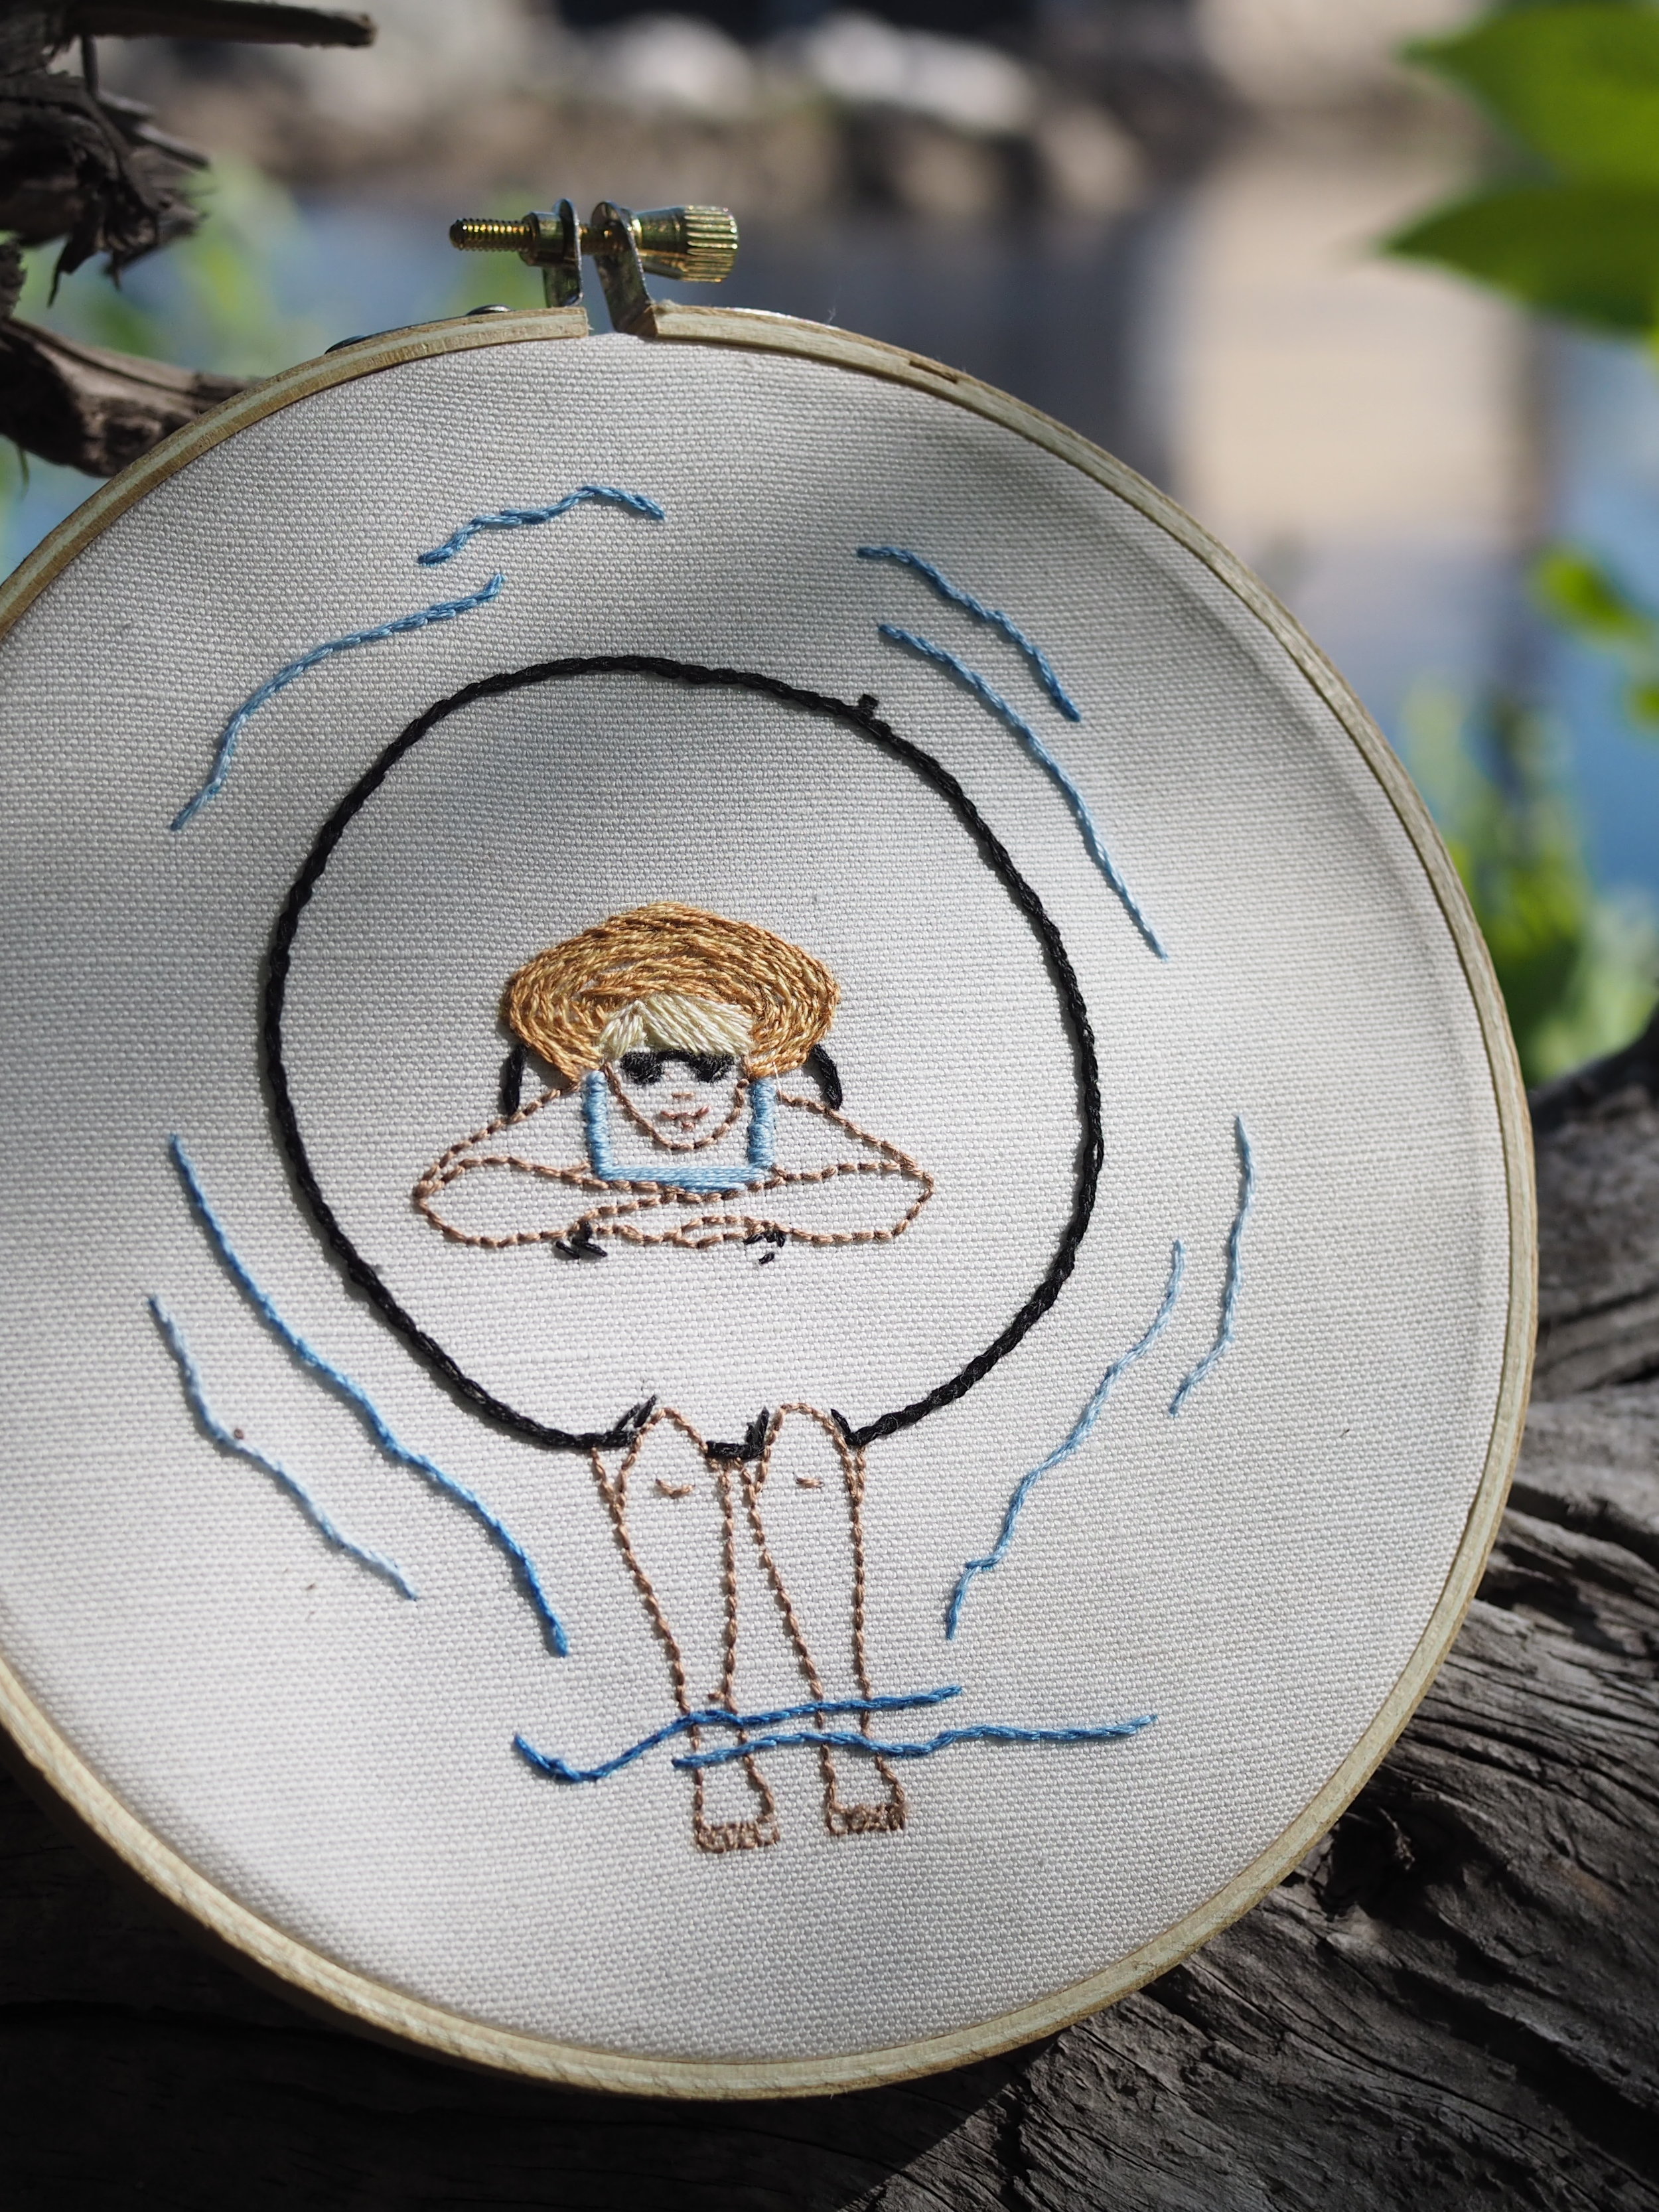
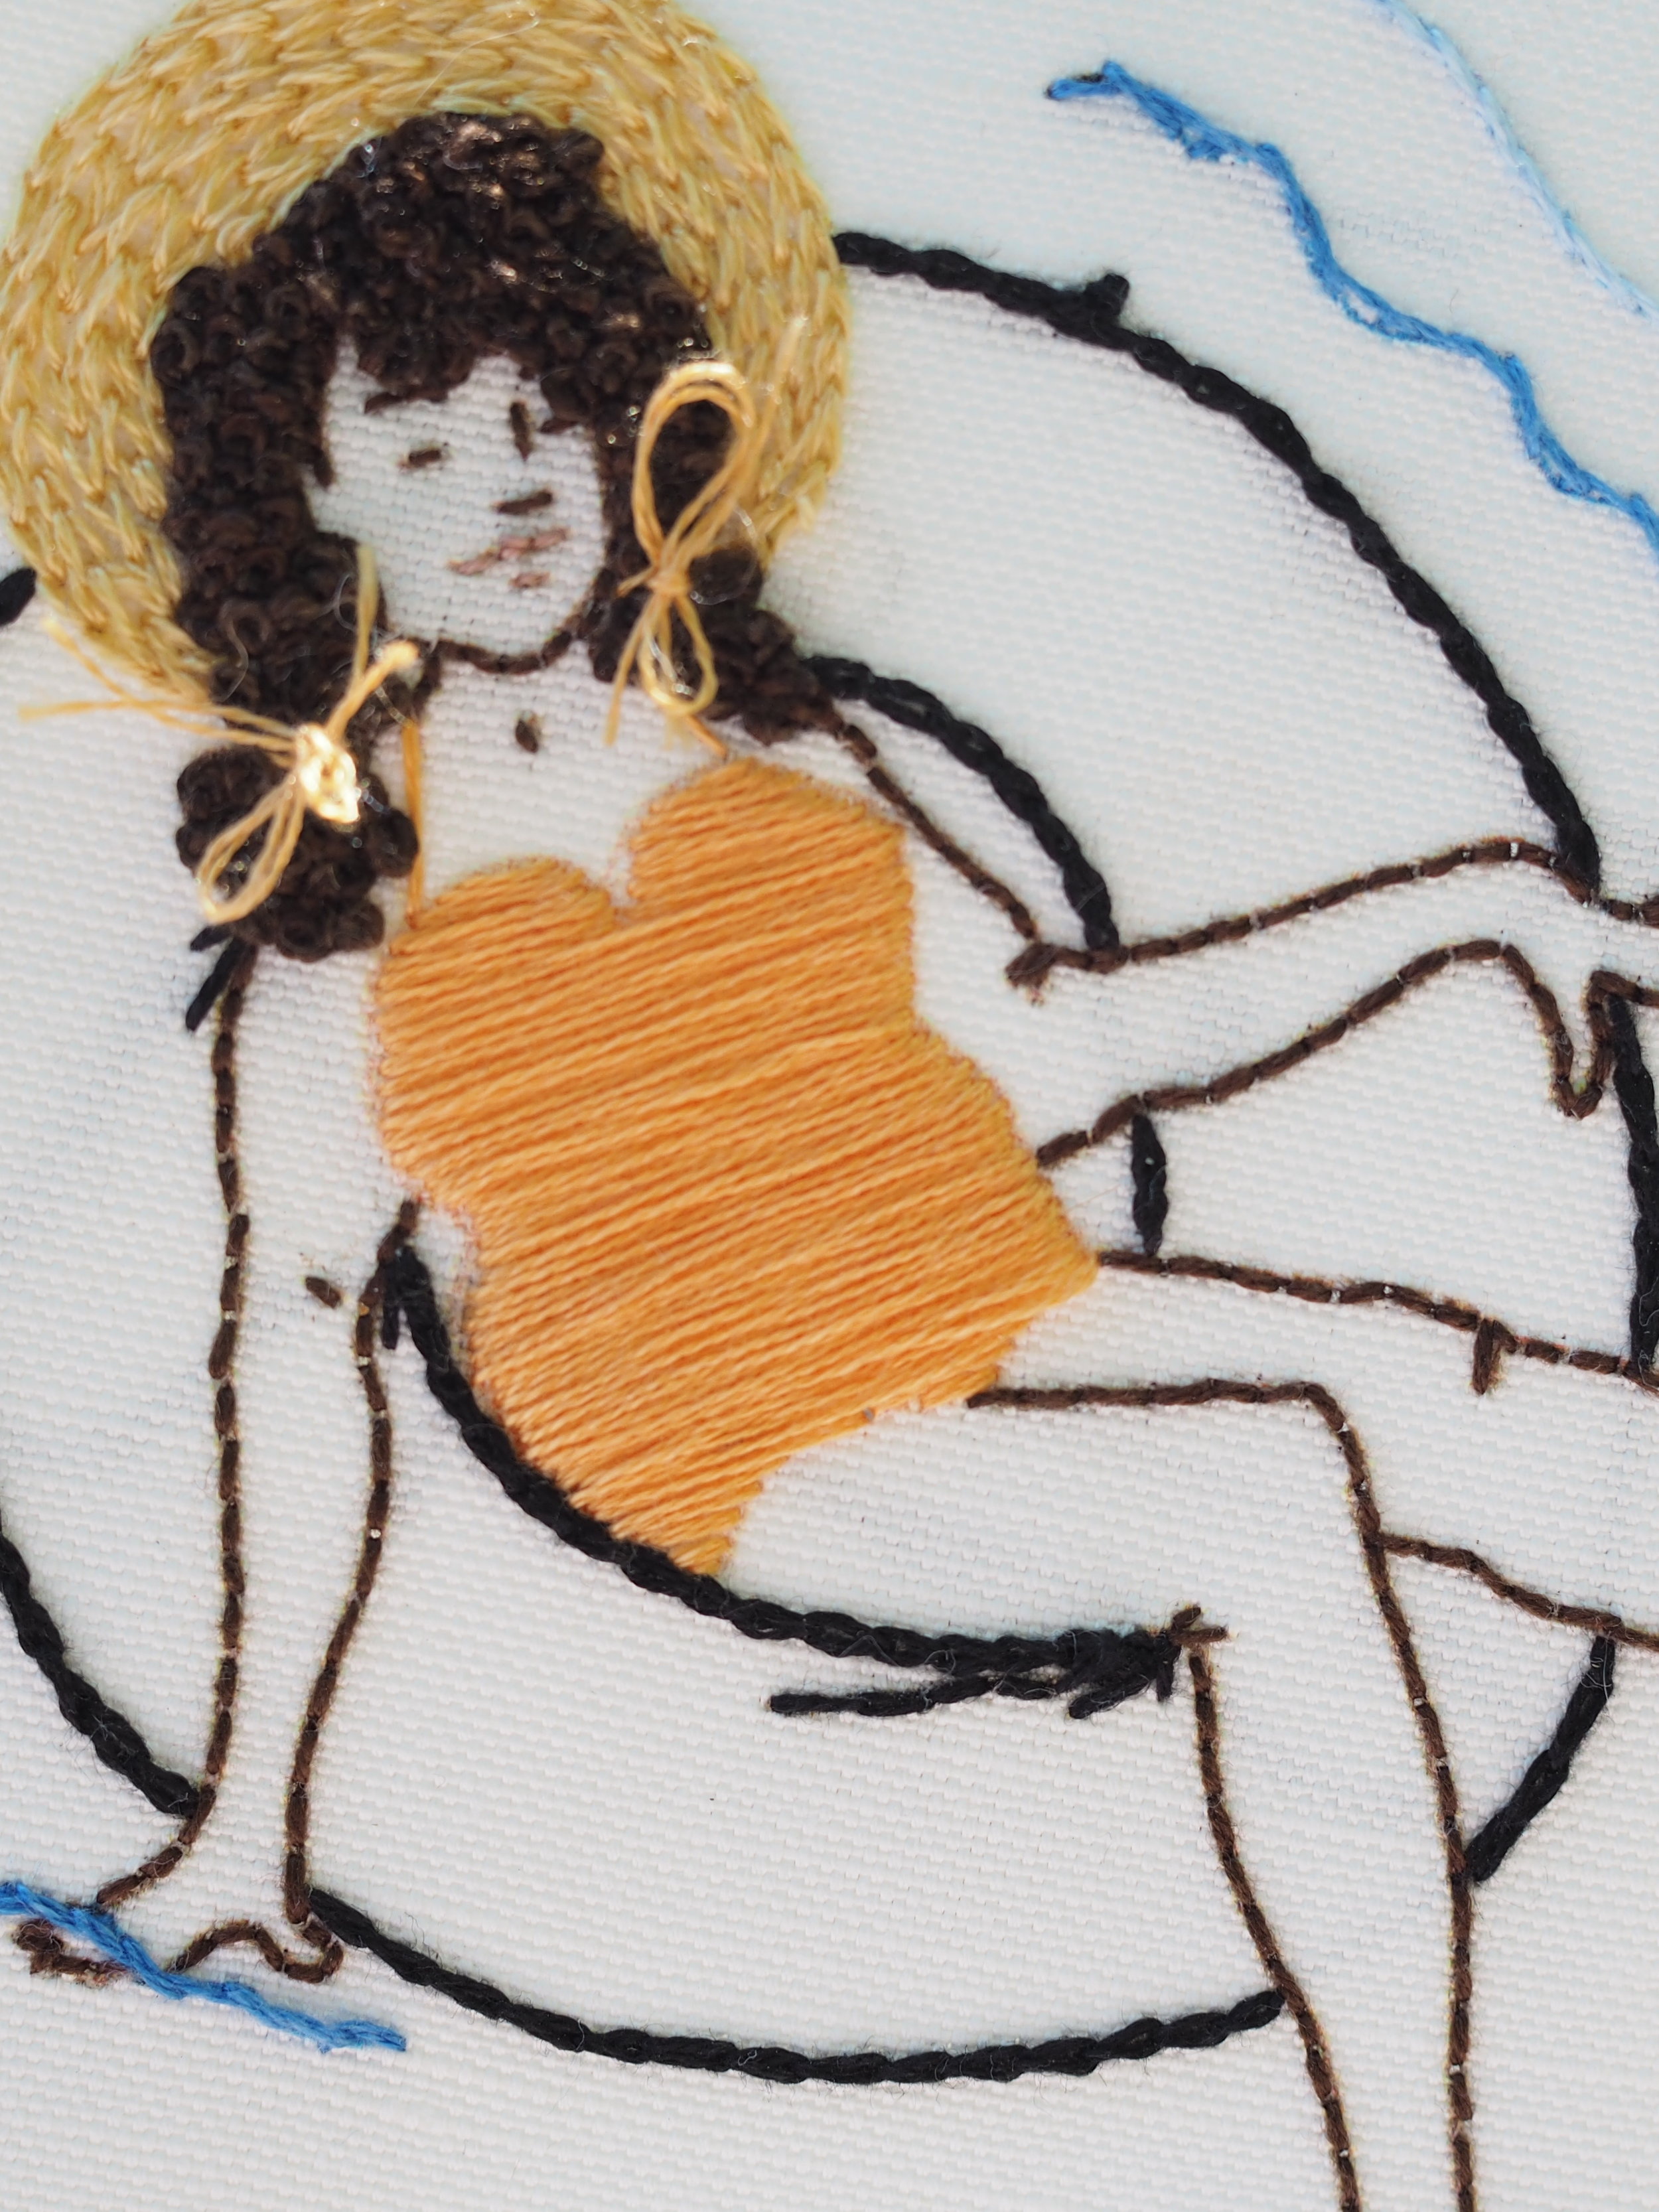
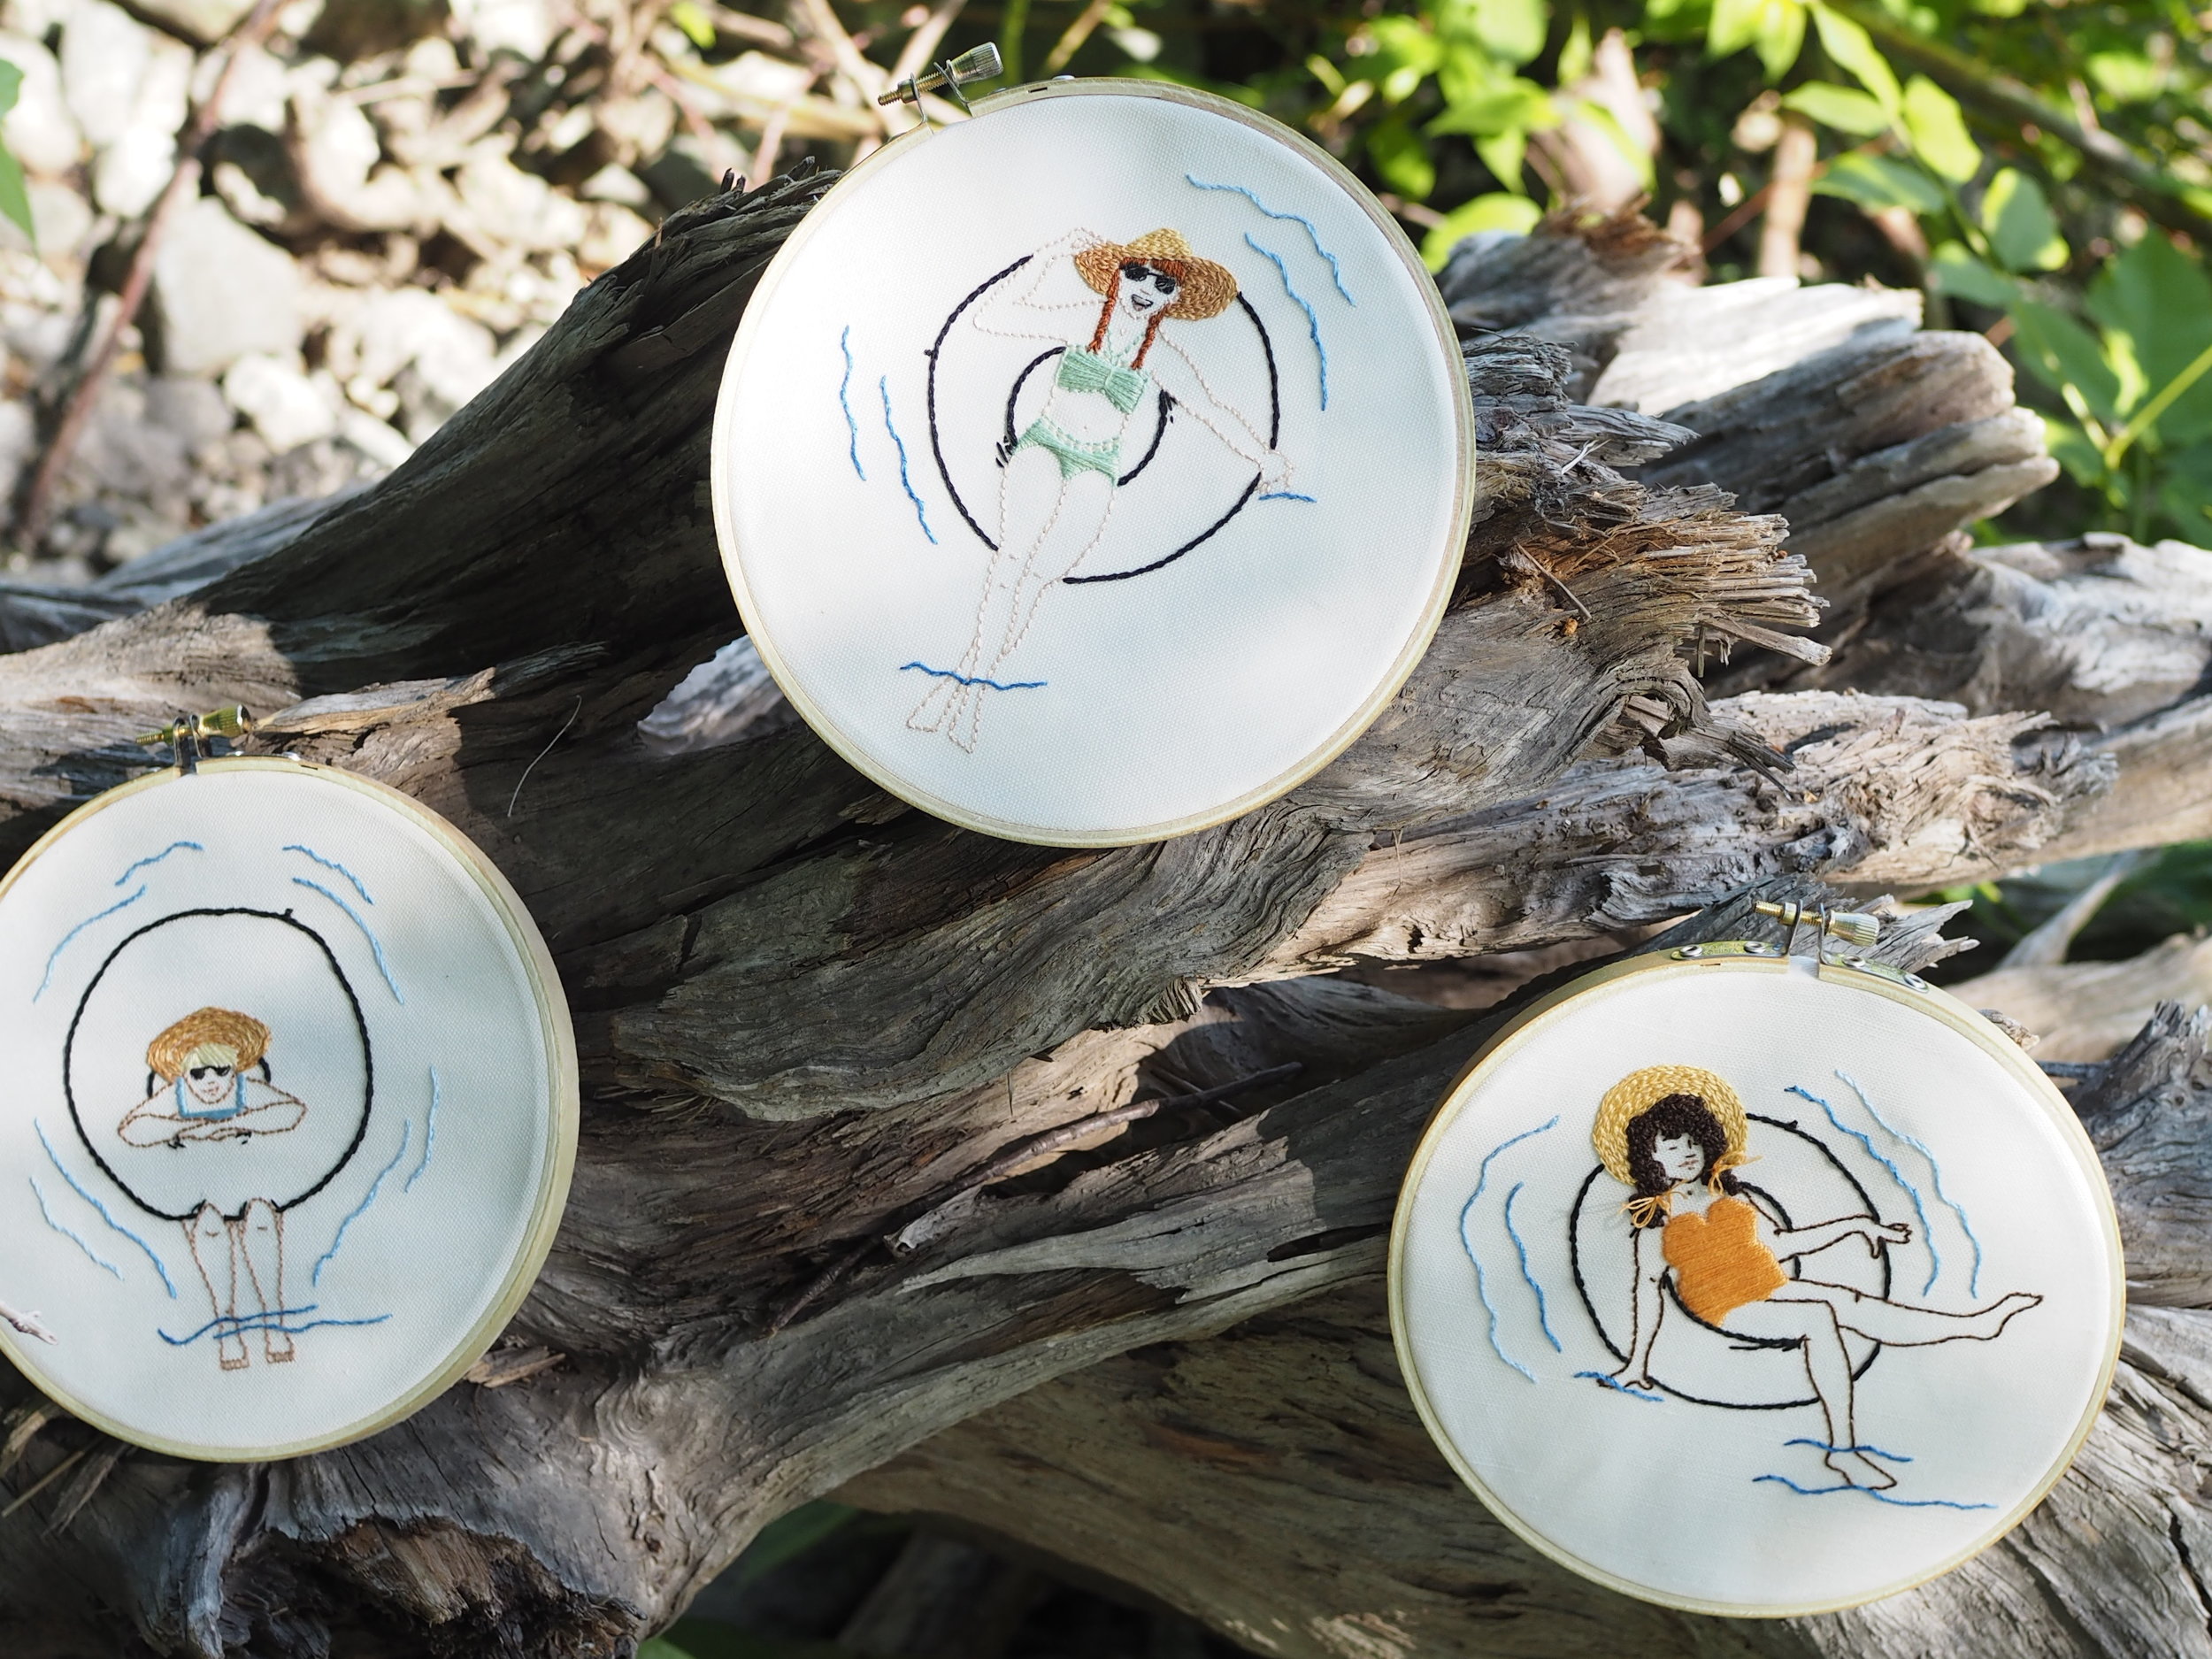
I can only recall actually inner-tubing on a real river (instead of, say, at Raging Waters) once - but I wouldn't mind kicking off my sandals, and going for a long float down a shady river. Until that opportunity pops, up I'll content myself with this trio of stitched ladies acting as my proxy.
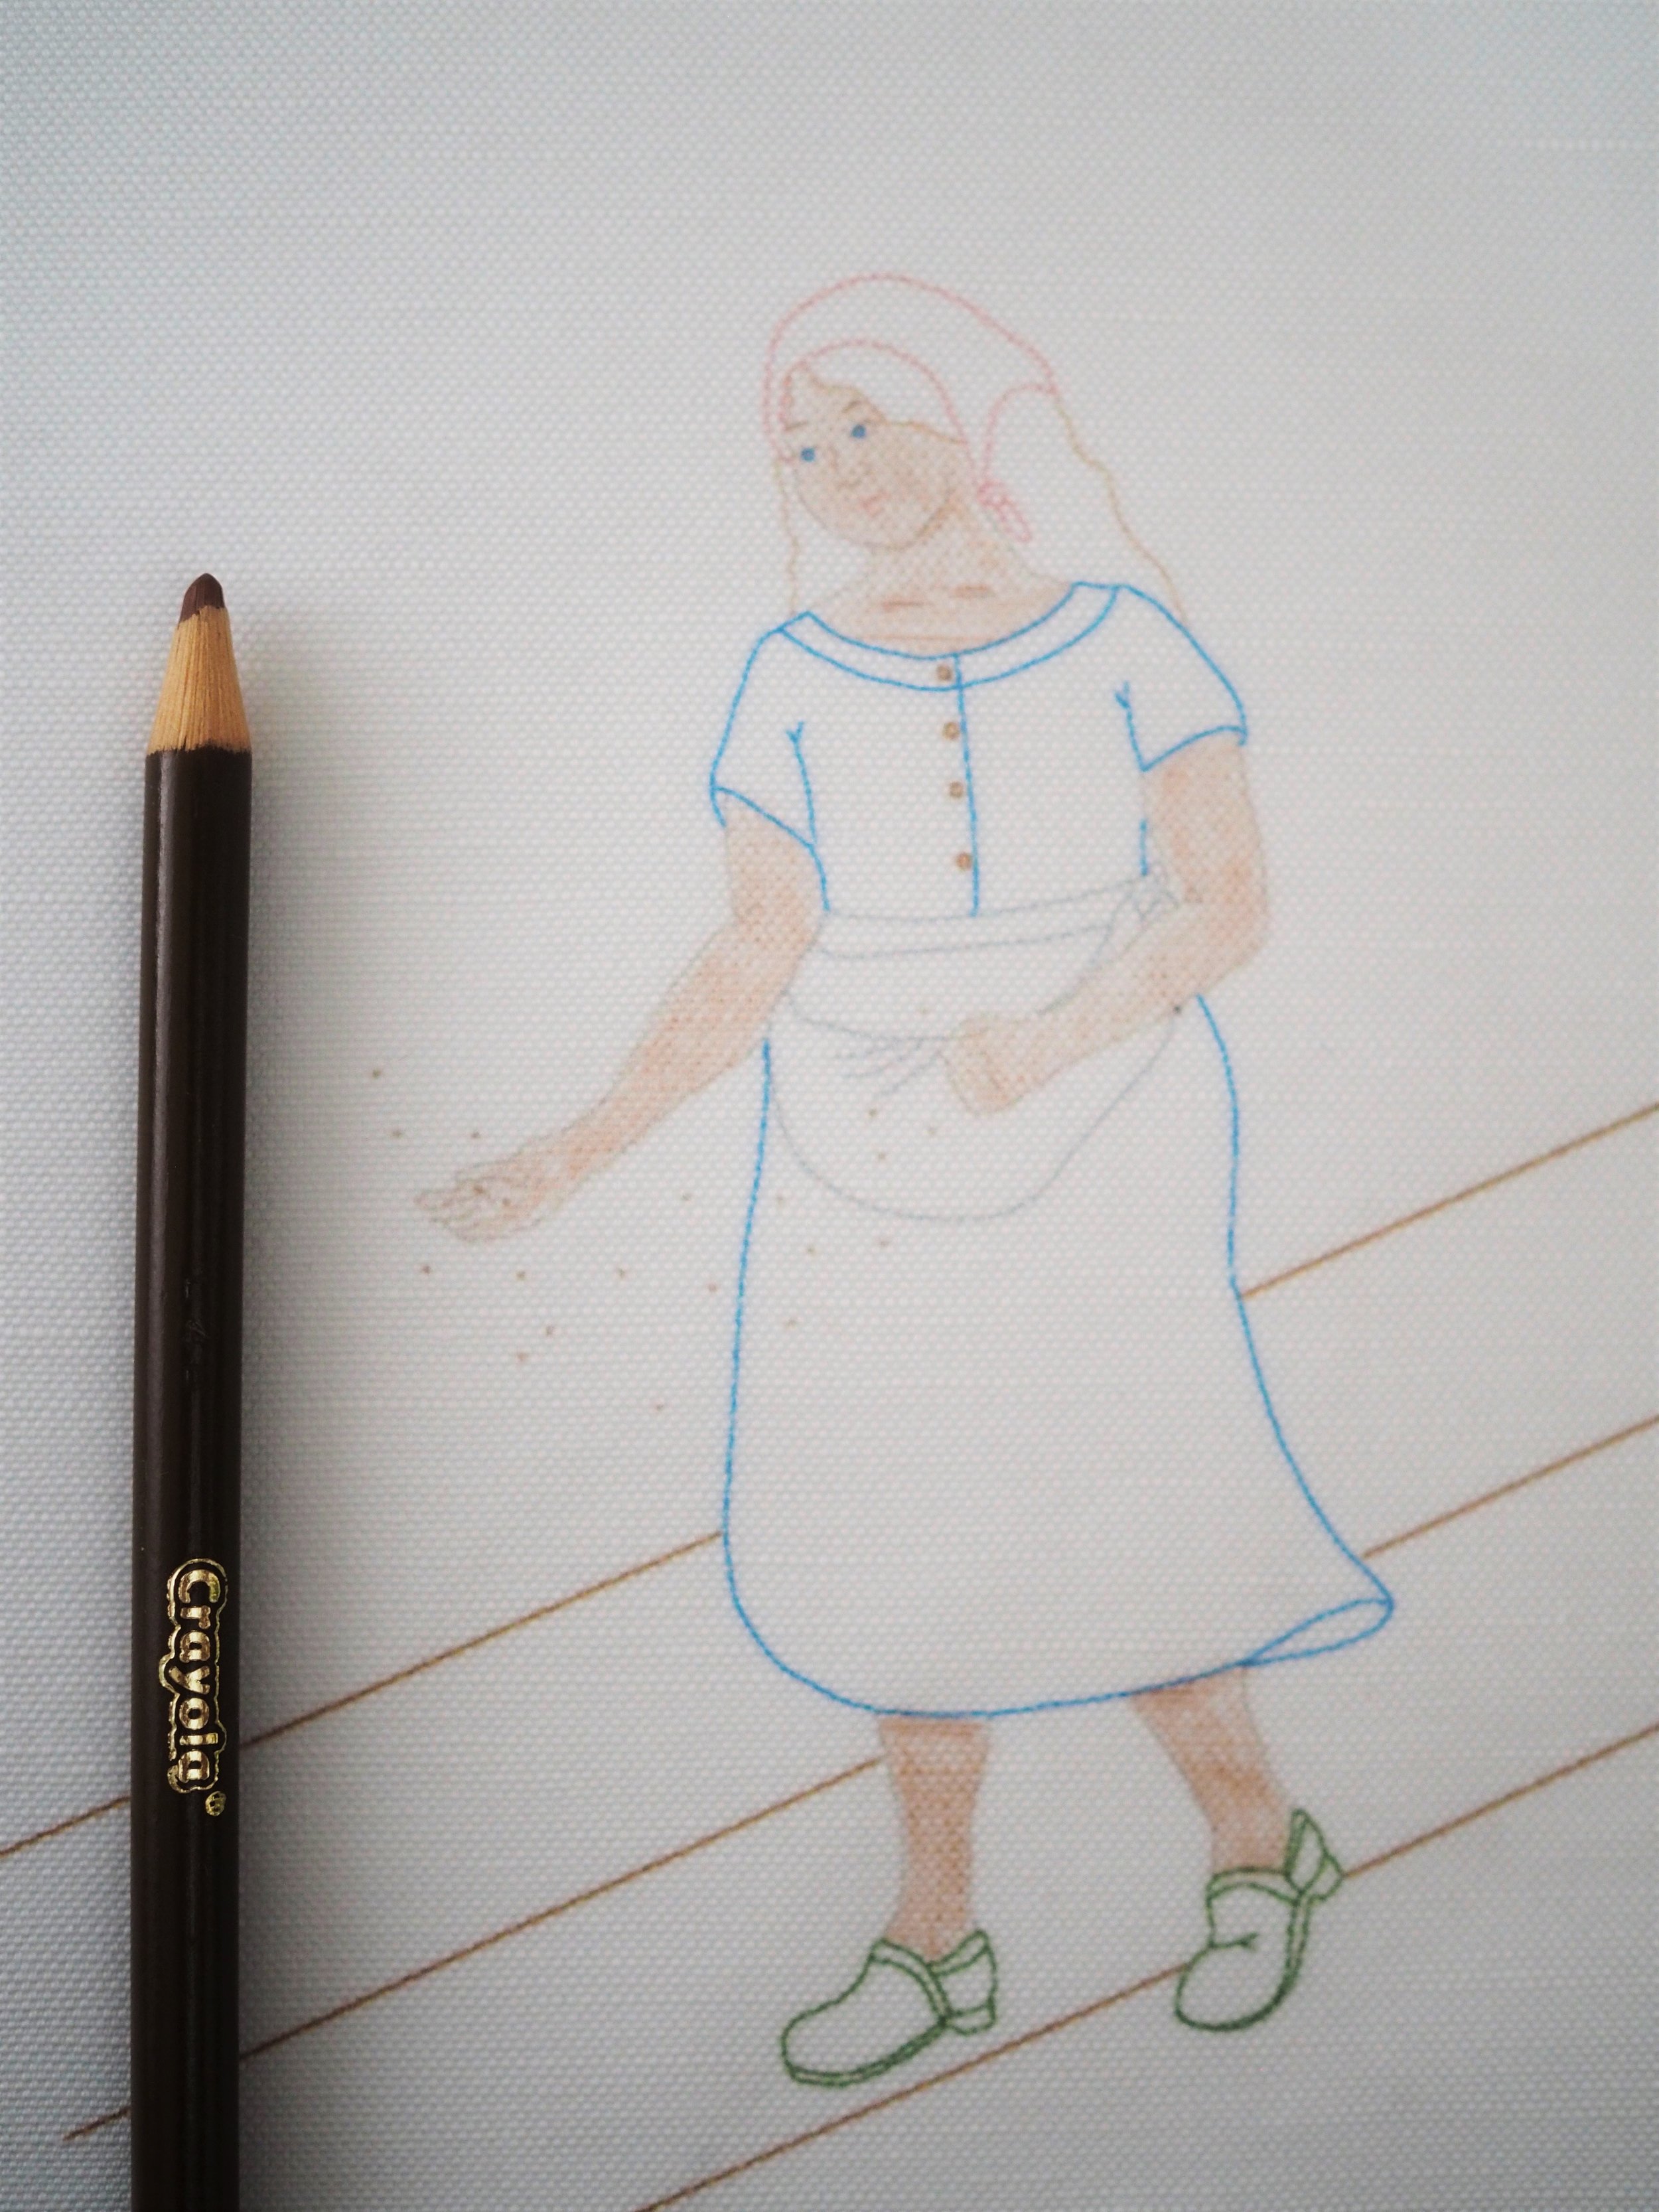
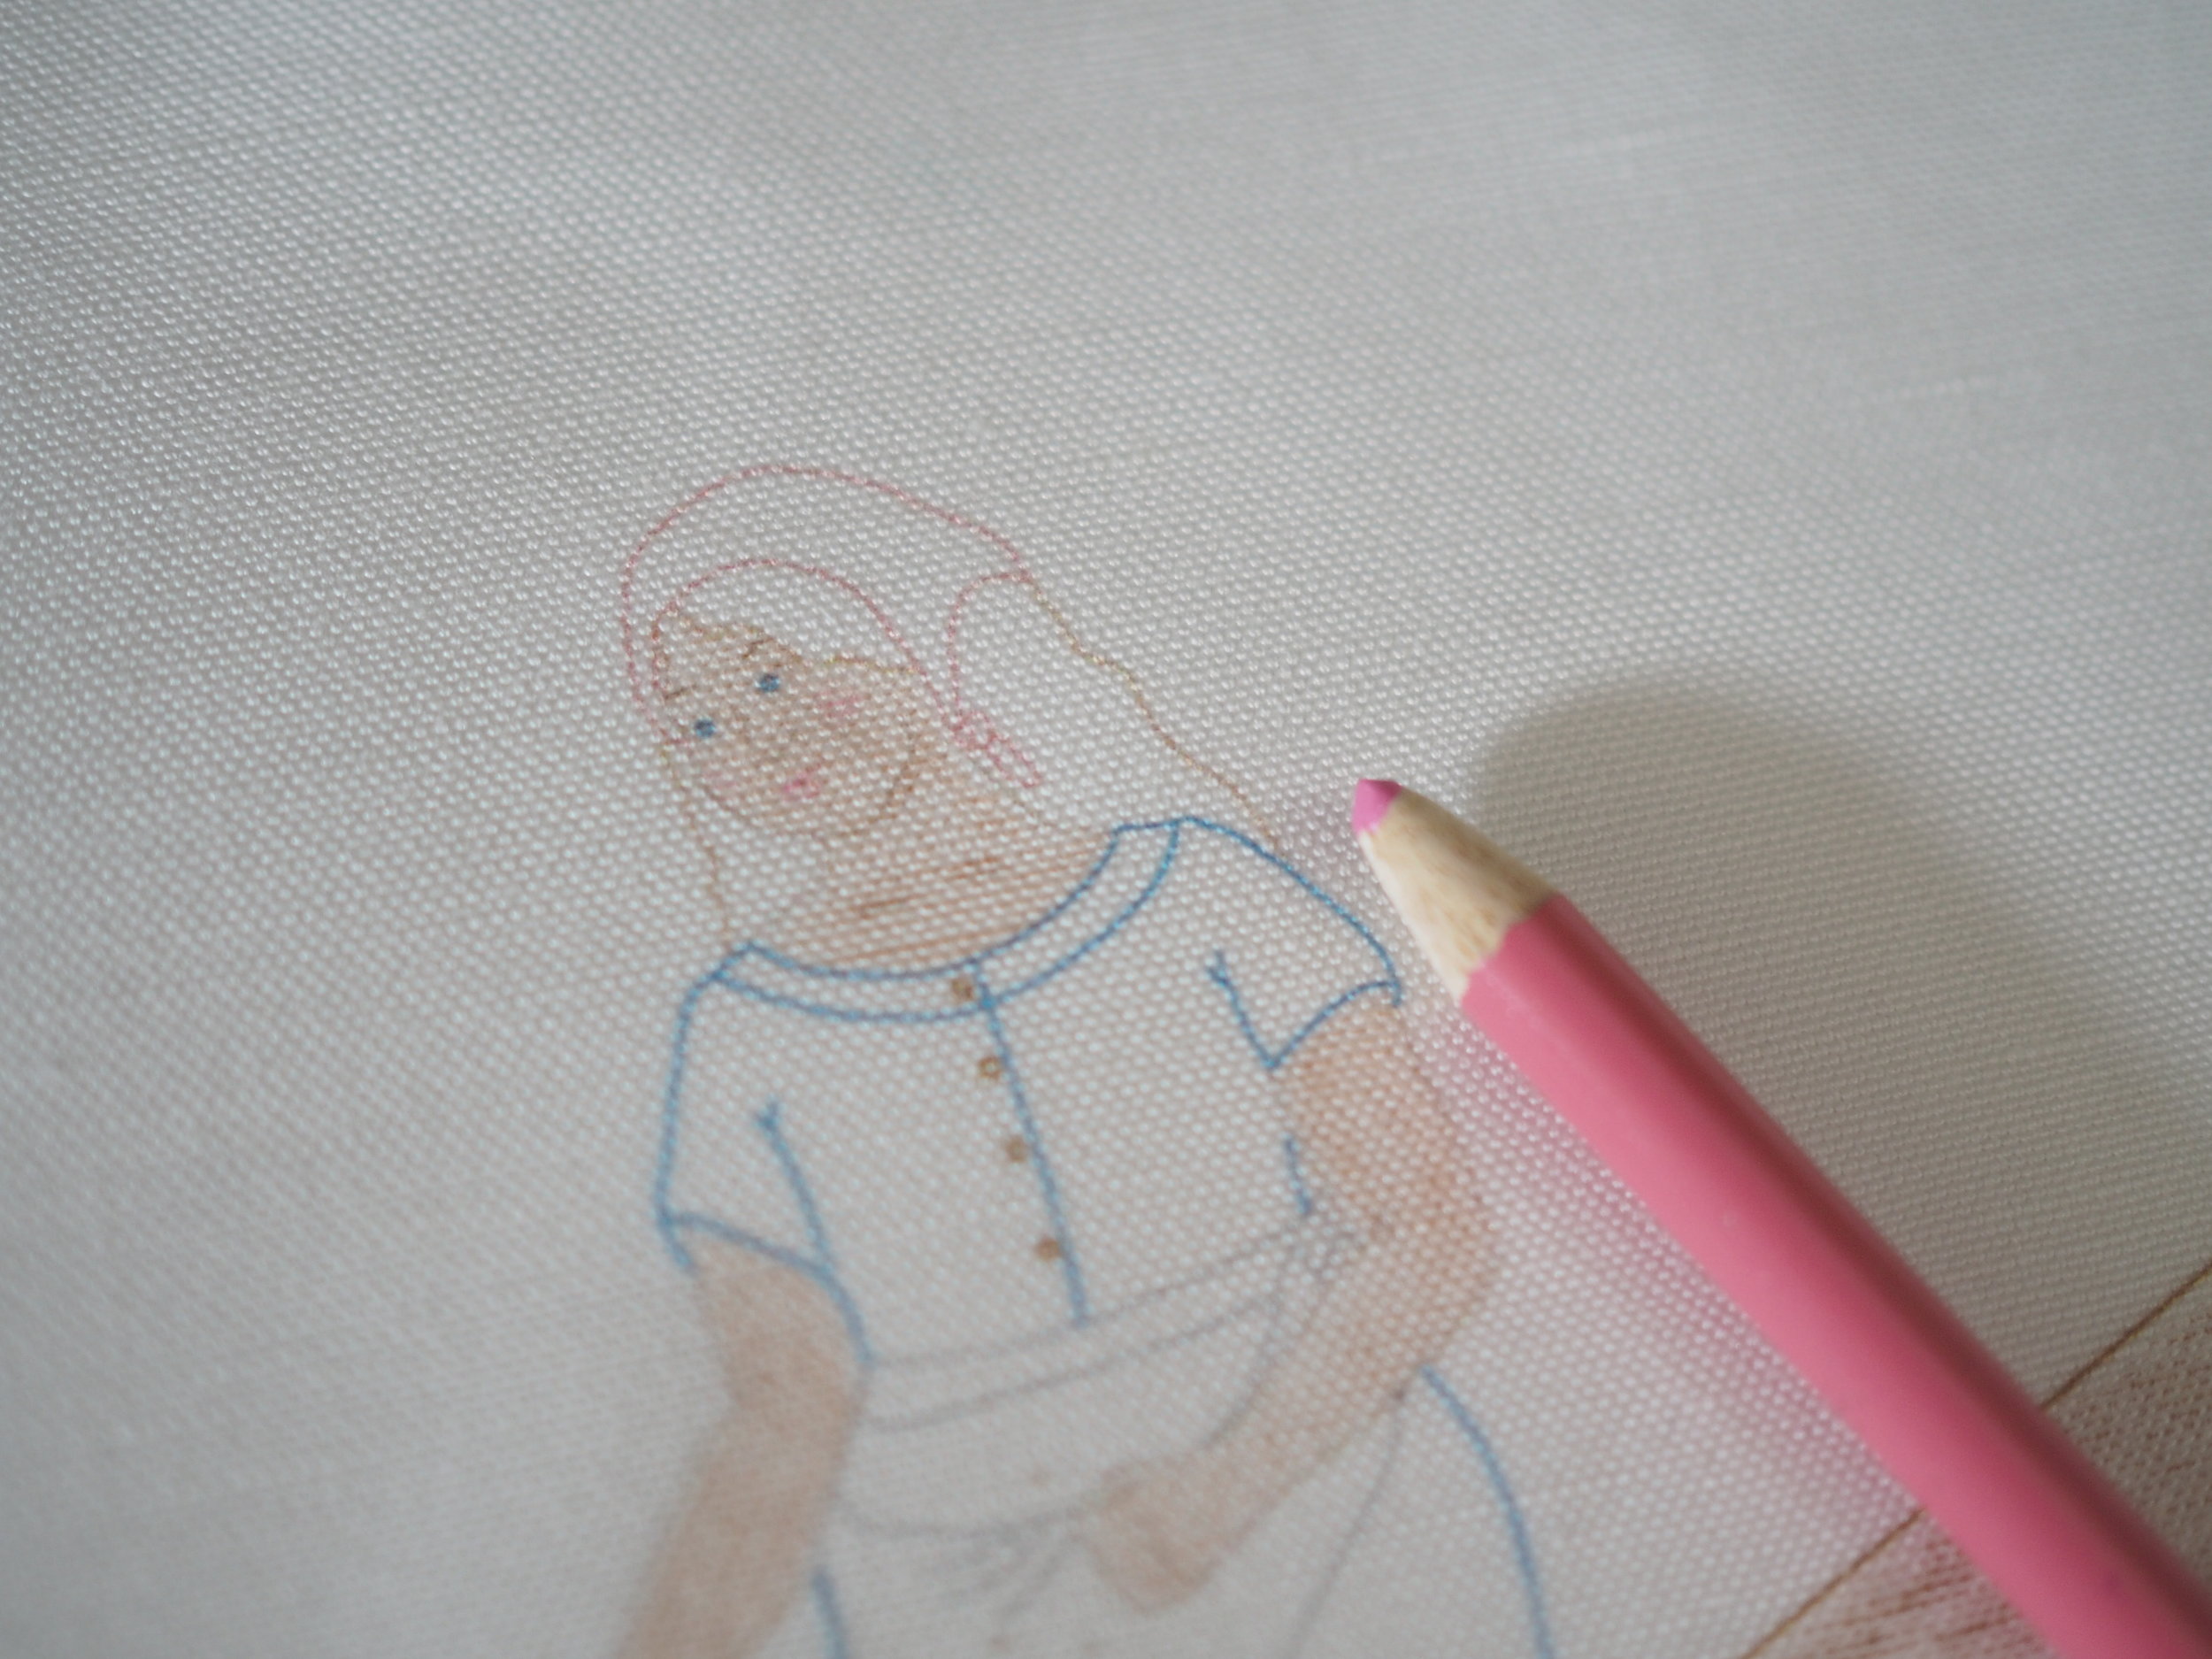
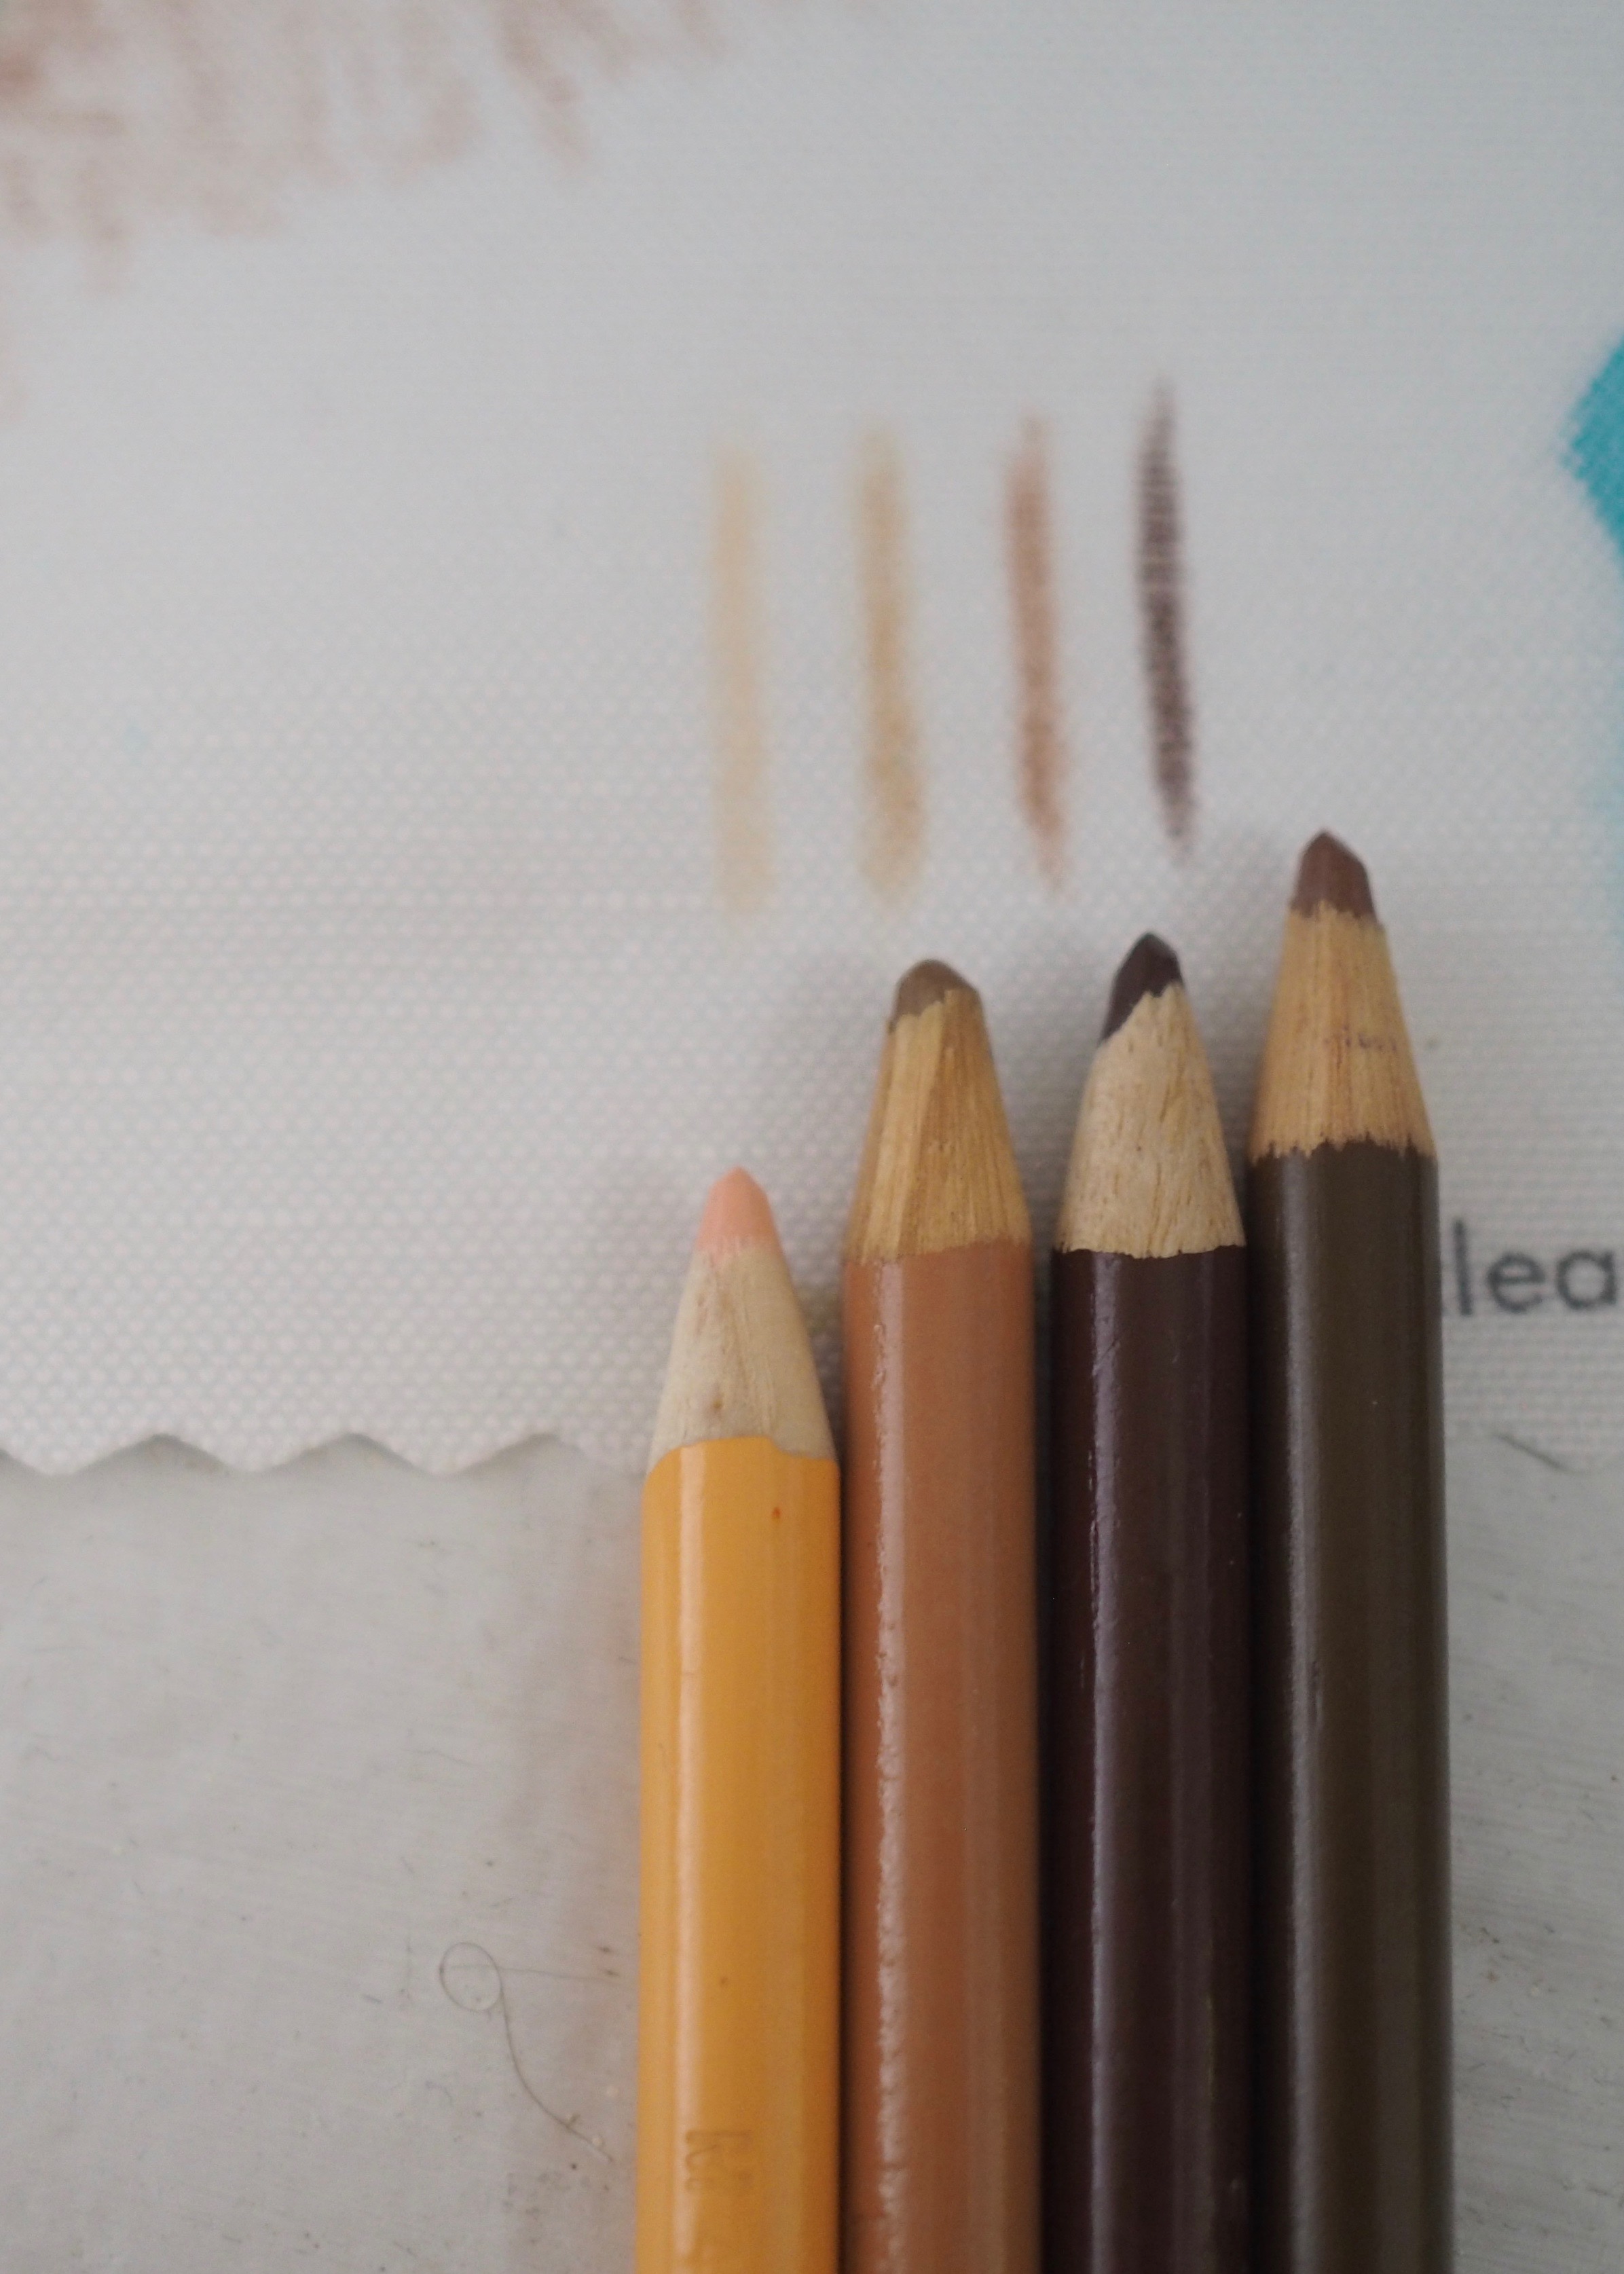
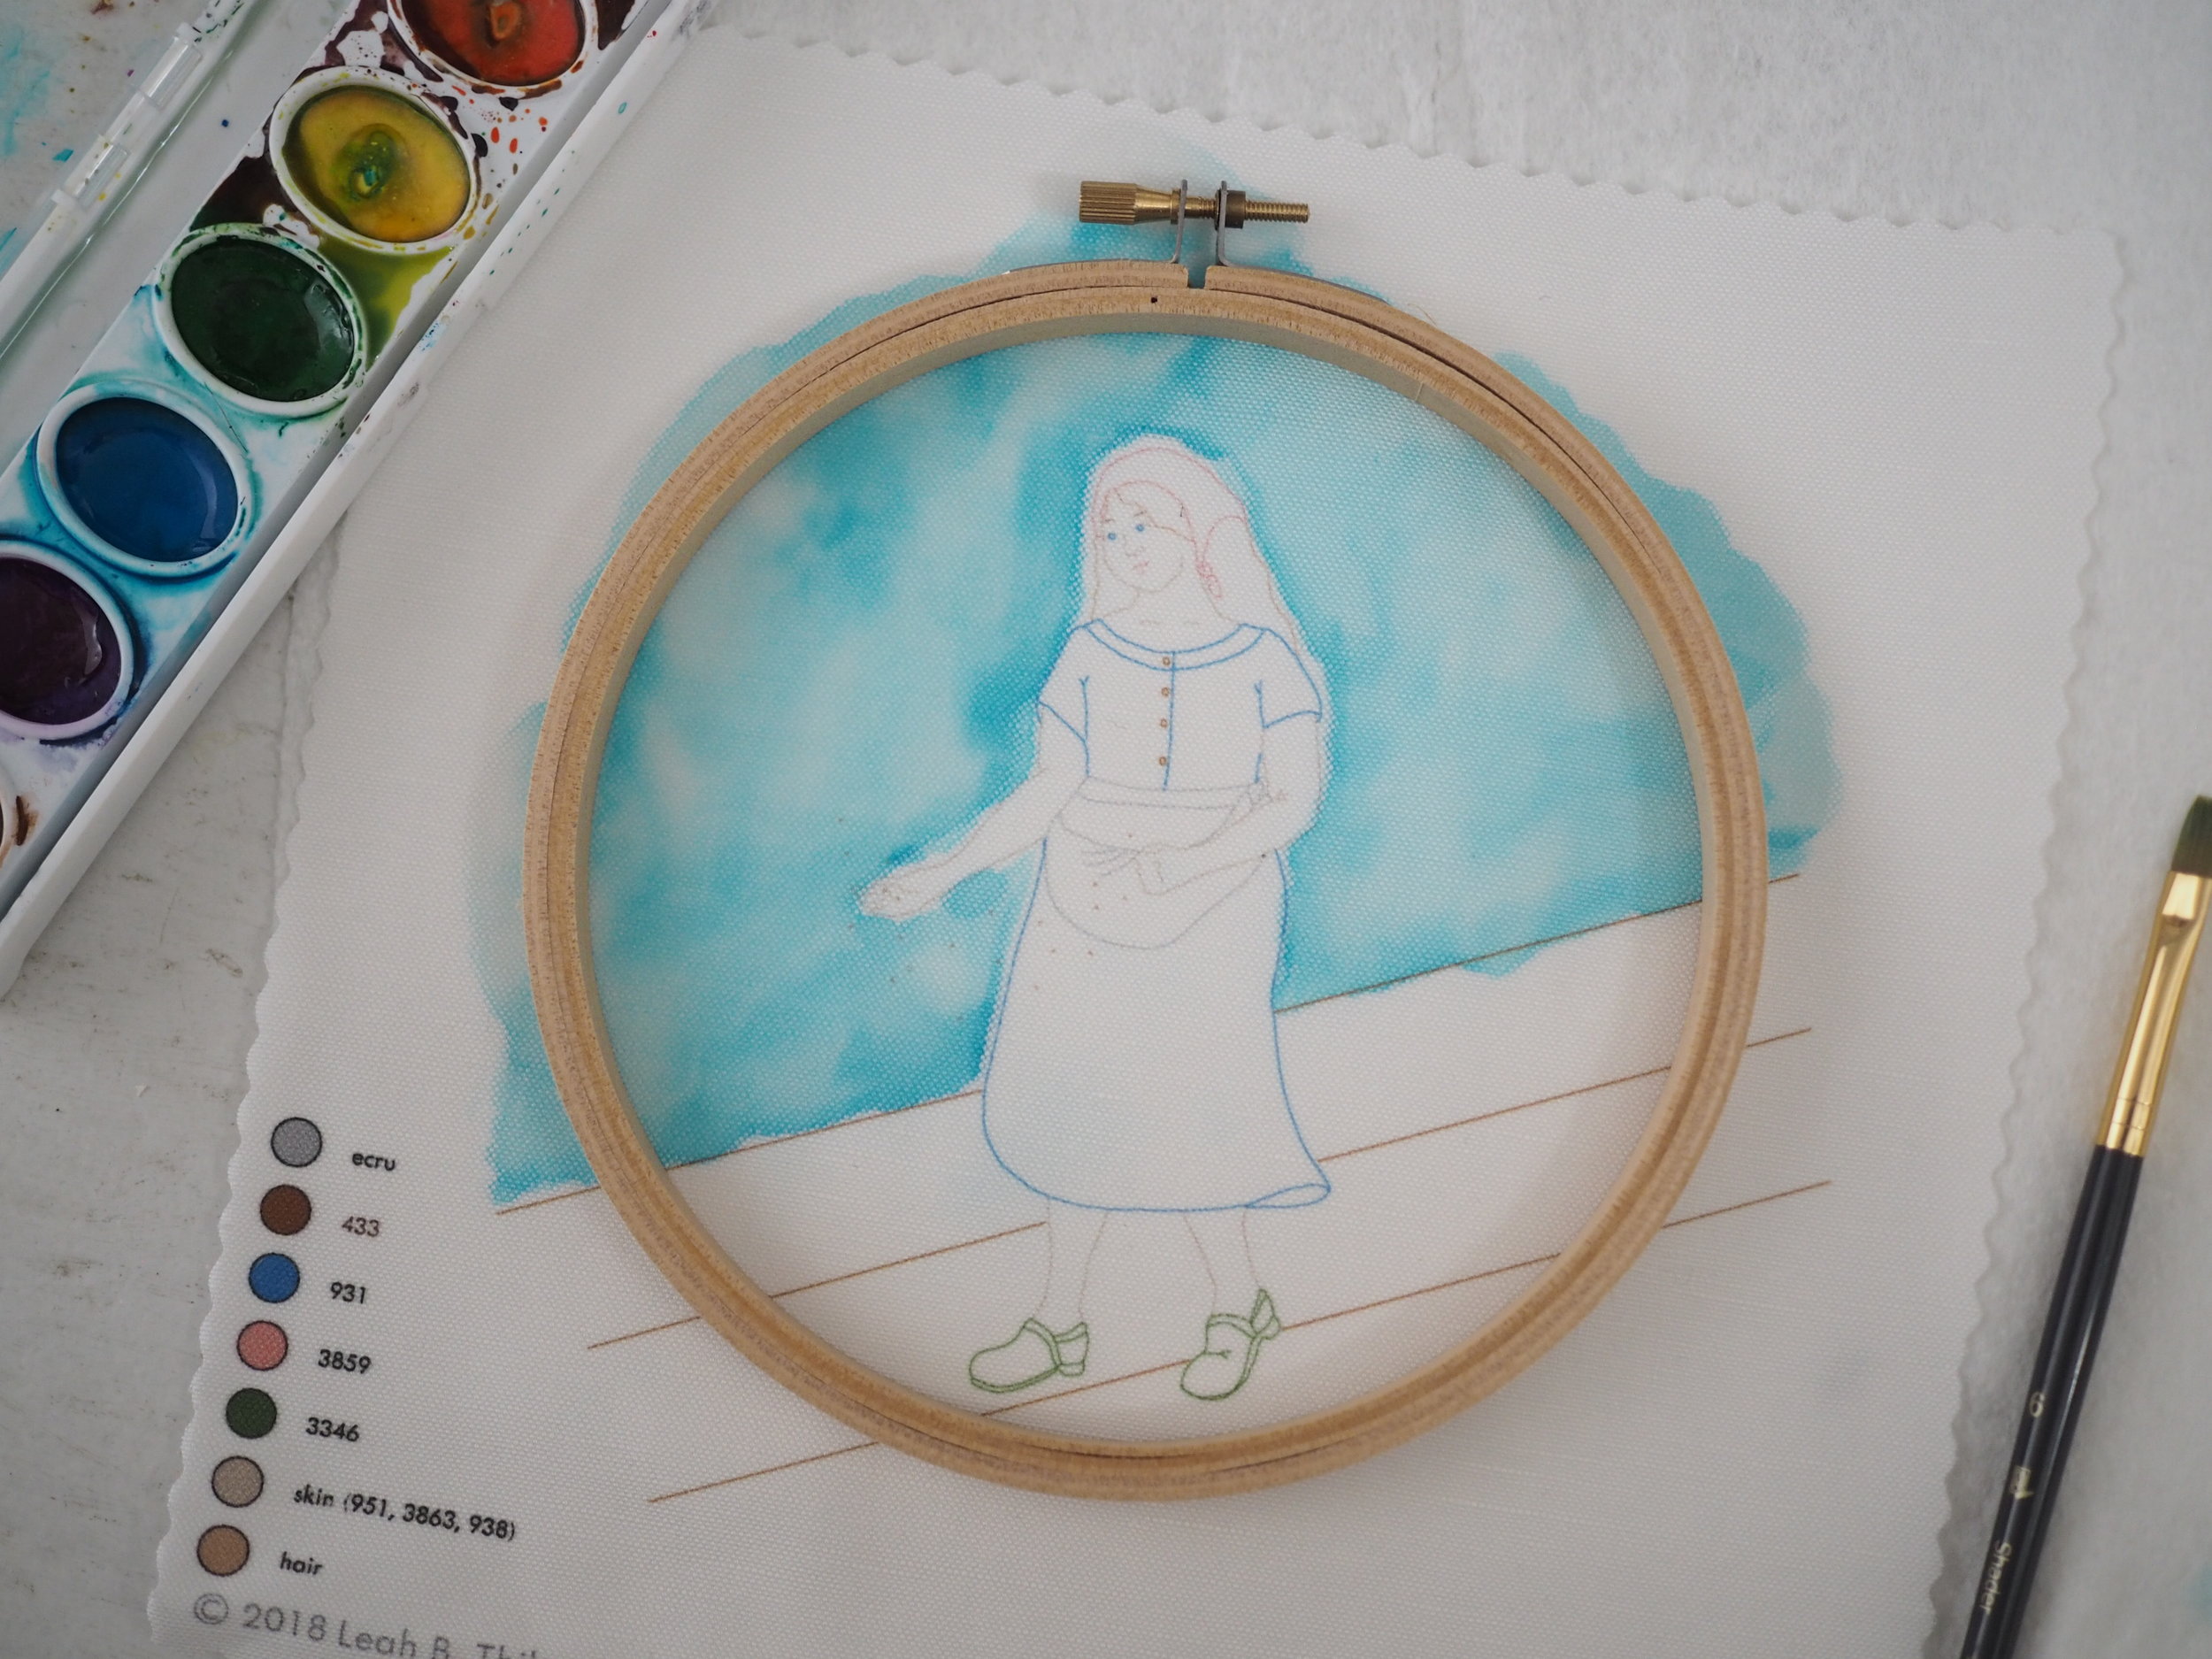
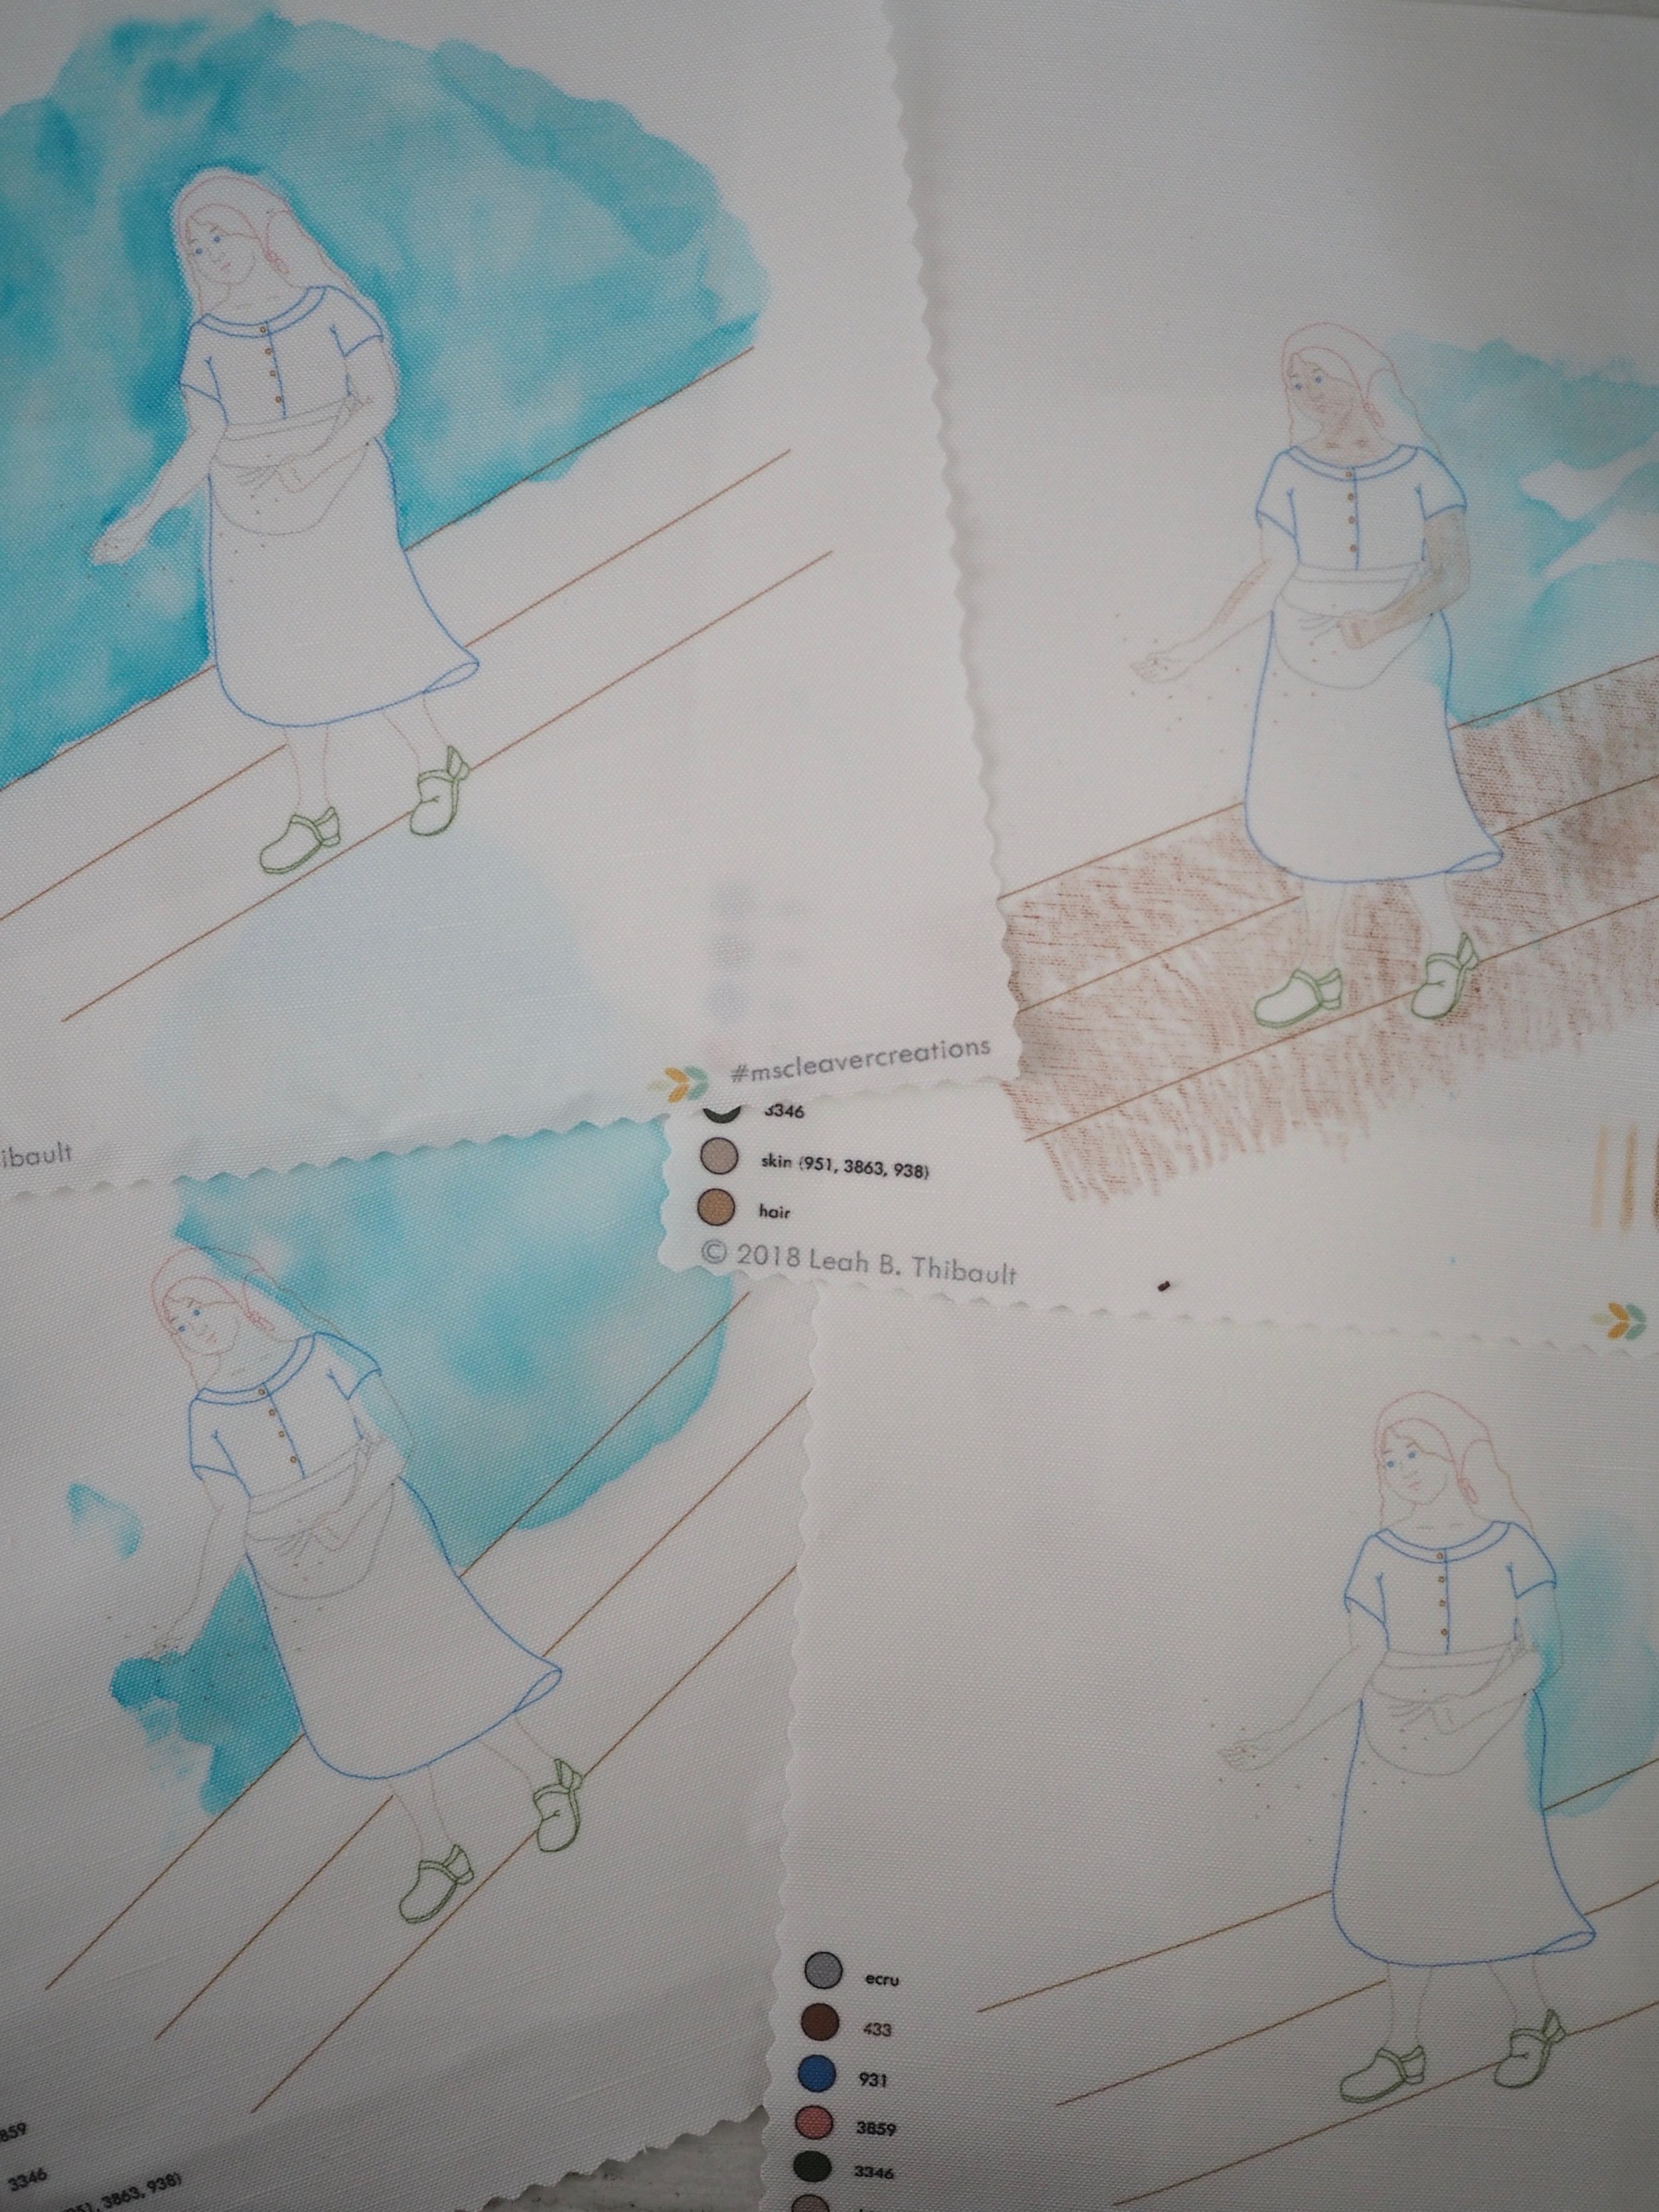
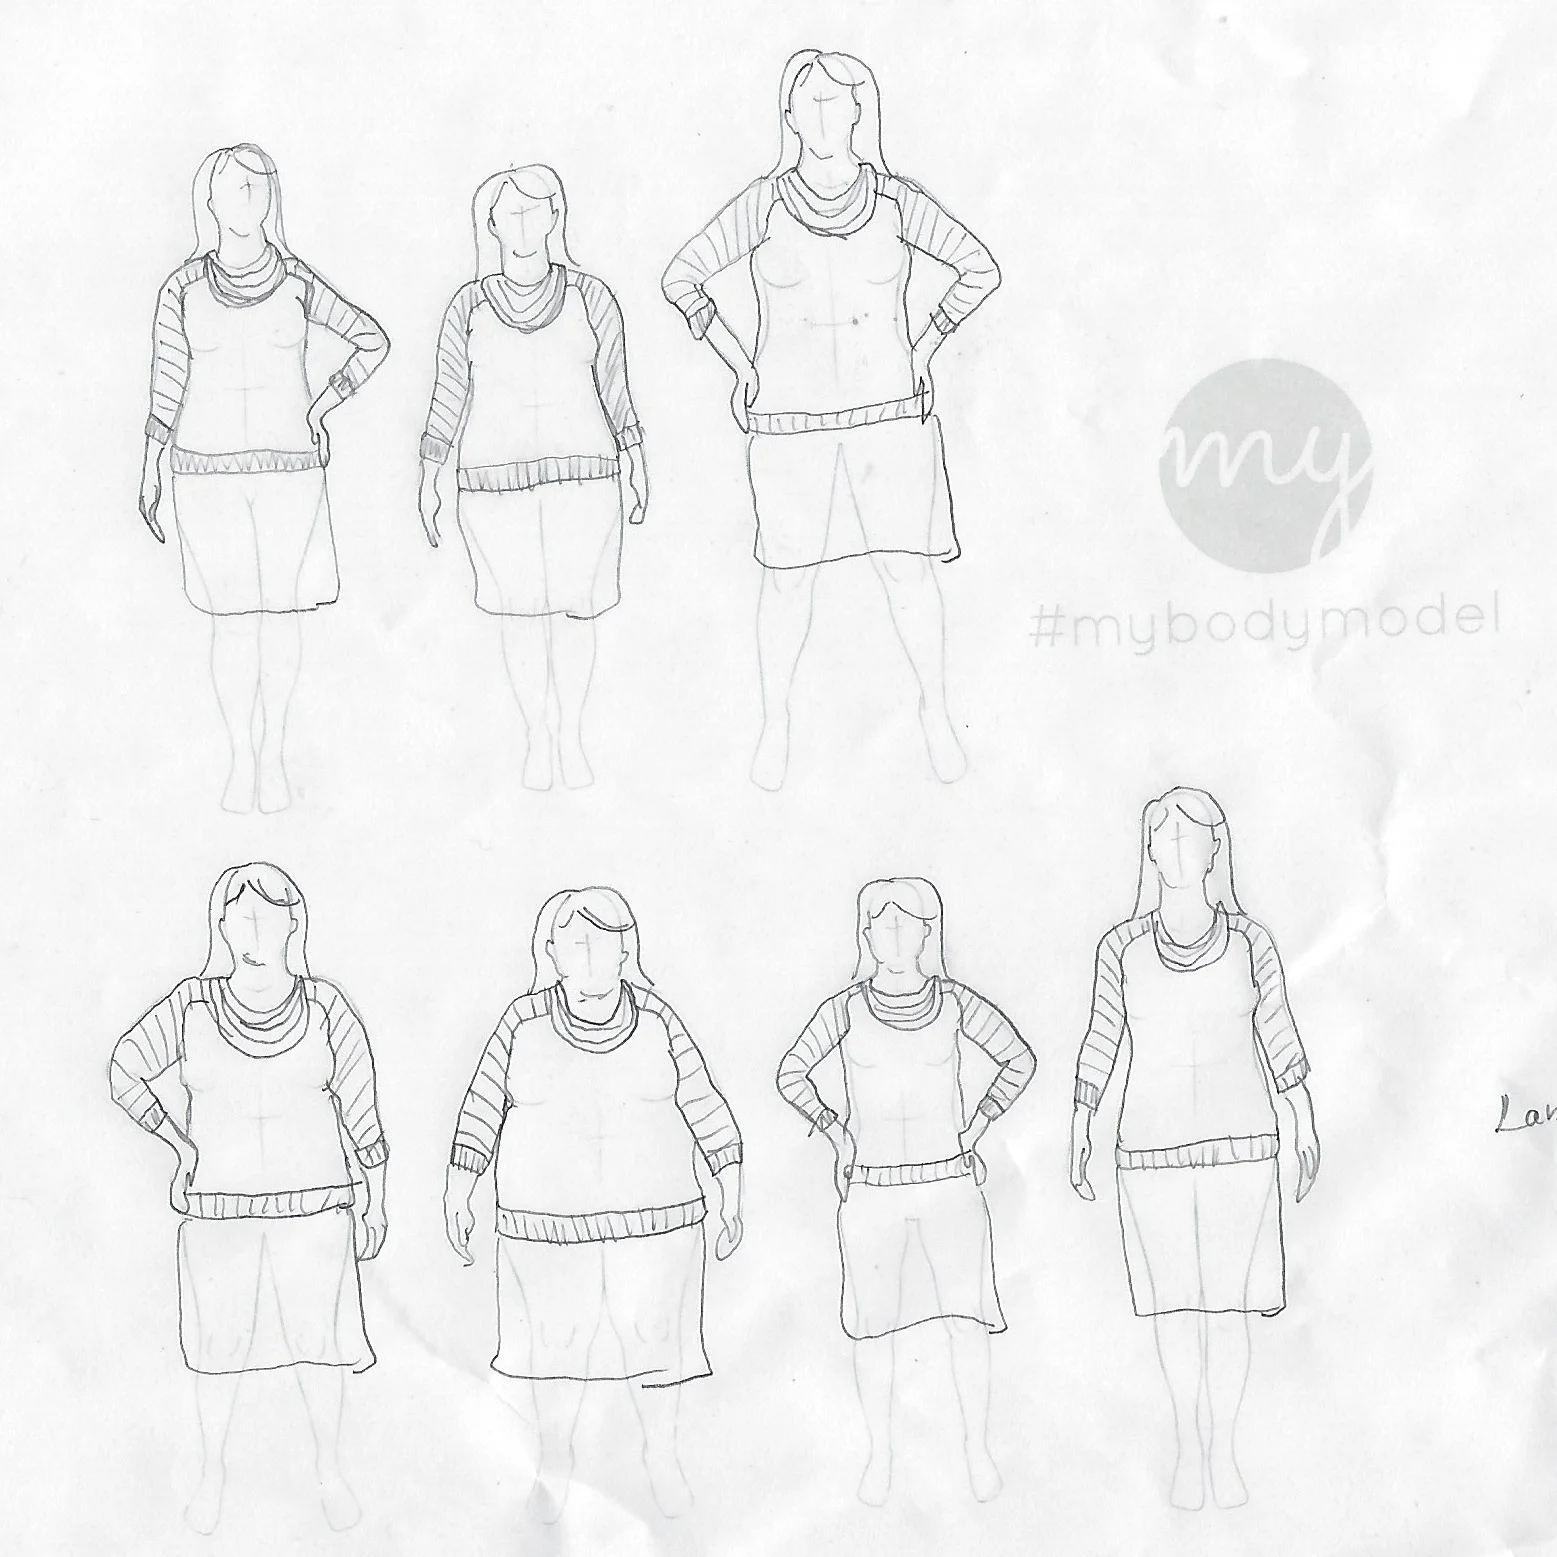
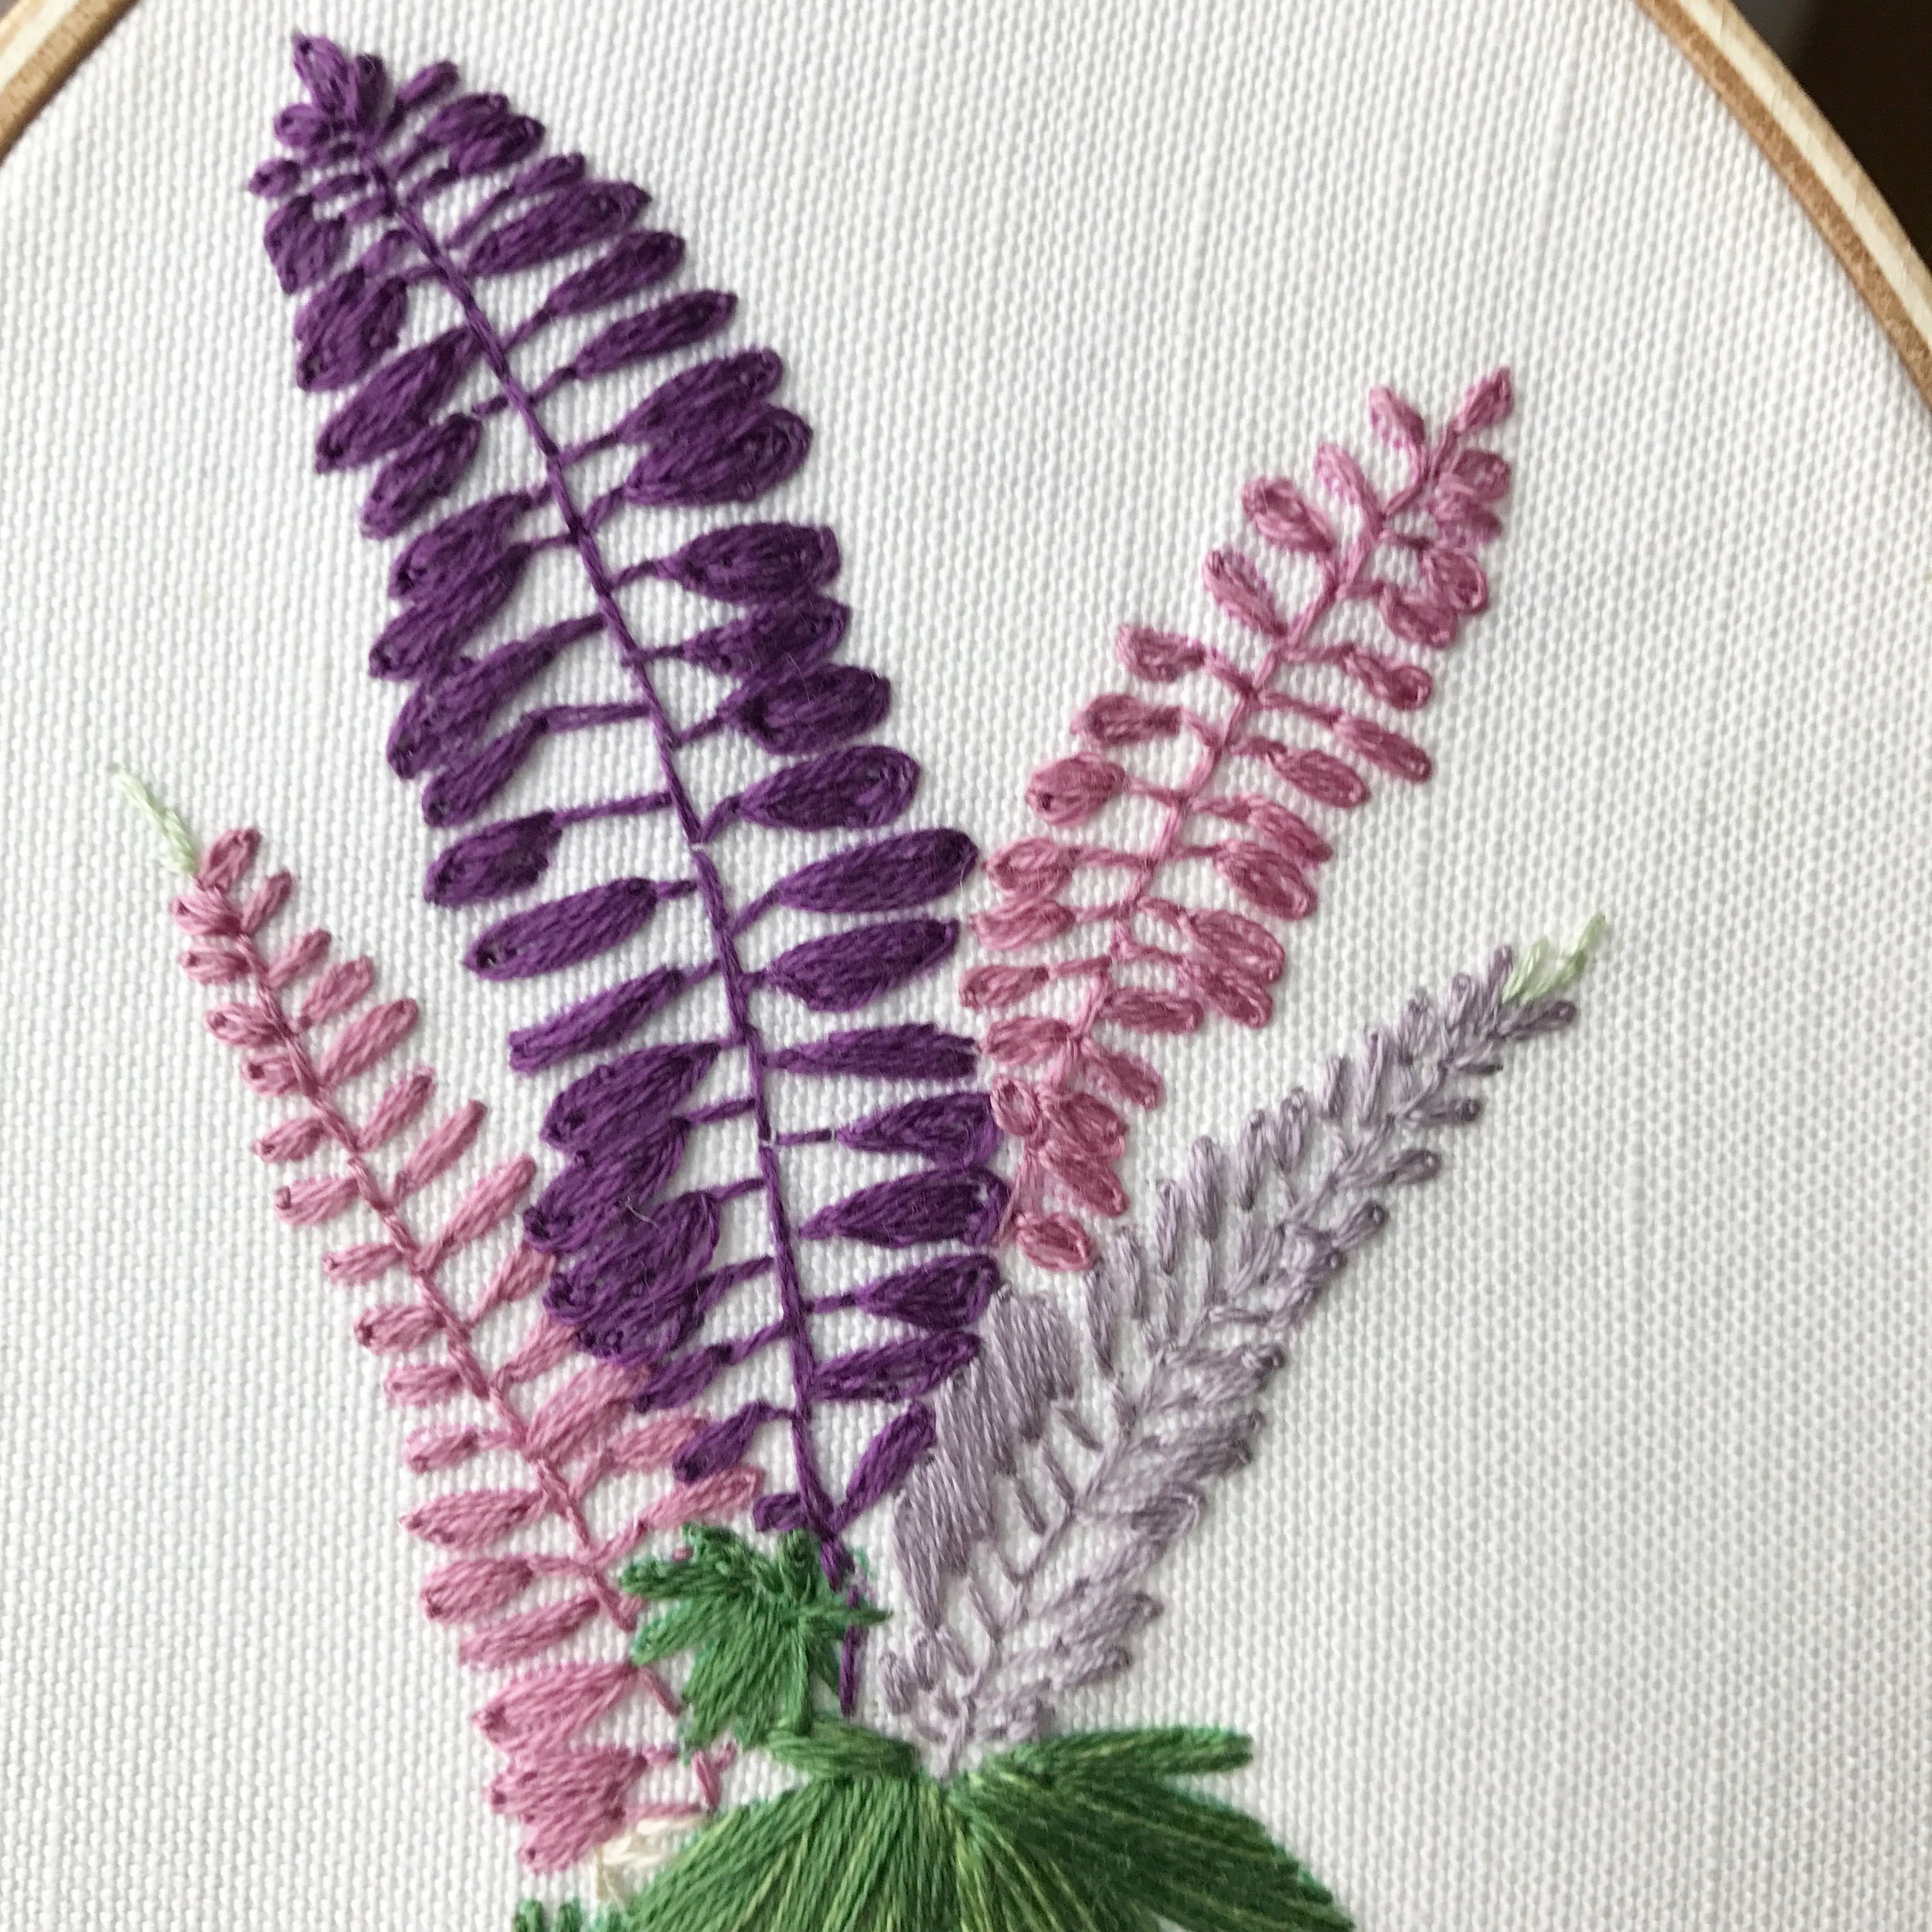
Want to stitch up your own lazy summer? Pick your favorite floating beauty or stitch up all three for a summery triptych - each kit comes with a range of five hair tones (silver, blonde, red, light brown, and black) and three skins tones (light, medium, and dark) to personalize your hoop art.

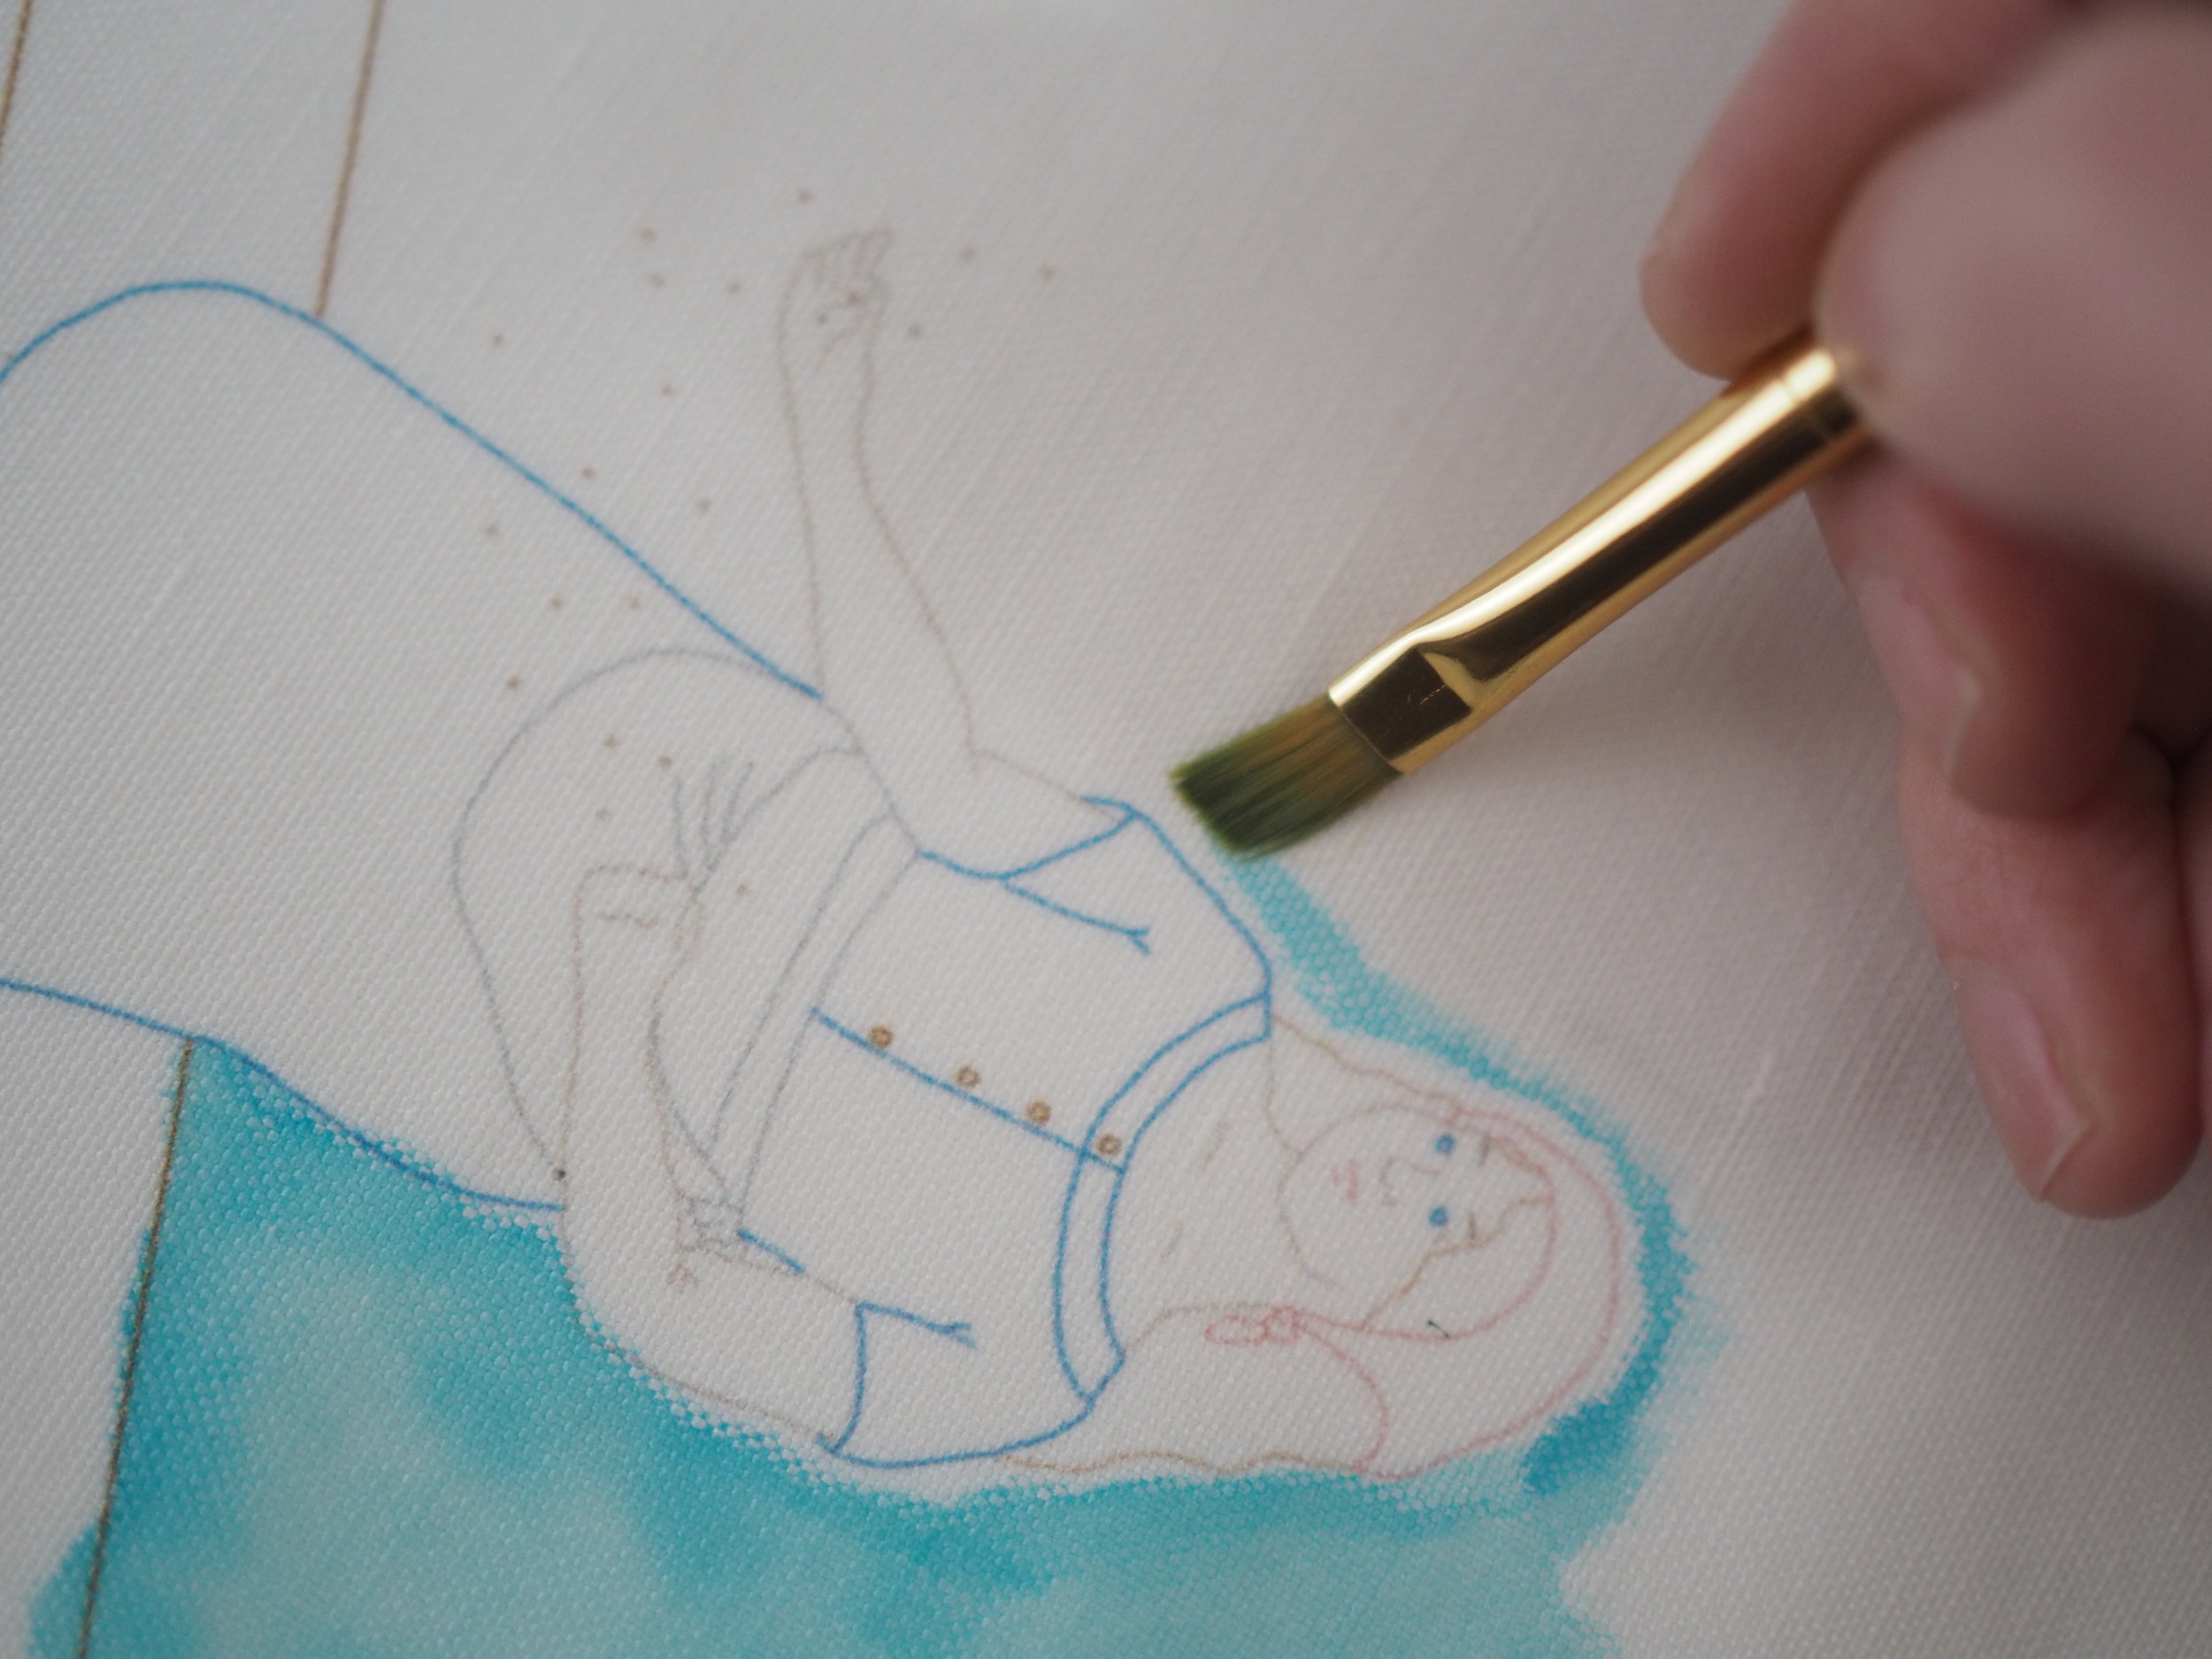
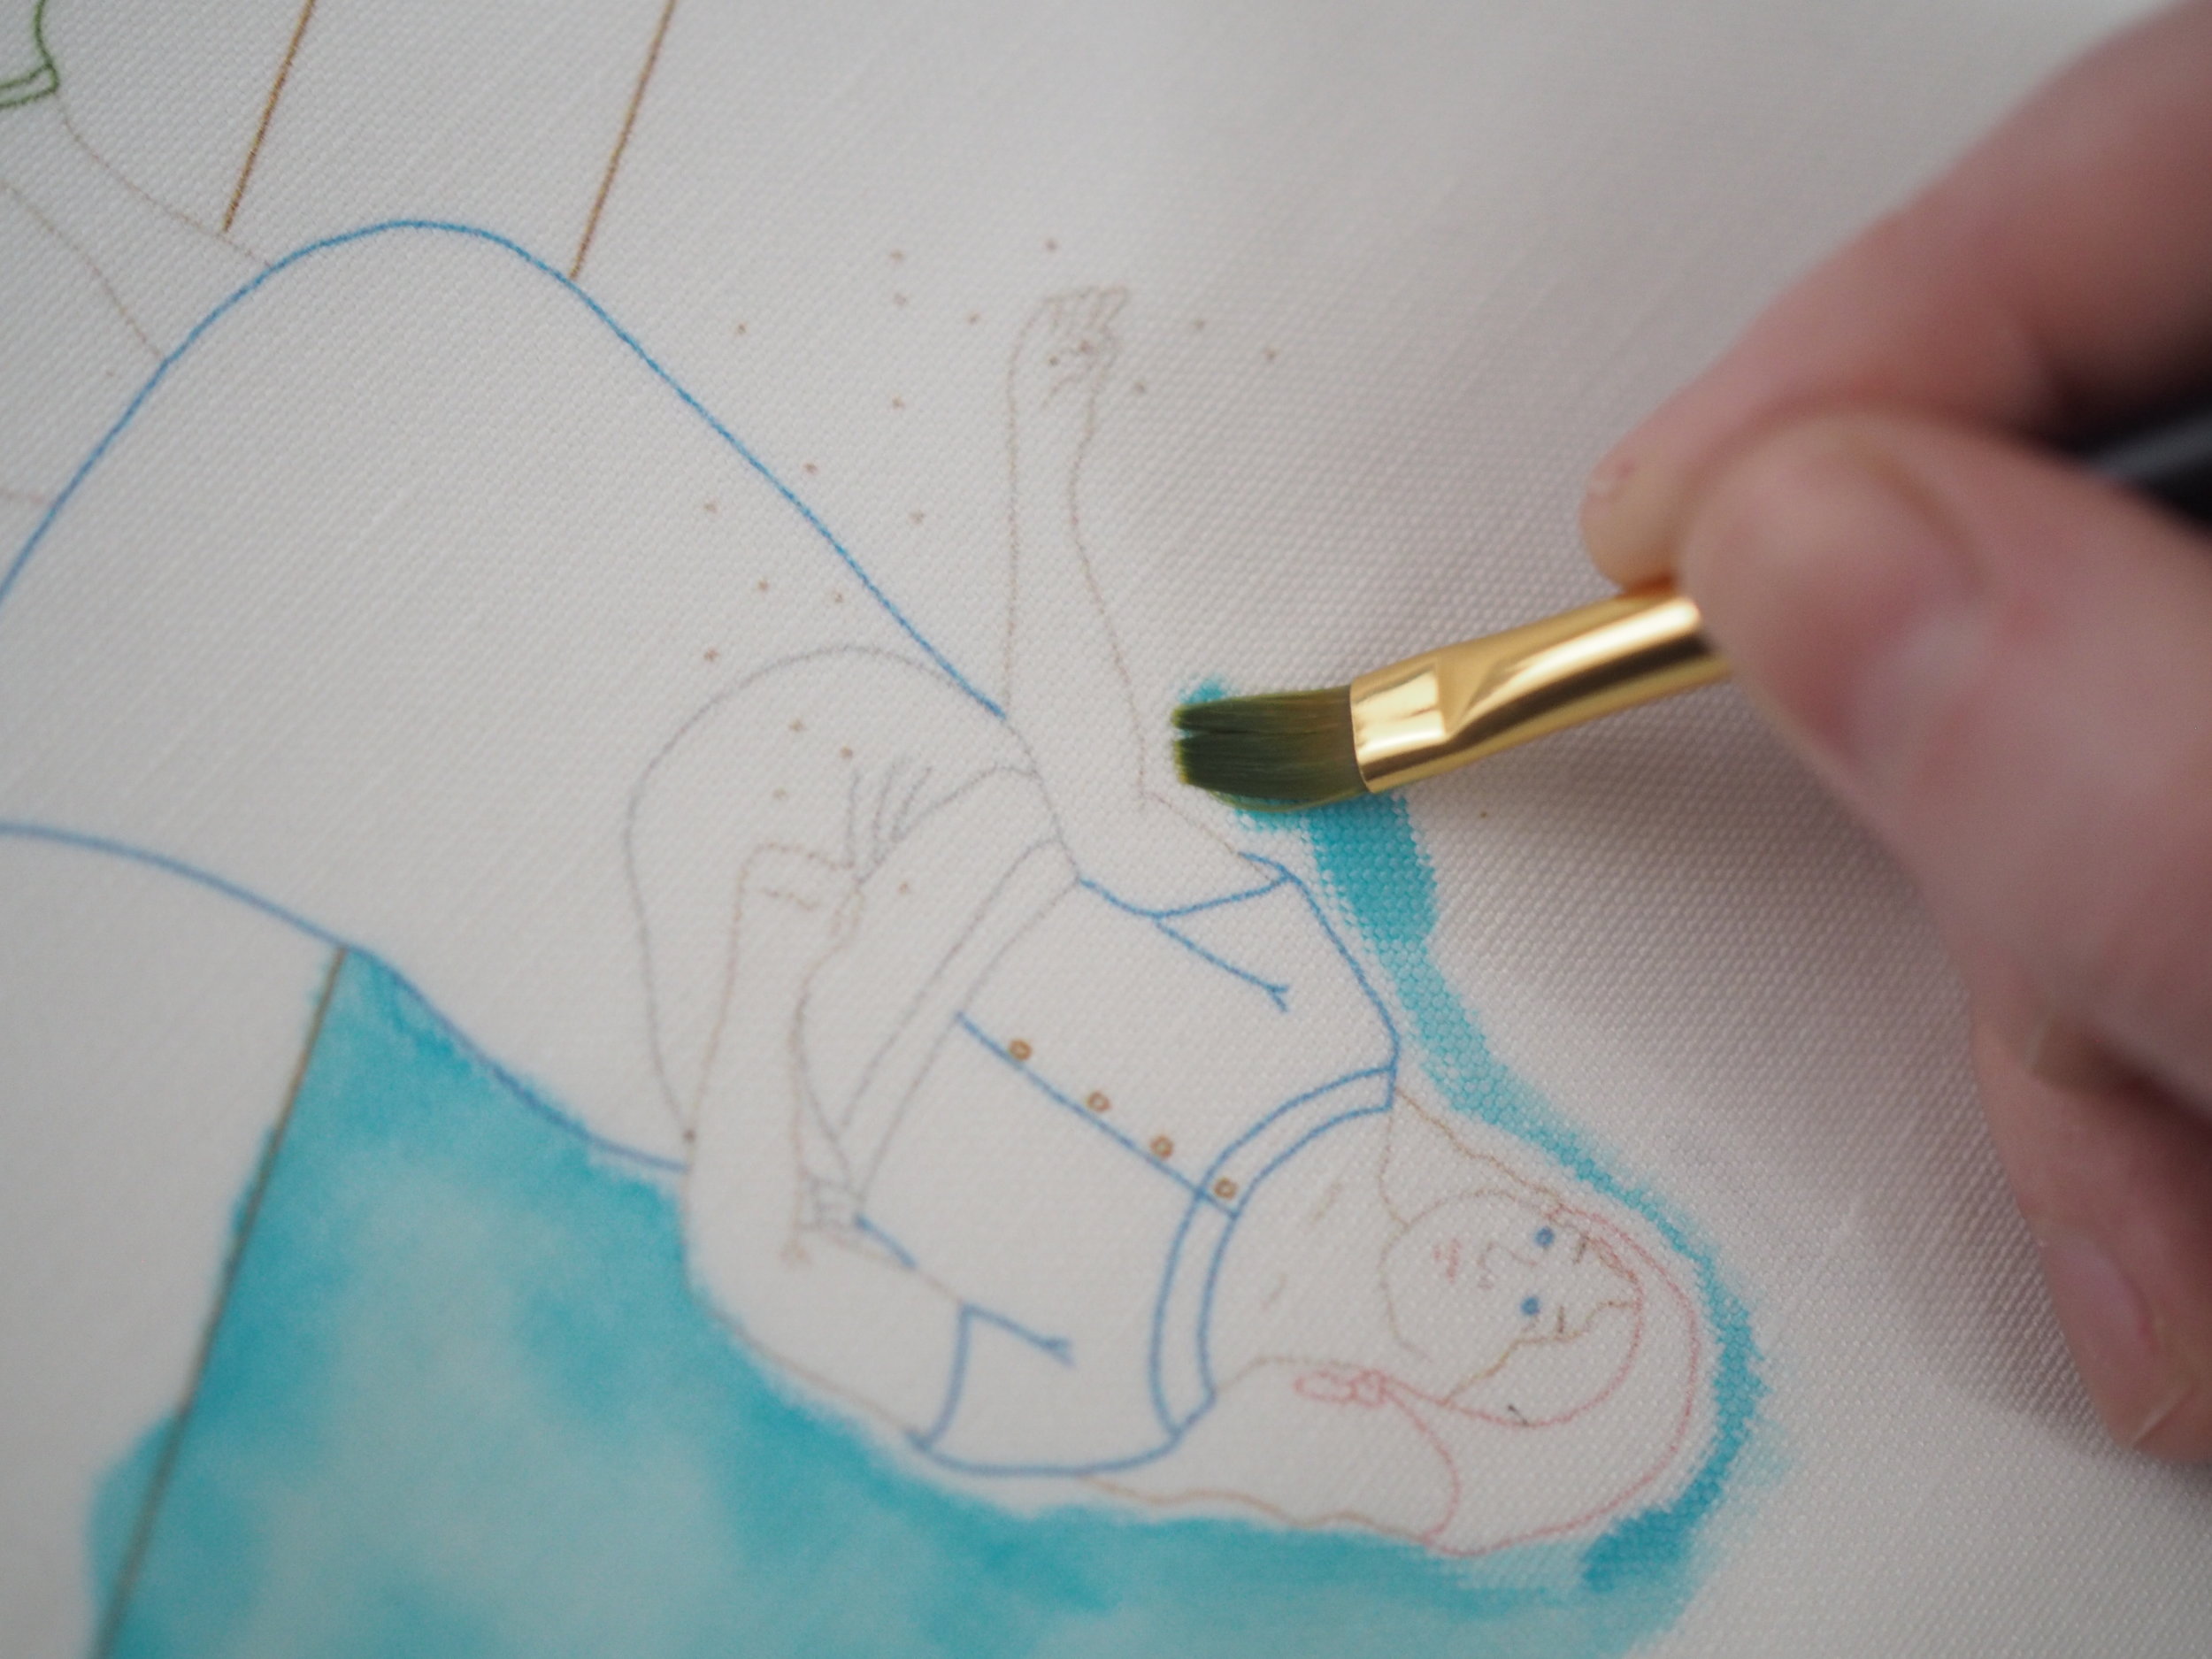
Dip your toes into some cool water, lay back on on old tire inner tube, and relax - this is peak summer.
Pick your favorite lazy river beauty or stitch up all three for a summery triptych.
Each kit comes with a range of skin and hair tones to personalize (see final image).
Purchase all three Lazy River hoop designs, as kits or printed panels for 20% off the individual price.
—-
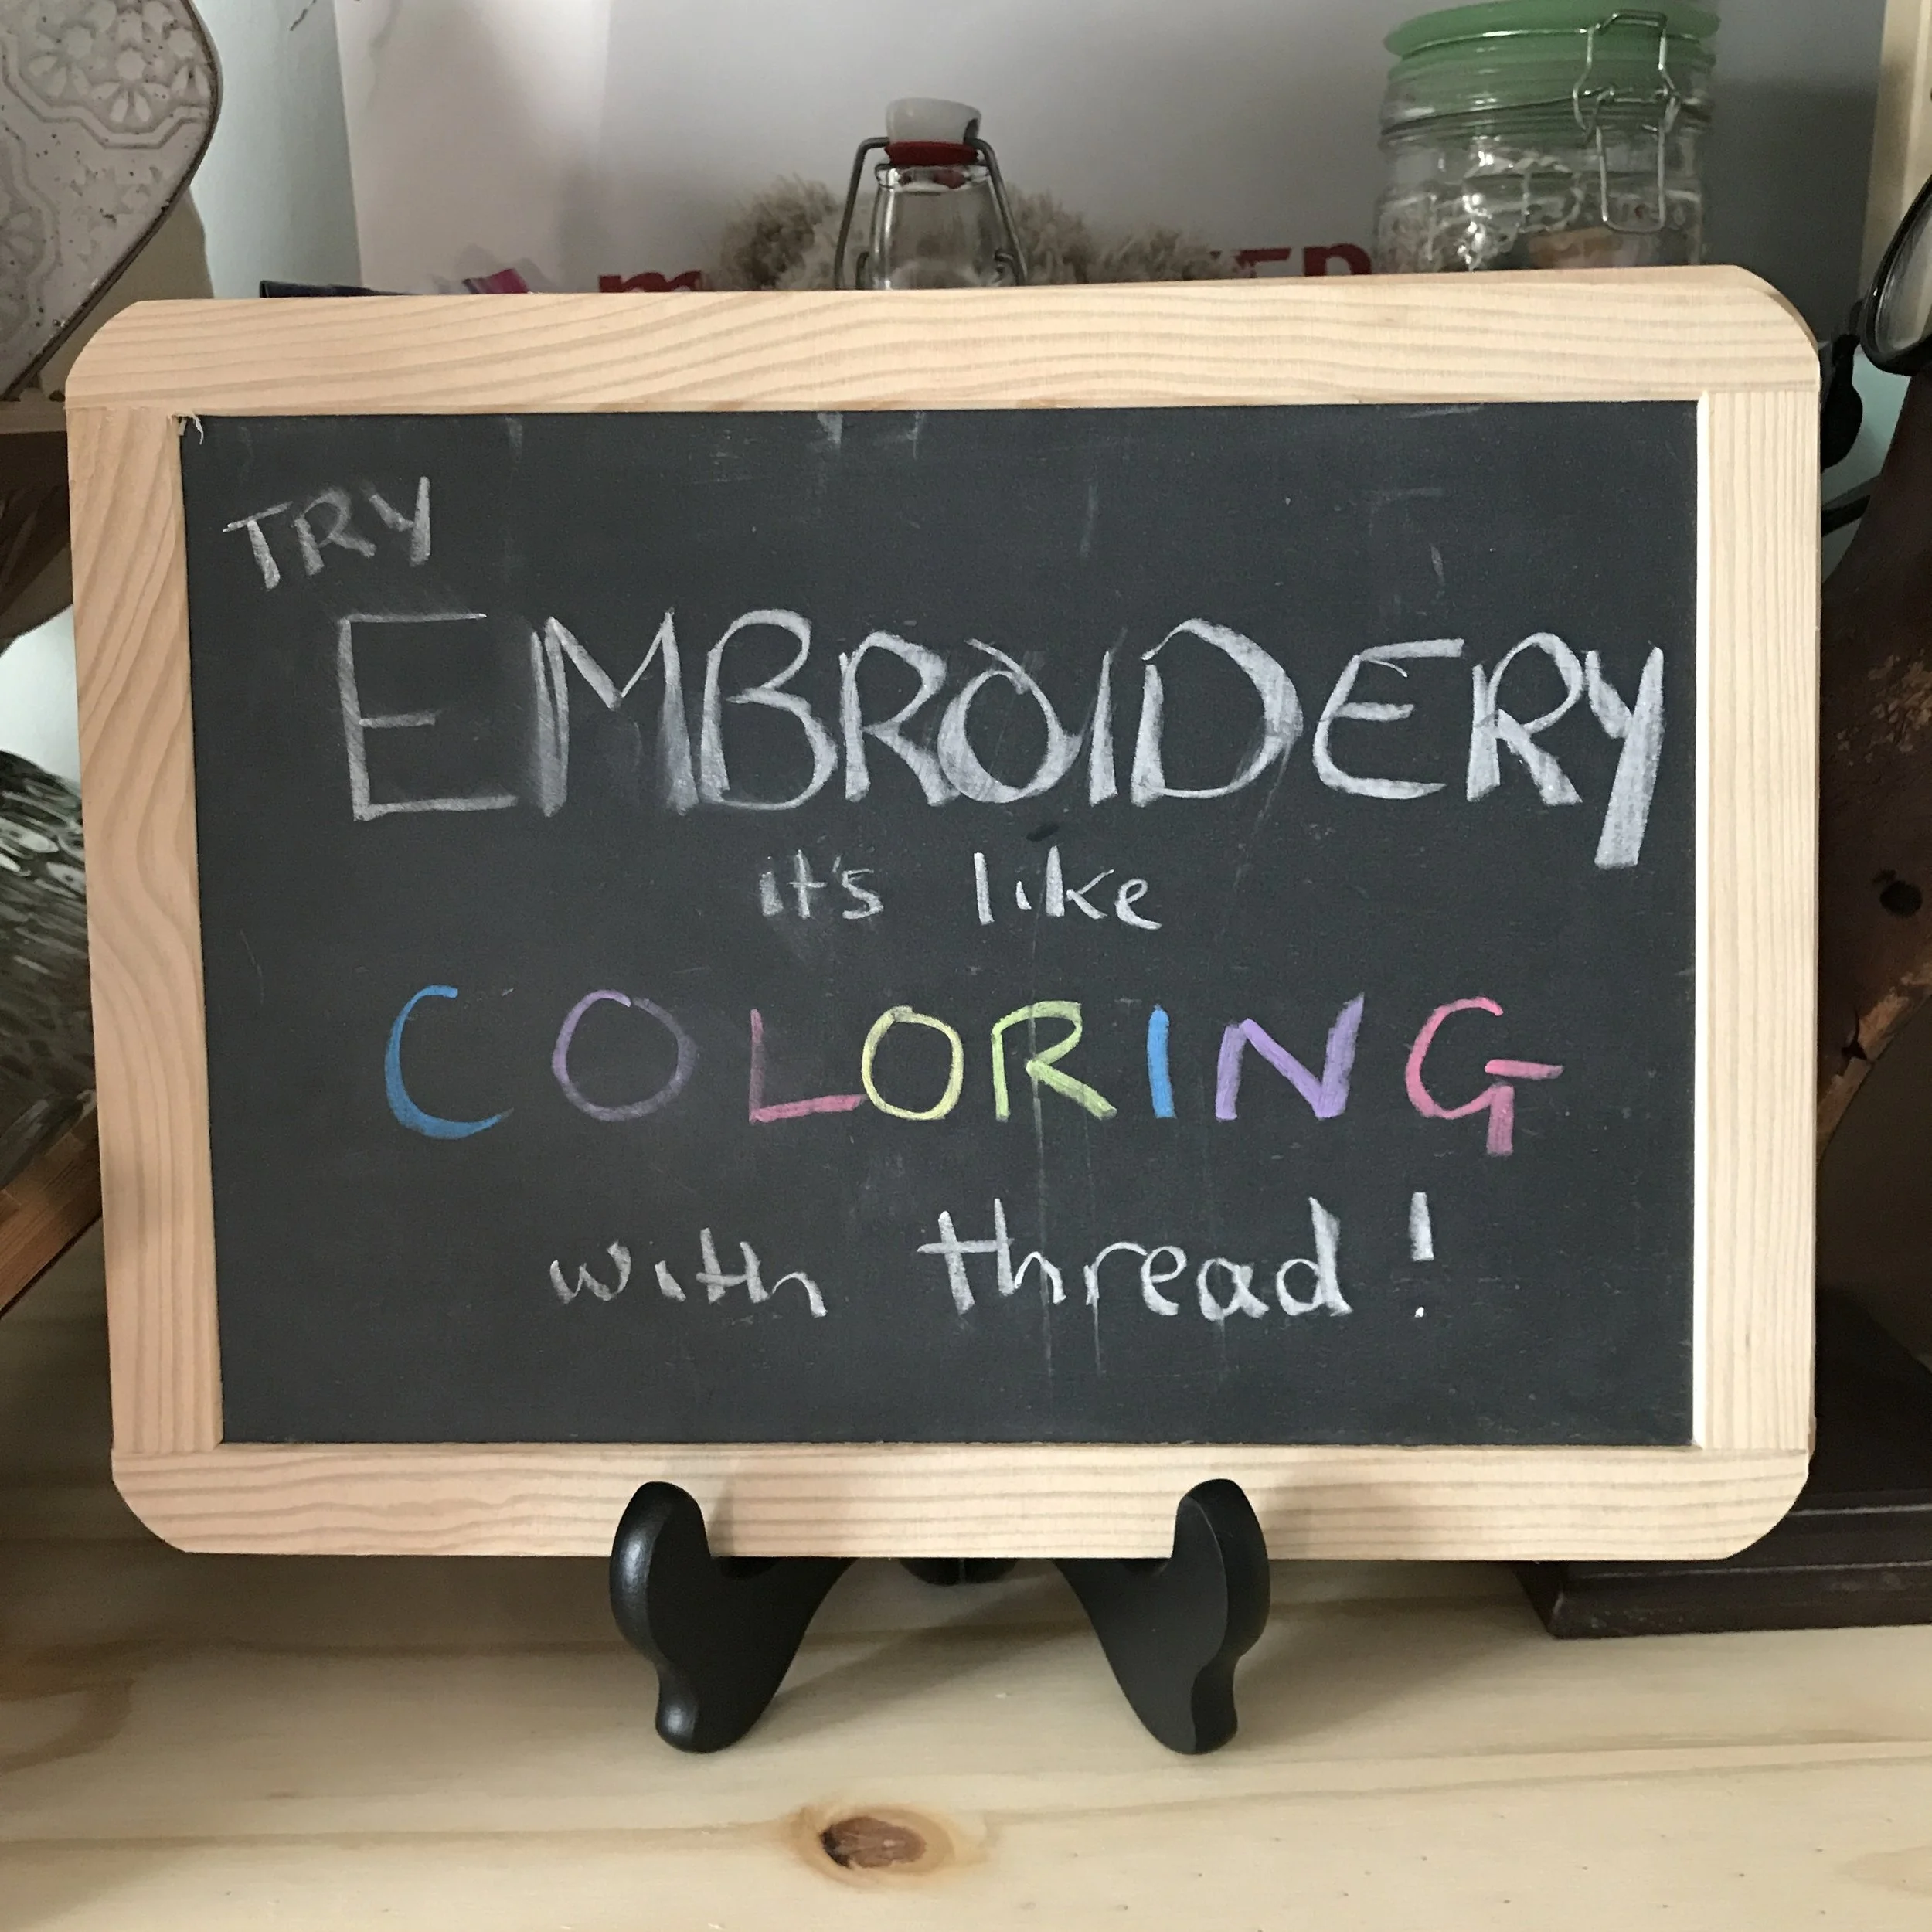
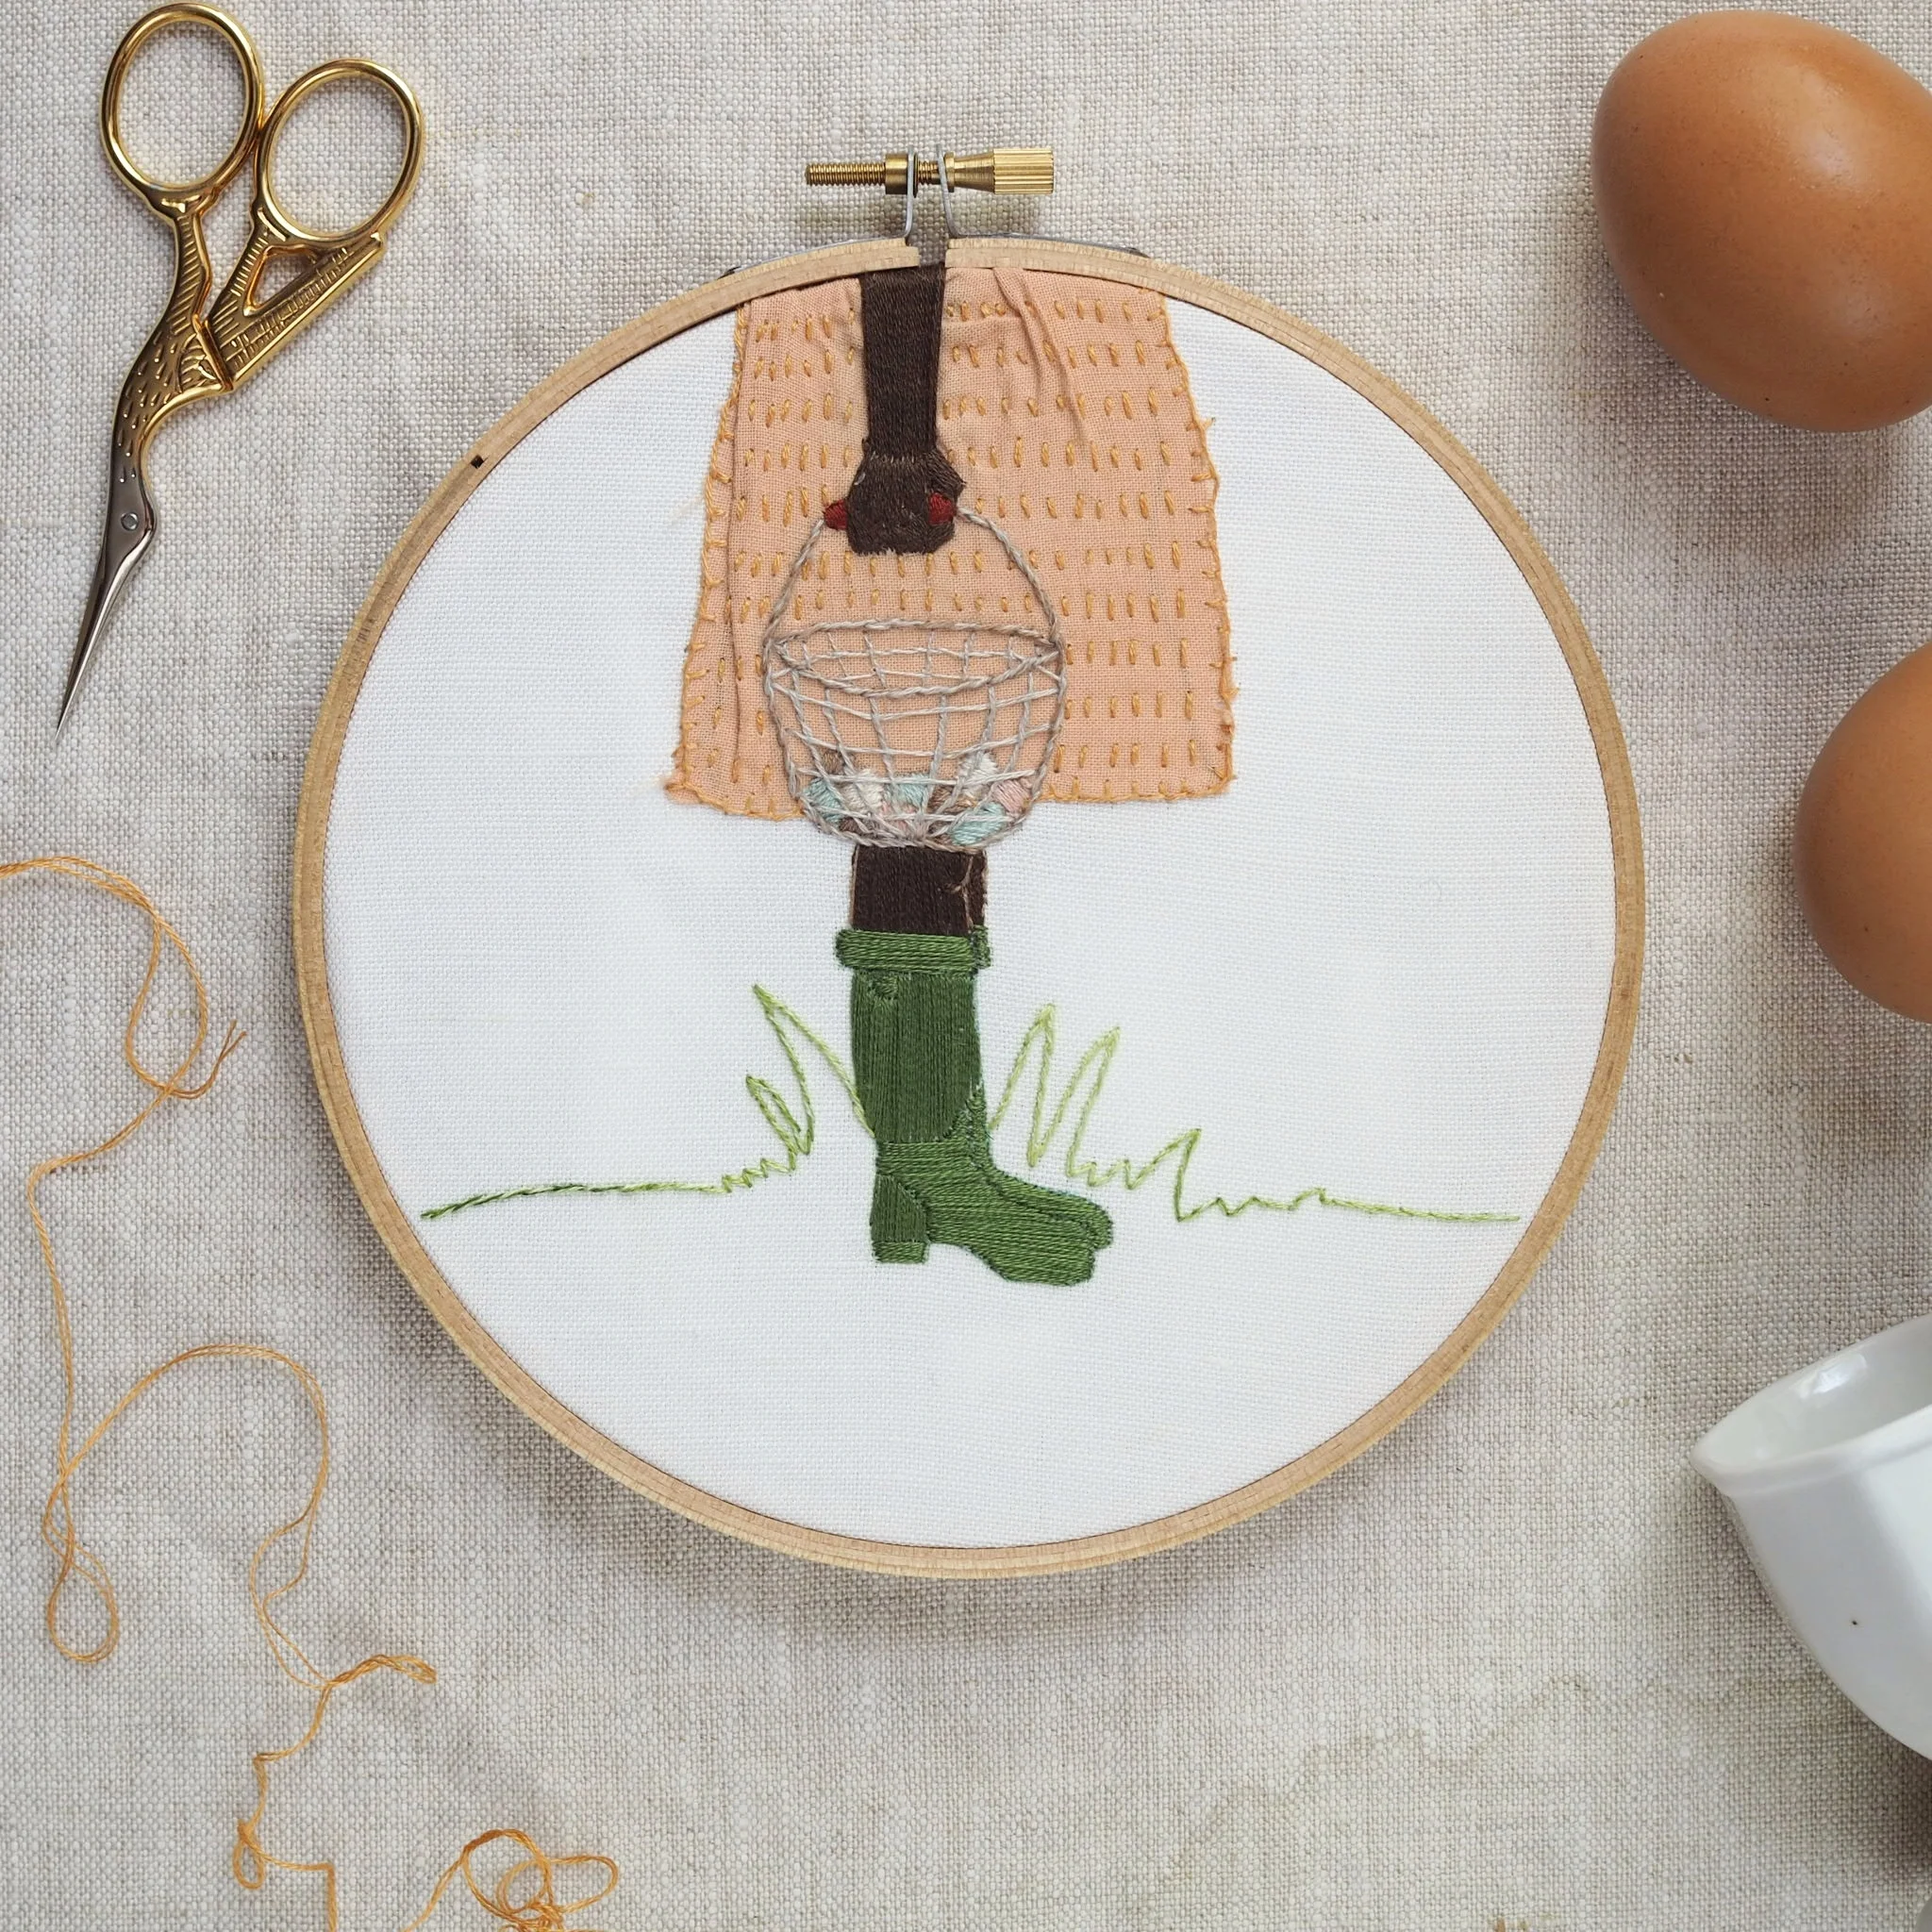
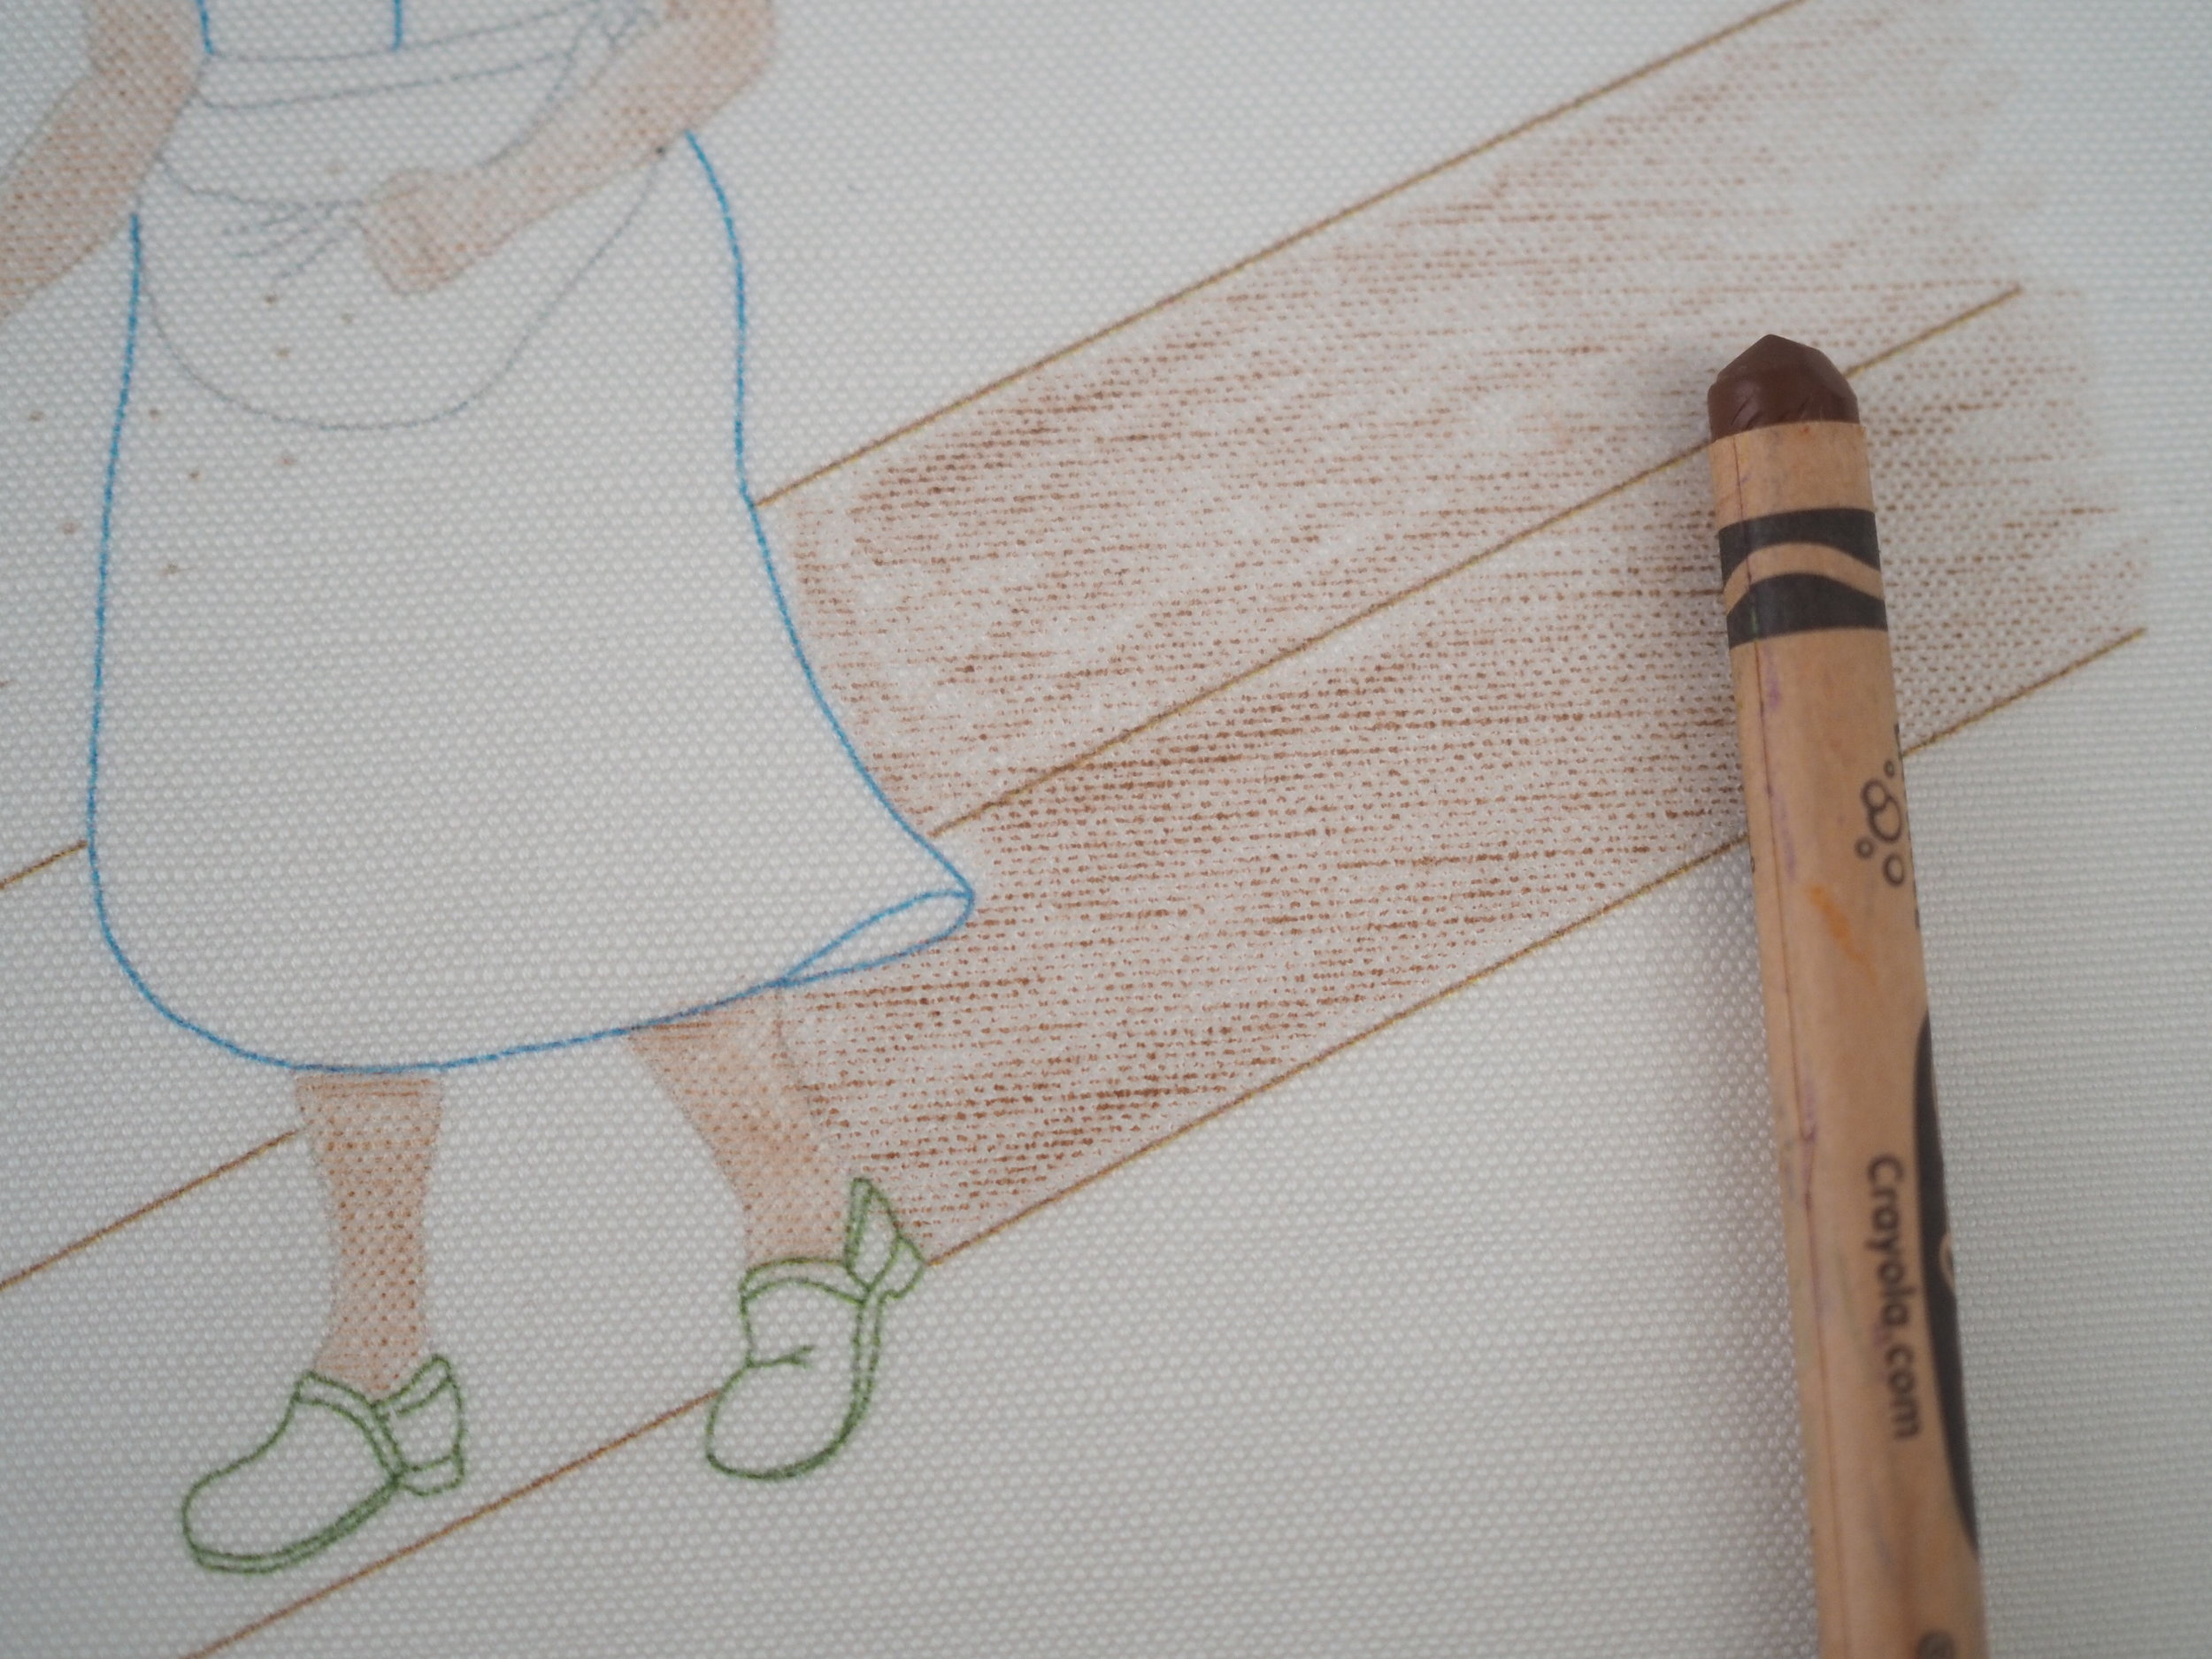
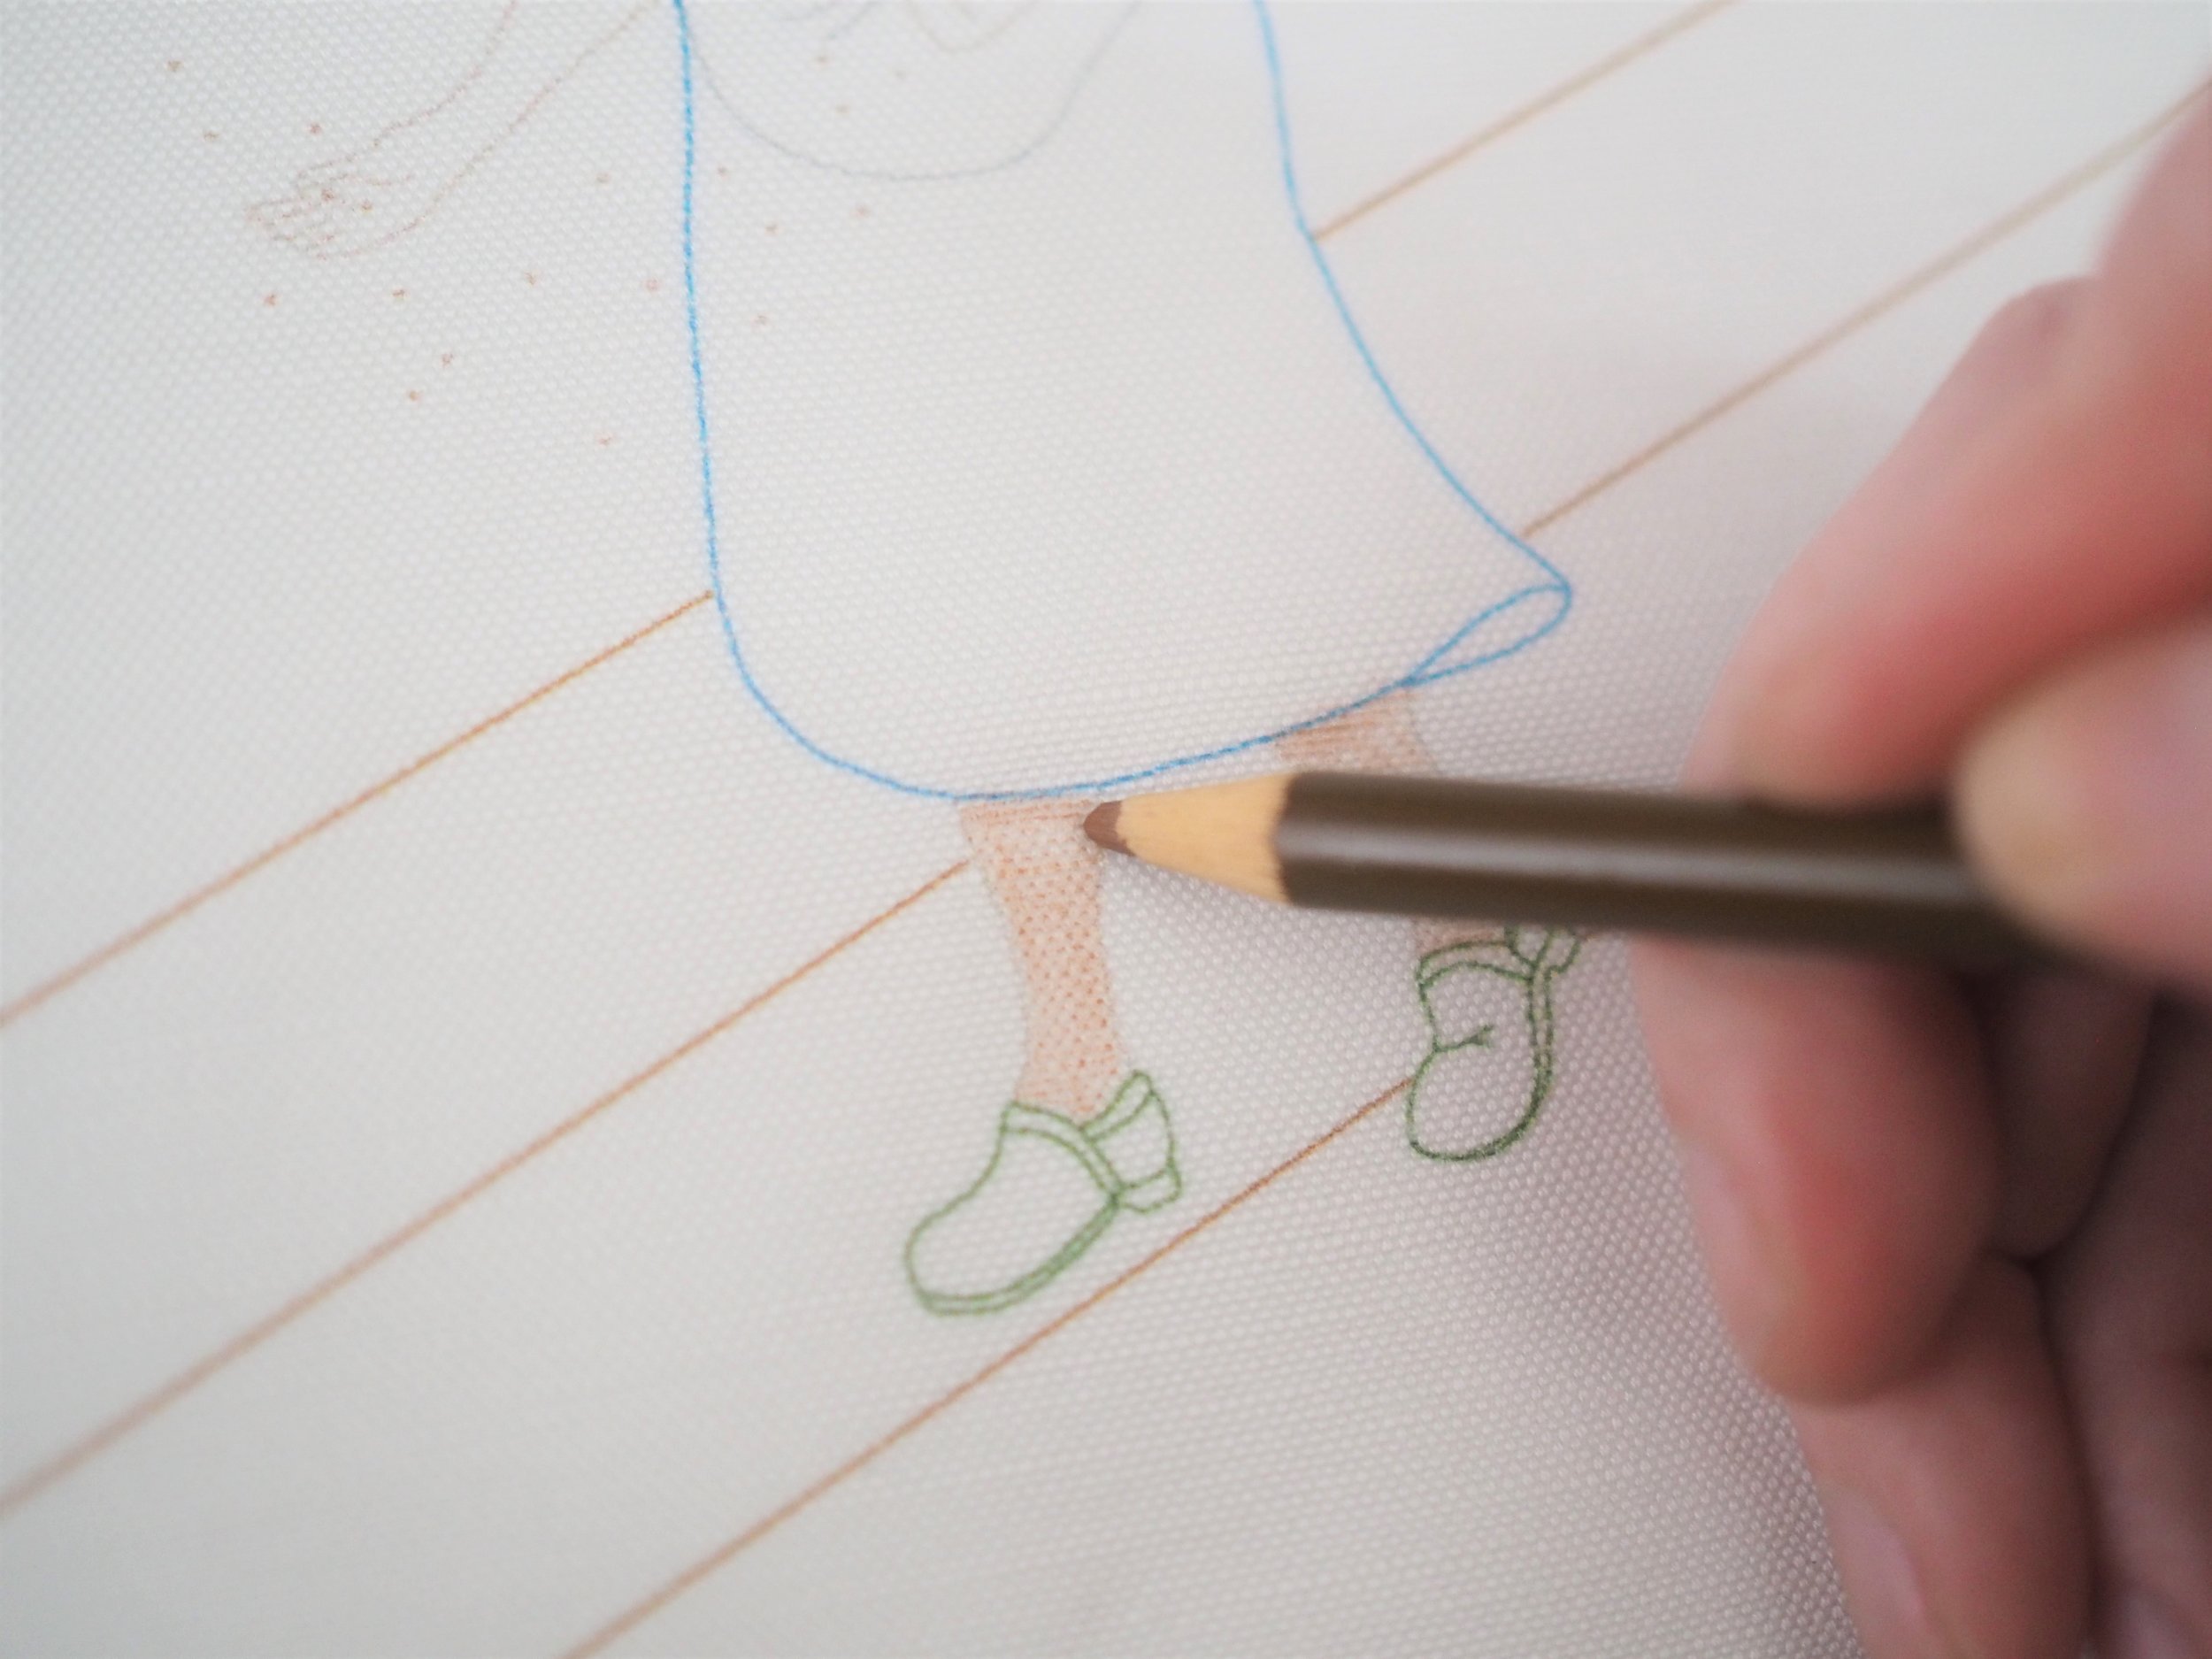
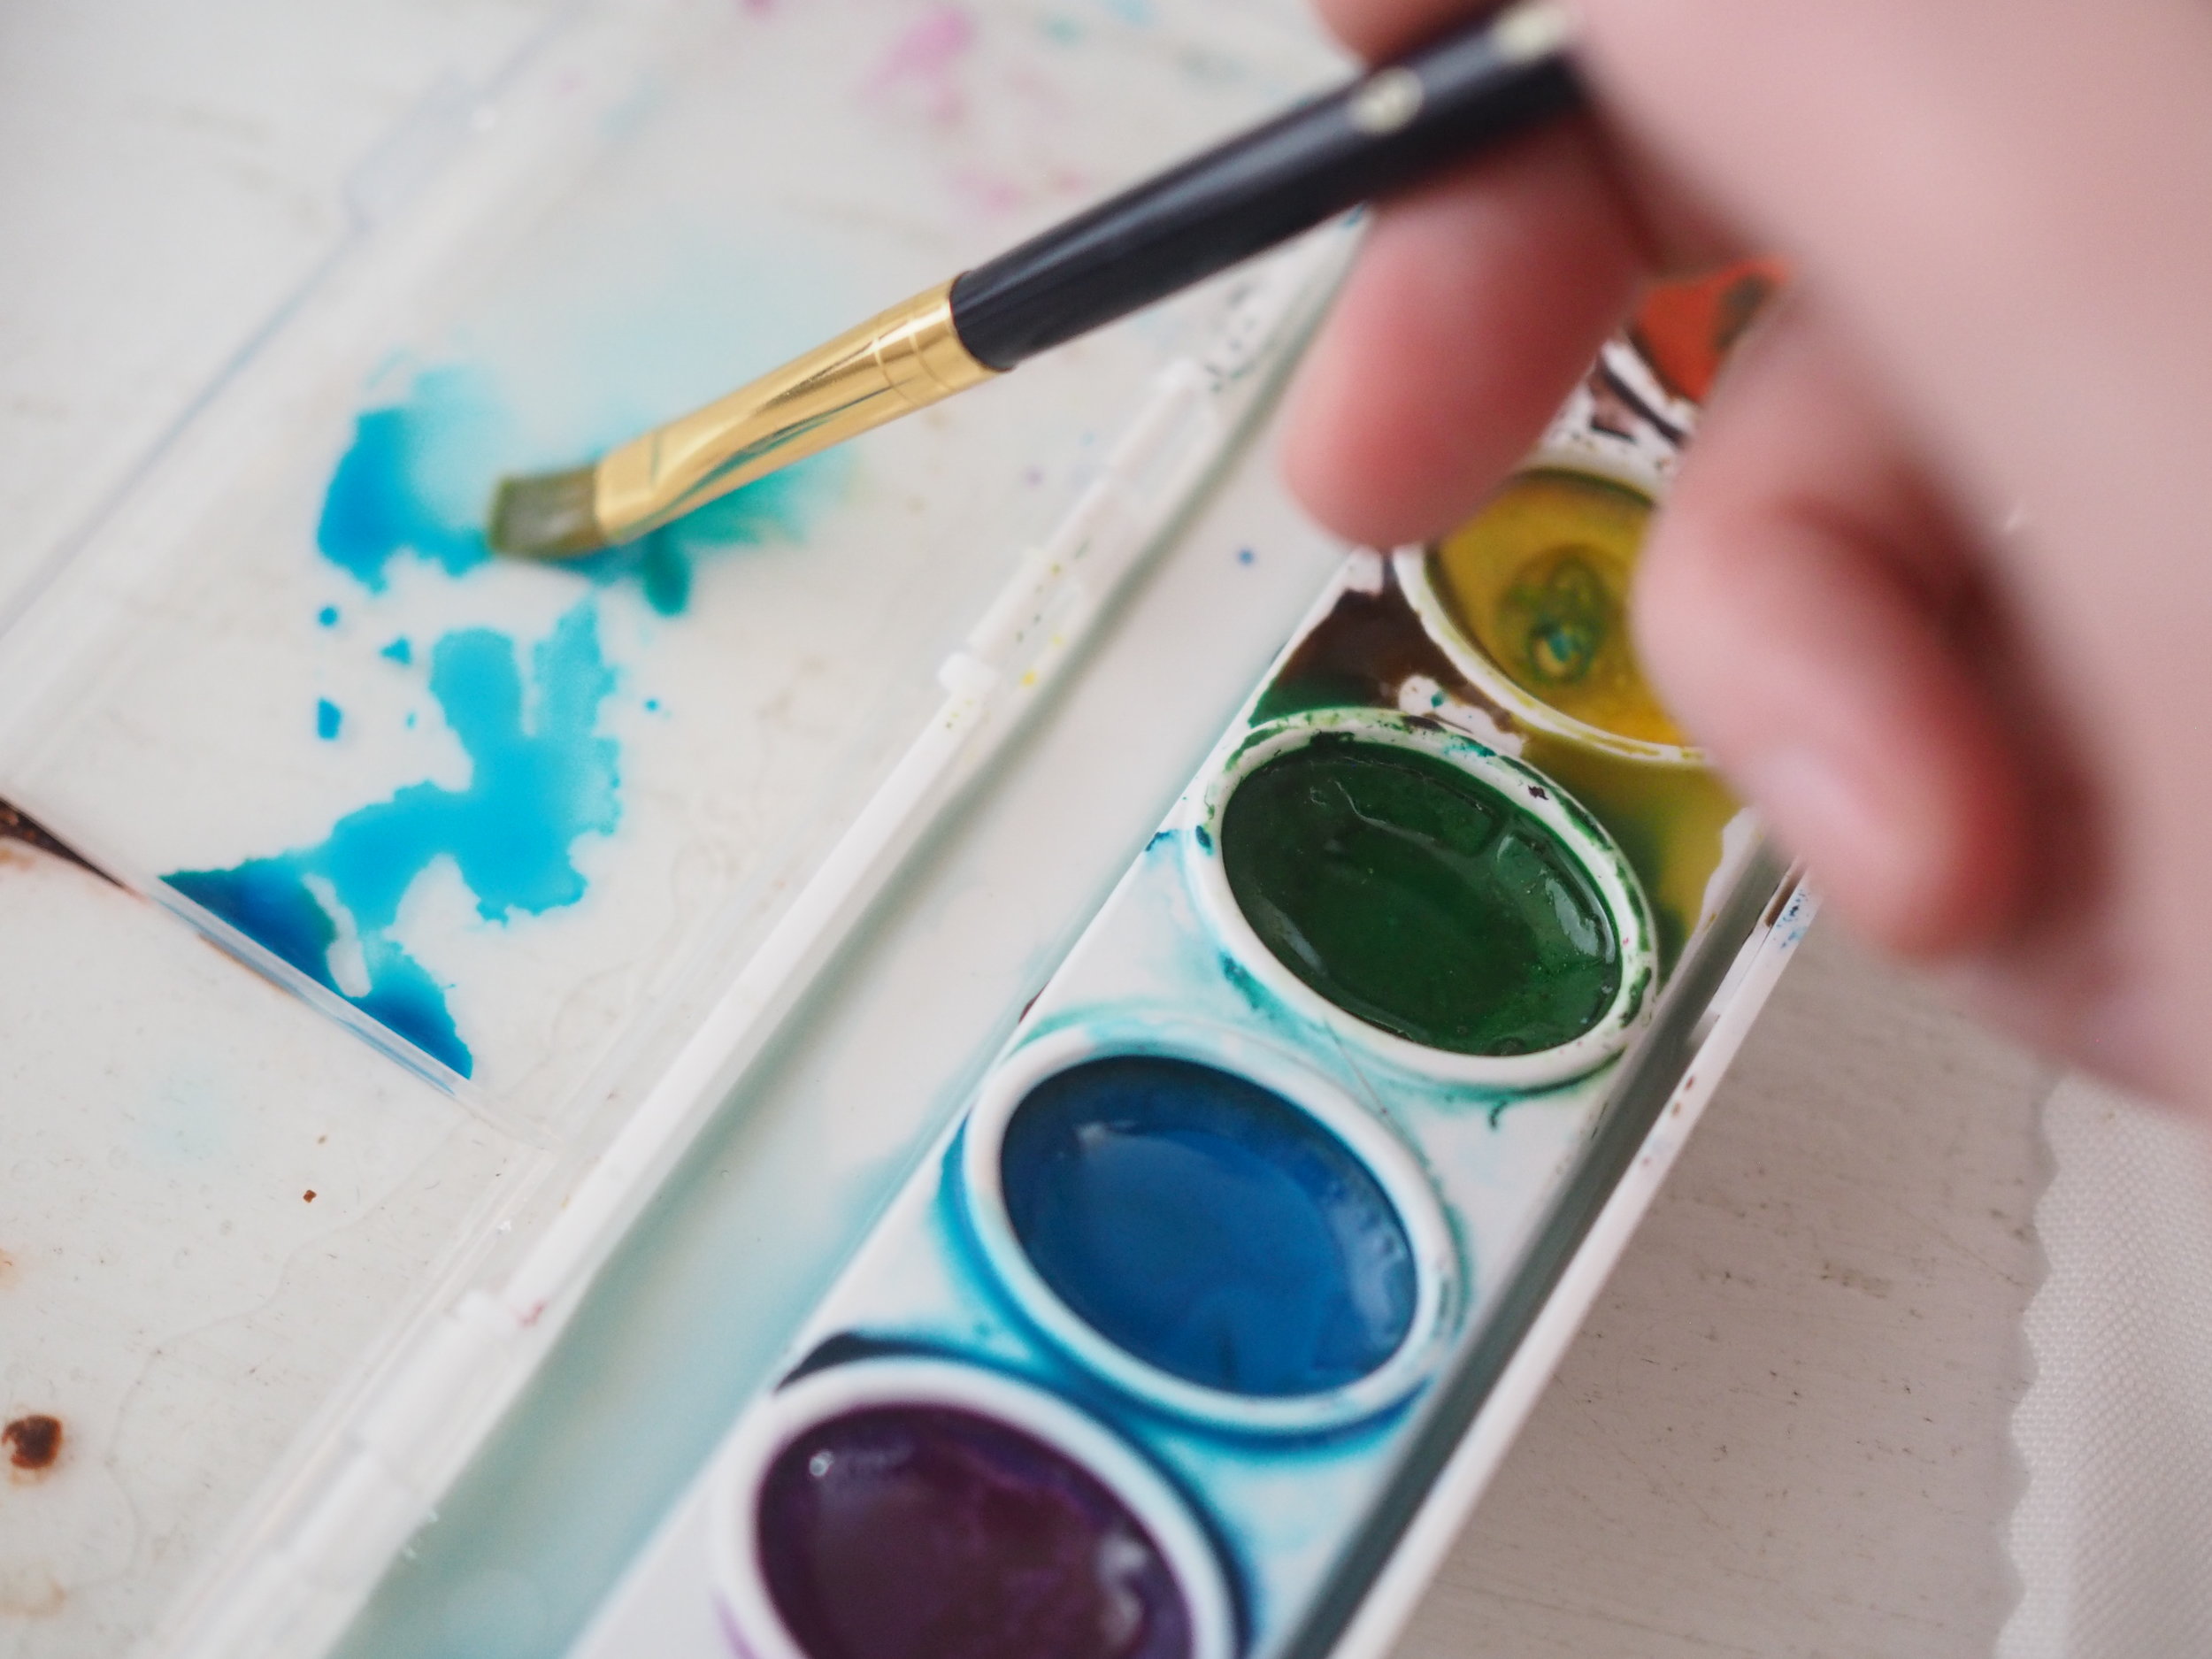
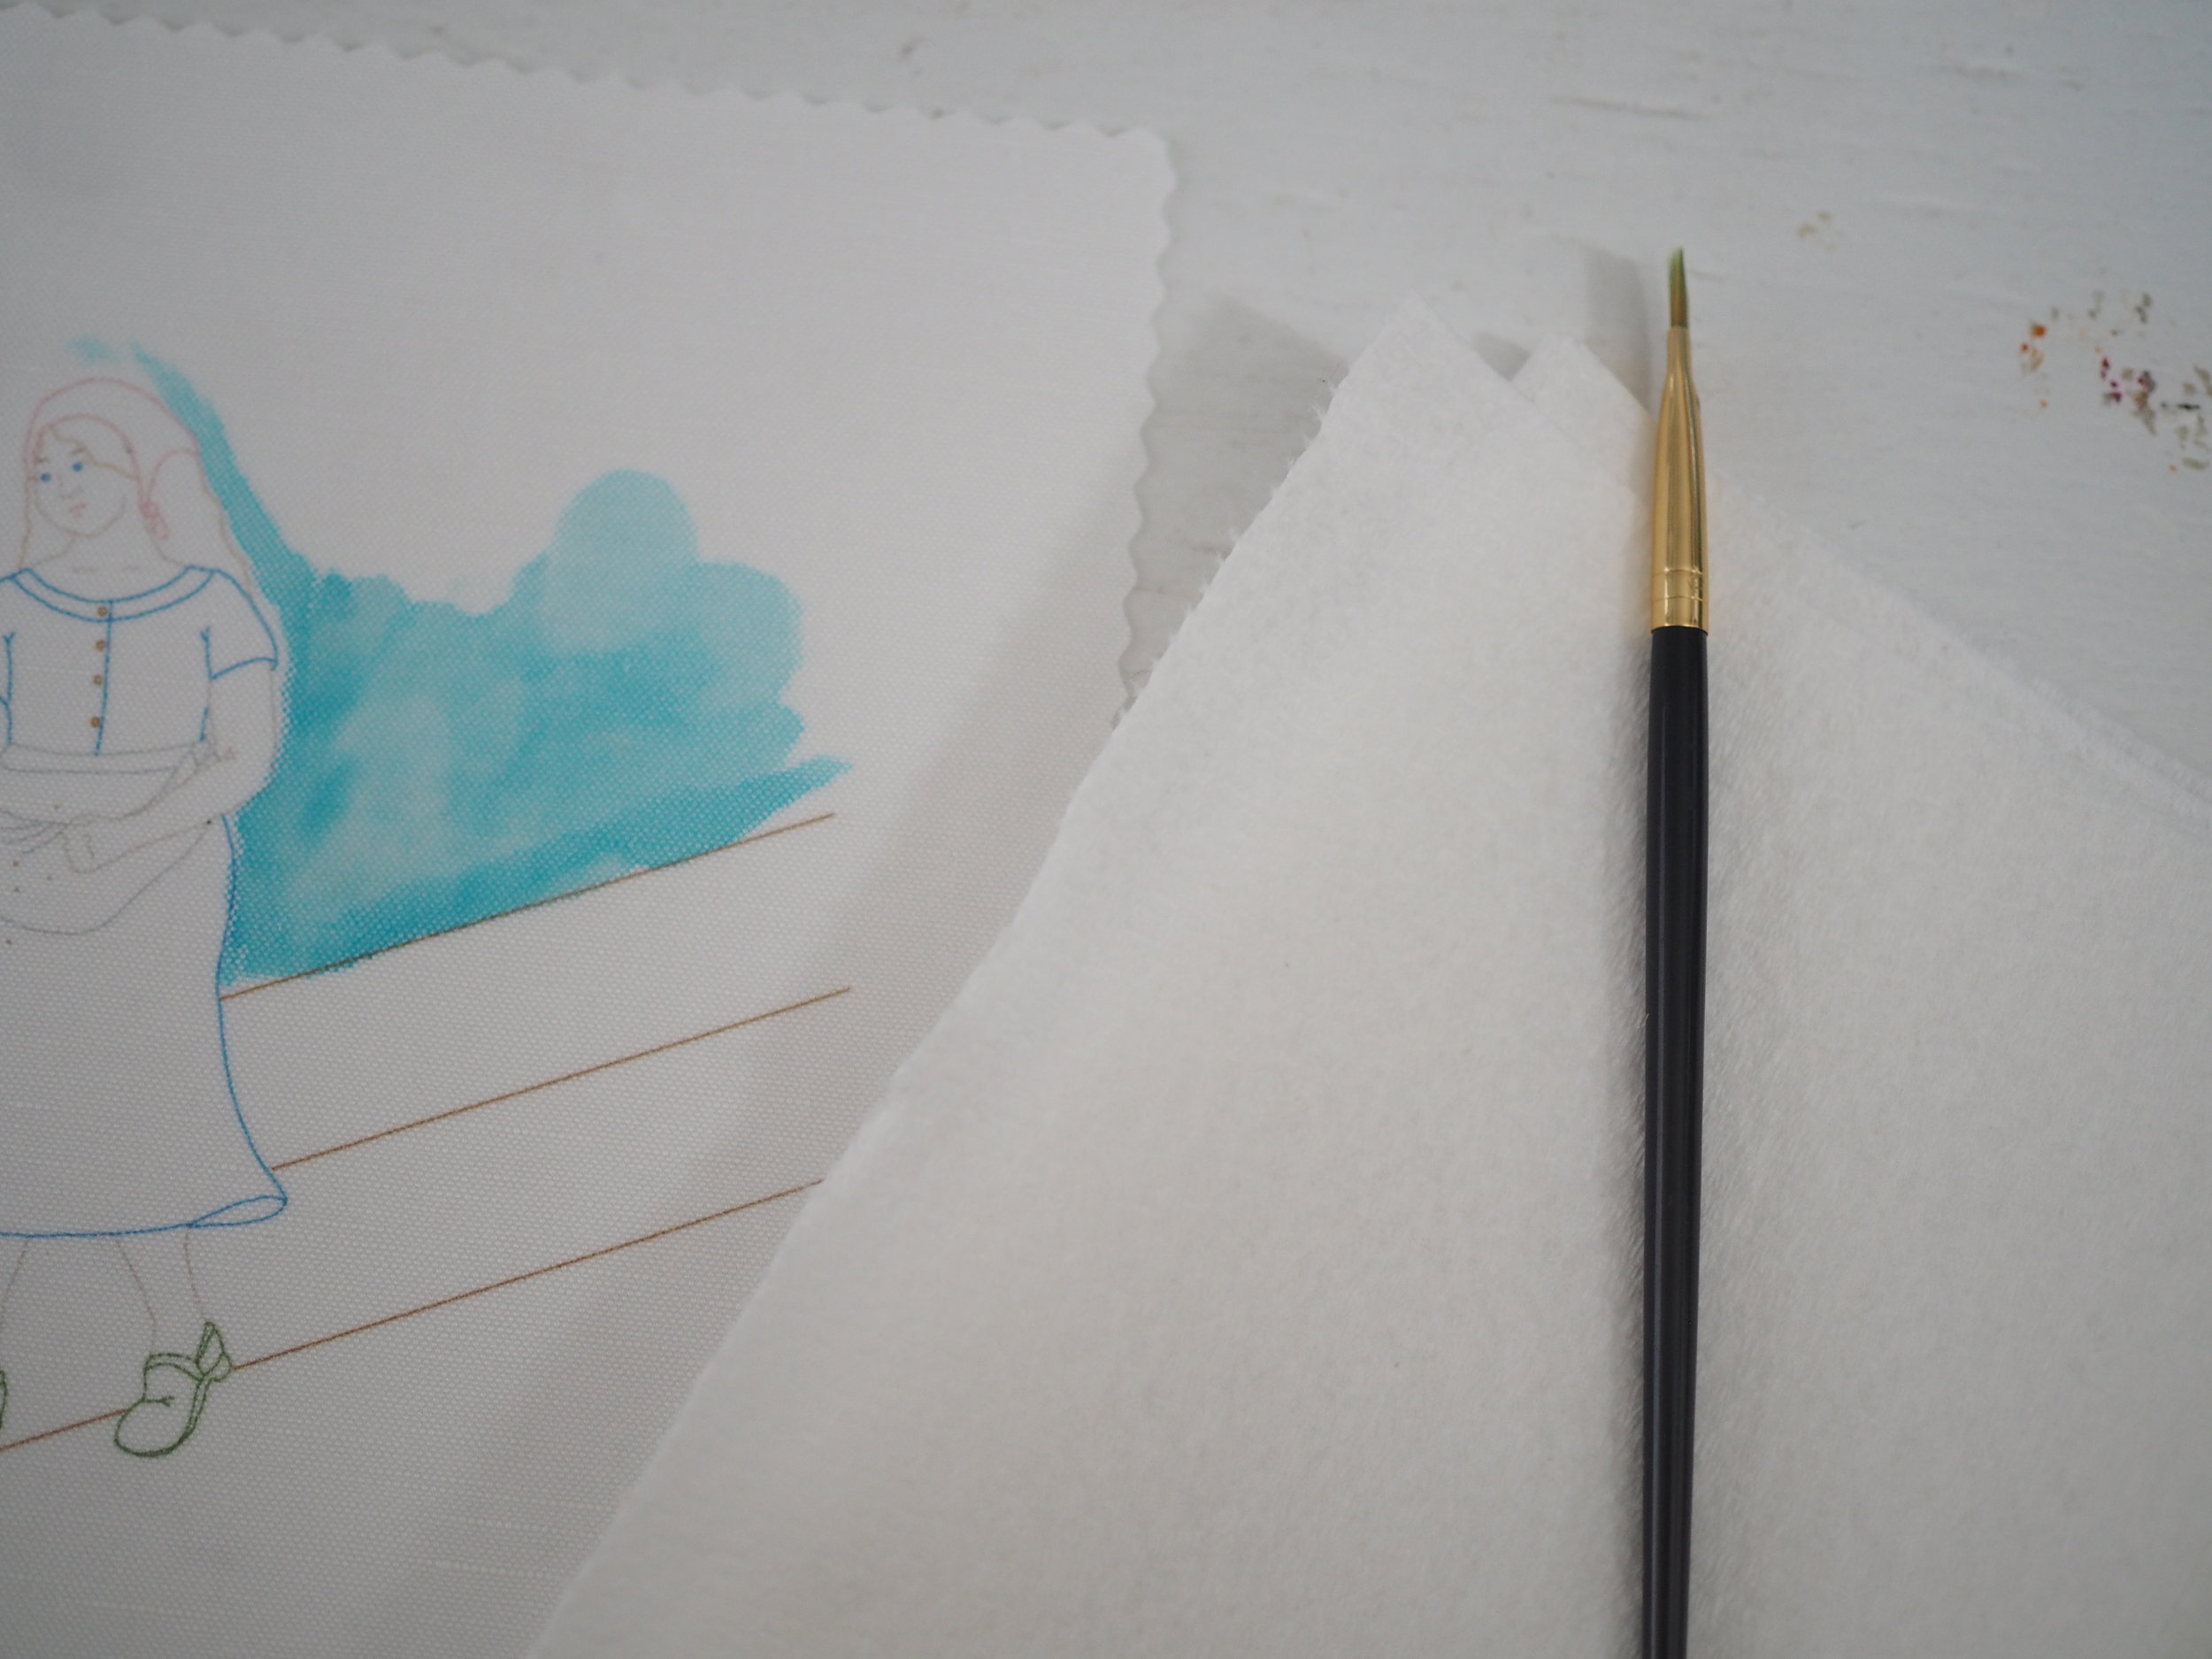
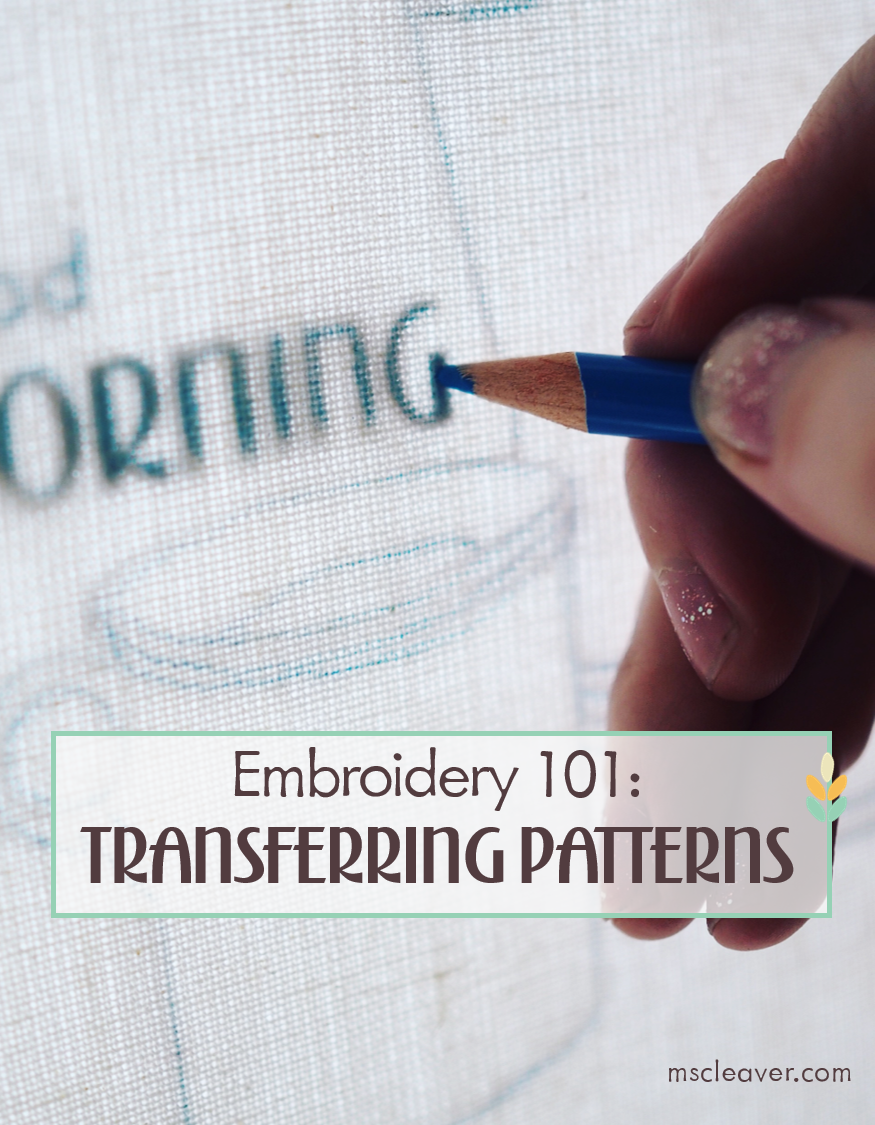
With the design pre-printed on a beautiful linen-blend fabric, stitching a heirloom quality piece of embroidery is almost as simple as coloring!
Embroidery kits make great gifts (including for yourself!) and are a wonderfully meditative activity that comes with a beautiful product at the end.
Hang your finished piece right in the hoop (I’ll show you how!), frame it, or sew it into a cushion, bag or quilt.
New to embroidery? Each kit comes with a 2-page color guide to basic stitches or check out the tutorial library for tips and step-by-step instructions.
——
COMPLETE EMBROIDERY KIT
Each kit contains everything you need to stitch a beautiful wall-hanging.
High-quality Linen/Cotton Fabric pre-printed with design
6” wooden hoop
DMC Embroidery Floss to complete design as shown, including 3 skins tones and 5 hair color choices
Embroidery needle
Guide to basic embroidery stitches (additional tutorials available at MsCleaver.com)
Complete kit packaged in a sturdy reusable kraft envelope suitable for gifting.
Have more floss than you know what to do with, or want to pick your own colors? Purchase the pre-printed panel only in the drop-down menu above. Also available as a PDF Pattern.
*Materials shown are a sample only and may vary by design