Introducing the Paper Bird Shawl

Paper Bird shawl by Leah B. Thibault for Quince and Co.

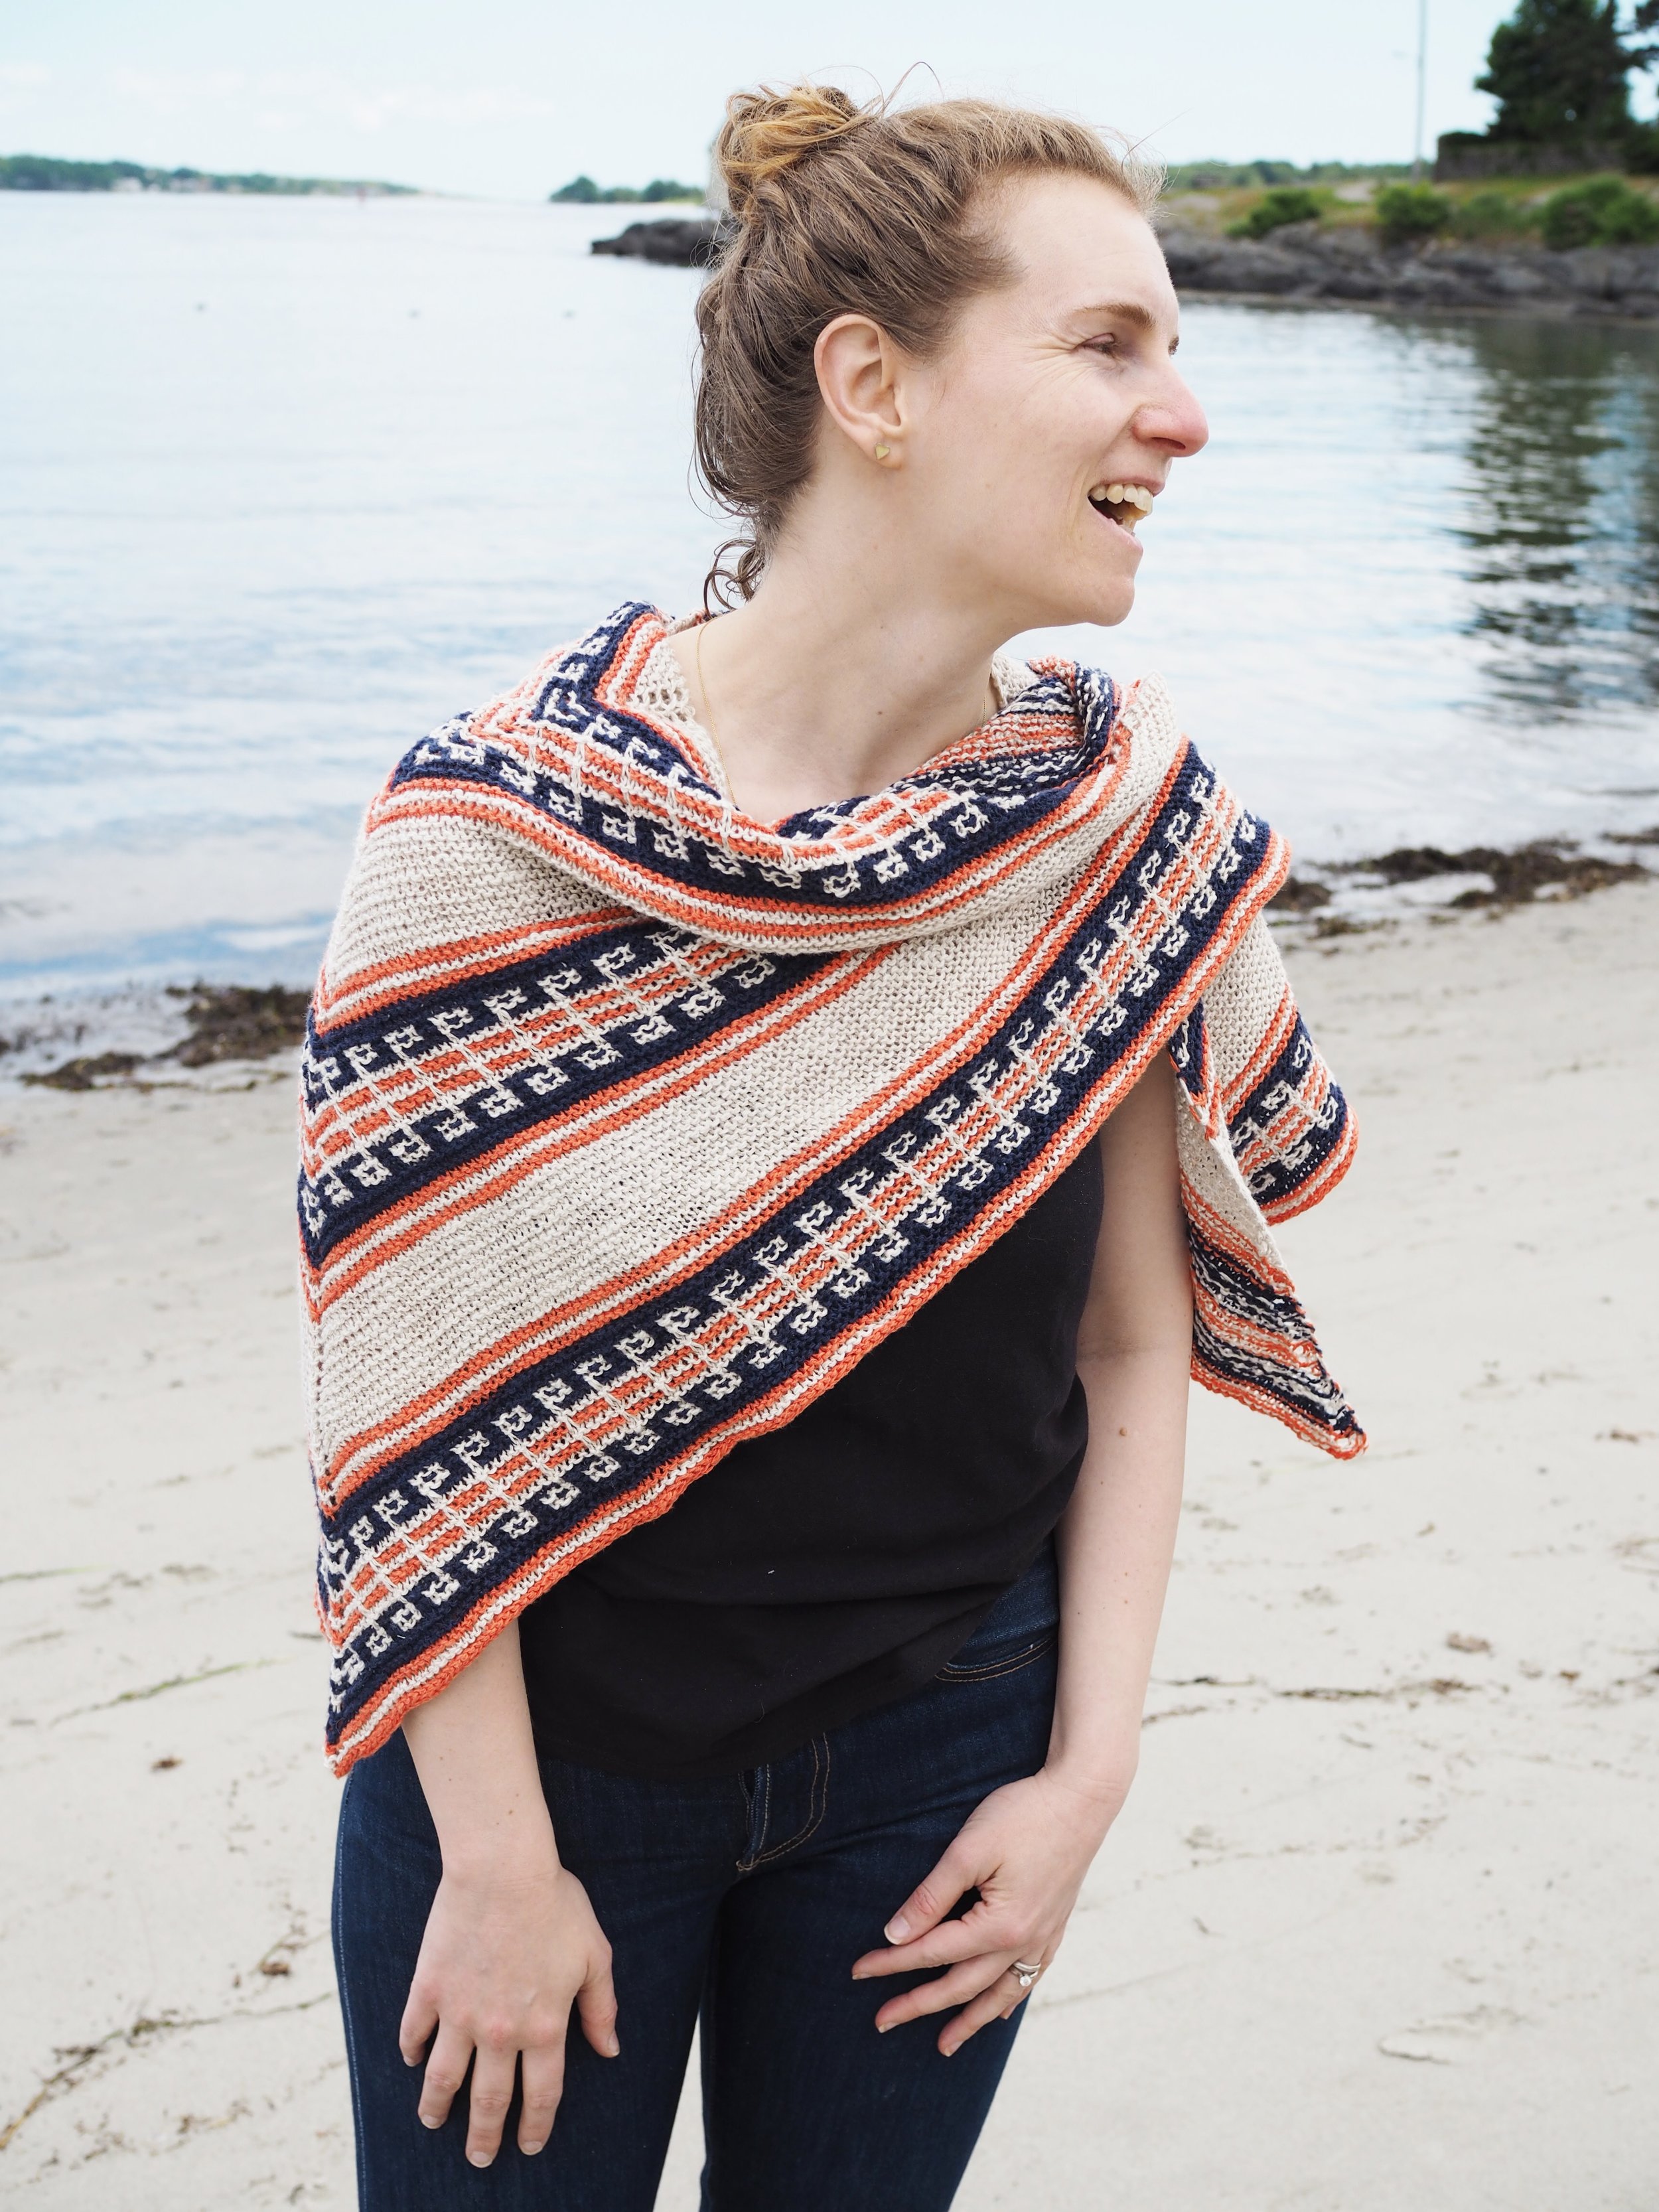
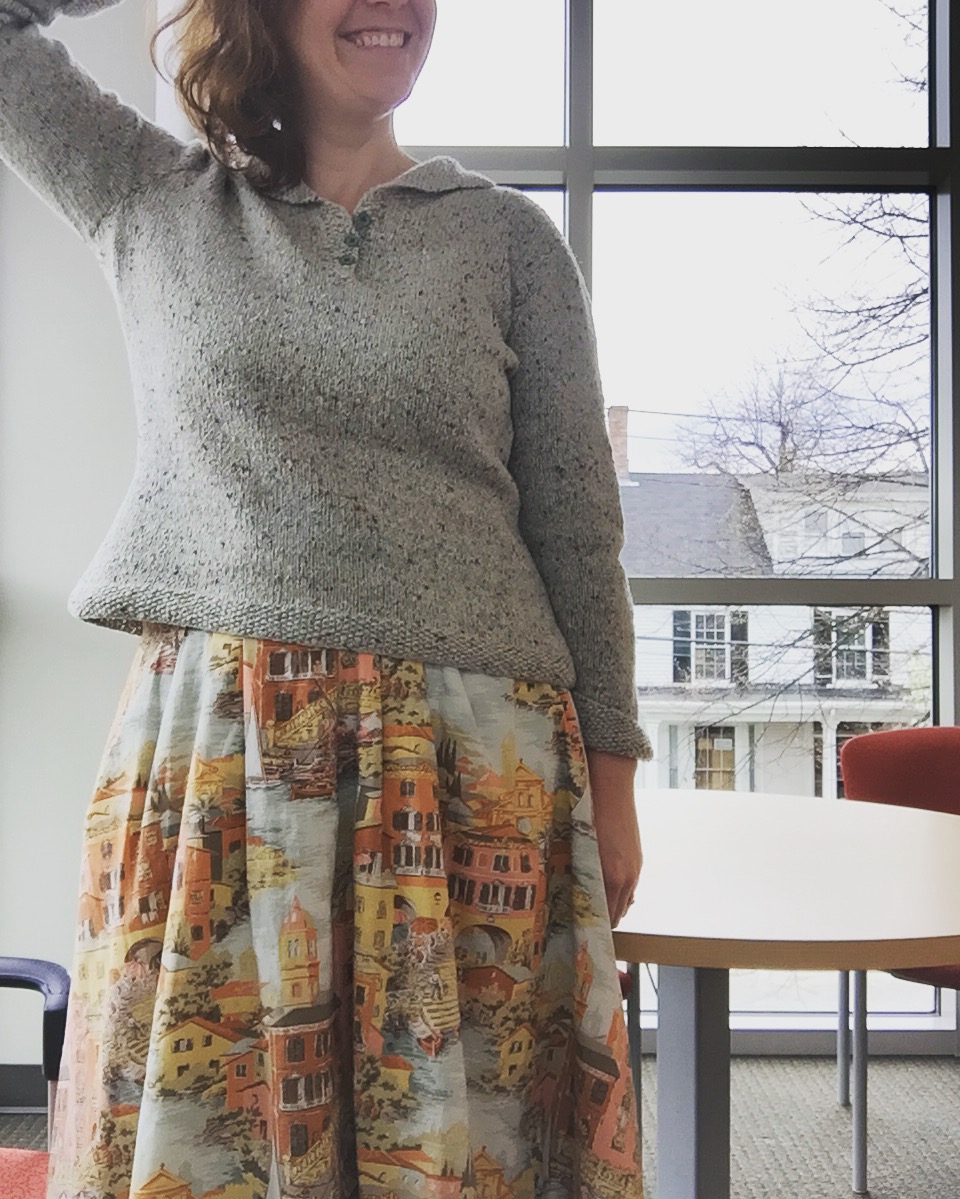
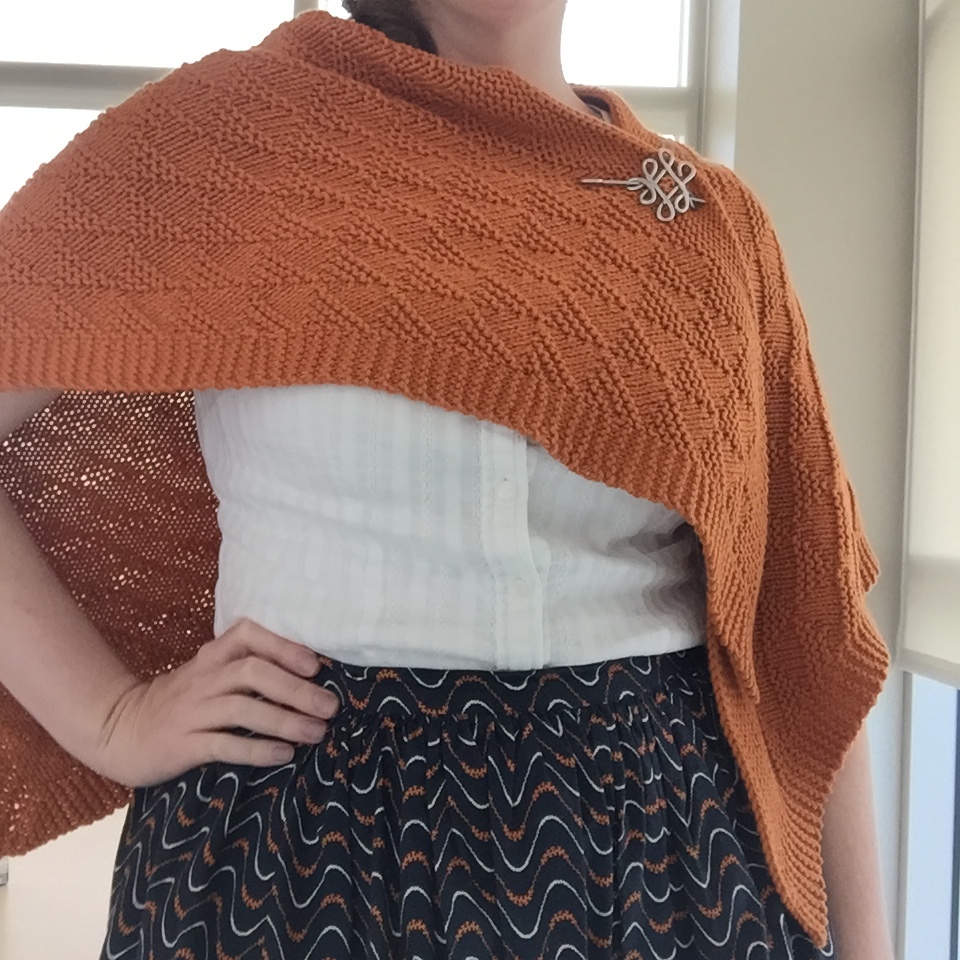
I'm pleased to introduce the Paper Bird Shawl - part of Quince and Co's annual Shawl Week and the second in my Songbird series of shawls inspired by music.

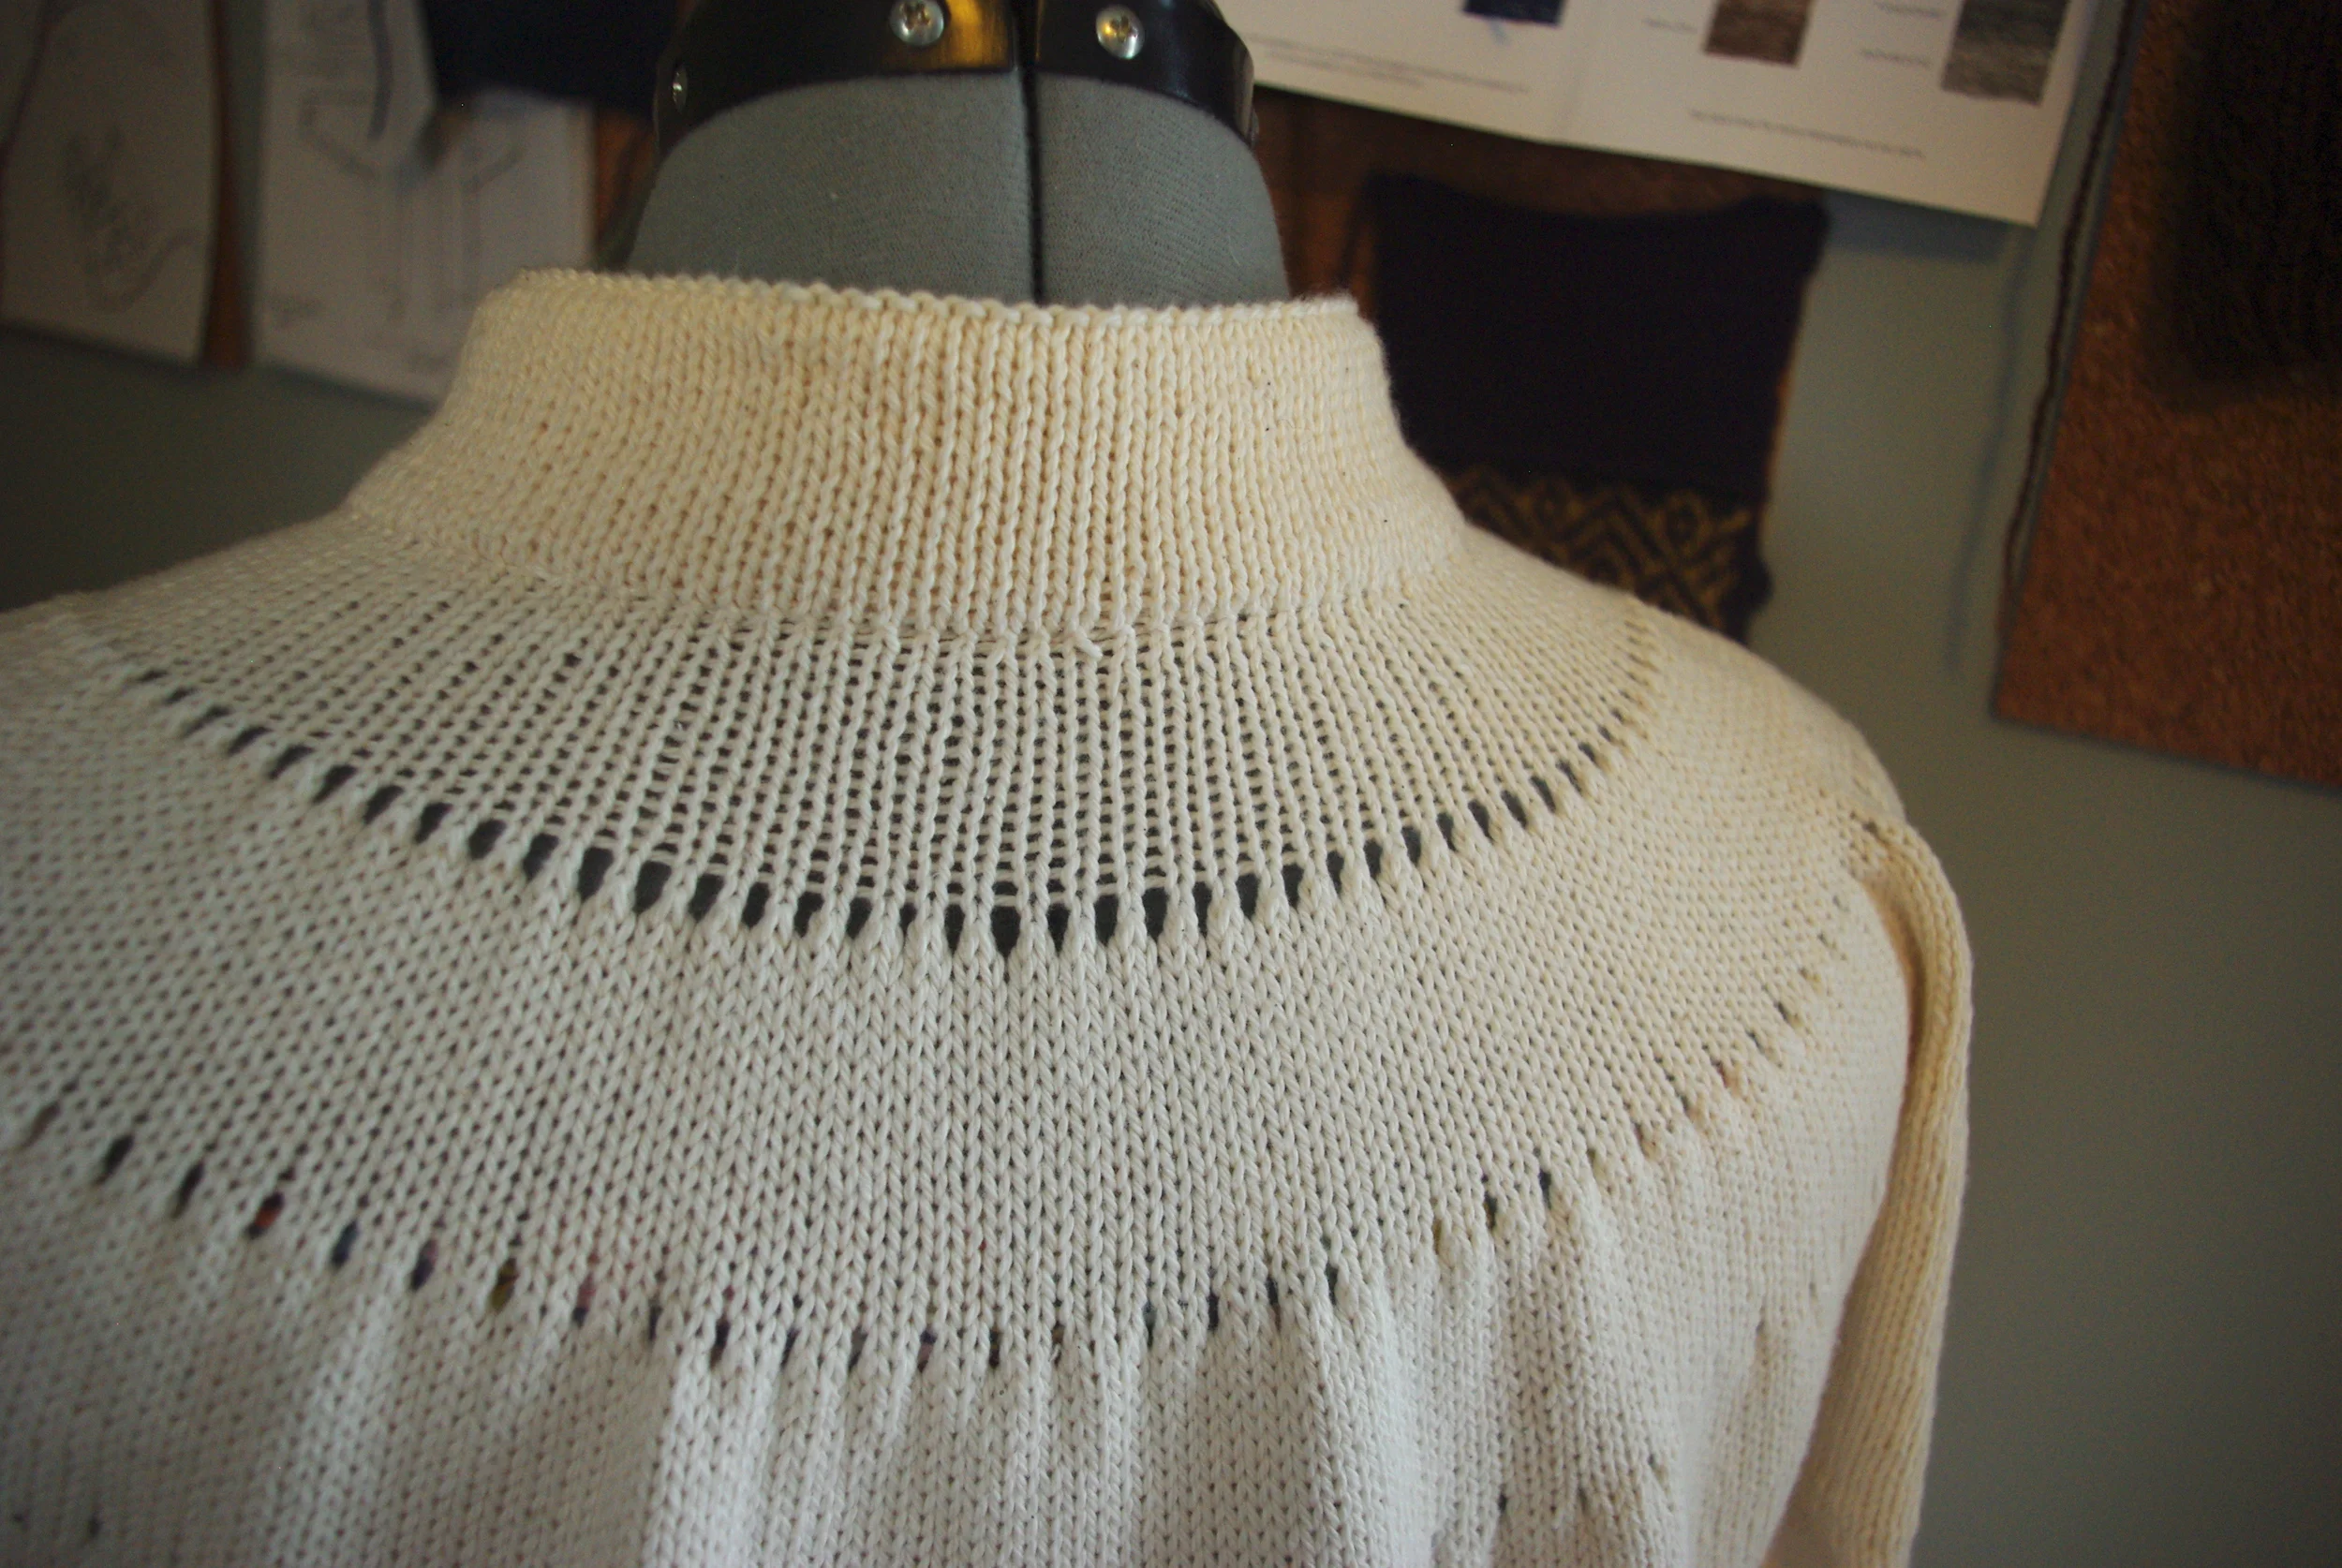
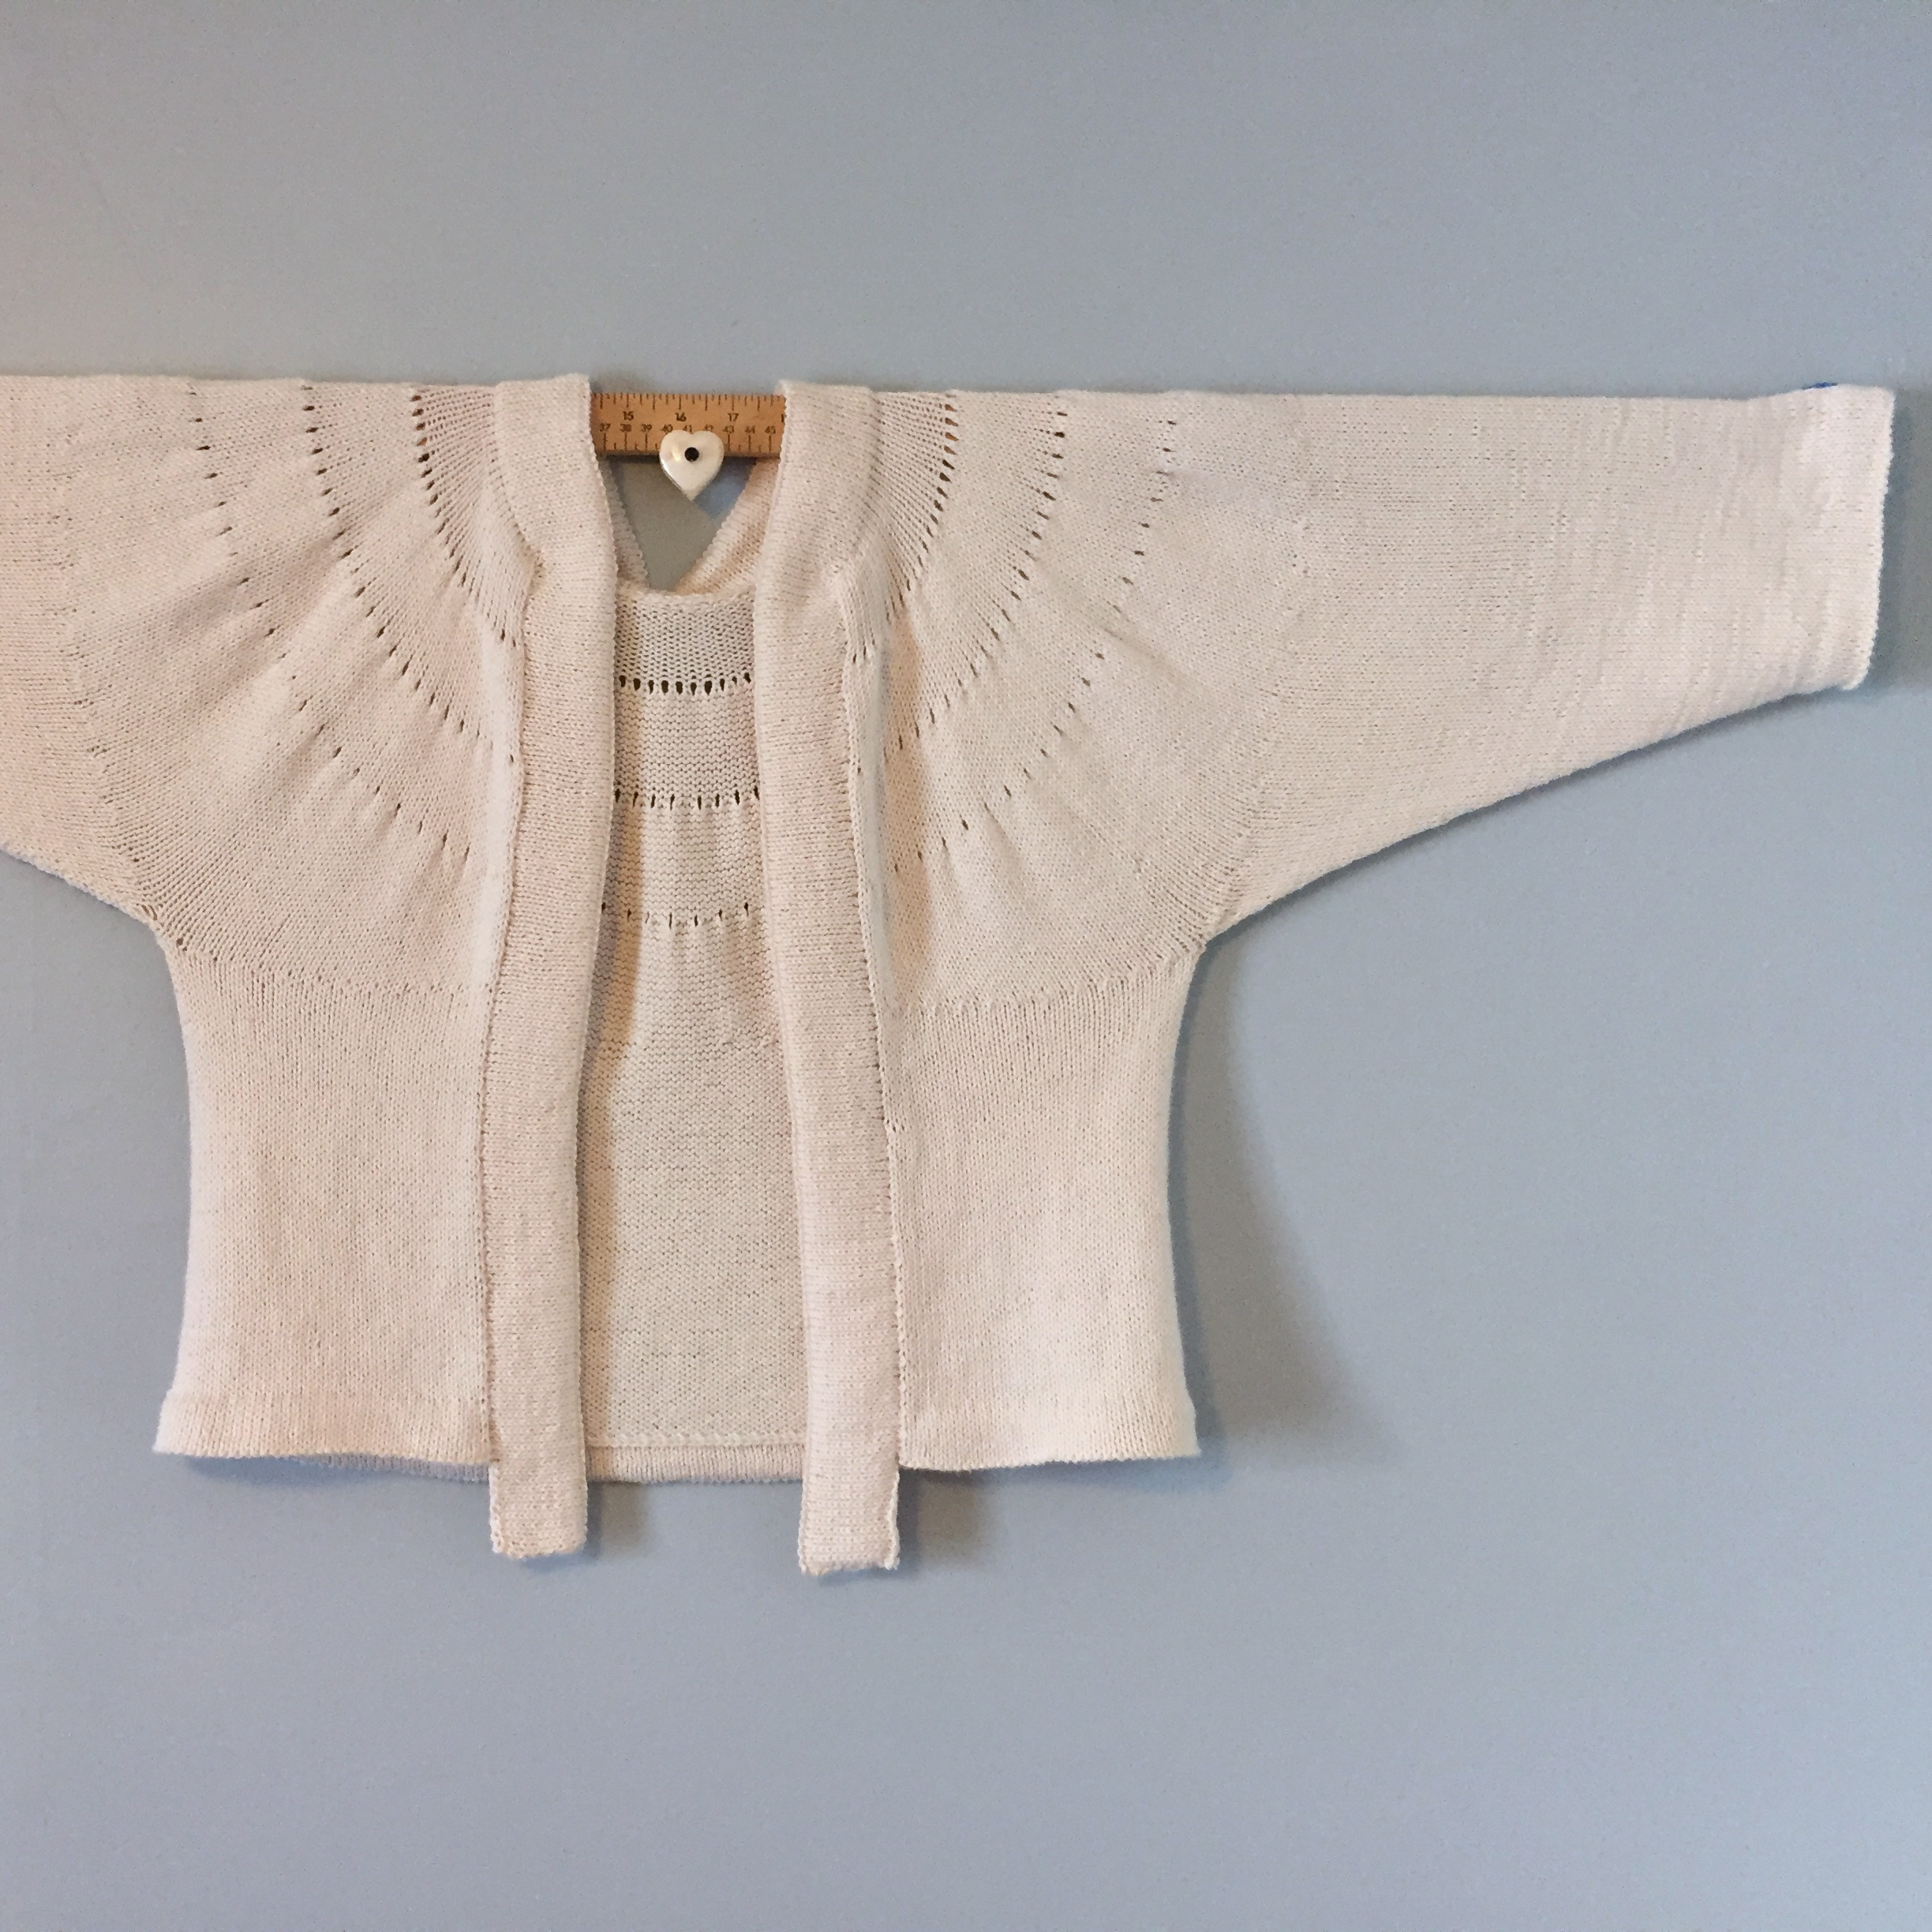
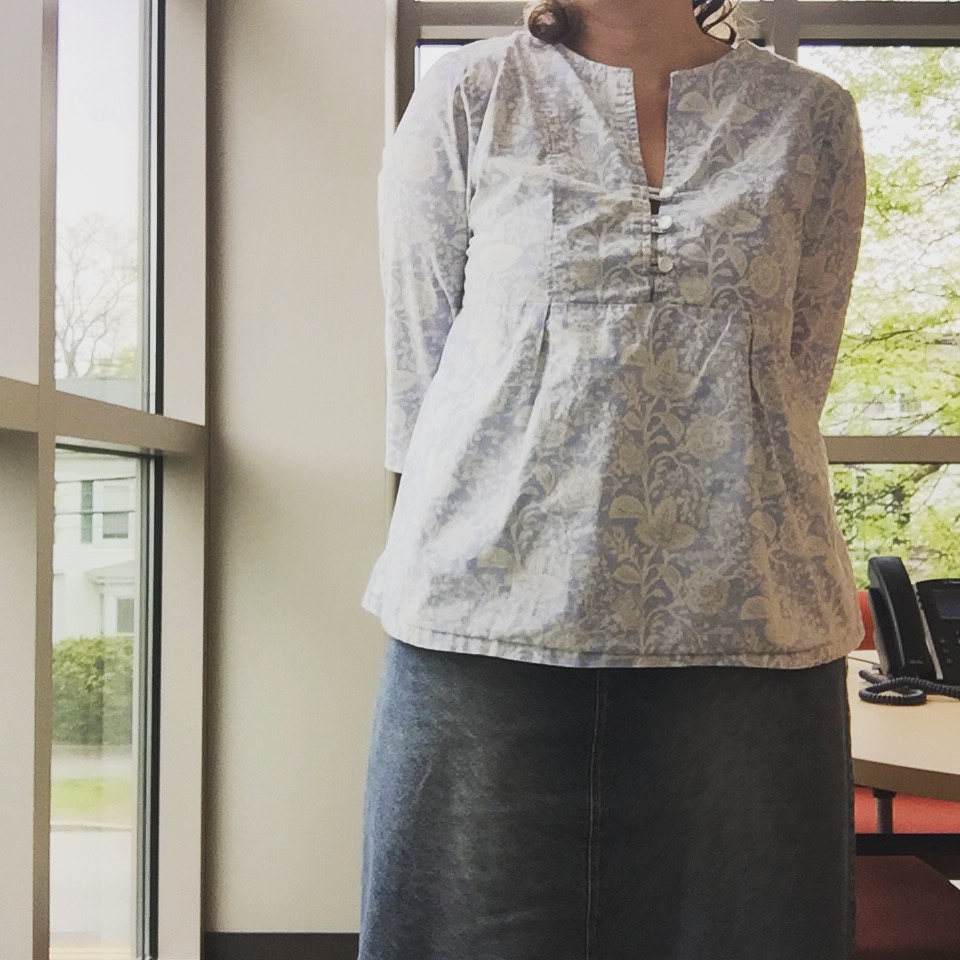
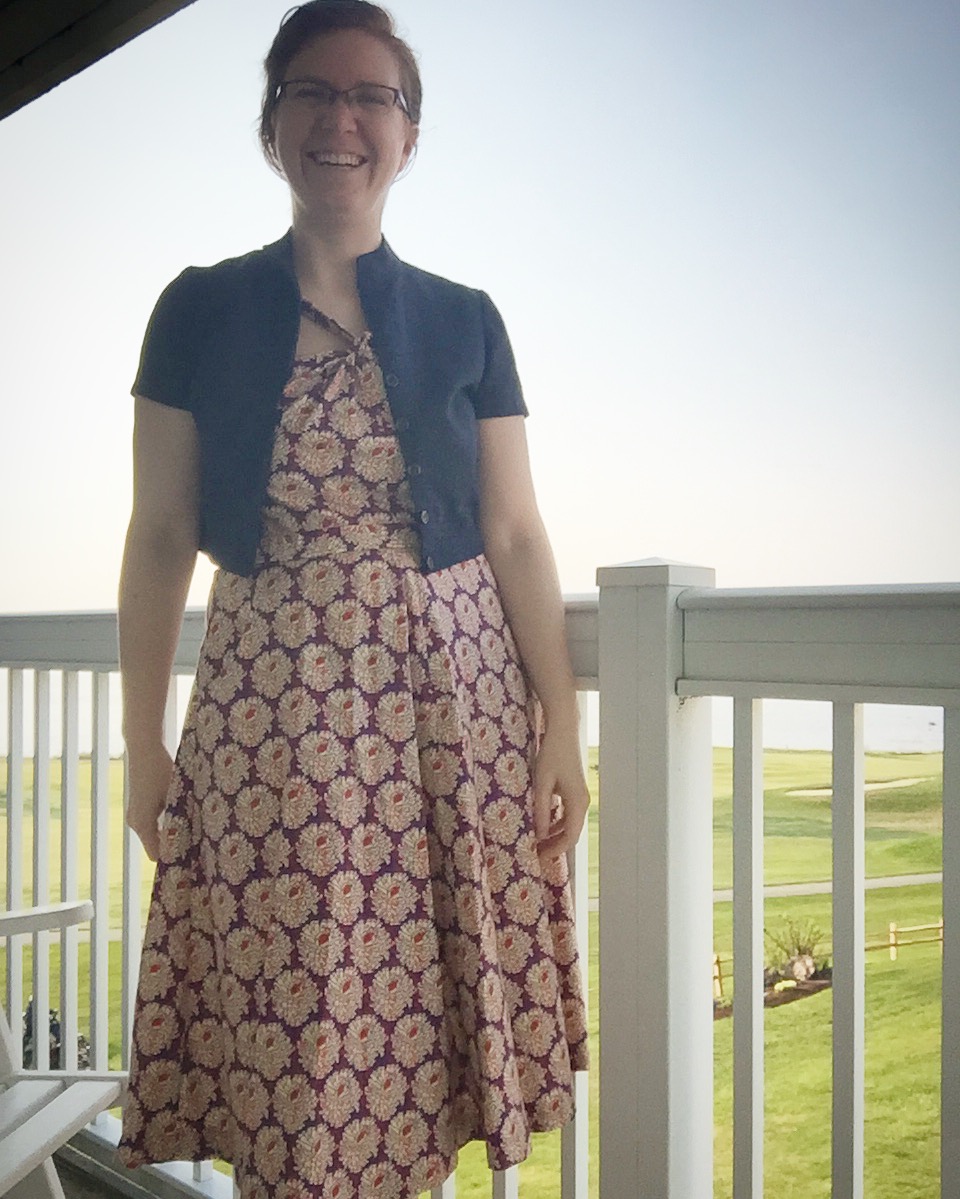
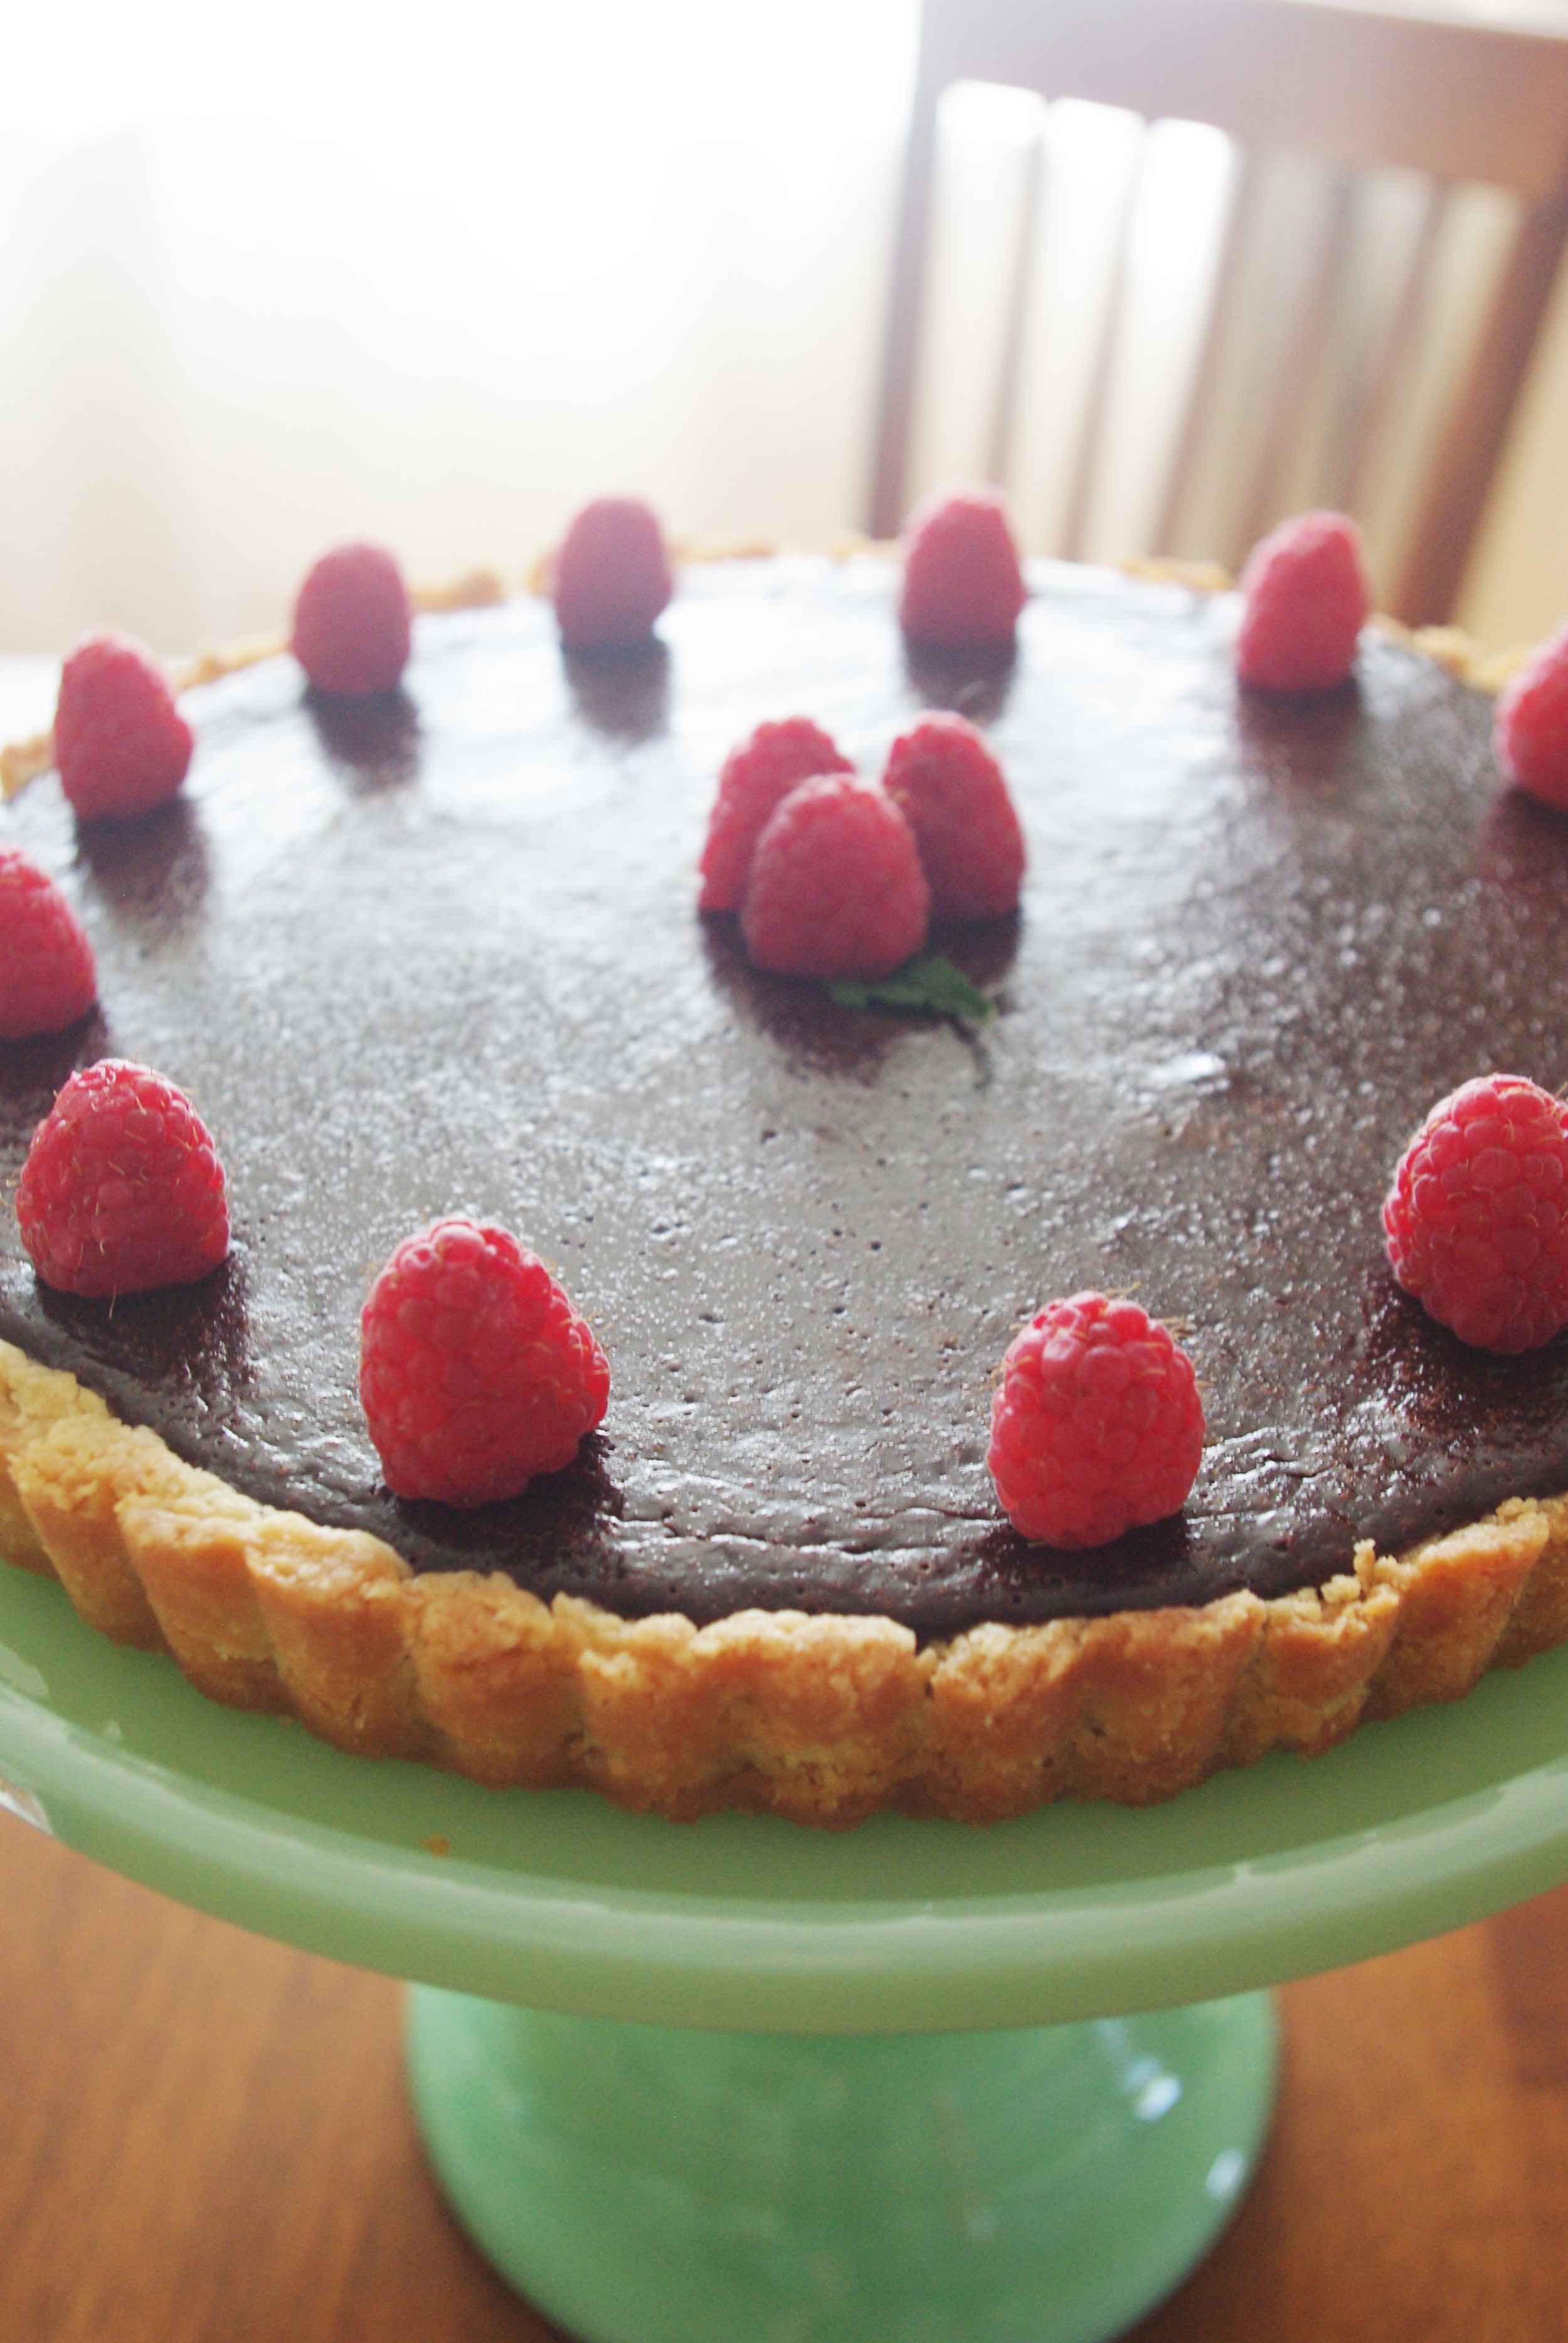
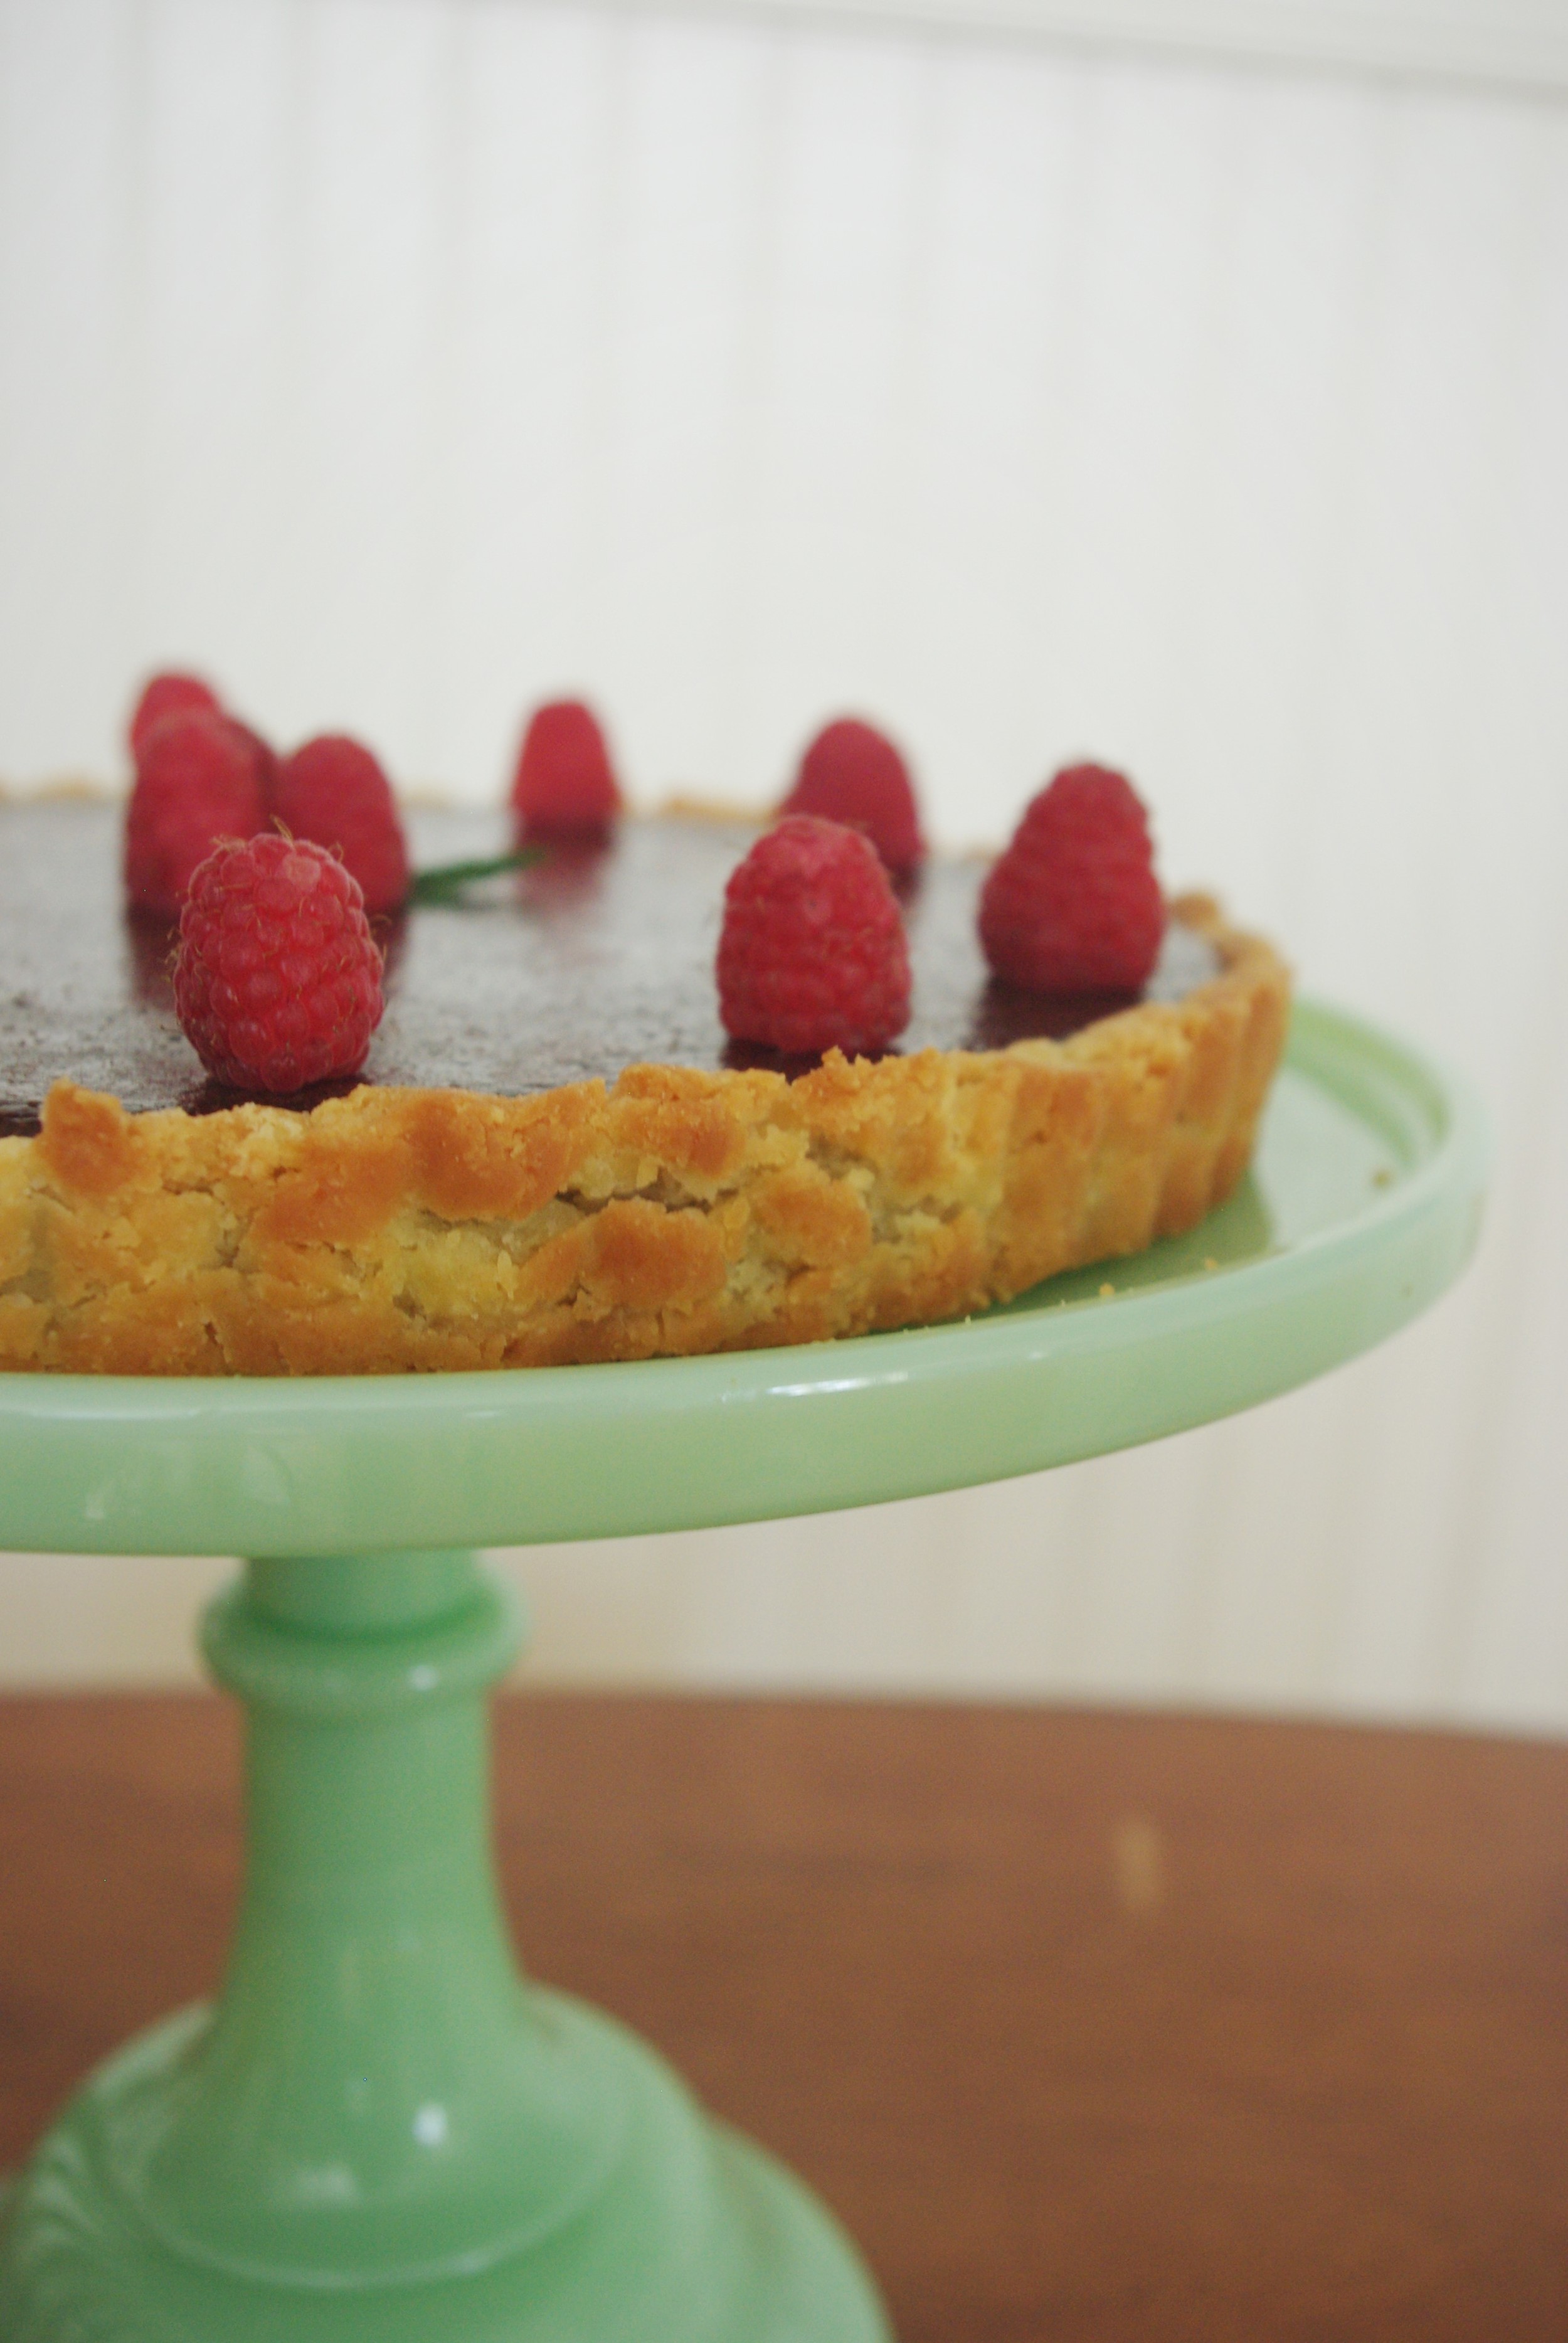
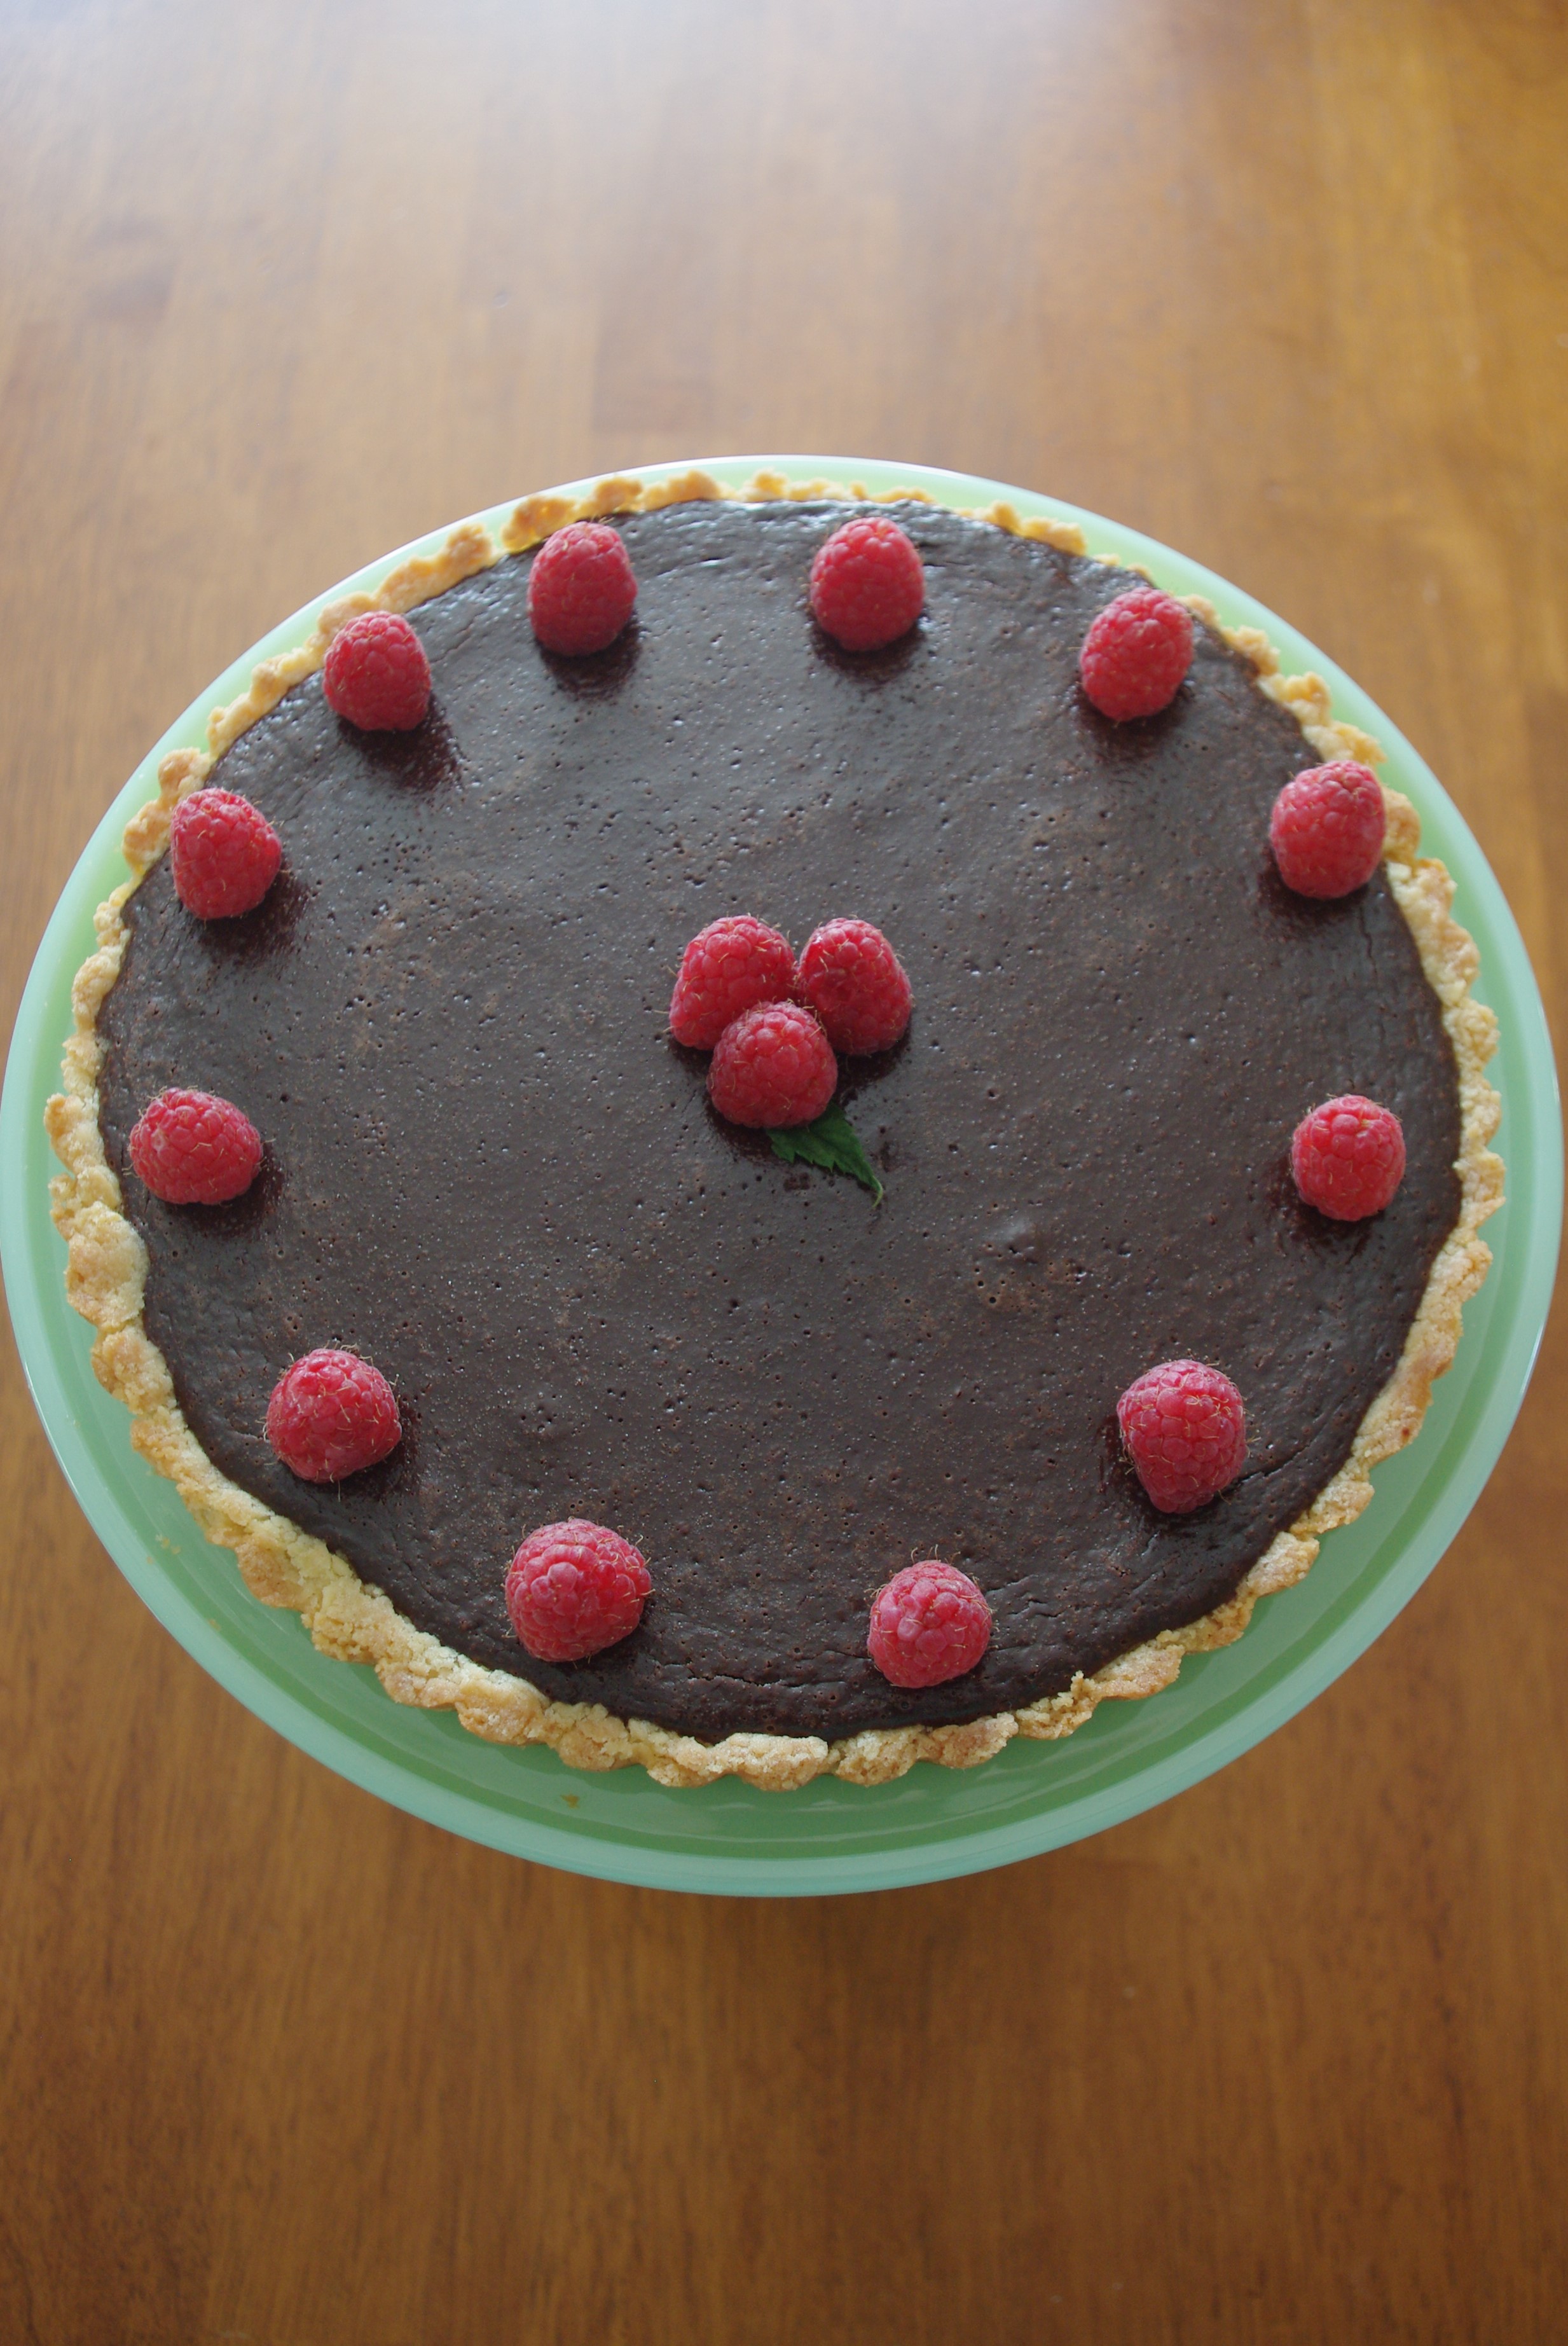
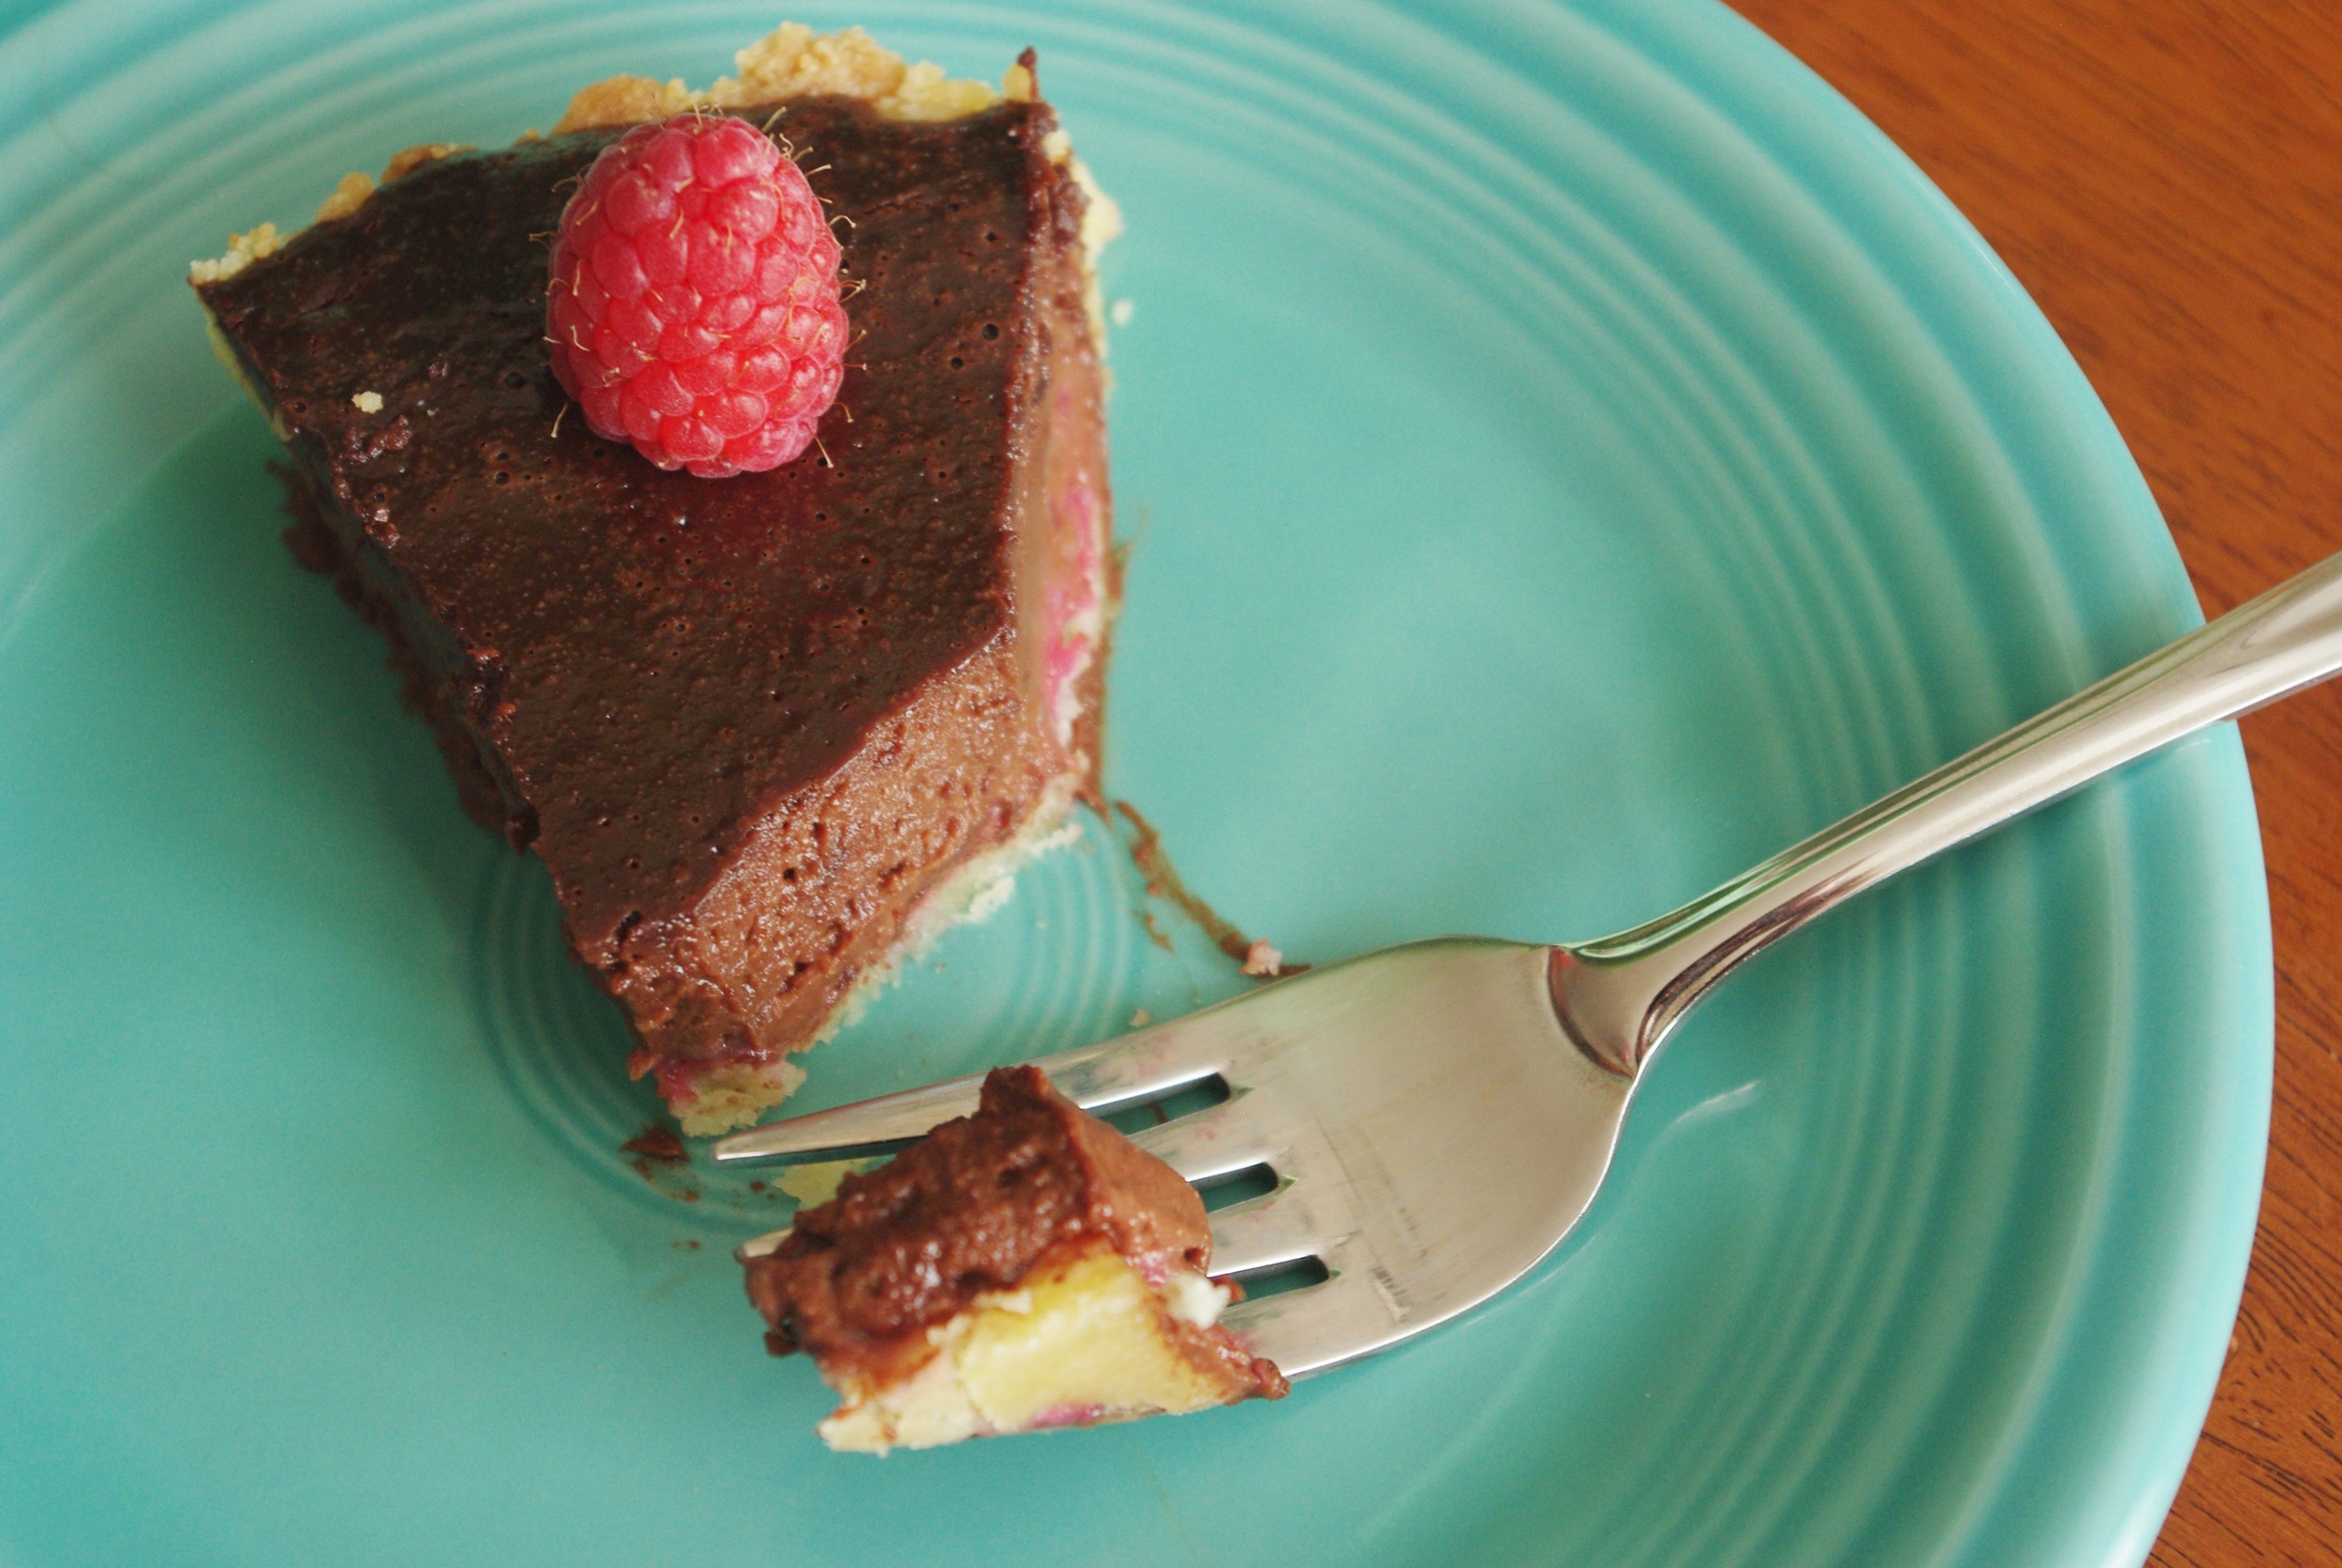
Paper Bird is simple to knit, but results in a graceful and dramatic shawl, with biased fabric framed by clean ribs and a distinctive edge of sharp points. Knit in Quince & Co's silk/wool blend Tern, the shawl has gorgeous drape. The shawl can be worn spread out as shown, or the shawl's texture makes it easy to fold up and wear as a cozy scarf.

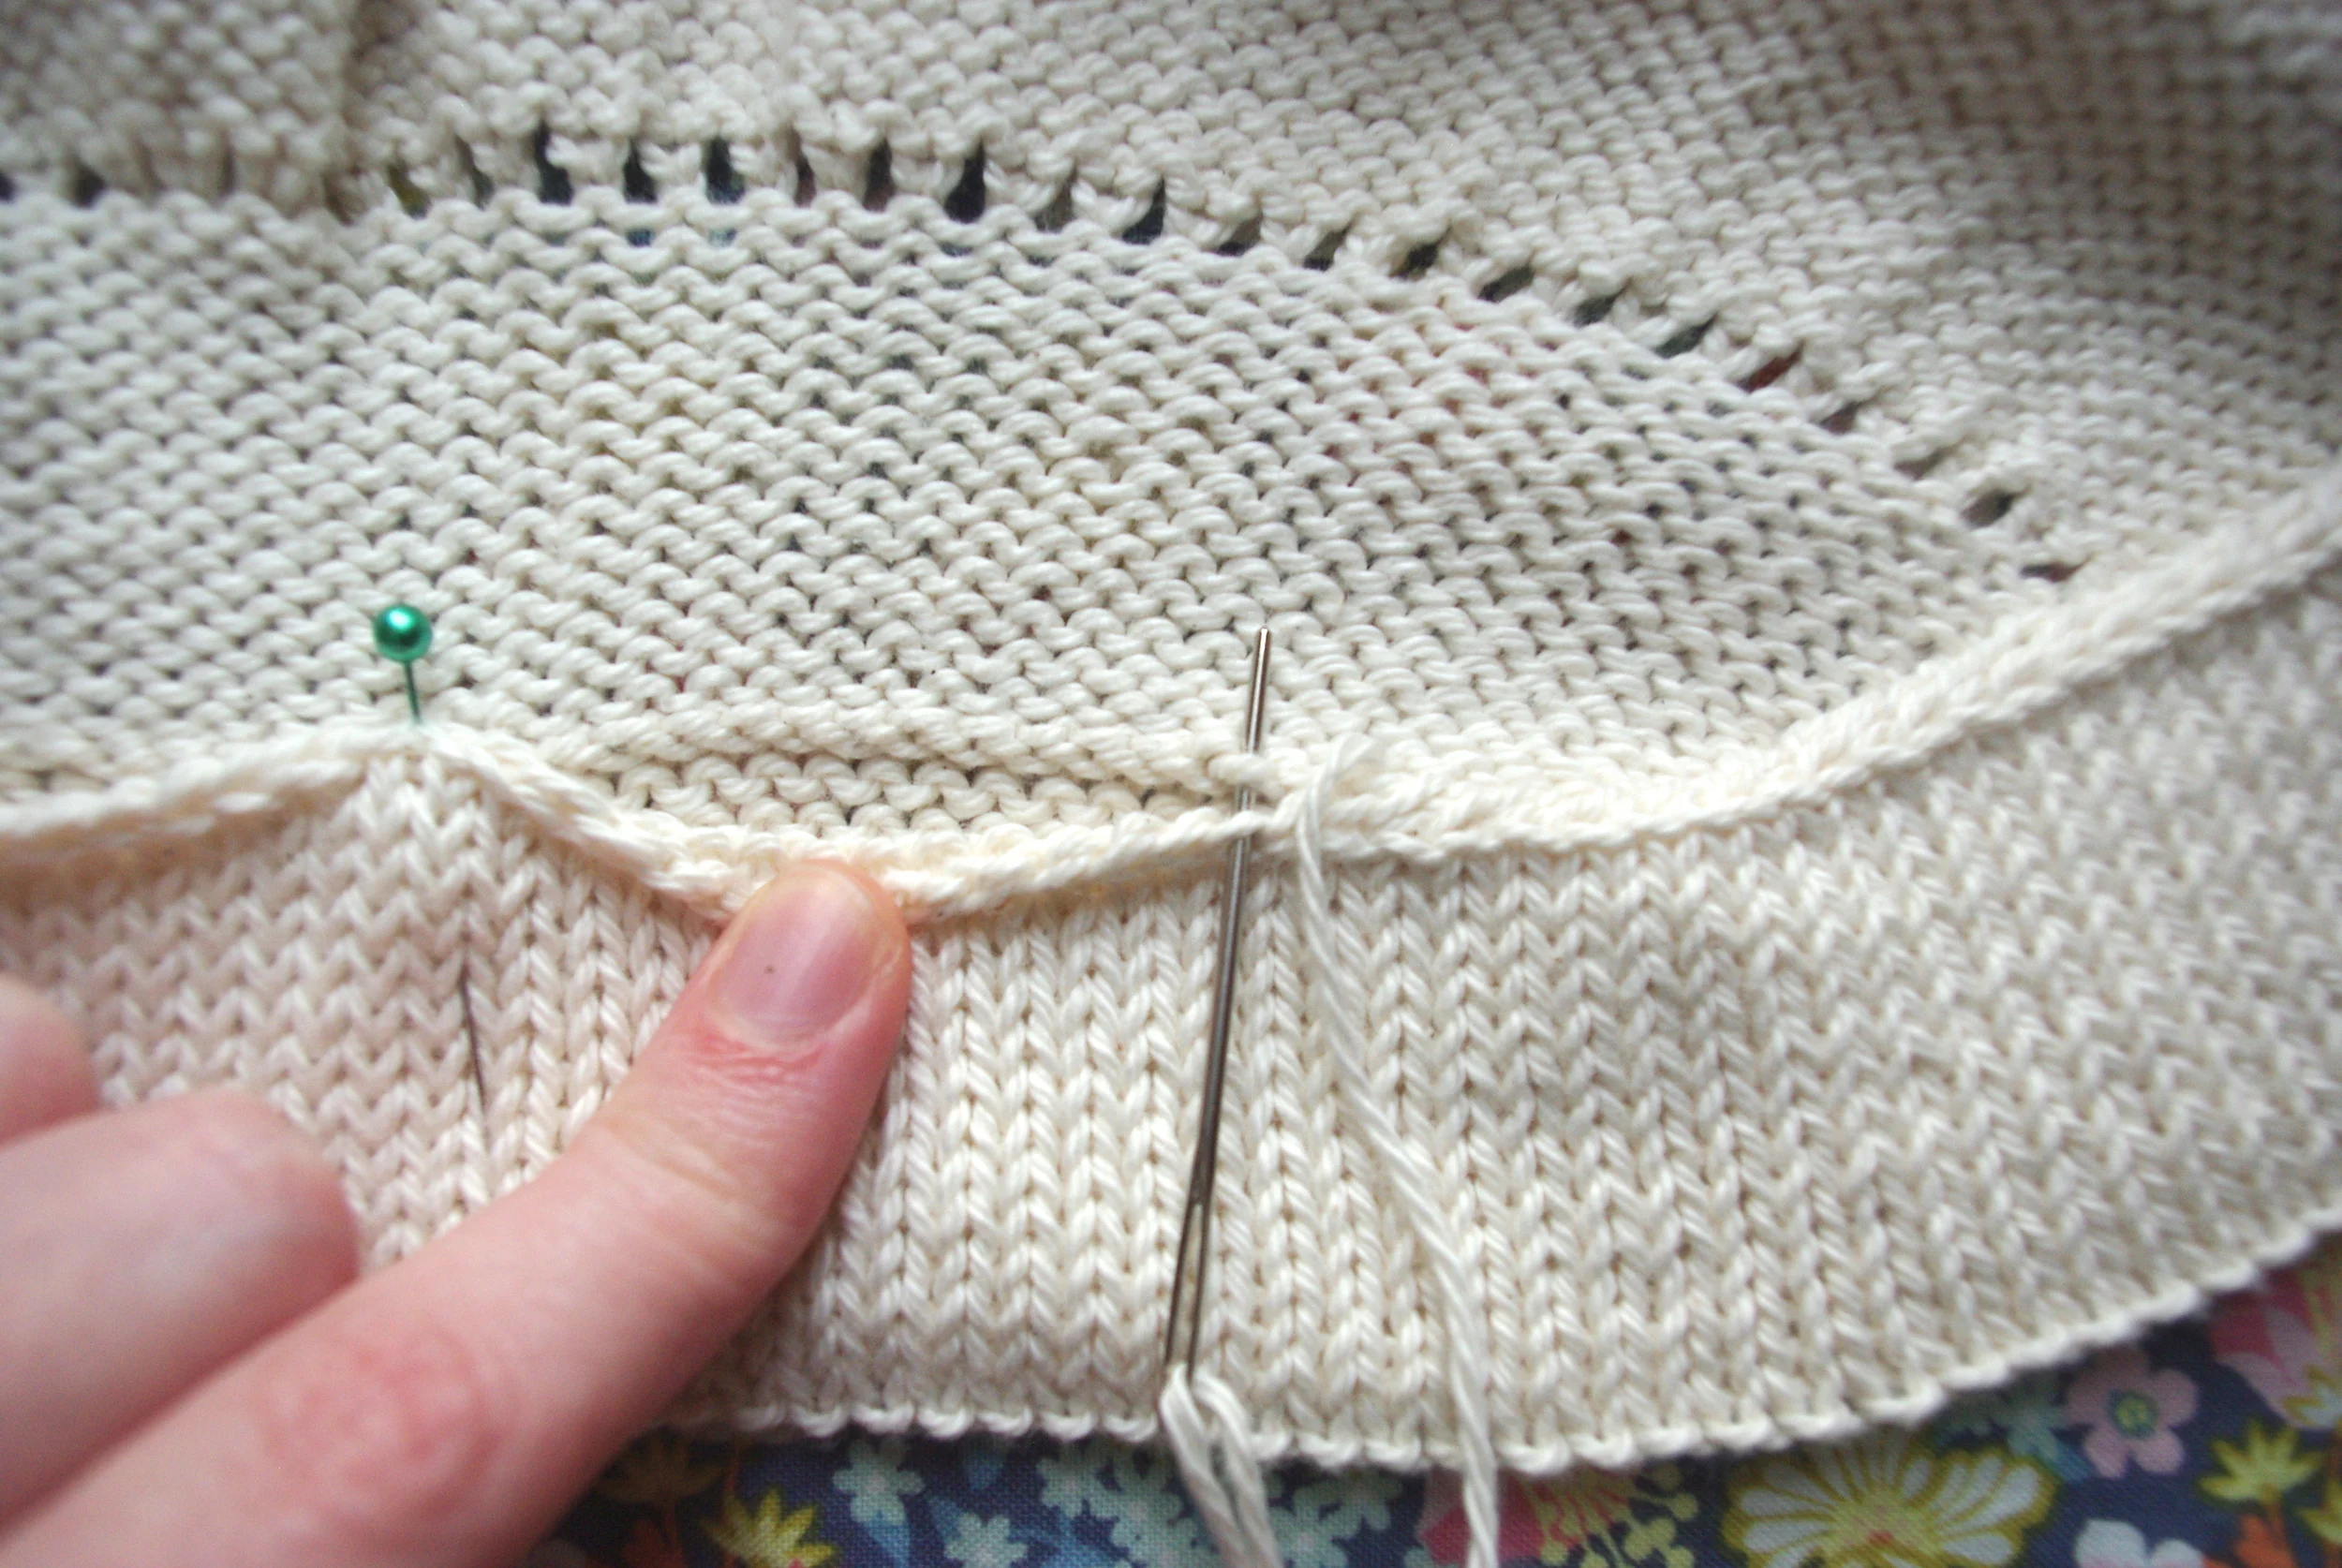
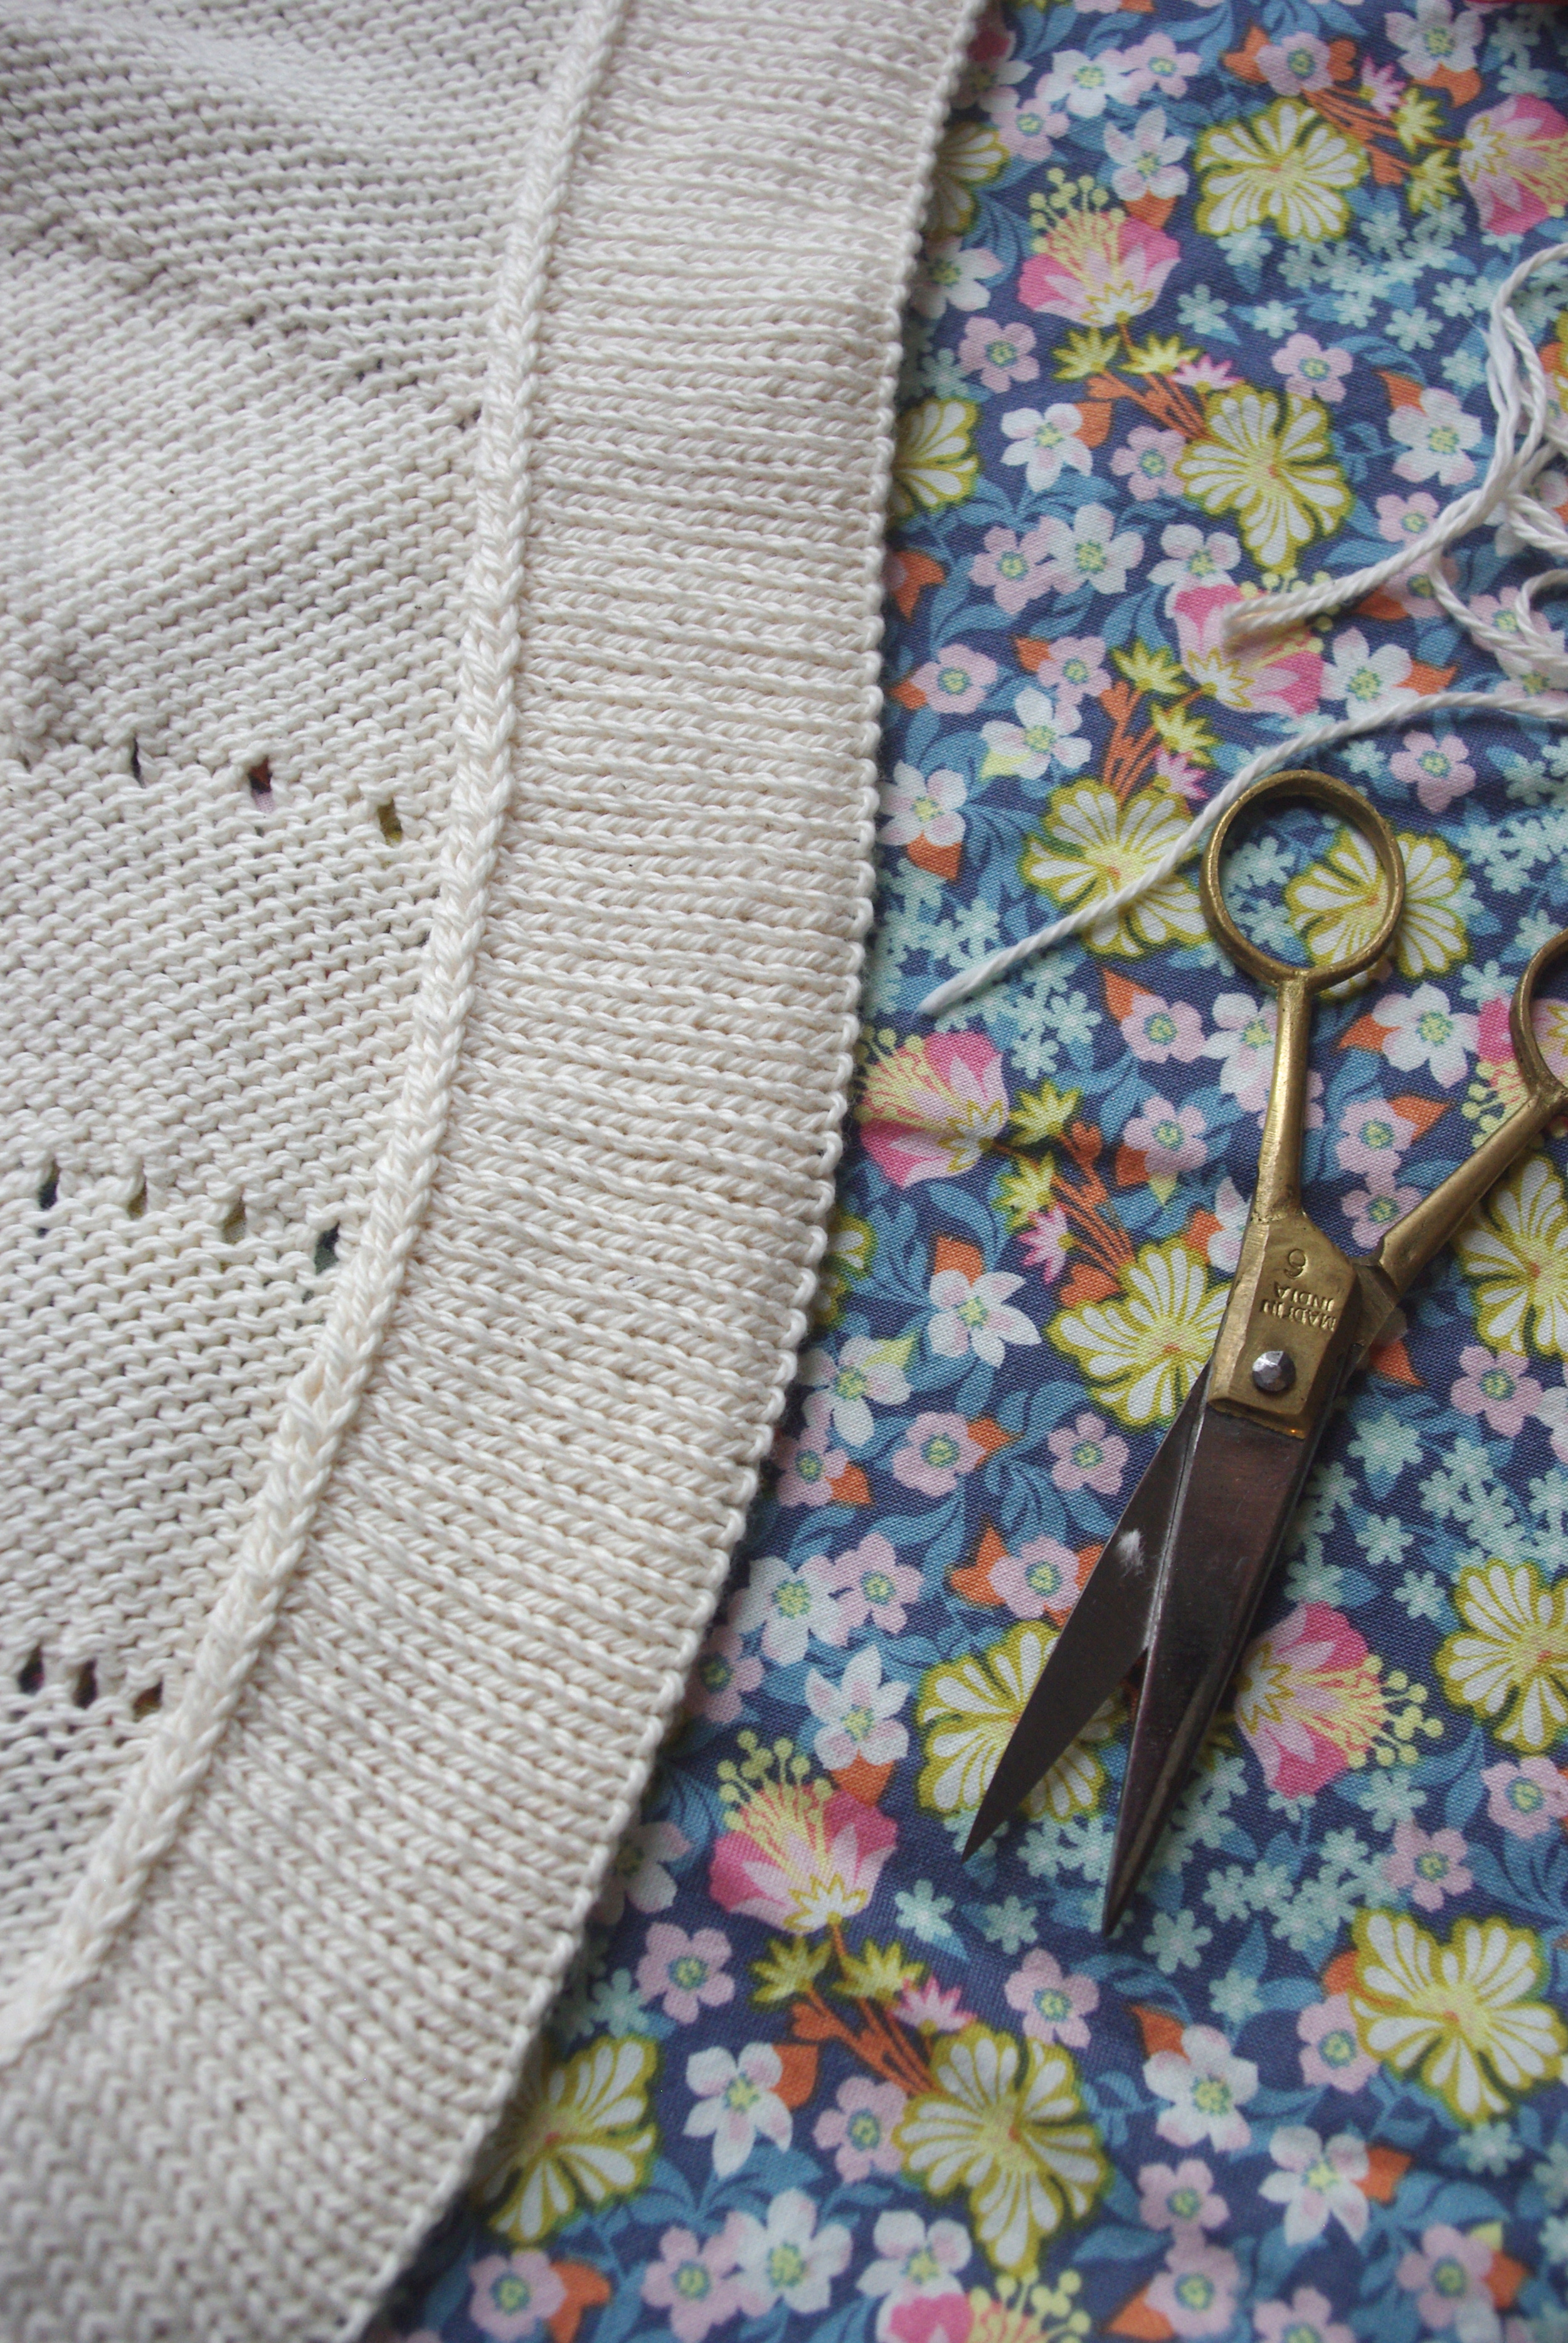
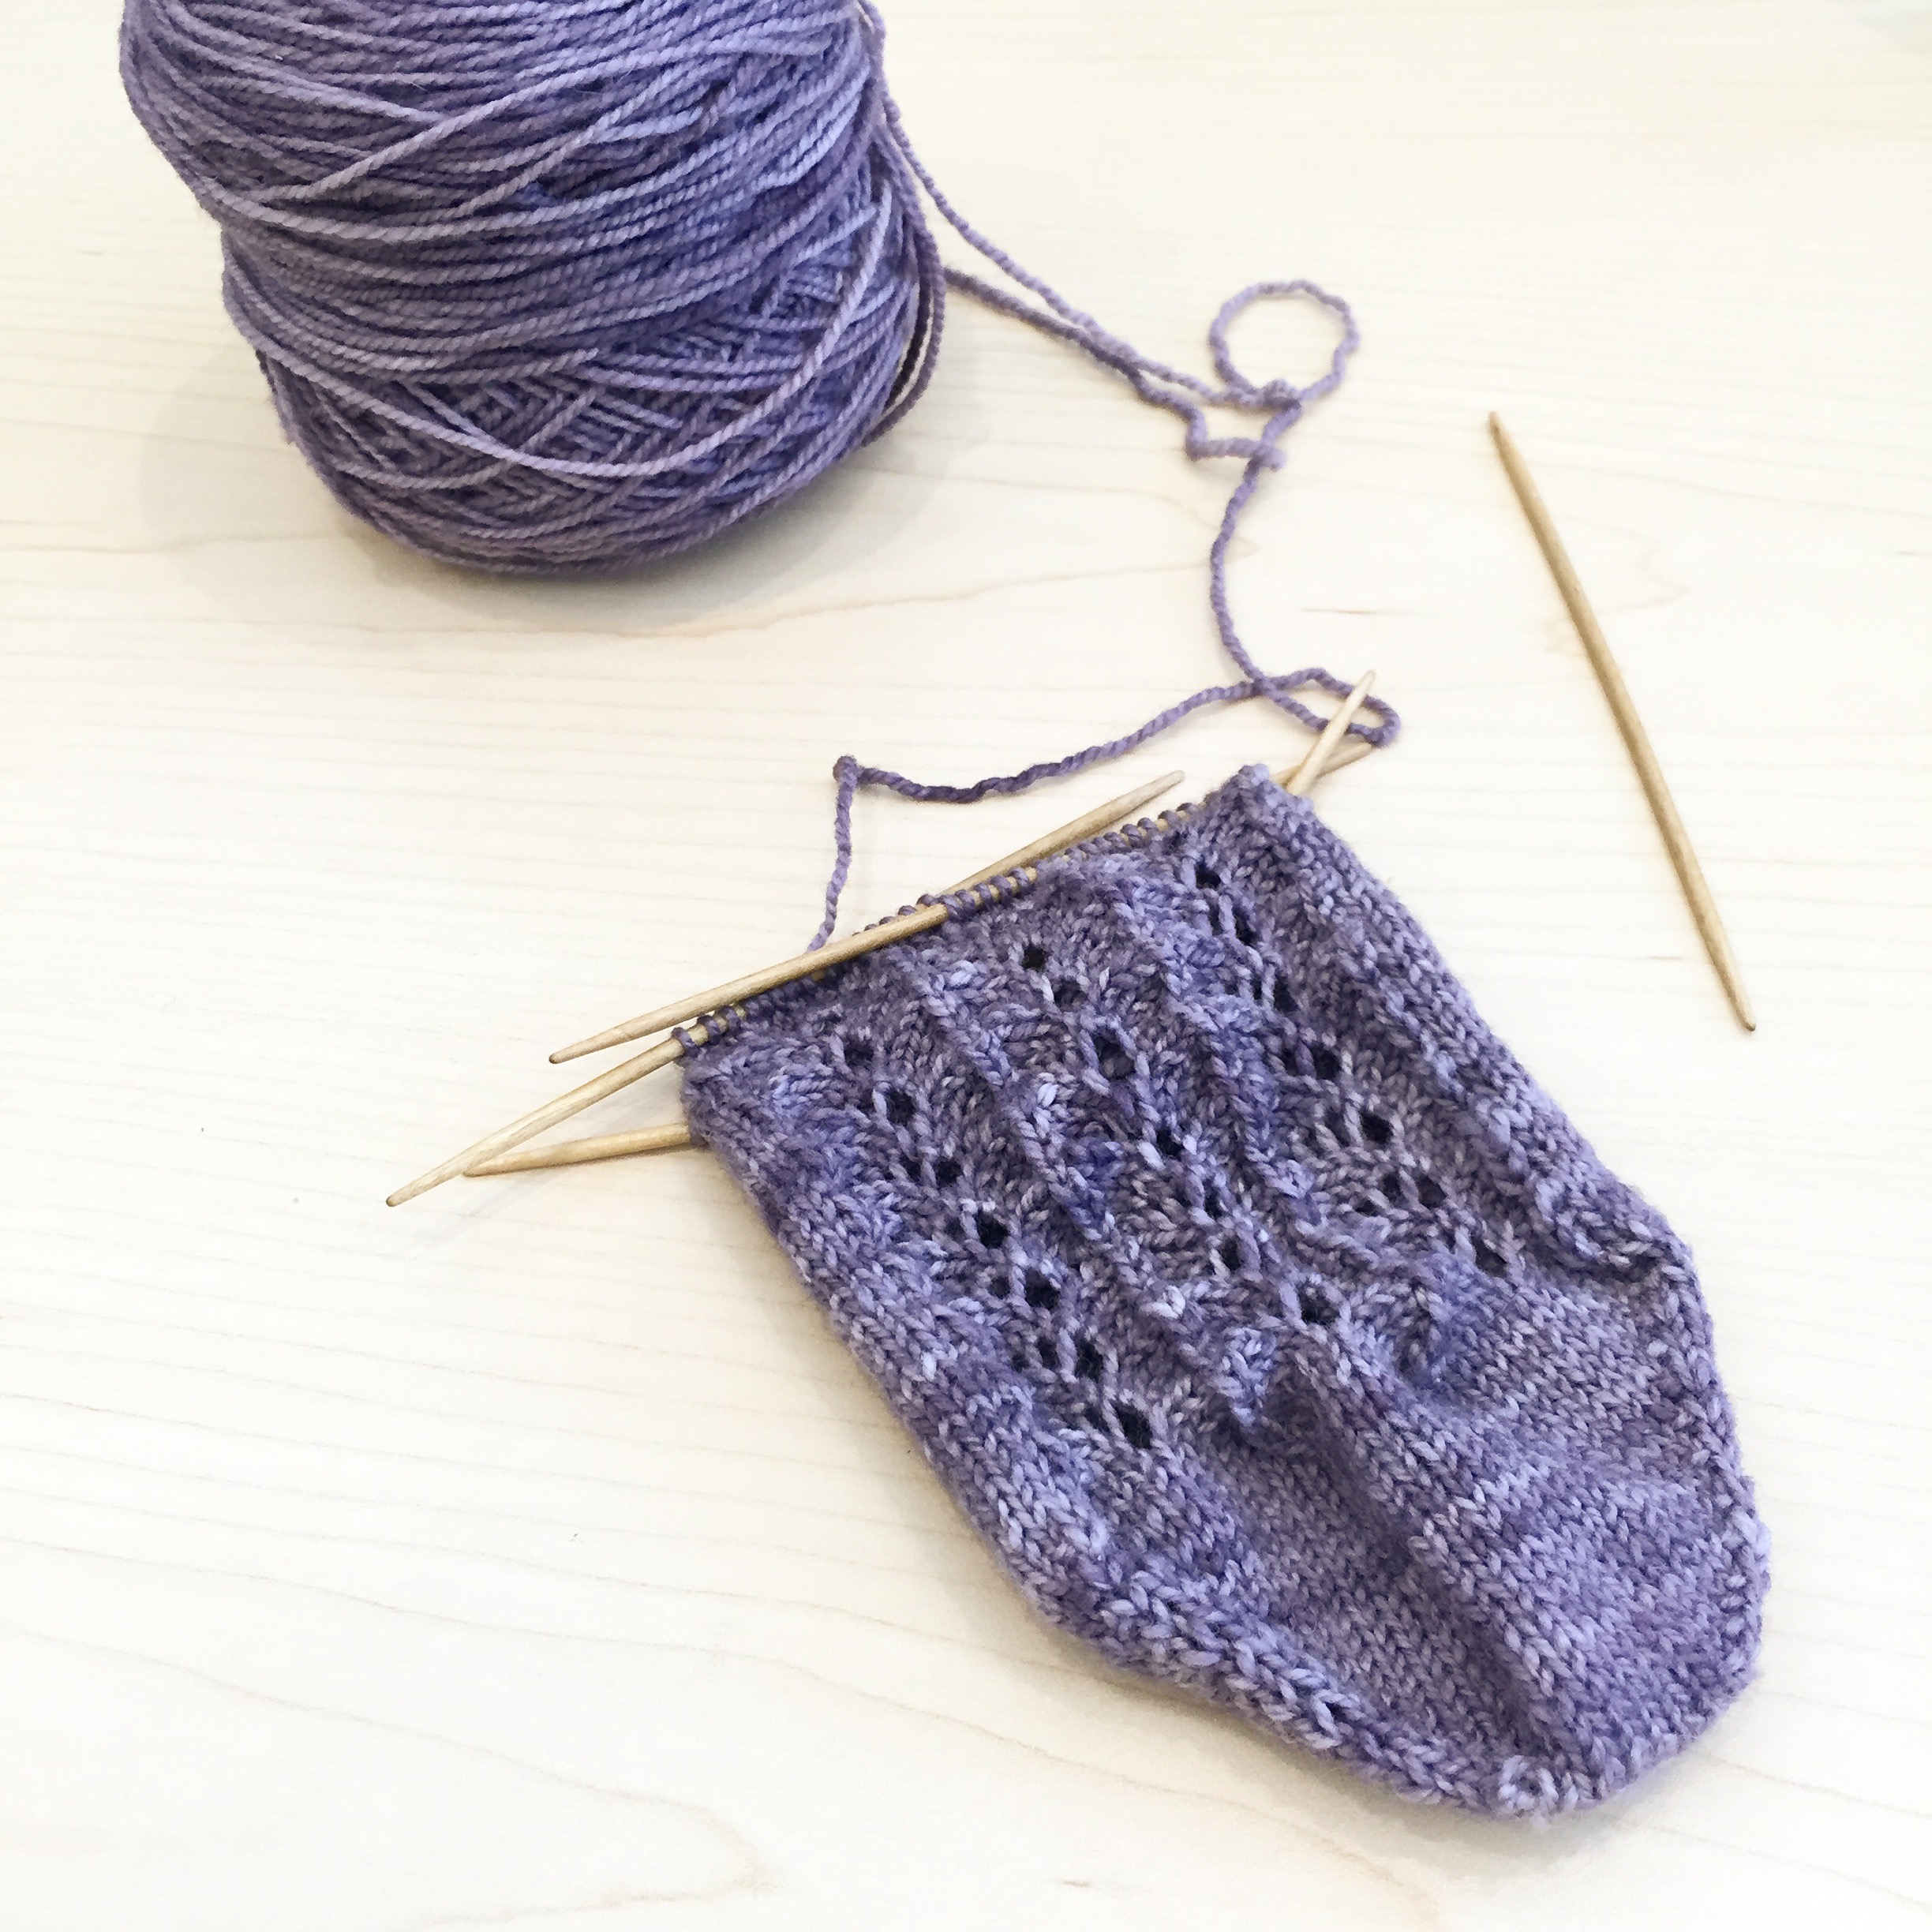
After the ribs are firmly established, the knitting flows easily off the needles. In some ways, the story for the inspiration behind this pattern is longer than the actual pattern itself.

Do you, do you remember? That time you told me you would unfold me like a paper bird?  -Heather Maloney, Word for Word

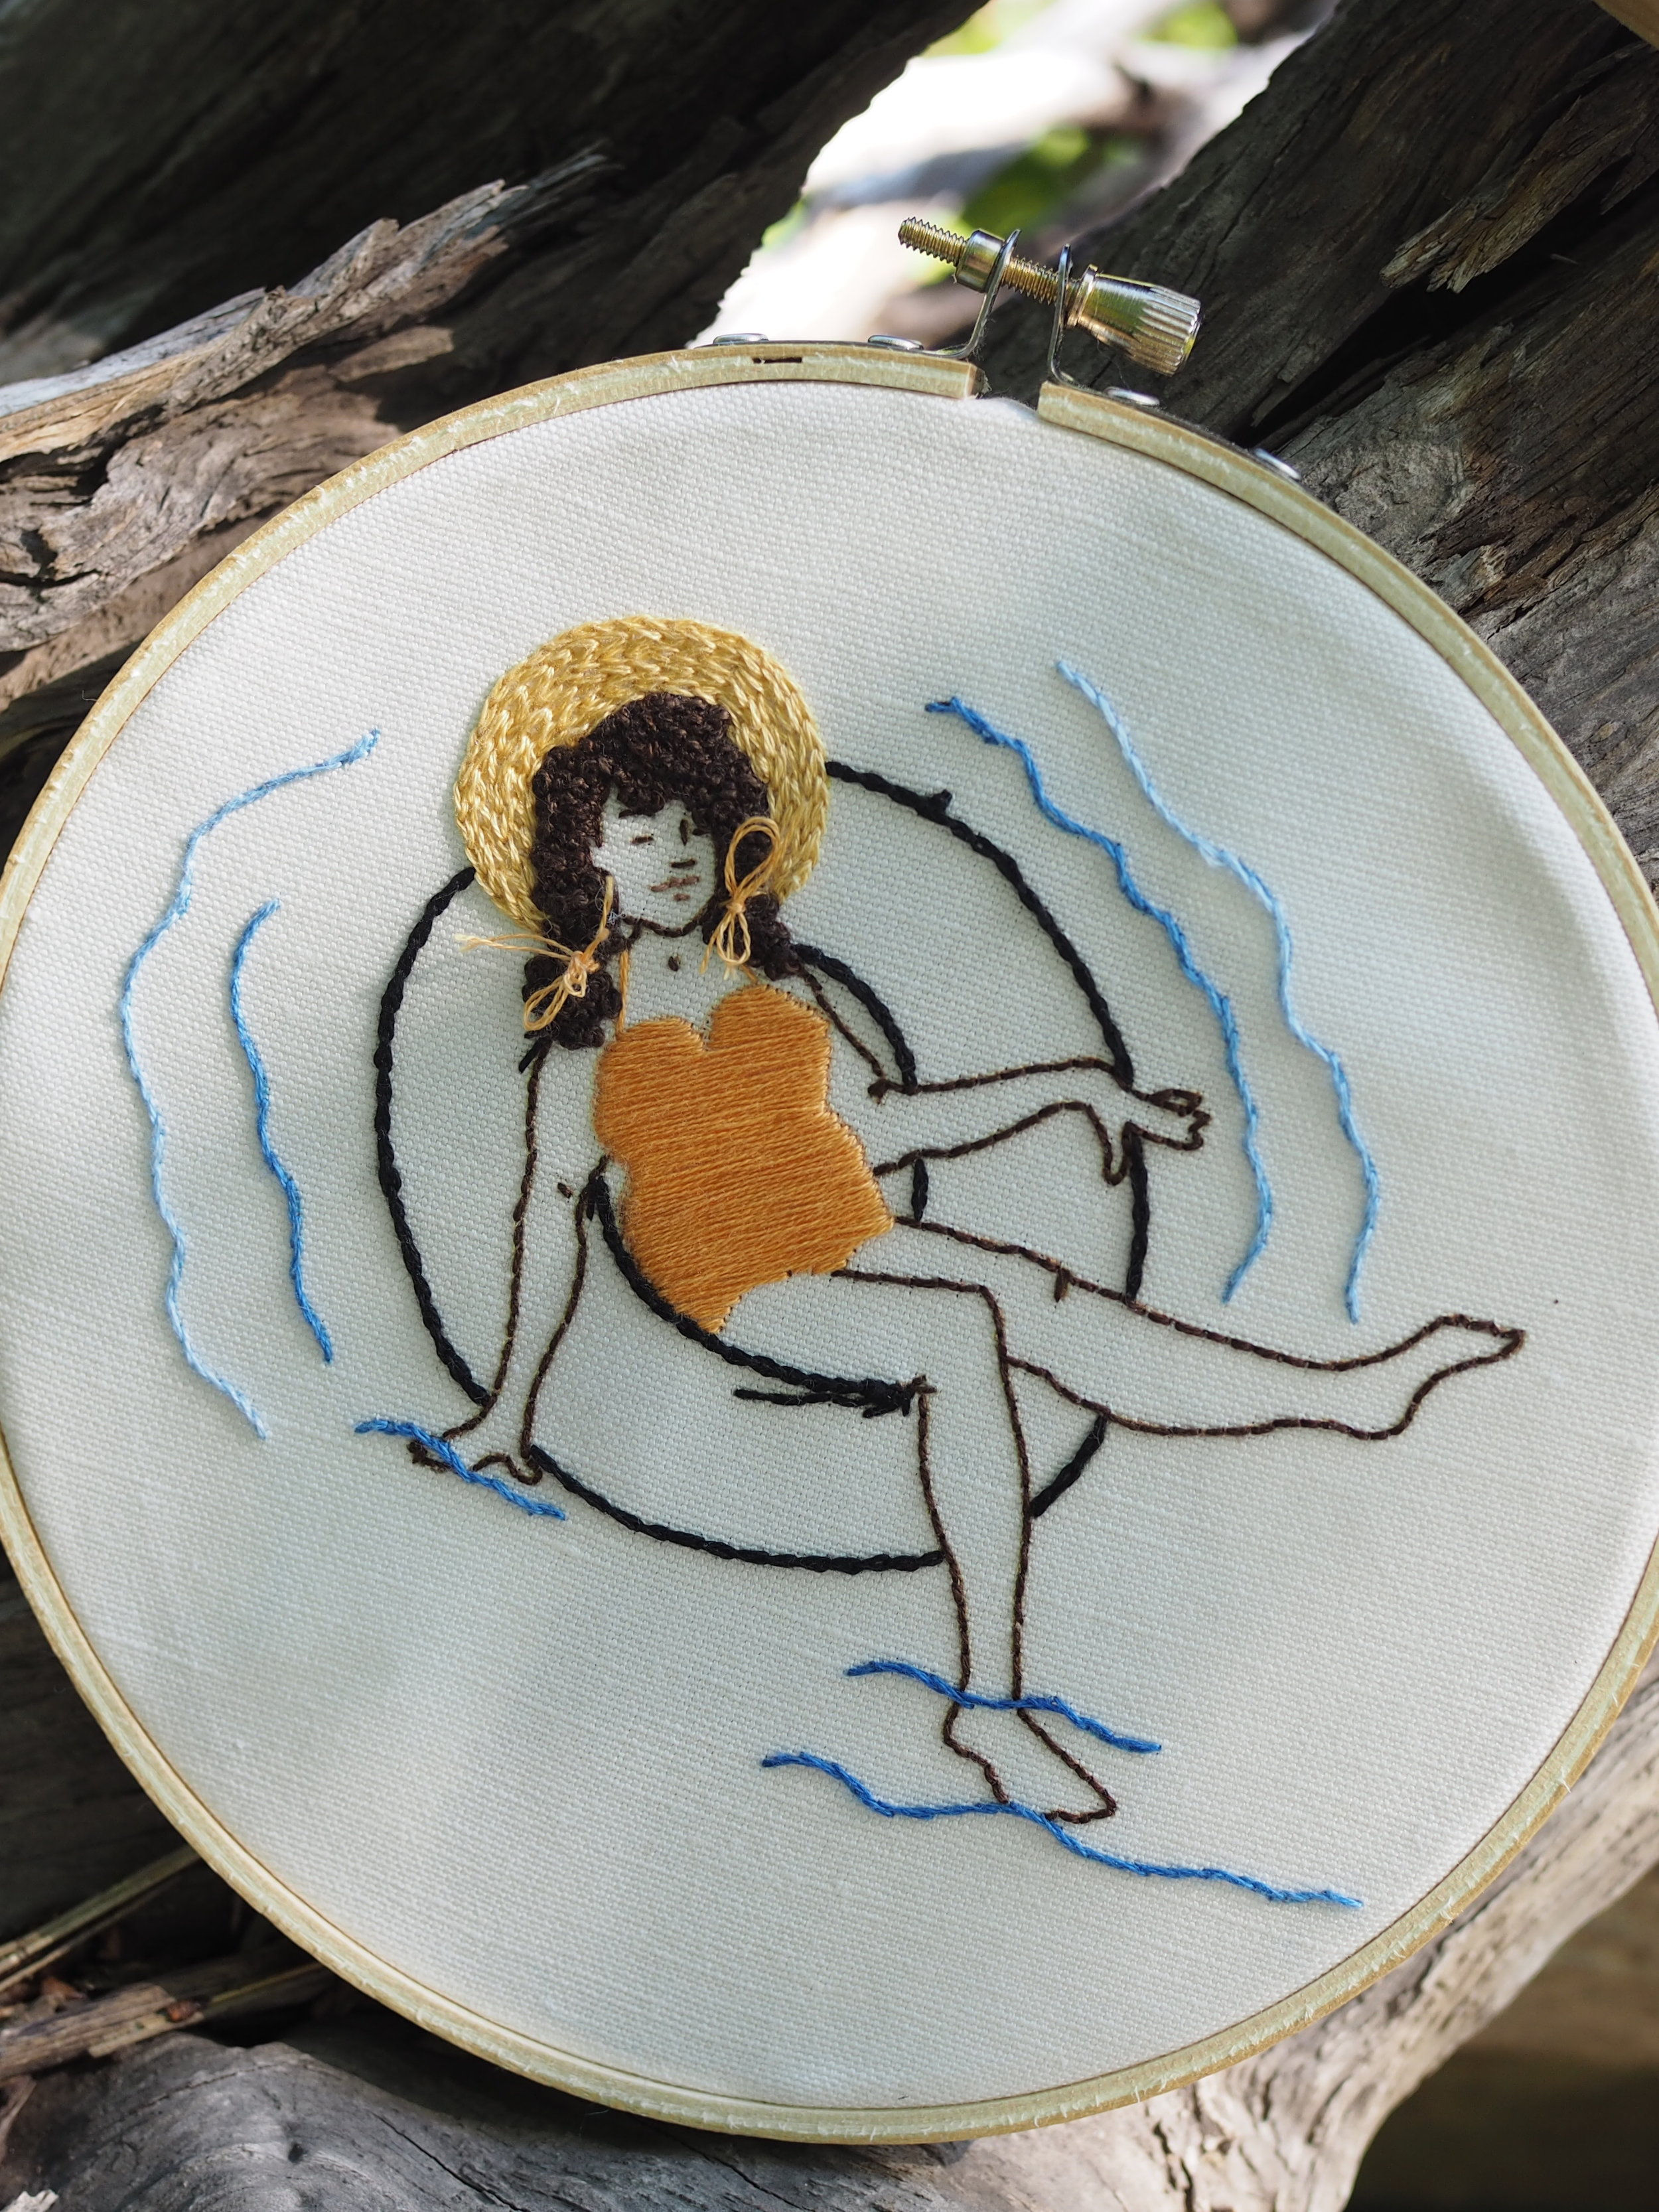
While listening to the song "Word for Word" by Massachusetts-based singer-songwriter Heather Maloney, I was struck by the phrase "Do you remember that time you told me you would unfold me like a paper bird?"

If you've known me for any length of time, chances are you've seen me make a paper crane ranging in size from over a foot tall (from flip-chart paper) to smaller than your pinkie nail (from a post-it). 

When I was ten or so, I read Sadako and the Thousand Paper Cranes in school, which tells the story of a young girl who gets cancer as a result of the Hiroshima bombings and begins folding paper cranes in line with a Japanese legend that a wish will be granted to anyone that folds 1,000 cranes. We learned to fold cranes in class and while I haven’t been striving for any specific wish, I have probably made nearly a 1,000 cranes since that day. But I don’t know that I ever unfolded one, it seems sacrilegious somehow.

The Paper Bird shawl is my attempt to capture the elegance of a live bird’s wing, along with sharpness and folds of its origami counterpart. Through the combination of ribs and bias stitching, the shawl takes on the quality of unfolded origami.

The pattern is available for $6.00 USD from the following online shops:

Quince & Co.   ||      Ravelry

If you knit it and participate in social media, use #quincepaperbird to share and/or tag me @mscleaver !  

I'd love to see your version!!!

Paper Crane
Making Me Break

Small City, Big Future

Summer, at least unofficially, has finally come to Maine. Which in these parts means parade season! The Memorial day parade got cancelled on account of rain, but fortunately in our little town the next weekend is Together Days and another parade.

When the parade features marching bands, Shriners in tiny cars, your next door neighbor, and copious amounts of candy, it's a good parade. :)

At lot of people in the area tend to look down on this little former mill town: it's not as hip as Portland, or as posh as Cape, and our realtor famously said "at least it doesn't smell anymore" when we put the city on our short list. People ask me all the time if we're planning to move.

The town's not perfect (putting a highway through the middle of downtown is pretty poor civic planning), but it's a good town filled with good people. It's not fancy, but it suits me and family just fine.


Finishing Your Knit with a Folded Hem

FoldedHemTutorial.png
Folded Hem Tutorial

Stockinette St is one of the most basic of knitting techniques. It creates a smooth fabric of knit stitches, but if it has one shortcoming, it's that it's curls. 

Usually this is counteracted by adding an inch or more of ribbing to hems, which works great in most cases, but does look, well, ribby. But what if you really want to embrace the smoothness of Stockinette, without having a curling hem, what do you do?

Enter the folded hem. 

Folded Hem Tutorial

Though it requires a little extra yardage and a bit of hand sewing, the folded hem easily gives a smooth, clean finish on both sides of the fabric and can add a bit of heft/stability to a collar or button band, as the fabric is doubled. A folded hem can be put in place of a rib hem by following a few simple steps.

For simplicity's sake, these instructions will refer to a hem, but the same technique can be used for collars and front facings. 

Working from the top down:

  1. Work pattern as described to beginning of where the rib would begin. 
  2. Work in Stockinette (or pattern) stitch to desired finished body length or length of original rib.
  3. Next wrong side (WS) row, knit. This will create a line of purl stitches on the right side.
  4. Work in Stockinette st for desired length of inside hem. This could be the same length as the ribbing would have been or shallower or deeper, as you desire. For comparison, on the Ocaso cardigan shown here,  the front bands are 2" wide/deep, while the sleeve hem and body hem are 1".  All fabric after the purl line is the facing
  5. Bind off.
  6. Block garment.
  7. Fold facing toward inside of garment along the purl line. 
  8. Pin to body of garment, making sure facing lies flat and is evenly distributed.
  9. Using a whipstitch every 2-3 sts/rows, attach facing to body of garment. If you picked up stitches for the band, there should be a clear line to attach the facing to, otherwise, when pinning, eyeball a row of stitching and stick to it to maintain an even hem.
  10. Weave in ends and block again as needed.
  11. Enjoy your smooth hem!

Working from the bottom up:

  1. Cast on number of body stitches. If the number changes from ribbing to first row of the body, use the body number.
  2. Work in Stockinette st for desired length of inside hem. This could be the same length as the ribbing would have been or shallower or deeper, as you desire. For comparison, on the Ocaso cardigan shown here, the front bands are 2" wide/deep, while the sleeve hem and body hem are 1". 
  3. Next wrong side (WS) row, knit. This will create a line of purl stitches on the right side. All fabric before the purl line is the facing
  4. Work in Stockinette (or pattern) stitch to length of facing or length of original rib.
  5. Work garment as described.
  6. Block garment.
  7. Fold facing toward inside of garment along the purl line. 
  8. Pin to body of garment, making sure facing lies flat and is evenly distributed.
  9. Using a whipstitch every 2-3 sts/rows, attach facing to body of garment. If you picked up stitches for the band, there should be a clear line to attach the facing to, otherwise, when pinning, eyeball a row of stitching and stick to it to maintain an even hem.
  10. Weave in ends and block again as needed.
  11. Enjoy your smooth hem!
Folded Hem Tutorial
Folded Hem Tutorial
Folded Hem Tutorial
Folded Hem Tutorial
Folded Hem Tutorial
Folded Hem Tutorial
Folded Hem Tutorial
Folded Hem Tutorial

Ready to Give it a Try?

These patterns include folded hems.


Introducing Ocaso

Ocaso design by Leah B. Thibault for Ms. Cleaver Creations

Meet Ocaso!

Fun to knit and easy to wear, Ocaso is the perfect summer cardigan.

Ocaso takes a traditional shape and uses knitterly techniques to construct it in a way that only knitting can. The garment starts off in a similar fashion to a pi-shawl, but is transformed into a boxy kimono shape though the use of short rows. Worked in a smooth cotton yarn (Quince & Co's Willet), the cardigan is warm enough to ward off summer breezes, but not too hot for warmer days.

The sweater is worked in one piece from the neck down. It begins with a circular yoke that is transformed into a square using short rows. The front and back body are joined in the round and knit downwards, as are the sleeves, all of which are finished with a folded hem. A wide folded band is picked up and knit along the front opening and neckline.

Ocaso actually began life as the Leading Bird Shawl. I was working with pi-shawl shaping and got stuck on how I wanted to do the border. I was texting ideas with Bristol Ivy and she suggested I "change the direction"  and then I thought I could use short rows to change the circular shapes into a rectangular one. While that didn't happen in the shawl, I couldn't shake idea and though it could work wonderfully in a boxy- kimono-style shape and, thus Ocaso was born! 

The unique construction makes it fun to knit, while the stockinette lets the shaping show and keeps it simple. Folded hems keep the lines clean. Never worked a folded hem before? Don't worry! There's a tutorial coming later this week!

The pattern is available for $7.00 USD from the following online shops:

LoveKnitting   ||    Ms. Cleaver Creations    ||    Ravelry


Ocaso is on sale on Mscleaver.com and Ravelry from now until Saturday, June 4 2016 for just $5.00 USD

If you knit it and participate in social media, use #ocasocardi to share or tag me @mscleaver !  

I'd love to see your version!!!


Me-Made May Week 4th and Final Thoughts

So 31 Days and 28 selfies later - I've come to the end of my first Me-Made May. While I won't miss the selfies (there are only so many ways to take a quick photo of yourself and show what you're wearing), it was a fun experiment. 

I did manage to wear handmade items everyday, though the 30th was close, because I was in my jammies most of the day and only threw on a pair of jeans to take LMC to the park.

This morning I thought, "I can wear anything I want!" and grabbed a favorite RTW shirt and a me-made skirt, so I think it's safe to say that wearing handmade is just a part of what I do. 

And I have more garment pieces than I thought. Because I'm kind of a data/spreadsheet geek, I decided to make some charts, and then turn them into an info-graphic (like you do...). 

All told, I wore 51 handmade items, of which 35 were distinct items and 16 were repeats.

The items I wore were created over a span of eight years, with a notable drop in items made in 2013, when LMC was born, and 2014, when I was mostly sewing baby clothes. 

Perhaps unsurprisingly, I wore handmade sweaters more than any other garment type and my own designs made up 12% of the total items I wore (helped along by my brand-new Ocaso cardigan, which I can't stop wearing and will talk about more tomorrow). 

Other than that, my Me-made trophy goes to Colette Patterns, which supplied six separate garments from four different patterns. You can see some of the other figures in the charts below.

The process also confirmed my wardrobe planning needs, namely bottoms (shorts/pants) and basic tees. Good thing I have some fabric and patterns ready to go!

While I don't know that I would do the month of selfies part again, I definitely enjoyed scrolling through the hashtags on Instagram and seeing what everyone else was making and getting ideas for new patterns I want to try (Datura Blouse and Fancy Tiger Sailor Top, I'm looking at you!).

Did you participate or follow along? What did you think of the experience? Would you do it again?

Me Made Made Outcomes - Ms. Cleaver Creations

Me-Made May Weeks 2 & 3

We're in the home stretch now, with only a week left to go! I'm officially in the land of repeats now, but still going strong. The changeable spring weather in Maine means I can still wear sweaters and some of my summer tanks. :) 

As before, outfit details are on my Instagram account. And you look, you can see a sneak peak of my next knitwear design, (which should be out next week) as well as another look at the Fireside Shawl!

How are you doing, if you're participating? Ready to wear something different? Energized to keep carrying on?


Introducing the Fireside Shawl

Fireside Shawl by Leah B. Thibault from Weekend Wraps

As a reader, wanna-be author, and daughter of a librarian, I have always loved books. So I'm beyond thrilled to actually be in one myself!

Weekend Wraps is the third collaboration between Cecily Glowik MacDonald and Melissa LeBarre (following Weekend Hats and New England Knits) and features 18 quick-knit shawls, cowls, scarves and shrugs from 15 designers. The book is due out in August, but is now available for pre-order from Amazon or your local bookstore or yarn shop. 

The book focuses on accessories knit in worsted weight or heavier yarn, that result in beautiful knits that take only a little time but are big on style. My contribution to the collection is the Fireside Shawl.

The Fireside Shawl is generously-sized and features triangles upon triangles upon triangles. Garter stitch borders and a knit-stitch heavy pattern means that purling is limited. A easily memorizable repeat and worsted weight yarn (shown here in Spud & Chloe Sweater) make for a quick and cozy knit.

The book also includes designs by Amy ChristoffersAngela TongBristol IvyCarrie Bostick HogeCecily Glowik MacDonaldEmma WelfordJocelyn TunneyKate Gagnon OsbornKristen TenDykeLeila RaabeMelissa LeBarreRachel SteckerTanis Gray and Thea Coleman.

You can check out all the designs and queue up your favorites on Ravelry

All photos courtesy of Interweave


Me-Made May: Week One

Me-Made May has been around for several years now, since 2010, and I had always intended to participate, but never really got around to it. So this year, I finally got my act together and went in whole hog. 

For those unfamiliar with Me-Made May, the link above gives a good overview, but in short, the idea is to wear your handmade garments/accessories everyday for the month of May. Some people chose to wear one handmade item, others to only wear handmade. 

I knit my first sweater in November 2007 and started regularly sewing a few months before that. In the nine years since then, my wardrobe has gotten to a point where about 75% of it is handmade. When I told Mr. Cleaver about participating in this challenge, his response was "Well, that won't be hard for you."

And in truth it's not really. If you start from the basics all my underpinnings (bra, underwear, socks) are handmade, so I check that box on a daily basis. So my goal for Me-Made May has been to have the majority of each day's visible outfit be handmade. 

You can see the outfits thus far above. I have been doing the daily selfie thing (which isn't a requirement), but if you're interested in details of each outfit, I've been posting them on my Instagram account. I'll also be doing a more detailed roundup (with charts!) at the end of the month. 

Are you participating in Me-Made May? I so so, shout out (or link) below!


Recipe: Chocolate-Raspberry Tart with Shortbread Crust

Chocolate Raspberry Tart with Shortbread Crust

I was recently discussing my s'more pie with a friend who had made it sans marshmallows. We were talking about how the filling could work well with a variety of different toppings/fillings and I mentioned that I thought it would be particularly good with crushed raspberries and a shortbread crust. 

A few pints of raspberries and one satisfied taste-tester later, here we are.  :)

Chocolate & Raspberry Tart 

Shortbread crust

  • 1 ½ cups all-purpose flour
  • 1 cup powdered sugar
  • ½ teaspoon salt
  • 1 ½ sticks cold butter, 6 ounces, cut in small pieces
  • If your dough isn't holding together, you can add up to 1 egg

Chocolate filling

  • 1 1/4 cups (10 oz.) heavy cream
  • 9 ounces bittersweet chocolate chips (not more than 65% cacao if marked)
  • 2 large eggs
  • 1 teaspoon pure vanilla extract
  • 1/4 teaspoon salt
  • 1 1/2 pints fresh raspberries, plus more for decoration (~2 pints in total)

NB: depending on the size of your pan(s) you may not need all the dough or filling.

Make and "Blind Bake" Tart Shell

Make and Blind Bake Tart ShellSpray a tart pan, or several mini tart pans with cooking spray. Combine crust ingredients with a pastry cutter or food processor, until the mixture clumps, if needed, add up to one egg. Using fingers, press dough evenly into tart pan bottom and up sides past edge of pan. Prick the dough with a fork, line crust with foil and fill with pie weights/rice/beans etc.

Cover crust and chill for 1 hour. Preheat oven to 375˚F.

Place tart pan(s) on a baking sheet and bake for 10-15 minutes or until golden brown. Cool completely.

Make Filling

Bring cream to a boil, then pour over chocolate in a bowl and let stand 5 minutes. Gently stir until smooth. Whisk together eggs, vanilla, and salt in another bowl until frothy, then fold into melted chocolate.

Set aside about dozen raspberries for decorating (or 1 per mini tart ) Crush the remaining raspberries in a sieve to drain the excess juice and spread crushed berries along the bottom of the cooled crust and then pour filling on top.

Bake until filling is set about 3 inches from edge but center is still wobbly, 20 to 25 minutes. (Center will continue to set as tart cools.) Cool completely in pan on rack, about 1 hour.

Remove from tart pan and decorate with remaining raspberries.

If kept at room temperature, chocolate will have a mousse-like texture, chilling the tart in the refrigerator will give it a firmer texture.


Selfish Stitching

Stem Stitch
Hubby socks
Doctor Who Project Bag
Teamwork
Mini Skein
Selfish Sock
Start Where You Are Embroidery
Selfish Socks

I have, to a certain extent, turned my hobby into a job. It's certainly not my full-time job, but it does have responsibilities and deadlines, etc. that knitting for oneself just doesn't has.

The danger of turning one's hobby into a job is losing the joy you had in that activity in the first place. Burn out for artists is nothing new, and it's nothing new to me. I watched myself go through it with theatre and it wasn't something I wanted to go through again with knitting. 

In the past six months, I have been working more intensely on my knit design work than I have since I started doing it back in 2010. It's been exciting and challenging, and at times frustrating. But the thing that has kept me grounded is selfish-stitching. Doing something just because I want to, with no deadline at the end of it, no need to sell anything, has been imperative. It doesn't even have to be something for me (for example, I knit Mr. Cleaver a pair of socks), it just has to be something I want (not need) to do. 

When I started selfish-stitching, I had thought to limit it to Sundays, but my methodology has shifted somewhat. It's now more about when I need it, or there's a found moment, rather than anything scheduled. Little moments of joy sprinkled throughout my week.

You can see the joyful fruit of my labors above. A beautiful embroidery of encouraging words stitched, in part, with my daughter; simple socks for a grateful recipient; less simple socks for me; a project bag in a fabric that always makes me smile; and a teeny tiny skein of yarn, spun just to feel fiber between my fingers. Things both useful and purely decorative.

I'm proud of all the other things I'm working on, the things I can't show you yet. They've expanded my skills as a knitter and a designer. They are beautiful and I can't wait to share them. Each one of my designs holds a special place in my heart, but each one of these little "just because" projects does too.