Introducing the Fireside Shawl

Fireside Shawl by Leah B. Thibault from Weekend Wraps

As a reader, wanna-be author, and daughter of a librarian, I have always loved books. So I'm beyond thrilled to actually be in one myself!

Weekend Wraps is the third collaboration between Cecily Glowik MacDonald and Melissa LeBarre (following Weekend Hats and New England Knits) and features 18 quick-knit shawls, cowls, scarves and shrugs from 15 designers. The book is due out in August, but is now available for pre-order from Amazon or your local bookstore or yarn shop. 

The book focuses on accessories knit in worsted weight or heavier yarn, that result in beautiful knits that take only a little time but are big on style. My contribution to the collection is the Fireside Shawl.

The Fireside Shawl is generously-sized and features triangles upon triangles upon triangles. Garter stitch borders and a knit-stitch heavy pattern means that purling is limited. A easily memorizable repeat and worsted weight yarn (shown here in Spud & Chloe Sweater) make for a quick and cozy knit.

The book also includes designs by Amy ChristoffersAngela TongBristol IvyCarrie Bostick HogeCecily Glowik MacDonaldEmma WelfordJocelyn TunneyKate Gagnon OsbornKristen TenDykeLeila RaabeMelissa LeBarreRachel SteckerTanis Gray and Thea Coleman.

You can check out all the designs and queue up your favorites on Ravelry

All photos courtesy of Interweave


Me-Made May: Week One

Me-Made May has been around for several years now, since 2010, and I had always intended to participate, but never really got around to it. So this year, I finally got my act together and went in whole hog. 

For those unfamiliar with Me-Made May, the link above gives a good overview, but in short, the idea is to wear your handmade garments/accessories everyday for the month of May. Some people chose to wear one handmade item, others to only wear handmade. 

I knit my first sweater in November 2007 and started regularly sewing a few months before that. In the nine years since then, my wardrobe has gotten to a point where about 75% of it is handmade. When I told Mr. Cleaver about participating in this challenge, his response was "Well, that won't be hard for you."

And in truth it's not really. If you start from the basics all my underpinnings (bra, underwear, socks) are handmade, so I check that box on a daily basis. So my goal for Me-Made May has been to have the majority of each day's visible outfit be handmade. 

You can see the outfits thus far above. I have been doing the daily selfie thing (which isn't a requirement), but if you're interested in details of each outfit, I've been posting them on my Instagram account. I'll also be doing a more detailed roundup (with charts!) at the end of the month. 

Are you participating in Me-Made May? I so so, shout out (or link) below!


Recipe: Chocolate-Raspberry Tart with Shortbread Crust

Chocolate Raspberry Tart with Shortbread Crust

I was recently discussing my s'more pie with a friend who had made it sans marshmallows. We were talking about how the filling could work well with a variety of different toppings/fillings and I mentioned that I thought it would be particularly good with crushed raspberries and a shortbread crust. 

A few pints of raspberries and one satisfied taste-tester later, here we are.  :)

Chocolate & Raspberry Tart 

Shortbread crust

  • 1 ½ cups all-purpose flour
  • 1 cup powdered sugar
  • ½ teaspoon salt
  • 1 ½ sticks cold butter, 6 ounces, cut in small pieces
  • If your dough isn't holding together, you can add up to 1 egg

Chocolate filling

  • 1 1/4 cups (10 oz.) heavy cream
  • 9 ounces bittersweet chocolate chips (not more than 65% cacao if marked)
  • 2 large eggs
  • 1 teaspoon pure vanilla extract
  • 1/4 teaspoon salt
  • 1 1/2 pints fresh raspberries, plus more for decoration (~2 pints in total)

NB: depending on the size of your pan(s) you may not need all the dough or filling.

Make and "Blind Bake" Tart Shell

Make and Blind Bake Tart ShellSpray a tart pan, or several mini tart pans with cooking spray. Combine crust ingredients with a pastry cutter or food processor, until the mixture clumps, if needed, add up to one egg. Using fingers, press dough evenly into tart pan bottom and up sides past edge of pan. Prick the dough with a fork, line crust with foil and fill with pie weights/rice/beans etc.

Cover crust and chill for 1 hour. Preheat oven to 375˚F.

Place tart pan(s) on a baking sheet and bake for 10-15 minutes or until golden brown. Cool completely.

Make Filling

Bring cream to a boil, then pour over chocolate in a bowl and let stand 5 minutes. Gently stir until smooth. Whisk together eggs, vanilla, and salt in another bowl until frothy, then fold into melted chocolate.

Set aside about dozen raspberries for decorating (or 1 per mini tart ) Crush the remaining raspberries in a sieve to drain the excess juice and spread crushed berries along the bottom of the cooled crust and then pour filling on top.

Bake until filling is set about 3 inches from edge but center is still wobbly, 20 to 25 minutes. (Center will continue to set as tart cools.) Cool completely in pan on rack, about 1 hour.

Remove from tart pan and decorate with remaining raspberries.

If kept at room temperature, chocolate will have a mousse-like texture, chilling the tart in the refrigerator will give it a firmer texture.


Selfish Stitching

Stem Stitch
Hubby socks
Doctor Who Project Bag
Teamwork
Mini Skein
Selfish Sock
Start Where You Are Embroidery
Selfish Socks

I have, to a certain extent, turned my hobby into a job. It's certainly not my full-time job, but it does have responsibilities and deadlines, etc. that knitting for oneself just doesn't has.

The danger of turning one's hobby into a job is losing the joy you had in that activity in the first place. Burn out for artists is nothing new, and it's nothing new to me. I watched myself go through it with theatre and it wasn't something I wanted to go through again with knitting. 

In the past six months, I have been working more intensely on my knit design work than I have since I started doing it back in 2010. It's been exciting and challenging, and at times frustrating. But the thing that has kept me grounded is selfish-stitching. Doing something just because I want to, with no deadline at the end of it, no need to sell anything, has been imperative. It doesn't even have to be something for me (for example, I knit Mr. Cleaver a pair of socks), it just has to be something I want (not need) to do. 

When I started selfish-stitching, I had thought to limit it to Sundays, but my methodology has shifted somewhat. It's now more about when I need it, or there's a found moment, rather than anything scheduled. Little moments of joy sprinkled throughout my week.

You can see the joyful fruit of my labors above. A beautiful embroidery of encouraging words stitched, in part, with my daughter; simple socks for a grateful recipient; less simple socks for me; a project bag in a fabric that always makes me smile; and a teeny tiny skein of yarn, spun just to feel fiber between my fingers. Things both useful and purely decorative.

I'm proud of all the other things I'm working on, the things I can't show you yet. They've expanded my skills as a knitter and a designer. They are beautiful and I can't wait to share them. Each one of my designs holds a special place in my heart, but each one of these little "just because" projects does too. 


FO: Ready for my Roman Holiday

Colette Patterns Zinnia Skirt sewn by Ms. Cleaver

Sometimes you have to look at a project and wonder, why did it take me so long to do that?! Case in point: this skirt.

As I mentioned before, I'm participating in The Craft Sessions' Stash Less prompts, which got me looking at what I already had on hand and doing some project planning around it. This project was so easy to sew and I'm so in love with the final result that I'm kicking myself for not sewing it ages ago.

So how long was the journey to this skirt being made? Thanks to the near never-ending archive that is my Gmail account/this blog, I can pretty much tell you down to the day!

The outer fabric I purchased in October 2010 for $5, from, get this, someone else's stash. So, in truth, this fabric had quite the journey before it even came to me. I fell in love with the print immediately, so even though I only spent $5 on it, it felt too precious to cut into.

But it's a pretty light-weight/slightly see-through fabric, so I needed to find an appropriate lining before I could sew it, right? Nope!

I've had some absolutely gorgeous silk charmeuse since at least September 2011, which I must have had for a while, because I already referred to it as being in my stash at that point. I did have a small moment of regret, when I had cut it up as the lining and was sewing it together, when I remembered that it had been intended for a slip I had the pattern traced out for, but I think I'll still get a nice camisole out of the leftovers, so no foul there. 

I had all the fabric then, so I was just waiting for the perfect pattern, right? Wrong. I've had Colette Patterns' Zinnia in my possession since September 2013.  

Okay, so granted in September 2013, I had a 6-month-old and wasn't doing a ton of sewing that wasn't baby-related, but still, from time of original fabric purchase to finished project we're looking at five and half years, or two and half if you count when I found a good pattern match. 

And the Zinnia pattern was a perfect fit. It was simple enough to show off the fabric, it had pleats (which I find infinitely more flattering than gathers) and it was lined and though maybe not perfect, I had a zipper and button on hand that would work and no other notions needed. 

As for the finished product? I adore it. I'm still in love with the print, the lining feels divine, it's swingy, and the fit is good. It also looks pretty swell with my Prairie Wife Cardigan too. This skirt makes me feel like I should hop on the back of a Vespa and be chic and charming in Rome. Definitely worth the wait.


Spring Things!

Parent who have kids with birthdays near Christmas, you have my sympathy.

This year, LMC's birthday and Easter were four days apart and that meant a week full of activity, and stuff, and more sugar than Momma would normally allow. Pair that with a bad cold and her cousin's birthday the weekend before,  it means I'm just getting my feet back under me right now.

That said, it was full of joy. LMC is at the age now (3!) where she gets that these are special days and is super excited to meet the Easter Bunny or find eggs, blow out candles, or get to wear her birthday crown. She is cultivating a deep appreciation for Peanuts and Bass/Rankin holiday specials. She also doesn't have huge expectations about it though. When asked what she wanted for her birthday, she merely asked for a pink cake with pink frosting and pink candles. I wanted the cake to be pink tasting and not just pink-colored, so I made cake flavored/colored with raspberry jam (and a few drops of food coloring). It was a little over-sweet with the jam. but was still a big hit with the birthday girl (especially the frosting). 

She got a number of neat gifts from family and friends for her birthday, but the one I'm most proud of is her quilt I made to be just like Curious George's (her favorite character/tv show). I managed to find a Michael Miller fabric that was really close to the print on George's bed and used a tutorial for a Self-Binding Blanket (scaled up and modified to include batting) and then tied it with some multi-colored cotton yarn. I had no idea how tiring the tying process would be for my hands, and the cotton yarn plies separated more than I would like, but for my first completed quilt, the whole thing turned out rather well and is very cozy. I can see how this quilt thing could get addictive. 

We just moved her to the big-girl bed a few weeks ago and while she had chosen to lie on top of, rather than under it, I think she appreciates the quilt (as much as a three-year-old will appreciate a blanket). I also finished my Good Night Sleep Tight embroidery I started forever ago in time to hang it over her new bed. I'm kinda in love with my little french knot sheep and am planning to turn it into a pattern/kit. LMC must like it too, because when I started working on my new embroidery project from cozyblue, she asked if that was for her room too.  

Despite the fact that Winter has seemed to hold off doing all it's wintering until Mach, it was actually warm enough to do our egg hunt outside, which was great fun. That tiny patch of snow is all gone now, my bulbs are starting to bloom and my seeds are sprouting indoors. It's all starting to feel very much like spring, even if we still have to wear our winter coats for a little while longer. 


MAINE Knits

Maine is one of the most beautiful places in the country, it also happens to be home to a disproportionate number of amazing hand-knitting designers (I credit those long winters!)

Bea from Thread And Ladle is working to bring them both together in a new book, MAINE Knits and just launched a Kickstarter to get it off the ground and I'm honored to be one of the designers contributing to the book:

https://www.kickstarter.com/projects/1463979335/maine-knits

Some words from Beatrice about the project:

MAINE Knits is a tribute to extraordinary craftsmanship and design. A celebration of nature, growth, creativity and beauty. A print book of hand knitting patterns that you will enjoy from where ever you knit. Designs inspired by three important and beautiful elements of Maine; sea, farm and wild. The places that bring us peace, feed our bellies and soul, help us breath deeply and surround us with beauty. Including patterns for 7 garments and 7 accessories, photographs and essays from the folk who hail from here.

MAINE Knits includes knitting designs by Carrie Bostick HogeAlicia PlummerBristol IvyCecily Glowik McdonaldMary Jane MucklestoneElizabeth SmithLeah B. ThibaultKristen TenDykeLeila Raabe and Beatrice Perron Dahlen.  And a foreward written by Pam Allen of Quince & Co.

My goal is to raise $18,000 by April 8th.  65% of the funds from this Kickstarter will pay for quality printing of a 96 page book. The remaining funds will pay for editing and layout costs. Financially, this project will not happen without a group effort. 

Here are two ways you can help:

1. Become a backer! There are a lot of great gifts, including preorder of the book itself.

2. Spread the word! We need to get the word out to as many knitters as possible. If you are able to share our project through social media it would help tremendously.

As of this writing, the Kickstarter is about 47% of the way to its goal, but it won't be funded unless it reaches the full amount by the April 8th deadline! So if this project sounds like something you're interested in, please consider using the Kickstarter to pre-order the book (print or e-book versions available). There are also other great donor gifts, including a pack of kid-centric patterns from me, available.


FO: Cascade Duffle Coat

Cascade Duffle Coat sewn by Ms. Cleaver
Pepe's Snowshoes
Pepe's snowshoes
Cascade Duffle Coat sewn by Ms. Cleaver

It's been a weirdly warm, low-snow winter in Maine. So it's probably fitting that after wanting a new winter coat for several years, I finally got around to making myself one in the year I've needed it the least. (For example, it was 51 degrees when I took the majority of these photos)

But I don't mind. I live in Maine, it's gonna get cold again at some point. 

In truth, I love sewing coats. Yes, the materials are more costly. Yes, they usually have a ton of pieces and take a long time to sew (about a month in this case). But I know that I'm going to wear it everyday for months, so it's totally worth it. My Minoru Jacket gets a ton of wear, and this one will too.

When I first saw the Cascade Duffle Coat pattern, I knew it was just the thing I was looking for. I wanted it to look like something a 1950s co-ed would wear on campus and came across this great green plaid at the Dorr Mill Store. Though my plaid matching skills were pretty on point for this project, I wanted to break it up a bit, so I took inspiration from sample on Grainline's website and did a contrasting black yoke and put my pockets and zipper covers on the bias.

I used the contrast fabric for my zipper bands, which was the one thing I wouldn't recommend. The six layers of thick wool fabric was almost (but not quite!) too much for my machine to handle. It was touch and go there for a while, but we pulled through. :)

I also did my first leather sewing on this project, as I made my own toggles, which was super easy and I would recommend over buying some.

In another, "don't make my mistakes" moment, I was a little lax on finishing the seams of my lining since there weren't visible, which meant after about a week of wearing, I had to turn the whole thing wrong side out again and re-finish them, because the more delicate fibers stuck to the wool like velcro and started to shred. I think I fixed everything all right (time will tell), but it would have been easier to do it right the first time.

All in all, it's super cozy and will definitely stand up to a more normal Maine Winter.


The Art of Being a Goldfish - or sewing from my stash

2011

2011

2015

2015

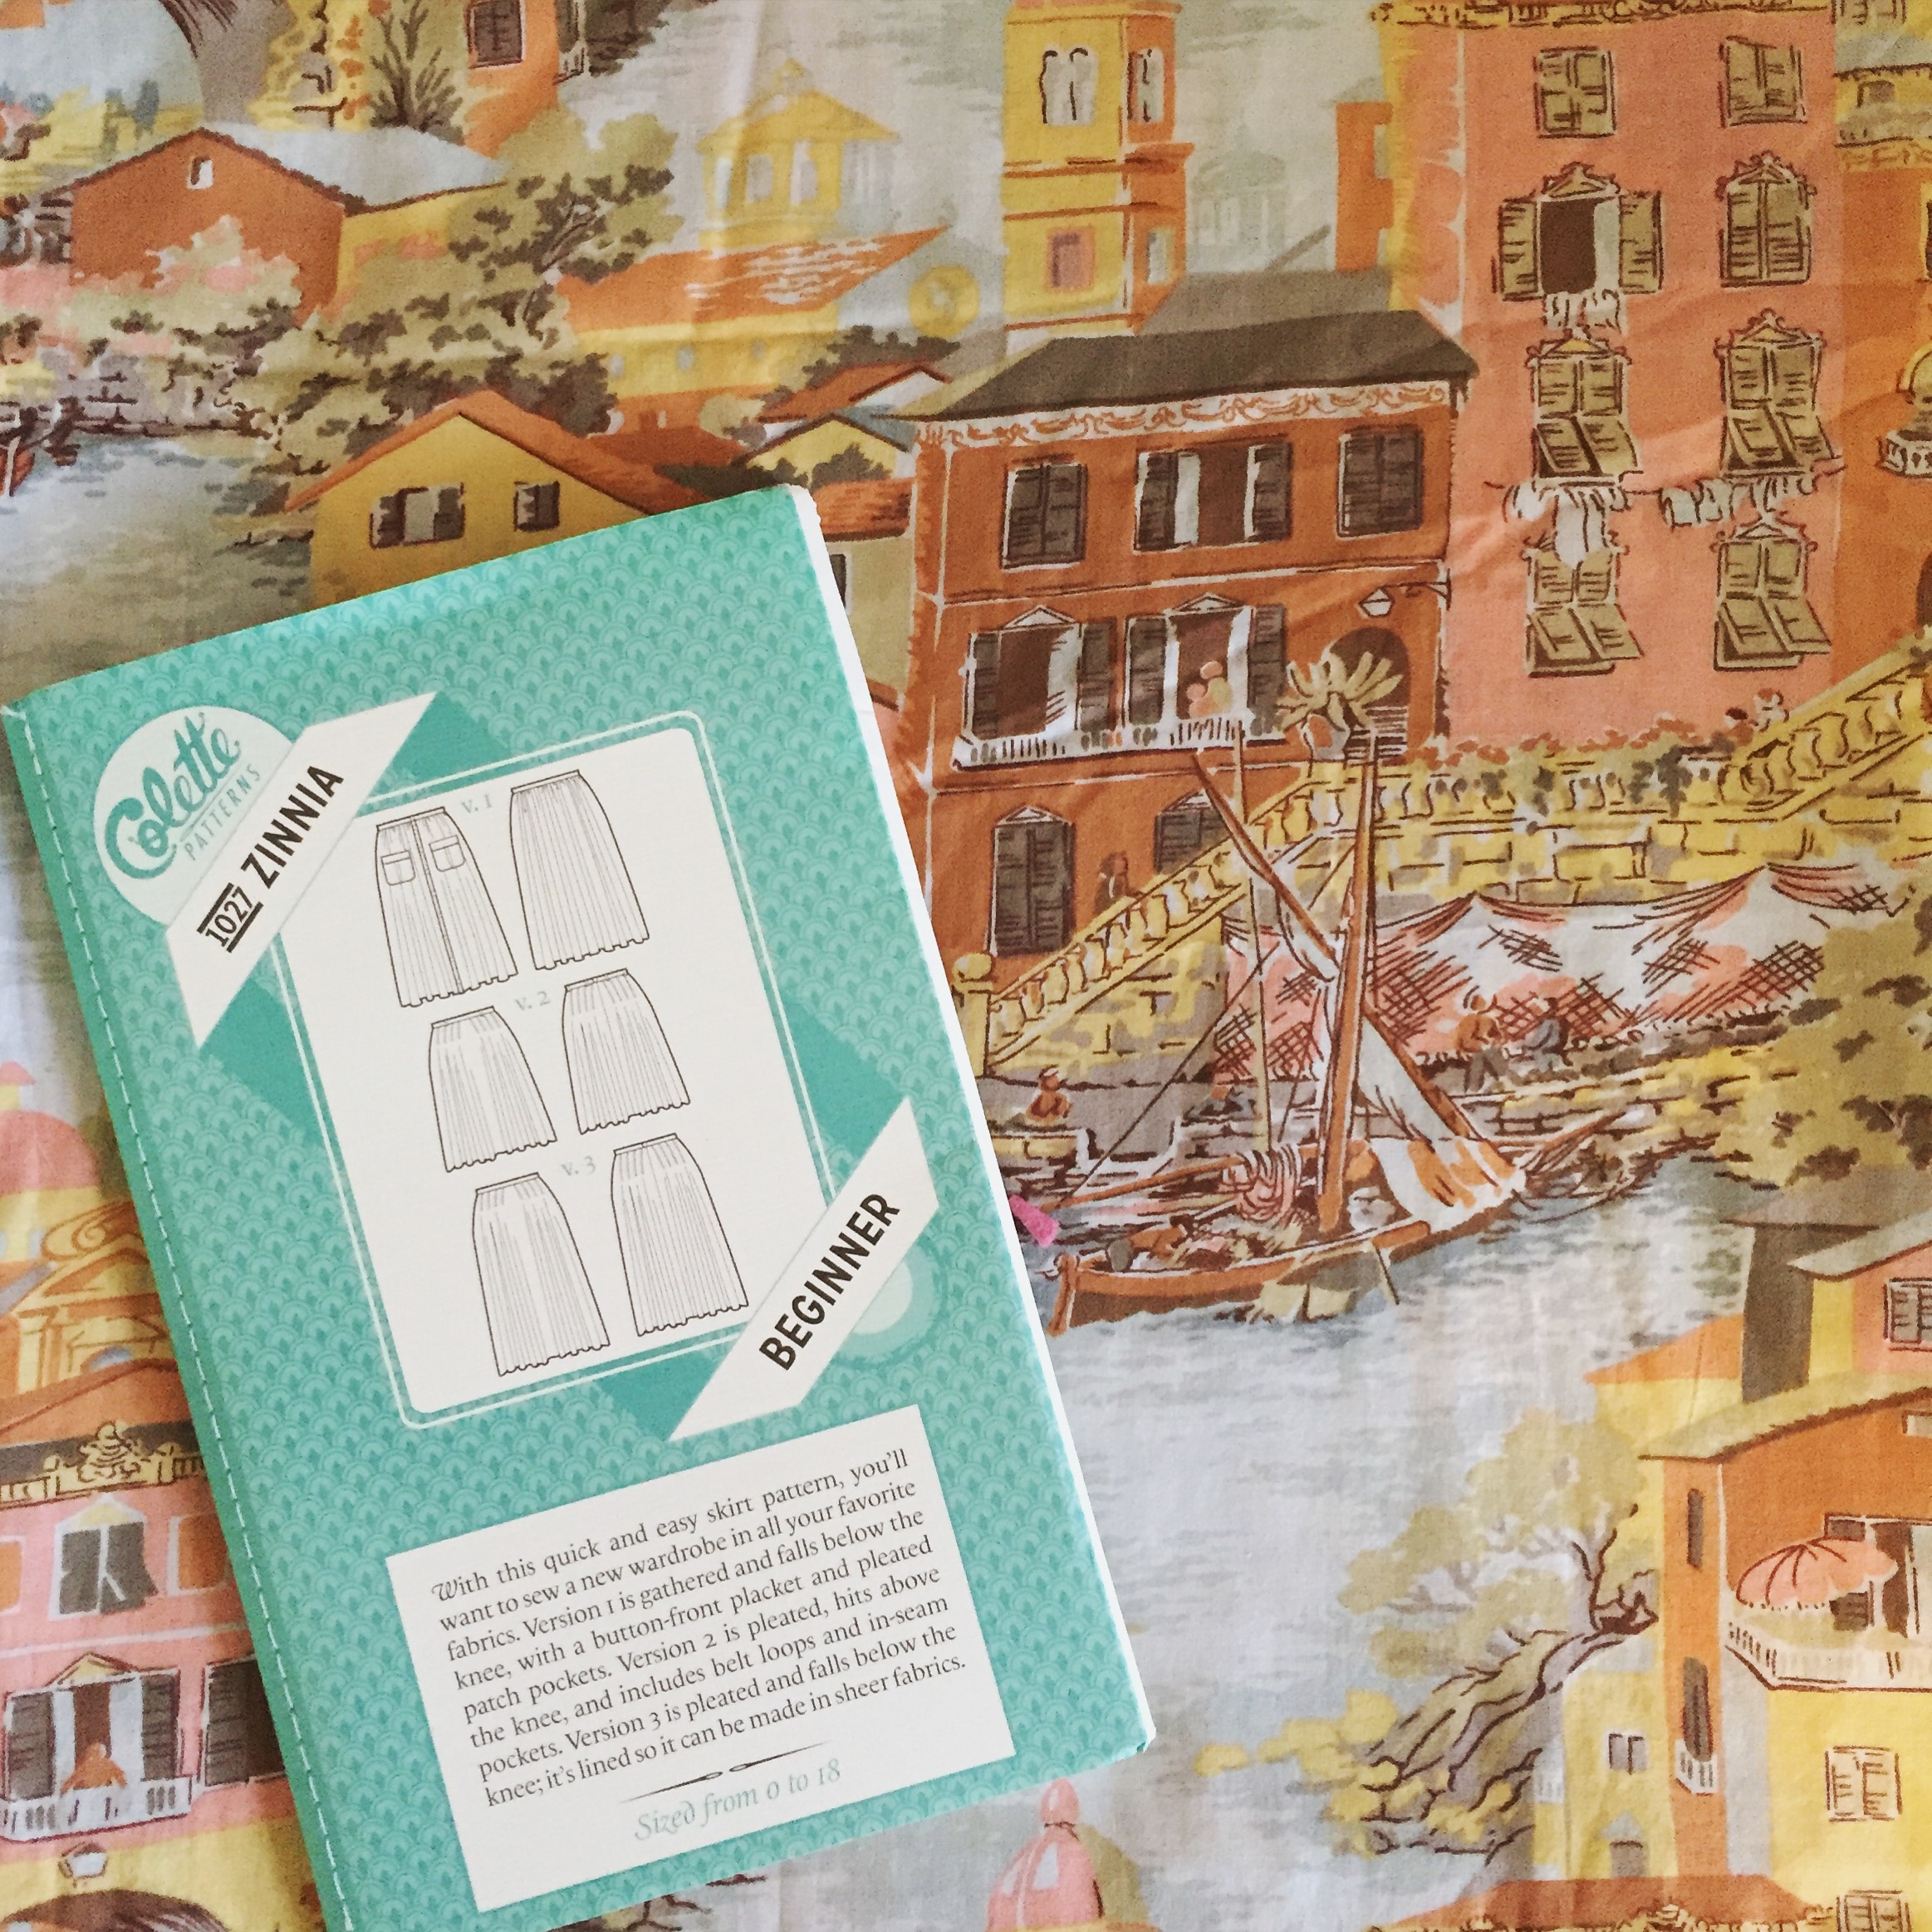
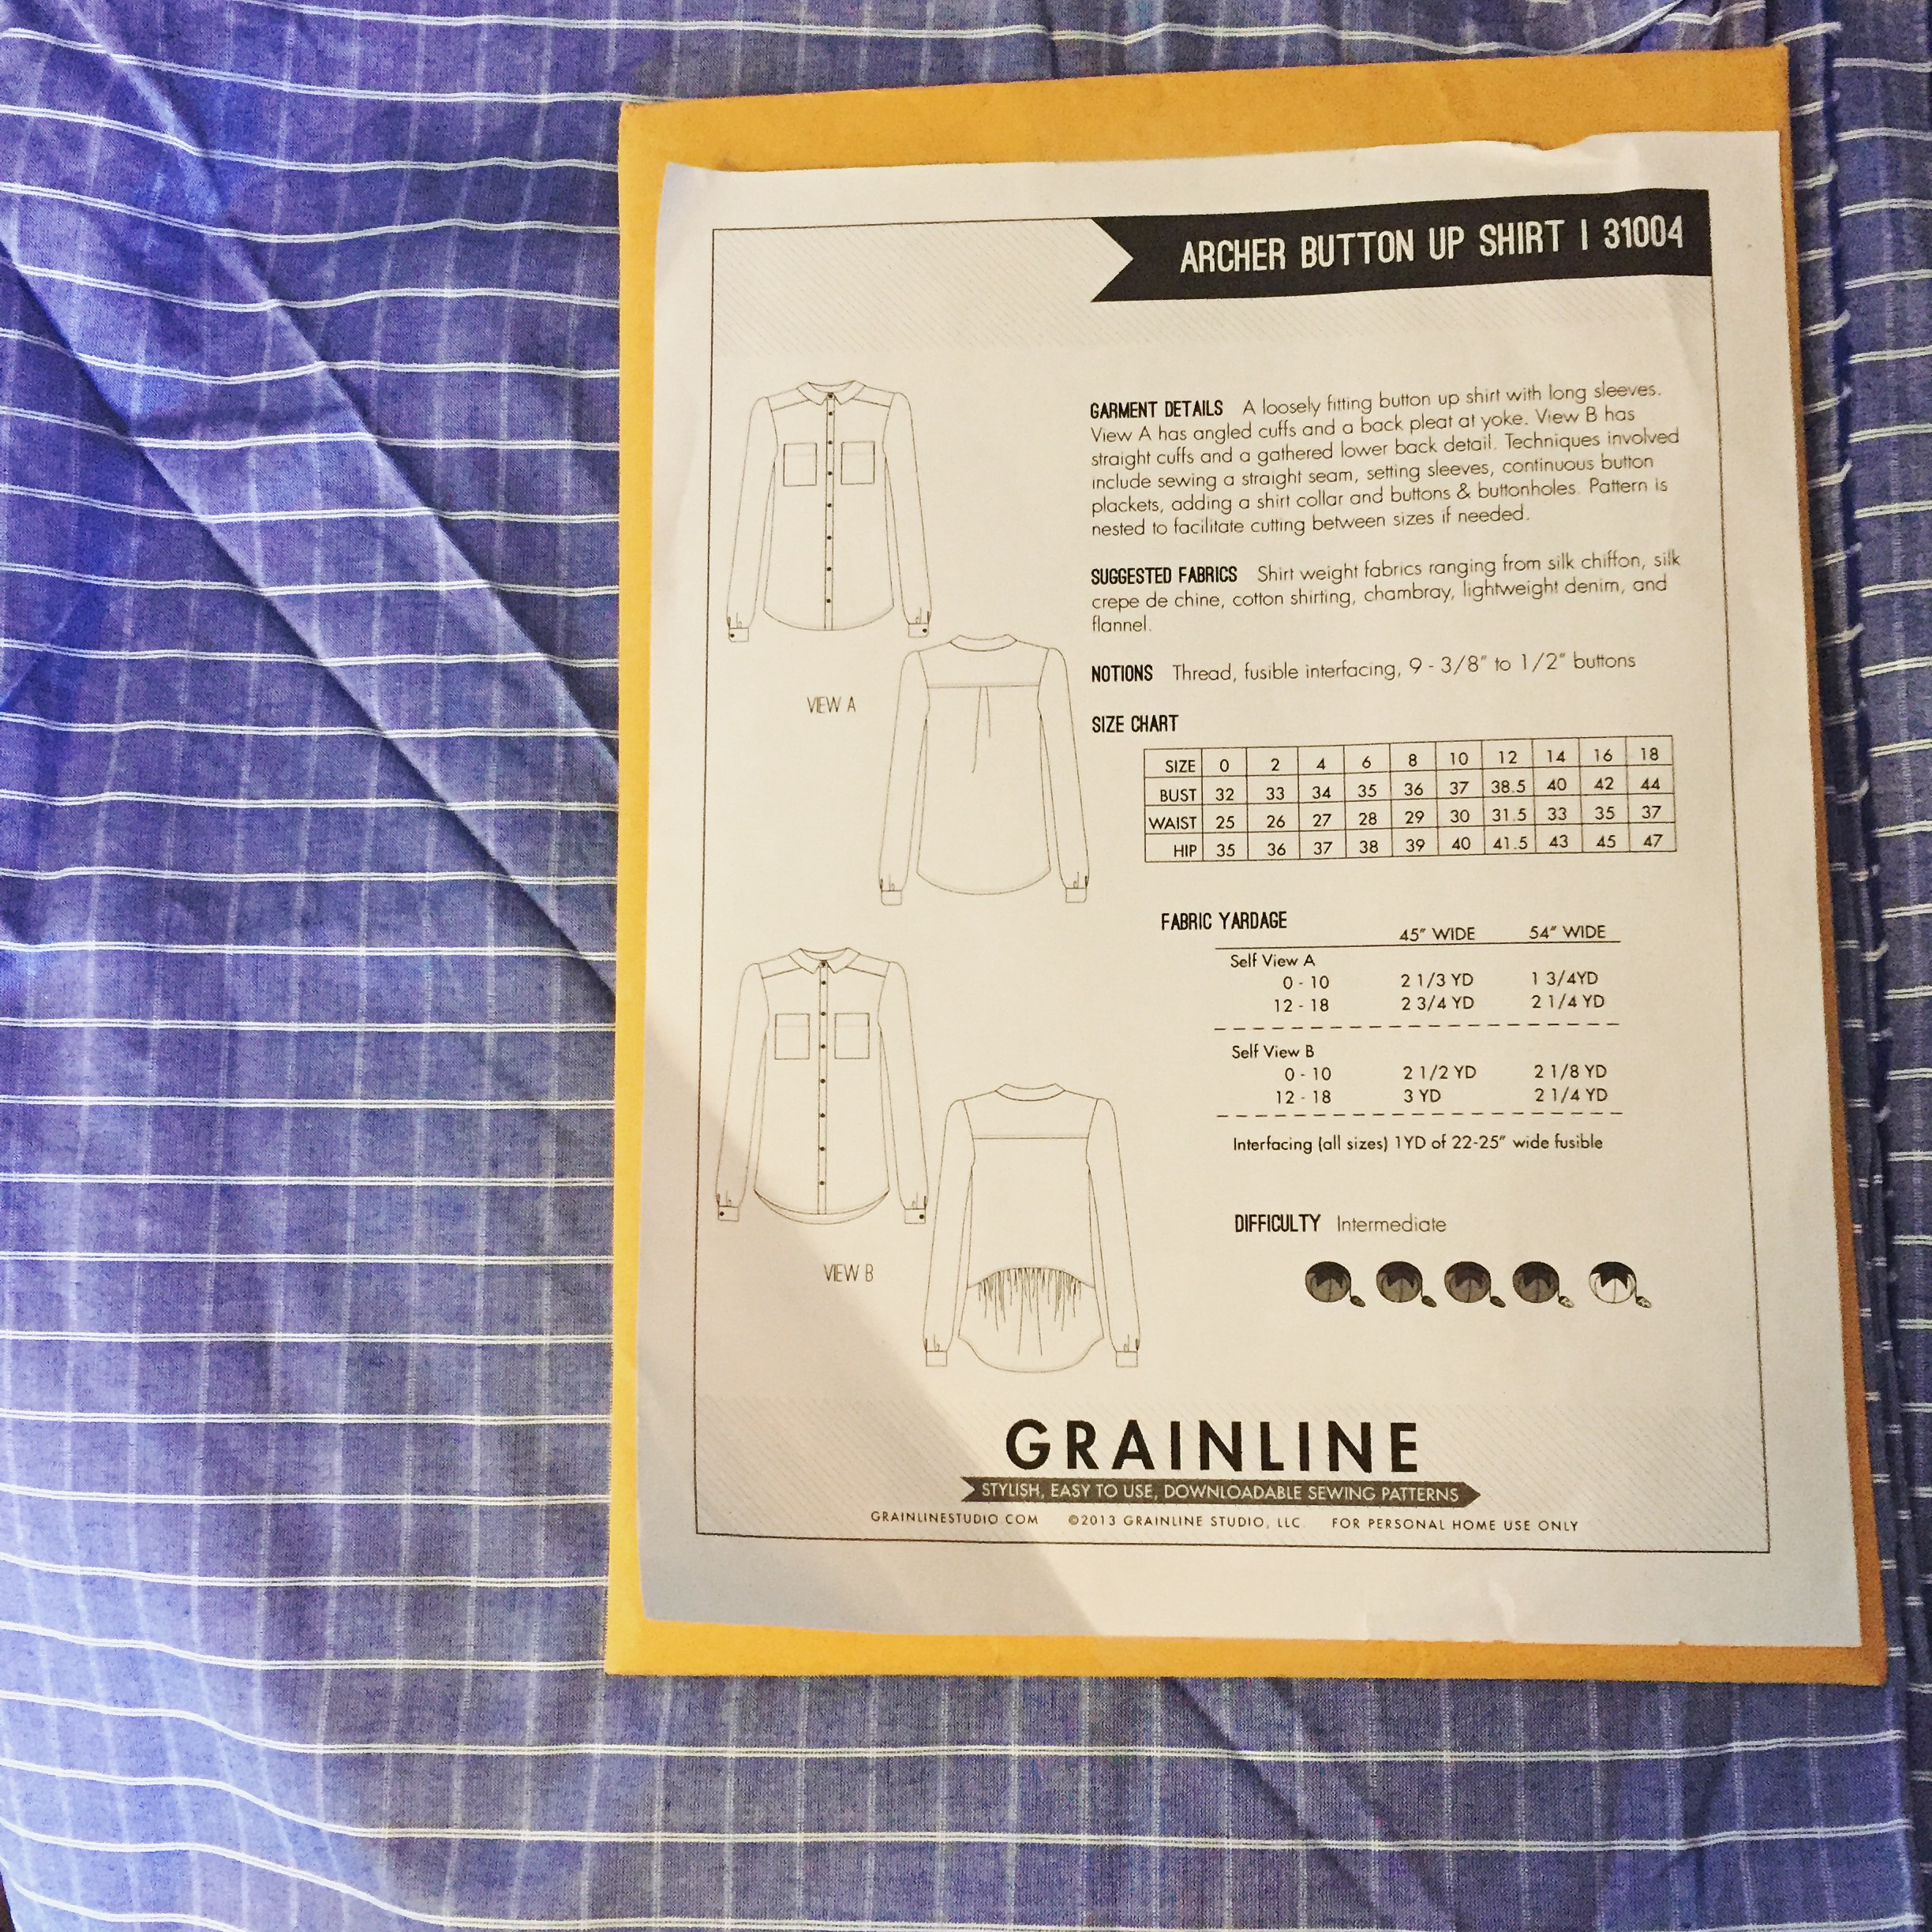
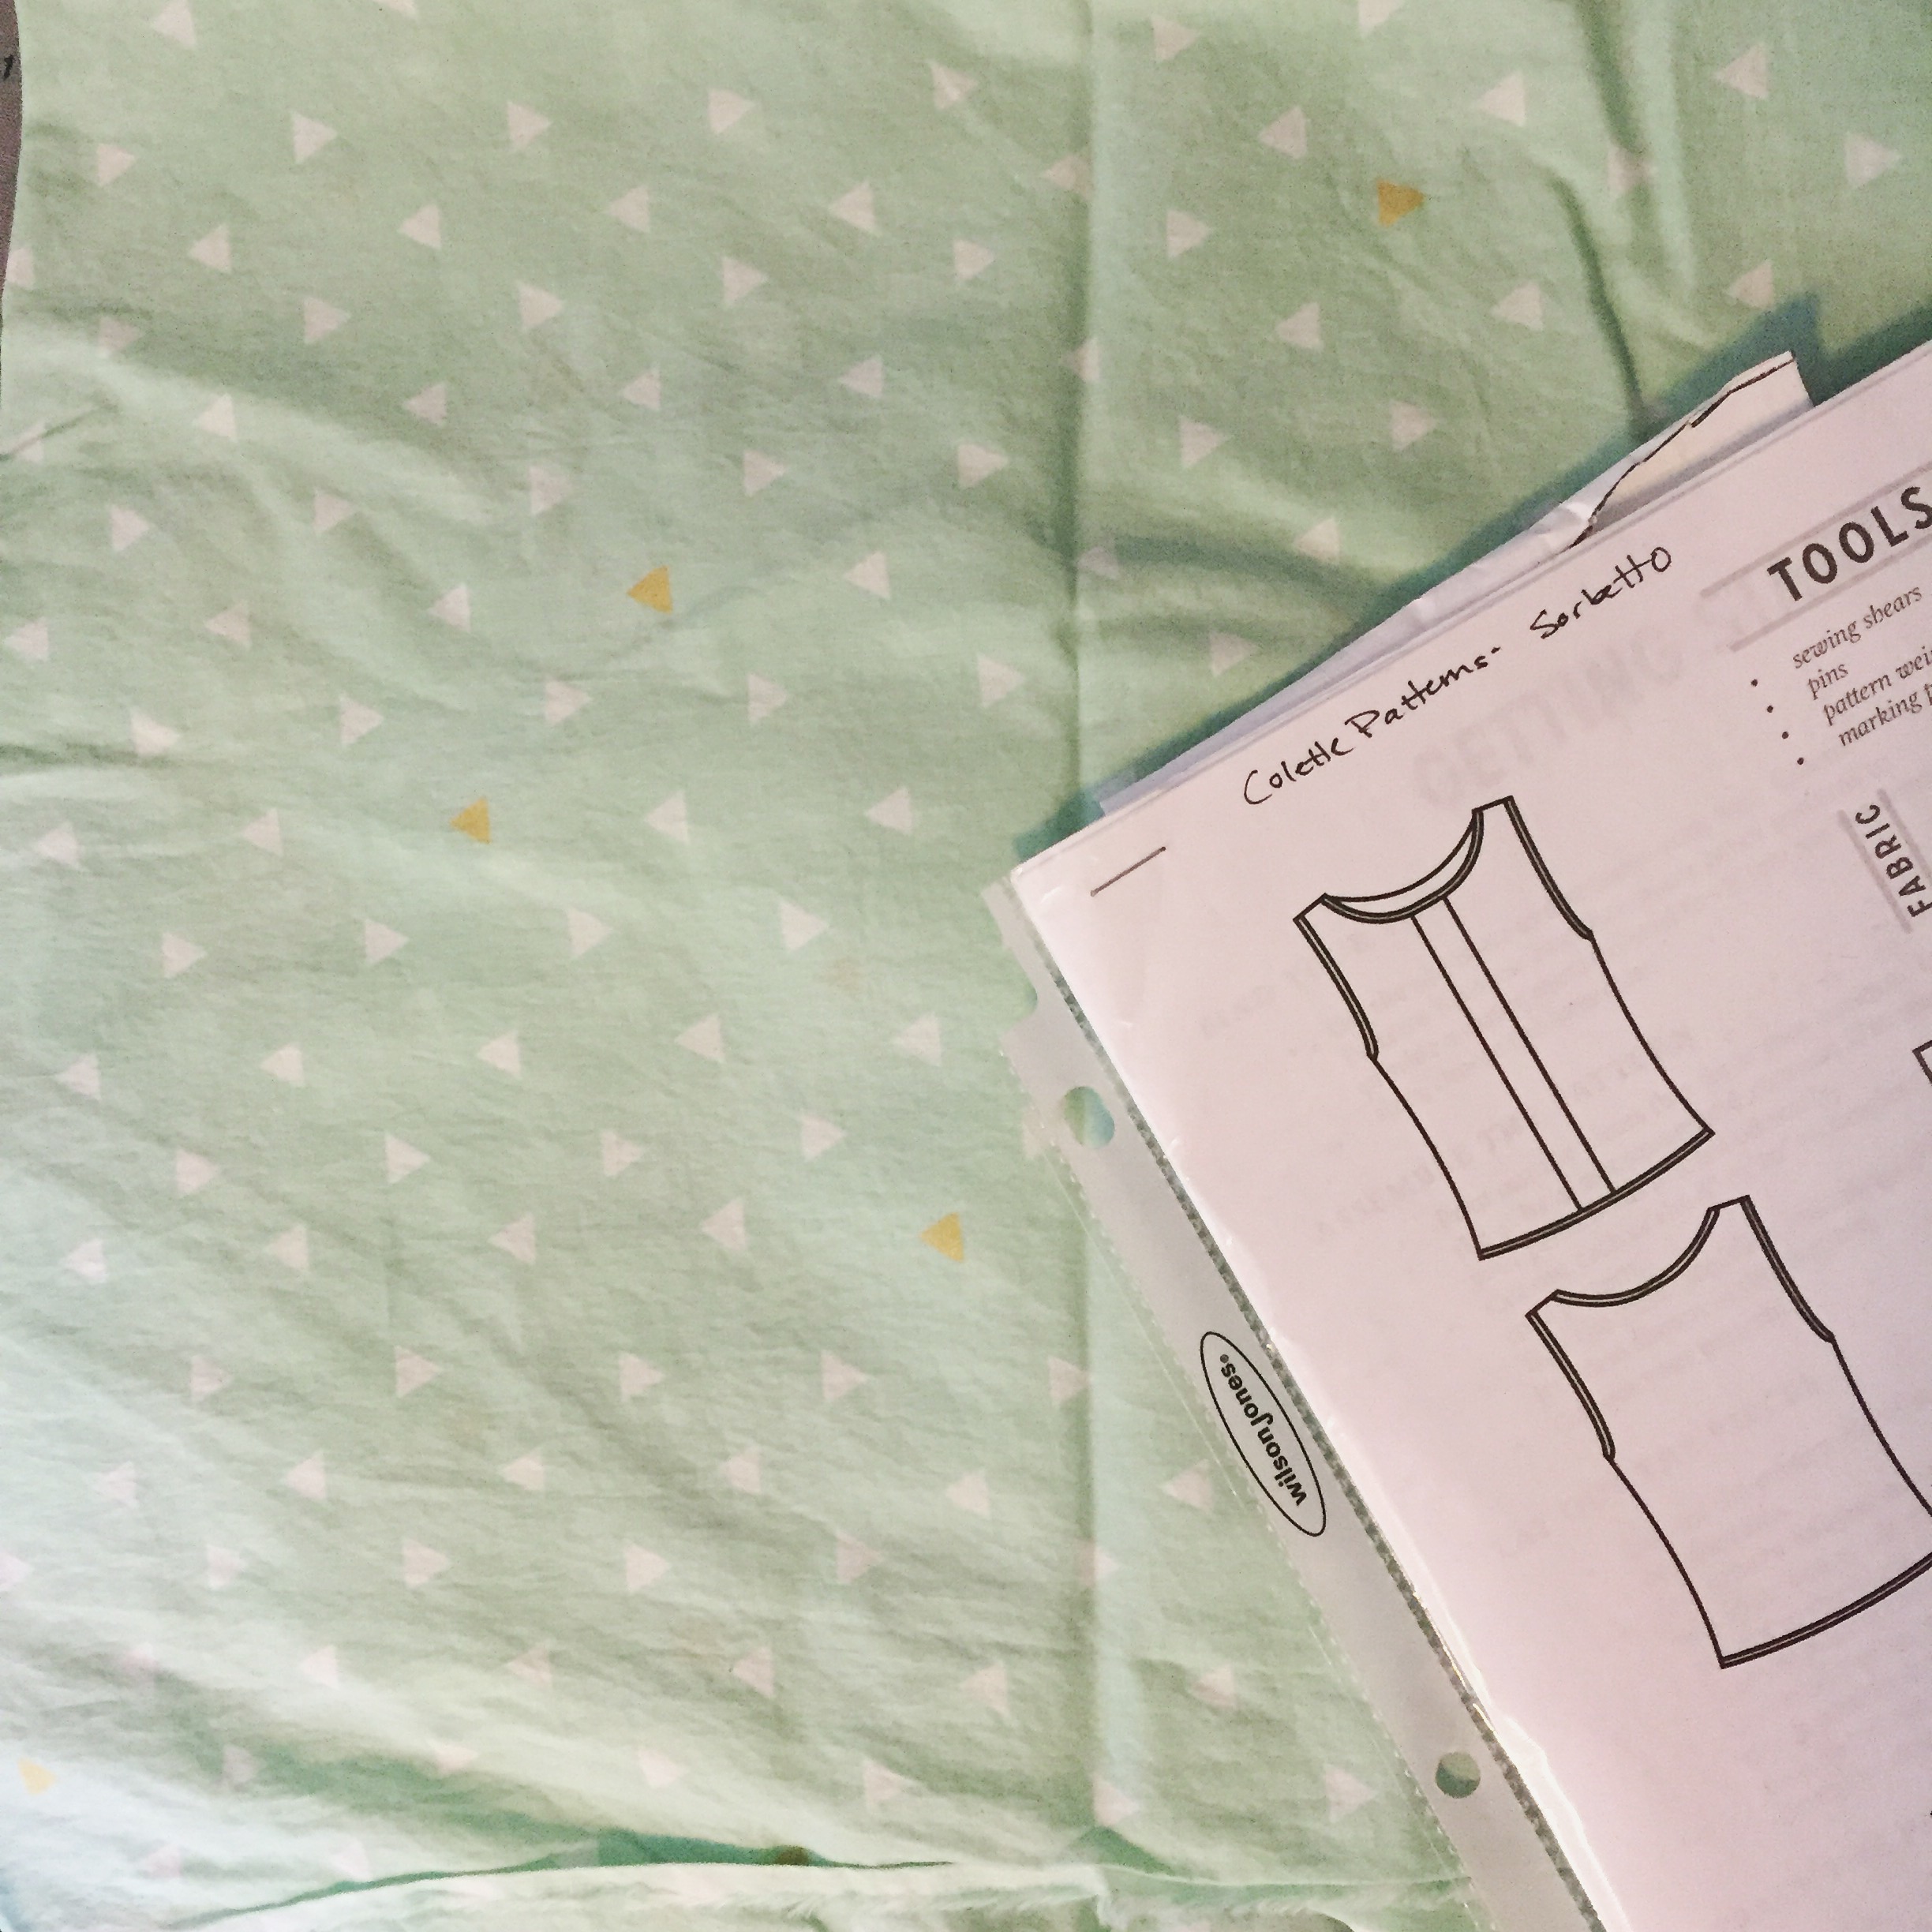
The Stash. Every crafter has one, it may be big or small, but chances are, if you make stuff, you probably have a healthy collection of material/yarn/wood/whatever waiting to be made into something.

It was a point of pride for me in my early knitting days that my entire yarn stash fit into one medium-sized basket.  Similarly, my fabric collection was in a few boxes. I was living in an apartment with one closet and sewing in my bedroom. Then we bought a house, and I got every crafter's dream. A whole room, just for making stuff. 

And I goldfished it. I grew to size of my bowl. And I goldfished bad. 

Now, I have legitimate reasons for some of it. The basket that used to hold my entire yarn stash is now dedicated to skeins of sample yarn and leftovers from a single company. My design work makes that basket of yarn necessary. 

But most of it? Most of it (fabric and yarn) is something I bought or saved either with a specific project in mind (most often), or because it was pretty and I was at a festival/on vacation/in a new shop (fairly often), or because it was really cheap and/or gifted to me (sometimes).

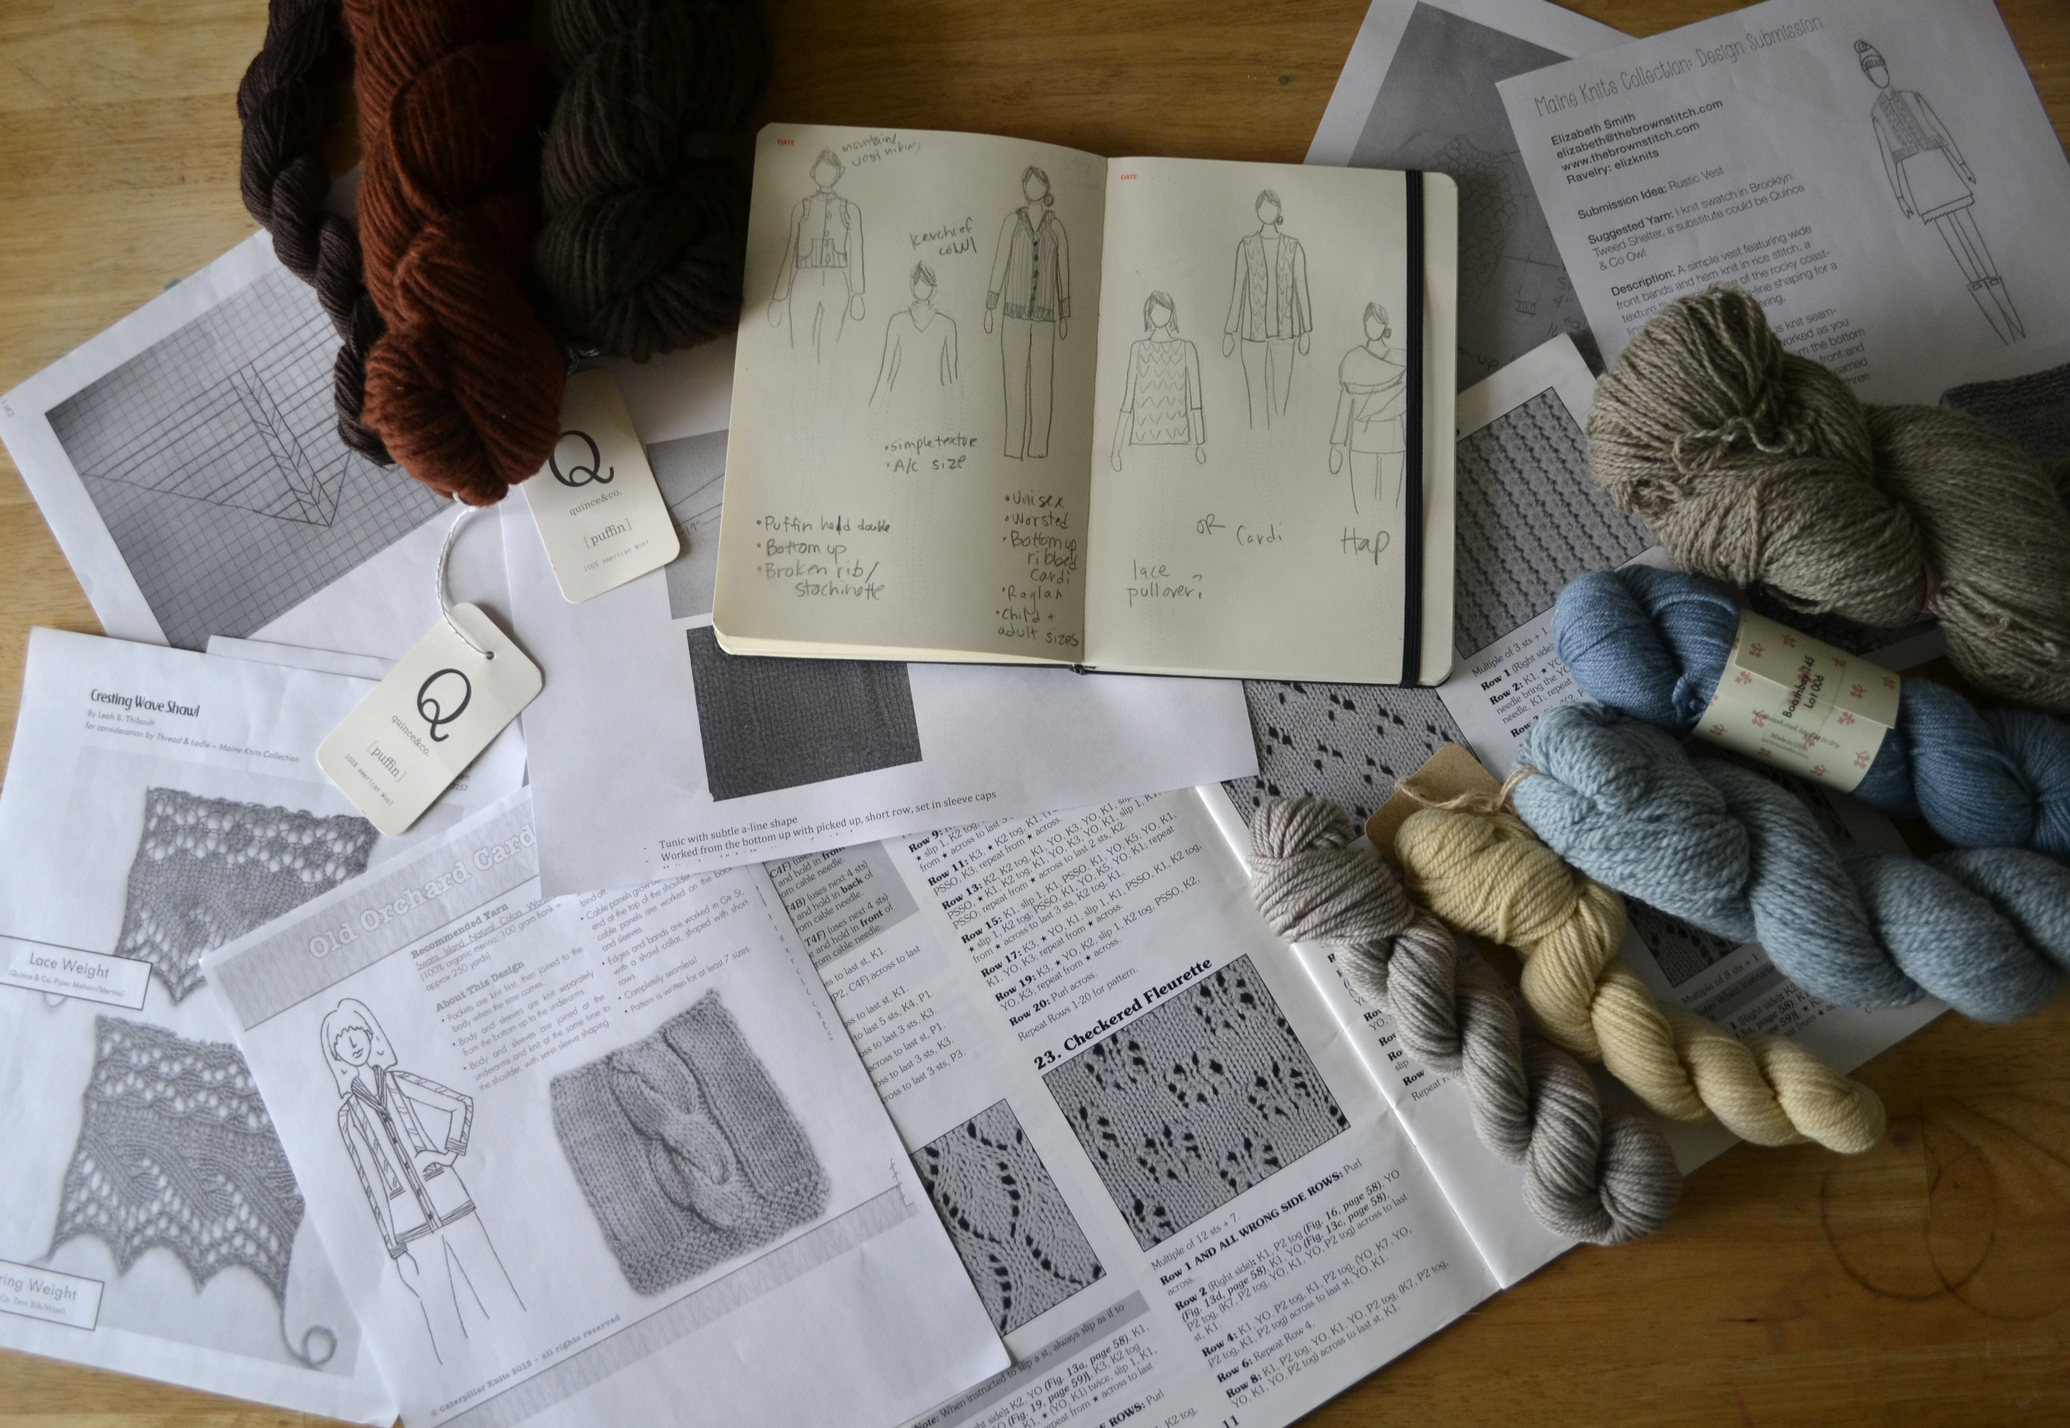
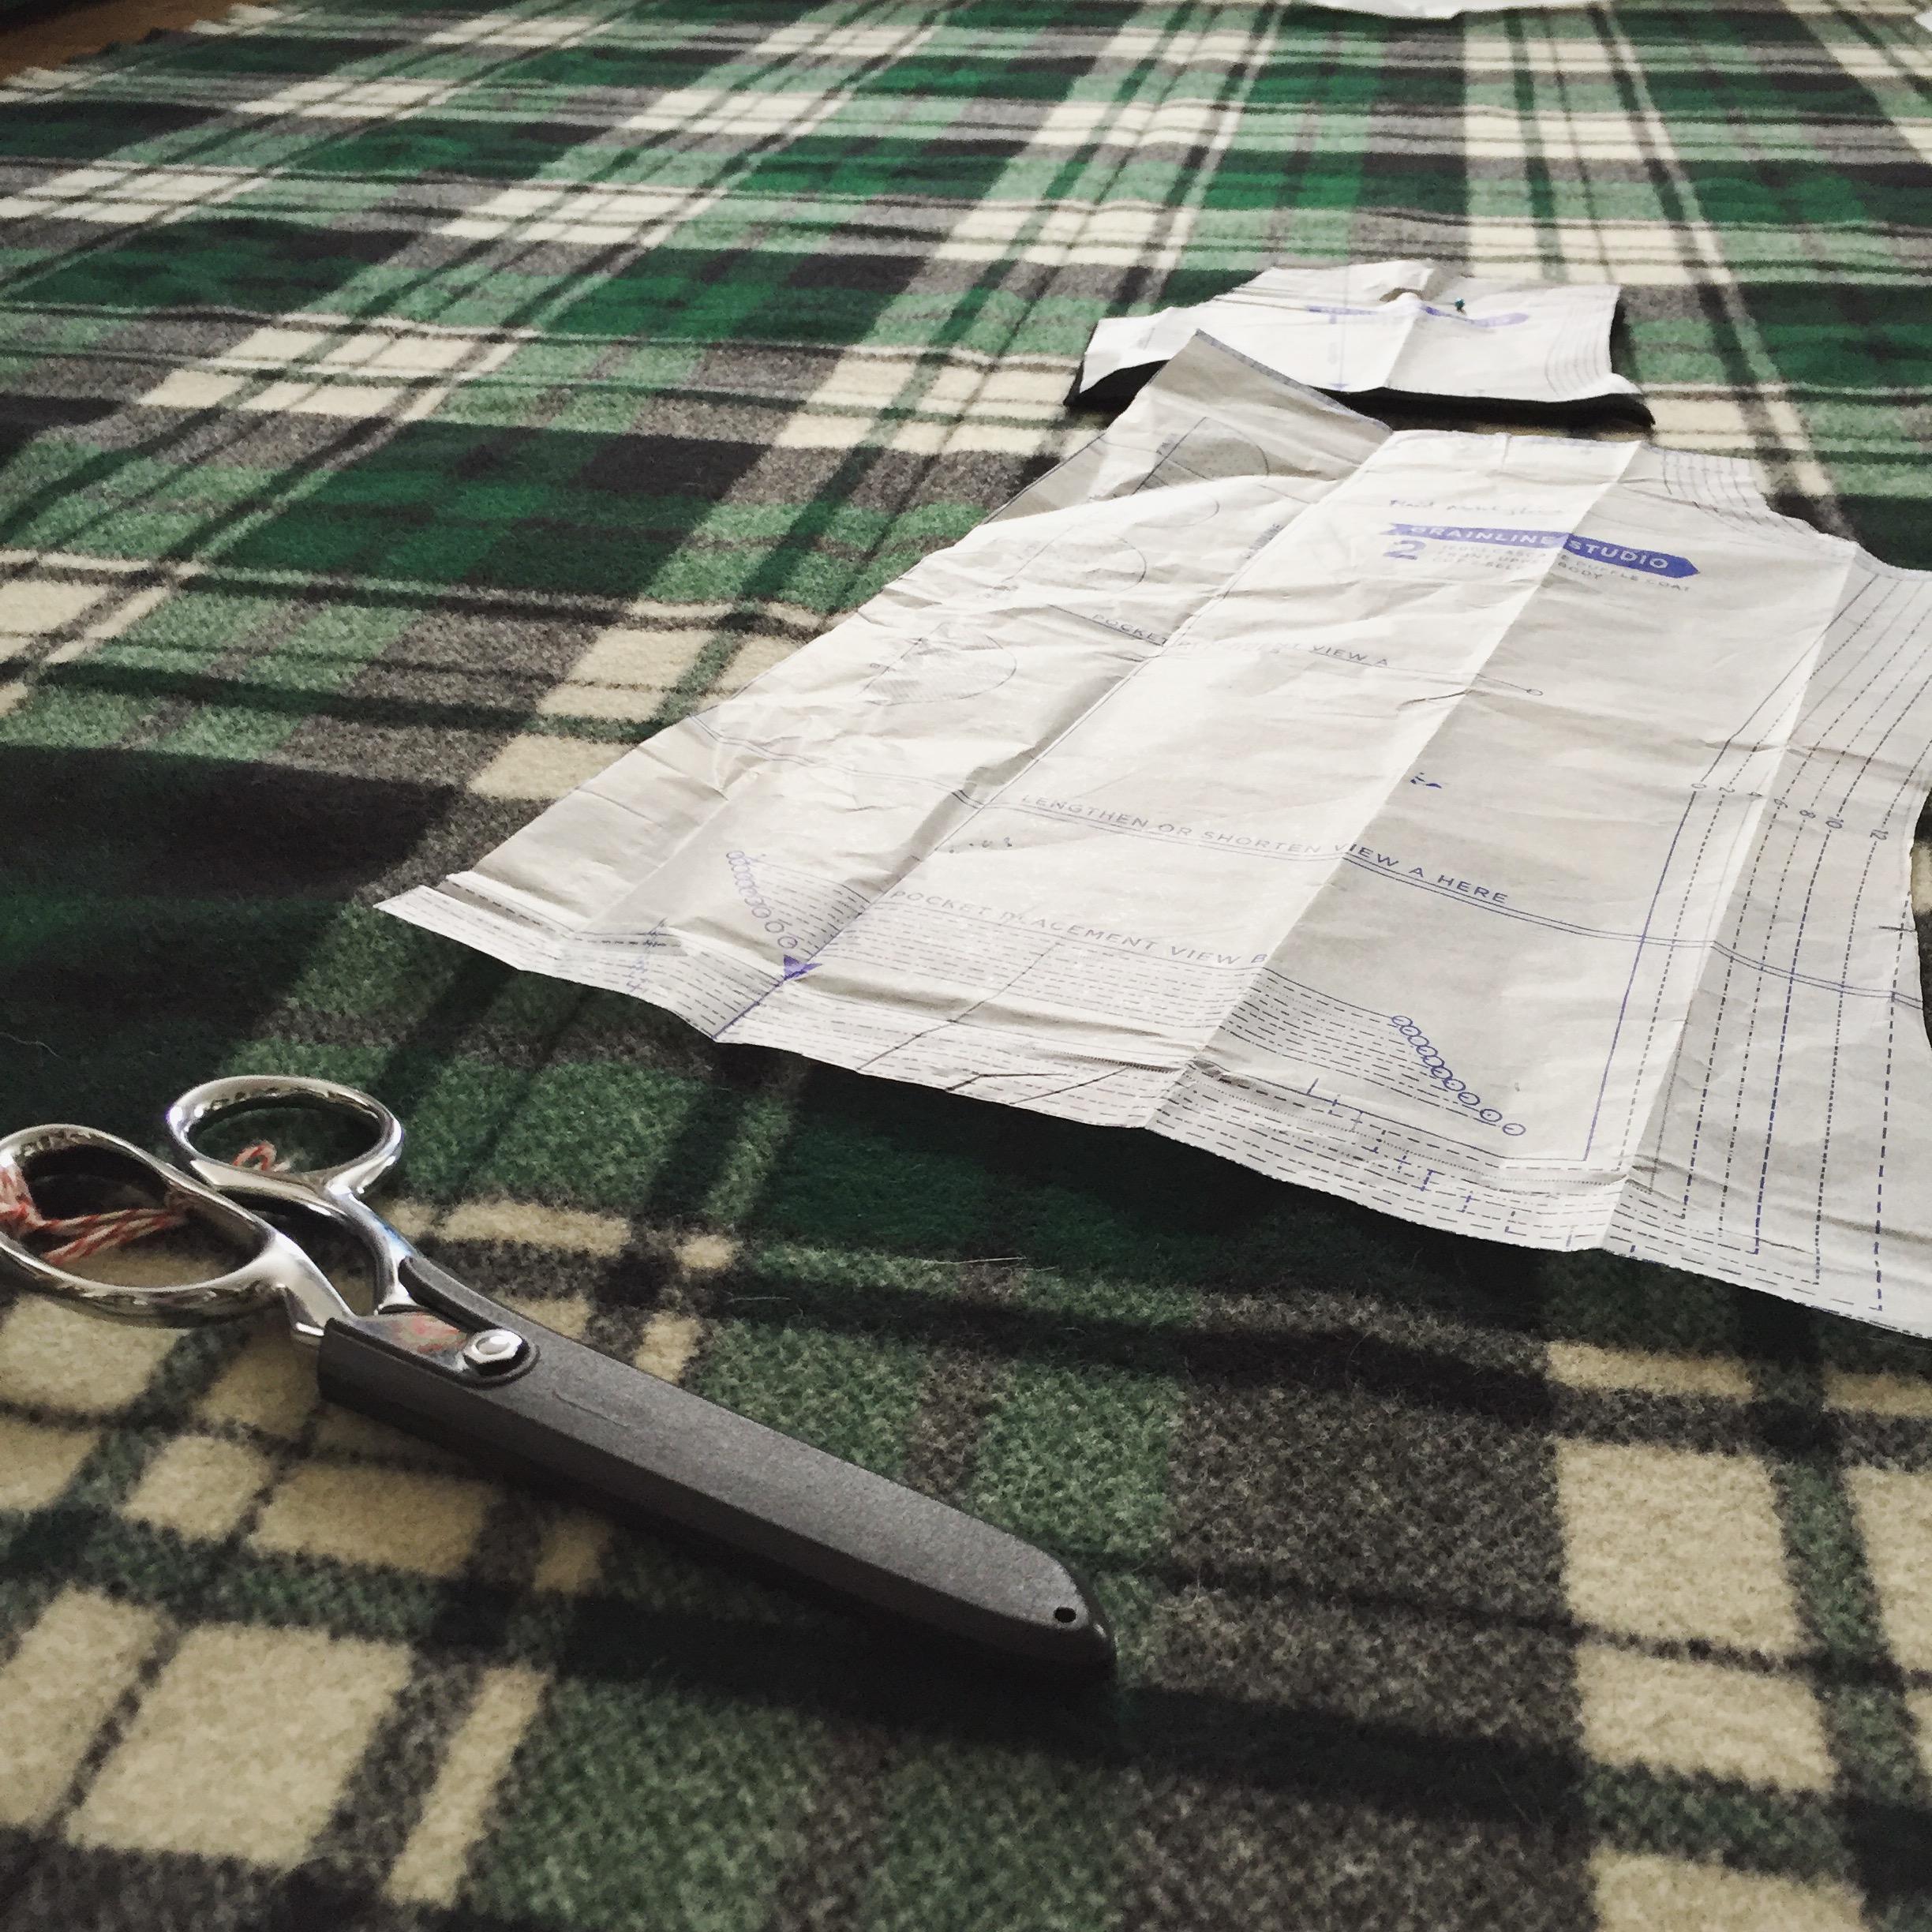
I have a big bag of old t-shirts waiting to be cut up and crocheted into rugs. I have two bags of scraps waiting to be stuffed into a footstool. I have the fabric for that footstool. I've got bins and boxes of half-skeins of yarn and scraps of fabric with no discernible purpose. Then I've got the sweater quantities waiting to be a sweater, and enough uncut fabric for a dress.

And... you get it. It's a lot. 

Now don't get me wrong, there's nothing specifically wrong with a stash. Mine is often very useful to me. I've been able to make last minute projects and gifts because I had that fat quarter and zipper on hand, or could swatch something for a submission deadline I nearly missed because I had some suitable yarn in a bin. We needed some new potholders (because after a decade, they stop working quite as well) and I made some up out of the leftovers of two coats and an apron and didn't need to buy a thing. 

But I've been reading The Craft Sessions Stash Less series, and it got me thinking.

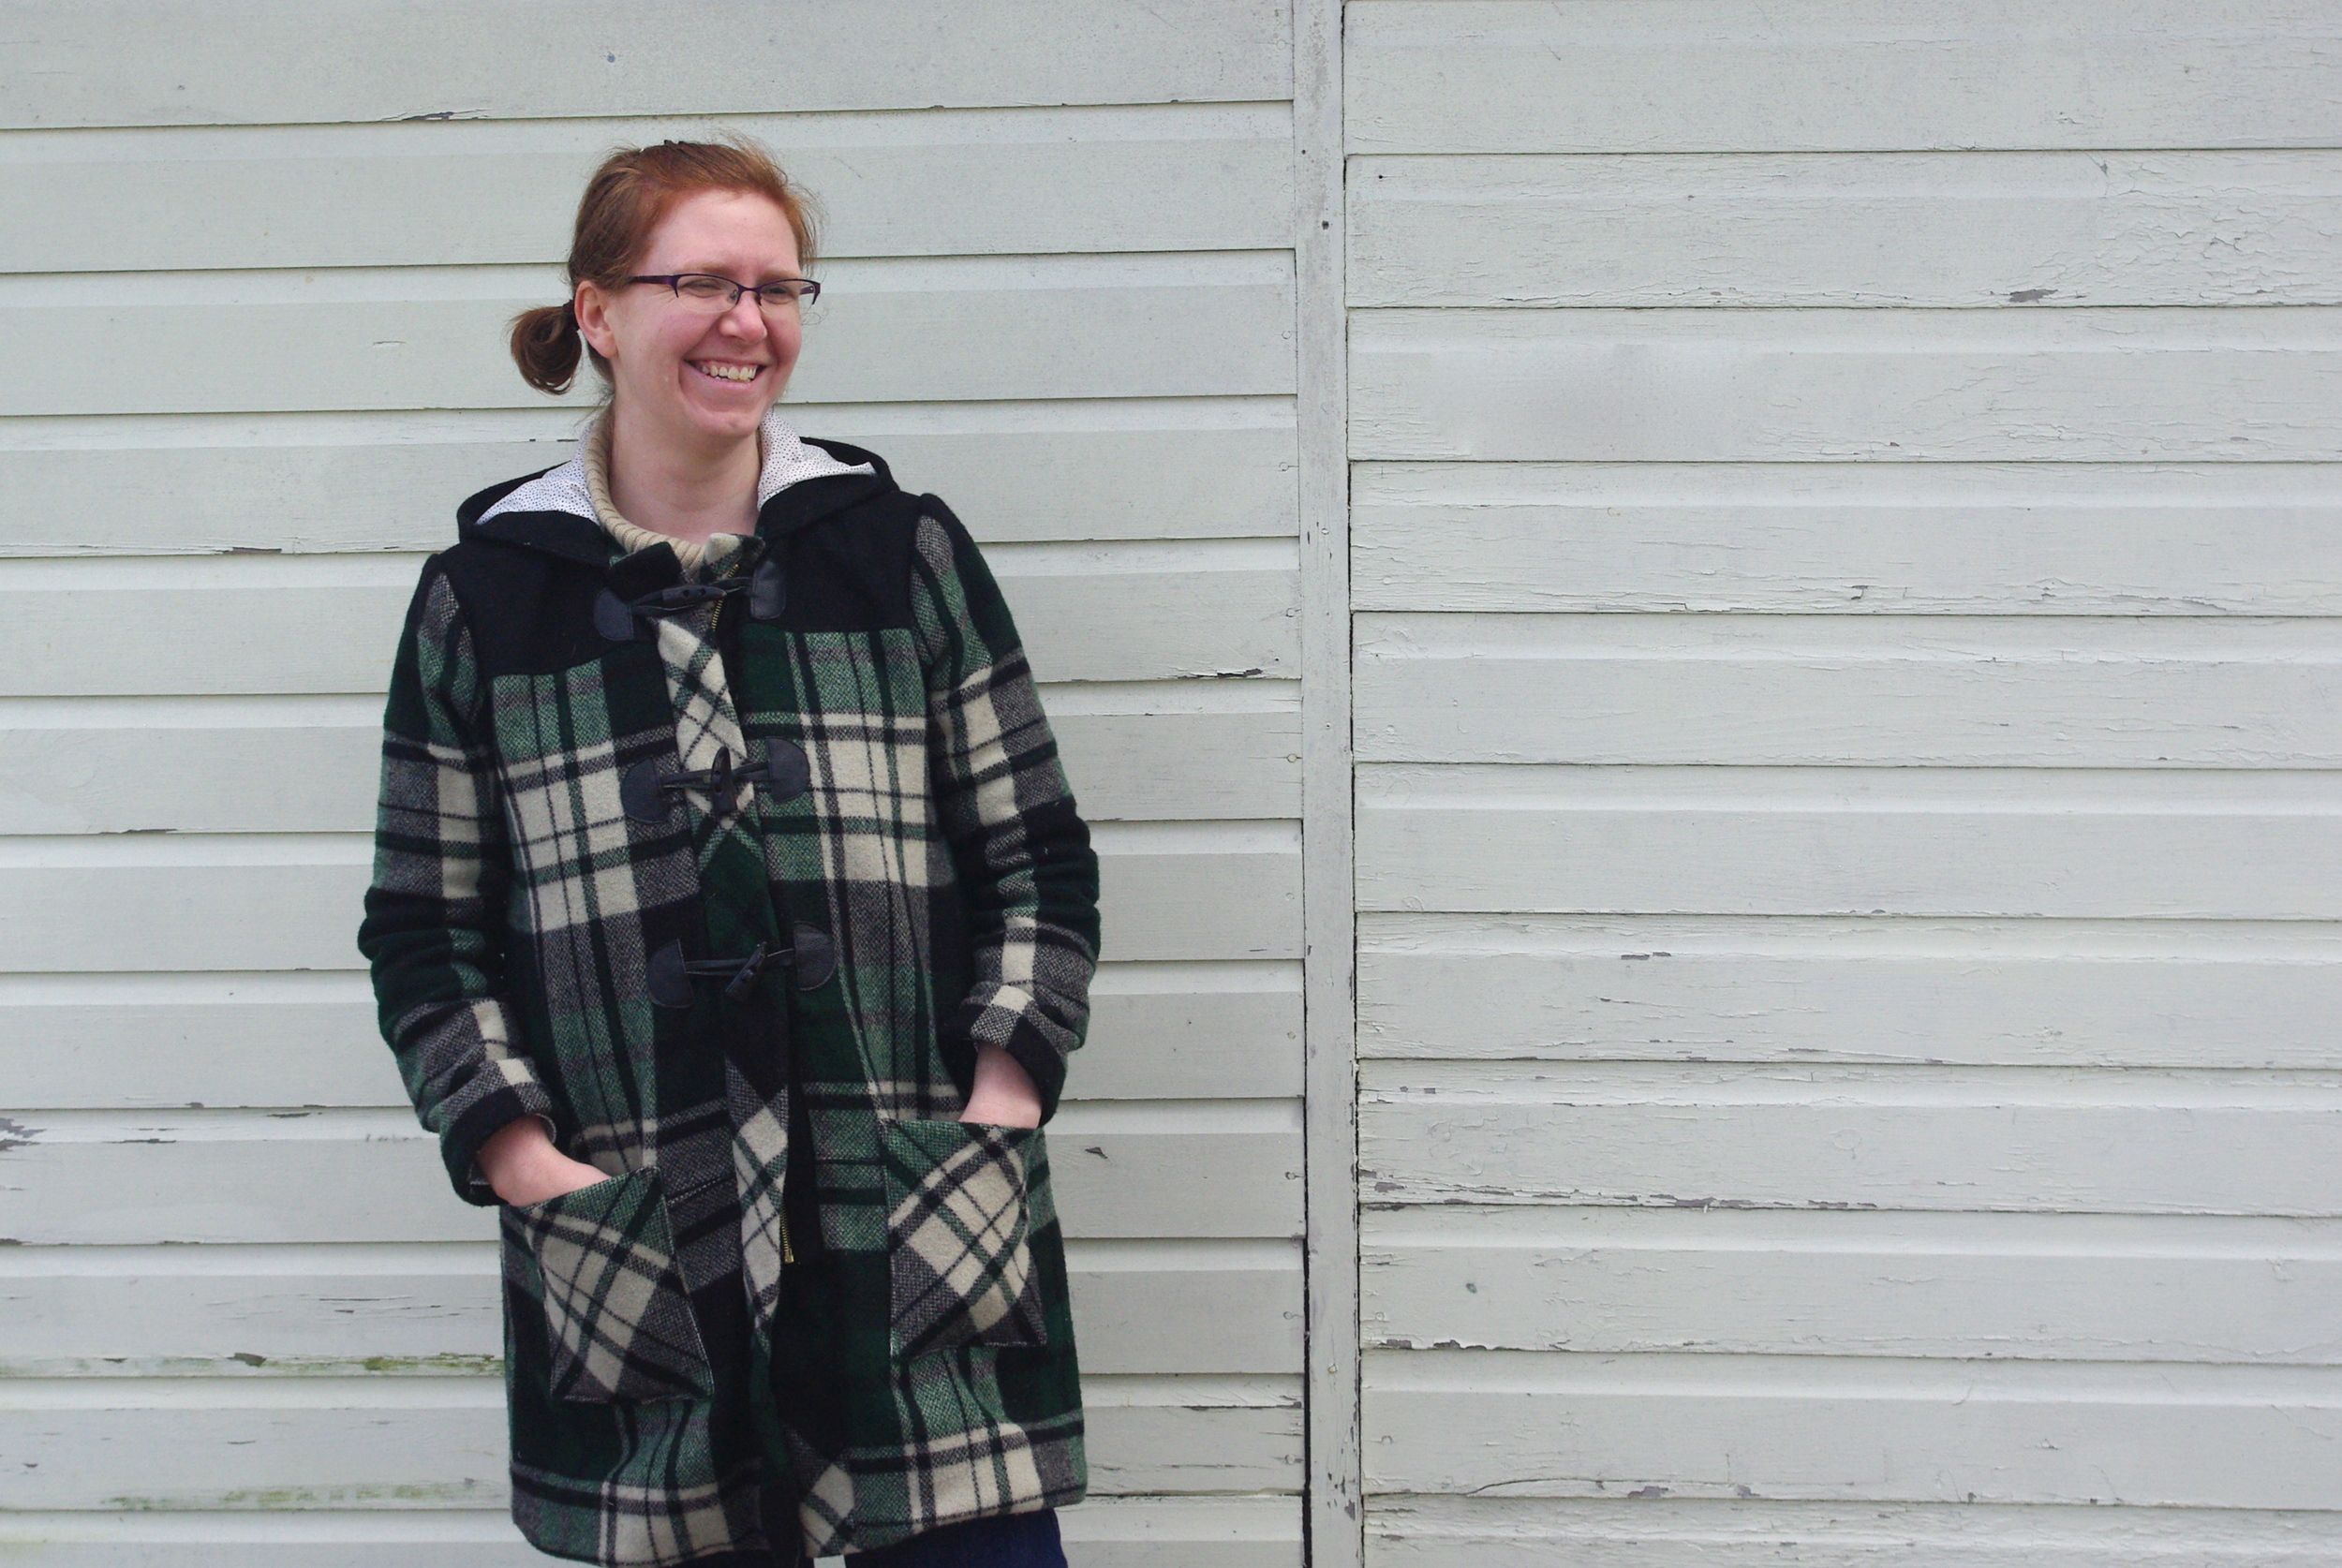
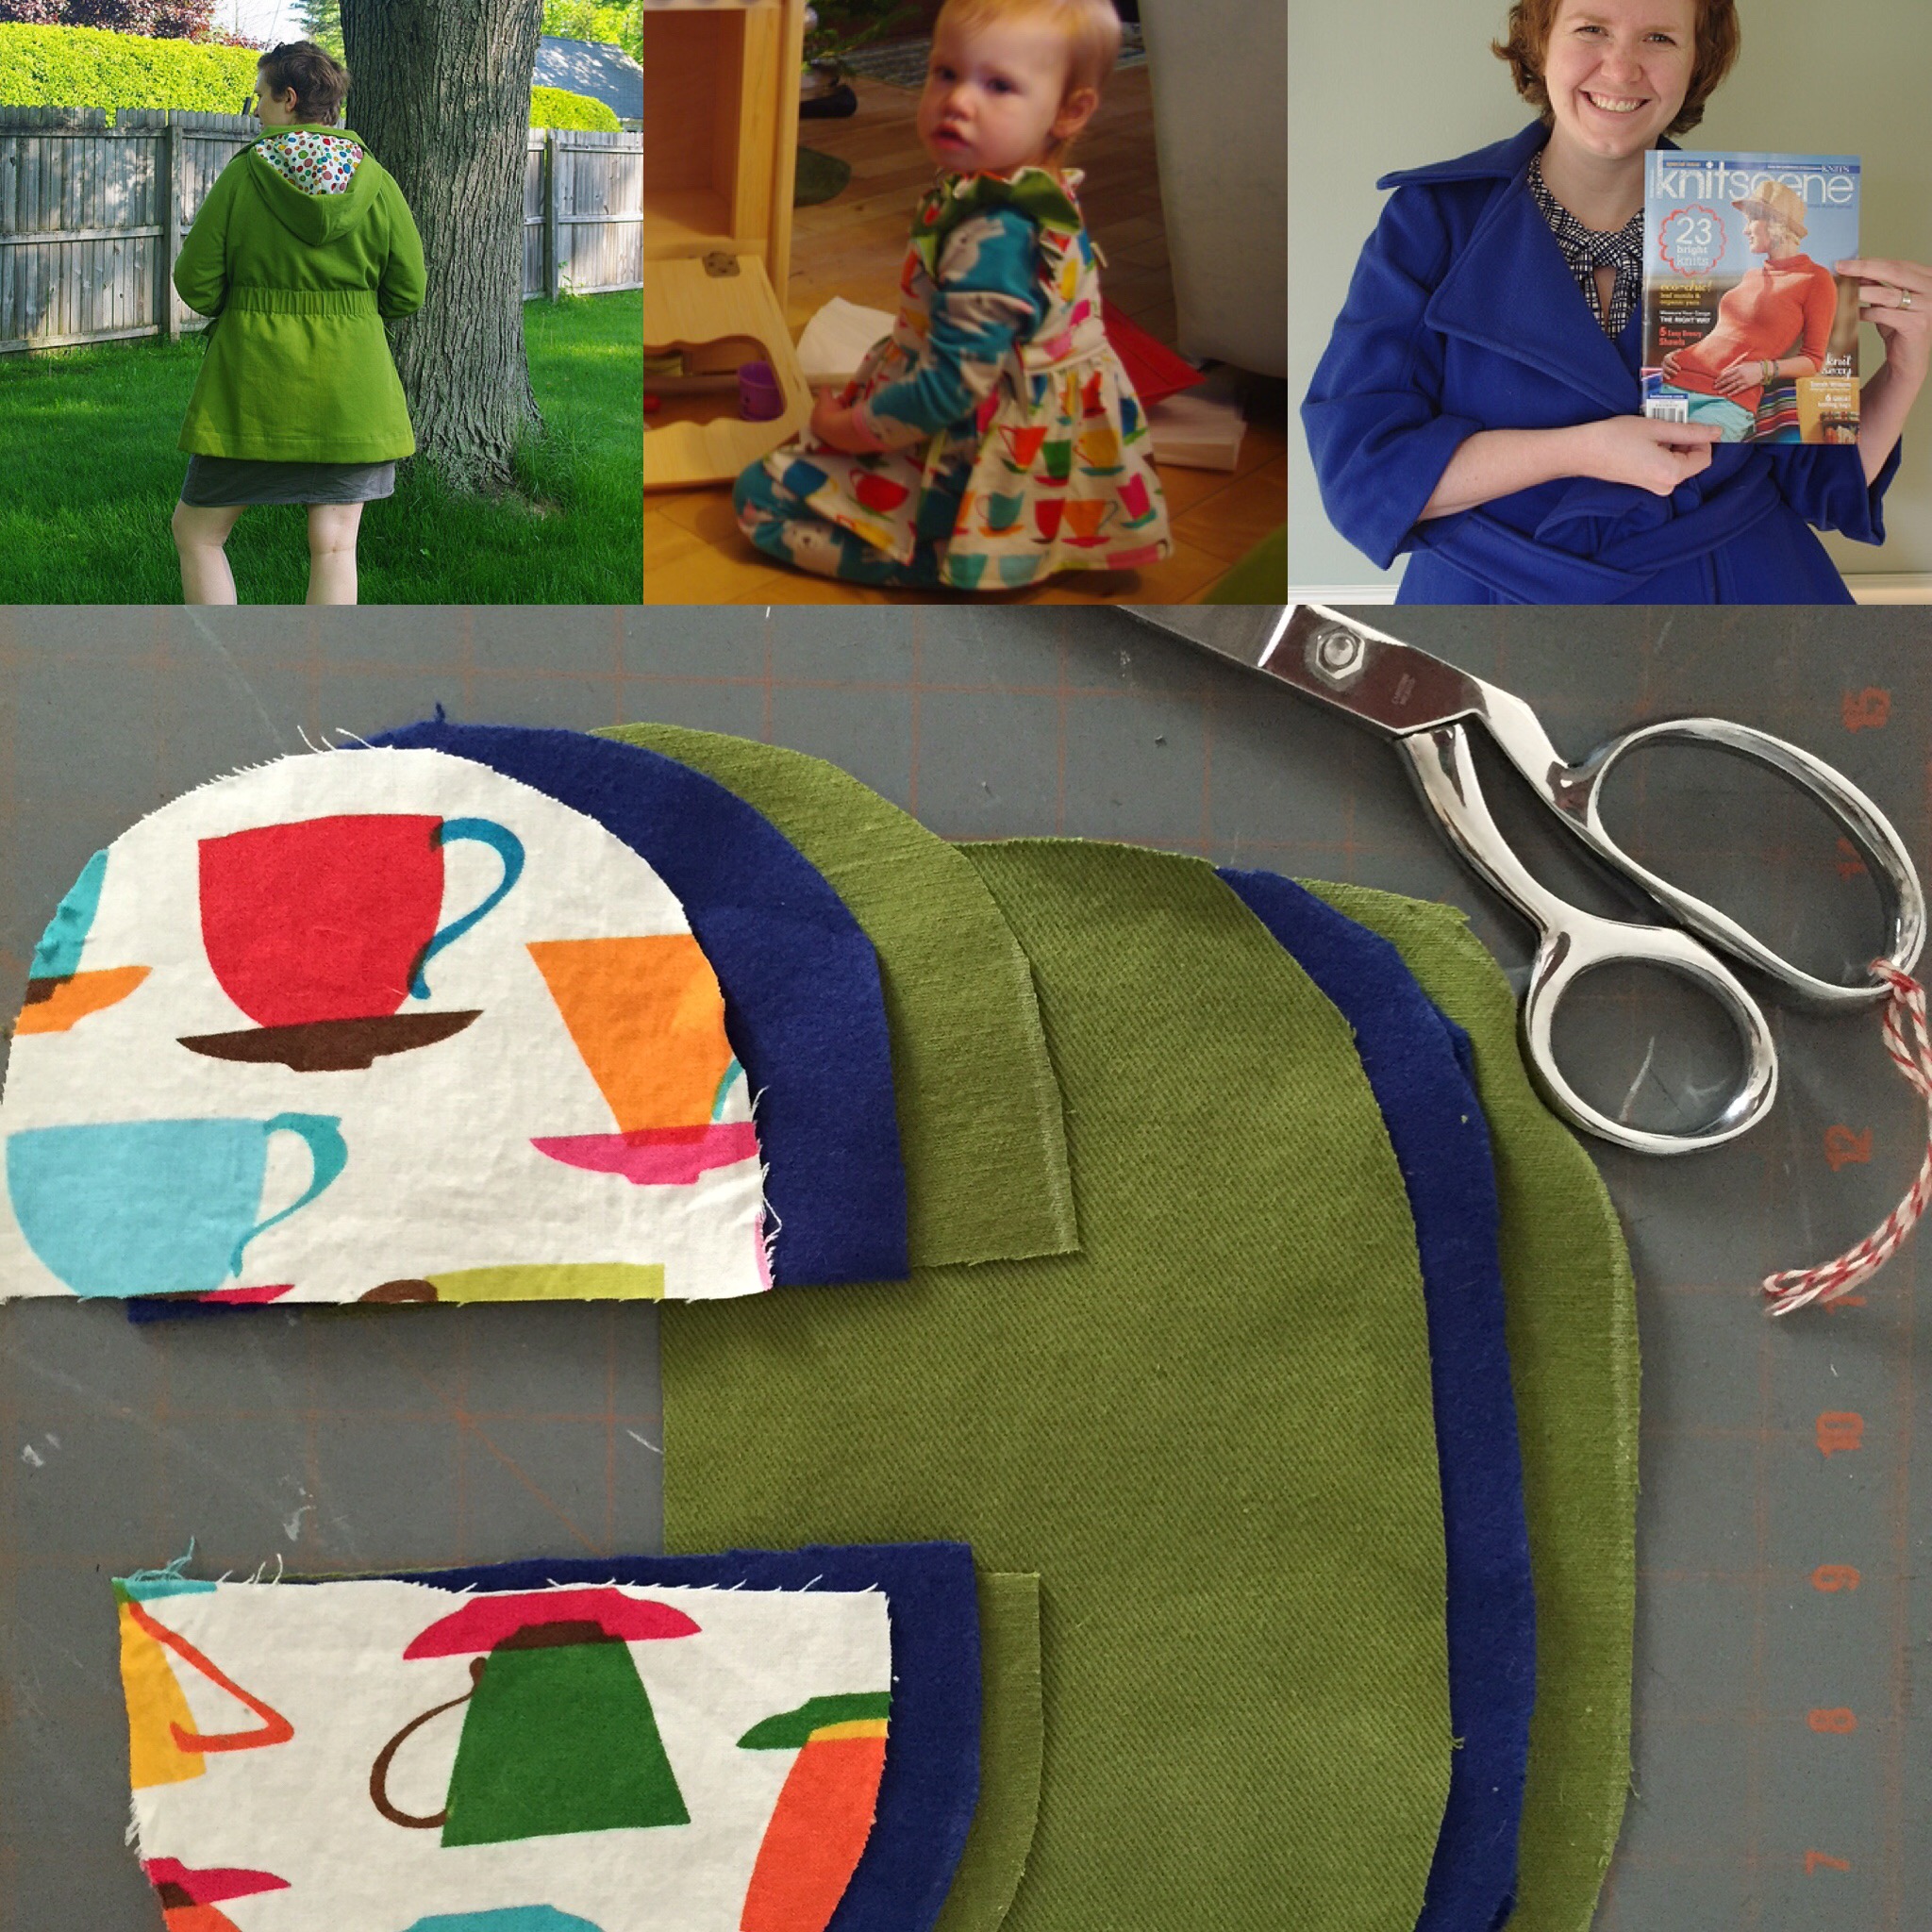
So I poked through my bins and boxes over the last few weeks, trying to find a place to put leftover fabric from the coat I just finished, and I was astonished at the amount of stuff I forgot I had. And it was really good stuff (thanks Past Me, for having good taste) and it was perfect for patterns I already owned and wanted to make (right amount of yardage and linings and everything!). 

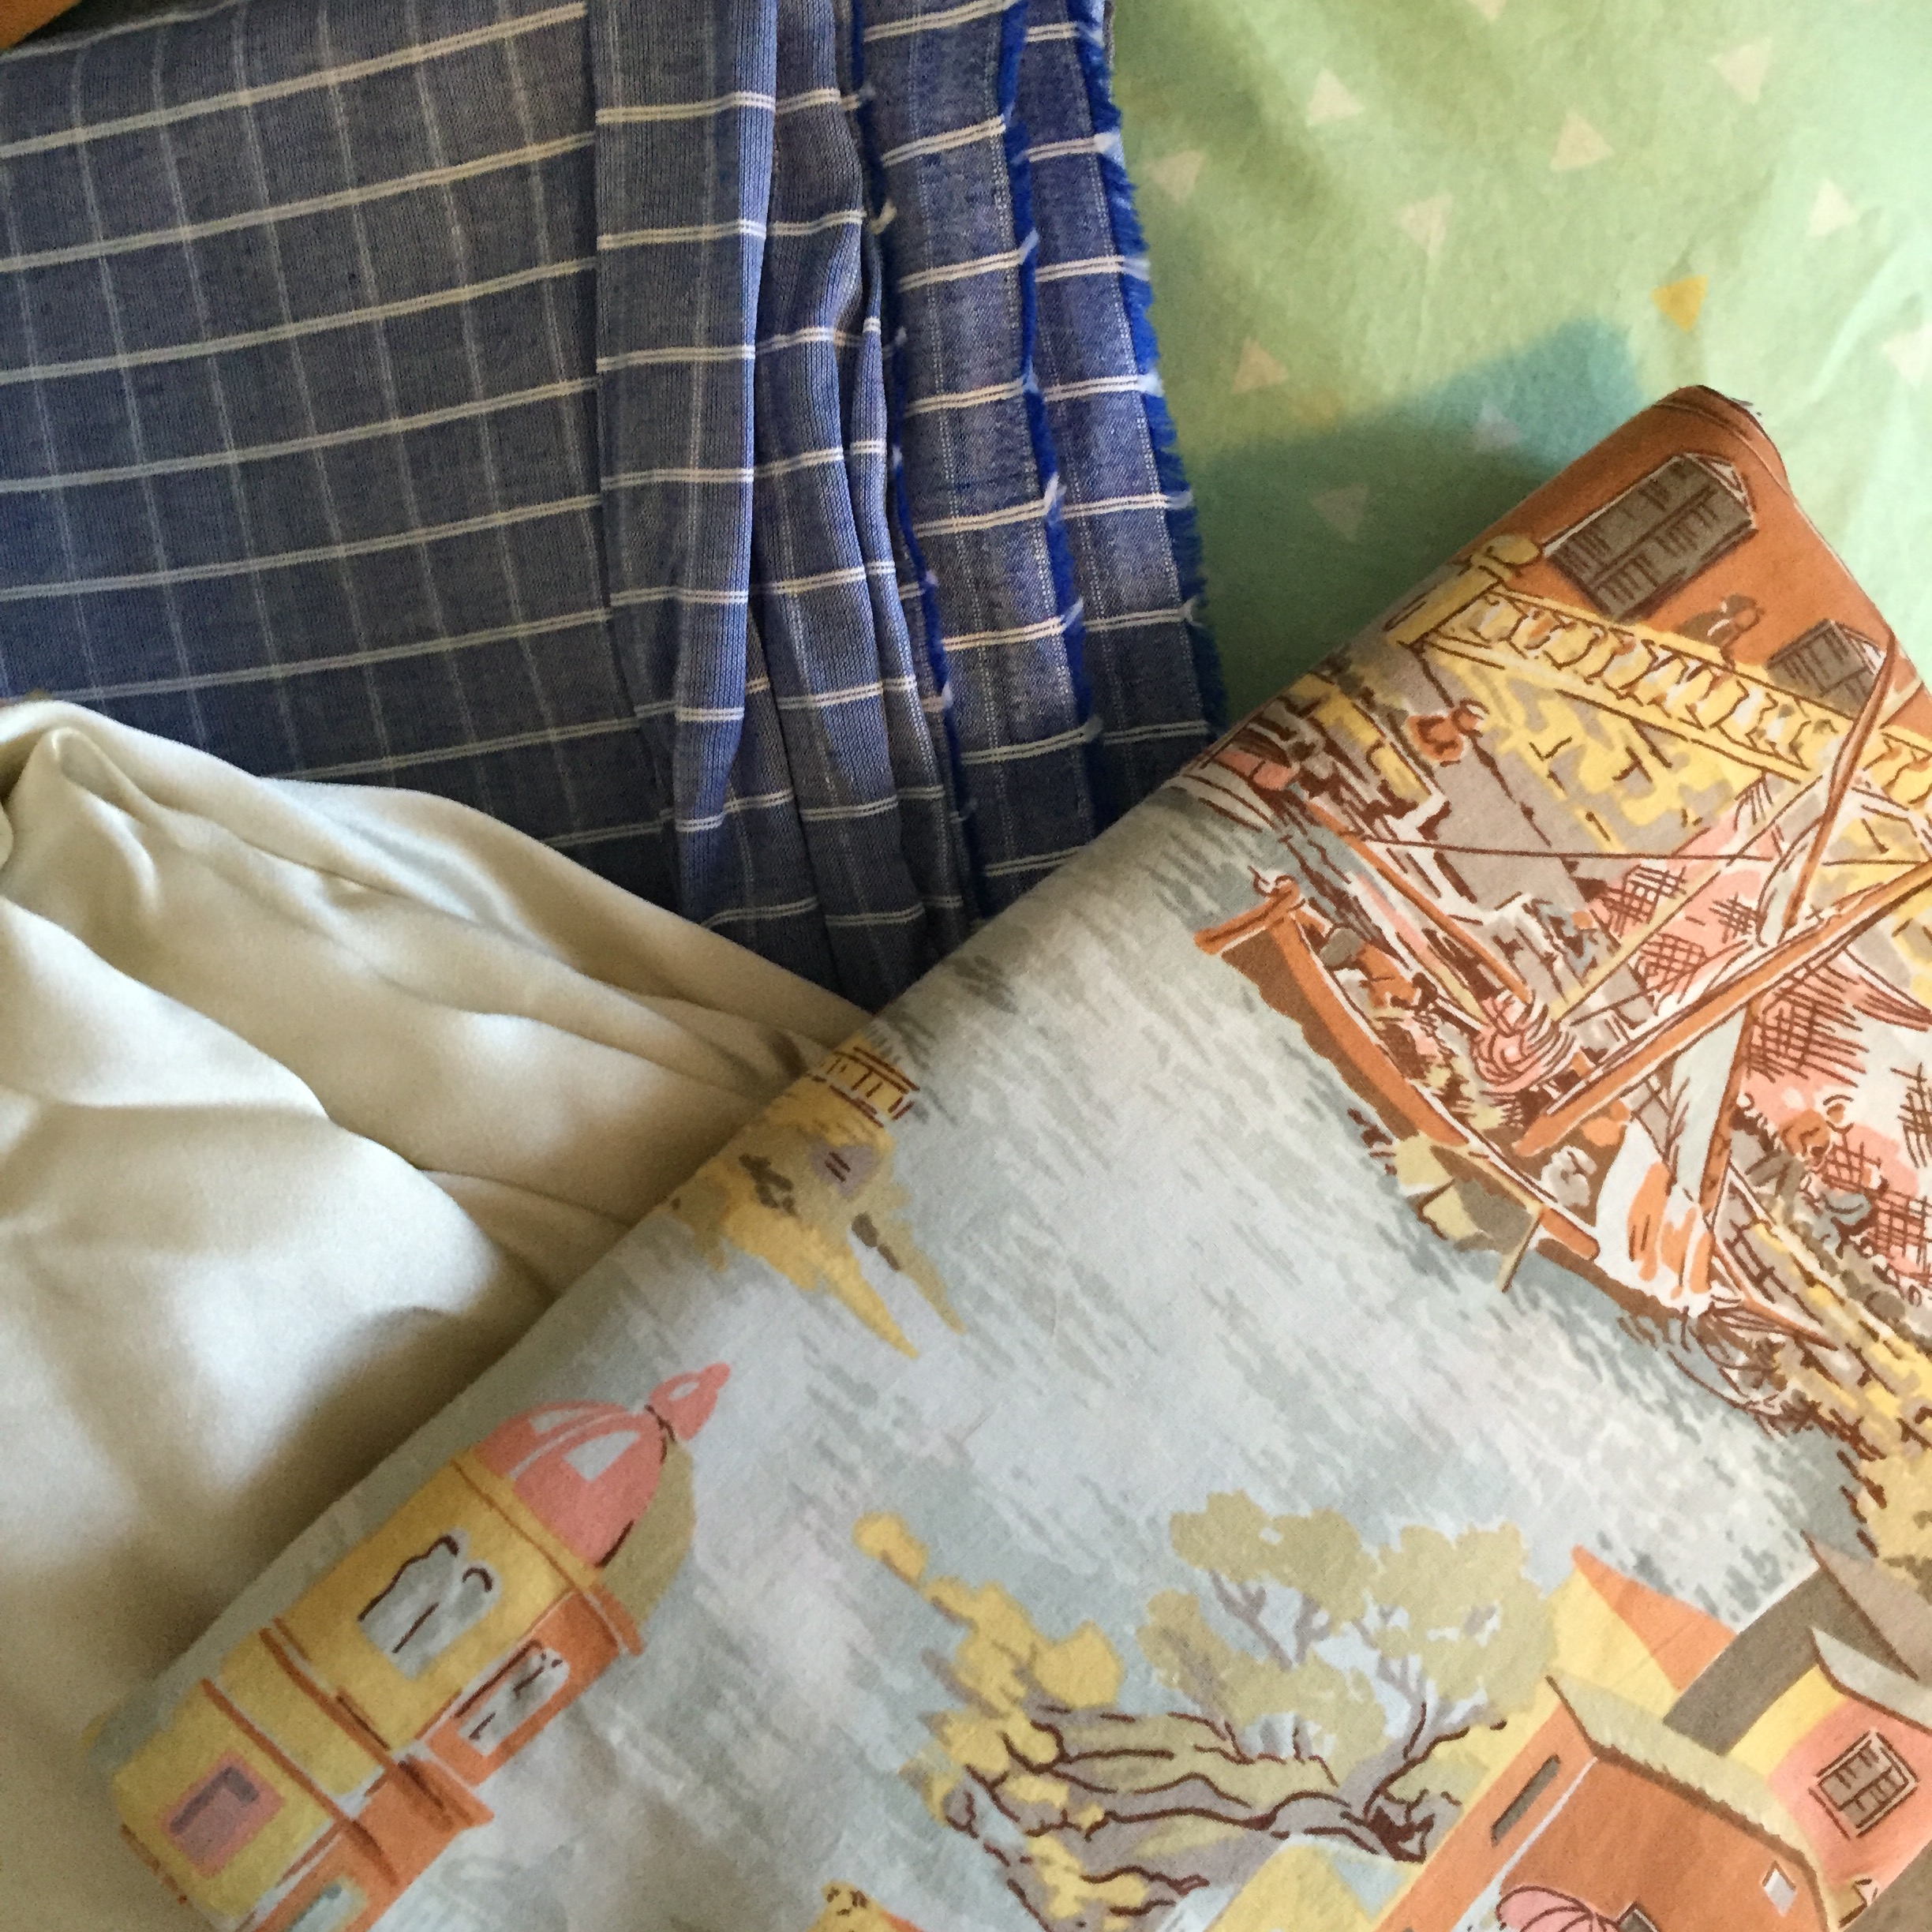
At the same time, I wanted to sew some leggings for LMC and had nothing suitable on hand. It was either too small a piece or not the right color (so much plain blue, when I have a pink/purple/print loving girl) So I stenciled up some stars in the hopes it might be of interest and no dice. Meanwhile, I had bought tons of cute cotton prints to make into dresses for her, and I've learned that she just doesn't really like wearing wovens (or dresses). 

So in some ways, my stash is serving me very well. And in other ways, it's a big dud. 

In any case, it's taking up too much space in my room and my brain. 

So I'm going to work on it.  My first goal is to get it to a place where it fits in the containers I currently own (with the lids actually closing). I actually like the vast majority of what I've got, so the plan is to use it. My second step is to take a long hard look at the leftovers I've been saving for "someday" projects and try to be realistic with myself (gulp!).  

I'm not planning on any of kind fabric/yarn "diet" and, in fact, just ordered some new fabric in the mail for a birthday present I'm working on for LMC. But at a minimum, I'm going to check to see if I've got anything suitable to use first.

So, what about you? Anyone else guilty of being a goldfish?
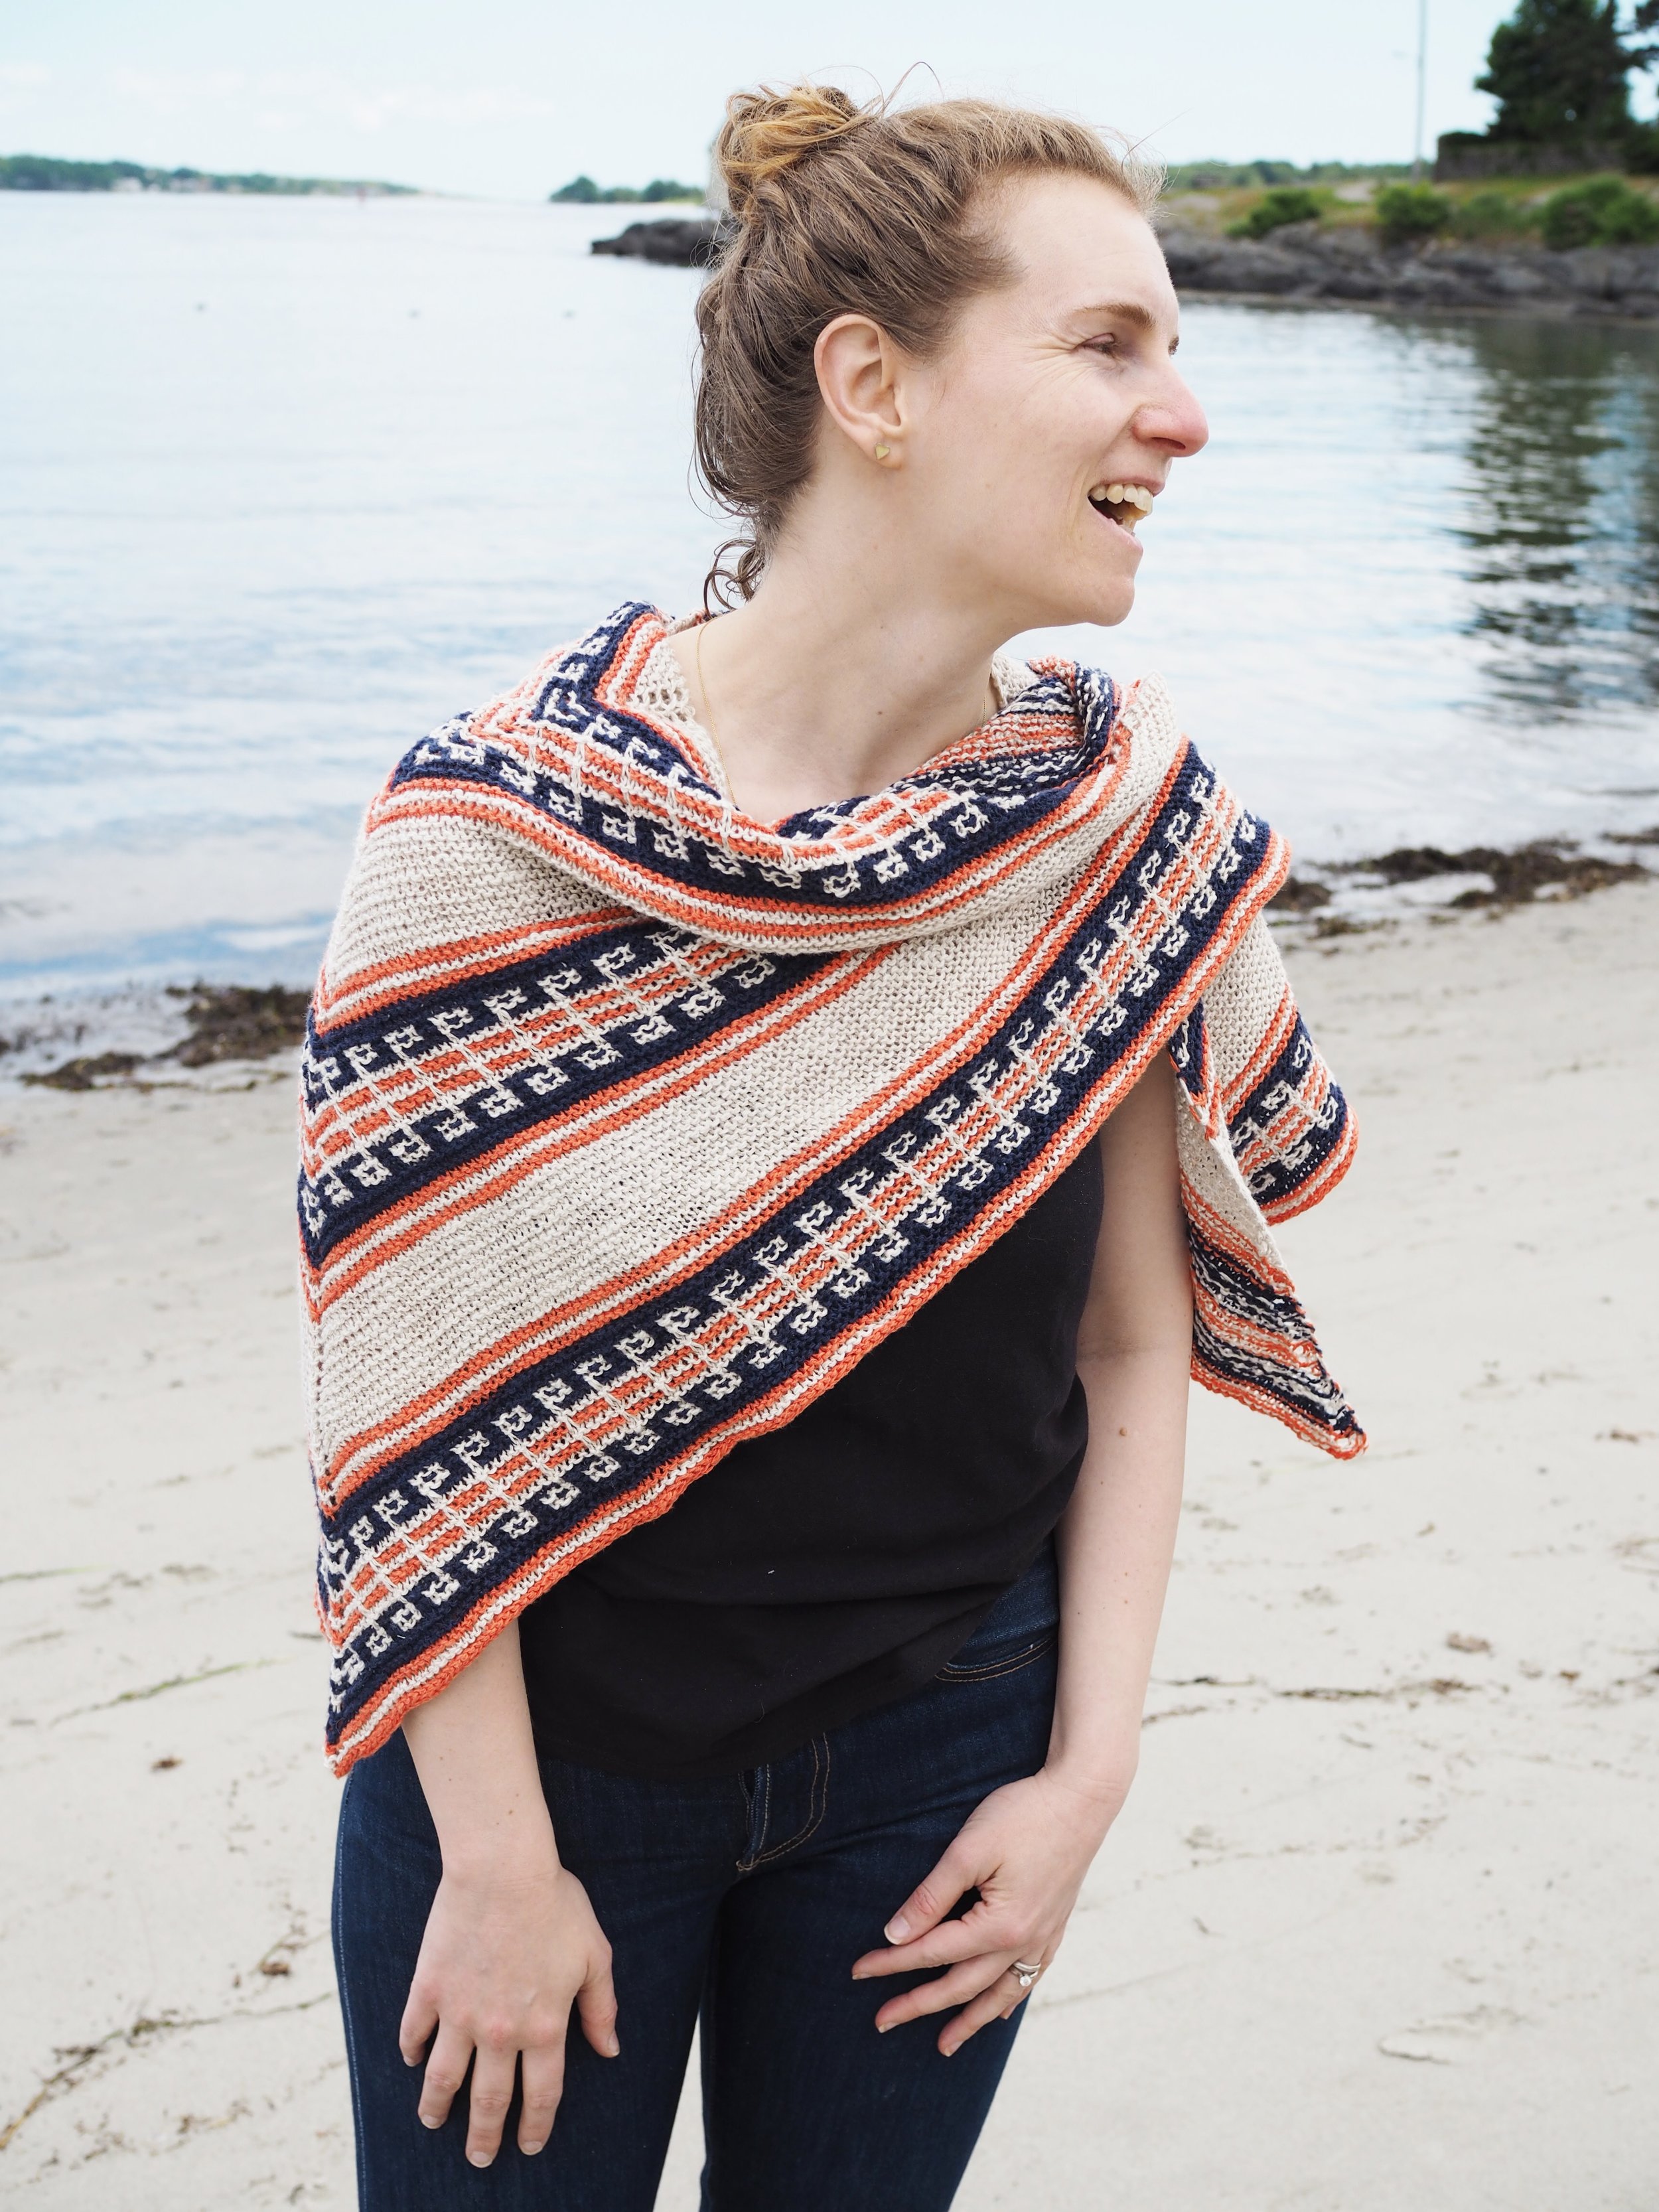
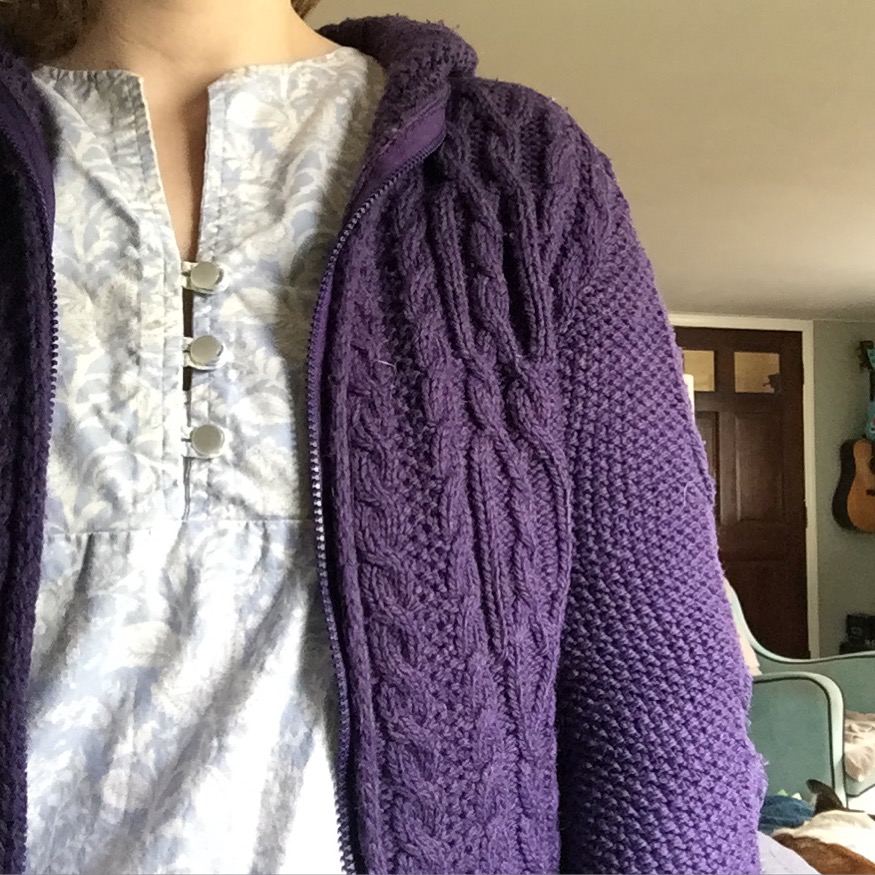