Sample Sale!

I'm holding a sample sale of several of my older designs to free up some space in my studio! 

Items will go on sale Thursday, October 5th at 11:00 AM EST and each item is one of a kind. Items are available in a range of prices and sizes.

You can check out the items now, and feel free to email me with any questions in advance, as all sales are final. Inventory will be updated as of October 5th at 11:00 AM EST.


Print Friendly and PDF Follow
follow us in feedly

Introducing Becket

My dear friend Bristol Ivy is just about to release a book called "Knitting Outside the Box." She's awesome, the book is awesome and you should totally pre-order it

But, for me, I prefer to design within the box. Or boxes as it were.

That is, I love working within constraints. I've always found that some of my best creative leaps have come from some kind of restriction, be it a writing prompt, moodboard, or budget limitation. The freedom to create anything can be overwhelming, so sometimes I like to place restrictions on myself. 

After I had designed Leading Bird and Paper Bird, I decided I wanted to do a whole series of shawls (that wide-open palette) within three rules: 

  1. It had to be inspired by a song with the word "bird" in it.
  2. It had to use a shape not in the series yet
  3. It had to use a Quince yarn not in the series yet.

So I had done a semi-circular shawl in Owl and an elongated triangle in Tern. I started by coming up with my favorite bird-referencing songs:

  • Cage the Songbird (which became the traditional triangle shawl, Tributary); 
  • "Top of World" by Patty Griffin ("I'm afraid I broke the wings/Off that little songbird;"
  • "Here Stand" by The Ballroom Theives "Well, here I stand/A bird in hand/One foot in sea and one on land" 
  • The entire oeuvre of Brown Bird

(clearly, I'm not done with this idea yet and if I allow myself to be a bit liberal with the "bird" definition, "Maybe Sparrow" by Neko Case would be on there too.)

And then my favorite band, Darlingside, came out with an album called "Birds Say" and I just had to make a shawl around the title track. 


My first bit of inspiration was from the way Darlingside performs - as four voices around a single microphone, which translated itself to four trapezoids around a central point in a shape that's half-scarf, half-shawl (a scrawl?). The fabric design was easy - an irregular rib based on the rhythm of the song.  I knew from earlier swatching experiments that Quince's springy Phoebe would let the ribs "pop," while the semi-solid coloring keeps the eye moving horizontally, like reading sheet music. 

All of that pulled together to become the Becket shawl (Quince picks the final names), part of their Marsh Collection

The pattern is available for $6 USD for the individual pattern or $19 USD for the whole Marsh Collection from the following online shops:

MsCleaver.com   ||   Quince & Co.   ||      Ravelry

If you knit it and participate in social media, use #quincebecket to share and/or tag me @mscleaver !  

And here's one more song for the road (because I really can't help fangirl-ing)


Print Friendly and PDF Follow
follow us in feedly

Introducing Dal

I'm pleased to introduce Dal - part of Quince and Co's Spice Collection. I love Lark, Quince's worsted weight wool. It's a simple workhorse yarn, but it lends itself to texture so well - as demonstrated by the knit/purl basketweave texture and cables on Dal. Knit and purl stitches combine for a cushy body, while a stockinette sleeve keeps this cozy raglan from being too busy. The width of the front-center panel scales with sizing, to be flattering on a range of figures. 

I'm in love with the rich golden hues of Carrie's Yellow, but Dal would also look great in olivey-green, like Wasabi; a steel blue like Sage; or the deep Merlot of Barolo:

The pattern is available for $7 USD from the following online shops:

MsCleaver.com   ||   Quince & Co.   ||      Ravelry

If you knit it and participate in social media, use #quincedal to share and/or tag me @mscleaver !  

I'd love to see your version!!!


Print Friendly and PDF Follow
follow us in feedly

FO Roundup - Summer 2017

One of the most fun parts of being a designer is seeing how others interpret your designs. Here are a few of my favorite finished objects (FOs) of late,  including some of my lesser-made patterns (click on any photo to visit the knitter's Ravelry and/or Instagram page):

Maian - knit by DinkyDebbie

Maian - knit by DinkyDebbie

Ripley - knit by Victorious Wool

Ripley - knit by Victorious Wool

Ripley - knit by VictoriousWool

Ripley - knit by VictoriousWool

Kaeryn - knit by sweepea

Kaeryn - knit by sweepea

Domenic Duck - Design By Leah B. Thibault, knit by Traceyknits5

Domenic Duck - Design By Leah B. Thibault, knit by Traceyknits5

Atlee- Knit by java1994

Atlee- Knit by java1994

Atlee- Knit by java1994

Atlee- Knit by java1994

Ezekiel Saw - design by Leah B. Thibault, knit by knitterripper

Ezekiel Saw - design by Leah B. Thibault, knit by knitterripper

Want to share your knits with me? Tag me @mscleaver on Instagram, or if it's on Ravelry, I'll see it. :) 


Print Friendly and PDF Follow
follow us in feedly

My Body Model - Designing on Real Bodies

mybodymodelrenocardi
Renovation Cardigan
Reno Swatch
Prairie Wife Sketch
Atlee Original Sketch
Lady Heartrose

If you follow me on Instagram, you may have seen me mention mybodymodel a handful of times.  MyBodyModel is the brainchild of my friend Erica, and is a web-based tool for building sketching templates, also known as croquis, to your exact measurements.

I can't tell you how excited I am by this project. As a designer, I use croquis all the time in sketching out my design ideas. It sames me time from having to redraw the figure and allows me to focus on the clothing design. For quite some time, I've been using the same croquis, seen above in the sketches for Prairie Wife, Atlee and Lady Heartrose. I found it by doing a Google image search for "plus size croquis."

If you click on that Google search, you'll find that the fashion sketch definition of "plus-size" feels not quite right. The croquis I've been using seems much more in line with the 34-inch bust standard most of my samples have to been knit in, than anything resembling plus-size.

So while my standard croquis gets the job done for basic communication purposes, it falls short in several ways.

First, it's not a great tool for scaling designs. When I grade, I work off a spreadsheet and make some general assumptions about how to grade different design elements - for example, is the button band the same width for all sizes, or would it look better if it's wider on the larger sizes? Sketching on different body types helps me make that decision in a more informed way. 

Second, I often see comments when new designs come out along the lines of "that's nice, but not for my body." Unlike sewing, where additional samples can be made in the span of hours, new knit samples usually take weeks. Which means having samples photographed in various sizes is often not possible, so makers may have to wait months to see someone close to their body type post a finished object photo to get a sense of how a particular design would work for them.   MyBodyModel helps with both of those shortcomings.

MyBodyModel is currently in the midst of a Kickstarter fundraiser, and I've backed at the designer level to get access to 3 custom croquis. For me, I would use the following measurements for my croquis:

  1. The standard set of measurements I use for my 34"  sample
  2. My own measurements as a "middle of the range" example
  3. The largest set of measurements from my grading spreadsheet

By doing this, I would have a range of body types to sketch on and design for. 

Even if you're not a designer, having a sketching template of your own measurements would be highly valuable. You could plan adaptations like sleeve or skirt length, and "try on" a number of different styles without actually having to commit to making items.

As some examples. I've used MyBodyModel's sample sheet of croquis, developed from real testers measurements to sketch out two of my designs - the upcoming Renovation Cardigan (above) and the Lamina Pullover (below).

If MyBodyModel successfully funds its Kickstarter, I'll be testing the Beta phase of the software and I can't wait to give it a try. If having more realistic sketching figures seems like a good idea to you, I  highly encourage you to go chip-in on the Kickstarter, which runs until August 24th. 

Lamina by Leah B. Thibault
Mybodymodellamina
Print Friendly and PDF Follow
follow us in feedly

Your Questions - Part I

My Studio

I recently ran a little giveaway on Instagram and one of the contest requirements was to either 1) suggest a tutorial or 2) ask me a question. Yes, I shamelessly pump my followers for blog content ideas! For tutorials, a beginner's guide to embroidery was the overwhelming ask and is currently in the works, but in the interim, I thought I'd answer the non-tutorial related questions. 

Here's a question for you:  how do you balance your work as a maker with your domestic and family life? You seem to have a great time doing both! - Carneykar

Balance.  That's the eternal question, isn't it? Ask any tightrope walker and they'd tell you that balance isn't a one-time trick and you've got it all figured out; instead it takes focus, constant adjusting and having a big stick to help even you out doesn't hurt. At least, that's what I'd guess they say, I don't know any tightrope walkers. 

In terms of mindset, making is a priority for me. You first make time in your life for what you need, (i.e. go to work to make money to feed your family and pay your mortgage, clean laundry, etc.) and then you prioritize (I hope) what you love, and I love both my family and making things.  

Making is as habitual for me as brushing my teeth, so I always have a variety of projects or ideas in the works and I give myself tools to work on them whenever an opportunity arises. Most of my sample knitting is done either on my carpool days or while I'm watching tv at the end of the day. I  always carry a knitting or embroidery project in my bag so I can stitch during lunch breaks or while waiting for appointments. I keep paper around to draw out new ideas and a notebook in my nightstand to jot down story ideas. I'm almost always doing something, but the majority of the time, making is how want to spend my "me time," even if it's for work purposes.

My daughter's playroom and my studio share a space - so we can "play" together. I've learned what I can and can't do with my daughter around: gardening or baking together - a hearty yes; tracing sewing patterns while she's coloring - yes;  cutting out fabric - no way. I've also learned to do everything in bits and pieces. When I really need to focus or do computer work, I work during naptime and I'm usually the last one in the house awake by a long shot. 

As much as I (mostly) enjoy all the aspects of my handmade business and want to grow it, I try to be forgiving of myself when I choose not to work.  I stayed up late last night weaving in ends and blocking a sample that is due shortly. I've got three more projects with deadlines in the queue, but if my daughter asks me to nap with her on the weekend, I probably will, because I know those chances to snuggle and plan her epic "Happy Heart Day" party before we fall asleep are short-lived.

I would also be remiss if I didn't give HUGE credit to Mr. Cleaver. He does 90% of the cooking and laundry in our household and the majority of things like grocery shopping as well. This means when I get home from work, I get to spend time with my daughter instead of rushing to make dinner and I can clean up the dishes in stages across the evening. I work from home one day a week now, which means I can help out more on the laundry/dinner/shopping front and try out fancy new recipes - which again I do in pieces. For example I made some spaetzle with pesto the other day - I made the pesto first thing in the morning before my workday started; mixed the dry ingredients and set out the pots I needed at my lunch break; and then dove into making it while Little Miss Cleaver watched My Little Pony after pickup from preschool. 

I'm certainly not prefect. Somedays I'm not as present with my family as I want to be. I'm terrible at actually taking a break. I wouldn't recommend eating off my floors.  It often feels like it takes me twice as long to get something done as I'd like it to. But I've also become more aware that life has a rhythm and an ebb and flow. So I keep my eyes on the wire, adjust as necessarily, and allow myself to be supported by those who help bring balance to my life. 

Beach Beauties in Progress

 I would like to know what is the inspiration for your designs? - cclynn14

A writer friend of mine introduced me to the phrase "plot bunnies" - the definition being that once you get one idea, it seems to multiply like rabbits until you have more ideas than time. I'd say the same is true for both my knitting and embroidery design.

Inspiration is everywhere, you just have to open and patient. I'm constantly seeing something that triggers an idea for a new design and that trigger can vary widely - I've designed four shawls based on bird-titled songs from my favorite bands, I've got a colorwork sweater in the works that came from a peeling wall paper image I saw in a friend's Instagram post about their home renovation.

Of course, if I didn't tell you that, you probably wouldn't see the connection, even if I placed them side by side. I find inspiration almost works like a dream - it takes familiar things, takes and element or two of familiarity - a mood or a color -  and shifts it into something different. With that wallpaper sweater, there's a muted color palate similar to the original and both have patterns with a circular quality, but that's about it. The songbird shawls set out to capture a mood (Leading Bird), a rather literal translation of the lyrics (Paper Bird and Tributary, aka "Cage the Songbird"), or the layout of the performers on stage (yet to be released Darlingside-inspired shawl).  

My embroidery designs are much more illustrative, and more literal in translation from concept to final design.  Often when I introduce someone to embroidery, I'll teach them by drawing a daisy on the fabric for them to trace- the Coneflower design took that idea and made it a bit more formal. (That pattern is also a secret sampler, which you'll see in the Embroidery 101 series coming up). With my embroidery designs, I'm often illustrating my dream life - something slightly agrarian and rooted in a sense of place, with a timeless quality. When I wanted to come up with a summer-themed hoop, I started thinking about all the things that would be a dream summer to me - inner tubing on a lazy river, rope swings, leaping off a dock into a lake, sun hats on the beach. Of all those ideas, the sun hats won out (see design in progress above), but it doesn't mean I won't revisit the other ones next year.  

One thing I've had to adjust to in designing is the forward-looking nature of it - as soon as I hit my current deadlines, I'm going to be working heavily on Christmas/Winter designs, in August.  Magazine work generally works on a 6-9 month lead time, so I'm designing summer sweaters in January and am knee deep in wool in July.  In those cases, mood boards from the call for submission are a great help, or I'll use Pinterest to make my own.  I'll often collect images for years before they coalesce into something - I'd been collecting images of strong rural women in early 20th paintings and photographs for sometime before it was translated into the Prairie Wife Cardigan and I'm far from done playing with that concept.  I still have a treasure trove of inspiration I've yet to translate yet - art from Andrew Wyeth and Barbara Cooney, Anne of Green Gables and my love of 1950s sci-fi - all hundreds of design bunnies, just waiting to be born. 

Something else you'd like to know? Ask in the comments below and I'll include it Part II.


Print Friendly and PDF Follow
follow us in feedly

Summer Rain Shawl in Taproot Magazine

As a child, I dreamed of summer storms.

Growing up in northern California, my summers consisted of soaking my swimsuit in the sprinkler and rushing to the driveway to leave an ephemeral body print on the concrete; of running barefoot across the hot asphalt to my friend’s house and trying not to burn my feet; of the dark towels my mother put over the windows in the daytime to keep out the heat.

I wanted my summers to be cooler, wetter. I longed for days that passed like a Country Time Lemonade commercial: afternoons spent floating in an old tire inner tube down a lazy river, swinging from a rope into the old swimmin’ hole, taking laps to the dock in the middle of the lake, numerous bodies of water inexplicably available to the same child in a 30-second spot.

I thought a summer storm would be the perfect antidote to the dry California heat, a backyard sprinkler writ large. I imagined I’d see the clouds building up, pull on my one-piece and hurry outside to dance in the warm droplets falling gently from the sky. Summer perfection wrapped up in a single moment.

Later, in my twenties, when I lived in Chicago, I learned that the reality of summer storms could be a very different thing. Chicago summers were hot and sticky. I slept on a futon mattress on the floor of a studio apartment in Hyde Park, a fan positioned on either side of my bed, hoping for a respite from the heat. The storms I wished for a child would come frequently, but no gentle sprinkle, these; instead, soaking torrents of water, best avoided, but quickly gone.

My second summer in Chicago, my husband and I had relocated to the north side of the city. I’d walk the blocks of my neighborhood on summer nights, the sticky nights made more bearable by the cool lakeside breeze. Our apartment was just blocks from Lake Michigan, and though we visited the shores often, I only swam in its waters twice. My first swim in that wide body of water was on a hot day, the water sufficiently warm, and the feel of lake-bottom plants and tiny fish against my legs a constant reminder that this was no tile-lined pool.

My second swim was on an equally hot day, but the water shocked me with it chill. I paid no attention to the flora and fauna as the icy water stung like daggers and made my toes go numb. I wrapped myself in a towel and we rushed home to change. By the time we reached the apartment, a tornado warning had come in and we watched as the clouds folded in on top of themselves, faster and faster, building up into a dense grey wall on the horizon. My hair still damp from the lake, we sat in the windowless lobby of our building and waited the storm out – the menacing clouds giving us thunder and hail and rain.

As a child, it seemed silly that summer only truly started June 21st. School had been released weeks before and the season of short-sleeves and flip-flops had been in swing well before that. In Chicago, the march of time was marked by the swing from biting cold winds to sweltering humidity. Even so, I didn’t really understand the seasons until I moved to Maine.

Not spring, summer, winter, fall. We had all of those, even in California.

But the 16-day window of Lupine Season, when the highways burst forth in spires of purple and blue and pink, or the two weeks when the strawberries are available for picking, its arrival watched for and counted in pint baskets at the farmer’s market. There is the weekend in July when the window air-conditioning units go in and month-long debate in September on when to take them out. Each week in June, July, and August seeming to be a short-lived season of its own.

Perhaps it is because I no longer live in a land of continuous produce, or because I am a gardener now, that so much of the summer is measured in food – not the dwindling canisters of powdered lemonade of my childhood or the cheap takeout of my twenties, but rather, in limited runs of fiddleheads and sugar-snap peas, of strawberries, then raspberries, then blueberries, to finally end in the bags of apples that are picked in that time between the seasons that can be alternately cold or sweltering hot.

The brevity of these seasons brings a different rhythm to my Maine summers, a sense of urgency and a need to take advantage of everything at its peak that I had never felt before. In this environment, the dozen or so summer storms take on a different role, offering a break from activity. They are not an invitation to play, nor to hide, but to simply be.

In the winter, the Nor’easter asks us to stay inside and enjoy the quiet; in the summer, the rains do the same. The storms are a chance to lay in bed and hear the raindrops ping against the top of that window air-conditioning unit, drumming out a steady tattoo that seems to say “Be still, be still, be still.”

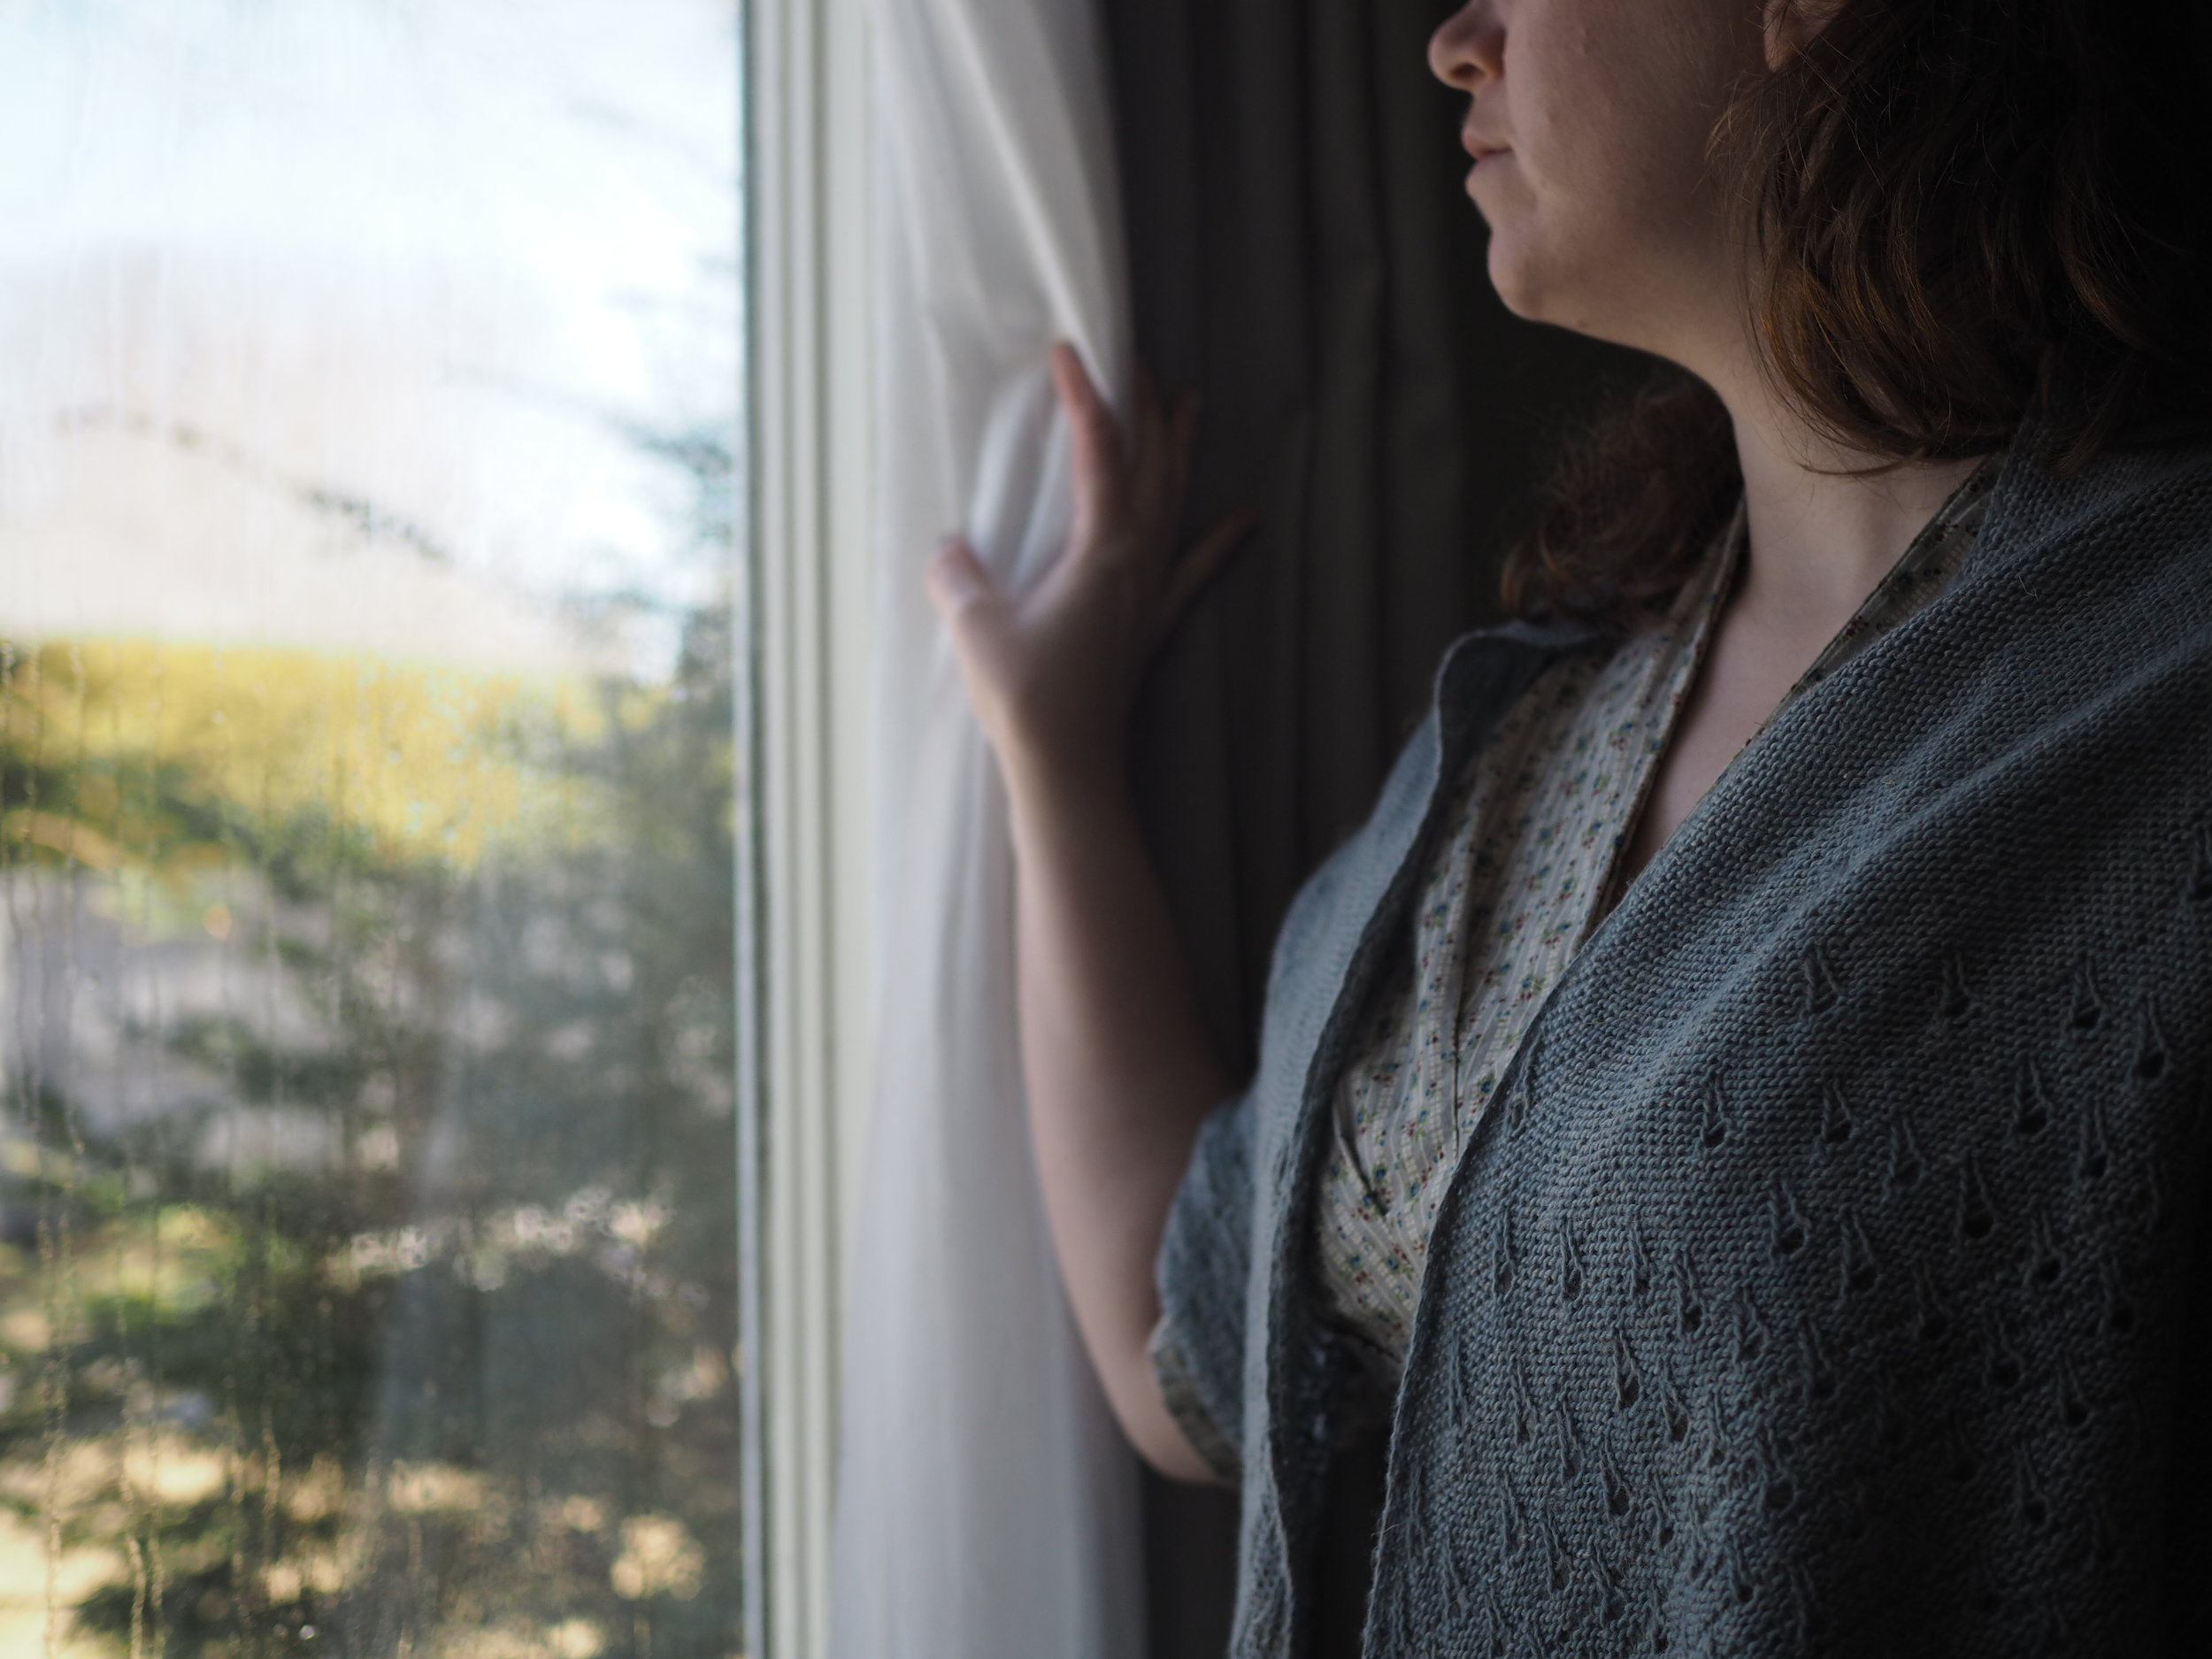
As child, summer storms were illusive, illusionary things; in Chicago, they were wild and sometimes terrifying. Now, as an adult, they are a respite. After a stretch of hot sunny days, the plants in my garden welcome the rain. I follow their lead, raise my face to the heavens, and drink it in.

.............................

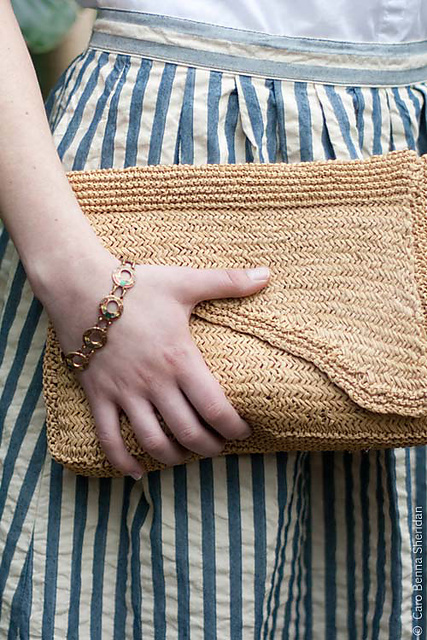
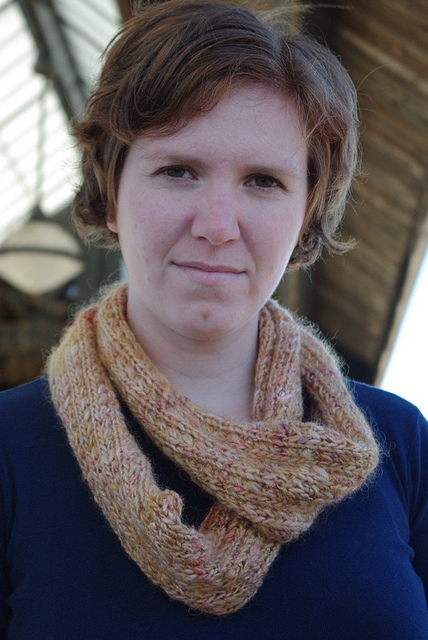
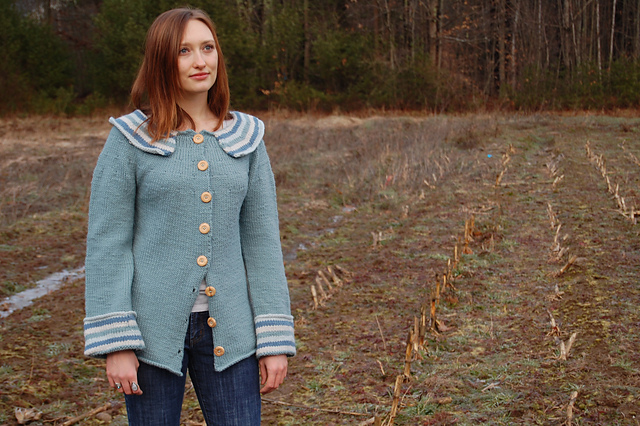
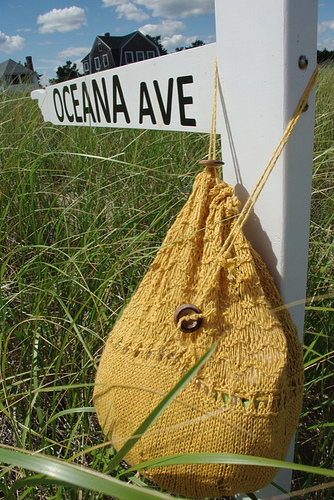
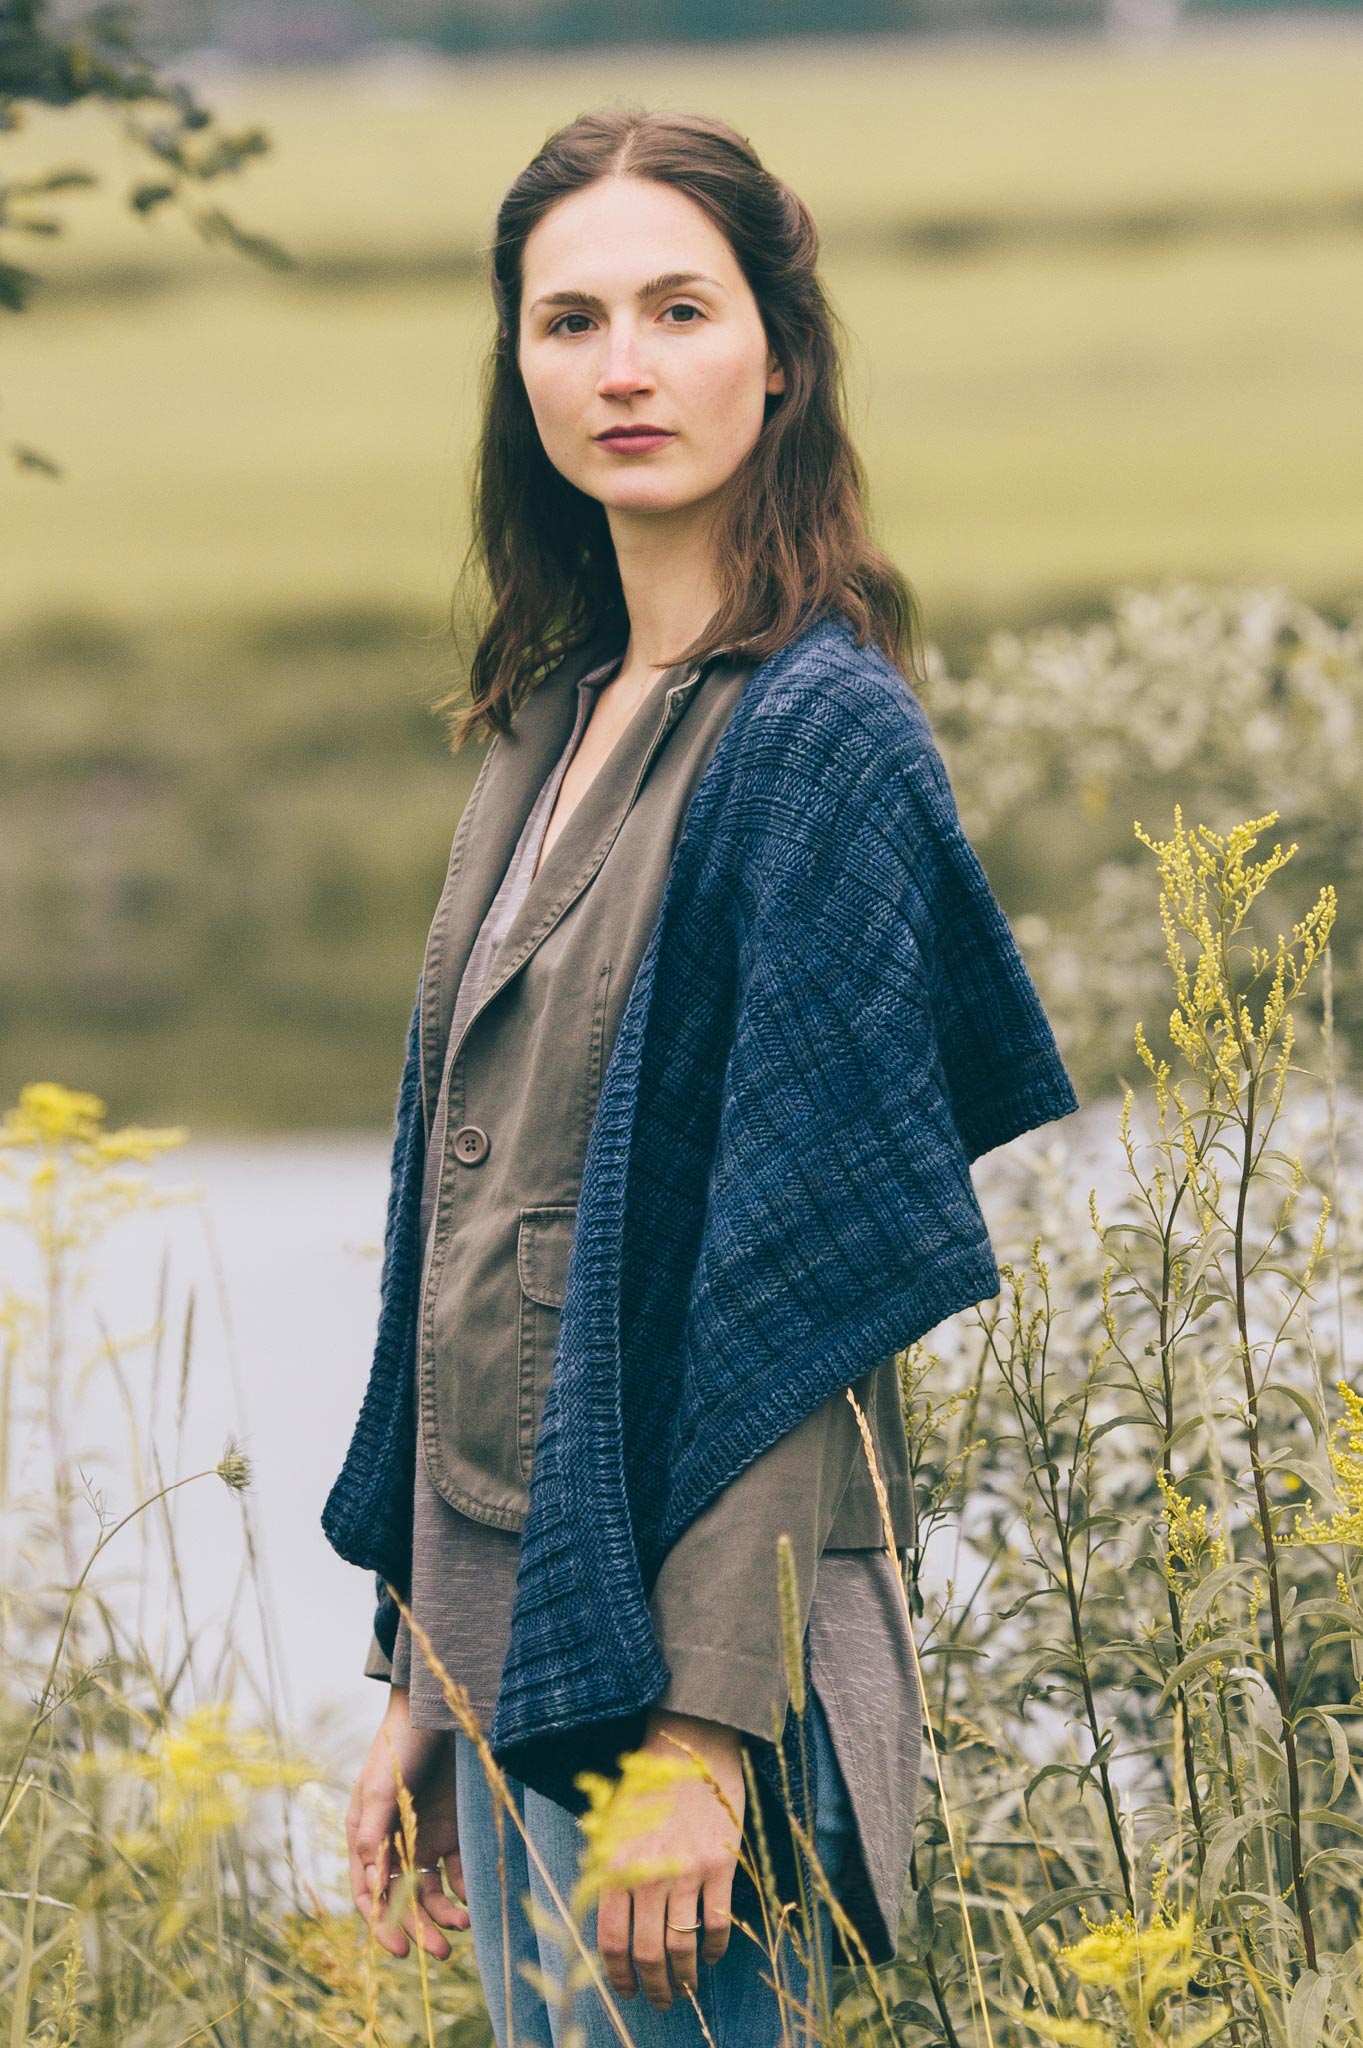
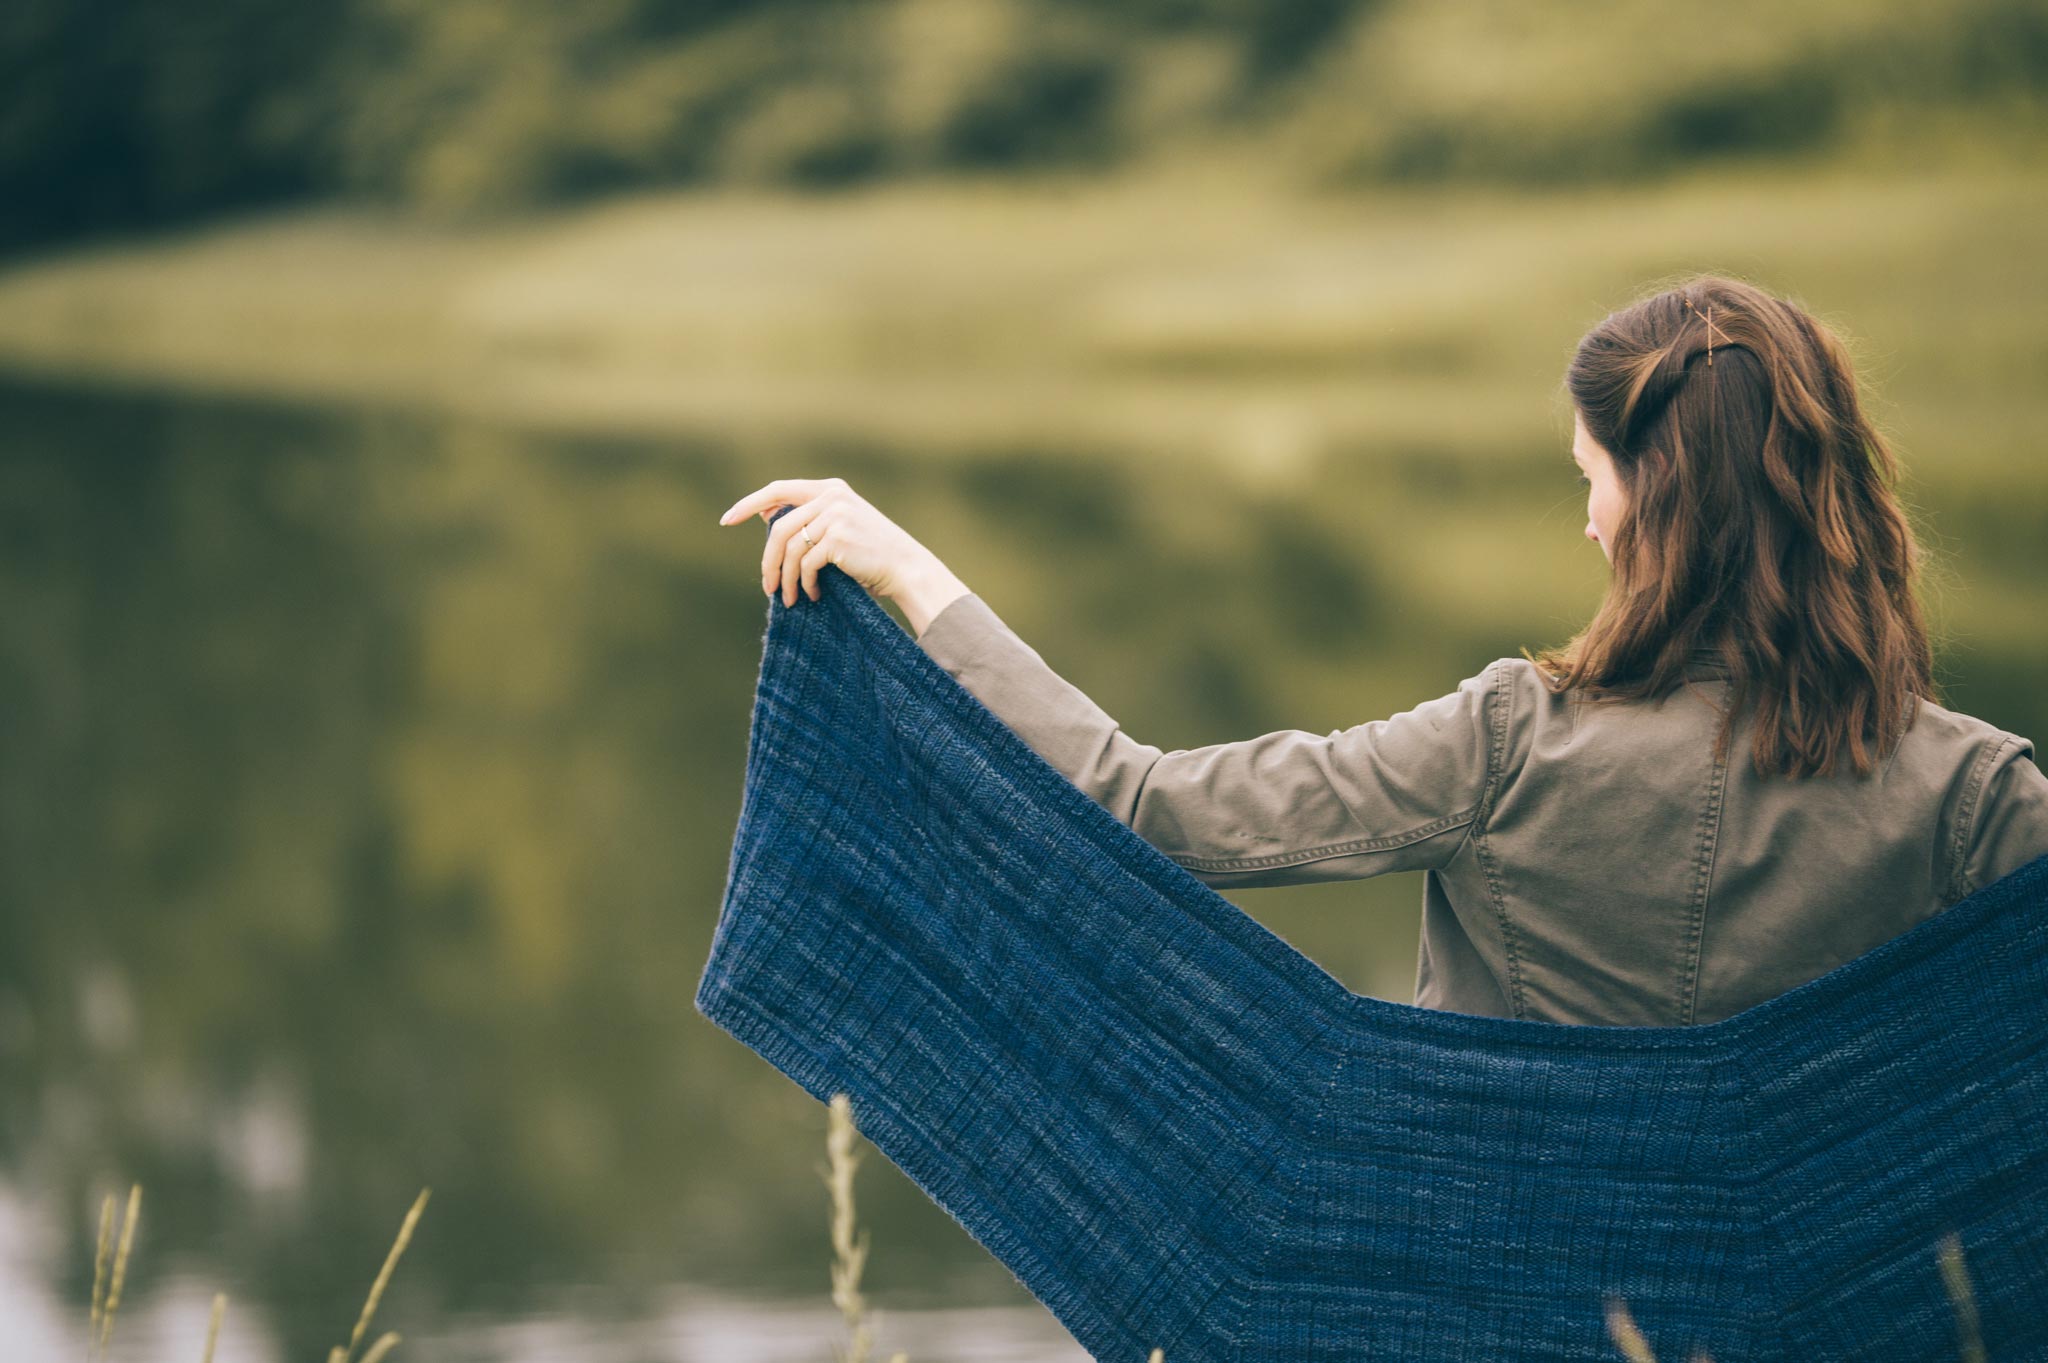
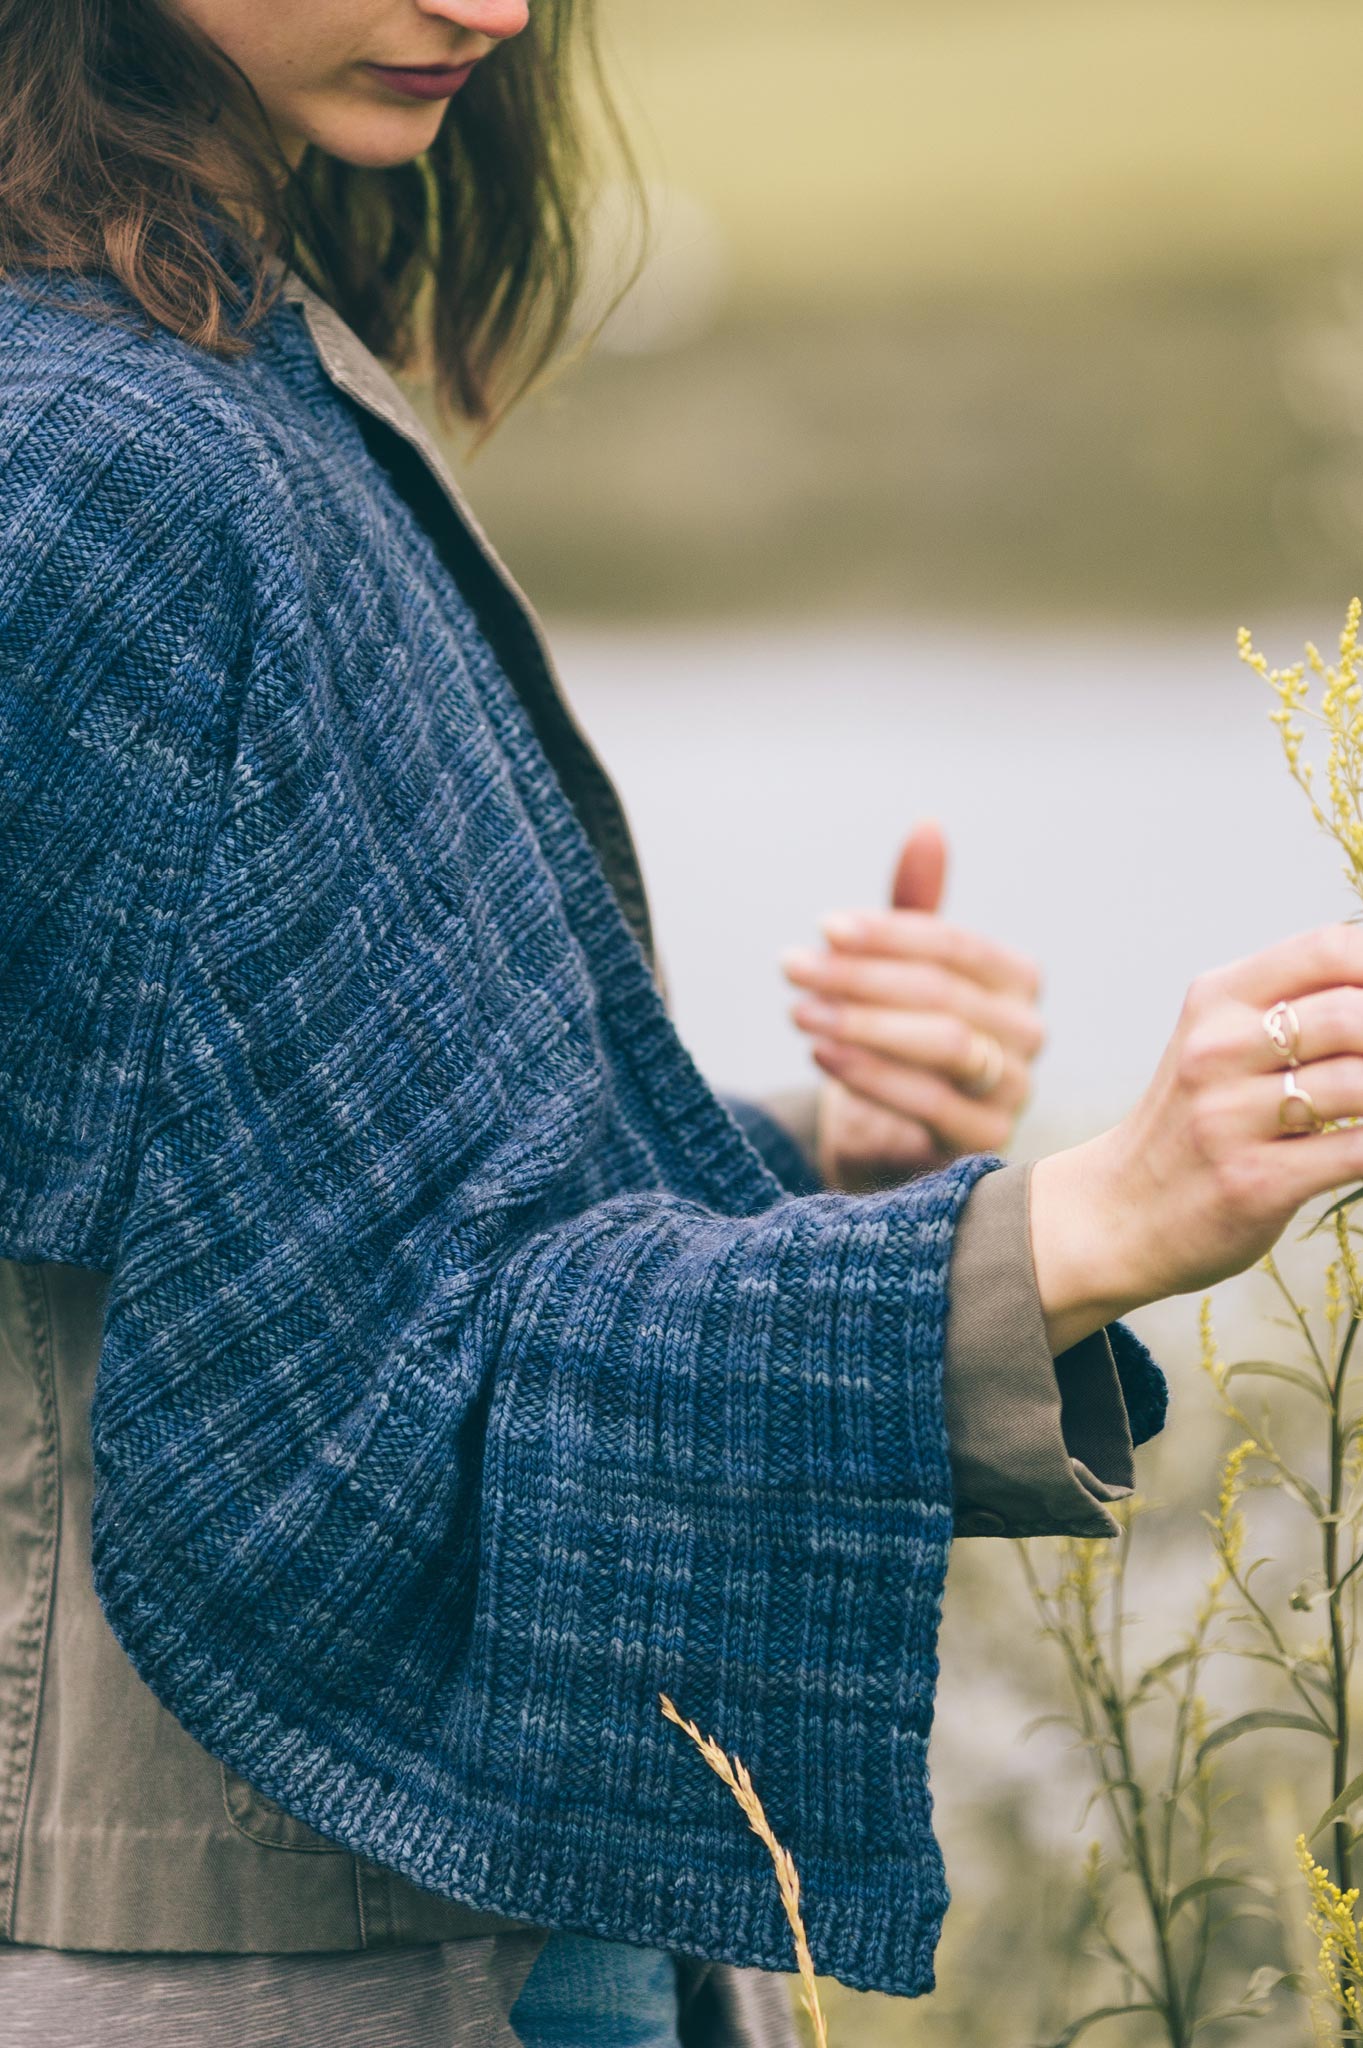
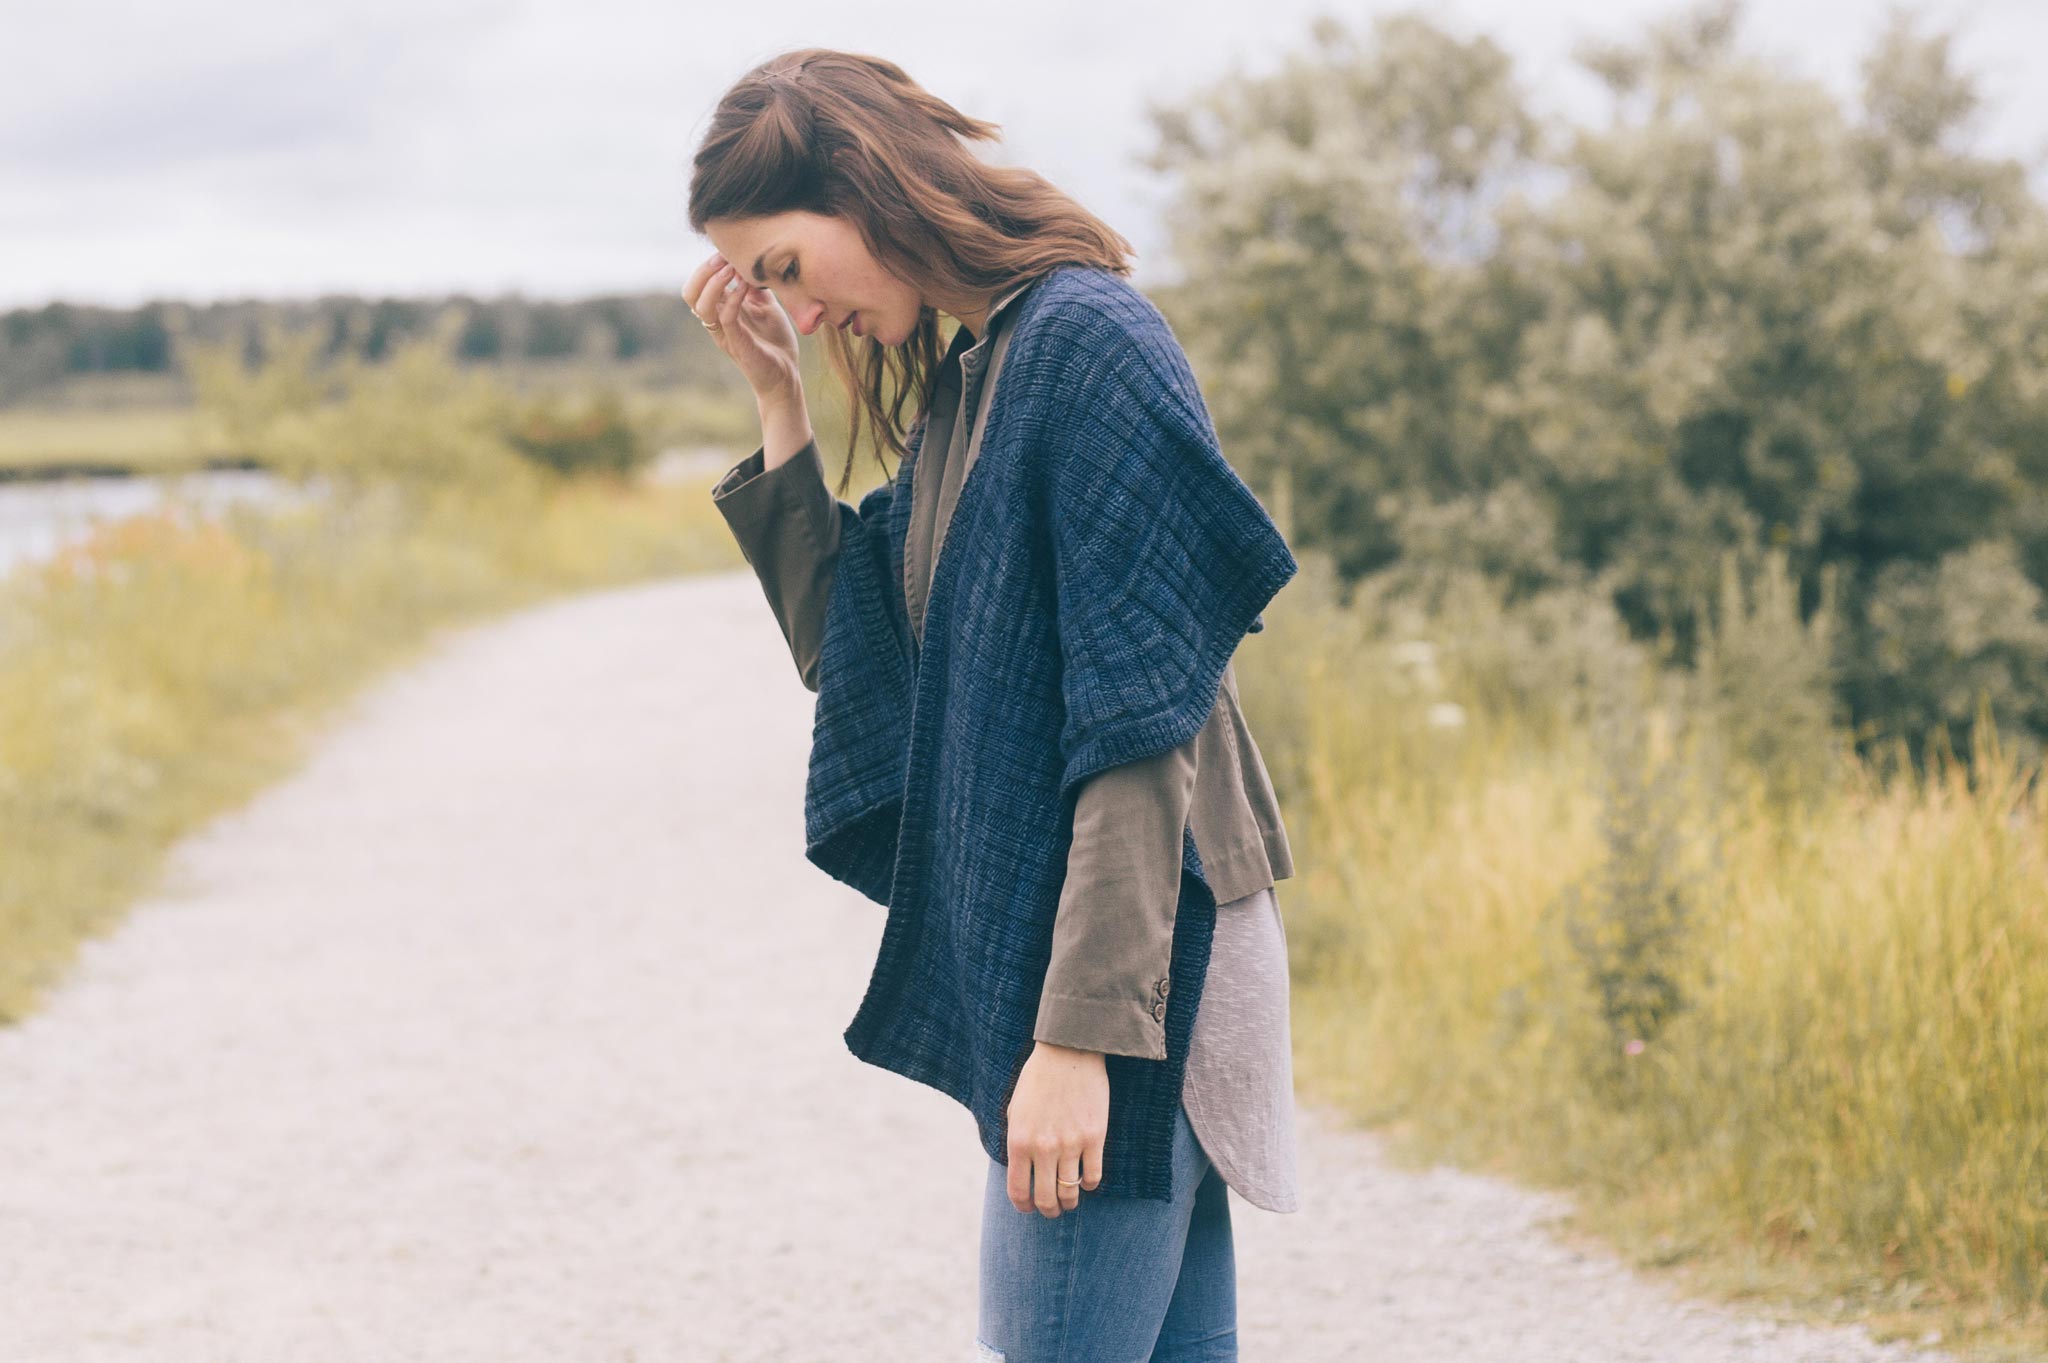
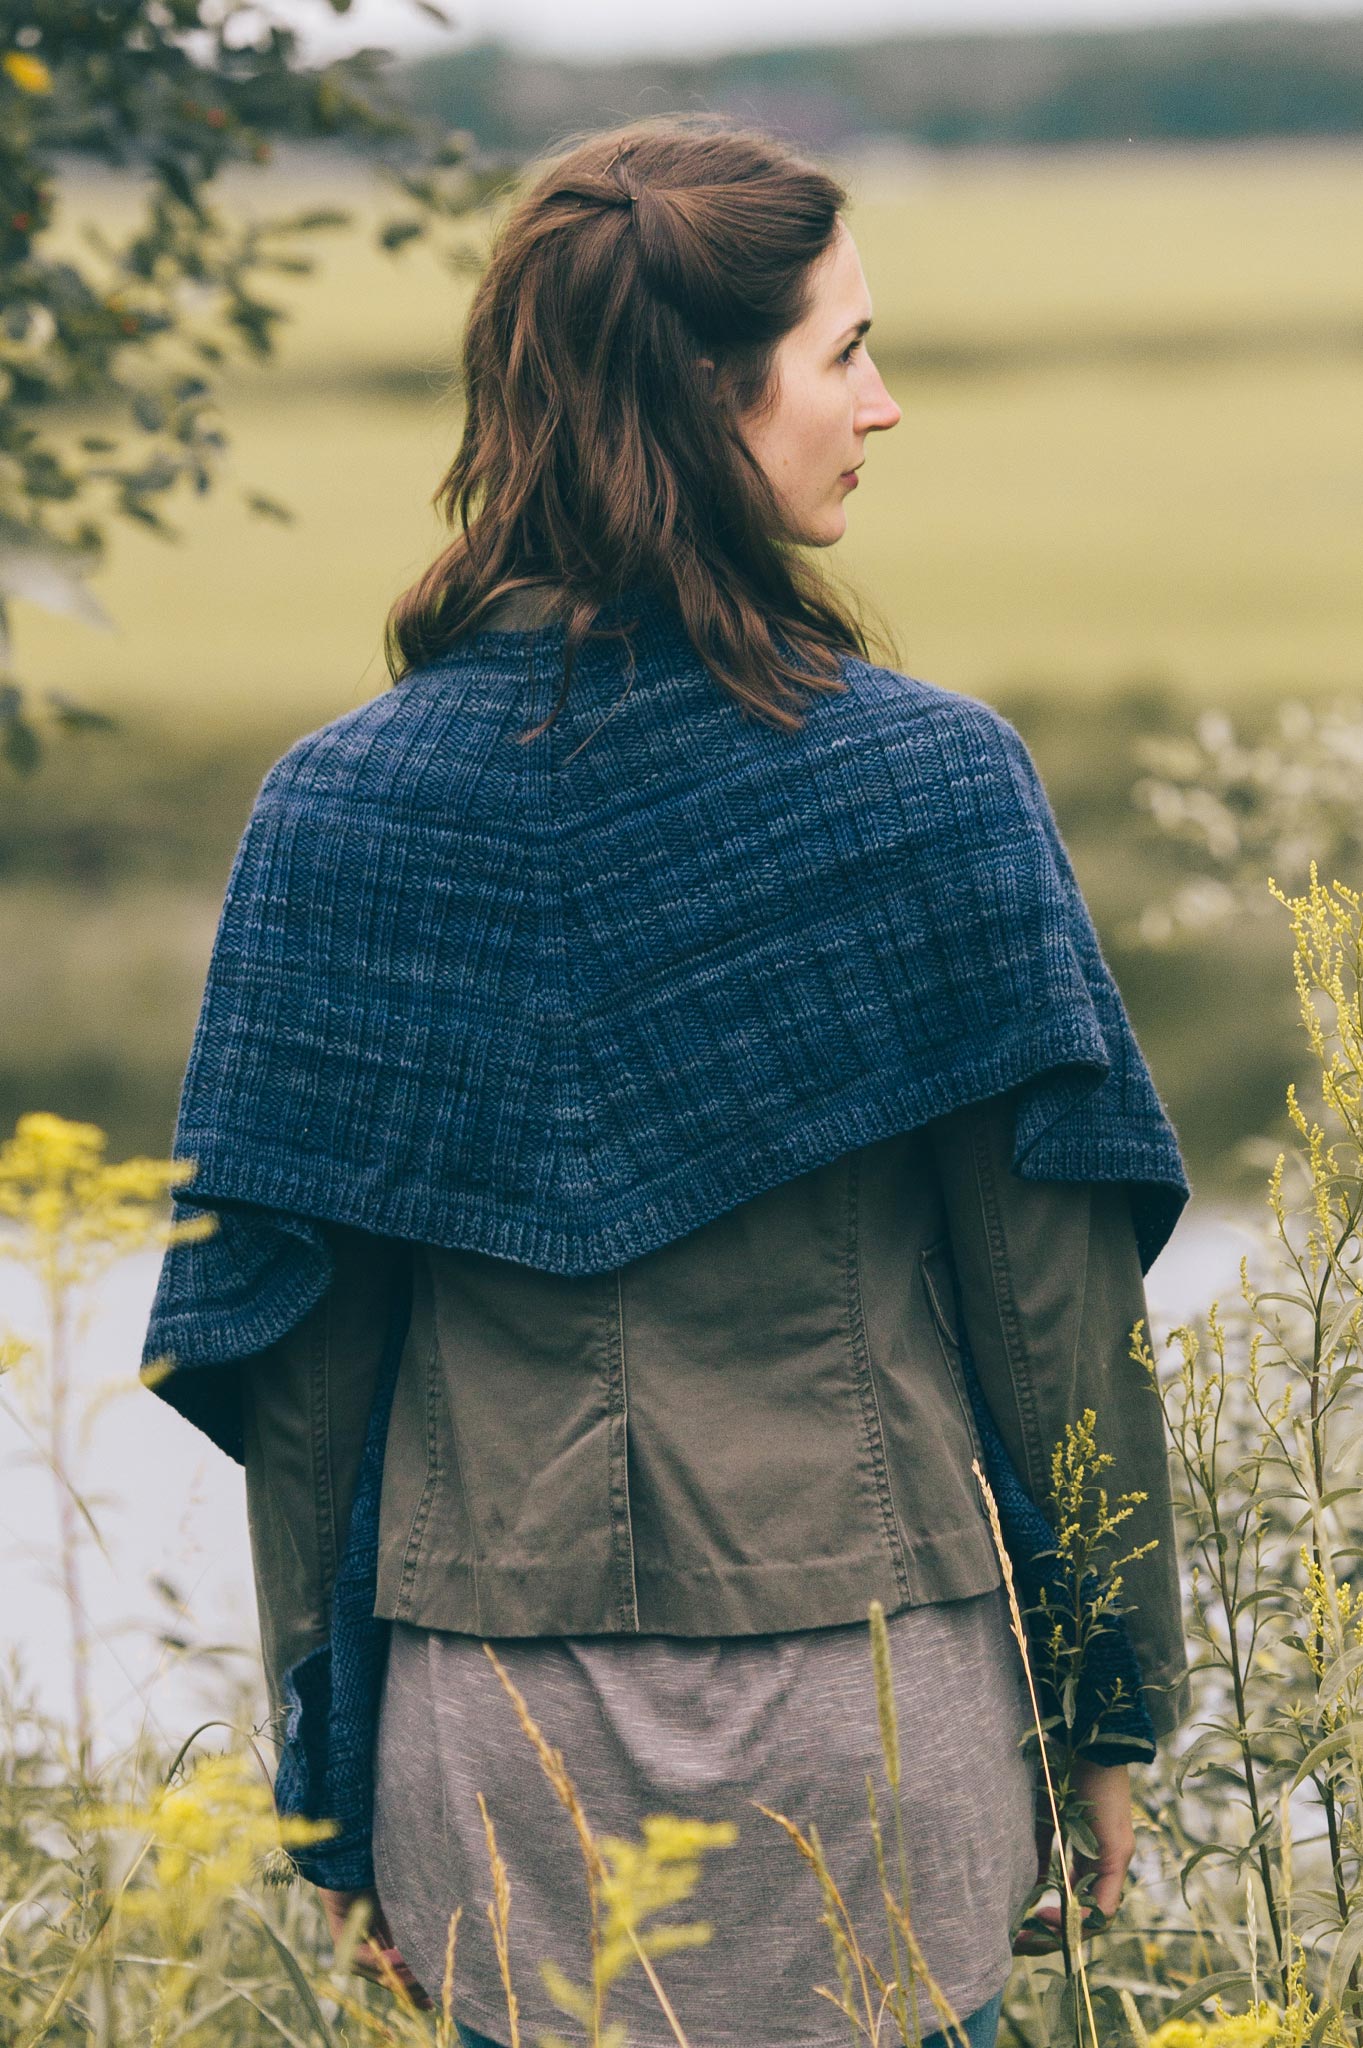
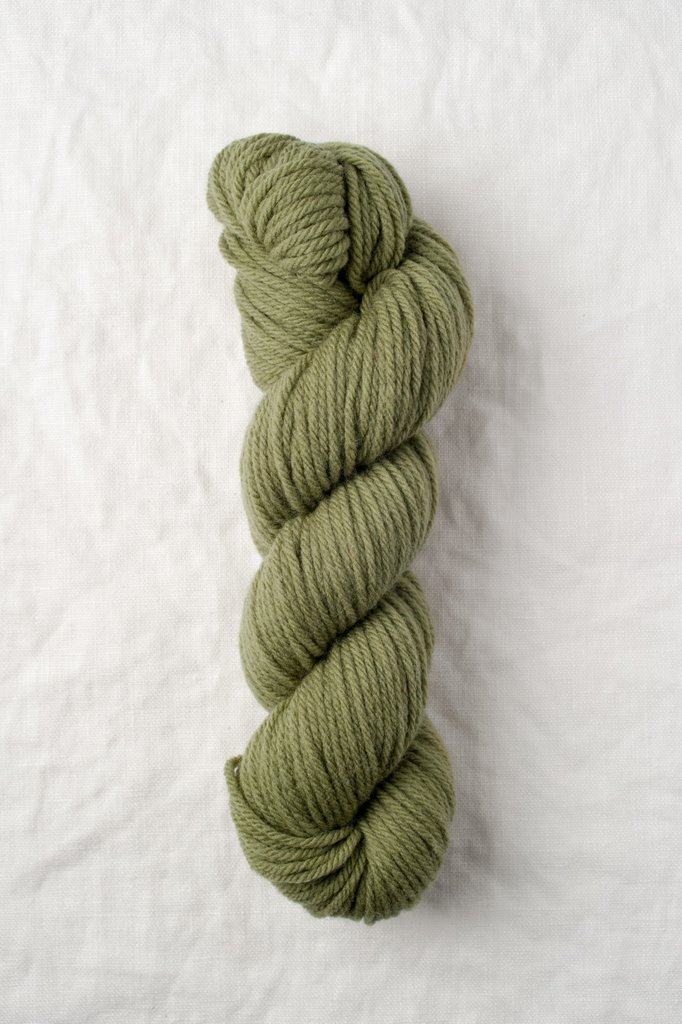
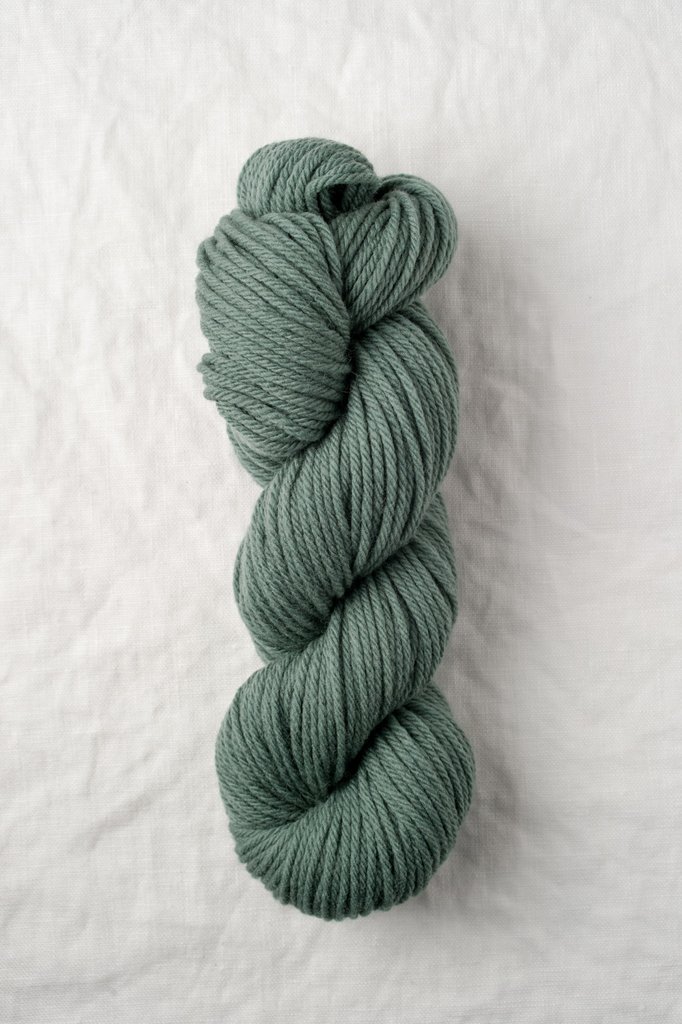
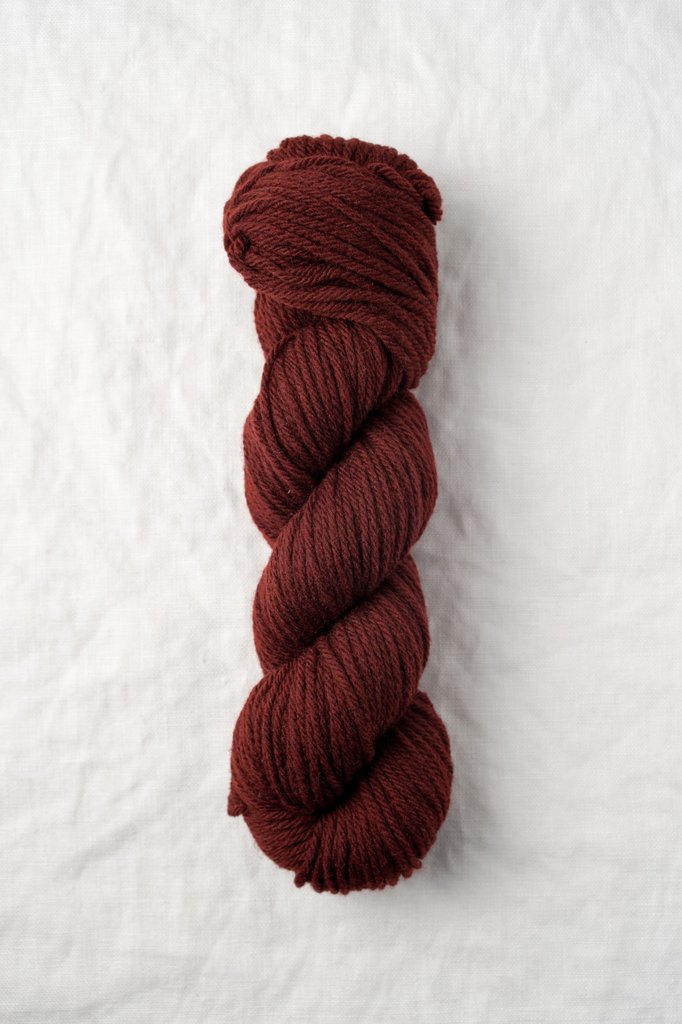
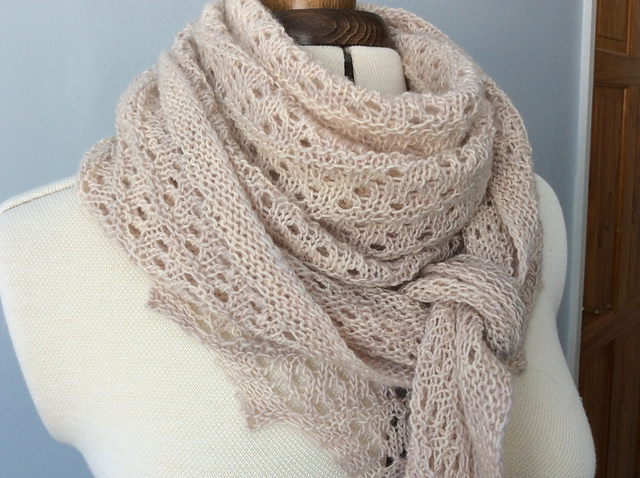
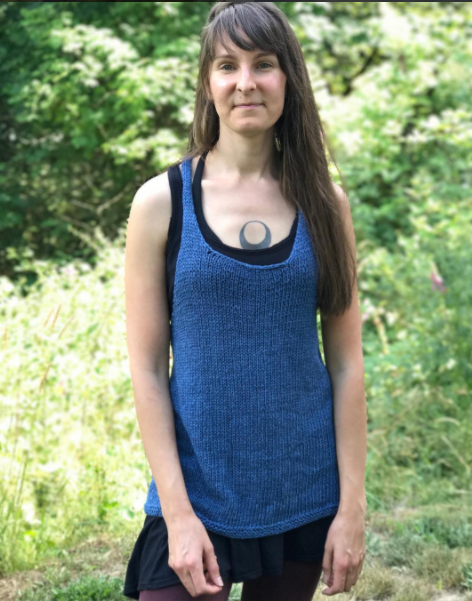
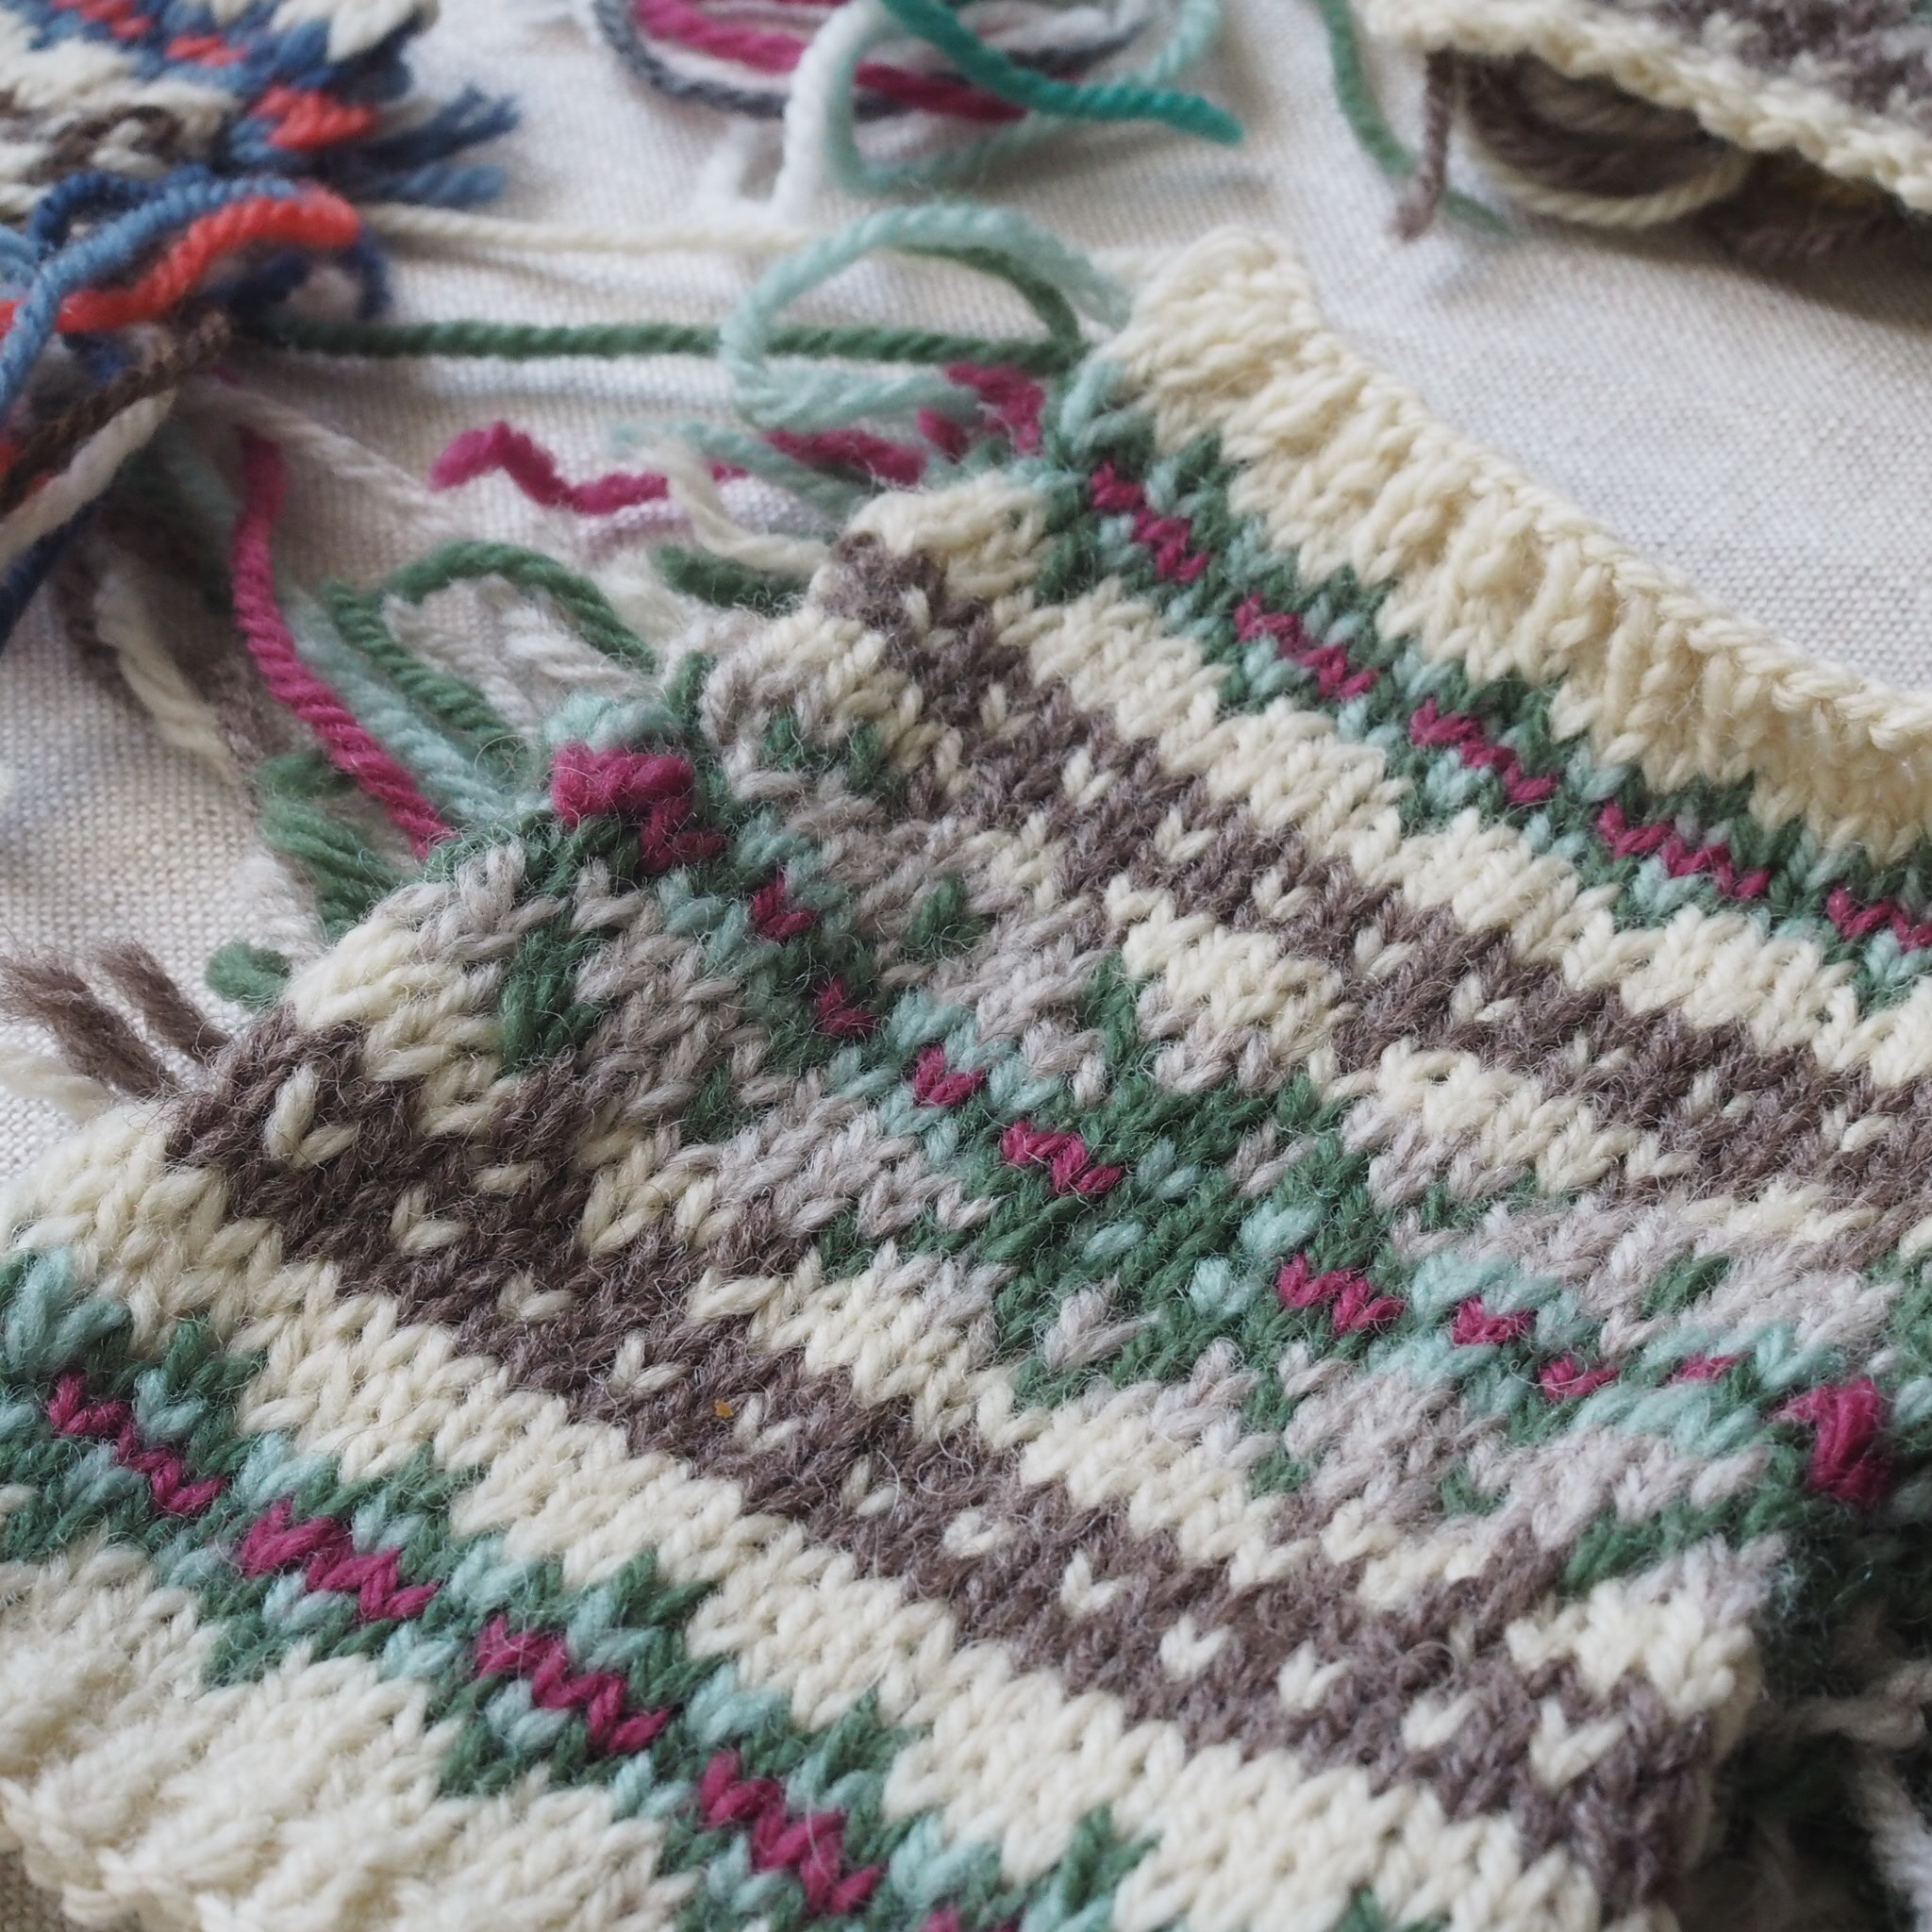
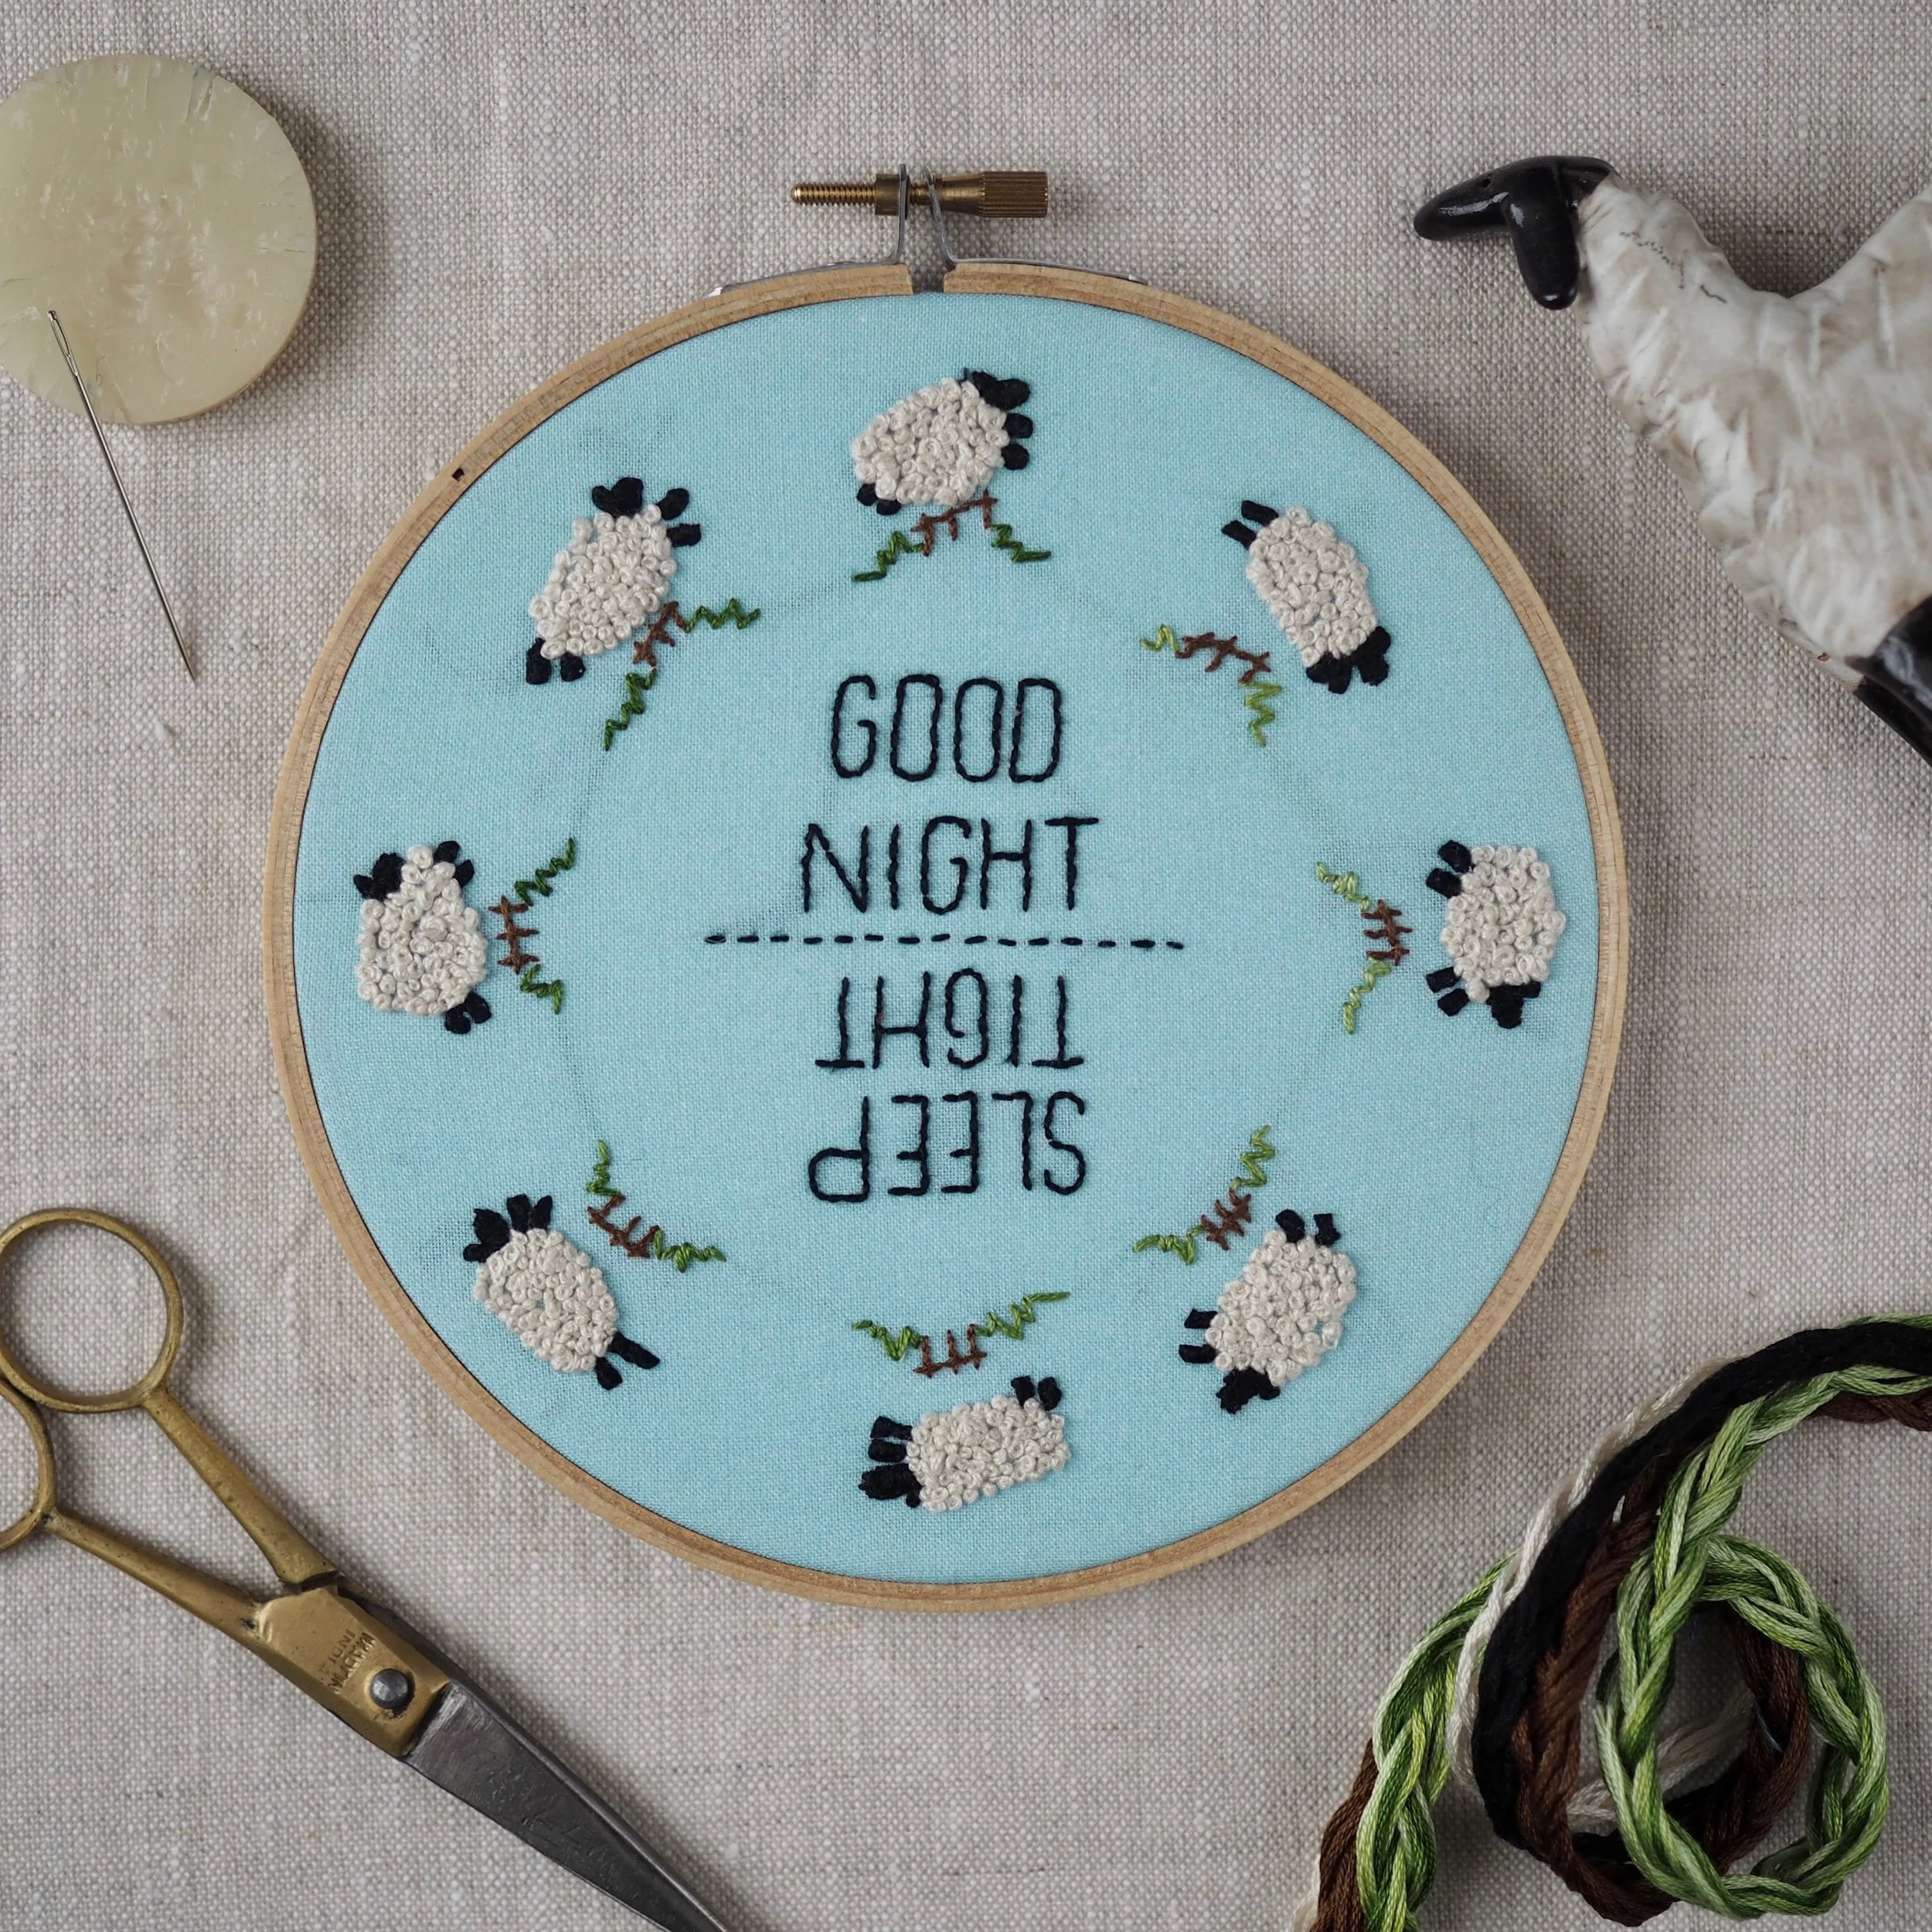
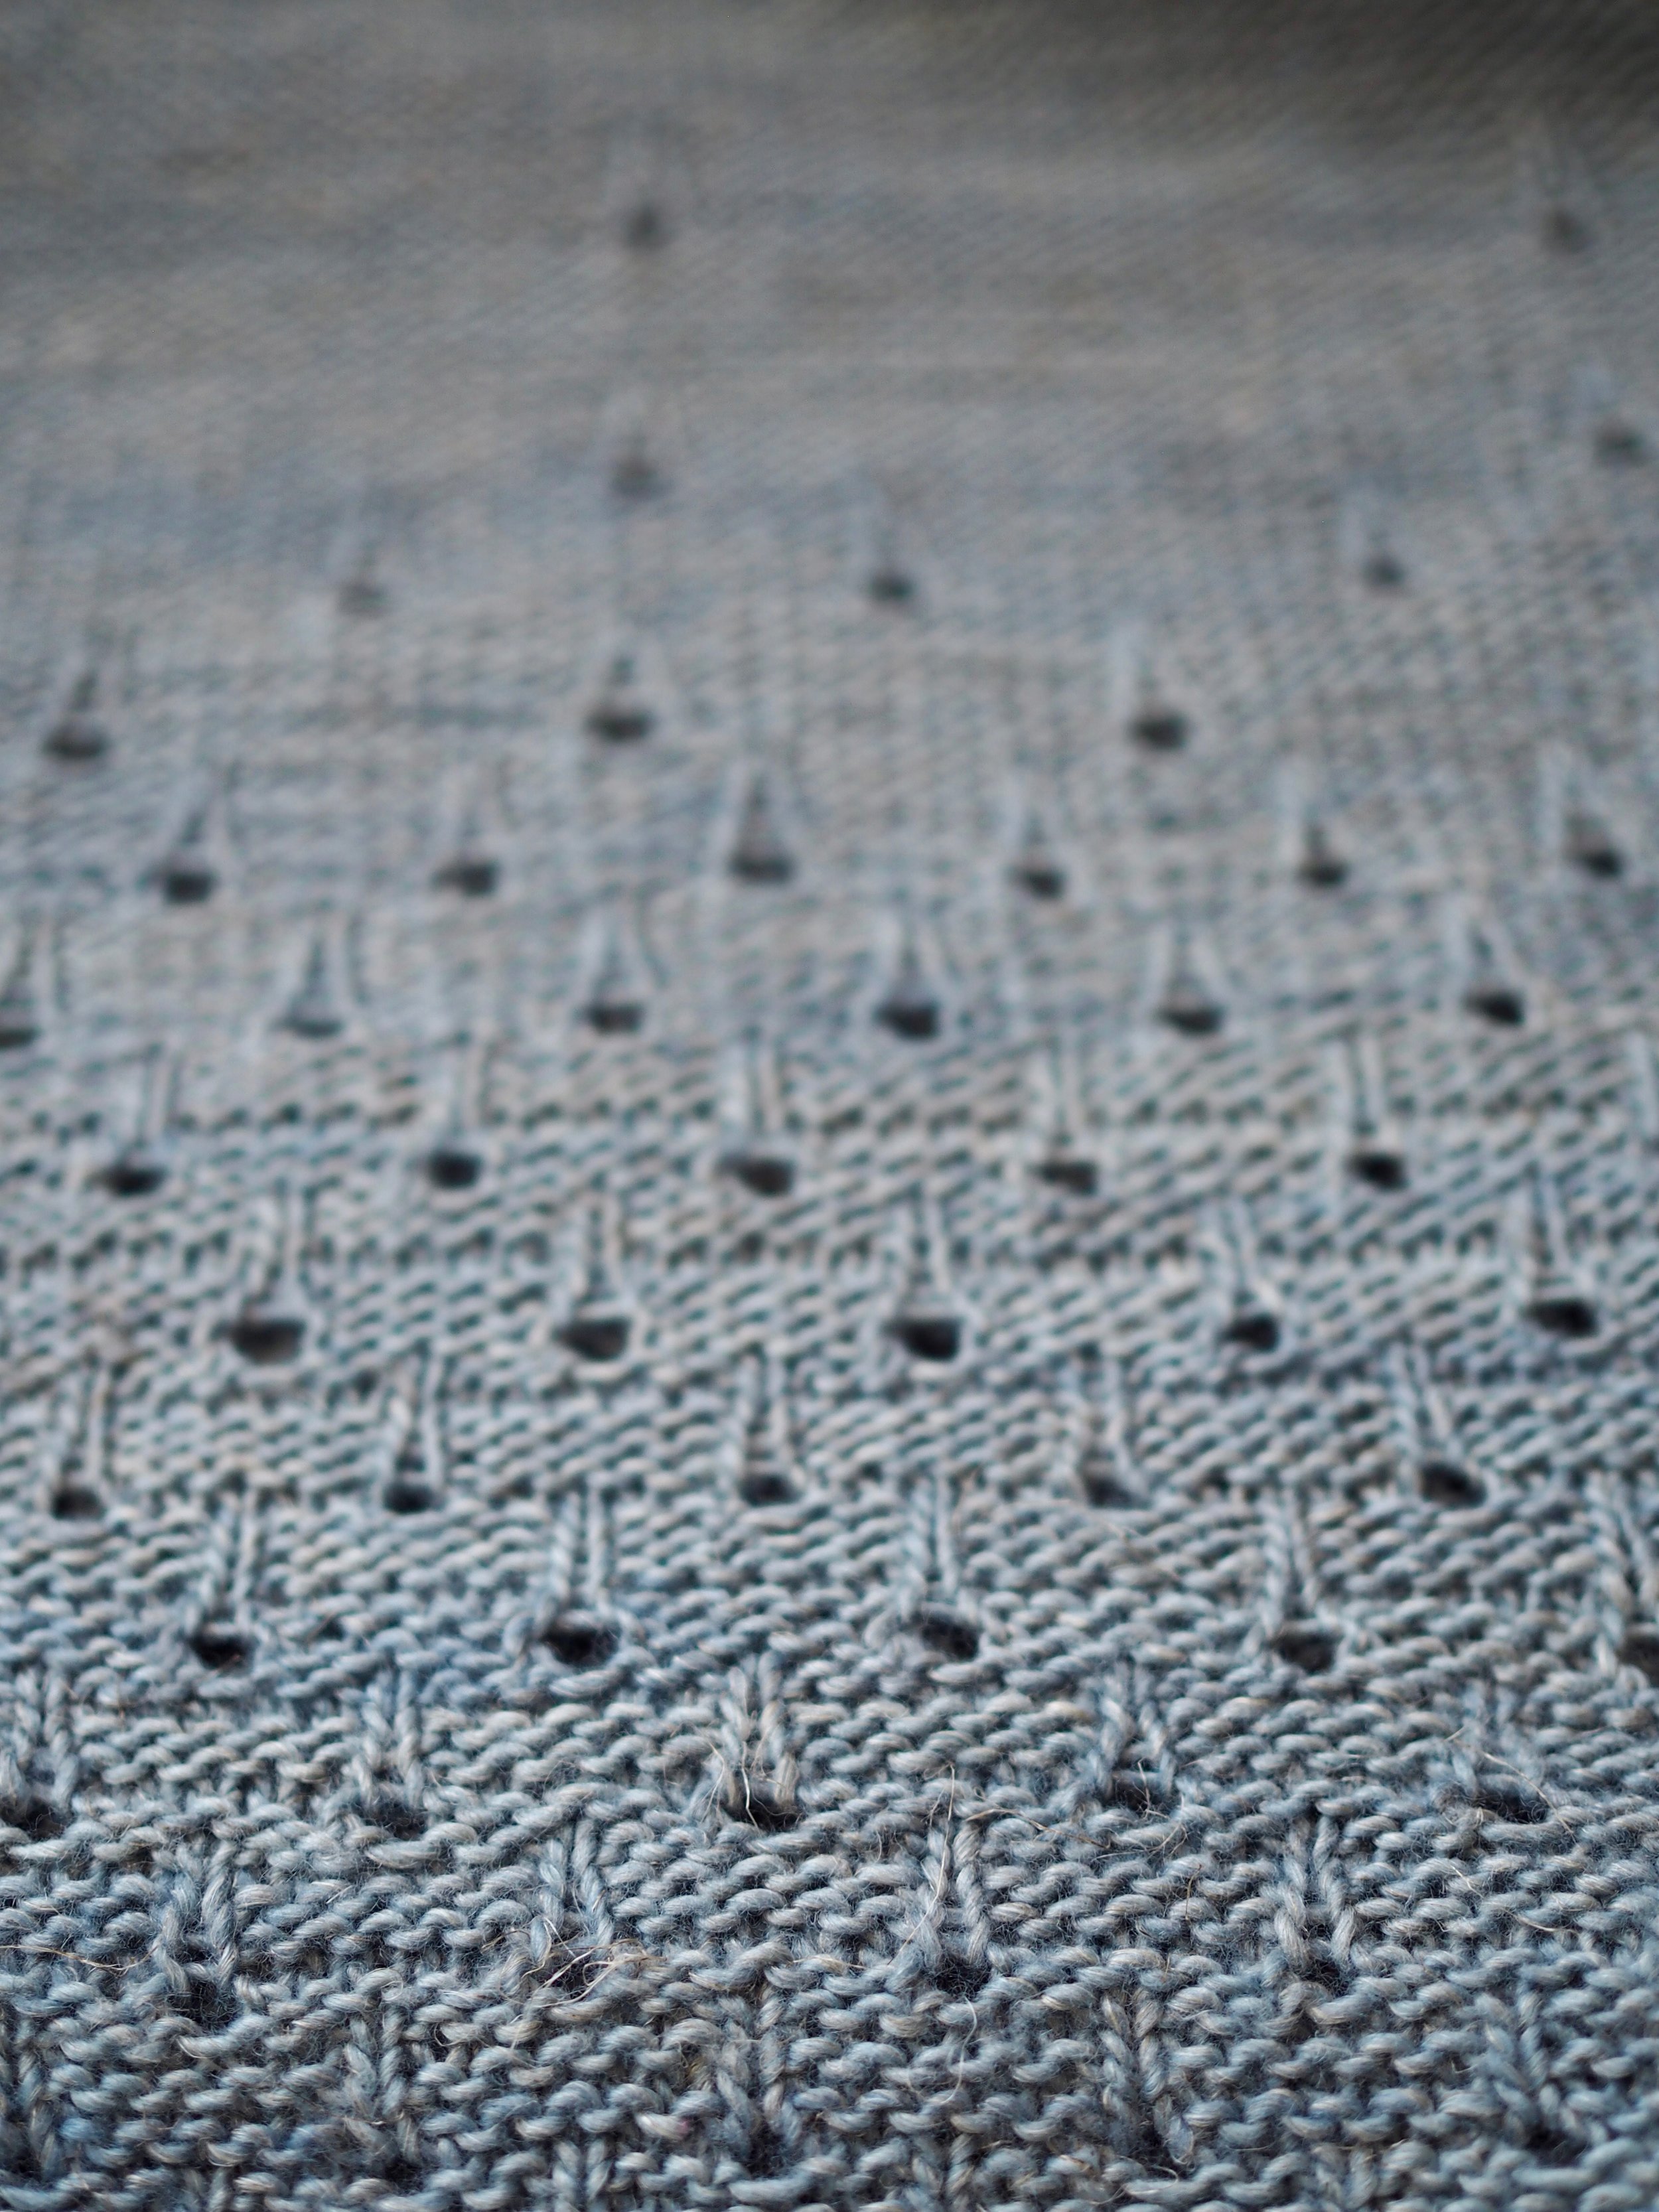
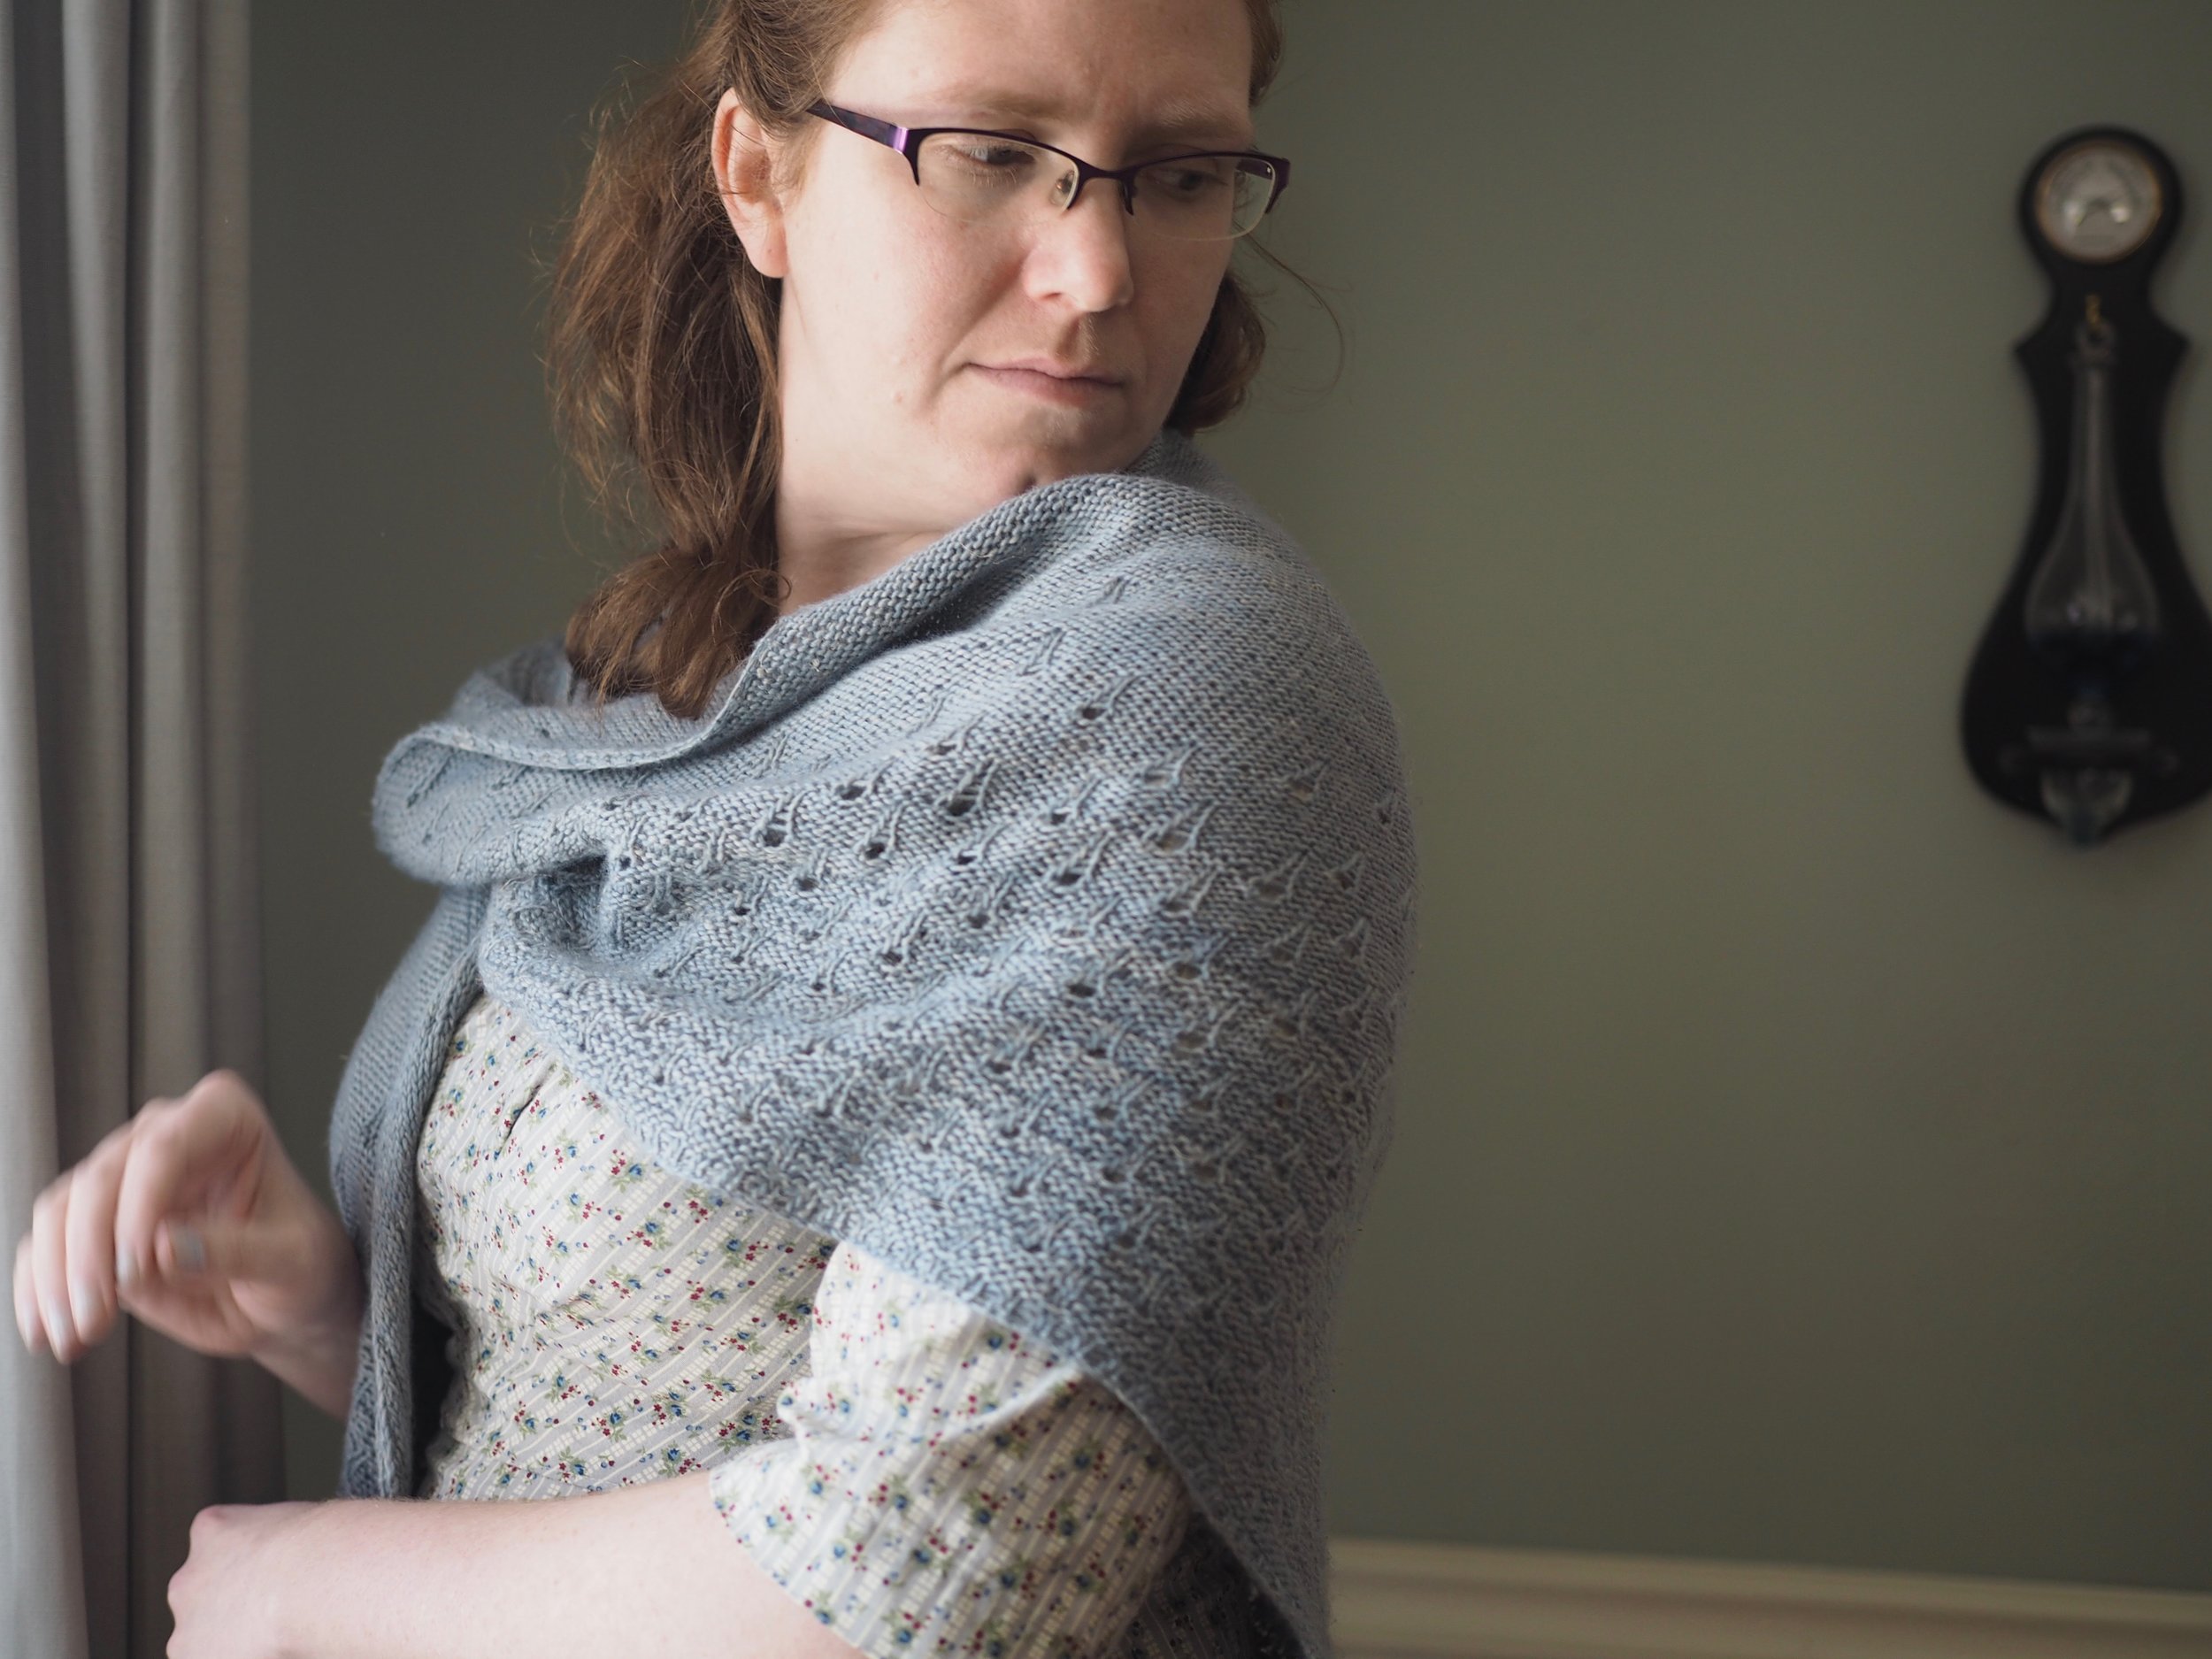
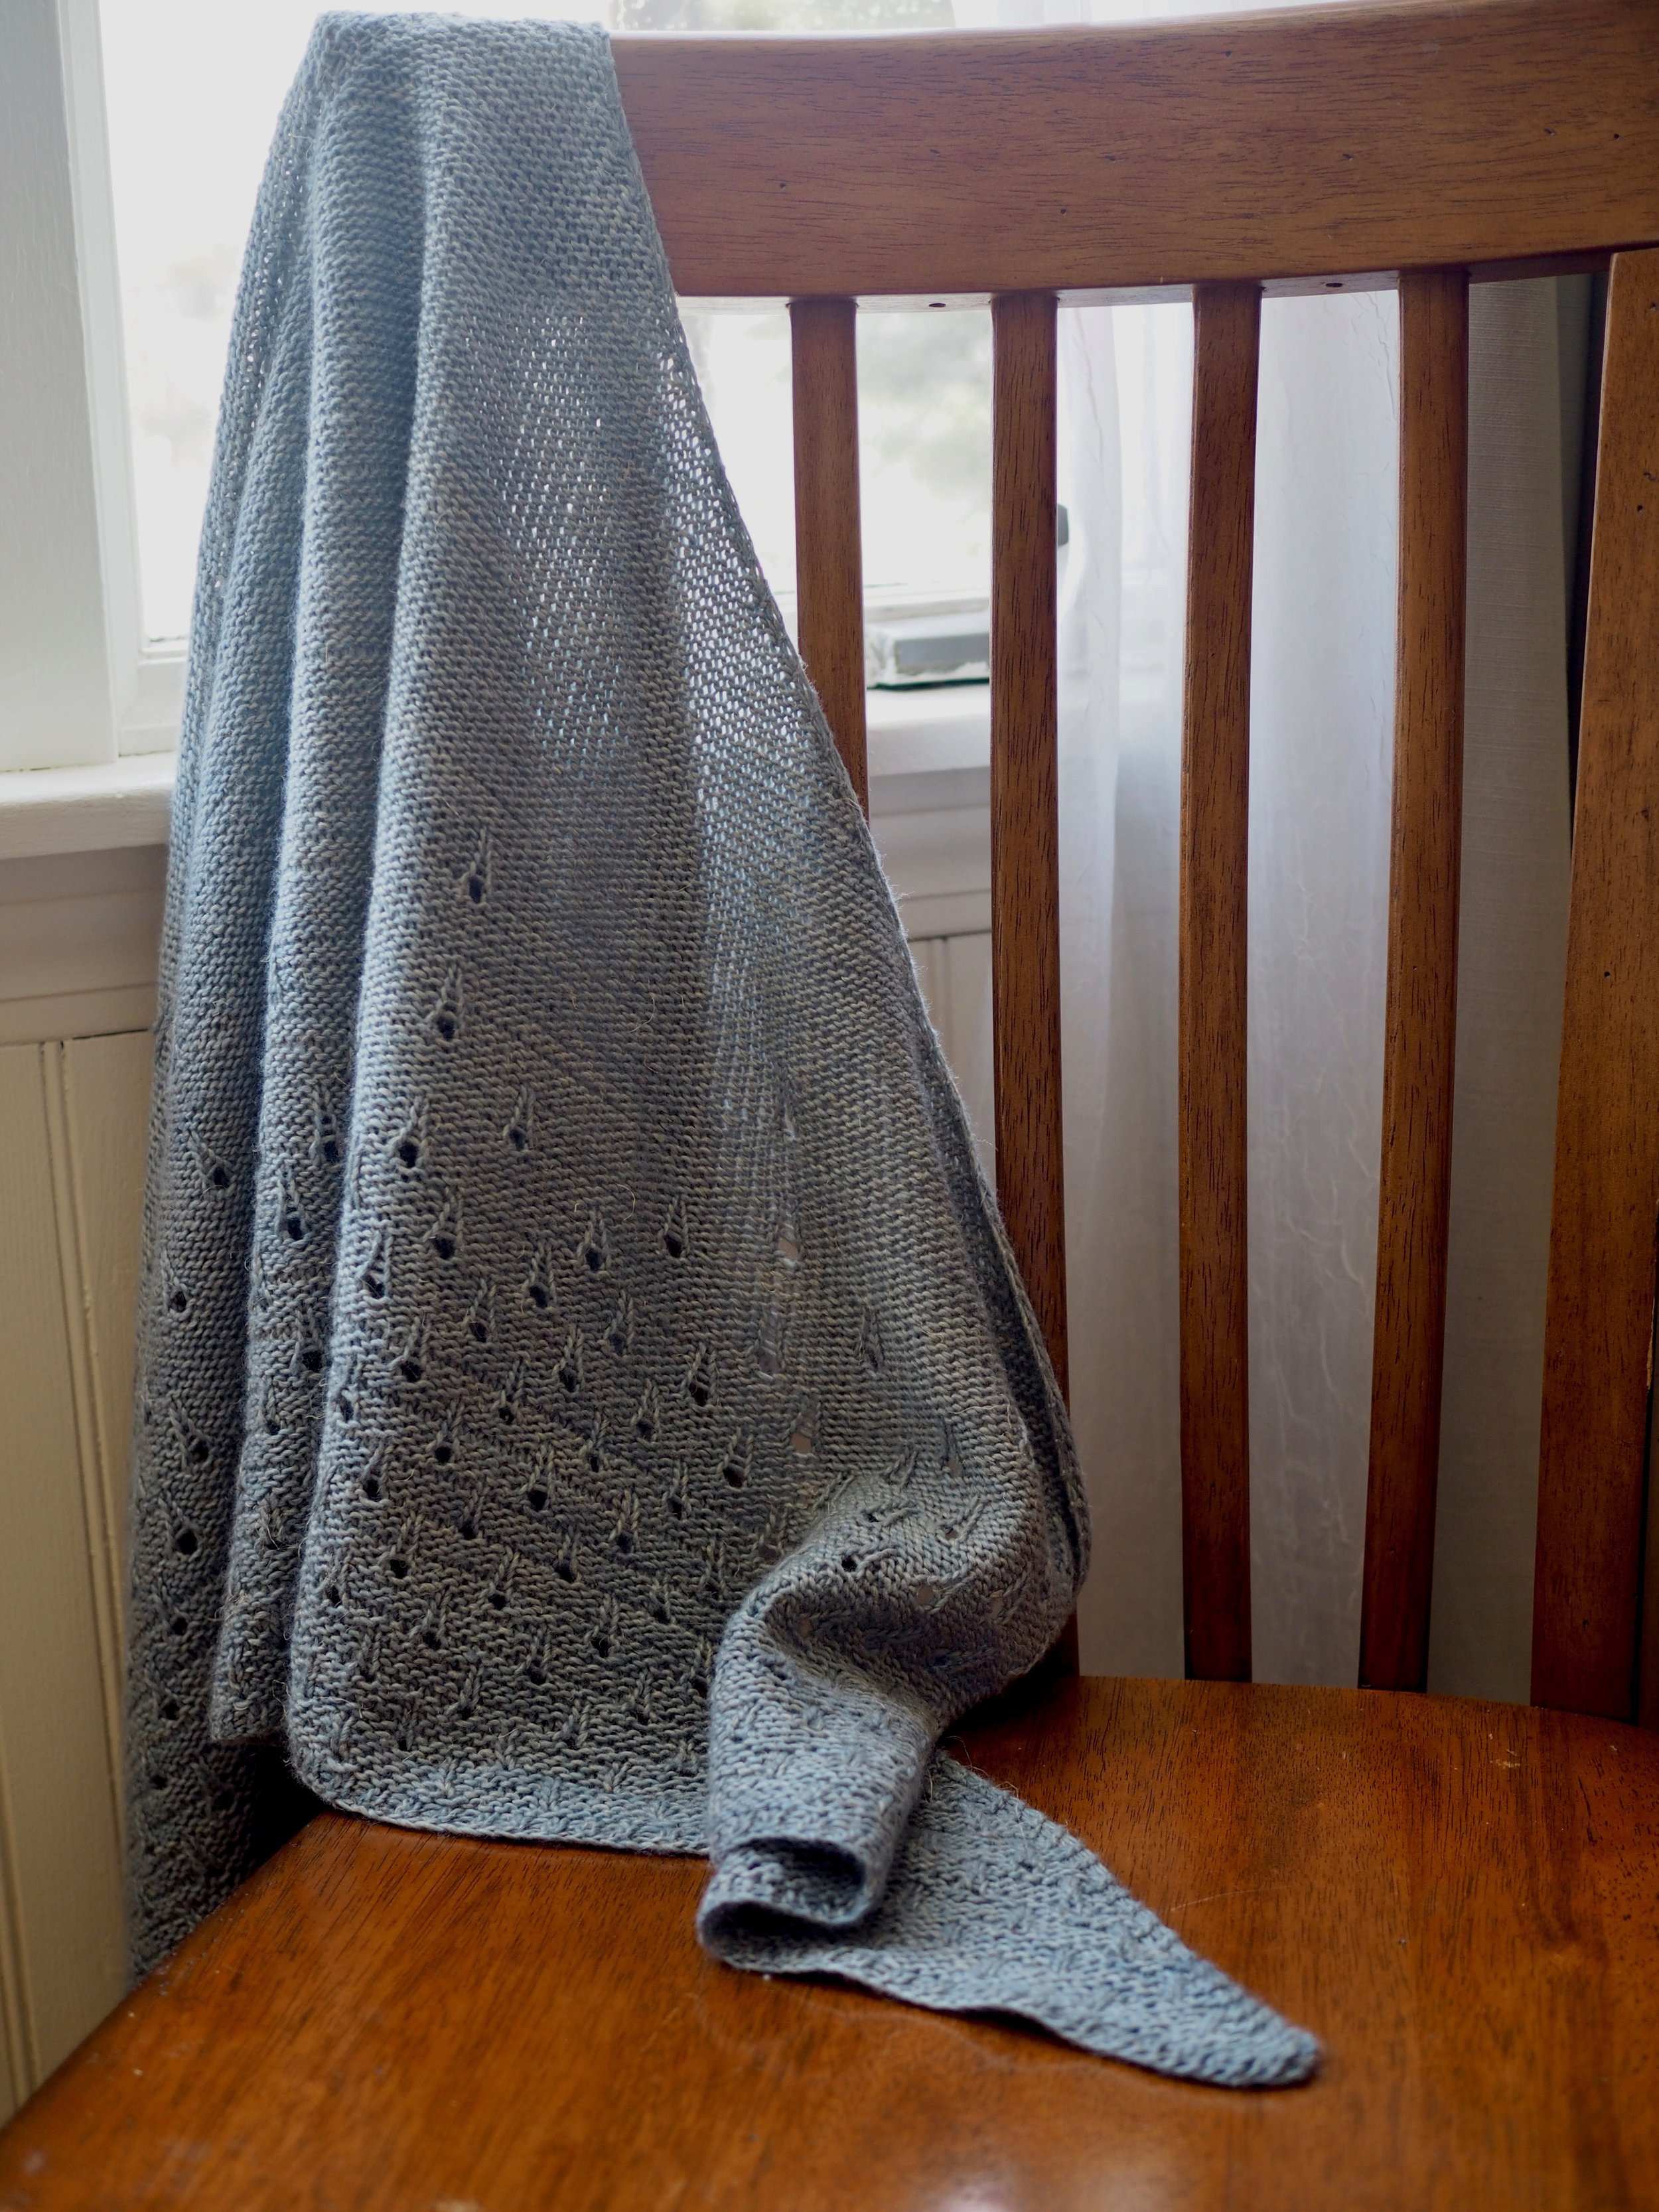
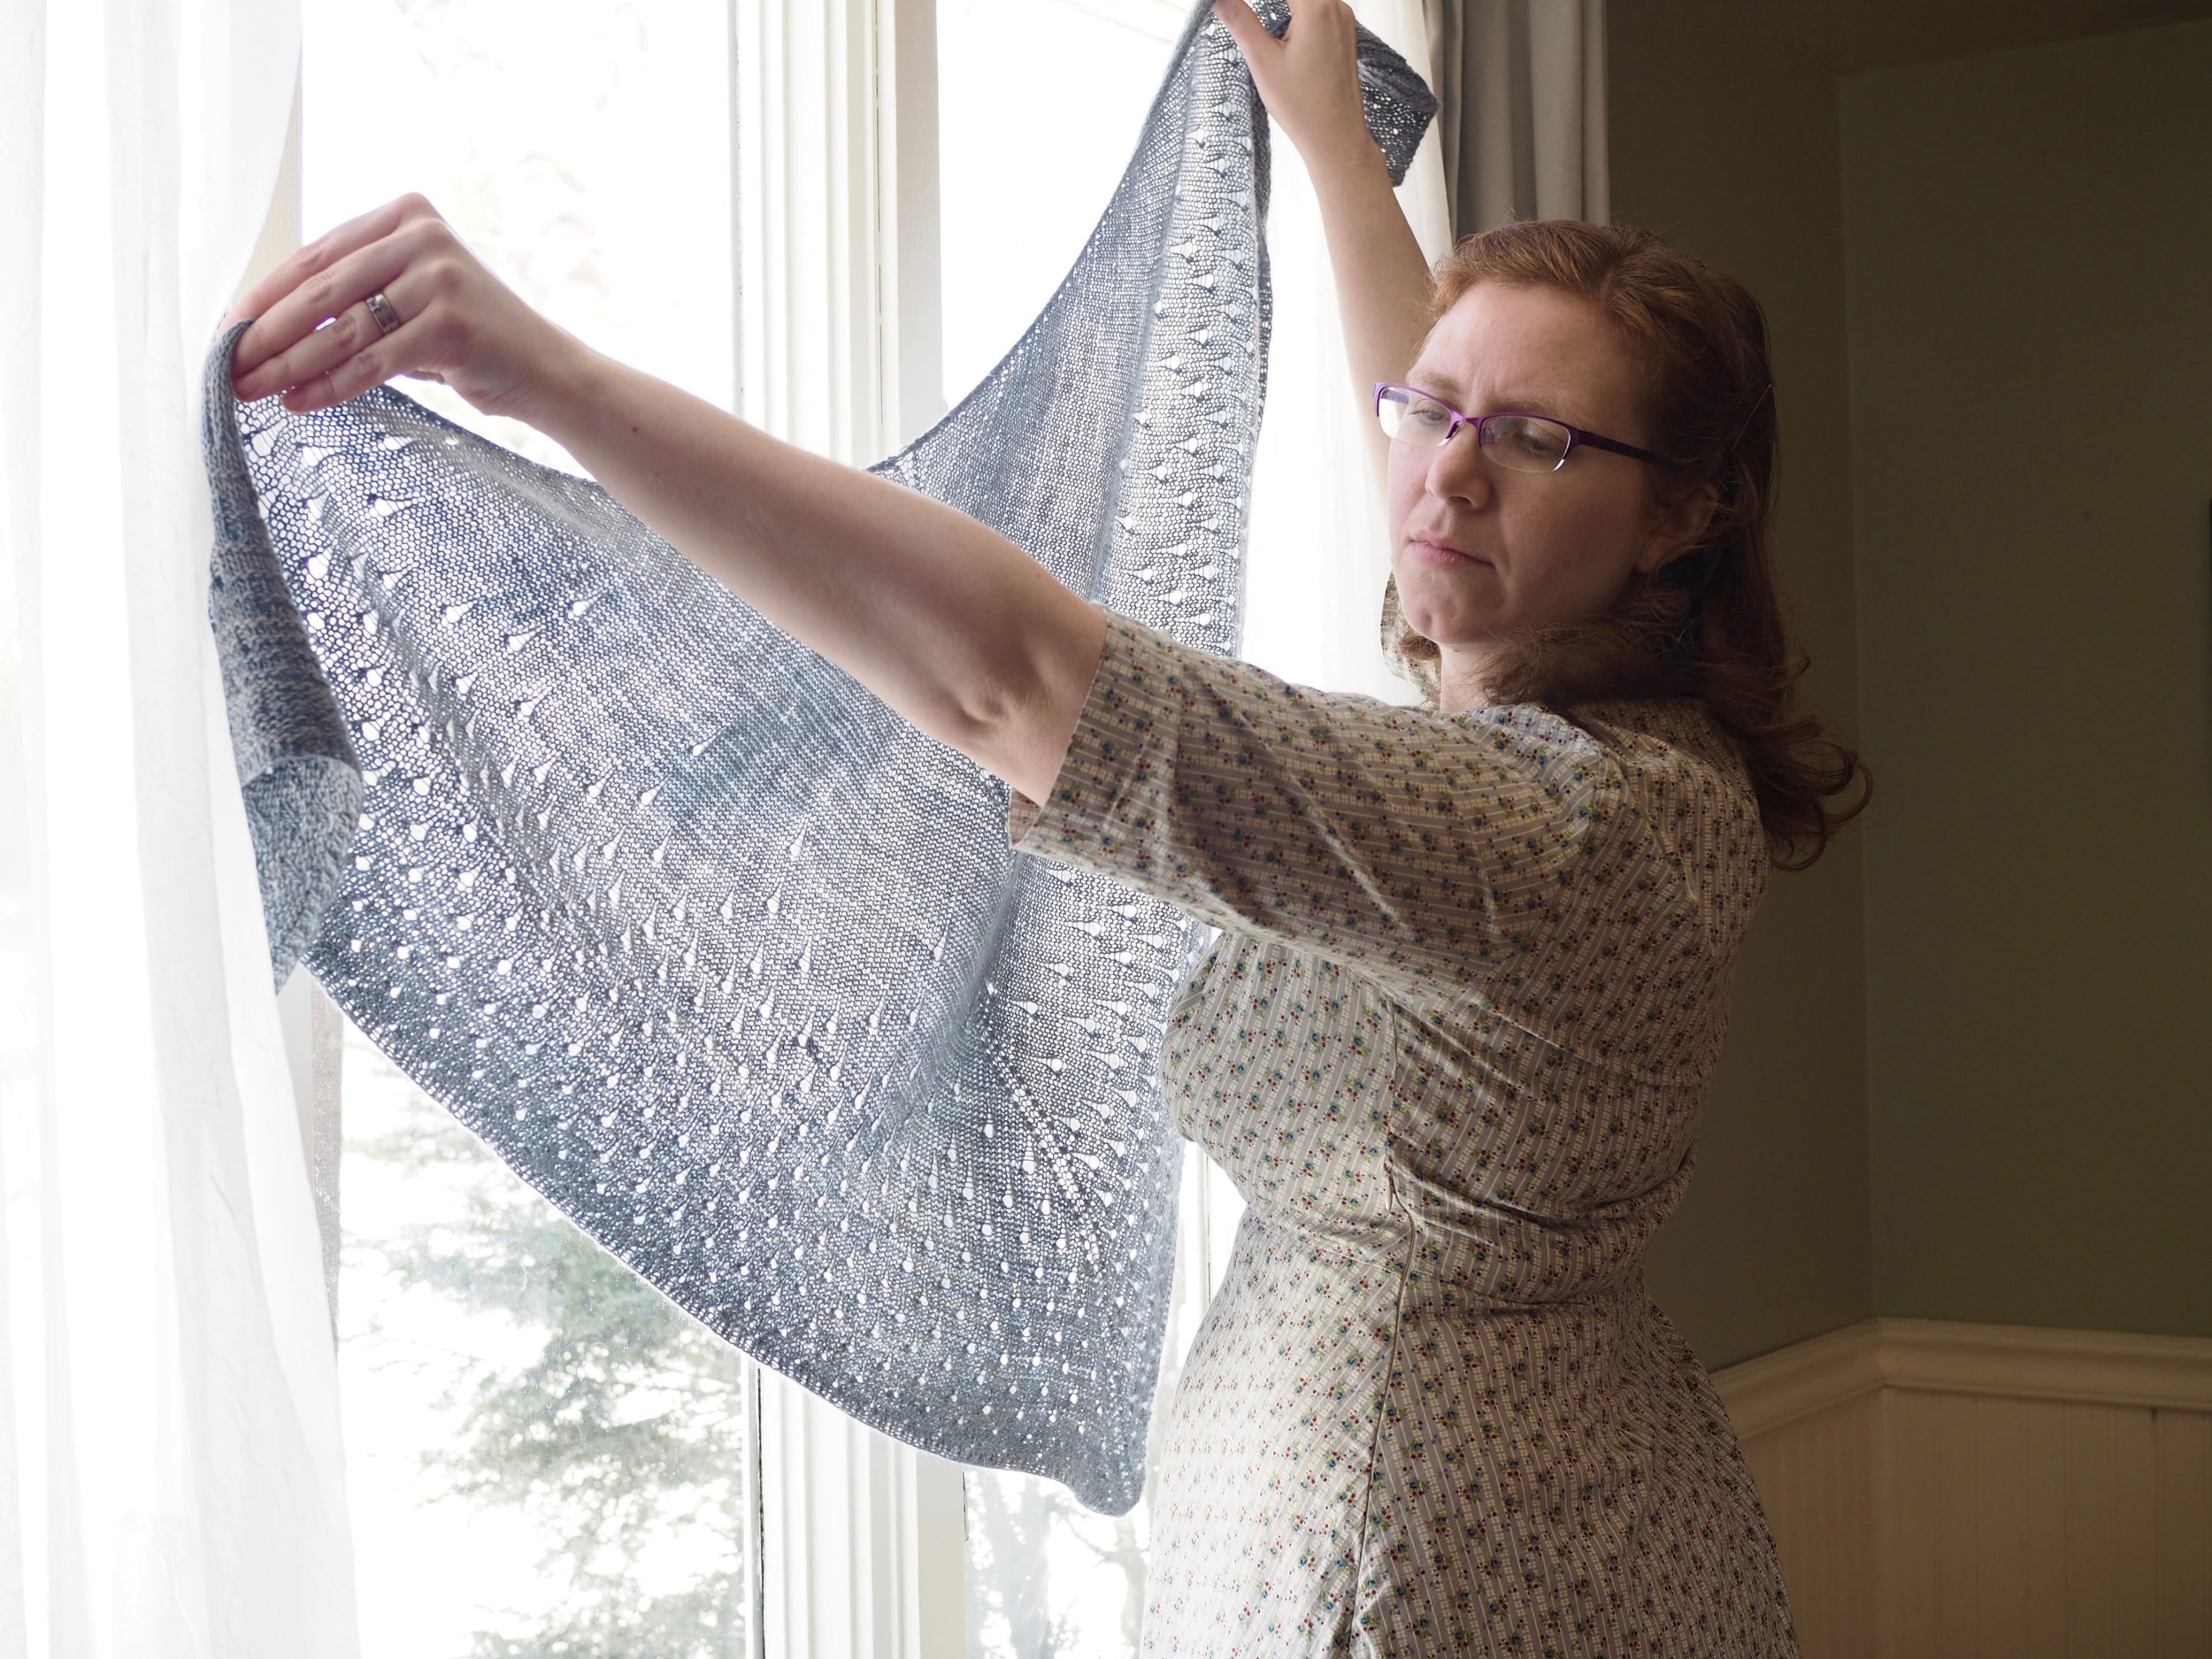
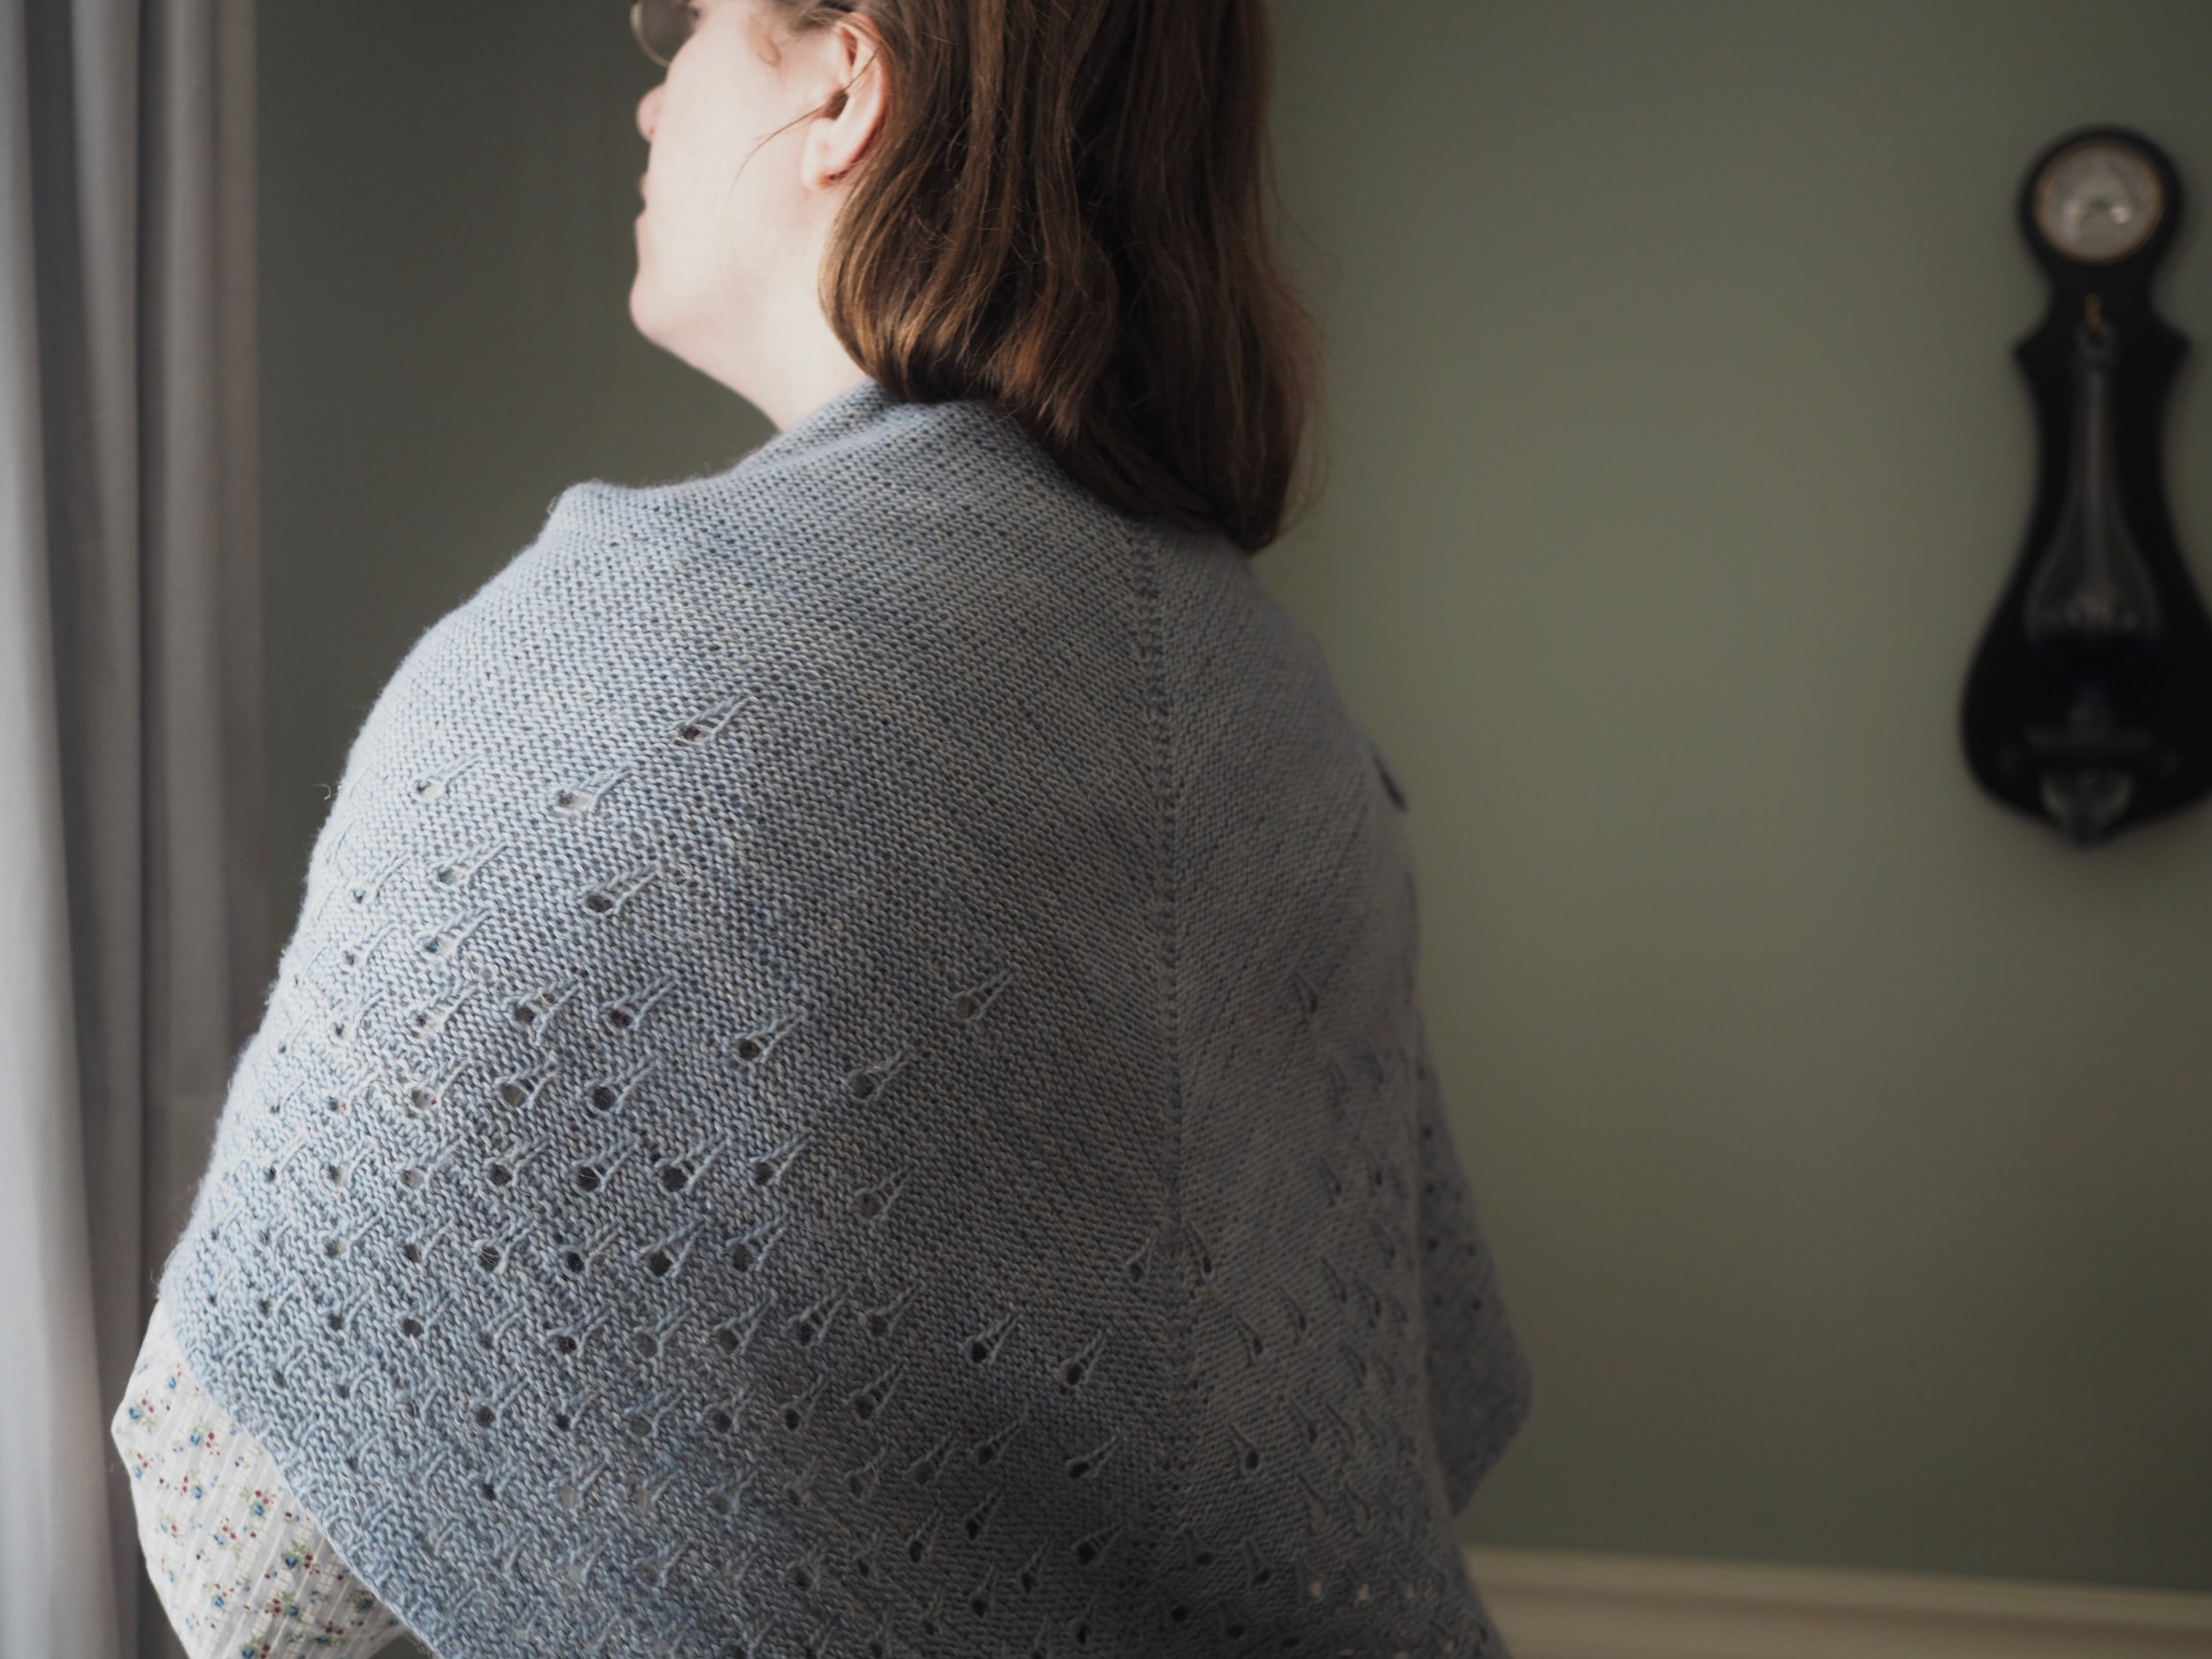
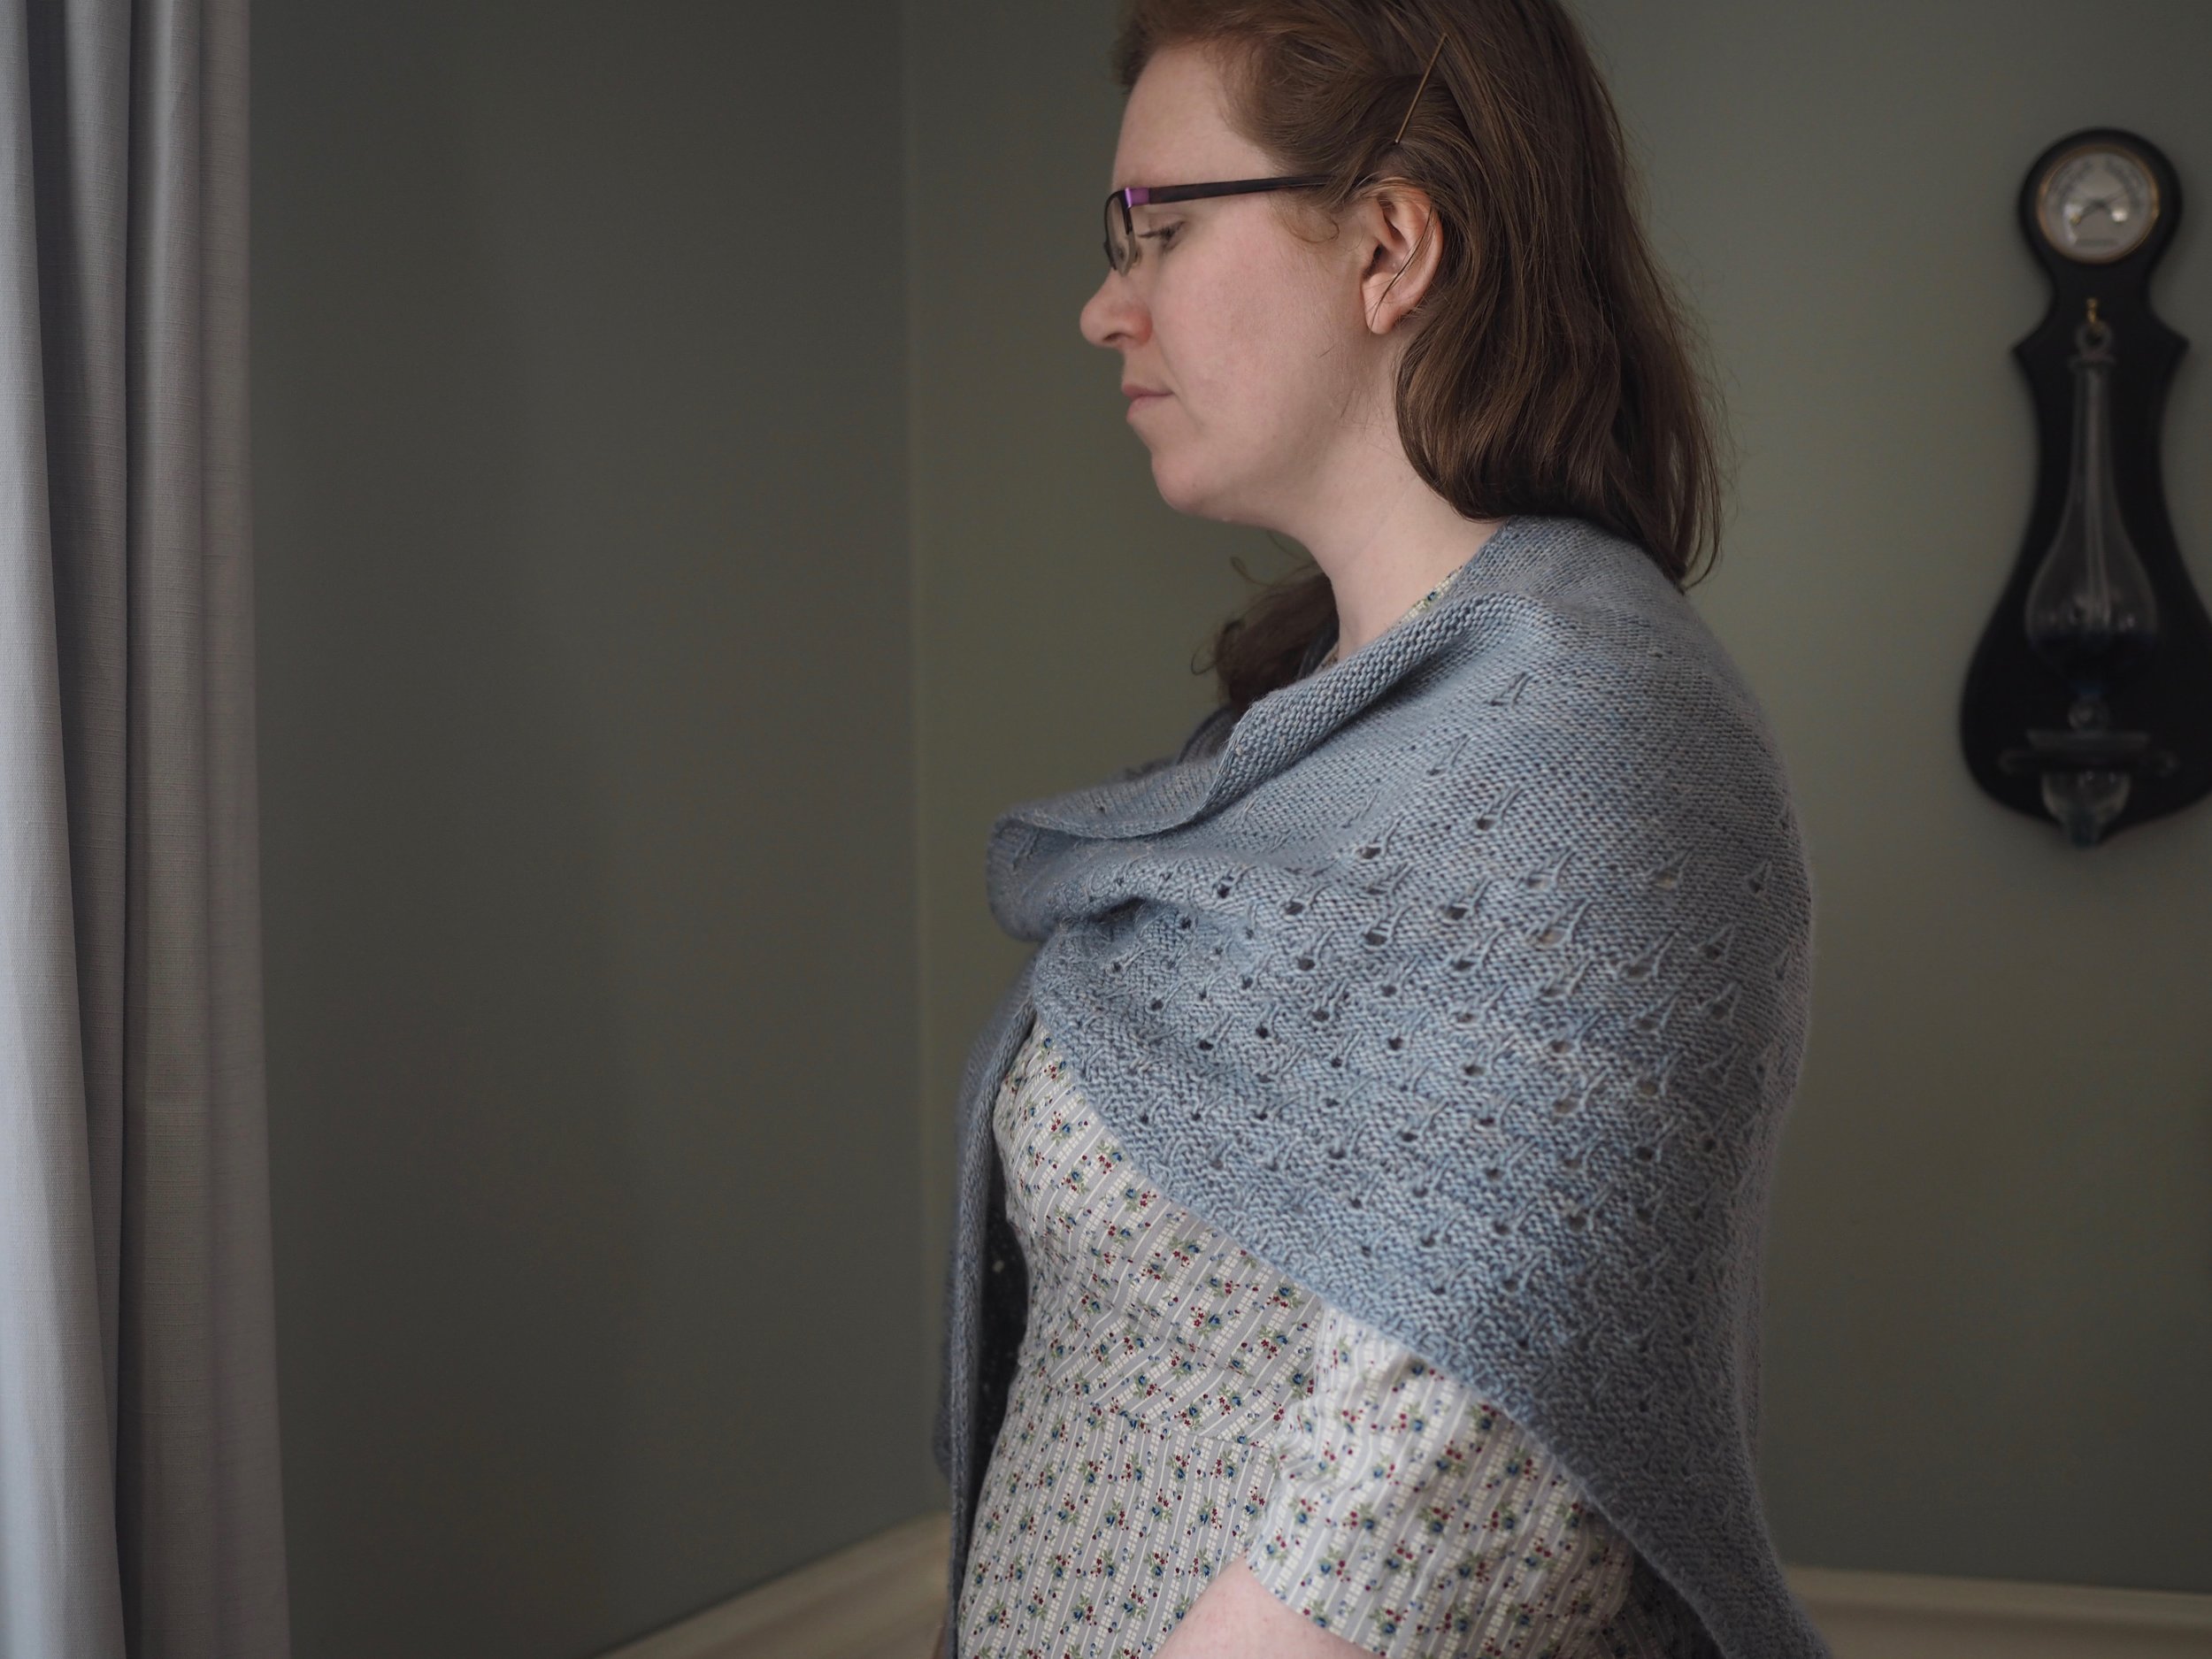
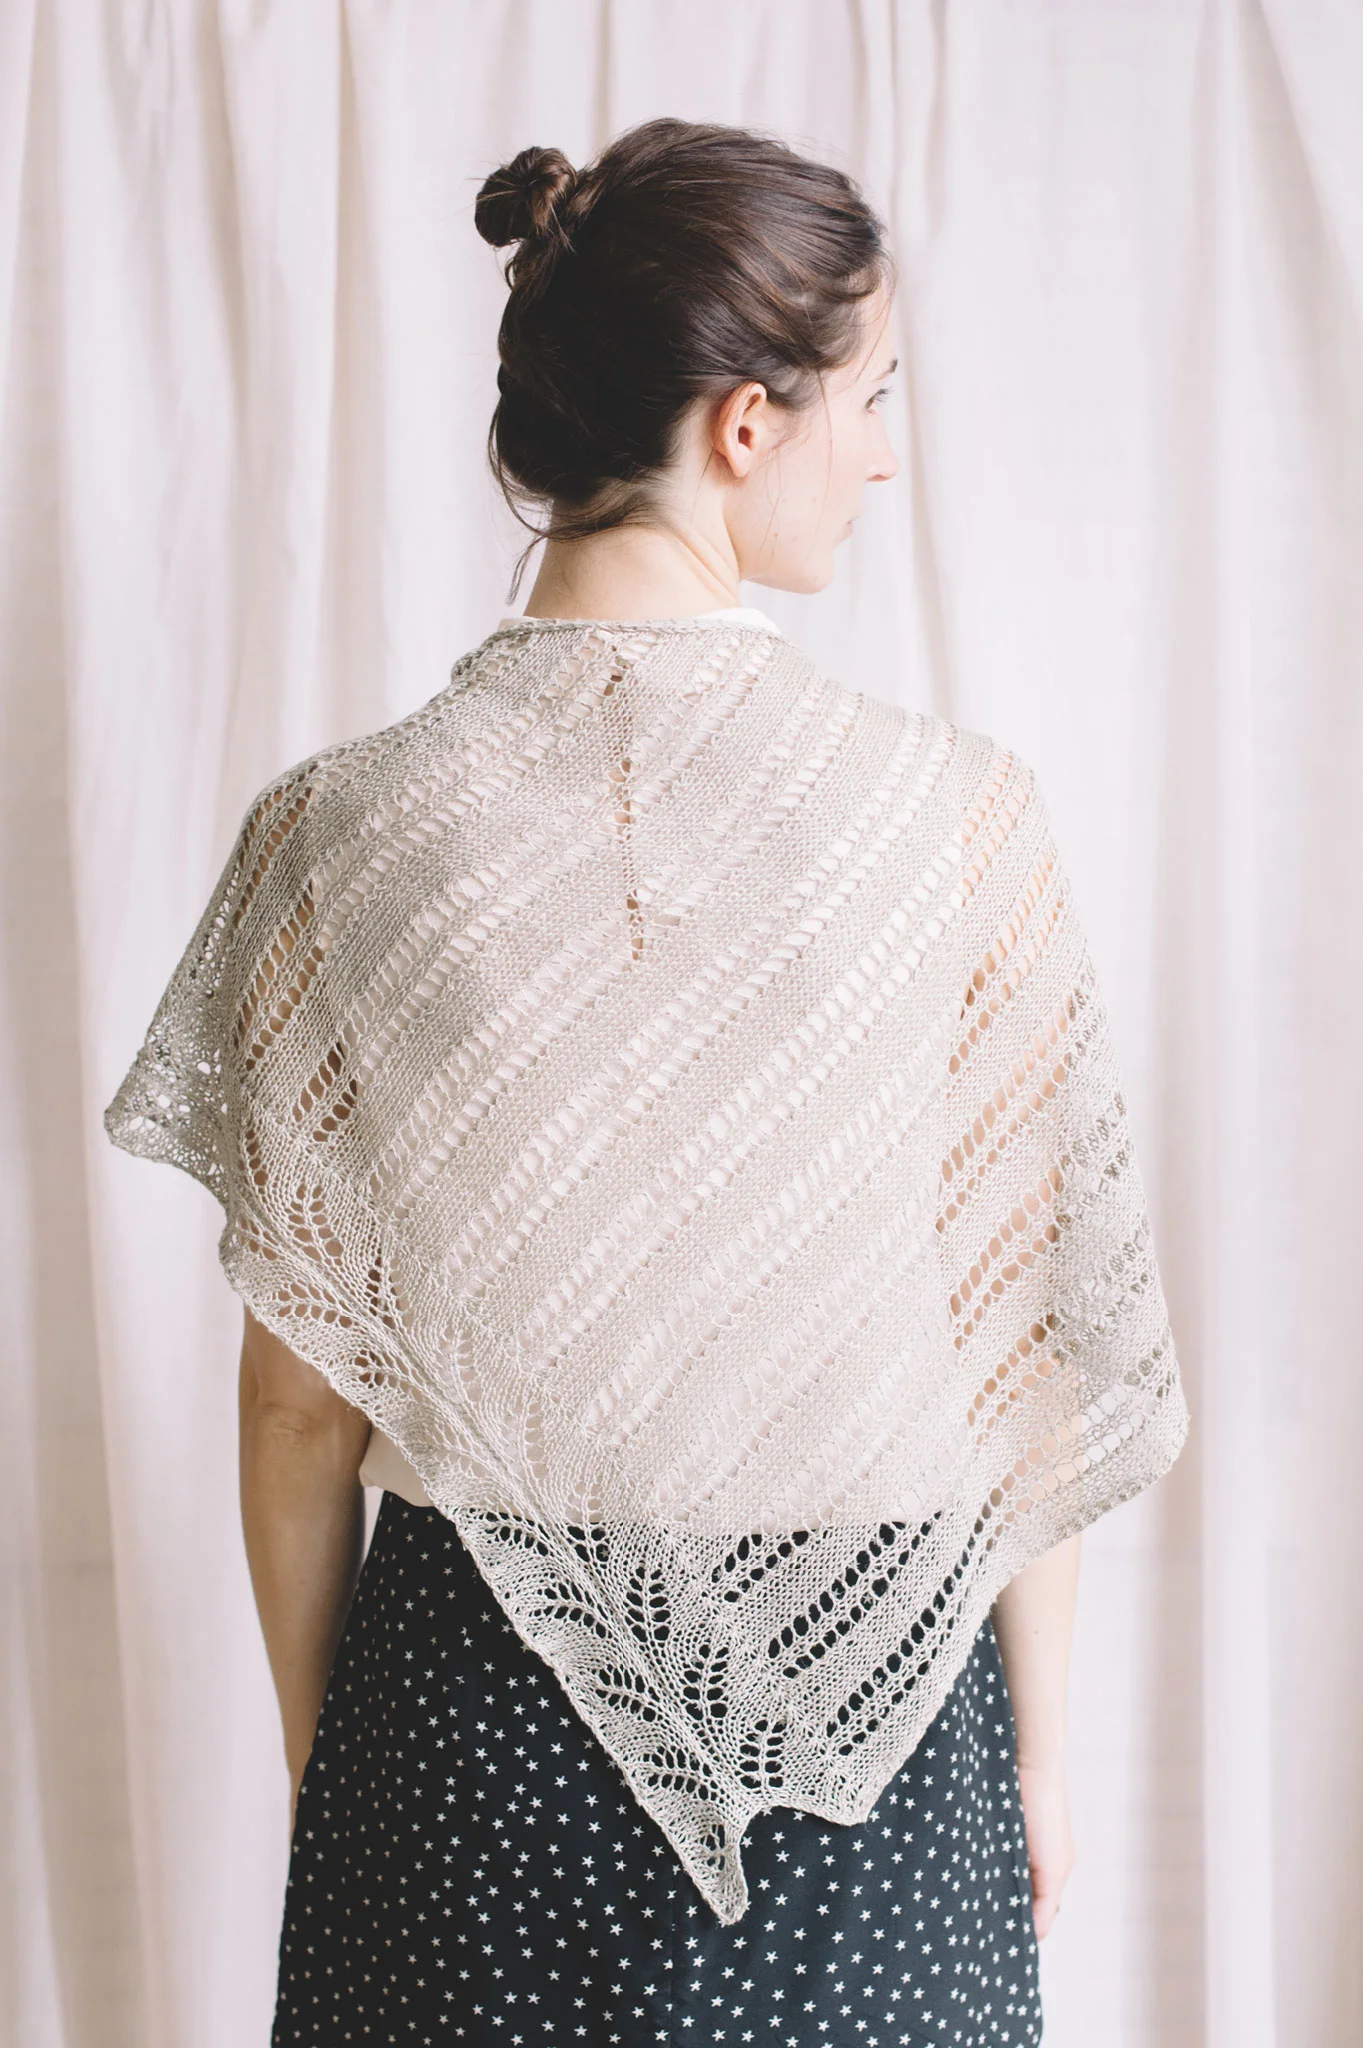
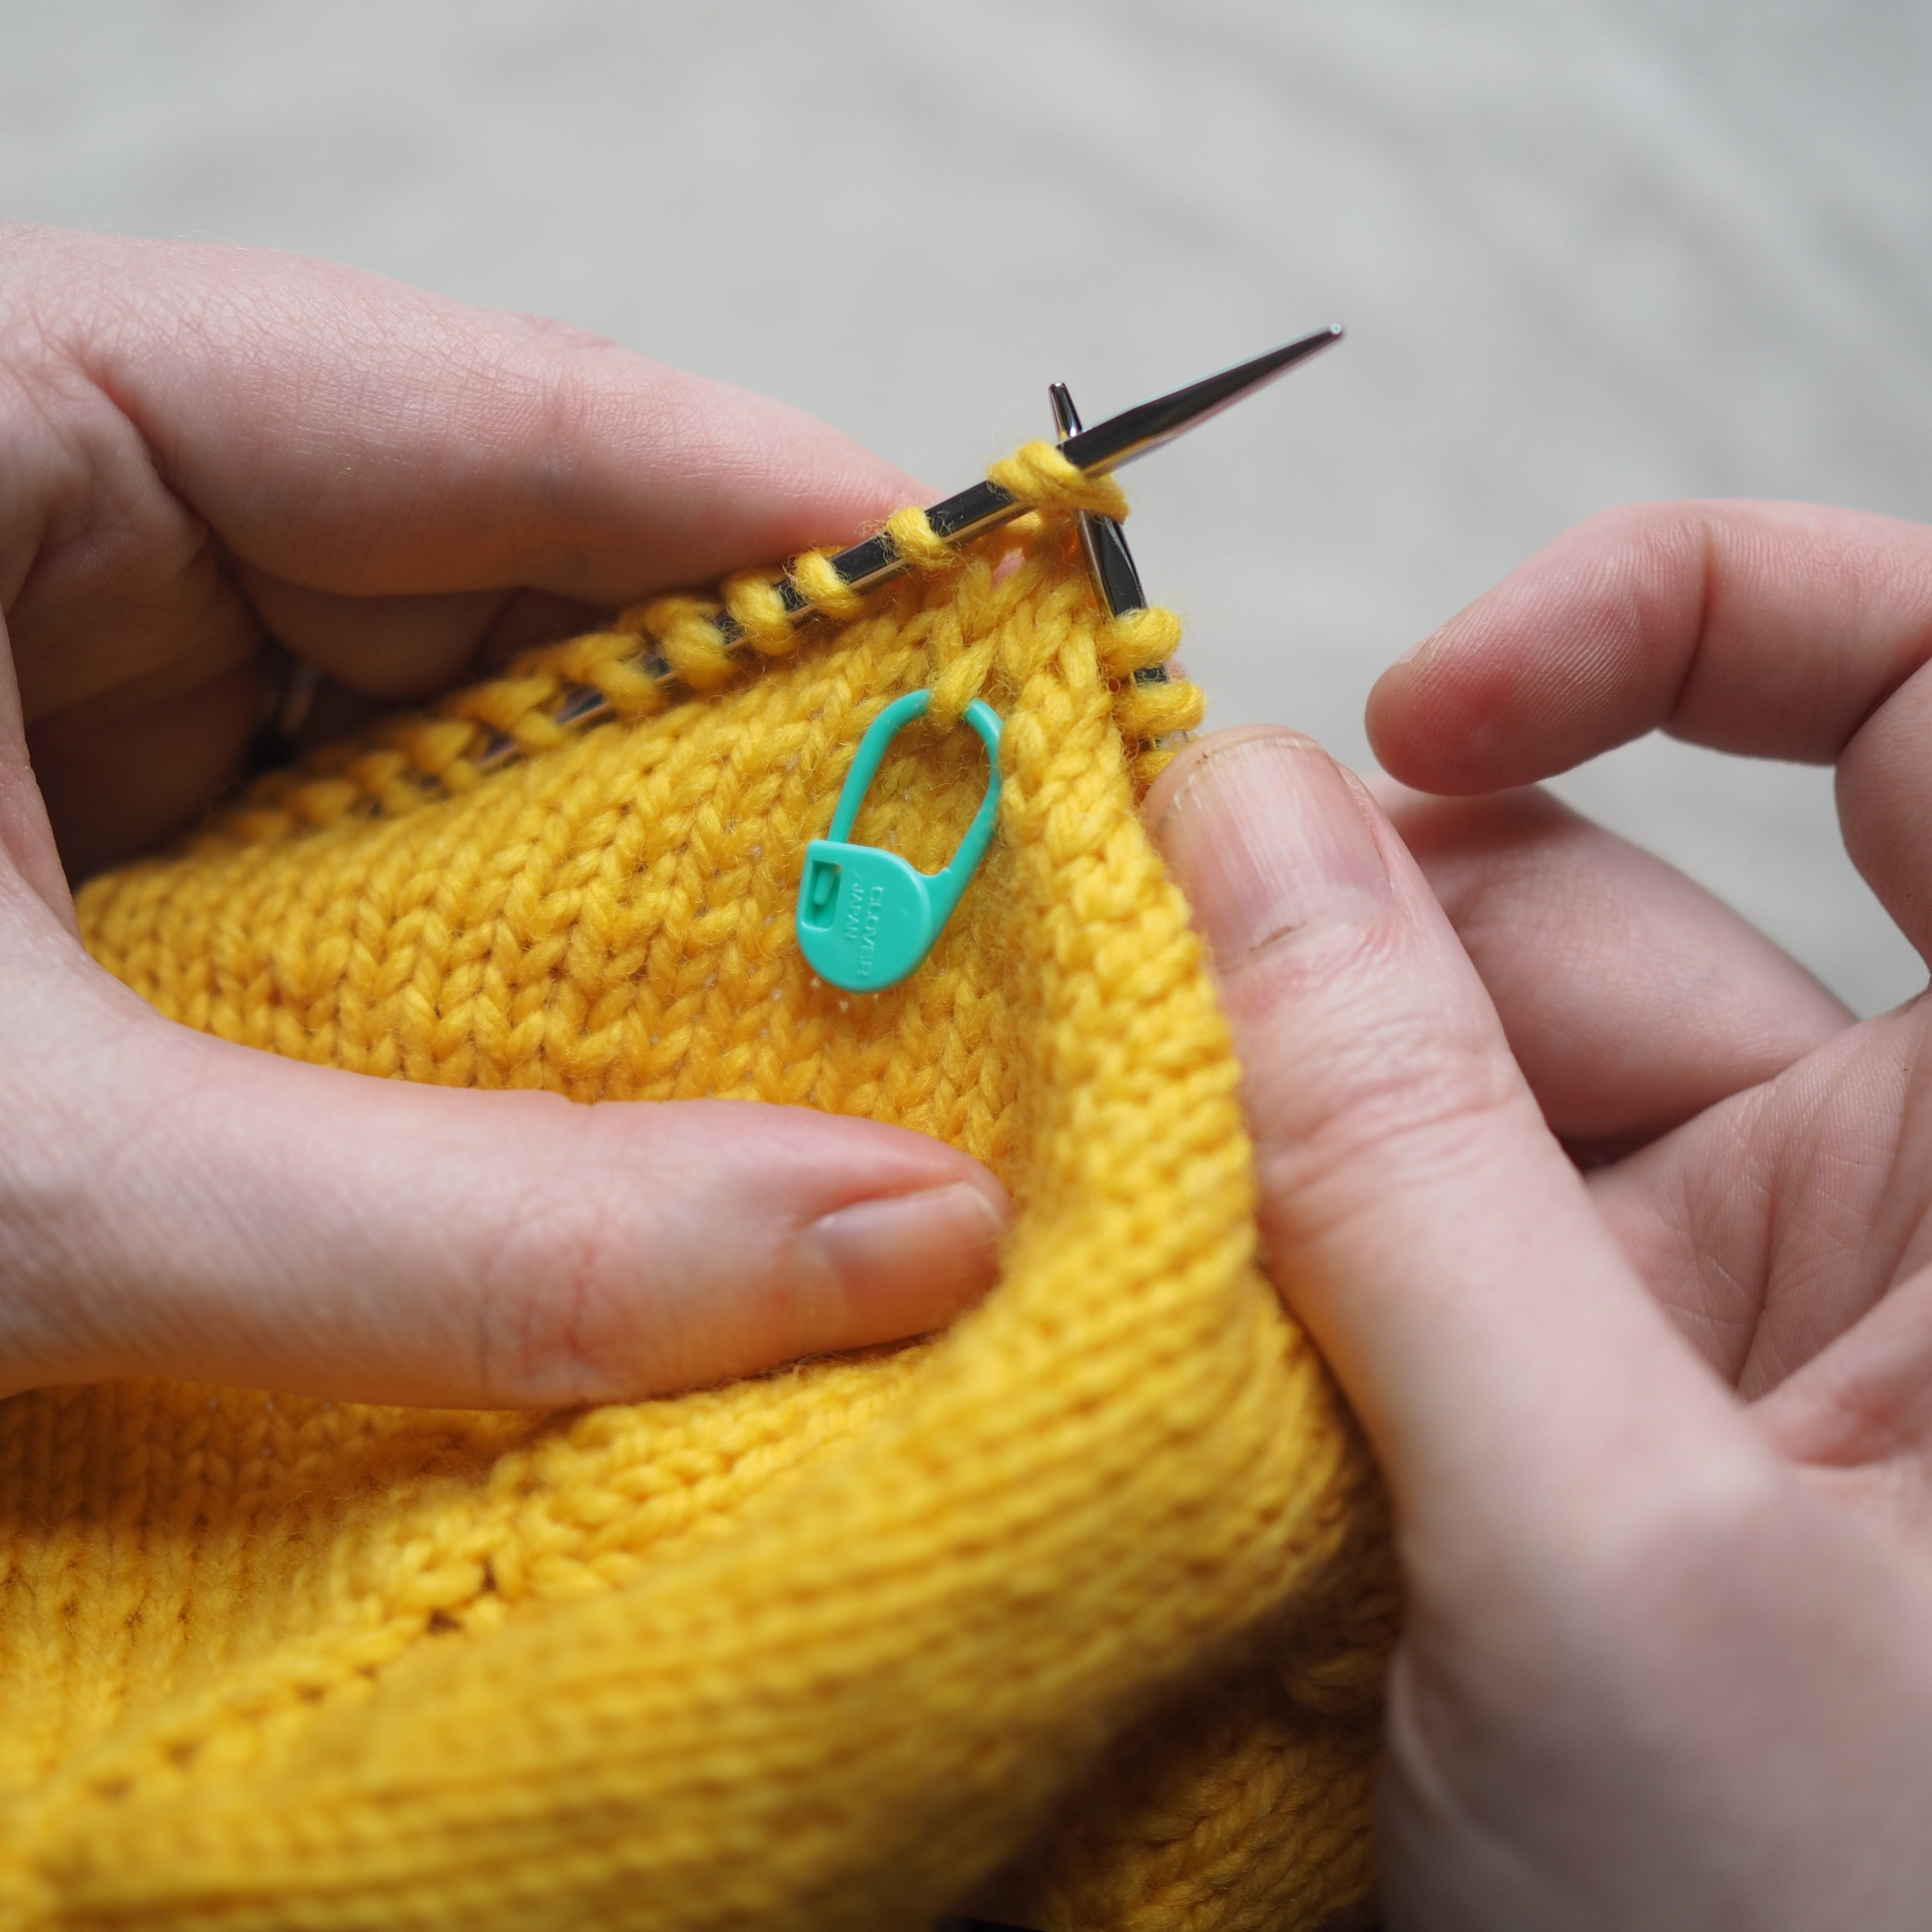
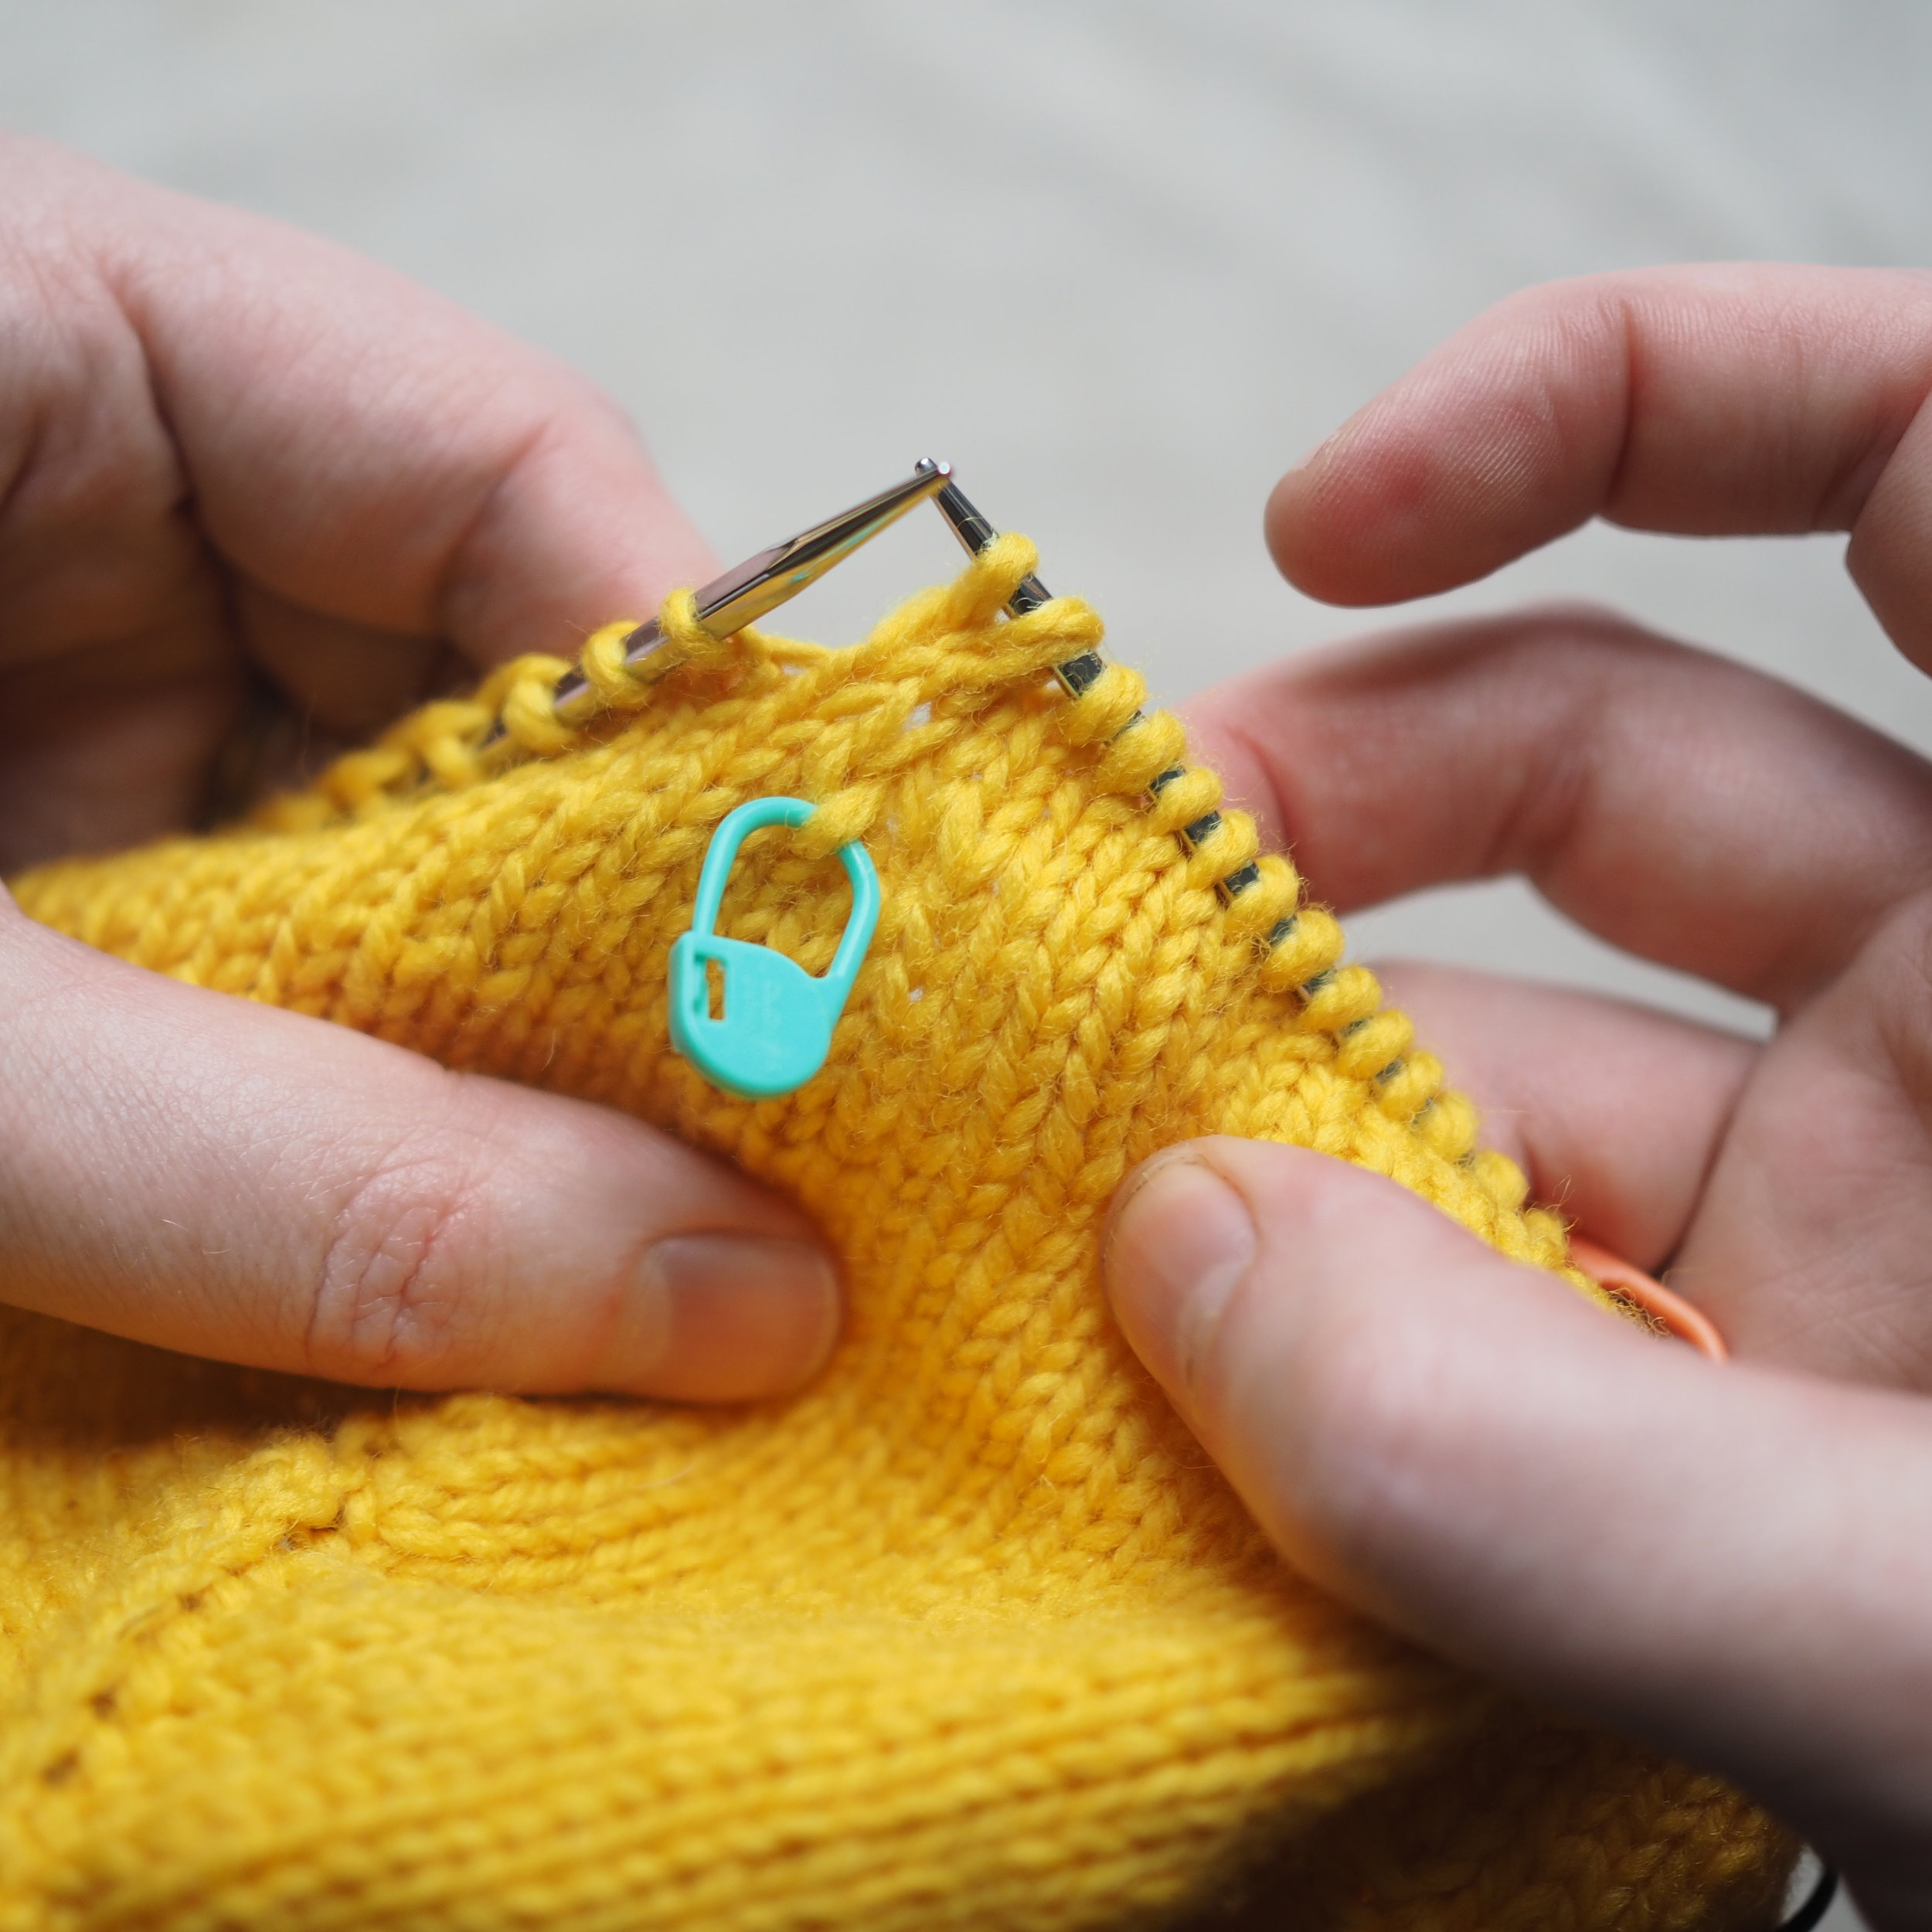
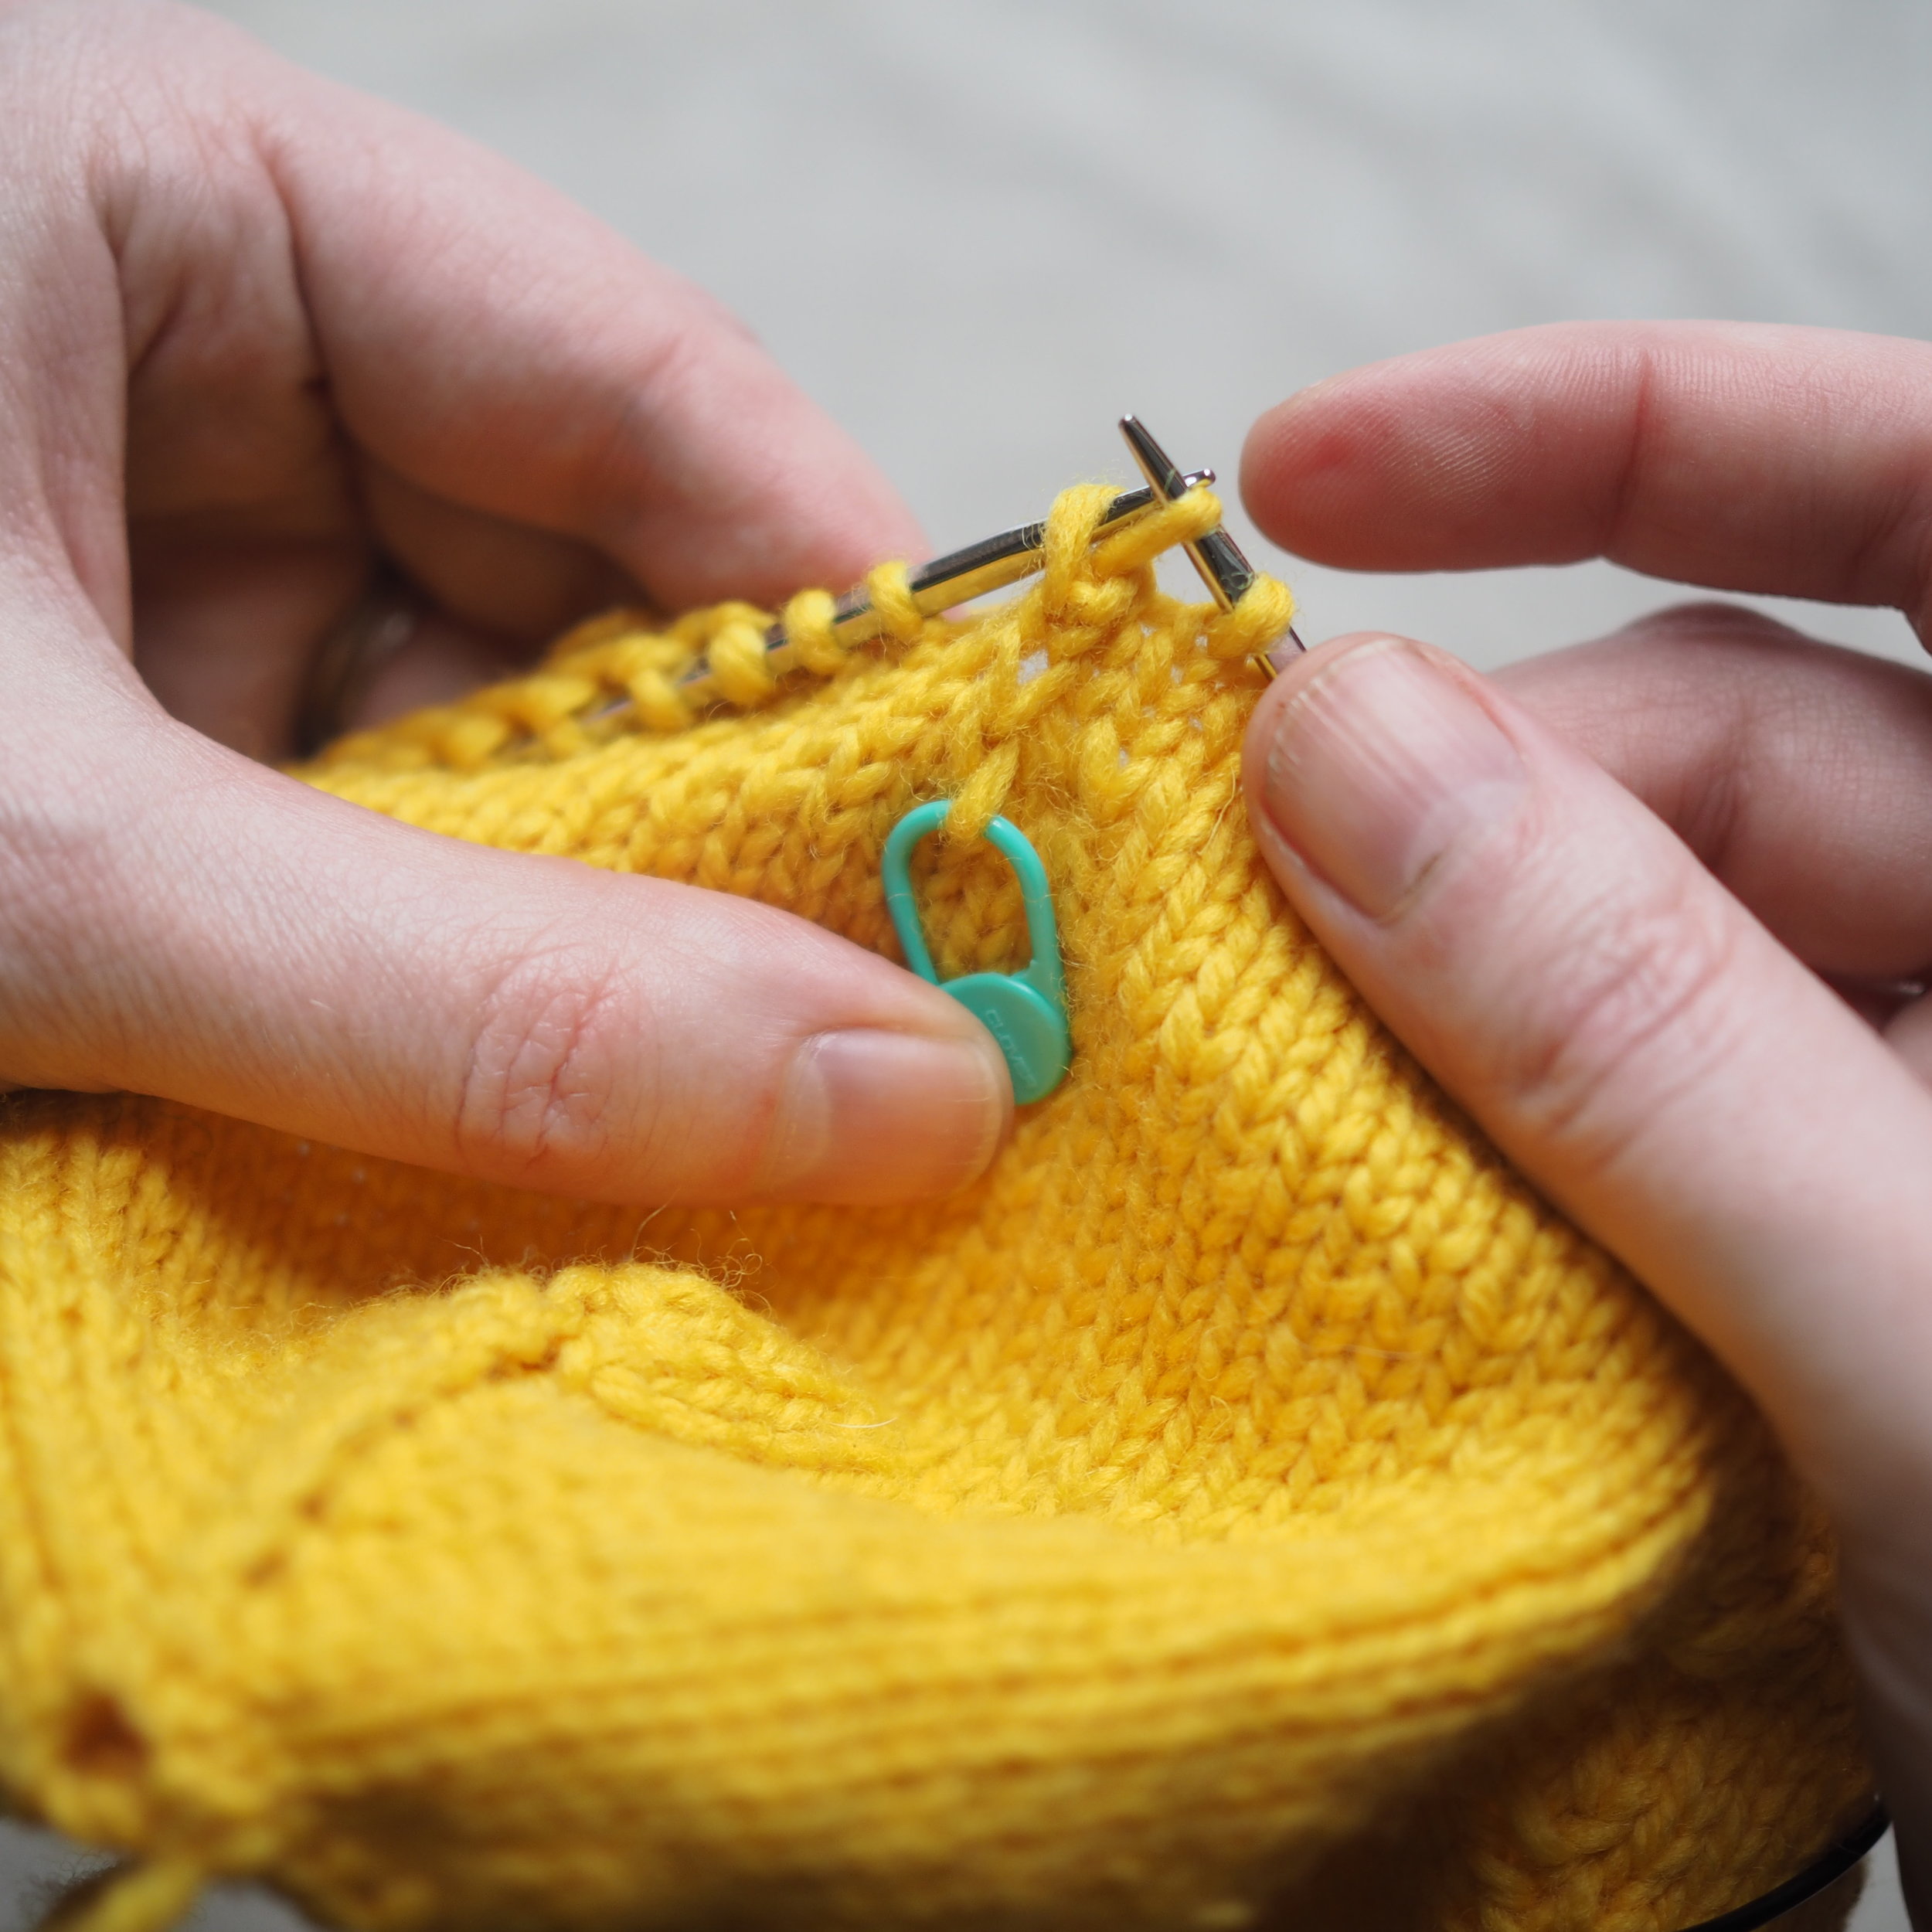
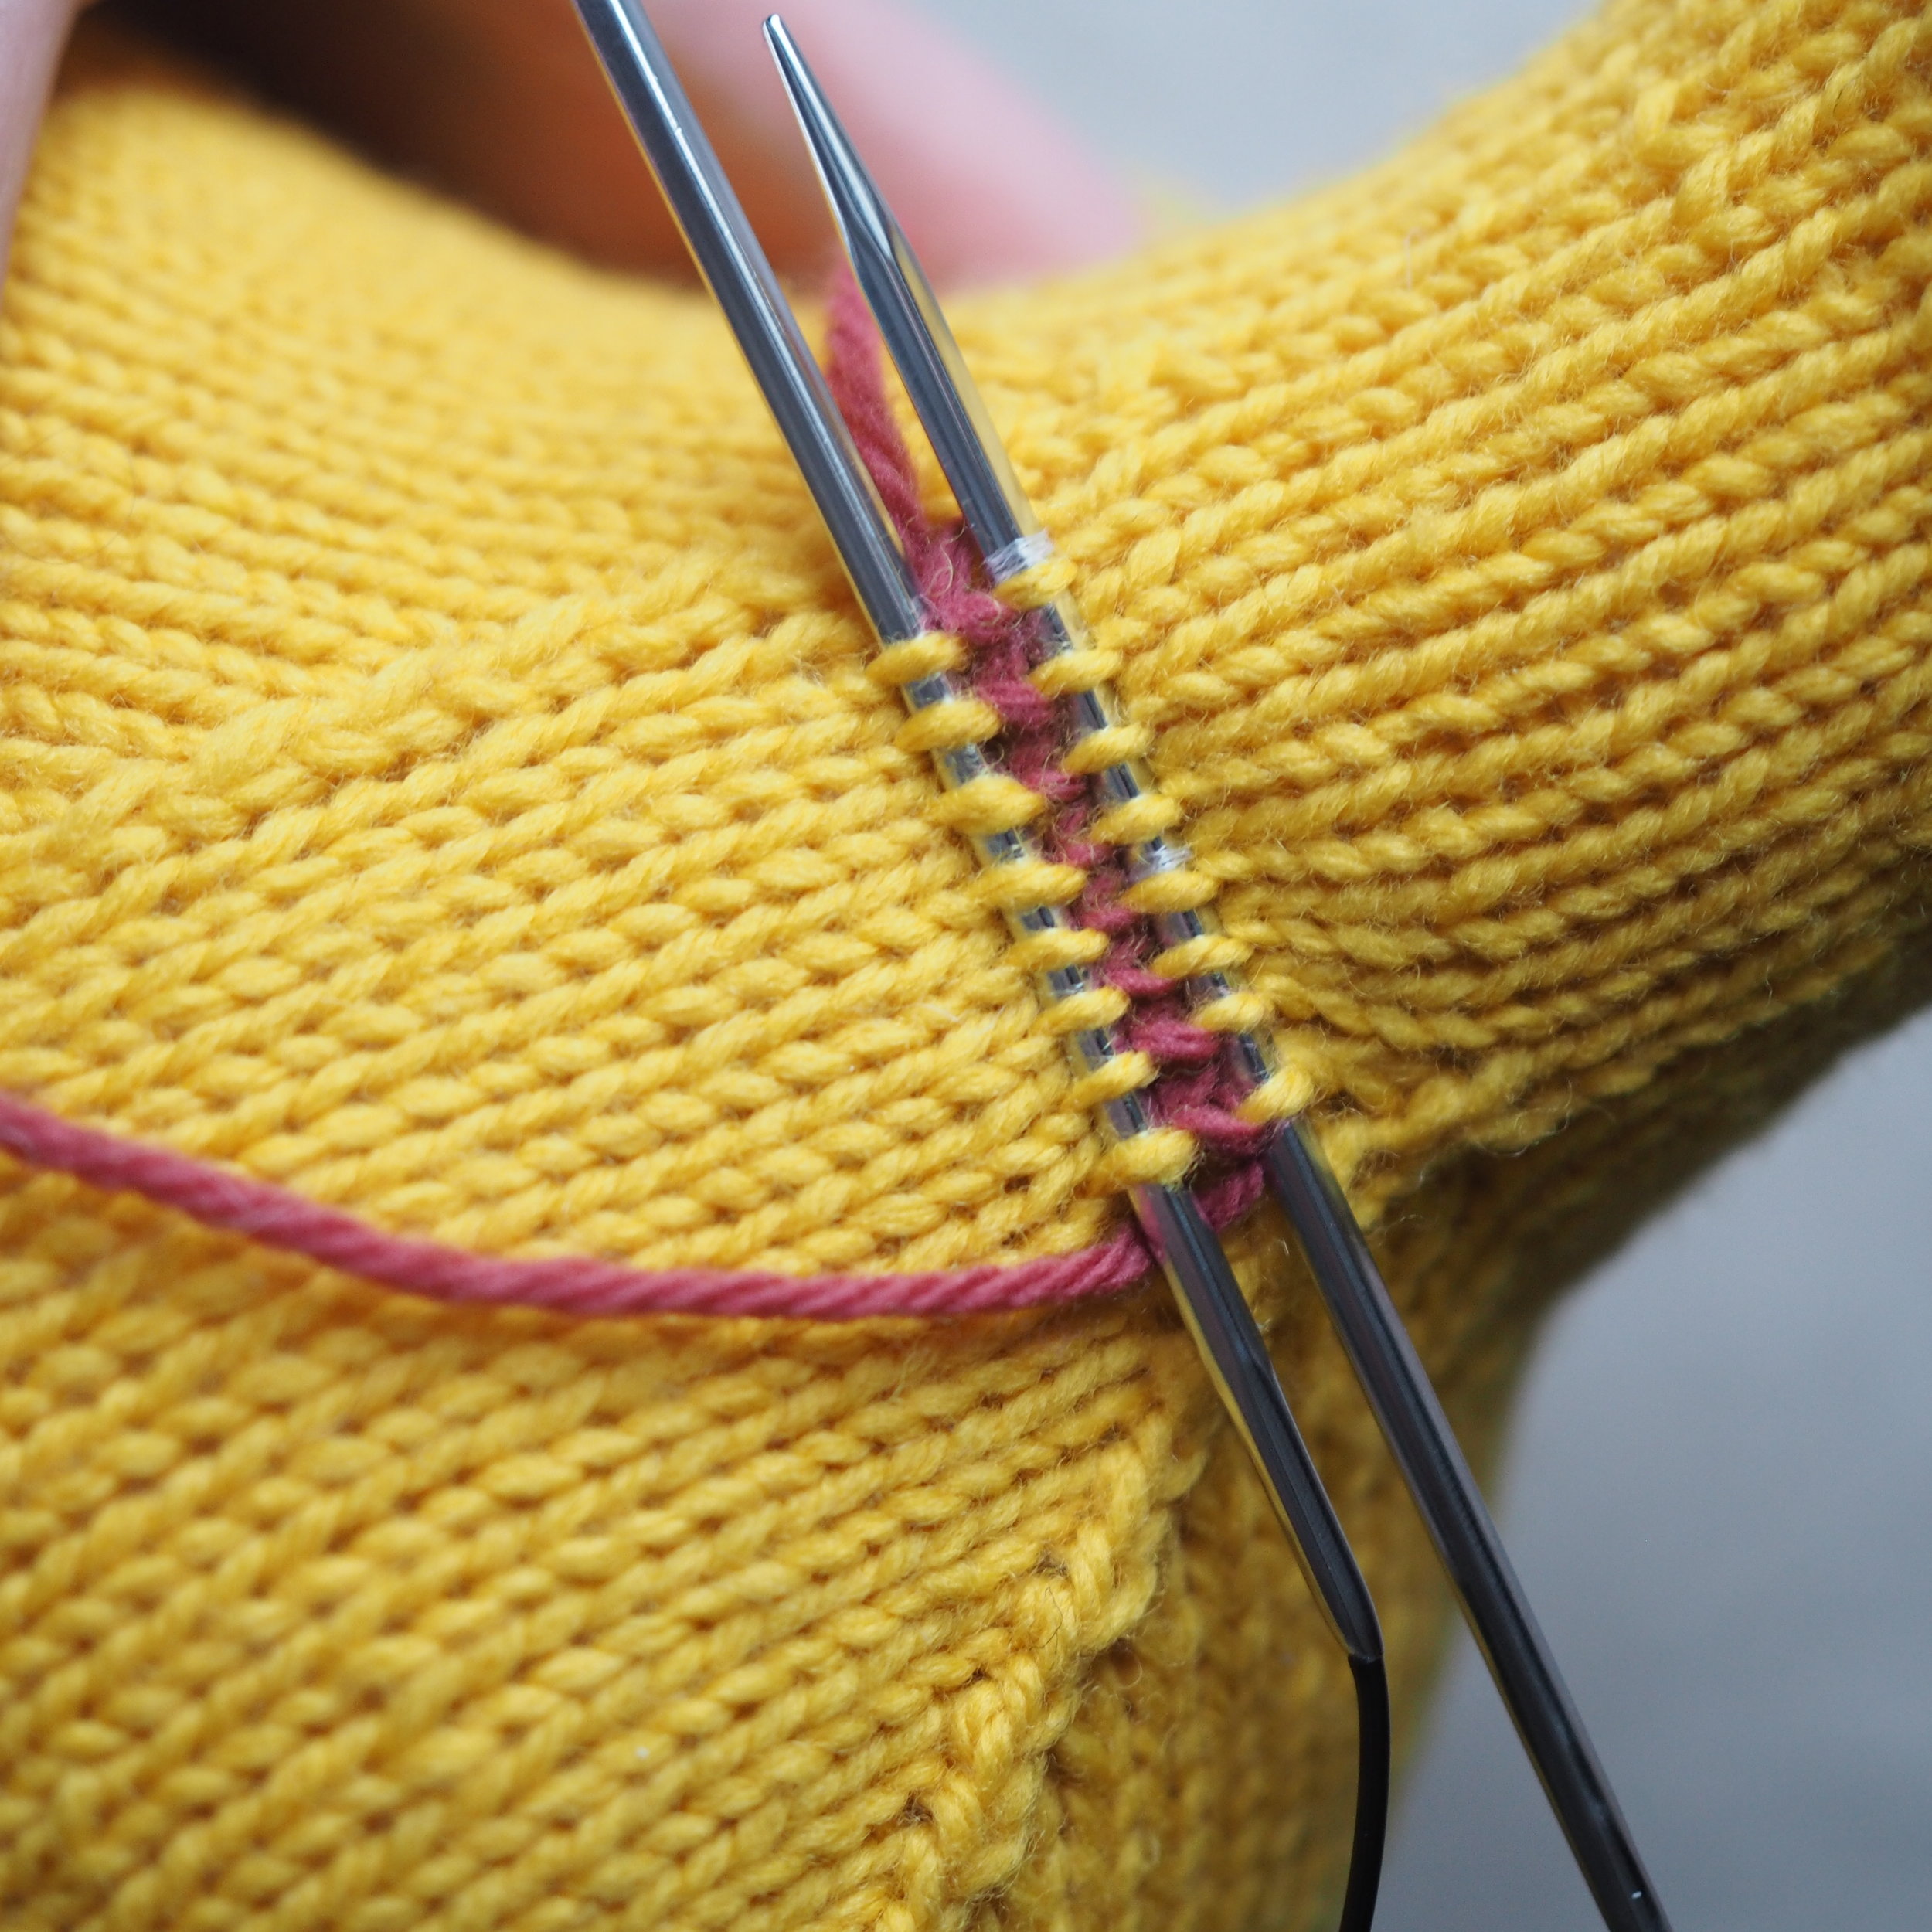
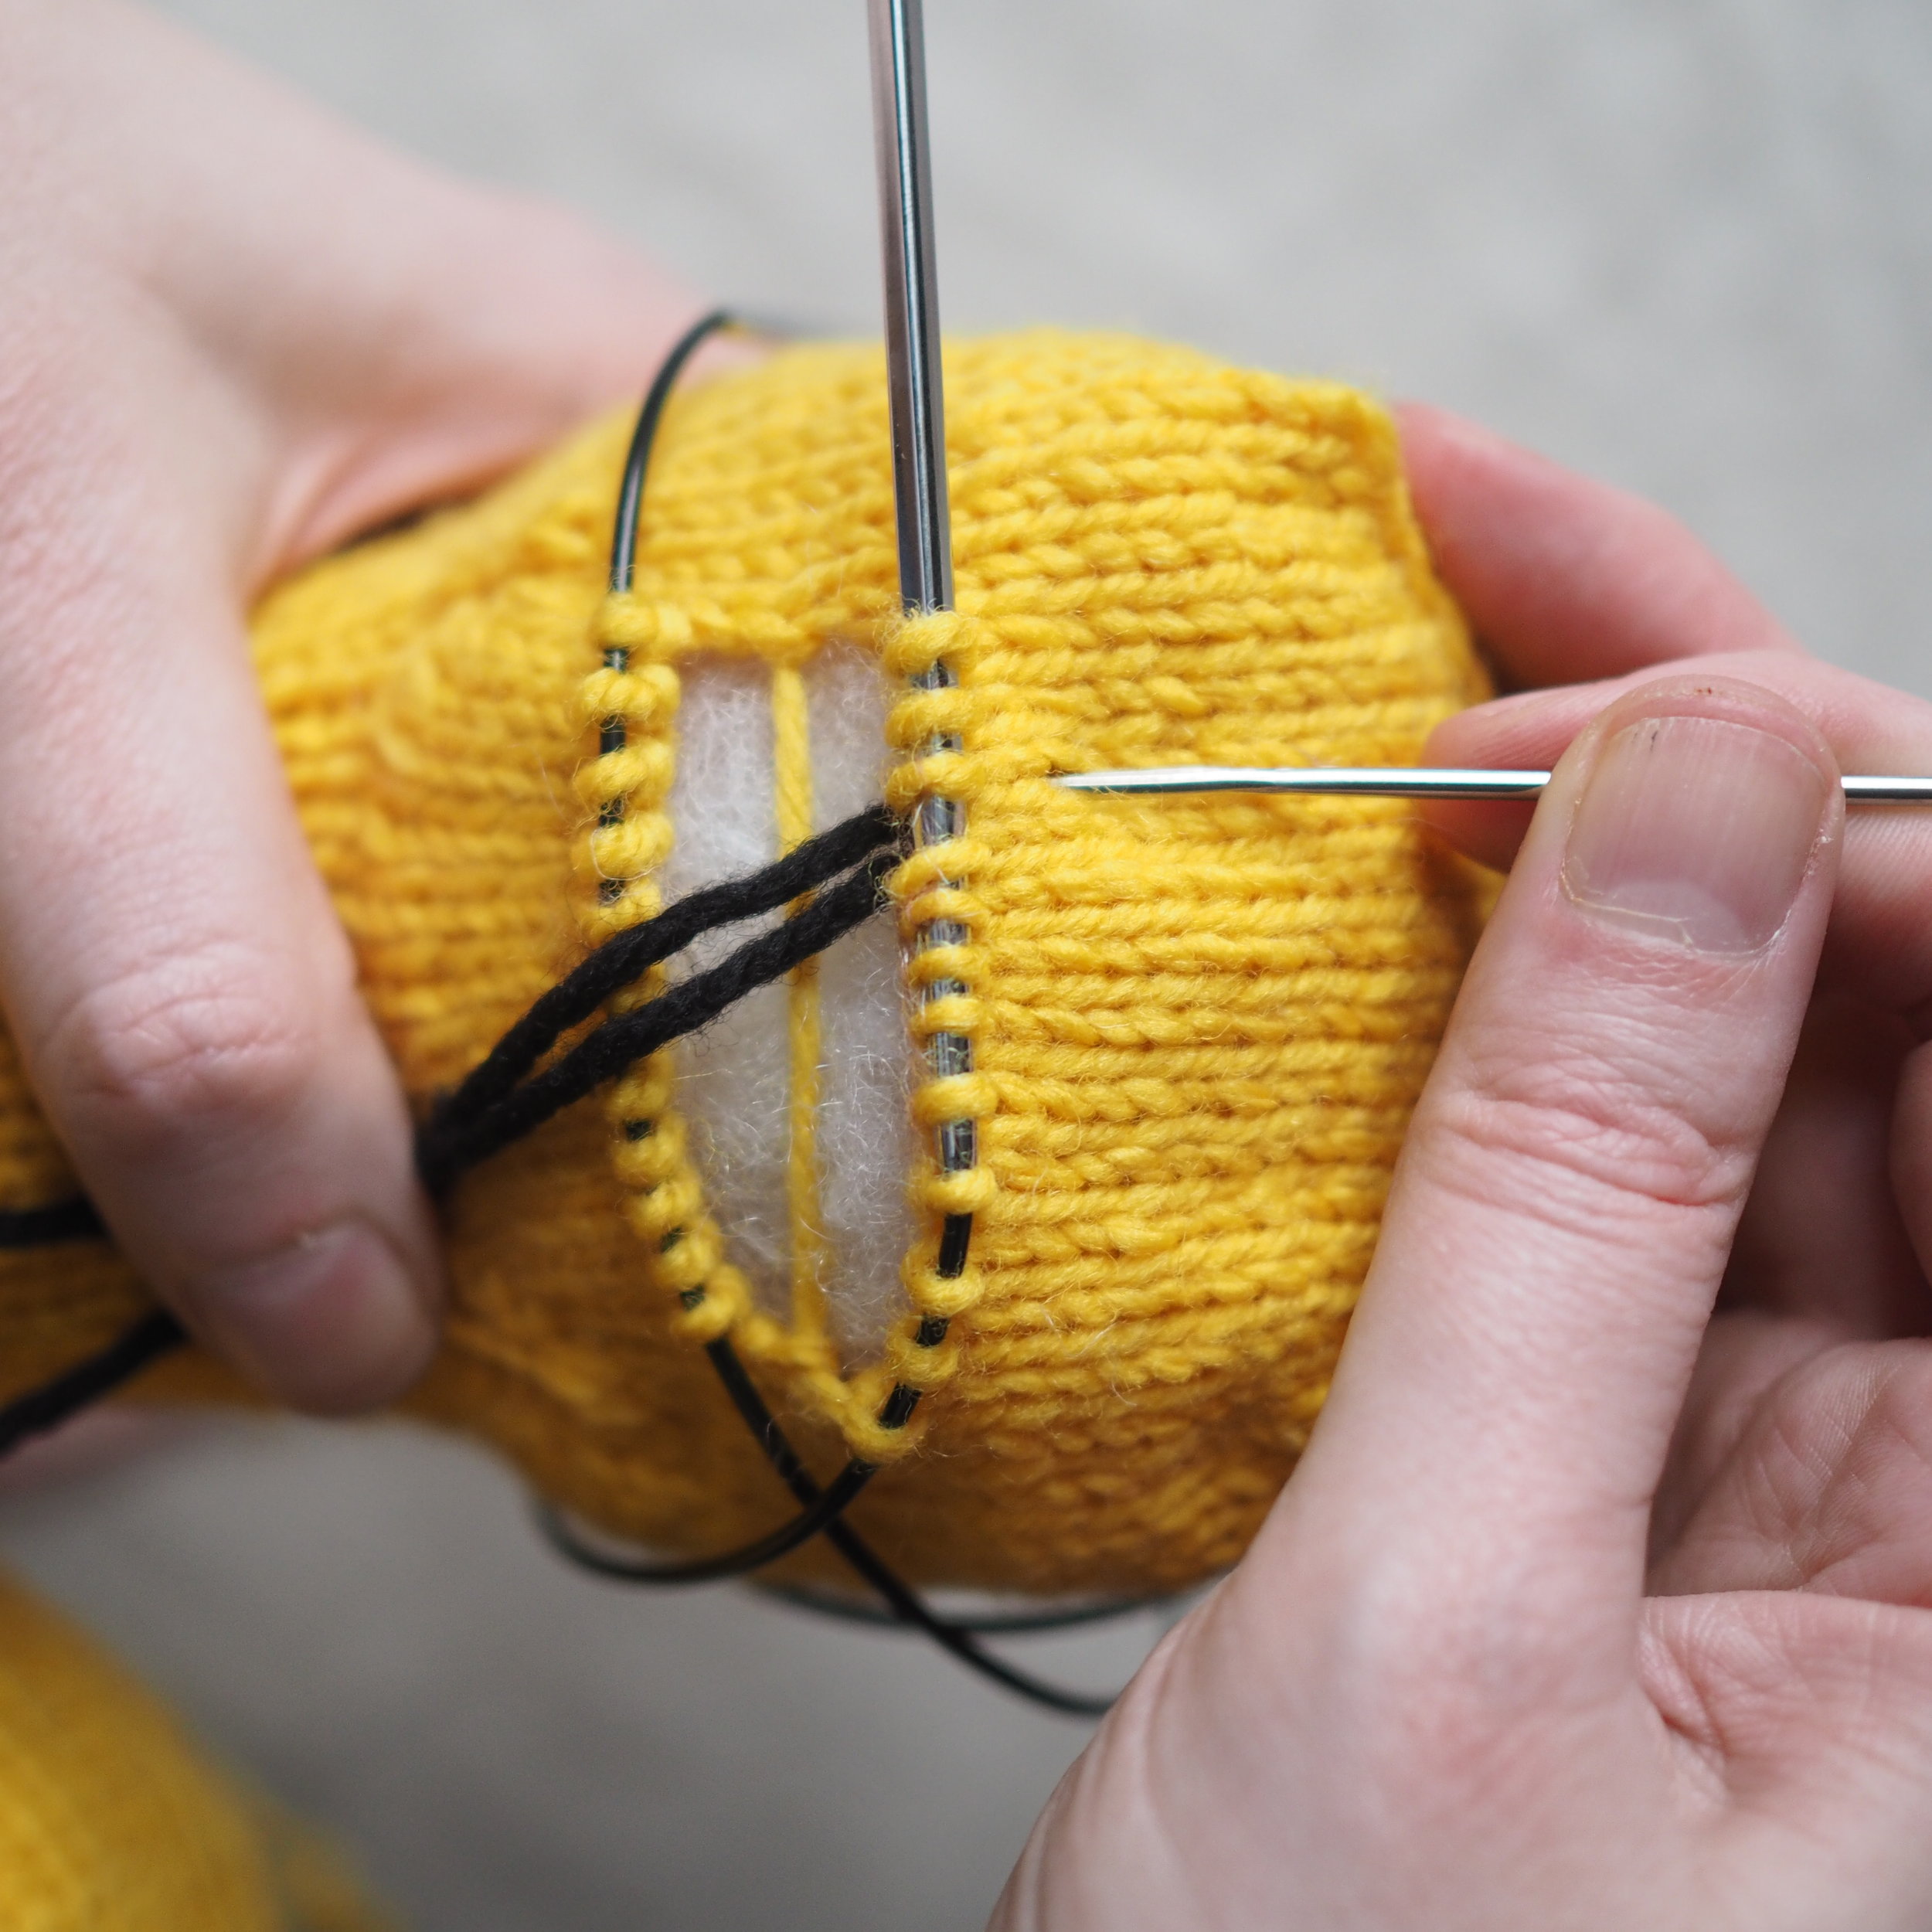
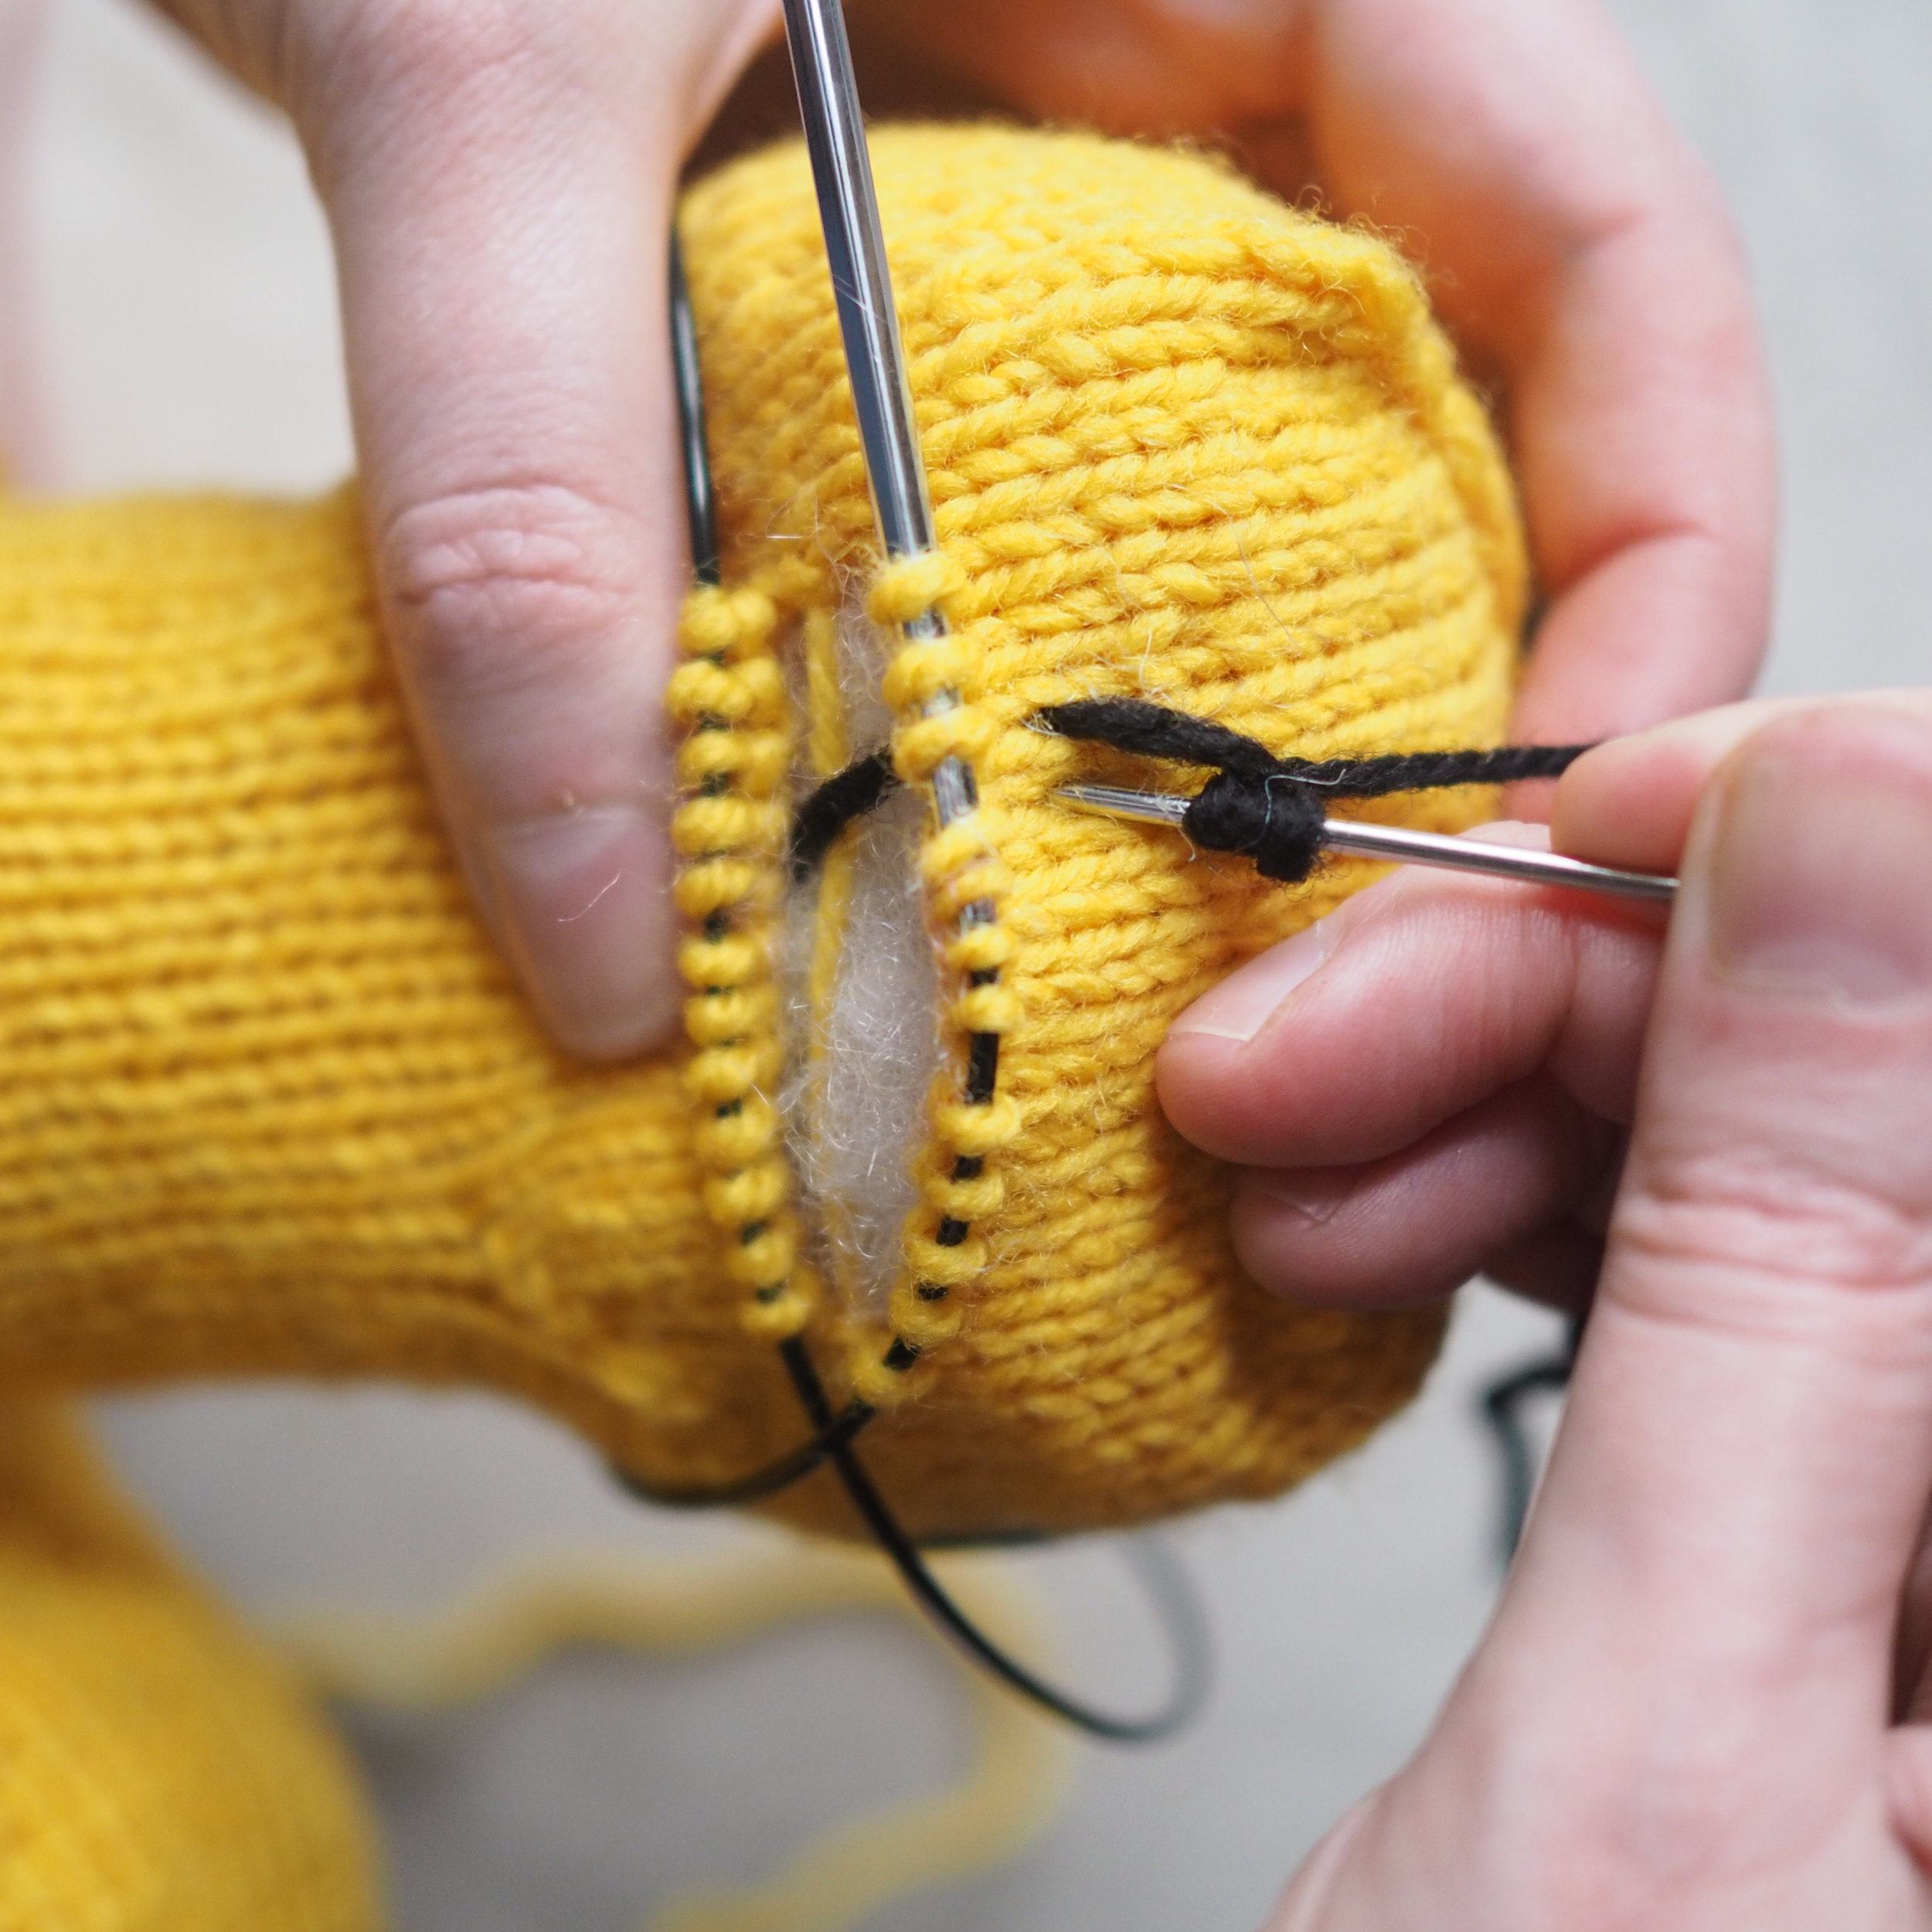
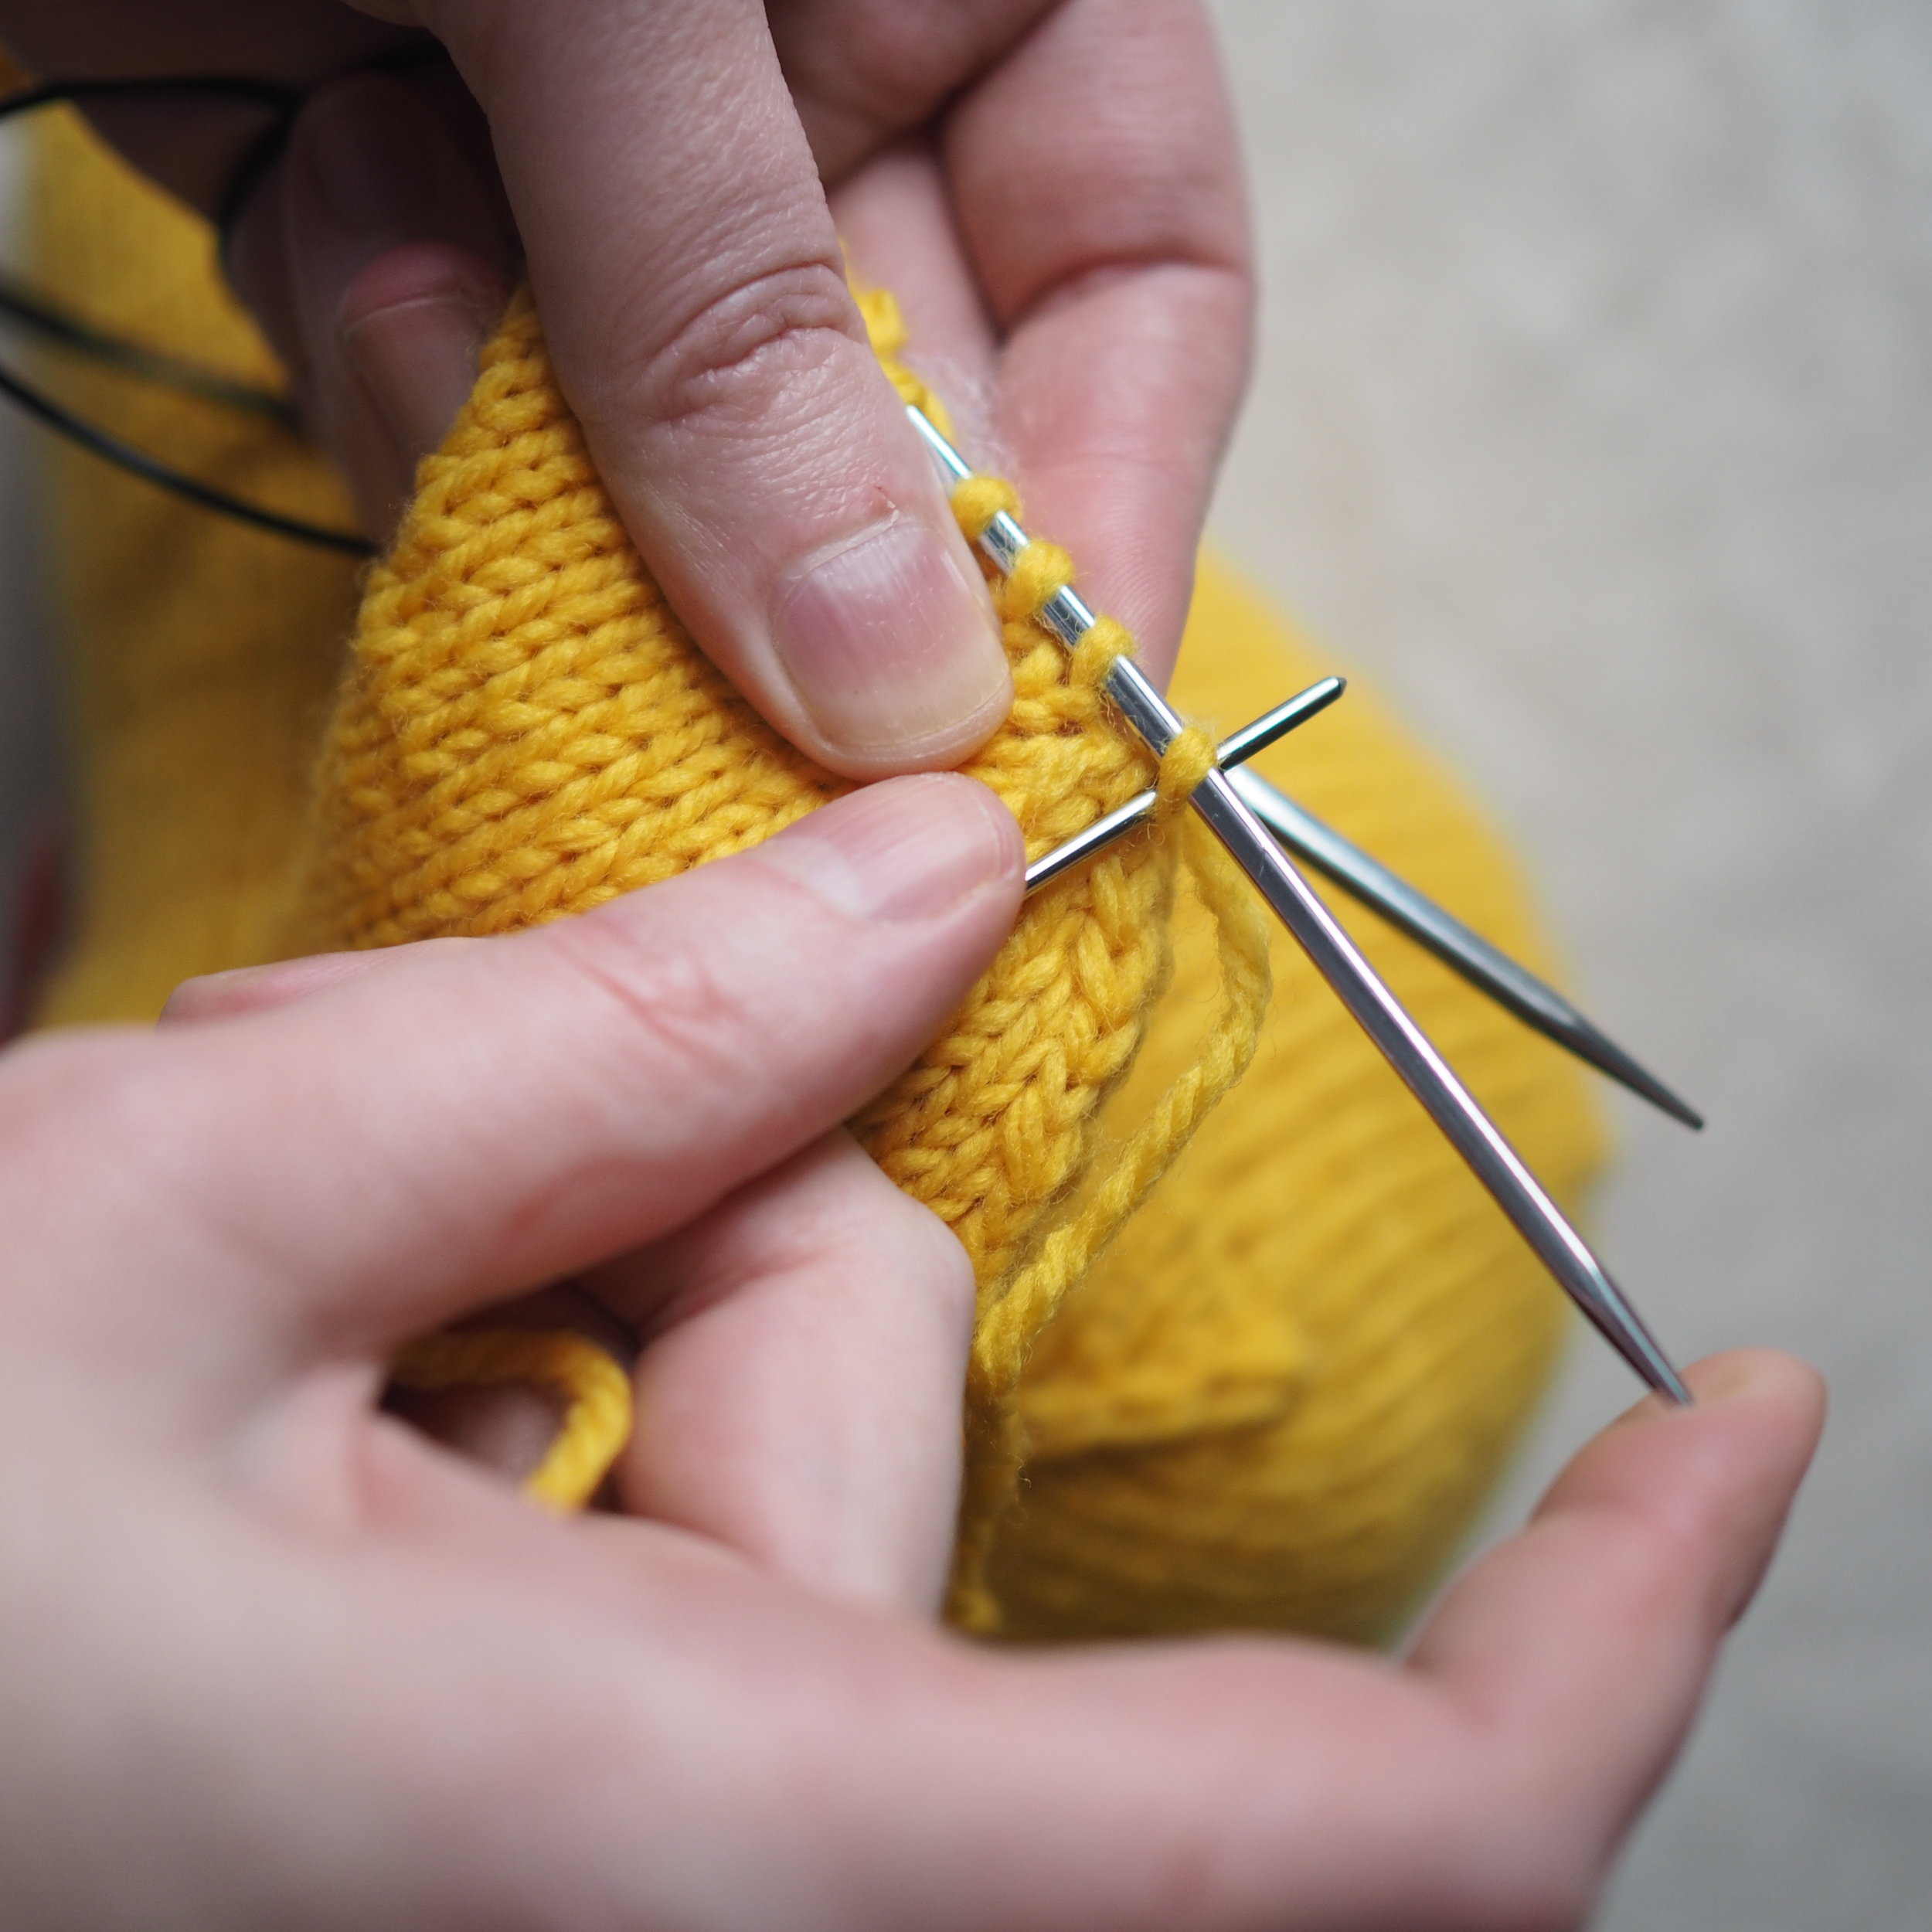
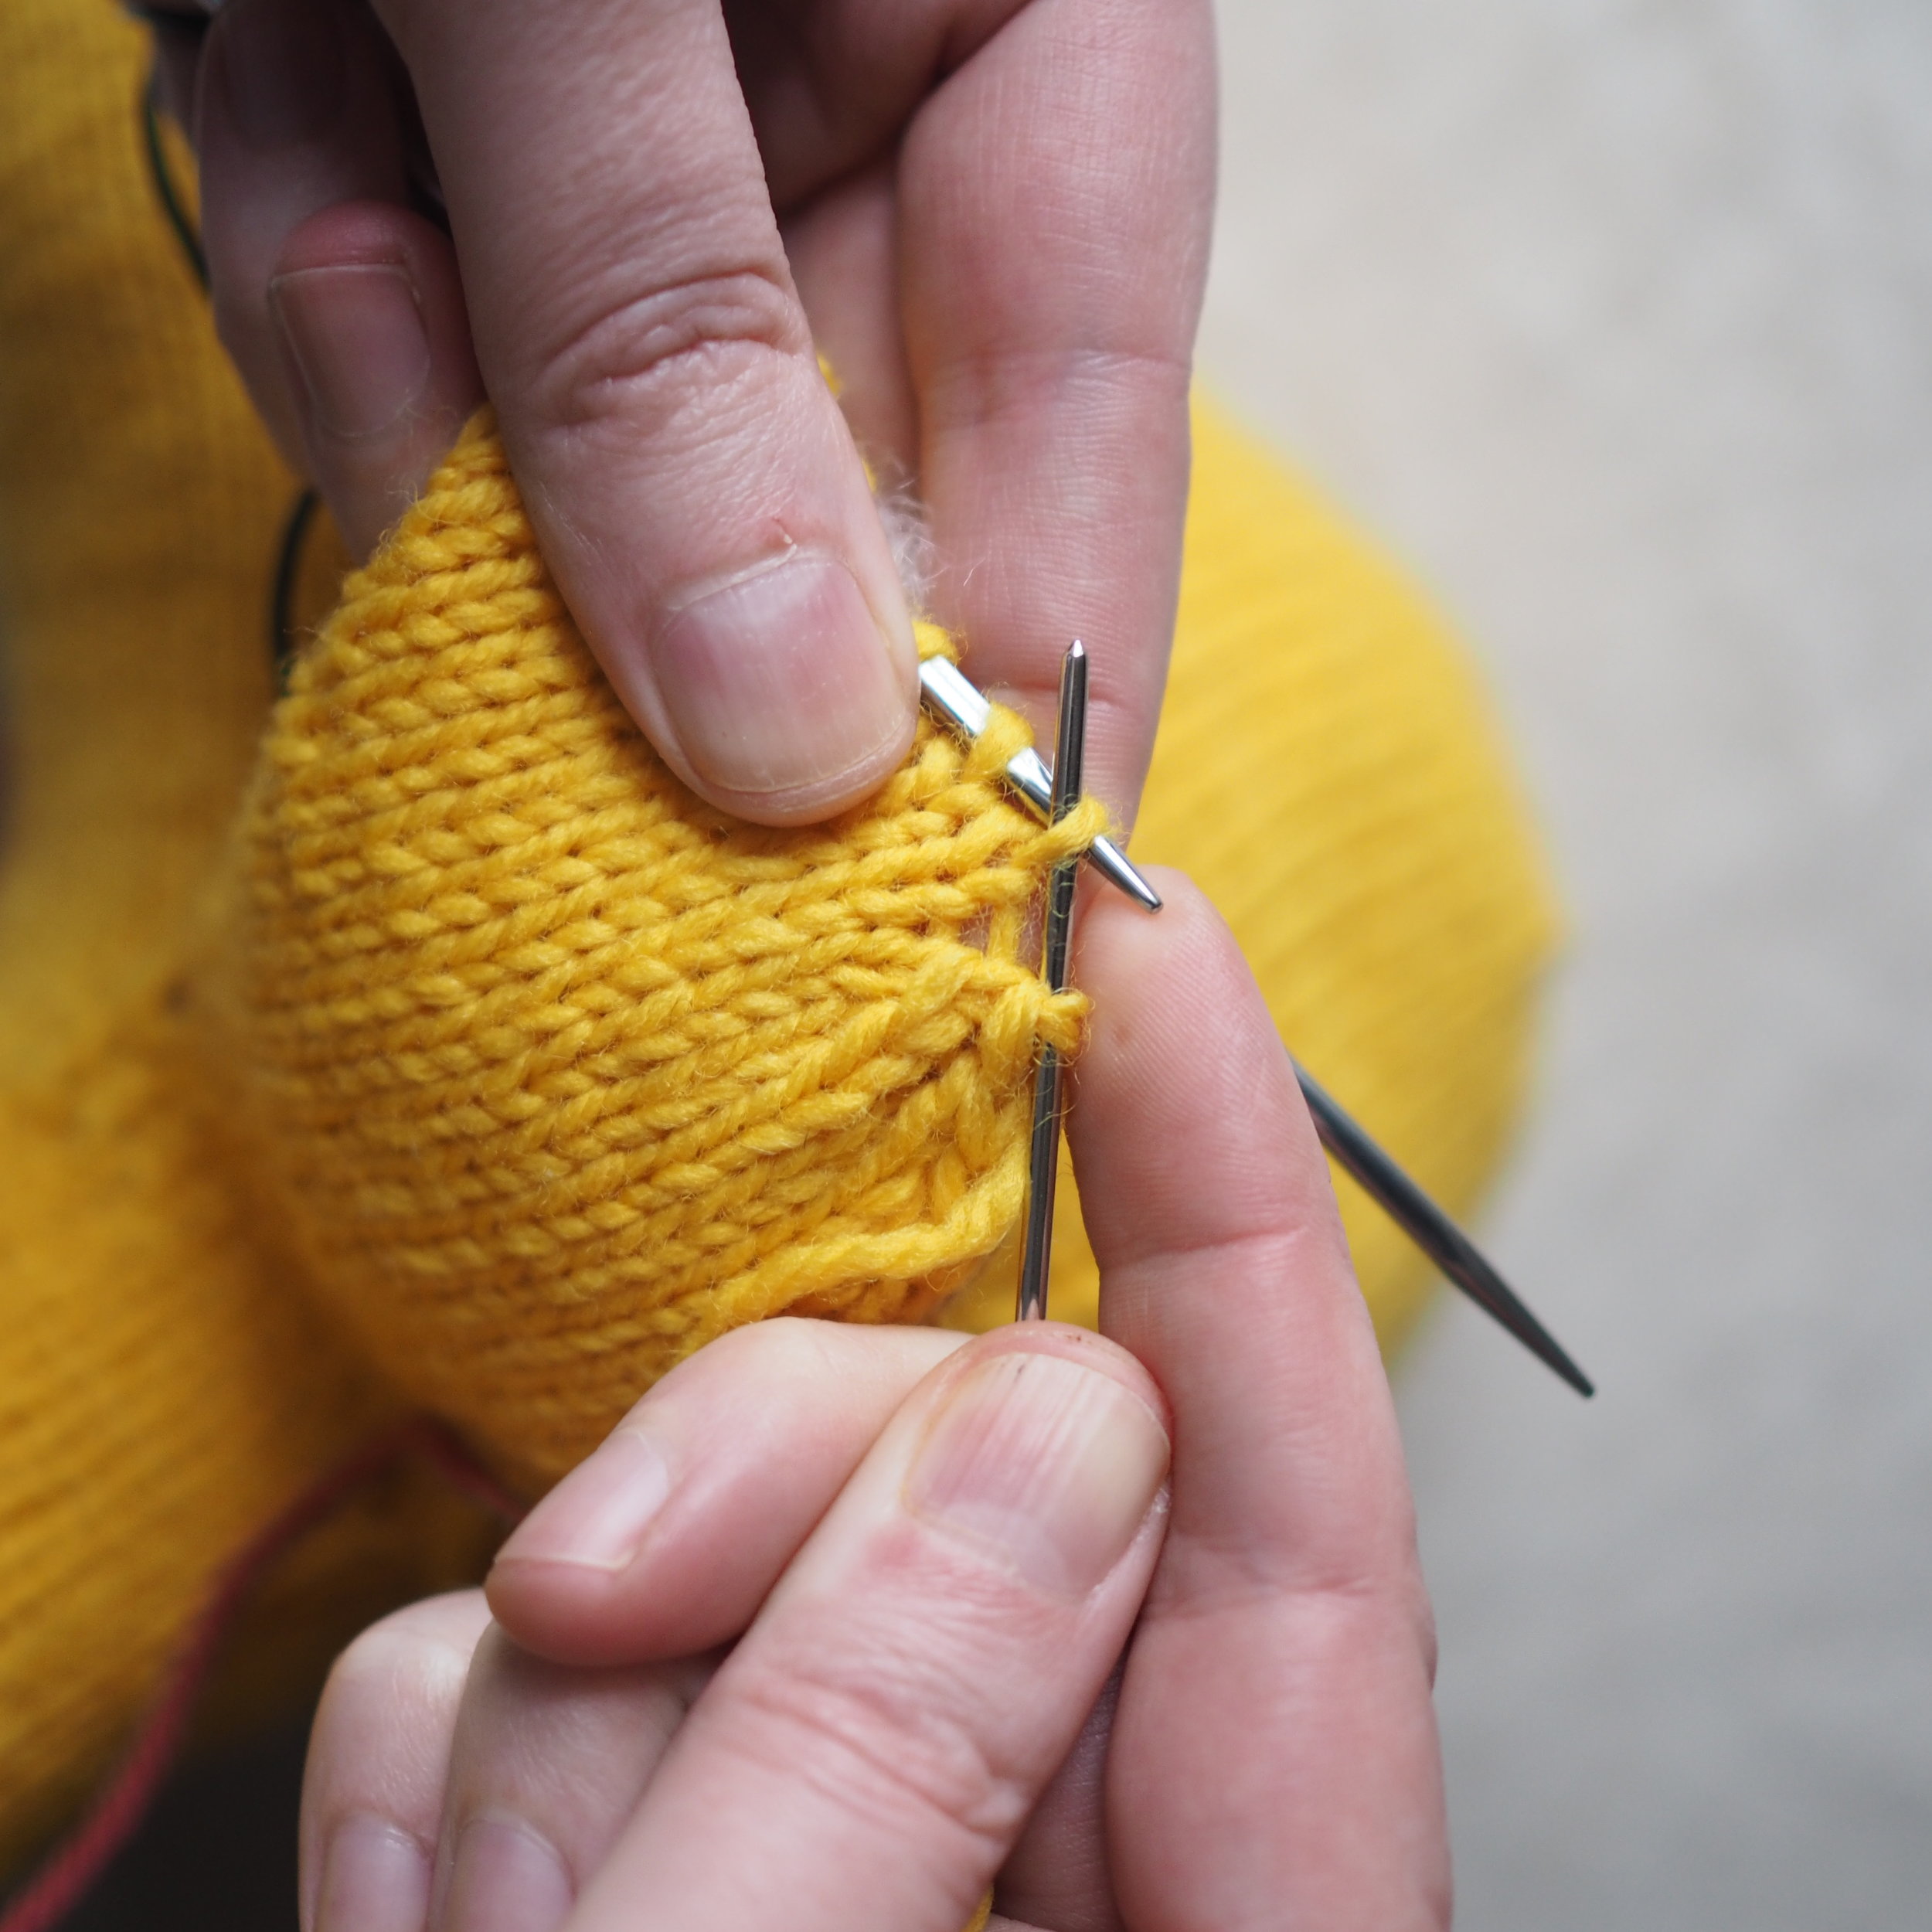
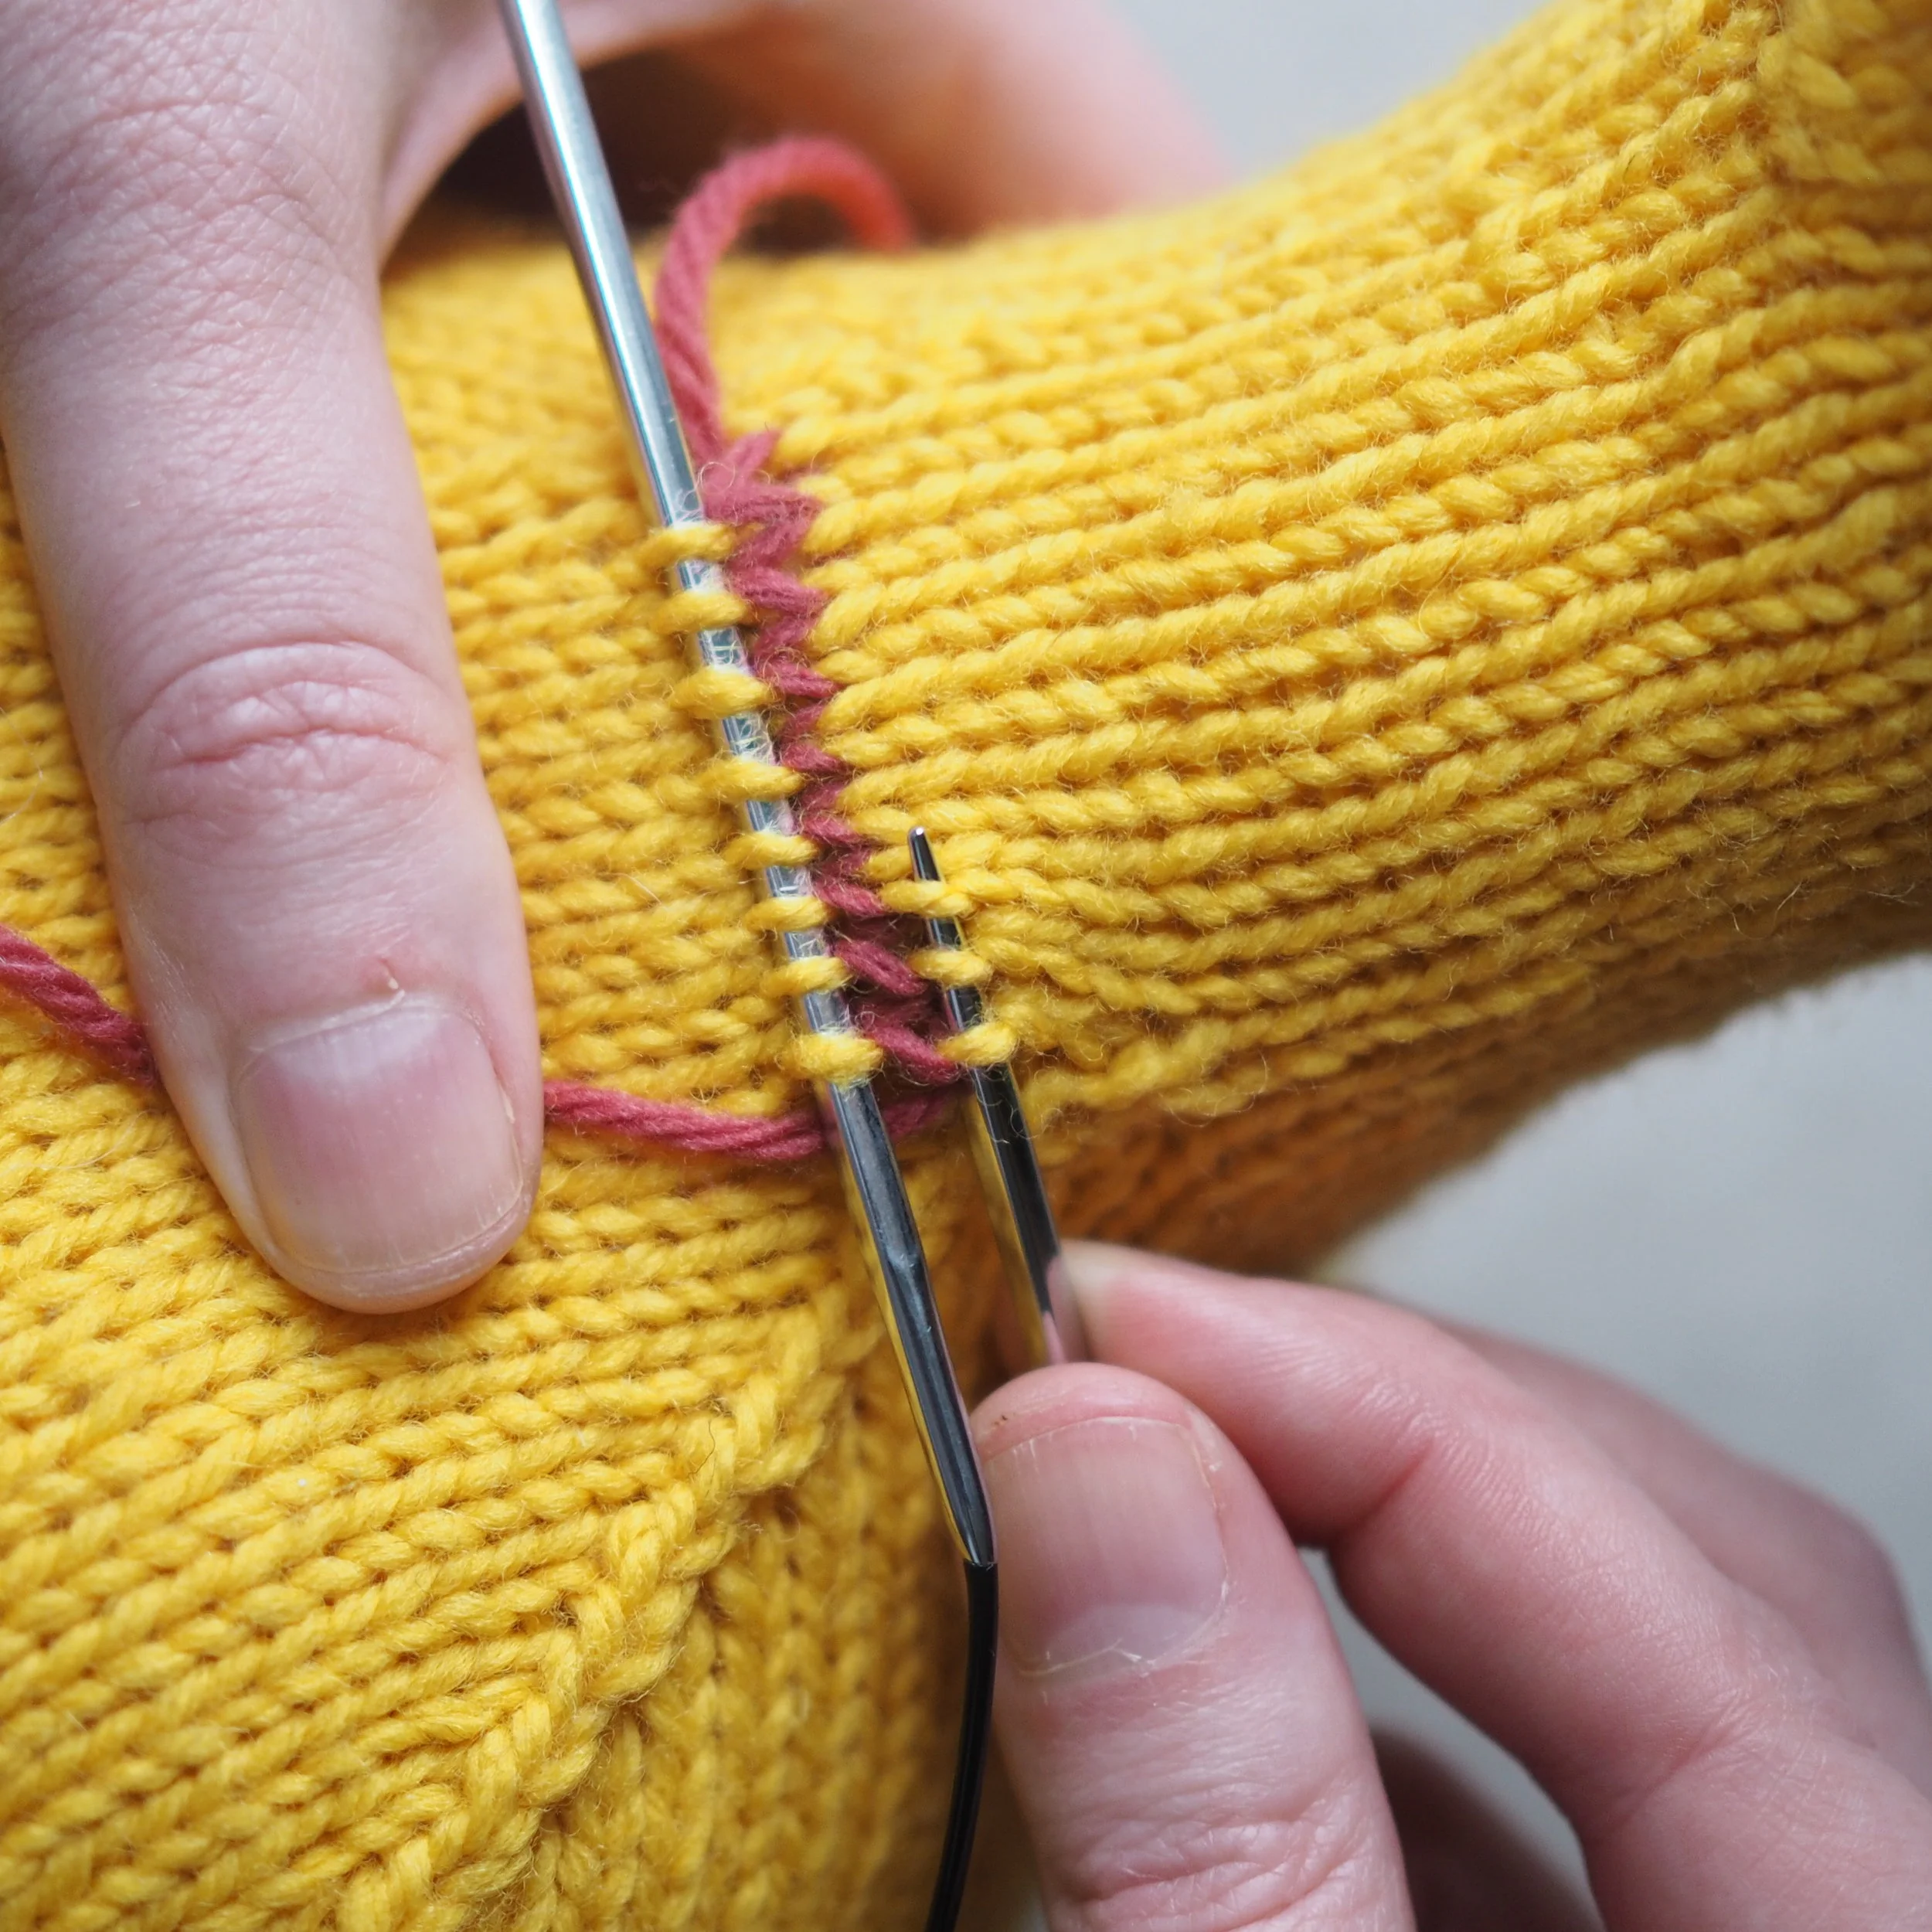
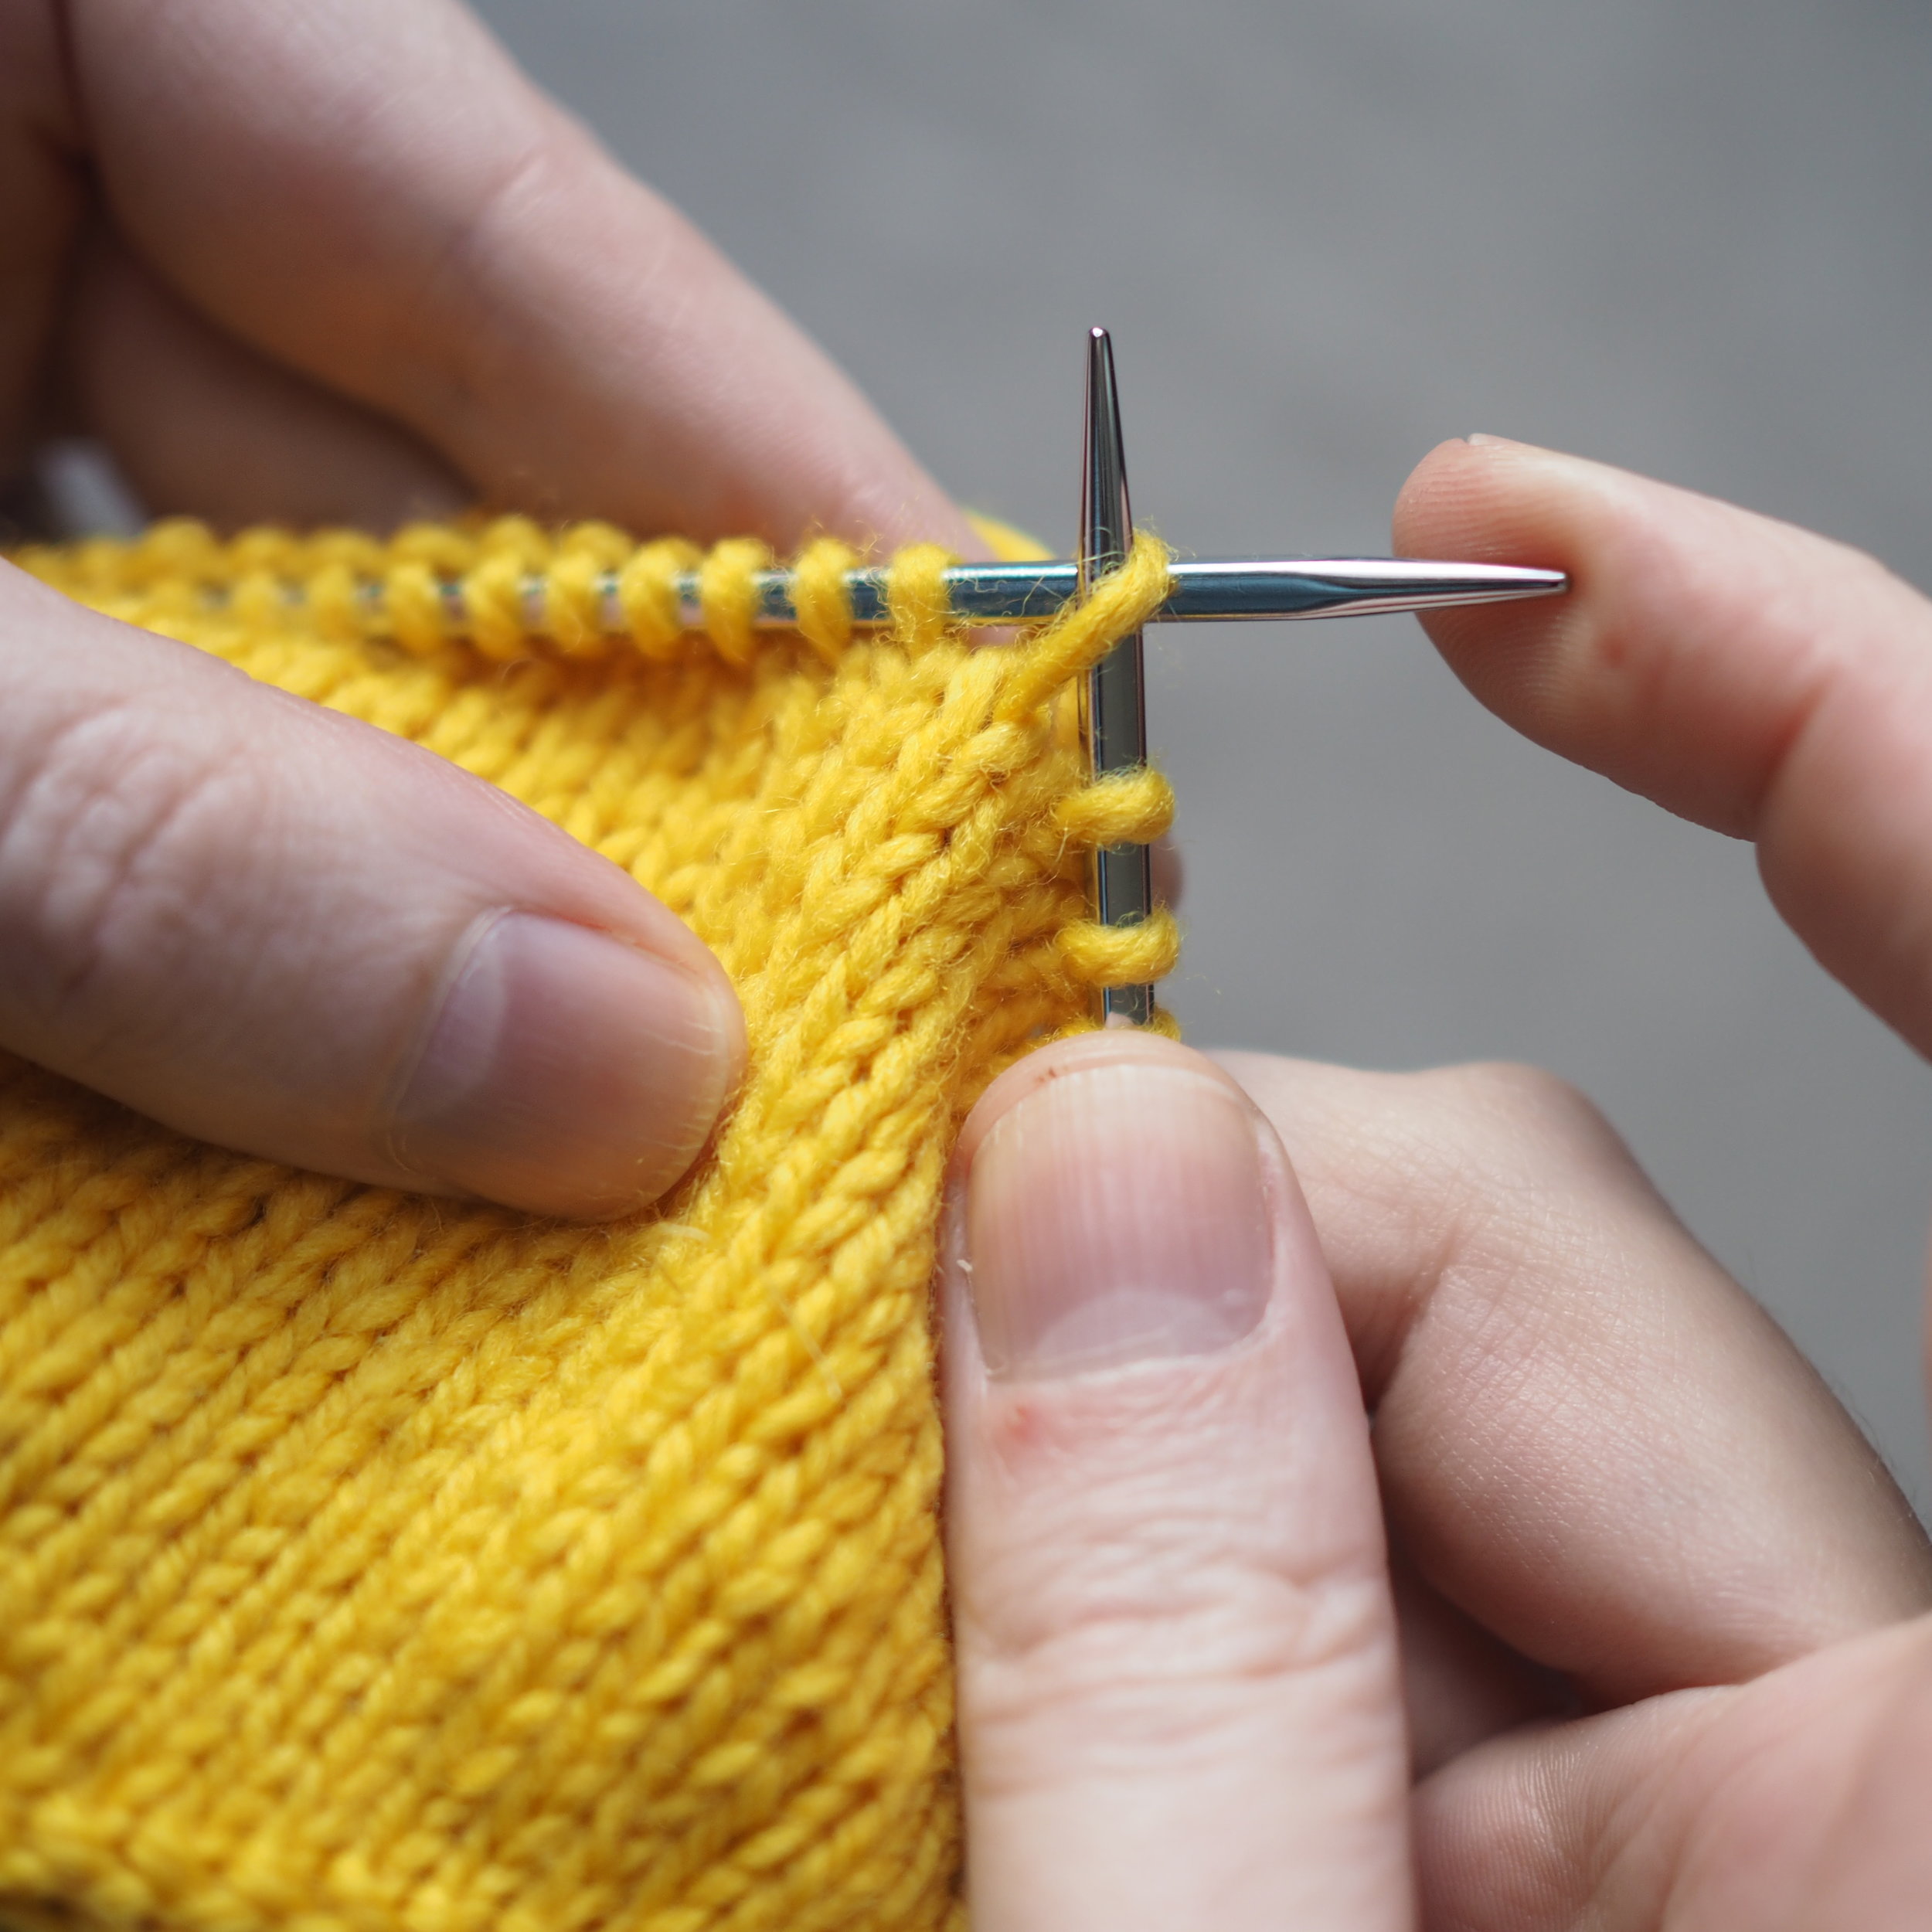
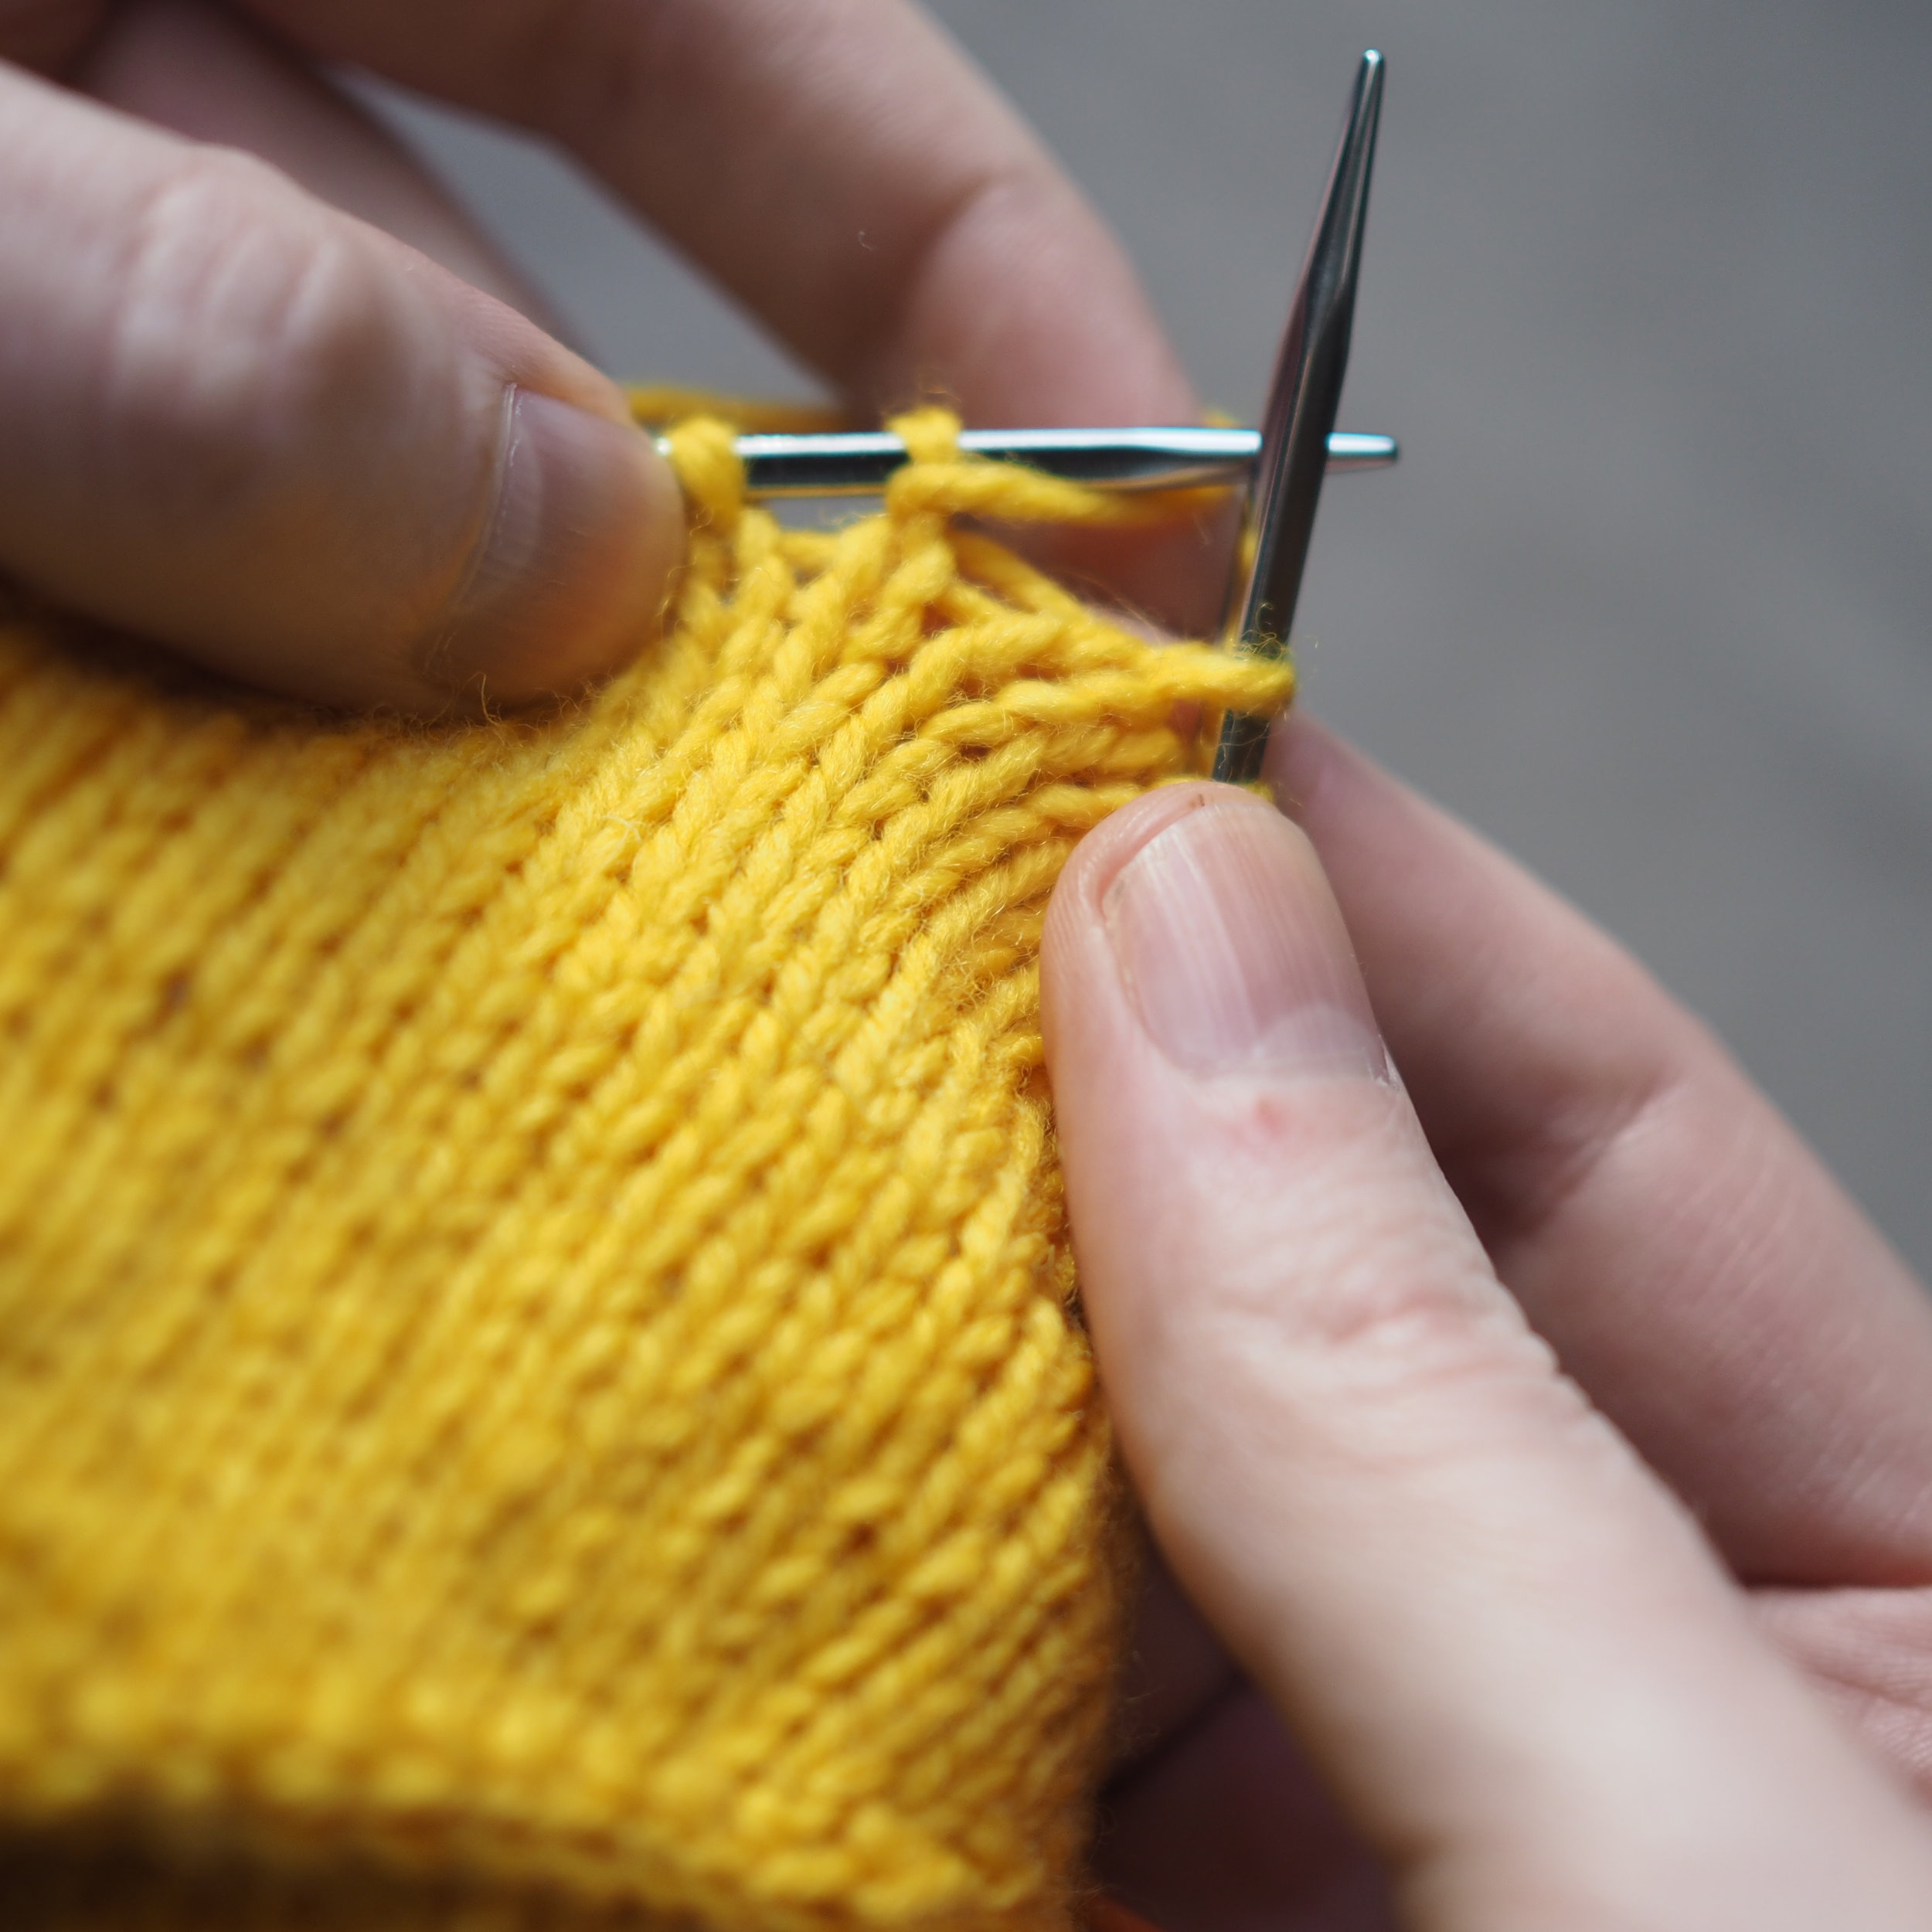
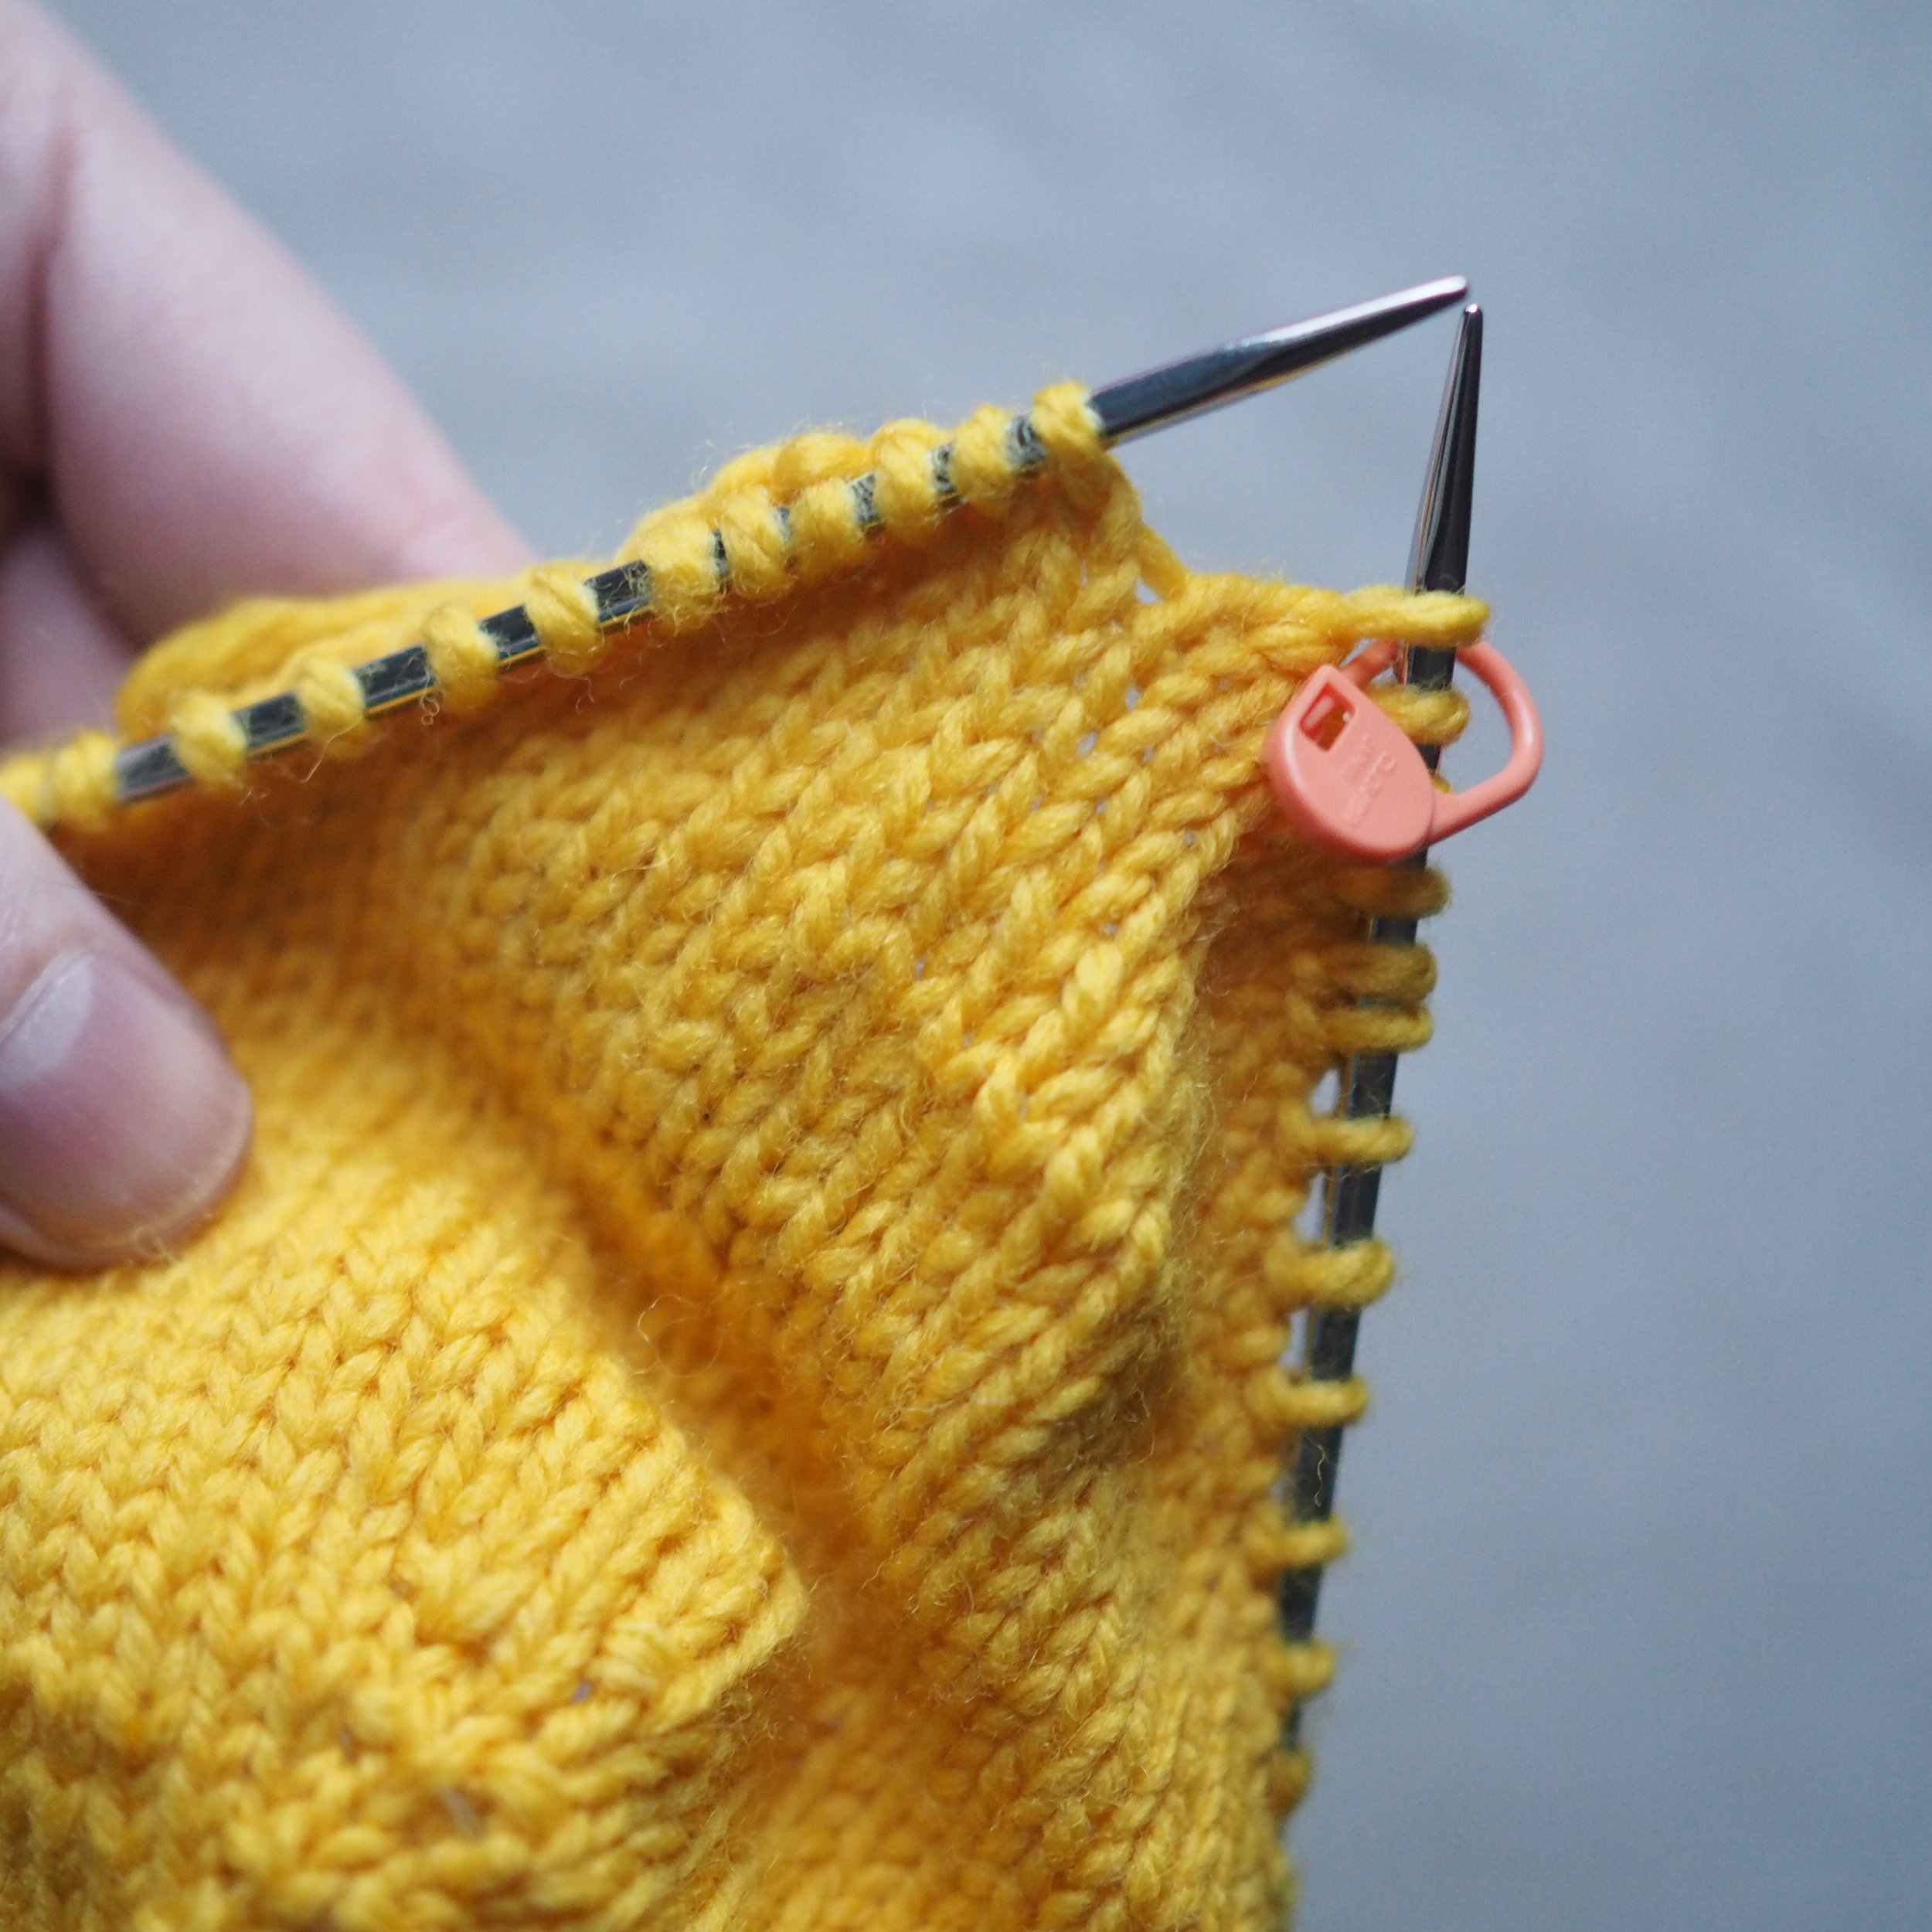
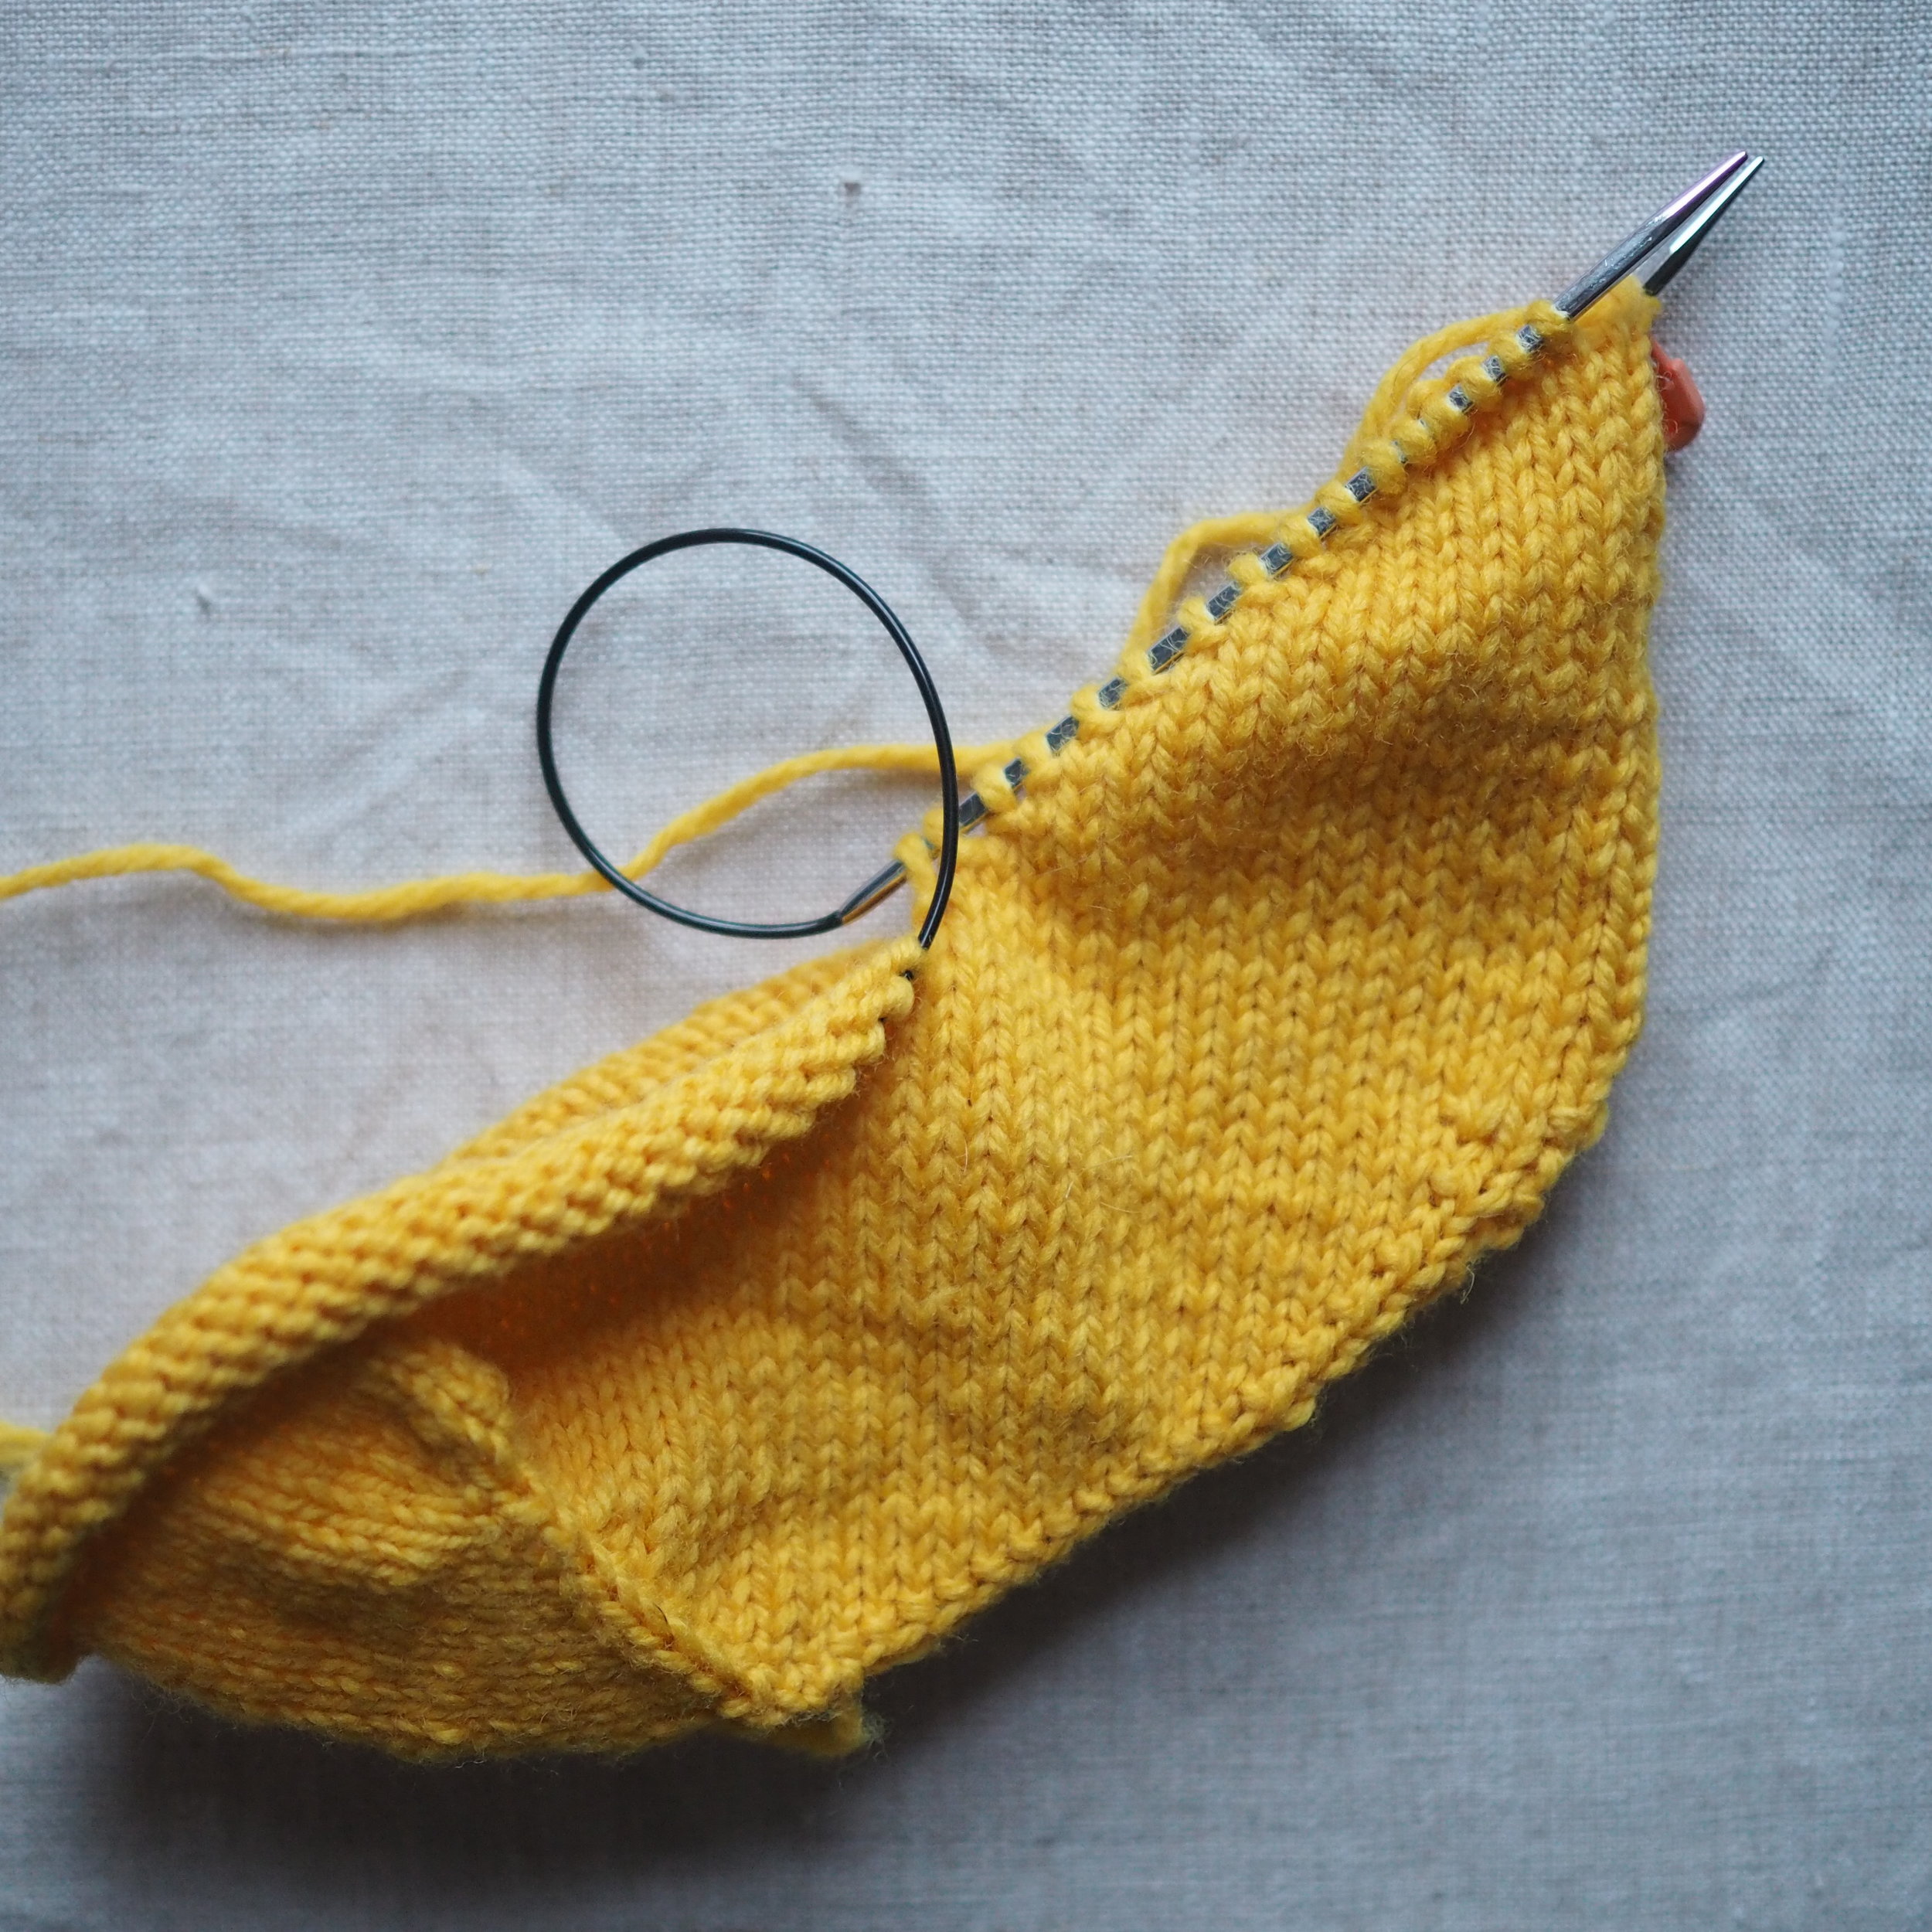
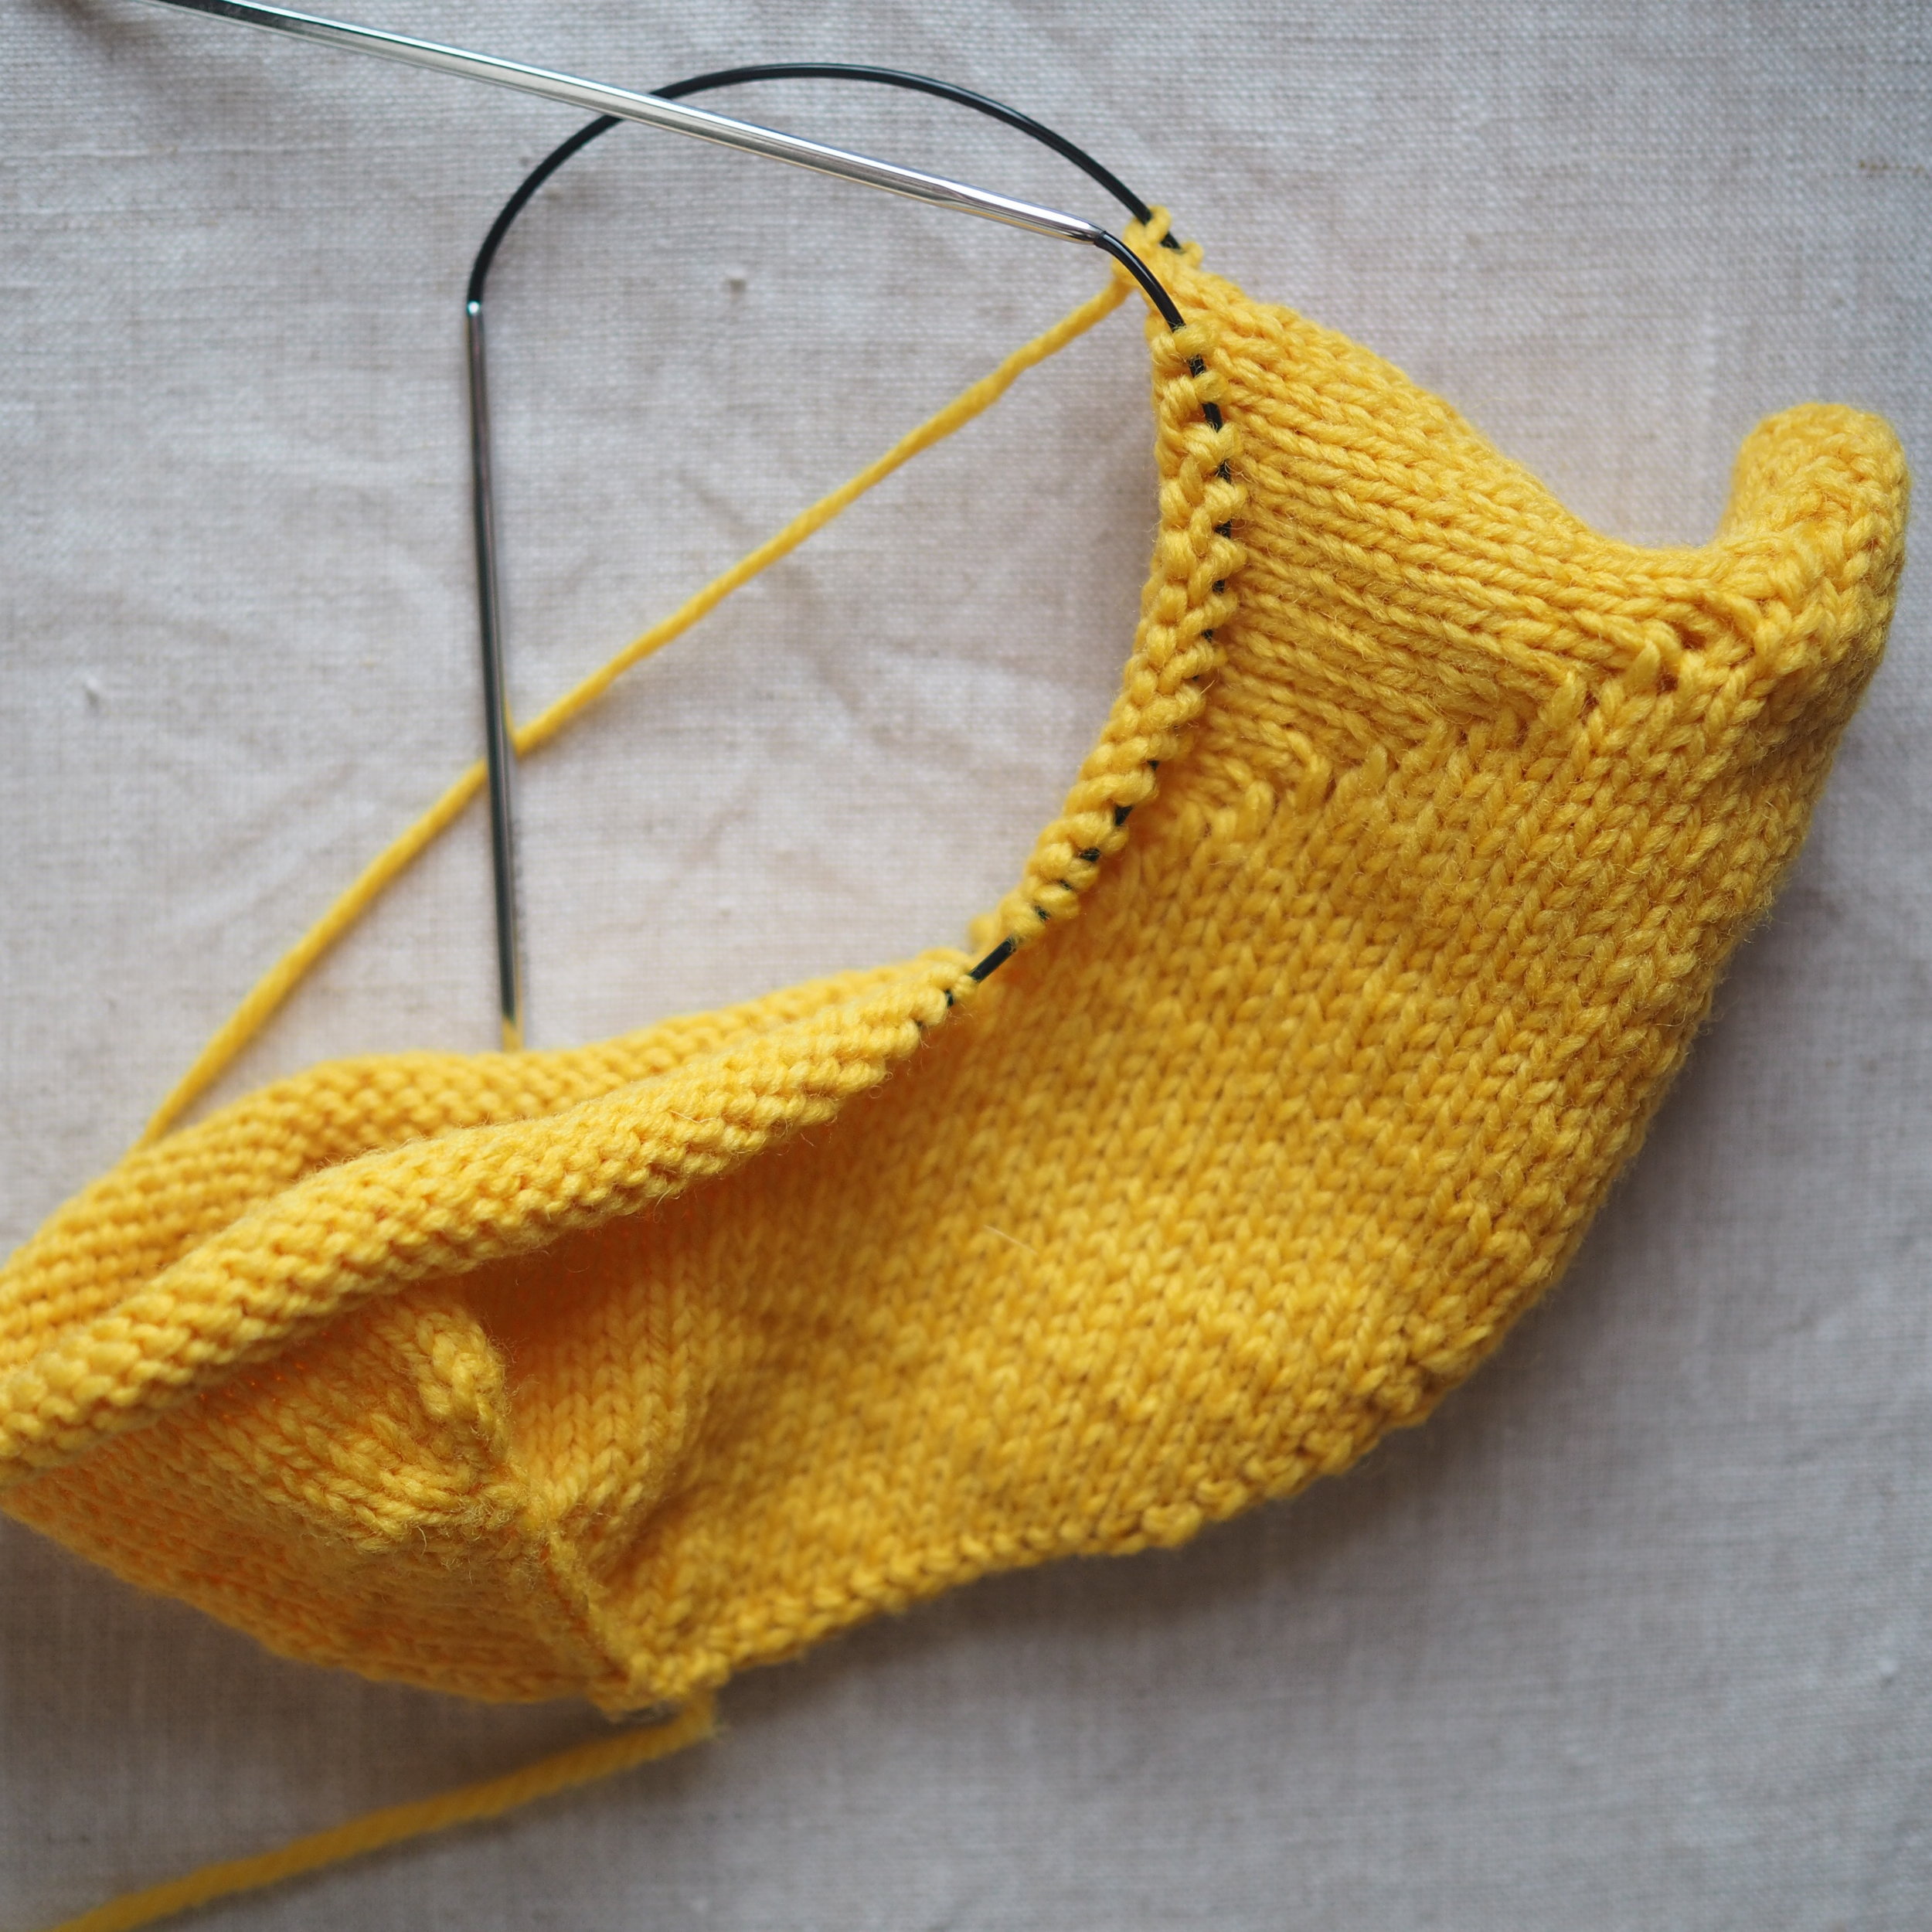
The Summer Rain shawl, inspired by my longing for those summer storms and the peace they now bring can be found in the latest issue of Taproot Magazine: GROW. They also carry kits for the pattern, which uses 2 skeins of Milo by Manos Del Uruguay, a gorgeous merino & linen blend with amazing drape that is truly one of my favorite yarns on the market right now. The issue is available on newstands and online now and you can queue up the project on Ravelry


Print Friendly and PDF Follow
follow us in feedly

FO Roundup

One of the most fun parts of being a designer is seeing how others interpret your designs. Here are a few of my favorite finished objects (FOs) of late (click on any photo to visit the knitter's Ravelry page):

Tributary, knit by Caitlin (schmidr)

Tributary, knit by Caitlin (schmidr)

Ripley, knit by Kim (willknit4borscht)

Ripley, knit by Kim (willknit4borscht)

Caiterly, knit by Jenny (Jenny A Kortfelt)

Caiterly, knit by Jenny (Jenny A Kortfelt)

Cresting Waves, knit by Jenny (jennyinmaine)

Cresting Waves, knit by Jenny (jennyinmaine)

Zoetrope, knit by Stacy (shutterhoney)

Zoetrope, knit by Stacy (shutterhoney)

Bradac, knit by laraghdaniel

Bradac, knit by laraghdaniel

I love the colors each of these knitters have chosen to make the pattern their own and I'm in love with the face on that bear!!

Want to share your knits with me? Tag me @mscleaver on Instagram, or if it's on Ravelry, I'll see it. :) 


Print Friendly and PDF Follow
follow us in feedly

Domenic Duck KAL - Afterthought Prep, Pick Up and Finishing!

Today we're going to move from something ressembling a wide wooden shoe to something more duck-like. 

As before, click on any gridded photo for a larger version. 


Centered Doubled Decreases (cddc)

A centered double decrease (cddc) decreases two stitches with center stitch making a clear line up the middle. Work a cddc as follows:

  1. Work until there is one stitch before the marked stitch
  2. Slip the unworked stitch and marked sts together as one, as if you were knitting them
  3. Knit the next stitch normally
  4. Pass the two slipped stitches over the knitted stitch.

The line of the center of the decreases should be pretty clear to follow, but feel free to move up the stitch marker if you find it helpful. 

Preparing for an Afterthought Appendage

I like working wings/legs/etc in an afterthought style, because it means that the appendage is firmly attached to the body, no grafting or seaming needed. Meaning it stands up all the stronger to any grabby hands. 

To set up for an afterthought:  

  1. Put down your working yarn, but do not cut. 
  2. Knit the correct number of stitches in scrap yarn.
  3. Slip sts in scrap yarn back to left hand needle.
  4. Knit the stitches again with working yarn and carry on as usual. 

I like to keep the tails of the scrap yarn on the outside of the body, as this helps when you need to pick it out. 

Picking Up An Afterthought Appendage

To pick up the stitches for an afterthought appendage, work as follows:

  1. Using a spare needle, pick up the right side of each stitch just below the scrap yarn stitching, picking up one stitch for each scrap yarn stitch.
  2. Repeat for the row of stitches just above the scrap yarn.
  3. Using a spare knitting or tapestry needle, pick out the scrap yarn. You should be left with the same number of stitches on each needle.

The first few rounds after you pick up will be fiddly, because there's not a lot of give because the body is already stuffed. It's a bit easier if you use magic loop and isn't a problem after those first few rows.

Making the Eyes (French Knots)

Make the facial features before you do (or at least graft shut) the beak, as it will be easier to hide the ends. 

  1. Secure thread at inside of head.
  2. Bring up needle through fabric at desired position.
  3. With needle pointing away from fabric, wrap thread around shank of needle 2-3 times. (The more wraps, the bigger the finished knot).
  4. Holding onto the yarn tail until it becomes too short, push the needle down through the fabric one half-stitch over from where it came up. Pull snugly against fabric.

Repeat steps 2-4 for second eye. You can also add eyebrows, eyelashes, etc. at this point.

Grafting Openings Shut (Kitchener Stitch)

Kitchener Stitch is my favorite way to seamlessly close together these afterthought openings to do so:

  1. Cut the yarn, leaving a long tail and thread a tapestry needle.
  2. Place all stitches on two needles, with an equal amount on each needle and the needle tips pointing right. 
  3. Put tapestry needle through first stitch on front needle (closest to you) as if to knit and pull tail through, removing the stitch off the knitting needle.
  4. Put tapestry needle through next stitch on front needle as if to purl. Pull tail through, but DO NOT remove stitch from knitting needle.
  5. Put tapestry needle through first stitch on back needle (farthest from you) as if to purl and pull tail through, removing the stitch off the knitting needle.
  6. Put tapestry needle through next stitch on back needle as if to knit. Pull tail through, but DO NOT remove stitch from knitting needle.

Repeat Steps 3-6 until all stitches have been grated together. Adjust tightness of tail so join is smooth before weaving in ends.

Domenic Duck Tutorial

Congratulations! You now have all the techniques you need to finish your duck!! 

If you're on Instagram, please tag me @mscleaver or via #domenicKAL or post in the Ravelry Group by April 21st to be eligible to win prizes! 


Print Friendly and PDF Follow
follow us in feedly

Domenic Duck KAL - W&T Short Rows

Short rows are one of the most valuable shaping tools in a knitter's toolbox. With them you can turn heels, add bust darts, raise the back neck of a sweater, and make an adorably curly duck tail.

There are numerous ways to do short rows, but I'm sticking with the basic wrap and turn (W&T) version here. 

W&T Knitwise

  1. Knit number of stitches as indicated in pattern before wrap.
  2. To Wrap, slide next unknitted stitch to right hand needle, bring yarn to front, as if to purl.
  3. Slip st from right hand needle back to left hand needle, keeping yarn at front of work.
  4. Pull yarn to back of work. The first stitch on the left hand needle should now have a nice wrap around it.
  5. Turn work to opposite side, with yarn as to purl.

W&T Purlwise

  1. Purl number of stitches as indicated in pattern before wrap.
  2. To Wrap, slide next unworked stitch to right hand needle, bring yarn to back, as if to knit.
  3. Slip st from right hand needle back to left hand needle, keeping yarn at back of work.
  4. Pull yarn to front of work. The first stitch on the left hand needle should now have a nice wrap around it.
  5. Turn work to opposite side, with yarn as to knit.

As you work the short rows across the tail, you'll start to form a triangle shape at one end, with a neat little wrap around each stitch.

Curling the Tail

To give the tail it's adorable curl, the outside is going to need to be longer the the inner part of the curl. So you'll need to work a few short rows where the row stays the same length/doesn't get shorter. In this case, you will be re-wrapping a stitch you've already wrapped once. 

Picking up the Wraps

Depending of the short row, you may have one, two, or three wraps to pick up as you work your way back out to longer rows. 

Knitwise

  1. Knit to first wrapped stitch. 
  2. Using the right hand needle, pick up all wraps and slide them onto the left hand needle, making sure not to drop the original stitch that was wrapped.
  3. Knit through the stitch with all its wraps. This may be a k2tog, k3tog, or k4tog, depending on the number of wraps. 

Purlwise

  1. Purl to first wrapped stitch. 
  2. Using the right hand needle, pick up all wraps and slide them onto the left hand needle, making sure not to drop the original stitch that was wrapped.
  3. Purl through the stitch with all its wraps. This may be a p2tog, p3tog, or p4tog, depending on the number of wraps. 

As you work the short rows back out, you'll close off the top of the triangle and have and cute little tail! Your project will also look like a shoe for a wide-footed gnome. 

Up next: shaping the neck and setting up for afterthought appendages. 


Print Friendly and PDF Follow
follow us in feedly