Gingham Archer

Gingham Archer, sewn by Ms. Cleaver

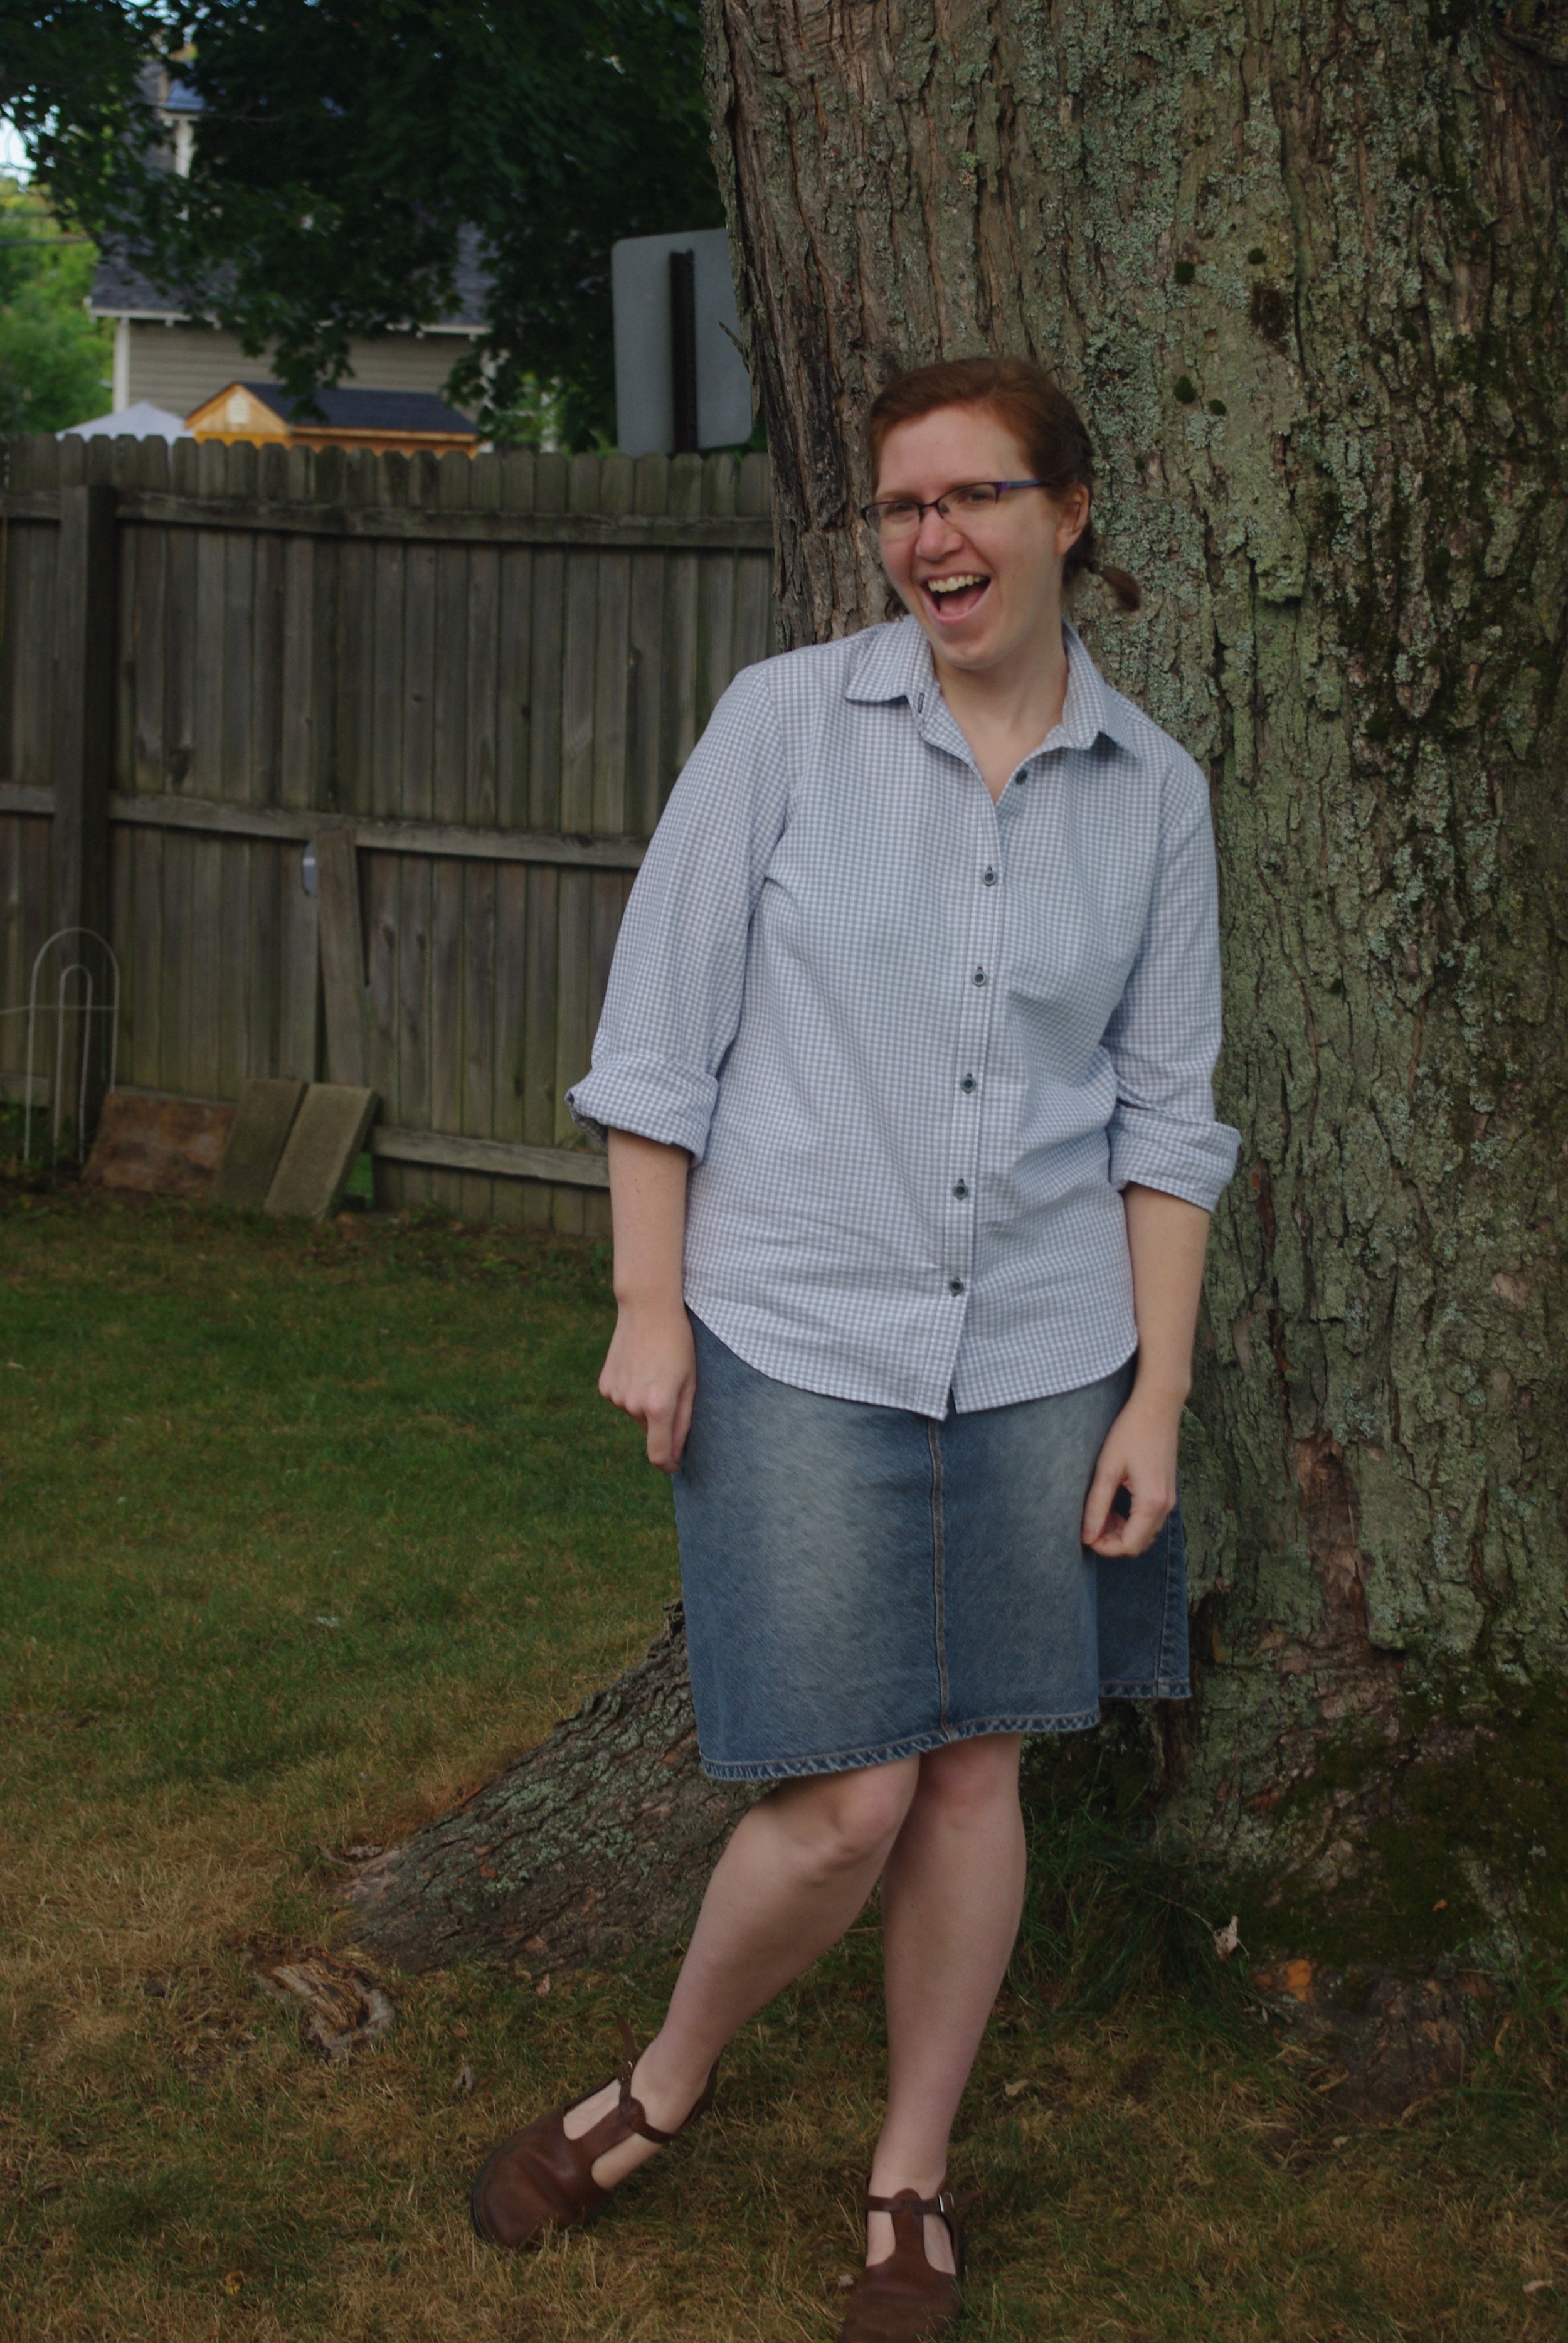
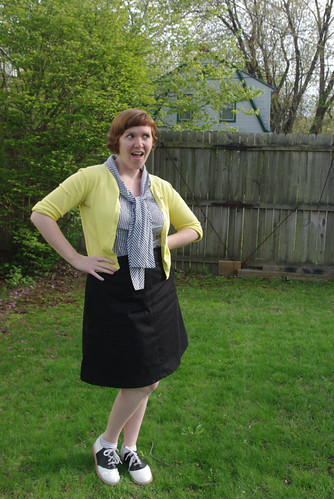
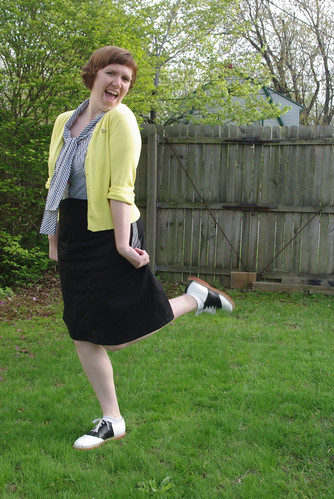
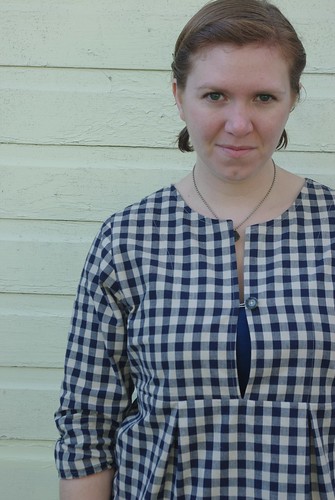
So before I got sucked into the depth of Halloween sewing and prep, I actually finished a pretty major sewing project for me. I love a good button-up, especially a gingham button-up, but I don't often sew them because of all the pieces/time required.

But I've been seeing all of the beautiful Archer shirts popping up over the sewing blogosphere since it's release, and I had some beautiful grey gingham in stash so I put sewing an Archer for me on my list of goals for the year, and there you go.

This was my first experience with a Grainline pattern, and while I wish I had sprung for the printed pattern (not a big fan of the printing and taping), I found the drafting and instructions solid. I've only made a few button-ups, but this was my best go at a collar stand yet, which was a good thing, because I had zero fabric to spare. As I said, I was using fabric from my stash and I had 3/4 yard less than recommended. By scrapping the pocket, I managed to fit everything, just barely, onto my yardage. Leaving me only with teeny tiny scraps left over. Even so, I still did some pretty decent pattern matching. Thank goodness the gingham was small scale!

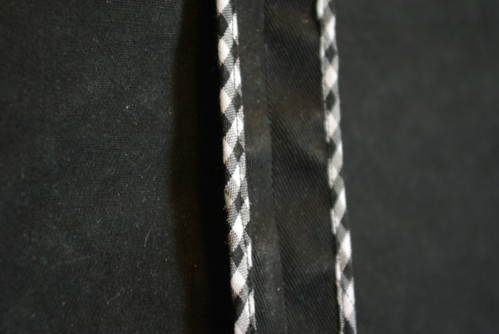
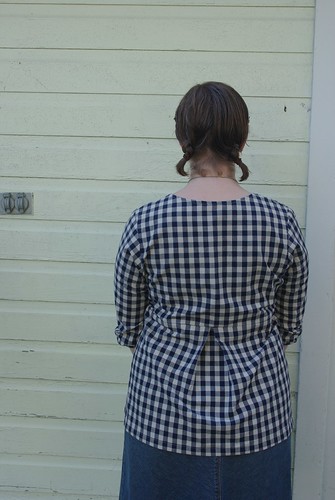
Most the interior seams are covered nicely by the yoke, but open ones I just kept simple and zig-zagged. I'd probably go for flat-felting on another version. 

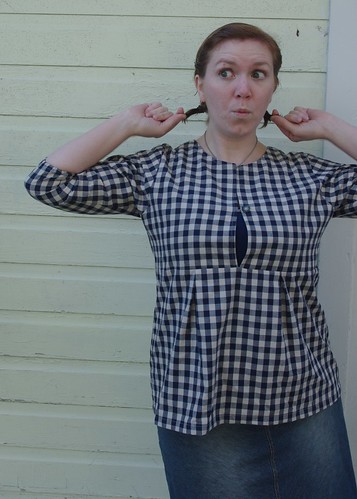
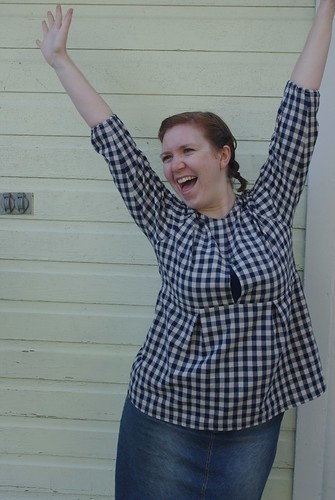
Would I make another? I think yes. I like this version, but I don't love it. But I think most of my issues could be easily rectified in version two.

 I didn't make a muslin and the fit isn't quite right. I cut a straight size 12, but ended up grading out my seams for more room in the hips. The finished fit is good in the hips and bust, but I find that there is way too much fabric in the waist. I'm not sure if it's just a boxy cut, or the heaviness of the fabric, but especially in the back, it's too much.  Fortunately, because I didn't flat fell my seams, I can take it in pretty easily, which I haven't gotten around to yet.

But even as is, it's super comfy and looks good under a sweater, so it'll get a lot of wear.
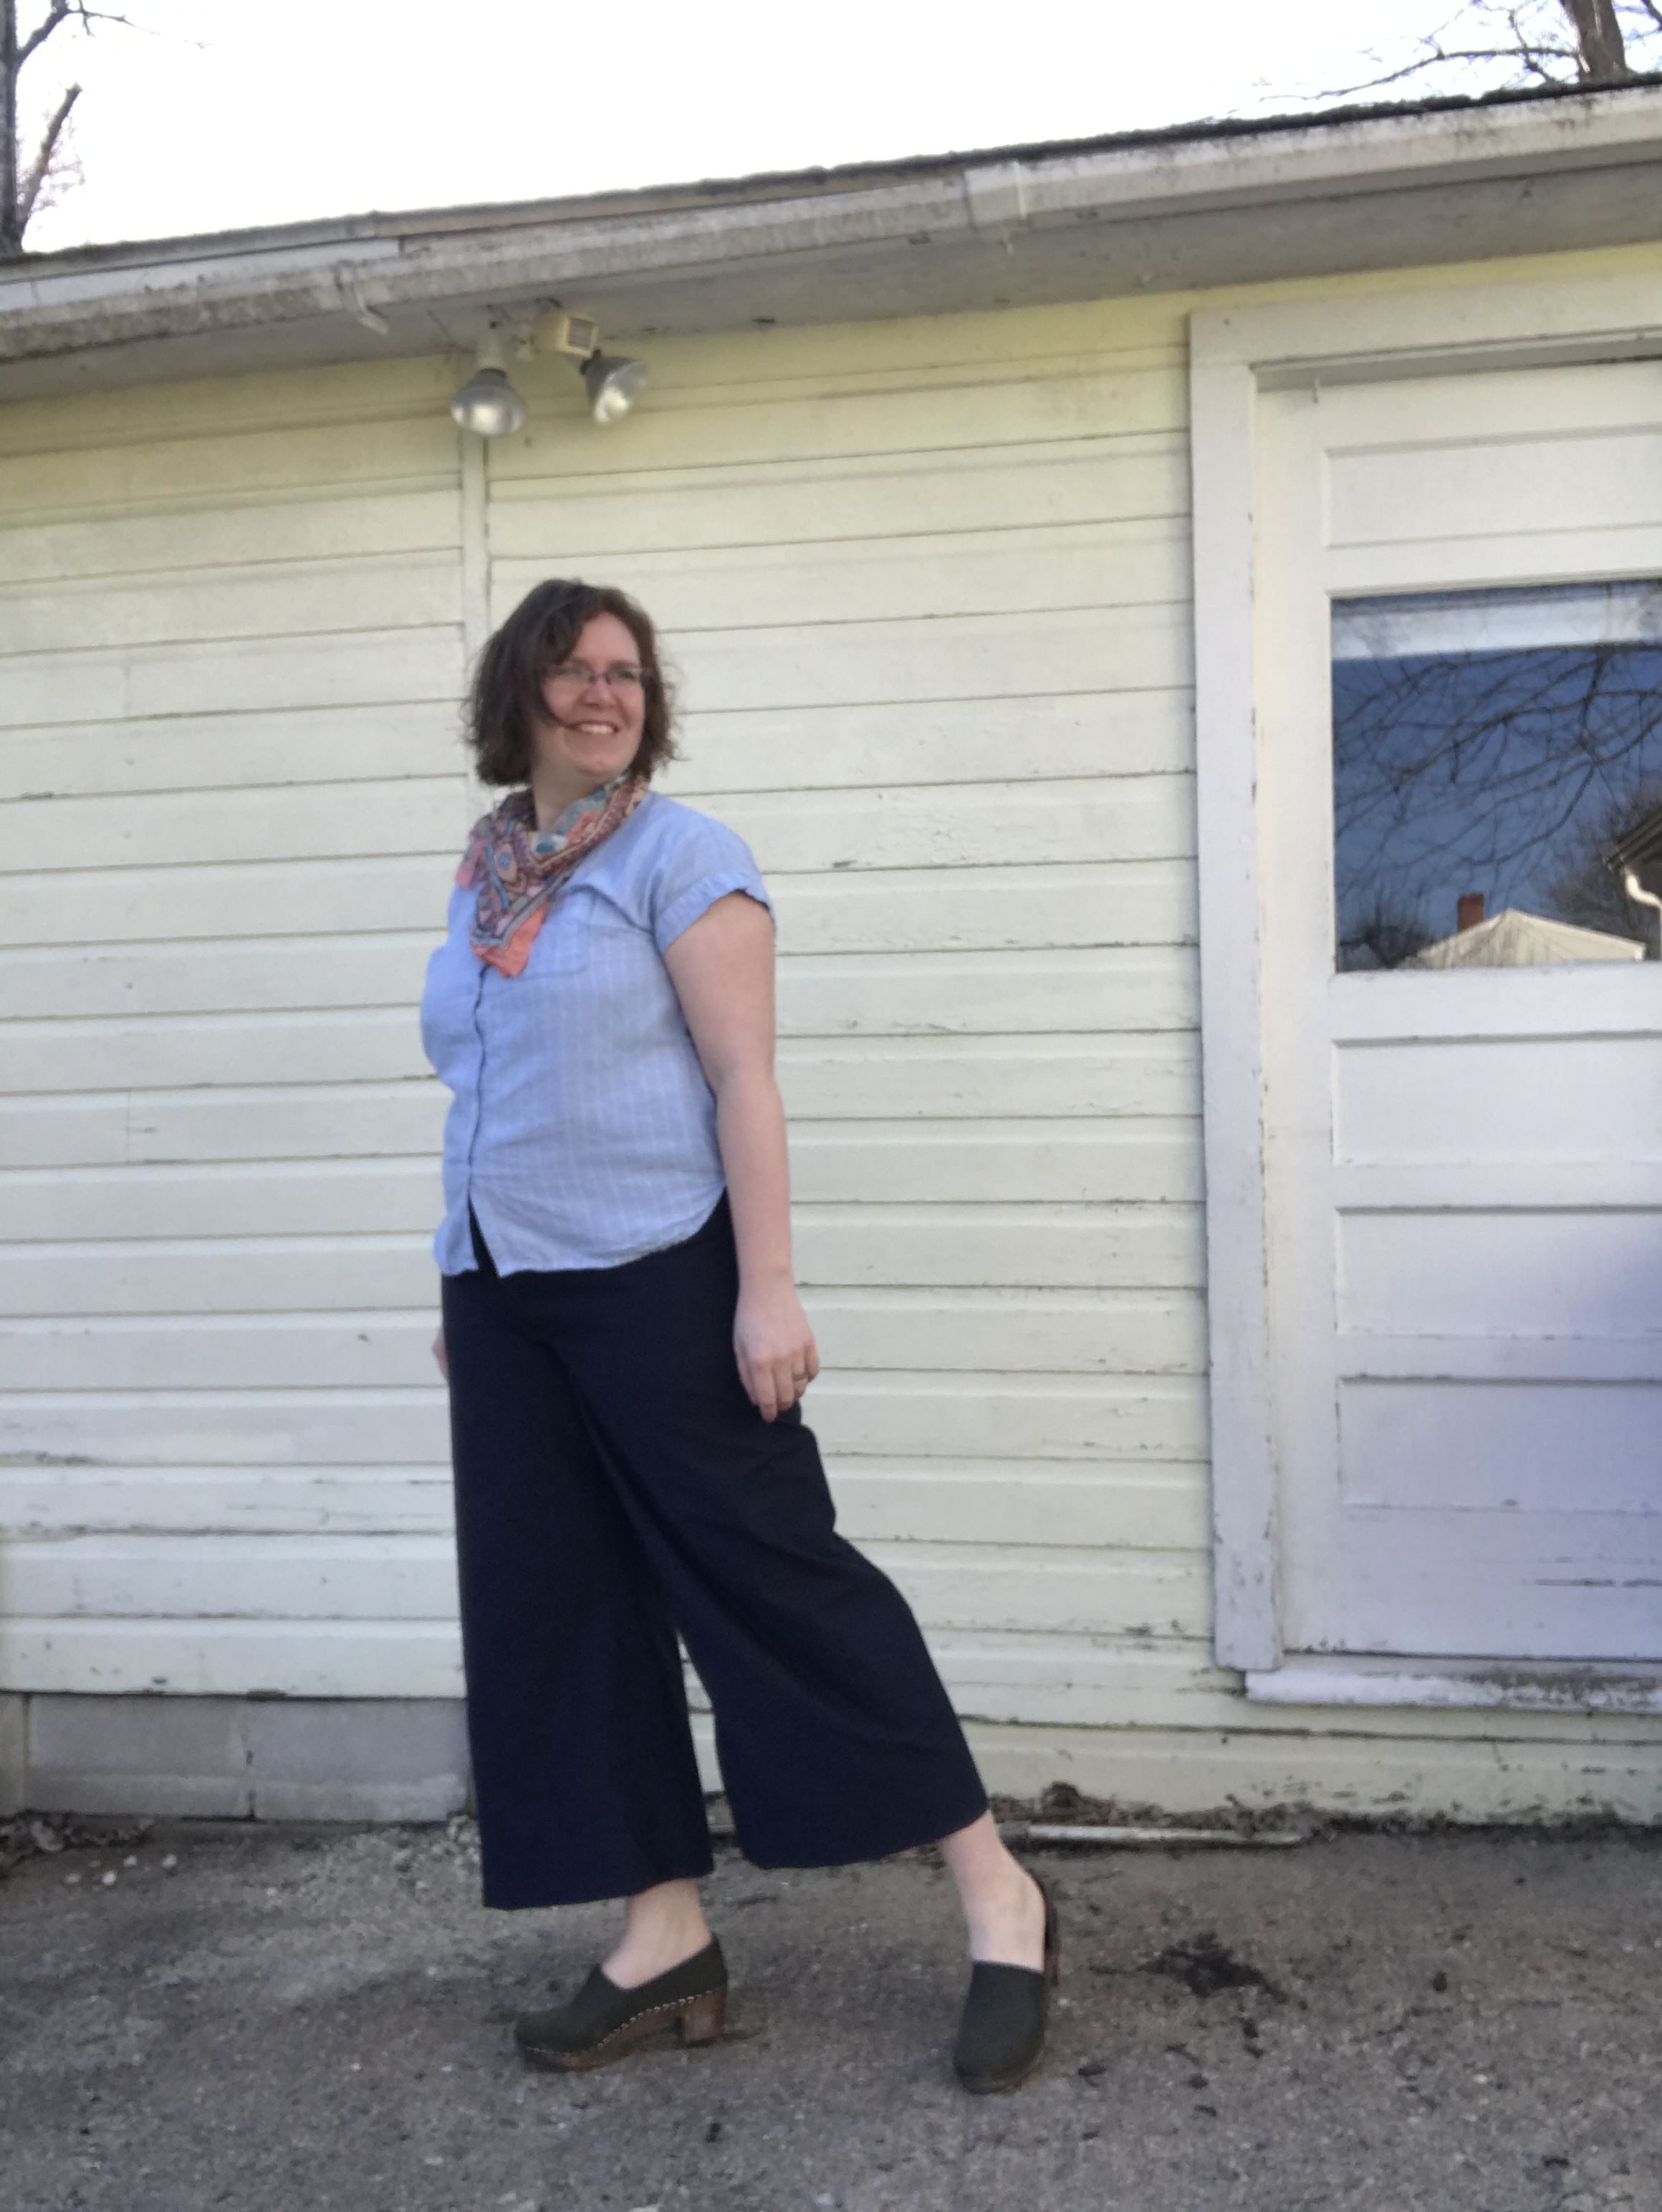

Print Friendly and PDF Follow
follow us in feedly

A Bit of Cake

A few weeks ago Tasia had a great post on sewing "frosting" (fun, often patterned, not necessarily everyday items) versus sewing "cake" (basics, everyday wear). Like most sewists, I definitely fall on the side of being drawn to frosting projects over cake projects - personally, I would be happy sewing nothing but pretty dresses, even if I wear a dress maybe once a week. But recently I've been finding a bit more balance between projects like my houndstooth dress, which I enjoyed sewing, think is awesome, but only wear occasionally:

Fall Palette Challenge : Houndstooth Dress

and my slew of School House Tunics that I wear practically every time they're clean enough to wear. My creation

This weekend, I focused on some serious cake.

But that isn't to say cake can't be fun too.

IMGP5362

Sure it's a basic black skirt, but have you seen the inside??

IMGP5386

In typical Leah fashion, I took a simple project (Colette Patterns Ginger, a total of four pieces), and made it 100% more complicated by adding pockets and finishing all the seams with home-made bias binding.

IMGP5381

That said, I'm pretty pleased with the finished product, even if the fabric seems to spontaneously generate lint. If I had to make any changes I would have 1) used a stiffer interfacing in the waistband 2) gone a size down in the waist and 3) done the recommended hem length (I did a bit deeper hem).

(Might still do that last one).

IMGP5352

I'm fairly certain this basic will get heaps of wear, especially since it looks so fantastic with my saddle shoes. :)

IMGP5346

IMGP5350

Oh and I should say that I'm not abandoning the pursuit of frosting, because my next project may very well prove to be the most fantastic, least practical thing I've sewn since my Halloween costume. (Still wondering where I can wear that).

Print Friendly and PDF Follow
follow us in feedly

Fall Palette Challenge: School House Tunic

  It's rare that a project comes together quickly for me, usually because I gravitate toward patterns with lots of fiddly details (see dress with bow neckline and pleated sleeves). So while it's been in my to-sew queue for quite some time, the School House Tunic, was a bit out of the norm for me - particularly since I cut it out and sewed up it in about a day.

IMGP3626.JPG

I made the shirt-length pattern exactly per the instructions with one addition: a button and thread loop mid-way up the placket, which I find to be a neutral additional. It doesn't really add anything, but it doesn't detract either.

IMGP3632.JPG

The fabric was from my stash, and considering my usual fabric shopping habits, it probably came from Denver Fabrics. The texture is akin to those soft cotton dishtowels, which makes for a very cozy shirt.

IMGP3635.JPG

I'm not sure if the empire-waist and pleated skirt are the best shapes for my figure, but the shirt is so comfy that I'm pretty sure I'm going to make a at least one more in flannel for the fall/winter and another in white linen for the summer.

IMGP3633.JPG

Print Friendly and PDF Follow
follow us in feedly

Three Panel Apron: A tutorial

As you may recall I made a promise to a friend/coworker that I'd make me an apron, and that my first attempt didn't work out as well as I'd wished.

Three-Panel Apron

Well, week or two ago, I drafted out some more well-thought out plans and came up with this:

And I'm quite pleased with the final results, so I packaged it up and gave it to my coworker - who quite liked it!

I've recently gotten into posting stuff on BurdaStyle (sorta like Ravelry, but for sewers), and someone wanted to know how I made this apron. It's easy enough, so I thought I'd oblige with a simple tutorial. (Note: I only took pictures of the first half of the process so this is largely text-based)

Planning the Apron

You'll need the following:

Two fabrics, with thread to match each, as well as 10" to 20" of trim (or more depending on how you want to fancy it up).

All seams are ½ inch.

Cut list:

Main Color (in my case, the blue)

  • one 21"x19" large front panel
  • one 11"x19" small front panel
  • one 27"x7"  waistband

Contrasting Color (in my case, the yellow)

  • one 11"x13" pocket
  • one 11"x19" small front panel
  • two 23"x4"  ties

Press all pieces

My Iron Needs Cleaning

1. With matching thread, make a ½" hem the top of the pocket.

2. Add any trim to front of pocket.

Adding some Trim

3. Pin pocket to matching apron panel with back of pocket on front of panel and baste pocket on. Press.

4. Prep ties. Hem three sides of each tie, folding over one end to a 45° angle, if preferred - if you do this make sure you make a left and a right facing strap)

5. Baste two lines of stitches inside the seam allowance along the un-hemmed side of each tie. Gather slightly.

Back of Apron

 6. Change to main color thread.

 7. With right sides facing, stitch pocket panel to the right hand side of the large front panel. Press and finish seam.

 8.  With right sides facing, stitch the smaller main color panel to the other side of the pocket panel. Press and finish seam.

Pocket close-up

9. Hem the bottom and sides of apron body. 

10. Baste two lines of stitches along the top of the apron within the seam allowance, this will be used to gather the top of the apron.

11. Take the waistband piece and fold in half. Press.

12.  On the back half and sides of the waistband, press in seam allowance.

13. With right sides facing, place the apron body on the front half of the waist band (if you want a little extra length, you can place it shy of the fold). Adjust gathers so apron fits to waistband.

14. Sew together apron body and waistband front together. Fold waistband over the apron body and press. 

15. Slip stitch the back half of the waistband down. Do not sew the sides closed.

16. Insert tie into the opening in the waistband, with the front of the strap facing the same direction as the front of the apron. Adjust gathering to fit. Stitch opening closed, thus attaching the tie. Repeat for other side.

17. Give your apron a final press and you're done! Give to a friend or enjoy for yourself!

Please note that all patterns and tutorials are for personal use only and should not be distributed or produced for sale without the written consent of the author.

Print Friendly and PDF Follow
follow us in feedly

Busy Bee!

Busy Bee Apron

A few weeks ago somebody asked me if I really liked yellow. 

At the time I was a little confused, "Why do you ask?" I said.

"Every time I see you you're wearing yellow," she said.

At the time I passed it off as a good combo for the green I often consciously wear, but as I though about itI saw she was right  - yellow is creeping more and more into my wardrobe. Nor is it the first time. The first pair of shoes I ever really got excited about was a pair of bright yellow Adidas with blue stripes I had in high school  (the school colors at that!). 

Another case in point this apron:

Busy Bee Closeup

This apron's life started shortly after Christmas when a co-working, hearing I had made an apron for a Christmas gift, asked me to make her one before the summer was out. Being as this co-worker is the #1 best thing about my current job and I was given a long lead time, I happily agreed. Fast-forward several months later and I'm in my favorite fabric store where I discover this fabulous section I'd never looked in before: Ribbon. Spools upon spools of fantastic ribbon!

First, I spotted some lovely cherry ribbon, which I snagged a few yards of, then I saw this bee ribbon and it was all over for me. I practically had to run out of the store to prevent coming home with a car load of ribbon, it was all so wonderful. Of course I knew bees and cherries would make perfect adornments for that apron I had agreed to make and so I picked out the blue and yellow gingham you see above to complete the project. 

I will admit that when I started making this apron I fully intended to give it away, but being as this was my first designed-from-scratch piece, I made allotments for the seams, but not the hemming/edging, so my apron ended up being a little smaller than planned, so this one works as a lesson learned (and a little something pretty for my apron collection.)


Glamour Bee

The good news is that this apron only took me a weekend to complete (including finishing every seam so there are no raw edges - as inspired by Bitter Betty), so I should be able to make a new one fairly soon, though it'll likely be a variation on this one, just to keep things interesting. :)

Print Friendly and PDF Follow
follow us in feedly