Introducing: Fisherman's Wife Beret

Fisherman's Wife Beret

This pattern is a long time in coming. I knit the first version of this beret back in 2006 in a cream-colored bulky yarn and still wear it all the time. The pattern is inspired by fishing nets, and is the kind of thing I imagine a fisherman's wife would make and wear while waiting for her husband to come back from a long trip on the seas catching swordfish.

Fisherman's Wife Beret

The pattern came to pass when my friend Bristol approached me to make it into a pattern to feature SuriPaco's bulky farm yarn. (Full Disclosure - I received yarn support and compensation from SuriPaco for the use of the pattern.)

The yarn is a 75/25 alpaca/wool blend in a superbulky single ply.

The hat features a simple k1, yo lace pattern and can be completed in a couple of hours - if you have any last-minute knitted-hat needs.

The pattern can be downloaded via Ravelry.

The hat is knit at a relatively tight gauge, and the yarn is bulky and fuzzy enough that it stays warm in spite of the lace holes.

Fisherman's Wife Beret

That said, I wouldn't recommend taking photos of yourself outside in 33°F weather with falling snow. It took forever for my hands to warm back up! I think I need to make myself some new fingerless mitt for photo-taking :)

Lady Grey Progress (Details)

Bound Button Hole After all my weekend travel in October, I finally had a chance this past weekend to get back to work on my Lady Grey Coat.

Some things I accomplished since Friday:

  • Cut out shell fabric
  • Sewed sleeves, belt and belt loops.
  • Made two practice bound buttonholes and two real ones and one self-covered button (had to use my teeth to get the back on!)
  • Seamed back pieces
  • Pad-stitched the under-collar and one lapel (working on the other tonight).

As one might guess from this list, I'm kinda going at this a little scattershot.

I sewed the sleeves and belt because I wanted to see instant progress, and I wanted to get all the pad stitching set up so I could do the actual hand-sewing watching TV during the week. My hope is to have all the hand stitching done by the end of Friday and get the majority of the shell sewn this weekend and the lining fabric cut out. The goal is to have a finished coat by Thanksgiving. Wish me luck!!

Here are some progress photos of my favorite details:

Top Stitching

Top stitching on the seams. It makes the coat look particularly "coaty" to me.

Pad Stitching the Lapels

Pad stitching on the lapel.  It's hard to tell in the photo, but it makes a huge difference in the way the lapel lays. It's a time consuming process, but totally worth it I think. The finished lapel took me some Jeopardy!, an hour of the Ken Burn's Mark Twain documentary and two hours of Circus on PBS. (Which, have you seen Circus? It's really really well done. I'm enjoying it lot.)

Pad Stitching the Undercollar

Pad-stitching on the roll line of the under-collar.

Small Knits (and Crochets!)

I finally got around to photographing a few items I'd made a while back, so I figured I'd do a brief FO Roundup (In chronological order, from first completed to most recent):

IMGP0339.JPG My first full crochet project: Medium Stash Basket in Lily's Sugar and Cream (leftovers from another project)

Finished it in a day back in August.

IMGP0335.JPG

My second crochet project: Filigree Bowl.

It's essentially a doily that you stiffen over a bowl shape. I have to say that I found doily making quite fun. Finished in two days in August.

IMGP0329.JPG

Easy Peasy Newborn Hat.

For a co-worker's baby shower last week, made from leftovers from a pair of socks. Took an evening to complete.

IMGP0318.JPG

Saartje's Booties. These kill me, they are so tiny and cute. It has a fun construction as well (Although a surprisingly large amount of seaming). Also for my co-worker.

IMGP0343.JPG

French Press Slippers. I need to find a way to felt them, but they're all knitted up.

Which is lucky. Because I made this of out leftover's from Mr. Cleaver's sweater from last Christmas (sensing a leftover-theme?) and I had two balls of it, but by the time I ran out of ball one, I had lost the second ball. So to finish the straps I had to spit-splice a LOT of ends to make it work, and even then I had to use the purple to make it double thick like the rest of the slipper.

Spin-o-ween

Pumpkin 2010

Mr. Cleaver and I had a pretty low-key Halloween evening, which largely consisted of eating Chinese take-out and handing out candy.

I spent most of Sunday afternoon at Maggie's celebrating what I shall now dub "Spin-o-ween." At Rhinebeck,  a number of our group picked up spindles and Maggie needed to get started on making the yarn for her 2010 knitolution (yep - I'm making up new words left and right here). So we gathered together with our roving and our pie - a treat indeed!

Pretty in Pastel :)
Newbie Spindlers
Piecing
When you're spinning...

Introducing: krona

Krona

Back in July, when Amy & I met-up at Knit Wit to check out the Quince & Co. Yarns, we both decided that we wanted to design something new with it. In making this project, Quince & Co.'s Chickadee has quickly become one of my new favorite yarns - and it's seemingly endless color range has pushed me into a bit of a colorwork phase.

Krona

As soon as I had my colors in my hands I knew I wanted to do some kind of diminishing colorwork pattern with the yellow fading into blue.  The color combination also had me thinking of the Swedish flag, so I did some internet searching for inspiration and came up with the concepts that became krona. Krona means crown in Swedish and a Swedish crown is both the literal  Swedish royal crown as well as a braided hairstyle, both of which I tried to reflect in this pattern.

Krona

The braided band on both the tam and mittens is knit flat and seamed, and then the main pattern stitches are picked up from the band edges and knit in the round.  The mittens are identical on the front and back and can be worn on either hand.

Because Chickadee is a sport-weight yarn, I lined the mittens from the braided band up for extra warmth.

Krona

The tam sports the same colorwork pattern as the mittens, adapted to the hat shape. The tam is designed for head 20-22 inches in circumference and sits shallowly on the head.

Krona

I received a good deal of good-natured ribbing from my knitting friends while working on this pattern, because I tended to unconsciously match my outfit to my knitting (does anyone else do this?), so my outfit in the photos is a tribute to the Portland Knitters on the Town.

Krona

You can queue up the tam and mittens on Ravelry.

You can buy the patterns individually Mittens - $5.00 USD; Tam - $4.00 USD; or together for a $2.00 discount

Roadtrip: Rhinebeck!!

Sheep Puppet

I'm leaving for a business/fun trip to Chicago today, but before I left I wanted to jot down a few words on my trip to Rhinebeck.

Rhinebeck Flair

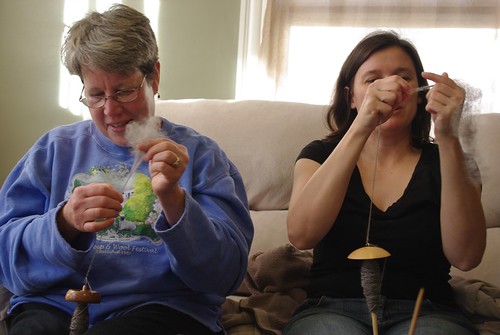
As group of seven of us left bright and early Friday morning, divided into, as the running gag was all weekend - an old people and a young people car - henceforth referred to as OPs and YPs.

The YPs car before:

Car Before

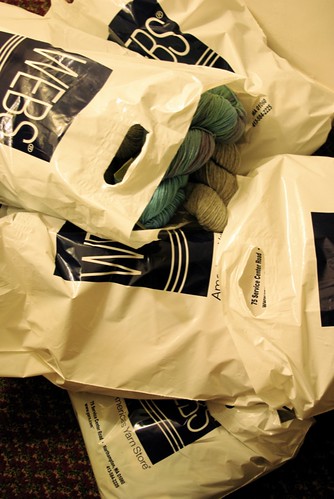
We left early so we could make a detour to Northhampton, MA to visit WEBS: "America's Yarn Store." Yes, we stopped to buy yarn, before we spent a weekend at a sheep & wool festival, buying yarn.
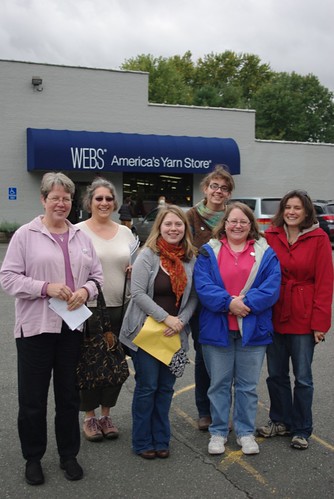
The Gang Outside Webs

WEBS is huge.

Webs is Amazing

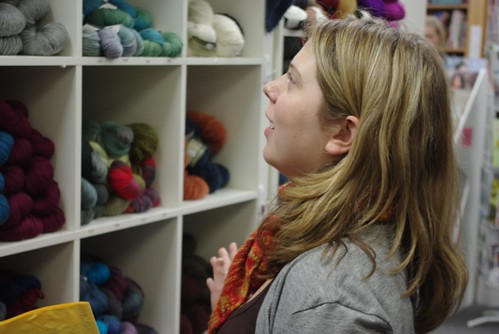
We even spotted a Great American Afghan (Karen's nemesis) live and in the wool.

Great American Afghan!

And if the main store wasn't big enough, there's a warehouse.

Webs warehouse

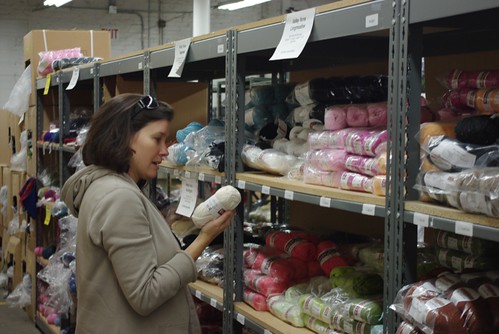
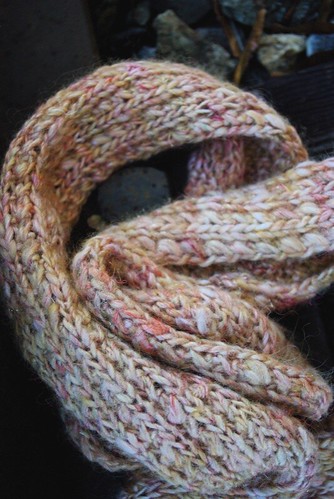
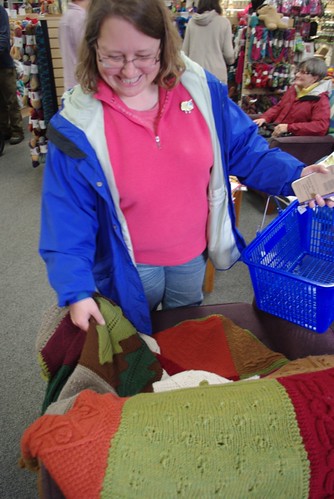
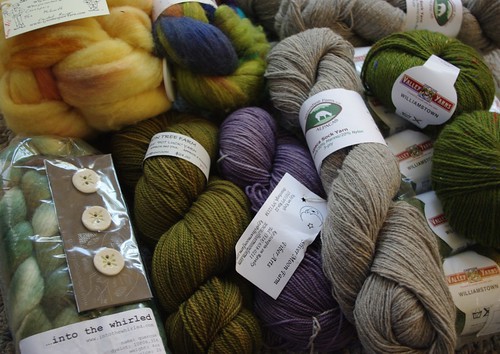
We, as a group, found a thing or two... I ended up with a sweater's worth of Williamstown for my 2010 knitalution (to design and knit a full-sized sweater).

Webs haul

That night we landed at our hotel, ordered in some Chinese food (that came with a complimentary bottle of Grapette Soda), and read aloud from the Amish romance Novel, The Parting.

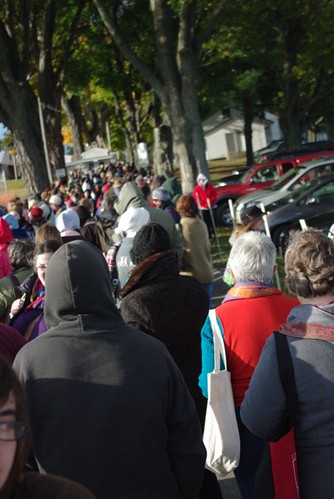
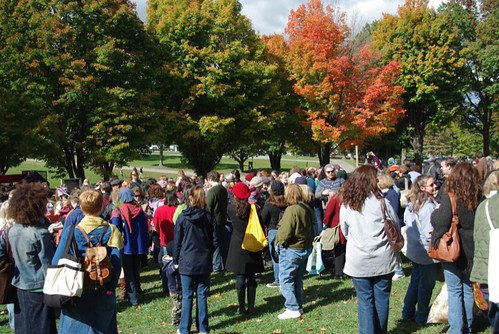
Saturday morning, we made sure we were at the gate at opening:

Line to Enter

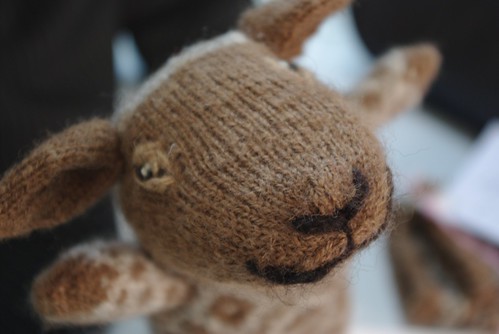
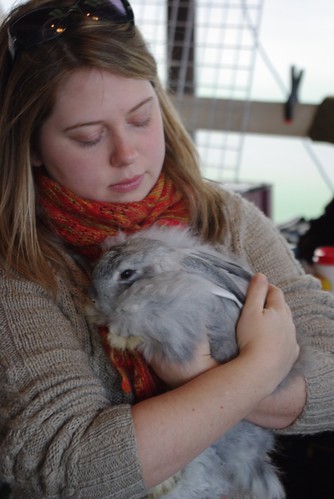
Our first stop was the Evergreen Farms booth for an angora. Maggie had recently lost her bunny Cocoa Bean and was debating whether she was ready for a new one. Petunia convinced her she was.

Maggie & Petunia

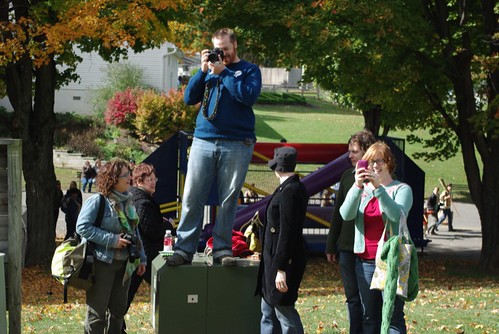
After a quick stop at She Shoots Sheep Rhinebeck Style photoshoot (I think  Maggie, Bristol and myself were models  #9, #8, and #7, respectively. I'll post a link when the slideshow is up), we headed out for the vendors.

Vendor Tents

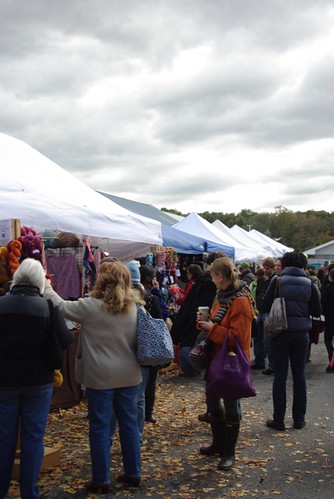
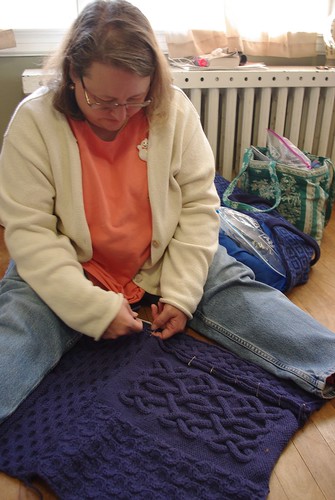
After the first two barns I had checked off my three must-haves from my shopping list: 1750 yards fingering weight yarn in a natural grey for a Pas de Valse sweater from Snowshoe Farm Alpacas,  semi-solid sock yarn from Persimmon Tree Farm, and an eye-catching spinning fiber from Gnomespun Yarn Fiber Arts. Fortunately for my wallet I slowed my pace and bit and my final two pruchases of the day, buttons for my knitalution sweater from Jennie the Potter and a BFL/Silk braid of roving from Gale's Art waited until after lunch.

Ravelry MeetUp

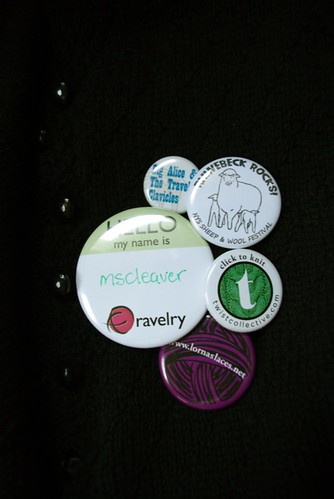
After lunch, we headed to the Ravelry lunch meet up and got to meet Sarah, Casey and Mary Heather.

Mary Heather

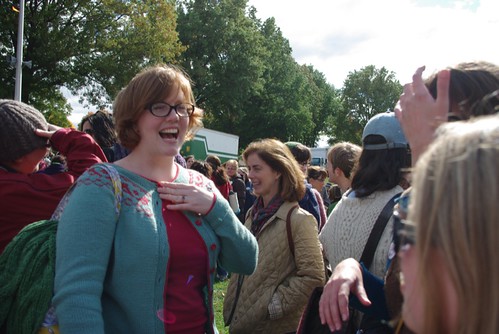
We also made dead center behind the banner in the official meet-up photo, which hasn't been posted yet. Ravelry Lunch Meet Up

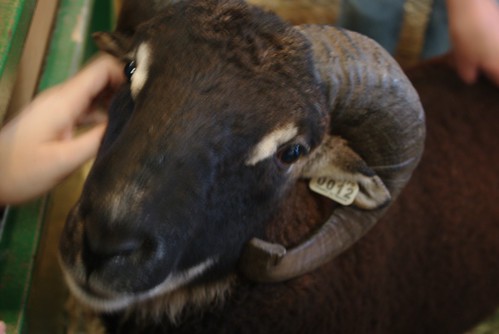
We spent a bunch of time with some folks who raised Soay sheep, an primitive sheep breed . I didn't note the farm unfortunately.

American Soay

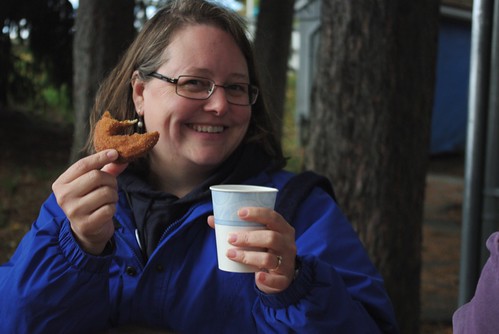
By 3ish - we were tuckered out and stopped for a apple cider doughtnut break, before leaping back into the fray.

Karen & Doughtnut

We left the fairgrounds at 4:45. We left the parking lot an hour and a half later. (Noting for future trips, leave early!!)

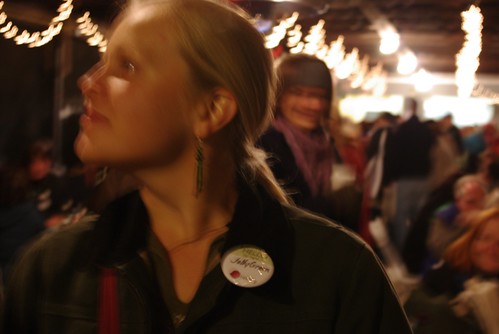
After a break back at the hotel, the OPs went out to dinner and the YPs went to the Ravelry party in RedHook. We arrived too late for the goodie bags and cupcakes, but did get a chance to hop in the photobooth and chat with some lovely folks.

Ravelry Party

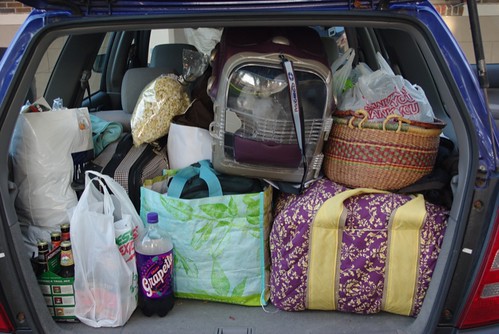
On Sunday, we packed up the cars (don't worry, we didn't really store the bunny in the back), had breakfast at a local diner and headed back for a few last hours at the fair. Car After

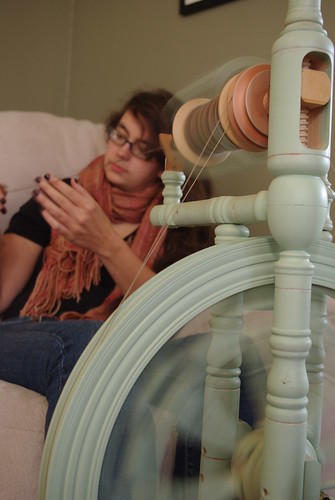
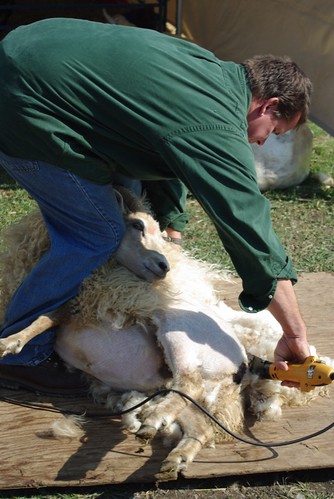
We caught a sheep shearing (the sheep's not a fan) Shearing

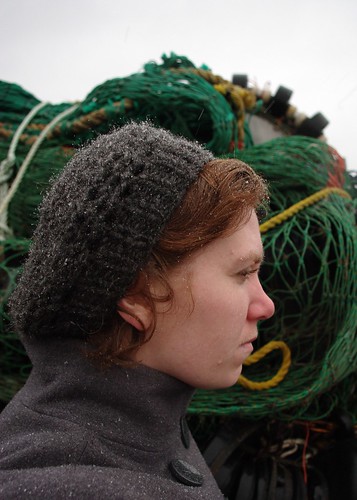
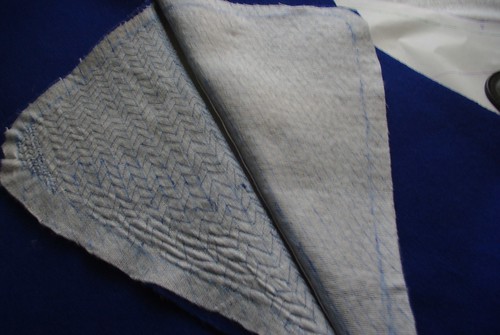
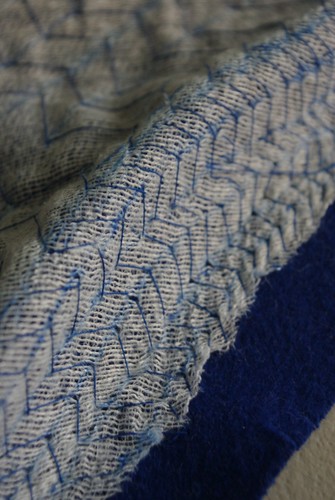
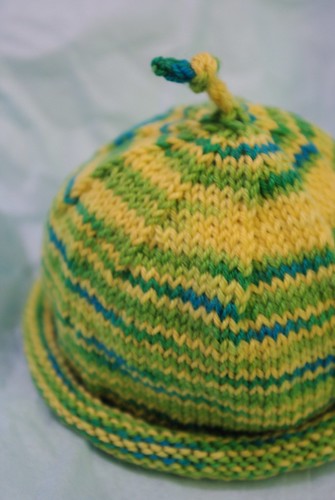
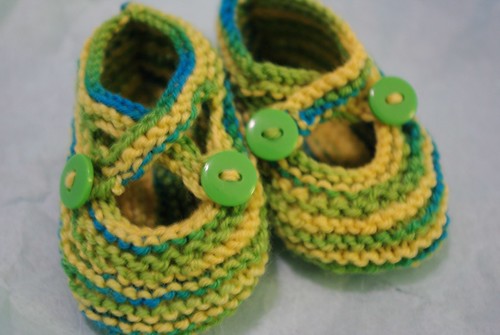
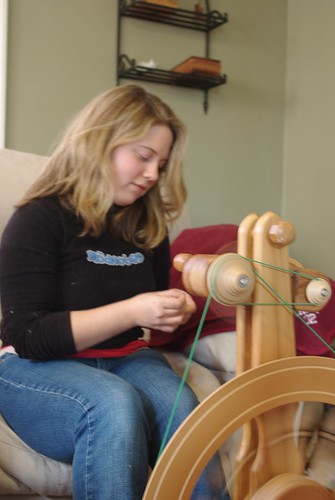
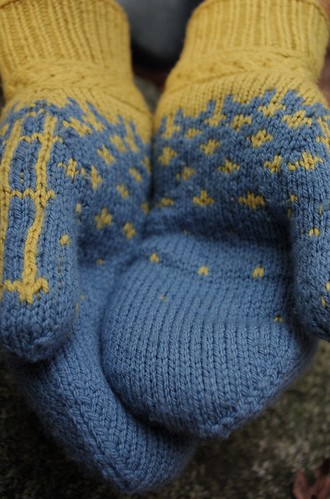
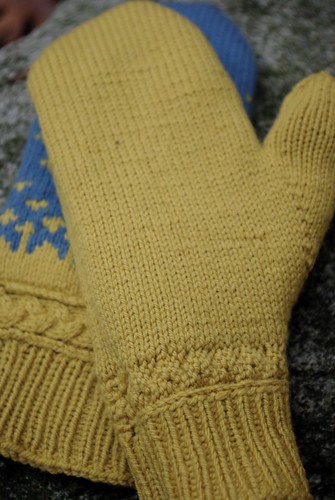
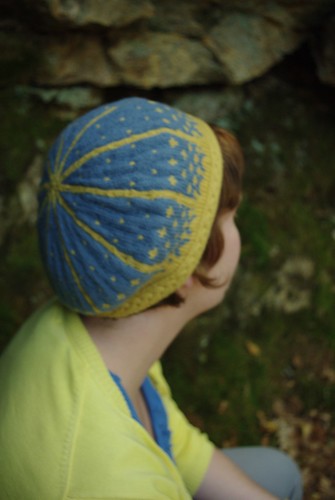
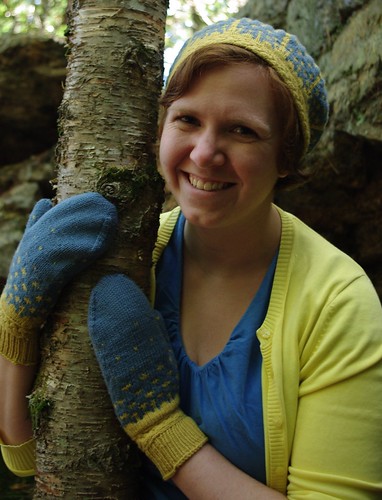
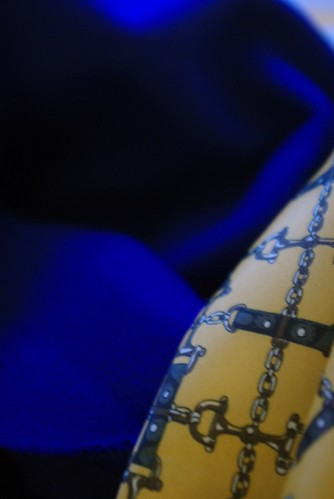
and picked up a few more items. I snagged another sock yarn, this time from Sliver Moon Farm, and fought off Maggie for some into the whirled roving. I have received much mocking from my knitting group for my color pallette/phases and how my knitting often matches my outfit. I have been firmly ensconced in a blue and yellow phase (my Manu and a pattern I'm releasing at month's end is a good example), but it seems pretty clear that my next phase is definitely leaning green.

My Rhinebeck Haul

All in all, the trip was fantastic and totally worth the drive and slightly sketchy hotel. We're aiming for a return trip in 2012. If you're planning a Rhinebeck trip, I'd make the following suggestions:

  • Book your hotel early. We did it about 3 months in advance and everything good had been booked by then.
  • Break up your days and catch some events. We wish we had seen some more of the events or taken a class. It all gets a bit over whelming, just doing vendor after vendor.
  • If you're doing both days, leave early on the first day. The traffic out of the parking lot was awful day one.
  • Talk to as many strangers as you can. Every person I talked to (usually started by one of us complimenting the other's knit-wear) was super nice and friendly and you have an automatic topic of conversation. I wish I had takend the time to chat more.

Now off to Chicago! Be back Sunday.

Lady Grey Sew-Along: the Muslin

As I mentioned before, I'm participating in the  The Lady Grey Sew-Along.

I'm a teensy bit behind now, and since I'll be out of town for the next two weekends, I'll soon be really far behind. All that aside, I finished my final muslin yesterday.

With the exception of the two front flaps, muslin 1 and muslin 1.5 are exactly the same.  My fit turned out pretty well, largely because I took a lot of time grading the coat for my varying bust, waist, and hip measurements.  The one change to the front was to shorten the lapels to get rid of some gaping there.

But if anyone has any fit feedback, I've posted some photos below.

Front:

Lady Grey Muslin 1.5

Back:

Lady Grey Muslin 1.5

Back with arms raised:

Lady Grey Muslin 1.5

Side:

Lady Grey Muslin 1.5

Introducing: Knoll Rib Cowl

Knoll Rib Cowl

As anyone who knows me knows, when it comes to yarn, I have one of the world's smallest stashes. So it is perhaps surprising that this pattern came from the need to knit a yarn that sat in my stash for exactly two years.

Back before I did any spinning myself, I picked up a skein of handpsun from the booth for Enchanted Knoll Farms at the 2008 Common Ground Fair, weeks after I moved back to Maine.

Knoll Rib Cowl

I was in love with this yarn and called it my Rumpelstiltskin yarn, since it looked like straw spun into gold. (It's true name is Gold Dust Woman). I admired the yarn and petted the yarn and could come up with nothing worthy of this yarn.

Fast forward to September 2010. Faced with the need for a simple knit and feeling as if I had neglected this prize yarn for too long. I picked up my needles and tried to find a good stitch pattern for a scarf. My first attempt resulted in something that looked overwhelming 1980s in style, so I frogged, did a garter stitch sample, thought that was too boring and went back to the books.

Knoll Rib Cowl

I flipped through my stitch dictionaries and came across a squishy-looking rib stitch, which I promptly memorized incorrectly, and thus, came up with my own stitch pattern. I'm sure that this was not the first time something like that had happened.

As I neared the end of my then-scarf, I decided that the short length (about four feet long) would work better as a cowl, so I seamed it up, blocked it out, and there you have it.

Knoll Rib Cowl

I think this worked out as a perfect way to display a limited amount of a lovely handspun yarn. I used pretty much every inch of the 200 yards in my skein, but the cowl stretched a lot both ways when blocking, so it could take less if need be.

In case anyone else finds themselves in my predicament (lovely handspun, limited amount, no clue what to do.) I whipped up the pattern last night. You can grab it as a free download, using the link below.

download now

The Notary Dress

Notary Dress

This weekend I finished my "Notary Dress" I showed a peek of last week. It's made of a navy blue wool/poly blend with an Egyptian cotton lining in the sleeves and bodice. The pattern is McCall's M5972 View A, but I've made a number of changes.

M5972

M5972 View A

I've been wanting a classic navy blue dress for a while, and I picked the pattern for a number of reasons:

  • The class silhouette. The straight skirt in particular, was different from anything else in my full-skirted closet.
  • The open yoke. I knew I wanted to add some horizontal pleating to the yoke of the dress, so I selected a pattern where I wouldn't have to deal with moving any darts or seams.
  • Wide neckline. I wanted a boatneck, which I find very flattering. From the envelope illustration this appeared to be a fit but in reality it was more of a wide scoop.
  • On a side note, when it comes to patterns from the major publishers, my preference goes Vogue, McCall's, then Butterick. I've worked with Burdastyle patterns, but never a Burda one.  Maybe I need to branch out?

Pleats

( If you're curious, the necklace, which I love, was purchased at the most recent Picnic fair, but the artist, Kriya, also has an Esty shop.)

So in terms of modifications, I made a ton. My go-to guide to design modifications is Adele P. Margolis's Make Your Own Dress Patterns. For fitting modifications, I use Fit for Real People.

  • As with all commercial patterns, I cut out the pattern on different size lines for the bodice and skirt to match the envelope measurements, smoothing the lines with a french curve.
  • I redrafted the neckline as a boatneck.
  • During the tissue fitting (Gertie has a great series on tissue fitting that I highly recommend), I took a wedge out of the center front, to make the neckline lie flat and so the center of the pattern lined up on my center. I also rolled the shoulder seam forward about a 1/2 inch, which is typical for me.
  • The bodice fitted, I cut out the lining and then went back to the pattern piece and added my three horizontal pleats. Each pleat is about an inch wide, with an inch folded under, so I added two inches at each pleat point. I will mention that once I got it on my body, I had to refold the top pleat some to get it to lie flat. I also blind-stitched the pleats downs.
  • Raised the waist seam an inch or so to match my natural waistline.
  • Added cap sleeves. I used the "sport sleeve" instructions from Margolis' book. Basically, I traced the armhole and then made a few muslins that I based into the actual dress until the fit was right.
  • Because I added the sleeve, it made the side zipper a little difficult. If I had been smart, I would have added a seam allowance to the back and moved the zipper there. As it is, there's no closure, I just pull the dress on over my head, which works, but is not ideal. Actually getting it on is fine, getting the dress off is a little more difficult.
  • I ended up slimming the extra I had cut into the skirt at the hips, so a smoother silhouette.

So after all that, how do I think it turned out?? Hmmm....

Notary Dress

I give it my official seal of approval. (Seriously, I love this dress!!)

Notary Seal of Approval