Spring in Southern Maine

Chatting with Supergirl
Checking out the Mandarlorian Mercs.
KIDShorts - Racer version - made by Ms. Cleaver
Goodies from Grey's
kidshortspattern
KIDShorts - Racer version - made by Ms. Cleaver
Fencing the Garden
Blueberry bush pruned and mulched
Playing in the Sandpit
Tulips and Daffodils
Big Slide

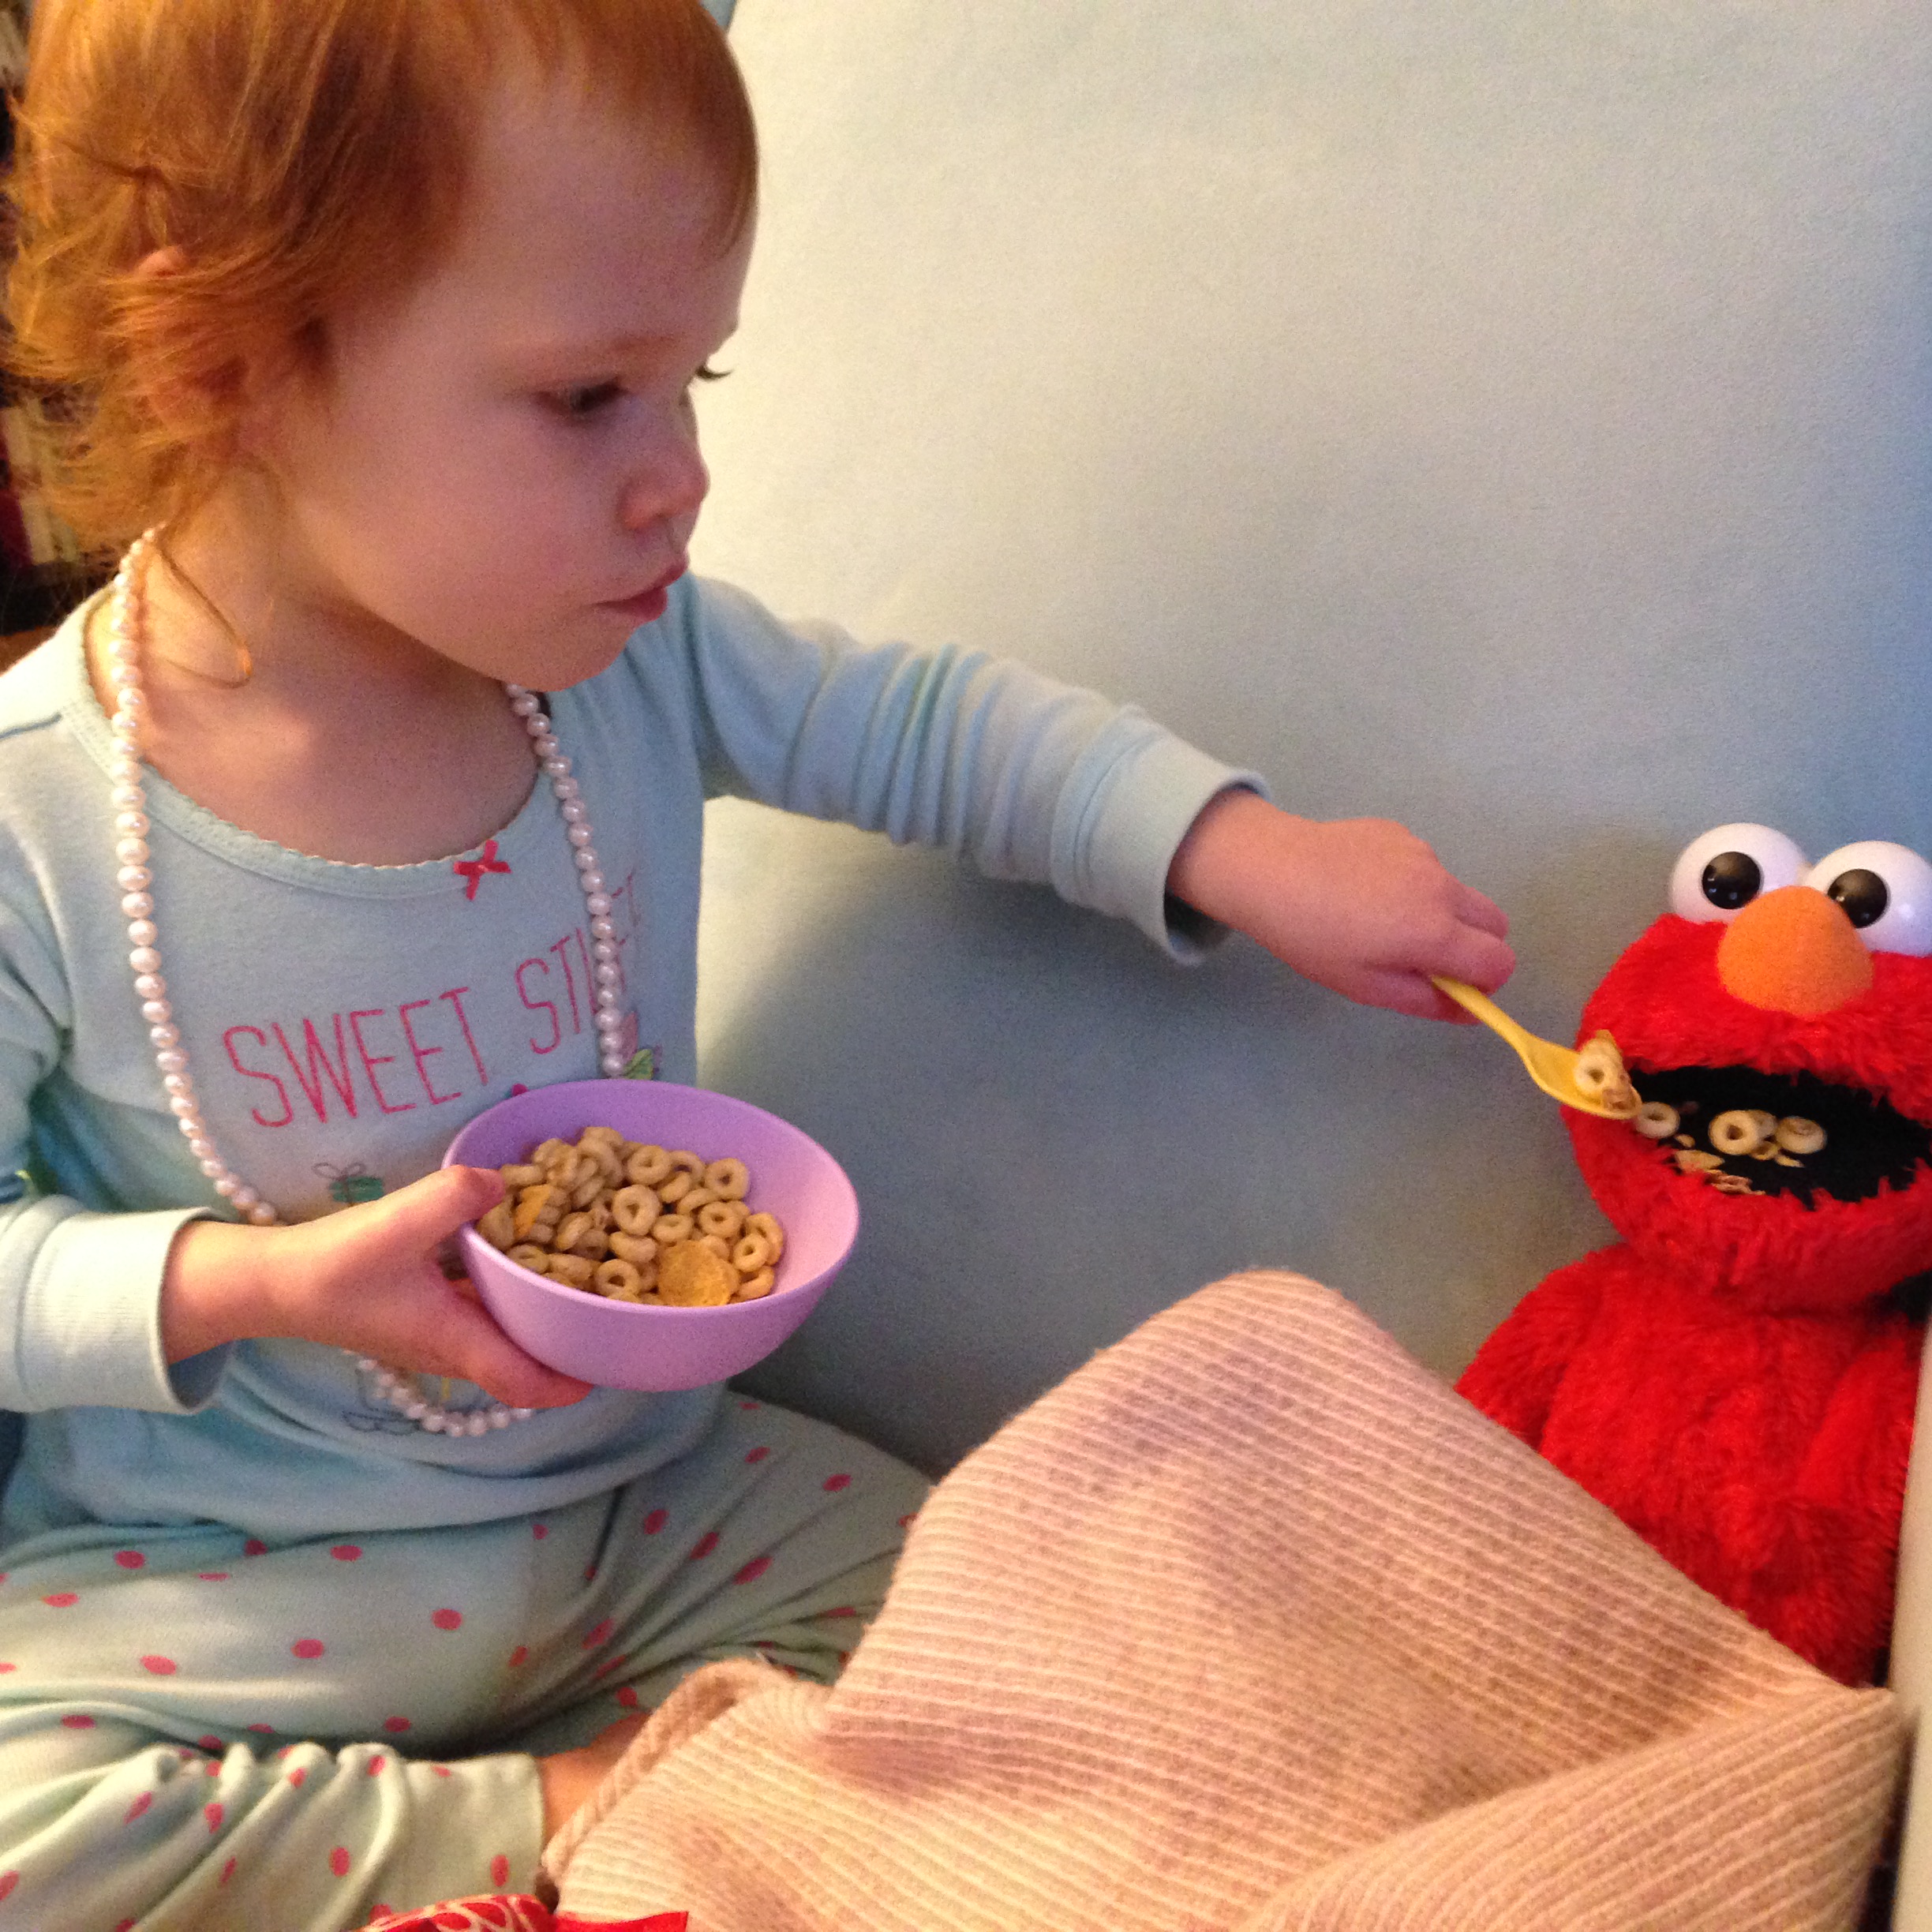
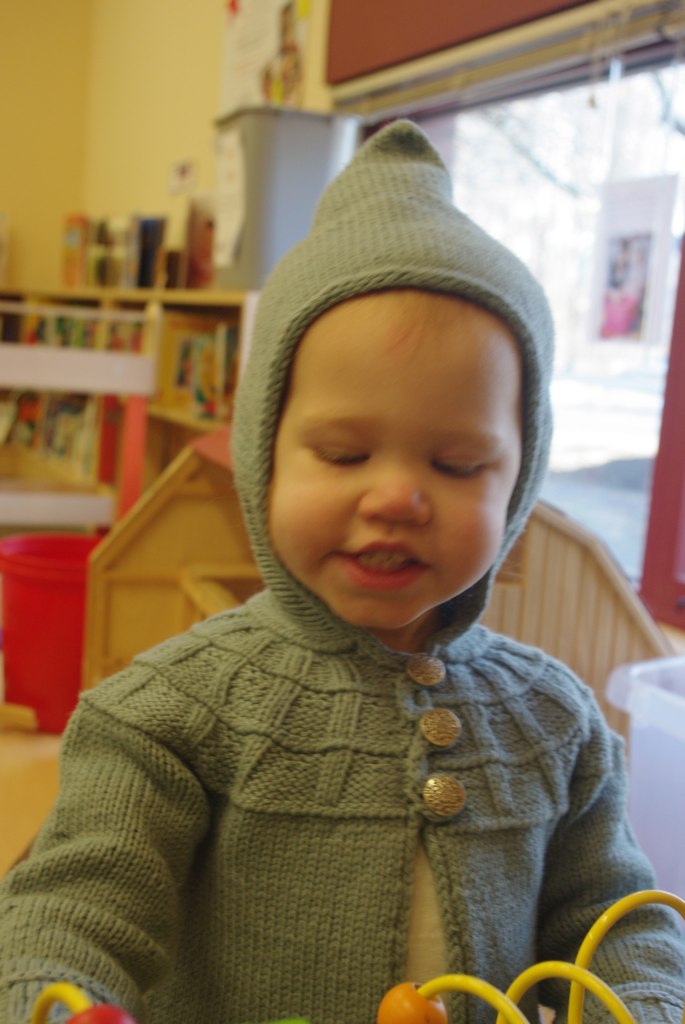
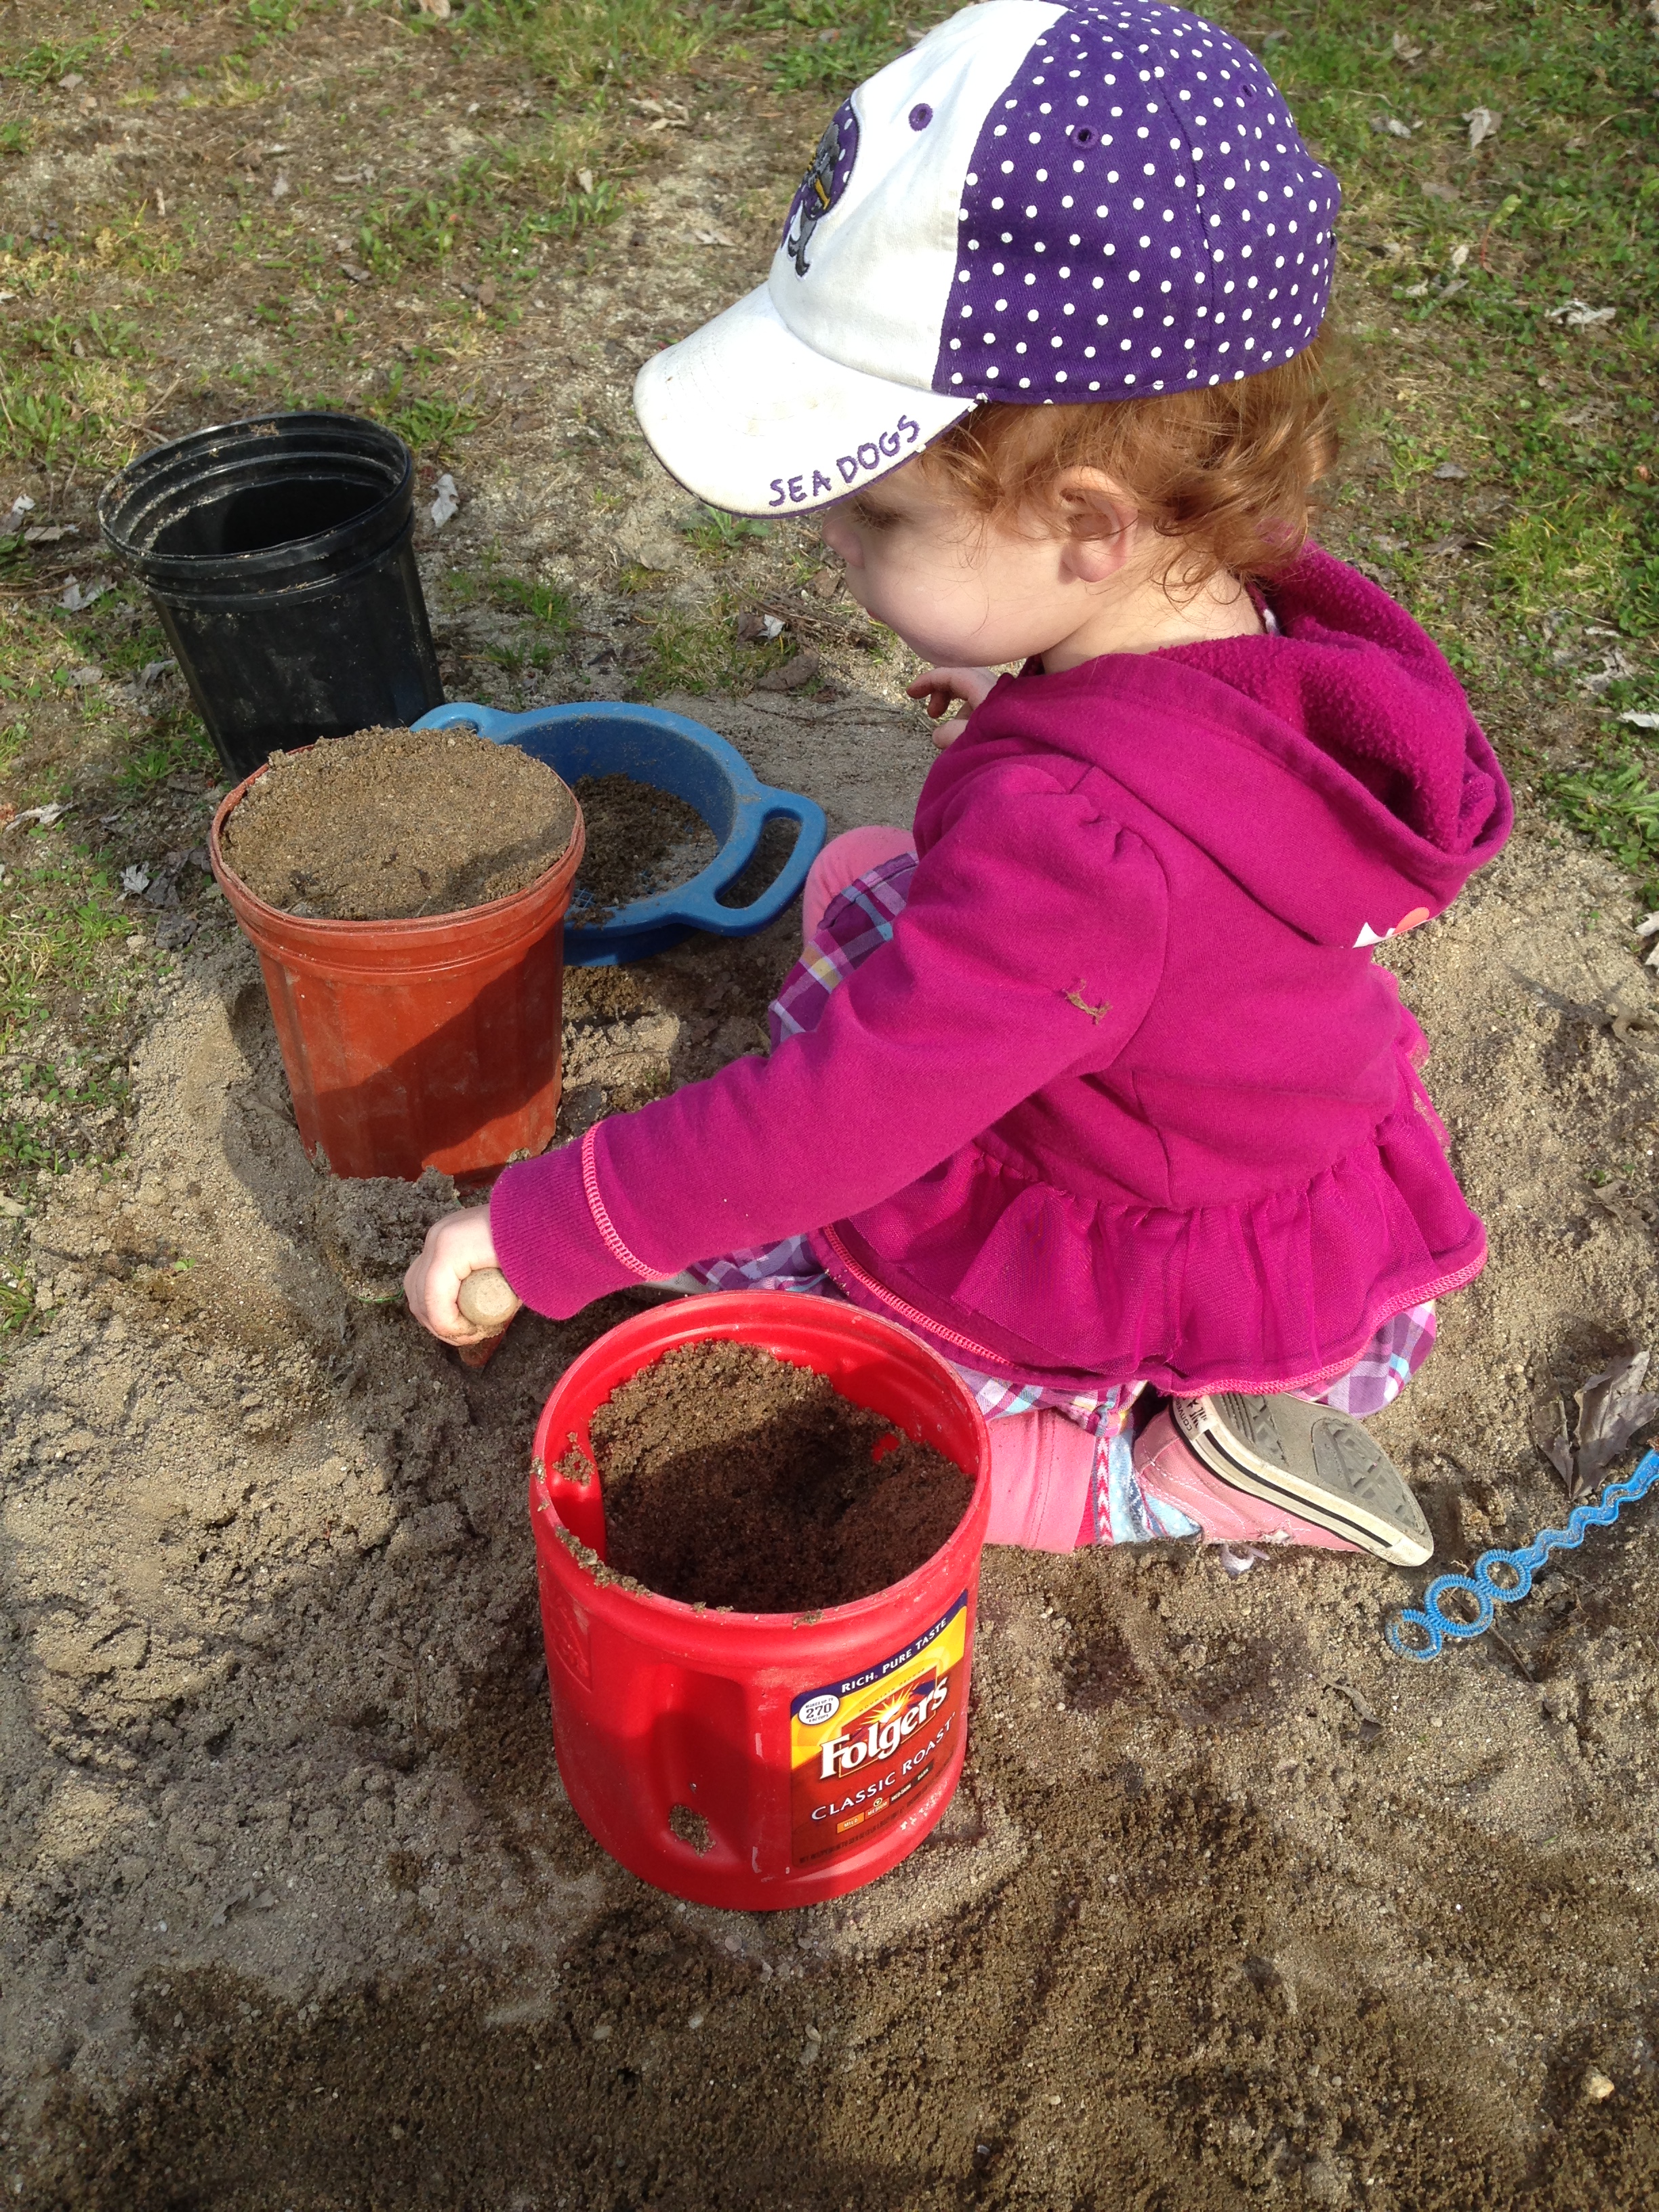
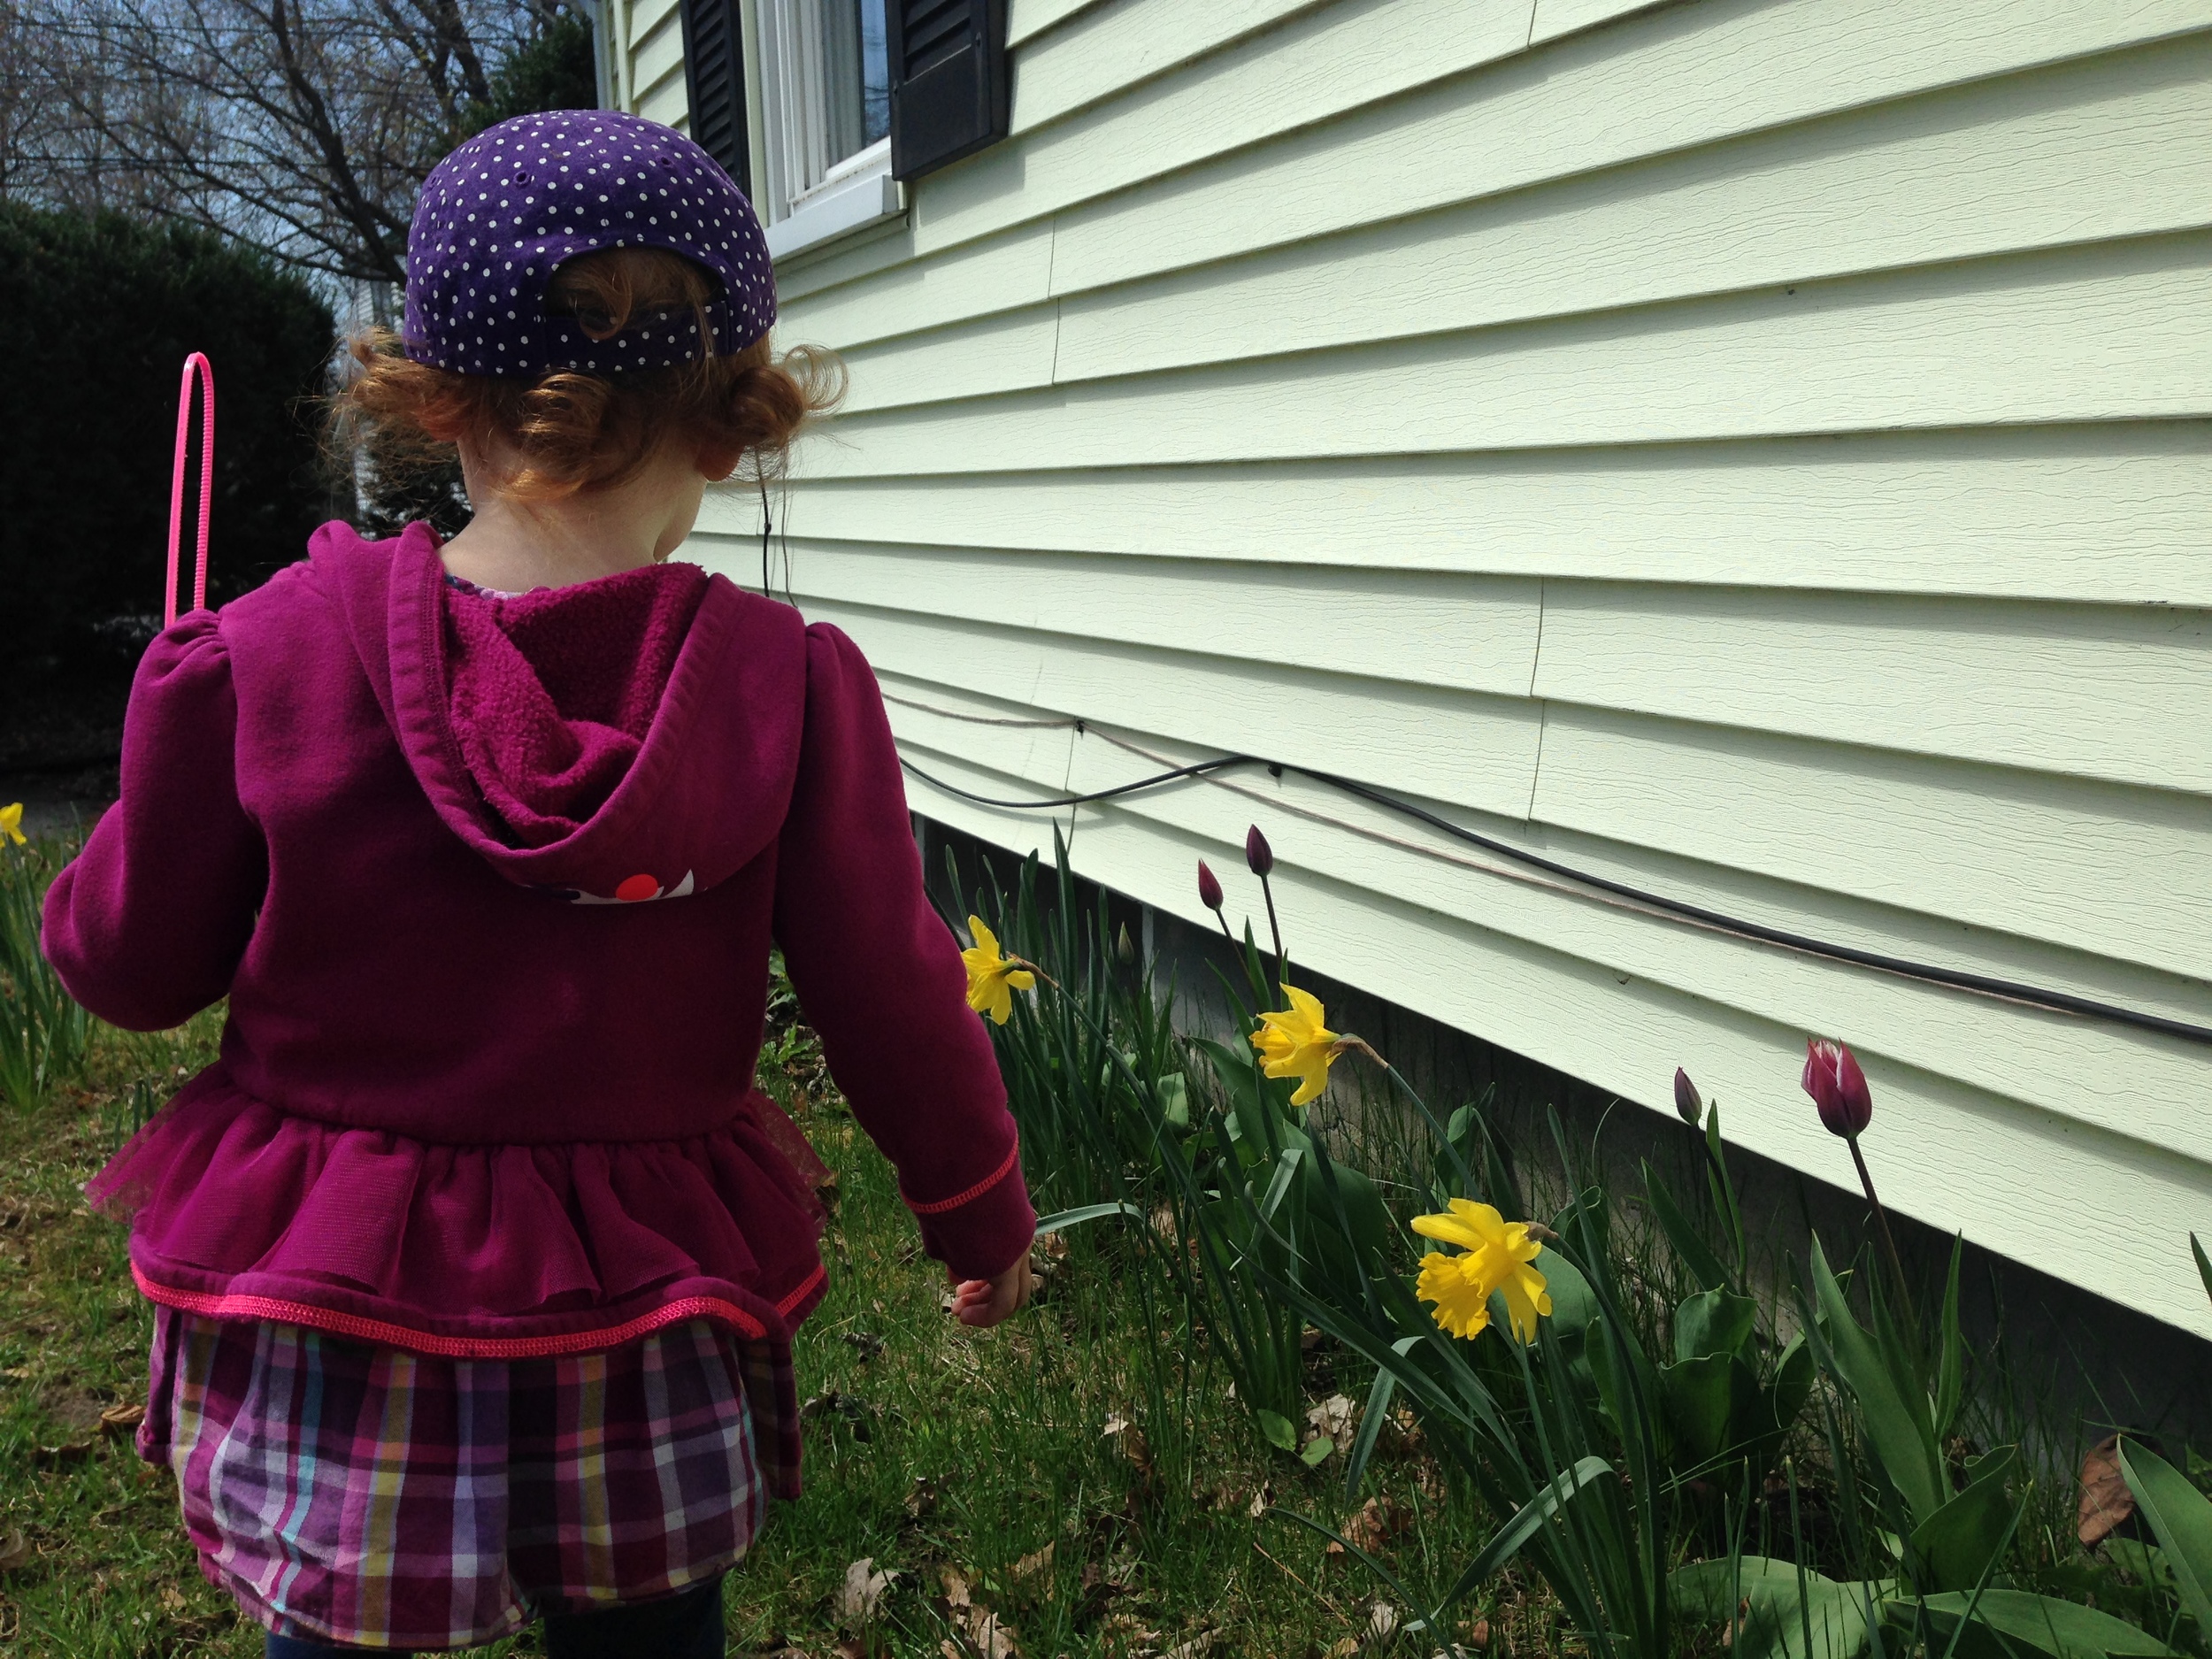
It finally feels like spring! The grass is getting greener by the day. the daffodils and tulips are in bloom and I'm cleaning up flower beds and laying down mulch. The blueberry bush is pruned, the veggie garden fence has gone up, and the sand pit has been raked out and is ready for play. Free Comic Book day happened and we've pulled out the sunscreen and the Seadogs hat. 

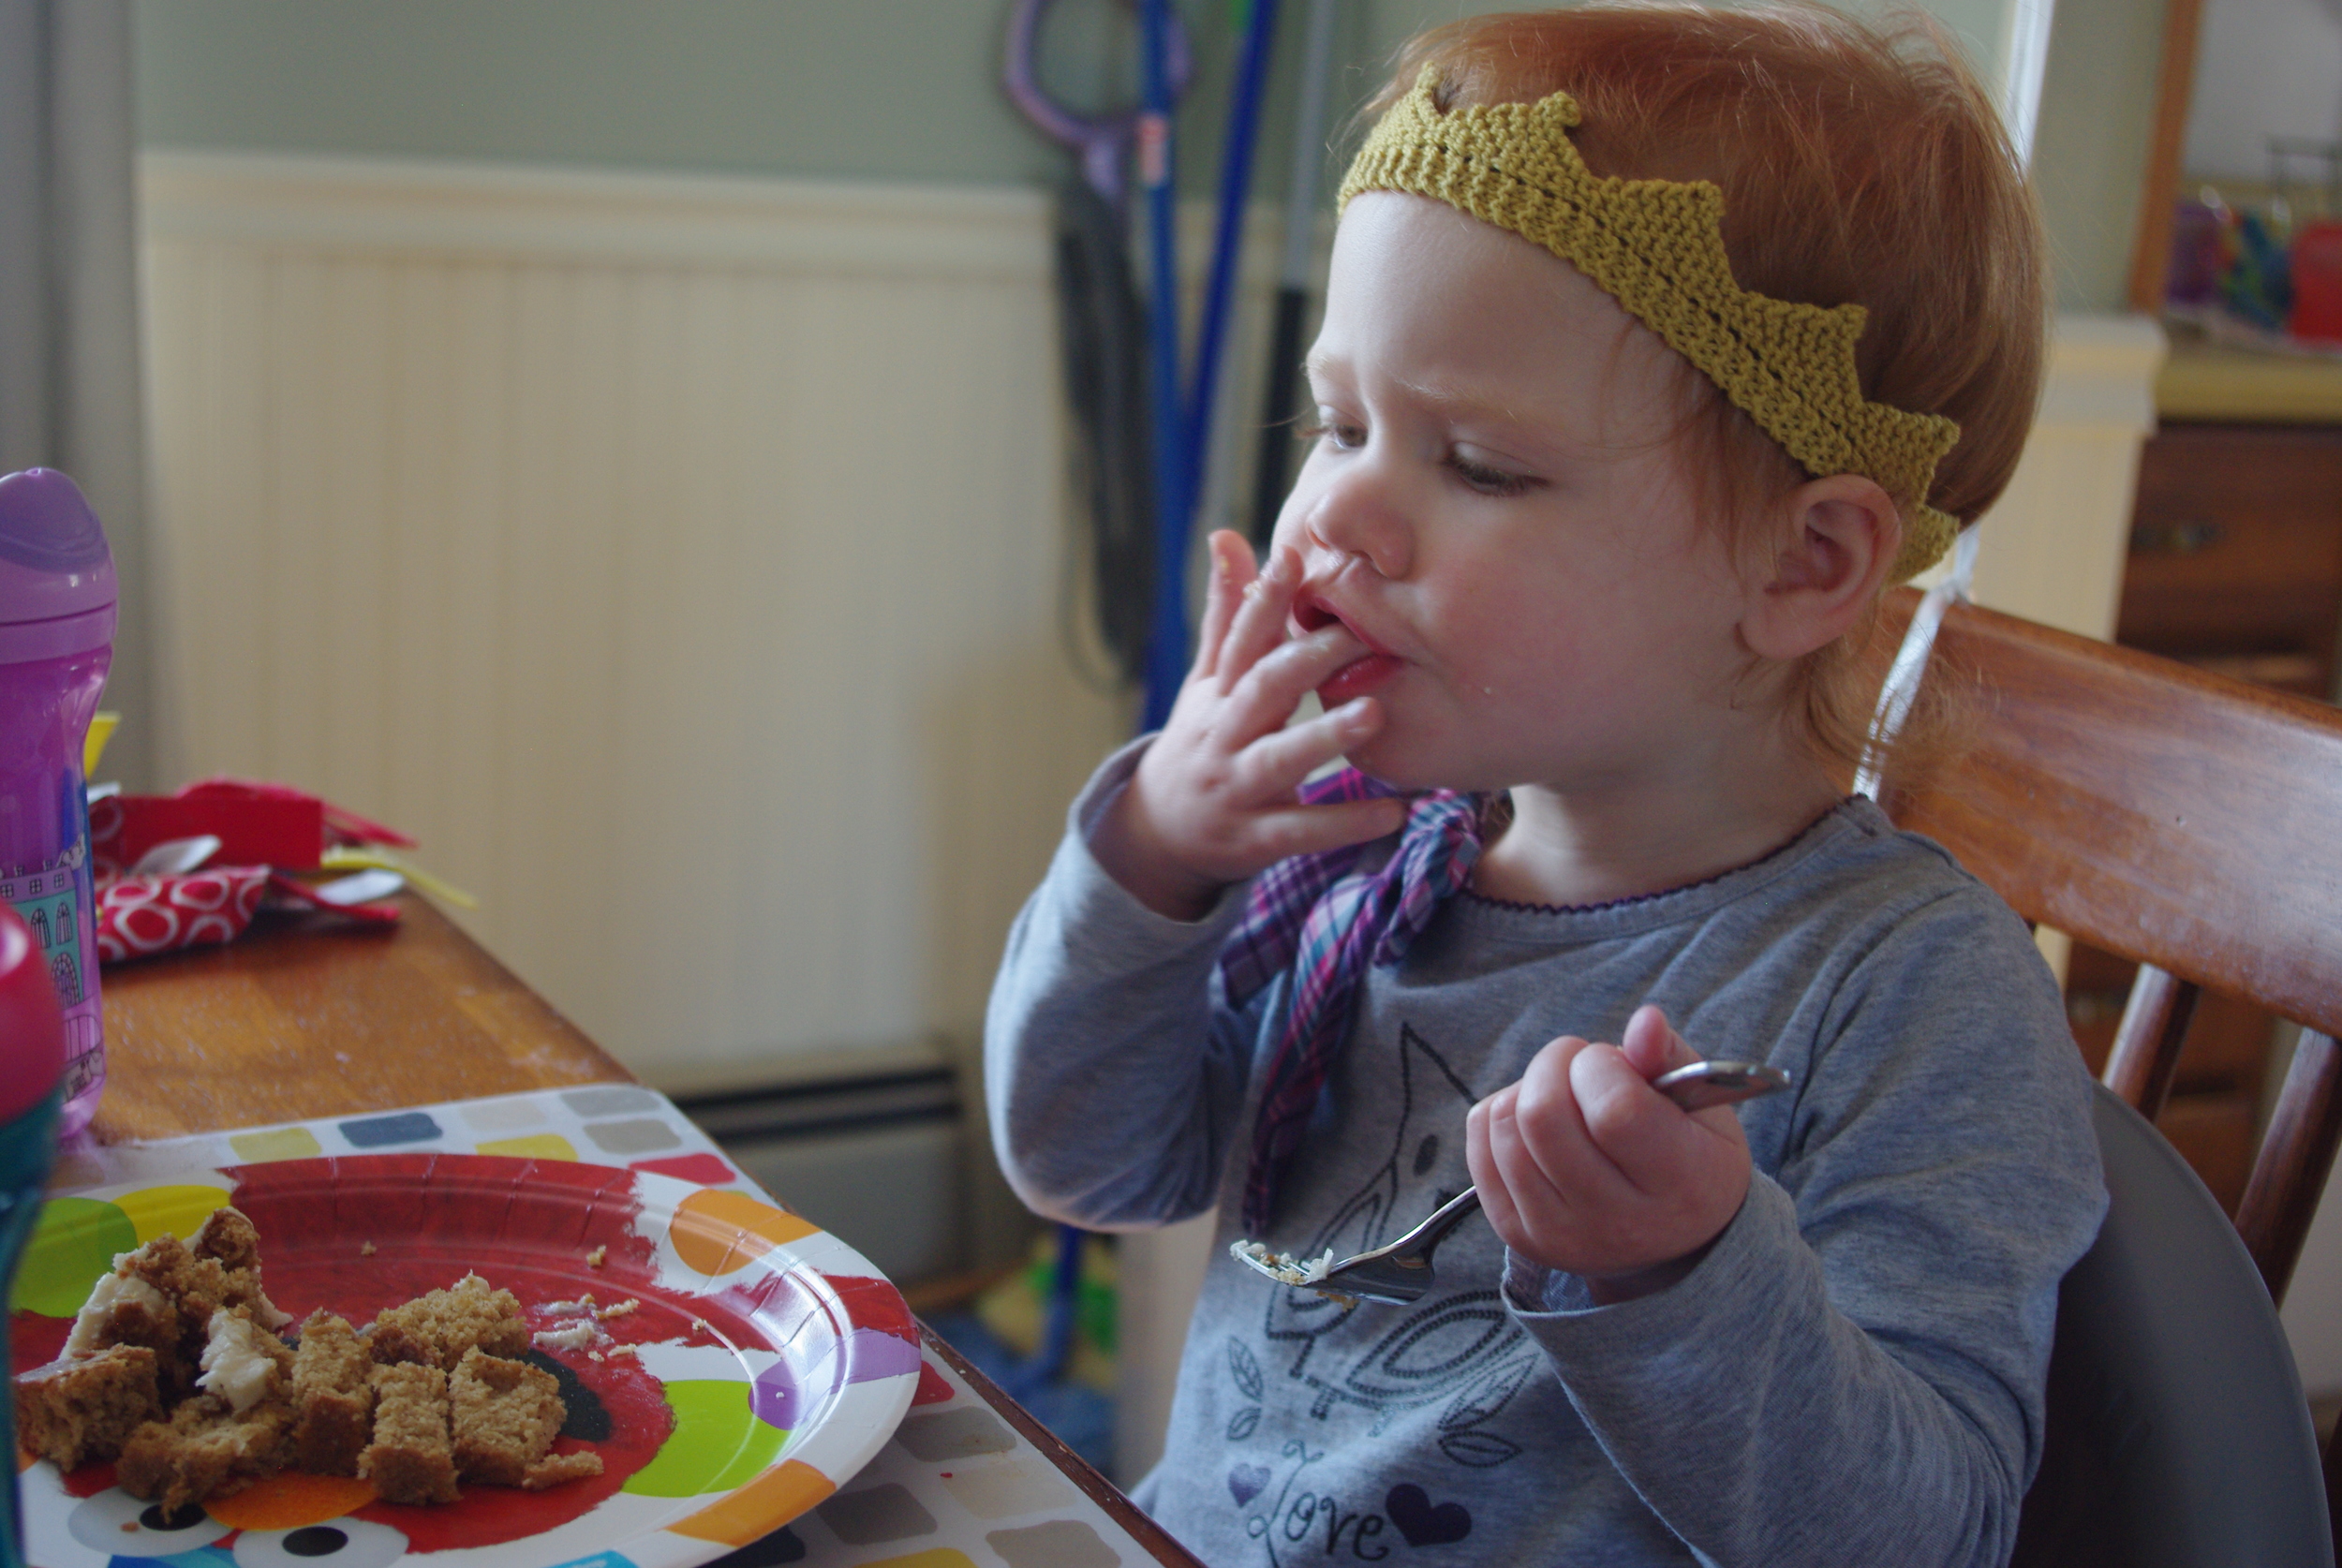
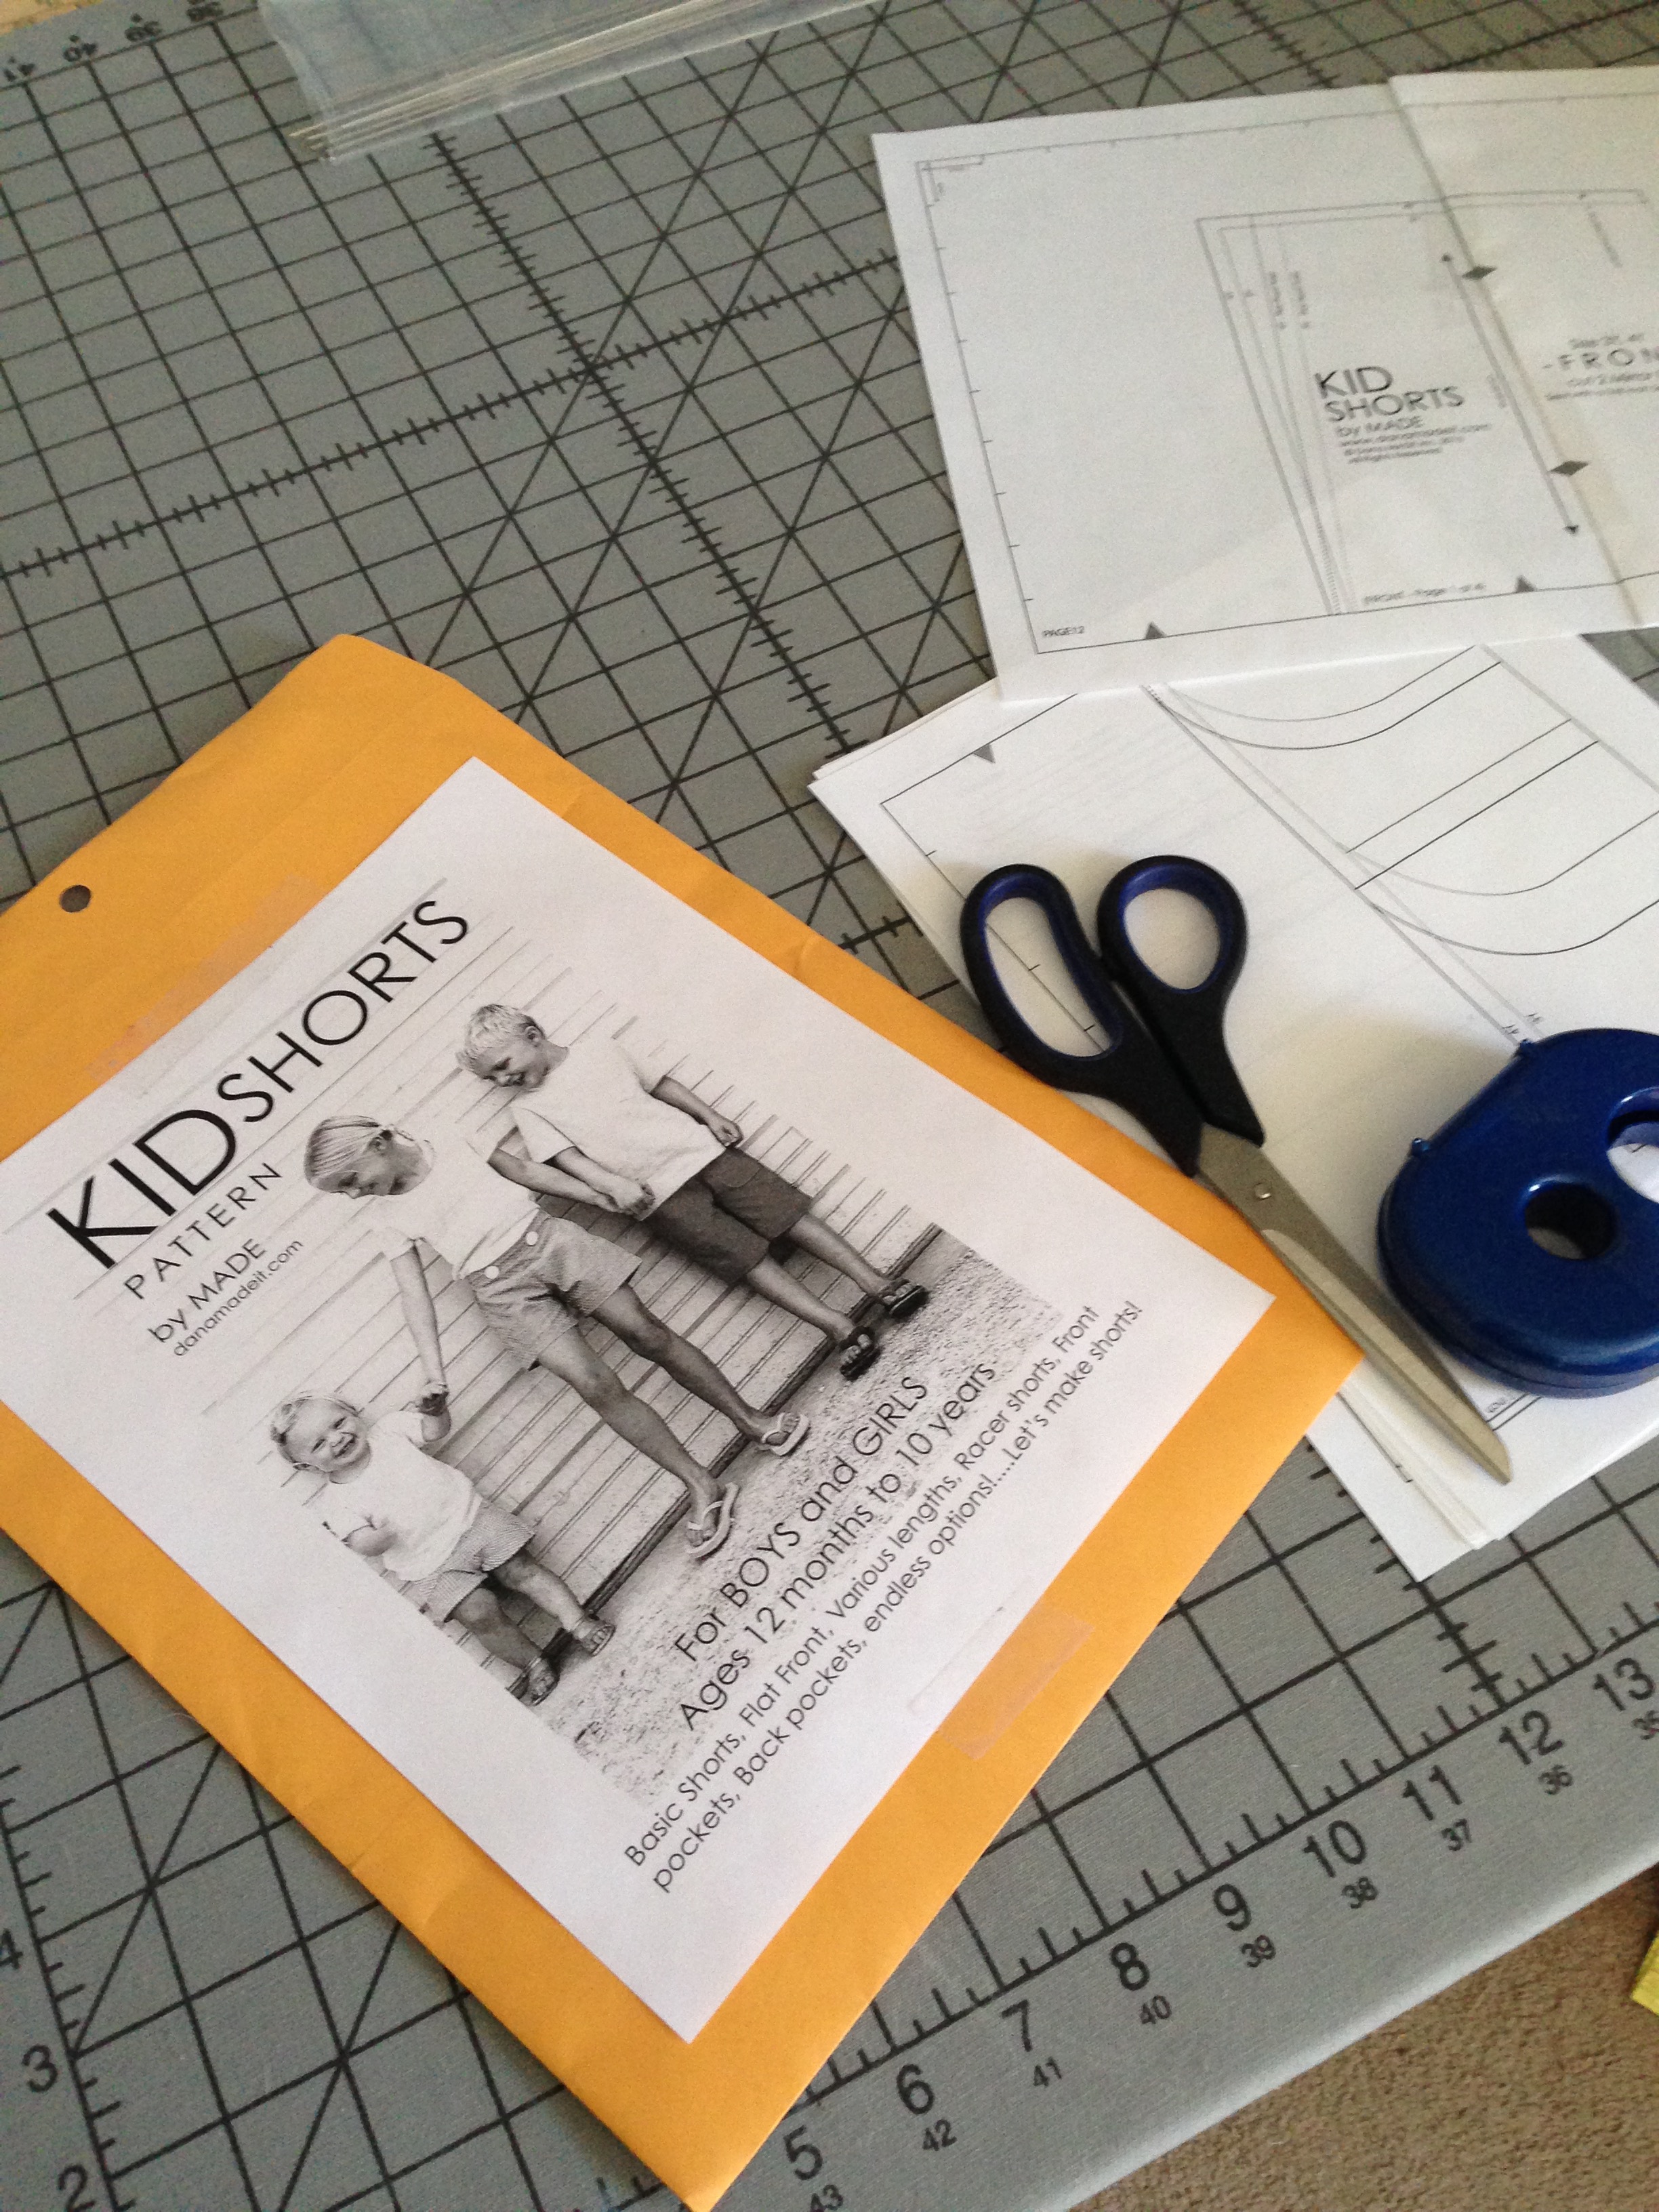
It'll still be a while before its warm enough for shorts, but that didn't stop me from sewing a pair for Little Miss Cleaver. The pattern is the KID Shorts from Dana at MADE. While I don't love that all the sewing instructions are on her site instead of included in the pattern (meaning I'm following instructions off my phone), the fit seems spot on (I made a 3T, lengthened the to the 4T hem), and the finished product is uber-cute, if I say so myself. I even got to sew in my first Ms. Cleaver label!

It took about 1.5 hours to make from taping together the pattern to finished shorts, and I imagine future pairs will be even quicker, especially if I do the more straightforward versions. It warmed the cockles of my sewist heart when LMC wanted to try them on as soon as she got up from her nap and wear them over her pants for at least an hour before the need to put a ballet skirt on trumped it.

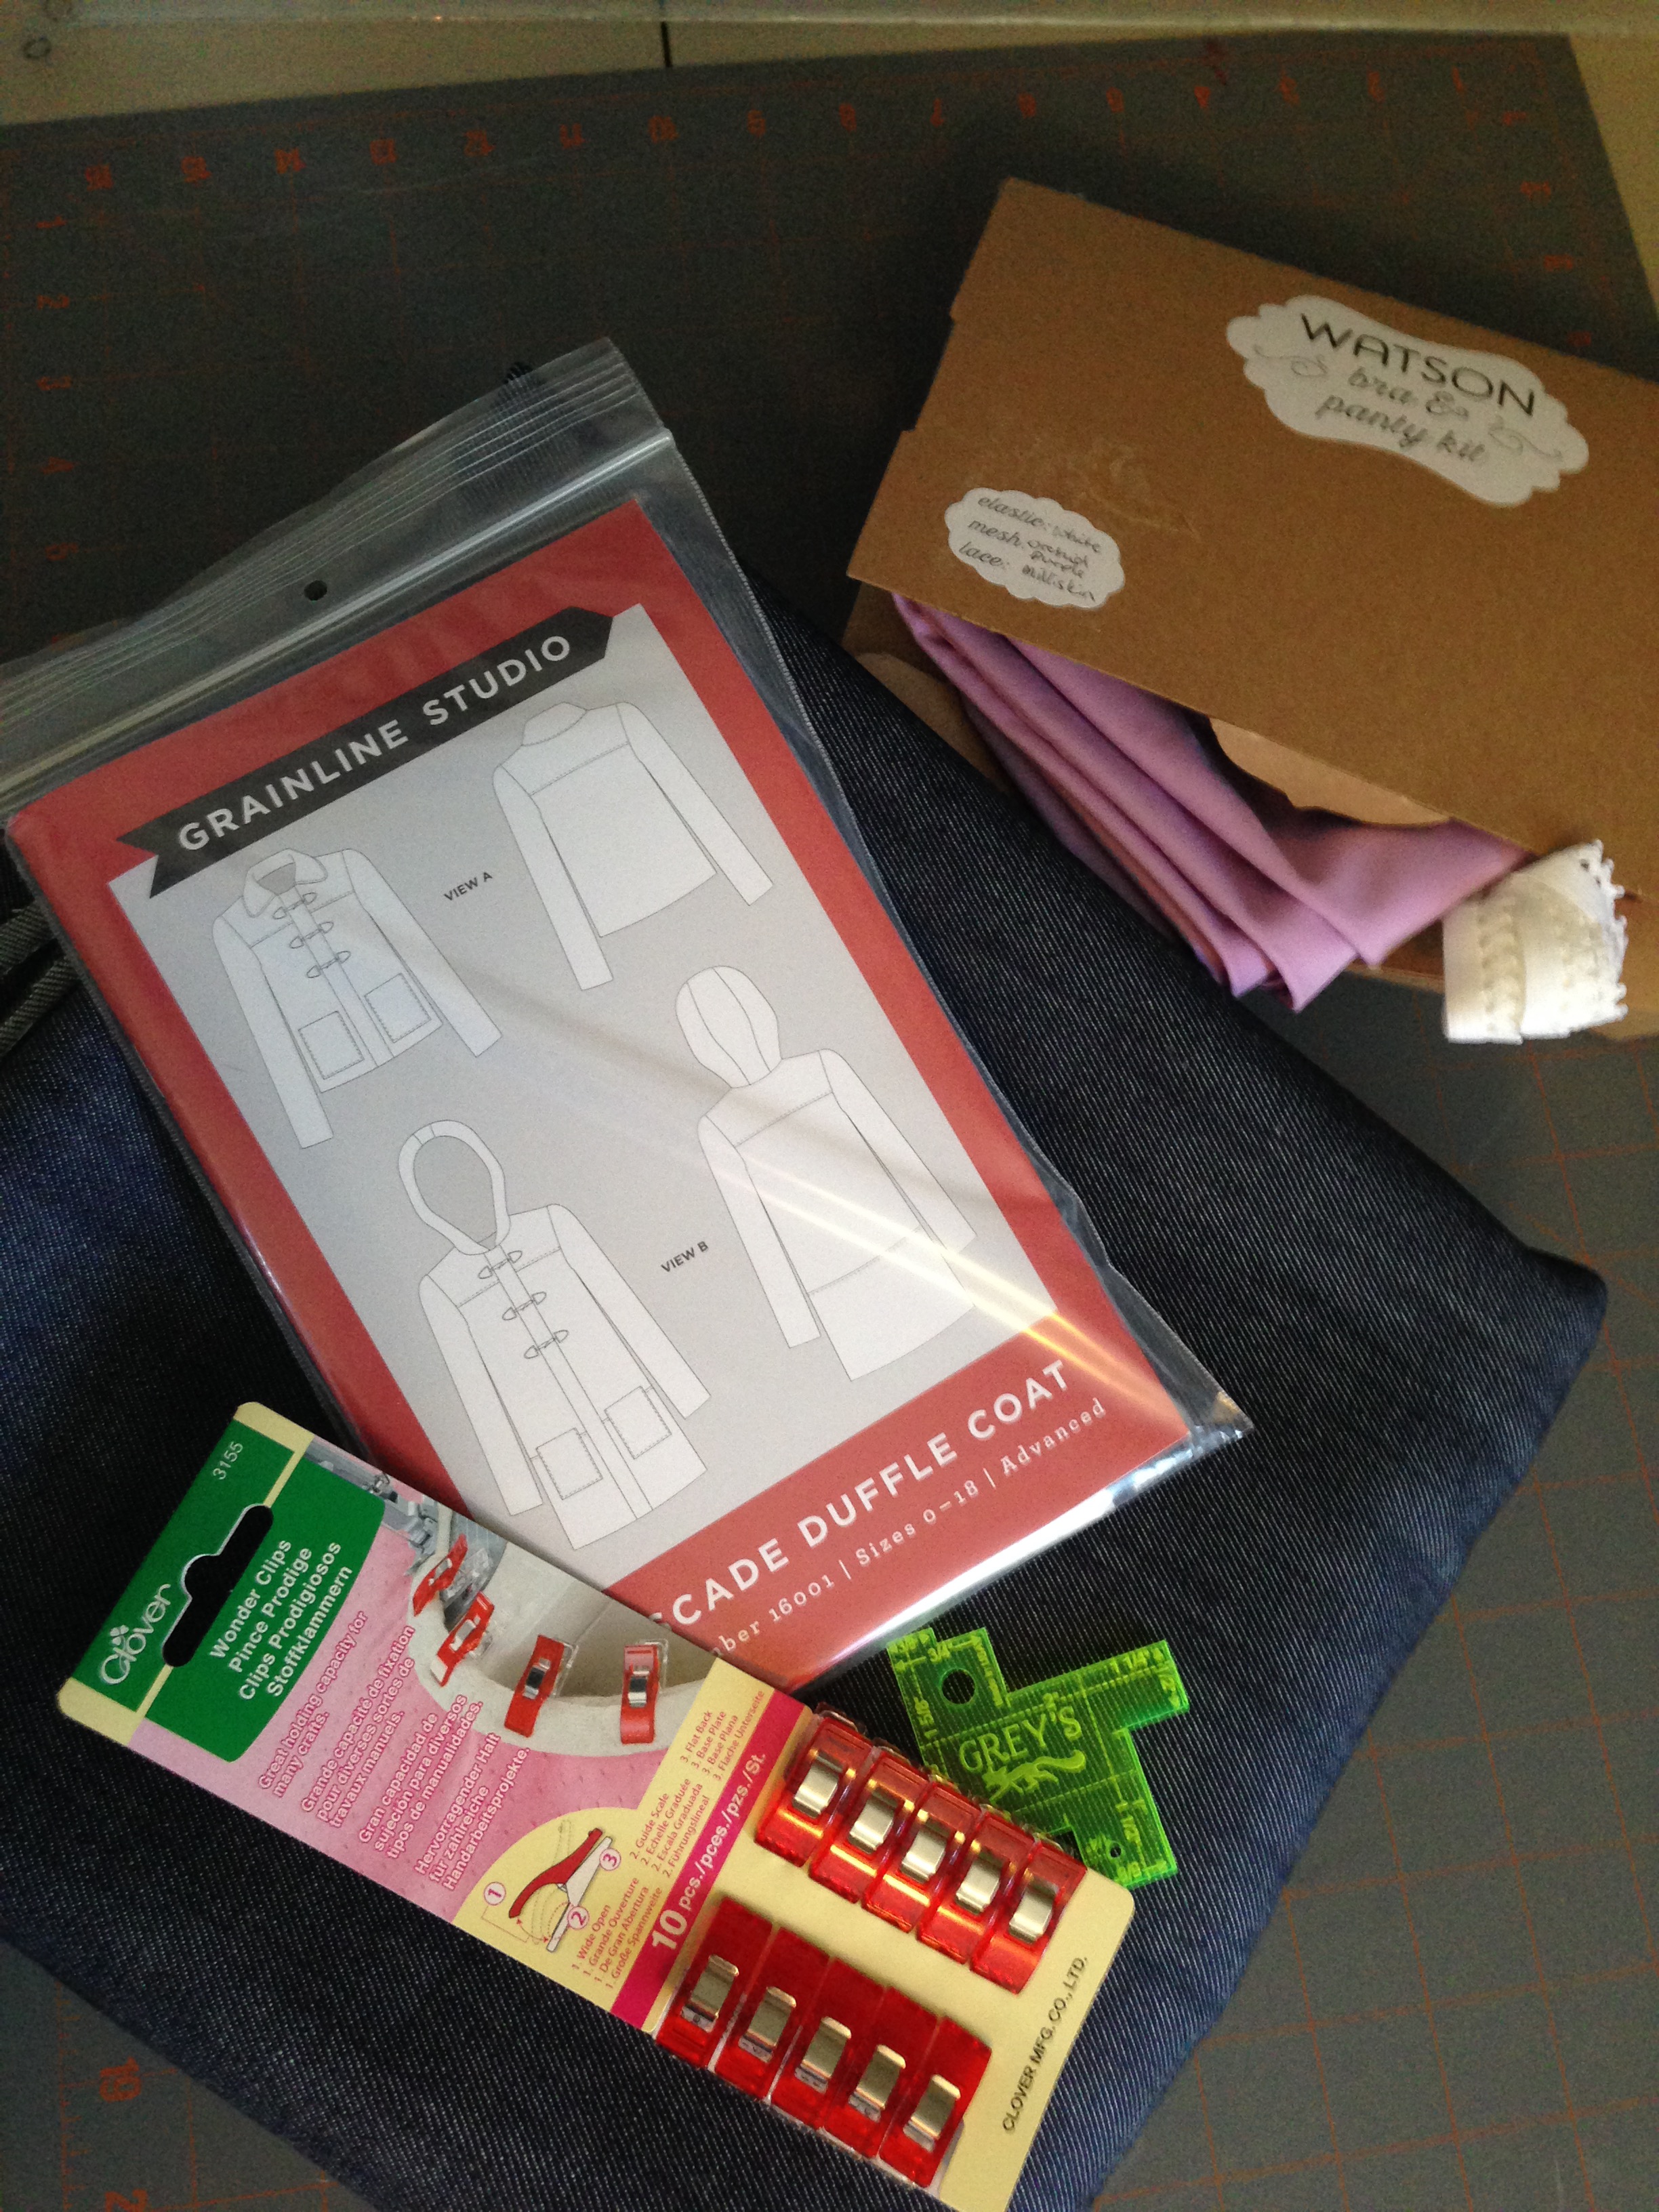
I'm hoping to sew two more pairs before shorts weather is truly upon us, and then I'm delving into some serious me sewing. I have some grey gingham that I got on vacation last summer that is calling out to be an Archer button-up and I picked up a Watson bra kit and some denim for Ginger Jeans from Grey's Fabric as well as Cascade Duffle pattern that I'll be sewing into my new winter coat come September or so.

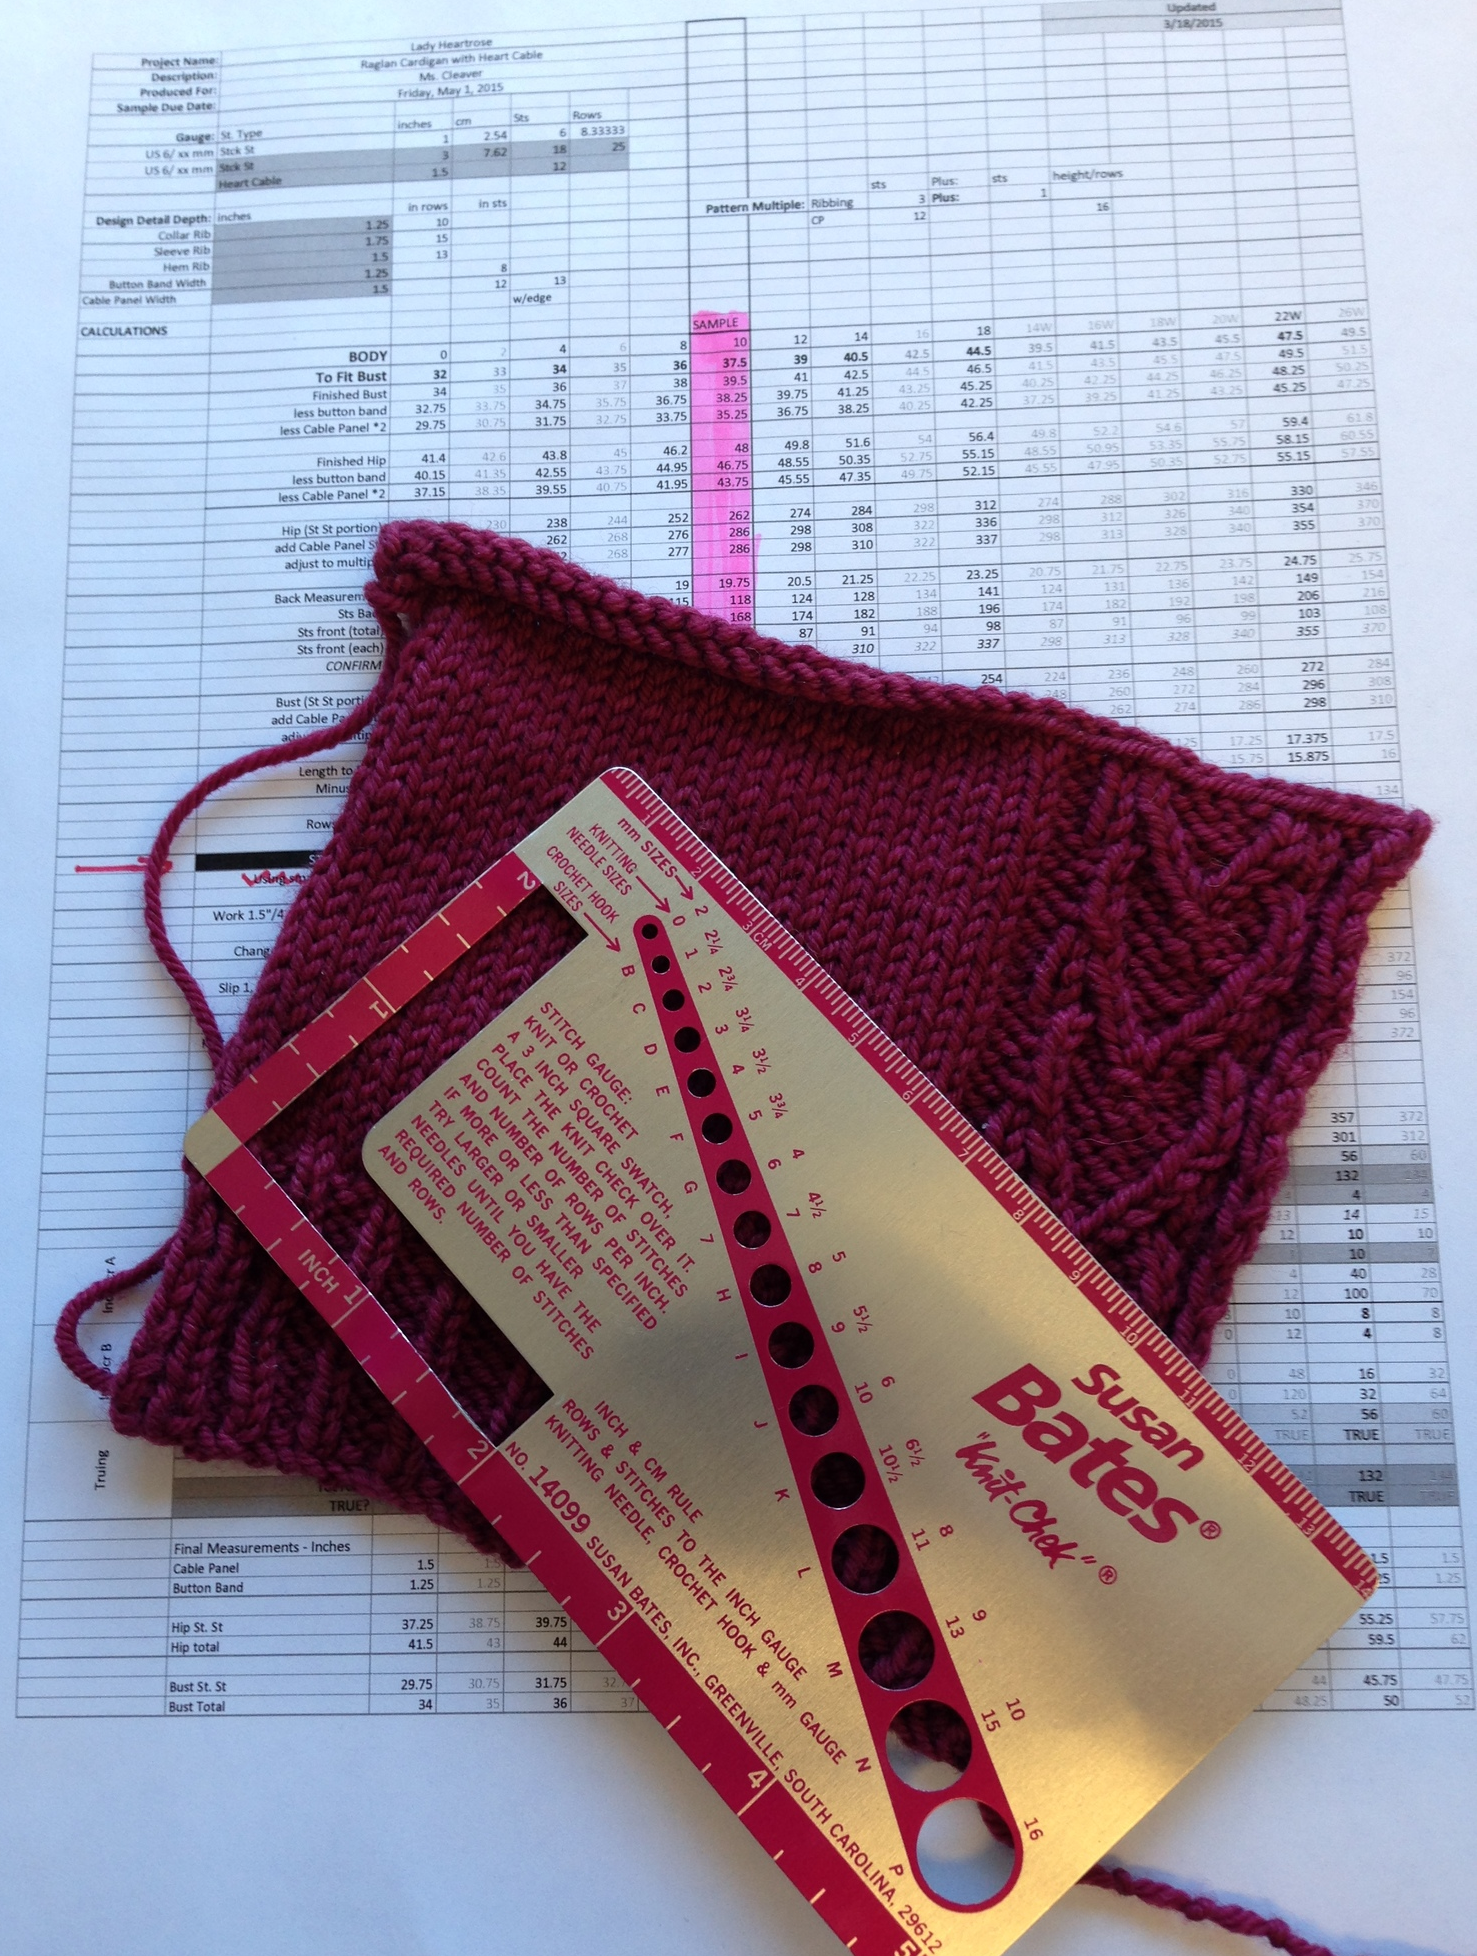
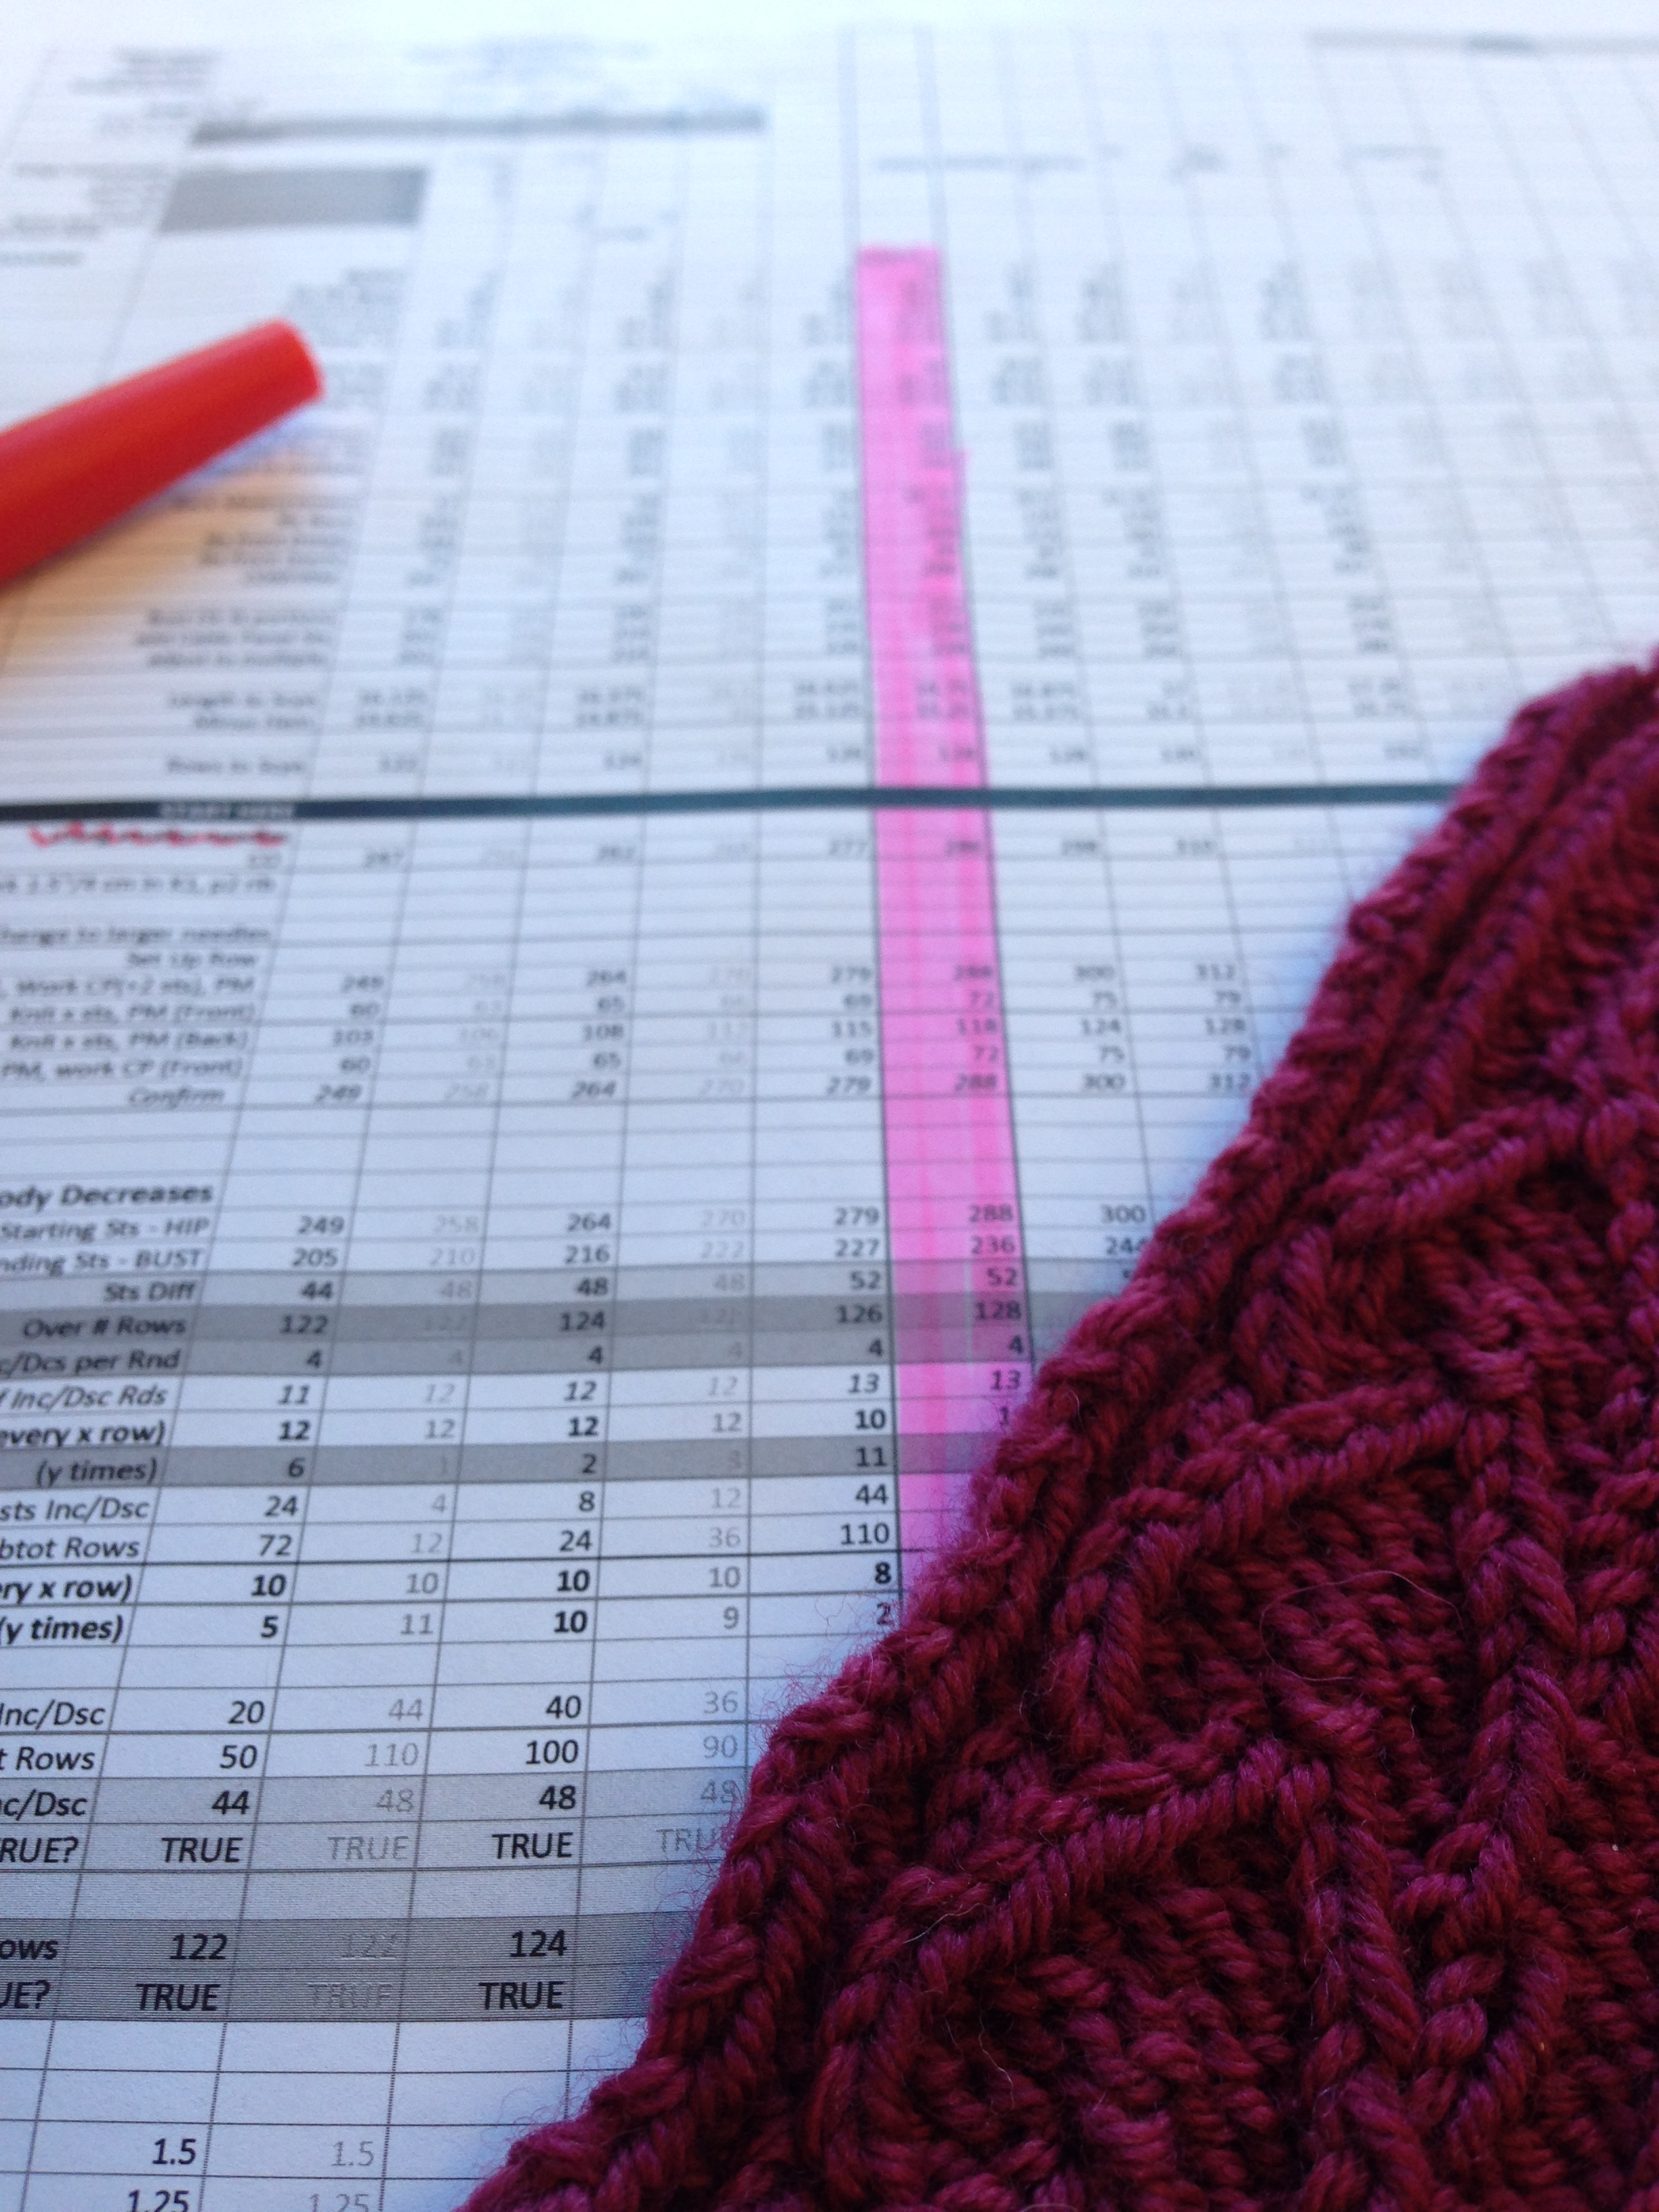
I've been super busy with knitting projects of late (look out for a lot of new stuff this fall!), and haven't had much time to sew and I forget how much sewing means to me. To be able to single-mindedly focus on seam finishes and fabric selection and to make something useful and beautiful.  


Introducing Barbe

Barbe Socks, Designed by Leah B. Thibault for Ms. Cleaver Creations

A downside to designing knitting patterns is that you spend an awful lot of time knitting for other people - samples in the sizes you'd never fit in, that sort of thing. So when you have a legitimate knitwear need for yourself? Well, that's where self-publishing comes in handy.

My sock drawer has been looking a bit sad lately, and so, I introduce to you - the Barbe socks!

Despite the fact the socks photographed above, in a lovely Permission Tree Farm Piggy Sock Yarn, were made in a few weeks, this pattern is actually several years in the making! It's my habit to only  knit socks while traveling due to their general portability and I began knitting a pair of socks with the same winding cable motif out of the leftovers of a sweater when traveling in late 2011. I finished that pair of socks, only to find that Sock #1 and Sock #2 weren't remotely the same size.

Somewhat disheartened by this, I put away the socks for a few years (like you do). This year, with my resolution to fight the entropy  I pulled out those old socks, determined to make a matching pair. Well, the finished pair ended up matching in size, but were a bit too large for me and were gifted to Mr. Cleaver.

I figured, in for a penny, in for a pound, so I found some suitable sock yarn in my stash to make another pair and figured, hey, why not make a pattern out of it while I'm at it?

Not content to do anything halfway, Barbe is available in five sizes from 6" to 10"/15-25.5 cm in circumference, so the unisex styling can fit feet of all sizes.

Worked from the toe-up with a short row heel (the easiest heel in my humble opinion), and the simple to work, but fancy to look at, spiraling cables Barbe would make a great introduction to sock-knitting and/or short rows. Barbe works equally well as a sock drawer builder for when you want a quick knit with a little something more. The ribbing throughout also makes for a nicely fitted sock.

Pattern Details 

Sizes

Foot Circumference (unstretched): 6 (7, 8, 9, 10)”/ 15 (18, 20.5, 23, 25.5) cm. To be worn with approximately 1-1½”/2.5-4 cm negative ease for best fit and display of cables.

Yarn

One skein Persimmon Tree Farm Piggy Toes SW [100% Superwash Merino]; 560 yds [512 m] per 113 g or approximately 350-520 yds of sock yarn for one pair, dependent on finished width and length. Sample as shown uses approximately 375 yds.

Purchase

Barbe is available for purchase via the following methods:

Ravelry  //  Ms. Cleaver Creations  //  Love Knitting 


Easter

Dyeing Eggs -- Ms. Cleaver Chronicles
Dyeing eggs with Wax Resist -- MS. Cleaver Chronicles
Dyeing Eggs - Ms. Cleaver Chronicles
IMGP2642.jpg
Dyeing Eggs - Ms. Cleaver Chronicles
Easter Basket -- Ms. Cleaver Chronicles
Meeting the Easter Bunny
Easter Egg Hunt -- Ms. Cleaver Chronicles
Easter Brunch Part I -- Ms. Cleaver Chronicles
Baking Buddy -- Ms. Cleaver Chronicles

A bit late in posting about Easter, but with the new pattern release on Tuesday, a snowstorm yesterday and another bad cold in the interim, well, that's sometimes how things go.

Easter was fabulous. Little Miss Cleaver was really into it this year. We had taken her to see the Easter Bunny at Haven's a week before the big day and she was enamored, giving him hugs and showing him how she could hop, waving good-bye when we left. The piece of chocolate he gave her didn't hurt either.

The day before we dyed eggs with the classic PAAS kit, which she though was great fun. A few shells were cracked, and one egg was eaten, but even a few days later she like to pull her pretty eggs out of the fridge and reorganize them in their carton.

Of course there was baking - blueberry muffins and a lemon cake, and this delicious hash-brown crusted quiche. LMC just keeps getting better and better as a baking assistant - do you see those pouring skills? She also mixed together the wet ingredients for the muffins with no extra whisking needed from me. Makes her mama proud. 

The Easter Bunny brought some books,small toys, some sweets and a brand new tutu, which has been in frequent rotation ever since. He also hid a number of eggs filled with more toy animals, all placed neatly out of Steinbeck's reach since he has a habit of chewing on such things. With a little guidance (look, over at the TV!) all eggs were found and a good time was had by all.

I definitely have a greater appreciation for all my parents went through to make holidays special for us as kids, but I have to admit, as much prep work as there is, it's also a whole lot of fun!

Introducing Belacqua

Belacqua Cardigan by Leah B. Thibault -- A Ms. Cleaver Creation

A key thing to know about my progress as a designer is that I learned to sew a long time before I ever learned to knit. As a result, some of my earlier designs were the product of shoehorning knitted fabric into a sewn-like construction (I thinking primarily of Wetherell and the Carmel Clutch here.) Not to say that they didn't work, but that they weren't "knitterly."

When I say knitterly, I mean something that takes distinct advantage of what only hand-knitting can do, or what knitting does best. Yes, you can knit a woven-look stitch pattern, but clearly weaving does it better (and easier). Knitting miles of fine gauge stockinette? Perhaps you're better off buying a sweater-knit fabric and sewing it together, or working the pattern on a knitting machine. But shaped-lace? Knitting (or crochet) wins. Cables? Only in knitting. Seamless construction that's not a simple tube? Knitting again.

Which brings us to i-cord. 

If, like me, one of your first introductions to knitting was through a knitting doll/nancy or mushroom, then you know that i-cord or "corking" is quintessentially knitterly. Those tight little tubes of yarn that go on and on and on. 

I first ran into i-cord as a garment edging when I knit my still much loved and worn Manu sweater. Having enjoyed it in someone else's designs, I decided to integrated into one of my own, and to see if I could find a way to replicate the effect of i-cord, not just on the edges,  but within the fabric itself. Discovering that a horizontal pleat/welt/ridge did the trick nicely, I ended up with the Bob & Wave Cowl.    

The i-cord/welt combination  stuck in the back of my mind and when LMC needed a winter sweater it sprung back to life (in a surprisingly similar color...).

Here the i-cords and welts play up the structure of a circular yoke and give not only a clean finish to the garment edges, but provide some built-in button loops. The circular yoke  construction is further emphasized by expanding vertical ribs. A simple workhorse yarn - here Quince & Co's Lark, places the focus on the texture and structure.

The finished garment is nearly seamless (there is some grafting at the back of the hood) and, I would say, very knitterly. 

Pattern Details 

Sizes

NB (3 Mo, 6 Mo, 12 Mo, 18 Mo, 2T, 3T, 4T, 5, 6)
Chest Circumference: 18 (19, 19.5, 20.75, 21.75, 21.75, 23, 24.25, 24.5, 25.25)”/ 45.5 (48.5, 49.5, 52.5, 55, 55, 58.5, 61.5, 62, 64) cm”
Sample size 2T, shown on 22-month old w/ sleeves cuffed.

Yarn

4 (4, 4, 5, 6, 6, 7, 7, 8, 8) skeins Quince & Co. Lark in Bird’s Egg [100% American Wool]; 134 yds [123 m] per 50g or approximately 415 (455, 495, 555, 695, 735, 845, 930, 990, 1045) yards of worsted weight yarn.

Purchase

Belacqua is available for purchase via the following methods:

Ravelry  //  Ms. Cleaver Creations  //  Love Knitting 

Tried and True Review: Flowers and Lace Skirt

Granny Skirt 2011 made by Ms. Cleaver
Granny Skirt 2010 made by Ms. Cleaver
Granny Skirt 2015 made by Ms. Cleaver

A Tried & True Review, where I look back at old project and discuss how it's held up since I made it, both successes and closet rejects, in an attempt to show how my projects have stood the test of time and/or to learn from the mistakes of my yesterdays.

The Original: Floral and Lace Skirt

Made: March 2010, 5 years old

Update: This is my go-to skirt when I want to look ladylike, but be comfy. (see also: "No Pants" Lent 2011)

Fit: It was self-drafted, with a pretty forgiving fit. That said I did (upon originally making it) do an adjustment to the waistband. The waist line has moved up and down as my weight fluctuated over the years, but it's managed to hang in there.

Style/Materials: A super basic a-line skirt, in a  floral fabric and lace. This was a free piece of  quilting cotton given to me by my mother-in-law, along with some cotton lace trim from my stash. It was pink and had tiny flowers all over it, which is not very me. Nothing about it should work, but it just does. 

Construction: The waistband fix was some darts I put into the finished waistband, so a little wonky there. Also, since it was meant to be a muslin, I didn't interface the waistband, which means its always crinkly, but probably contributes to the comfy factor of this skirt.

Lesson(s) Learned: .Really small prints are quite versatile and never underestimate the power of simple and comfy!

Final Verdict: I never would have imagined that I would still be wearing this skirt five years after I first sewed it up. It was meant to be a wearable muslin for goodness sake! I still have the draft pieces somewhere, so I should make another version, no?

Happy Birthday TWO you!

Little Miss Cleaver is officially two! And as timing would have it, her birthday fell on Maine Maple Sunday - so it was a BIG day for a big little girl.

We kicked things off with cards and presents from Mom and Dad in the morning. She decided to open the books first, with Nothing Like A Puffin eliciting a demand for Daddy to "Read it." But as great as books are,  it's hard to say what was the bigger hit, her new tool box, or the new playhouse.

Follow my trend of Pinterest-inspired projects, this playhouse tutorial worked out pretty well. Two extra-large moving boxes from U-Haul, one roll of colored duck tape and about 40 minutes of cutting and taping, produced what can only be called a new favorite hangout. I wanted it to be big enough for her to stand up in and this just barely made it. It's a tight squeeze when I'm asked to go in, but it's a perfect fit for her.

As we have for the past few years, we drove up to Sebago for a pancake breakfast at the town hall and then a quick jaunt to Grandpa Joe's Sugar Shack for the warm syrup on ice cream and sugaring demonstrations. It's always cold on Maine Maple Sunday, but this year it was really cold, so we spent most of our time huddling by the evaporator. And since it hasn't really warmed up yet, there wasn't much sap to boil, and we picked up the last pint of syrup they had (sorry everyone else!).

If we weren't sugar-ed and present-ed out from the morning, we had applesauce cake with maple buttercream frosting and more presents with Memere after naptime. LMC's uncle made the stuffed monkey, which is entirely hand-stitched and amazing.

I'm a sucker for traditions and in moments like these, those traditions really bring to the forefront how much LMC has grown and changed since last year and how much I've grown and changed over the many years I've been visiting sugar shacks and eating pancakes. 

When my mother moved out of her house a few years ago, my brother, at my request, tossed 2 milk crates of my journals and sent about 8 years of my scrapbooks from my middle and high school years. I shelved the scrapbooks and have only recently been looking at 1998 a lot, because LMC likes the Winnie the Pooh cover.But looking back at that year, i doubt that girl would have any inkling who and where she'd be now and how she'd be so different in some ways and how very much the same in others. 

With LMC its such a fascinating process as a parent to watch her grow and become more independent and opinionated and more herself and to wonder, which of these things will stick and what will change? Will she always love fixing things or will it go away along with the preference for pink socks? Or will the pink socks be a signature style? I can only hope that as a parent, I give her the room and support to explore and find out for herself.

I've packed away the birthday crown for another year, but I look forward to seeing who LMC will be when she wears it again.


Design Diary: Lady Heartrose - Grading and Calculations

Design Spreadsheet by Ms. Cleaver

I've always considered one of my greatest strengths to be the fact that I'm pretty much equally right-brained/left-brained, analytic/artistic, or concrete/creative. 

While it makes me a great utility player, this dichotomy has it pros and cons. When I worked in a primarily creative environment, the highly creative folks pushed me into more administrative positions, but now that I work with primarily analytic people I get to do all the fun wacky creative things. It's been much more rare to find something that scratches both those itches, however.

And then I met knitwear design...

Textiles and drawing and geometry and Excel spreadsheets! When I design a sweater, I get to do it all.

As many designers will tell you, making something in one size is easy (especially if it's your size), making it work across 8-10 sizes? That's the difficult part and the reason why you'll see so many free patterns that are one-size only.  

Grading can be terribly time consuming, but I derive genuine pleasure from a well-designed Excel spreadsheet.At it's most basic, the spreadsheets take the body measurements and translate them to stitch counts based on my swatch, but after 5 years of designing, my template sheets have gotten increasingly complex and sophisticated and I'm pretty pleased with my latest iteration.

My sizing is all based on ASTM International Standards for Body Measurements (from a few years ago), which gives me more confidence in my sizing than when I was mushing it together from various sources.My current version also shows ALL my calculations (See the screenshot for an example), as well as regular confirmations that I'm still on stitch count and within my desiring sizing.

It helps me make sure I'm not missing anything and is a helpful bit of information to have on hand for tech editors and pattern support requests, especially when the latter comes months or years after I released a design. 

At this point is also when I lock down the nitty-gritty of the design details - width of the button band, depth of the ribbing at the sleeves/hem etc. My highly scientific method for determining these? Holding my index finger and thumb apart to what looks like a good width/depth and measuring the space with a ruler, making sure it looks relatively proportional to my sketch. Similarly when it comes to ease, I take a cloth tape measure and myself or a mannequin and see what looks right and matches the sketch. For this pattern, I wanted the hem to be fairly swingy, so there's 7-10 inches of ease at the hips (with the larger amounts at the top of the range). 

 It often feels like overkill to do the full grading before I cast on, but I like my instructions to flow fairly smoothly from one size to the next, so if I have to make a bunch of adjustments to half the sizes, I try to even it out across the size range as much as possible. Of course, that's not to say I won't calculate a portion (like the body) just to be able to cast on - I'm only human after all.

Any questions about the grading process? My favorite Excel formula? The trickiest bit to calculate? Put them in the comments below!

Next up - Sample Knitting!

Little Miss Cleaver had a Farm

Play Barn - Made by Ms. Cleaver

LMC's 2nd birthday is fast approaching on Sunday, but since she doesn't read this blog I can give you a sneak peak of one of the presents I made for her.

Do you make stuff from Pinterest? I know a lot of people that cook from it, but not a lot that actually do projects, per say. It's definitely been the inspiration behind a few things for me, like LMC's first Halloween Costume, and this past Christmas' Advent Calendar.

This gift is really a follow-on to that advent calendar - every since she got all the farm critters in the calendar, she's been playing with them constantly and I thought it would be nice to give them a little home (and if it means less searching for a missing tiny horse or chicken for me, well, that'd be nice too.).

The barn is based on the tutorial from here.

It's a tutorial and not a pattern, so there's a certain portion of the instructions that involve winging it, particularly in respect to cutting out pieces and seam allowances and even then I made a few changes.

  • Pleated the roof portions
  • I cut out and sewed the batting pieces together, rather than the wrap/and tape method - if I were to do it again, I'd just interline the fabric pieces with the batting and save myself a bunch of trouble.
  • I didn't sew the fold lines. They folded fine on their own, I didn't want the thread lines showing and I'm not that worried about the plastic canvas sliding.
  • I did all the applique (by machine) before I sewed the pieces together, and just marked the stitching lines on everything so I didn't put a door where it'd get half cut off.
  • I'd also make the button loops tighter/smaller next time.

For materials I bought some deliciously soft red brushed flannel and the white twill tape for the doors/windows specifically for the project and everything else was leftovers from other garment projects (wool, linen, twill, and corduroy).

I'll note that this is a fairly time-consuming project. It probably took me 3 naptimes to complete. Though that was mostly the applique and getting the pieces cut and arranged, the actual structural assembly went fairly quickly.

My finished product isn't quite as sharp-looking as the tutorial mostly because I was a bit loosey-goosey with the seam allowances, but I think LMC will like it all the same - I certainly enjoyed playing with it to take these photos! And come-on, it's a tiny carry-along barn with a path and pond! It's pretty stinking adorable.

Design Diary: Lady Heartrose - Swatching

Heartrose Swatches by Ms. Cleaver
Heartrose Swatch by Ms. Cleaver

Usually I sketch before I swatch, but in this case, since I worked a little backwards.

The yarn here is Swans Island DK Washable Wool Merino in Malbec. The original child's cardigan was in a hand-dyed fingering weight washable wool from the Woolen Rabbit. For the grown-up version I wanted something with similar properties, but in a slightly larger, more knit-able, scale. For that, the Swans Island was a perfect match, with the Malbec a nice feminine, but grown-up colorway.

[Full disclosure: I had ID'd this as my dream yarn a while back, and then earned access to some  yarn support from Swans Island following the publication of my  Breakwater Pullover].

Unless I know I want a particularly dense or flowy fabric, I generally begin swatching with the needle size indicated on the ball band. The swatches here are done on US 6/4.0 mm and US 7/4.5 mm. I learned to knit on size 7 needles, and as such, I've always had a bit of a soft-spot for them.

While the 7s resulted in a bit looser fabric, the main difference in these swatches is the scale of the cable pattern. The size 6 swatch uses the same cable pattern from the childre's cardigan, while the size 7 swatch doubles the thickness of the rib and cables. 

I gently washed and blocked both swatches (just flattening and not stretching), which is extra important in super-wash yarns, which I've found have a tendency to grow. Then I pinned on various place of my unnamed dress form  to see how it hangs and feels in scale to the body. Unless I'm doing a sample for a publisher, I usually keep the form at my own measurements, which is a 38-39" bust. 

Scale is the key here. If Lady Heartrose was a fall/winter cardigan, I'd go with the thicker version in a heart-beat, but for a spring/summer garment, I want something more delicate, so the thinner cable it is. The size 6 fabric also just looks a bit "cleaner" to me, so size 6 swatch wins overall!

Next up - practical math and complex spreadsheets!!