Grandma Batt's Cinnamon Rolls

Grandma Batt's Cinnamon Rolls
Grandma Batt's Cinnamon Rolls via Ms. Cleaver

My grandmother, former home-ec. teacher and enthusiastic chef and baker, had file of cabinets of recipes,  cabinets of dishes, and an addition built to house a formal dining room. All of which is to say, Grandma loved to entertain and provide food for those she loved.

It is somewhat strange then, that while I have several family recipes I inherited from my Dad, I have only one directly from my Grandmother.

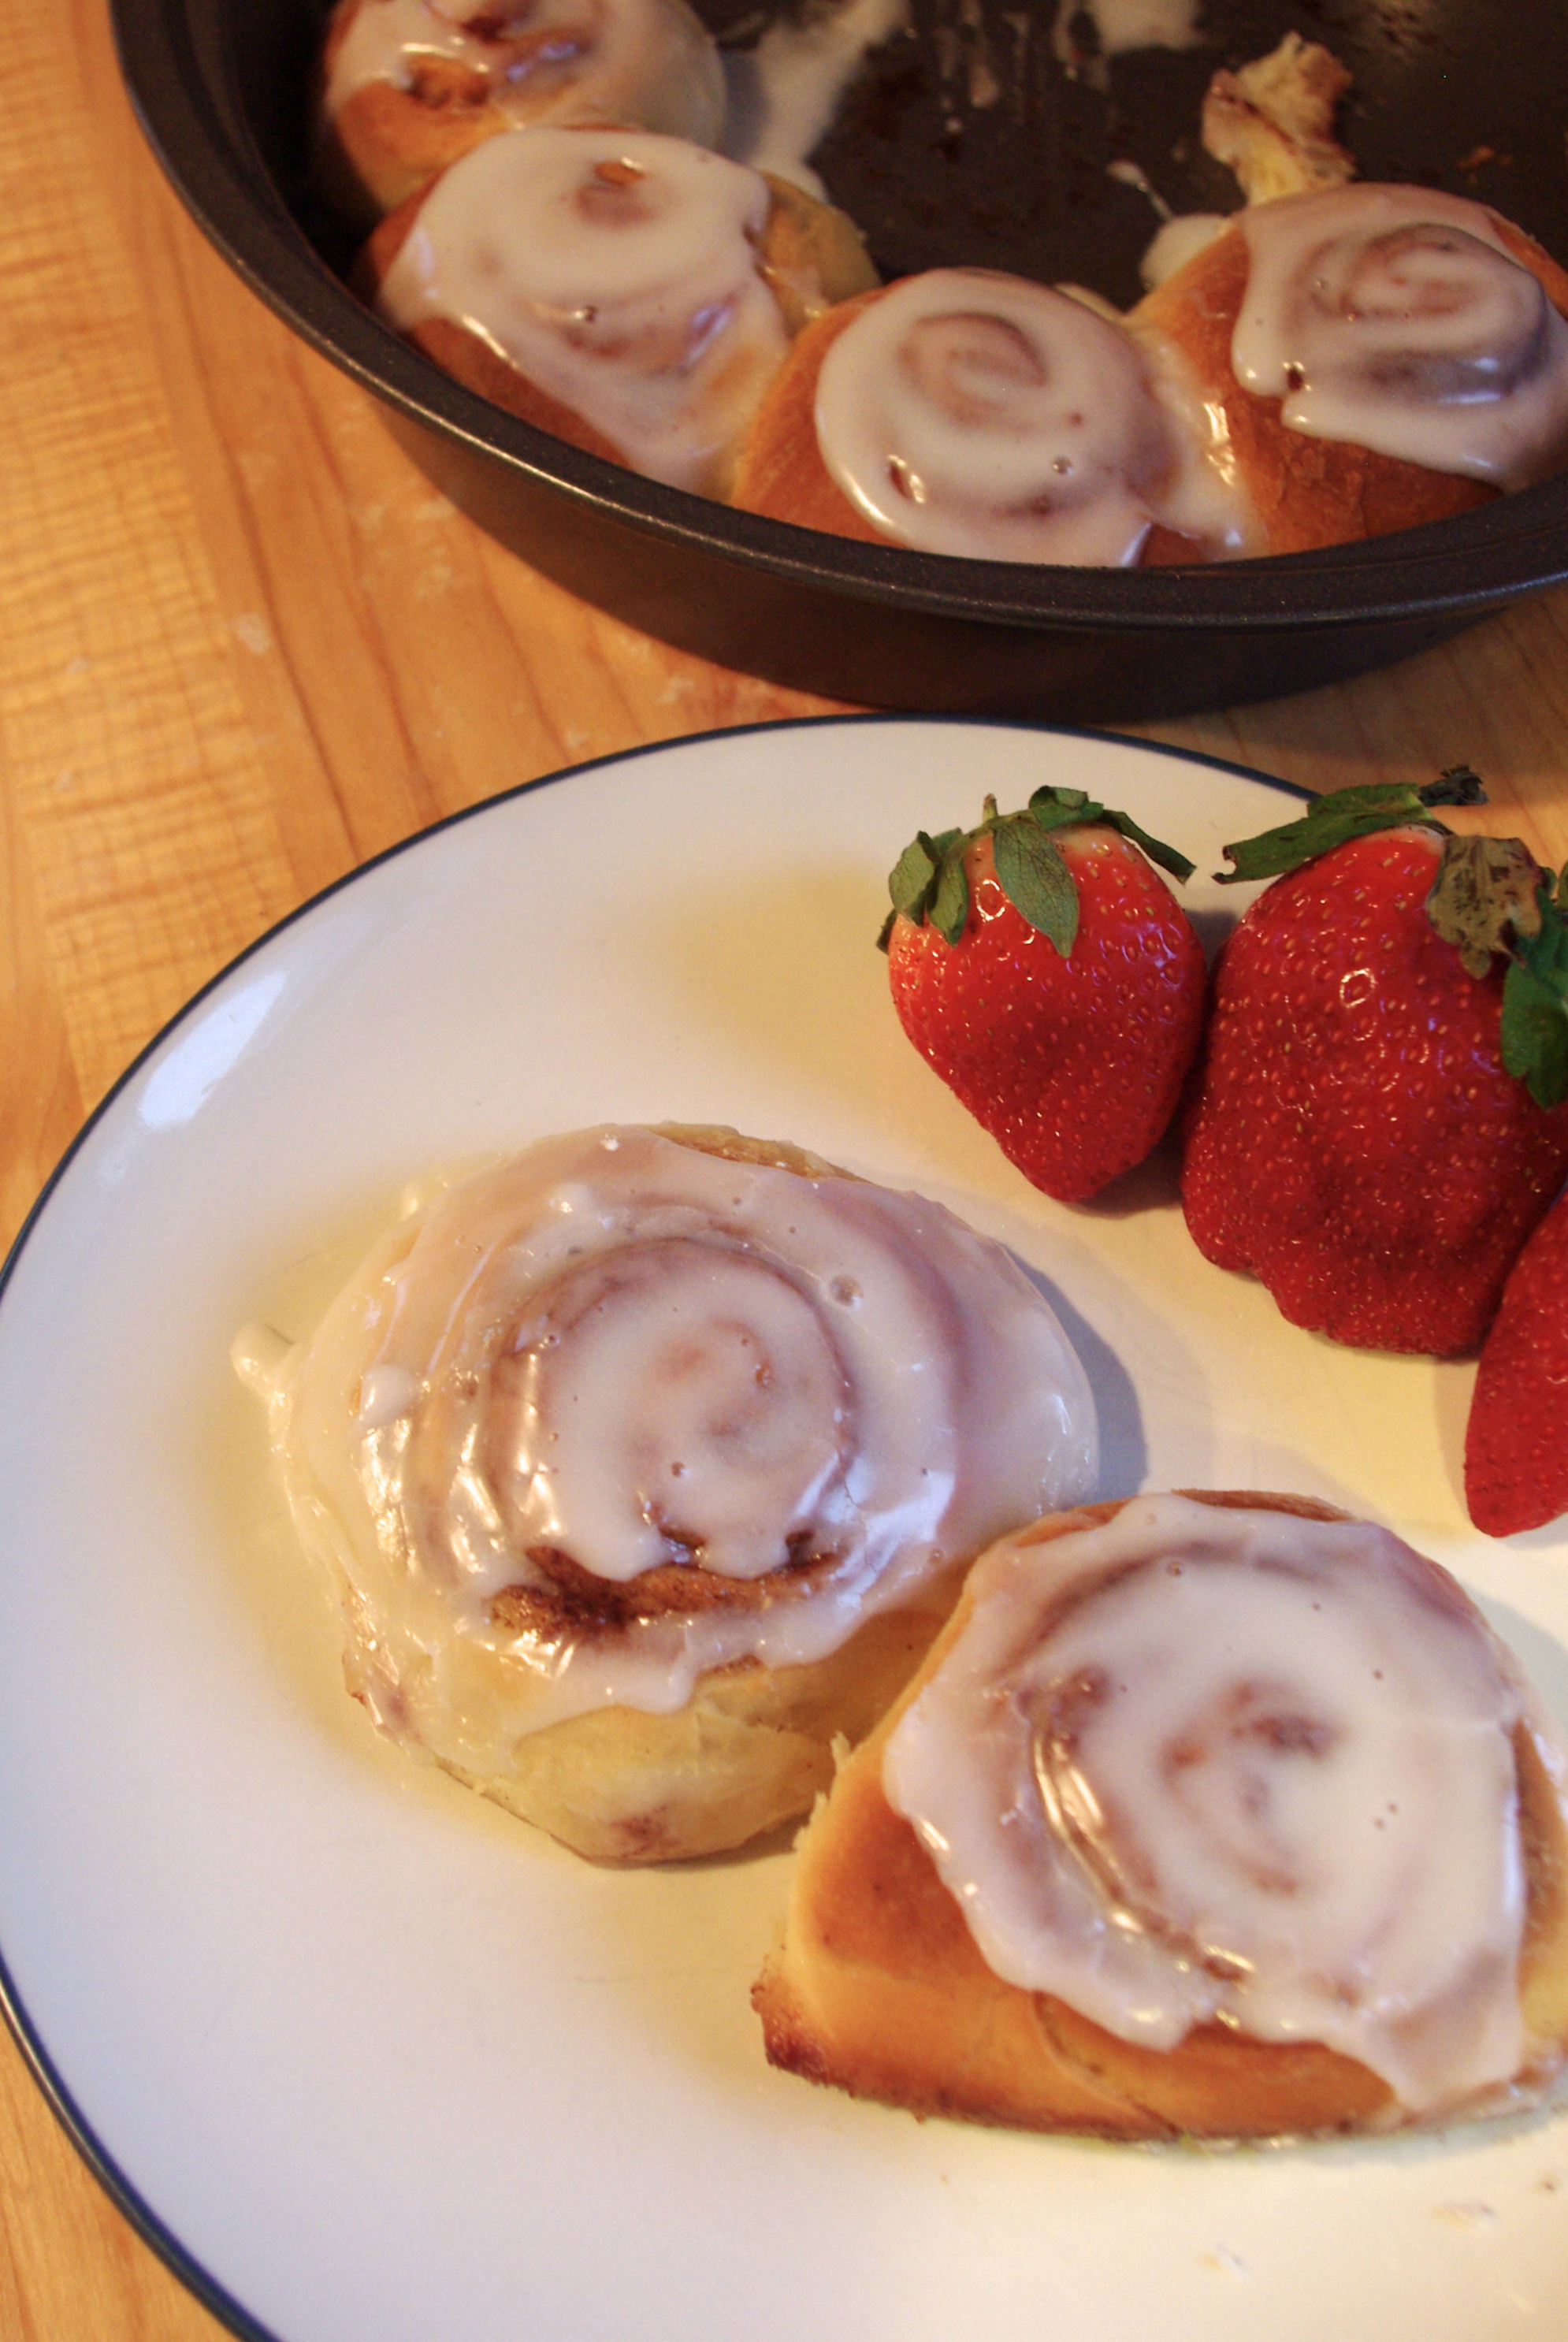
But if I was only going to have one, I'm glad it's this one. There are a handful of dishes that say "Grandma" to me: jello salad, bananas in milk with sugar, oyster stuffing, and these cinnamon rolls.

She would make them in huge batches and freeze them uncooked, then pull them out for company. They were always amazing in my book, so it was the one recipe I requested. The result: a hand-typed recipe card, with a few typos here and there, is a especially precious bit of my baking book.

But for all that, I made the recipe for only the second time this weekend, and I more fully understand the large batch/freezing practice, because with a yeast dough base they literally took all day to complete. Most of it was rising time and very little was hands-on time, but still - not something I'm going to bang out every weekend.

That said, if you have the time, these are well worth the effort for a special meal and way better than those things in a can.

Grandma Batt's Cinnamon Rolls

makes 18 rolls

Sweet Roll Dough

  • 1 pkg active dry yeast
  • 1/4 cup warm (not hot) water
  • 3/4 cup lukewarm milk
  • 1/4 cup sugar
  • 1 tsp. salt
  • 1 egg
  • 1/4 cup shortening or (softened unsalted butter)
  • 3 1/2 to 3 3/4 cups flour

Cinnamon Filling

  • 2 Tablespoons melted butter
  • 1/2 cup sugar
  • 2 tsp. cinnamon

Quick White Icing

  • 1 cup confectioner's/powdered sugar
  • 2 Tablespoons milk
  • Few drops of vanilla extract (optional)

In a bowl, dissolve yeast in water. Add milk, sugar, salt, egg, shortening and half of flour to the yeast. MIx with spoon until smooth. Add enough remaining flour to handle easily.

Turn onto lightly floured board; knead until smooth (5 min.). Round up in greased bowl, bring greased side up. Cover with cloth. Let rise in warm place (85 degrees F) until double, about 1 1/2 hours. PUnch down; let rise again until almost double, about 30 min. Shape.

Roll dough into oblong, 15" x 9". Spread with a the Cinnamon Filling mixture. Roll up tightly, beginning at wide side. Seal well by pinches edges of roll together. Even up roll by stretching slightly. Cut roll into 1" slices. Place in greased 13"x 9" pan or 18 greased muffin cups. Cover and let rise until double, 30 to 40 minutes.

Bake 25 to 30 minutes in 375 degree F oven. Frost while warm with Quick White Icing as desired.

To make icing, shift powdered sugar into bowl...moisten with cream or milk to spreading consistency. Add flavoring.


Print Friendly and PDF Follow
follow us in feedly

5th Annual National Pie Day Pie-Luck & Blackberry Pie with Lemon Streusel

Blackberry Pie with Lemon Streusel
Serving Up Pie
Sweet Pie Sampler
Valentine's Day Cherry Pie
On the needles
Roses and Snow
HandKnitSockLove
Blackberry Pie with Lemon Streusel

For the fifth year in a row, my knitting friend and I gathered at Casa Cleaver to celebrate National Pie Day with lots and lots of pie.

Due to the seemingly never-ending snow and some scheduling conflicts, our group was slightly smaller than usual, but we still managed to have 11 kinds of pie represented. There was a spicy meat pie, lentil shepherds pie, empanadas, cauliflower quiche, chocolate tart with hazelnut crust, nutella/banana, raspberry ribbon, ginger pear, lemon meringue, cherry and blackberry.

Much pie was eaten, much tea was drank, and much knitting was done. We also managed to cover all 70 toes present with hand-knit socks.

I intended to make my traditional cherry cup-pies, but due the lack of tasty ingredients in unbaked pie-dough, my baking assistant started losing interest and I went for simple(r), by making a regular pie and using a heart cookie cutter for the top crust, which would make a great valentine's day dessert, methinks.

I also tried out a new recipe that I've been dreaming of for a while, inspired by my much-beloved Katie Cakes from Chicago. While I'd like to try one at least one more iteration before I'd call it final (adding a bit of cinnamon and clove to berries), it was pretty delicious, so I thought I'd share it here.

Blackberry Pie with Lemon Streusel:

Crust

  • 2 cups flour
  • 1 teaspoon salt
  • 2/3 cup shortening or unsalted butter
  • up to 1/2 cup of cold water

Filling

  • 4 cups blackberries (boysenberries would work great too), fresh or thawed frozen berries
  • 3/4 cup sugar
  • 3 Tablespoons cornstarch

Streusel

  • 1/2 cup flour
  • 1/3 cup granulated sugar
  • 1/2 stick melted butter
  • zest of one lemon

Pre-heat Oven to 350 Degrees F.

Mix together flour and salt for crust. Using knives or a pastry cutter, cut in shortening until mixture resembles course meal. Add cold water a small amount at a time, until dough holds together. Separate into two equal-sized balls. Flatten balls into discs and wrap separately in plastic wrap and place in fridge for about 30 minutes, or at a minimum, while filling and streusel is prepared.

Mix together filling ingredidents and set aside.

Mix together streusel ingredients in a small bowl and set aside.

Roll out chilled dough for bottom of pan. Insert pie filling. Roll out dough for top of pan, making a lattice structure is recommended.

Sprinkle streusel on top. It seems like a lot of streusel, but I'd recommend using it all as the pie expands slightly while baking.

Put in oven and bake for 1 hour, or until pie bubbles. Briefly broil top to brown if needed.


Print Friendly and PDF Follow
follow us in feedly

Raspberry Picking and Pie

Picking Raspberries
Down the Path
Picking Raspberries
Picking Raspberries
Picking Raspberries
Snell Family Farm
Picking Raspberries
Checking for More
Tasting the Bounty
Picking Raspberries
Raspberry Pie
Raspberry Pie
Untitled
Raspberry Pie and Ice Cream
Eating Pie

What can I say? I love pick your own (PYO) farm adventures!

Last week at the farmer's market we discovered that Snell Family Farm did PYO raspberries (they do apples too). So on a sunny Saturday morning Mr. Cleaver, LMC and I loaded up the wagon (no pets allowed, unfortunately) and took the short drive out to Buxton/Bar Mills.

We had a fabulous picking experience. The raspberry fields are orderly and the picking rows are wide, so you don't have to worry about backing into thorns/stepping on fruit. There were plenty of ripe berries on the bushes, mostly down low, which meant that LMC could pick berries on her own (though she doesn't quite get the concept of ripe/not ripe yet).

I highly recommend bringing a picking assistant- twice the picking, half the fruit! I'm pretty sure LMC ate at least 1/2 pint of raspberries while we were picking, but as the kind cashier said, "I didn't weight her when she came in, I'm not weighing her on the way out." (We gave them some extra cash anyhow).  We were also able to pick up some carrots and green beans from the farm stand and they have huge greenhouses full of flowers. So if you're in the mood for picking fruit, I'd highly recommend our Snell experience.

Also, can I say that Mr. Cleaver did an awesome job as field-trip photographer? With the exception of the pie close-ups, he took all of these. And he says he doesn't know how to use my camera- ha!

We ended up with two full quarts of berries, half of which we're in the process of eating fresh and the other half made their way into a raspberry pie. While LMC has assisted in the baking portion before, this was her first slice of pie, of which she left no crumb uneaten, so I think I'm safe to say she liked it.

LMC-Approved Raspberry Pie

Preheat oven to 375 °F

Crust

  • 2 cups flour, plus more for rolling surface/rolling pin
  • 1 tsp salt
  • 2/3 cup shortening
  • 1/4 cup very cold water
  • Small amount of milk
  • Small amount of sugar

Mix together flour and salt then “cut in” shortening with a pastry cutter or knives.

Add up to 1/4 cup of very cold water a few Tablespoons at a time, until dough holds together.  Form into two equal-sized balls of dough and wrap in plastic wrap. Chill in the refrigerator (at least while you make the filling, preferably at least an hour). Flour working surface and roll out crusts, using half the dough for each. Makes one top and one bottom crust for a 9″ pie tin.

Filling

  • 4 cups fresh (or thawed frozen) raspberries
  • 3 Tbl cornstarch
  • 2/3 - 3/4 cup of sugar (to taste, based on the sweetness of your fruit)

Mix filling ingredients together, trying not to smush the berries too much.

Place lower crust into a 9-inch pie pan and pour in filling. Use a small amount of milk or water around the edge of the lower crust to help seal.  Cut vents in top crust and place over filling, cut off overhanging crust (save them for cinnaminninies!) and crimp the edges to the lower crust to seal.  Brush top crust with milk and sprinkle with a light dusting of cane sugar.

Place in center of oven and bake for approximately 55 minutes, or until filling bubbles and crust is golden brown. If needed, cover the edges of the crust with tinfoil during the final stages of baking to prevent scorching.

Cool on the windowsill of your choice (nothing burns like hot fruit!) and enjoy with ice cream.

Print Friendly and PDF Follow
follow us in feedly

A Few Notes on Cup-pies

Cup-pies

At a friend's request, here are a few tips on making cup-pies.

  • I'm generally able to get 10 cup-pies out of one regular pie's worth of crust and filling.
  • For the bottom crust I cut a 4-inch circle, and used a 3-inch biscuit cutter for the top.
  • The thicker the bottom crust, the easier it will be to pop them out of the cupcake tin.
  • There's no need to grease or line the cupcake tins at all.
  • I probably overfilled these a bit as they leaked a bit during cooking, so a little under the tin rim is probably best.
  • Don't forget to vent the top!
  • For extra flair, I brushed the tops with milk and then sprinkled them with a bit of granulated sugar.
  • I cook them at 350-375°F for 30 minutes, or until the filling bubbles. For this batch then broiled the tops for about a minute to get them golden brown.
Cup-pies
Cup-pies
Print Friendly and PDF Follow
follow us in feedly