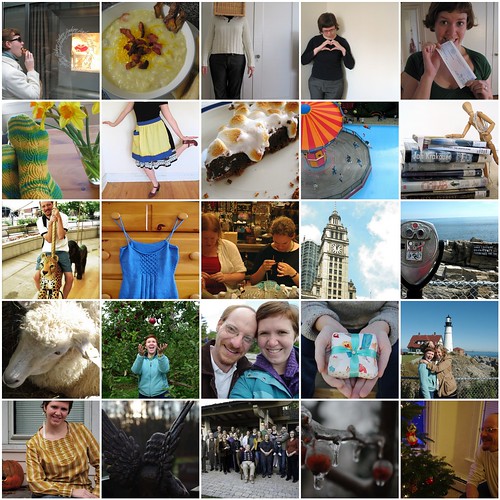
They say a picture is worth a 1,000 words, so consider this 25,000 about 2008.
It's been quite the year and I want to send out a big THANKS to everyone who was a part of it!

Your Custom Text Here
It's been quite the year and I want to send out a big THANKS to everyone who was a part of it!
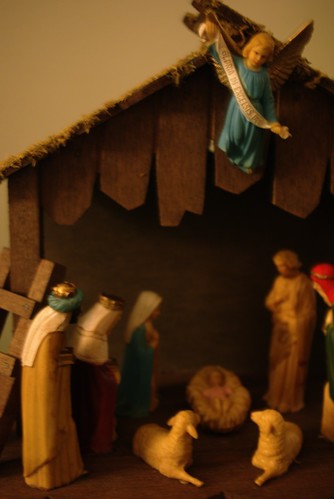
To all my family and friends, a very Merry Christmas.
May it be filled with warmth, cheer, and love.
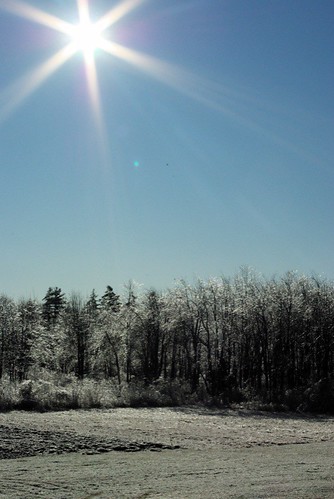
The day was cold and bright.
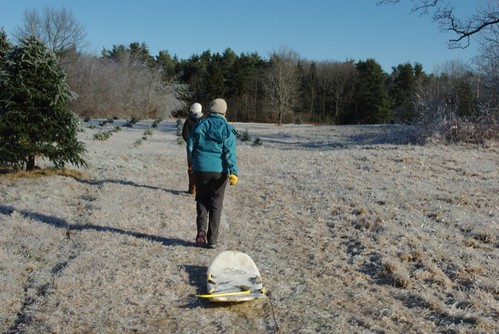
We followed our guide to our chosen tree in Field 2.
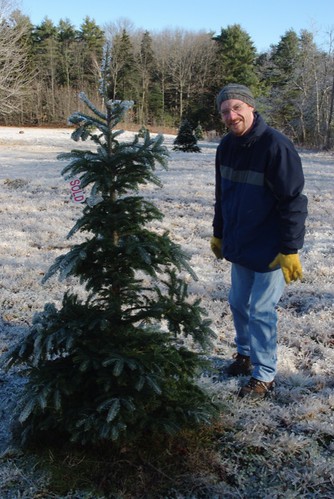
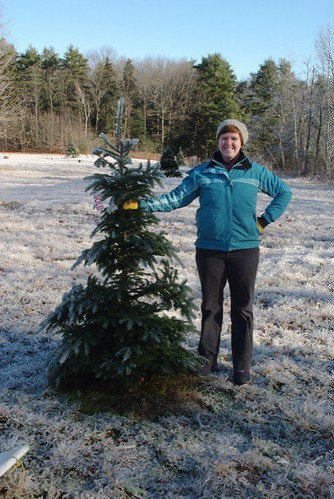
We claim our prize
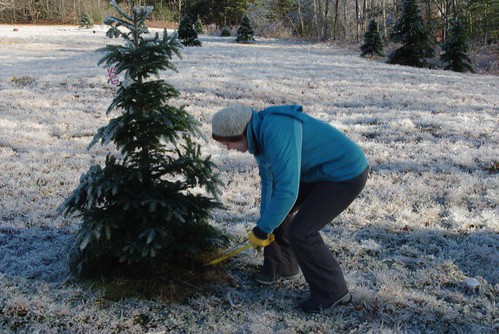
I take the first cut
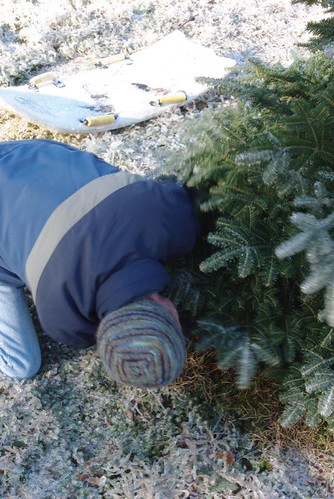
Mr. Cleaver takes a couple swipes of the saw.

The tree is free, though not free of ice!
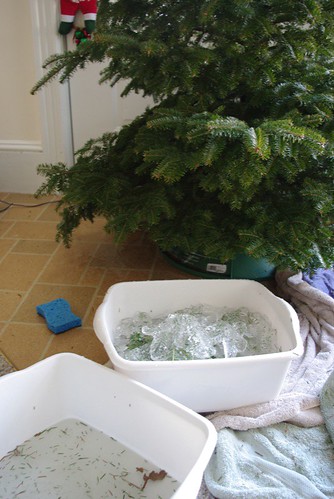
The tree is thawed. A lot of ice is removed.
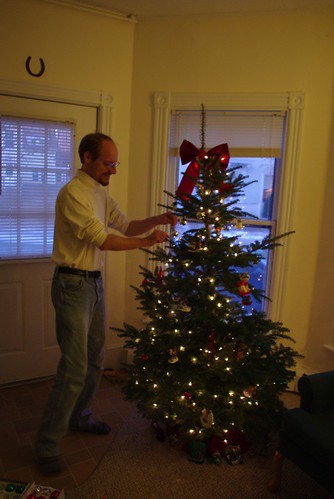
We decorate.
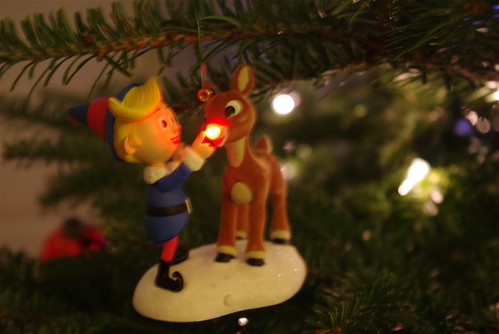
Ornaments are hung.
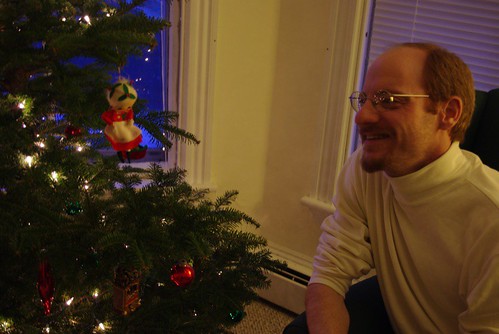
We enjoy!
Our first Christmas tree together!
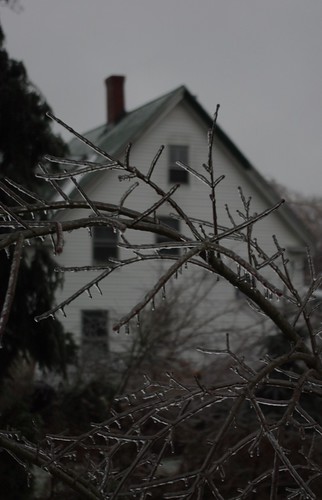
So last night we had a big ice storm: power lines are down, traffic lights are out and the roads are covered in ice and sleet - so I'm taking one of my four snow days today.
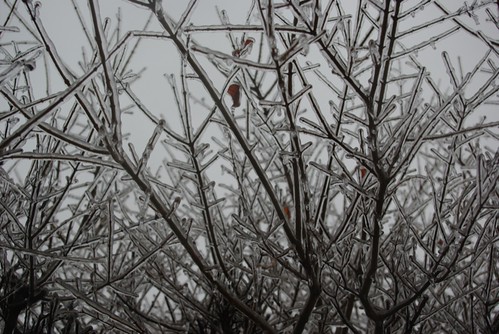
For those of you not from places that get lots of snow and ice, you may wonder how an ice storm differs from a snow storm. Well, the ice storm is generally thought to be more dangerous because everything gets covered and encased in a thick coating of ice. This causes problems for trees and powerlines especially, because the added weight often snaps branches, etc. That said, it's also rather pretty.

Also, I was tagged a little over a week ago by Bitter Betty to list 6 things I'm inspired by right now, so here's goes:
I think I waited all of five hours after getting home from my California adventure before taking out the Christmas Decorations.
I refuse to do Christmas before Thanksgiving, but once it's Christmas time I am all to eager to jump in!
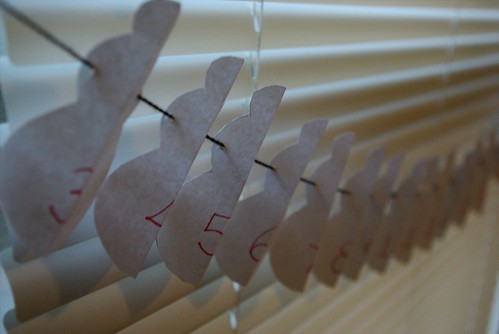
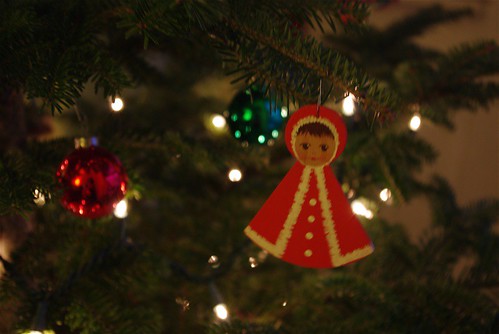
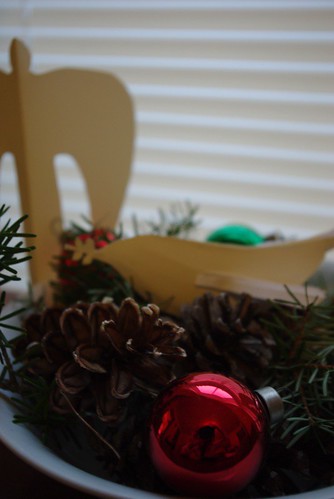
I've got too much going in way of making Christmas presents to get too crazy with the decorations this year, but when I saw this how-to on Design*Sponge, I had to pull out my cardstock and scissors to do some paper crafting.
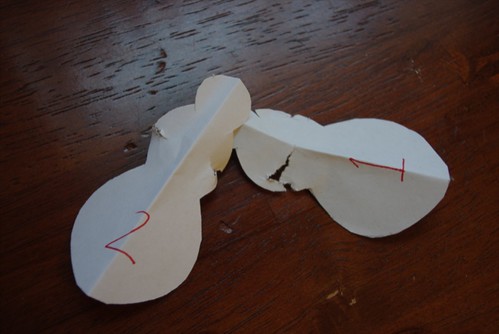
I'm quite please with the results!
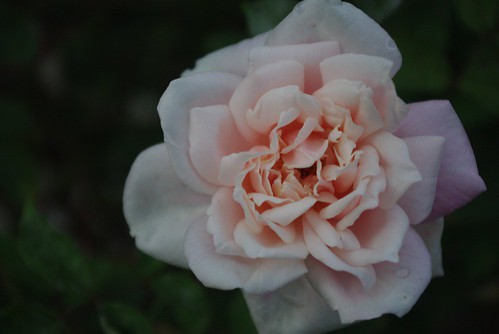
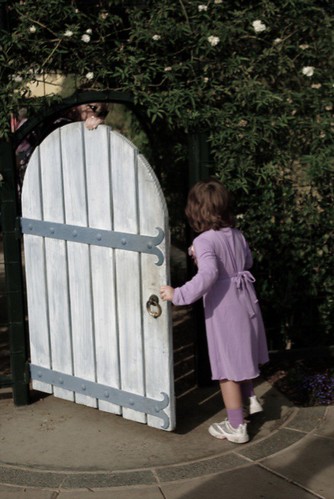
As I mentioned in my last post, I took a couple of field trips while visiting my relatives over Thanksgiving. My brother and his wife took us to the Huntington Gardens, where they're member and gave us the highlights tour. The weather was perfect and the Gardens (and art collection!) are lovely. I'll let the photos speak for themselves.


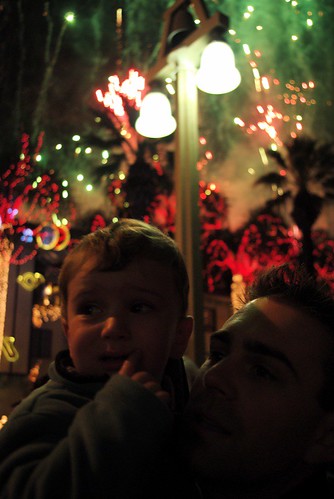
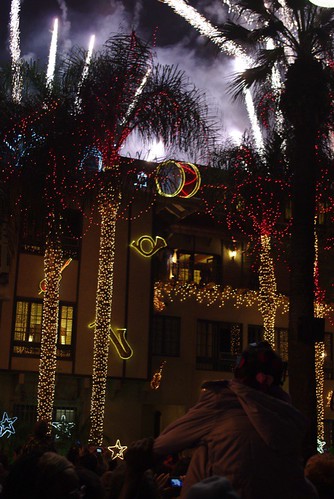
That evening we when to the Festival of Lights at the Mission Inn in Riverside, where I met my quota for palm trees and fireworks:
I made it back to Portland just in time for the first snow of the year.
Just the thing to put you in the Christmas spirit!
So after a week and a half of work at the new job (by the way, I'm working at a Community Development Entity -we're helping people through building business and bringing development to low-income areas - it's very cool), I was allowed to take a day off of work to take a 5:30am flight to Southern California for Thanksgiving.
Yes, the weather was nice (65°F!). Yes, I enjoyed my In-N-Out Burger on the way back from the airport. Yes, the food was excellent. And yes, Mr. Cleaver ran into a cactus. But the best part of the whole trip was this:
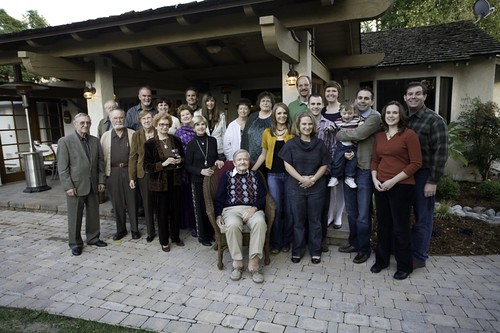
I got to meet my little cousin. I got to learn a three-needle cast off with Jeanine. I got to go through my grandmother's quilt collection. I got felting tips from Zoe Ann. I got to hear about Alexis's wedding plans. I got to talk about living in the Midwest with Ray and got to know my sister-in-law better. I talked photography with my brother and Mr. Cleaver spoke French with my Uncle's mother. I tested the law of probably with my grandpa on the Roulette wheel in the "man room" and walked the Huntington Gardens with mother. I learnt that most of my family reads this blog (Hi Family!) and got to see the lighting of the Mission Inn with all of the population of Riverside.
In a word, my trip was wonderful.
And I couldn't be more grateful.
The day before I started my new job, I sat down at the machine and sewed. In preparation for my soon-to-be-condensed crafty scheduled. I designed, cut and sewing this little project in about an hour (research time not included). This is a new land-speed sewing project record for me.
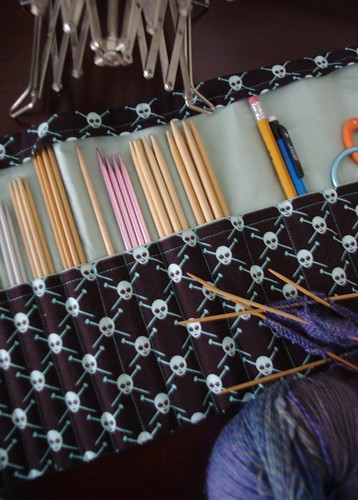
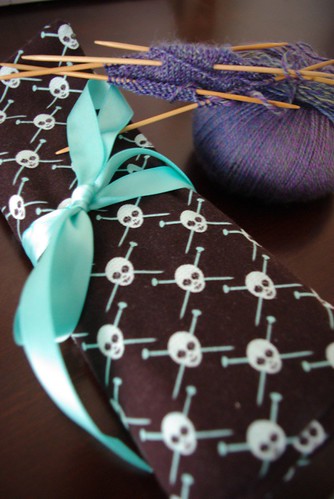
I had picked up a 1/2 yard of this amazing Michael Miller fabric several month ago thinking to make something knitted-related in the future. I wasn't sure what, but with my growing frustration with my growing doubled-pointed needle collection, I knew I had to make a DPN roll.
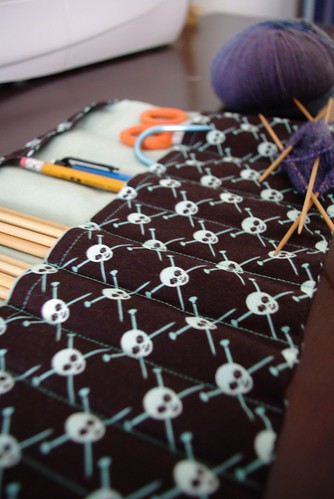
I trolled blogs, etsy, and flickr looking for inspiration and then dumped out all my needles on the bed, pulled out a ruler, made a few guesses and came up with this:
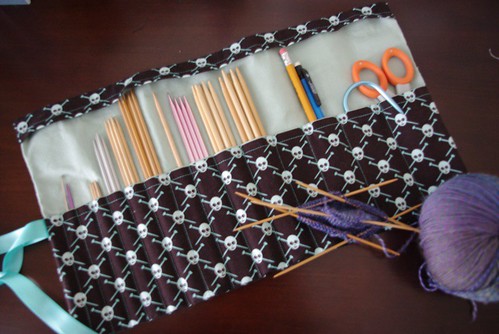
I didn't take pictures while I was making it because it was too dark ad I was speedy along, but here's a somewhat tutorial for the roll.
Materials:
Cut List (all measurements in inches):
Main Fabric
Contrasting Fabric
Interfacing
Directions:
All seam allowances are 1/2". Press after each seam.
(PS - if you have any issues with this tutorial feel free to email me with questions : ms.cleaver(at)gmail.com)

Remember when I used to regularly post recipes on this site? Well it's been a while. Not that I haven't been cooking or baking, I've just been doing a lot of old standards or not photographing. I also like to put original or family recipes, but this one was too good to pass up.
After seeing these cookies on smitten kitchen last week I just had to make them and man are they good - if the pound of chocolate alone doesn't convince you perhaps I can. These are deep and rich and complex - so much so that I, a cookie fiend, can only handle about a cookie and a half at a time. They go brilliantly with a glass of ice cold milk. It is a little hard to find the toffee bars, but it is so worth it.
Chocolate Toffee Cookies from smitten kitchenAdapted from Bon Appetit
Makes around 30-36 cookies
1/2 cup all purpose flour 1 teaspoon baking powder 1/2 teaspoon salt 1 pound bittersweet (not unsweetened) or semisweet chocolate, chopped (if you use good-quality chocolate chips, it saves a little work - as usual my favorite is Ghiradelli) 1/4 cup (1/2 stick) unsalted butter 1 3/4 cups (packed) brown sugar 4 large eggs 1 tablespoon vanilla extract 5 1.4-ounce chocolate-covered English toffee bars (such as Heath or Skor), coarsely chopped 1 cup walnuts, toasted, chopped* Flaky sea salt for sprinkling (optional)*
Combine flour, baking powder and salt in small bowl; whisk to blend. Stir chocolate and butter in a metal bowl set over simmering water or doubled-boiler until melted and smooth. Remove from over water. Cool mixture to lukewarm.
Beat sugar and eggs in bowl until thick, about 5 minutes. Beat in chocolate mixture and vanilla.
Stir in flour mixture, then toffee and nuts. Chill batter until firm, about 45 minutes. Roll the dough into a log 1.5 inches in diameter and chill it. When ready to bake the cookies, cut it into 1/2-inch slices. You can store the dough log in the freezer, wrapped in waxed paper and then two layers of plastic wrap for up to a month, just baking the cookies off as you need. Cookies baked straight from the freezer may need an additional minute or two in the oven, depending on their thickness.
Preheat oven to 350°F. Line 2 large baking sheets with parchment or waxed paper. This is a must - otherwise they will stick like crazy!!
Place sliced cookies on the lined sheet spacing tehm two inches apart. Sprinkle with the salt, if you’re using it. Bake just until tops are dry and cracked but cookies are still soft to touch, about 12 to 15 minutes. Cool on sheets. (Can be made 2 days ahead. Store airtight at room temperature.)
* I didn't bother with toasting the walnuts or the salt, but it may make the cookies even better, so give it a good if you'd like.
I just started my new job on Monday (yay!), but because it's full-time, it may wreck some havoc on my sewing schedule. So this may be the last major garment for a little while, or it may not. I have some skirts I want to do, but some more complex projects may be put on hold.

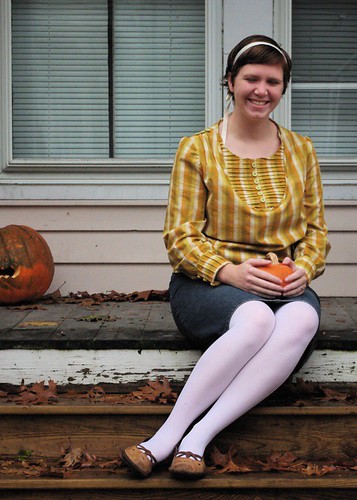
This was one of those pattern-fabric combinations that I wasn't sure if it would turn out a hideous mess or something awesome. I'm pleased to say that I think it falls into the latter category. This is another Burdastyle pattern (what can I say, they're free!), the Jennifer blouse. There are 17 hand-sewn buttons and about 80 pintucks- seriously. There was a lot of detail work on this one, but that's what makes the shirt so lovely in my opinion. And I did a really good job of lining up the plaid, which is an accomplishment in itself.
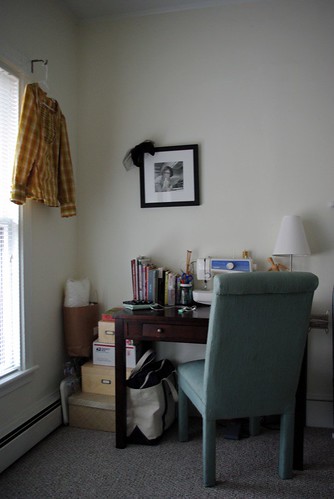
On a related note, I had to take some photos of my sewing area for a project, so I thought I'd share this little snippet of my home with you all.
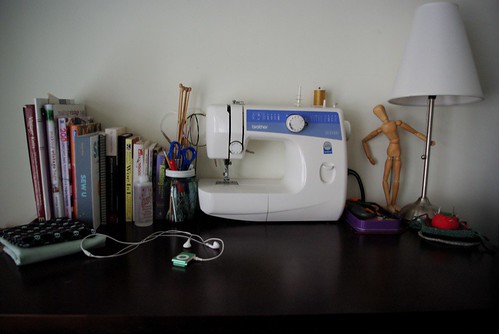
Oh and that stack of fabric on the corner? I'll show you what that turned into a little later this week.