FO: Cascade Duffle Coat

Cascade Duffle Coat sewn by Ms. Cleaver
Pepe's Snowshoes
Pepe's snowshoes
Cascade Duffle Coat sewn by Ms. Cleaver

It's been a weirdly warm, low-snow winter in Maine. So it's probably fitting that after wanting a new winter coat for several years, I finally got around to making myself one in the year I've needed it the least. (For example, it was 51 degrees when I took the majority of these photos)

But I don't mind. I live in Maine, it's gonna get cold again at some point. 

In truth, I love sewing coats. Yes, the materials are more costly. Yes, they usually have a ton of pieces and take a long time to sew (about a month in this case). But I know that I'm going to wear it everyday for months, so it's totally worth it. My Minoru Jacket gets a ton of wear, and this one will too.

When I first saw the Cascade Duffle Coat pattern, I knew it was just the thing I was looking for. I wanted it to look like something a 1950s co-ed would wear on campus and came across this great green plaid at the Dorr Mill Store. Though my plaid matching skills were pretty on point for this project, I wanted to break it up a bit, so I took inspiration from sample on Grainline's website and did a contrasting black yoke and put my pockets and zipper covers on the bias.

I used the contrast fabric for my zipper bands, which was the one thing I wouldn't recommend. The six layers of thick wool fabric was almost (but not quite!) too much for my machine to handle. It was touch and go there for a while, but we pulled through. :)

I also did my first leather sewing on this project, as I made my own toggles, which was super easy and I would recommend over buying some.

In another, "don't make my mistakes" moment, I was a little lax on finishing the seams of my lining since there weren't visible, which meant after about a week of wearing, I had to turn the whole thing wrong side out again and re-finish them, because the more delicate fibers stuck to the wool like velcro and started to shred. I think I fixed everything all right (time will tell), but it would have been easier to do it right the first time.

All in all, it's super cozy and will definitely stand up to a more normal Maine Winter.


Print Friendly and PDF Follow
follow us in feedly

The Art of Being a Goldfish - or sewing from my stash

2011

2011

2015

2015

The Stash. Every crafter has one, it may be big or small, but chances are, if you make stuff, you probably have a healthy collection of material/yarn/wood/whatever waiting to be made into something.

It was a point of pride for me in my early knitting days that my entire yarn stash fit into one medium-sized basket.  Similarly, my fabric collection was in a few boxes. I was living in an apartment with one closet and sewing in my bedroom. Then we bought a house, and I got every crafter's dream. A whole room, just for making stuff. 

And I goldfished it. I grew to size of my bowl. And I goldfished bad. 

Now, I have legitimate reasons for some of it. The basket that used to hold my entire yarn stash is now dedicated to skeins of sample yarn and leftovers from a single company. My design work makes that basket of yarn necessary. 

But most of it? Most of it (fabric and yarn) is something I bought or saved either with a specific project in mind (most often), or because it was pretty and I was at a festival/on vacation/in a new shop (fairly often), or because it was really cheap and/or gifted to me (sometimes).

I have a big bag of old t-shirts waiting to be cut up and crocheted into rugs. I have two bags of scraps waiting to be stuffed into a footstool. I have the fabric for that footstool. I've got bins and boxes of half-skeins of yarn and scraps of fabric with no discernible purpose. Then I've got the sweater quantities waiting to be a sweater, and enough uncut fabric for a dress.

And... you get it. It's a lot. 

Now don't get me wrong, there's nothing specifically wrong with a stash. Mine is often very useful to me. I've been able to make last minute projects and gifts because I had that fat quarter and zipper on hand, or could swatch something for a submission deadline I nearly missed because I had some suitable yarn in a bin. We needed some new potholders (because after a decade, they stop working quite as well) and I made some up out of the leftovers of two coats and an apron and didn't need to buy a thing. 

But I've been reading The Craft Sessions Stash Less series, and it got me thinking.

So I poked through my bins and boxes over the last few weeks, trying to find a place to put leftover fabric from the coat I just finished, and I was astonished at the amount of stuff I forgot I had. And it was really good stuff (thanks Past Me, for having good taste) and it was perfect for patterns I already owned and wanted to make (right amount of yardage and linings and everything!). 

At the same time, I wanted to sew some leggings for LMC and had nothing suitable on hand. It was either too small a piece or not the right color (so much plain blue, when I have a pink/purple/print loving girl) So I stenciled up some stars in the hopes it might be of interest and no dice. Meanwhile, I had bought tons of cute cotton prints to make into dresses for her, and I've learned that she just doesn't really like wearing wovens (or dresses). 

So in some ways, my stash is serving me very well. And in other ways, it's a big dud. 

In any case, it's taking up too much space in my room and my brain. 

So I'm going to work on it.  My first goal is to get it to a place where it fits in the containers I currently own (with the lids actually closing). I actually like the vast majority of what I've got, so the plan is to use it. My second step is to take a long hard look at the leftovers I've been saving for "someday" projects and try to be realistic with myself (gulp!).  

I'm not planning on any of kind fabric/yarn "diet" and, in fact, just ordered some new fabric in the mail for a birthday present I'm working on for LMC. But at a minimum, I'm going to check to see if I've got anything suitable to use first.

So, what about you? Anyone else guilty of being a goldfish? 


Print Friendly and PDF Follow
follow us in feedly
In , , Tags

Big Projects, Little Projects, WIPs, and FOs


I've gotten really bad at sharing my projects here. I've been posting WIP photos on Instagram pretty regularly, but then I forget I haven't put them here, and months go by and here we are.

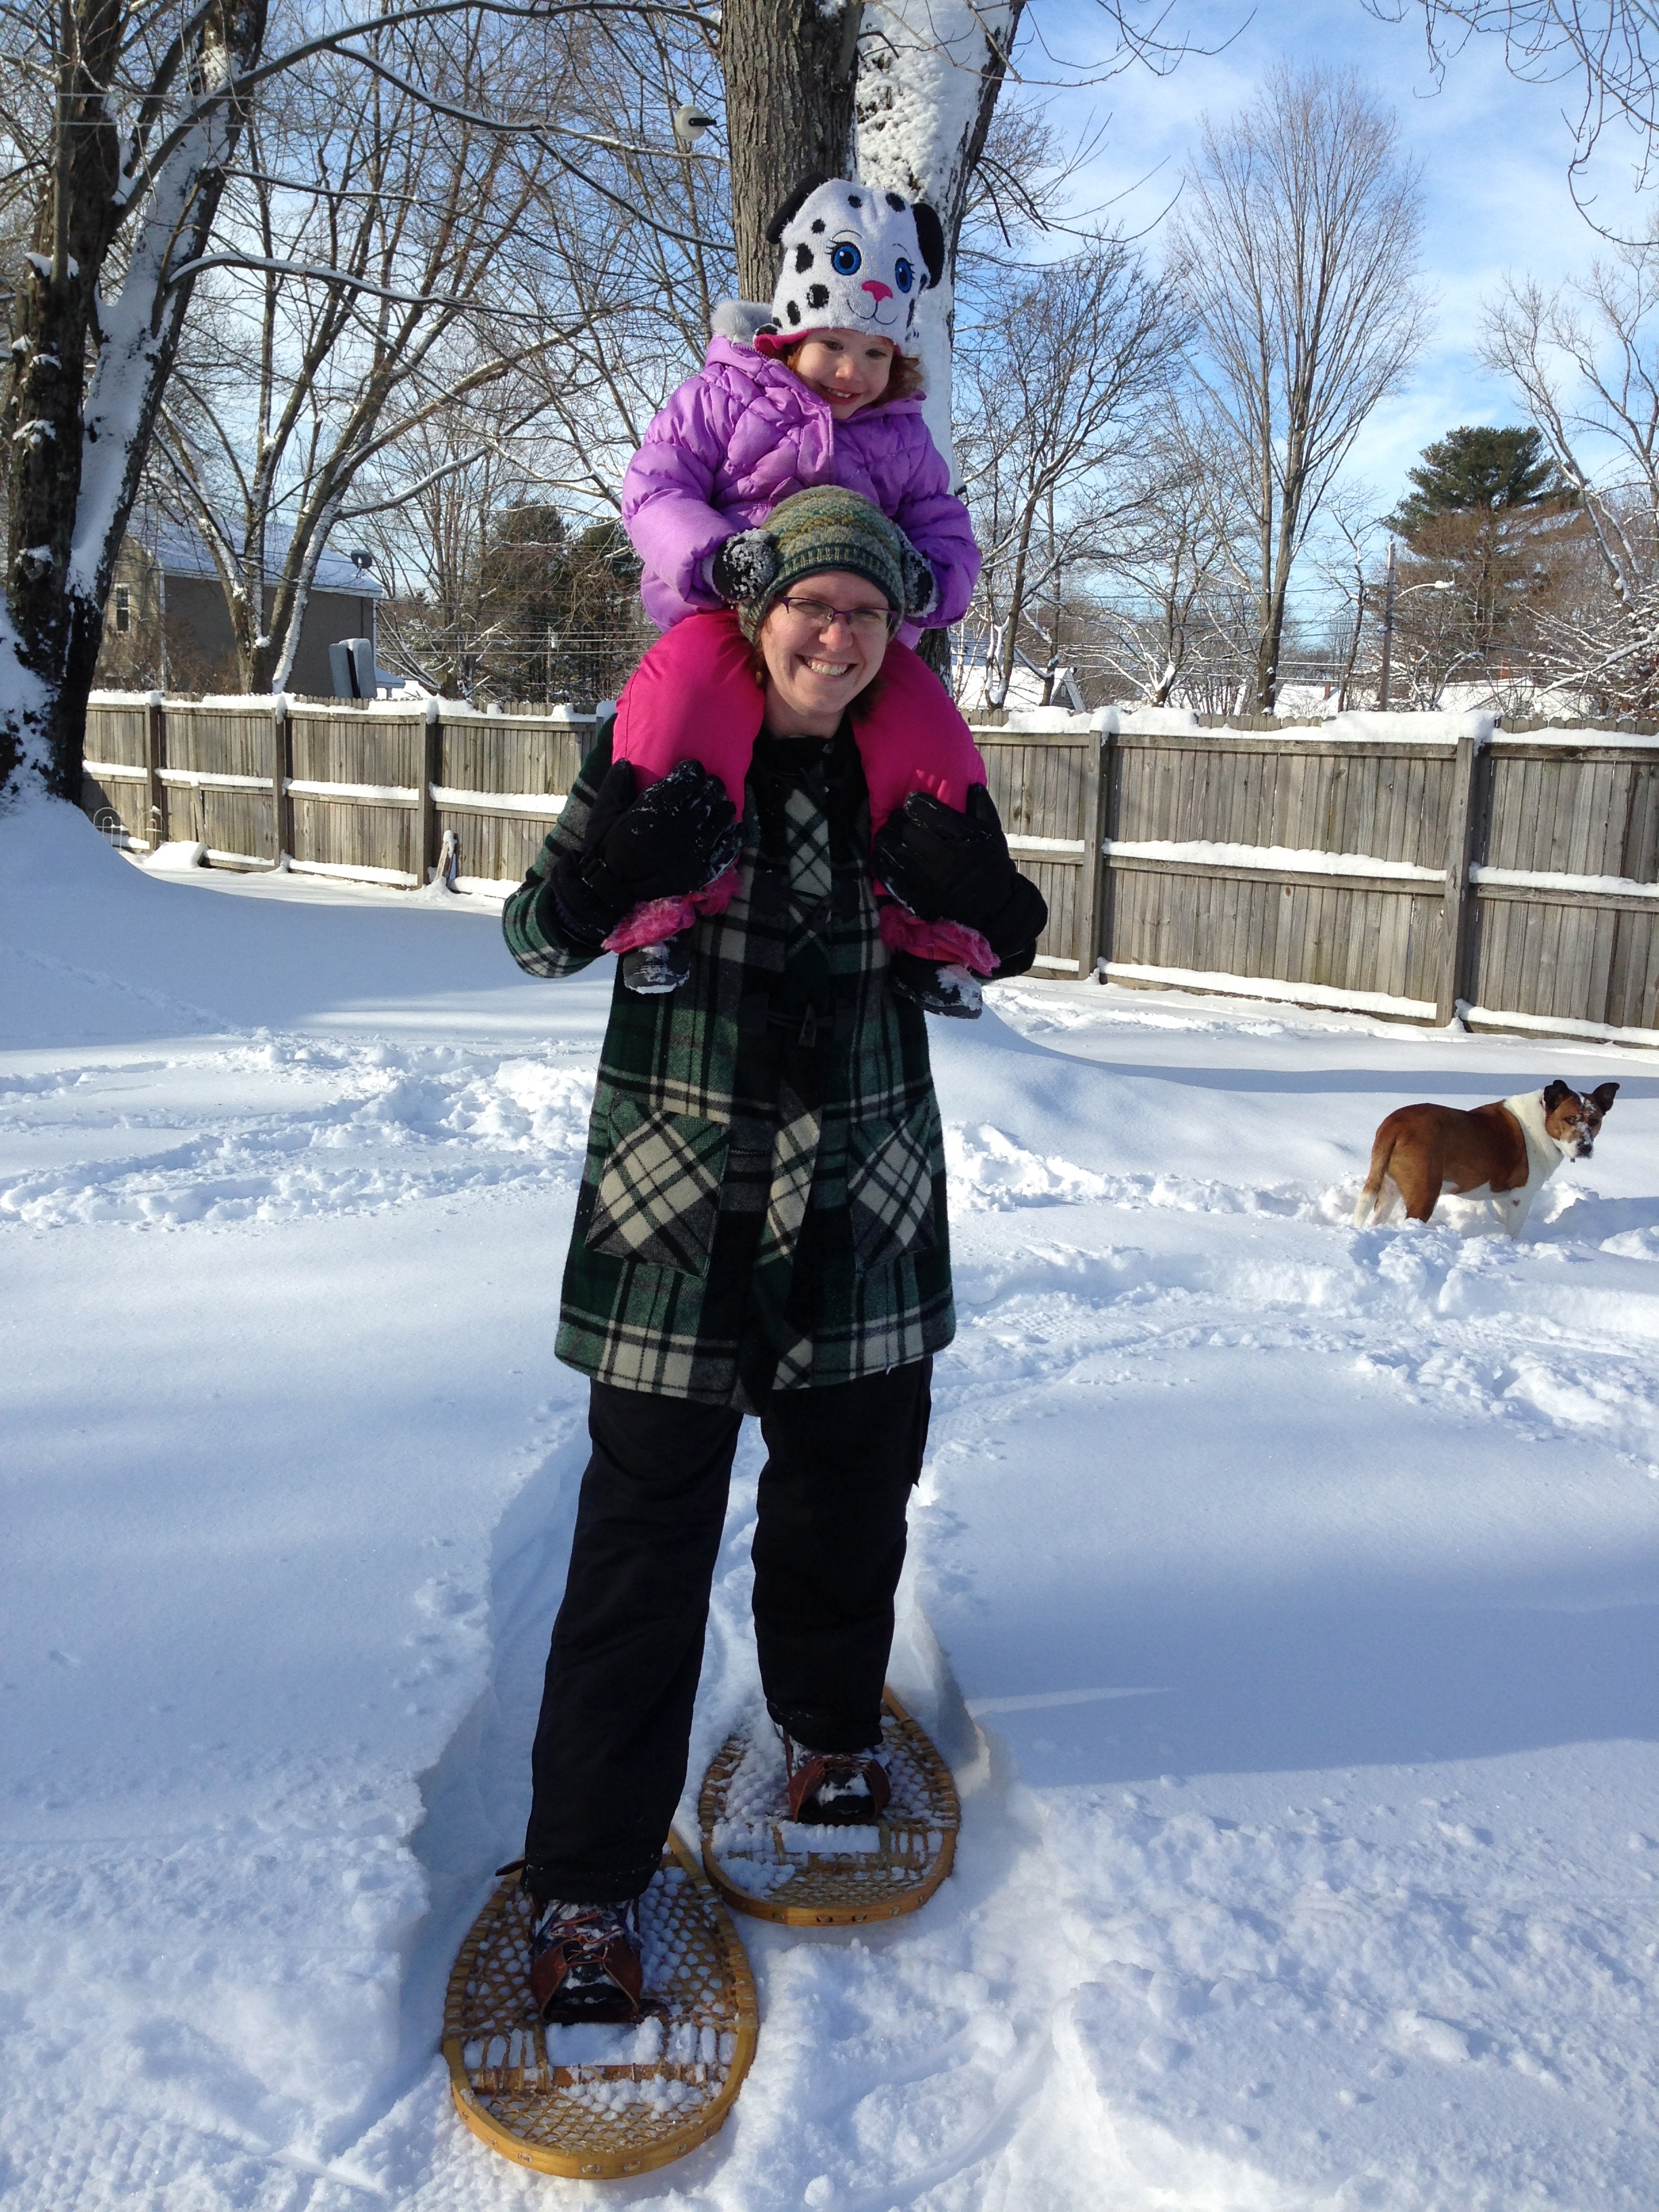
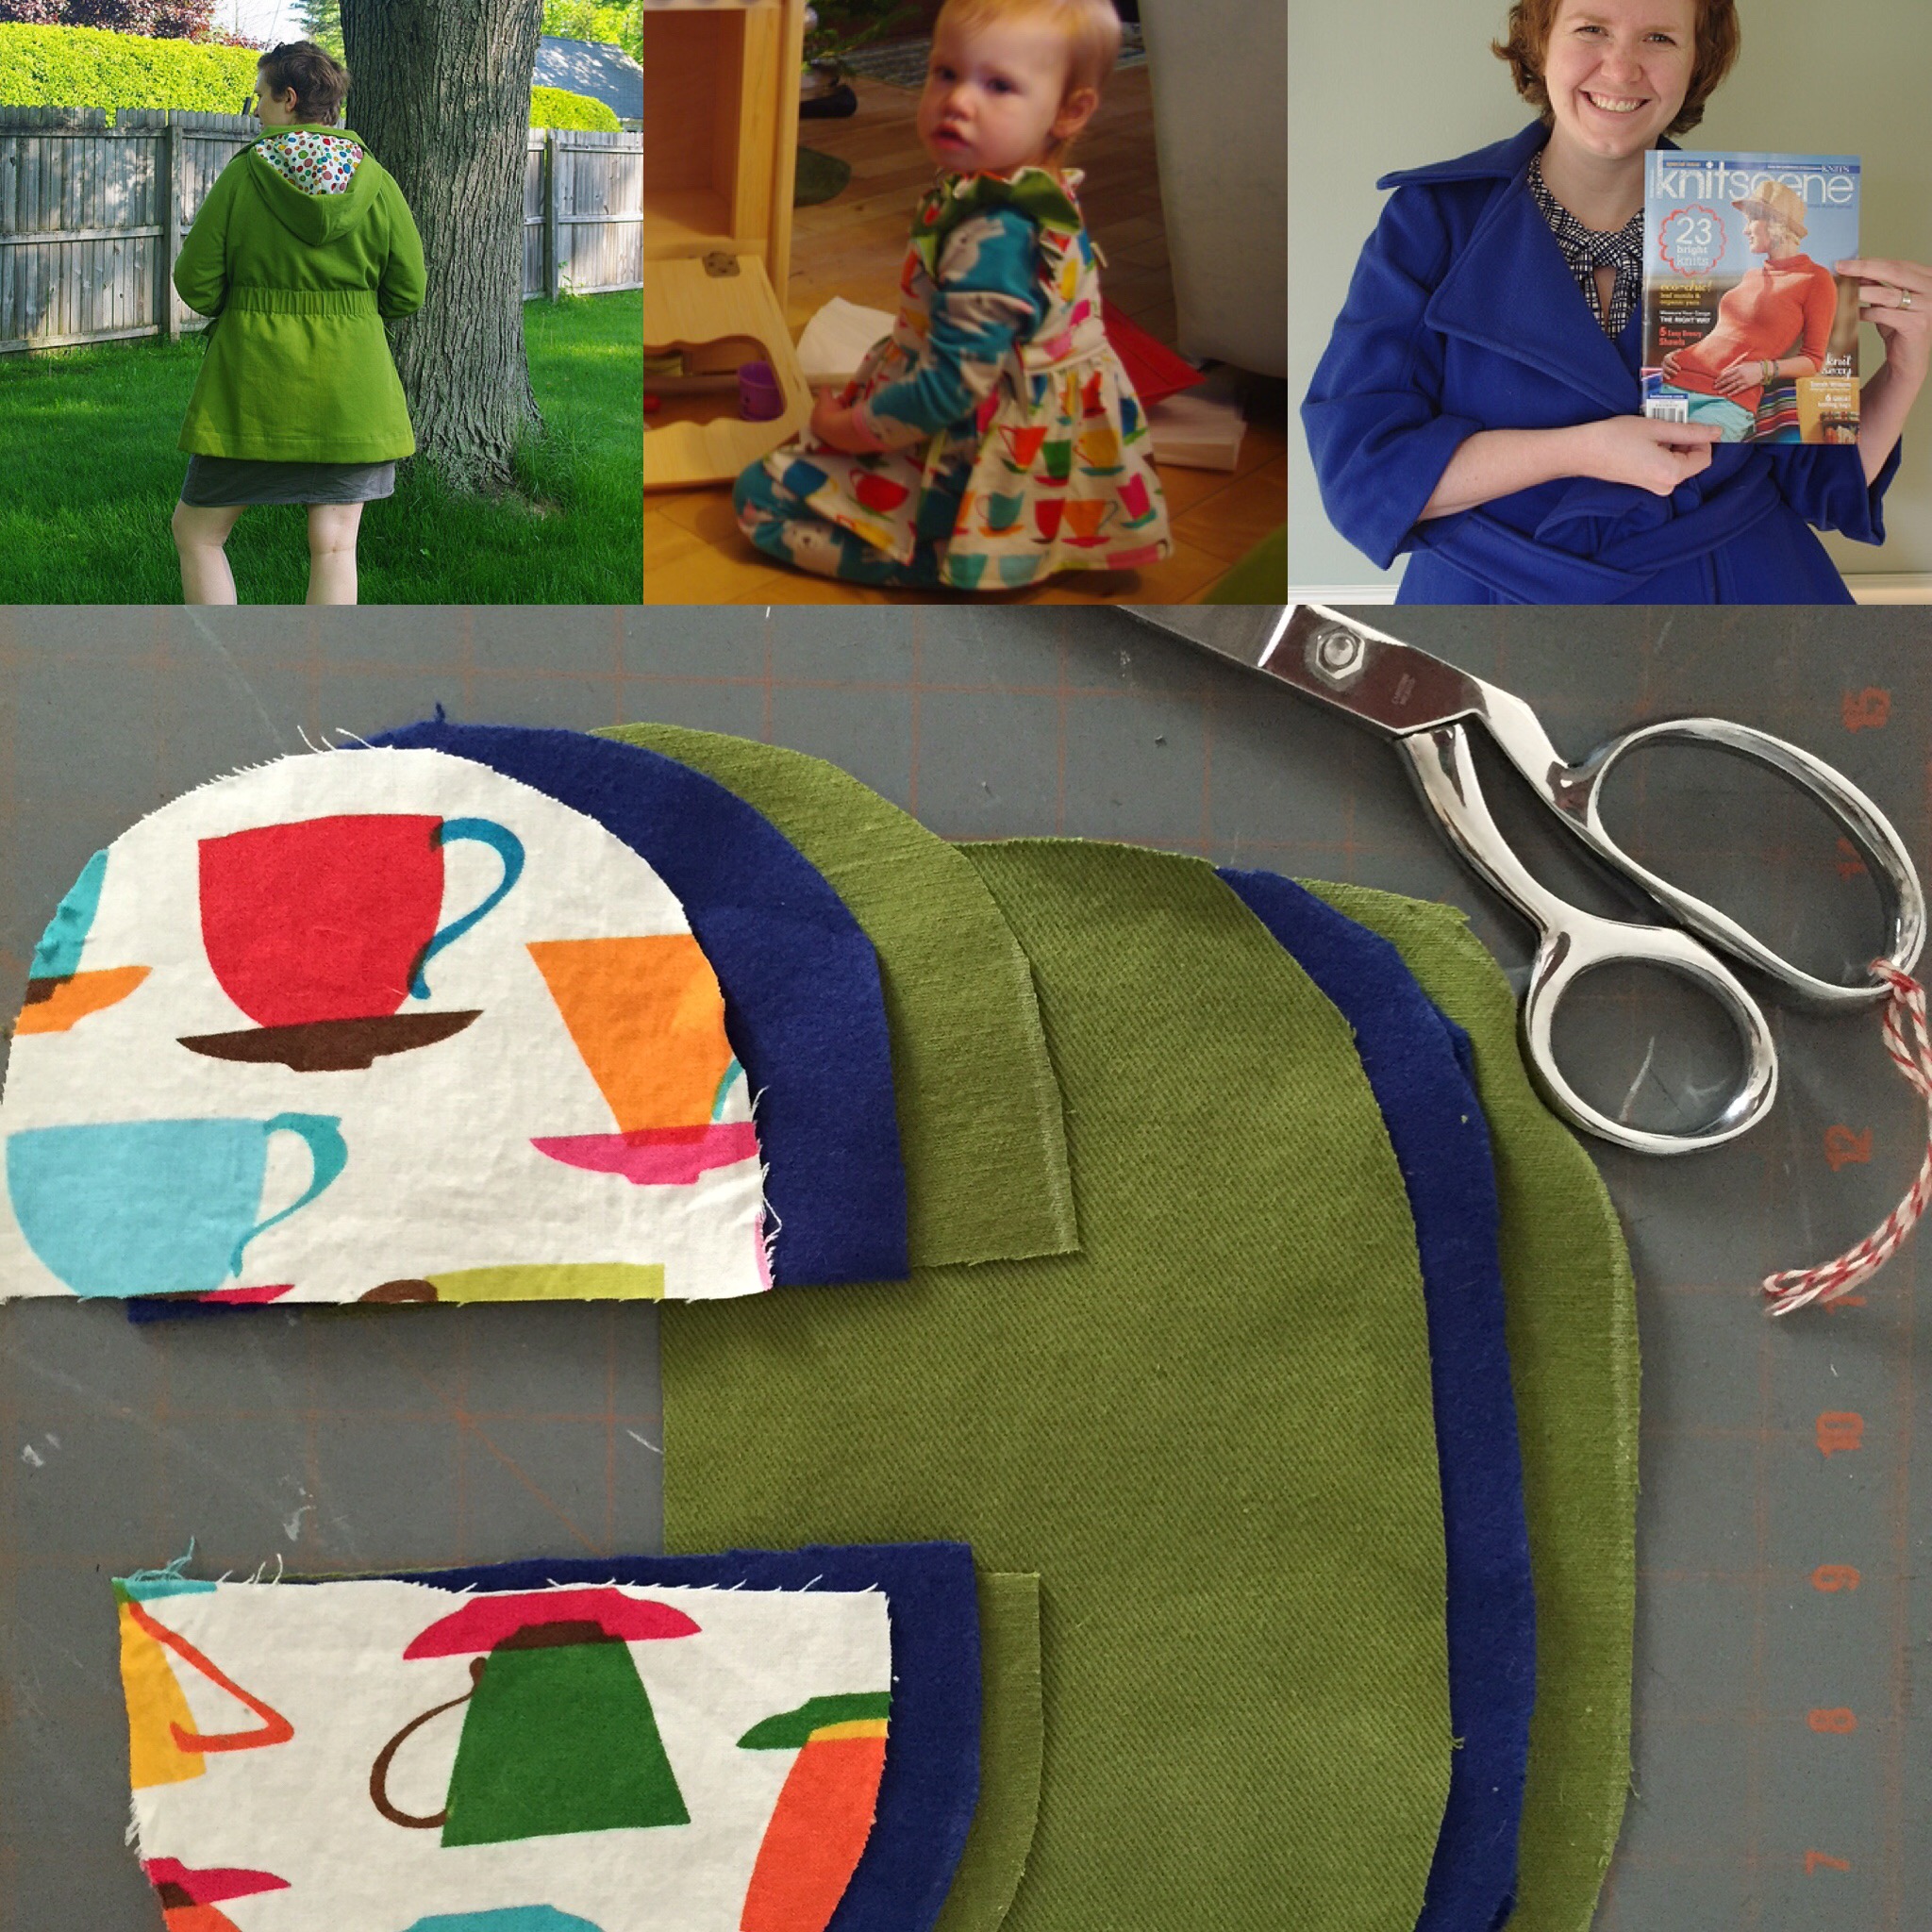
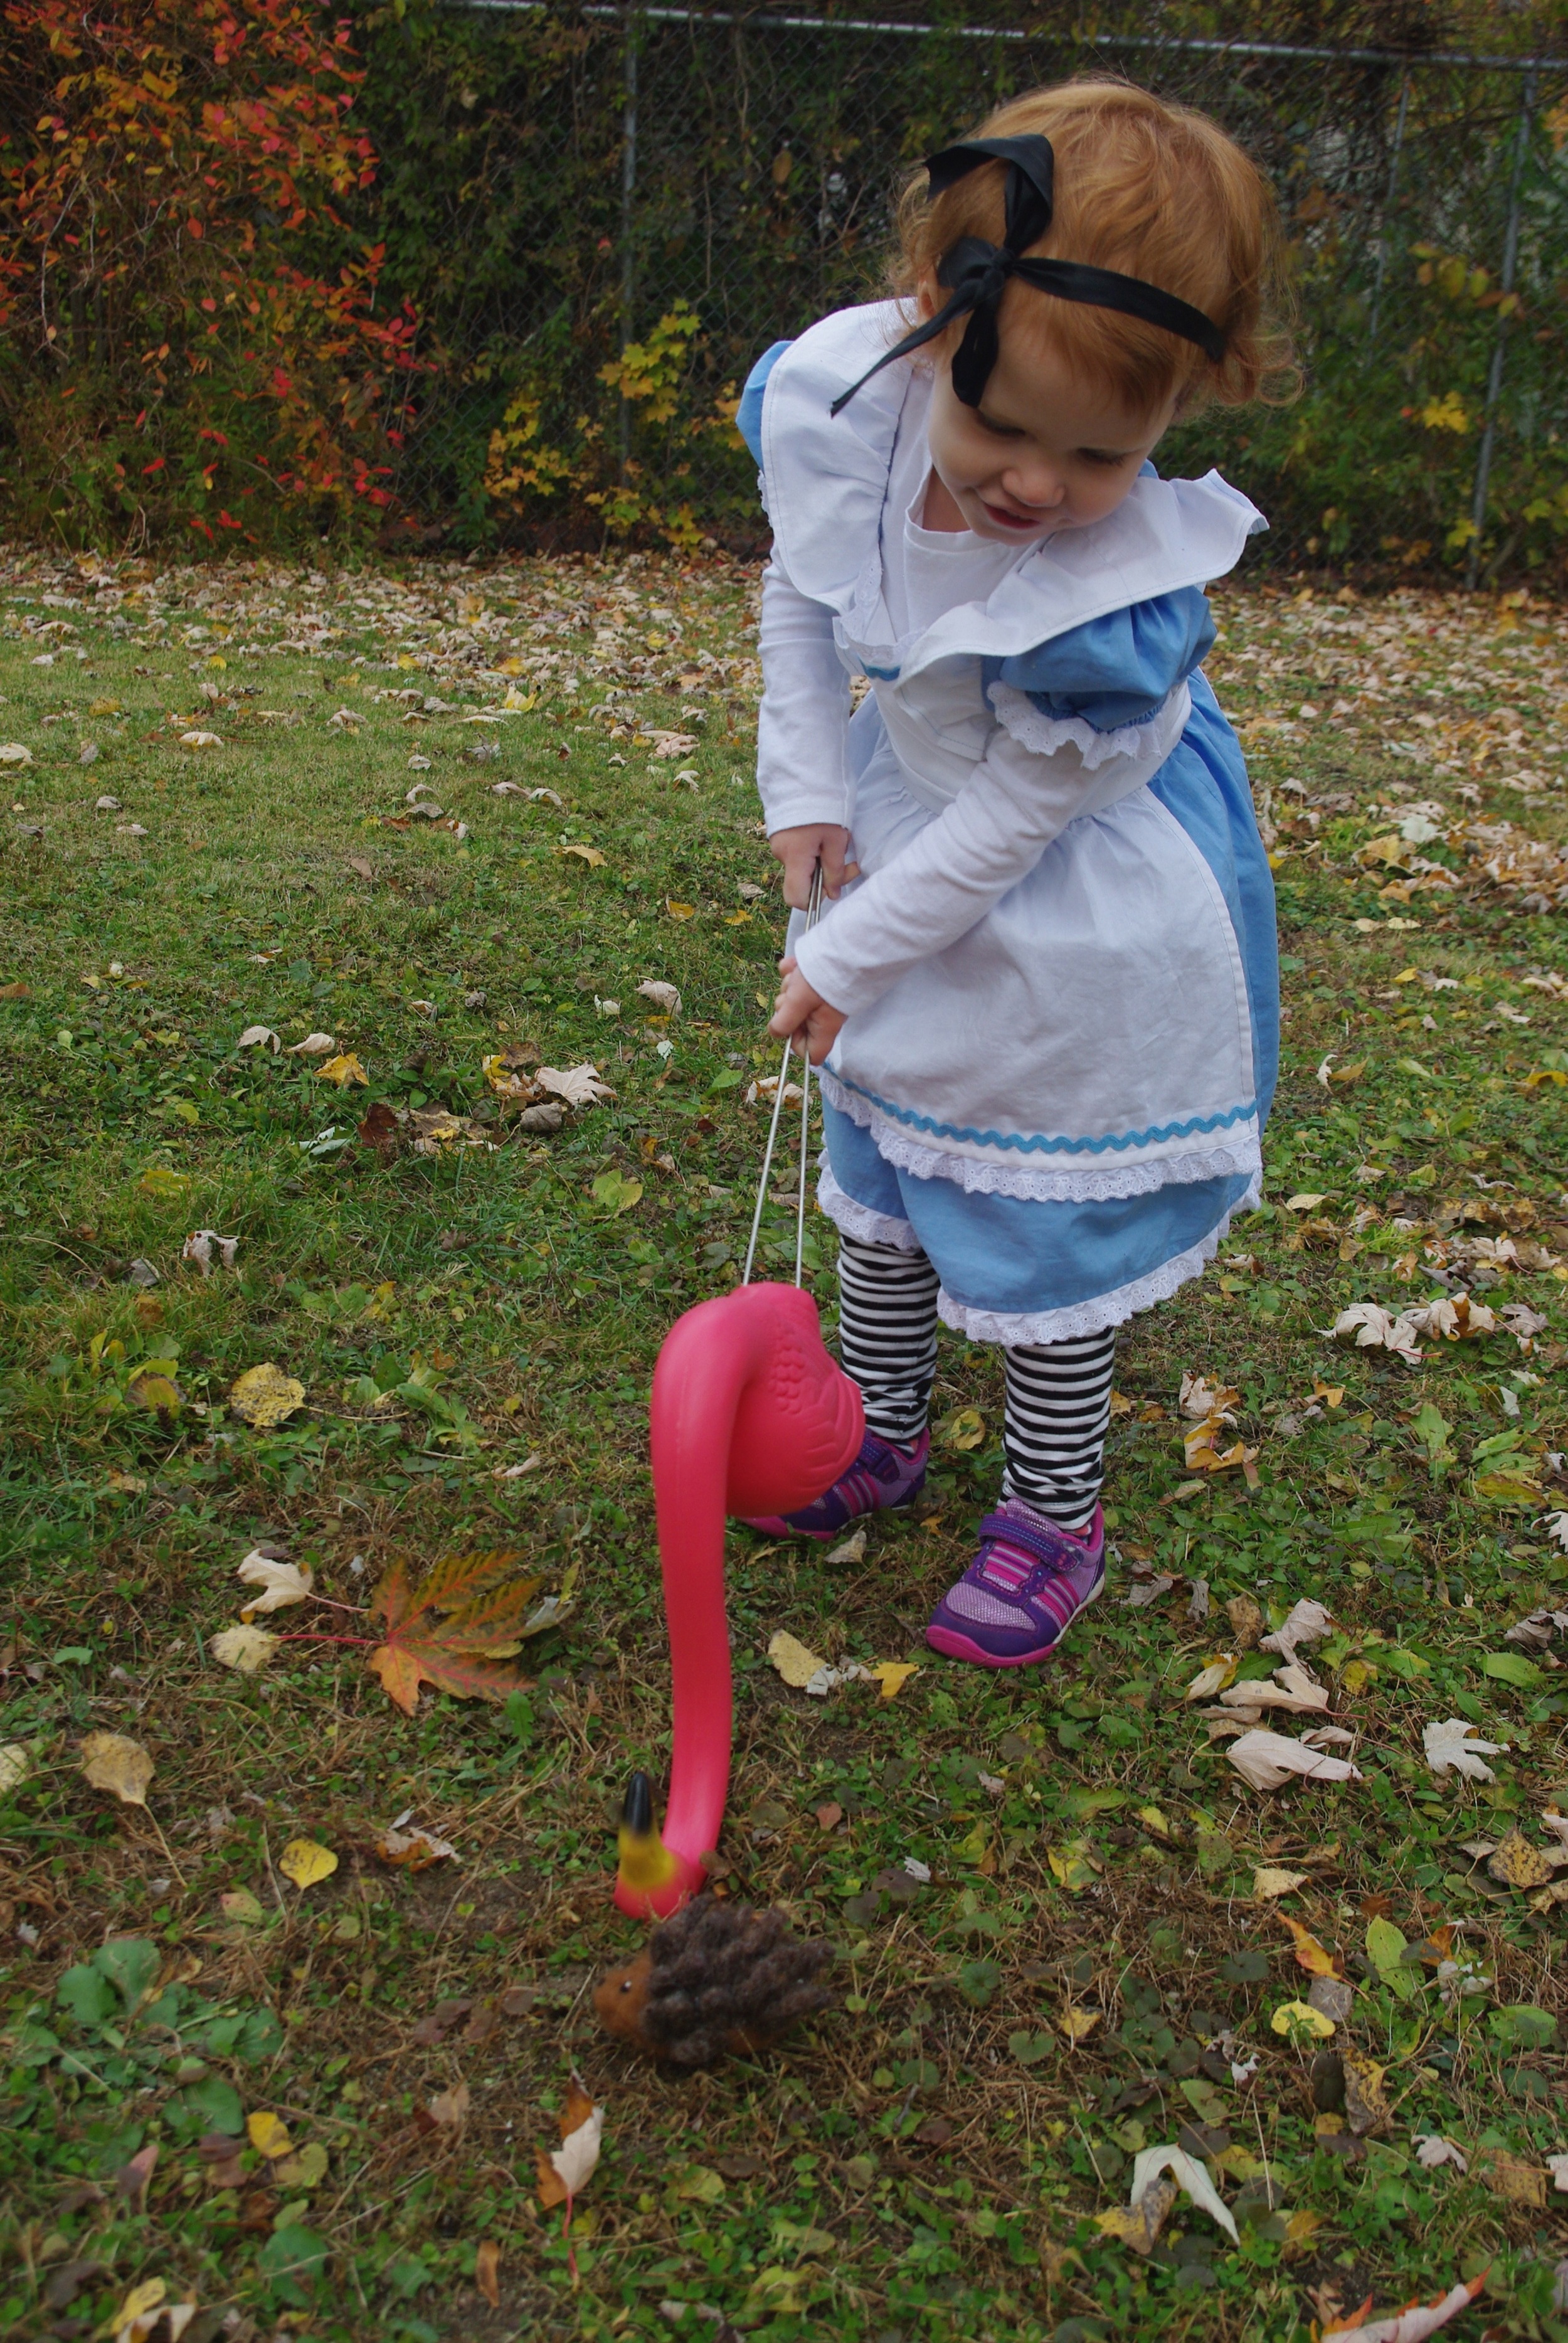
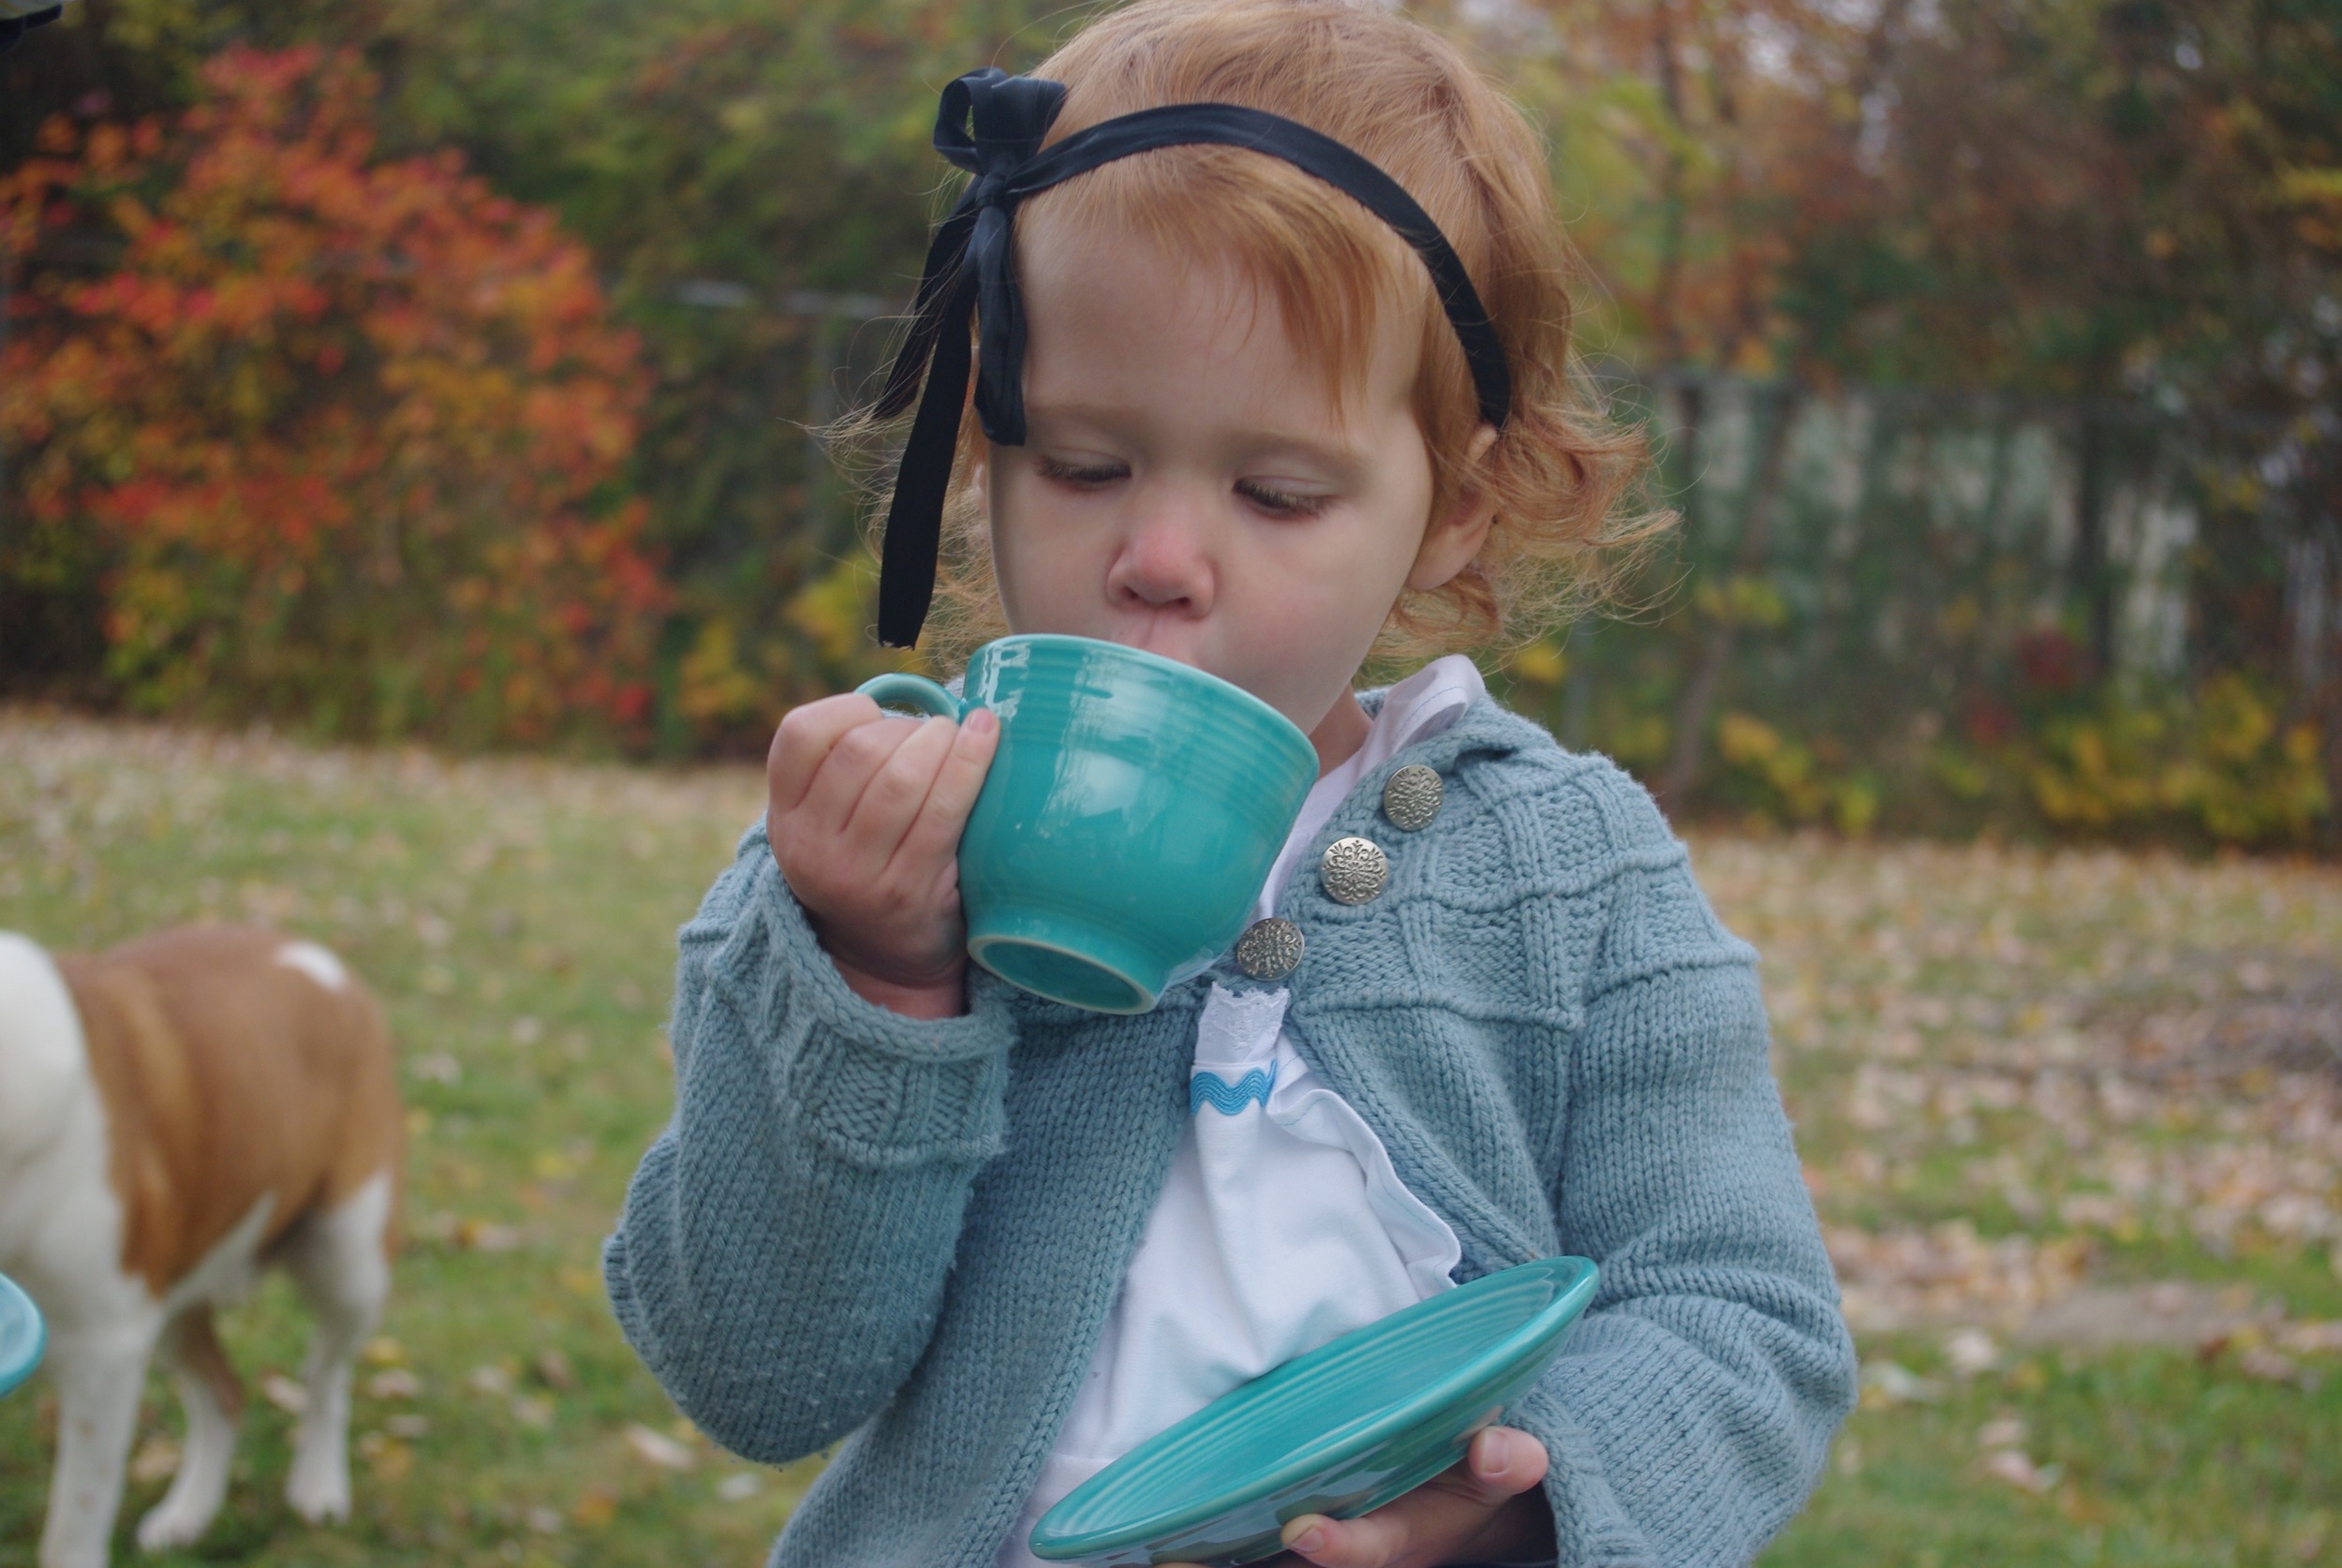
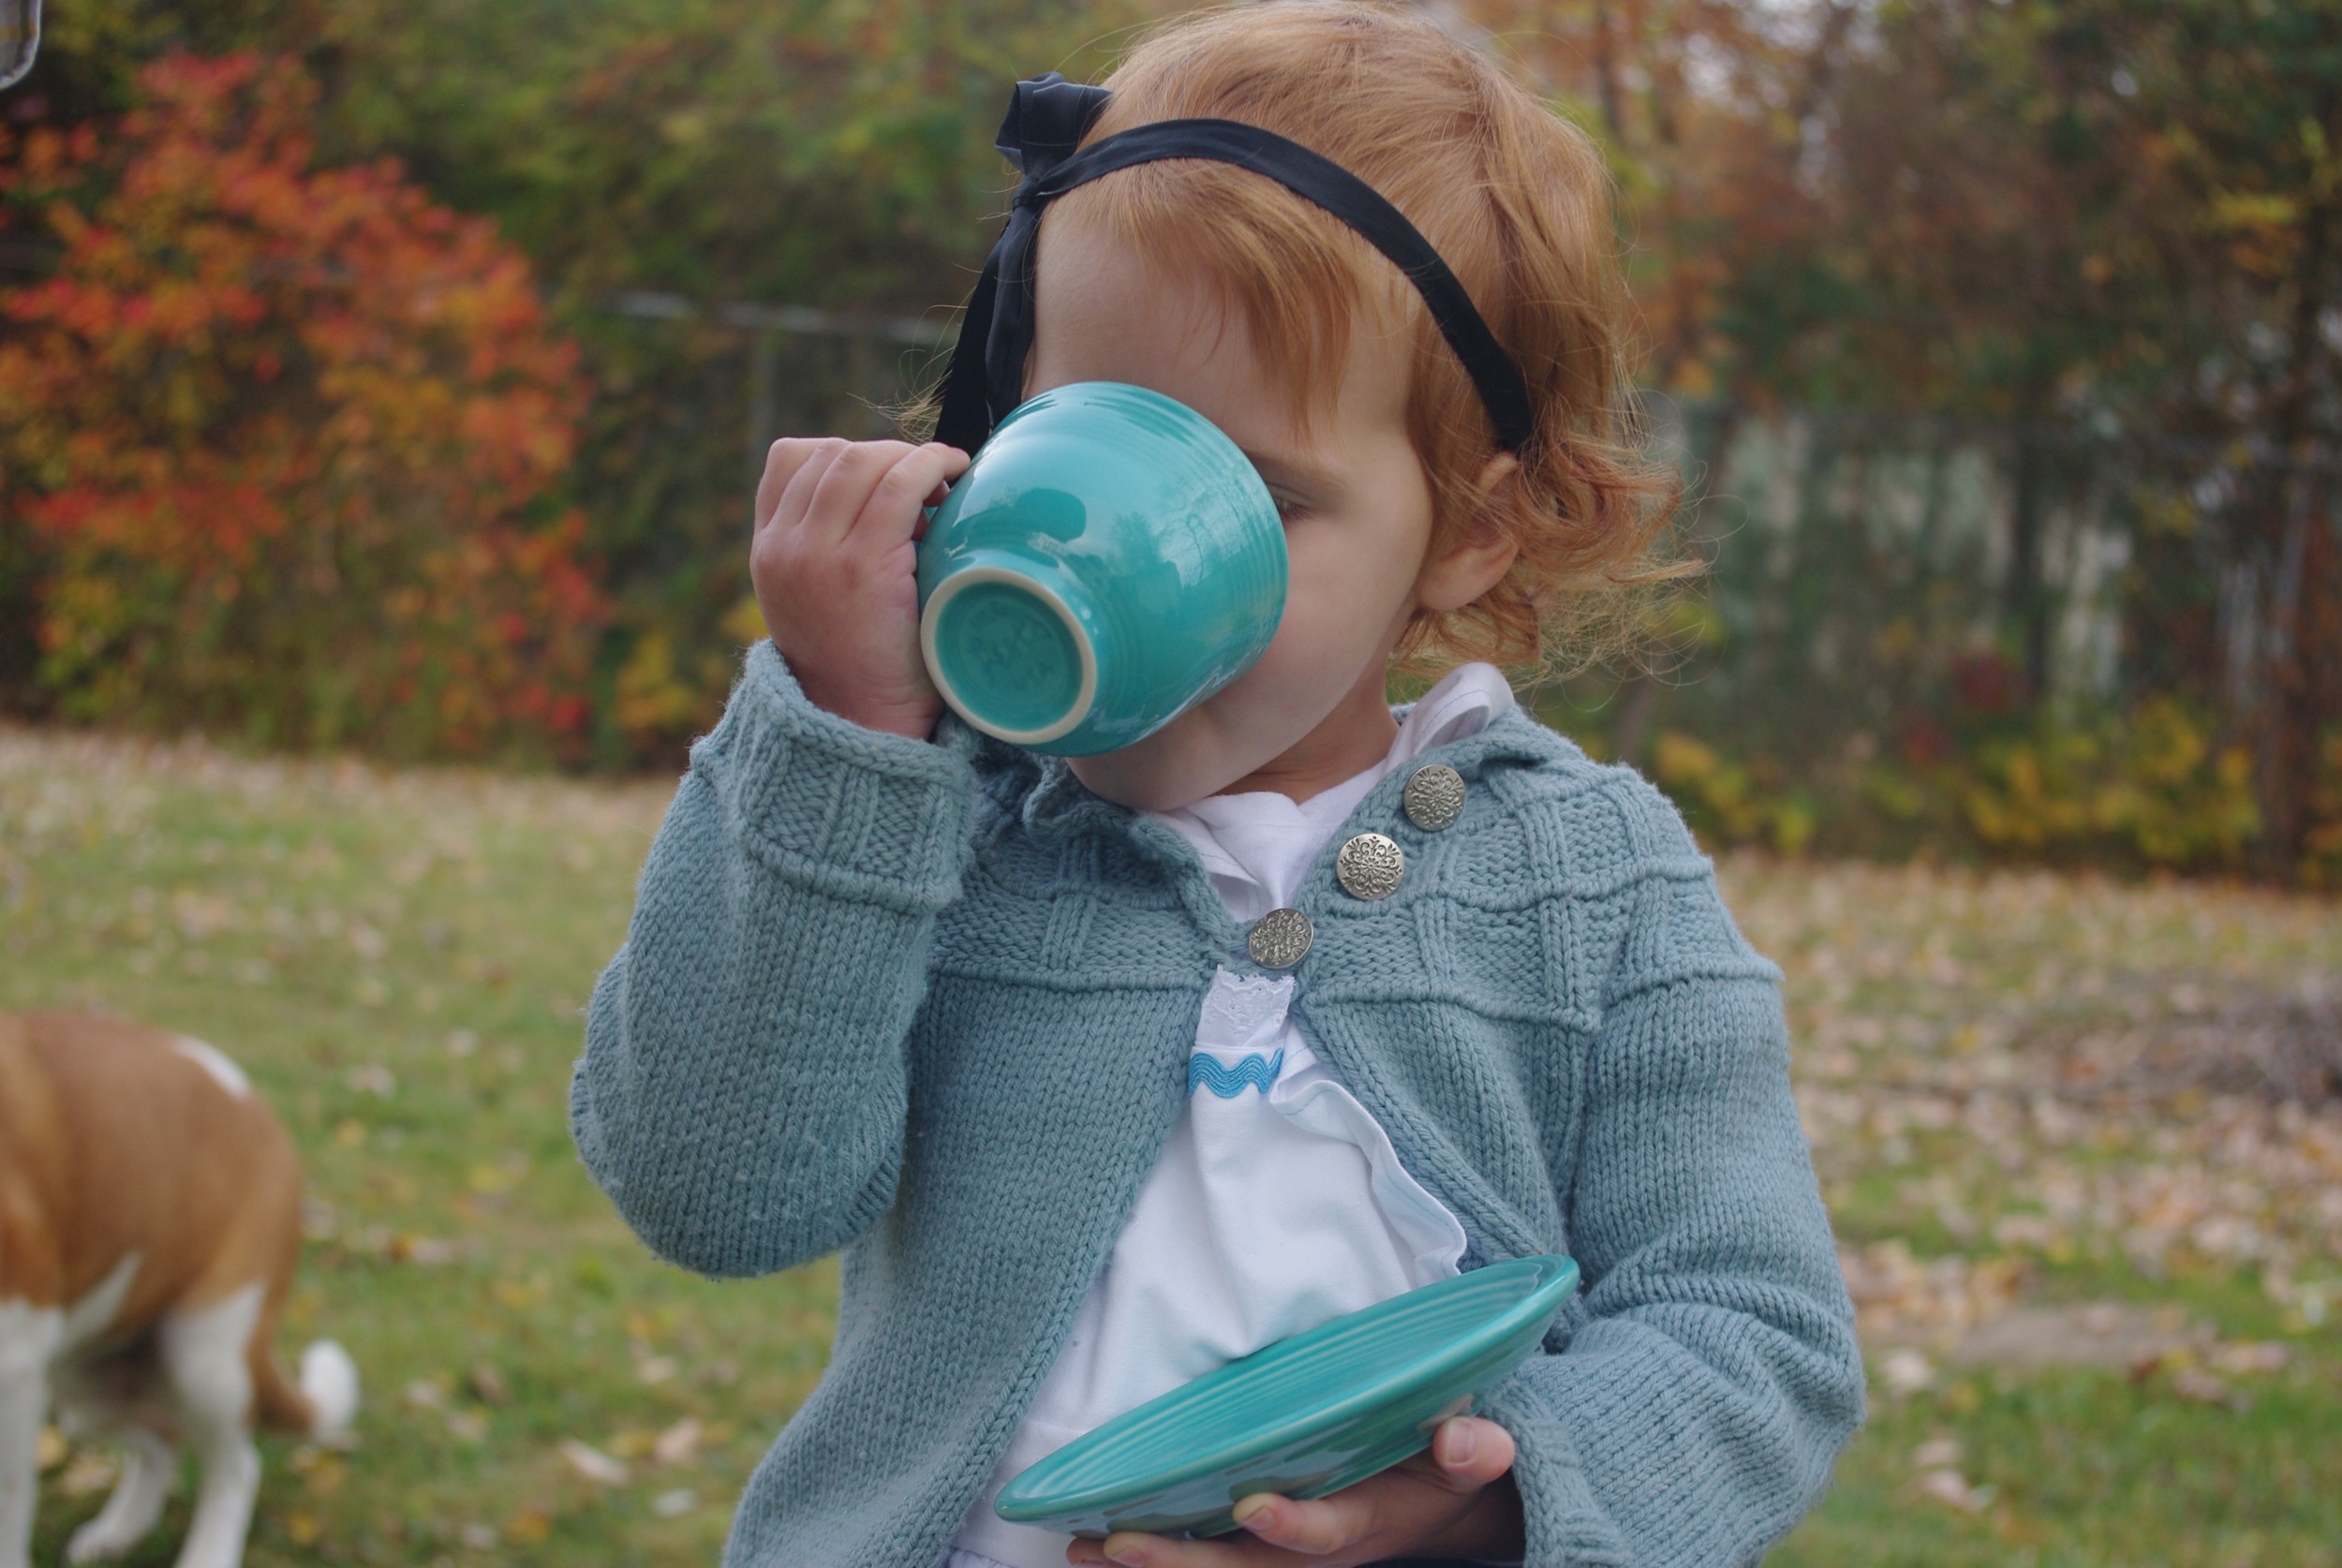
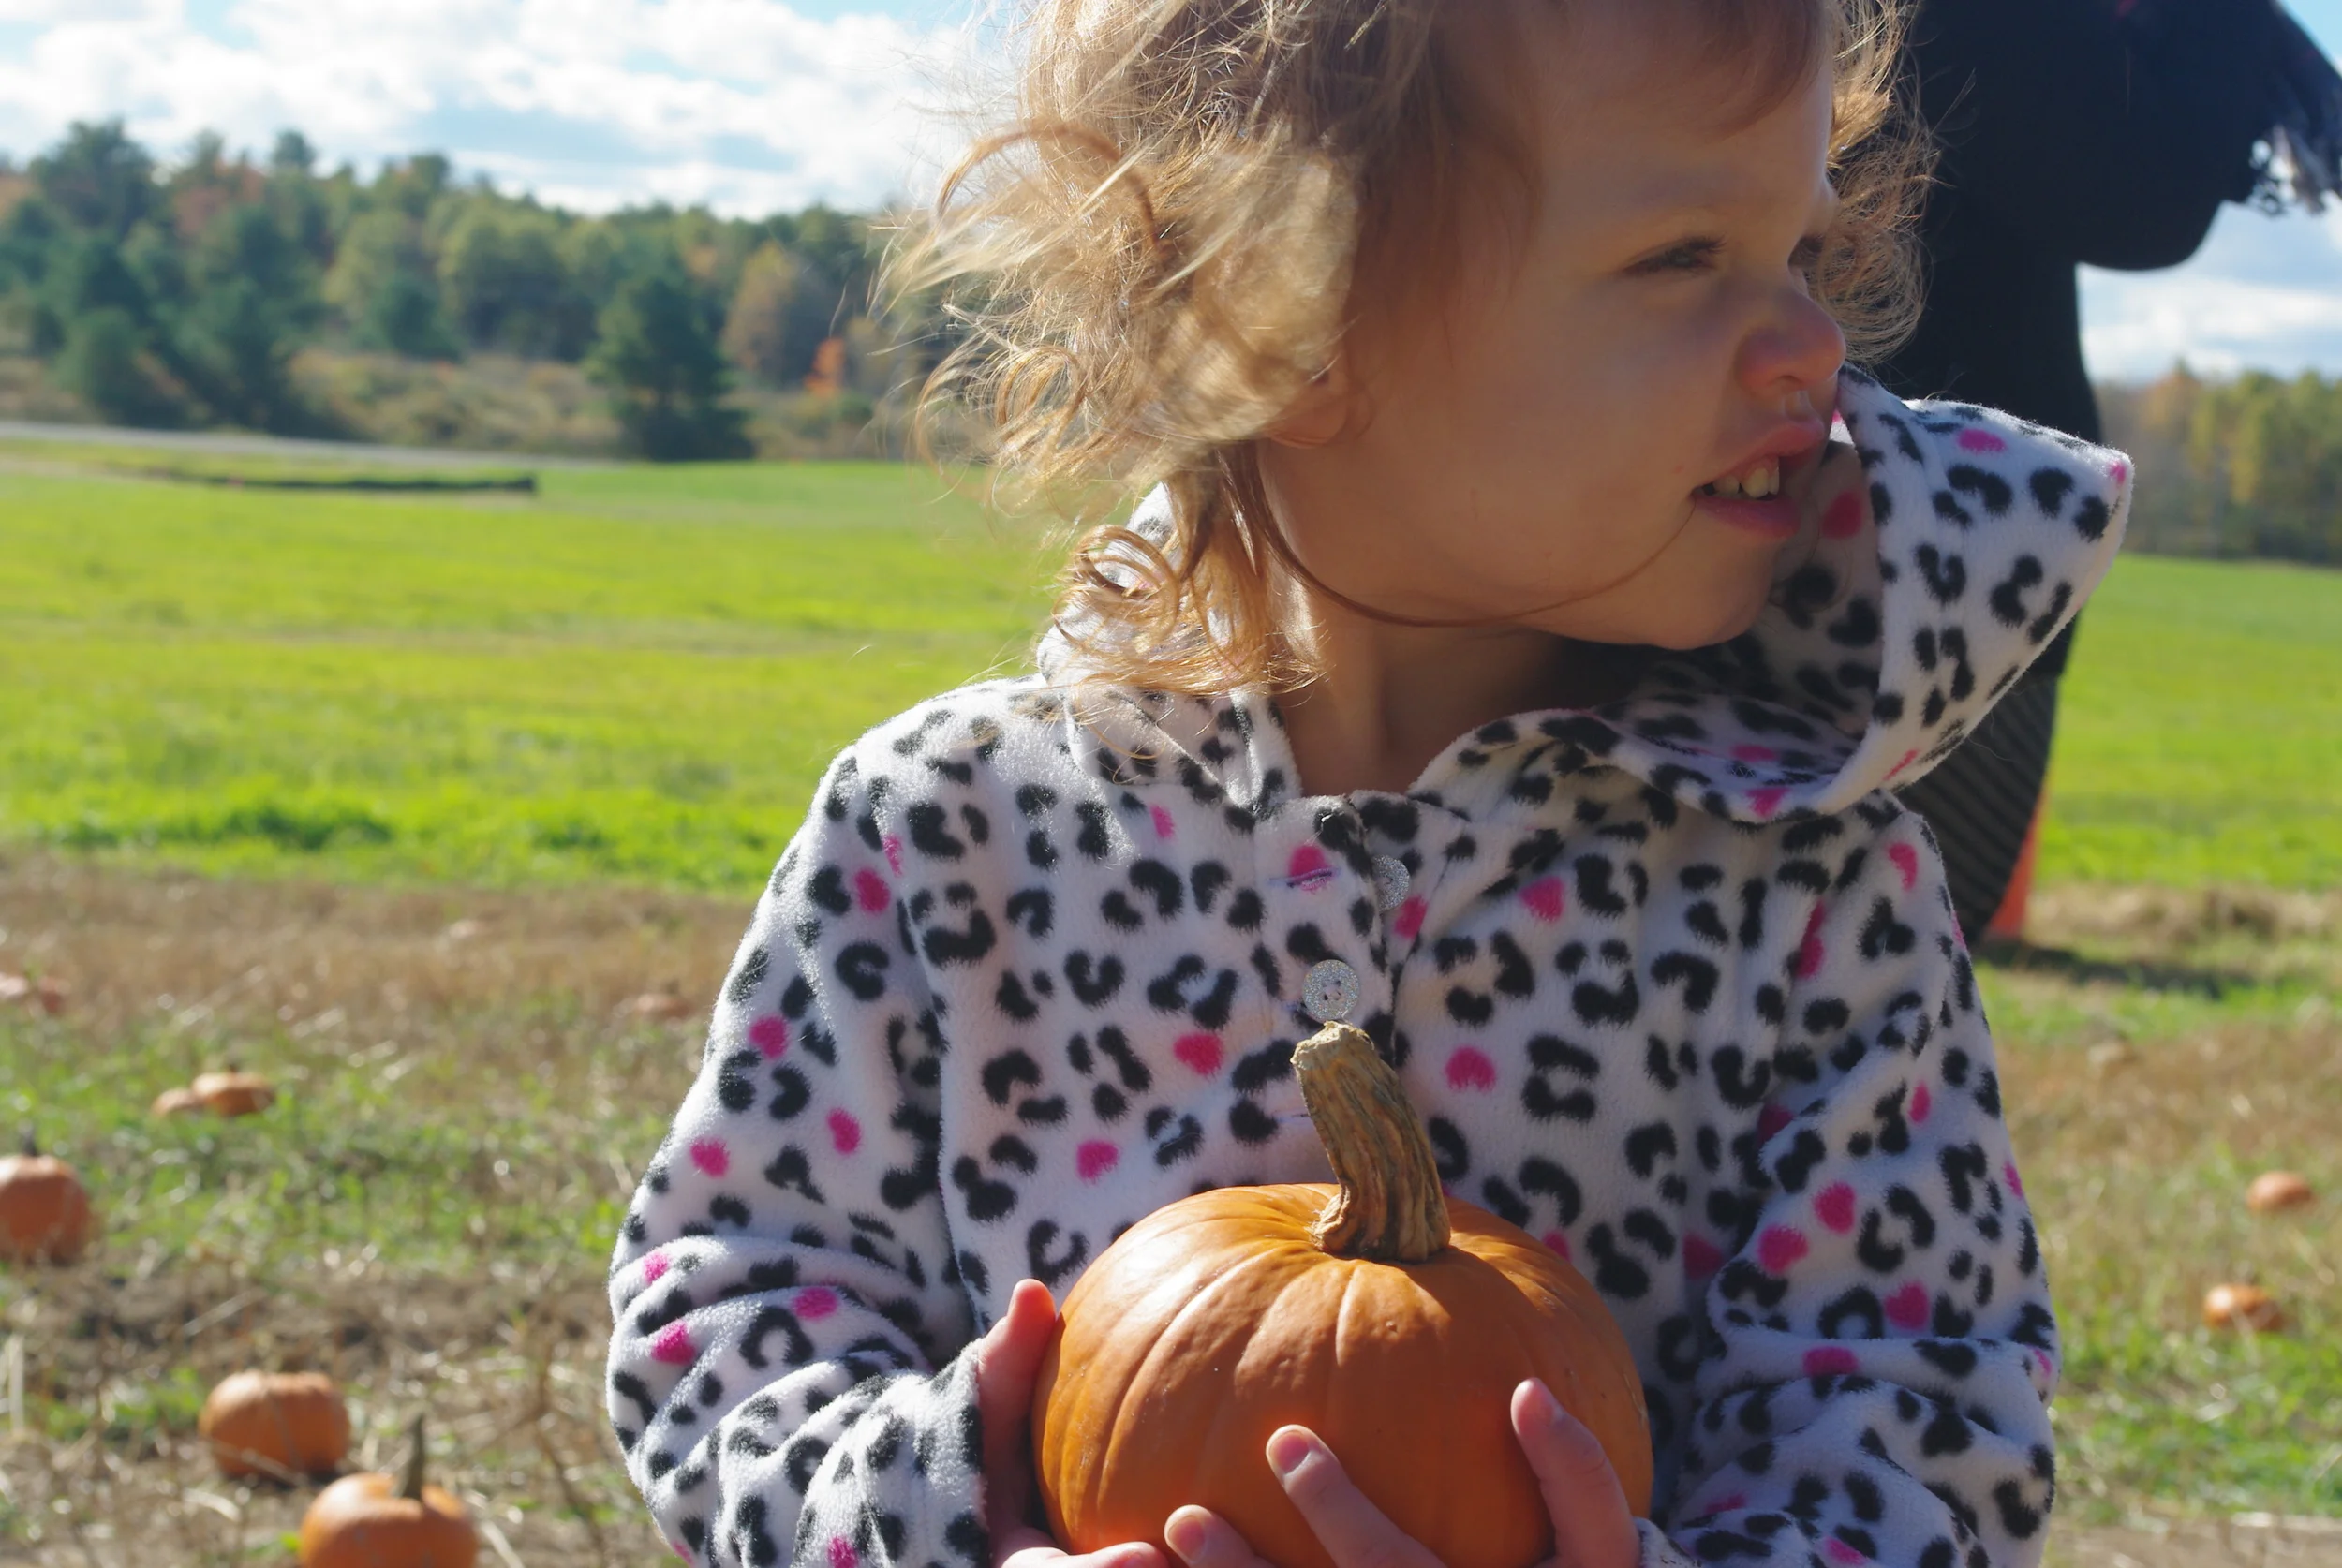
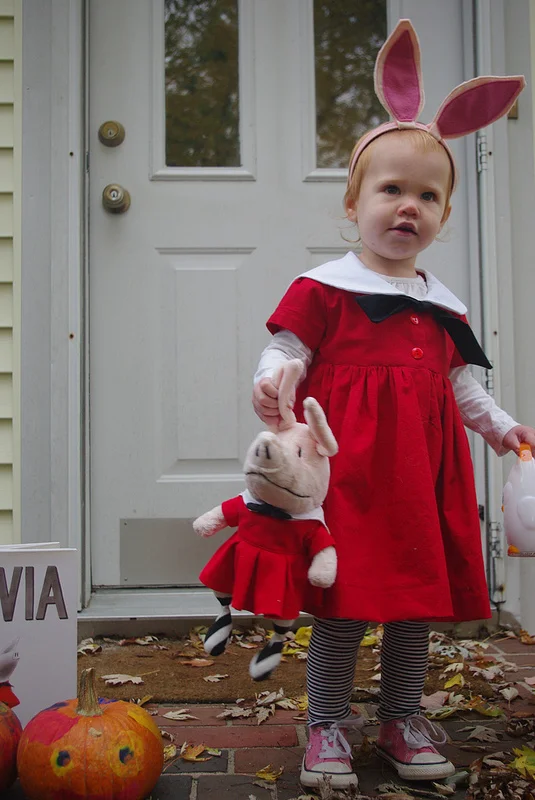
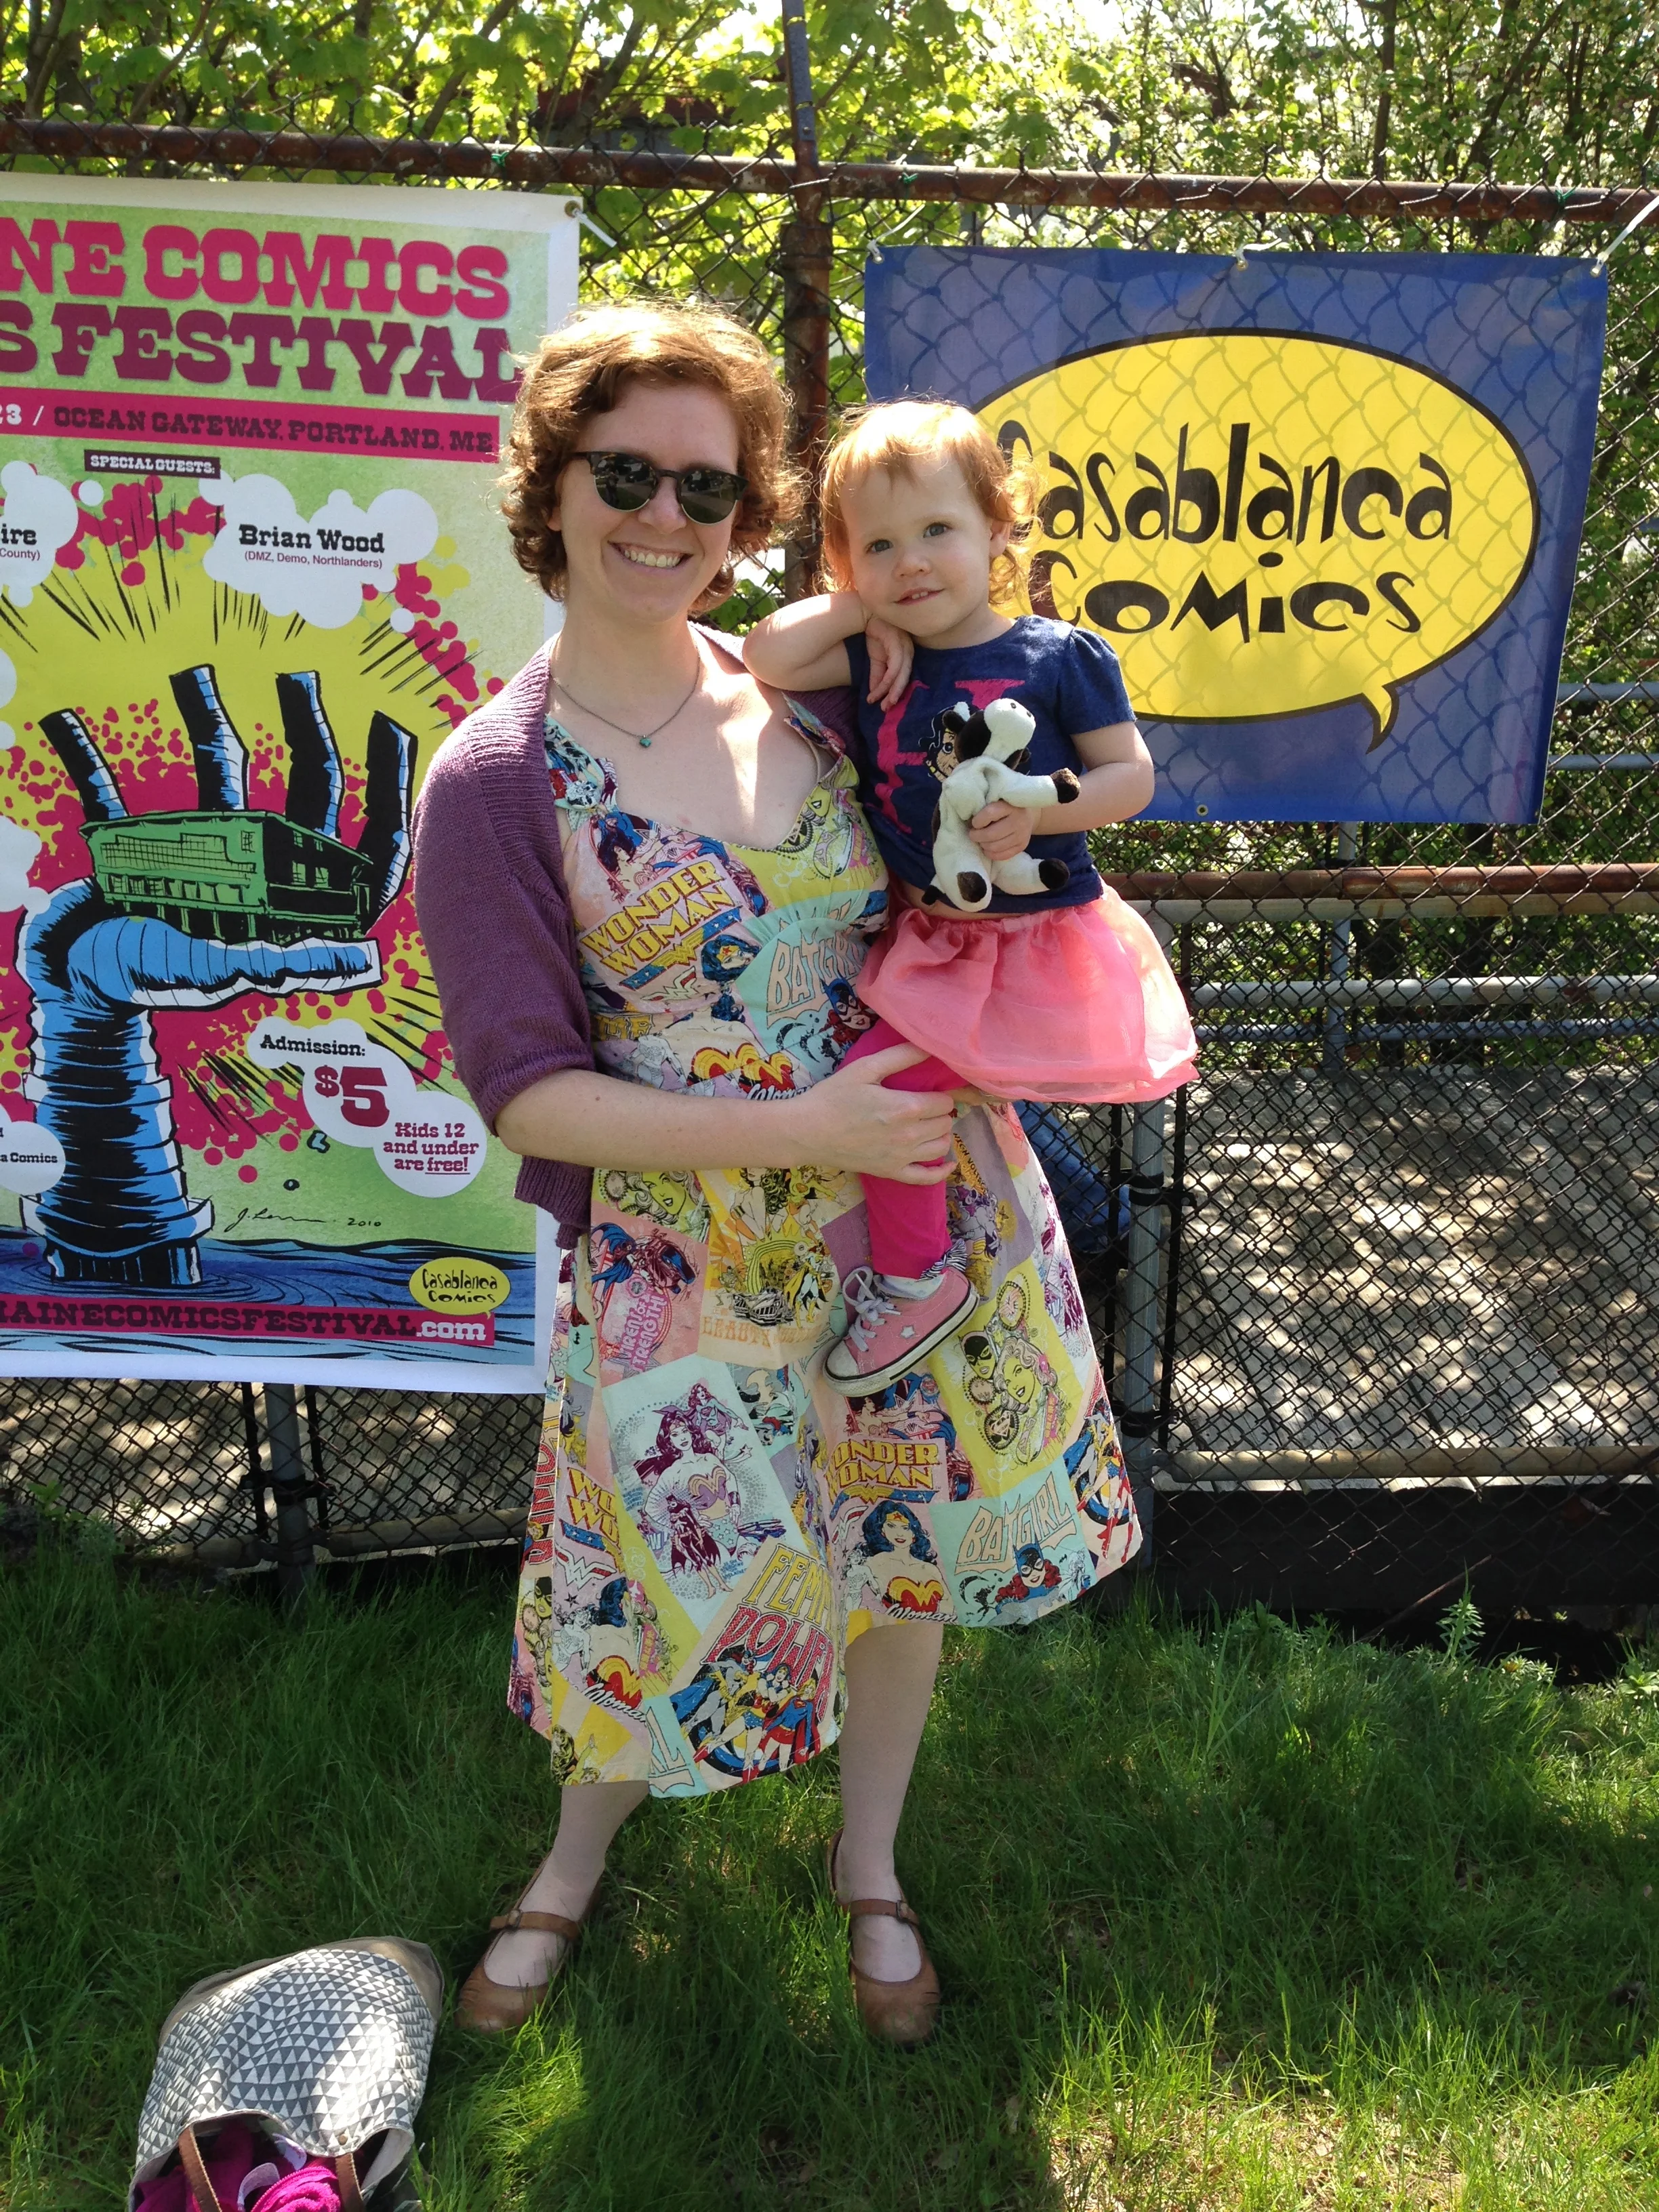
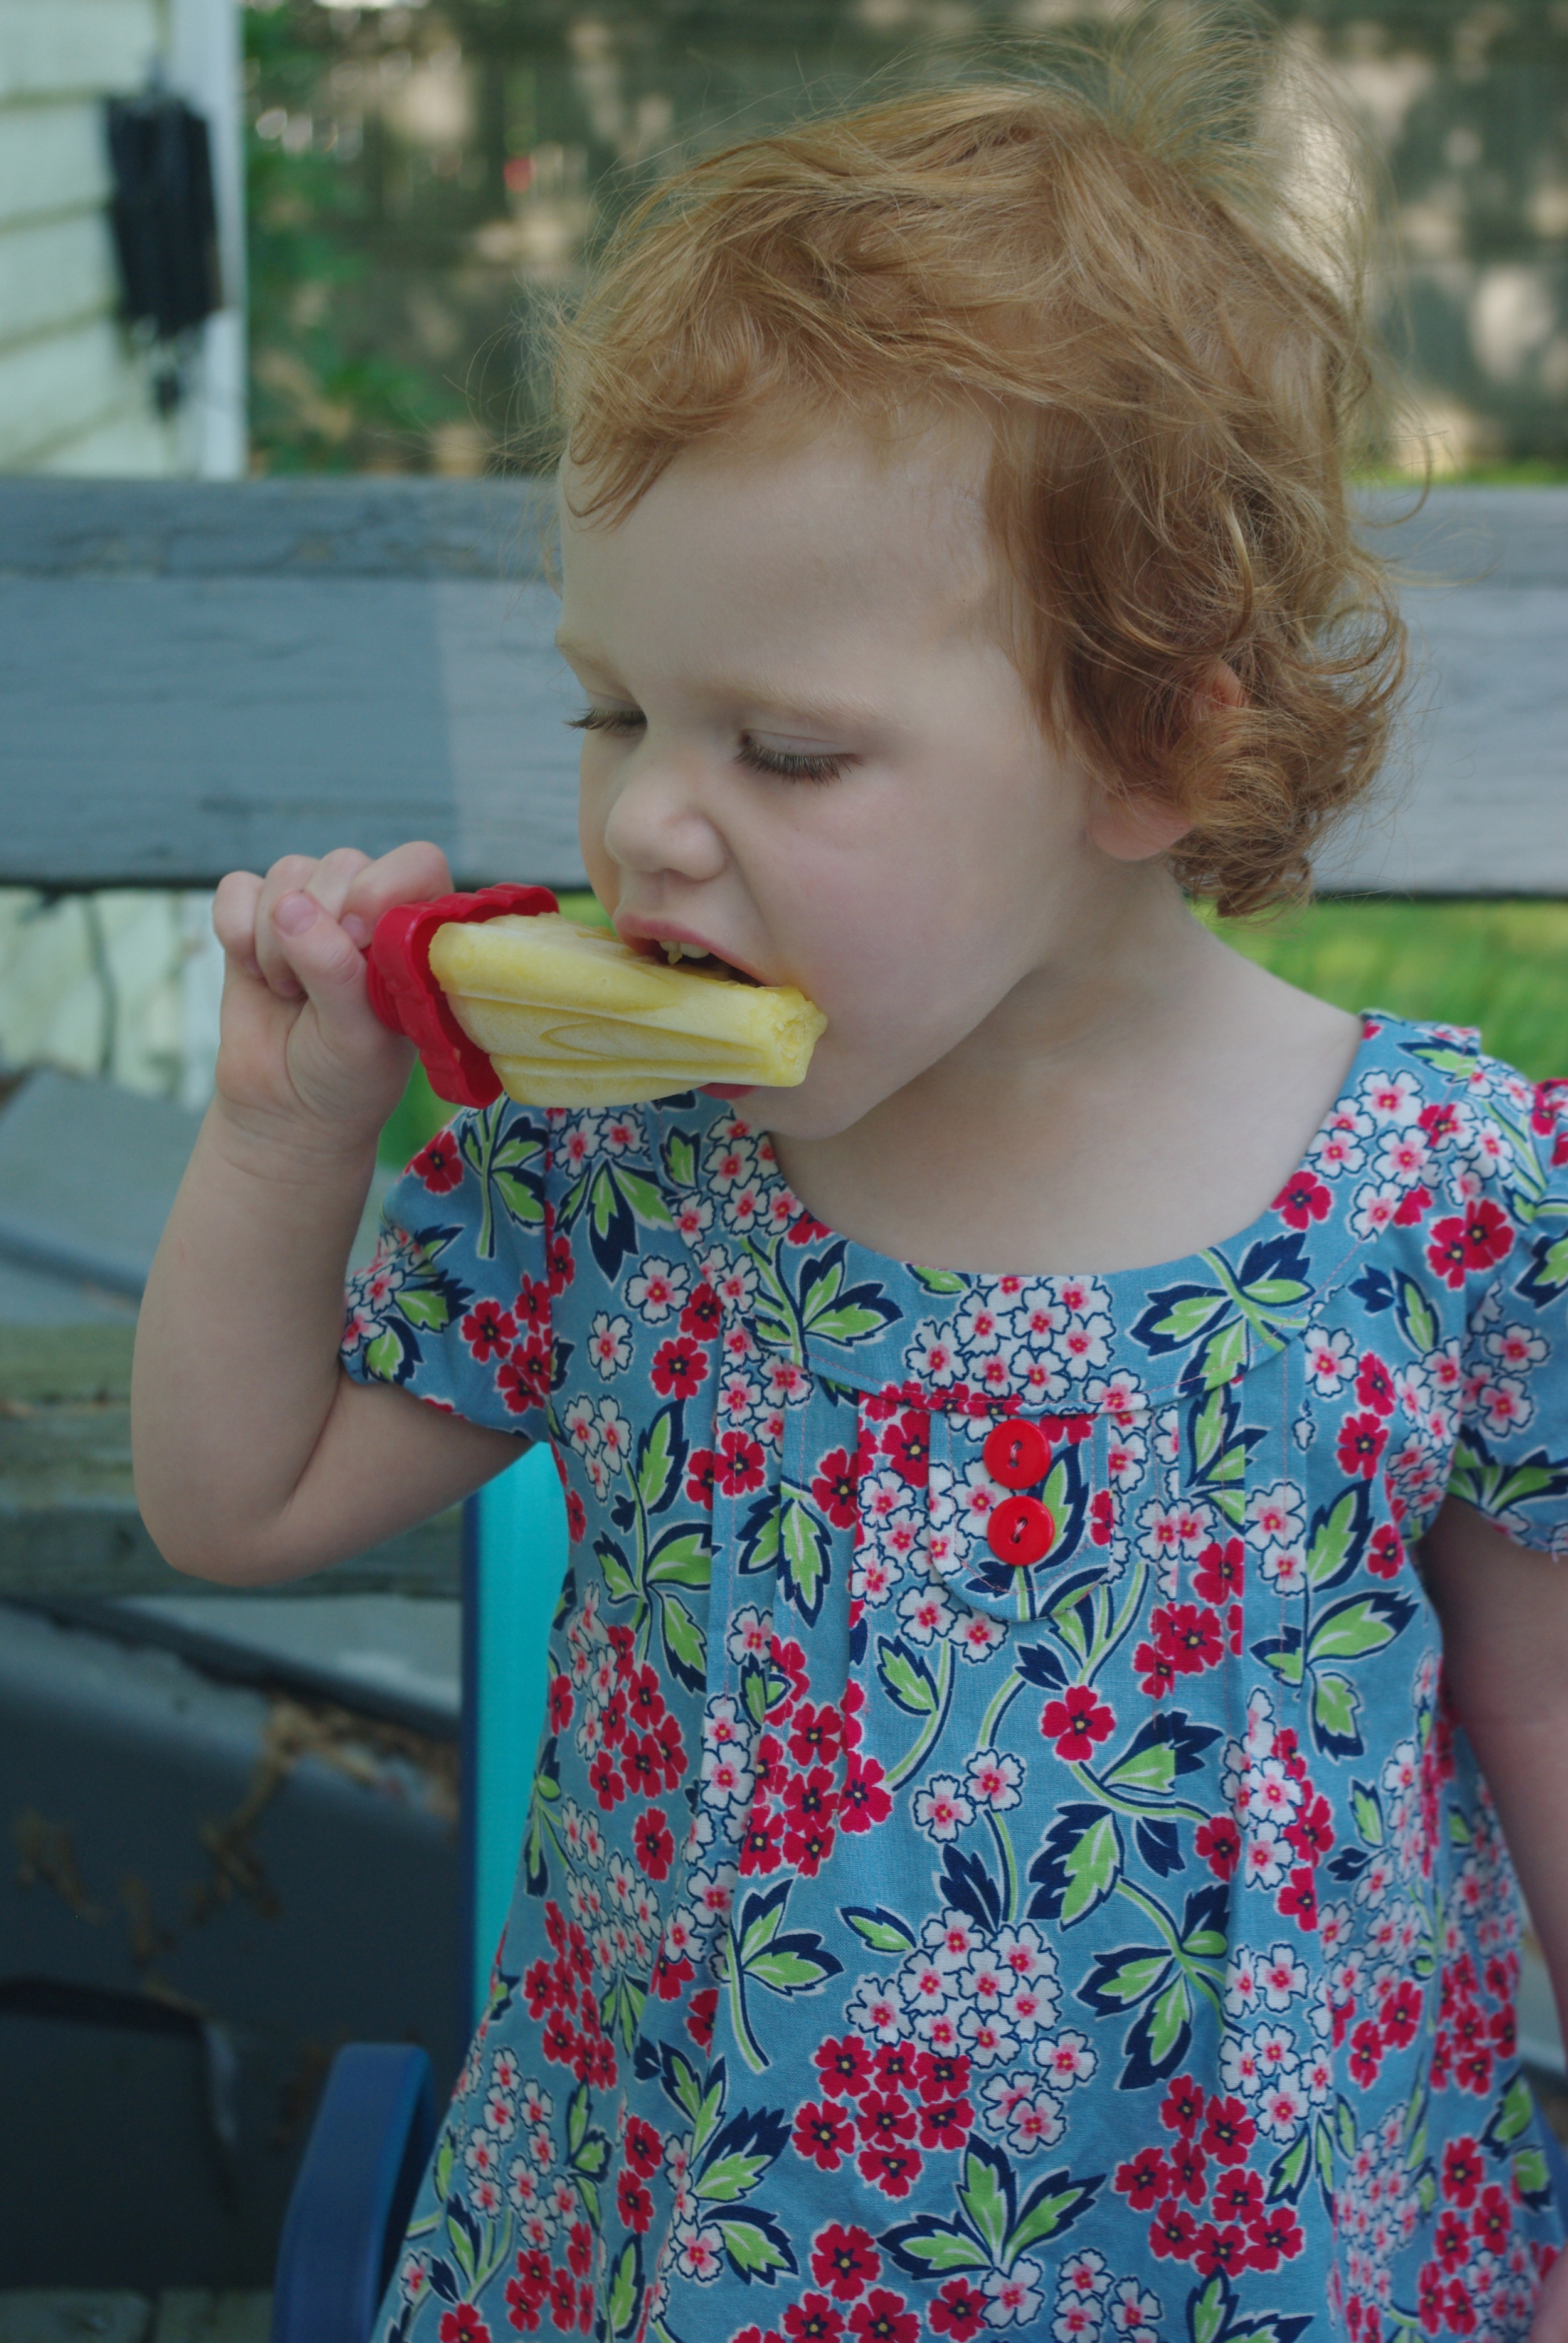
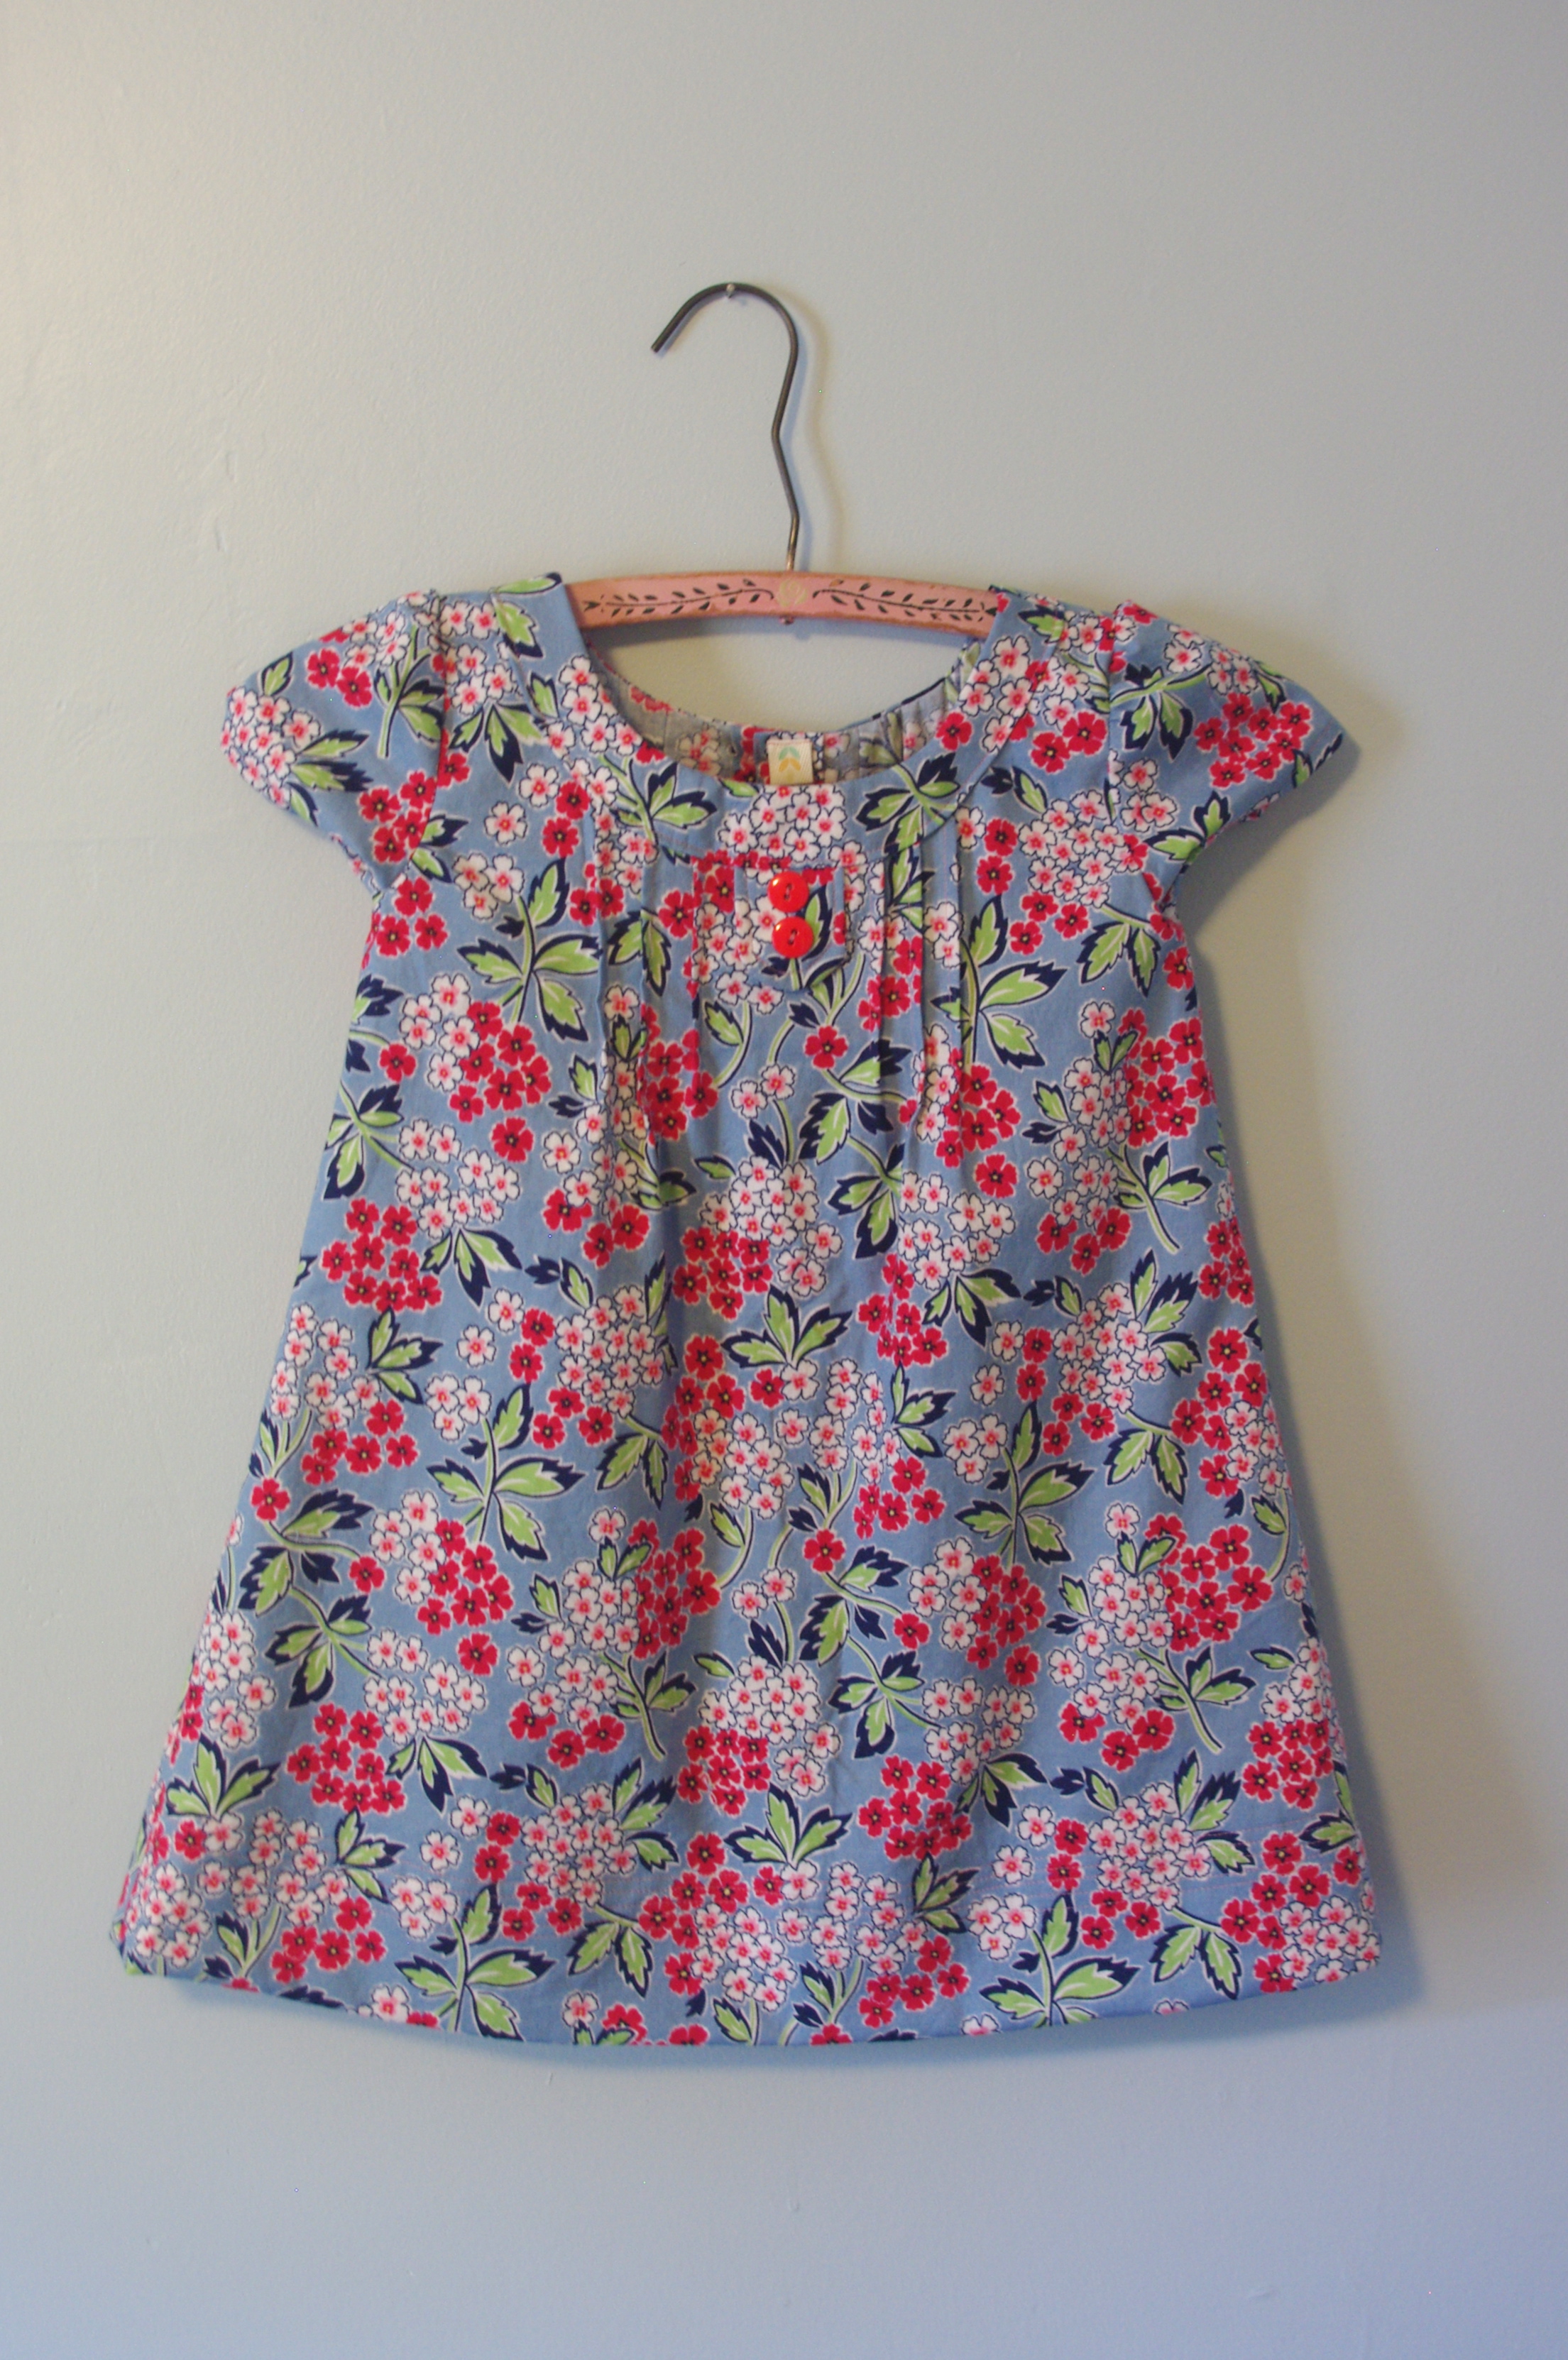
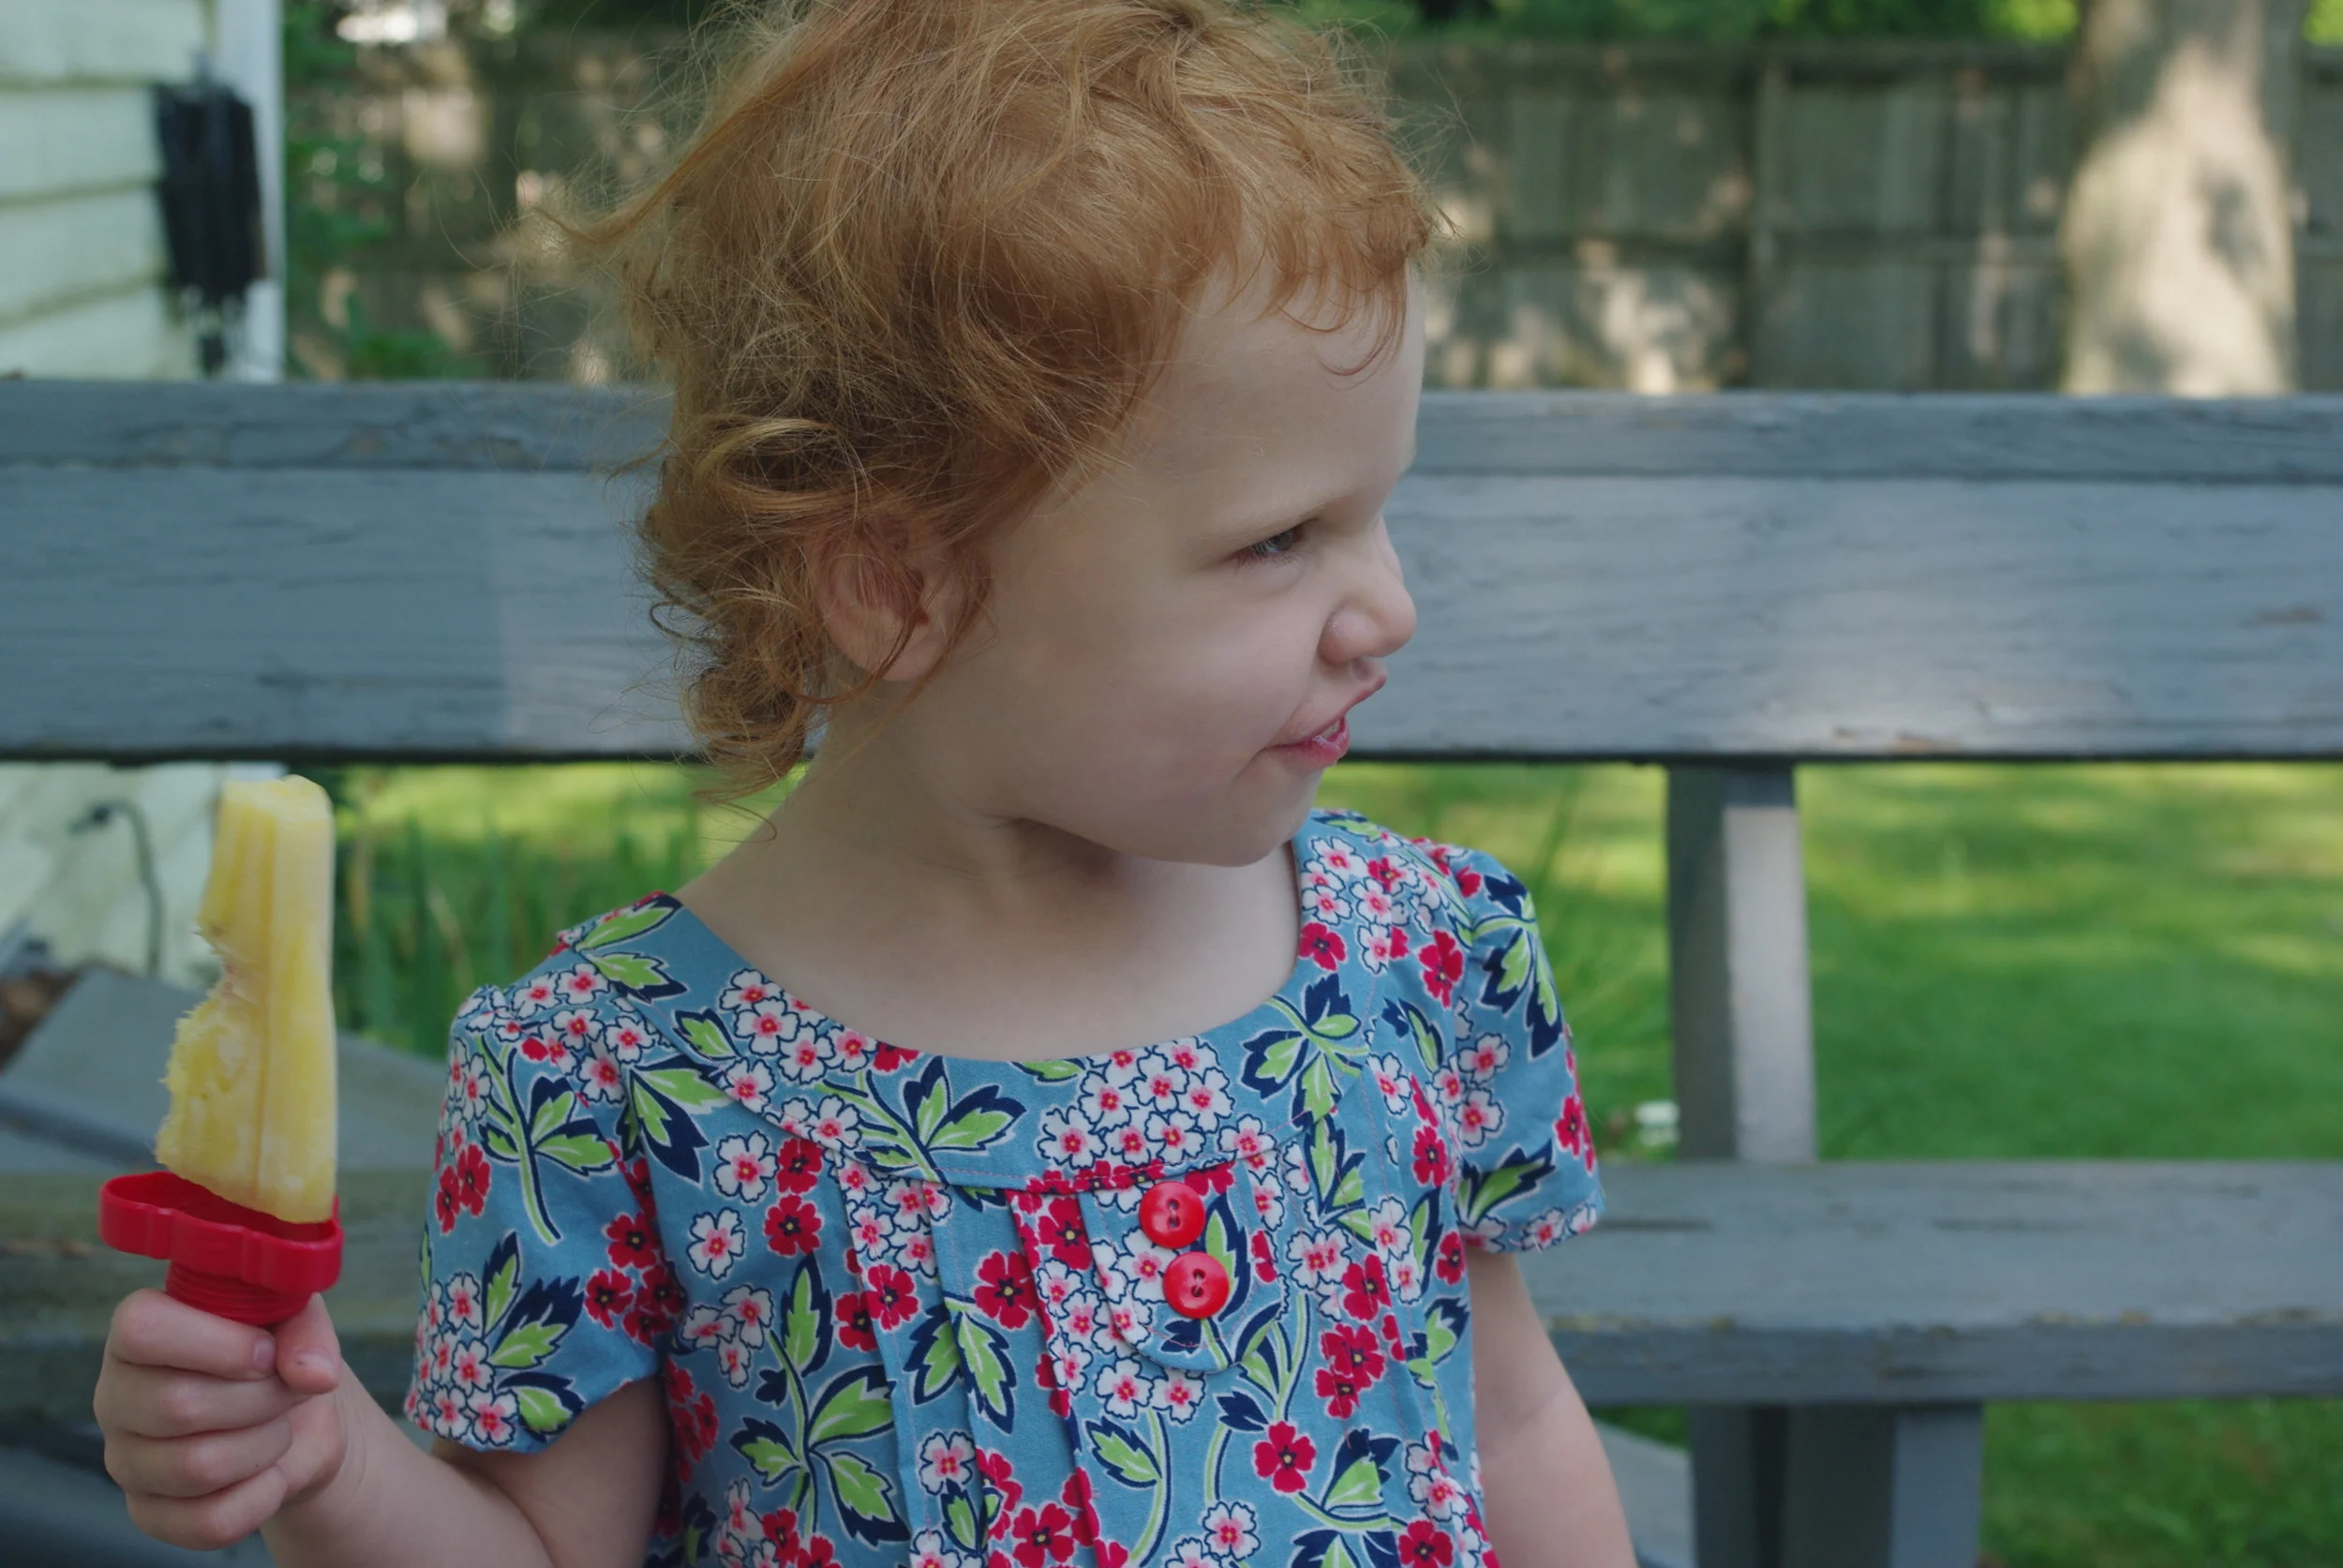
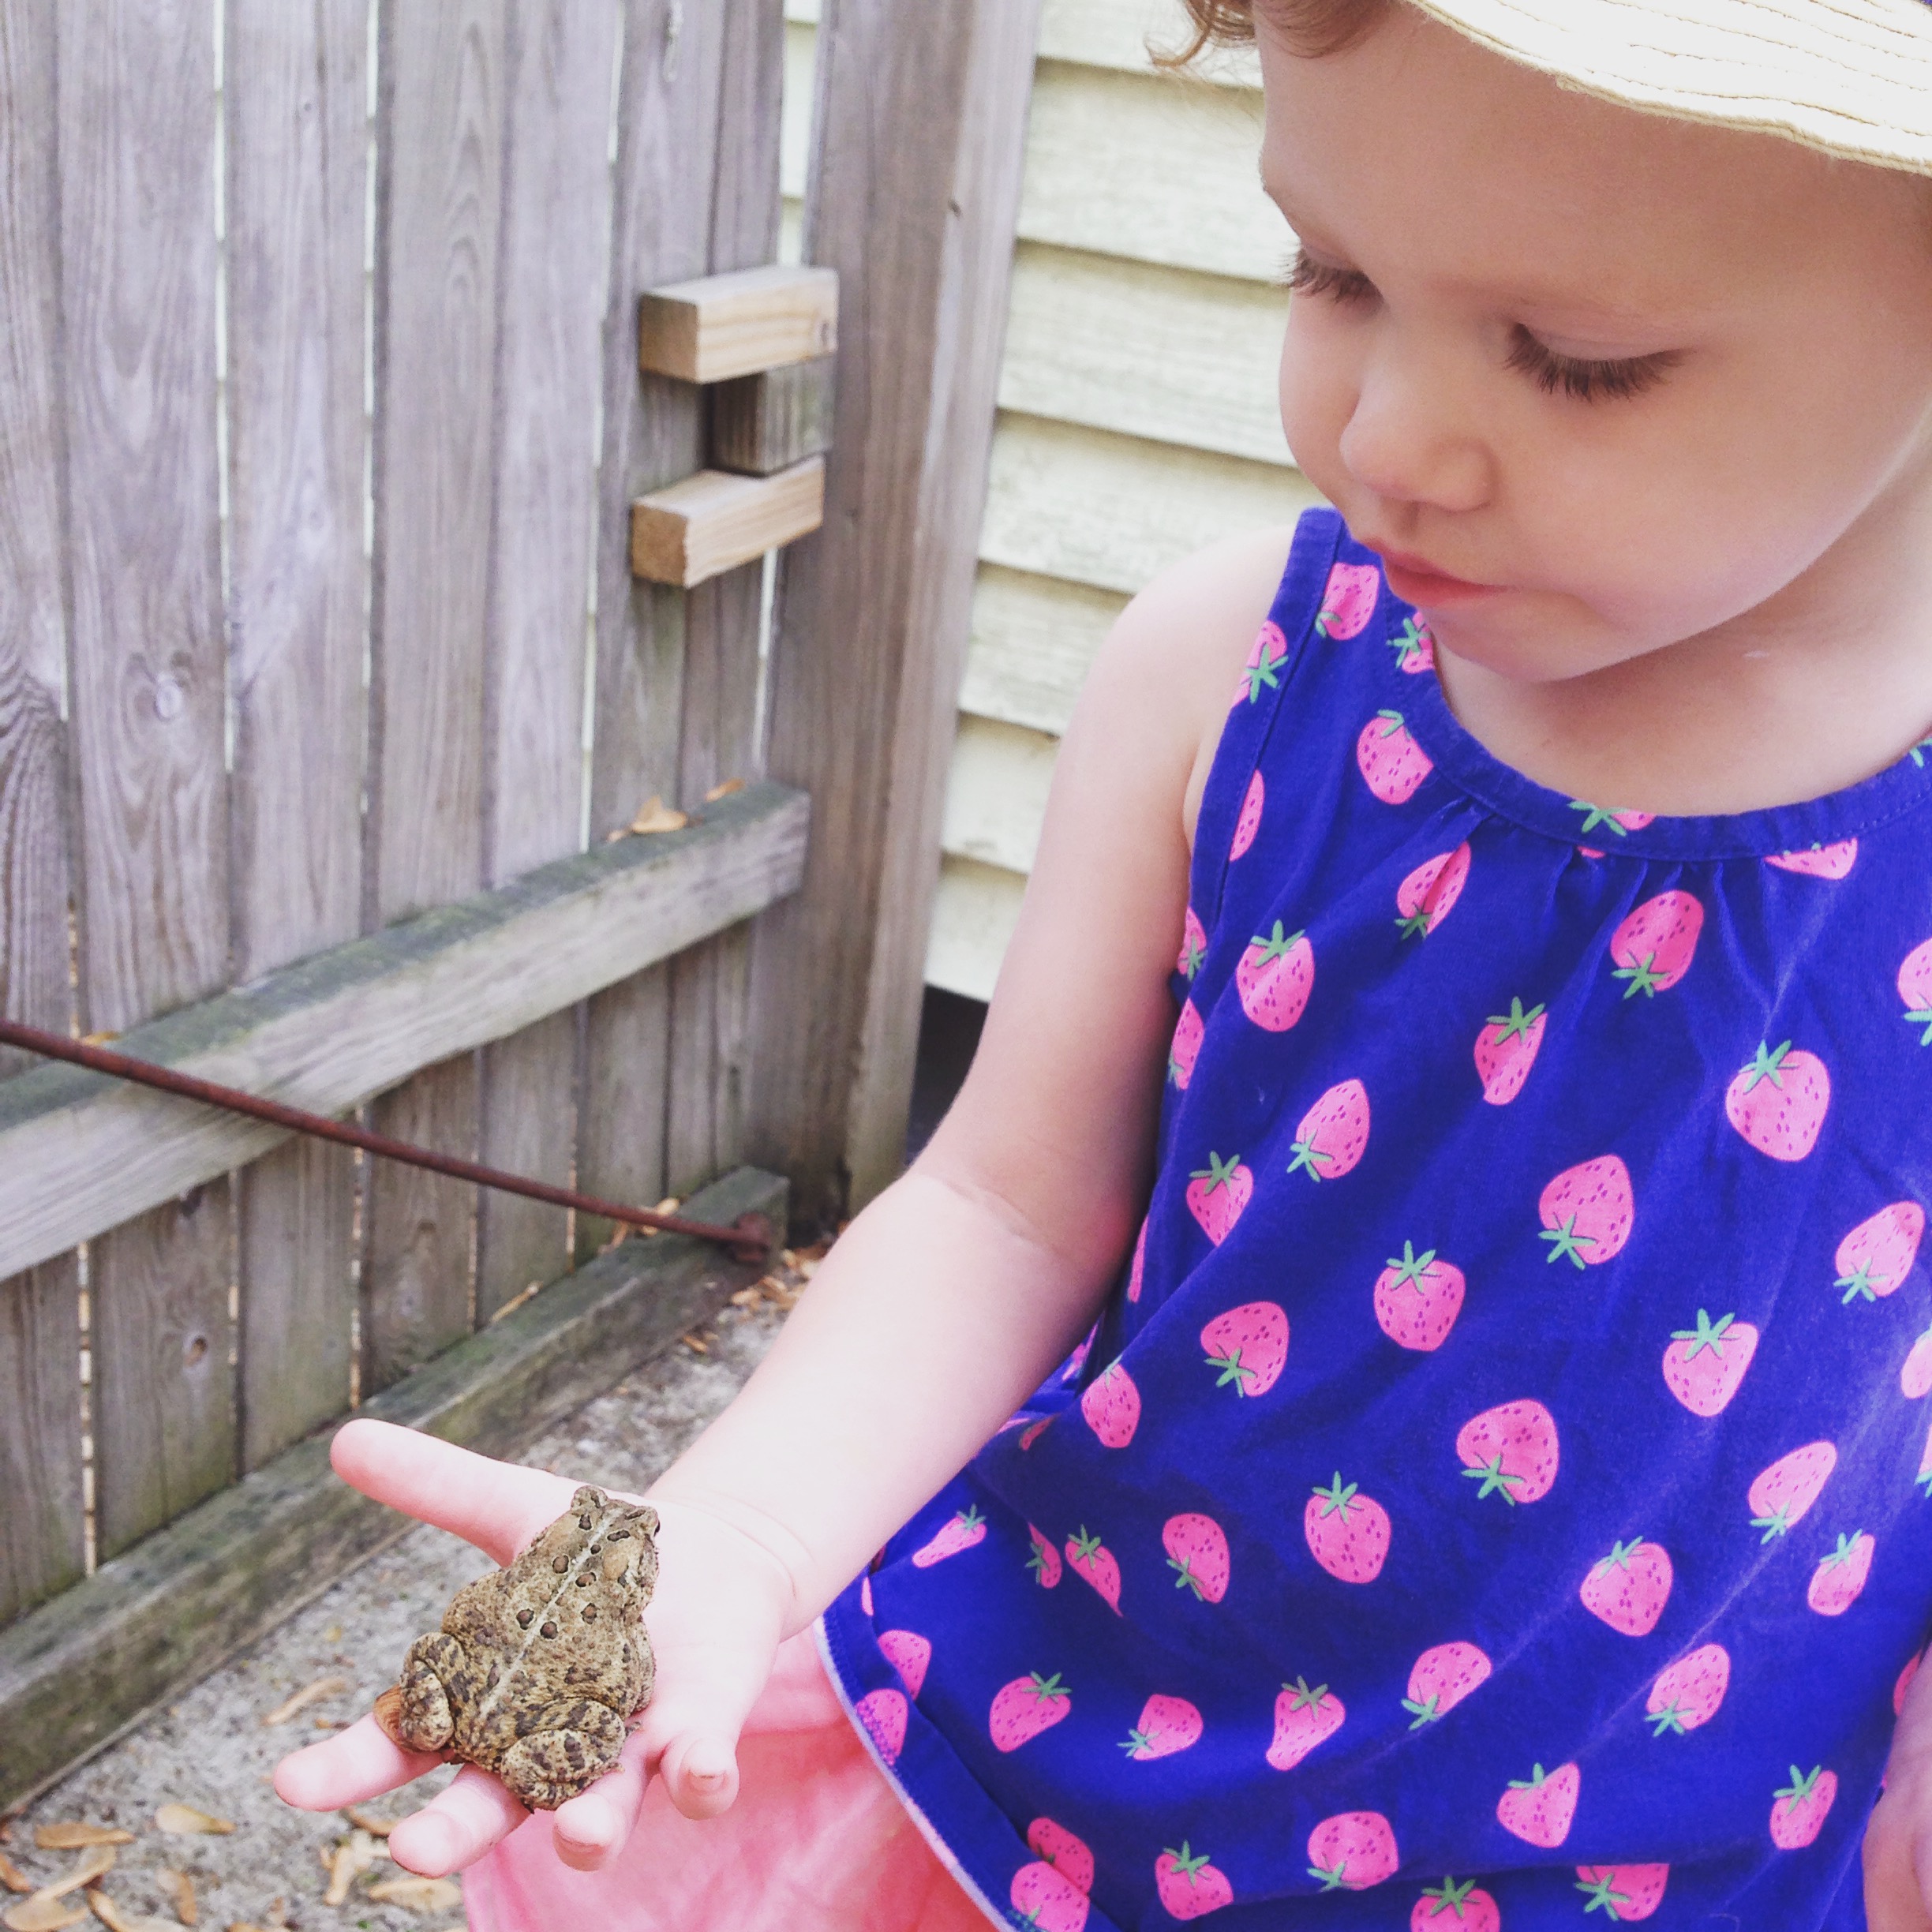
As LMC nears closer and closer to her third birthday, I've learned that a toddler's fashion choices have very little to do with my own preferences, and that a great interest in an item one day, may translate to no interest whatsoever for next several months. For example, LMC was super interested in this dress as I was sewing it, but has never worn it aside from those photos. In general she has no interest in dresses at all. So all those lovely detailed Oliver+S patterns I had purchased, have gone into a box.

What she will happily wear almost every day of the week and most nights to bed are tutus (or ballet skirts as they're called in the Cleaver household). So I got smart, bought some tulle and knocked out a few in her favorite colors over the holidays. They even managed to supplant the previous tutu, which was worn every other day for months and has now been relegated to the back of the drawer. As Mr. Cleaver said "You could make her one in every color and she's wear them all the time, light pink, dark pink, light purple, dark purple..." (LMC has some specific color preferences).

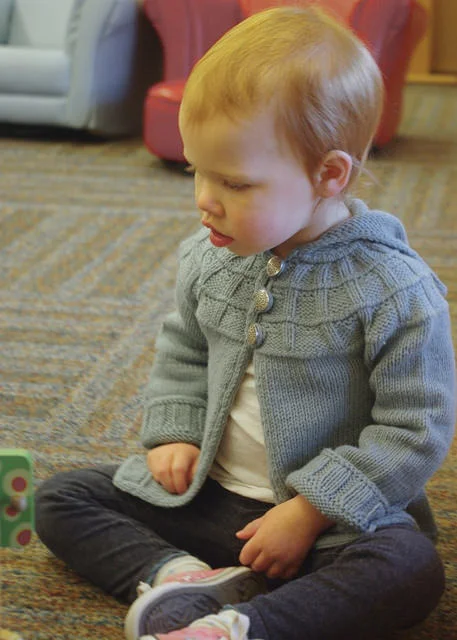
I haven't been quite as successfully in supplanting the "doggie hat" (see every photo of my child this winter, indoors or out) with a hand knit one, but I did give myself the greatest chance of success. It's purpley-pink, has earflaps, pompom, and an animal on it. She's worn it a handful of times, which I consider a great success.

But the nice thing about both the tutus and the owl hat is they were low-commitment projects. I made a second tutu before the first one had finished it's round in the wash, and the hat took two knitting sessions, tops.  So even if she didn't like them, ripped them, lost them, etc. It's no harm done. And THAT, I've found is the key to making handmades for this child.

The bonus of only making super-quick simple projects for LMC is that I can do the complex projects I crave for myself. And when it comes to myself, it seems, there are no simple projects. 

After number of deadline-driven knits, I was feeling a bit burned-out on knitting and instituted selfish-stitching Sundays for myself, where I could work on anything I wanted. For my first selfish-stitching project, I chose the Shersock's pattern from Lattes and Llamas. I'm a fan of the show, so I wanted something to commemorate that, but also something that was nice-enough looking that they'd still look neat even if you didn't catch the show reference, and these fit the bill perfectly. They were also the perfect selfish-stitching project, because I don't do a ton of colorwork and it gave me a chance to work on my skills.

My second selfish-stitching project was a pair of very useful  fingerless mitts knit up in some yarn I had dyed in 2011 and spun in 2012. I don't have a selfish project on the needles right now, but I just saw a new design Bristol Ivy has in progress that is absolutely stunning, so I'm pretty sure I know what its going to be.

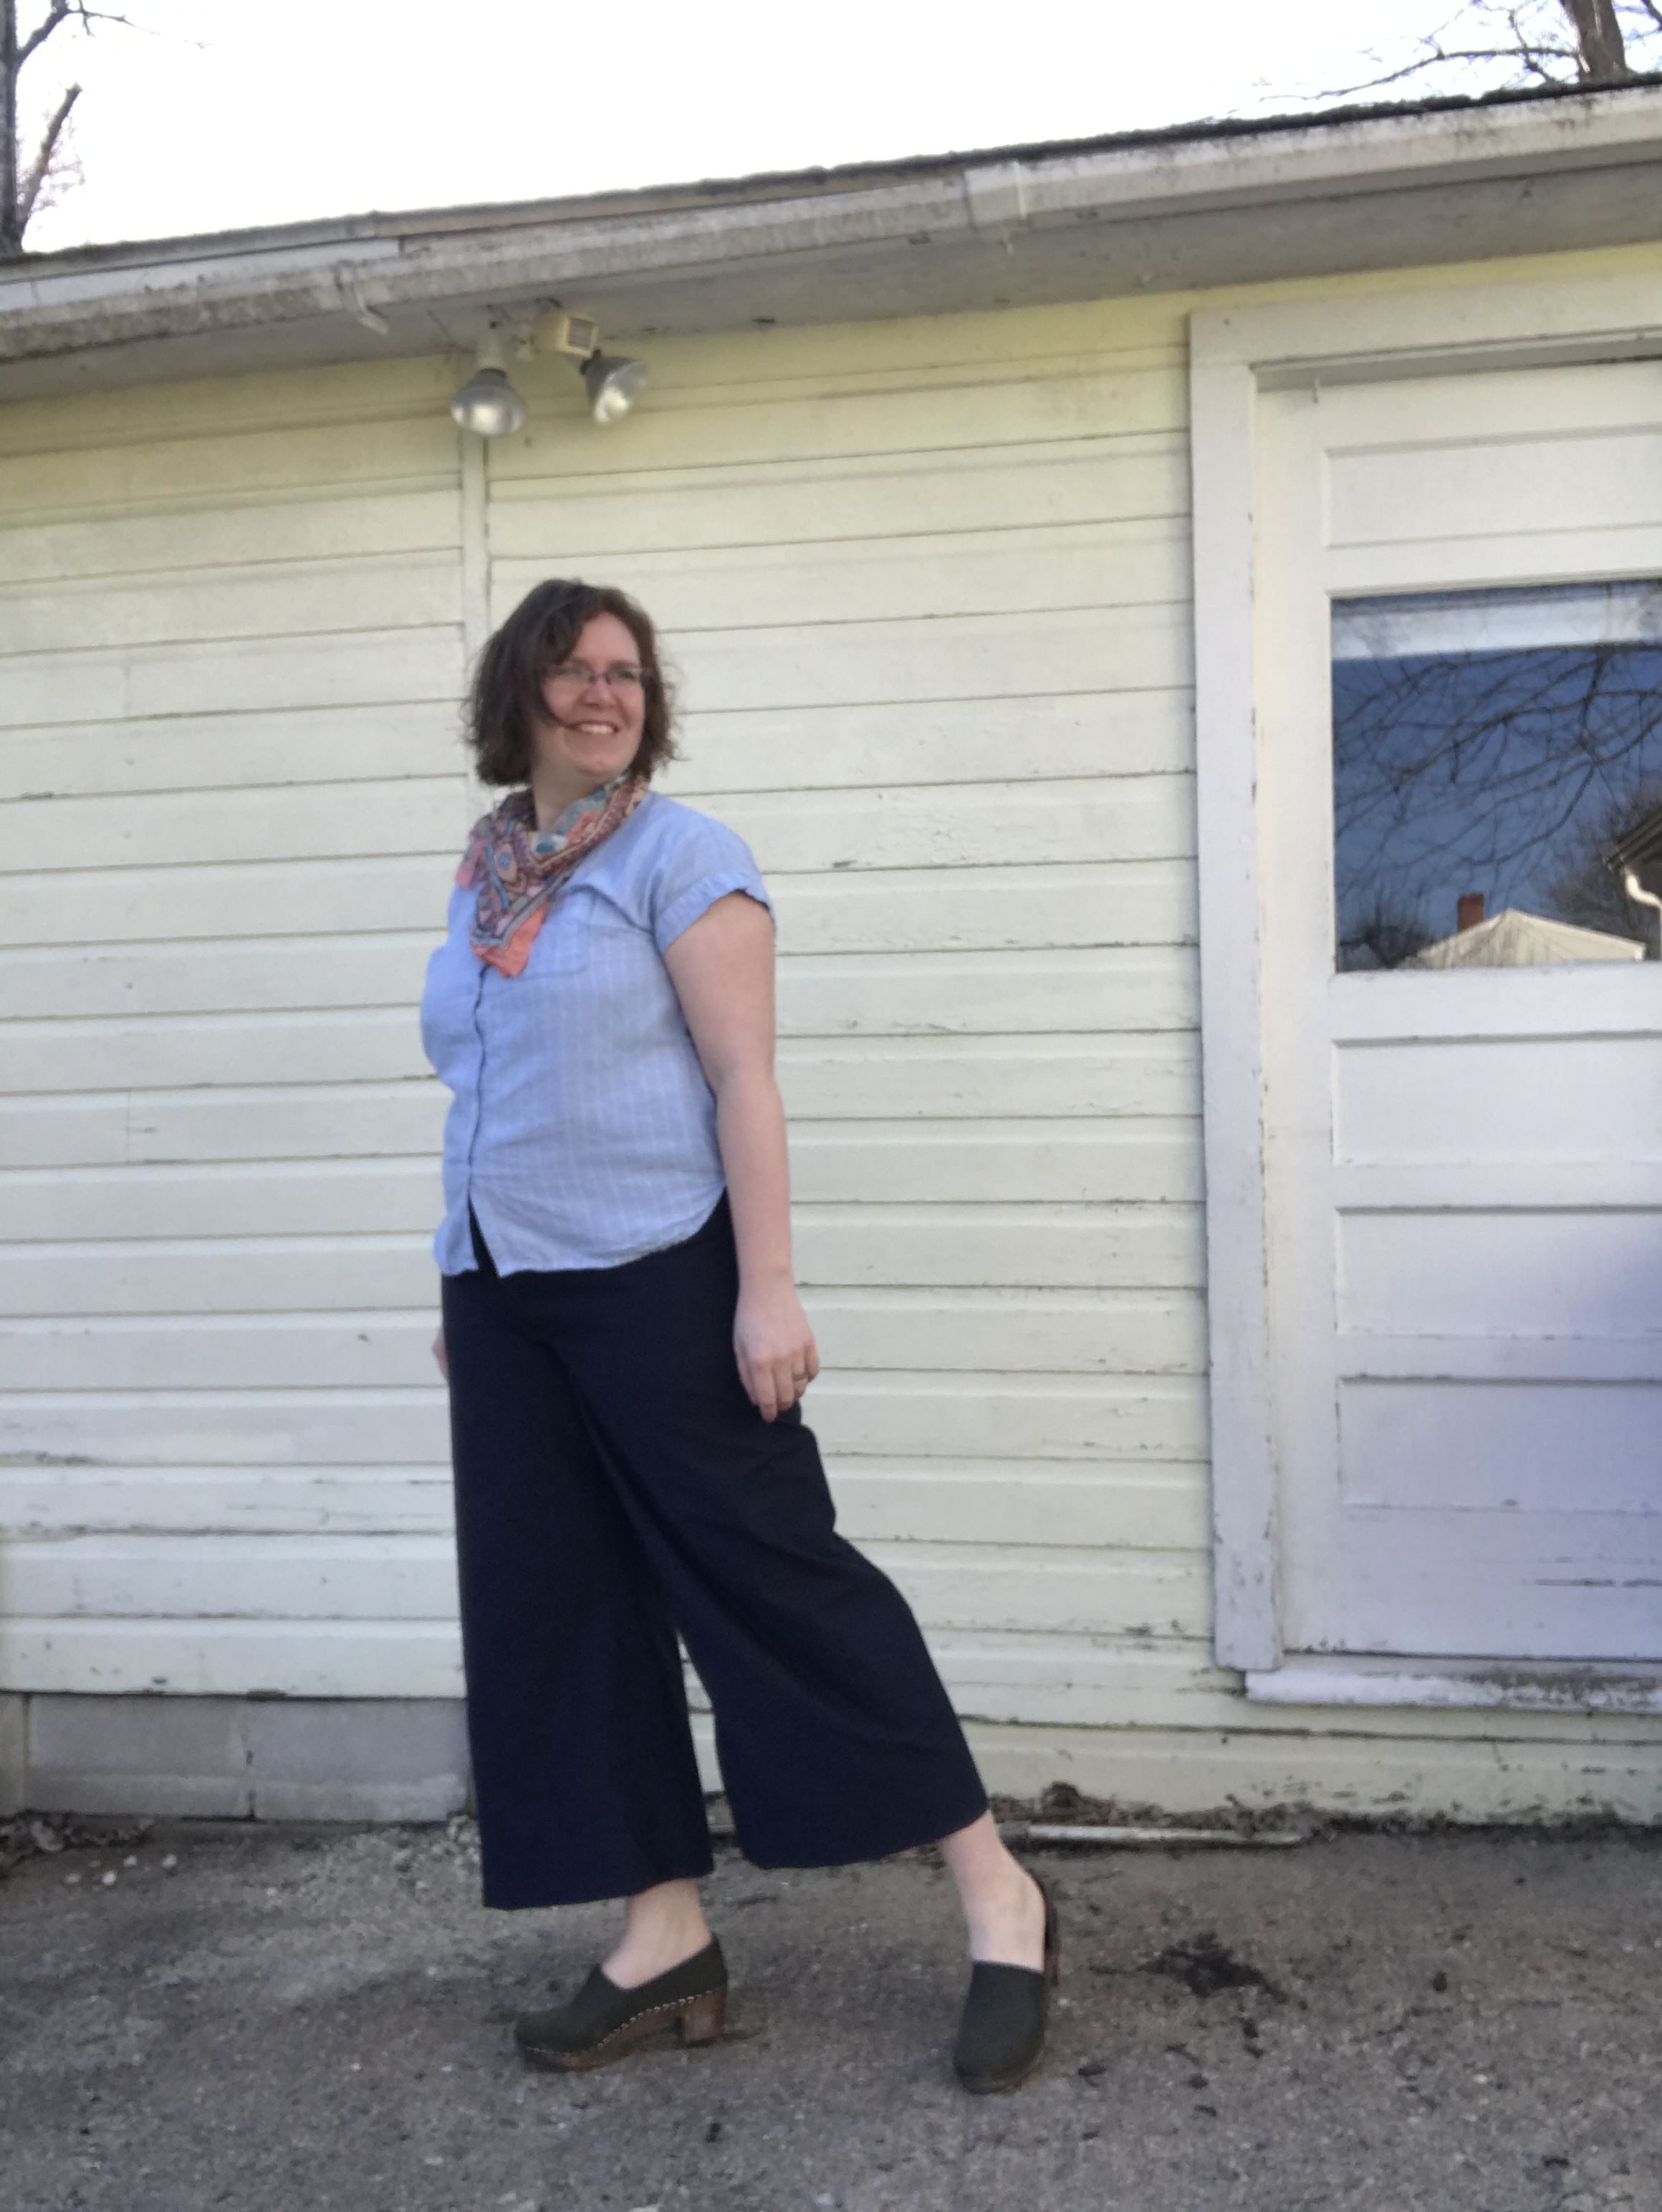
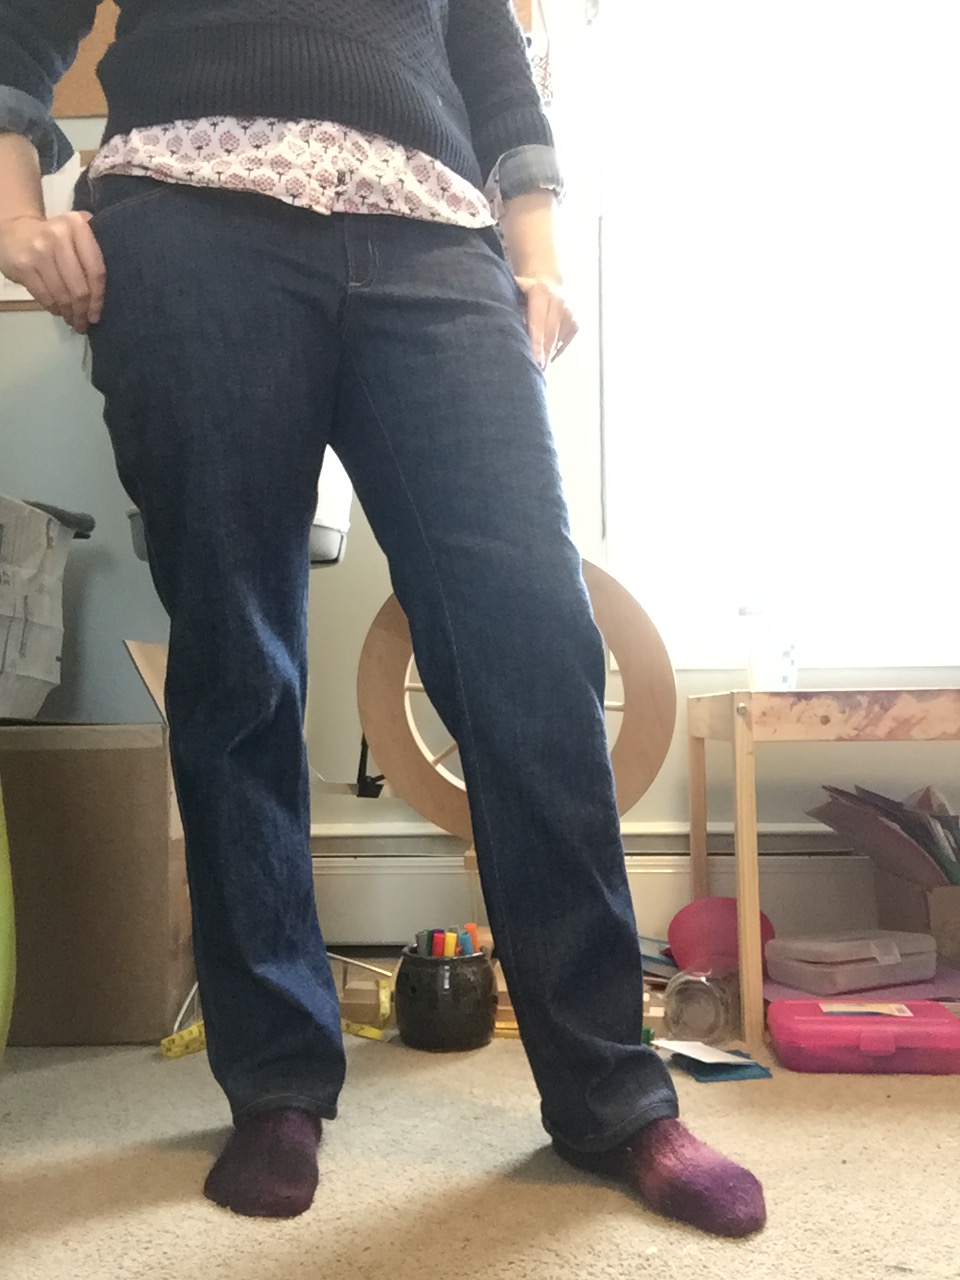
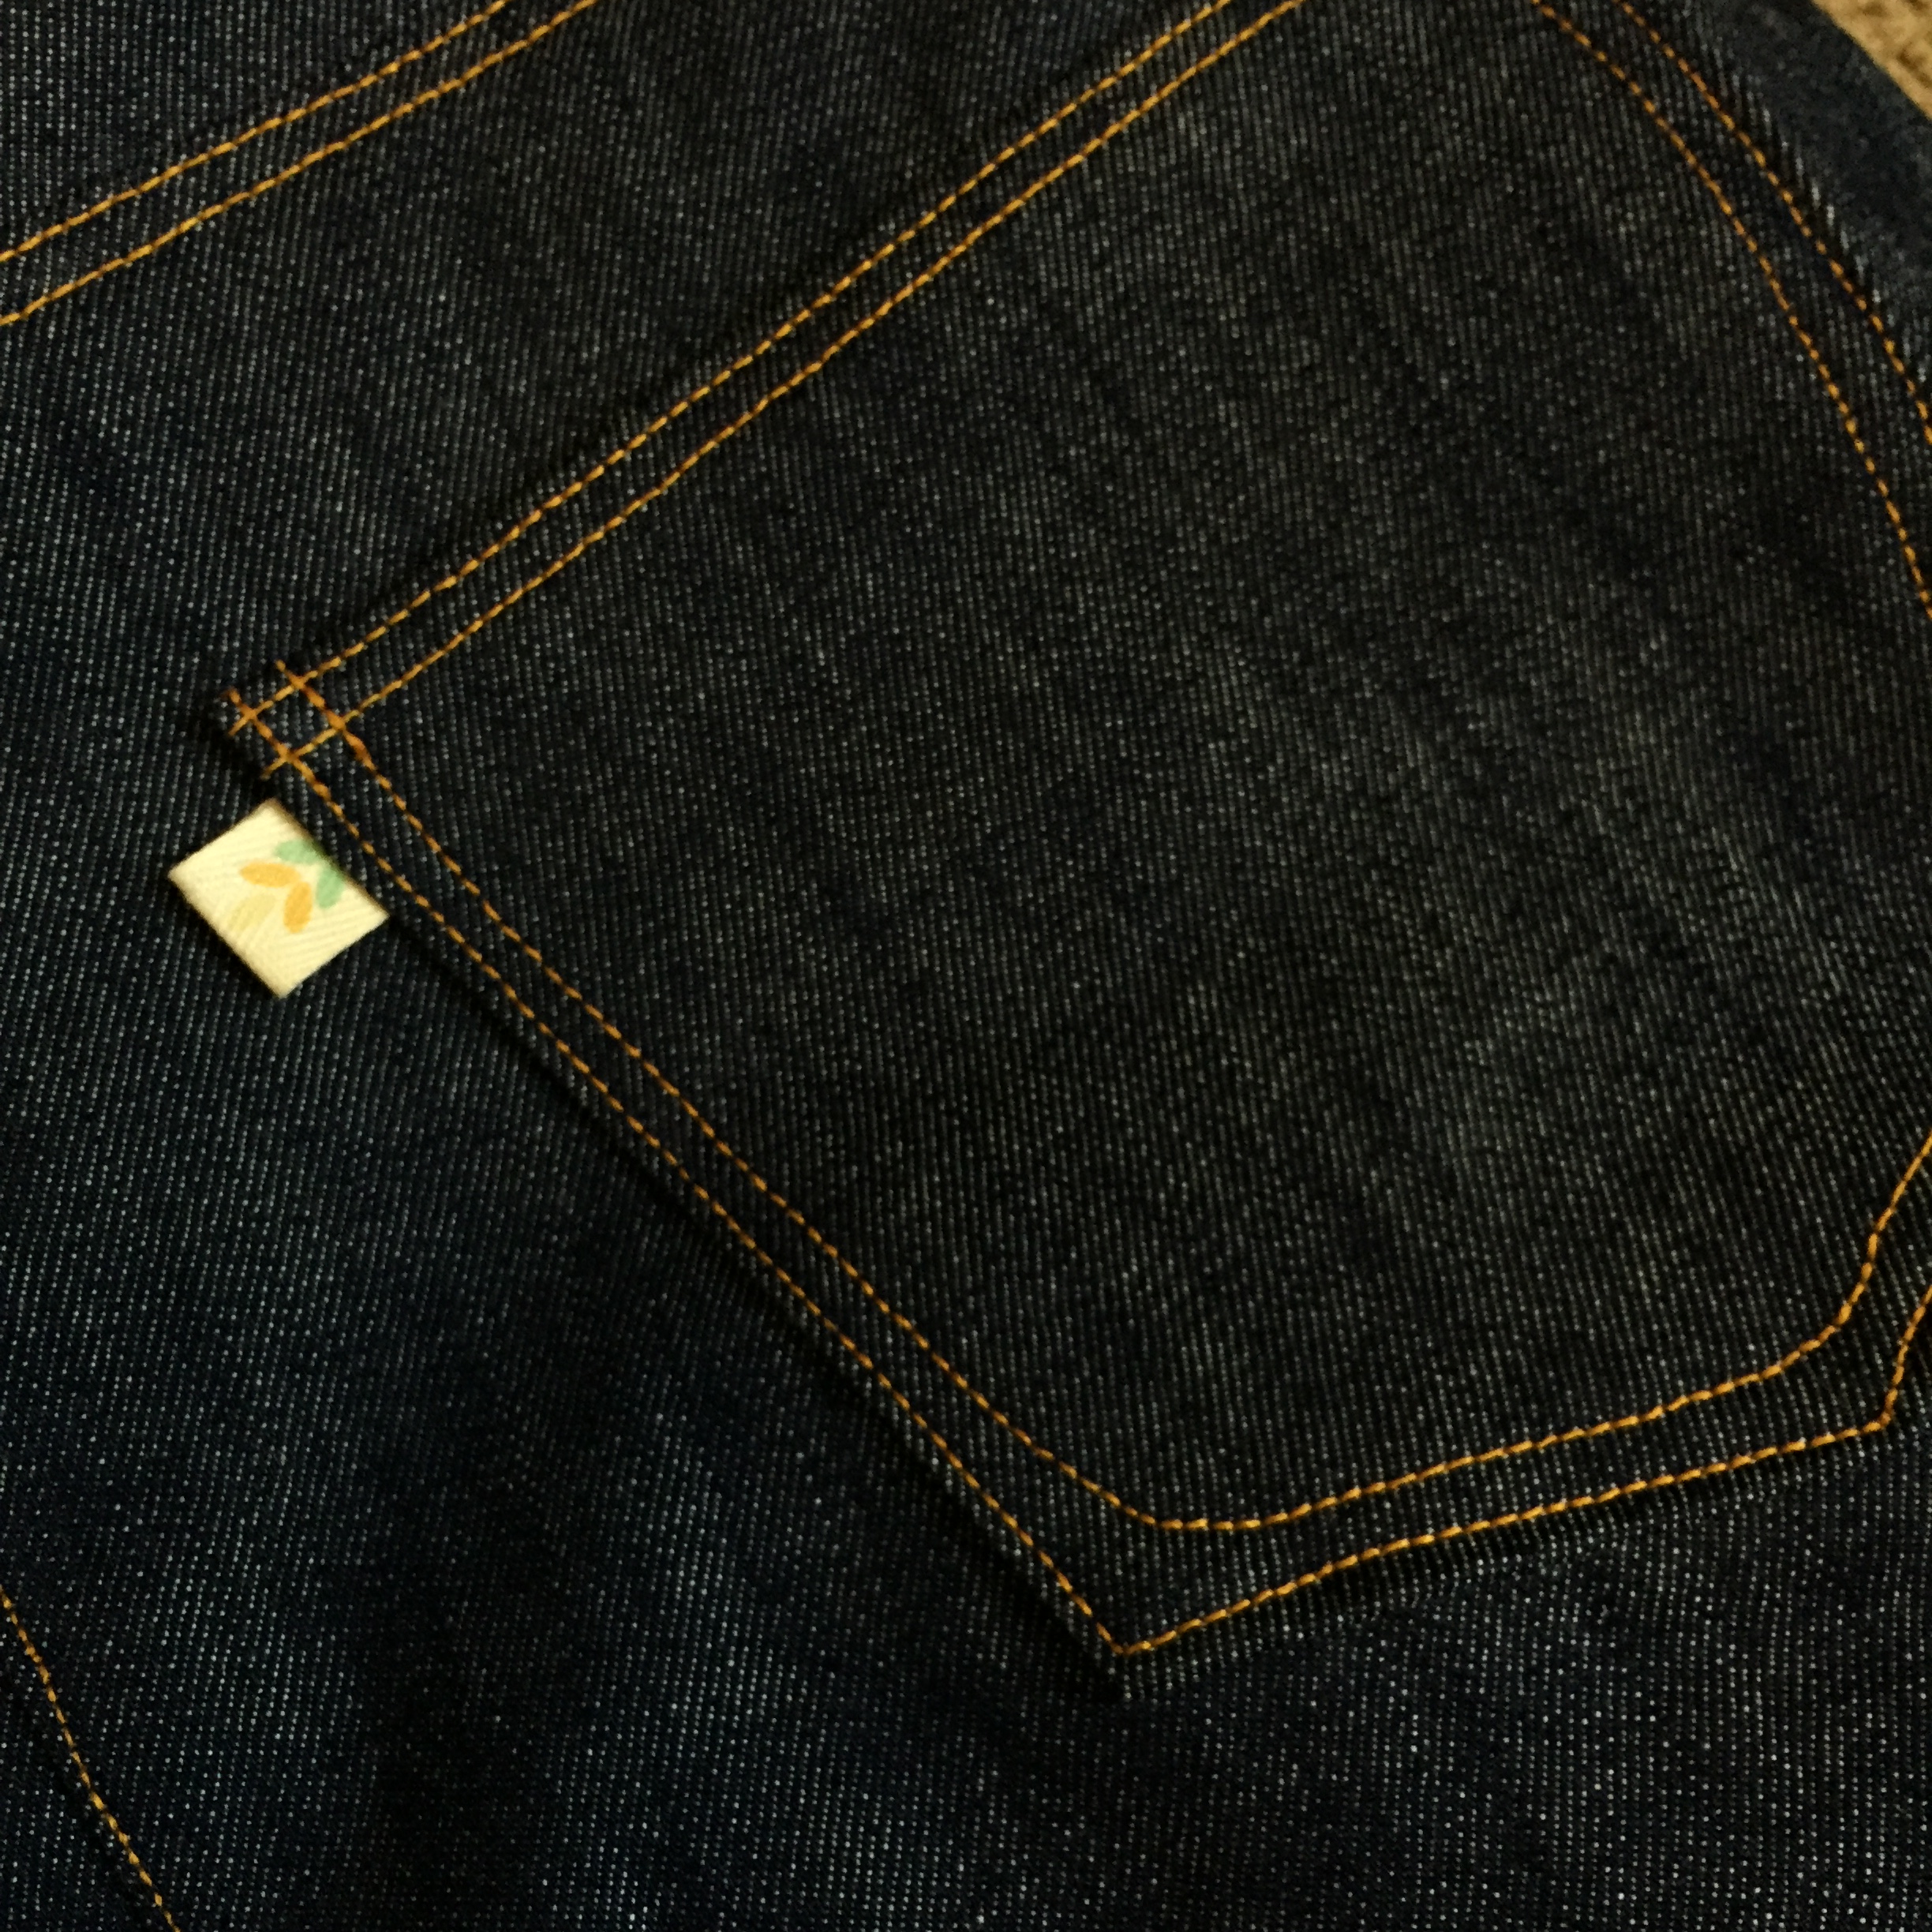
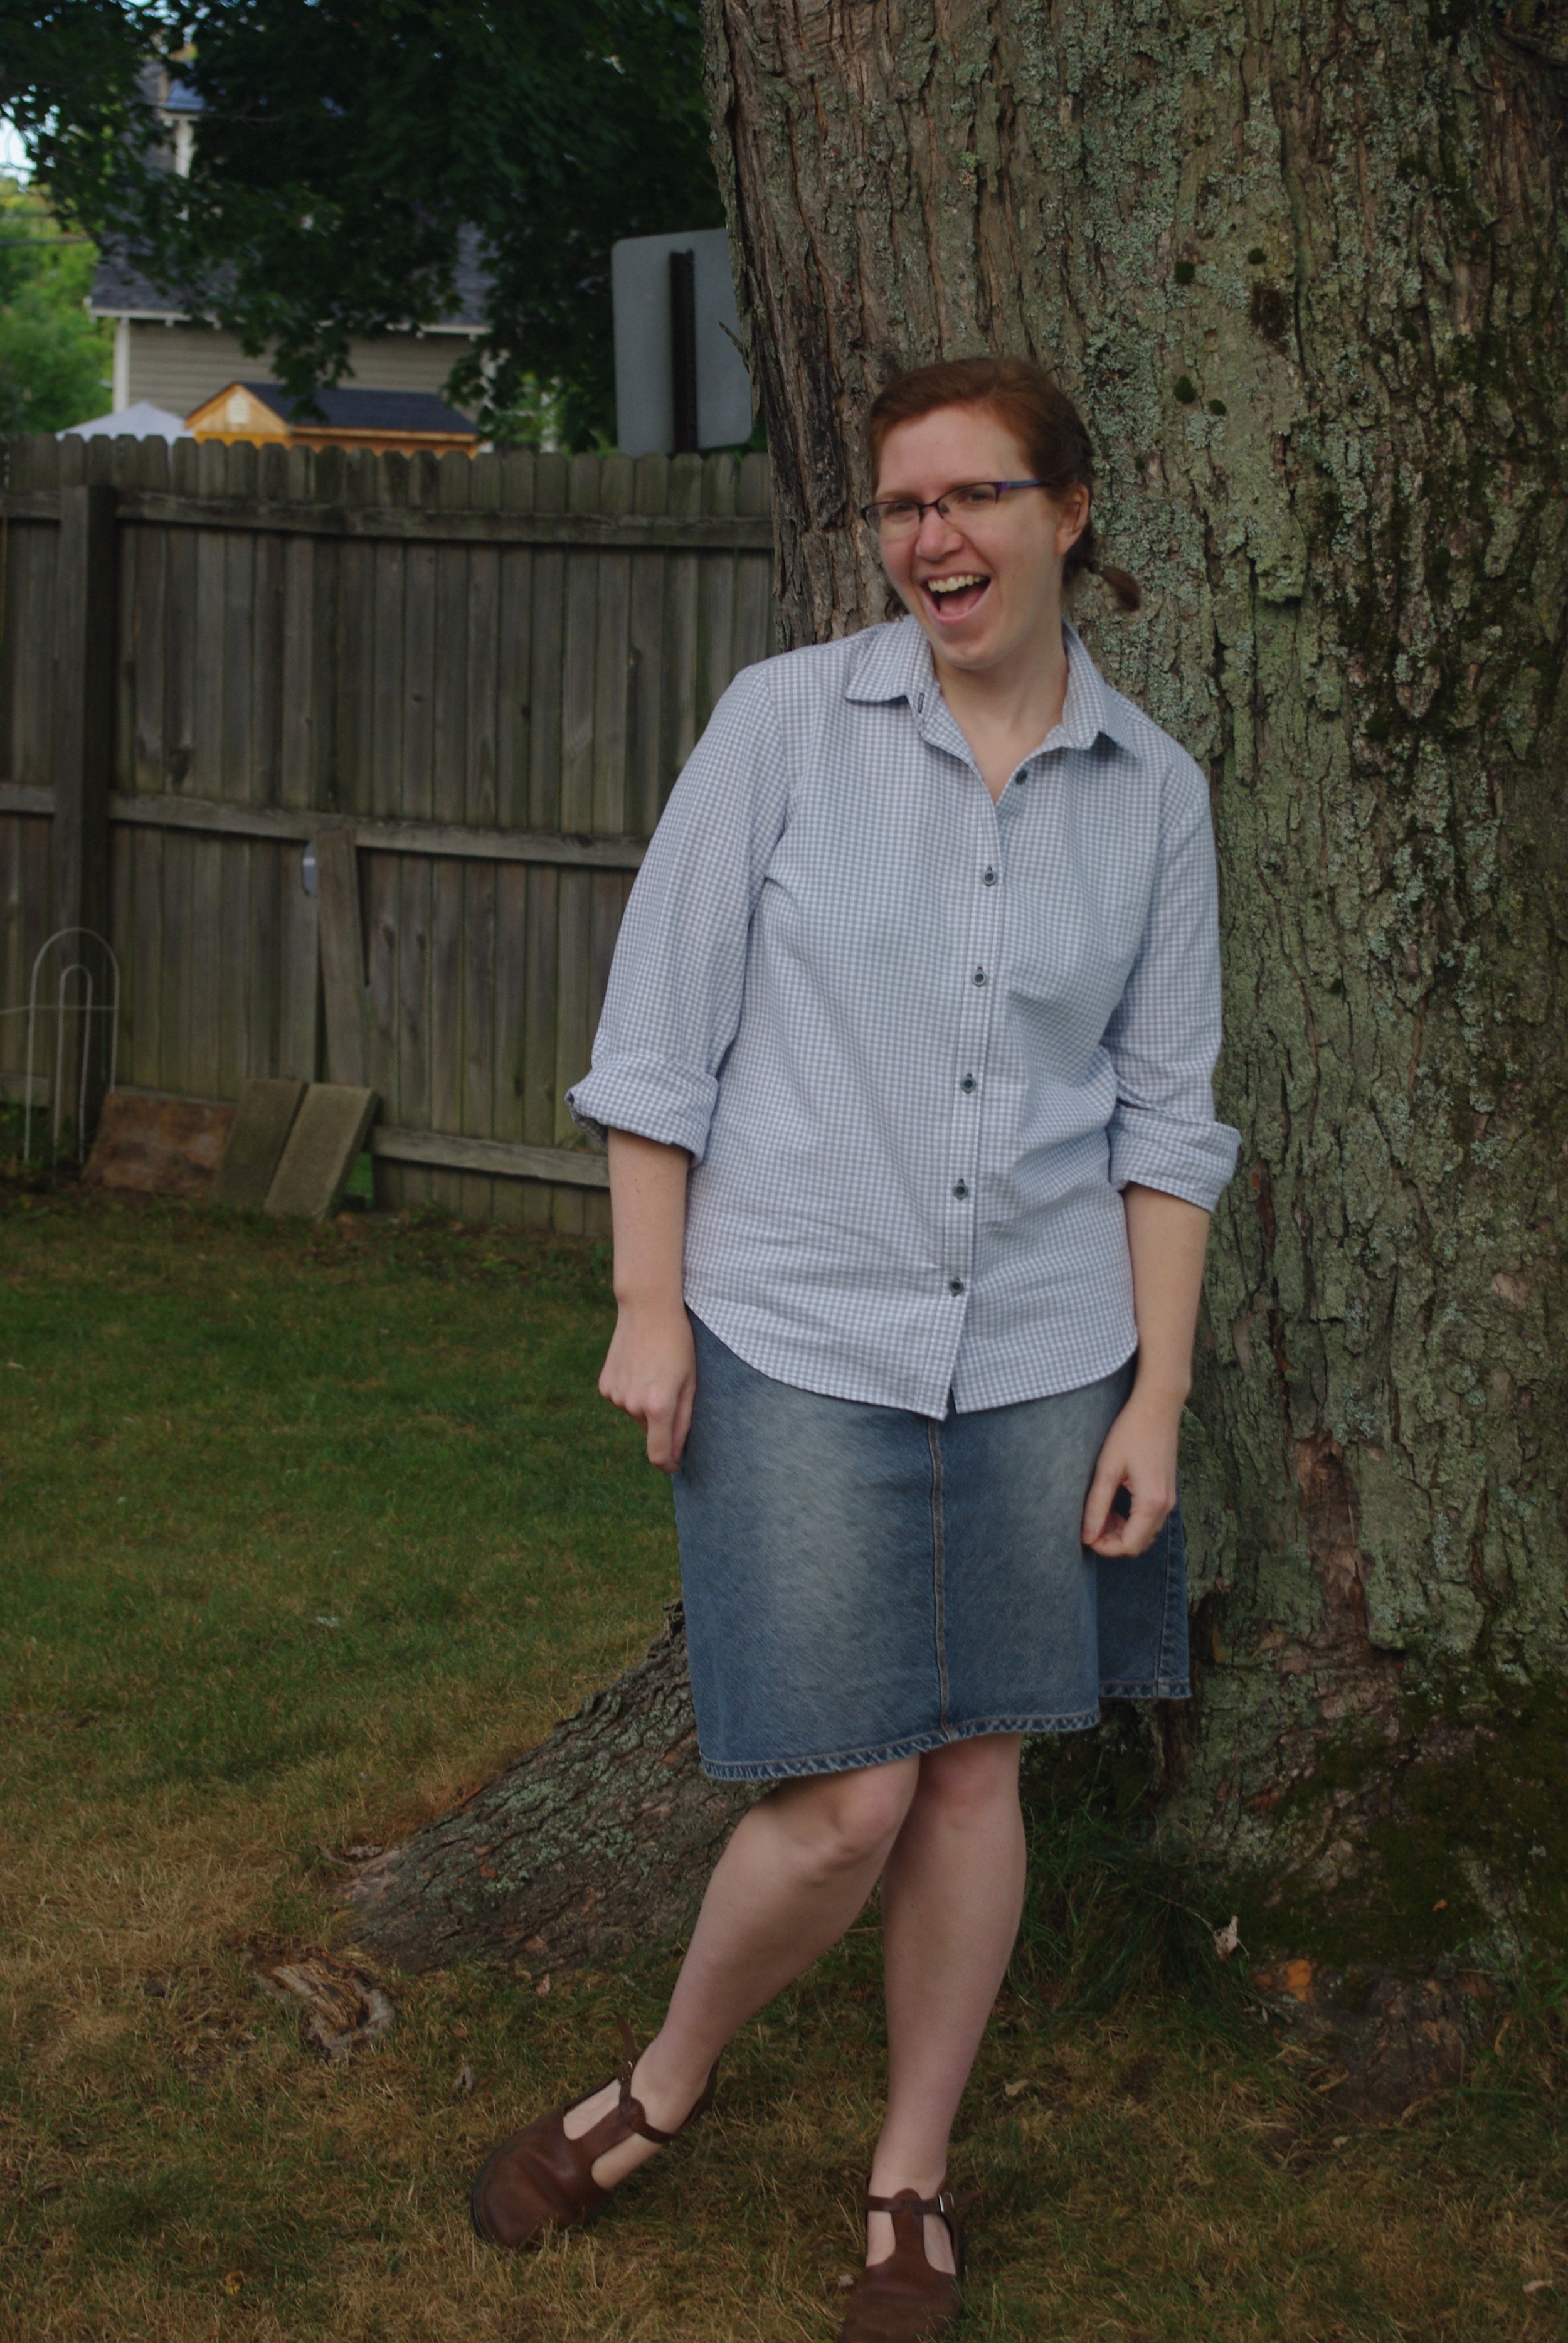
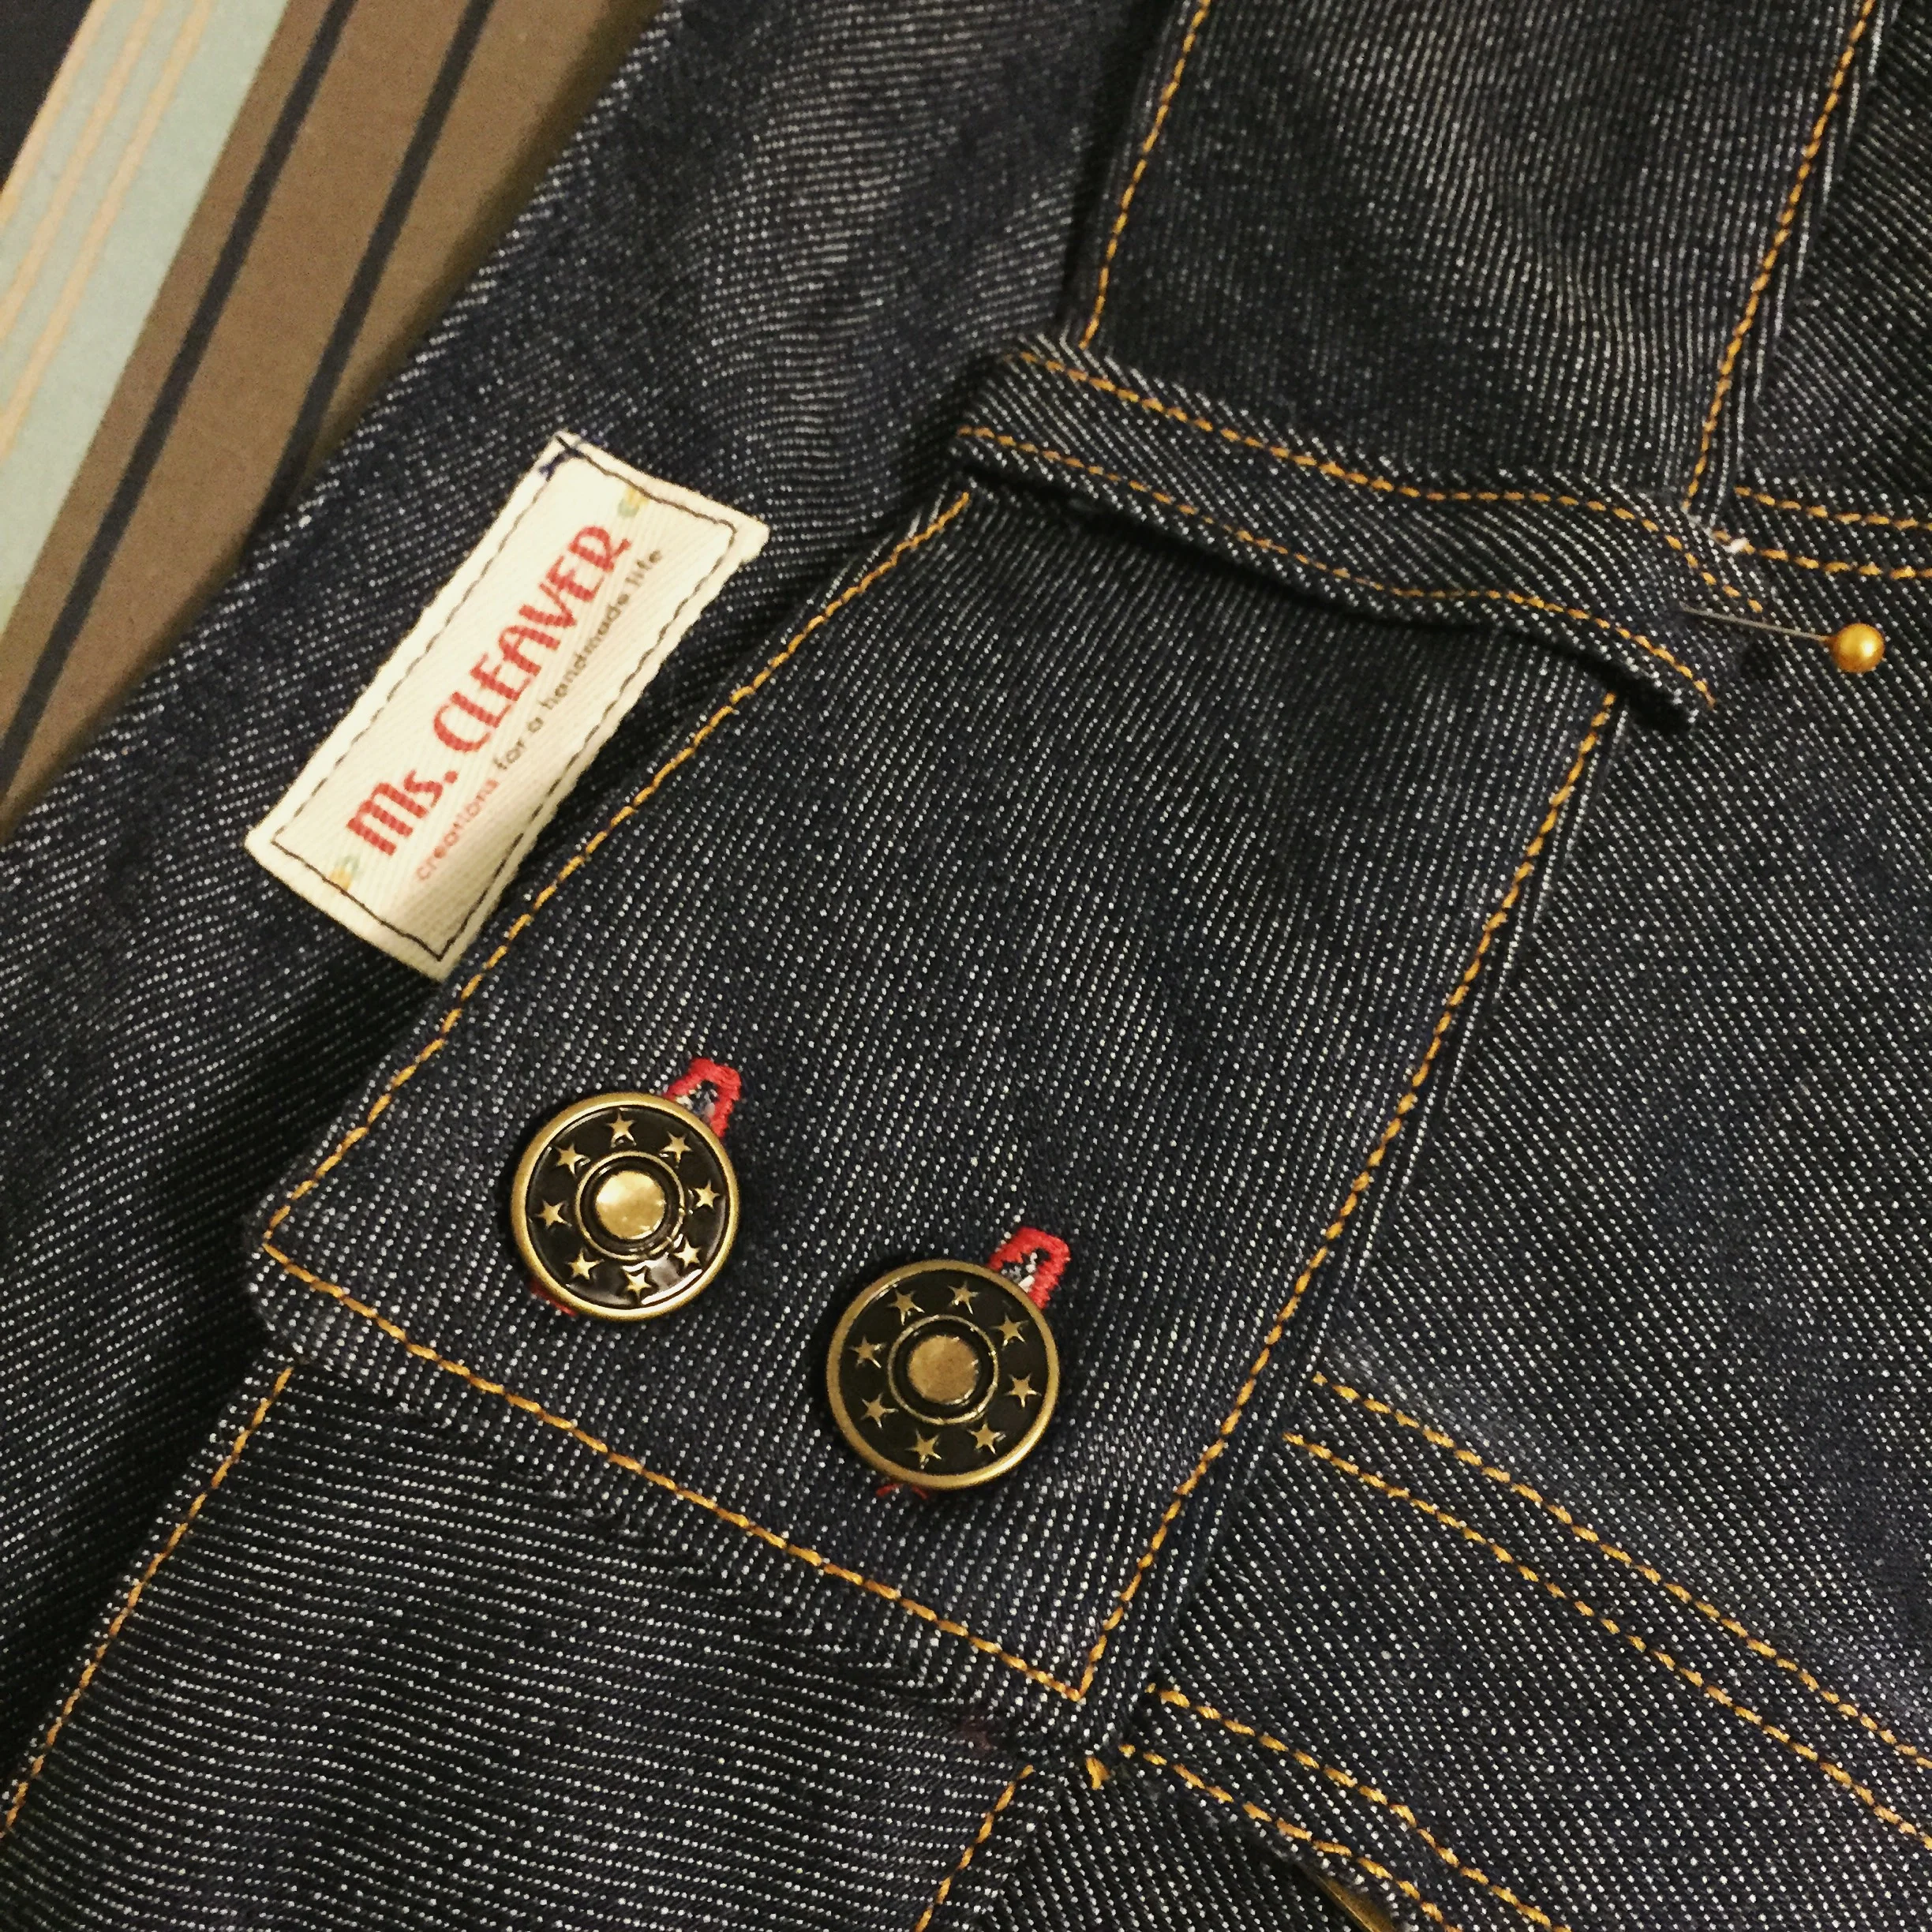
As for sewing, my motto seems to be no small projects! As I leapt from sewing my first pair of jeans to sewing a winter coat. The jeans are the stovepipe leg version (View A) of the Ginger Jeans. With the inclusion of the sew-along, I found making jeans very do-able if time consuming. I made the lower-waisted version, which I raised a bit by making the waistband twice as wide (hence the two buttons). She's since released a tutorial on doing a mid-rise variation, which I'd probably do the next go around. I'd also make them a size down, because I didn't account for how much the denim would stretch throughout the day. But even with those caveats, I'm super proud of my jeans making. Seriously, making your own jeans makes you feel like a sewing BOSS.

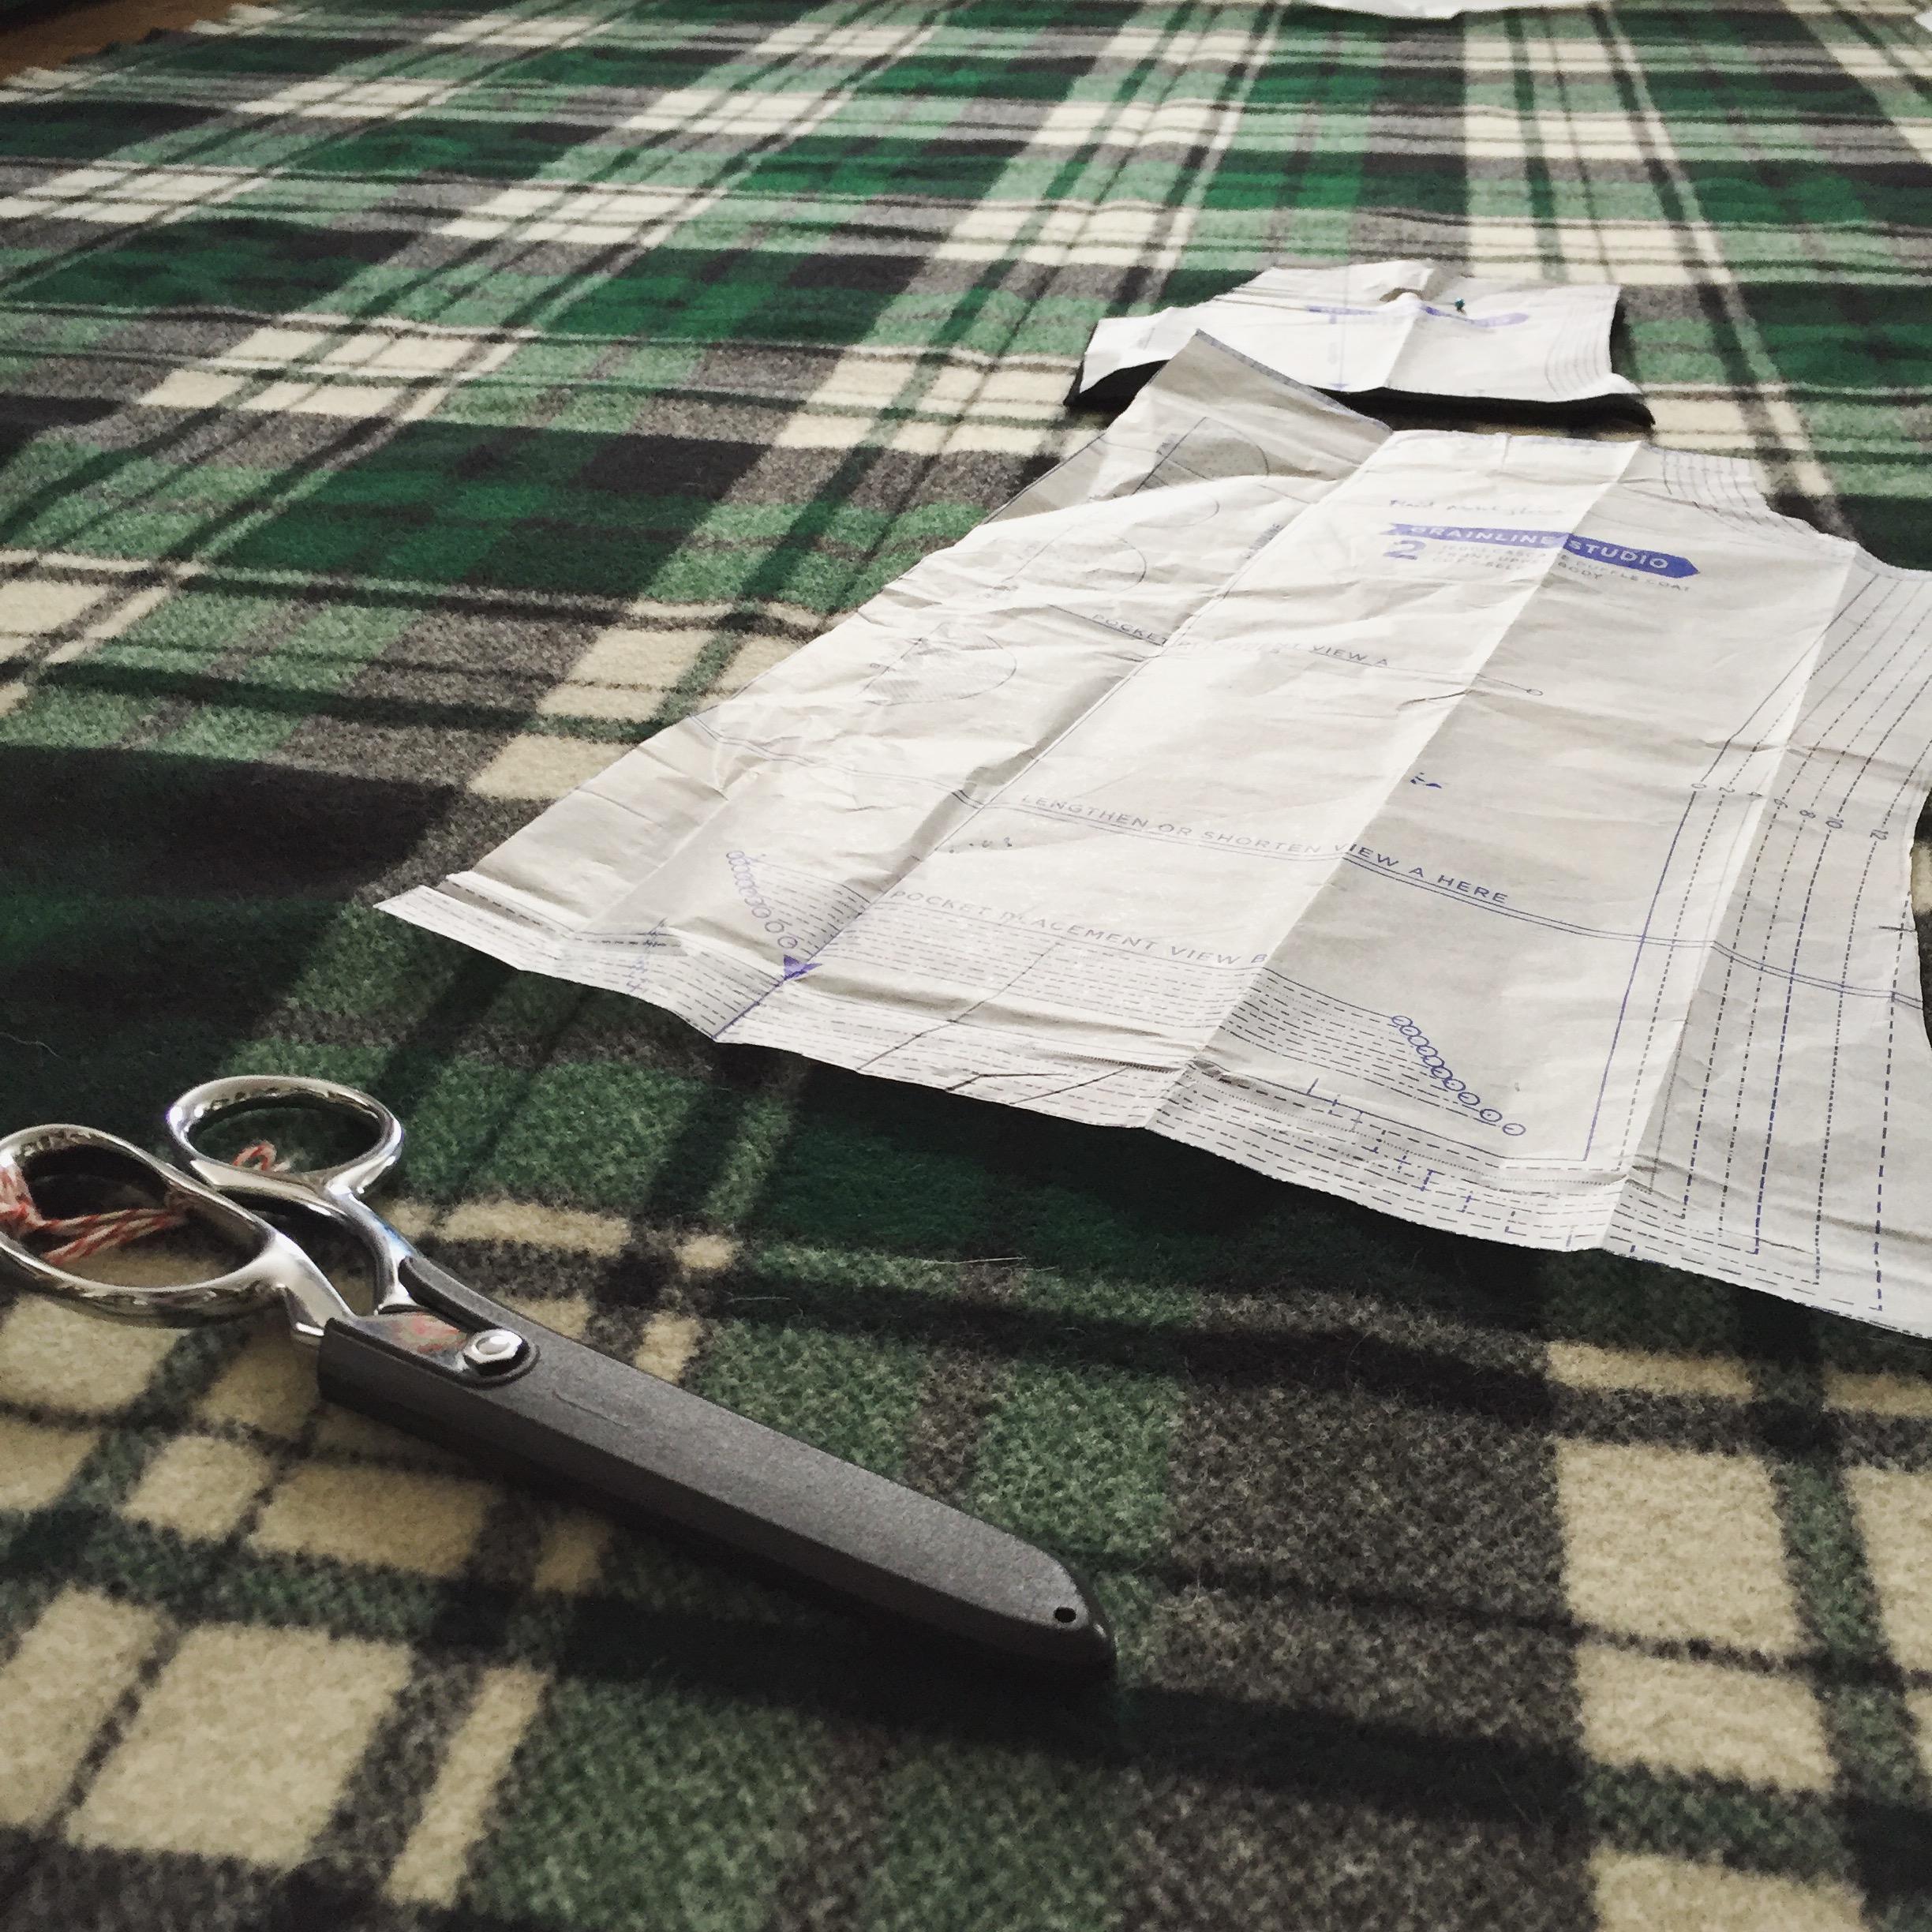
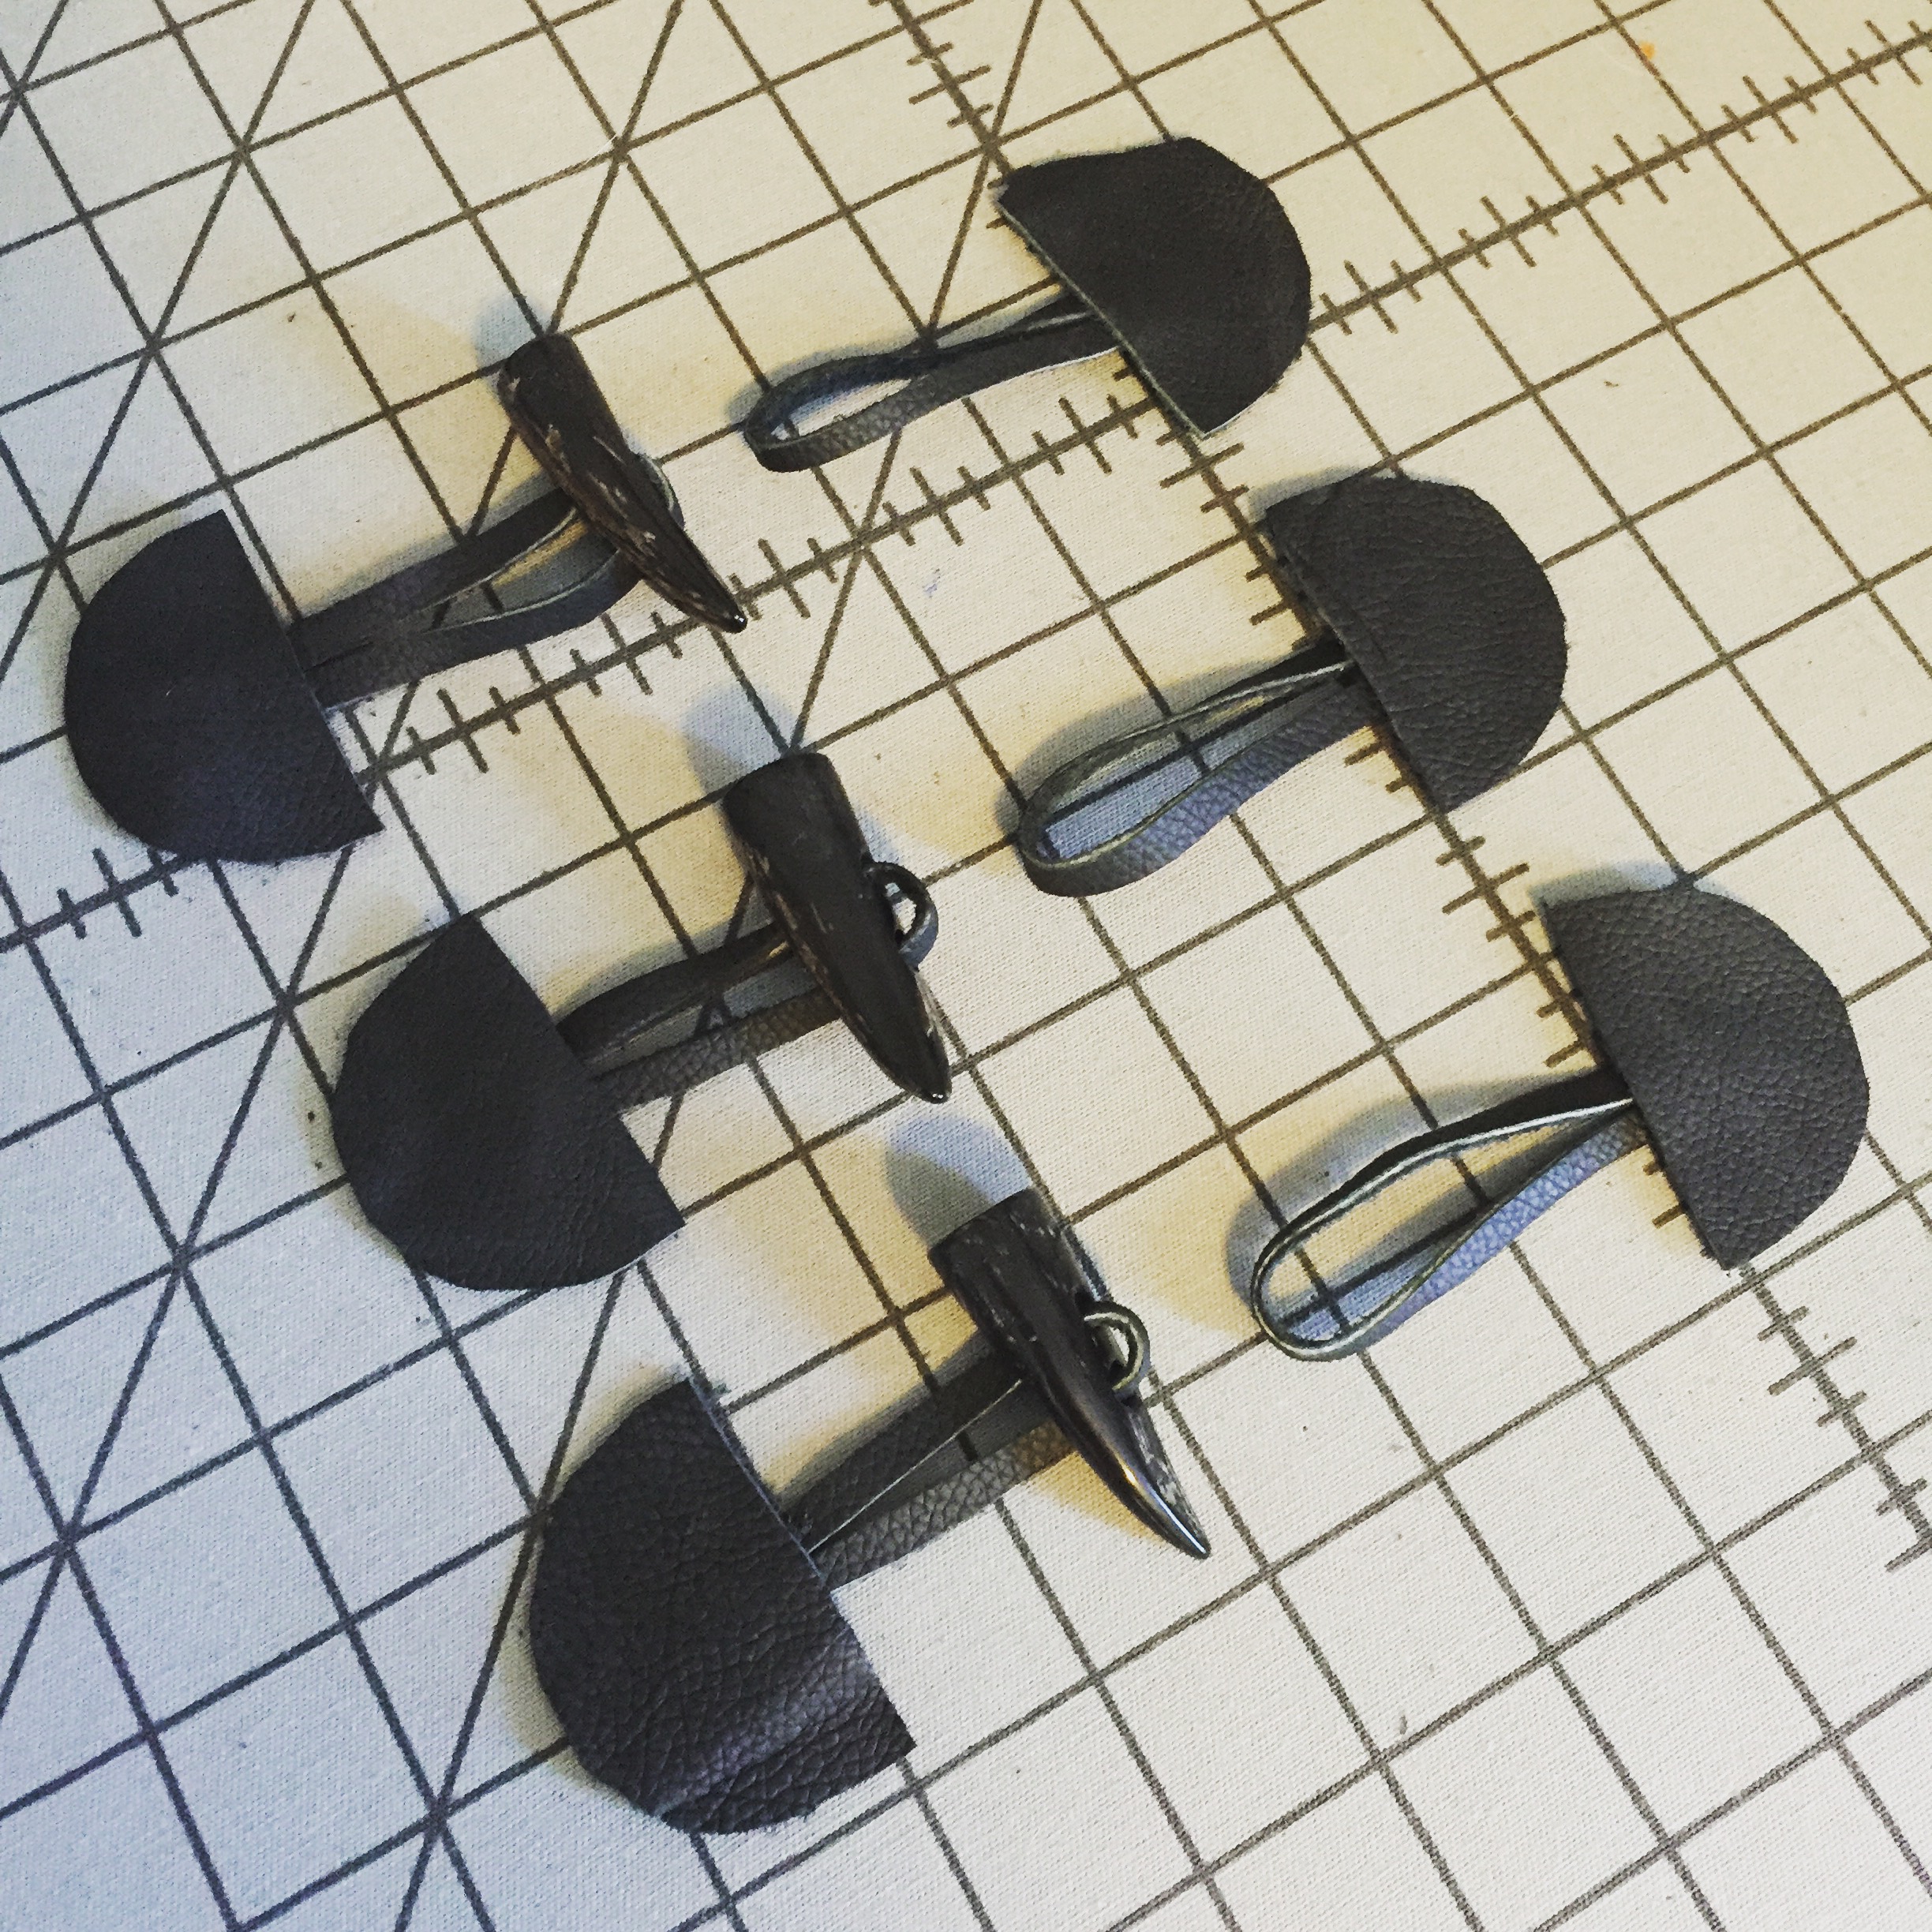
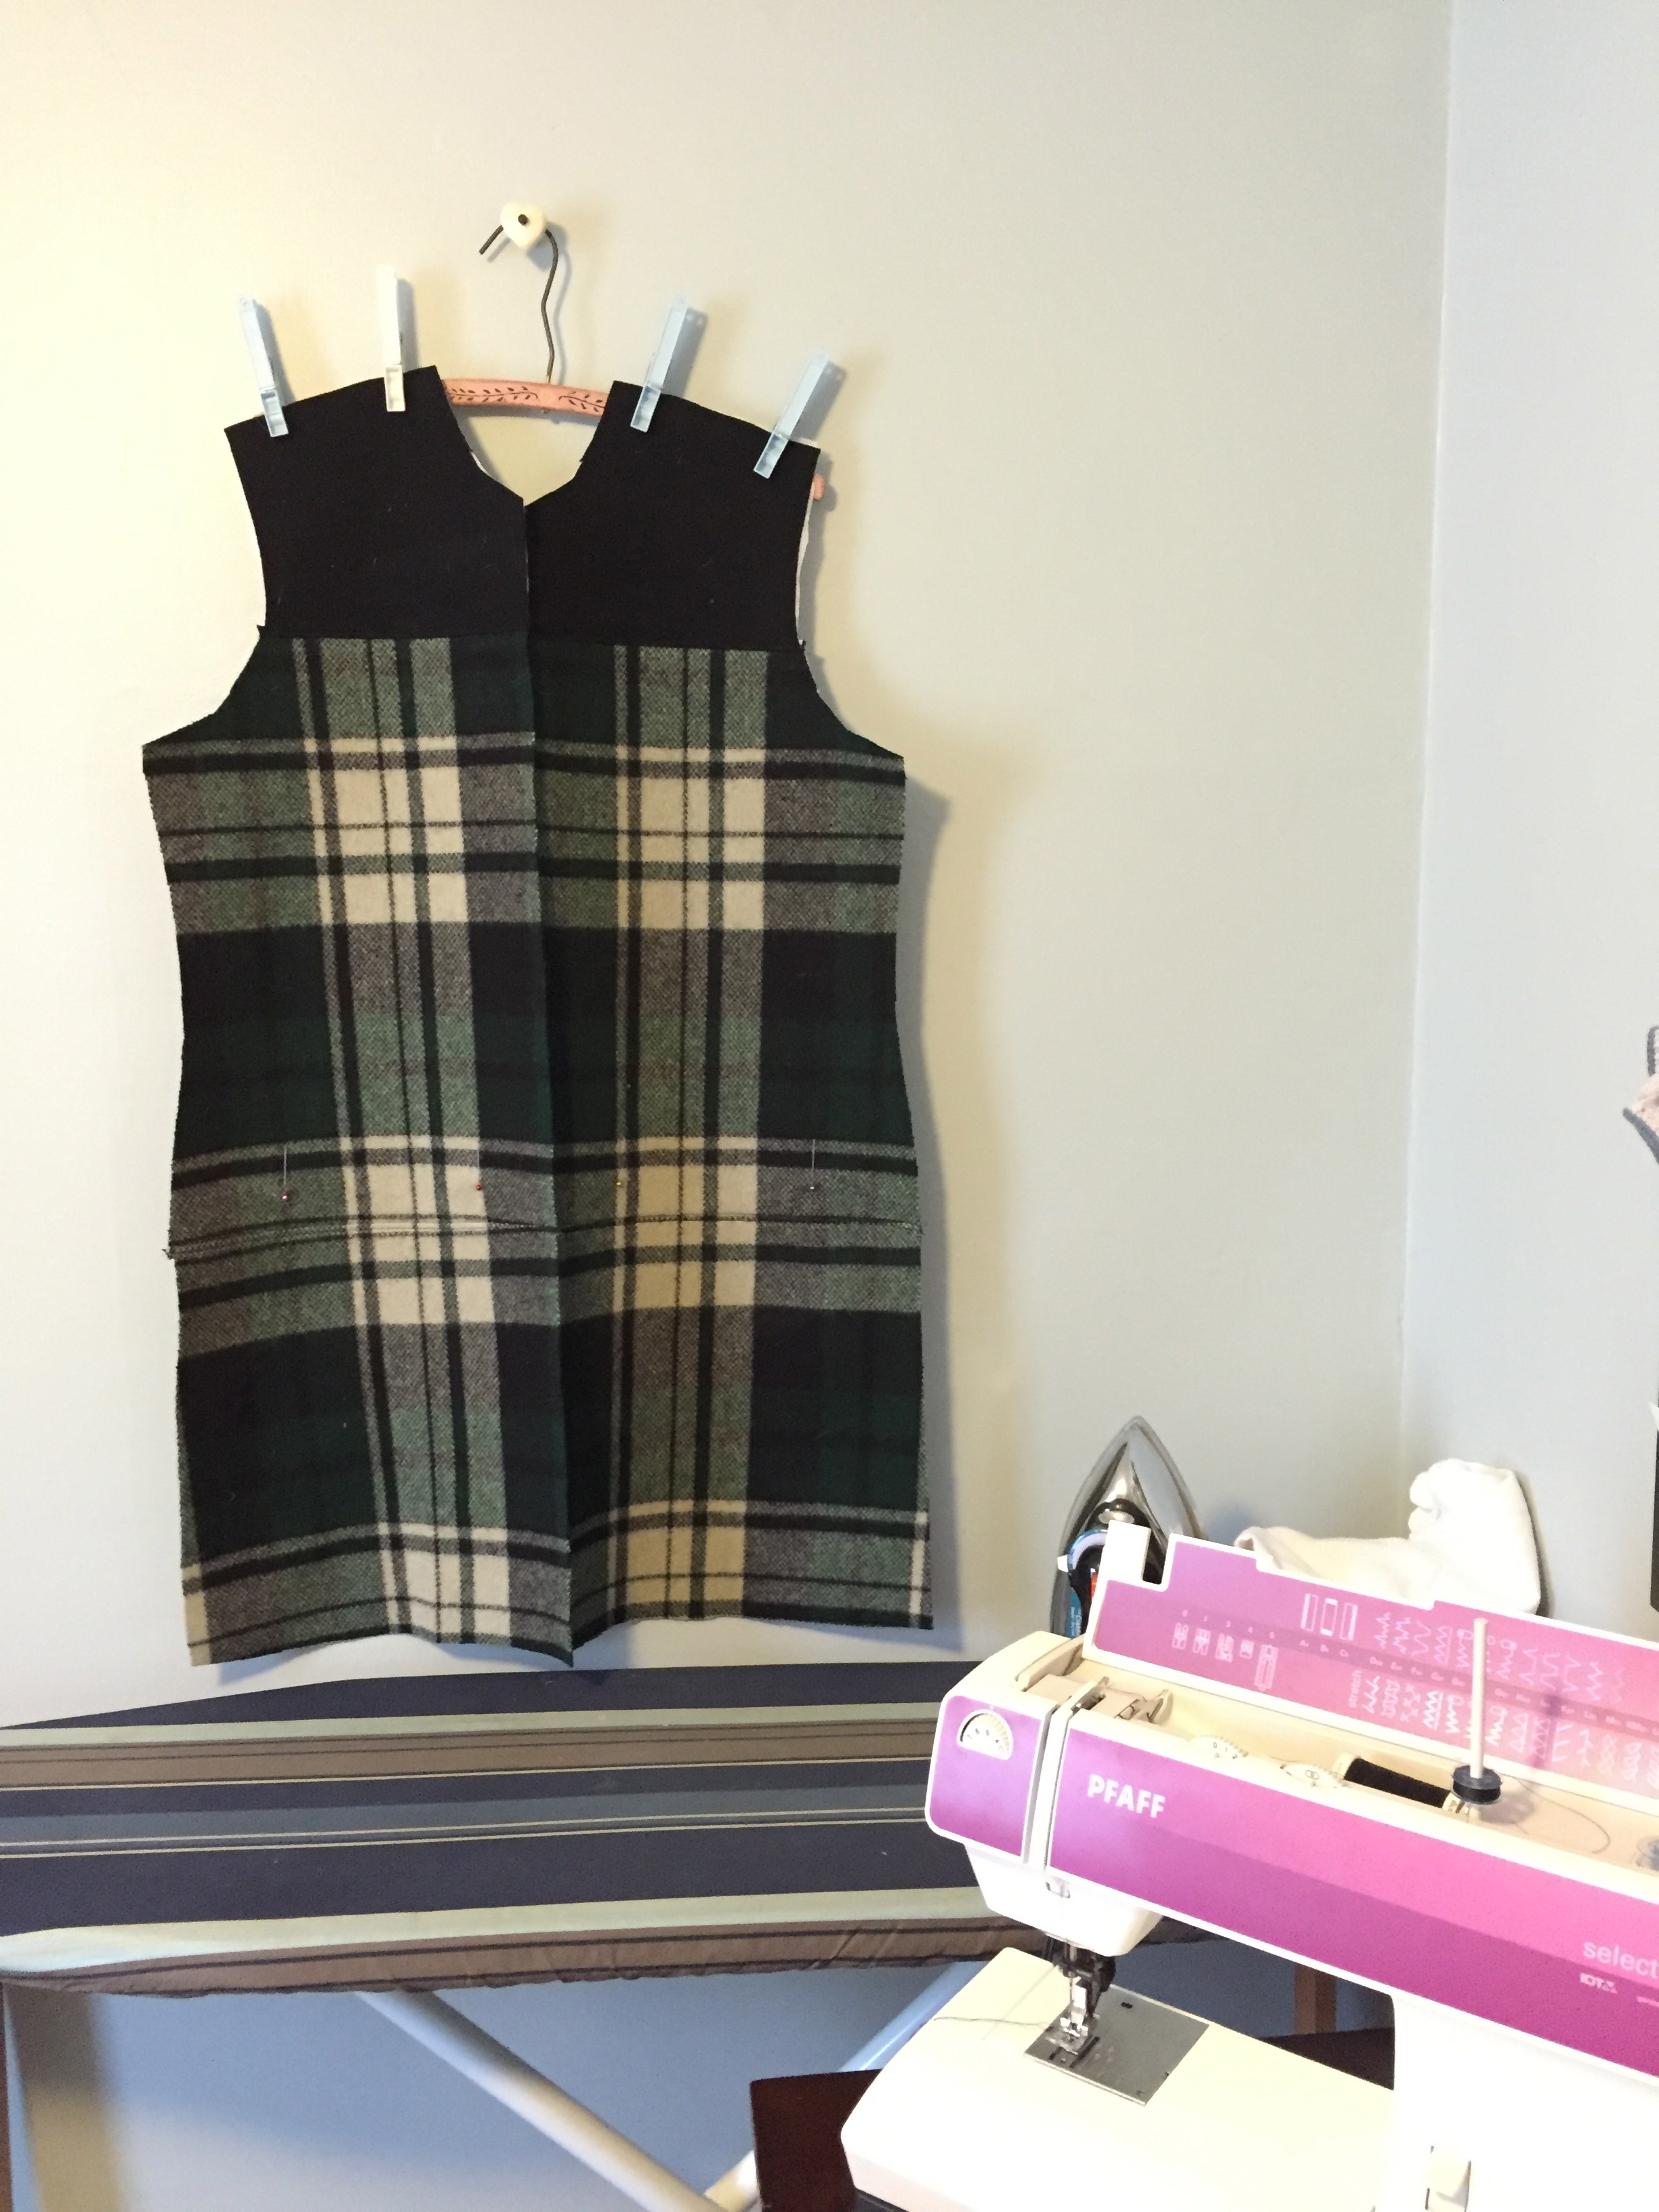
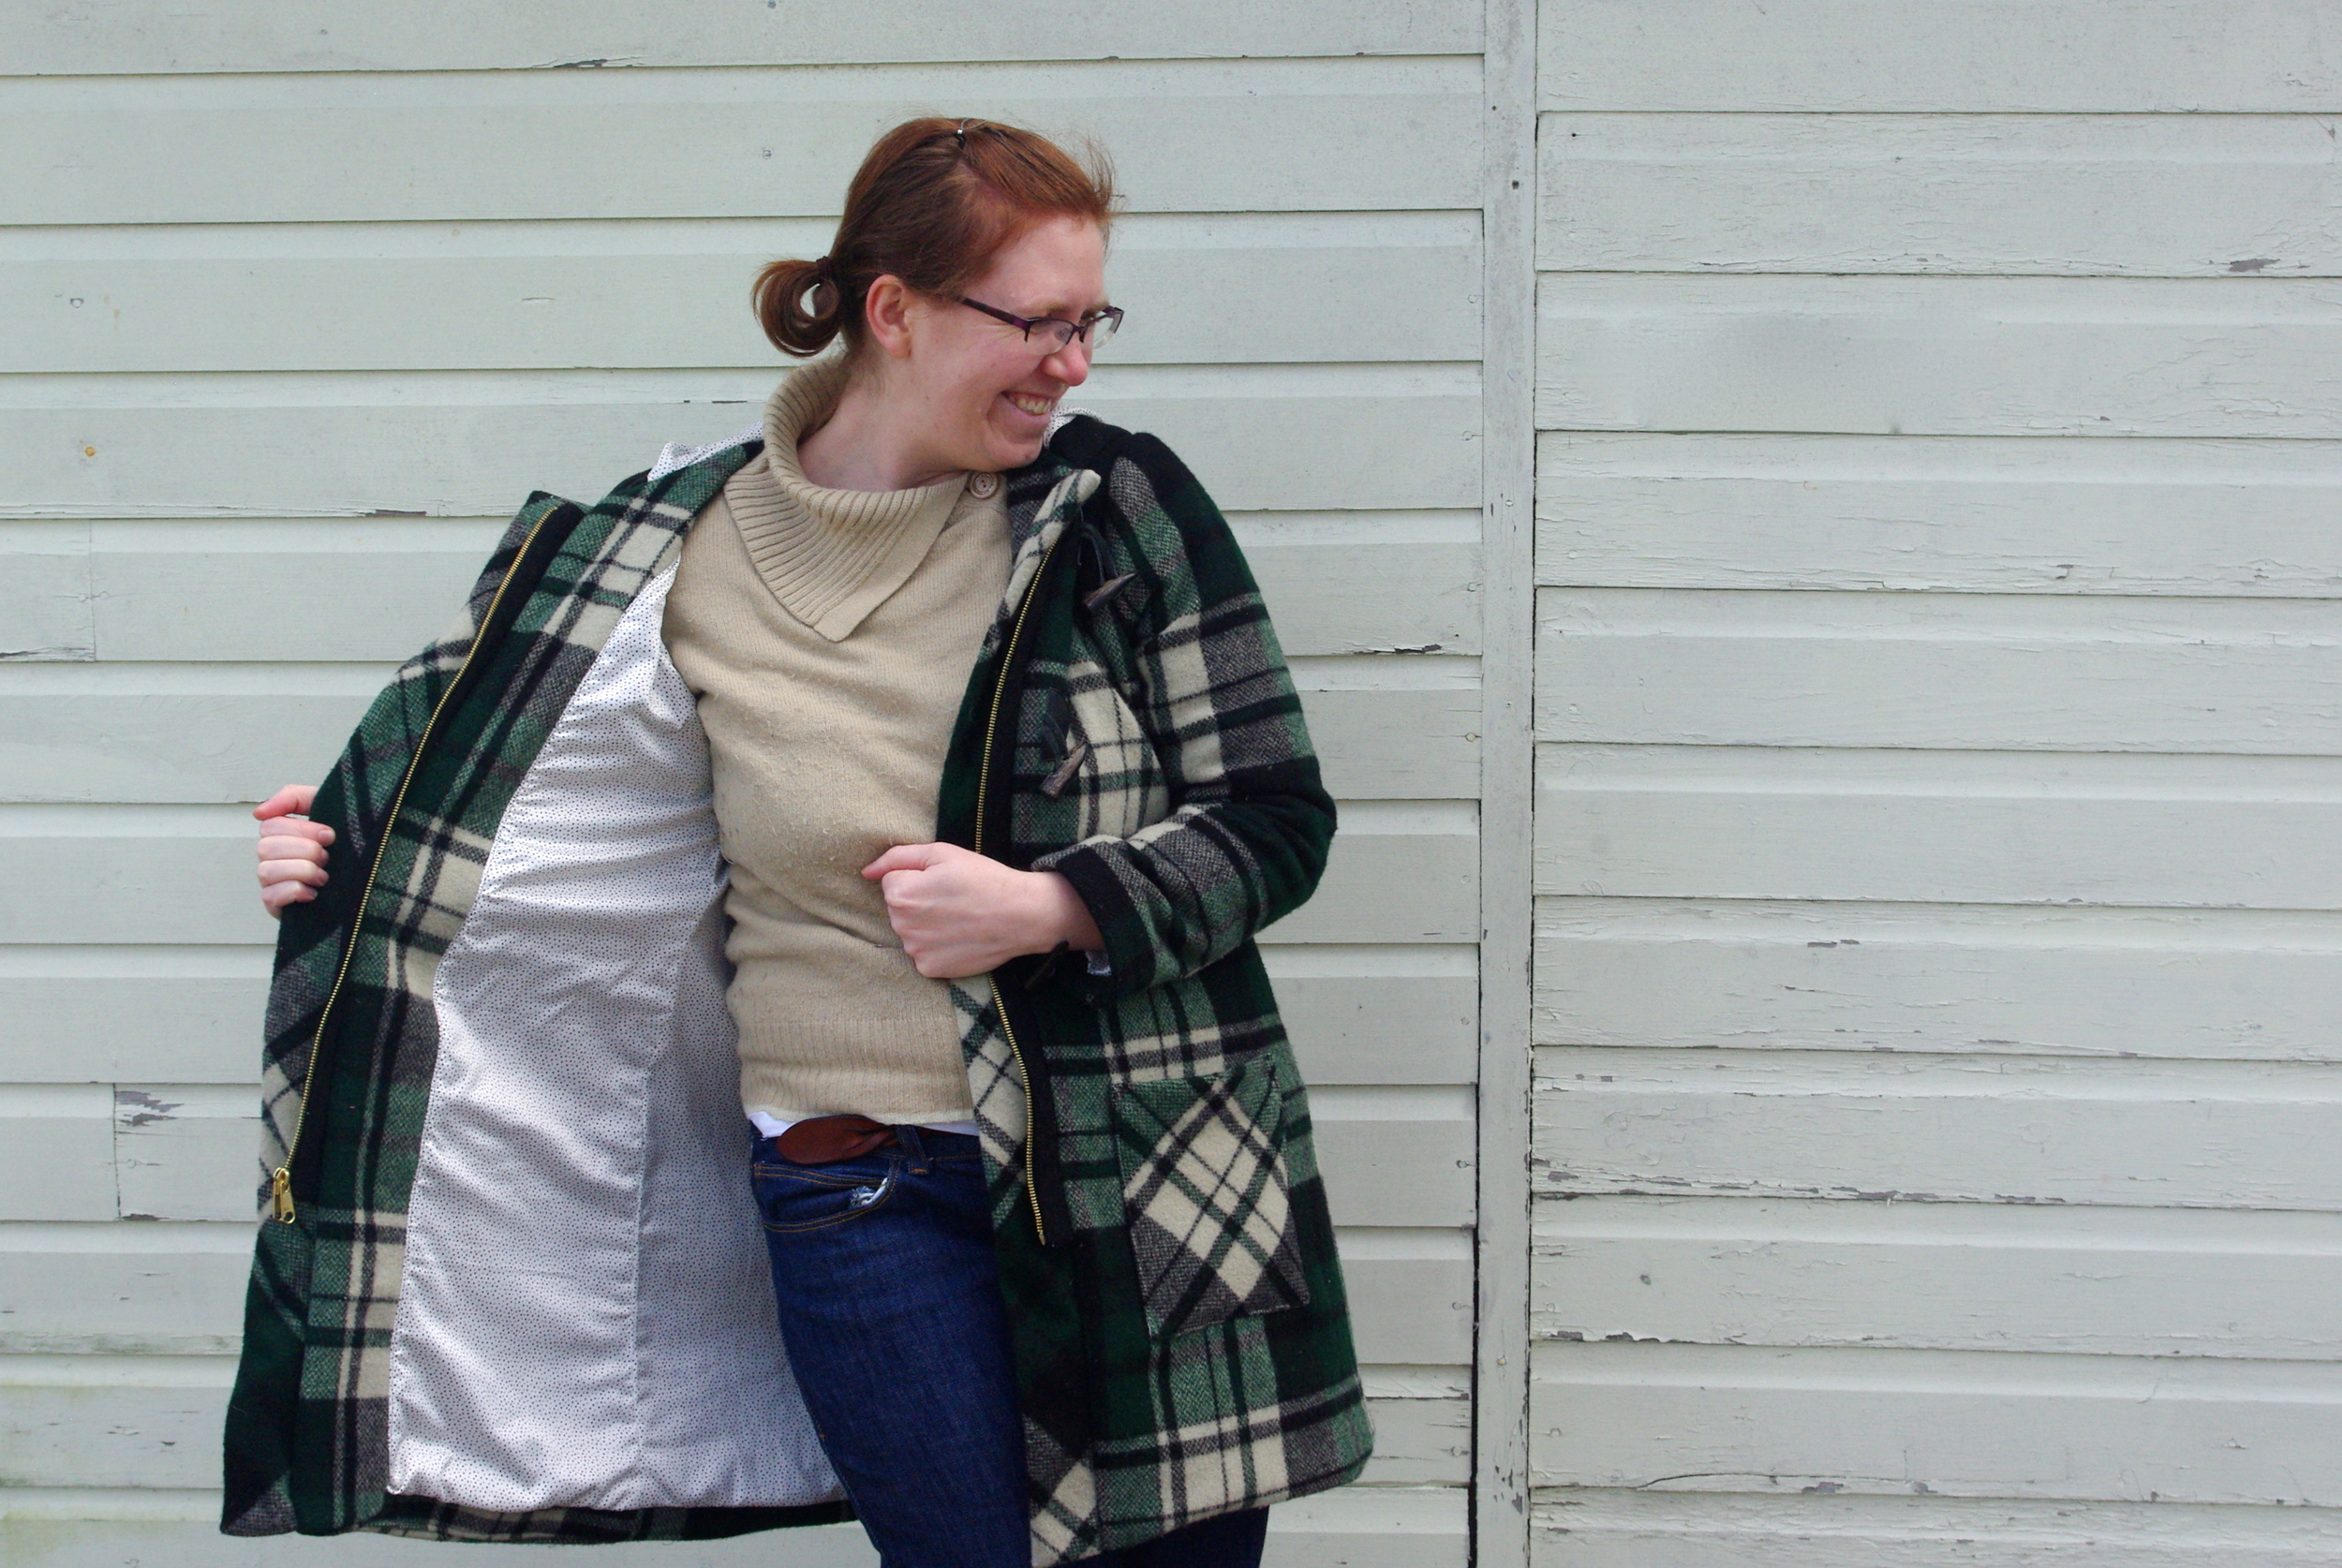
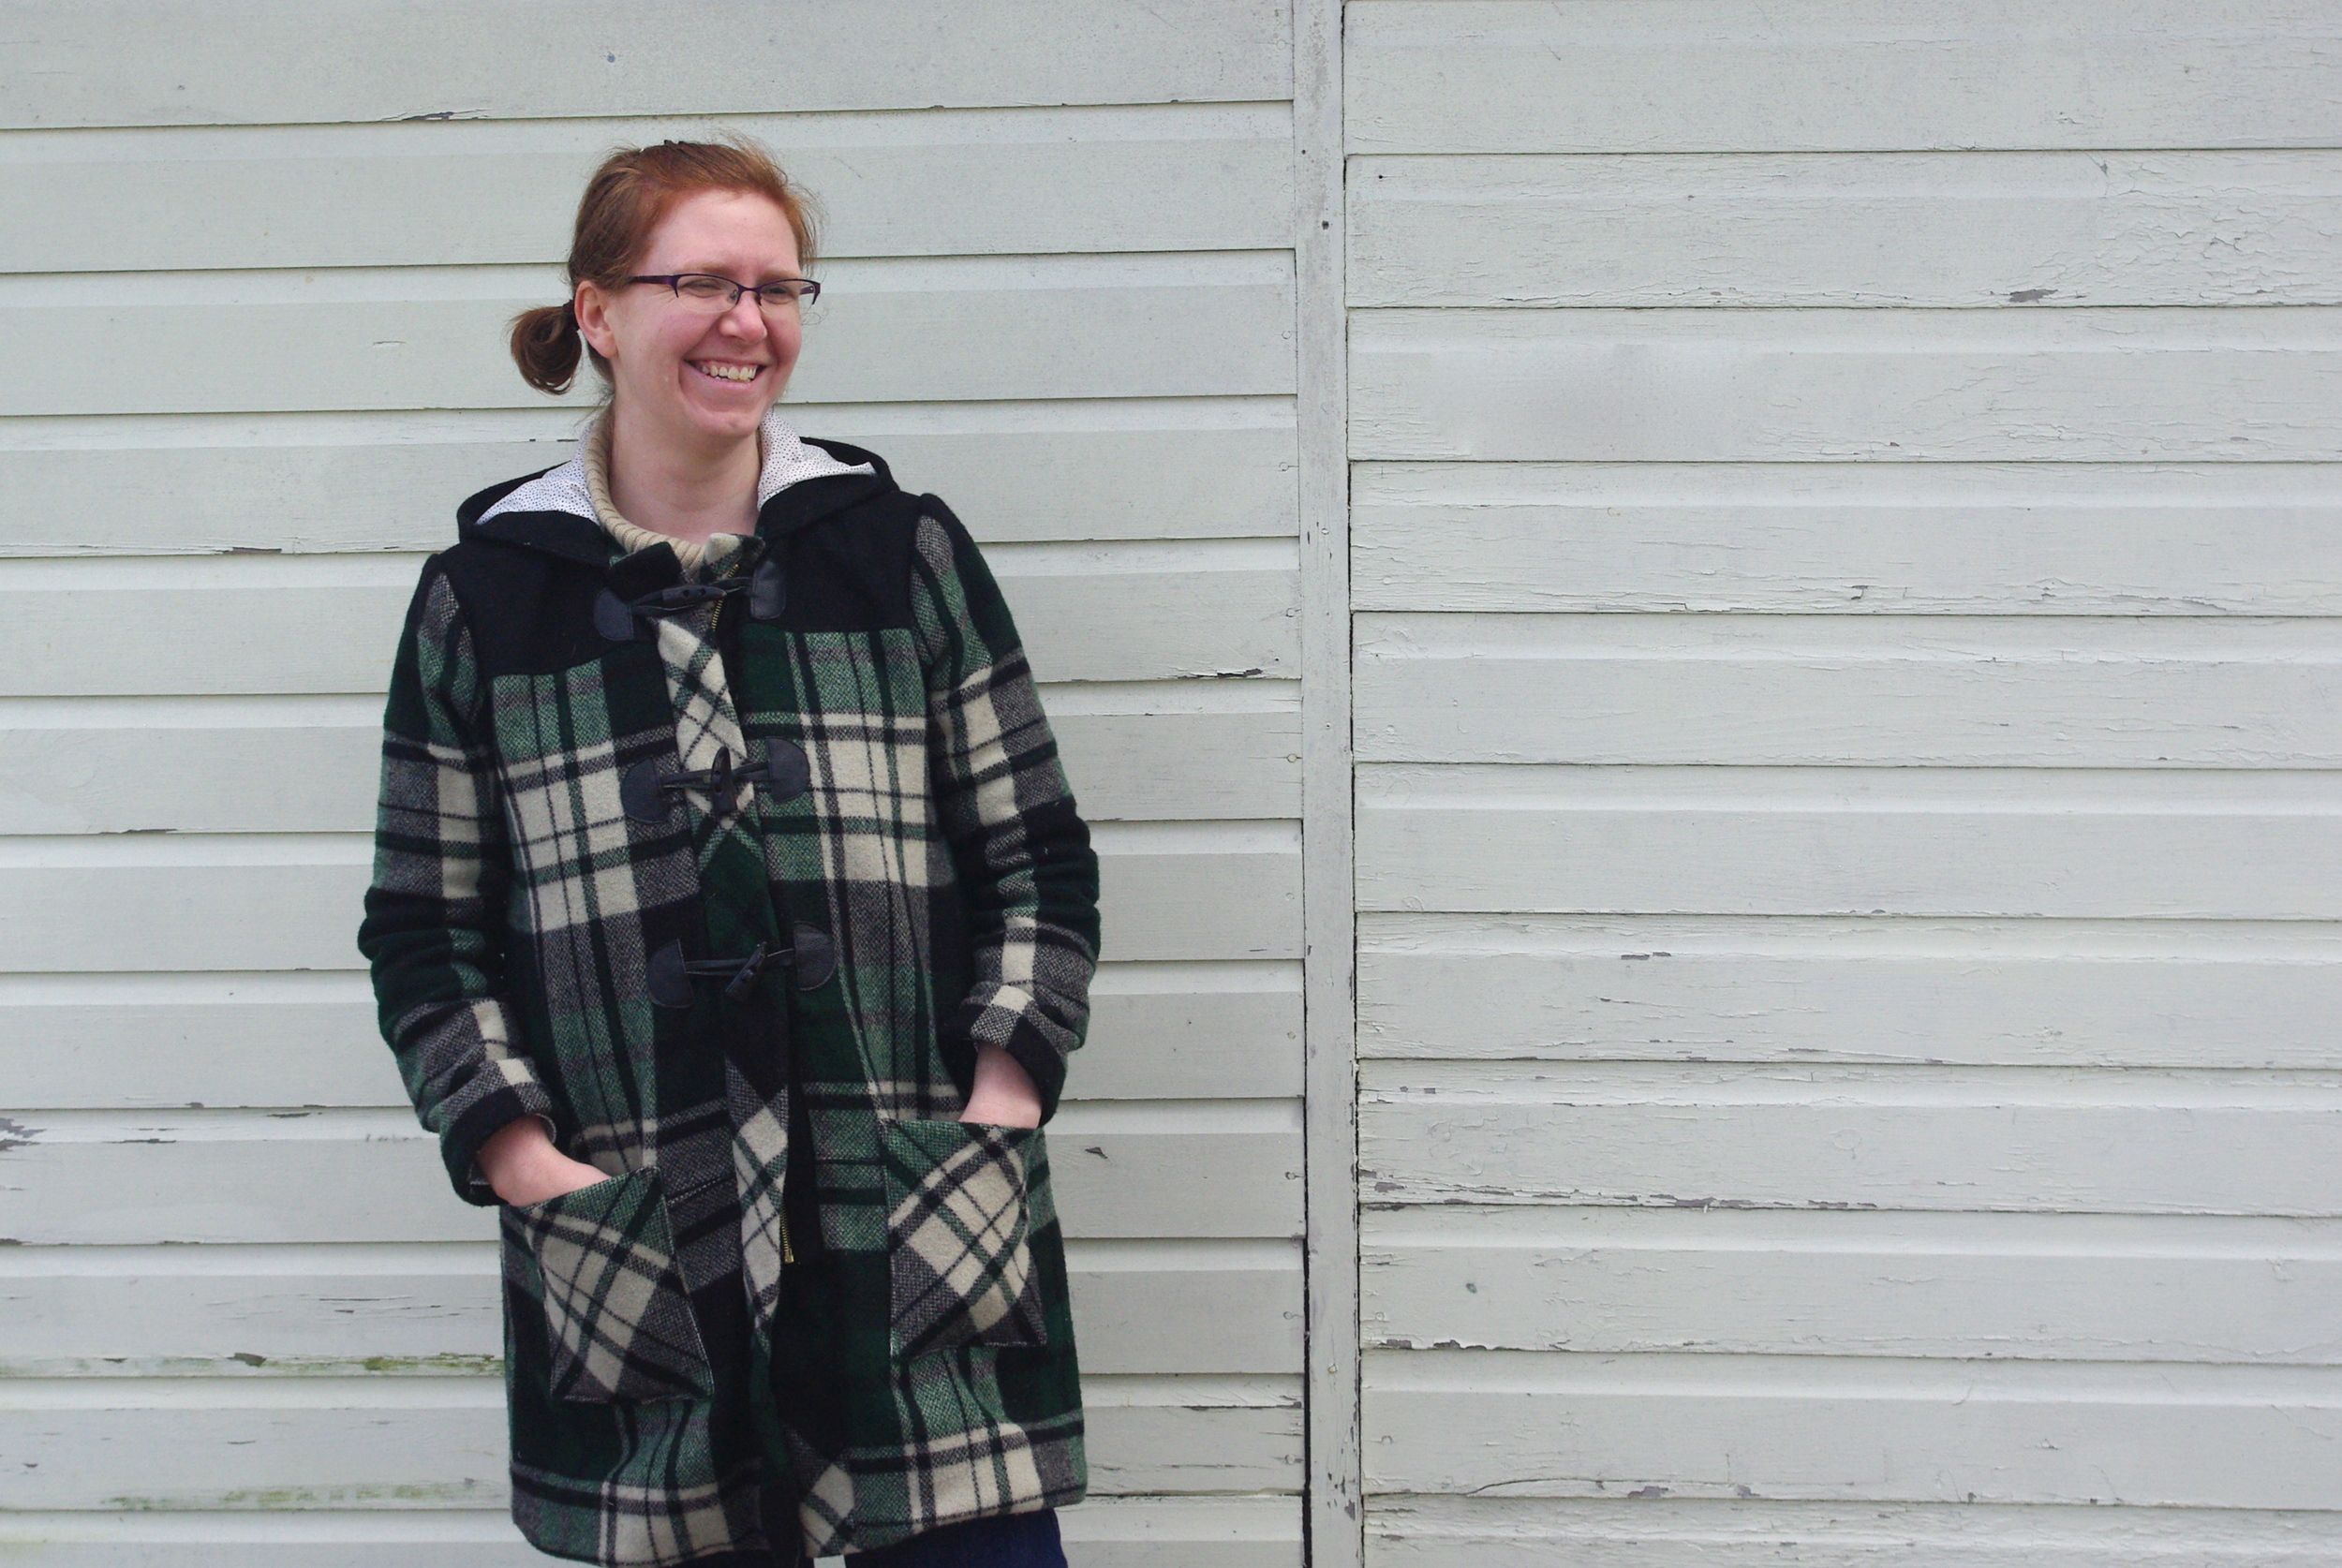
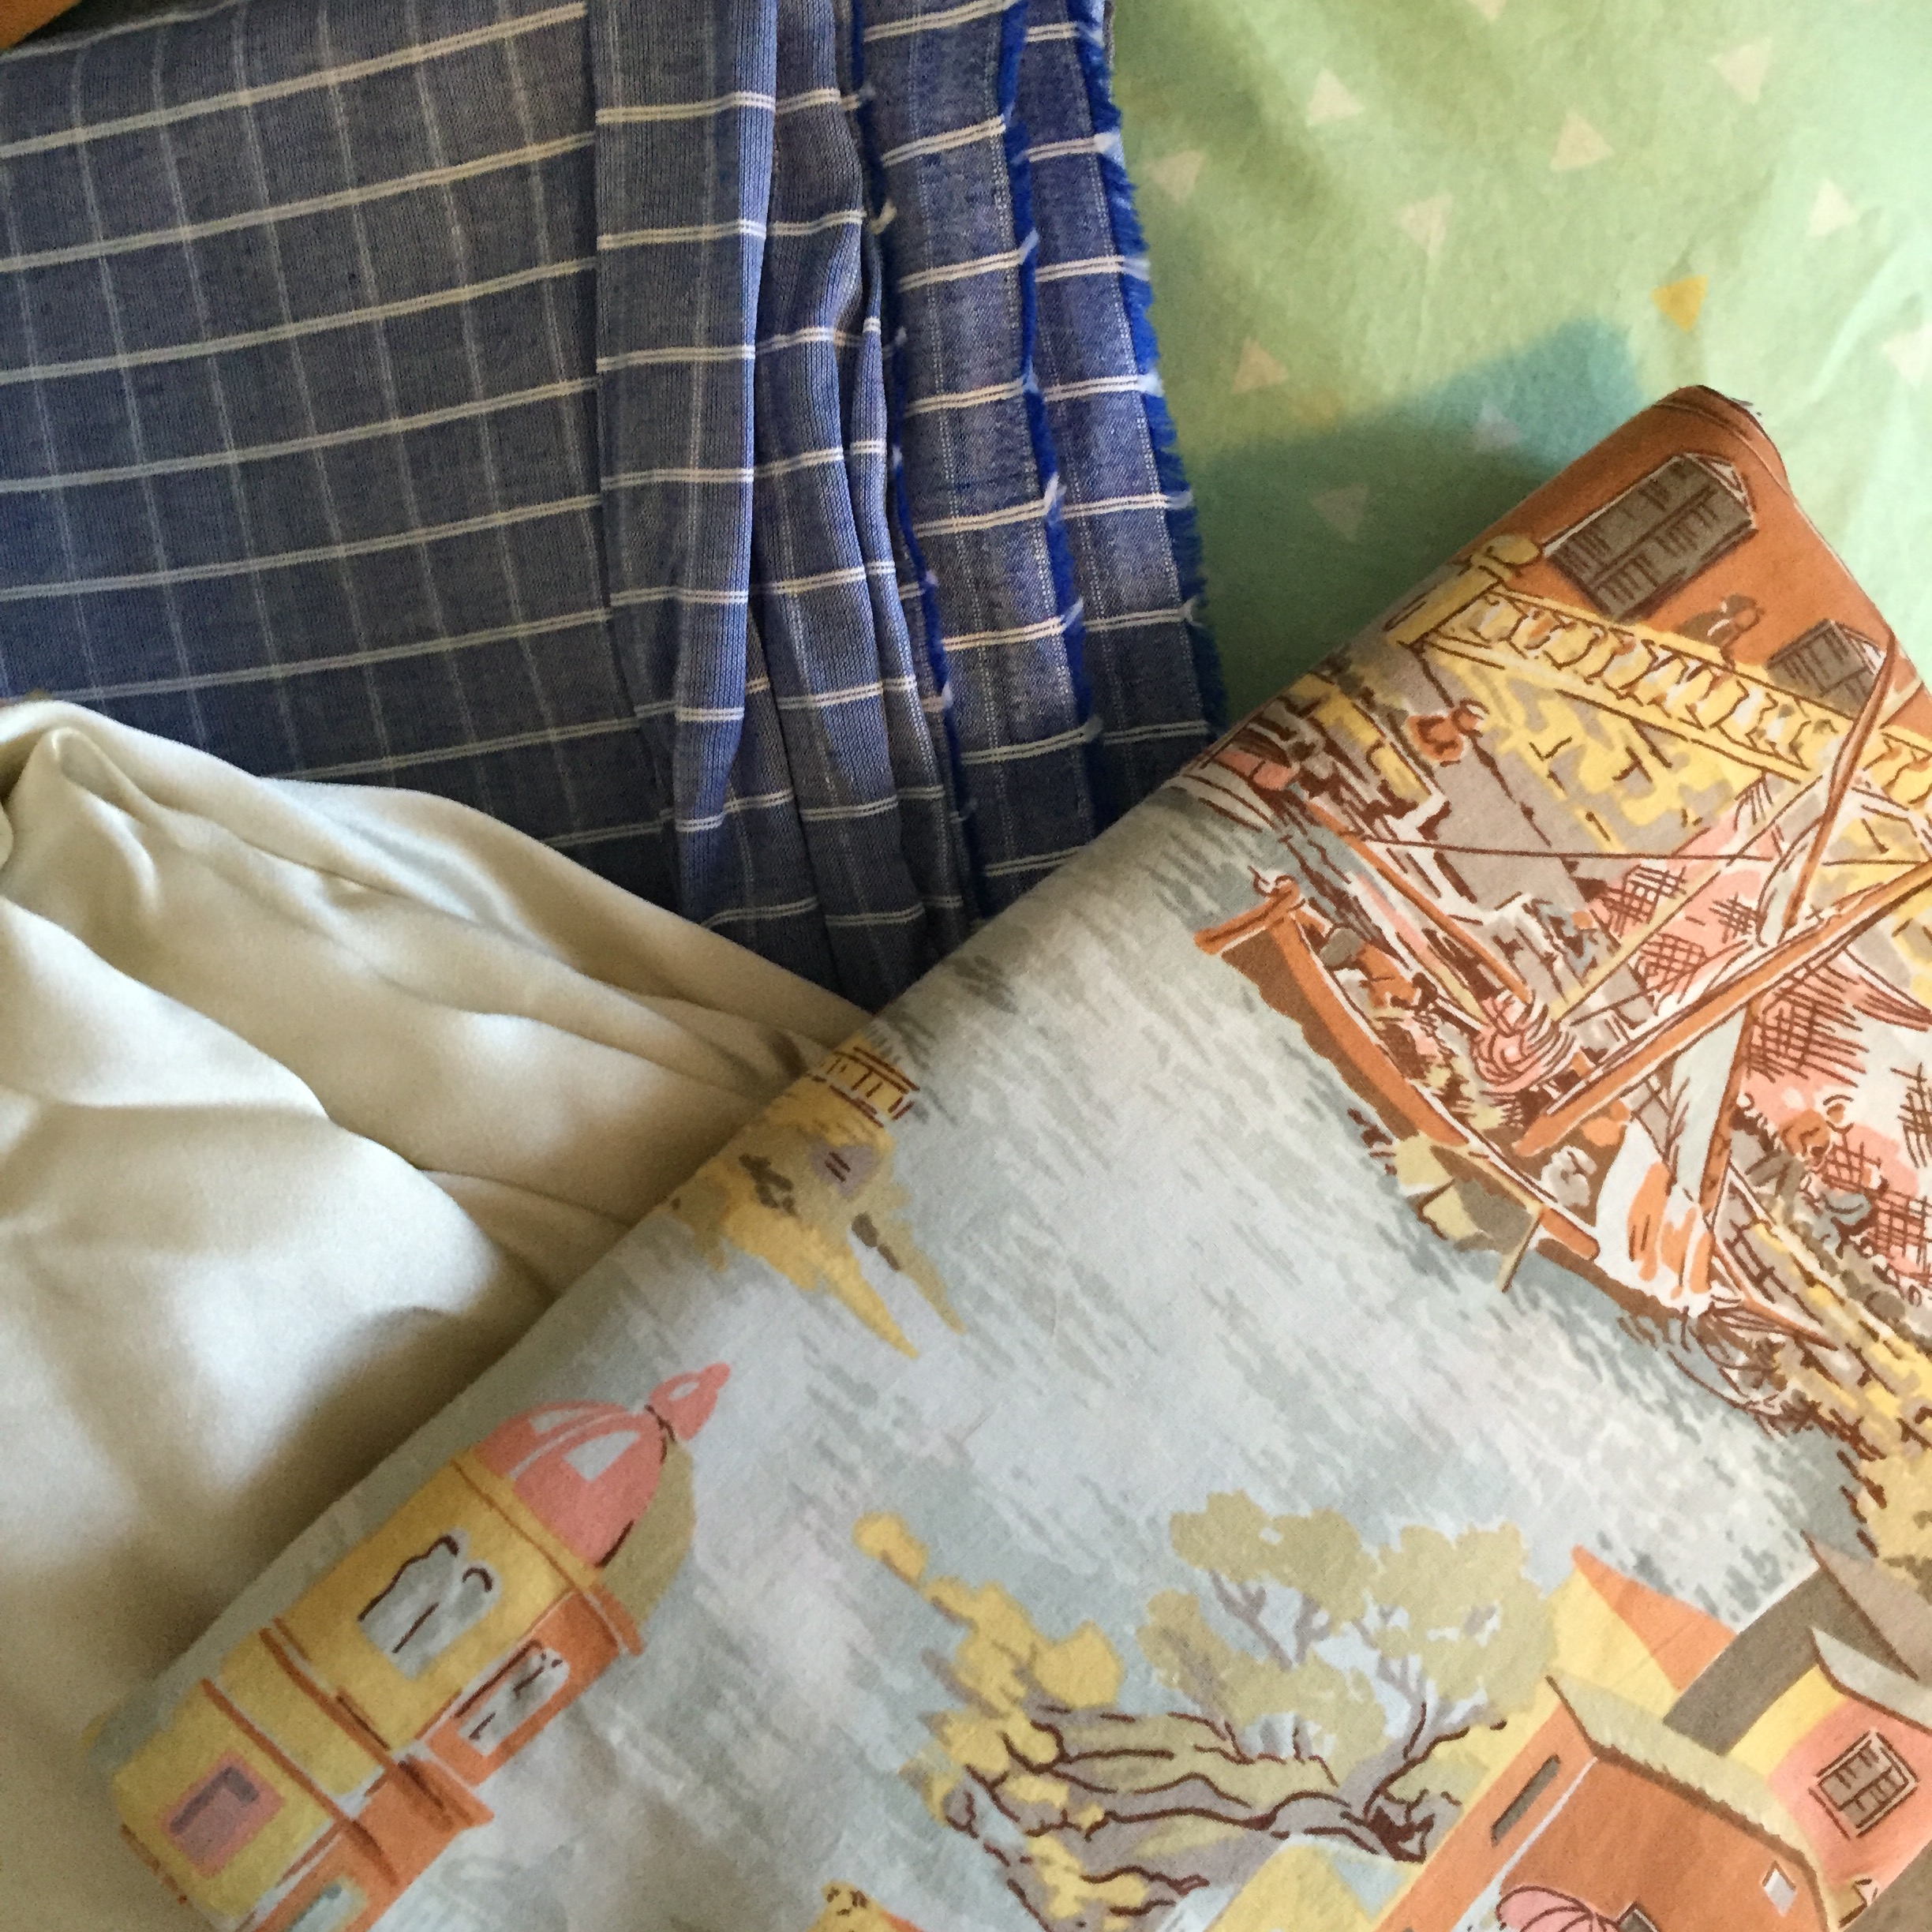
As for WIPs, I'm currently working on my plaid Cascade Duffle Coat. I've been itching for a new winter coat for years, and this pattern was just the thing I was looking for. As with the jeans, it's not hard to sew per-say, there's just a ton of pieces/steps, but it's coming along. I doubt it'll be done by the end of the month as I hoped, but I live in Maine and the winter in long, so I'll still get plenty of use methinks.

Print Friendly and PDF Follow
follow us in feedly

Gingham Archer

Gingham Archer, sewn by Ms. Cleaver

So before I got sucked into the depth of Halloween sewing and prep, I actually finished a pretty major sewing project for me. I love a good button-up, especially a gingham button-up, but I don't often sew them because of all the pieces/time required.

But I've been seeing all of the beautiful Archer shirts popping up over the sewing blogosphere since it's release, and I had some beautiful grey gingham in stash so I put sewing an Archer for me on my list of goals for the year, and there you go.

This was my first experience with a Grainline pattern, and while I wish I had sprung for the printed pattern (not a big fan of the printing and taping), I found the drafting and instructions solid. I've only made a few button-ups, but this was my best go at a collar stand yet, which was a good thing, because I had zero fabric to spare. As I said, I was using fabric from my stash and I had 3/4 yard less than recommended. By scrapping the pocket, I managed to fit everything, just barely, onto my yardage. Leaving me only with teeny tiny scraps left over. Even so, I still did some pretty decent pattern matching. Thank goodness the gingham was small scale!

Most the interior seams are covered nicely by the yoke, but open ones I just kept simple and zig-zagged. I'd probably go for flat-felting on another version. 

Would I make another? I think yes. I like this version, but I don't love it. But I think most of my issues could be easily rectified in version two.

 I didn't make a muslin and the fit isn't quite right. I cut a straight size 12, but ended up grading out my seams for more room in the hips. The finished fit is good in the hips and bust, but I find that there is way too much fabric in the waist. I'm not sure if it's just a boxy cut, or the heaviness of the fabric, but especially in the back, it's too much.  Fortunately, because I didn't flat fell my seams, I can take it in pretty easily, which I haven't gotten around to yet.

But even as is, it's super comfy and looks good under a sweater, so it'll get a lot of wear.


Print Friendly and PDF Follow
follow us in feedly

Happy Halloween (Hold Onto Your Hat) !

Alice in Wonderland Costumes
Happy Halloween

I'm a former theatre kid and I sew, so suffice it to say, I love Halloween. Socially acceptable excuse to spend way too much time on costumes? I'm in! (In another life, I'd totally be a cosplayer). 

This year, I wrangled the whole family into it (except Steinbeck, who holds no truck with costumes). One of LMC's favorite characters is Alice In Wonderland, thanks to some pop-up books and the Royal Ballet version. It doesn't hurt that I have a deep abiding love for all things Alice myself, and am happy to encourage it. So the theme was an easy choice. (Second option was superheroes - which might still happen for Free Comic Book Day). LMC got to be Alice (obviously), I had a red dress in my closet that made the Queen of Hearts a simple choice, and Mr. Cleaver decided he wanted to be the Mad Hatter. 

LMC's costume was the most detailed. It's McCalls 6187,  and there's not a piece on this thing that isn't gathered, lined or trimmed. But it is adorable. The apron is, somewhat oddly, part of the bodice and attached, and the apron strings are a bit long, but otherwise it was time-consuming, but a relatively simple sew.

The whole dress is Kona Cotton, so it can be thrown into the wash easily should she decide she wants to add it to regular wardrobe, which is what happened to last year's Olivia dress. The sizing is 3T/4T, so it was a wide on her, put the apron ties kept everything in place. I hemmed the skirt as narrow as possible so she can wear it for a while. Since it's Maine, we threw a long-sleeve tee under the whole thing and then added my Belacqua cardigan when it got chilly. 

Mom and Dad's costumes were much simpler. I bought a pair of striped tights, made a crown out of glittery craft foam and punched some holes in a old deck of cards for the collar. The collar was a bit tricky to wear, I had to pin it to my hair to keep it up, but it really pulled the whole thing together. 

For Mr. Cleaver, I sewed him a quick bow tie (and learned how to tie one!). The pants he had in his closet, the velvet blazer is mine, the hat was from Amazon and the shirt and socks we picked up for cheap at Goodwill. I also took the opportunity to purchase a pair of pink flamingos, which I have always always wanted, so we could reenact the croquet scene, which I think was LMC's favorite part (that and getting to use the fancy teacups). The hedgehog was the first thing I ever needle-felted

We took LMC to about 8 or so houses to trick-or-treat then spent the evening handing out candy. We got 105 trick-or-treaters before we shut it down, ate a Halloween cupcake and collapsed into bed early. 

As for holding onto your hats? If you've seen Curious George: A Halloween Boofest as many times as we have, you'll know what I mean. ;)


Print Friendly and PDF Follow
follow us in feedly

Tried and True Review: Slow Fashion October Edition

School House Tunic and Pas de Valse
School House Tunic #1
Pas de Valse

A Tried & True Review, where I look back at old project and discuss how it's held up since I made it, both successes and closet rejects, in an attempt to show how my projects have stood the test of time and/or to learn from the mistakes of my yesterdays.

The Original:  Waltz in Grey and School House Tunic

Made: June 2011 (4.25 years old) and September 2011 (4 years old) (you'd also think my hair doesn't change much either...)

Update: If you follow along in the sewing or knitting social media worlds, you've probably heard of Slow Fashion October by now. If not, the short version is that it's taking the month of October to think consciously about our wardrobes, how do we add to them?, what is enough?, how does making your own clothes influence that? etc.

I've been thinking about a lot of these topics for a while both in these Tried & True Reviews and in my post on Ethical Fashion and why I started making my own underthings.

It's week three of Slow Fashion October now, with the theme of LOVED: proudest accomplishment / most loved item / most frequently worn item / thing you saved up for / investment pieces / thing you worked a long time on / oldest thing that’s still in rotation. And I thought it would be as good a time as any to feature my two most frequently worn makes in a Tried and True Review.

If it's fall or winter and that top is clean, there's a good chance I'm wearing it and even if it's not clean, I'm probably still wearing the cardigan anyway.

Fit: In truth, I really should have knit the next size of the cardigan up, so the collar doesn't really fold back as far as it should, but I just give it a firm blocking whenever I wash it and it's an open cardigan anyway, so it doesn't matter too much. The tunic fits well, though sometimes the armband elastic feels a bit snug.

Style/Materials: The cardigan was knit out of an undyed alpaca/nylon sock yarn. It takes a licking and keep on ticking (as they say). It's a bit itchy on bare arms, but the beautiful natural grey color goes with pretty much anything, which is why is gets worn so very much. The fabric for the tunic is in gingham (my favorite) and is a thick cotton that feel almost like a dish towel, it's just ridiculously cozy. As for style, I still feel like the tunic looks vaguely like maternity wear (and I made a bunch during my pregnancy), but if I throw a more fitted cardigan over it, it doesn't matter as much.

Construction: The tunic was a simple sew, but the cardigan took forever to knit. I've had to replace the thread button loop on the tunic once and the yarn is starting to pill a bit, but both these pieces have survived four years of hard wear and will last for many more. Well worth the effort.

Lesson(s) Learned: Positive ease is a good thing in a cardigan.

Final Verdict: Something doesn't have to be perfect to be your favorite.


Print Friendly and PDF Follow
follow us in feedly

Mini Makes

I just finished knitting/finishing two adult sweaters and my next big sewing project is a button up Archer shirt for myself, but before I dive into what is going to be another involved project, I wanted to bang out a few quick mini-makes for some more instant gratification.  

Darlingside Tee
Darlingside Tee

Band Tee for LMC.

To say that we are fans of the band Darlingside in the Cleaver household would be a massive understatement. We love this band. Ever since Mr. Cleaver and I saw them on 207 back in 2012, we've been hooked and have seen them in as many local shows as possible. Our household also probably counts for 5% of the hits on their youtube videos. And thus, through frequent exposure, they have become Little Miss Cleaver's favorite band too. If we ask her what she wants to listen to, she will almost always say "Darlingside." Unfortunately, they don't make band shirts in size 4T. Fortunately, I know my way around an exacto knife, a stencil sponge, and a sewing machine. 

The image is from the cover of their album Pilot Machines, and I thought the balloons would be perfect for a kid. So I traced the image unto a file folder and cut it into two stencils, one for the balloons/ strings and one for the body. I cut up an old shirt of mine into a Made by Rae Skinny Tee, stenciled it on, sewed it up, and there you go! A mini Fangirl tee. We're seeing the band at a show in September and I'm hoping to get them to sign it for extra cool factor.  

While I'm at it, here's a video of my current favorite Darlingside song. LMC's favorite is this one or this one

Dying Playsilks
Dying Playsilks

Playsilks

LMC and I recently dyed some playsilks with Kool-Aid and managed not to accidentally dye anything else except our fingers- success!  The silks came from dharma trading company and I used this tutorial from Knitty to pick my Kool-Aid packets. I had made a blue and green one a while back that get heavy use as ballet skirts and super-capes, so it's nice to have the full rainbow to choose from now.

Hobby Horse
Hobby Horse
Hobby Horse

Hobby Horse

Lastly, a few weeks ago, we picked up a bunch of books at Goodwill to refresh our collection, which included a pop-up version of the Nutcracker. In one panel, one of the children had a Hobby Horse. I said something along the lines of "I could make that,"  resulting in daily requests from LMC  for Mommy to make her a horse.  Fortunately, I had a free pattern already pinned on Pinterest, and all the supplies I needed in my stash. Except for a dowel, which means that LMC can sweep and play at the same time!  Of course now, Little Miss Cleaver thinks that I have the magic ability to just make anything (which kinda cool), but I can't mention that I'm considering making anything for her, because she demands I sew it now (even if the fabric is still uncut). 

What have you been making?


Print Friendly and PDF Follow
follow us in feedly

Pintucks and Popscicles

Oliver + S Family Reunion Dress sewn by Ms. Cleaver
Popsicle Sticks
Oliver + S Family Reunion Dress sewn by Ms. Cleaver

I don't sew as much for Little Miss Cleaver as I thought I would, or would like to really. I've made a number of little "ballet skirts" that get plenty of wear, but not too much beyond that.

I'll admit that some of it is hesitation on my part. LMC is developing strong feelings about what she wants to wear (yes to tutus and leopard print pants), and more often than not, when I pull out a mama-made dress, her response is, "I don't like that." Of course other days, she totally wants to dress up like Olivia. So there's a balance, but I'm a little gun shy about spending a bunch of time making something she won't wear. 

This dress however was motivated by the fact that my 2.5-year-old is crazy tall for her age, and is solidly in 3T tops and some 4T bottoms and I have a number of adorable Oliver + S patterns that cap out at size 4. So I felt like I needed to get sewing. 

This fabric/pattern combo has been sitting on my to-cut pile for quite some time and I thought now was the time to do it. The fabric was one of the fancy quilting cottons from JoAnn's and the pattern is Oliver + S's Family Reunion Dress. I cut it out in a 3T, with the 4t length, and it's actually fairly big on her, so it looks like I have a little more leeway to sew these patterns up than I thought. 

My only previous experience with a paid Oliver + S pattern was the Birthday Party Dress I sewed for LMC's first birthday (so long ago - sniff!). I thought the end result was lovely, but the construction was a bit fiddly. And I'd say the same for this one, there are certain parts of the directions you just have to trust and "go with it" and hope that it works out in the end.

For example, in this dress you sew half the shoulder seam right sides together and the other half wrong sides together. The odd half ends up getting covers up the collar facing. The folding plackets/attaching hem facing is a bit confusing too, but works if you follow the directions. The only place I ran into a construction issue was when I clipped the corners after attaching the hem facing to the button plackets. I over clipped, and had to re-seam, meaning my bottom edges are slightly curved instead of square.  

In the end, it came together nicely. I finished my inside seams with zig-zagging and added a little Miss Cleaver tag. The only change I'd make is that I wish I had done my top-stitching in a deep pink/red instead of the pale pink I used.

When I had the pieces cut out LMC insisted I sew it right then (which, not happening kiddo) and when I had it sewn but didn't have the buttons attached, she asked me to finish it so she could put it on, so I have hope that she'll actually like this one. She did wear it this weekend, but then changed into her Wonder Woman t-shirt halfway through the day, so you never know. At least Mr. Cleaver thinks it's cute, he told me so.


Print Friendly and PDF Follow
follow us in feedly

A Drawer-full of Accomplishment

More underwear!!!

When I said sewing your own underthings was addictive, I wasn't kidding - because now I have a drawer full of shiny new me-made underwear. Laundry takes a bit more diligence, but other than that, I'm pretty thrilled with the outcome.

All in all, it's three Watson Bras with two matching pairs of undies for each bra. The undies started from the Watson pattern, but I've hacked it up enough now to pretty much call it my own. It takes me about 2 hours to sew up a bra and less than 30 for the undies (if I'm paying attention). Even after all this sewing though, I still haven't quite got my elastic tension down. I think it could be more snug around the leg and for the last bra, I went down a band size, which fits better. I've cut out my patterns on cardstock for future use, though everythign is so dependent on the fabric, that you never know.

The purple version you've seen. I sewed the sporty turquoise one next and the lace version last. For the lace version, which is my absolute fave. I tea-dyed the lace and elastic with good-old Lipton's, about 8 bags or so worth. It make we want to buy a cheap pot and do some more dying in the future. For the lace band I underlined it with the milliskin, but the lace stands on its own for the other parts. It's so comfy. 

I'm pretty well stocked up for now, but i would like to try my hand at an underwire bra next. But first I have some fall wardrobe sewing for me and LMC to do! (Dresses for her, buttons-up and jeans for me!)

Watson Bras and Undies sewn by Ms. Cleaver
Sporty Watson Bra and Undies
Mauve and Lace Watson Bra Sewn by Ms. Cleaver
Mauve and Lace Watson Bra and  Undies Sewn by Ms. Cleaver
Sporty Watson Bra sewn by Ms. Cleaver
Lilac Watson Bra and Undies Sewn by Ms. Cleaver
Print Friendly and PDF Follow
follow us in feedly

On Ethical Fashion and Bra-Making

Fair warning, here there be (non-modeled) underwear. But first, a story. Well two stories.

One of the great things about maintaining a blog (fairly) consistently over nearly 8 years, is that you can conveniently provide a time stamp for when you said something you've totally just contradicted yourself on.

In this case, it was April 30, 2008

"You see, I have this *crazy* idea about slowly crafting an entire wardrobe - except t-shirts and underwear, because I'm not that crazy."
-Me in 2008

Clearly, I am that crazy now. Because I've started making my own underthings, and it's awesome and I'm kinda obsessing about it right now. 

But how did I get from 2008 to here?  A lot of it has to do with how the sewing blogosphere has really embraced lingerie-sewing and indie designers are coming out with great really make-able patterns. But for me it really comes down to story #2, which is something I've (perhaps surprisingly) not talked about on the blog as of yet.

You see, what it really boils down to is that in January 2014, I bought a pair of grey corduroy pants on clearance for $2.98. I know that there are lower costs of living, and loss leaders, and economies of scale. I also know that to sew a pair of pants, even assembly-line fashion, takes some time. And I knew that there was no way you could pay someone a fair wage and sell their product for $3. 

I'm sure the company sold those pants at a loss. They were on clearance and a online-only extra long size (which I hemmed in about 5 minutes). I bought the pants and I wear them a TON in the fall and winter. There's nothing wrong with the pants, I quite like them, but for some reason at that moment, I realized that thanks to my ability to sew and sufficient disposable income to make choices about my own clothing, I could do better.

And so, I decided that from there on out, I would make what I had time to (which is fairly limited) and was only going to purchase clothes from ethical sources.

Ethical to me means:

  • Second Hand Purchases.
  • Made under ethical working conditions, including Made in the USA (or other first-world country), Fair Trade, or other production method that provides a working wage and safe conditions to its workers. 
  • Made to last. 
  • As possible, Organic or Sustainable Materials.

In truth, the first  ten months or so of this experiment involved a lot of returns to teeny little companies trying to do the right thing. Some things just weren't my style. Some had odd or inconsistent sizing. Some didn't have quality to match to the price. Fortunately, I've found a few companies who I adore and fill in the gaps in mywardrobe when I need it. 

One thing I just haven't had much luck with was underthings. There are definitely companies out there making quality, ethical underwear and bras, but none of them seemed to fit my body just right and/or were at a price point I could handle to meet my growing need for replacements.

And that's why I finally figured I'd give sewing underthings a go. And I am sorry that I waited this long. 

The pattern below is the very popular Watson Bra and Bikini. I made a bunch of modifications to the bikini to be more full coverage (raised the rise by ~1 and lowered the leg line by about the same), the bra I sewed as is. 

The fabric/notions/etc. for the first set all came from a kit from Grey's Fabric. The kit made it easier to get started, because most of this stuff  isn't available at my local fabric stores. I made the briefs and bra over a weekend and then the next Monday morning found myself making orders from places called Spandex House and Sew Sassy, to get more stuff to make so many more sets. So far I'm up to three pairs of undies and am sewing my second bra. It's seriously addictive and I'm eyeballing other patterns to try out (Marlborough Bra, I'm looking at you!). I'm probably going to keep going until I have a drawer full. 

Sometimes, it's good to be a little crazy.

Watson Bra made by Ms. Cleaver
Lacy Watson briefs sewn by Ms. Cleaver

Print Friendly and PDF Follow
follow us in feedly