Maine Handmade Fair

Maine Handmade.jpeg

Virtual Maine Handmade Fair Tomorrow!

December 05, 2019

I’m co-hosting a virtual craft fair featuring 22 talented Maine makers. Friday, December 6th starting at 10 am we'll be sharing our handmade work, as well as some special discounts, peeks inside of our workspaces, and creative processes. We are a group of 22 different artists and artisans representing a wide range of handmade products and processes and different areas of Maine's creative community. 

What's a Virtual Handmade Fair?

It's a group of artists and makers getting together to share their work - just like a regular craft fair. Instead of meeting up in person, we're meeting up online and inviting you to join us on Friday, December 6th, starting at 10 AM to say hello, see our handmade work, and find some special discounts on handmade holiday gifts. We think it'll be a fun way to see new work, meet new makers, support and create connections within this creative community.

Organized by Eliza Jane Curtis of Morris & Essex and Leah B. Thibault of Ms. Cleaver - Creations for a Handmade Life, this event includes 22 Maine makers: 

Please join us tomorrow morning, RIGHT HERE on Instagram, starting at 10 am we'll be sharing our handmade work together, as well as some special discounts, peeks at our studio and creative process, maybe some live video greetings, we'll see - each artist gets to choose what they want to share, so it'll be a bit of a surprise, and I think it'll be fun! Can't wait to see you there.


Print Friendly and PDF Follow
follow us in feedly

Introducing STORYTIME

Opening the Book on the Storytime Collection

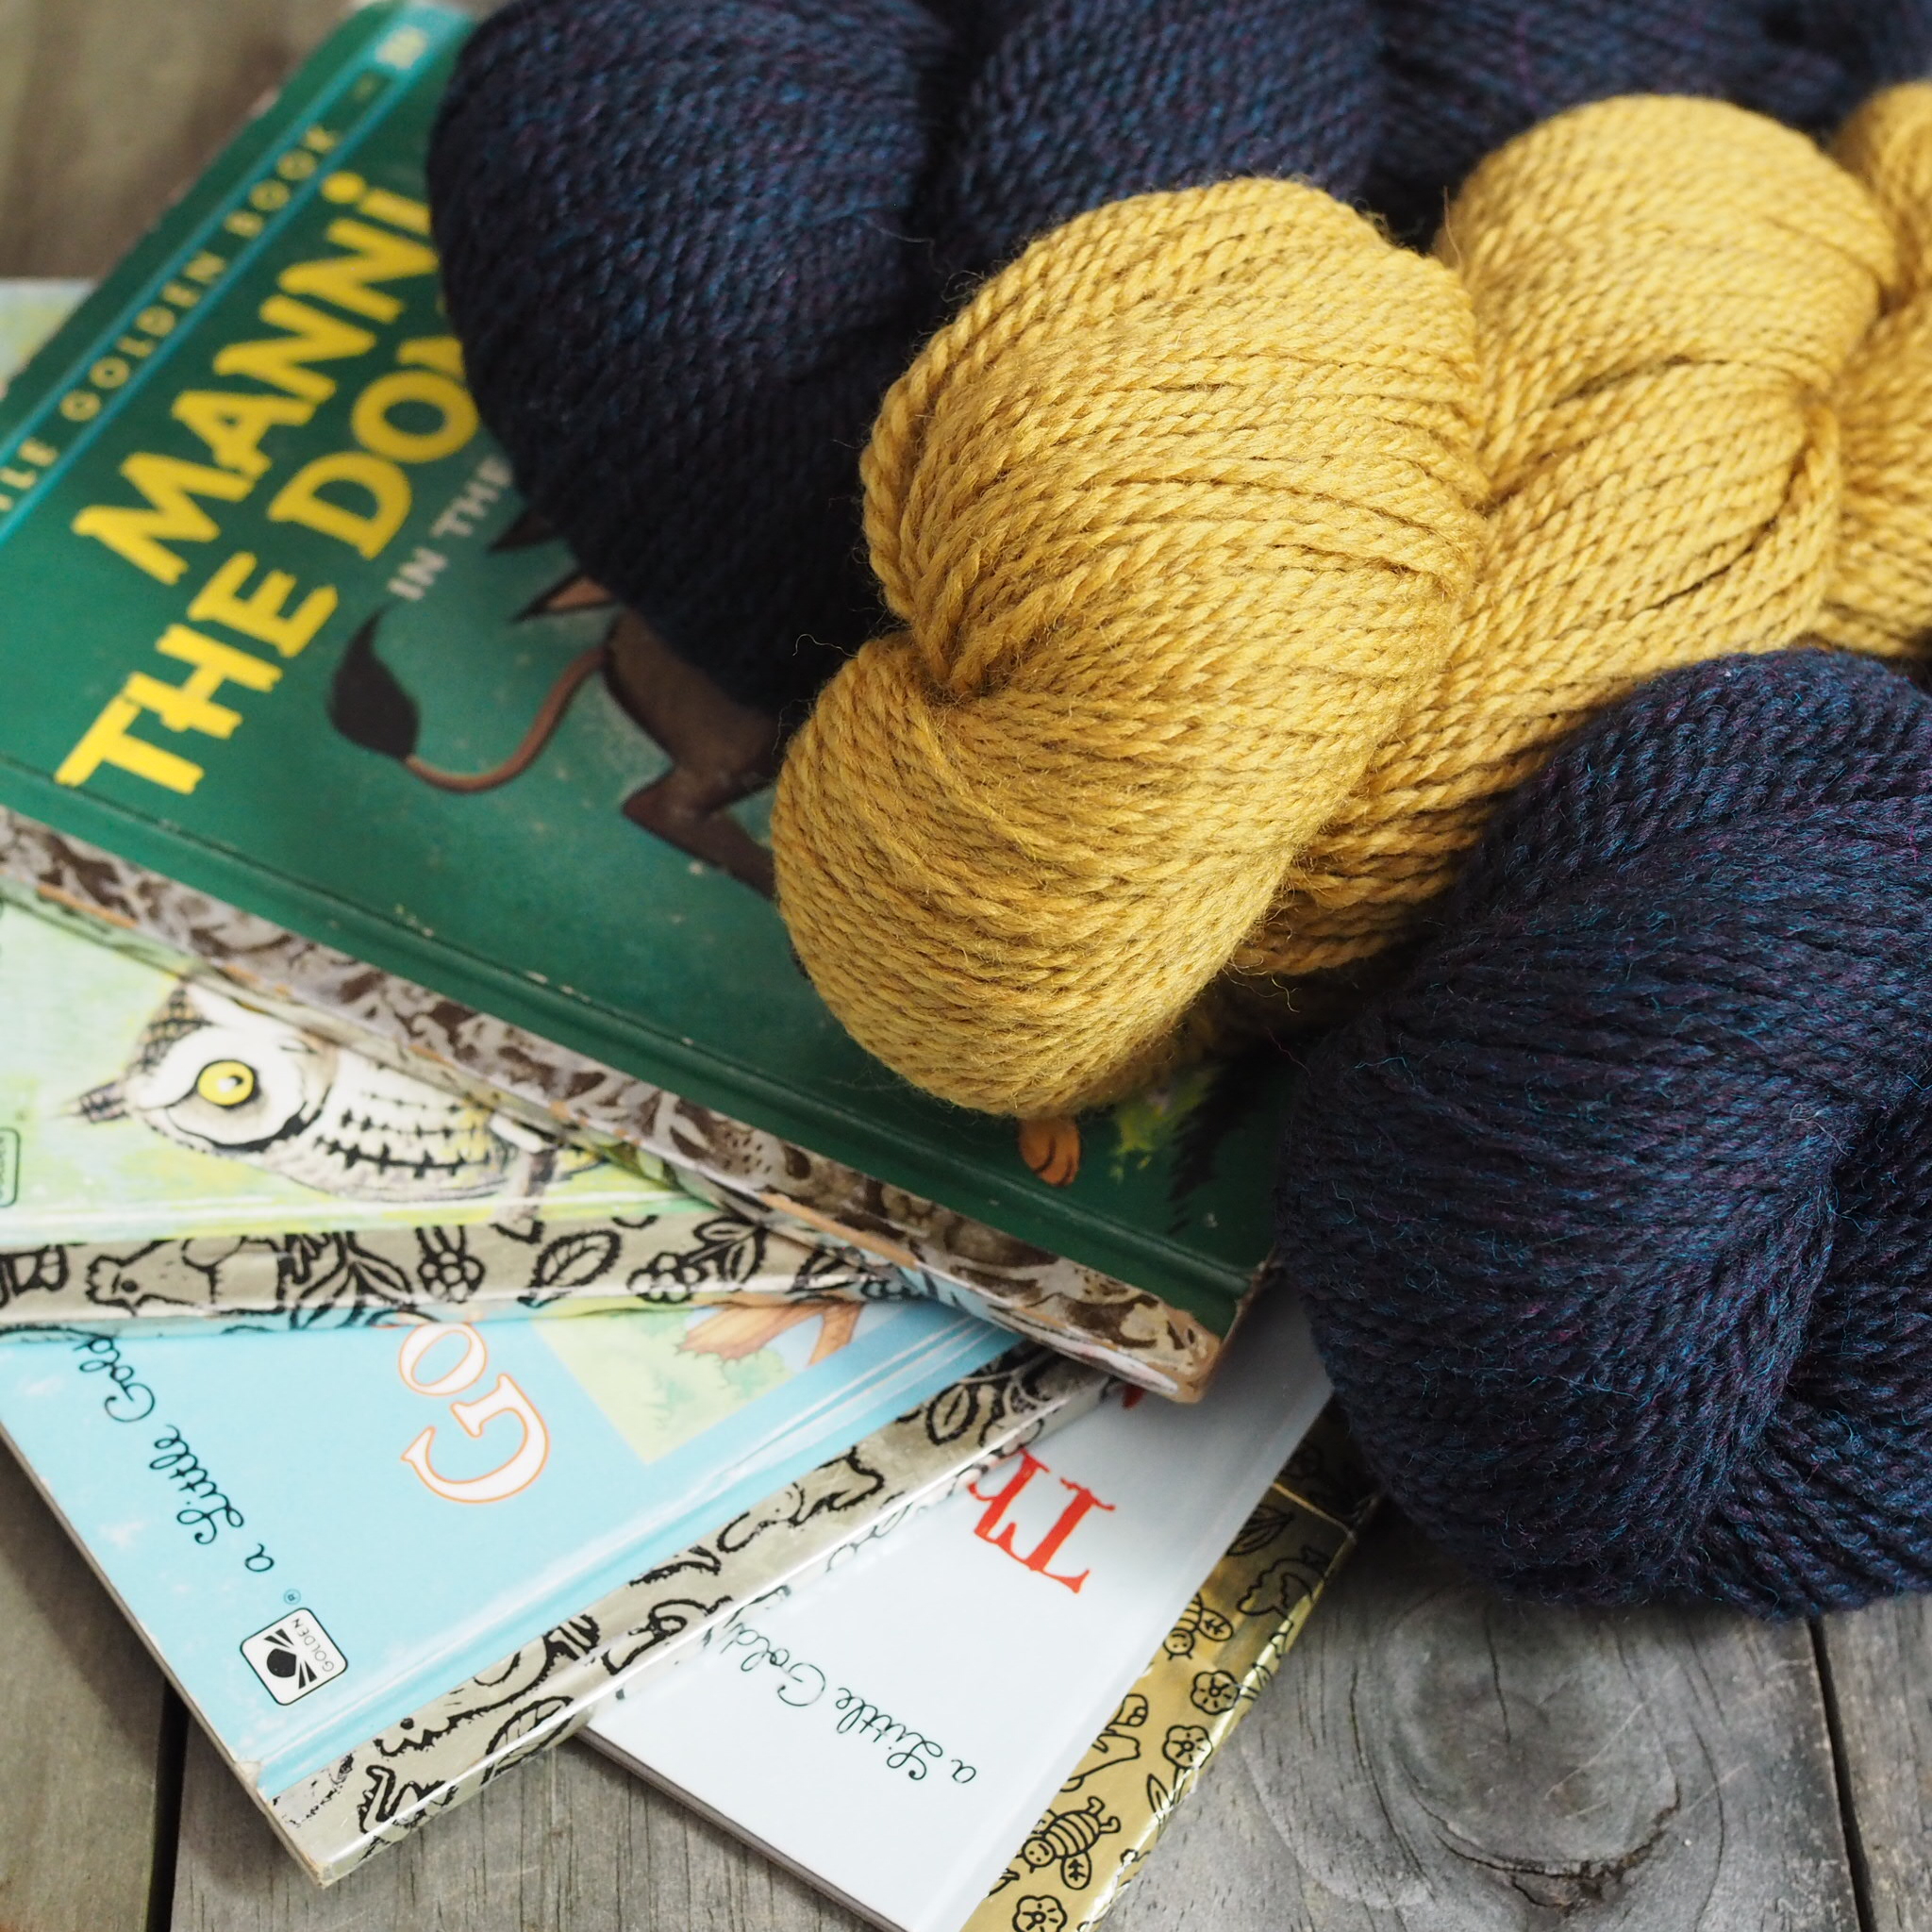
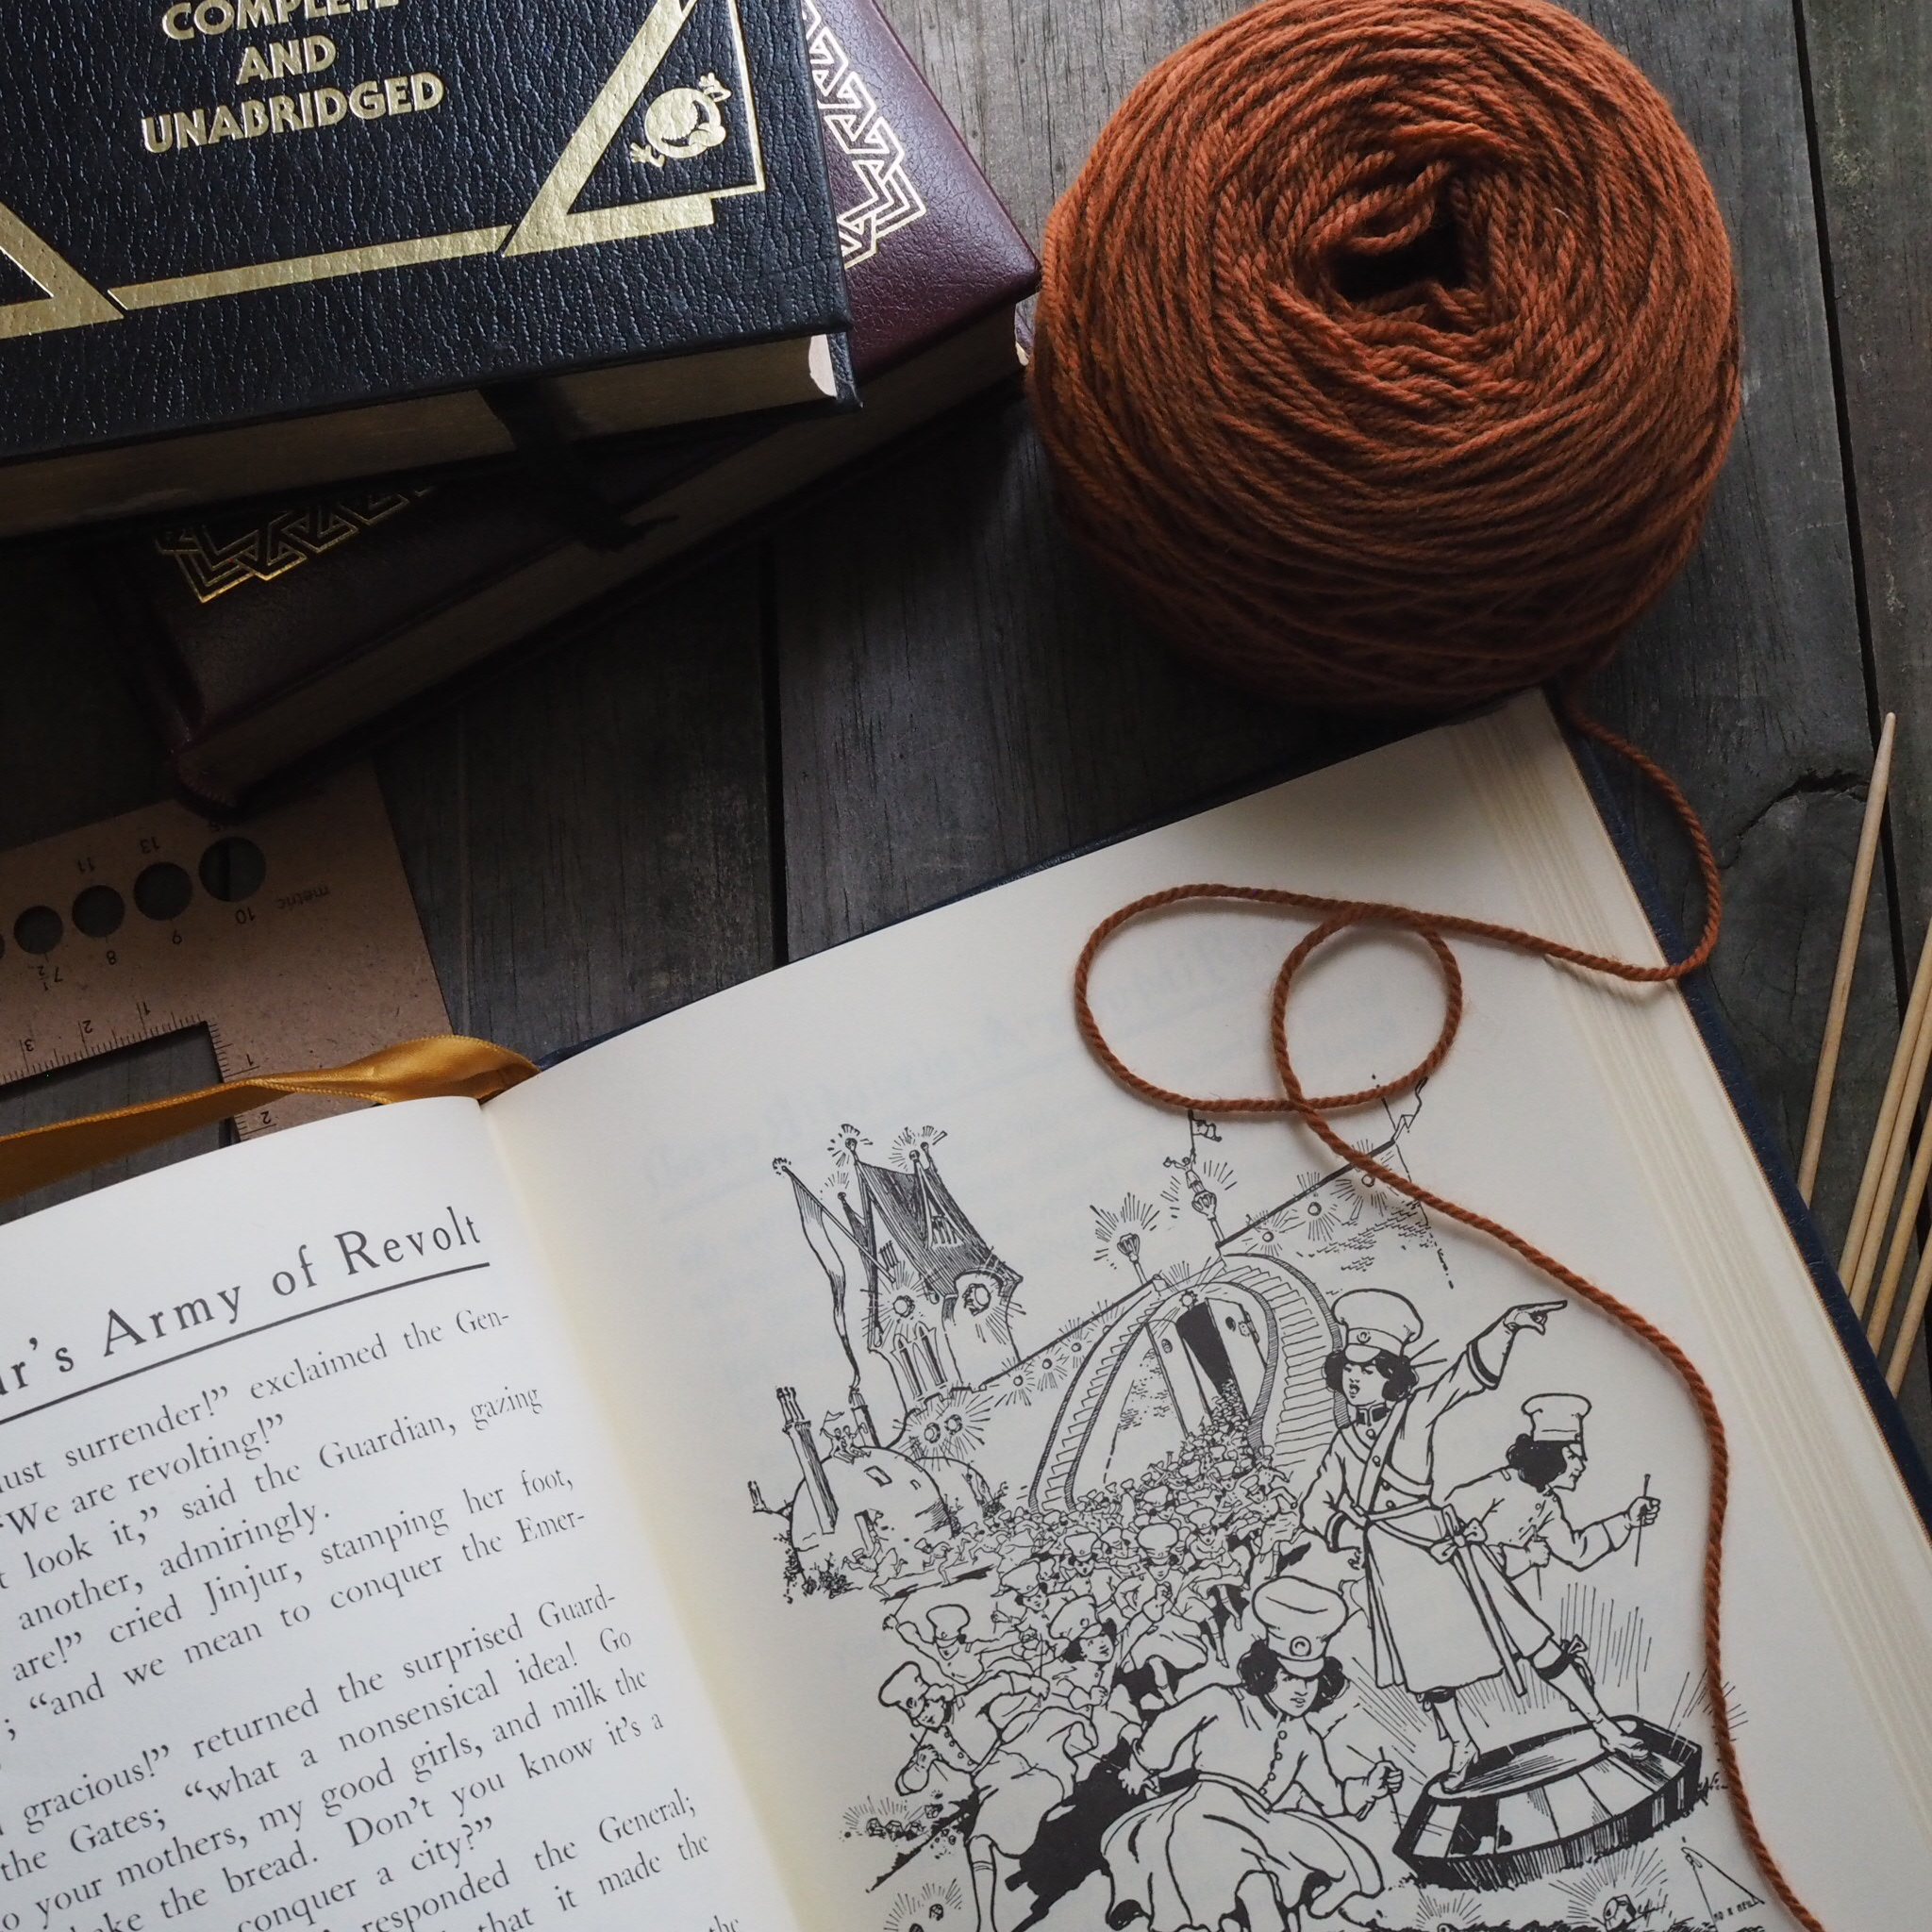
My mother was an elementary school librarian, so my childhood was filled with all sorts of children's literature modern and classic. The Storytime Collection draws it’s inspiration from some of my favorite pieces of classic children's literature and might include some of your favorites too! 

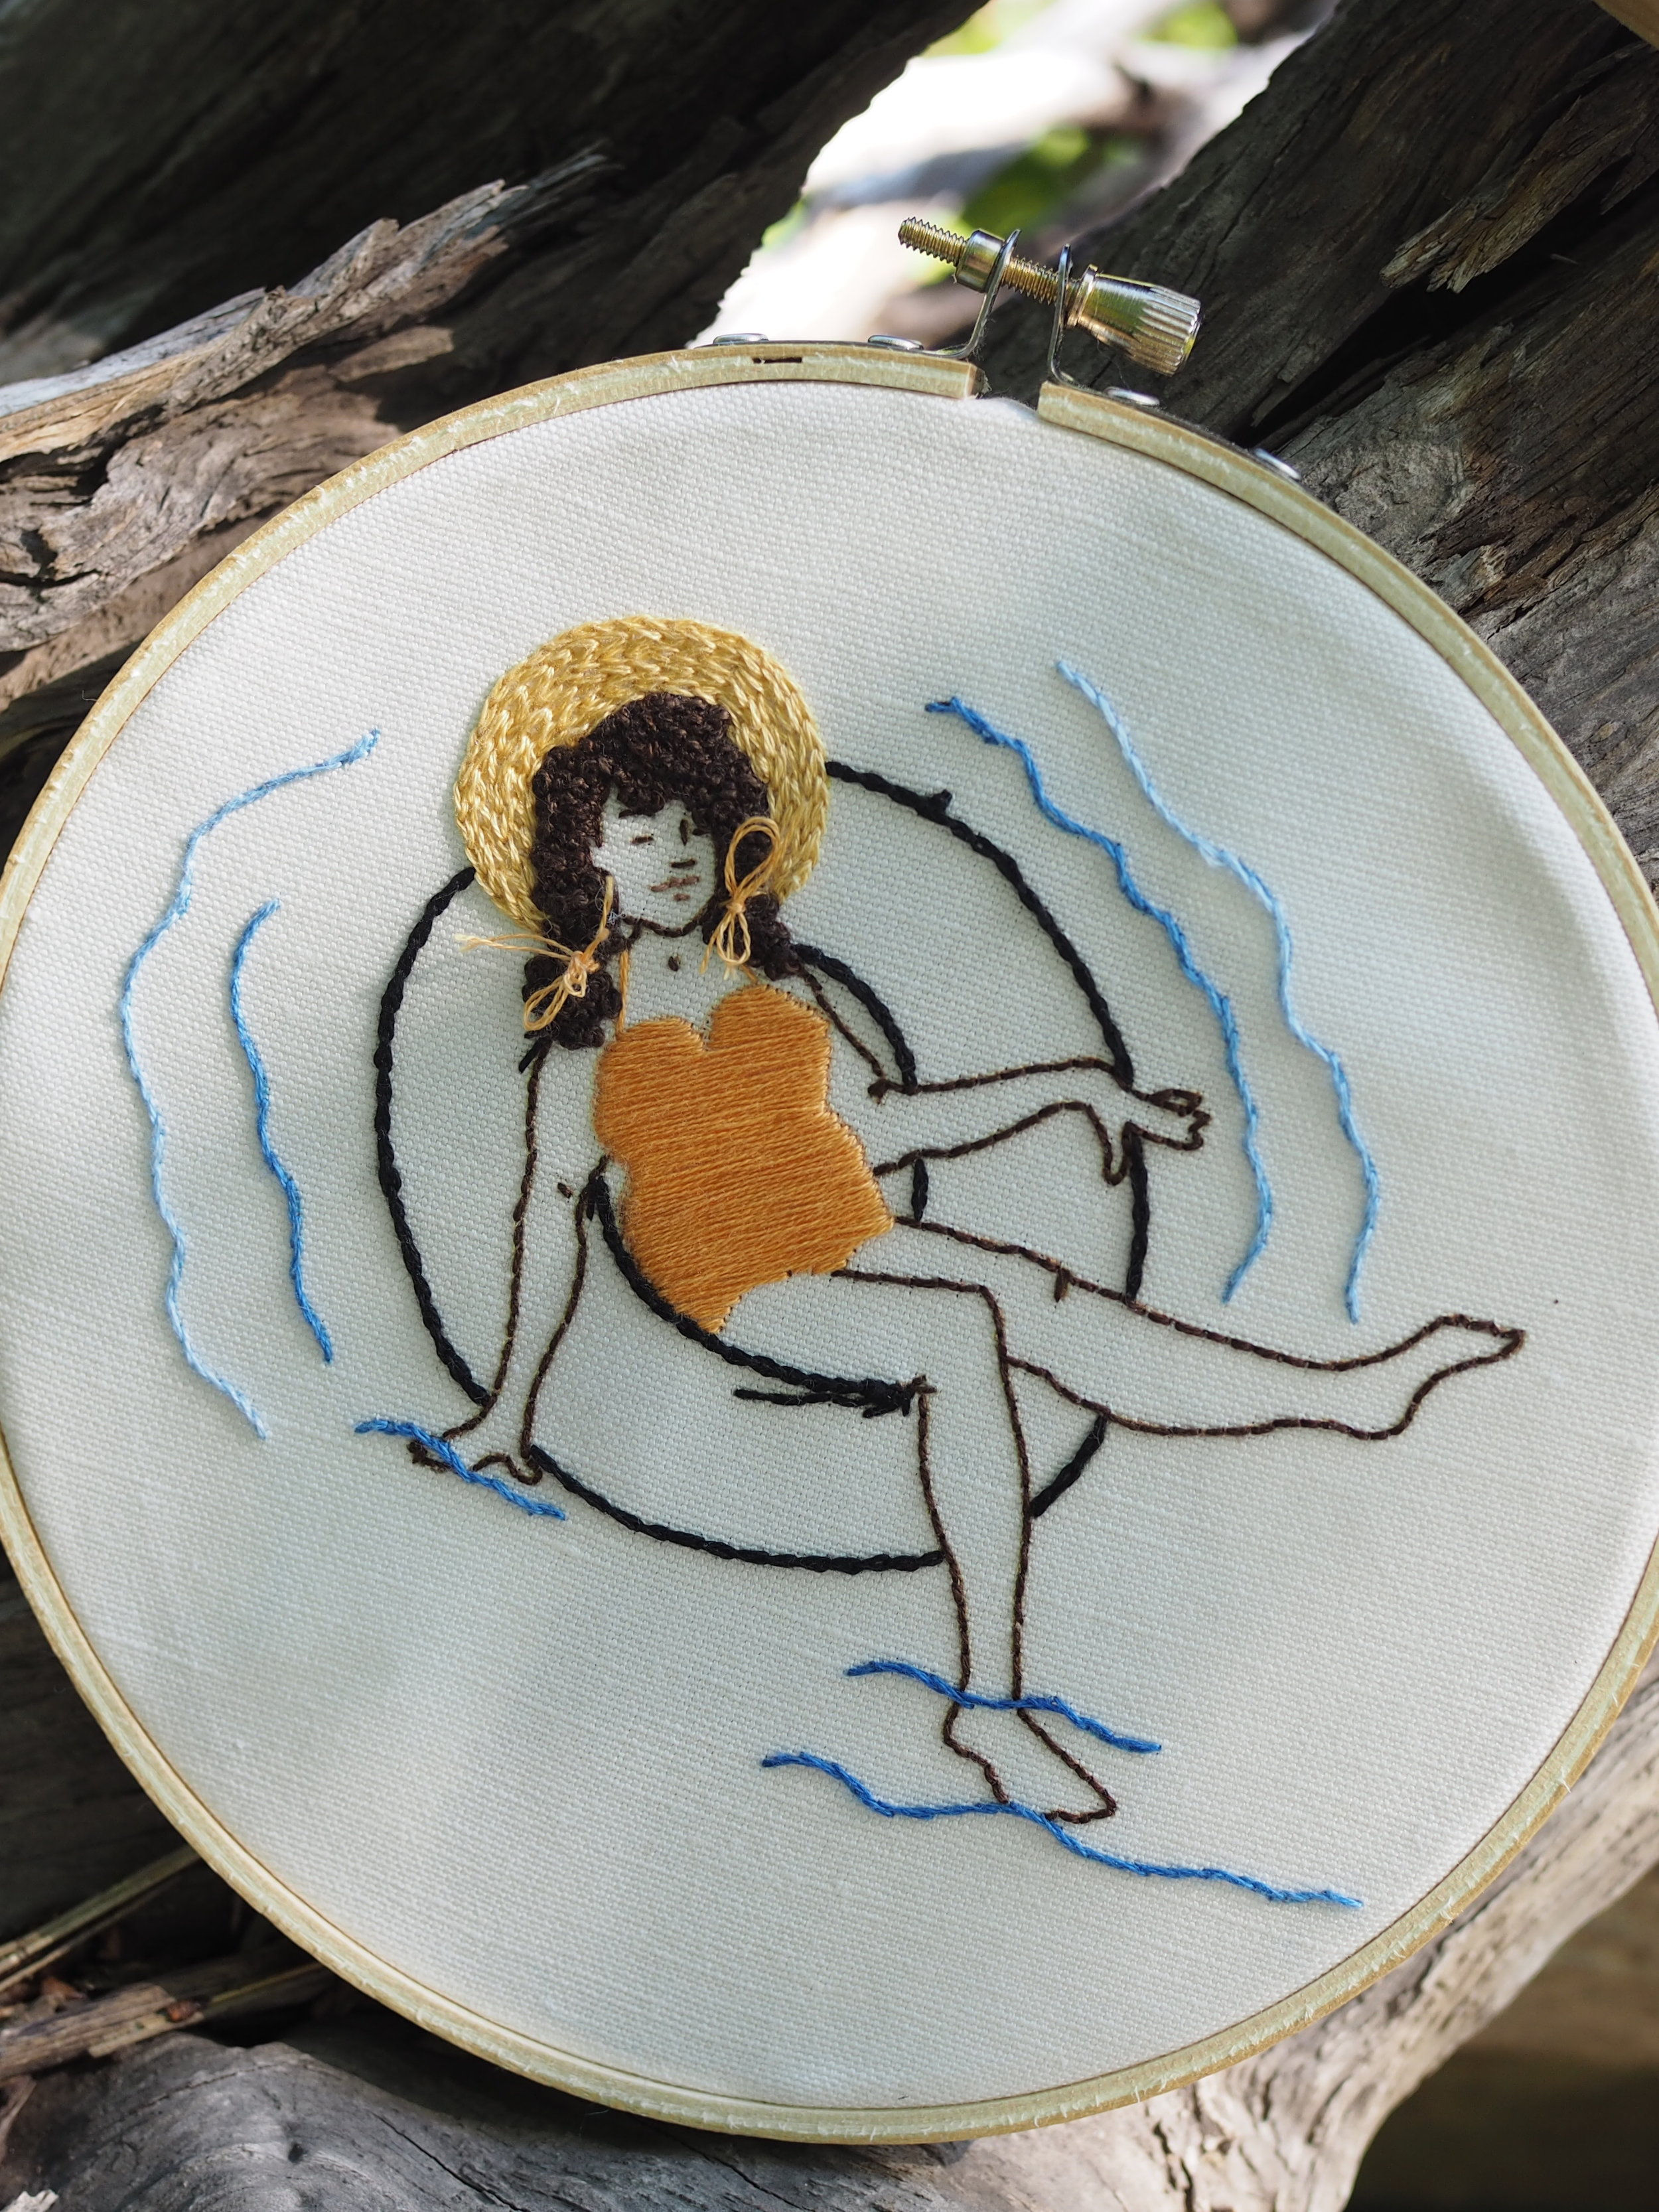
The collection, which includes a sweater, gloves, two embroidery designs and a sewing pattern, is available as kits, pattern bundles and stand-alone patterns and has projects suitable for beginners to more advanced makers.

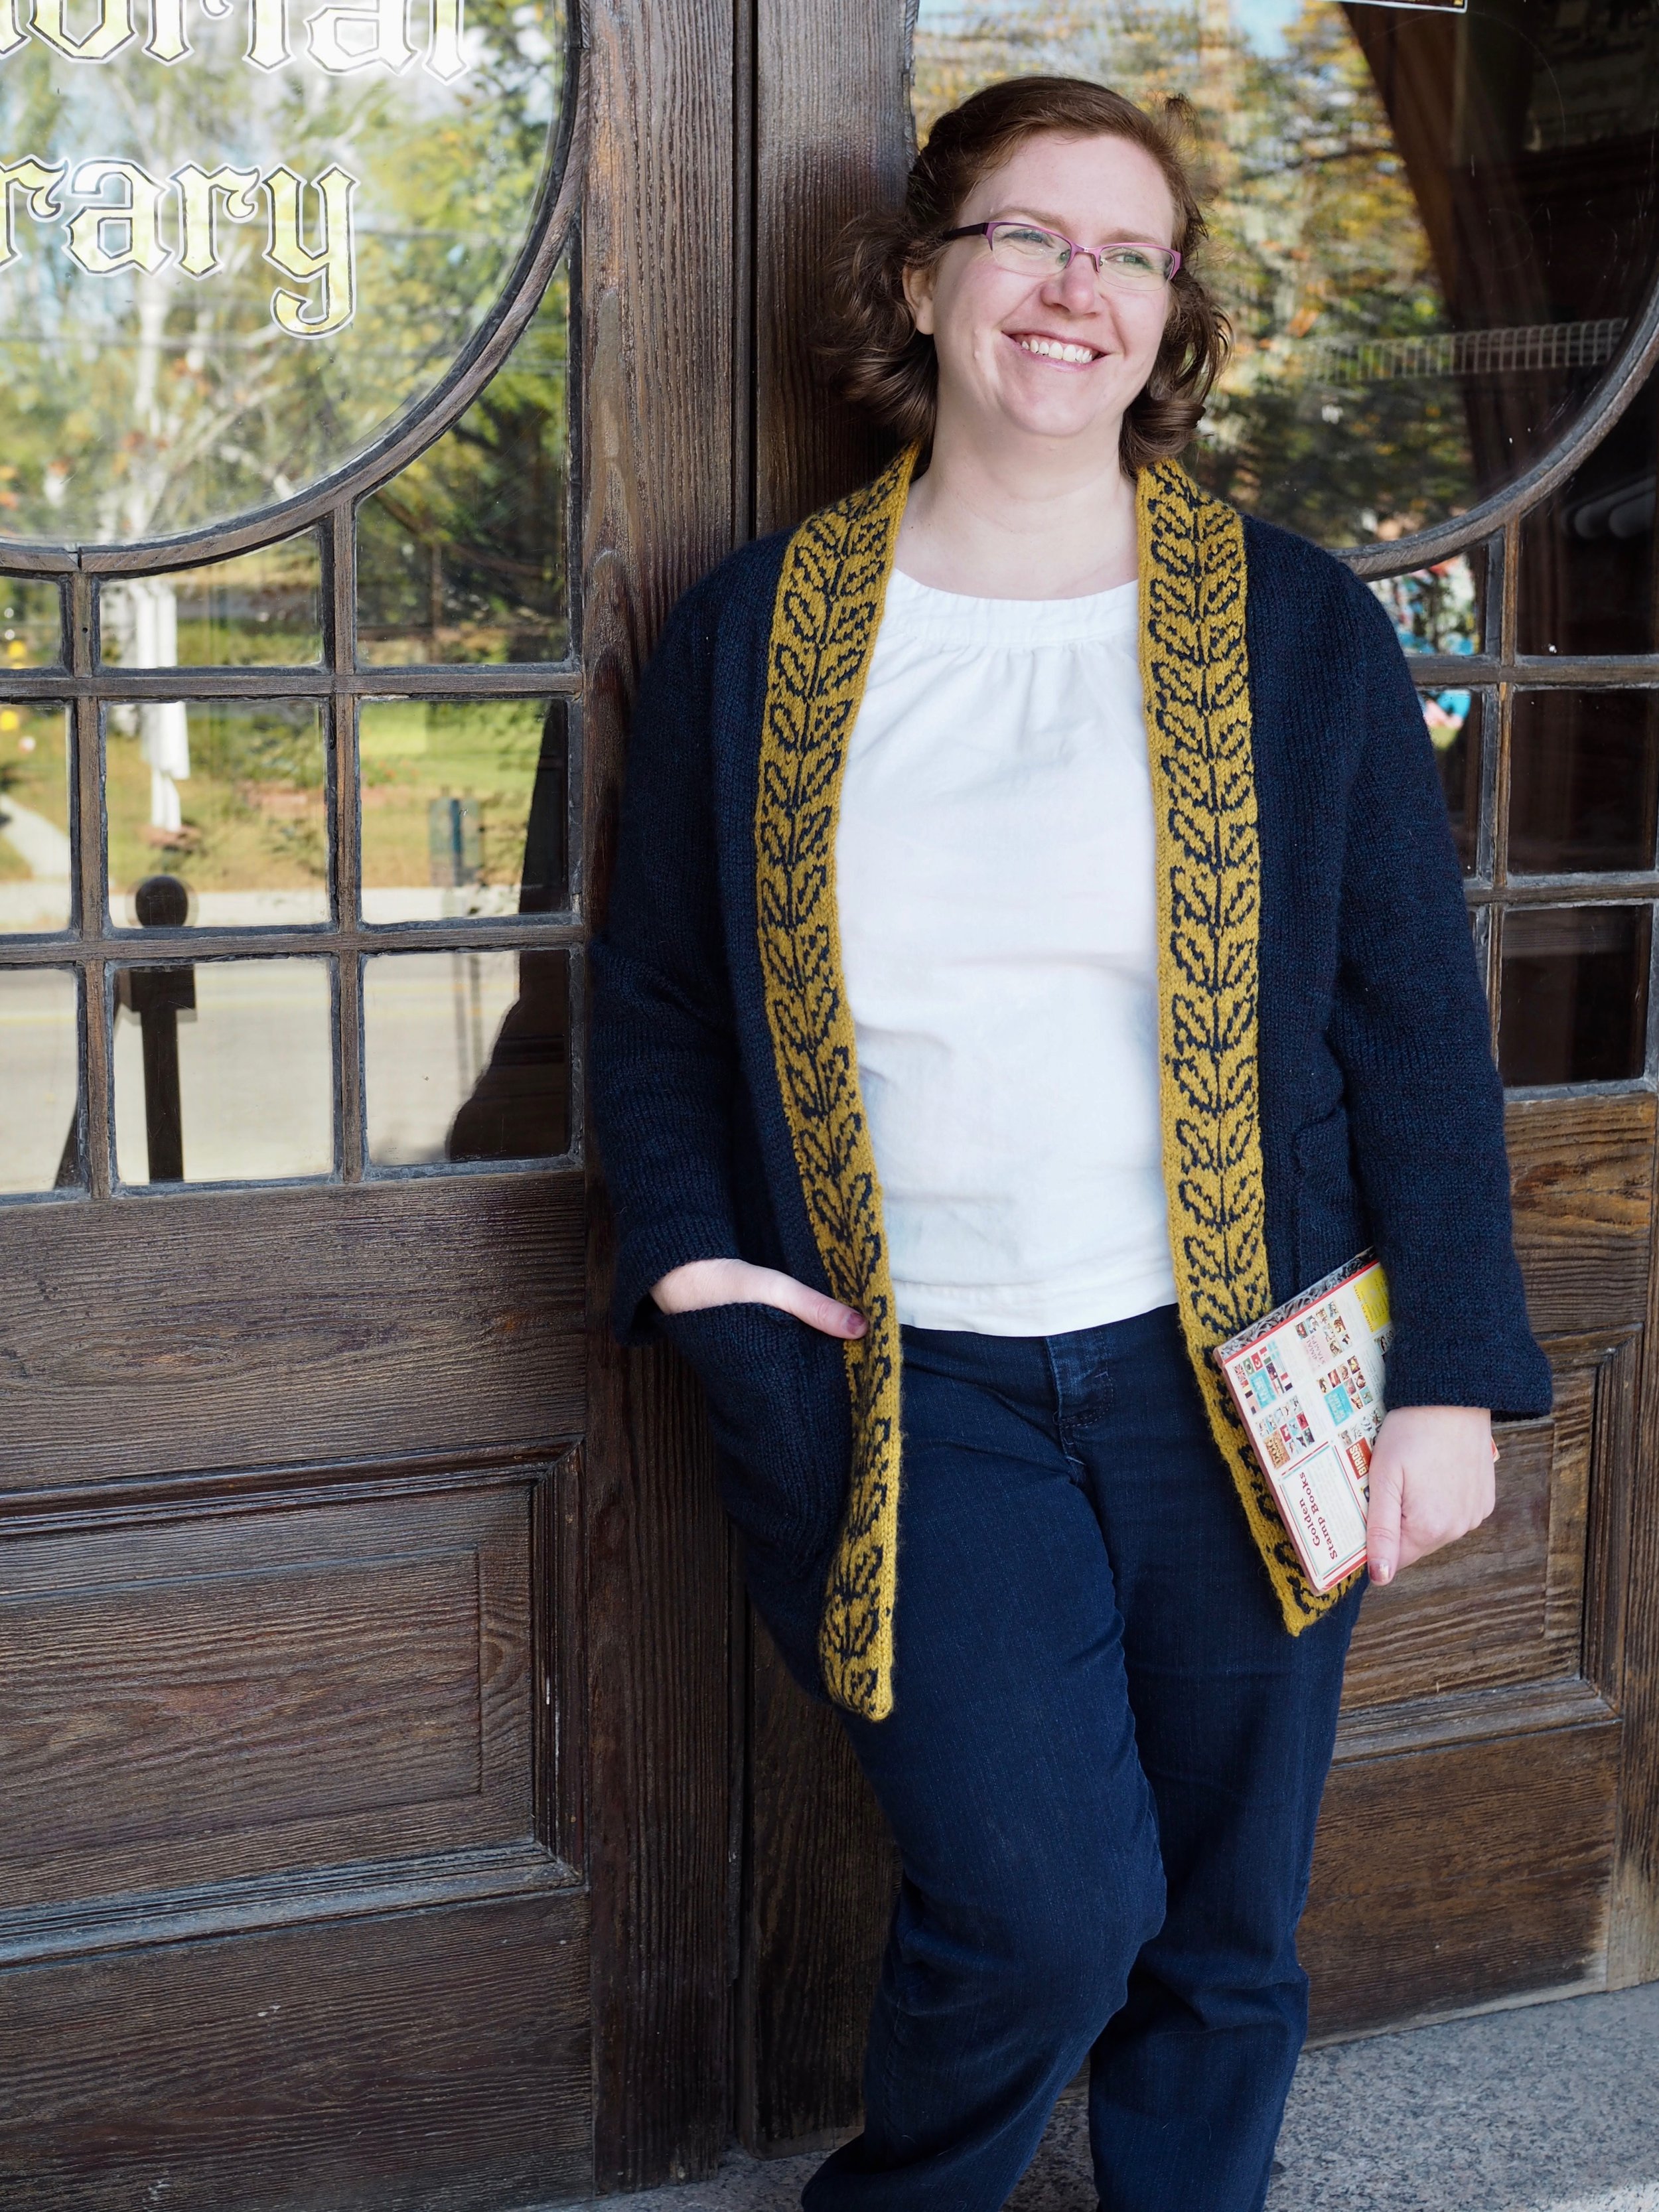
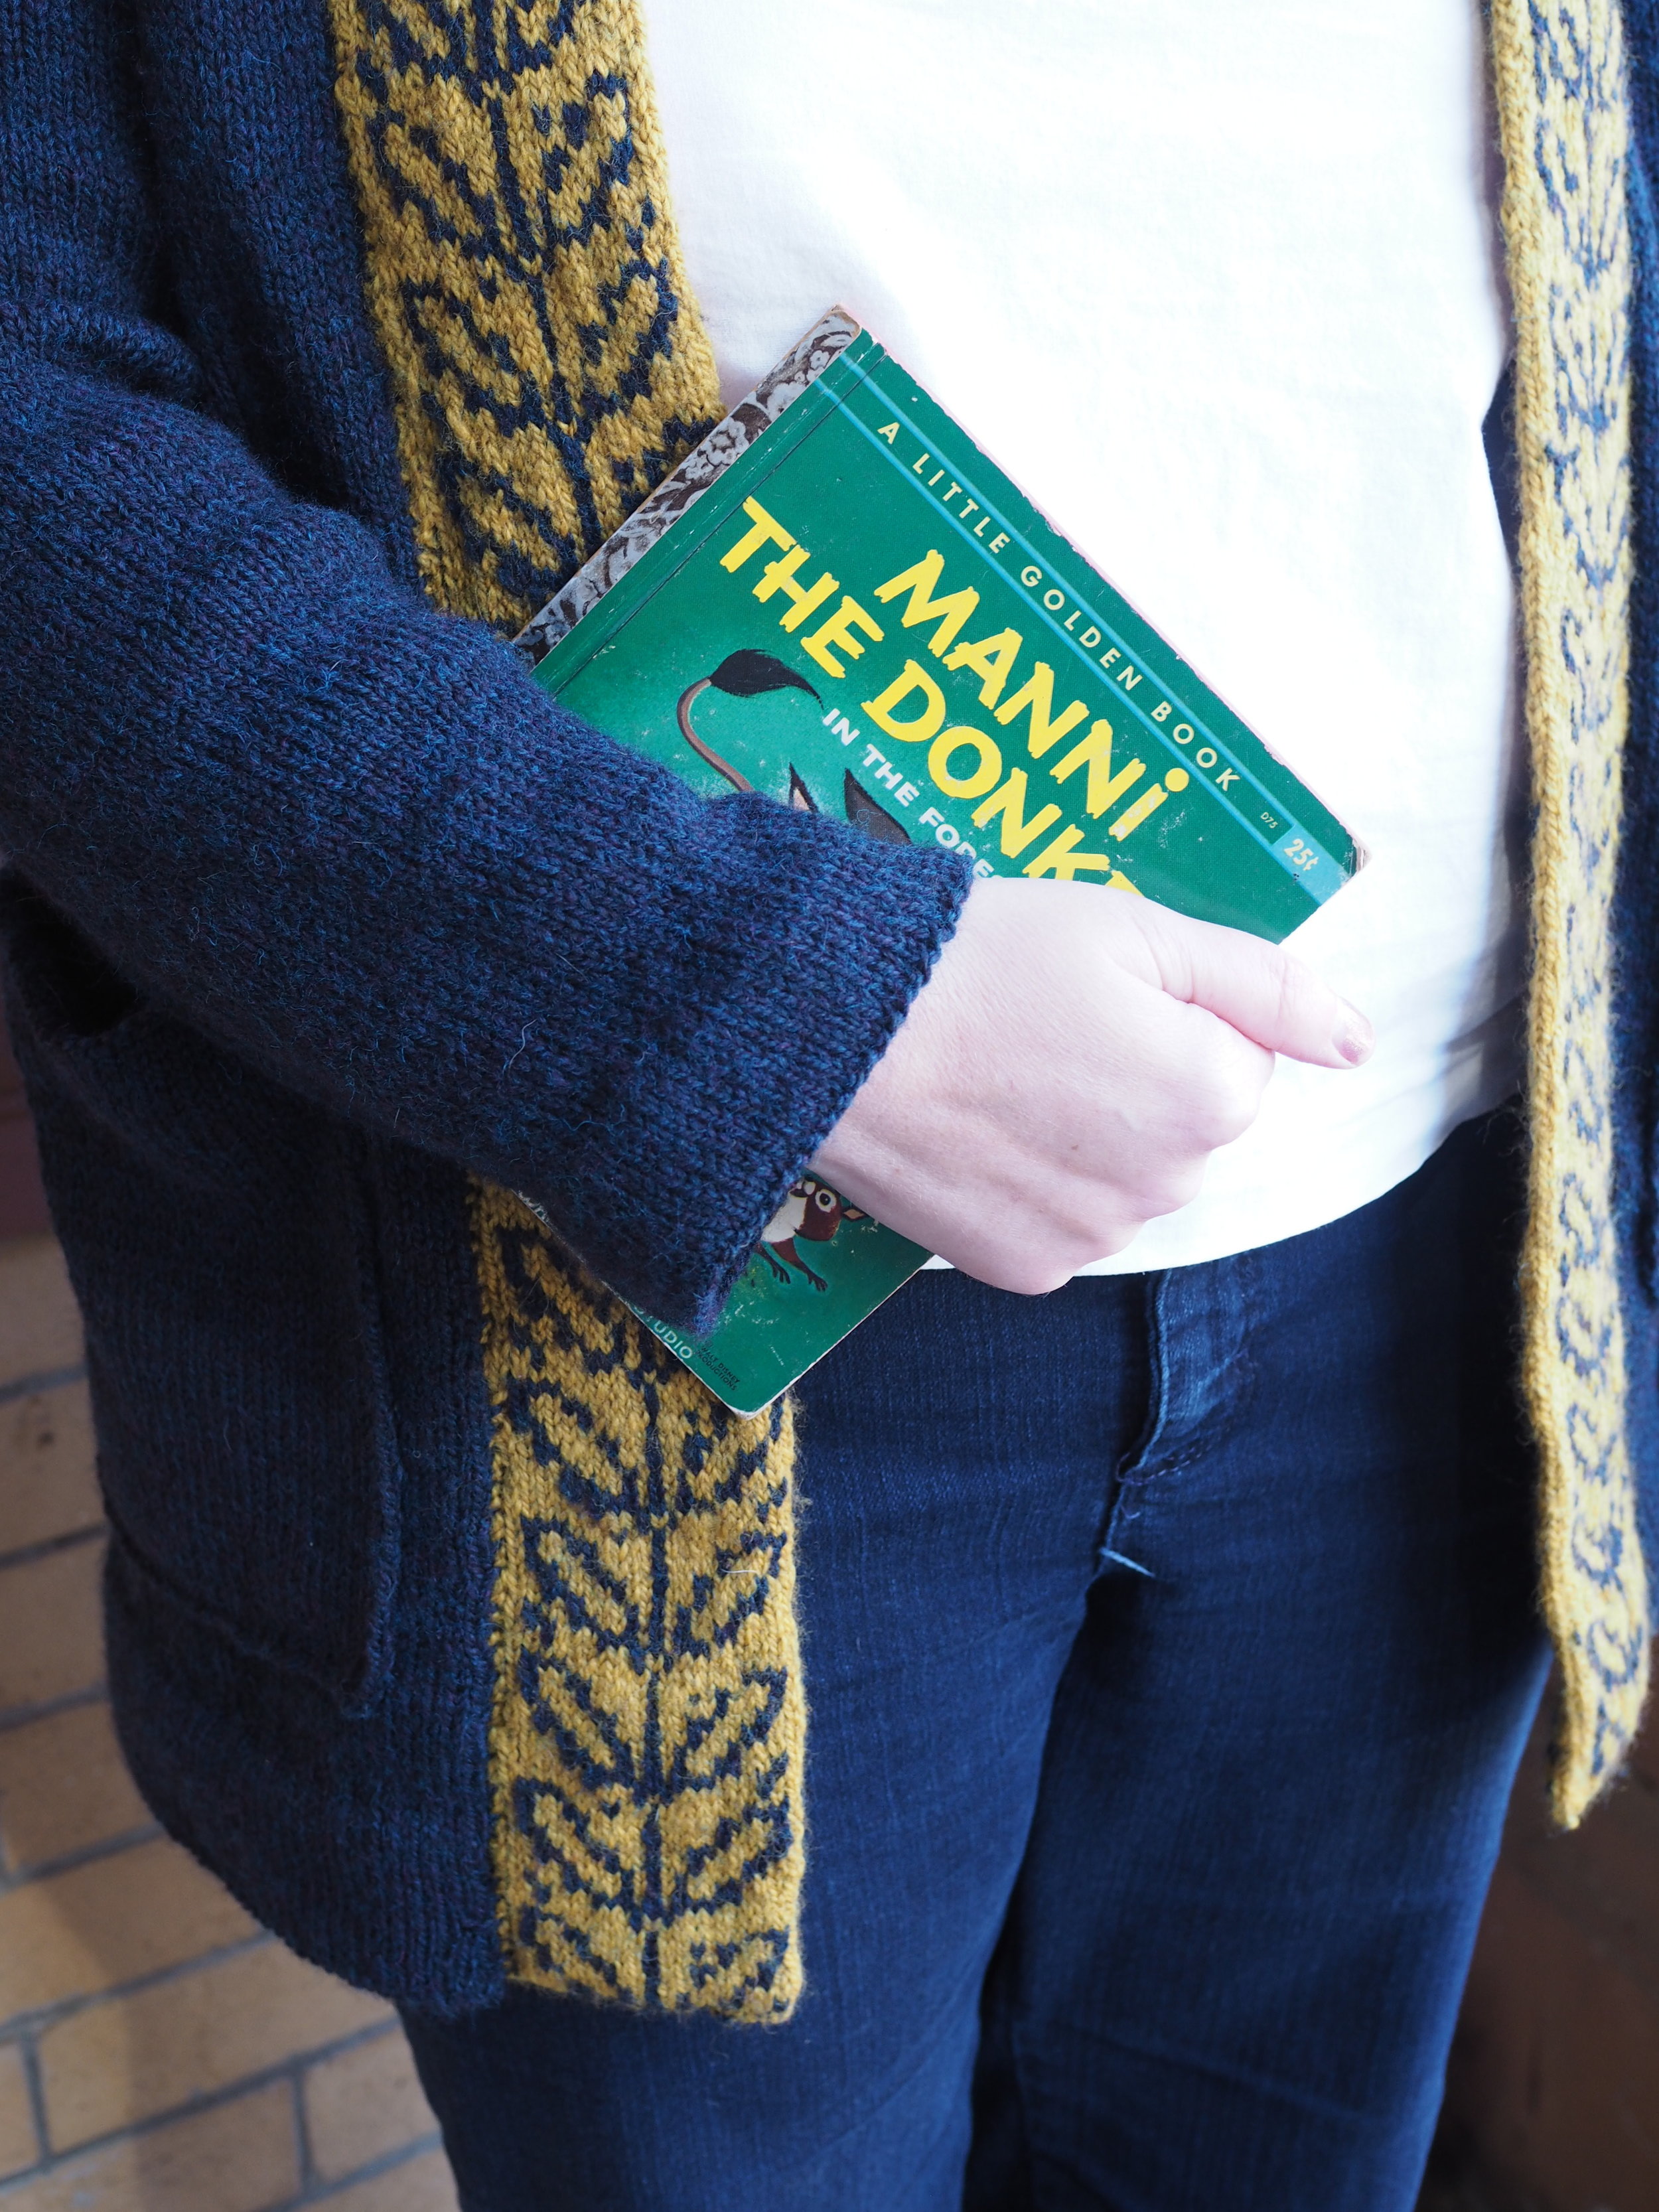
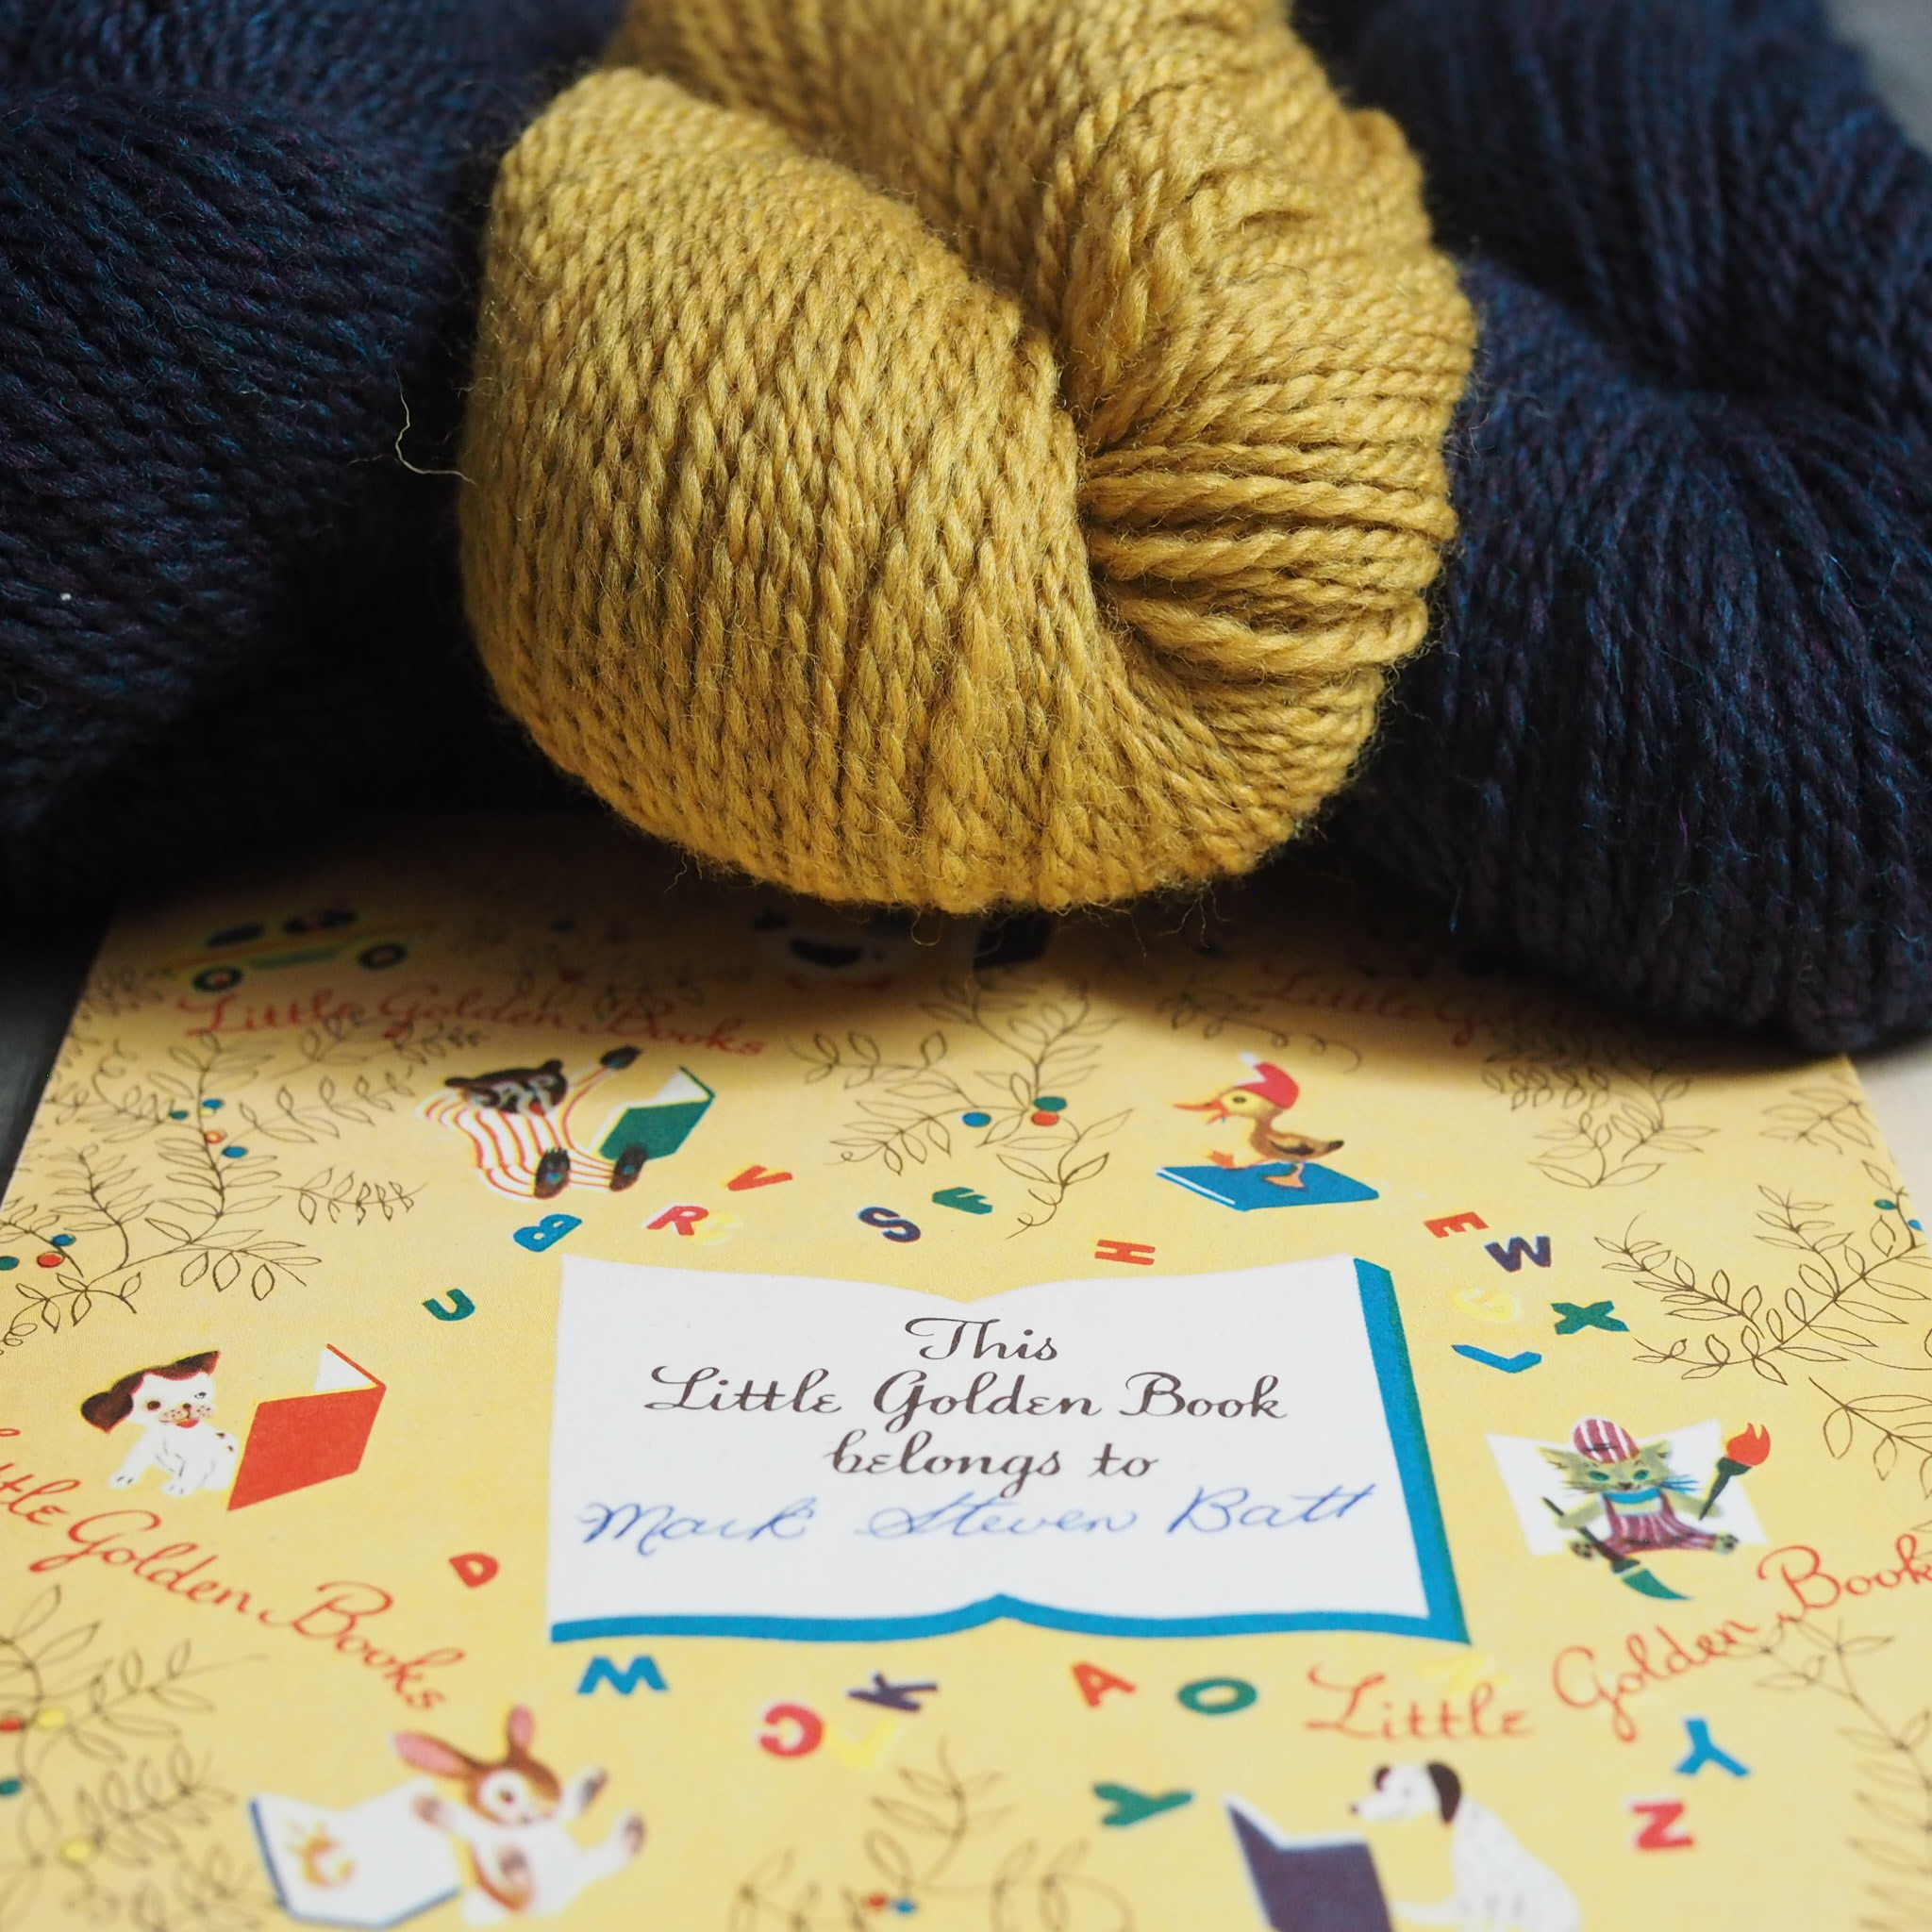
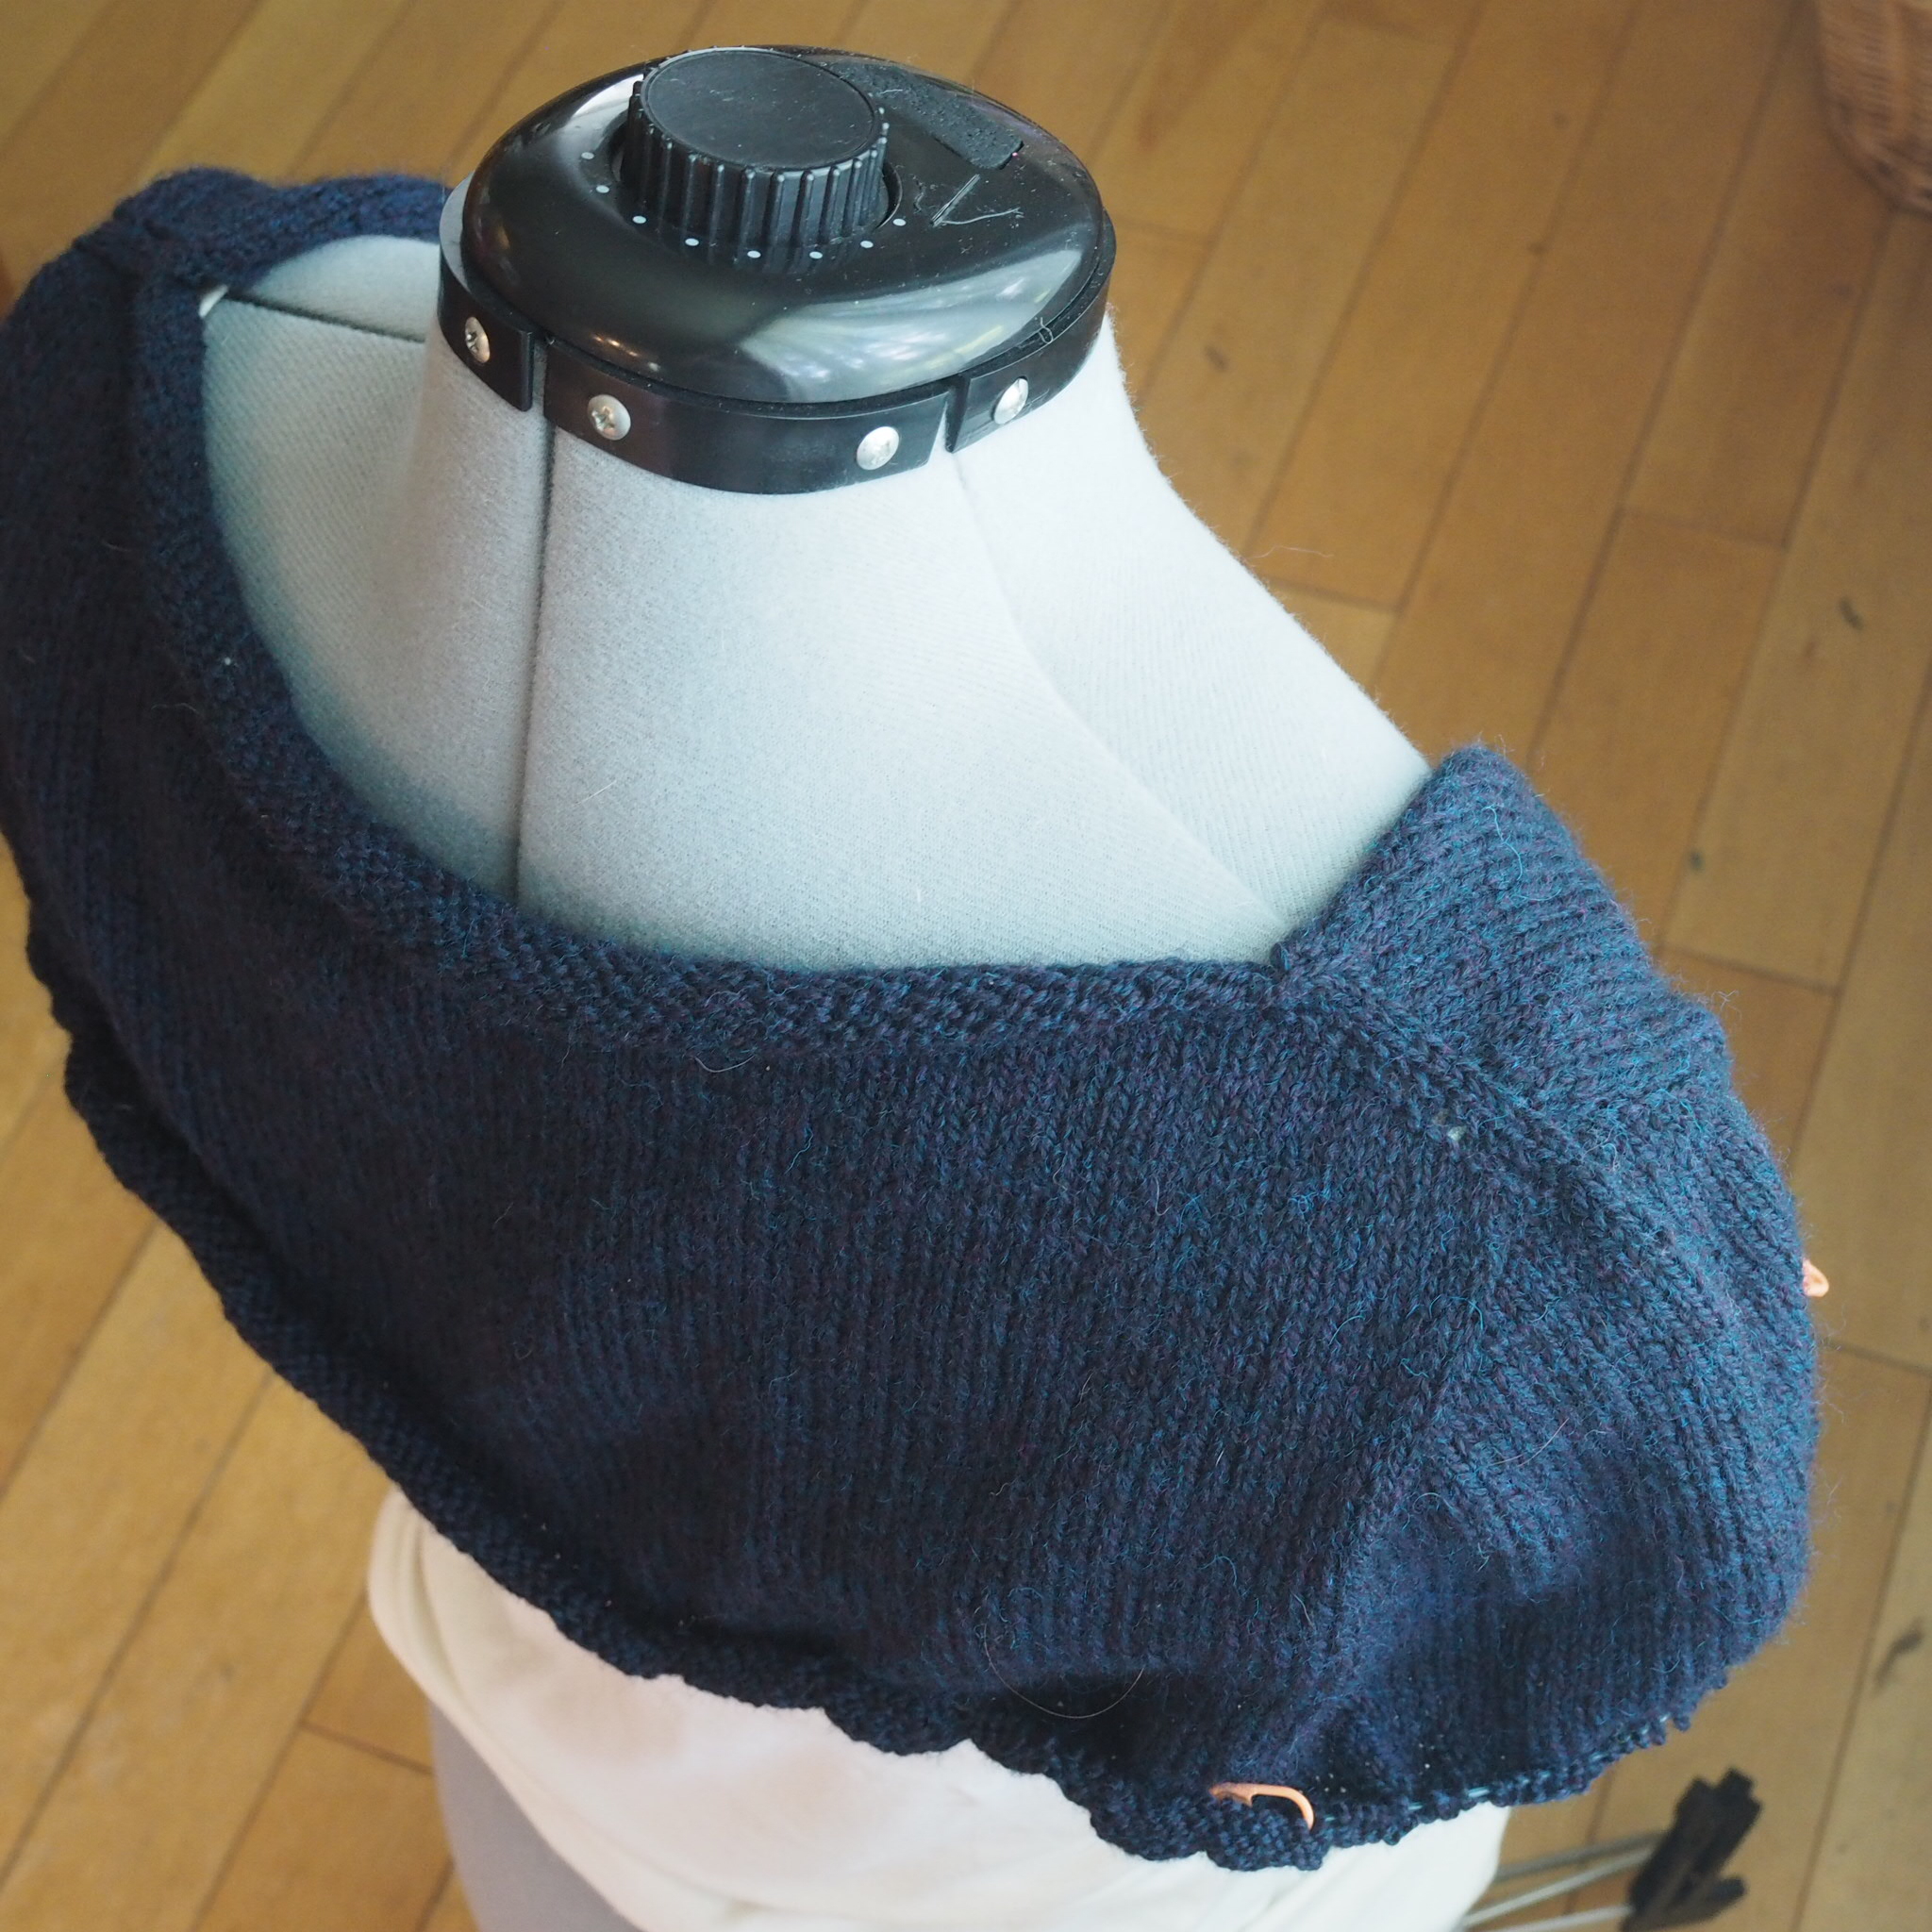
Goldenbook Cardigan

The Saggy Baggy Elephant, Tawny Scrawny Lion, Poky Little Puppy – since the first Little Golden Book was released in 1942, these titles and many more have become classics read by multiple generations.

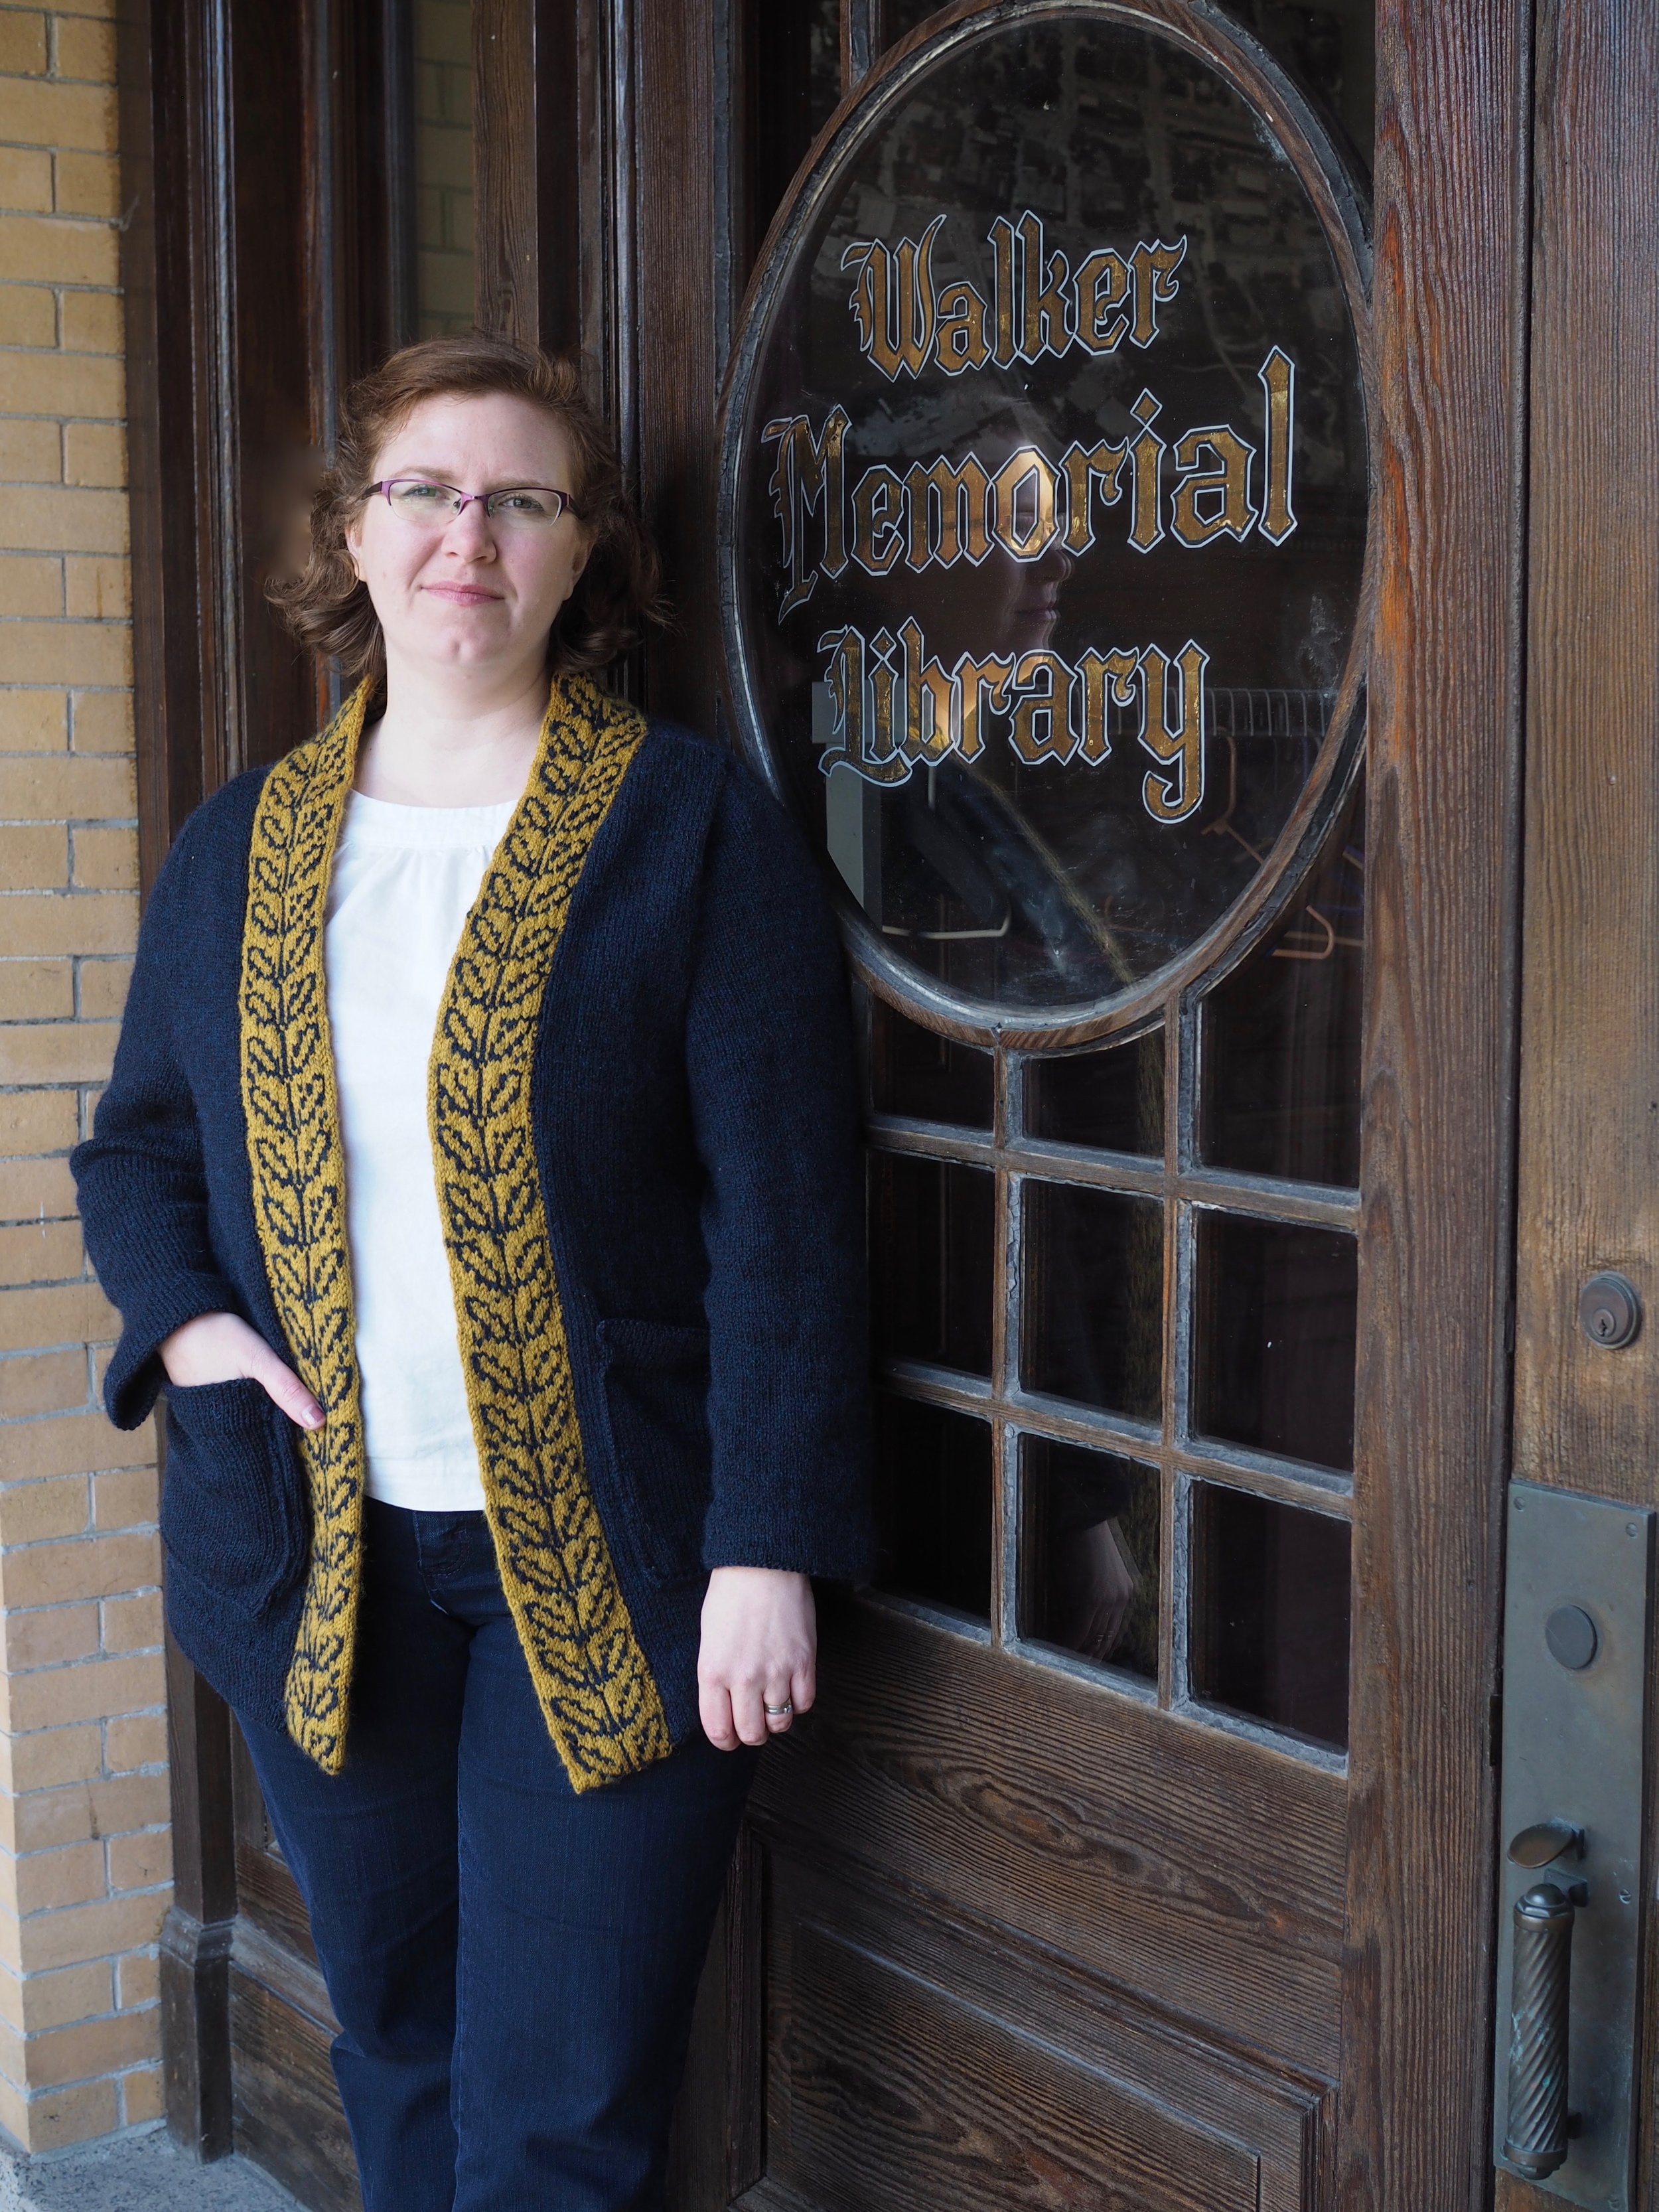
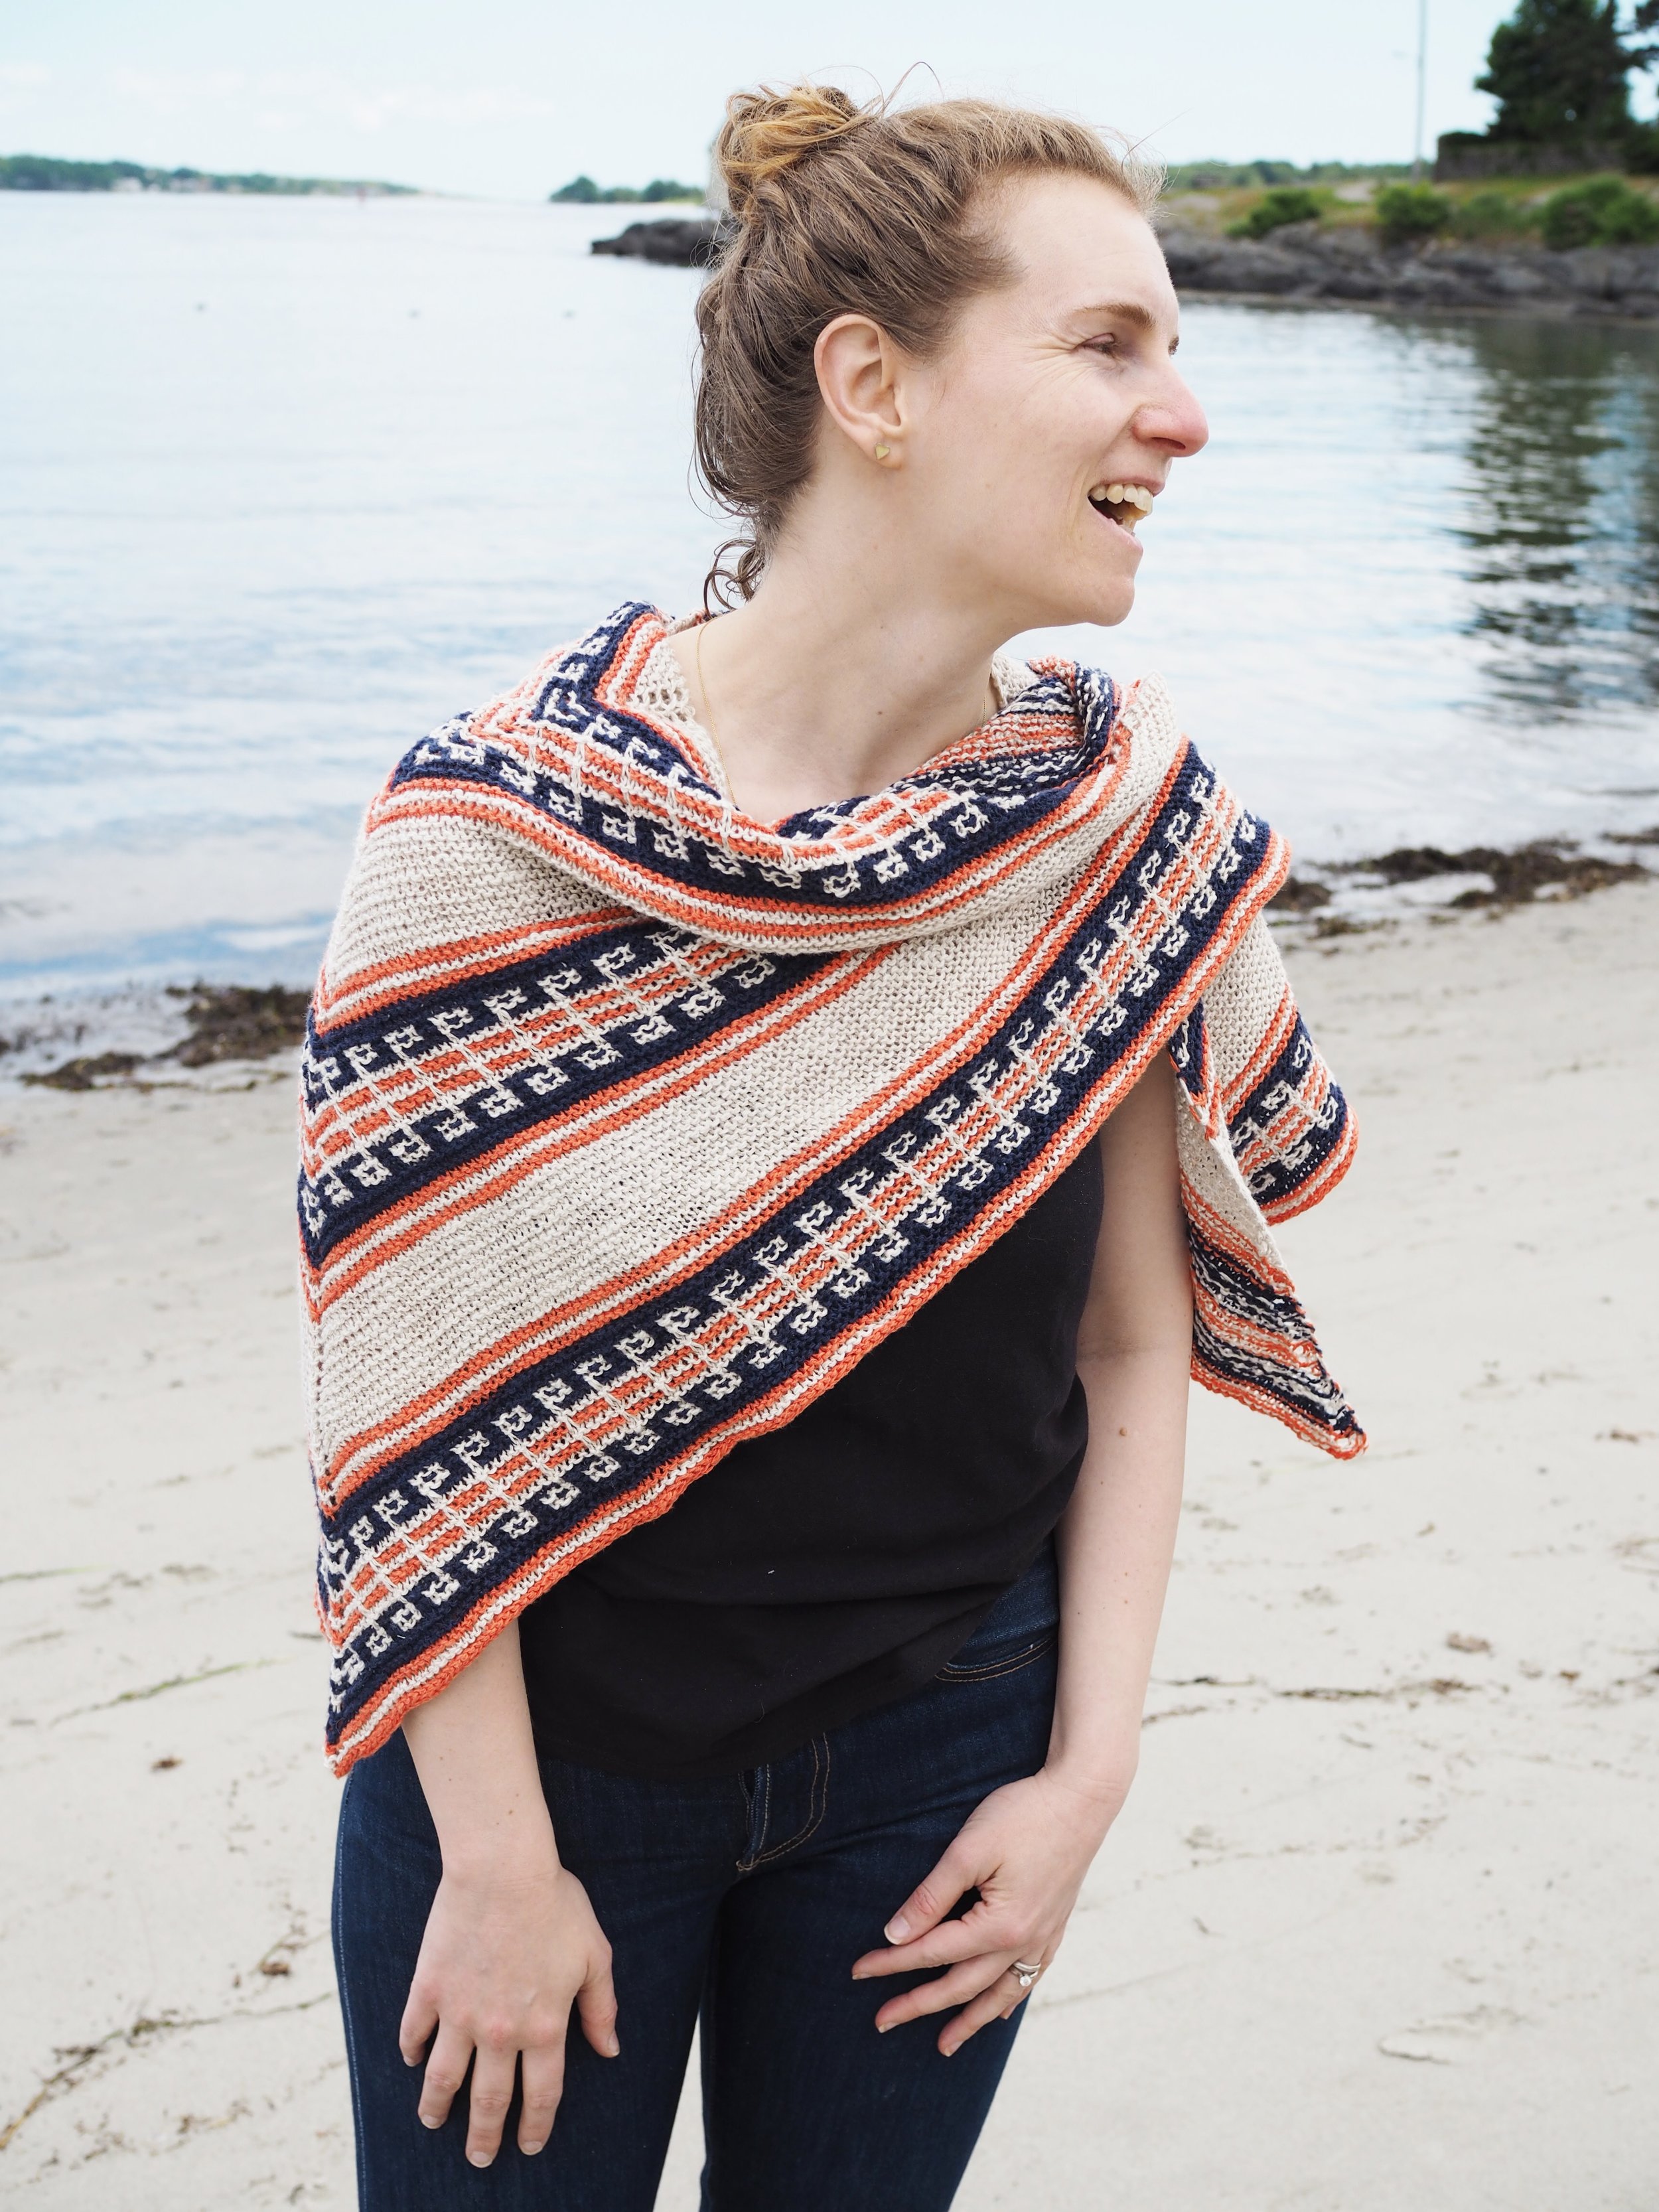
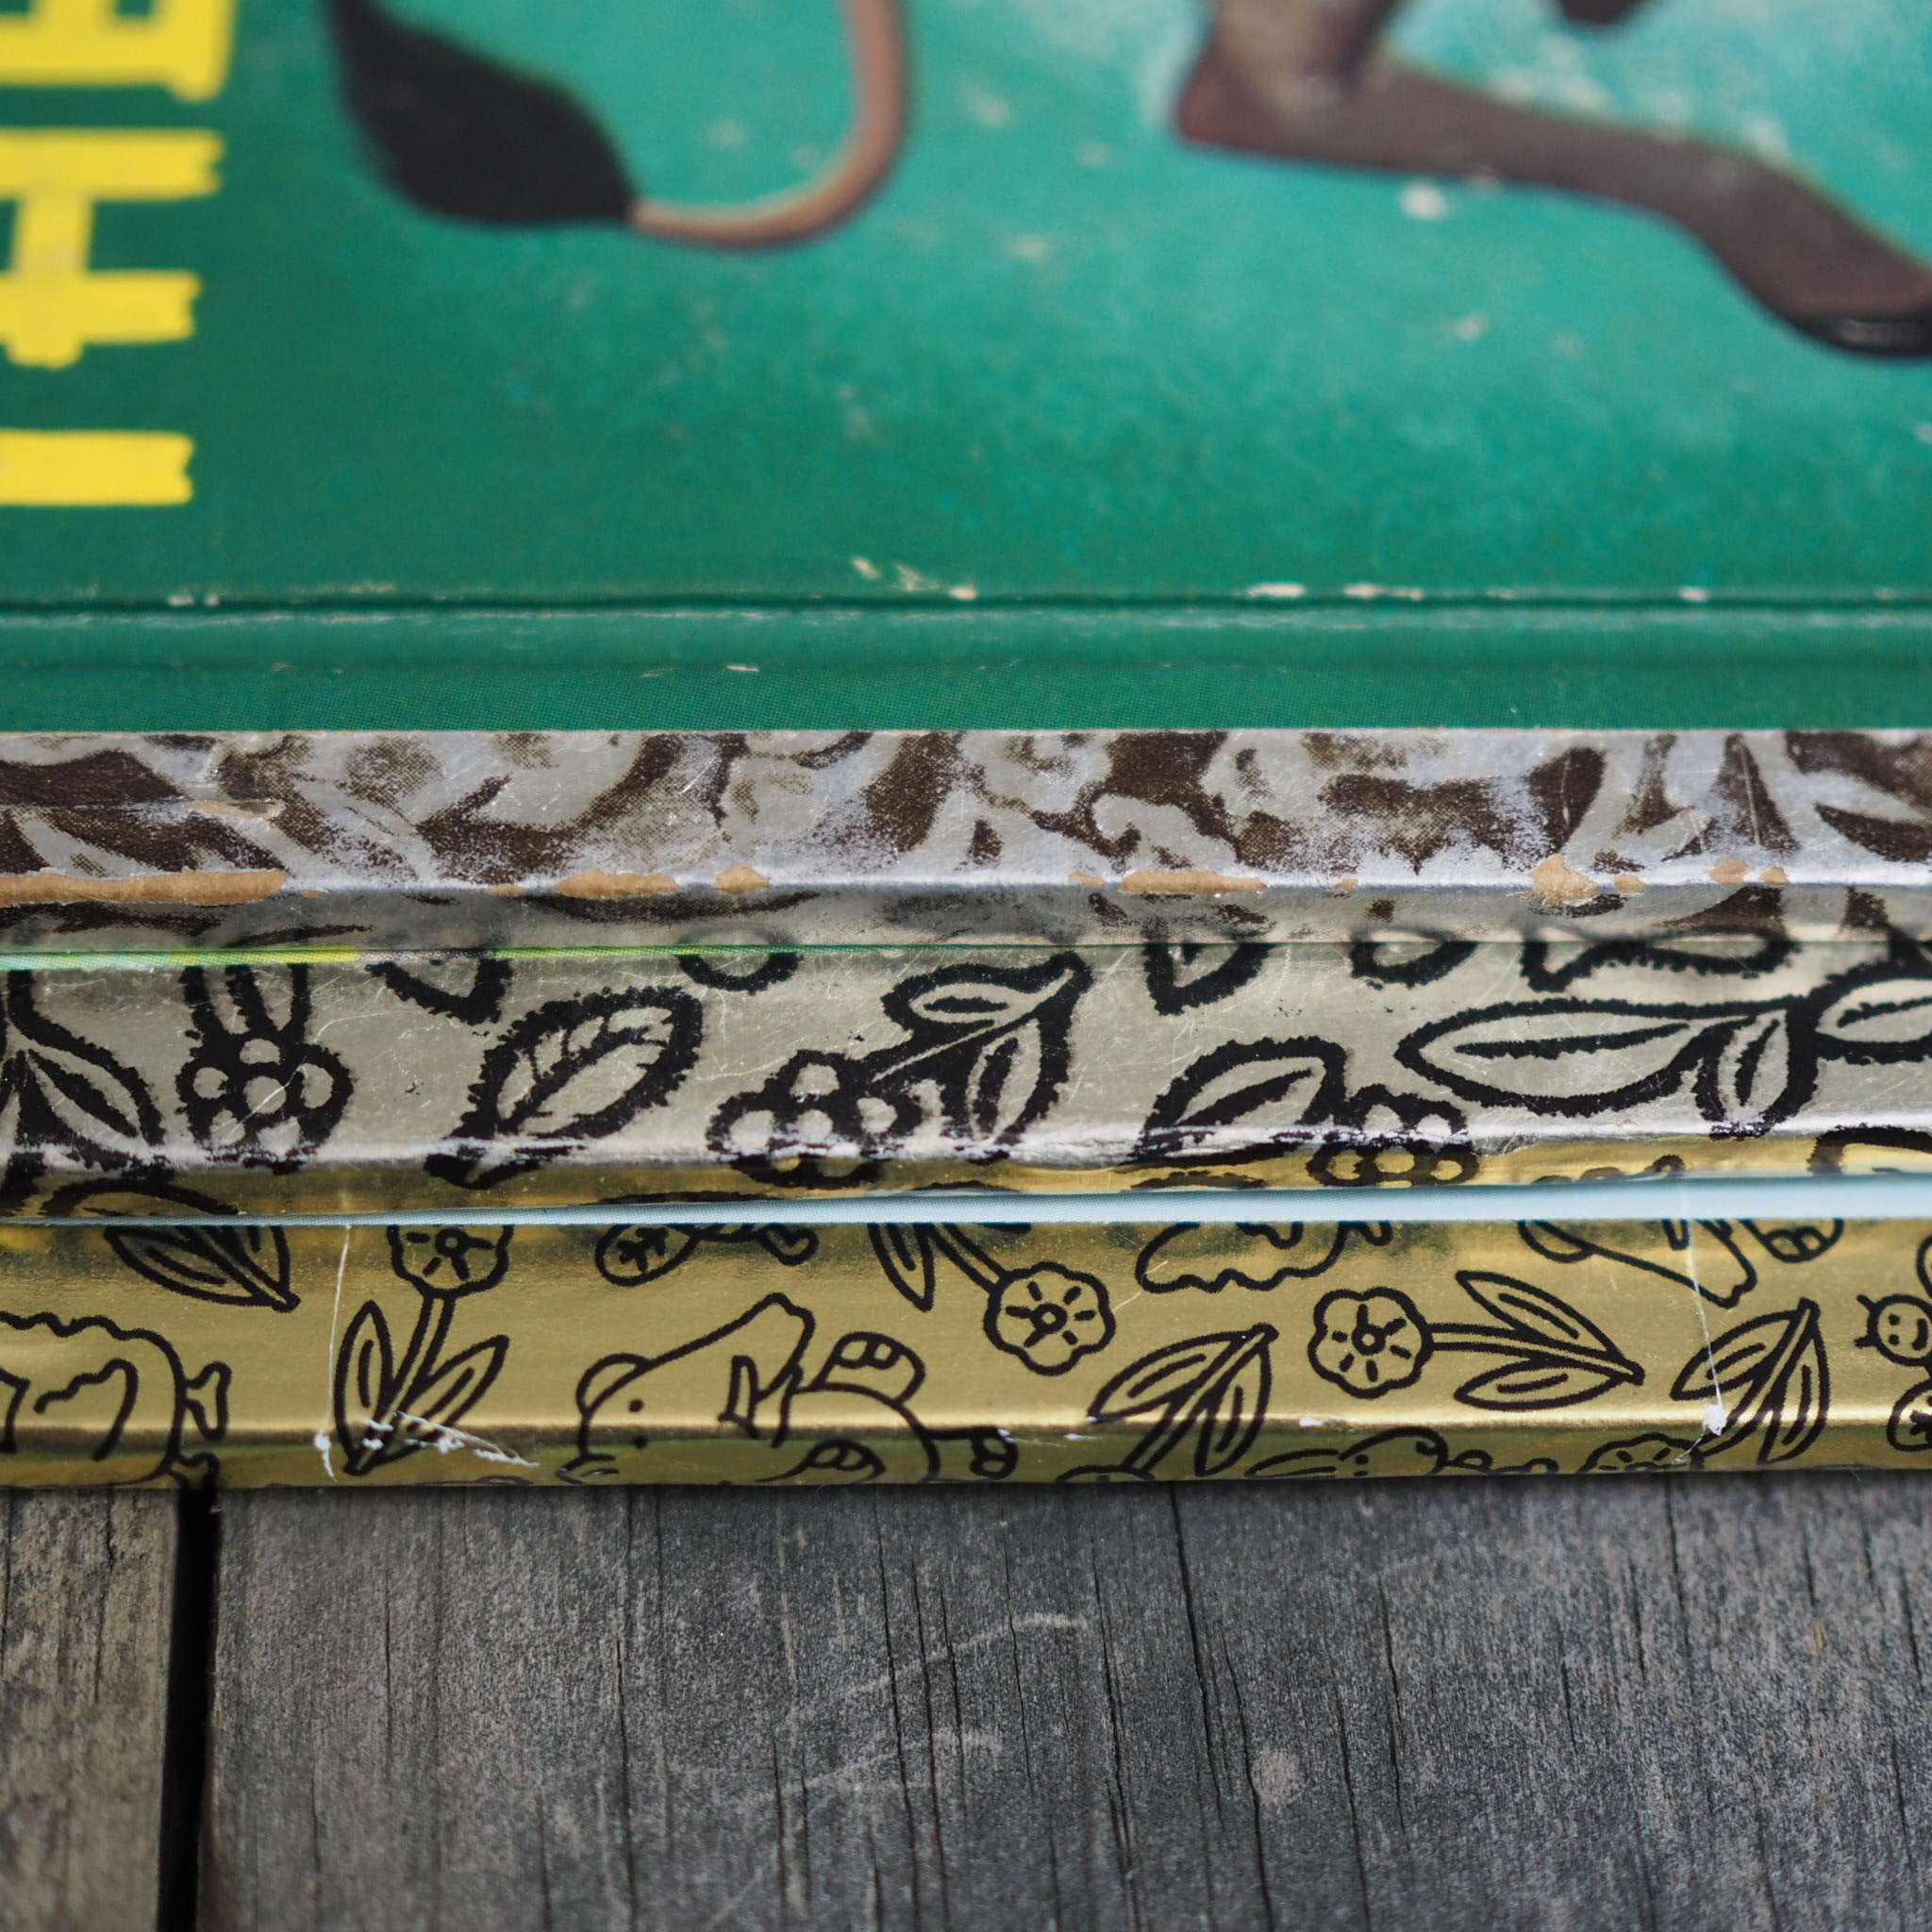
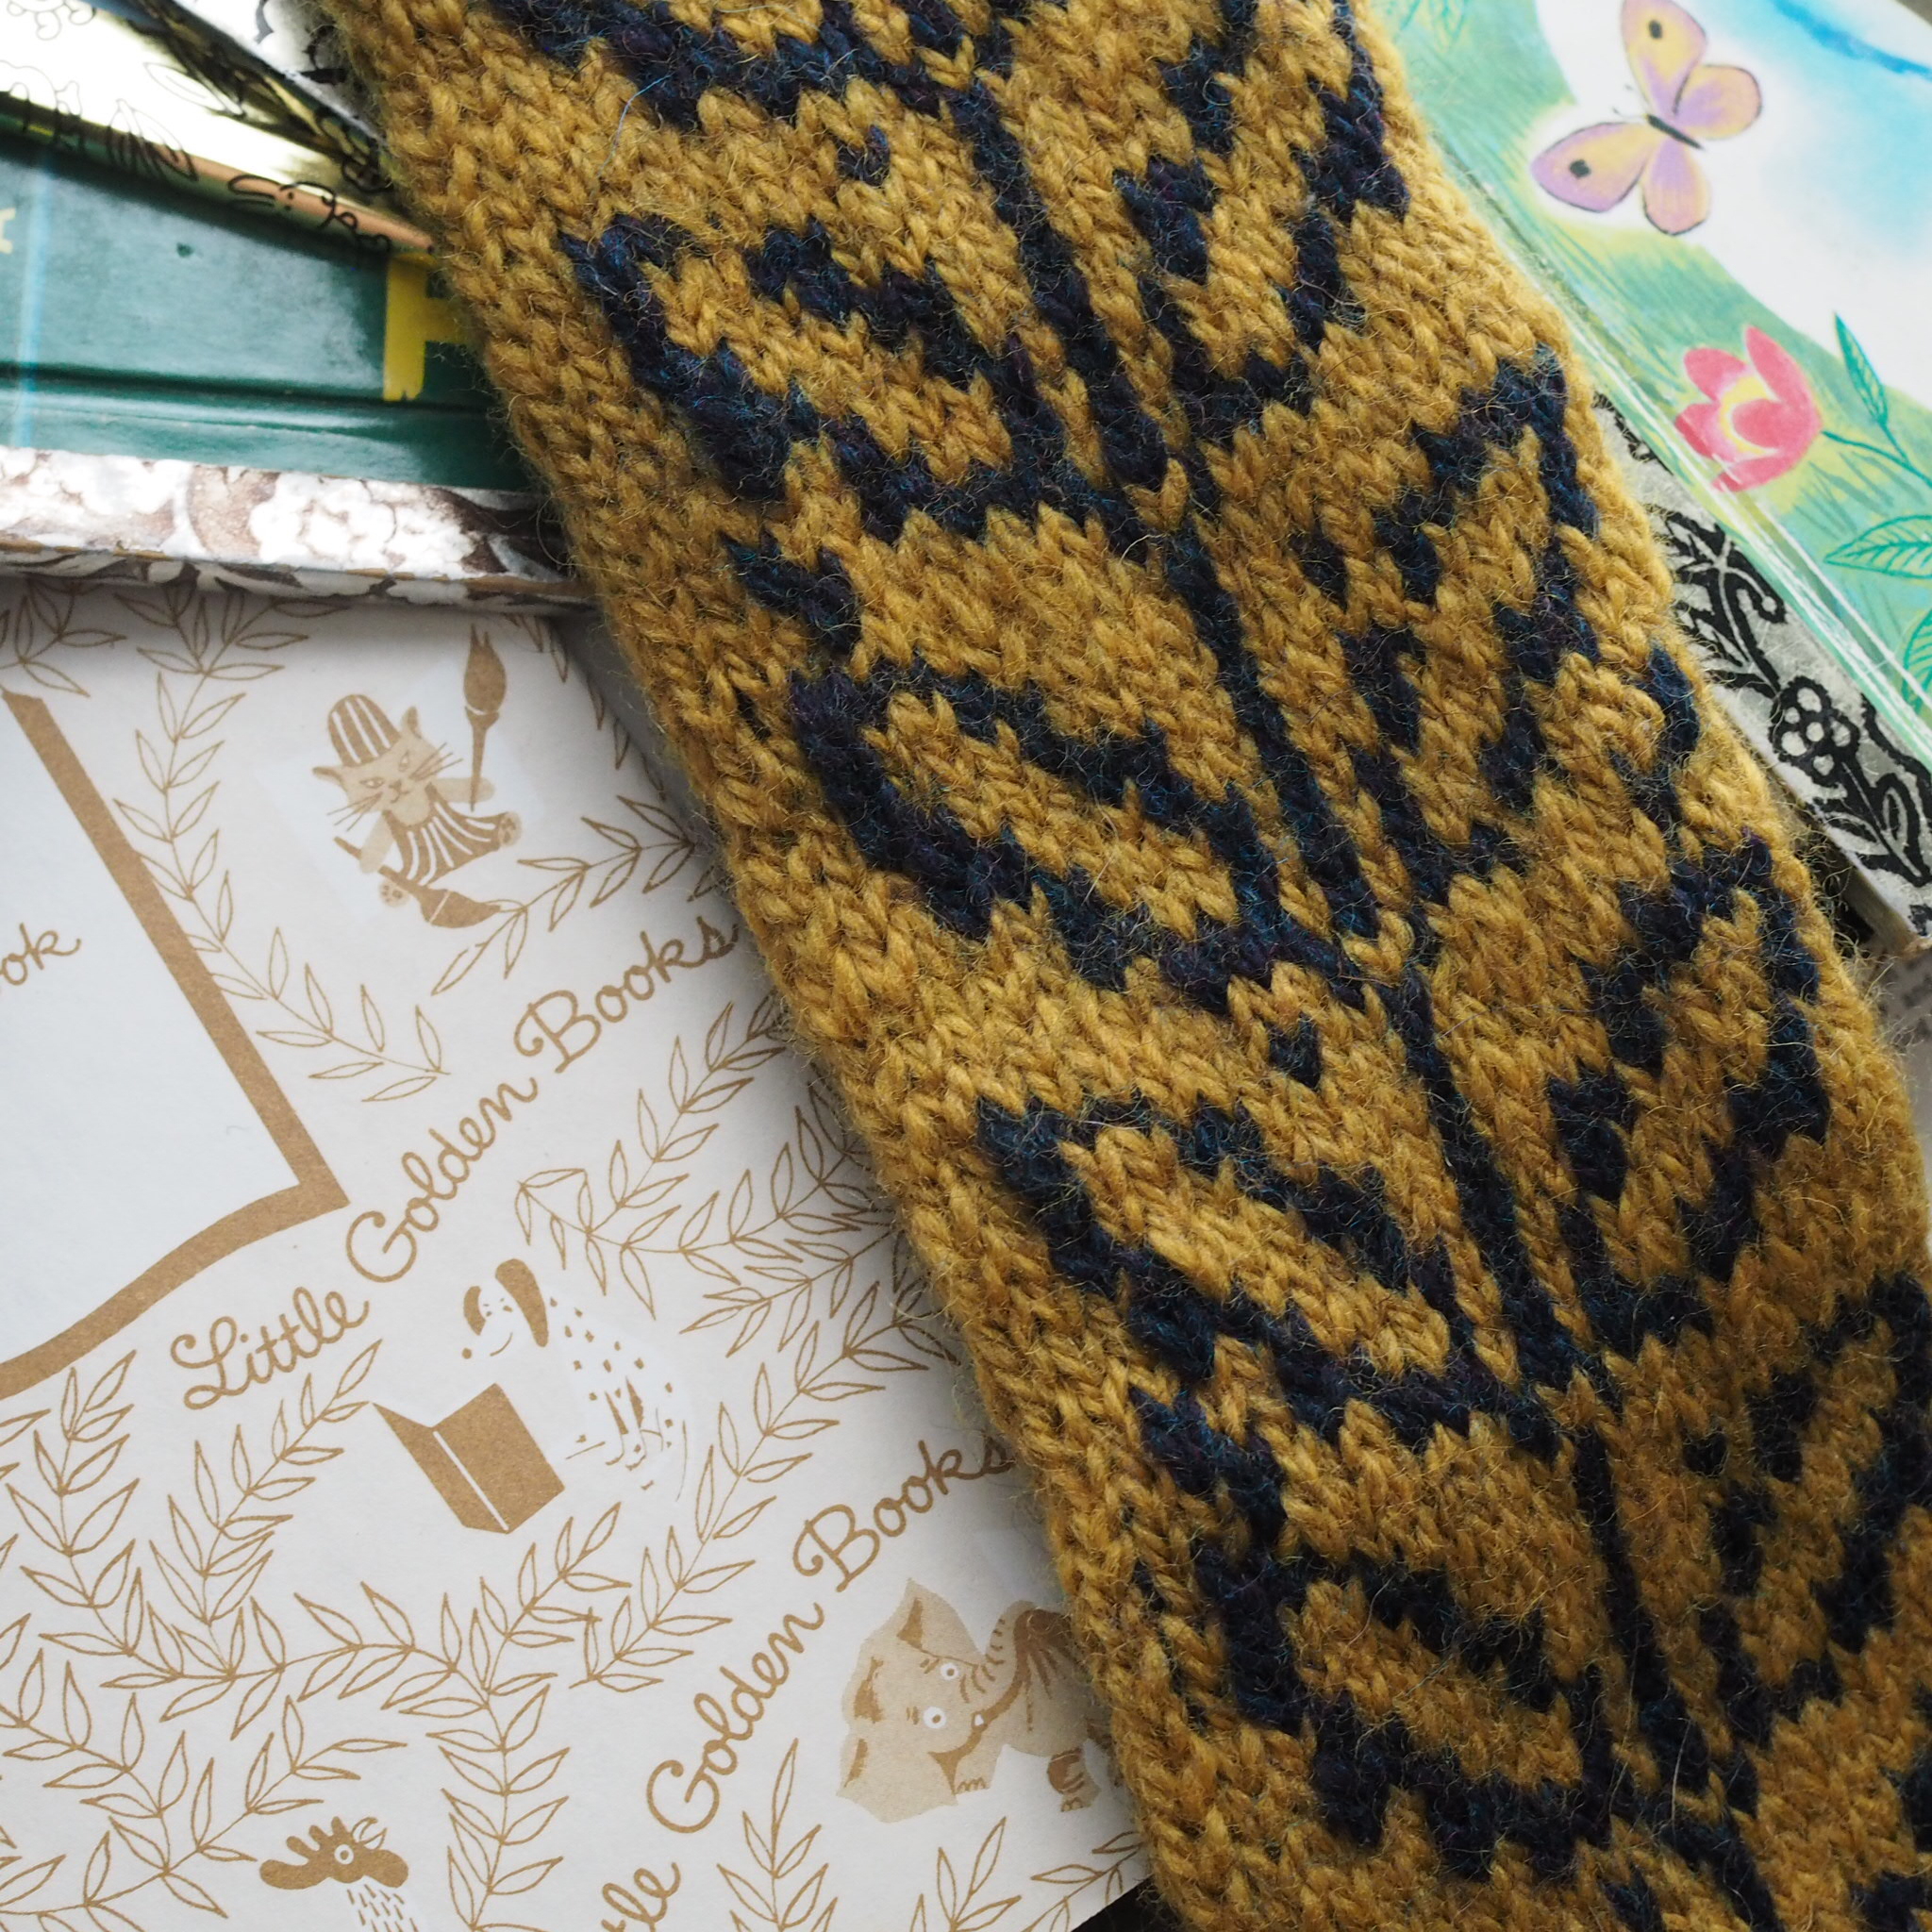
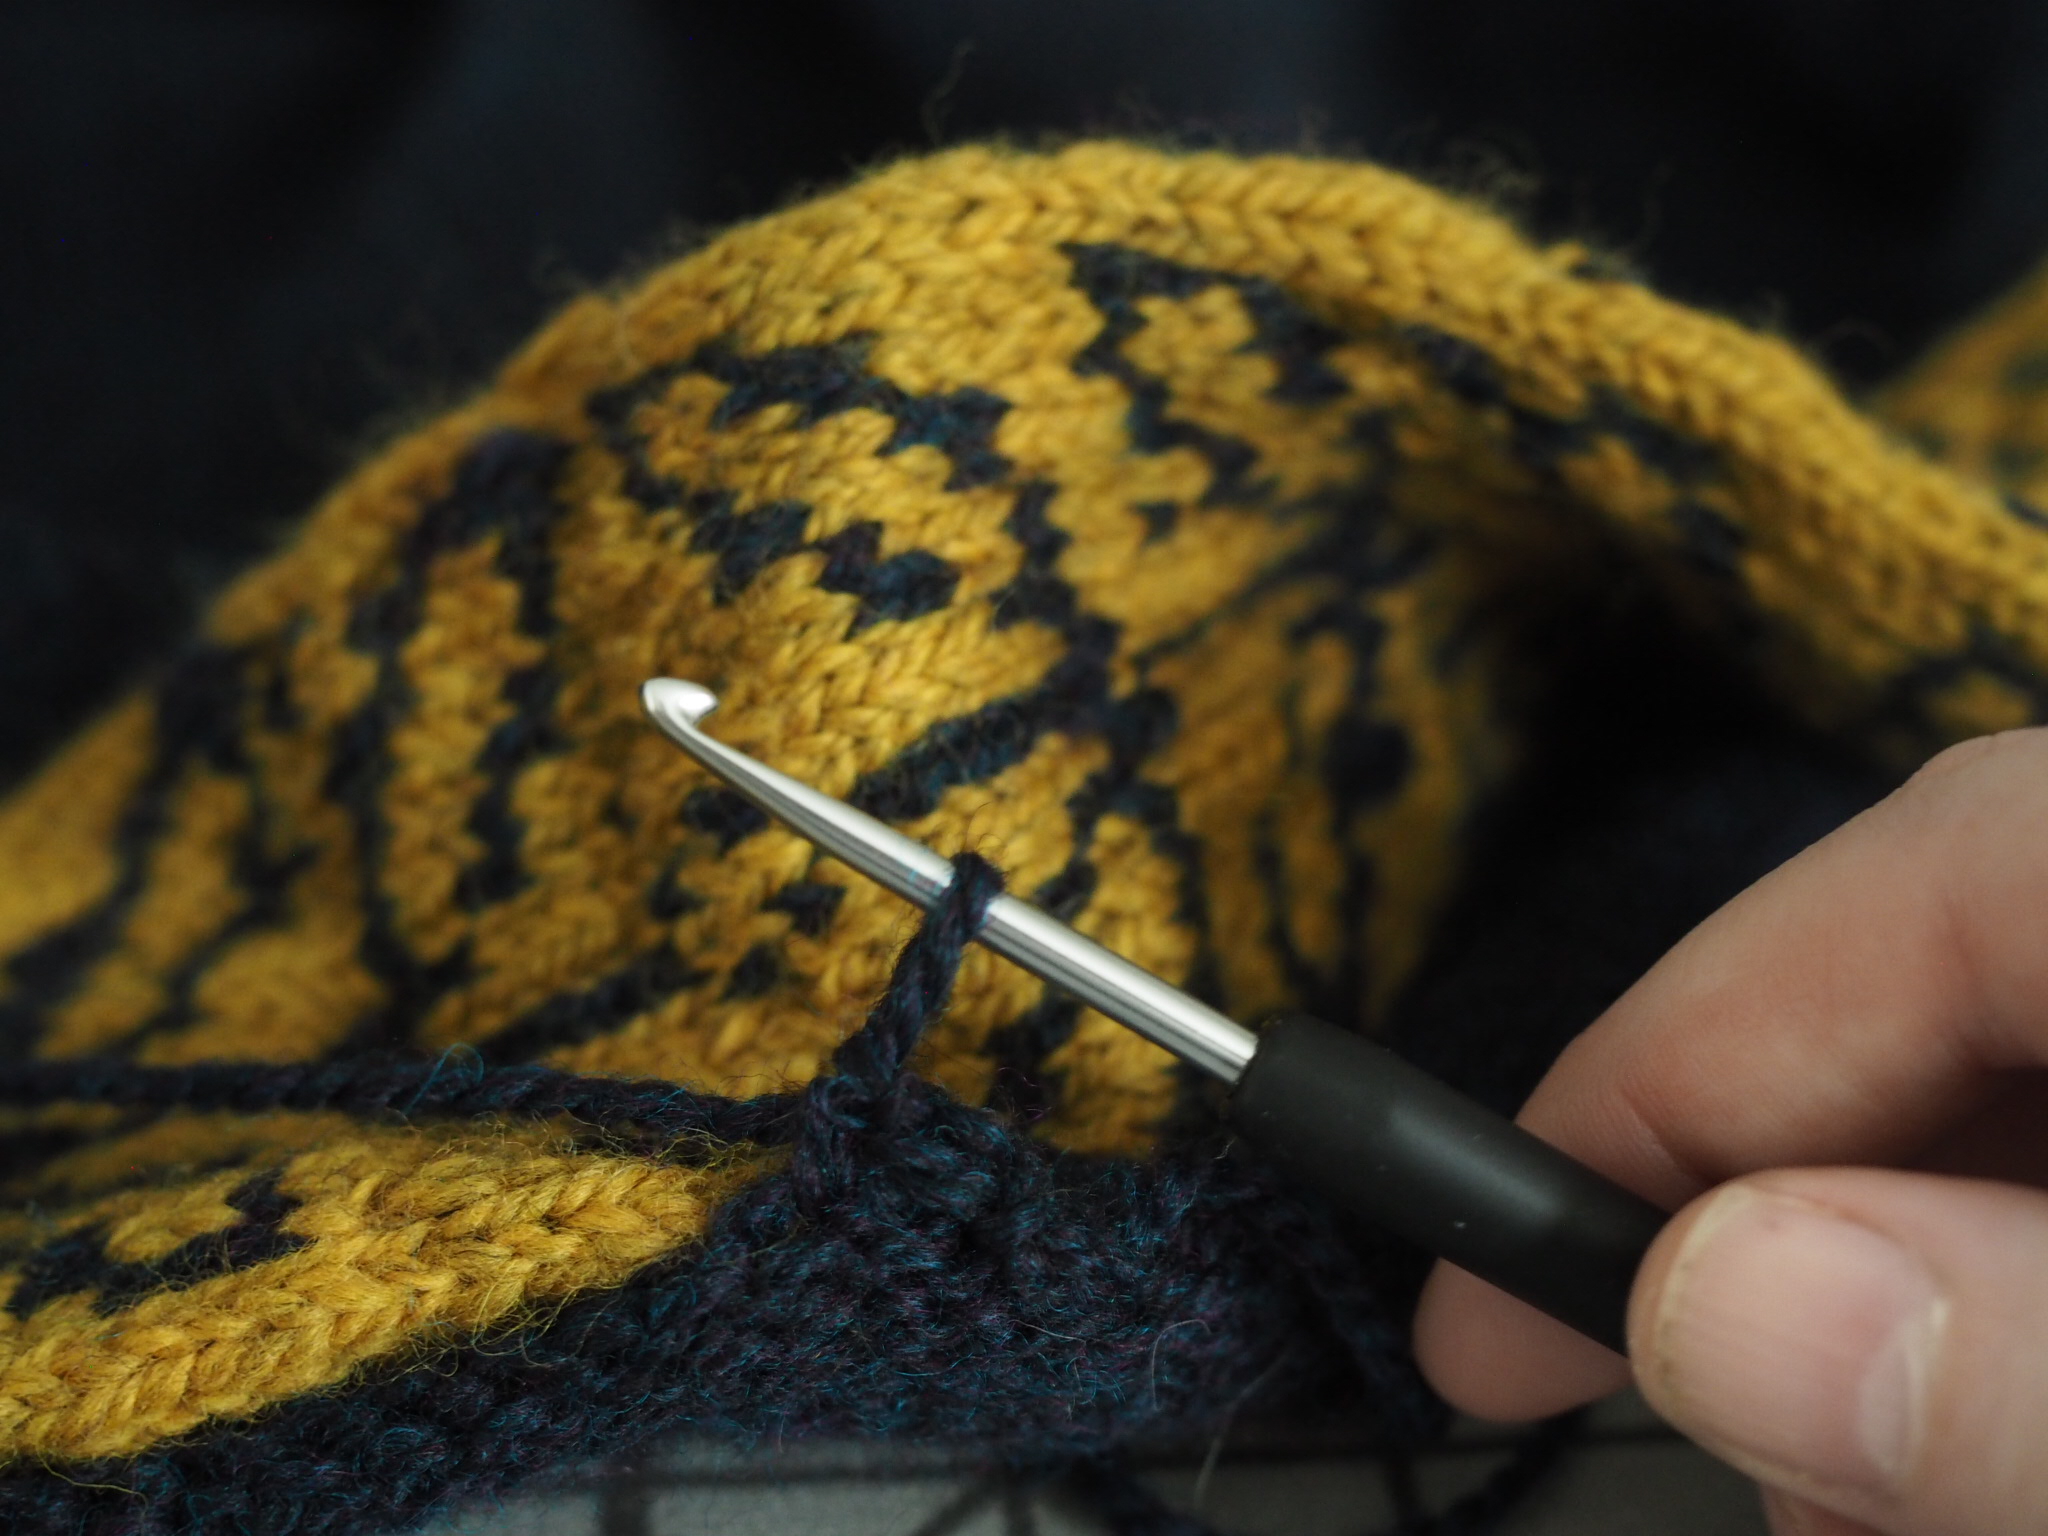
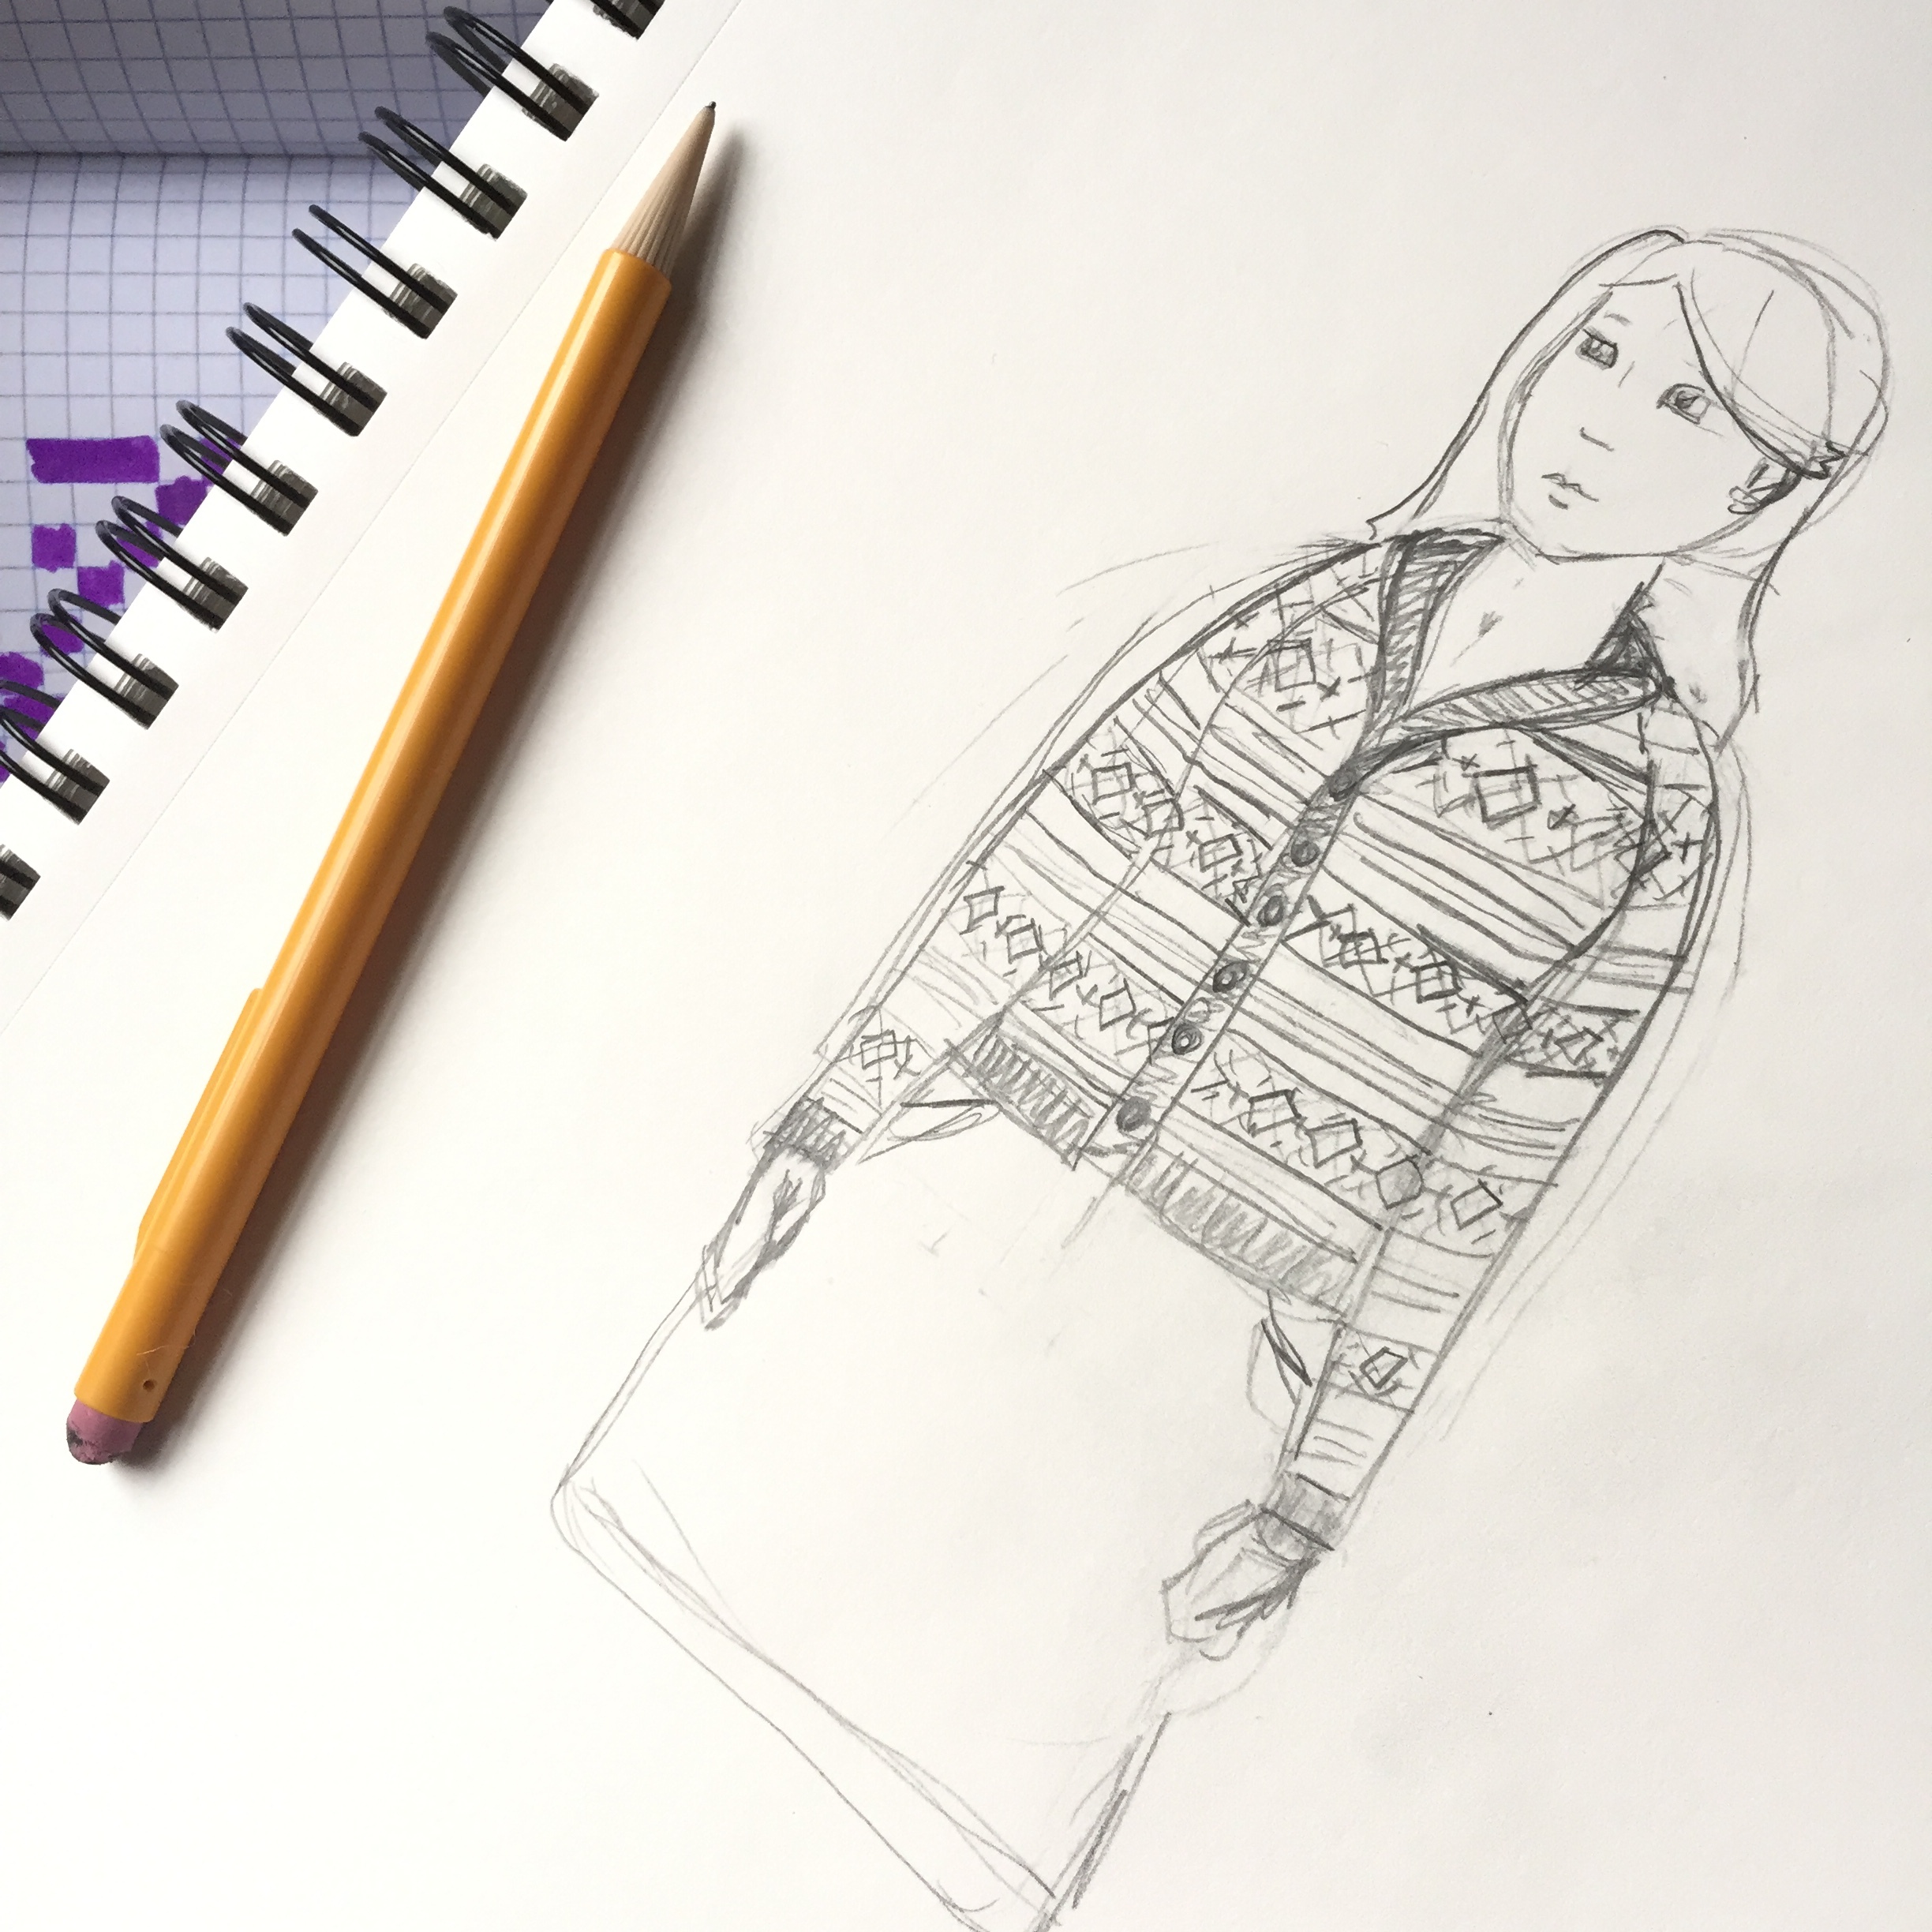
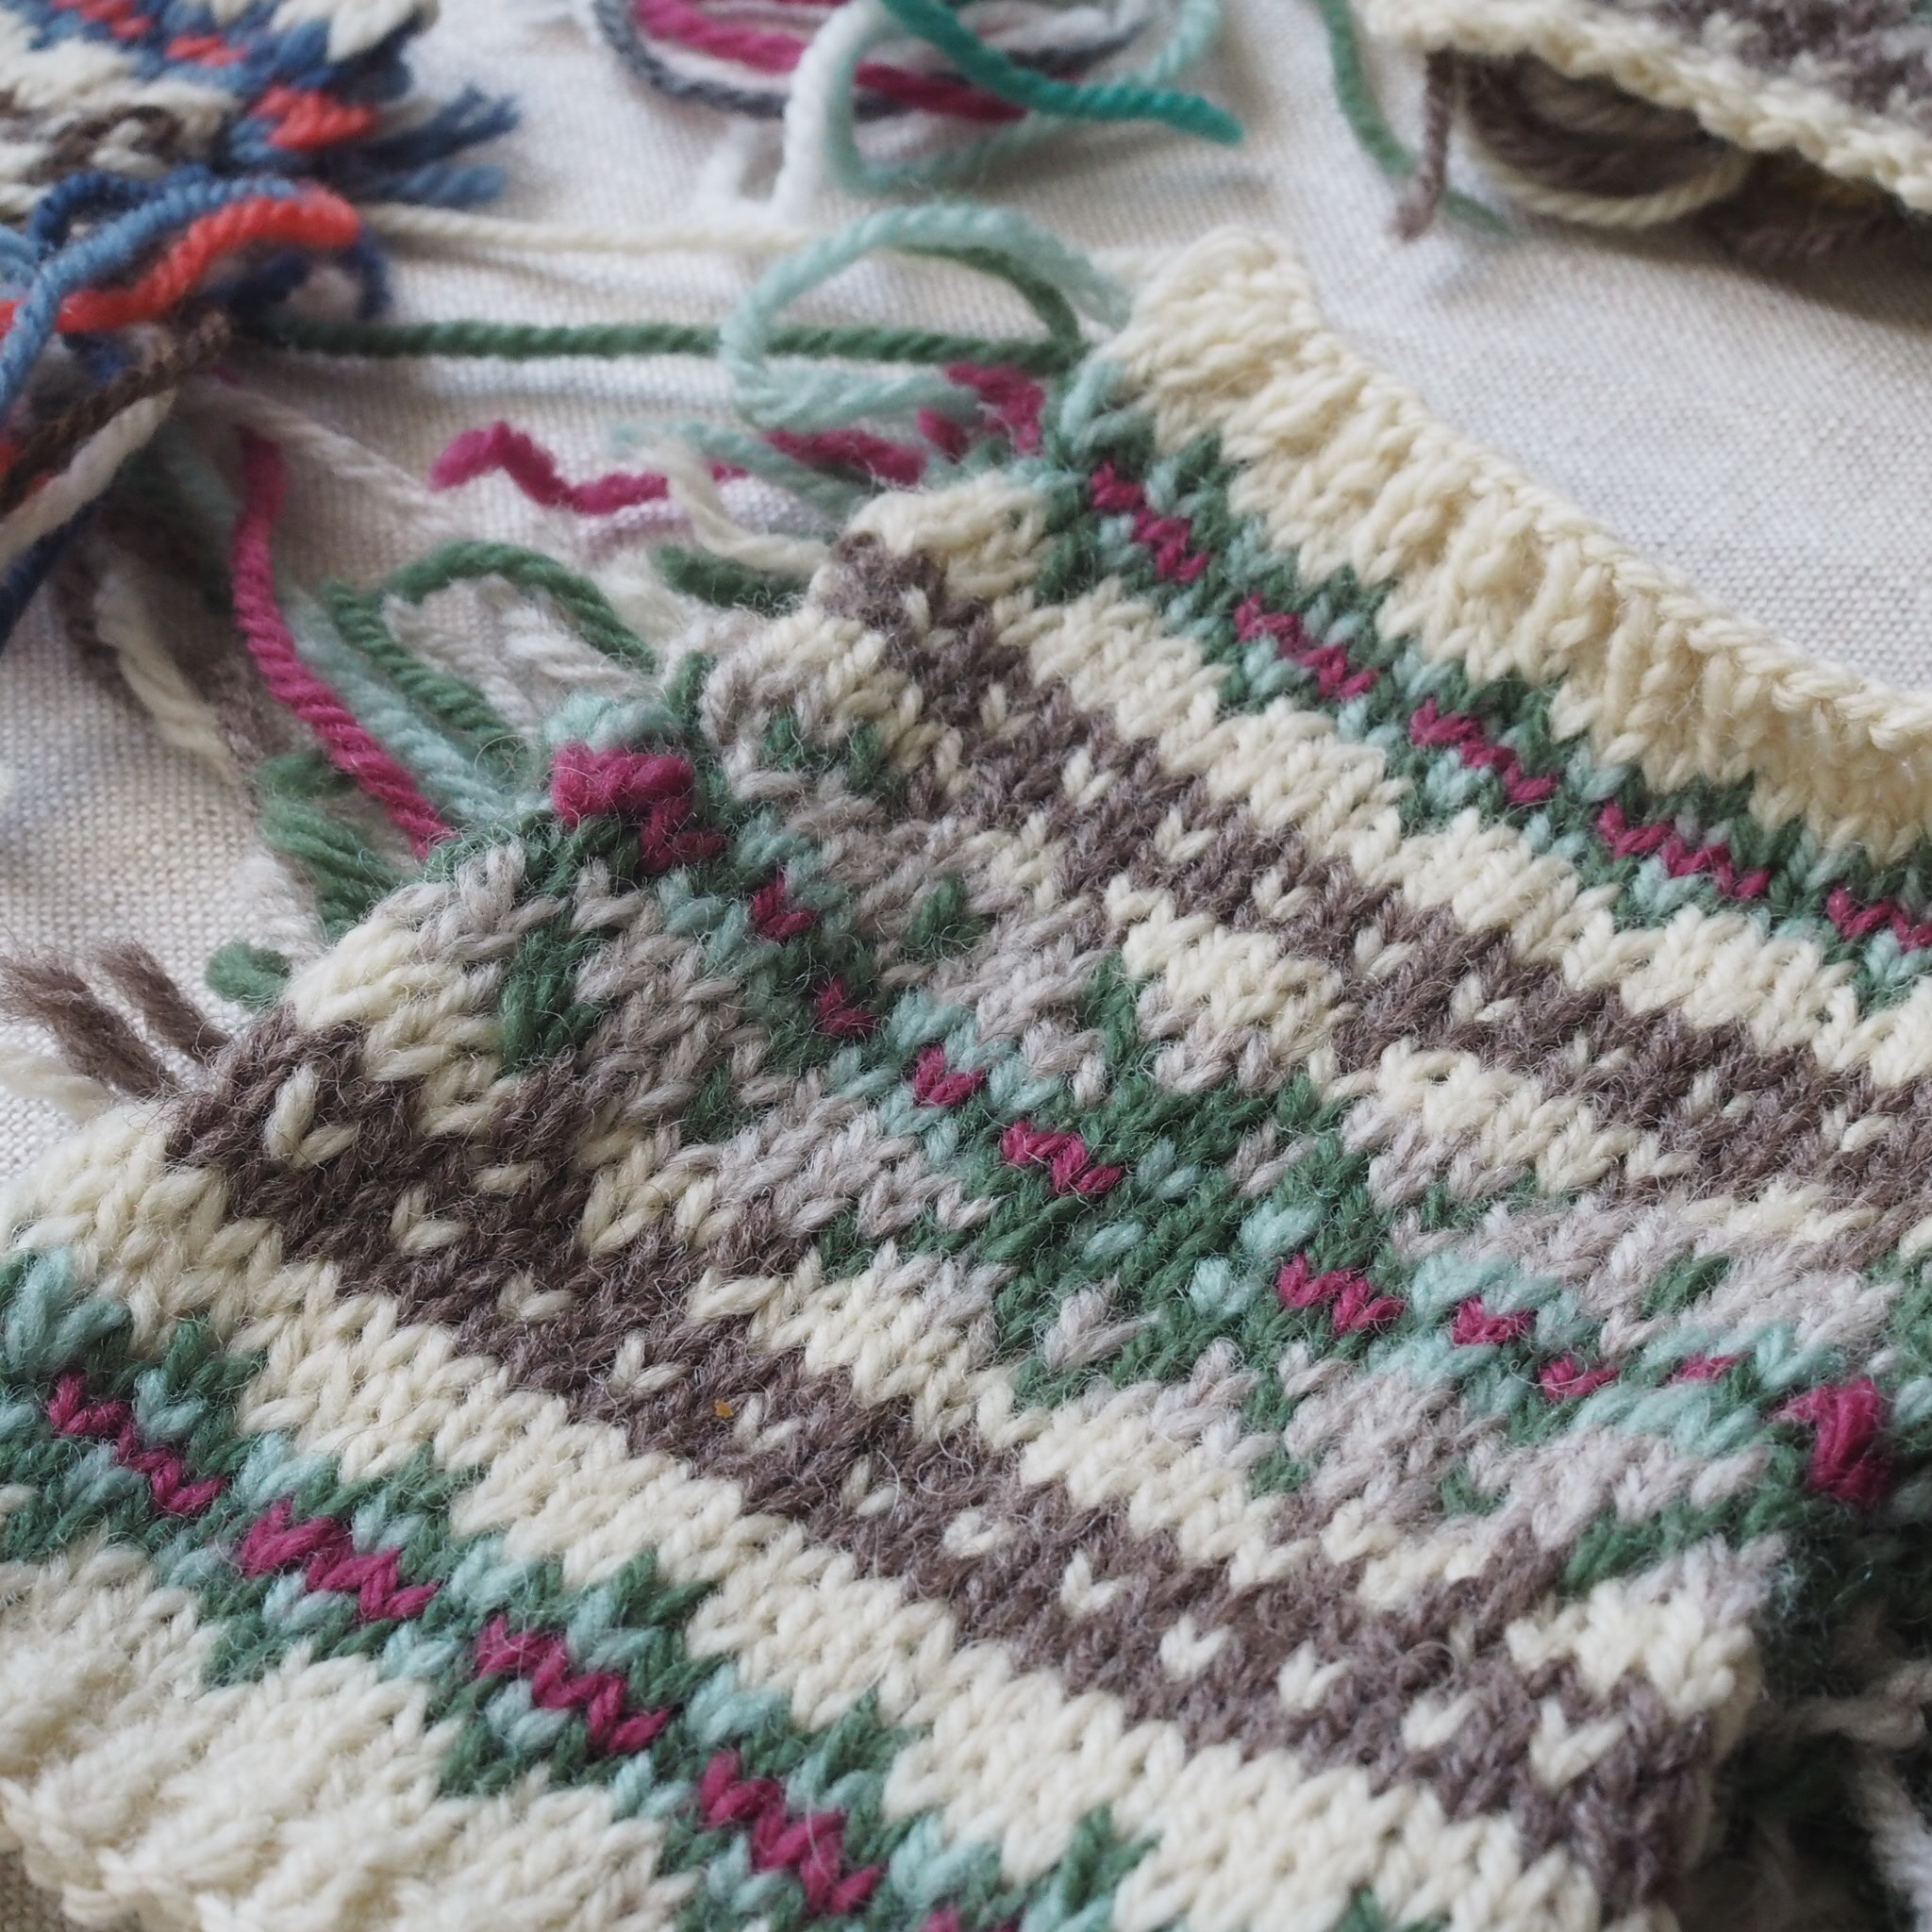
Inspired by the iconic spine of Little Golden Books, a long band of colorwork forms a statement collar on an open-front cardigan. Knit from the top-down, the pattern uses the contiguous method to form a well-fitting one-piece yoke and is finished with clean folded hems and deep pockets. The pattern is available in bust sizes up to 56.5"/143.5 cm and includes helpful fit tips throughout the pattern to get the best fit for your body. 

Can be purchased as bundle with the Turning Leaf Gloves.

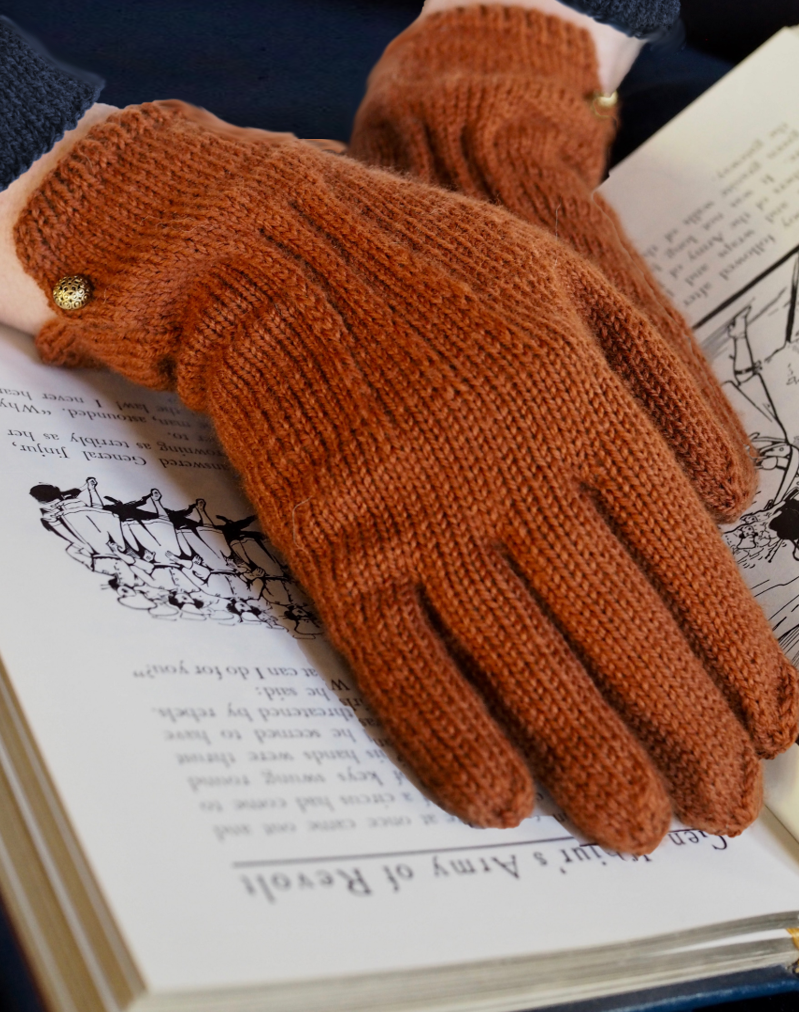
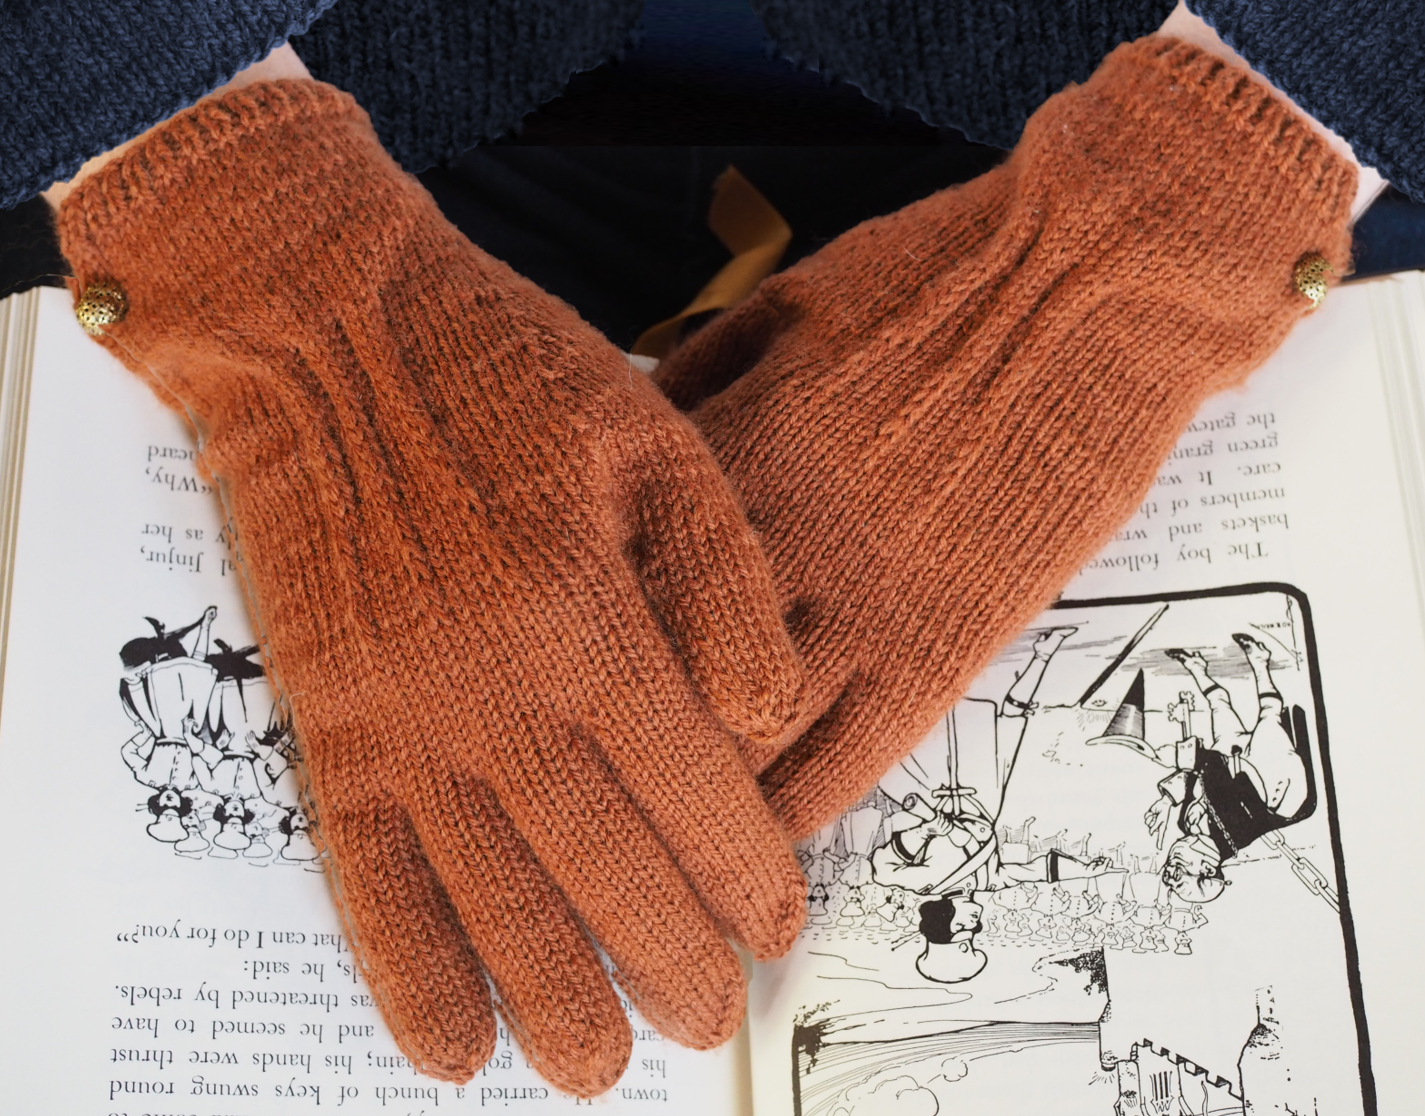
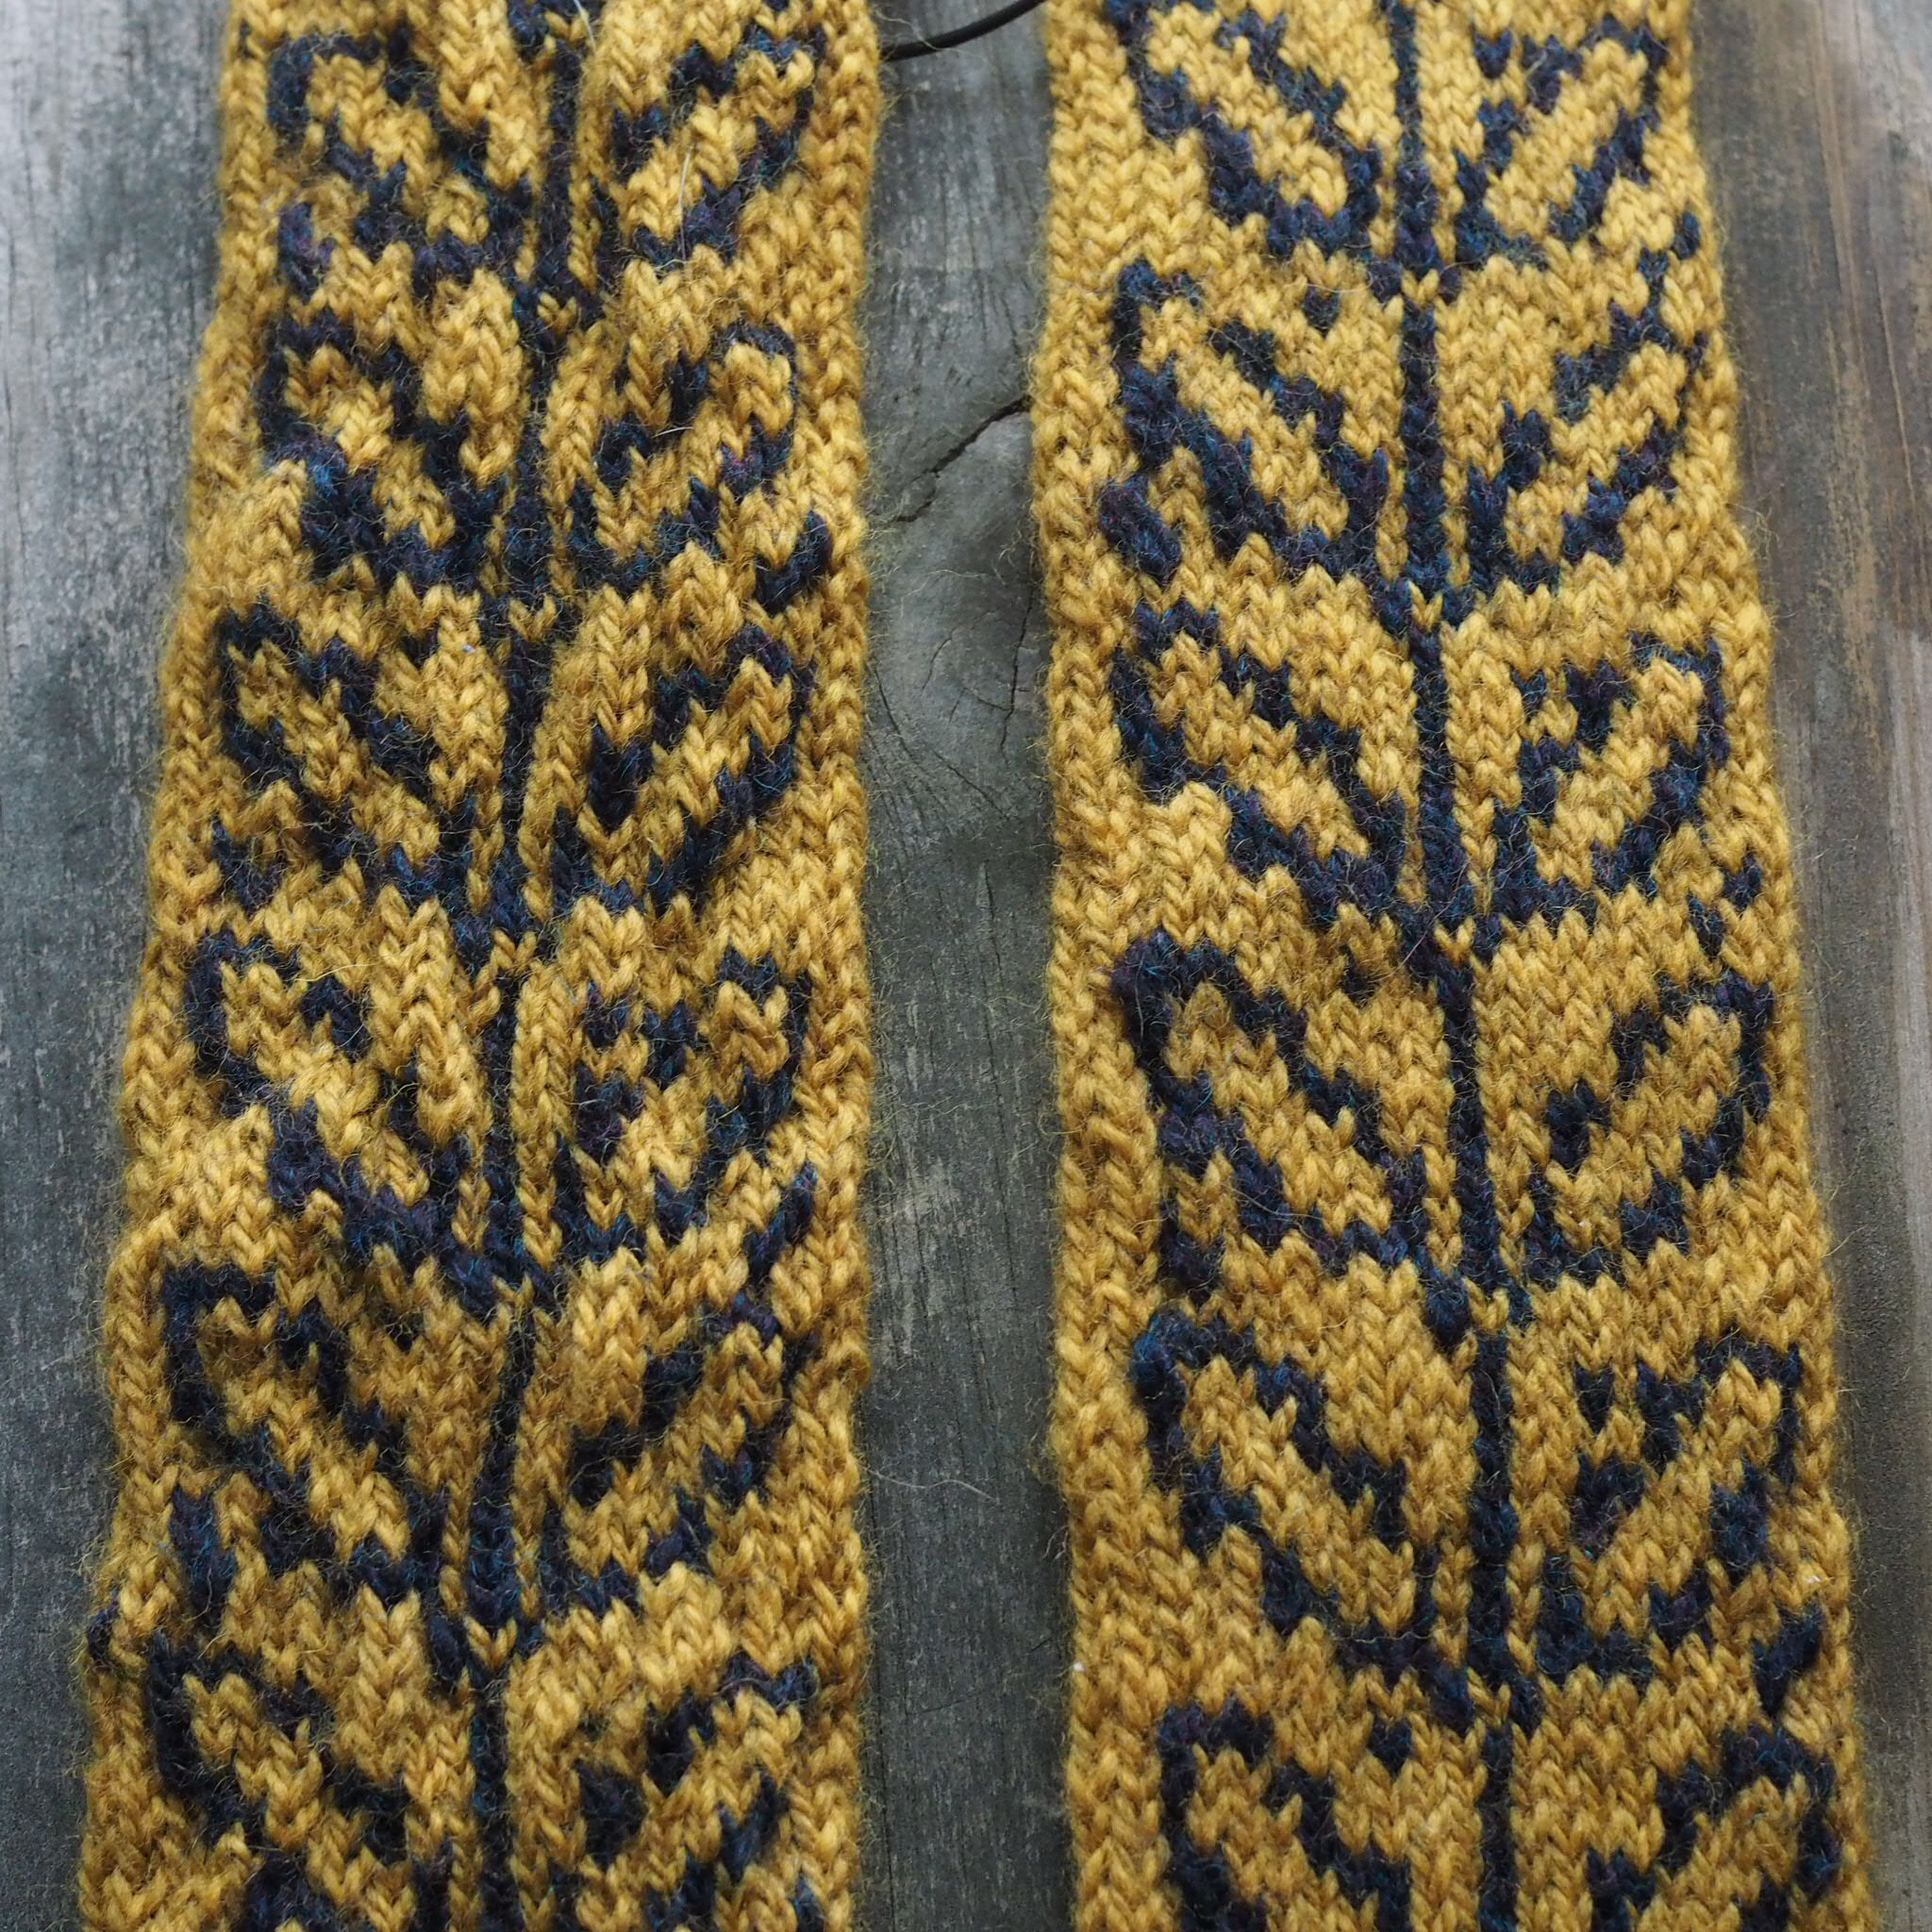
Turning Leaf Gloves

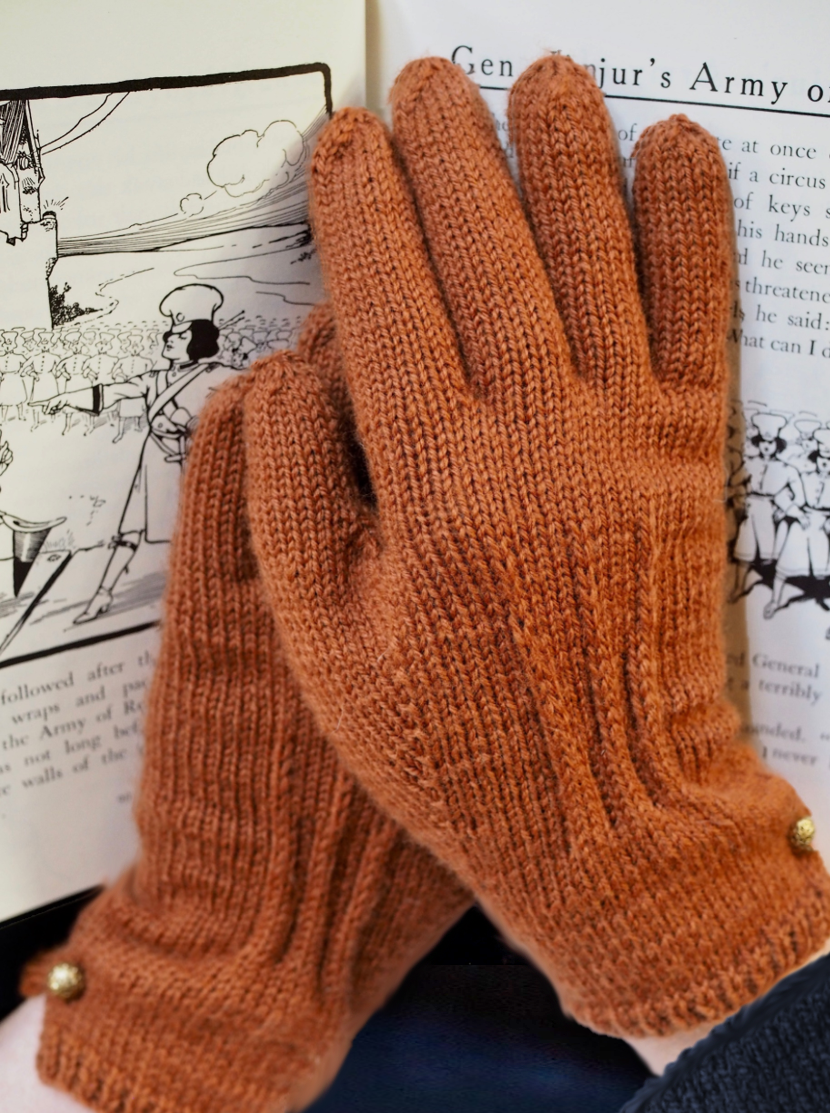
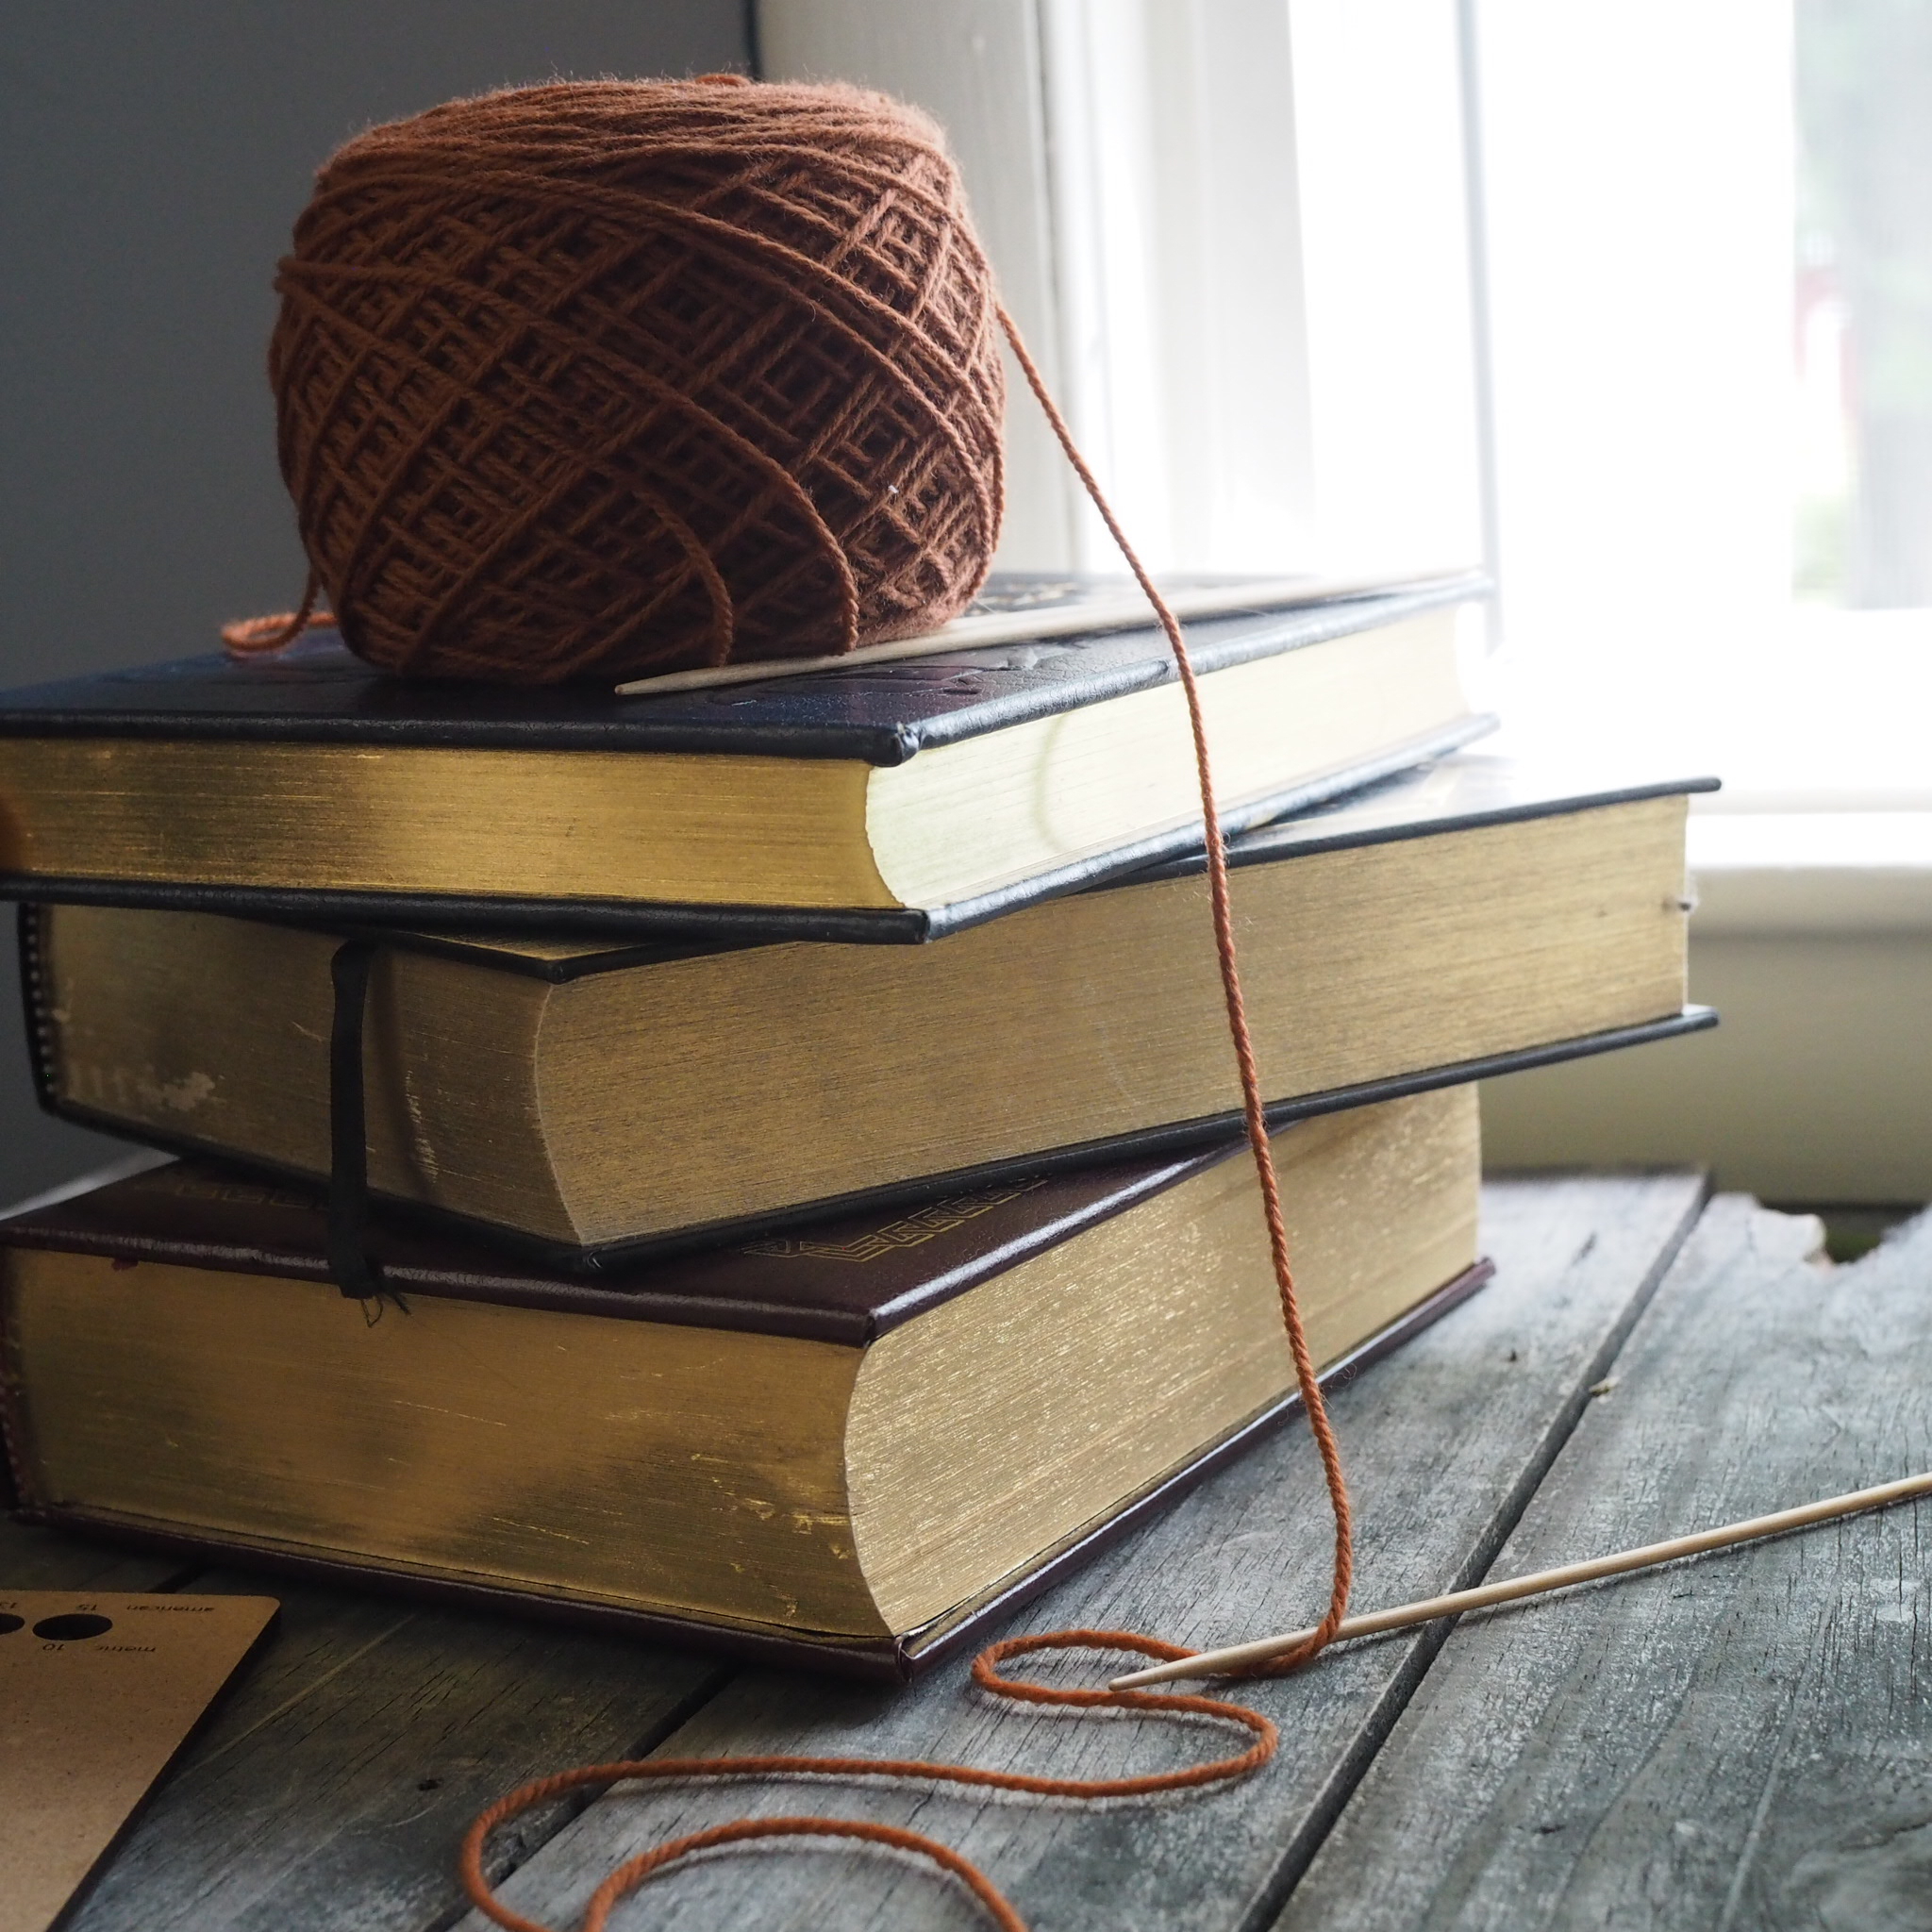
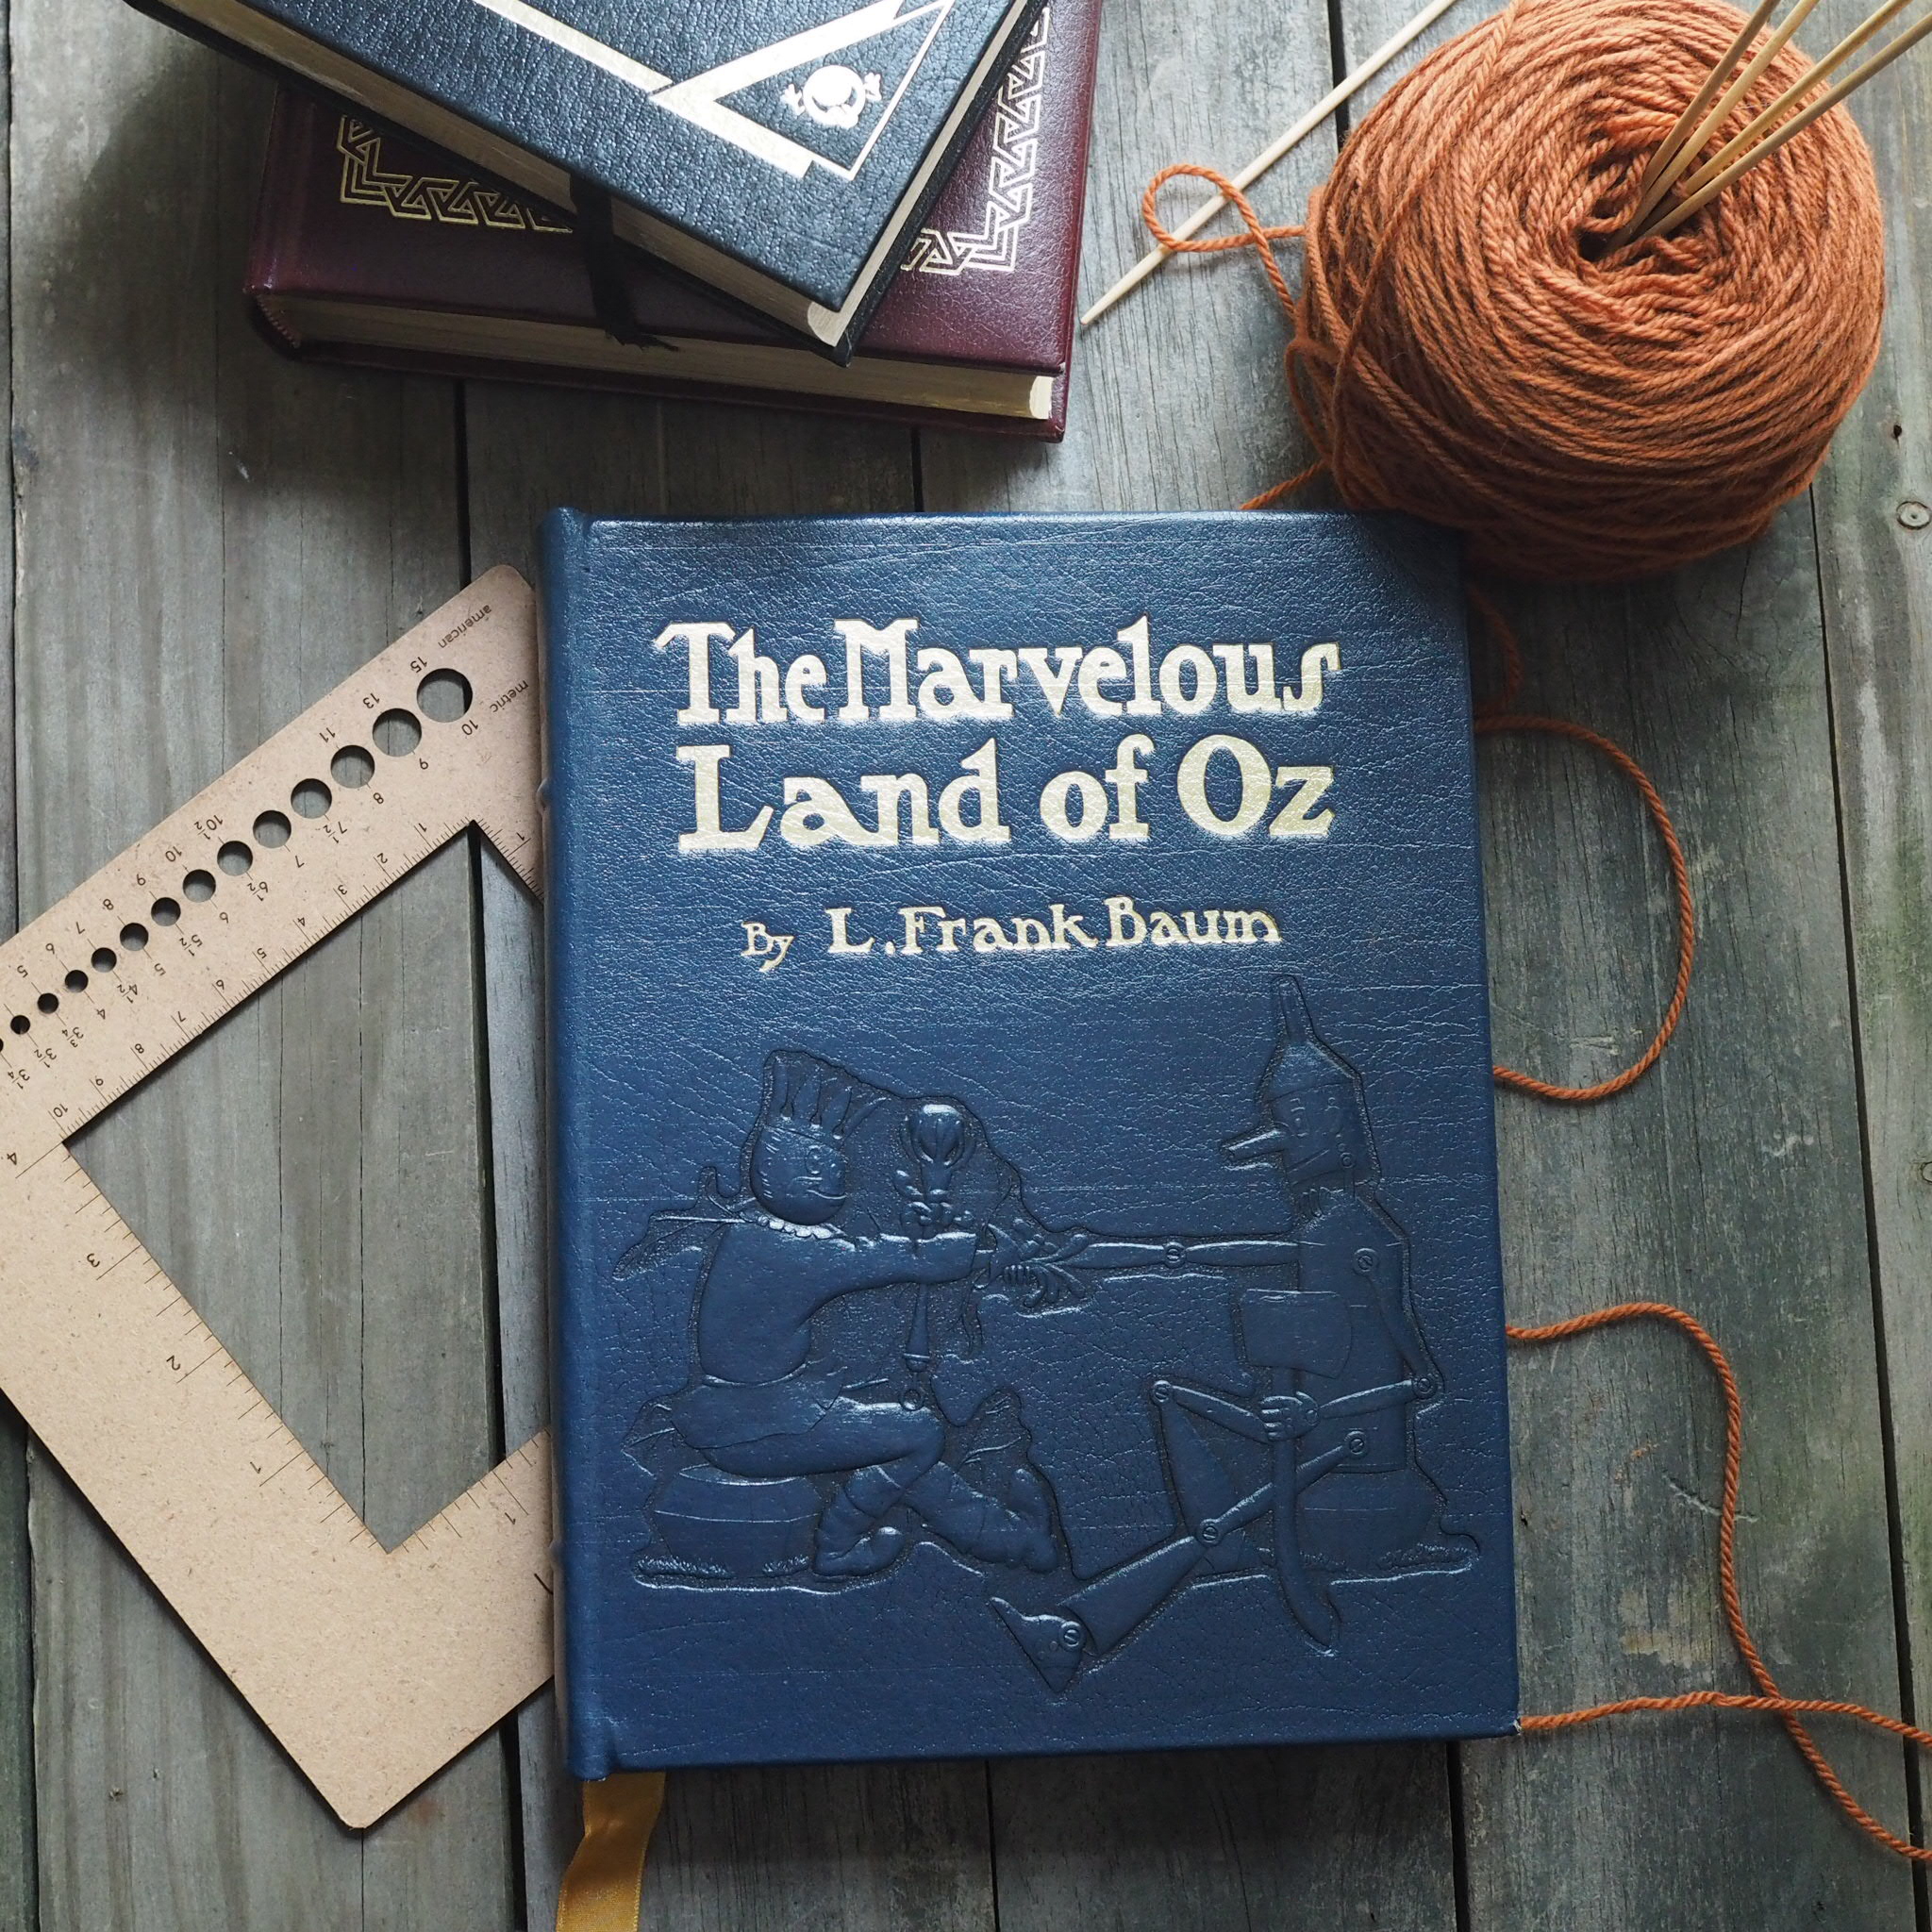
In the early days of publishing, a sheet of paper with printing on both pages/sides was commonly referred to as a leaf - a less popular usage now, but one that lives on in phrases like “to turn a new leaf, ”loose-leaf” paper, and the French word feuille. The Turning Leaf gloves were inspired by the gilded leaves of hefty leather-covered tomes (be they the Bible or The Wonderful Land of Oz), this inspiration reflected in graceful pleats that shape the hands of these vintage-style gloves.

Gloves are worked from the cuff to the fingers. The cuff is worked flat, with the hand and fingers worked in the round.

Can be purchased as bundle with the Goldenbook Cardigan.

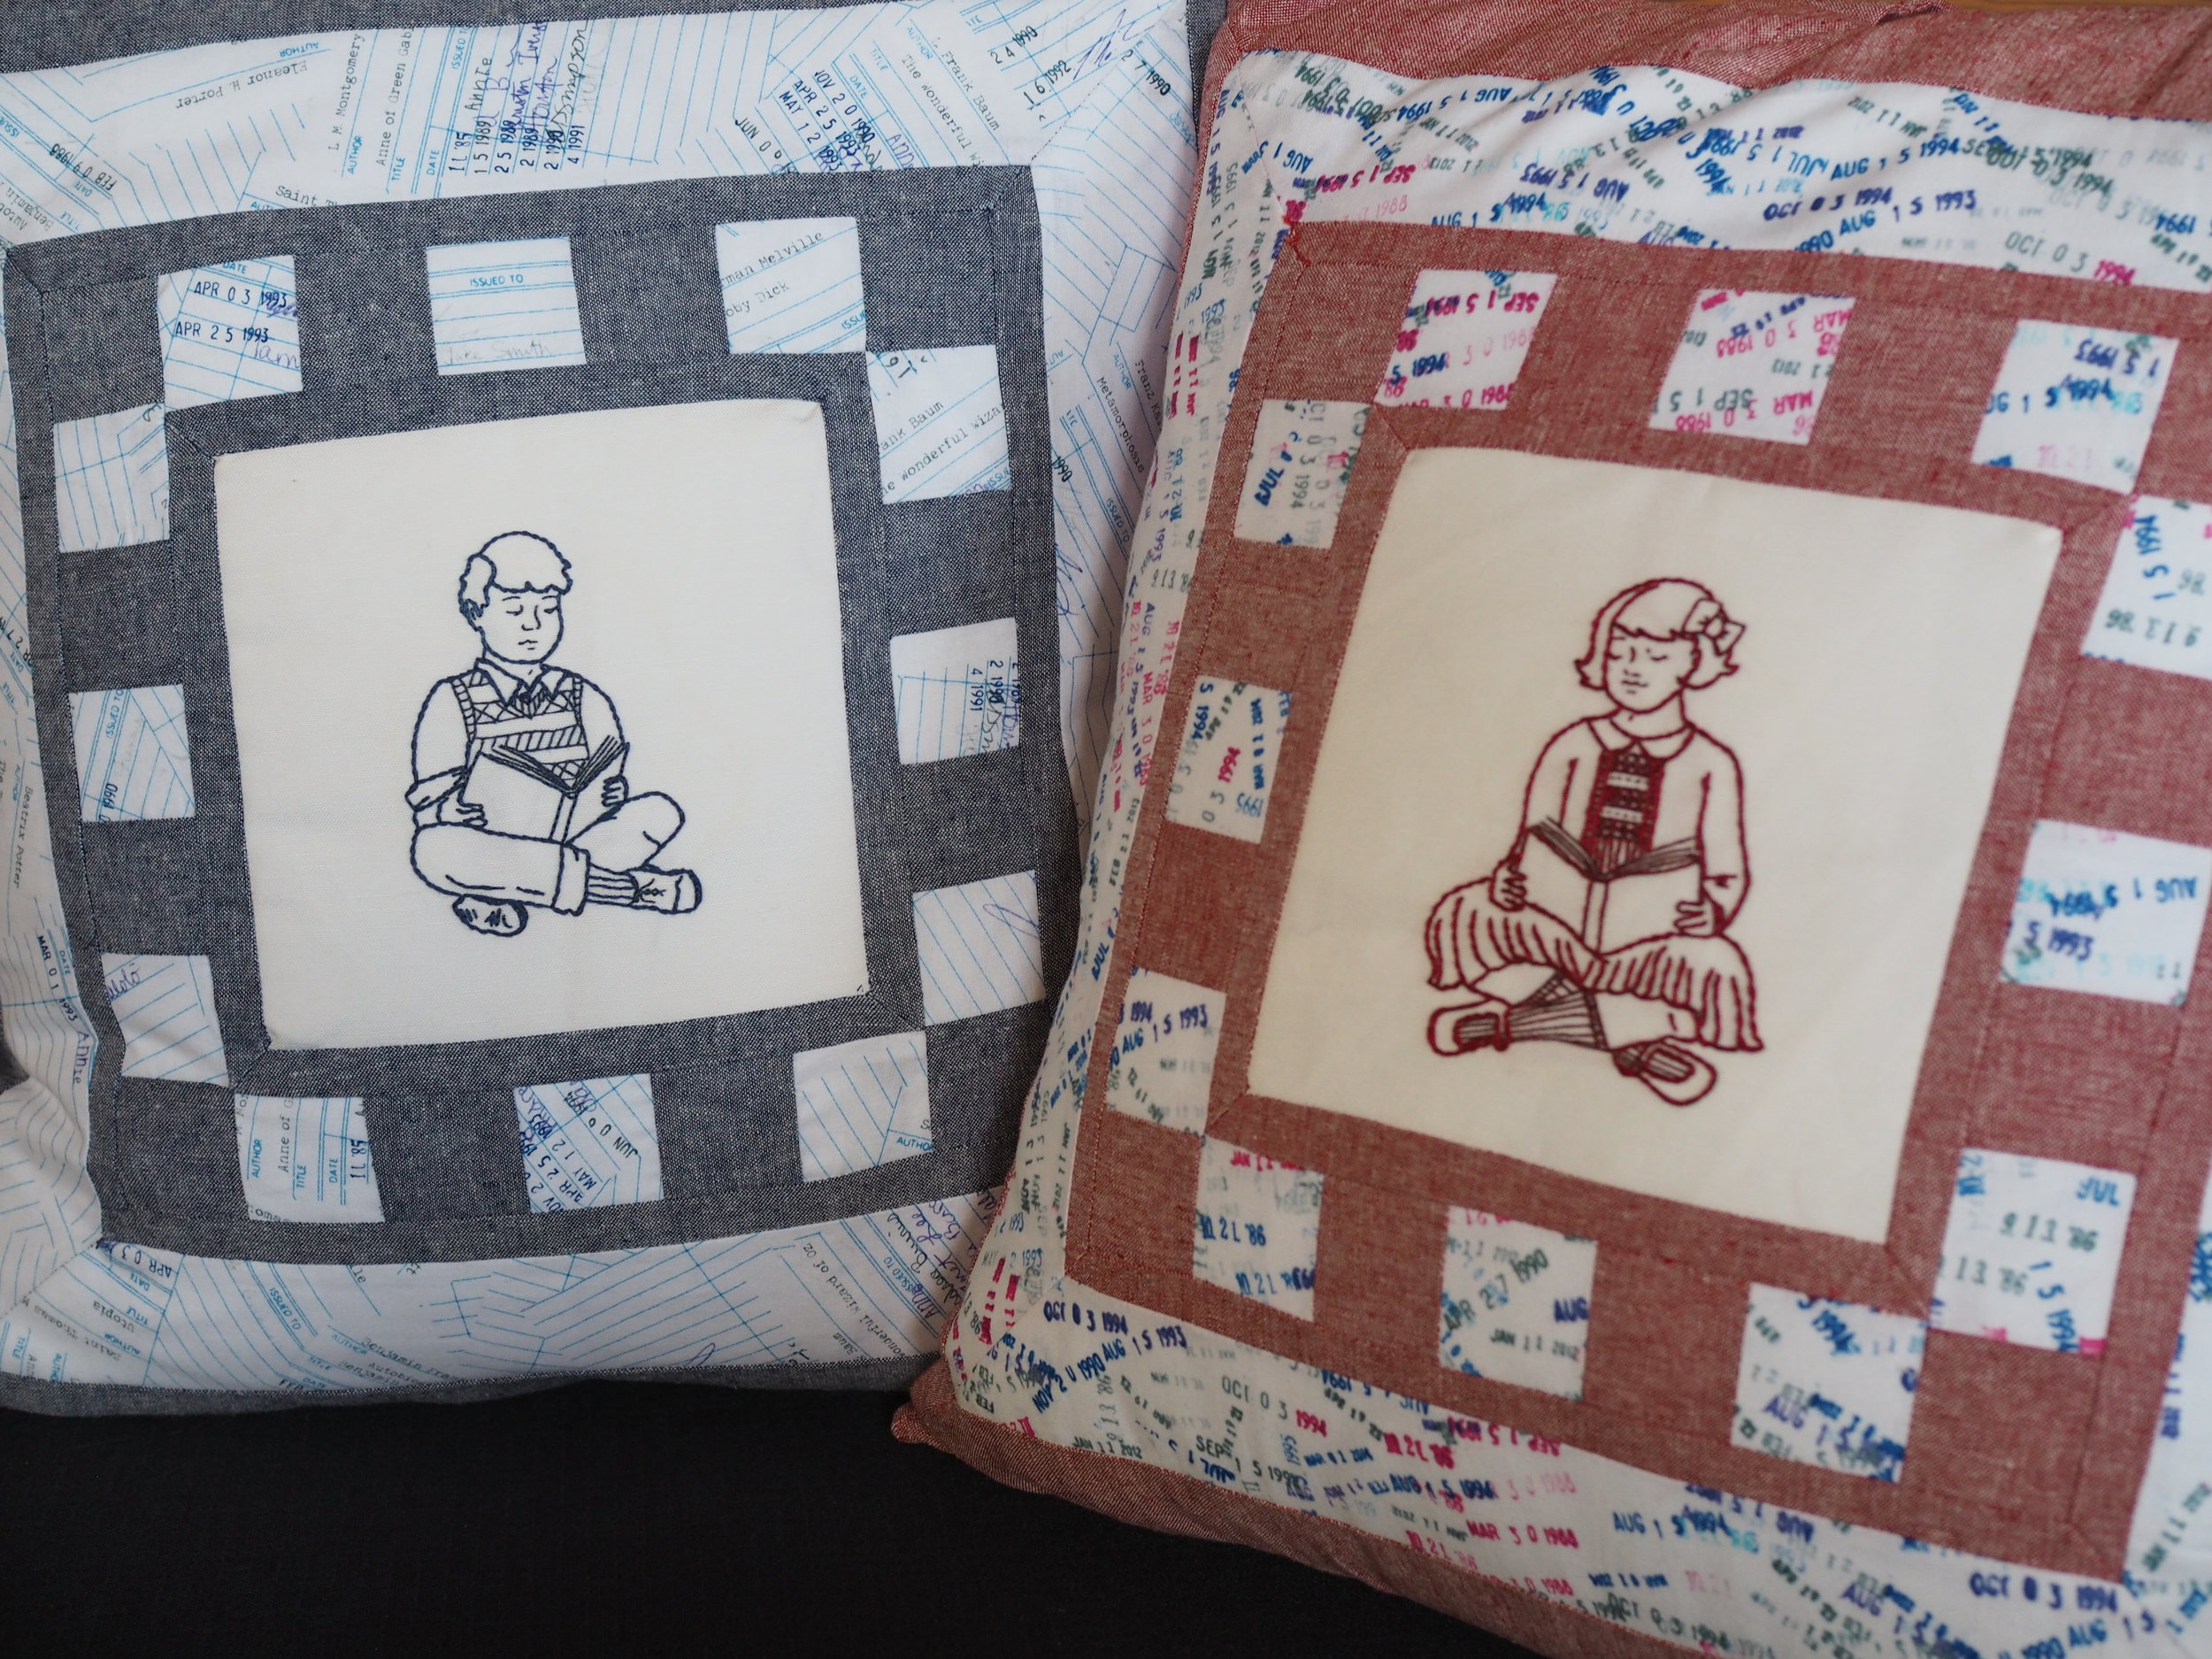
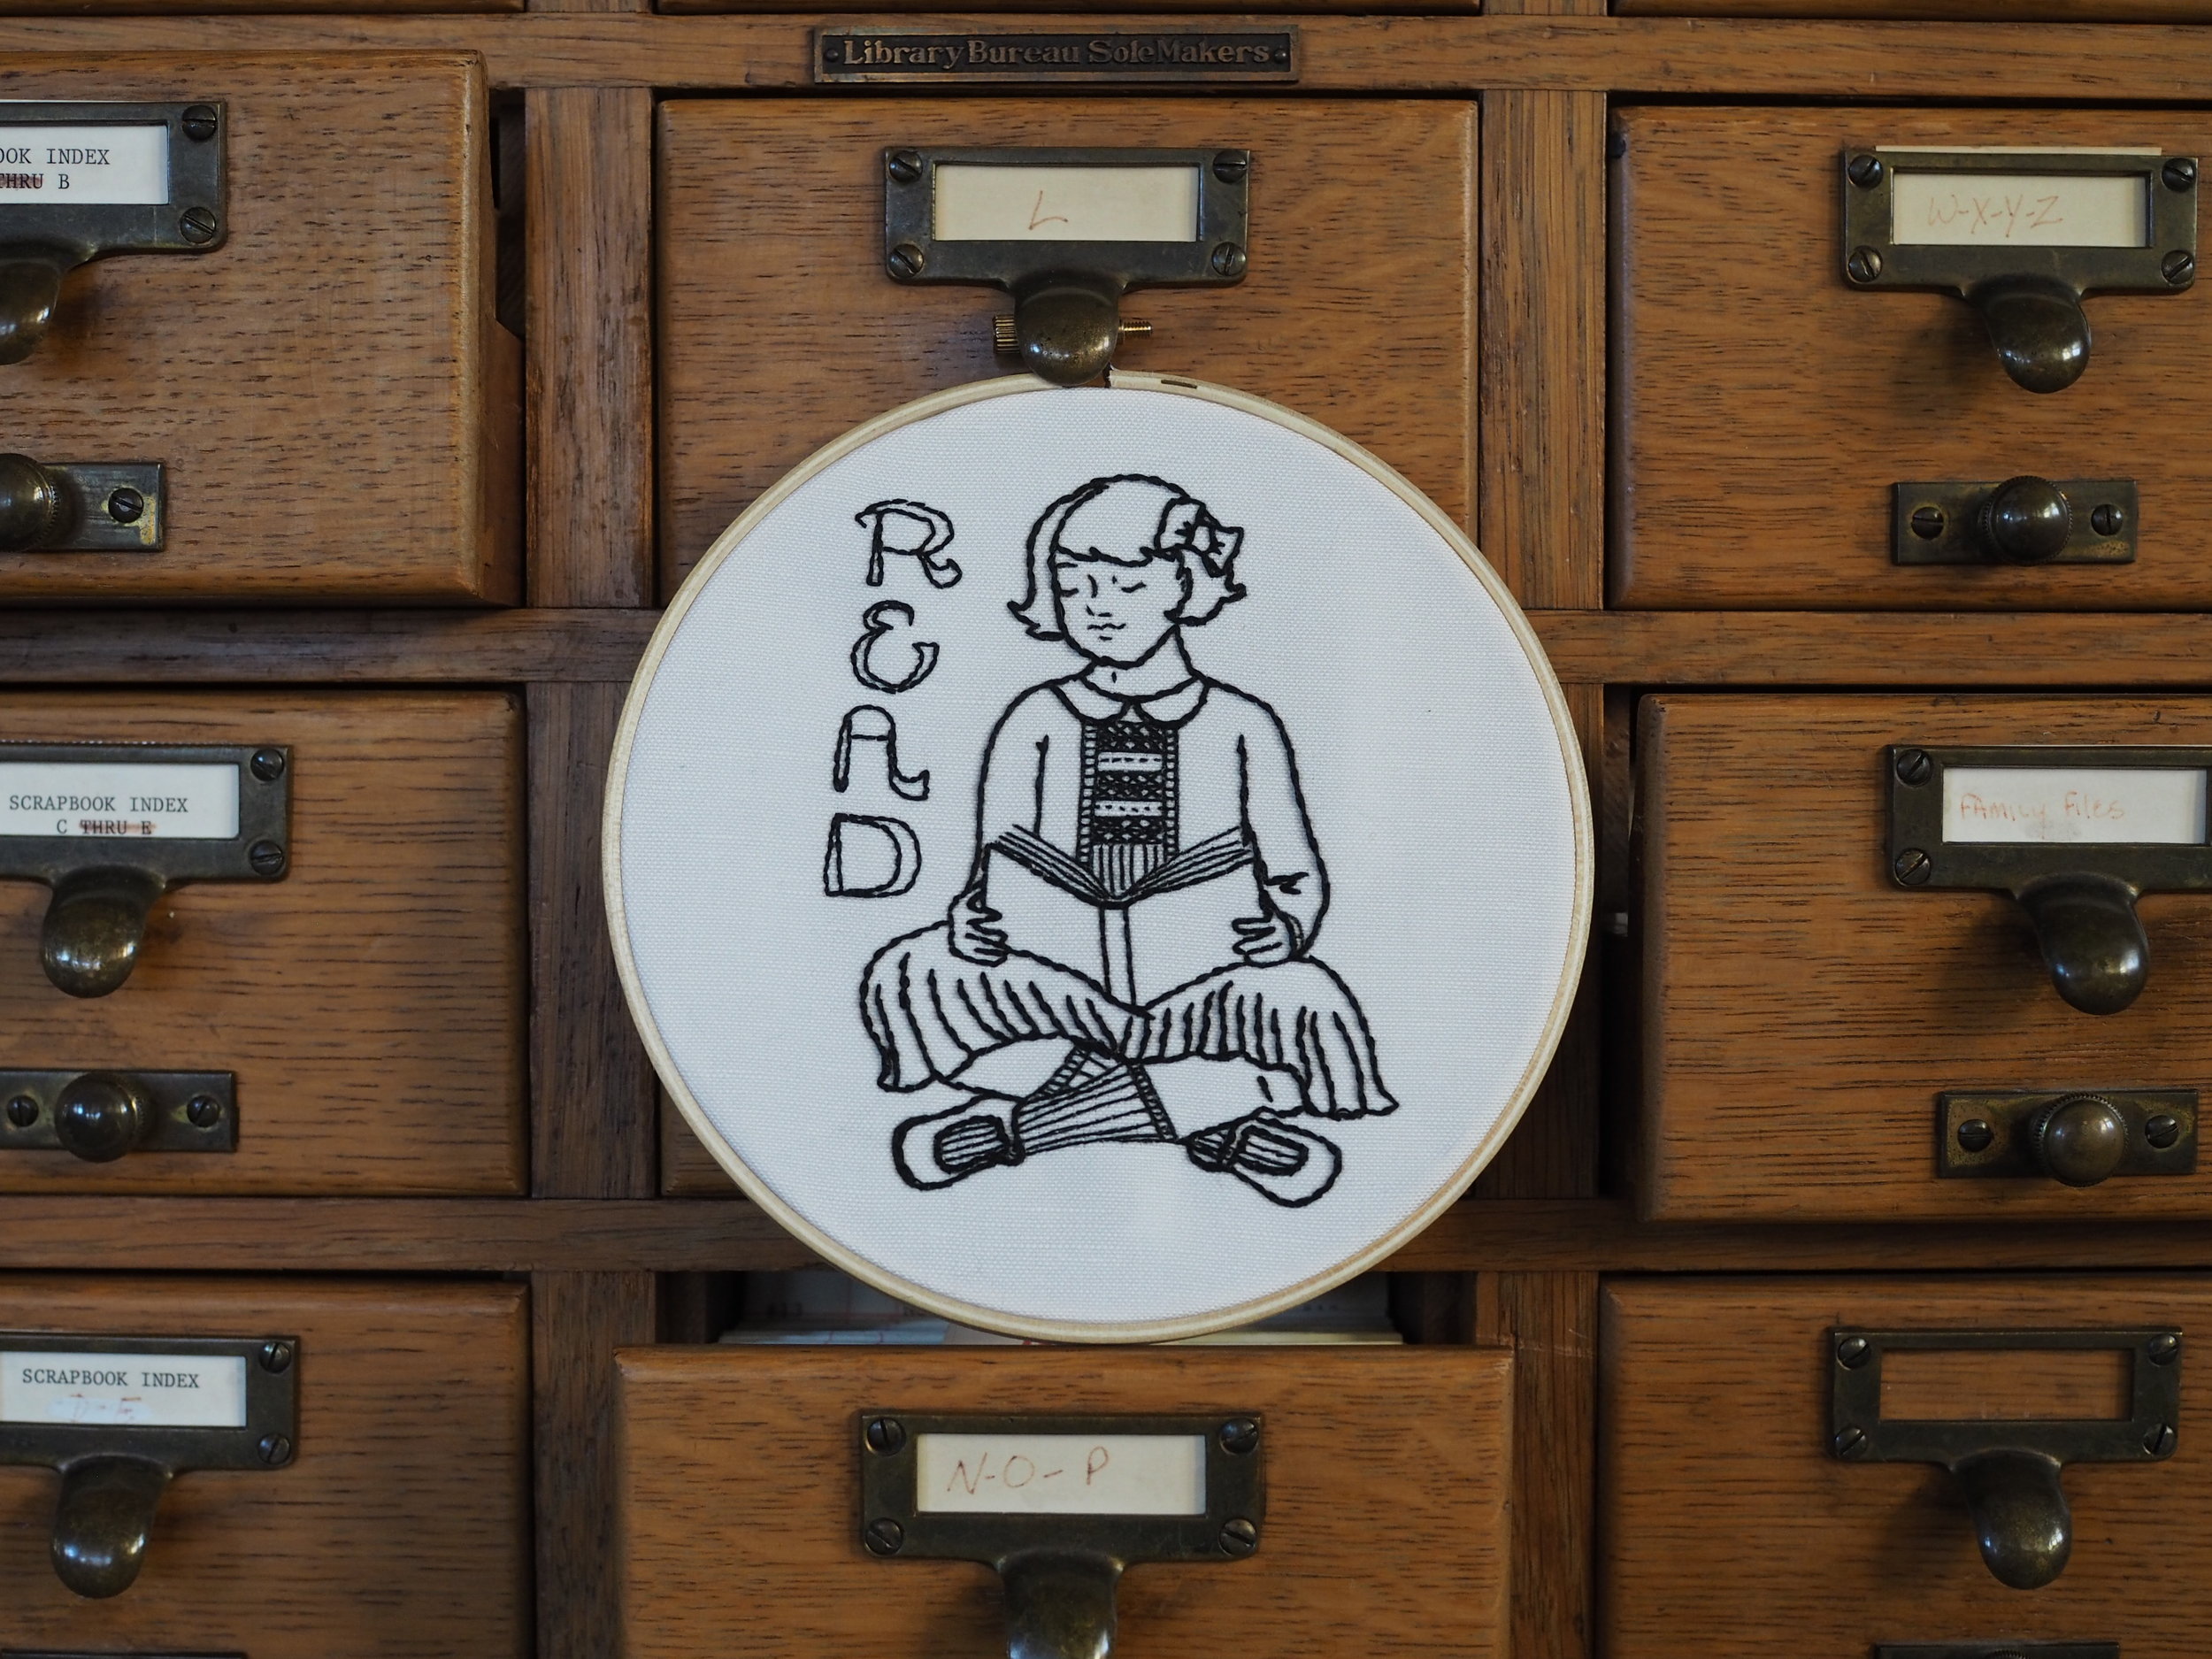
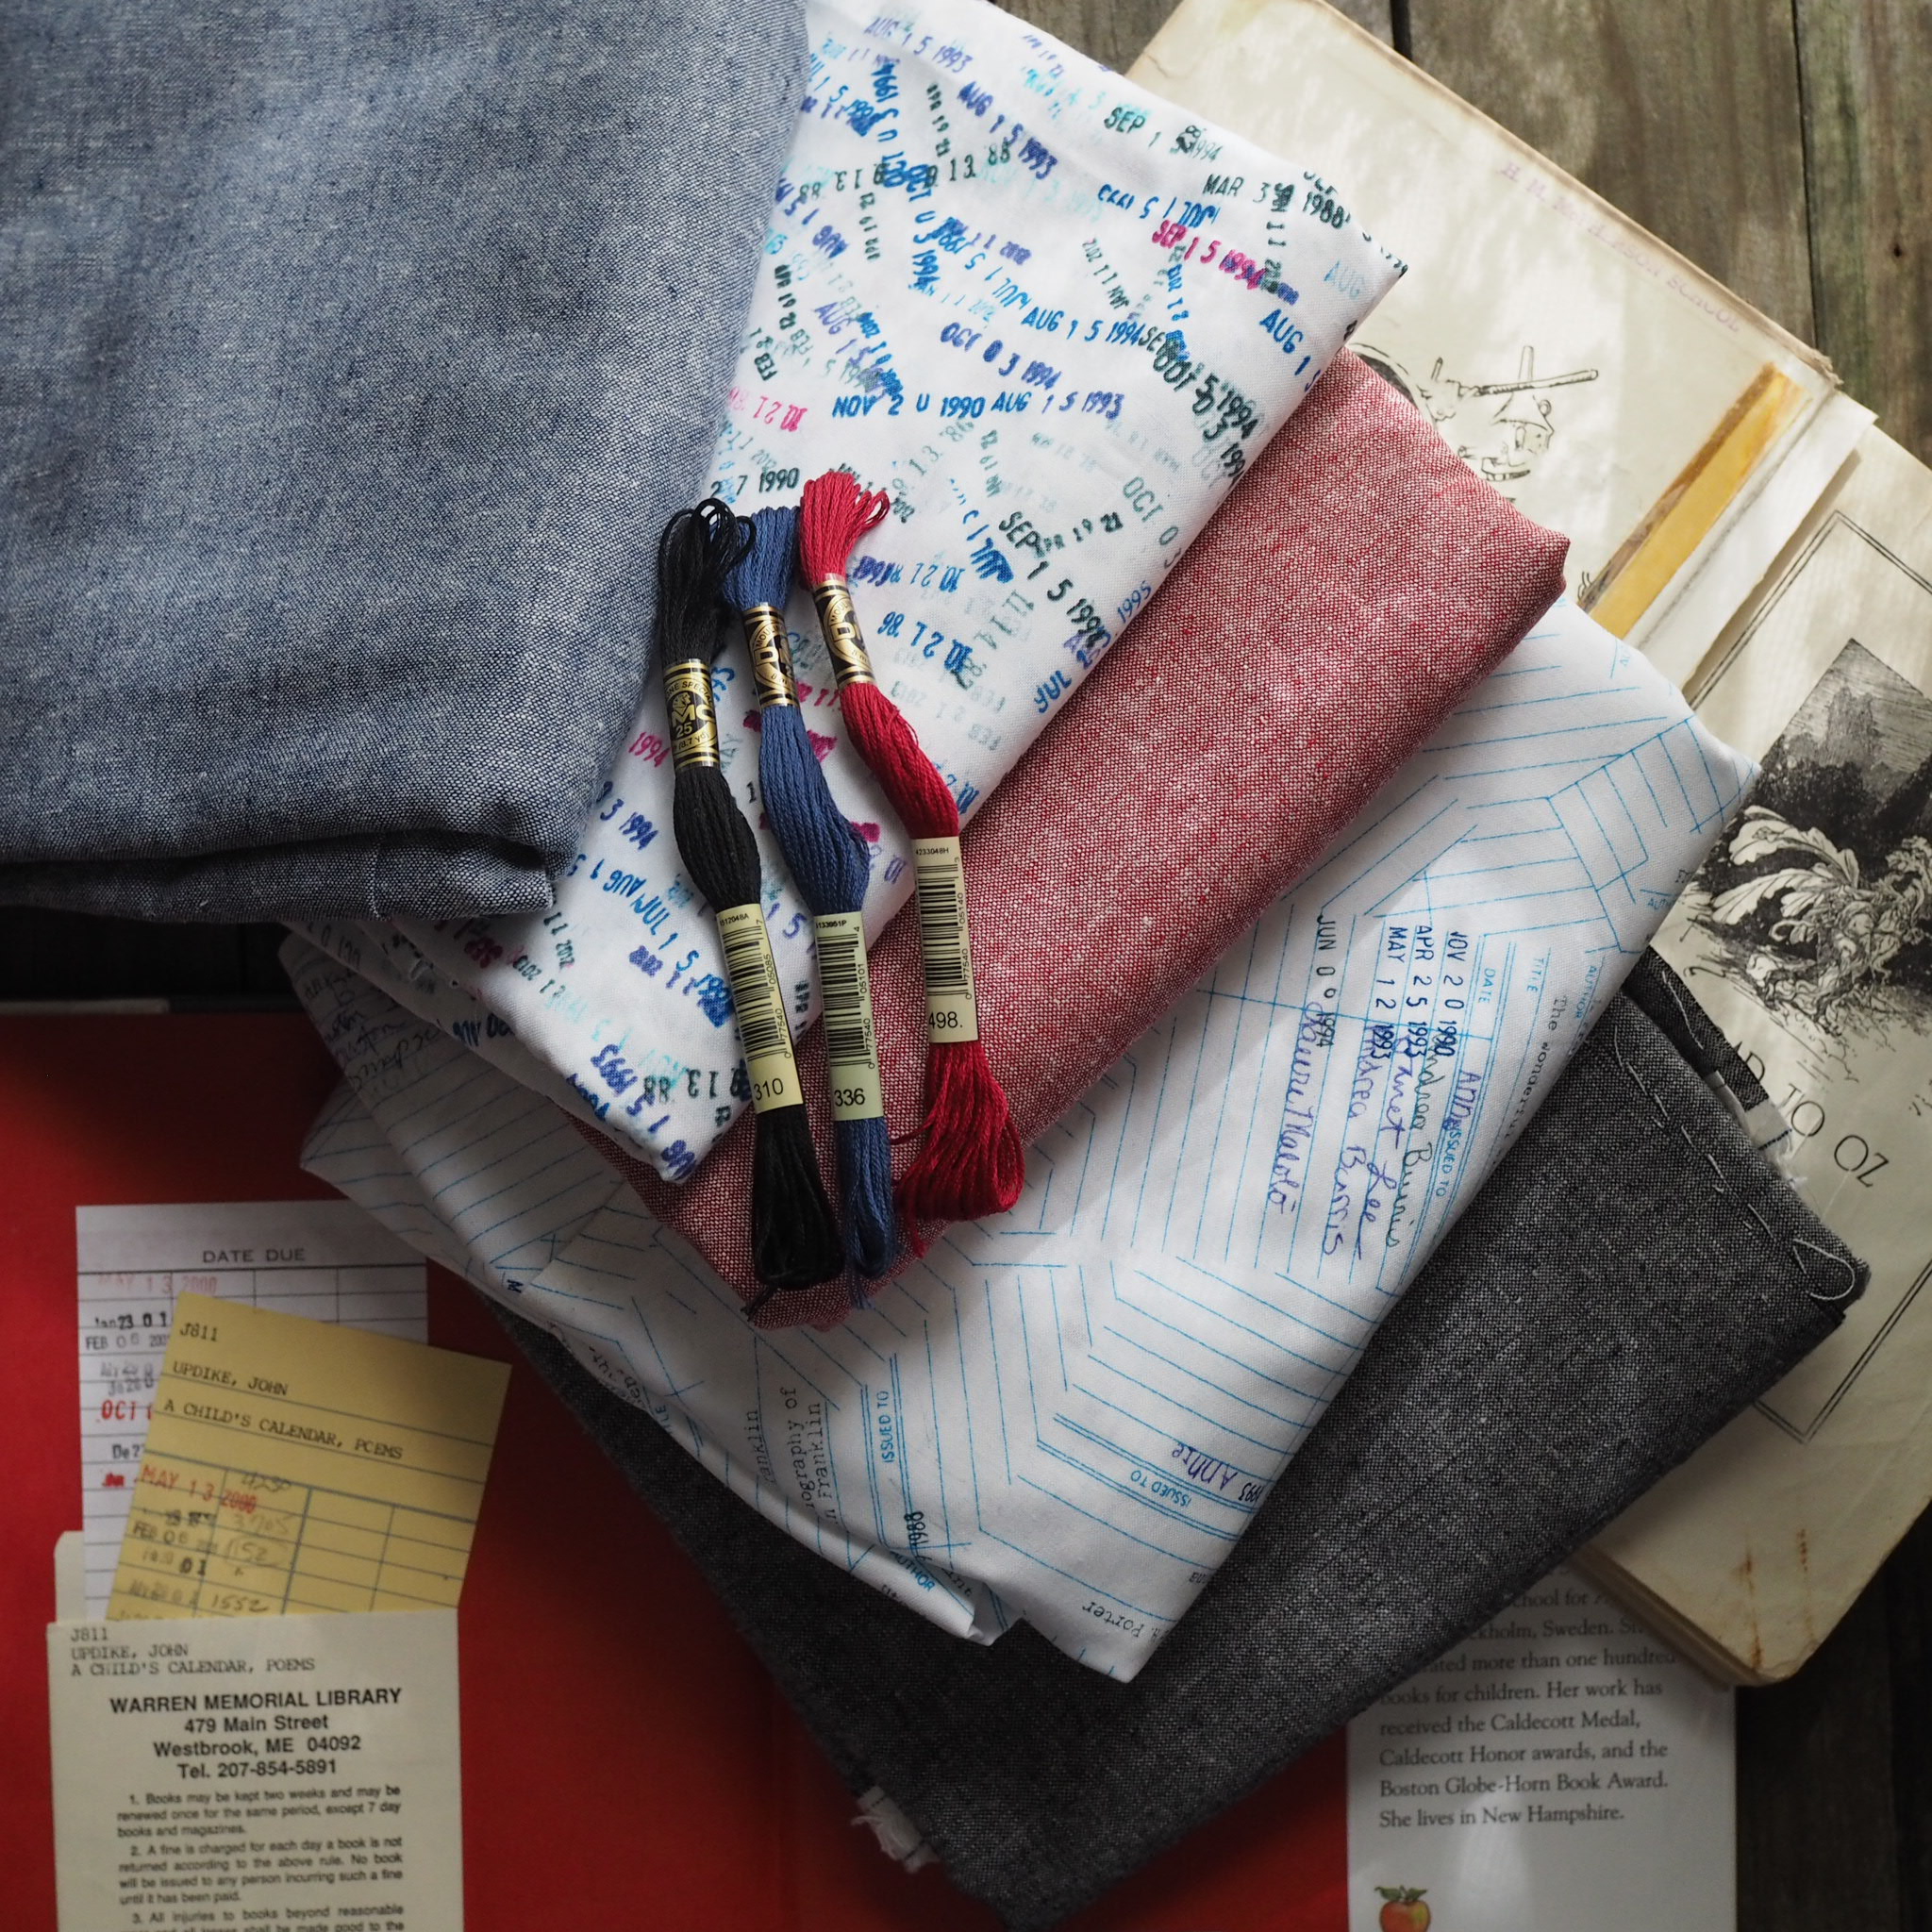
Little Readers Embroidery & Ms. Marian Pillow

Is there anything better than cozying up with a good book?

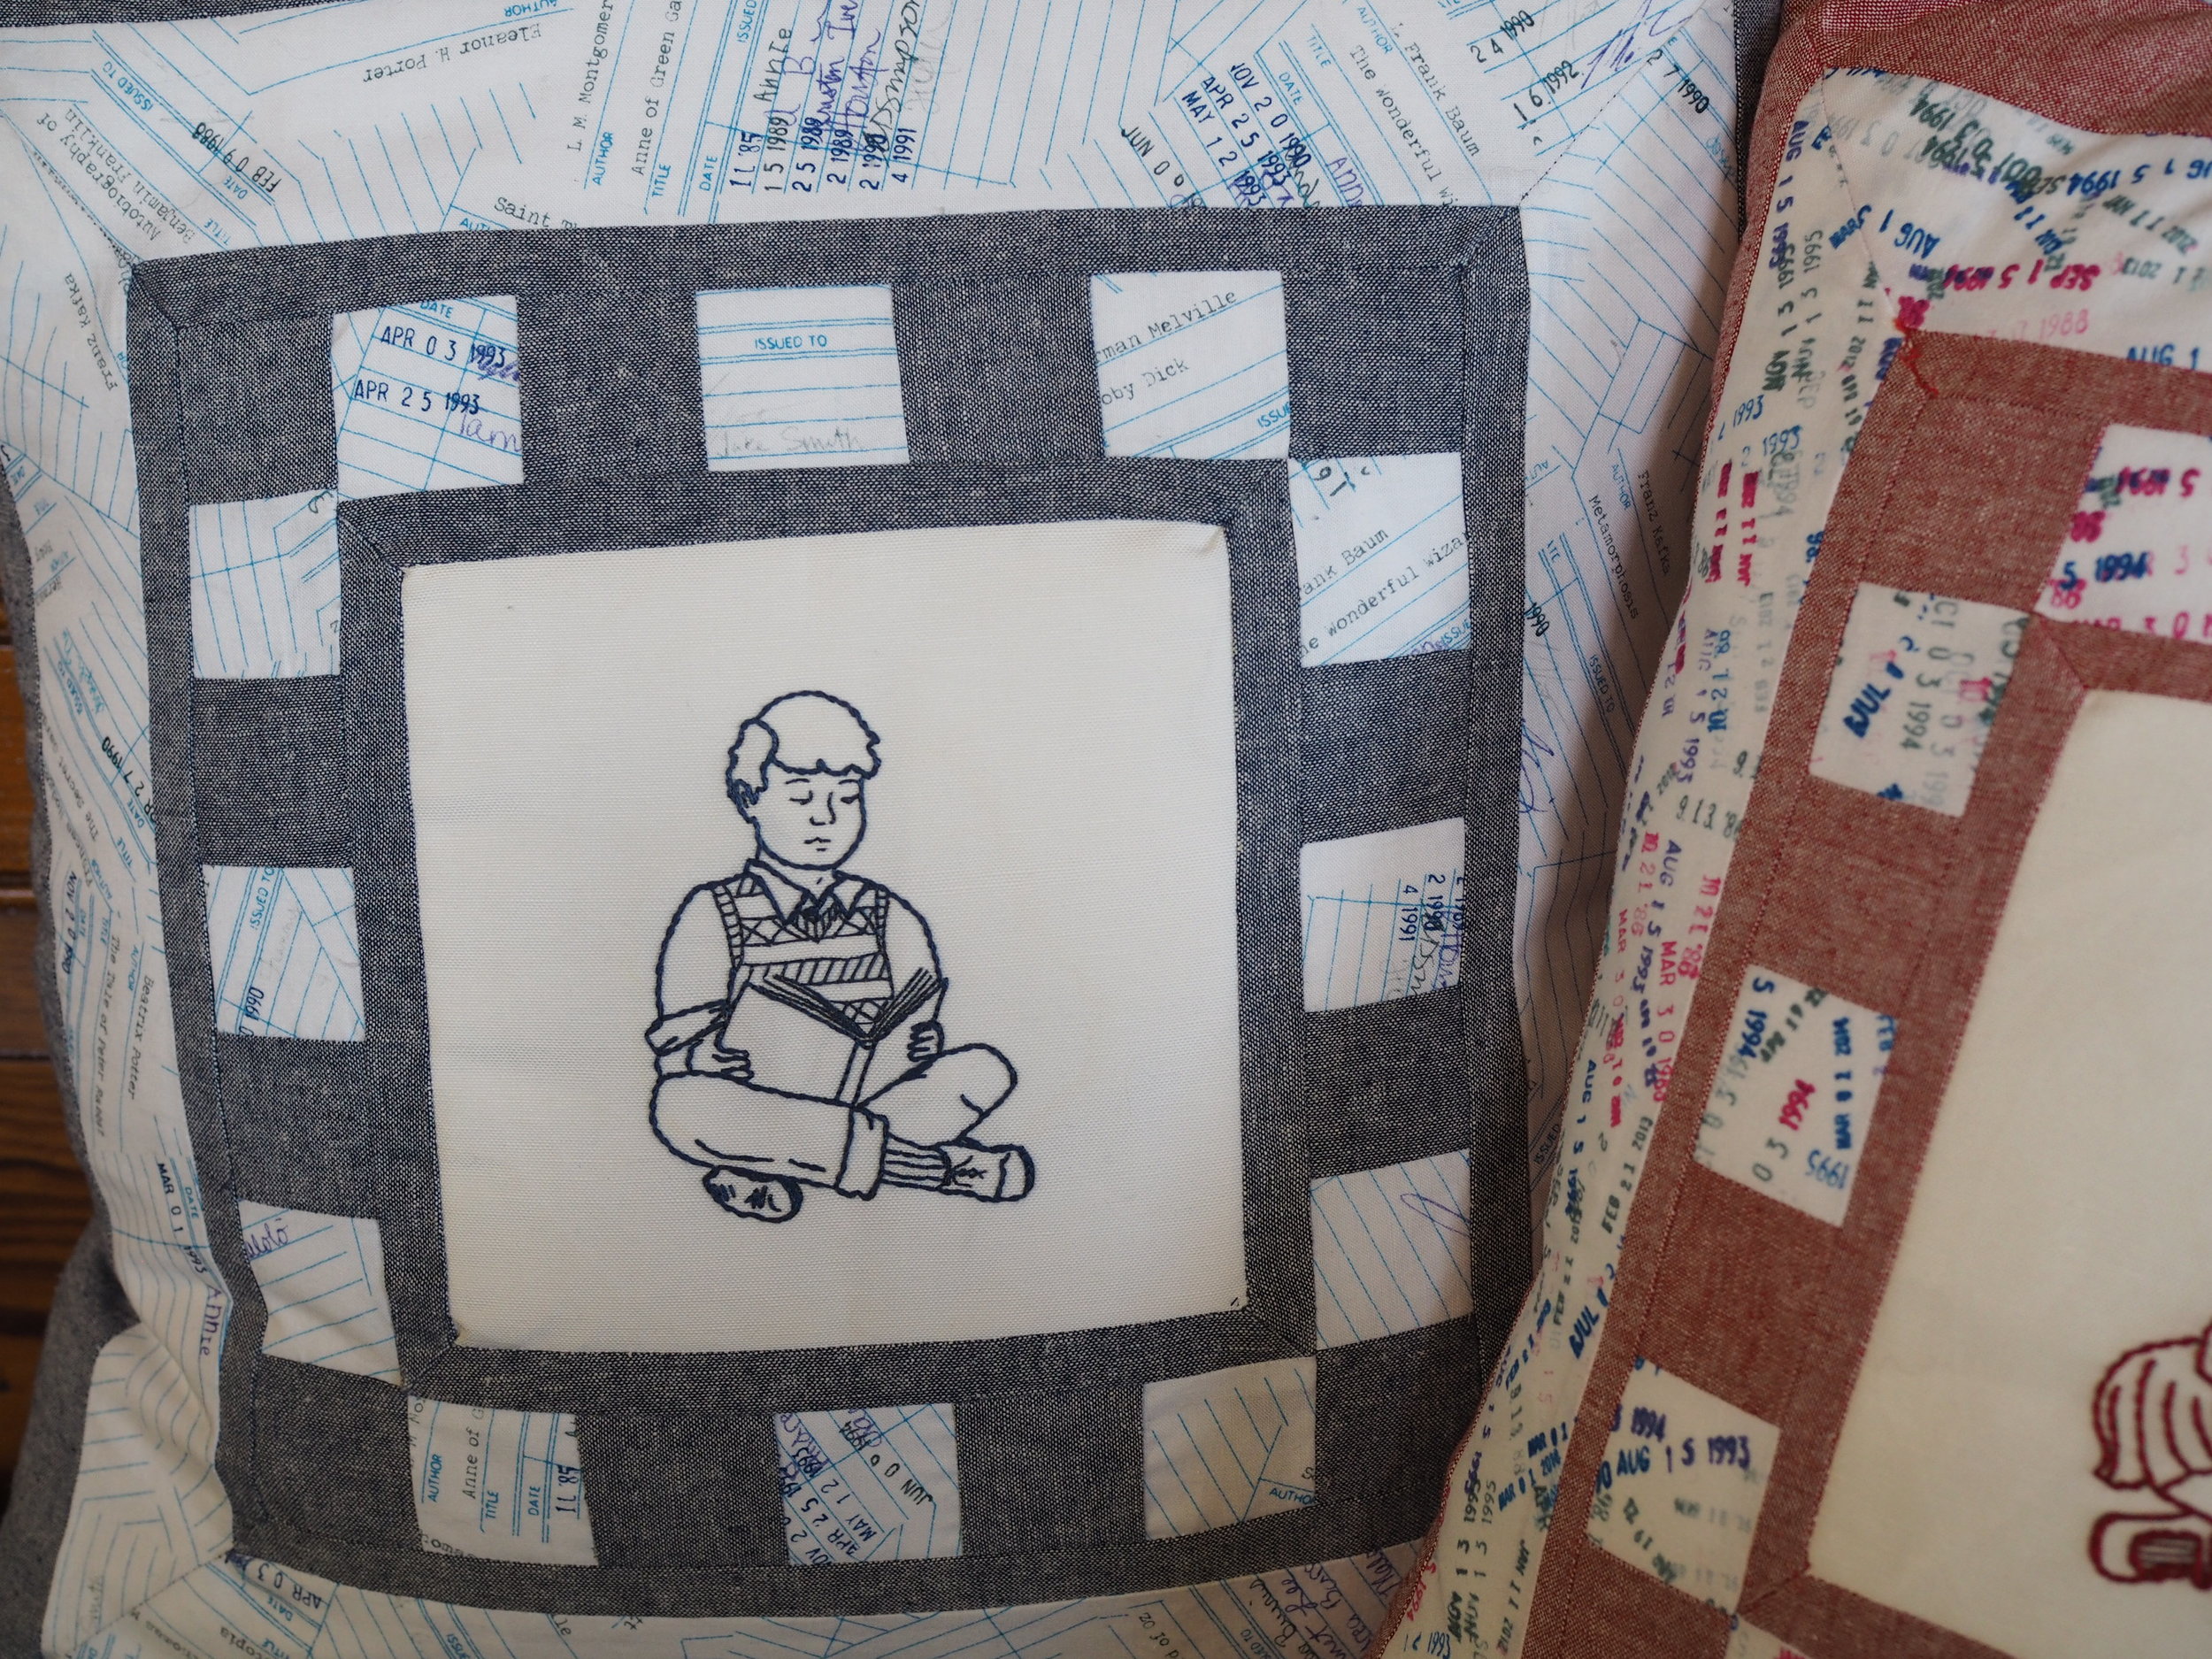
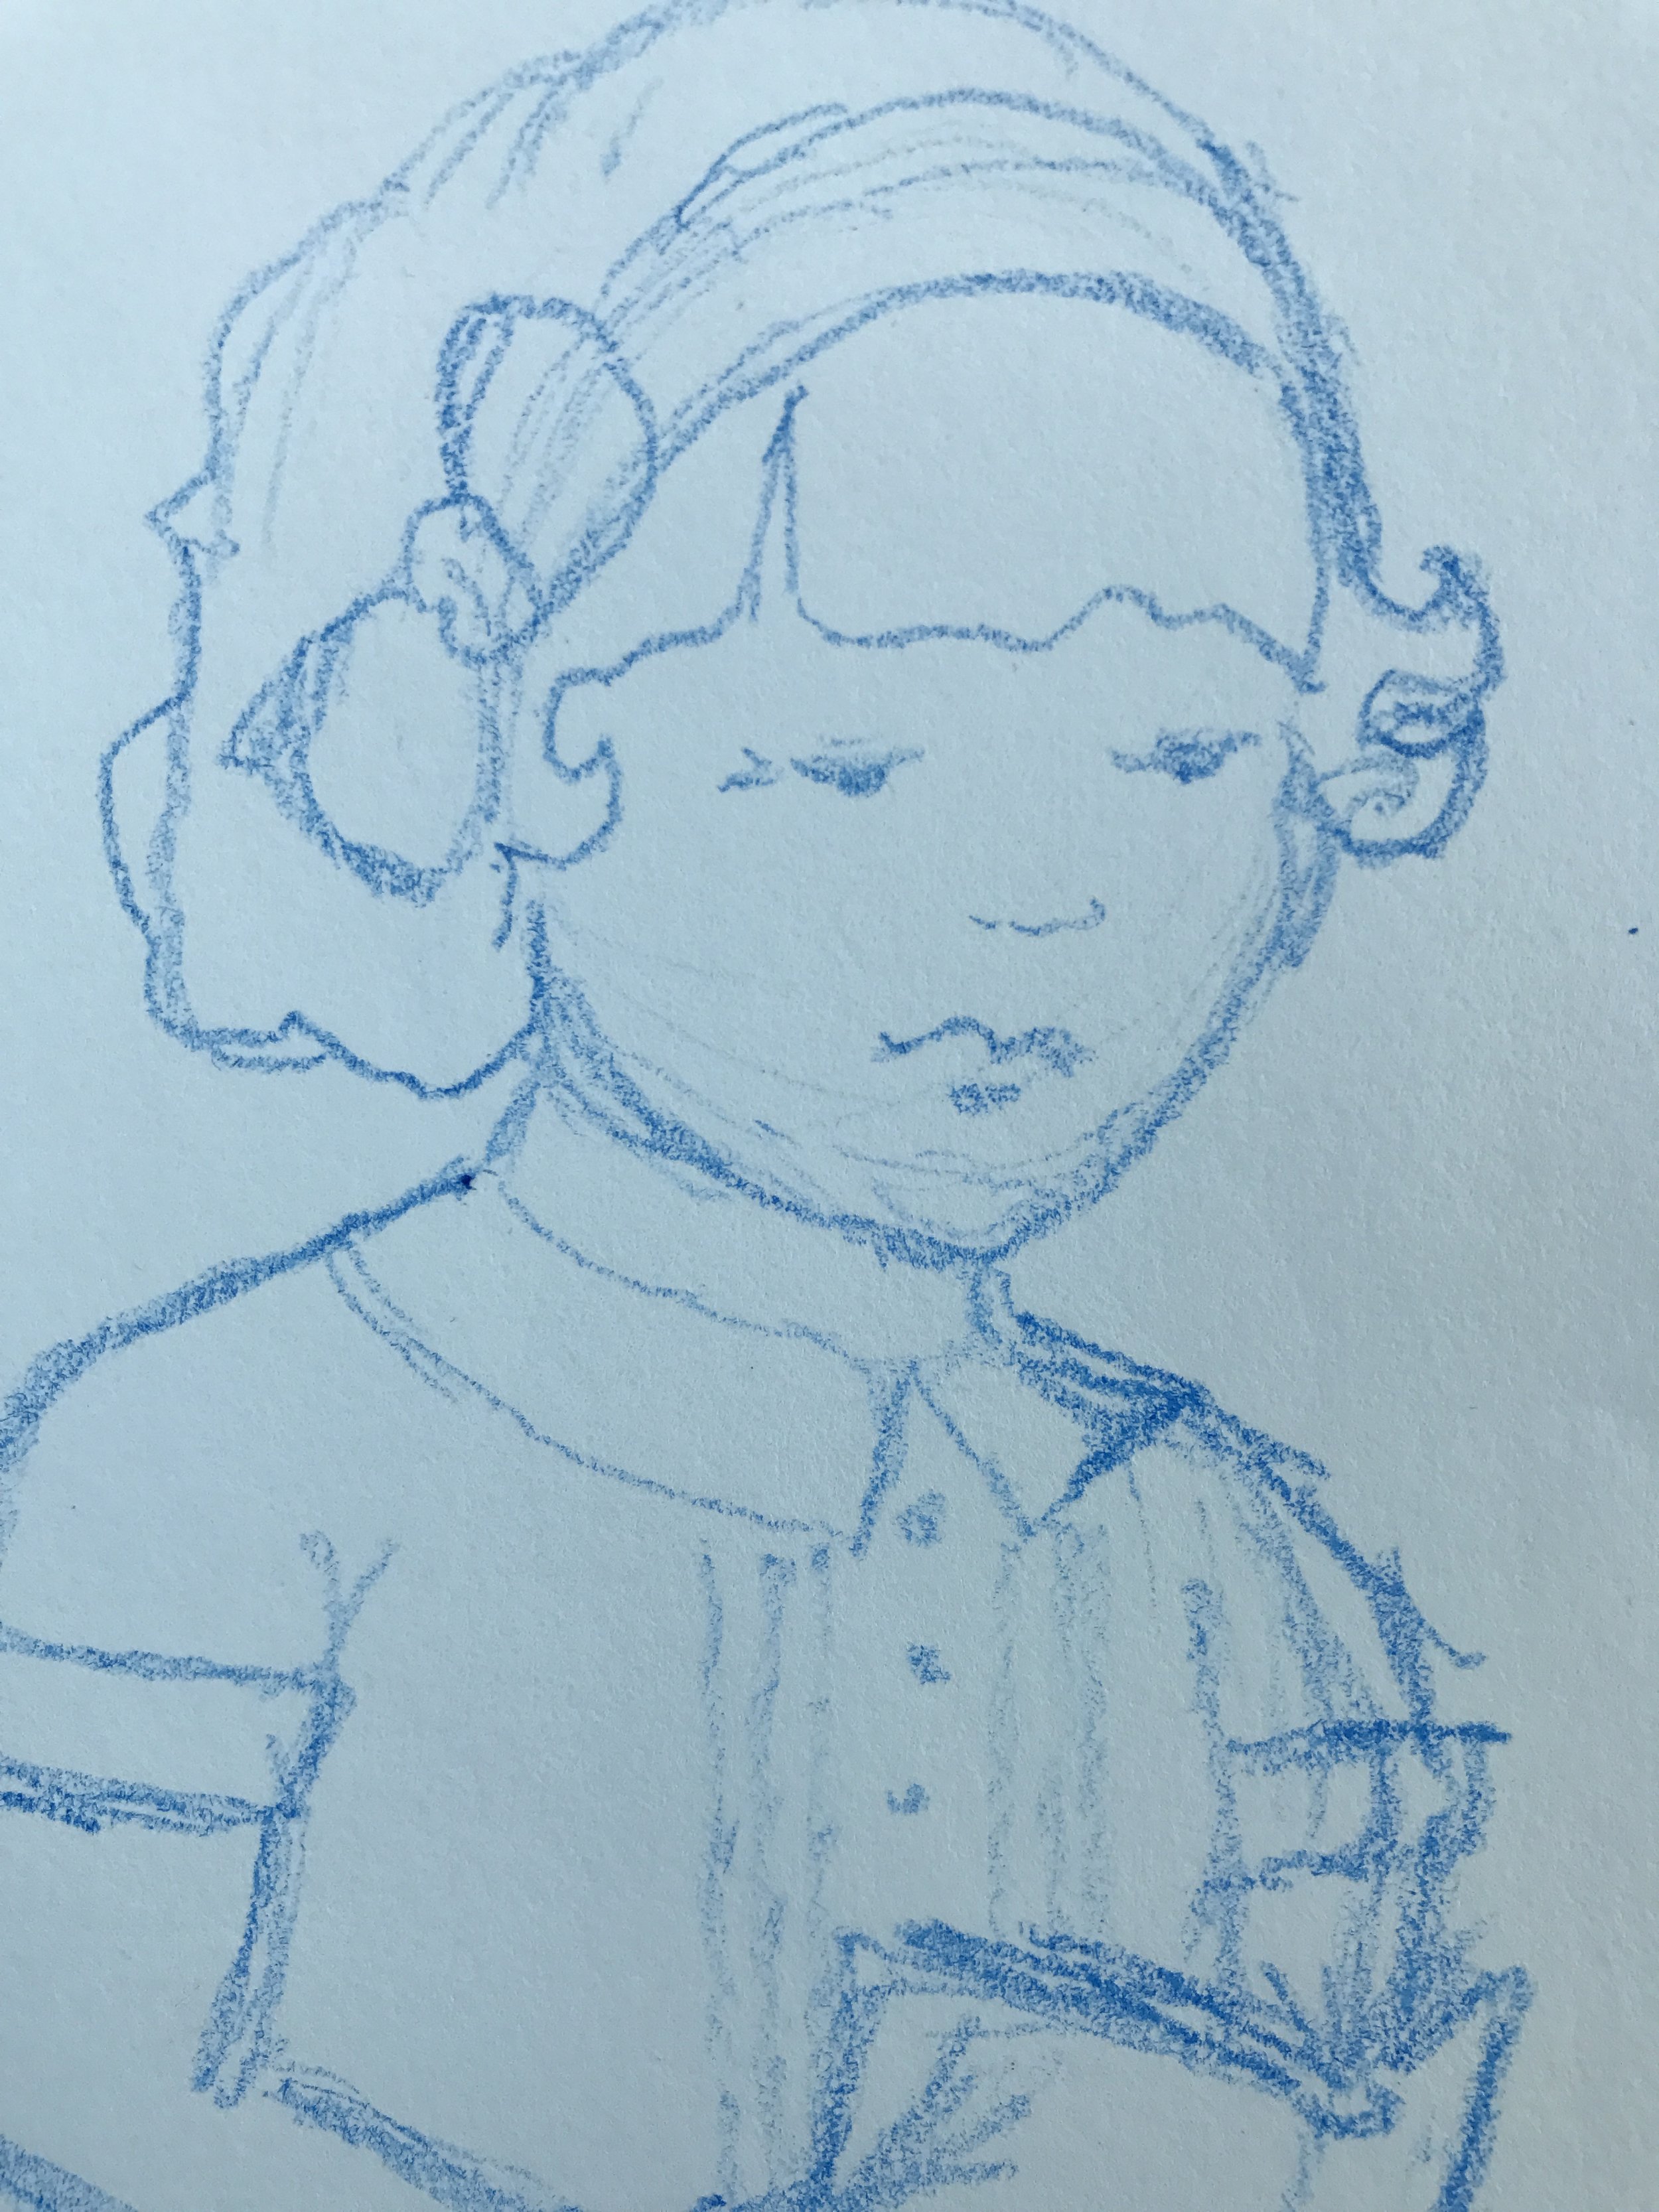
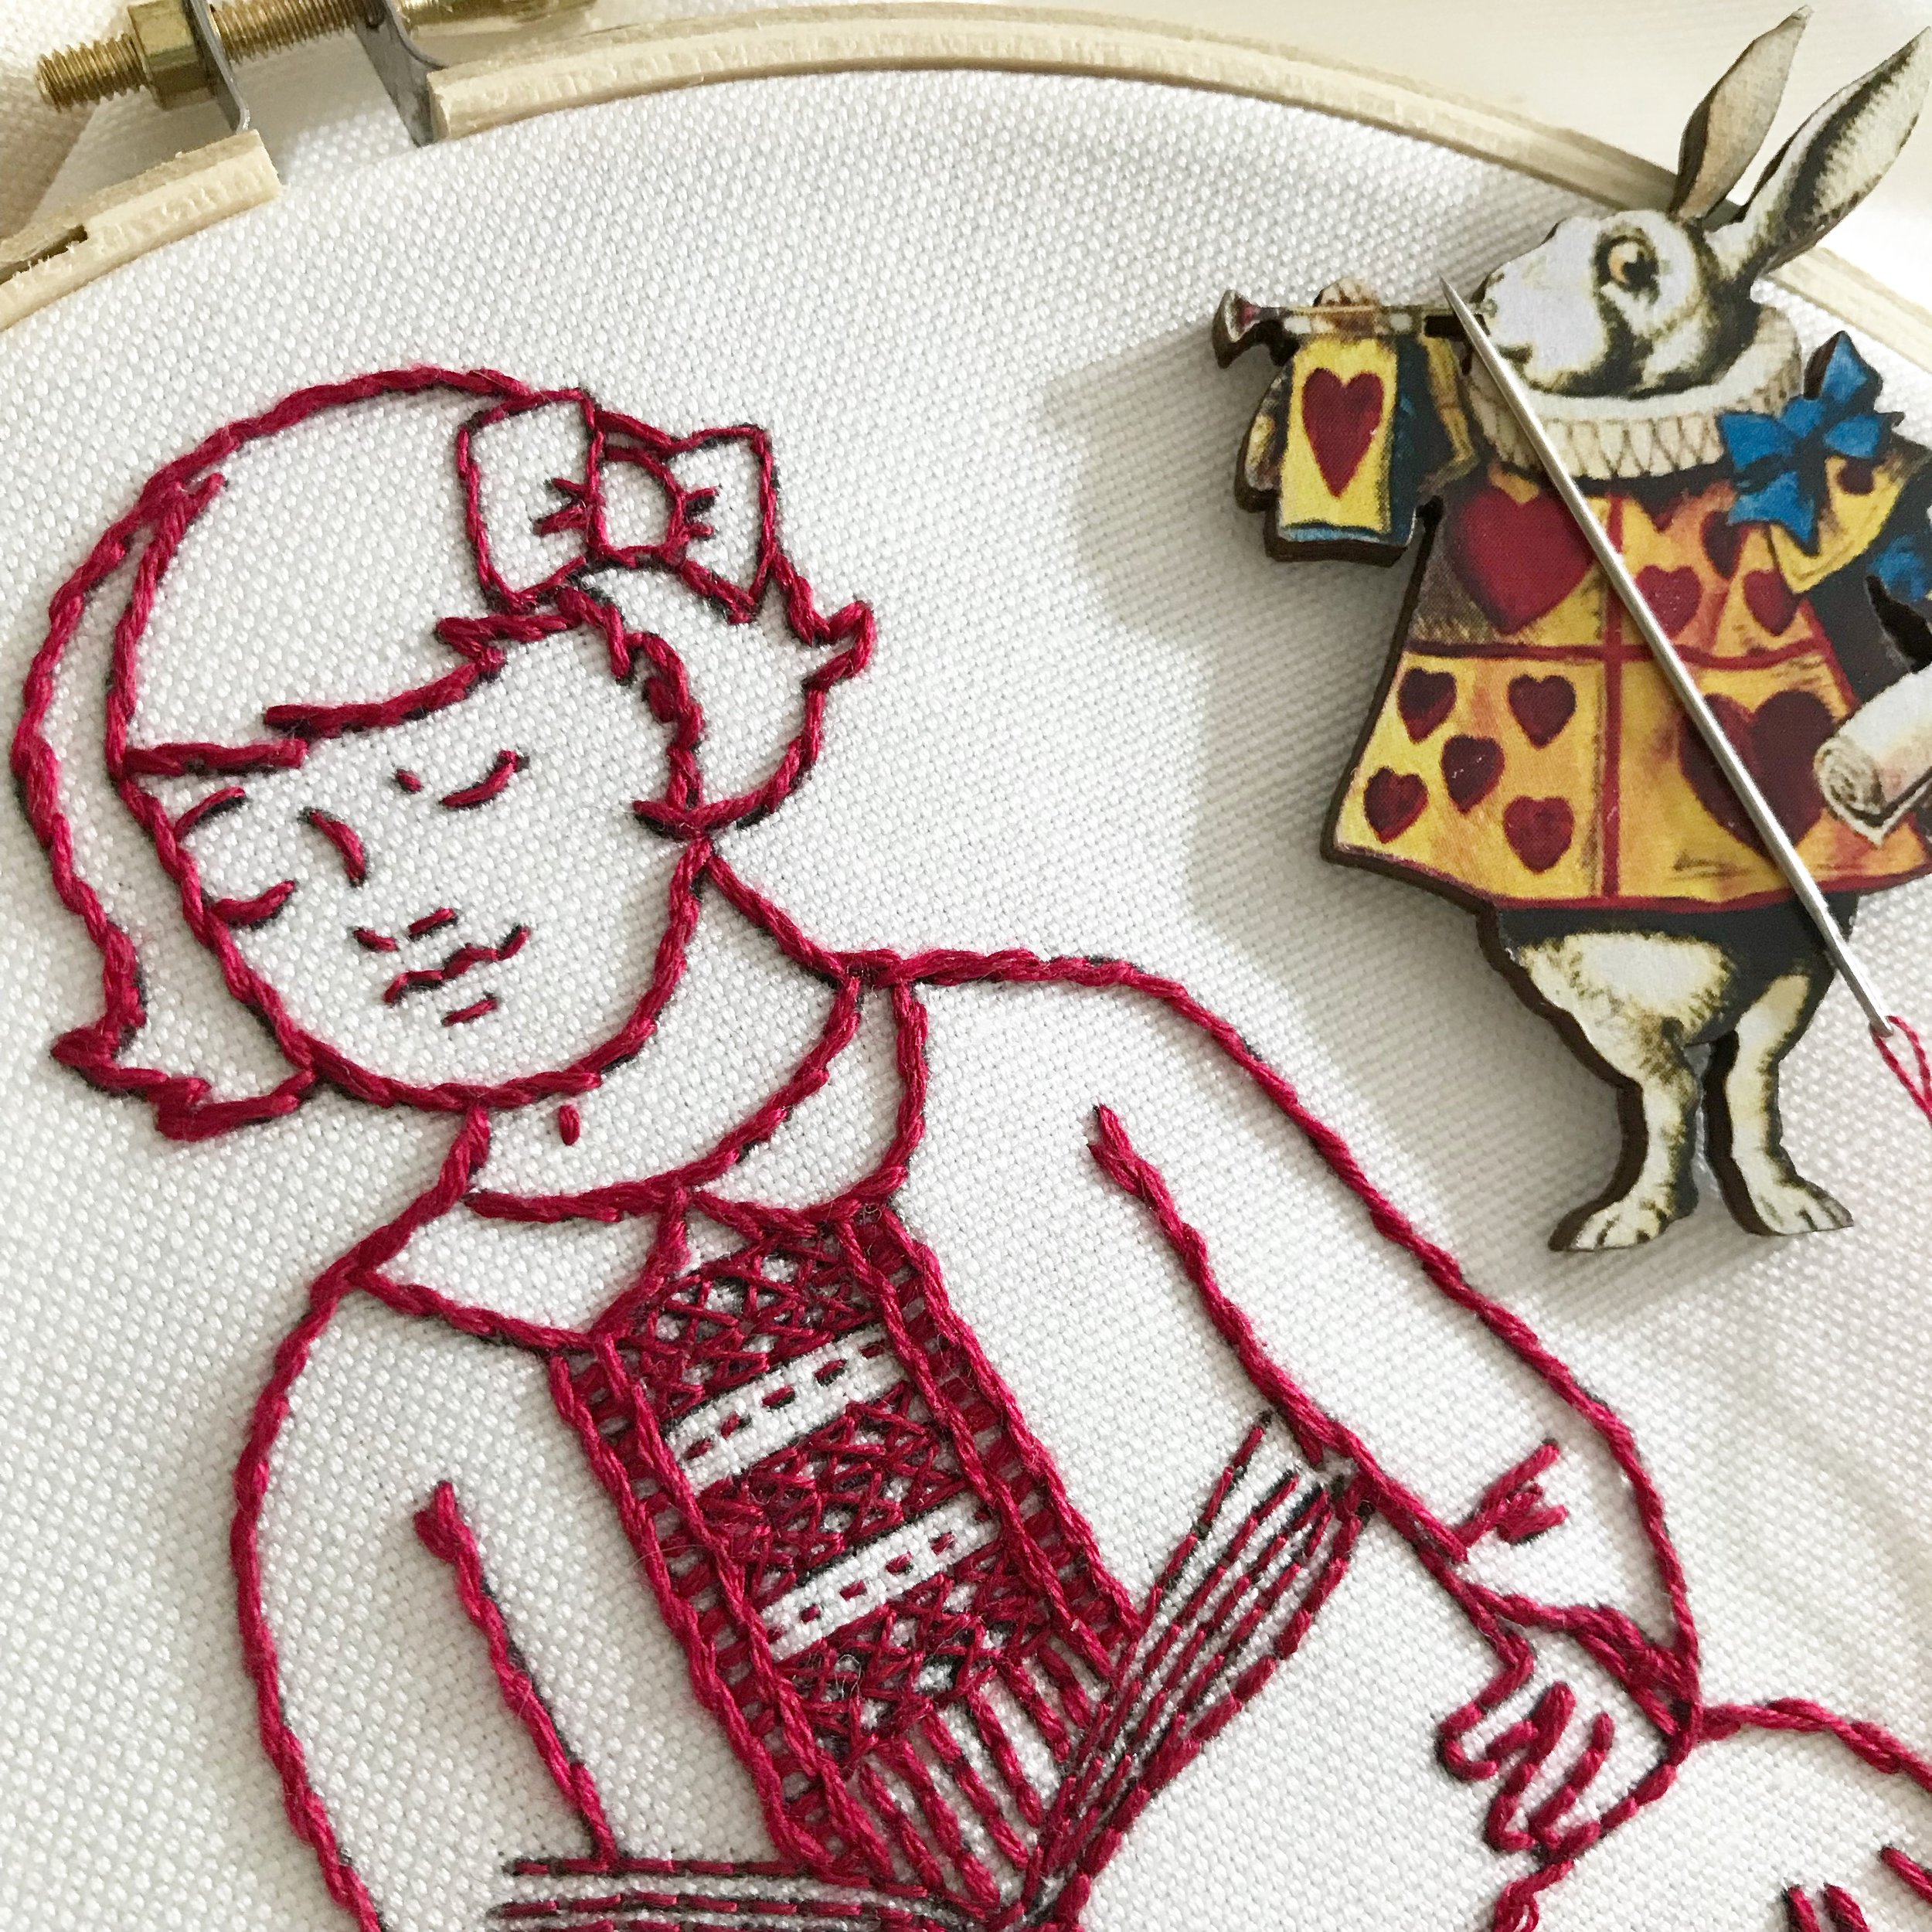
The Little Readers are vintage-inspired designs that use a single color to create a strong outline, a technique known as redwork (or bluework, depending on the color). The paired-down design is a great introductory project for beginning embroiderers and would make a wonderful gift for the book-lover in your life.

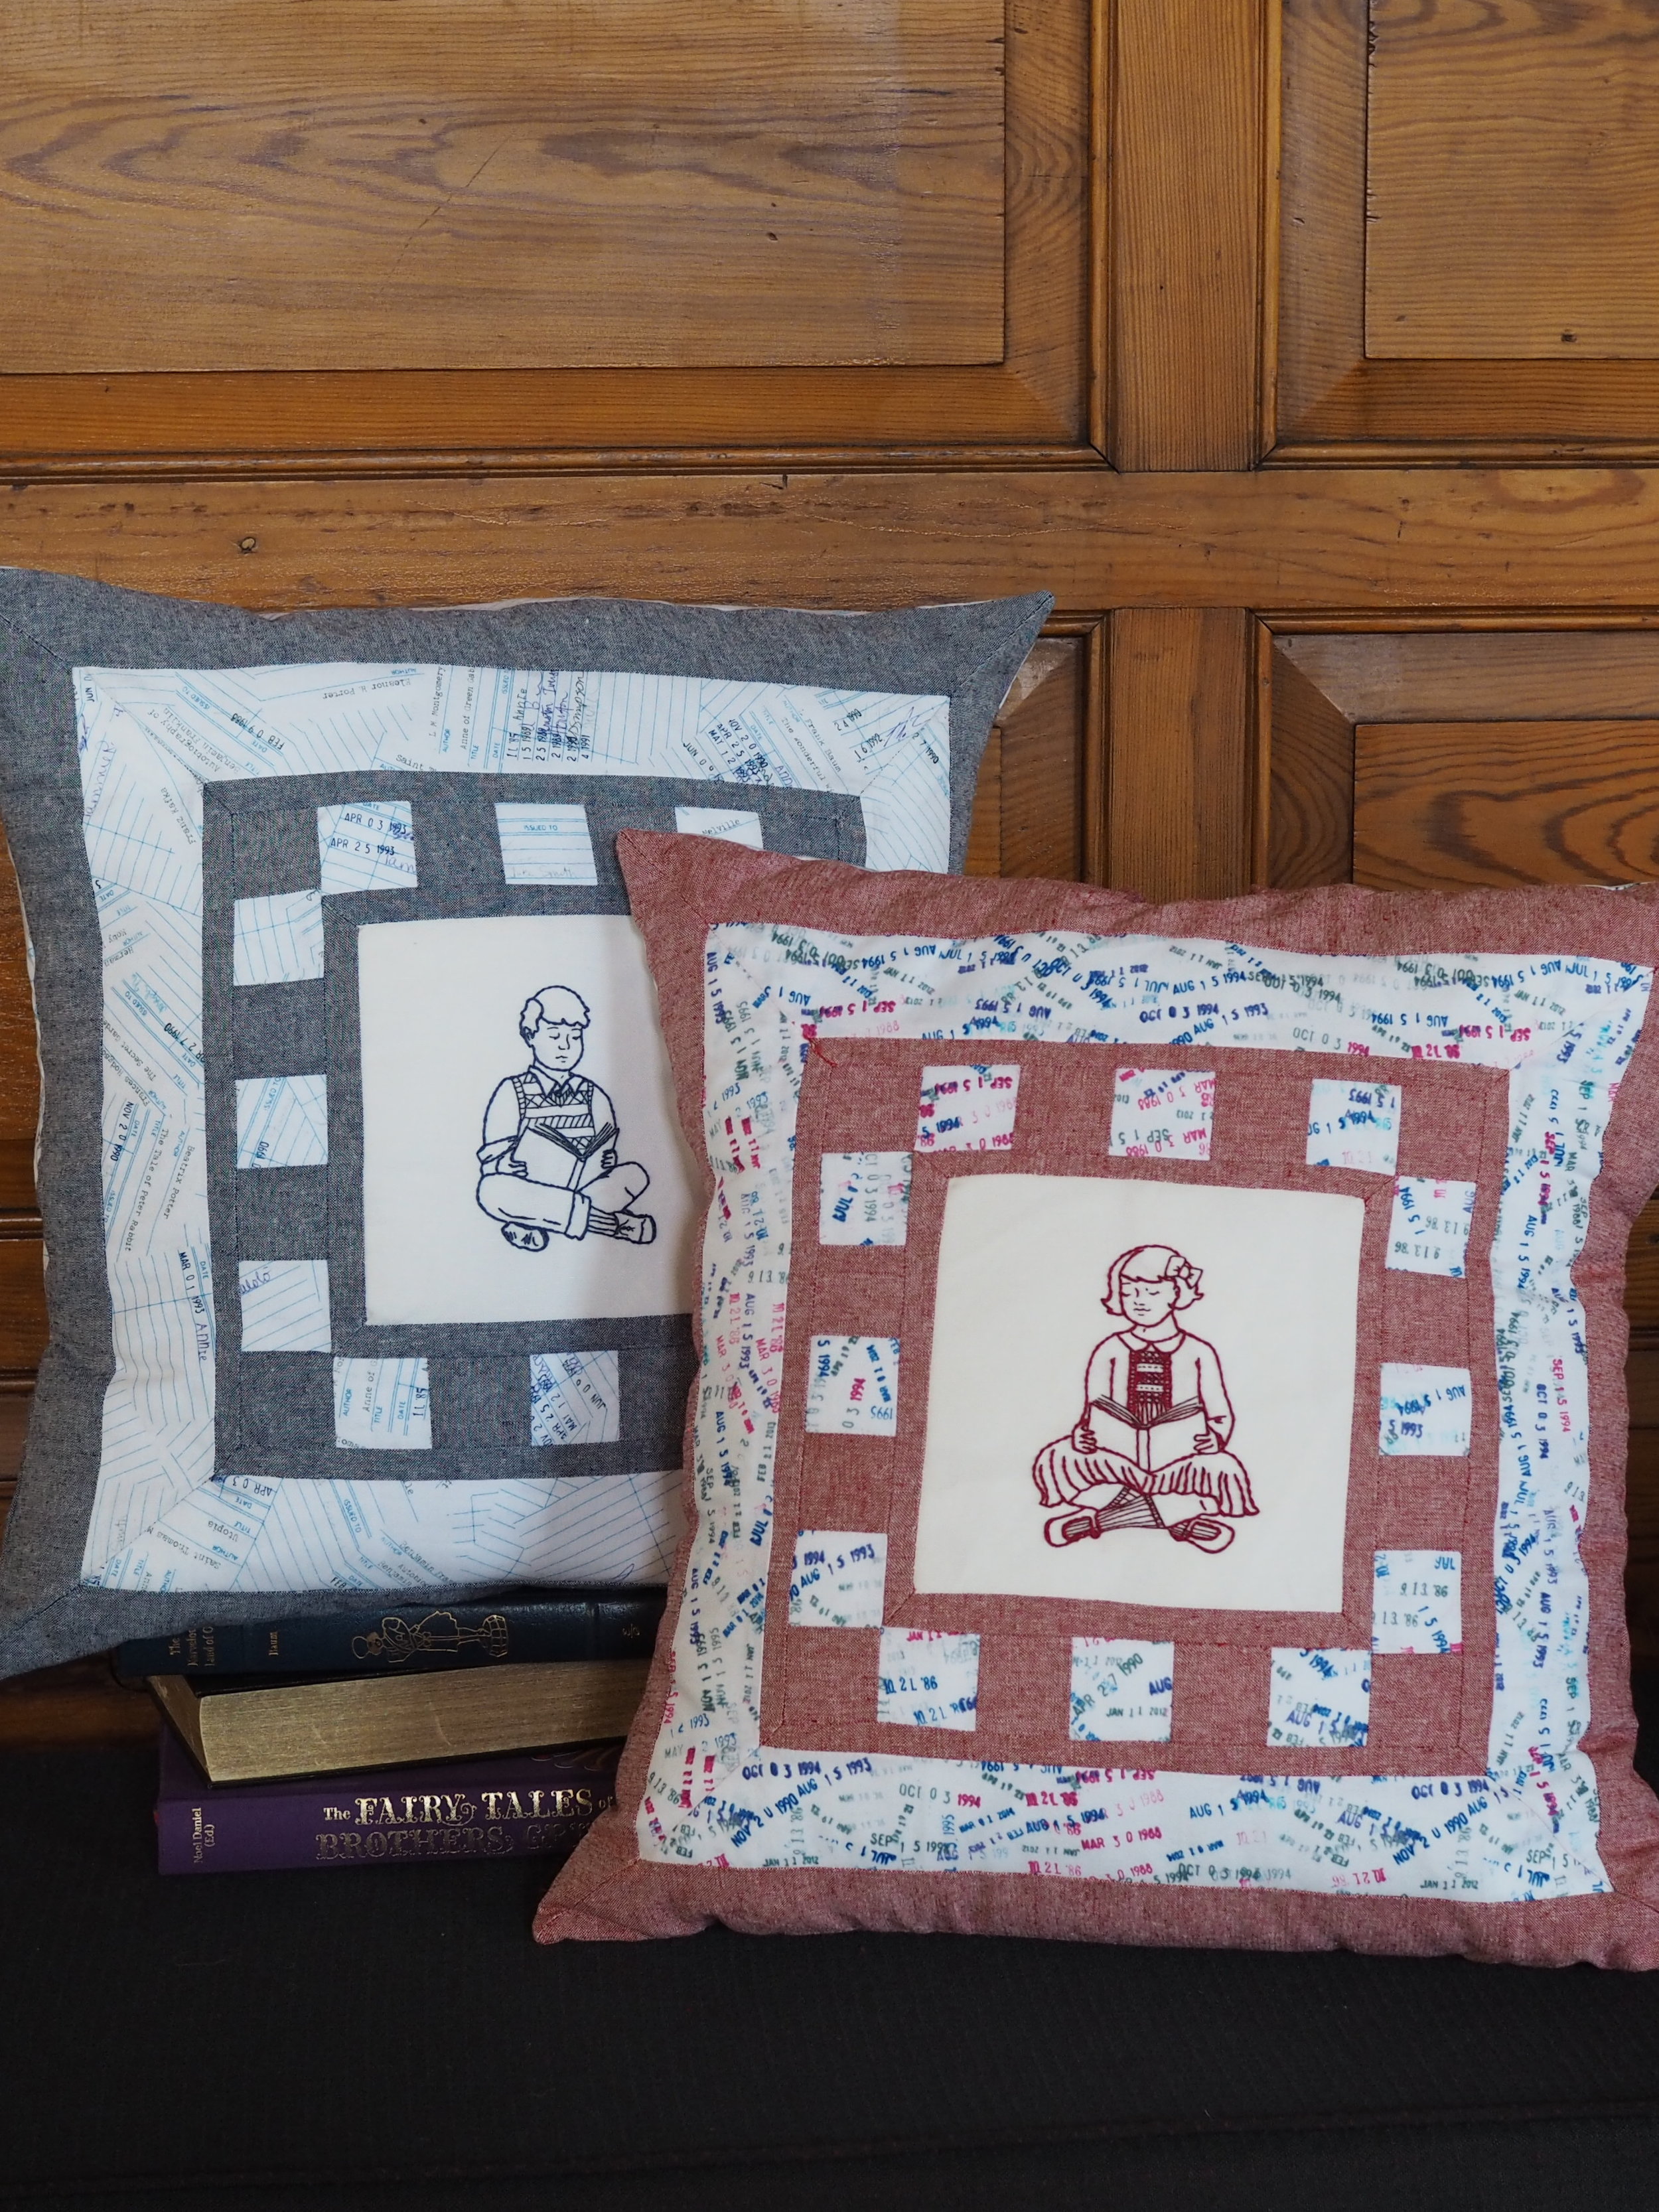
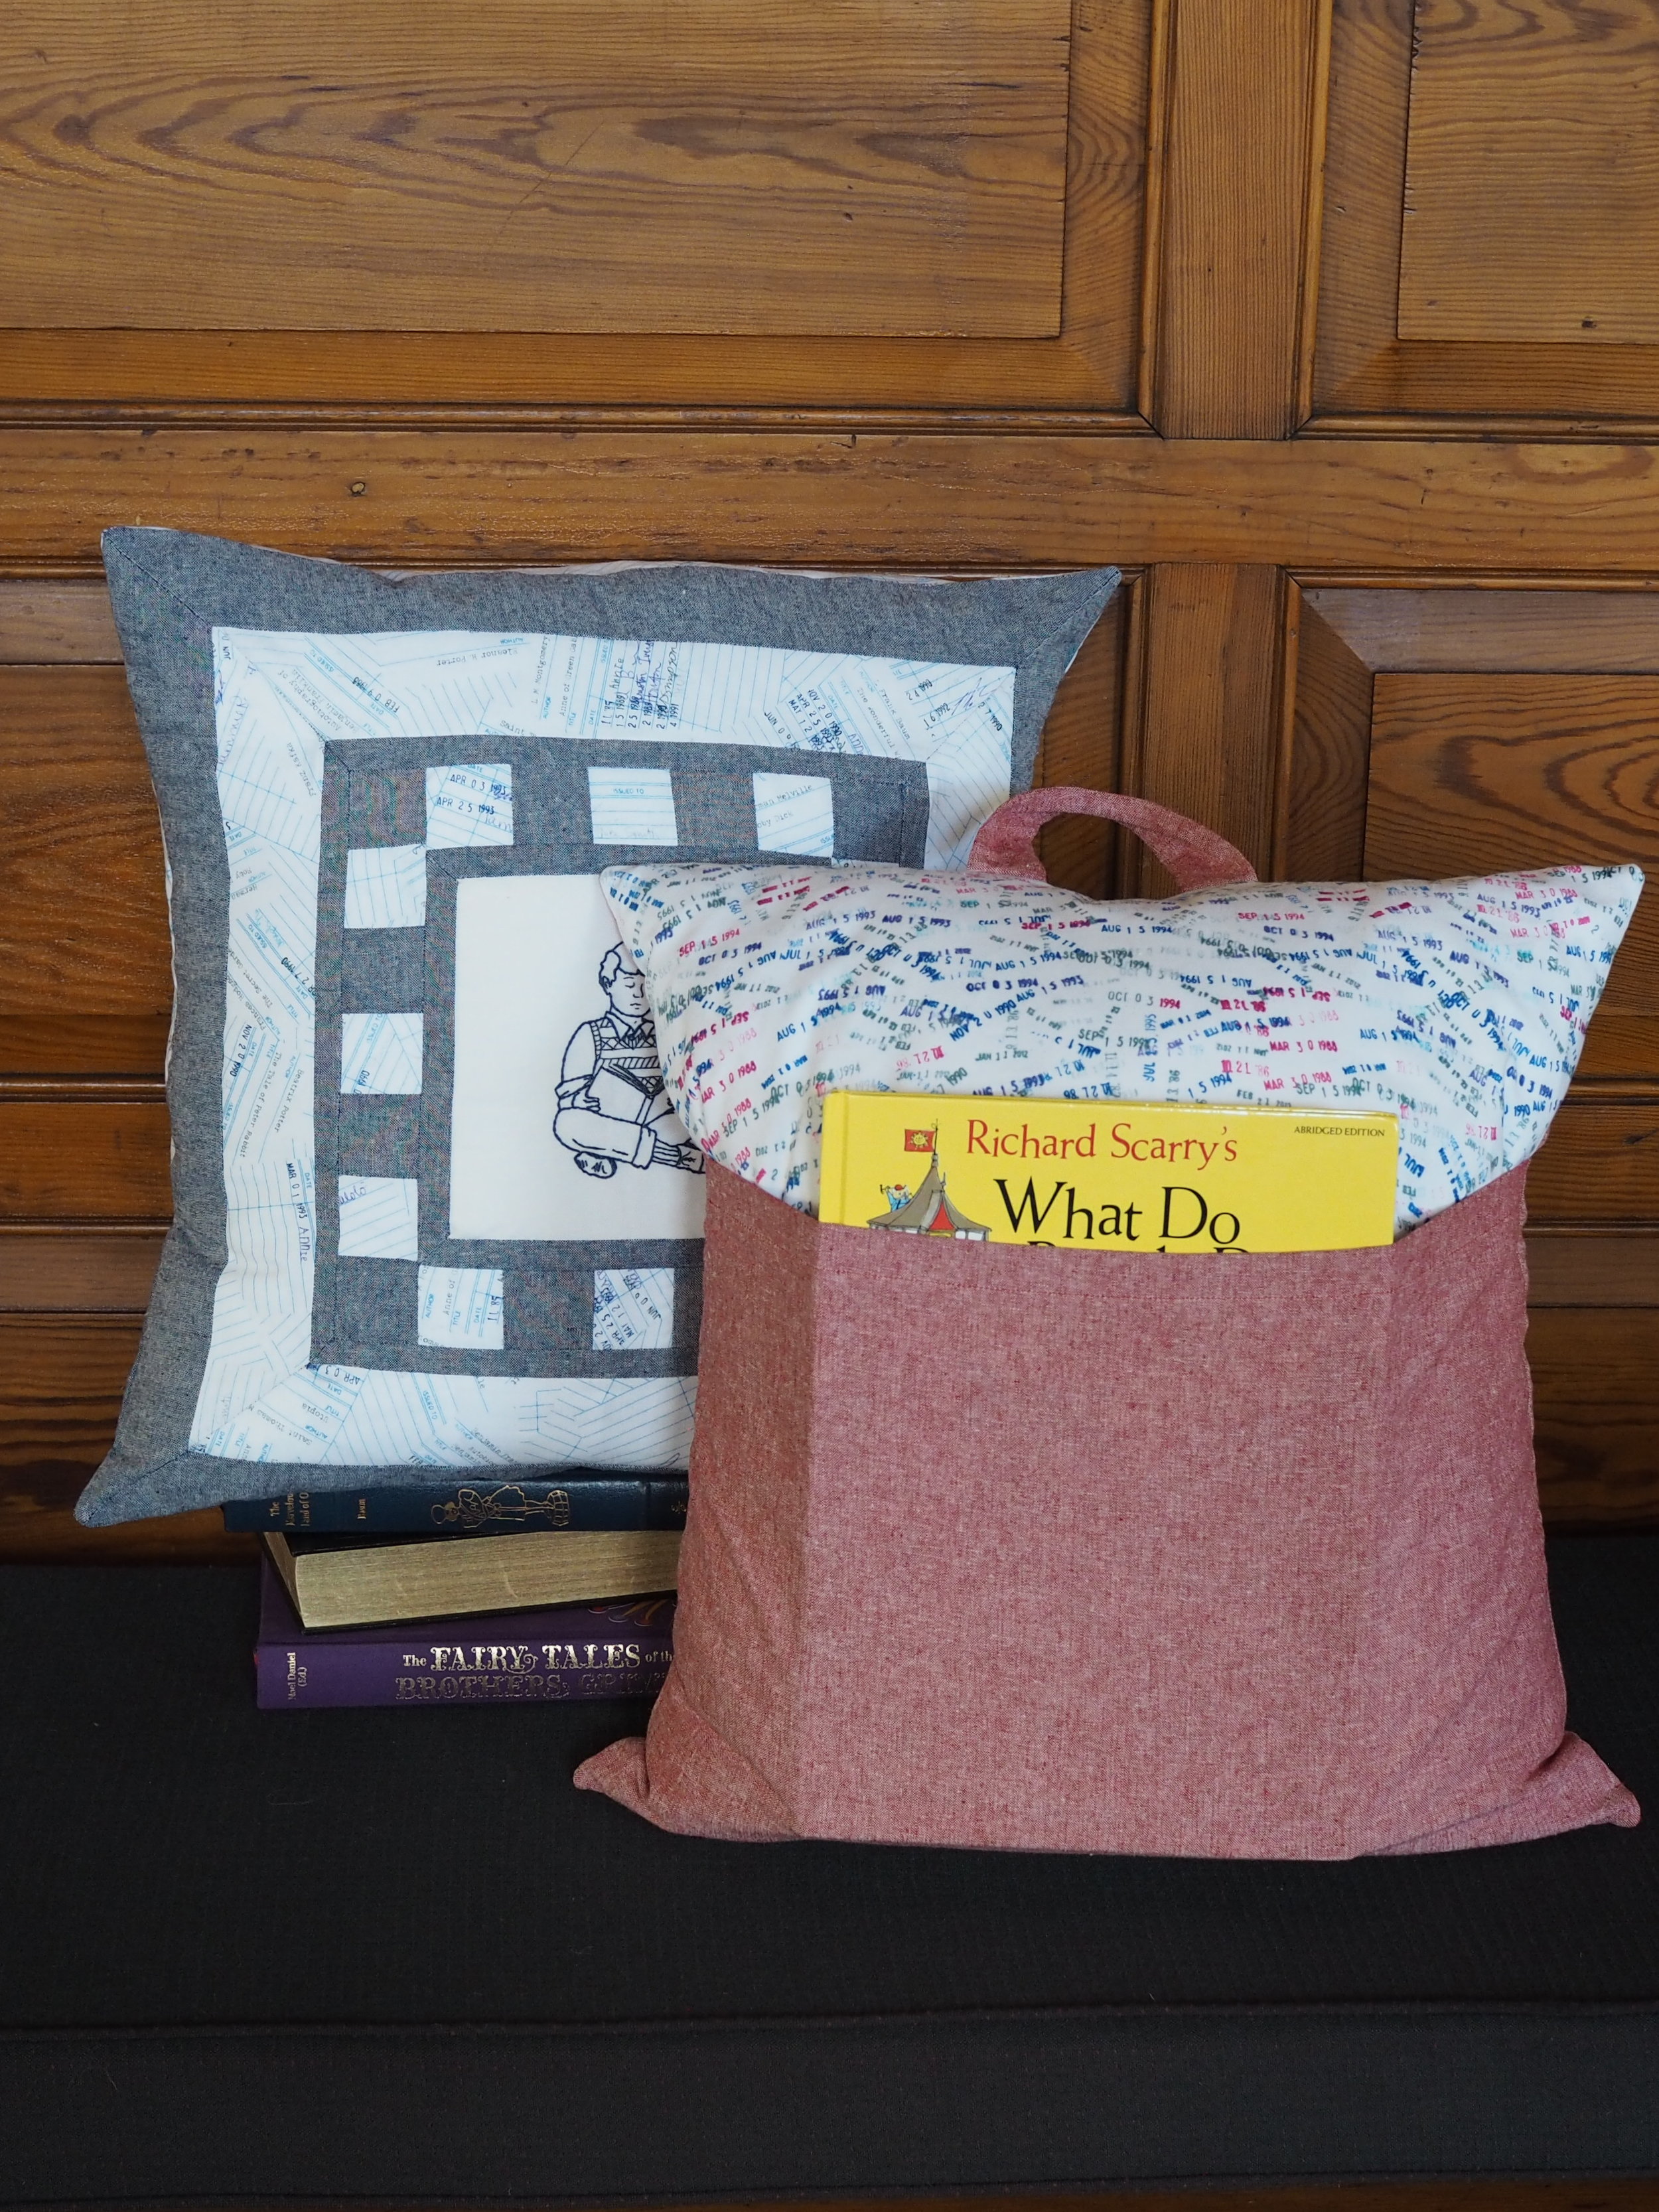
Named for The Music Man’s Marian The Librarian, the Ms. Marian Pillow turns your hoop art into cozy and beautiful home decor. Mitered corners and a checkerboard band increase the elegance of the design, which is suitable for intermediate sewists.

Instructions are included for a standard envelope pillowcase and a tote-able reading pillow with book pocket. The sewing pattern includes template/pattern for both Boy and Girl Little Reader embroideries and is a perfect companion to any of my 6” hoop designs or kits. Not into embroidery? Use the center panel to display an 7” square quilt block or panel of a favorite fabric.

The Ms. Marian Pillow Kit provides you with all the materials (minus pillowform) to make one beautifully embroidered, library-themed pillowcase. You can choose to sew it up as a standard envelope-back pillow, or (my favorite) as a tote-able reading pillow with book pocket.


Print Friendly and PDF Follow
follow us in feedly

STORYTIME - Coming Soon!

If I’ve been quiet around here, it’s because I’ve been busy! Busy with work. Busy with transitioning Little Miss Cleaver into Kindergarten and busy with pulling together the pieces of my next collection - STORYTIME.

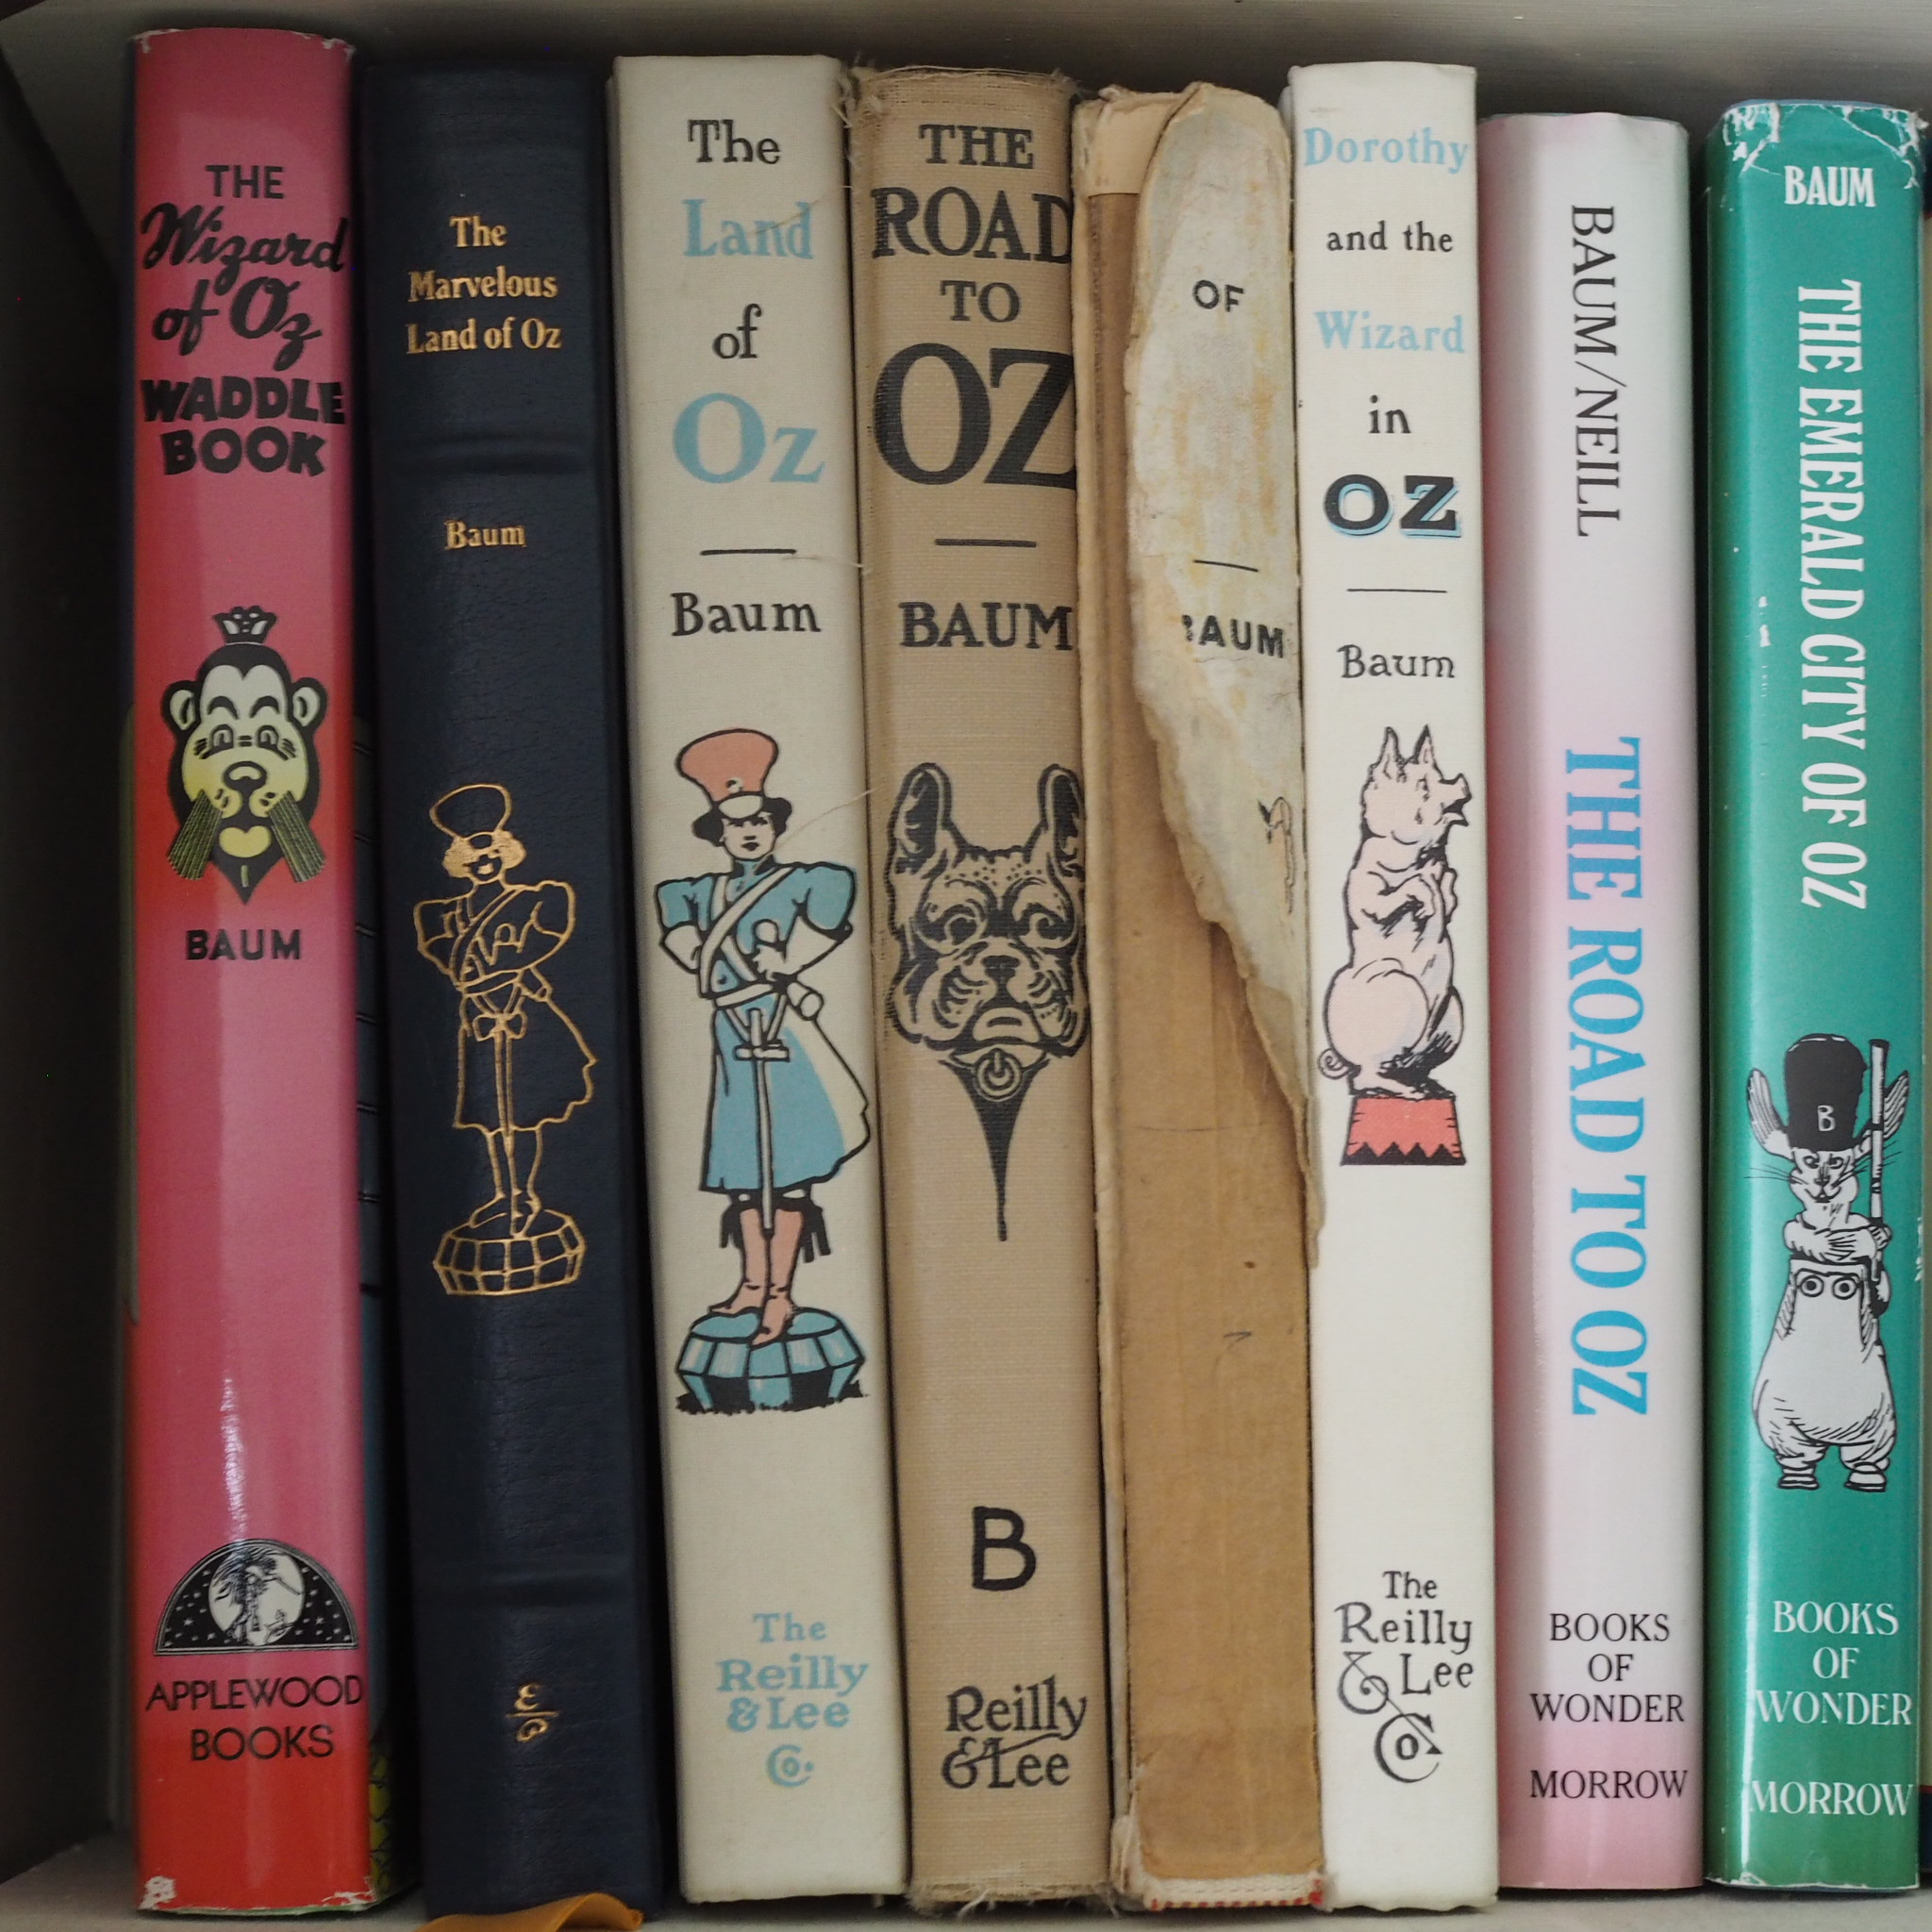
STORYTIME is inspired by some of my favorite classic children’s books, including Little Golden Books and The Wizard of OZ series. The collection will include two new knitting patterns (one adult sweater, one accessory), two new embroidery patterns/kits and a sewing pattern/kit perfect for spotlighting your favorite embroidery.

After a lot of time sketching and developing ideas, I’m finishing up samples and getting patterns written and reviewed. There’s still a lot of work left to to (it’s a lot to pull together for one person!), but I expect to release the collection in October.

Until then, you can follow my progress on Instagram and if you sign up for the newsletter, you’ll get to know about the collection release early with a special subscriber-only discount!

Back to stitching for me!


Print Friendly and PDF Follow
follow us in feedly

Being Comfortable - Part II

Wherein I talk about body image, mental health and making your own clothes, one year later...

Read more
Print Friendly and PDF Follow
follow us in feedly

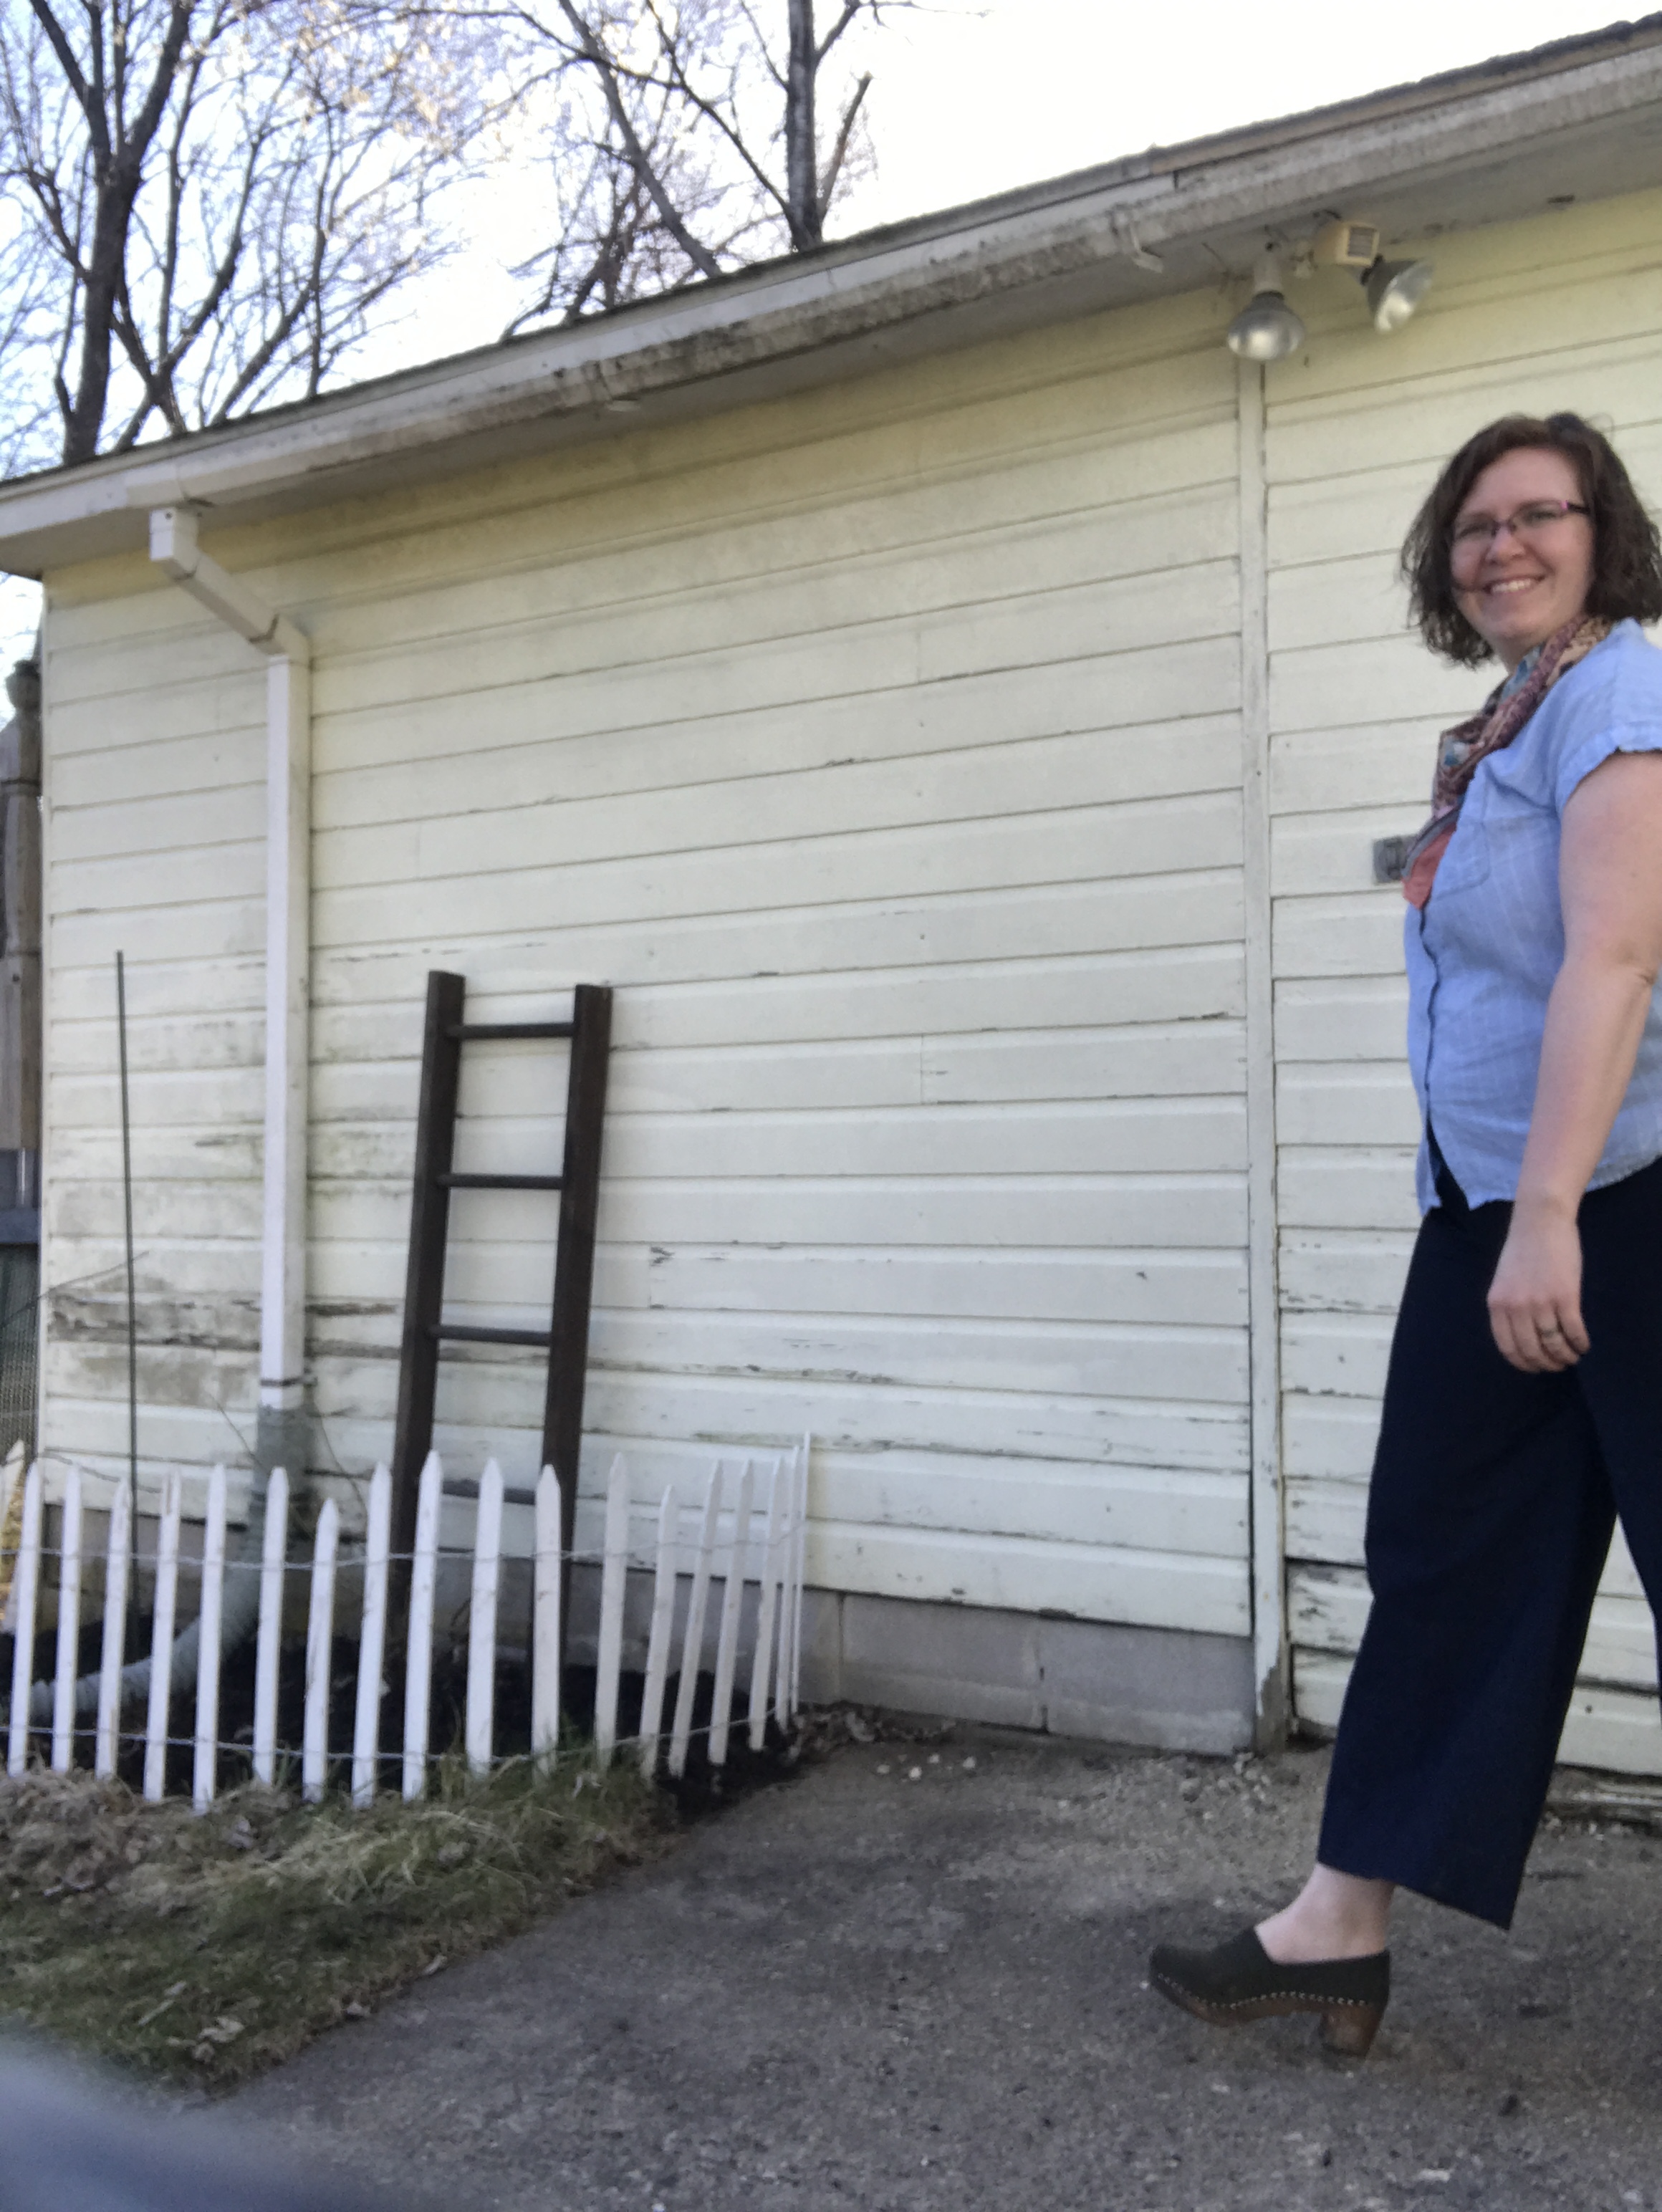
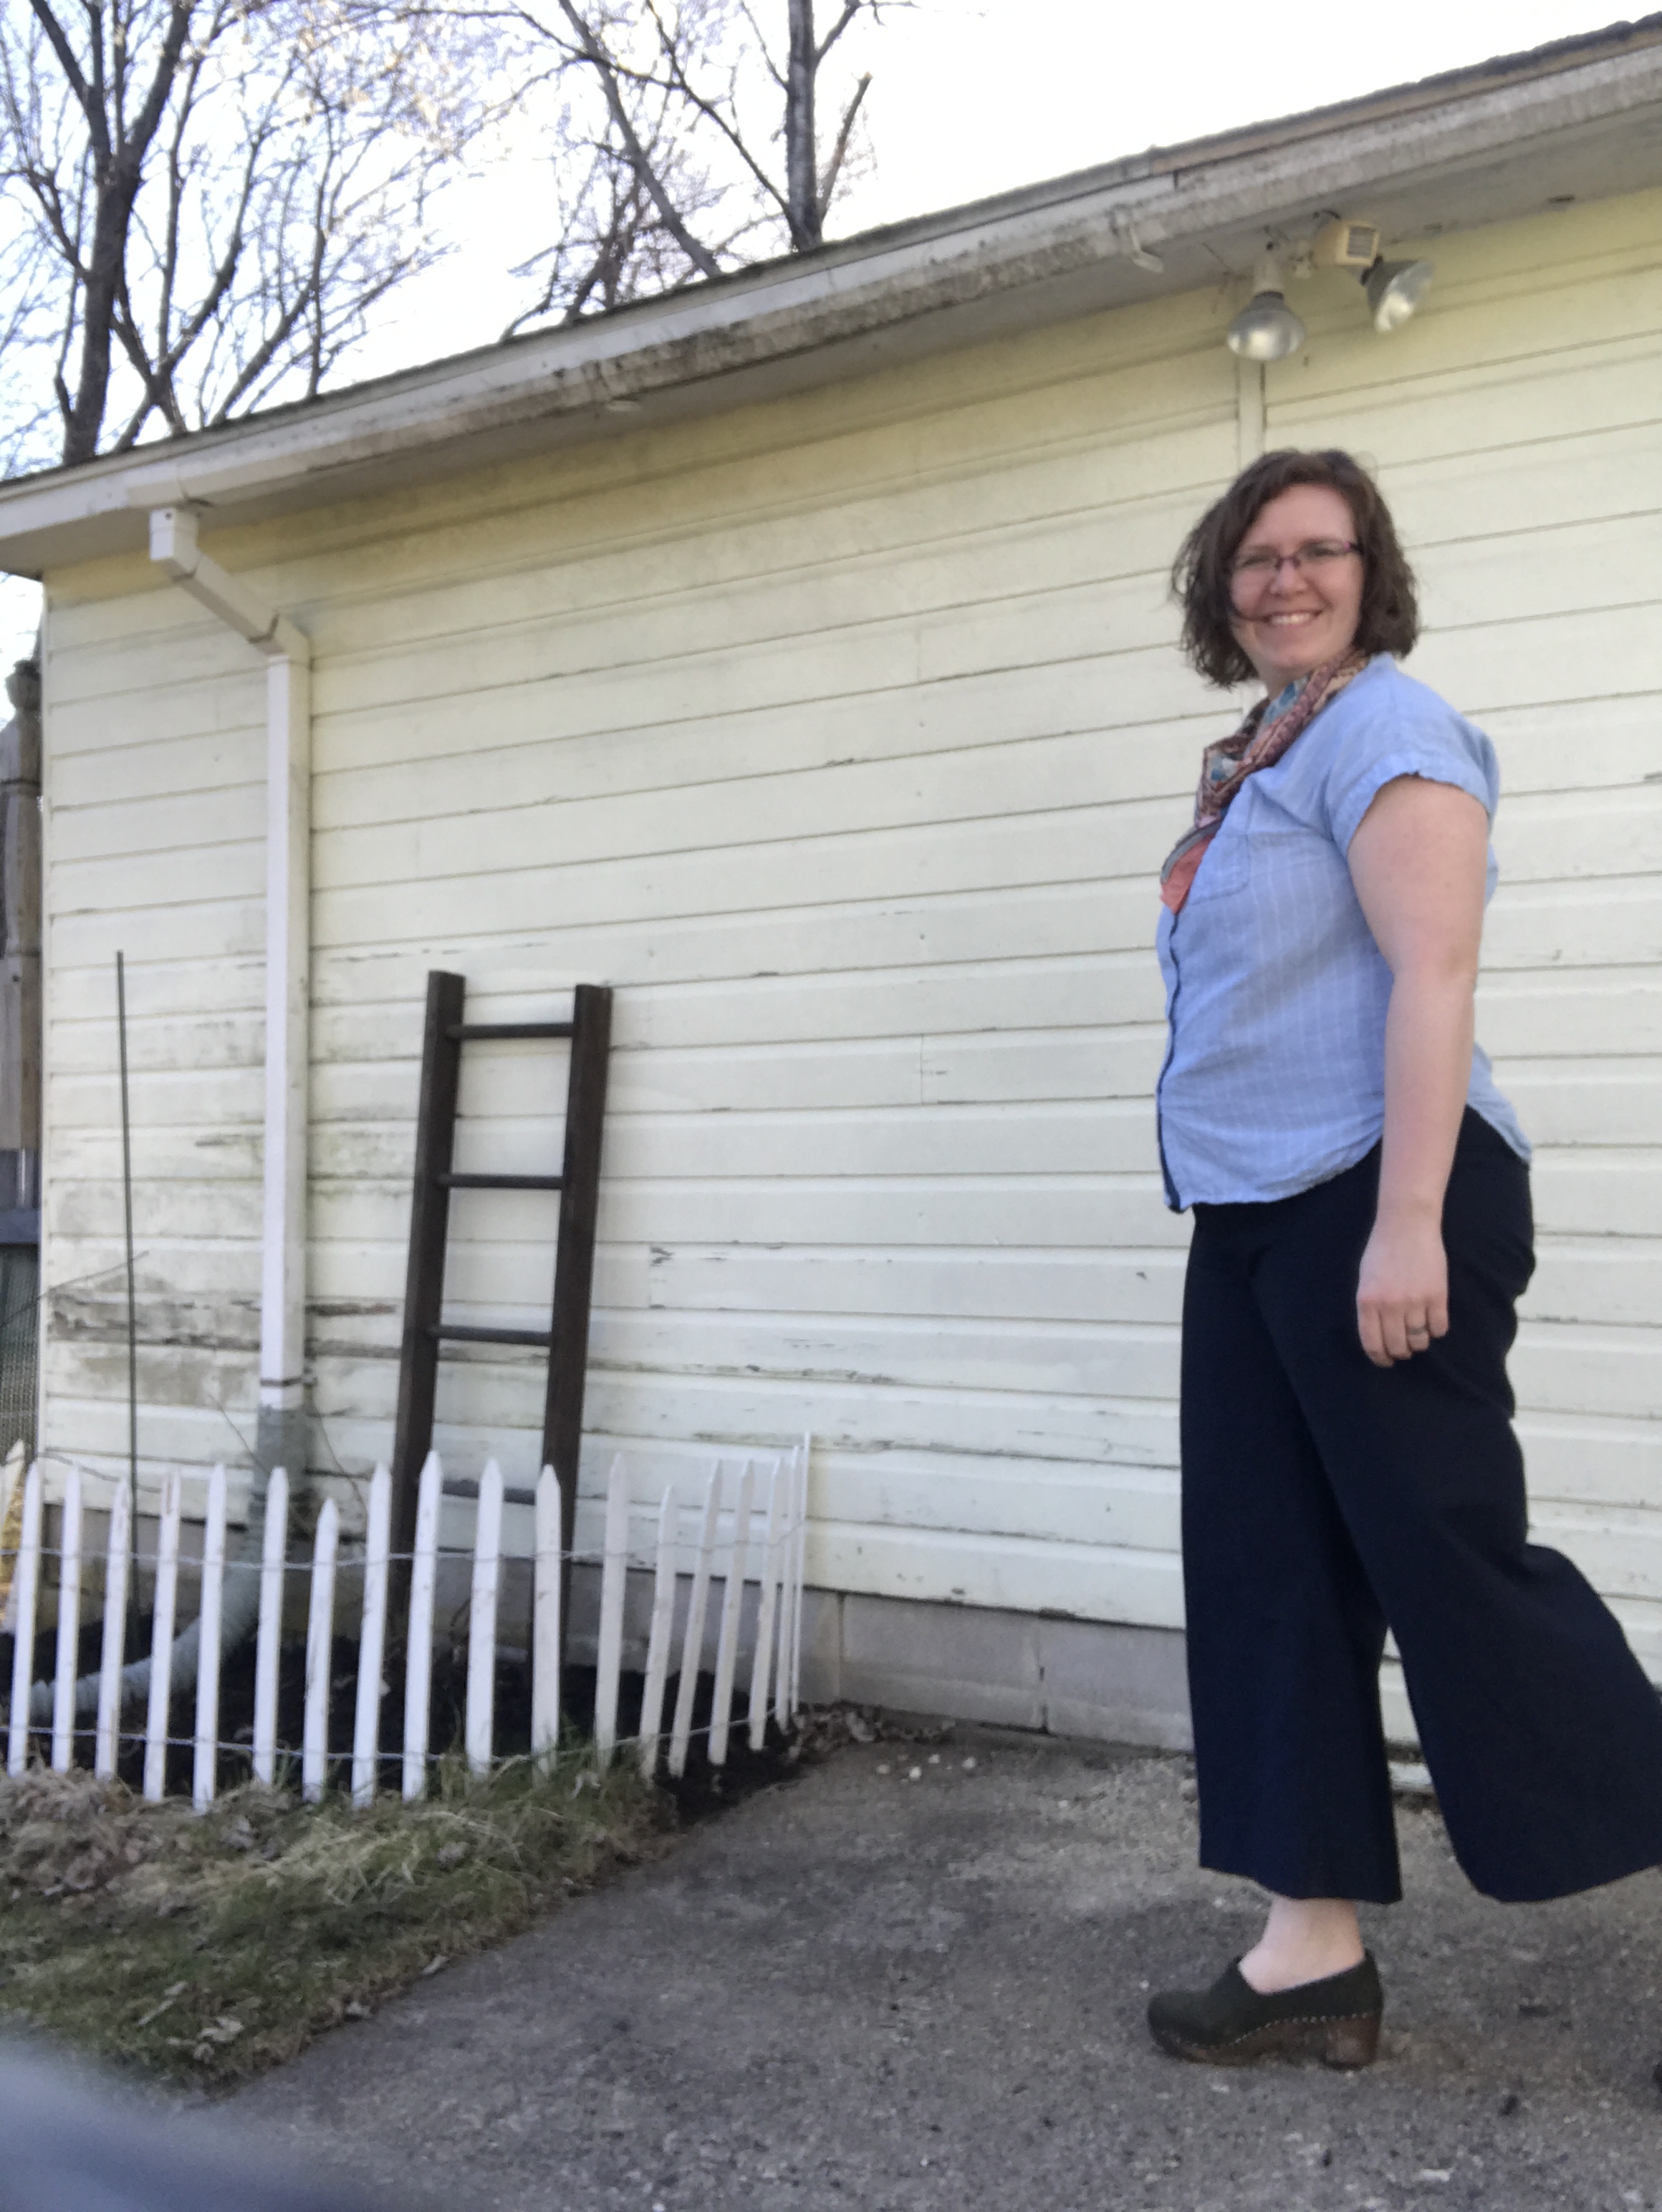
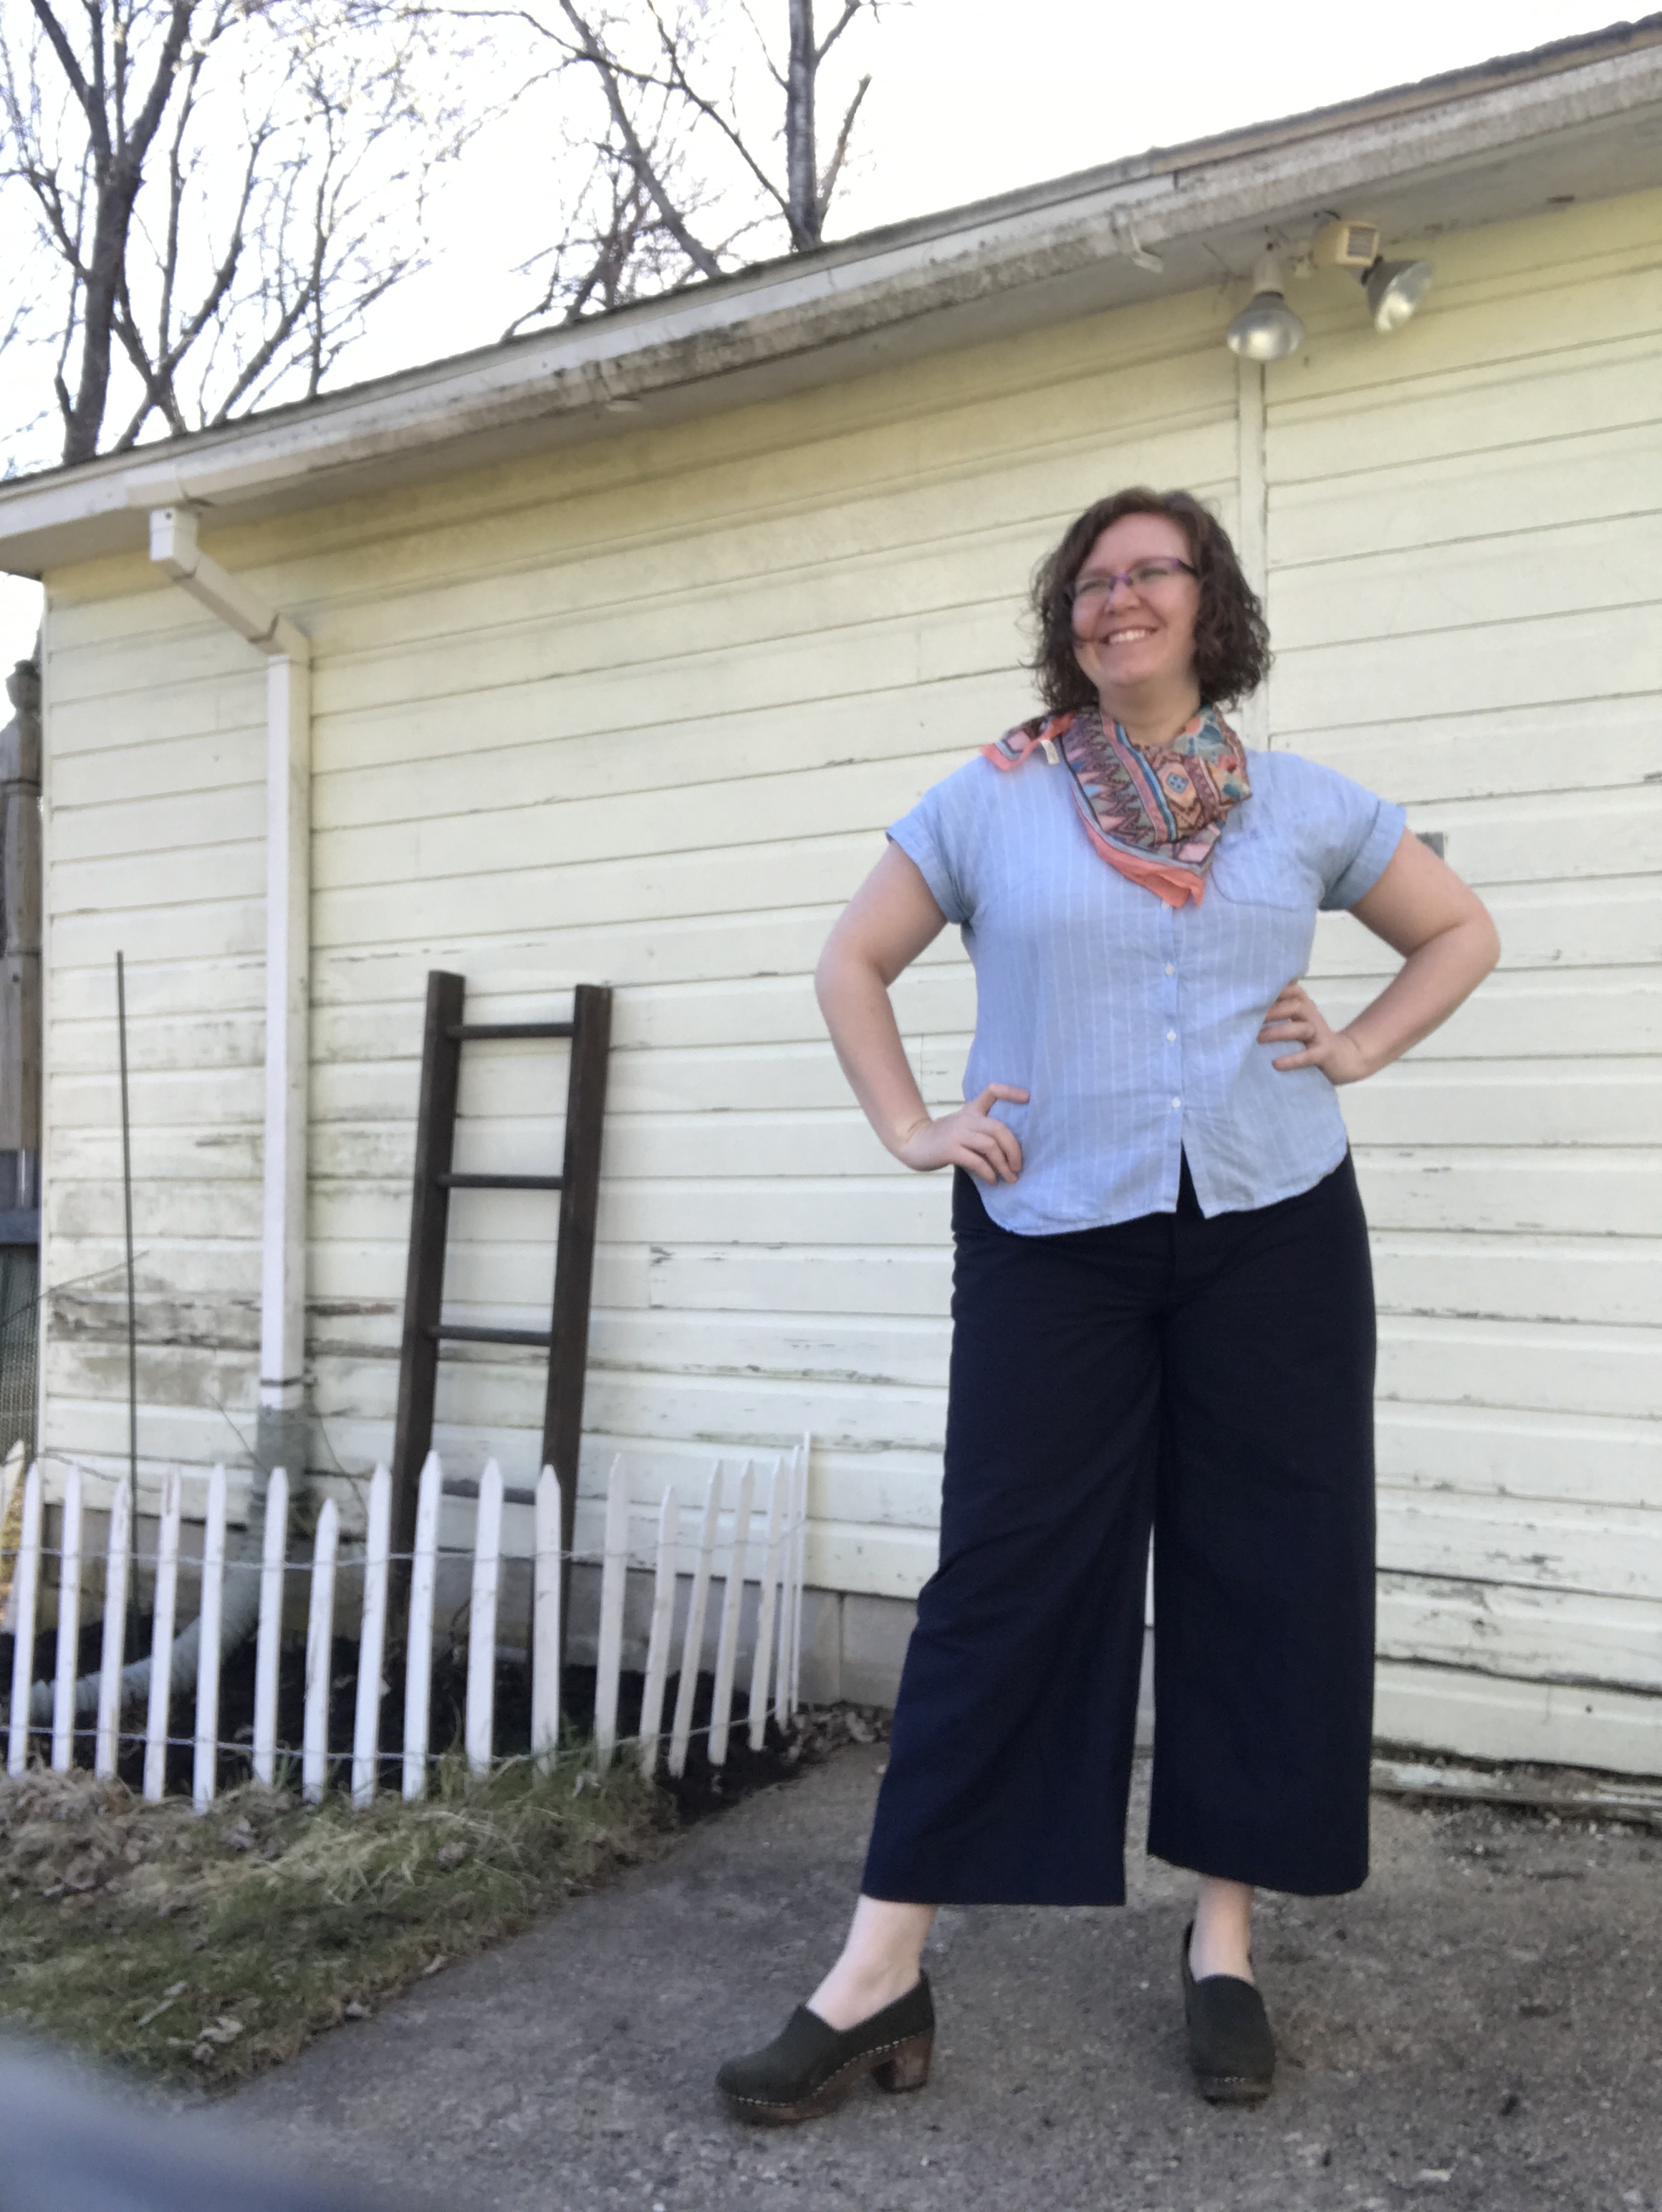
Persephone Pants

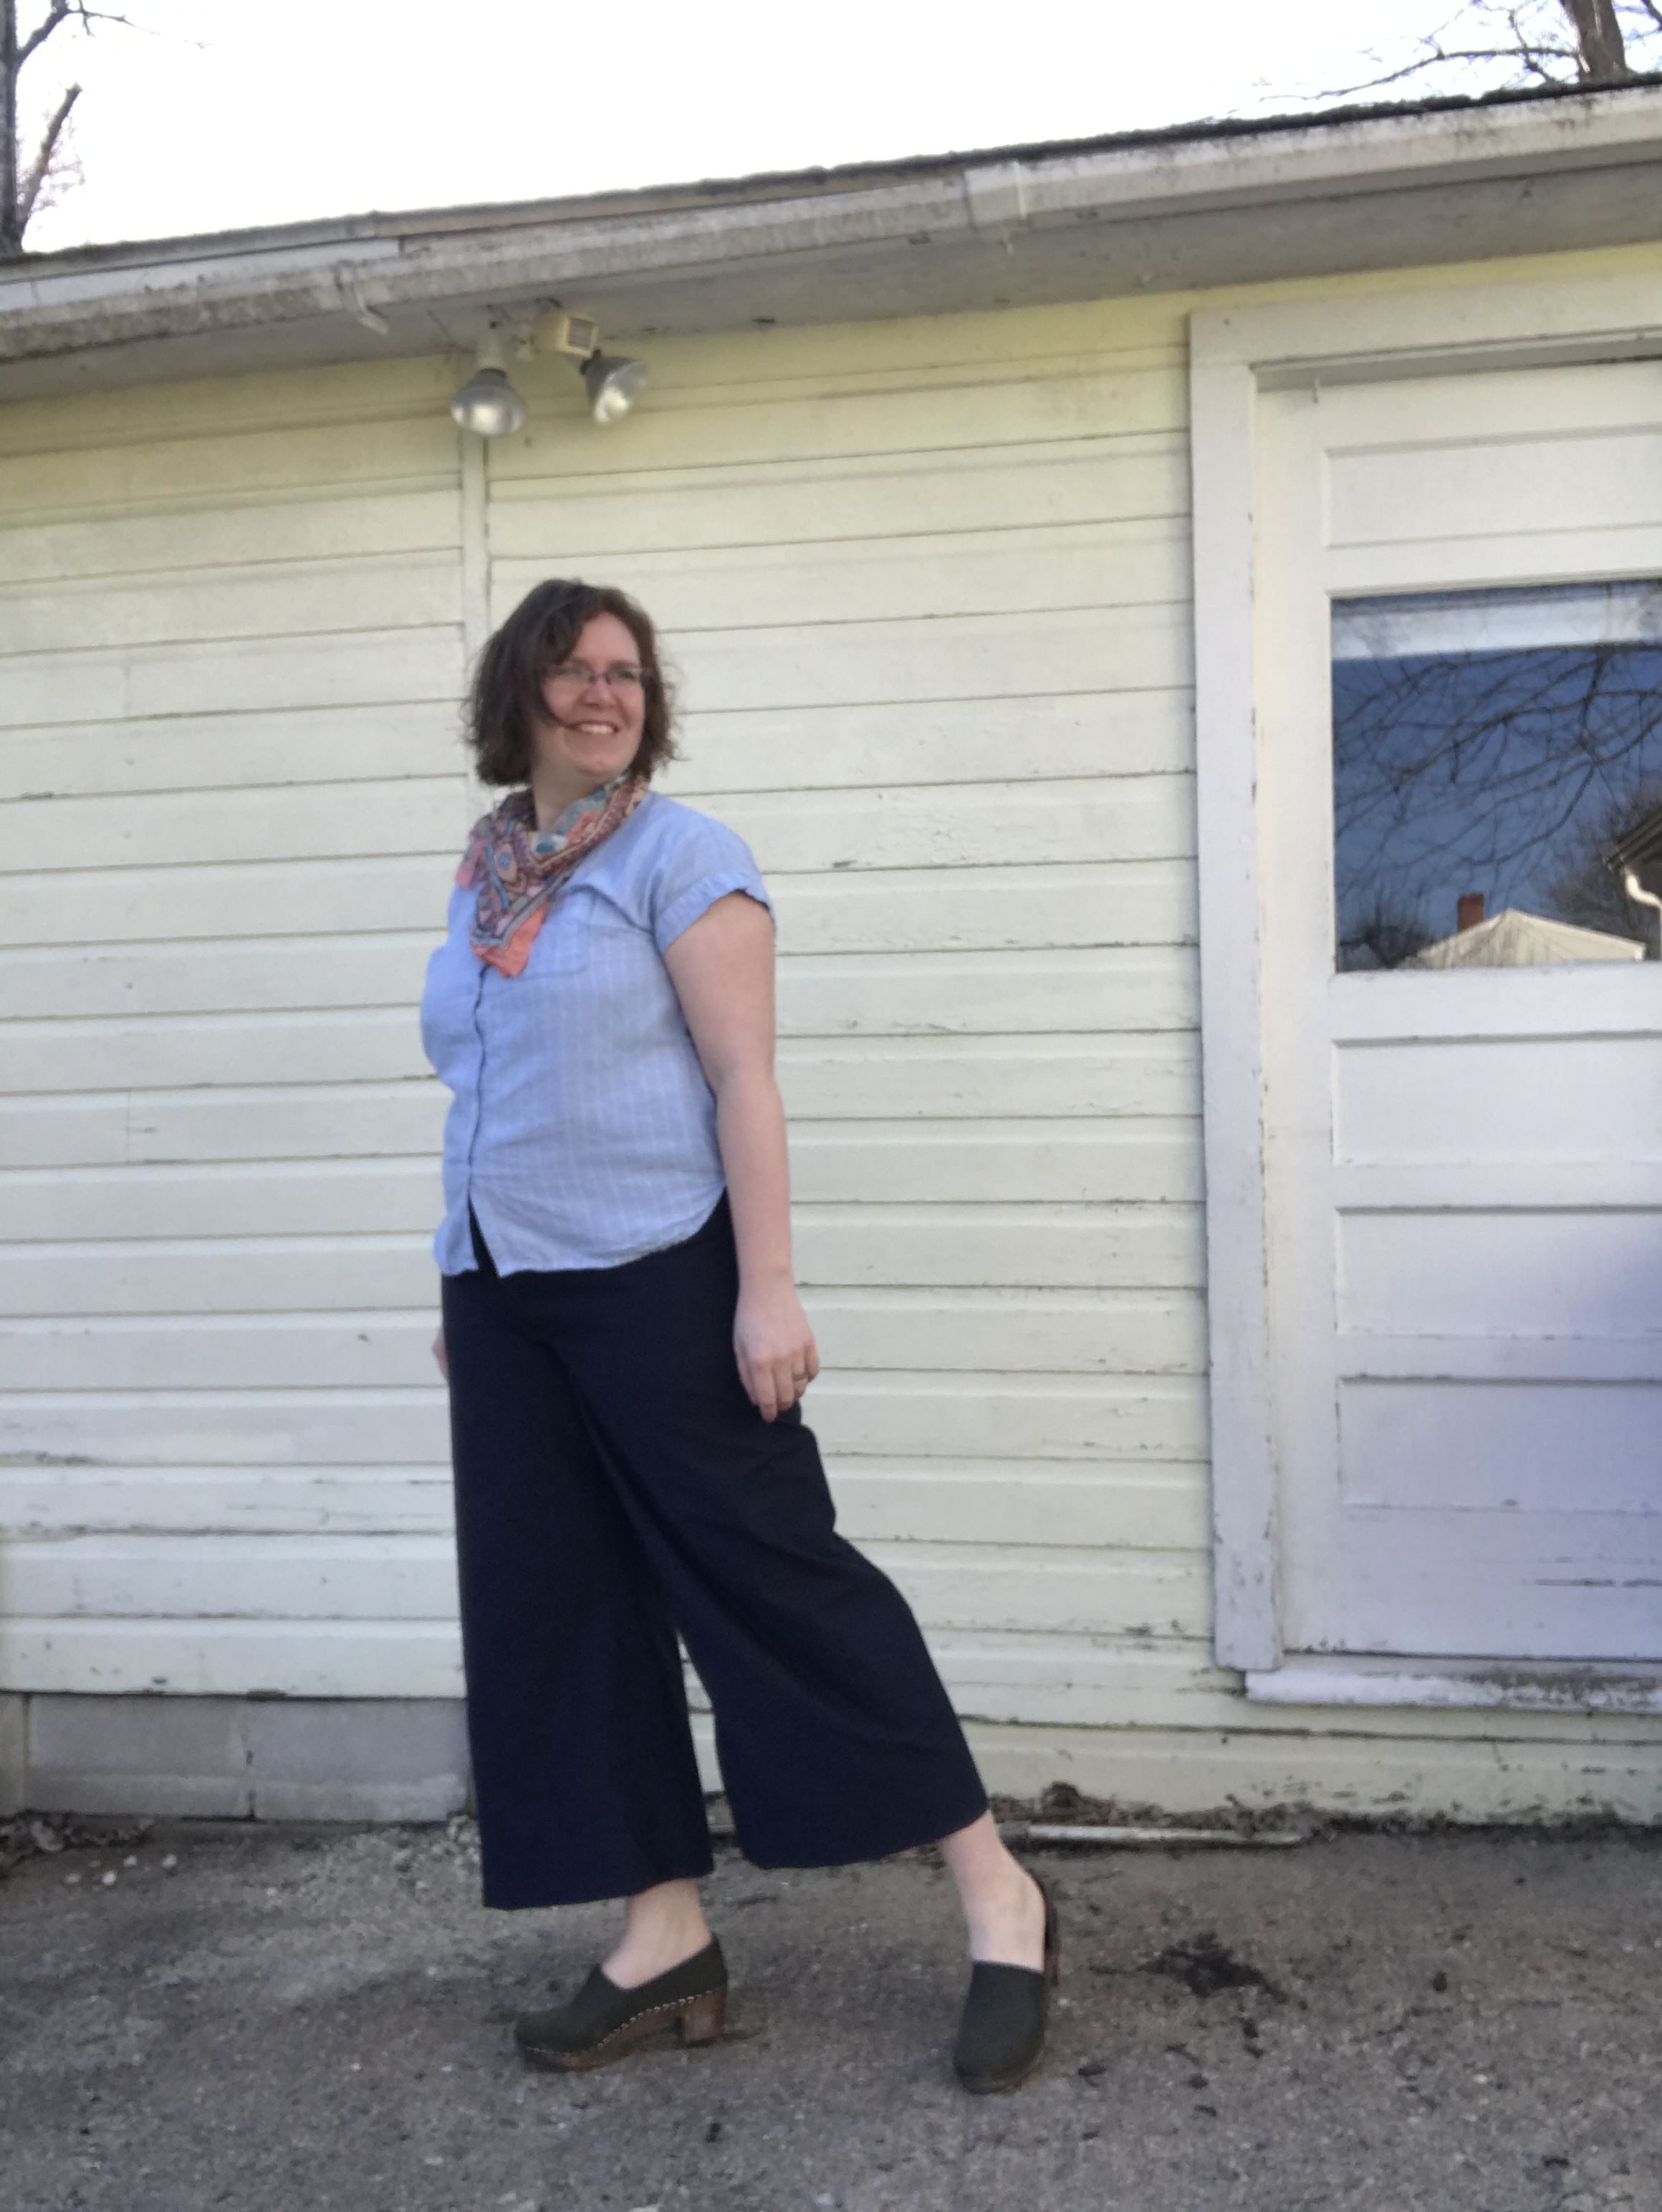
I finally sewed something again! 

Seriously, it feels like ages. I think this is the first project I've sewn this year, which considering that it's April, is quite a dry spell for me.

But these pants were worth the wait. 

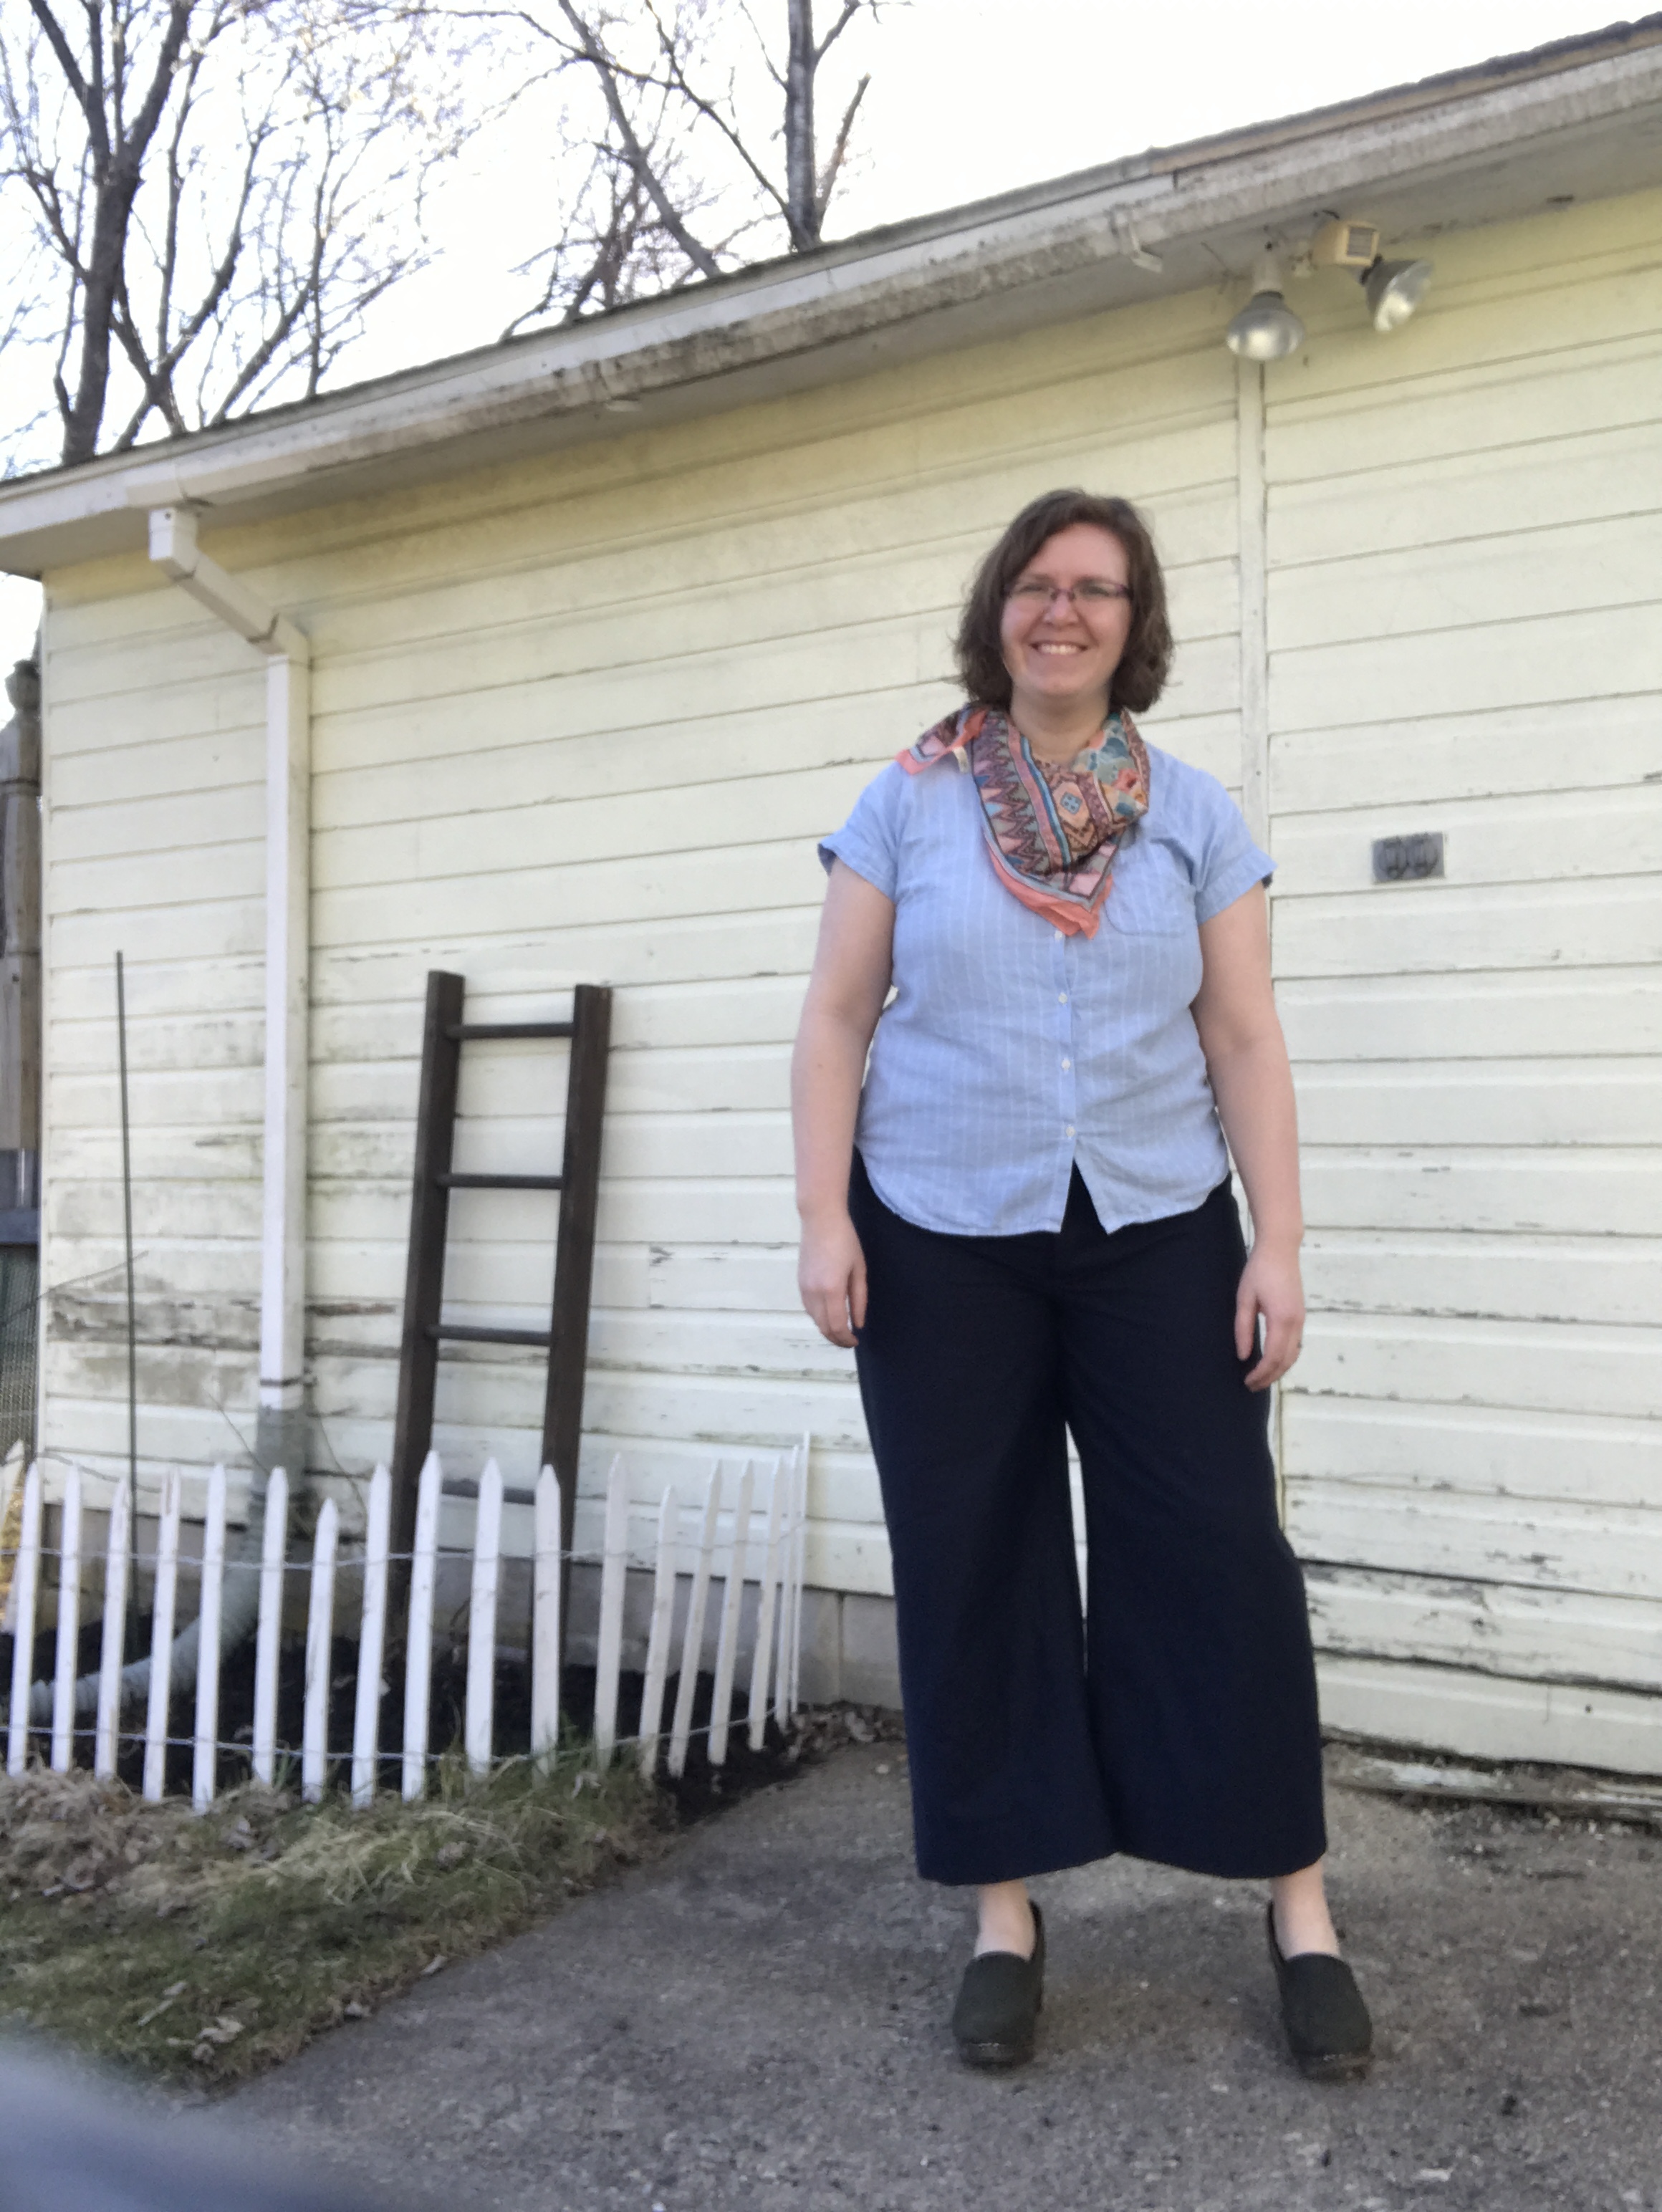
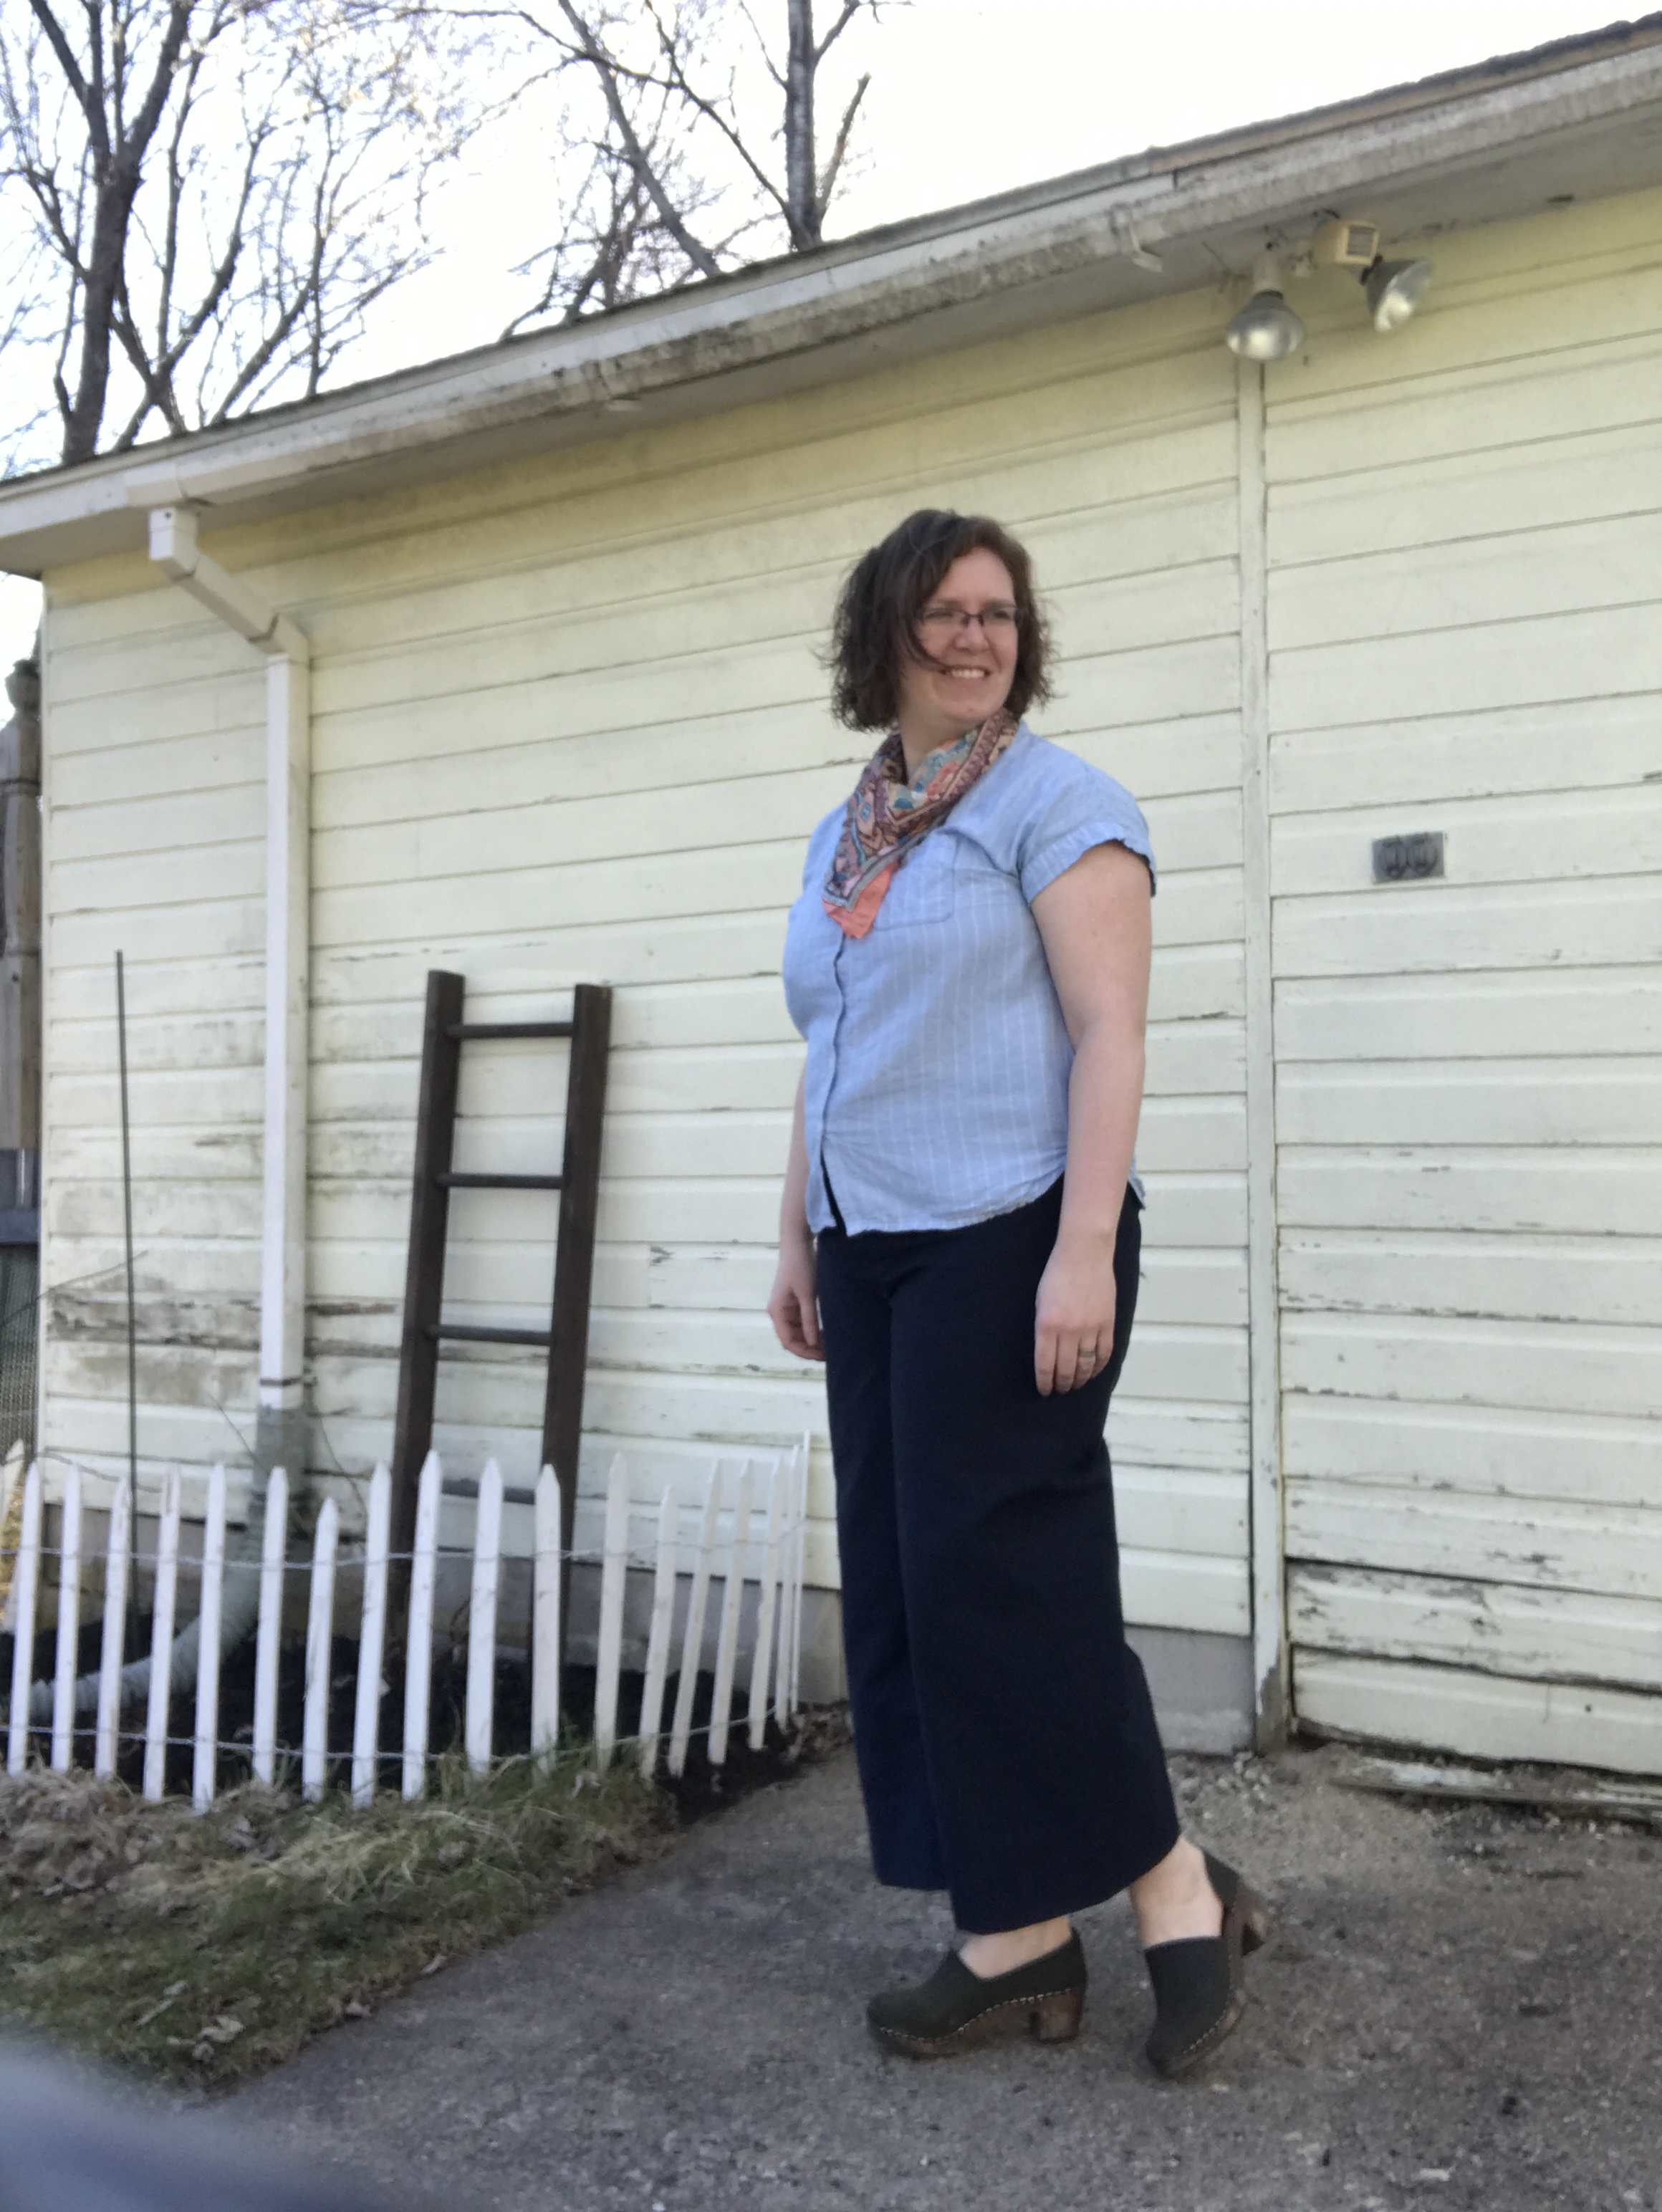
The pattern is the newly released Persephone Pants from Anna Allen Clothing. It's a high-waisted, wide legged, button-fly(!) pant inspired by traditional Navy uniform trousers. 

I've long loved her designs and volunteered to test these for her. I was a bit hesitant whether a high-waist would be comfortable, but they turned out great. I sewed a straight size 20 with a "full belly" adjustment (as found in Fit for Real People), which was an easy change. I also skipped the belt loops (wouldn't use them) and front pockets (don't need the extra bulk), so these came together very quickly one the pattern adjustments were in place. I love how the instructions for Anna's patterns include steps for getting a high-quality finish on the inside too.

The cropped length and wide leg make them stand out in my closet and although we've only had a few warm days thus far, these pants have been perfect for spring. 

Here's to getting back into the sewing saddle!


Print Friendly and PDF Follow
follow us in feedly

Slow Fashion October

If you hang around the sewings/knitting/maker community on social media, it's highly likely you've run into someone posting about #slowfashionoctober, started by (you guessed it), Karen Templer of Fringe Association. 

For those unfamiliar with the term, slow fashion, like the more common slow food, has many definition which may (or may not include): sourcing locally, sourcing ethically,  limiting purchases, and growing/making your own. In general, it is about being more conscious about your clothing purchases and is a reaction to "fast fashion," just like slow food is a reaction to "fast food." 

I wasn't really intending on participating, because, as with Me-Made-May, I feel that these sorts of things are better at engaging those in the early part of their making journeys. But life being what it is, I found I did have something to say. 

I sew and I knit the vast majority of my own clothes.  While I had been adding special me-made pieces to my wardrobe for several years, I really started making a habit of it back in 2014, when I made a pledge to myself to only purchase all my clothes from ethical sources. I did a lot of research into brands and while I found some real winners, a lot of what was out there didn't fit my style, or my budget. Since I already had the skills, it just became easier to make my own.

Fast forward a few years and I'd gotten a nice wardrobe of clothes I felt good about. Then I started taking some medication, which was/is super helpful for my anxiety, but came with the side effect of some significant weight gain.

The mental health trade off was more than worth it, but suddenly,I had a closet full of clothes that didn't fit at all or barely fit and were no longer flattering.

How do you do slow fashion when you legitimately need all new clothes?


It's something I struggled with a lot over the past year. To walk into a store and buy the things I needed felt like a failure of my morals, to continue to wear clothes that didn't fit was a daily knock on my self-esteem. 

I hit up the thrift and consignment stores, but the choices in my new size were extremely limited - there were literally only two pairs of shorts in my size in an entire Goodwill on one trip. I looked into online consignment sites and it wasn't much better.

So I returned to my sewing skills. But my time to sew is limited to a few hours on the weekend - so it's not like I can churn out a dozen items just like "that."

So, I came back to what the core of slow fashion is about for me:

What do I really need? How much is enough?


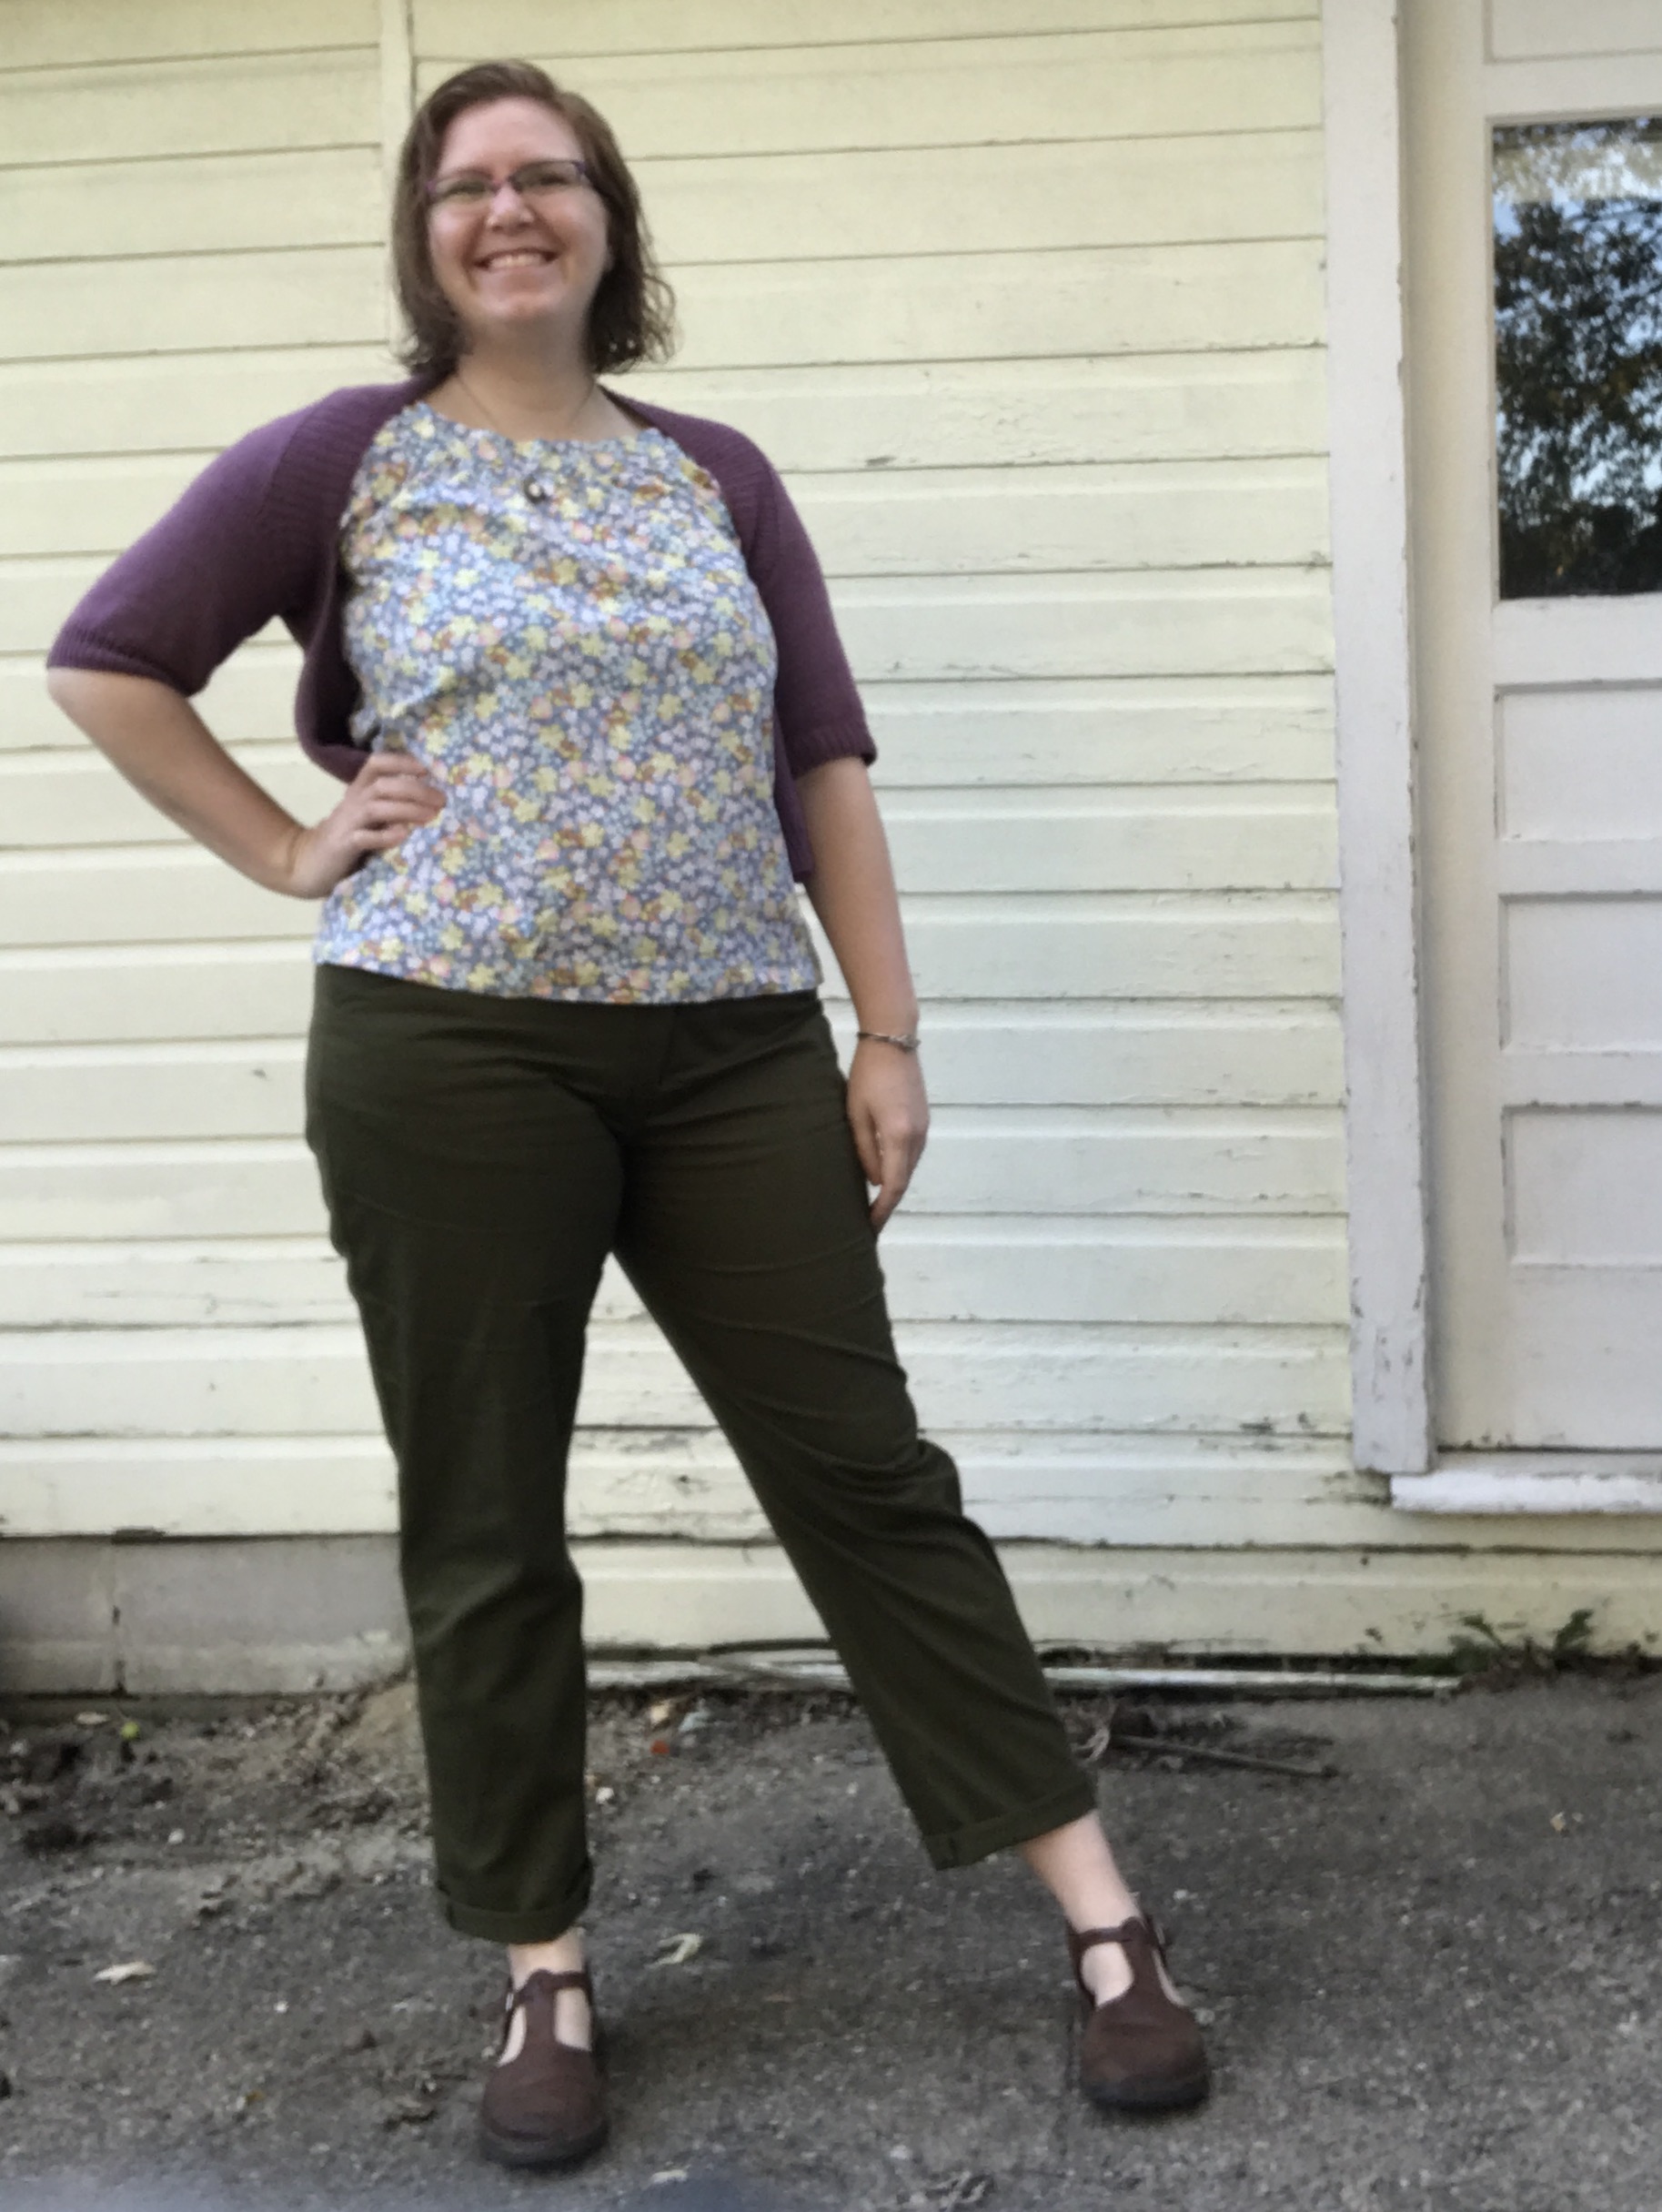
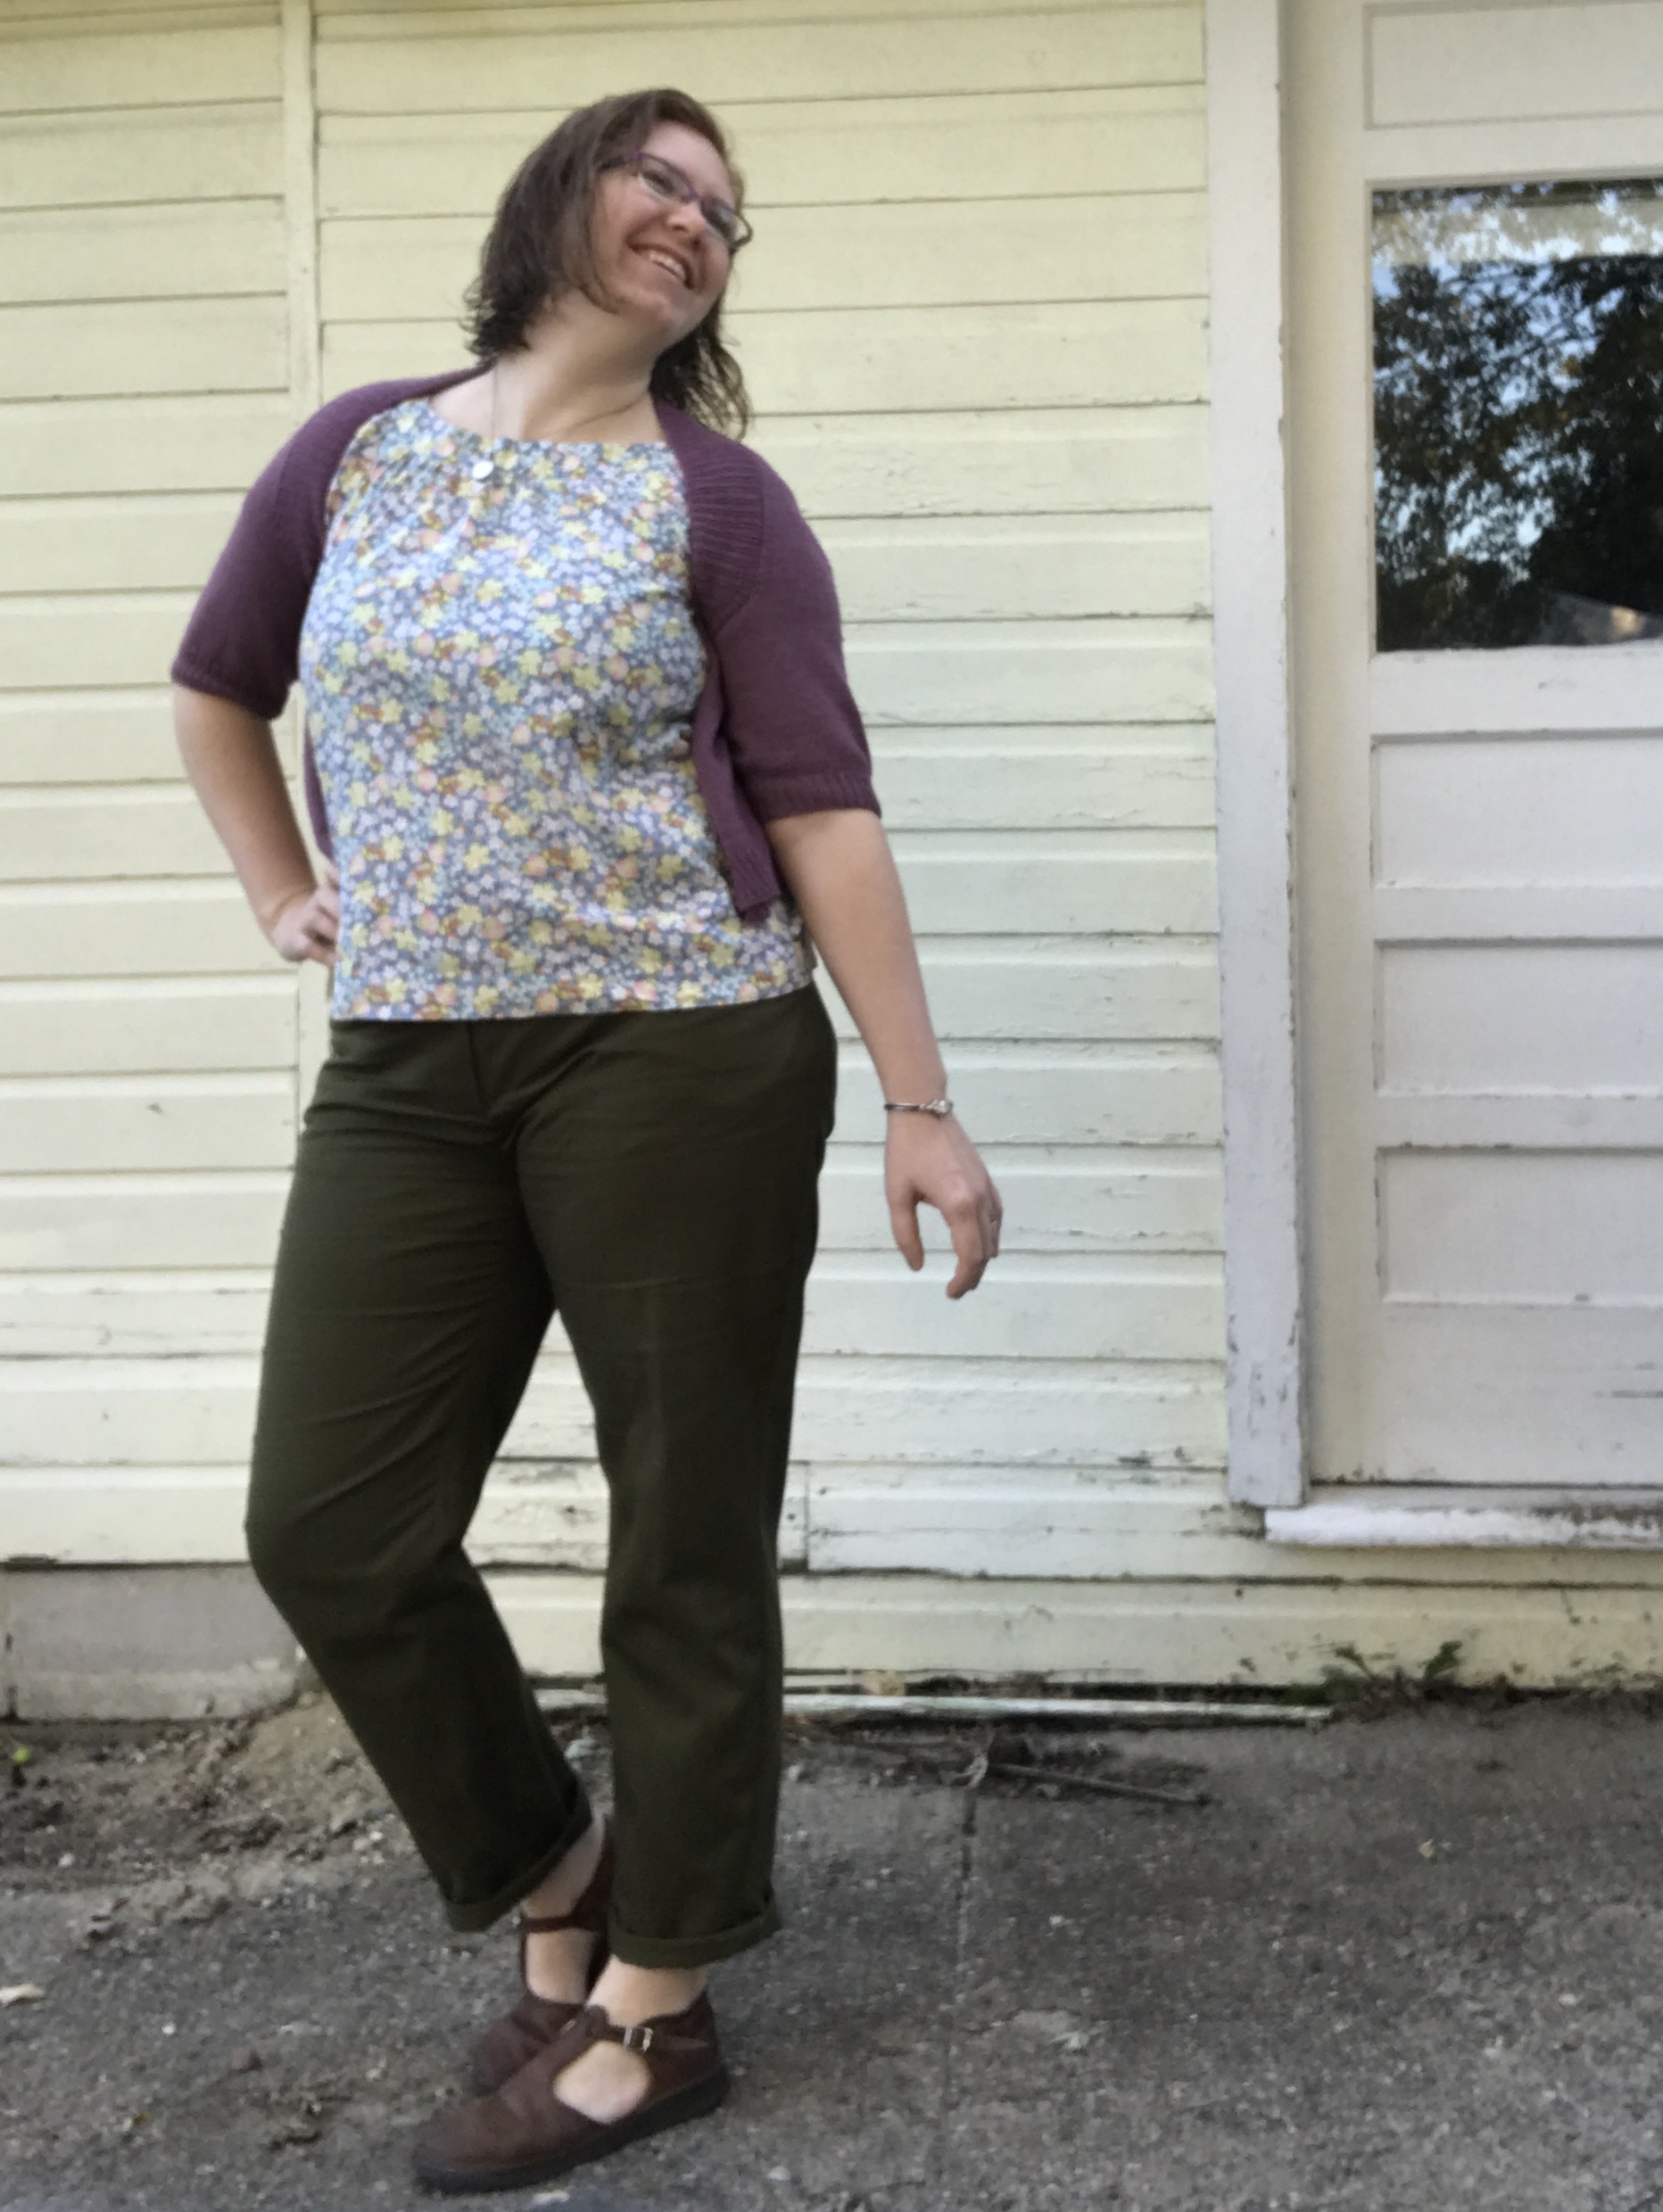
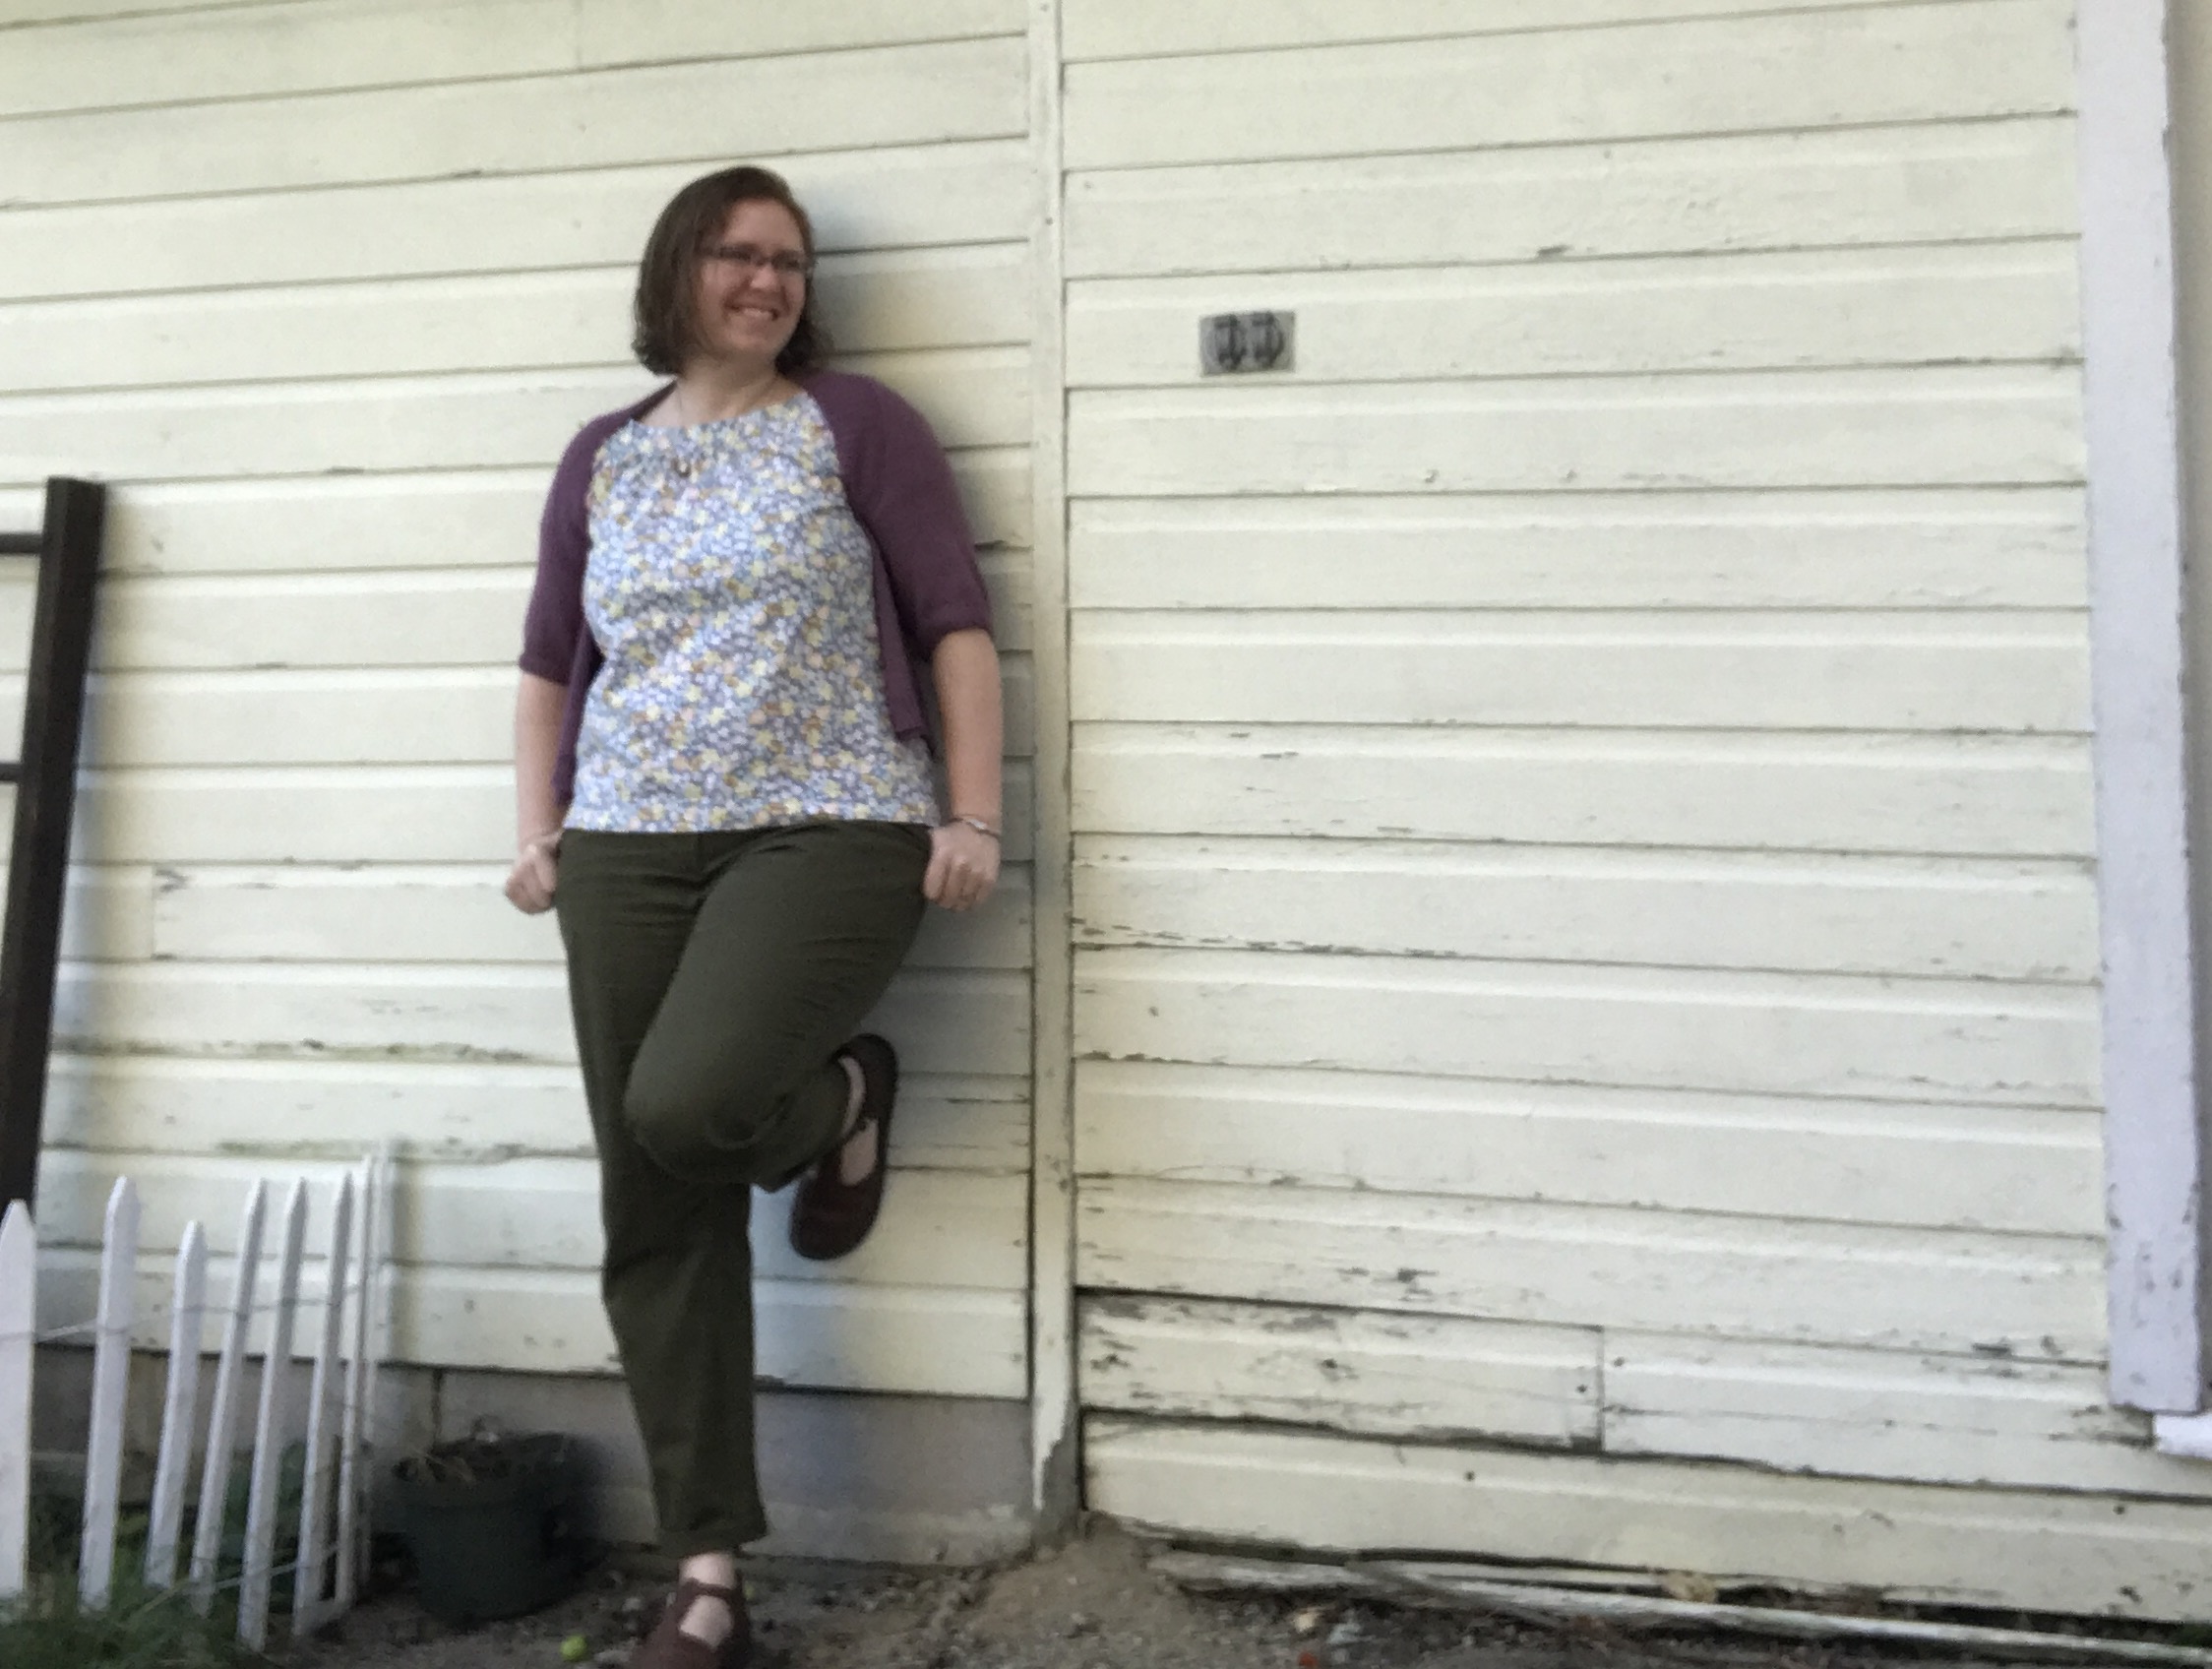
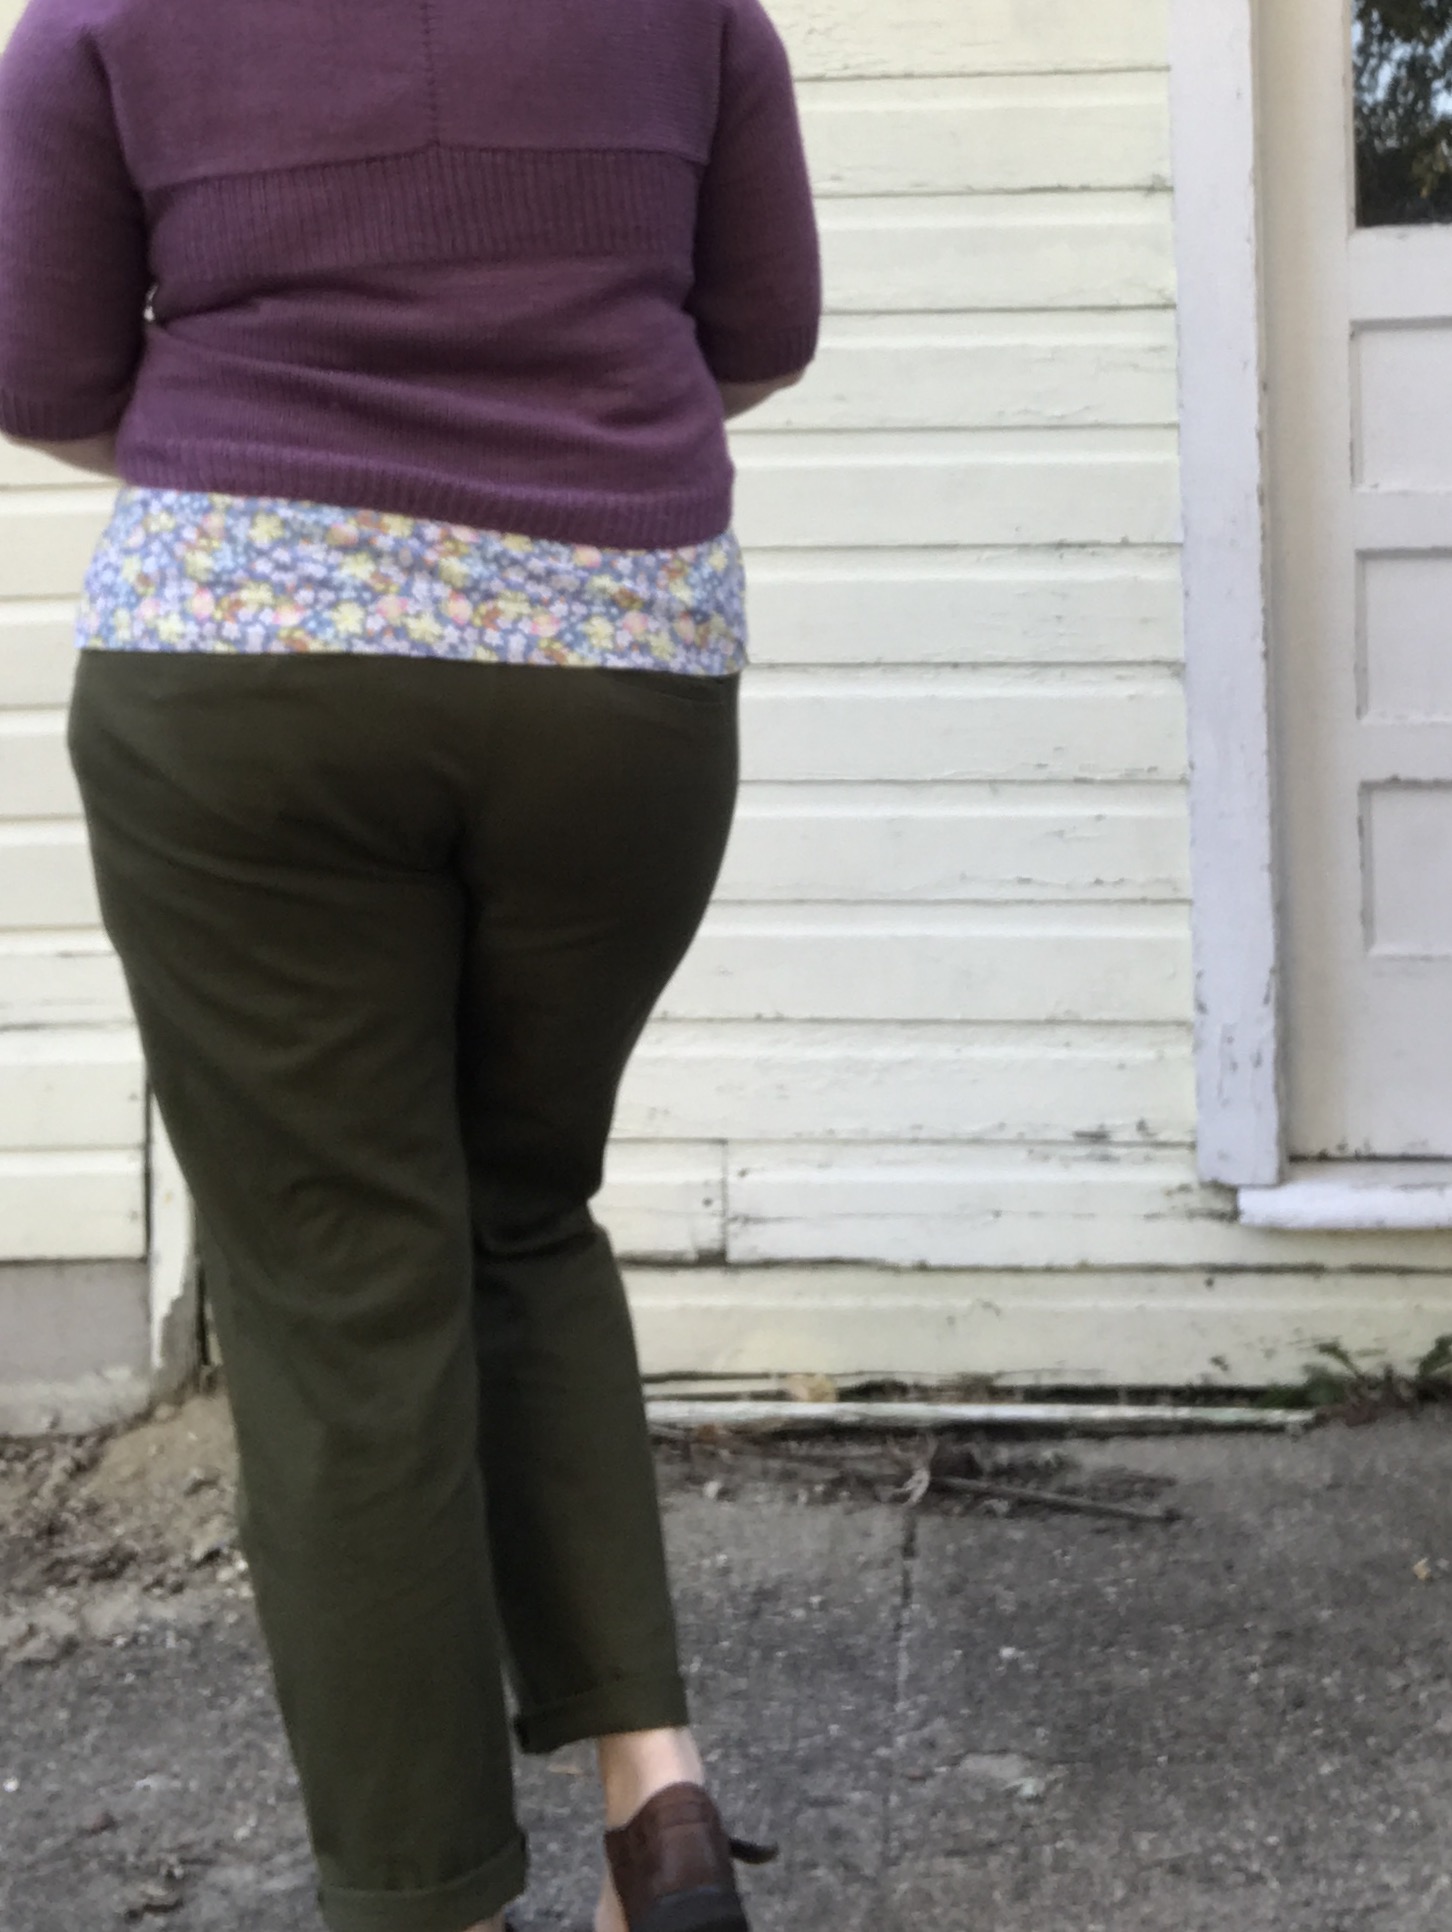
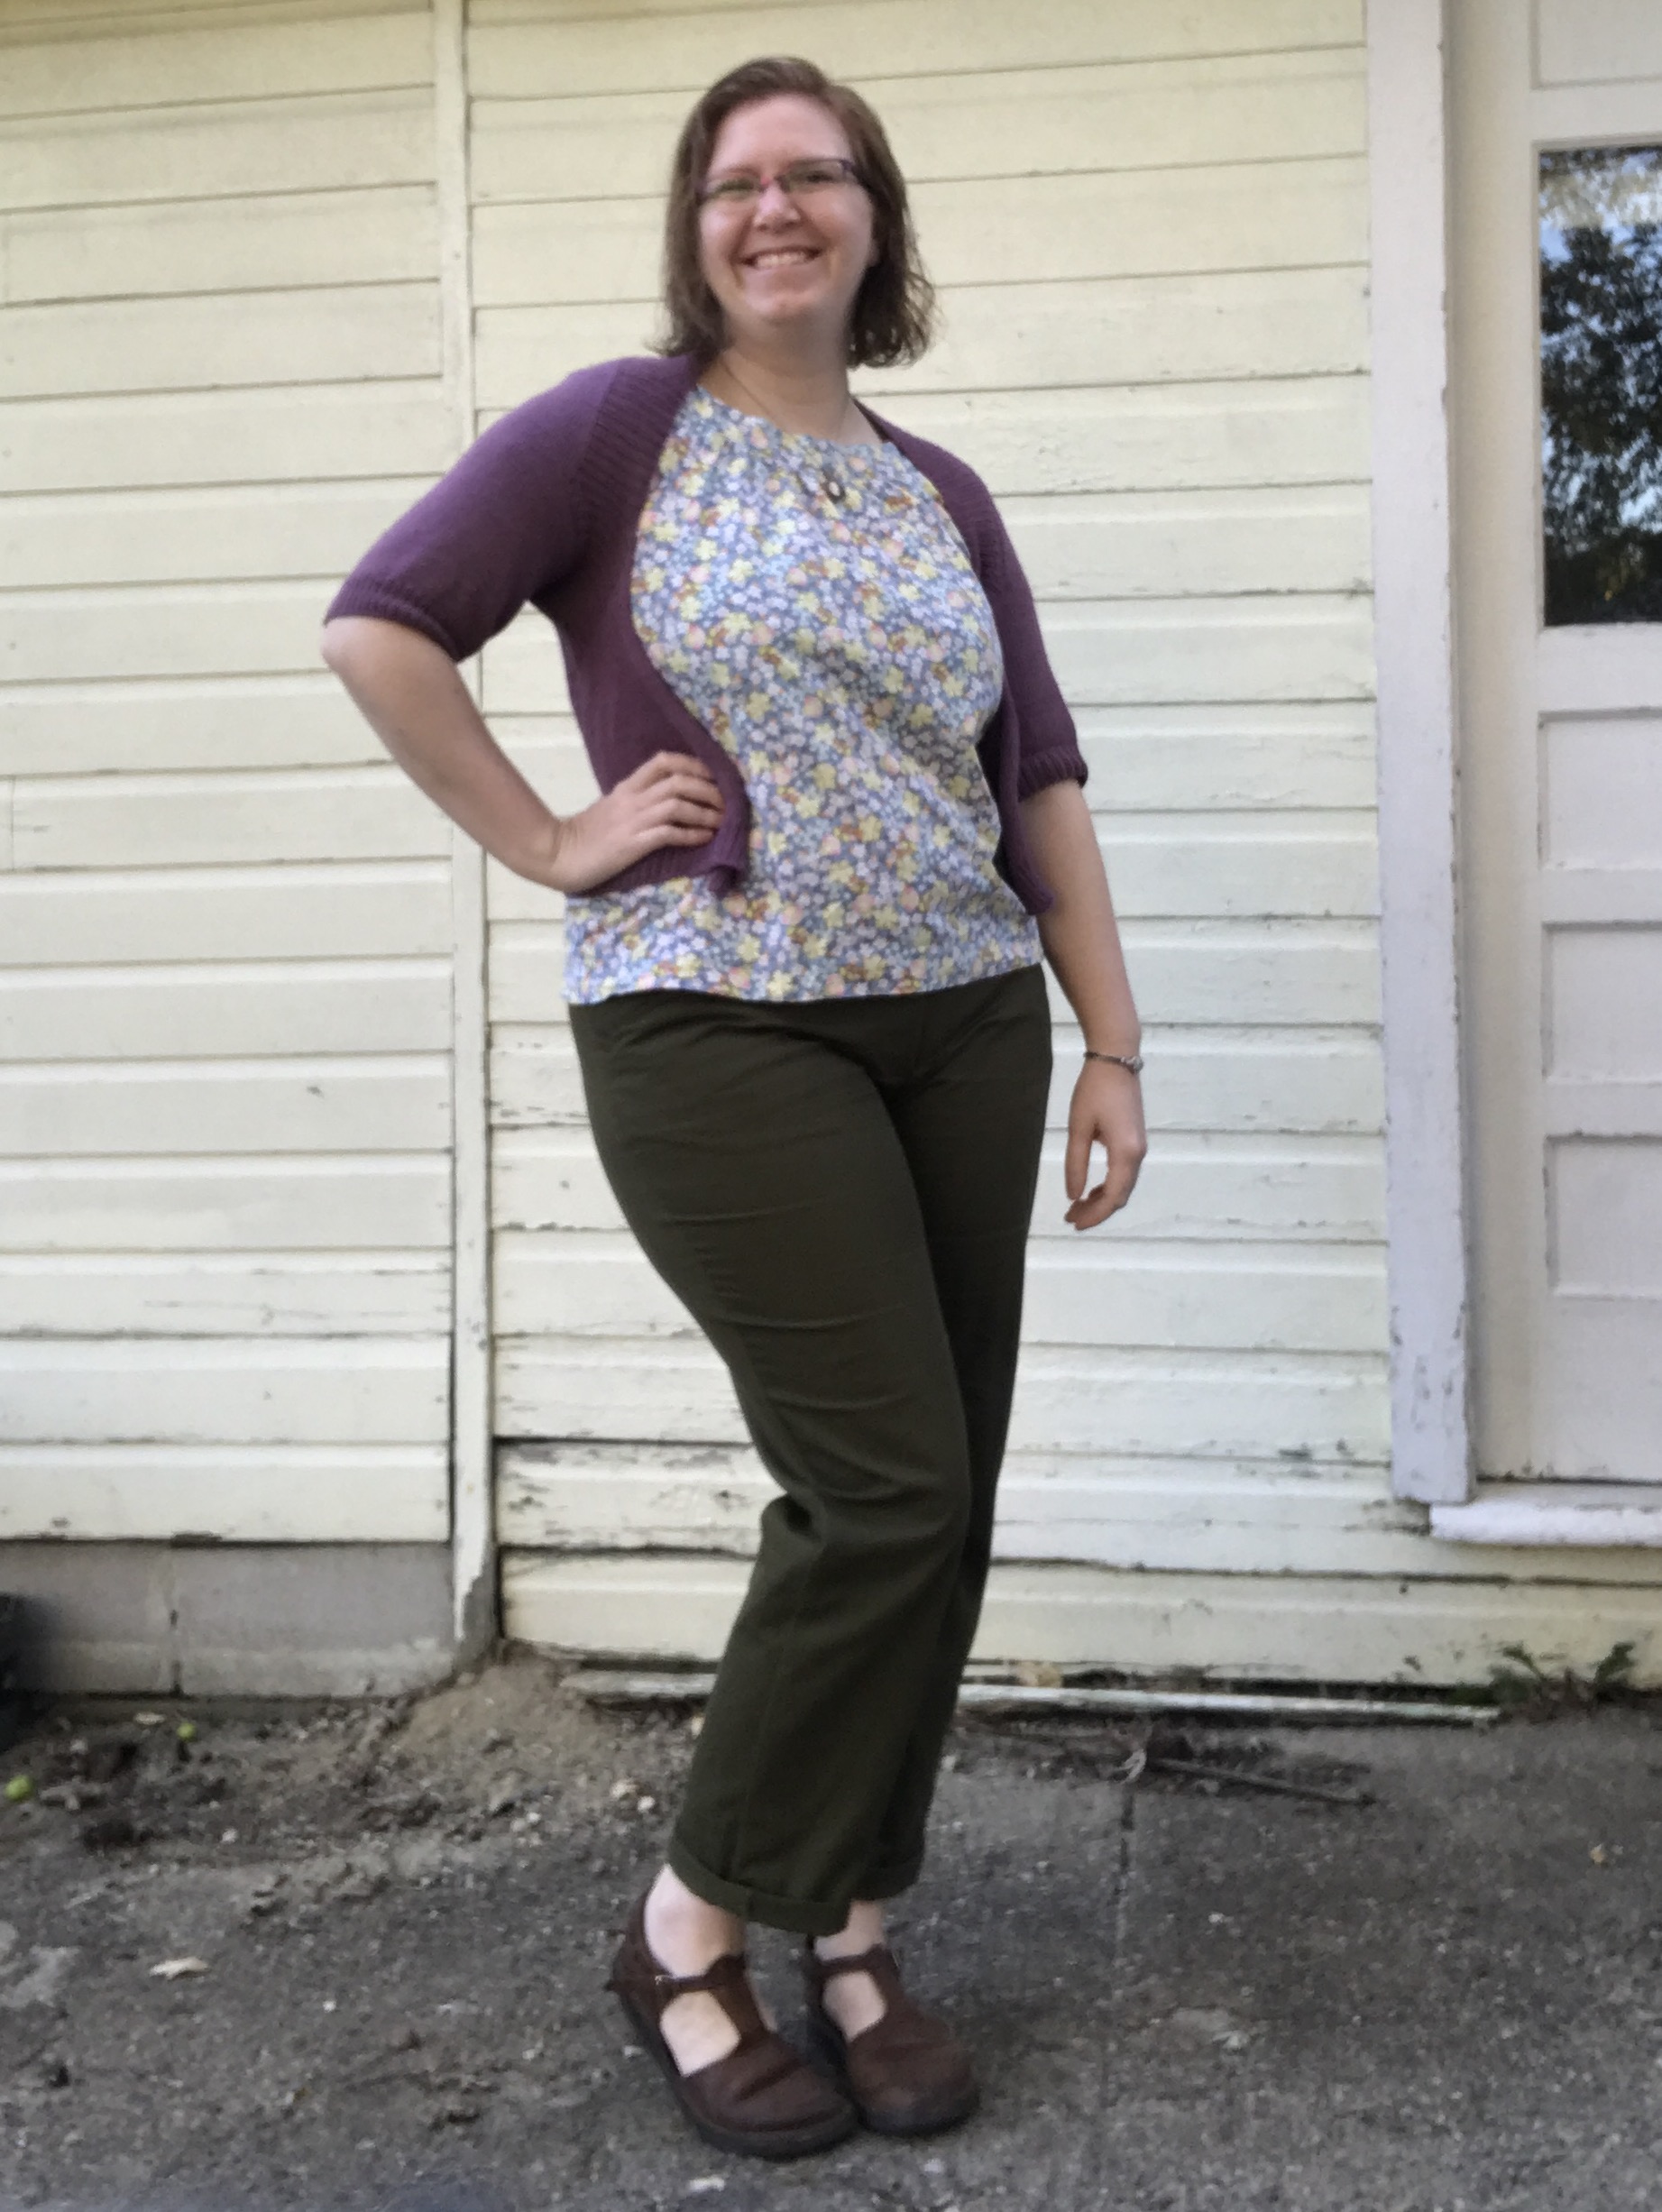
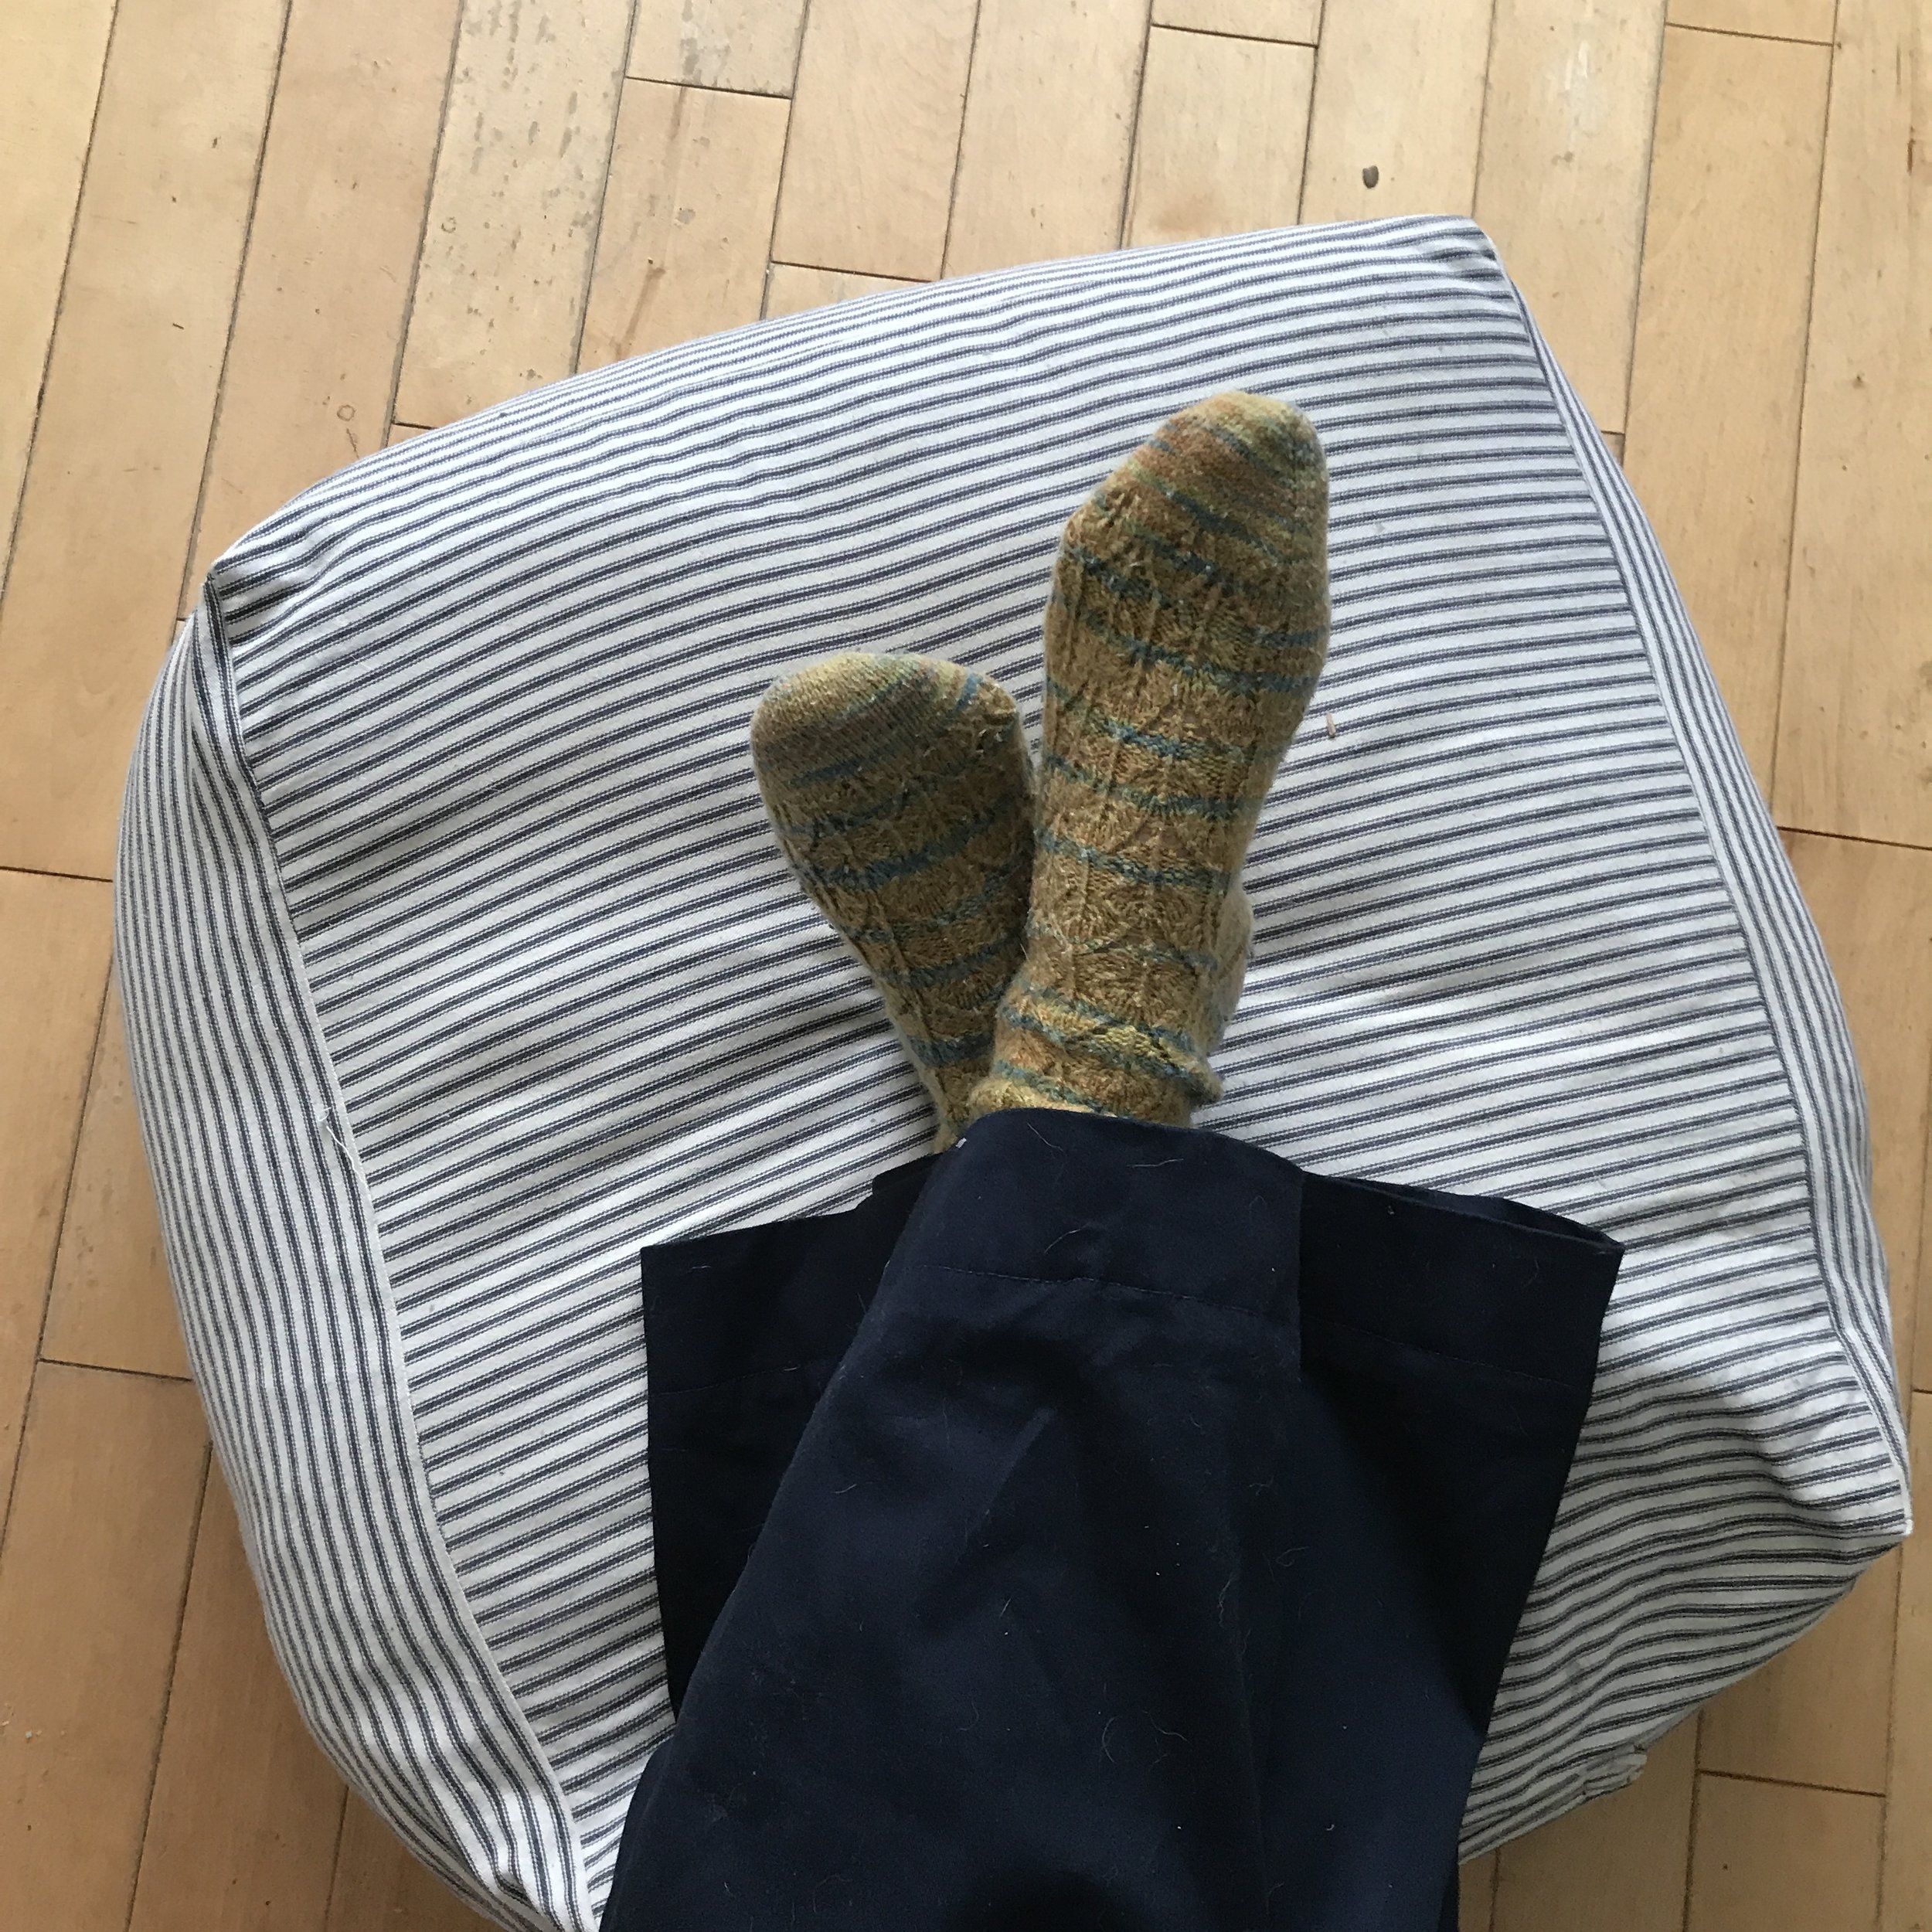
When you have no pants/trousers, two pair that fit is an amazing amount of variety. These photos are of one of those two pairs. The others are the navy blue cuffs you see in the cushion photo. Both are Thurlow Trousers, which I love because you fit the waist band last, making it easy to adjust and they have extra seam allowance built in for just that purpose.  I sewed them both in the past month. 

Last week, I cleaned out everything in my closet that didn't fit anymore and put in the pile for donation or (if I loved it) into the attic.  That left me with basically a) things I've sewed since April, b) knit dresses, and c) skirts. (T-shirts and sweaters that live in the bureau also mostly made the cut).  There's not a lot there, but I know I can wear every single piece of it, and that is an excellent kind of choice. 

There are some noticeable gaps - I'd like a grey sweater, a few more work-appropriate long-sleeved shirts, some cords, and pair of jeans that I don't have to fight the zipper on, but it seems like a manageable list.  And I know exactly what should be on that list, because of they're the things I hated having to put away. 

I realize that I come from a place of privilege in that the limitations are all of my own making and not driven by financial necessity, but I have also found it empowering to know that self-constructed or not, I can work within these limitations.

A Few Other Thoughts on Sustainability

Though I'm definitely "From Away" and will always carry my California Girl upbringing in my heart, I have been accused more than once of having a "pioneer woman" and/or Yankee sensibility when it comes to 1)asking for help, 2) hard work and 3) waste.

I always feel awful about throwing away fabric, so I don't. 

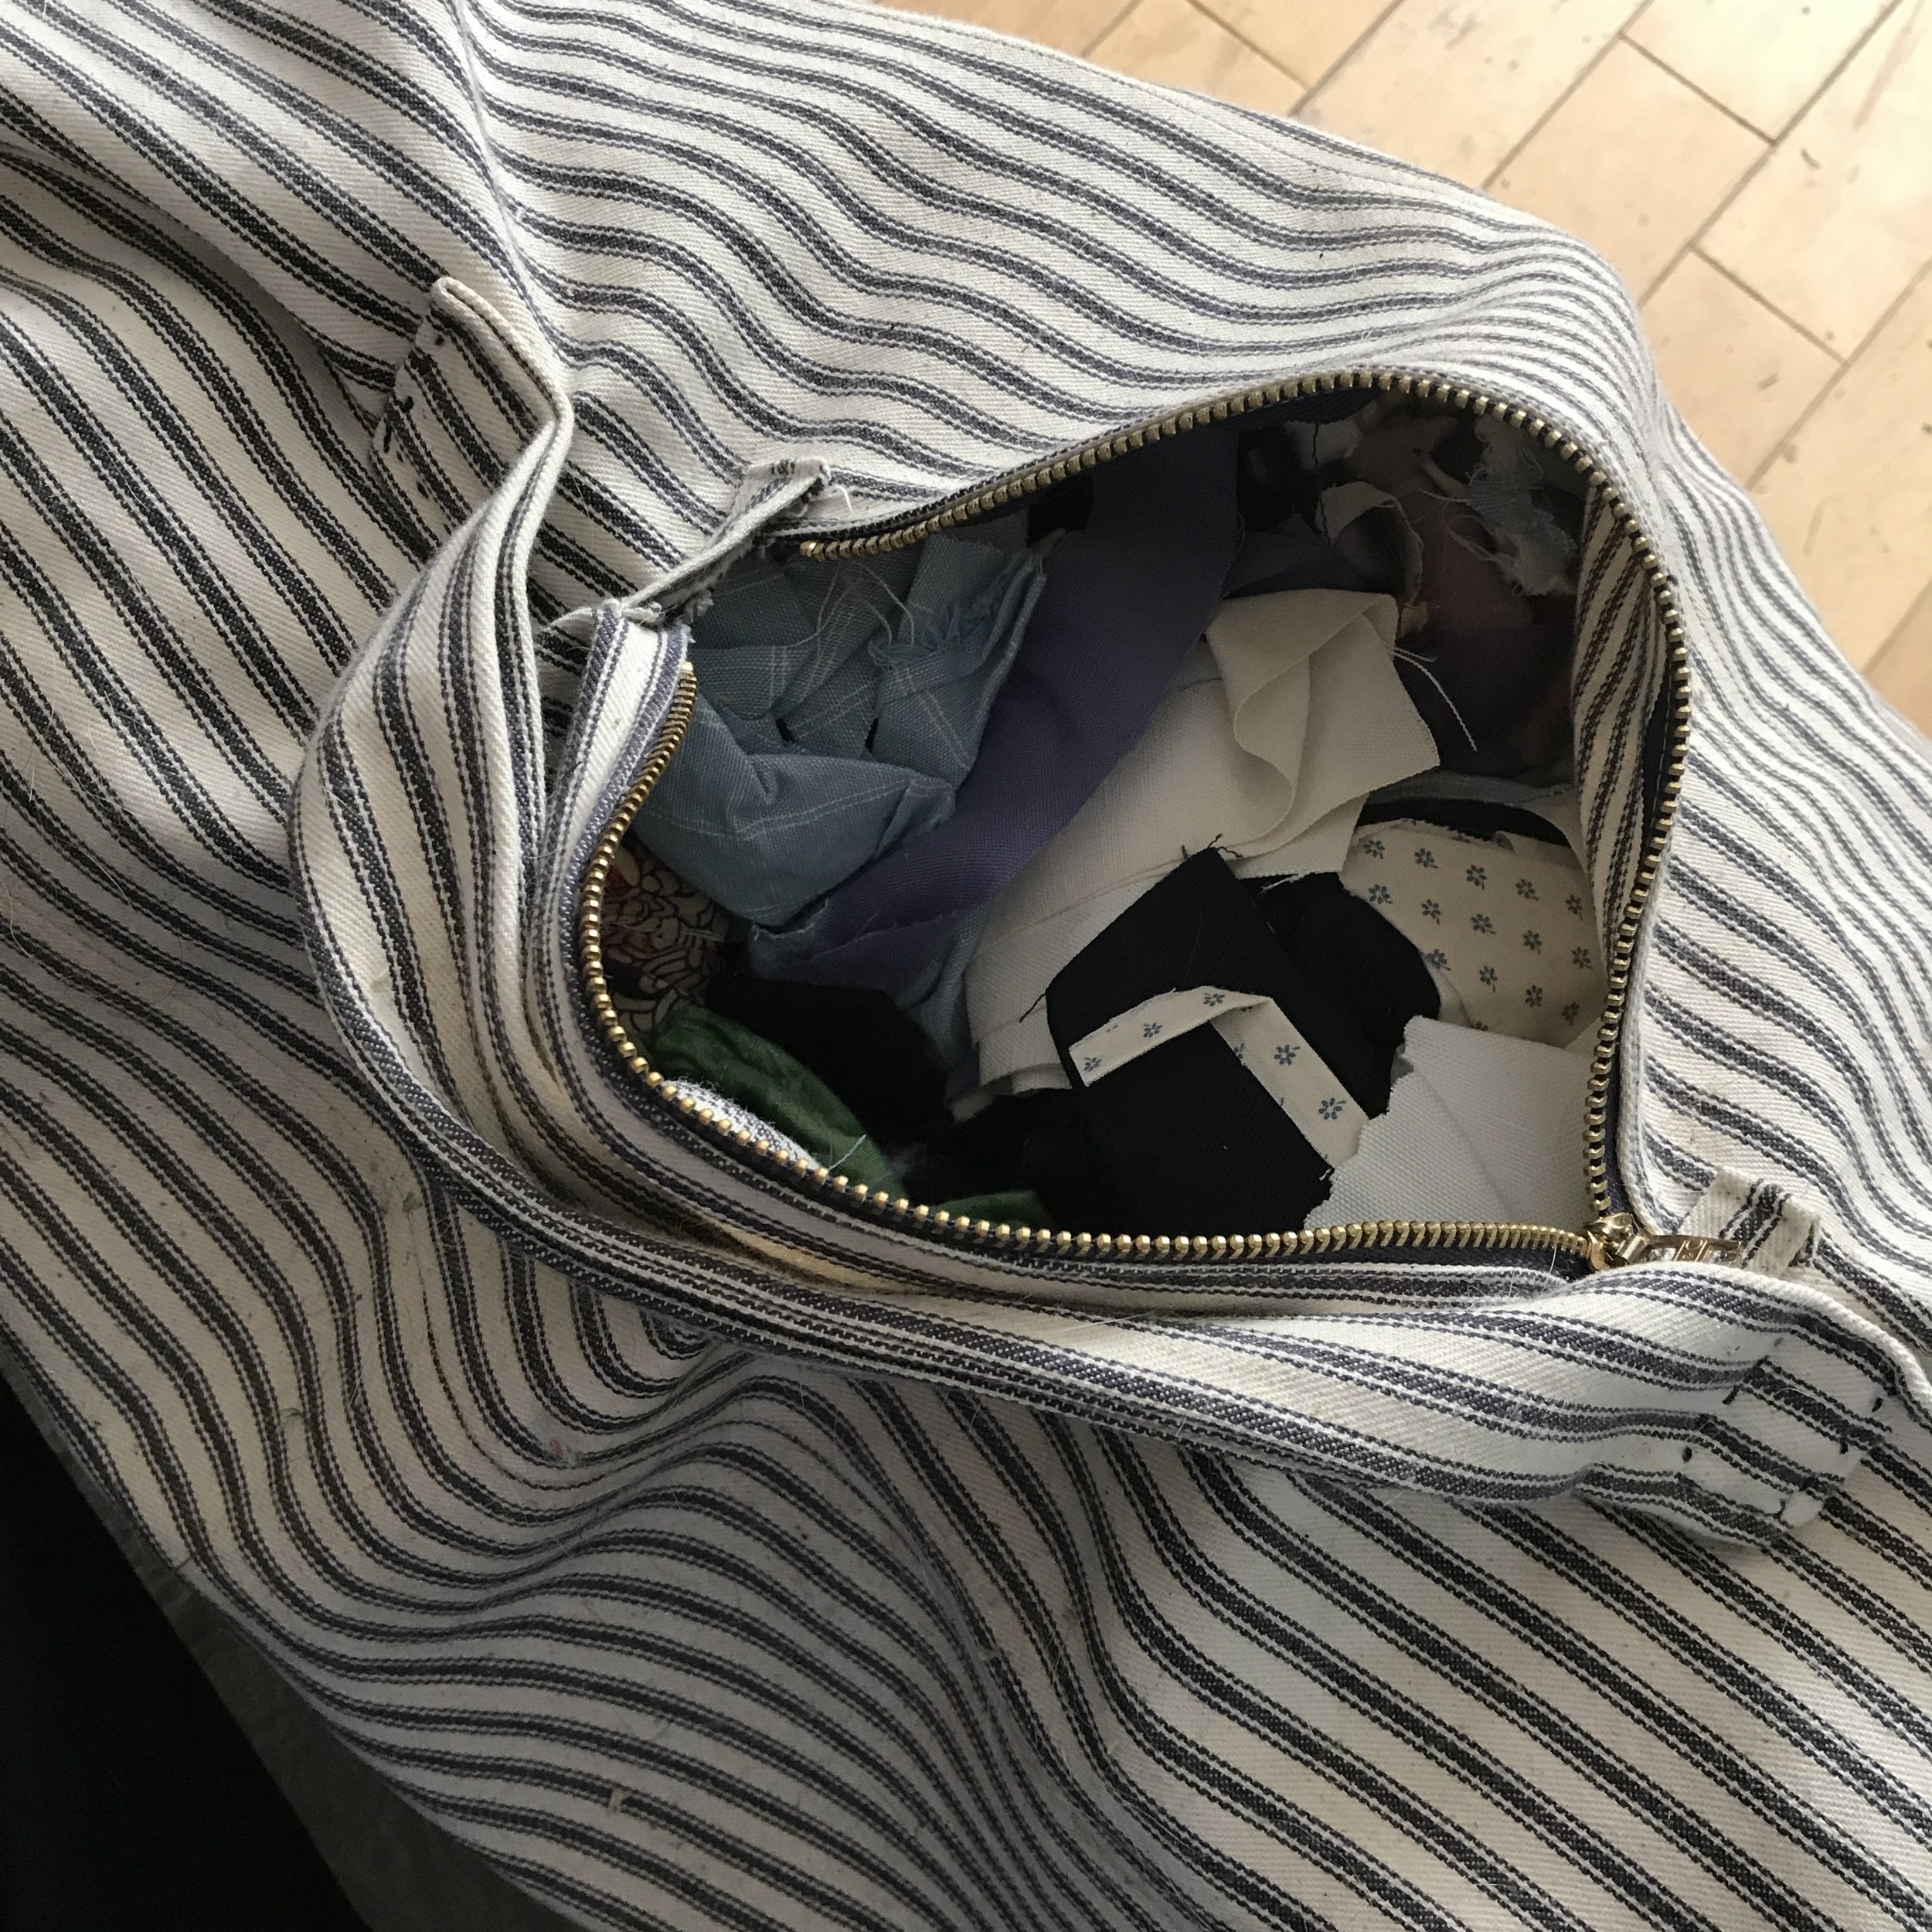
I have saved literally every scrap of fabric leftover from cutting out a pattern for six years, or at least since we moved into our house in 2011.

Those scraps, along with all the old knitting swatches I don't need anymore, and a few pieces of sofa stuffing our dog ripped out, filled about 5 gallon-sized Ziploc bags in my closet. A few months ago, I sewed up this rather comfy floor cushion and stuffed it with those scraps. It's super heavy, but worked great as a footstool. The funny thing is, I had to make the cushion with a zipper, because there is still room for more!! 

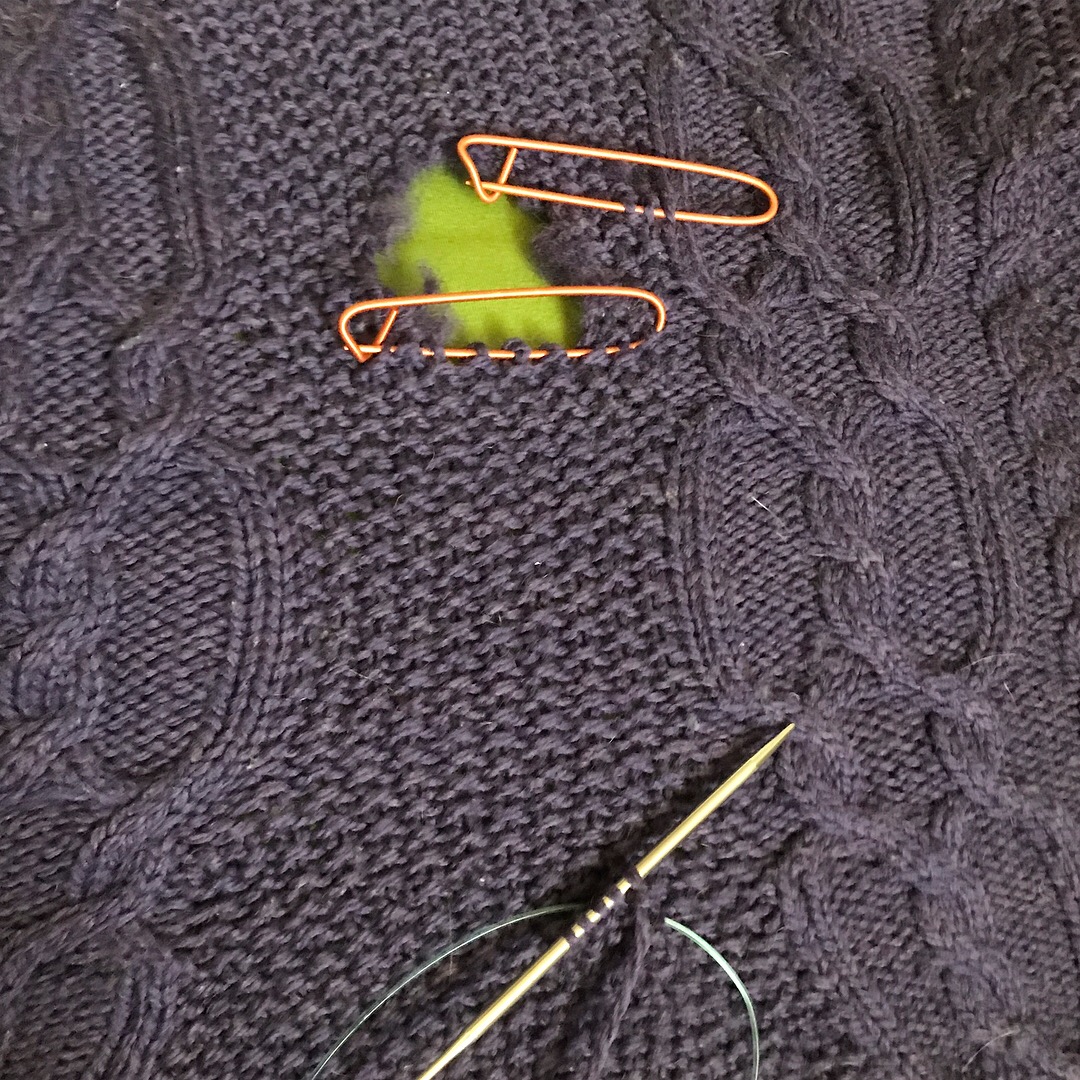
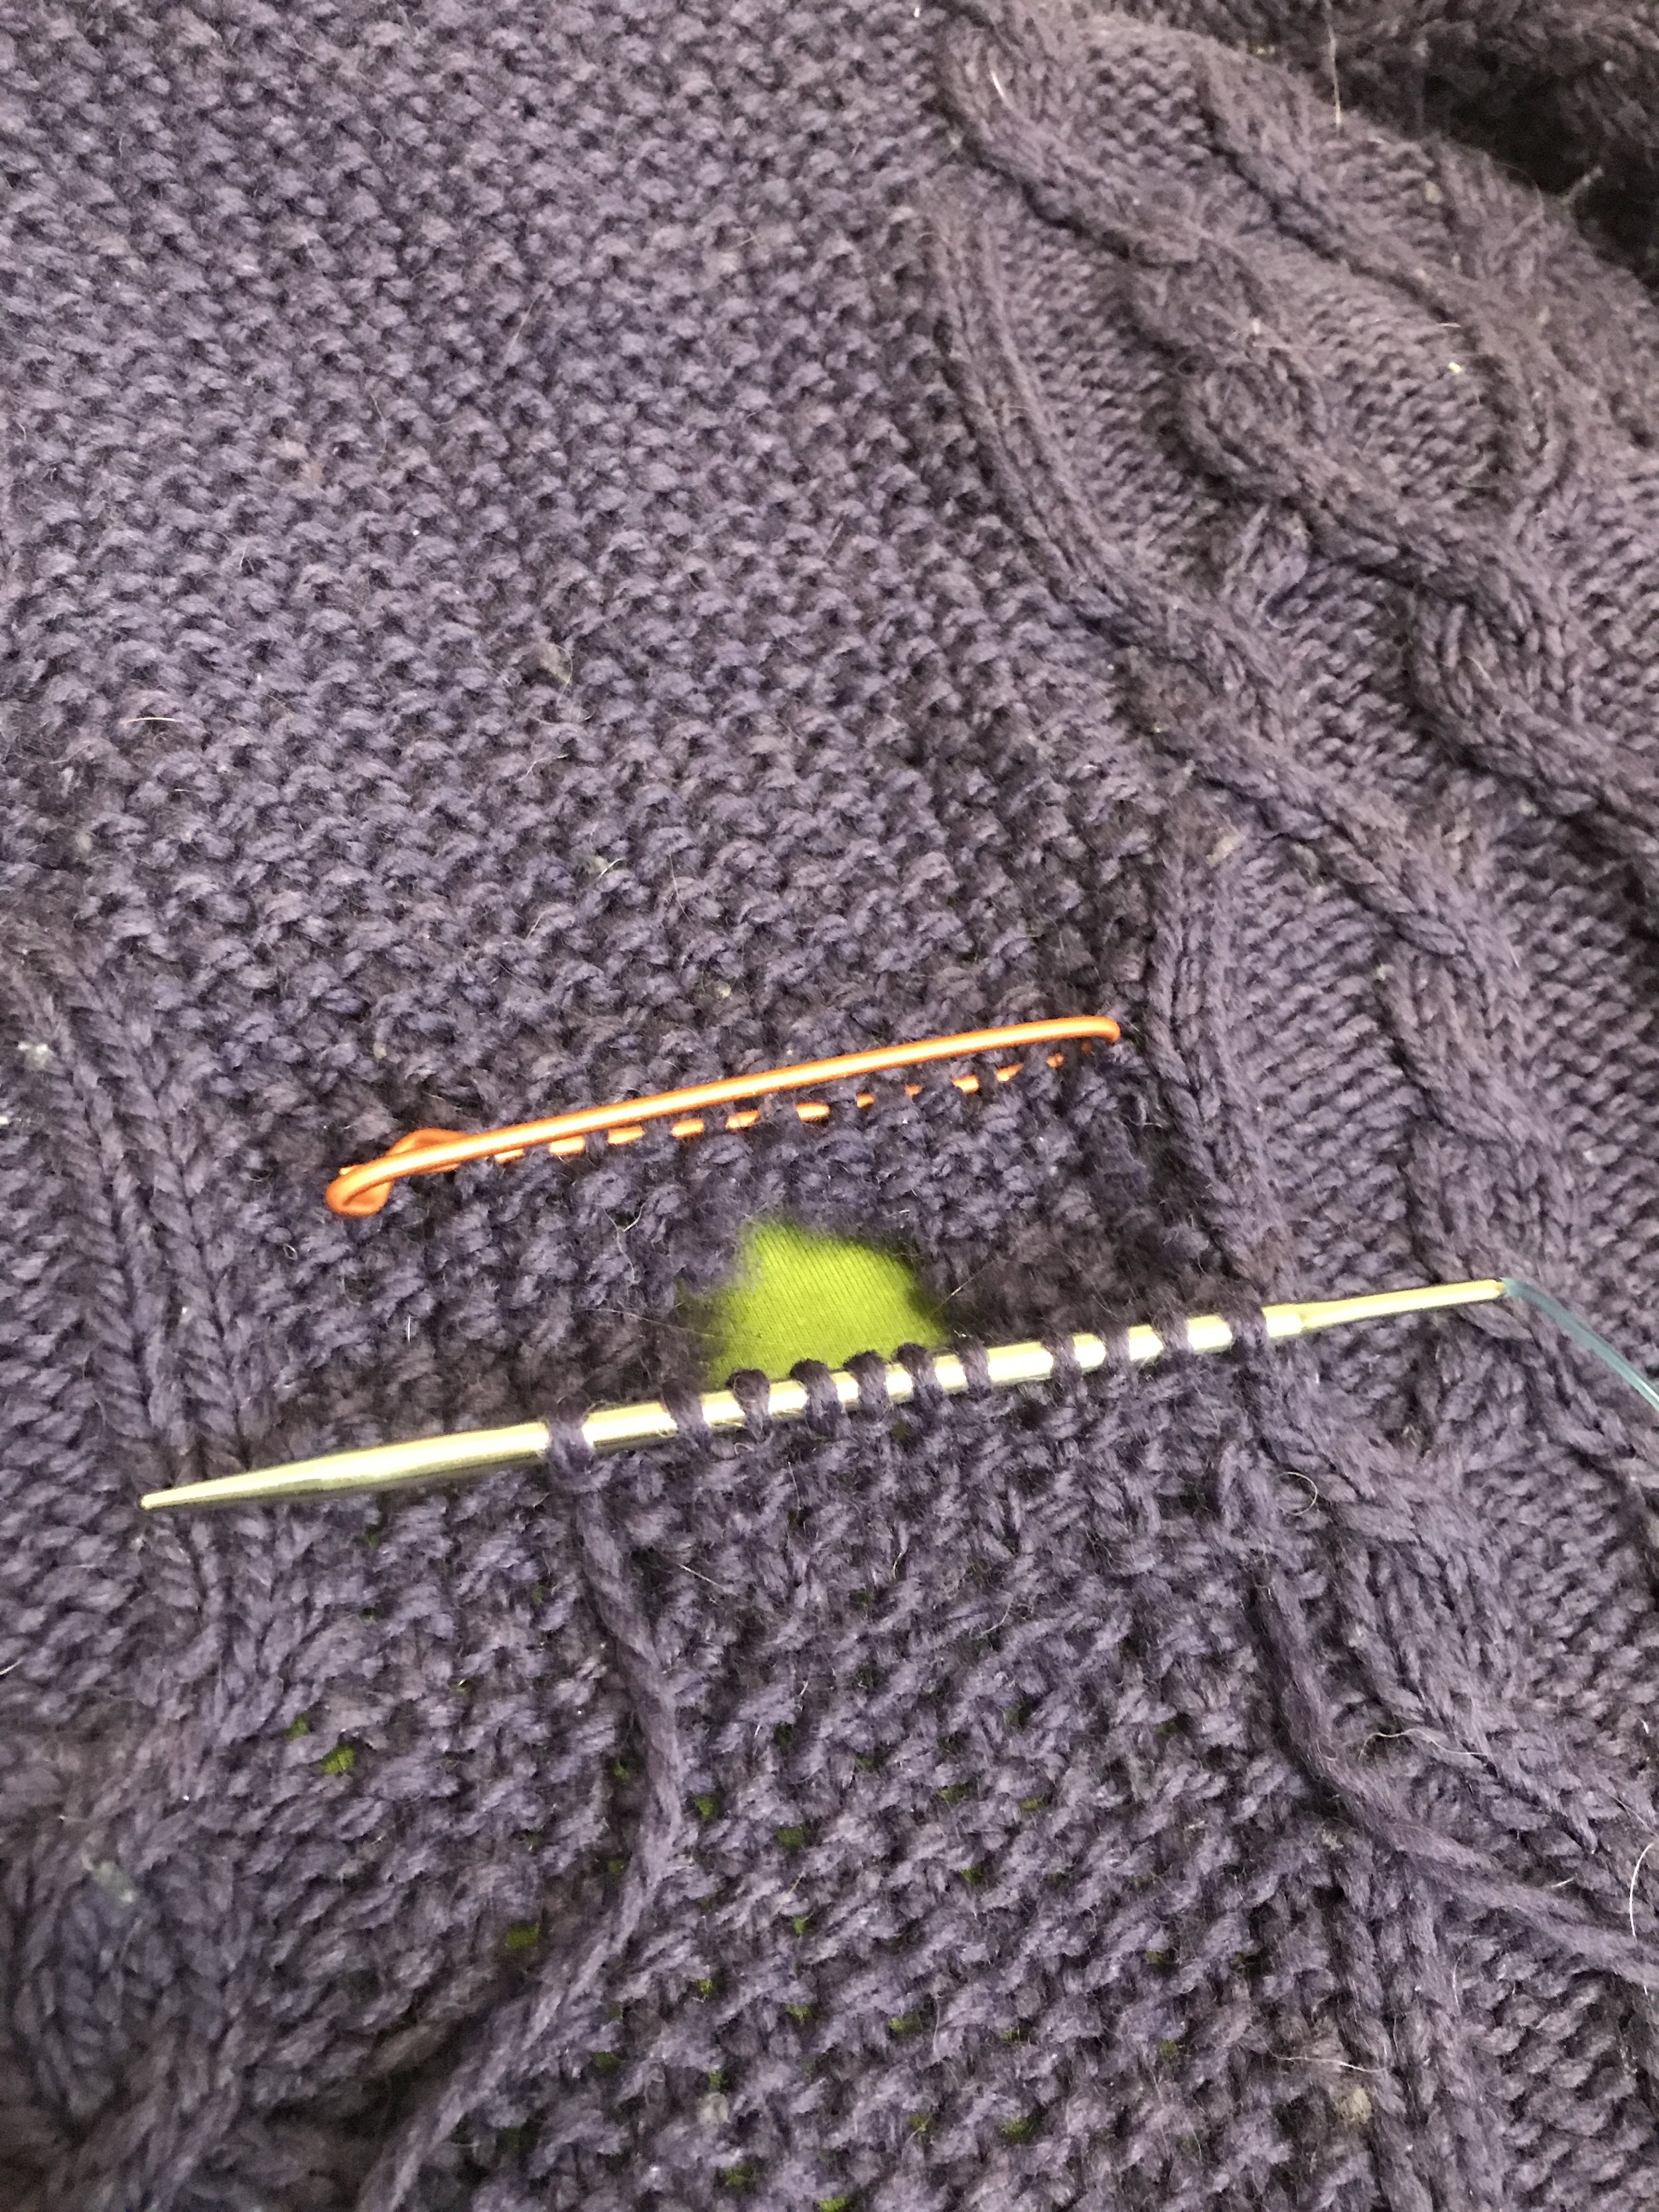
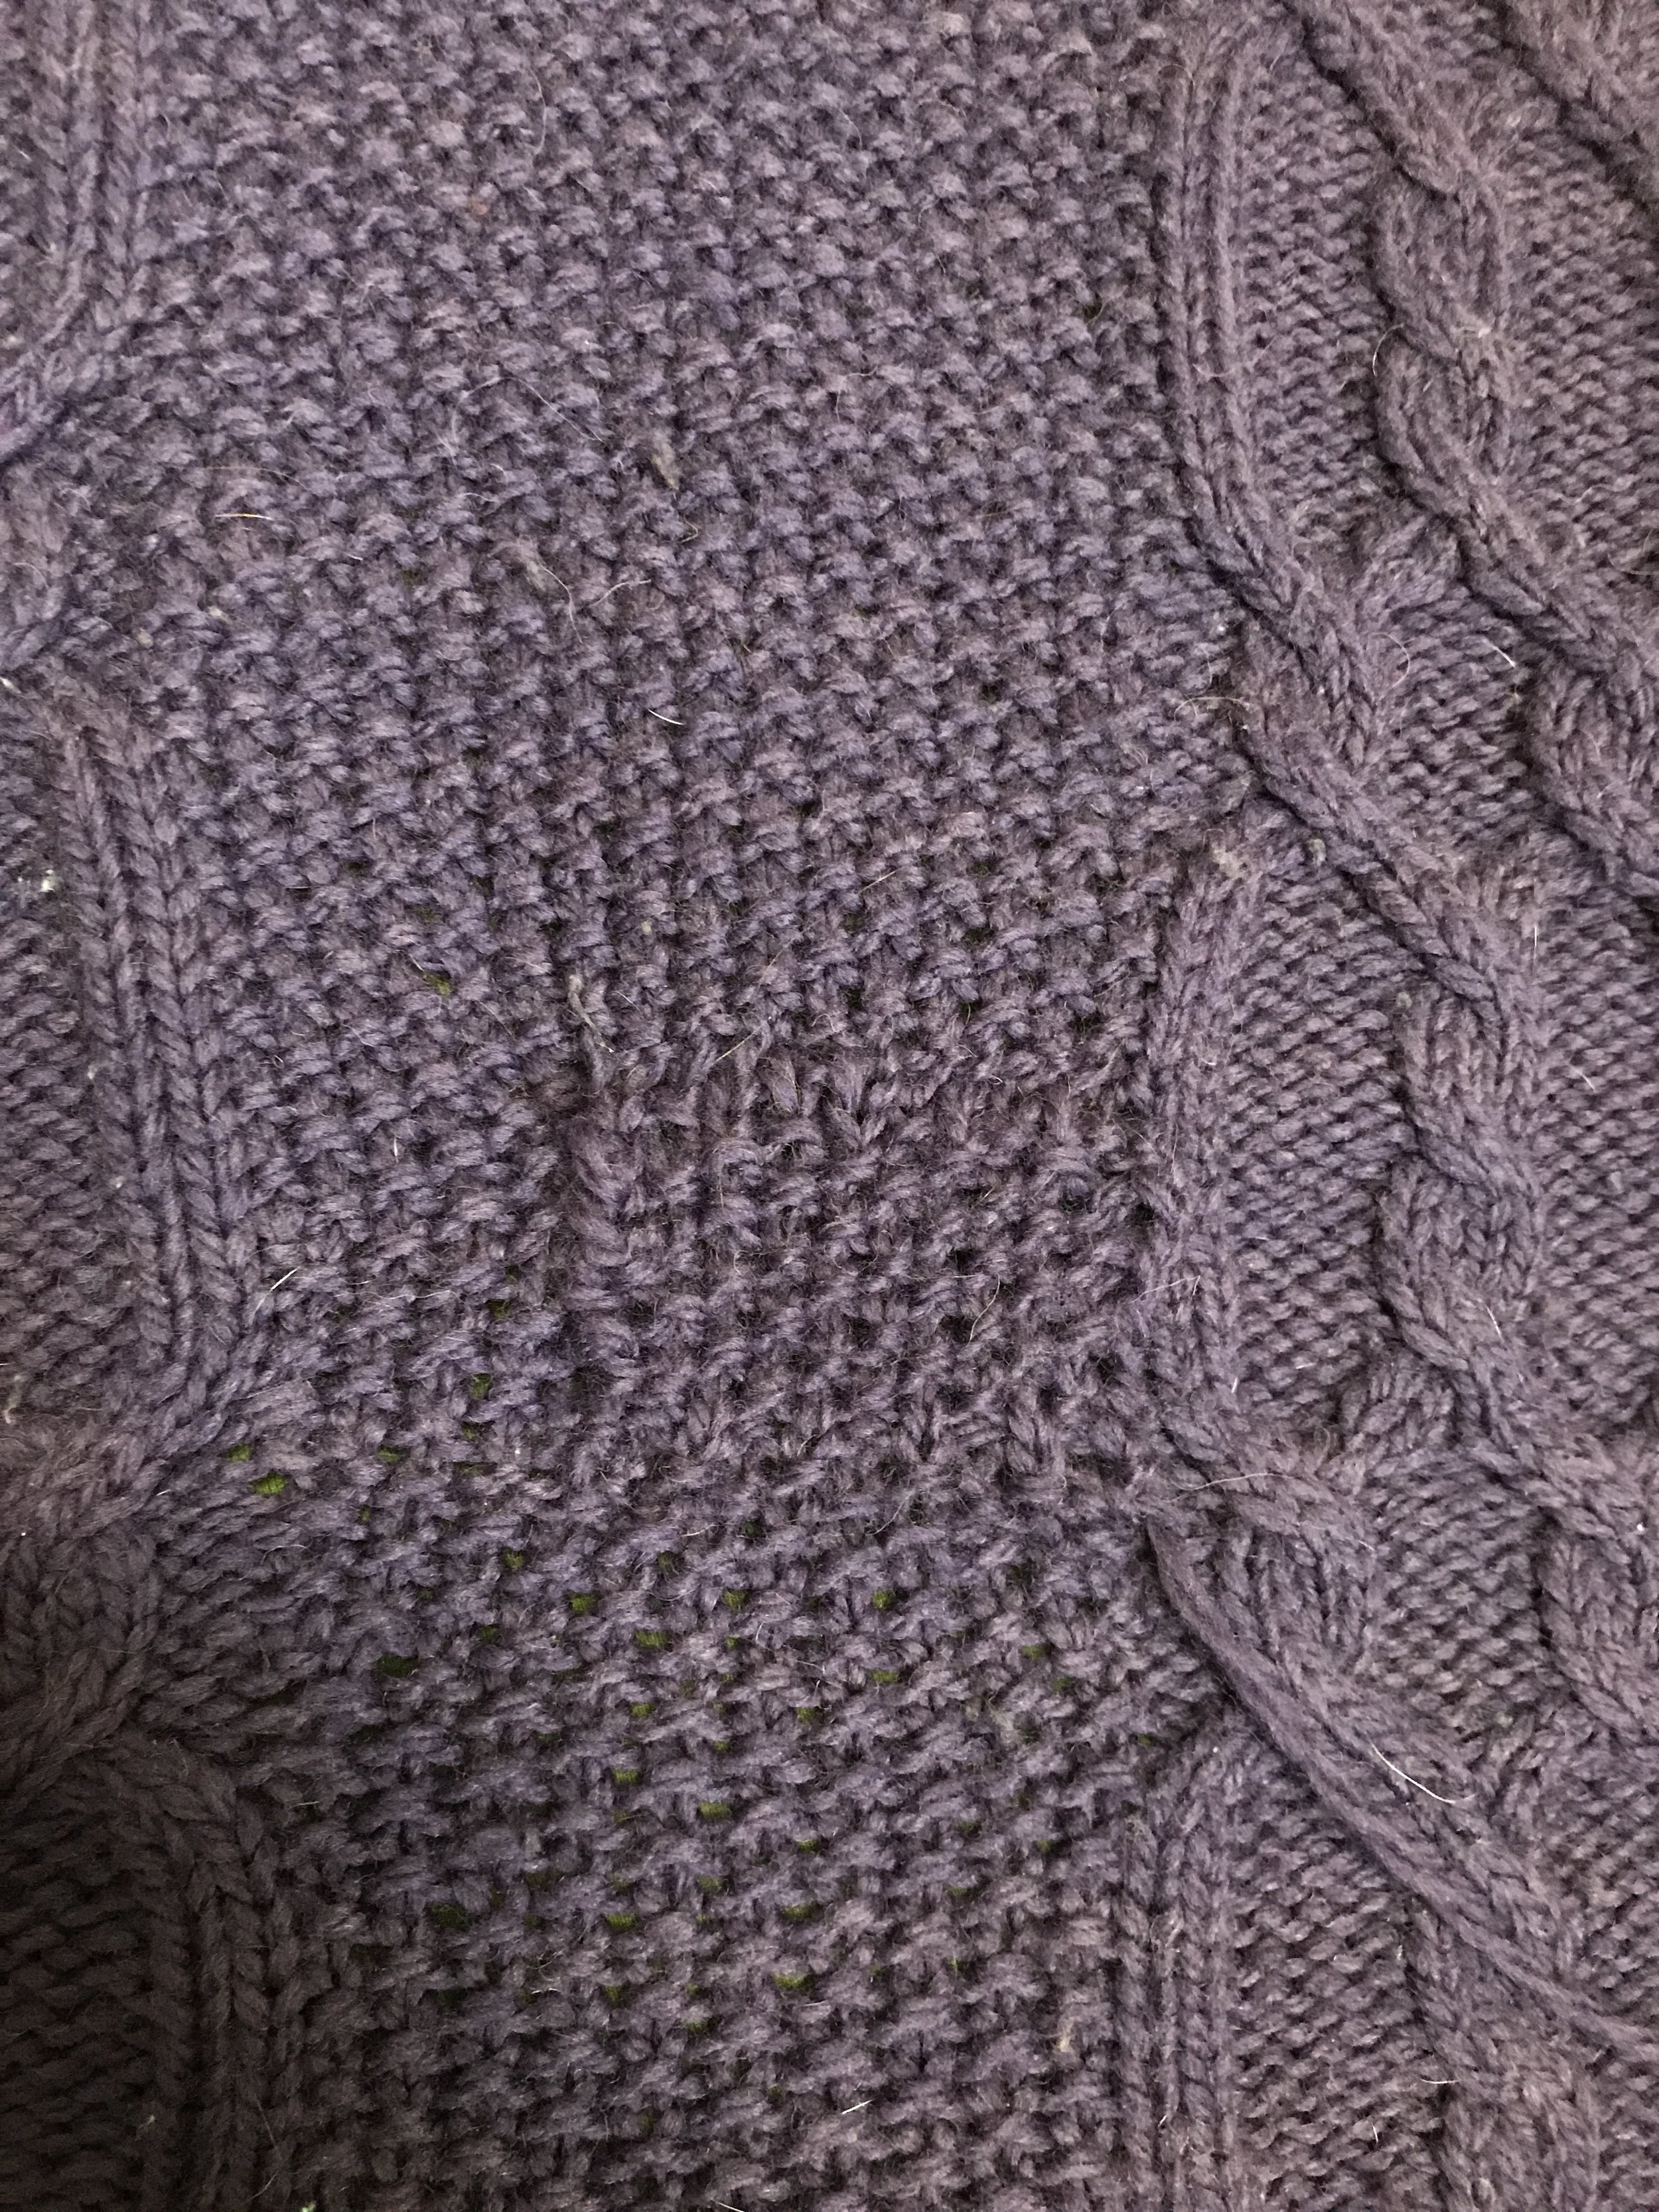
I was also faced with a dilemma when I did that closet clean-out and found a mouse (yes, ick!) had eaten several very large holes in a cardigan that would have otherwise still fit. Do I rip out the zipper and give it up for a lost cause, or can I fix it? 

Even though I knit this sweater in 2010, I still had some of the yarn around, so I decided to give the mending a go. Should you be up for trying the same, here's my methodology: 

For large holes like these, I go down to the row beneath the first intact row under the hole and pick up enough stitches that there's 2-3 extra stitches on either side of the hole. From there, I knit back in forth in pattern, attaching it to the body by knitting two stitches together (one from my patch and one from the body) on either end of the patch, then Kitchener stitch the top together.

It took me about 30 minutes to fix the two large holes, which considering a sweater takes weeks to knit up in the first place, was a pretty fair trade off.  The key, I think, was to do it right away, (I fixed it the day after I found the holes) because once it goes into that mending pile, I seem to never really get around to it, making me question its importance in the first place.  


Print Friendly and PDF Follow
follow us in feedly

Summer of Basics: Mélilot Shirt

Karen Templer of Fringe Association is hosting a make-along called The Summer of Basics. The idea behind it being to make 3 garments (knitted or sewn) over three months that would be workhorse garments for the maker.

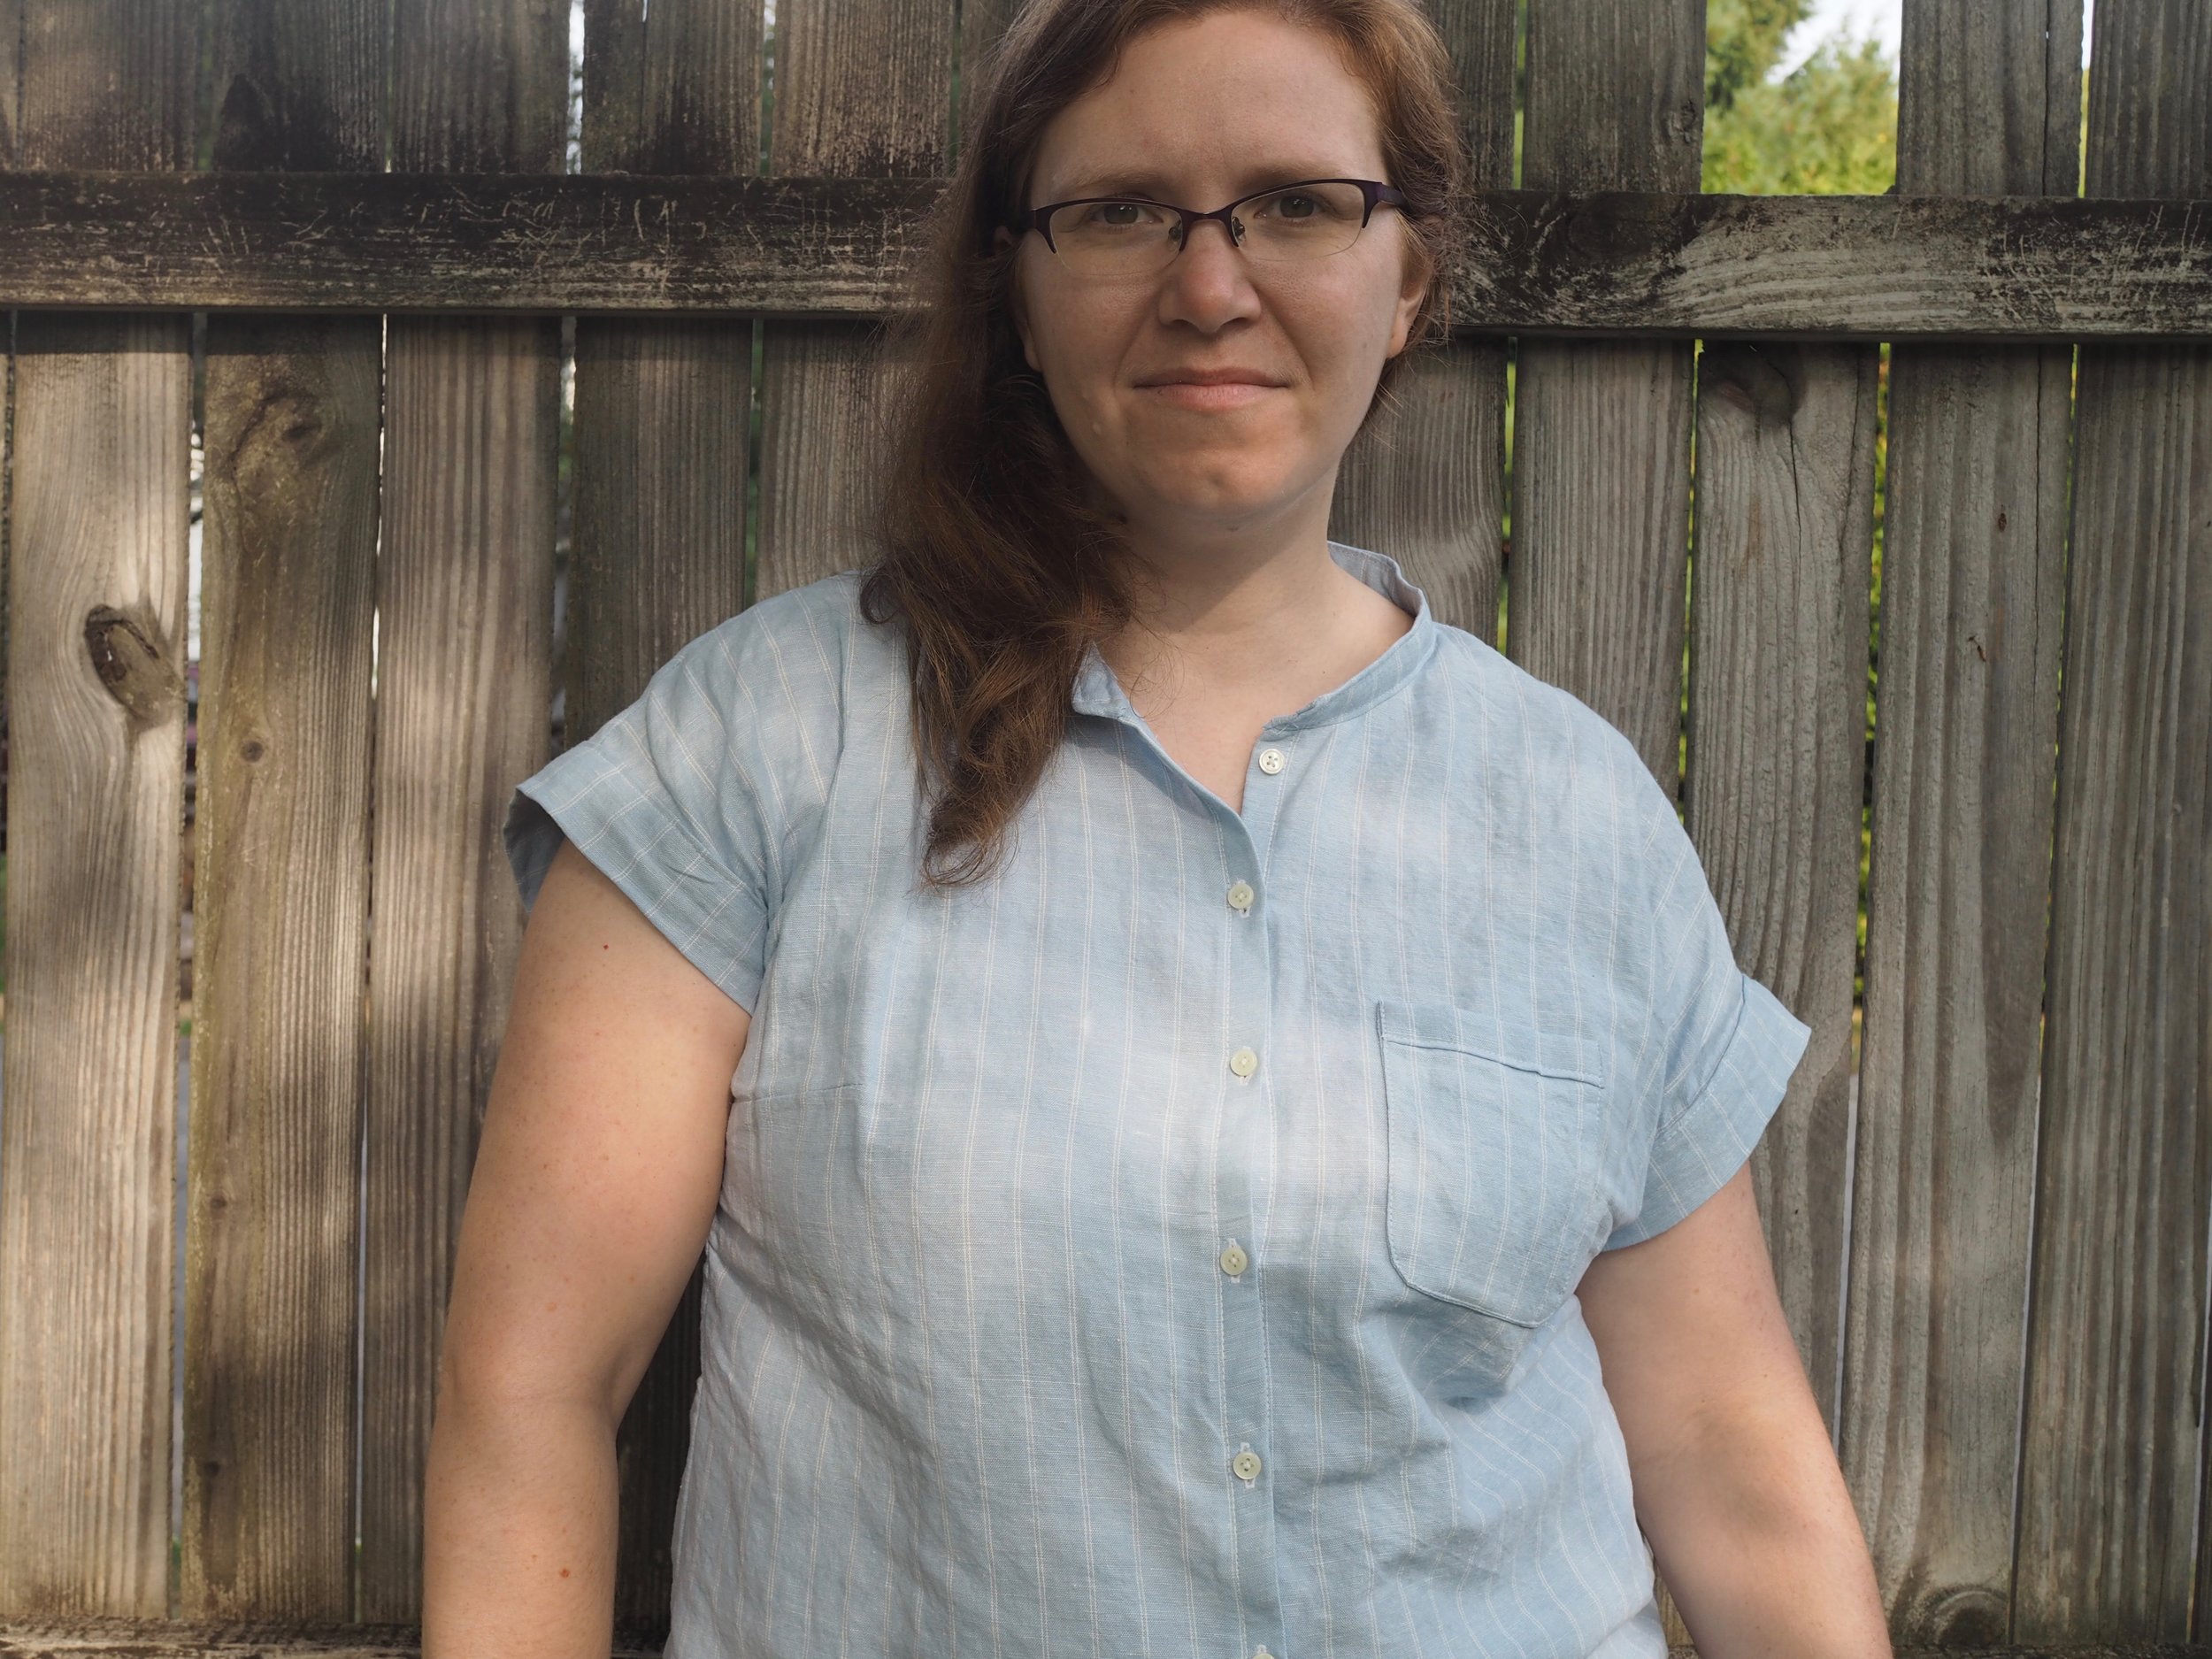
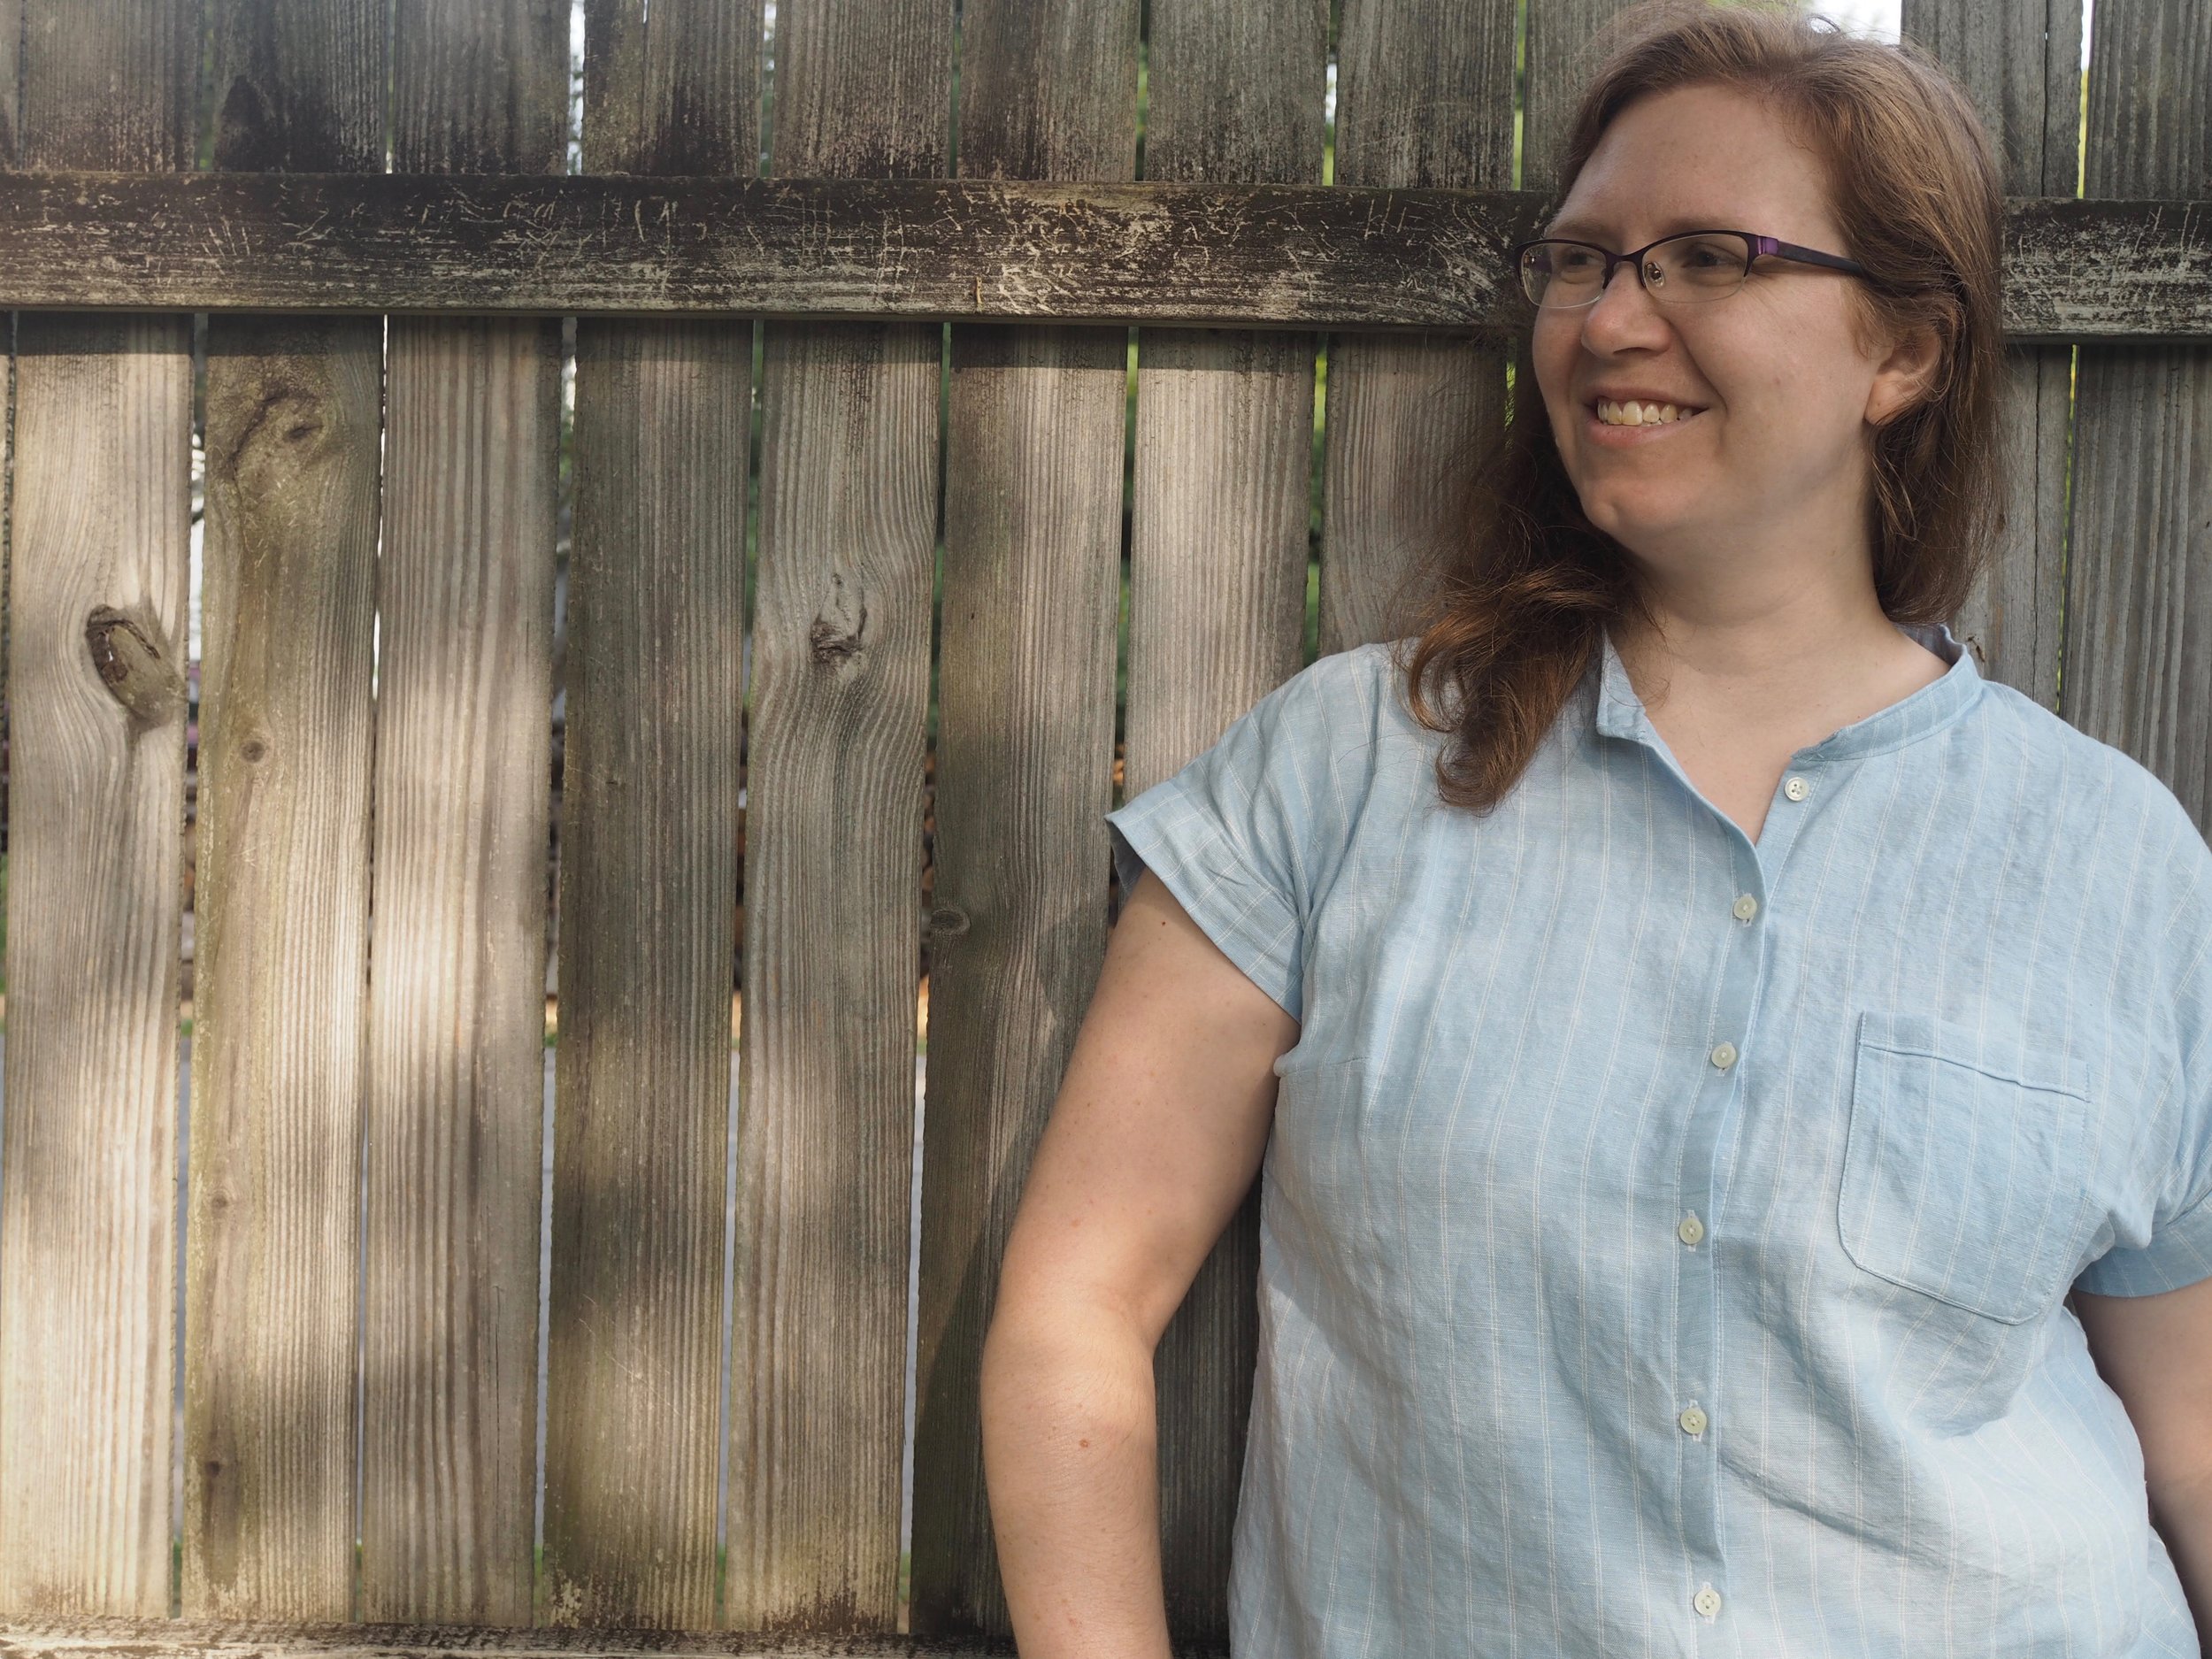
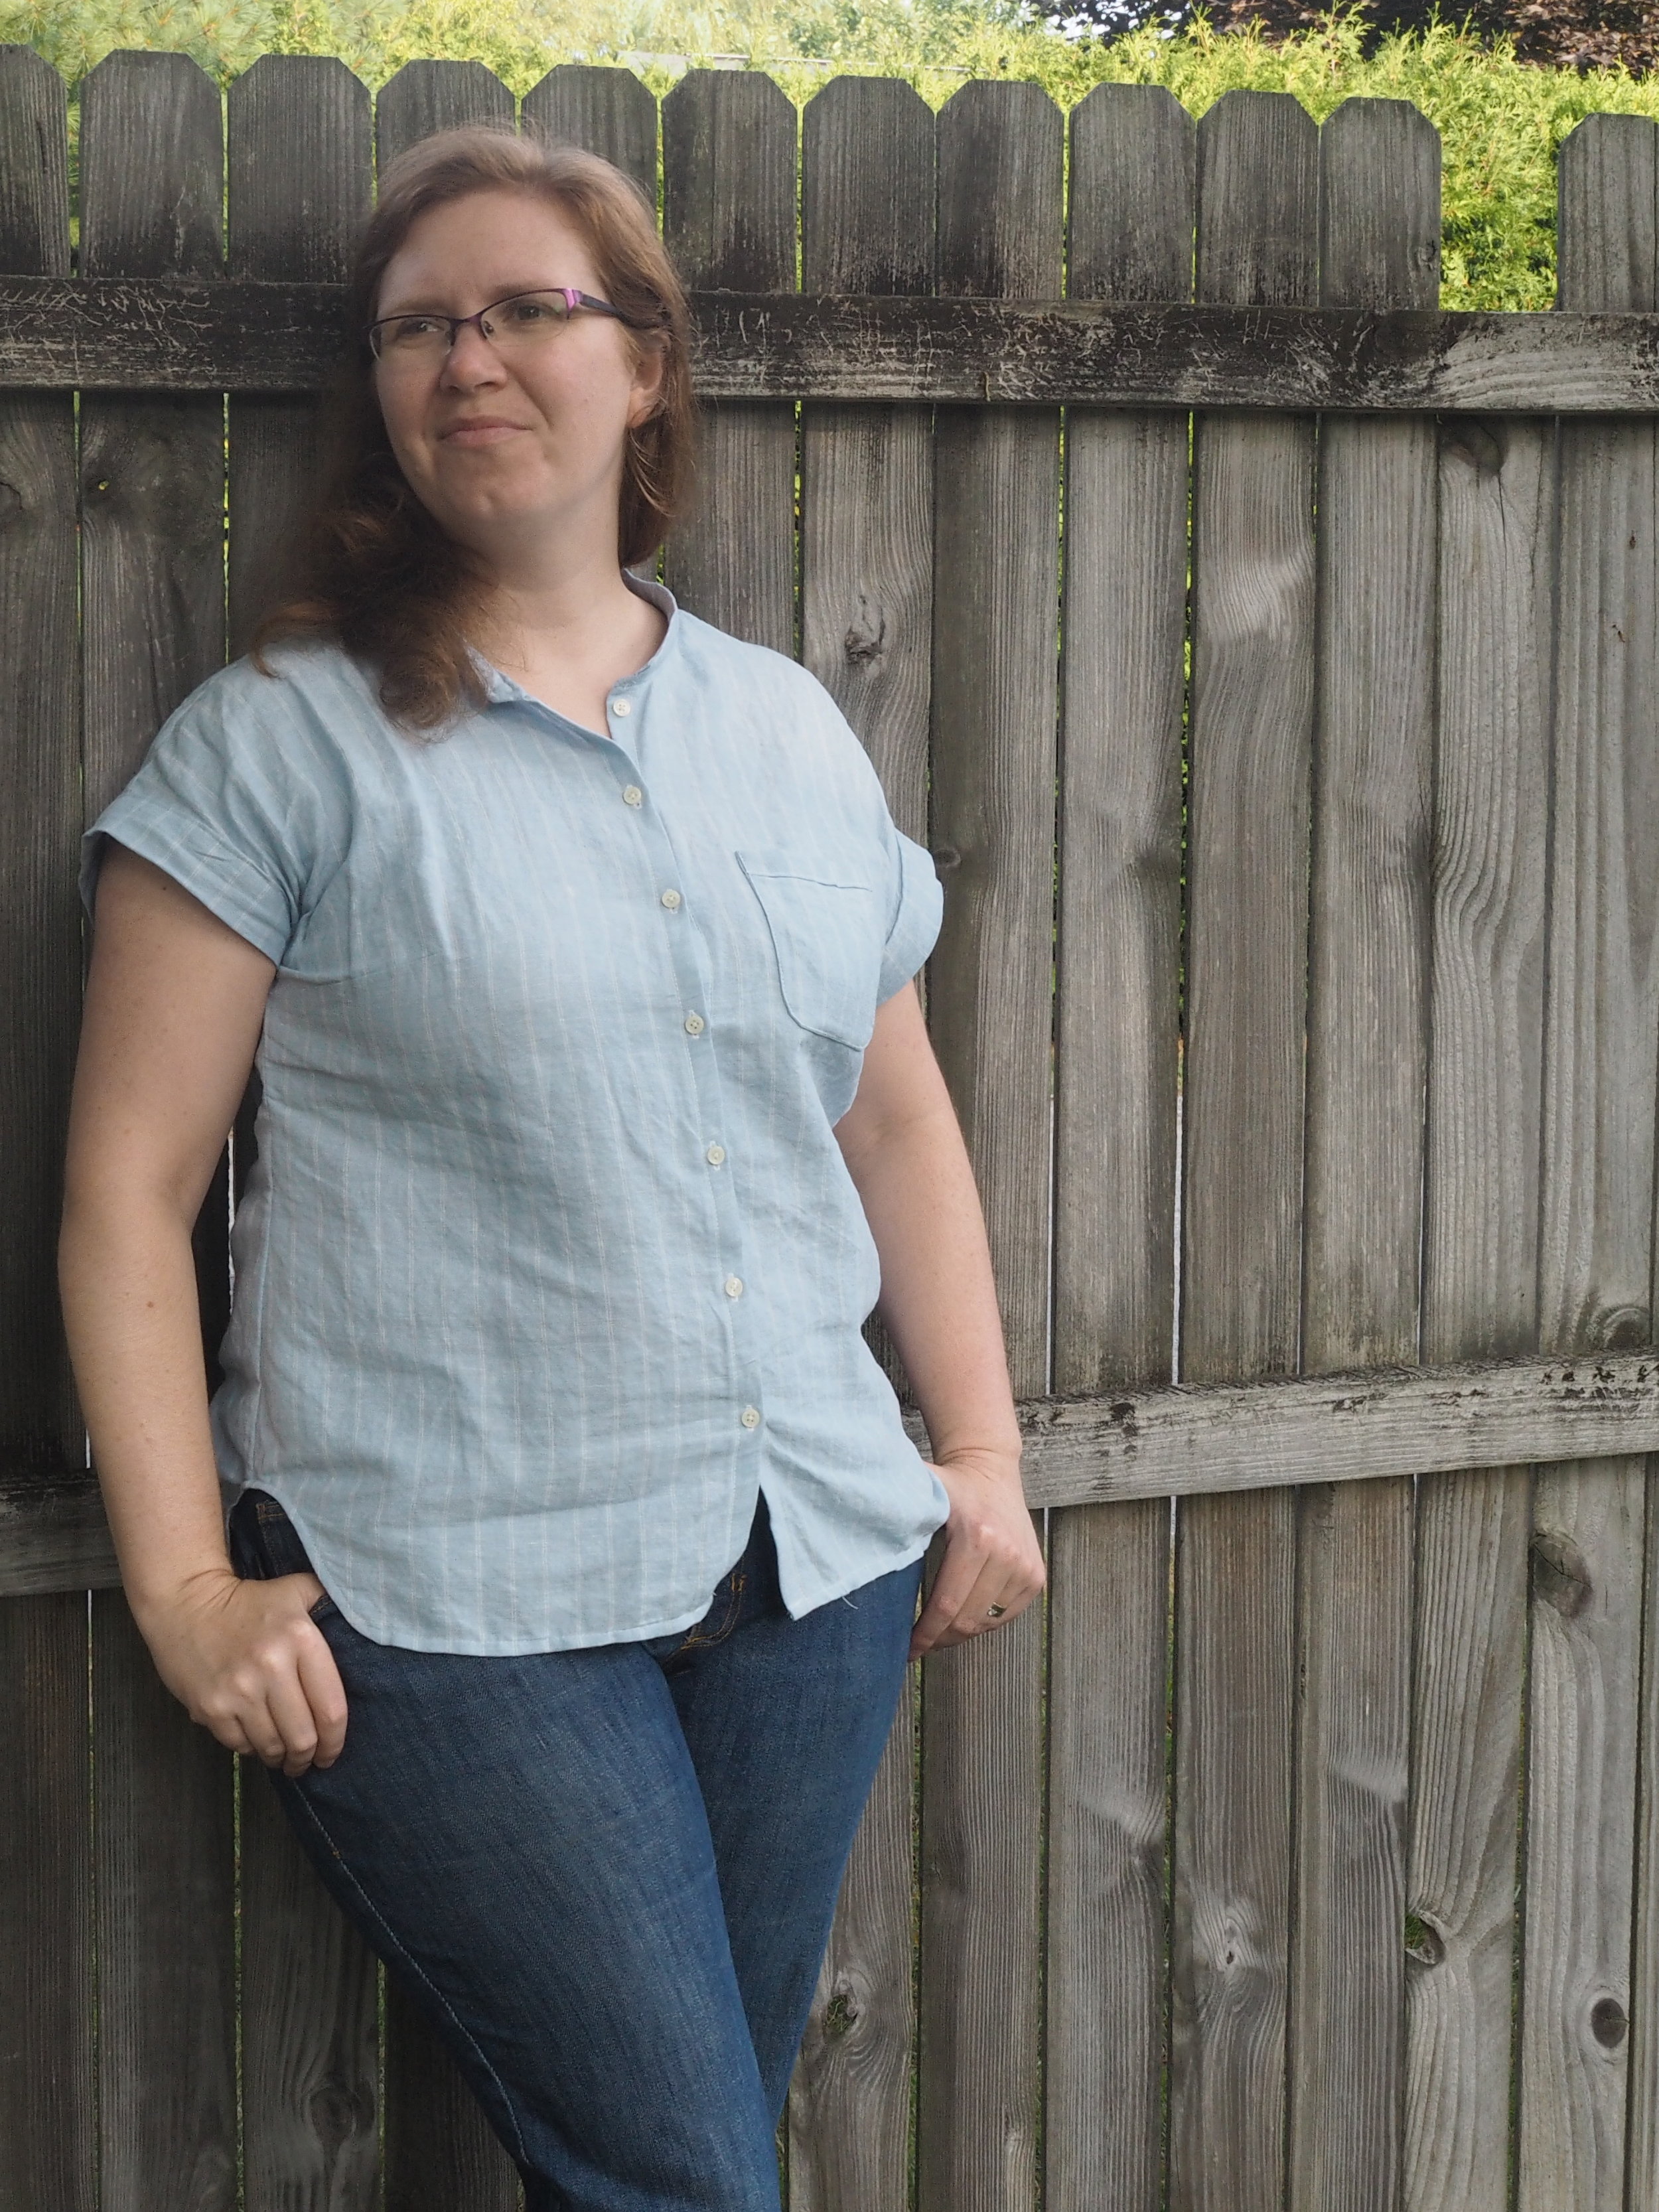
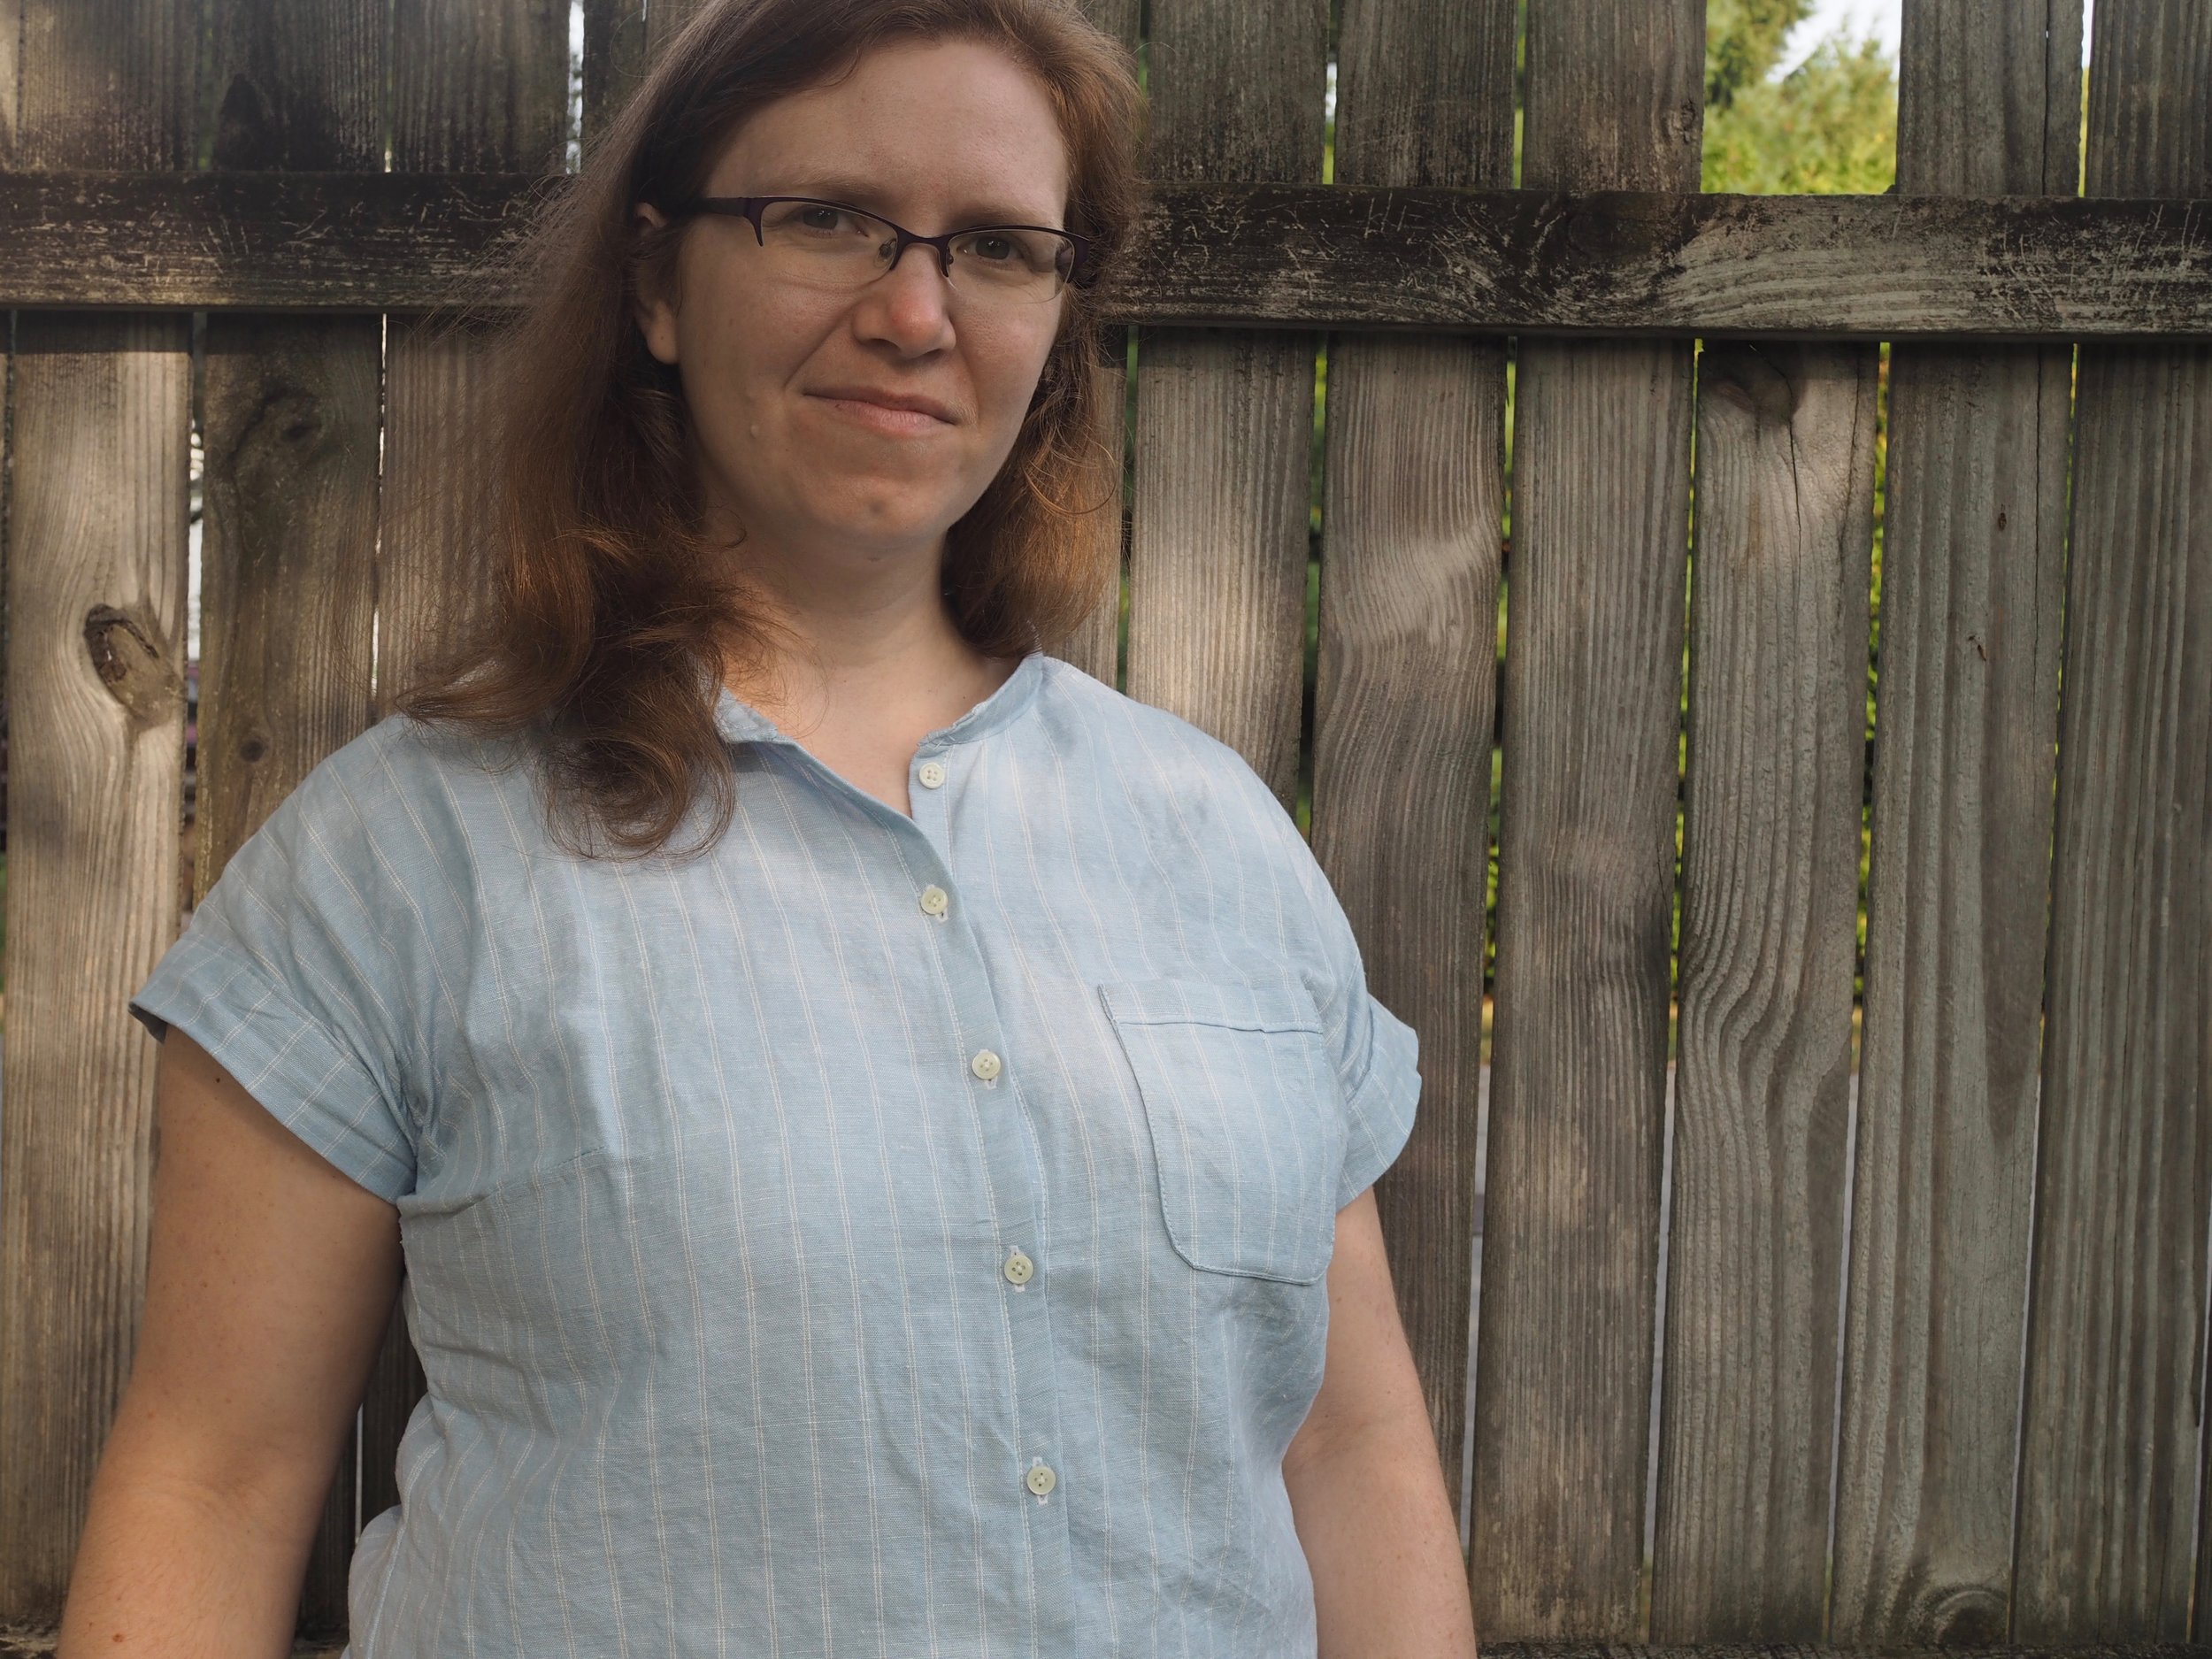
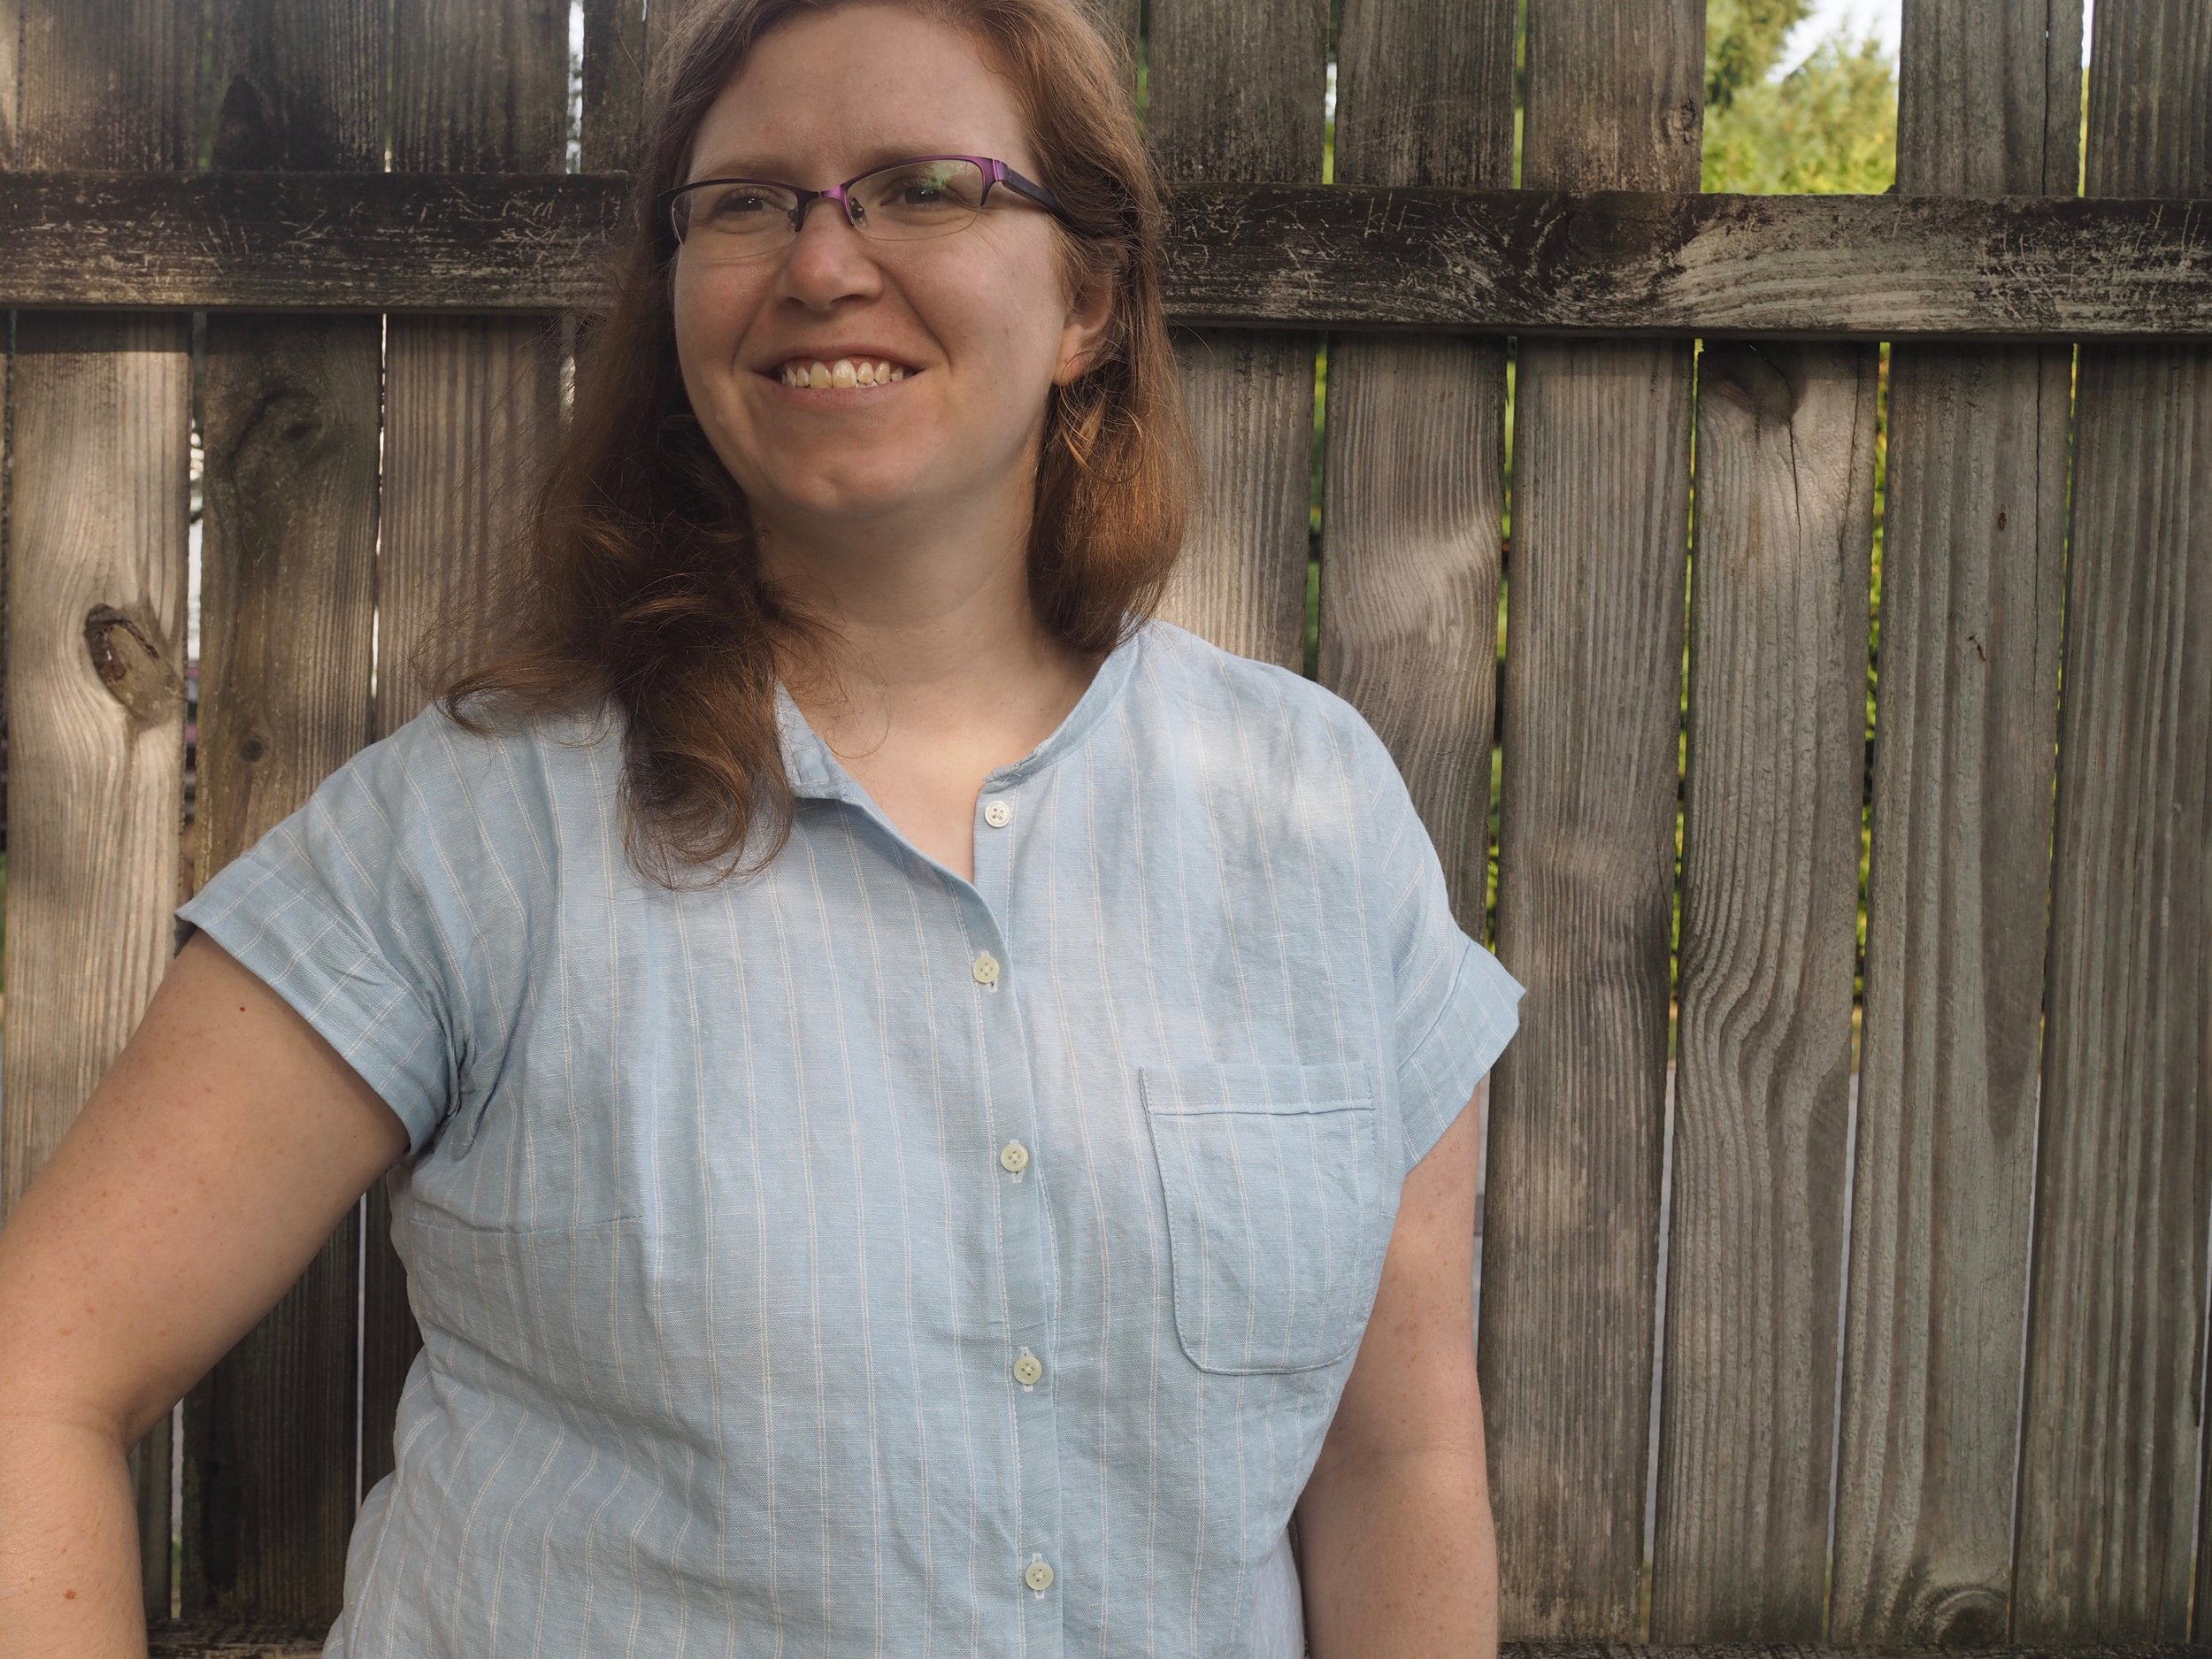
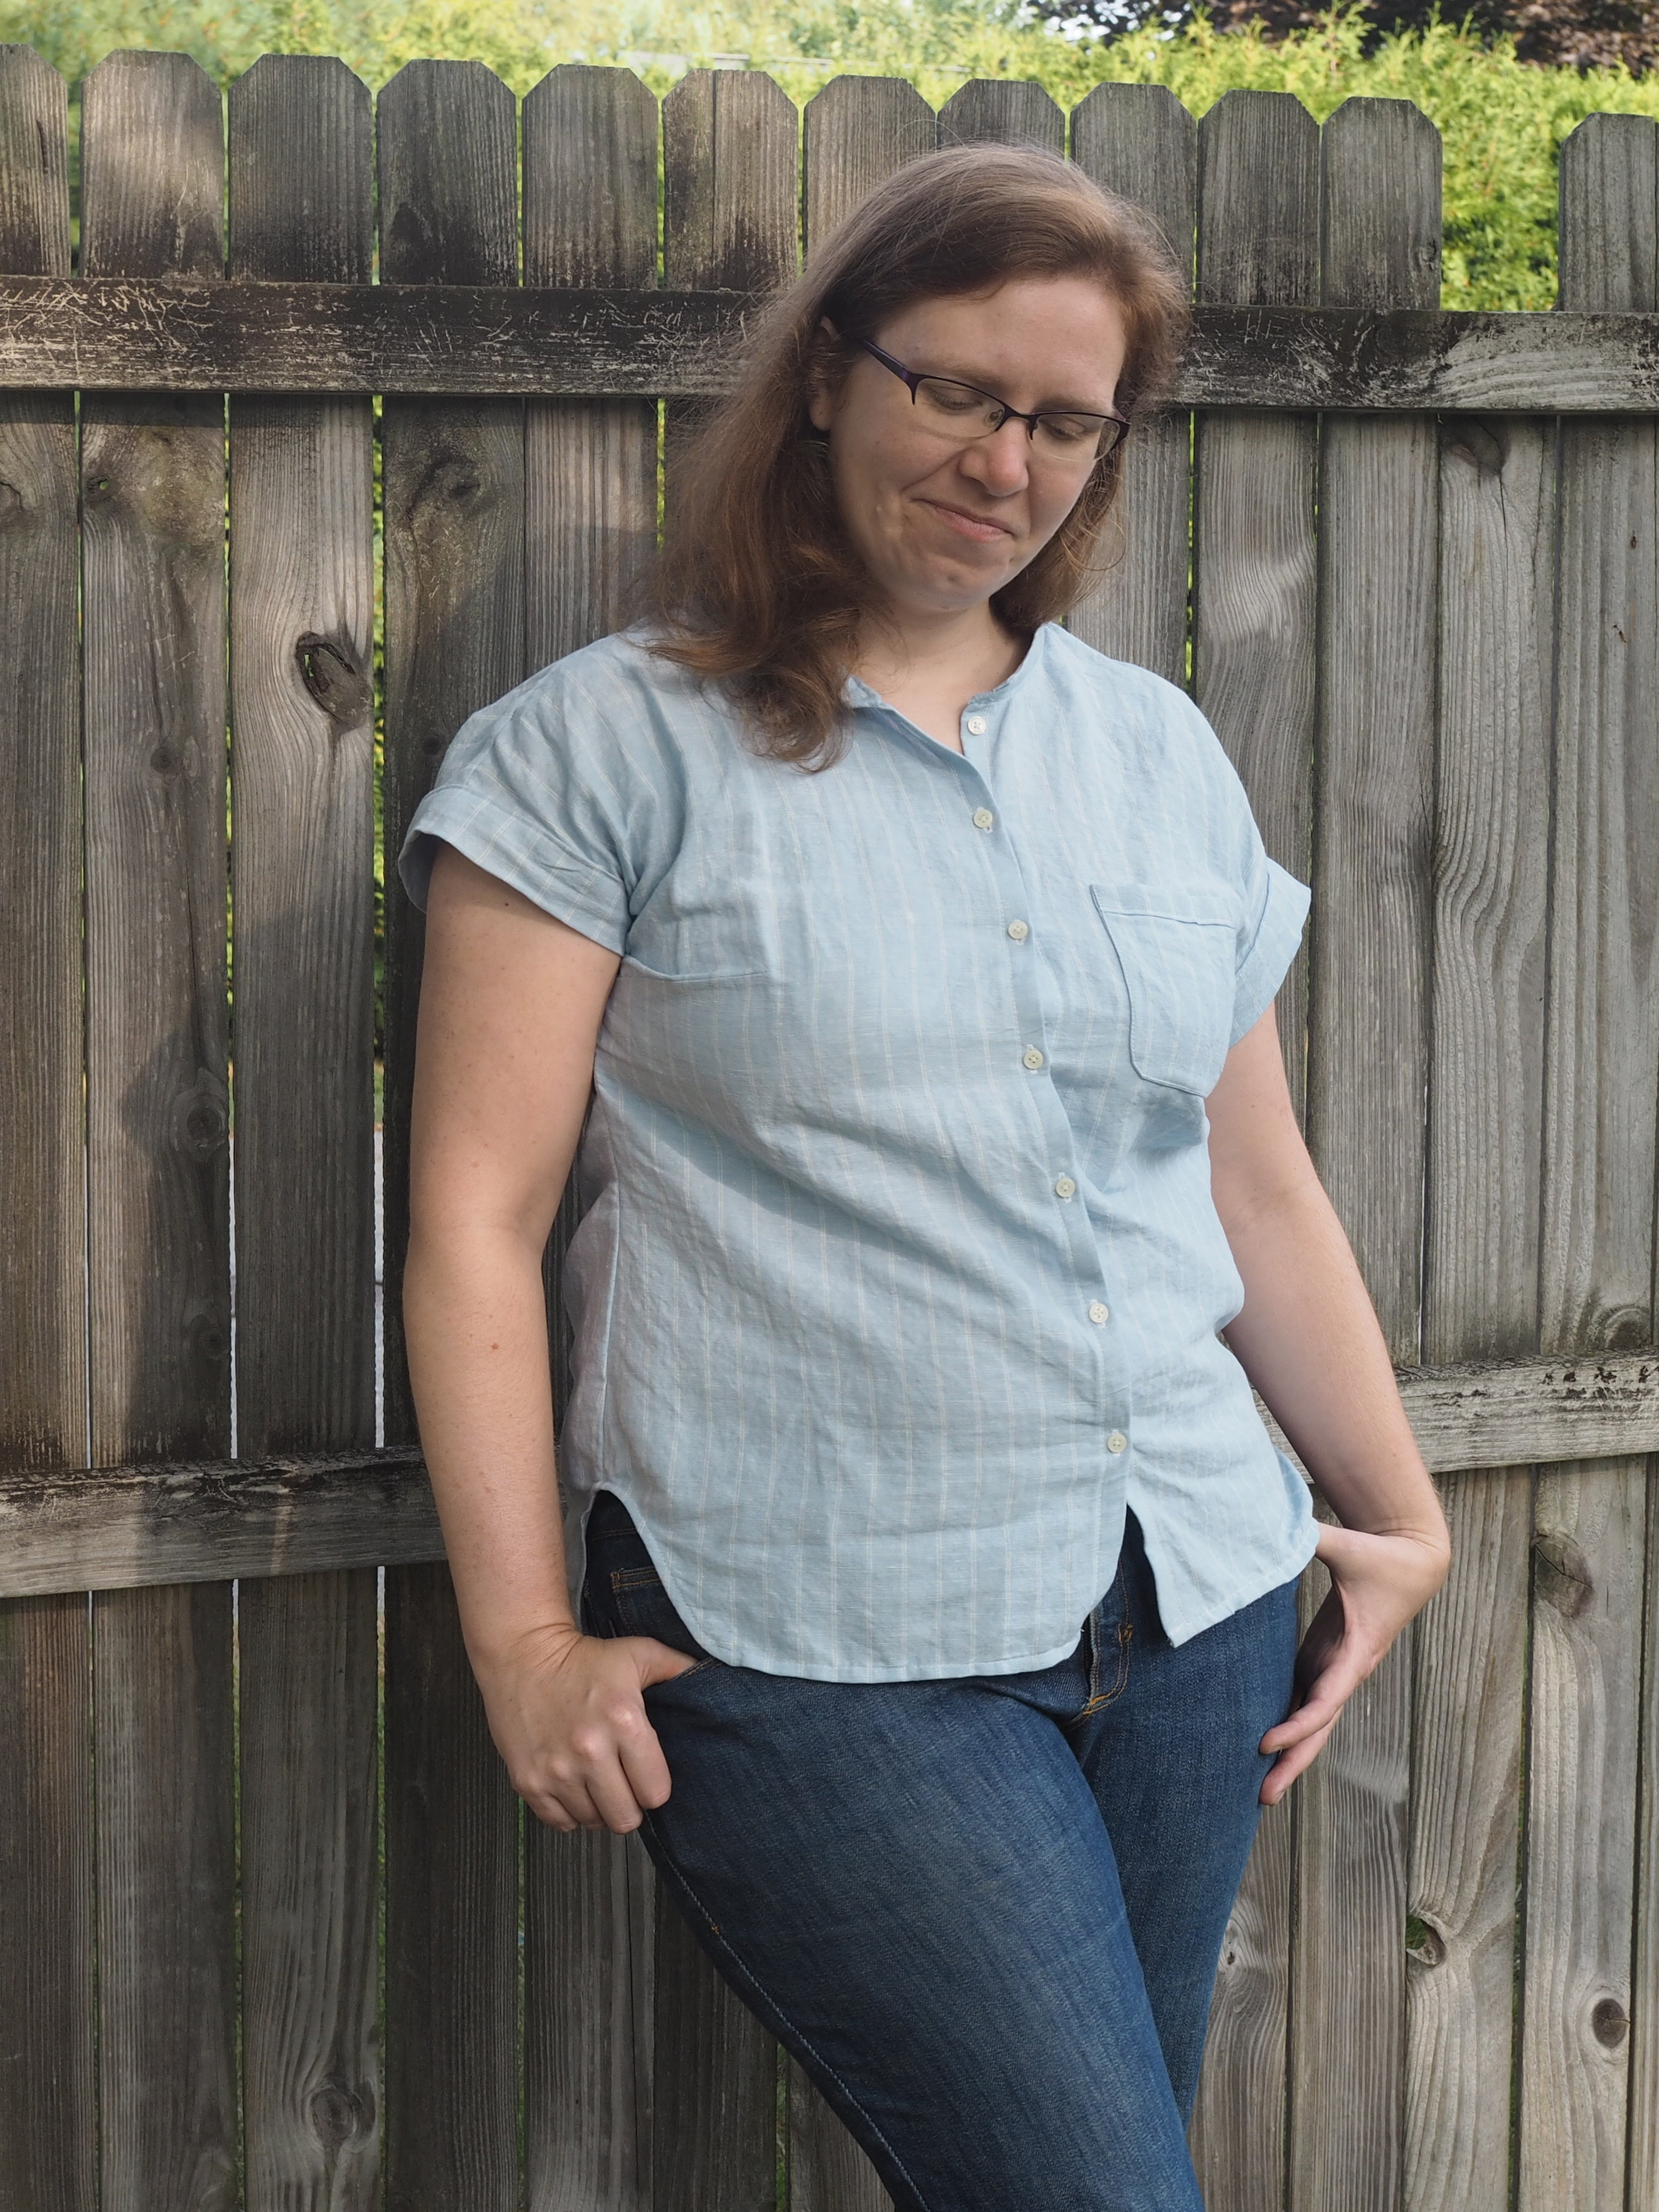
For my second basic - I've gone back to an previousy made pattern - Deer and Doe's Mélilot Shirt.  I made another version last summer (which apparently never made it on the blog), and I had a list of modifications I knew I wanted to make this go around.

I flattened out the shoulder line, raising the outer edge by an inch to give myself more room in the sleeves and widened the body by 1/2 inch on each side seam, by shifting the pattern over when I cut it. I then adjusted the length of the sleeve cuffs and collar stand to match the additional width. The new fit works great and I used my Curved Narrow Hem Tutorial for that very curvy hem. 

The fabric is a linen blend from JoAnn's, which makes me feel a little bit like a member of the Beach boys in their 1960s heyday, perfectly summery and not a bad thing in my book! :) 

I've already sewn up my final basic, but I need to grab some photos! 


Print Friendly and PDF Follow
follow us in feedly

My Body Model - Designing on Real Bodies

mybodymodelrenocardi
Renovation Cardigan
Reno Swatch
Prairie Wife Sketch
Atlee Original Sketch
Lady Heartrose

If you follow me on Instagram, you may have seen me mention mybodymodel a handful of times.  MyBodyModel is the brainchild of my friend Erica, and is a web-based tool for building sketching templates, also known as croquis, to your exact measurements.

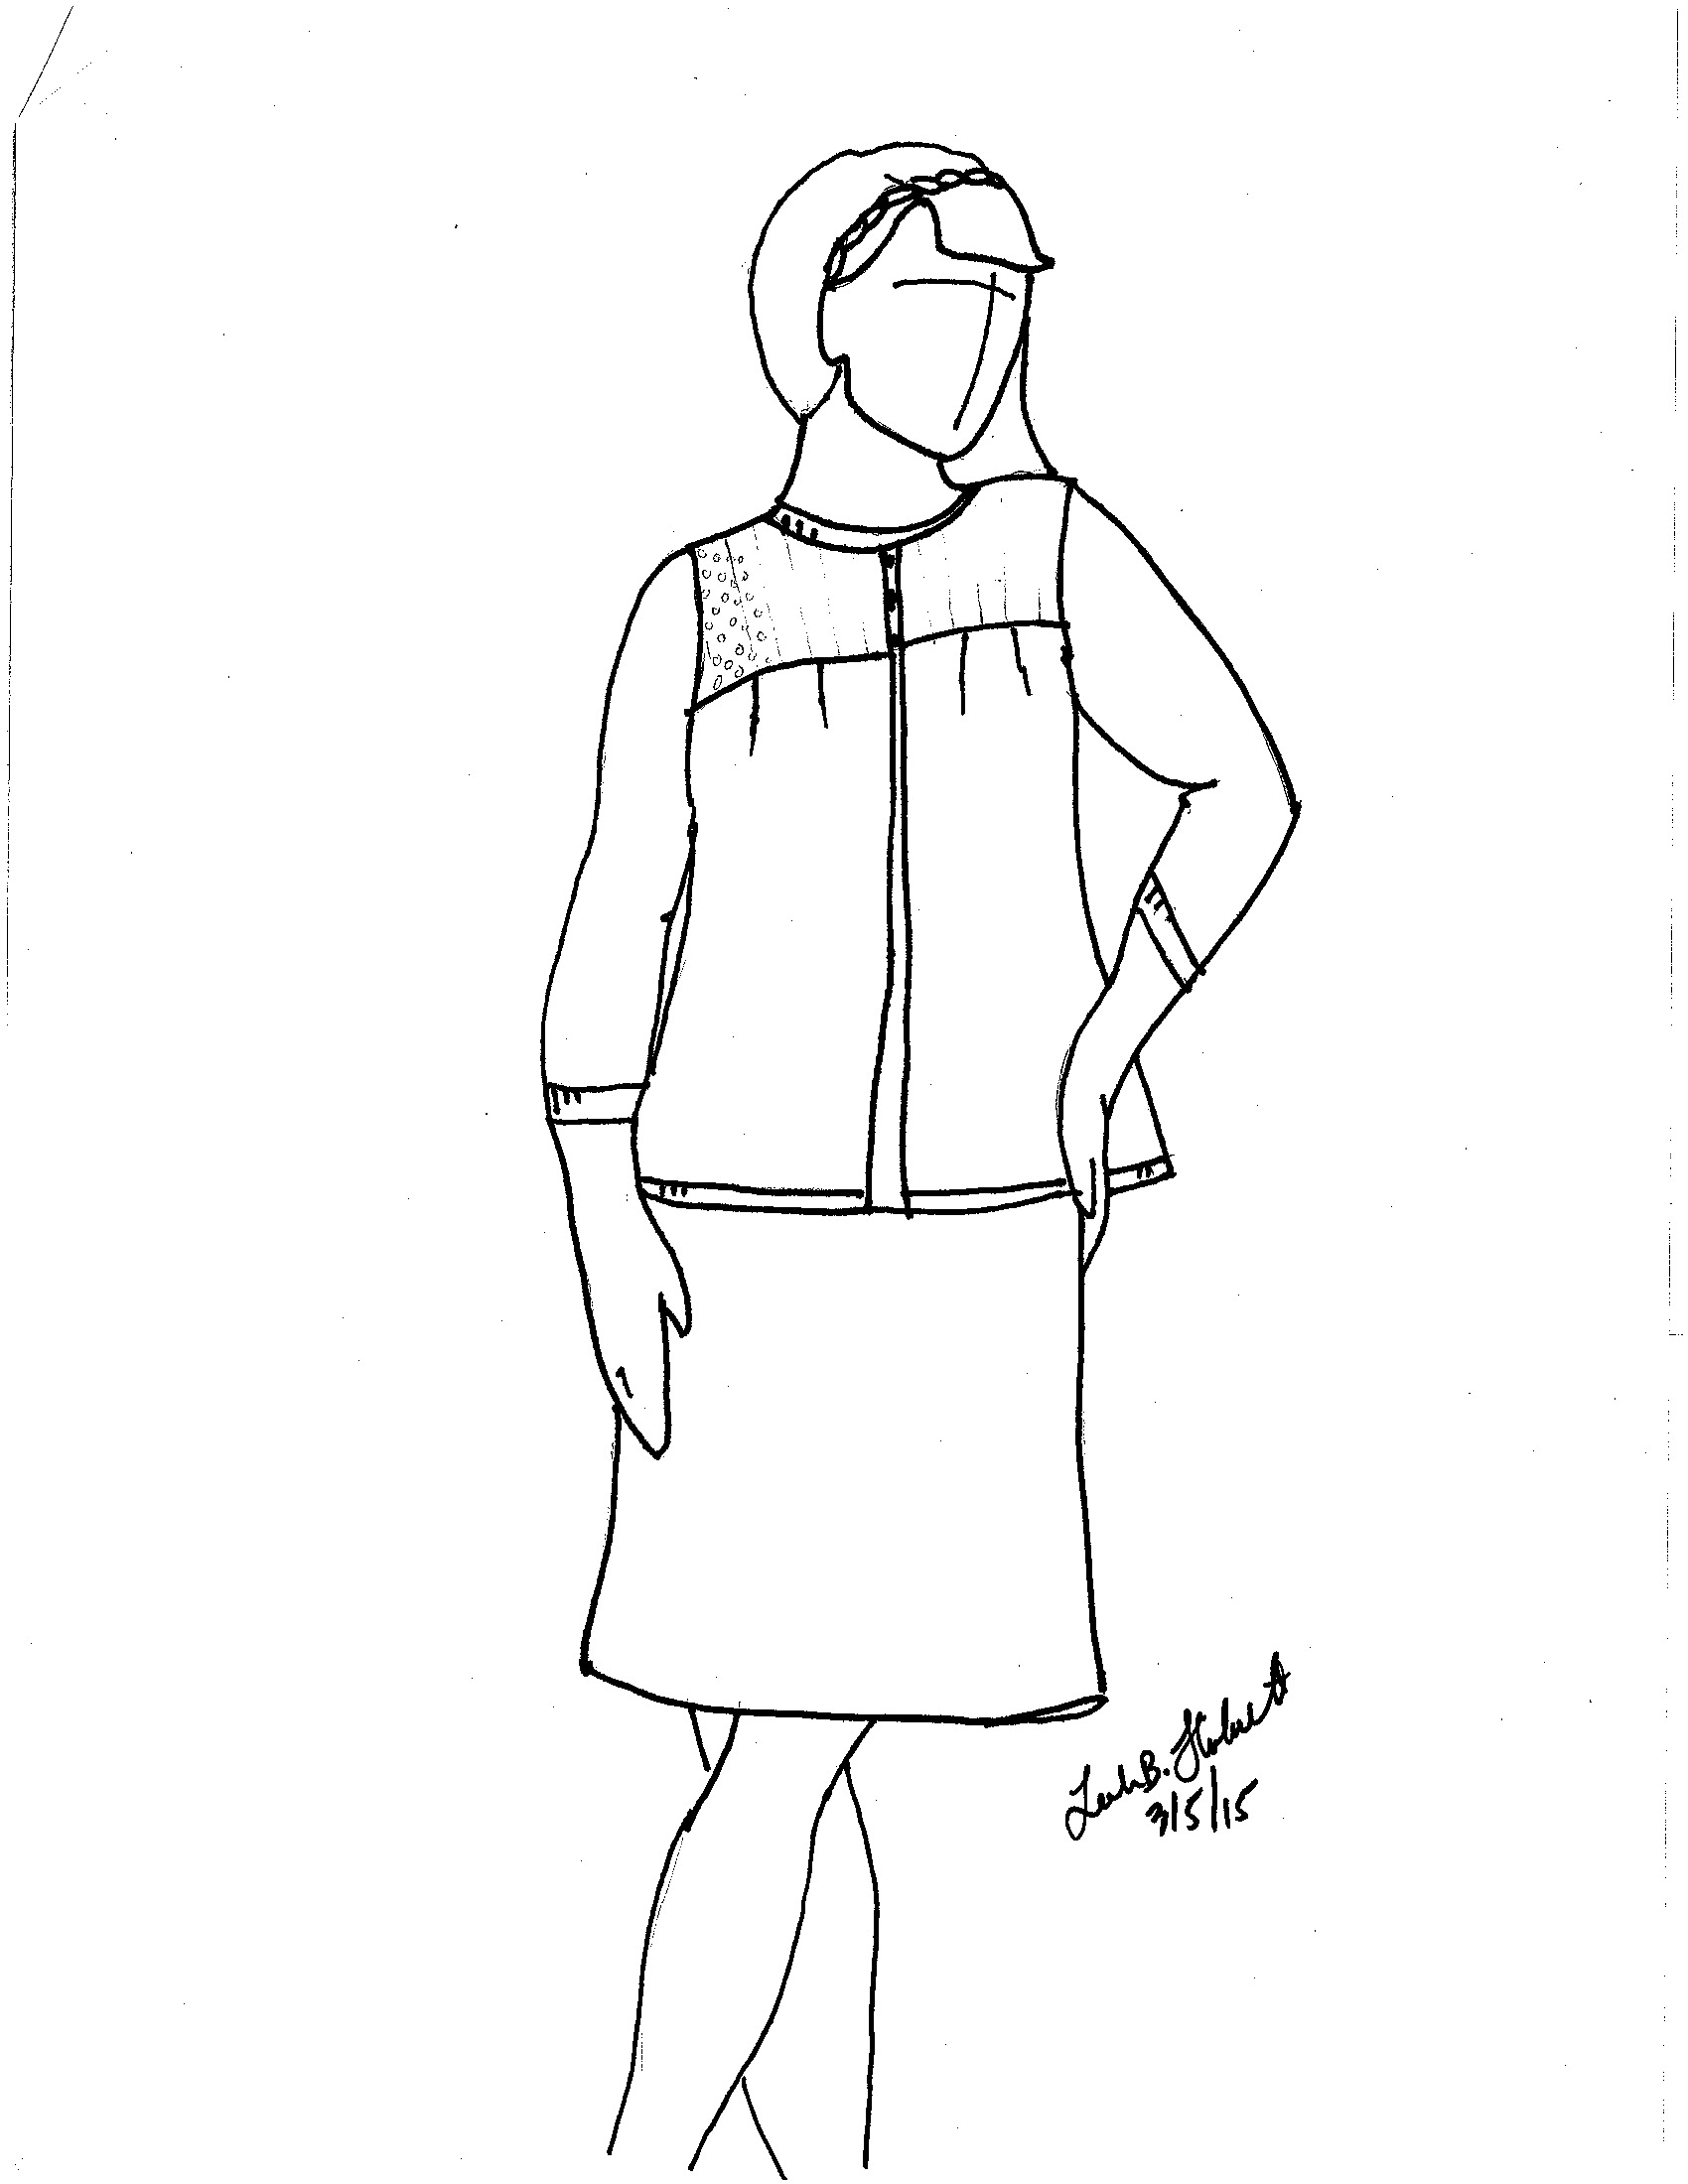
I can't tell you how excited I am by this project. As a designer, I use croquis all the time in sketching out my design ideas. It sames me time from having to redraw the figure and allows me to focus on the clothing design. For quite some time, I've been using the same croquis, seen above in the sketches for Prairie Wife, Atlee and Lady Heartrose. I found it by doing a Google image search for "plus size croquis."
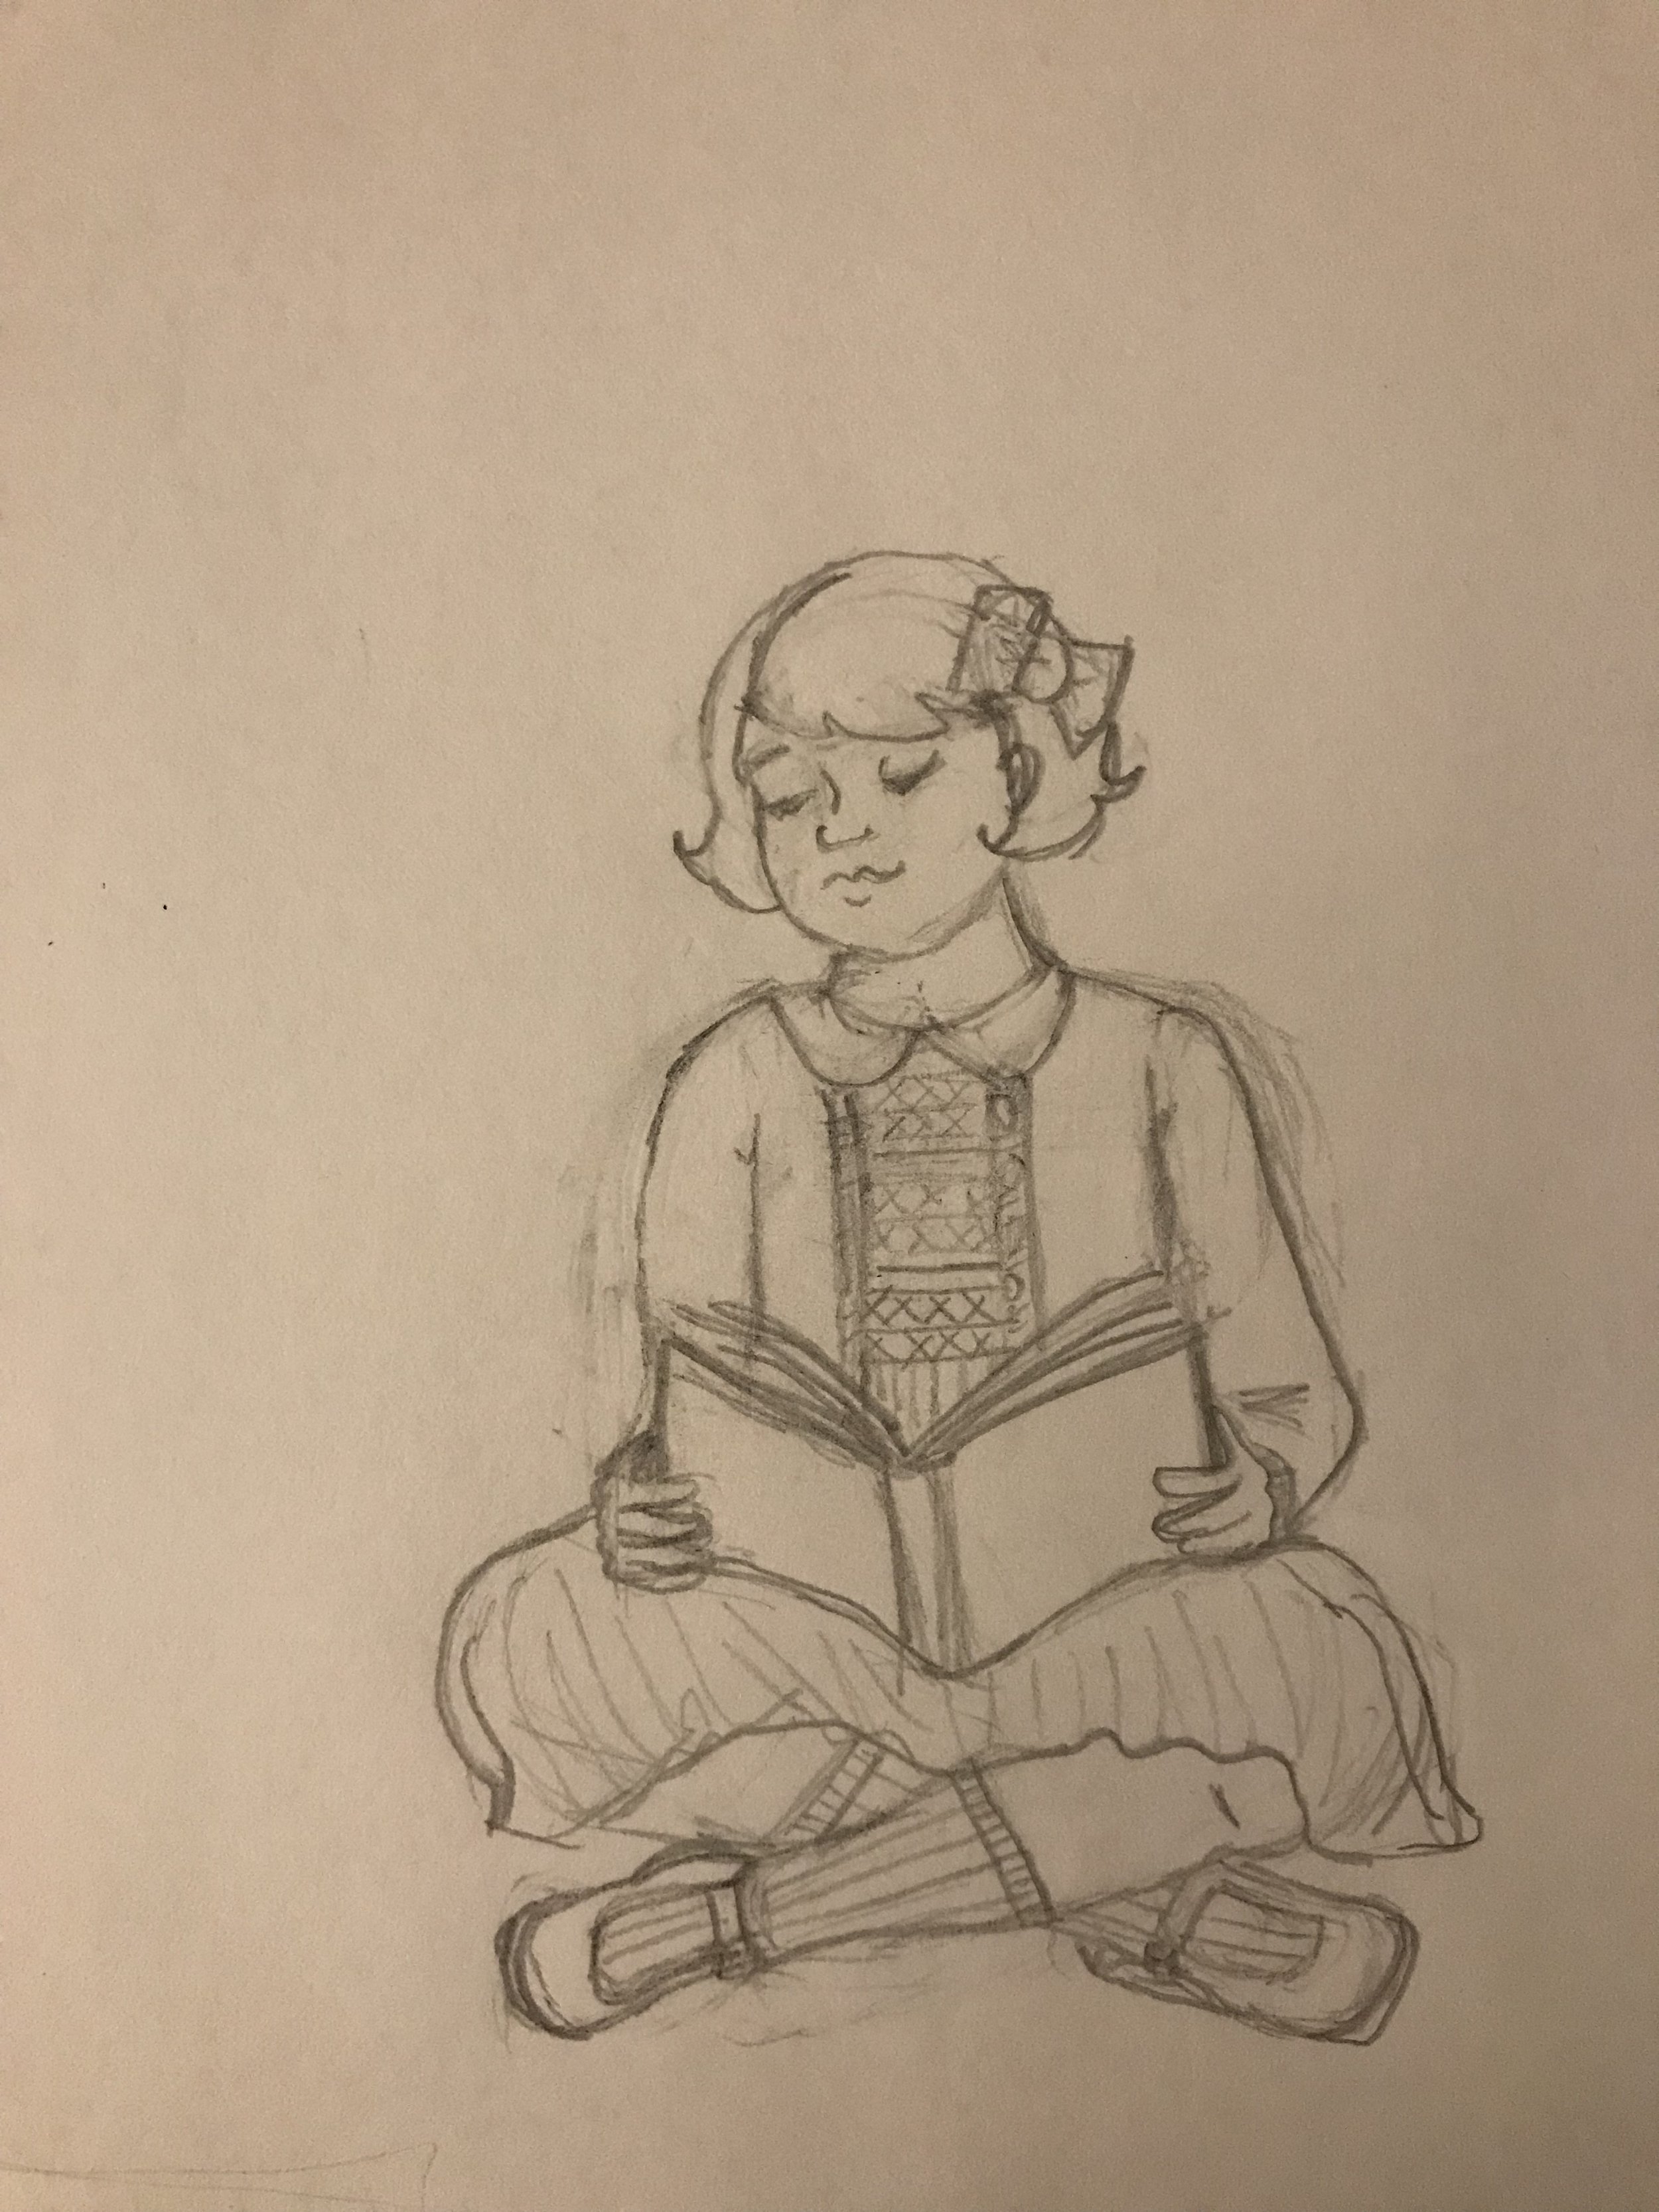
If you click on that Google search, you'll find that the fashion sketch definition of "plus-size" feels not quite right. The croquis I've been using seems much more in line with the 34-inch bust standard most of my samples have to been knit in, than anything resembling plus-size.
So while my standard croquis gets the job done for basic communication purposes, it falls short in several ways.

First, it's not a great tool for scaling designs. When I grade, I work off a spreadsheet and make some general assumptions about how to grade different design elements - for example, is the button band the same width for all sizes, or would it look better if it's wider on the larger sizes? Sketching on different body types helps me make that decision in a more informed way. 

Second, I often see comments when new designs come out along the lines of "that's nice, but not for my body." Unlike sewing, where additional samples can be made in the span of hours, new knit samples usually take weeks. Which means having samples photographed in various sizes is often not possible, so makers may have to wait months to see someone close to their body type post a finished object photo to get a sense of how a particular design would work for them.   MyBodyModel helps with both of those shortcomings.

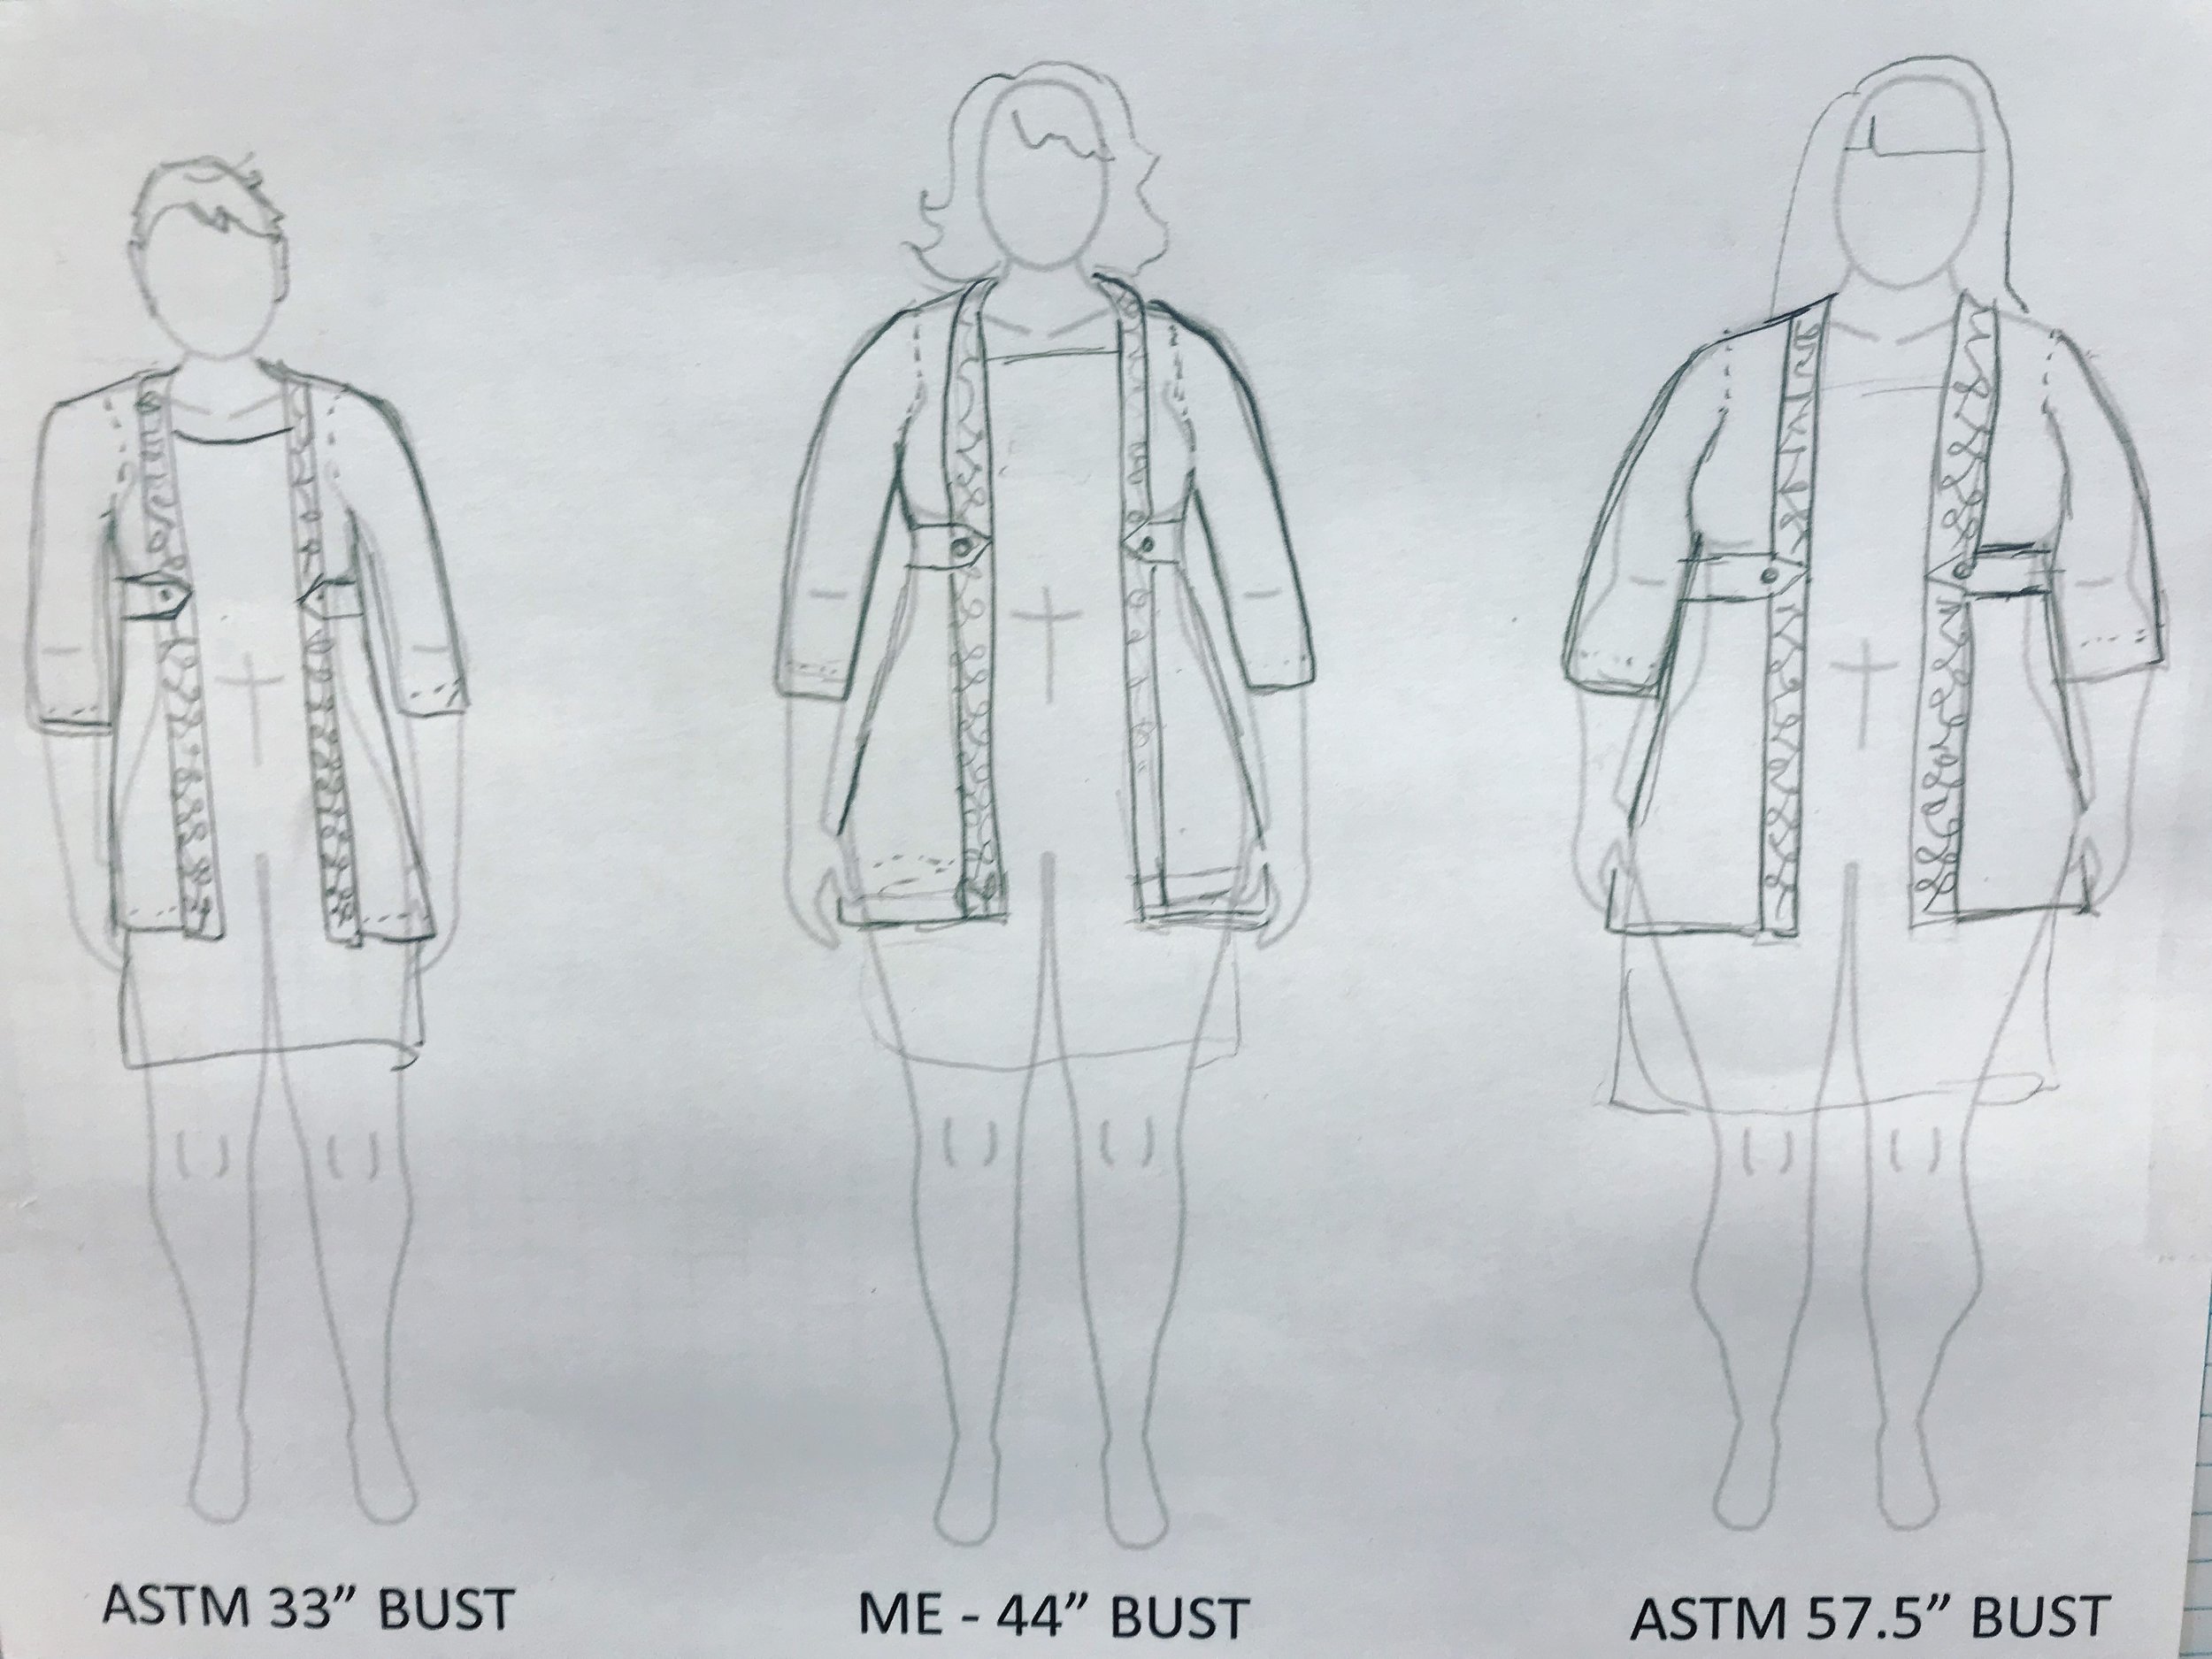
MyBodyModel is currently in the midst of a Kickstarter fundraiser, and I've backed at the designer level to get access to 3 custom croquis. For me, I would use the following measurements for my croquis:

  1. The standard set of measurements I use for my 34"  sample
  2. My own measurements as a "middle of the range" example
  3. The largest set of measurements from my grading spreadsheet

By doing this, I would have a range of body types to sketch on and design for. 

Even if you're not a designer, having a sketching template of your own measurements would be highly valuable. You could plan adaptations like sleeve or skirt length, and "try on" a number of different styles without actually having to commit to making items.

As some examples. I've used MyBodyModel's sample sheet of croquis, developed from real testers measurements to sketch out two of my designs - the upcoming Renovation Cardigan (above) and the Lamina Pullover (below).

If MyBodyModel successfully funds its Kickstarter, I'll be testing the Beta phase of the software and I can't wait to give it a try. If having more realistic sketching figures seems like a good idea to you, I  highly encourage you to go chip-in on the Kickstarter, which runs until August 24th. 

Lamina by Leah B. Thibault
Mybodymodellamina
Print Friendly and PDF Follow
follow us in feedly

Summer of Basics: Moss Skirt

Karen Templer of Fringe Association is hosting a make-along called The Summer of Basics. The idea behind it being to make 3 garments (knitted or sewn) over three months that would be workhorse garments for the maker.

I often waffle about joining in on make-alongs, I like the sense of community they bring, but because so much of my making is already dictated by deadlines I generally don't want to add non-necessary deadlines to my life.

However,  in this case, the time frame is generous, and as previously discussed, I'm in serious need of some workhorse garments to fill some sizable gaps in my wardrobe right now. So I'm in.

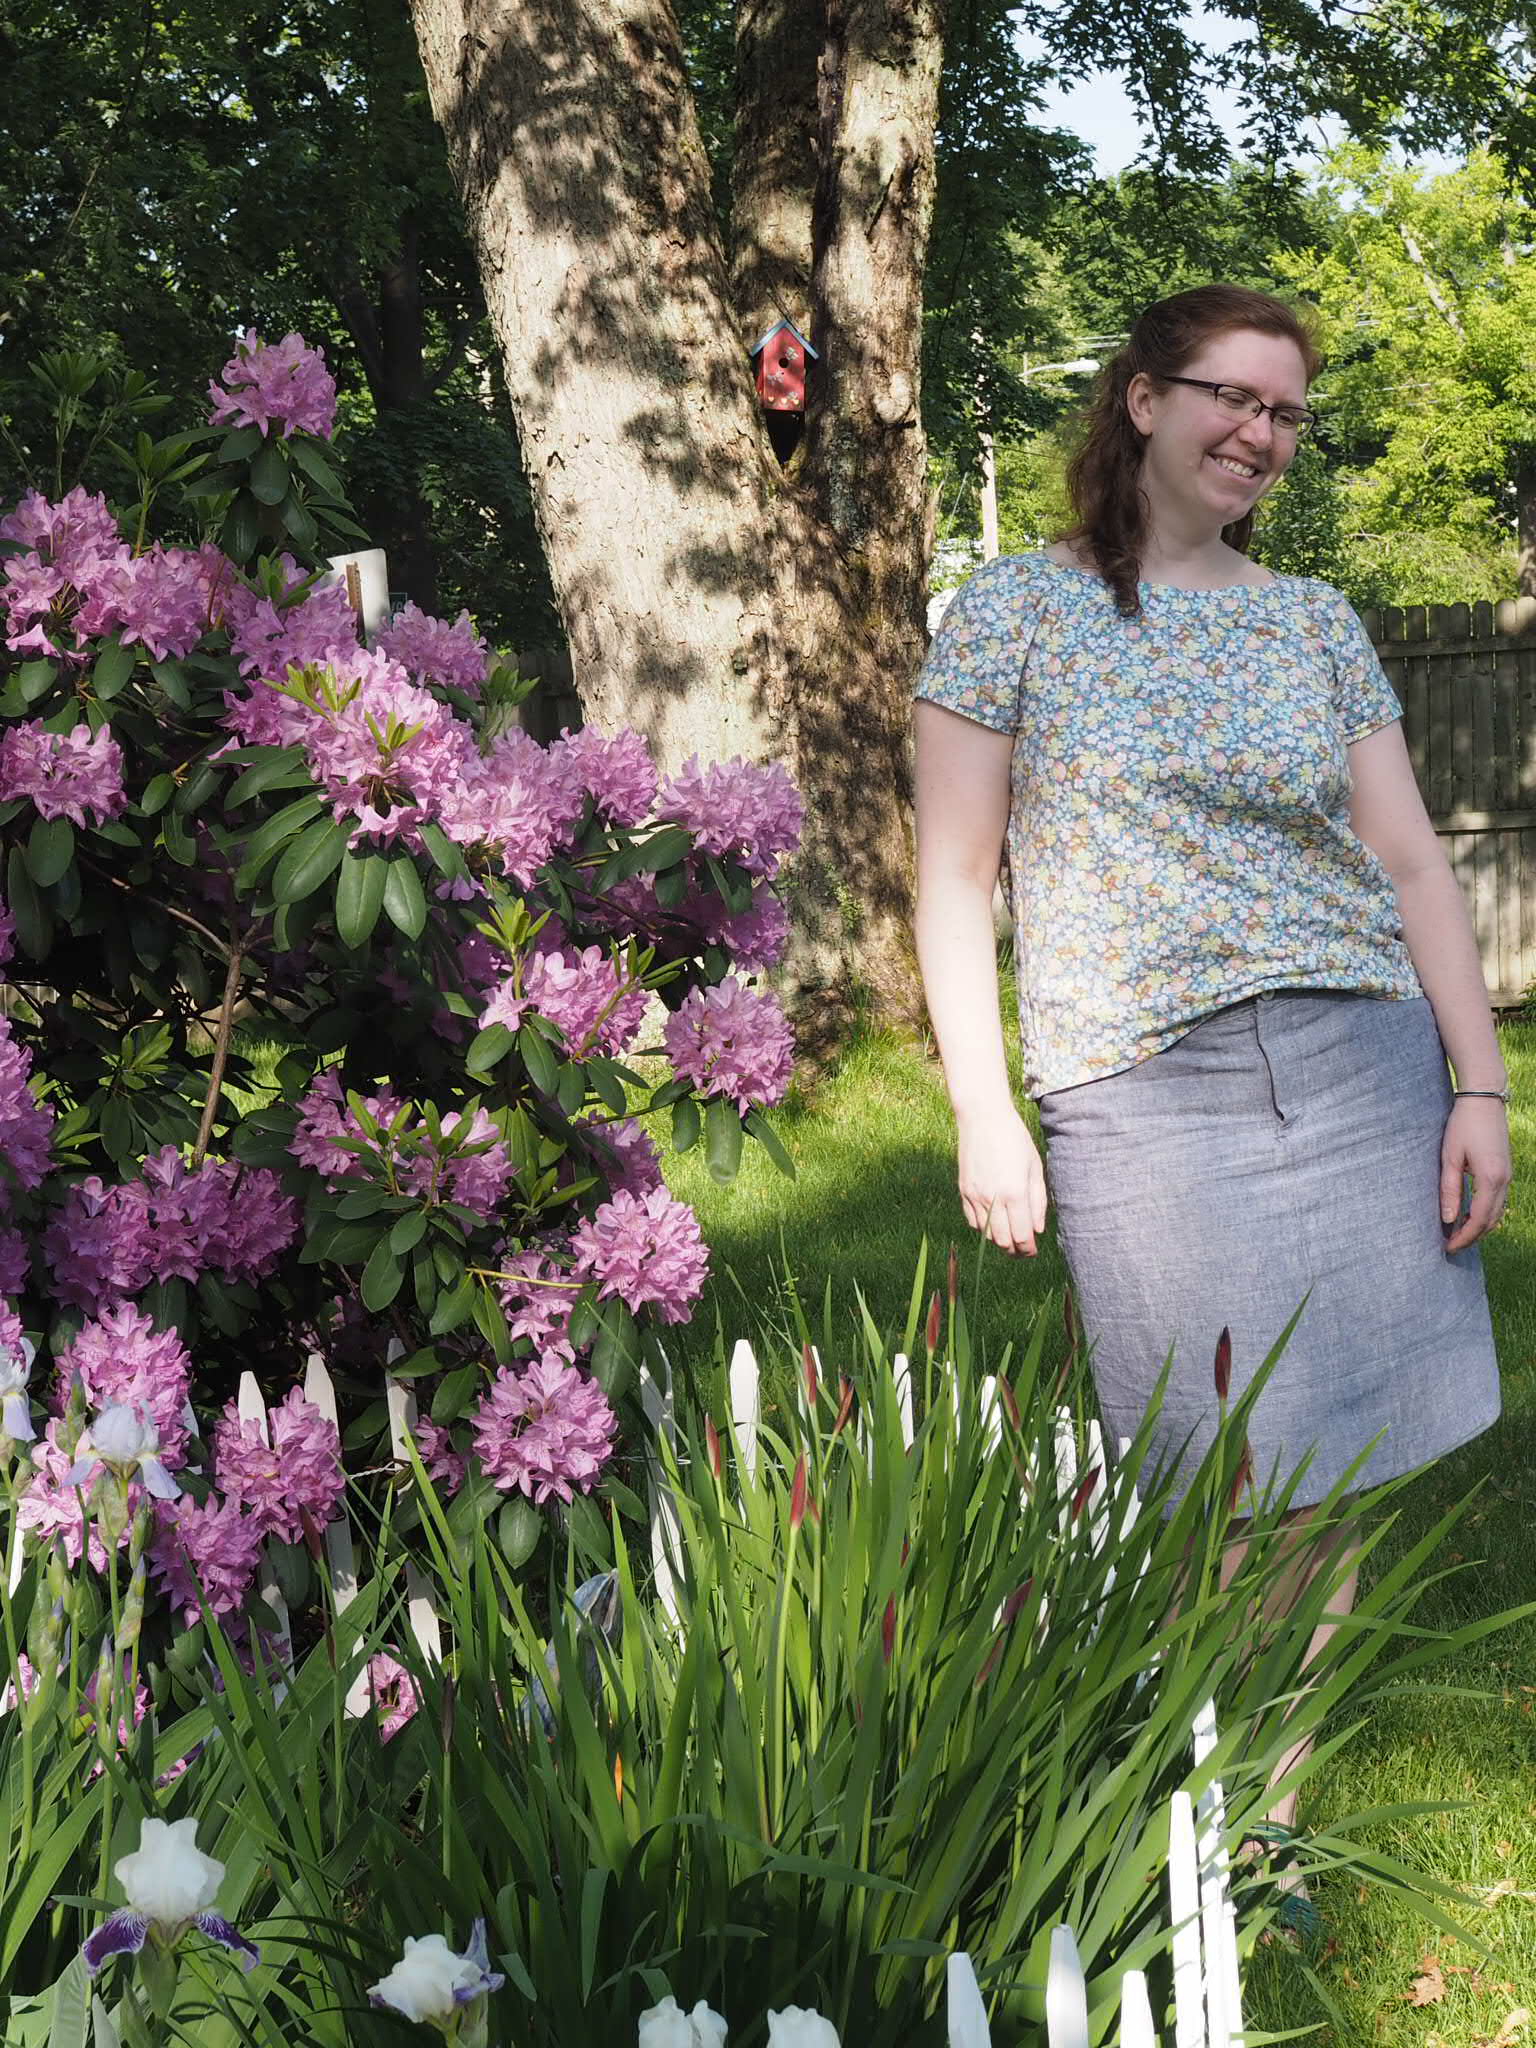
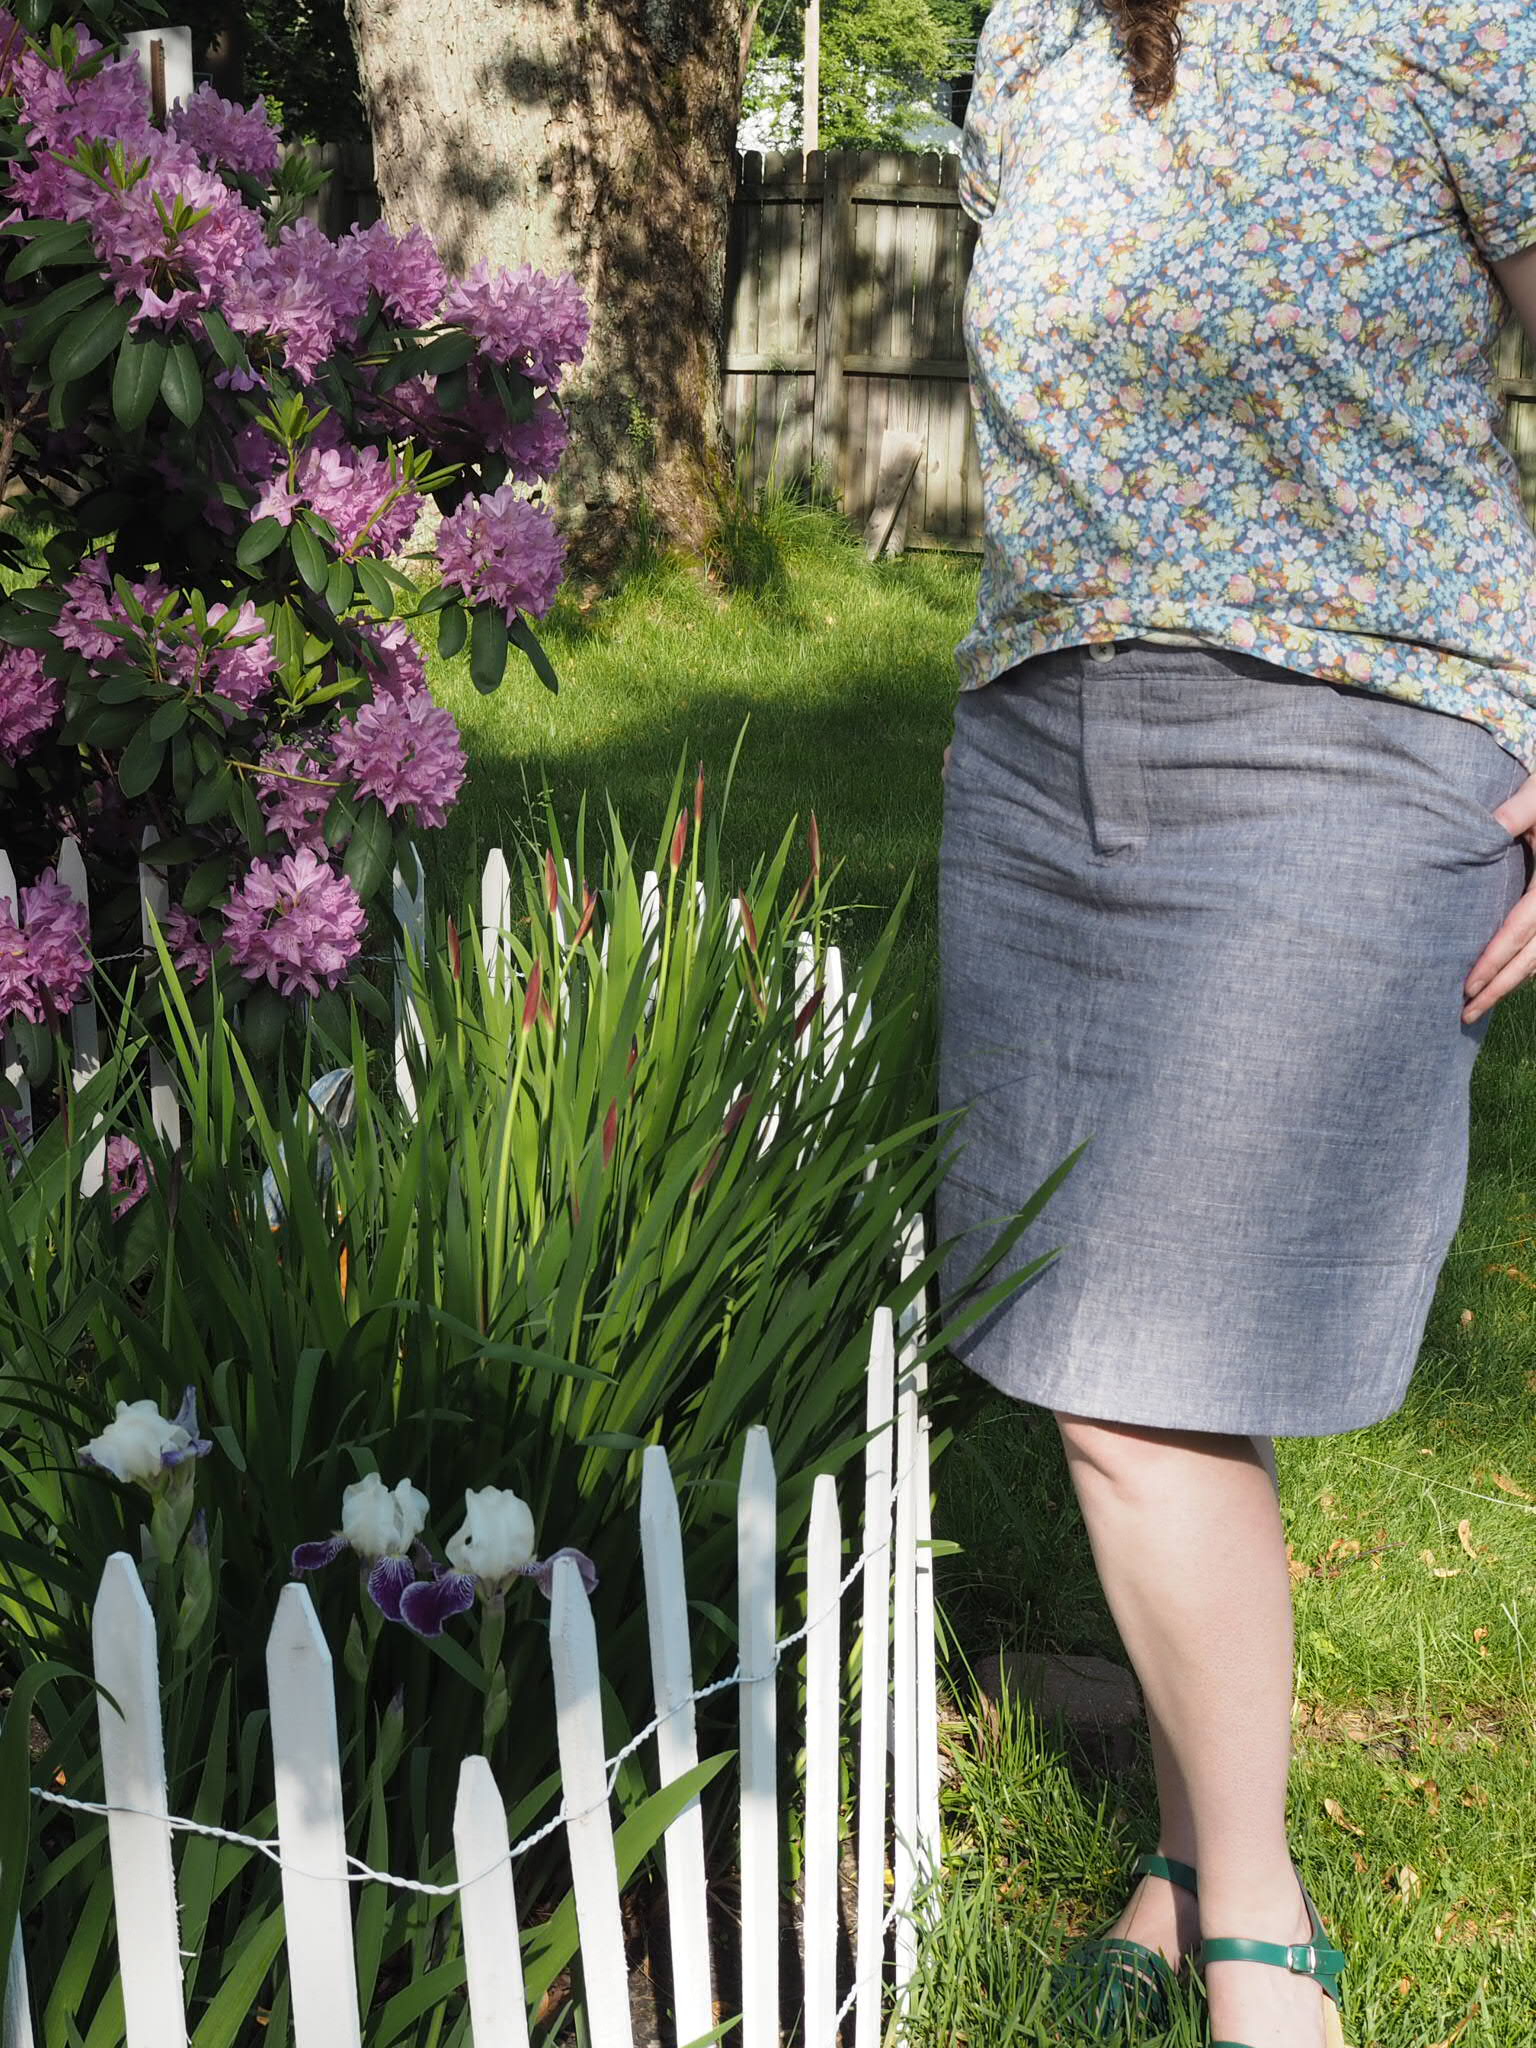
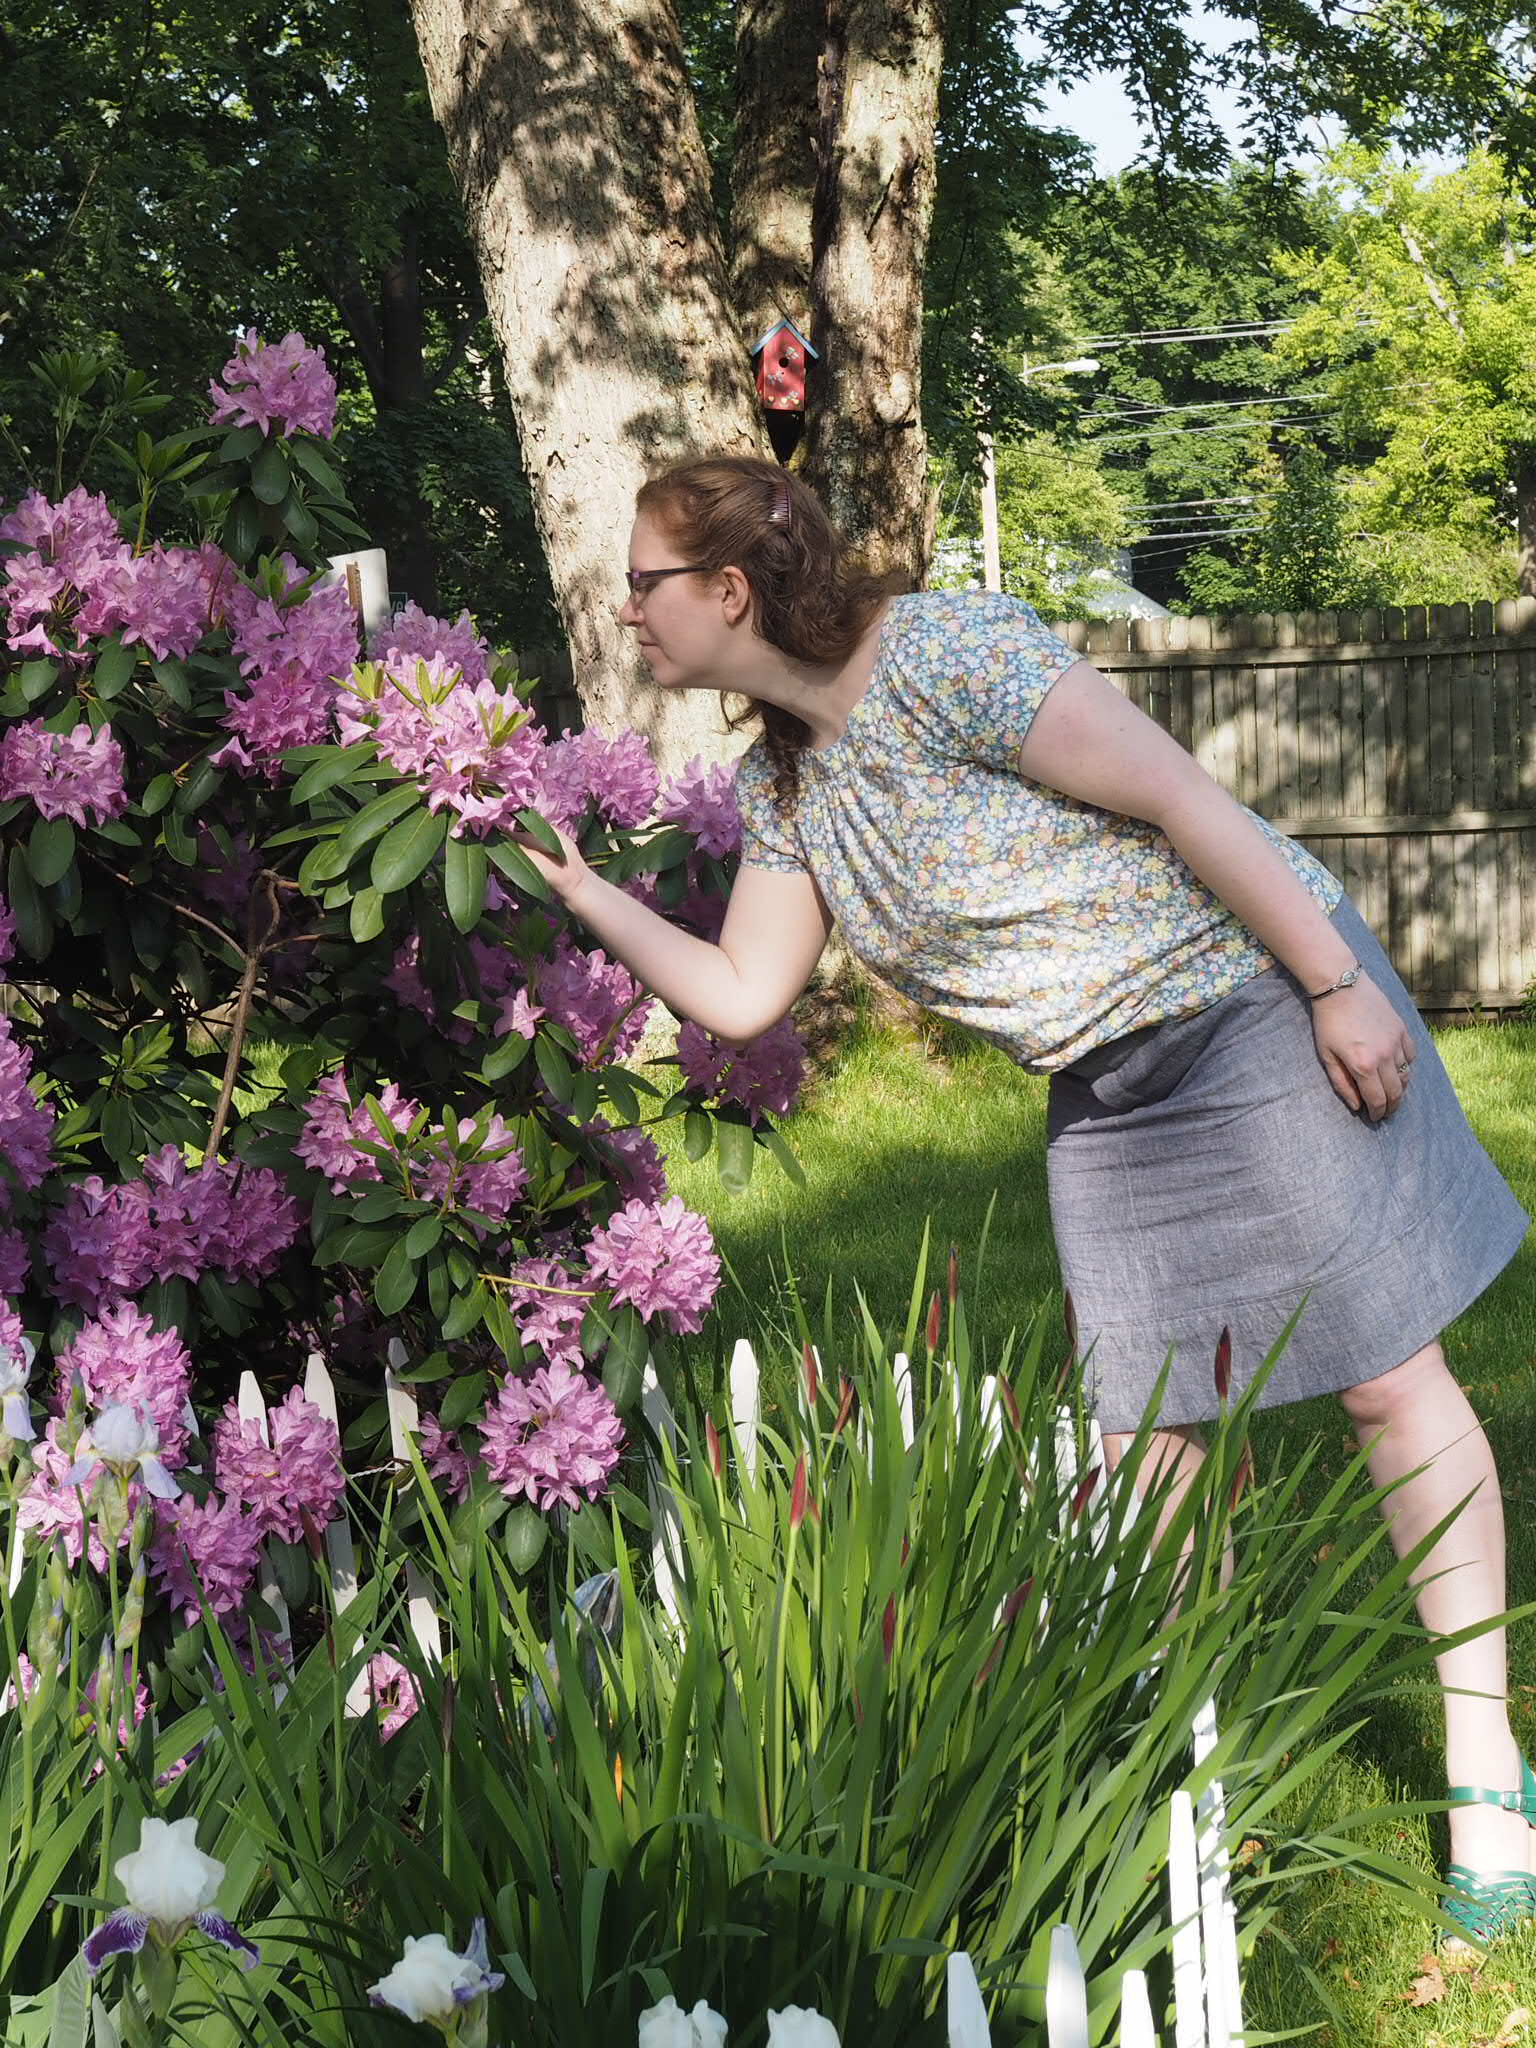
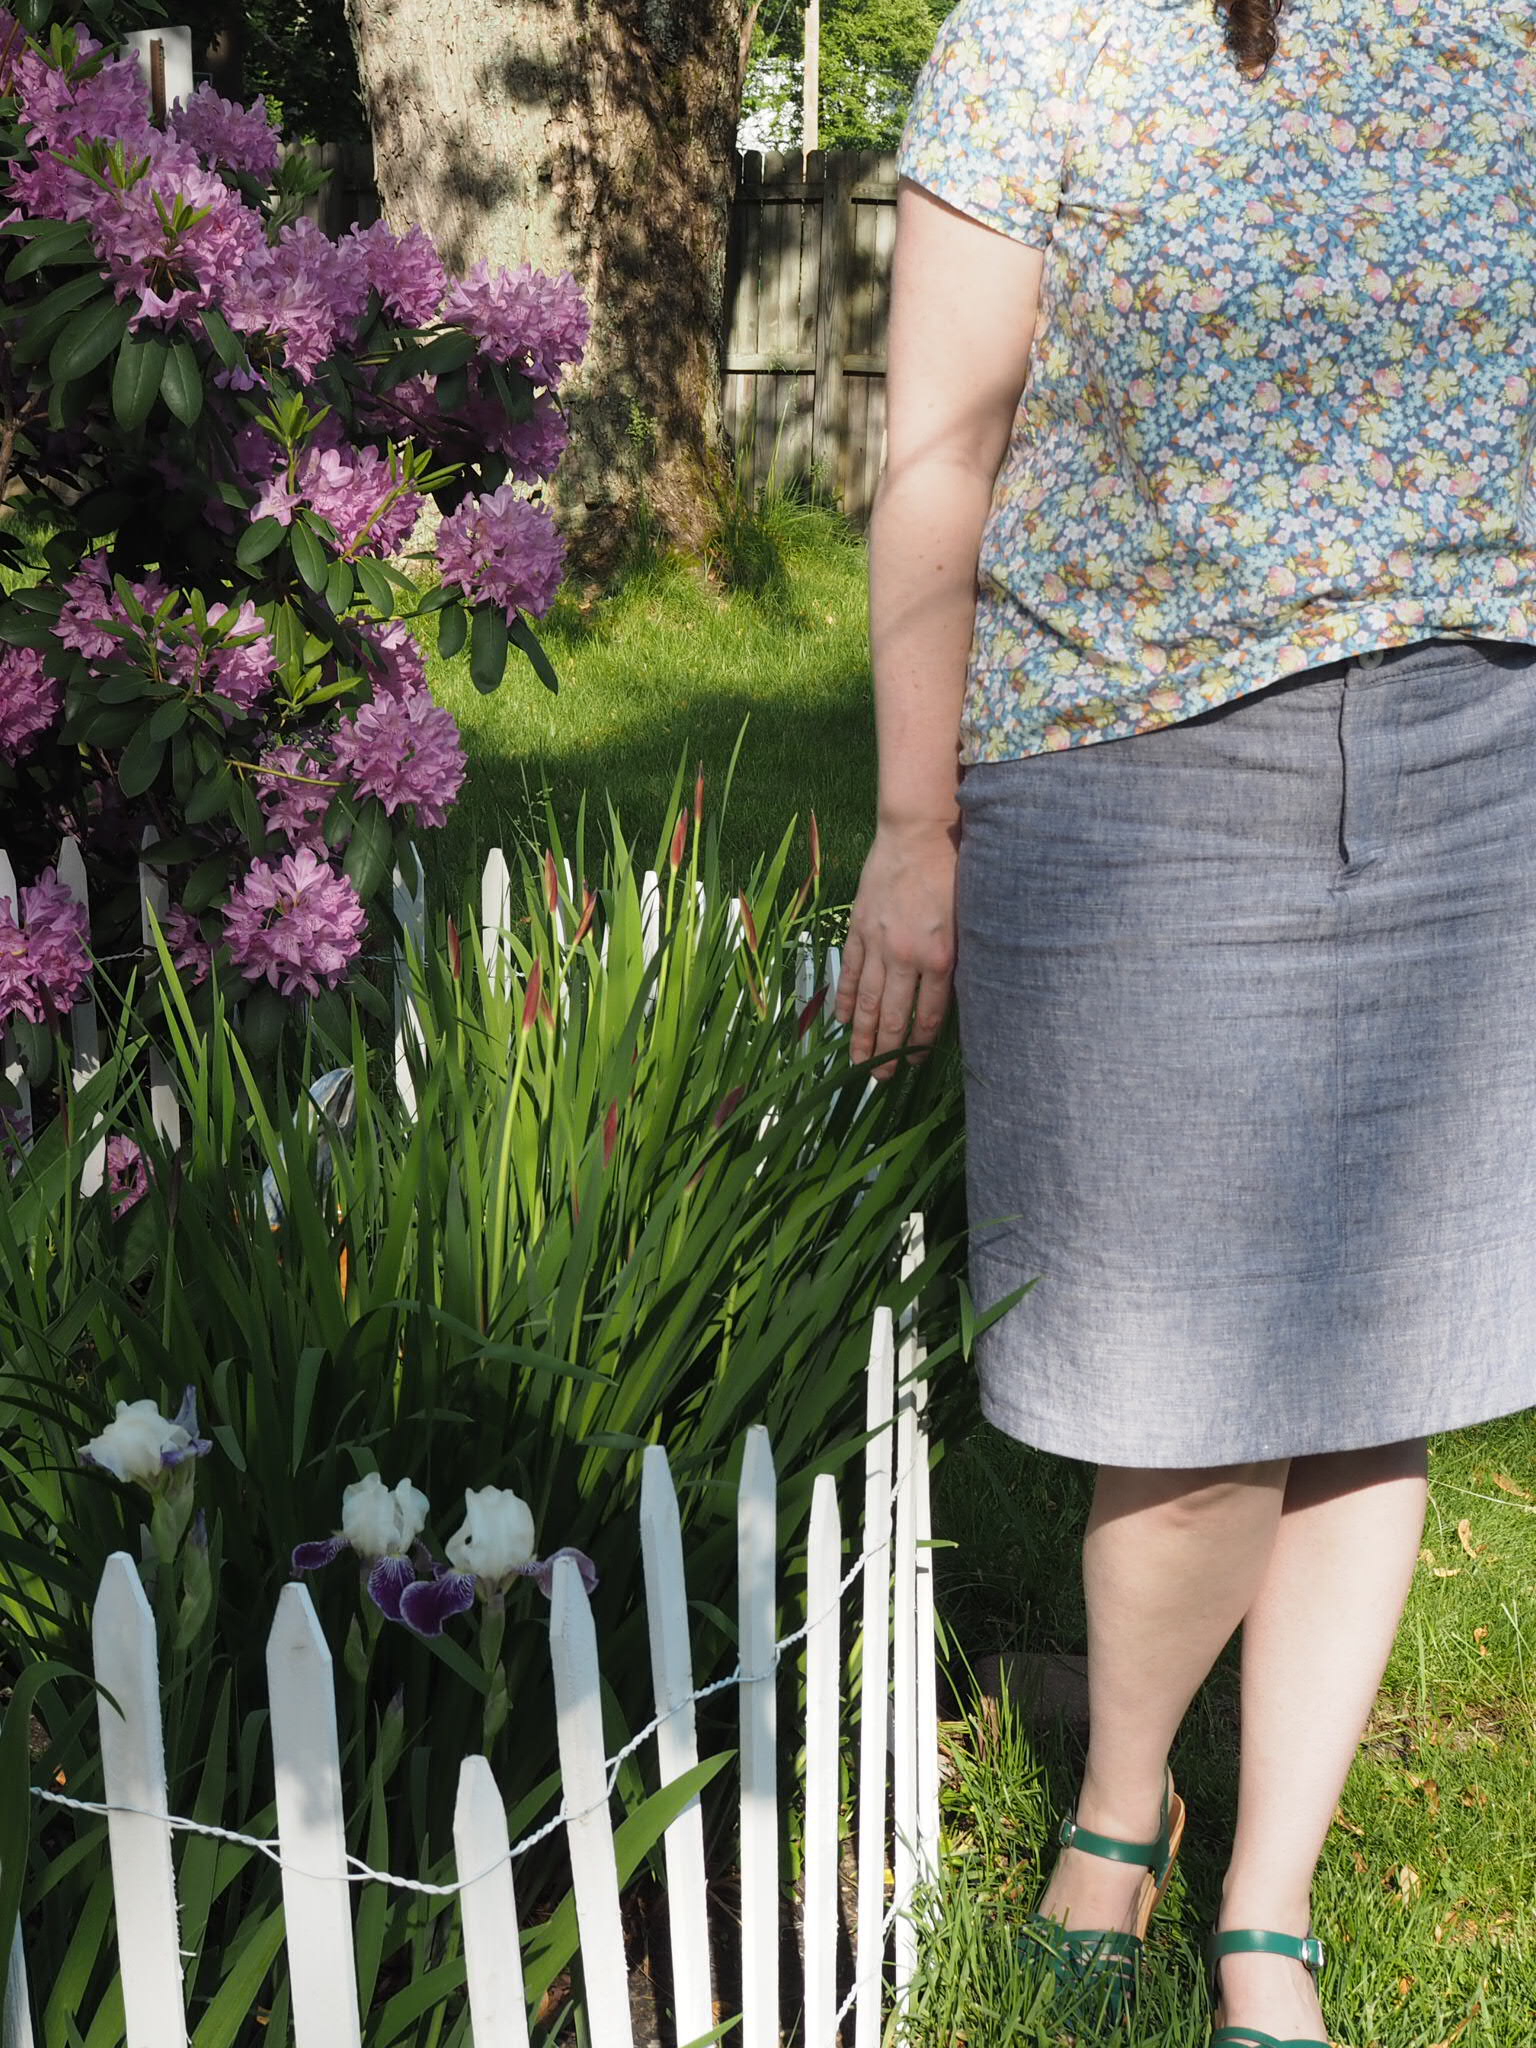
For my first basic, I chose Grainline Studios Moss Skirt. Normally, my style is less austere and modern than the overall Grainline aesthetic, but I find them so thoughtfully designed, that I've made quite a number of her patterns. I've been wanting a simple skirt with a fly closure to replace my beloved 15-year old denim skirt, and Moss fit the bill. I'm not a mini fan, so I opted for View B with the hem band and added an extra inch to the length of the main skirt portion. Other than that I stuck to the directions, and was surprised to find that I've apparently sew enough flies that I'm no longer scared of them. The fabric is a nice chambray I got on the cheap from Marden's (a surplus store) and I did faux flat-felled seams for a jeans-inspired look. Even with interfacing, the chambray stretches a bit more than I expected, so I may take in the waist band a bit after it's next washing. 

I've already worn it twice in the week since I made it, and knowing how much use my old denim skirt got, I know this will be a definite workhorse. 

The top is a Fancy Tiger Sailor Top made in some quilting cotton, that incidentally I also used in the pocket linings of the skirt. I made it before the make along kick off, so it's not part of my official Summer of Basics makes, but I'm pretty sure I'll be making another soon (my third), so I'll save my comments on the pattern for then. 

All in all, as outfit that is comfortable, easy to wear and feels so very me. A win-win!


Print Friendly and PDF Follow
follow us in feedly

Being Comfortable

Wherein I talk about body image, mental health and making your own clothes

Read more
Print Friendly and PDF Follow
follow us in feedly