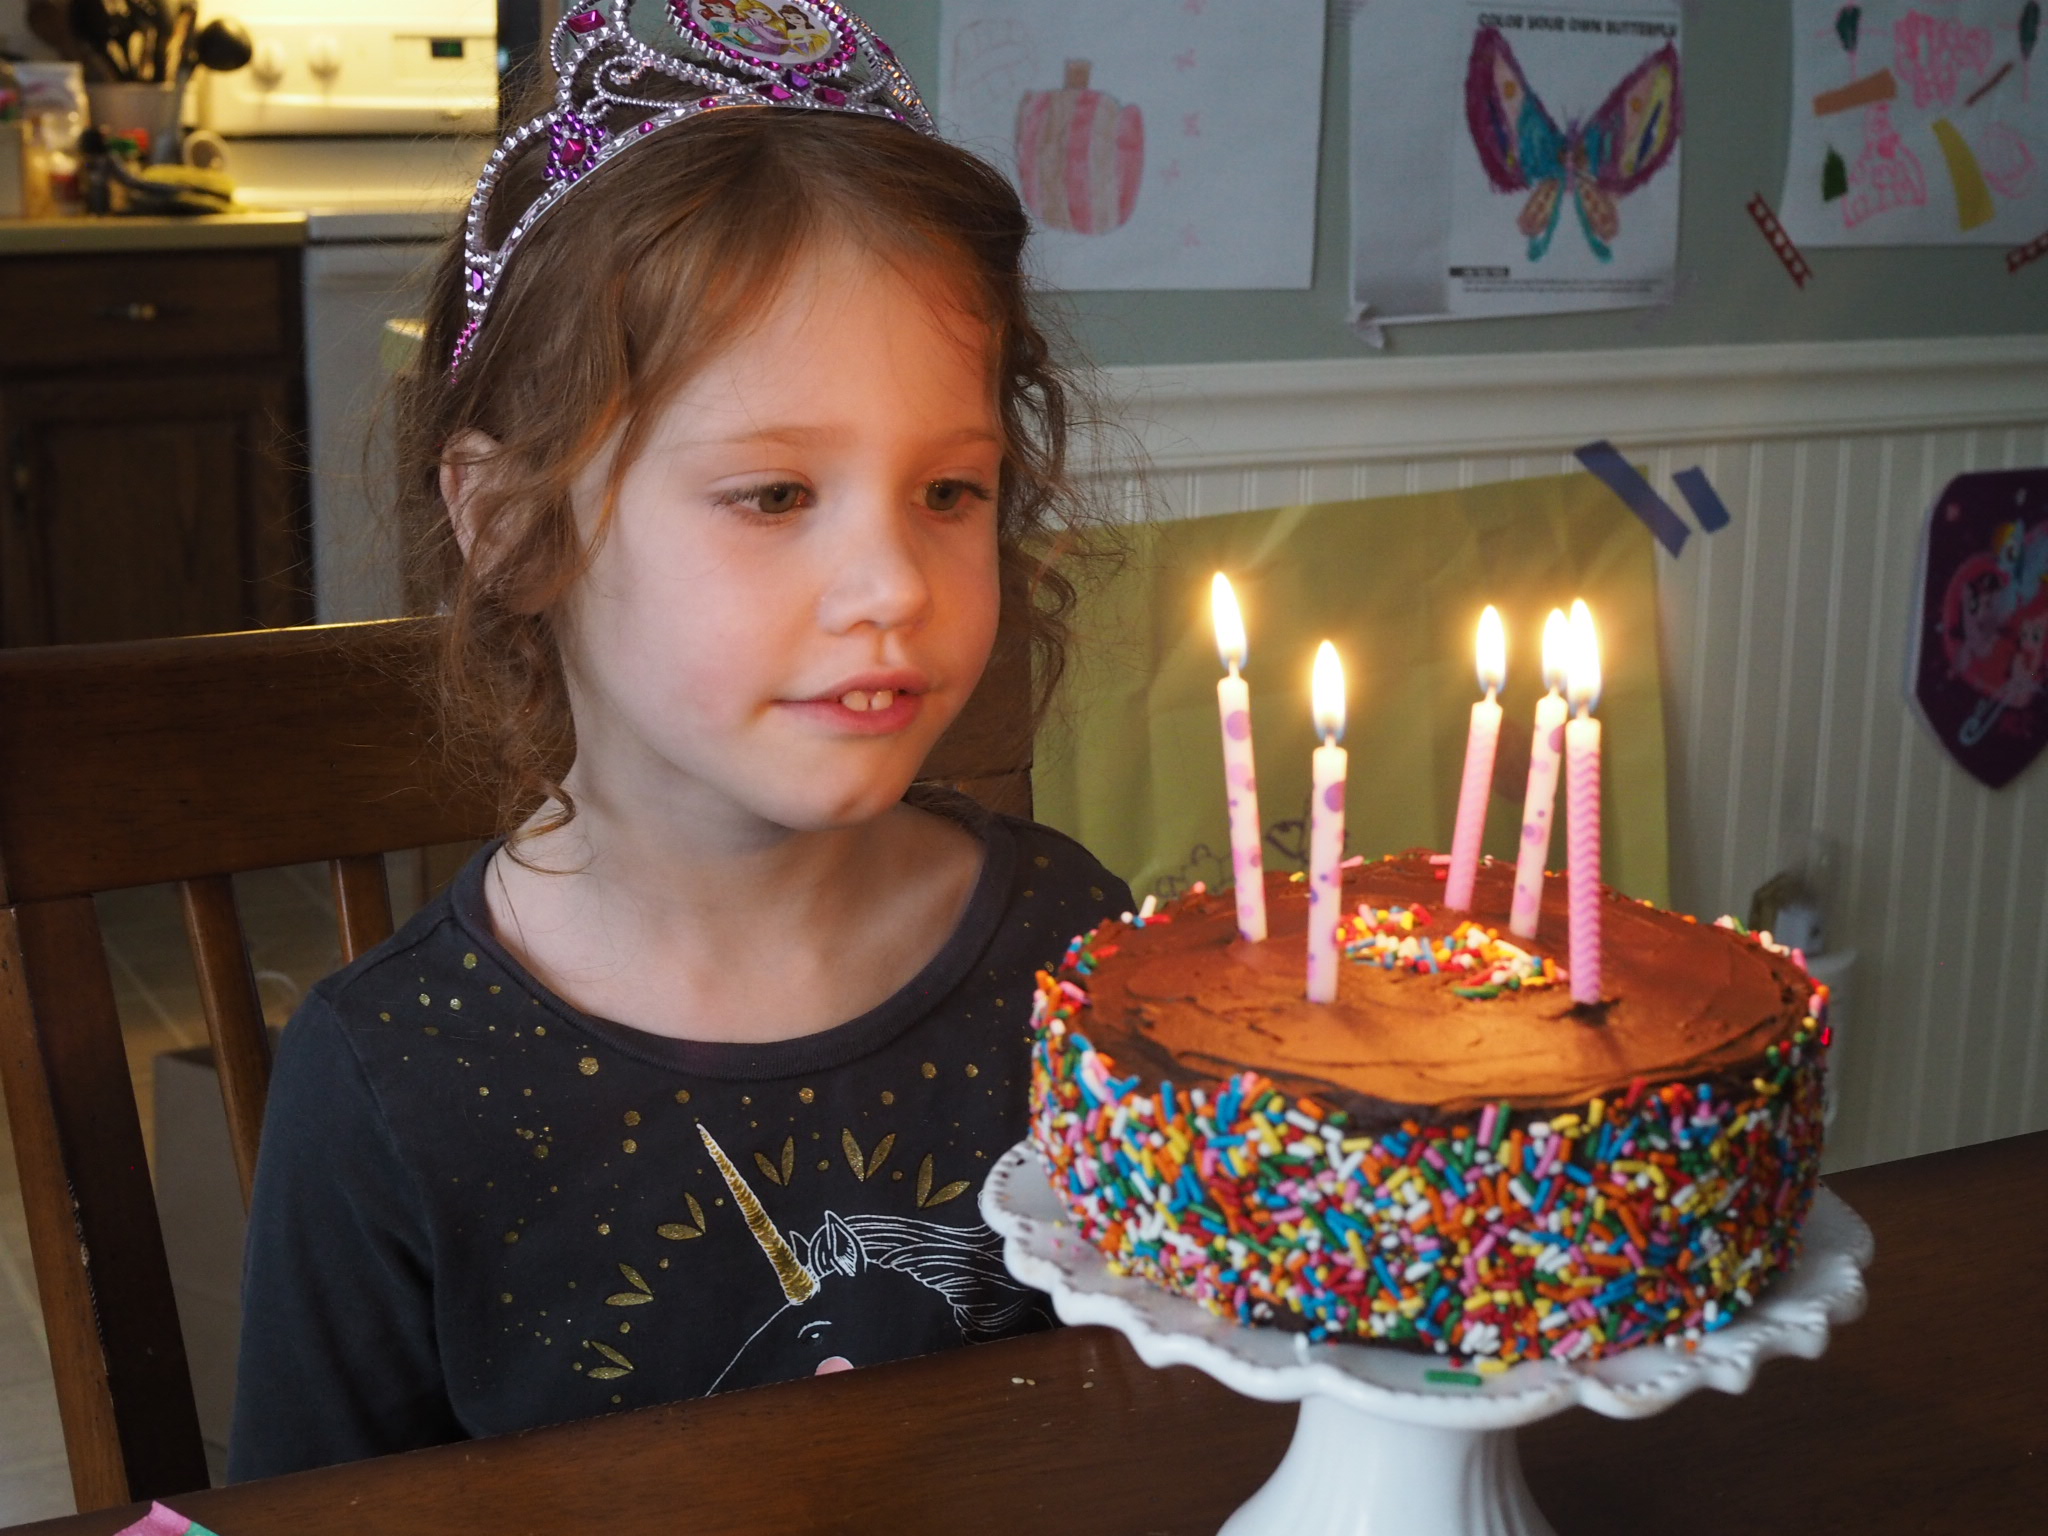


Little Miss Cleaver just turned five in March. (I know, I have no idea how that happened so fast either).
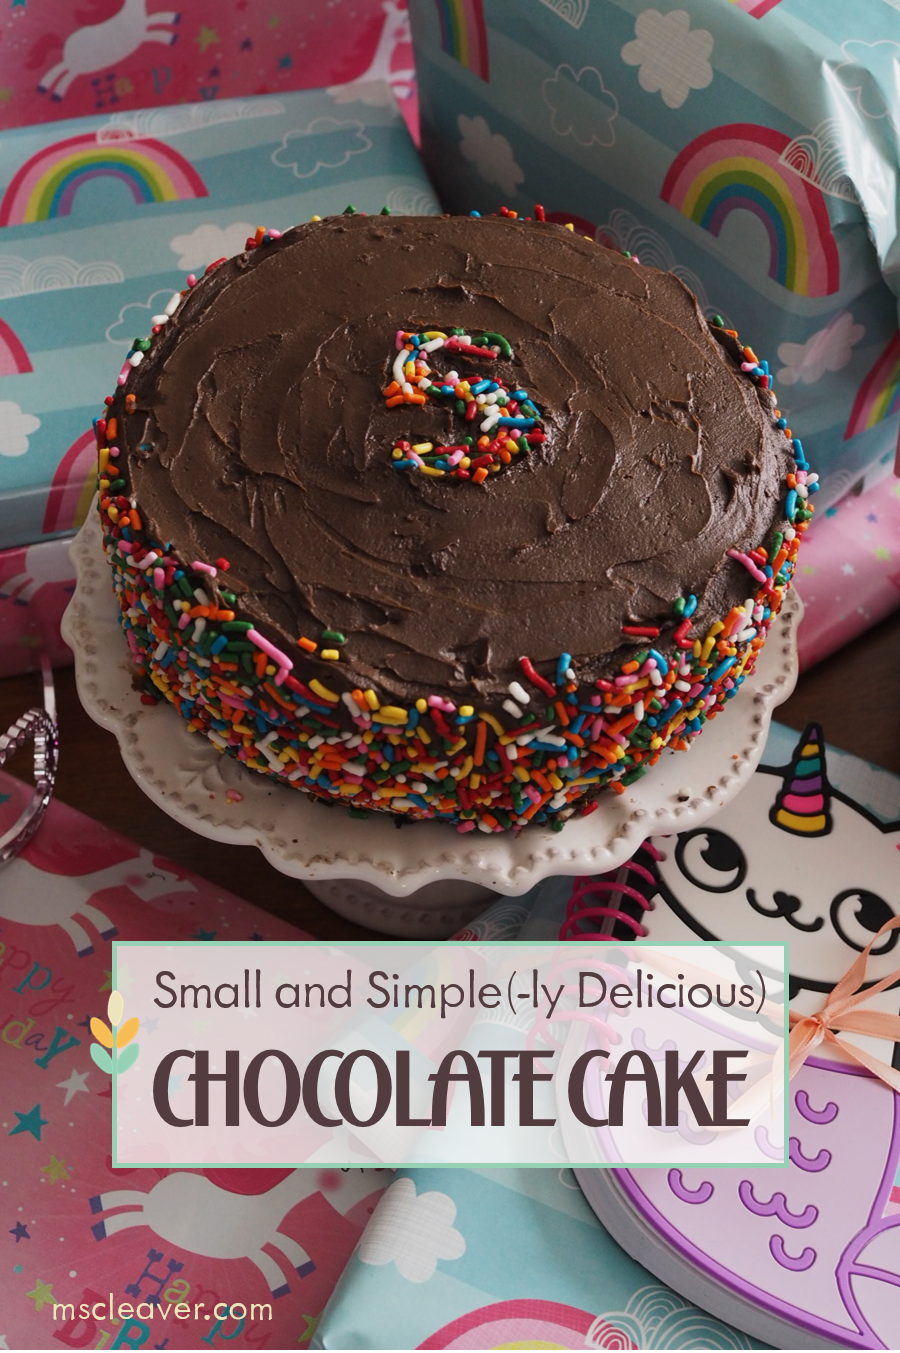
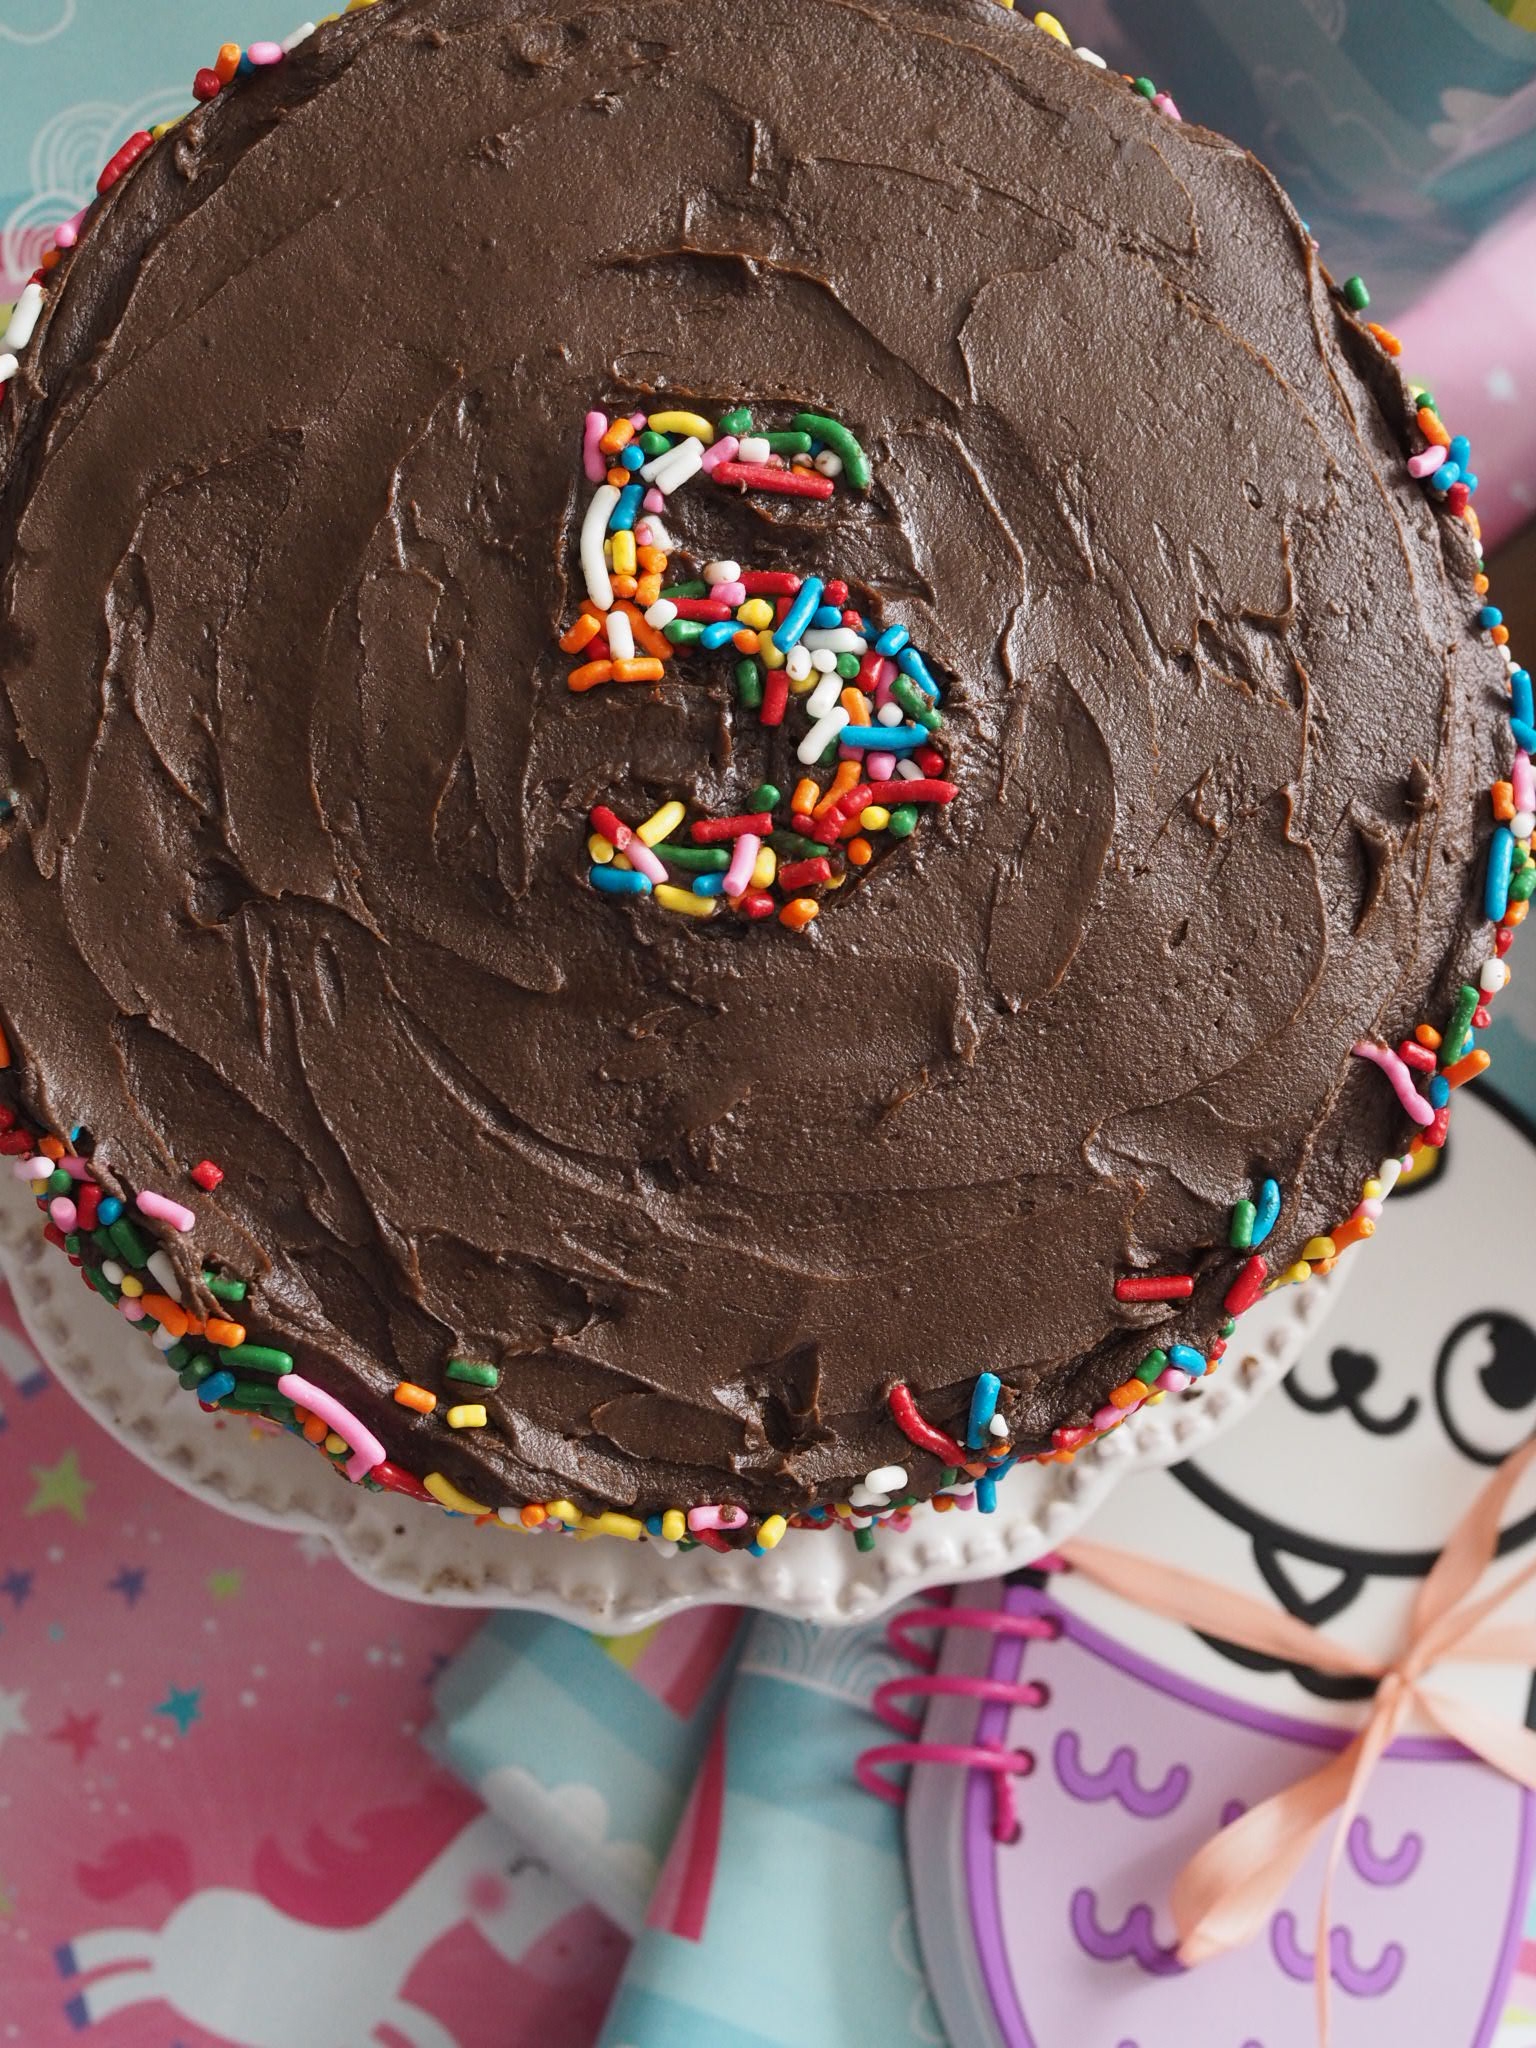
To celebrate such a momentous occasion, we had a big friend birthday party about a week before the actual day. But, in LMC's words, the "real party" was the one with family on her actual birthday. So even though we were solidly cupcaked-out by that point, a cake was still in order. Enter this deeply chocolaty, but petite cake - just enough for the three of us to handle and cute to boot.
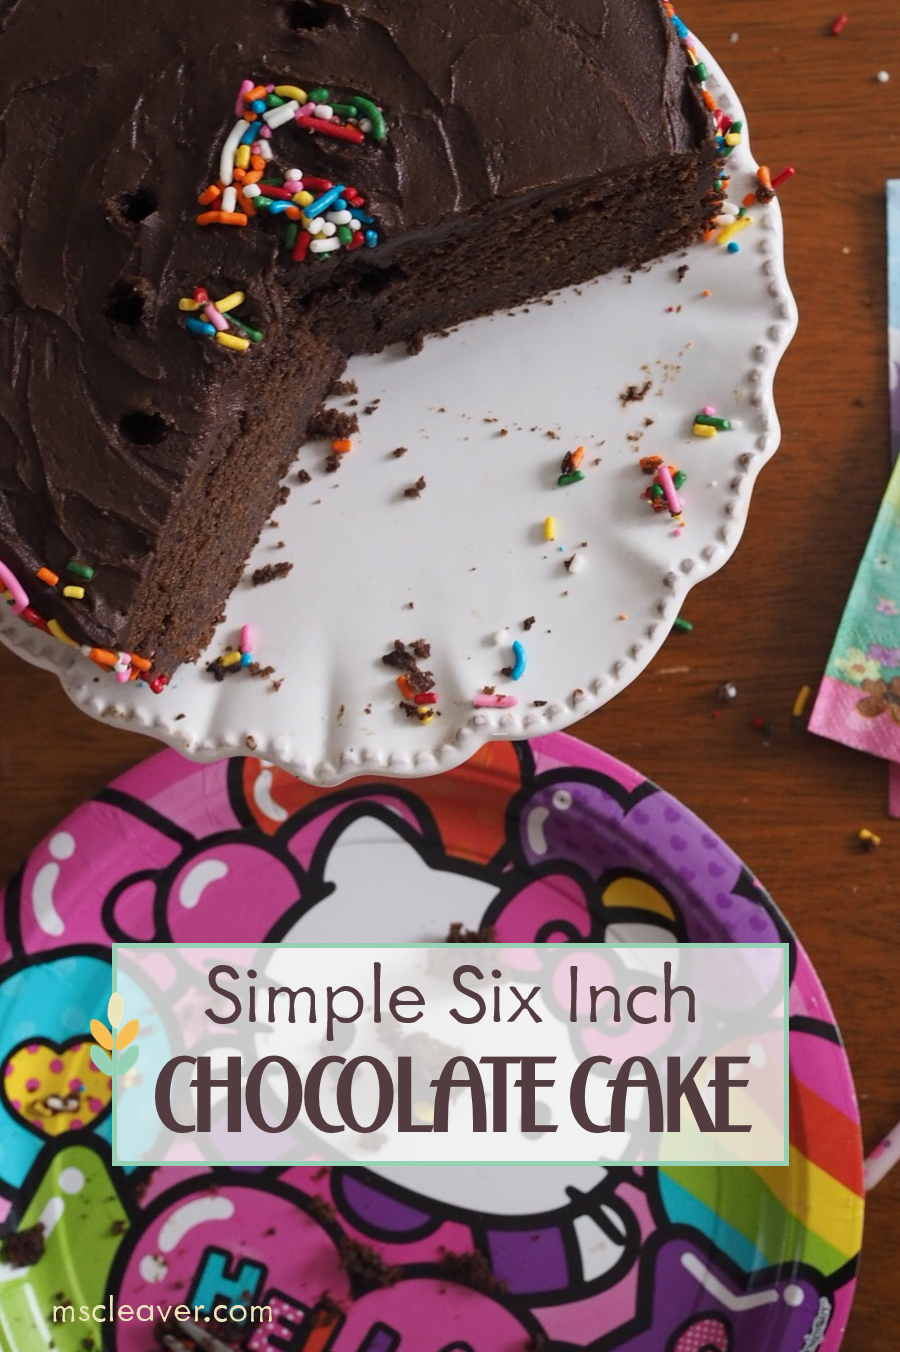
There are hundreds of chocolate cake recipes out there, so I'll just say that this one was still really moist after three days at room temperature and I use my blog as my own personal recipe box and I wanted to put this out there so I can remember it for the next birthday.
This recipe will fill any of the following:
- One 9" cake pan
- Two 6" cake pans
- About 10-12 cupcakes
- Or a really thick 6" cake, plus a small ramekin. (which is what I did).
Small and Simple (-ly Delicious) Chocolate Cake
Cake
- 1 cup all-purpose flour
- 1/2 cup plus 3 Tbl unsweetened cocoa powder
- 1/2 tsp baking powder
- 1/2 tsp baking soda
- 1/4 tsp salt
- 1/2 cup salted butter, softened
- 1/2 cup plus 2 Tbl sugar
- 1 tsp vanilla
- 1 large egg
- 1/2 cup plain Greek yogurt
- 3 Tbl cold coffee
- 3 Tbl milk
Frosting
- 4 Tbl salted butter, softened
- 1 1/3 cups powdered sugar
- 1/4 cup unsweetened cocoa powder
- up to 3 tbl milk
- 1/2 tsp vanilla extract
Optional (lots of sprinkles to decorate)
Directions
Preheat oven to 350 Degrees F. Grease pan(s) and coat with cocoa powder or use liner if making cupcakes.
In a medium bowl, sift together flour, cocoa powder, baking powder, baking soda, salt, In a small bowl or large measuring cup, combine coffee, milk, and yogurt.
In a large bowl, cream together the butter and sugar until light and fluffy. Add egg and vanilla to sugar and mix until well combined.
Starting and ending with the flour mix, alternate adding flour mix and yogurt mix to sugar/egg mix, making sure batter is thoroughly combined before each addition.
Scrape batter into prepared pan(s), keeping the distribution as even as possible if using multiple pans.
Bake cake until a tester inserted in the center of the cake comes out clean. Start your timer at 20 minutes and check every 3-5 minutes thereafter, cooking times will vary based on which pan you choose.
Cool cake in pan for 10 minutes then invert unton rack to cool completely before frosting.
To make frosting: Beat butter until light and fluffy. Add cocoa and powdered sugar to butter. Add milk a tablespoon at a time, until desired consistency is achieve and then beat in vanilla.
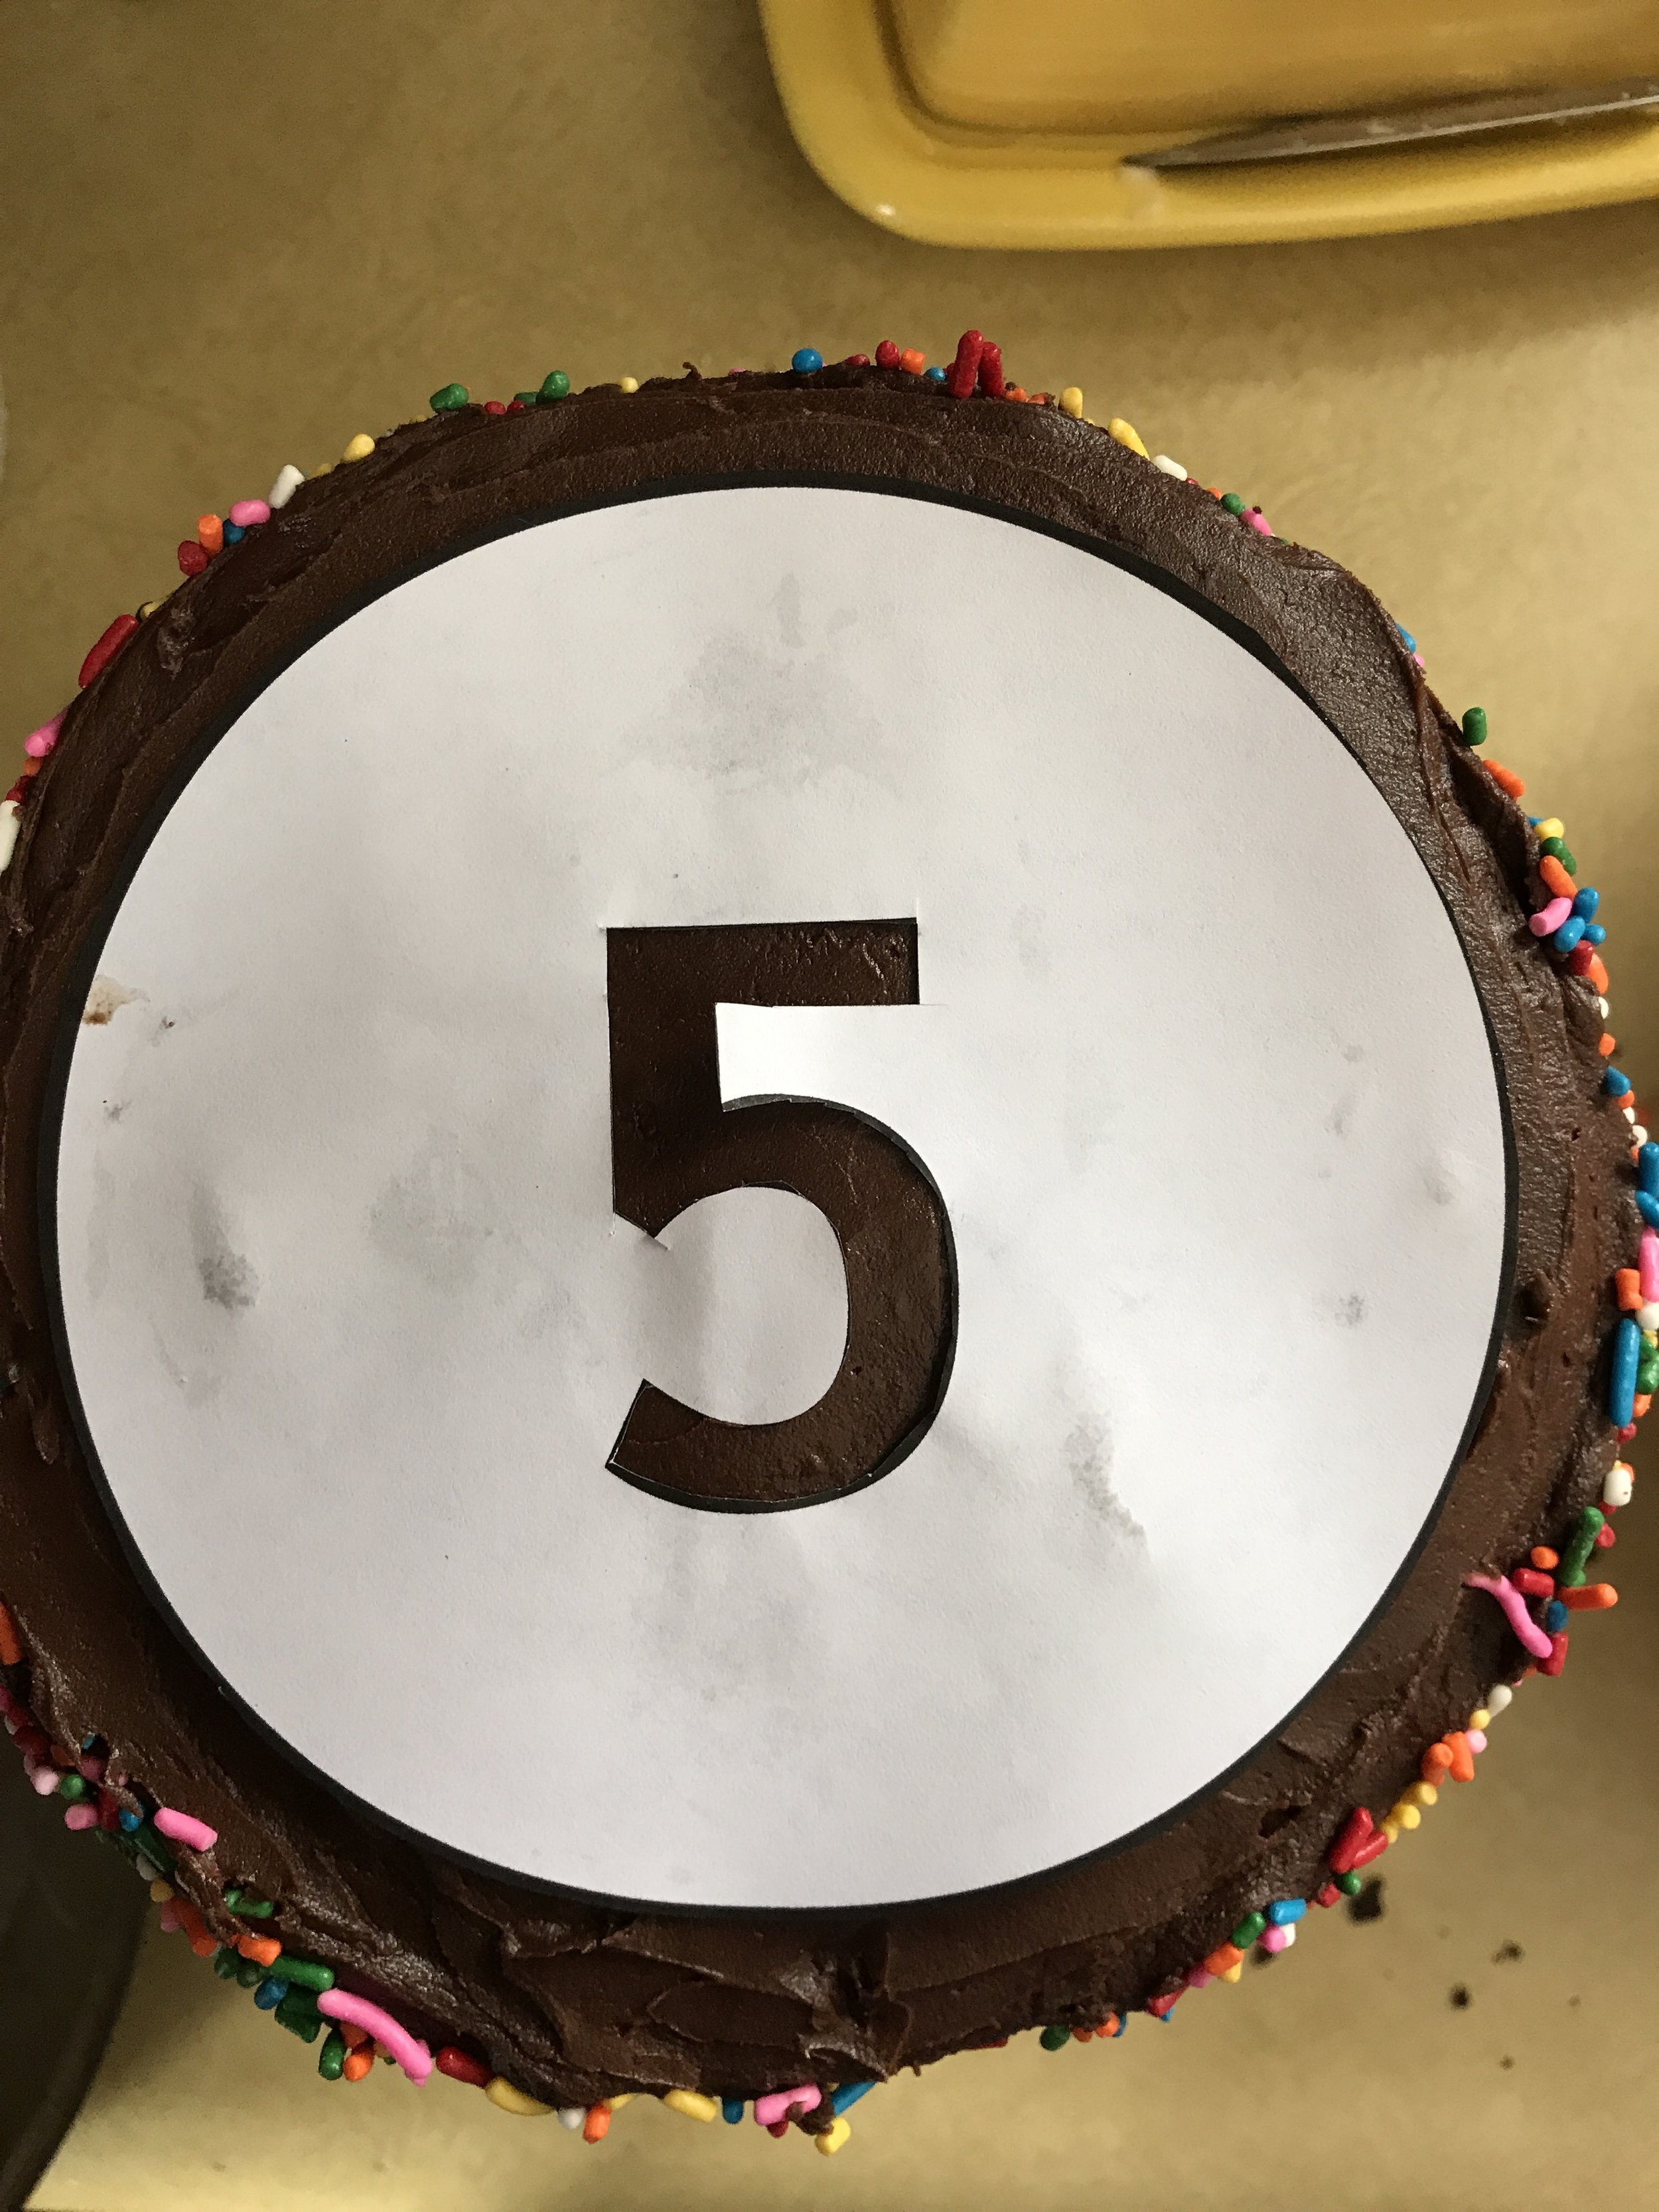
To decorate as shown: Place a large amount pf sprinkles into a pie pan or rimmed baking dish. Frost sides, but not top of cake. Being very careful, tilt the frosted cake into the pie pan and roll until sides are coated with sprinkles. Gently place cake unto serving dish or stand and press sprinkles into the side as needed. Frost top of cake. To make number, print out number of choice in a very large font (I think I used Impact here) in the center of a 5" circle. Cut out number with sharp scissors or an craft knife. Place template gently on top of cake, trying not to stick it to the frosting. Pour sprinkles into your template, mushing them into the frosting gently with you fingers and carefully remove template.
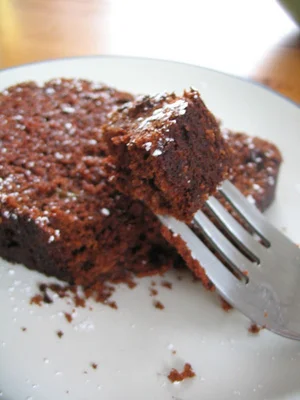
Goes excellently with a glass of milk.
Adapted from Ghirardelli's Grand Fudge Cake (aka the one on the back of the cocoa powder bag).
To print, see button at bottom of post.
Small and Simple (-ly Delicious) Chocolate Cake
Serves 9 Ingredients: 1 cup all-purpose flour 1/2 cup plus 3 Tbl unsweetened cocoa powder 1/2 tsp baking powder 1/2 tsp baking soda 1/4 tsp salt 1/2 cup salted butter, softened 1/2 cup plus 2 Tbl sugar 1 tsp vanilla 1 large egg 1/2 cup plain Greek yogurt 3 Tbl cold coffee 3 Tbl milk Frosting 4 Tbl salted butter, softened 1 1/3 cups powdered sugar 1/4 cup unsweetened cocoa powder up to 3 tbl milk 1/2 tsp vanilla extract 1 1/2 teaspoons salt,


Introducing Gully

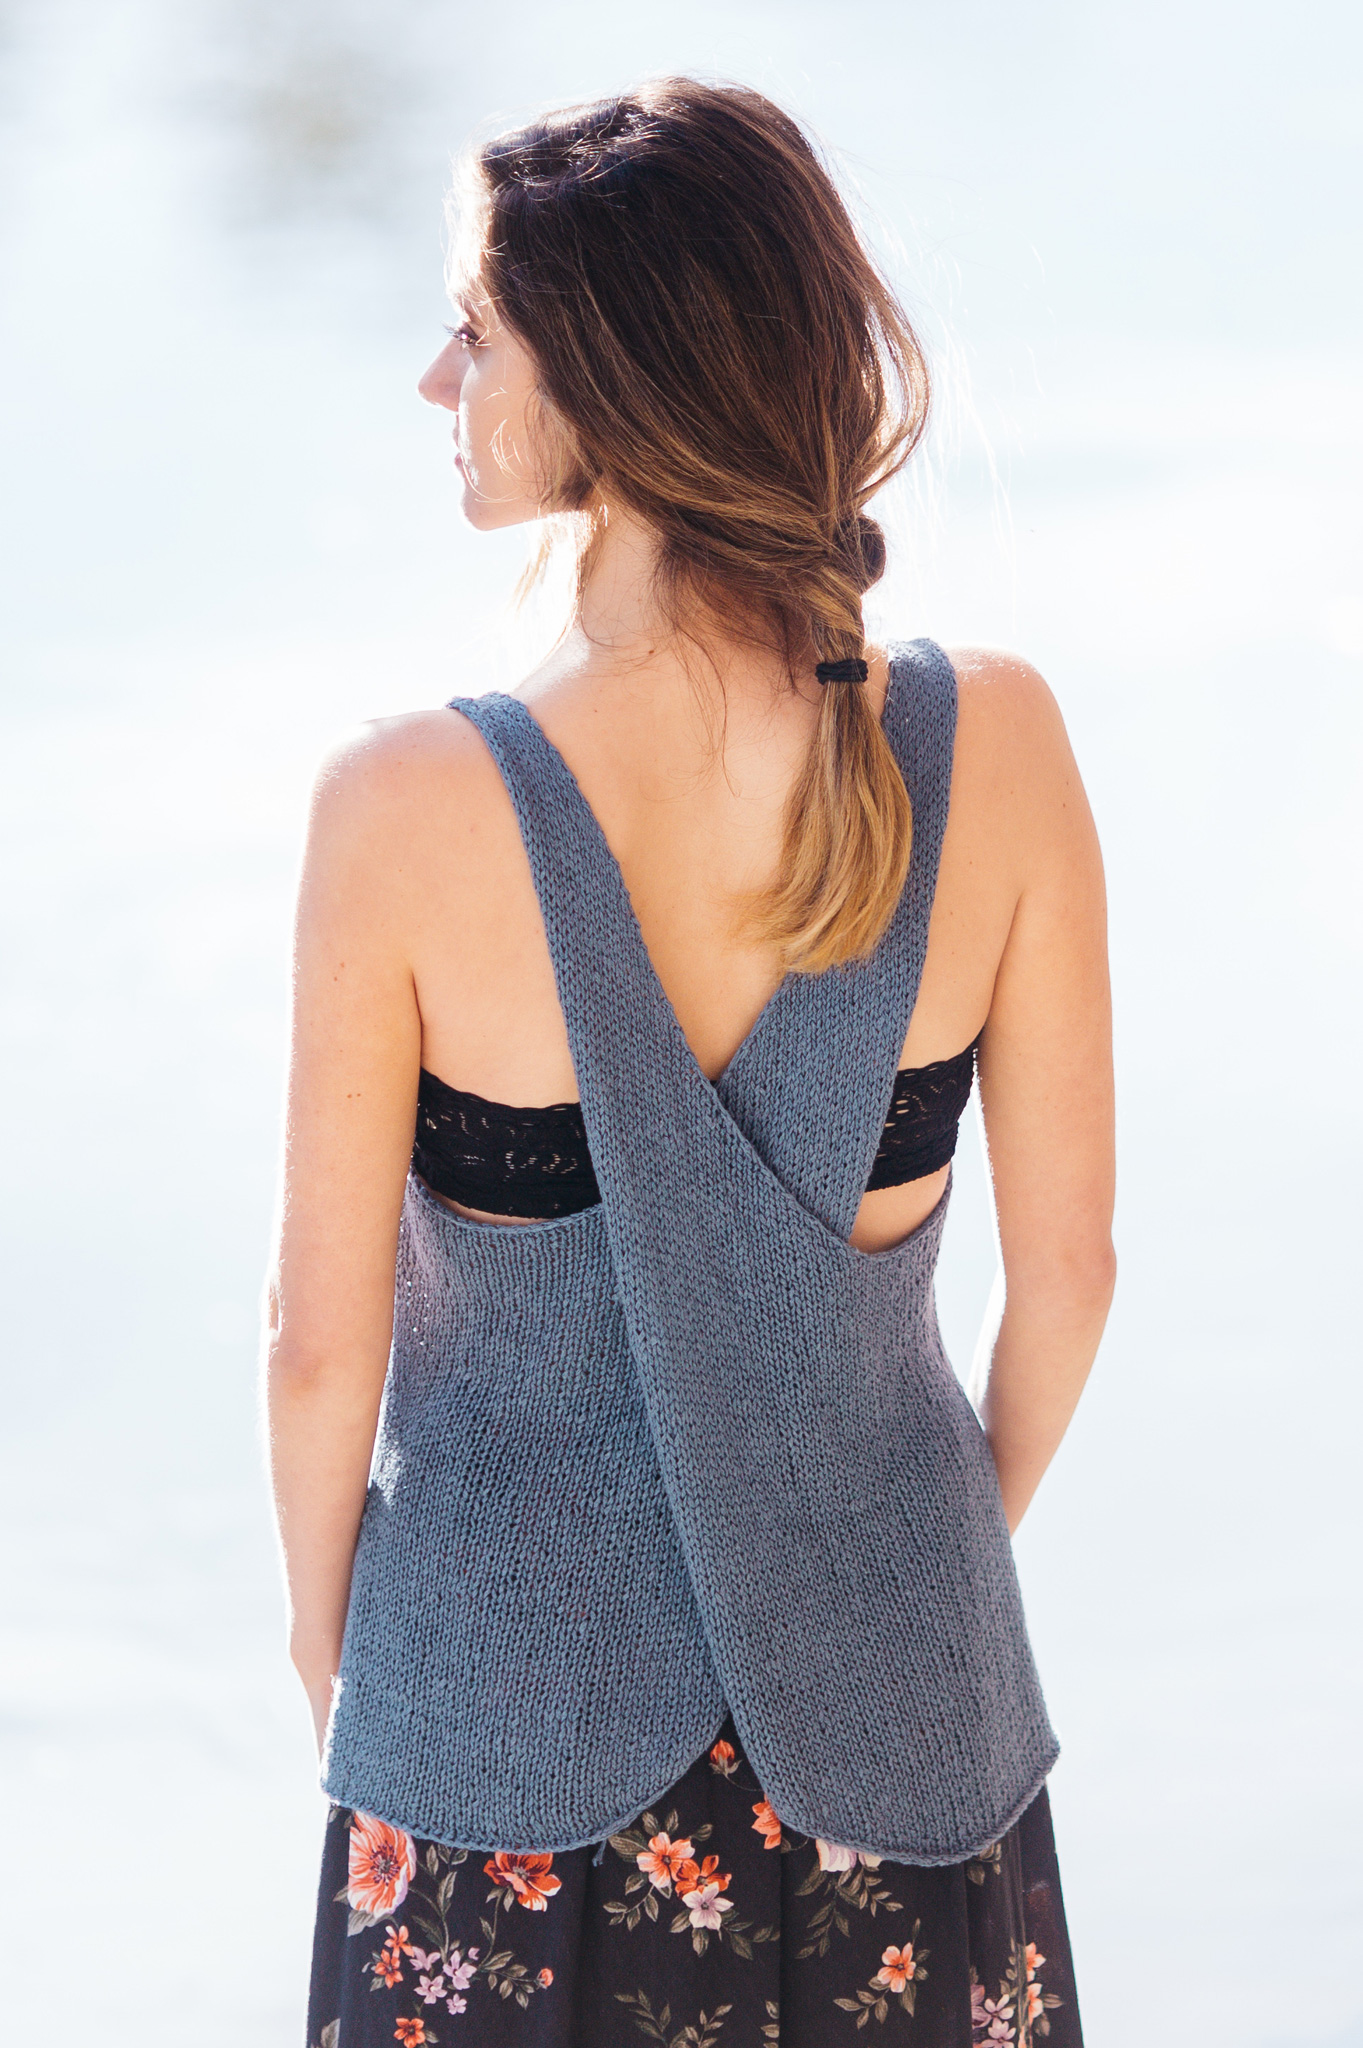


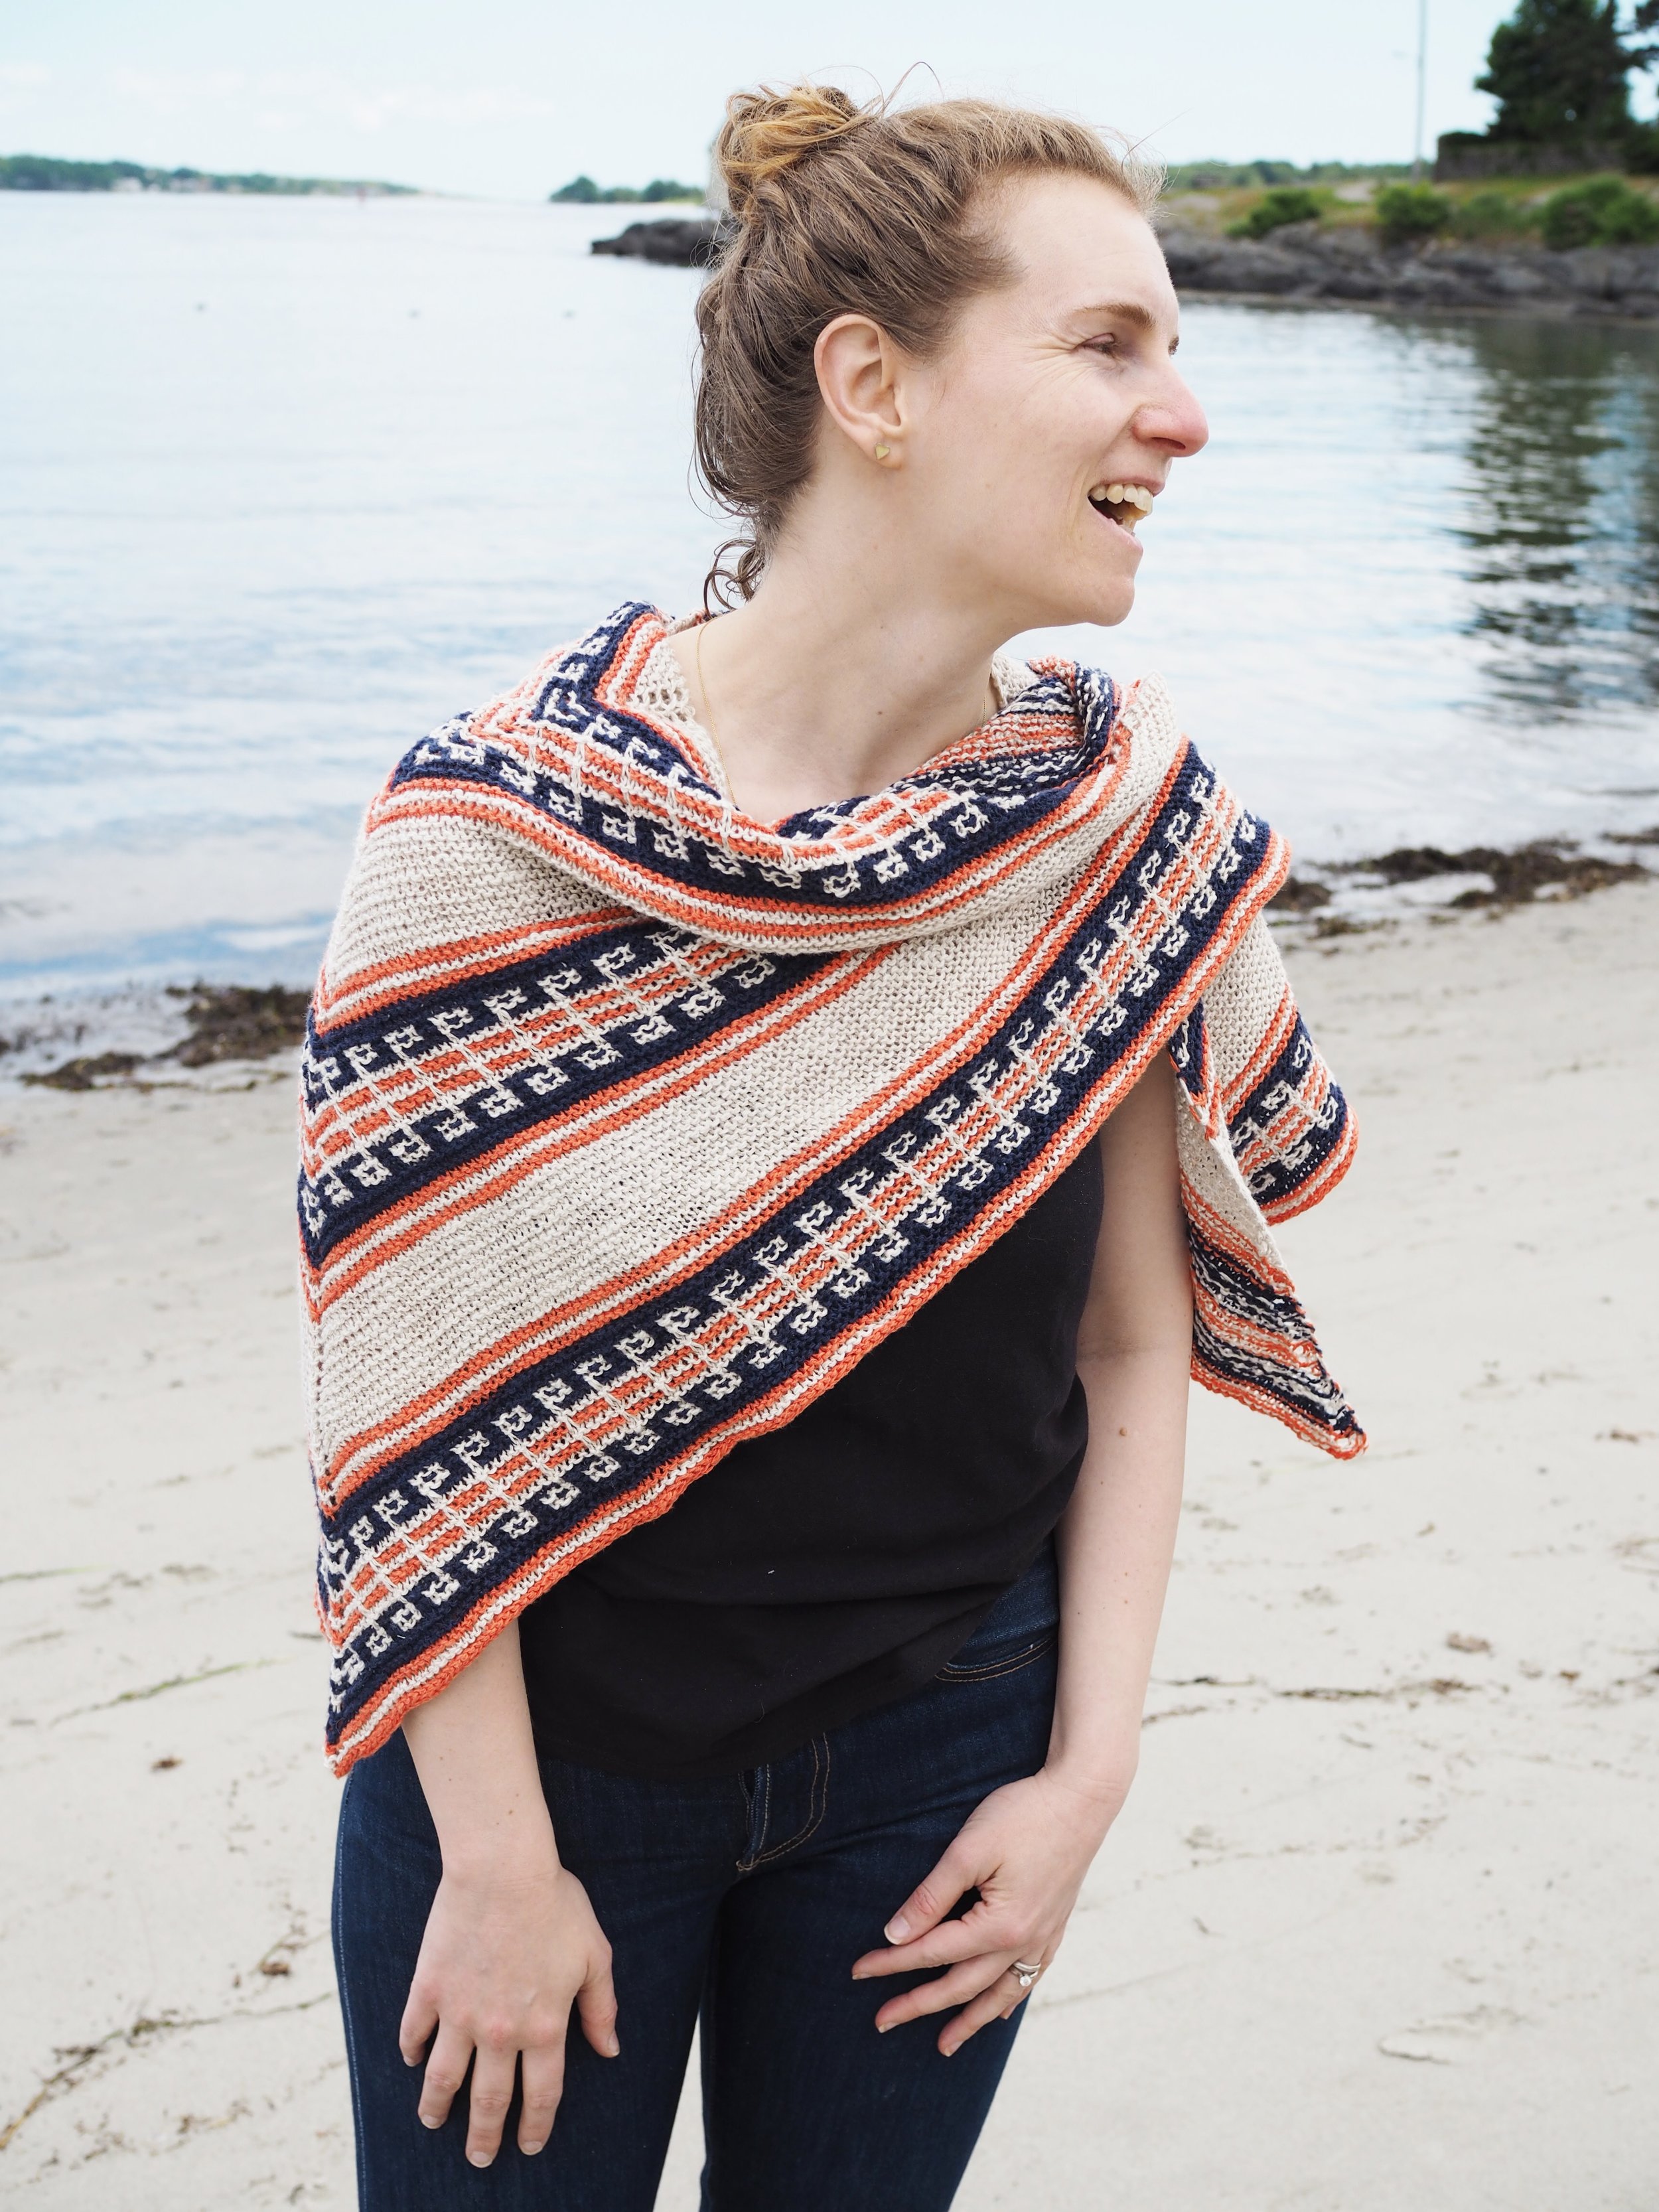
Linen month continues at Quince & Co. and this week features the release of the Kestrel 2018 collection. Kestrel is a fun yarn to knit with it, it has the beautiful drape of linen, but it's ribbon-style construction means that it knits up fast, without ever being bulky.
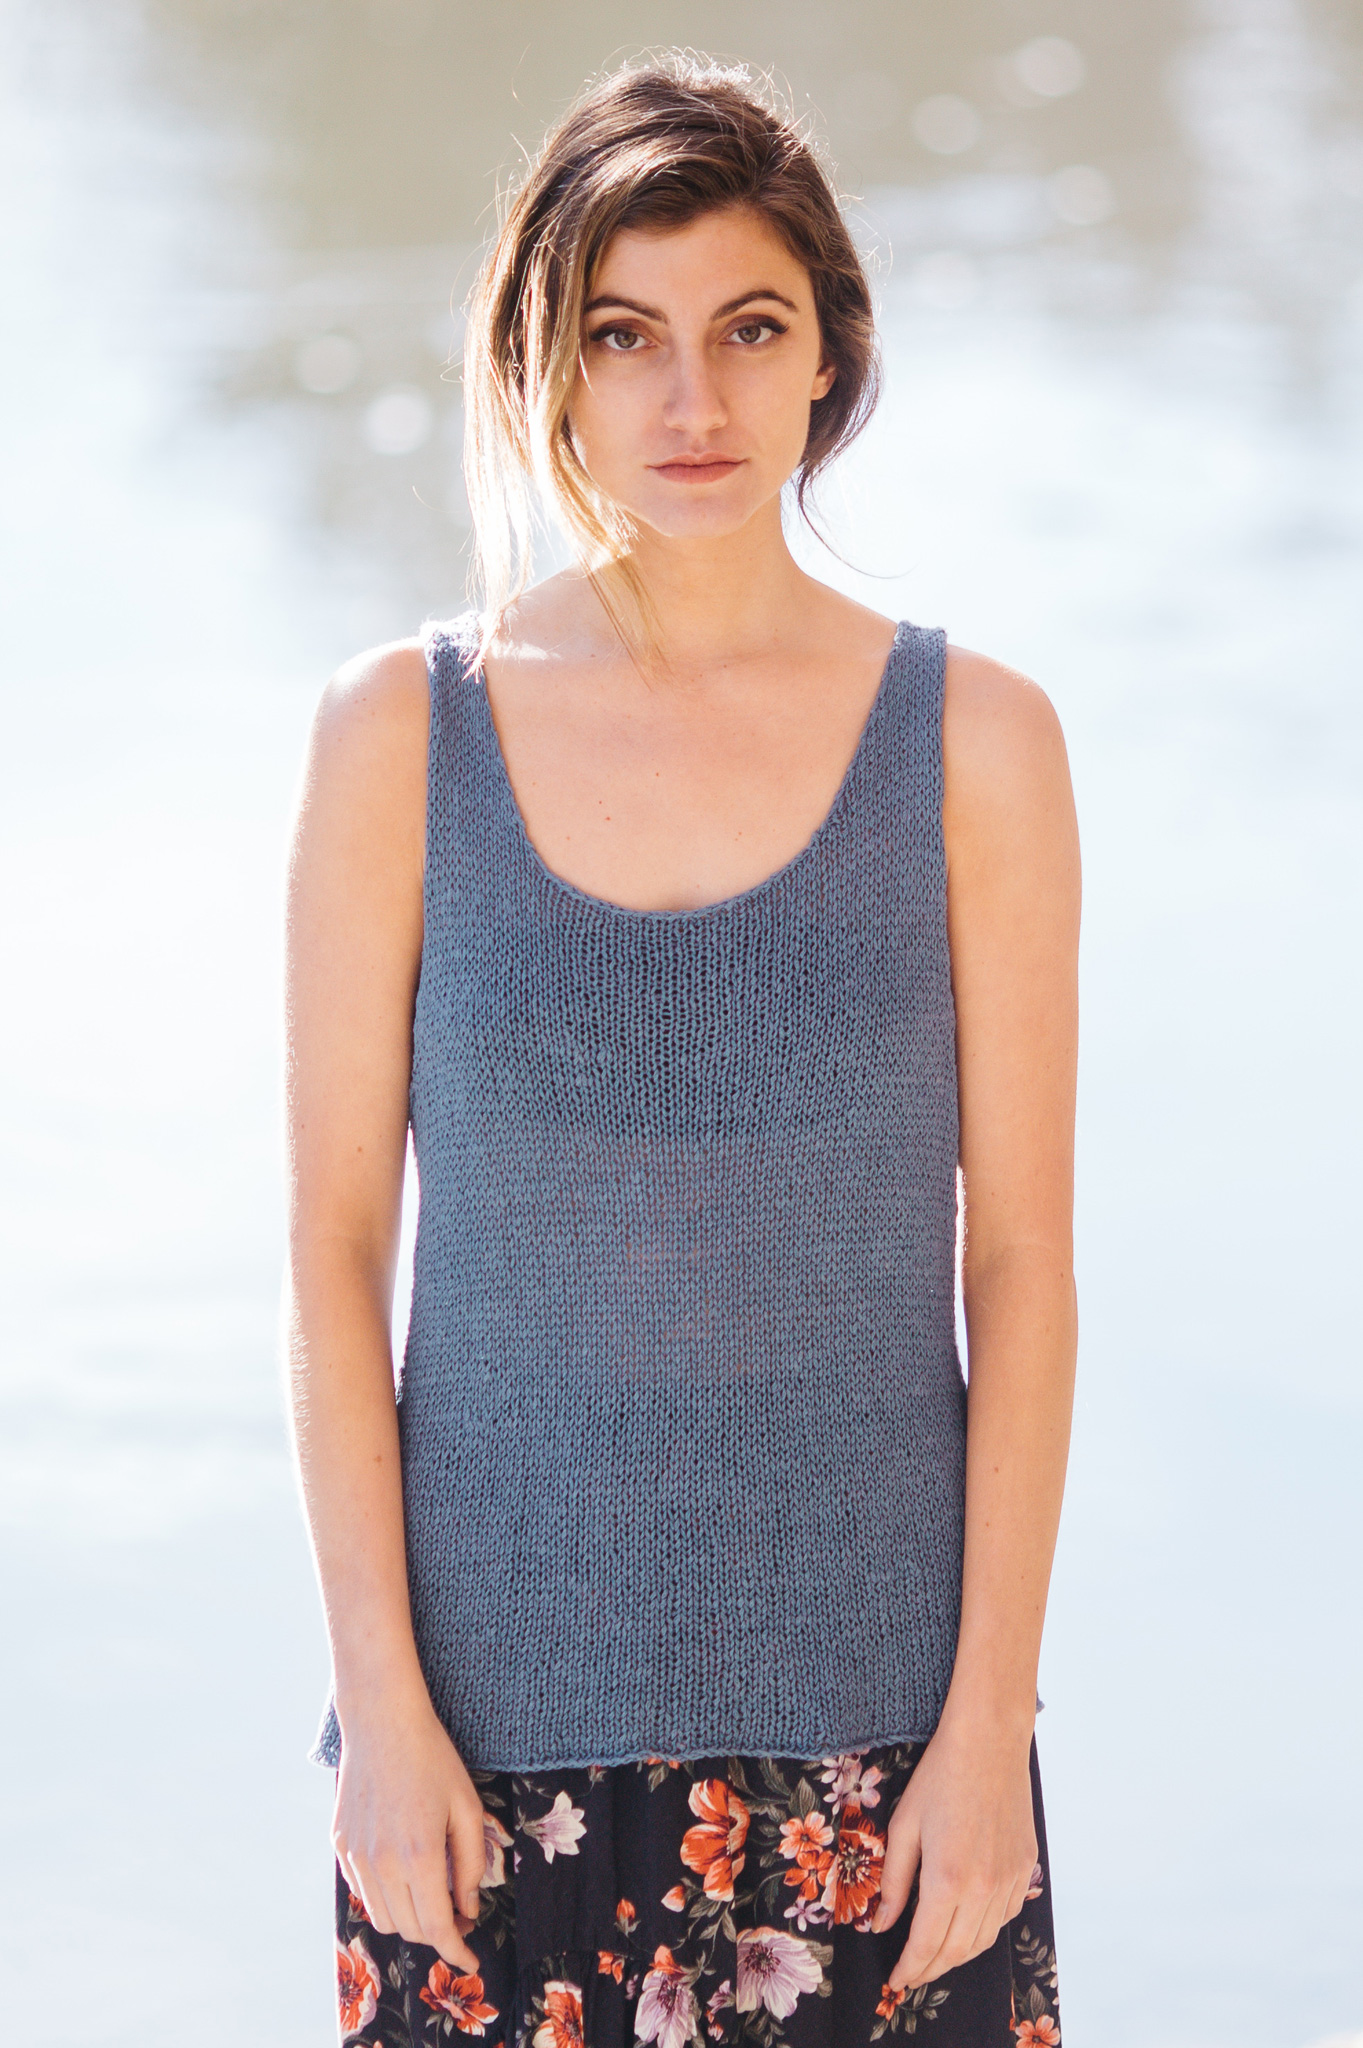
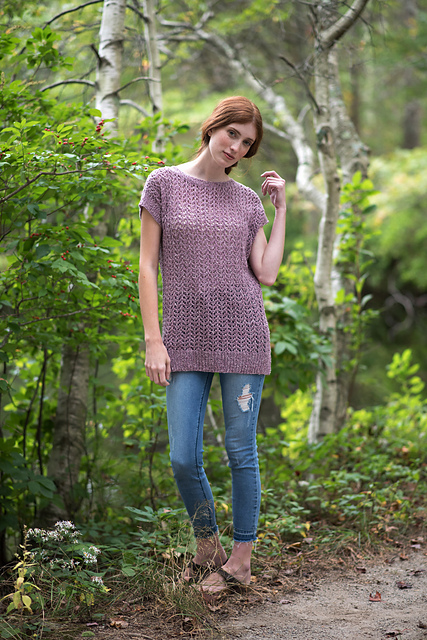
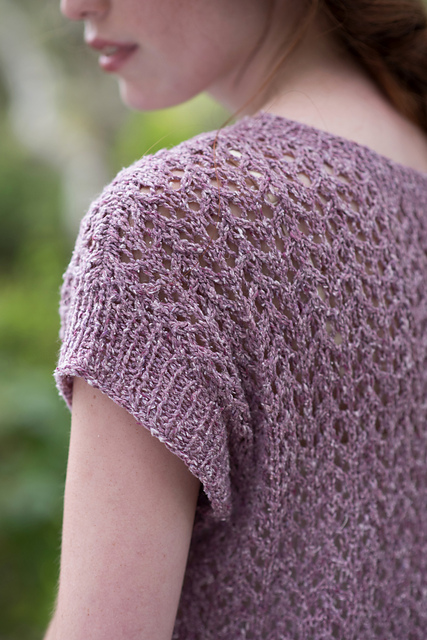
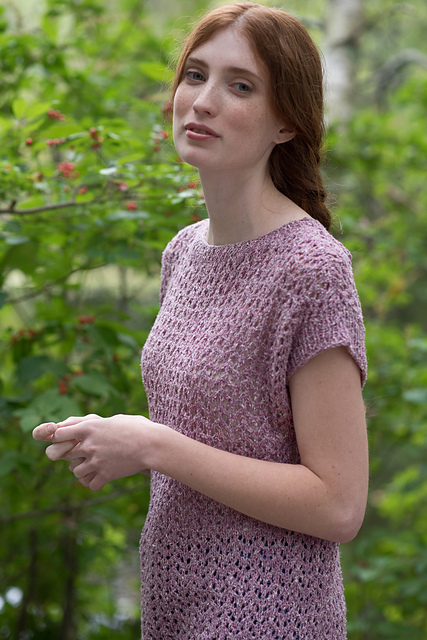
I knew that combination would be the perfect pairing with Gully, my newest Quince design.
No lengthy backstory behind this one - it was inspired by a colleague's summer tank and translated to knitting. I loved the idea of a crossover/apron-style back and spent some time perfecting the angle of the drape on the back.
Gully would look wonderful layered over a lacy camisole or summer dress and for best fit, I'd recommend pinning together the straps before seaming and lengthening or shortening the straps (a super easy process) to get the coverage you want.
Gully requires minimal seaming, as the tank is worked flat, from the bottom up, in one piece to the underarms, with front and backs are worked separately, then joined at the straps using a three-needle bind off.
The pattern is available for $6 USD for the individual pattern or $18 USD for the whole Kestrel 2018 Collection from the following online shops:
MsCleaver.com || Quince & Co. || Ravelry
Share what you've made!
#quincereed to share and/or tag me @mscleaver !
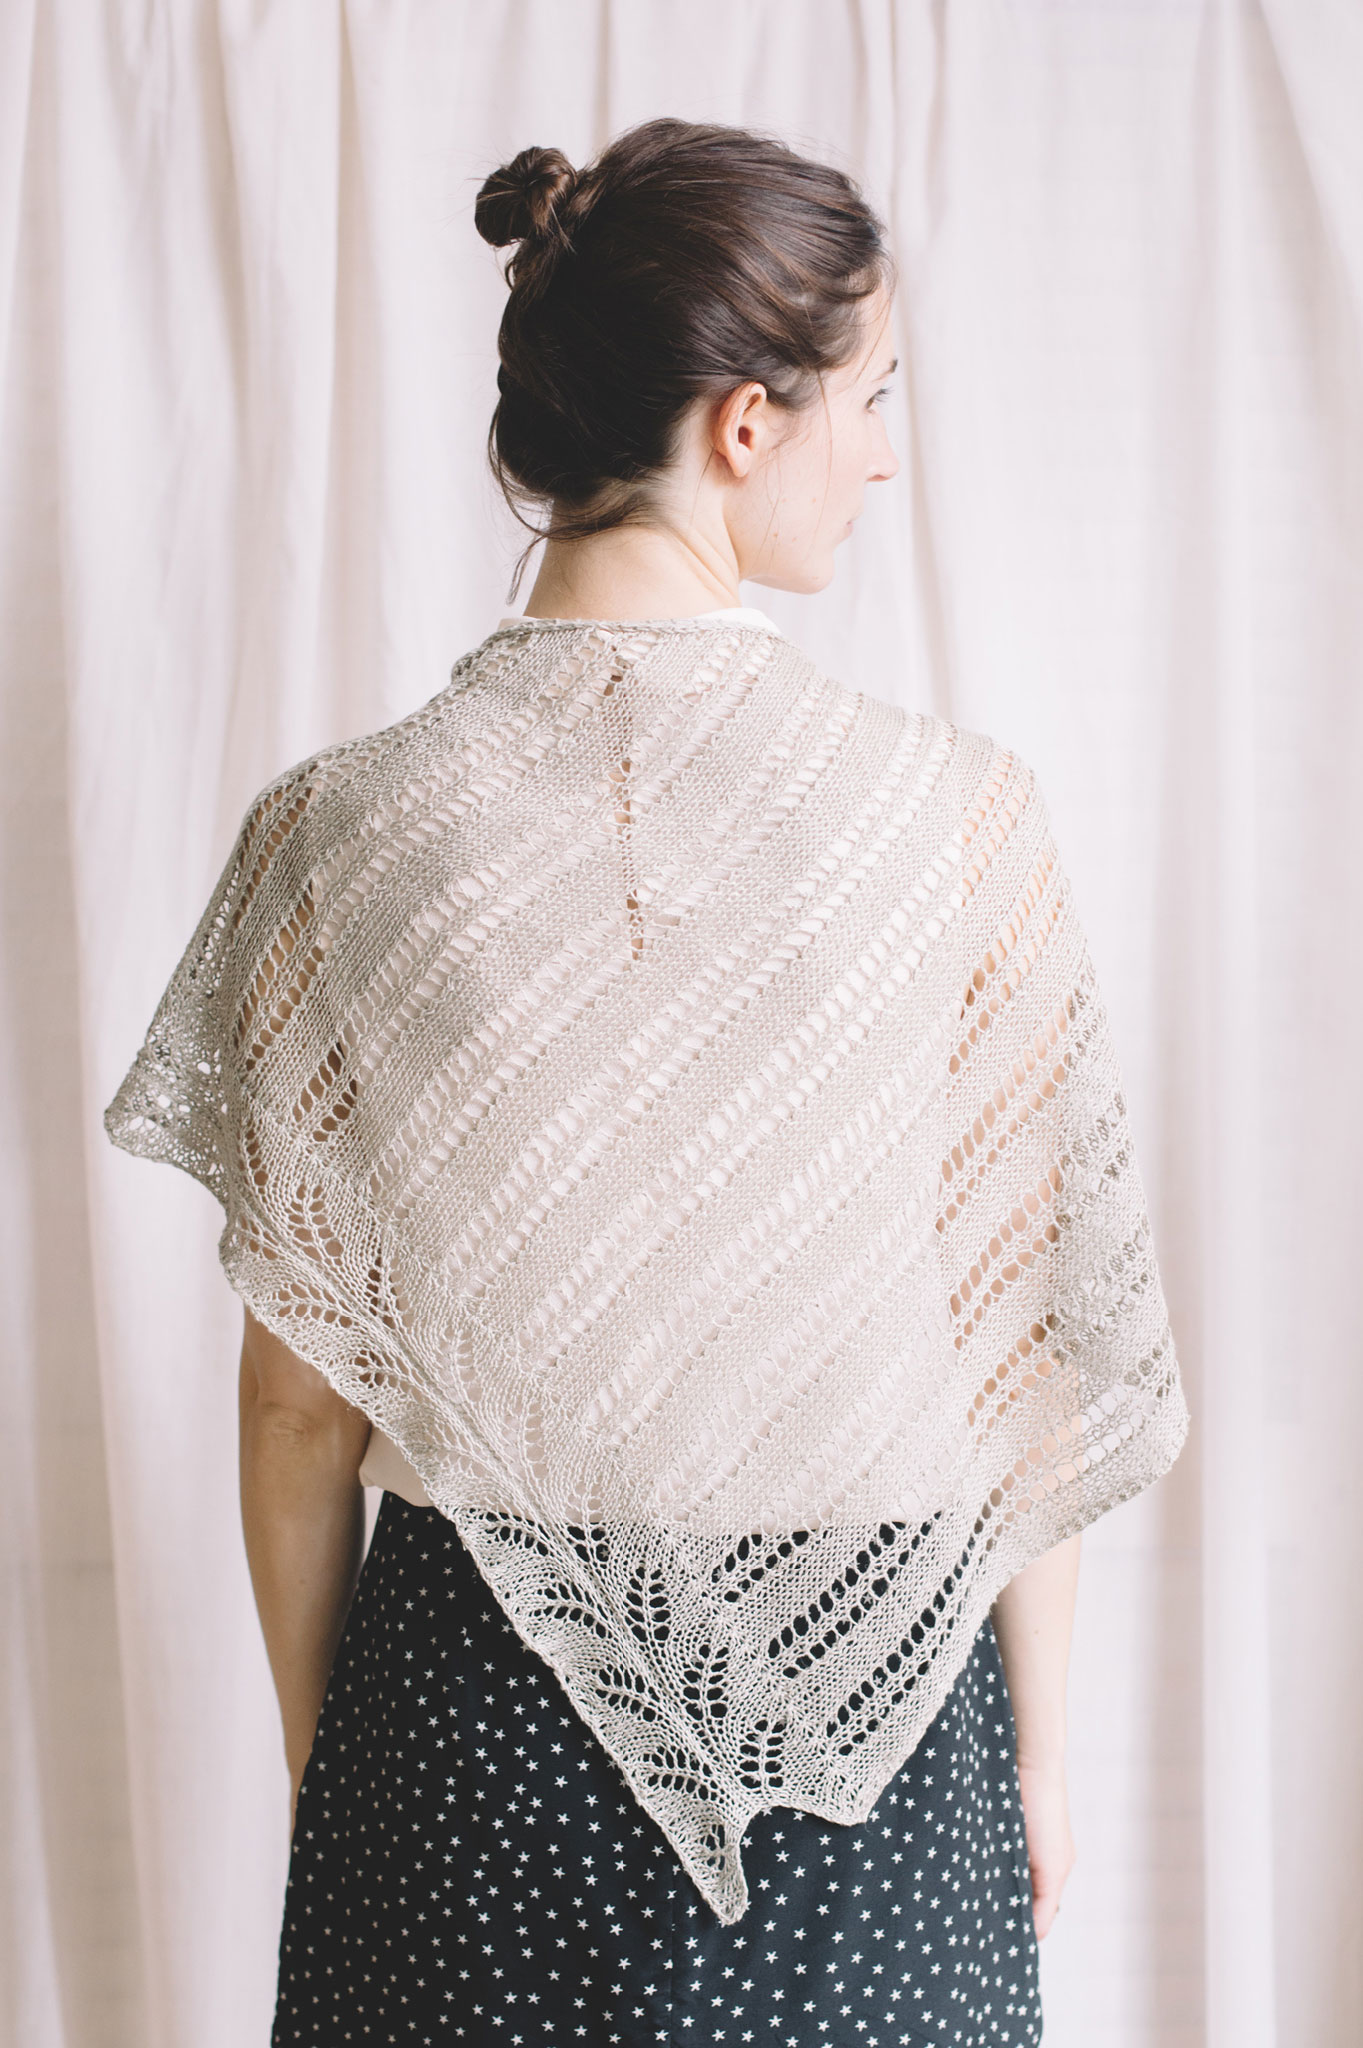
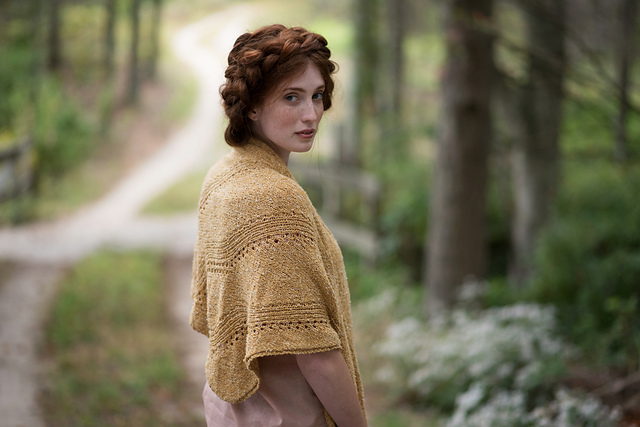
Introducing Reed


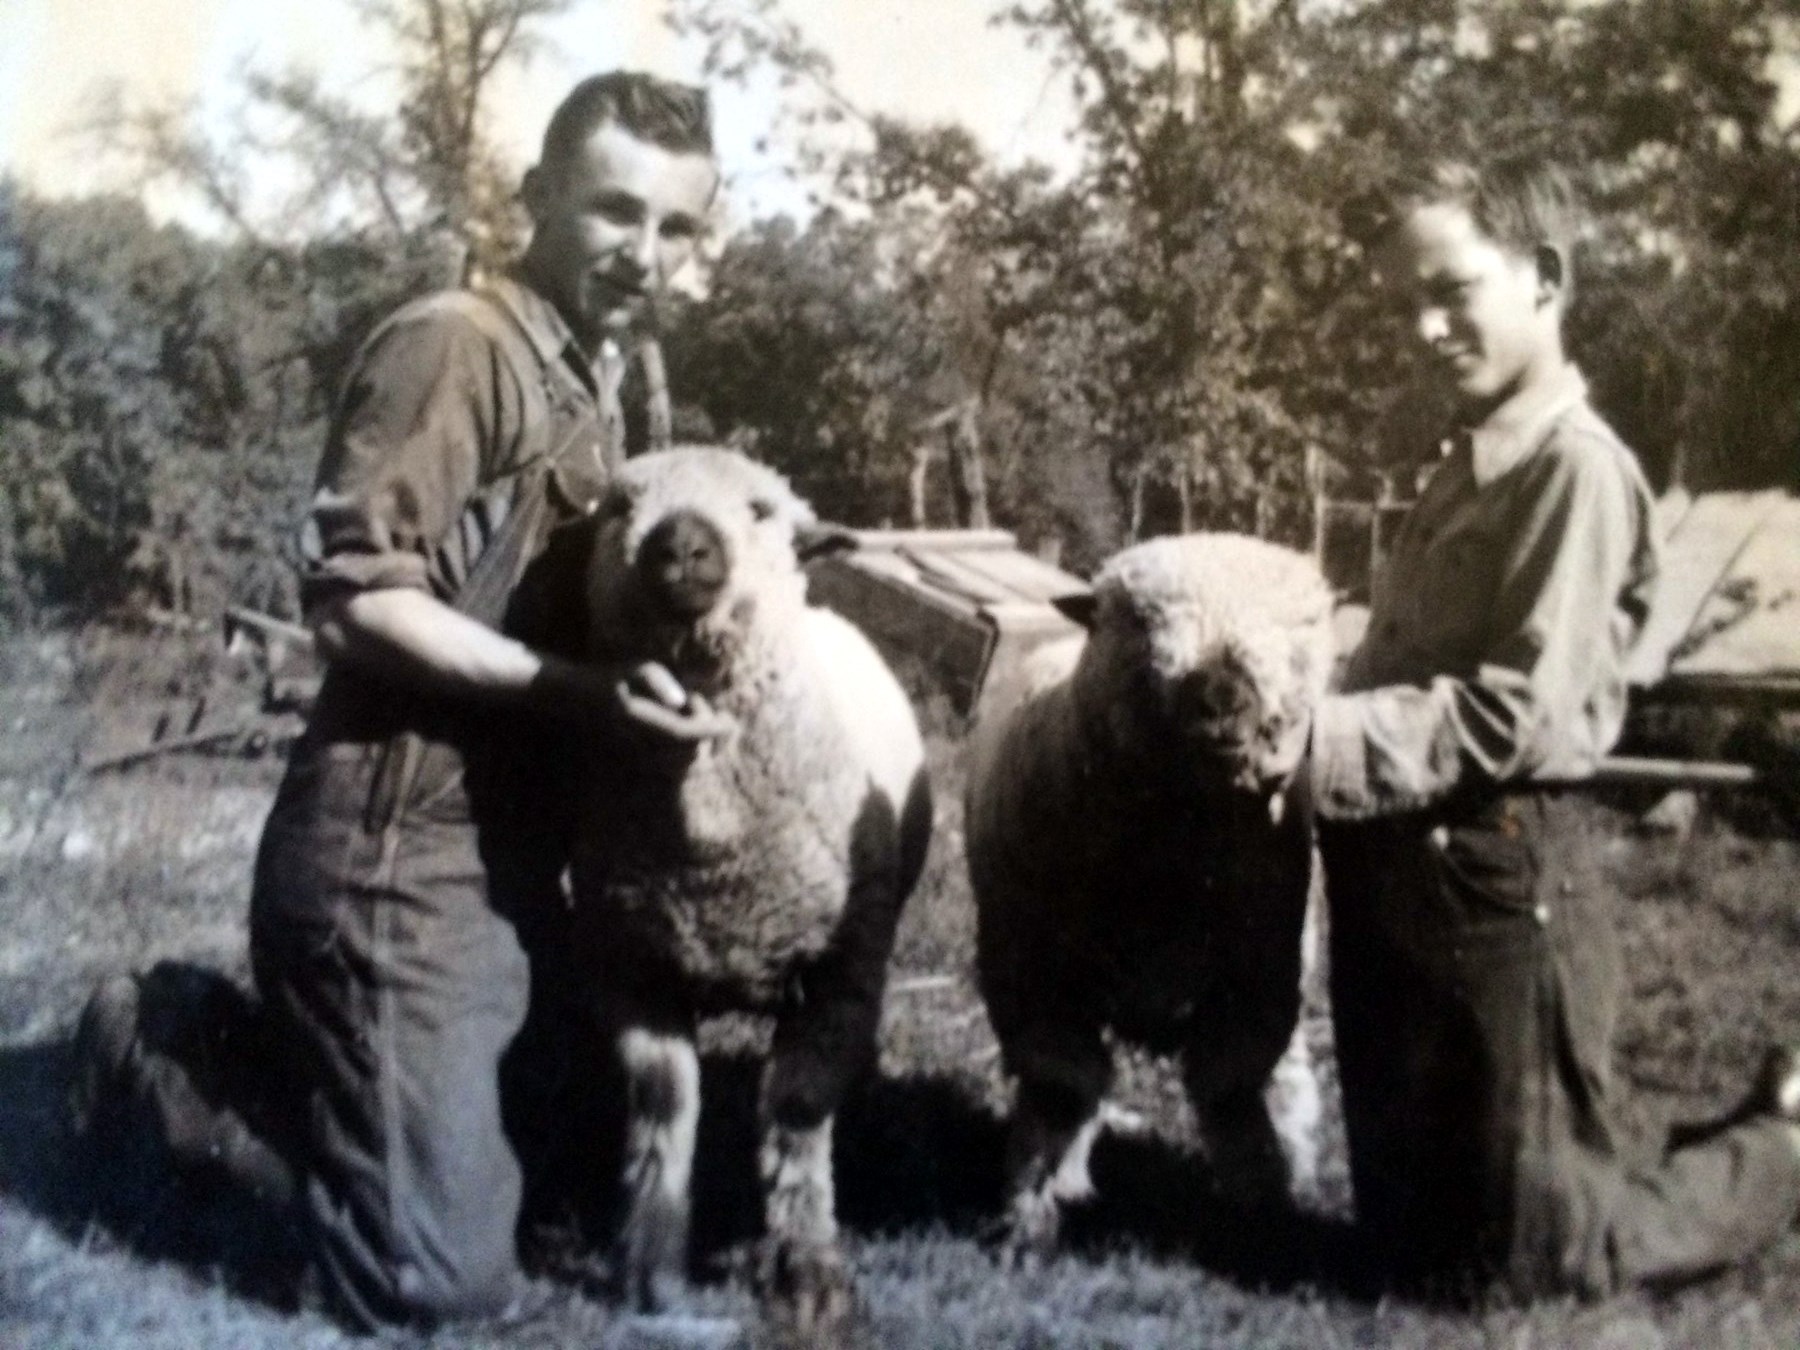

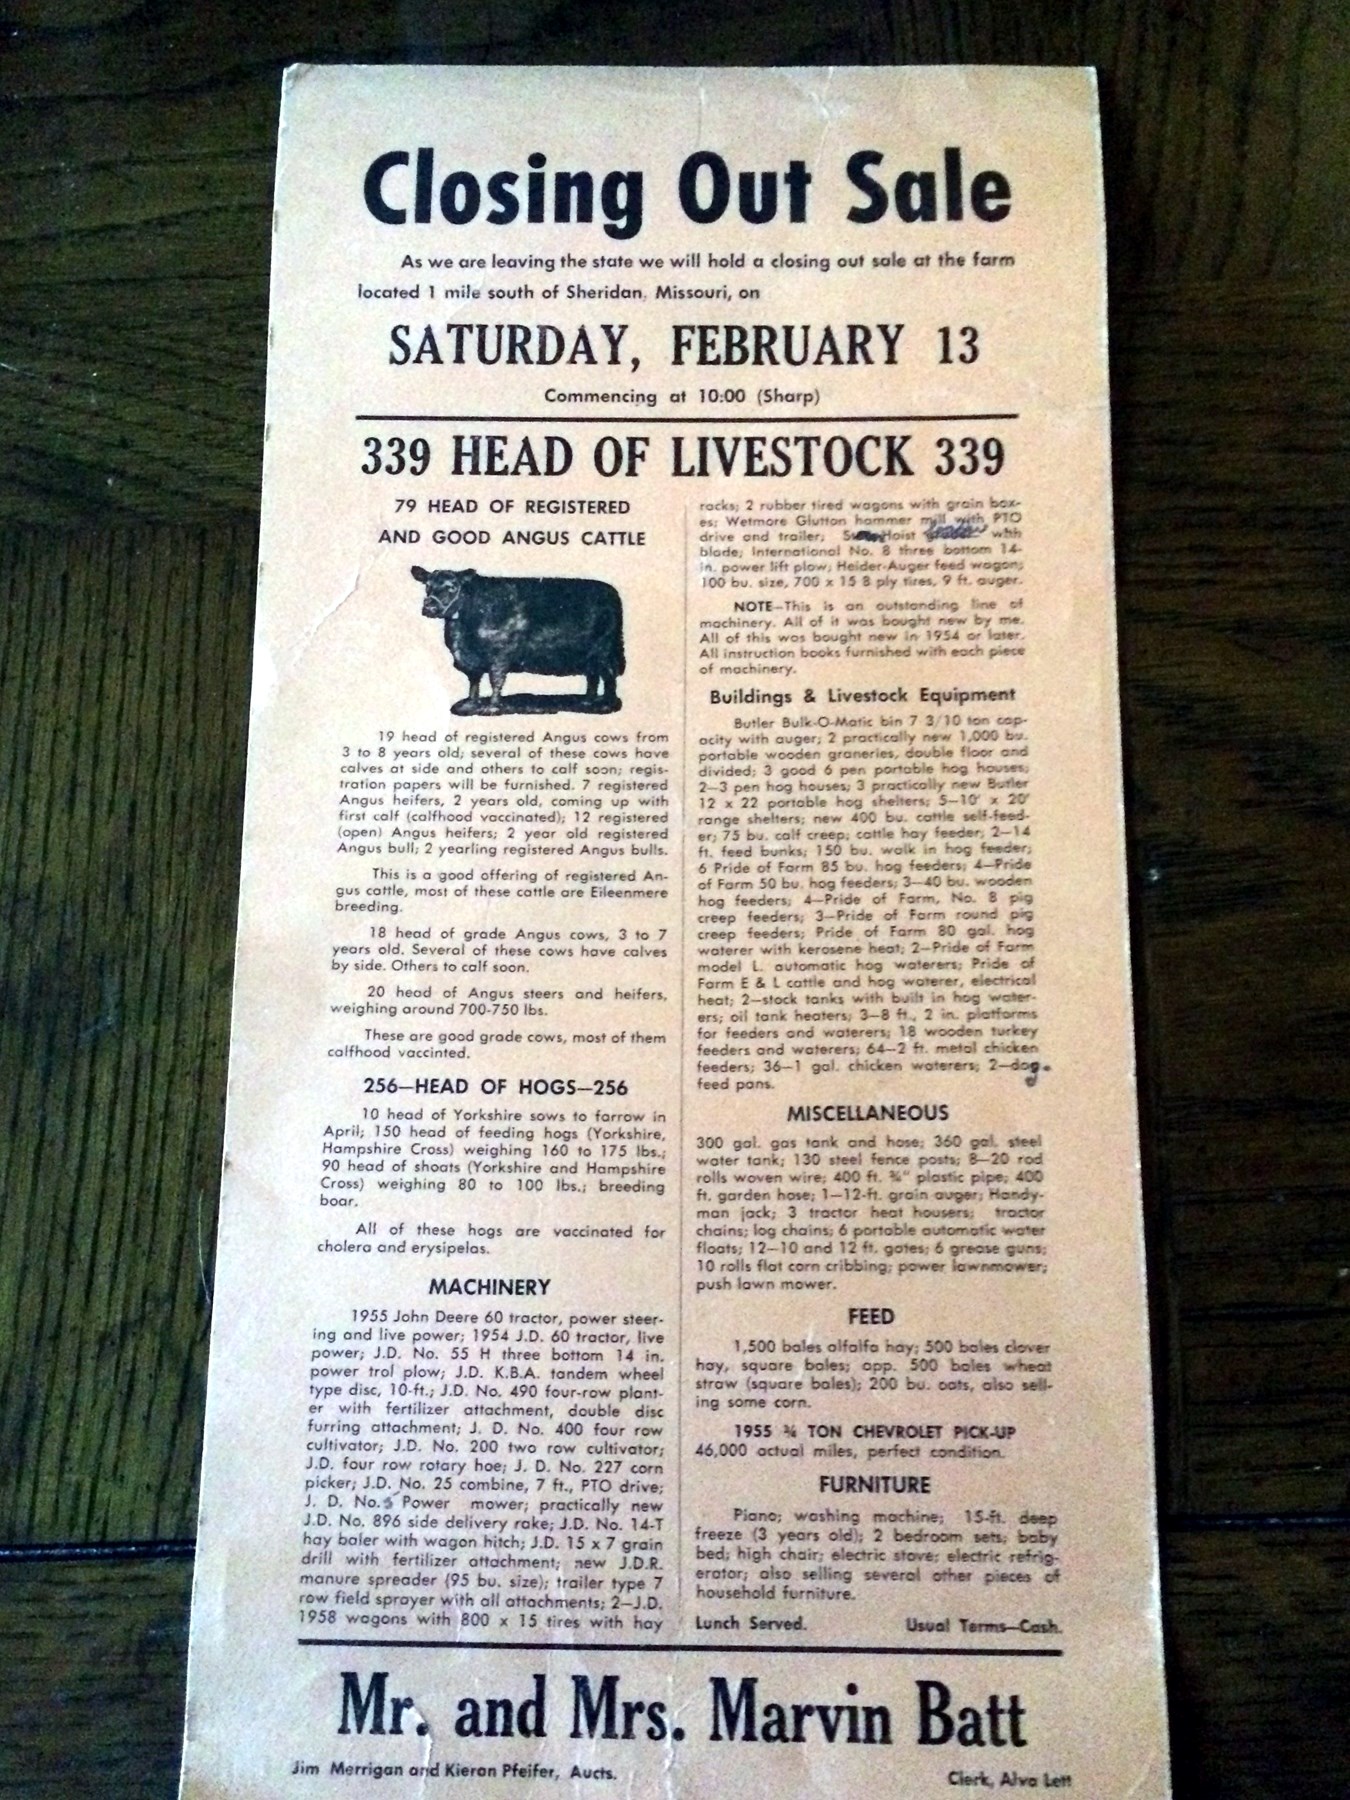

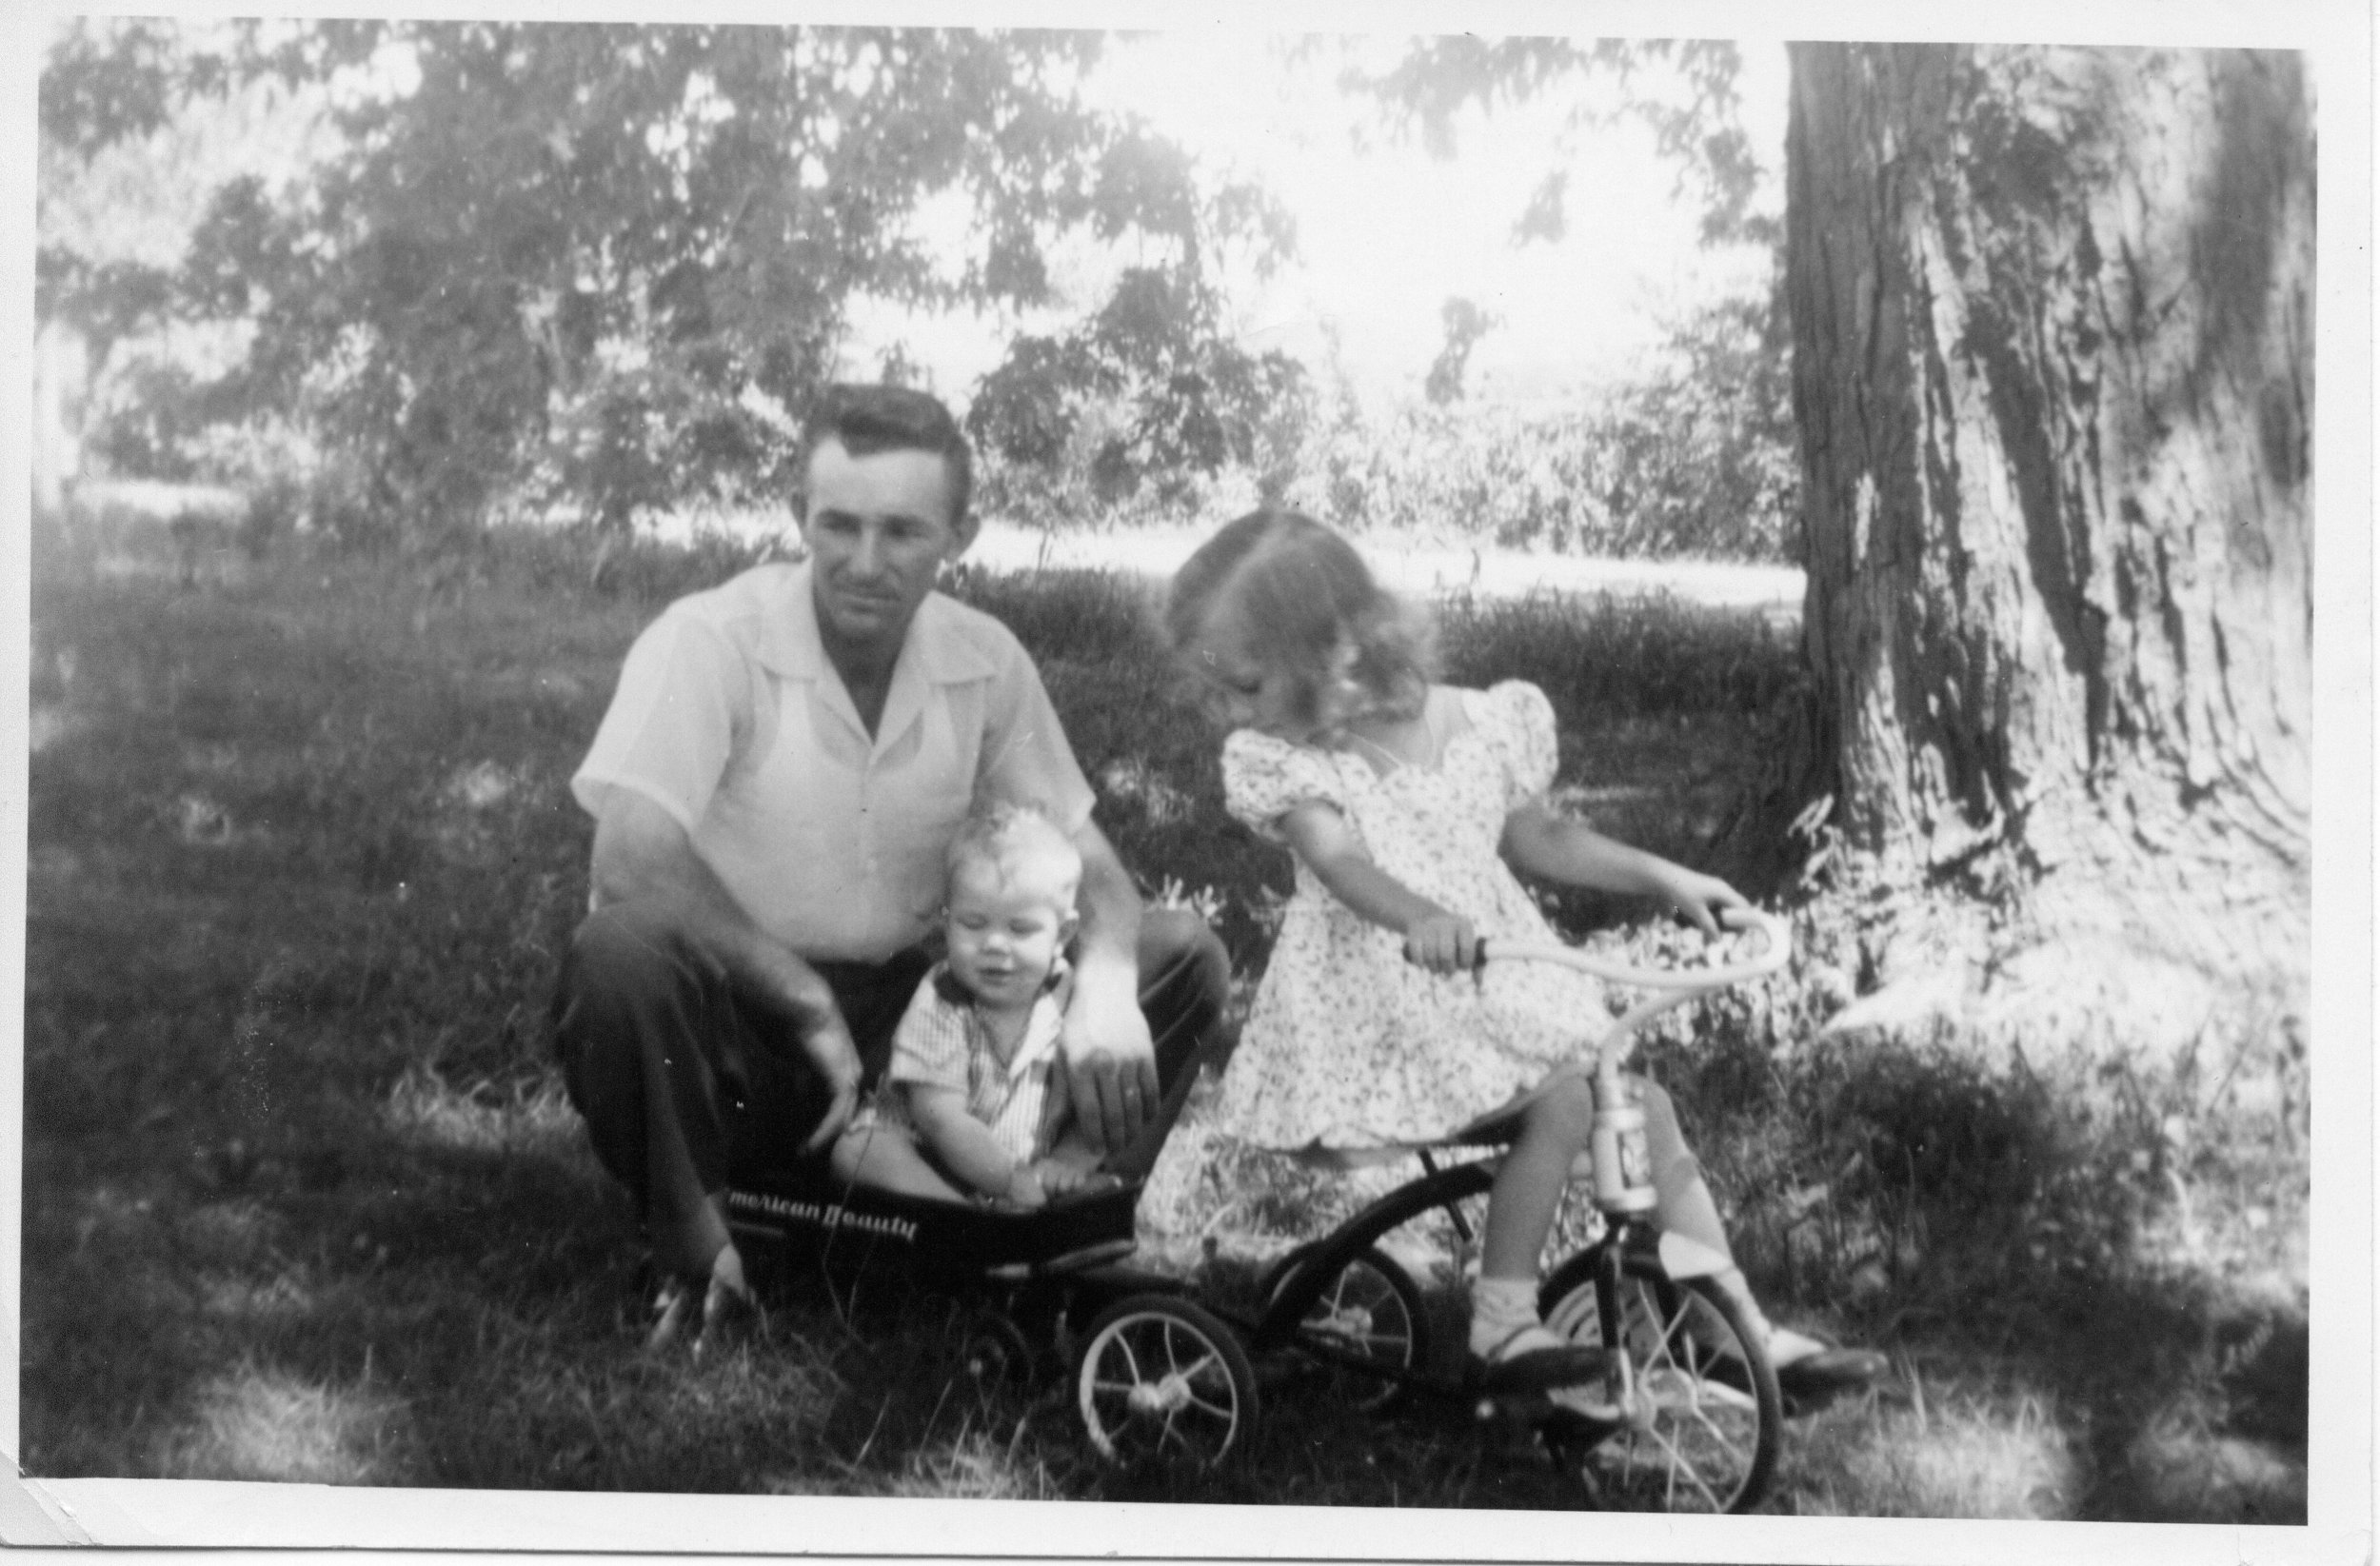
Last year, I spent some time doing some genealogical research on my family tree. That research basically confirmed two things: 1) I'm just about as American as you can get and 2) it's pretty much farmers and ranchers all the way down.
My father was born on a farm in northwestern Missouri, and while they moved to California when he was a young child, leaving the farm life behind for good, I still feel like there's still some farmer in my blood.
Granted, the scale of my gardening harvests belie any natural talent in that area, but I have pull to land and a deep appreciation for those who do the hard work of tending to the plants and animals that give us food and fiber.
Just as my perennials bloom again each year, my family's rural past is a source of inspiration I return to again and again.
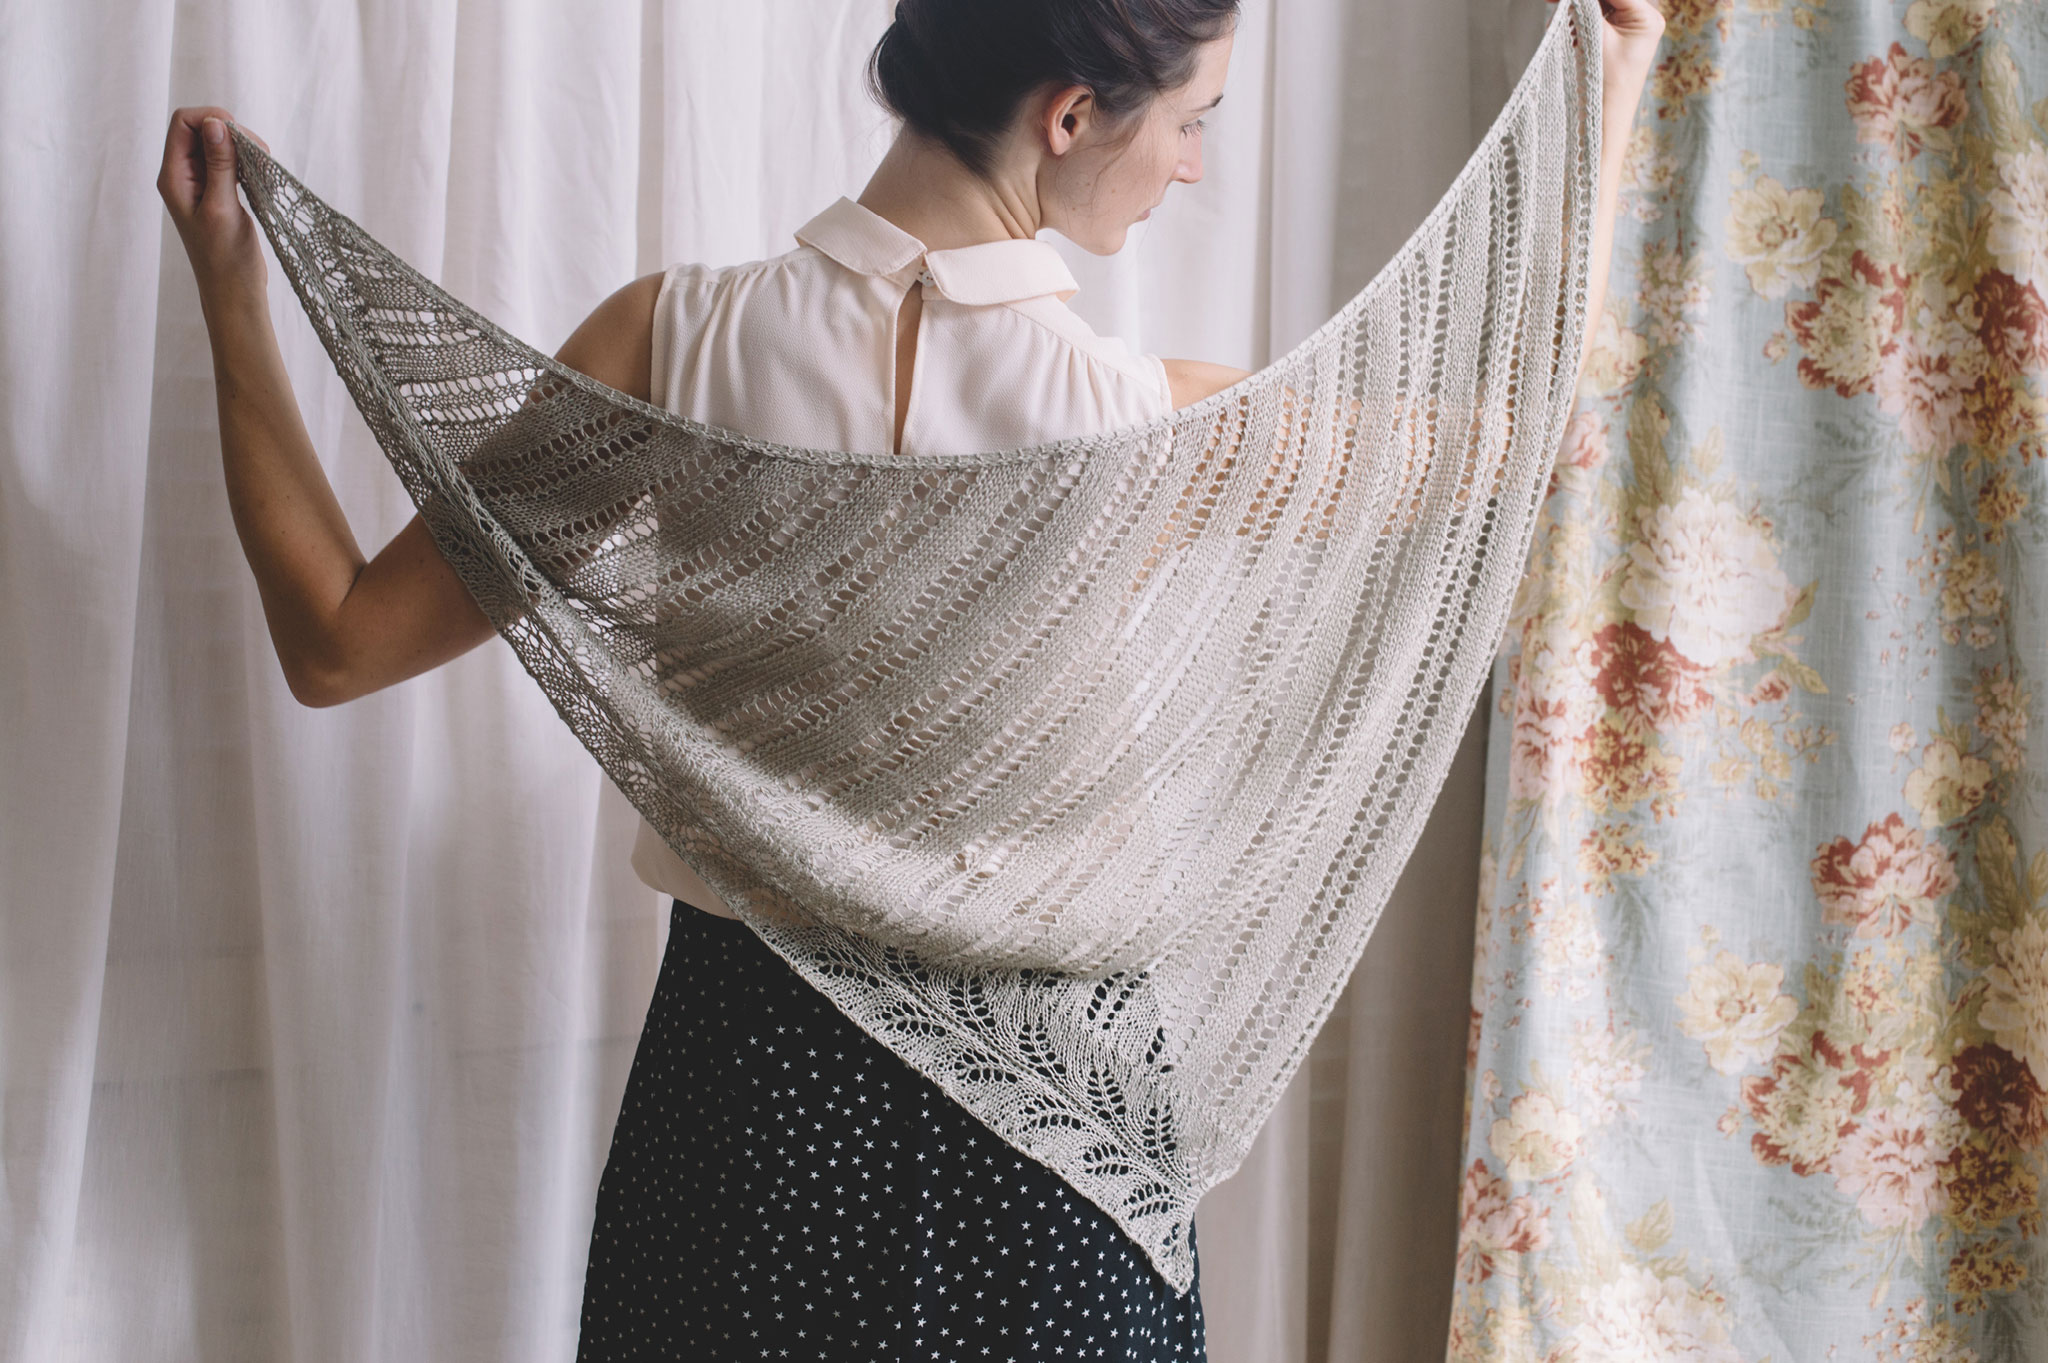
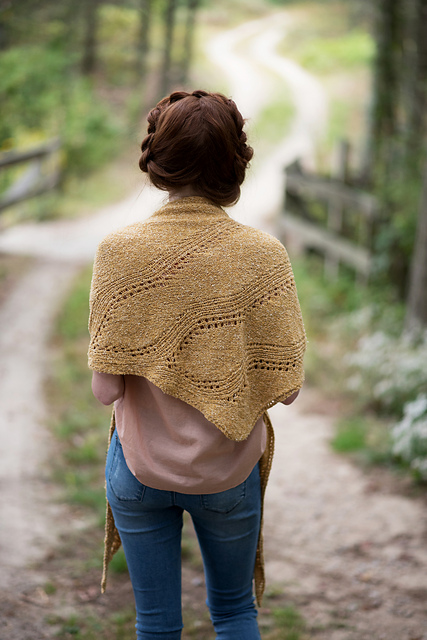
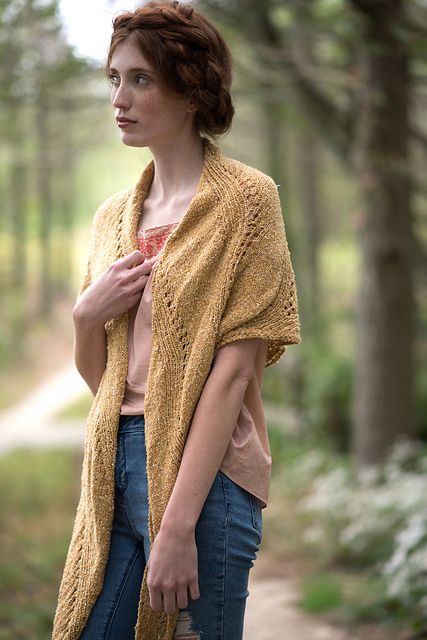
Reed, knit in Quince & Co's linen yarn has a naturally earthy texture that blocks beautifully to show the crisp lines of freshly-plowed fields and the leafy vines that grow from that well-tended soil.
The lace band is knit first, with the body picked up along the edge and decreased to make a triangle shawl, meaning you only have to keep track of one lace pattern at a time.
The pattern is available for $6 USD for the individual pattern or $19 USD for the whole Sparrow 2018 Collection from the following online shops:
MsCleaver.com || Quince & Co. || Ravelry
If you knit it and participate in social media, use #quincereed to share and/or tag me @mscleaver !
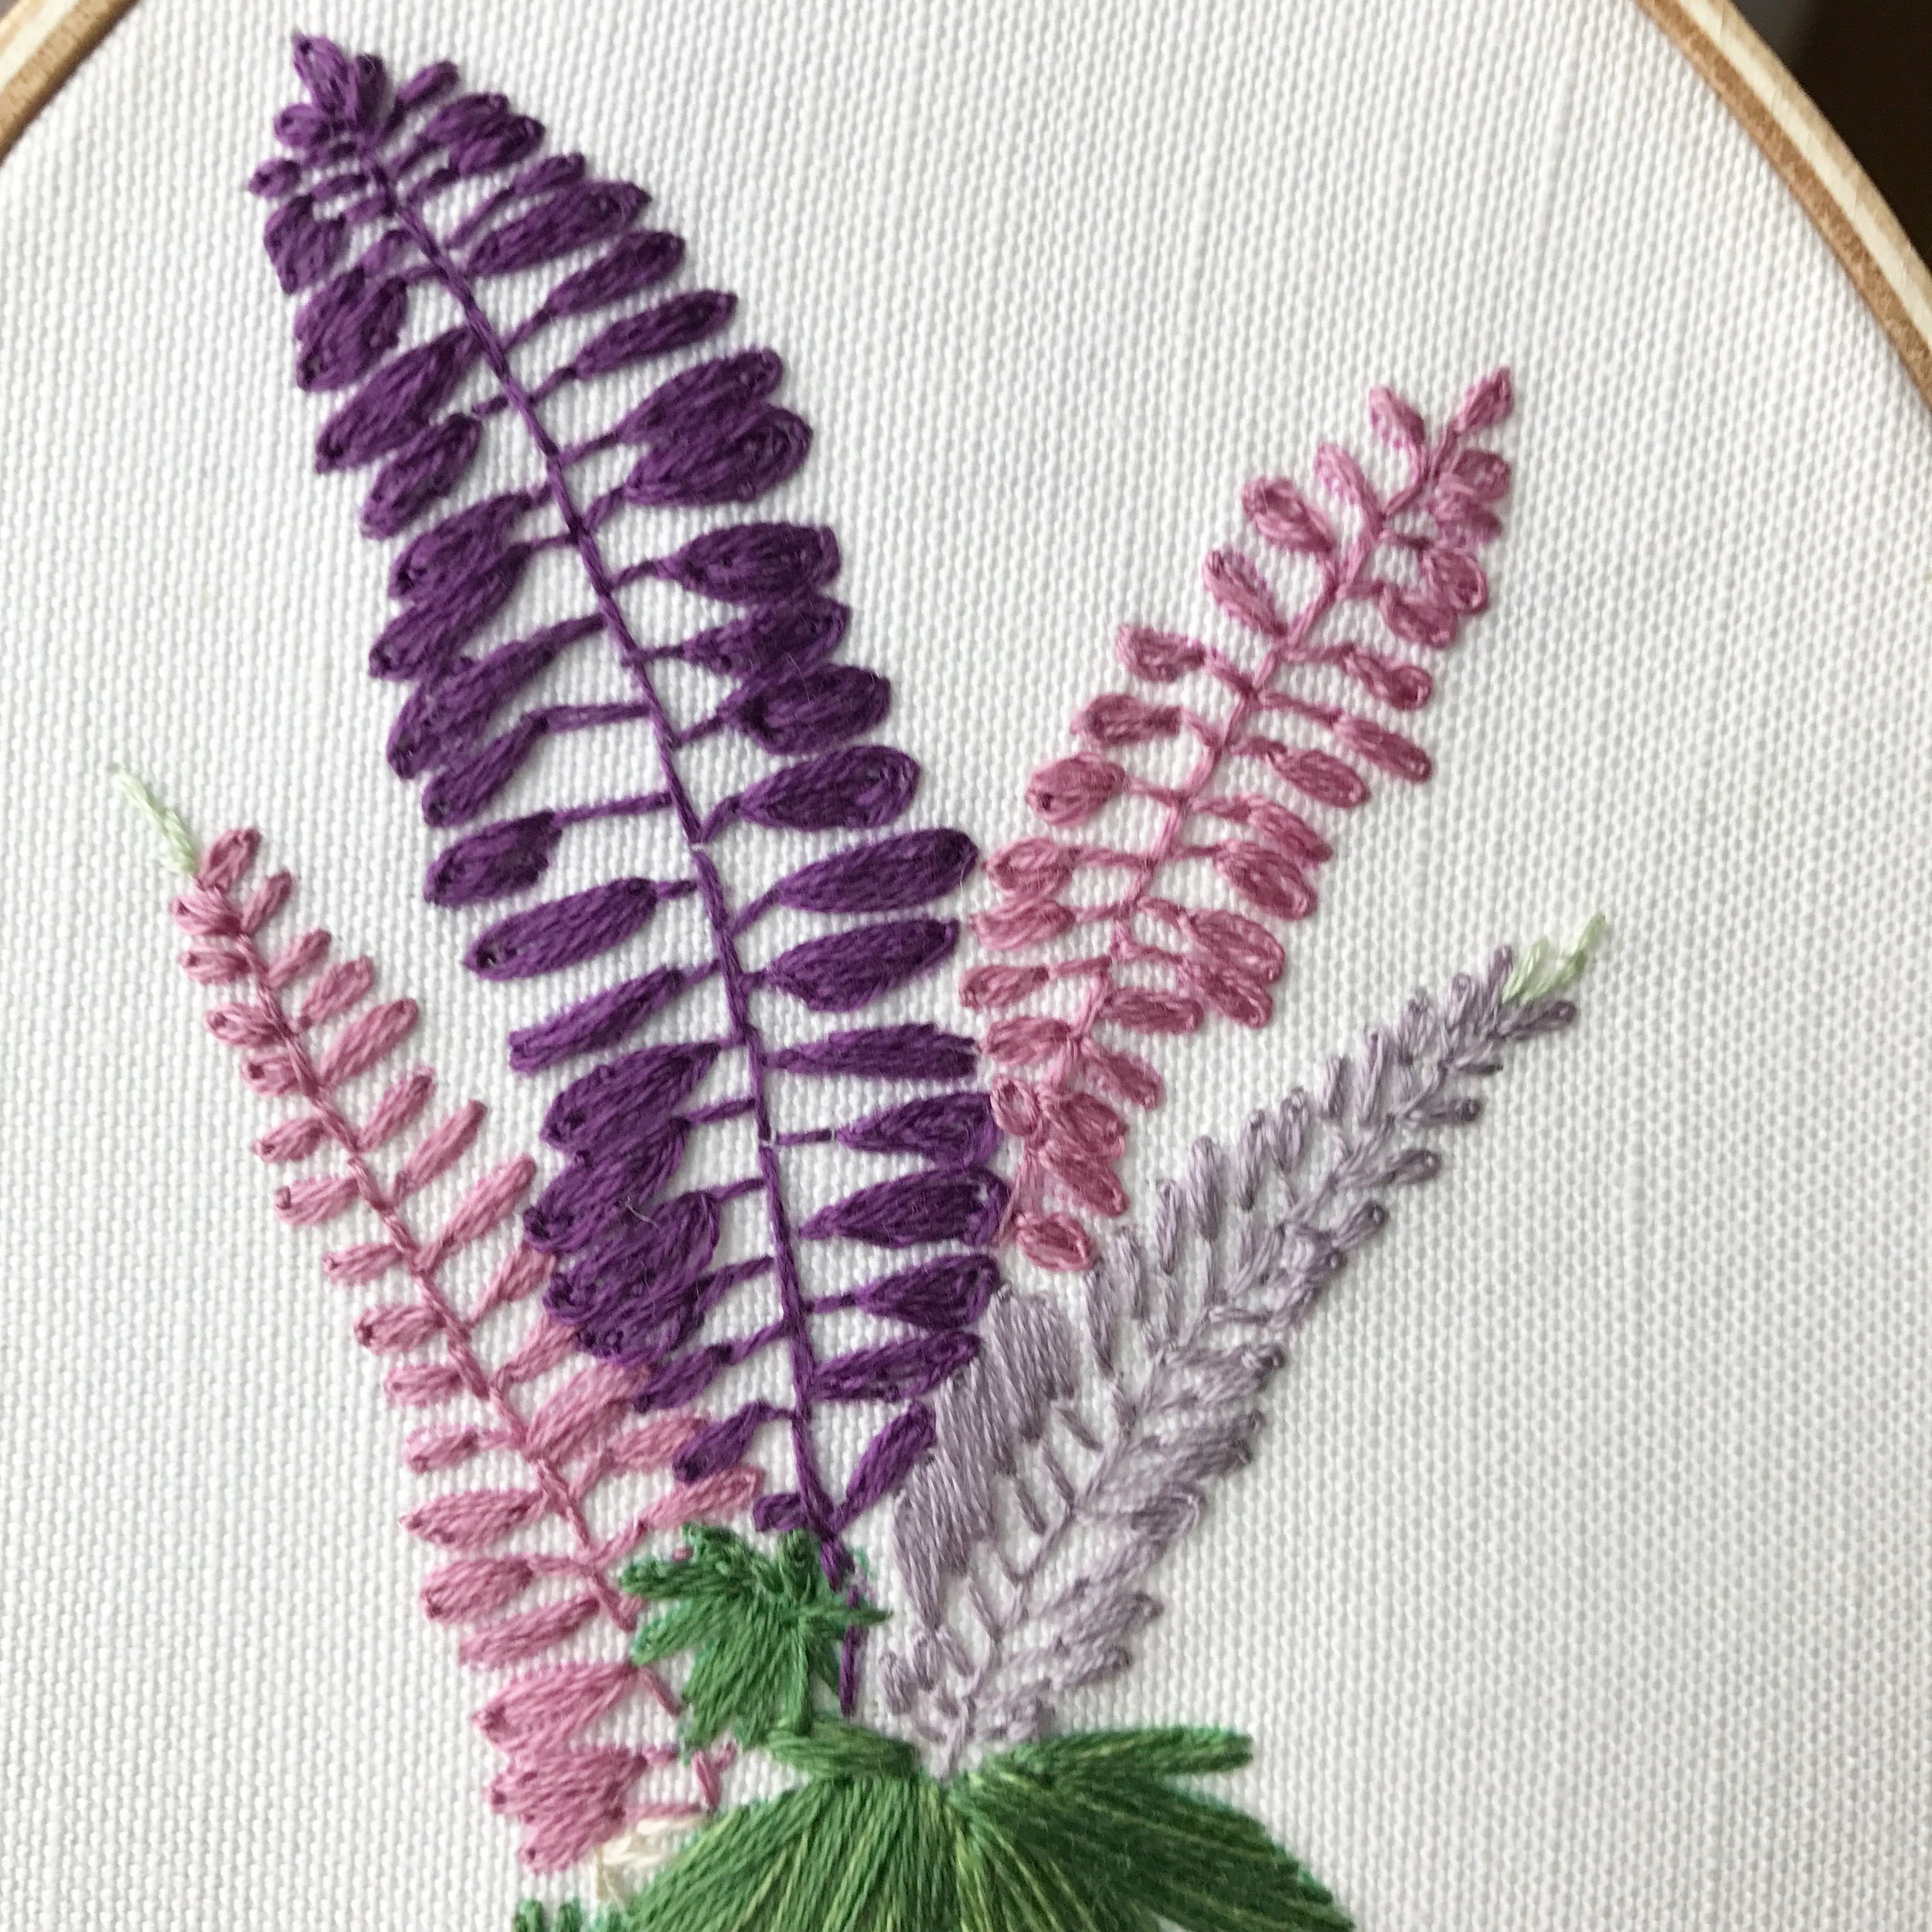
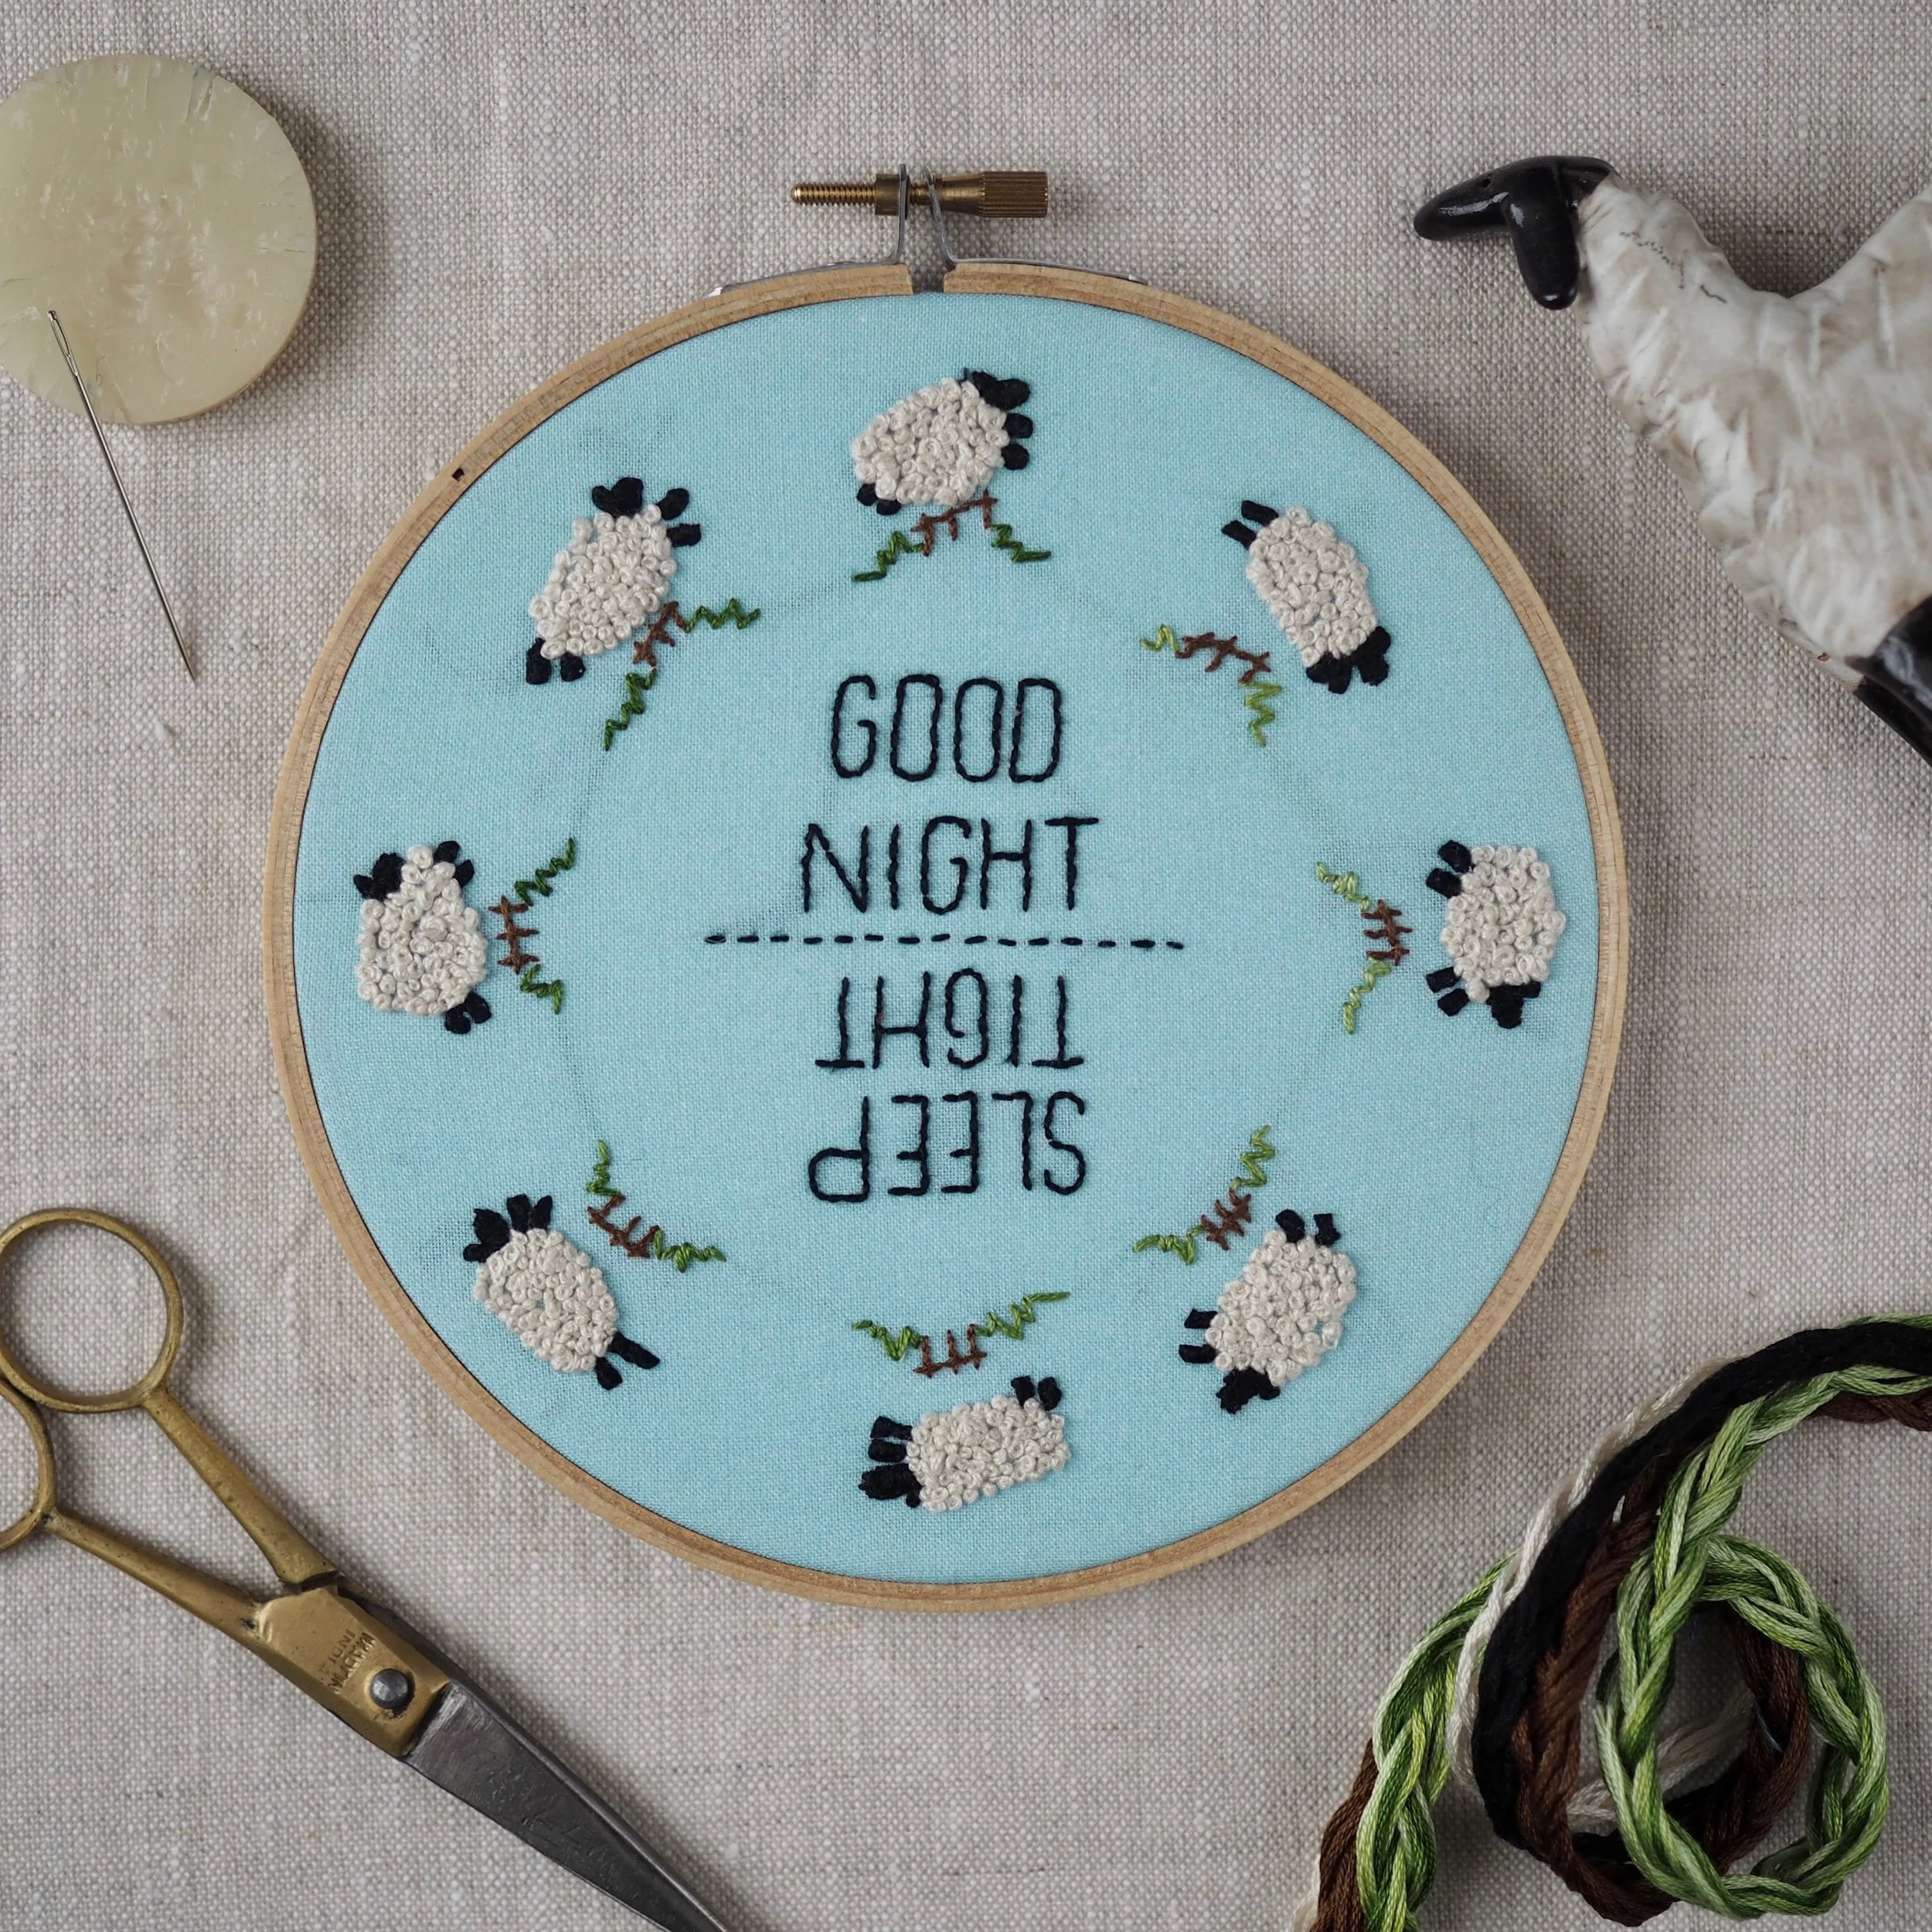
Growing WILDFLOWER(s)
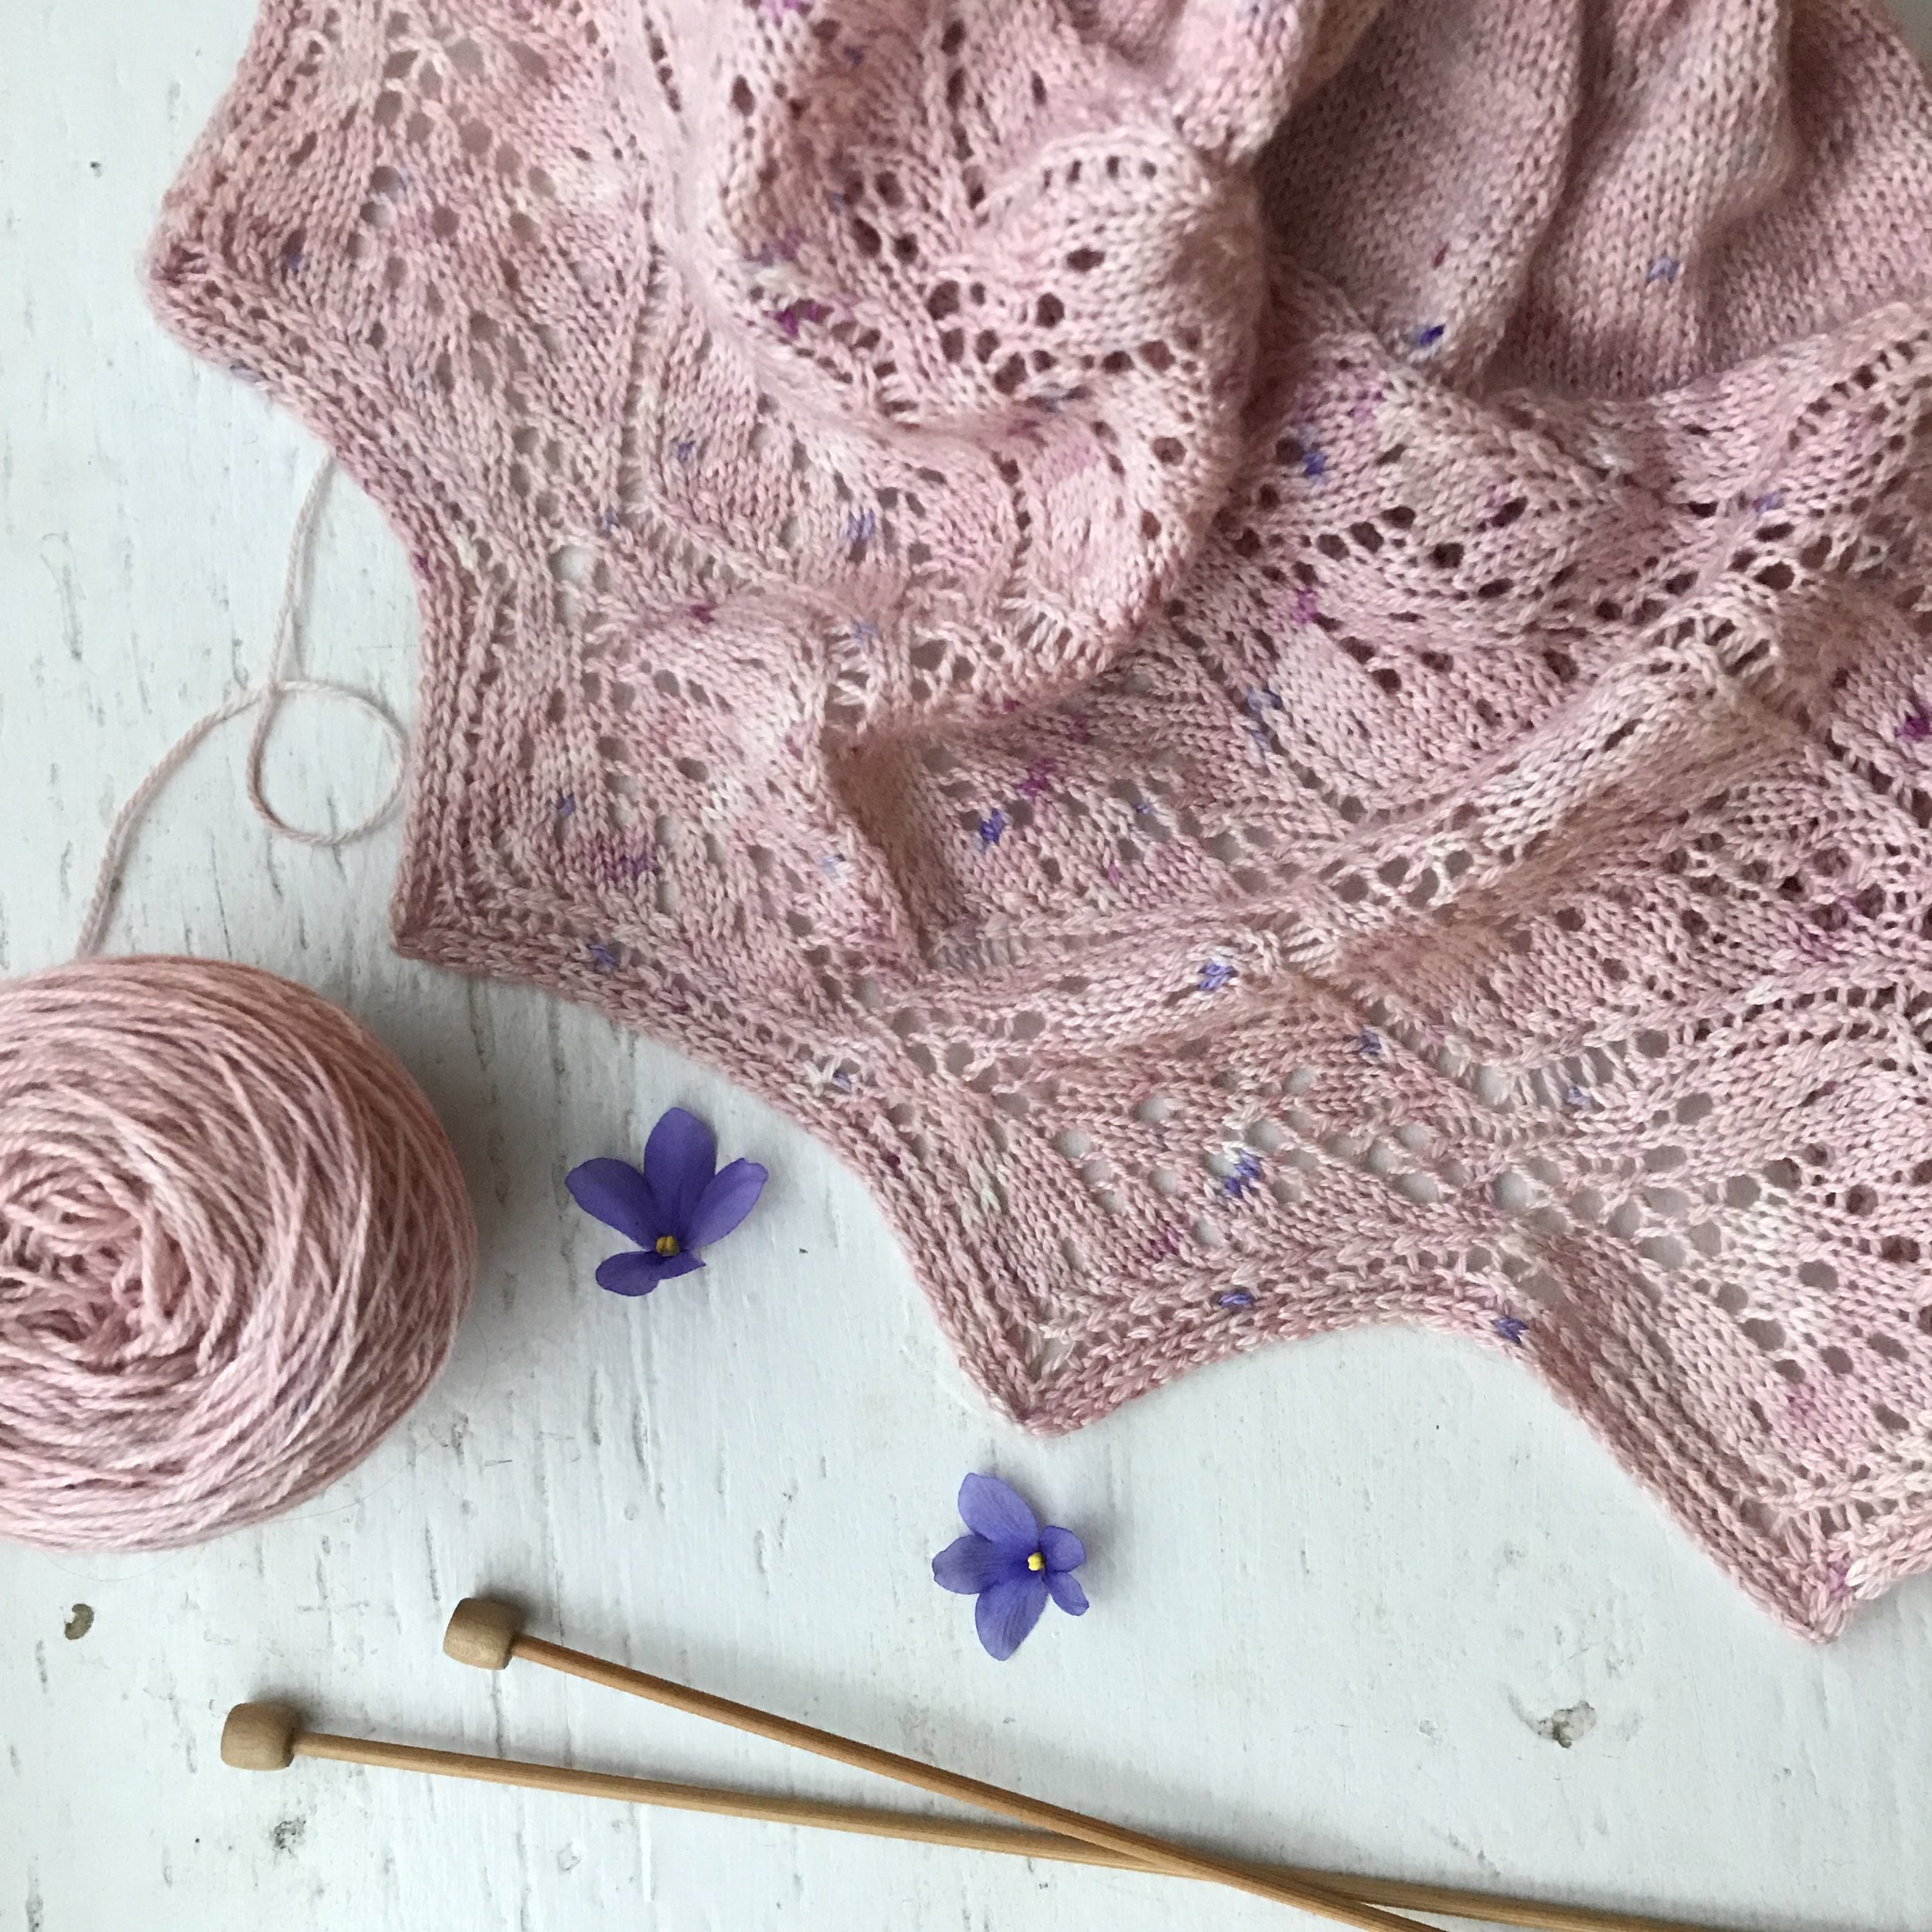
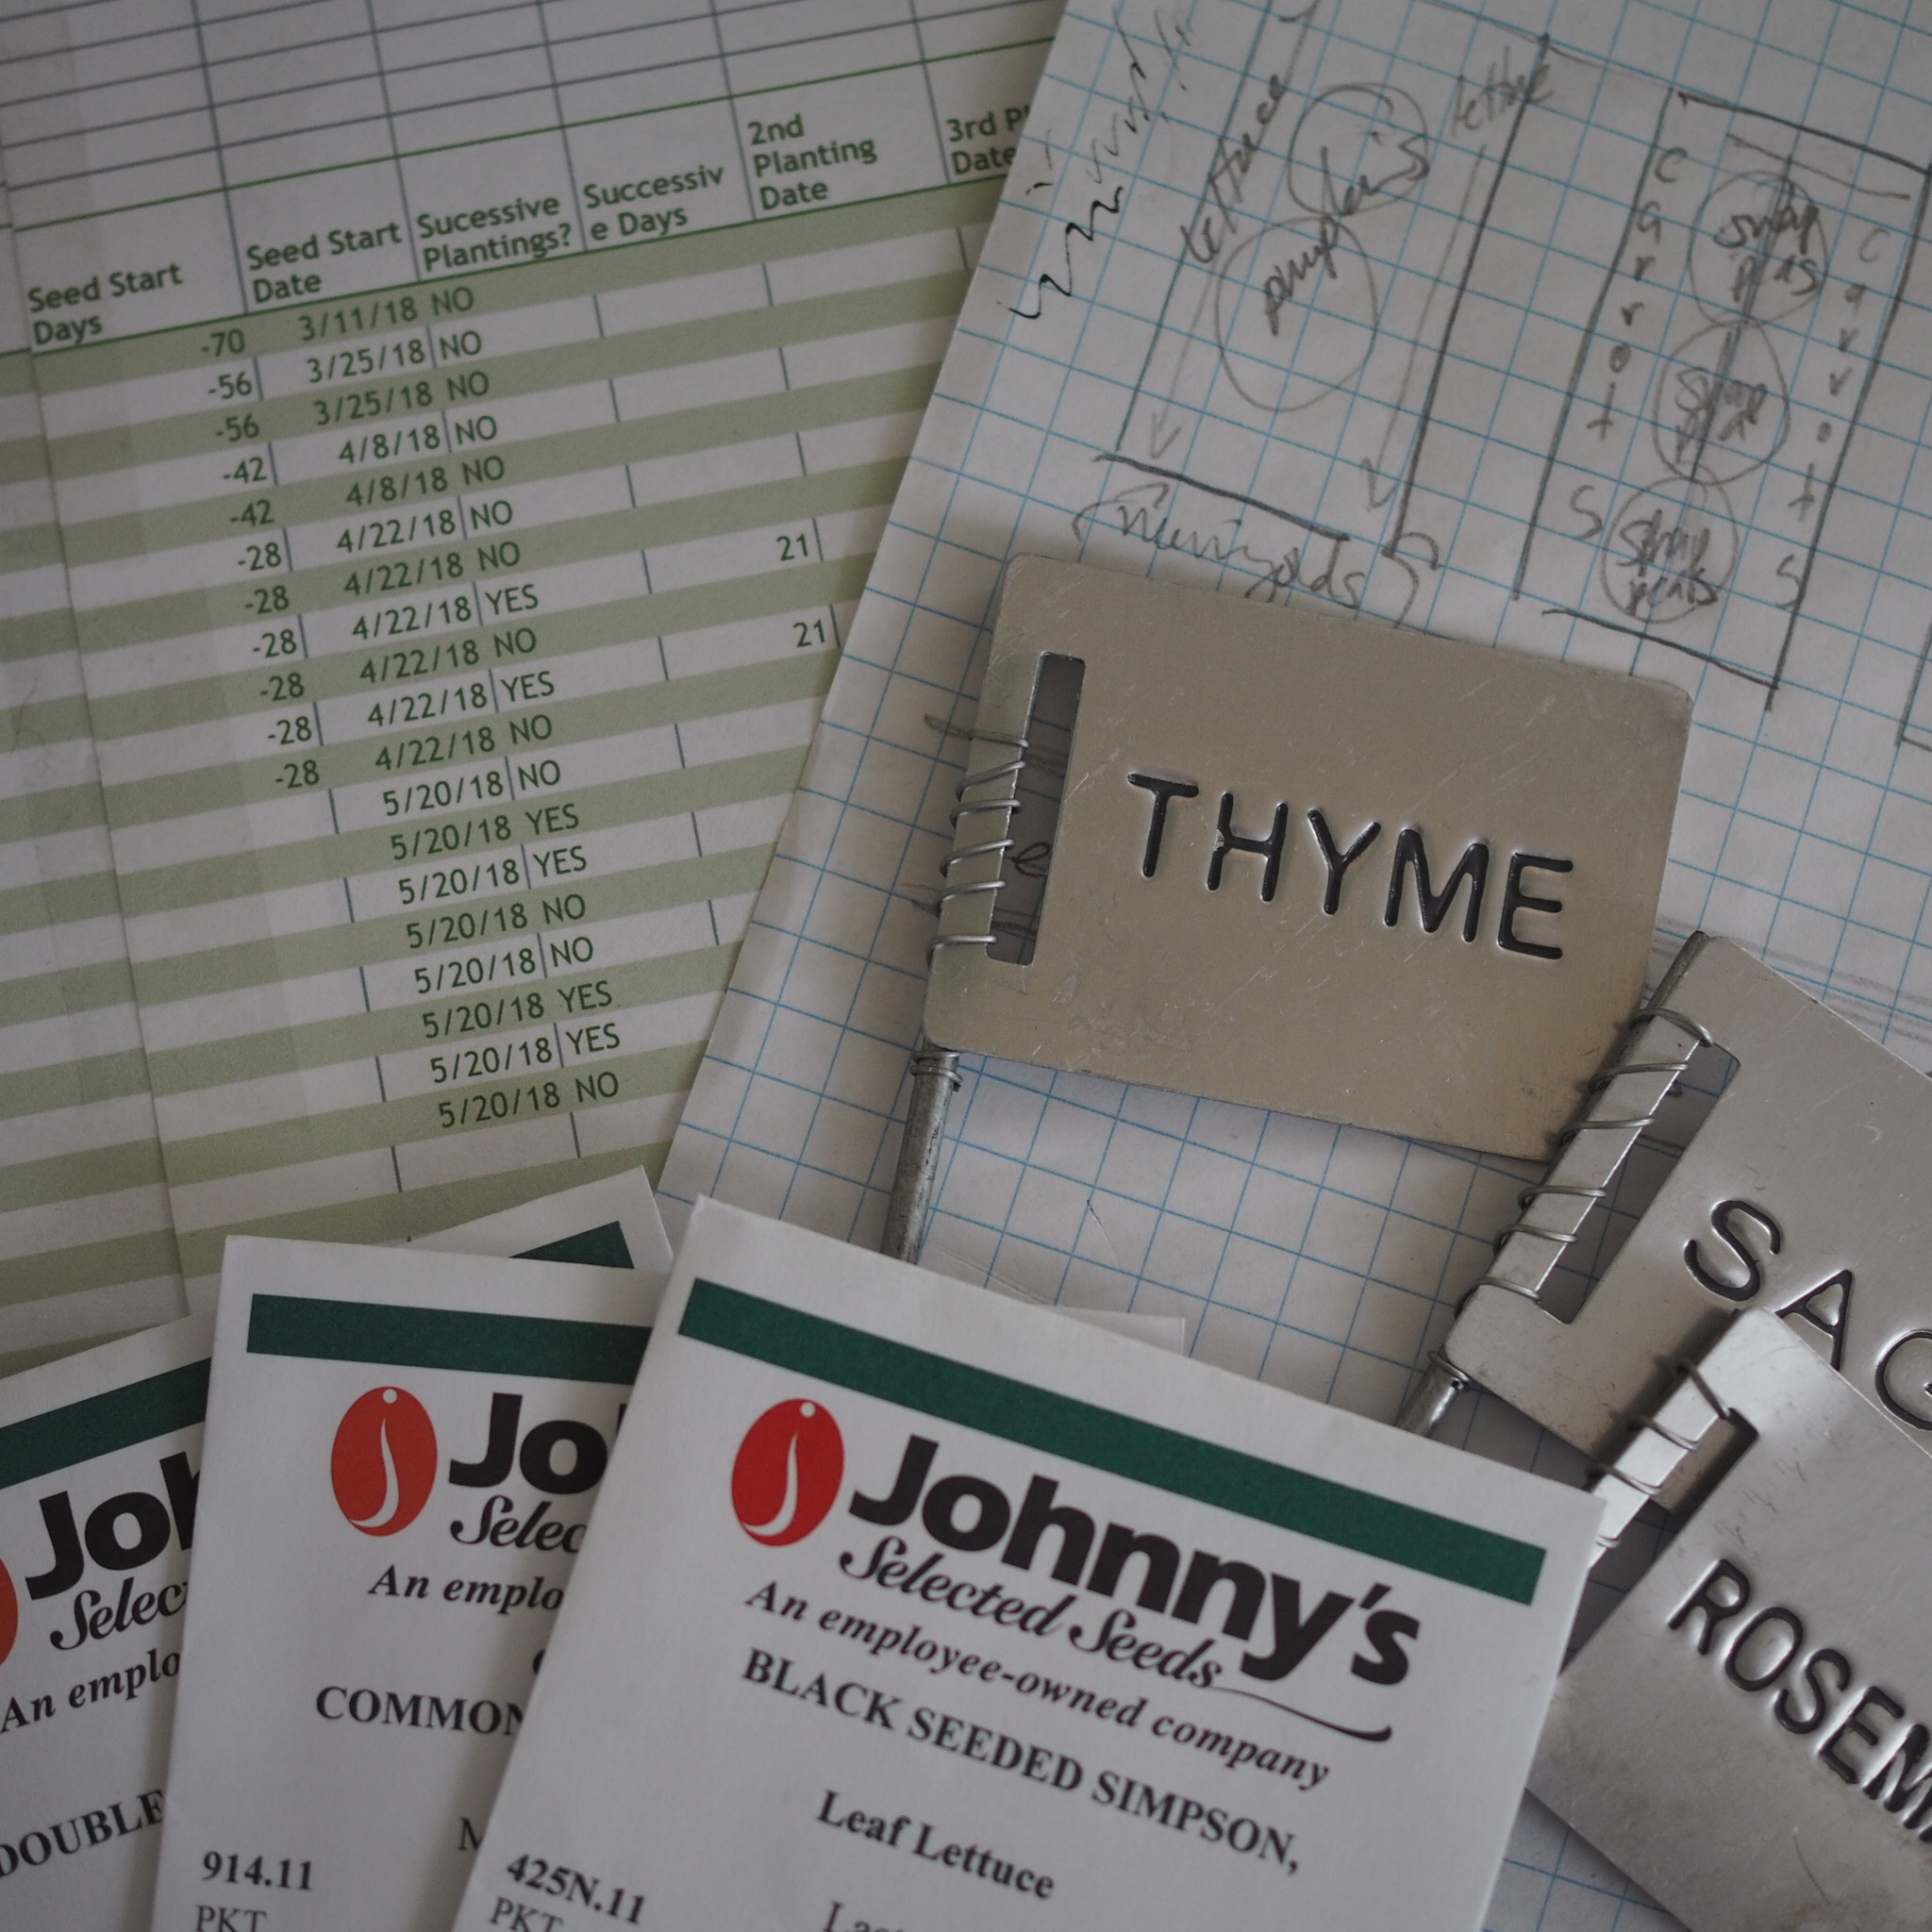
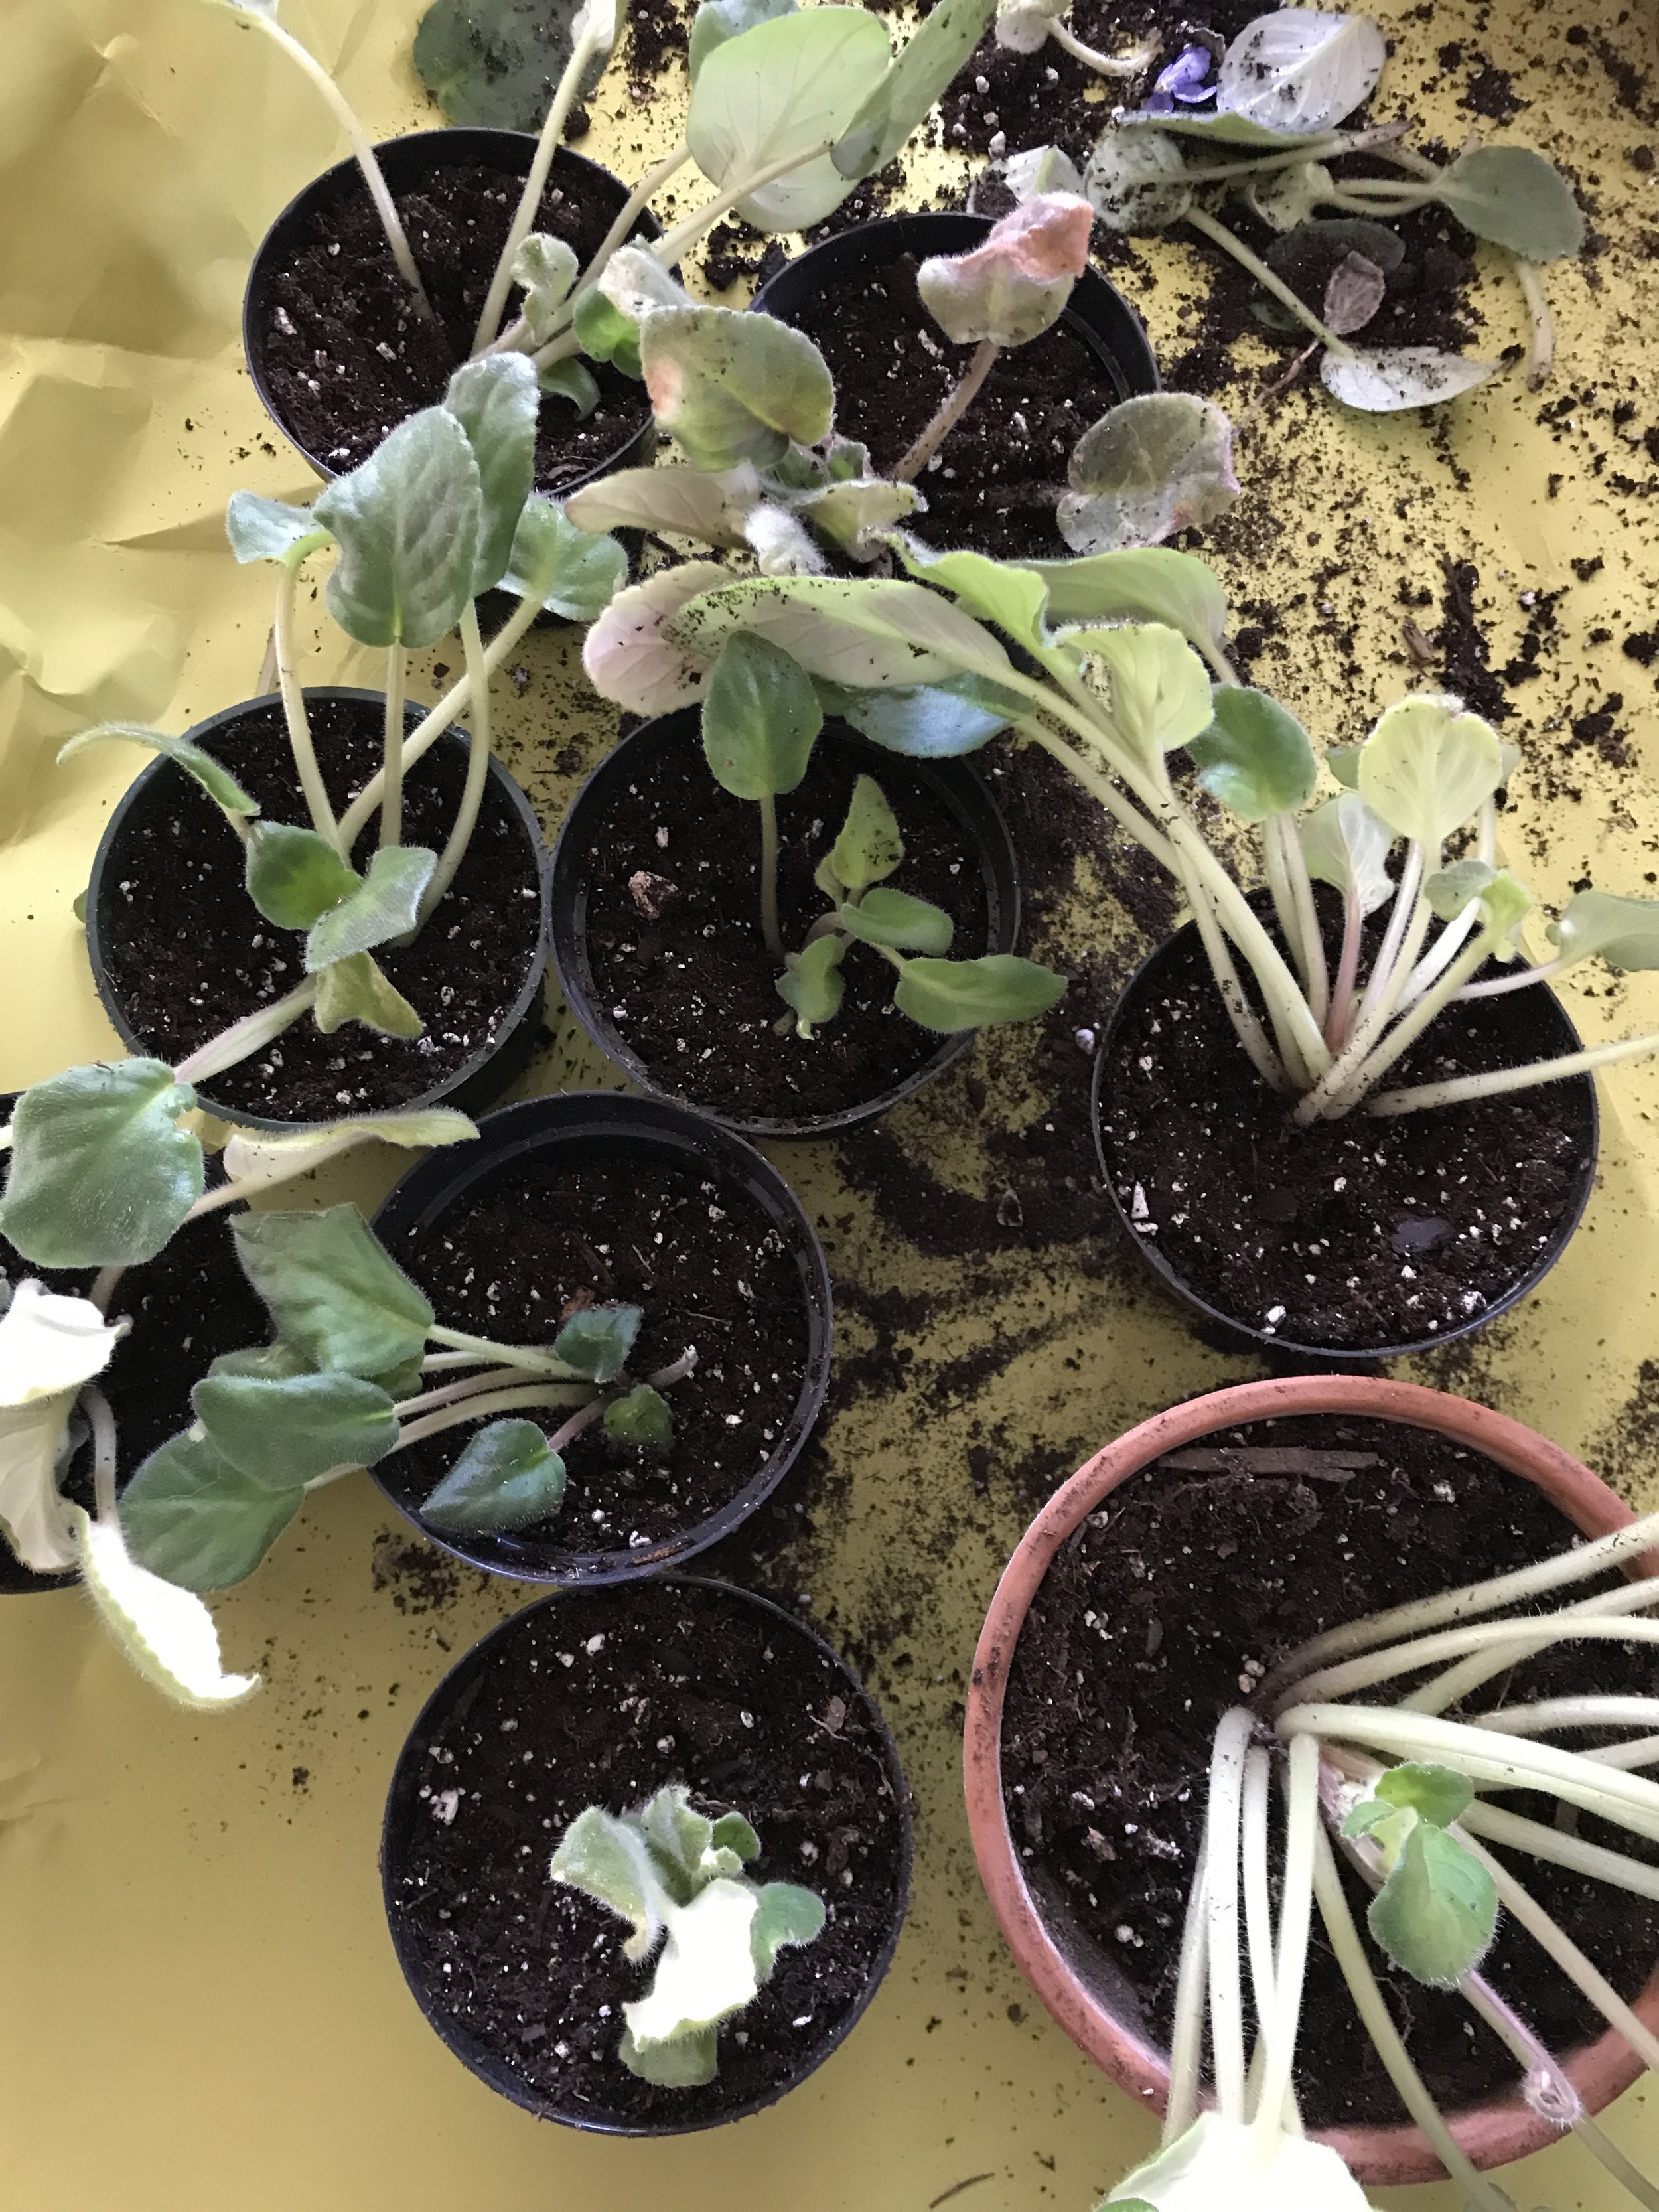
Even as I'm preparing to plant my first real seeds of the season, my next pattern collection is rapidly growing.
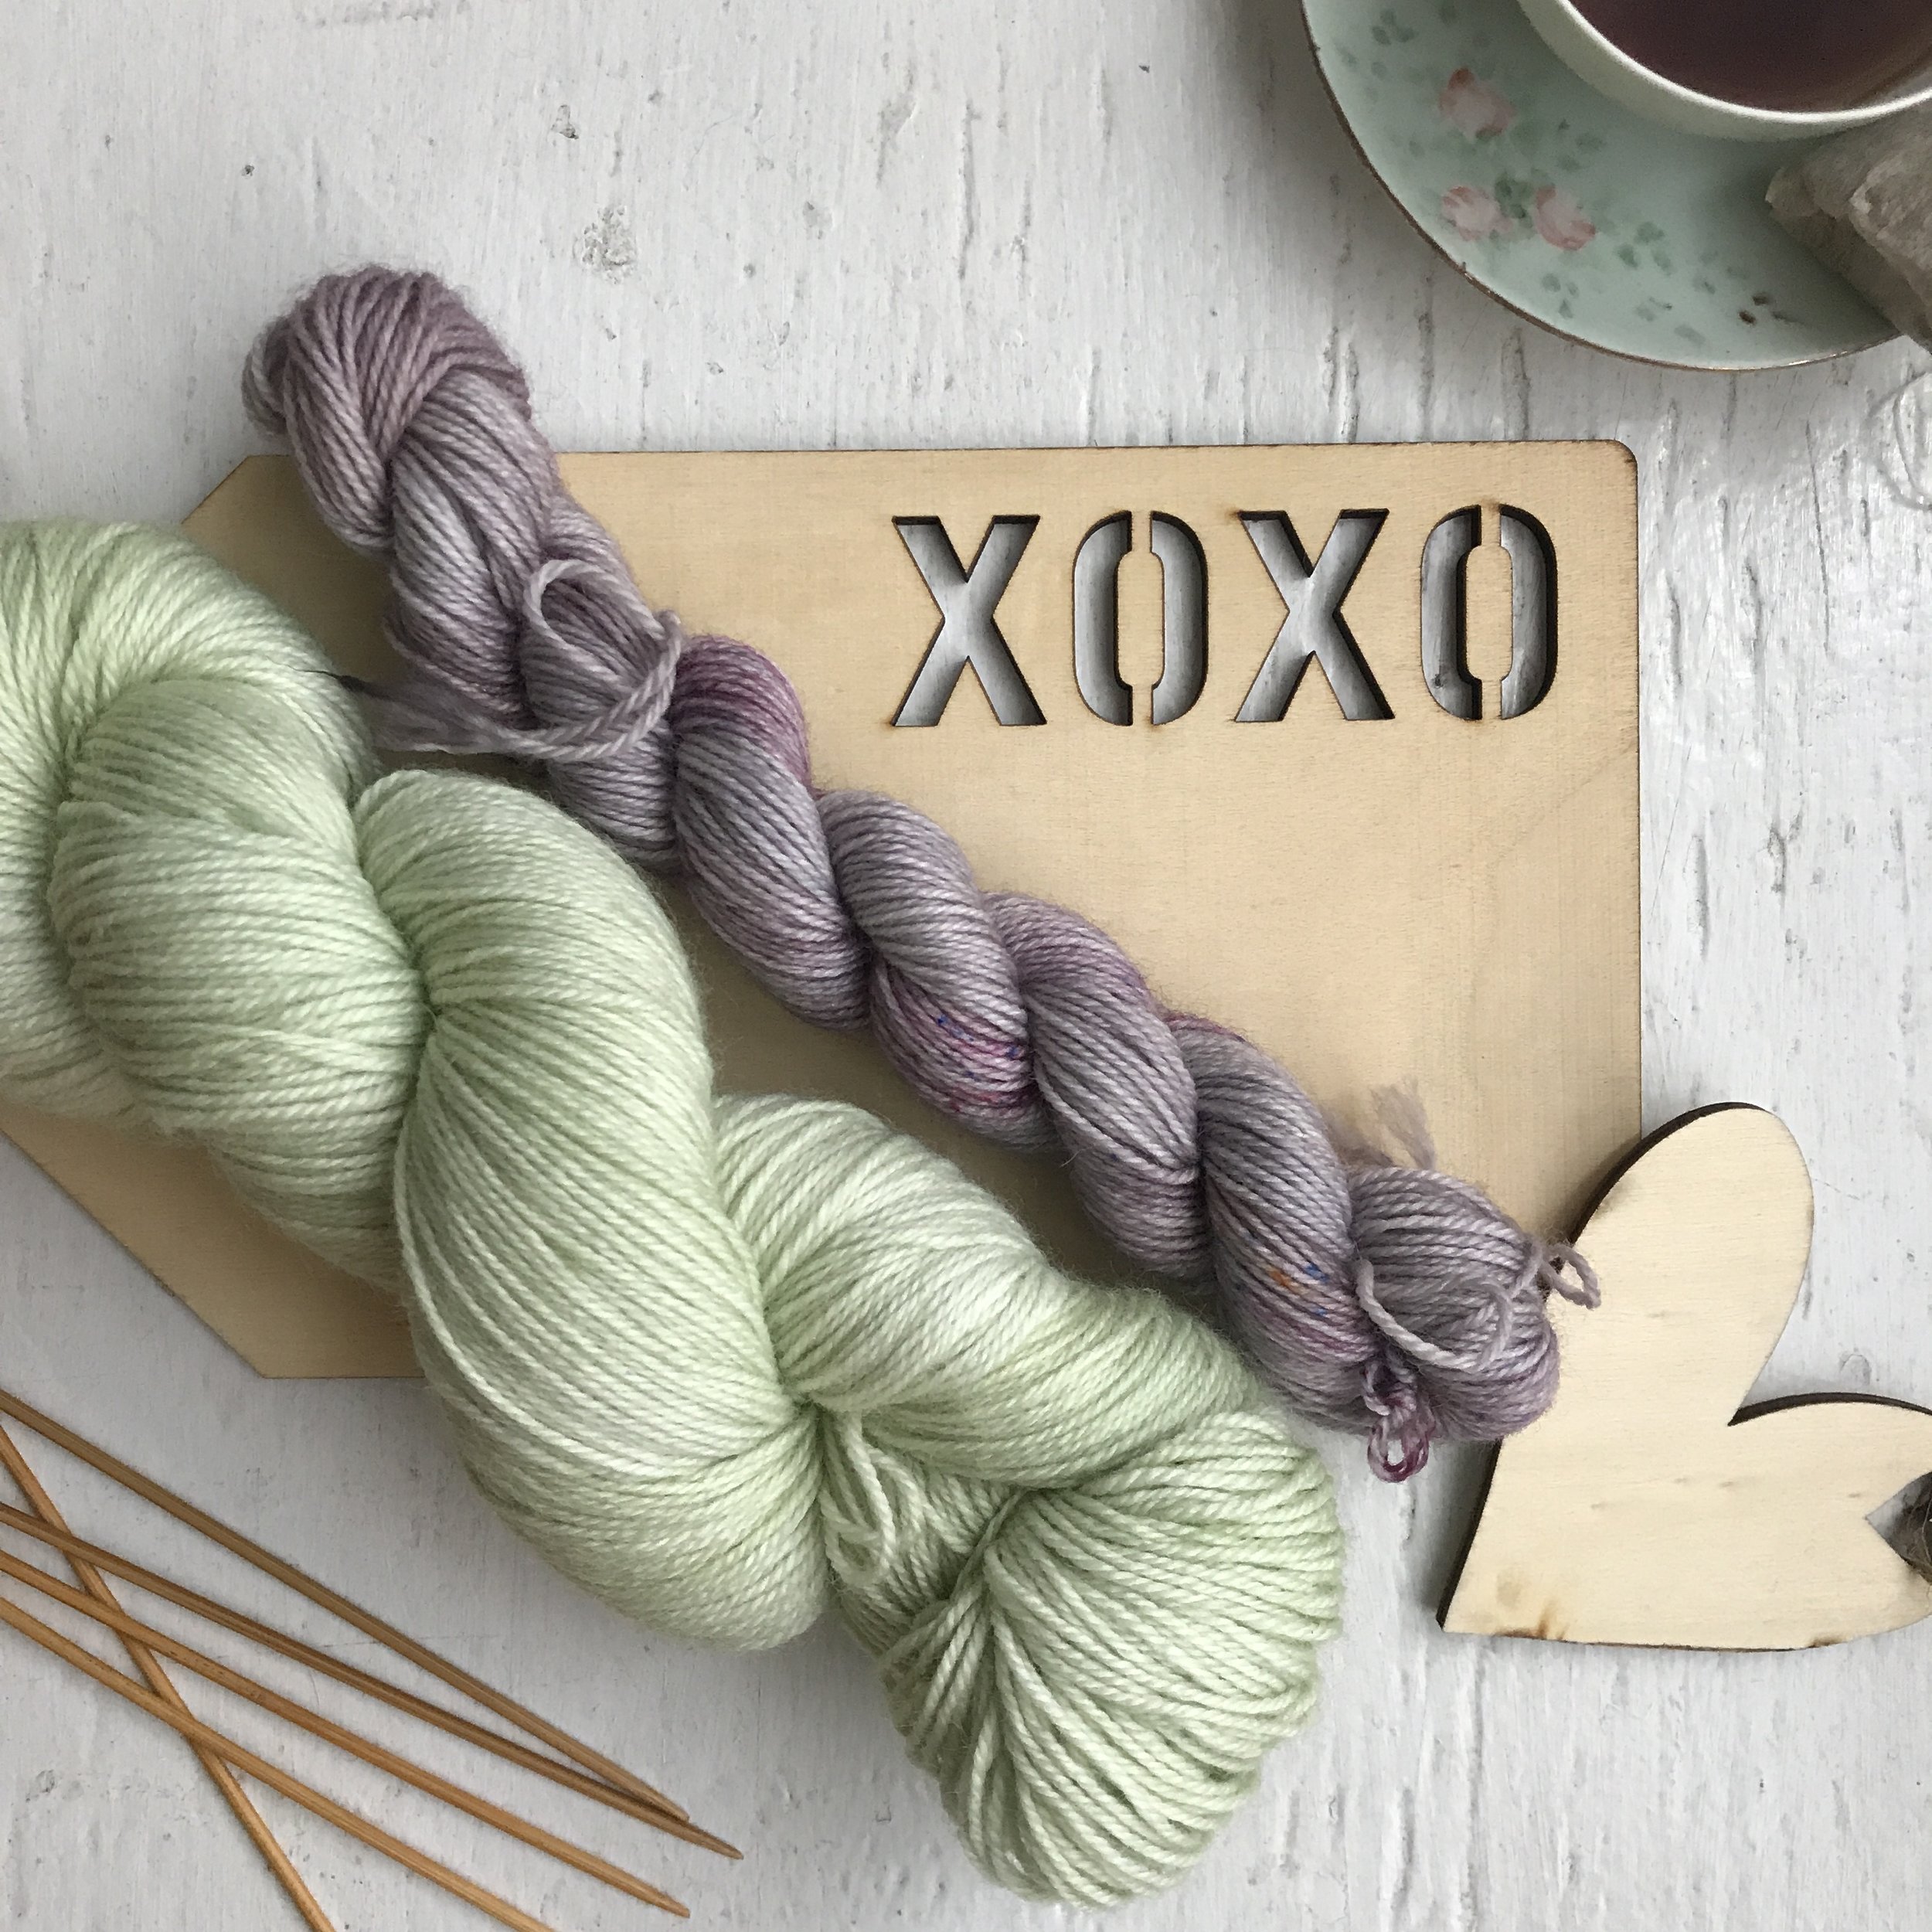
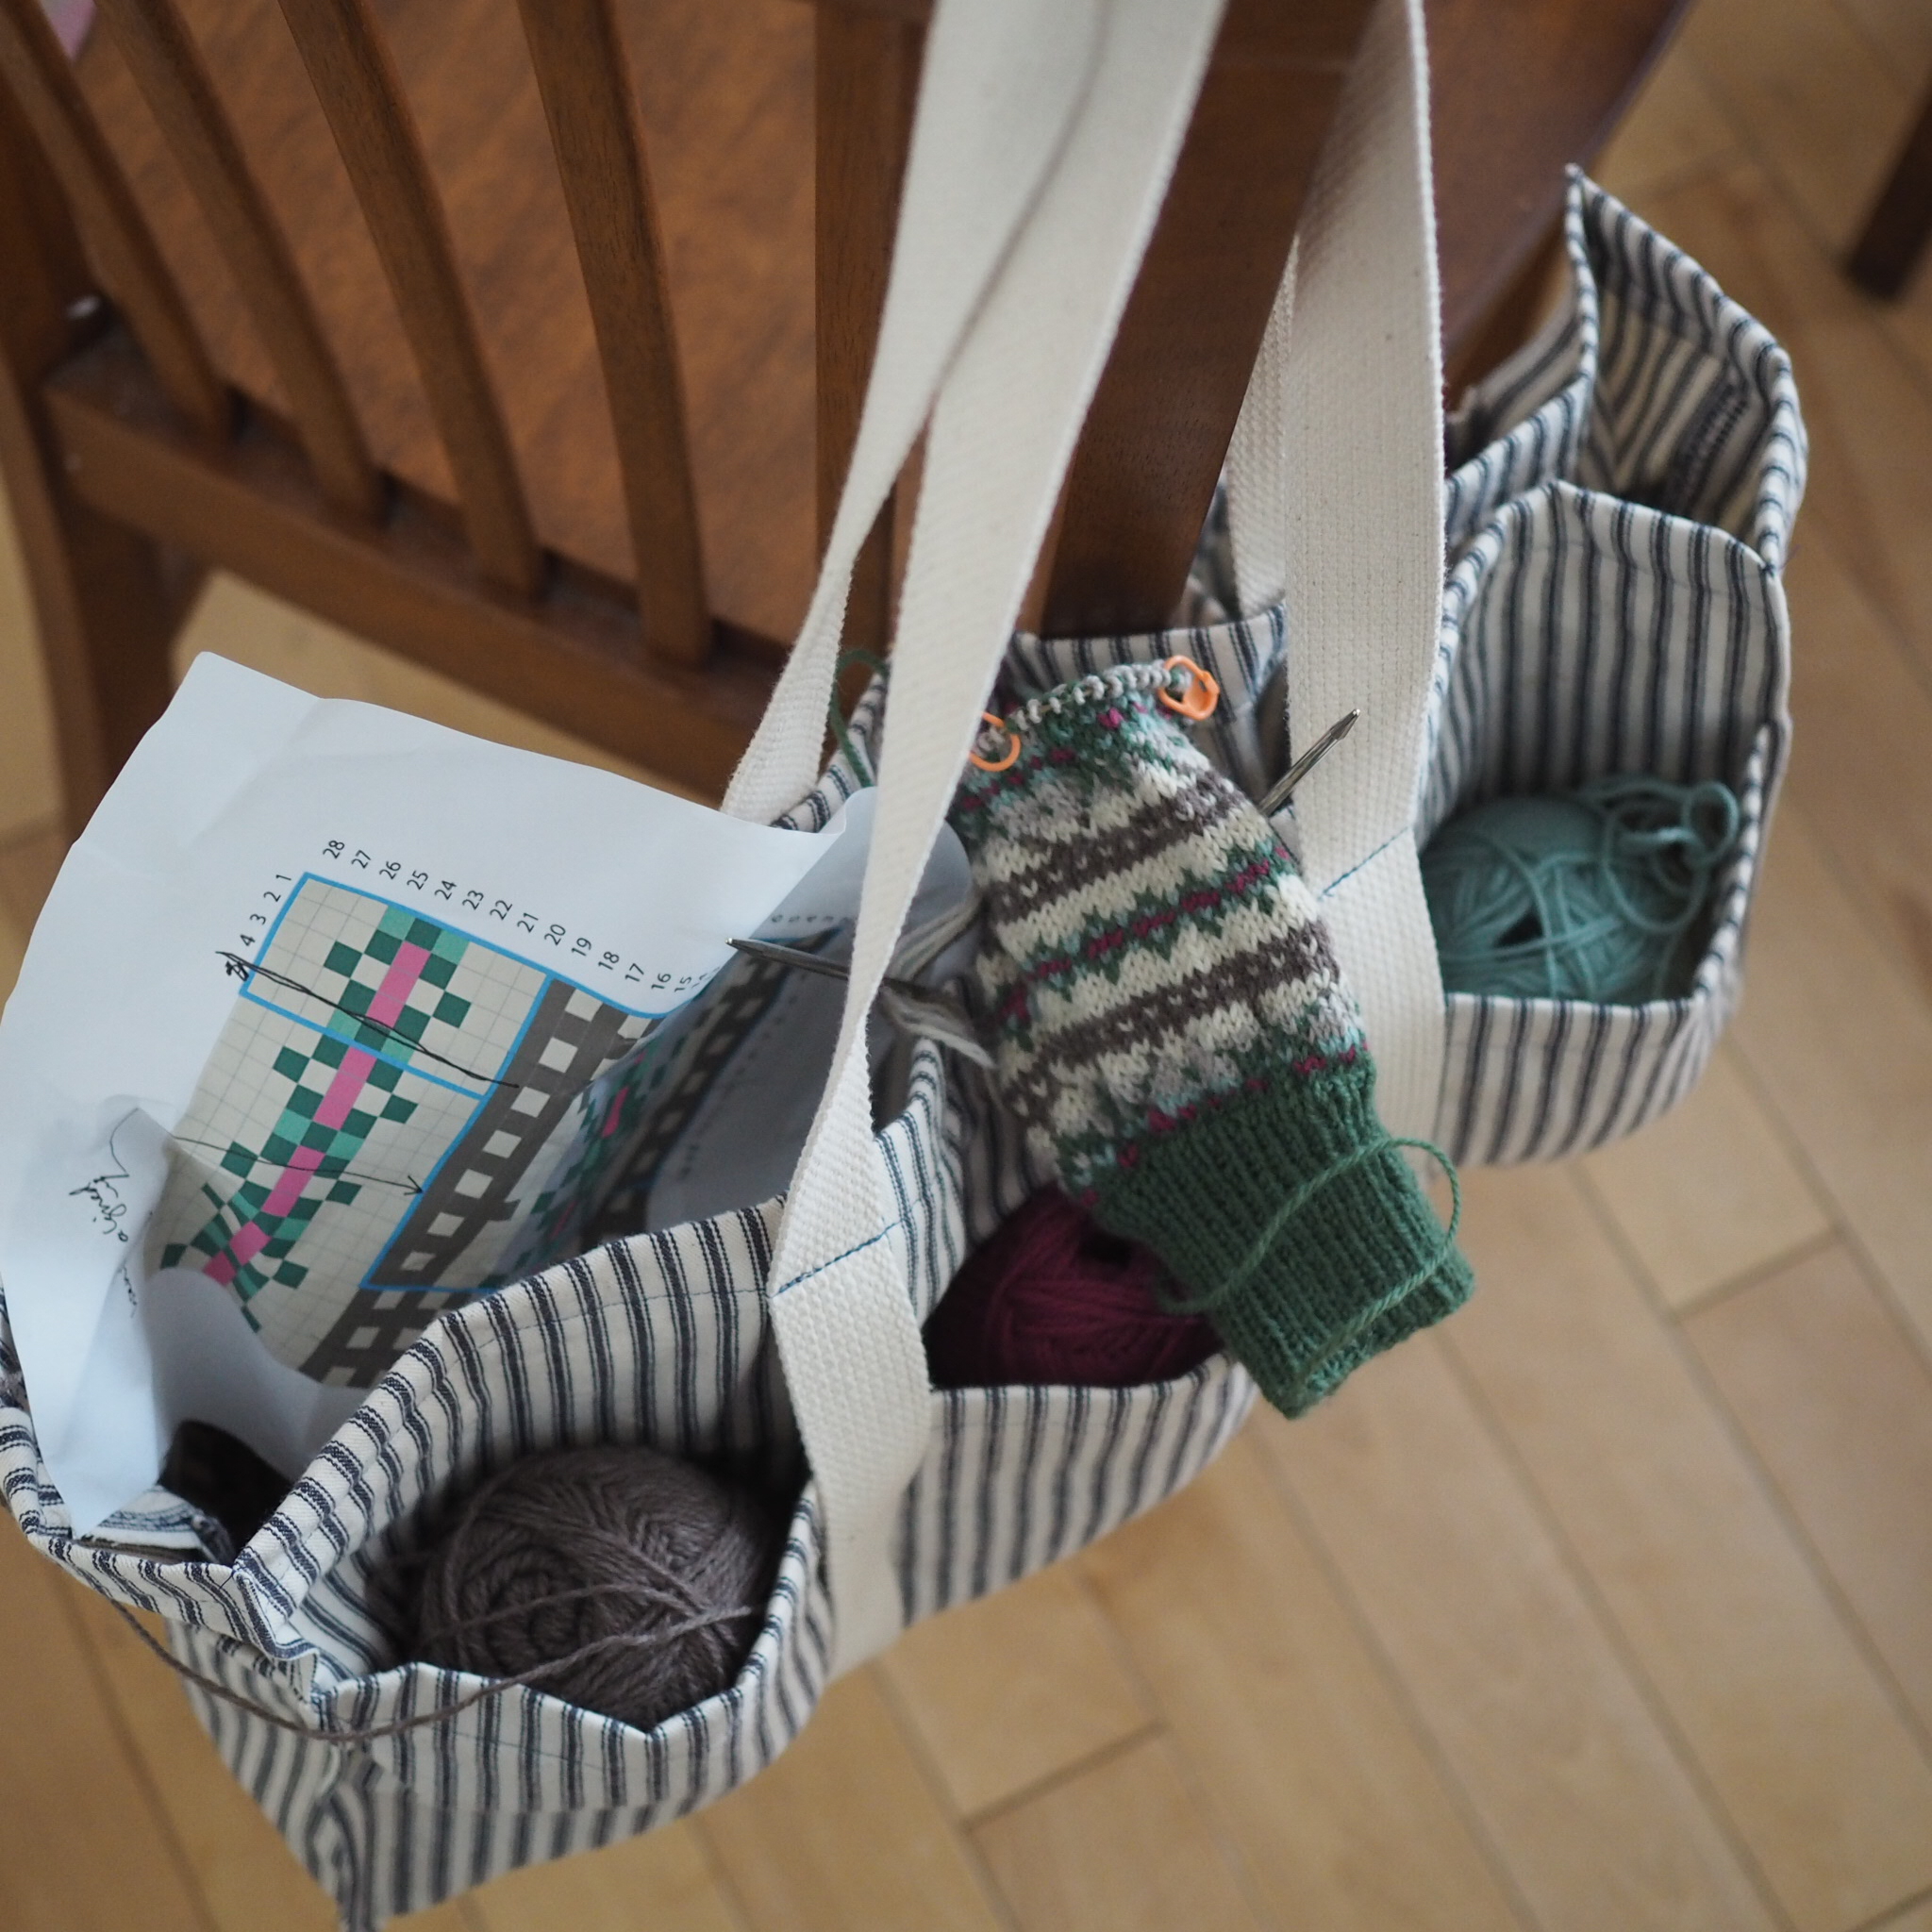
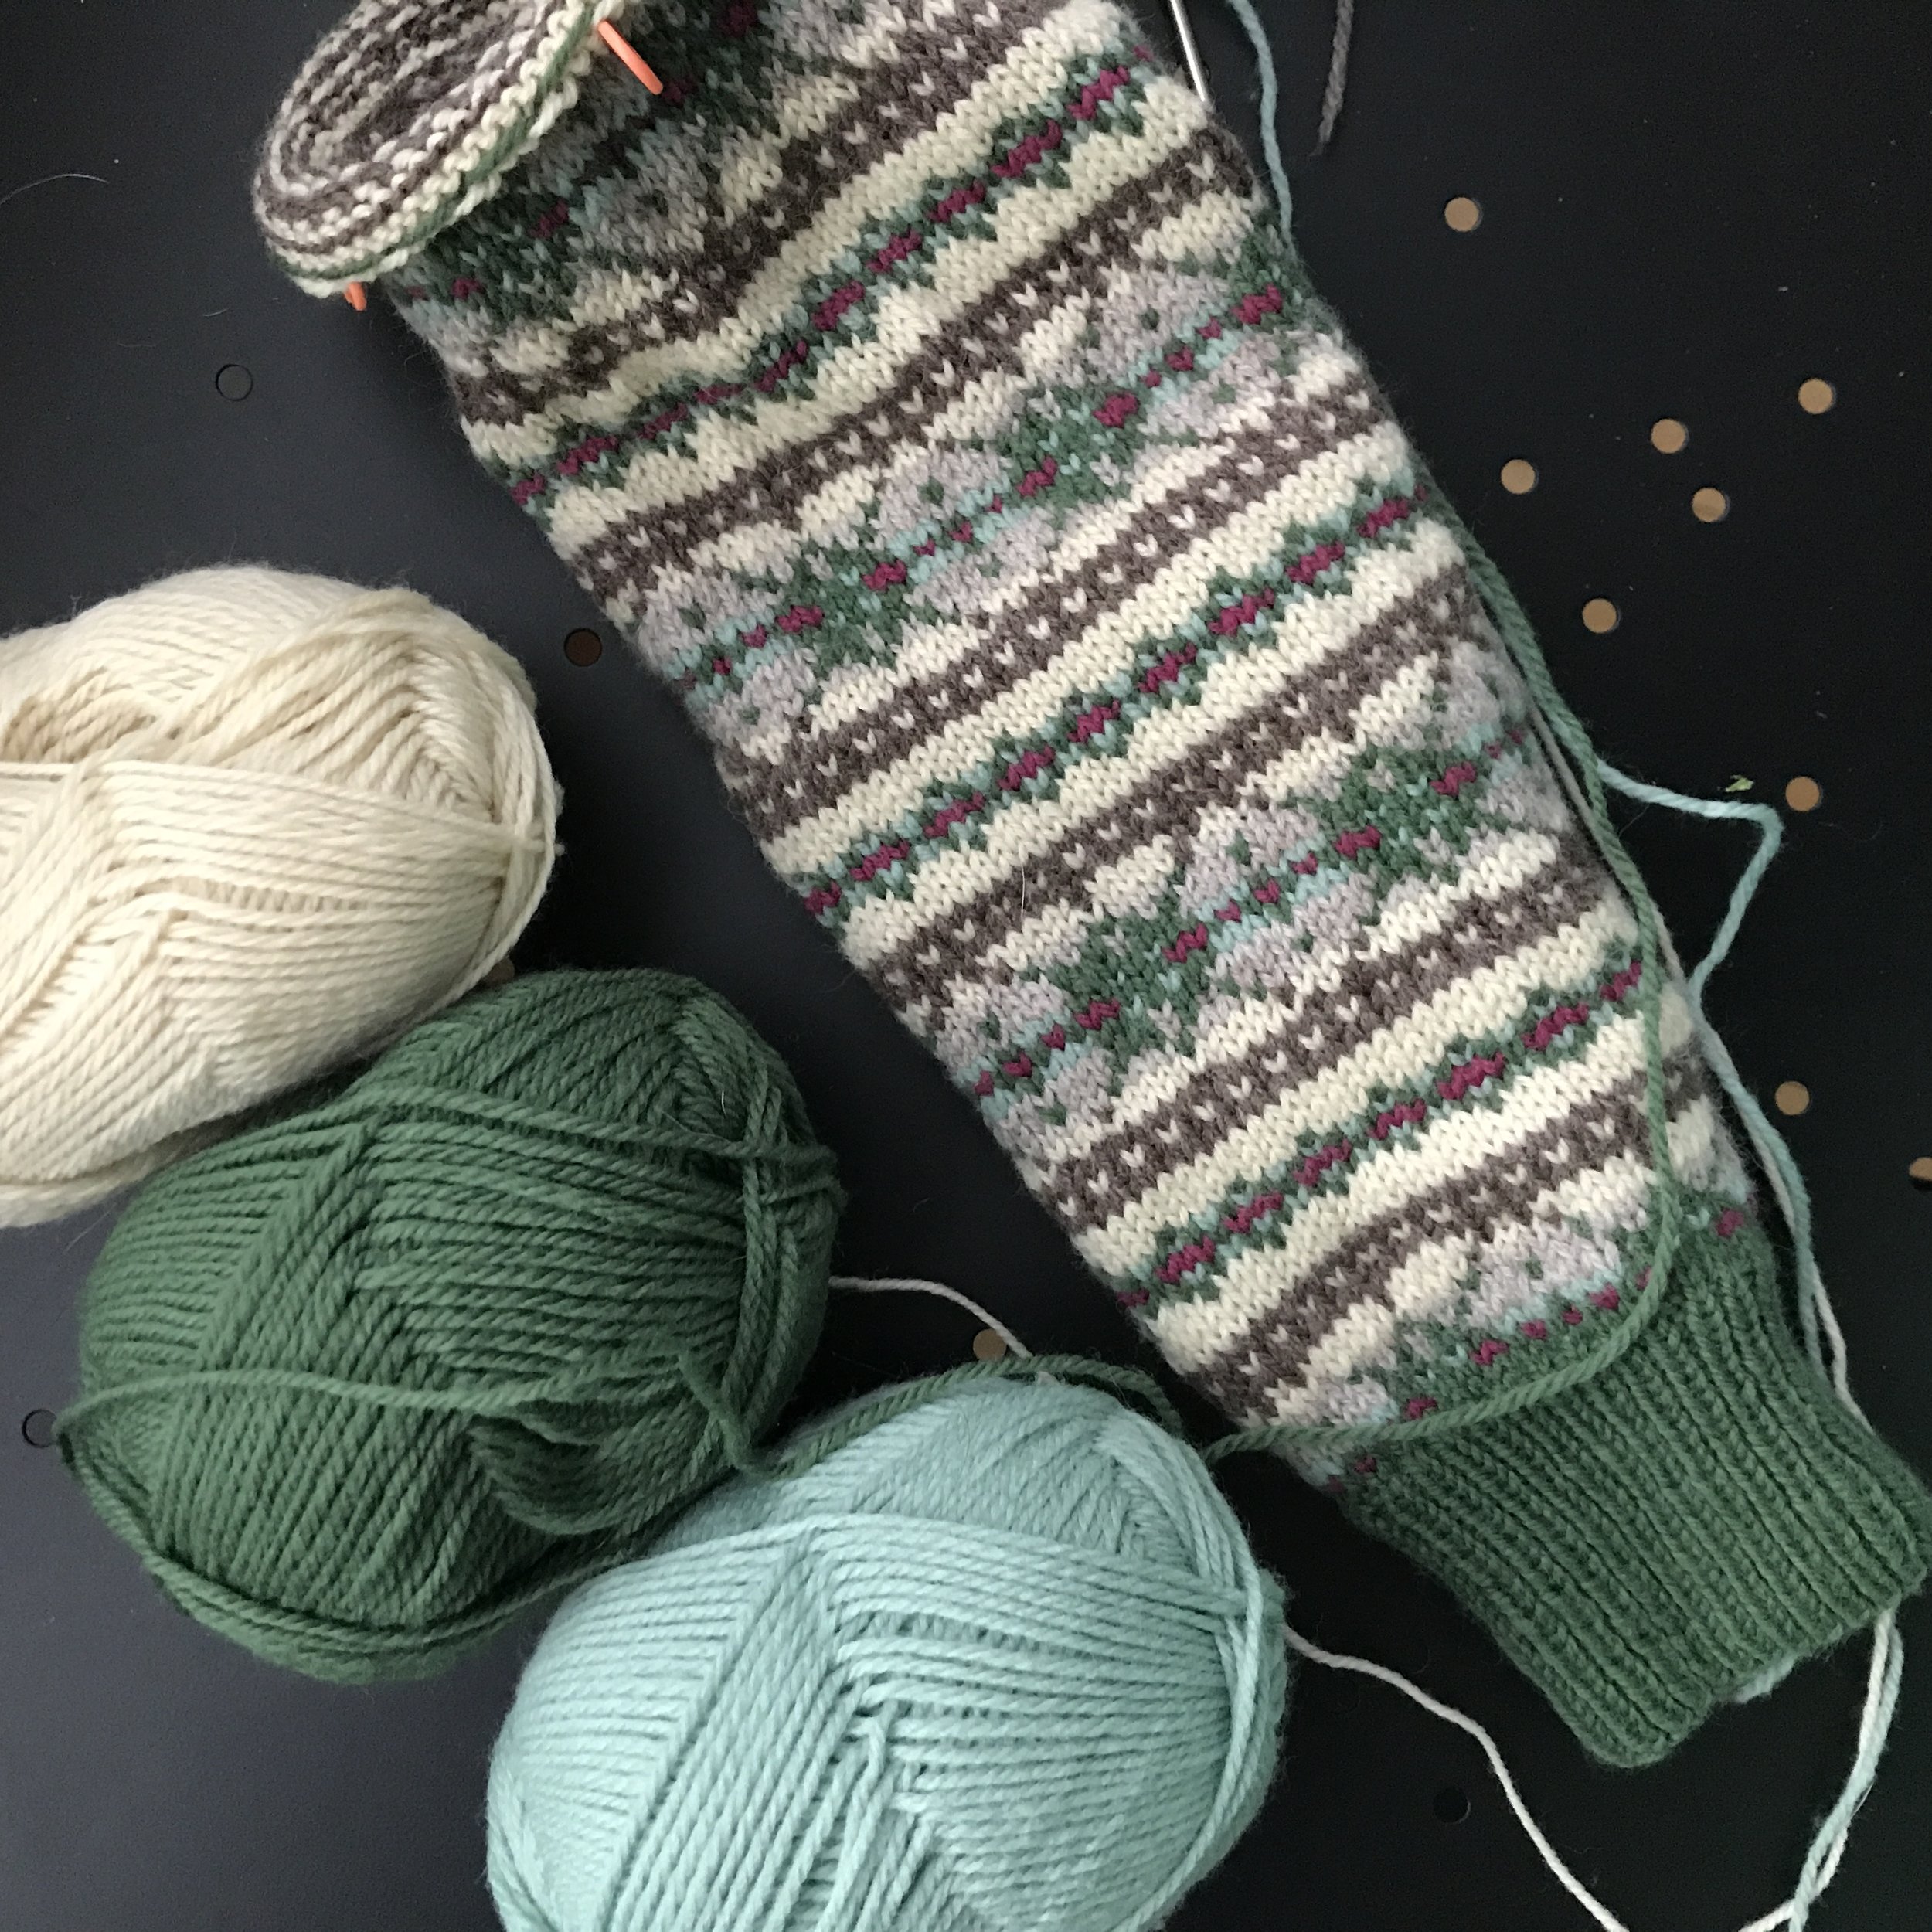
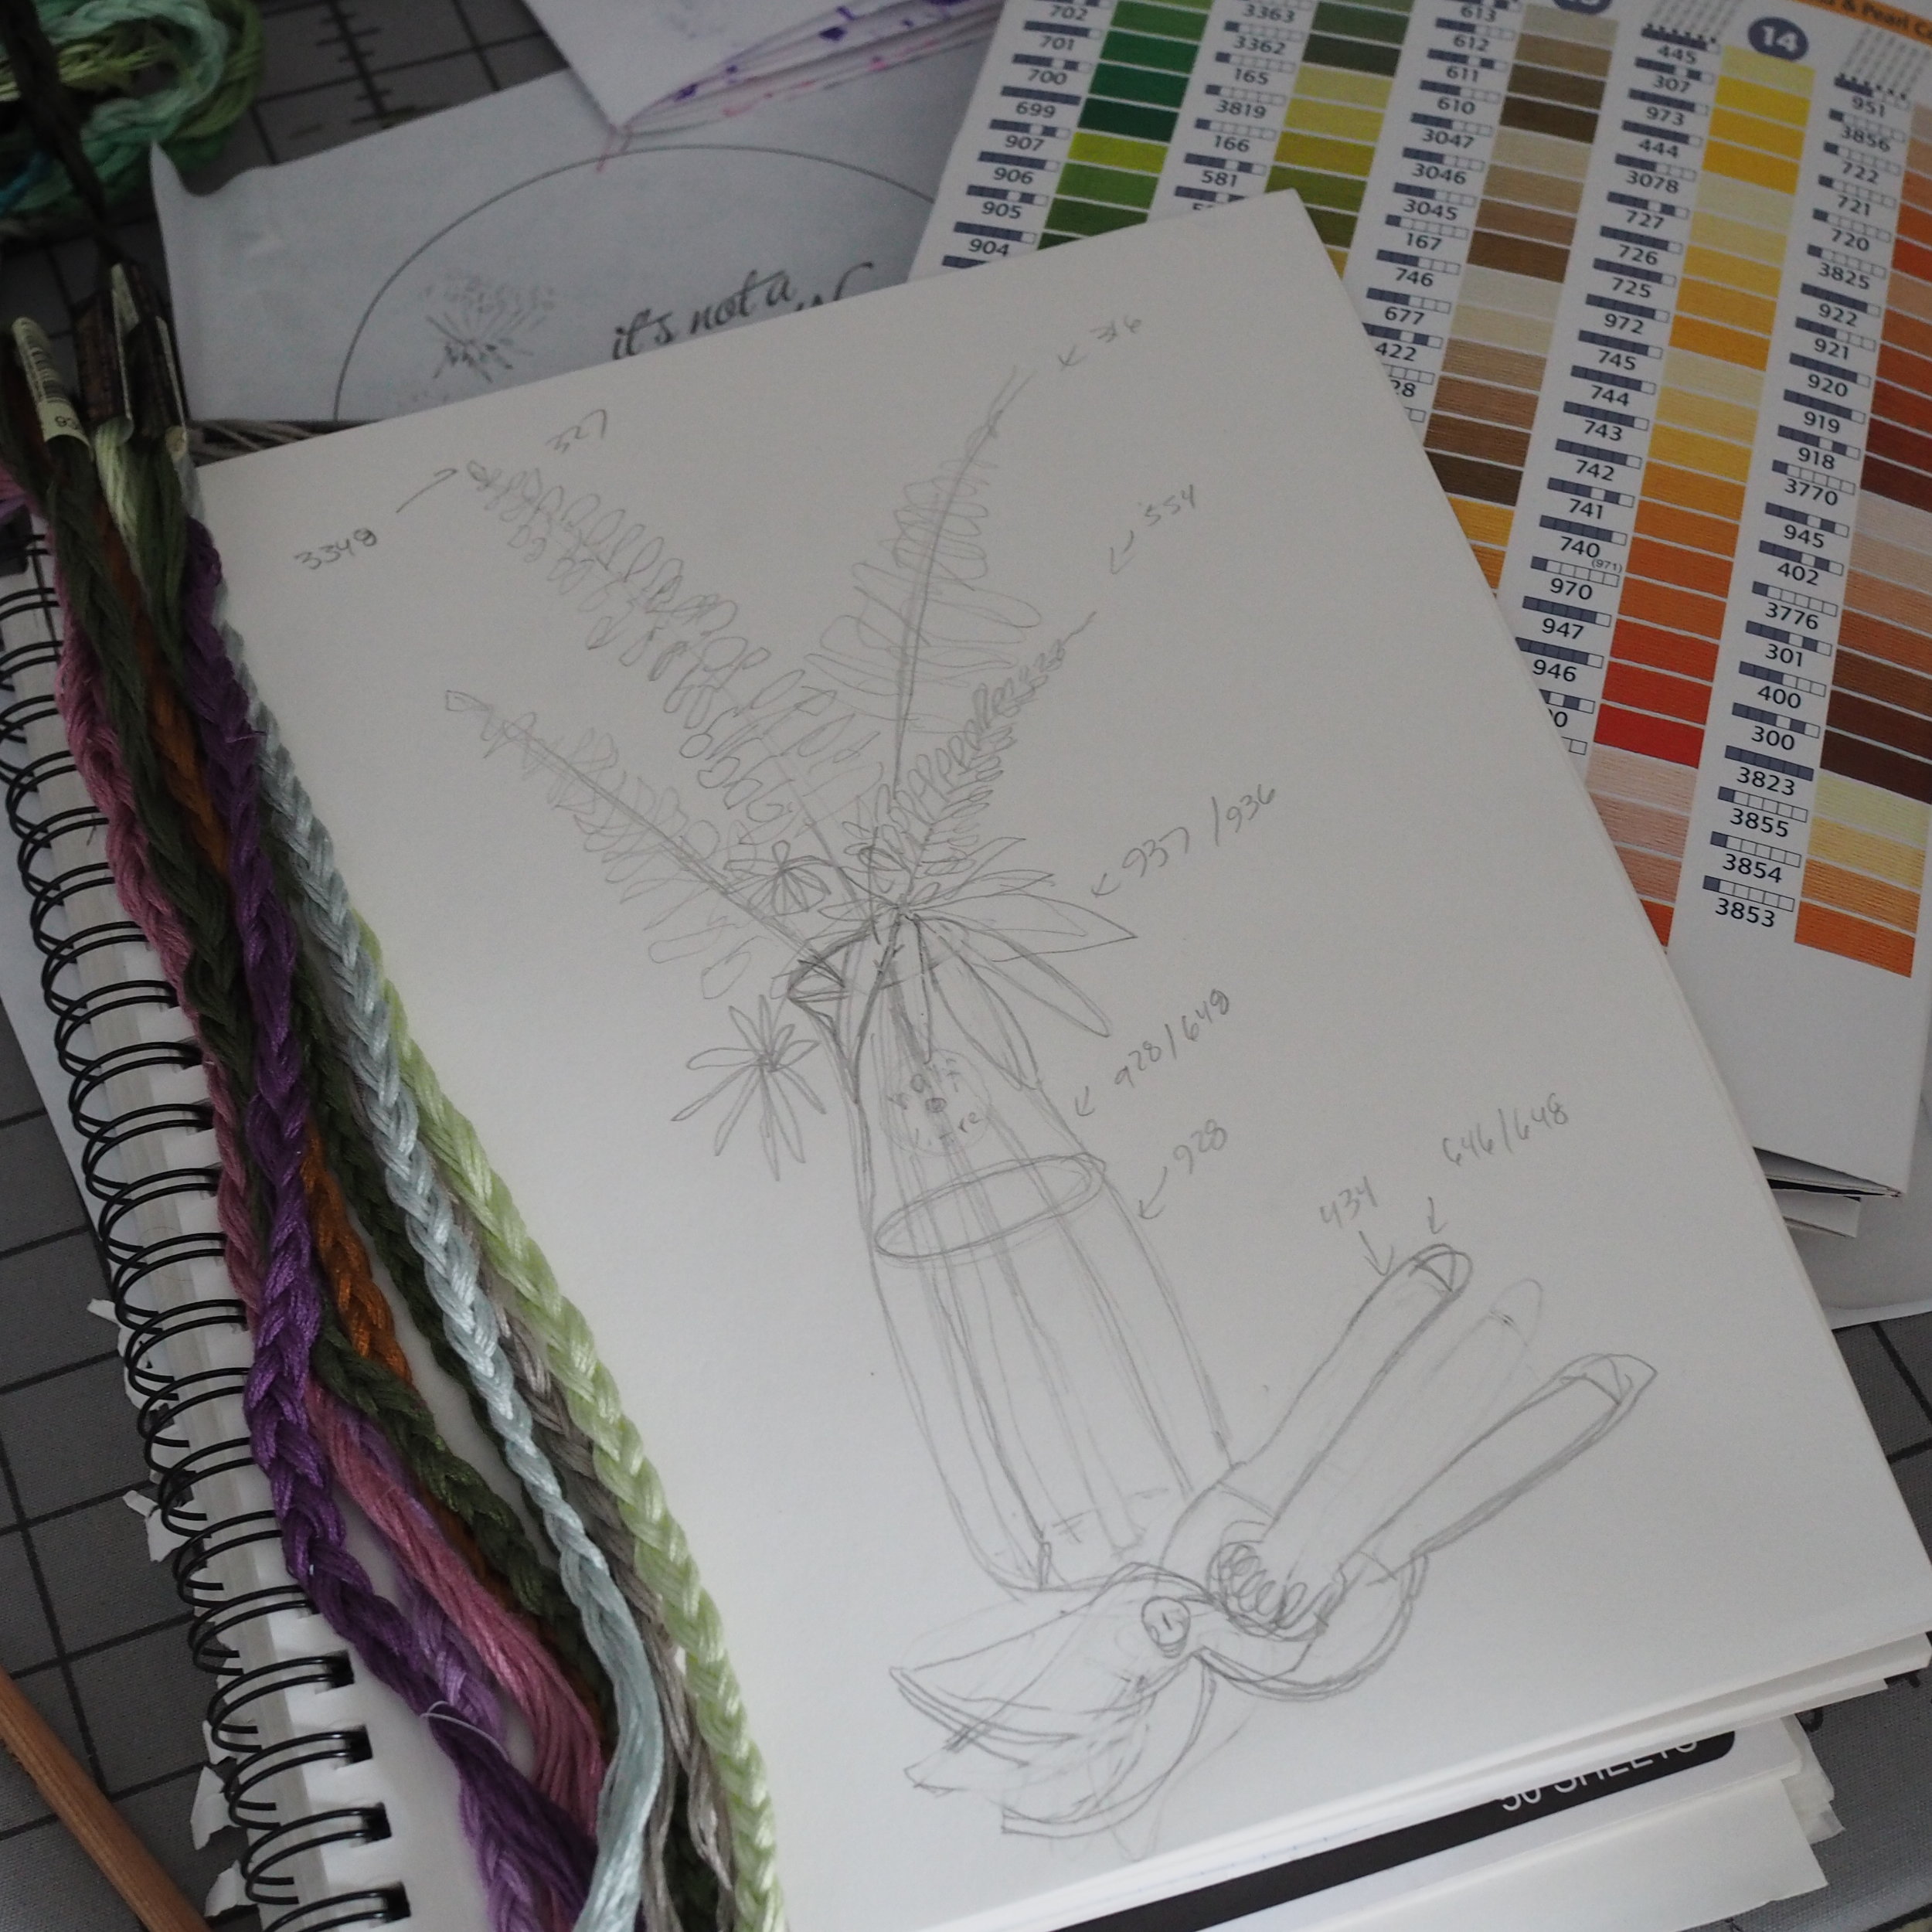
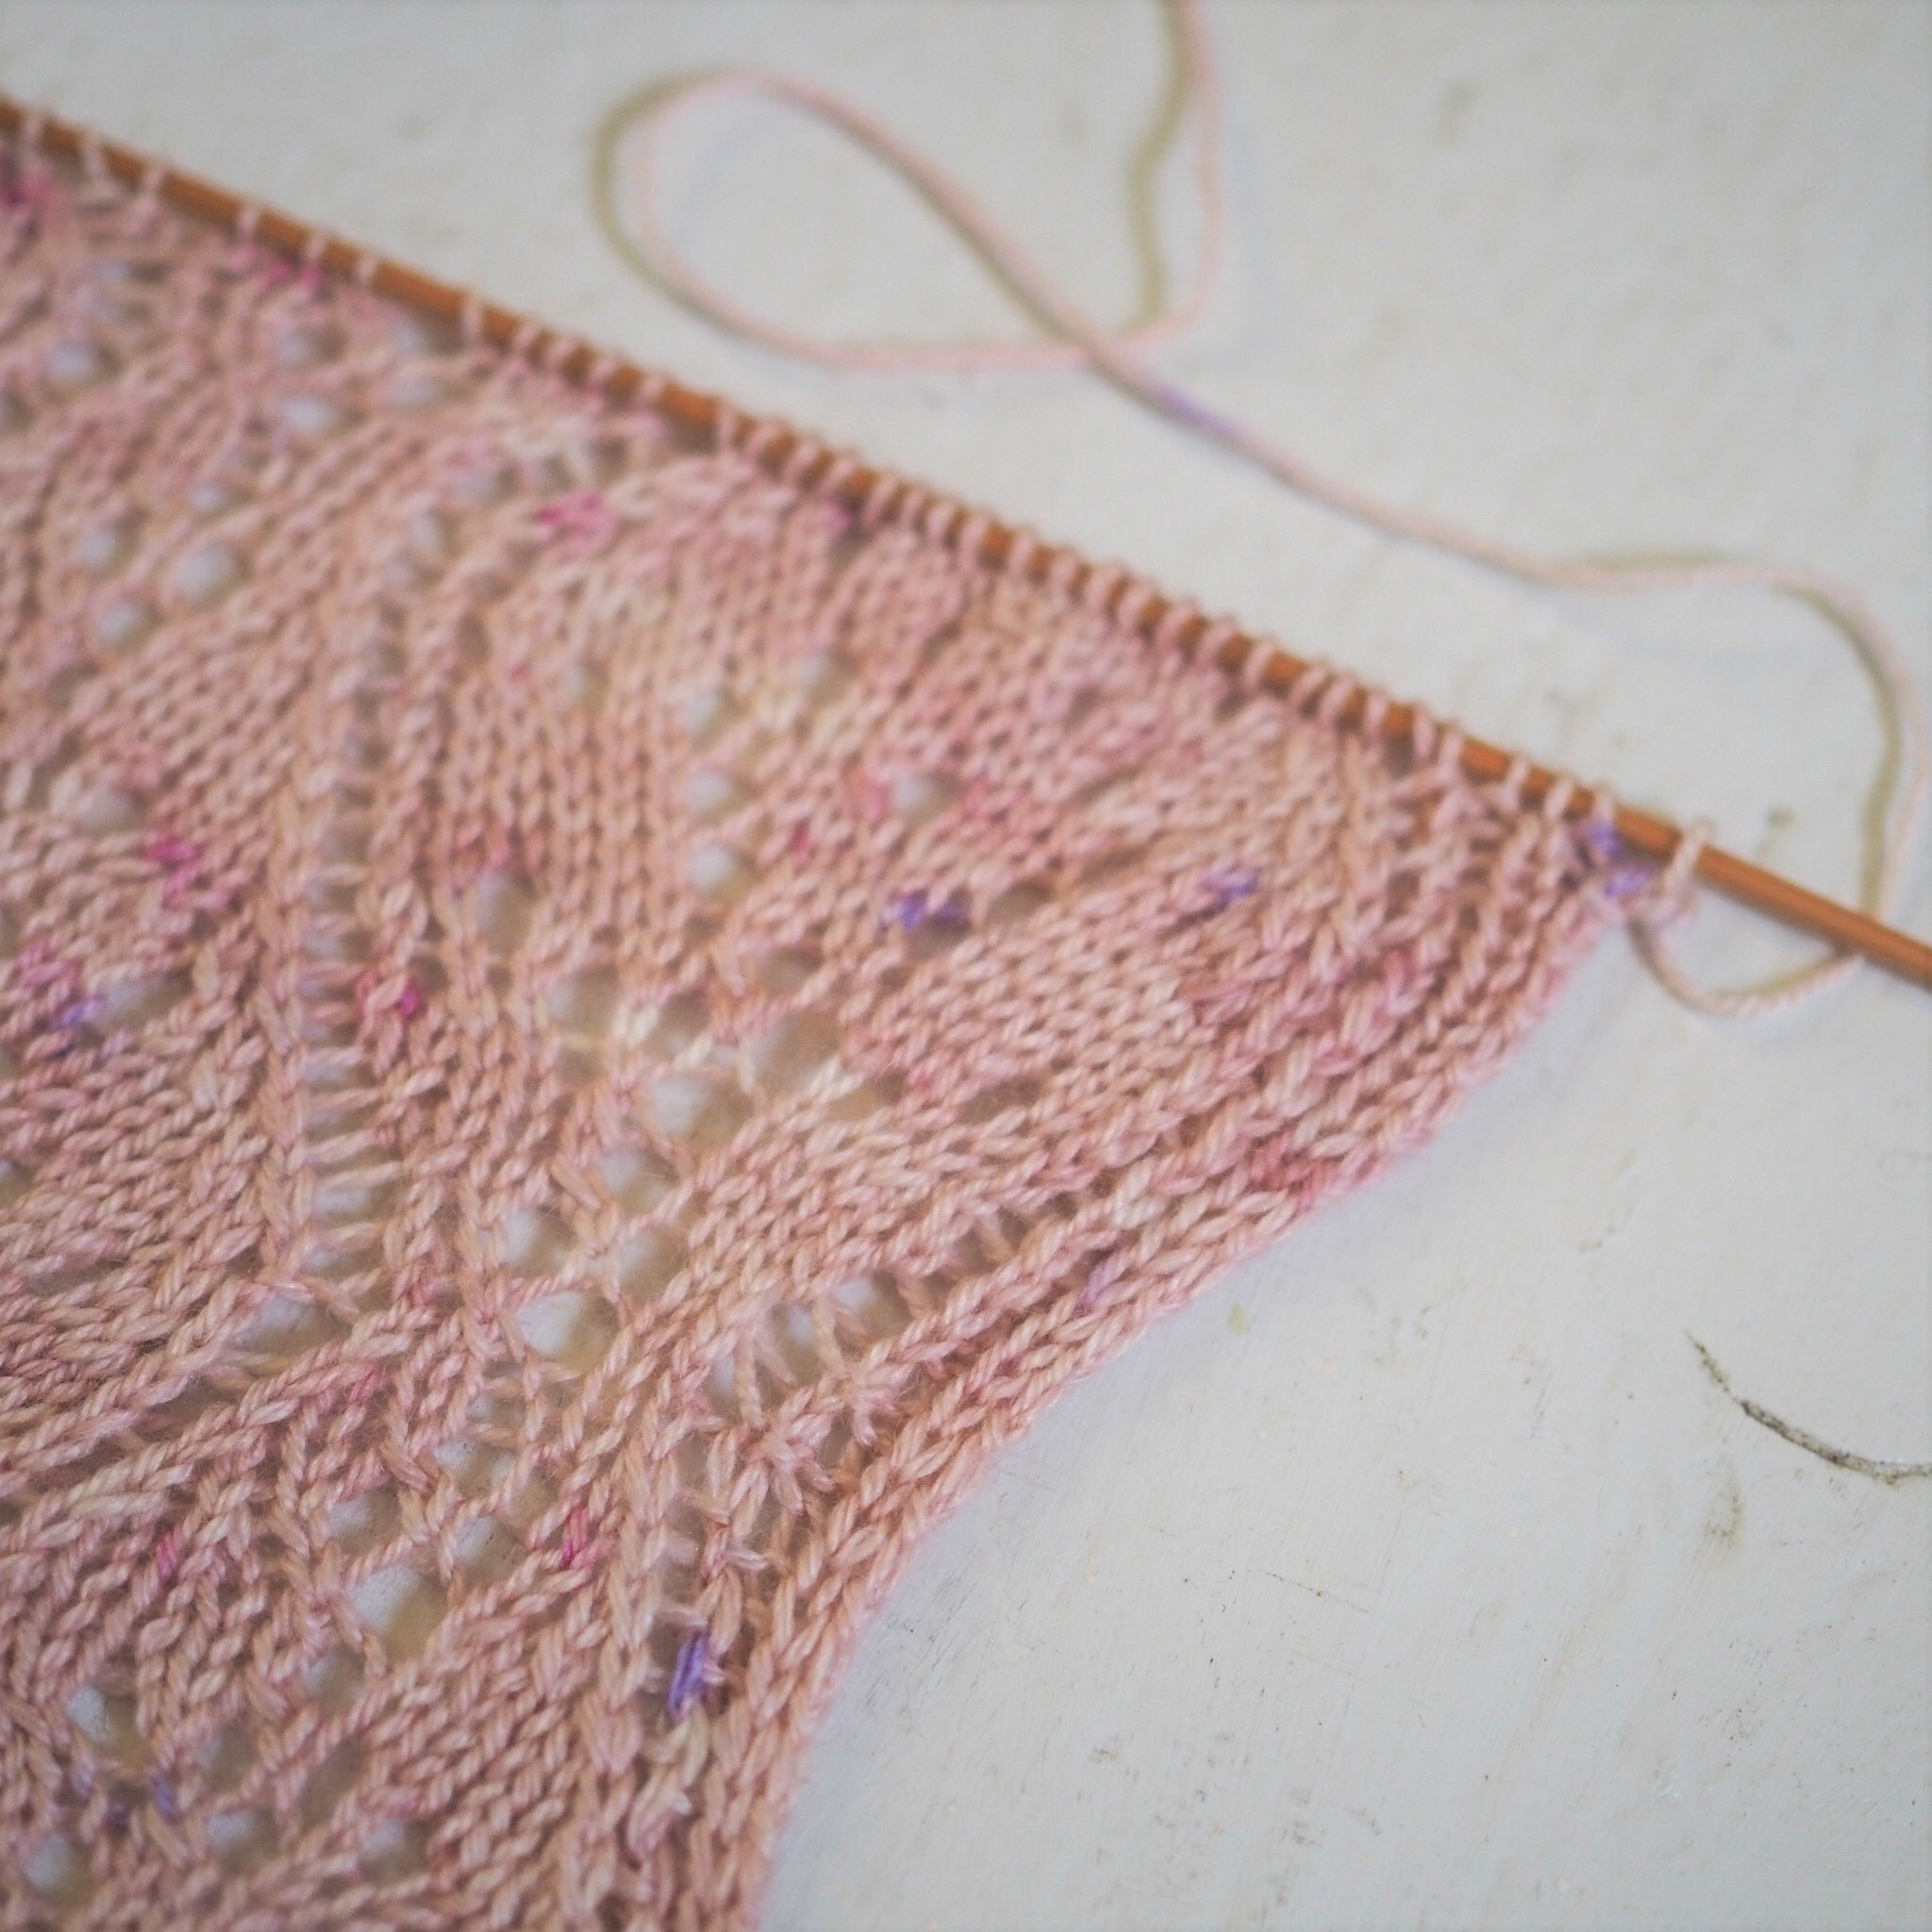
I'm now less than a month away from launching WILDFLOWER, which means I'm neck-deep in partially-finished samples, pattern edits and kit supplies. Mr. Cleaver is being extremely patient about the number of project bags and cardboard boxes littering our house at moment.
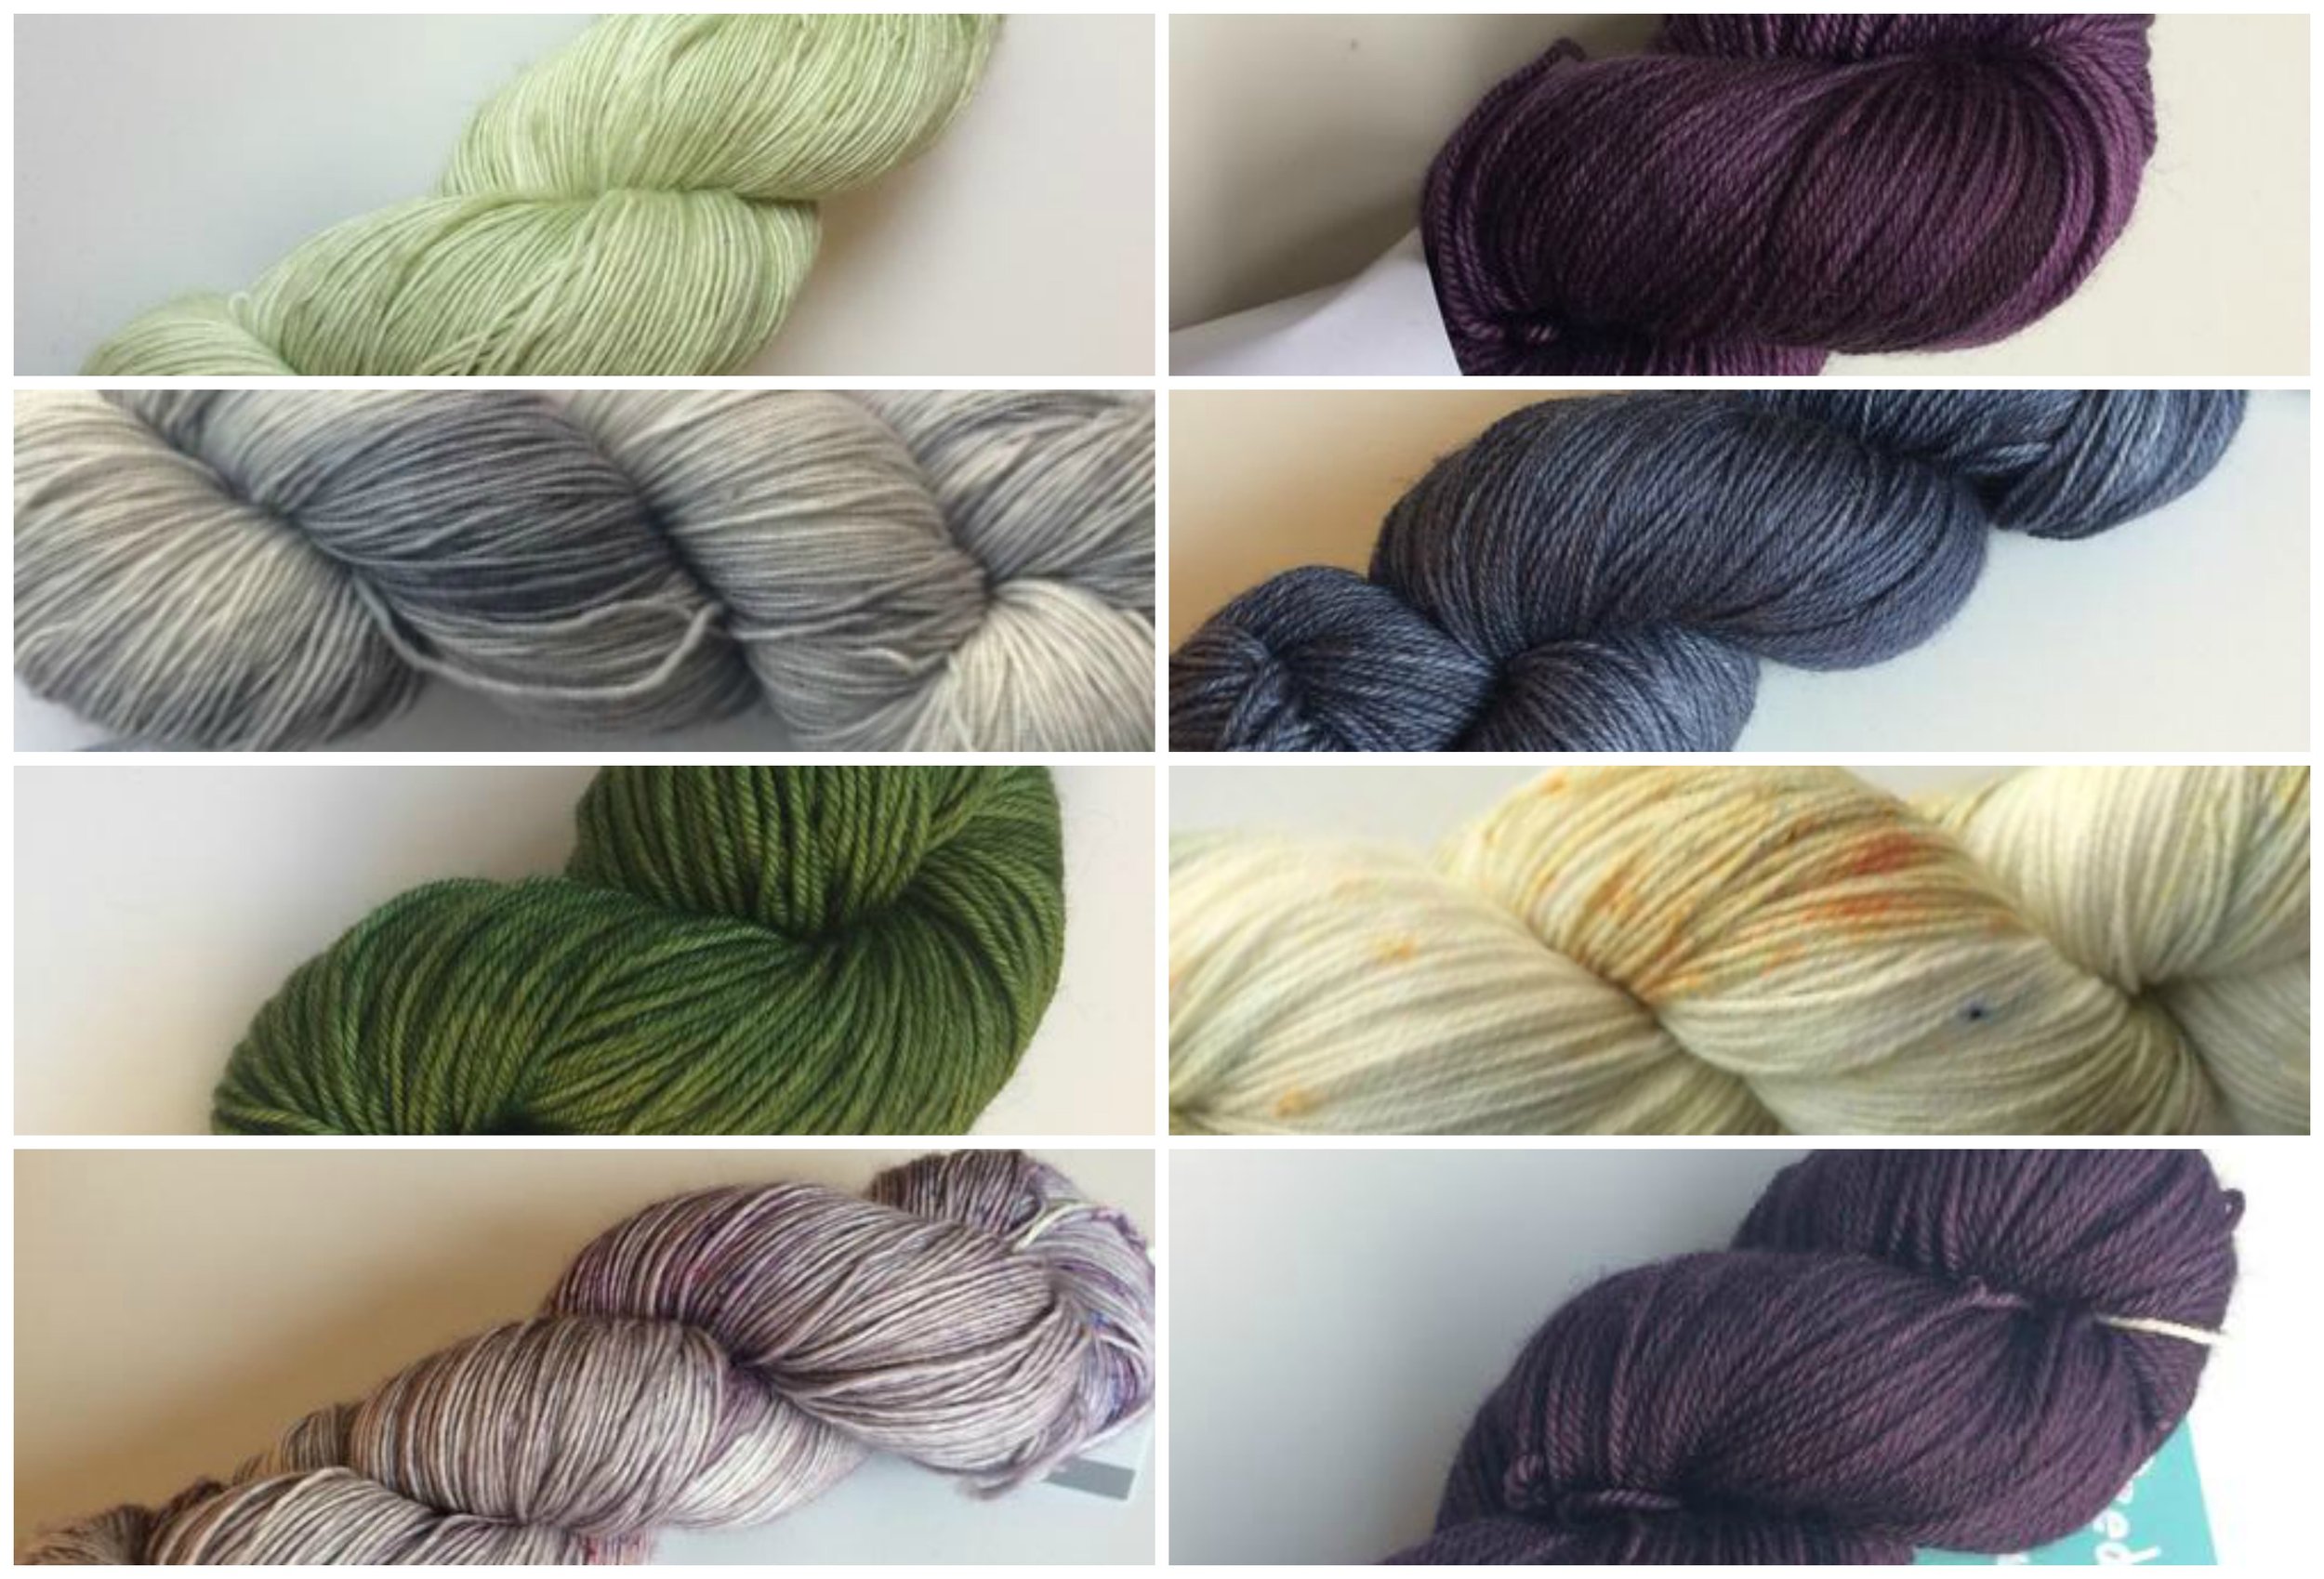
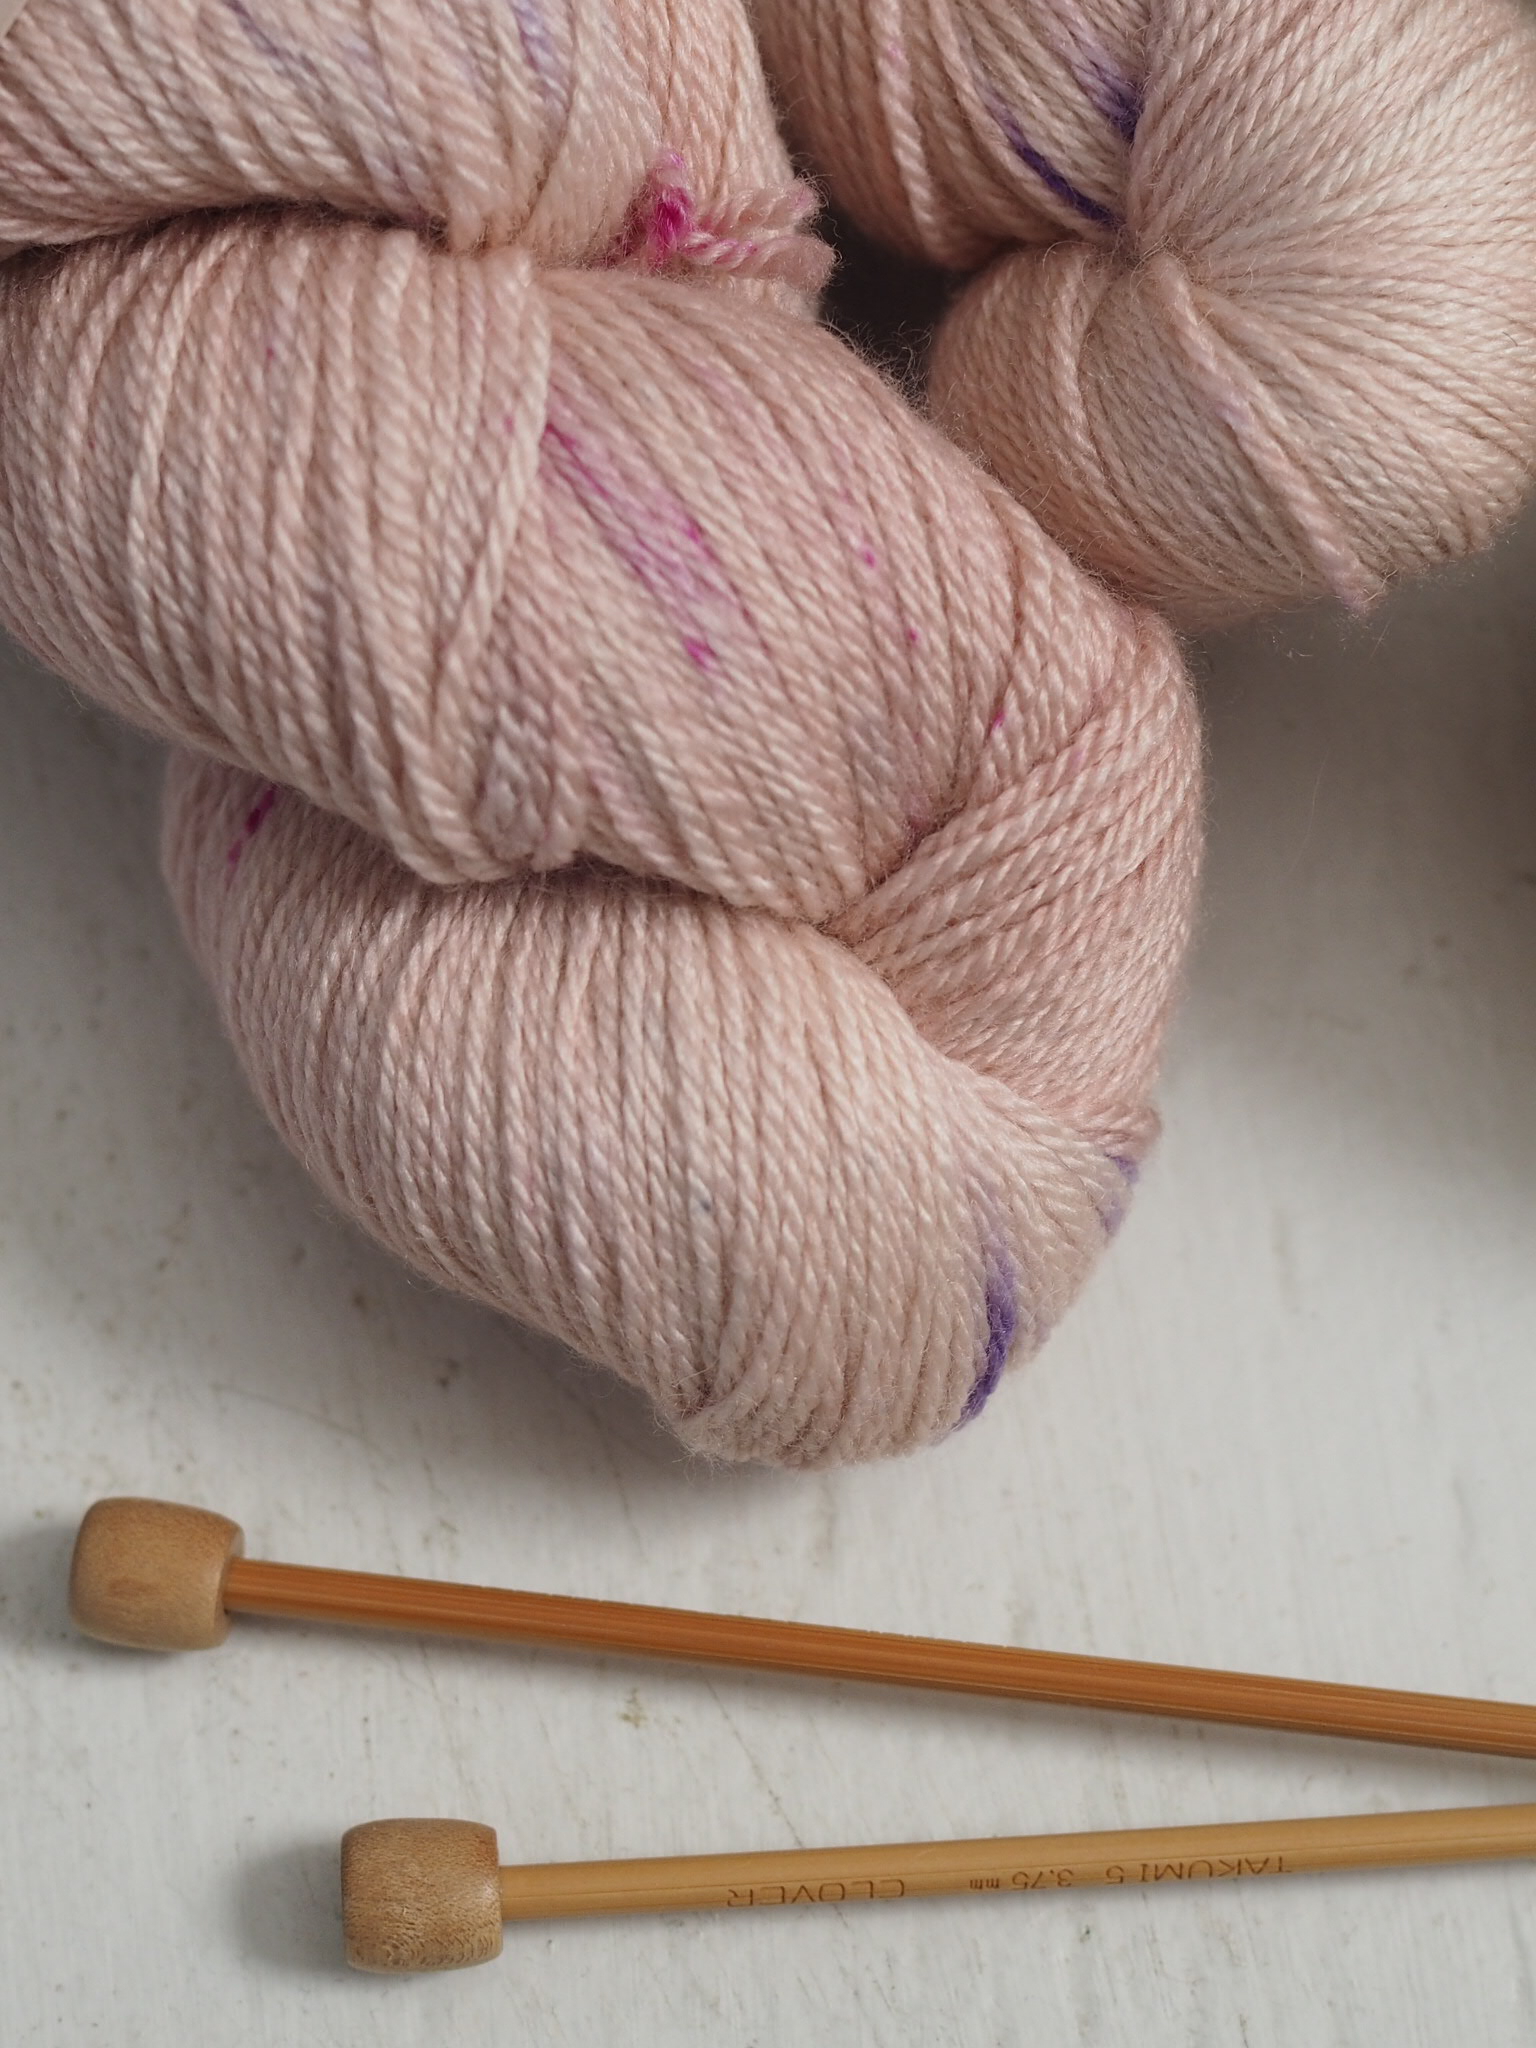
But even in the midst of all this chaos, the beauty of it all, like a bud peaking out of the dirt, is apparent and I'm relishing all the time I'm getting to spend with these beautiful threads and yarns in their vernal greens, pinks and purples.
To be the first to know when this collection launches, which includes some limited-edition hand-dyed kits, sign up for my newsletter below. You'll receive a special discount and a free garden planning template (excel) as my thank you to you!


Croque Monsieur Handpies


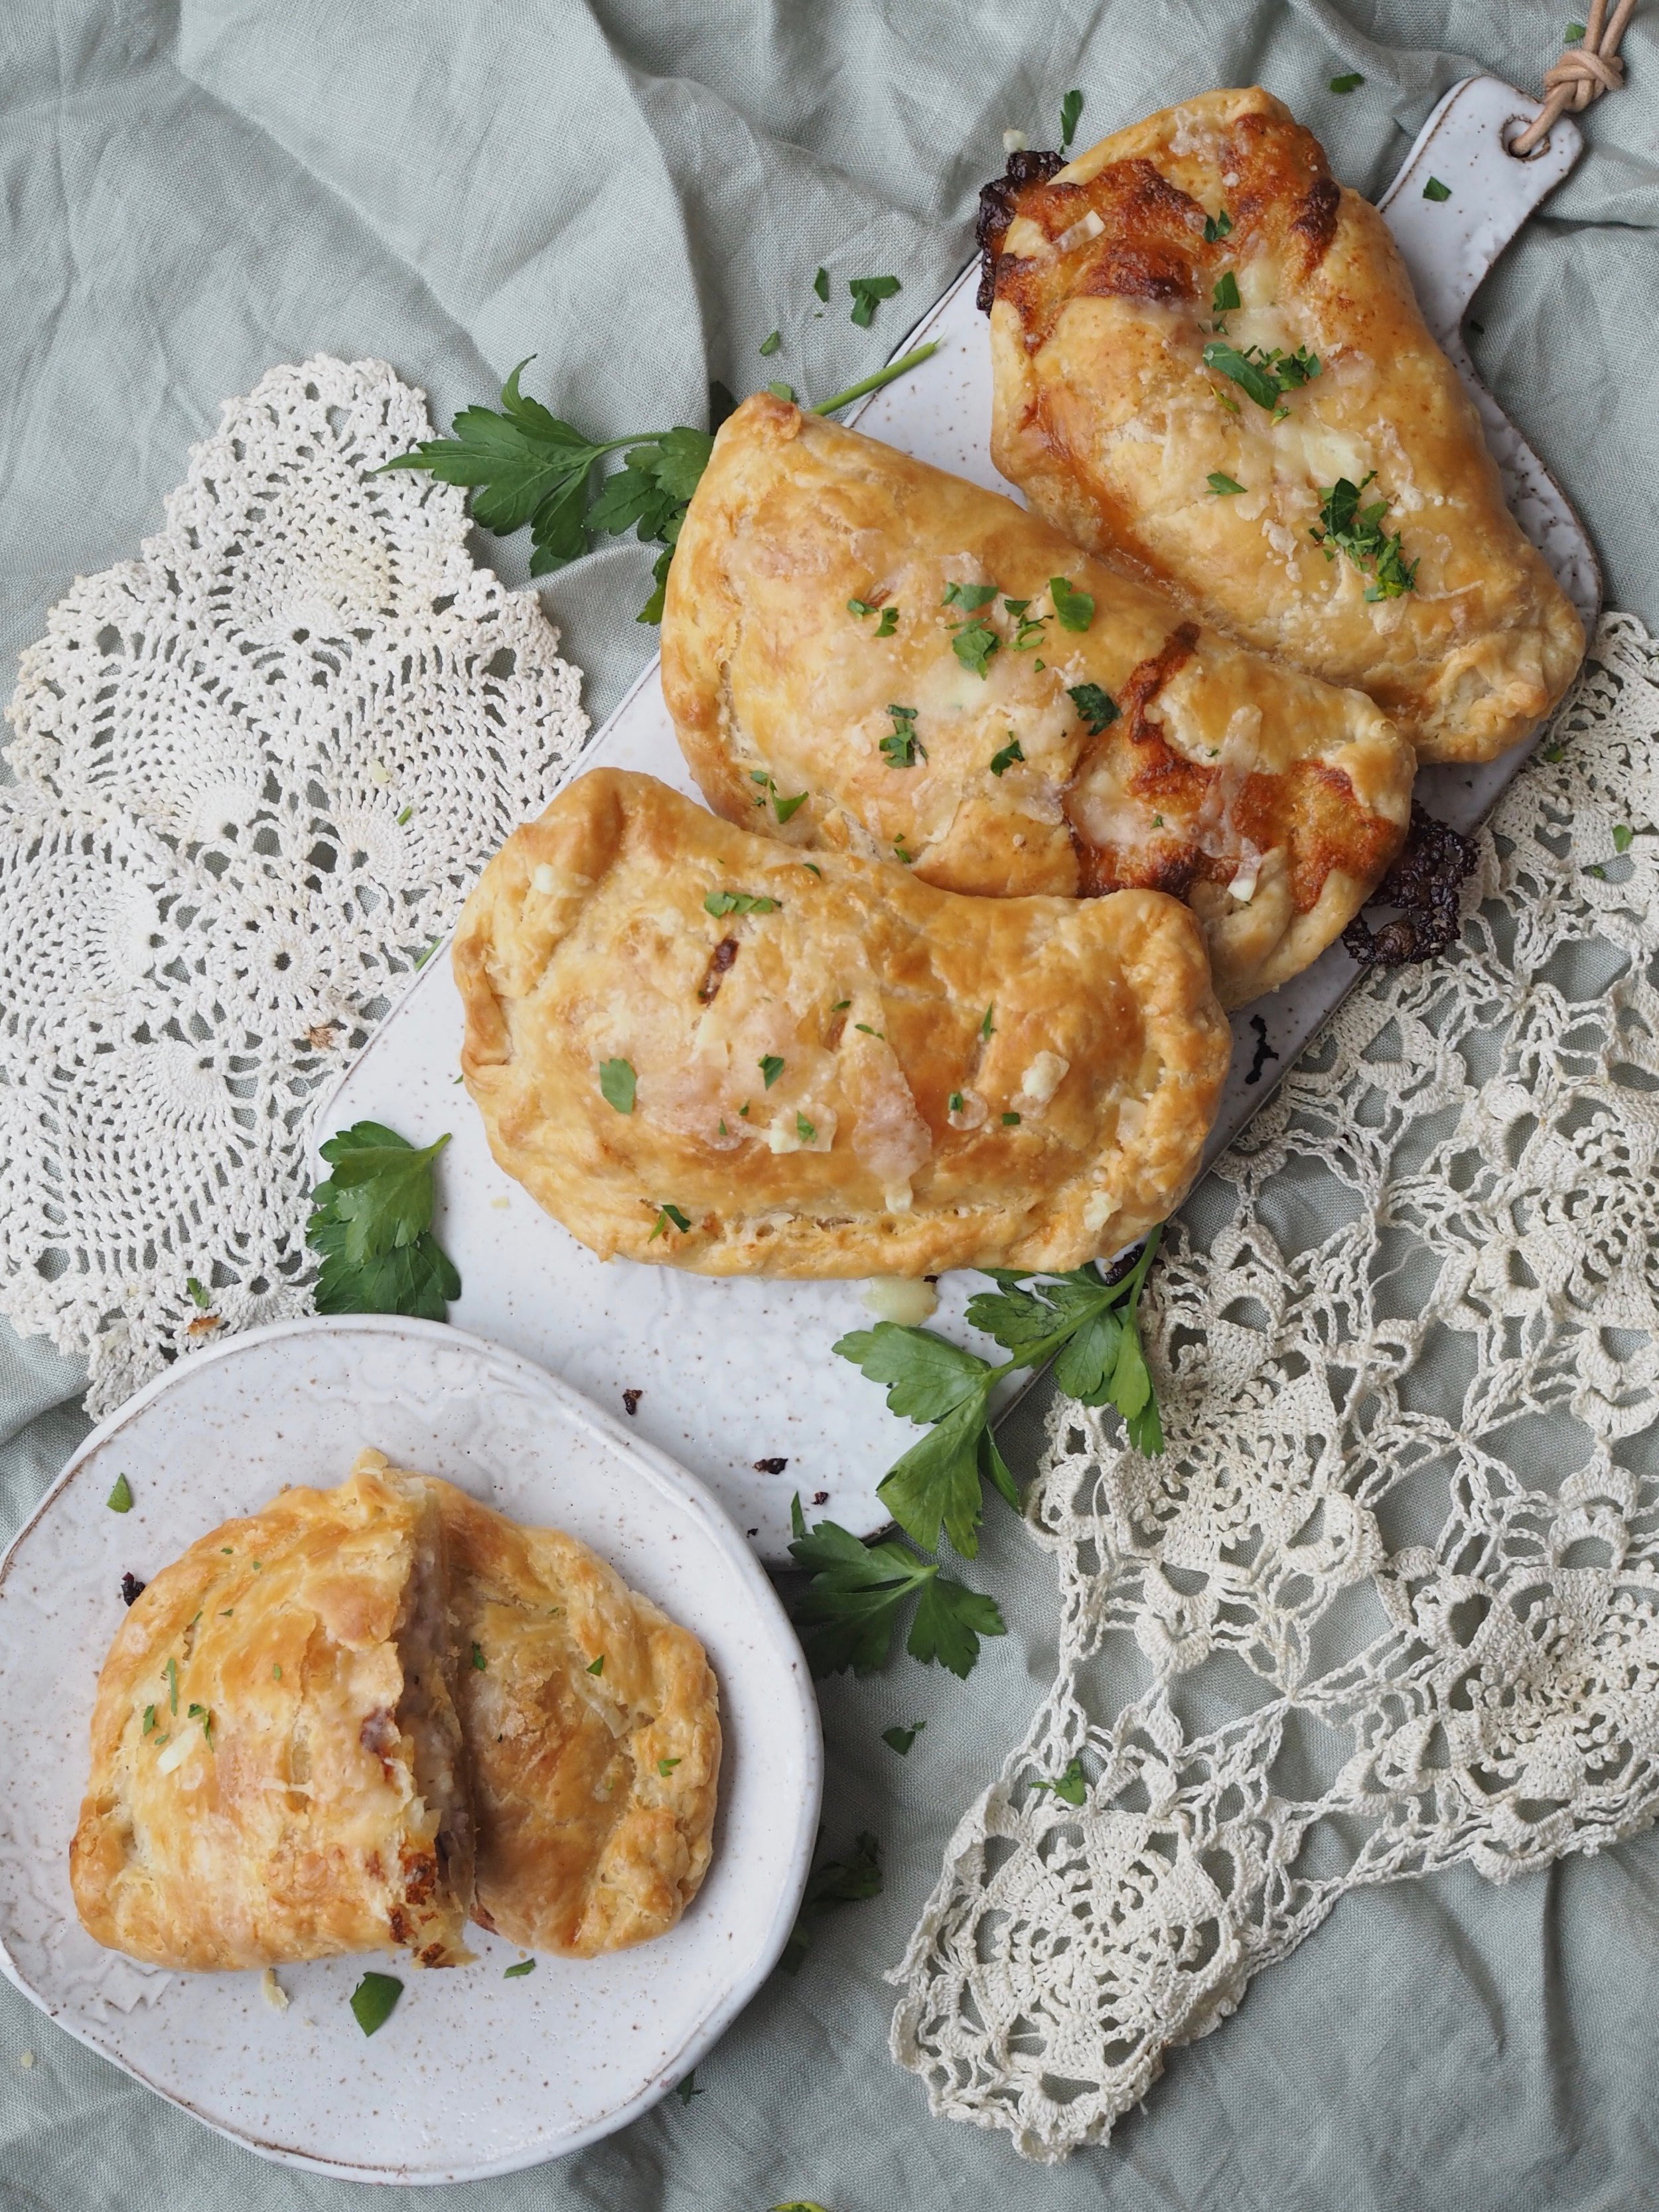

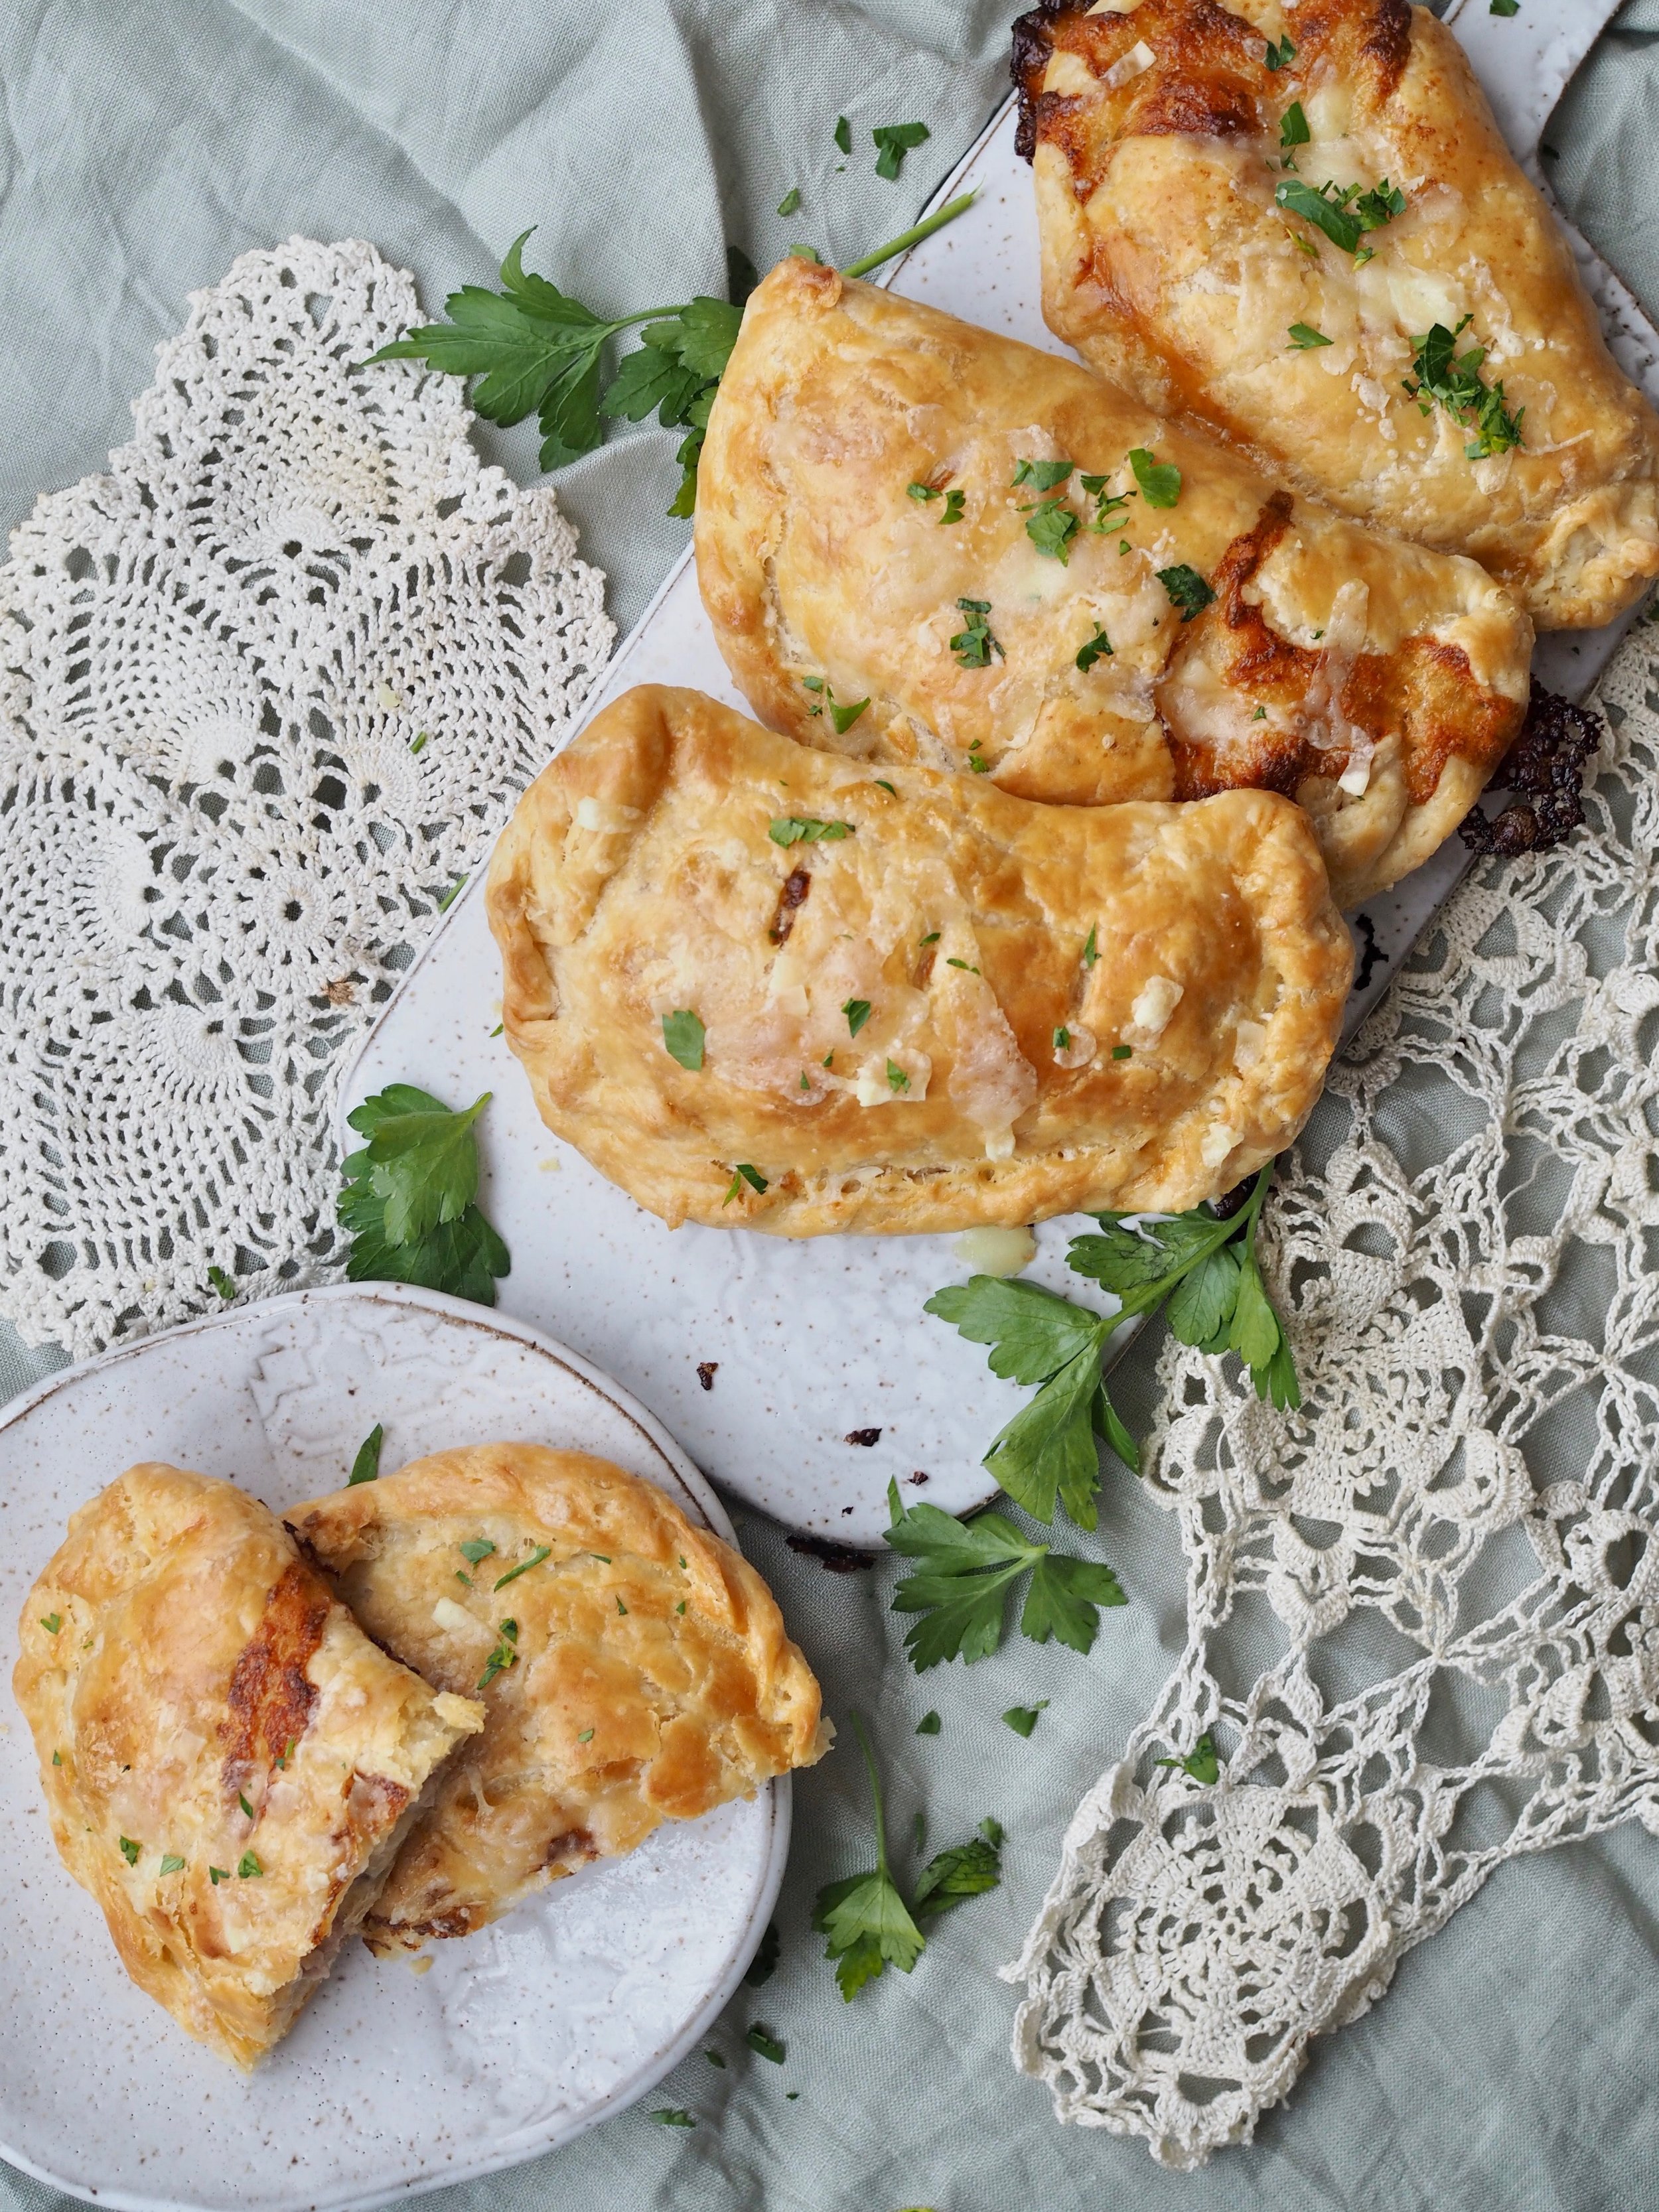
We've fallen in love with the croque monsieur in our household. The croque monsieur, a grilled sandwich featuring ham, Gruyere cheese and béchamel sauce originated in the brasseries of France as a hearty snack or light meal. You can turn the sandwich into a croque madame with the addition of a fired egg on top (health food, this is not). For the Cleaver family, the addition of ham and sauce take the grilled cheese to a dinner-worthy level, so when it came time to come up with a savory pie for my annual pie-luck, rec-creating this sandwich in pie form seemed like a no-brainer.
Typically, I use shortening in my pie crusts for it's ease of use, but for a French inspired recipe, I had to use butter. Instead of fully incorporating the butter into the dough ("the damp sand" look), I suggest leaving a few beads of butter intact, which, when rolled flat into the rounds, leaves pockets of butter to create an almost puff-pastry like crust. Make sure to chill the dough before rolling for maximum flakiness.
Since I originated this recipe for an event were there was 11 pies for 7 people, I went light on the filling. To use as a main dish, simply double the ham and cheese. The béchamel sauce should be sufficient to cover both amounts.
Croque Monsieur Handpies
Crust
- 3 cups all-purpose flour
- 1 1/2 teaspoons salt
- 2 sticks unsalted butter (cold)
- 2/3 to 3/4 cup cold water
Filling*
- 6 oz sliced ham, diced into small pieces*
- 6 oz Gruyere cheese, shredded*
- Fresh parsley (optional)
*filling sized for appetizer portions, for a meal-sized pie, double the filling
Béchamel Sauce
- 1 1/4 cup milk
- 3 Tablespoons all-purpose flour
- 2 Tablespoons butter
- 1 pinch nutmeg
- 1 pinch pepper
- salt to taste
Directions
Preheat oven to 350 Degrees F.
Make crust. In a large mixing bowl, combine flour and salt. Using a pastry cutter or food processor, cut in shortening until mixture mostly resembles damp sand, leaving a few small pea-sized chunks of butter. Add water, a little bit at a time, until dough sticks together. You will want it slightly more elastic than crust for a pan pie. Break dough into two evenly sized pieces, wrap in plastic wrap, and place in refrigerator up to a day in advance.
Make béchamel sauce. Melt butter in a saucepan over medium heat. When butter starts to bubble, add flour and whisk until combined, mixture will be clumpy. Cook flour mixture (roux) for 2 minutes. Slowly add milk, whisking constantly to break up any clumps and prevent scalding for approximately 8 minutes, or until sauce is a thick consistency. Pour into a bowl and set aside to cool.
Make filling. IN a bowl, combine 3/4 of the shredded cheese, the diced ham, and enough béchamel sauce to thoroughly coat the filling.
Line two rimmed cookie sheets with parchment paper.
Remove crust from refrigerator. Cut each ball of dough into four equal pieces. On a well-floured surface, roll each piece of dough into a 7 to 8 inch square. Place dough on cookie sheet. Scoop filling into the center of the square making sure to avoid the edges.
Fold dough over filling, so top portion of crust is about 1/4 inch shy of the edge of the bottom. Fold up bottom crust to meet top crust and pinch/crimp to seal. Slice a few holes in the top to let steam escape. Repeat for remaining pies.
Whisk together 1 egg with 1 Tablespoon water. Brush egg wash generously over pies.
Place cookie sheets in oven and bake for 45-50 minutes, until filling bubbles and crust is golden brown, rotating pans halfway through cooking time.
To serve, sprinkle on remaining shredded cheese. Broil briefly to melt cheese. Sprinkle finely chopped parsley on top (optional) and eat warm.
To store, cool completely on a wire rack, wrap in tin foil and place in refrigerator for up to one week. To reheat for 10-15 minutes in a 350 degree F oven.
To print, see button at bottom of post.

Croque Monsieur Handpies
Serves 8 Ingredients: 3 cups all-purpose flour, melted 1 1/2 teaspoons salt, 2 sticks unsalted butter, 6 oz sliced ham, 6 ox gruyere cheese, 1 1/4 cup milk, 2 tablespoons flour 2 tablespoons butter nutmeg pepper parsleyGluten Free White Chocolate Raspberry Tart with Coconut and Lime

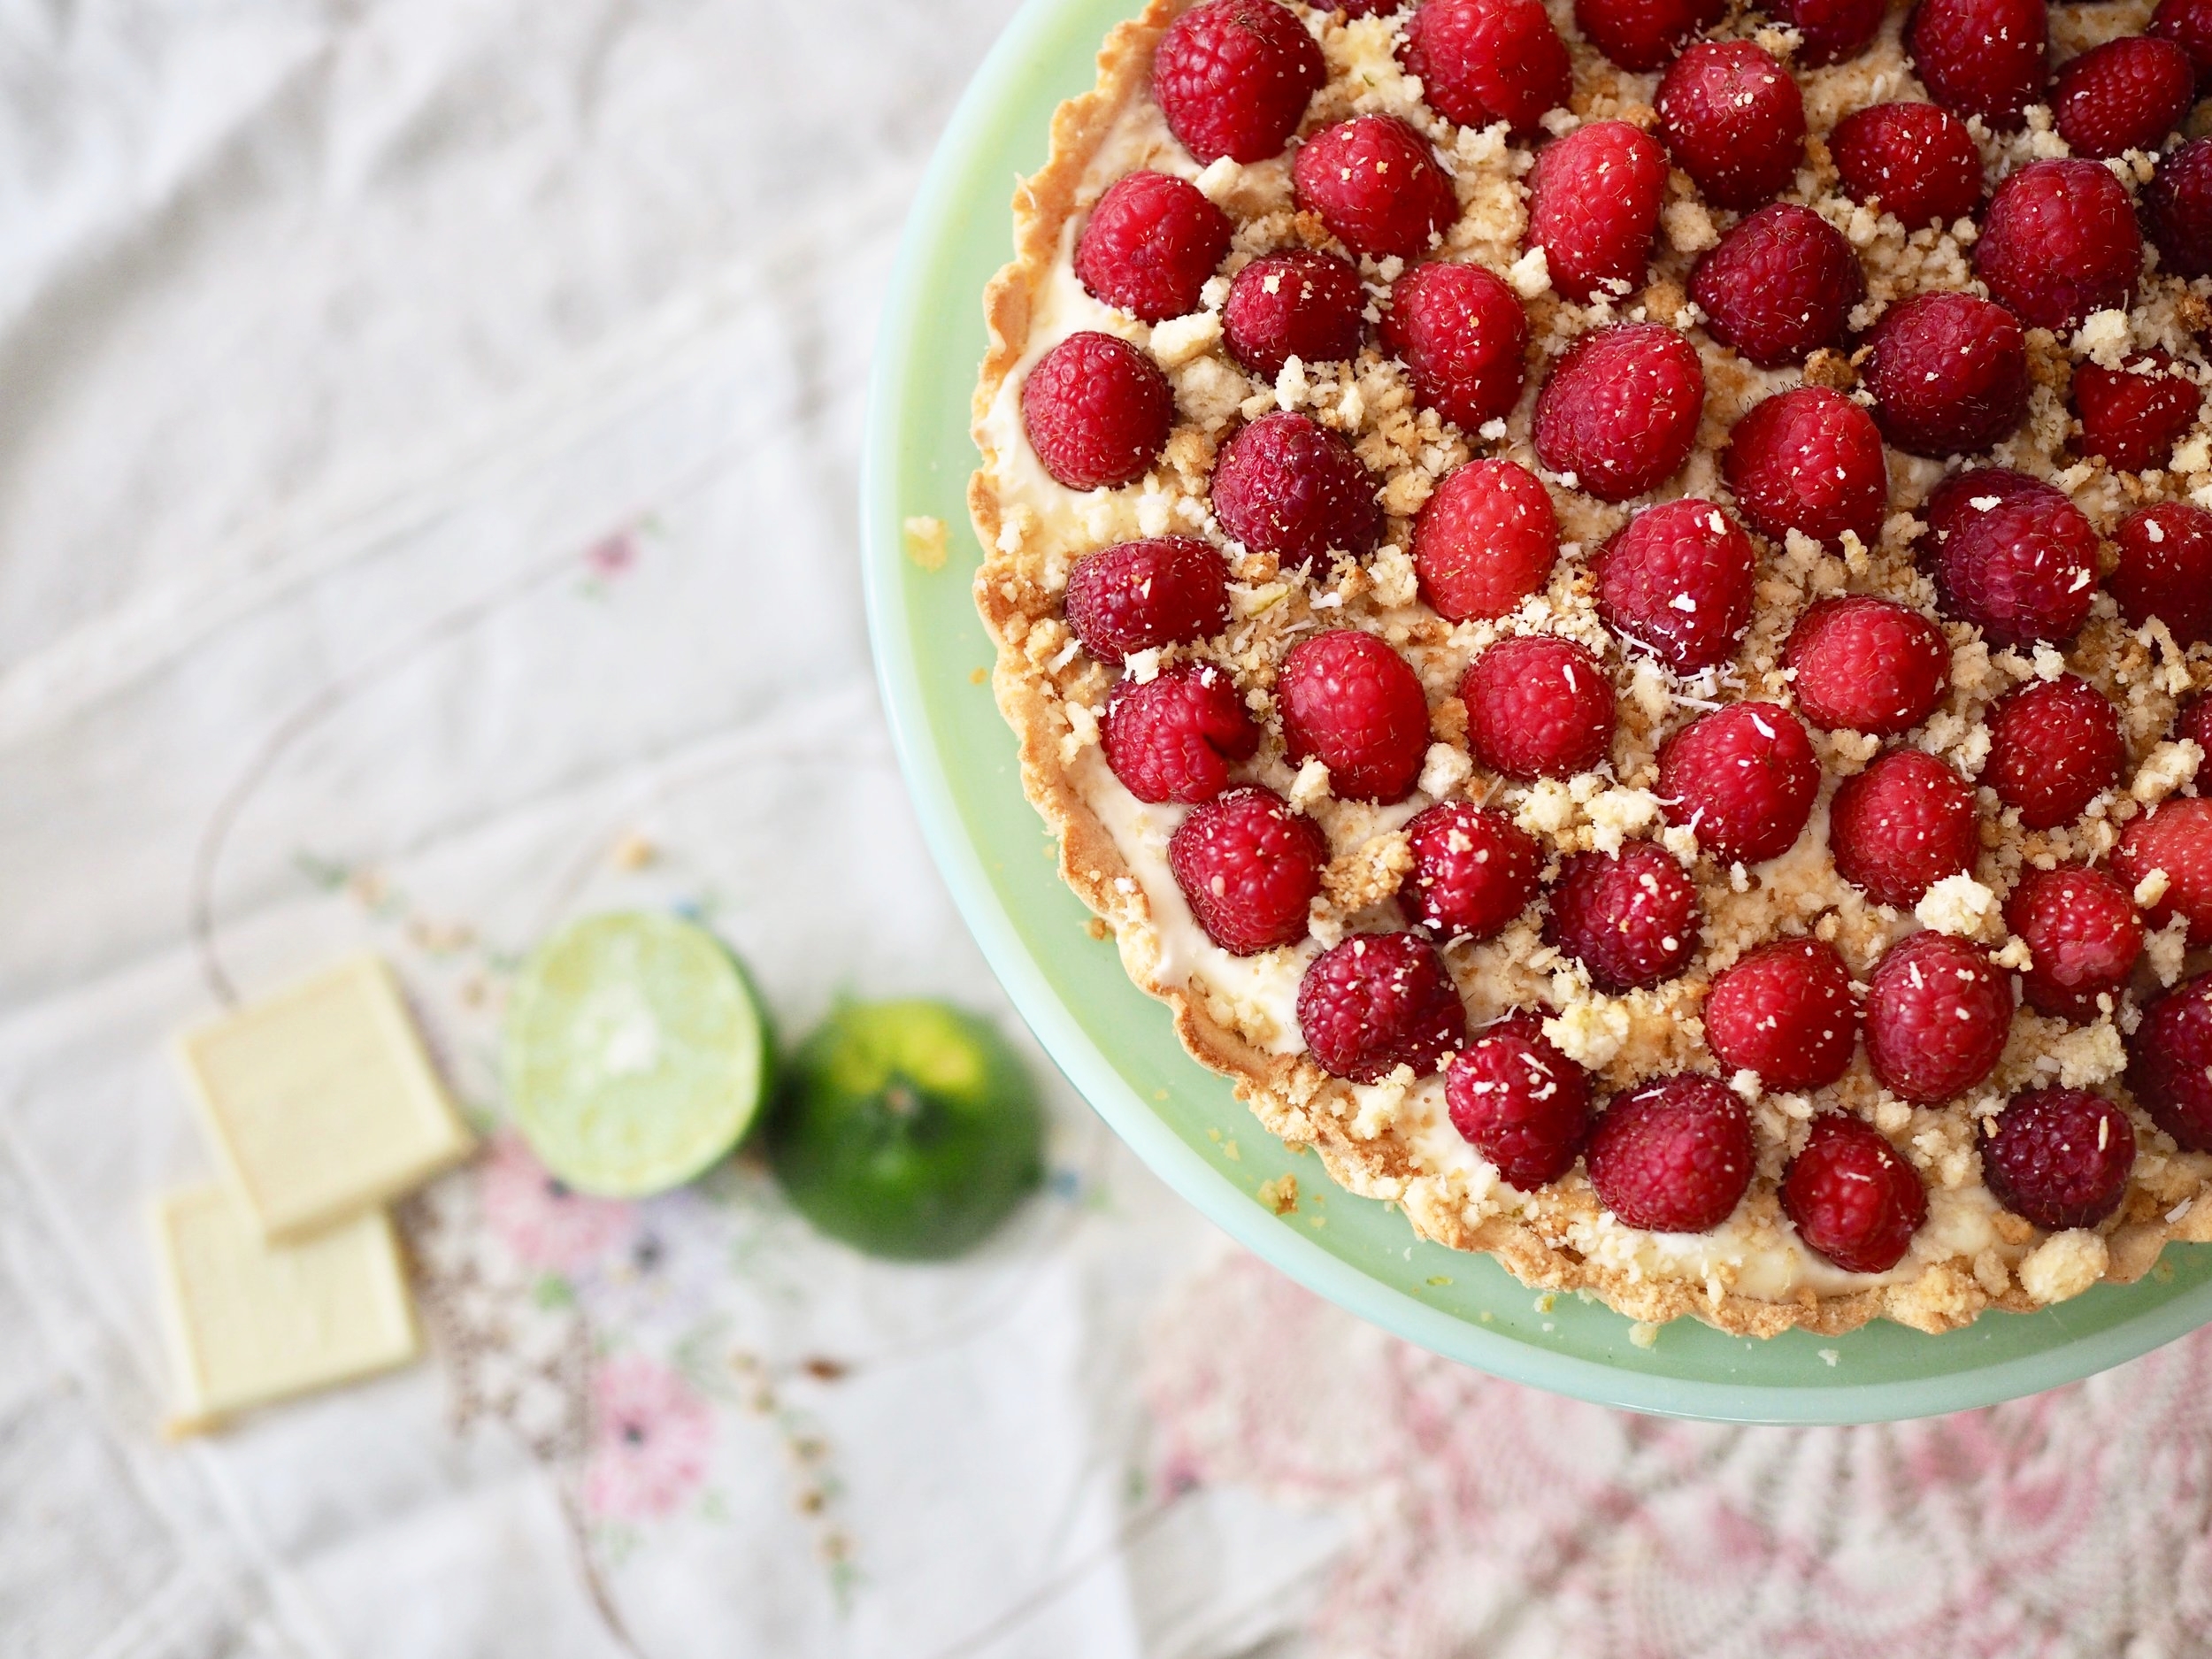
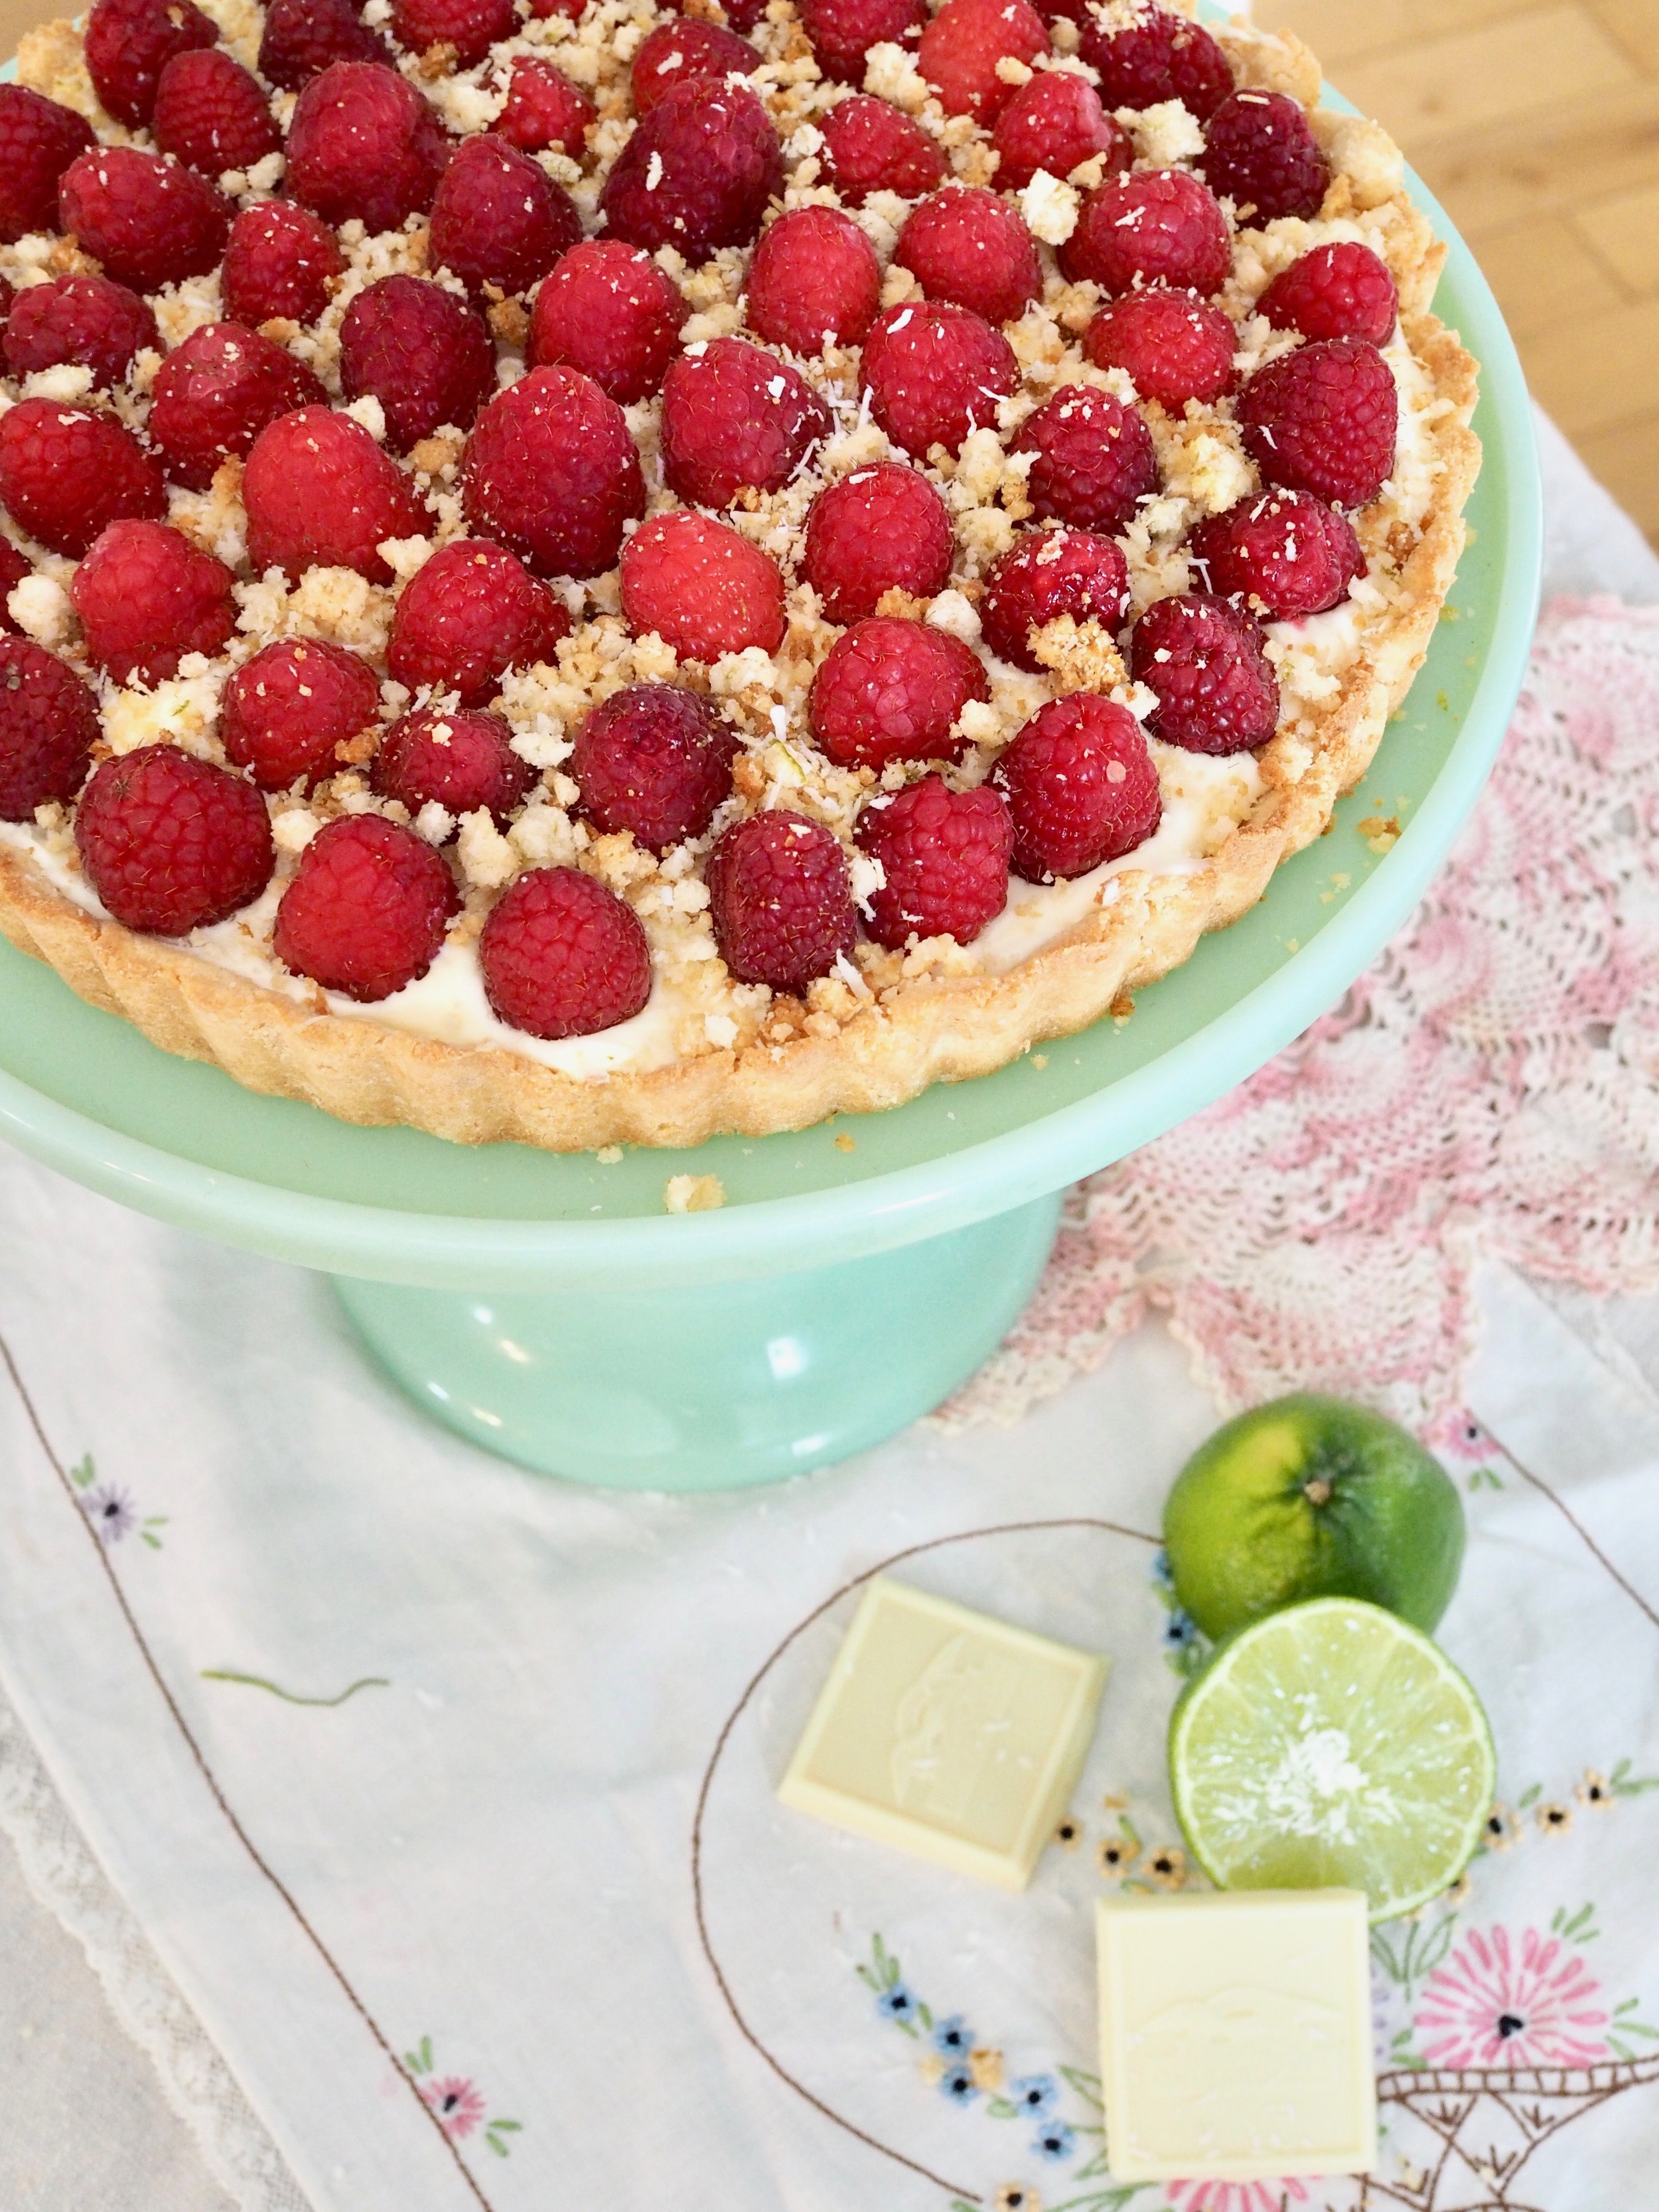
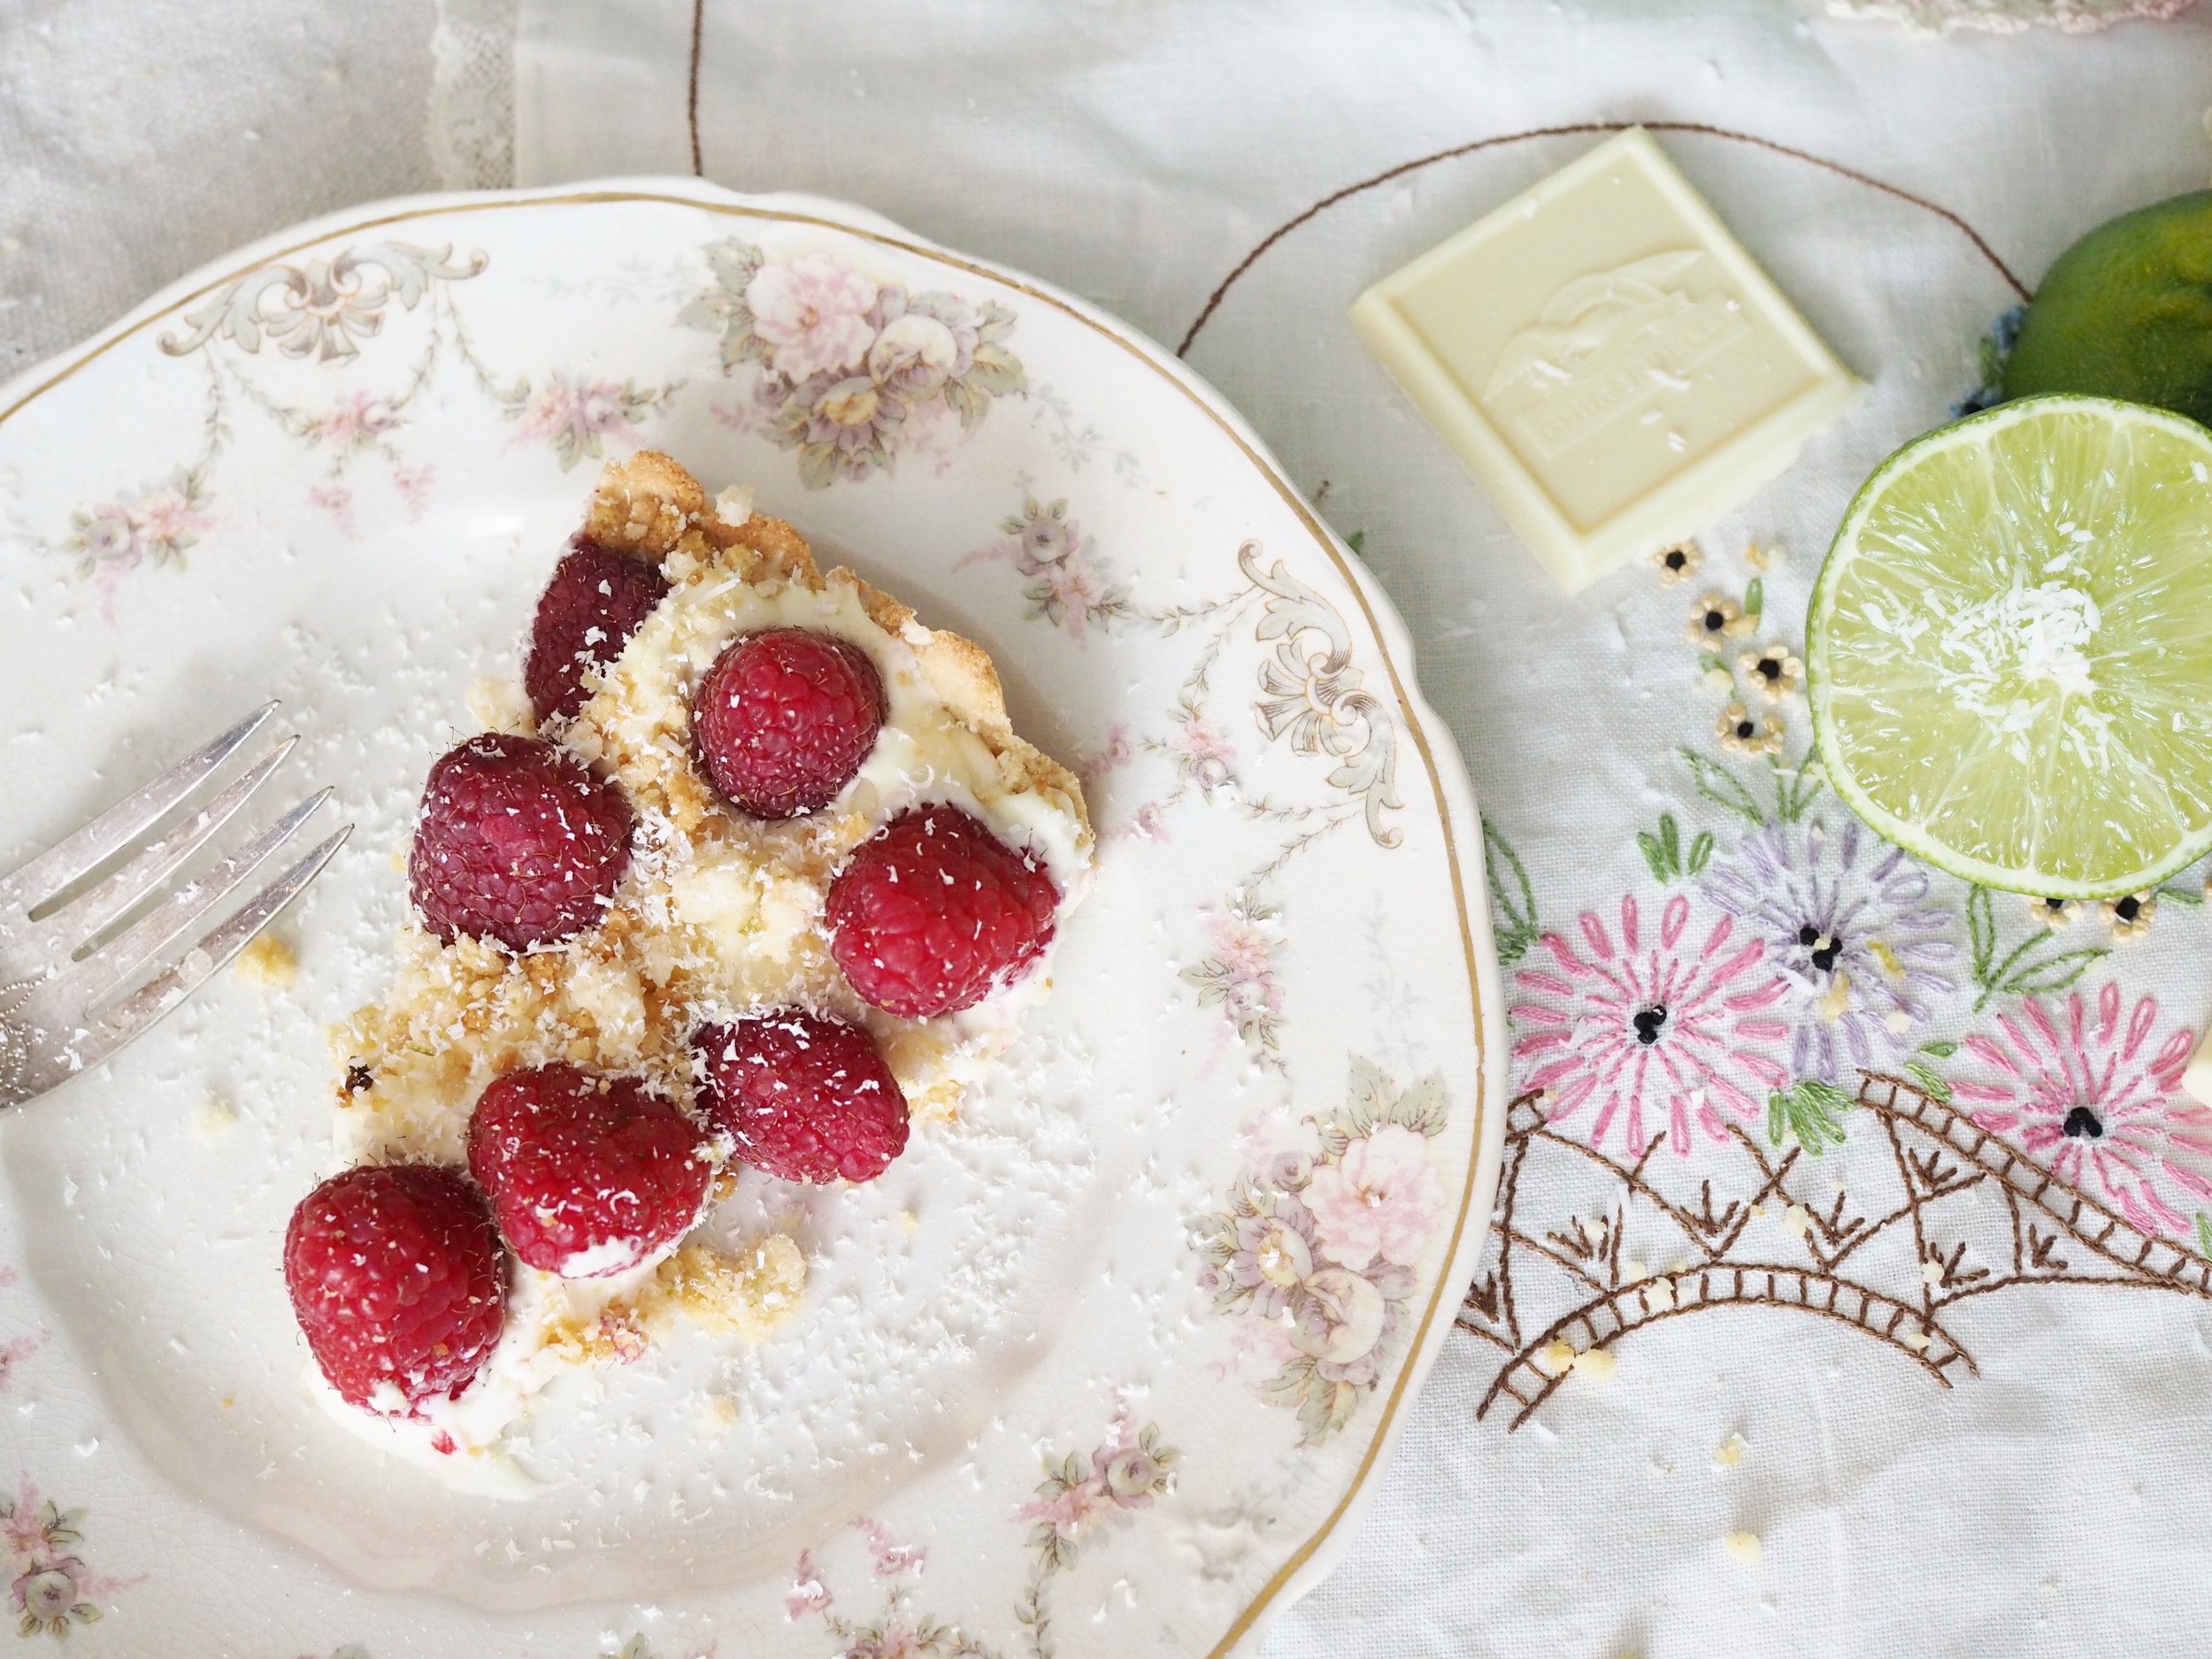
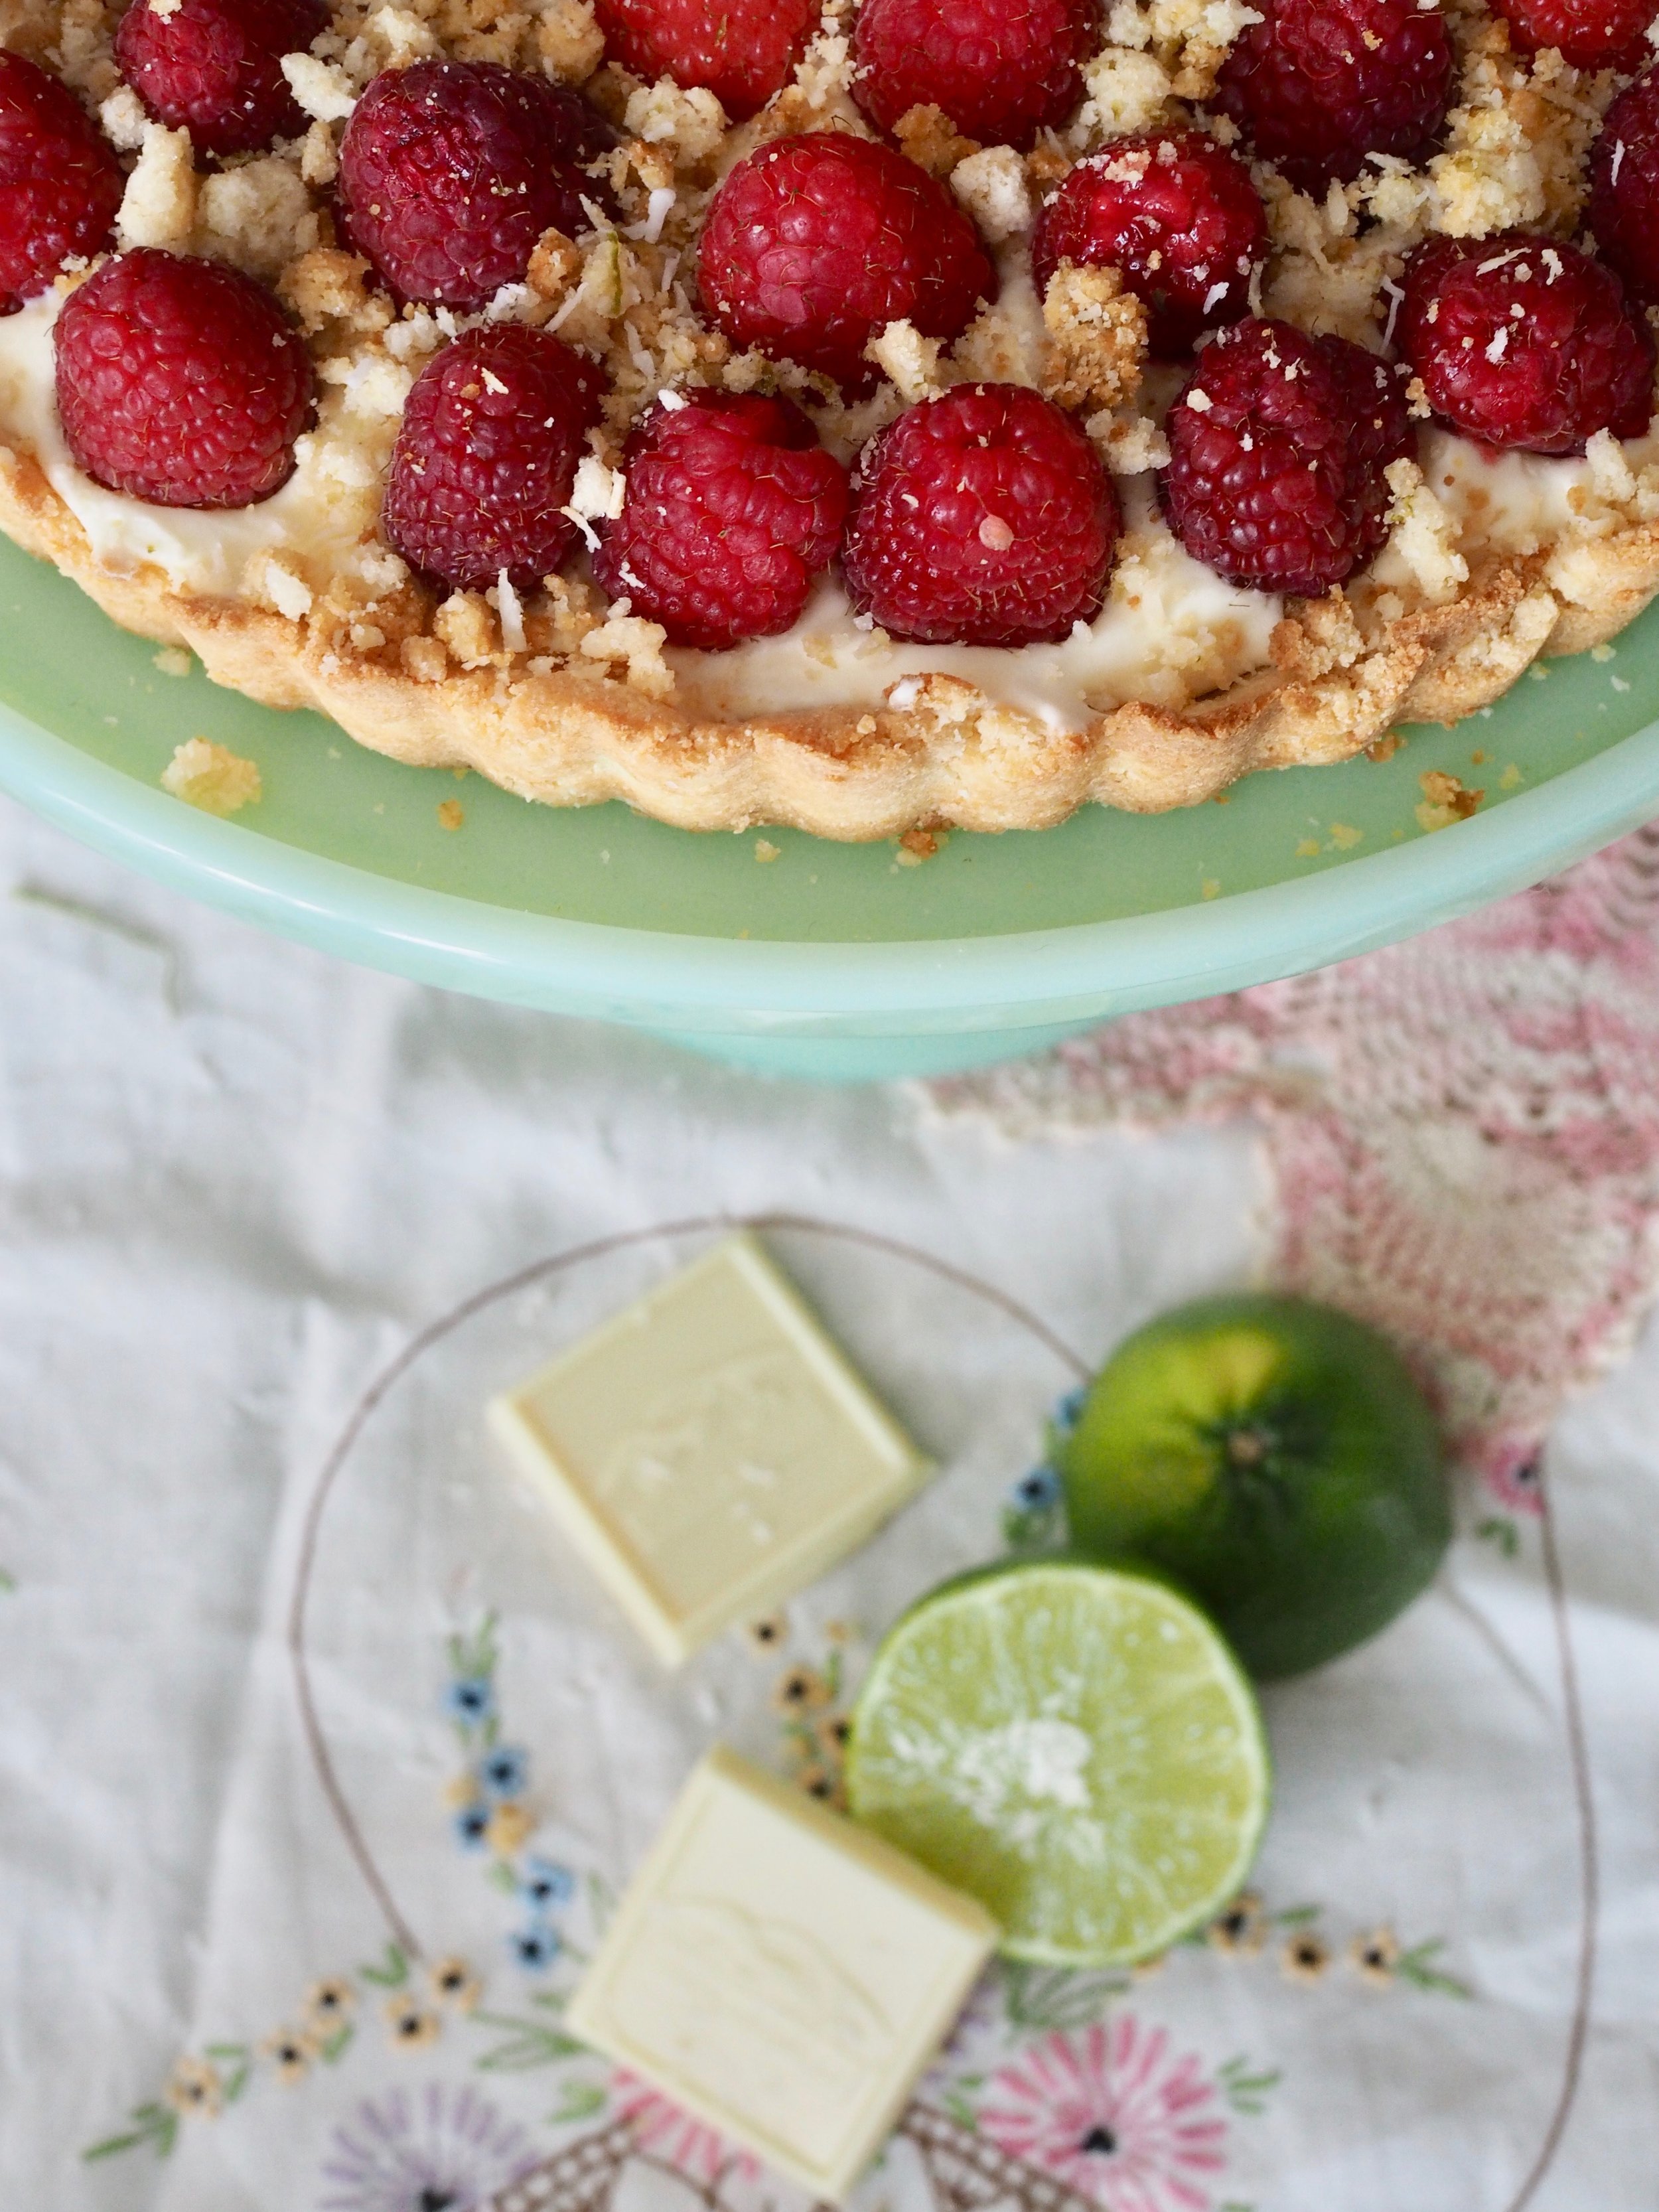
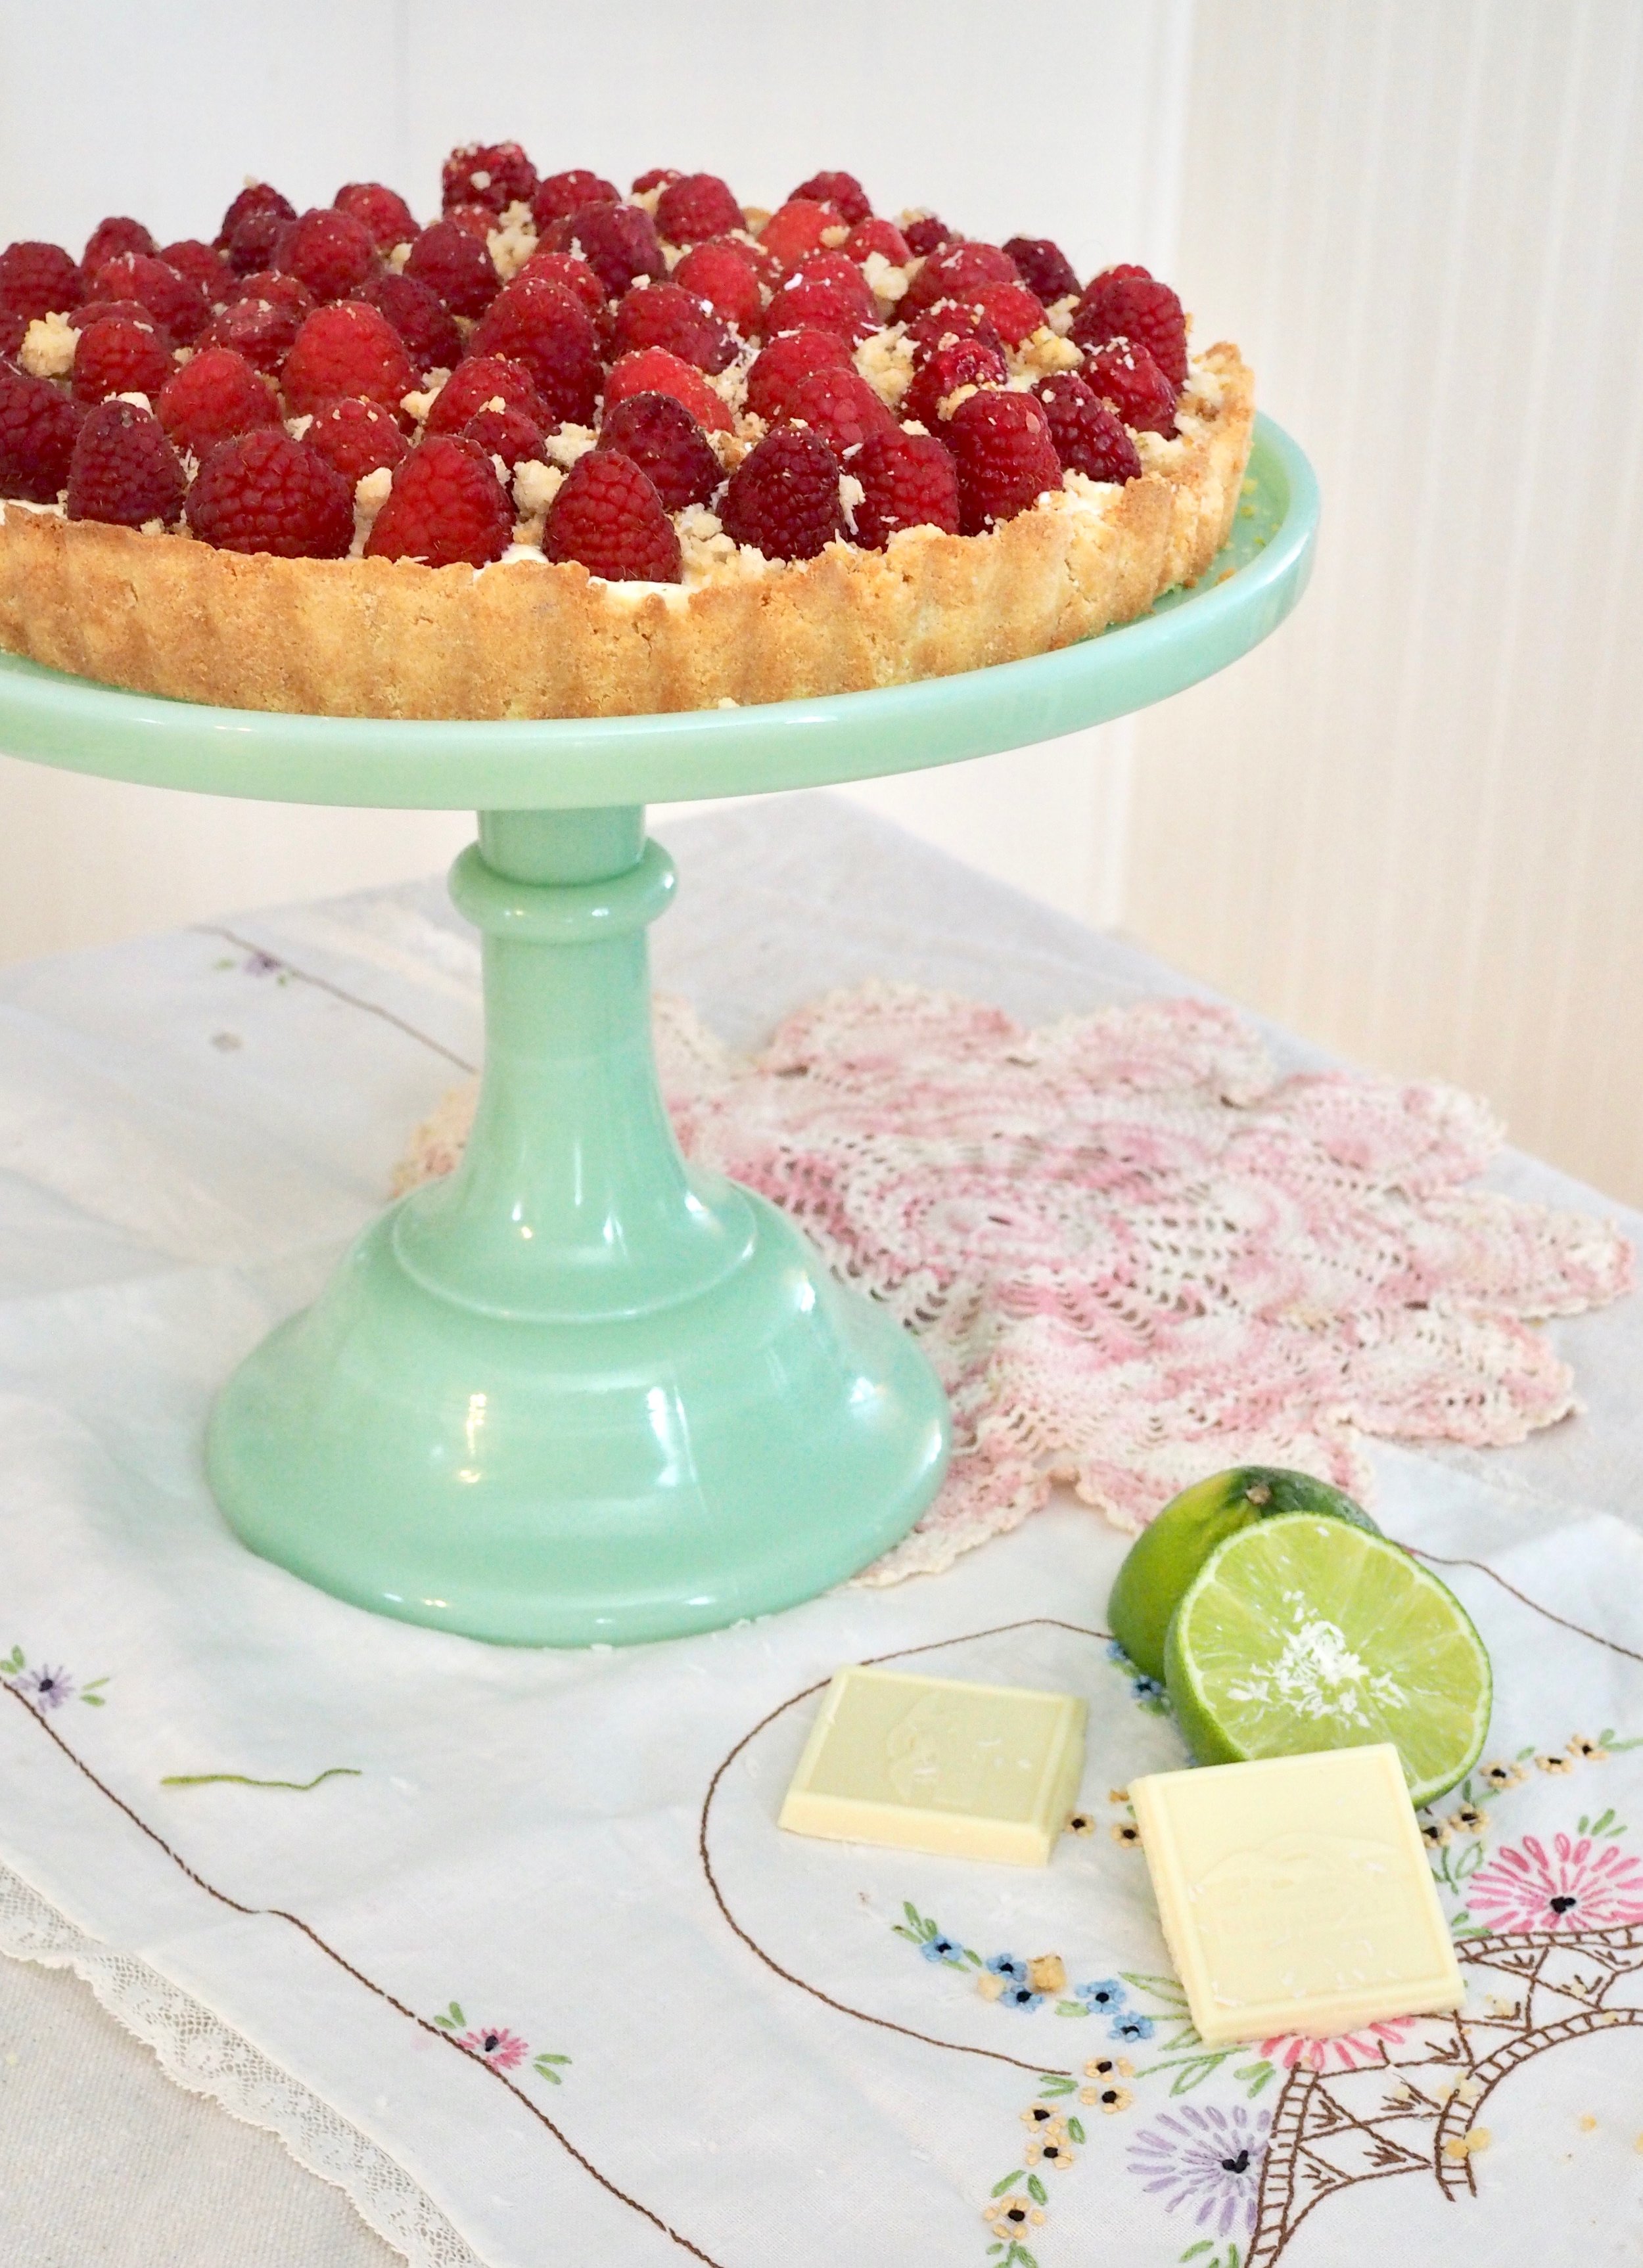
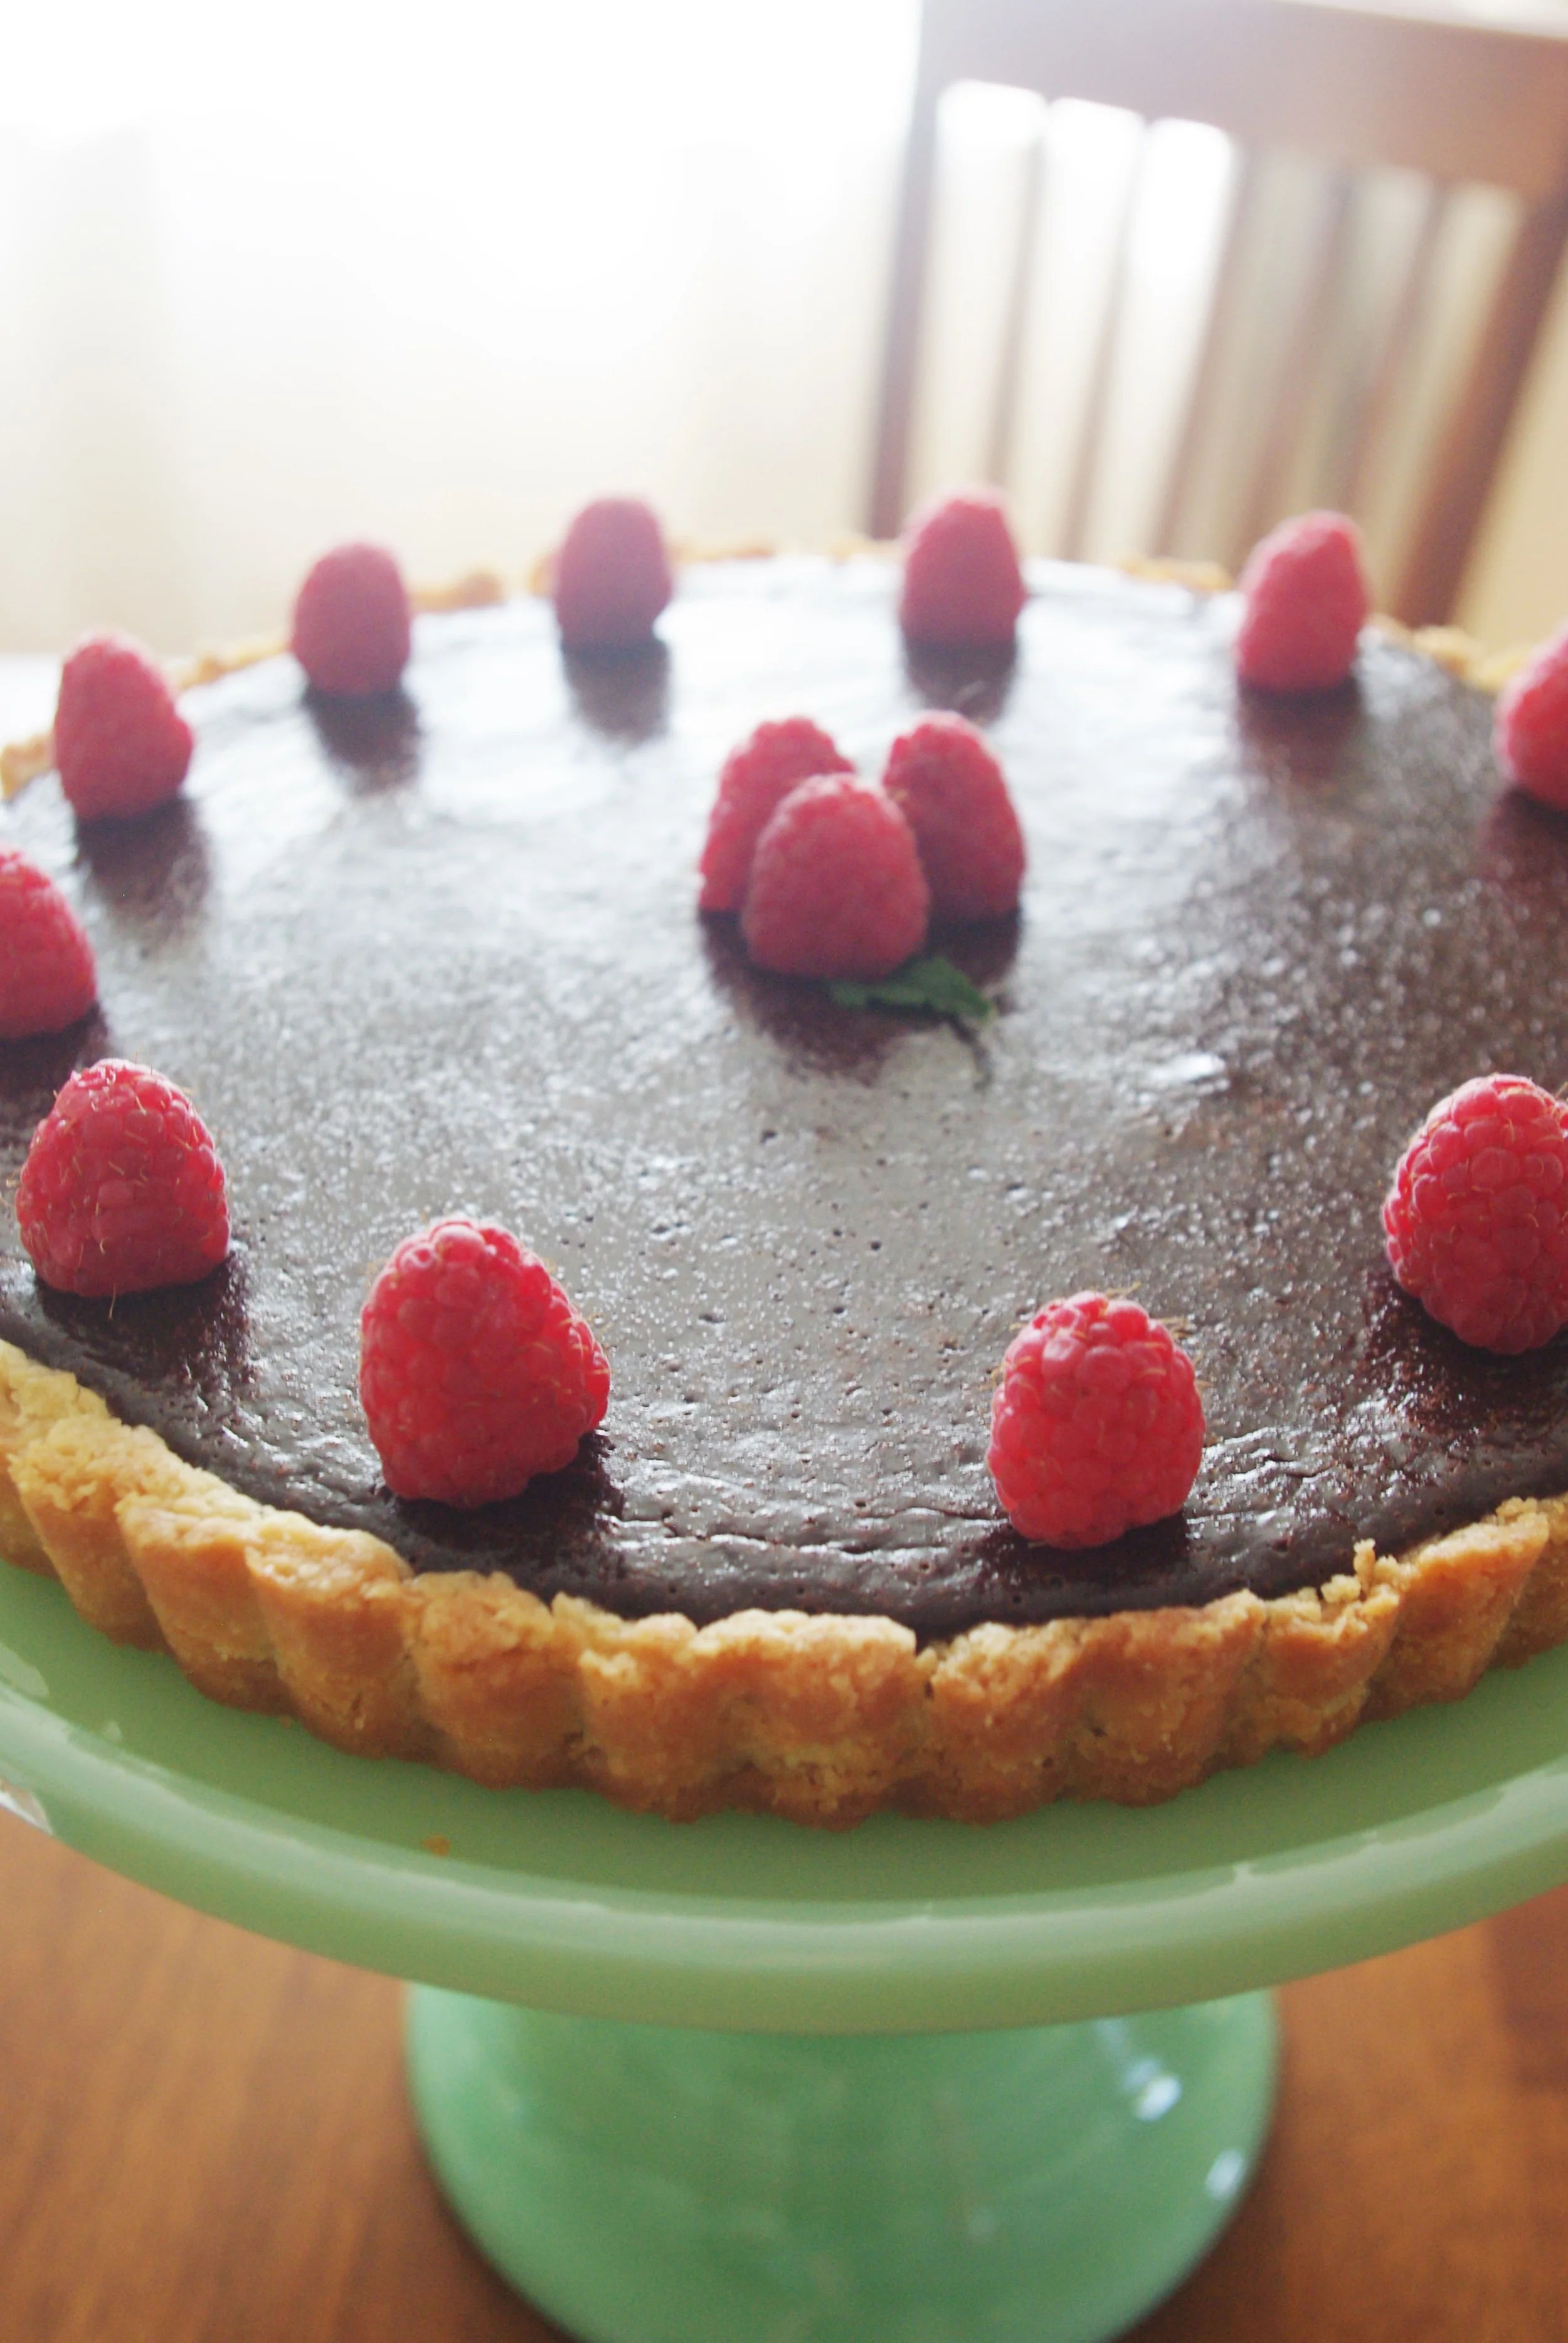
I use my annual National Pie Day potluck to expand my pie-making skills. Fueled by a desire to work with white chocolate, I came up with this show-stopping tart with a coconut flour crust, white chocolate mousse filling, and topped with fresh raspberries and a coconut lime streusel, which just happens to be gluten-free.
I'm not gluten-free myself, but I have many friends who are, and the pressed-into-the-pan crust used here is easy for a gluten-free beginner. The coconut flour, with its subtle coconut flavor compliments the bright flavors of the lime and raspberries, even if you aren't gluten -free.
White Chocolate Raspberry Tart with Coconut and Lime (Gluten Free)
Crust
- 1/3 cup unsalted butter, melted
- 2 eggs
- 1/4 teaspoon sea salt
- 3/4 cup coconut flour
Lime/Coconut Streusel
- 1/2 cup coconut flour
- 1/4 cup shredded, unsweetened coconut
- 1/3 cup granulated sugar
- 4 Tablespoons (1/2 stick) melted butter
- Zest and juice of one lime
White Chocolate Mousse
- 7 ounces white chocolate, chopped into very small pieces
- 2 egg yolks
- 2 tablespoons sugar
- 1 1/4 cup heavy cream
Topping
· 12 oz Fresh Raspberries
Directions
Preheat oven to 320 Degree F.
Make crust. In a large mixing bowl, combine flour and salt. In a separate bowl, beat together eggs and melted butter. Combine wet and dry ingredients until a dough forms. Pat dough into a 9” greased pie or tart pan. Prick crust all over with a fork.
Bake crust for 10 minutes, cover edges with foil and bake for another 10-15 minutes until golden brown. Remove crust from oven and cool completely before filling.
Make Streusel. Combine streusel ingredients, adding lime juice until mixture clumps nicely. Spread streusel on a lined cookie sheet and bake for 12-15 minutes, stirring occasionally, until evenly browned. Set aside.
Make Mousse. In a saucepan, whisk together 1/4 cup of the cream, eggs yolks and sugar. Cook over medium-low heat for 3-4 minutes, stirring constantly, until mixture is thick enough to coat the back of a spoon. Remove from heat and whisk in chopped chocolate. Strain through a sieve into a bowl and chill until cool.
Beat remaining cream until stiff peaks form. (If doing this by hand, chill your bowl, cream and whisk in the freezer before you start). Stir half the cream into the chocolate mixture, then gently fold the remaining whipped cream in.
Scoop mousse into completely cooled pie crust, cover, and chill at least thirty minutes and up to overnight.
Bring pie out approximately 30 minutes prior to serving. Line top of pie with fresh raspberries and sprinkle streusel on generously (you will use about half the streusel – use the rest to top yogurt, pancakes, etc.) Top pie with grated white chocolate (optional). Serve at room temperature.
To print, see button at bottom of post.

White Chocolate Raspberry Tart with Coconut and Lime (Gluten Free)
Serves 8 Ingredients: 1/3 cup unsalted butter, melted 2 eggs 1/4 tsp sea salt 1 1/4 cup coconut flour 1/4 cup shredded unsweetened coconut 1/3 cup granulated sugar 4 tablespoons salted butter, melted lime 7 oz white chocolate 2 egg yolks 1 1/4 cup heavy creams 12 oz fresh raspberries


FO Roundup - Winter 2018
One of the most fun parts of being a designer is seeing how others interpret your designs. Here are a few of my favorite finished objects (FOs) of late, with a focus on cozy sweaters and comfy couches!

Caiterly - Knit by srblipscomb

Willamette Coat - knit by TIcheek

Alaria - knit by wmcurella

Alaria - knit by StephanieArrese

Cresting Waves Shawl - knit and dyed(!) by kquinnschroeder

Summer Rain Shawl - knit by maplebuttermom

Fleet Fox - knit by littlelena
Want to share your knits with me? Tag me @mscleaver on Instagram, or if it's on Ravelry, I'll see it. :)


Berroco Portfolio Vol 5.
I was honored when I was invited to submit designs for Berroco's fifth Portfolio Collection. Berroco's independent designer collection, previous Portfolio, have included a number of my favorite design pals, including Jesie Ostermiller, Allison Jane and Beatrice Perron Dahlen - as well as biggies like Norah Gaughan.
Each Portfolio highlights a different yarn collection and the prompt for my go-around was to show off the versatility of Berroco Remix and Berroco Remix Light. Remix is machine-washable, wool-free yarns are recycled from garment industry pre-consumer waste. I've used a fair number of recycled yarsn before, both in personal knitting and design work, and I have to say that Remix light (used in both patterns above) is my favorite I've used. It's not splitty, but has a nice tweedy texture and is lighter and more stretchy than most yarns with a high cotton content (it's 30% Nylon, 27% Cotton, 24% Acrylic, 10% Silk, 9% Linen, if you're curious). All of this makes it perfect for spring/summer knits.
My two contributions to the collection are the Lake Arrowhead Tee, a knit-in-the-round tunic with an allover lace pattern and the Amber Waves Shawl, a cleverly designed triangular shawl knitting pattern, that begins at one tip and is worked sideways with an traveling charted stitch pattern to mimic waves of wheat on the plains.
You get a lot of bang for your buck from these yarns too. The largest size of the tee (55 1/2 inch bust) only requires three balls and the shawl blocks out to over 7 feet long, but uses less than two!
The patterns are available individually for $6 USD each, or as part of a 15-pattern ebook or pamphlet for $17.95.
Lake Arrowhead Tee
Amber Waves Shawl
Portfolio Vol 5 Collection
Planting Seeds for WILDFLOWER
The WOODLAND collection came together as a collection more or less by accident. I had a few designs I wanted to do and as I was working on them, I realized that they had a similar theme, so I decided to go with the flow. That said, I quickly learned that I liked working in the collection format - even if it mean photographing a half dozen things in about 45 minutes. So when I starting thing about where I wanted to go with my design work, doing more in the collection format immediately sprung to the top of list.
And so, in December, I started thinking Spring.
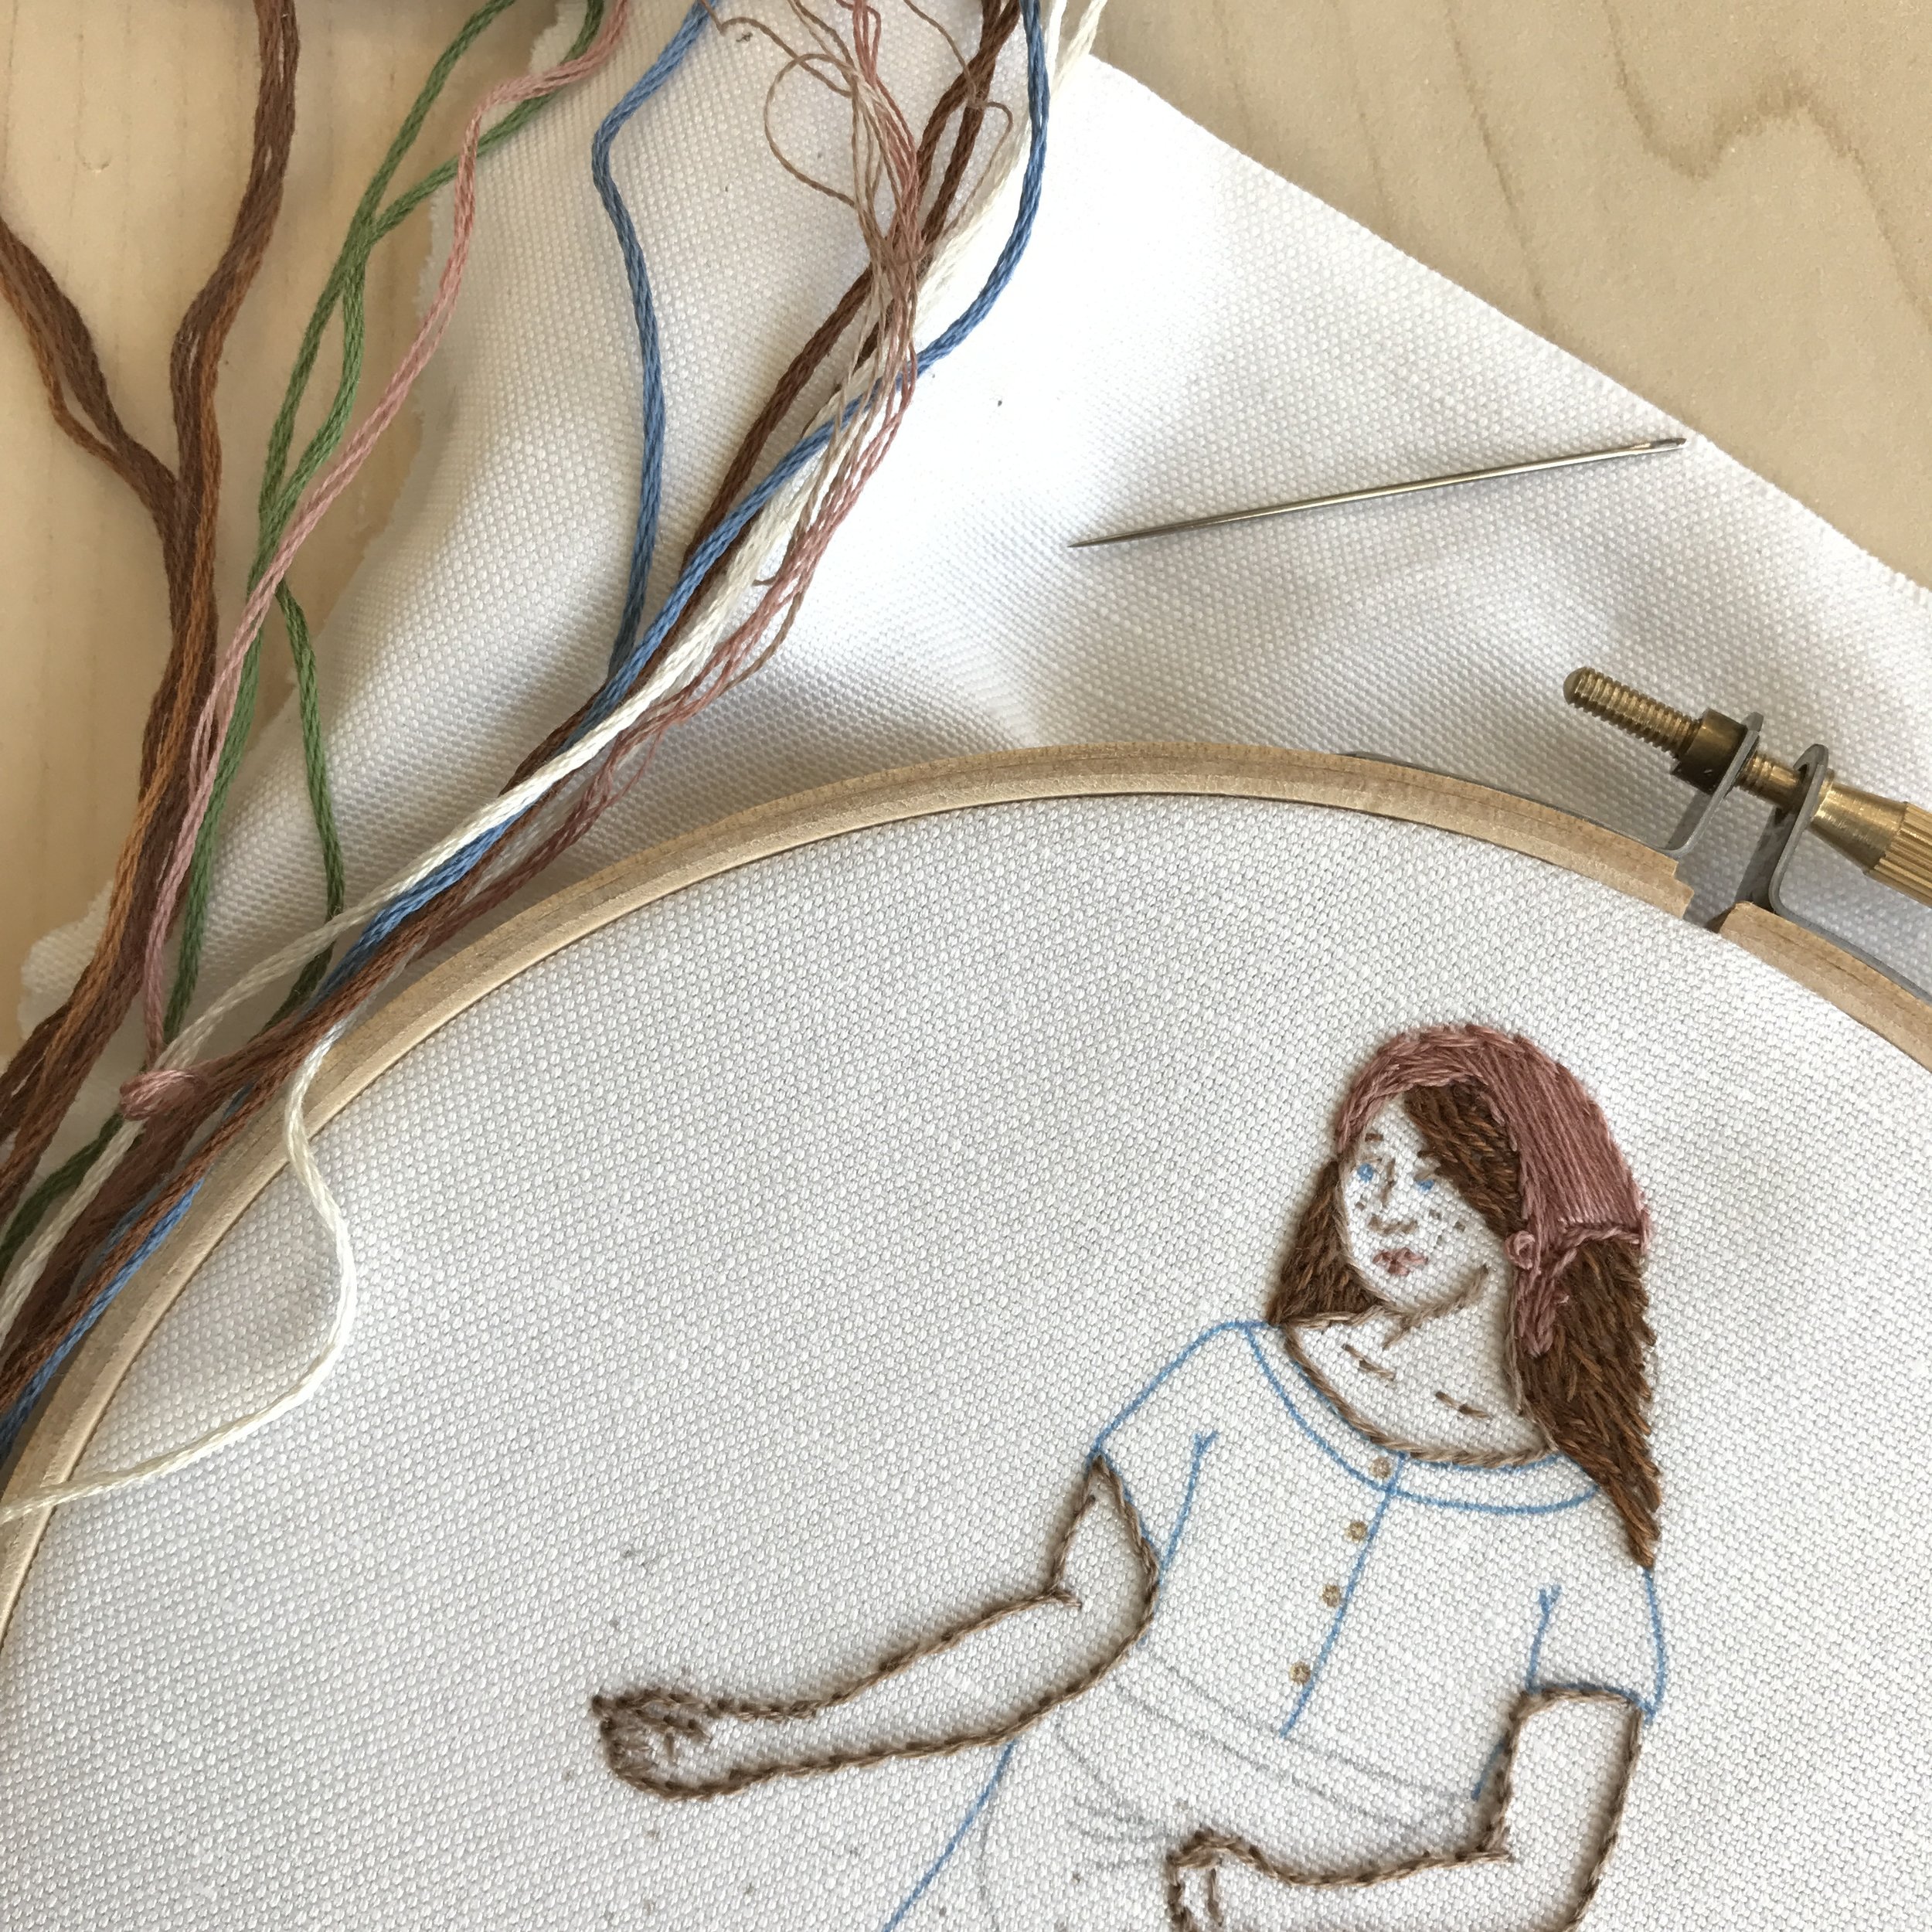
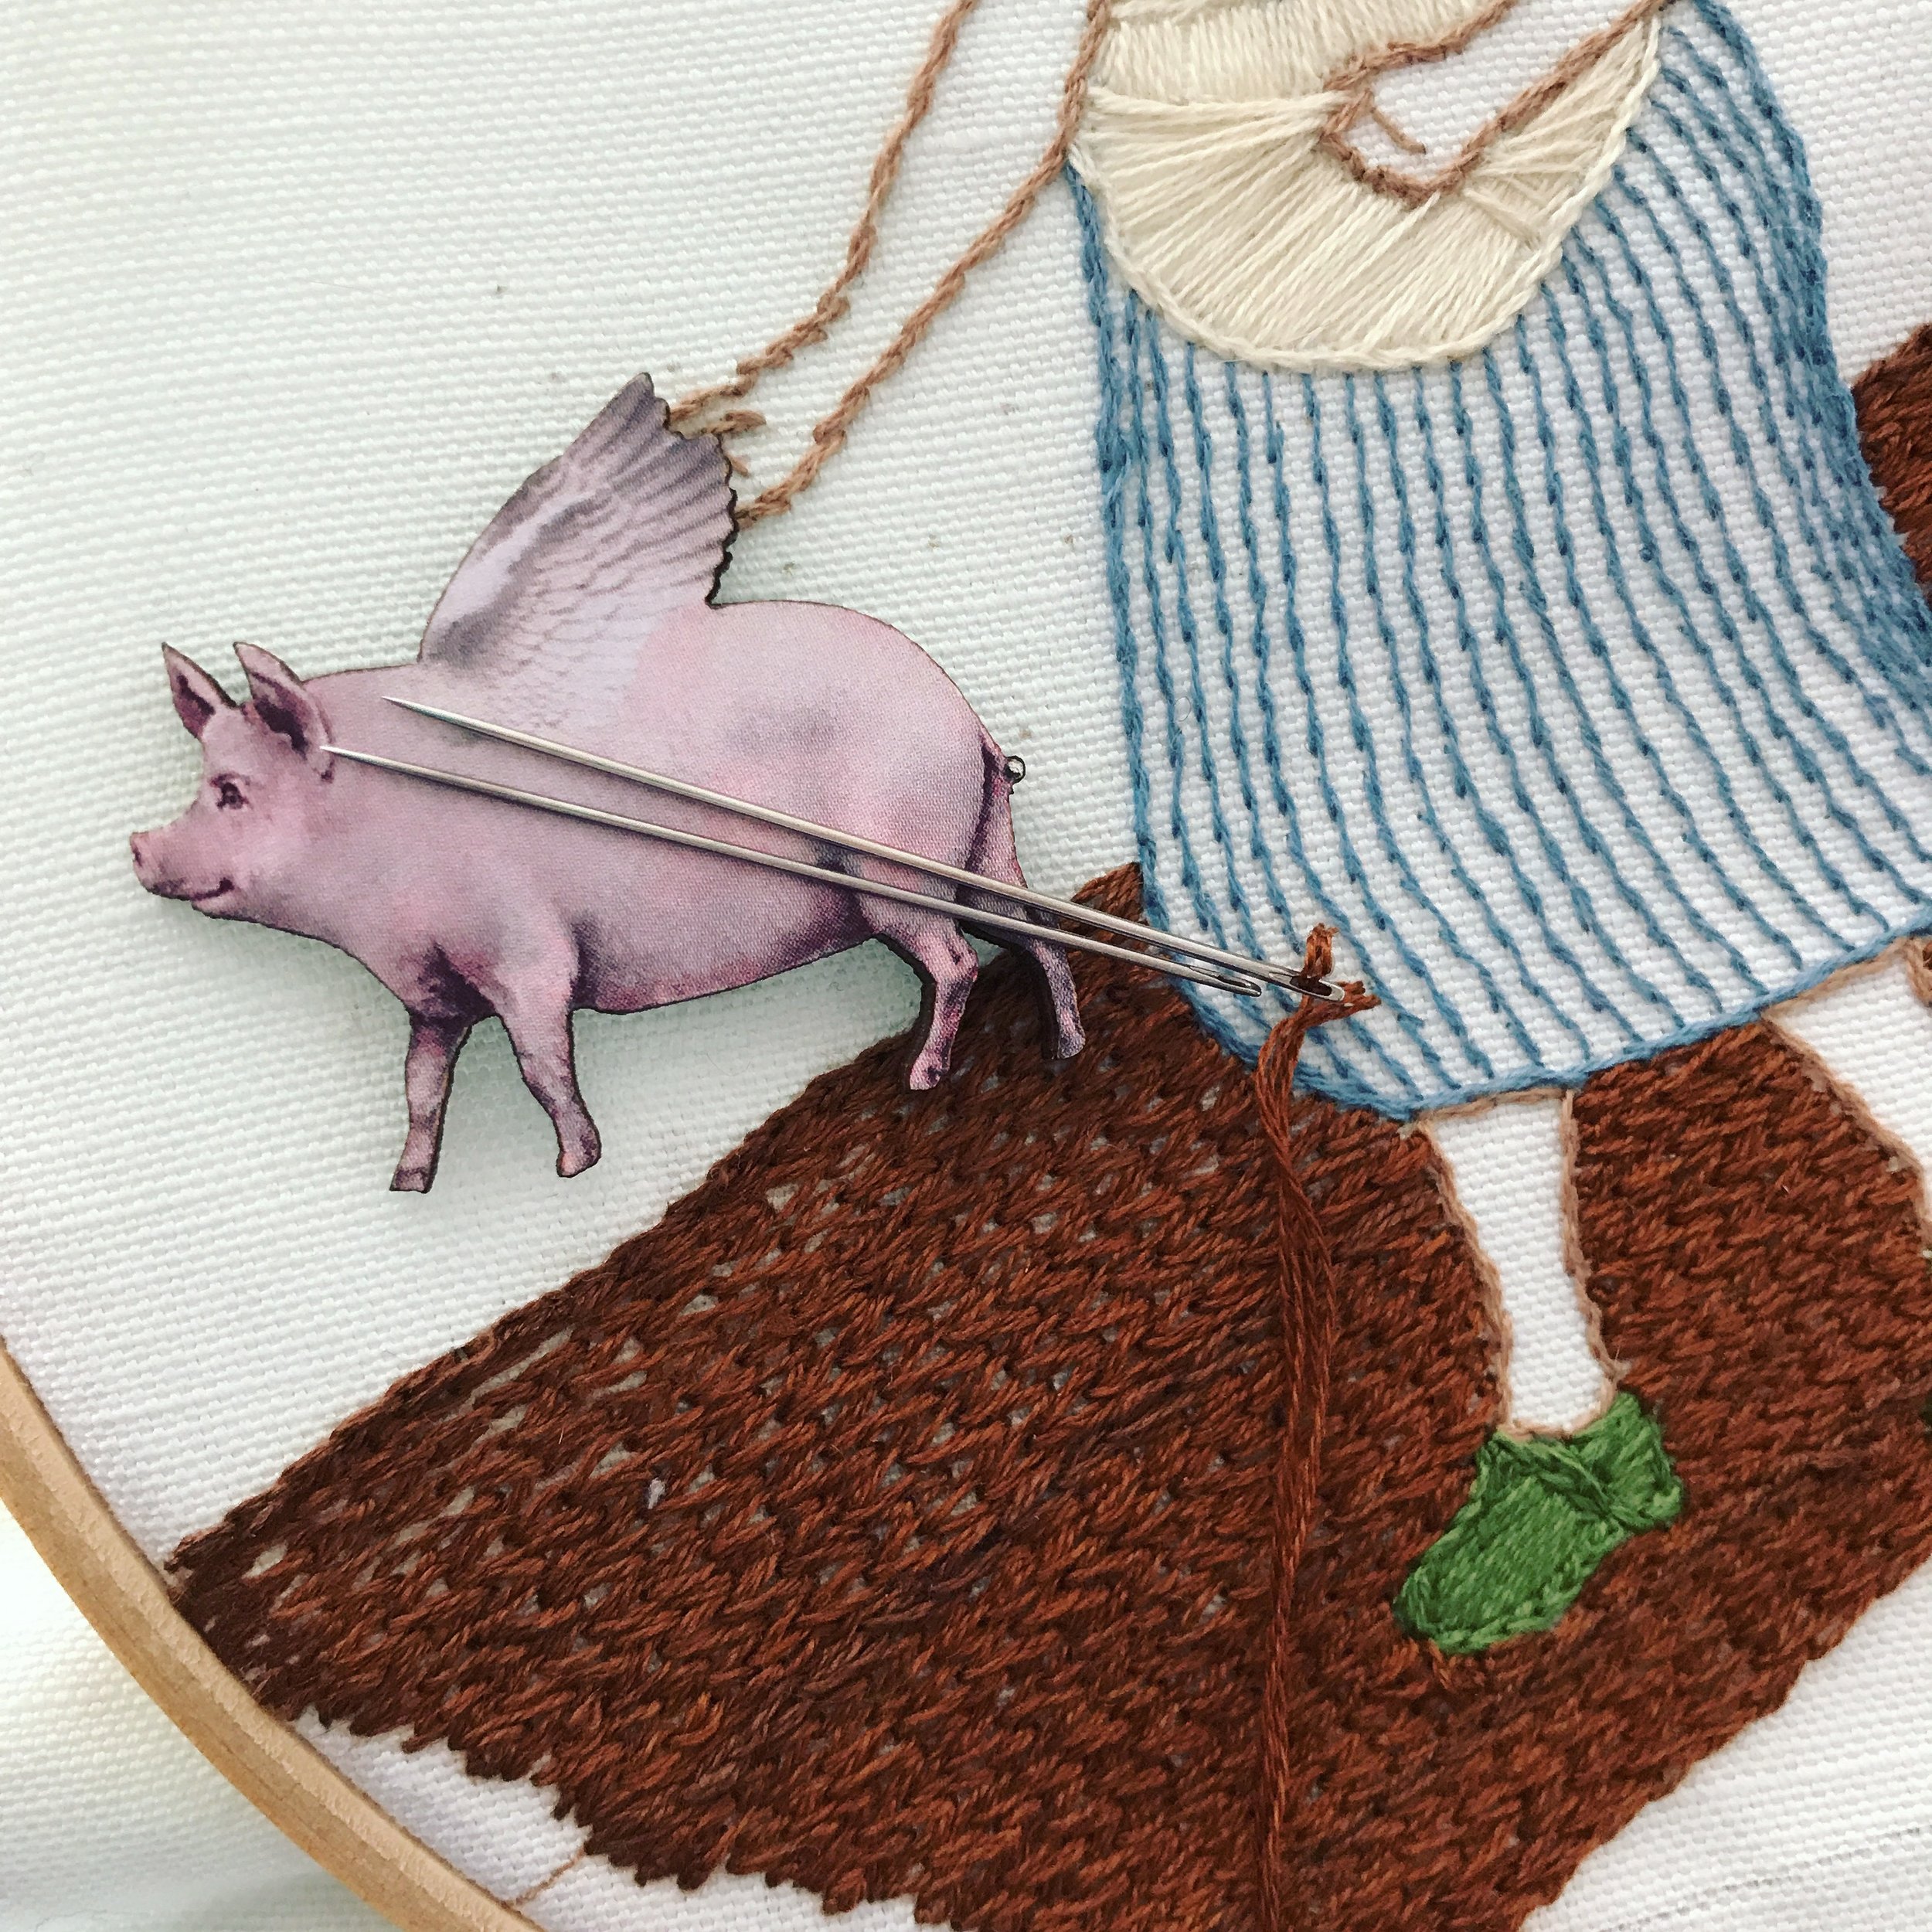
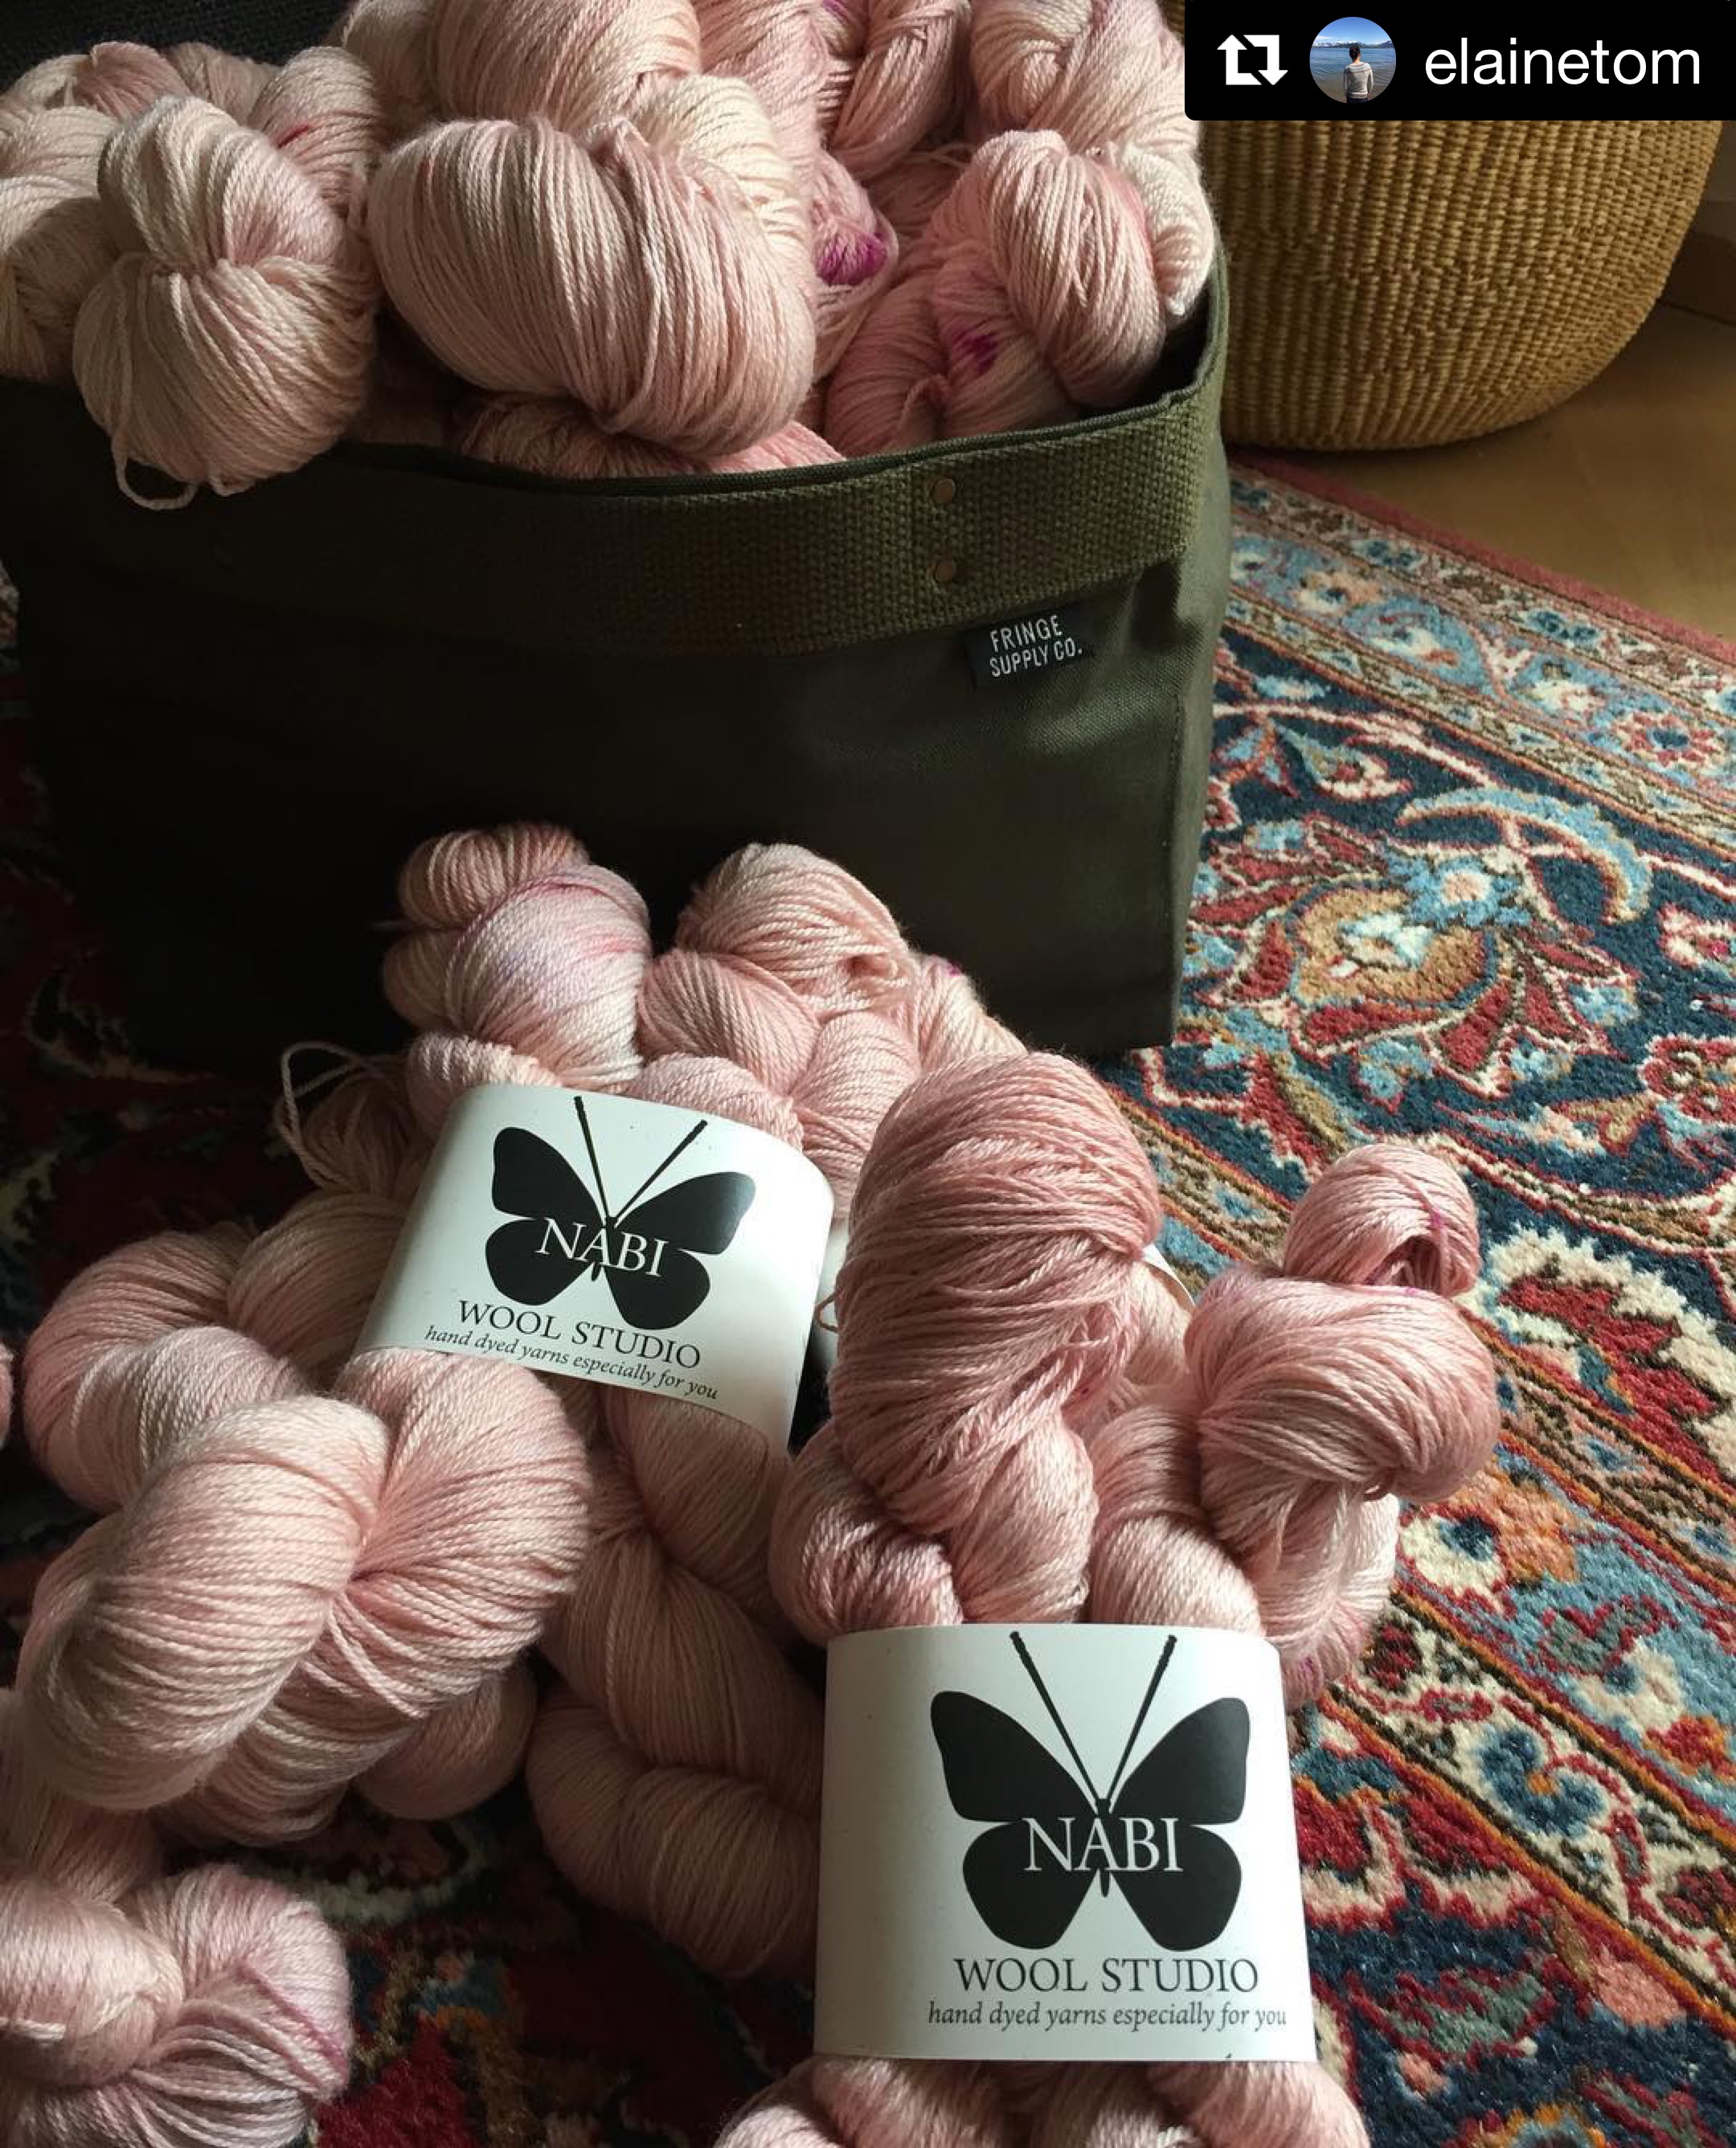
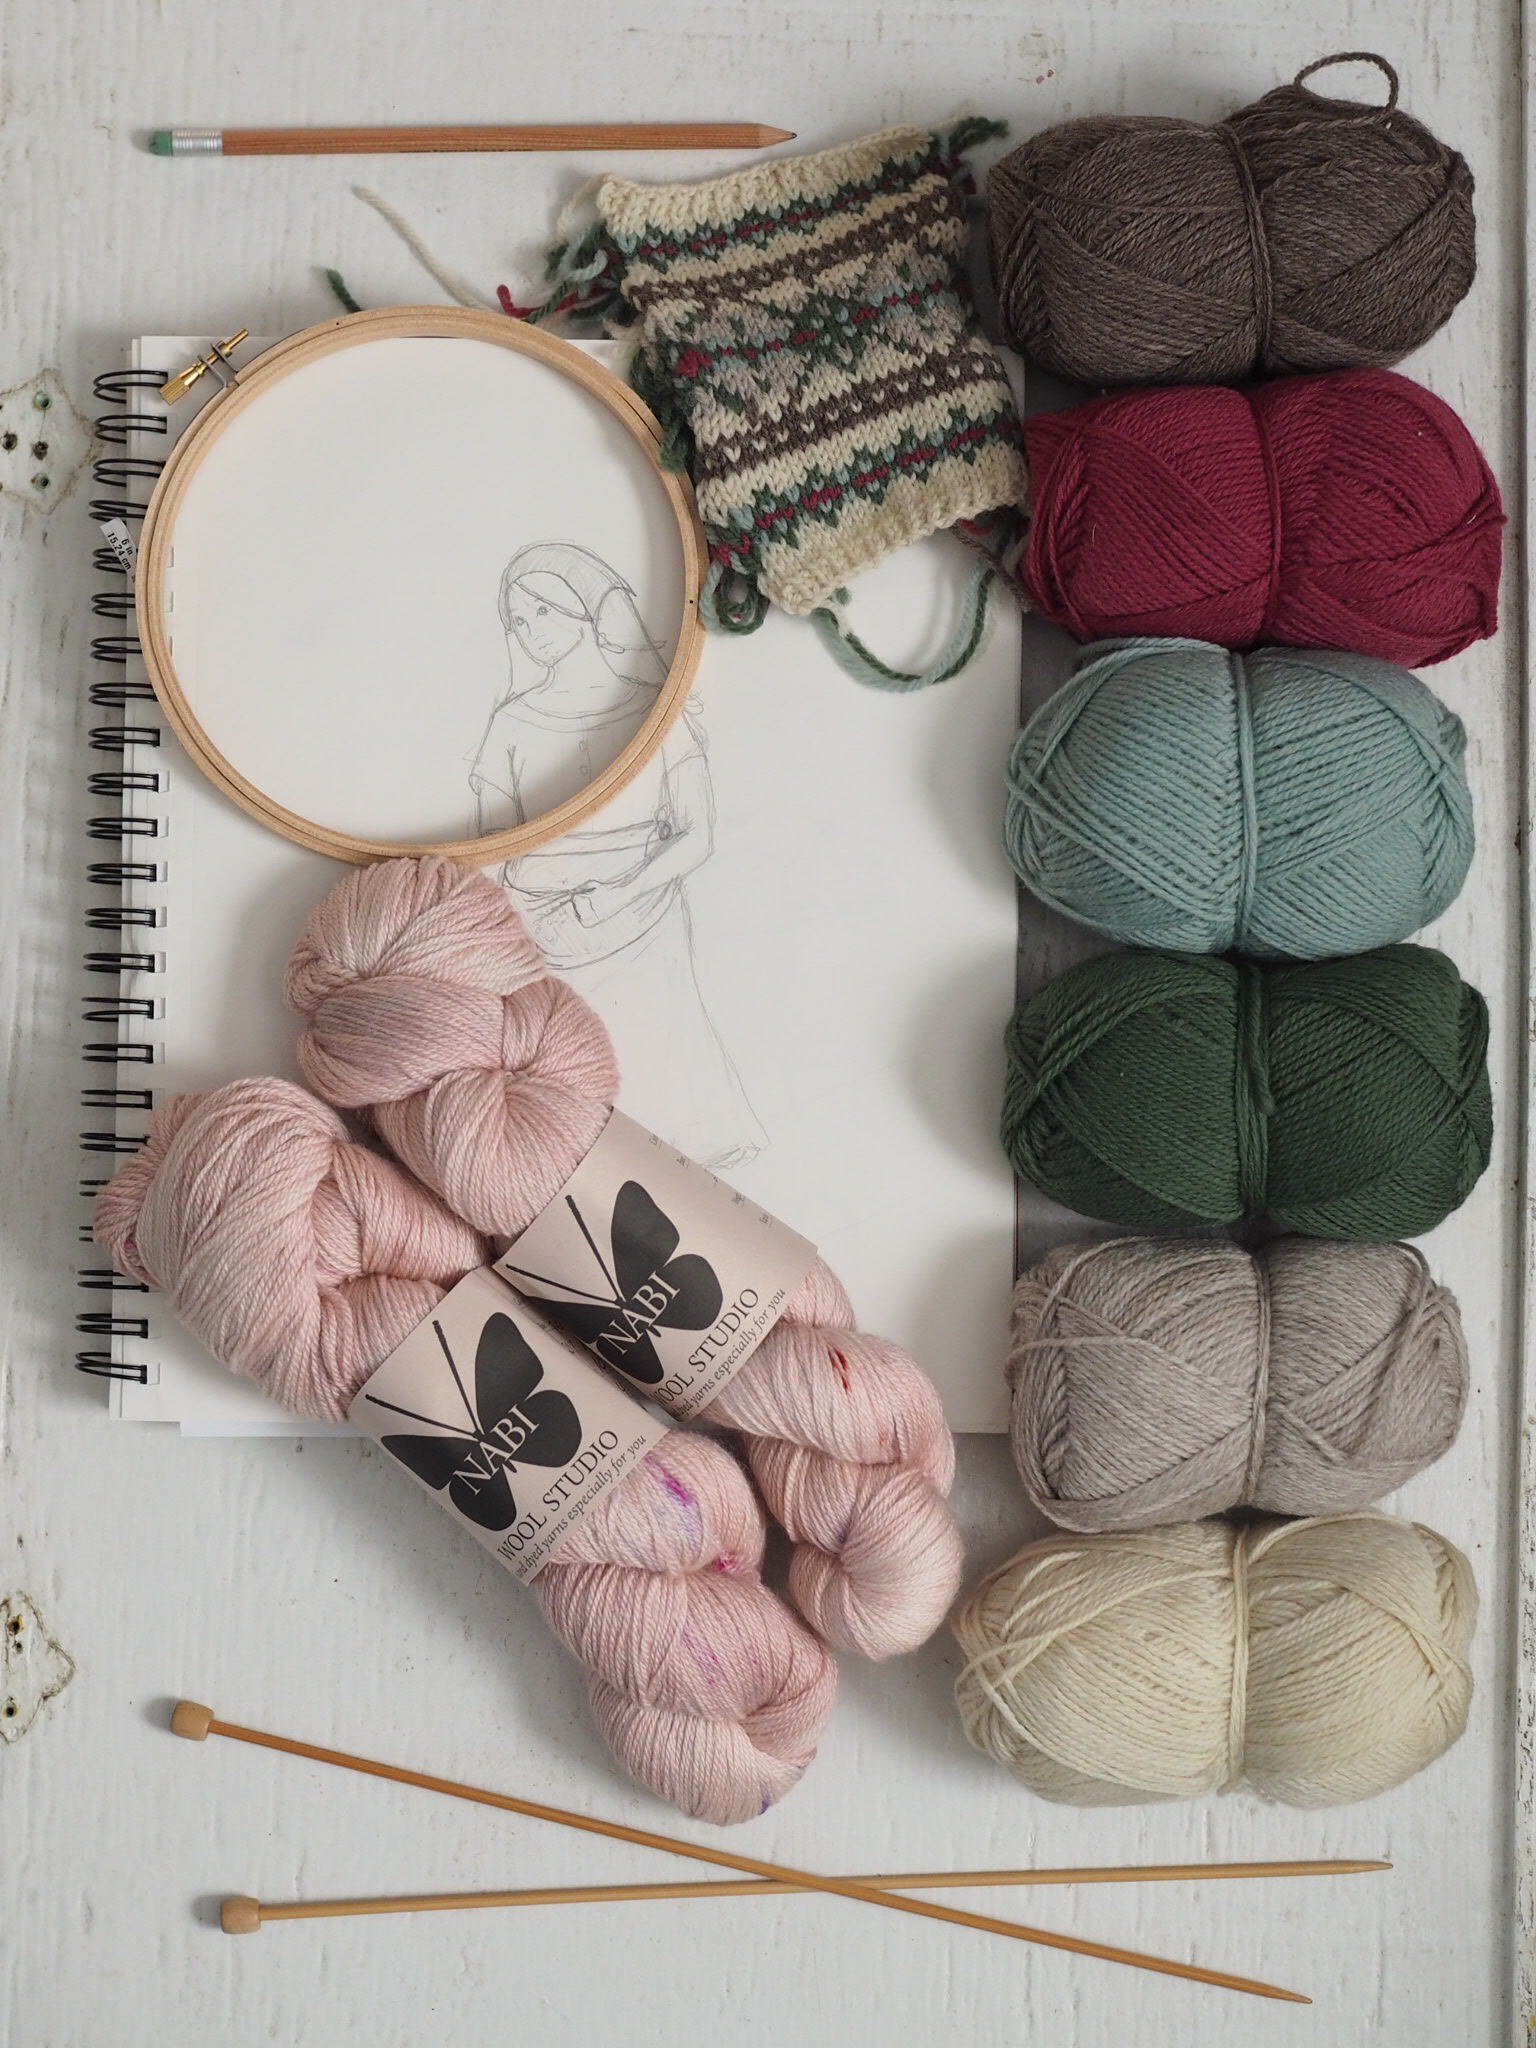
WILDFLOWER seemed like a good good follow up to woodland theme, so I started gathering images and thinking about what the collection would be. I also knew I wanted my work to be more collaborative this year, so I'm partnering with indie dyers NabiWoolStudio and RedSockBlueSock for two of the knitwear designs. At this point, all the planning stuff is pretty much done and I'm deep in pattern writing and sample making. There will be three new knitwear designs and three embroidery hoops and it's all going to be so pretty!
So wish me luck as I furiously stitch and try to find a spring-esque photoshoot location in Maine in Feb/March!
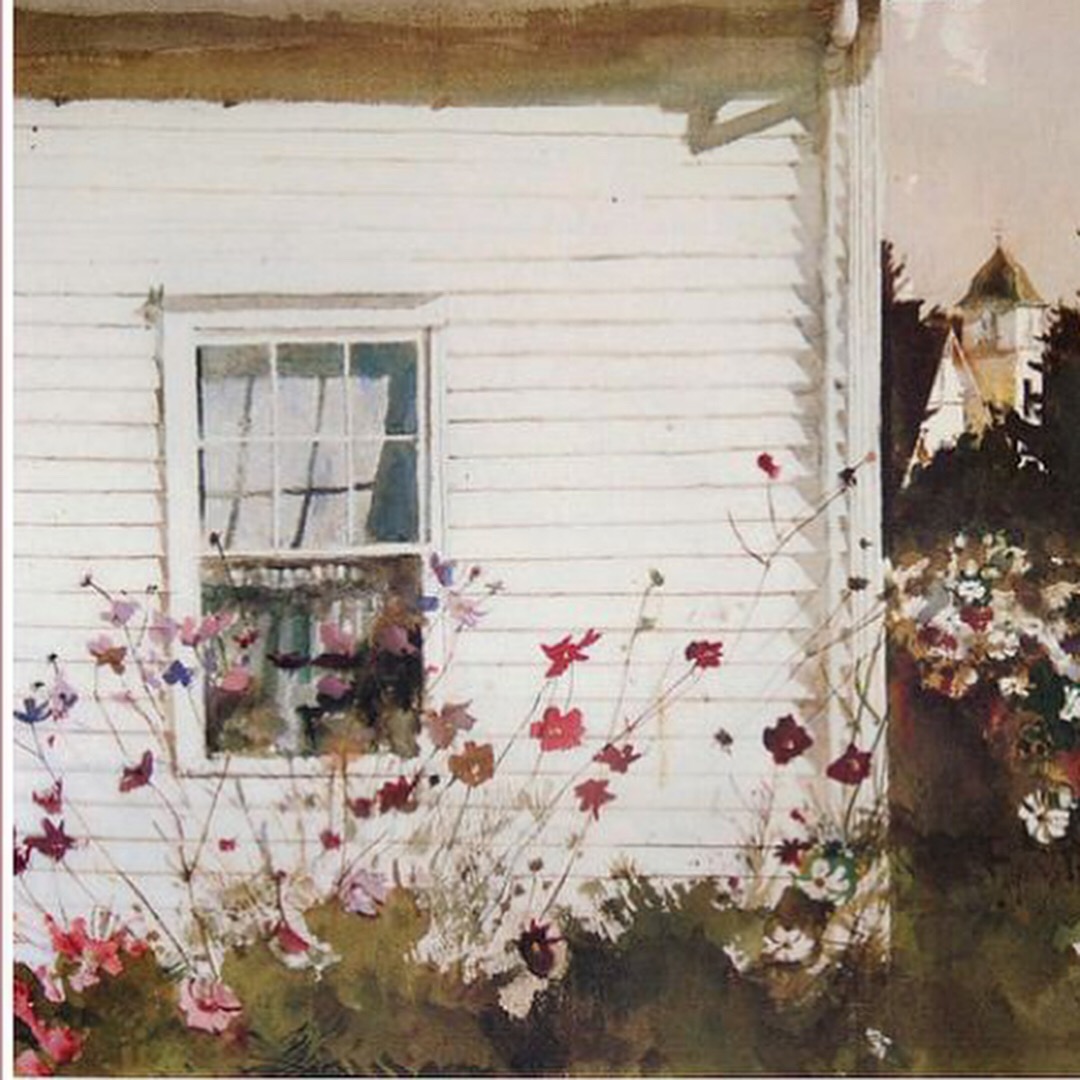
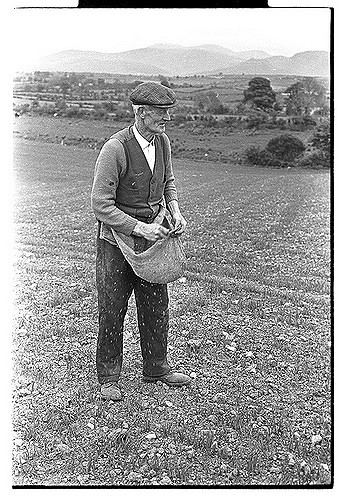
Inspiration images from top to bottom:
- Andrew Wyeth's Around the Corner
- Old farmer sowing seeds from traditional apron, Hilltown, Co. Down, 1970s, Bobbie Hanvey, photographer.
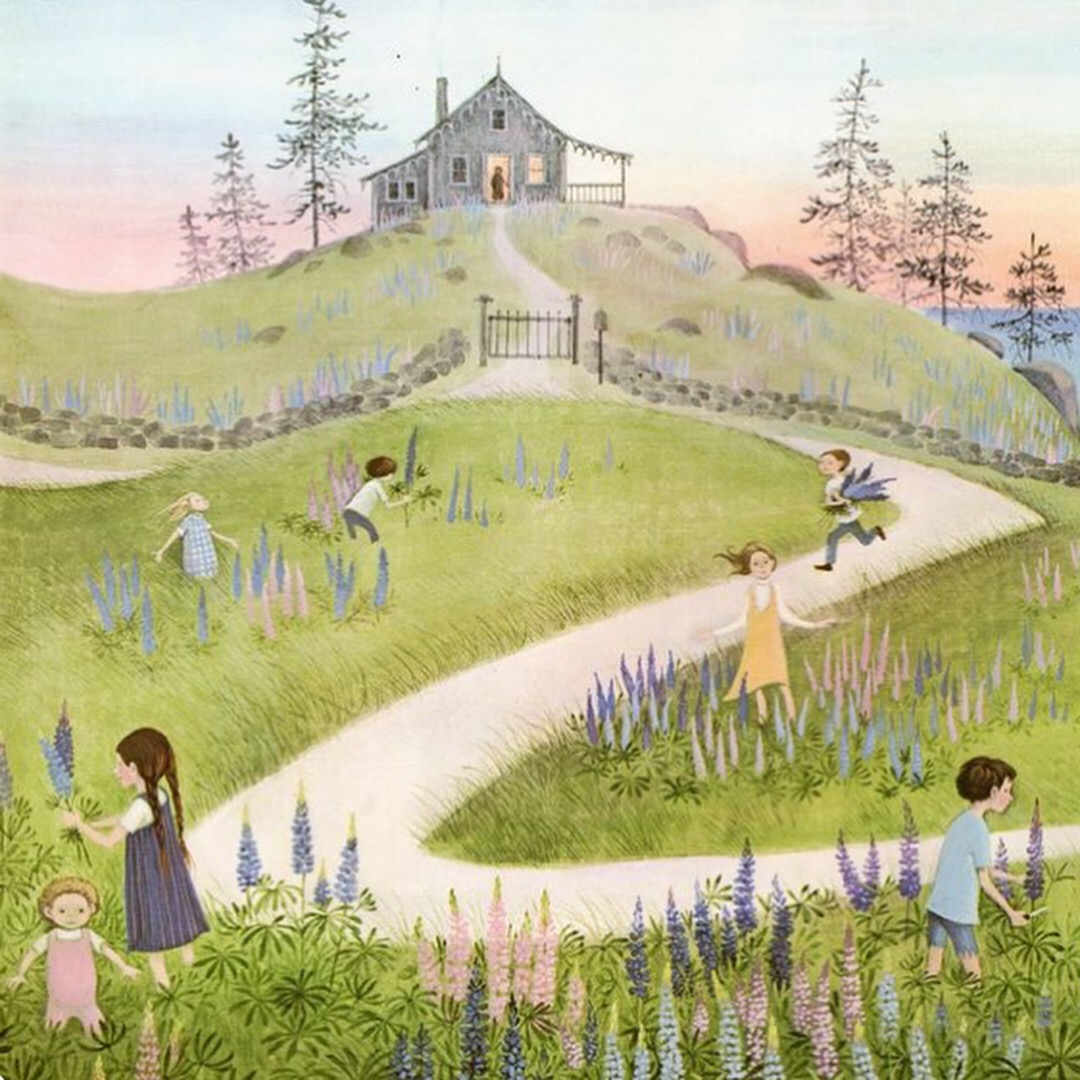
"Miss Rumphius" by Barbara Cooney
Introducing Souviens

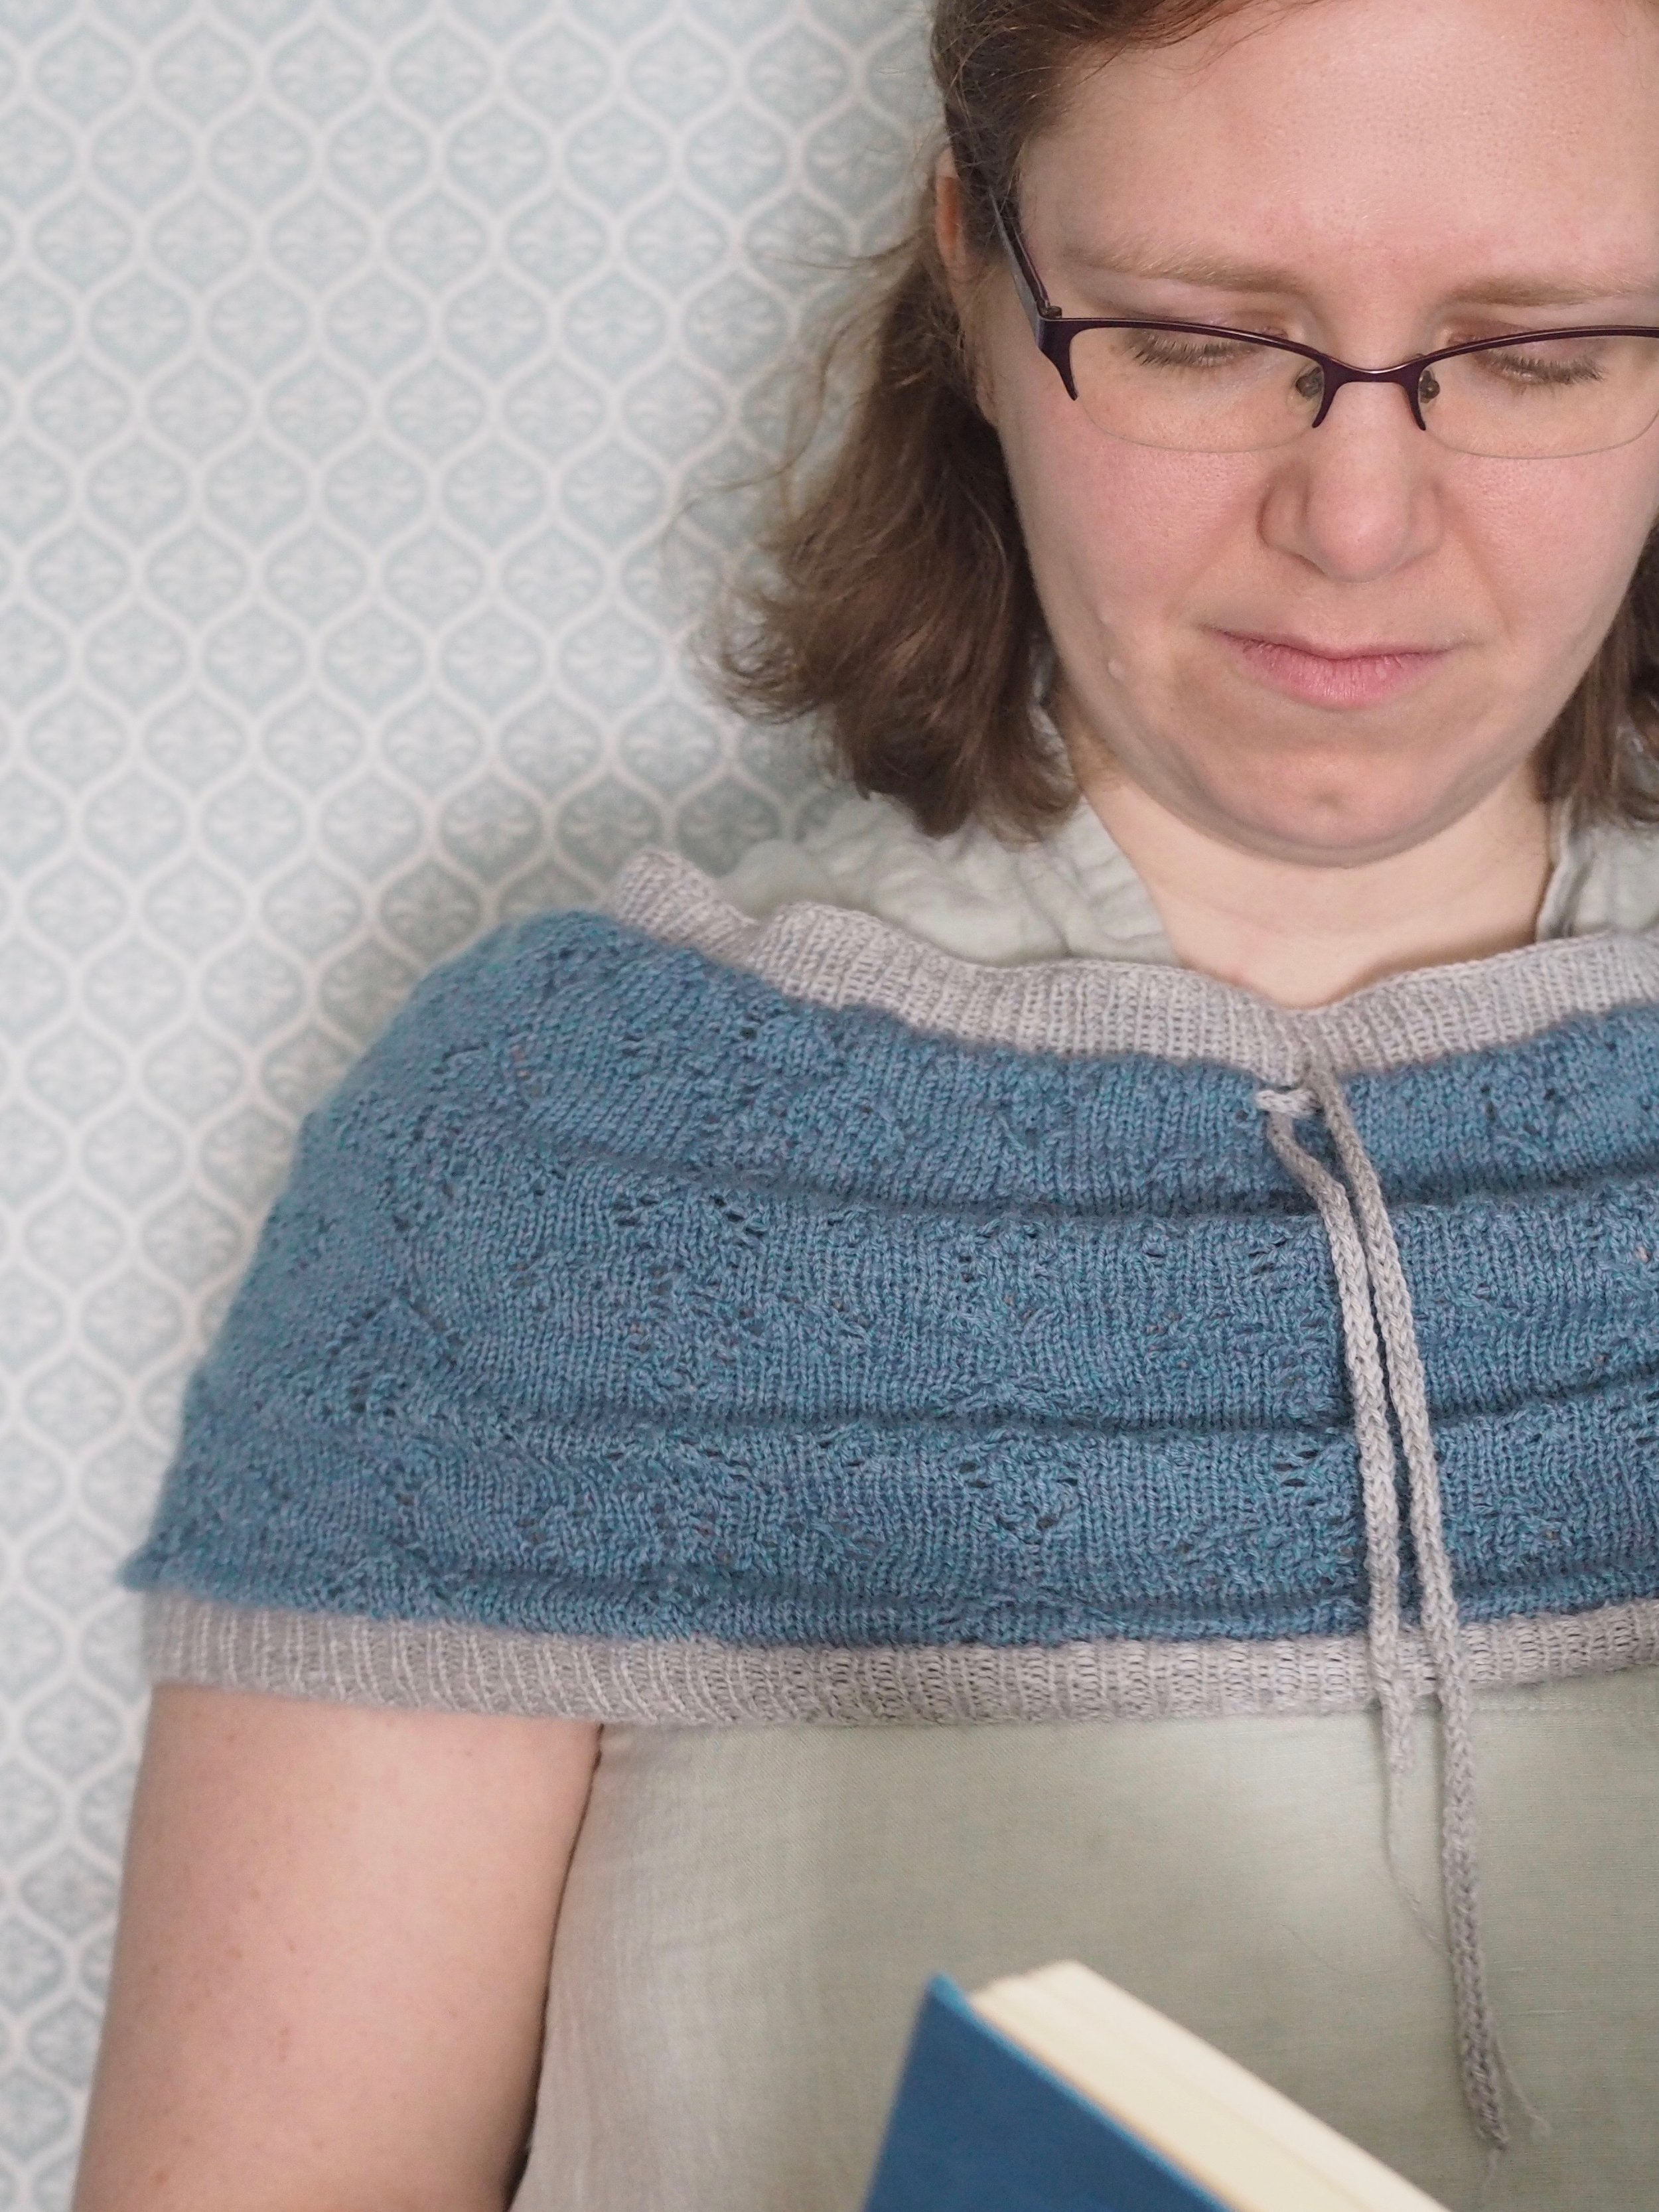
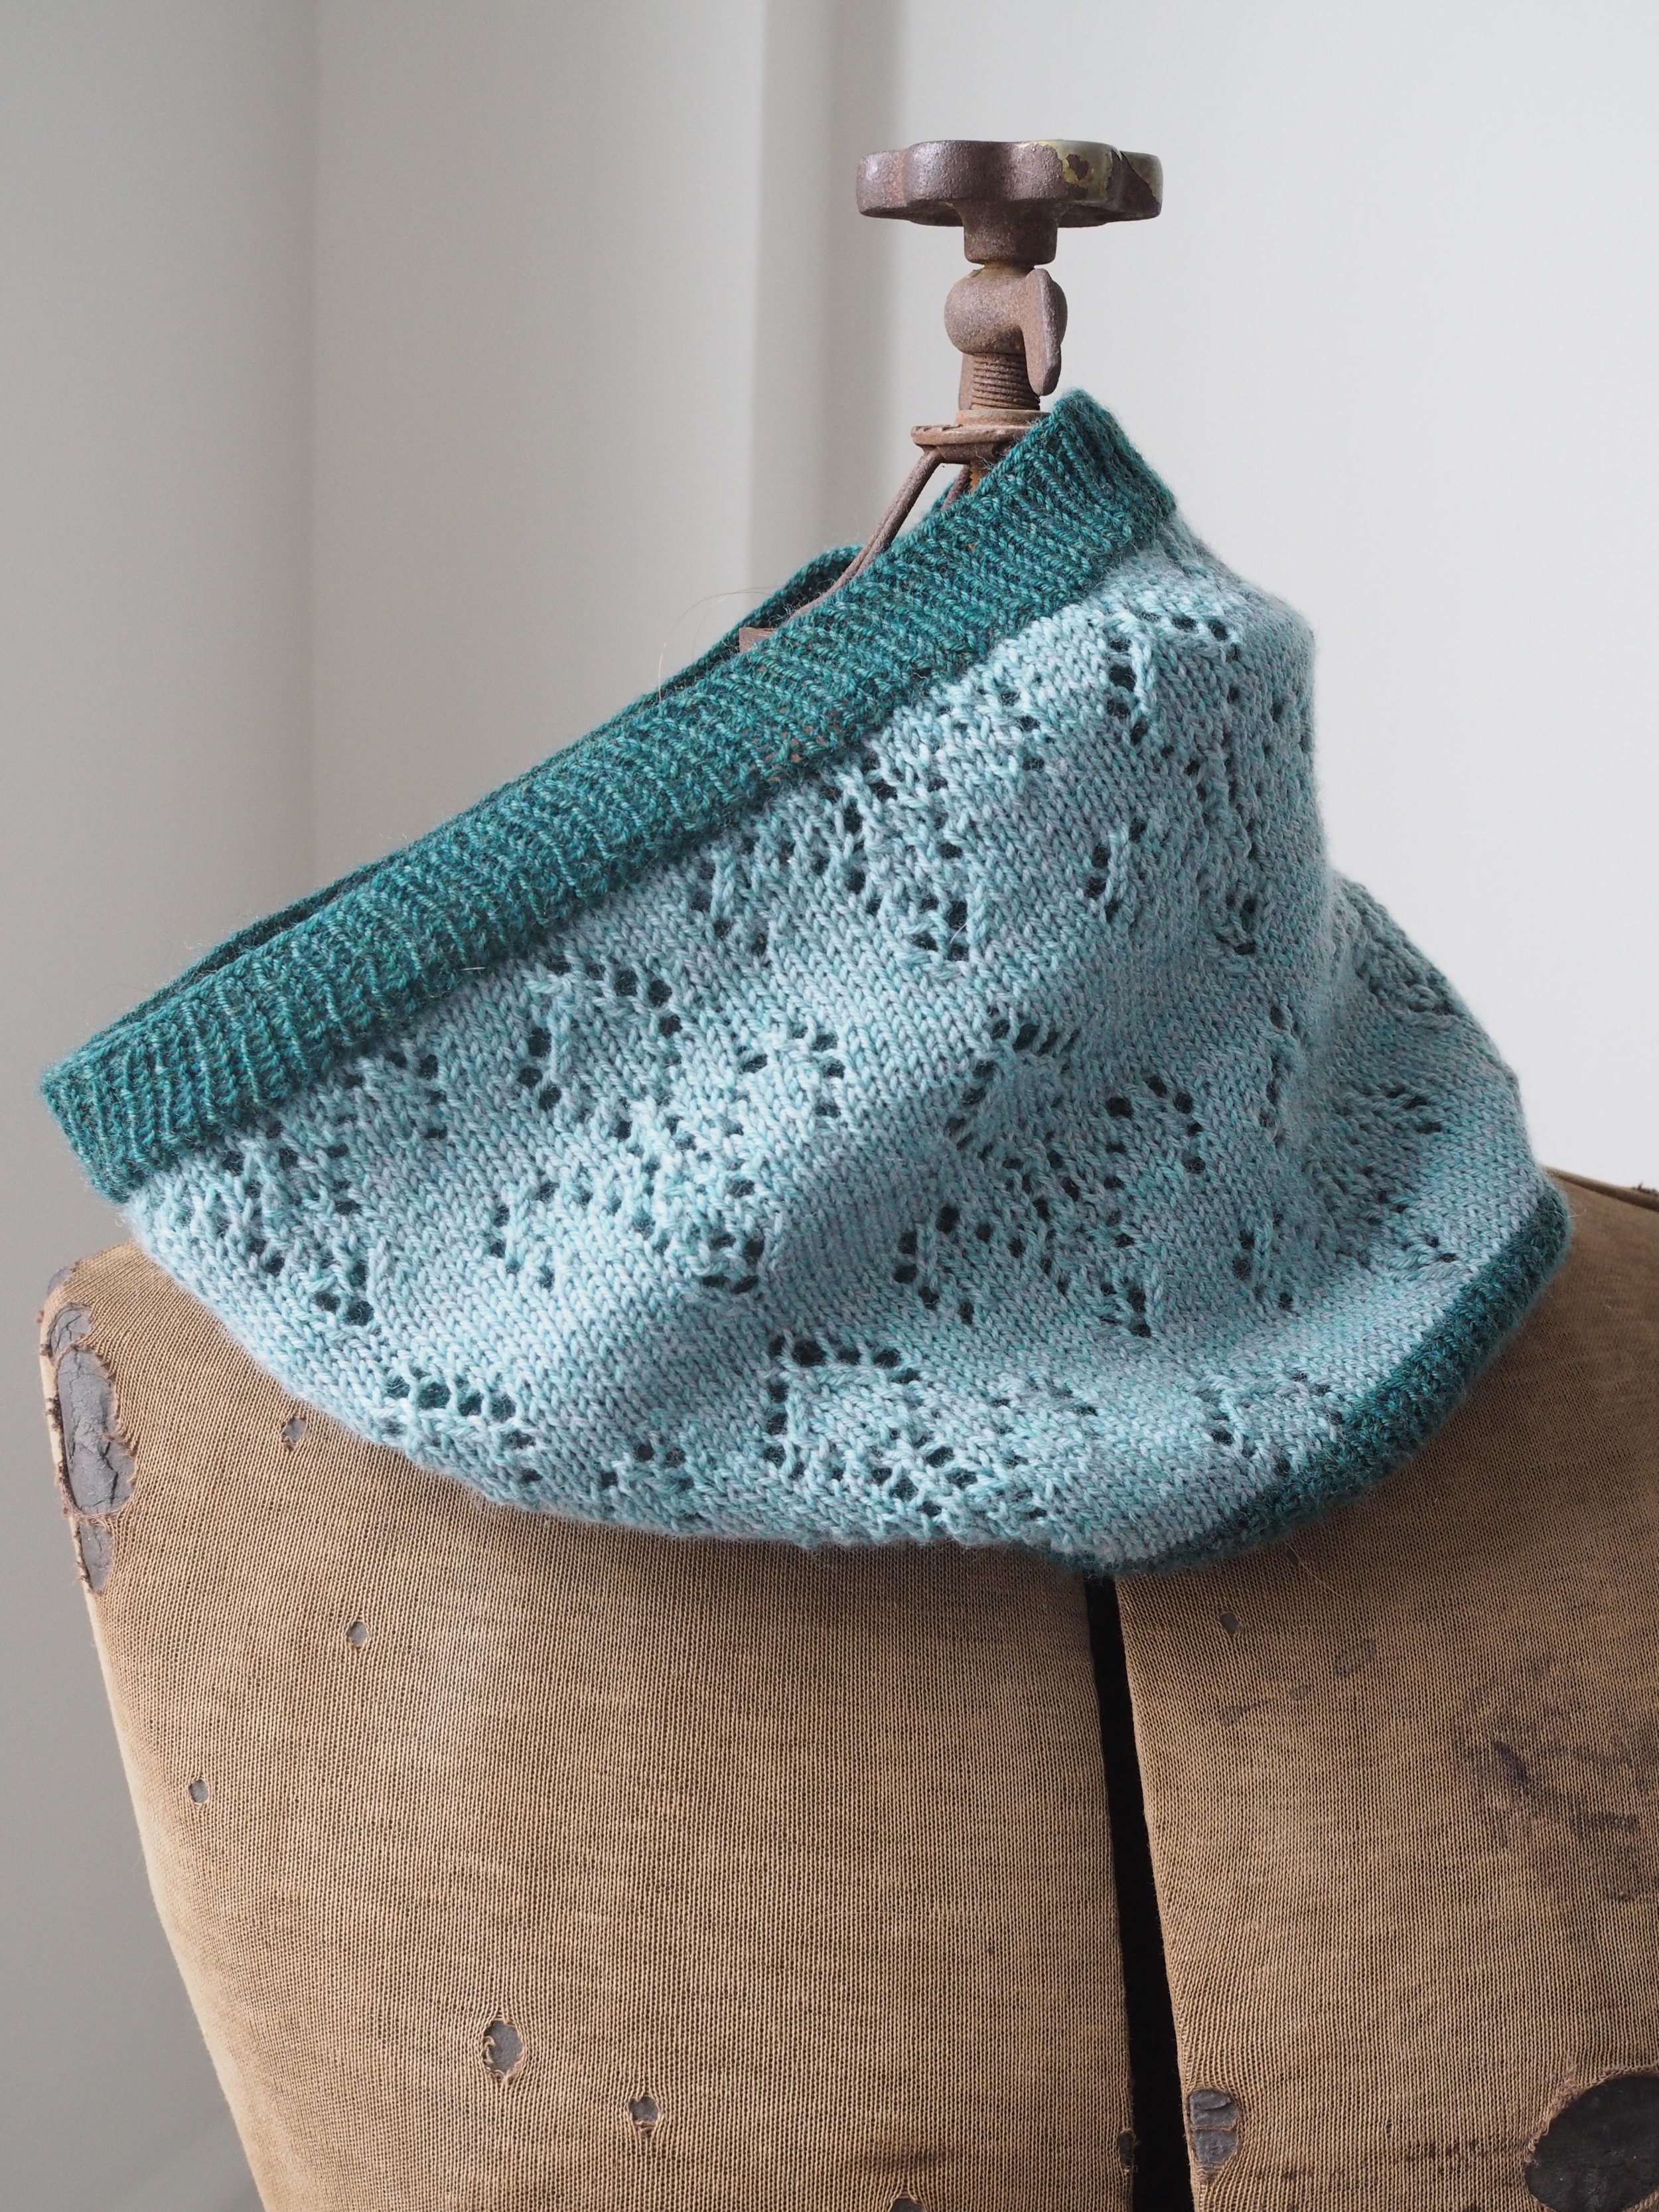

Did you ever have one of the experiences that just stuck with you, in a good way? This past summer's trip to Quebec City, remains one of the best trips I've ever taken and the whole household talks about it constantly - making the Quebec motto of Je me souviens - I remember - very appropriate.
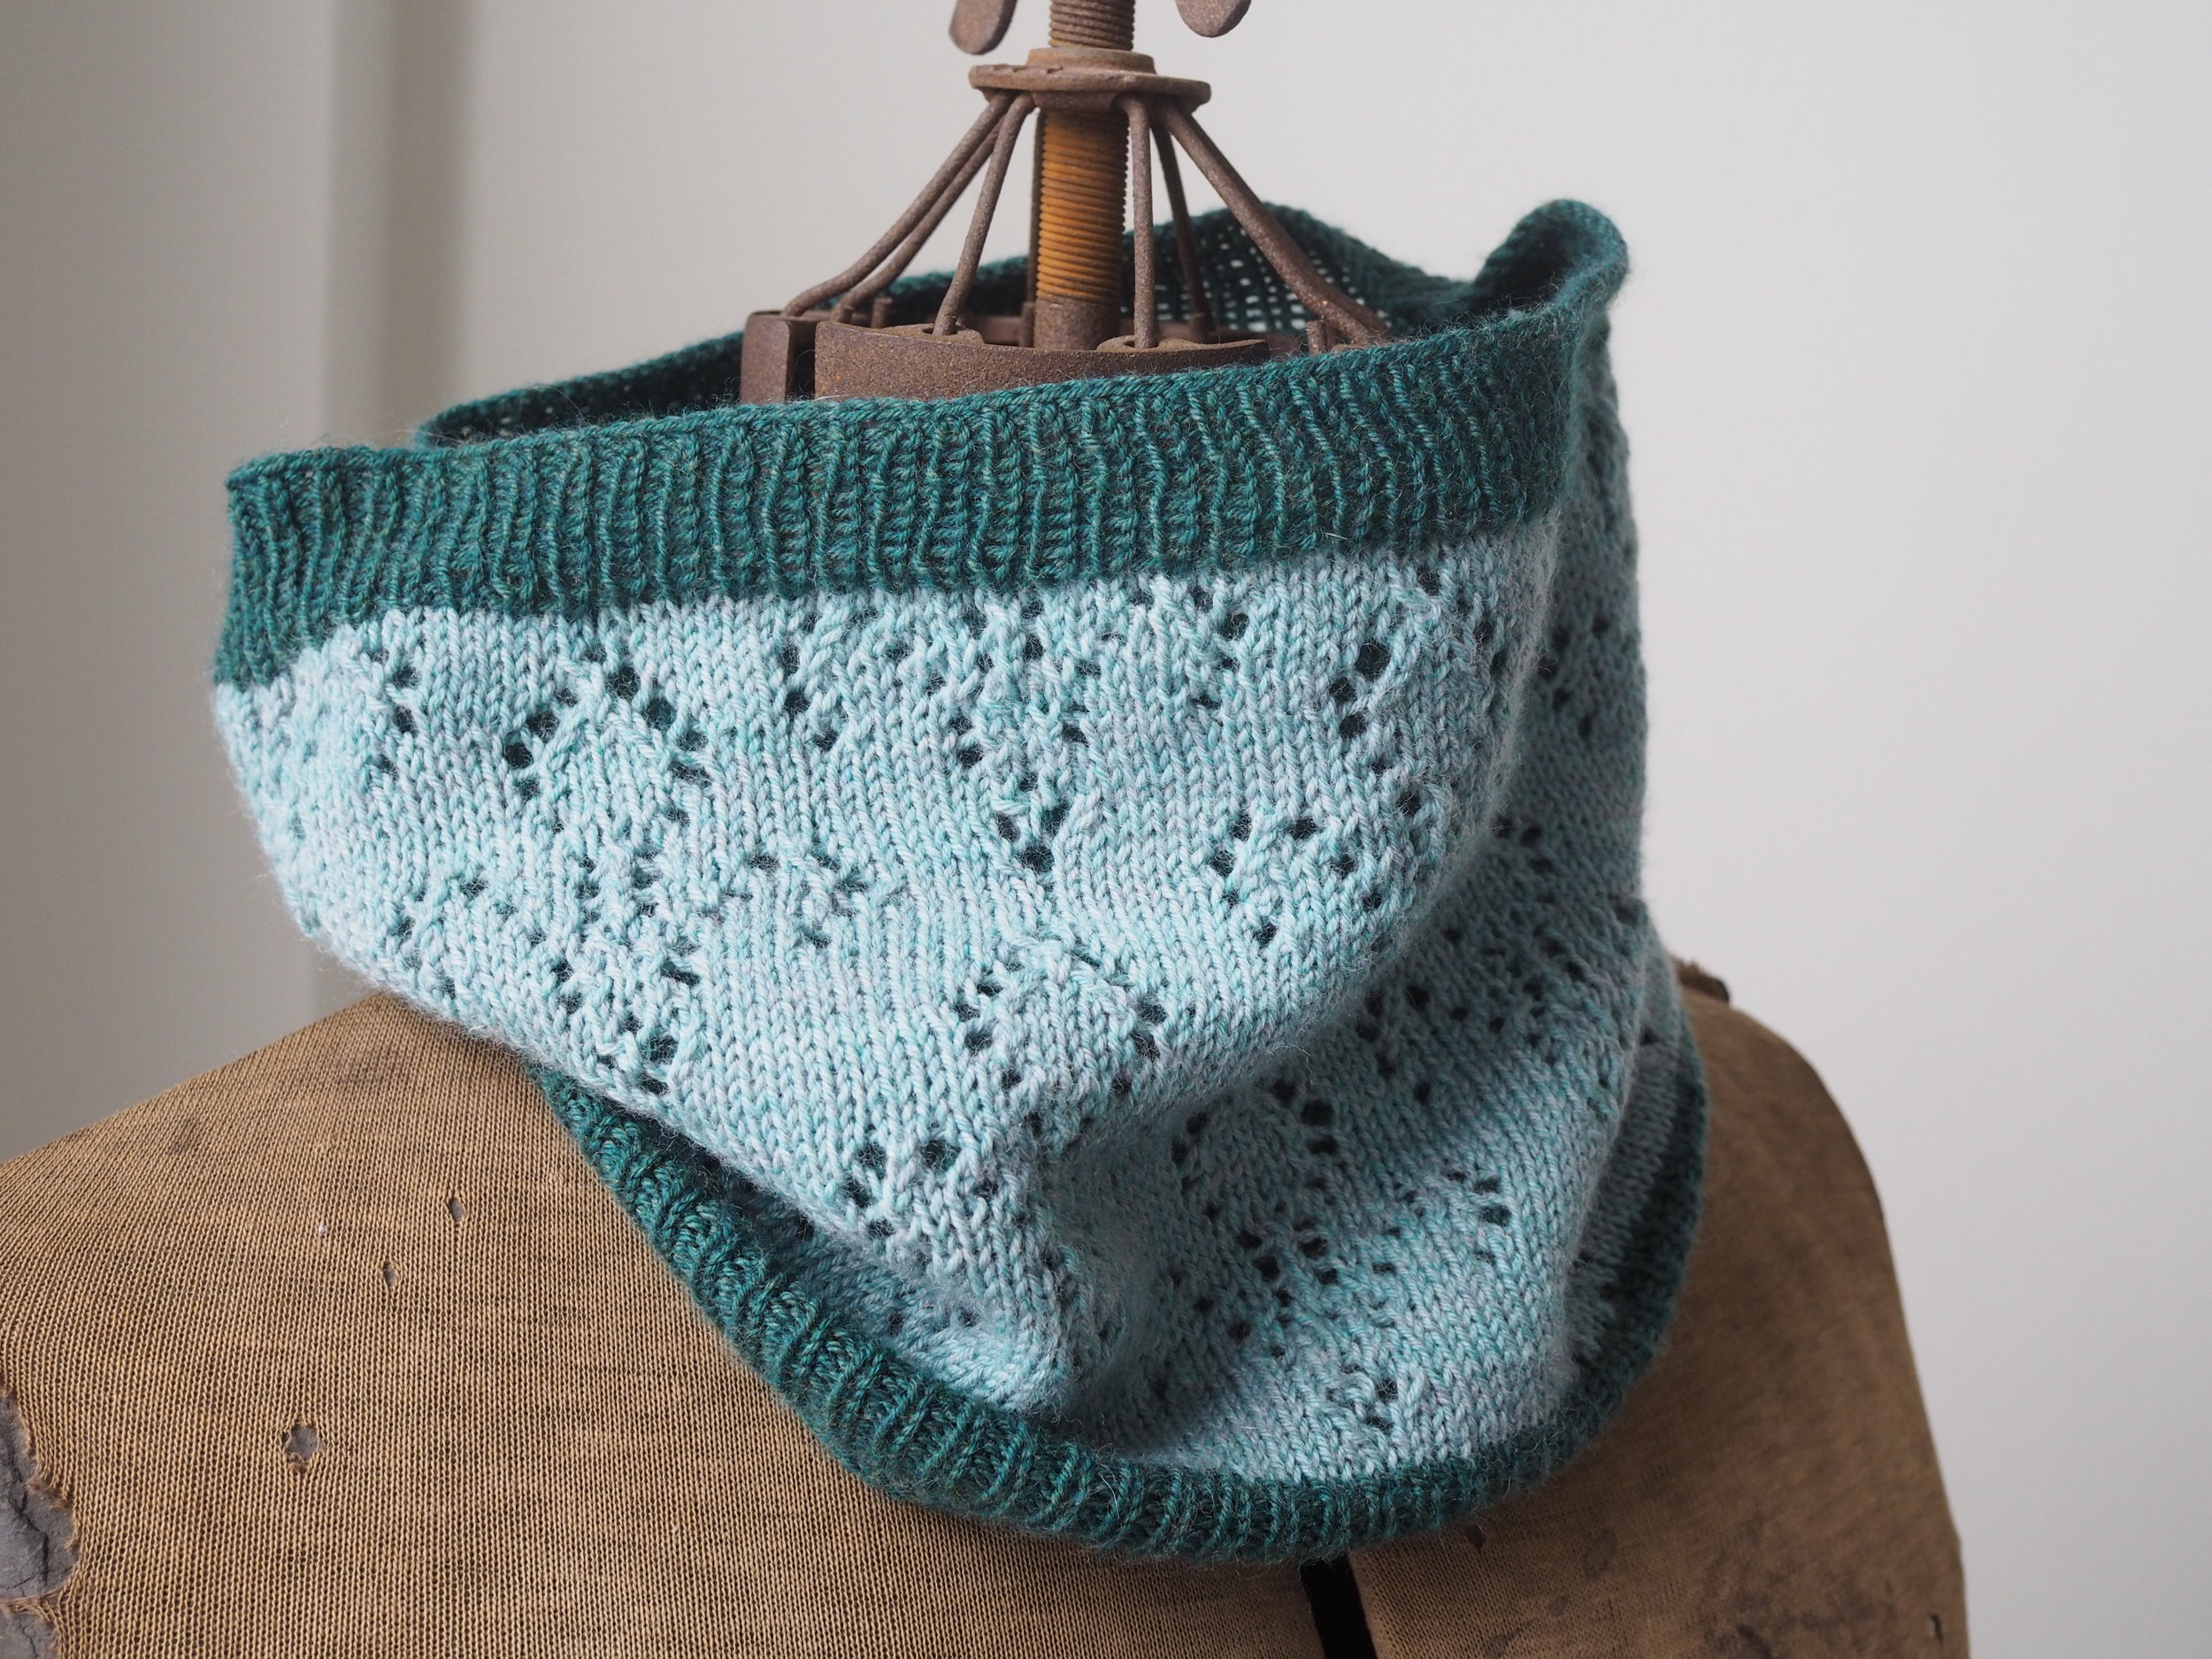
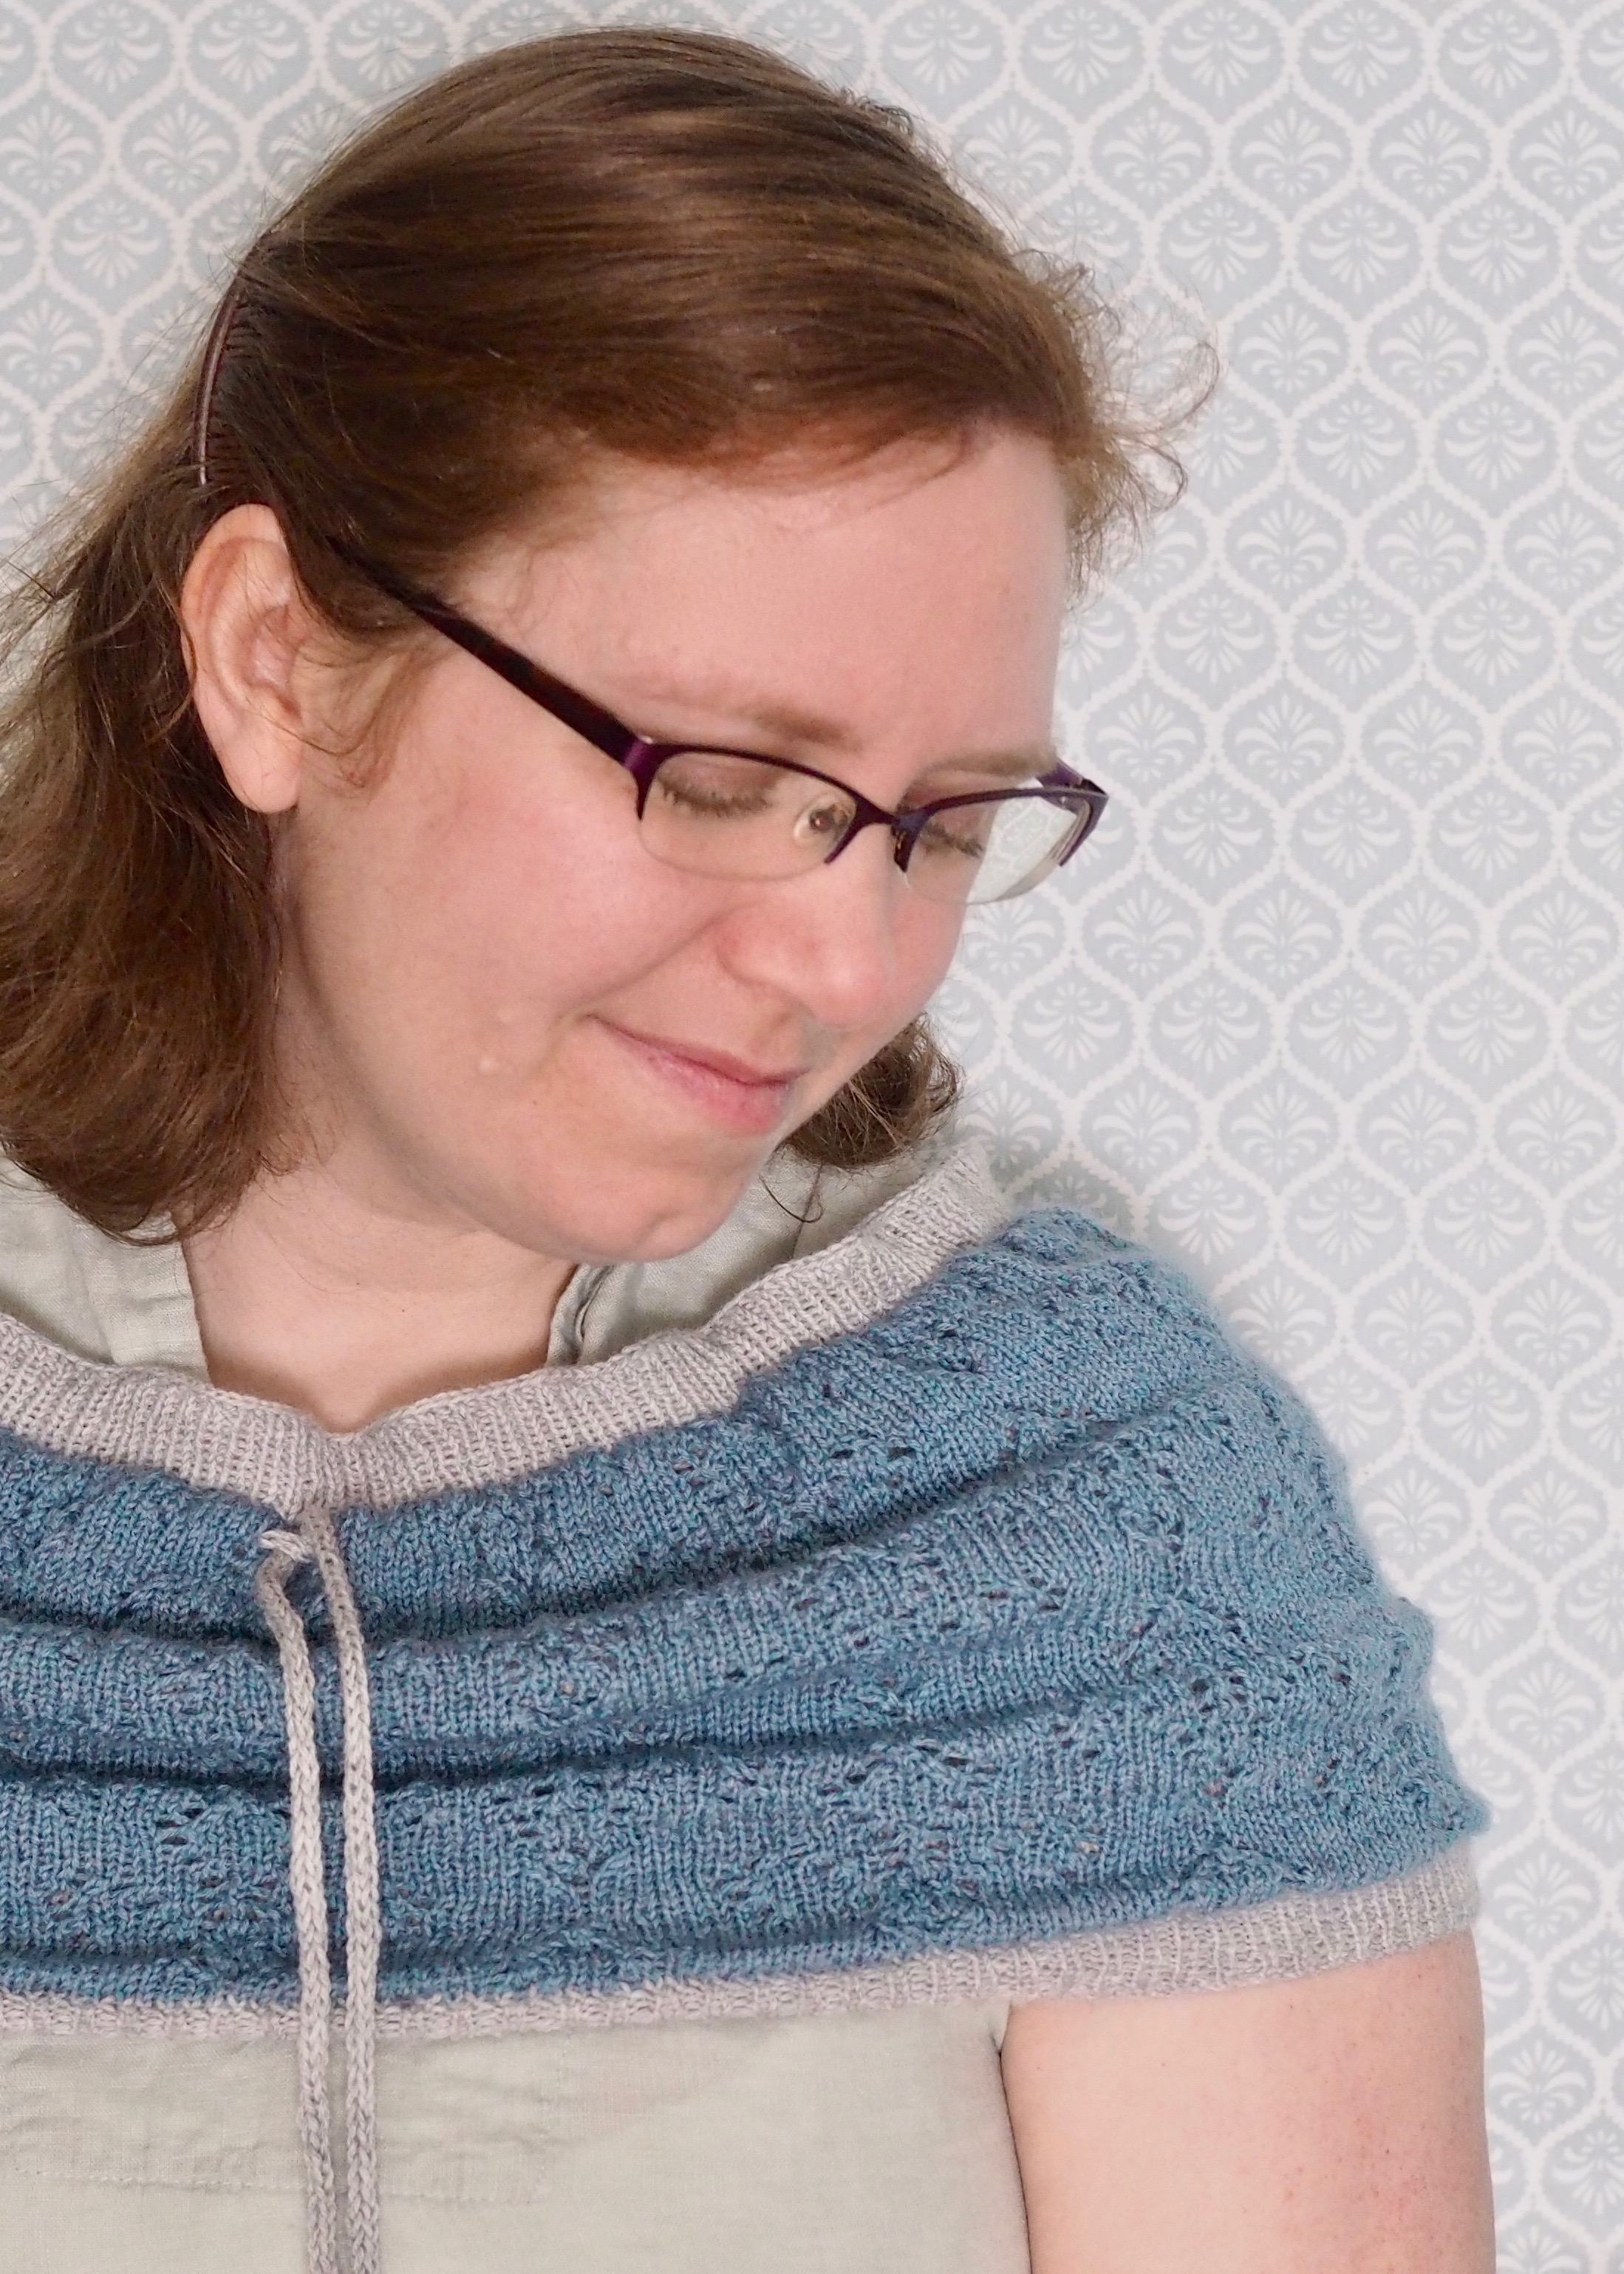
This cowl/stole pattern is a tribute to that great city, and features a lace version of the Fleur di Lis so prominent on the province flag. The large scale lace pattern is backed with a no-sew lining, to provide extra warmth and a (subtle or bold) pop of color. The stole version also provides instructions for adding a drawstring, so it can be worn around the shoulders as shown, or cinched up into a big cowl.
The samples shown are both knit in Coop Knit's Socks Yeah, a favorite yarn of mine for its color palette, texture, and affordability. Souviens is available as a PDF pattern, a 2-skein cowl kit or 4-skein stole kit in three different colorways.
The pattern can be purchased for $6 USD via the following:
Ms. Cleaver Shop | Ravelry | LoveKnitting
Share what you've made!
Use #mscleavercreations and/or tag me @mscleaver on Instagram!