Introducing WOODLAND - A Ms. Cleaver Collection

I'm pleased to announce the launch of my first seasonal collection: WOODLAND.

Consisting of four new embroidery designs, three new knit designs and one old favorite, WOODLAND takes you through fall, to the holidays and beyond into winter. Projects range from beginner-friendly to the more complex and each design is available as a stand-alone pattern or as part of a complete kit of high quality materials like 100% wool felt and 100% wool American yarns, making your making all the more attainable.  

The four knitting patterns can be purchased as an e-book for $18.00 USD or individually ($5-$6 USD). Likewise, the embroidery hoop designs (Cabin, Ice Skater and Moose) can be purchased as a set for 20% off the individual price.  

Flip through the lookbook below, or check out the shop

Gift Worthy Knits.png
Print Friendly and PDF Follow
follow us in feedly

Embroidery 101: French Knots, Shading, Blanket Stitch and Finishing

Embroidery 101 French Knots and Shading.jpg

Today we'll look at more fill stitches, namely the French knot and using satin stitch to blend colors. Then it's on to the last step - finishing your hoop to hang! 

FRENCH KNOT

The classic stitch for adding texture, the French knot is a great addition to your stitching vocabulary.

FRENCH KNOT

  1. Secure thread at back of fabric.
  2. Bring up needle through fabric at desired position.
  3. With needle pointing away from fabric, wrap thread around shank of needle 2-3 times. (The more wraps, the bigger the finished knot).
  4. Holding onto the yarn tail until it becomes too short, push the needle down through the fabric just next to the spot it came up in. Pull snugly against fabric.

Repeat steps 2-4.

Excellent for eyes, textured fill on things like hair, clouds, sheep.

SHADING

To create blended or shaded colors, I use "hairy" satin stitch, but instead of using one color for the entire section, I use a contrast color for one or two "rows".

Again, think of it like coloring with a very sharp colored pencil.  Using a single ply will give you a more blended look than 2 or more plys.

To subtly define the individual petals and clean up the edges, I used backstitch to outline each petal in a single ply of the darker shade.

BLANKET STITCH and FINISHING YOUR HOOP

While you could certainly do any number of things with your finished stitching (make it into a pillow, quilt square, a pocket, etc.) my favorite thing to do is frame it in the hoop. 

FINISHING THE HOOP

  1. Using the smaller inner hoop, trace a circle unto some felt and set aside.
  2. Put the inner hoop back on and make sure your finished image is placed where you want it in the hoop.
  3. Run a long line of basting stitches about a 1/2" from the edge of the inner hoop, securing at one end and leaving a long tail.
  4. Pull on the tail to gather the extra fabric around the back of the hoop.
  5. Place the felt circle over the gathered fabric and attach with a whip stitch or a blanket stitch (see below)

BLANKET STITCH

So named because it was often used to finish the edges of wool blankets, this is my favorite way to sew two pieces of felt together, or create a tidy edge.

  1. Leaving a long tail, insert your needle back to front about 1/4” from edge of fabric. Pull thread around outside edge of fabric and re-insert in needle at same spot, making a loop. Send your needle sideways under this loop at the top edge of the fabric, grabbing a bit of the fabric to anchor your thread.
  2. Insert needle back to front 1/4” from previous stitch at same distance from edge. Pull needle so thread tail is trapped along edge of fabric. 

Repeat step 2.

For a one-stop guide to all the stitches covered in this series,  click here for a downloadable PDF of basic stitches

Embroidery 101 Hoop finishing .jpg

Print Friendly and PDF Follow
follow us in feedly

Embroidery 101: Stem Stitch, Split Stitch, Chain Stitch, and Satin Stitch

Embroidery 101 Satin Stem Split Chain.jpg

So the danger of beginning to post a tutorial series before you've taken all the photos for it is after posting the first two sections, you might get a massive paper-cut on your finger, which would make for less than appealing tutorial photos, so you have to wait for it to heal and then you go to Canada on vacation for a week, and then suddenly it's been a month. Or is that just me? 

In any case, today we'll look at the other basic outlining stitches (stem, split, and chain) and start down the rabbit hole that is satin stitch. 

Needles threaded and paper-cut free? 

Let's go!

STEM STITCH

Stem stitch is my personal favorite outlining stitch. It curves beautifully, and I find it easier to stitch alongside my previous stitch than to evenly split the plys (as in split stitch below). As the name implies, its great for curving lines, like stems (or rivers or hair, etc.). 

STEM STITCH
1. Make a stitch of desired length.
2. Along the design line, bring up the needle at the center of the previous stitch, pushing the plys of the previous stitch to the side (left or right, but be consistent).
3. Bring needle forward and push down through the fabric at the same stitch length as first stitch.
Repeat steps 2-3.
 

SPLIT STITCH

The split stitch and stem stitch are pretty much two sides of the same coin. They're almost identical to work and can be used in the same way, though they do vary in appearance, with stem stitch having a more twisted rope appearance, while split stitch looks more like a mini chain. 

SPLIT STITCH
1. Make a stitch of desired length.
2. Along the design line, bring up the needle in the center of the previous stitch, splitting the plys evenly.
3. Bring needle forward and push down through the fabric at the same stitch length as first stitch.
Repeat steps 2-3.
Excellent for straight or curving lines, thicker borders.

CHAIN STITCH

Not a chain of fools, but a lovely stitch for thick lines that work lovely as outlines and (as used here) fill for smaller areas. It's a little more involved than the other outlining stitches, but when used as a line, you get one twice as thick. You can also use a single chain stitch individually as drops, petals or leaves.

CHAIN STITCH
1. Bring needle up through fabric, then push back through at same spot, leaving a small loop of desired length.
2. Along the design line, bring needle up through fabric at the base of the loop you just made (on the inside of the loop), then re-insert needle along the design line at the desired length of the loop, trapping the thread tail under the needle and pull tight.
Repeat step 2.
 

SATIN STITCH (SMOOTH)

Ah, satin stitch. For so long this was my stitching nemesis. I never felt like I could get it look, well, satiny and my edges always looked a mess. Two things changed this for me:

  1. Practice.
  2. Using 1 ply. 

When you're using a single ply, it's much easier to fill in gaps and make small adjustments and really, it doesn't take all that much longer to do than with multiple plys. 

SATIN STITCH
1. Outline area to fill with an outline stitch. If a large area is to be filled, stitch randomly within fill area to provide padding.  (Both of these are optional)
2. Starting at one side, pull up needle just outside outline stitching and pull across fill area.
3. Push needle down through fabric just outside the outline stitching.
4. Bring up needle on same side as step 2 right next to previous stitch.
Repeat steps 2-4

In general, I'd recommend thinking about working satin stitch as if you were coloring with a very sharp colored pencil. You're going to see the direction of the lines, it's not a blended or smooth as a crayon or a marker, but isn't that kind of the point? 

SATIN STITCH (HAIRY)

Is this still satin stitch? I think so. You get a glossy appearance, but I think this looks more natural, like fur, and serves as a great basis for shading, which we'll cover in the next post. 

For "hairy" or "furry" satin stitch, I like to start out making lines in the direction I want in 3-5 different lengths. Because the ends are staggered, you don't have to loop back underneath to the opposite starting point like with smooth satin stitch. Make one "row" of the staggered stitches. When working the next row, start some of your stitches in between the first row stitches and some starting at the end of the first row stitches. Basically, you don't want any clear "lines." Continuing adding "rows" until your area is filled.

In the example above, you can see about three "rows" in the main body of the bee, with one staggered row each for the remaining brown and yellow tail portions. 

KEEPING THE BACK TIDY

When I talk about embroidery, someone will always invariably ask me how to keep the back tidy. The truth is, since I usually hang my hoops on a wall, or use them on a pillow and you don't see the back, I generally don't much care what my backs look like. But, if the back is visibe and you are concerned, my tidy back tips are this:

  1. If you have to move to a spot more than an inch away, cut the thread and anchor it anew in the new location OR
  2. Weave the working thread through the existing stitches (as seen above) until you reach your new starting spot.

That's it, pretty simple! 

NEXT UP


Print Friendly and PDF Follow
follow us in feedly

Embroidery 101: Prepping the Hoop, Back Stitch and Fixing Mistakes

Embroidery 101 Backstitch.png

You've got your design on your fabric (either by transfer, drawing or pre-printed designs) and gathered your supplies. Now what? 

First, you've got to get your fabric in your hoop. Embroidery hoops come in two pieces, the outer "open" hoop with a screw closure and the inner closed hoop. Hoops are most often found in wood and plastic. I prefer wooden hoops because of the warmer feel and they make great inexpensive frames, just make sure to get one that is reasonably thick. When possible, I like to fit my whole design in the hoop without having to keep moving it across the fabric, so most of my designs will fit a 6" hoop, which I find the most comfortable to hold. Hoops can also be found in 4", 7", 8" diameters or there are straight edged stretchers for larger projects.  If you're just starting out, a handful of 6-inchers will get you far.

Prepping the Hoop

I generally prefer to put the inner hoop on the back, which I'll show here, but others prefer to do it with the inner hoop on top, try both and see what you prefer! First, loosen the nut at the top to allow the inner hoop to drop out easily.

Place your fabric, design up, on top of the smaller inner hoop. If the whole design fits in your hoop, center it. For larger designs that don't fit the hoop, center the part you're planning to work on first.

Testing the Hoop Tension

Place the larger outer hoop on top, trapping the fabric between the inner and outer hoops. I usually put the screw at the top of the hoop, but place it wherever it will be in your way the least. Pull the fabric tightly around the inner hoop, making sure the design looks even and tighten the screw until the fabric is well-tensioned between the two parts of the hoop. It should have only a slight amount of give and will feel like a drum head when tapped. If it's too tight, you're needle will squeak as you stitch. Too loose and you risk distorting the design. 

Separating Plys

Pick the thread color you wish to work with first and cut a length about 1 yard (36 inches) long, or the distance between your fingers and the center of your chest. If you've used my thread prep tutorial, your thread will already be the perfect length. For this tutorial we're using 6-strand embroidery floss (DMC is the most common brand). If you're using Perle cotton or another tightly twisted thread, skip this step. 

6-strand floss is so-called because it's made of six individual plys that are very loosely twisted together. Depending on the thickness of line you want, you can stitch with up to all six plys for a thick line, to one ply for a very fine line. For most standard stitching, I use 2-3 plys, except for satin stitch (we'll cover it later), which I always work with 1 ply. 

Here, we'll use 2 plys. To separate plys, take the number of plys (2) you wish to use in your dominant hand, with the remaining plys (4) in your non-dominant hand. Pull your hands apart and the floss will begin to form a "Y" shape. It can be helpful to hold the loose end between your teeth to keep the floss from tangling as it separates. 

Back Stitch

Back stitch will get you incredibly far in the world of embroidery. You could do an entire project with the one stitch. It's great for straight lines, text and turning corners.

As it's name implies, back stitch works backward - you put the needle up through the fabric a stitch length away from your previous stitch and the the needled is insert back down by the end of the previous stitch.

Because of this backward nature, it's great to start any stitching line with as it holds the floss in place after a few stitches with no need for knots, simply hold the thread tail with your hoop hand until established. 

Back Stitch:
1. Make a stitch of desired length.
2. Along the design line, bring up the needle the length of one stitch away from previous stitch.
3. Bring needle backward and push down at the end of the previous stitch.
Repeat steps 2-3.

The bee leg shown here is made of four back stitches. A good stitch length will vary by the design, for example, tight curves will require shorter stitches. I generally work most stitches 1/8" to 1/4" long. Try to keep your stitches even (this will get easier with time), but don't worry too much about perfection, you're going for an overall effect and no one is going to look at individual stitches.

Embroidery 101 Tutorial

Fixing Mistakes

If you DO wish to pull out a stitch (or two), simply remove the needle from the thread, use the needle to pick out any wayward stitches, re-thread and carry on. If it's all knotted up, use fine-tipped scissors (like the iconic stork embroidery snips) to cut out the offending stitches and re-stitch. Any offending needle holes can usually be steamed out with an iron. 

I'll go into detail on other outlining stitches in the next post, but until then you can Click here for a downloadable PDF of basic stitches


Print Friendly and PDF Follow
follow us in feedly

Embroidery 101: Transferring a Design to Fabric

Embroidery 101 Transferring Patterns.png

While you can certainly improvise embroidery (and I suggest you do at some point!), to learn, I recommend working an established design. You can do this in three primary ways: draw, trace or transfer or you can purchase a pre-printed design, which are becoming more and more widely available. 

embroidery transfer tools

Draw

Draw is exactly what it implies. You draw the design you wish to embroider directly on your fabric. The pro is that you can make the design anything you want, but it can be harder to adjust once you've drawn it without starting from scratch. You can draw on your fabric with a number of tools, (from bottom to top in above photo)

  • A regular pencil (a thin mechanical pencil gives a delicate line). You might be able to erase it, but it is pretty much permanent.
  • A water soluable dressmaker's pencil - you can sharpen to a fine line and erase with water if needed.
  • A water soluable dressmaker's pen - this is a darker line and can be washed out, but is generally thicker.
  • The top tool is a iron-on transfer pencil, which we'll discuss later.

If you're working on a dark fabric, look for white dressmaker's pencils and pens. 

Trace

Tracing is my favorite transfer method. You can tweak the design on paper as much as you want beforehand and then when you're happy with the design and scale of your image, you then transfer to the final fabric. To trace, you'll need any one of the tools listed above, plus some painters tape and a bright window (or a lightbox).

Take your final design and tape it up against your window. Tape the fabric over the image, so it is placed where you want. Tape the fabric securely so it doesn't shift as you trace. If it's sufficiently sunny (or you're using a lightbox) you should be able to see the image to trace easily. Using your tool of choice (my preference is the water soluable pencil or pen) trace the entire image, coloring in lines thicker or thinner as the design dictates. 

When you remove the fabric (last image) you should have a light copy of the design to stitch over. 

Iron-on Transfer

I don't really recommend this method, since the marks the transfer pencils make are permanent and, honestly, really hard to see, but it's an available method, so I thought I'd share. 

To do a iron-on transfer, you'll need to print or copy your final image as a mirror of what you want the finished design to look like. That is, any text should be backwards, etc. Using a iron-on transfer pencil, darkly trace your design on the paper. Then using an iron set on medium heat, press the image, traced side down, on the fabric. It will leave a faint pink mark. (Last image - can you see it? Squint really hard.)

Once you've got the image on your fabric, we'll get it in a hoop and start stitching!!

Click here for a downloadable PDF of basic stitches


Print Friendly and PDF Follow
follow us in feedly

Your Questions - Part I

My Studio

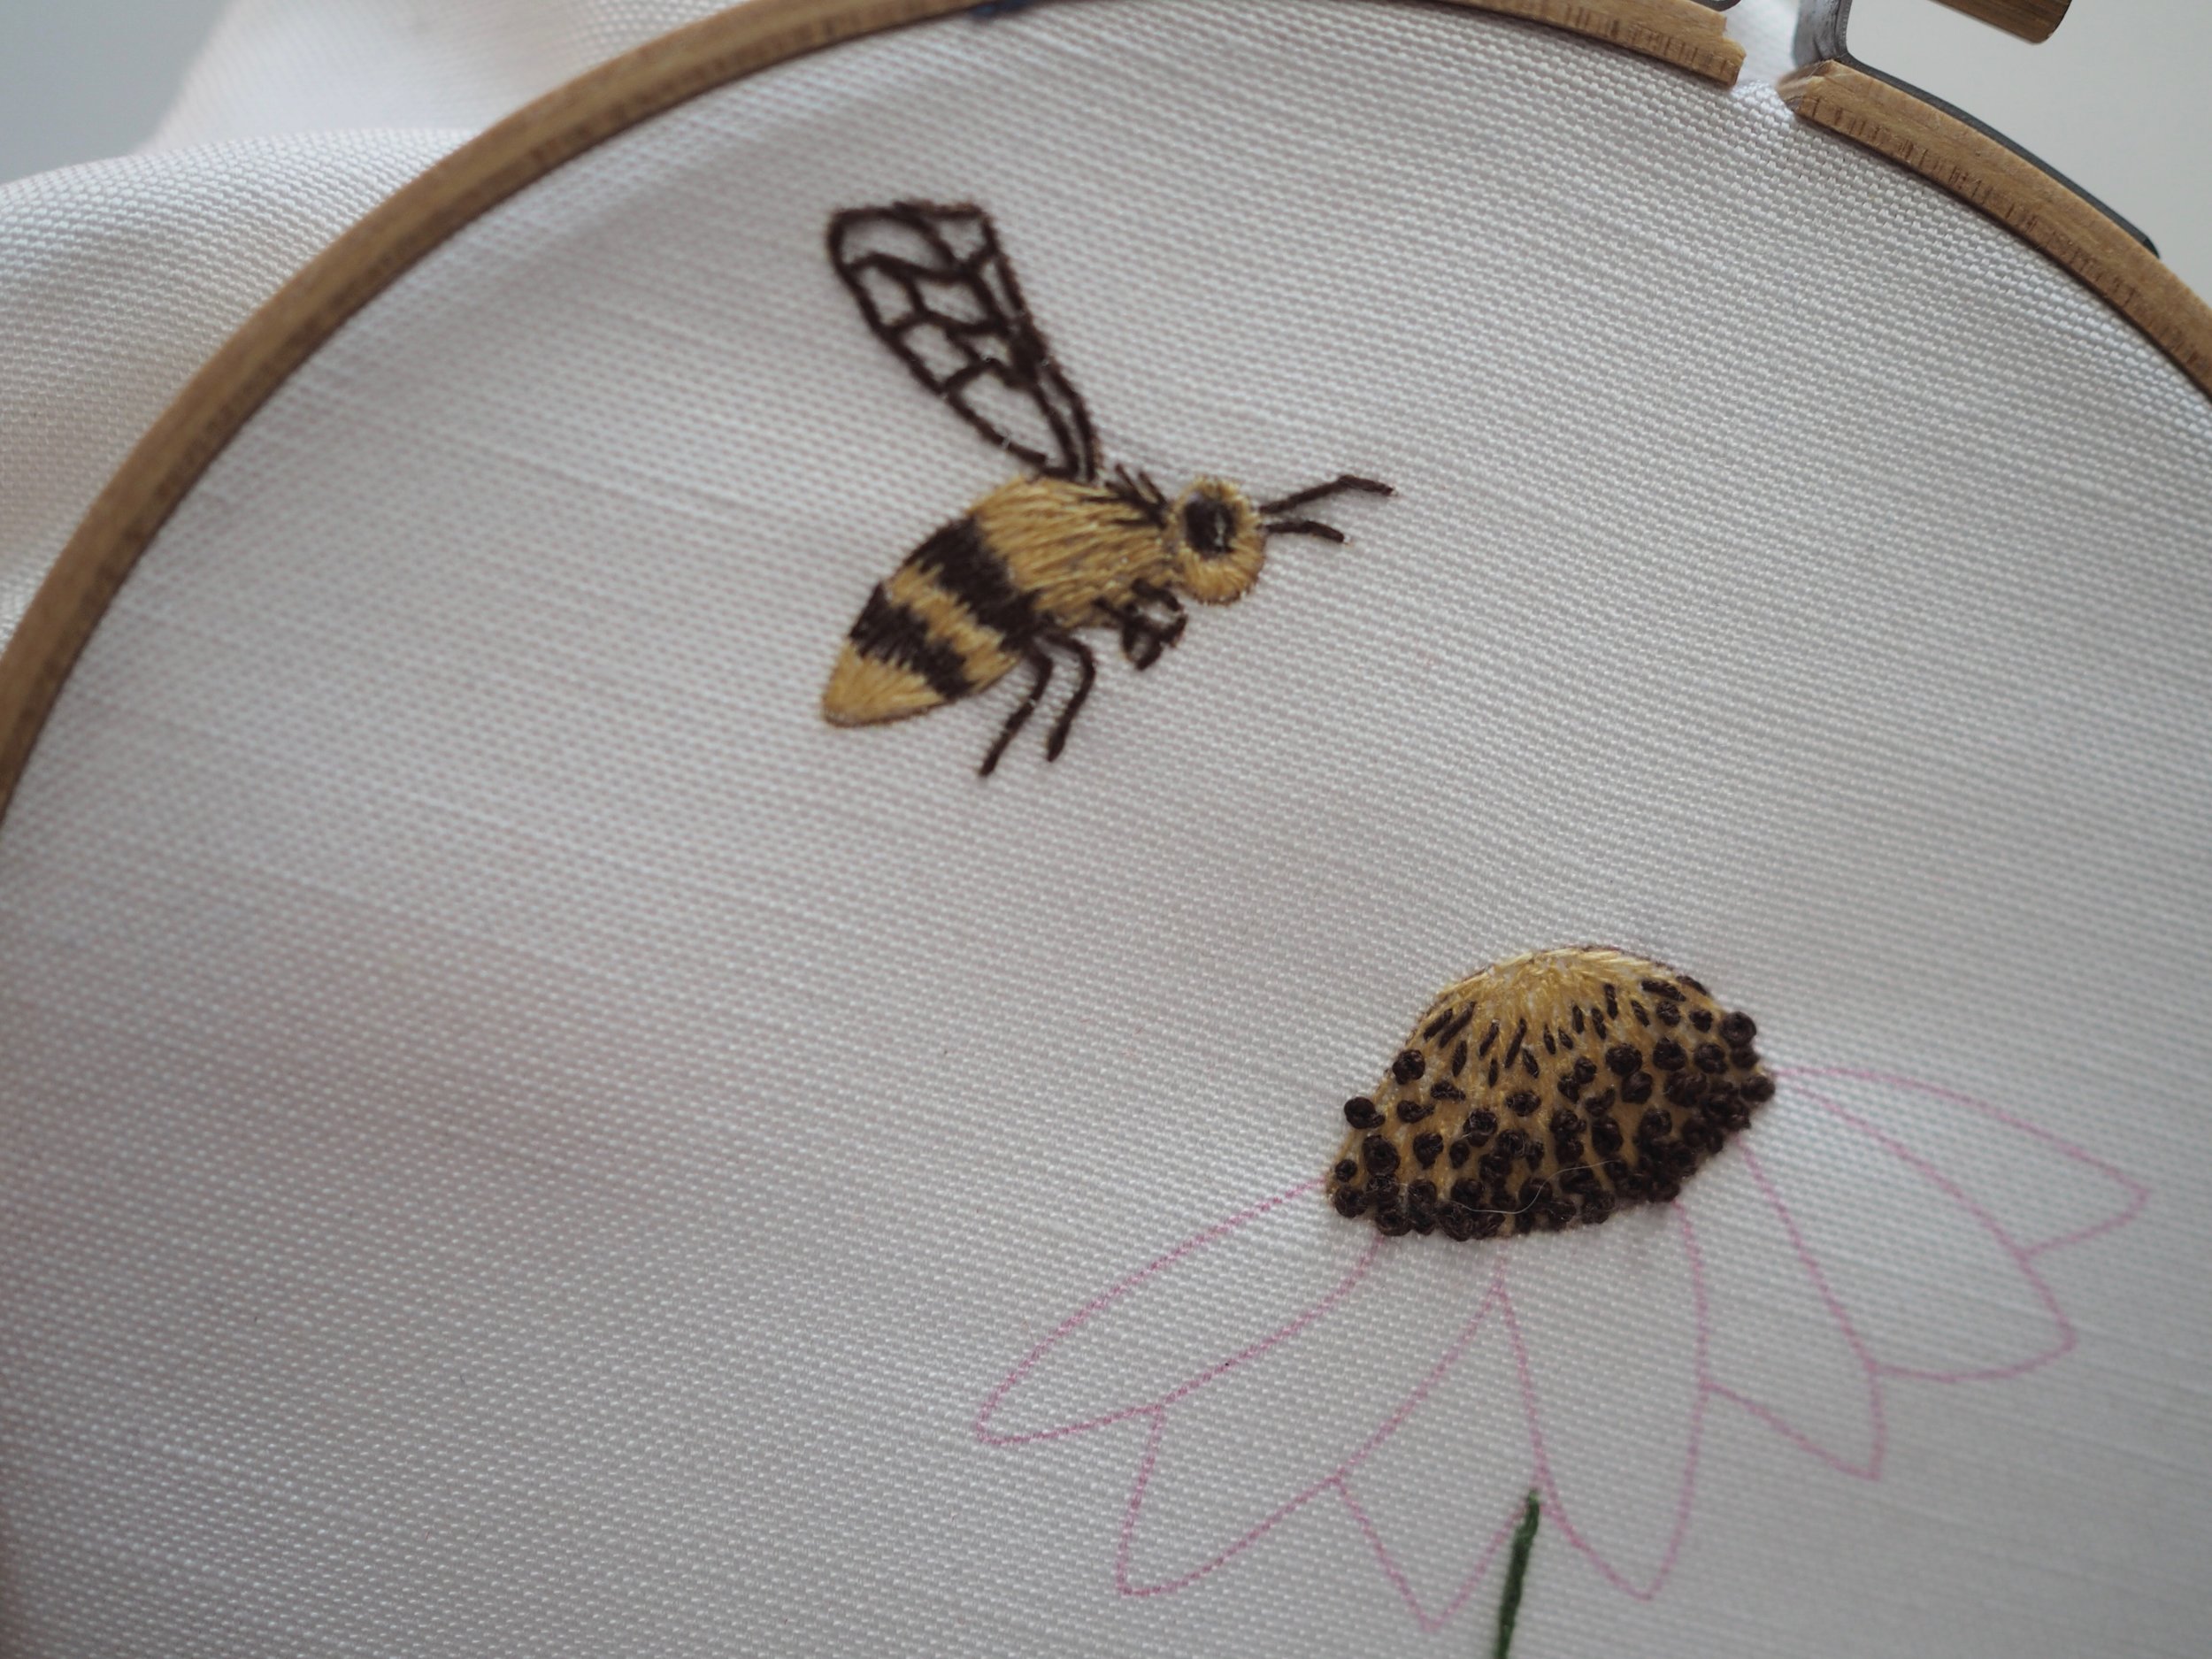
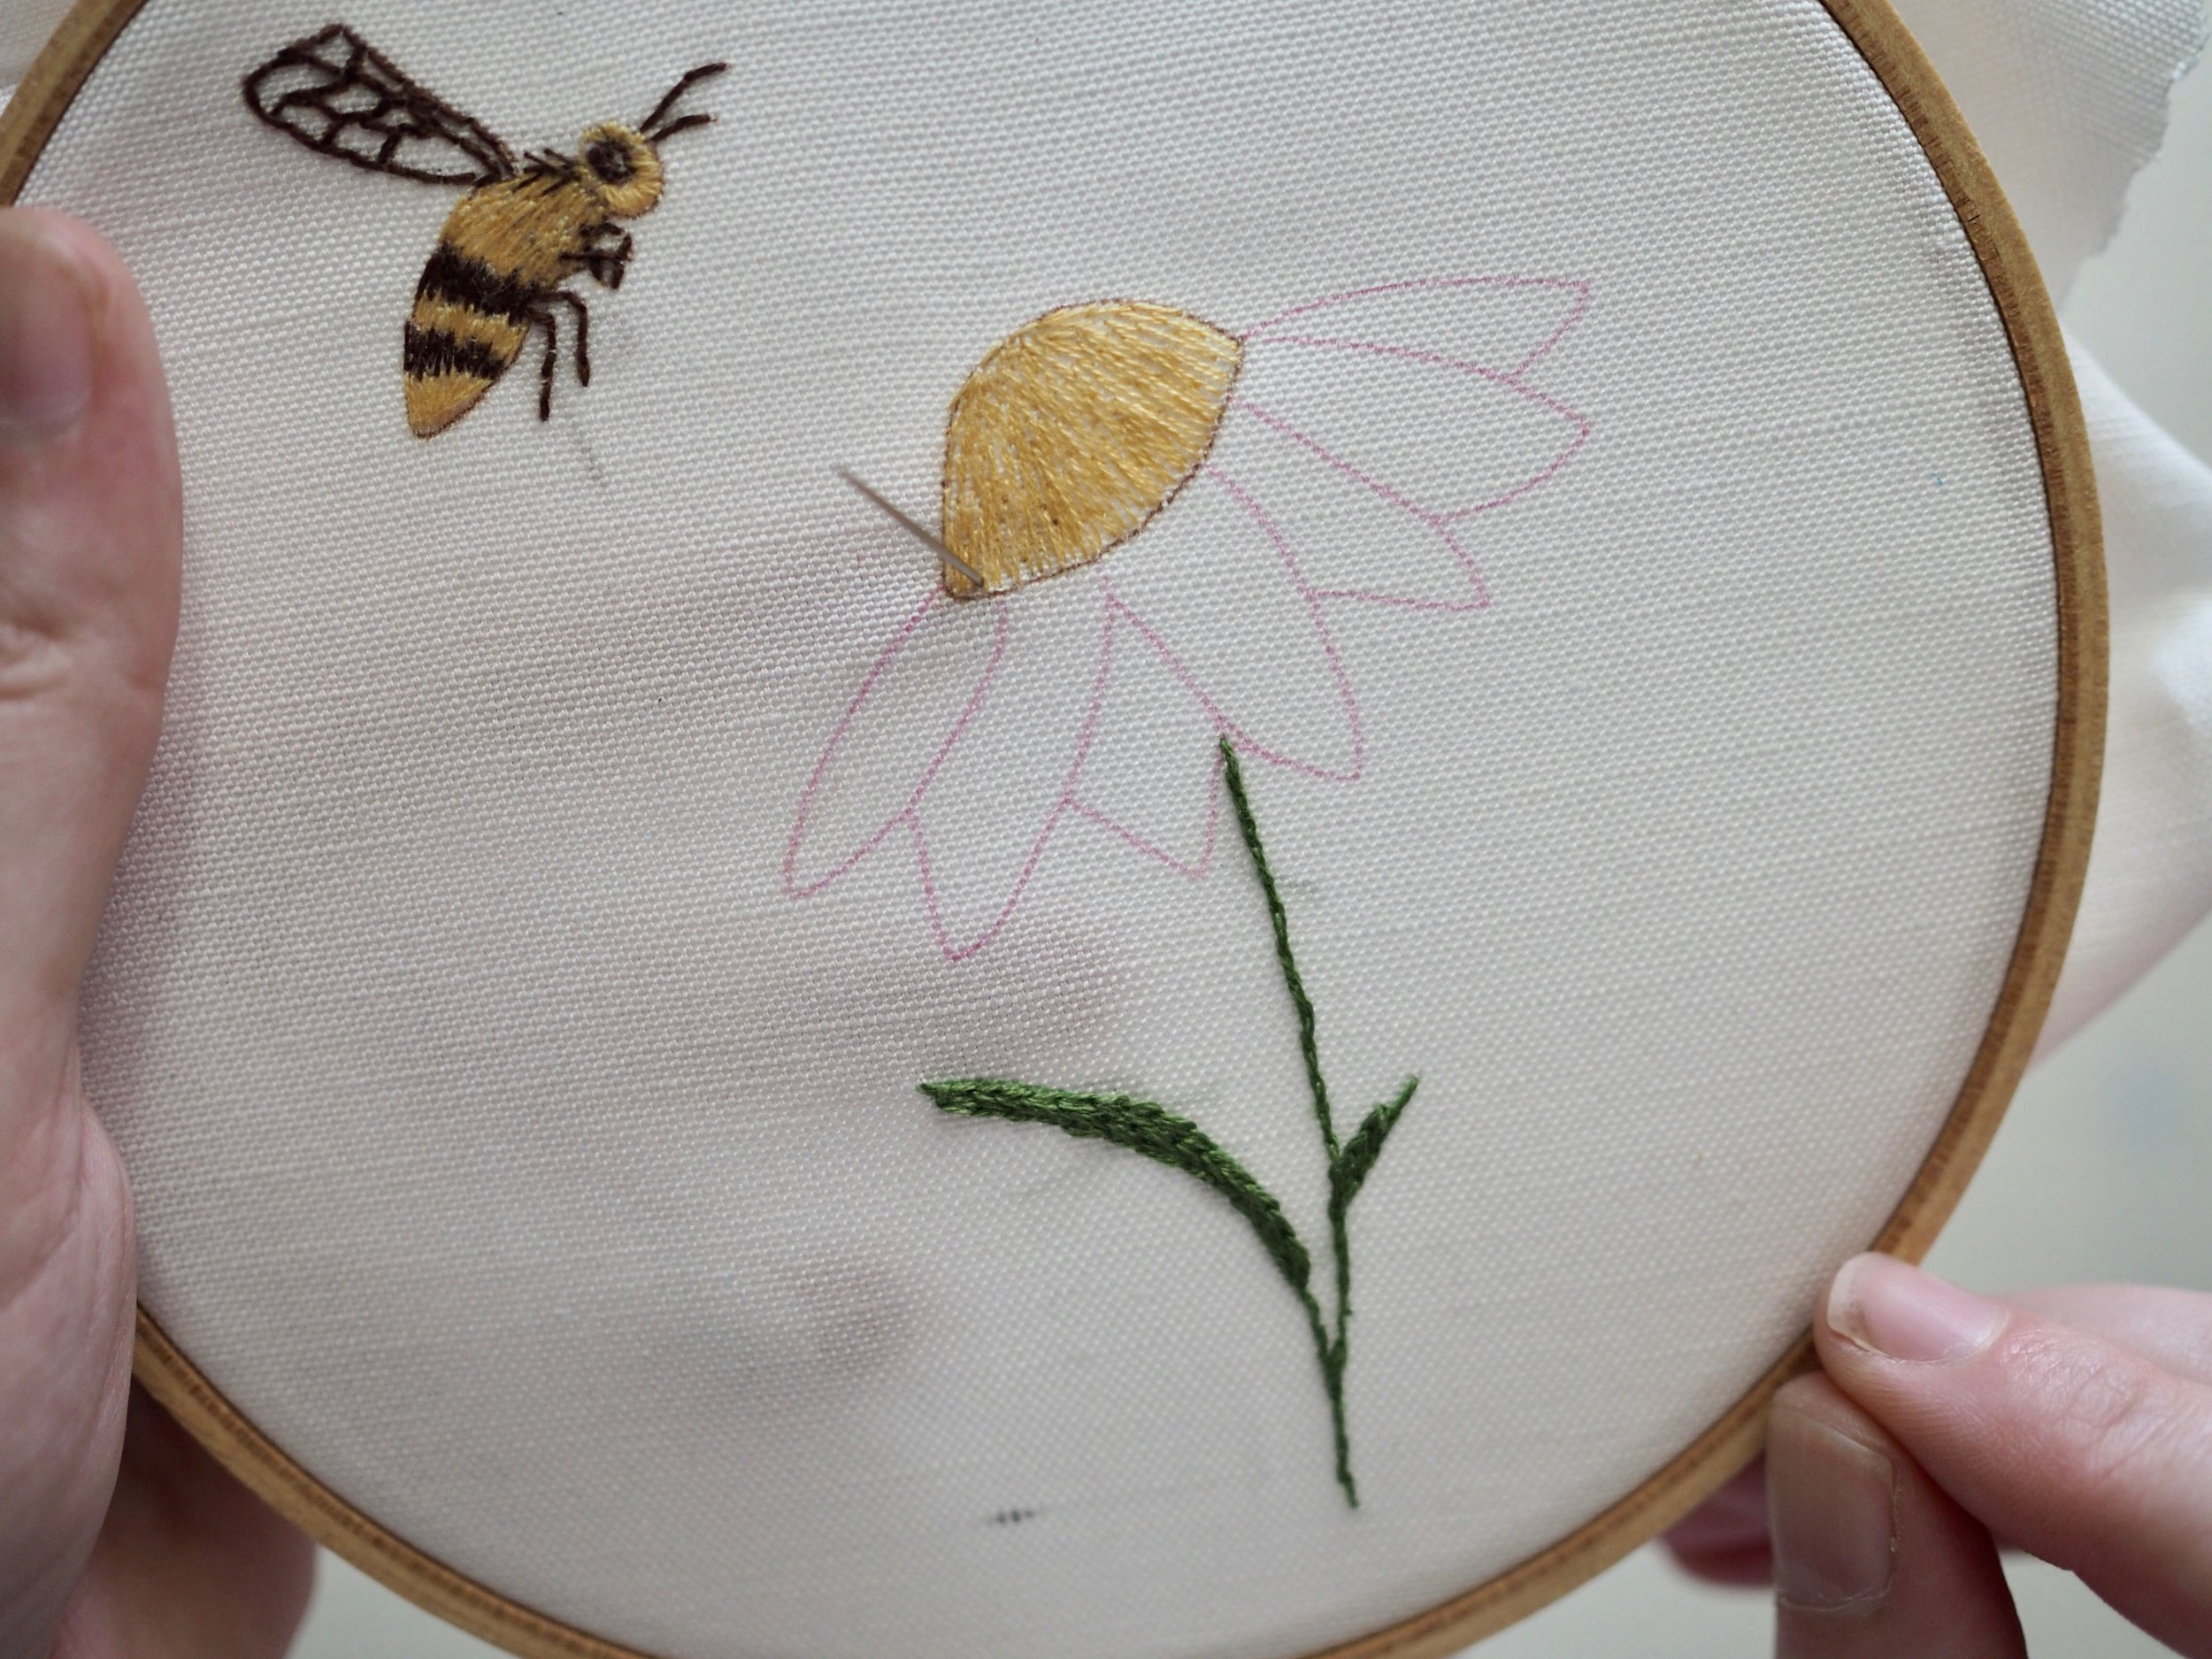
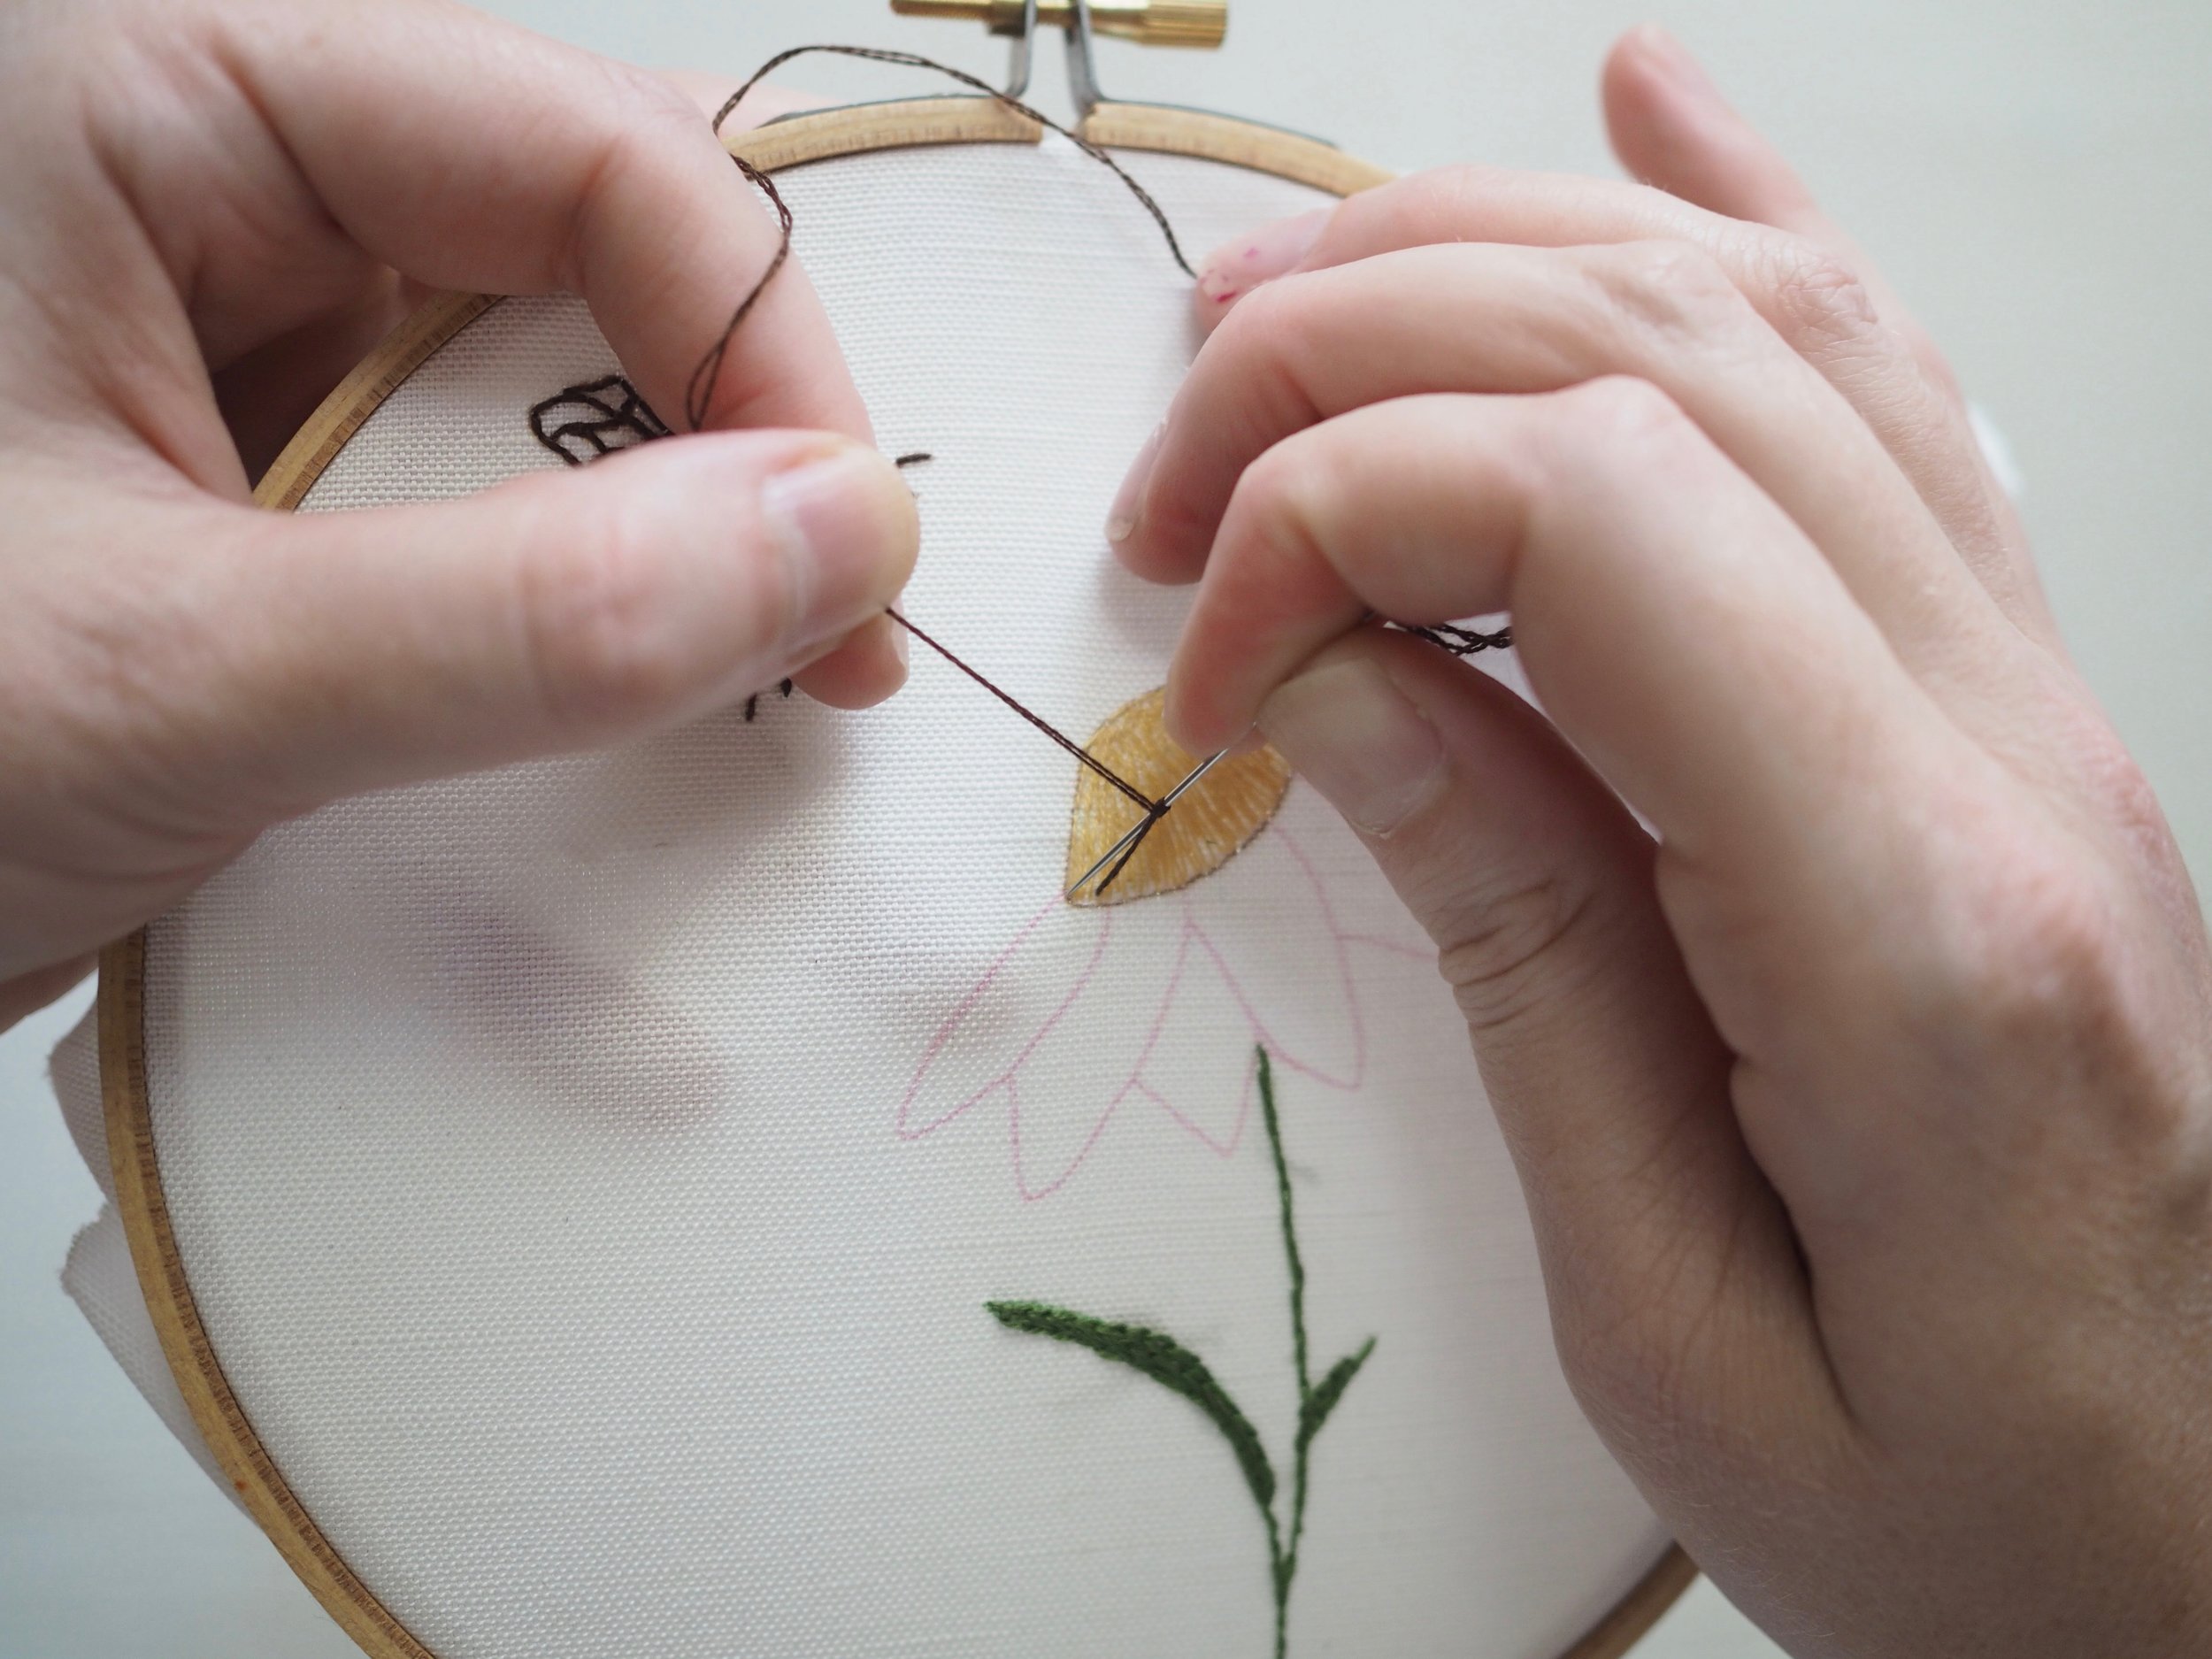
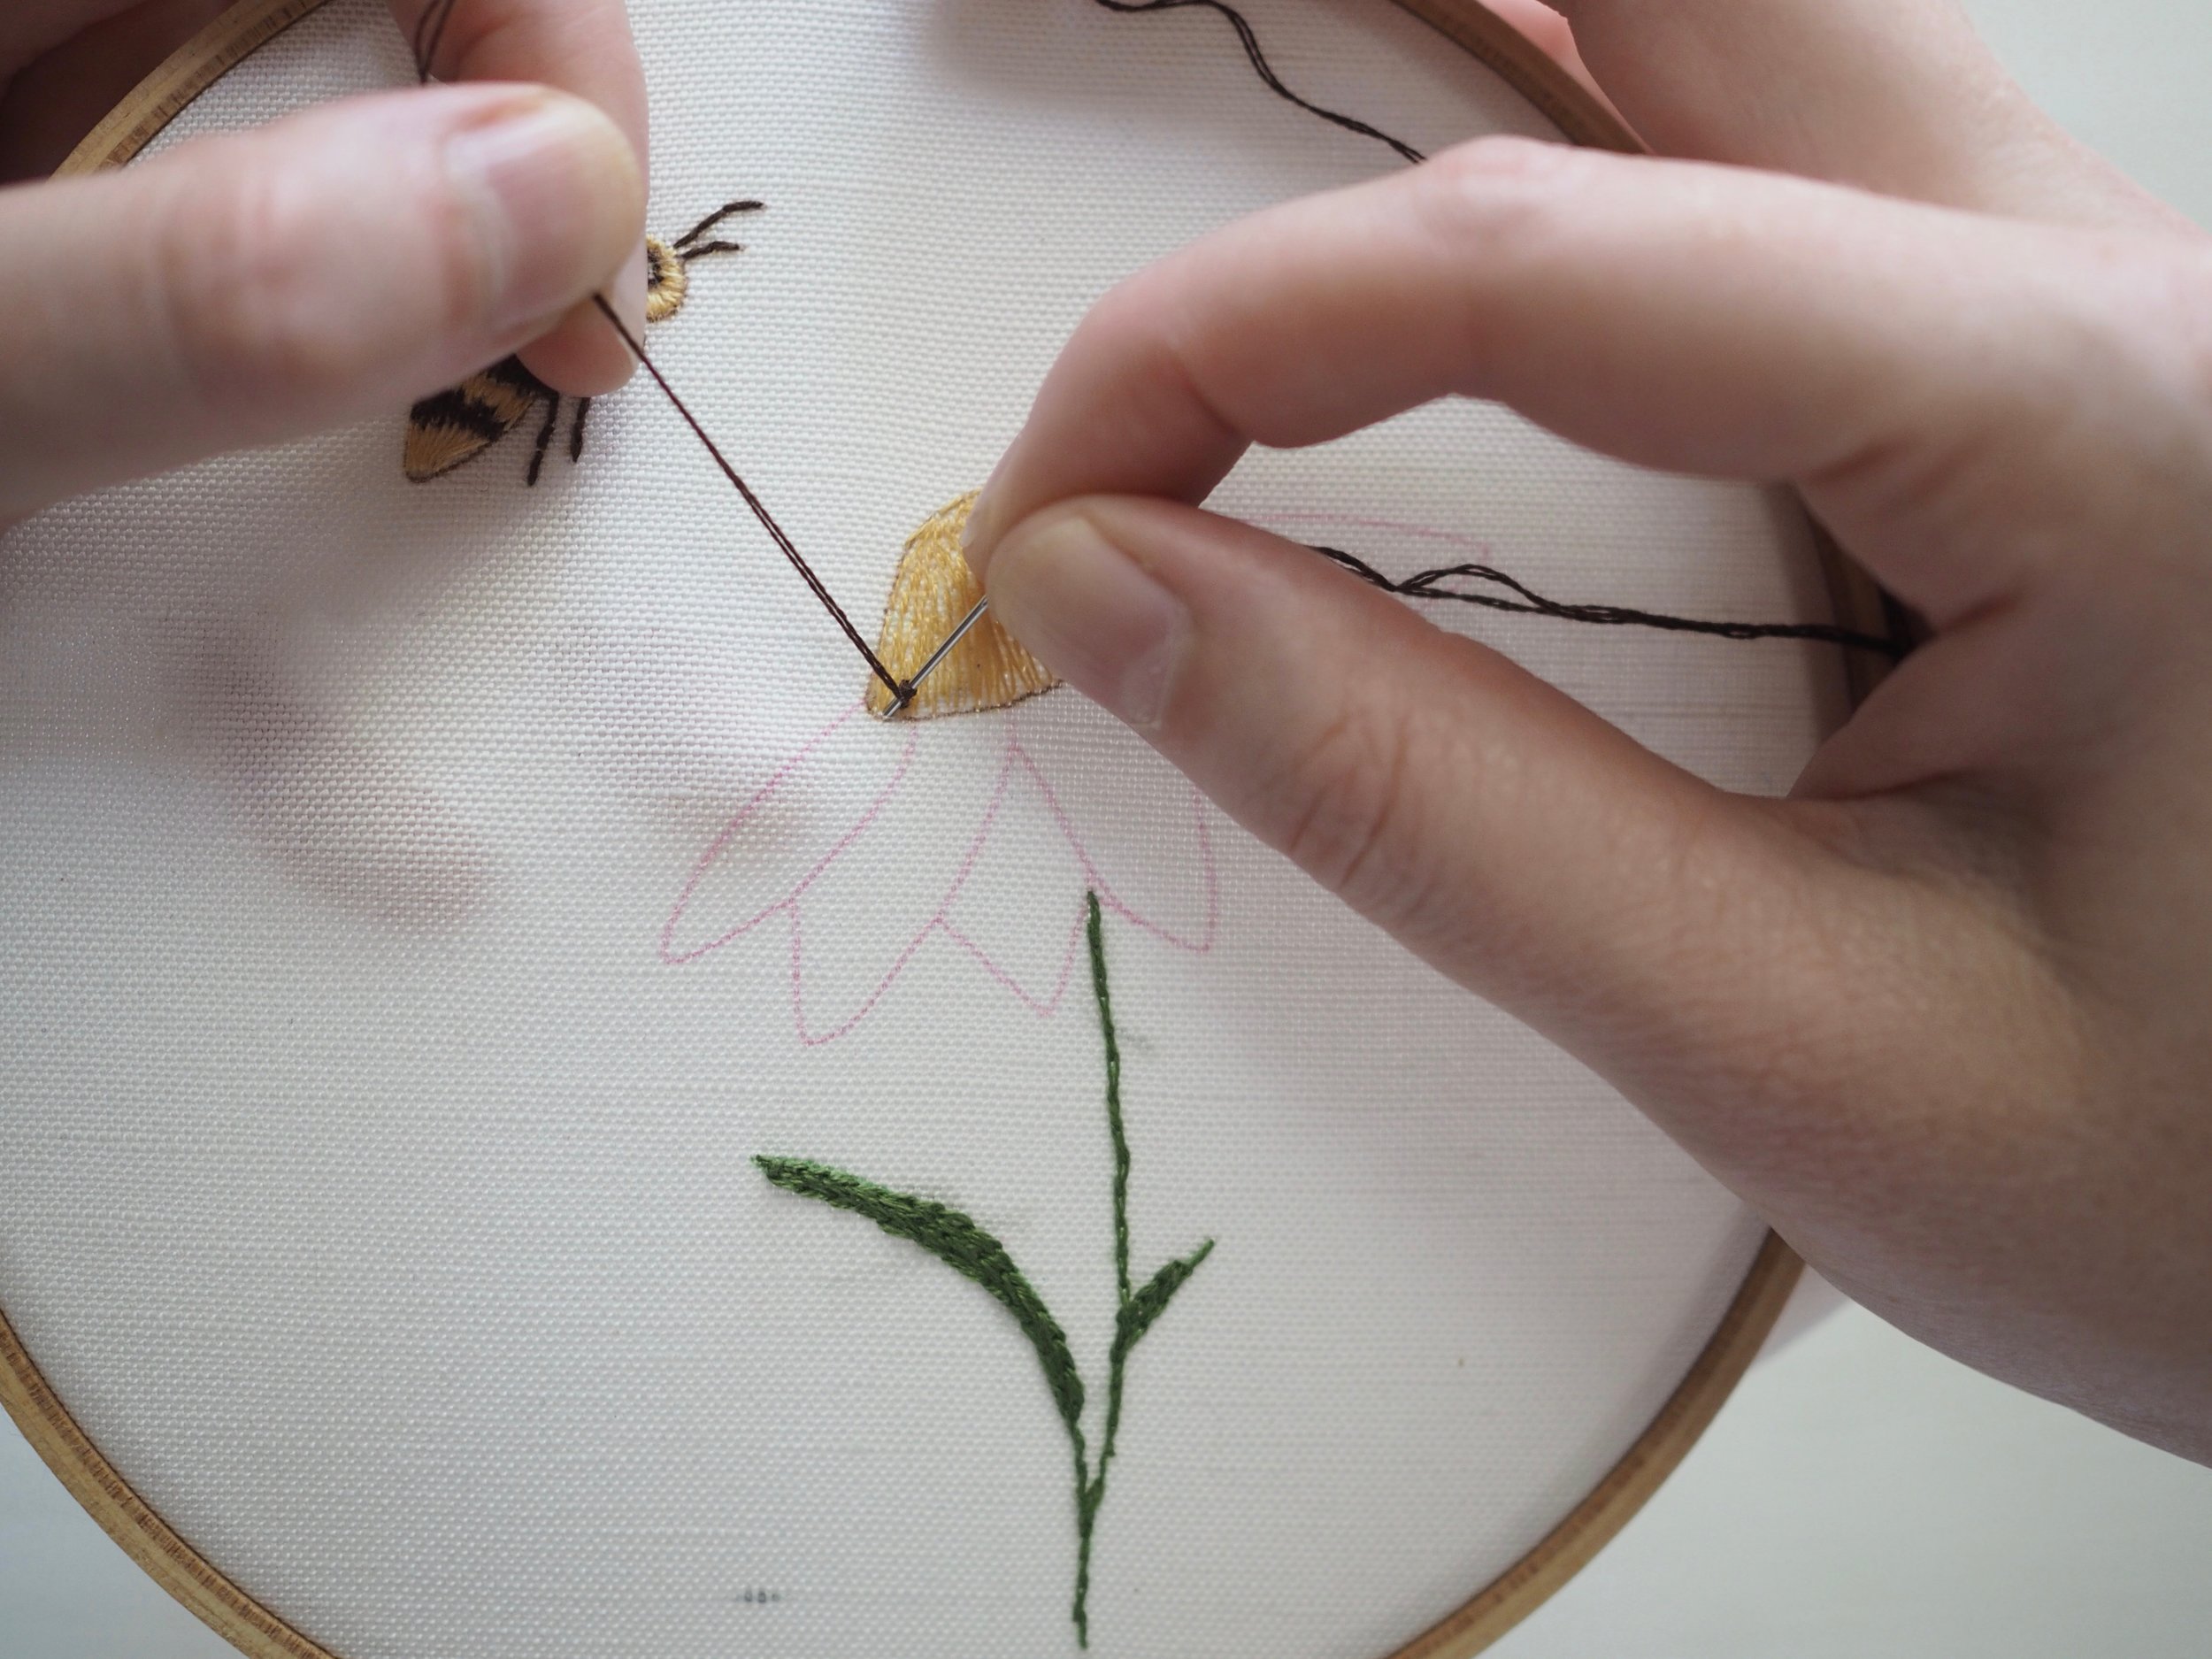
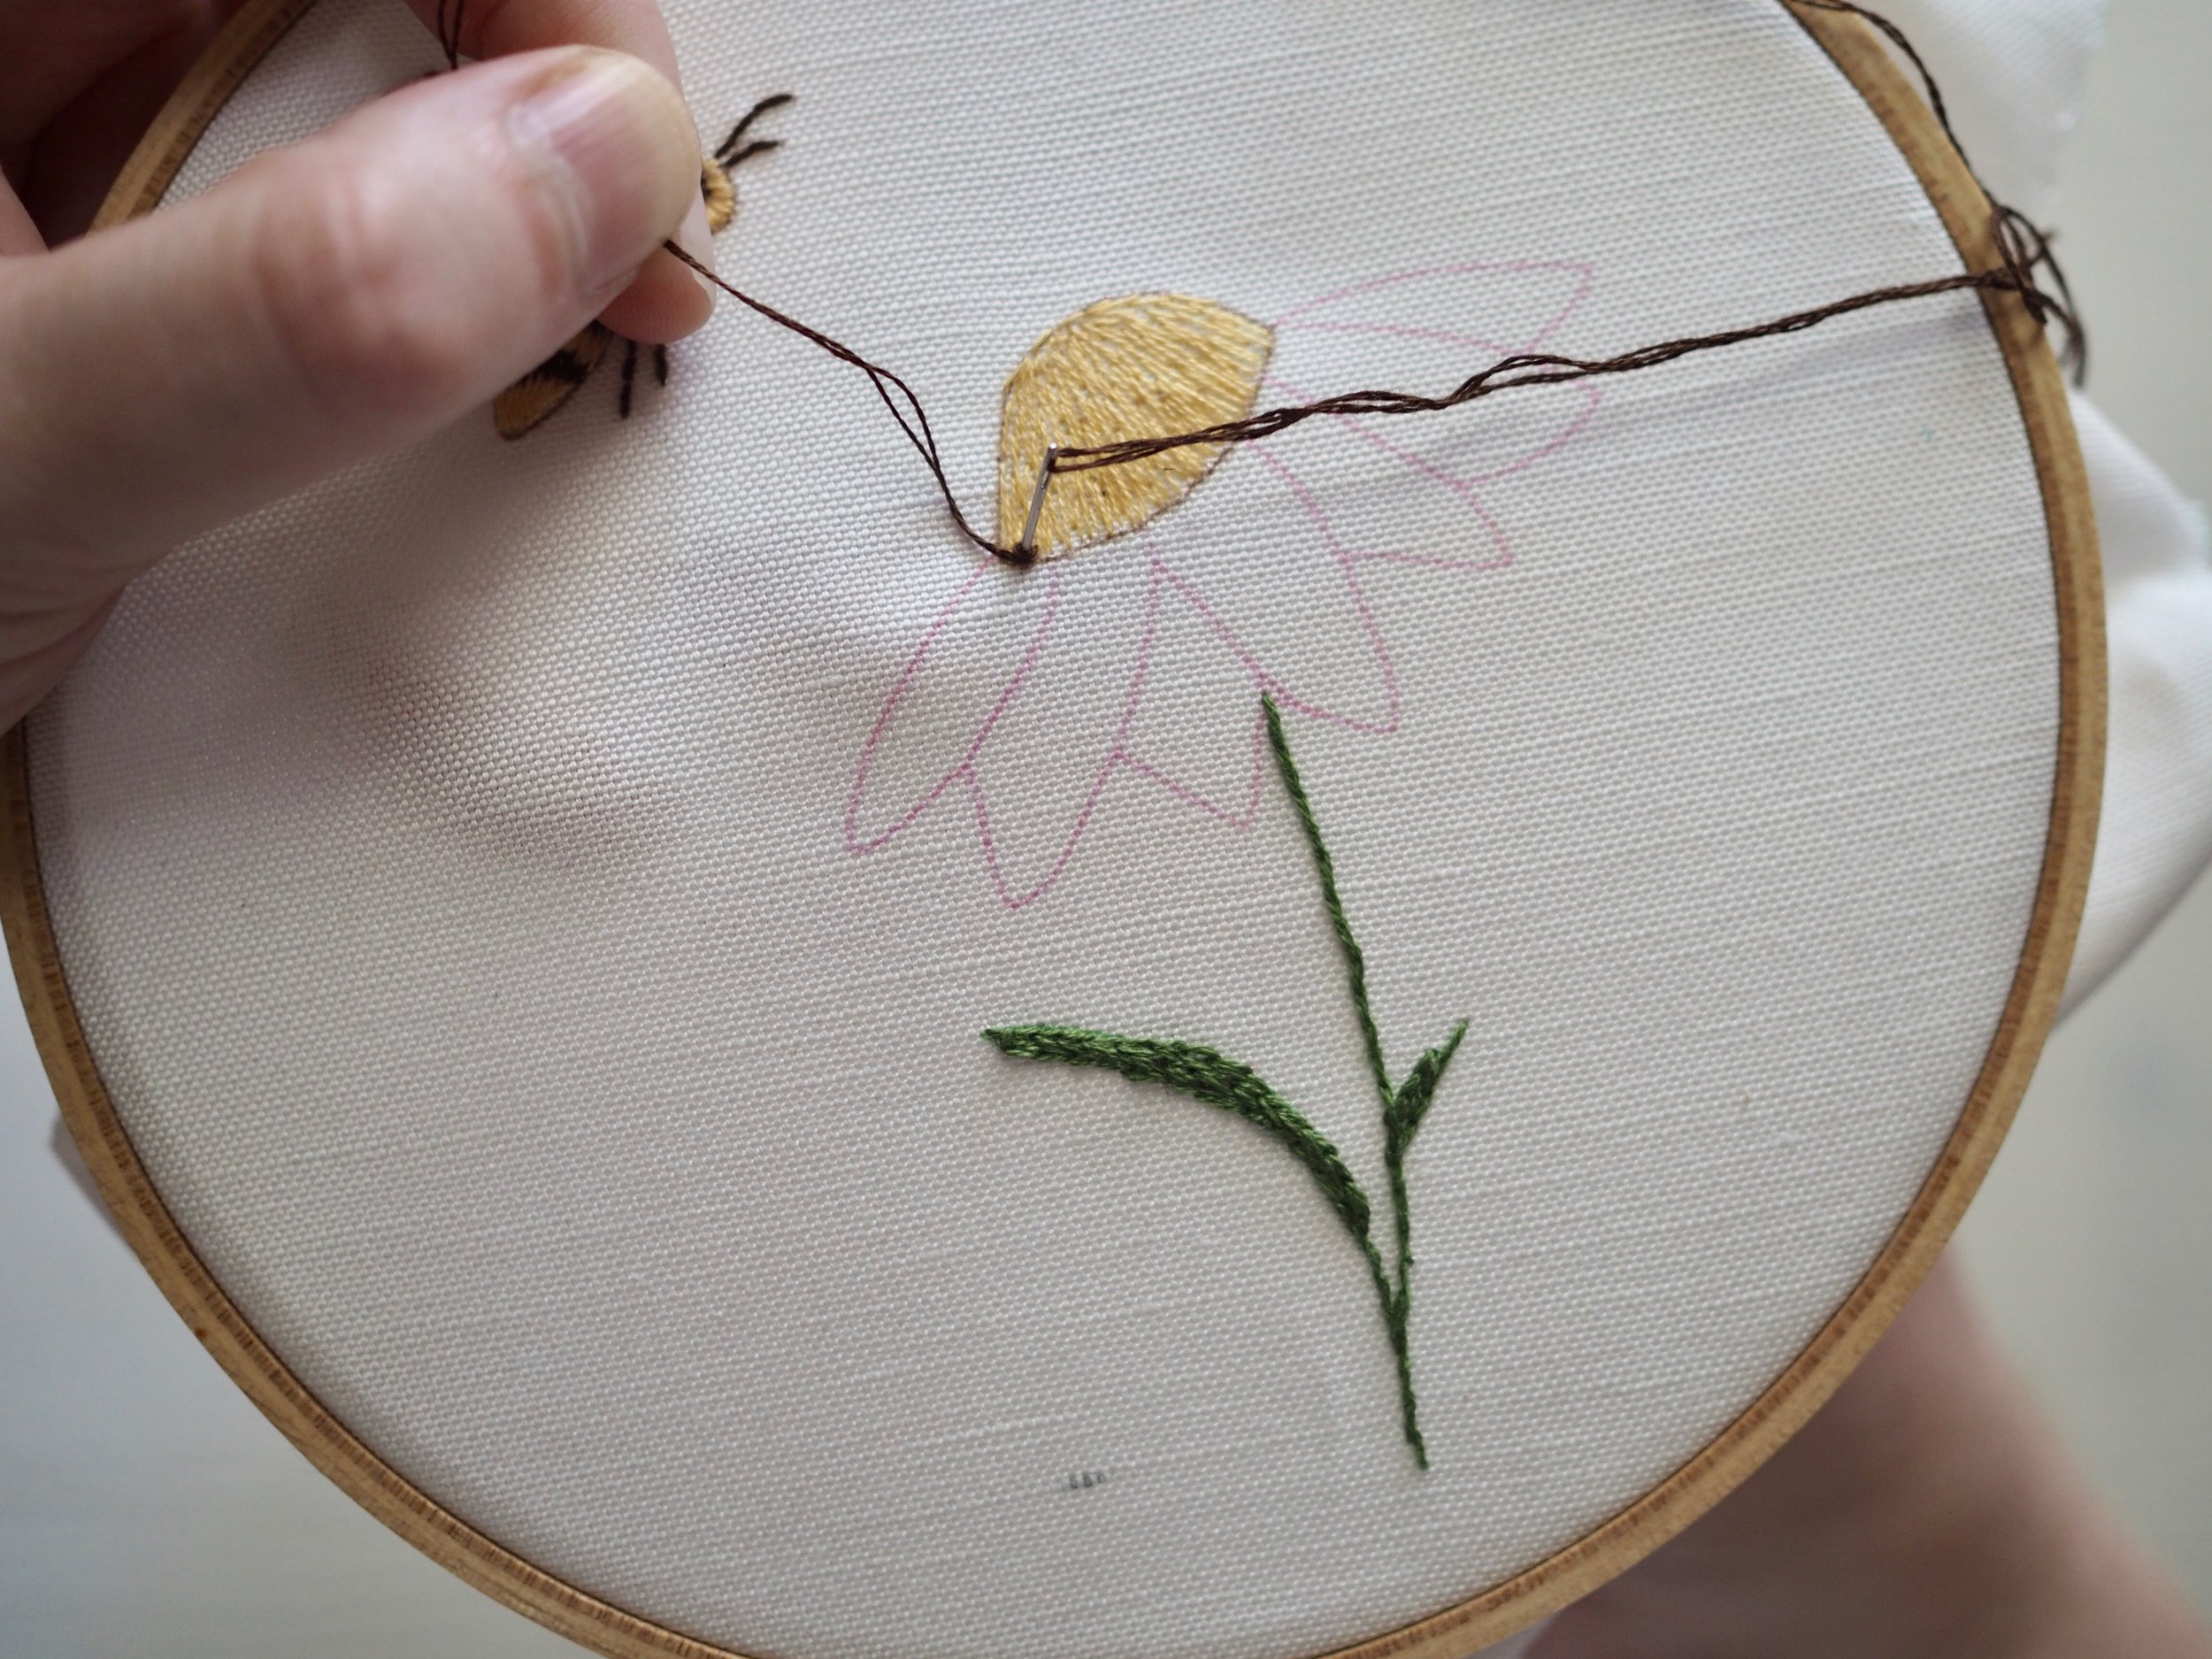
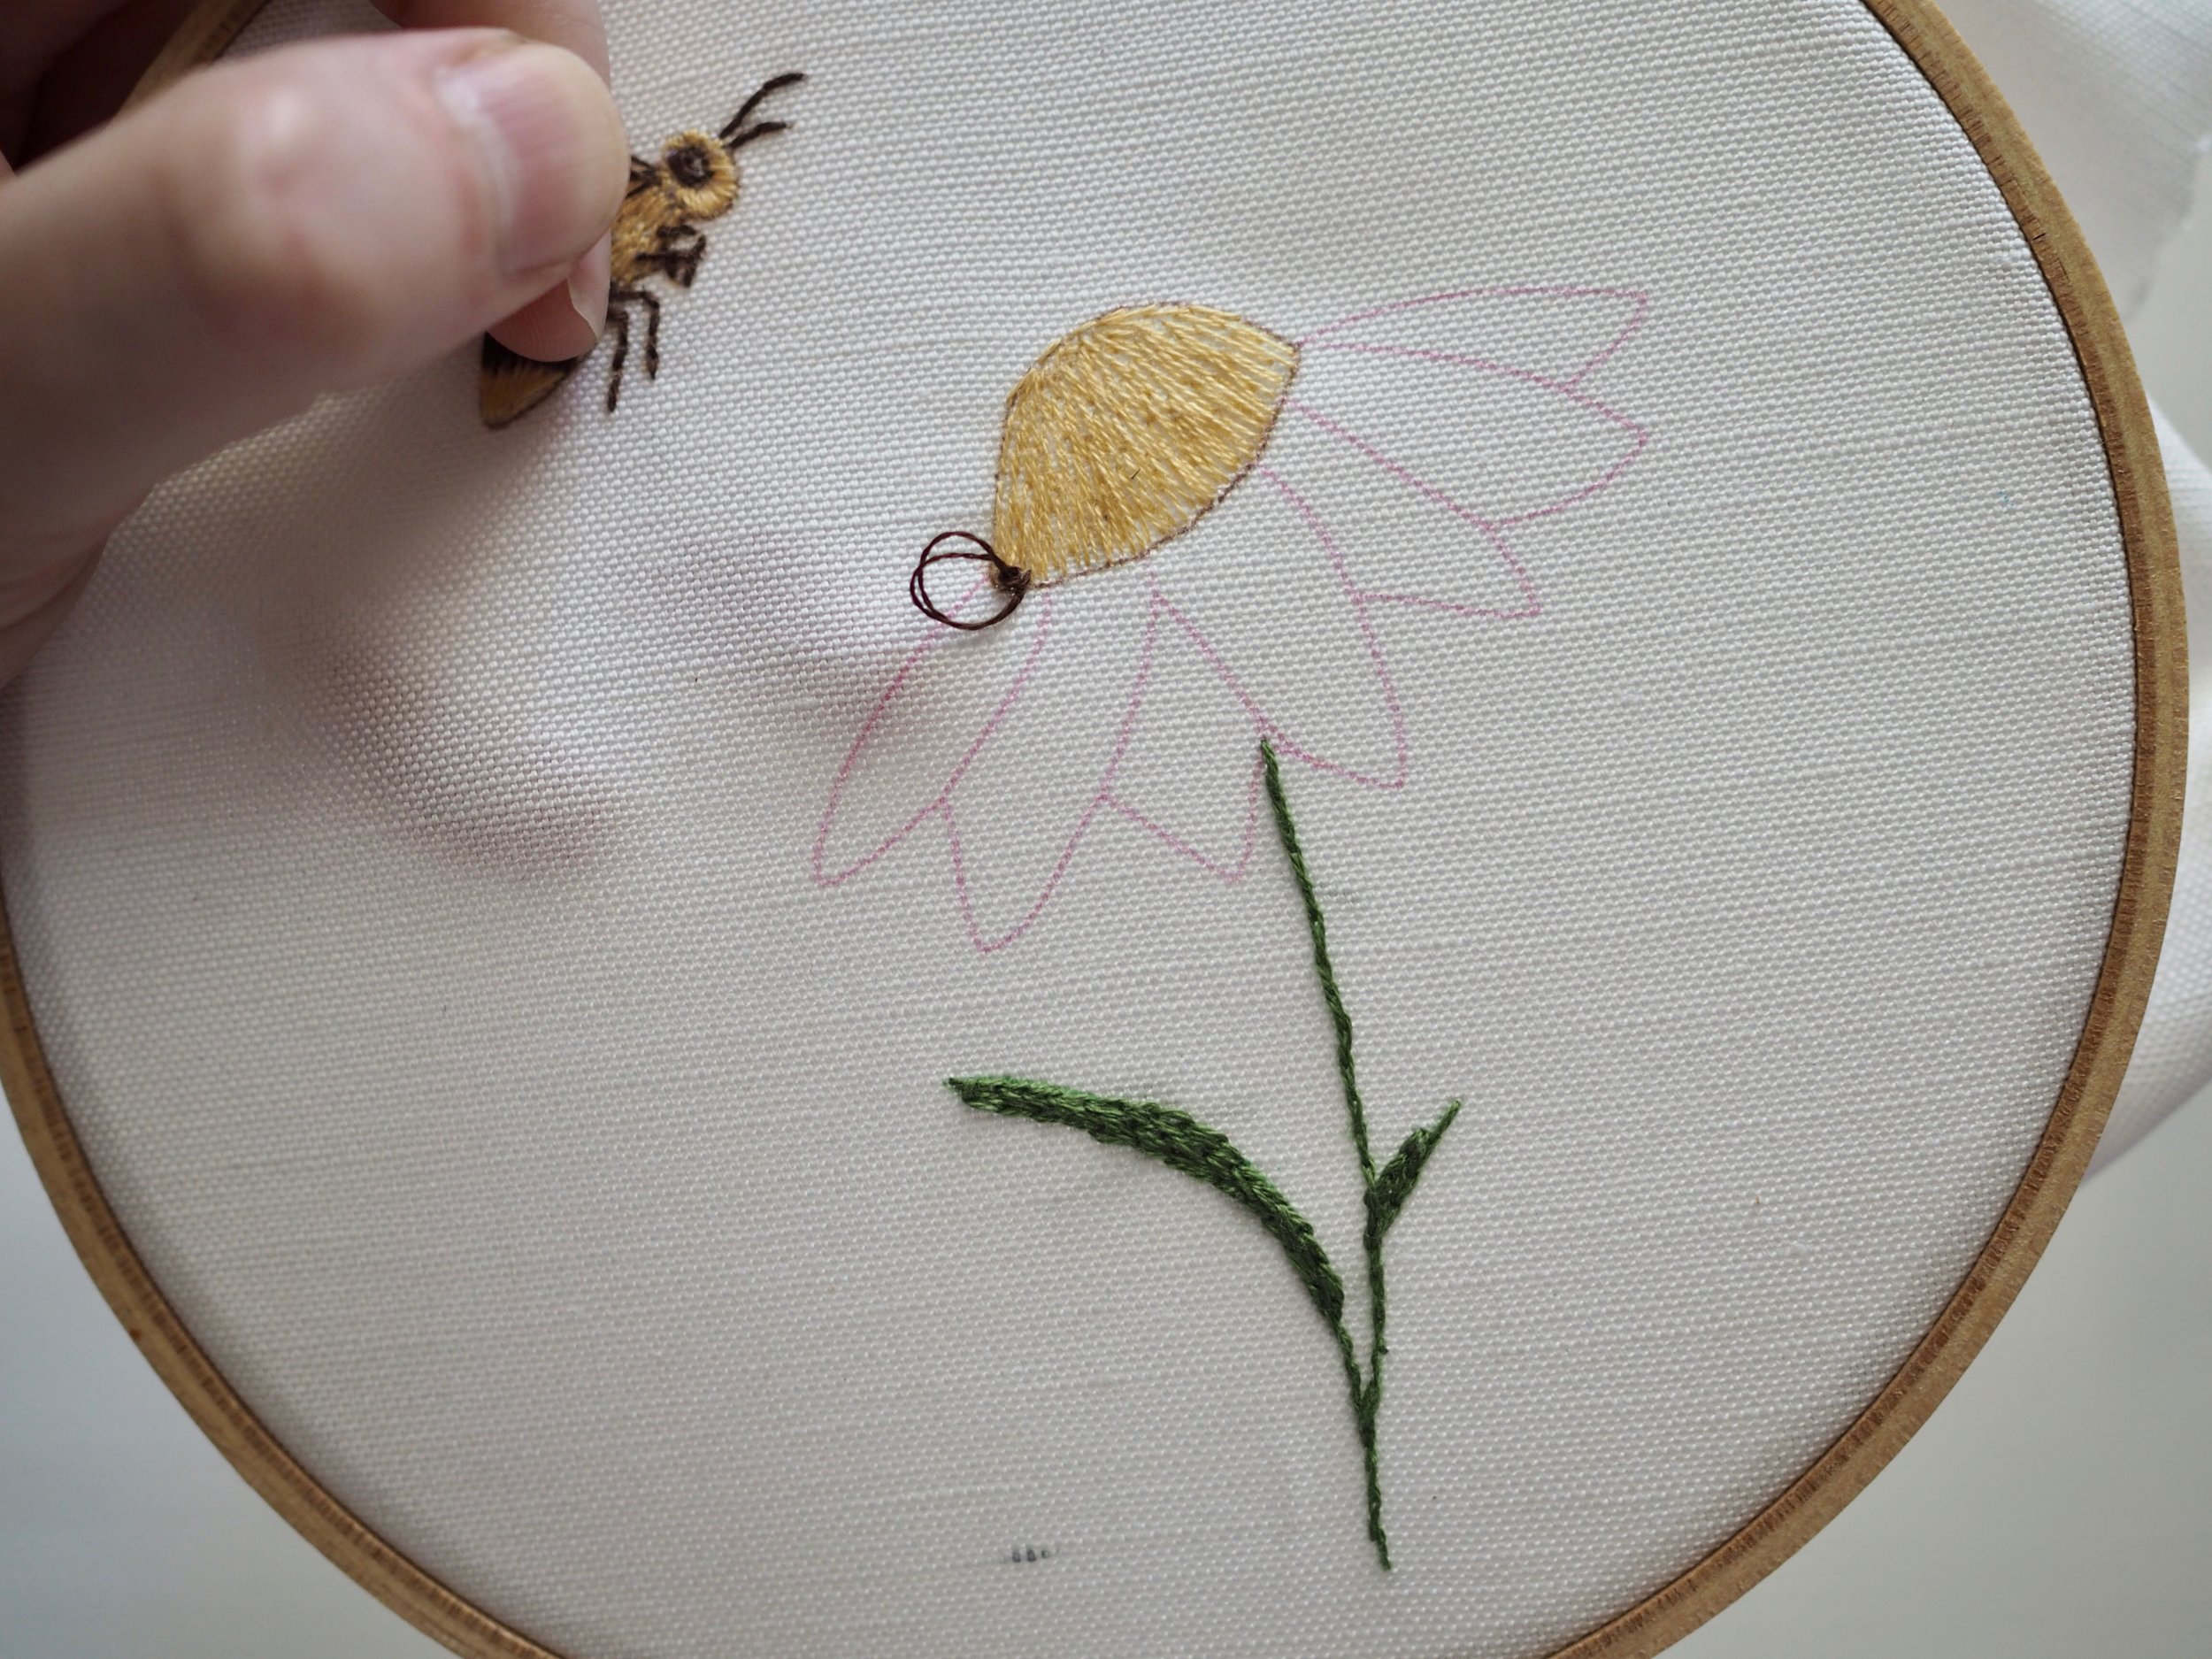
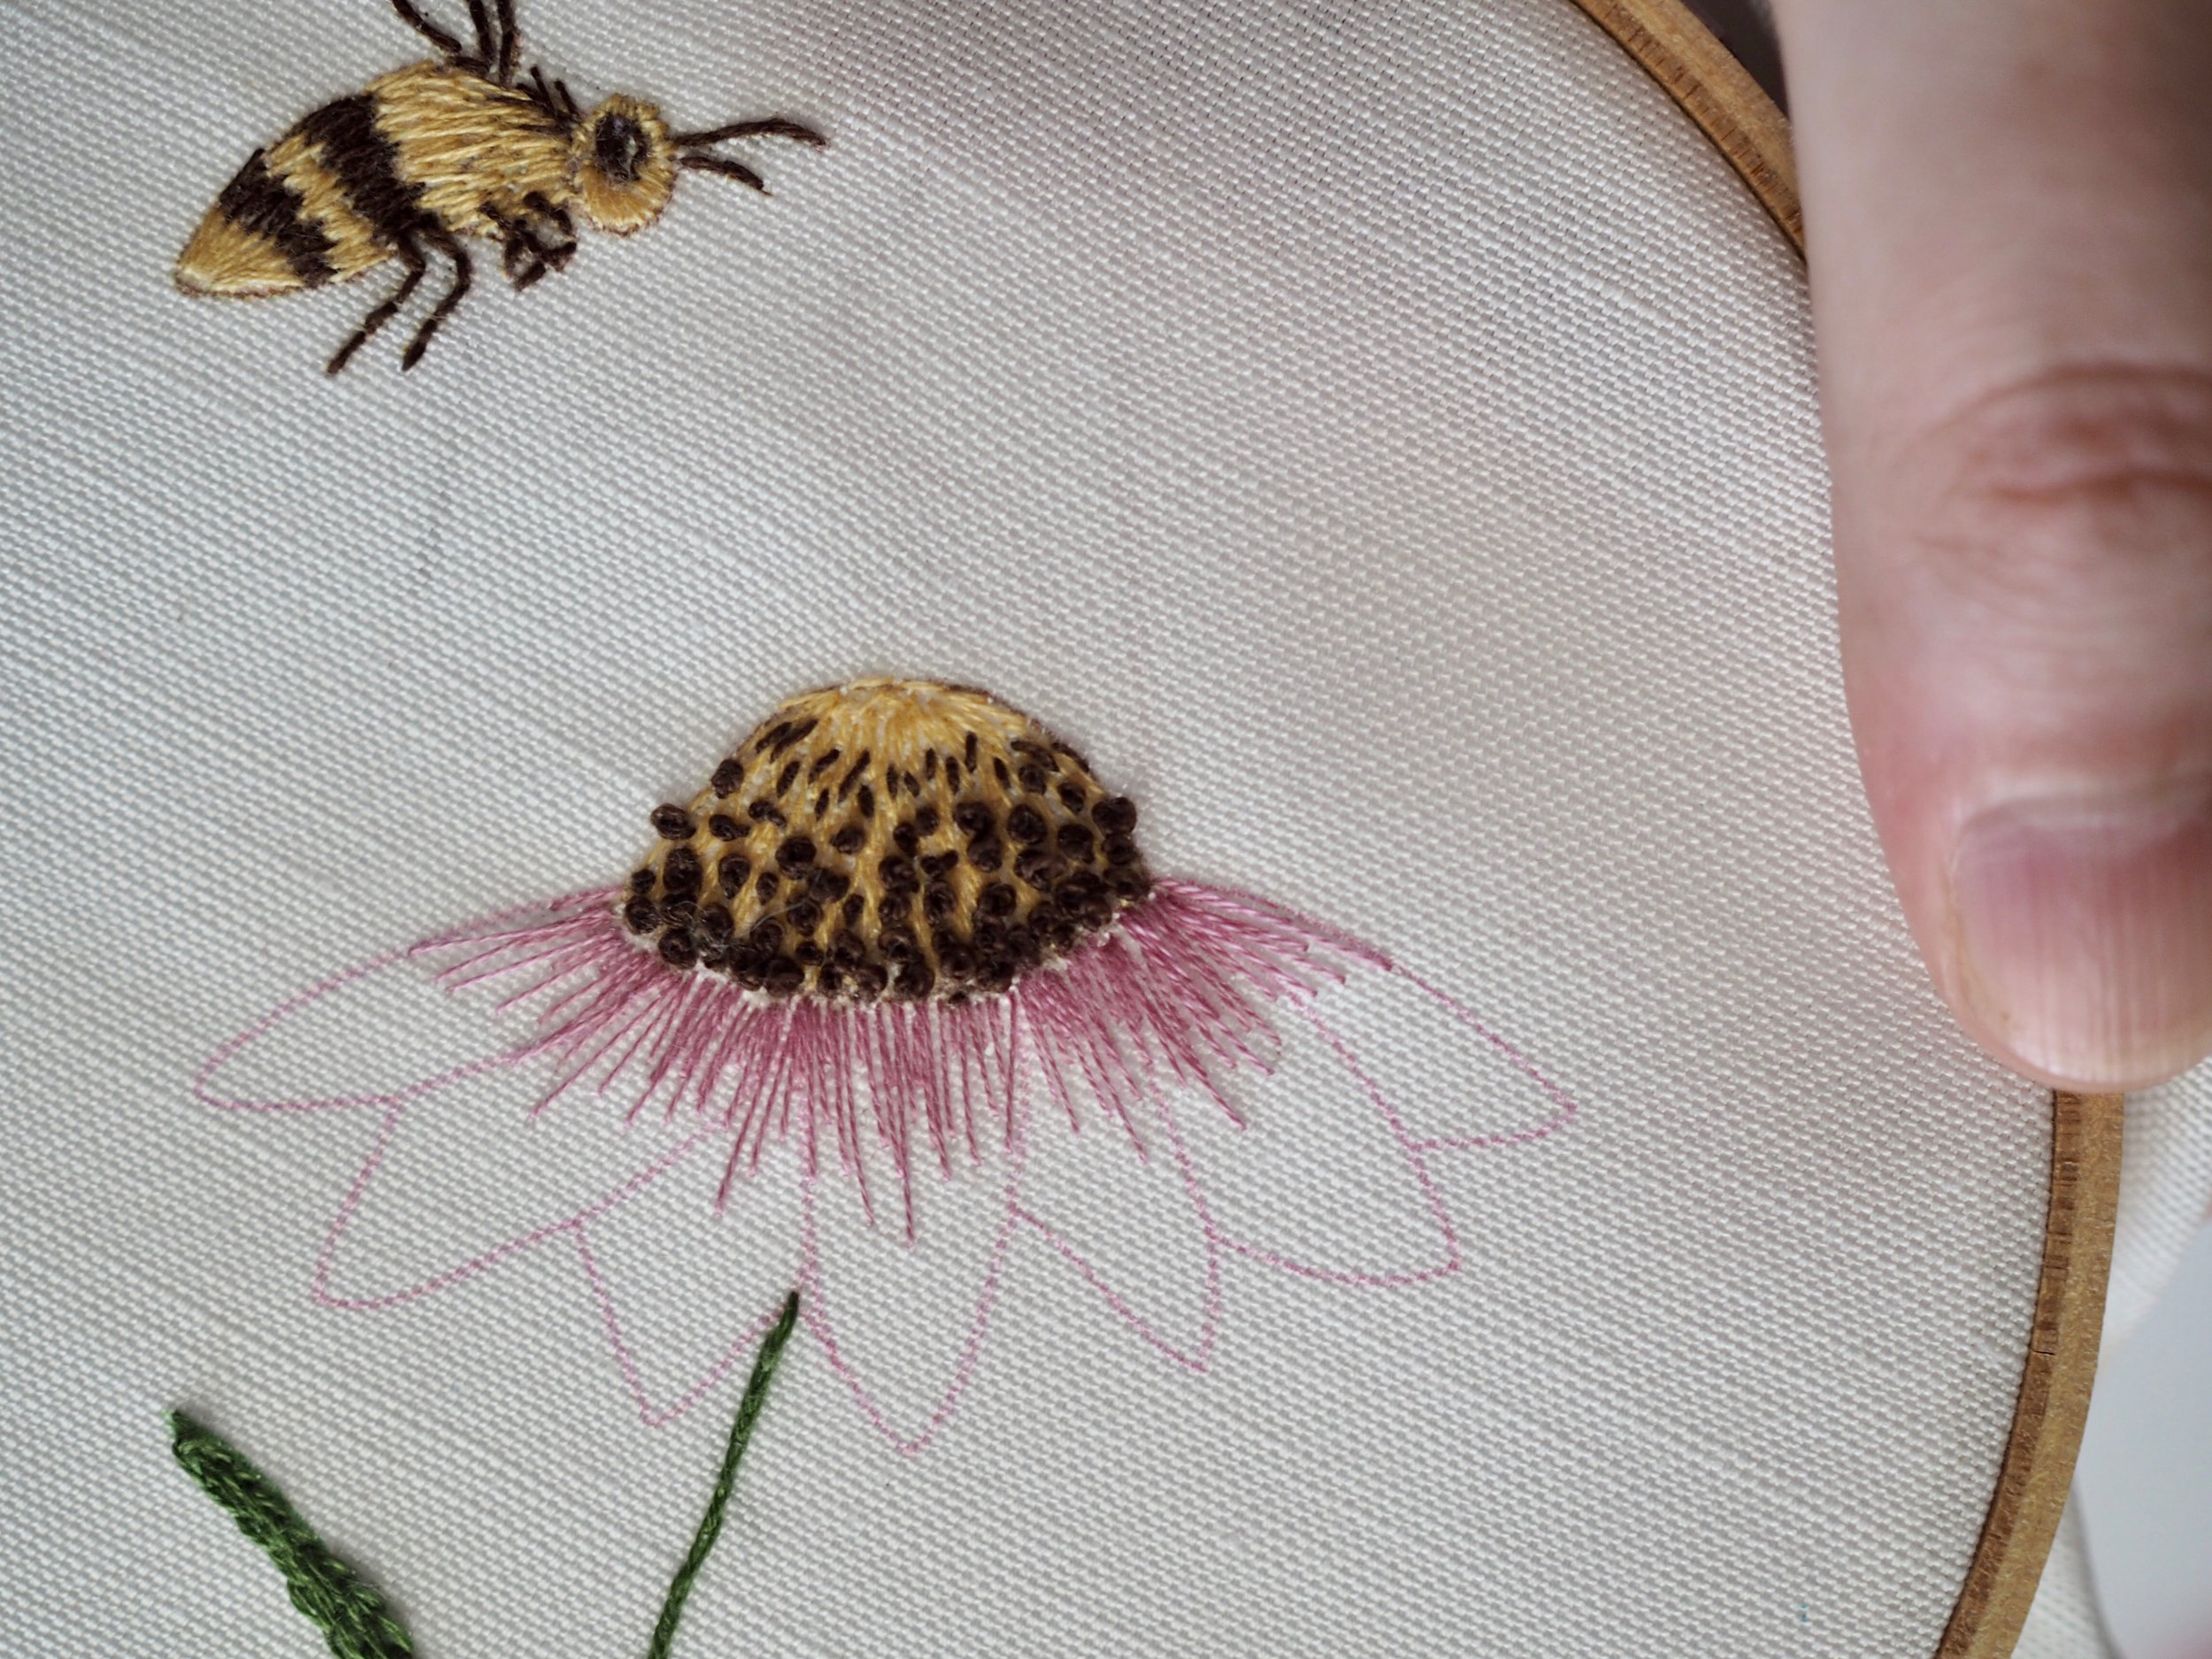
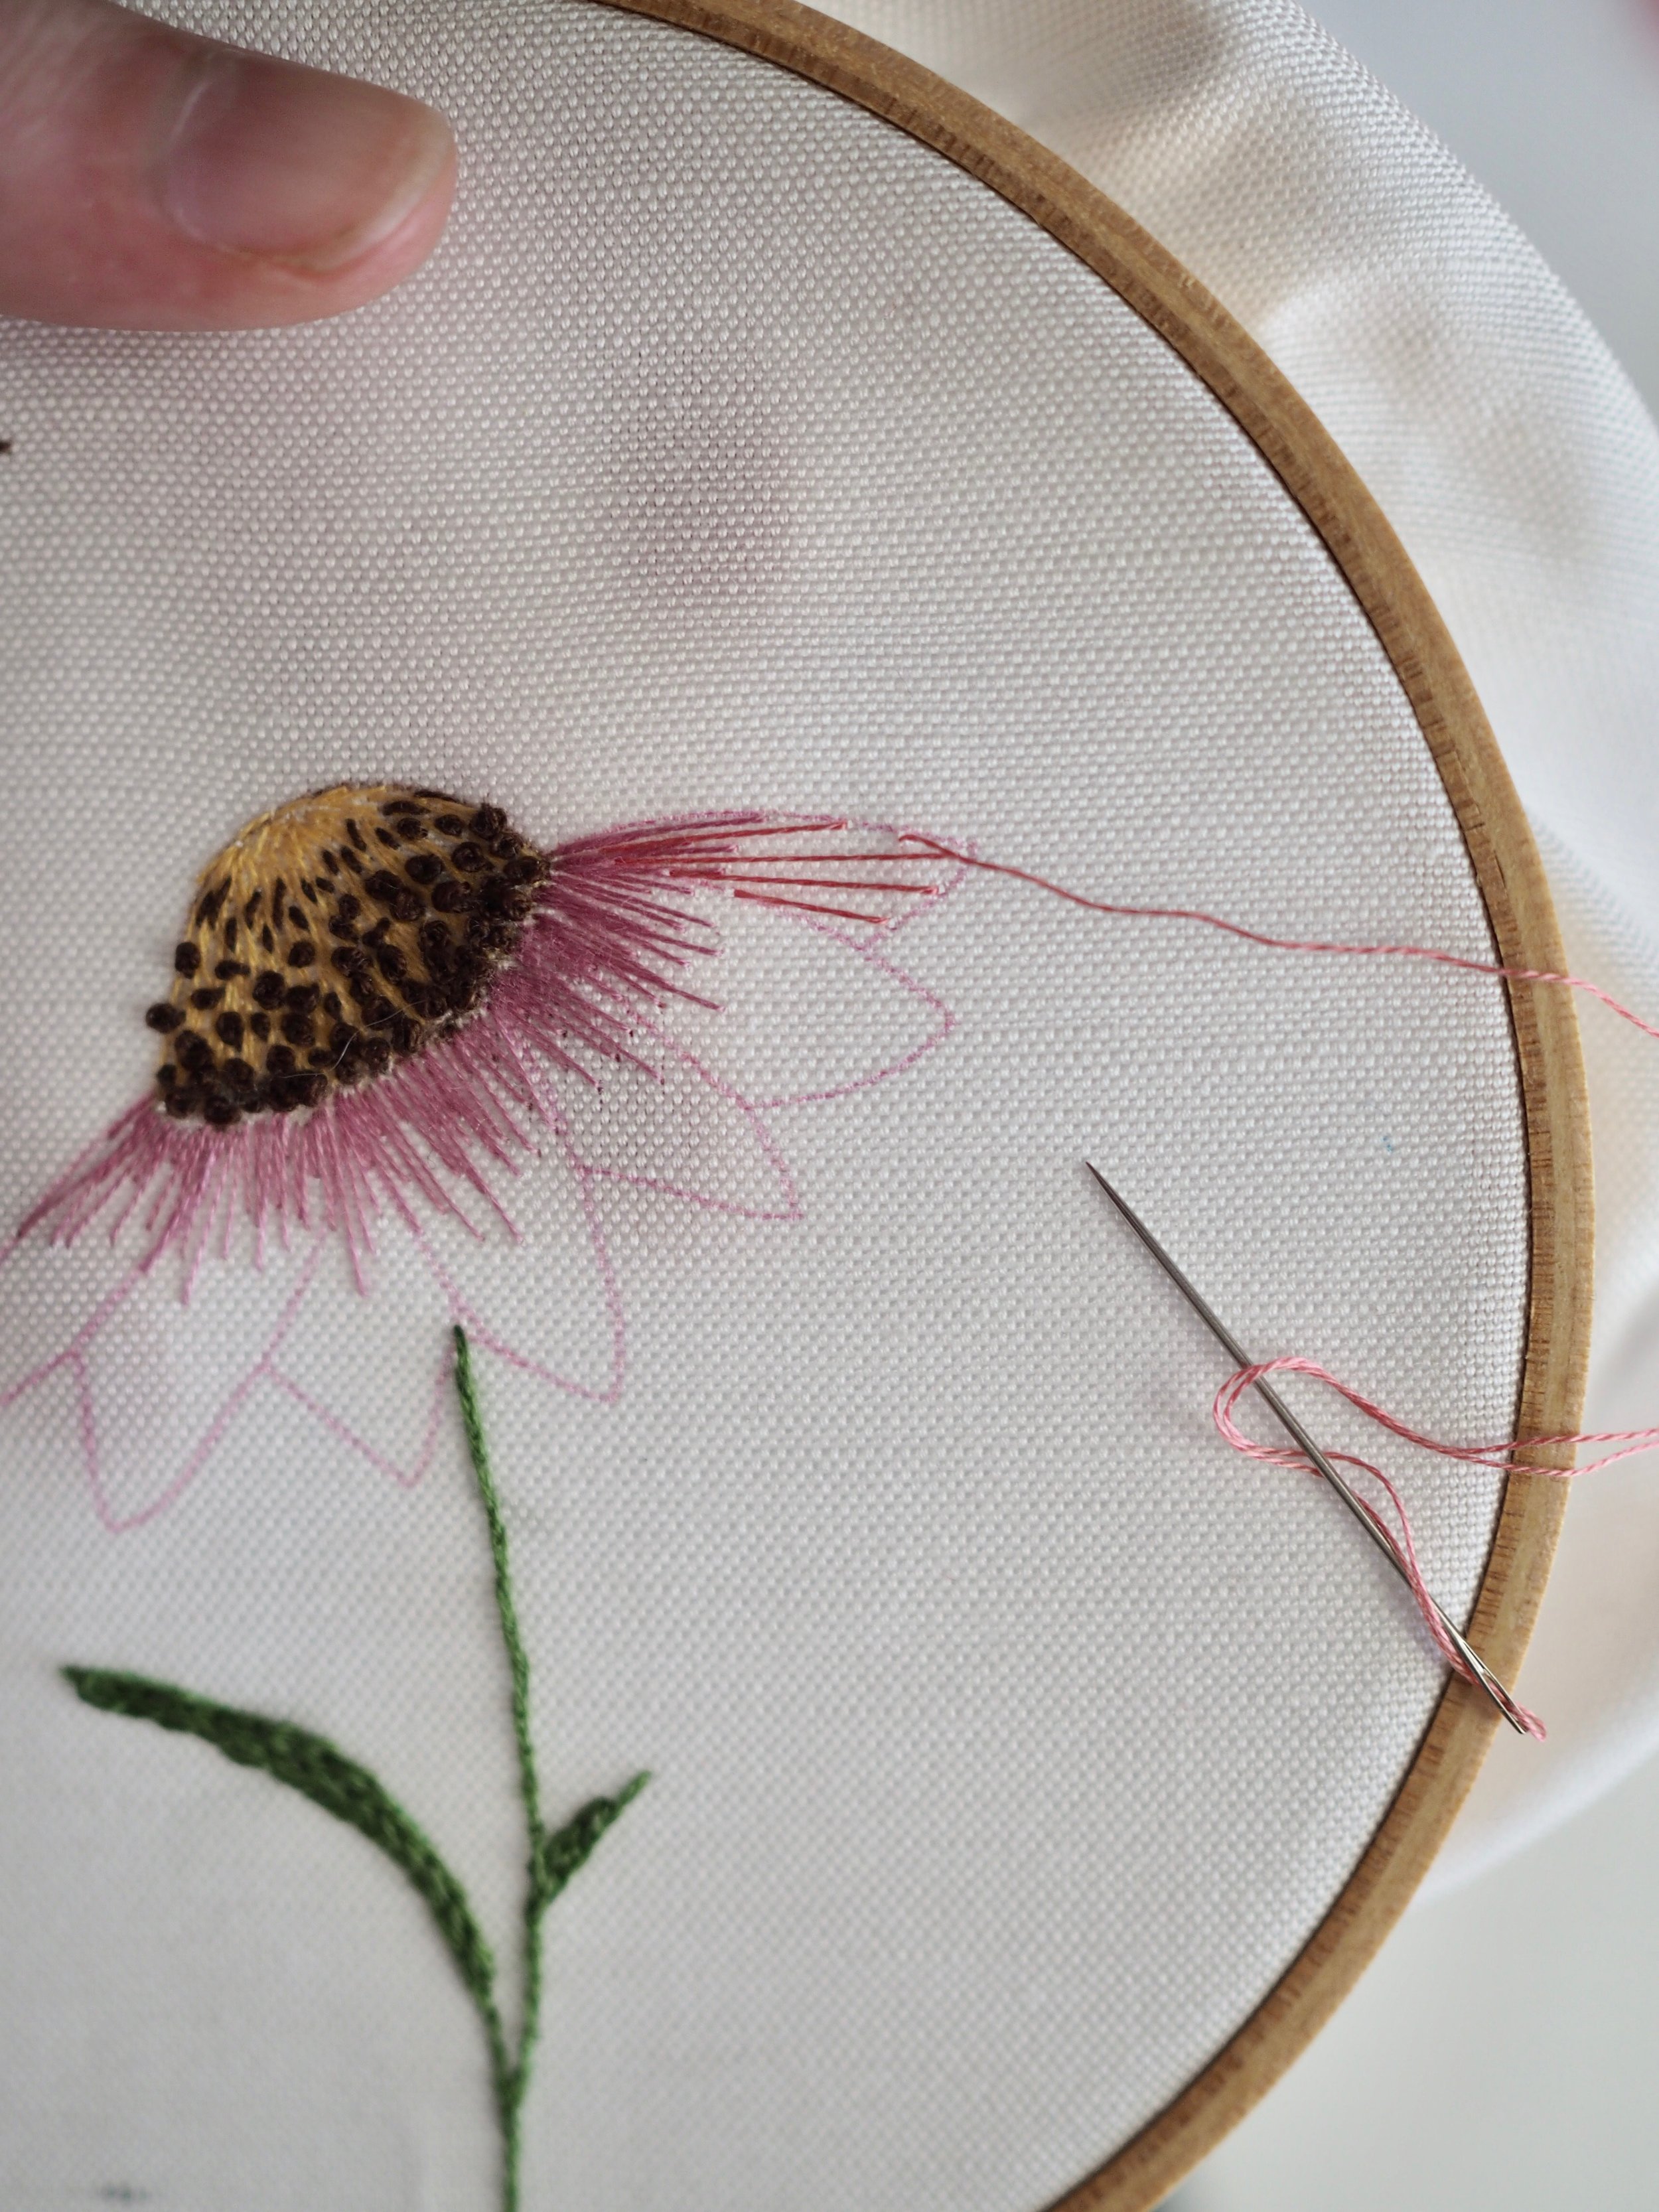
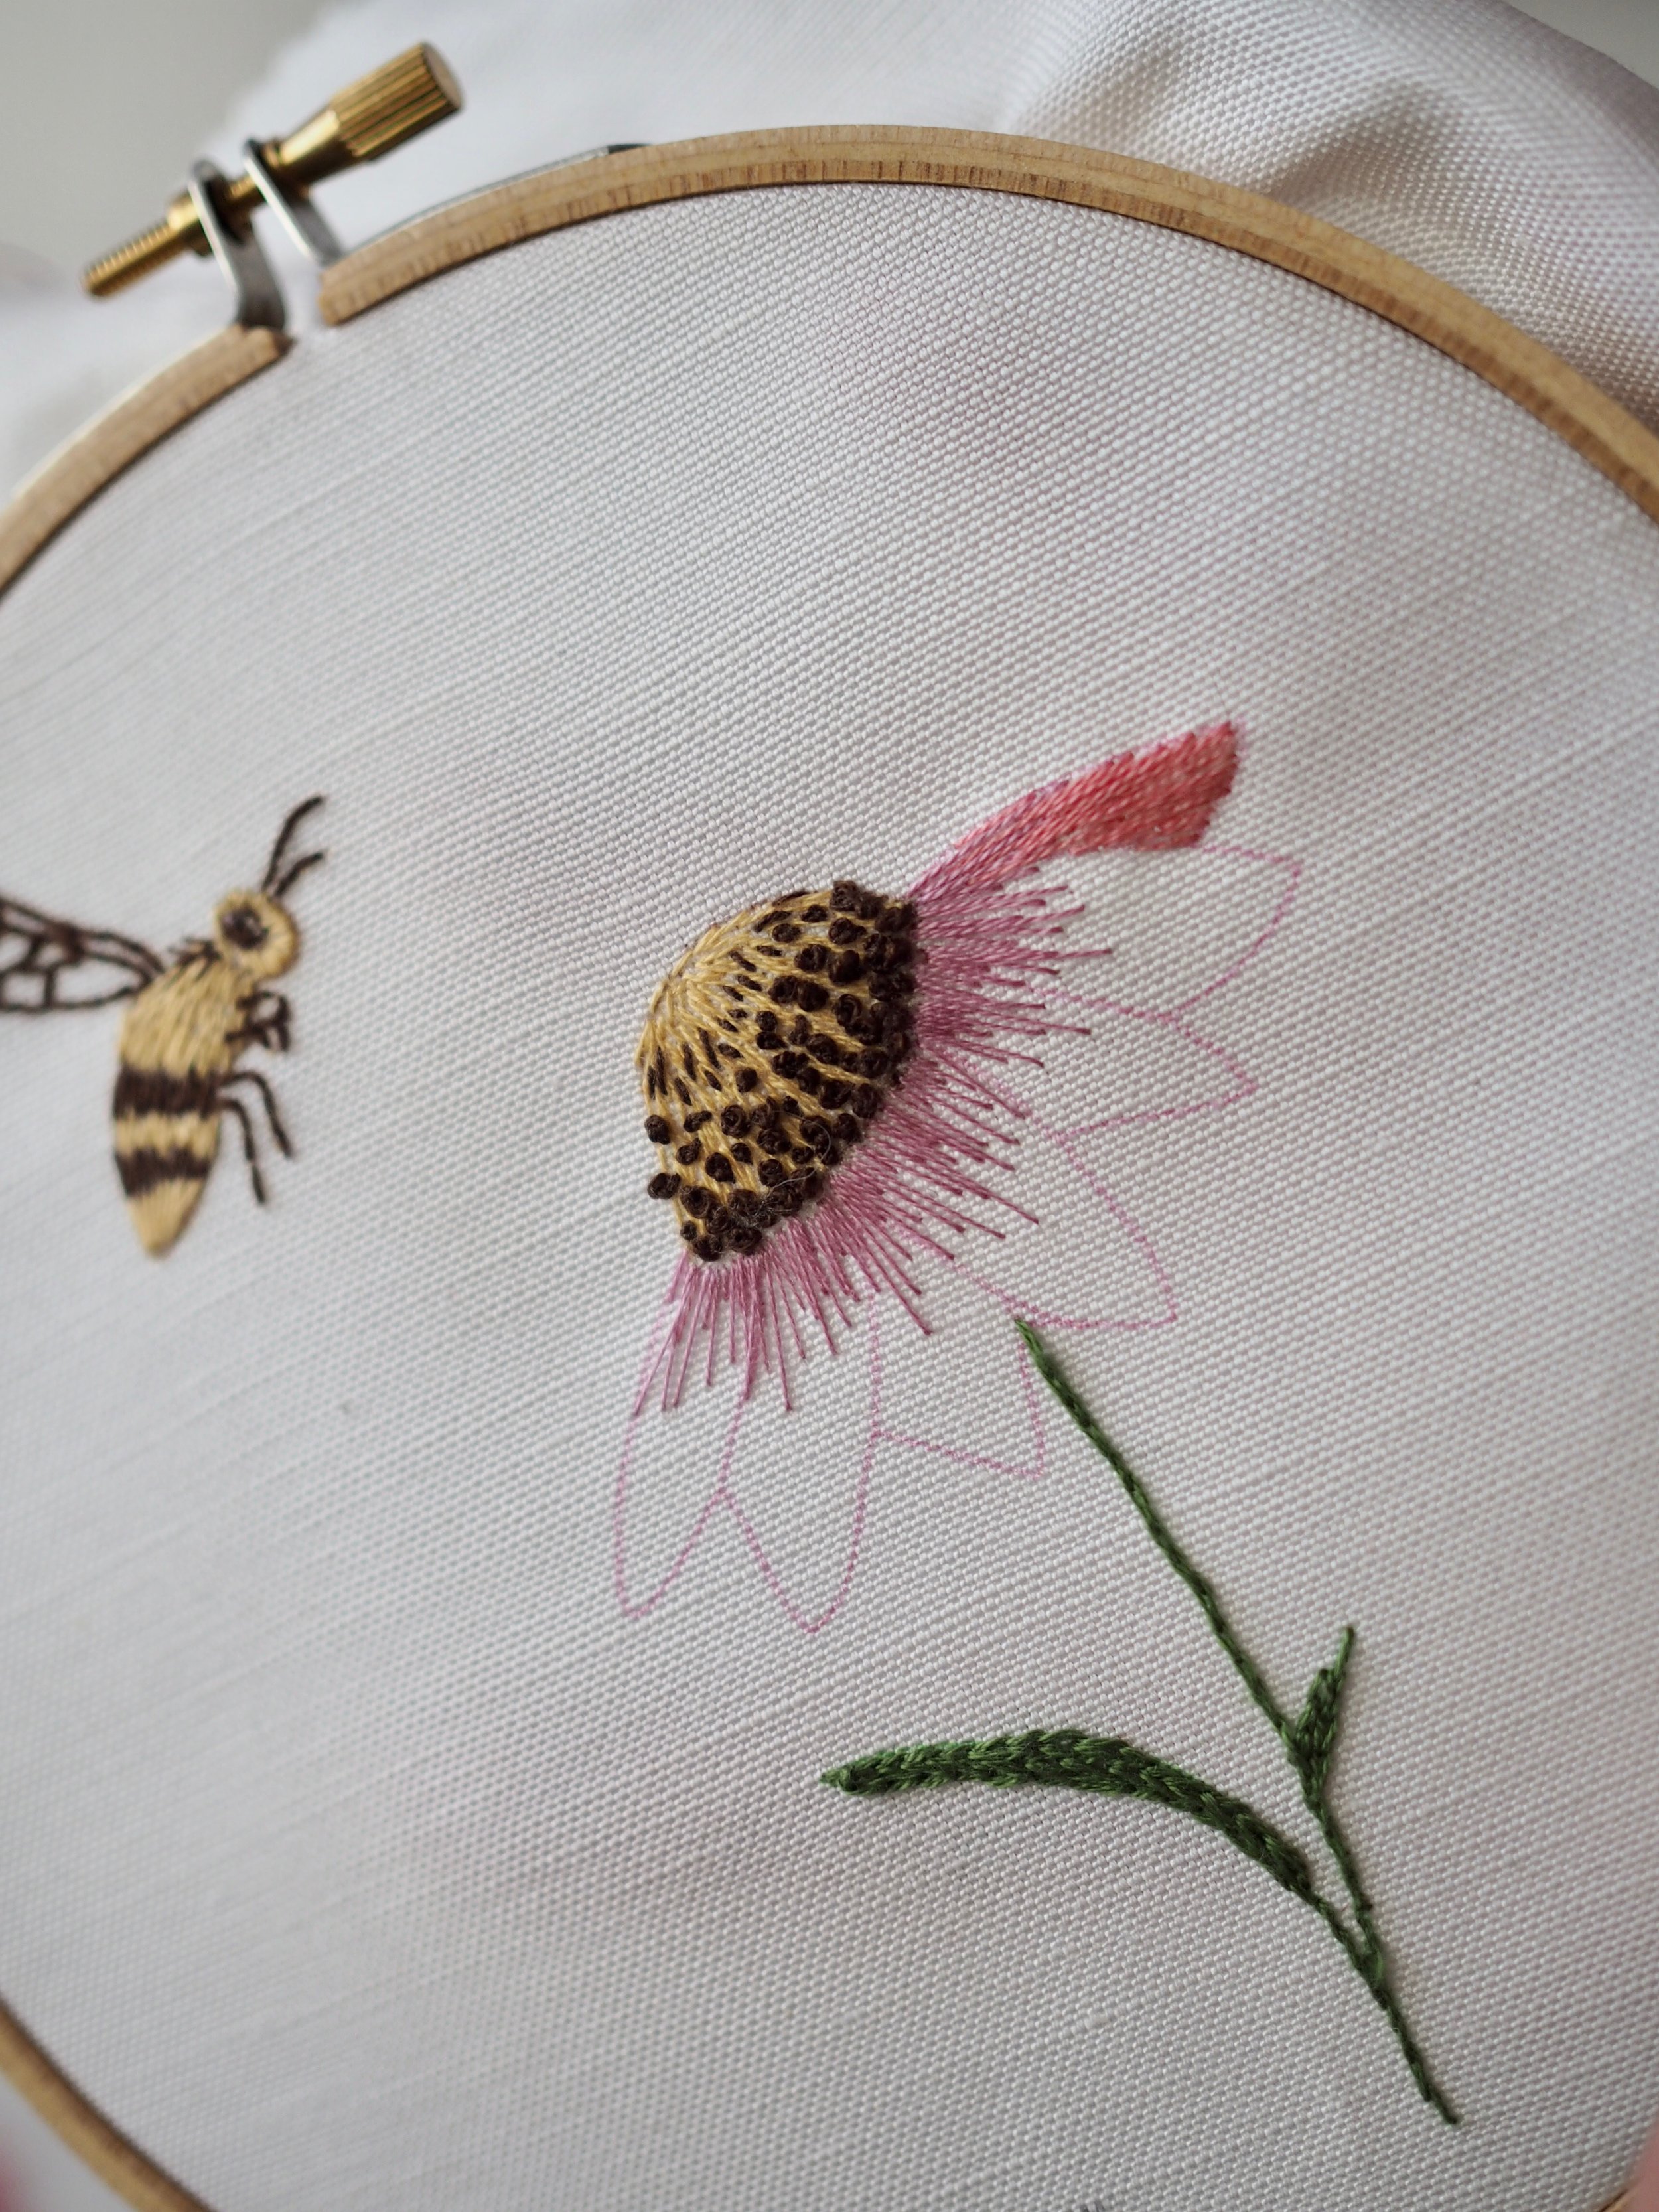
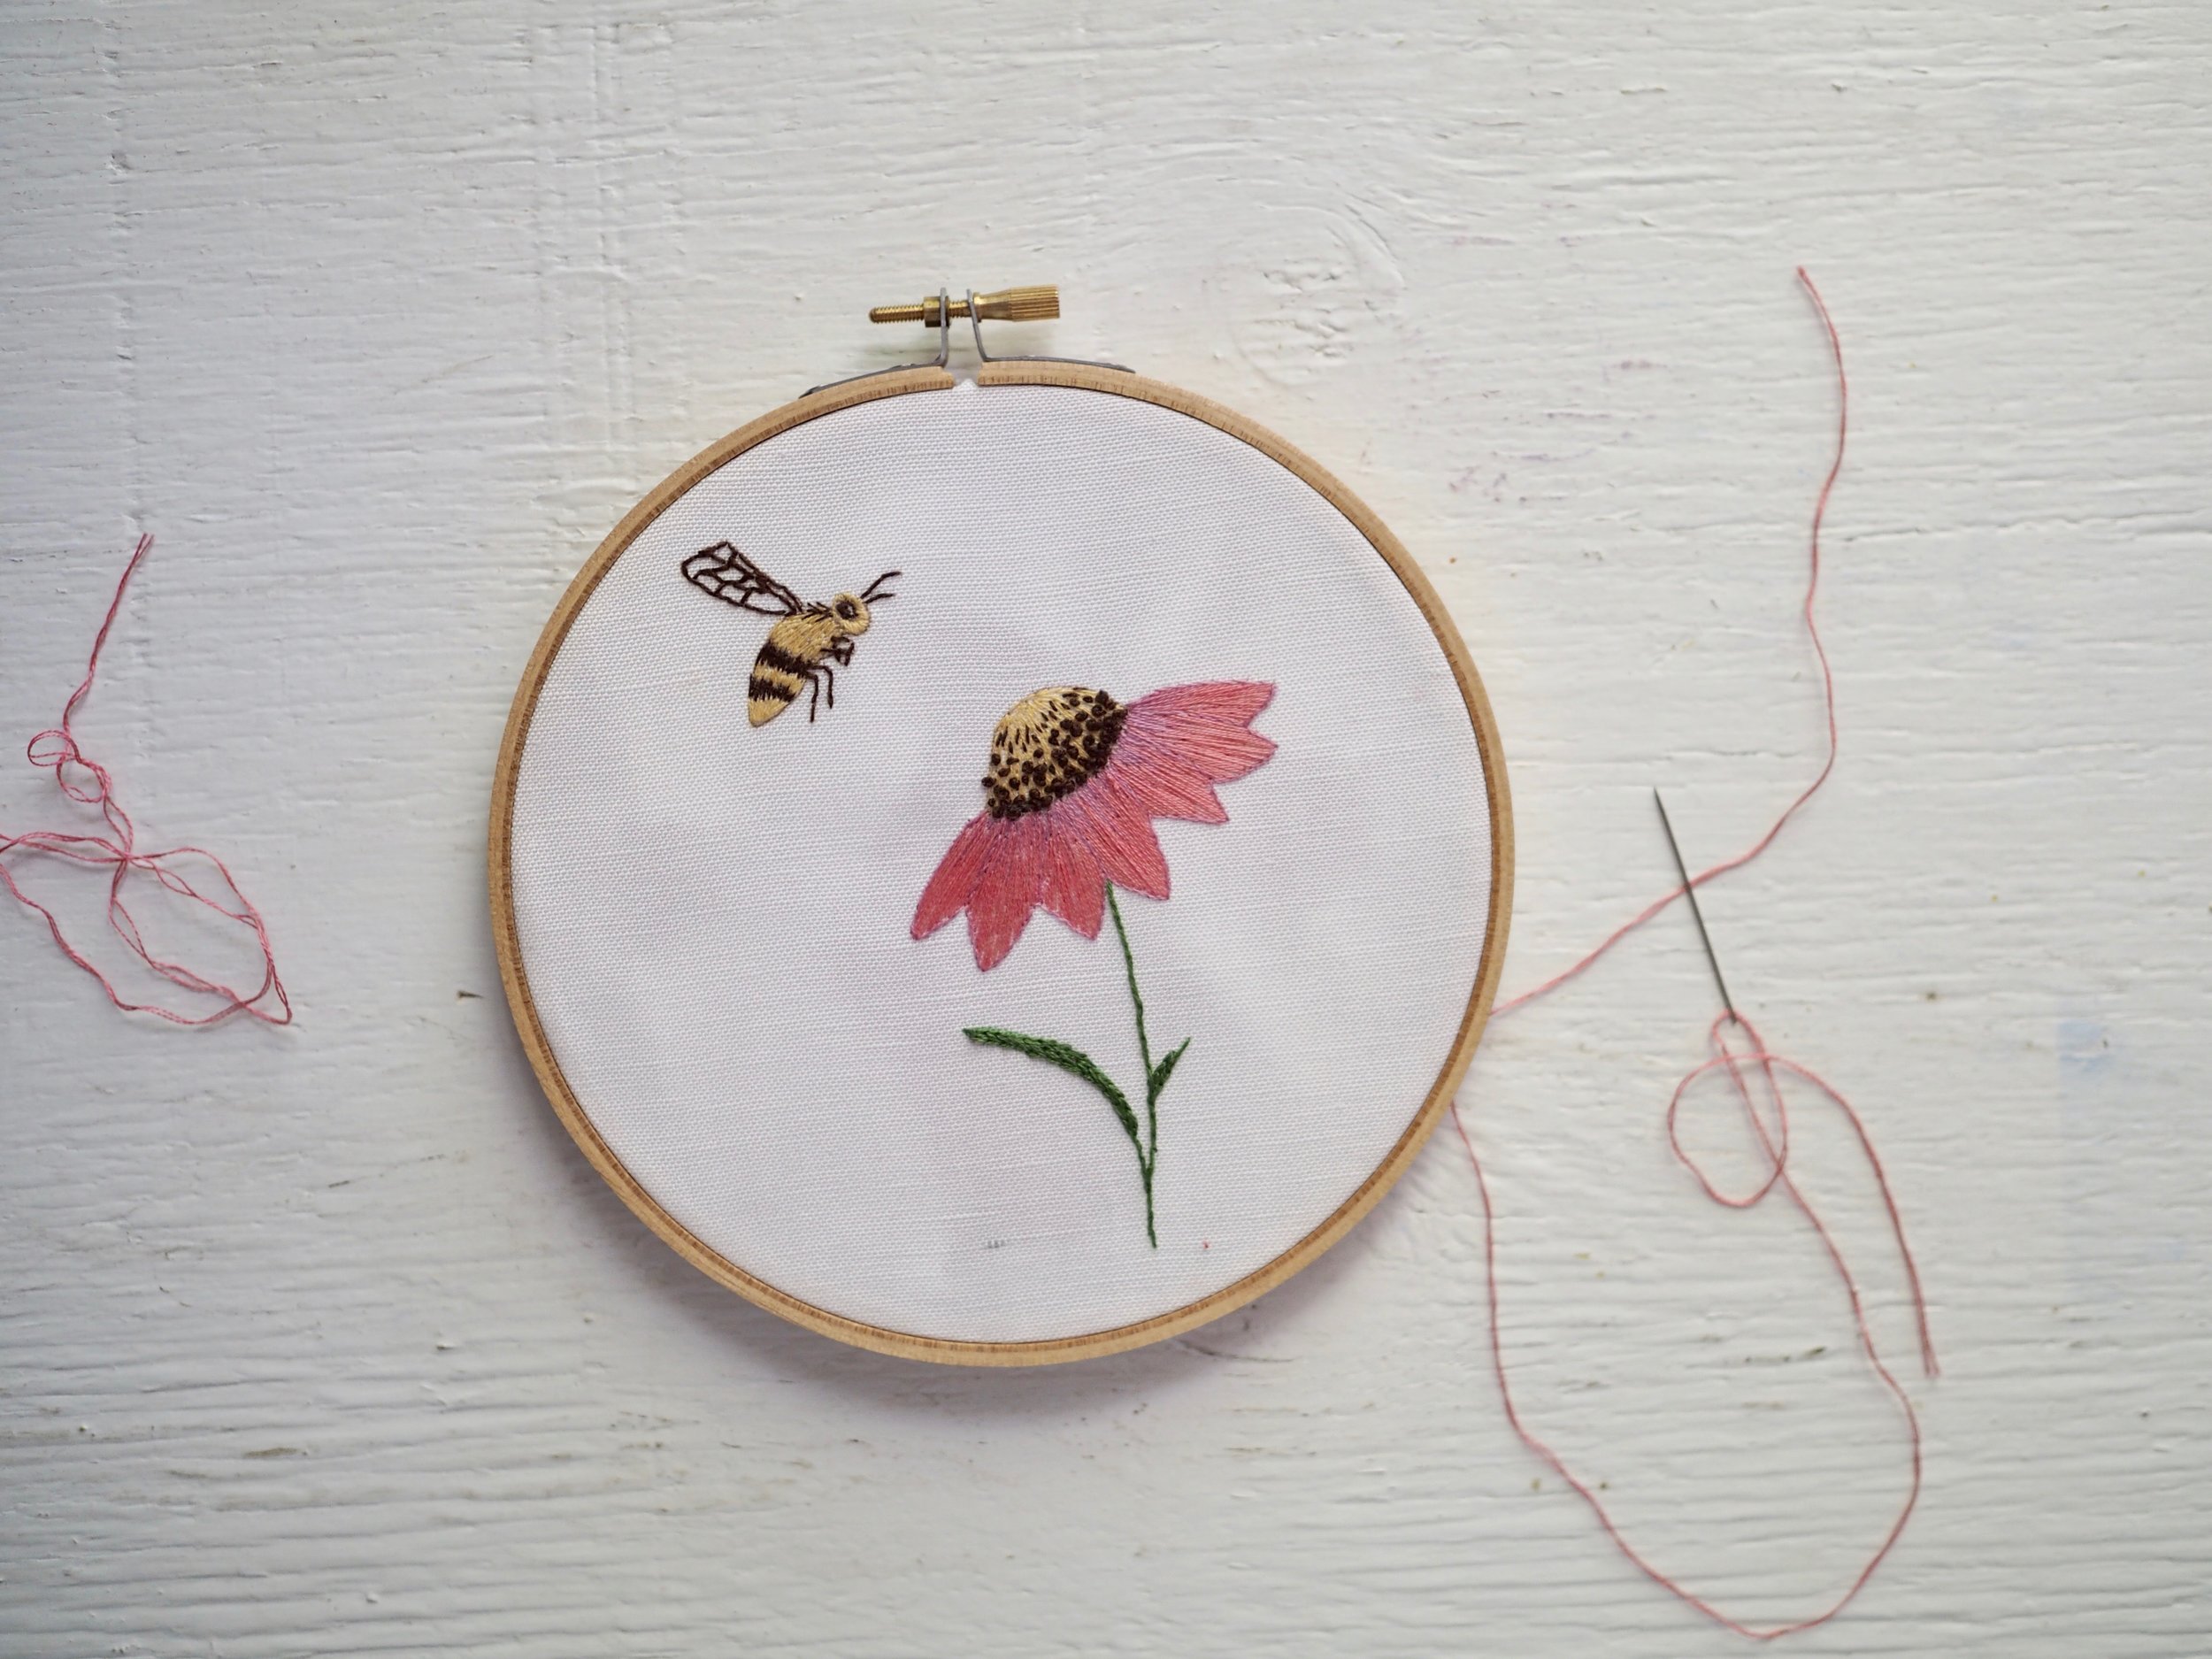
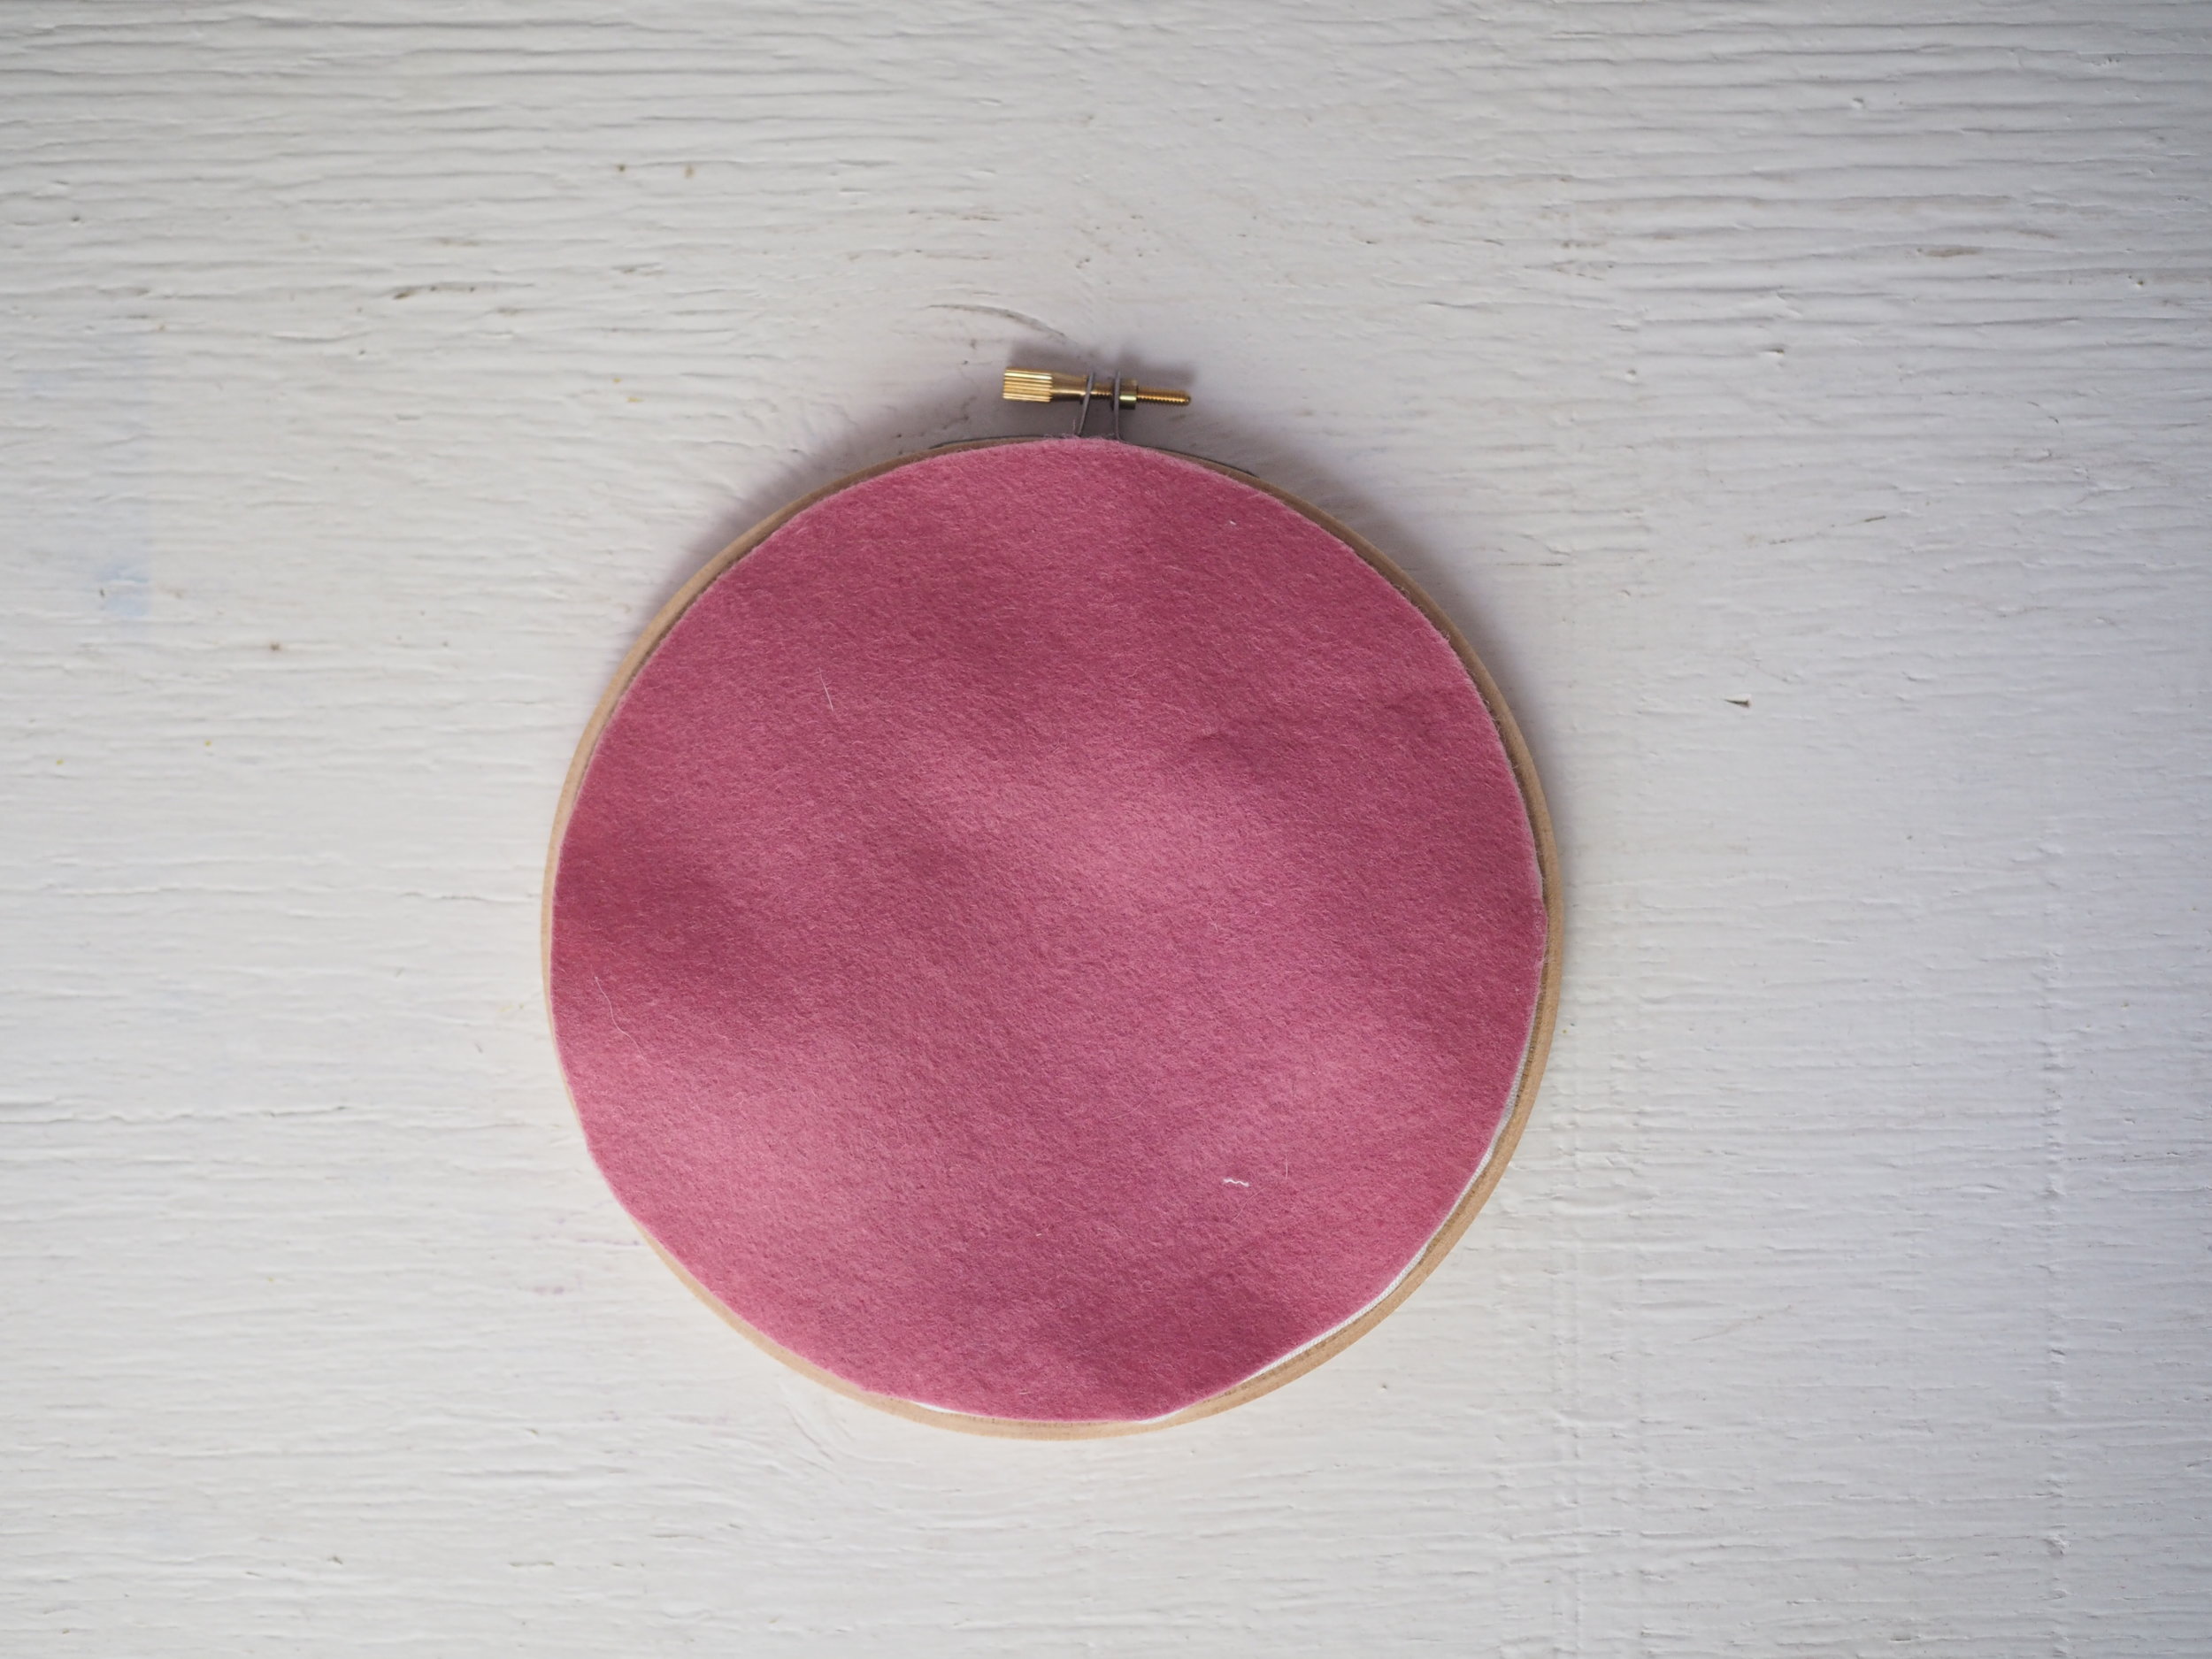
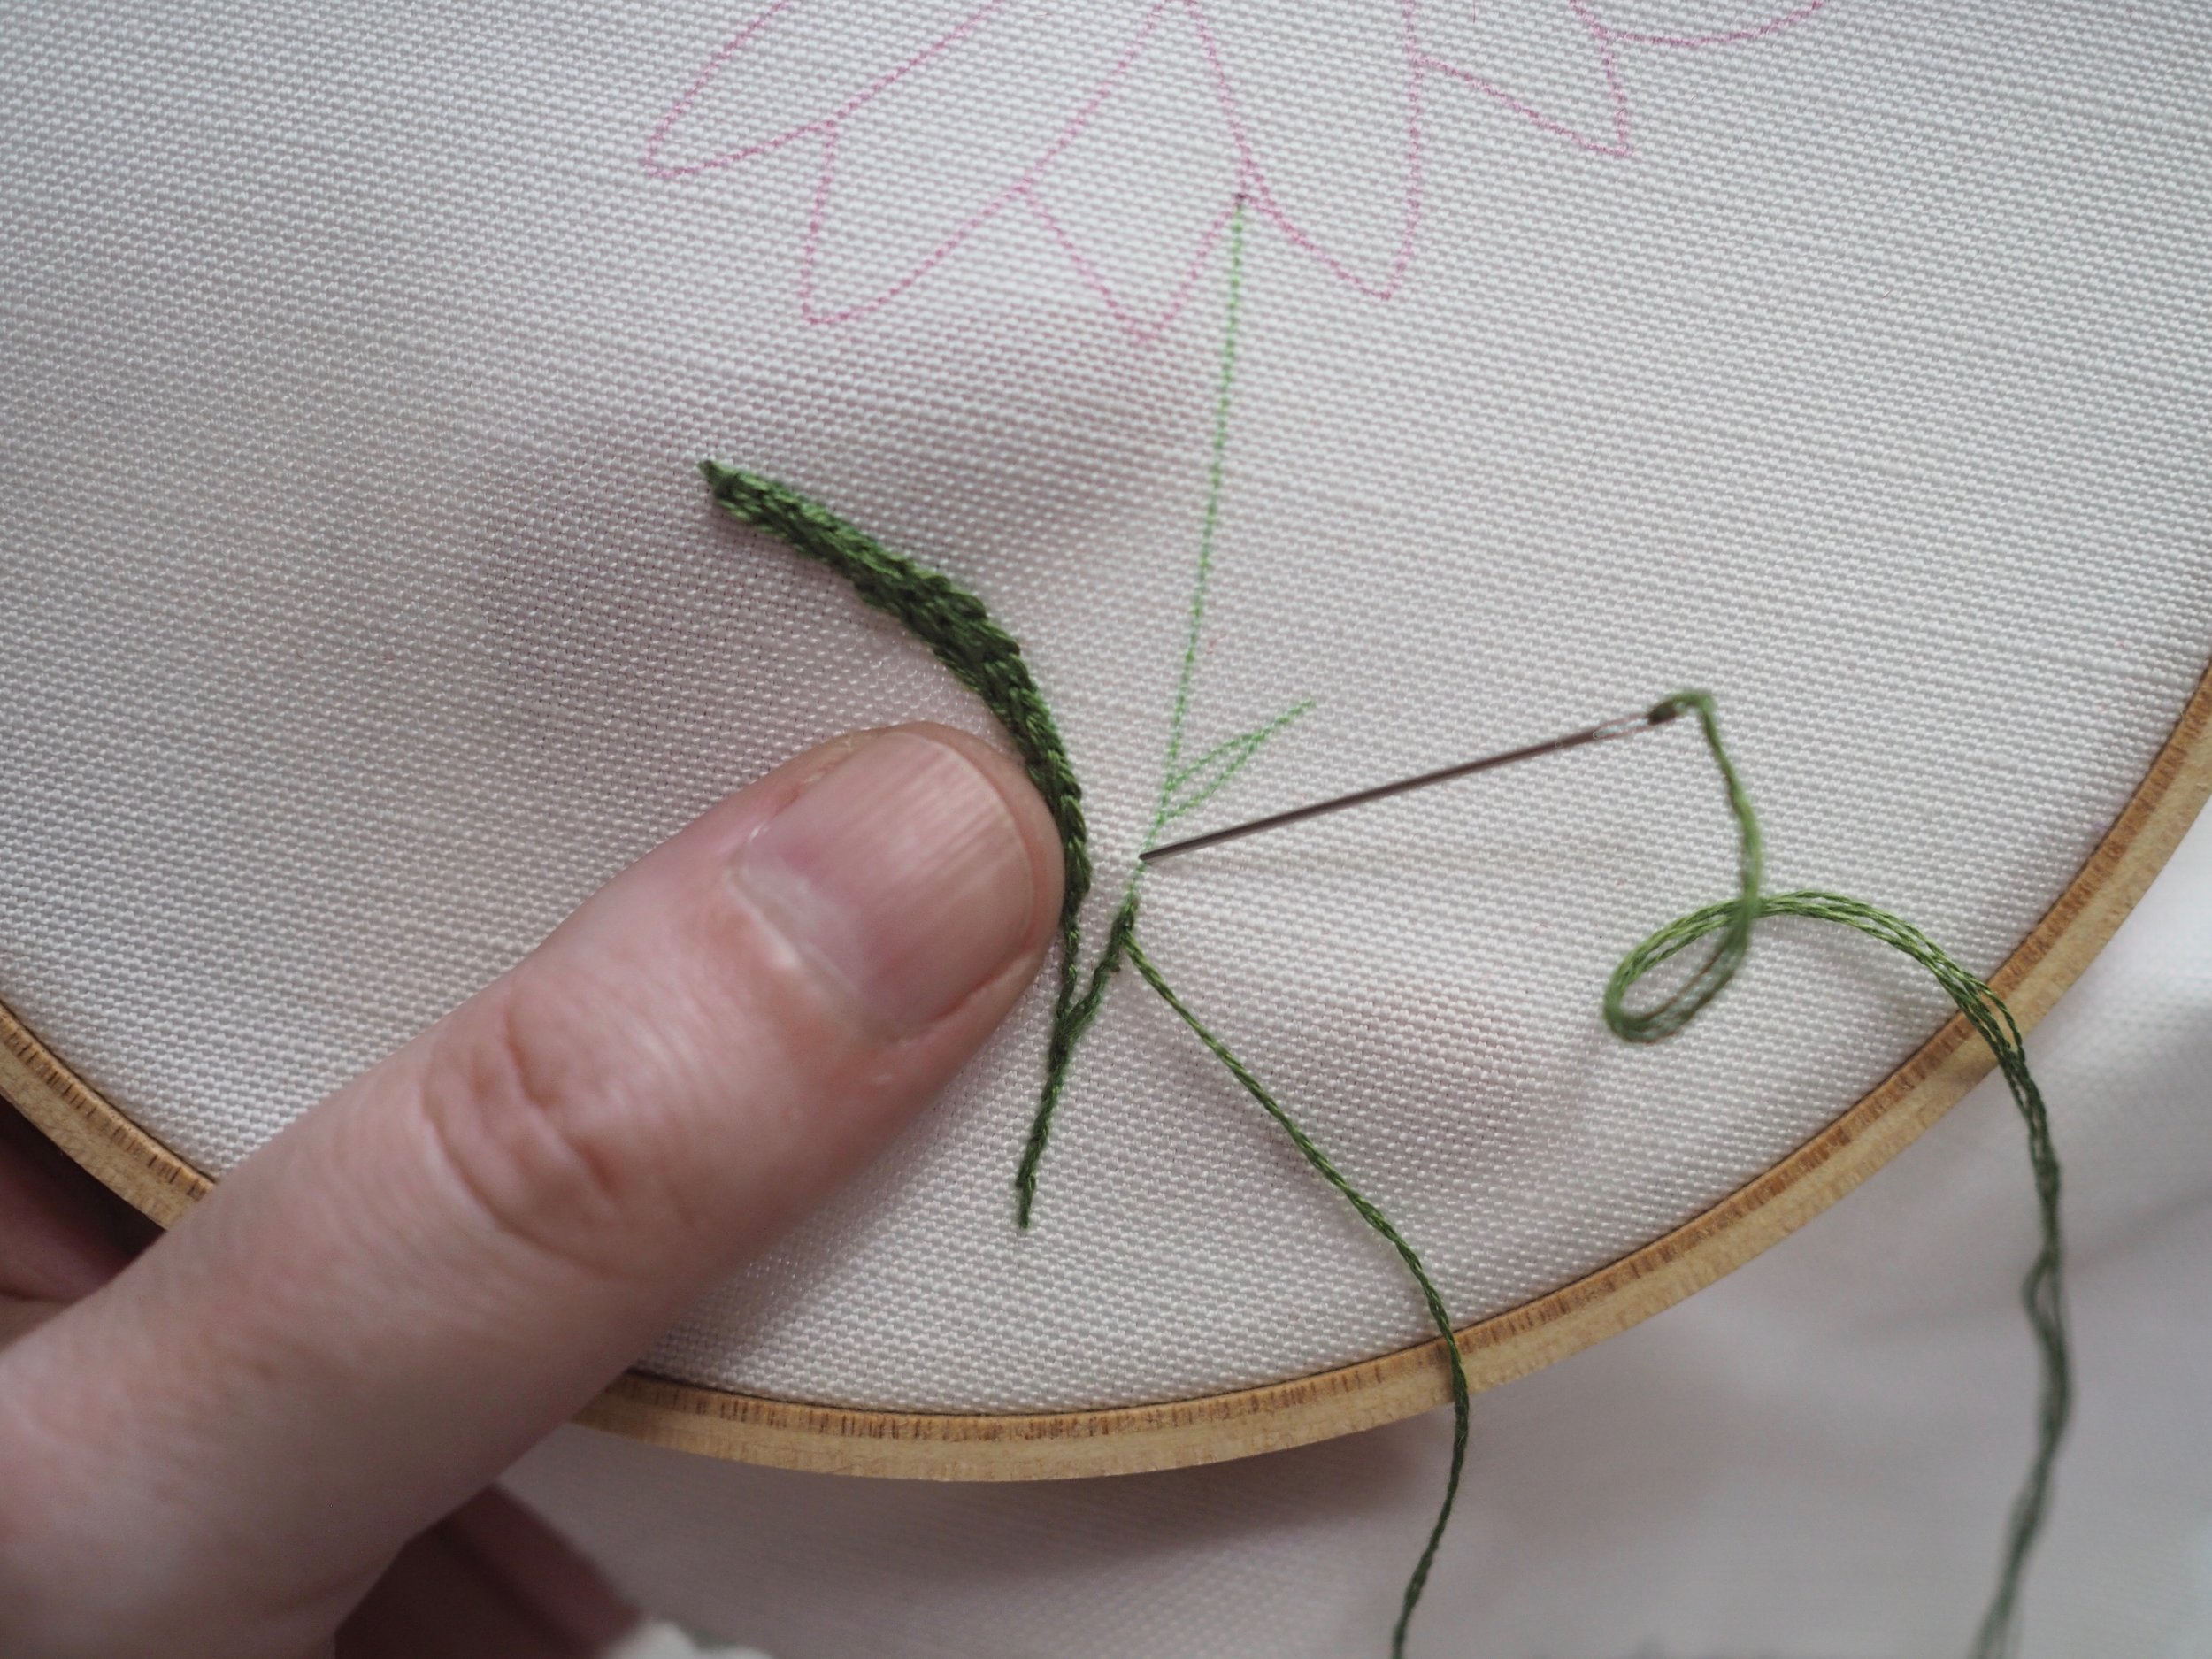
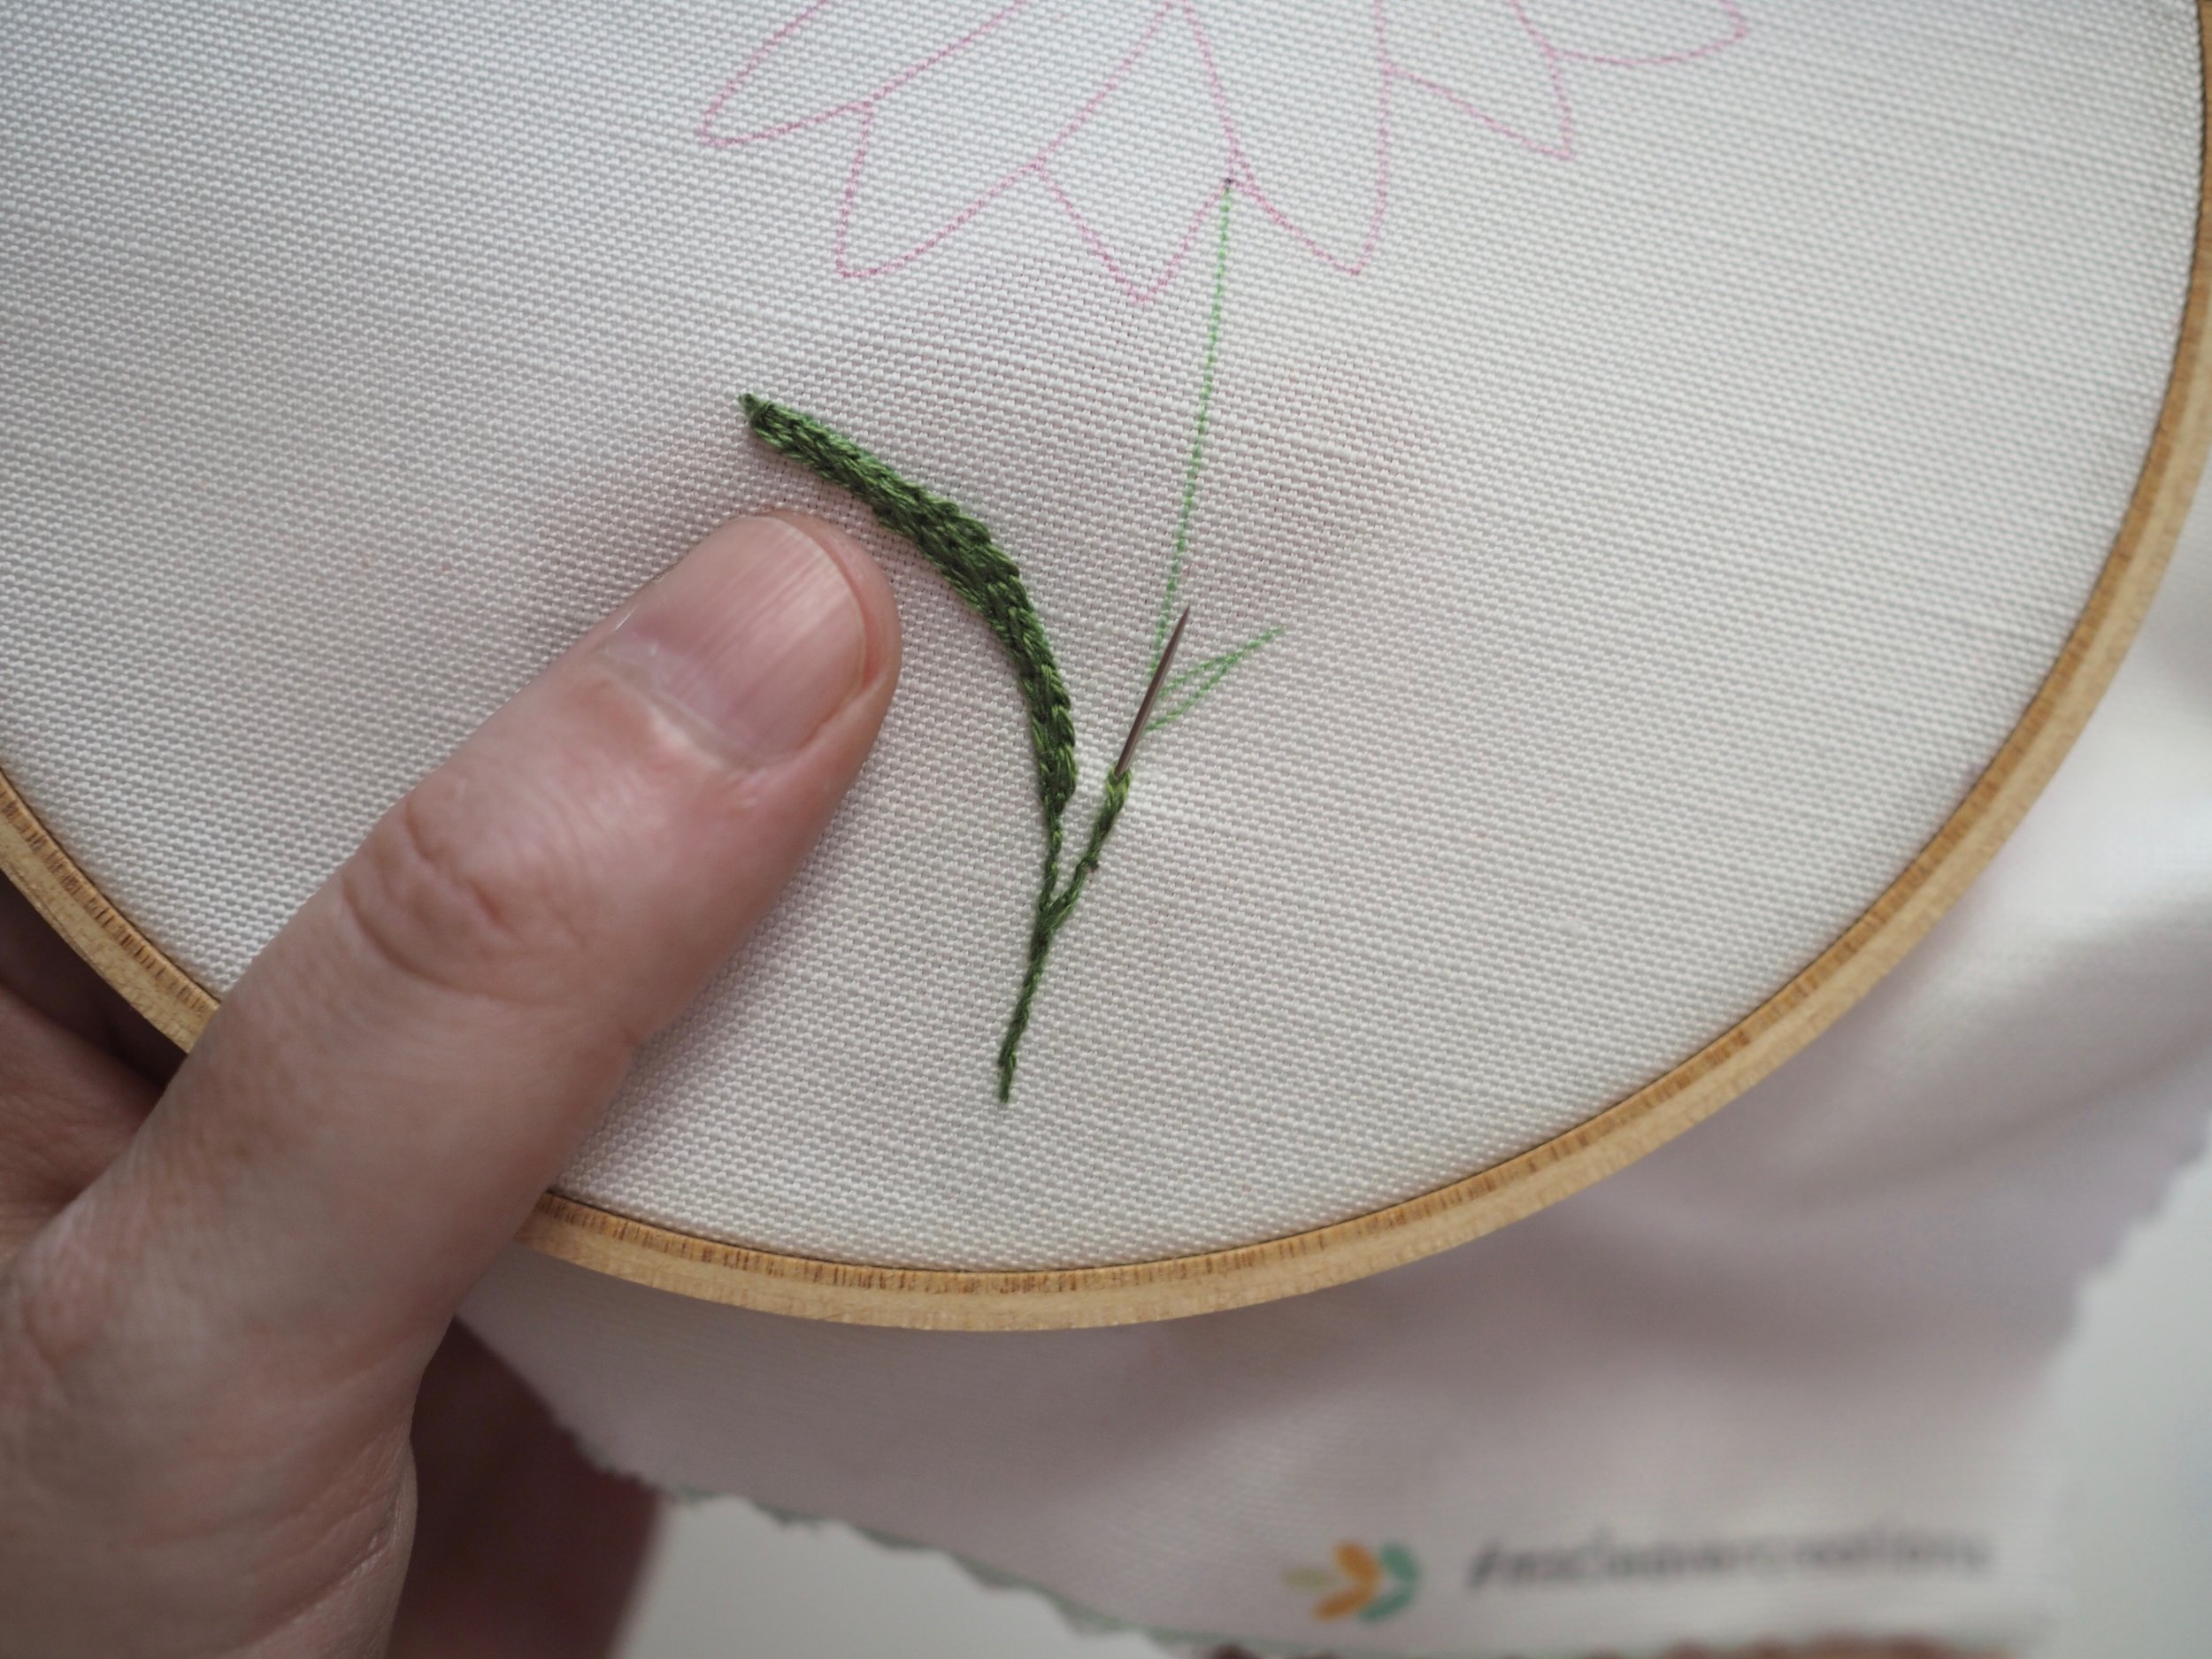
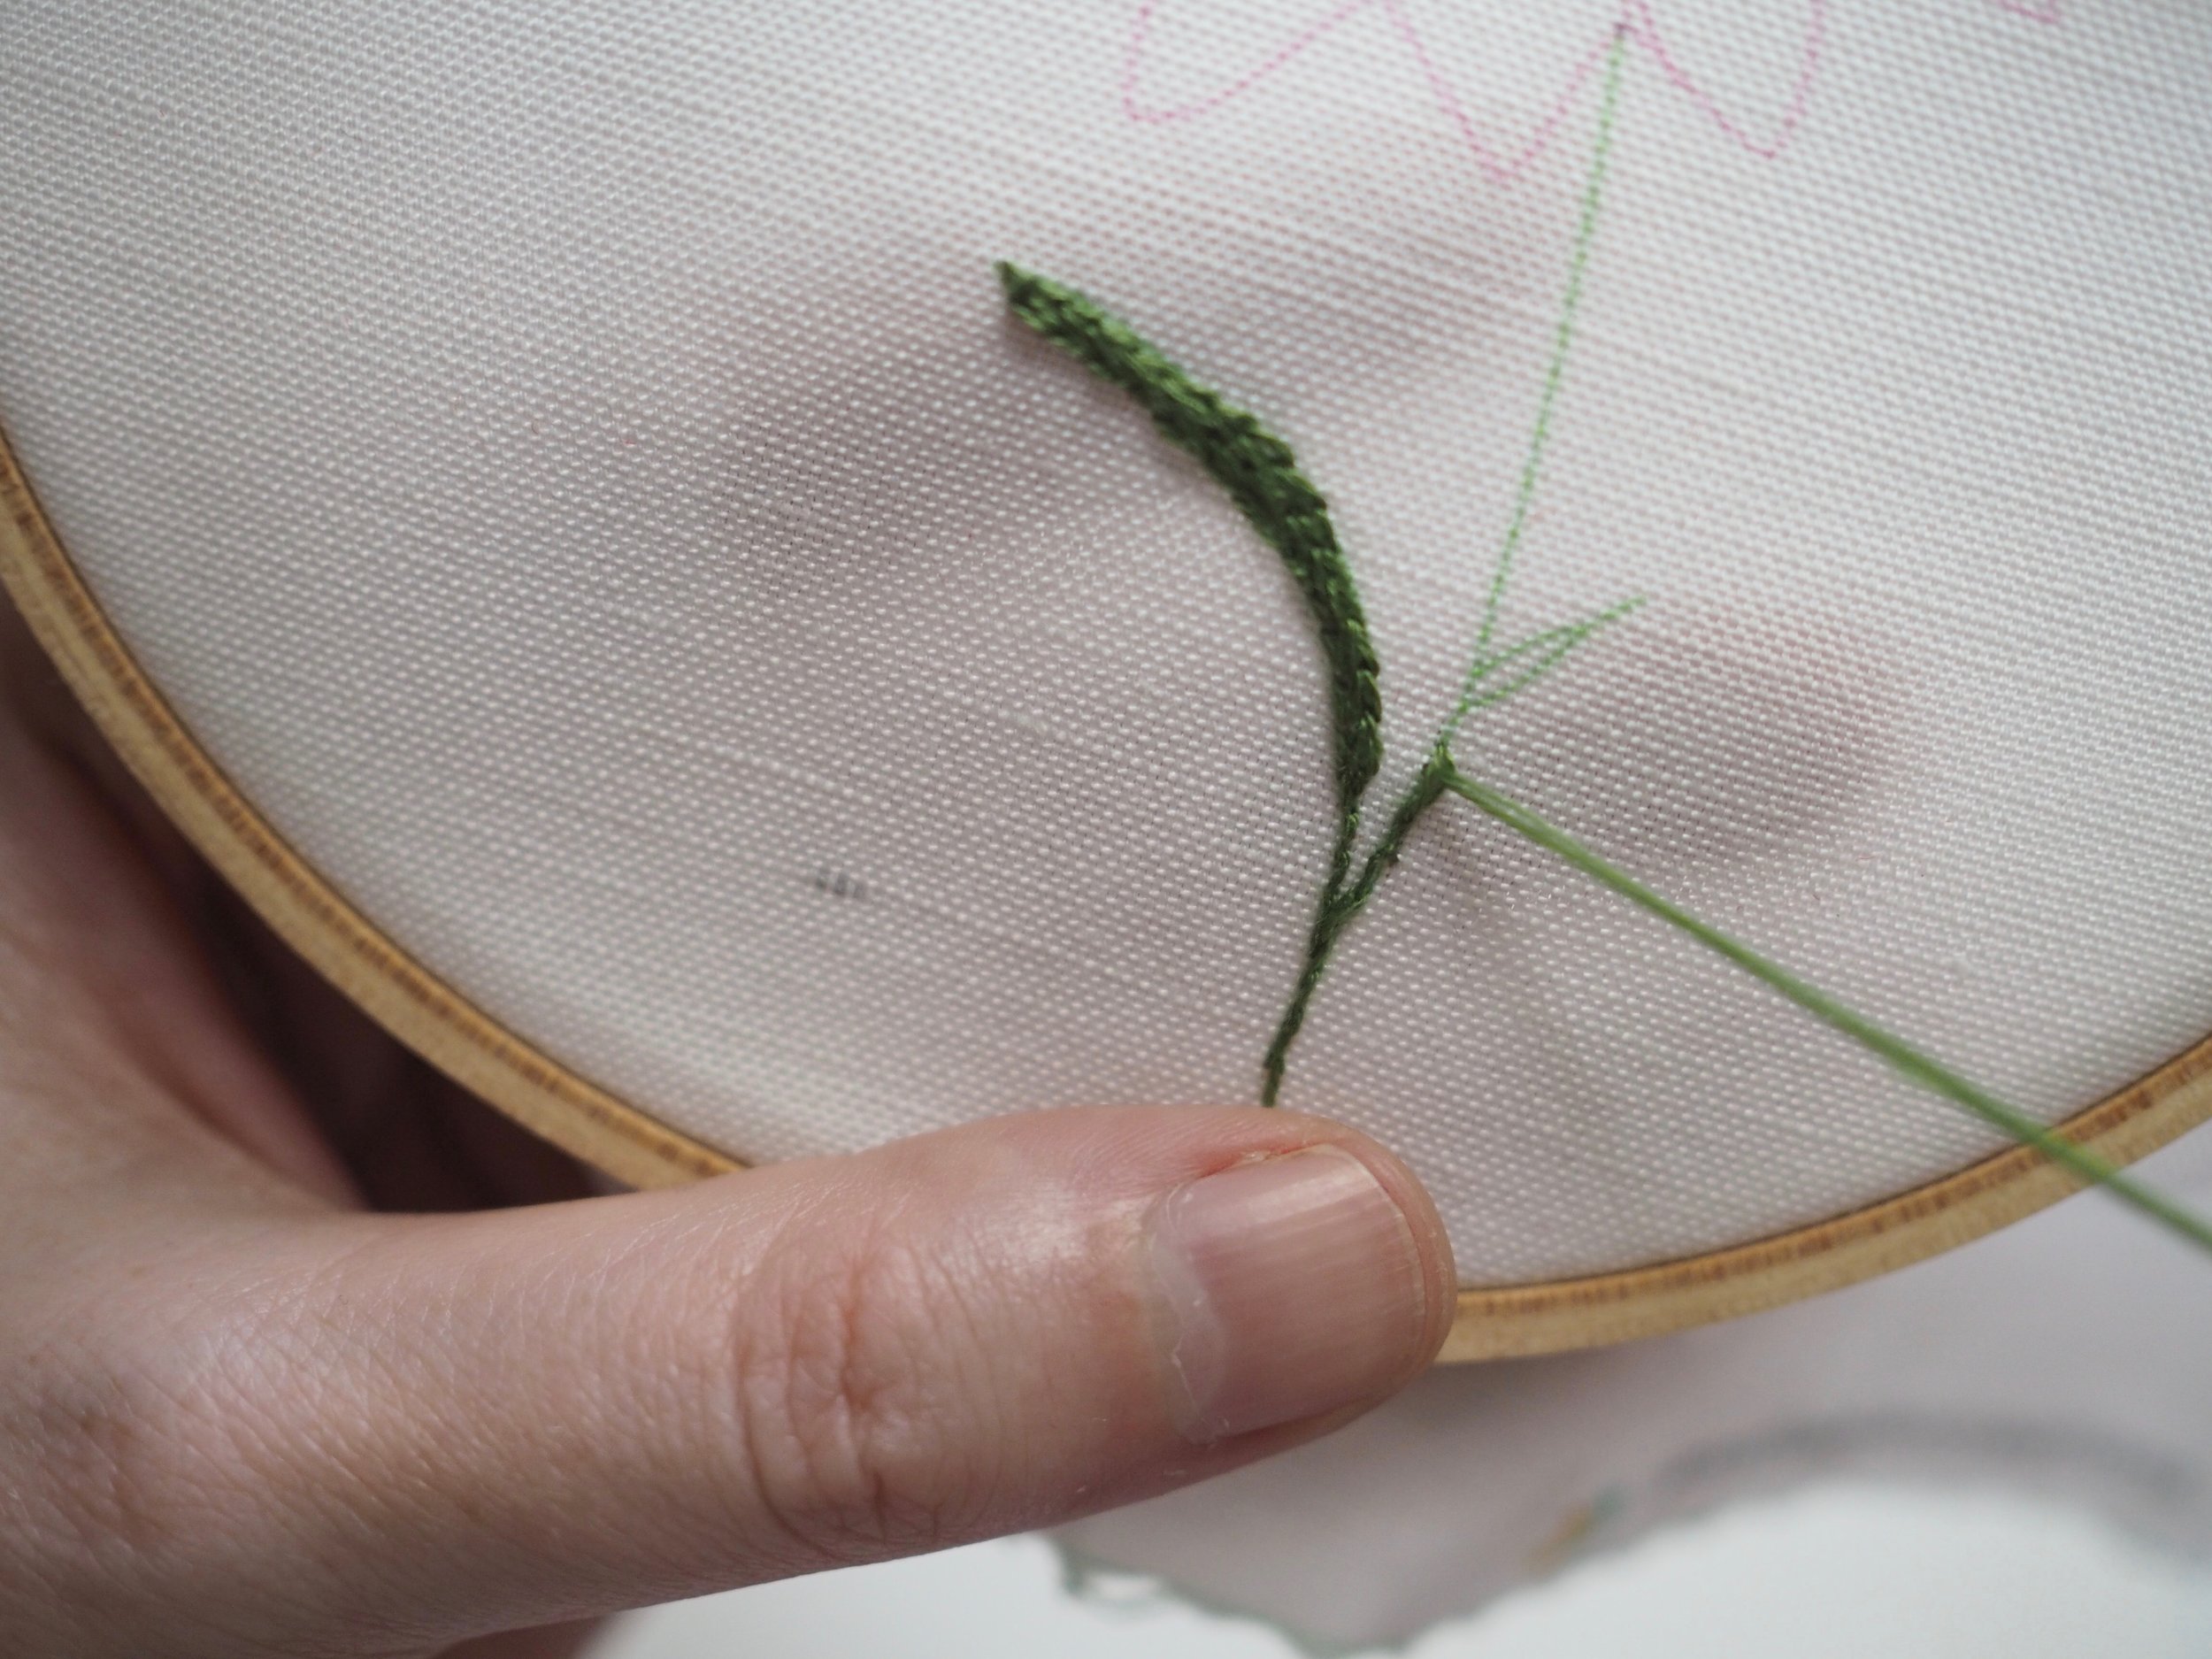
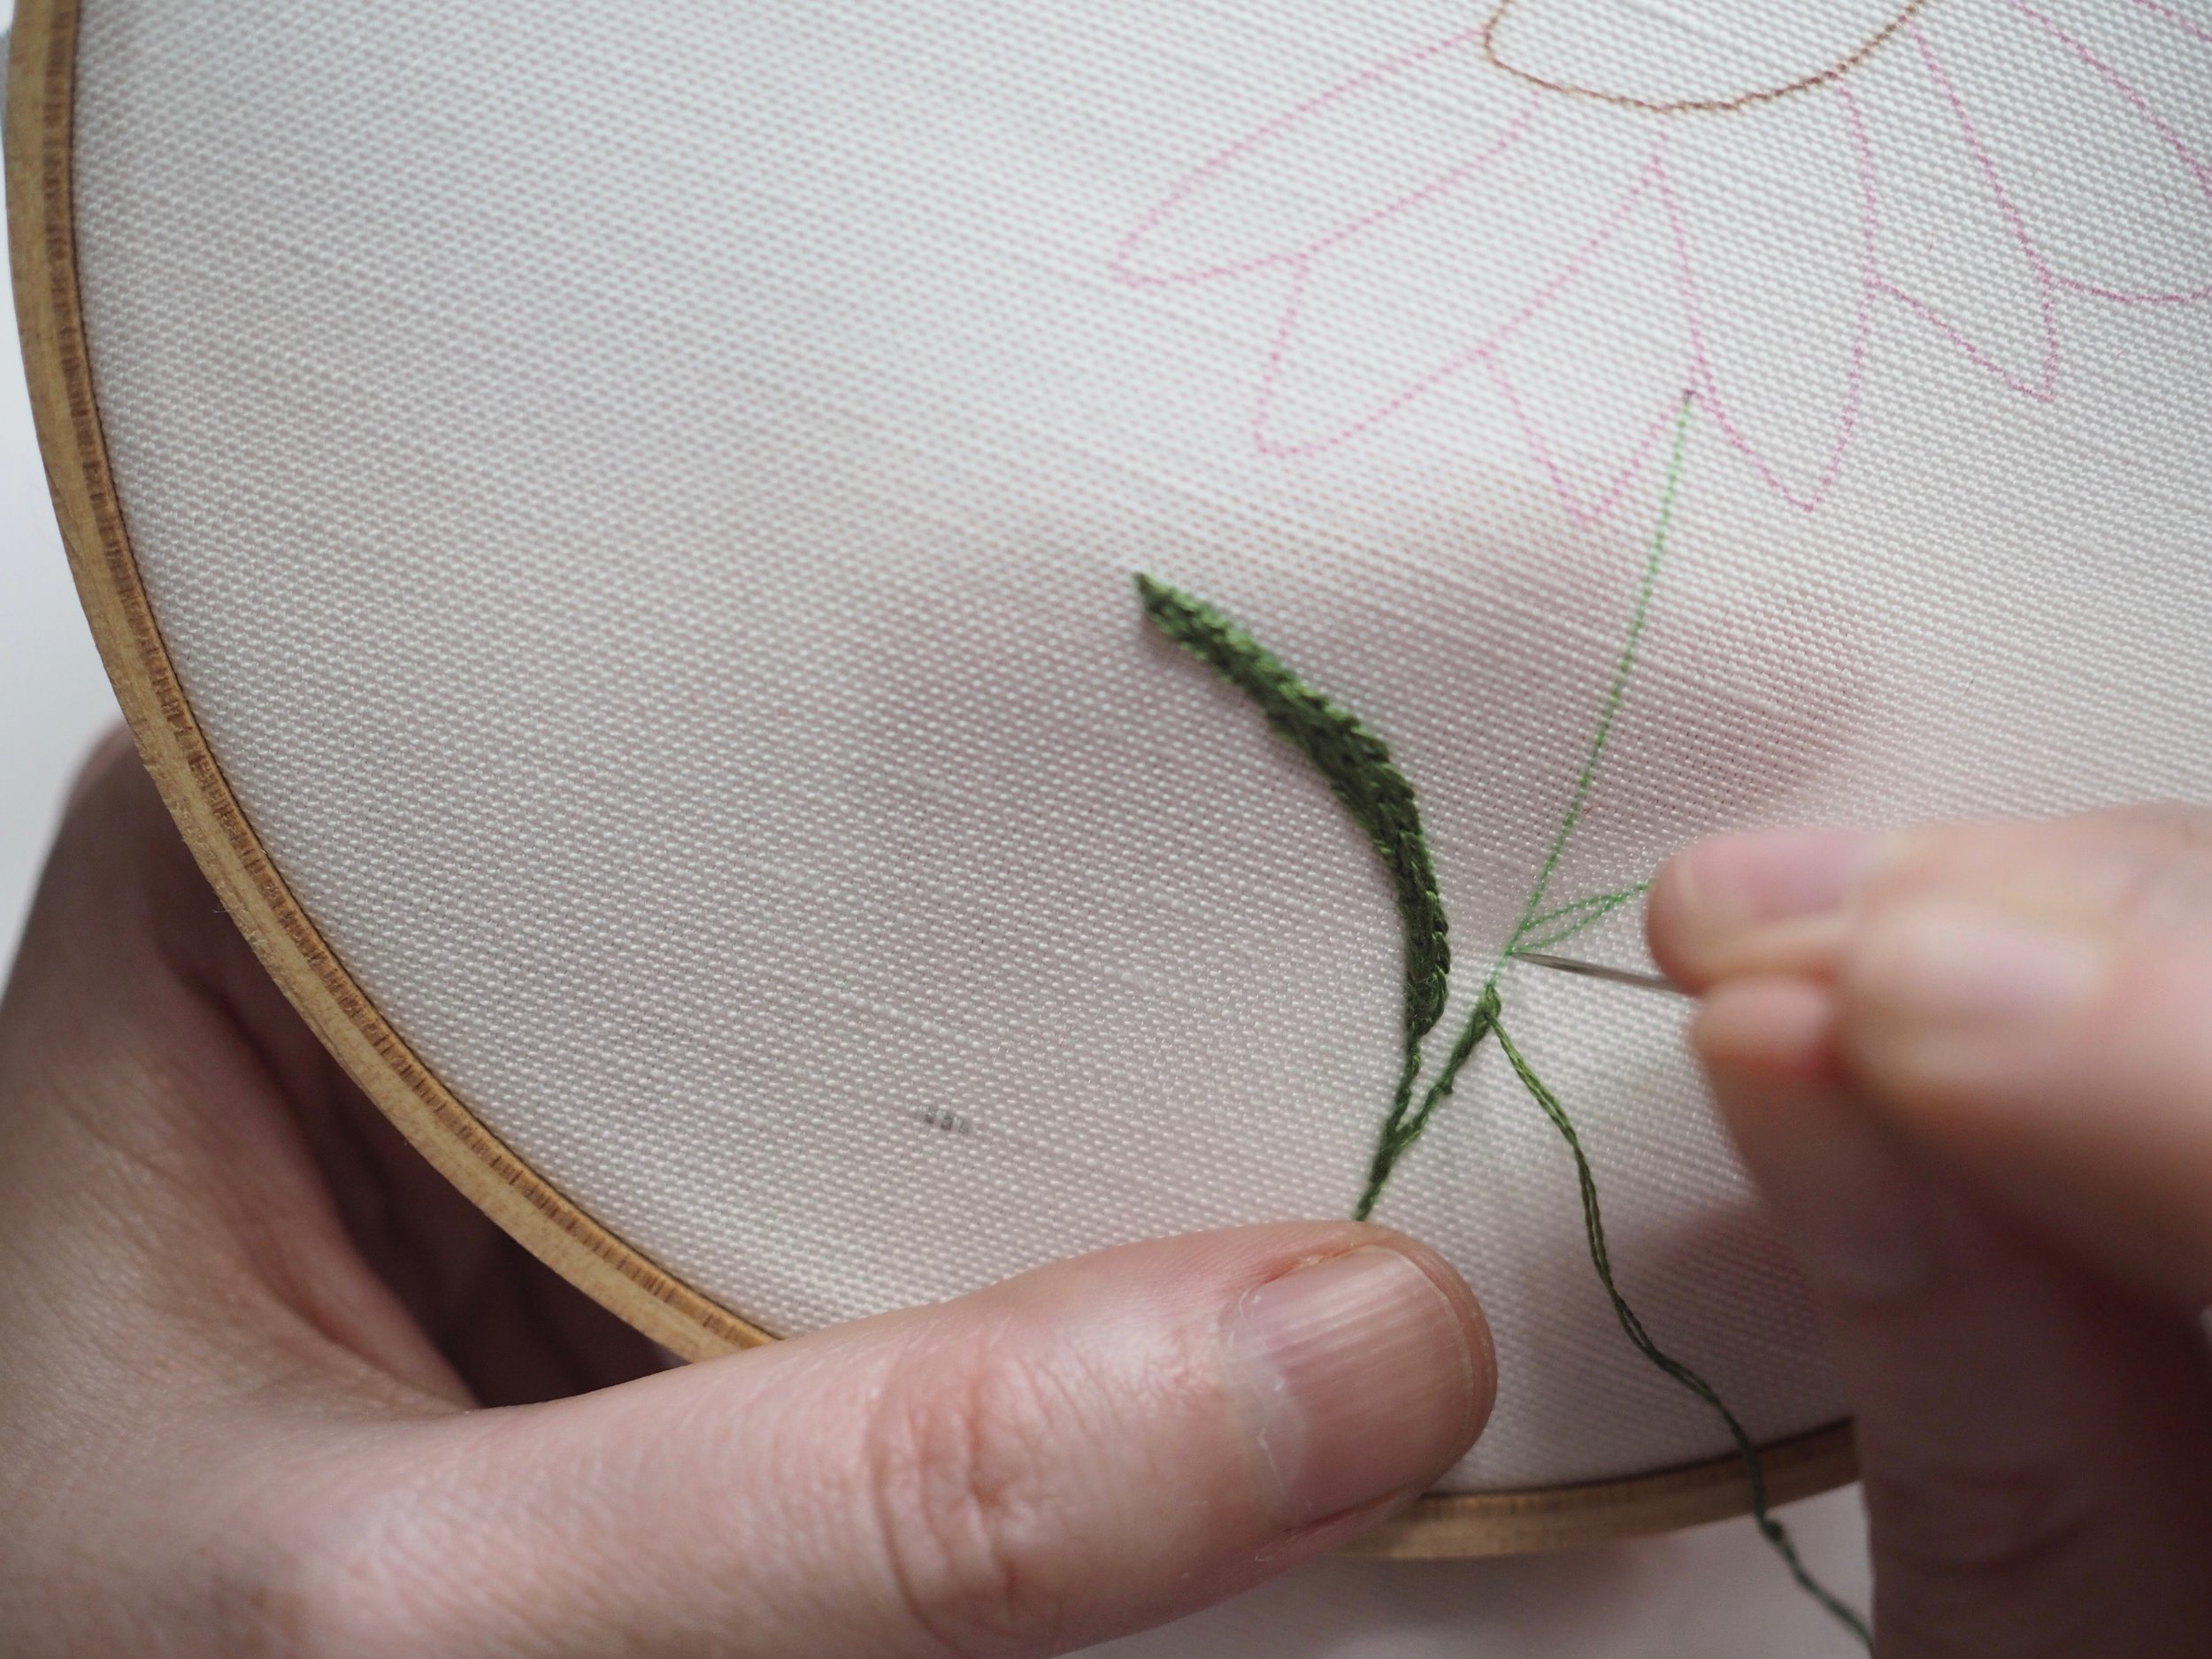
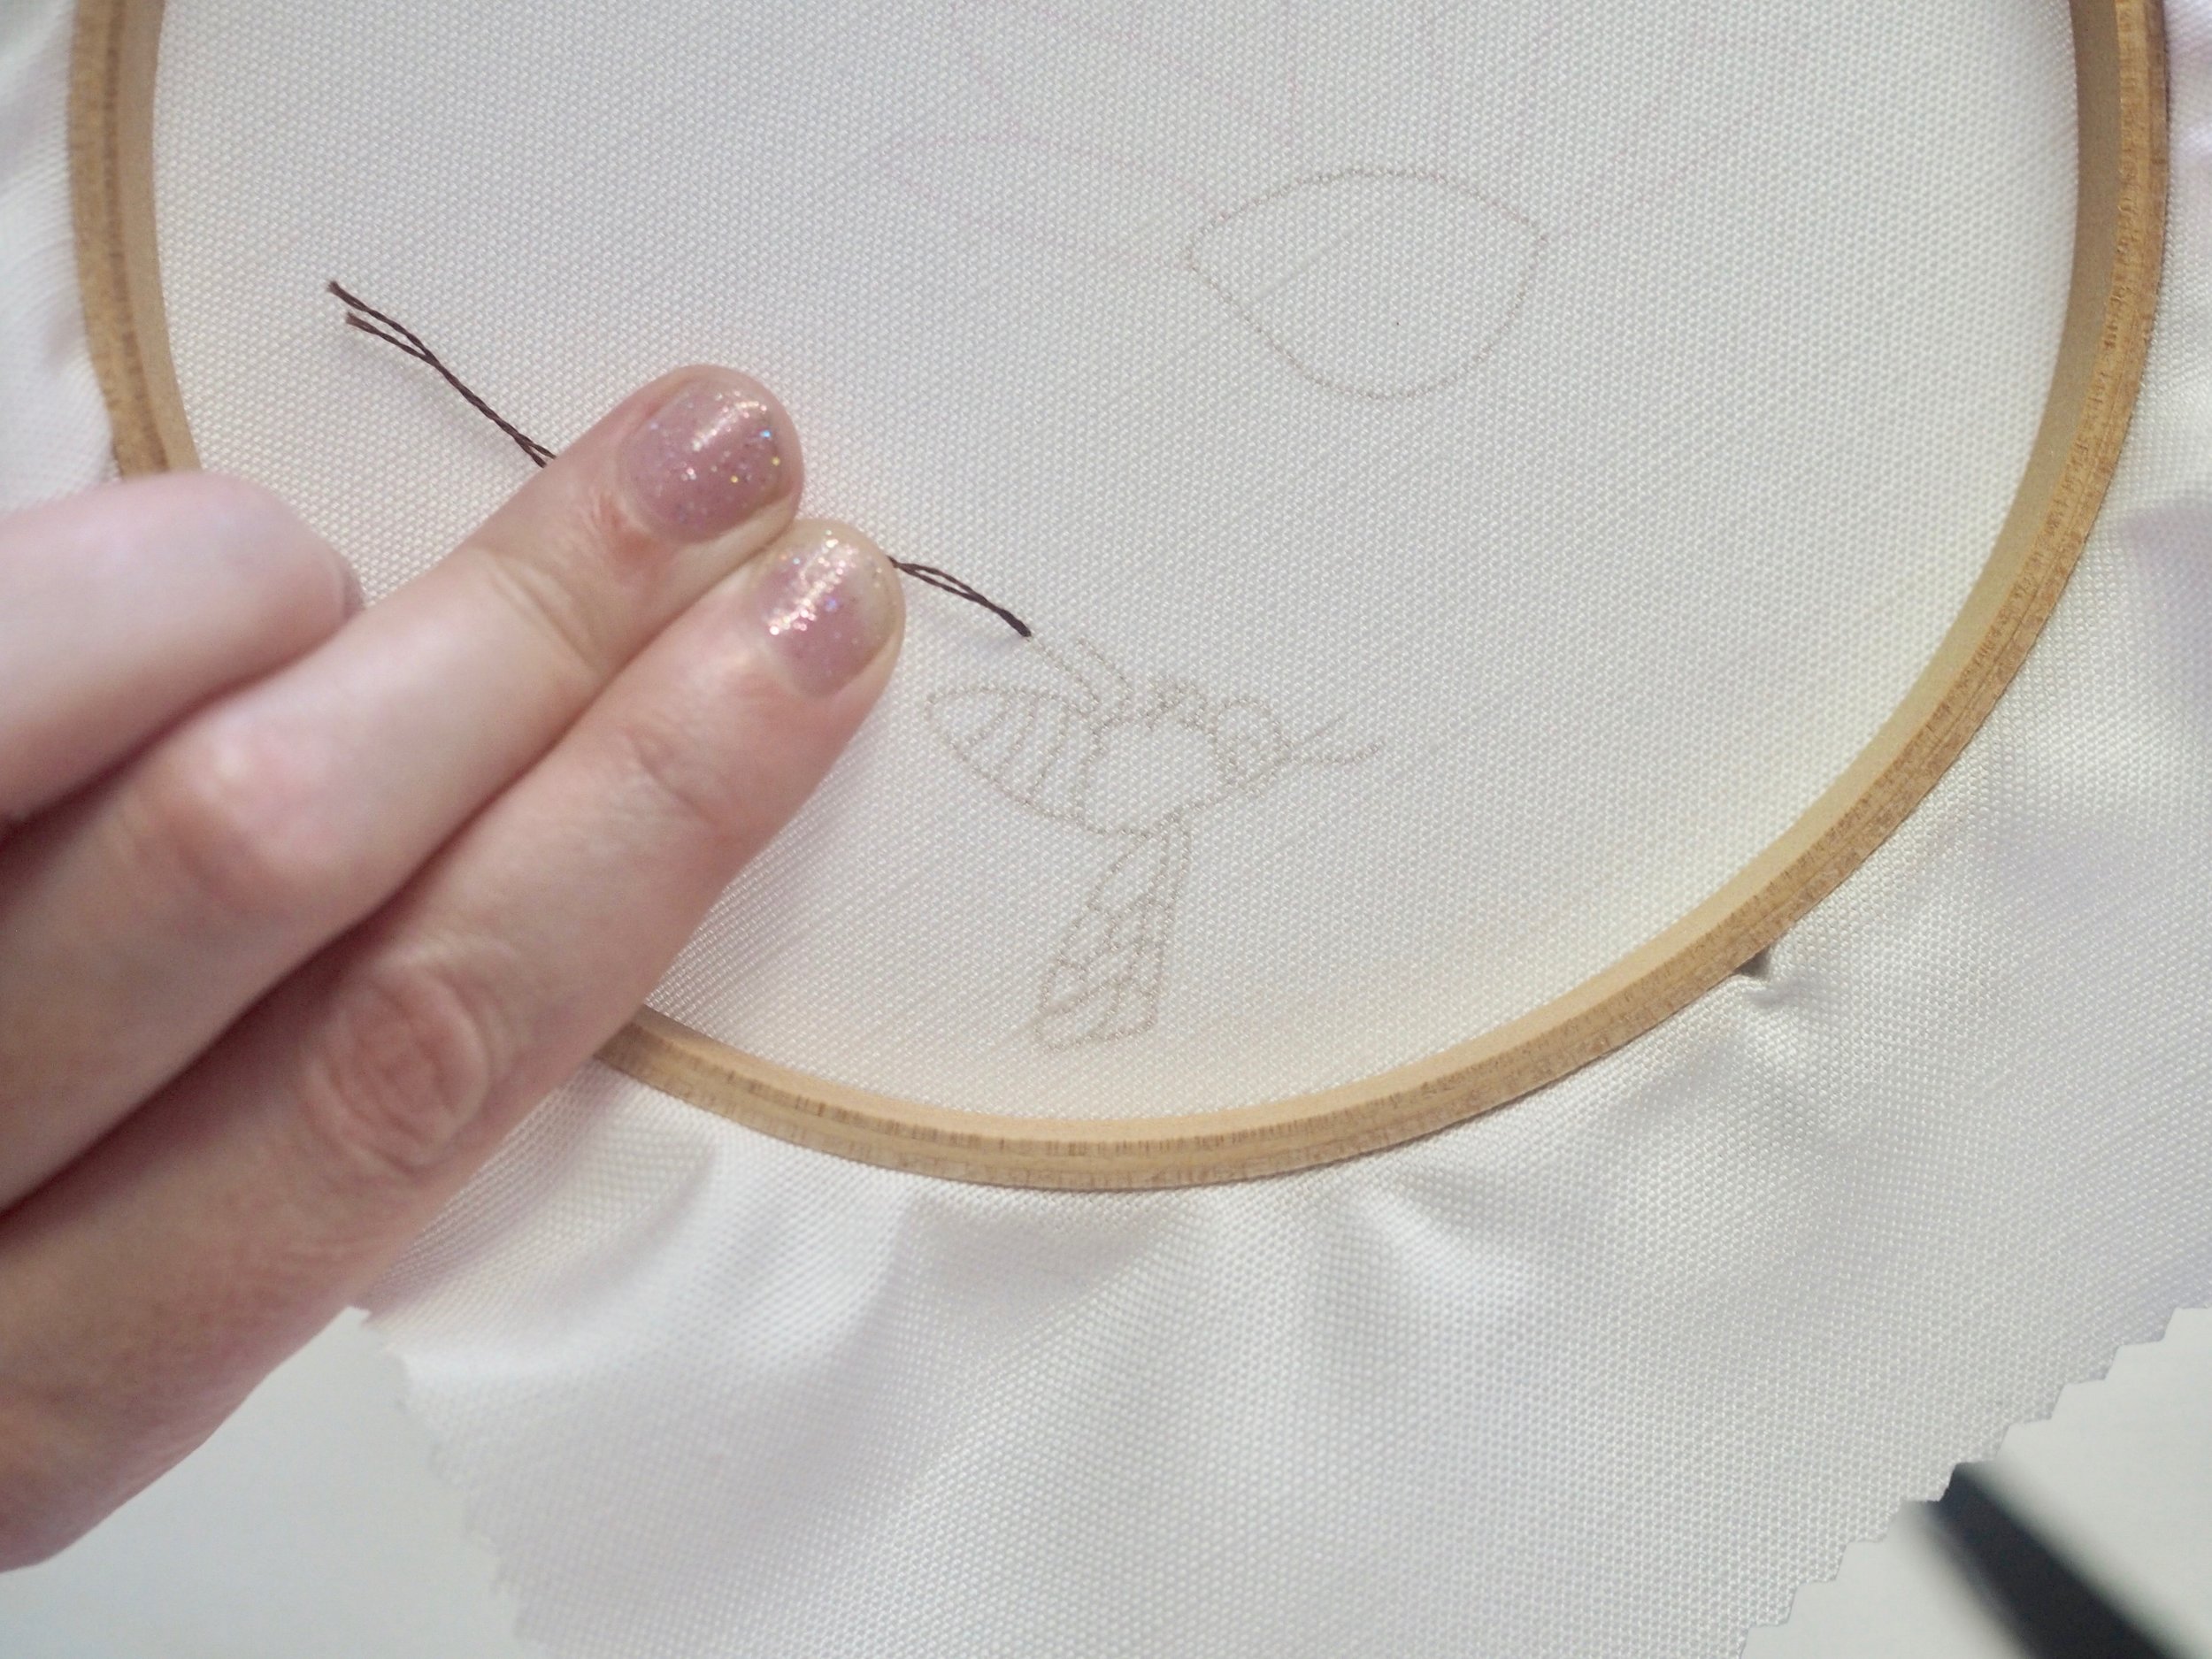
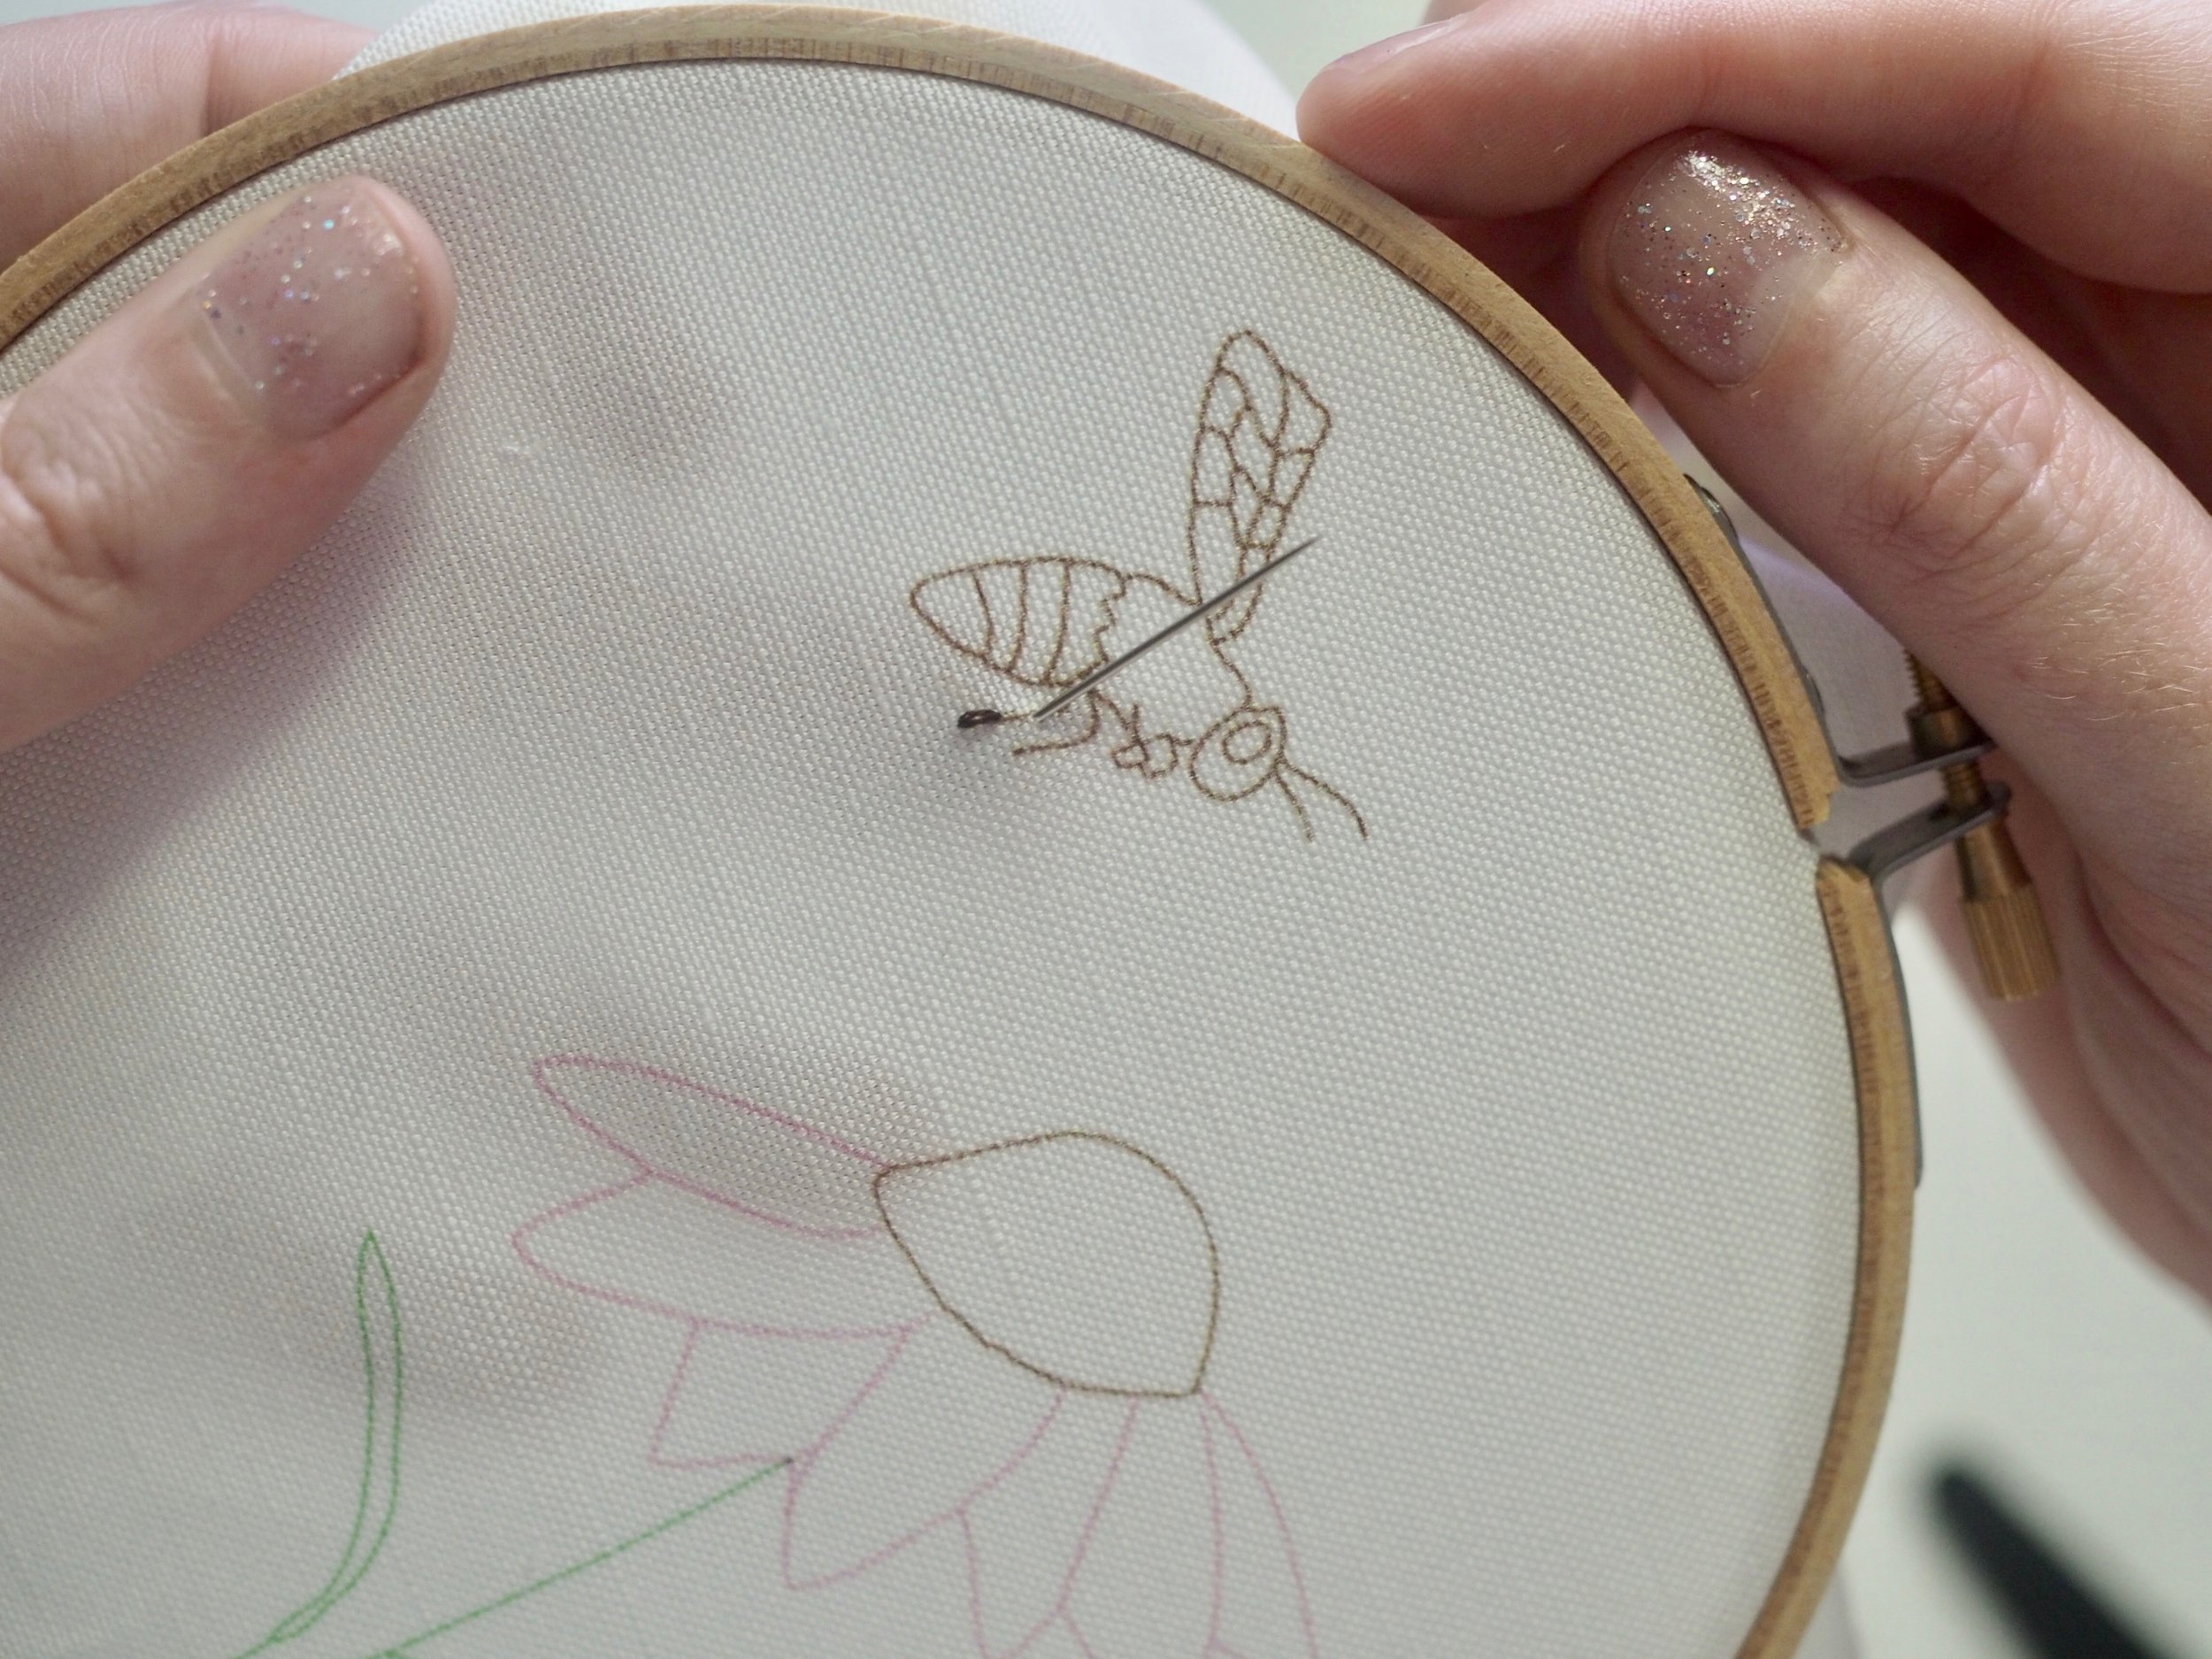
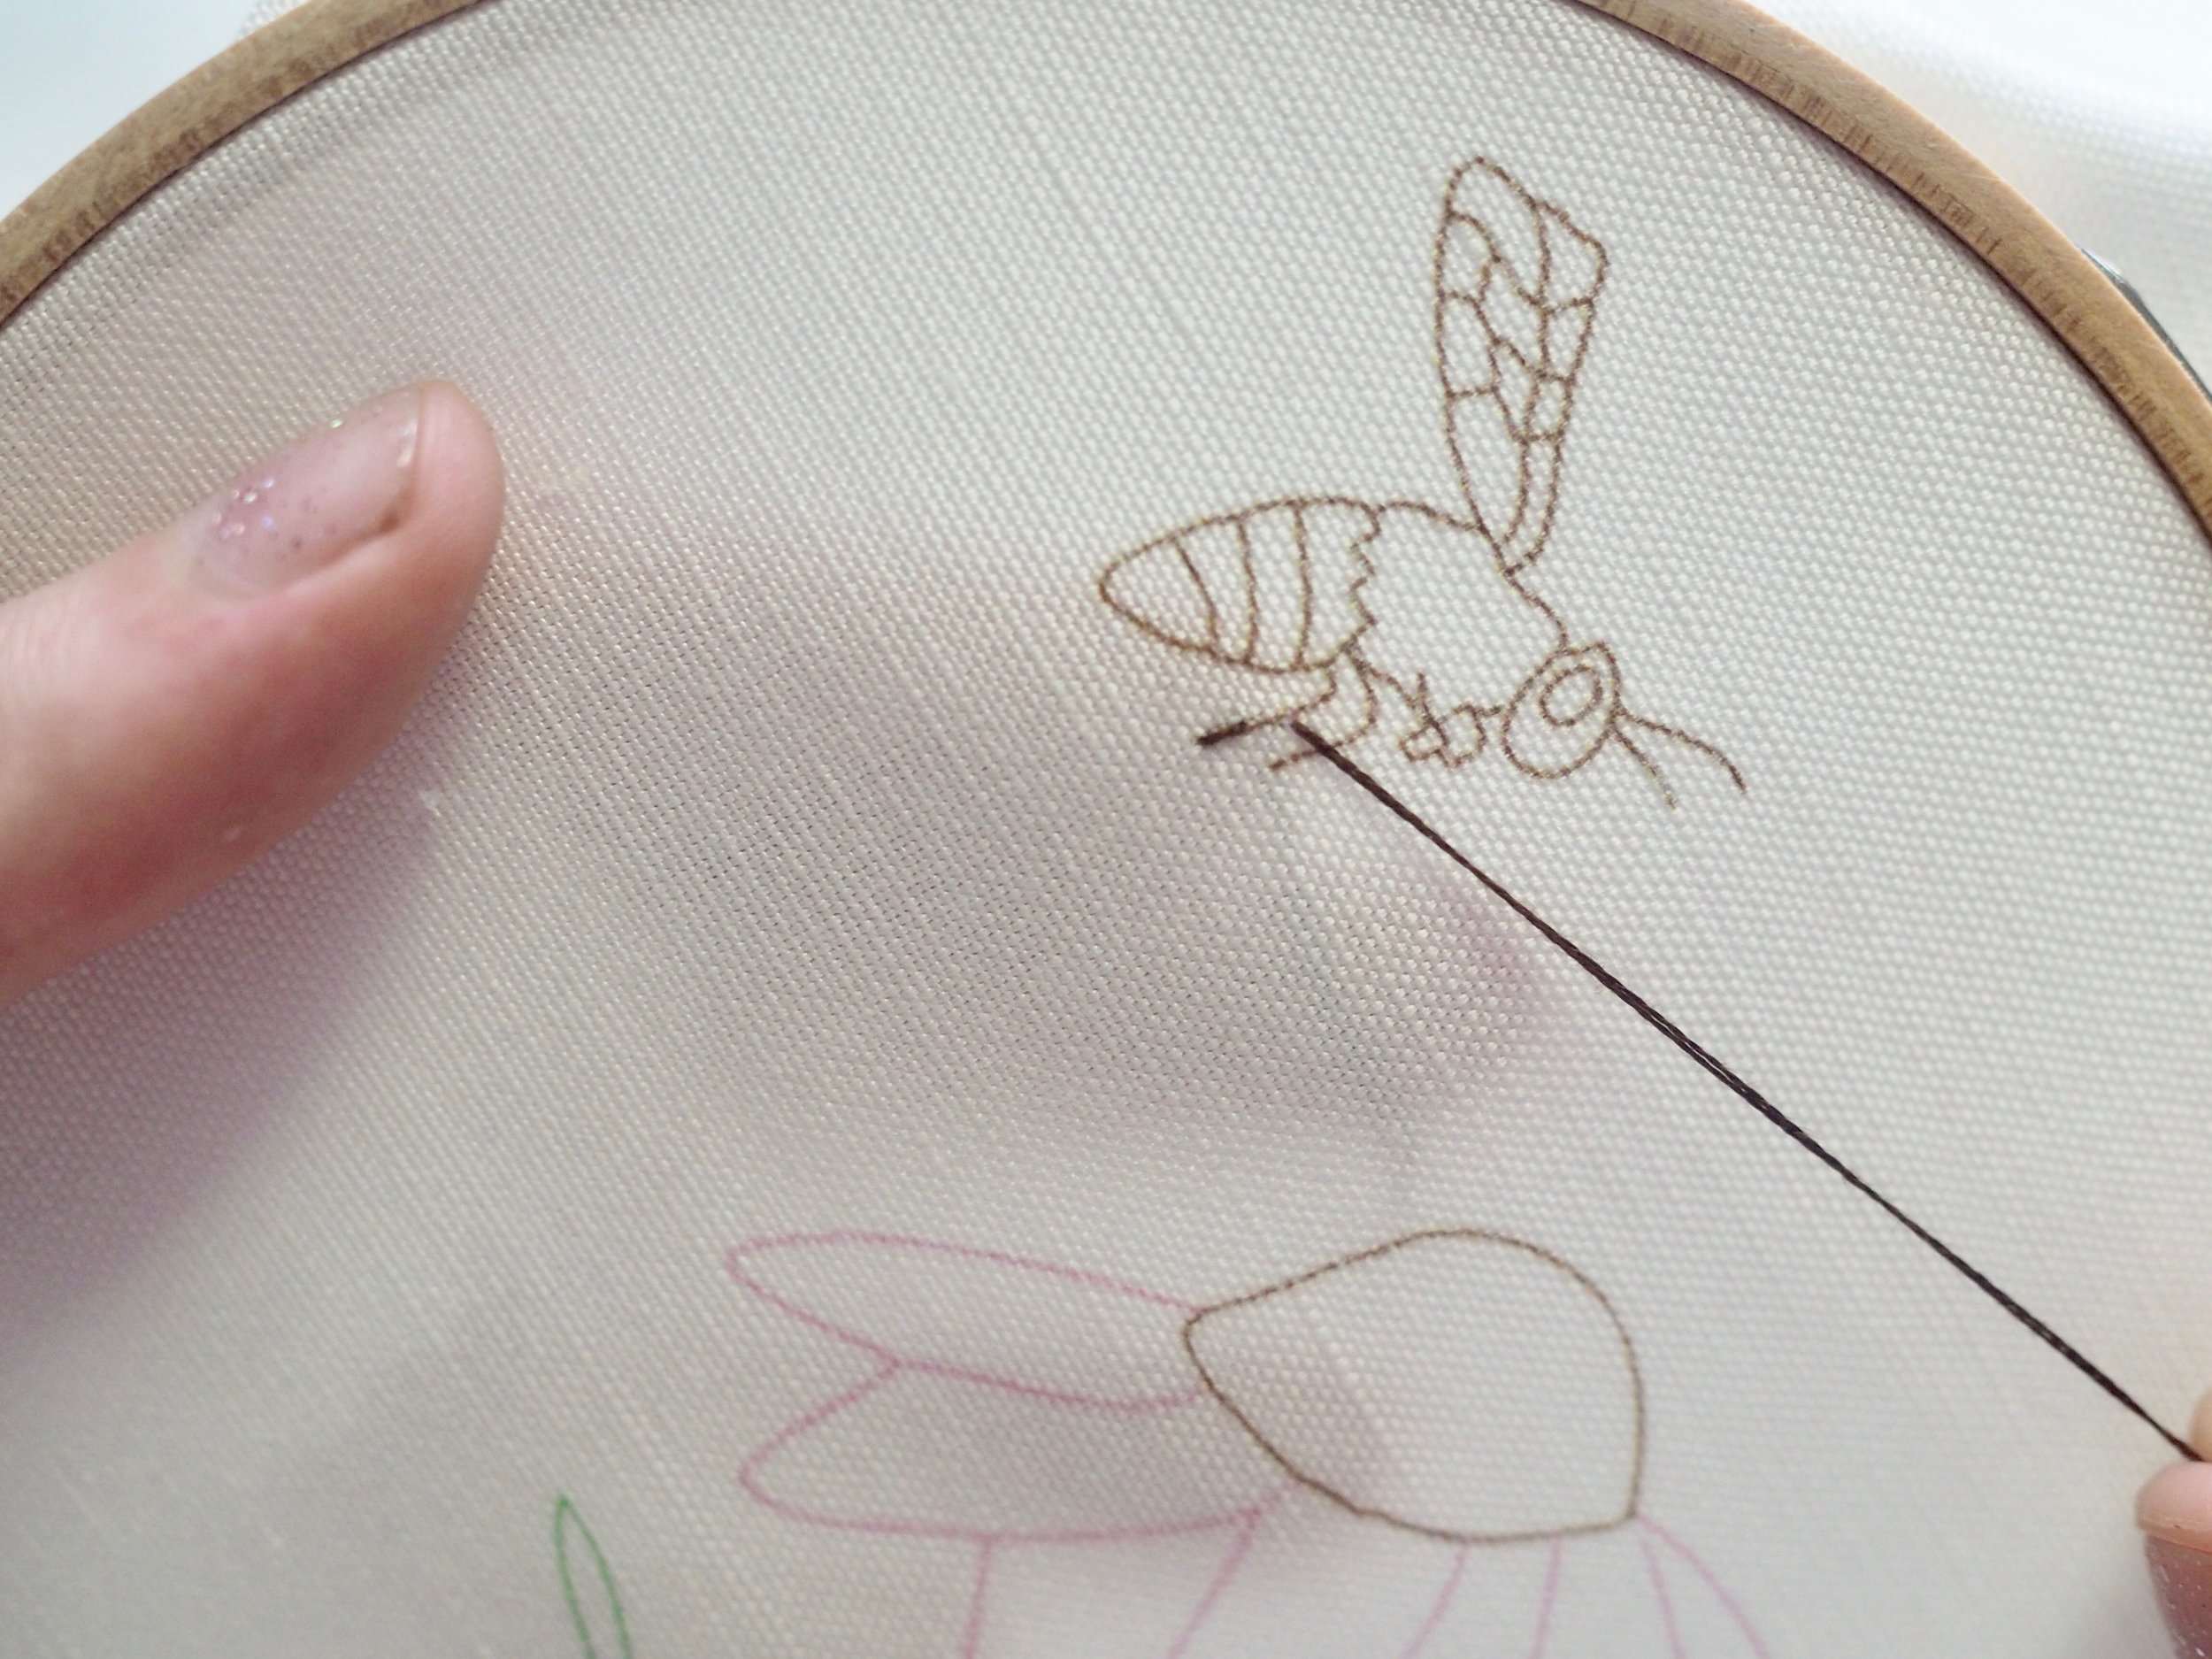
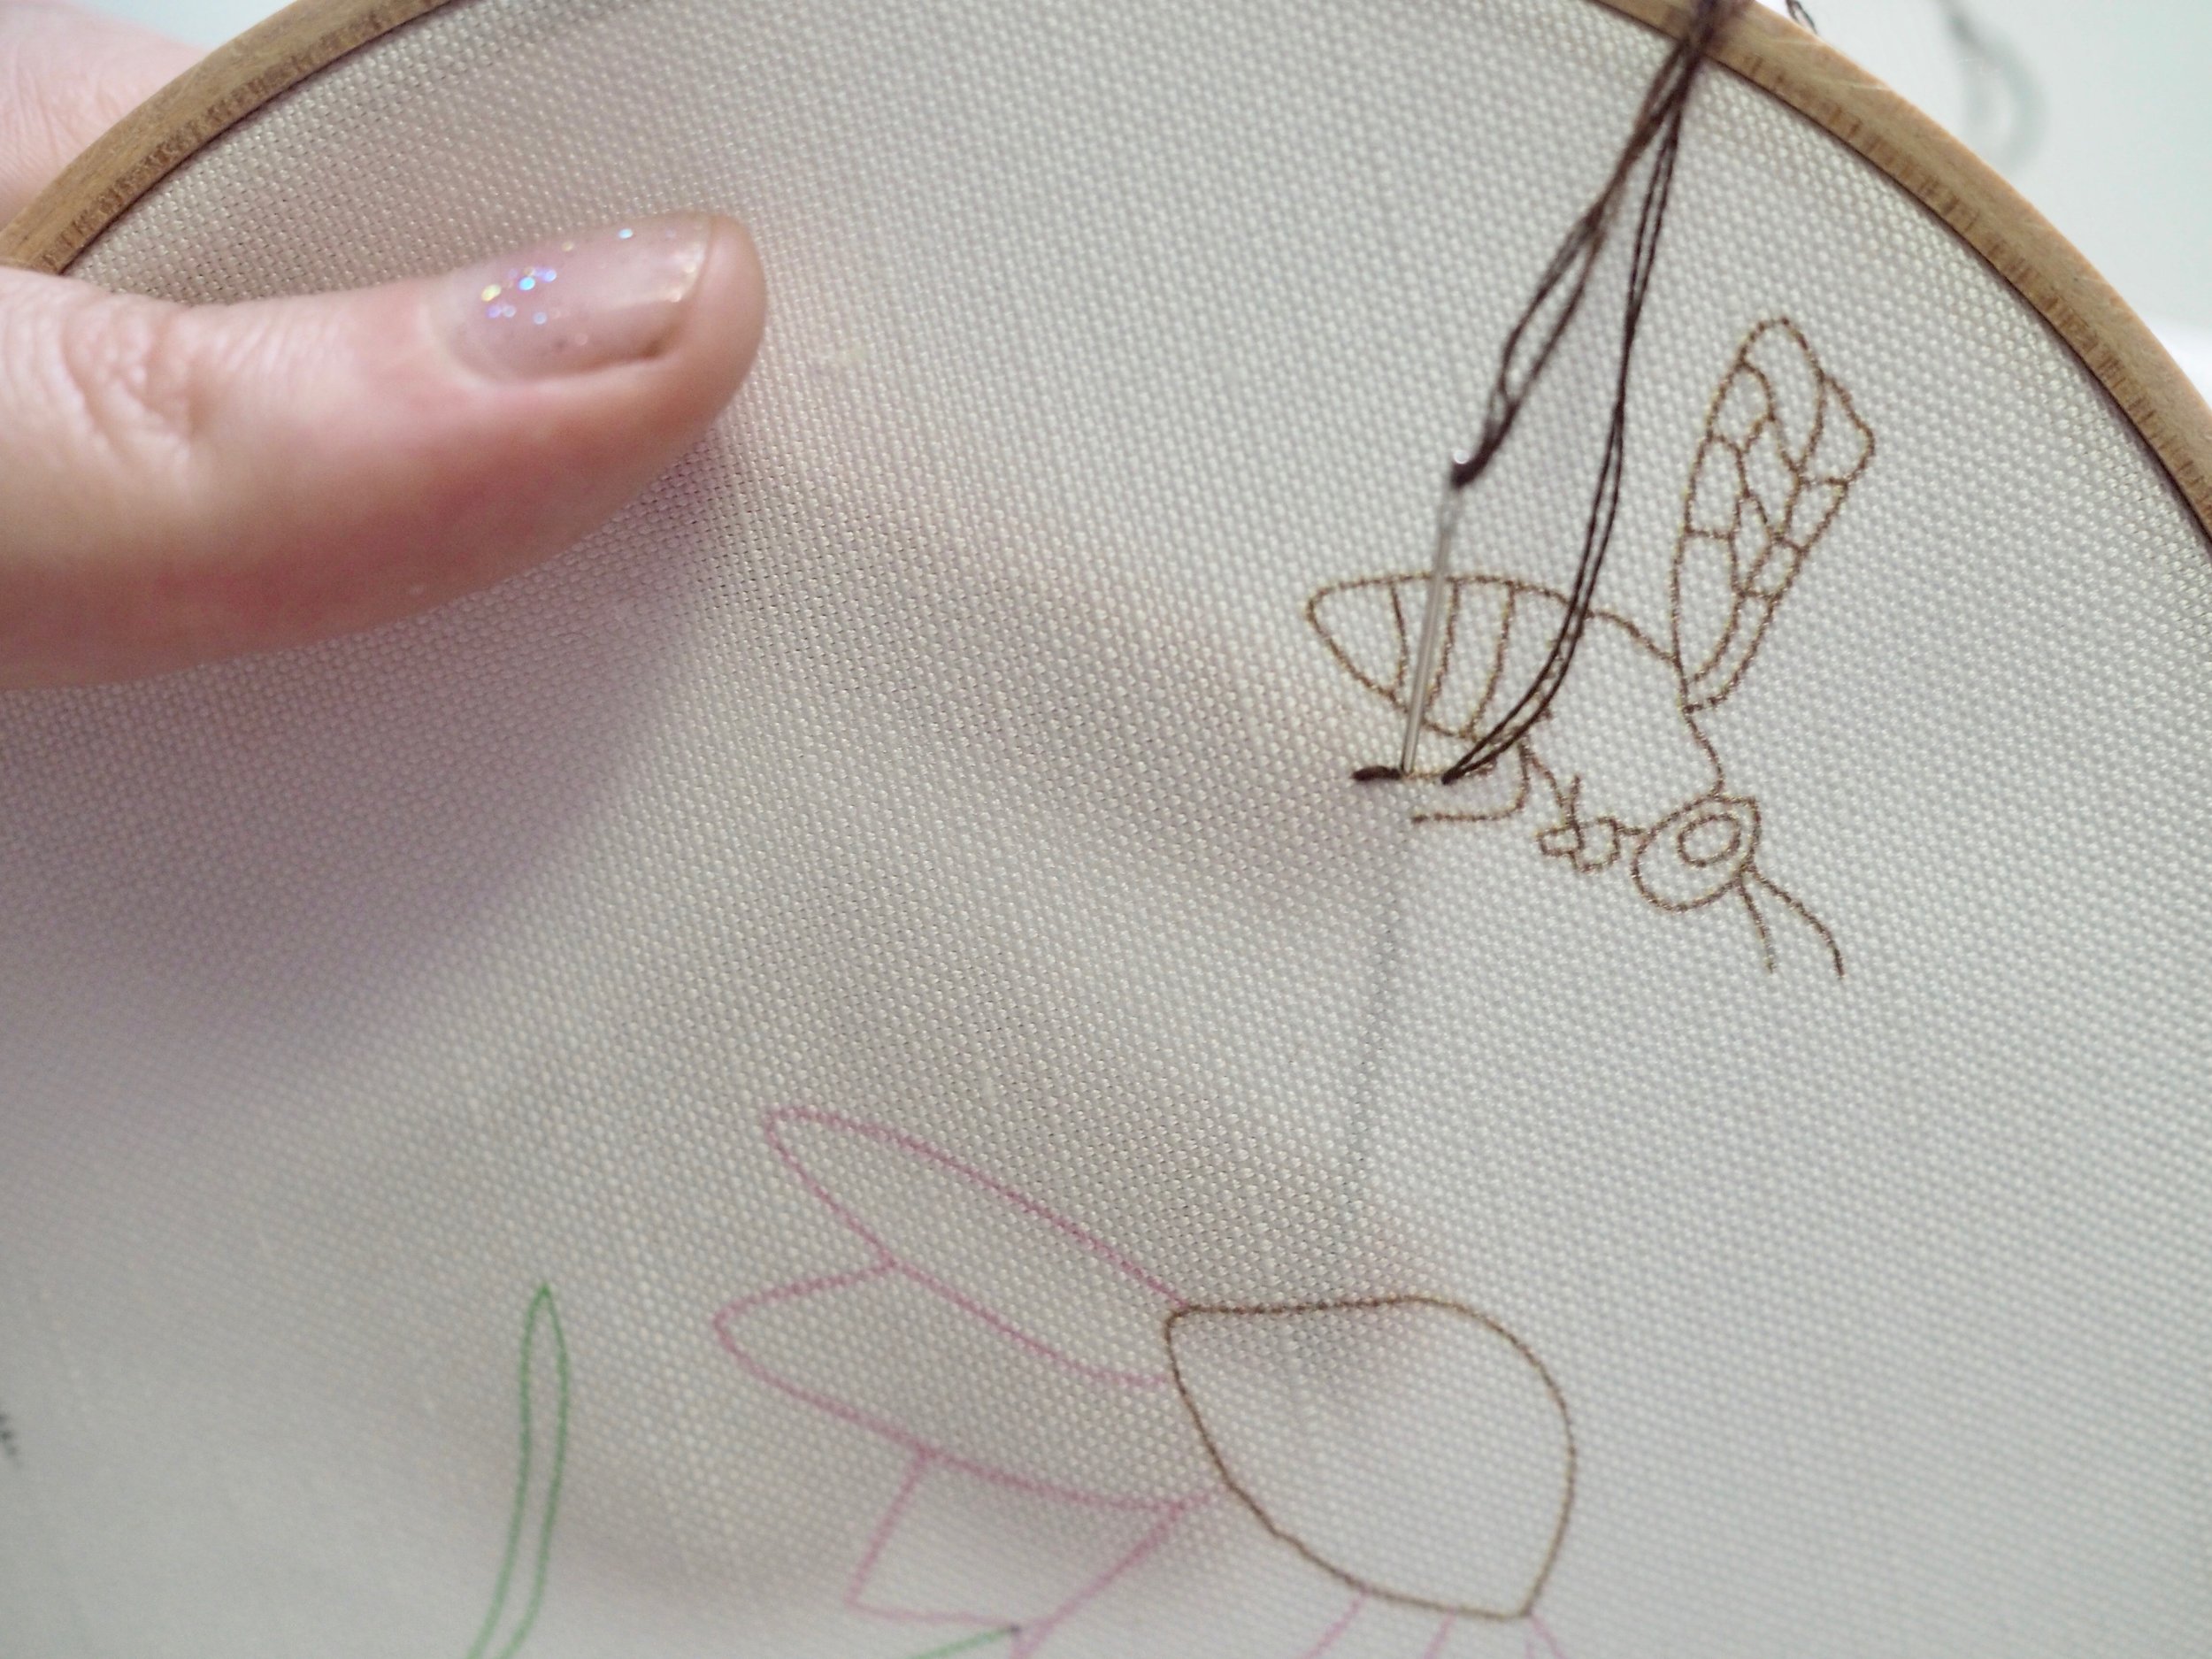
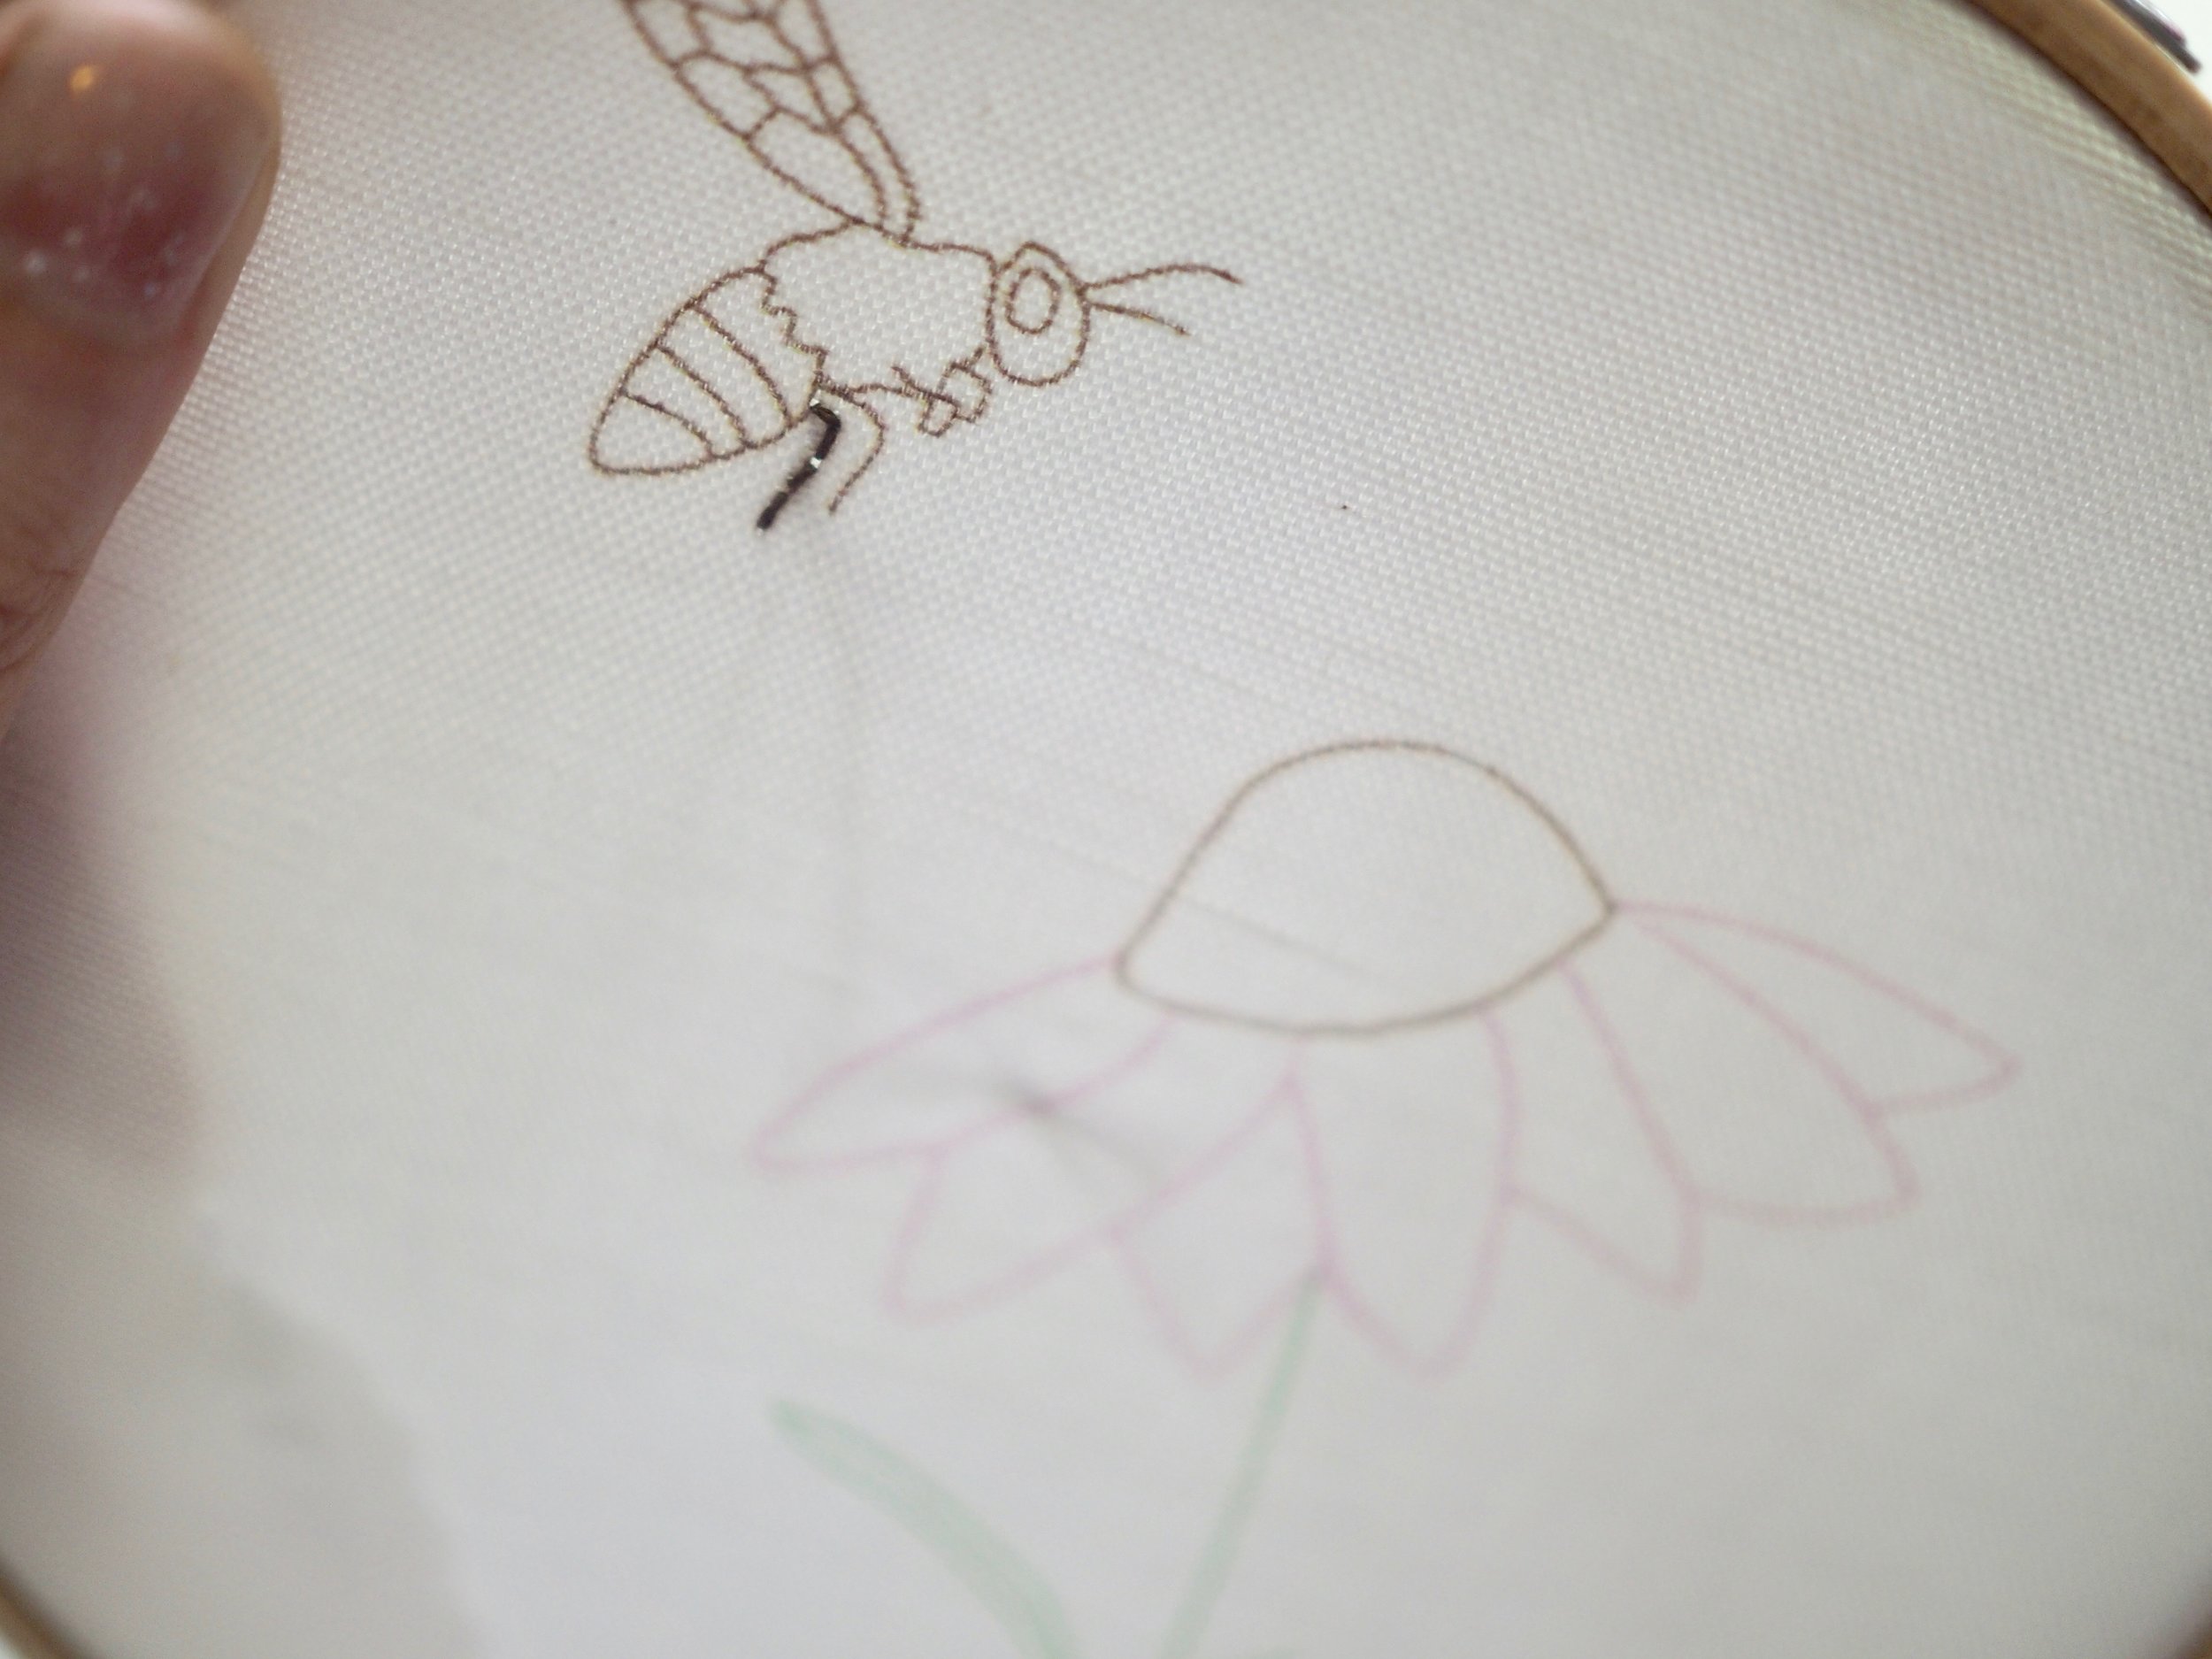
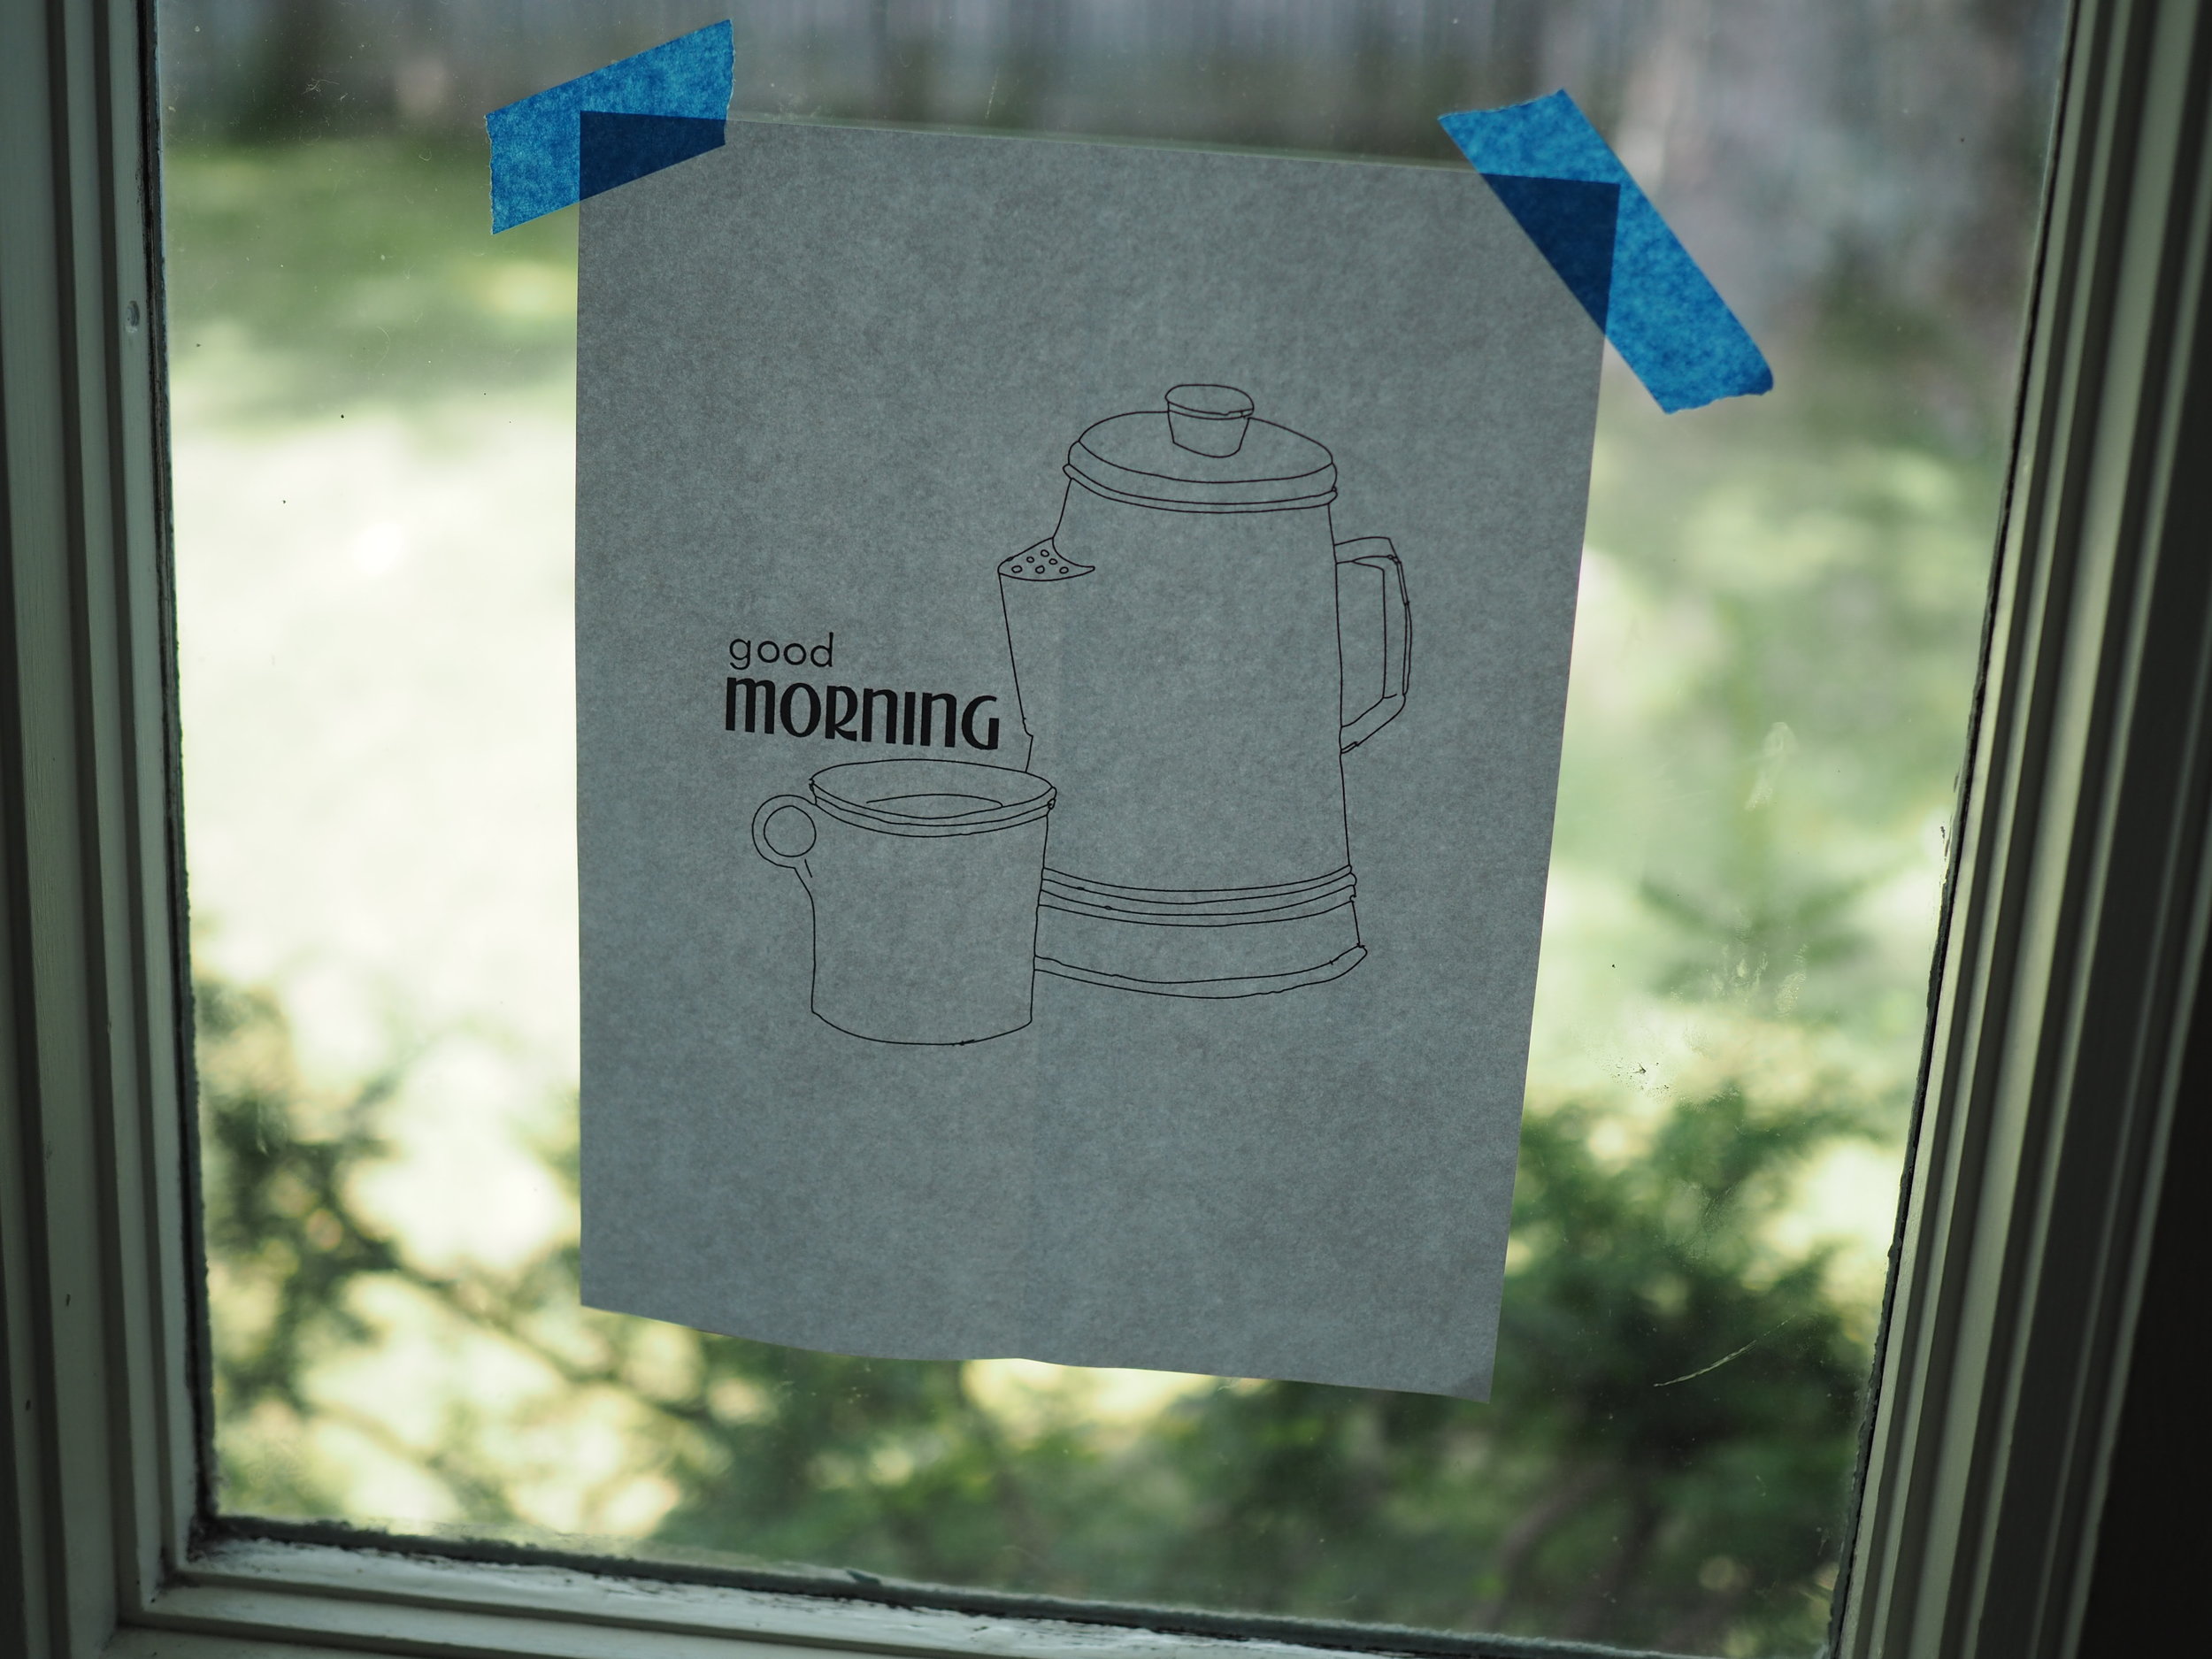
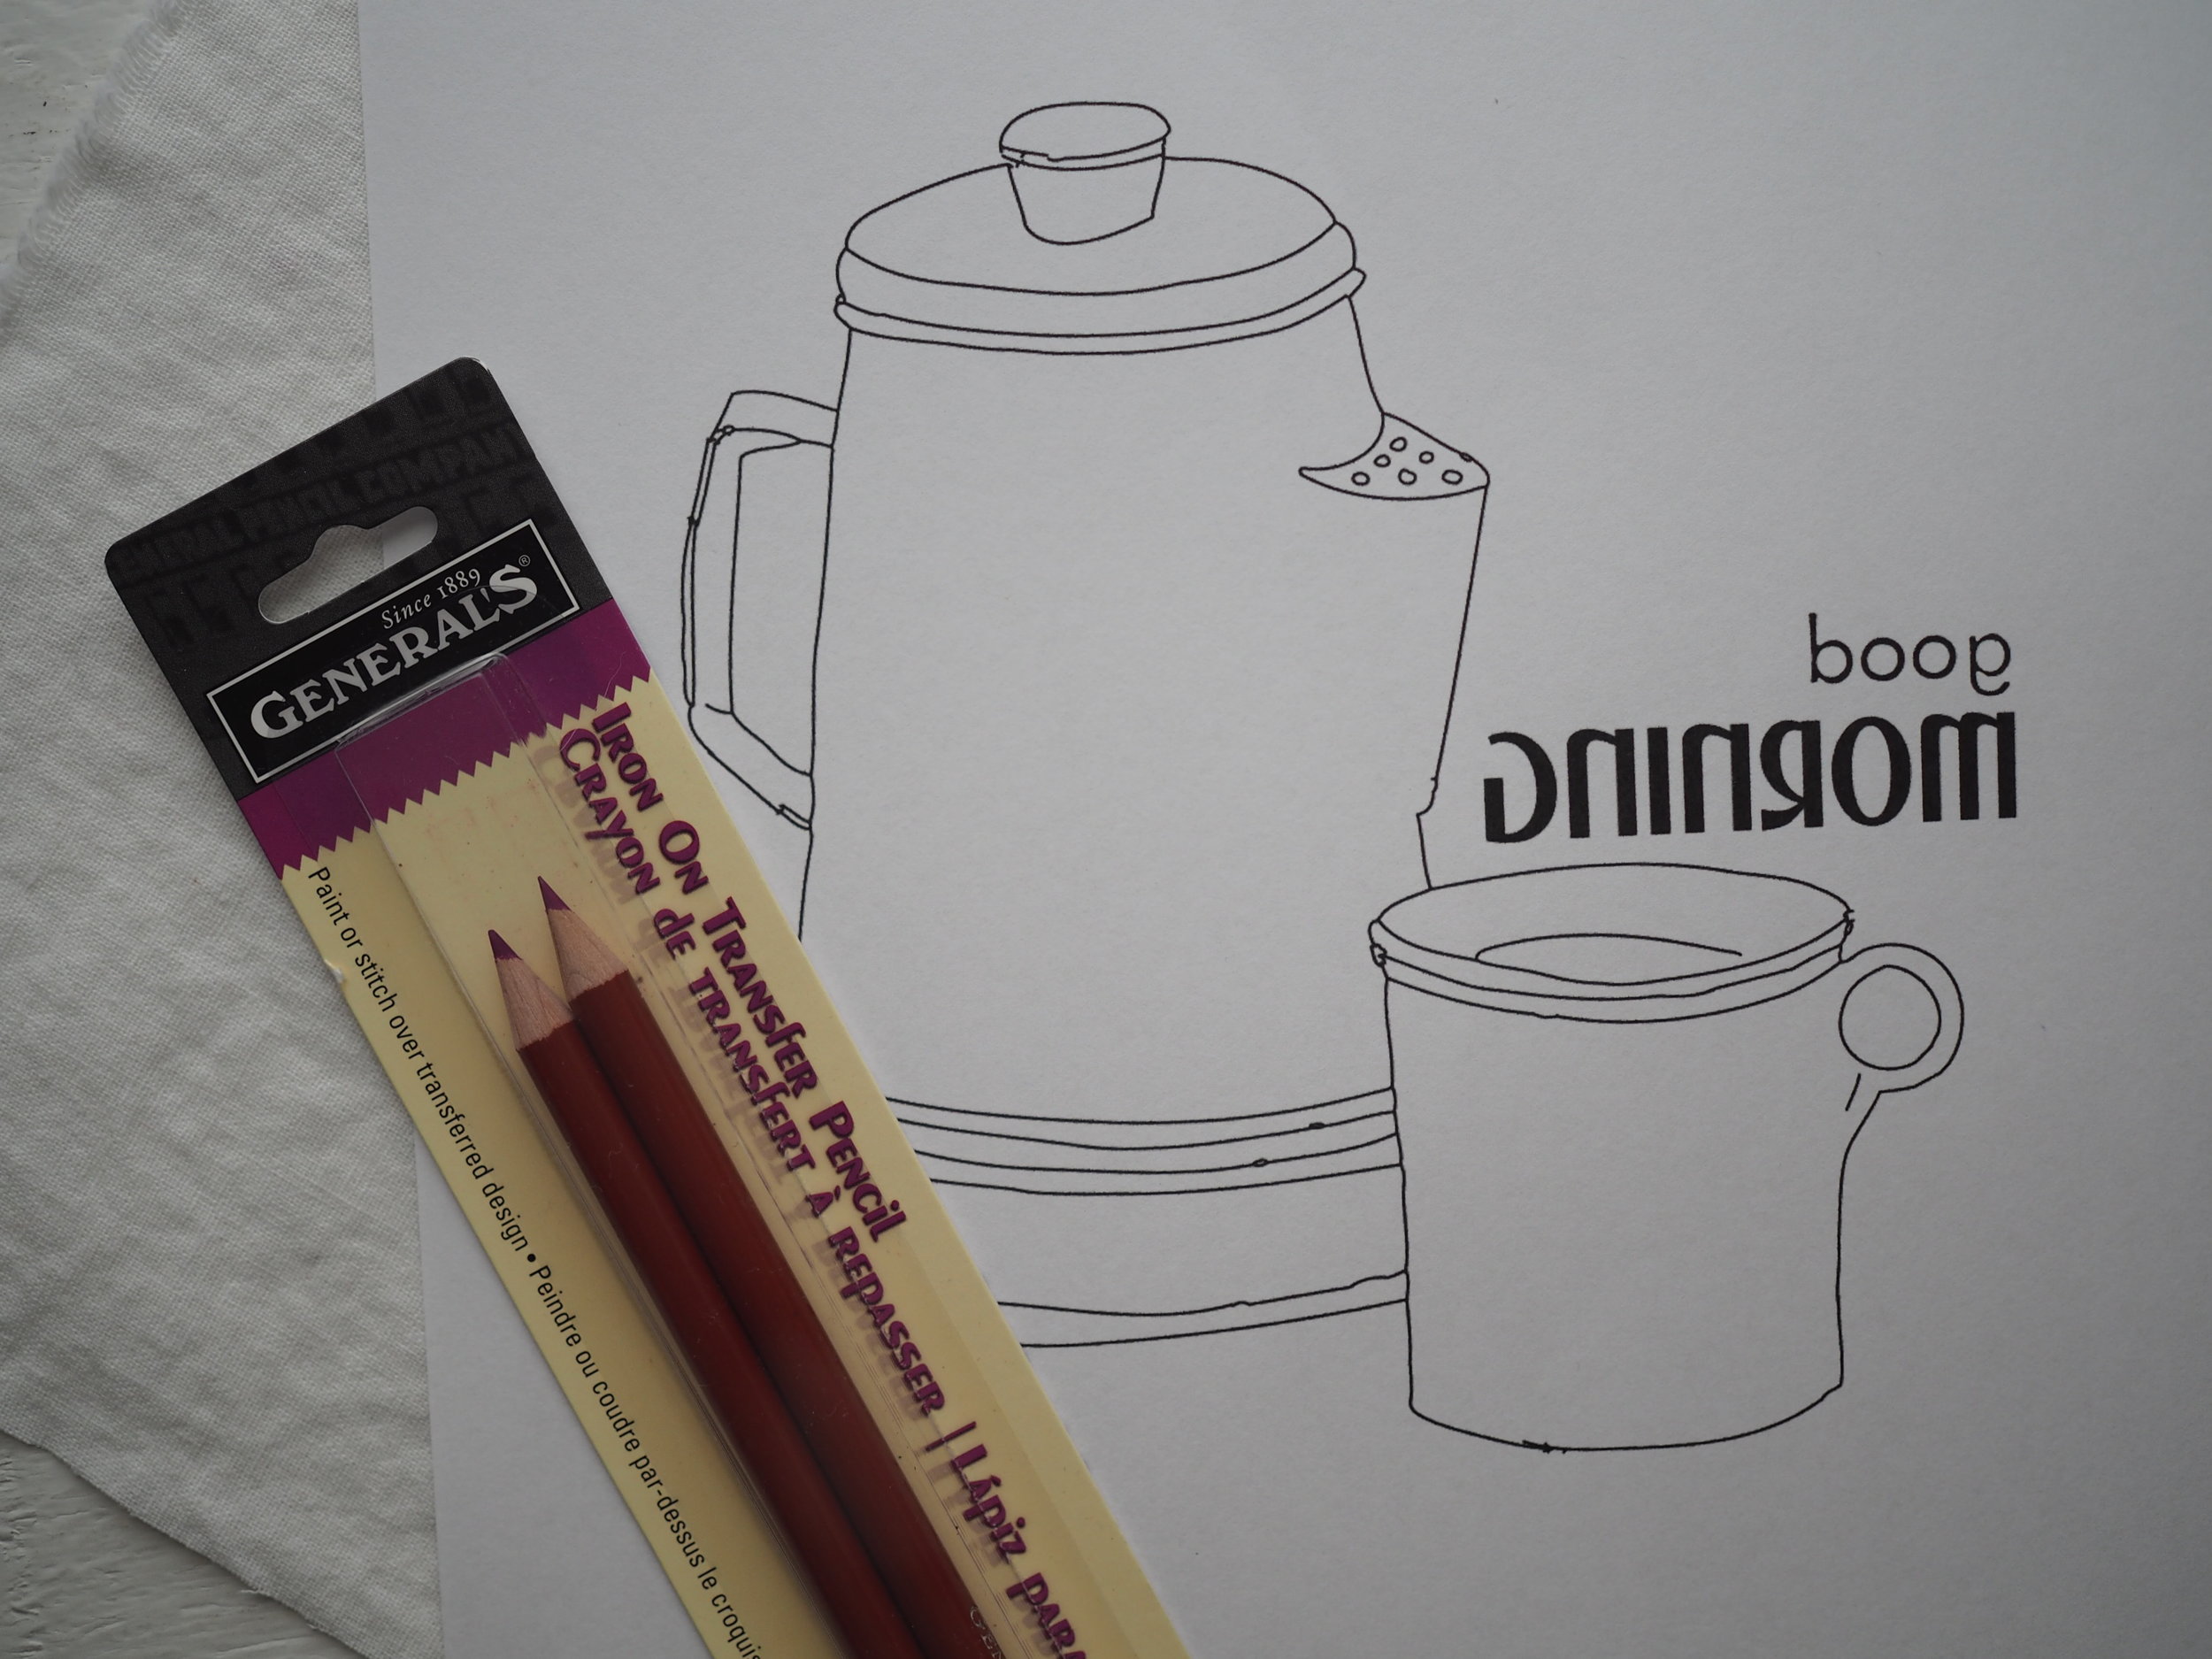
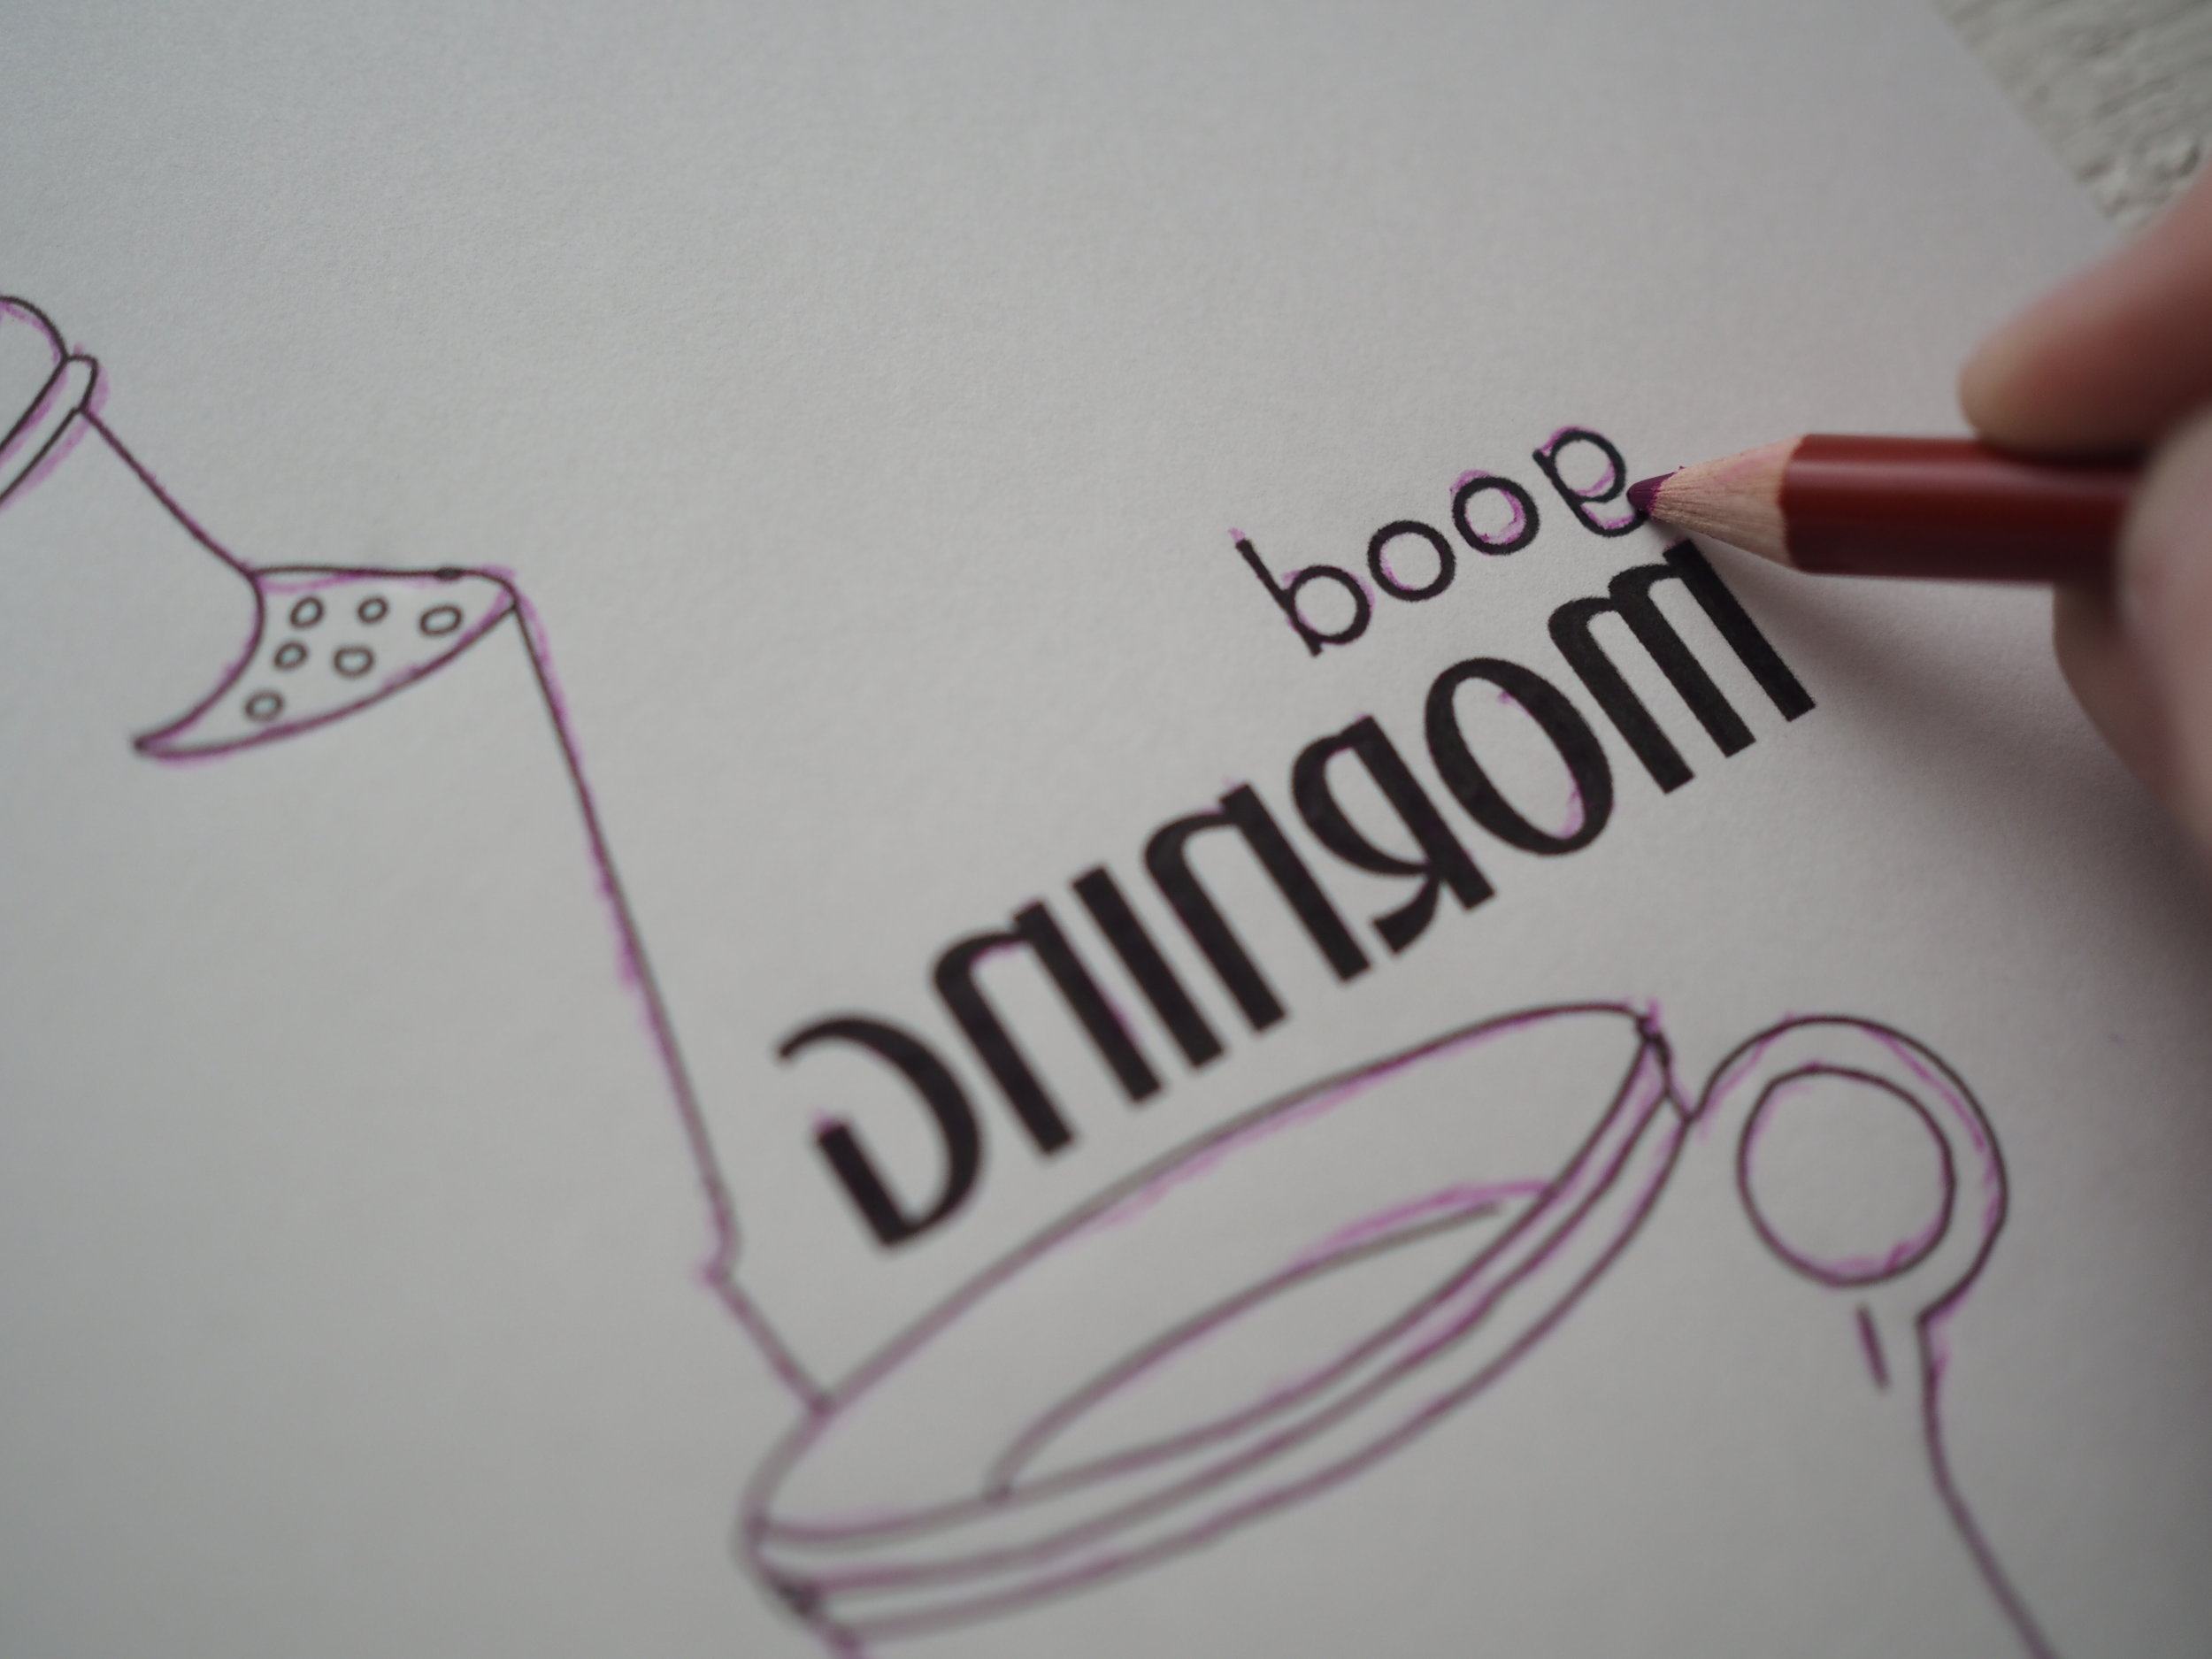
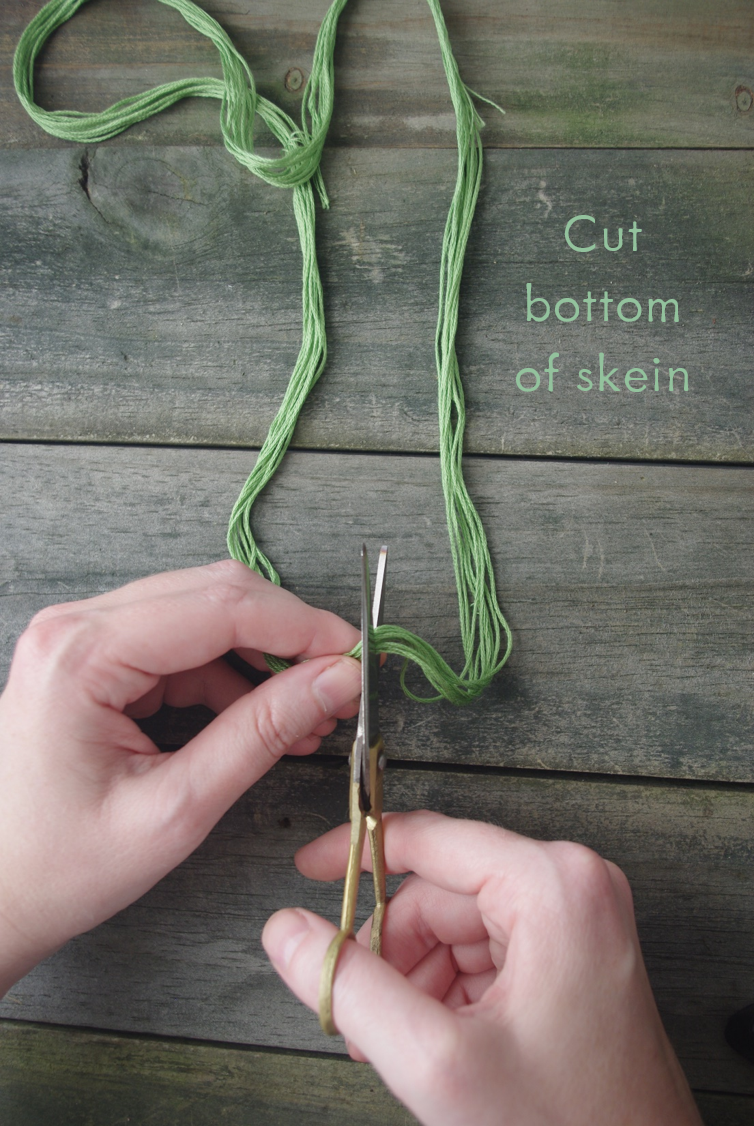
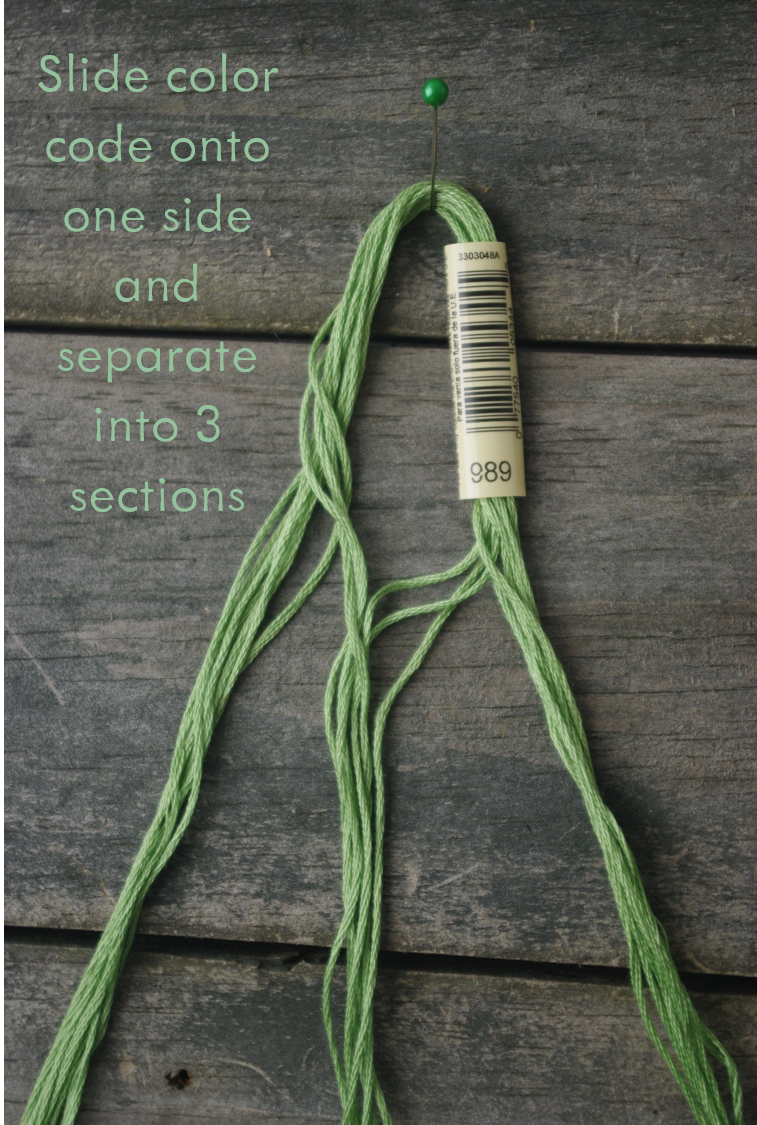
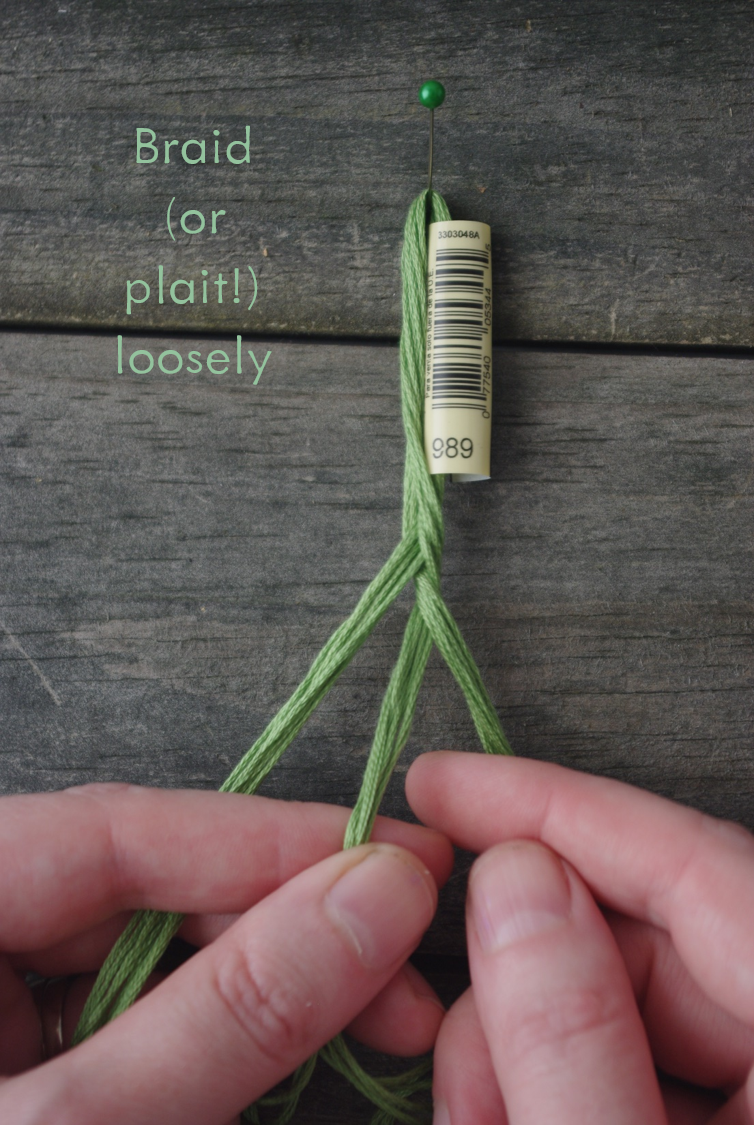
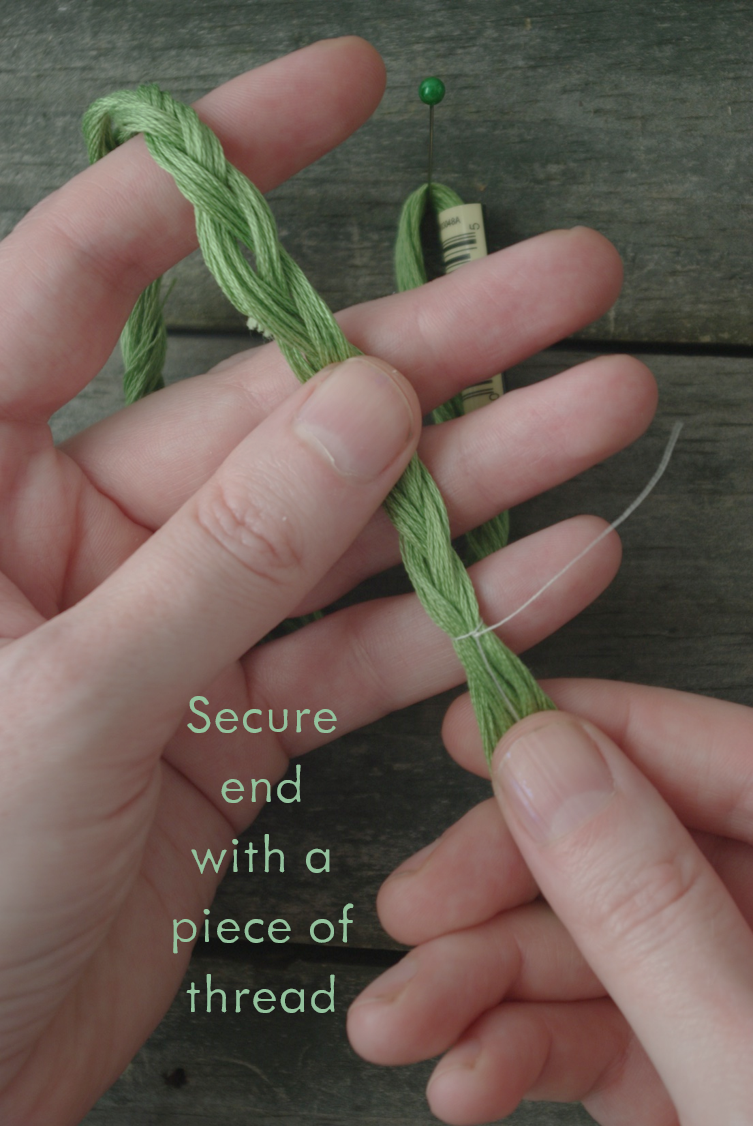
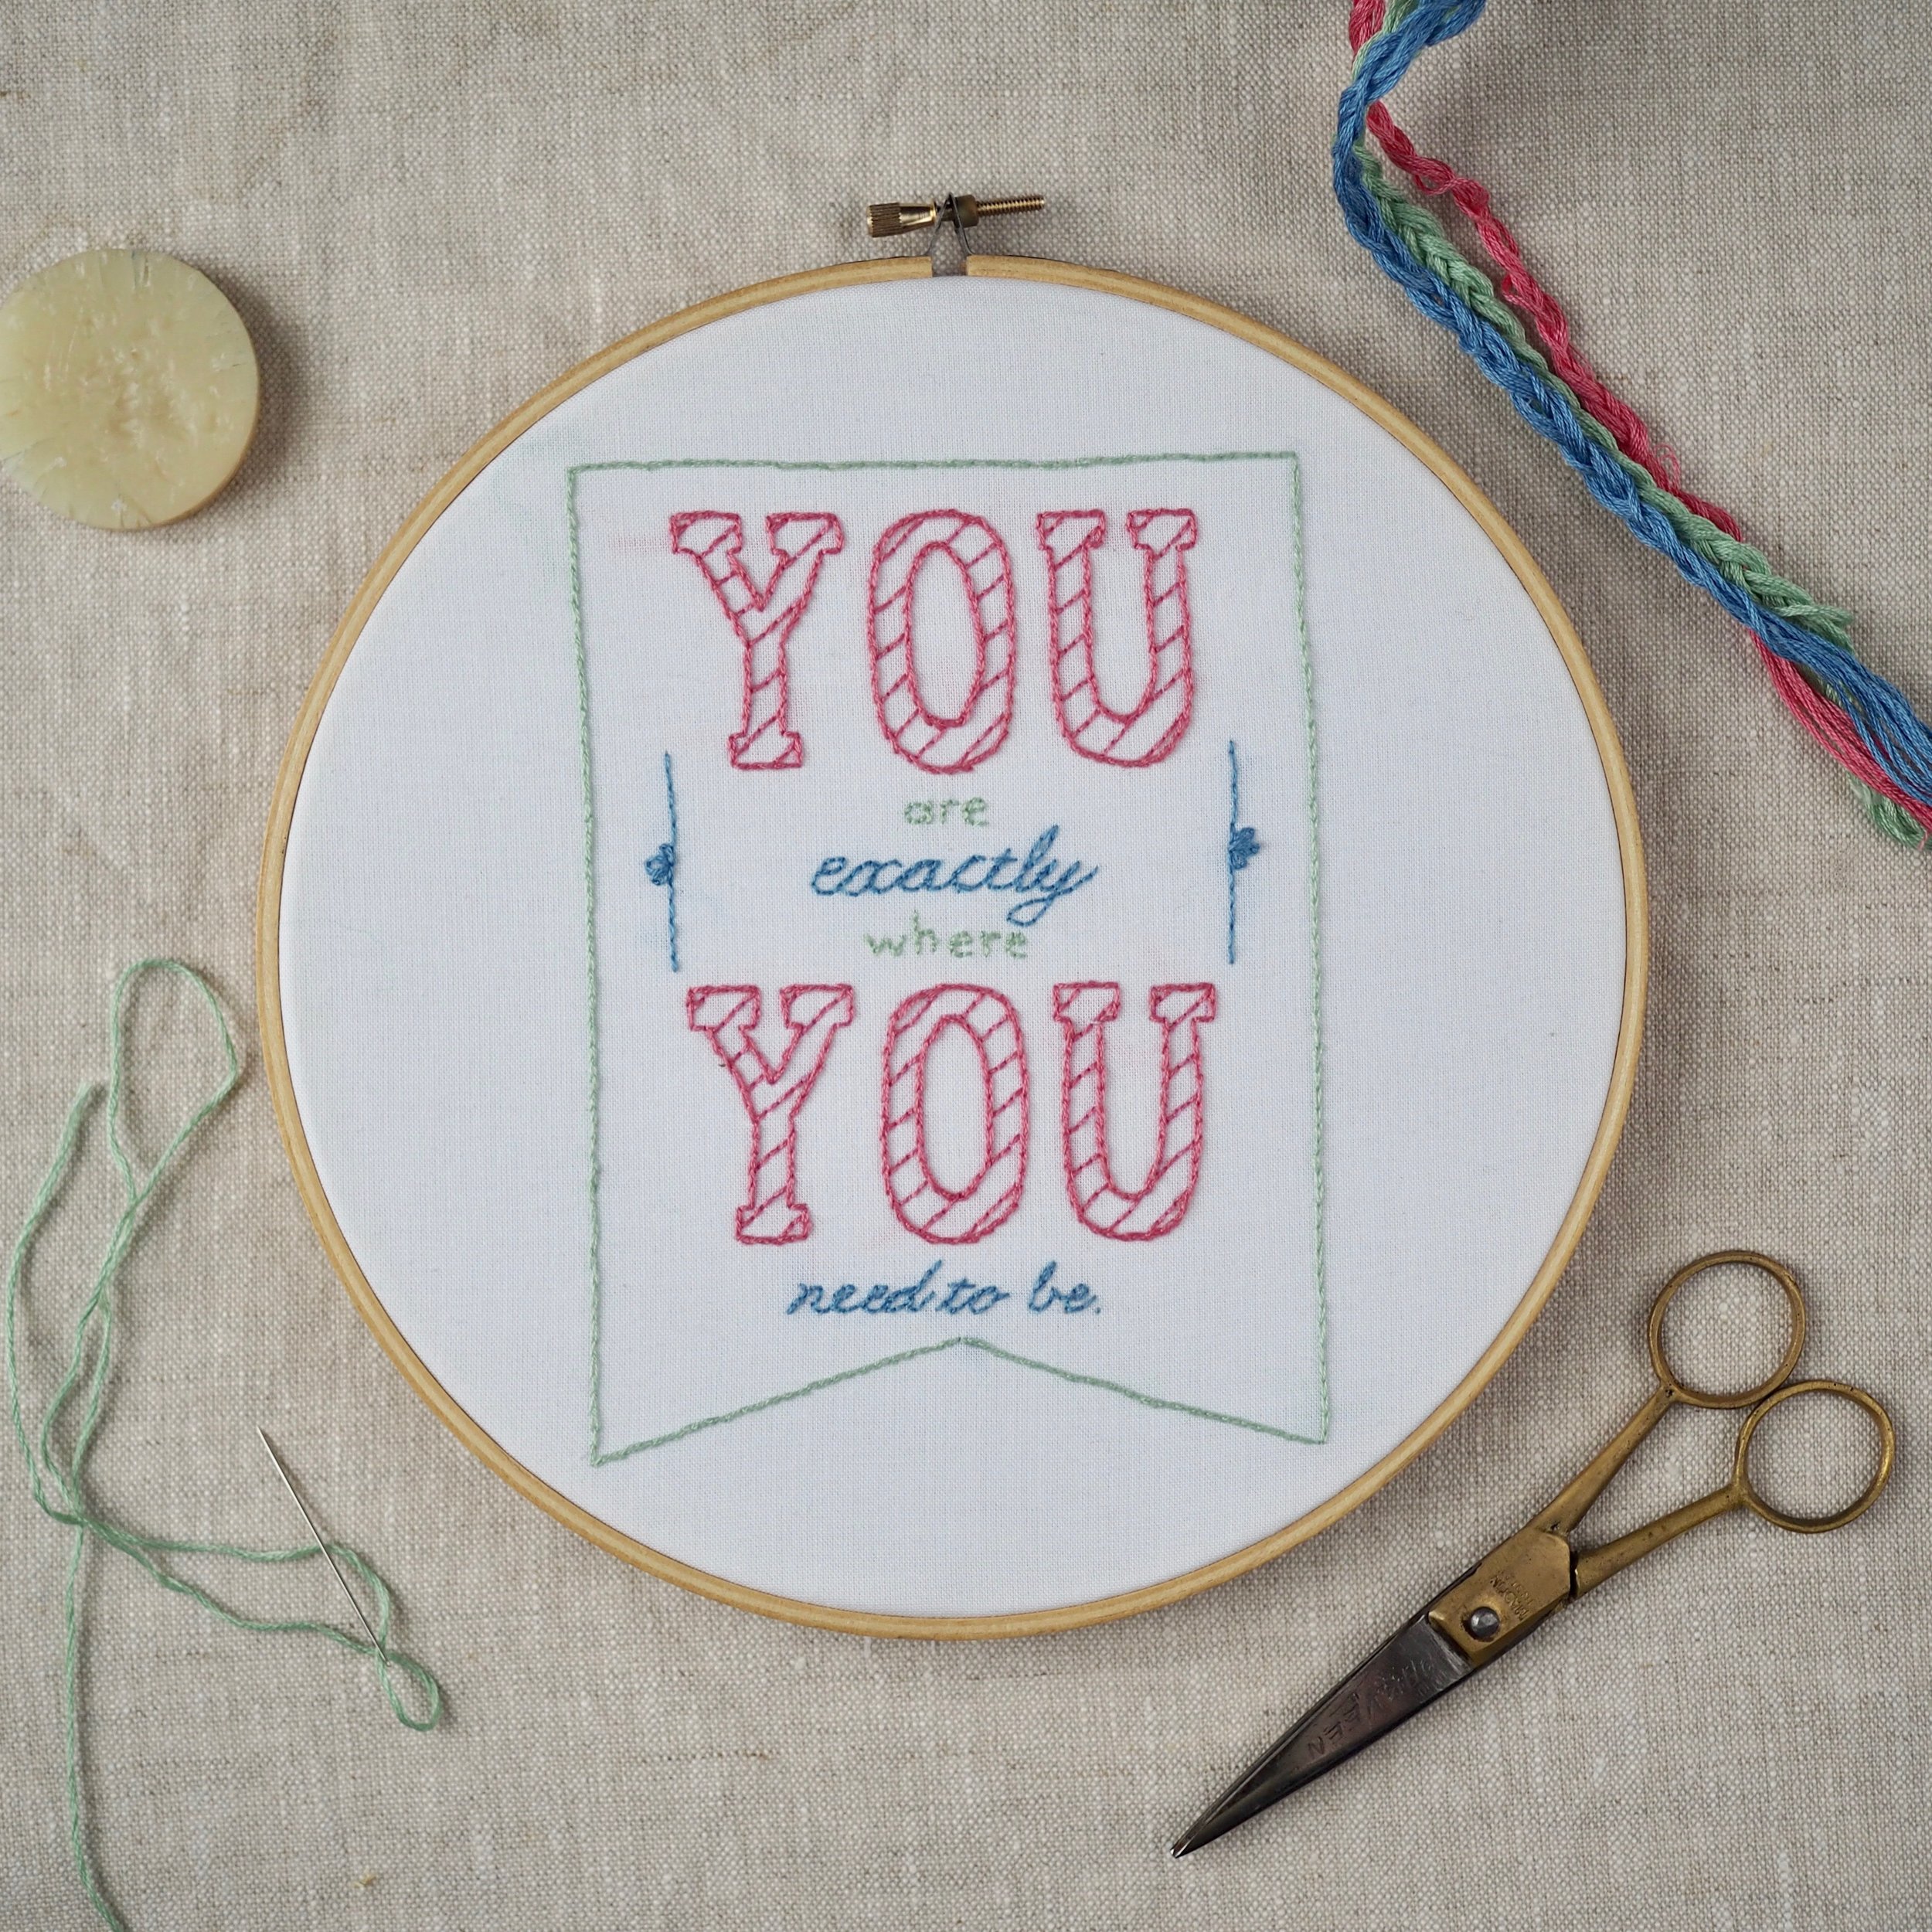
I recently ran a little giveaway on Instagram and one of the contest requirements was to either 1) suggest a tutorial or 2) ask me a question. Yes, I shamelessly pump my followers for blog content ideas! For tutorials, a beginner's guide to embroidery was the overwhelming ask and is currently in the works, but in the interim, I thought I'd answer the non-tutorial related questions. 

Here's a question for you:  how do you balance your work as a maker with your domestic and family life? You seem to have a great time doing both! - Carneykar

Balance.  That's the eternal question, isn't it? Ask any tightrope walker and they'd tell you that balance isn't a one-time trick and you've got it all figured out; instead it takes focus, constant adjusting and having a big stick to help even you out doesn't hurt. At least, that's what I'd guess they say, I don't know any tightrope walkers. 

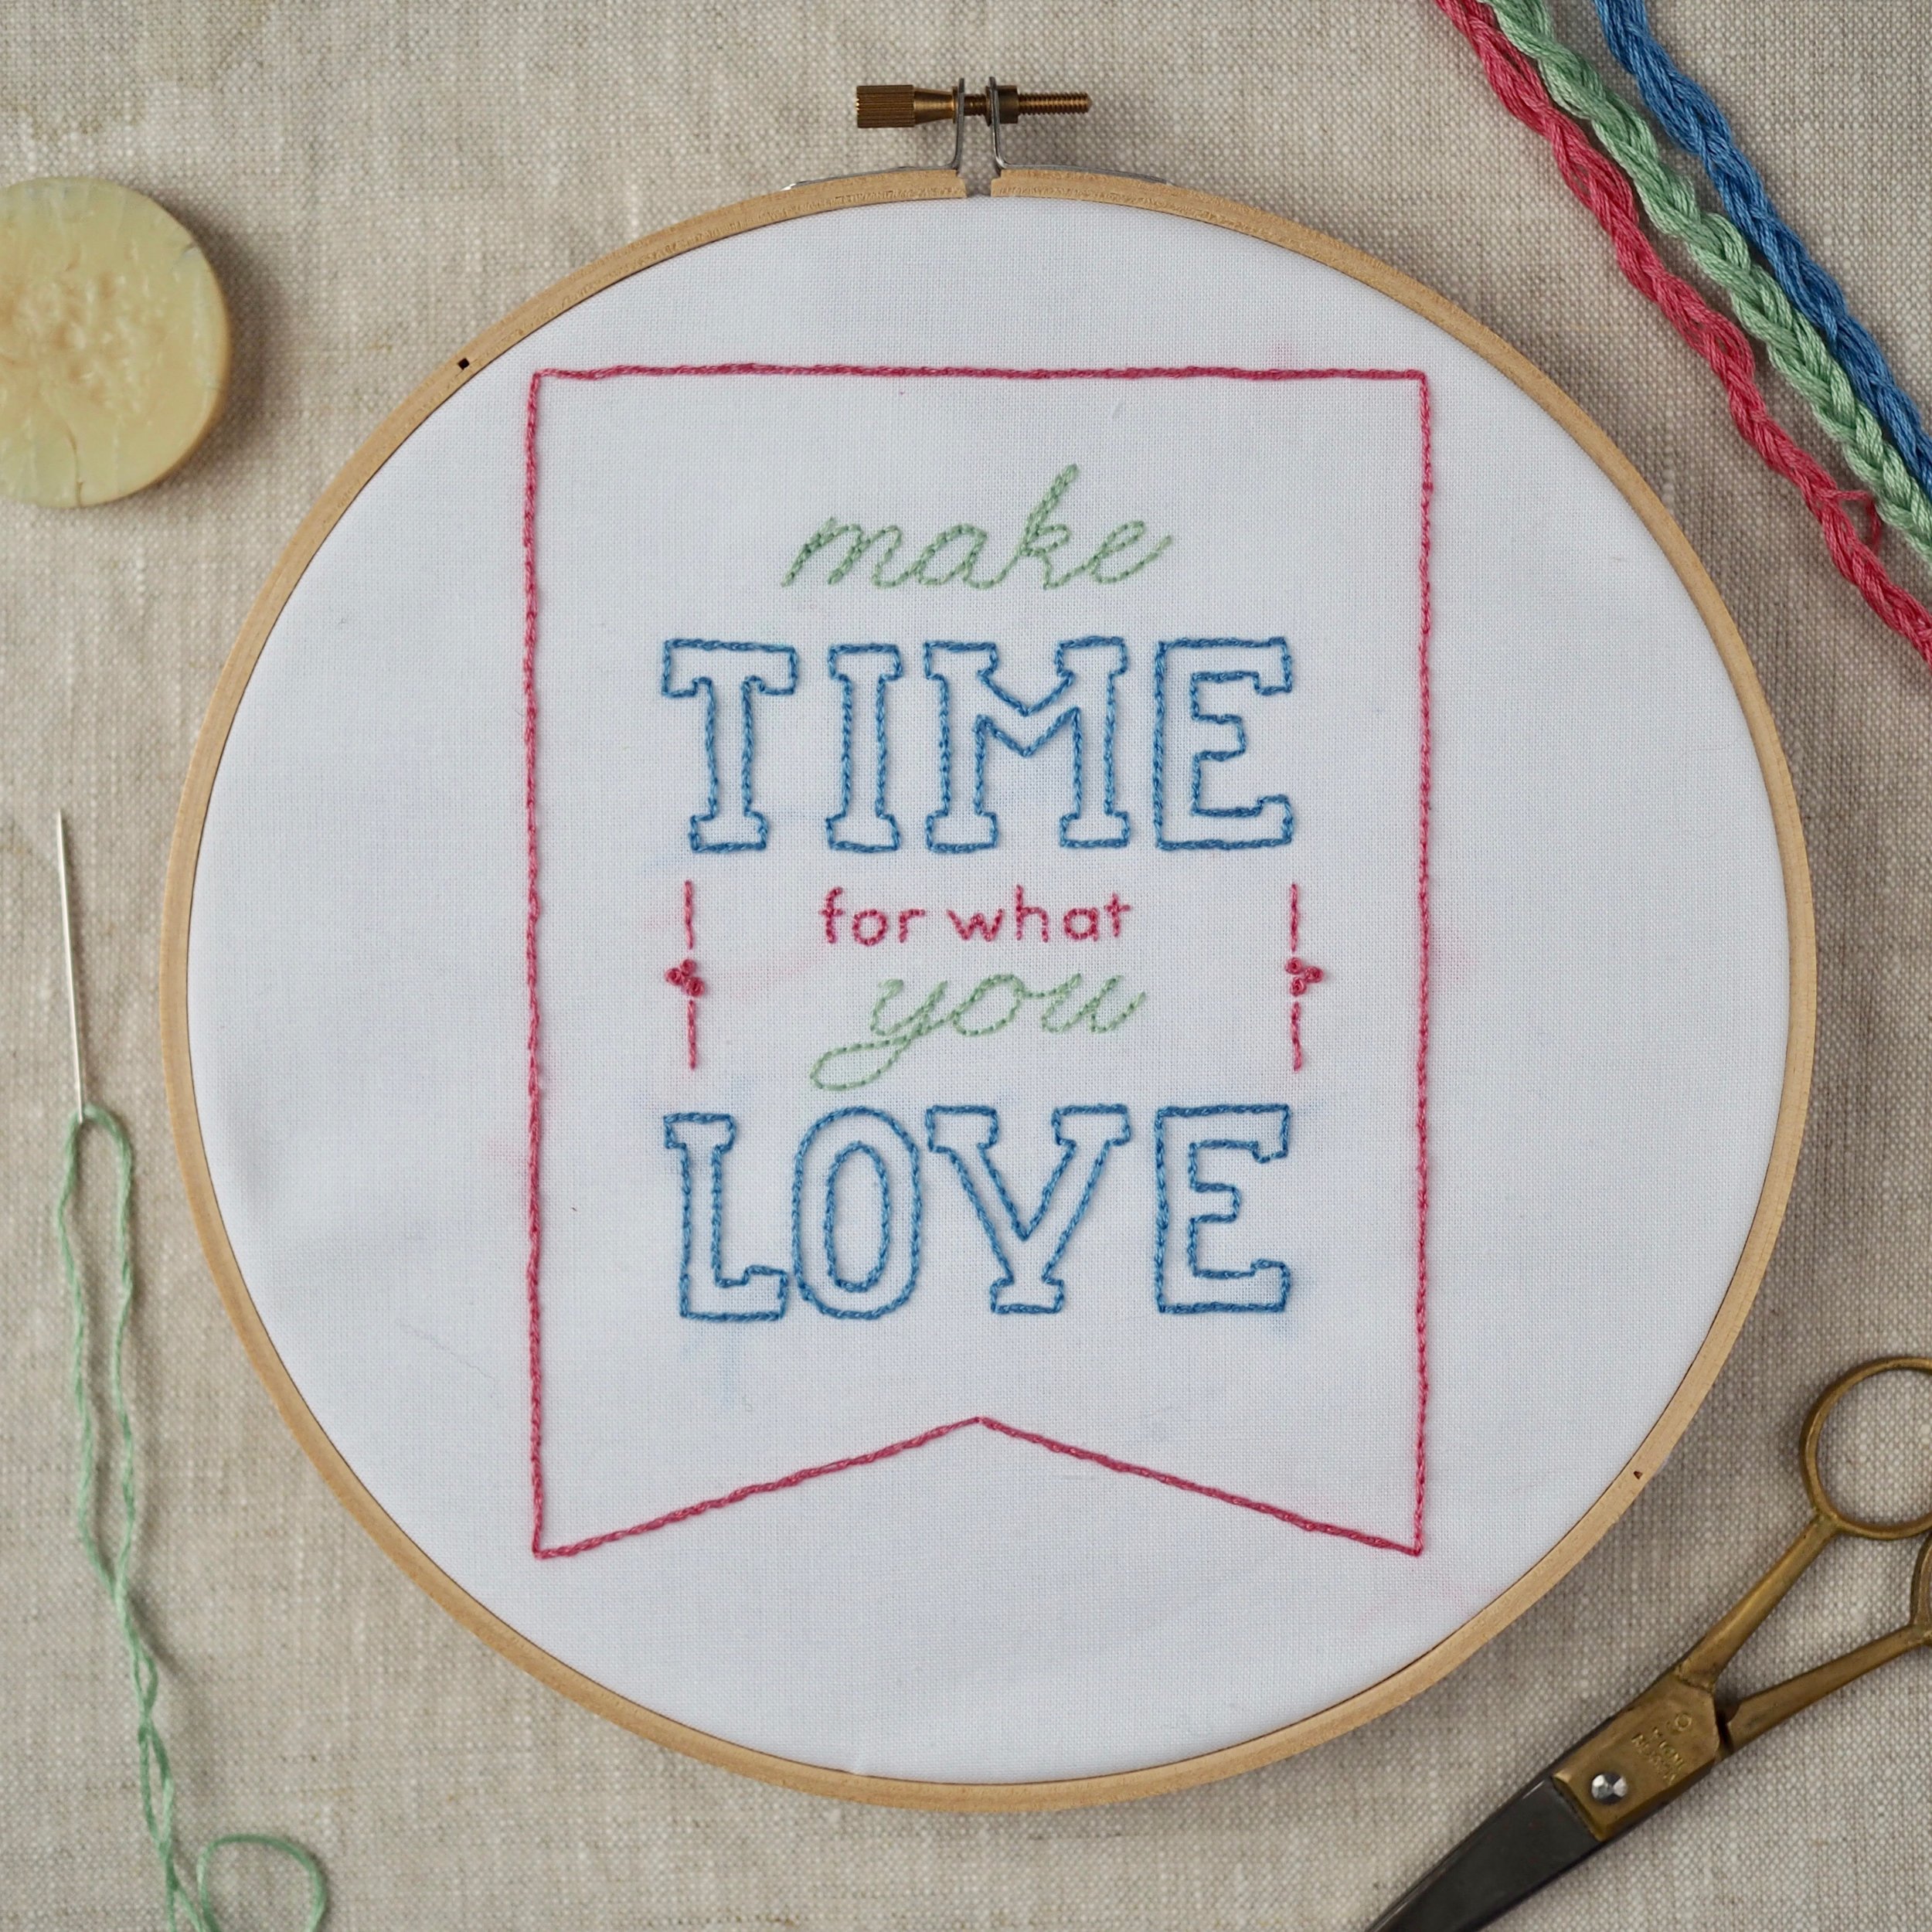
In terms of mindset, making is a priority for me. You first make time in your life for what you need, (i.e. go to work to make money to feed your family and pay your mortgage, clean laundry, etc.) and then you prioritize (I hope) what you love, and I love both my family and making things.  

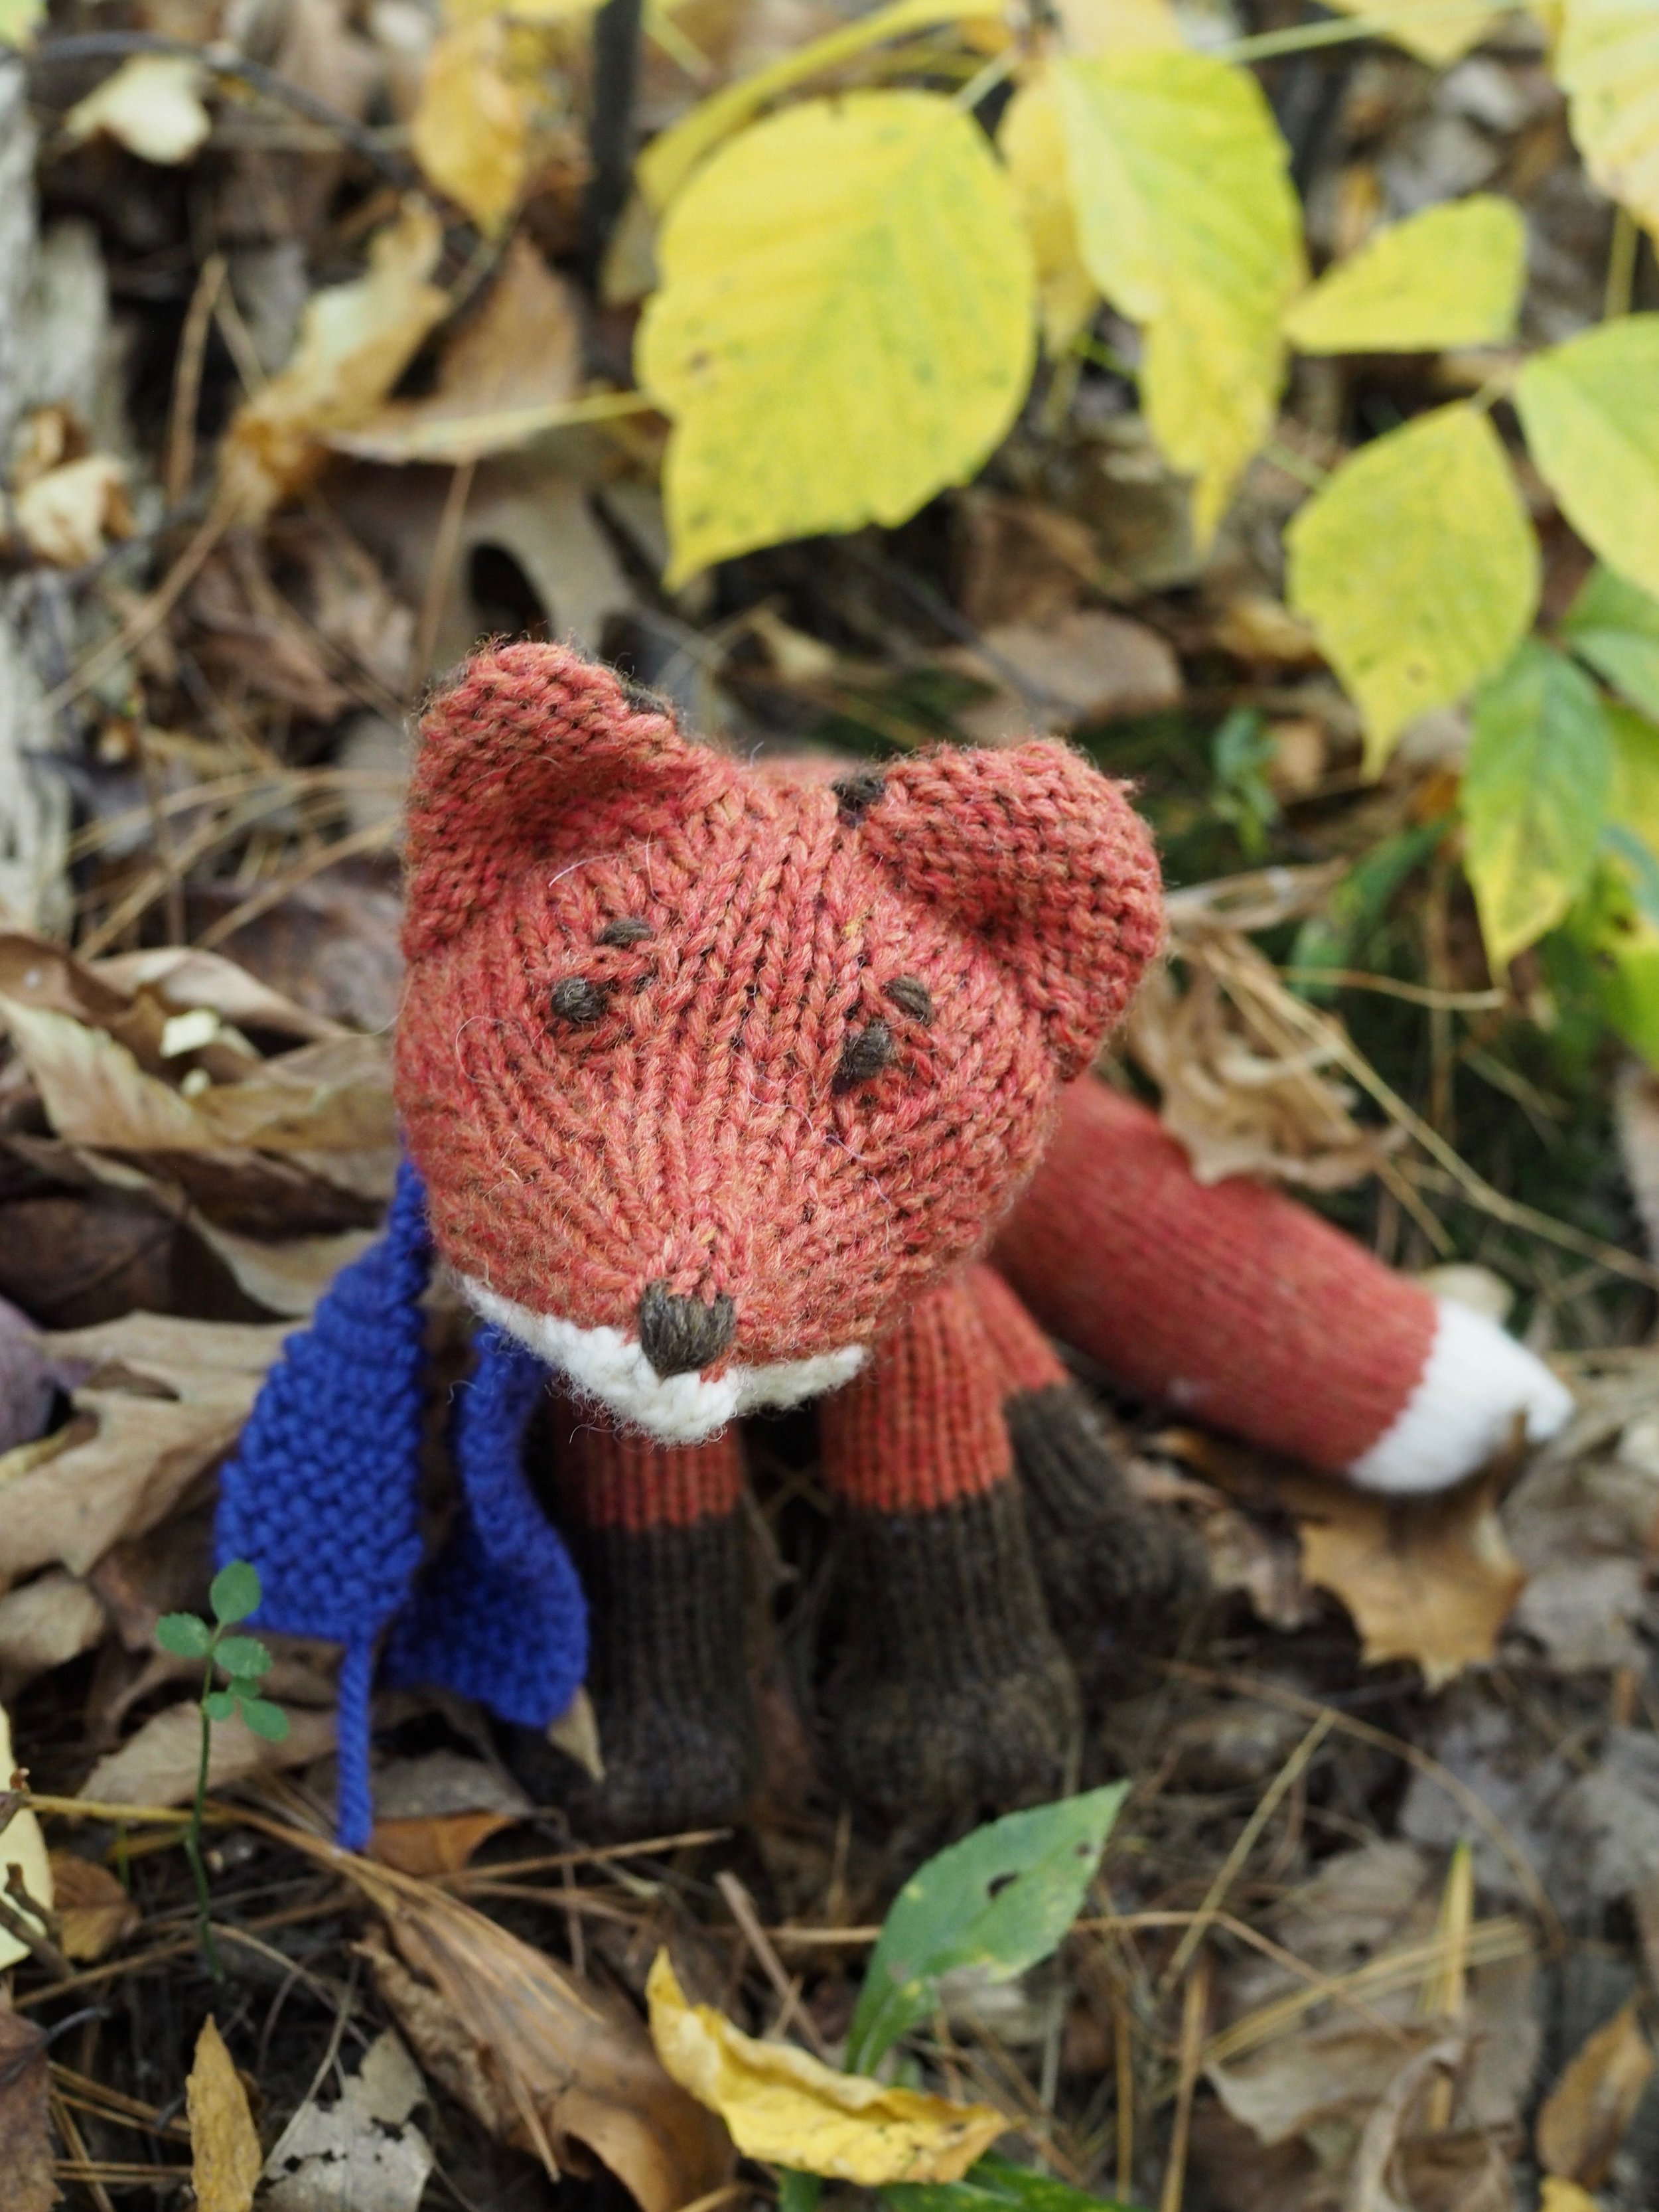
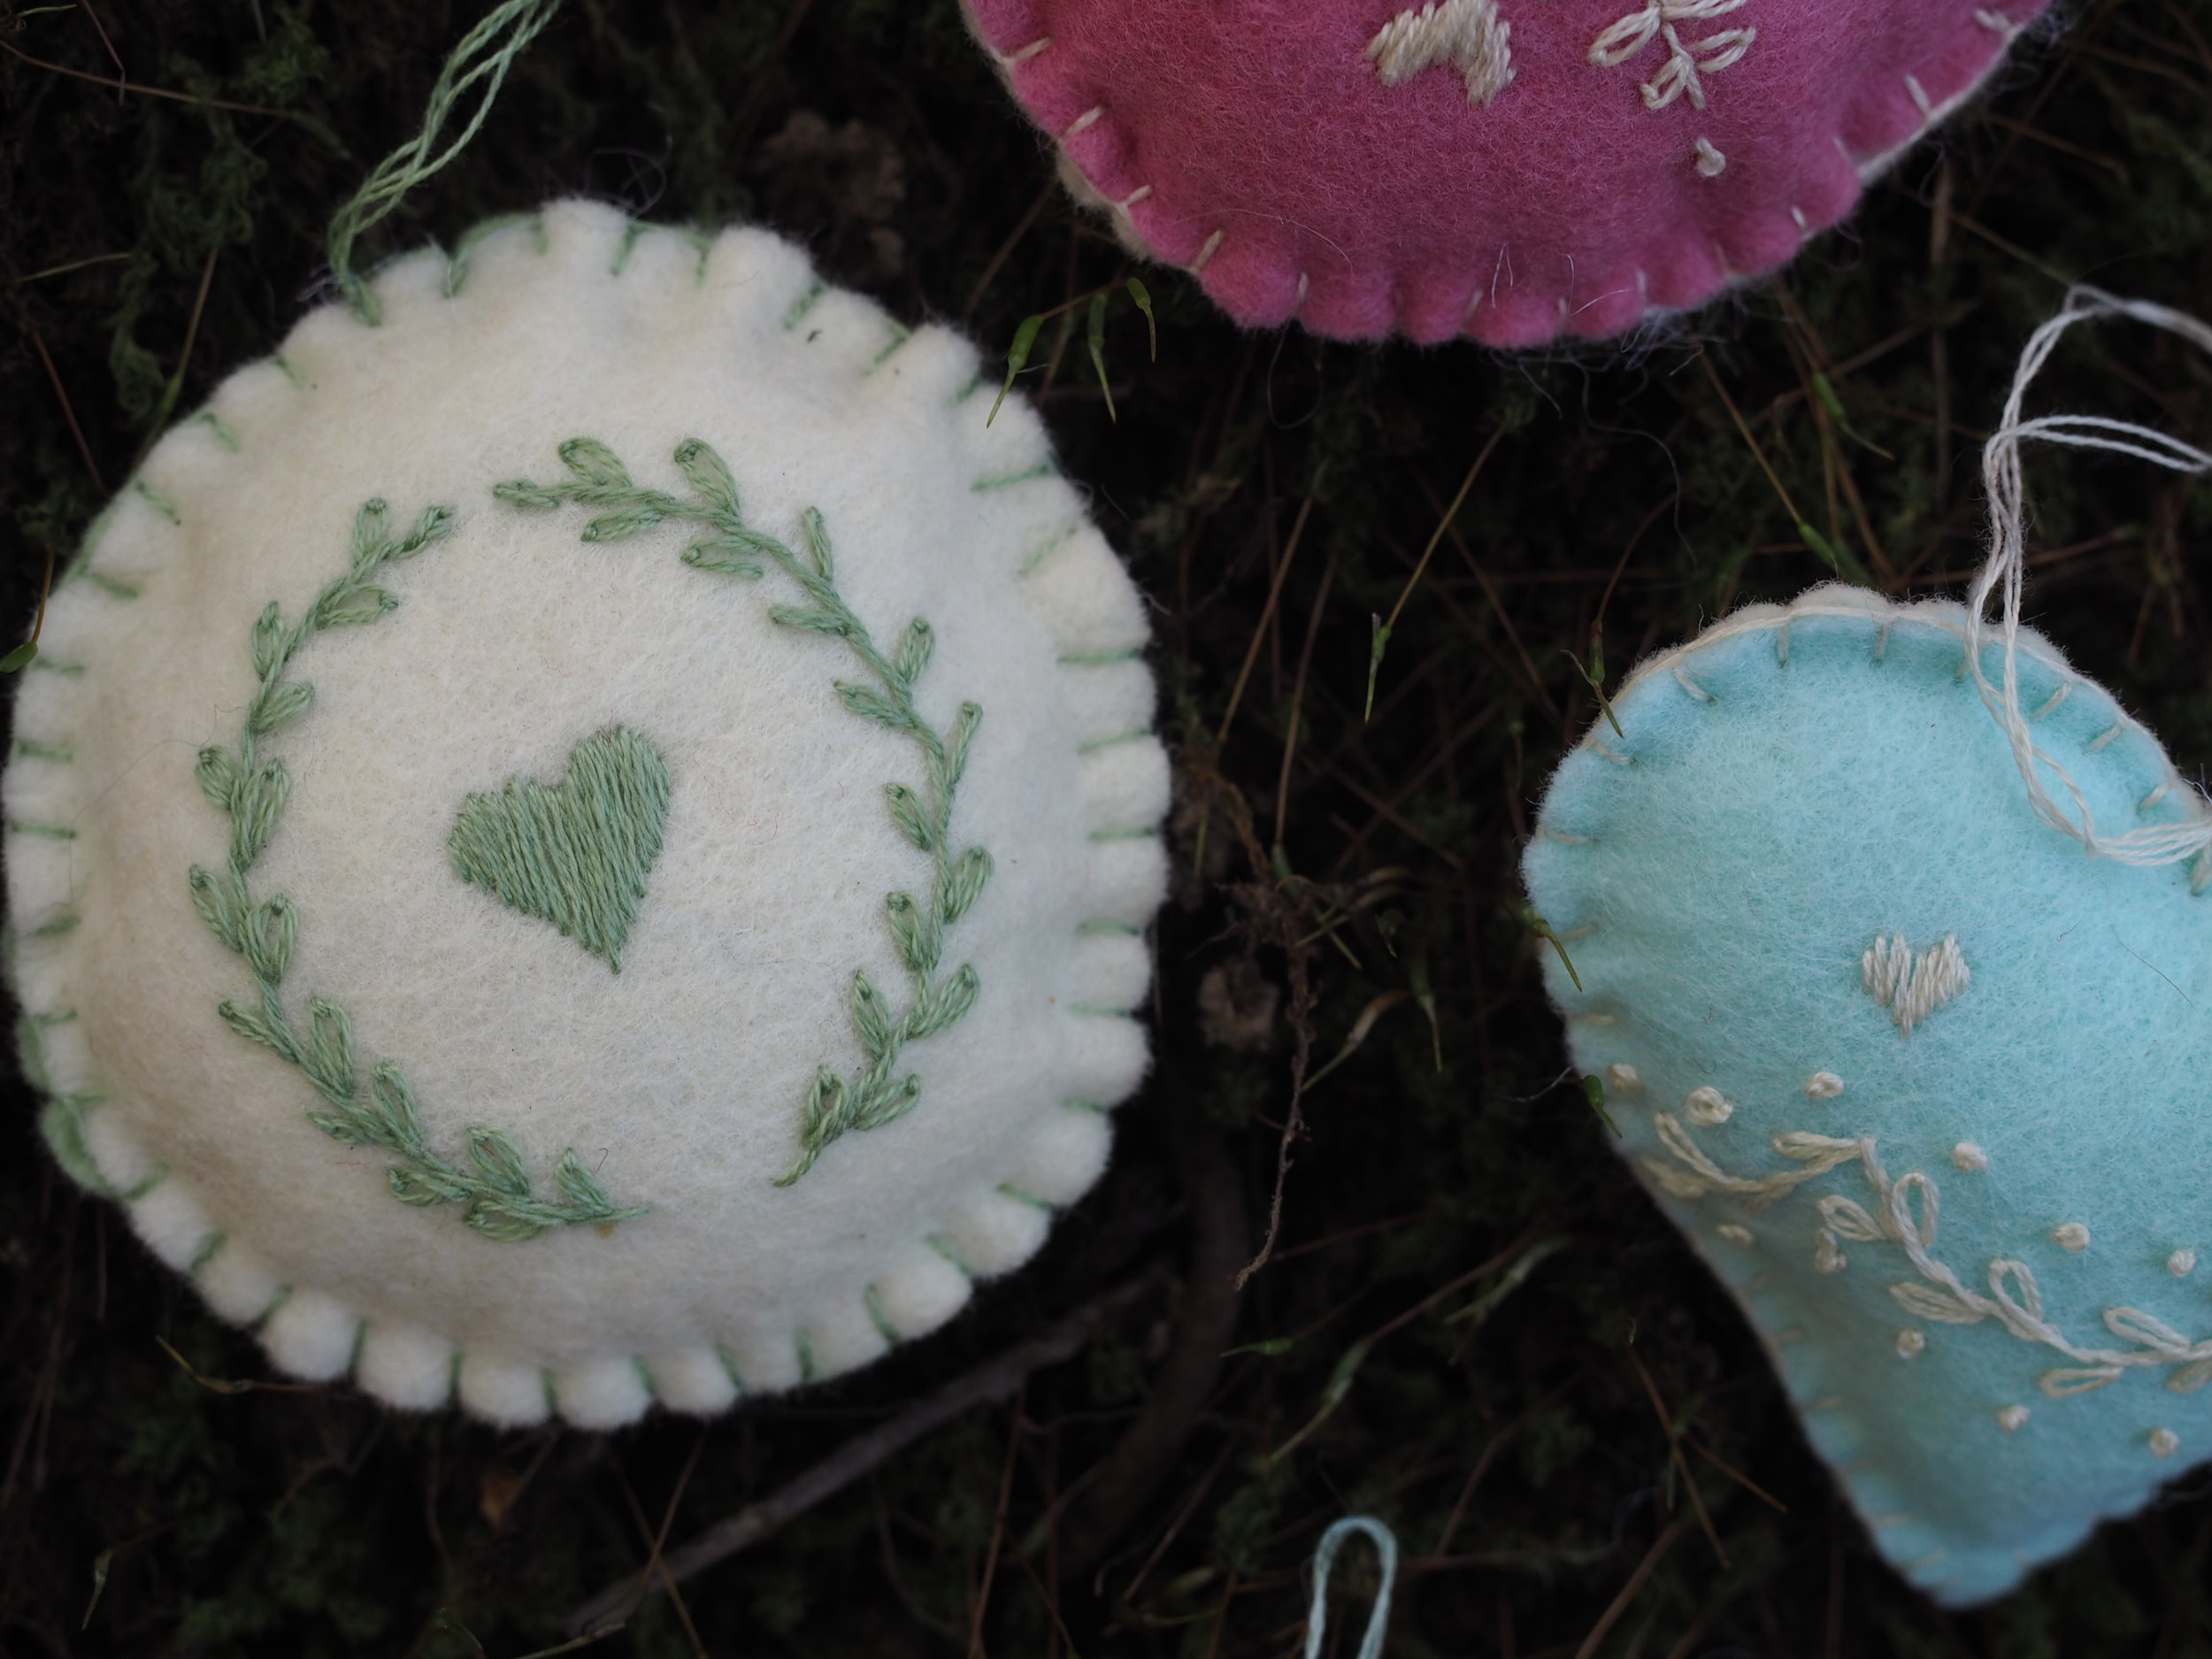
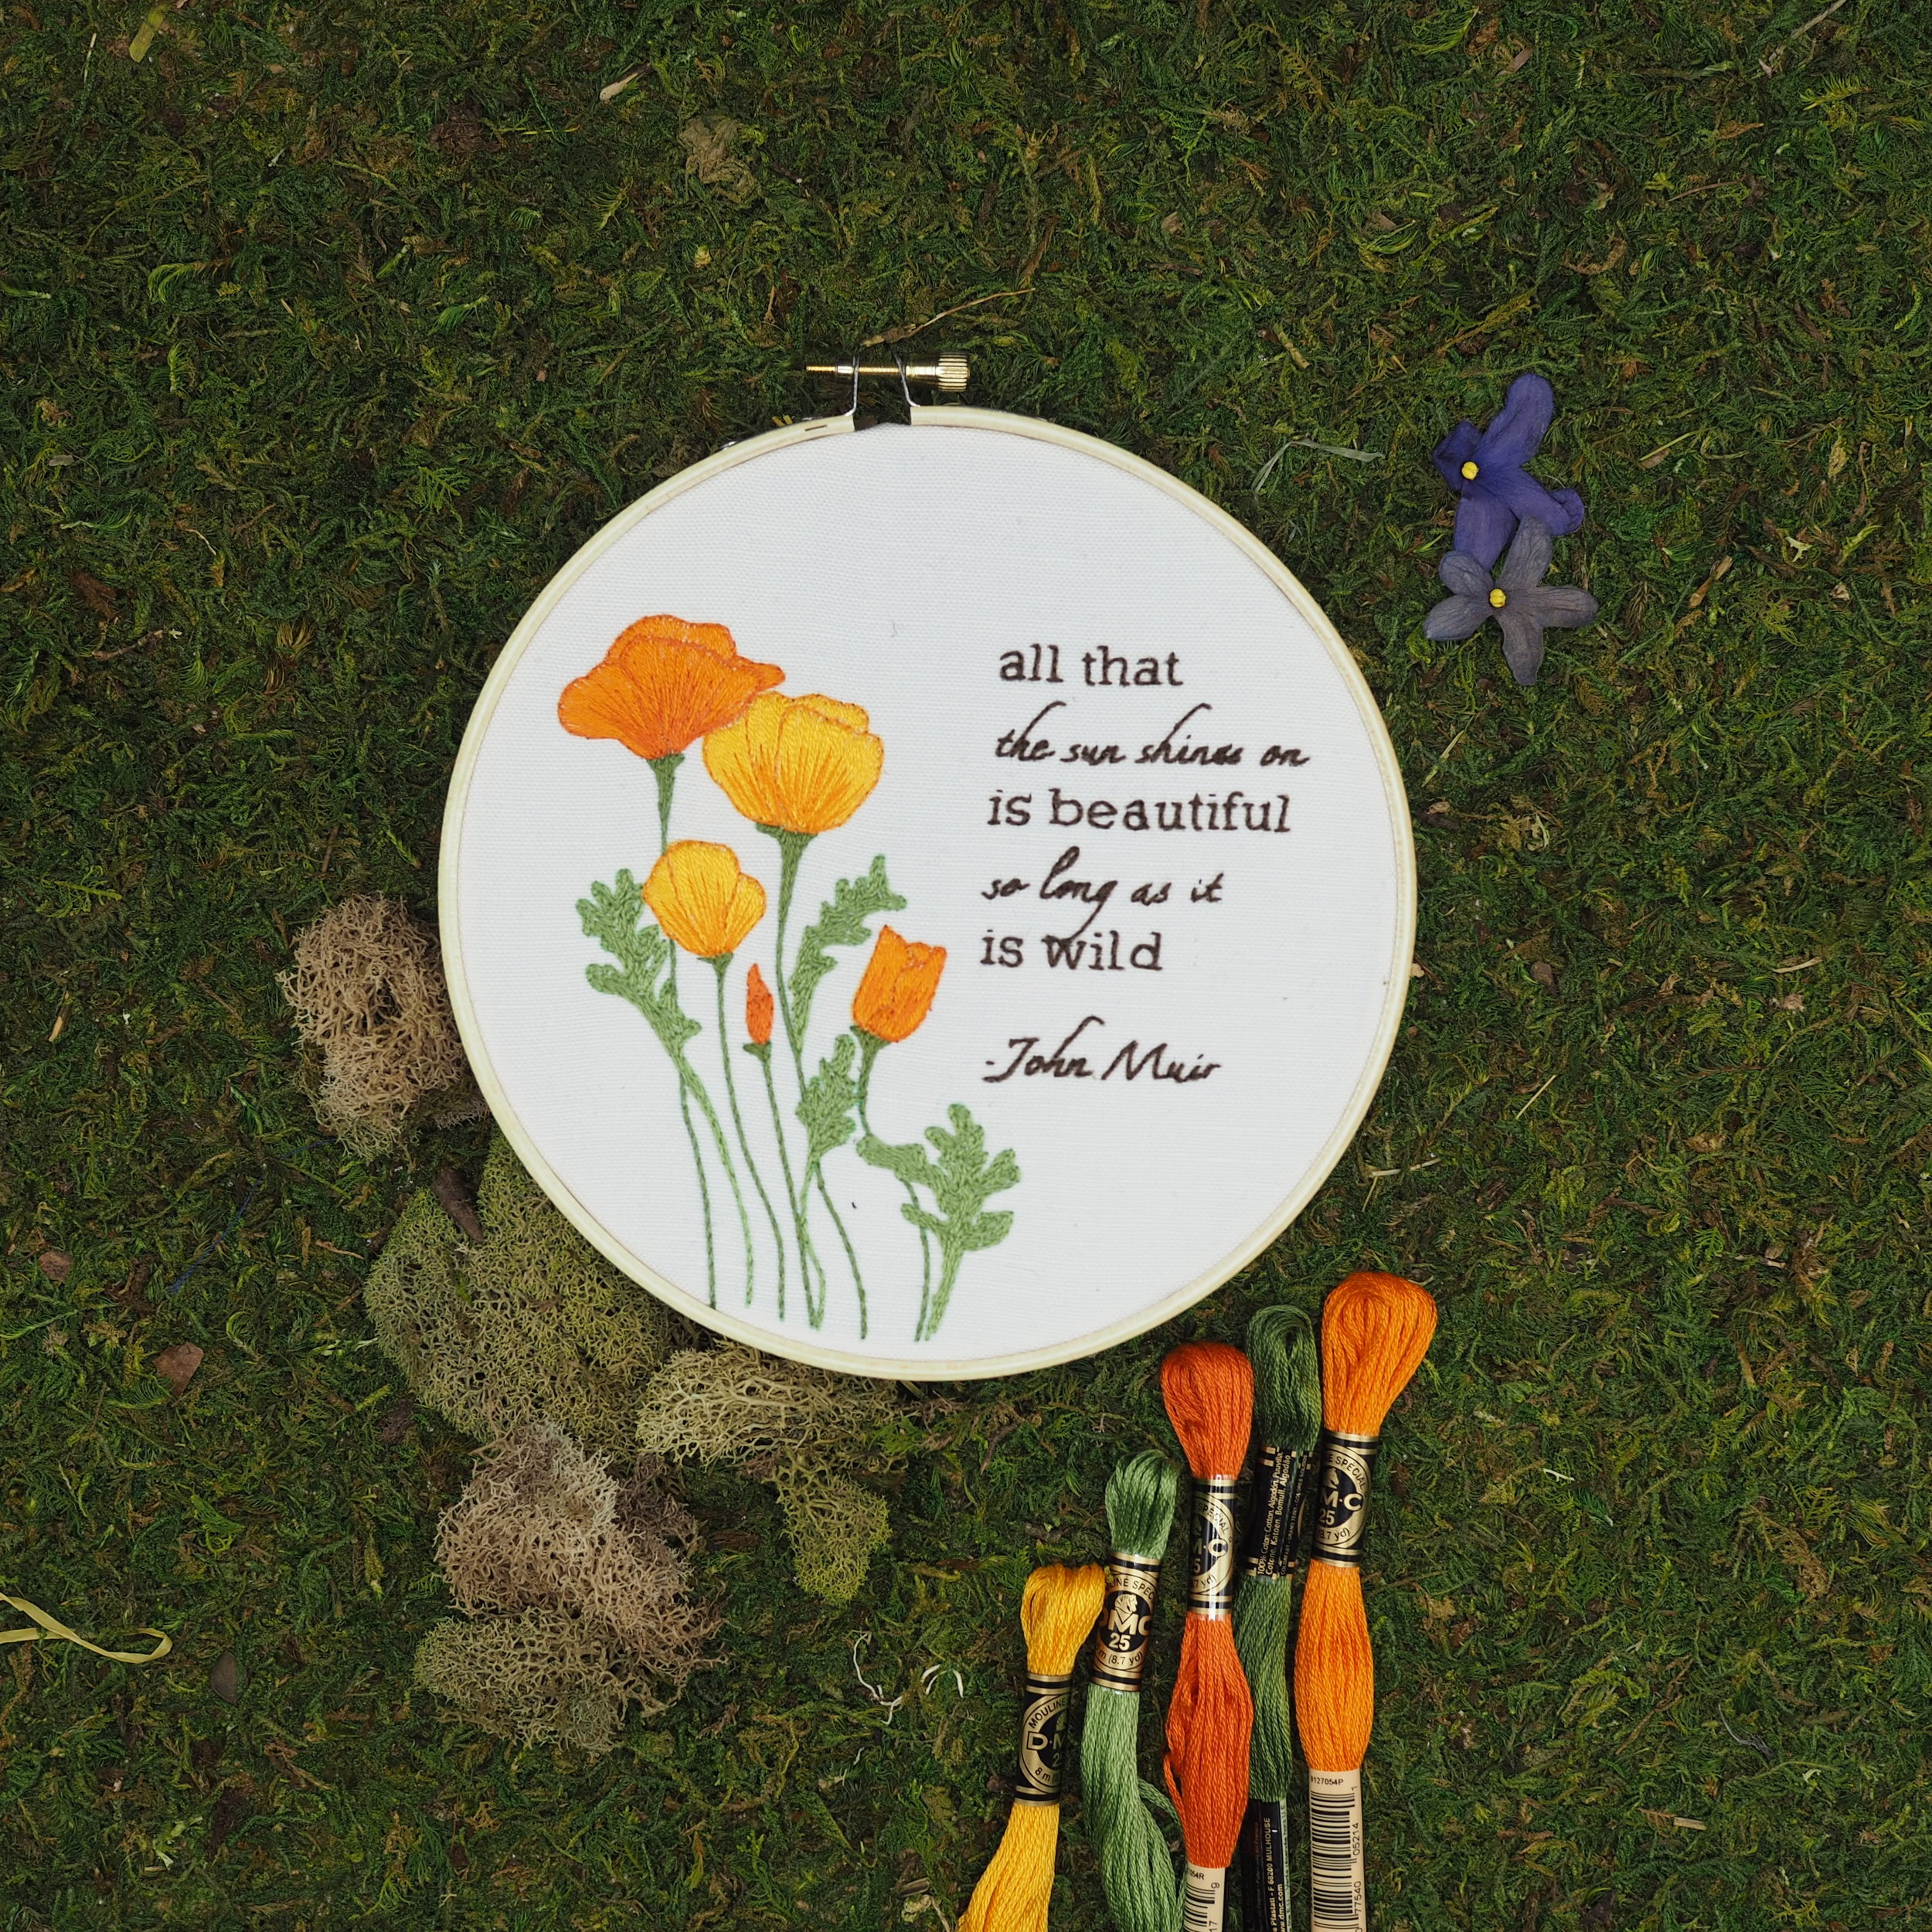
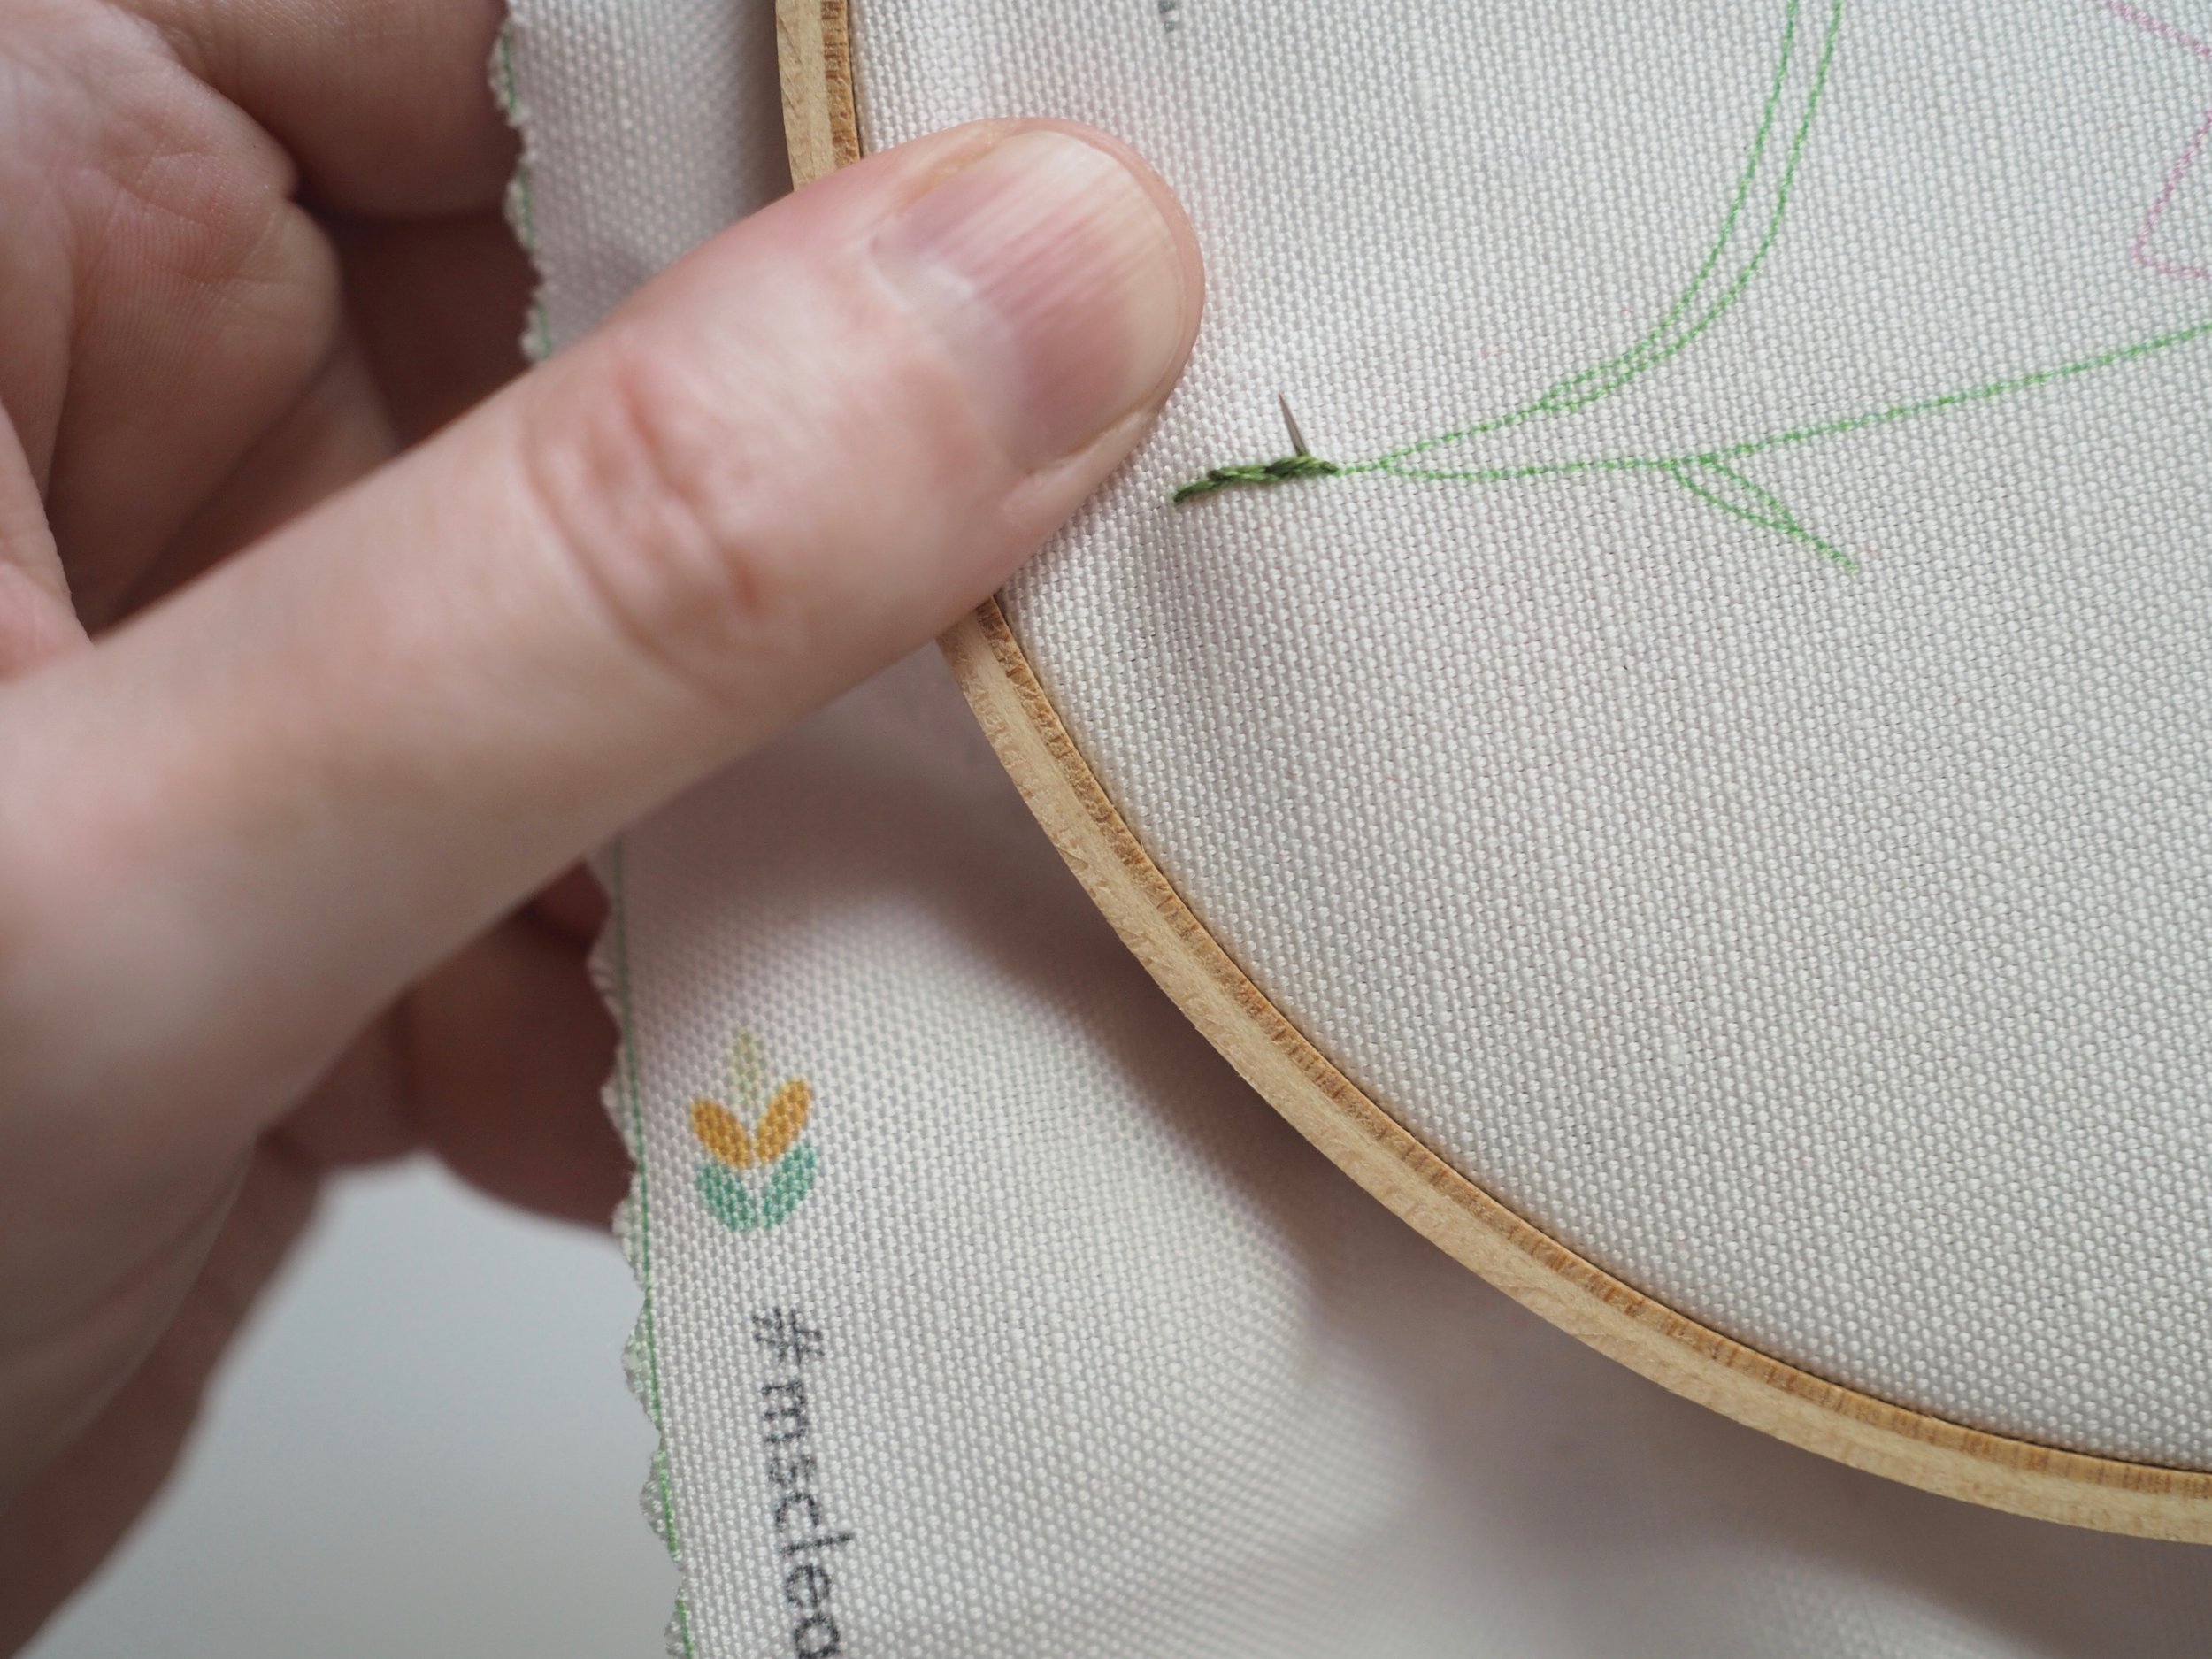
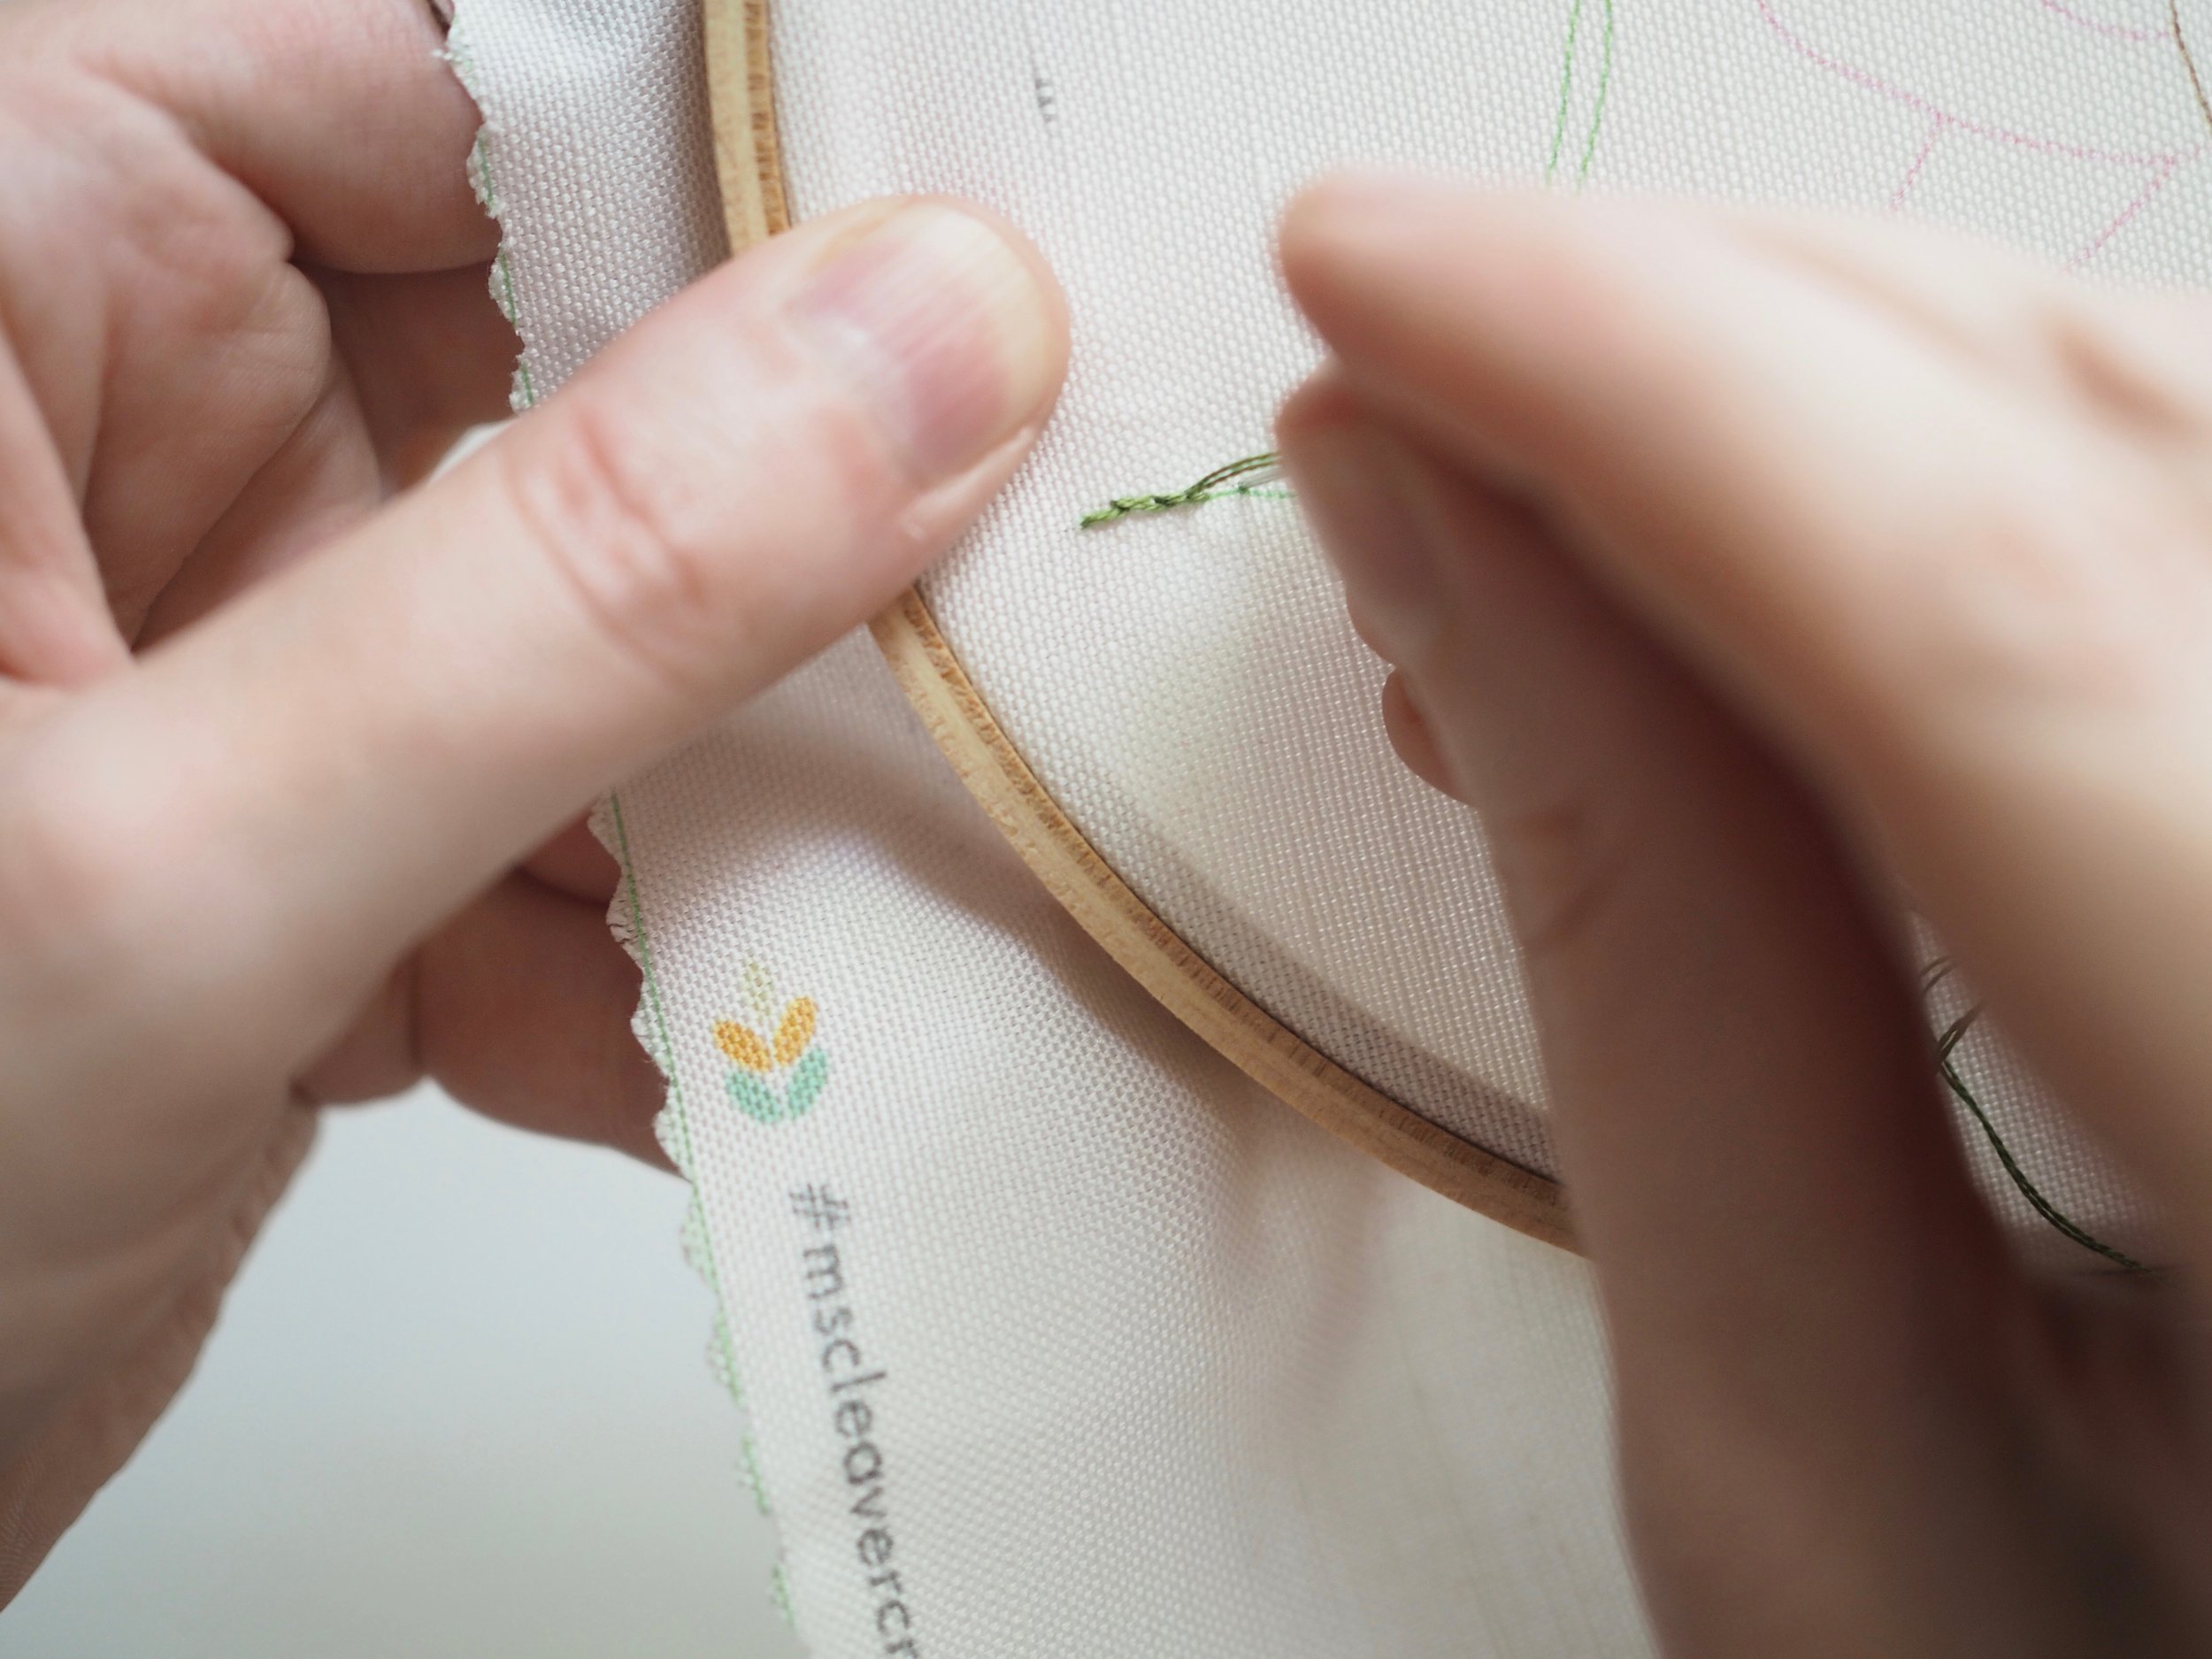
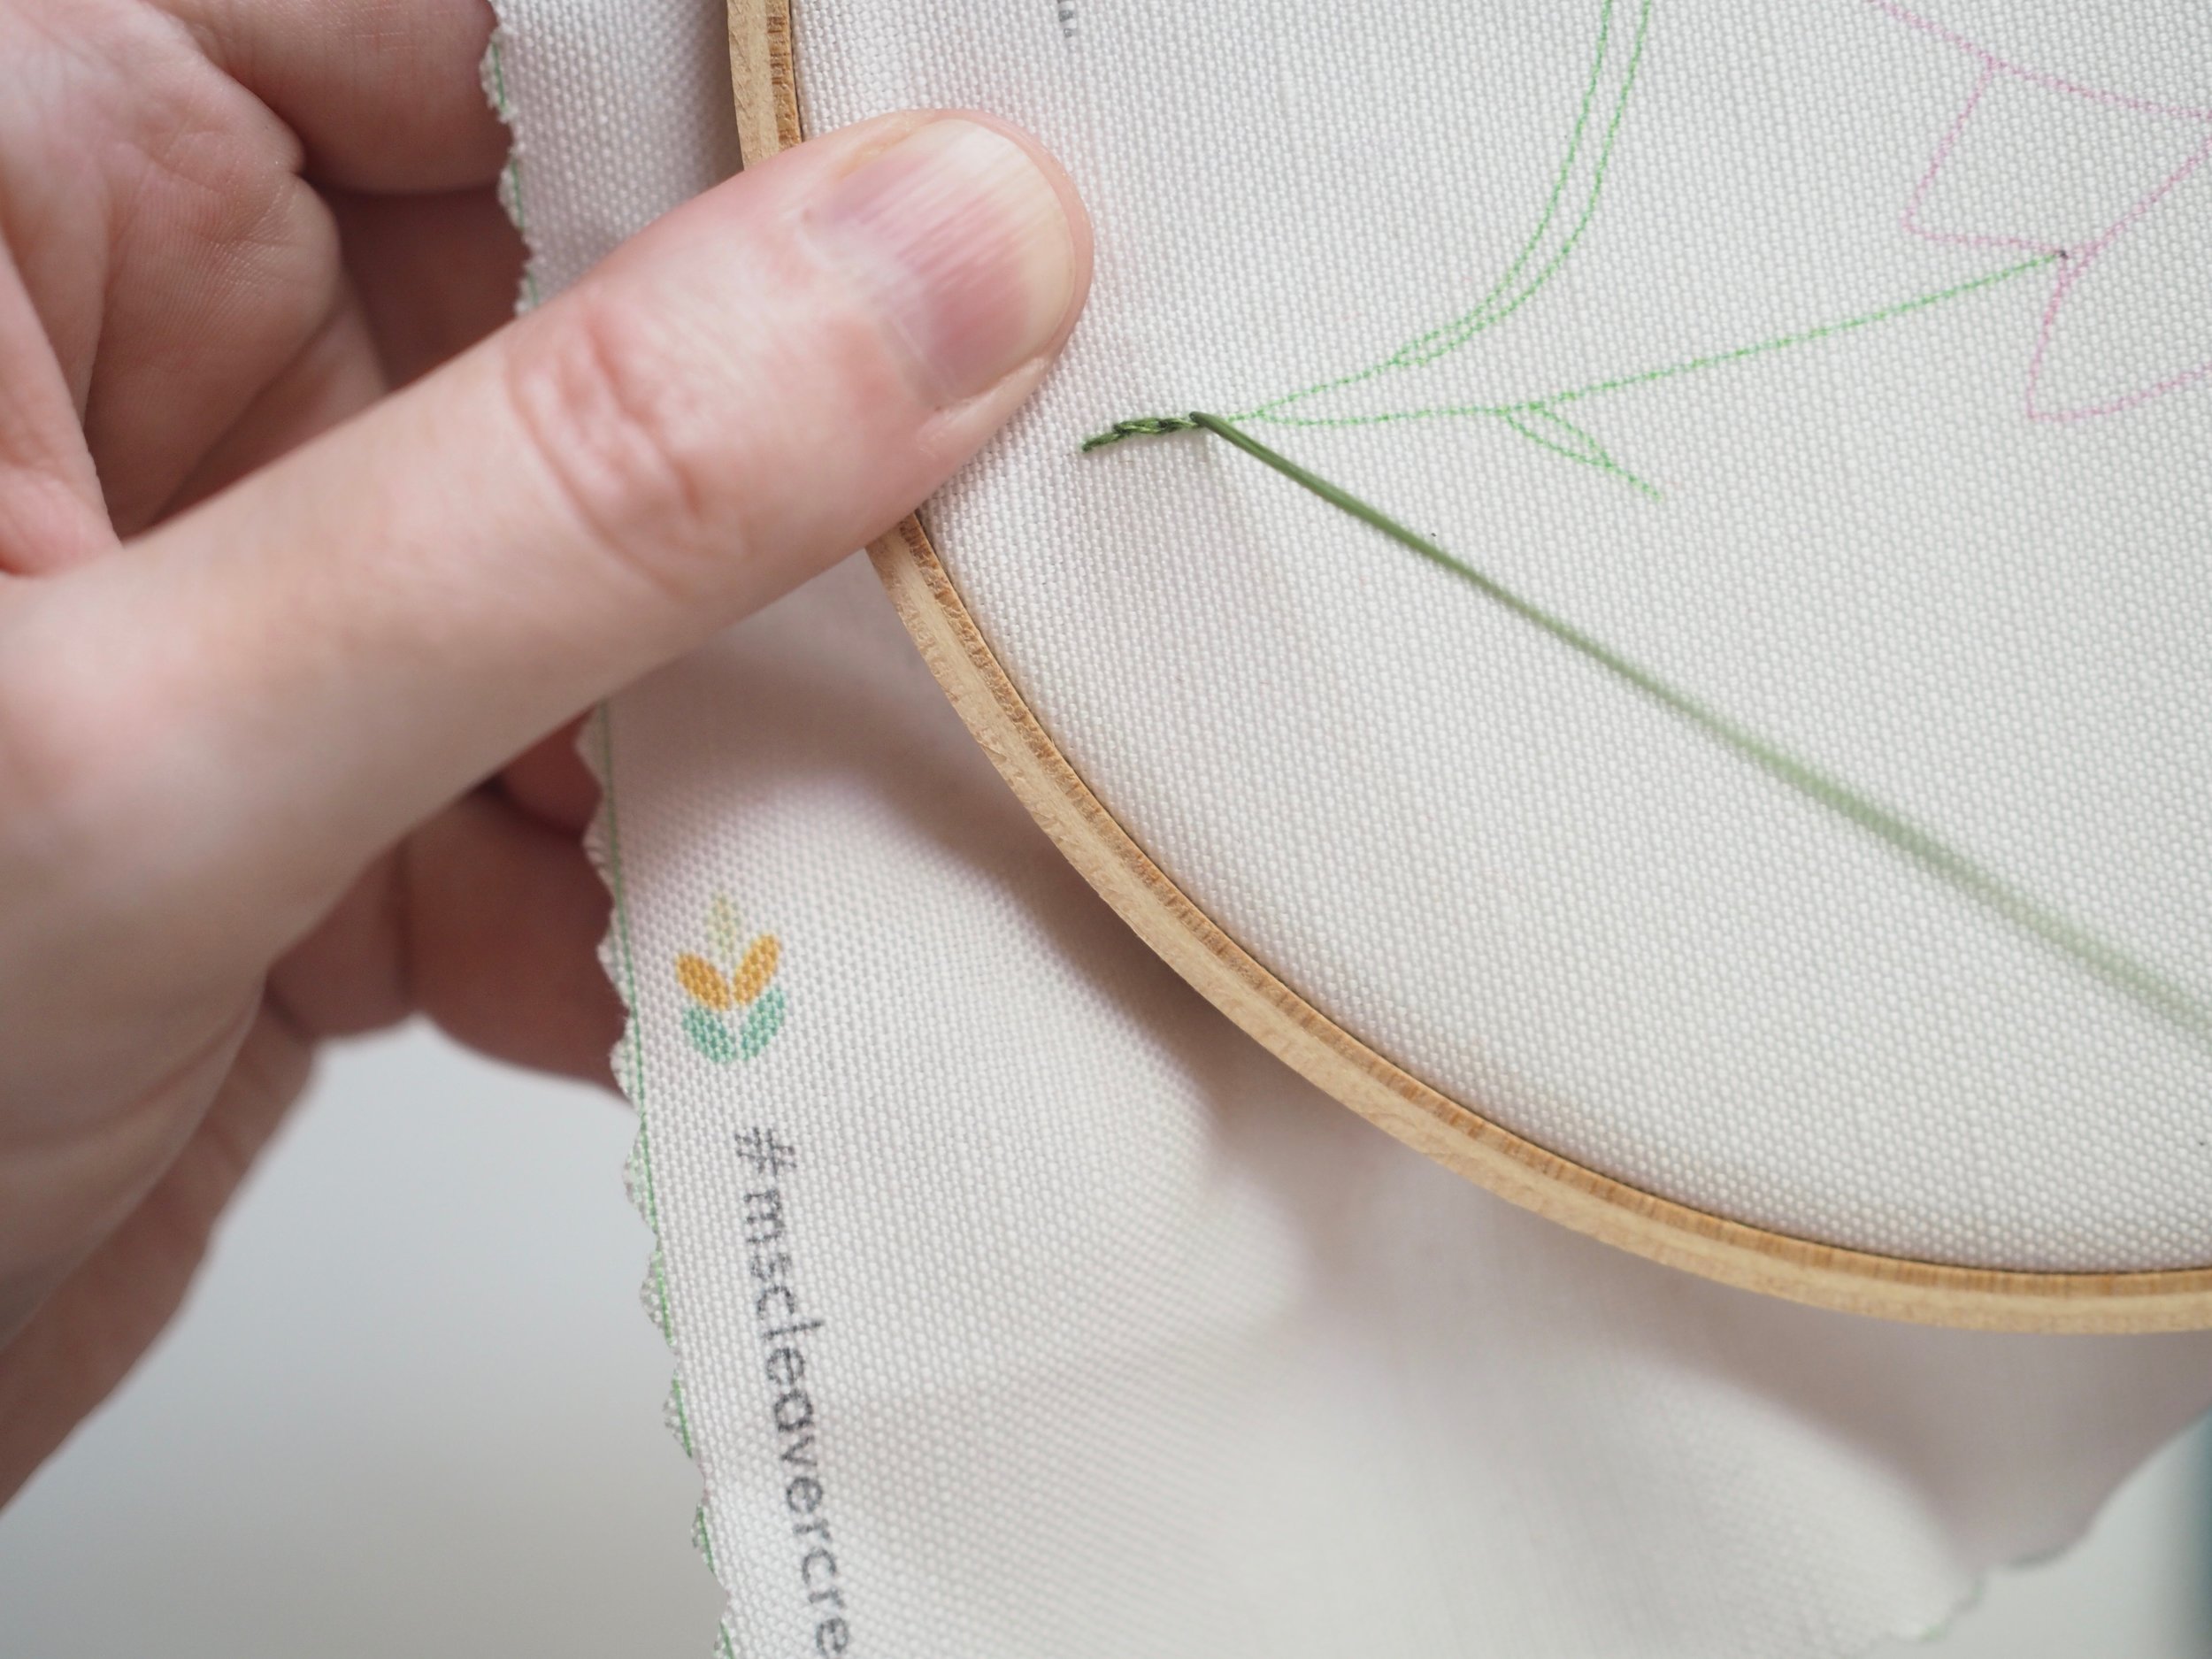
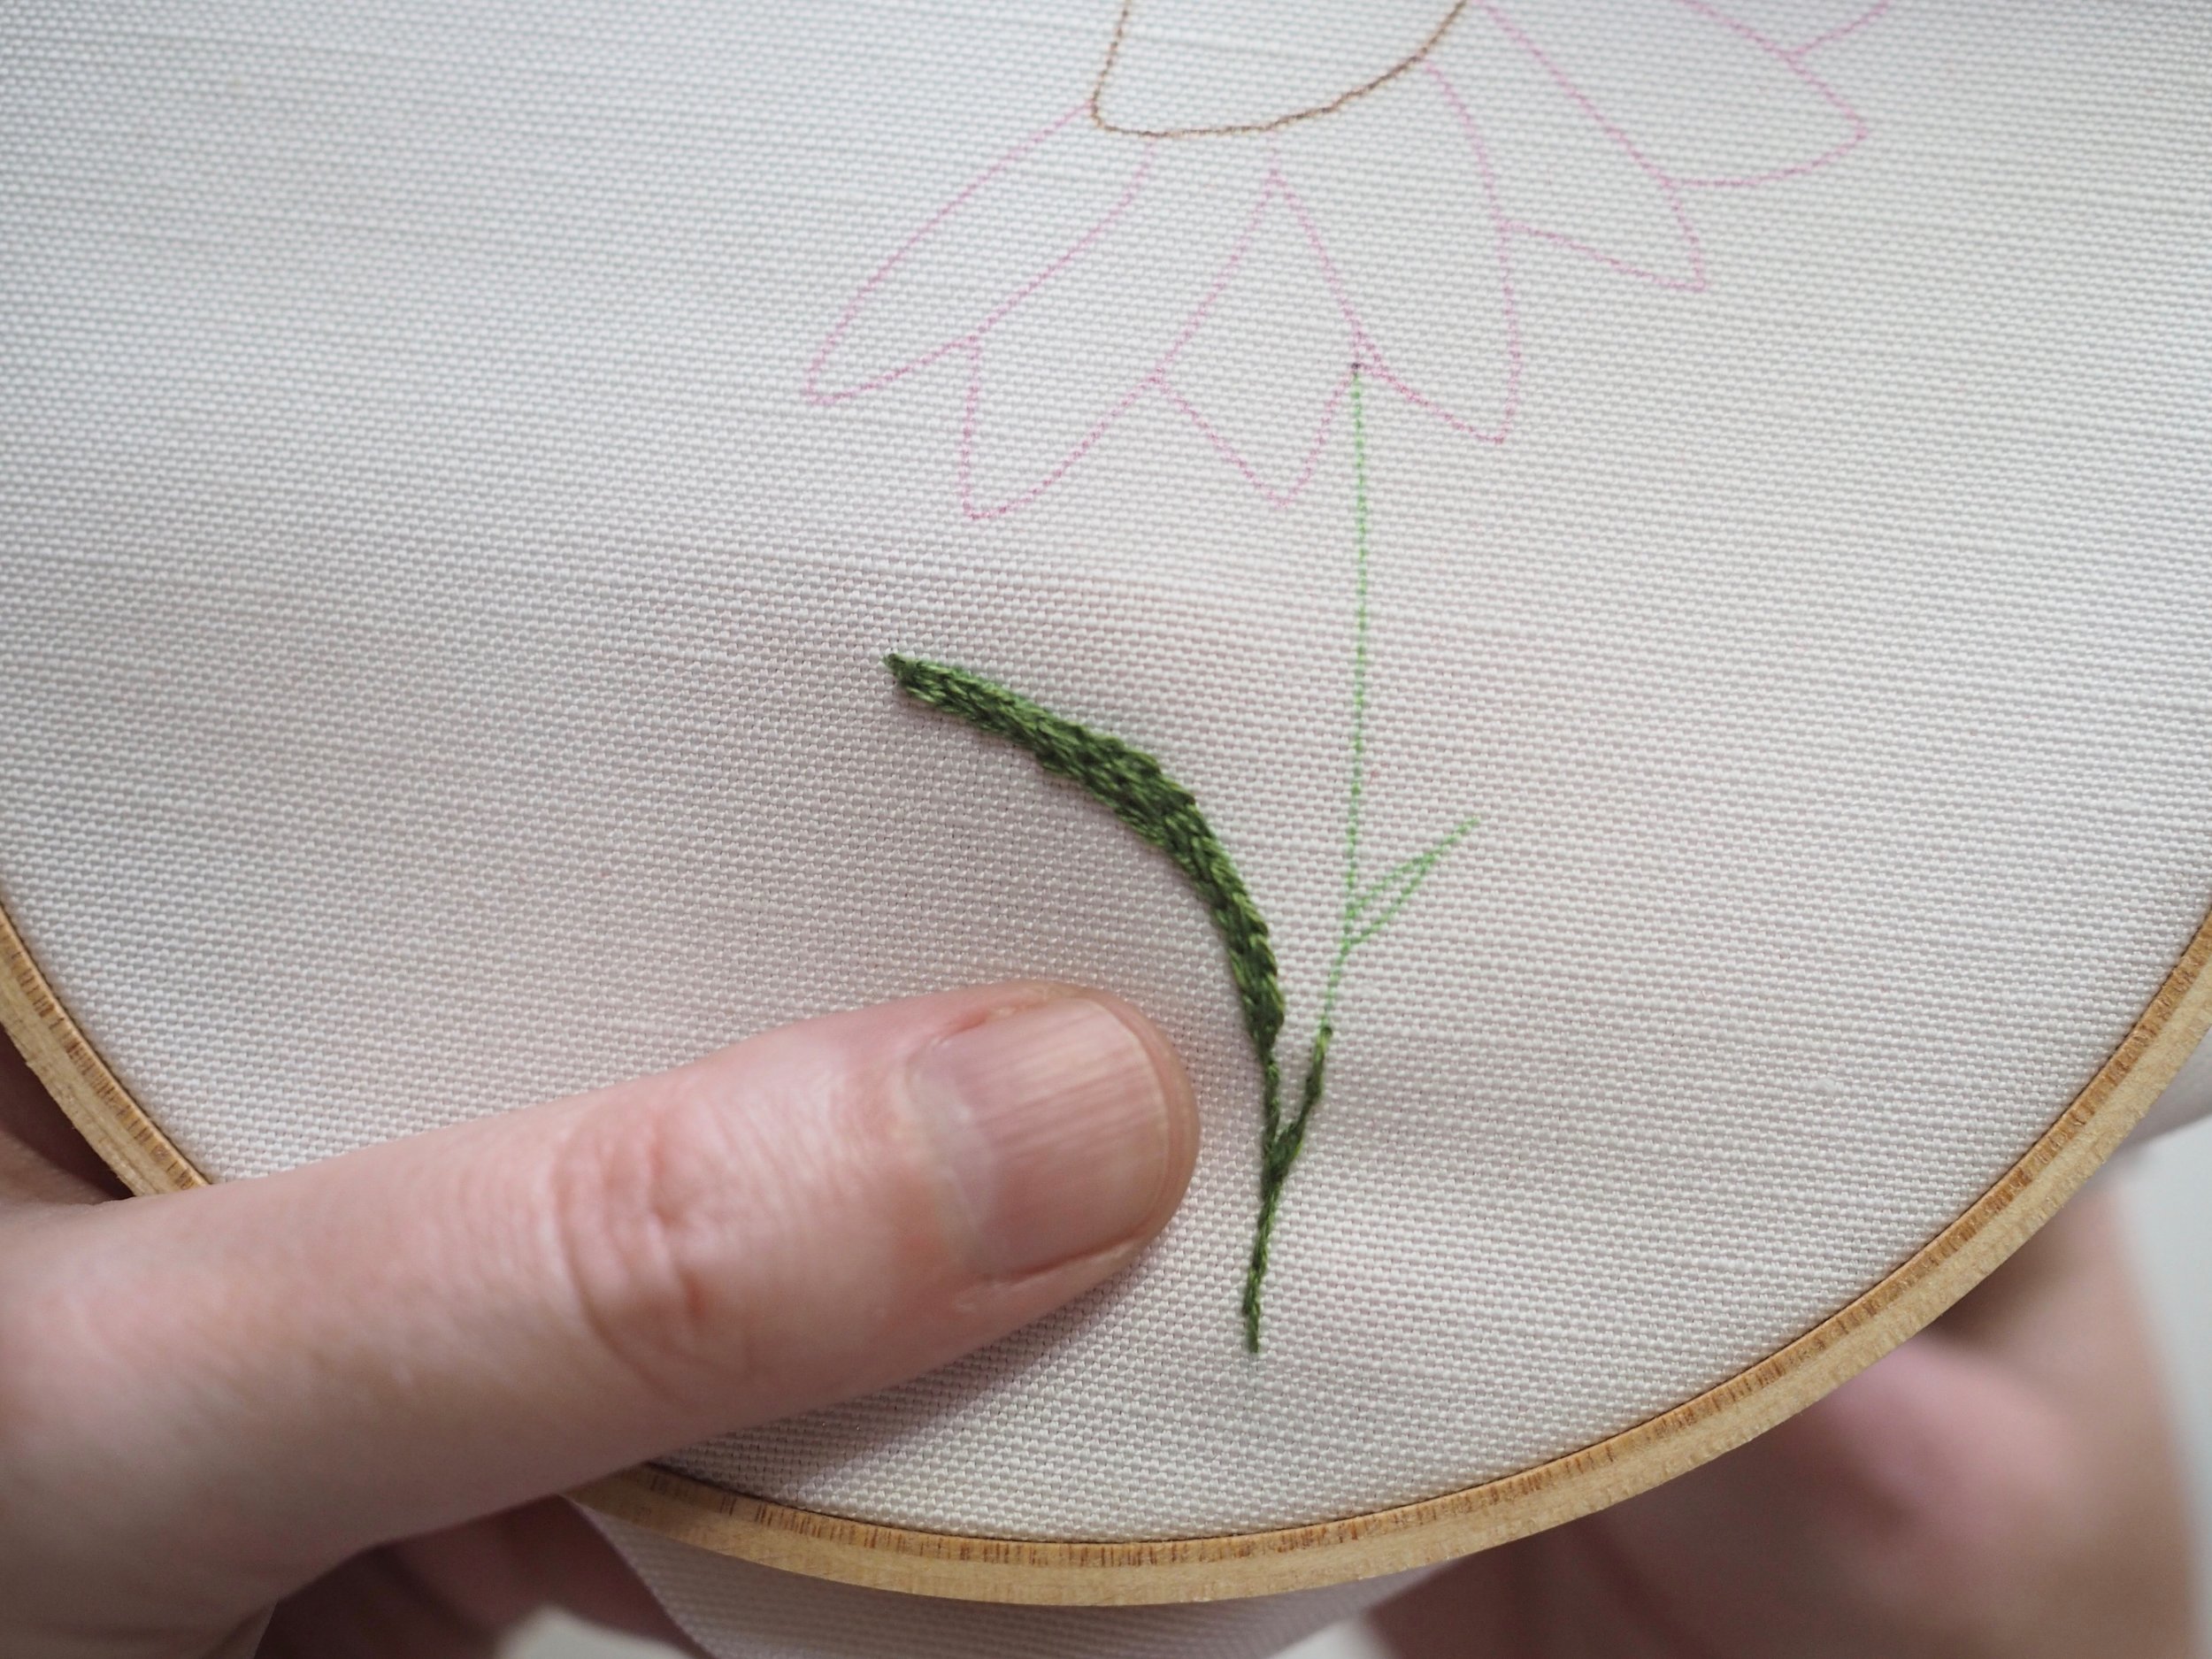
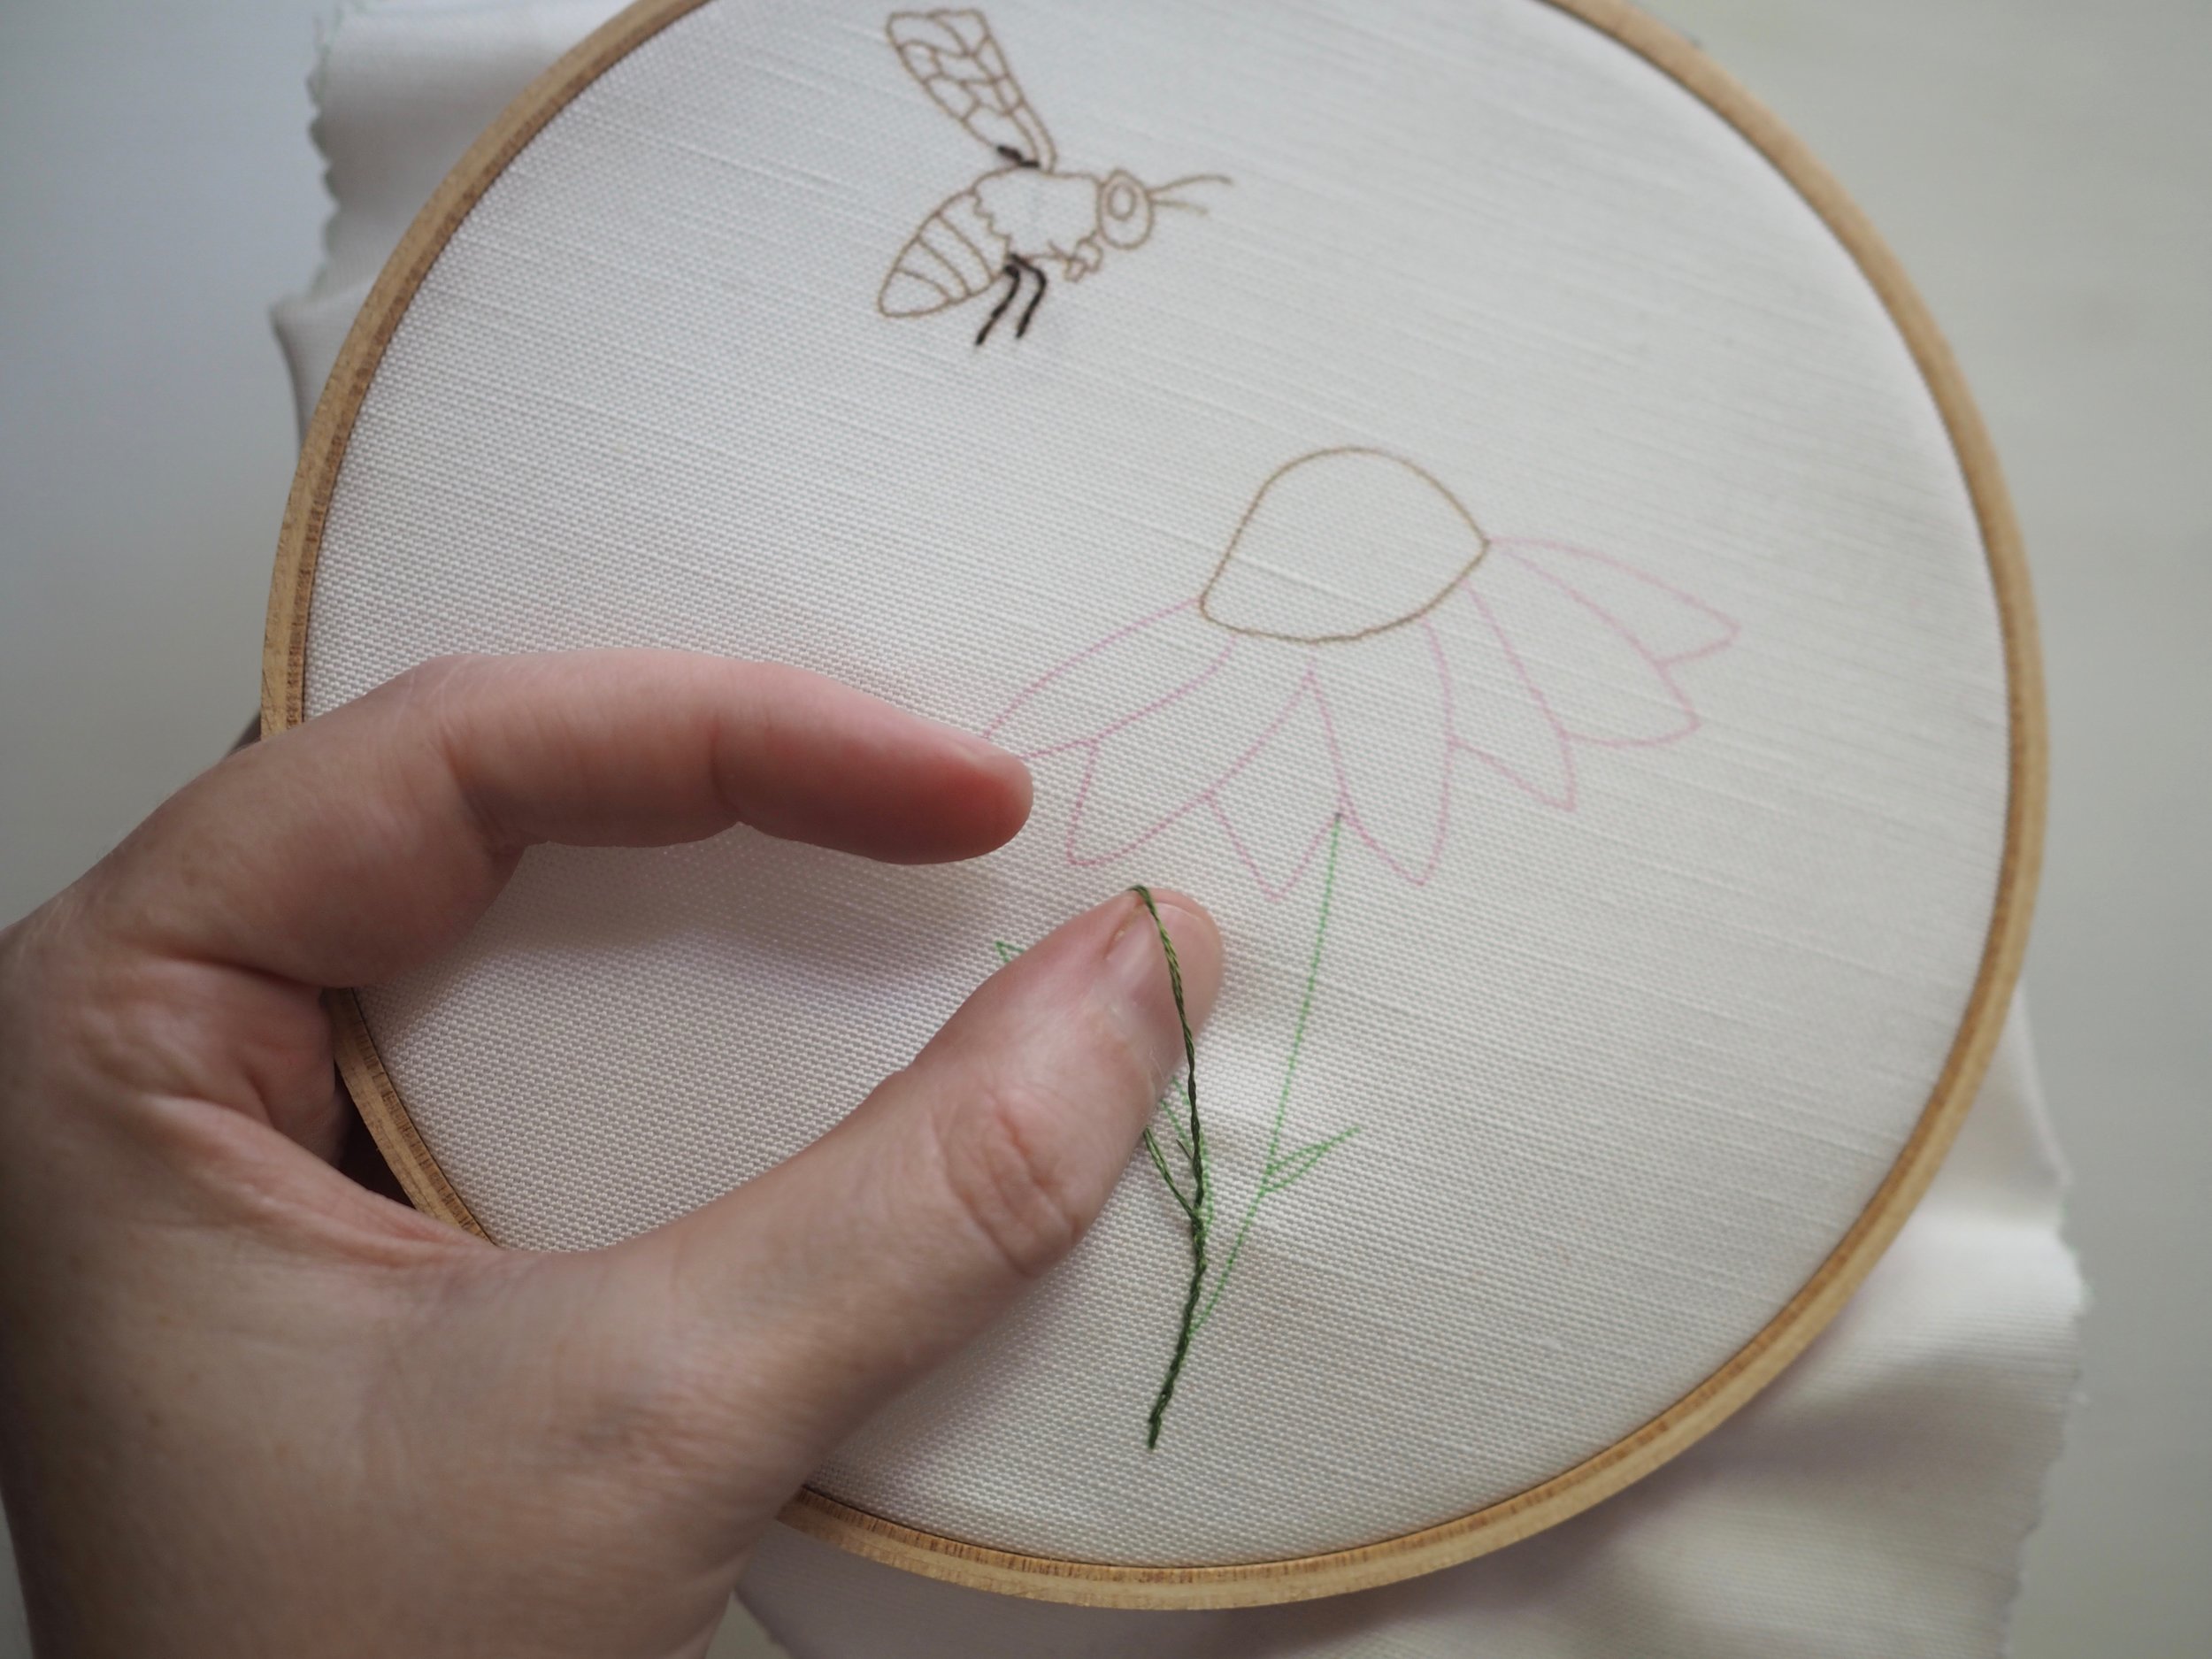
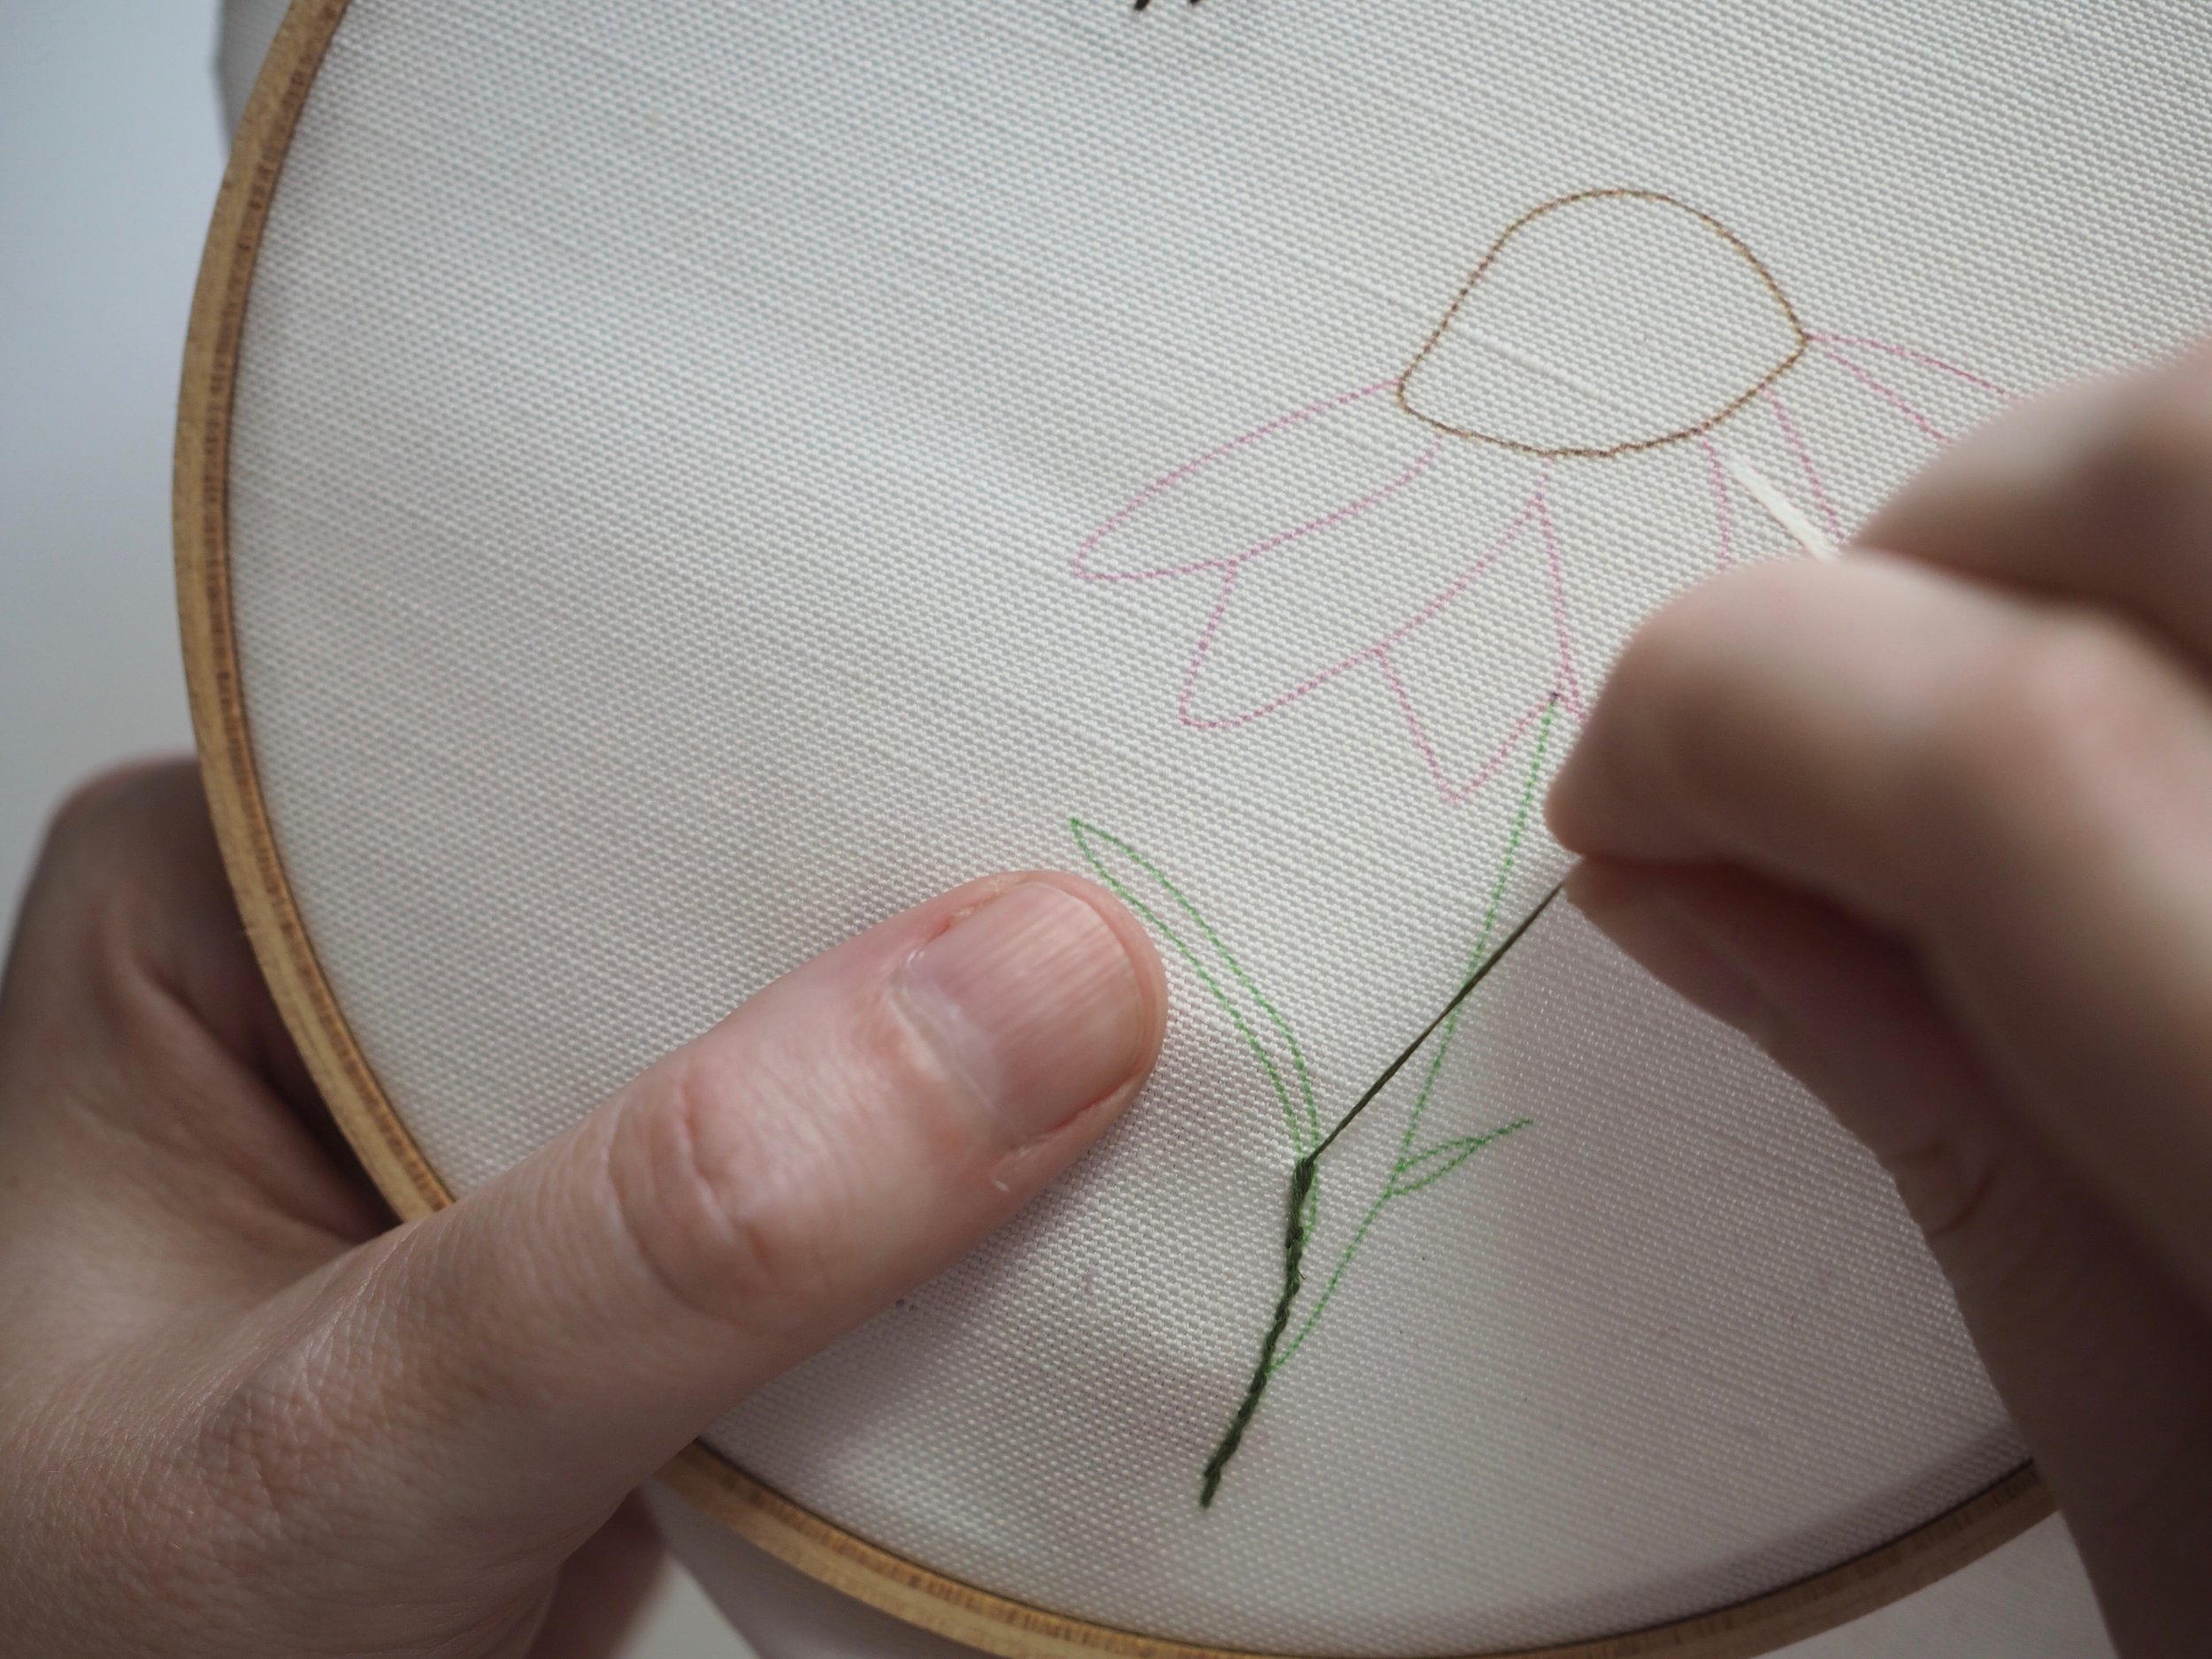
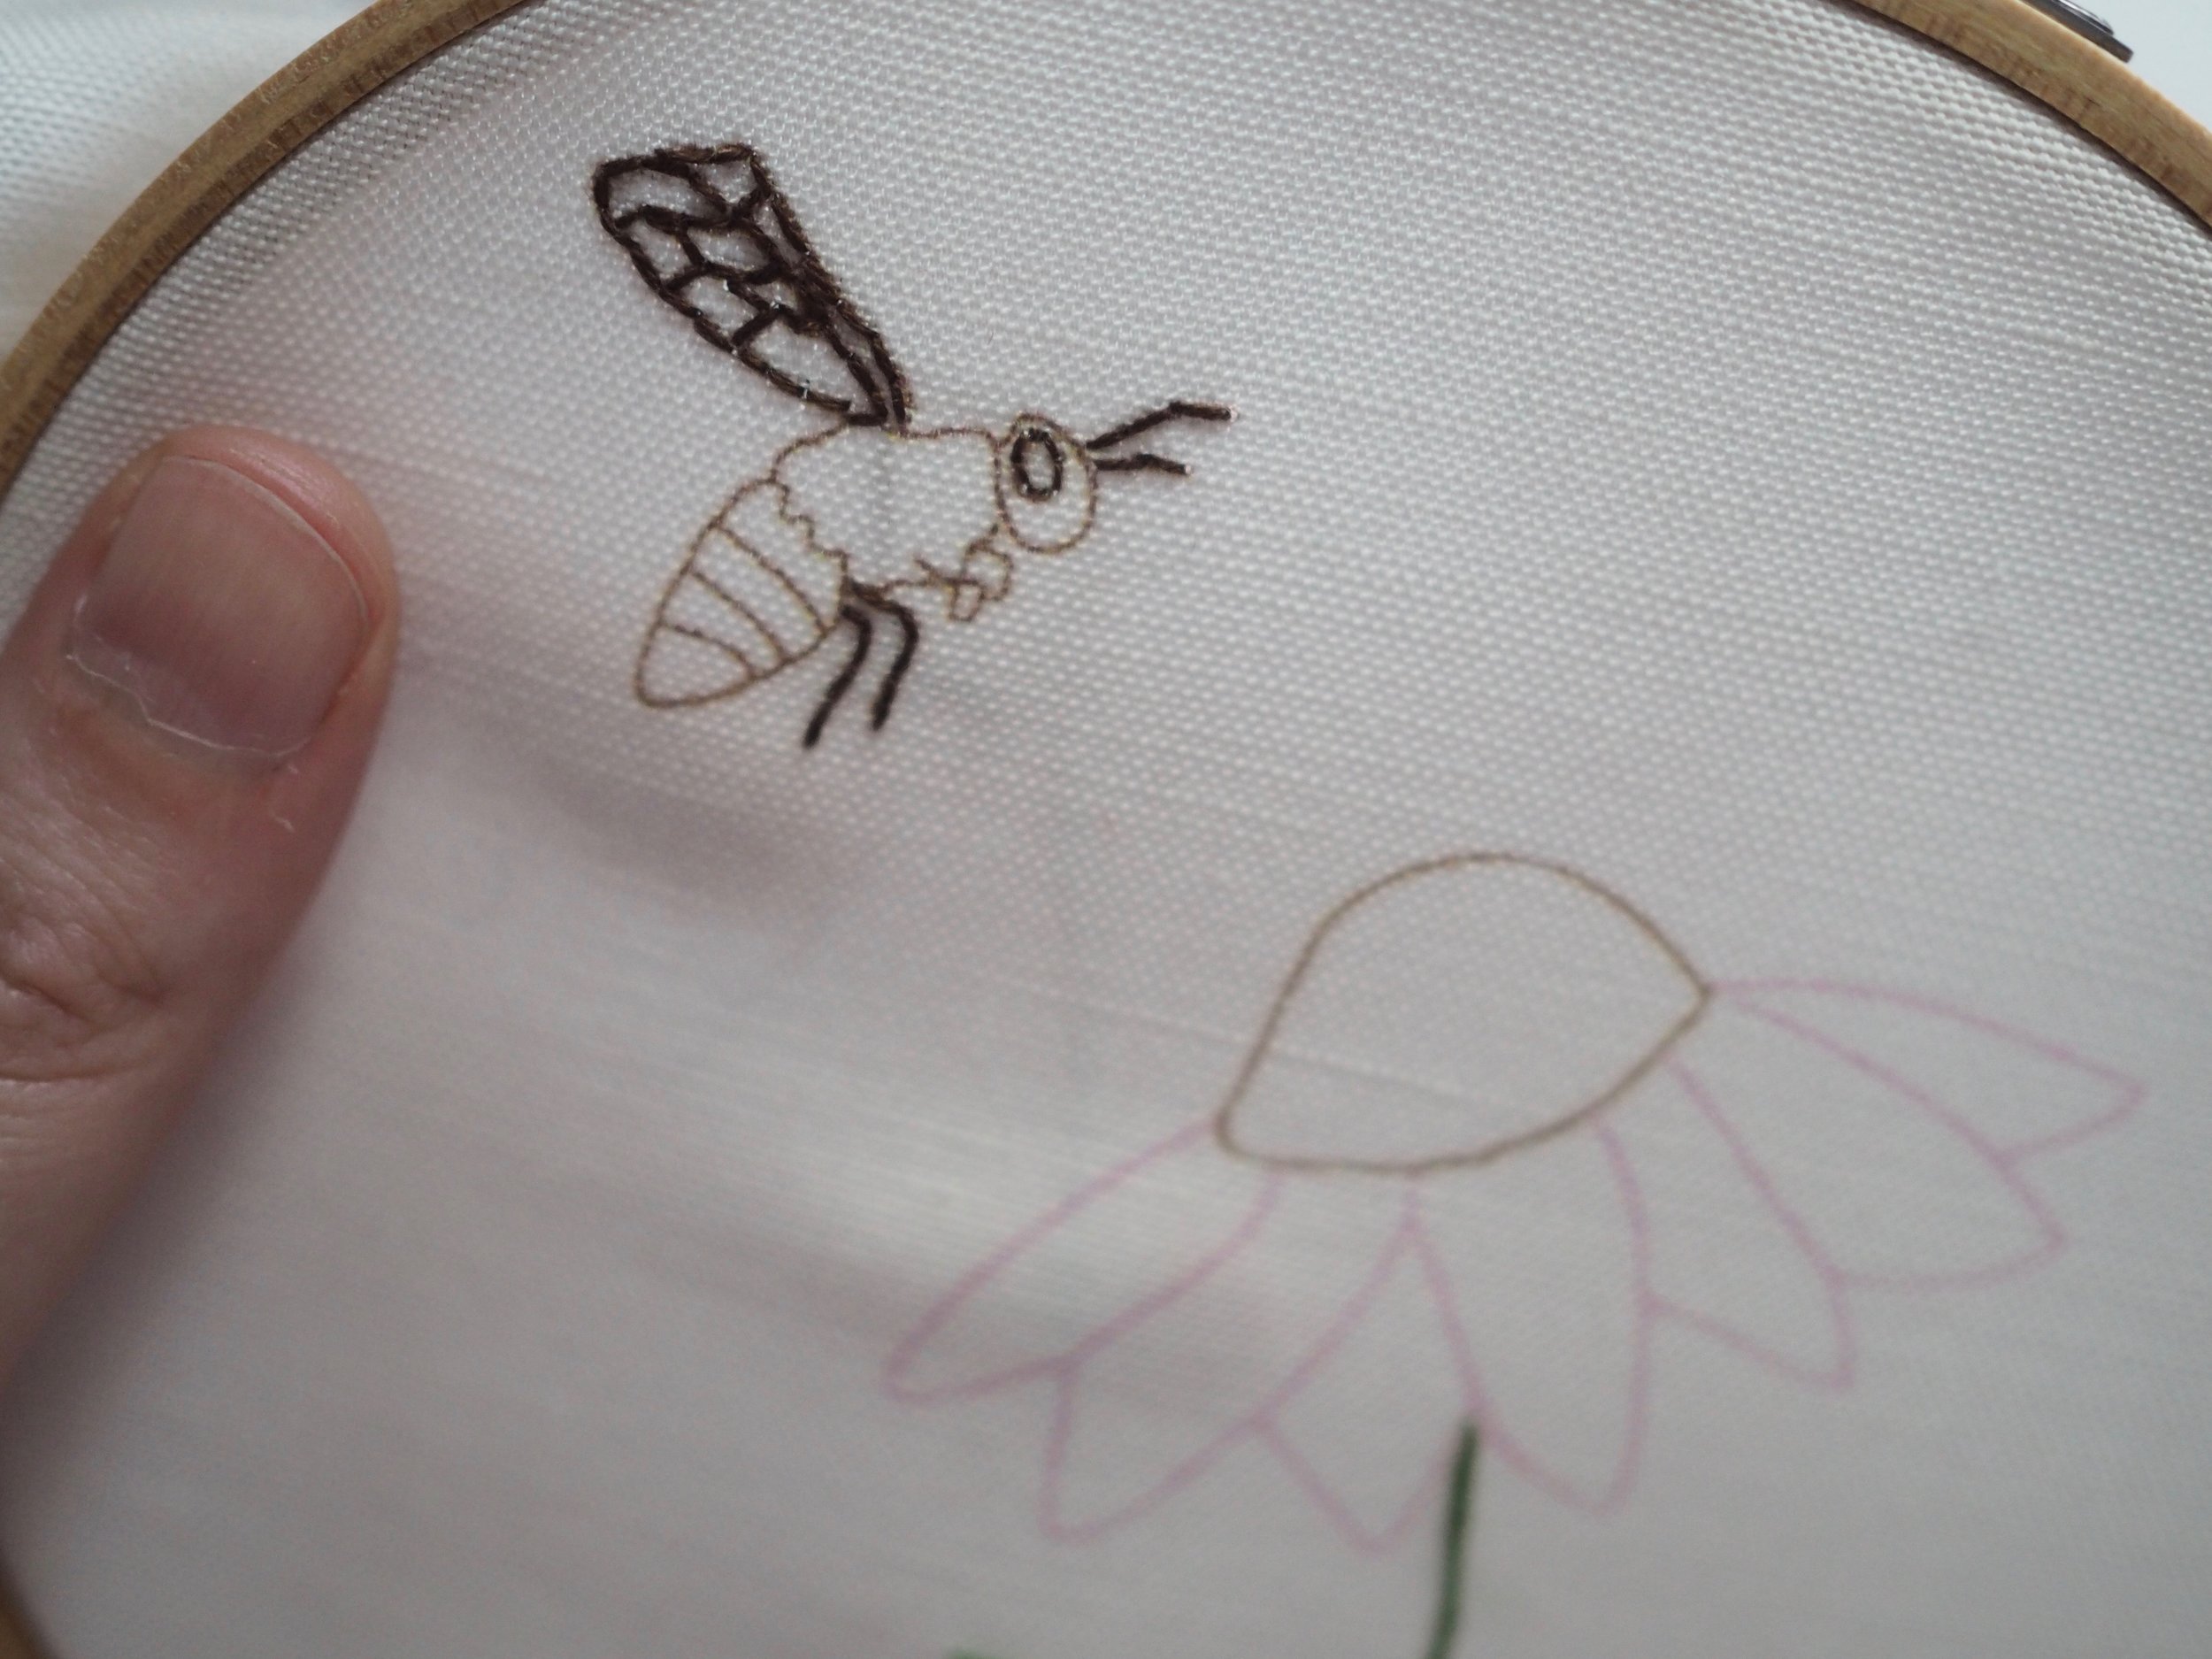
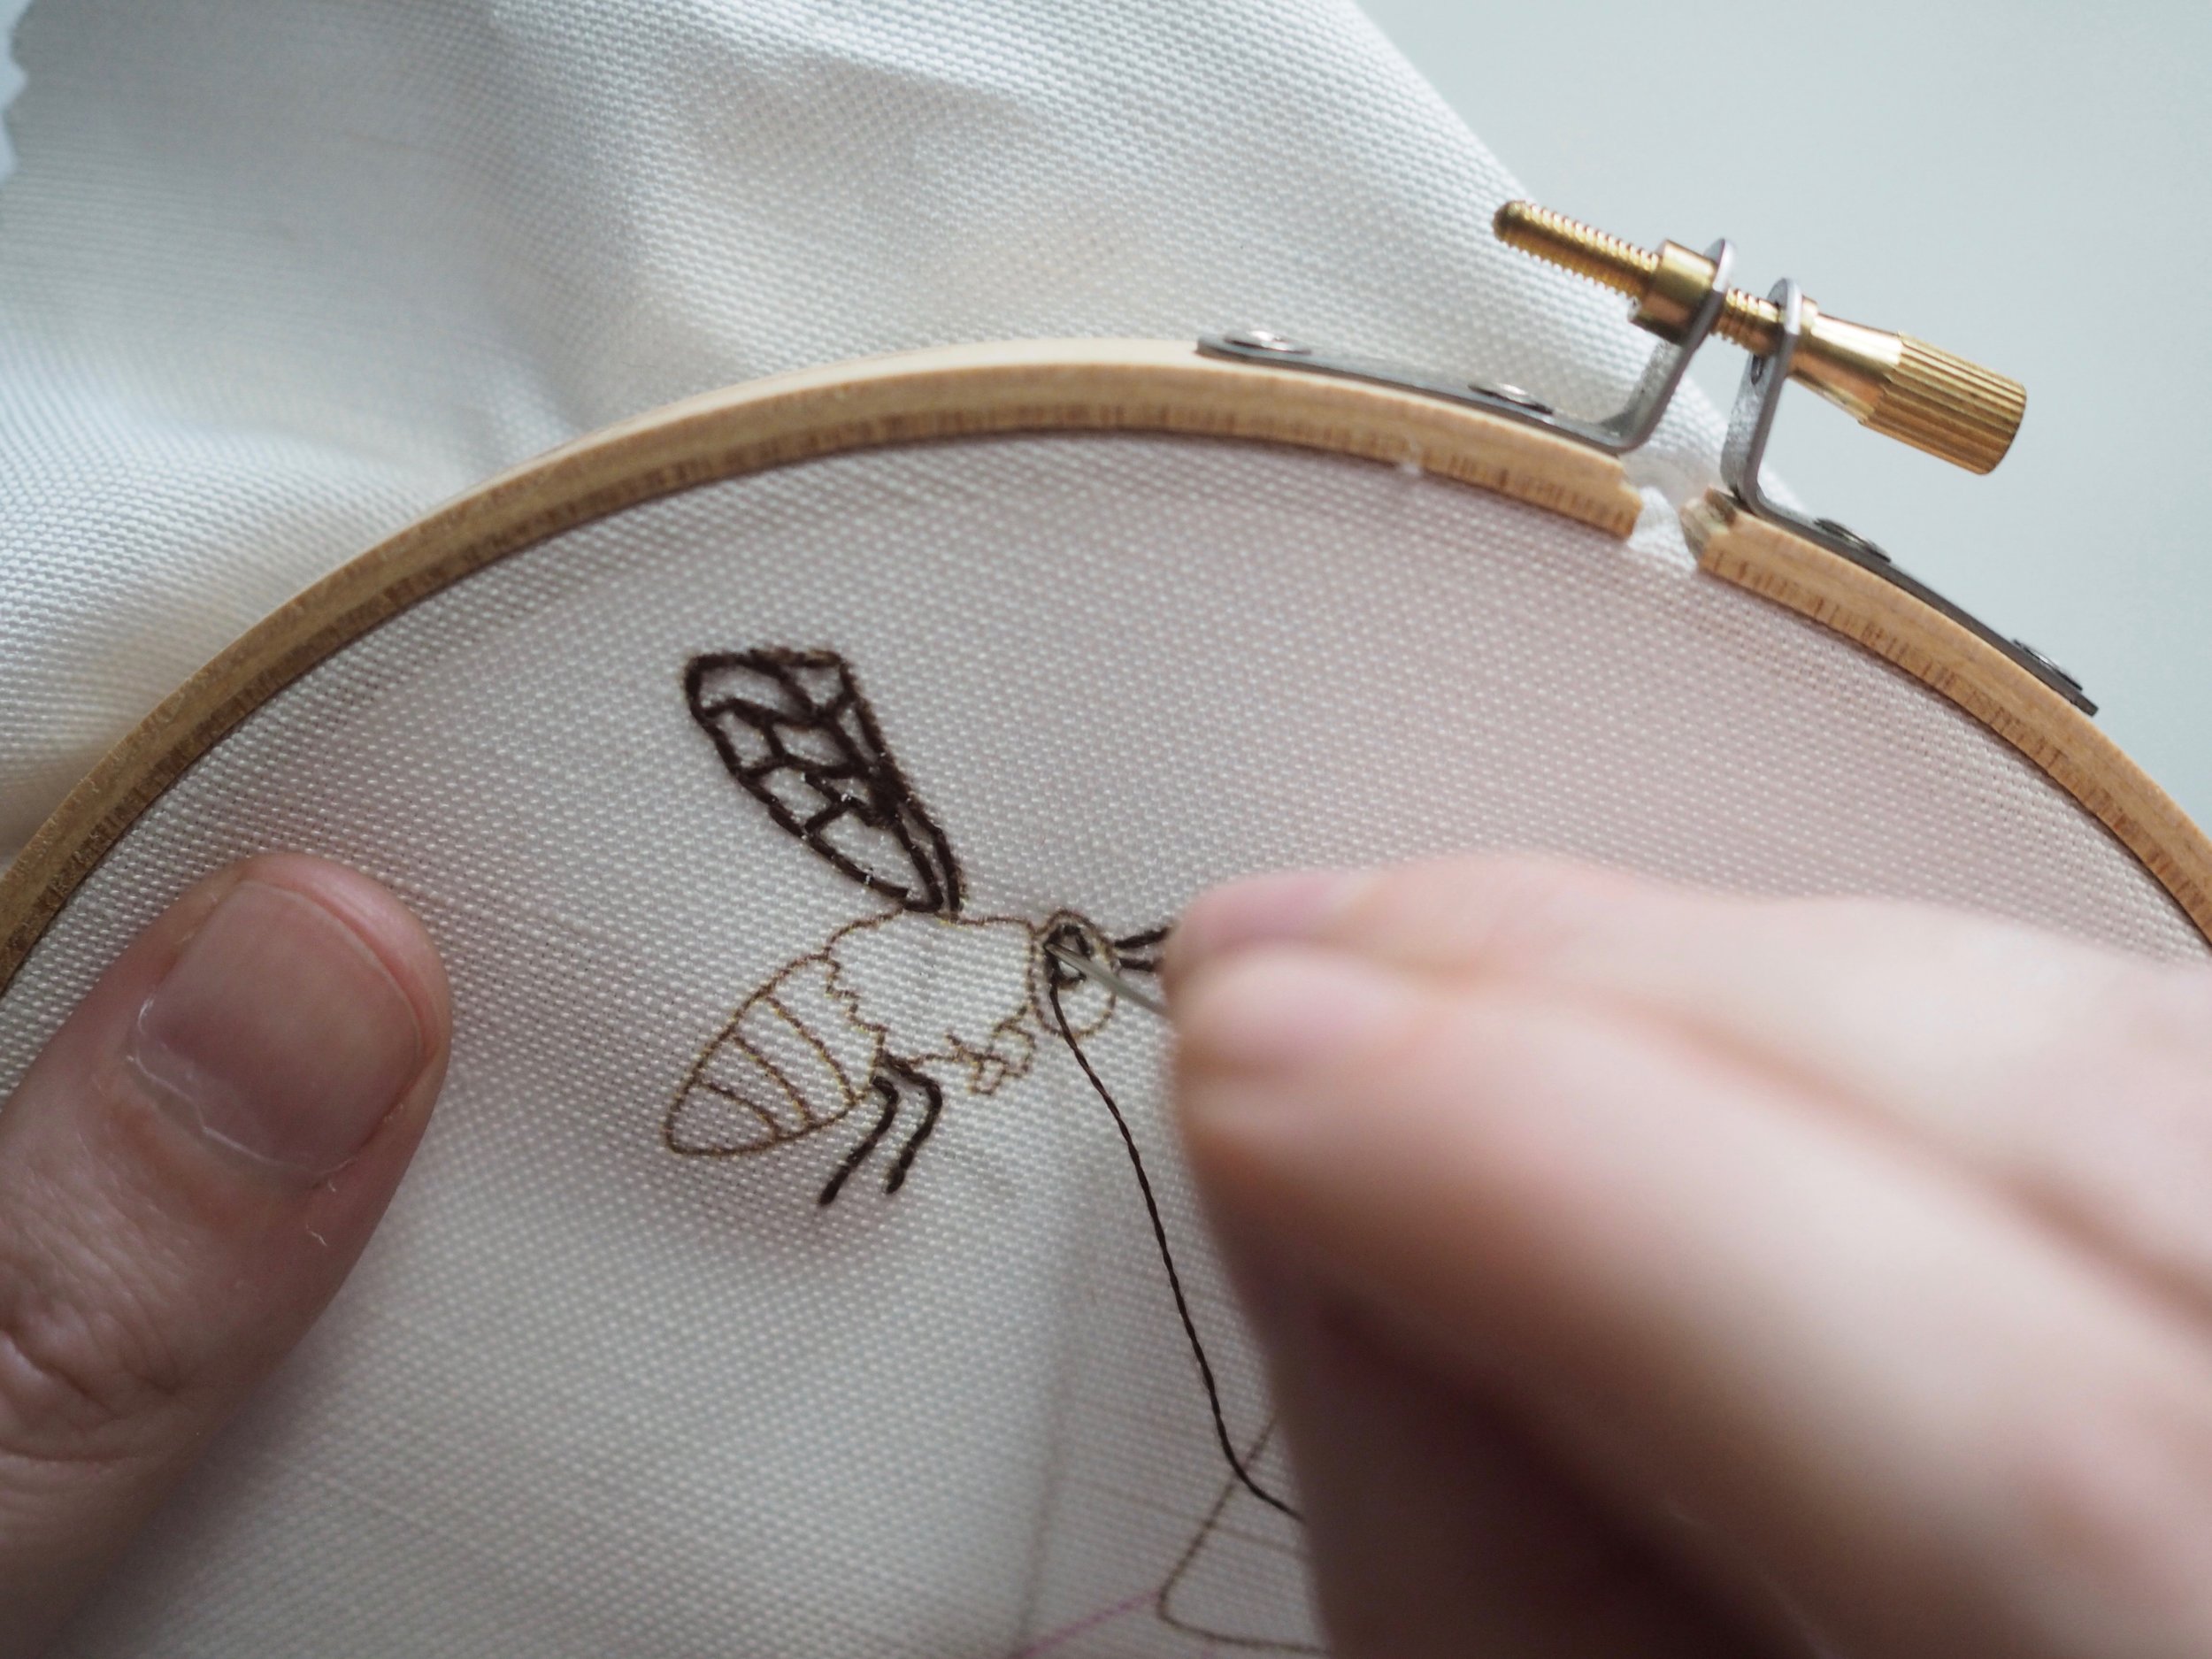
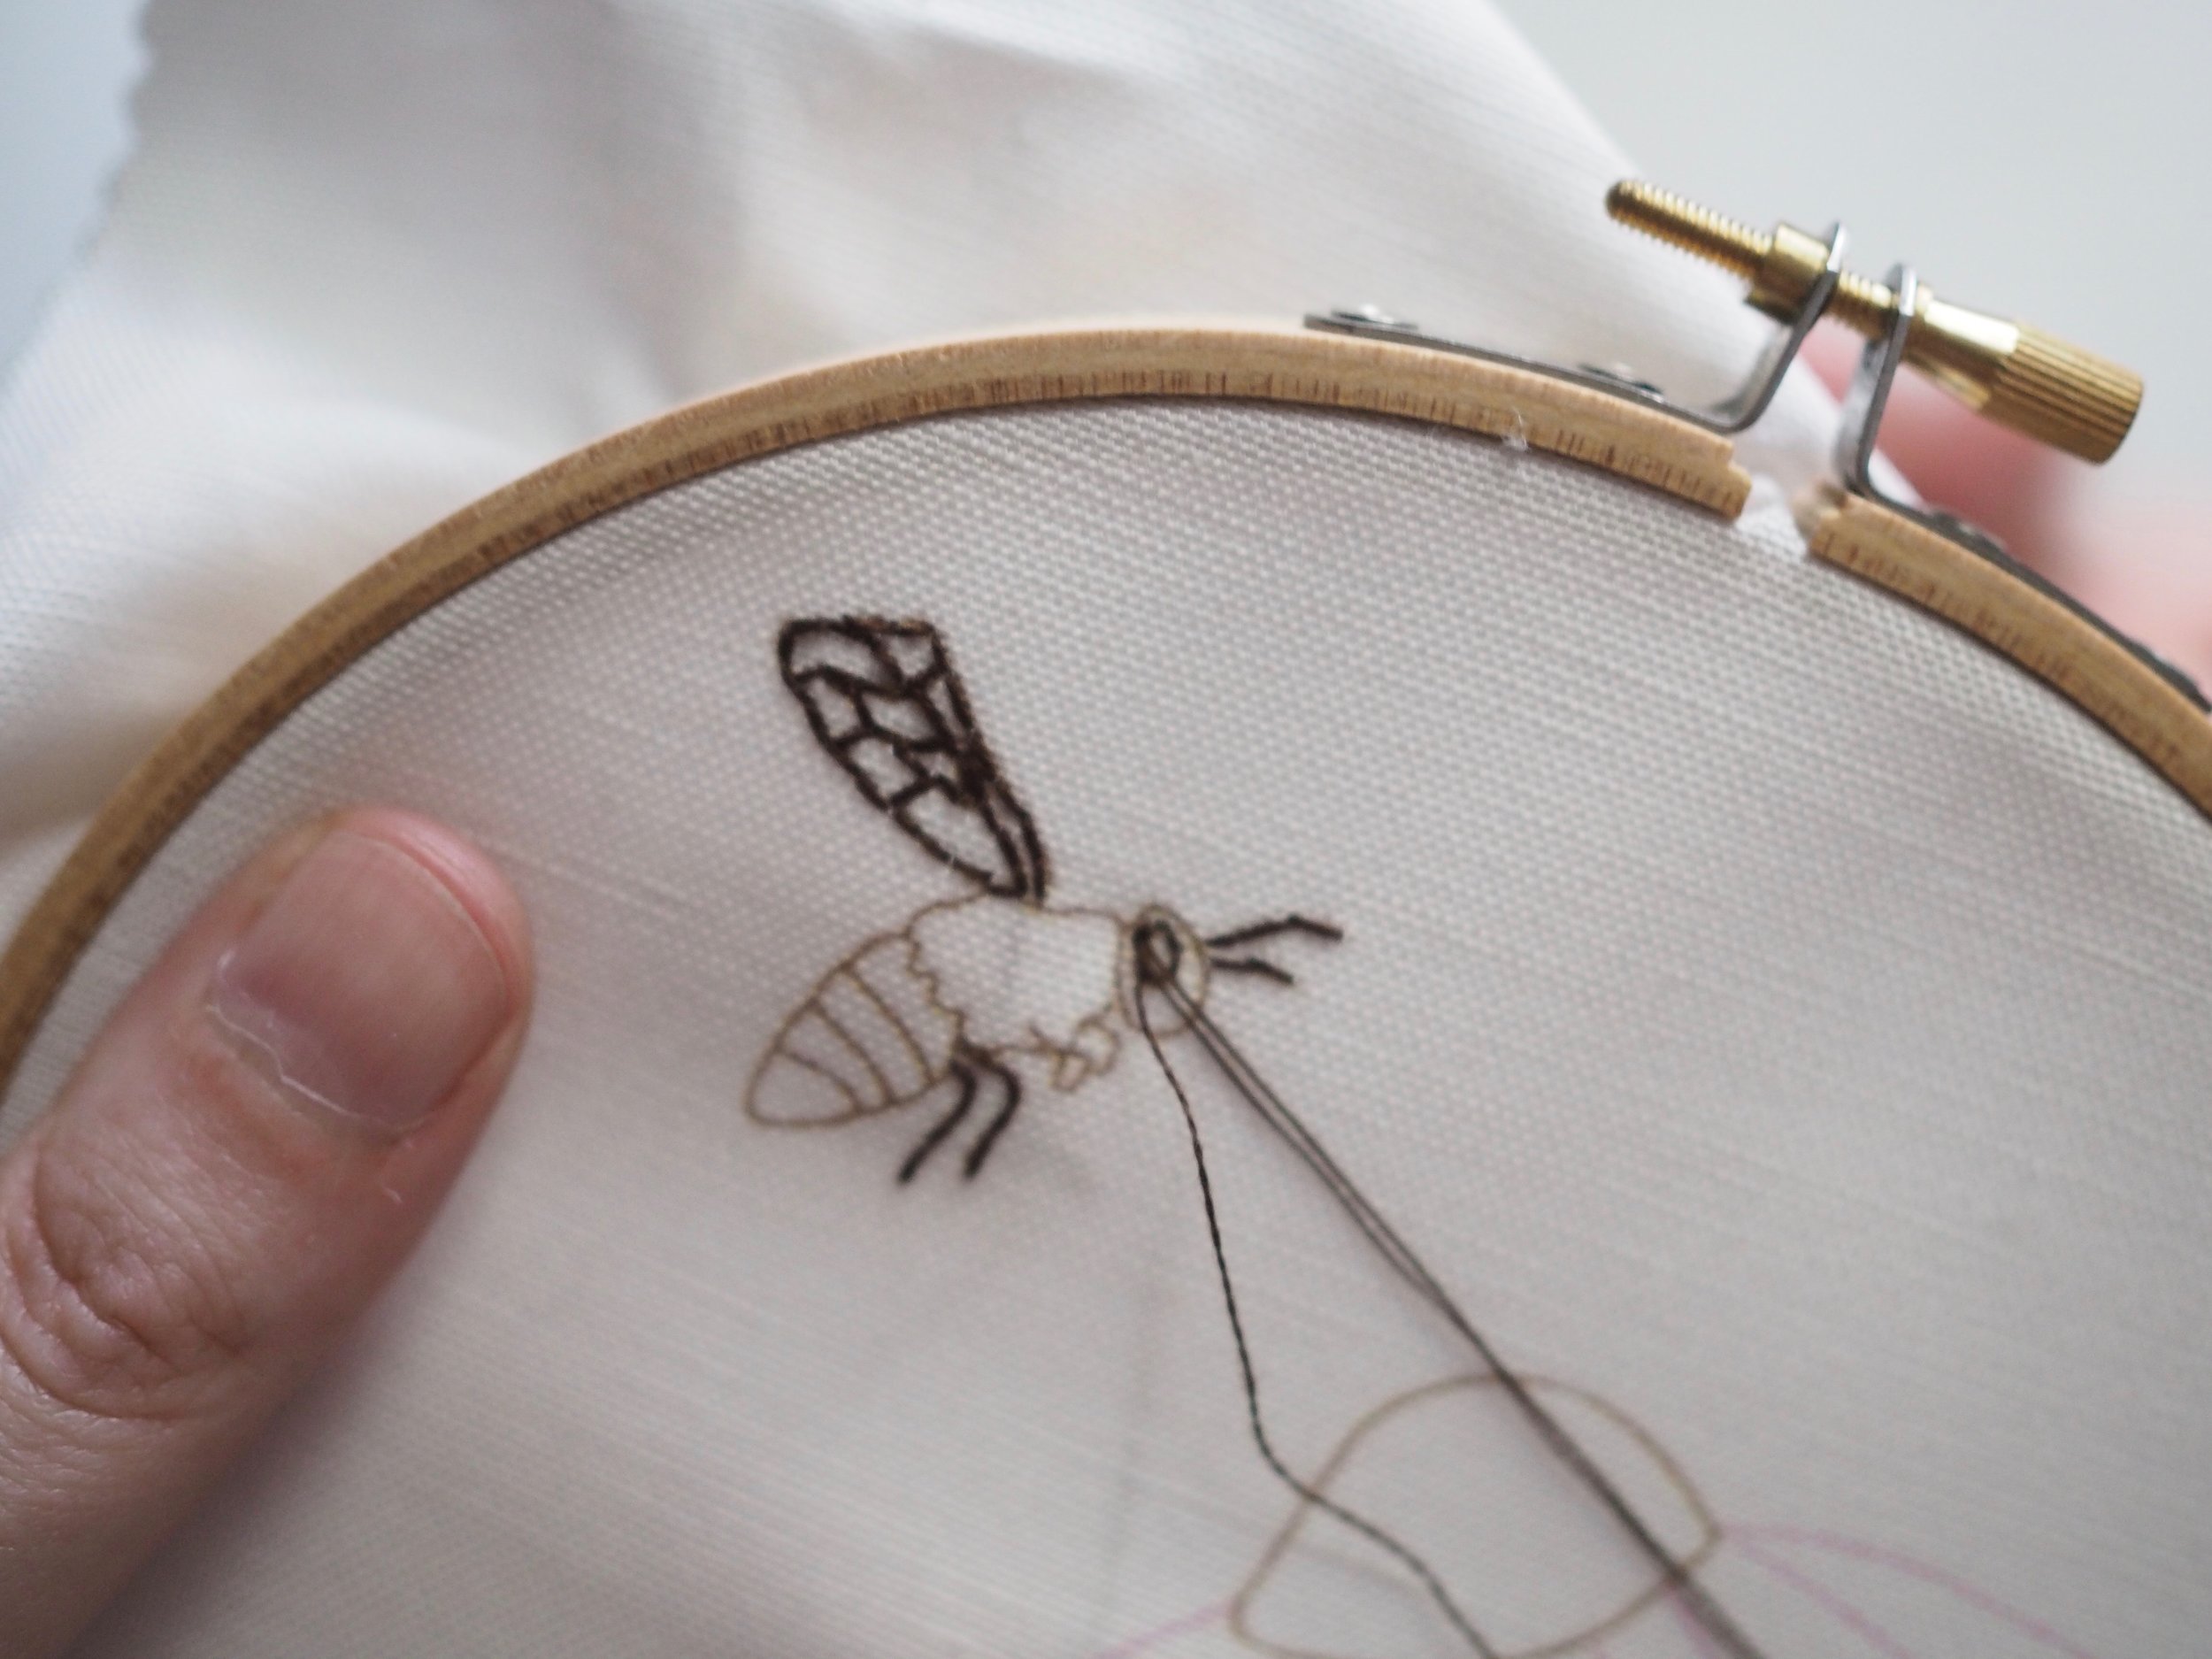
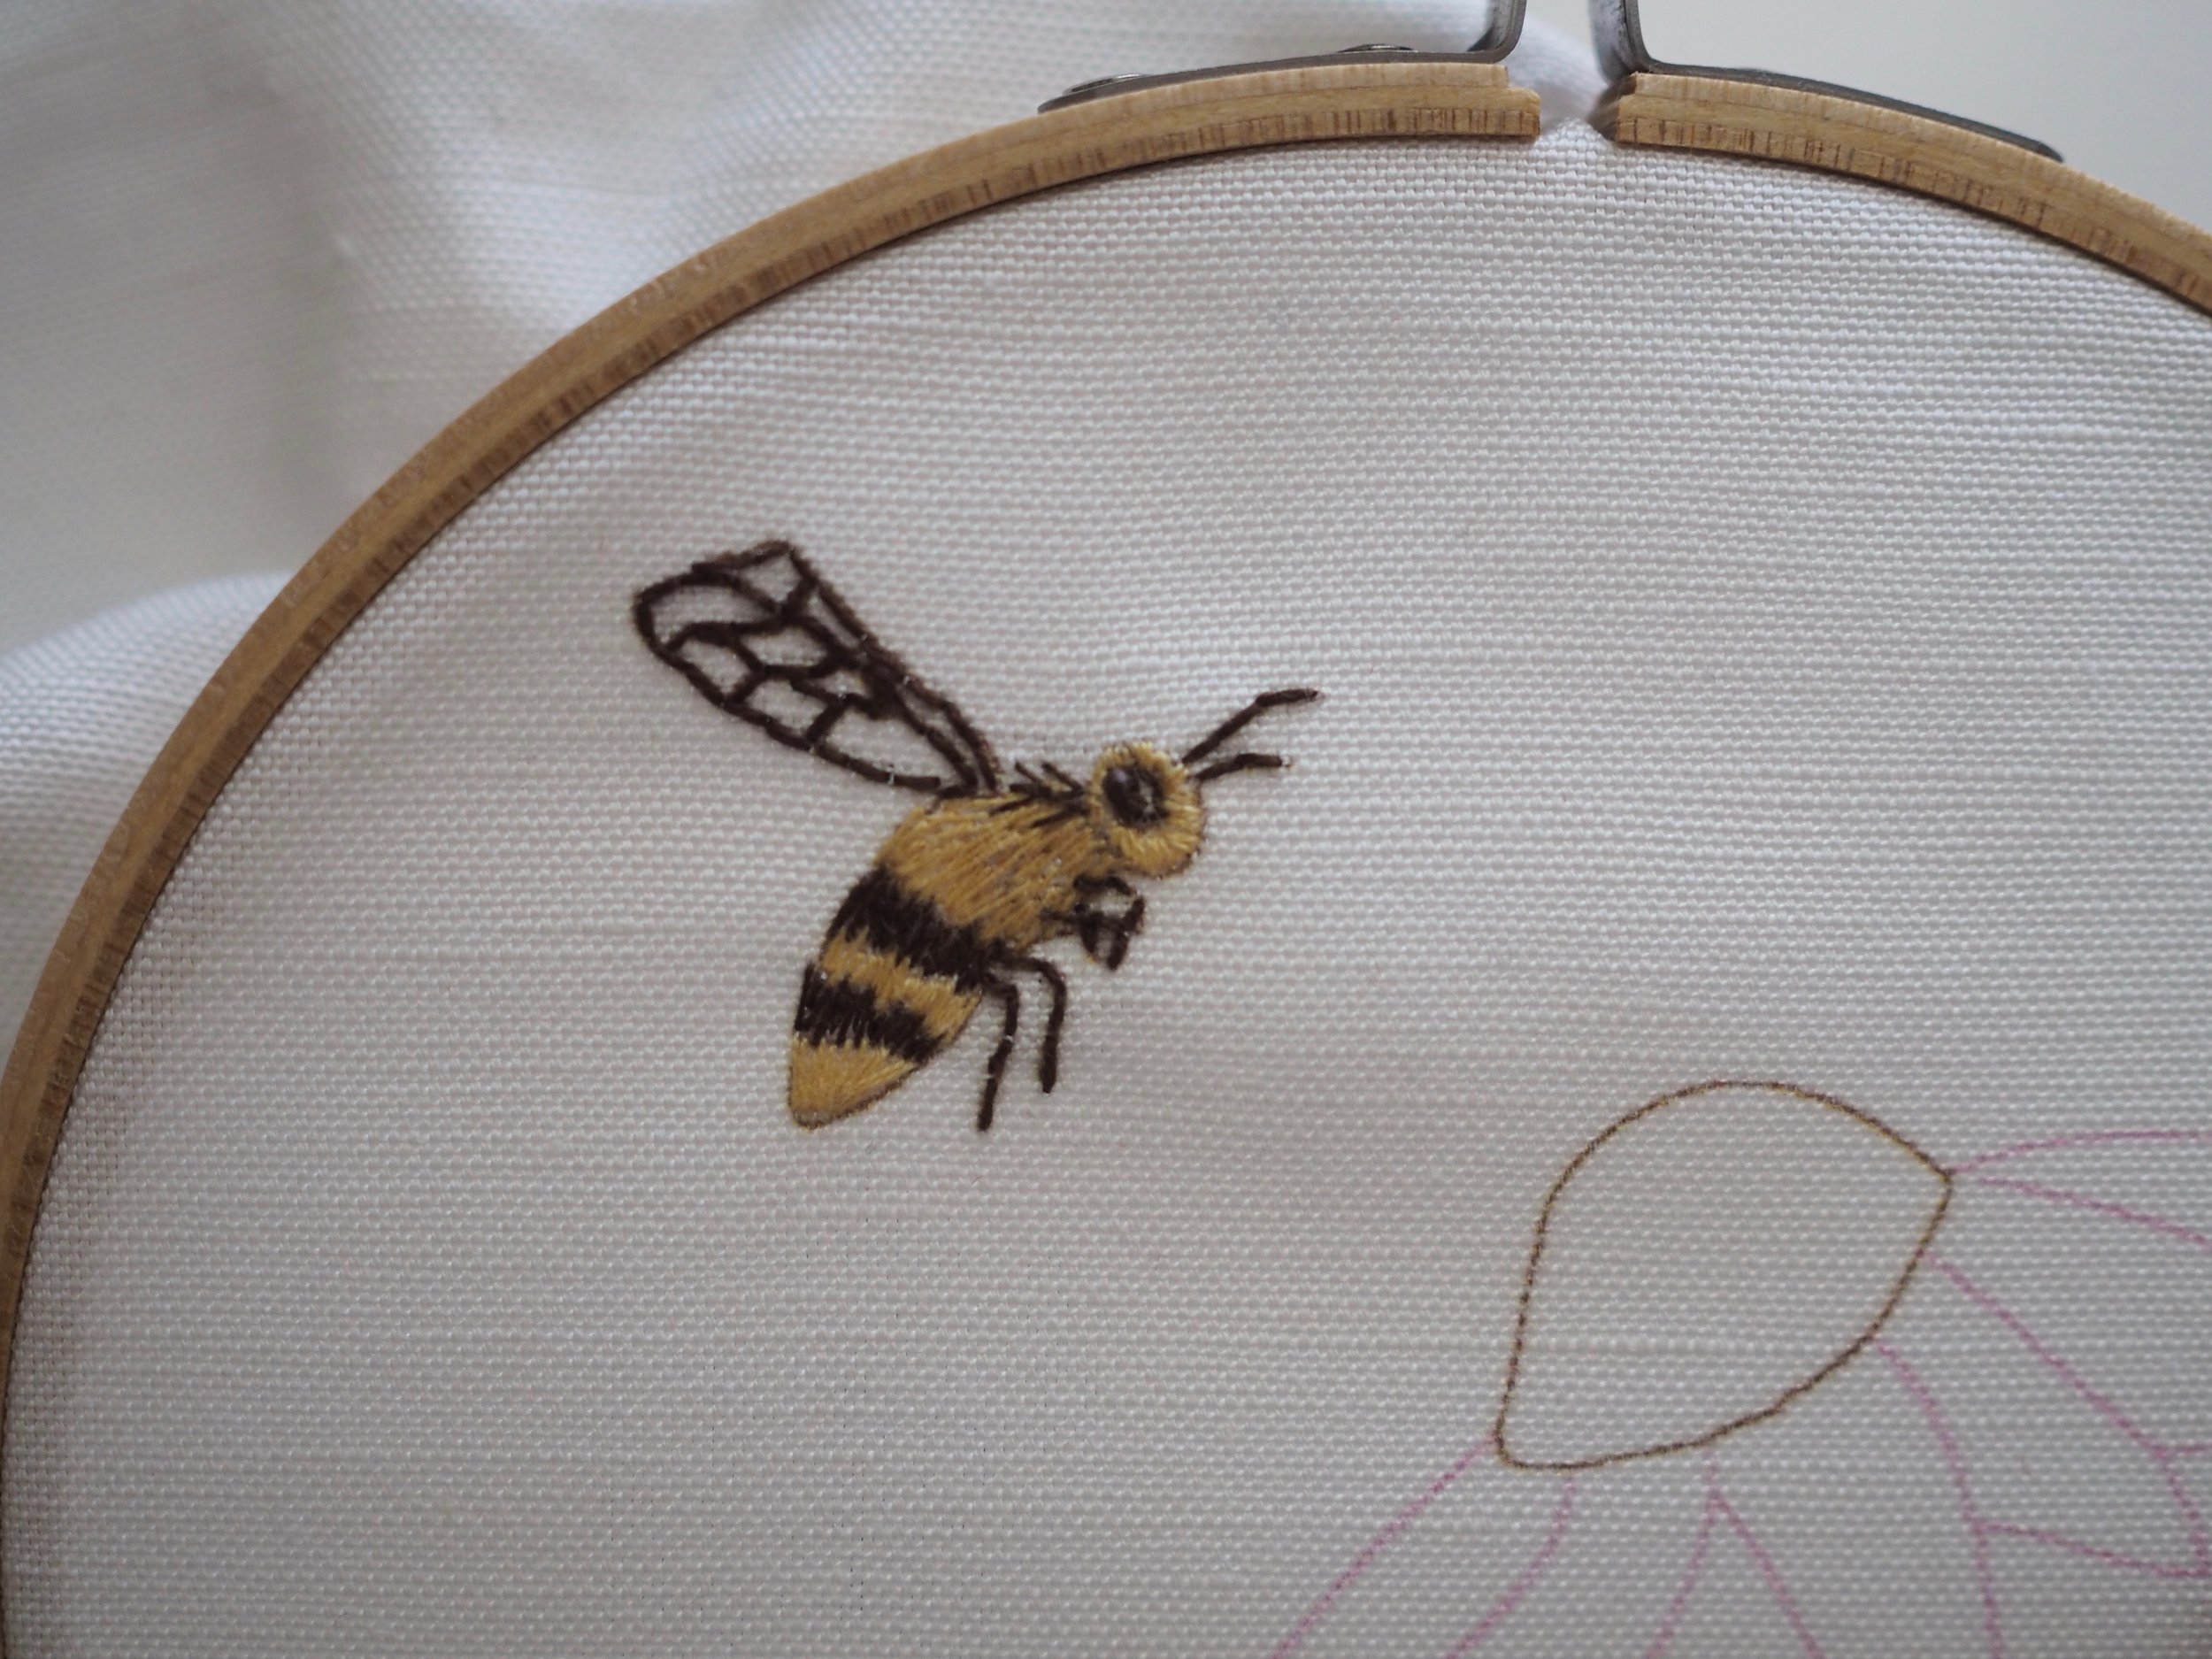
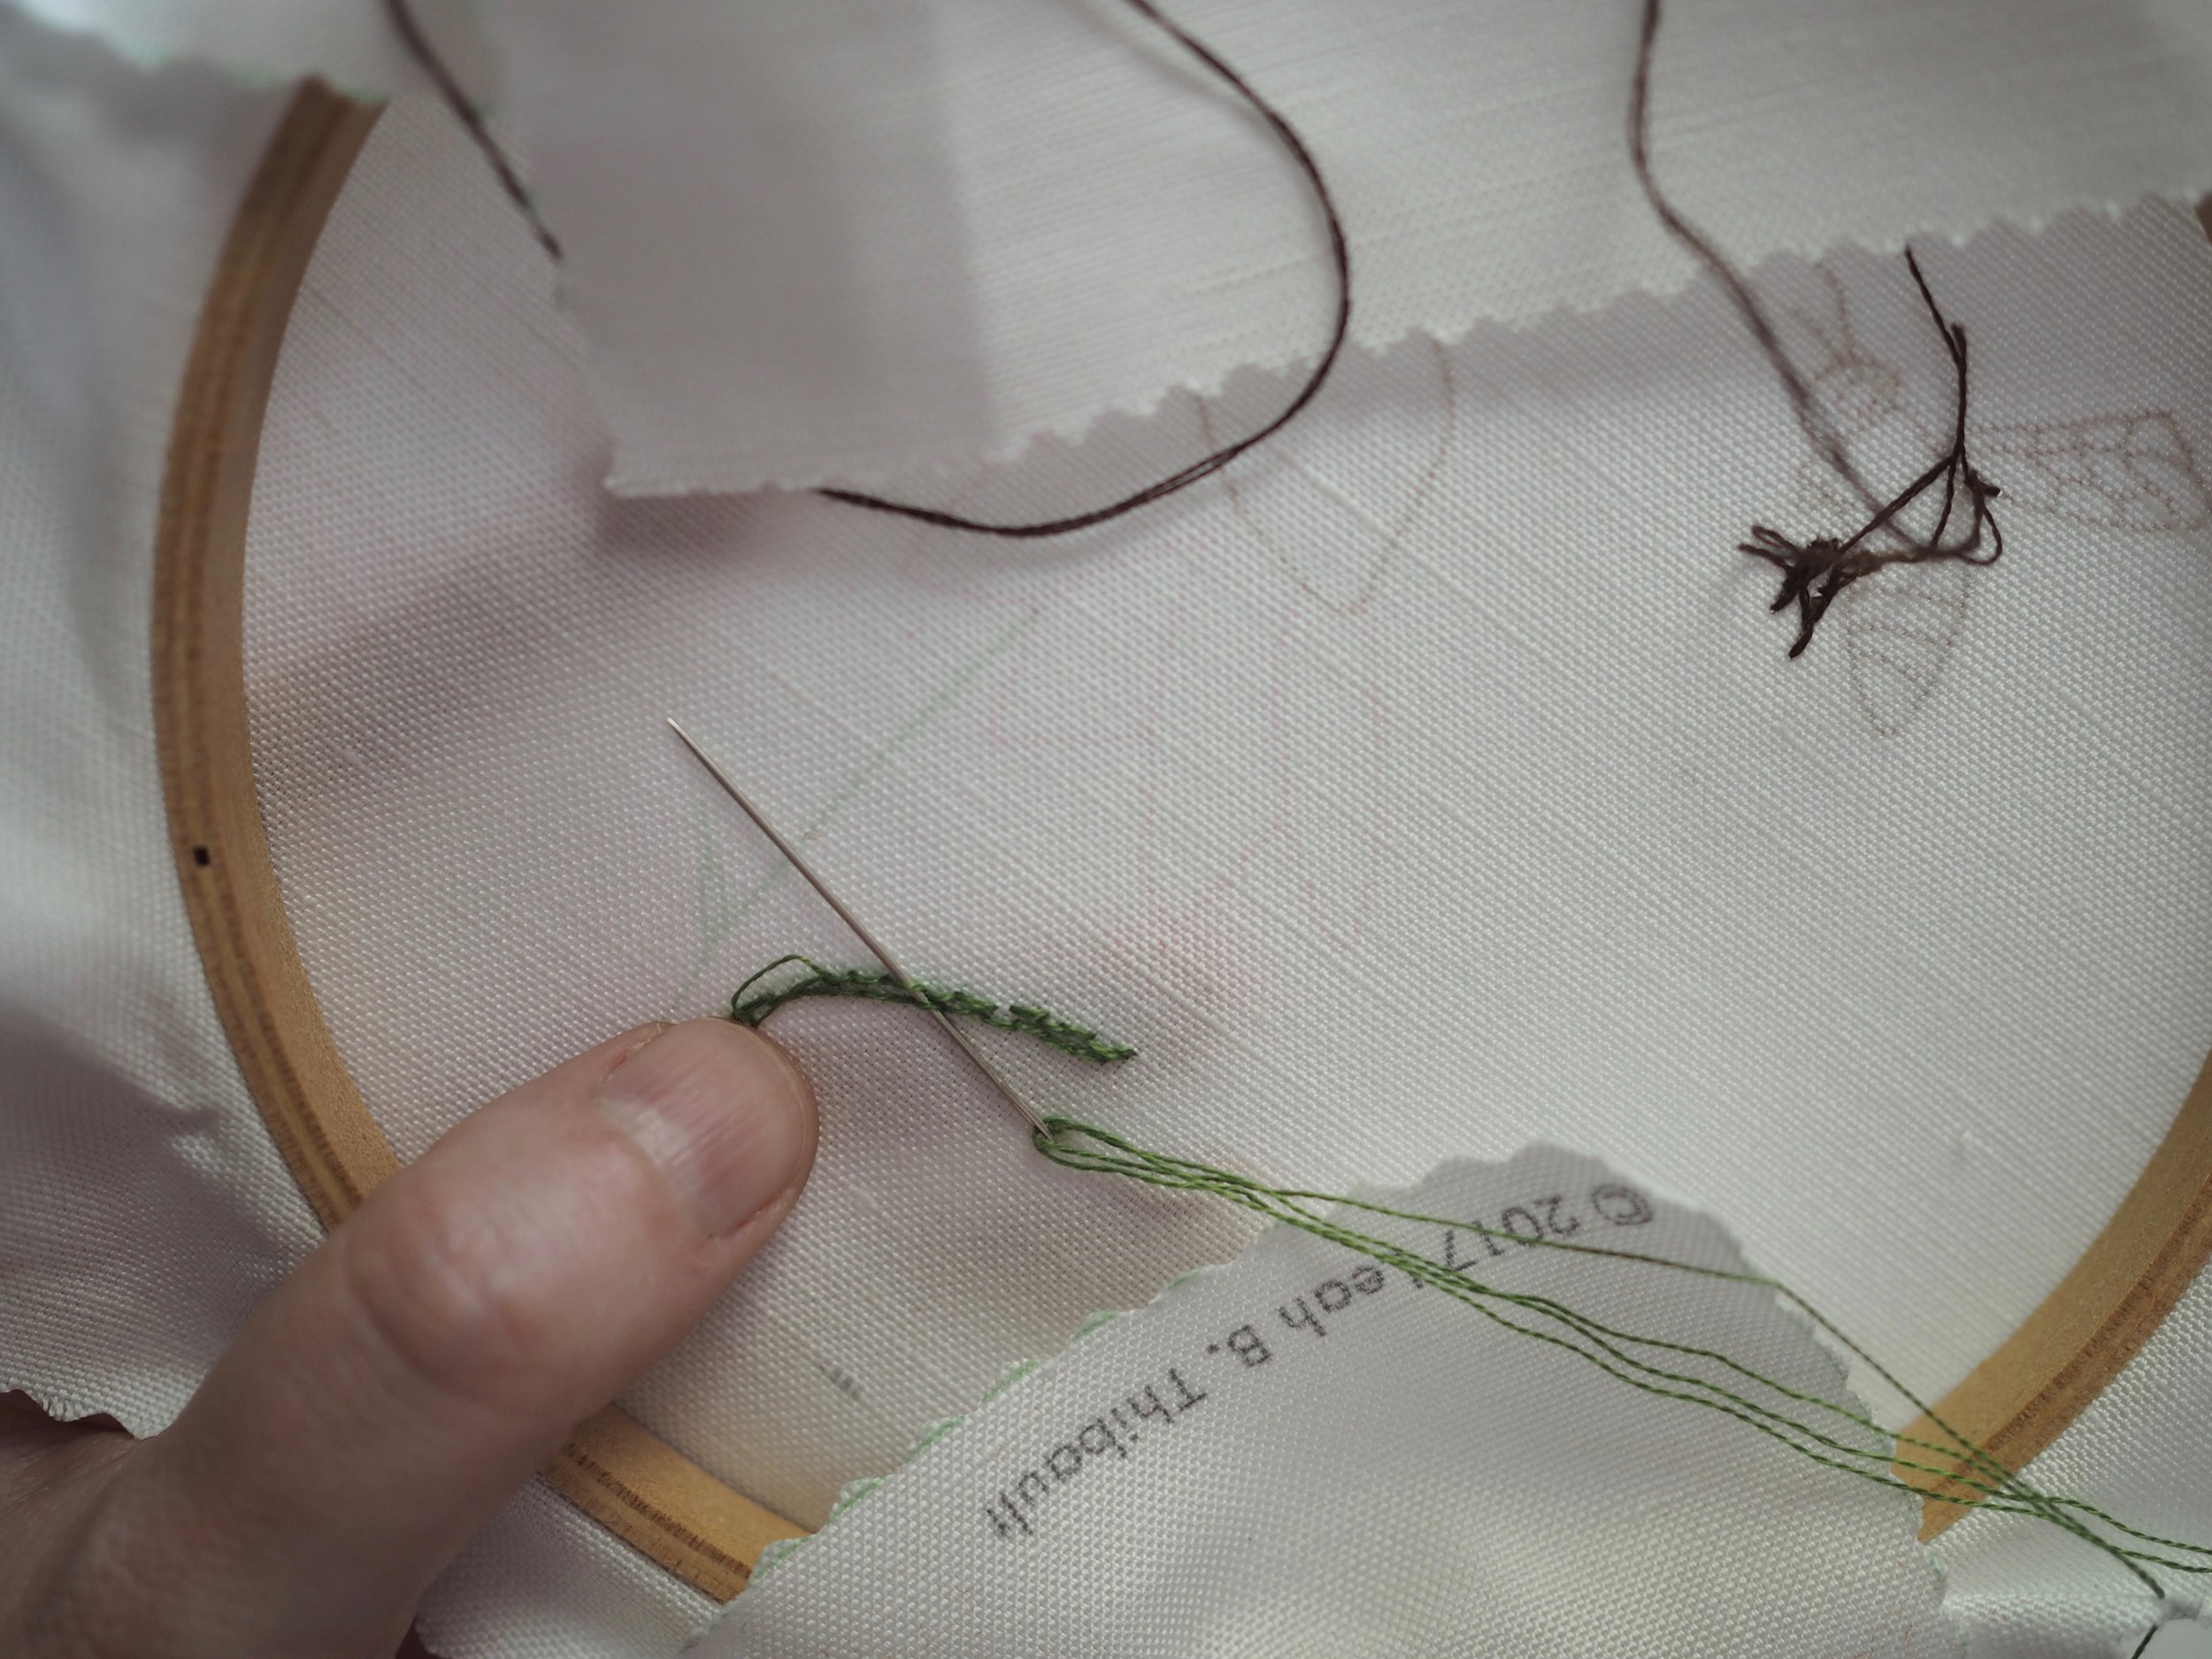
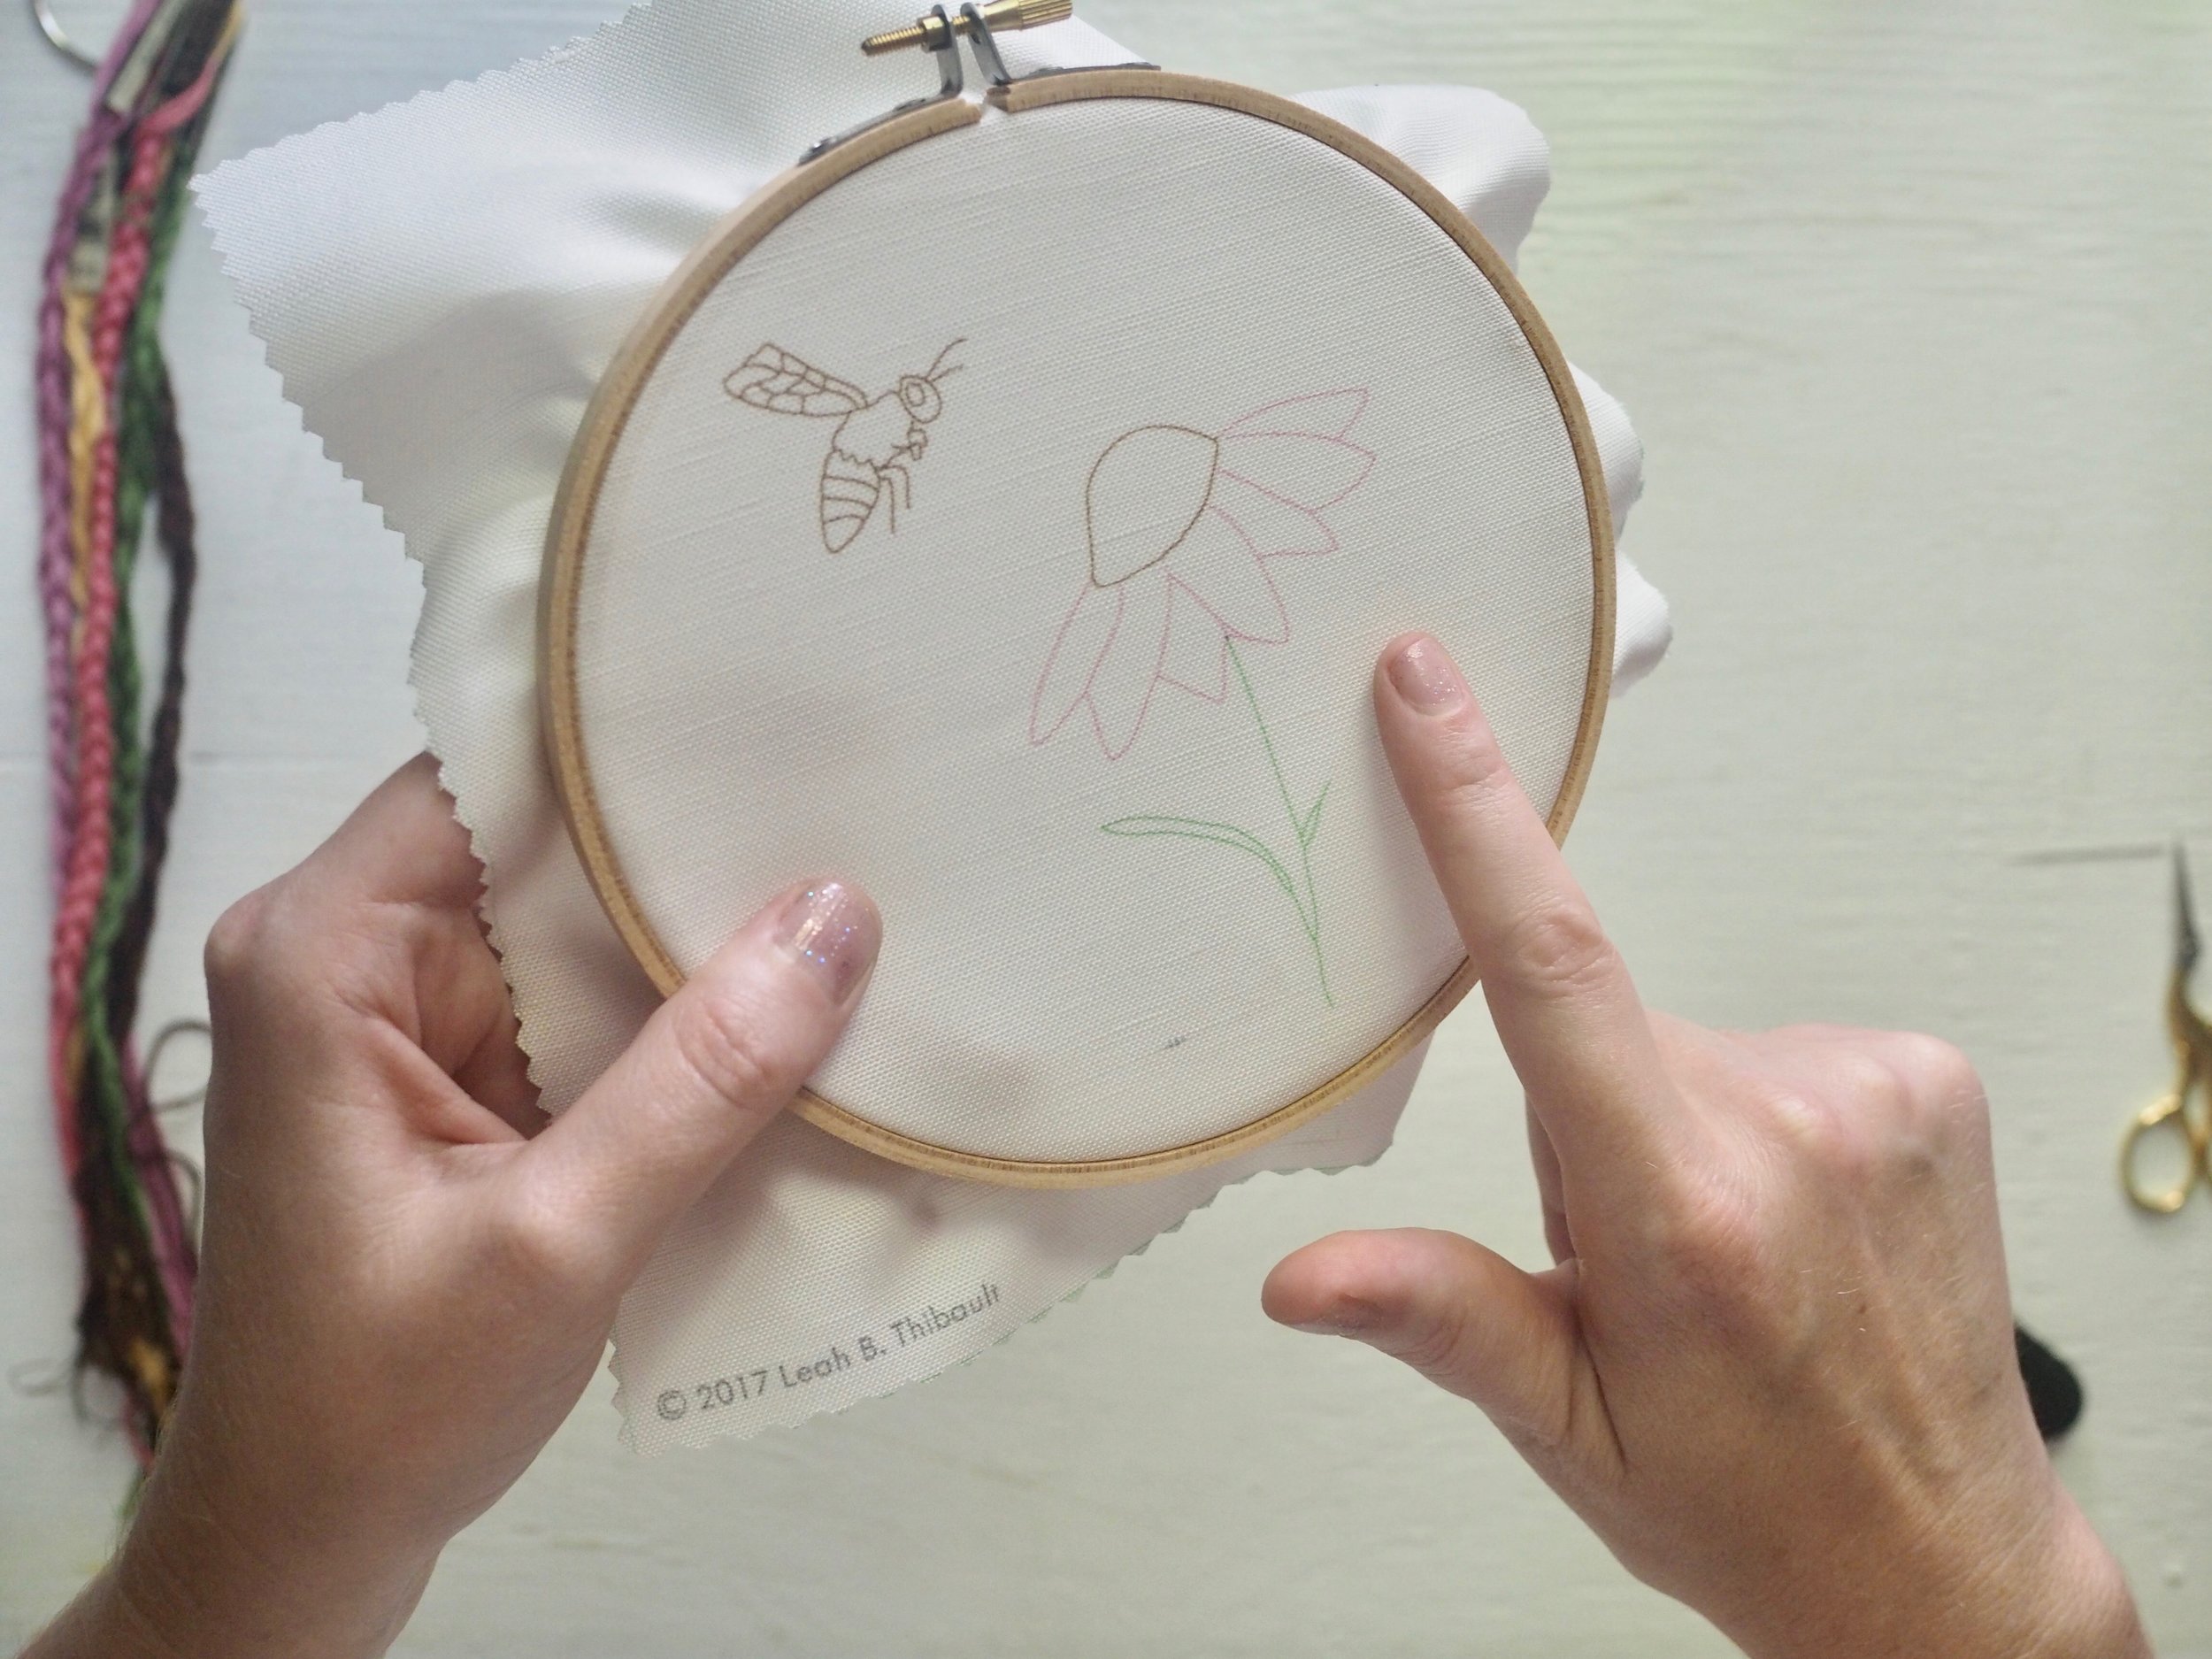
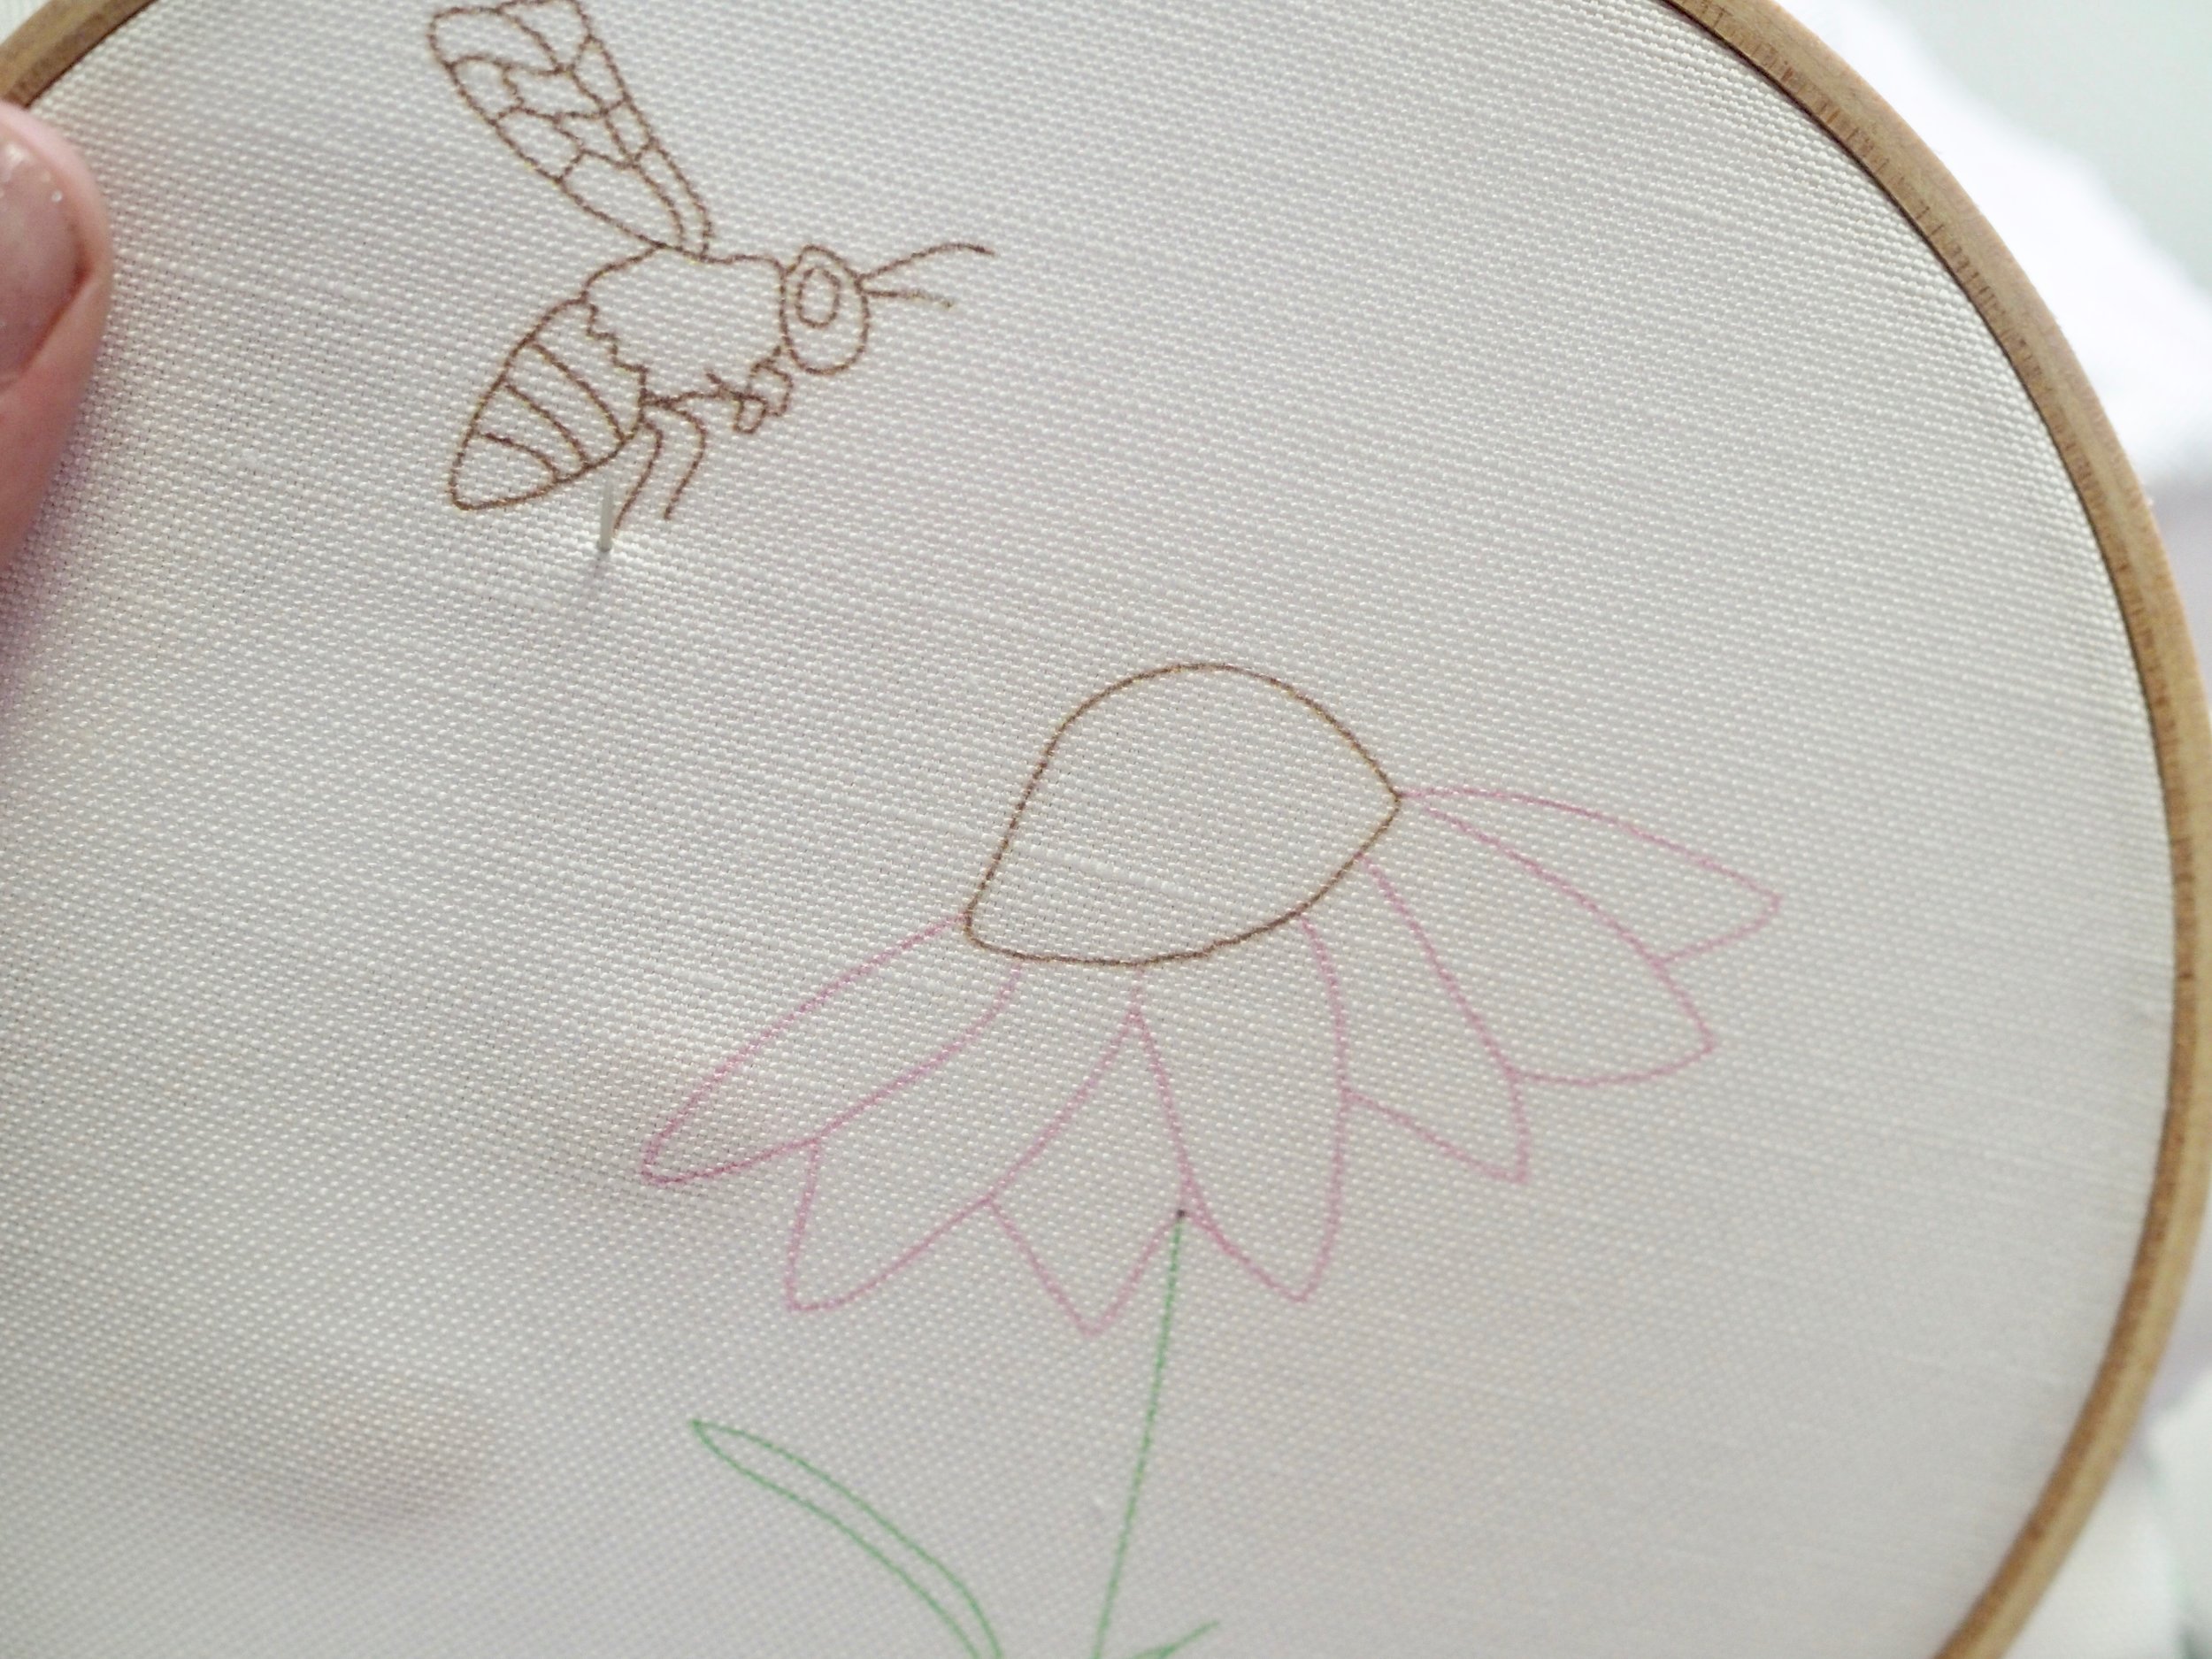
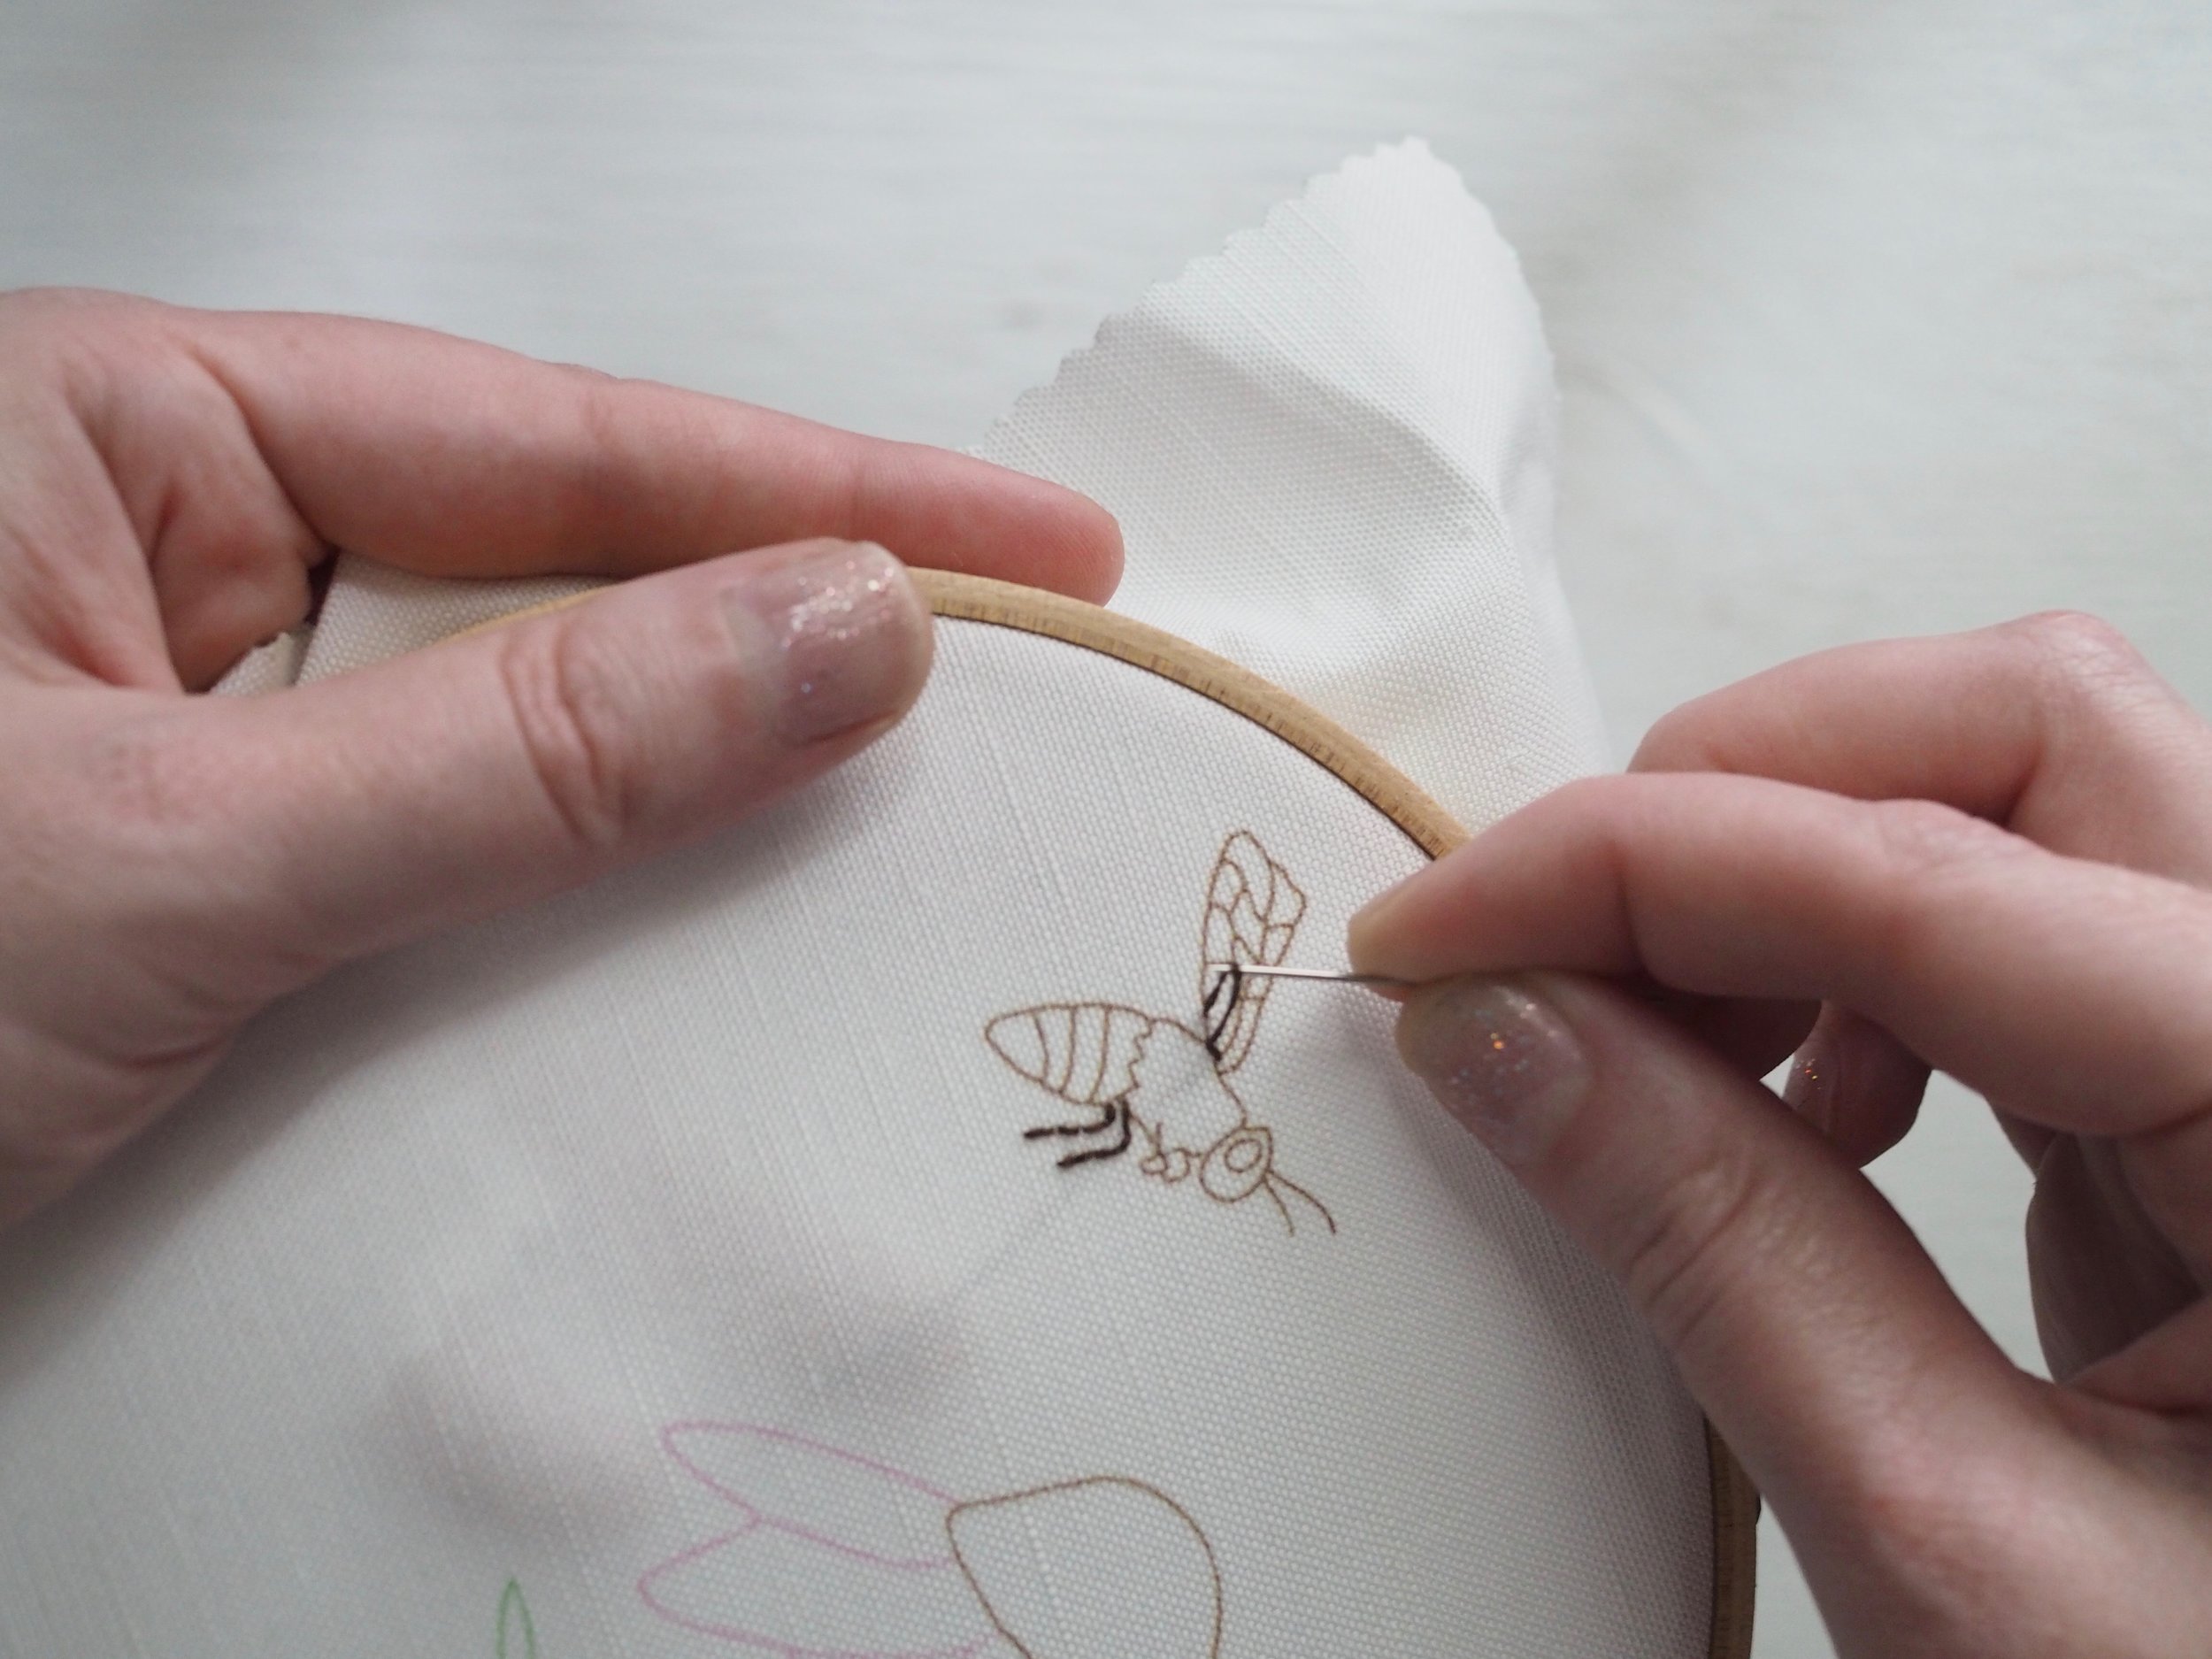
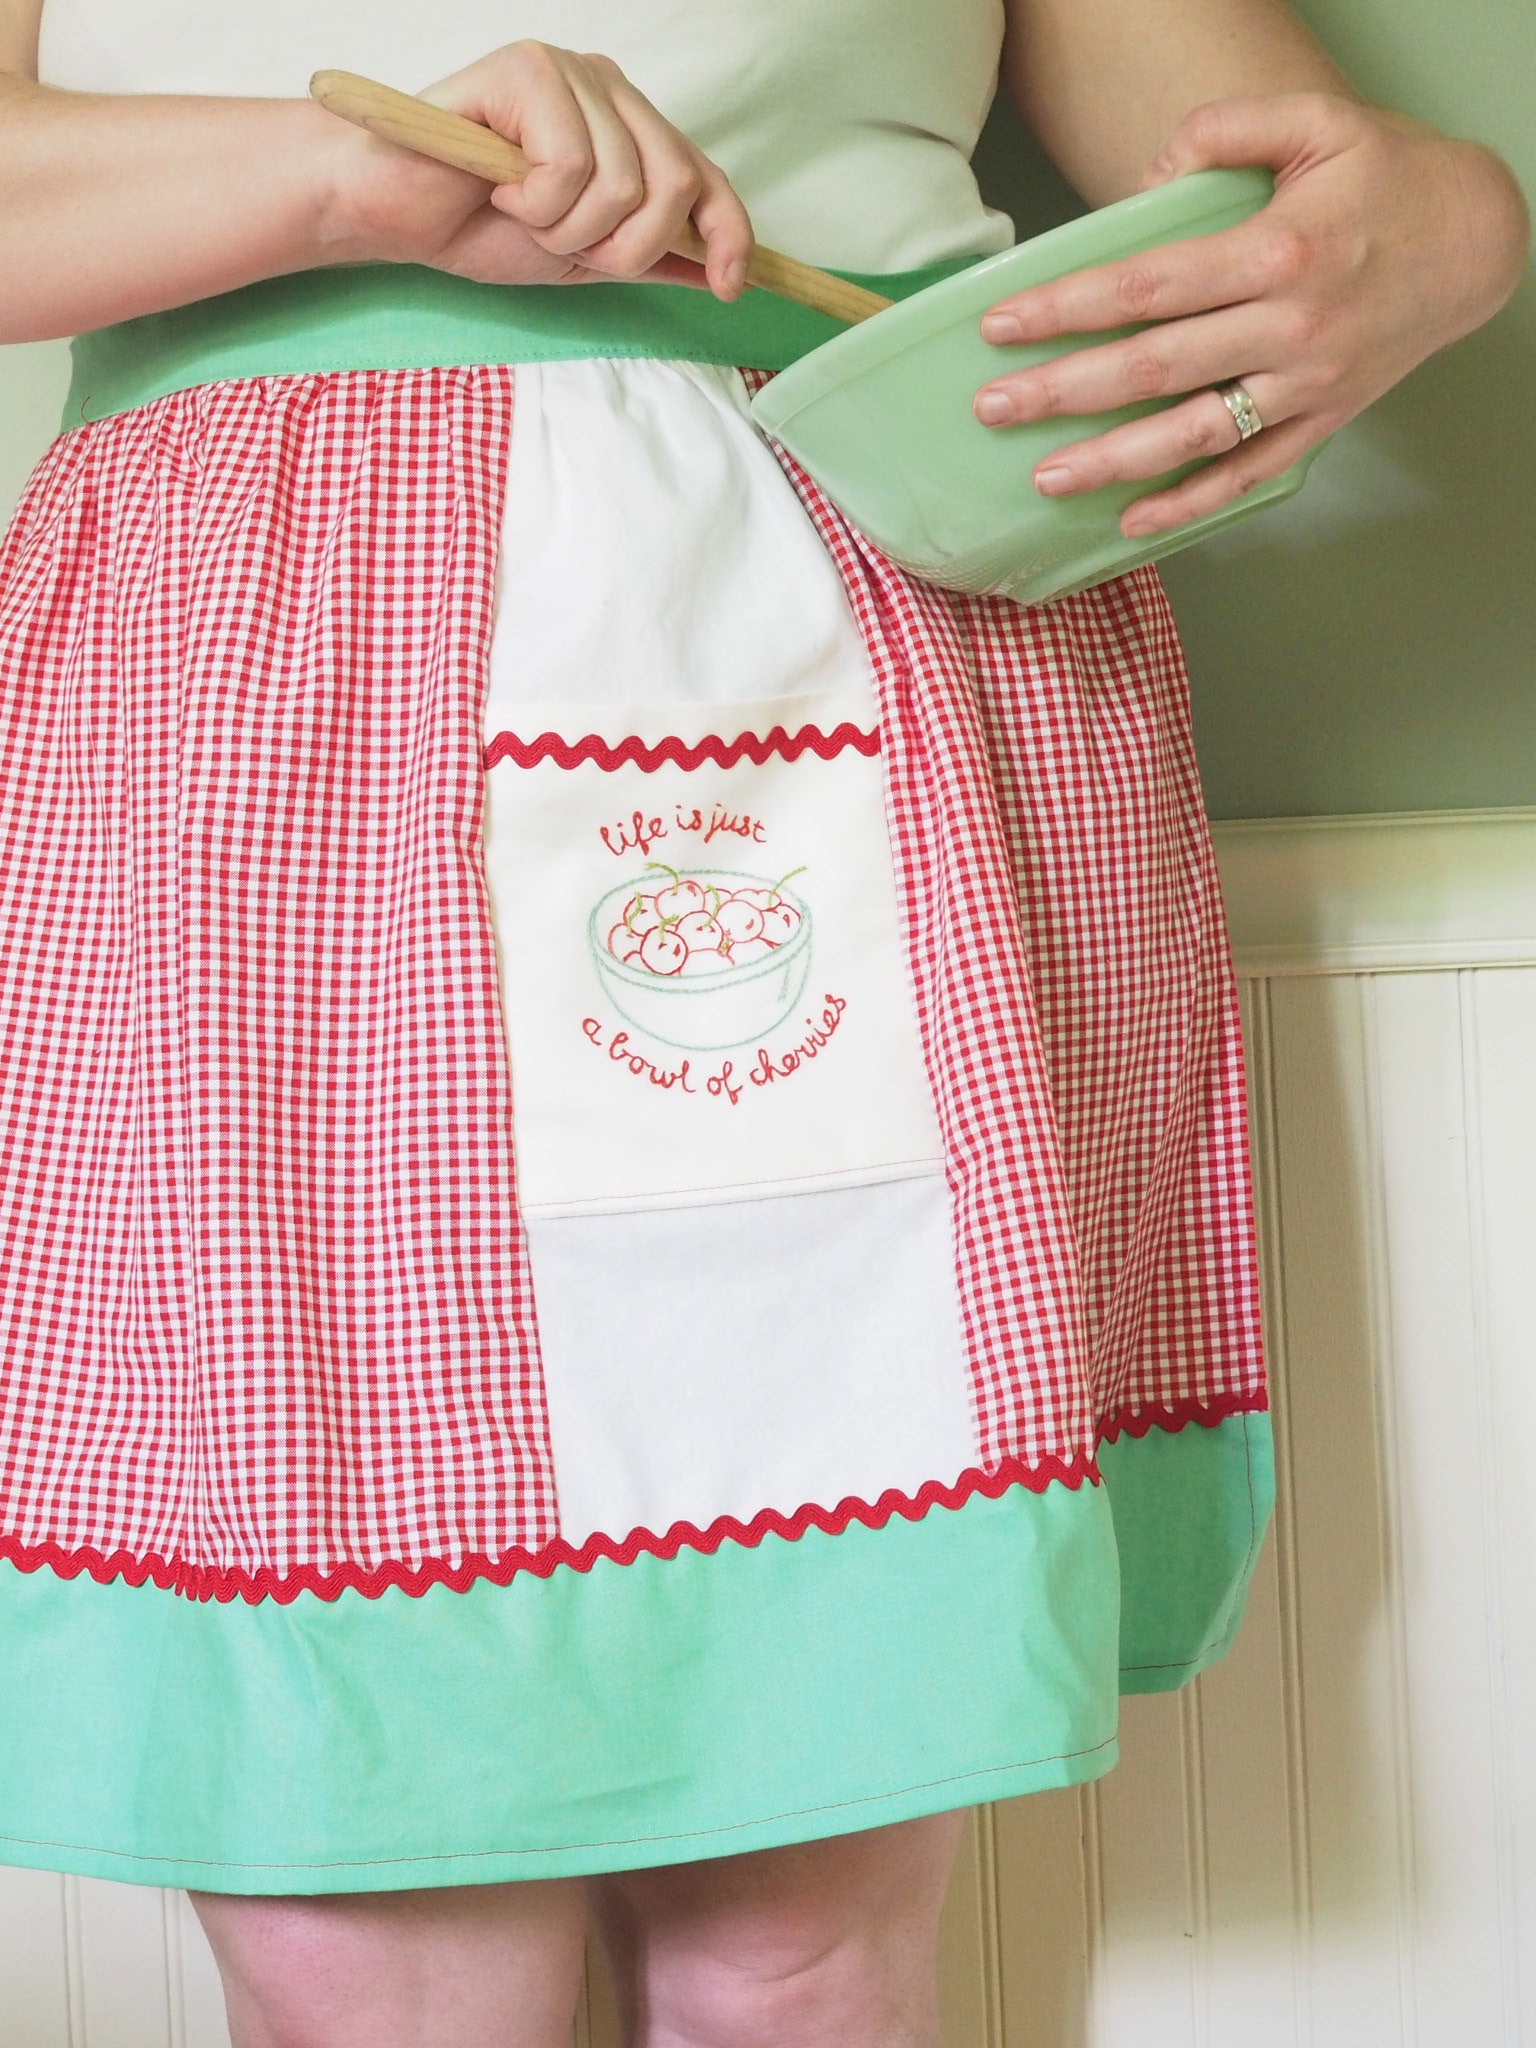
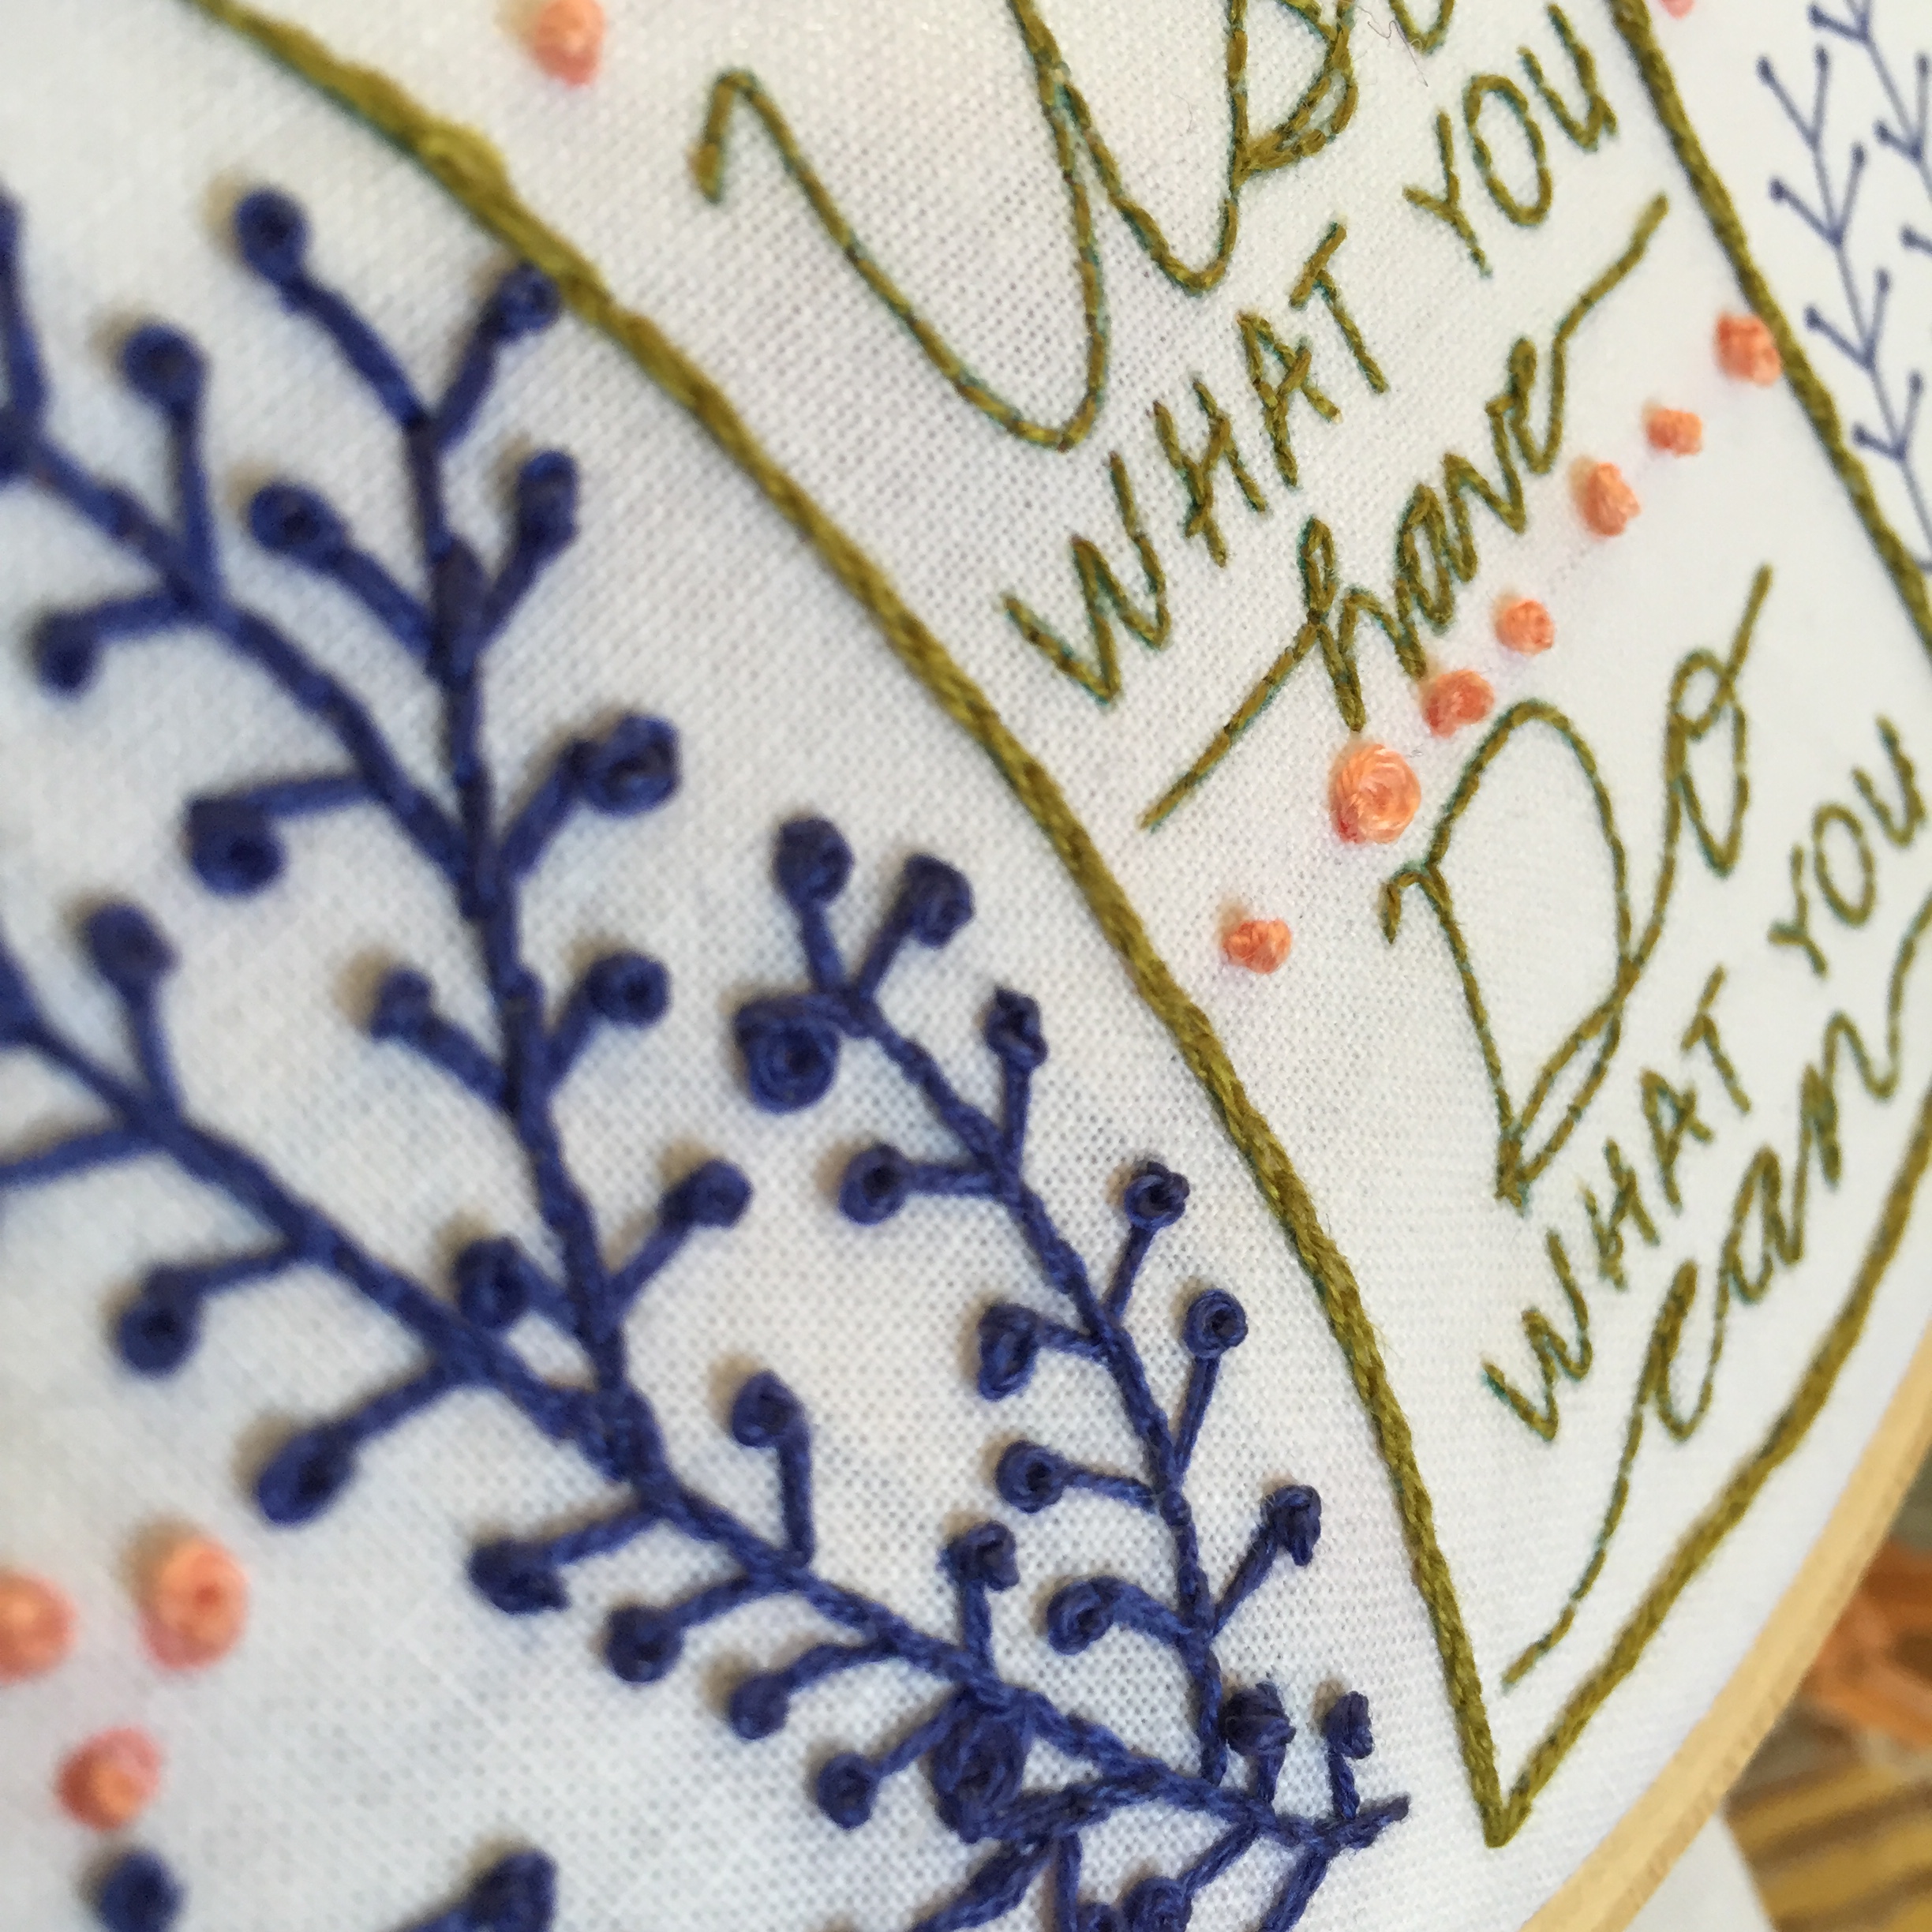
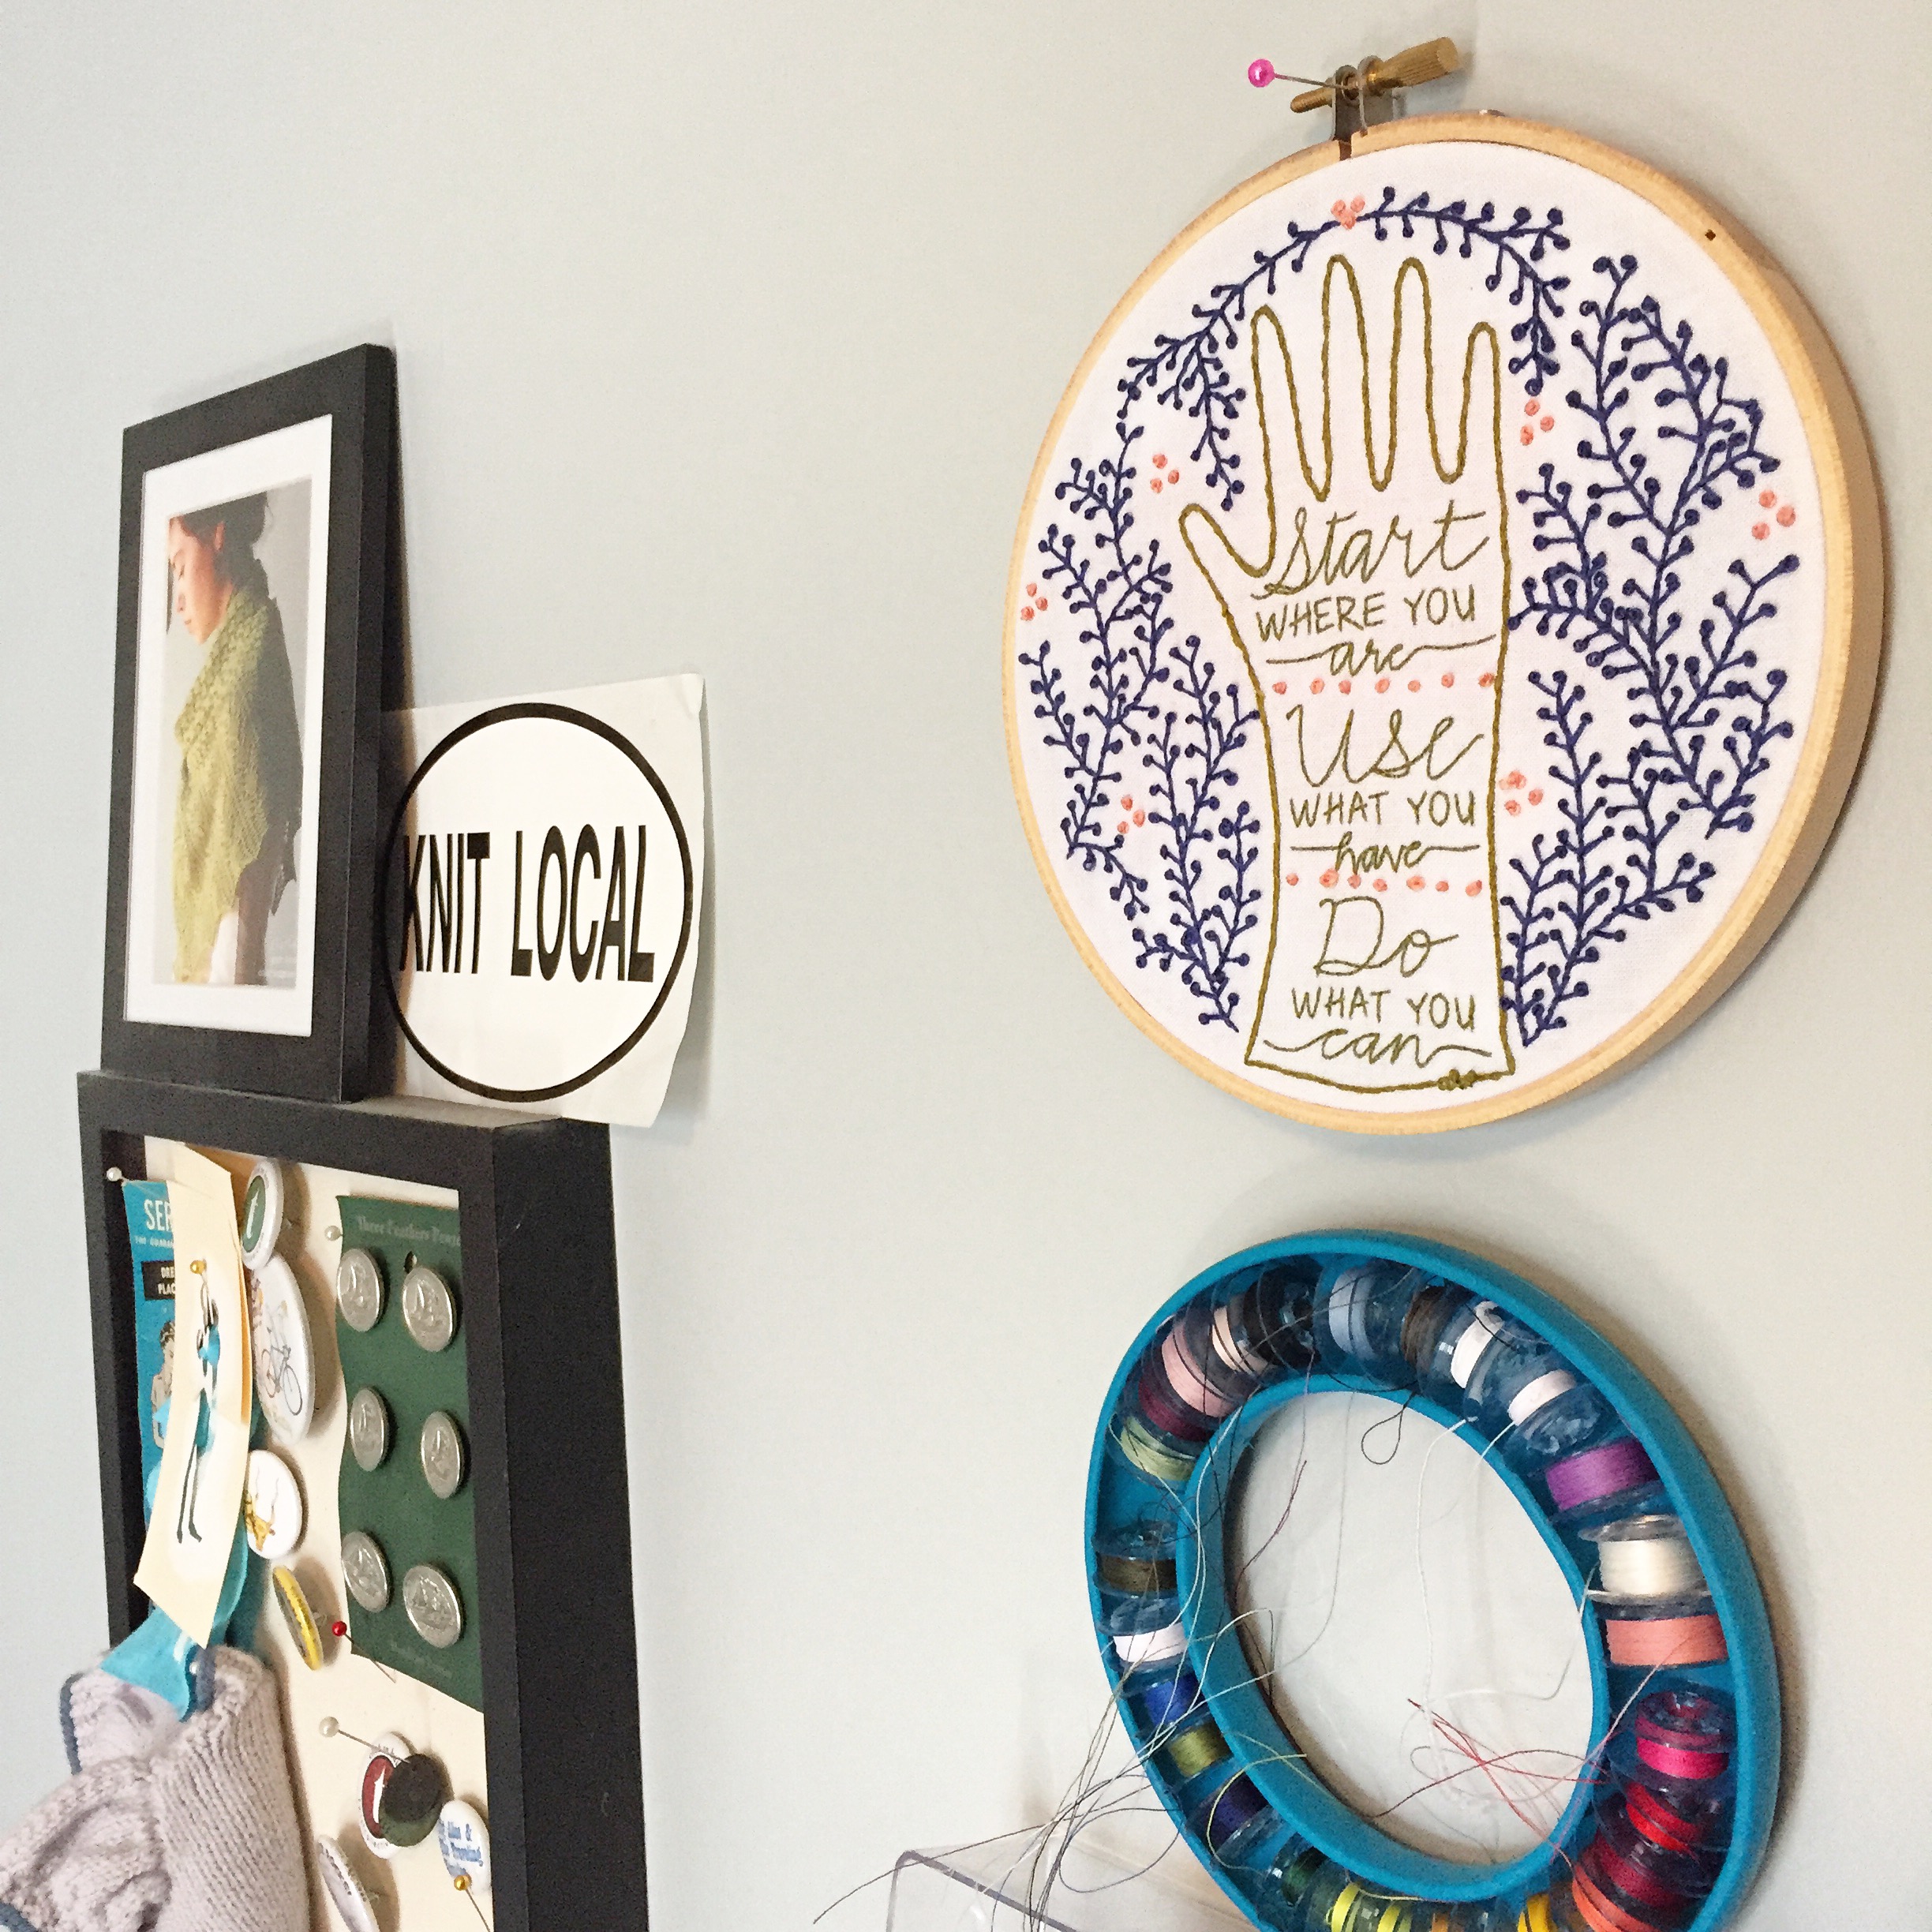
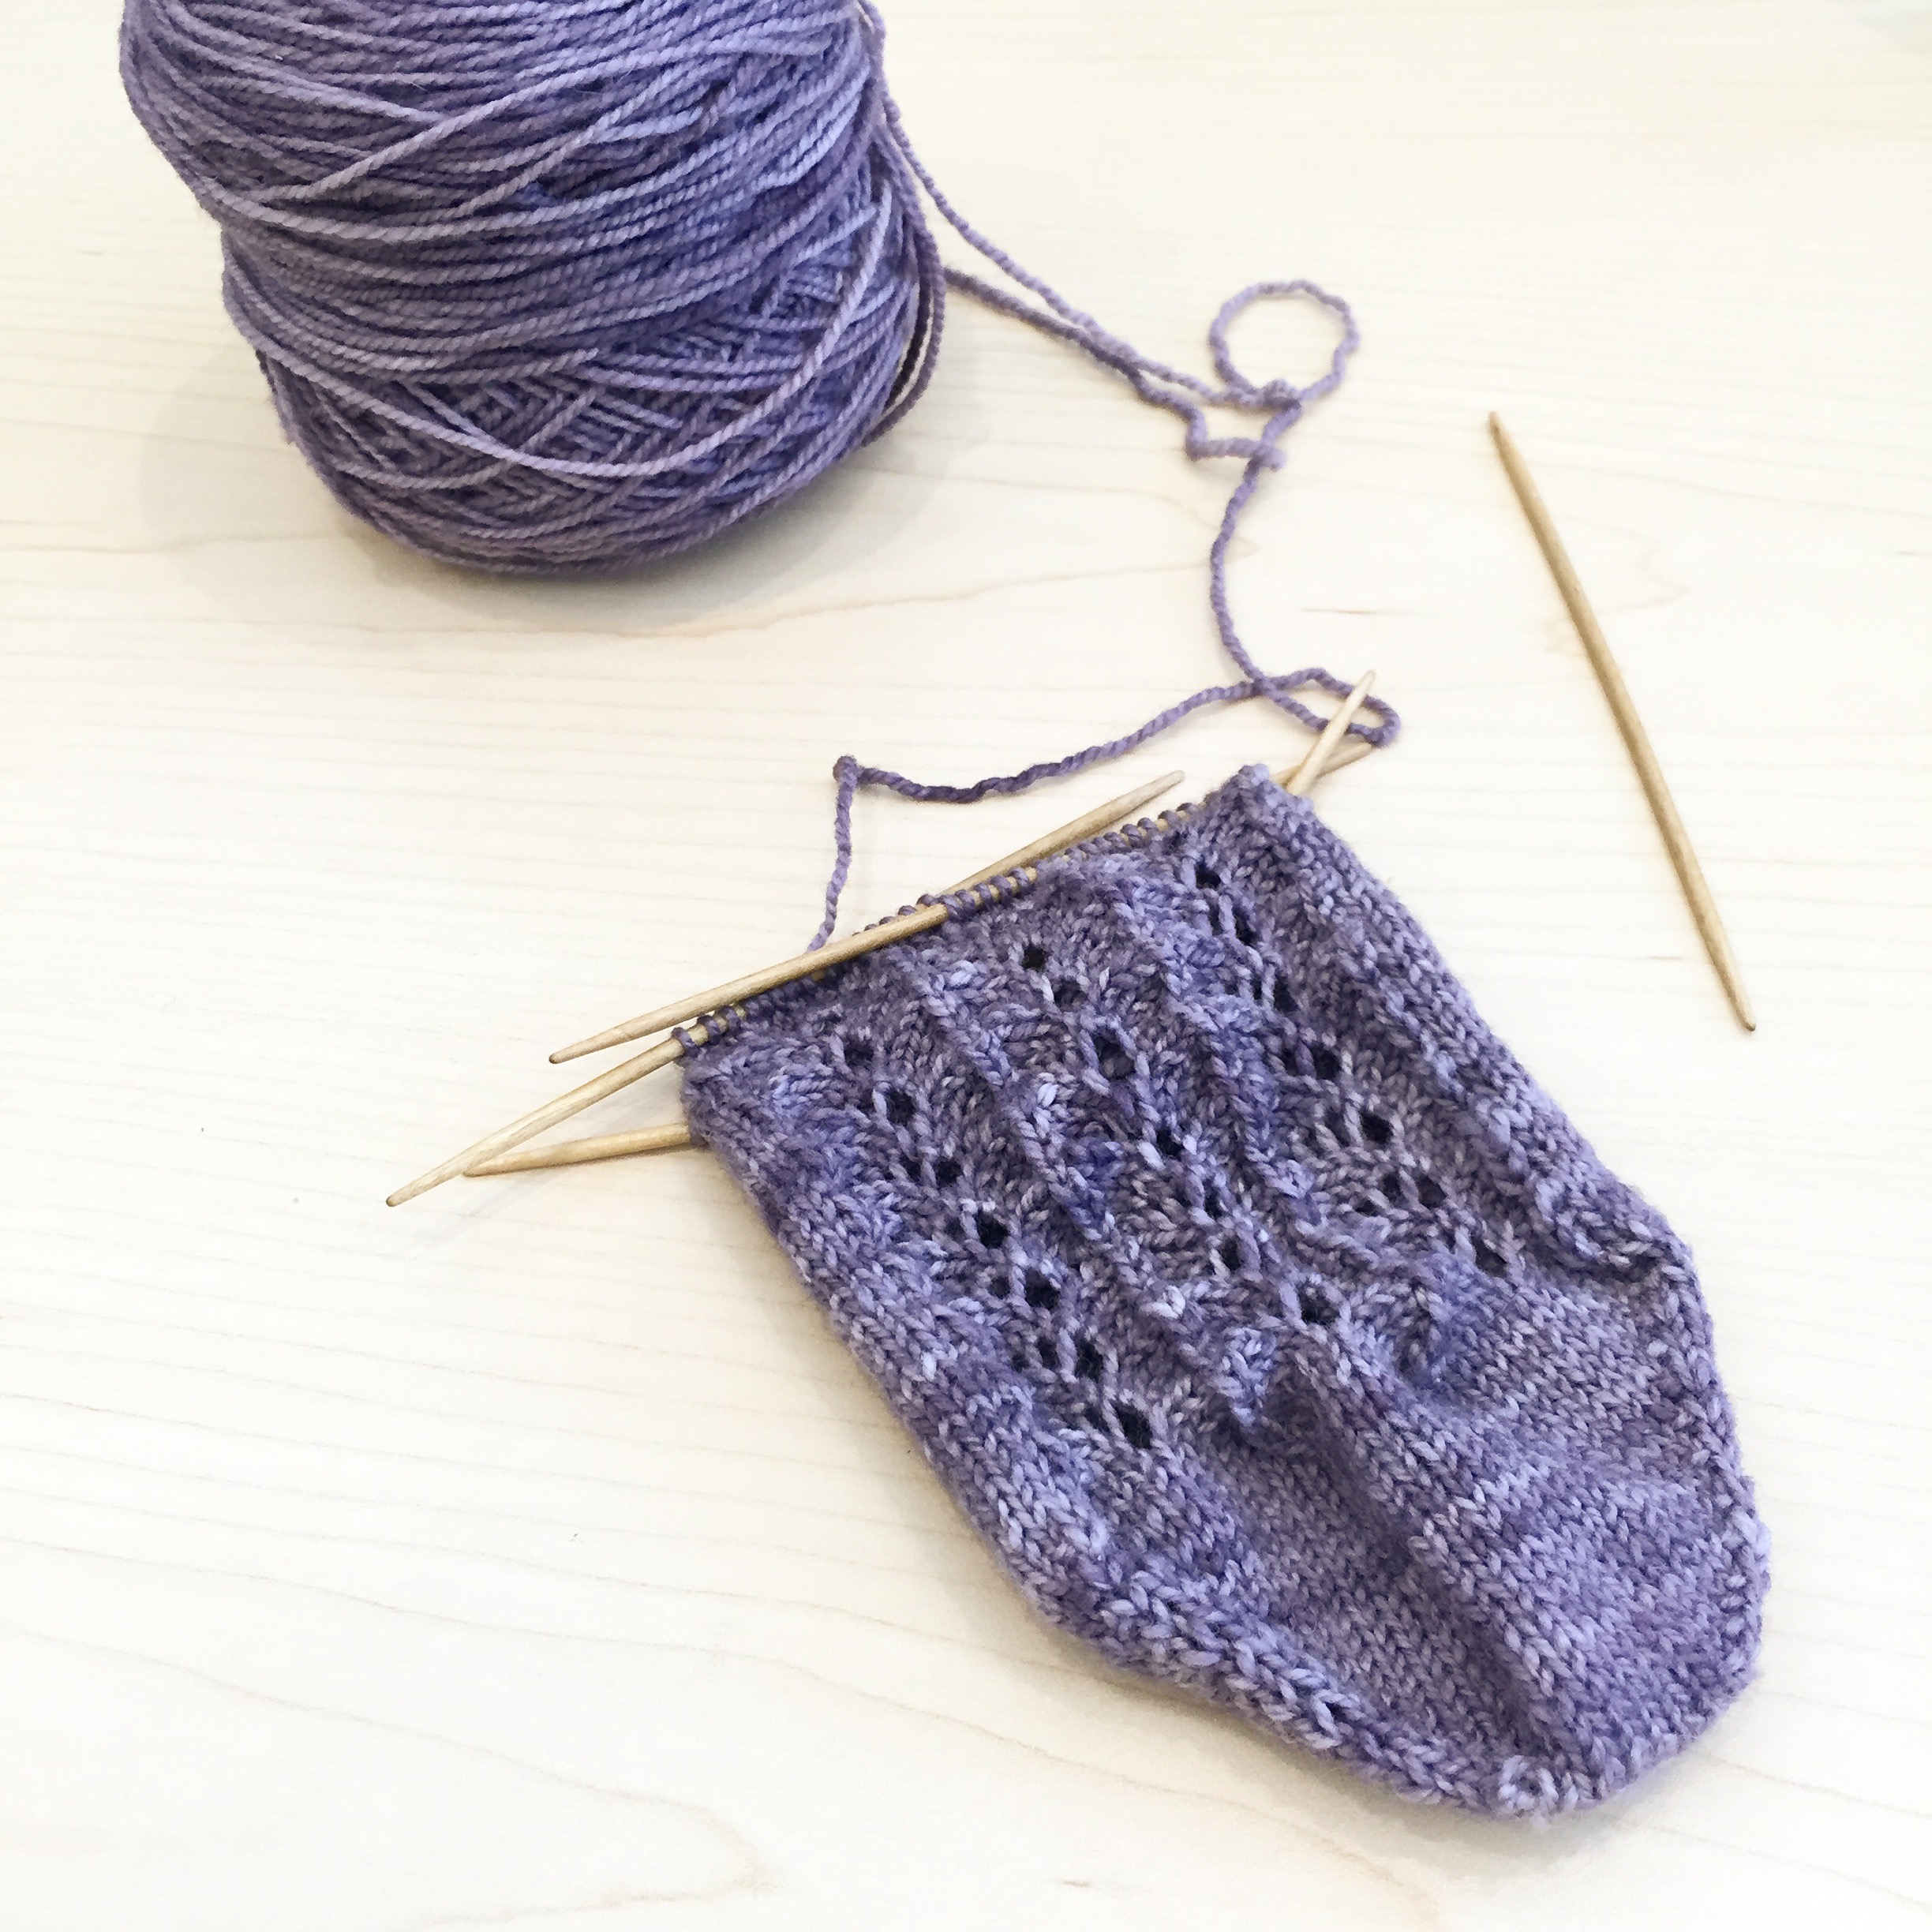
Making is as habitual for me as brushing my teeth, so I always have a variety of projects or ideas in the works and I give myself tools to work on them whenever an opportunity arises. Most of my sample knitting is done either on my carpool days or while I'm watching tv at the end of the day. I  always carry a knitting or embroidery project in my bag so I can stitch during lunch breaks or while waiting for appointments. I keep paper around to draw out new ideas and a notebook in my nightstand to jot down story ideas. I'm almost always doing something, but the majority of the time, making is how want to spend my "me time," even if it's for work purposes.

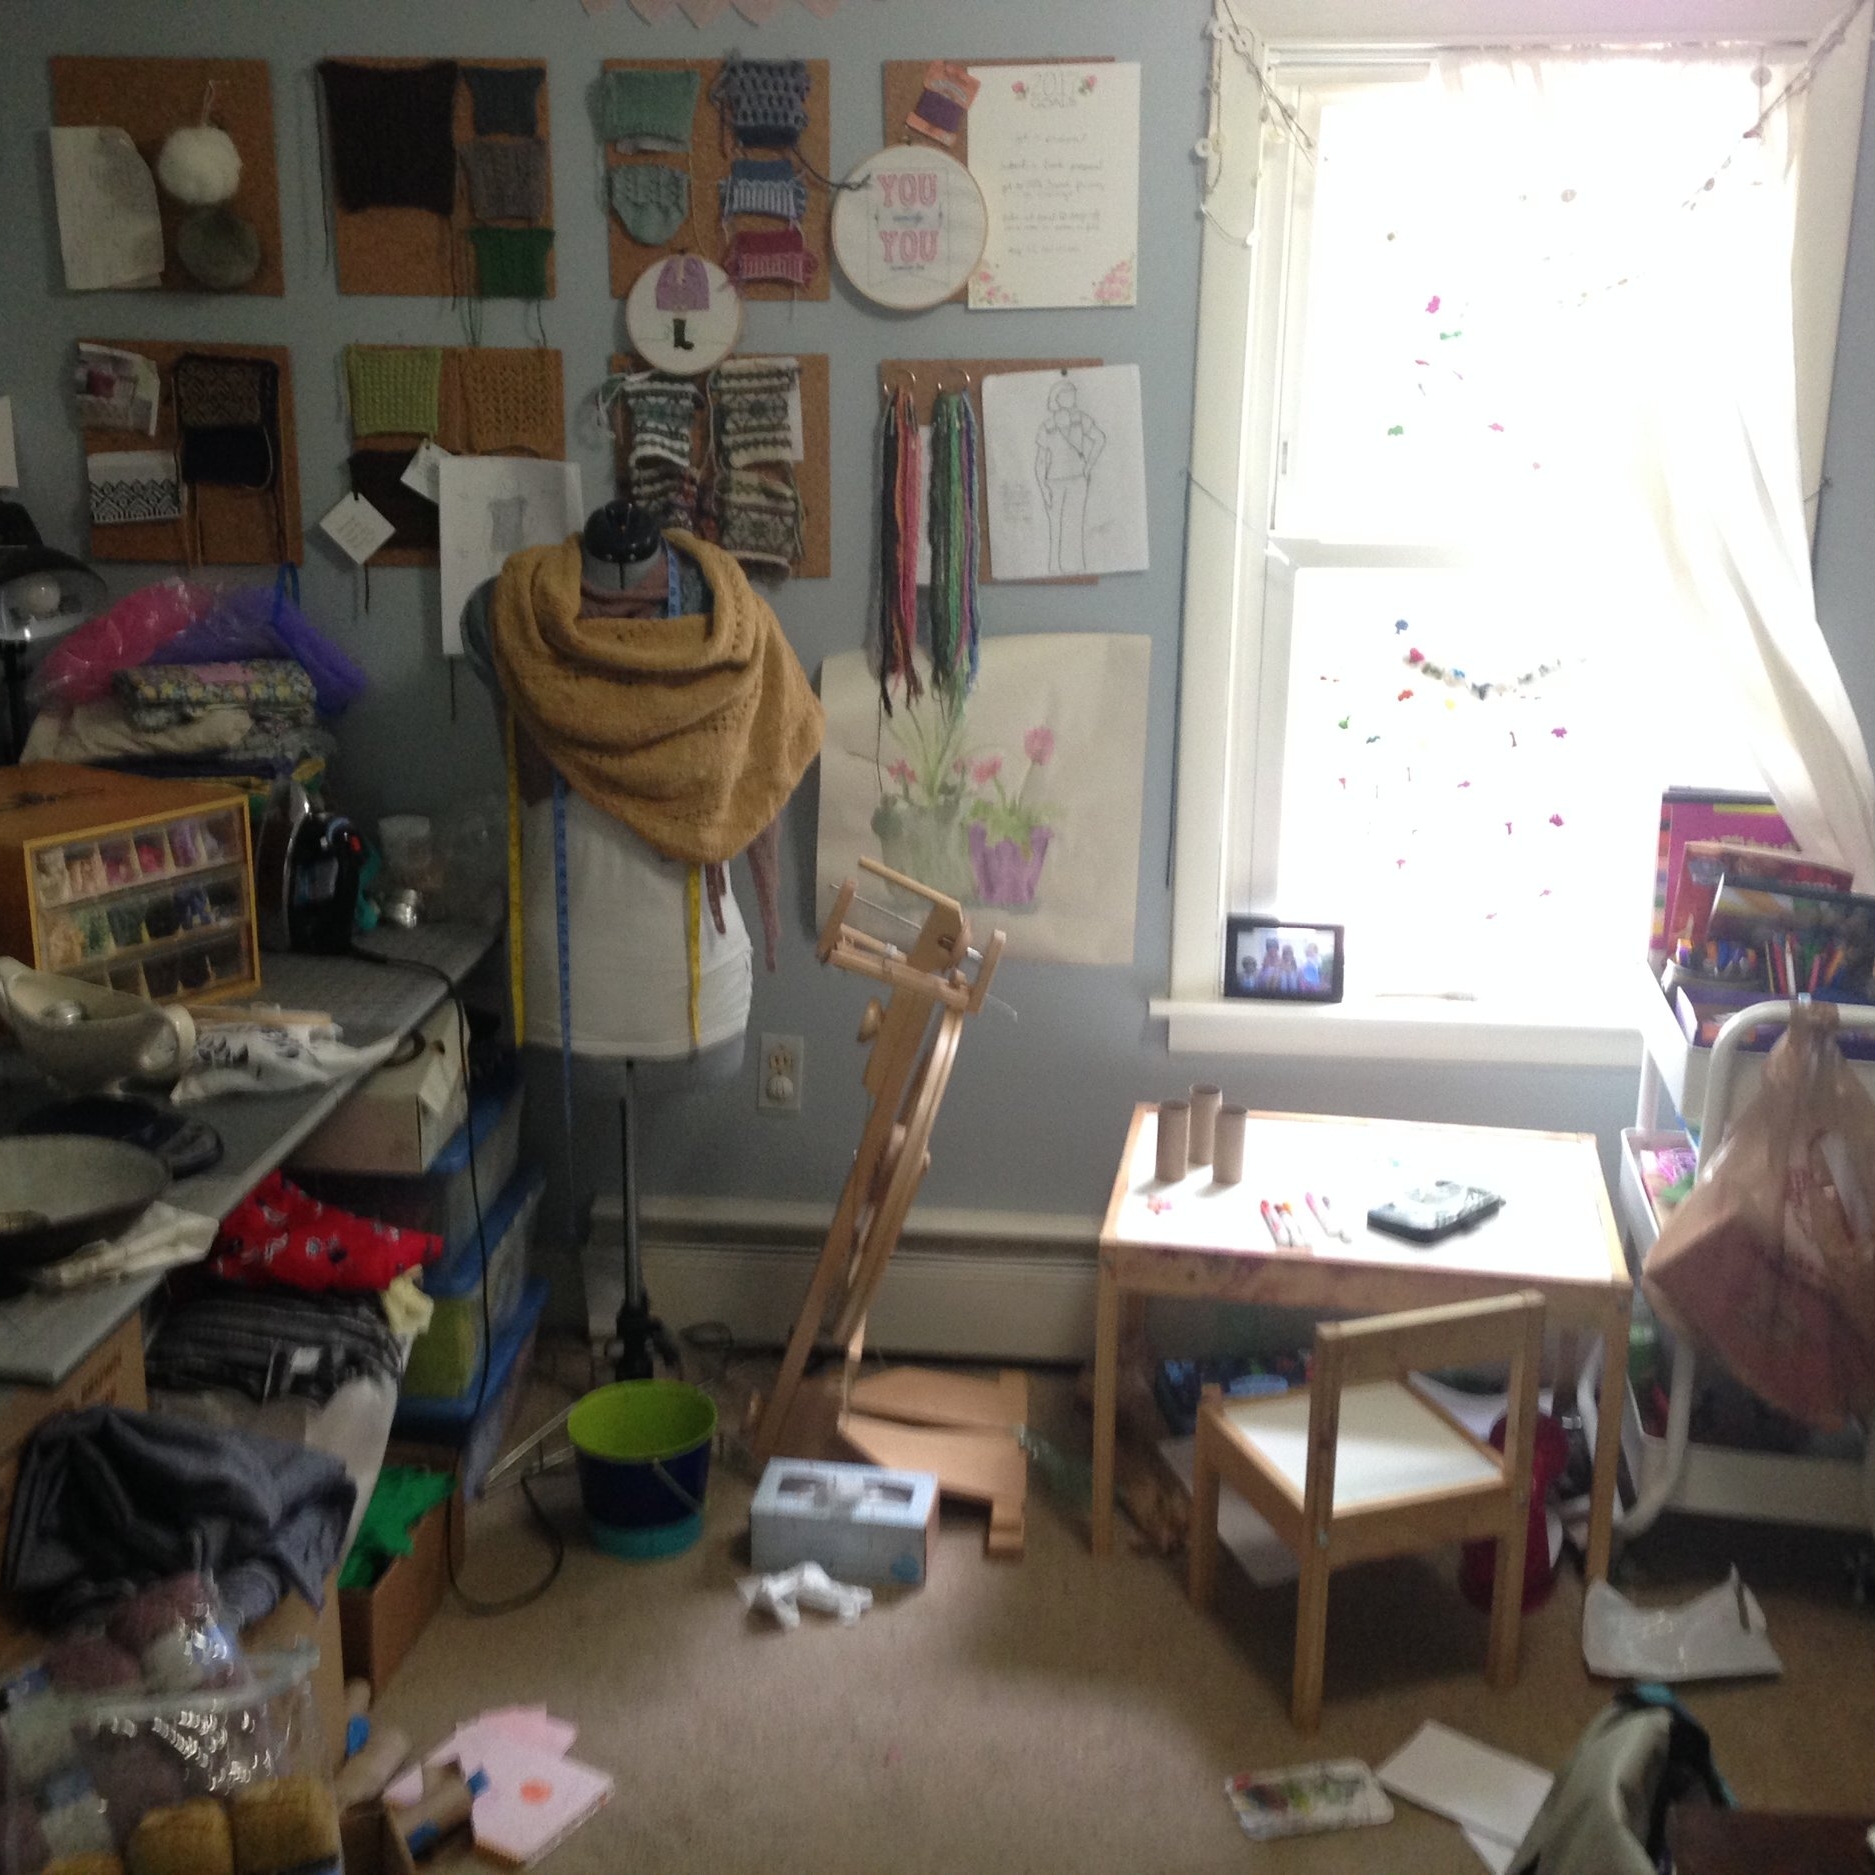
My daughter's playroom and my studio share a space - so we can "play" together. I've learned what I can and can't do with my daughter around: gardening or baking together - a hearty yes; tracing sewing patterns while she's coloring - yes;  cutting out fabric - no way. I've also learned to do everything in bits and pieces. When I really need to focus or do computer work, I work during naptime and I'm usually the last one in the house awake by a long shot. 

As much as I (mostly) enjoy all the aspects of my handmade business and want to grow it, I try to be forgiving of myself when I choose not to work.  I stayed up late last night weaving in ends and blocking a sample that is due shortly. I've got three more projects with deadlines in the queue, but if my daughter asks me to nap with her on the weekend, I probably will, because I know those chances to snuggle and plan her epic "Happy Heart Day" party before we fall asleep are short-lived.

I would also be remiss if I didn't give HUGE credit to Mr. Cleaver. He does 90% of the cooking and laundry in our household and the majority of things like grocery shopping as well. This means when I get home from work, I get to spend time with my daughter instead of rushing to make dinner and I can clean up the dishes in stages across the evening. I work from home one day a week now, which means I can help out more on the laundry/dinner/shopping front and try out fancy new recipes - which again I do in pieces. For example I made some spaetzle with pesto the other day - I made the pesto first thing in the morning before my workday started; mixed the dry ingredients and set out the pots I needed at my lunch break; and then dove into making it while Little Miss Cleaver watched My Little Pony after pickup from preschool. 

I'm certainly not prefect. Somedays I'm not as present with my family as I want to be. I'm terrible at actually taking a break. I wouldn't recommend eating off my floors.  It often feels like it takes me twice as long to get something done as I'd like it to. But I've also become more aware that life has a rhythm and an ebb and flow. So I keep my eyes on the wire, adjust as necessarily, and allow myself to be supported by those who help bring balance to my life. 

Beach Beauties in Progress

 I would like to know what is the inspiration for your designs? - cclynn14

A writer friend of mine introduced me to the phrase "plot bunnies" - the definition being that once you get one idea, it seems to multiply like rabbits until you have more ideas than time. I'd say the same is true for both my knitting and embroidery design.

Inspiration is everywhere, you just have to open and patient. I'm constantly seeing something that triggers an idea for a new design and that trigger can vary widely - I've designed four shawls based on bird-titled songs from my favorite bands, I've got a colorwork sweater in the works that came from a peeling wall paper image I saw in a friend's Instagram post about their home renovation.

Of course, if I didn't tell you that, you probably wouldn't see the connection, even if I placed them side by side. I find inspiration almost works like a dream - it takes familiar things, takes and element or two of familiarity - a mood or a color -  and shifts it into something different. With that wallpaper sweater, there's a muted color palate similar to the original and both have patterns with a circular quality, but that's about it. The songbird shawls set out to capture a mood (Leading Bird), a rather literal translation of the lyrics (Paper Bird and Tributary, aka "Cage the Songbird"), or the layout of the performers on stage (yet to be released Darlingside-inspired shawl).  

My embroidery designs are much more illustrative, and more literal in translation from concept to final design.  Often when I introduce someone to embroidery, I'll teach them by drawing a daisy on the fabric for them to trace- the Coneflower design took that idea and made it a bit more formal. (That pattern is also a secret sampler, which you'll see in the Embroidery 101 series coming up). With my embroidery designs, I'm often illustrating my dream life - something slightly agrarian and rooted in a sense of place, with a timeless quality. When I wanted to come up with a summer-themed hoop, I started thinking about all the things that would be a dream summer to me - inner tubing on a lazy river, rope swings, leaping off a dock into a lake, sun hats on the beach. Of all those ideas, the sun hats won out (see design in progress above), but it doesn't mean I won't revisit the other ones next year.  

One thing I've had to adjust to in designing is the forward-looking nature of it - as soon as I hit my current deadlines, I'm going to be working heavily on Christmas/Winter designs, in August.  Magazine work generally works on a 6-9 month lead time, so I'm designing summer sweaters in January and am knee deep in wool in July.  In those cases, mood boards from the call for submission are a great help, or I'll use Pinterest to make my own.  I'll often collect images for years before they coalesce into something - I'd been collecting images of strong rural women in early 20th paintings and photographs for sometime before it was translated into the Prairie Wife Cardigan and I'm far from done playing with that concept.  I still have a treasure trove of inspiration I've yet to translate yet - art from Andrew Wyeth and Barbara Cooney, Anne of Green Gables and my love of 1950s sci-fi - all hundreds of design bunnies, just waiting to be born. 

Something else you'd like to know? Ask in the comments below and I'll include it Part II.


Print Friendly and PDF Follow
follow us in feedly

Prepping and Storing Your Embroidery Floss - a tutorial

storing embroidery floss.jpg

Embroidery floss is one of those supplies that seems to sneak up on you. I did for me. I'd buy a couple of skeins for a project here, then a half-dozen for another project there. I'll tell myself that I'd wind them onto the little cardboard bobbins, and organize them into binders or boxes, but more often than not I'd pull them from directly from the skeins until I wound up with a tangled mess.

In truth, even when I did bother with the bobbins, I never really cared for them. The floss would get kinked on the card, I'd have to do a bunch of unwinding and re-winding ever time I'd need a new length of floss, and they never stayed put in their binder pages. It was more trouble than it was worth.

Then an acquaintance introduced me to floss braids and it was a gamer changer for me. No special equipment needed, quick and easy to do, and honestly, kind of pretty. And by using the existing label,  I didn't have to rewrite the color code on anything, and spare lengths could be looped back through the label..But the best part was that the thread was already cut into perfect lengths for stitching. 

Like I said, game changer. 

Embroidery Floss Tutorial by Ms. Cleaver

EMBROIDERY KITS & PATTERNS

Print Friendly and PDF Follow
follow us in feedly

New Kits for Spring and a KAL!

For a long time, I've been wanting to expand my designs beyond just knitting patterns, so I'm pleased to introduce my first trio of embroidery designs! Each design can be purchased as a PDF pattern or as a complete kit with pre-printed fabric, needle, thread and hoop. I've always found embroidery quite soothing, and when the design is already on the fabric, its even easier to incorporate a little slow stitching into your day. 

In addition to the embroidery designs, I'm also pleased to offer my Domenic Duck pattern as kits. This oldie but a goody has been slightly revamped for even more adorable shaping and is the perfect size for snuggling. It's also quick enough to work up for inclusion in this year's Easter baskets. 

One of the comments I hear most frequently in relation to my designs is some variation of "That's beautiful, but I'm not there yet."  

I never want anyone to feel like my designs are out of reach, and I feel like I gain so much when I try to stretch my own skills, so I've been working to make my designs more accessible for crafters of all skill levels.

This means that my new stuffed animal kits will be paired with a step-by-step online tutorial series/KAL (with prizes!) and all embroidery kits come with a basic stitch guide. Hopefully these tools will give you the confidence to take the leap and try something new!


Print Friendly and PDF Follow
follow us in feedly

Things I Made This Summer

There's been so much knitting stuff this summer (which seems like an odd phrase to write) that I've sorely neglected sharing some of the other projects I've been working on!

Which is a shame, because I've been working on some cool stuff these past few months.

Like, I made a backpack!

Toddler Backpack sewn by Ms. Cleaver
Toddle Backpack sewn by Ms. Cleaver

The pattern is Made by Rae's Toddler Backpack, to which I added the optional lining, and some self-drafted pockets on the outside with mesh fabric, elastic and bias tape. It looks super-impressive, but is surprisingly easy to make.

Also awesome?

Lobster shorts!!

Lobster Thurlow Shorts sewn by Ms. Cleaver

There's been three different Renfrew tees that have been getting a lot of wear (including the white one above and this beauty):

Renfrew Tee, Sewn by Ms. Cleaver

I made baklava  for the first time and garlic scape hummus. I've baked tiny cherry pies and at least three versions of a buttermilk tea cake trying to get my recipe perfect (almost there...)

I've done some embroidery:

You Are Exactly Where You Need to Be

I've whipped up quick little projects:

Dutch Rabbit
Ribbon Brooch
Dutch Rabbit

And sewn another dress LMC refuses to wear even though she picked out the fabric from my stash.

Maggie Mae Dress sewn by Ms. Cleaver

Let's just say, it's been a productive summer. :) 


Print Friendly and PDF Follow
follow us in feedly

Selfish Stitching

Stem Stitch
Hubby socks
Doctor Who Project Bag
Teamwork
Mini Skein
Selfish Sock
Start Where You Are Embroidery
Selfish Socks

I have, to a certain extent, turned my hobby into a job. It's certainly not my full-time job, but it does have responsibilities and deadlines, etc. that knitting for oneself just doesn't has.

The danger of turning one's hobby into a job is losing the joy you had in that activity in the first place. Burn out for artists is nothing new, and it's nothing new to me. I watched myself go through it with theatre and it wasn't something I wanted to go through again with knitting. 

In the past six months, I have been working more intensely on my knit design work than I have since I started doing it back in 2010. It's been exciting and challenging, and at times frustrating. But the thing that has kept me grounded is selfish-stitching. Doing something just because I want to, with no deadline at the end of it, no need to sell anything, has been imperative. It doesn't even have to be something for me (for example, I knit Mr. Cleaver a pair of socks), it just has to be something I want (not need) to do. 

When I started selfish-stitching, I had thought to limit it to Sundays, but my methodology has shifted somewhat. It's now more about when I need it, or there's a found moment, rather than anything scheduled. Little moments of joy sprinkled throughout my week.

You can see the joyful fruit of my labors above. A beautiful embroidery of encouraging words stitched, in part, with my daughter; simple socks for a grateful recipient; less simple socks for me; a project bag in a fabric that always makes me smile; and a teeny tiny skein of yarn, spun just to feel fiber between my fingers. Things both useful and purely decorative.

I'm proud of all the other things I'm working on, the things I can't show you yet. They've expanded my skills as a knitter and a designer. They are beautiful and I can't wait to share them. Each one of my designs holds a special place in my heart, but each one of these little "just because" projects does too. 


Print Friendly and PDF Follow
follow us in feedly