Wherein I talk about body image, mental health and making your own clothes
Read moreFlakey Buttermilk Biscuits
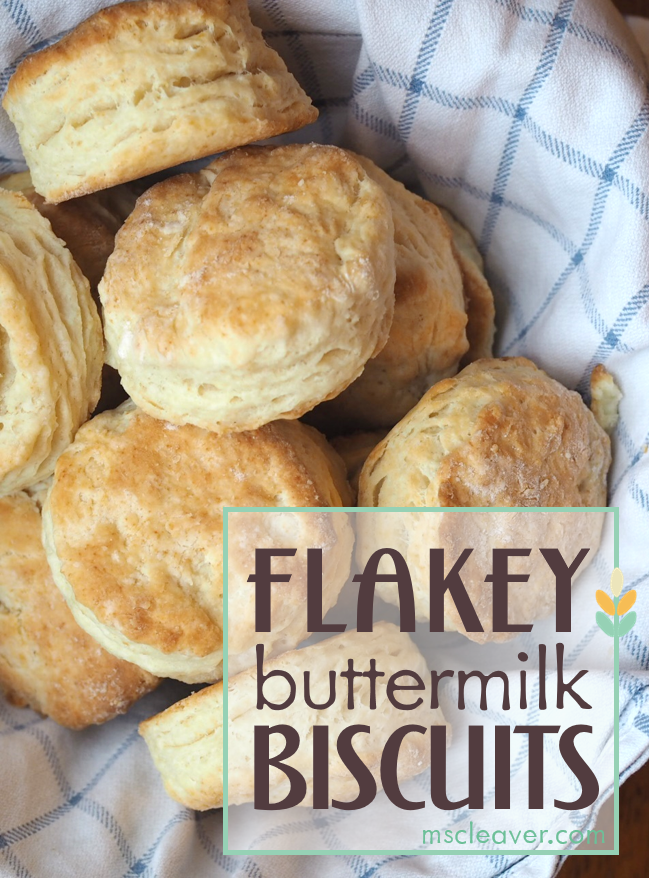
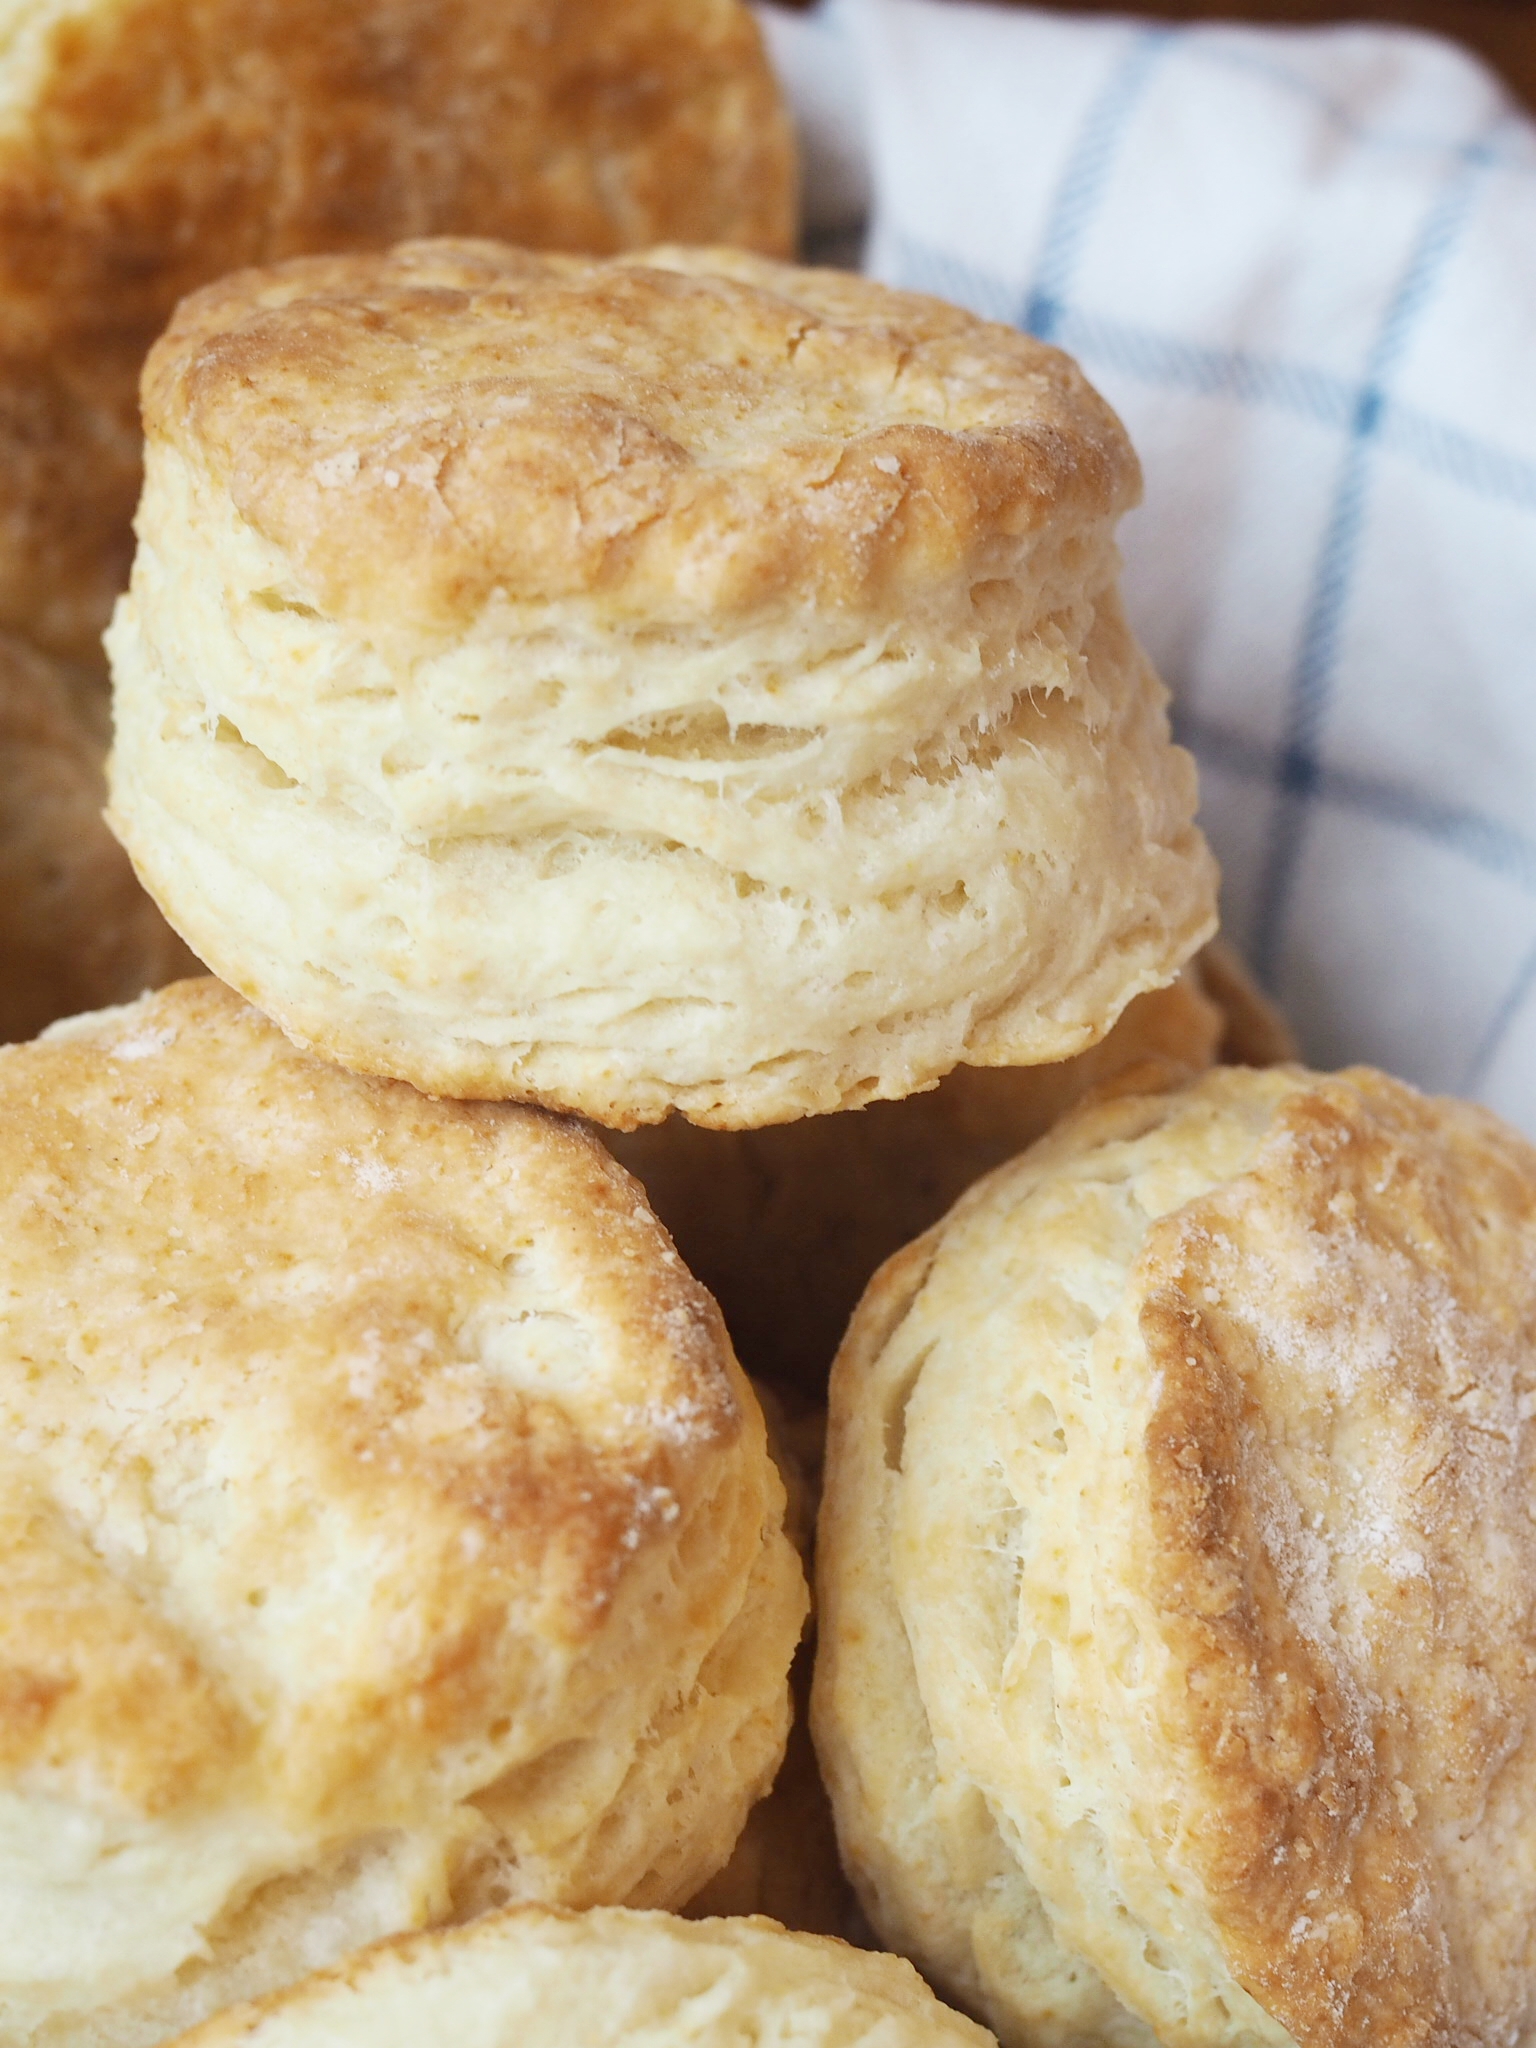
A good biscuit should be flakey, buttery, and easy to get on the table. These biscuits use a fun folding technique to build-up those important layers and is, in my opinion, easier than rolling them out. If you're quick (i.e. you don't have a four-year-old helping with every step) you can get these in the oven quicker than you can pre-heat it.
Flakey Buttermilk Biscuits
Makes approximately 12 biscuits
- 2 Cups All Purpose Flour (plus more for shaping)
- 1 Tablespoon baking powder
- 1/4 teaspoon baking soda
- 6 Tablespoons cold butter, cut in small pieces
- 1 cup buttermilk, cold (if you don't have buttermilk, add 2 Tbl lemon juice or vinegar to regular milk)
Preheat oven to 425 degrees Fahrenheit.
Mix together flour, baking soda, and baking powder. With a pastry cutter, cut butter into flour mixture, until it resembles slightly damp sand. Add milk and mix about 15 times, until mixture is combined, but dough is still loose.
Turn out dough onto a floured surface and pat into a 8 inch by 8 inch square about a 1/2 inch thick. Fold dough in half once, and then in half again, then pat back out to square. Repeat folding and patting another three times.
With a floured biscuit cutter, cut out biscuits, making sure not to twist as you push the cutter down or pull it up. Reshape remaining dough and cut out remaining biscuits.
Place biscuits on a cookie sheet lined with parchment paper and bake for 15 minutes or until golden brown on top.
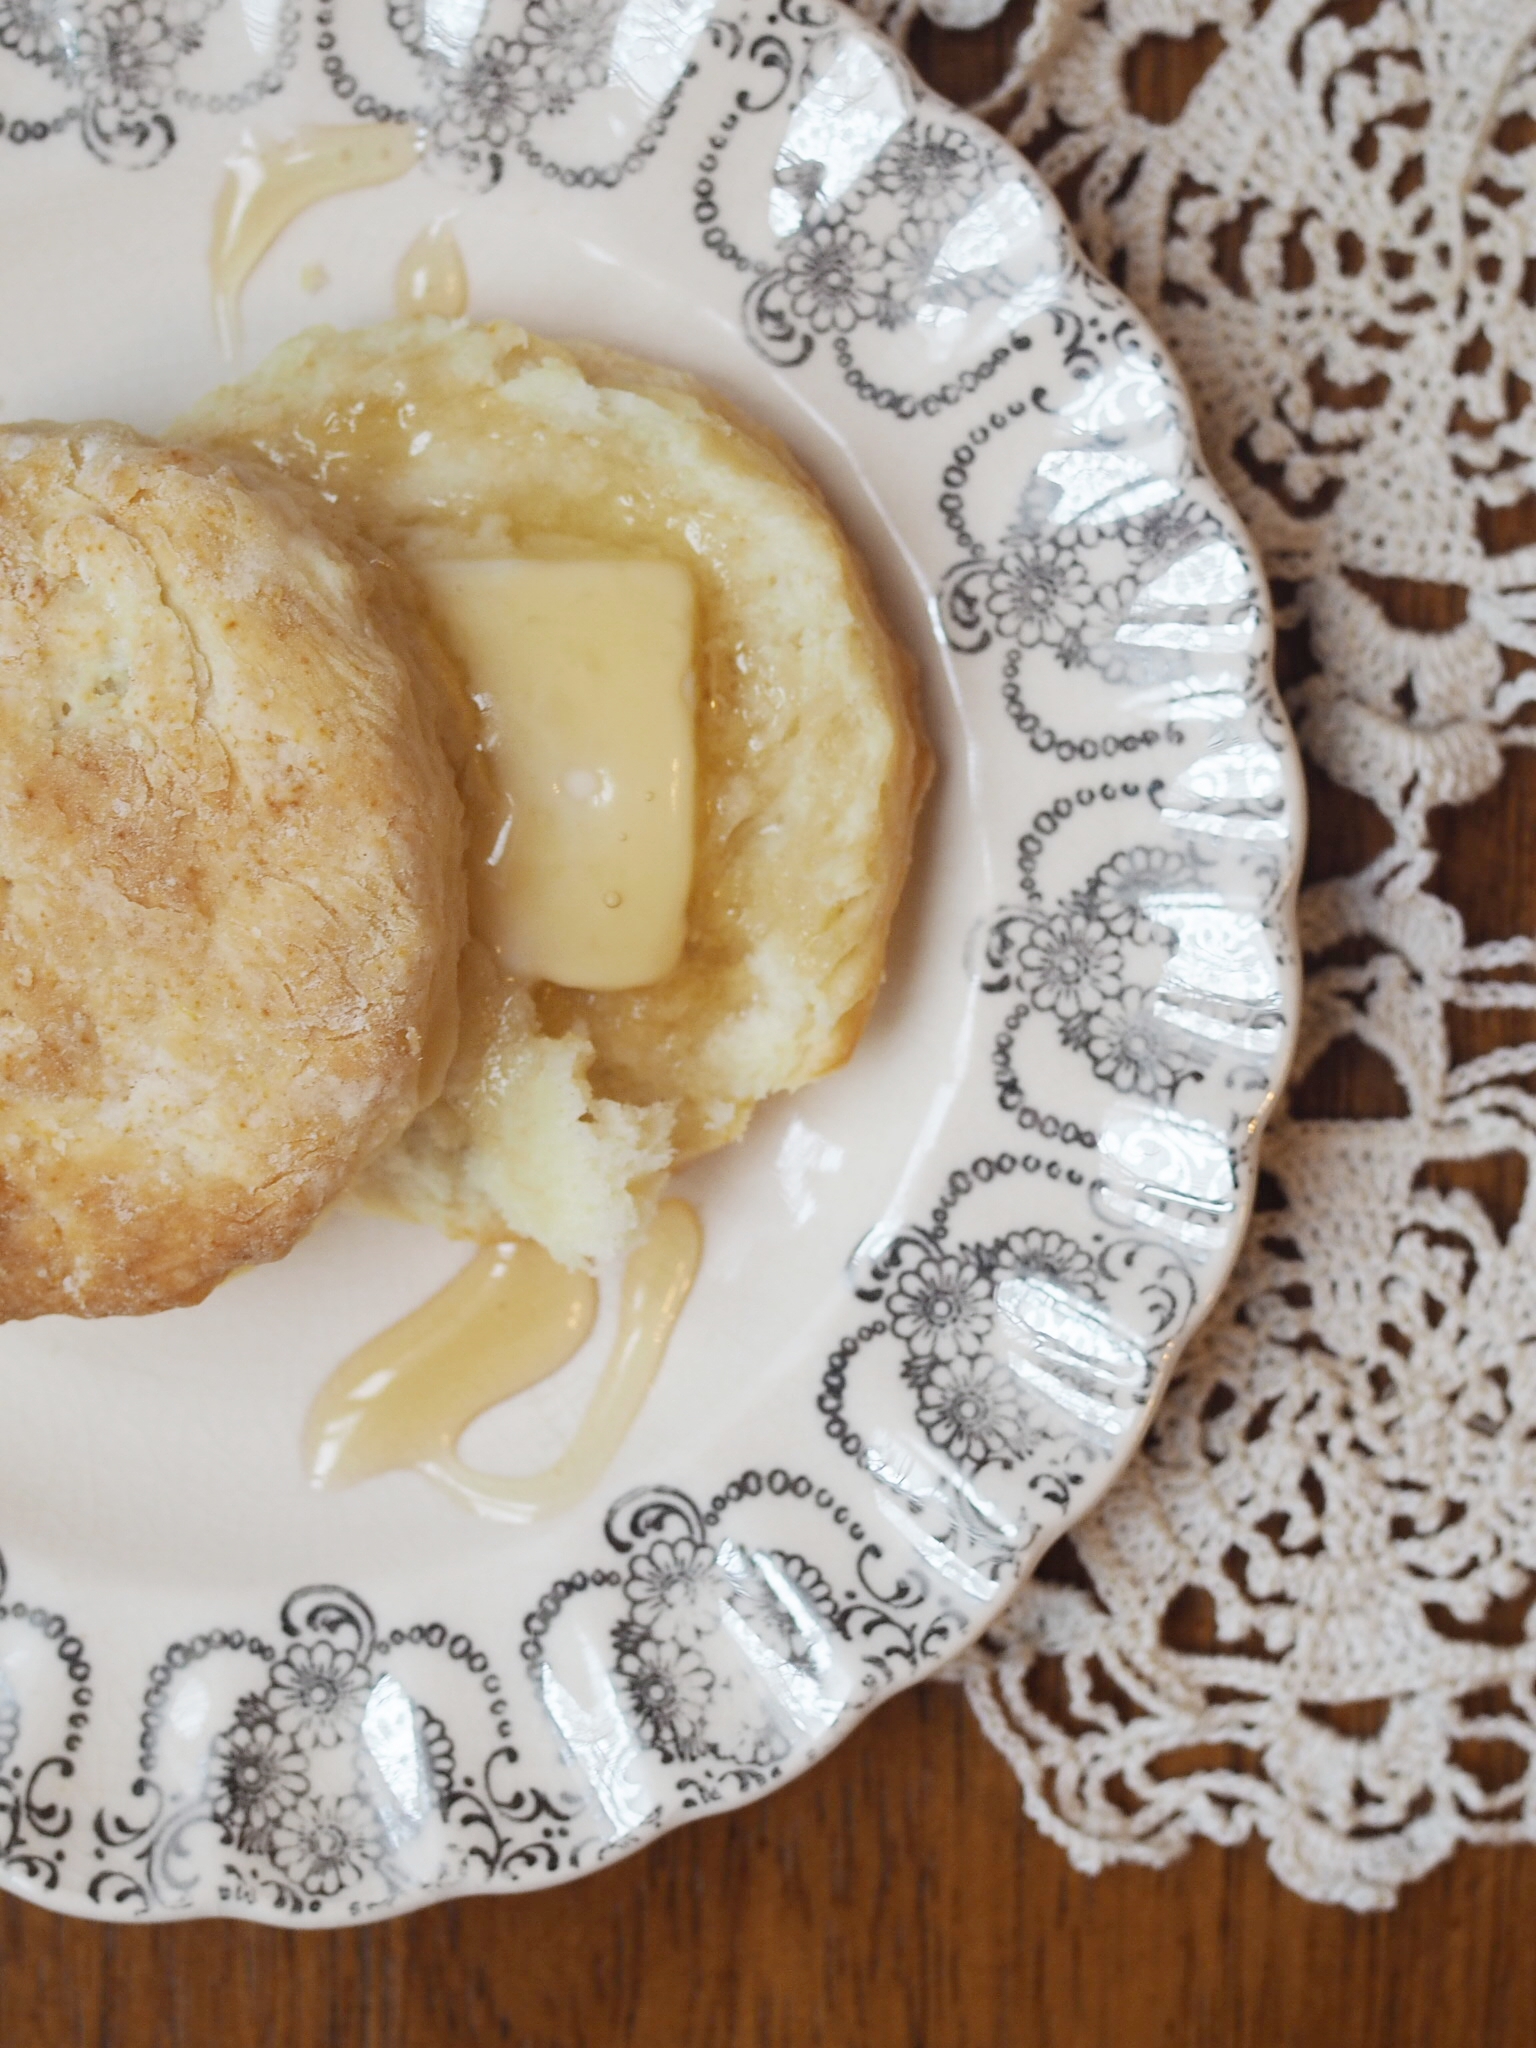
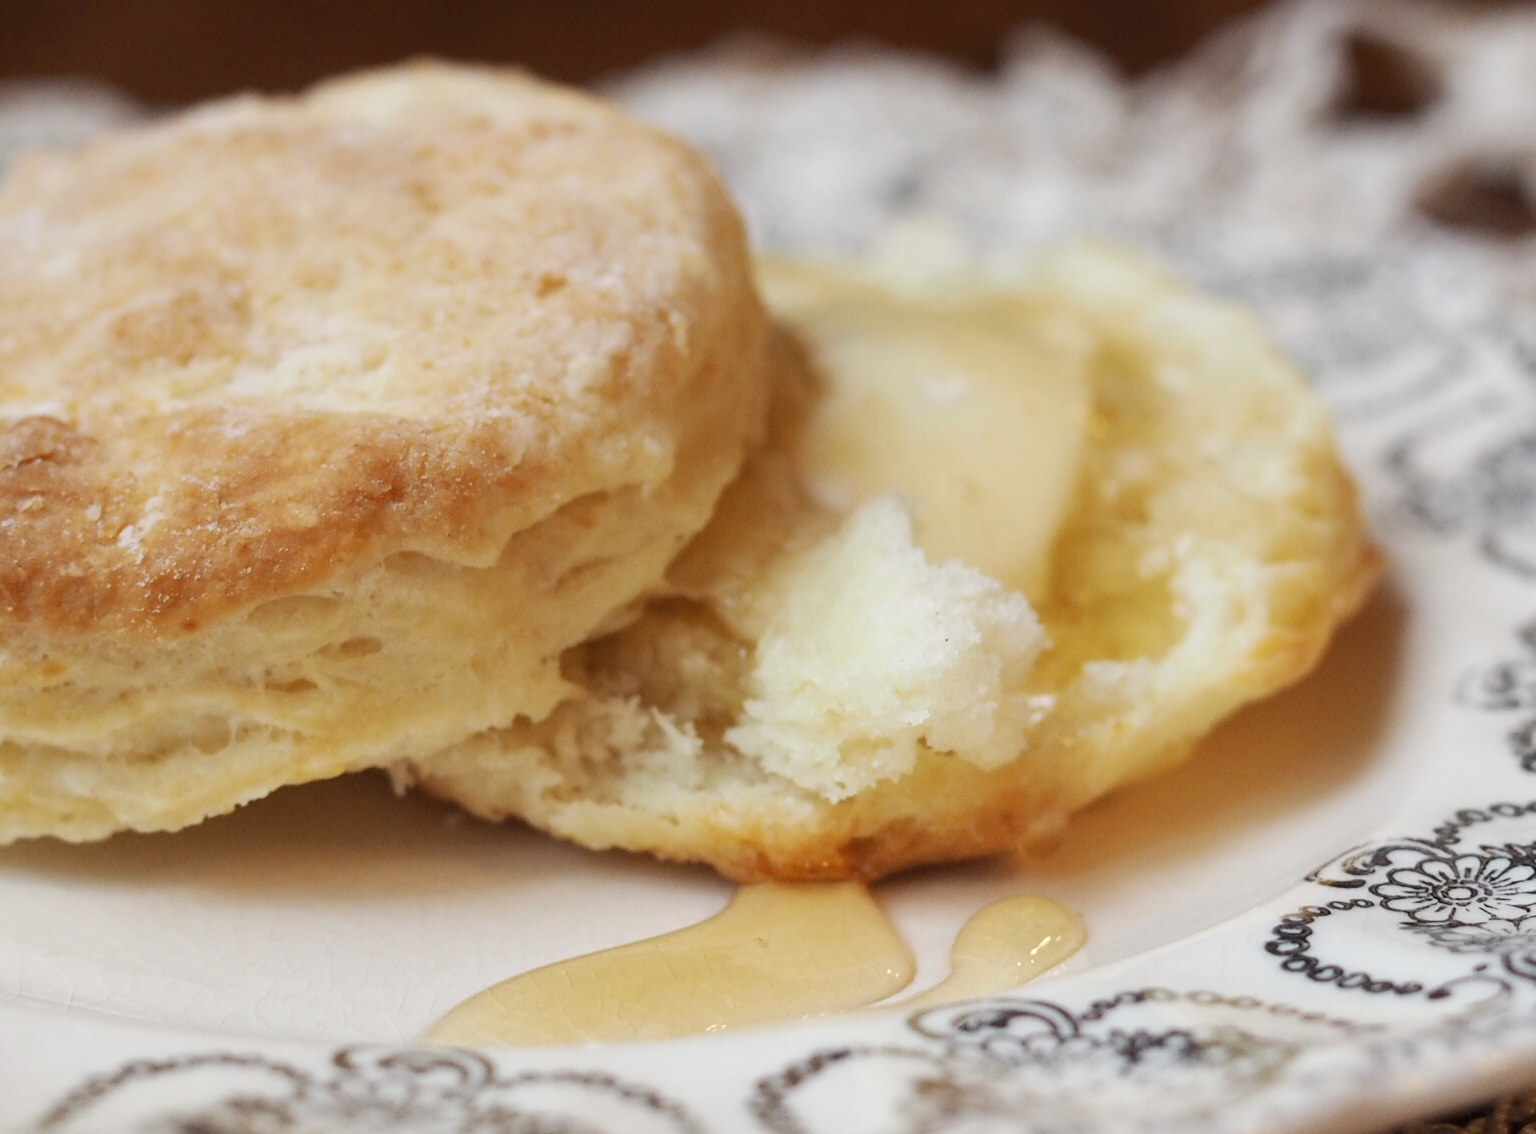
Serve warm with gravy, butter, jam, or, my personal favorite, honey.
Recipes


Flakey Buttermilk Biscuits
Makes Approx 12 Biscuits Ingredients: 2 cups all-purpose flour 1 Tbl baking powder 1/4 tsp baking soda 1 cup buttermilk 6 Tbl salted butterComfy Casual


Though my preference for daily wear tends toward toward the more feminine and slightly retro, when it comes to weekend wear, I'm more of a sweatshirt girl.
Literally, a sweatshirt.
As in, one old grey striped Old Navy sweatshirt that I've been wearing constantly for about four years straight.
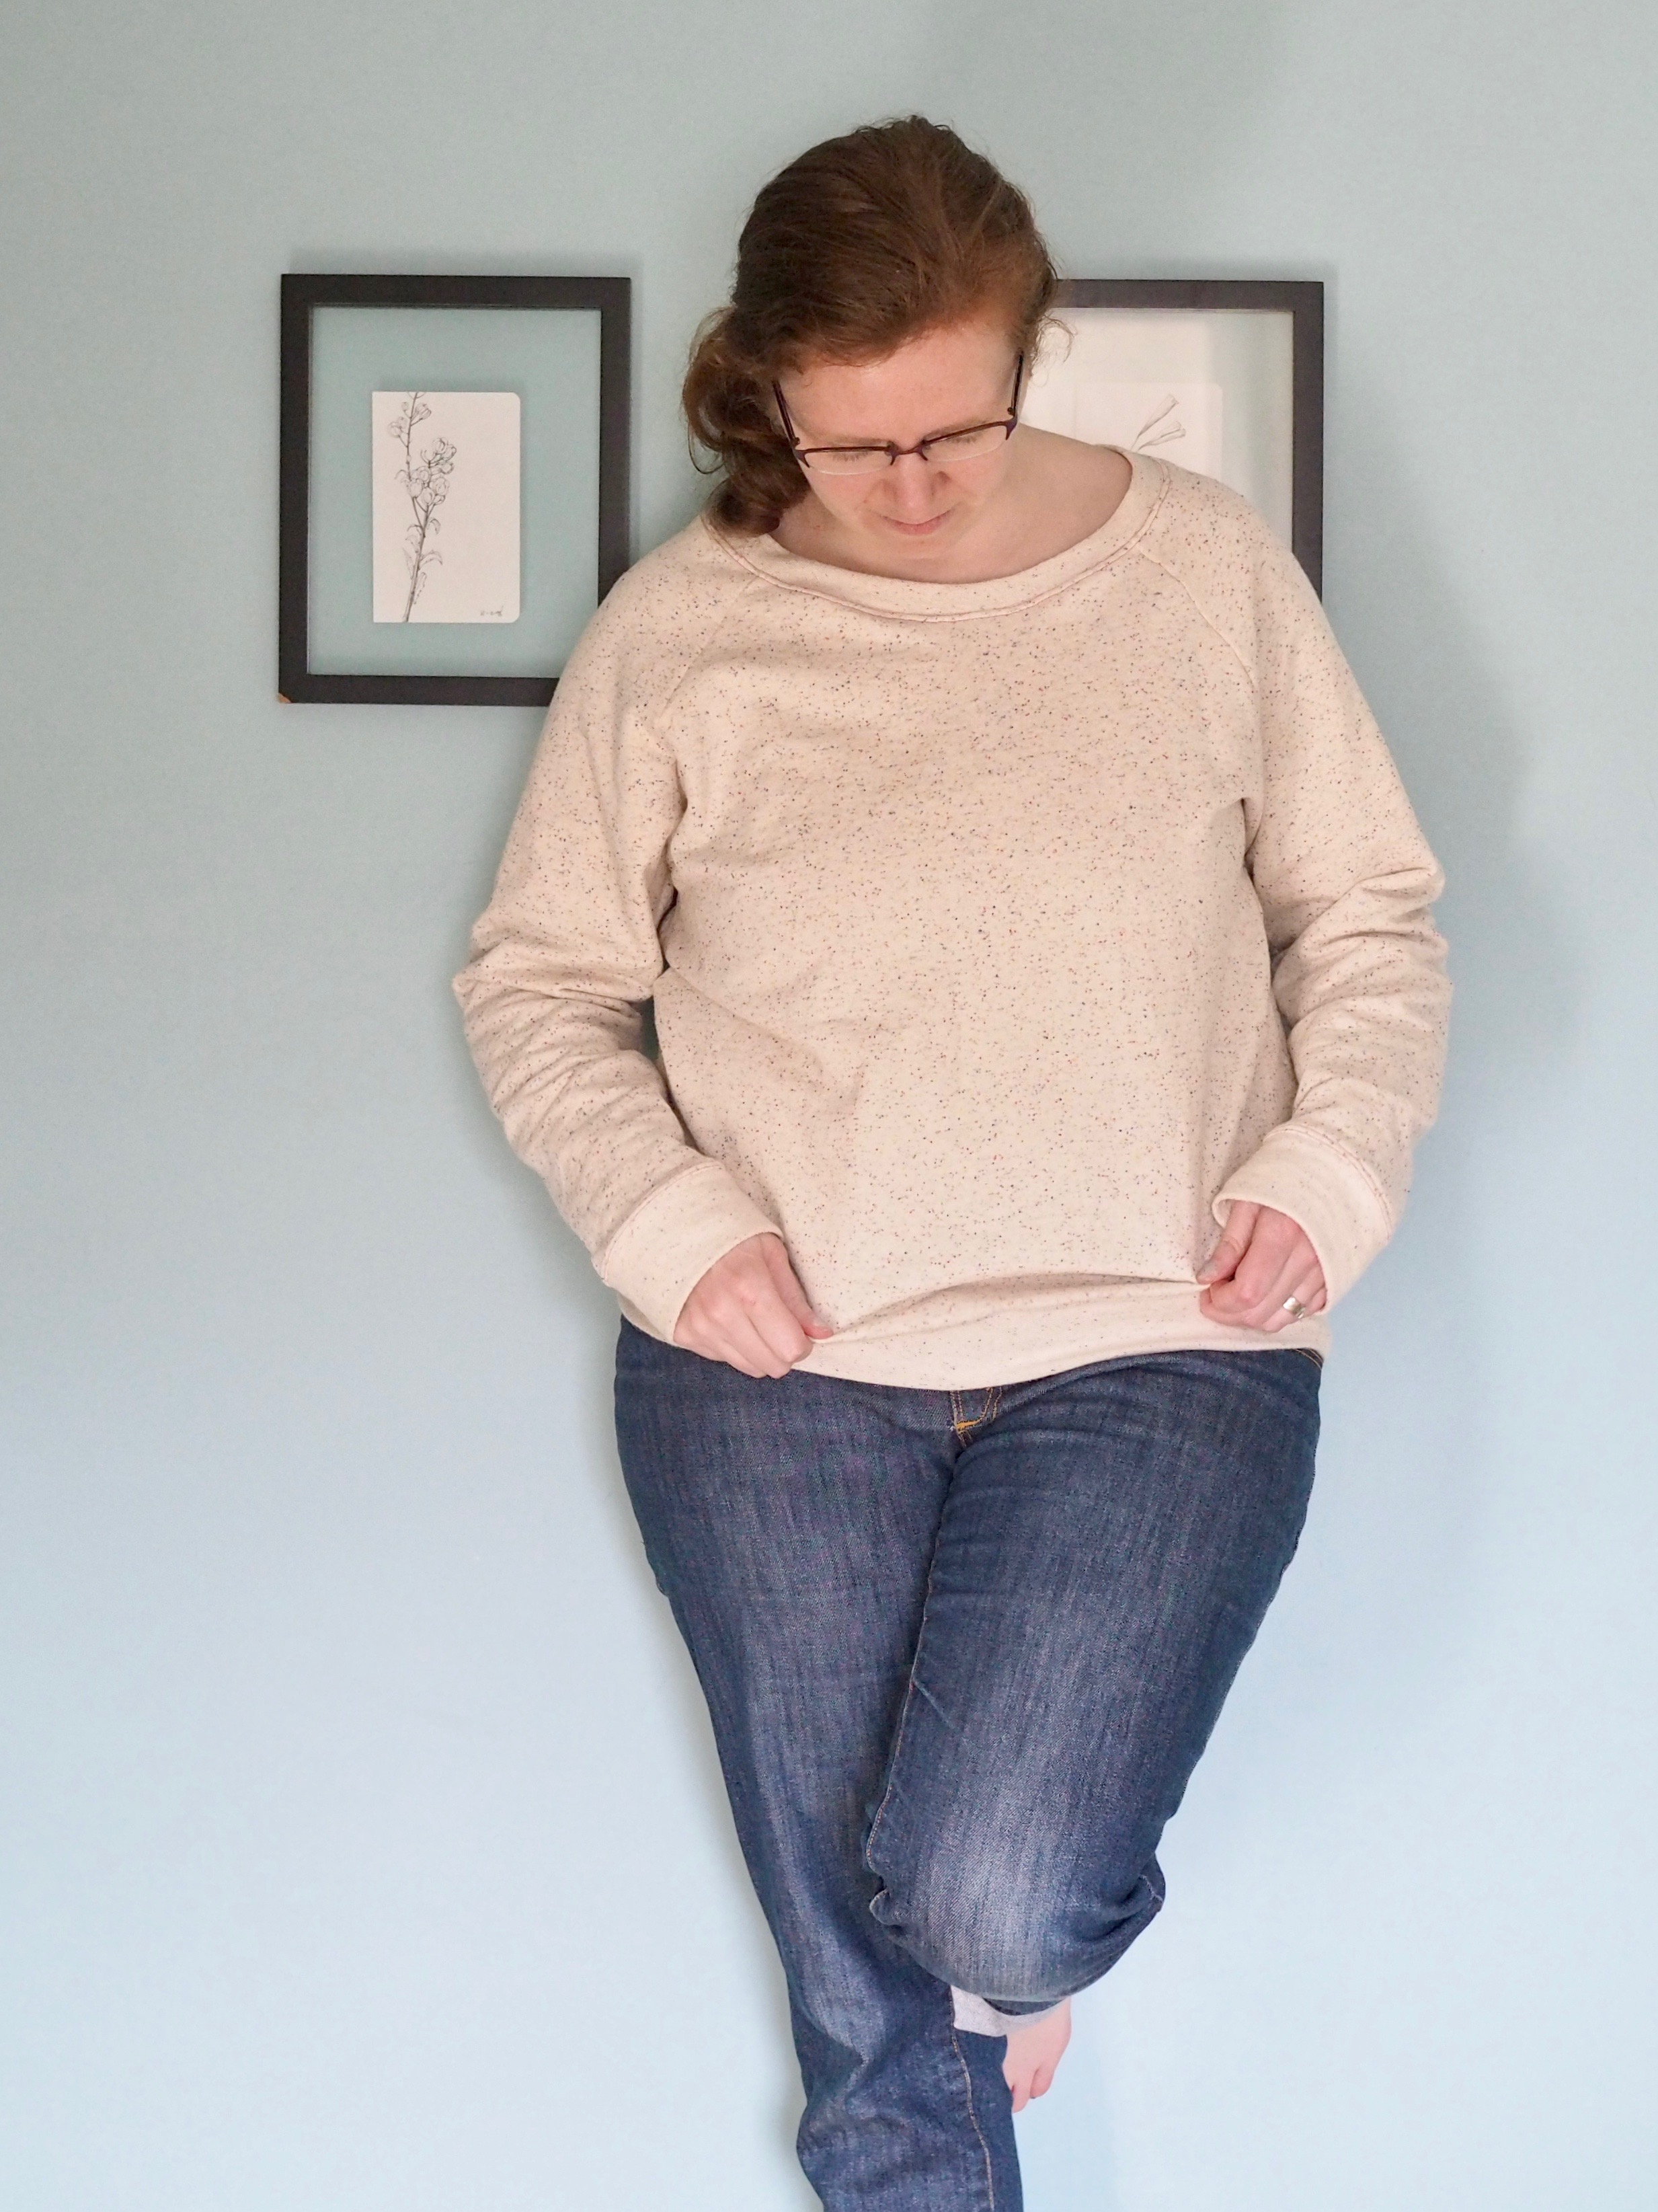
I've been overdue for an upgrade for years, and the Grainline Linden pattern has been in stash for a while, but I've had the darndest time finding an appropriate fabric I liked. Then I was on Fabric.com looking for fabric to embroider on when this Robert Kaufman speckled French Terry popped up on a sidebar and into my basket shortly thereafter.
It's a nice thick fabric, but be warned, should you follow my example in making it into a sweatshirt, it's a very stable knit, but not a very stretchy one. It worked great for the body, but I decided to do self cuffs/hems (turned wrong side out for some textural variety) and I had to recut a longer piece for the neckband, because it would not stretch to fit at all. The end result came out fine, but I expect it's a bit more open than designed. I also chose to top-stitch my hems with a double-needle in some hot pink thread for an extra (if subtle) pop of color.
You may never see me wearing it in person, but have no doubt that I'll be popping this on every evening until and weekend until it gets too warm.
Sewing


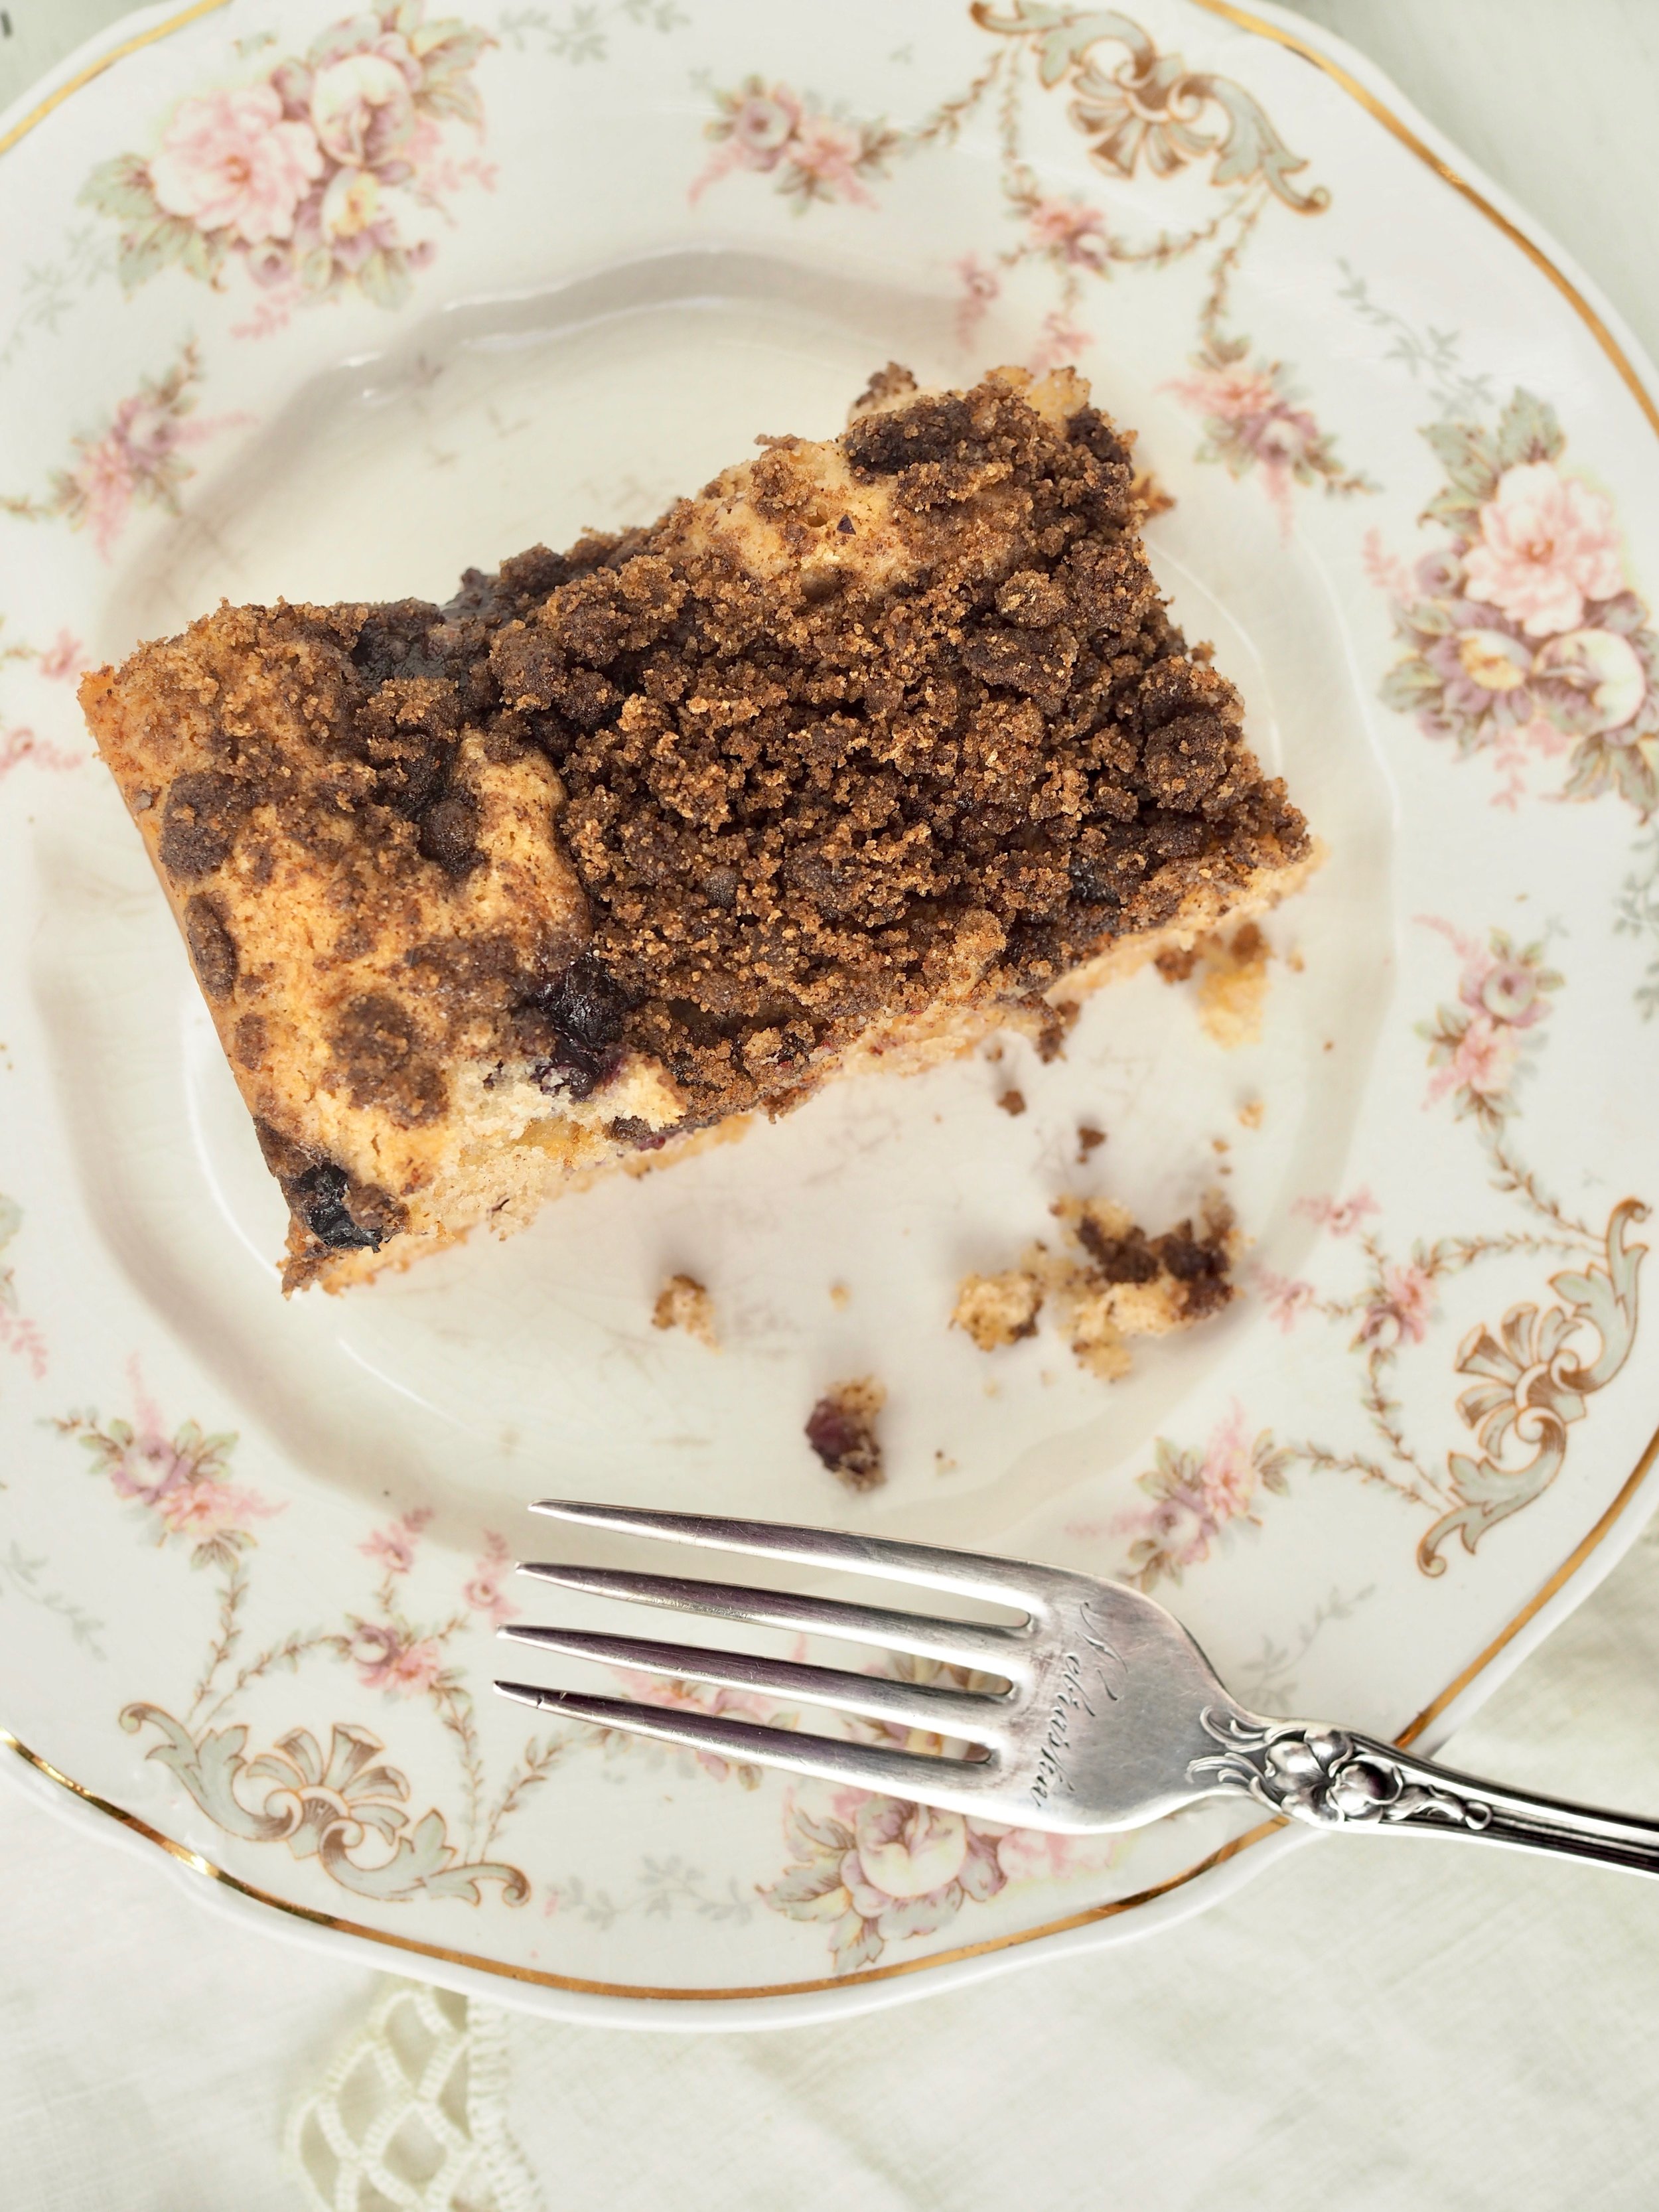
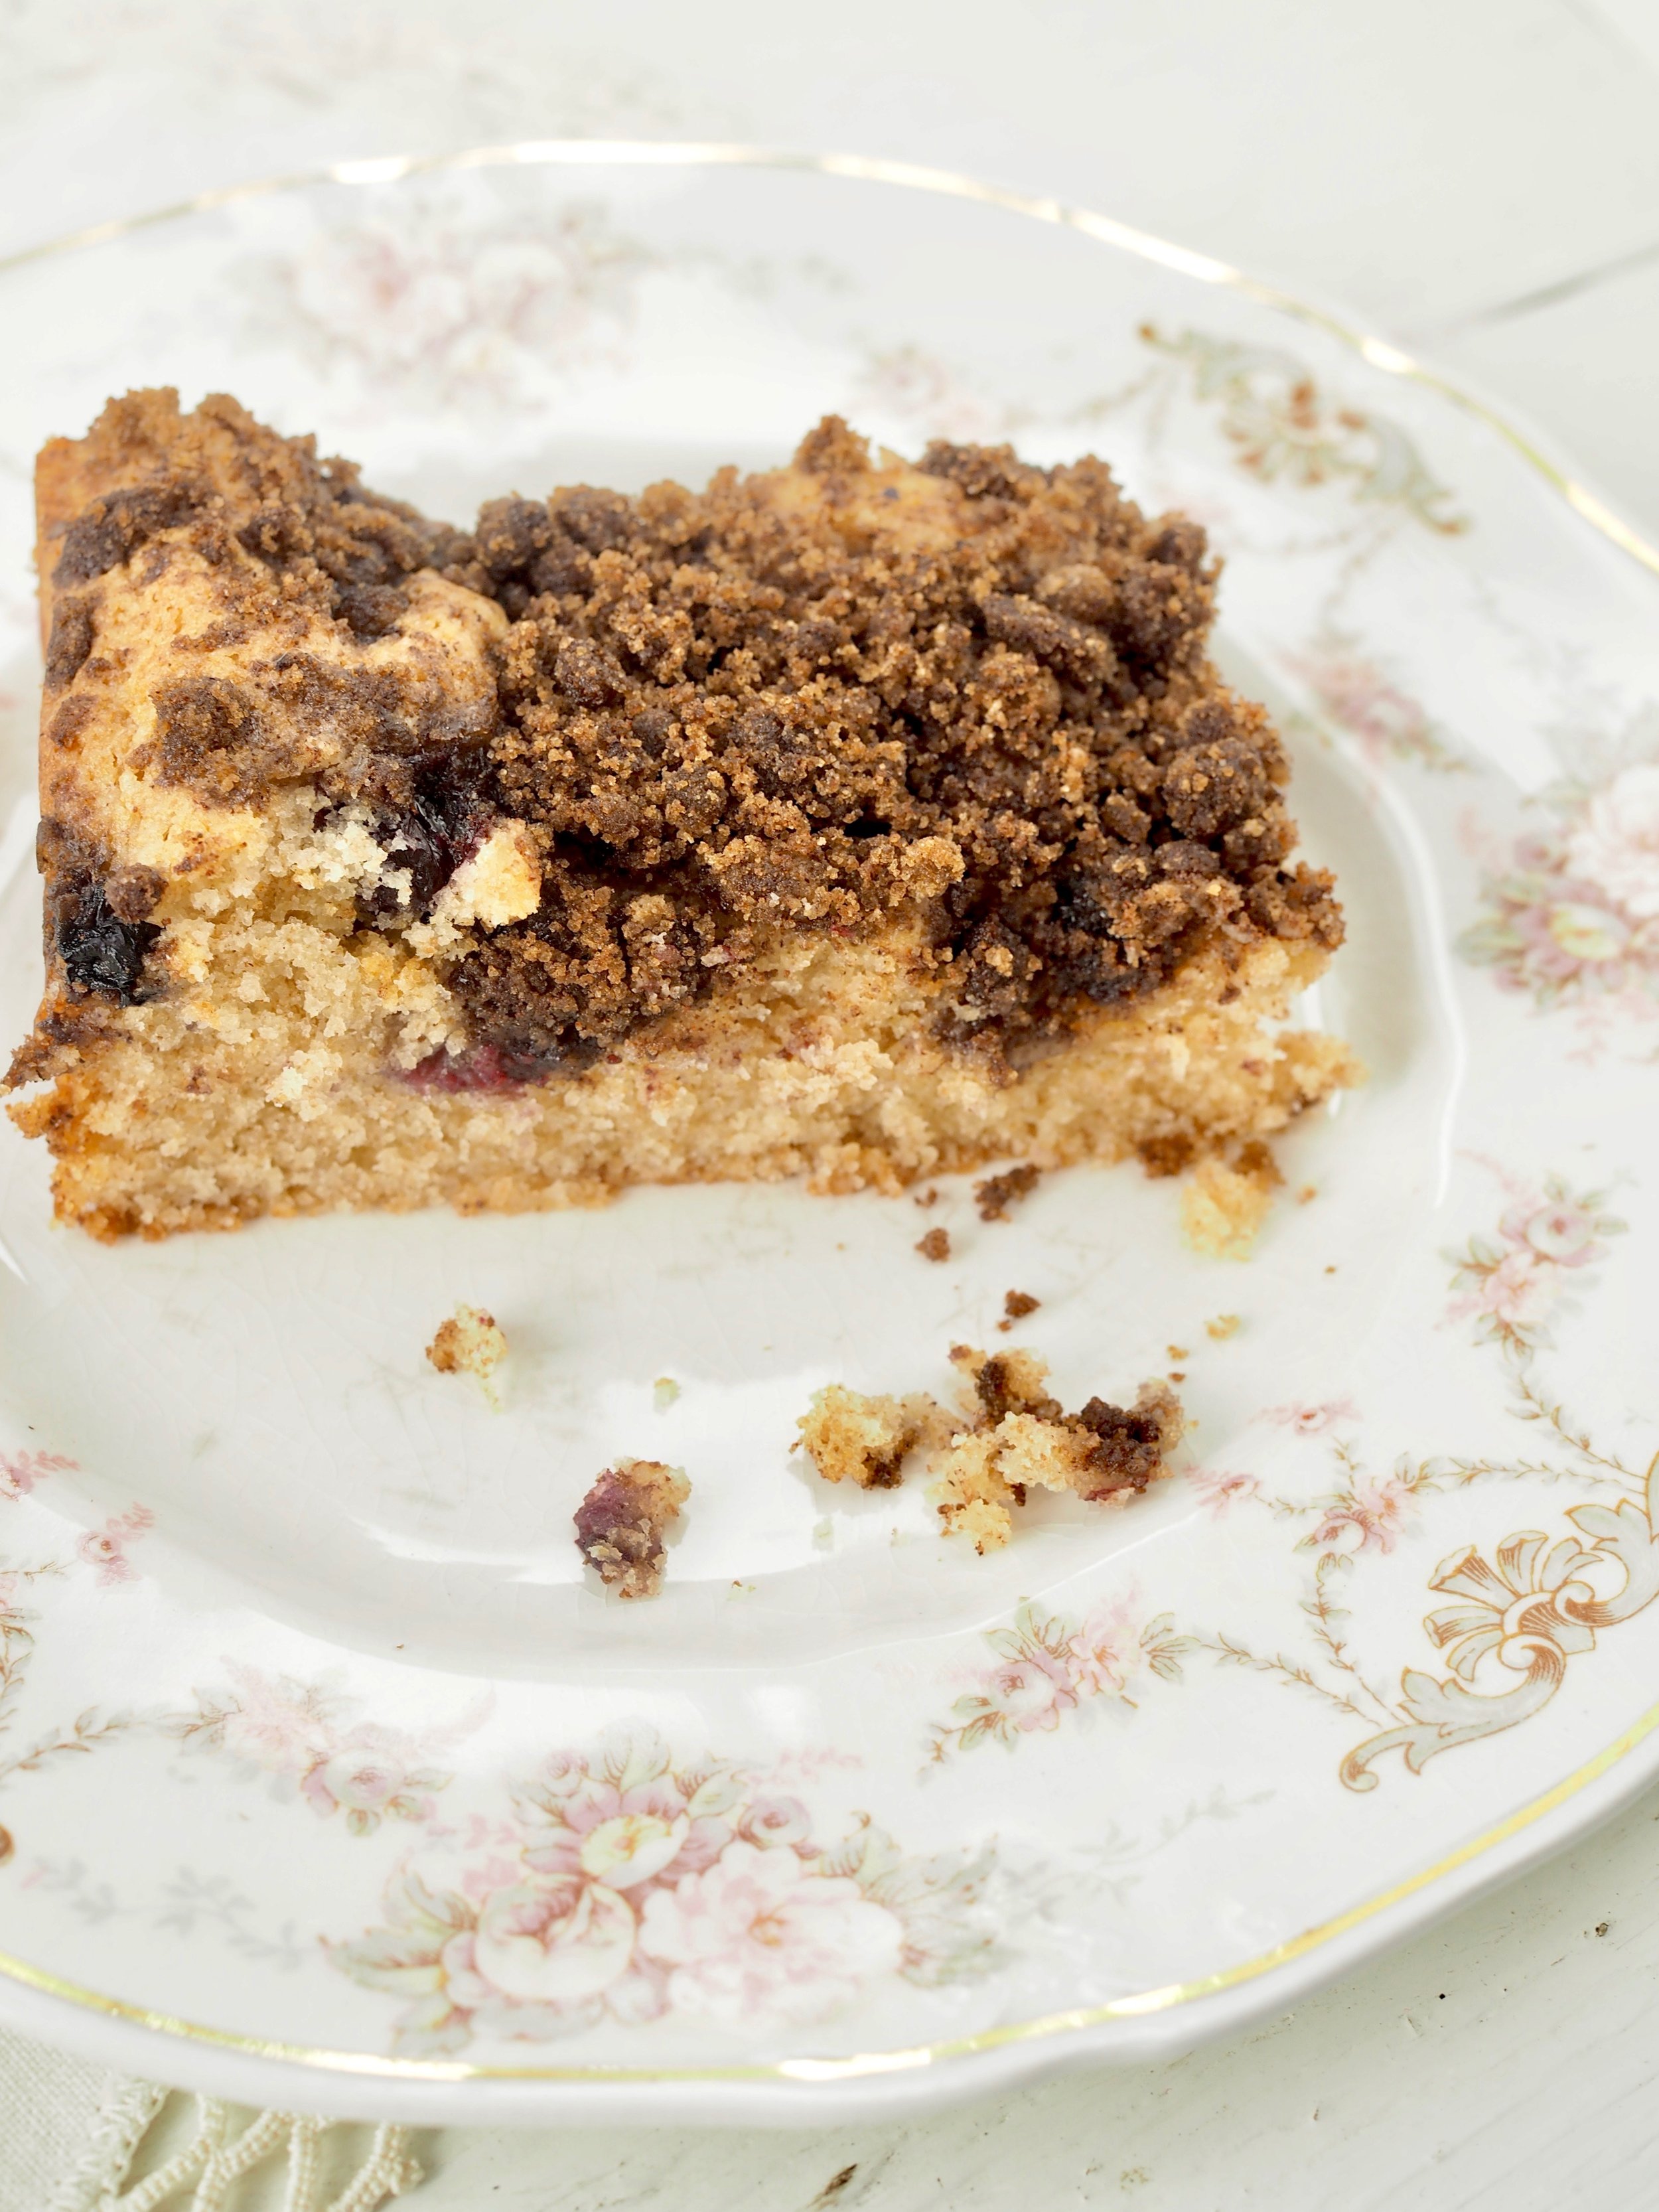
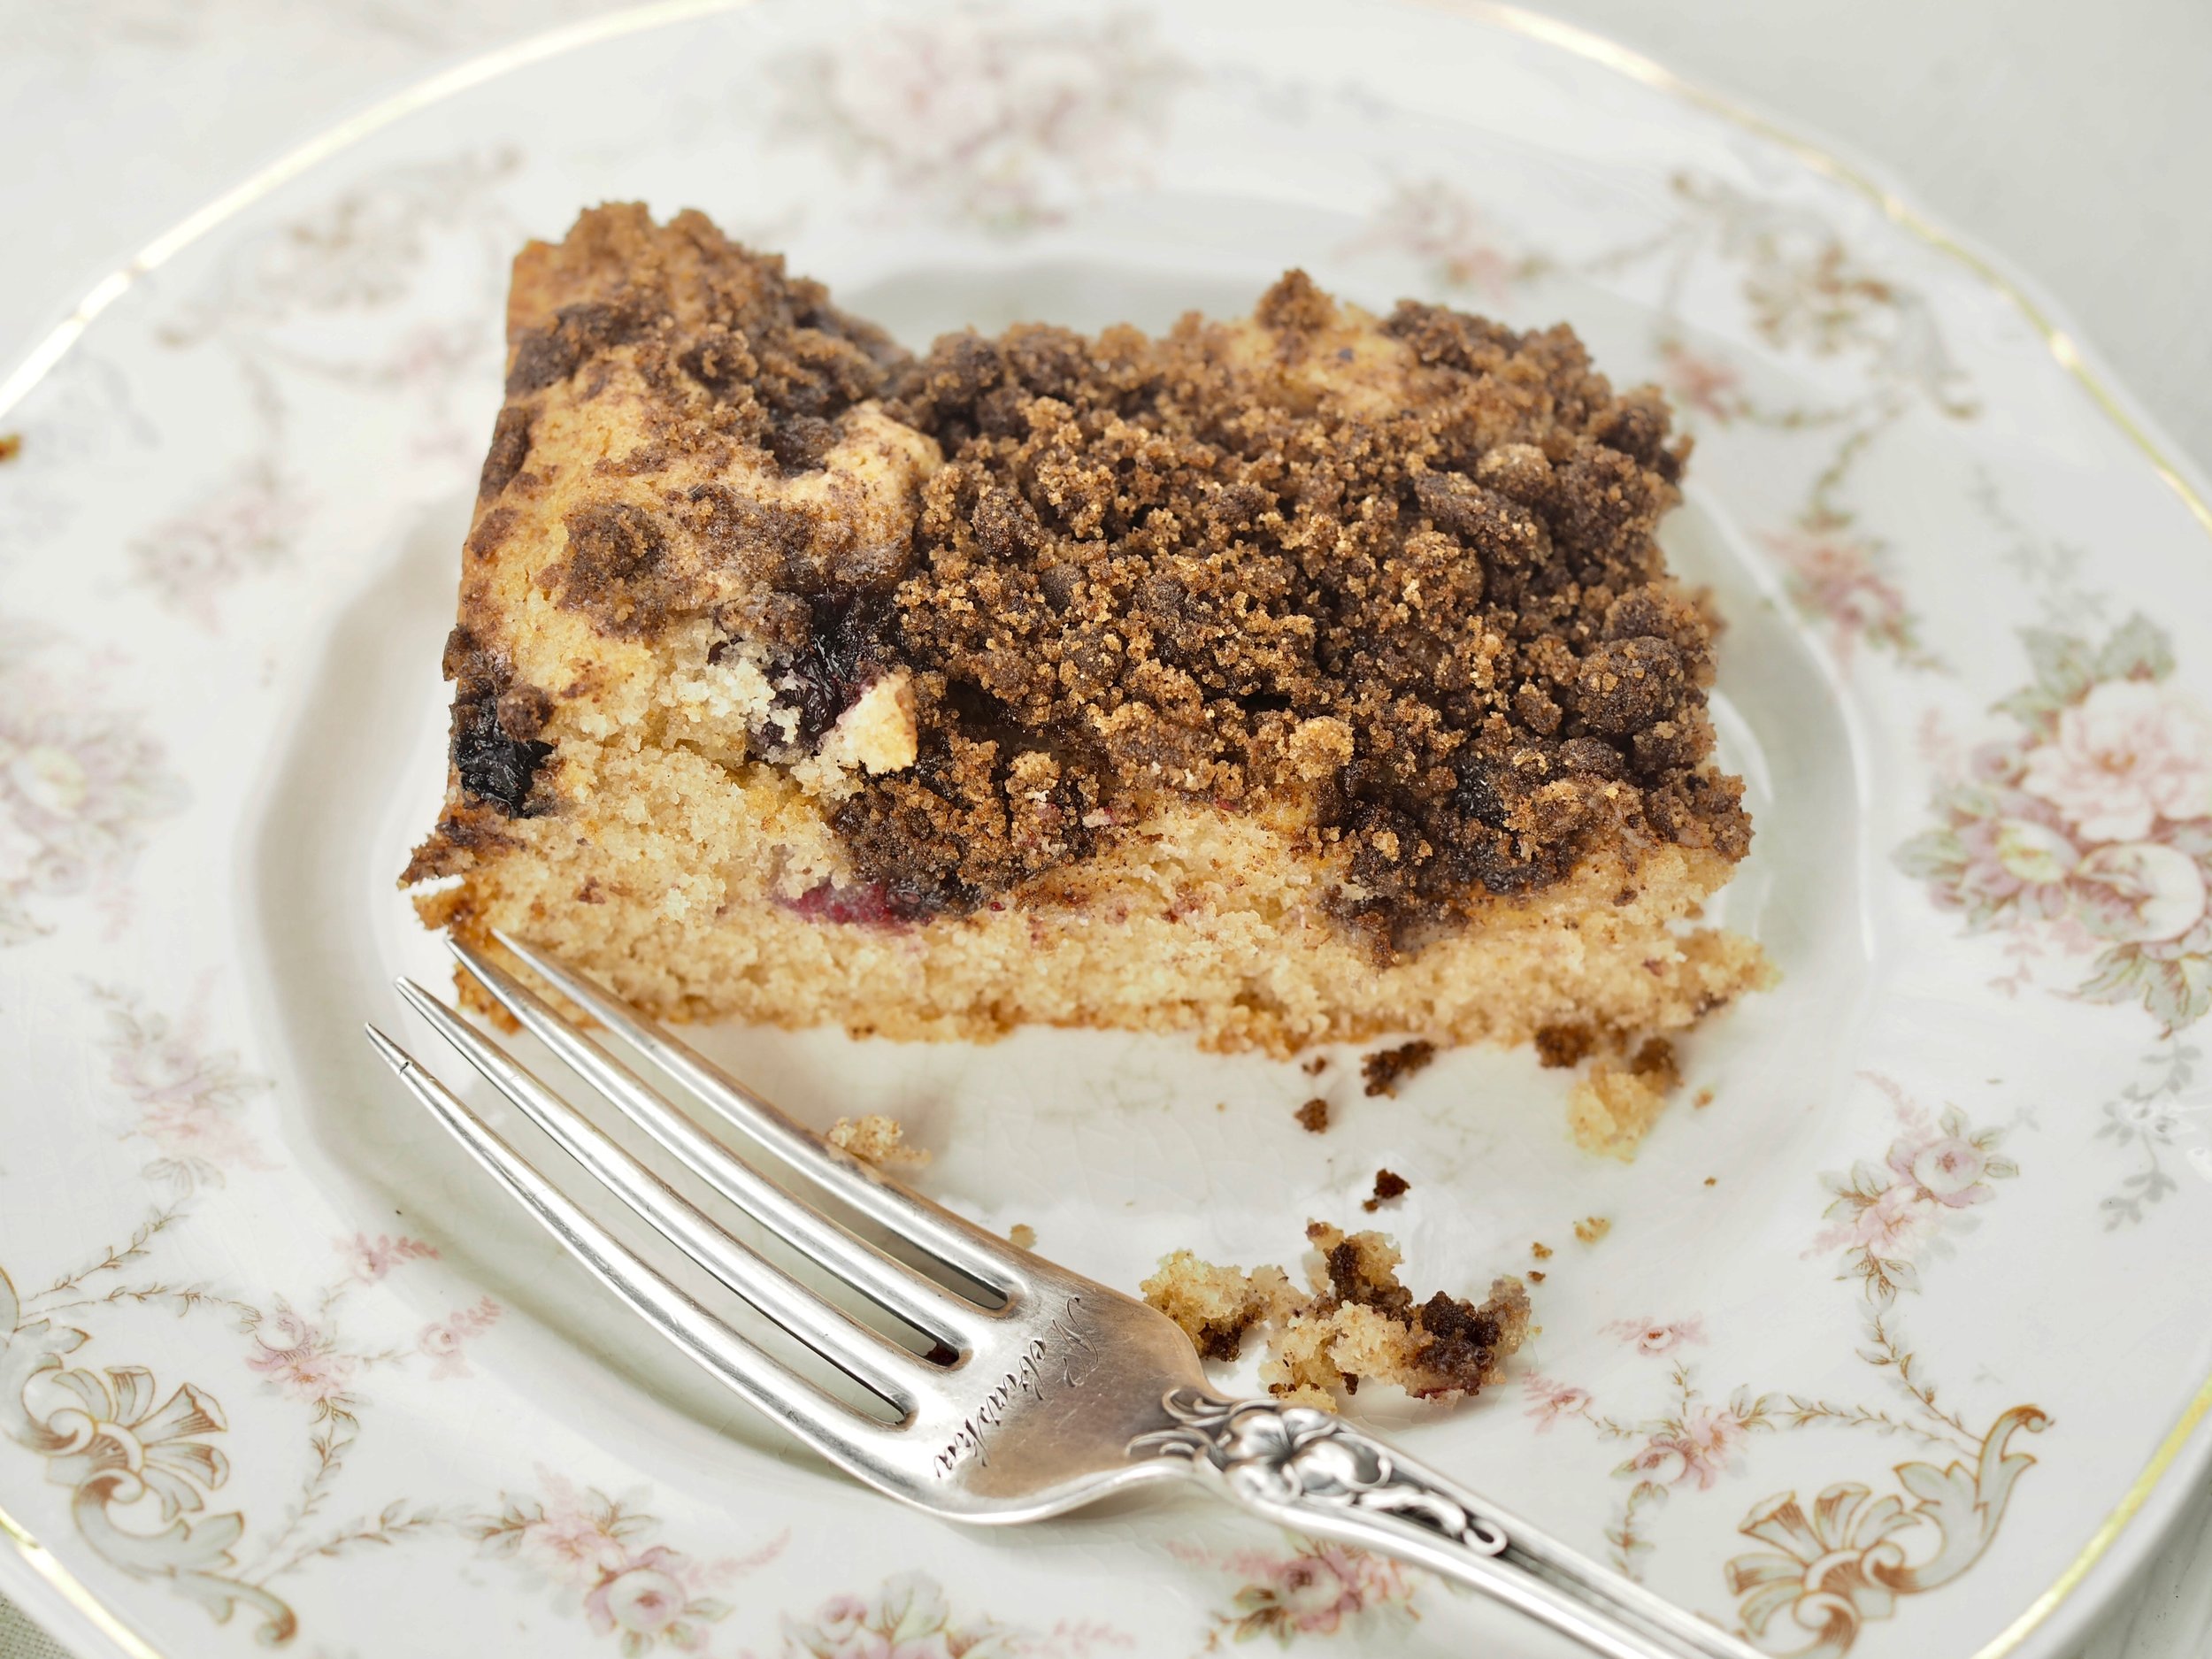
Blueberry Coffee Cake

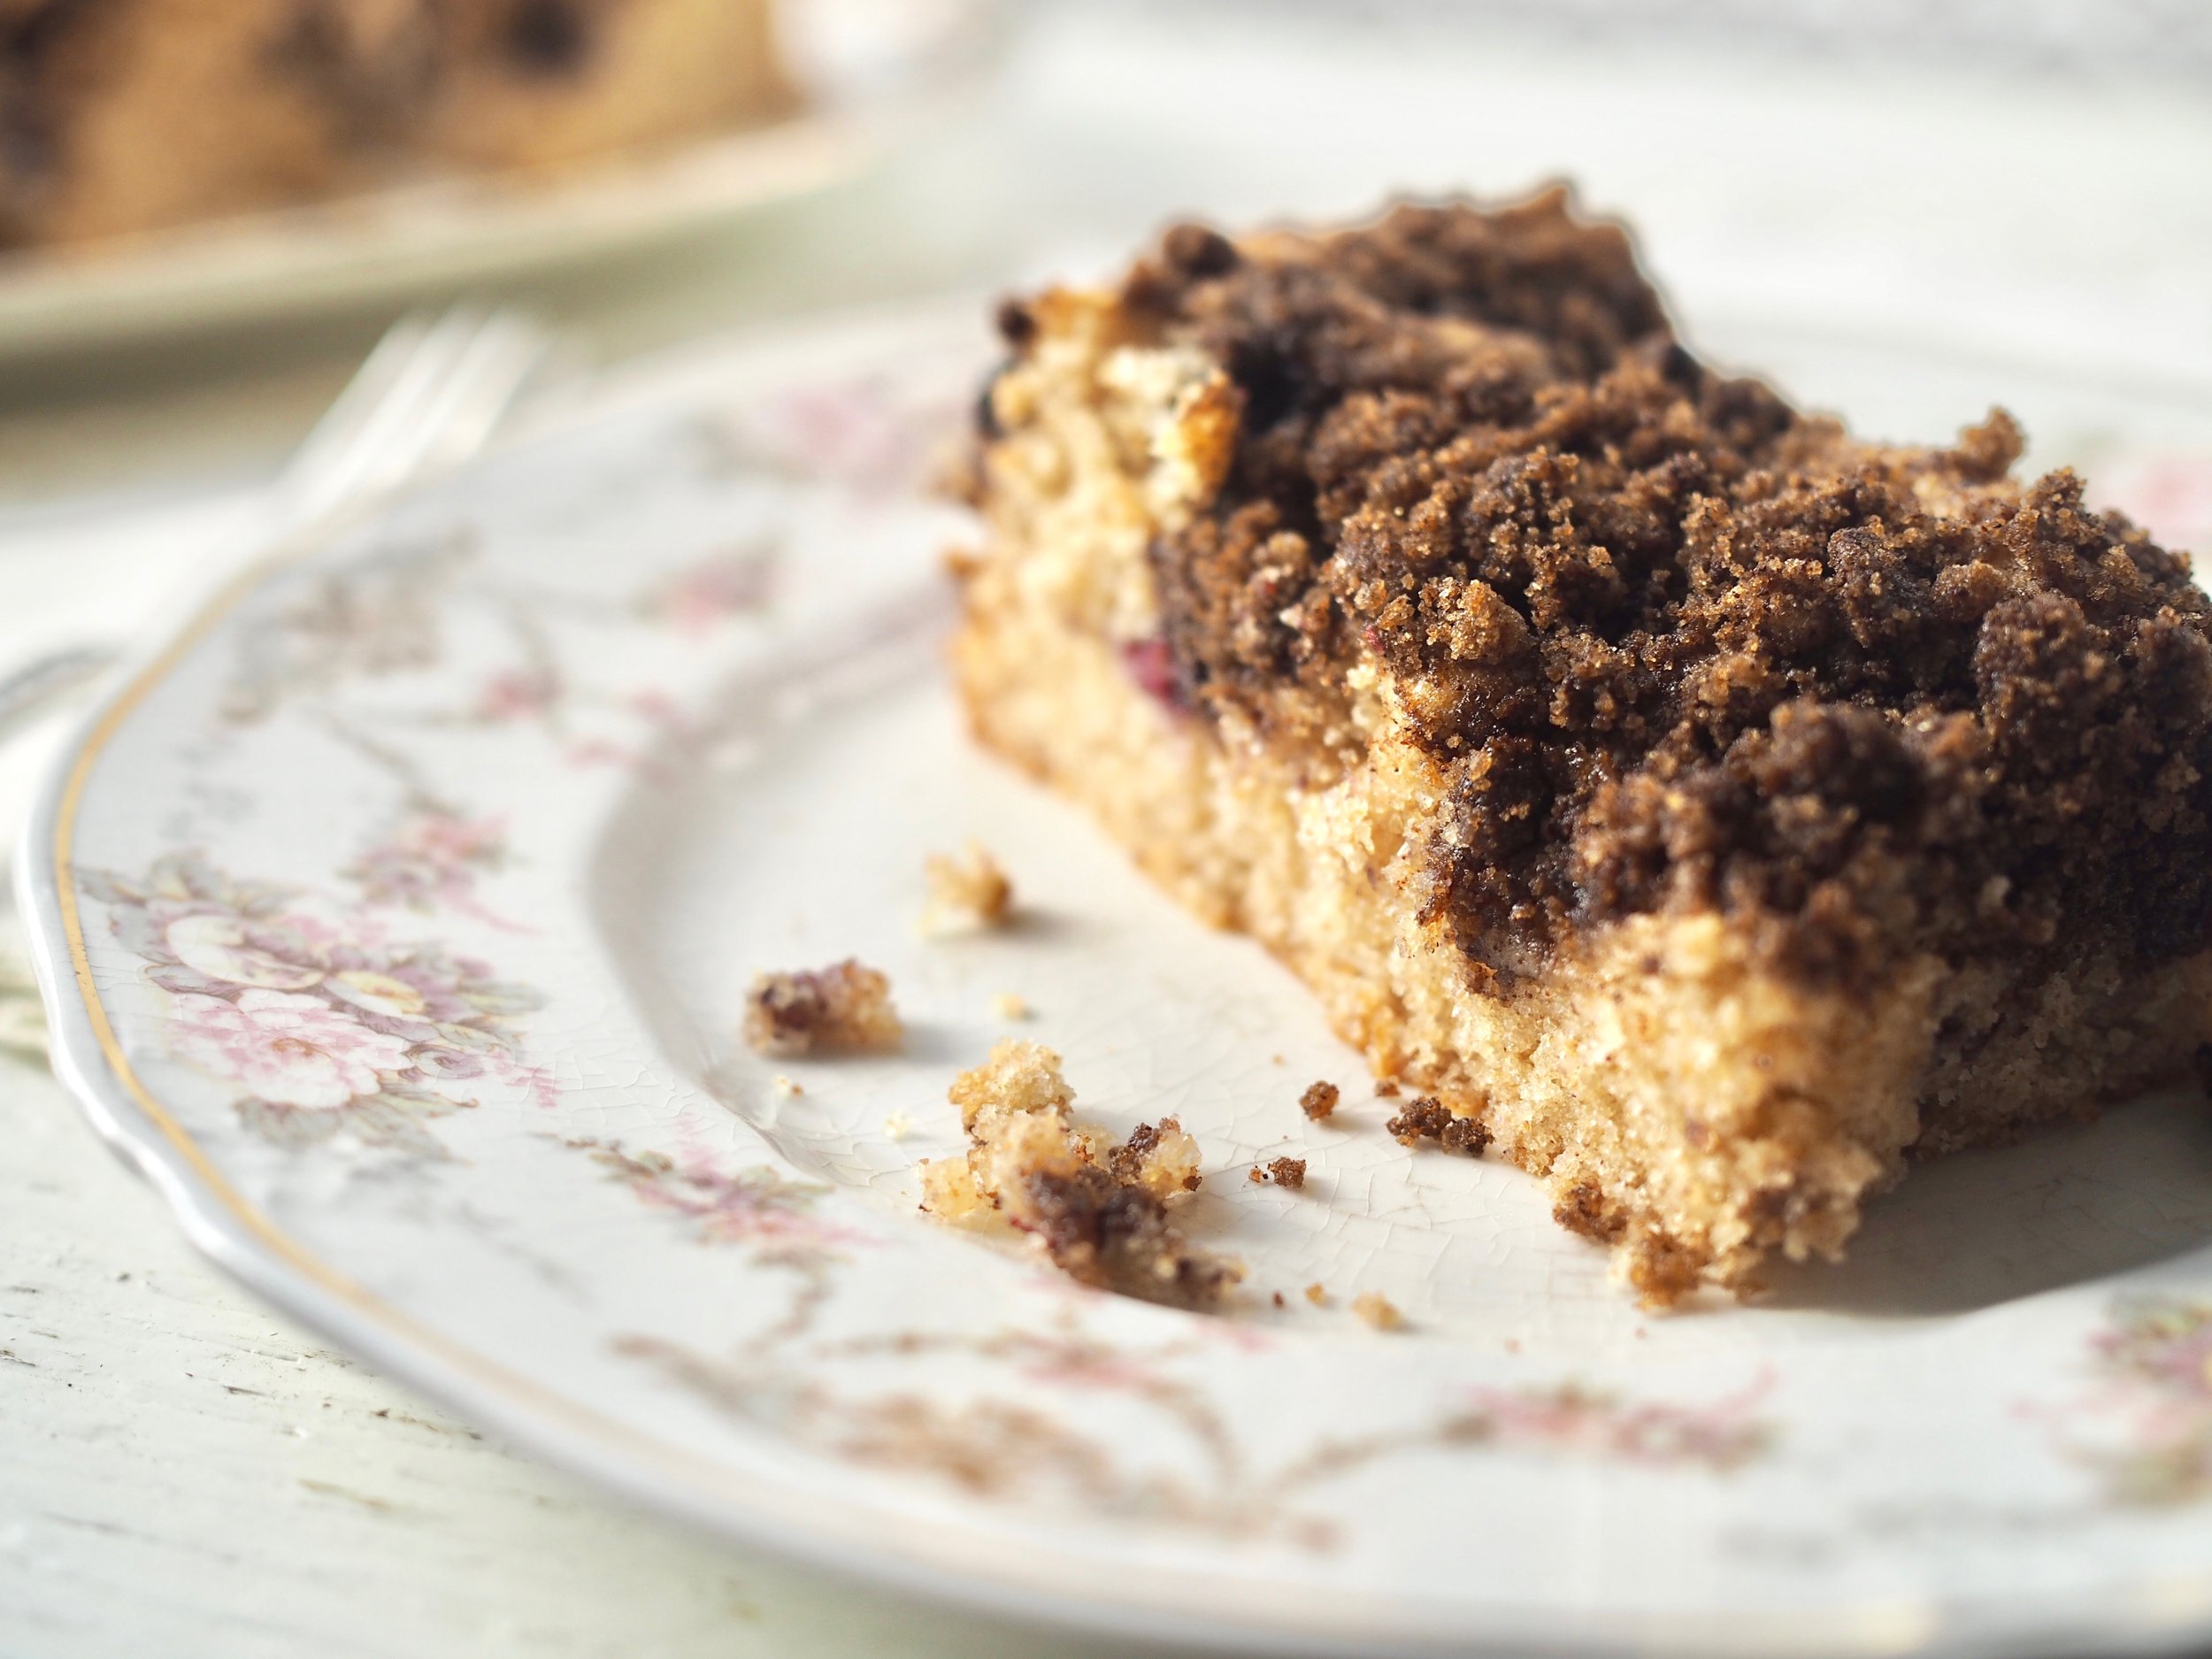
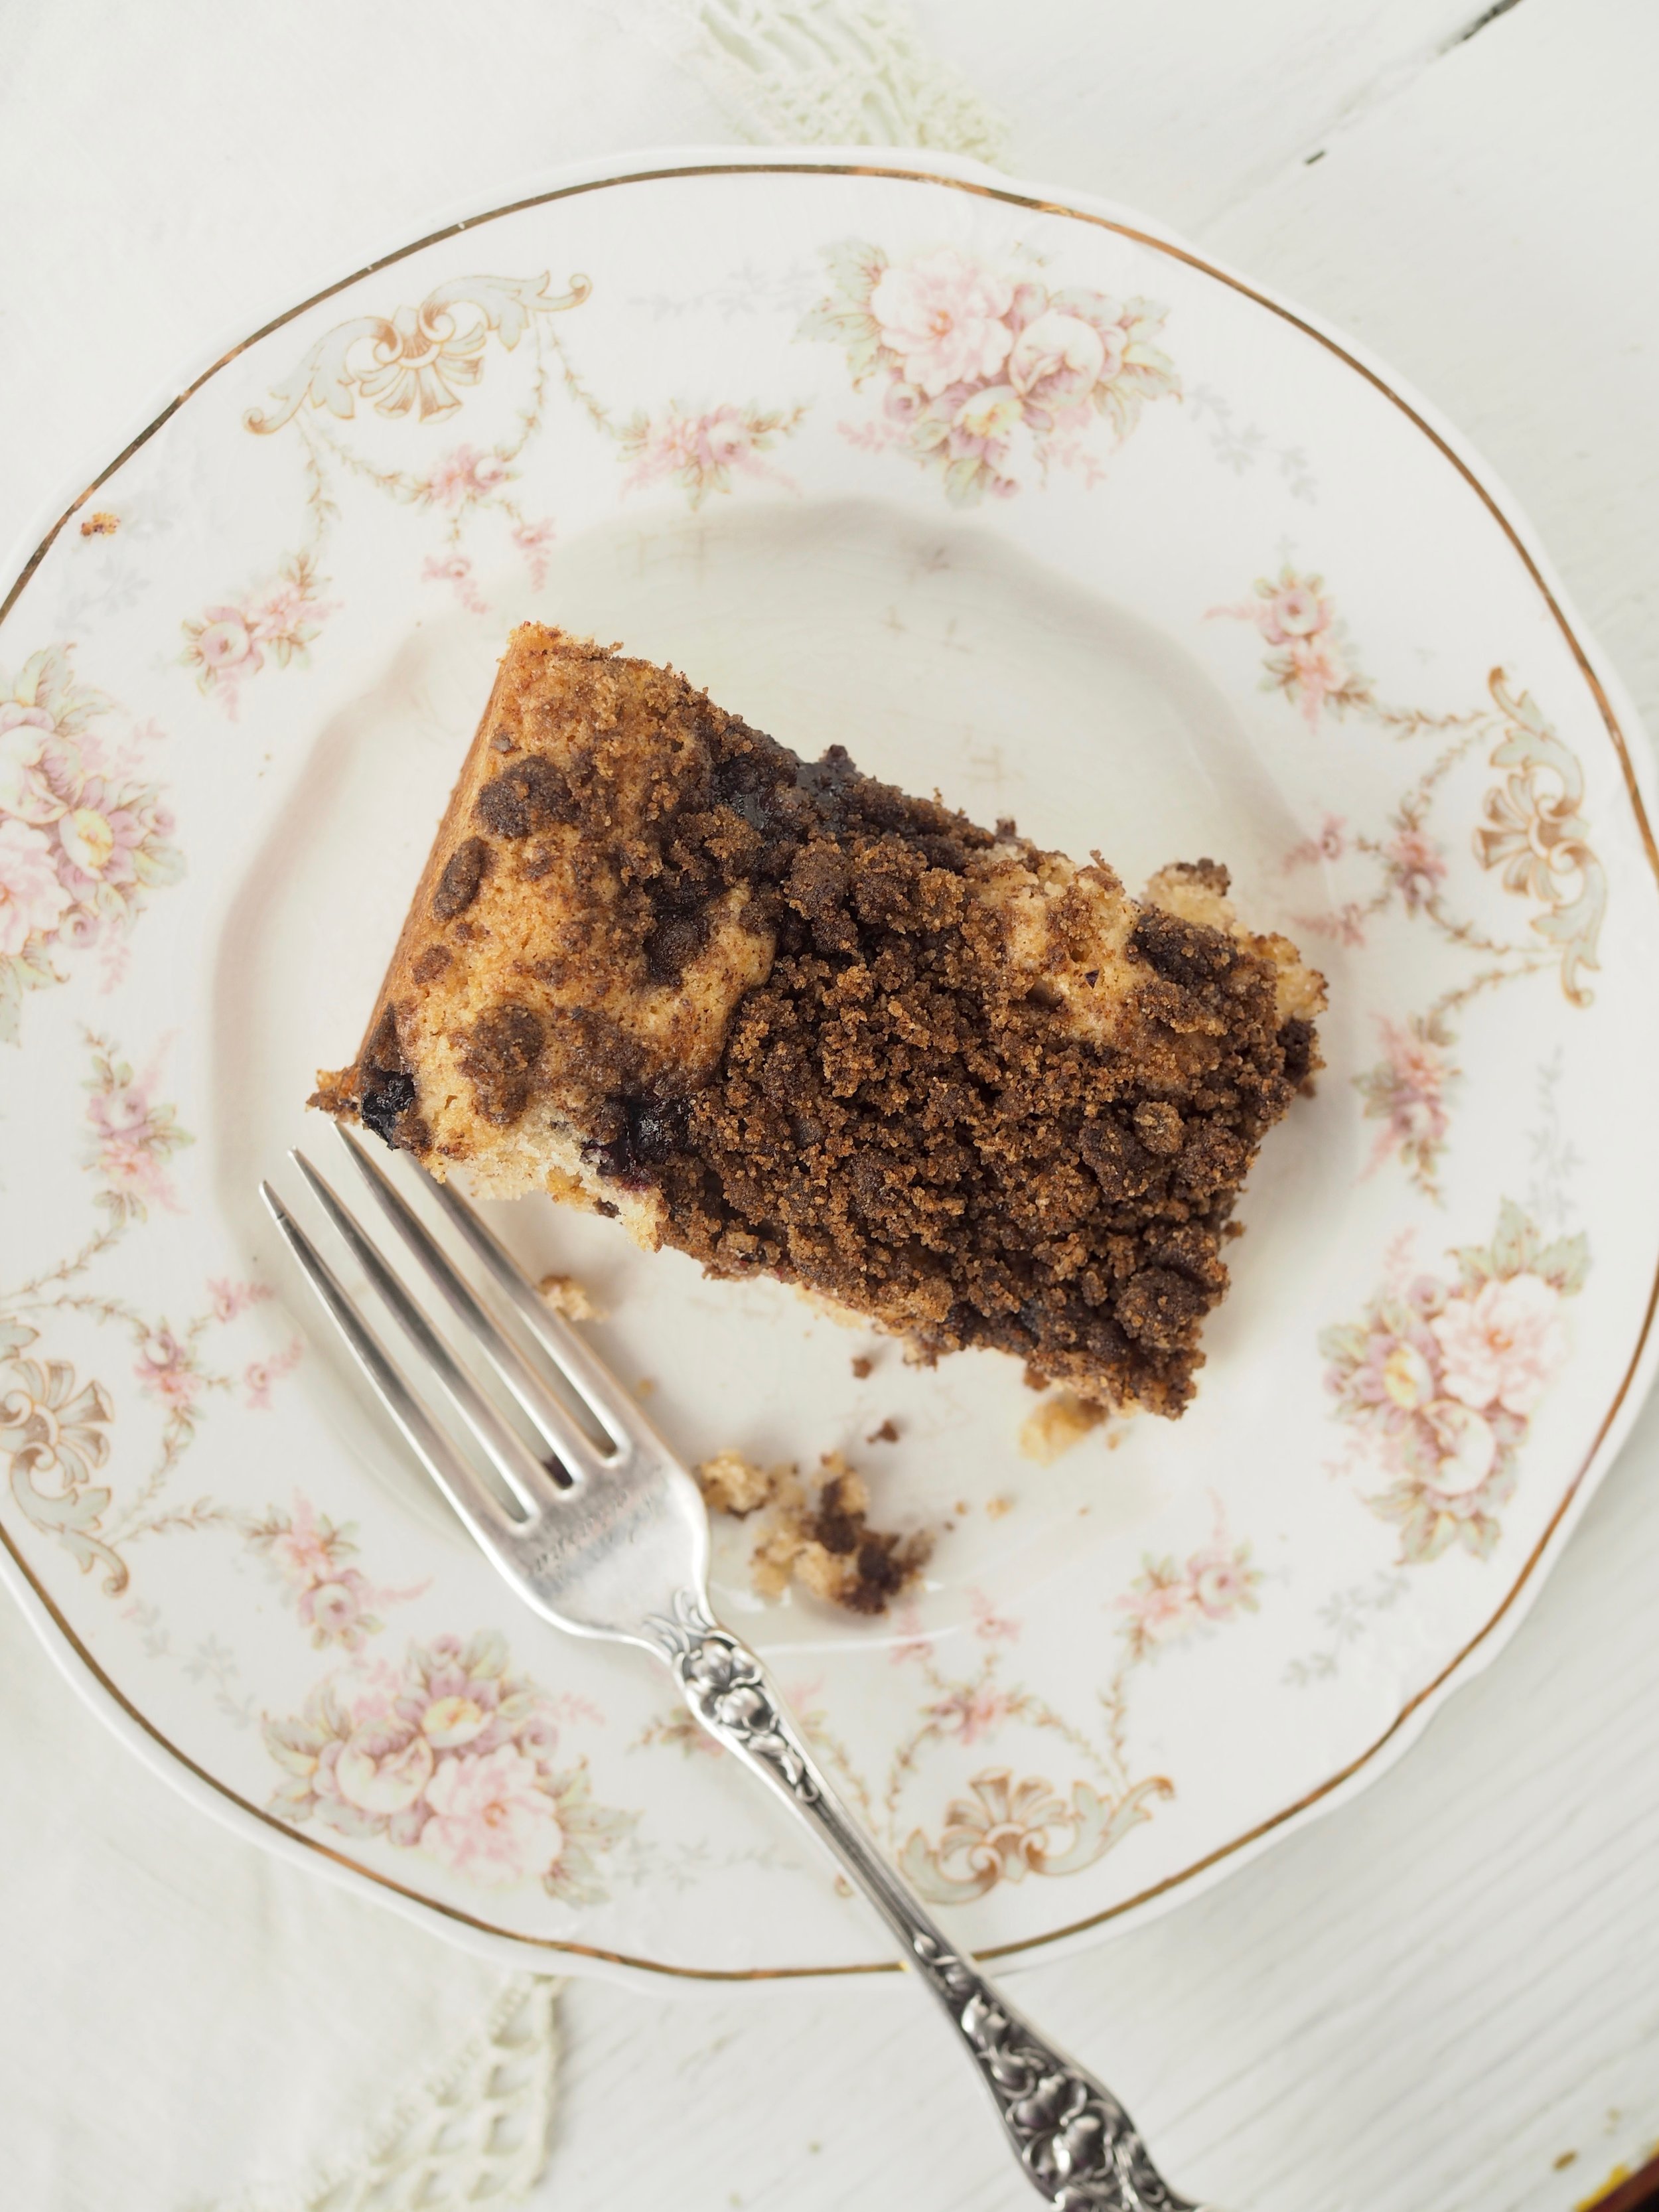
Do you feel that family recipes are sacred? I used to. I would stick to the recipes passed to me not daring to deviate in the slightest. But the longer I've been baking, the more I feel open to tweaking. Same goes with recipes from other sources. Perhaps its more about confidence than anything else.
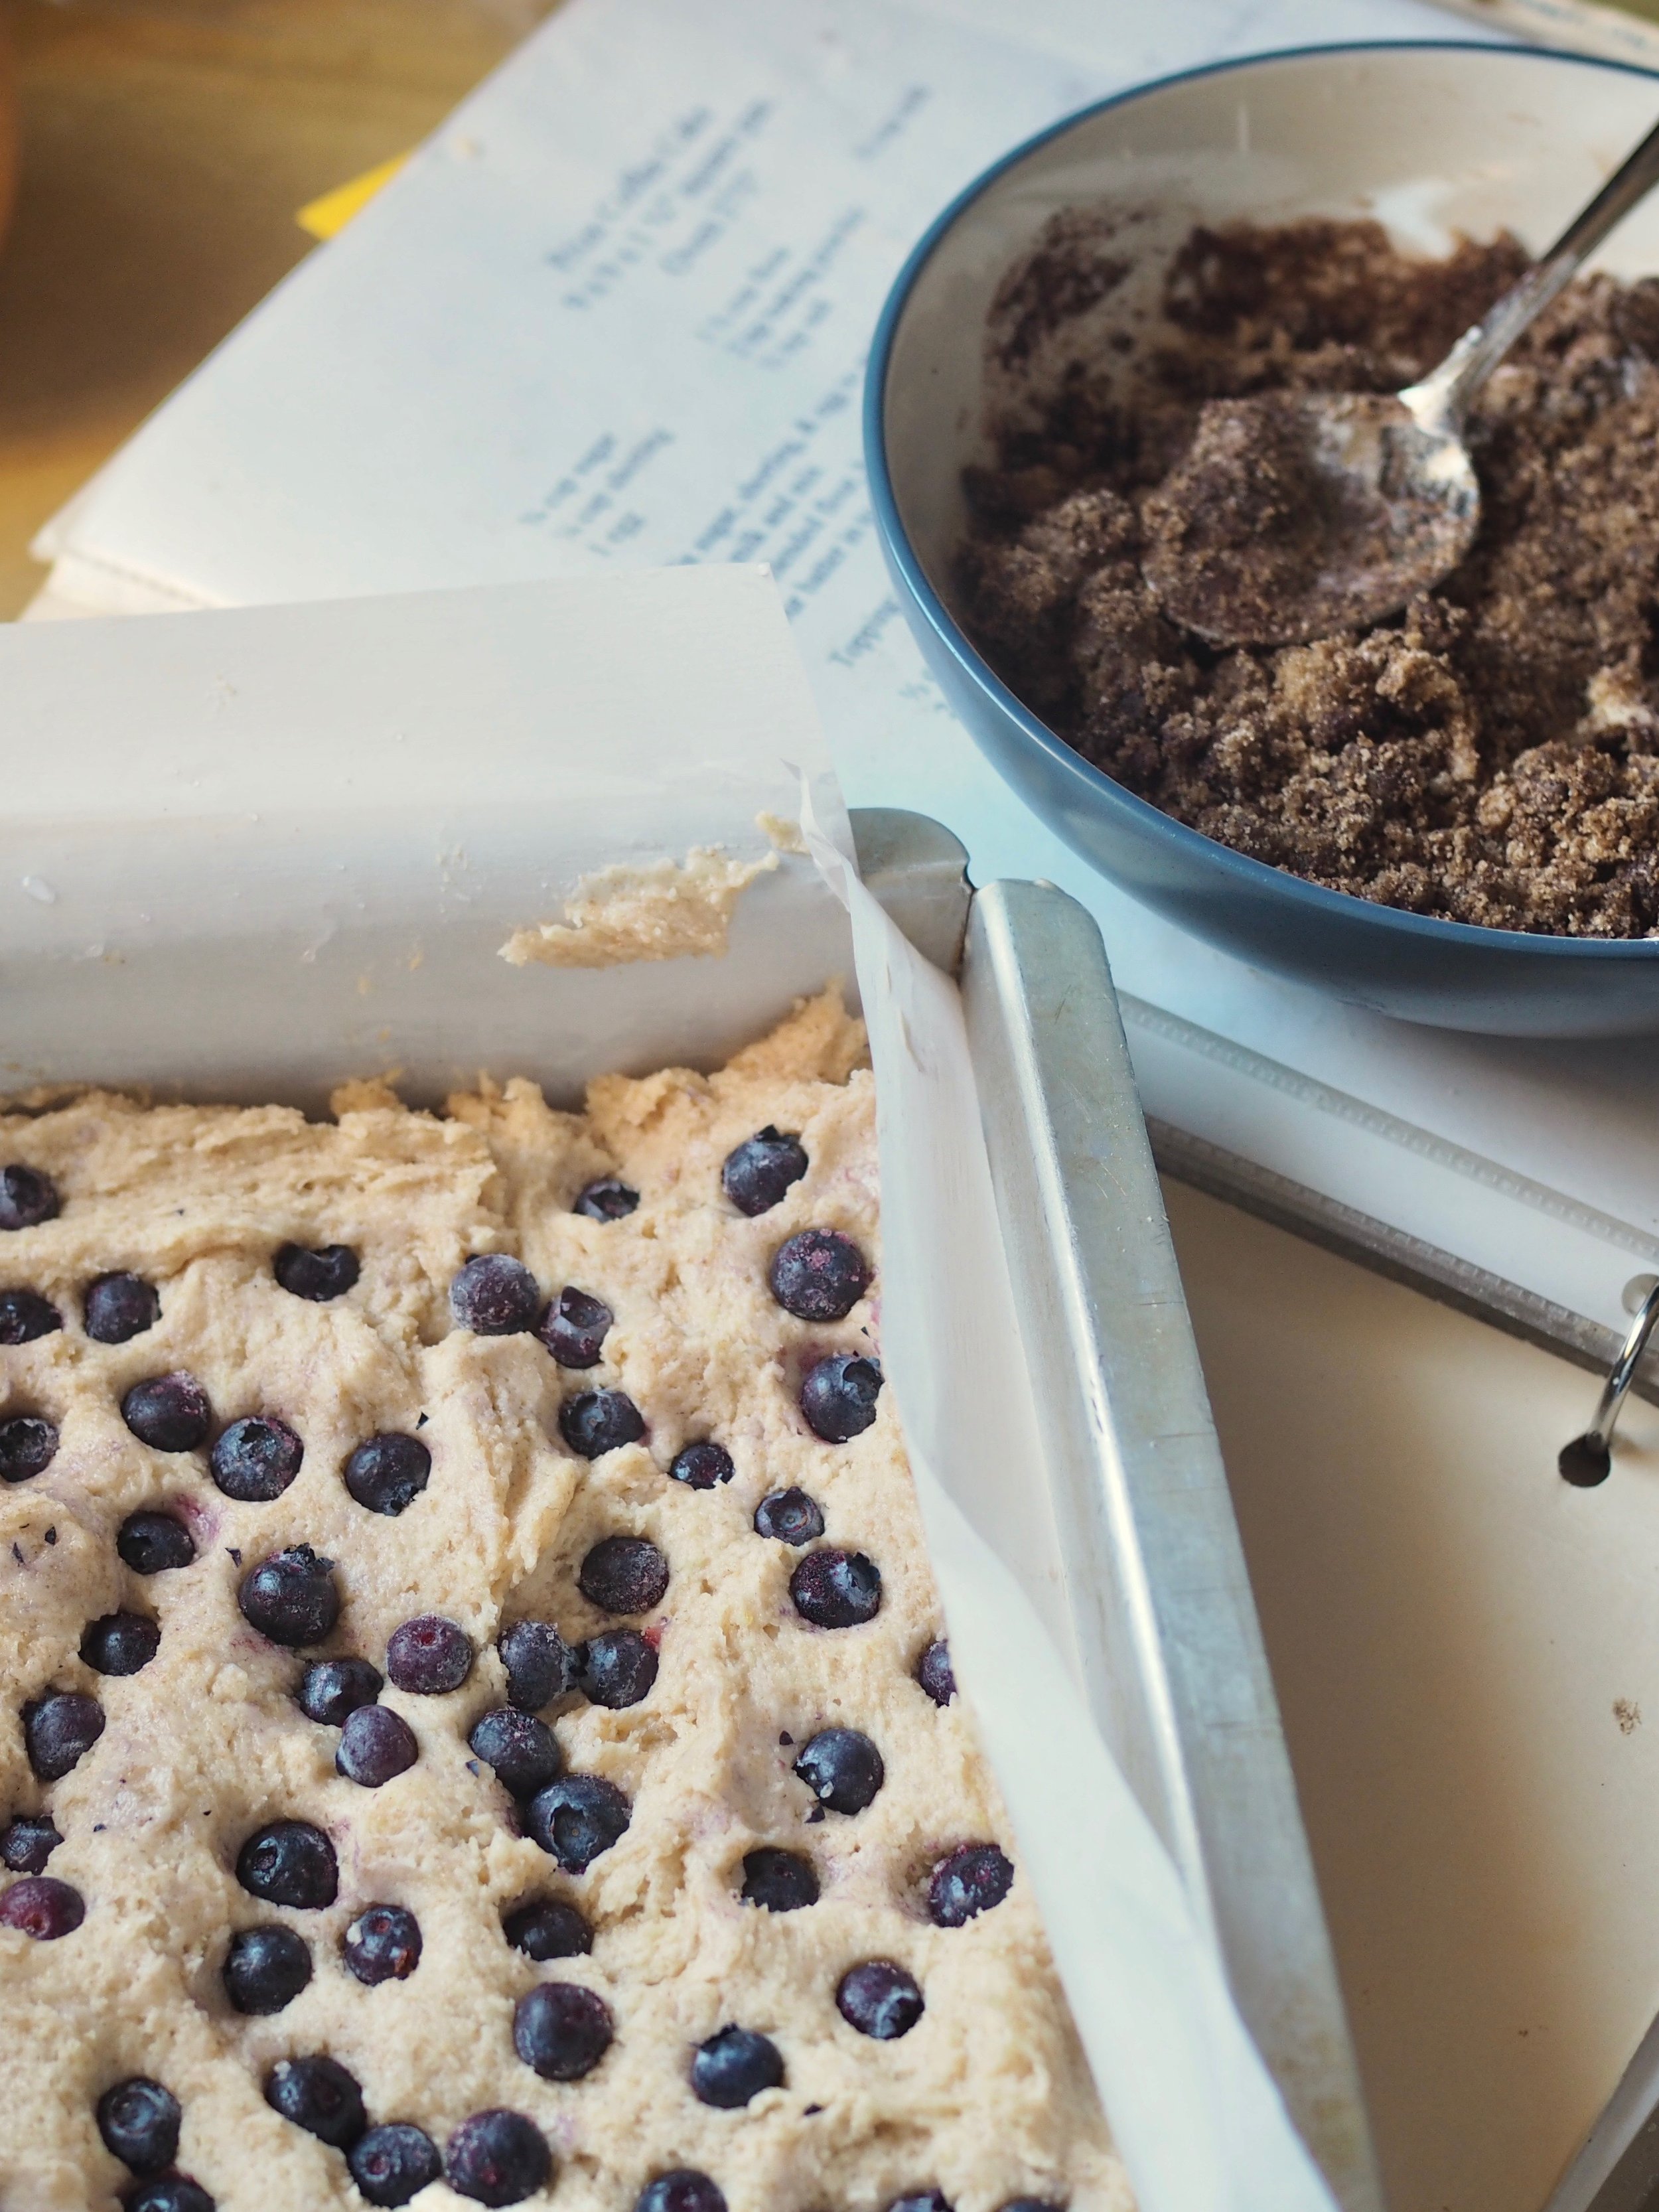
This recipe, listed in my book as "Prize Coffee Cake" due to its history winning ribbons at the LA Country Fair, was a staple in my house growing up. My dad would make it on weekend mornings and I'd always go for a corner piece, because extra topping seemed to collect there. Over time, I've made a few changes. A bit of wheat flour here, a little less cinnamon there, some blueberries because I live in Maine and have a ton in my freezer.
In the end, I don't think Dad would mind. Maybe he'd even go for a second slice. :)
Prize Coffee Cake
- ¾ cup sugar
- ¼ cup (or 1/2 stick) butter, softened
- 1 egg, room temperature
- ¾ all-purpose flour
- ¾ wheat flour
- 2 tsp baking powder
- ½ tsp salt
- ½ cup milk
- ½ cup fresh or frozen blueberries (optional)
Topping
- ½ cup brown sugar
- 2 Tbl melted butter
- 2 Tbl flour
- 1-2 Tbl cinnamon
Preheat oven to 375°F. Grease and flour a 9"x9" pan, line with parchment as desired.
Cream together sugar and butter until light and fluffy. Add egg and mix until fully combined.
In a separate bowl, blend flour, baking powder and salt. Alternating with the milk, add flour mix to butter cream. Pour into pan.
If using, sprinkle blueberries across top of cake, distributing them evenly, then push them down slightly into the thick batter.
Mix together topping ingredients. If necessary add a little more melted butter until it clumps, but we wary- too much butter will cause the topping to turn molten and sink into the batter instead of staying nice and crispy on top. Sprinkle topping on top of the batter.
Bake 25-35 minutes or until a tester comes out clean. Cool slightly before cutting and serve warm, with butter as desired.
Recipe doubles well, just add 5-10 minutes cooking time for a 9"x18" pan.
Featured


Prize Coffee Cake with Blueberries
Serves 8 Ingredients: 3/4 cup sugar, 1/4 cup butter, 1 egg, 3/4 cup wheat flour, 3/4 cup all-purpose flour 2 tsp baking powder 1/2 tsp salt 1/2 cup milk 1/2 cup blueberries 1/2 cup brown sugar 2 Tbl melted butter 2 Tbl flour 2 Tbl cinnamonHeidi Pullover
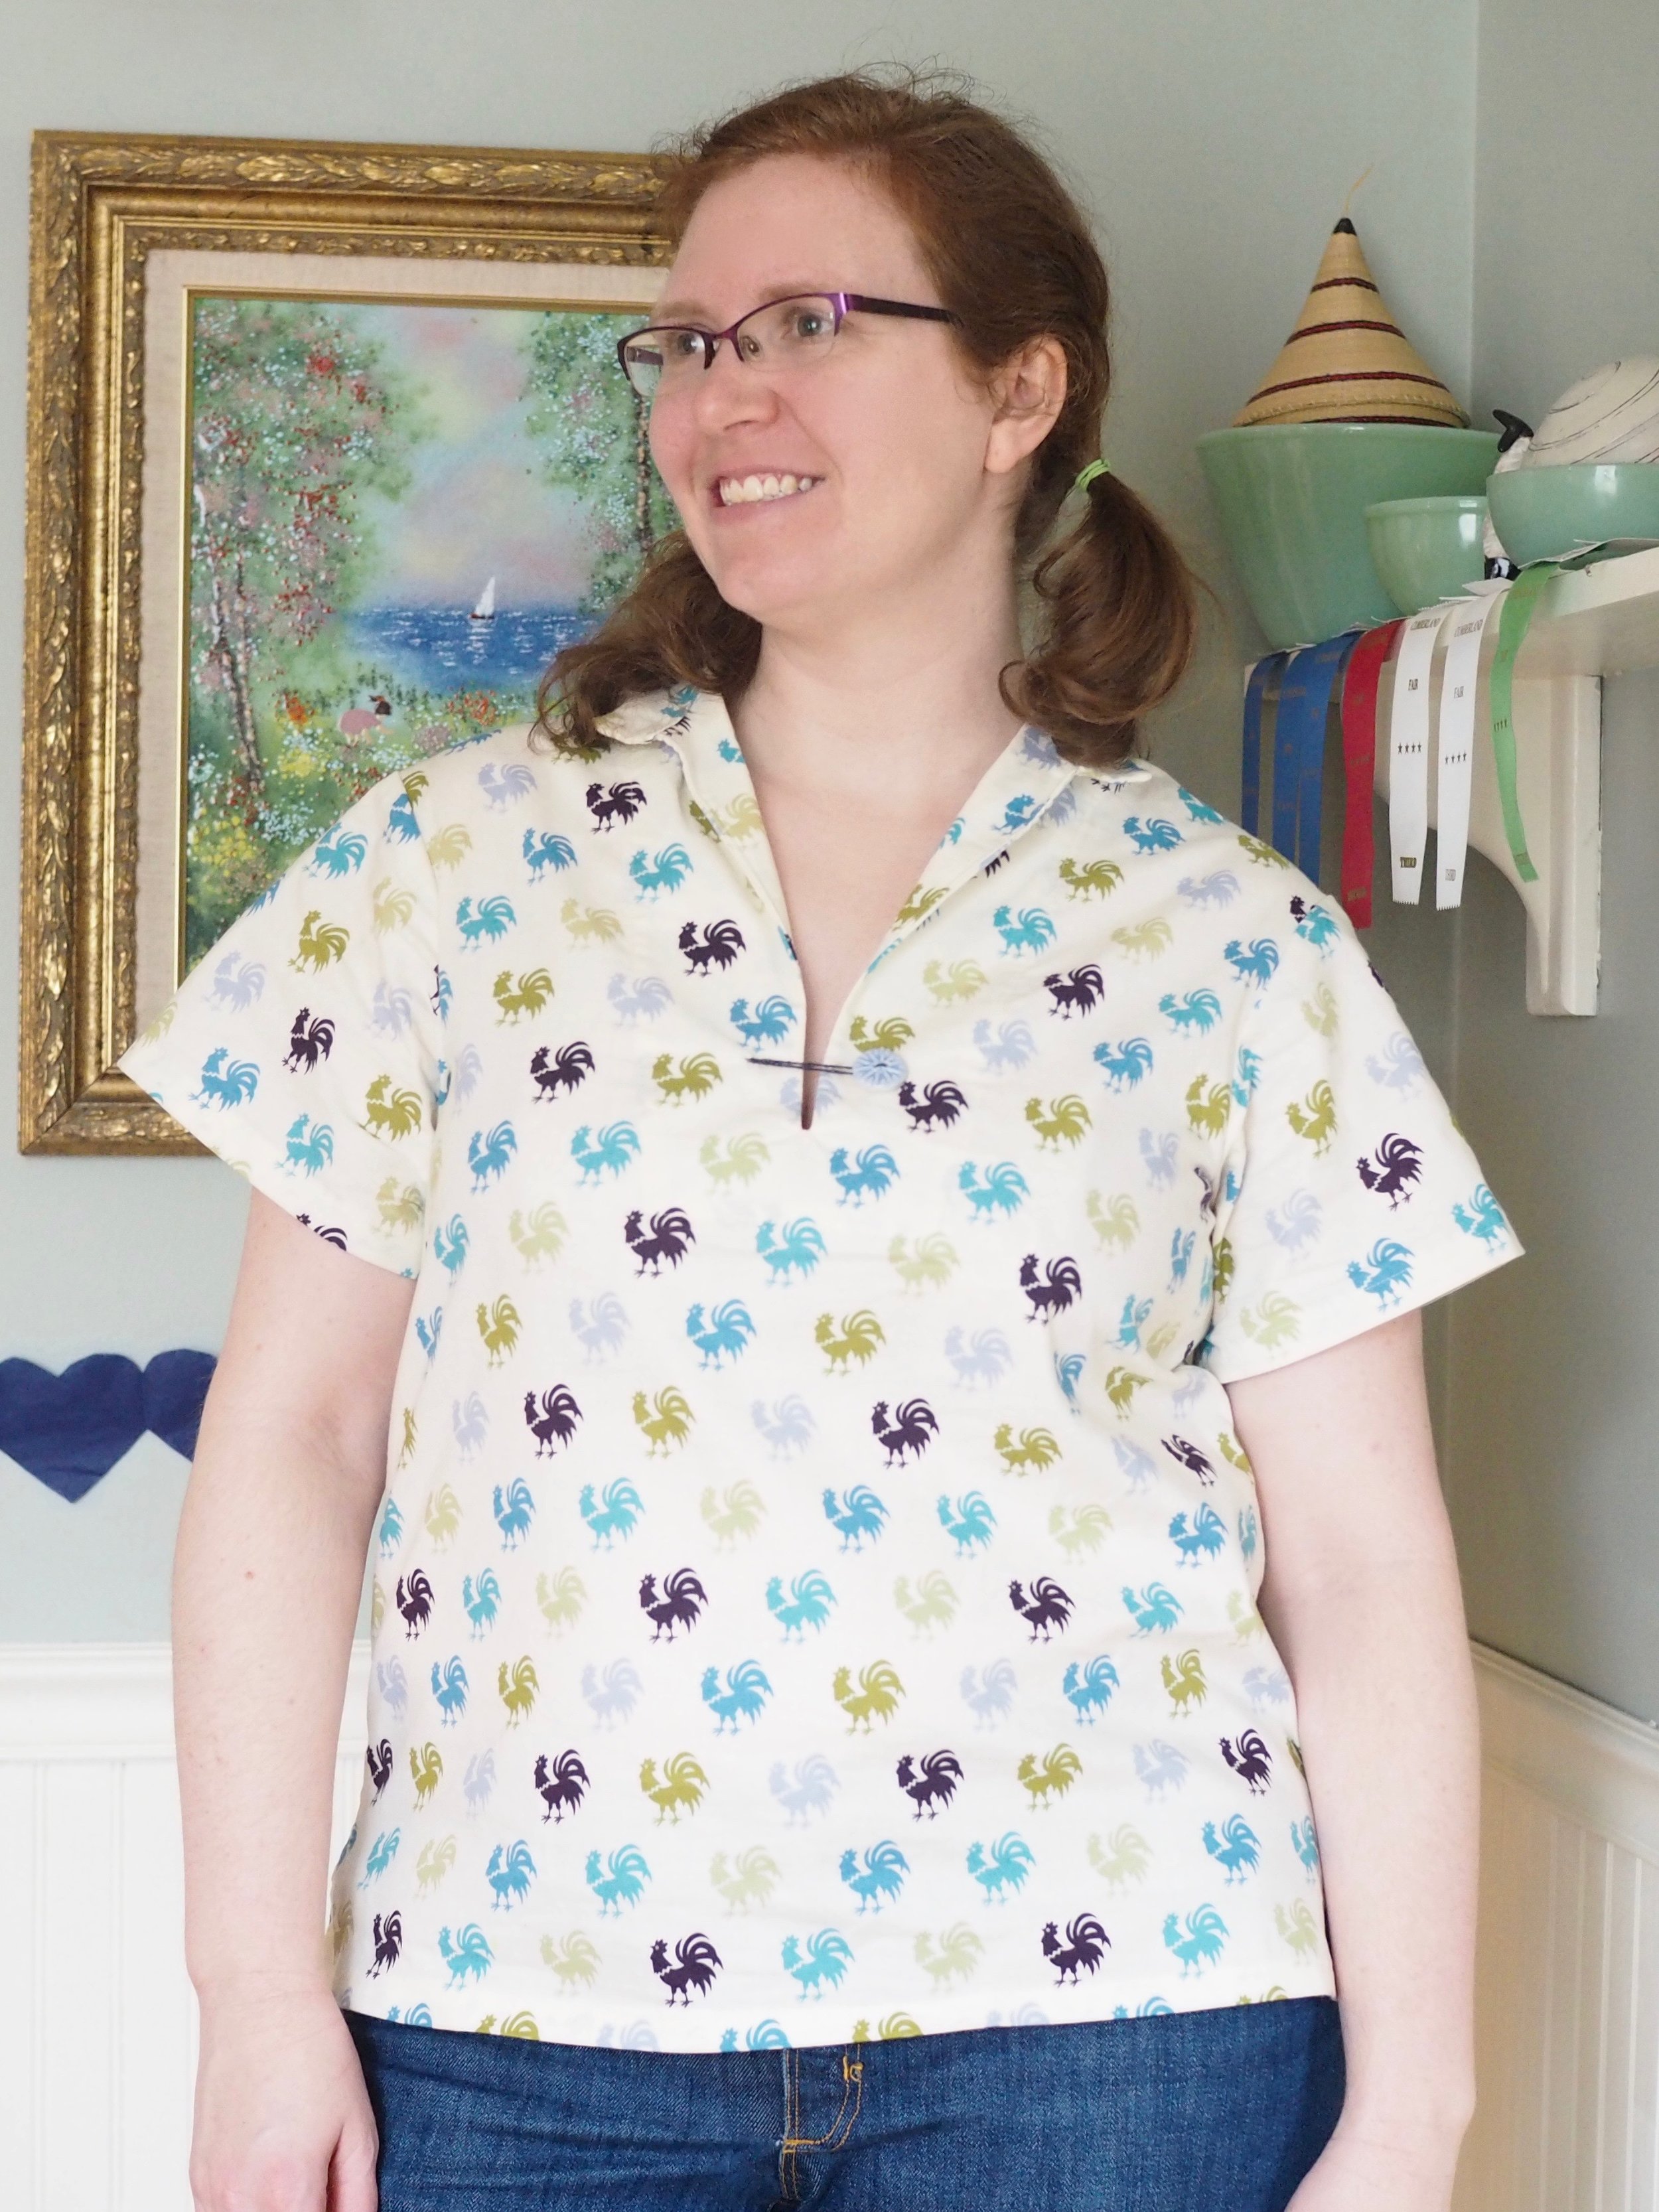

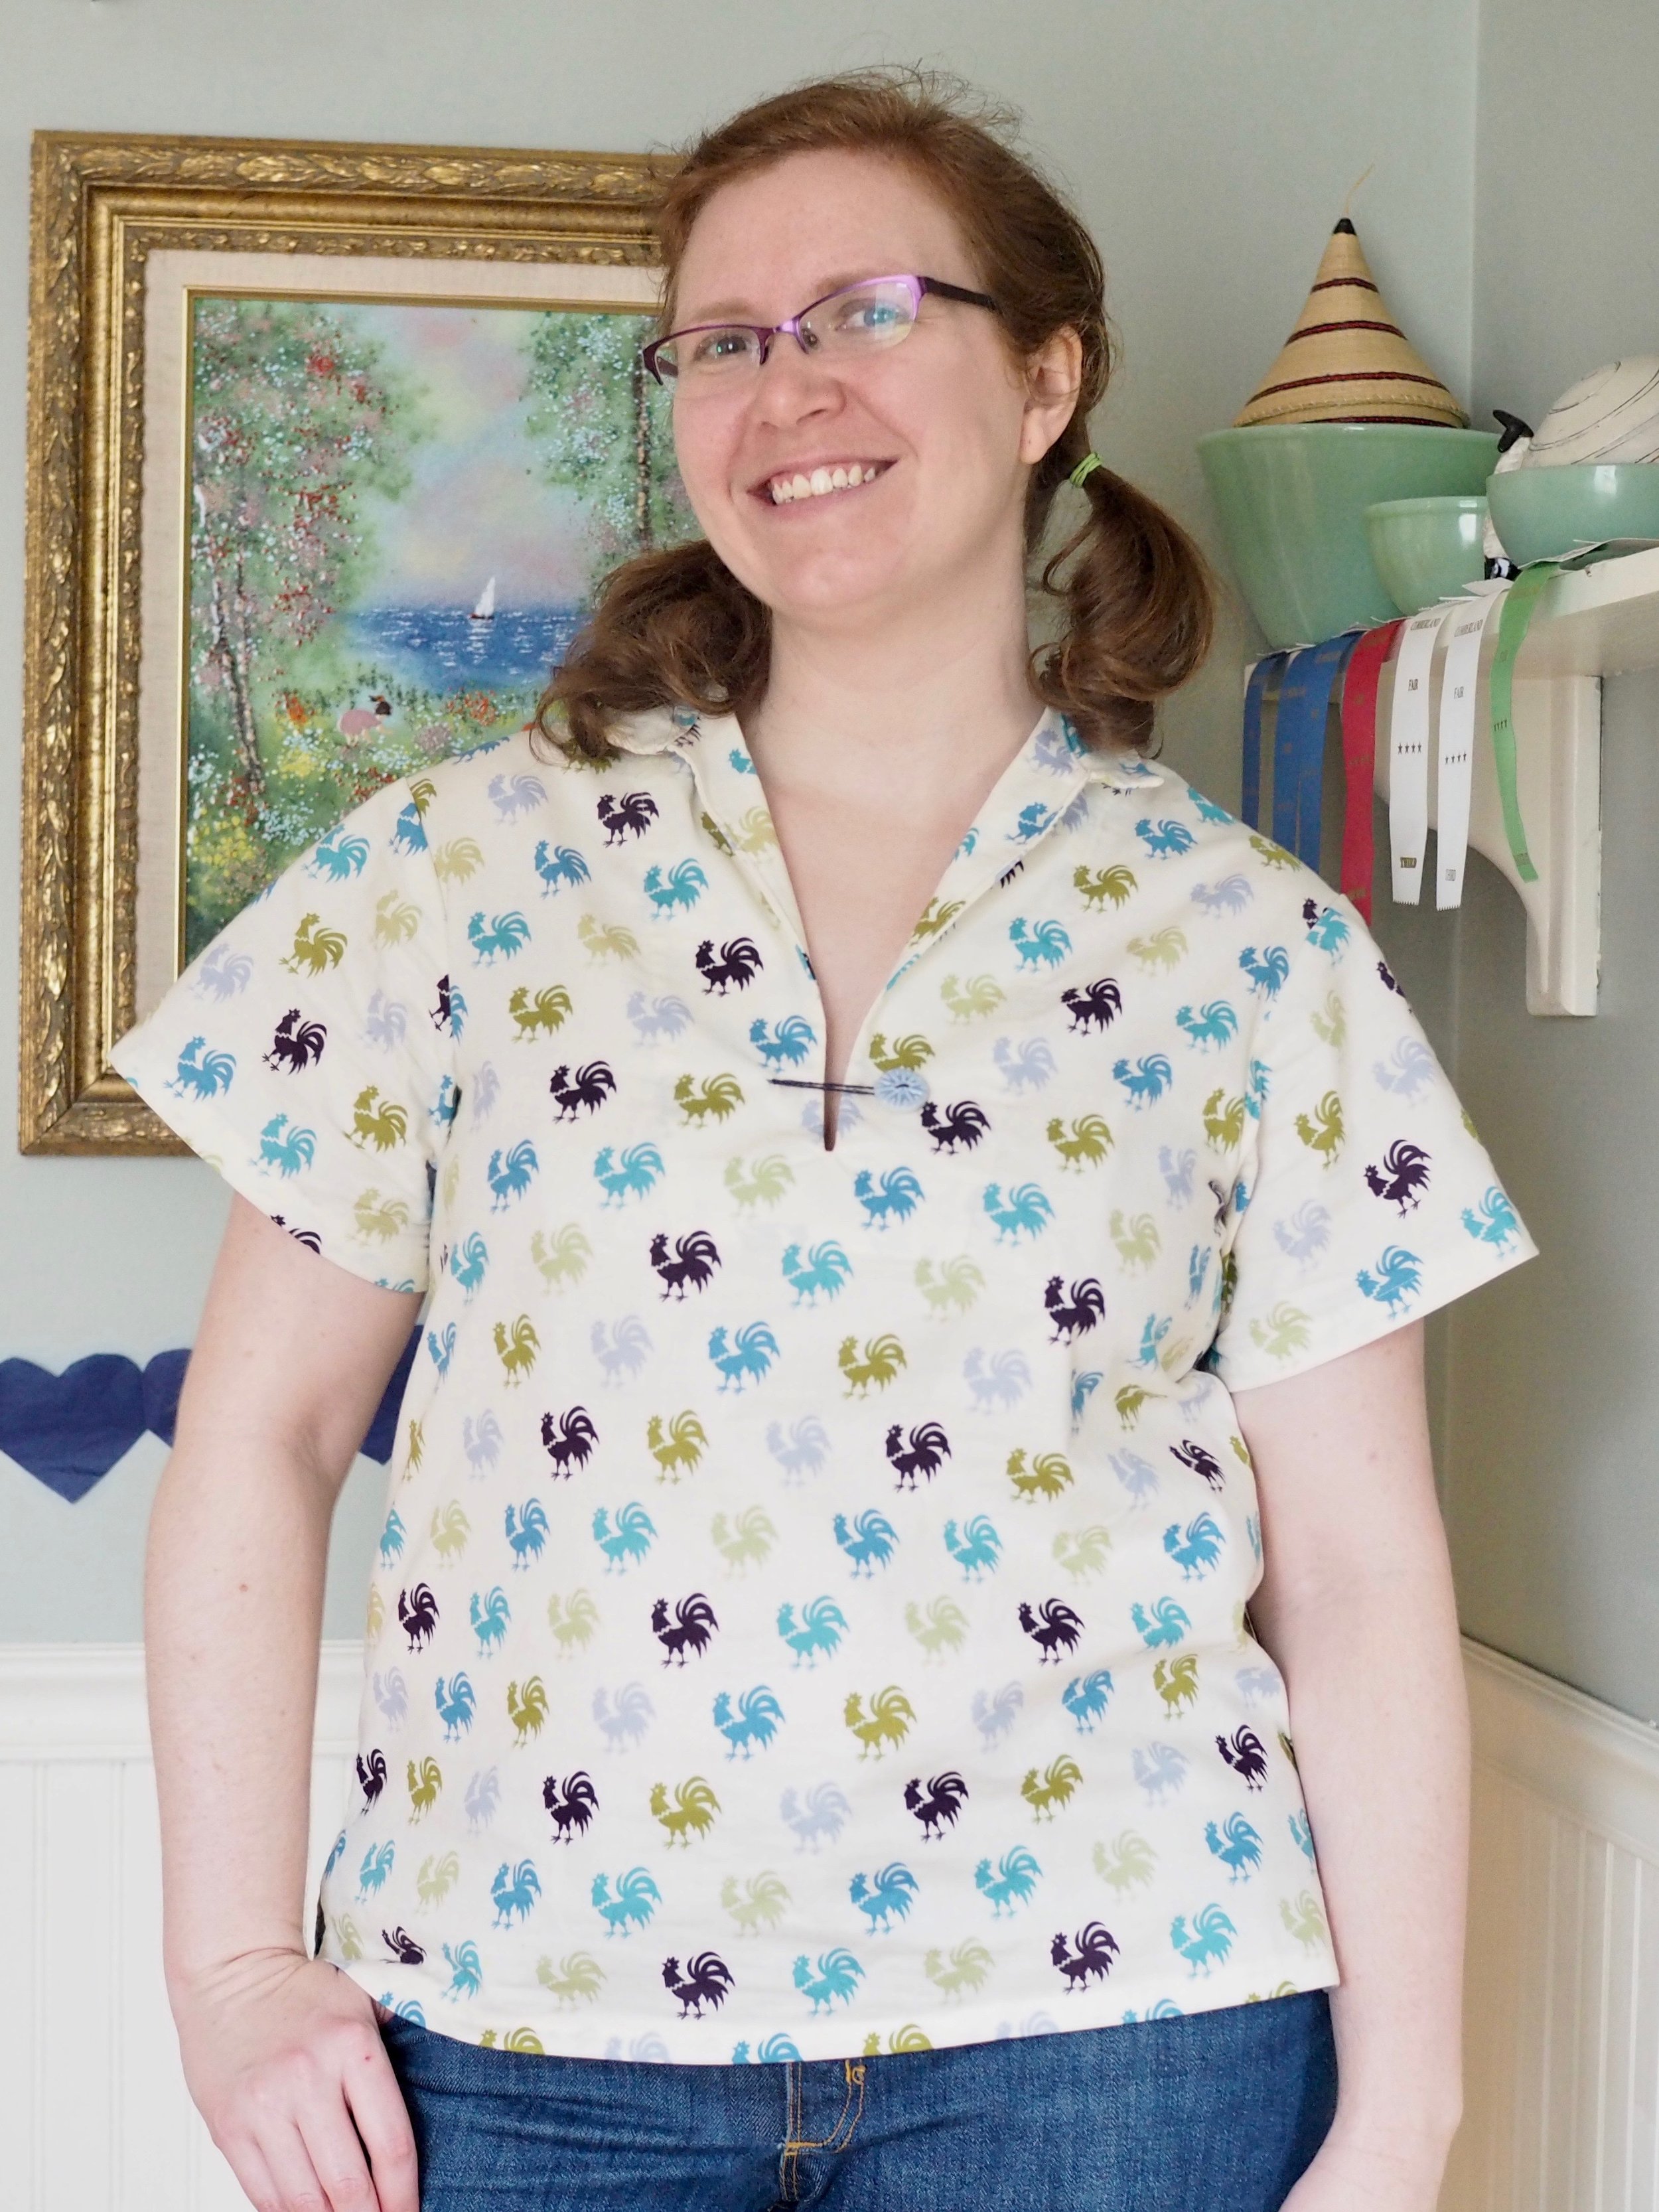
My sewing mojo has been deader than a doornail over the past few months, so it was somewhat surprising when I saw a new pattern release on Instagram, immediately bought the pattern, and sewed it up a few days later.
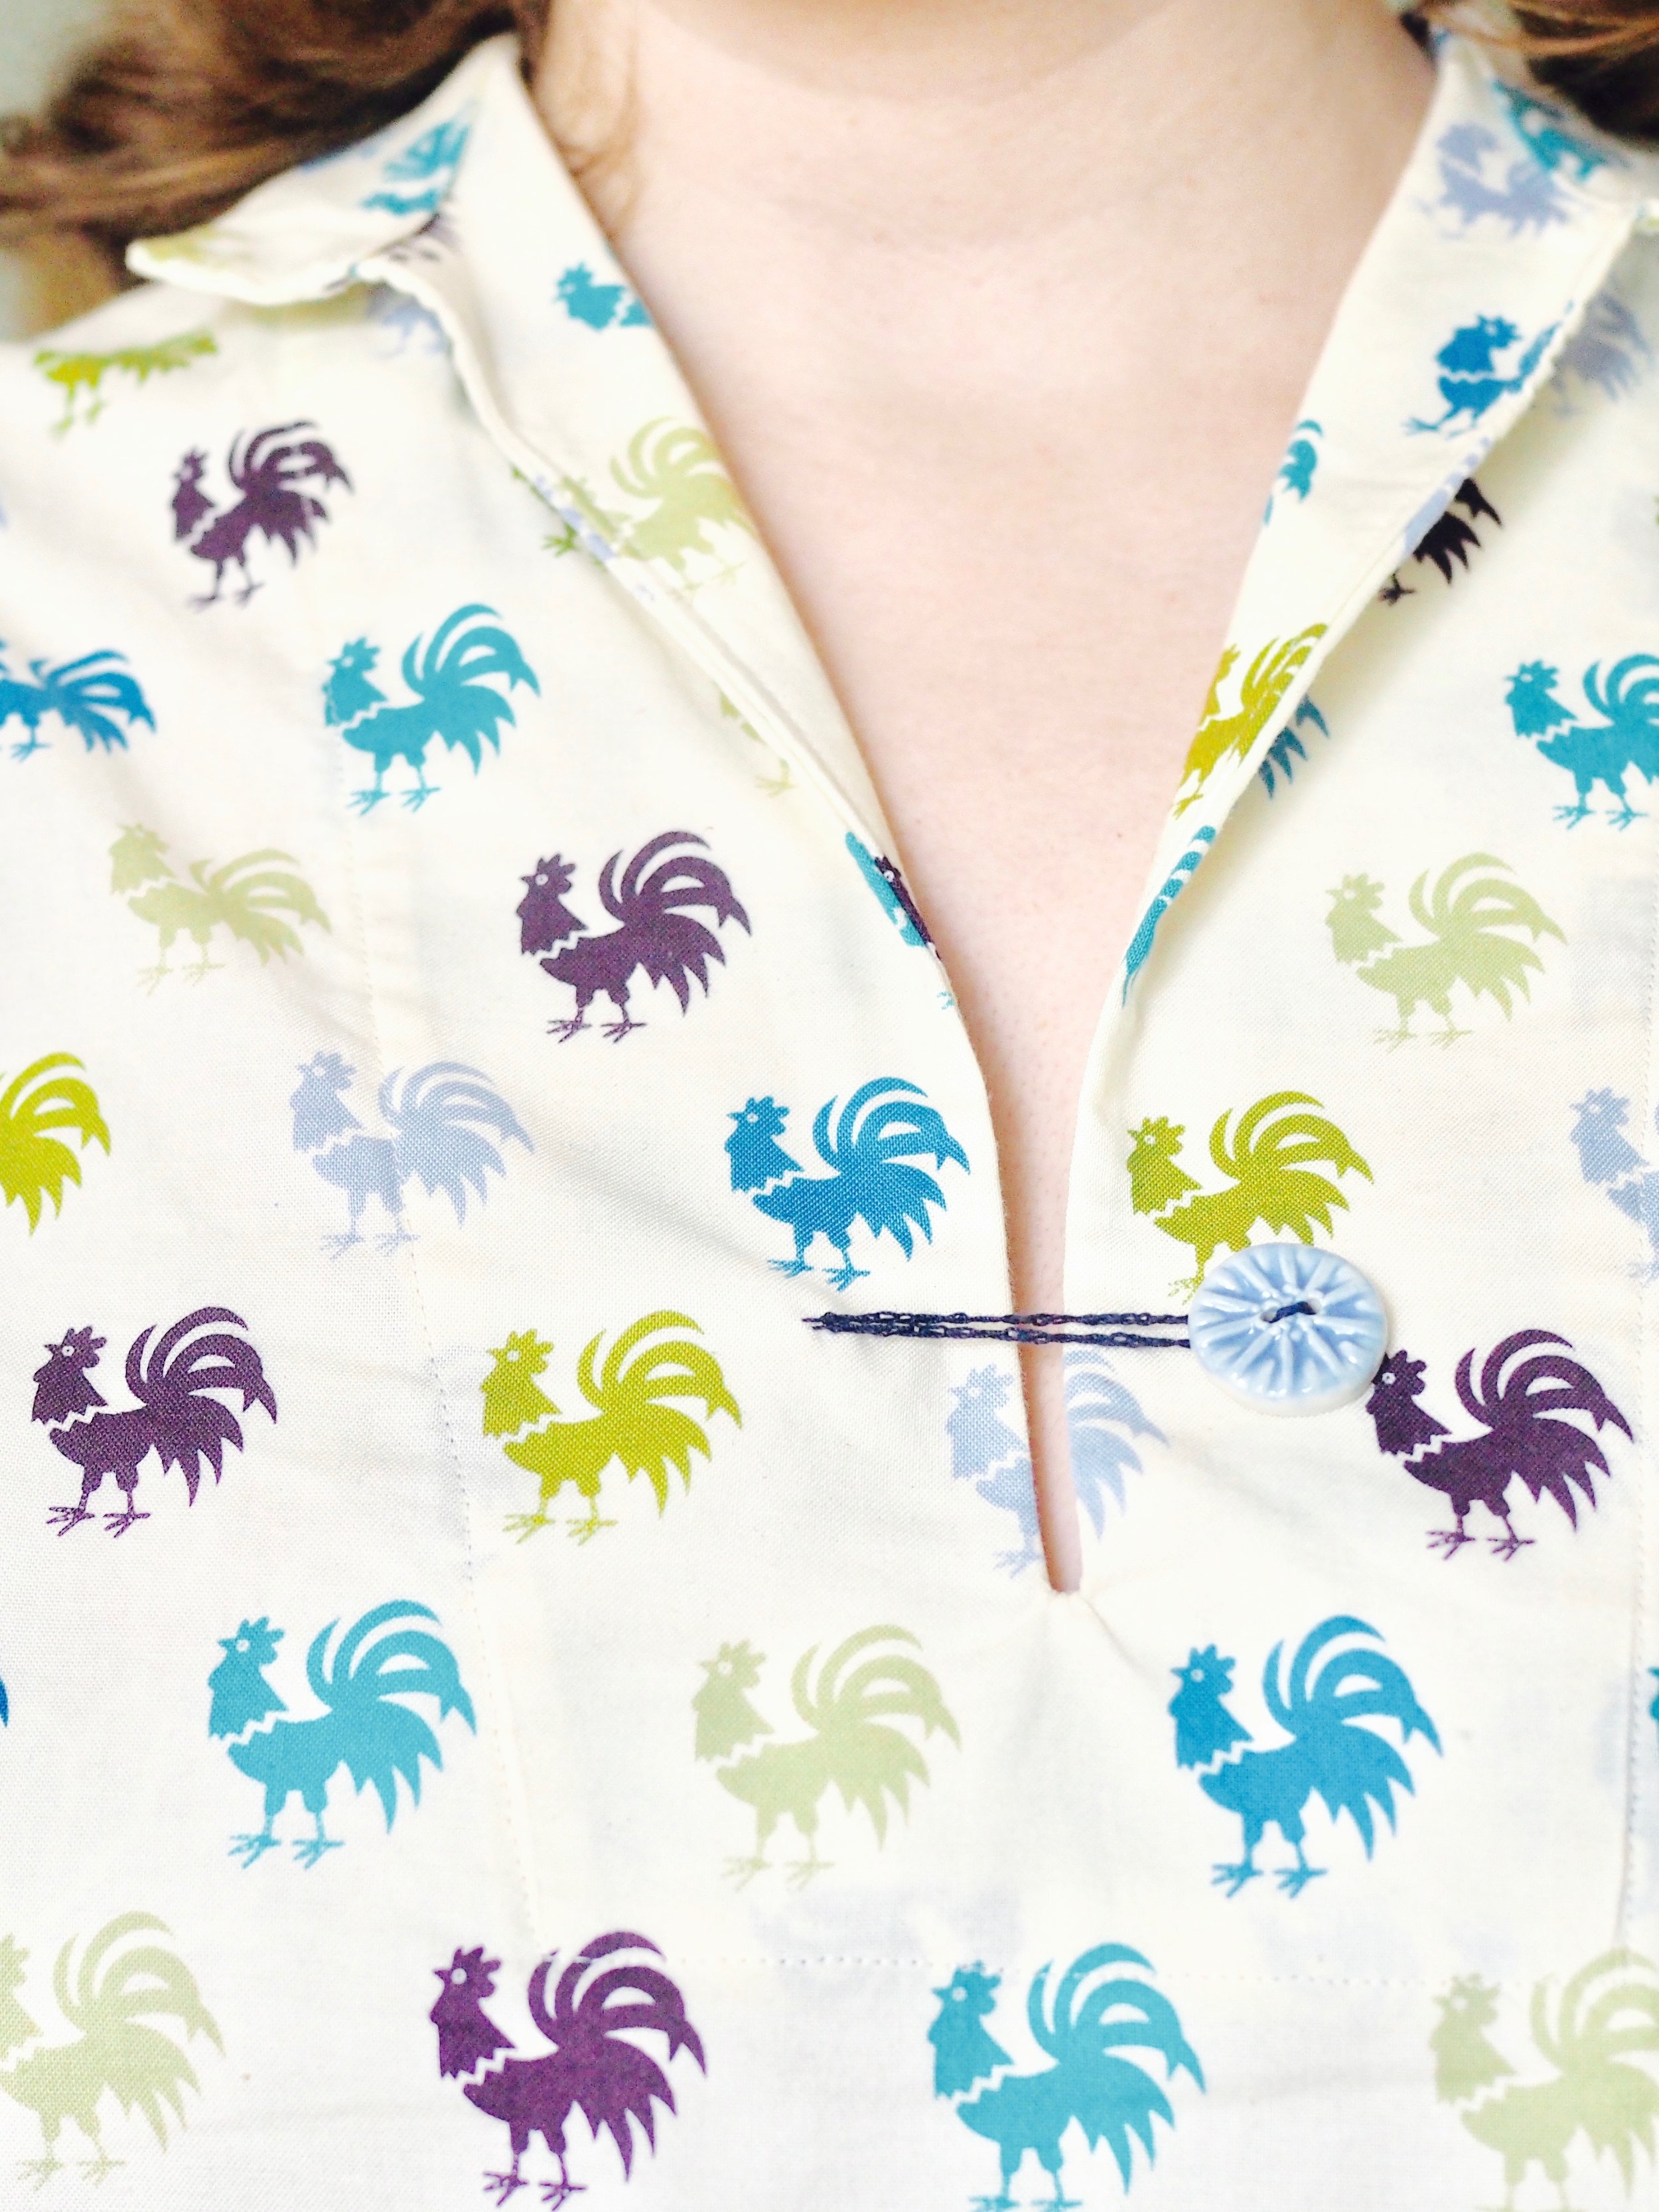
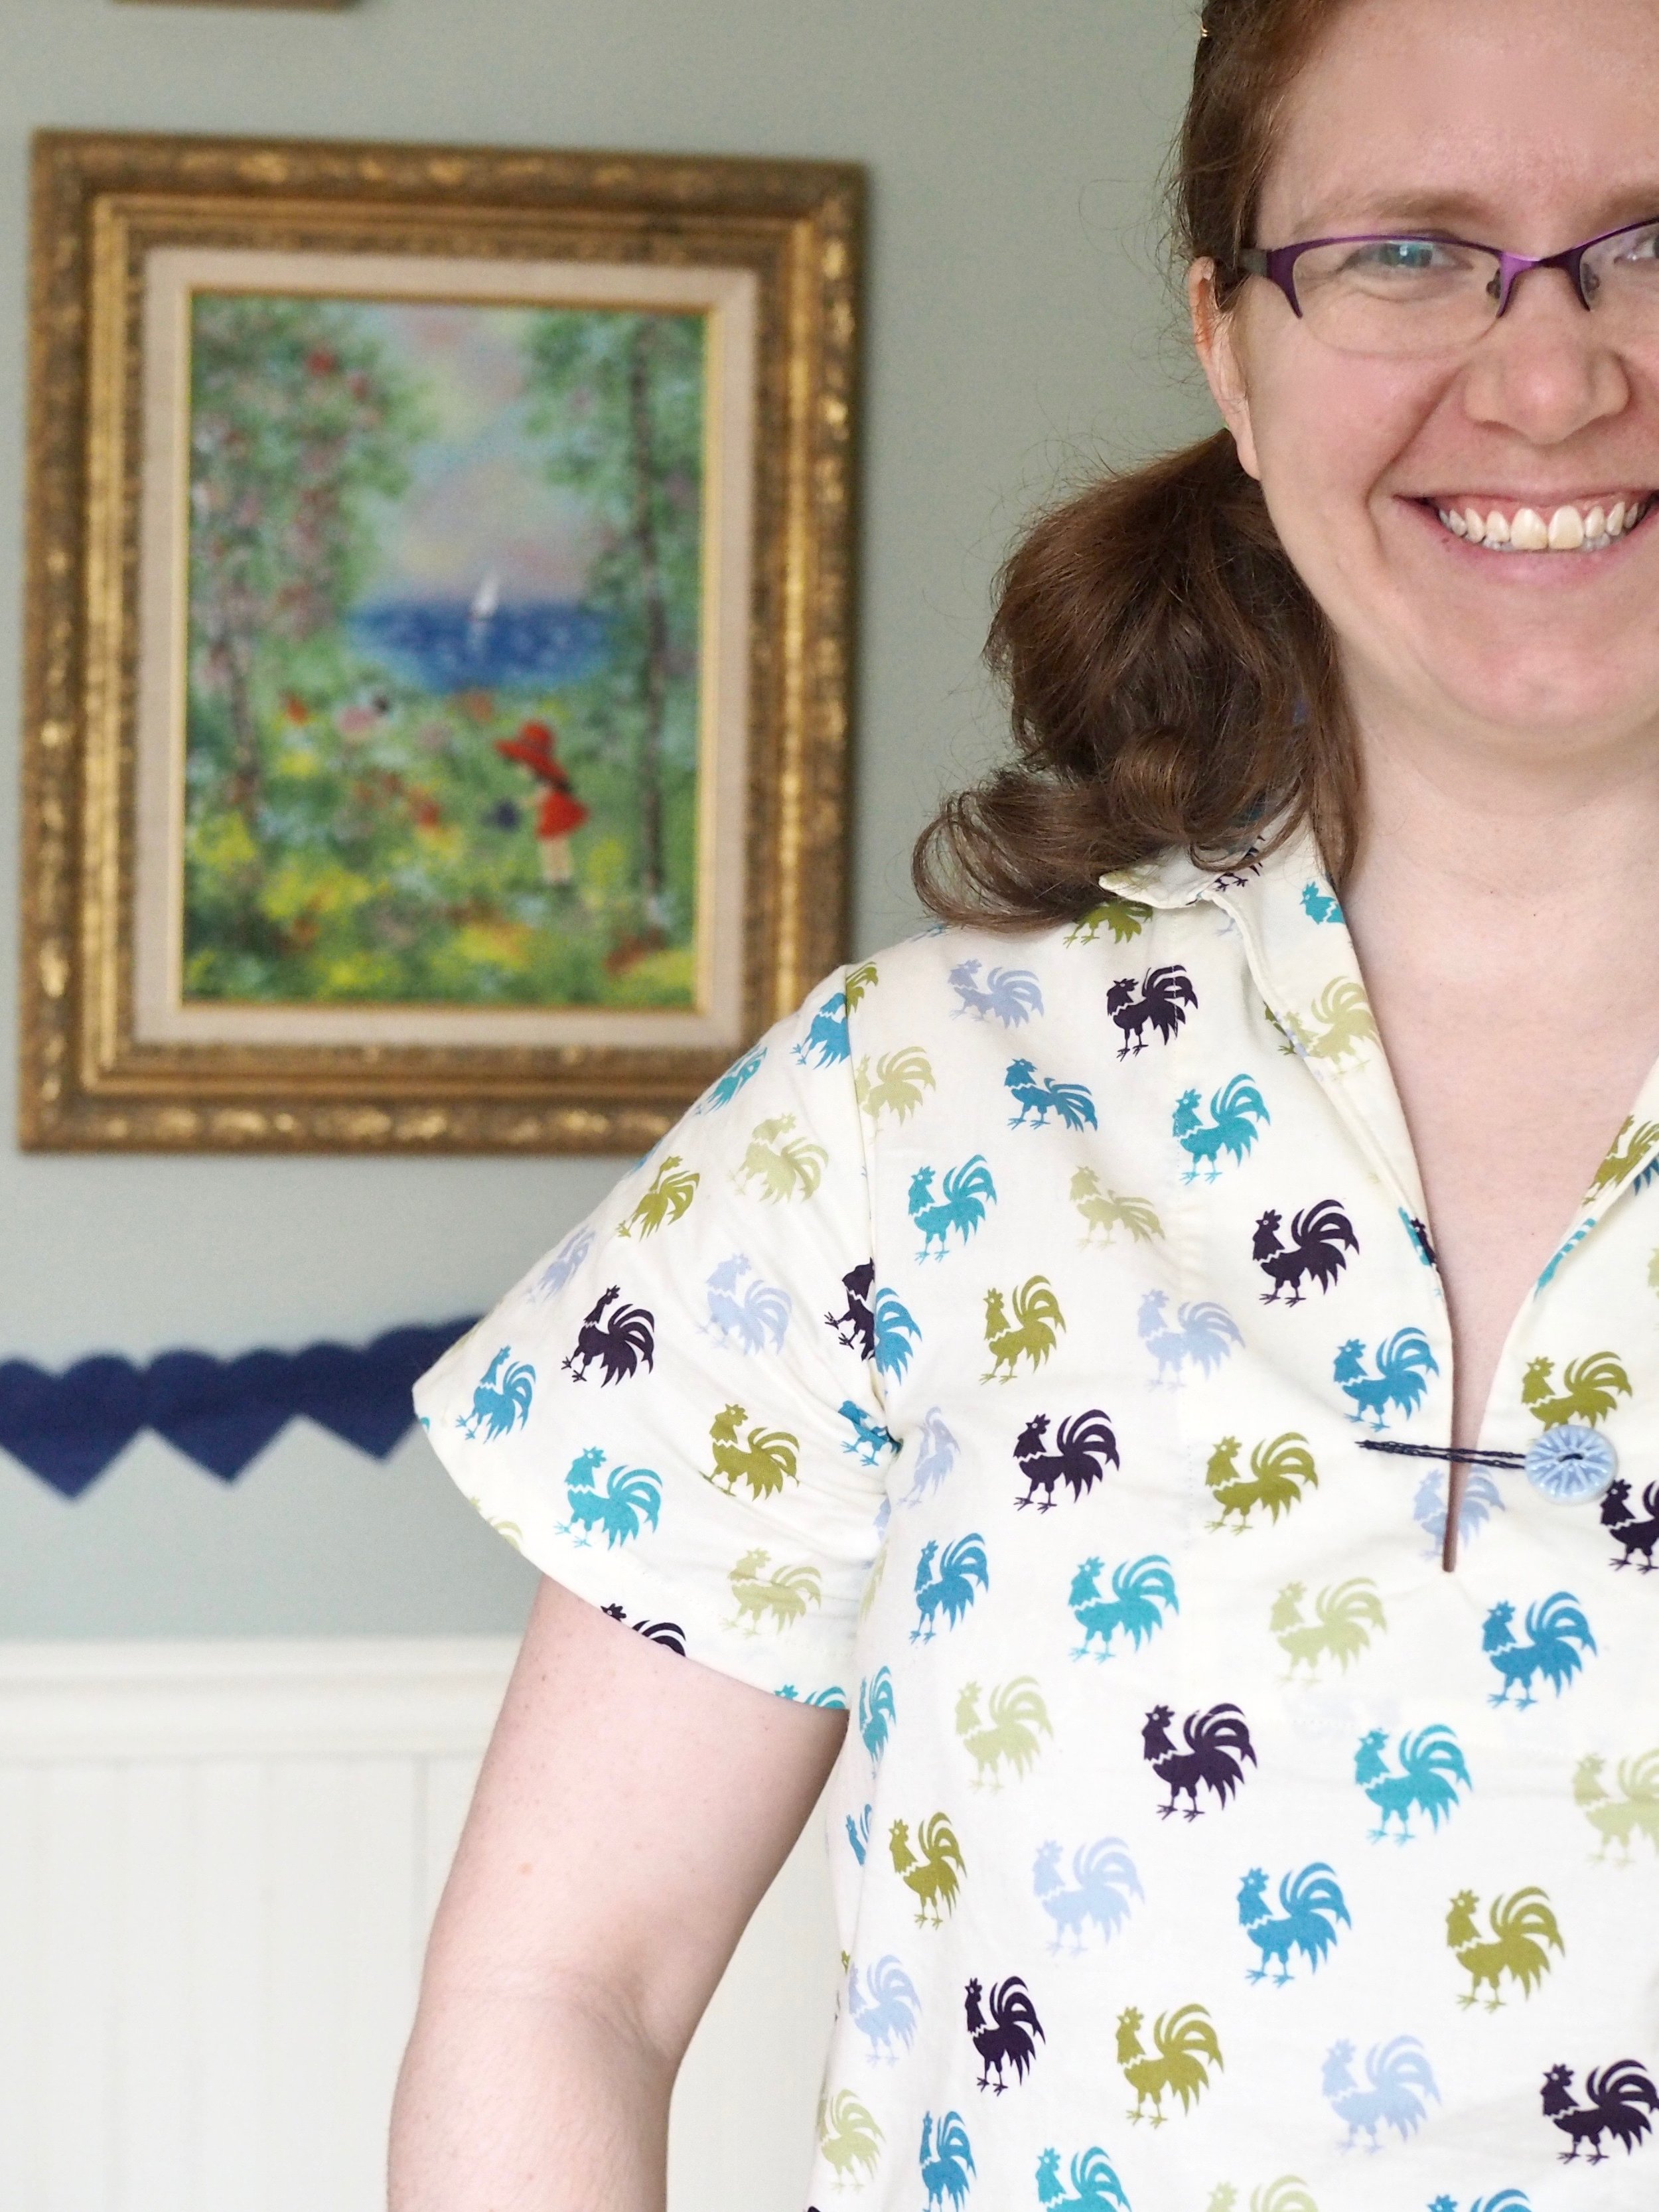
The pattern is the brand-new Heidi Pullover from Anna Allen Clothing. I was a bit hesitant about the lack of bust darts, but I loved the simplicity and style of the pattern, so I pulled this fabric from my stash (Alexander Henry circa 2008) for a wearable muslin. The fabric is a quilting cotton, and hence a bit stiffer than I'd like, but I had a sufficient amount in my stash and who doesn't need a rooster top?
I made no adjustments to the pattern other than cutting the bust at size 12 and the hips and sleeves at size 14, as is fairly standard for me. The instructions for this pattern are great and result in a nice clean finish inside as well as outside. I didn't go to the link for the thread chain tutorial and instead just crocheted one of out buttonhole thread. The fabulous ceramic button is from Betka Pottery.
Considering that I was able to cut it out and sew it in a single naptime, AND it looks great, I'm definitely making more of these. I also think it could be super cute lengthened into a simple dress. (Ohh, in chambray...I foresee some fabric shopping in my future.)
All in all, a perfect project to kickstart my sewing mojo - so much so, I've got another project lined up for this weekend!
Sewing
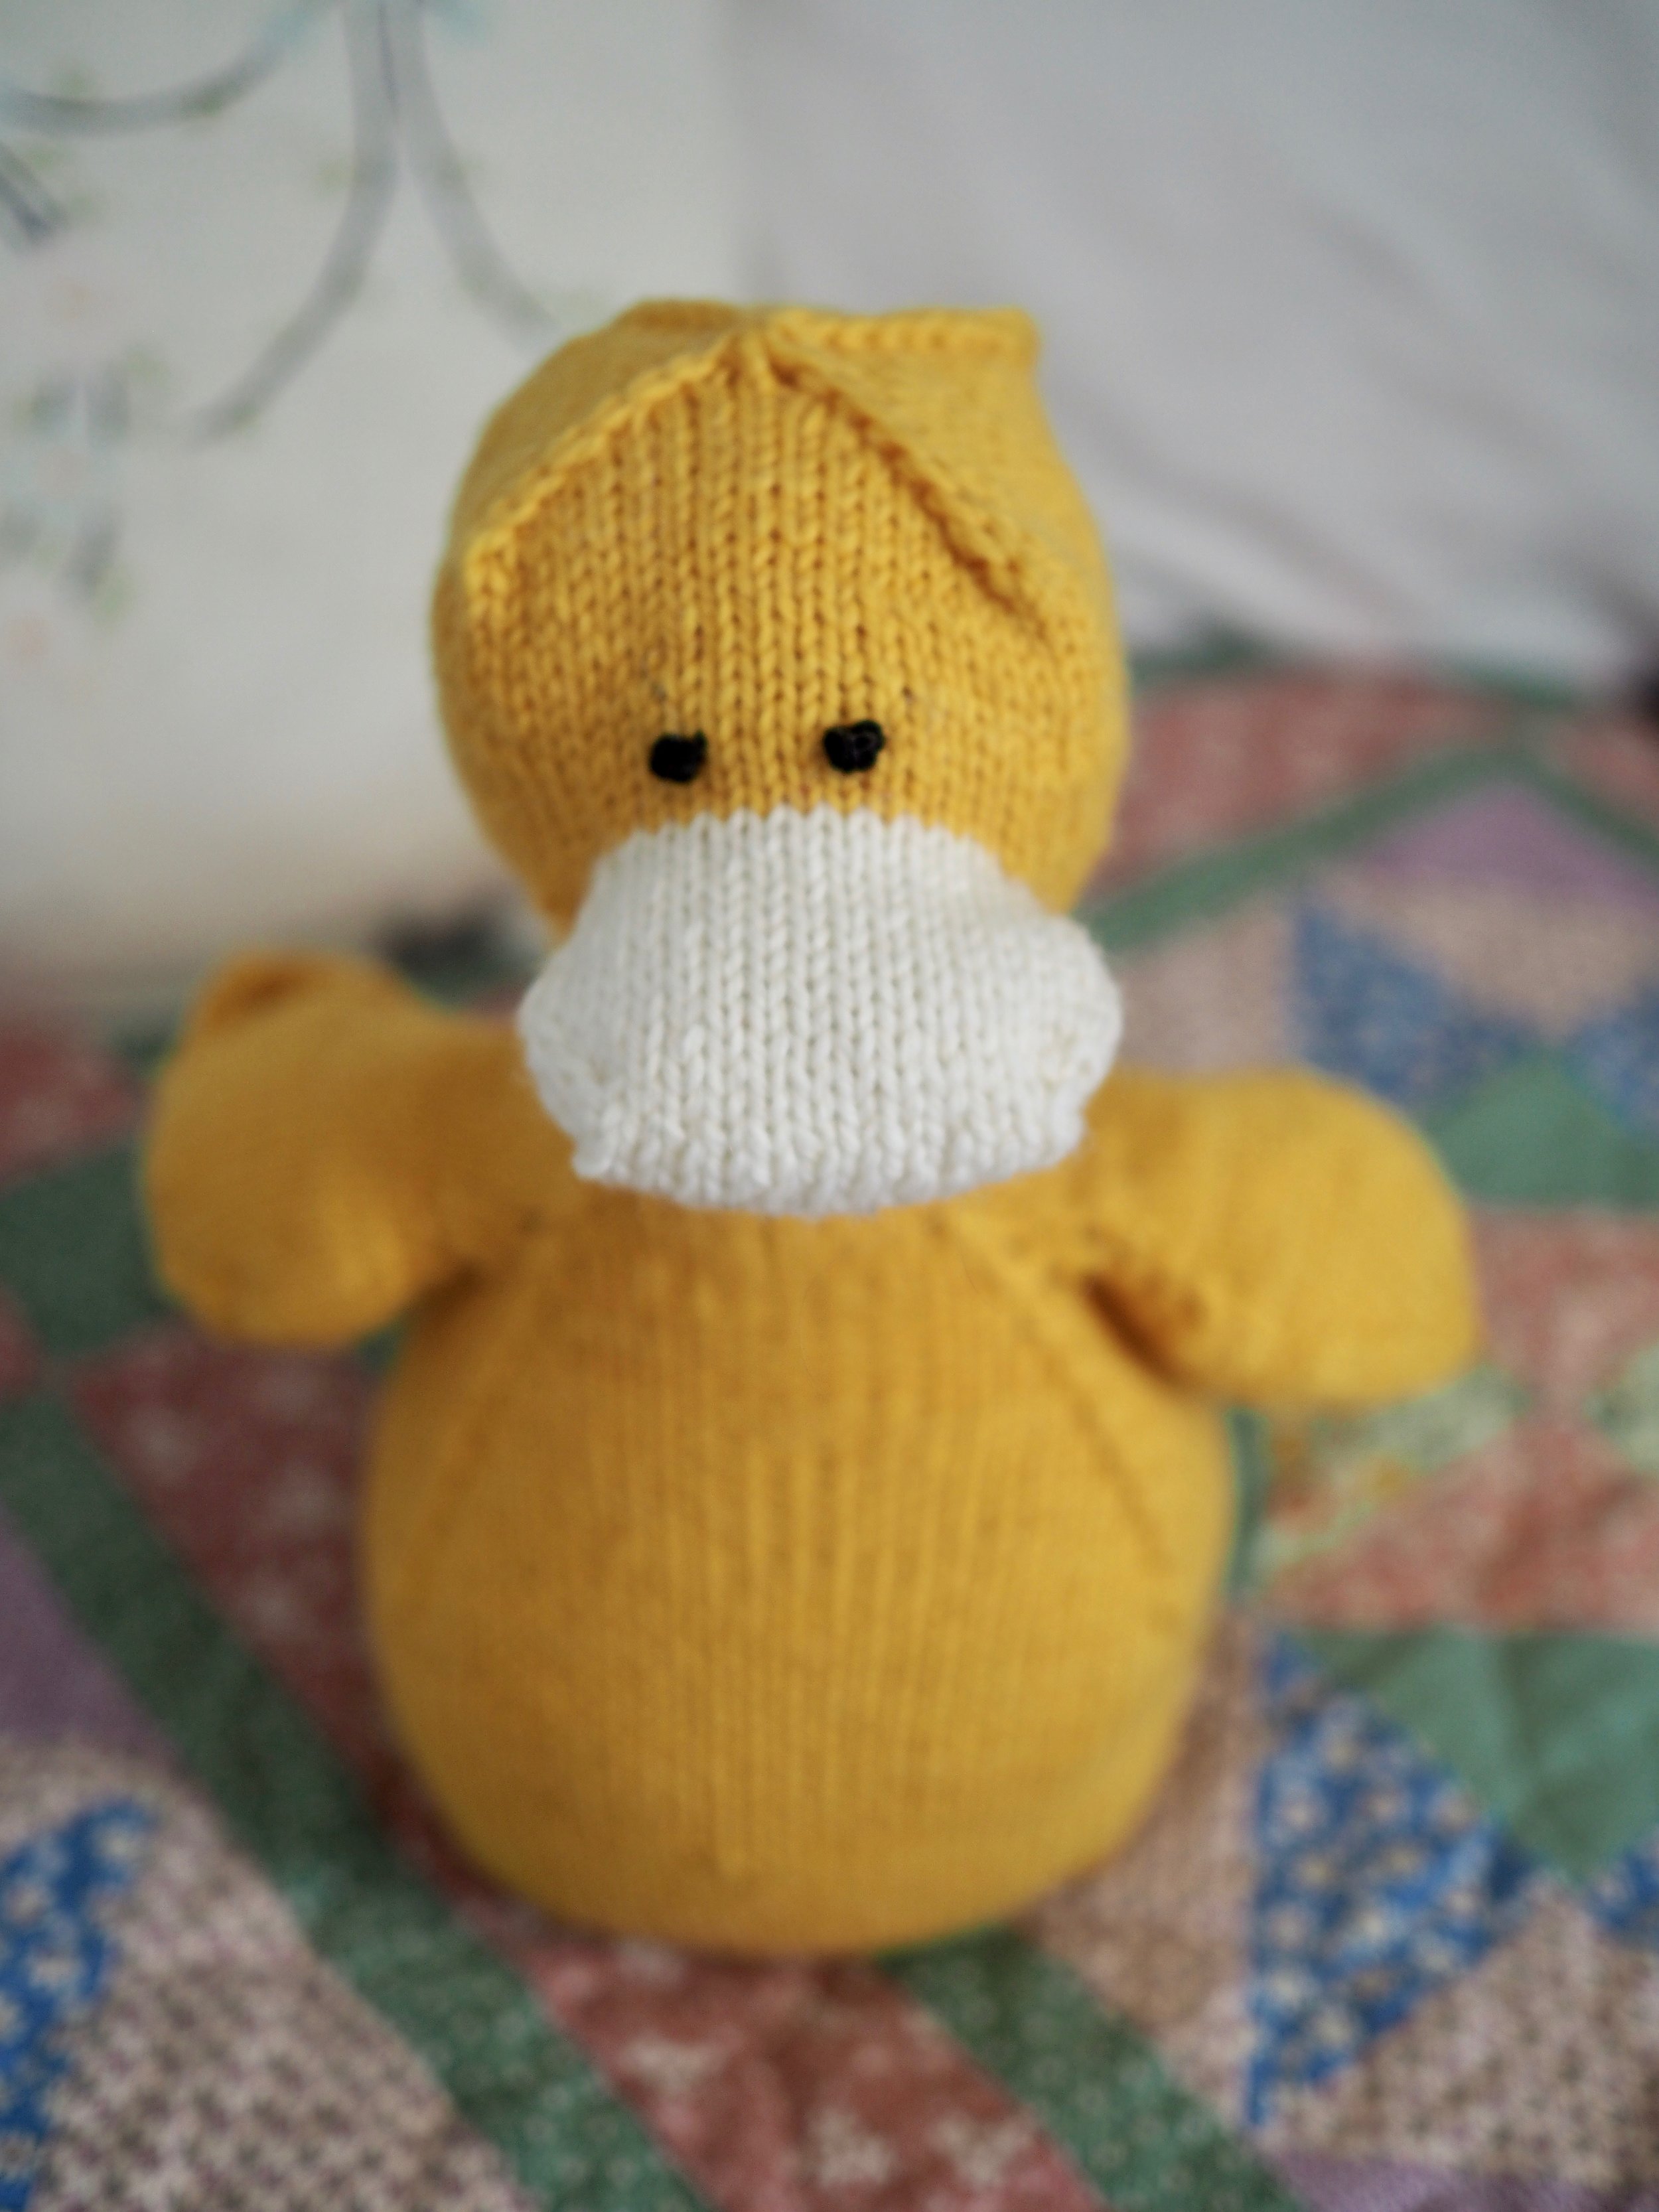
Domenic Duck KAL - Afterthought Prep, Pick Up and Finishing!

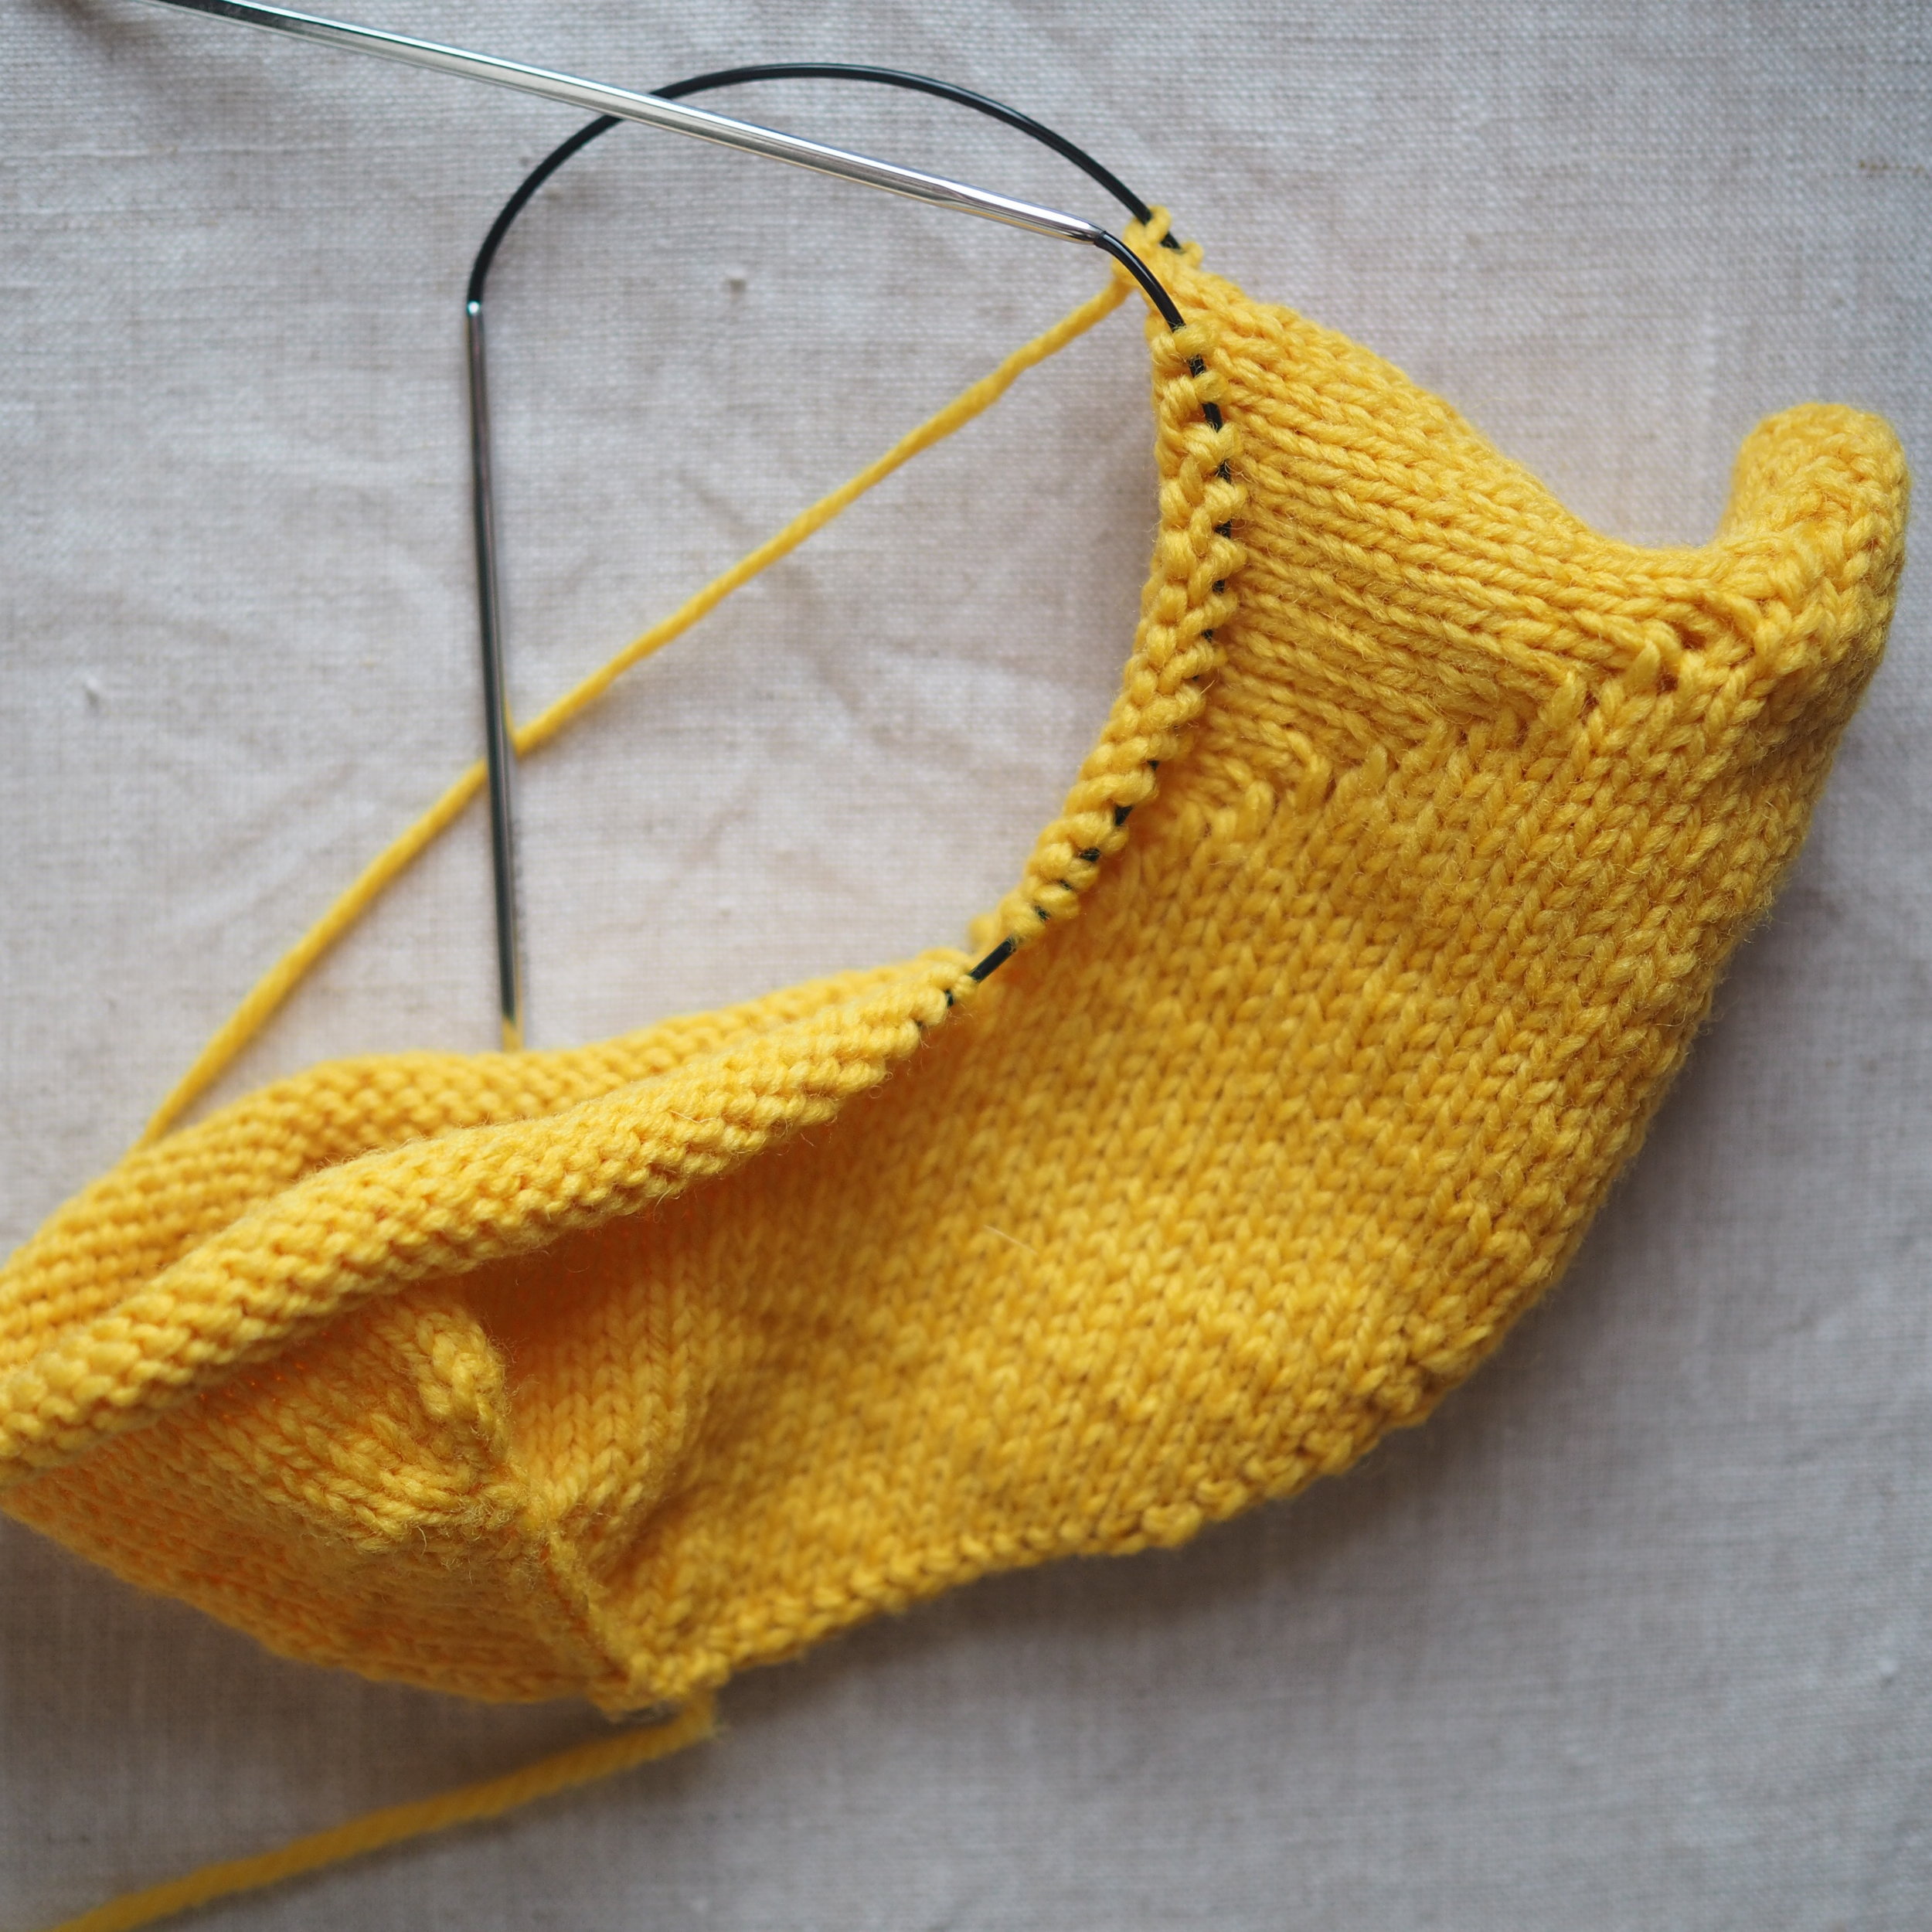
Today we're going to move from something ressembling a wide wooden shoe to something more duck-like.
As before, click on any gridded photo for a larger version.


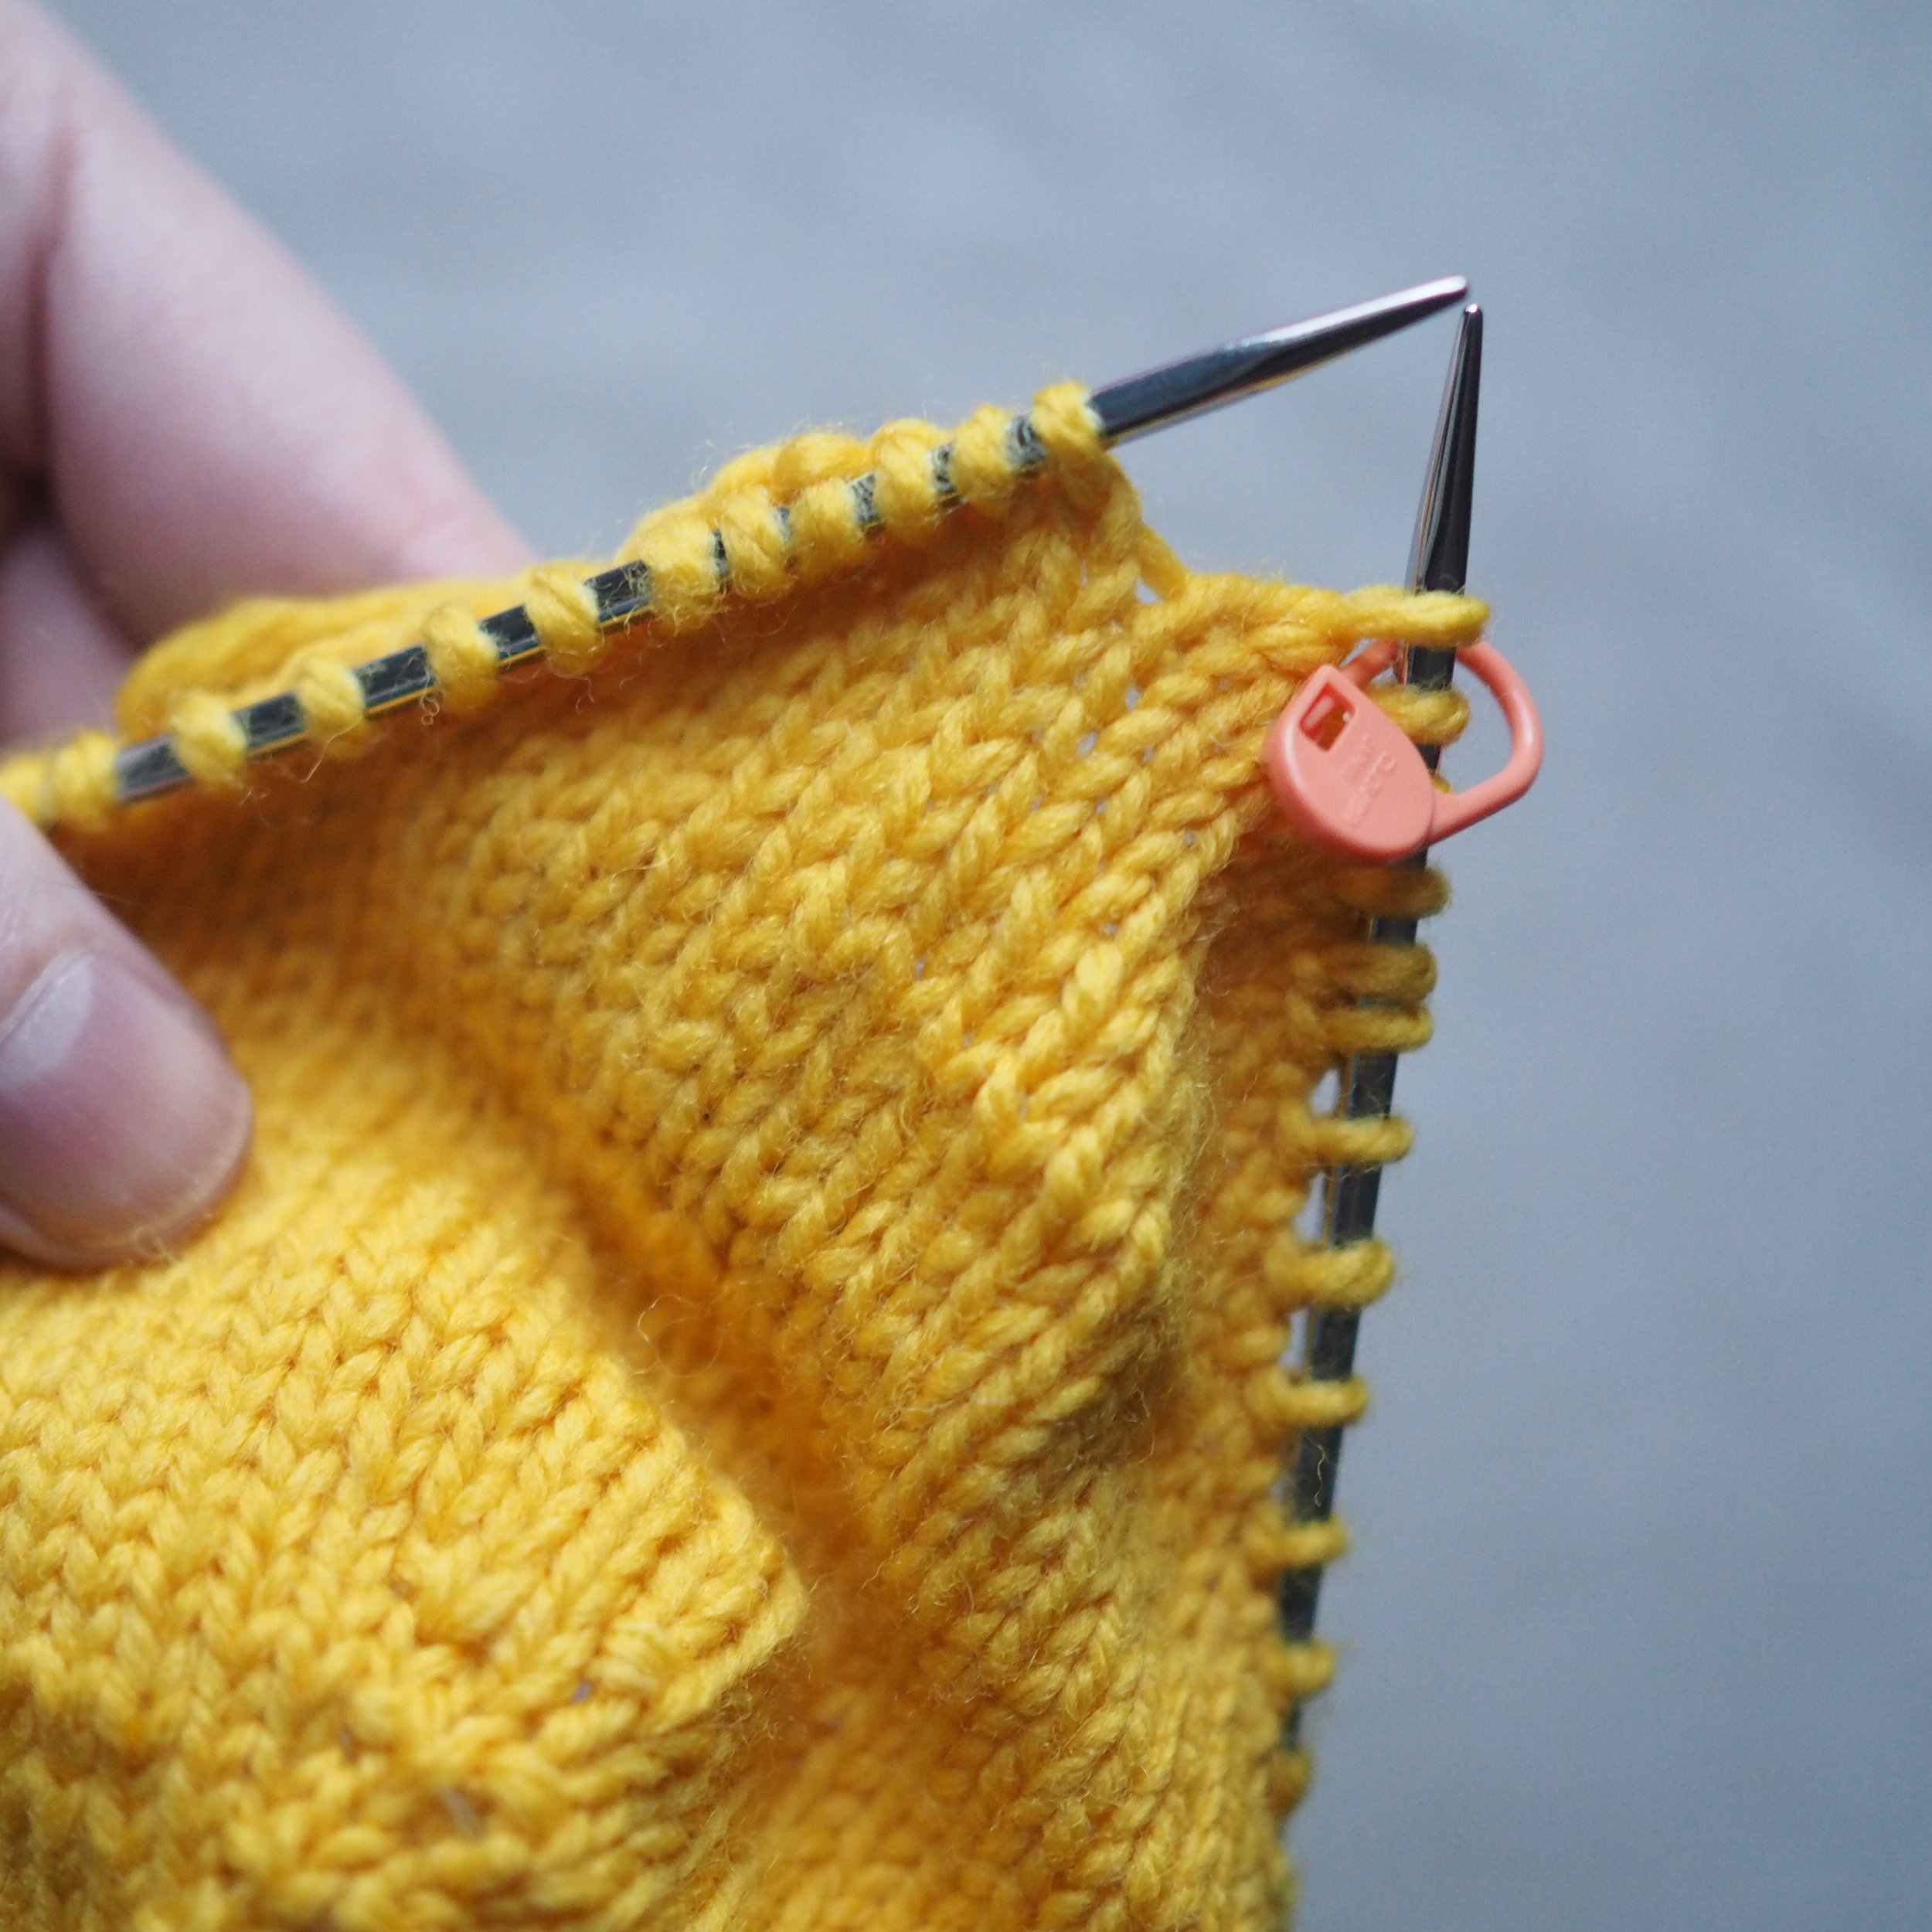
Centered Doubled Decreases (cddc)
A centered double decrease (cddc) decreases two stitches with center stitch making a clear line up the middle. Work a cddc as follows:
- Work until there is one stitch before the marked stitch
- Slip the unworked stitch and marked sts together as one, as if you were knitting them
- Knit the next stitch normally
- Pass the two slipped stitches over the knitted stitch.
The line of the center of the decreases should be pretty clear to follow, but feel free to move up the stitch marker if you find it helpful.


Preparing for an Afterthought Appendage
I like working wings/legs/etc in an afterthought style, because it means that the appendage is firmly attached to the body, no grafting or seaming needed. Meaning it stands up all the stronger to any grabby hands.
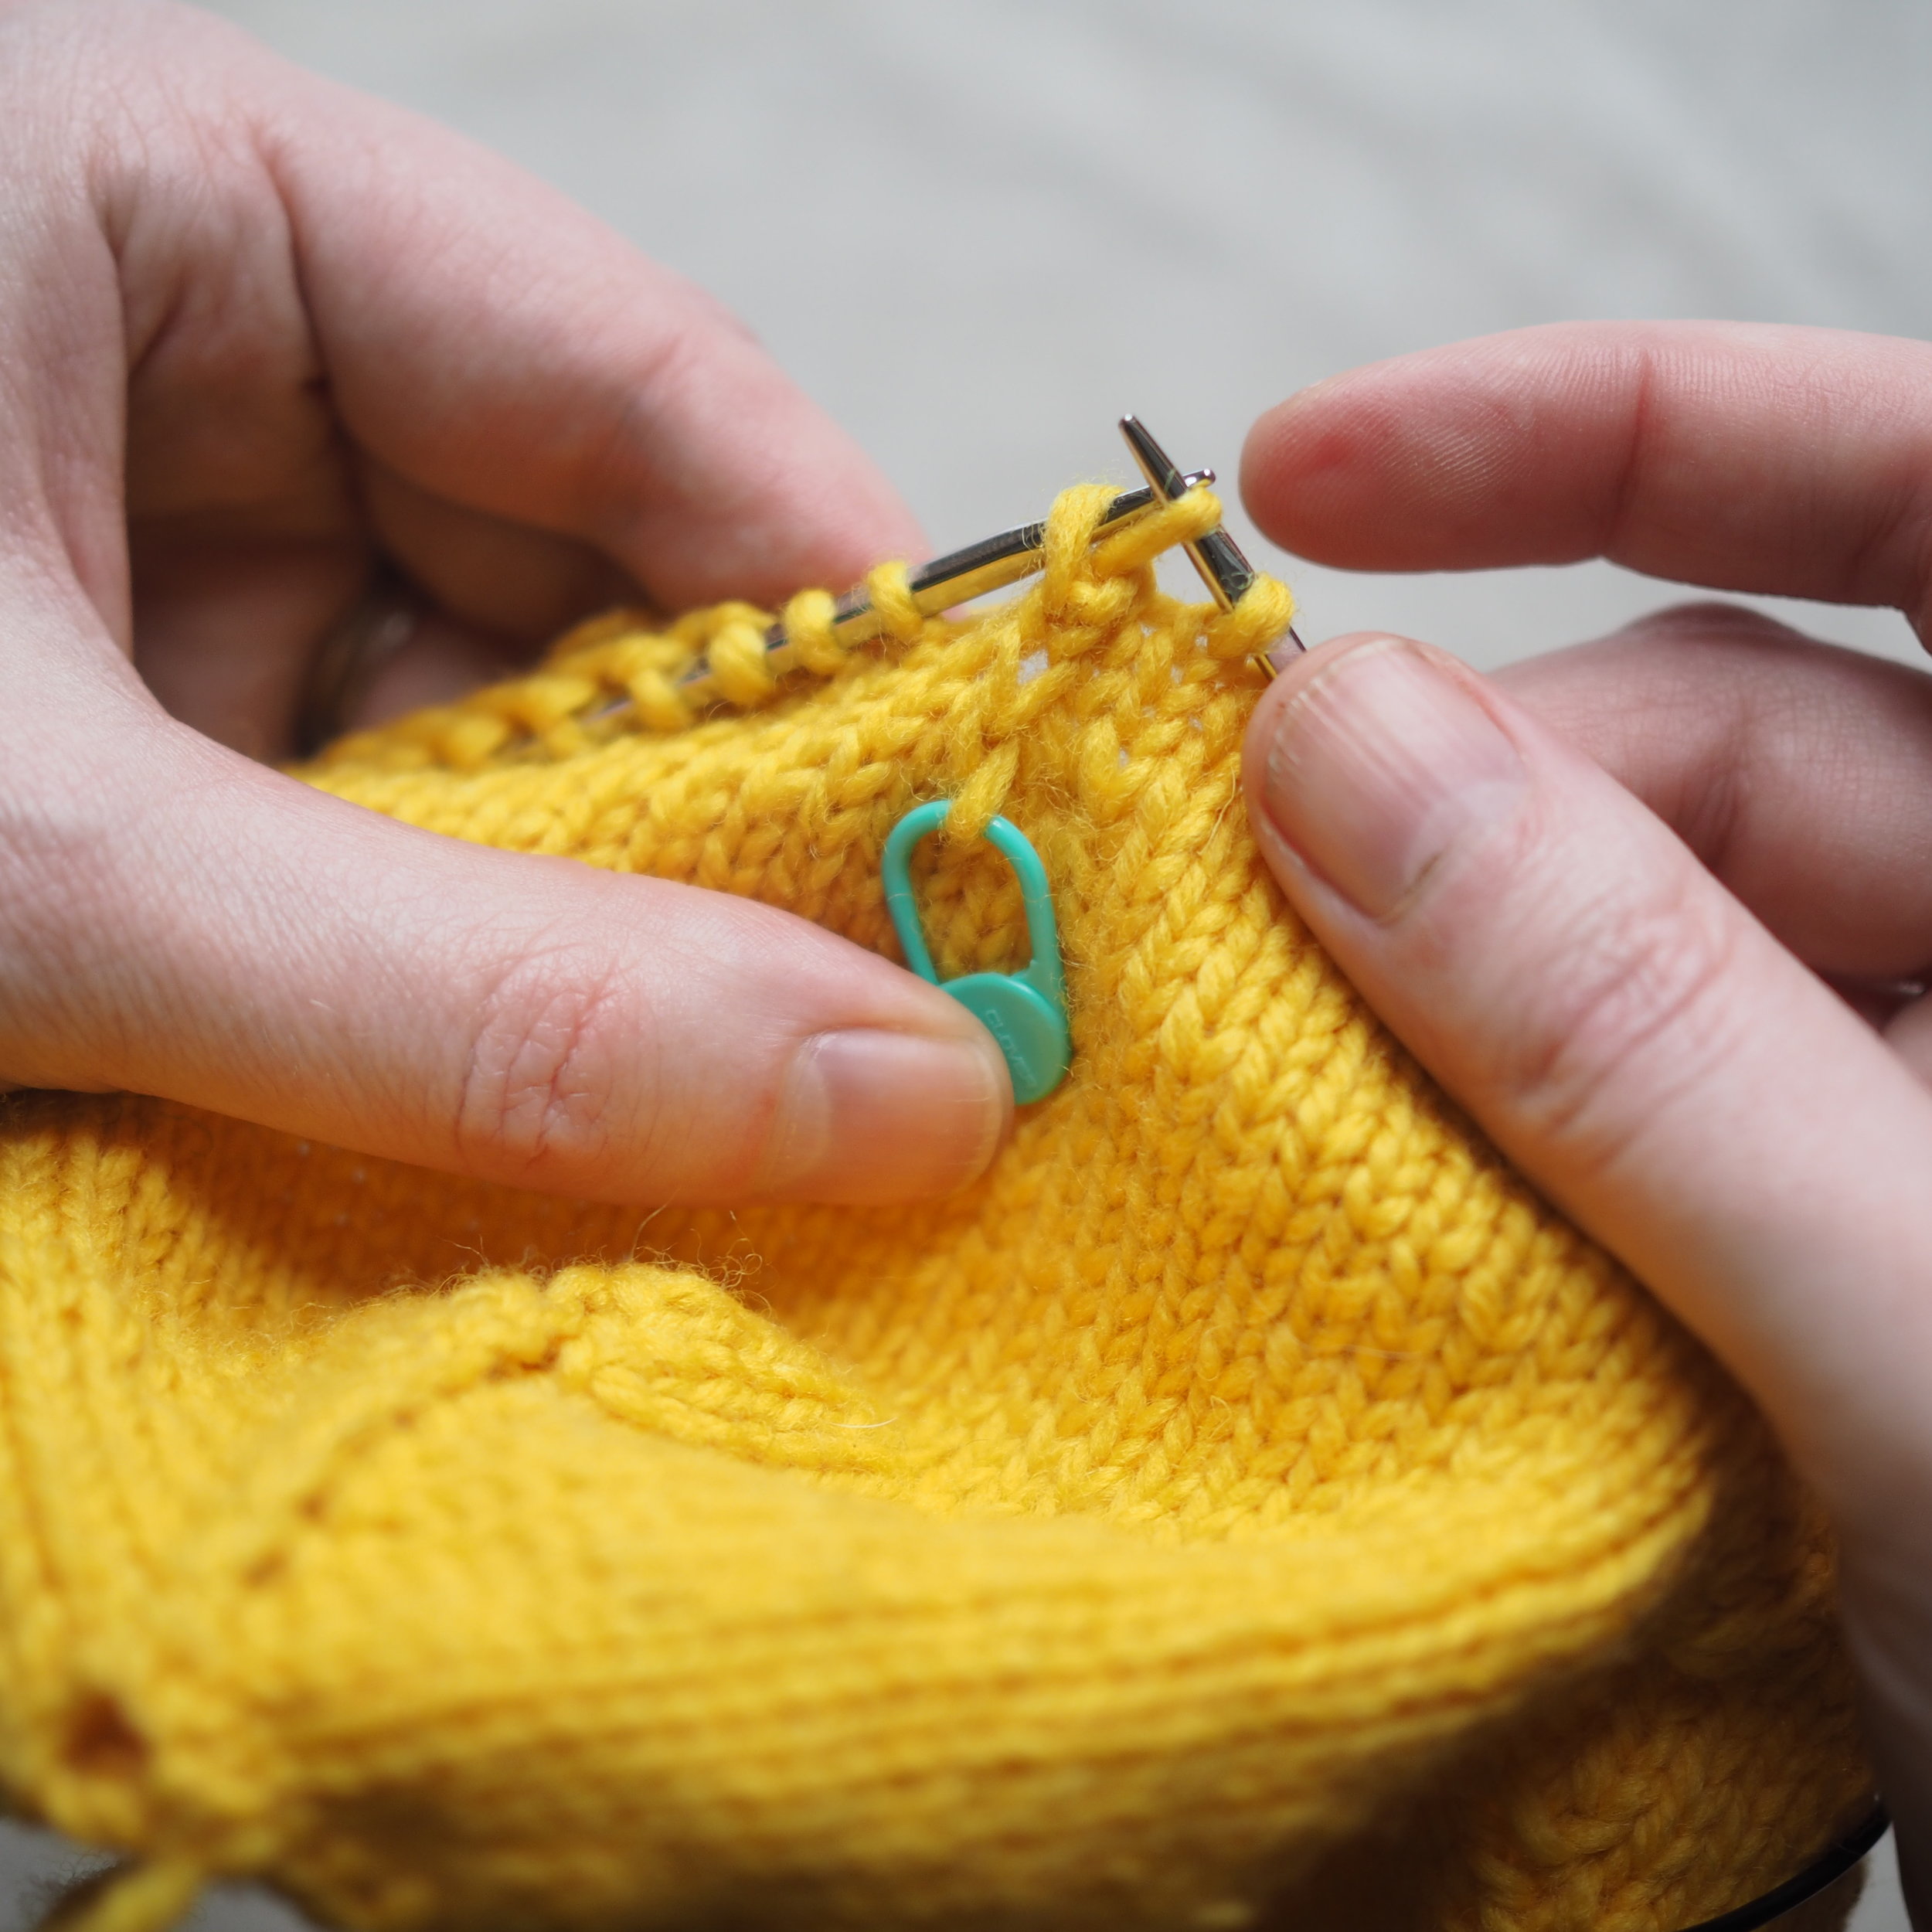
To set up for an afterthought:
- Put down your working yarn, but do not cut.
- Knit the correct number of stitches in scrap yarn.
- Slip sts in scrap yarn back to left hand needle.
- Knit the stitches again with working yarn and carry on as usual.
I like to keep the tails of the scrap yarn on the outside of the body, as this helps when you need to pick it out.


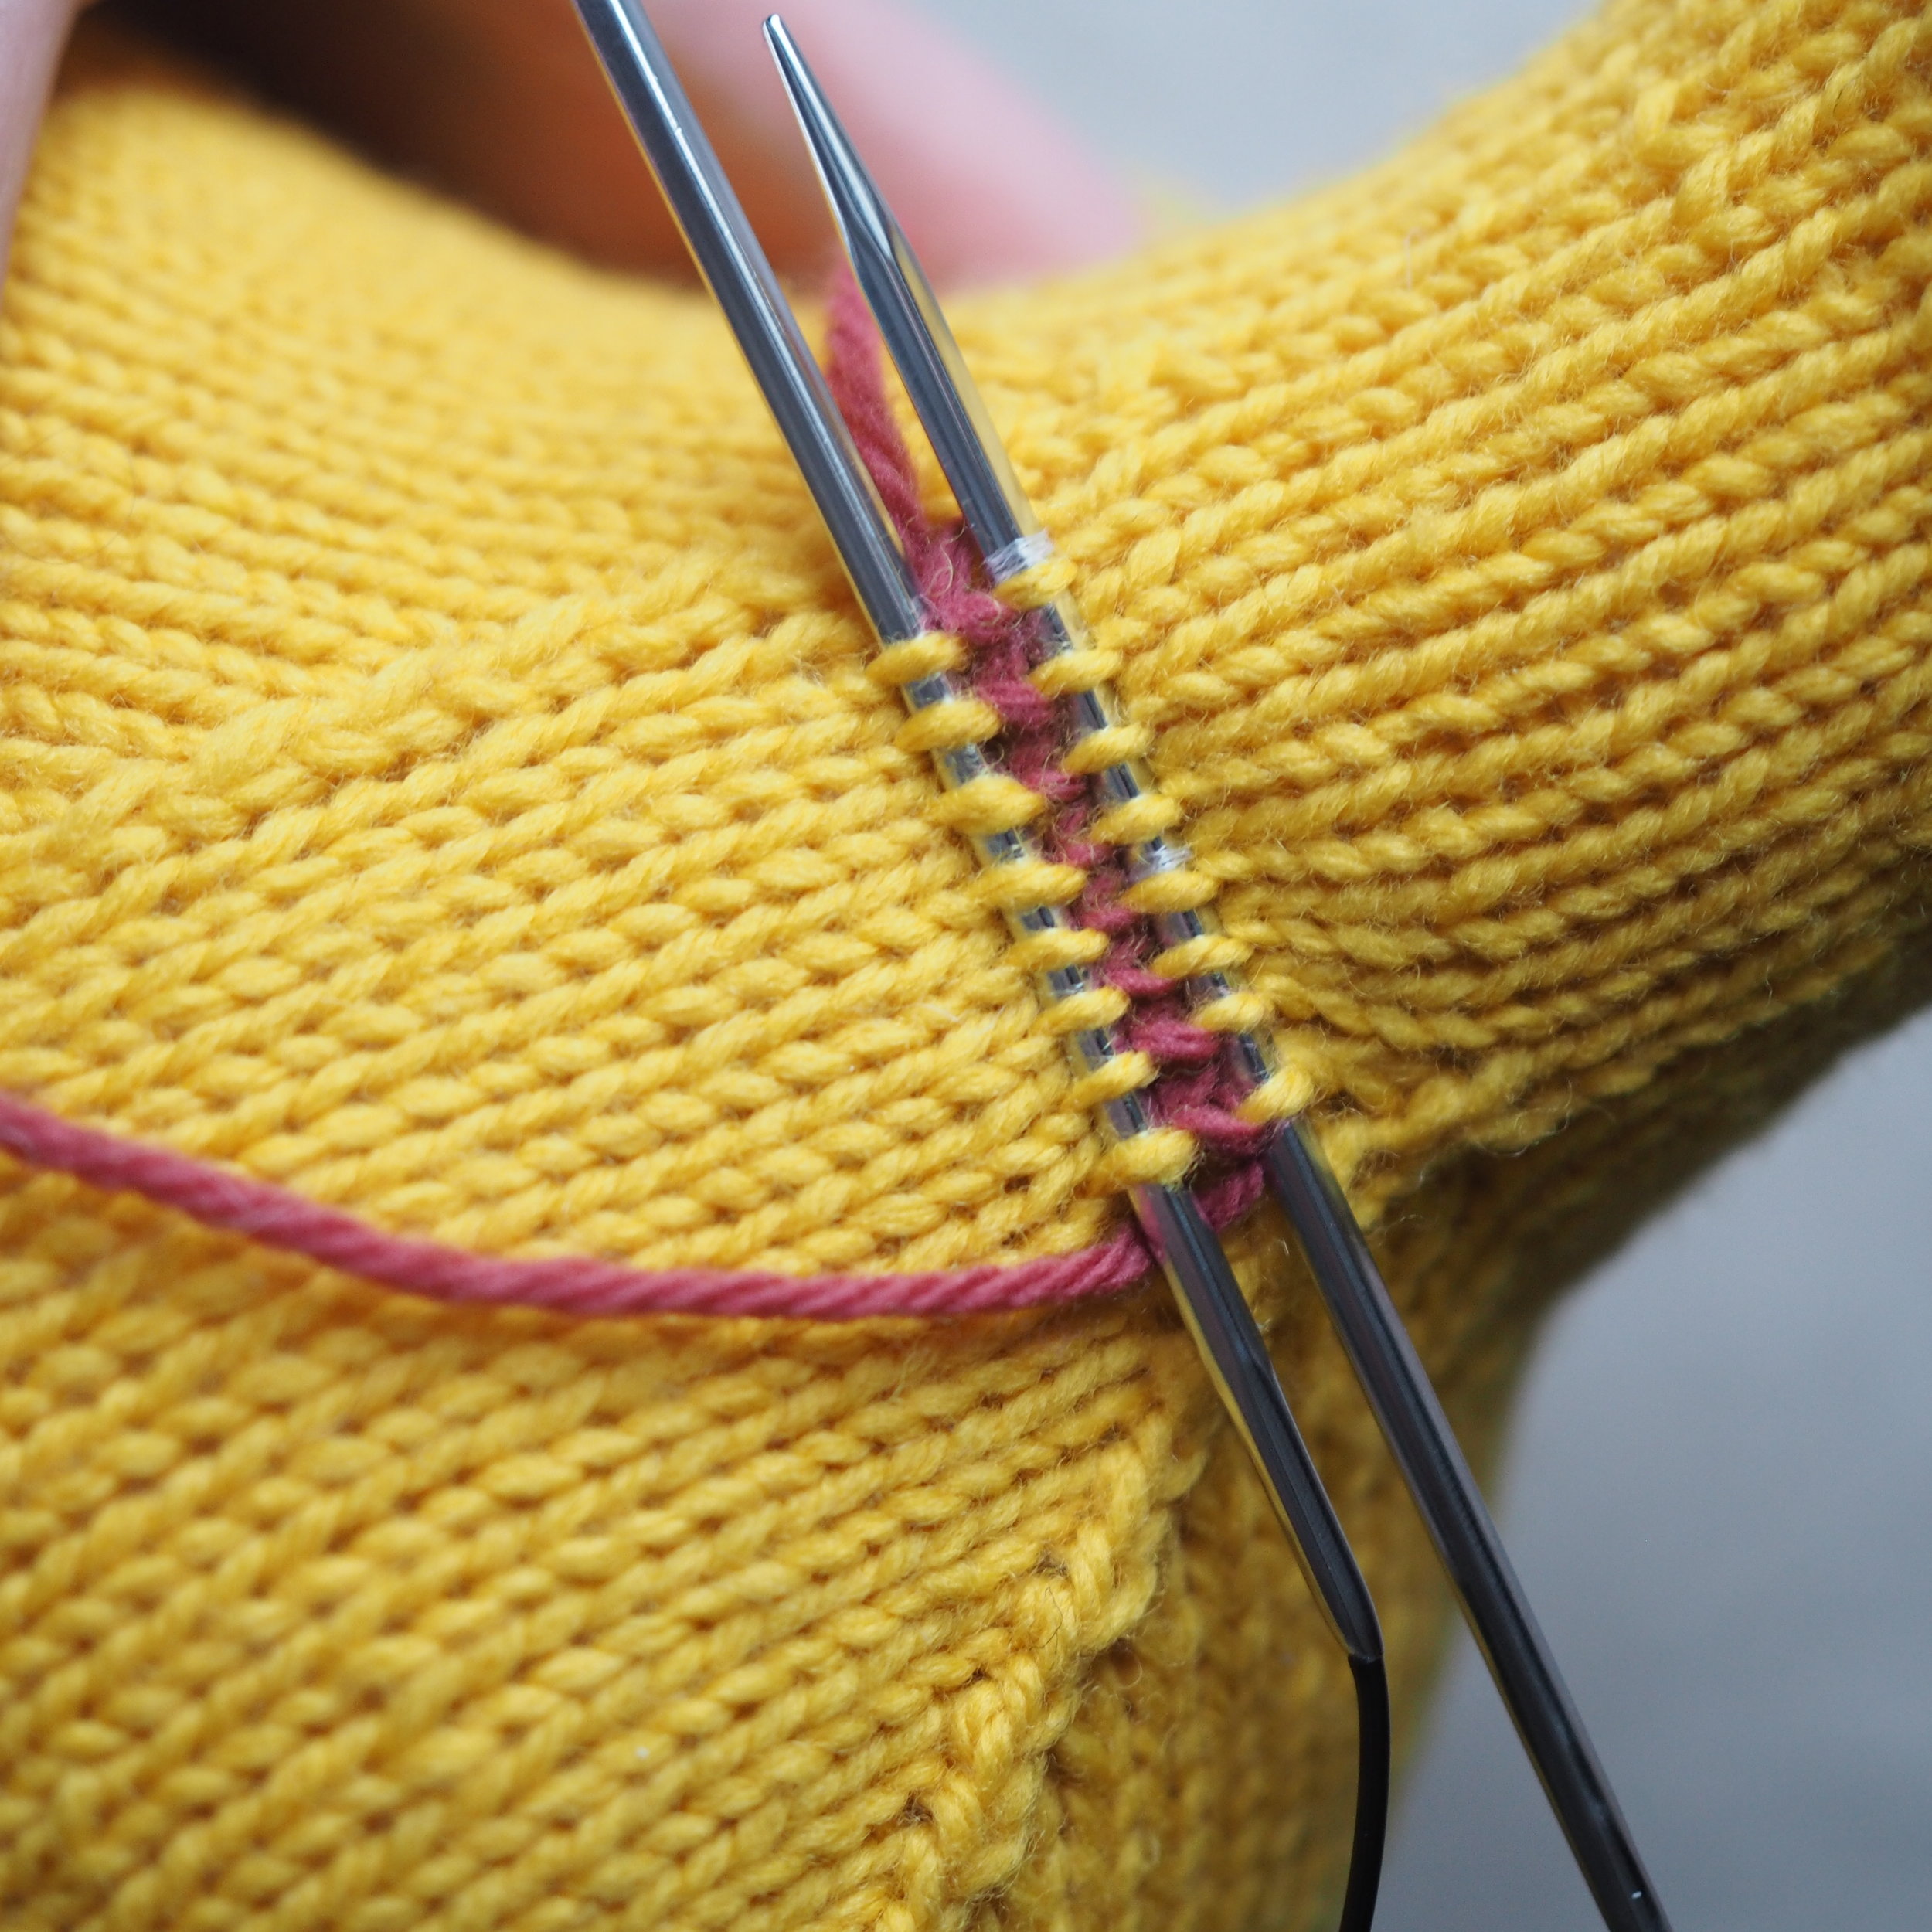


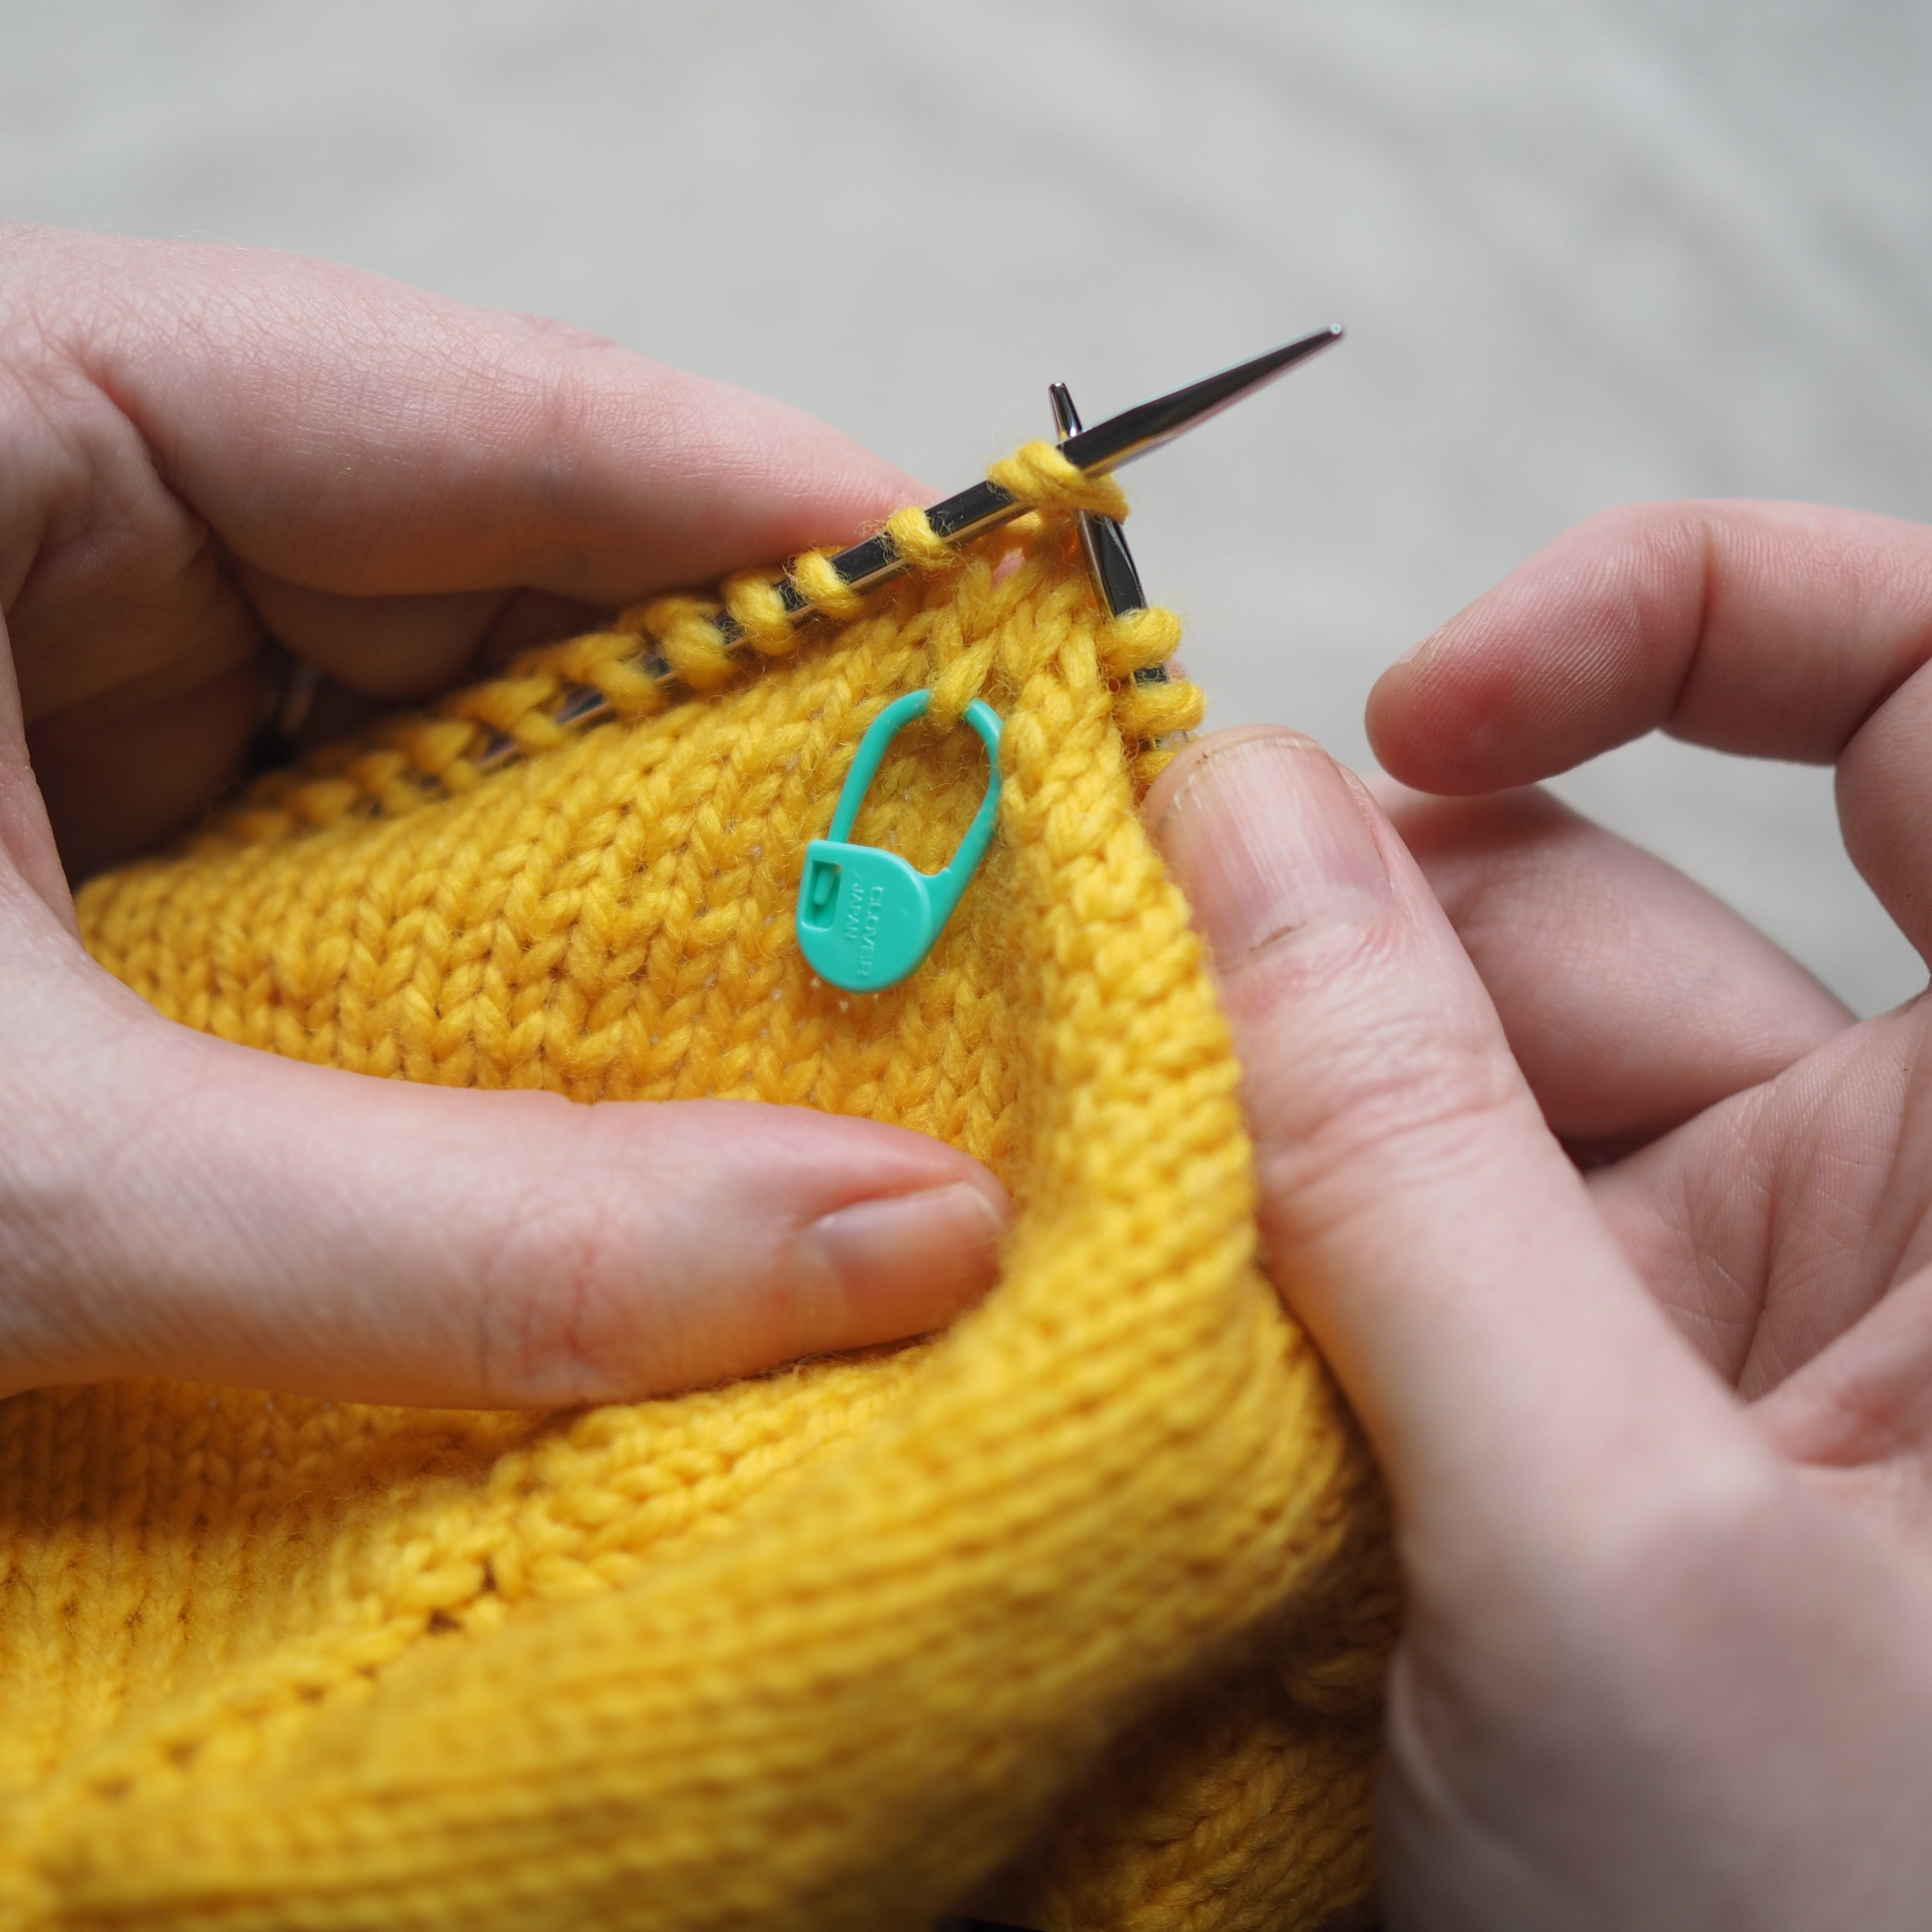
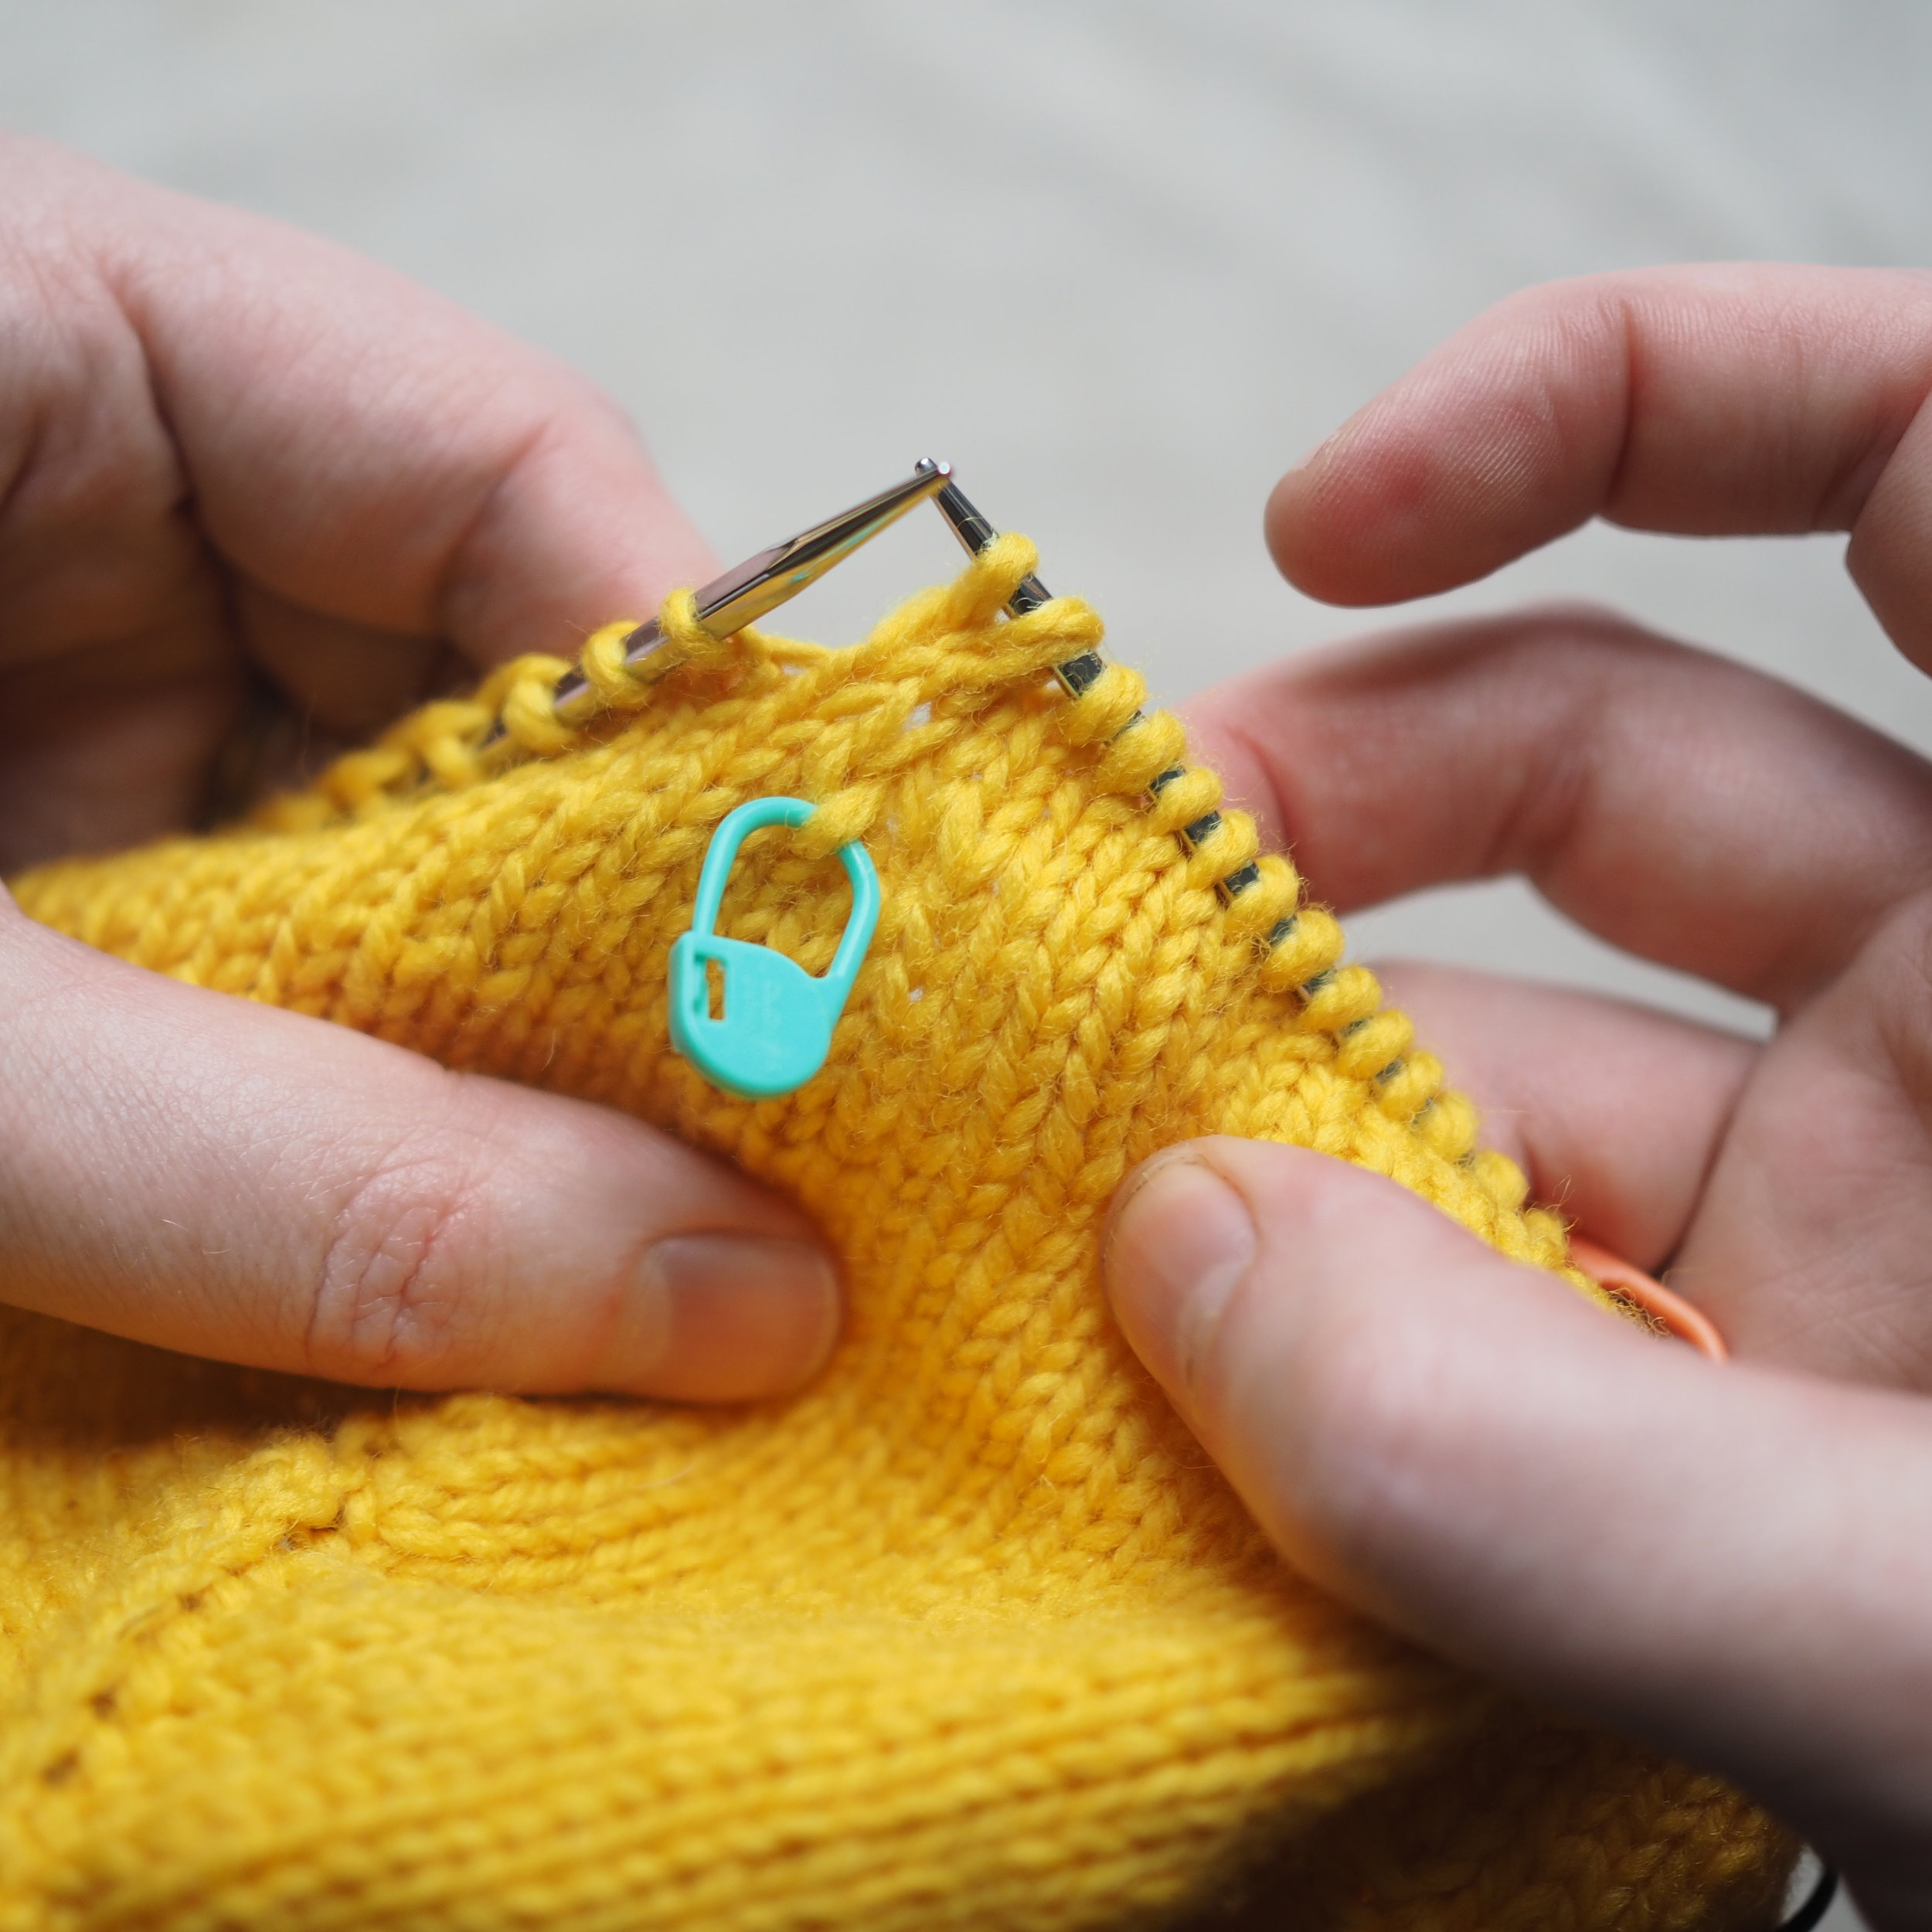
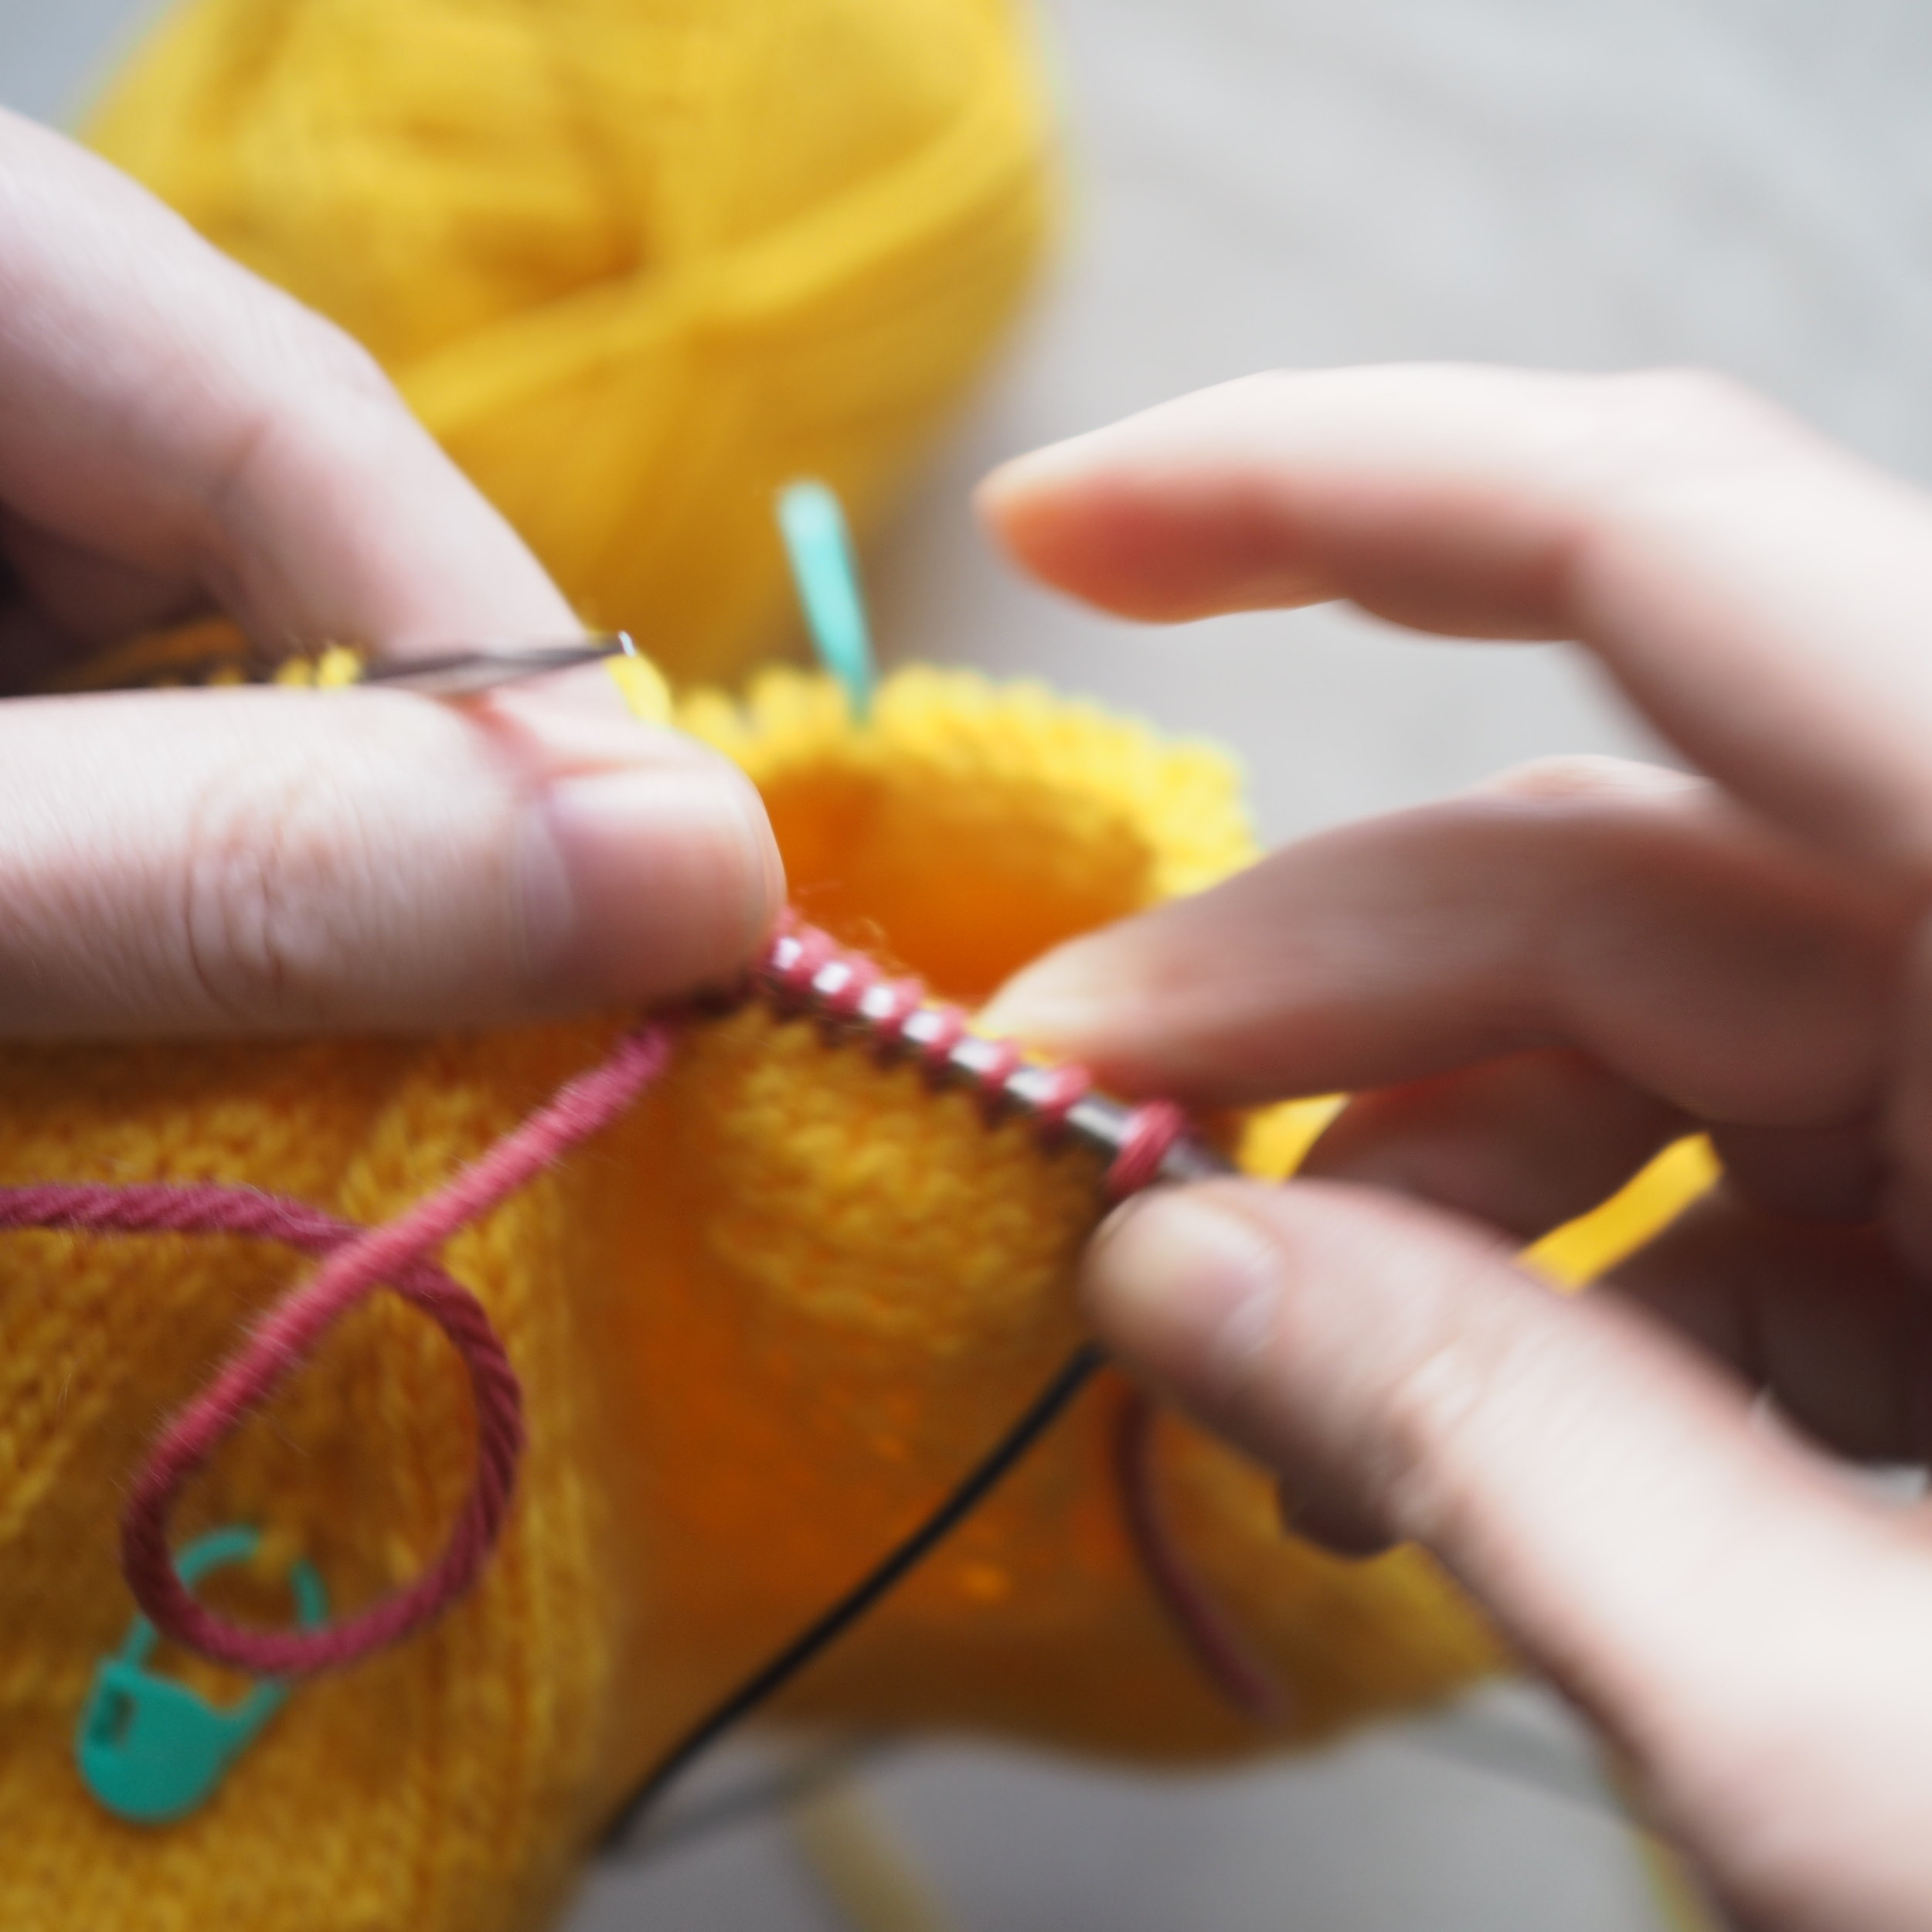
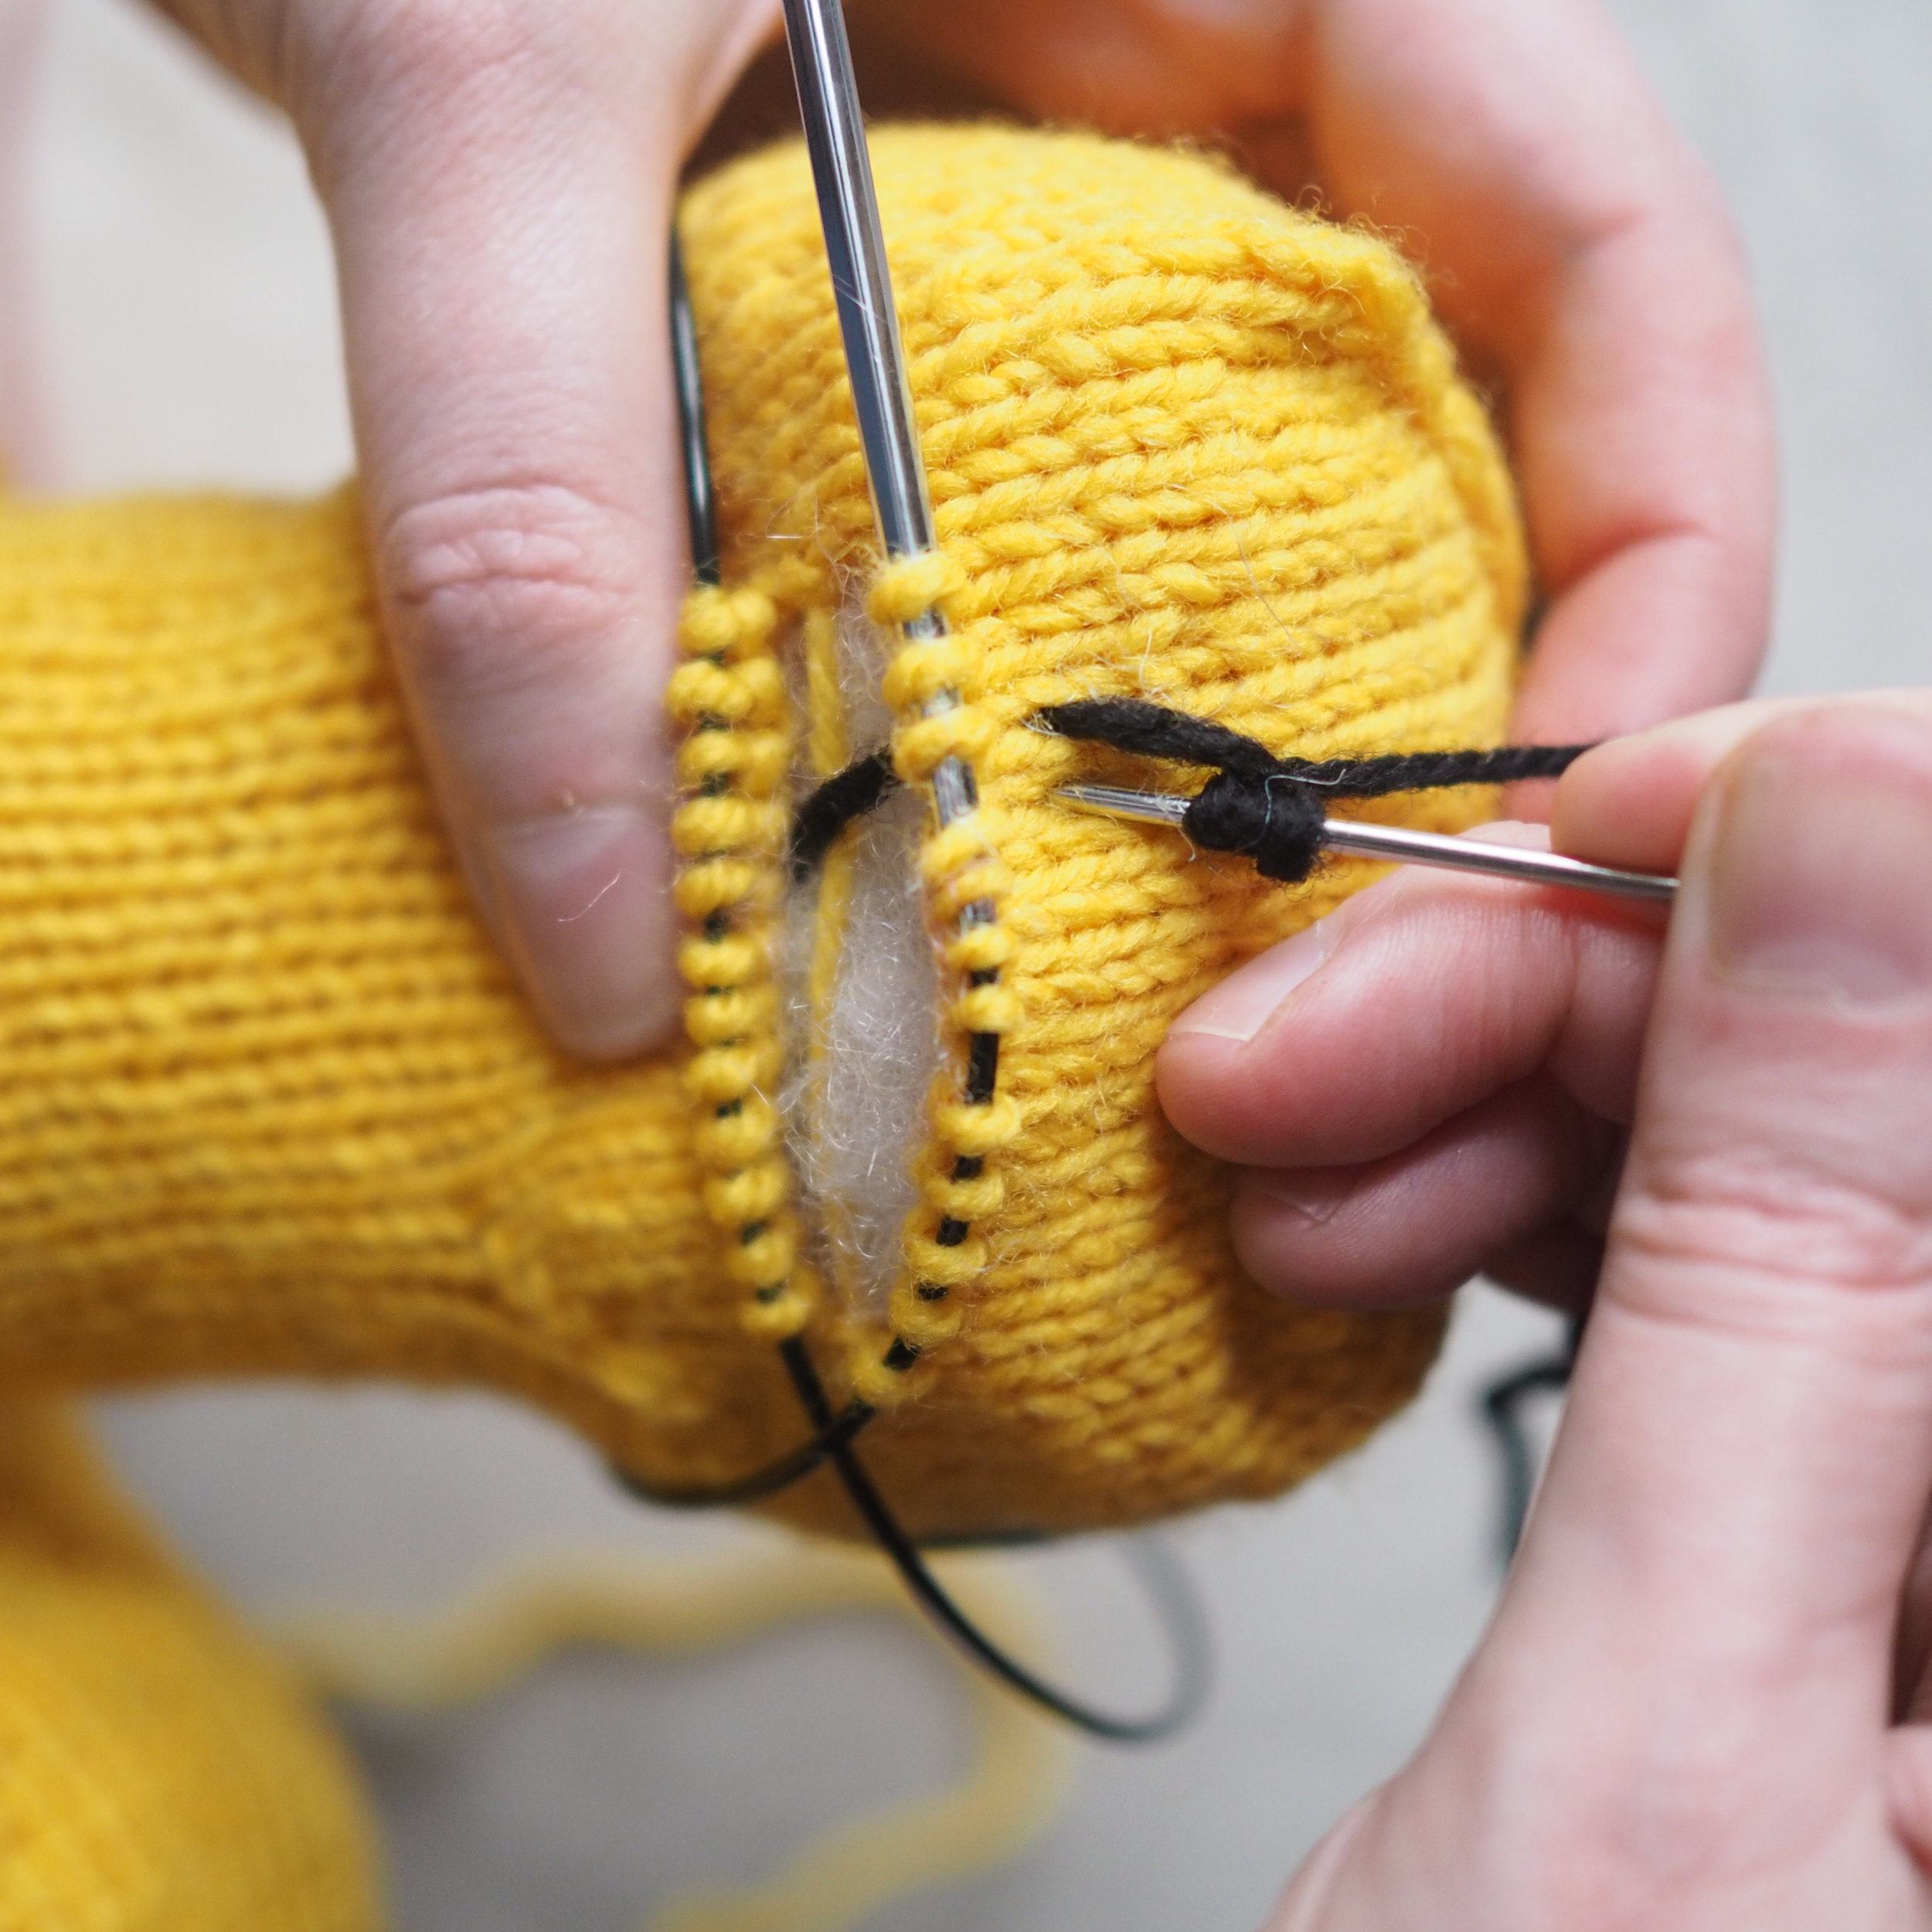
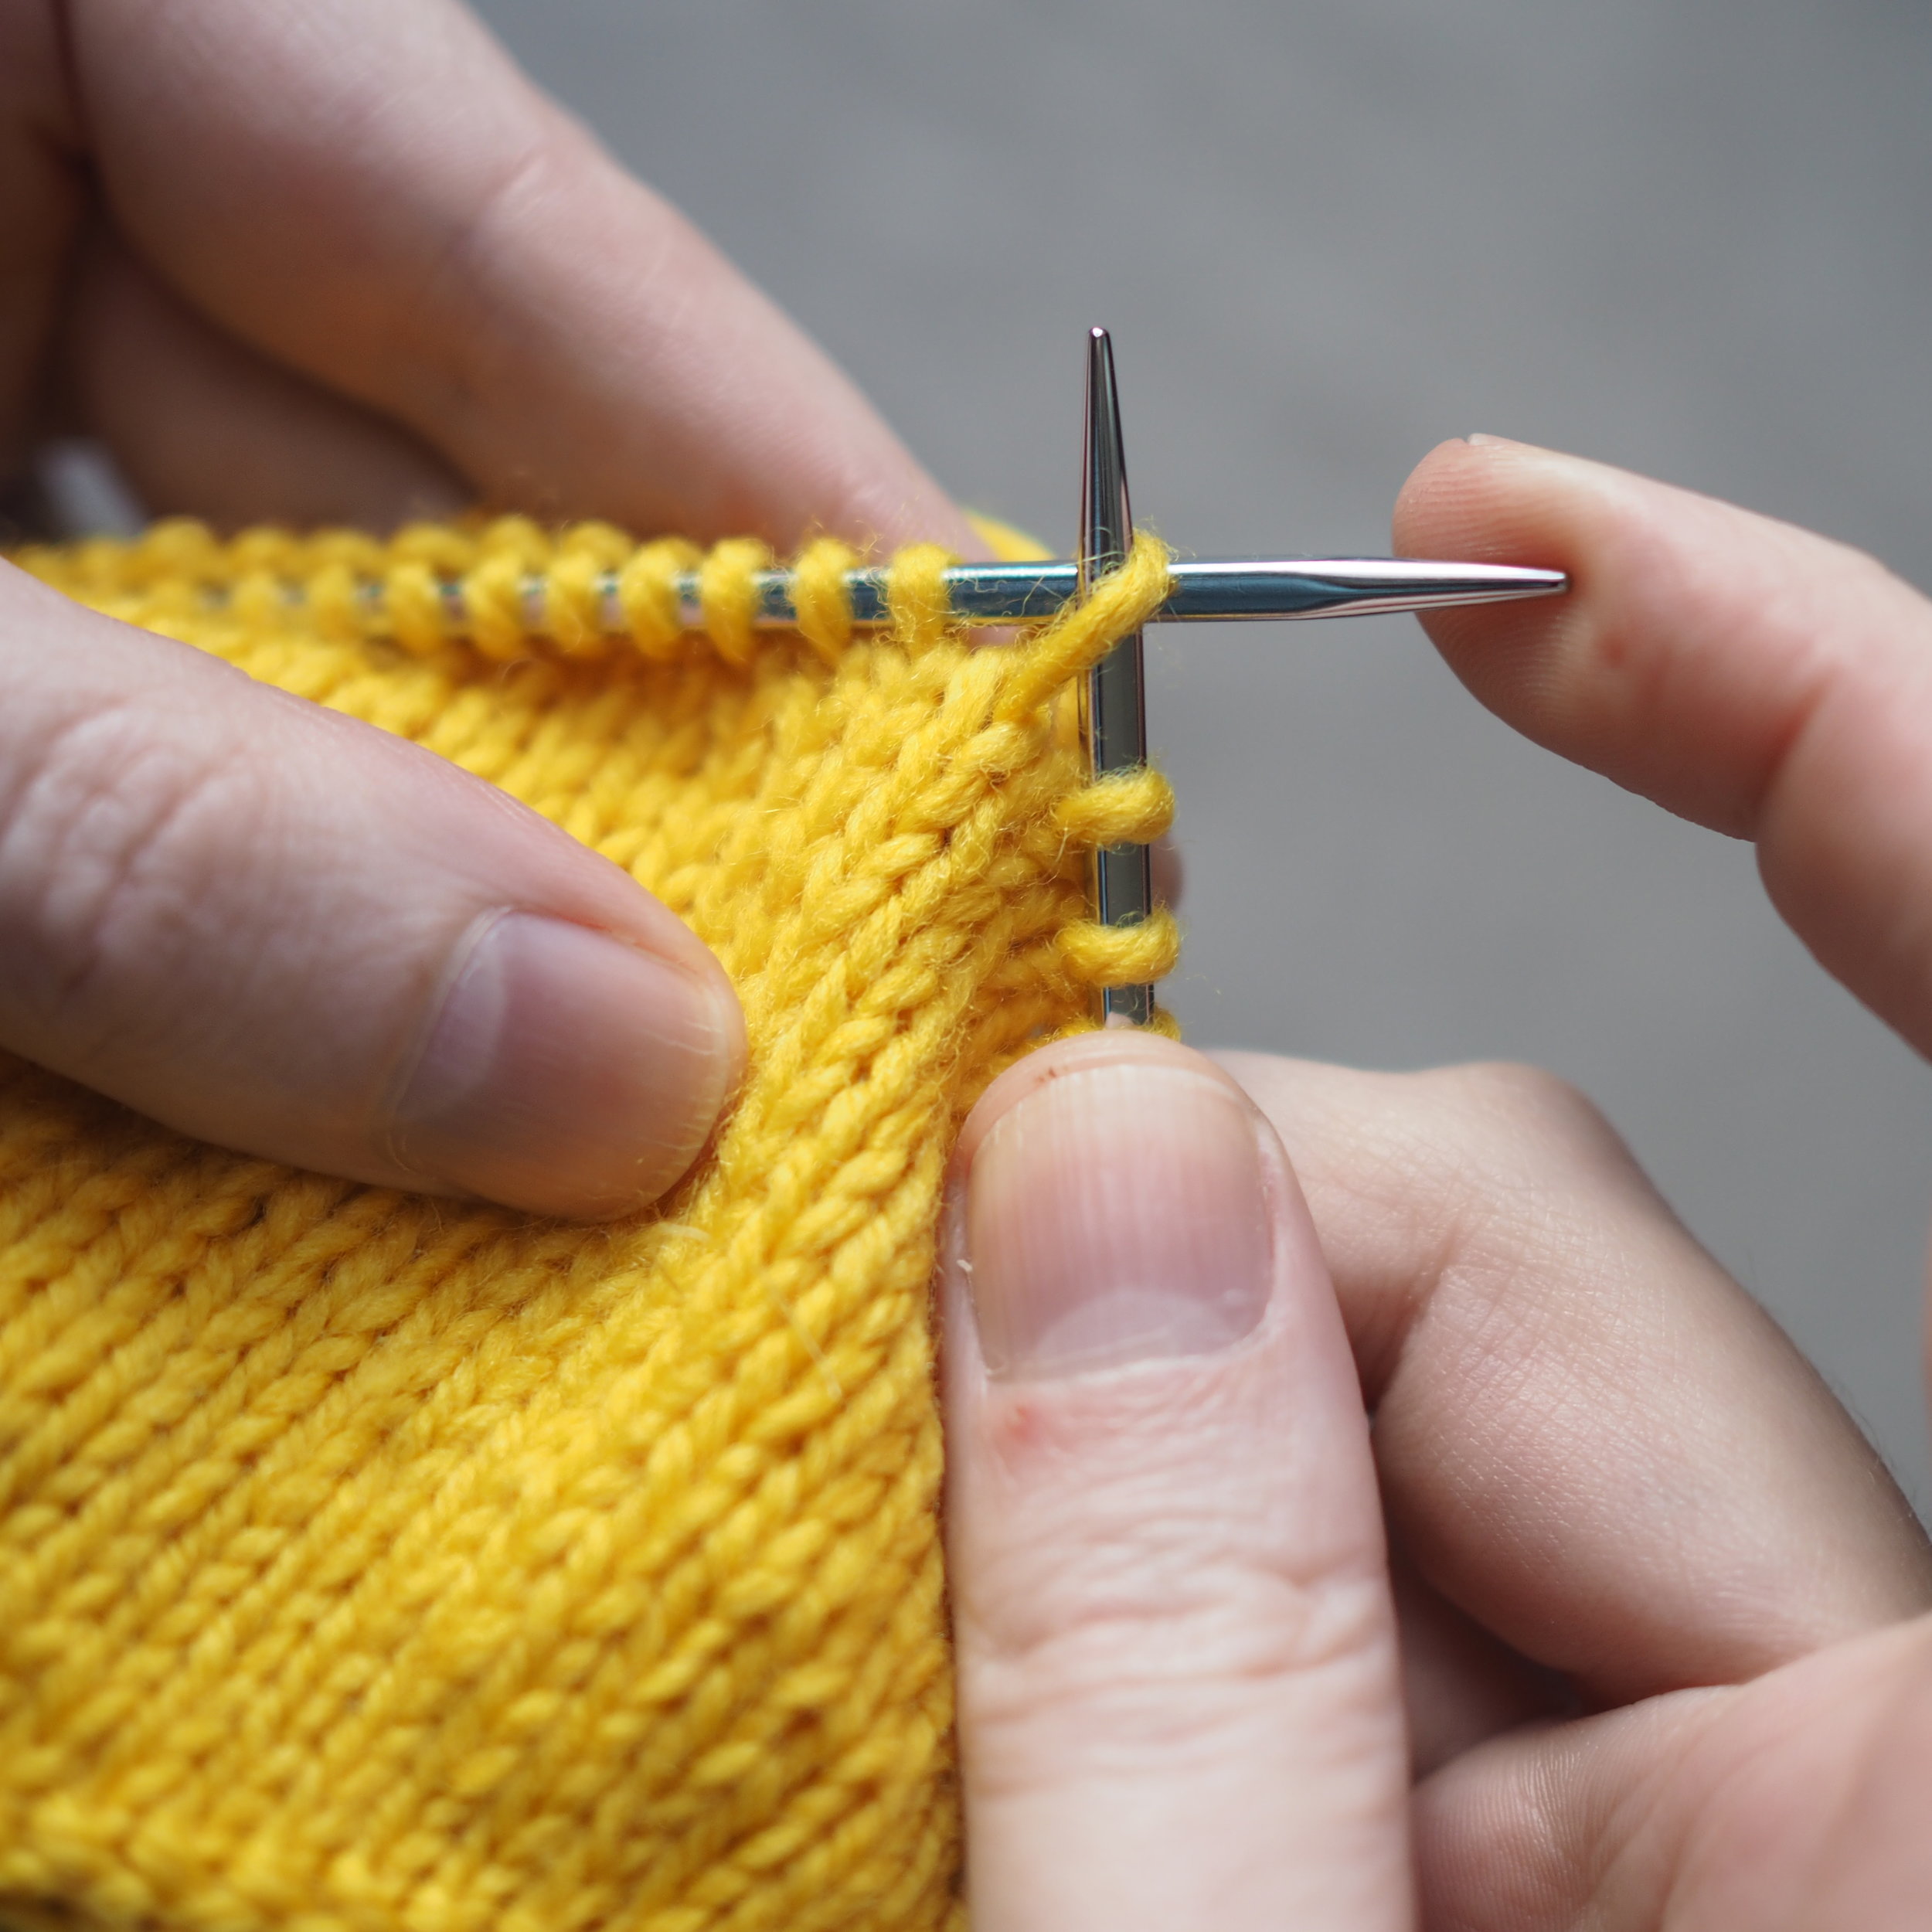
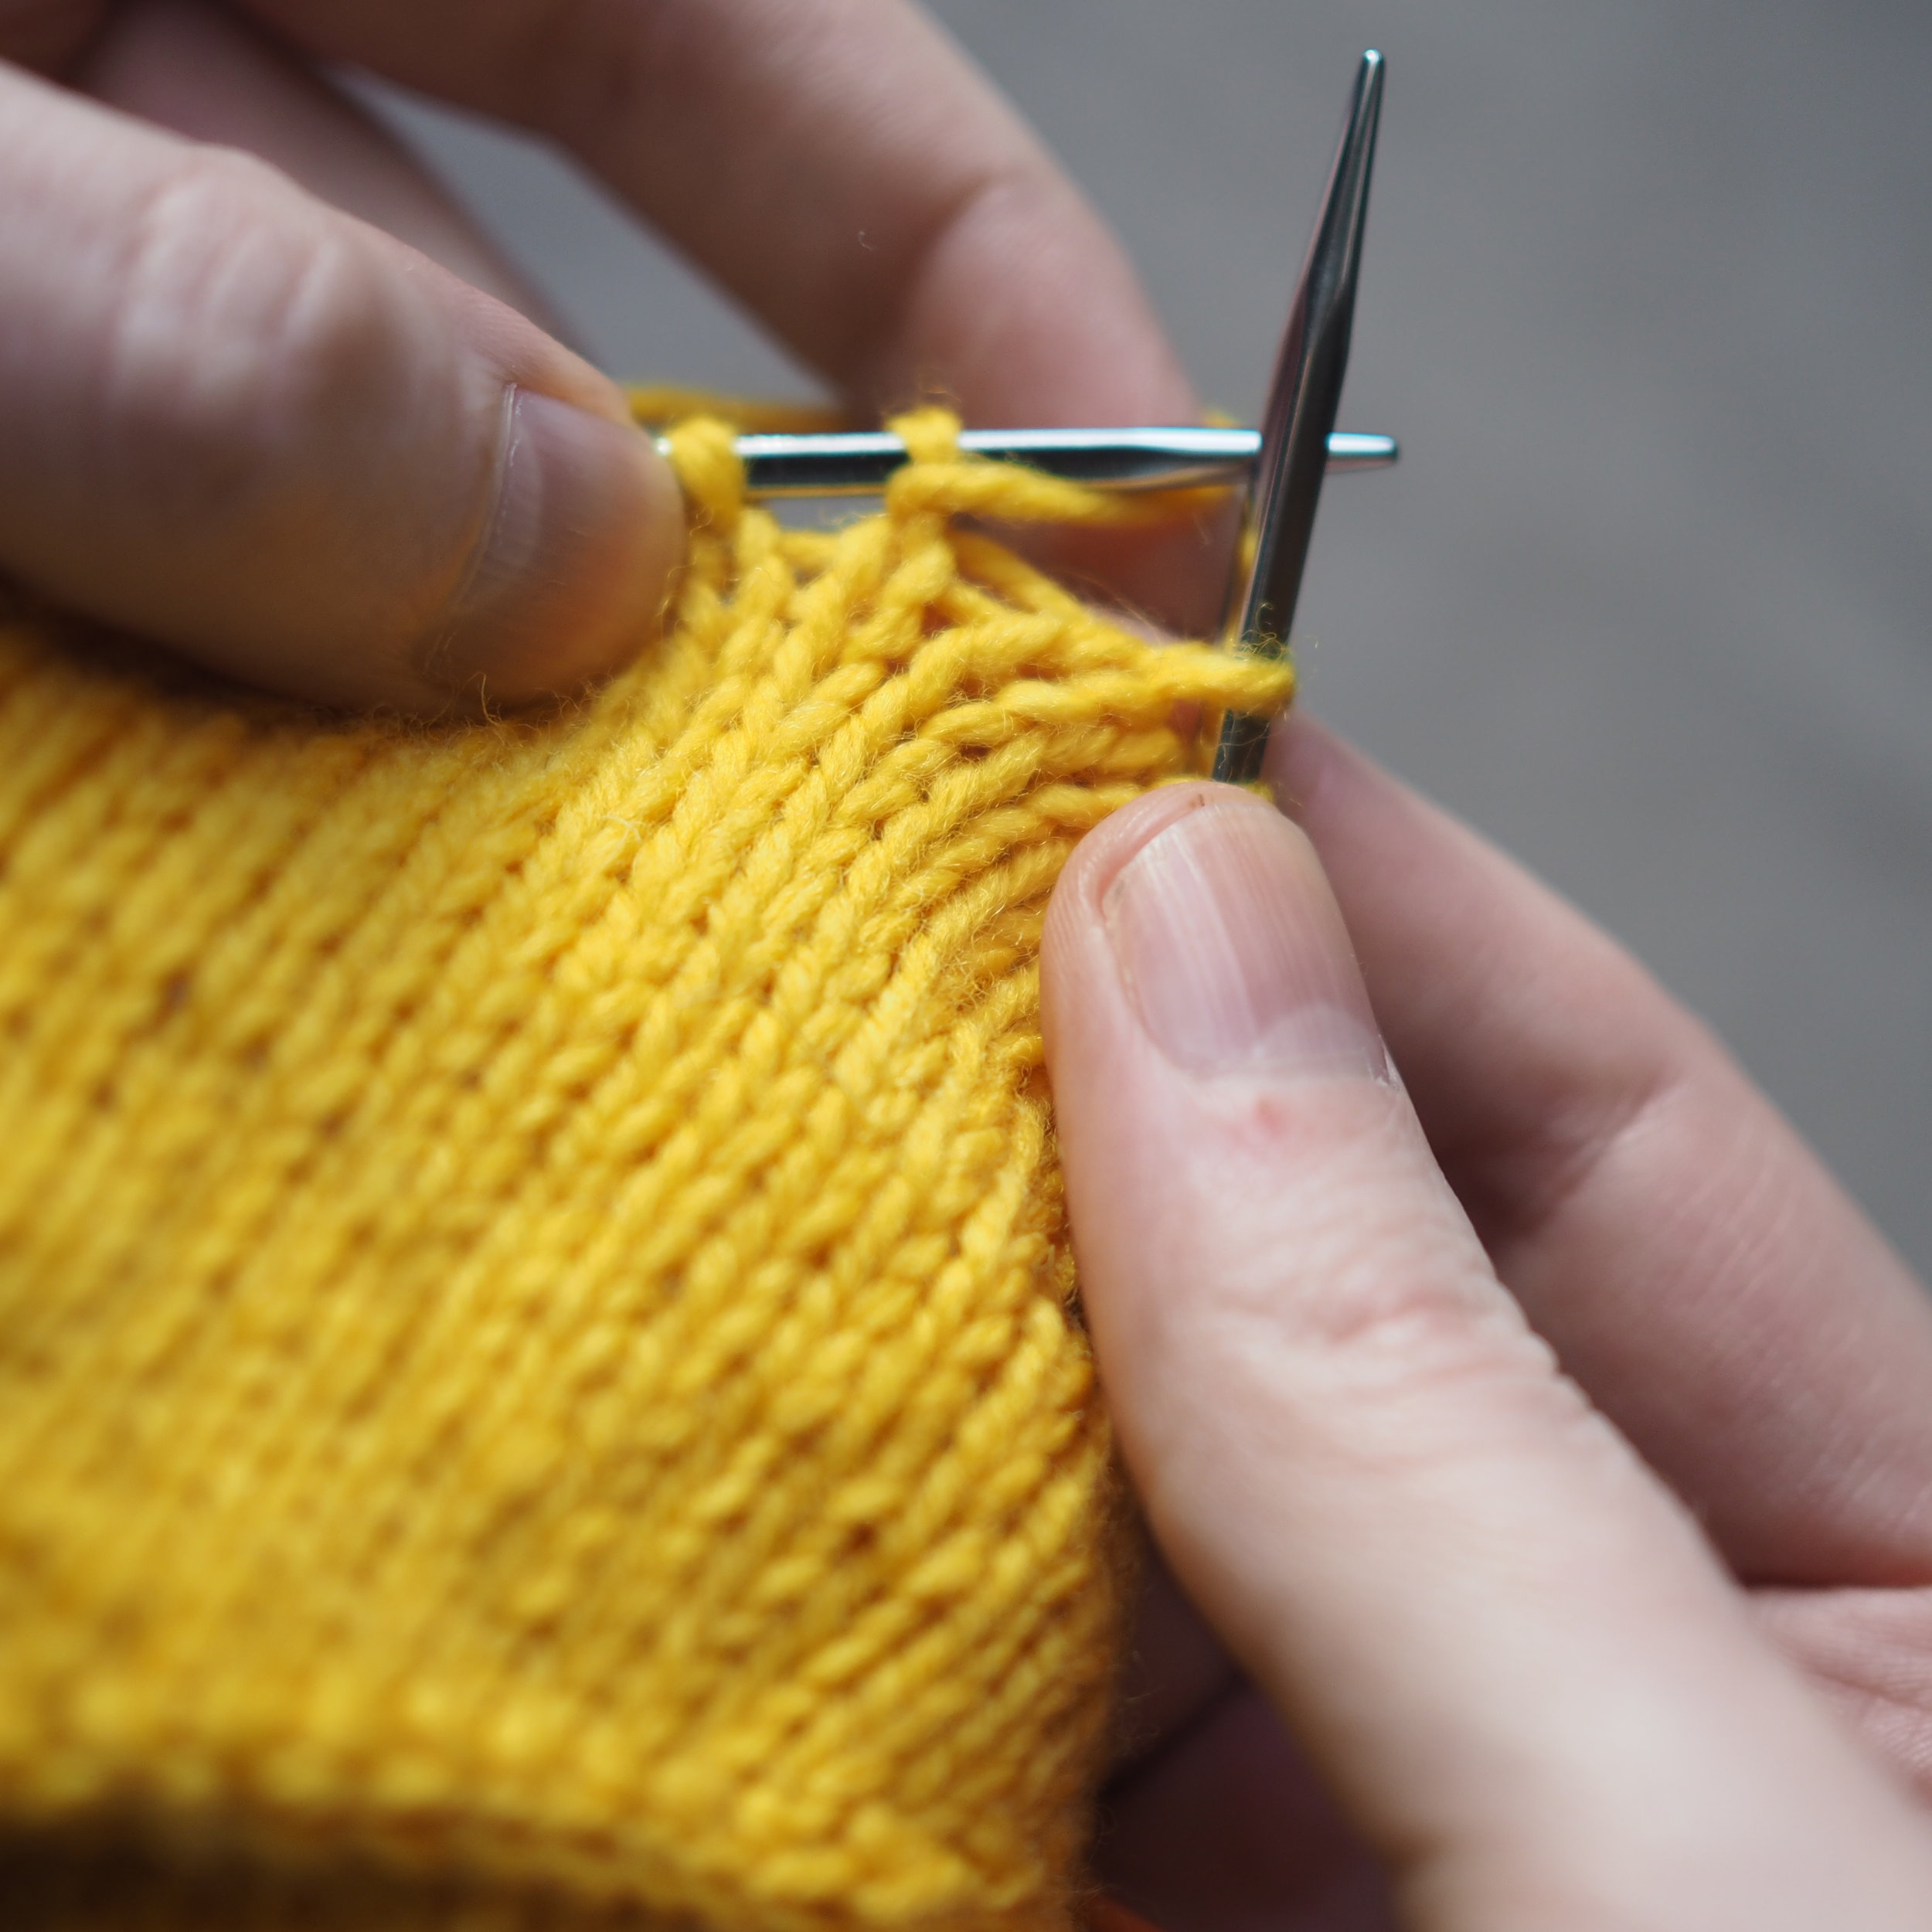
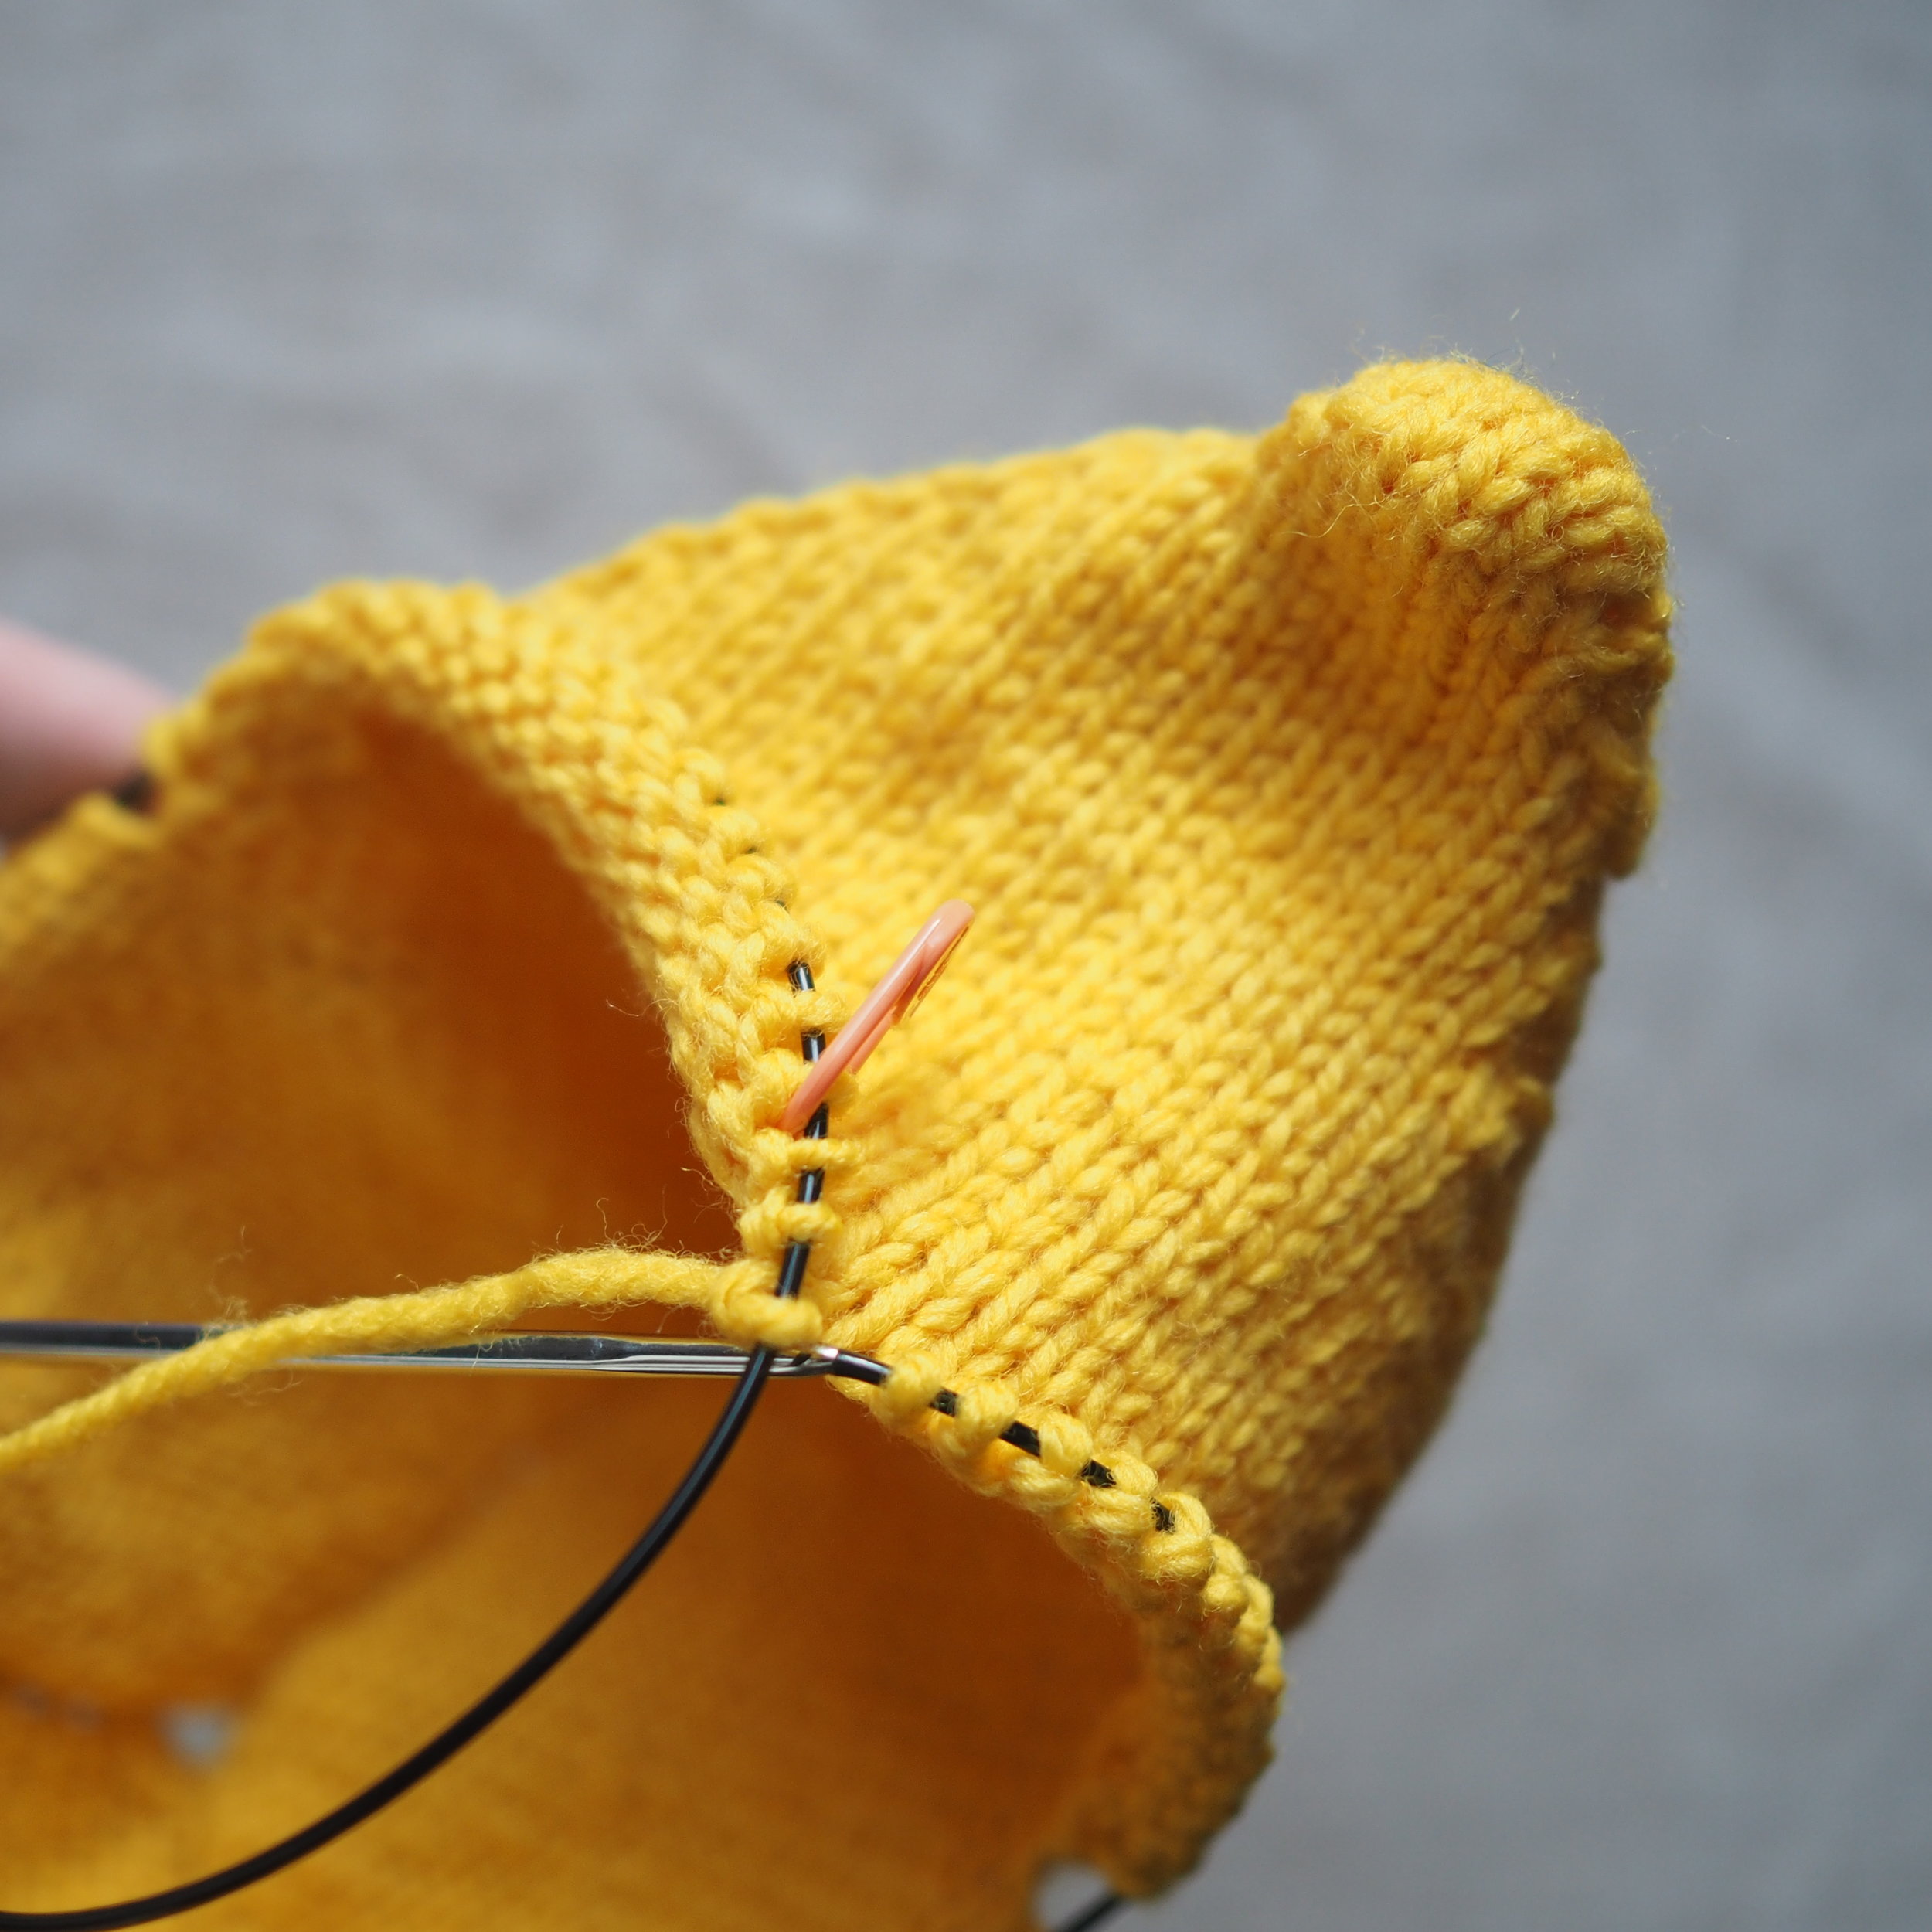
Picking Up An Afterthought Appendage
To pick up the stitches for an afterthought appendage, work as follows:
- Using a spare needle, pick up the right side of each stitch just below the scrap yarn stitching, picking up one stitch for each scrap yarn stitch.
- Repeat for the row of stitches just above the scrap yarn.
- Using a spare knitting or tapestry needle, pick out the scrap yarn. You should be left with the same number of stitches on each needle.
The first few rounds after you pick up will be fiddly, because there's not a lot of give because the body is already stuffed. It's a bit easier if you use magic loop and isn't a problem after those first few rows.


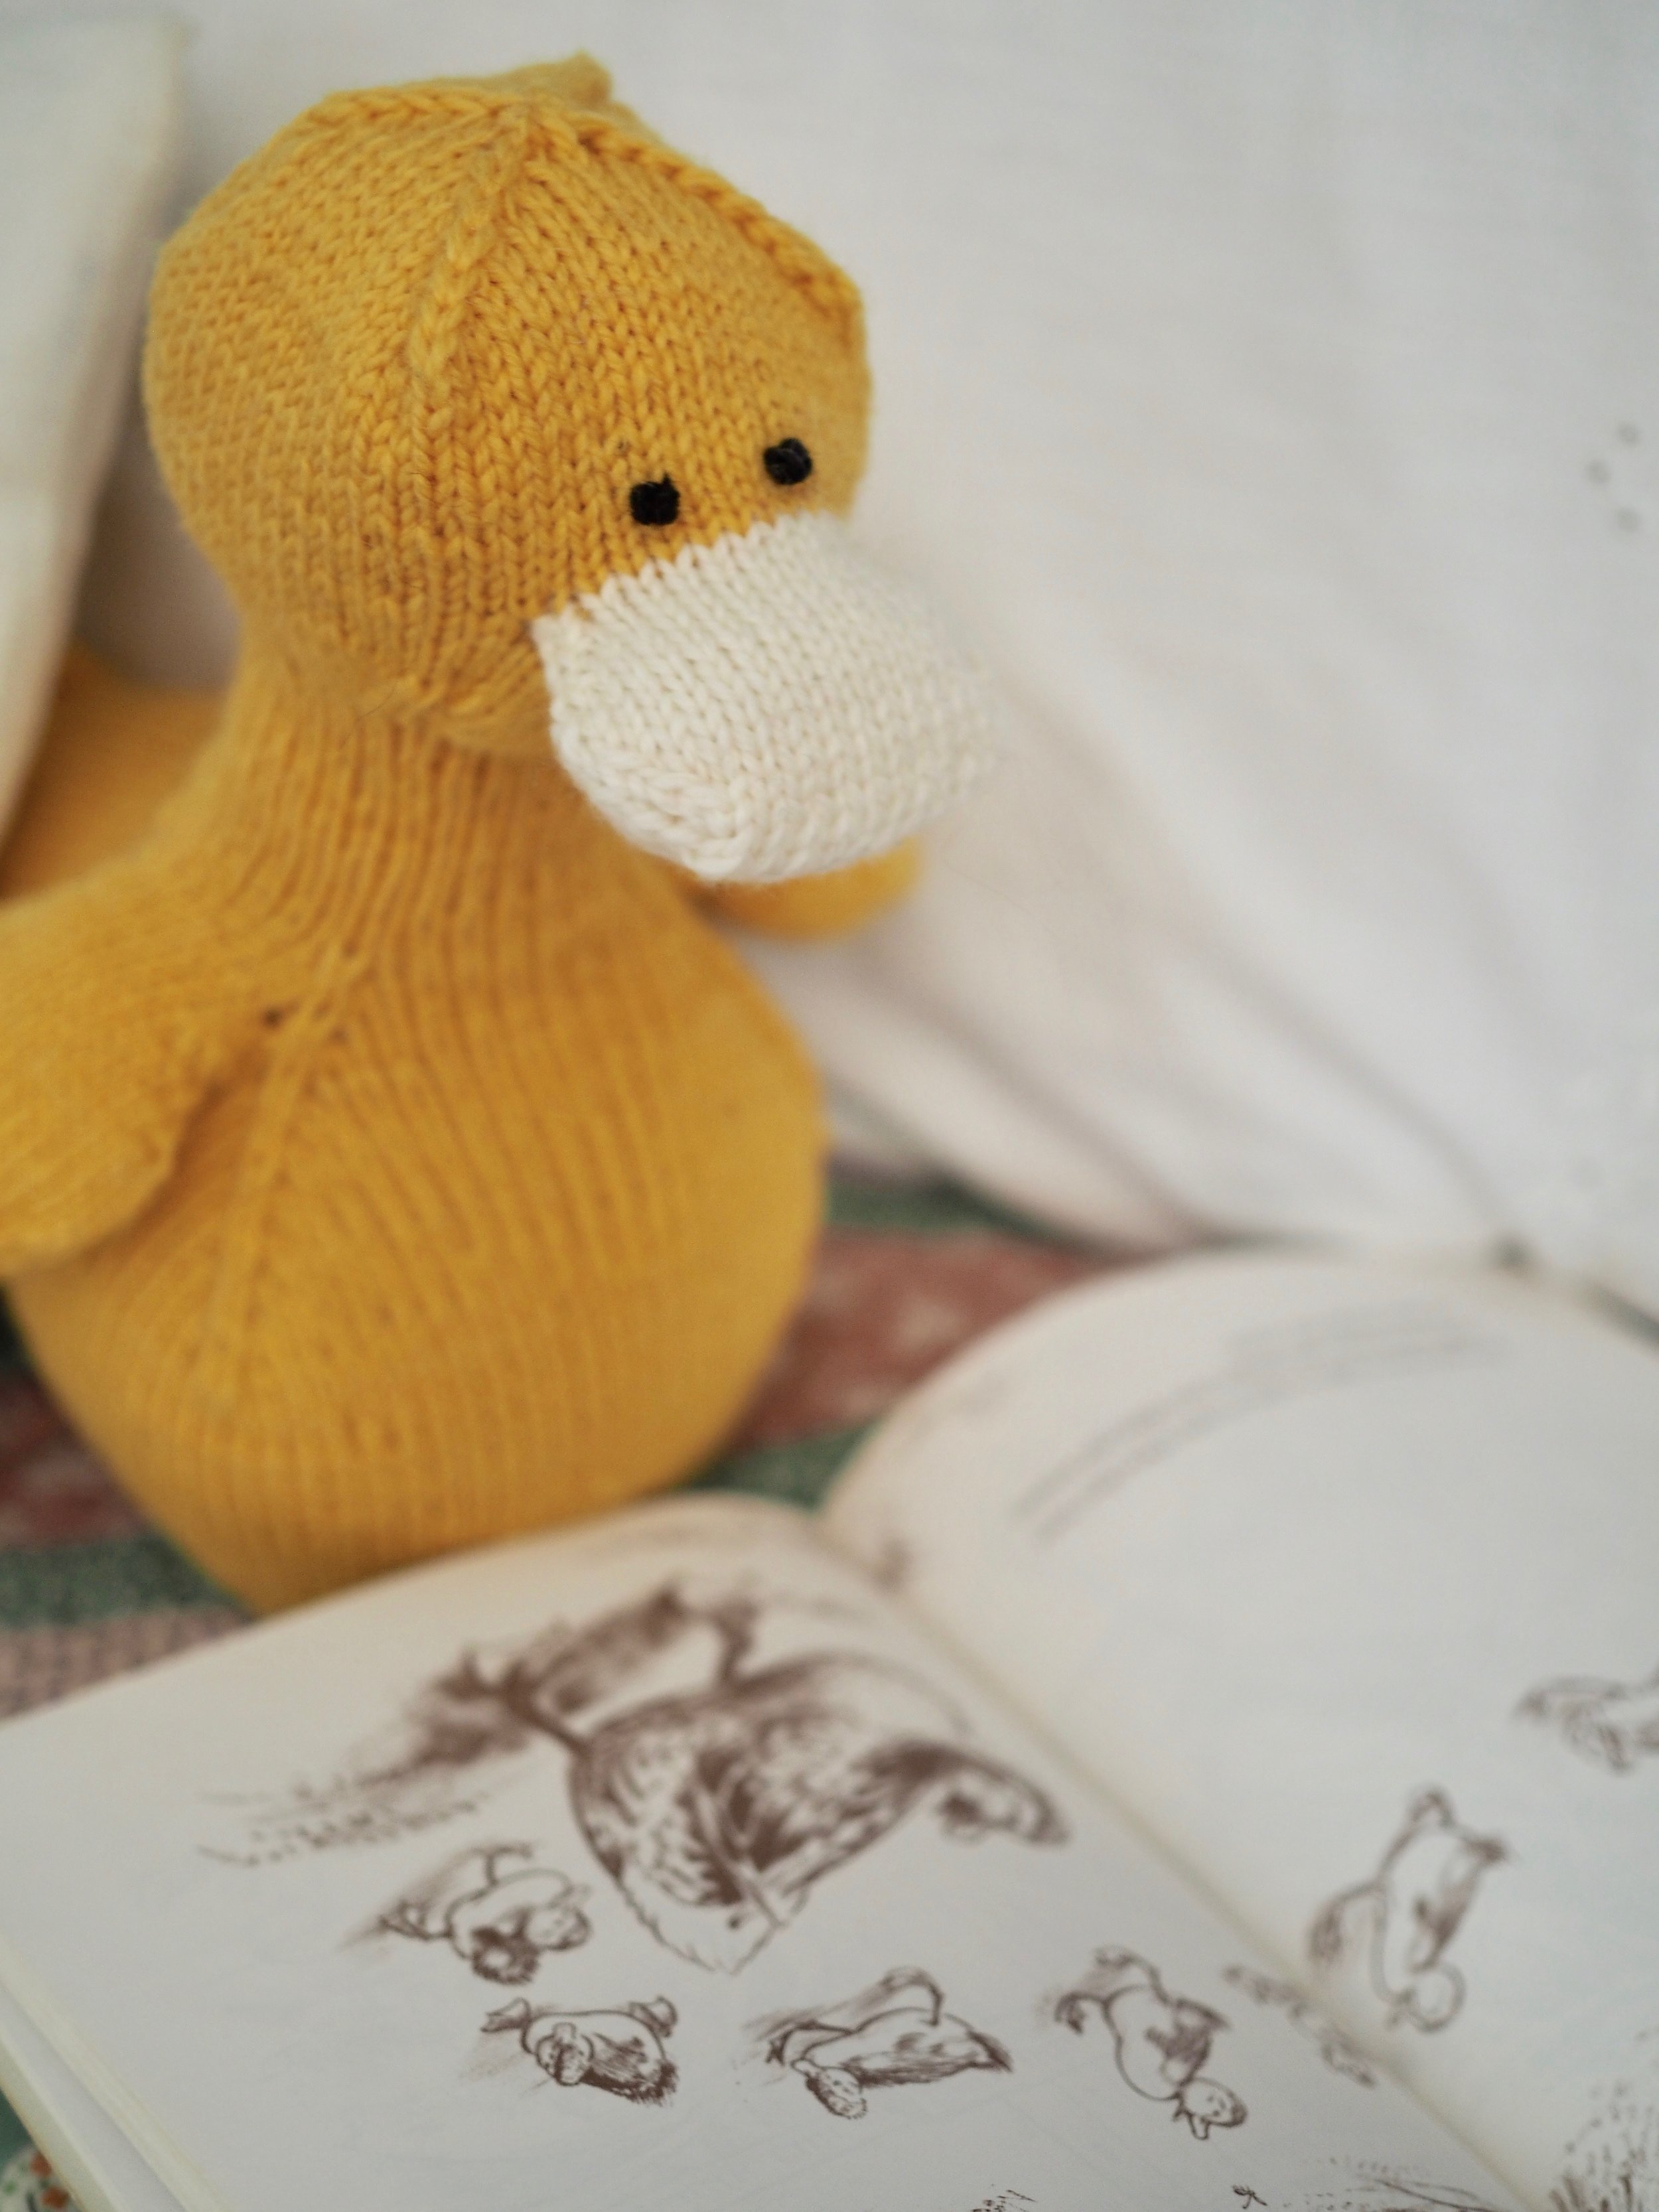
Making the Eyes (French Knots)
Make the facial features before you do (or at least graft shut) the beak, as it will be easier to hide the ends.
- Secure thread at inside of head.
- Bring up needle through fabric at desired position.
- With needle pointing away from fabric, wrap thread around shank of needle 2-3 times. (The more wraps, the bigger the finished knot).
- Holding onto the yarn tail until it becomes too short, push the needle down through the fabric one half-stitch over from where it came up. Pull snugly against fabric.
Repeat steps 2-4 for second eye. You can also add eyebrows, eyelashes, etc. at this point.
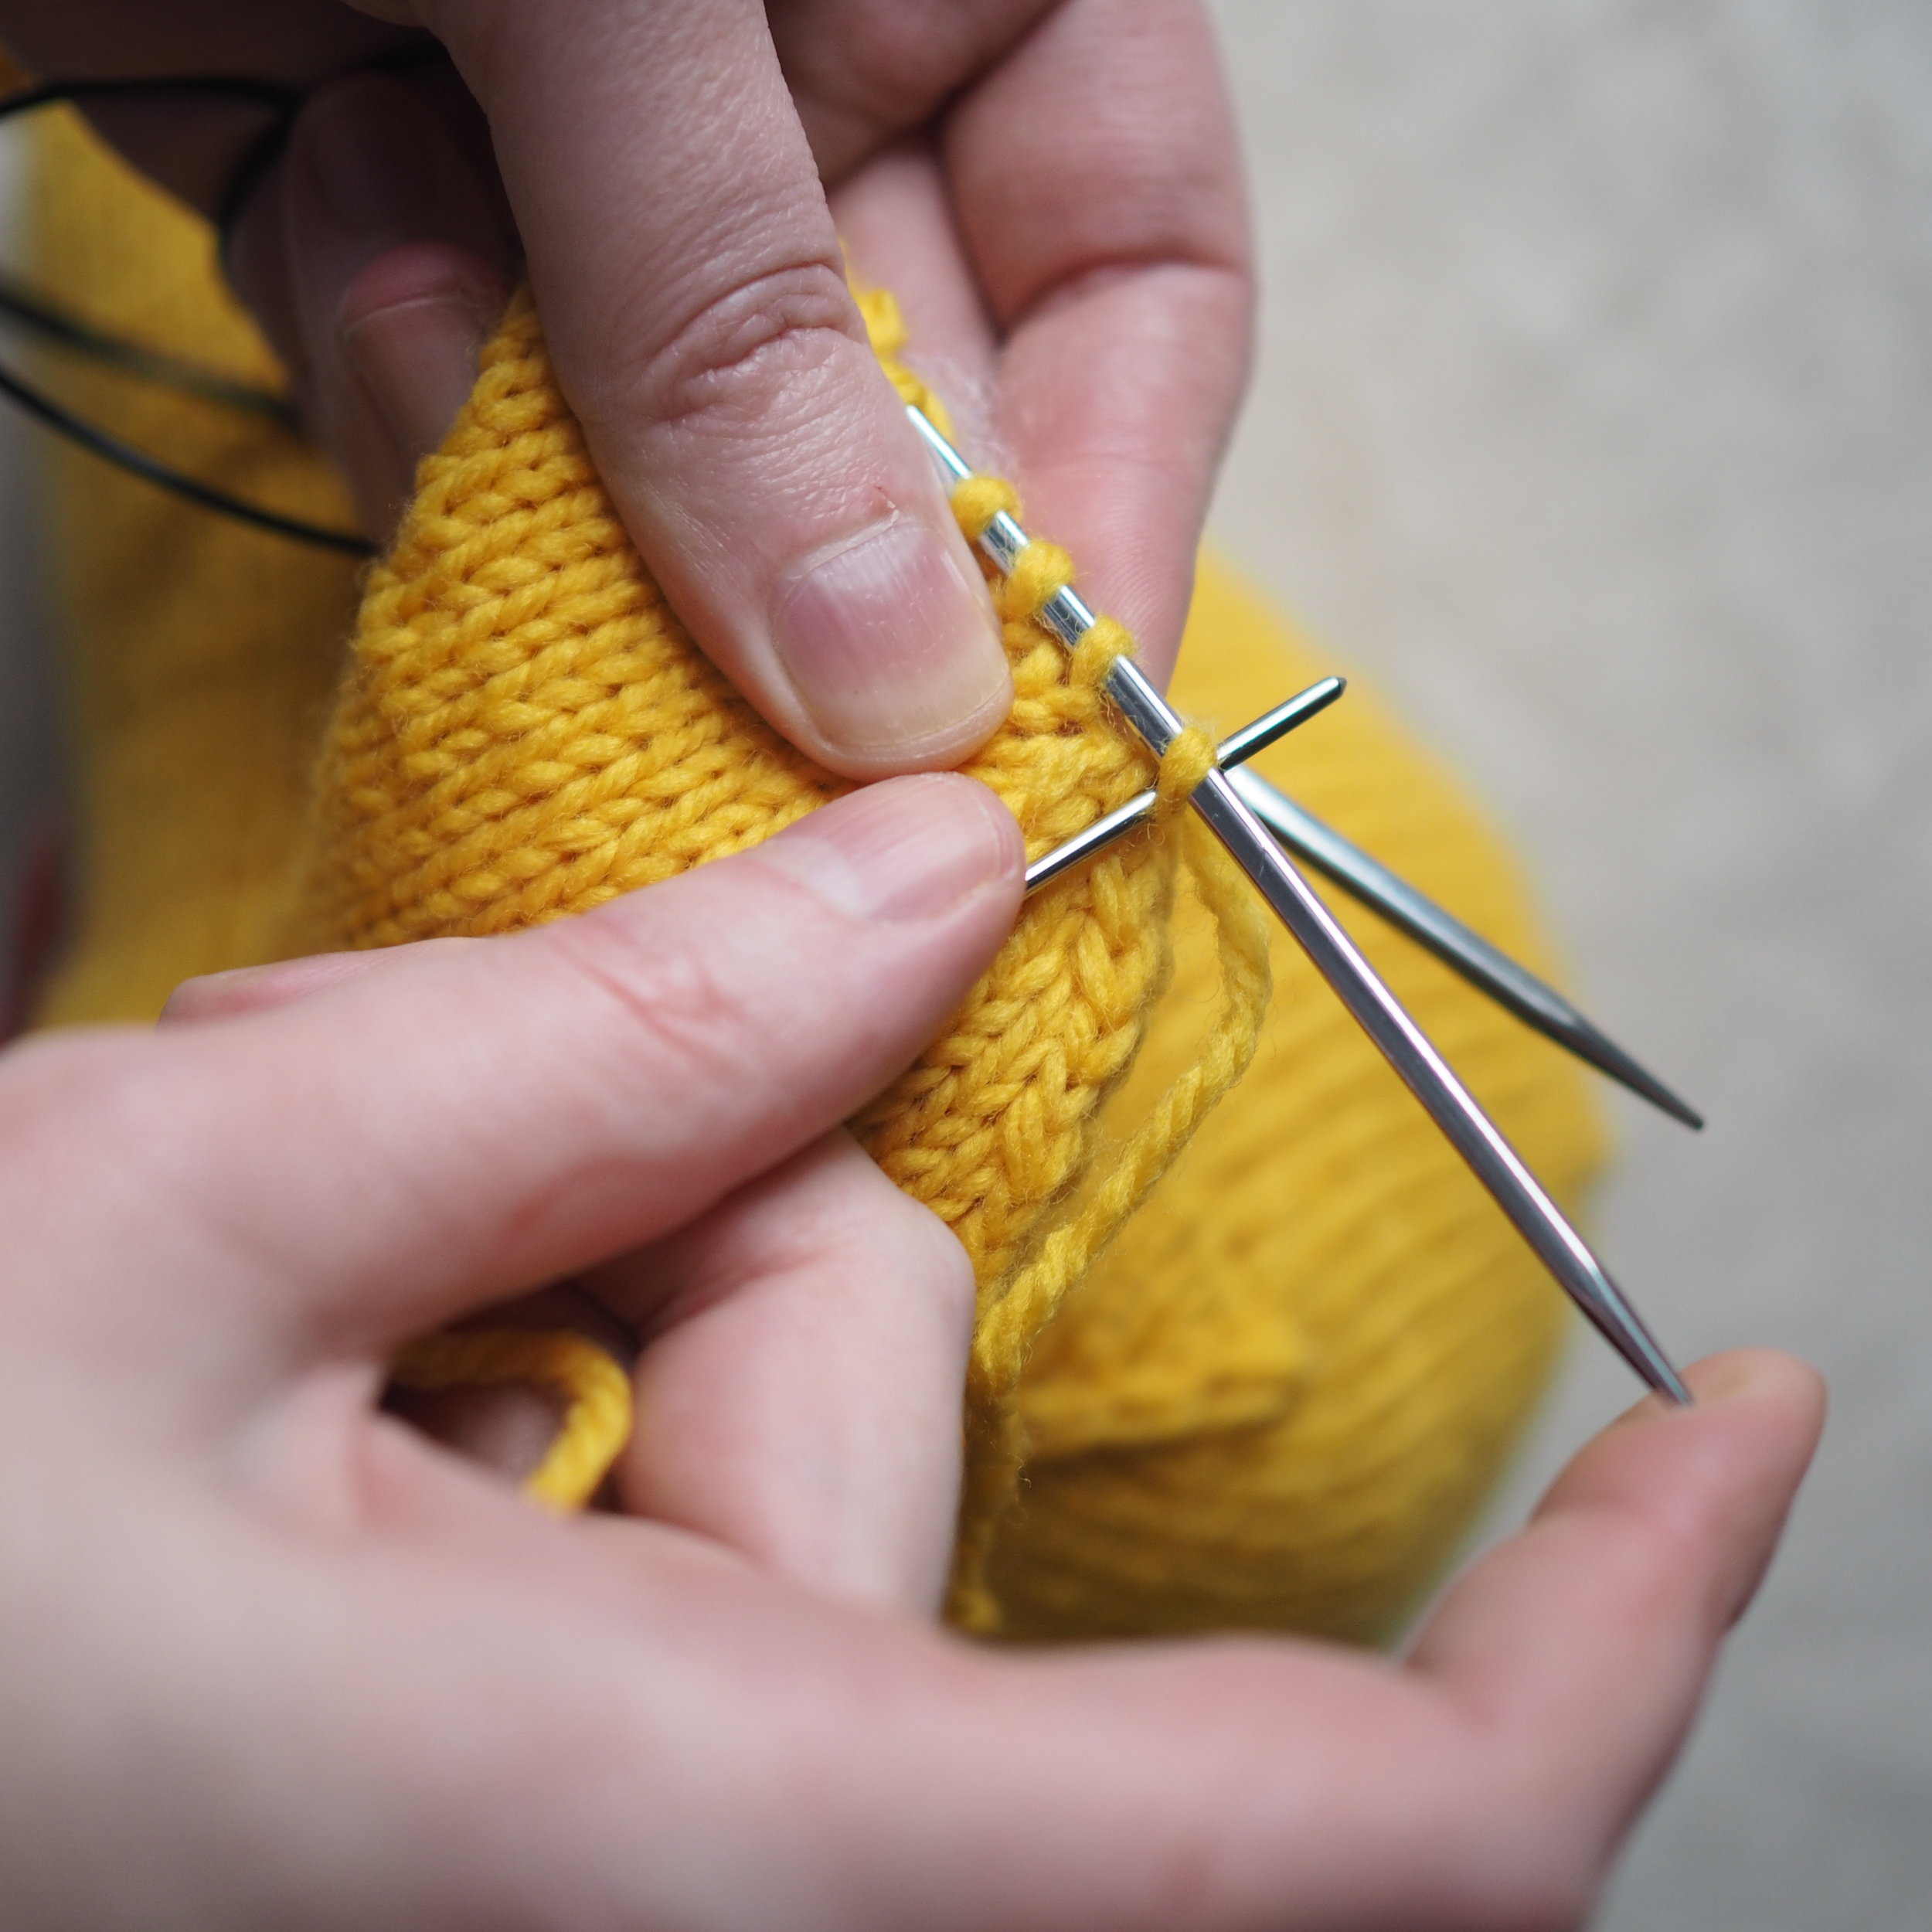
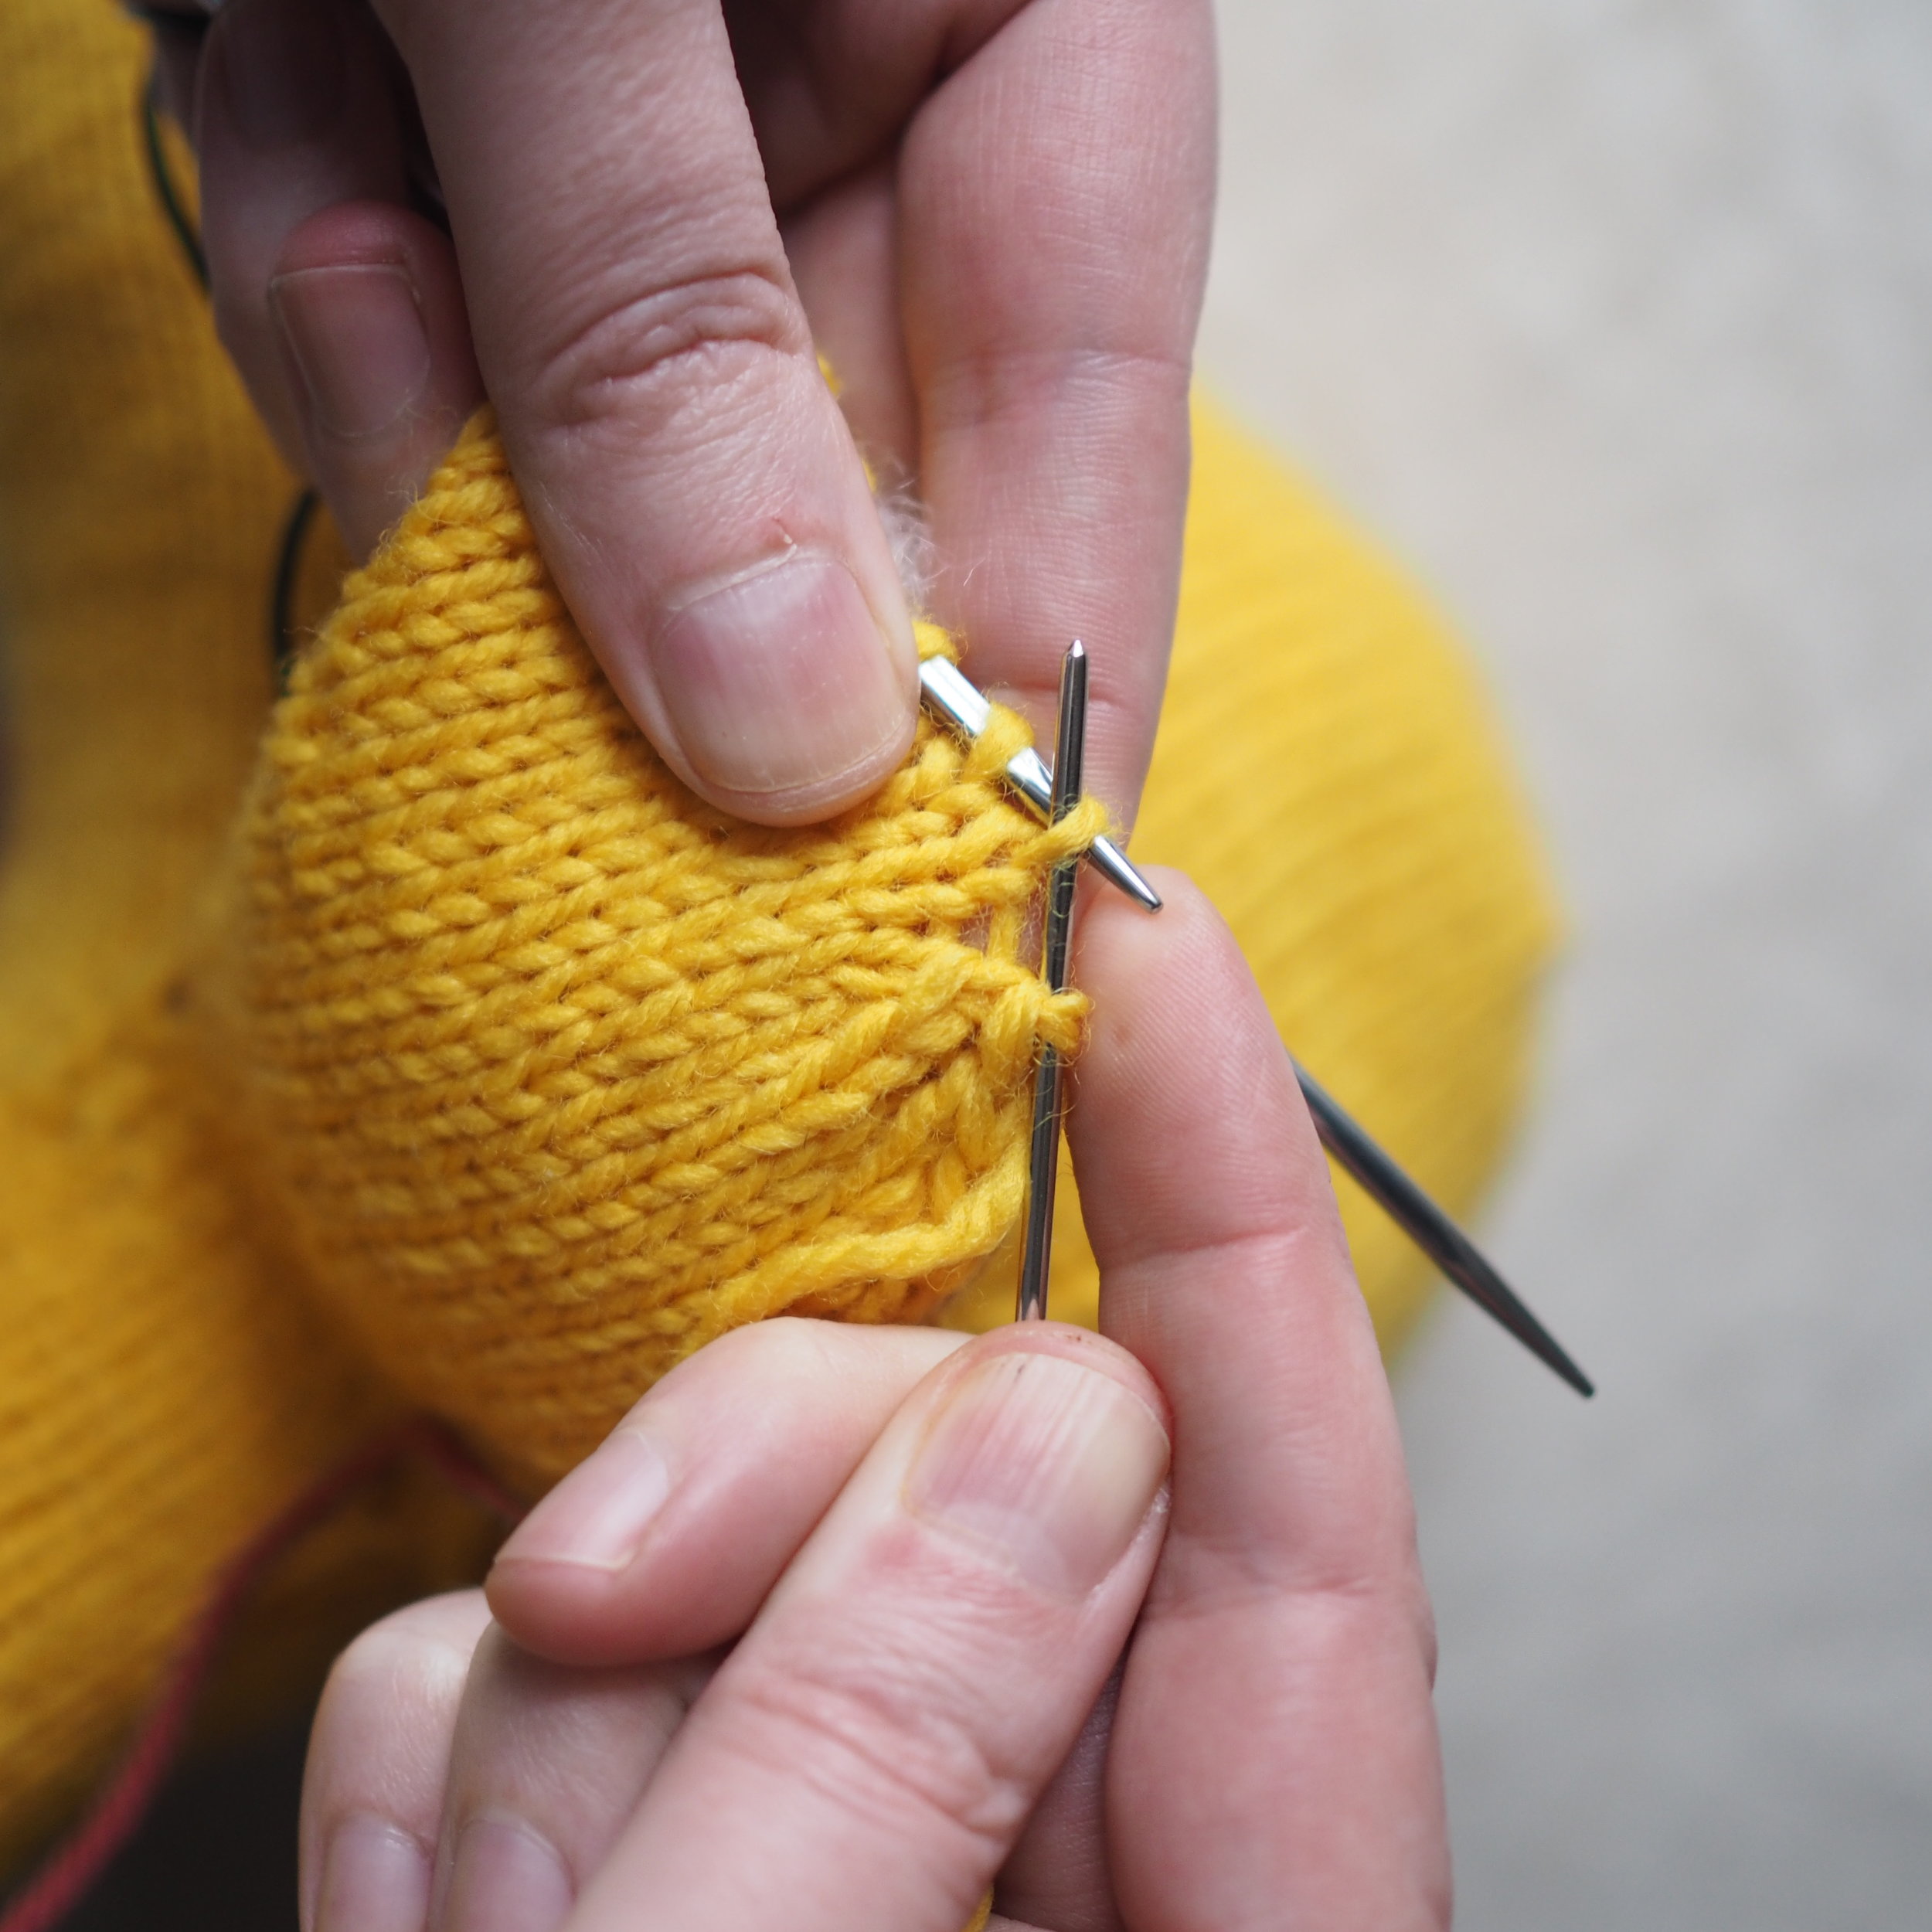


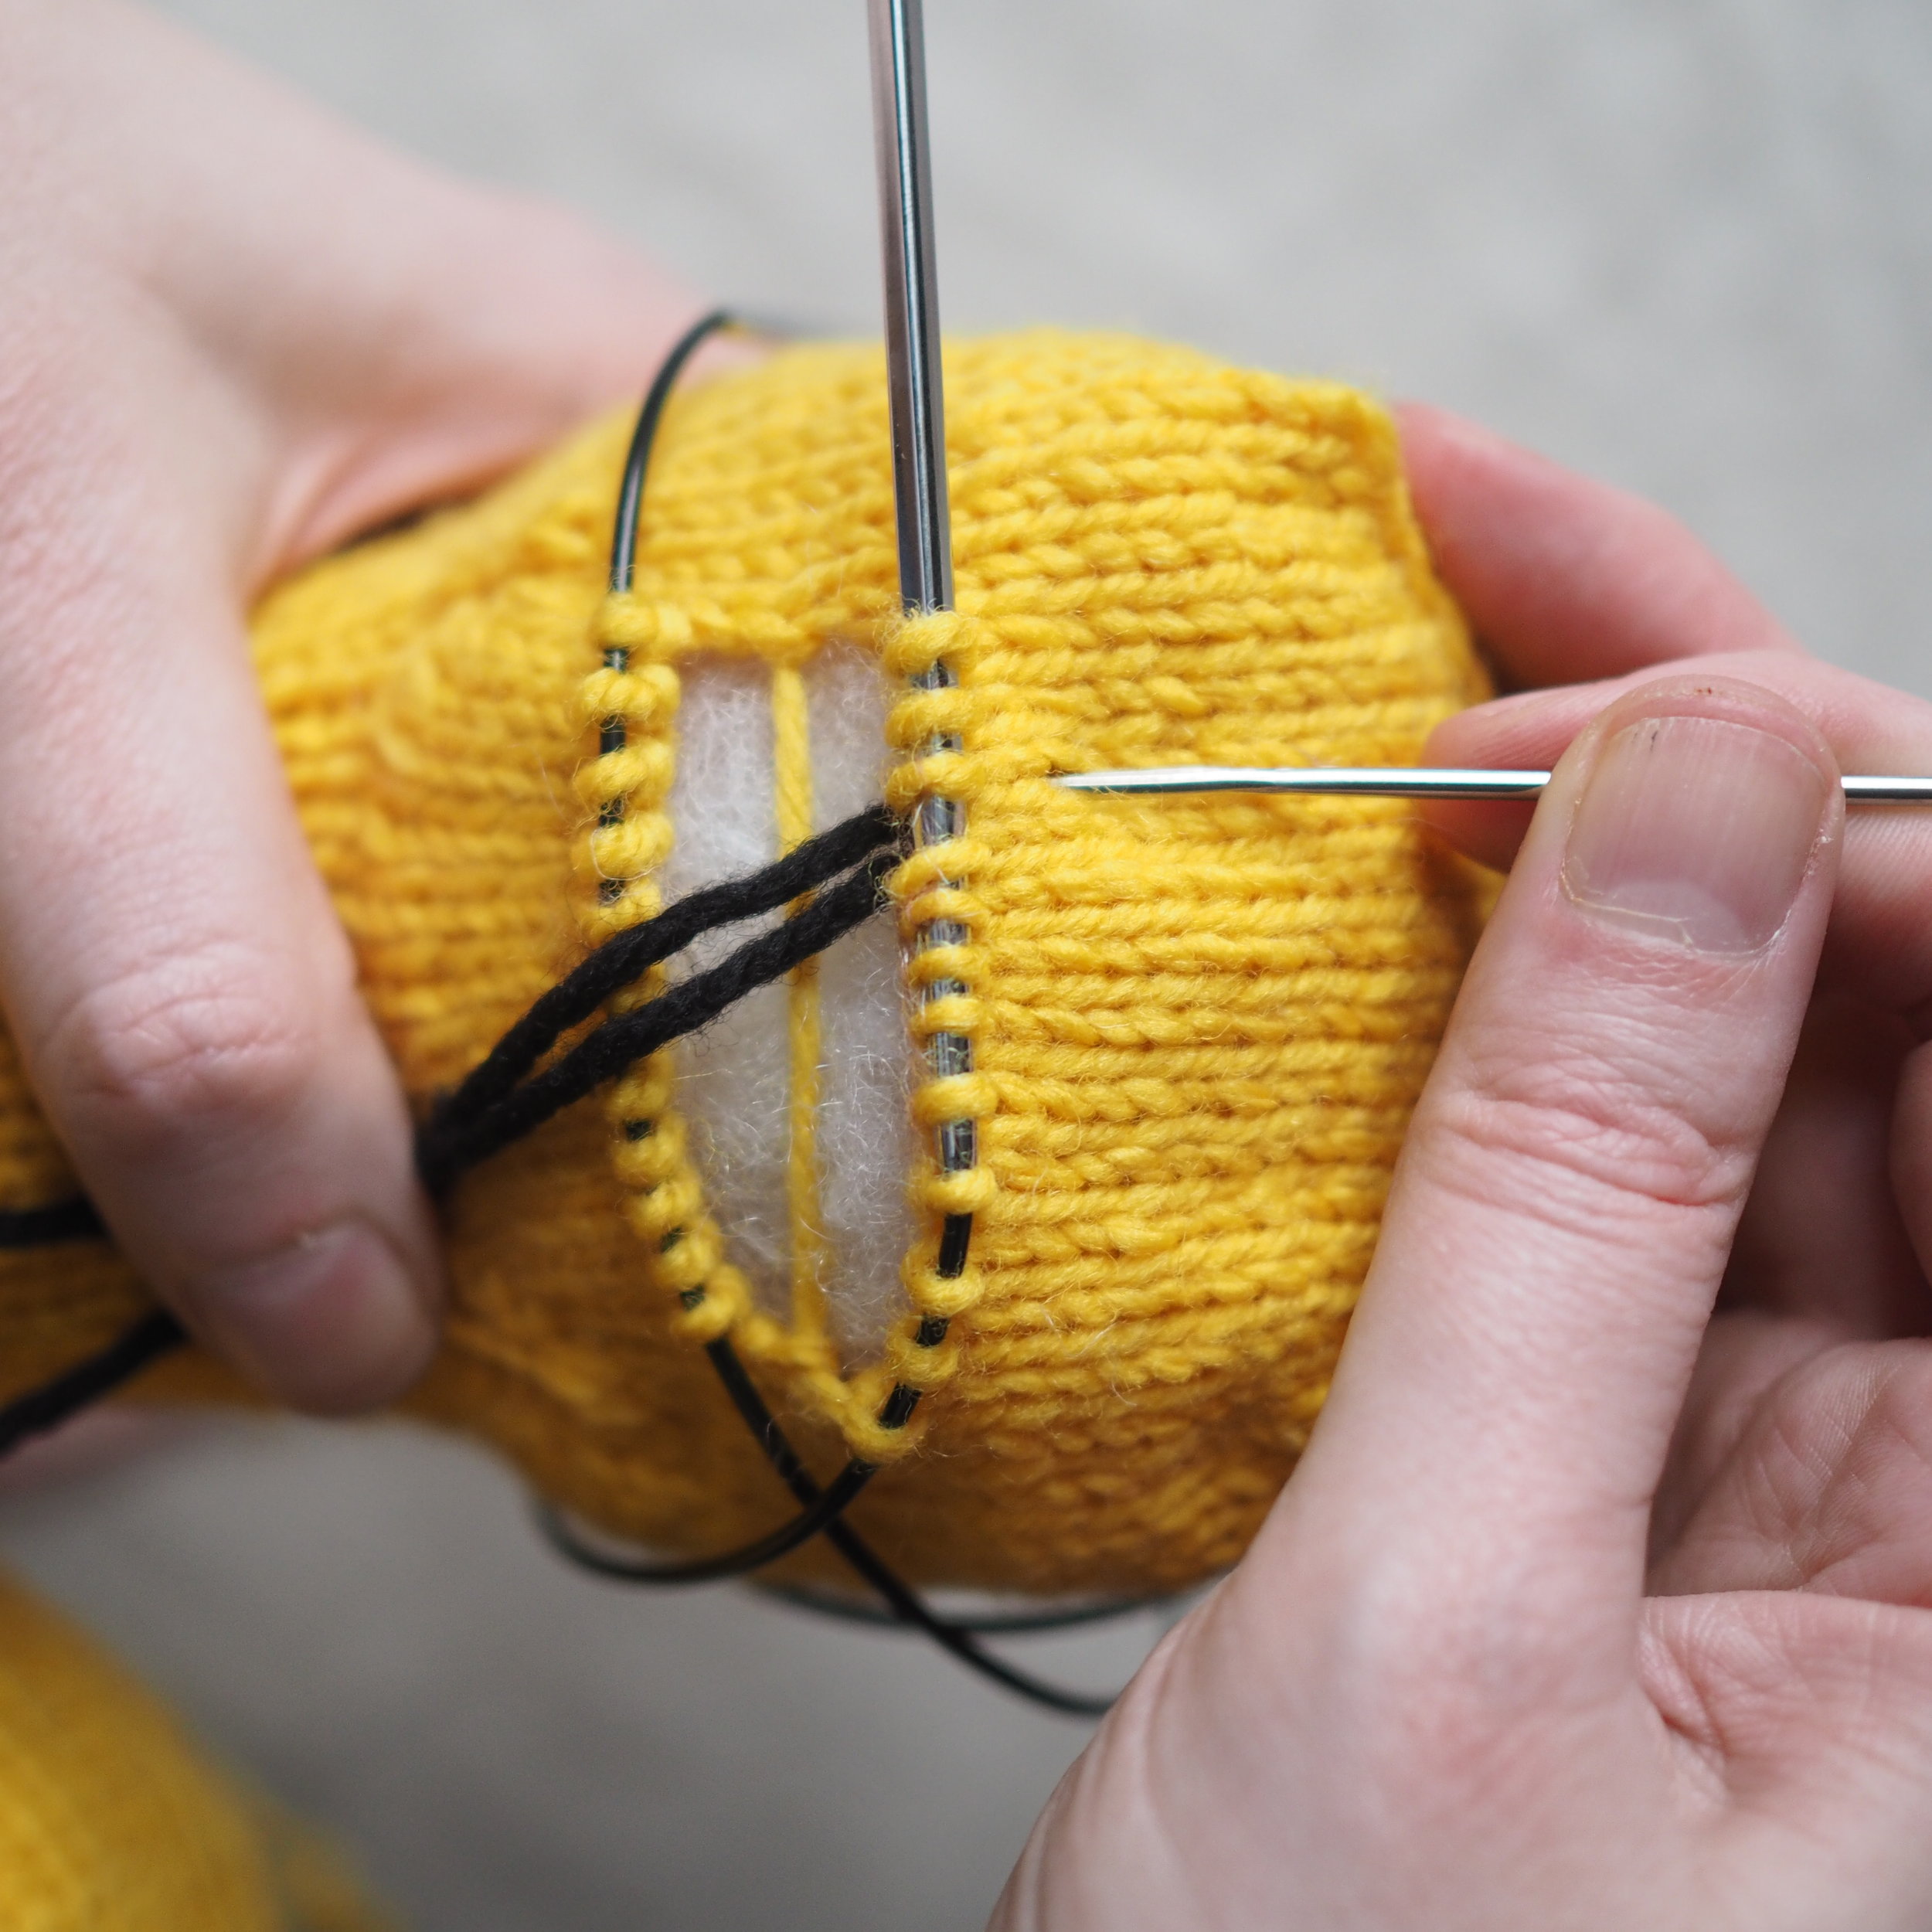
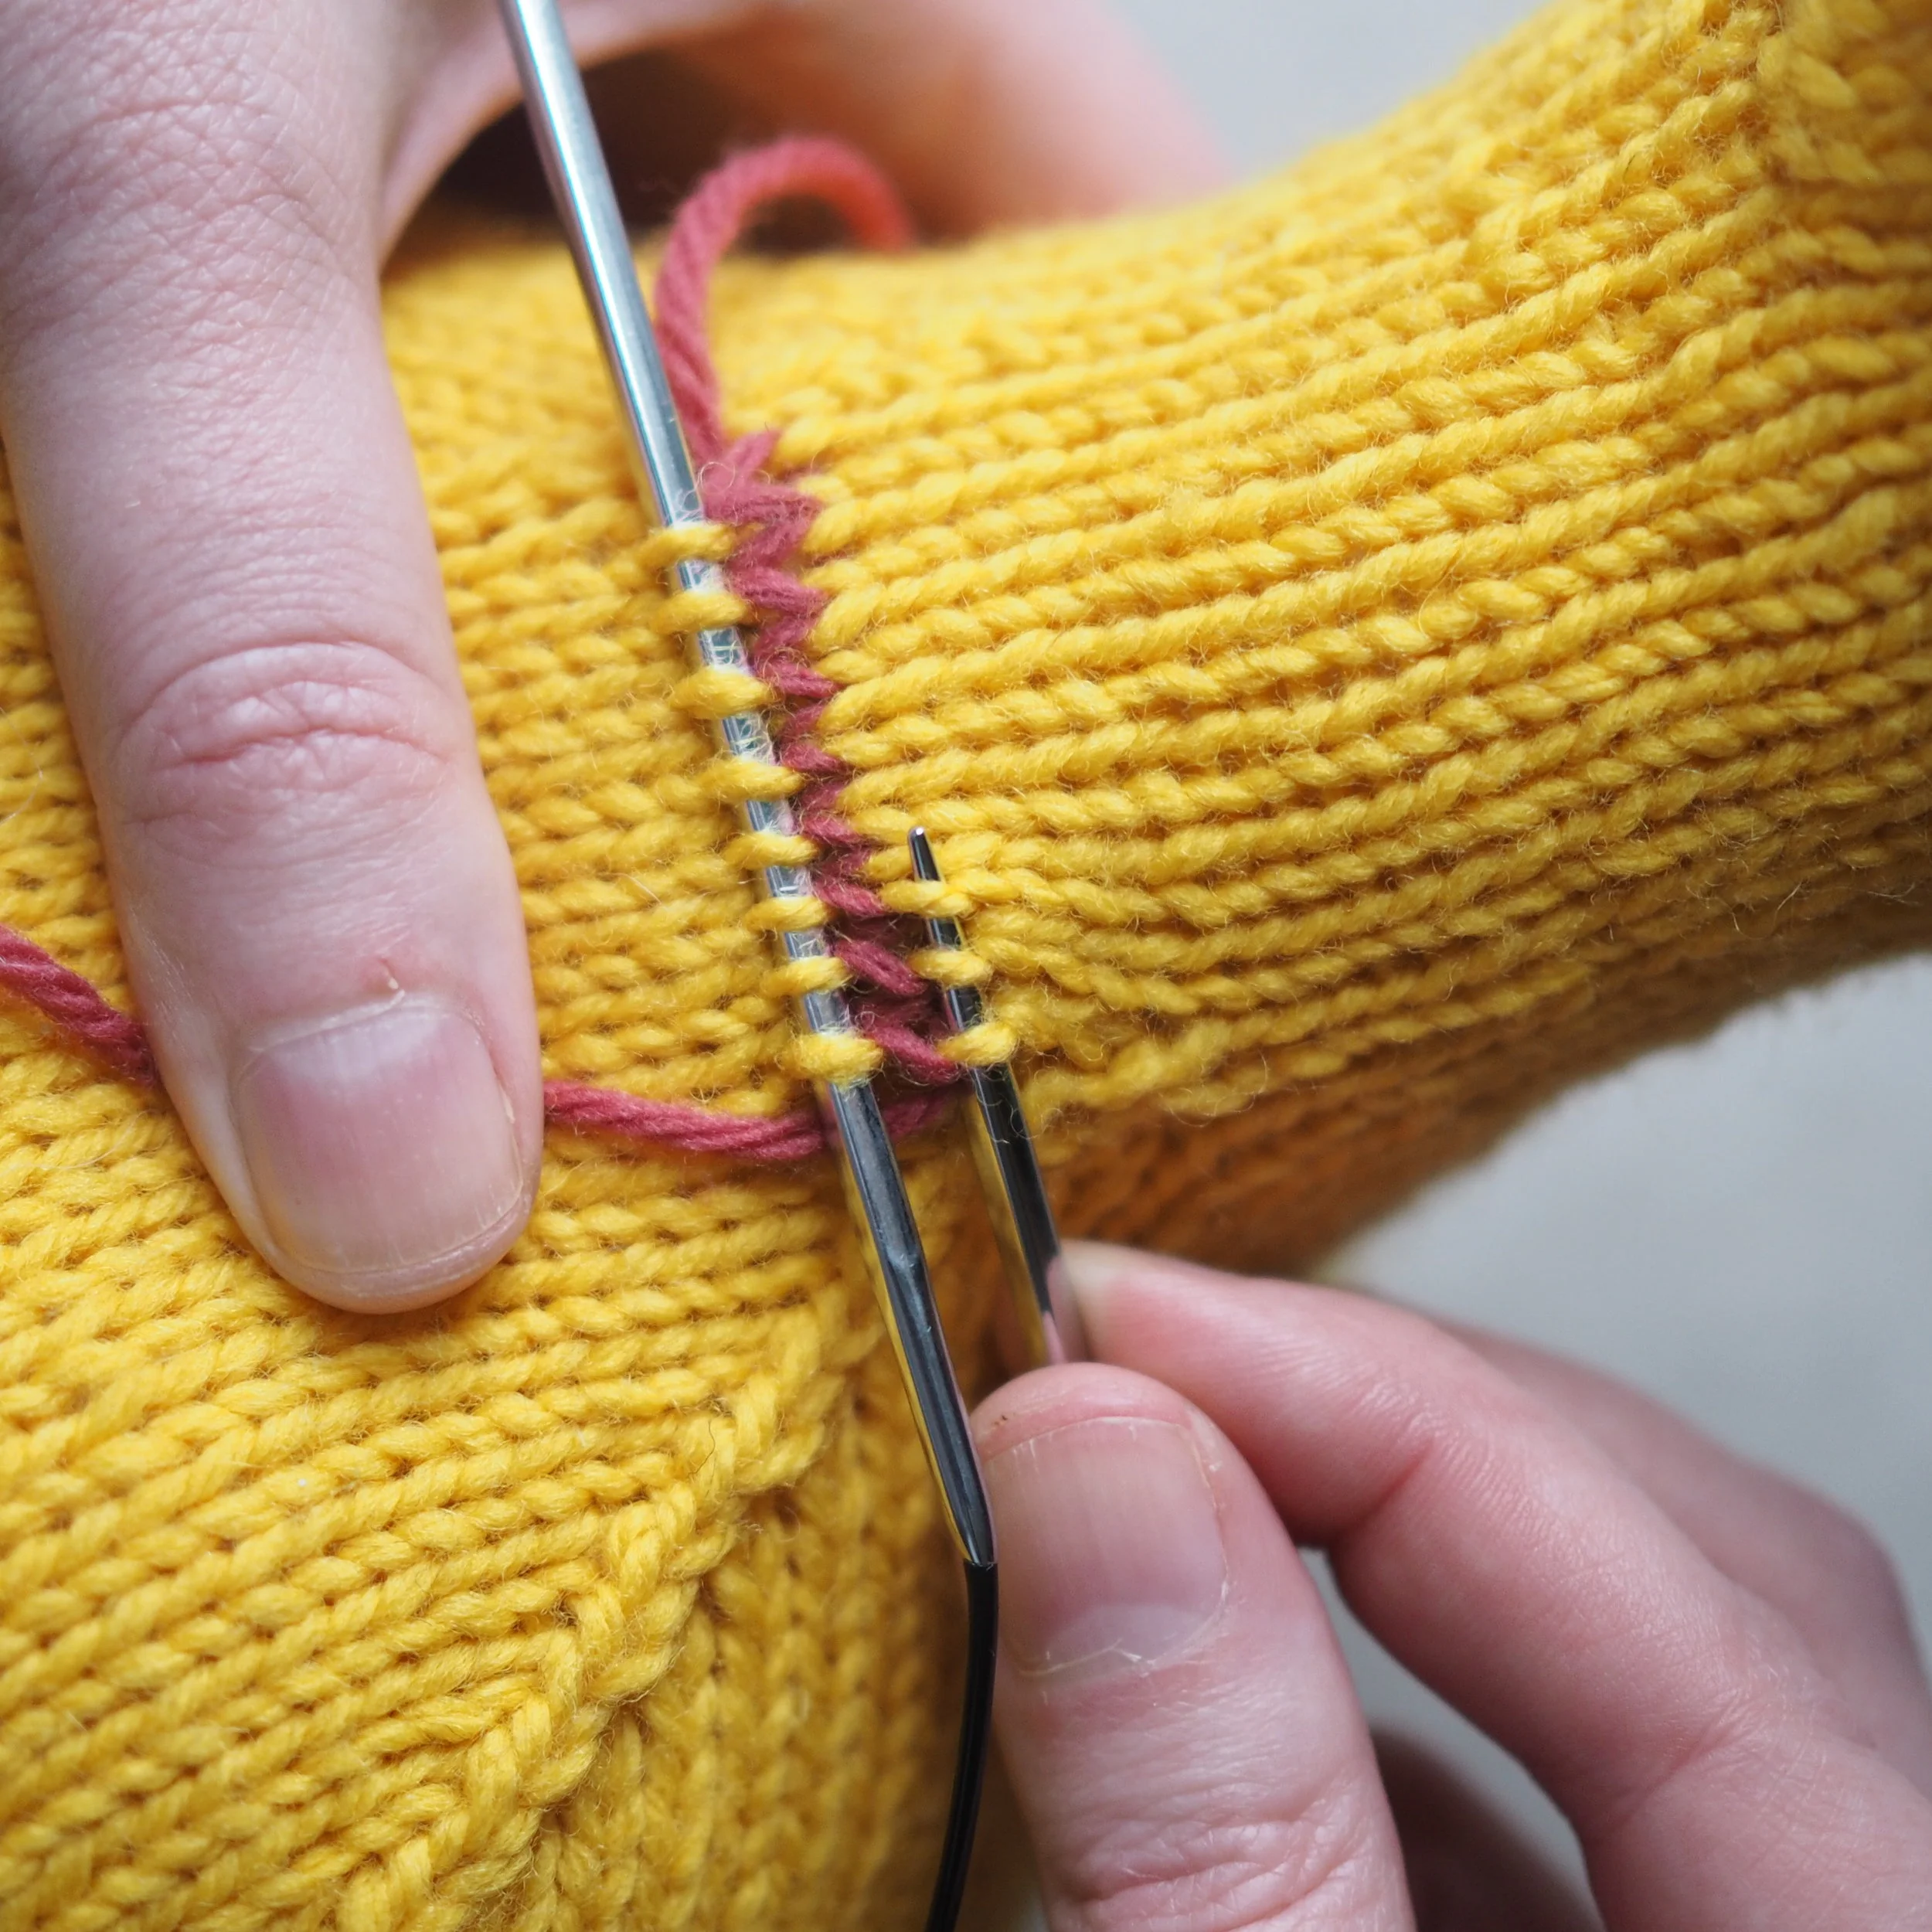
Grafting Openings Shut (Kitchener Stitch)
Kitchener Stitch is my favorite way to seamlessly close together these afterthought openings to do so:
- Cut the yarn, leaving a long tail and thread a tapestry needle.
- Place all stitches on two needles, with an equal amount on each needle and the needle tips pointing right.
- Put tapestry needle through first stitch on front needle (closest to you) as if to knit and pull tail through, removing the stitch off the knitting needle.
- Put tapestry needle through next stitch on front needle as if to purl. Pull tail through, but DO NOT remove stitch from knitting needle.
- Put tapestry needle through first stitch on back needle (farthest from you) as if to purl and pull tail through, removing the stitch off the knitting needle.
- Put tapestry needle through next stitch on back needle as if to knit. Pull tail through, but DO NOT remove stitch from knitting needle.
Repeat Steps 3-6 until all stitches have been grated together. Adjust tightness of tail so join is smooth before weaving in ends.
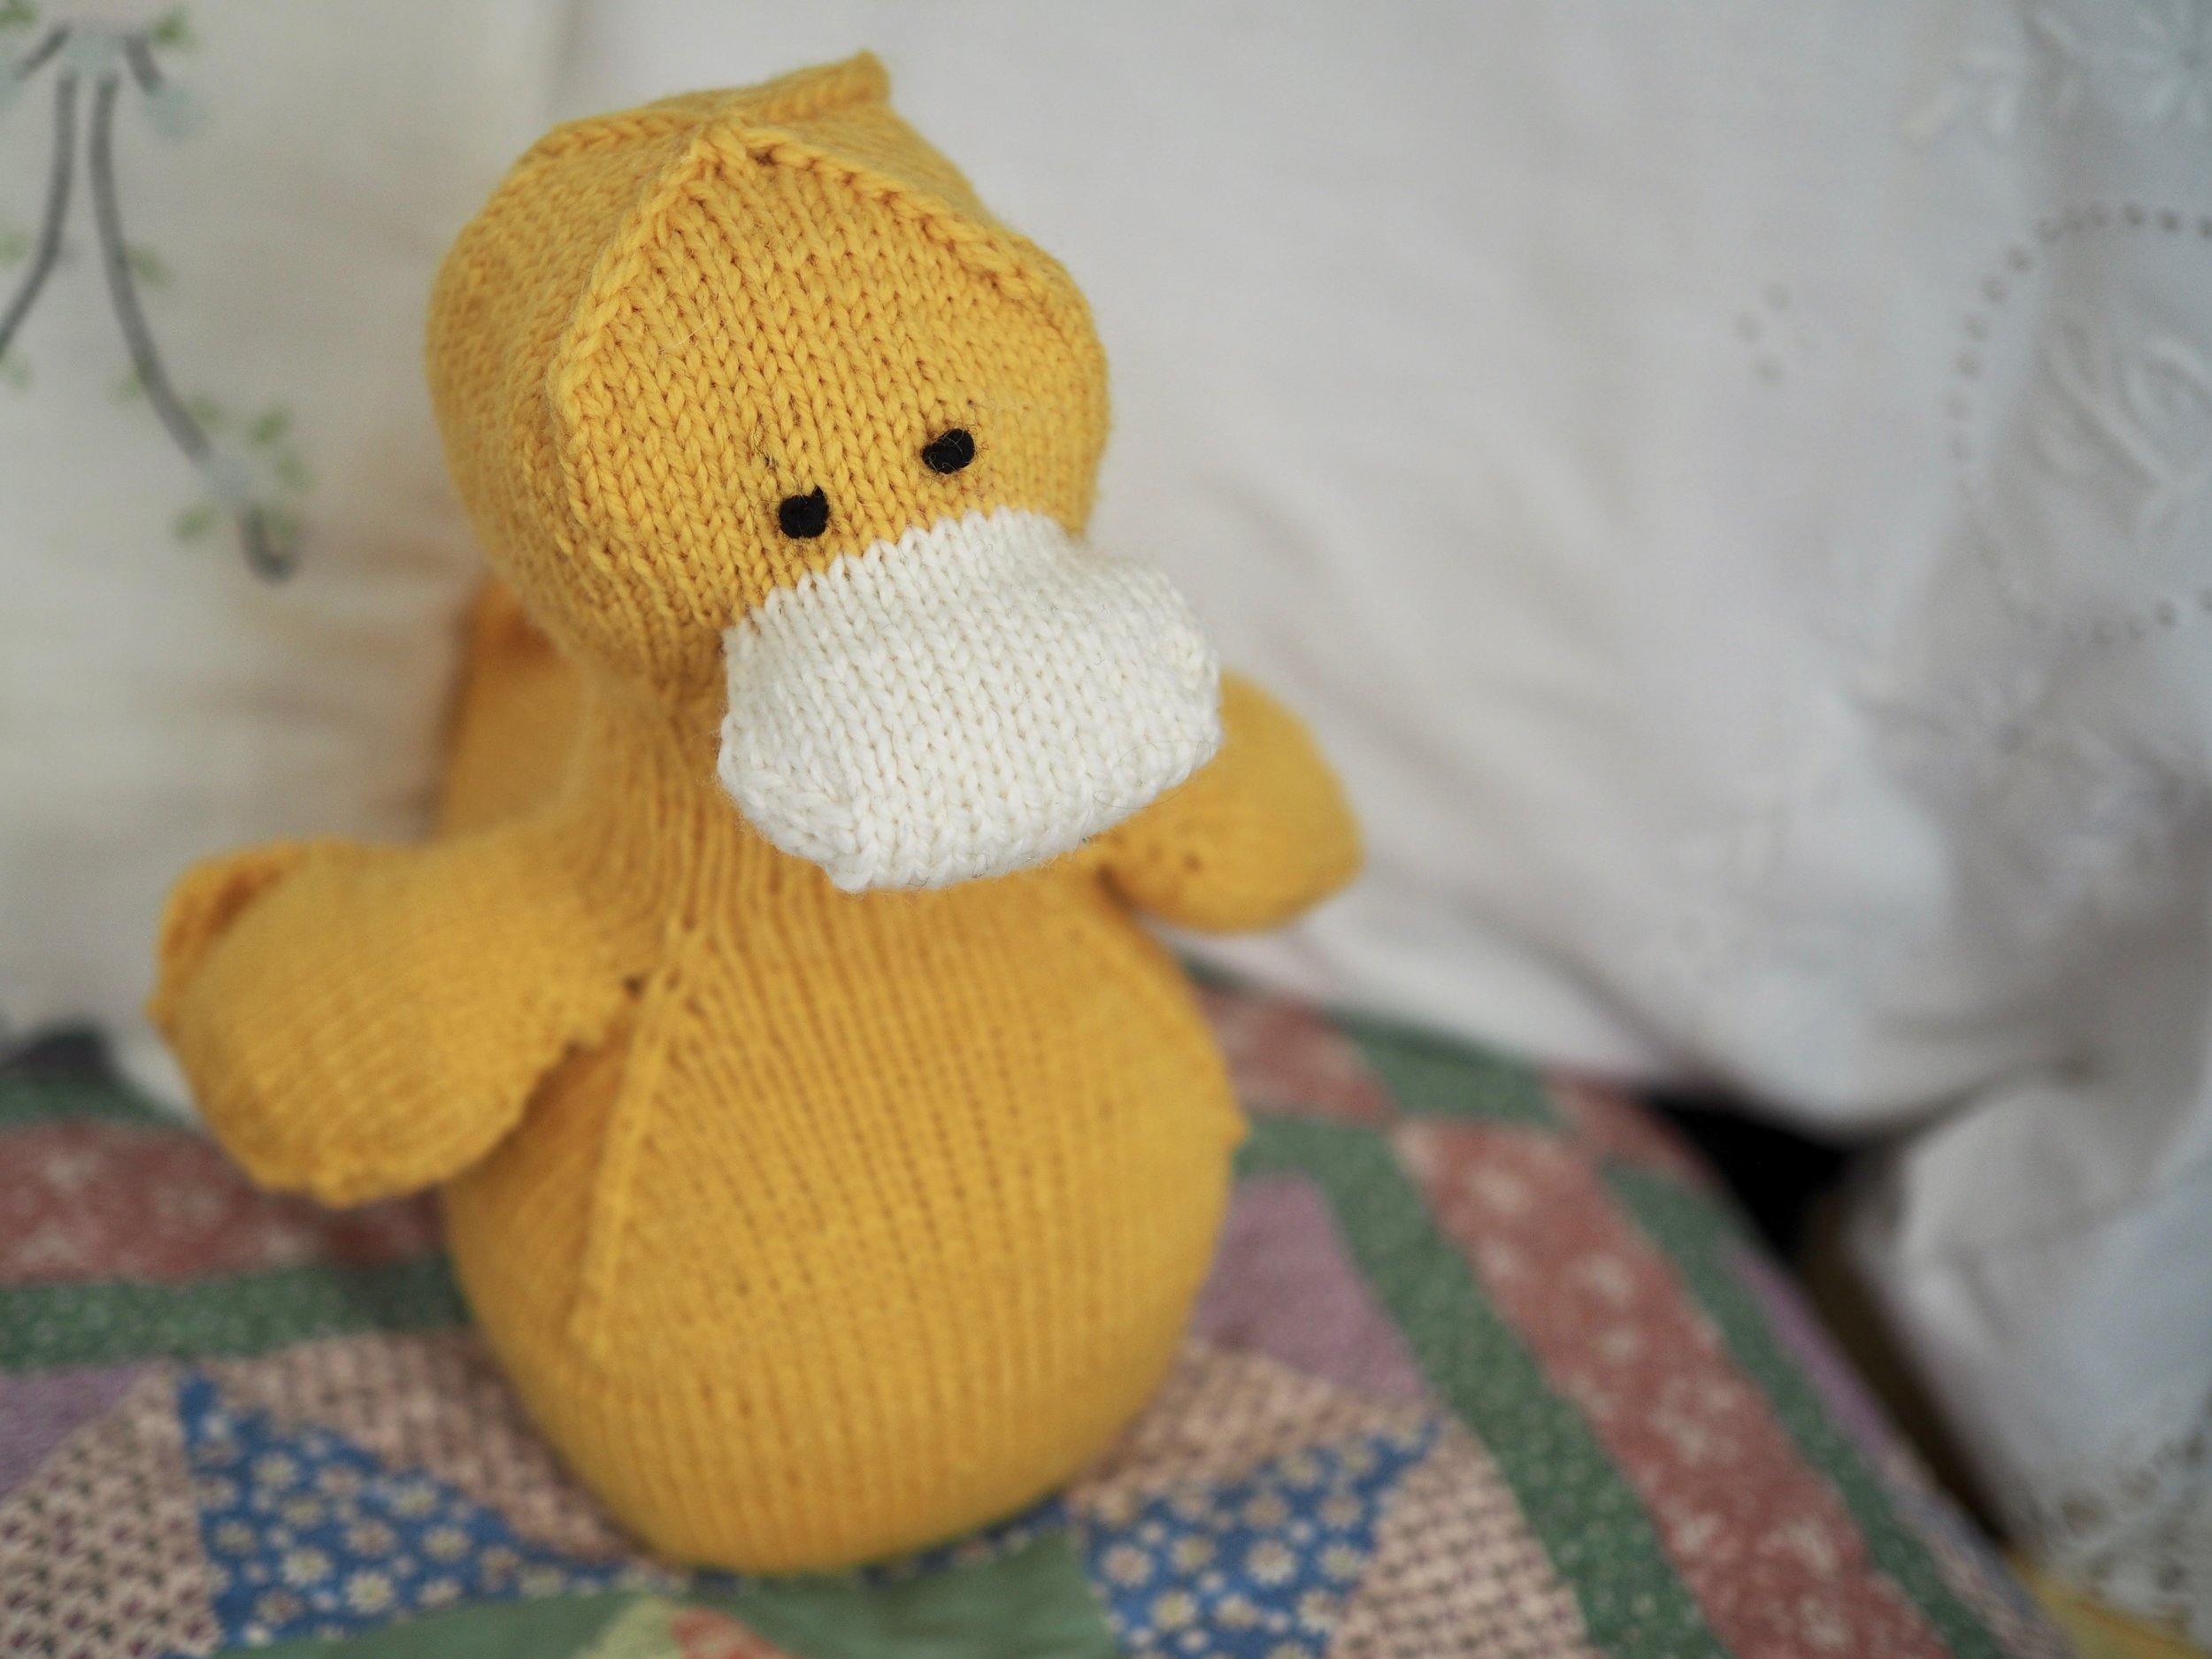
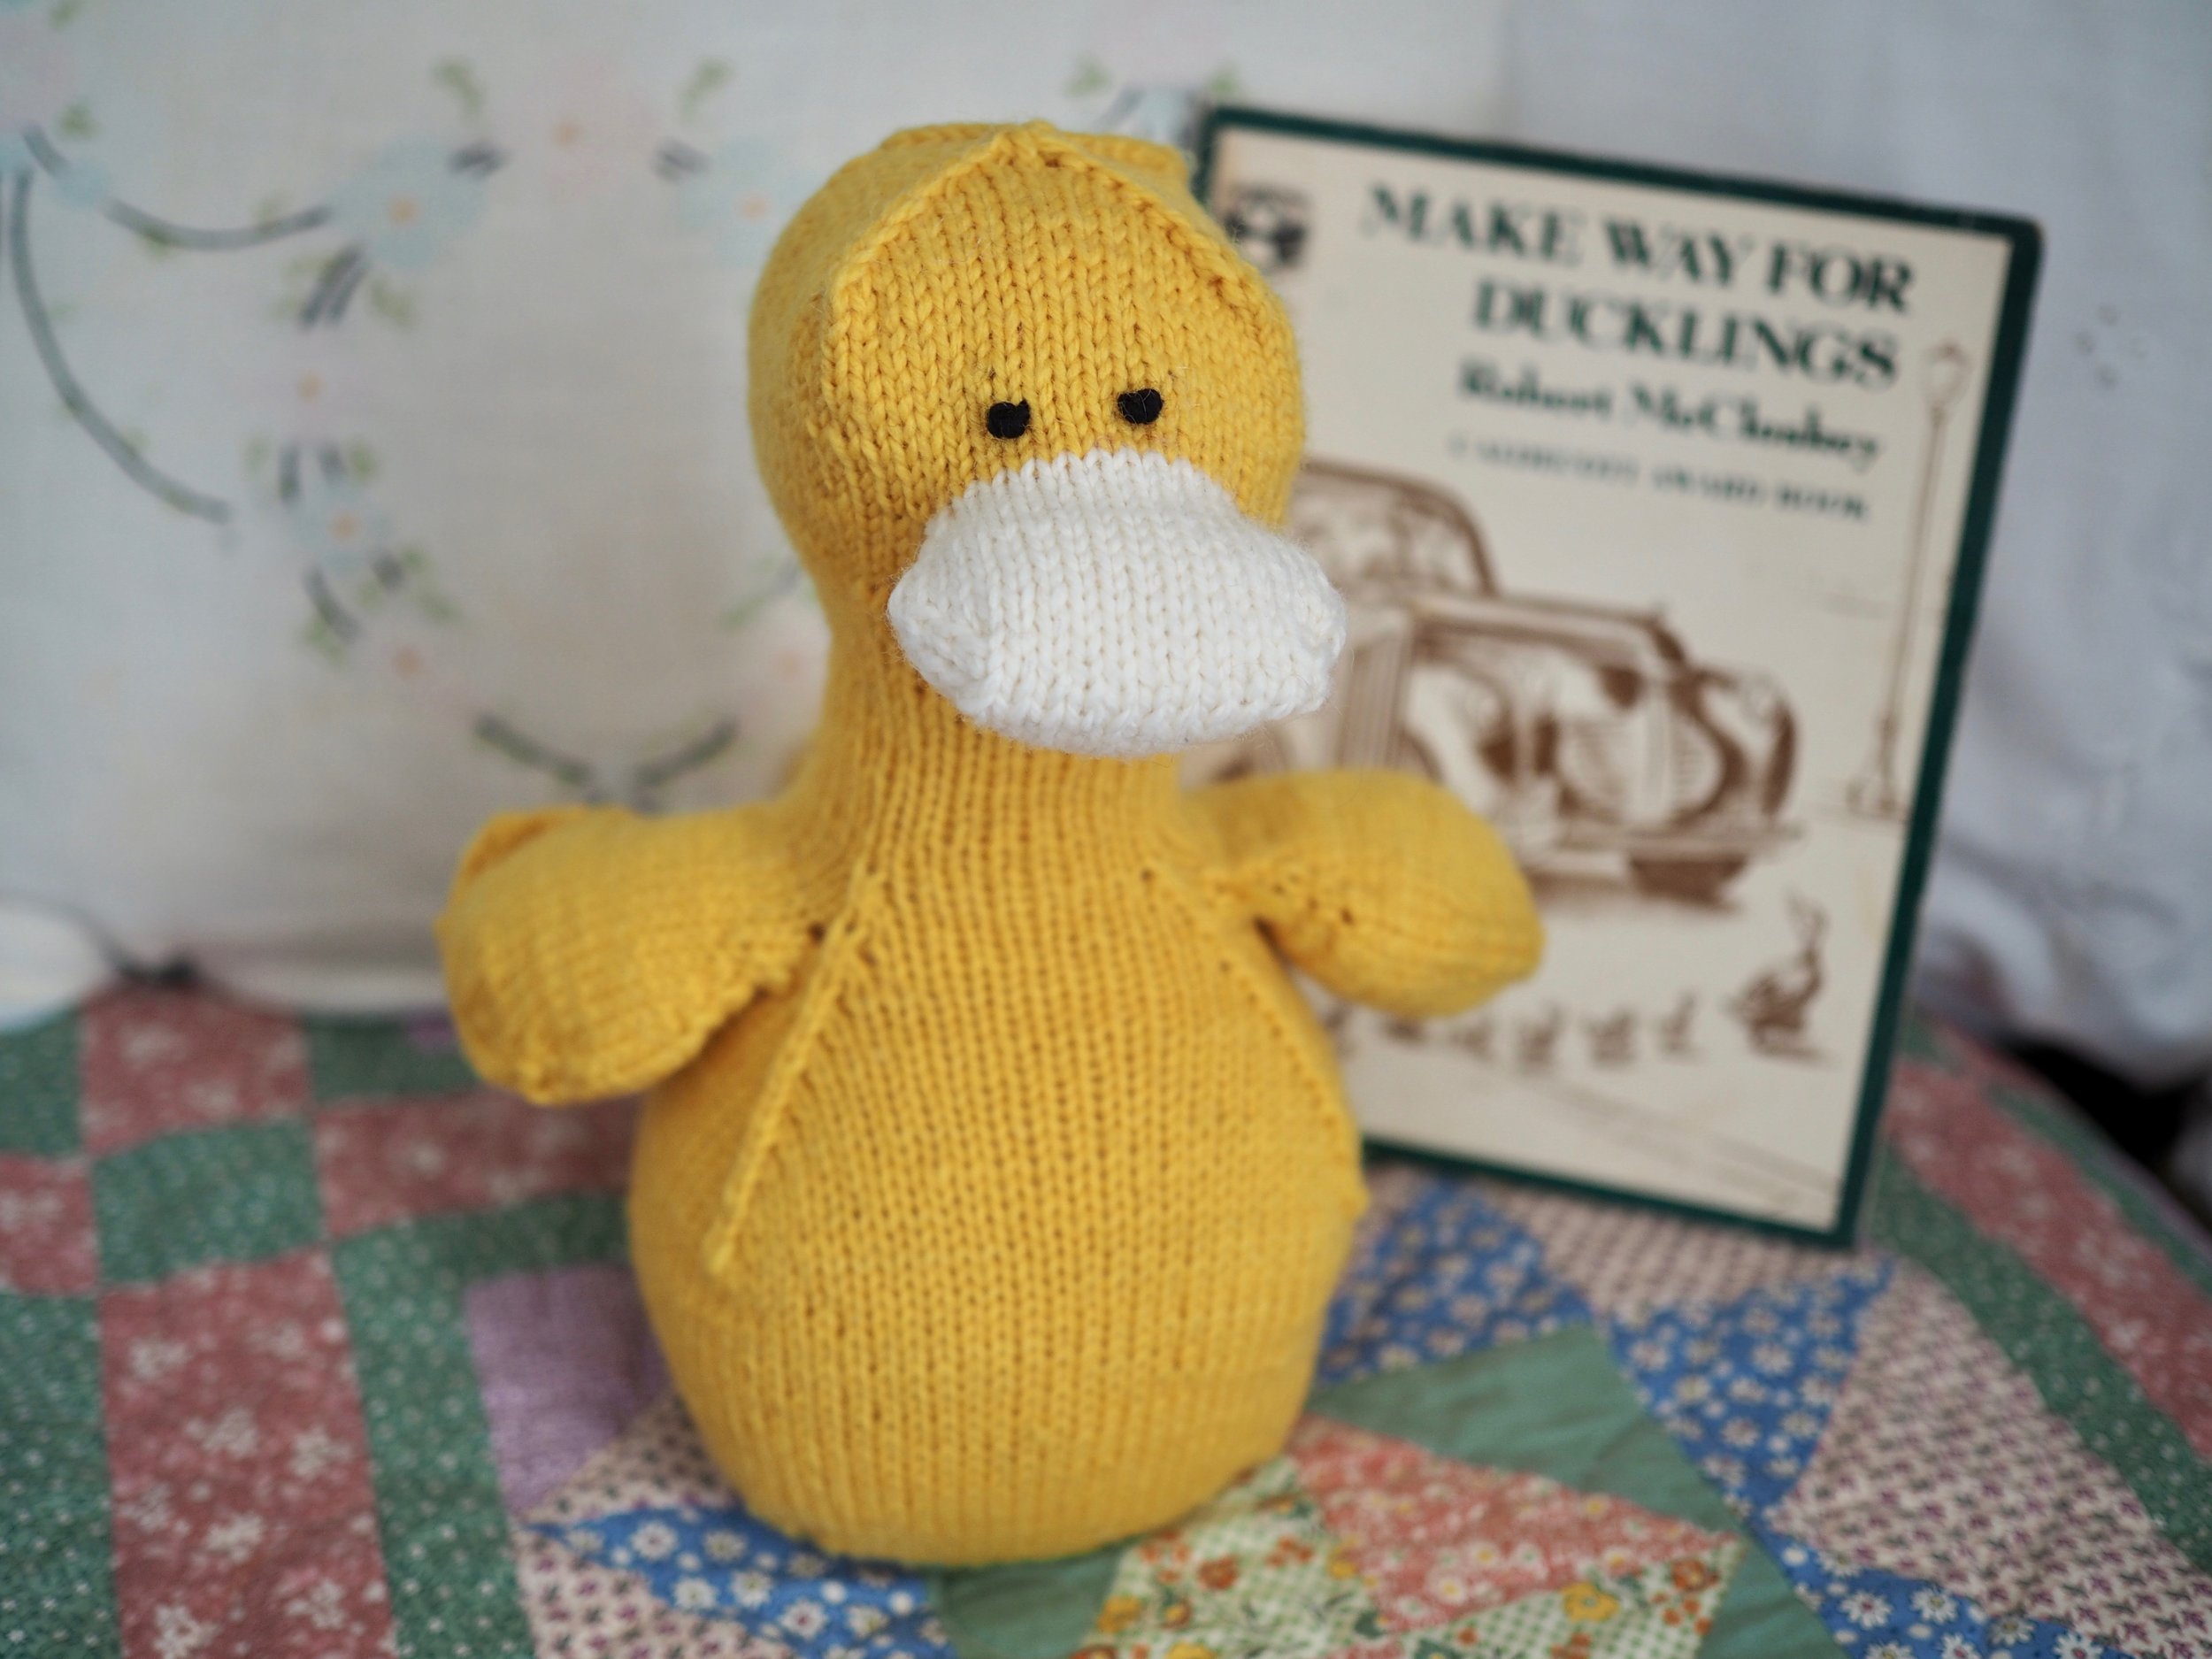
Congratulations! You now have all the techniques you need to finish your duck!!
If you're on Instagram, please tag me @mscleaver or via #domenicKAL or post in the Ravelry Group by April 21st to be eligible to win prizes!

Domenic Duck Kit
$38.00


The Big 4, Oh!
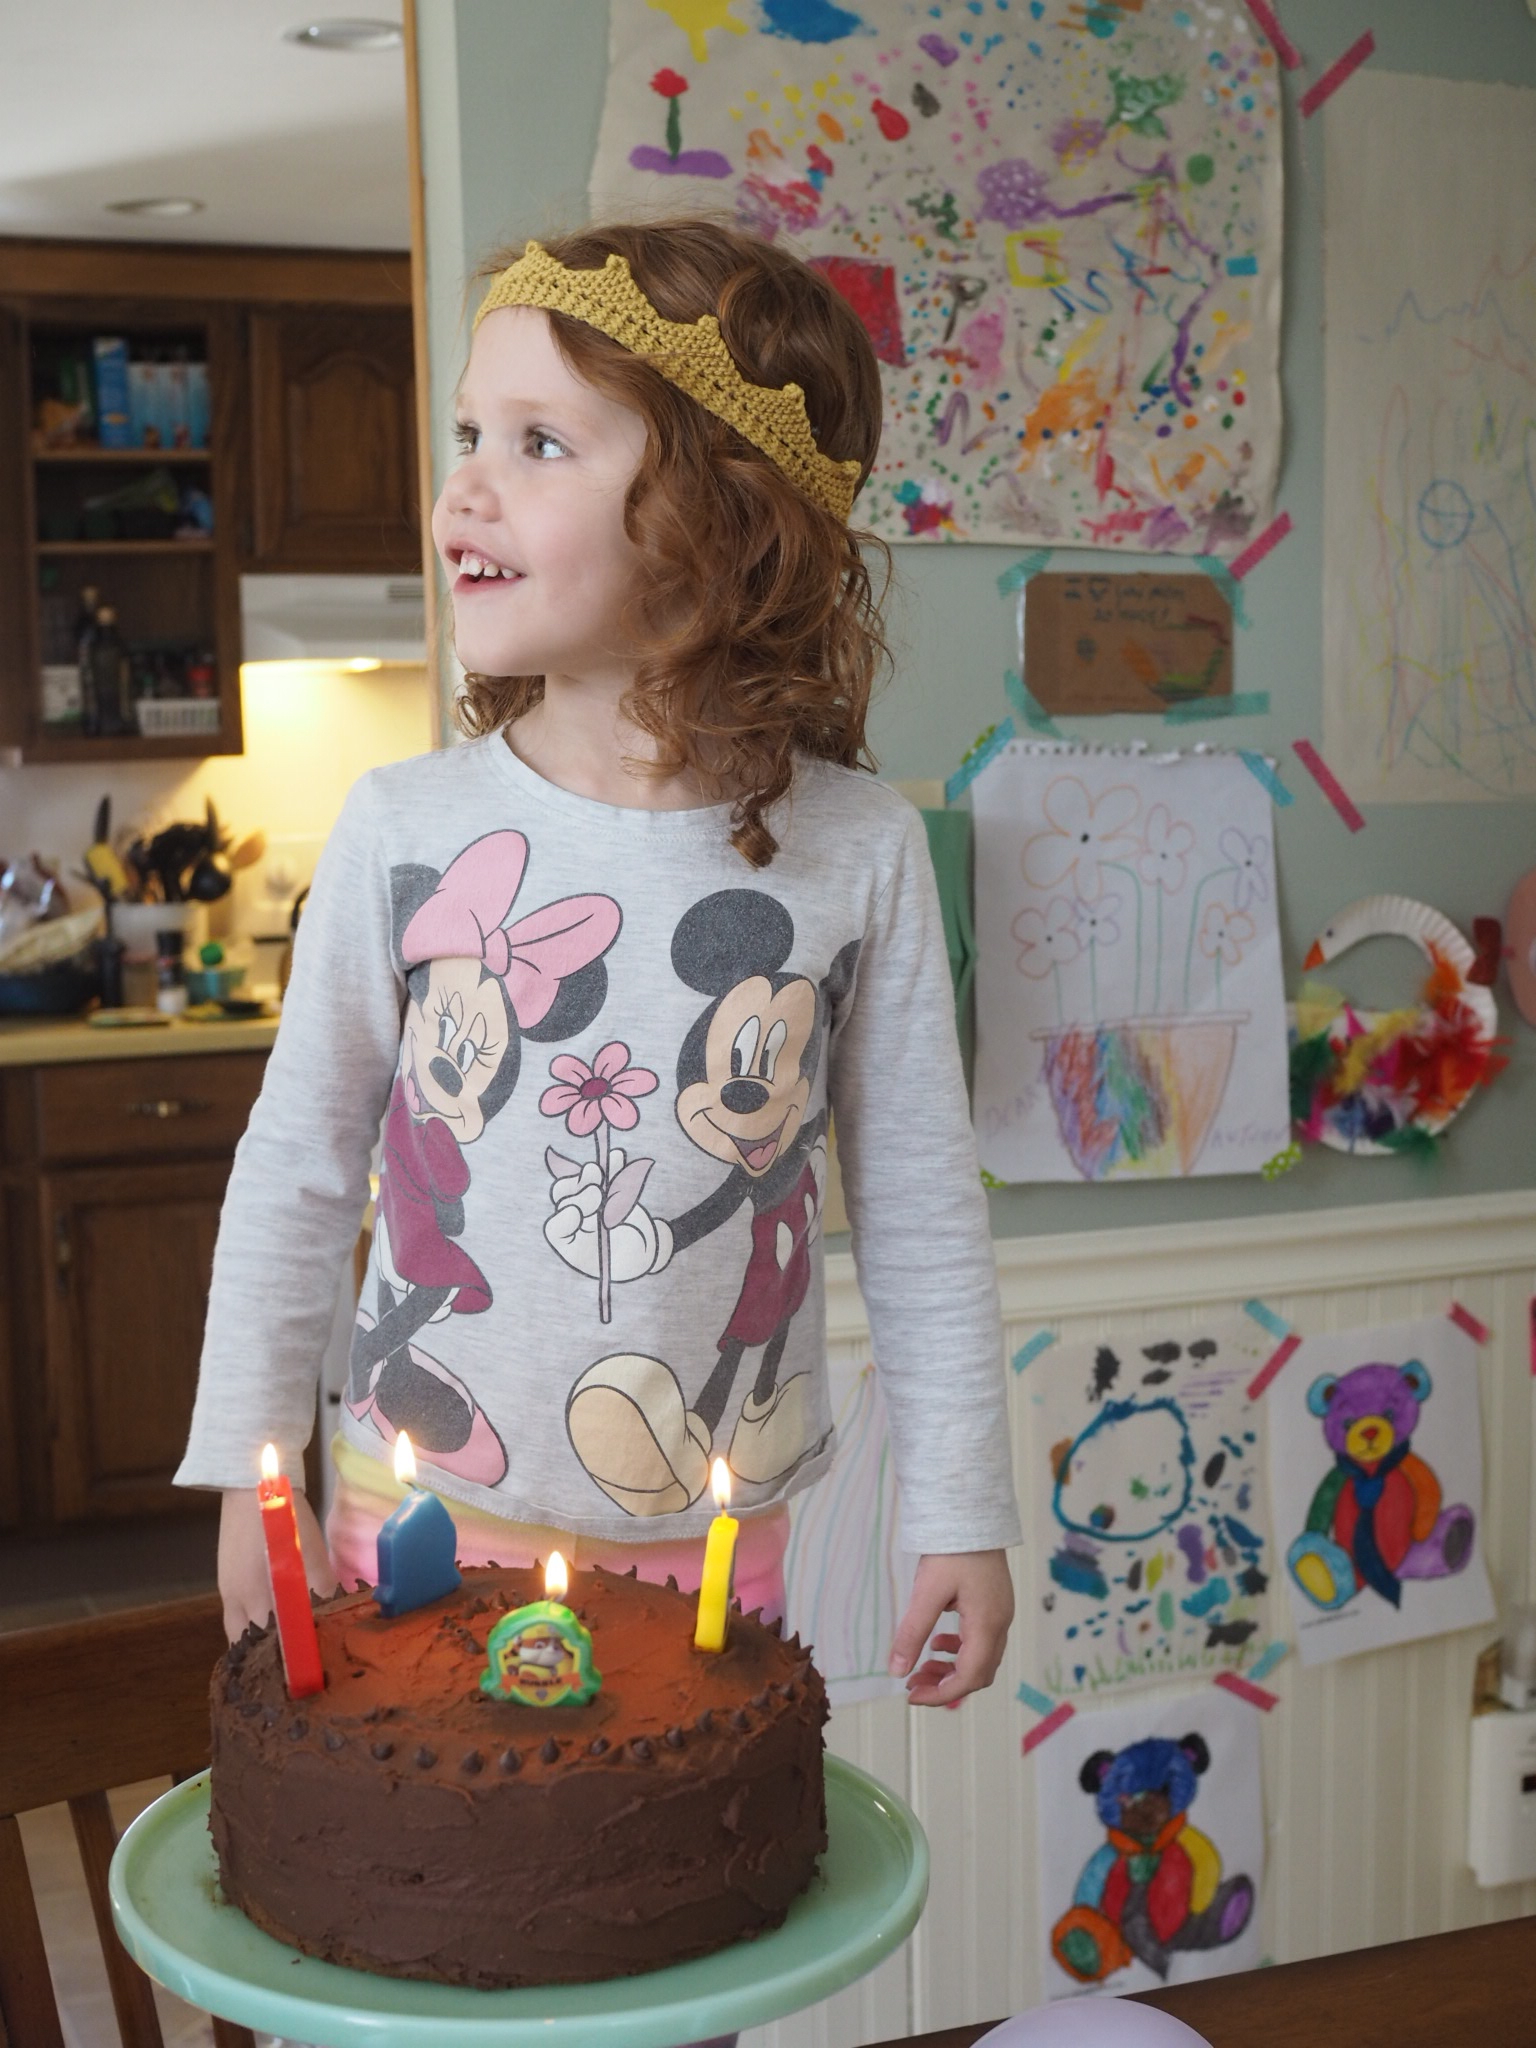
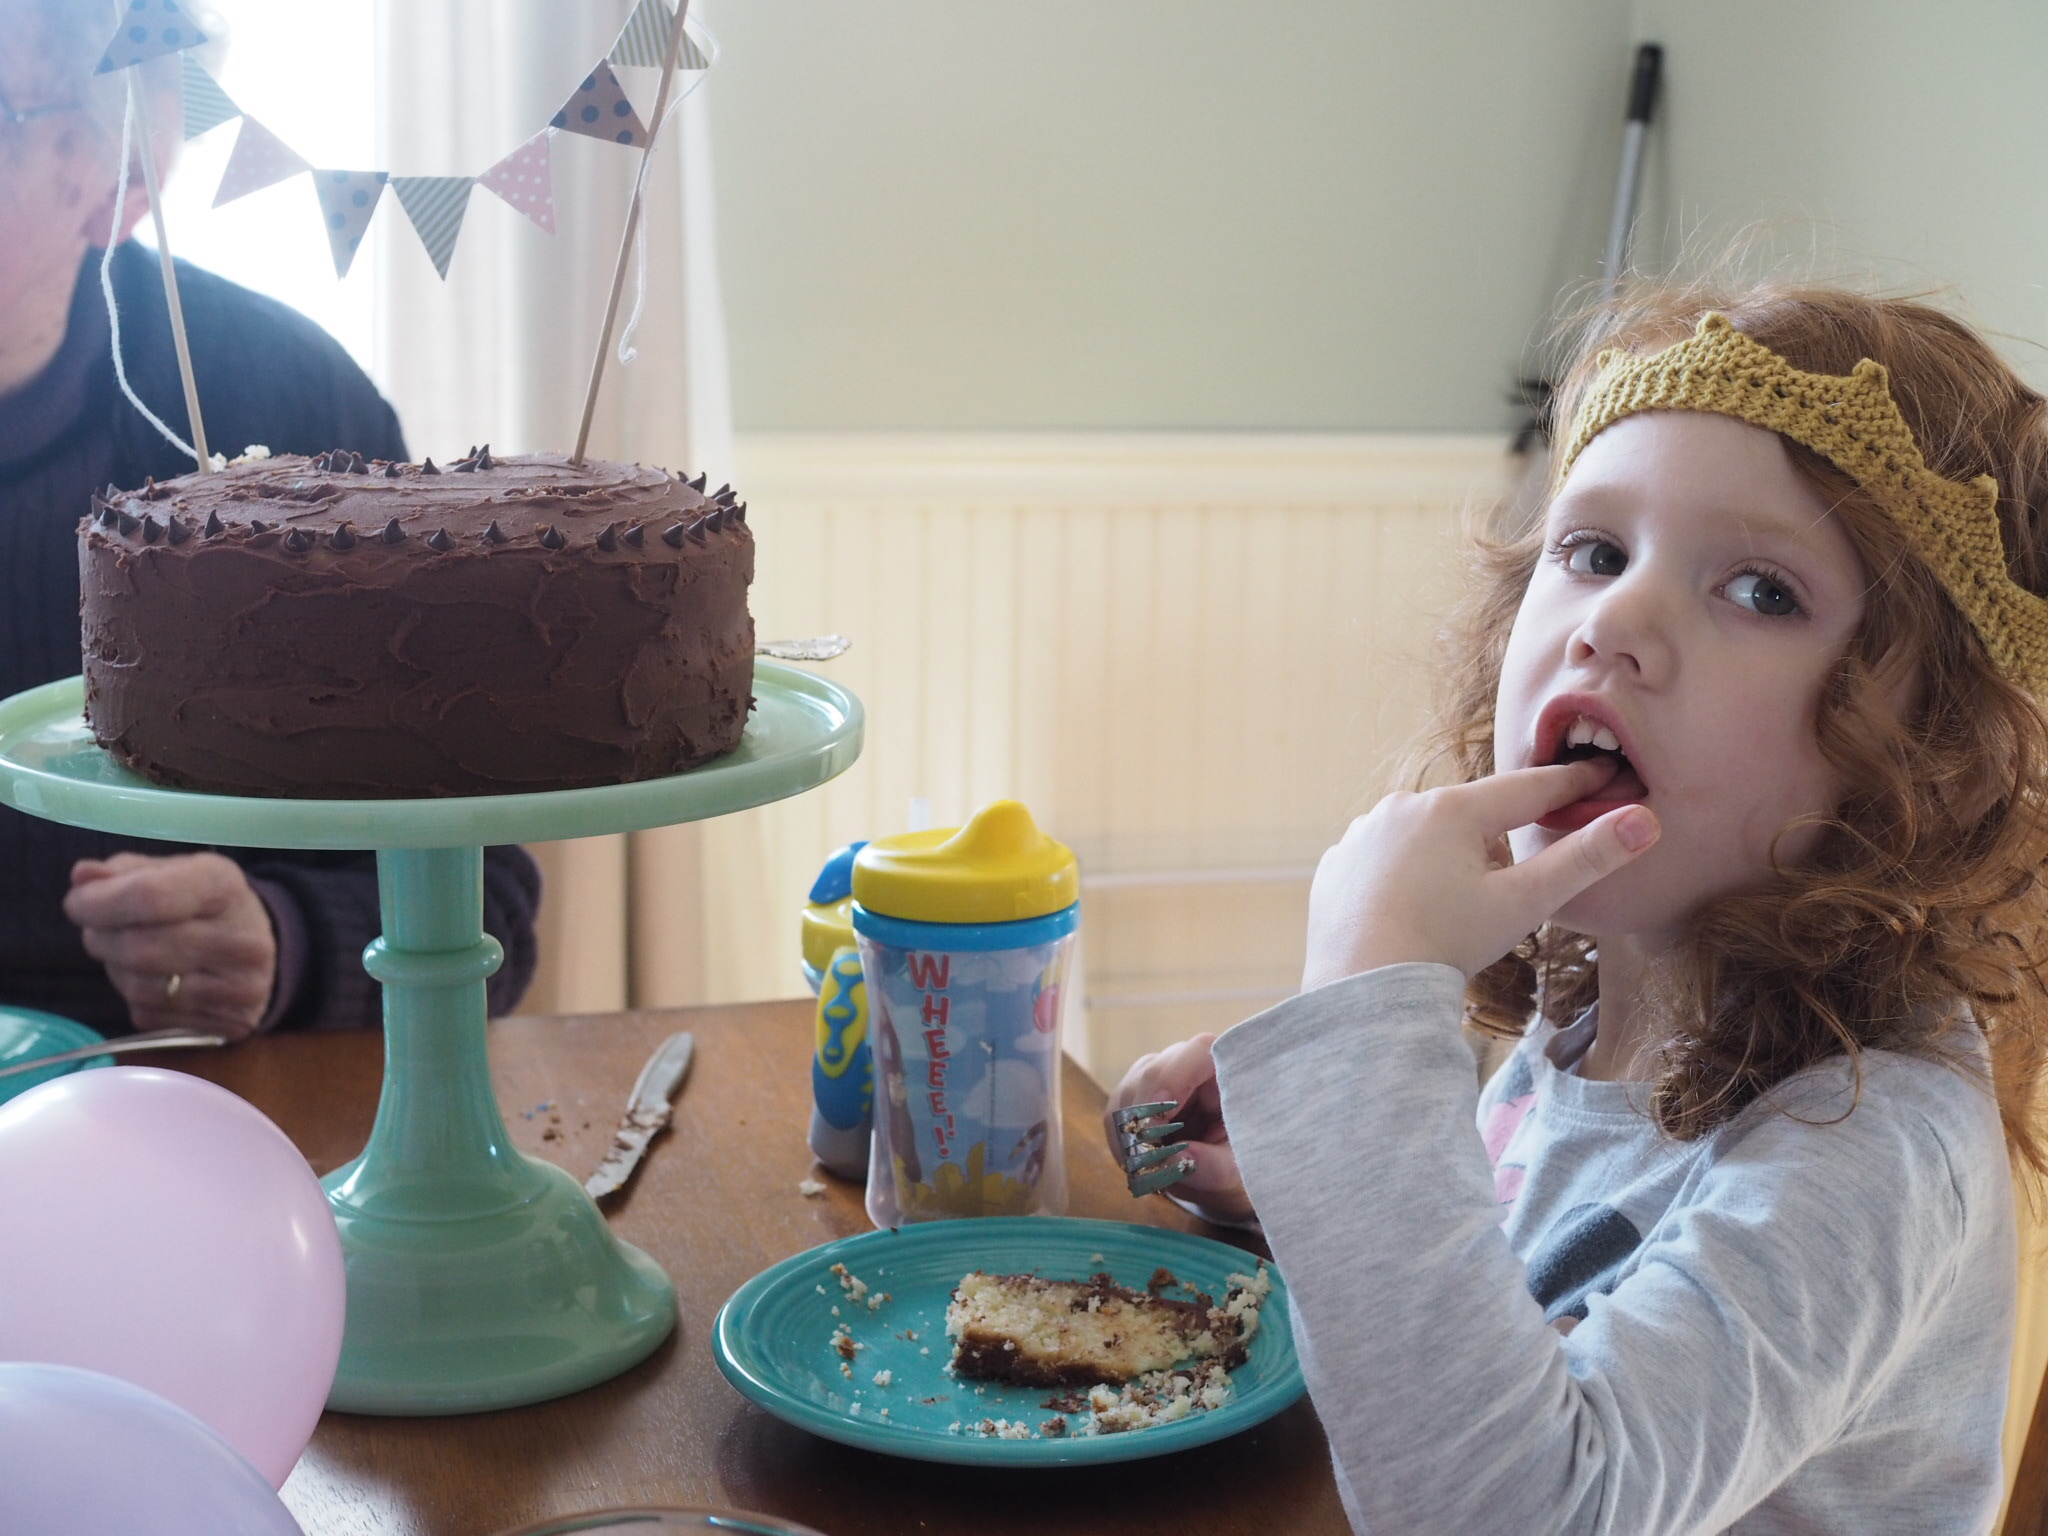


As the end of March nears, the weather is generally still cold and crummy, but we are in full celebration mode at the Cleaver household.
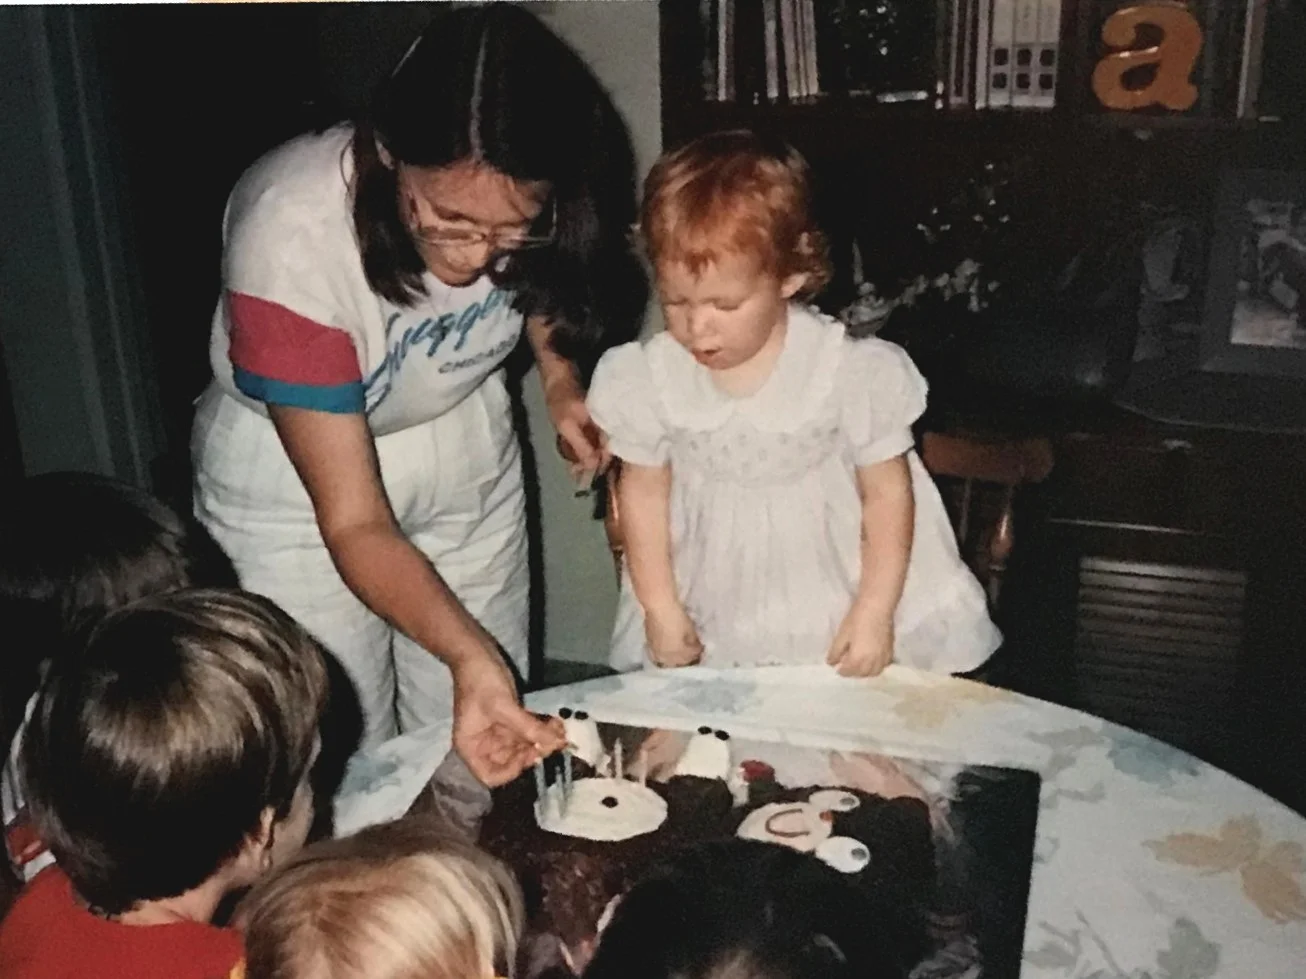
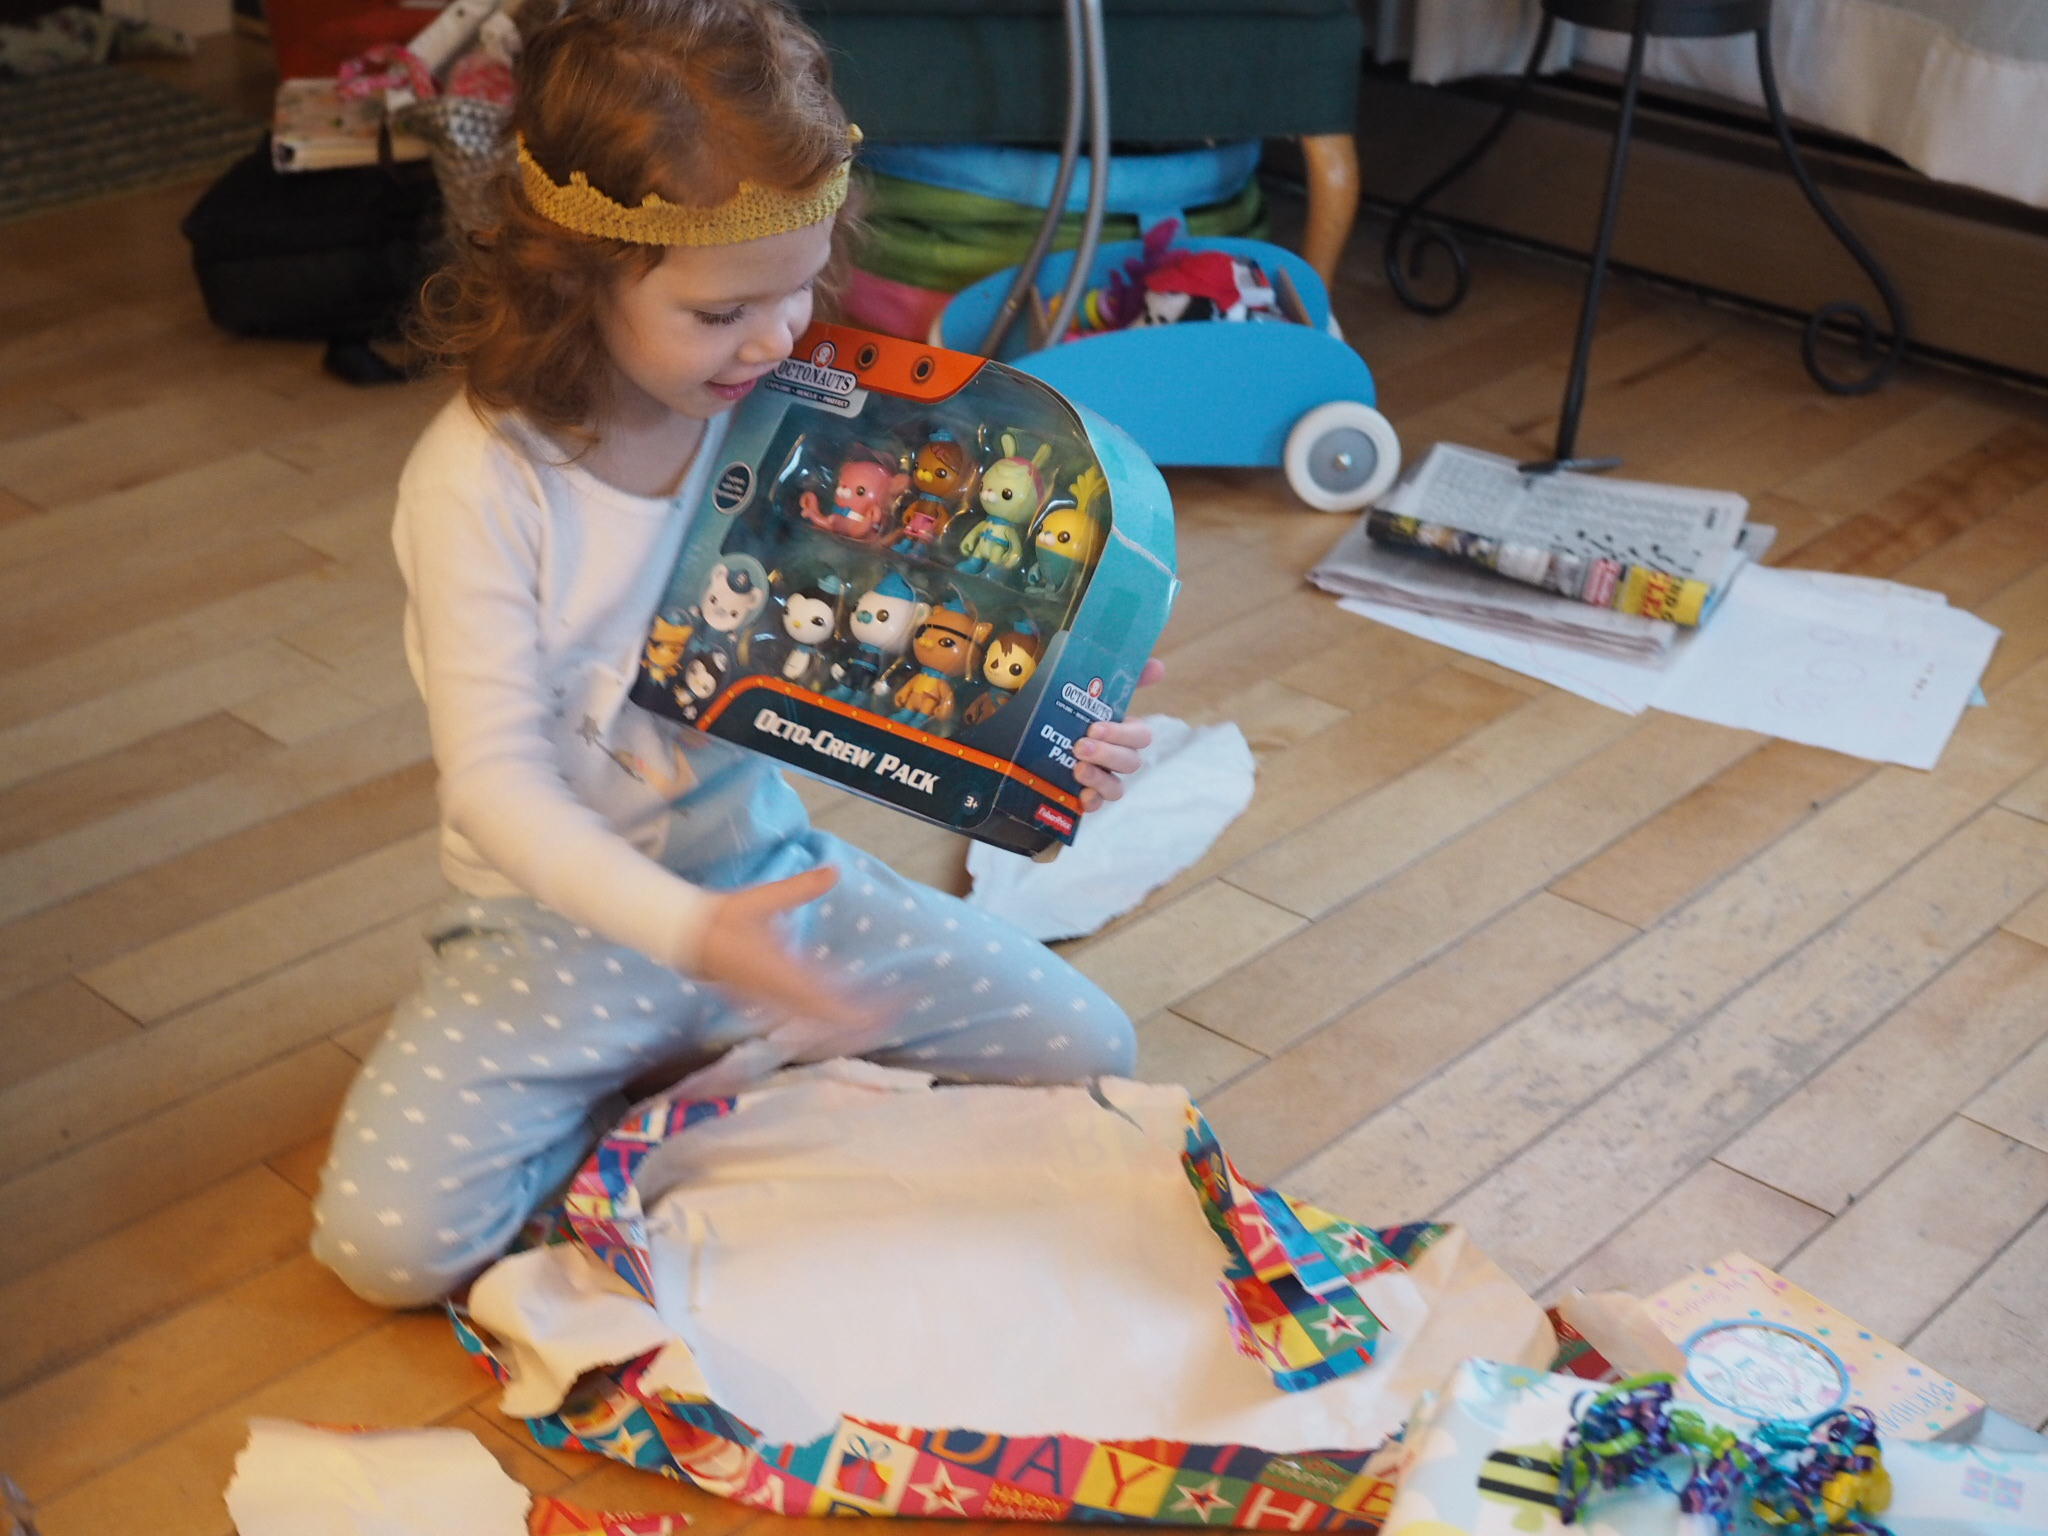
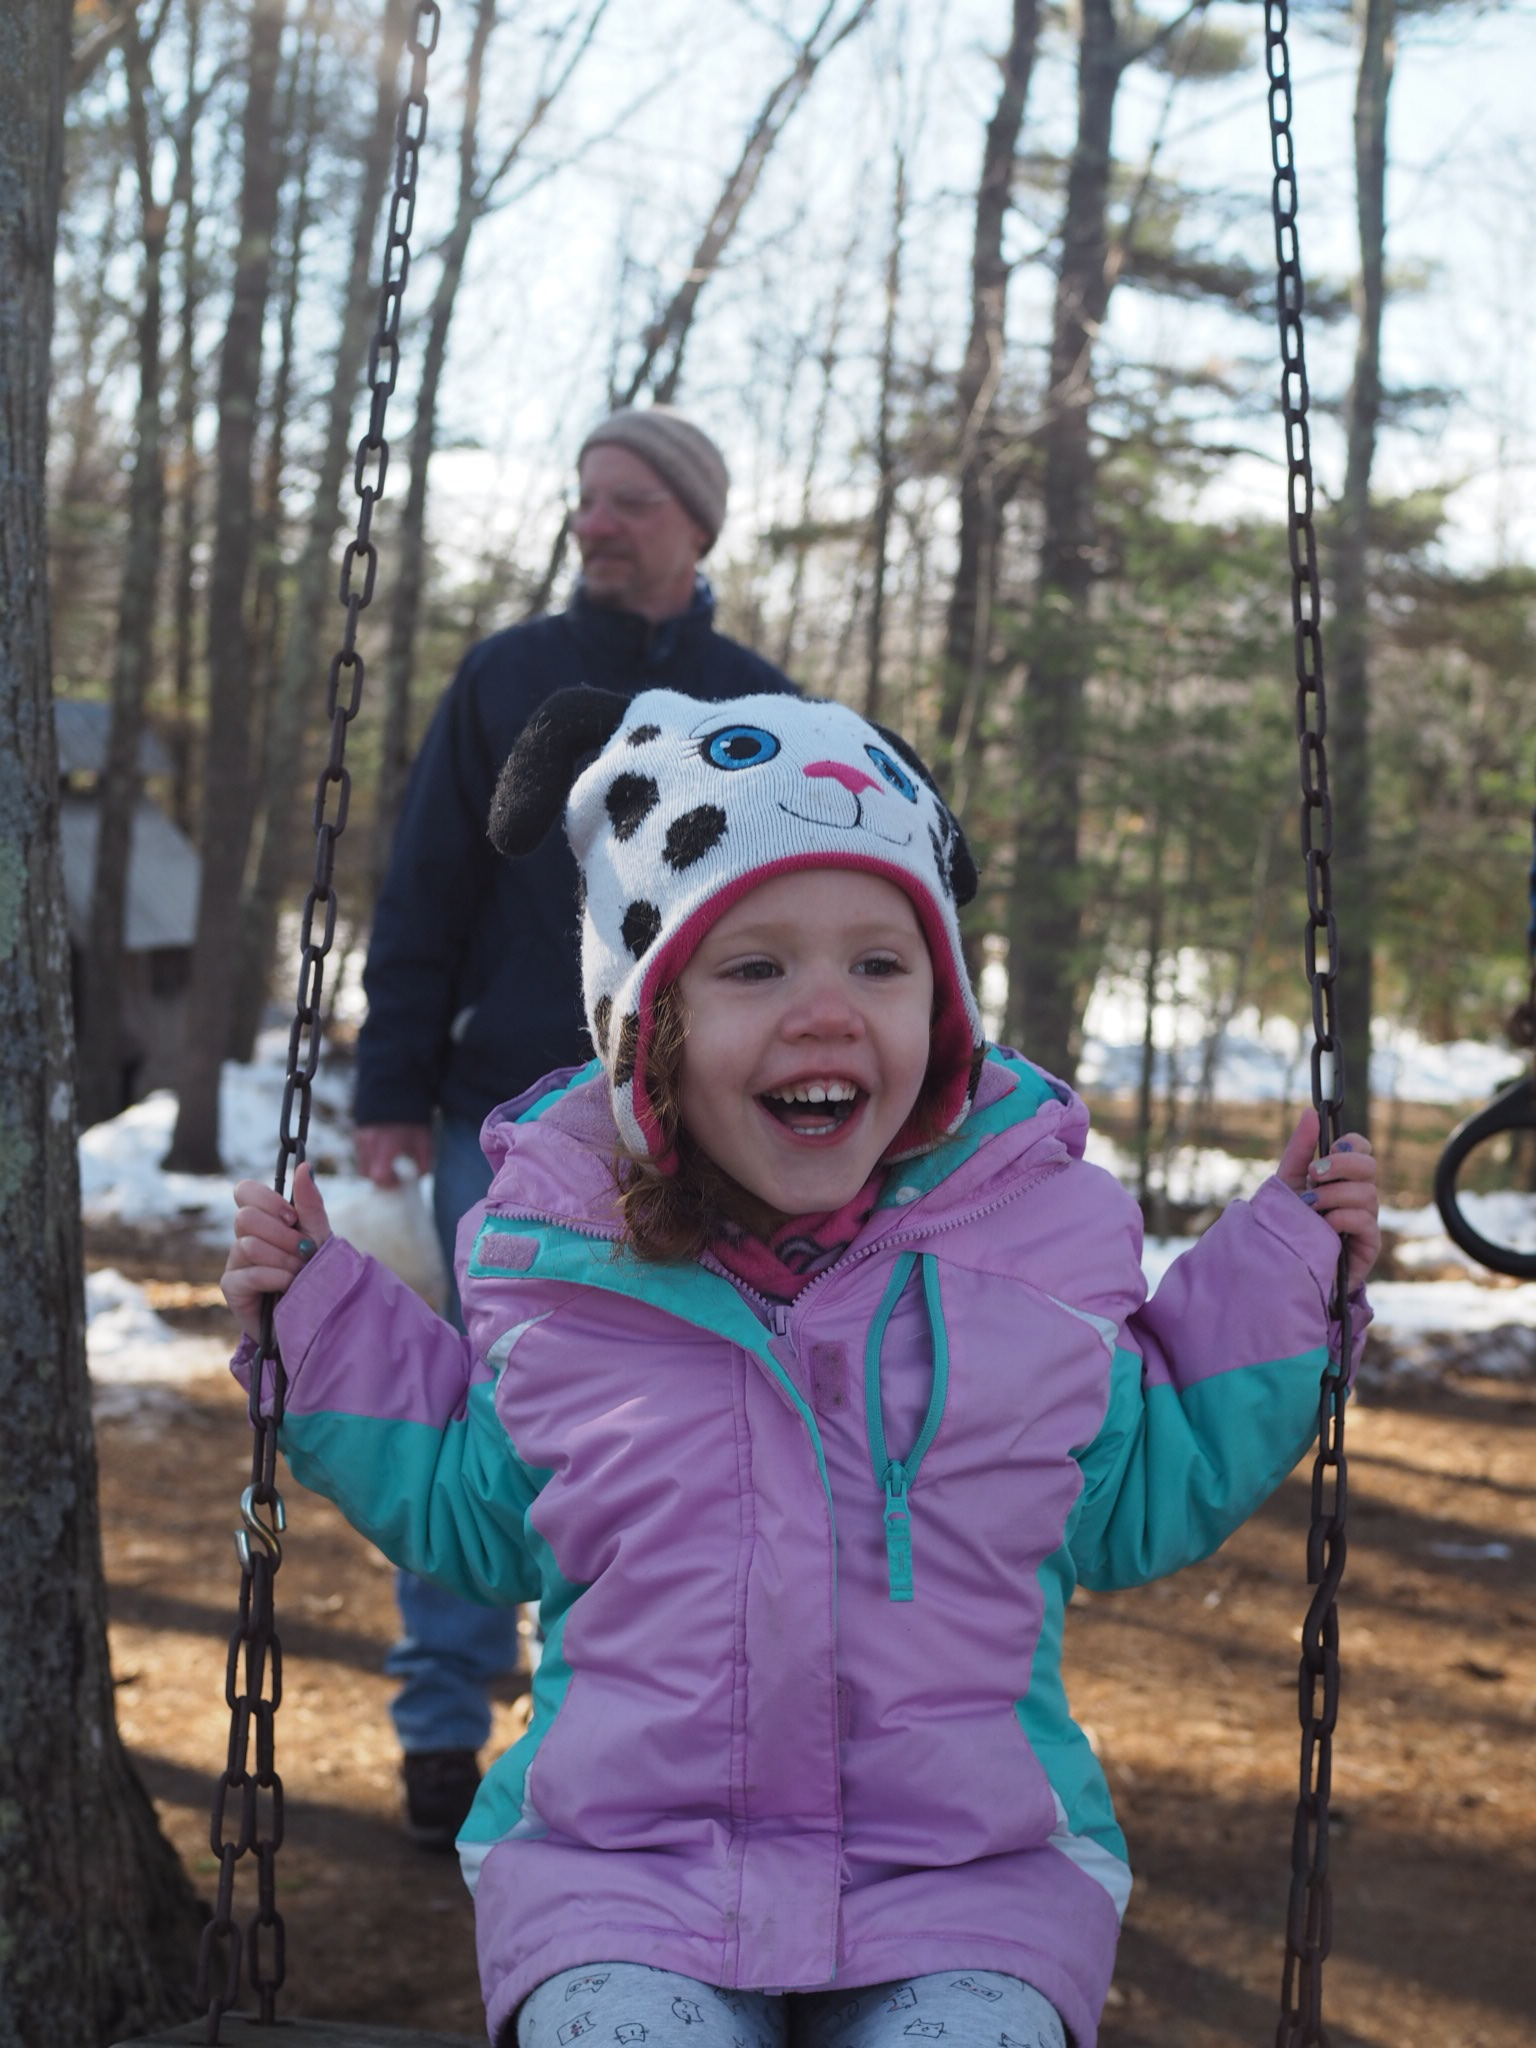
When I was a kid, I was big into birthday parties. As early as nine, I would plan my own birthday party, devise games, and make decorations (usually modeled after a recent issue of American Girl Magazine) and thrill at the thought that I'd get to see all my friends in one place. So it's strange that when it comes to Little Miss Cleaver, I'm all about the simple. And fortunately for me, she seems to be pretty content with that as well.
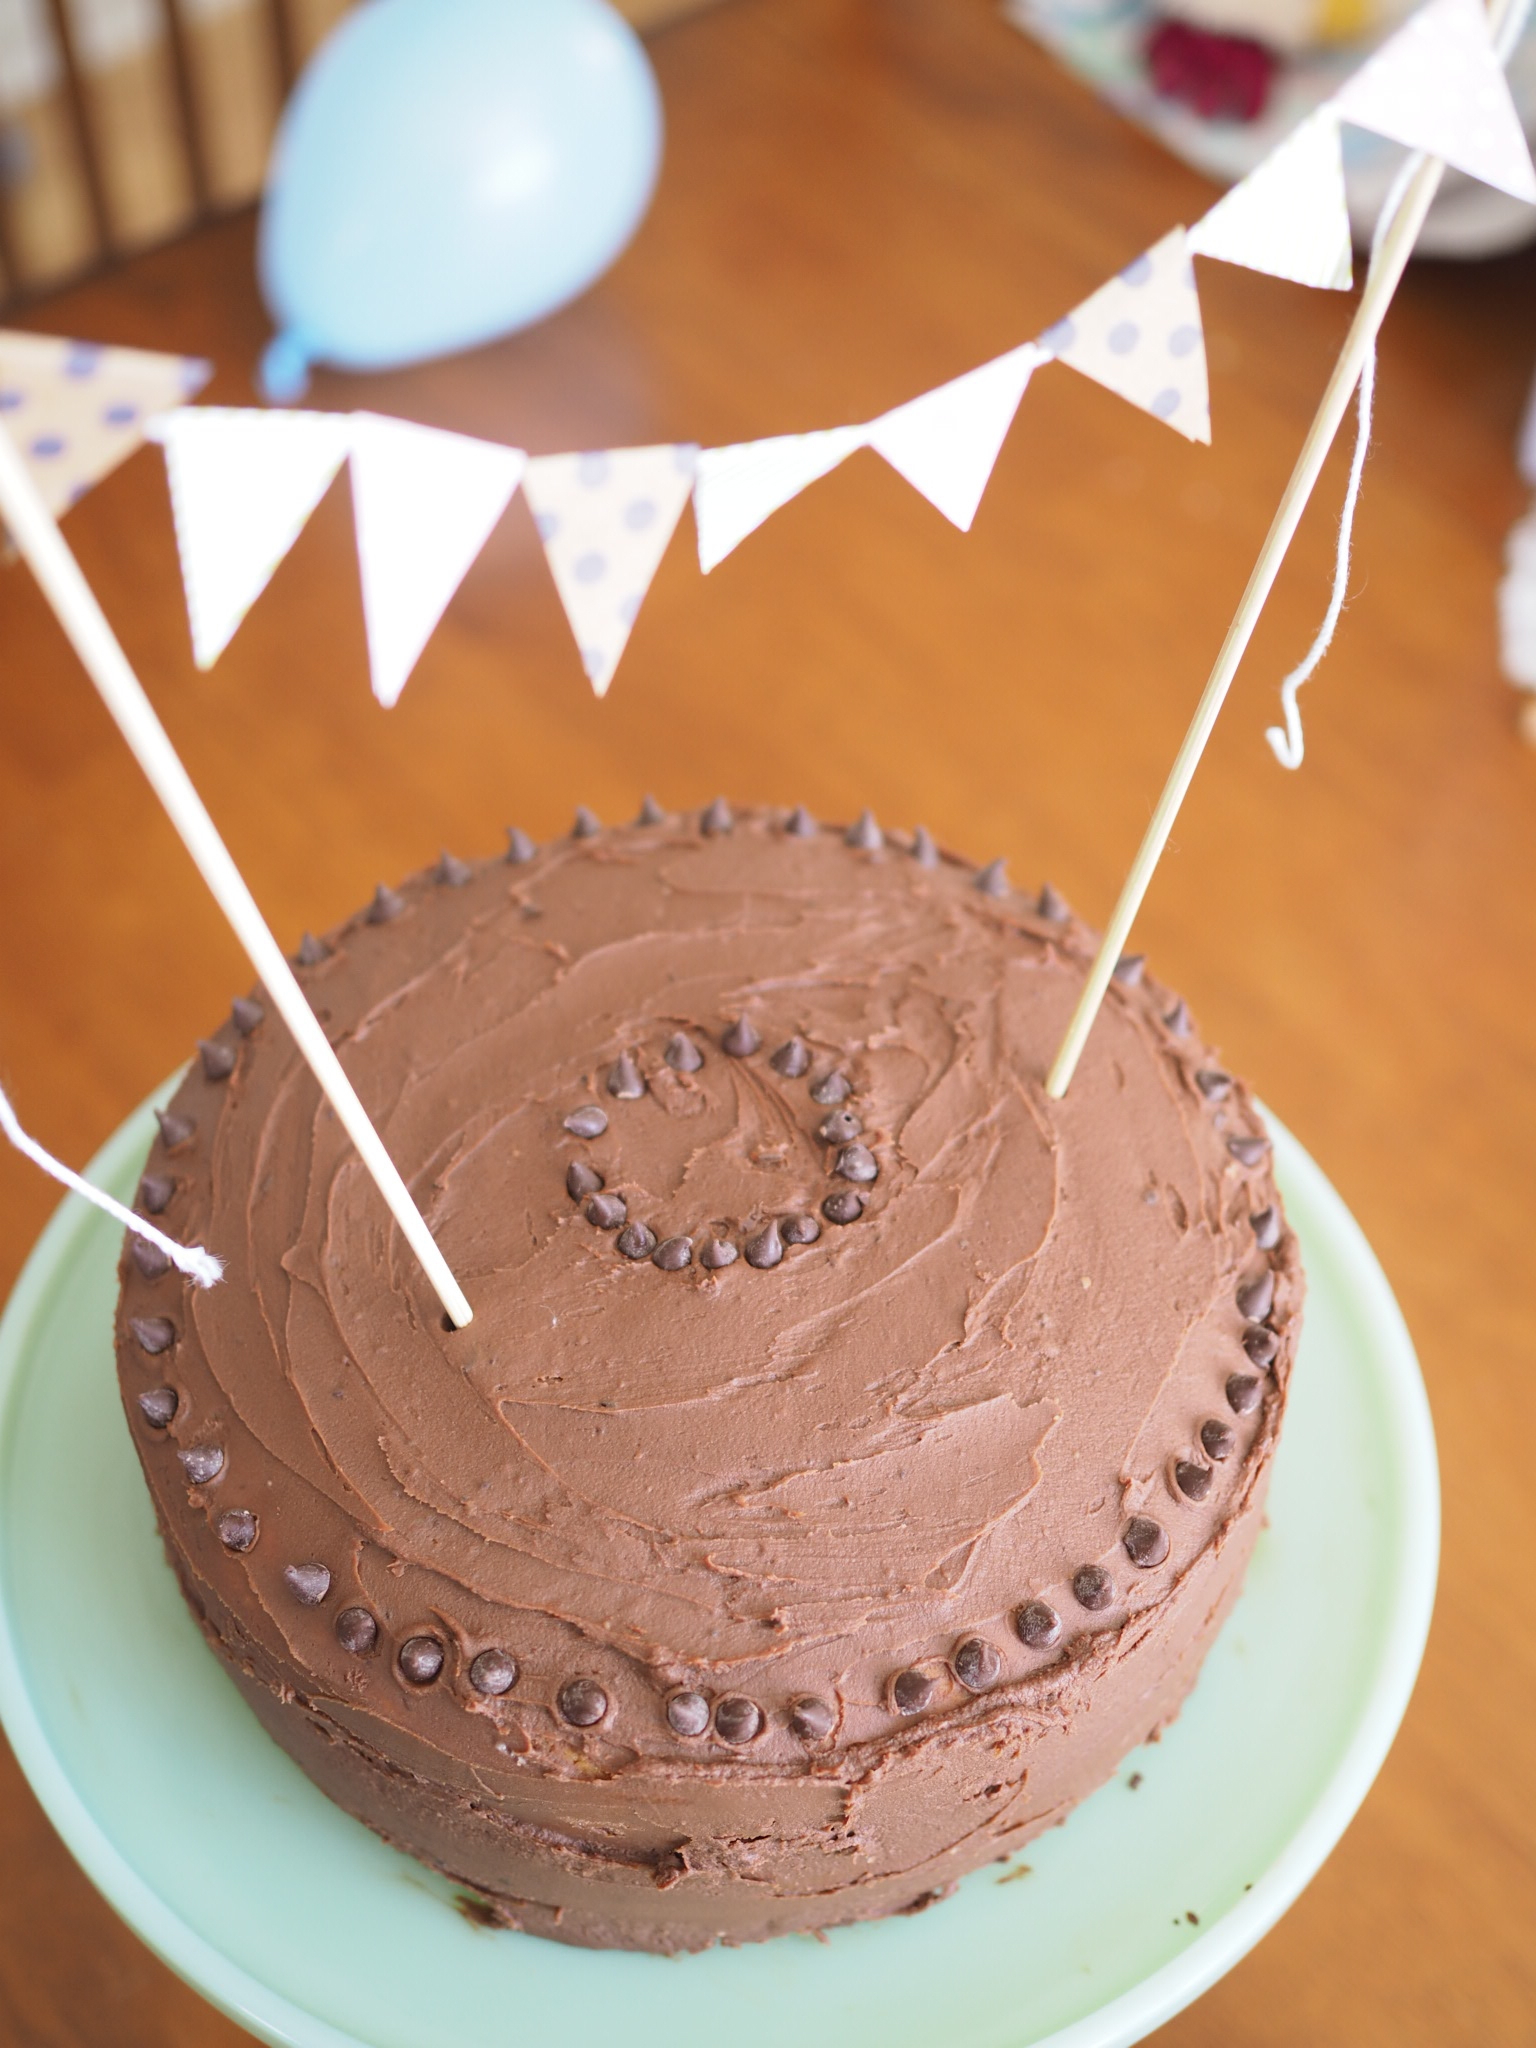
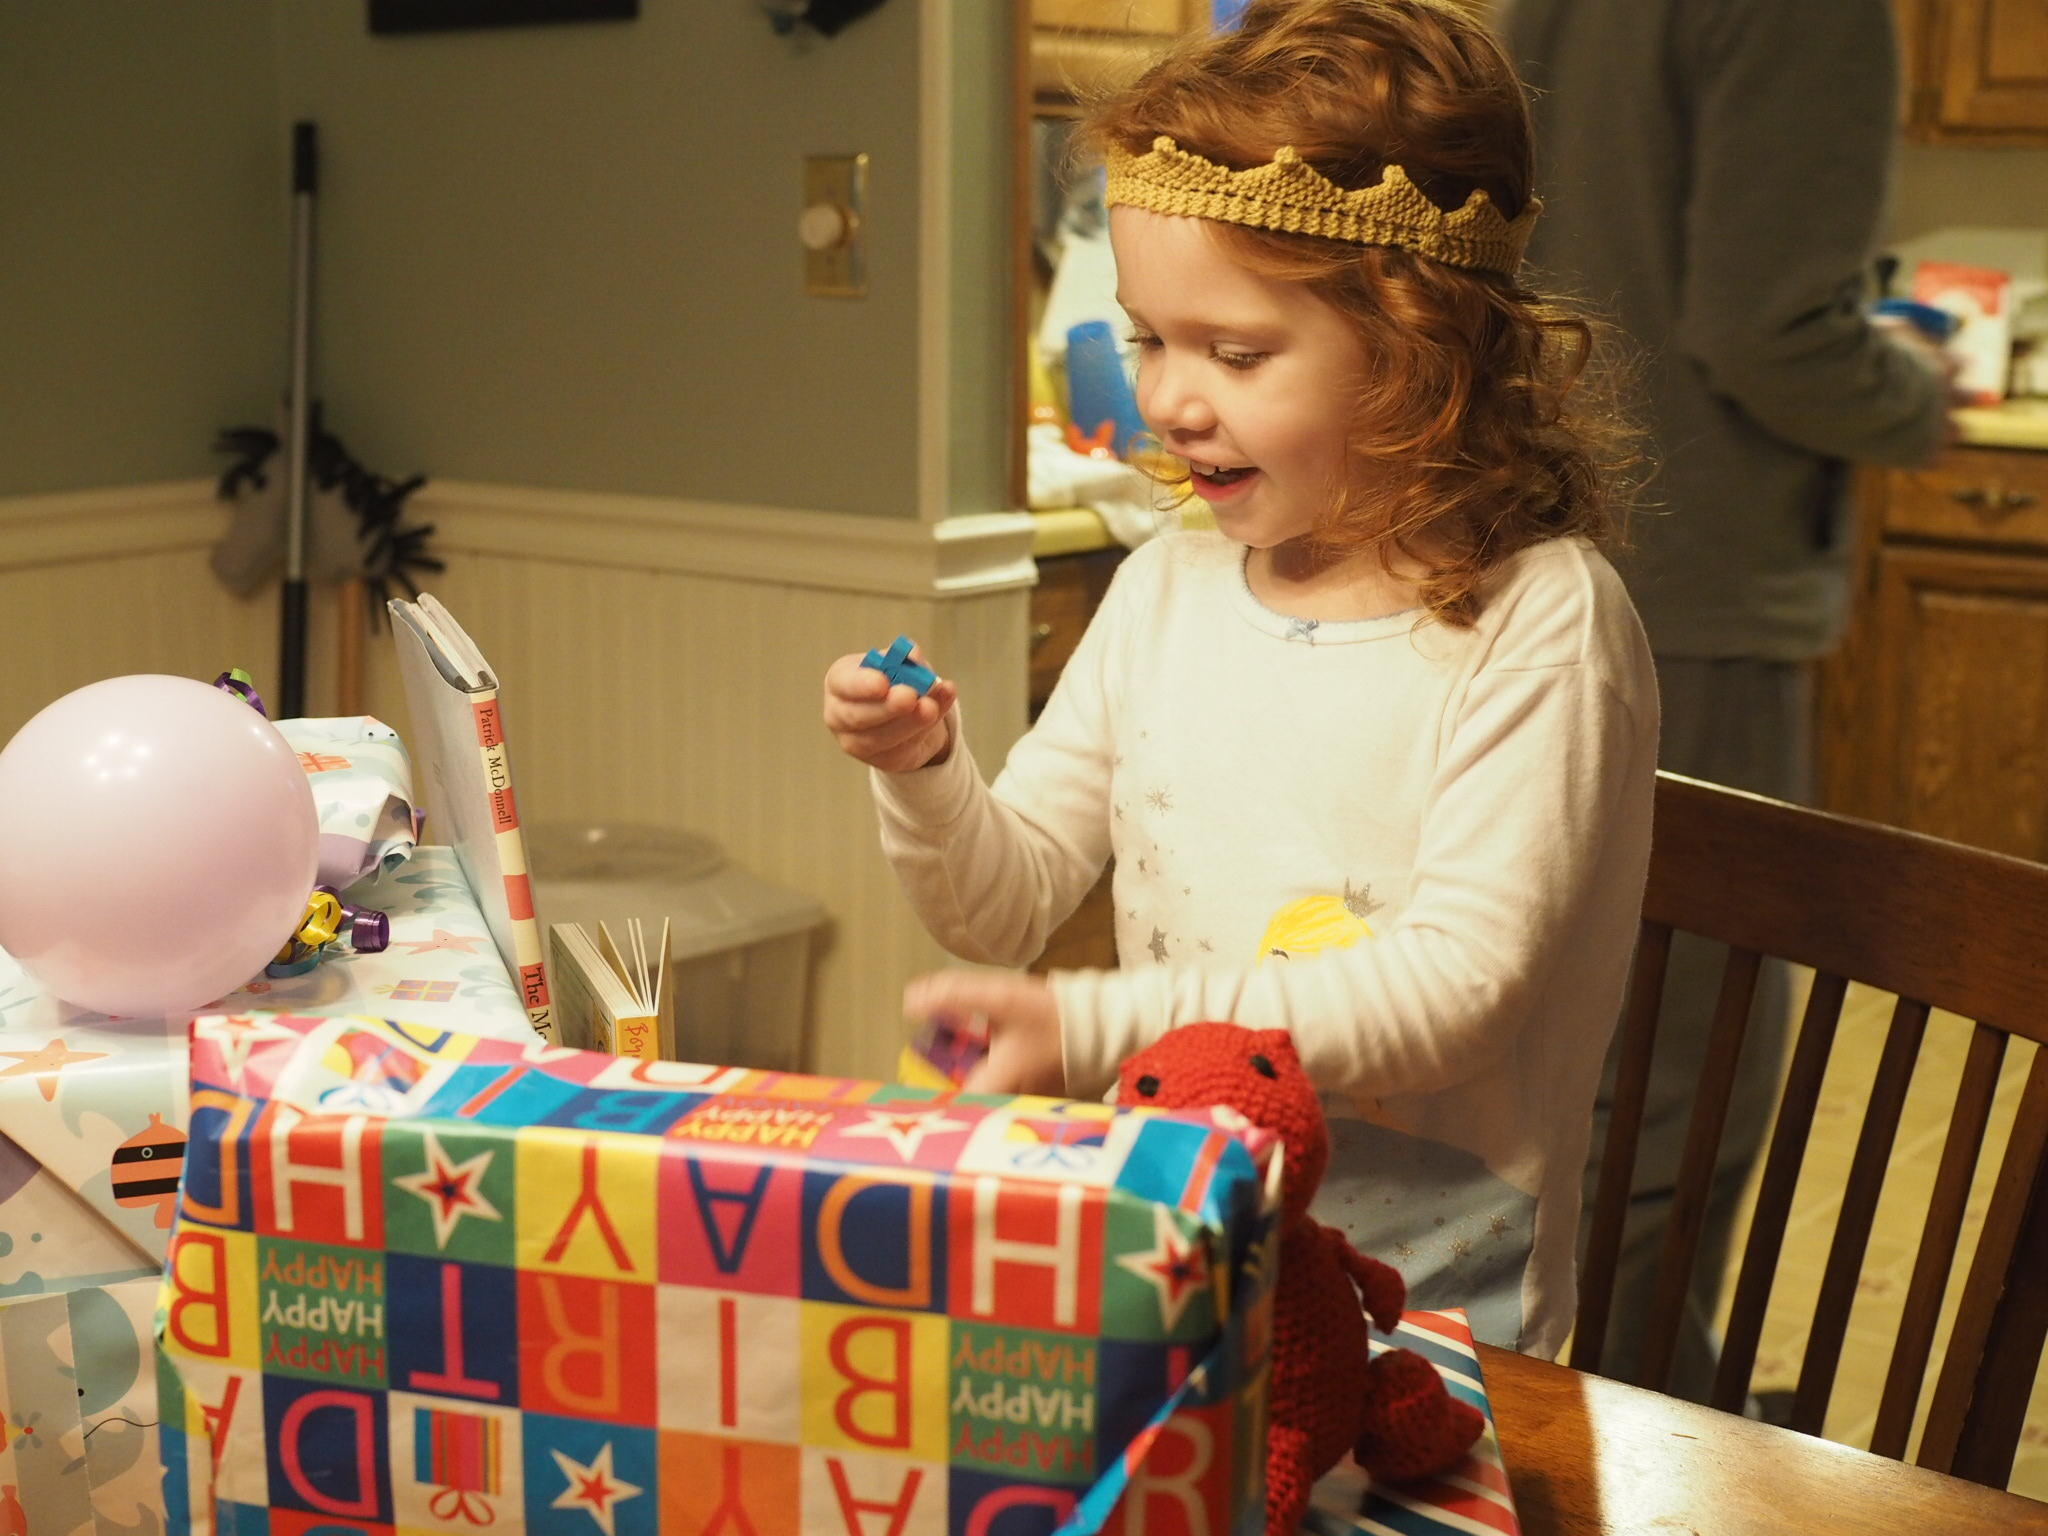
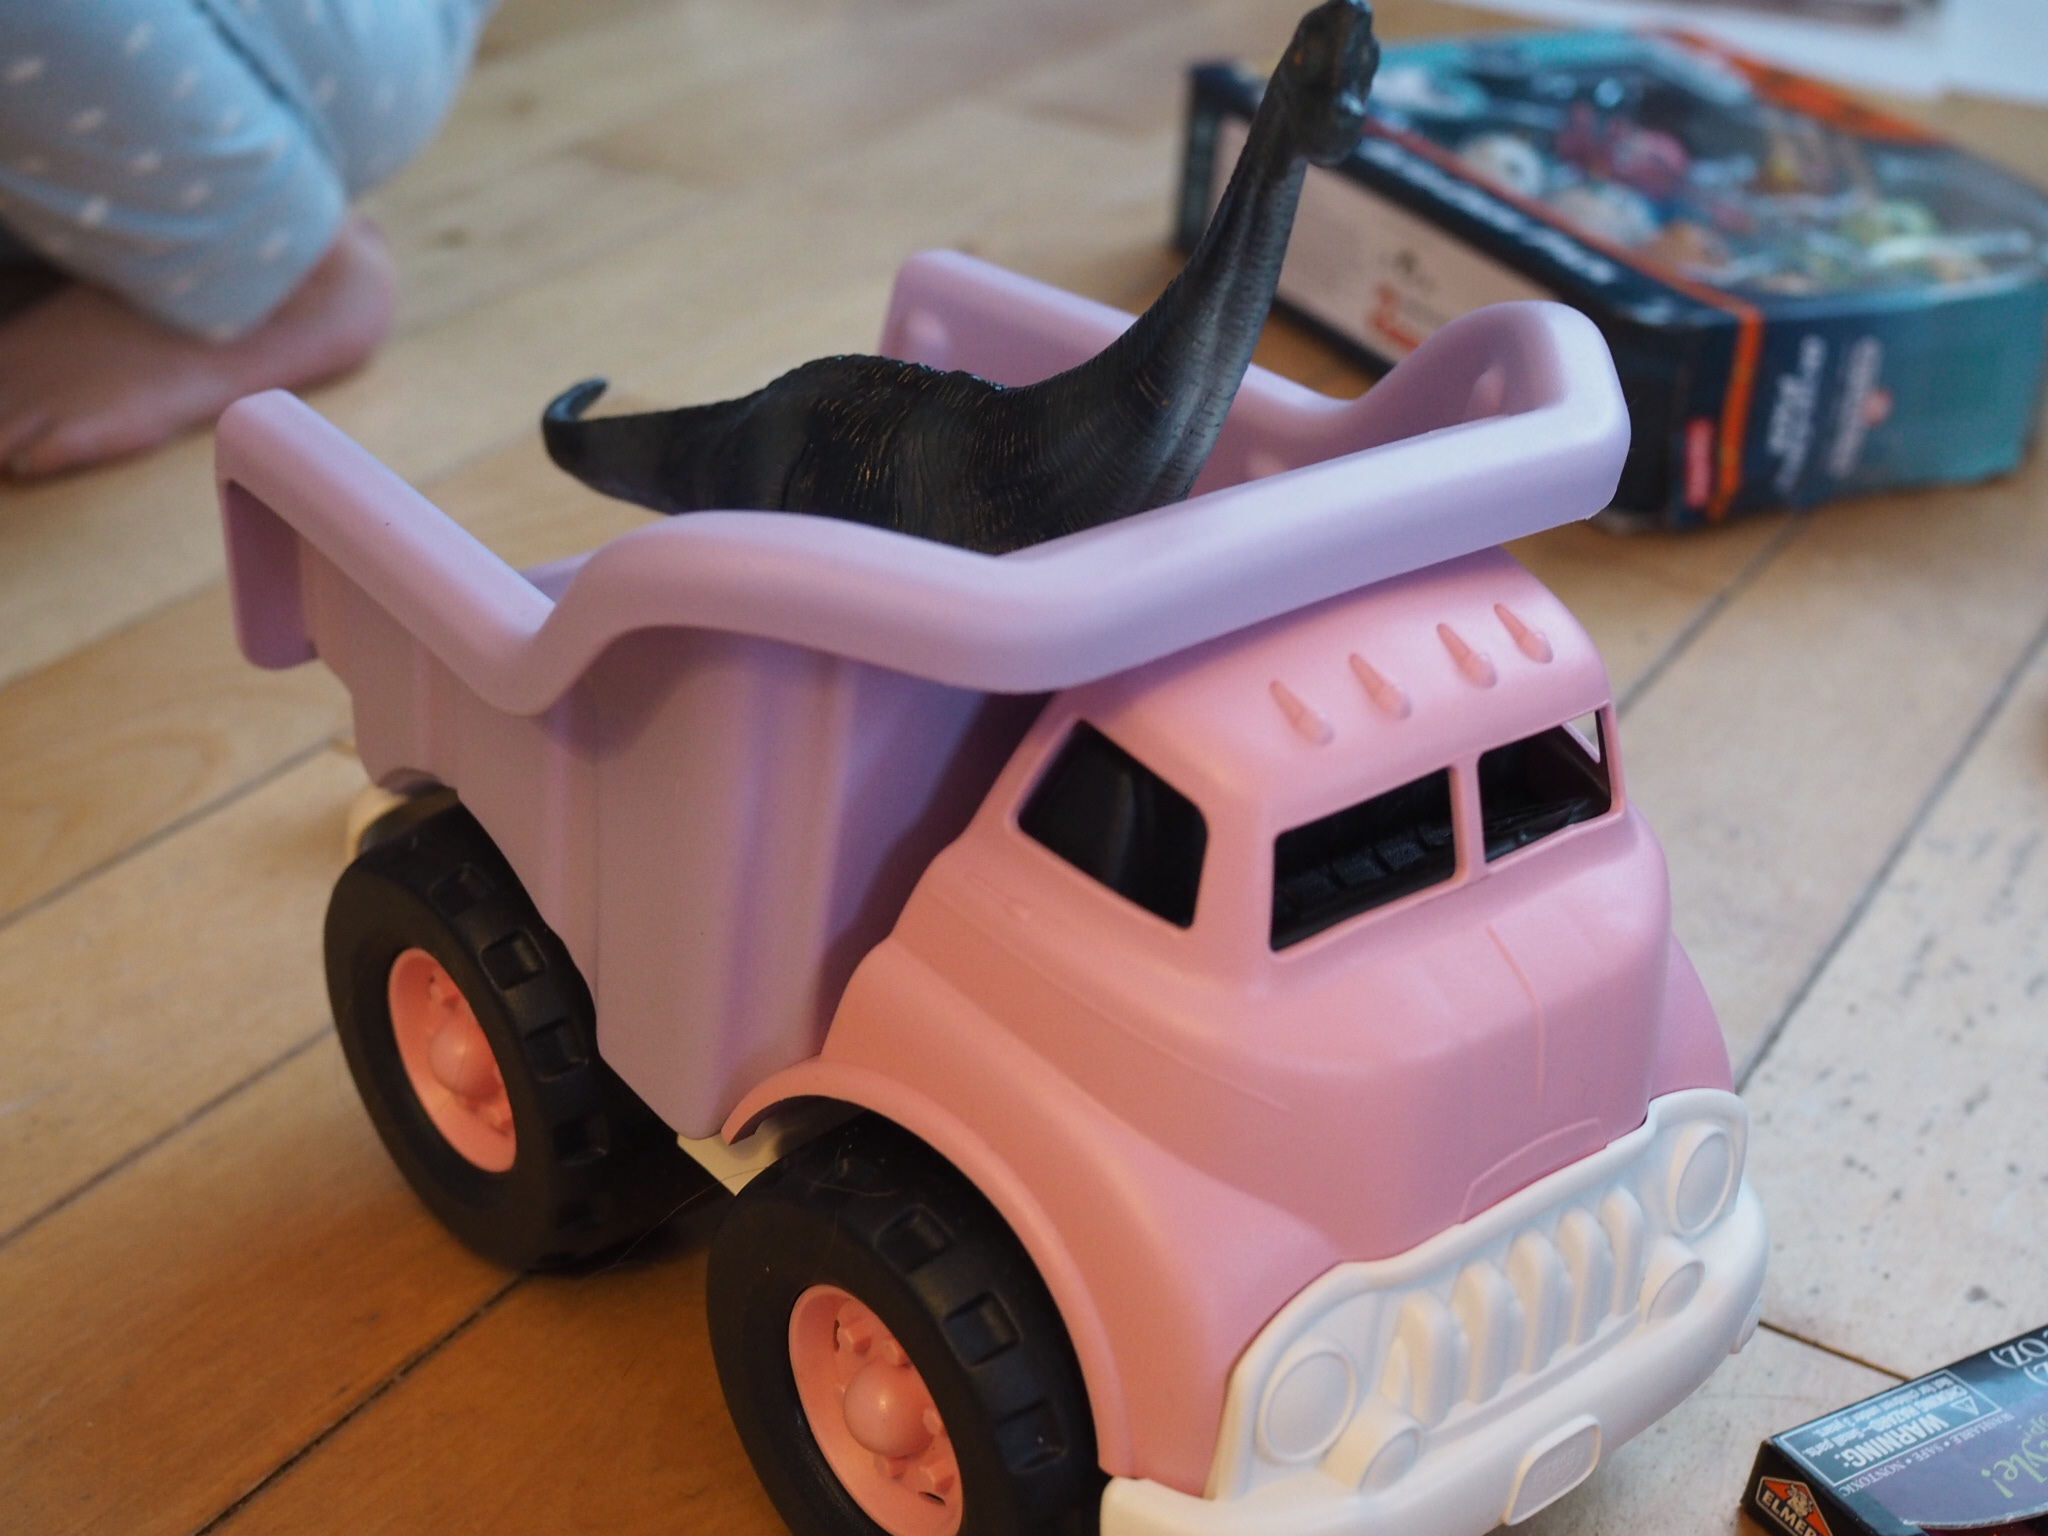
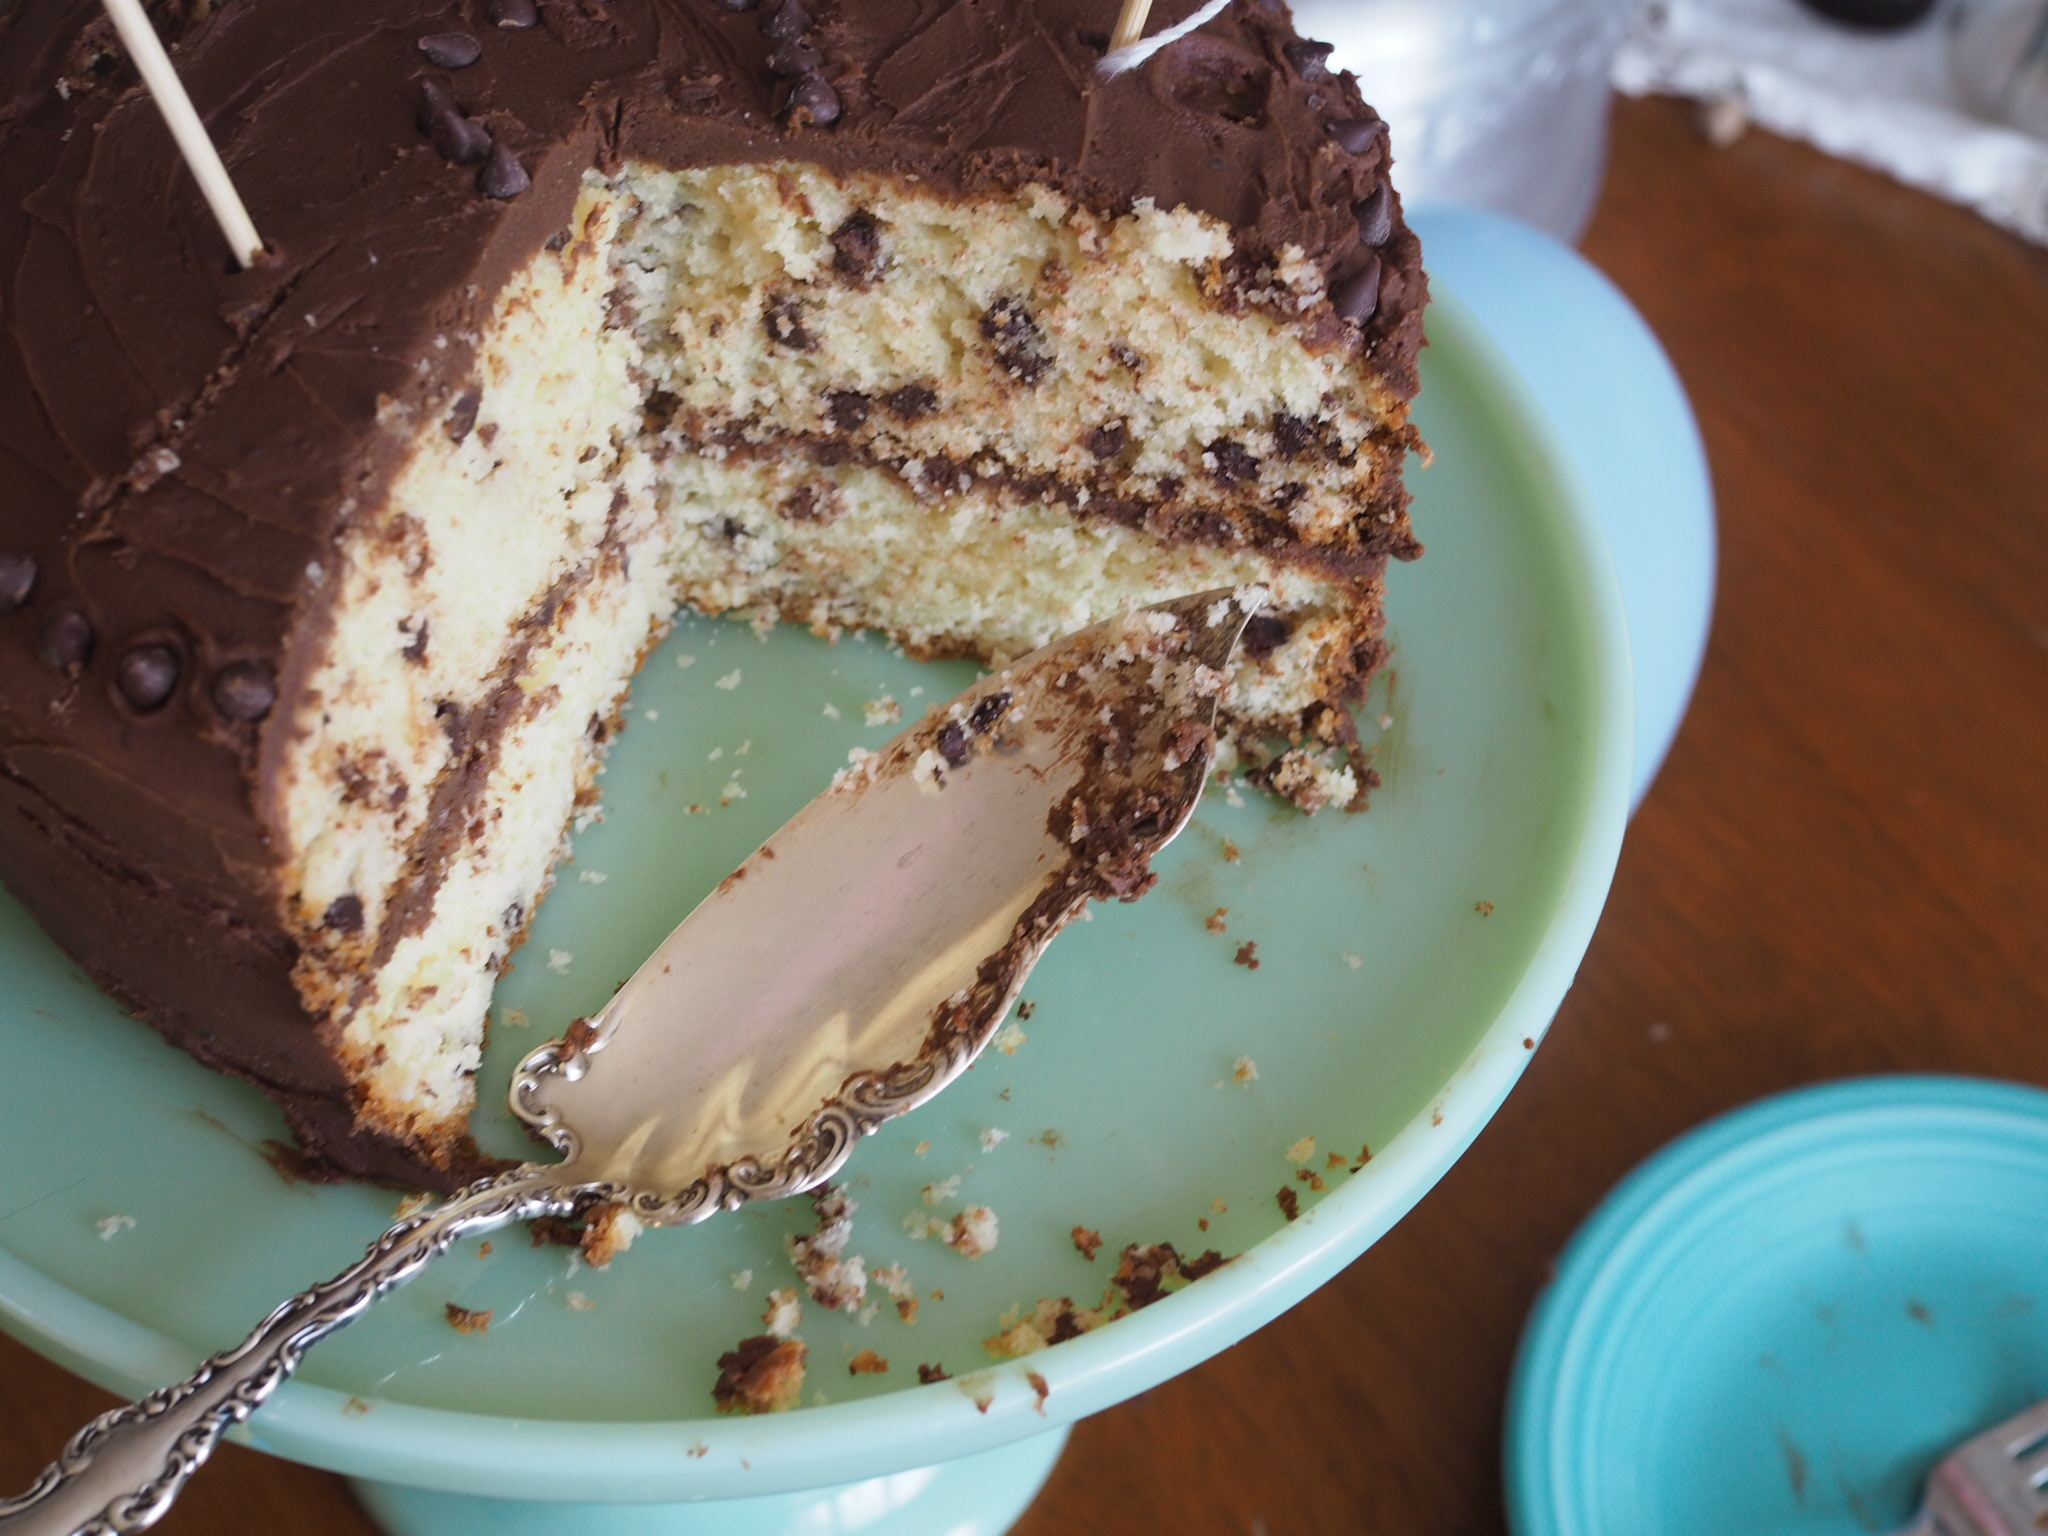
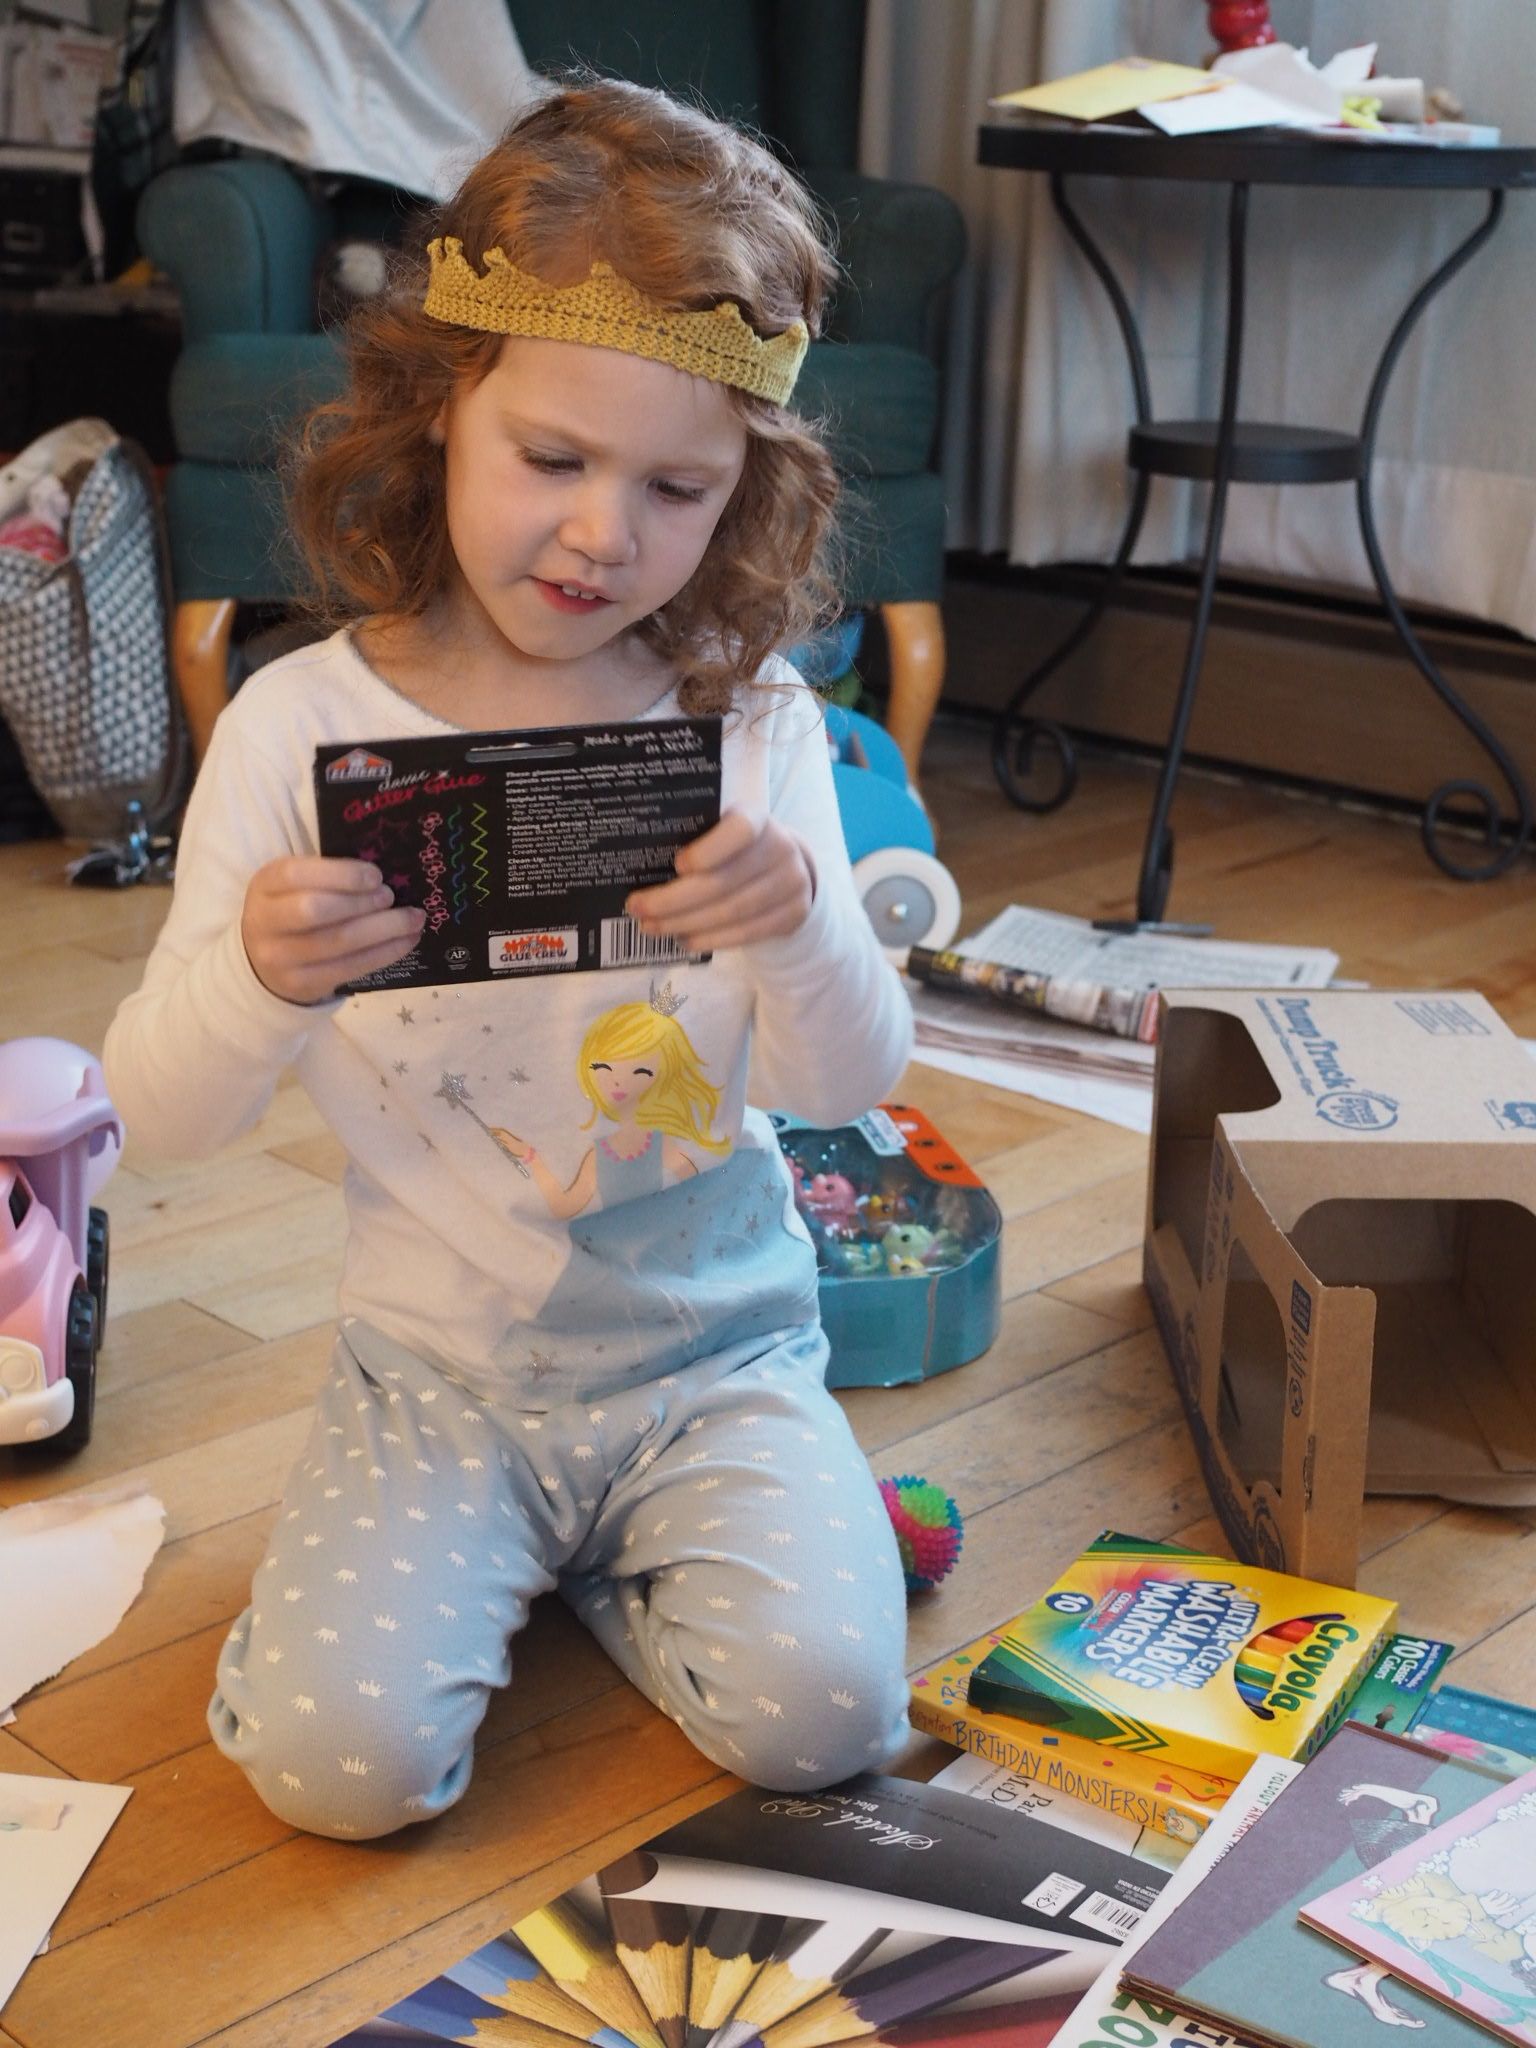
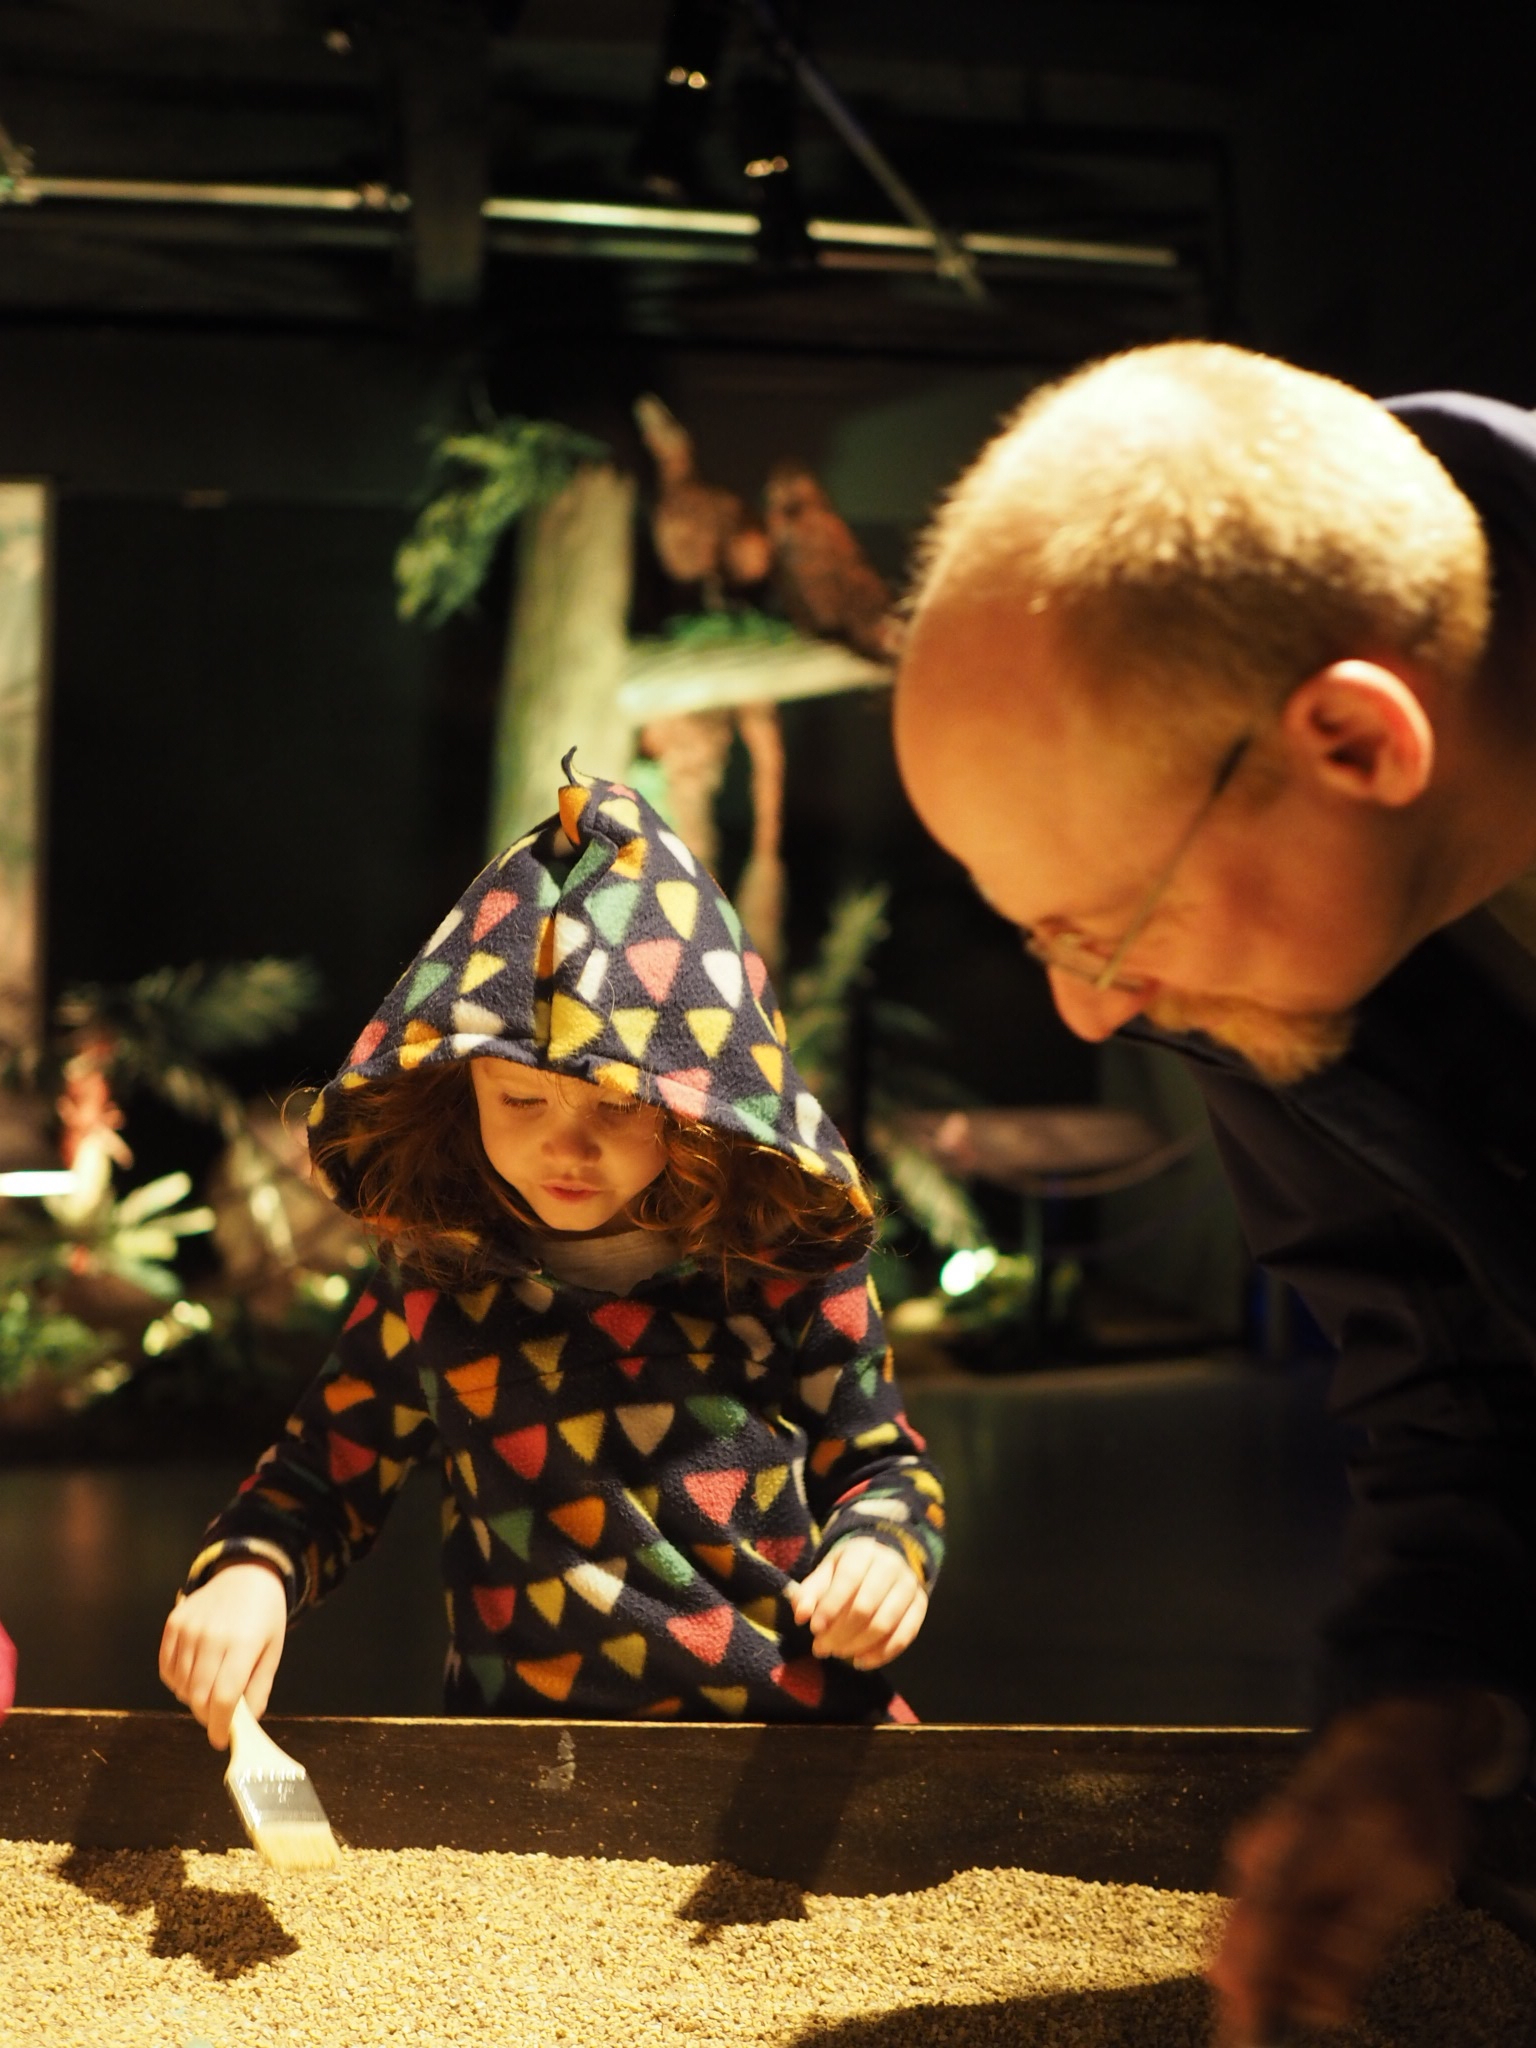
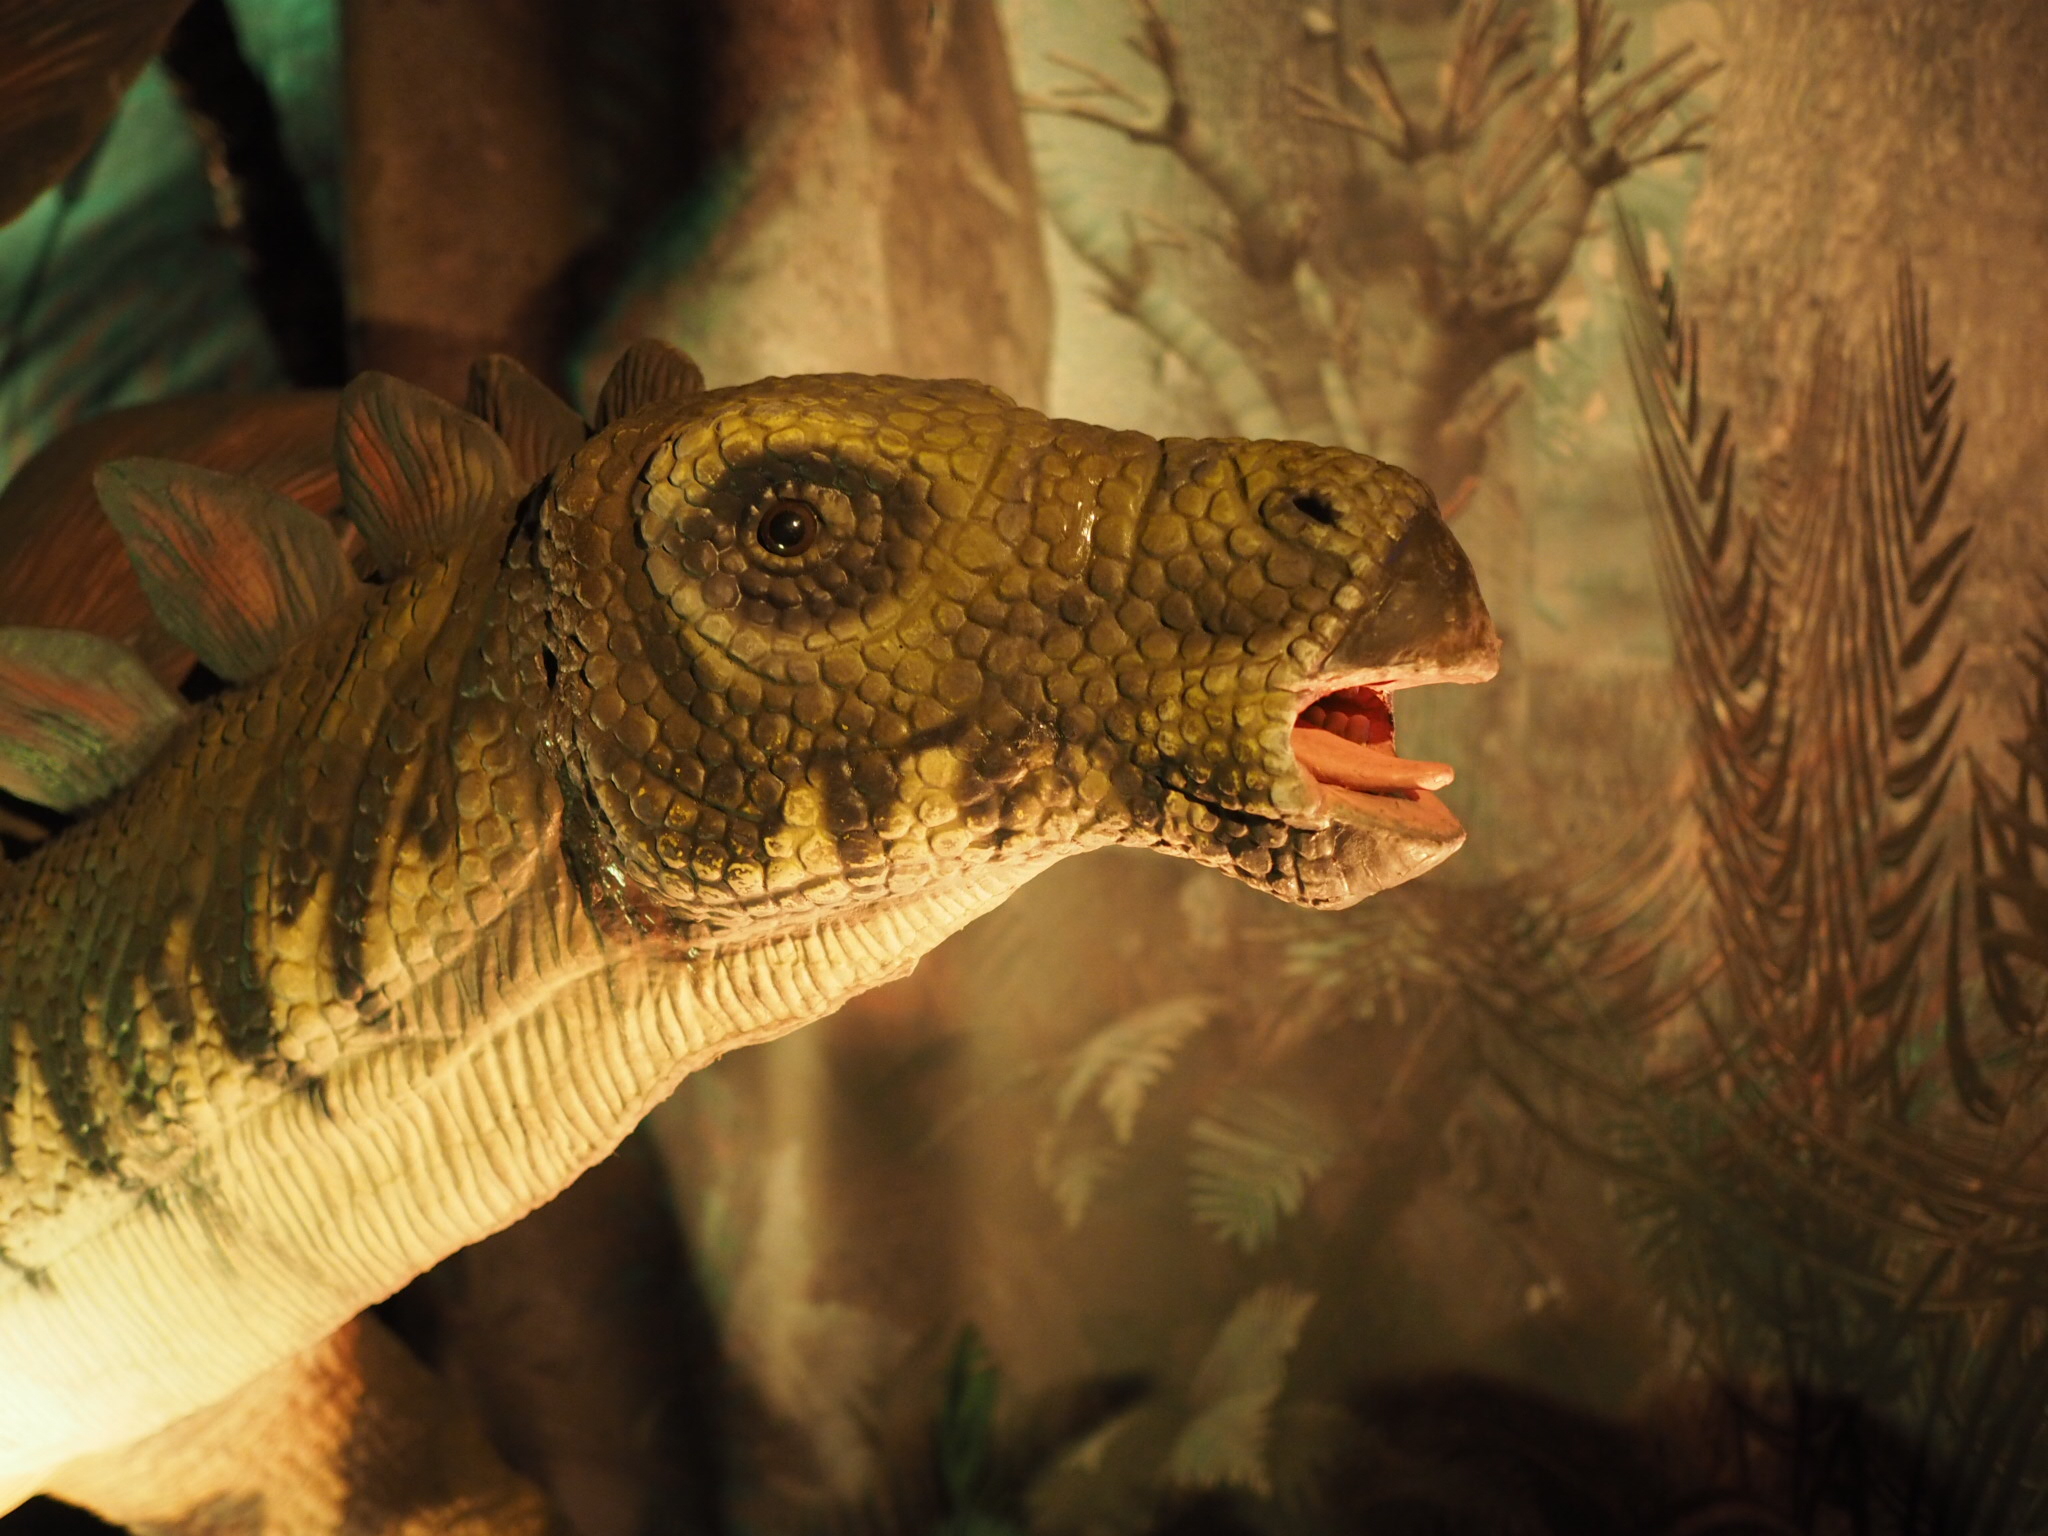
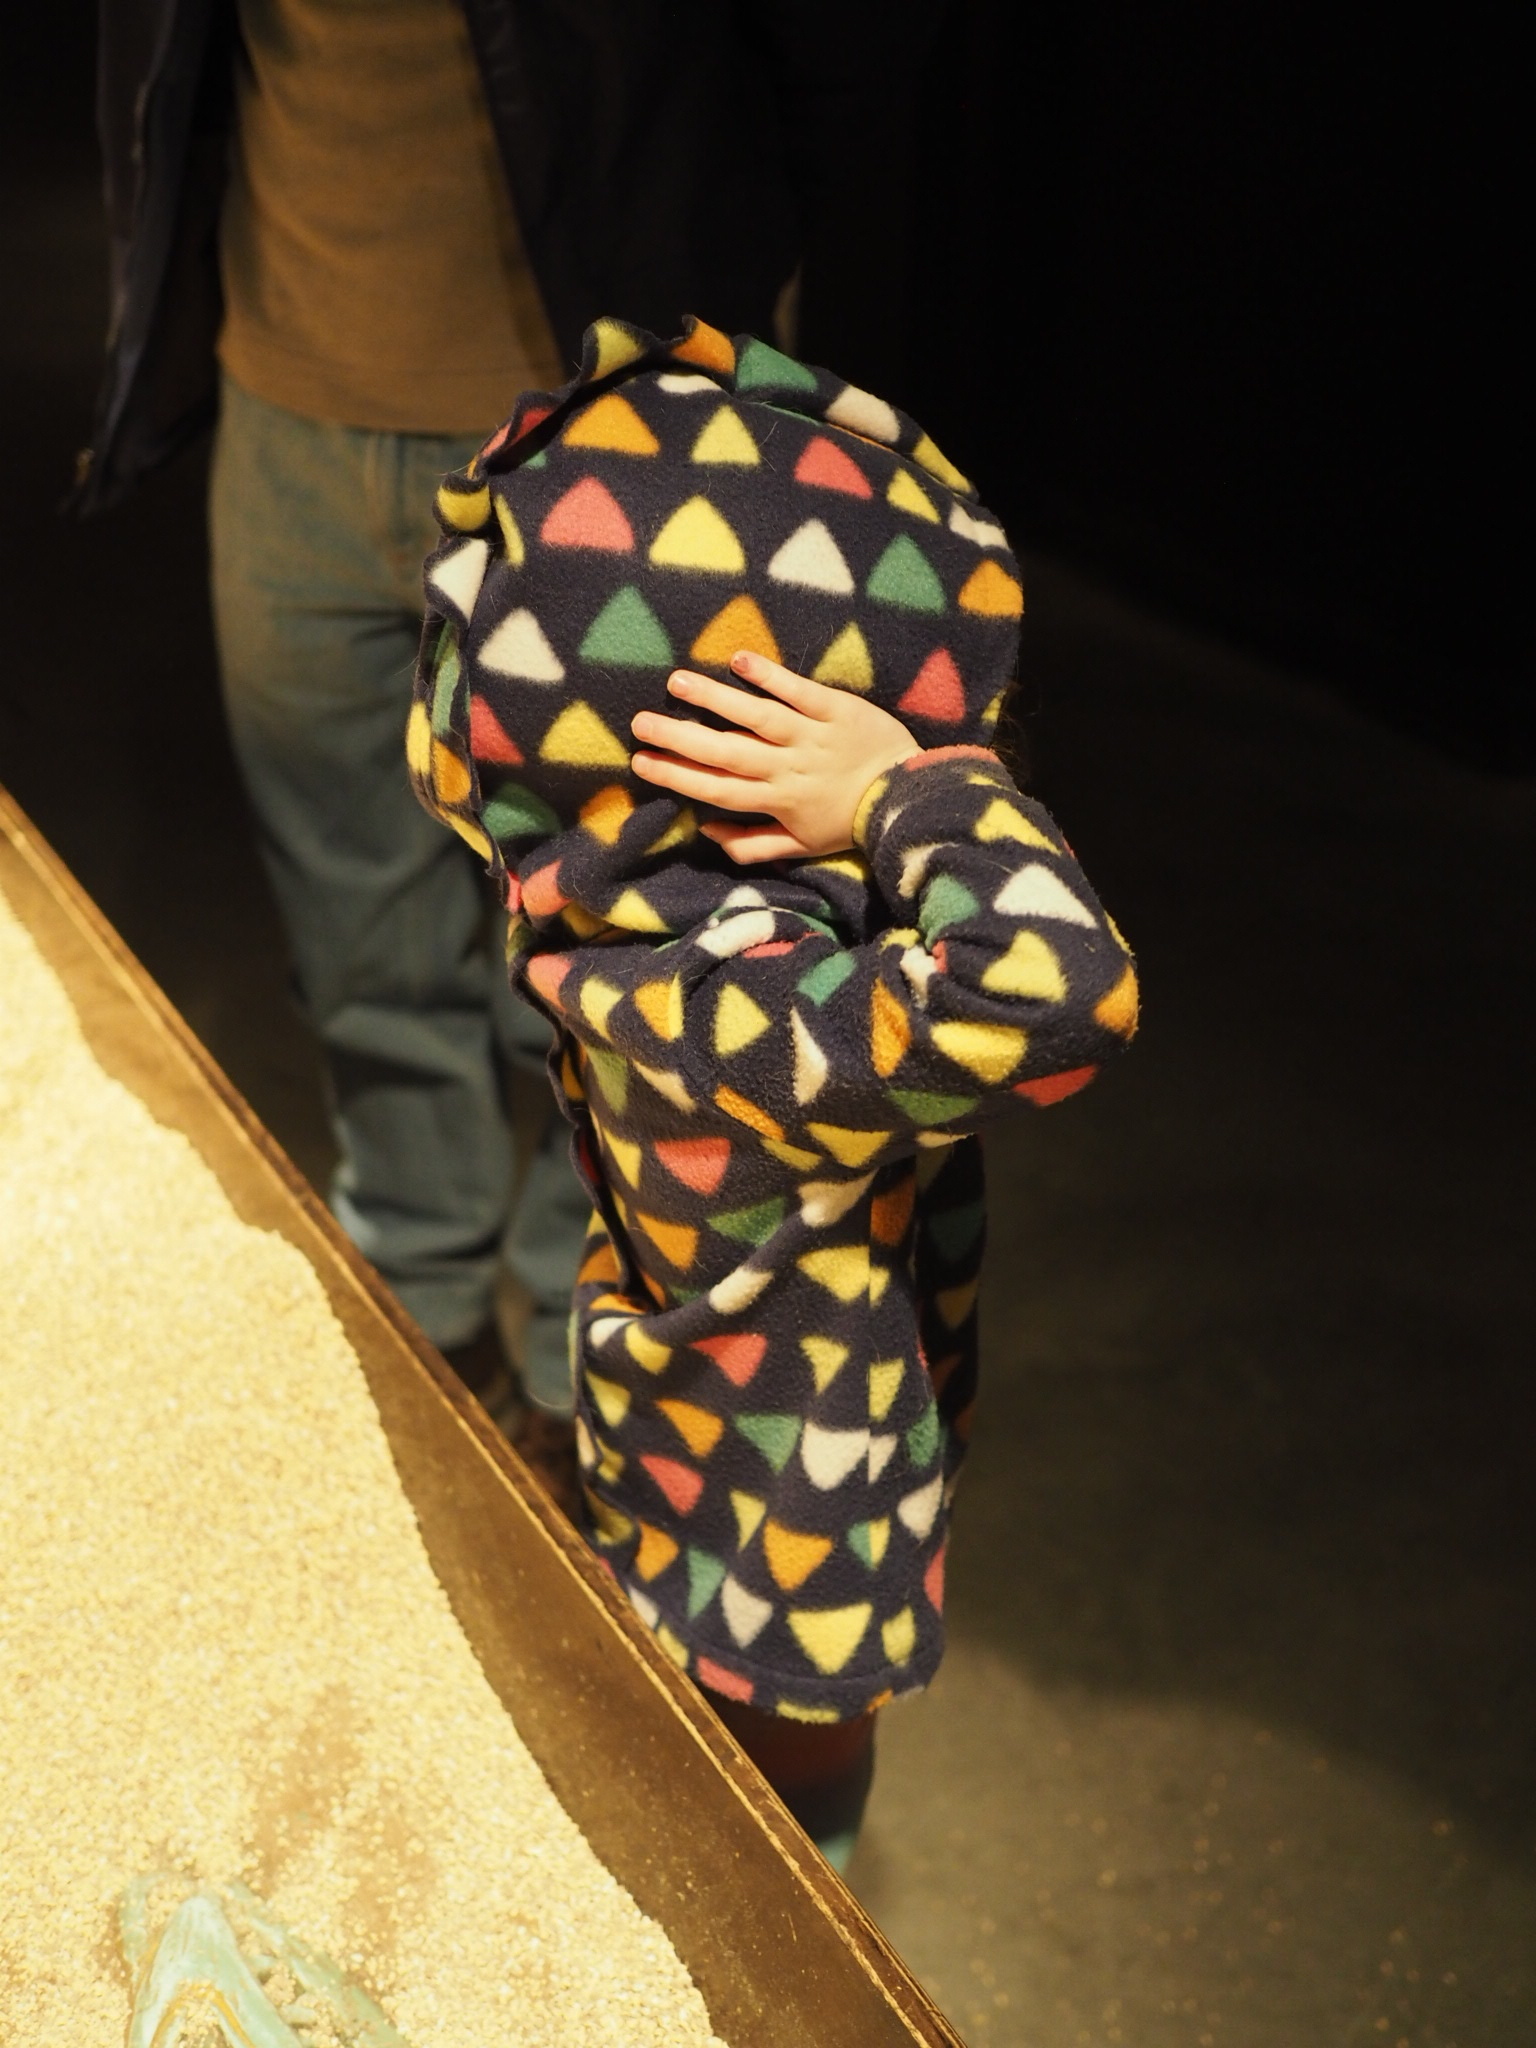
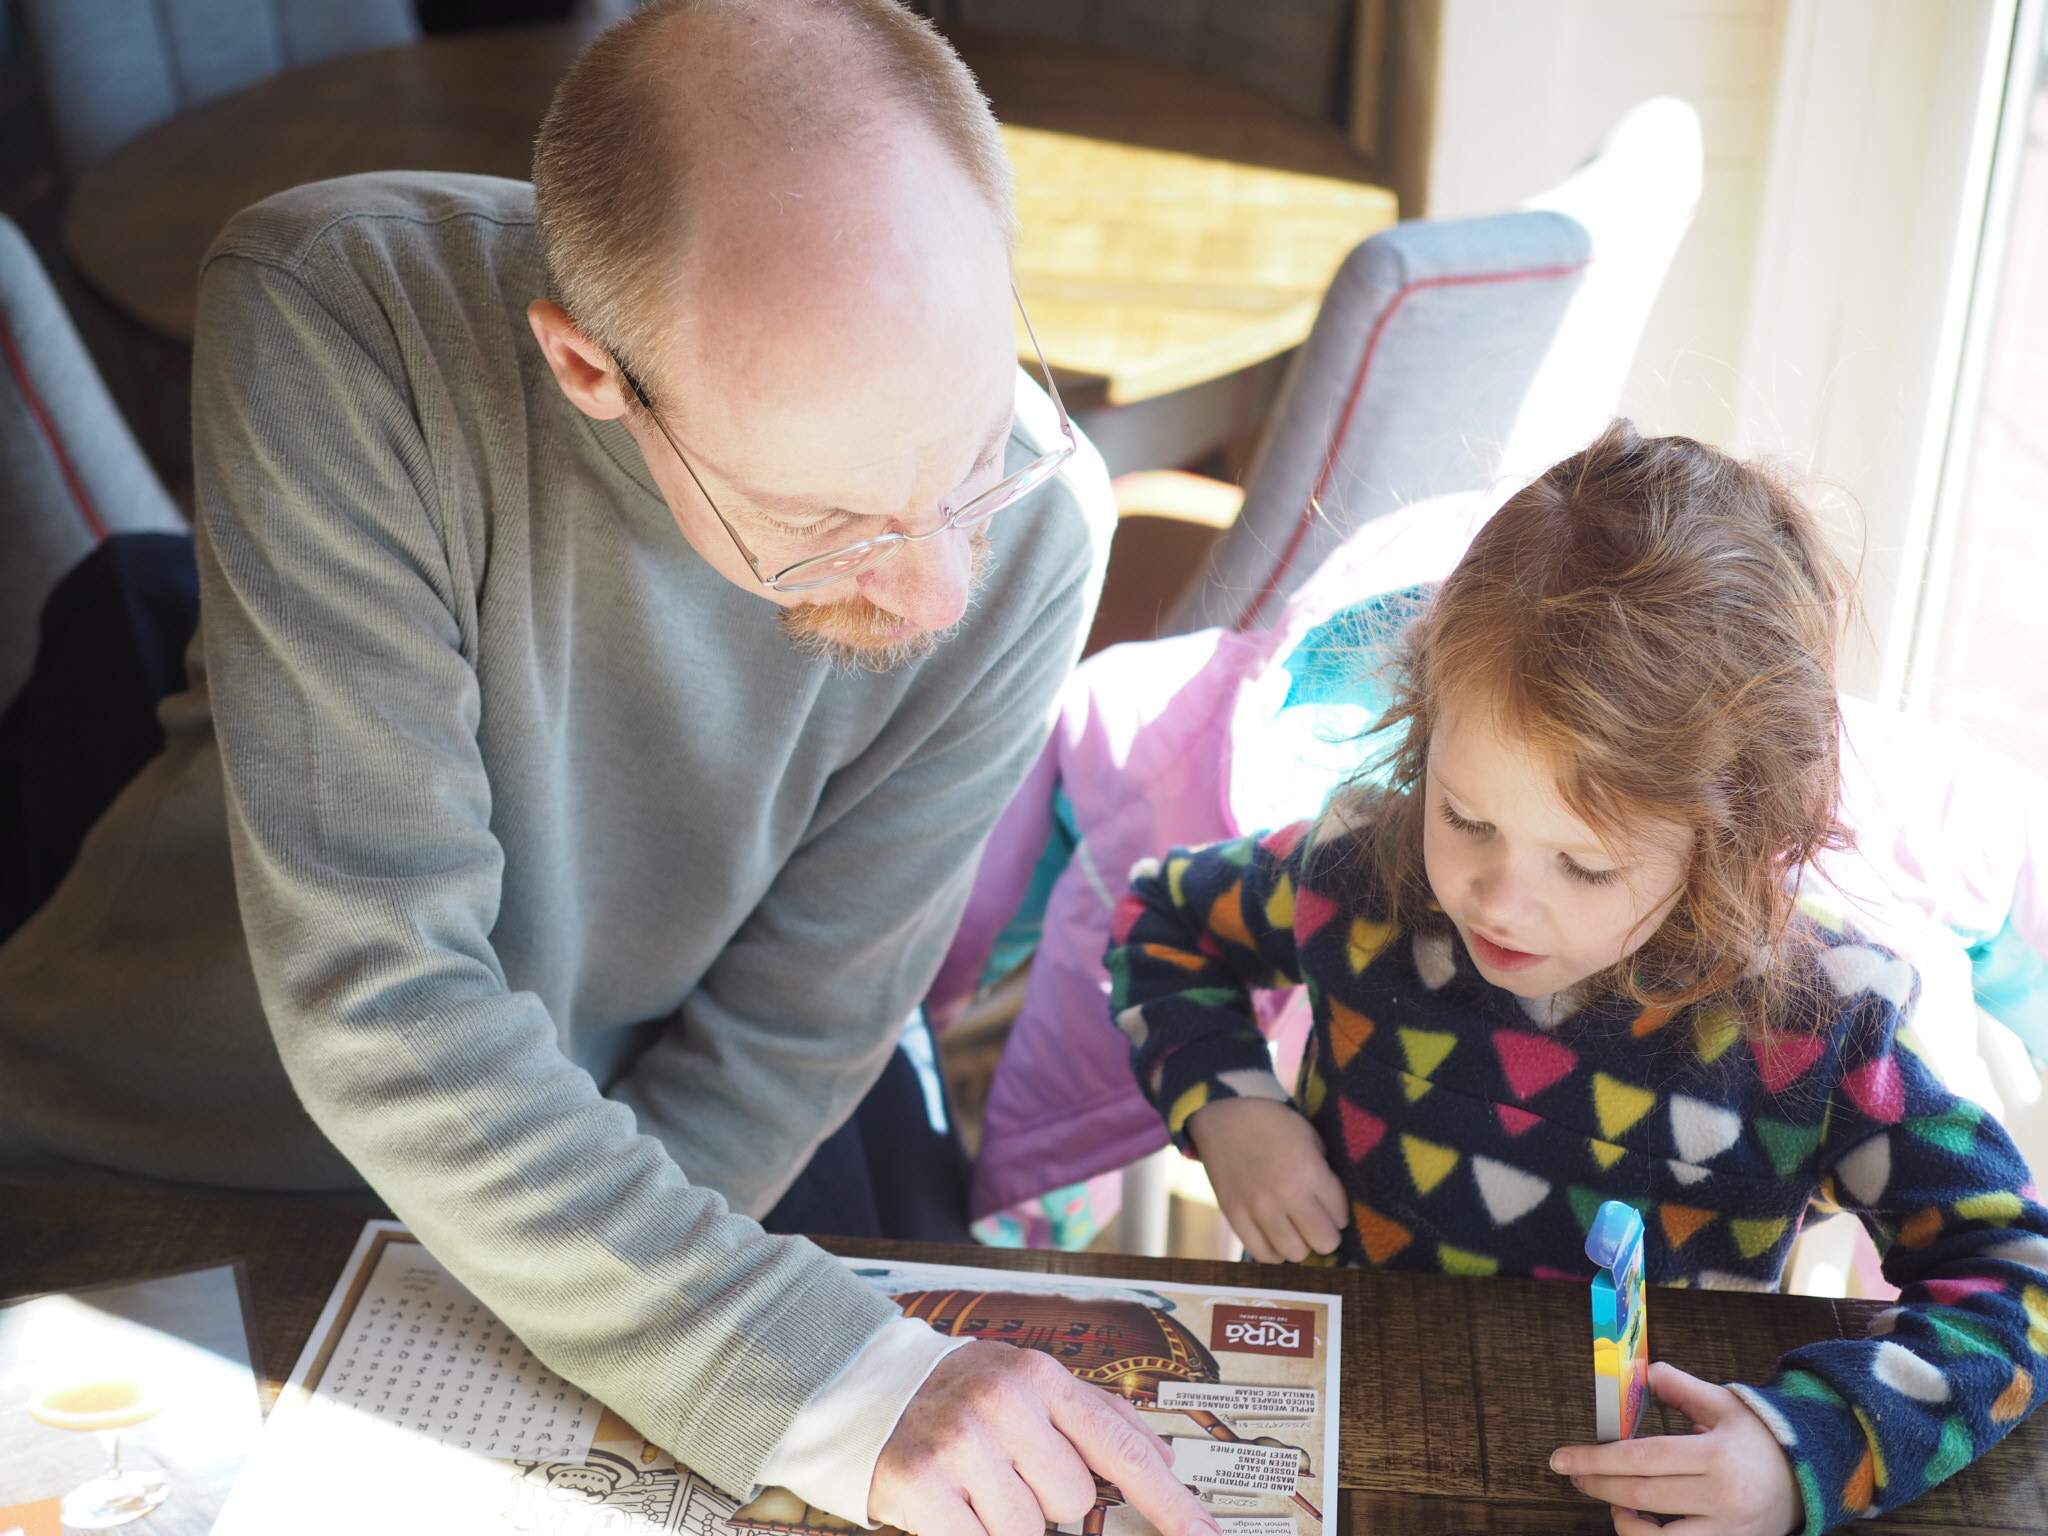
I took the day off work for her actual birthday, which was a Wednesday. We opened presents and then headed into Portland to visit the dinosaur exhibit at the Portland Science Center. The animatronic dinosaurs were a bit loud, but she enjoyed the exhibit overall, then we had a lovely lunch with a great view at RiRa's. Then it was home for nap and then cake and more presents with Memere in the afternoon.
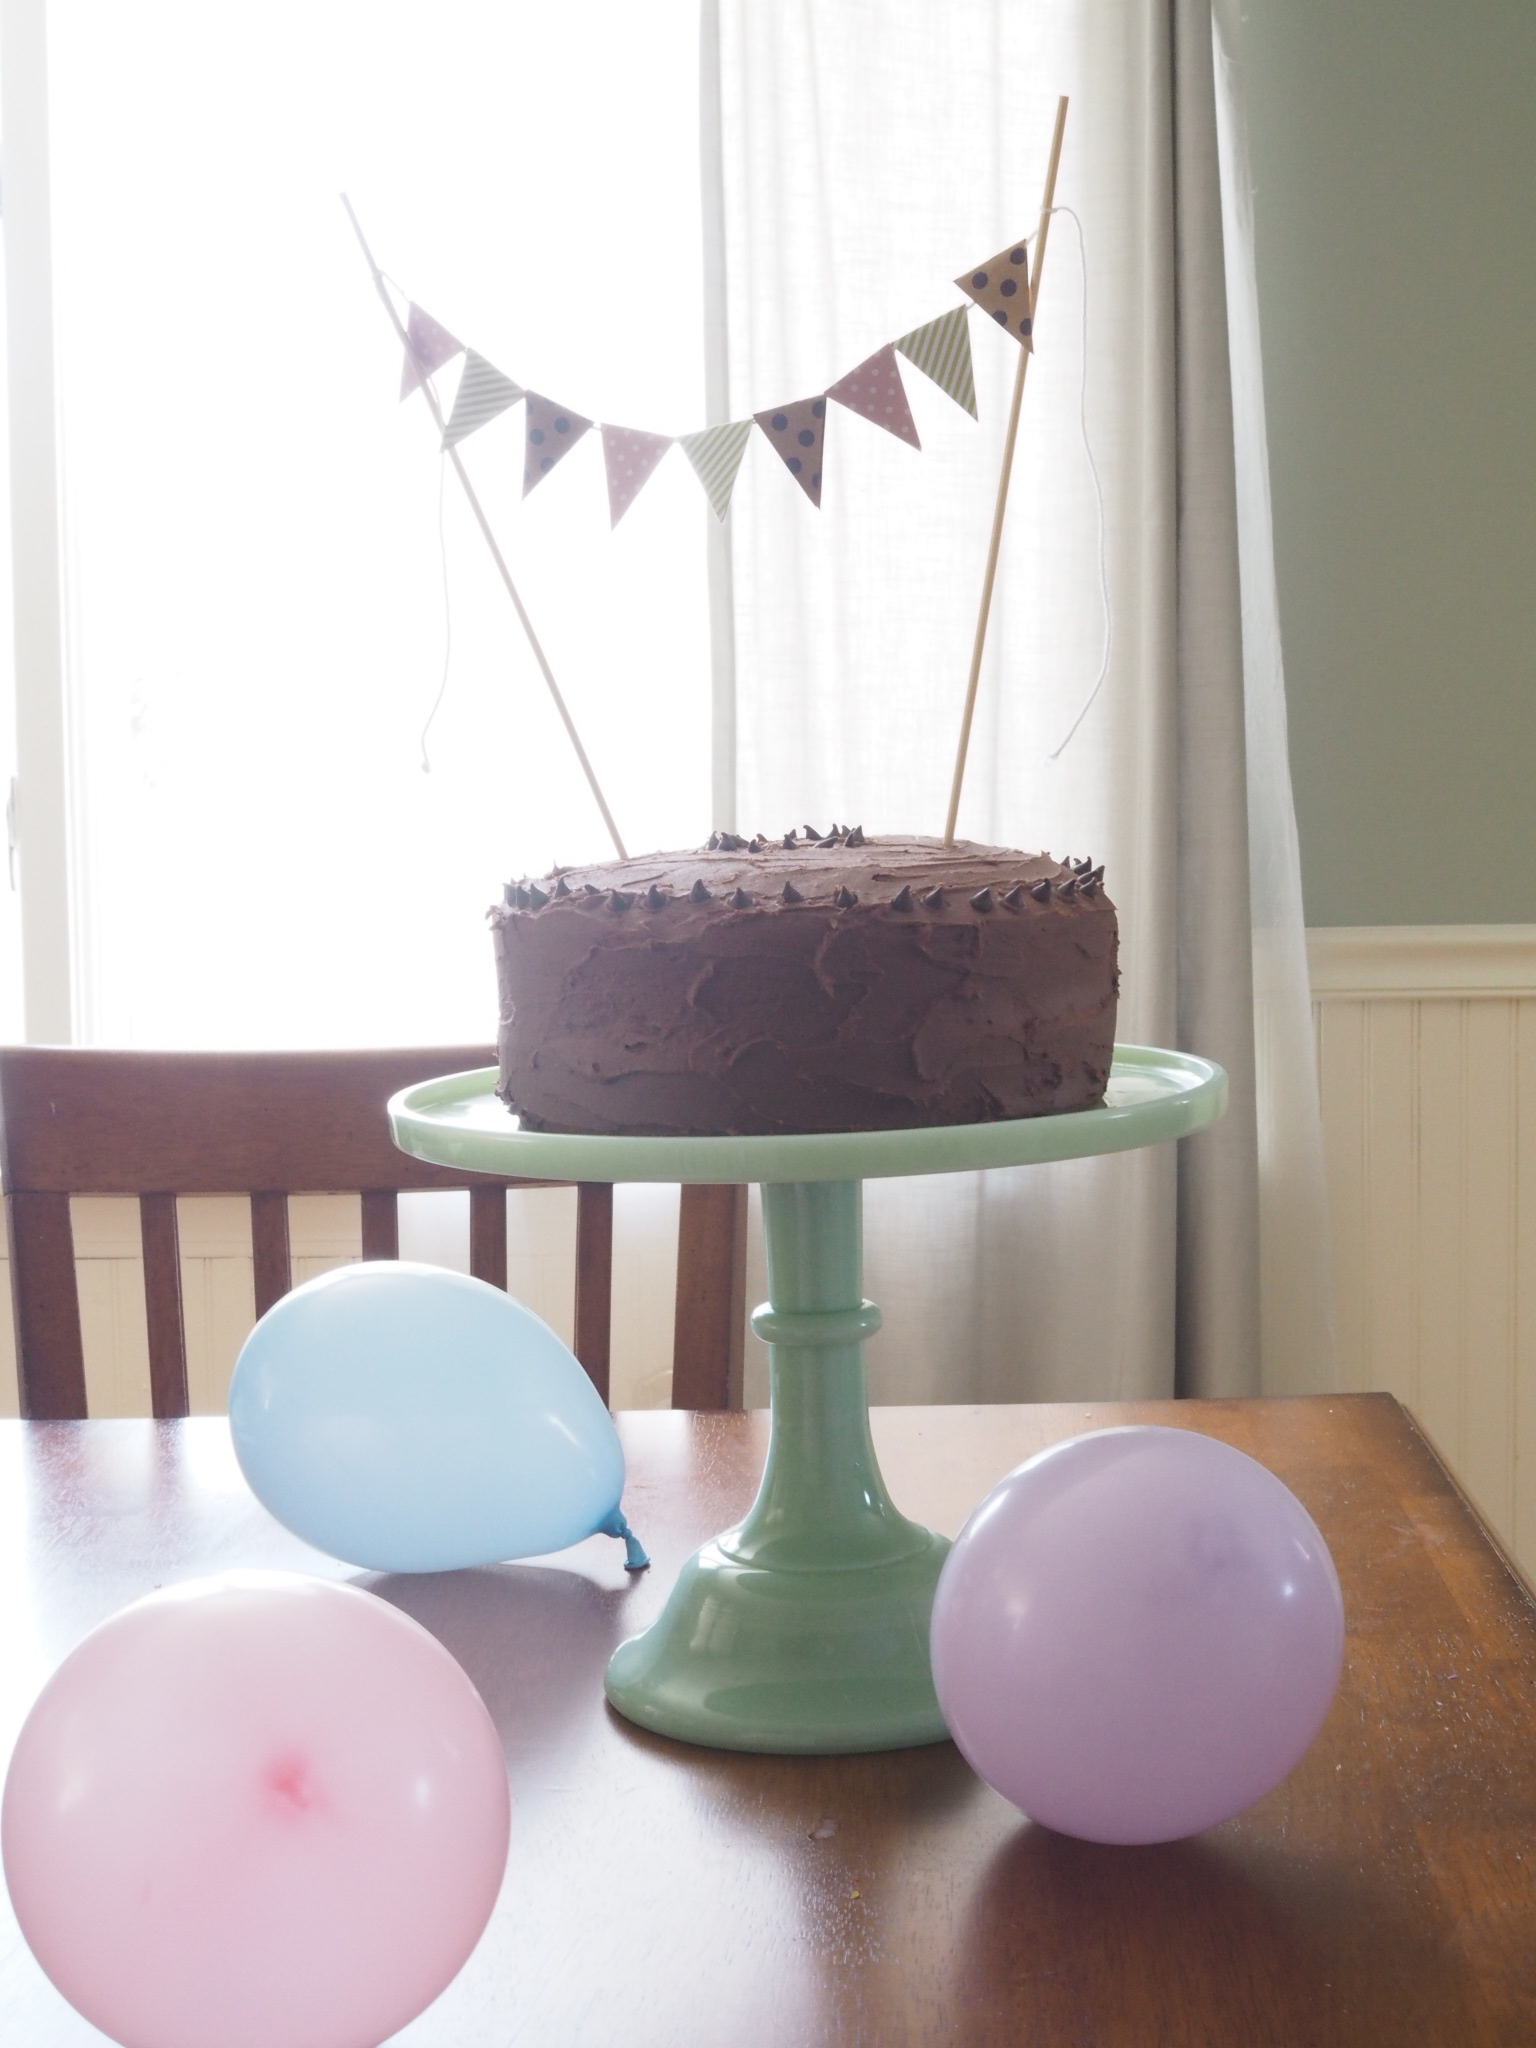
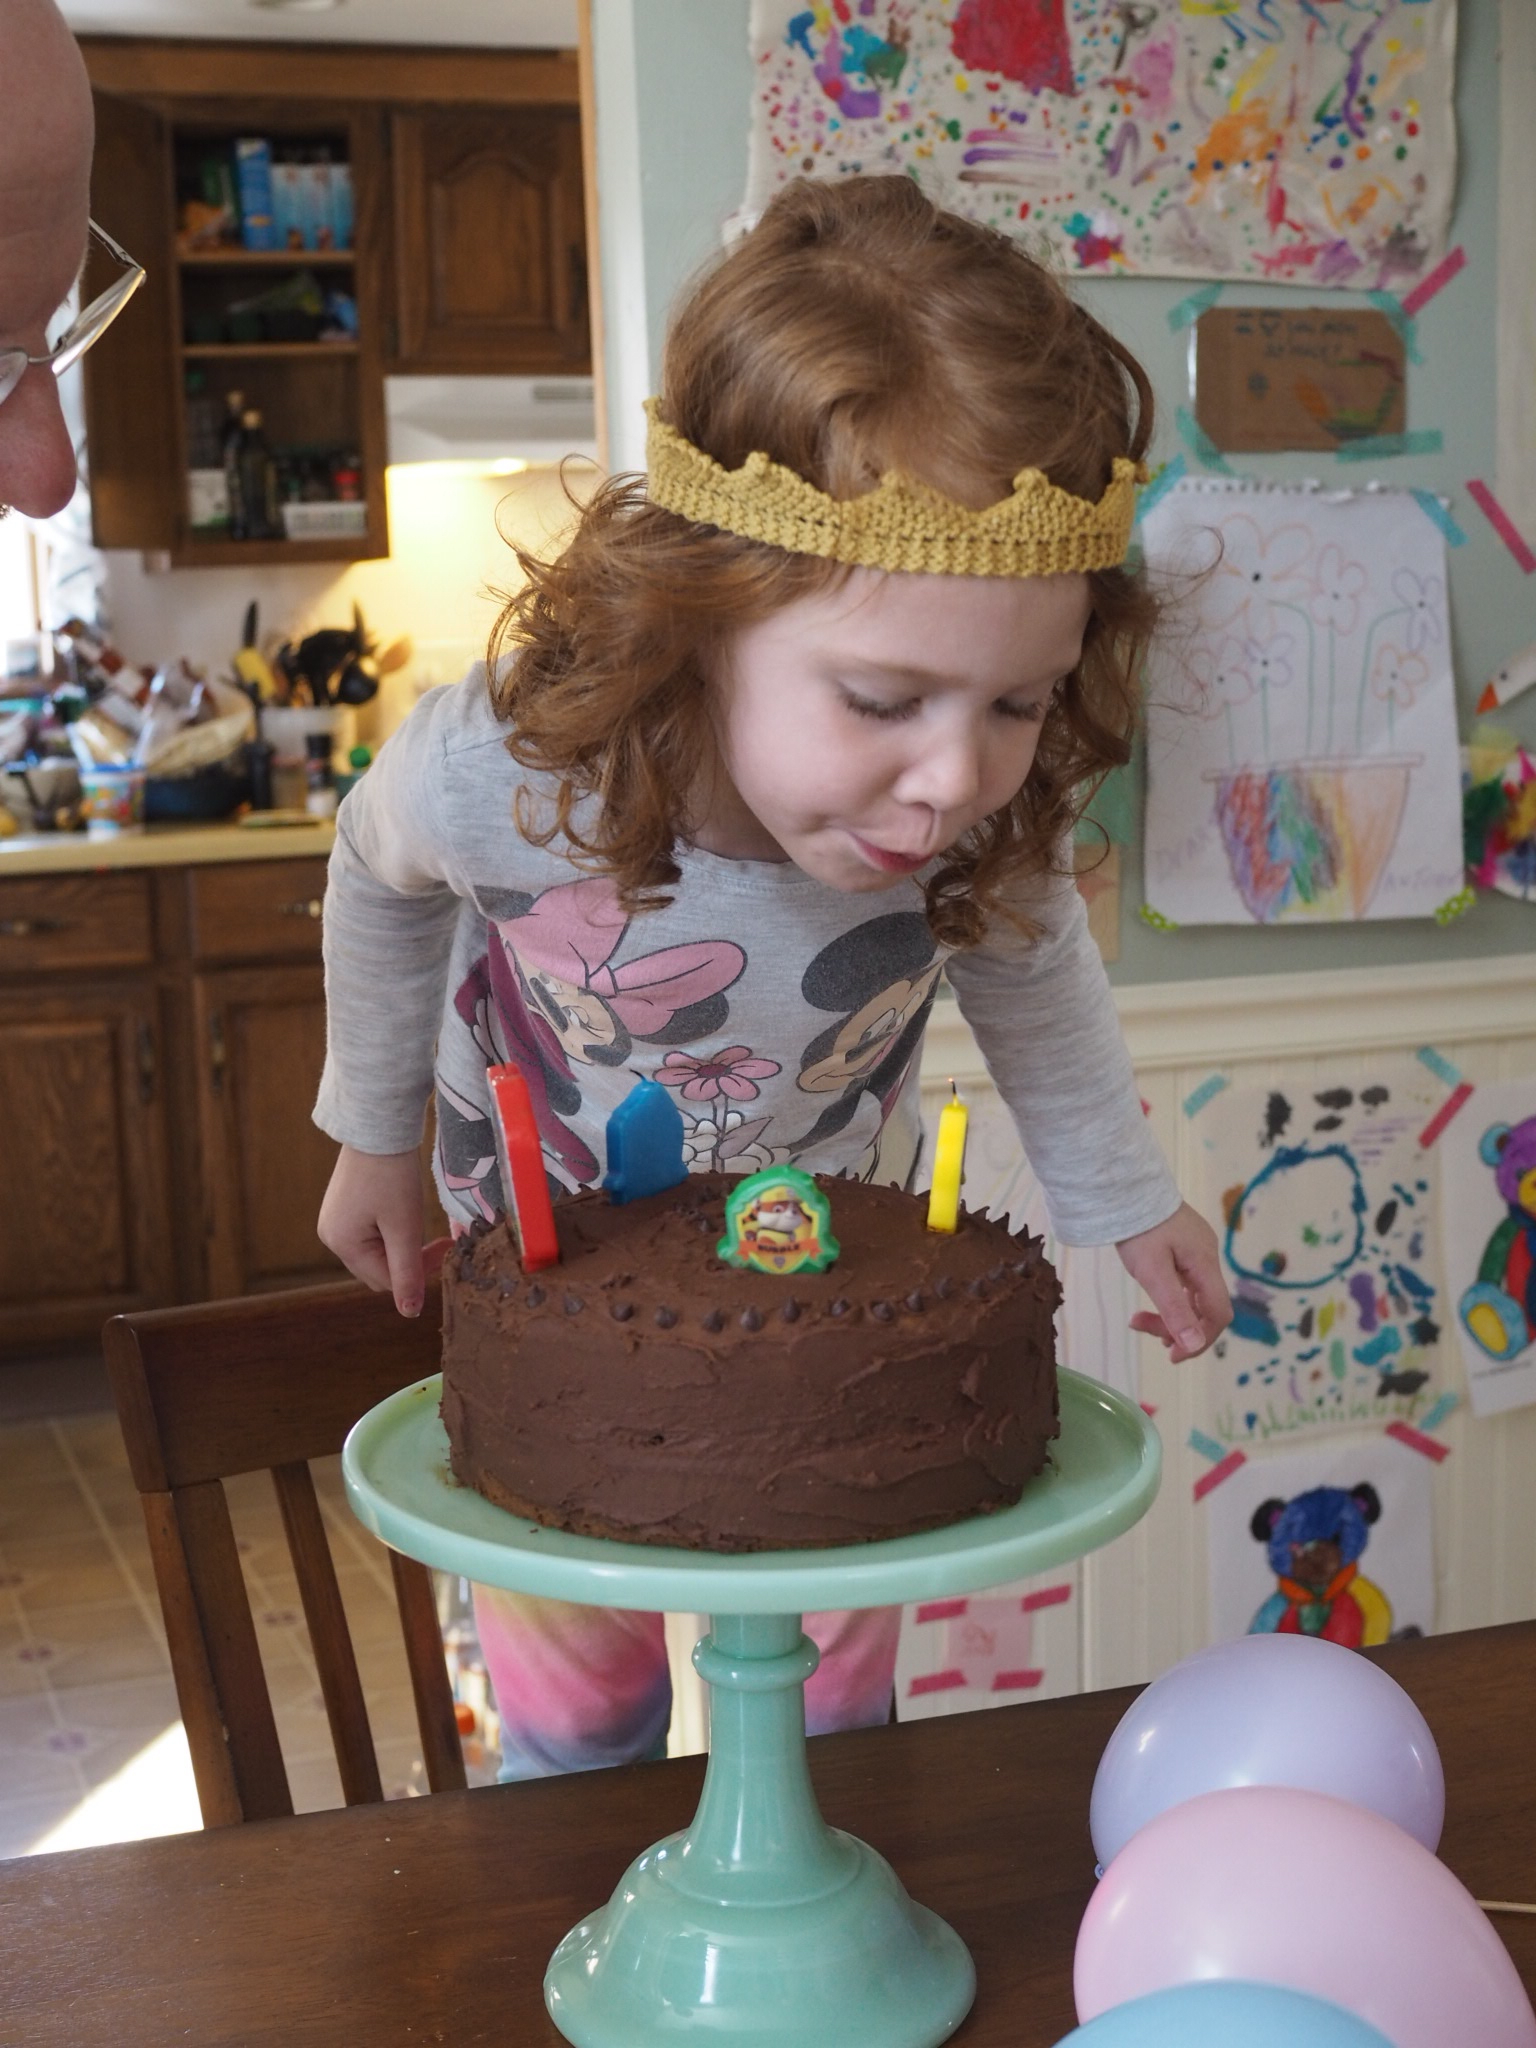
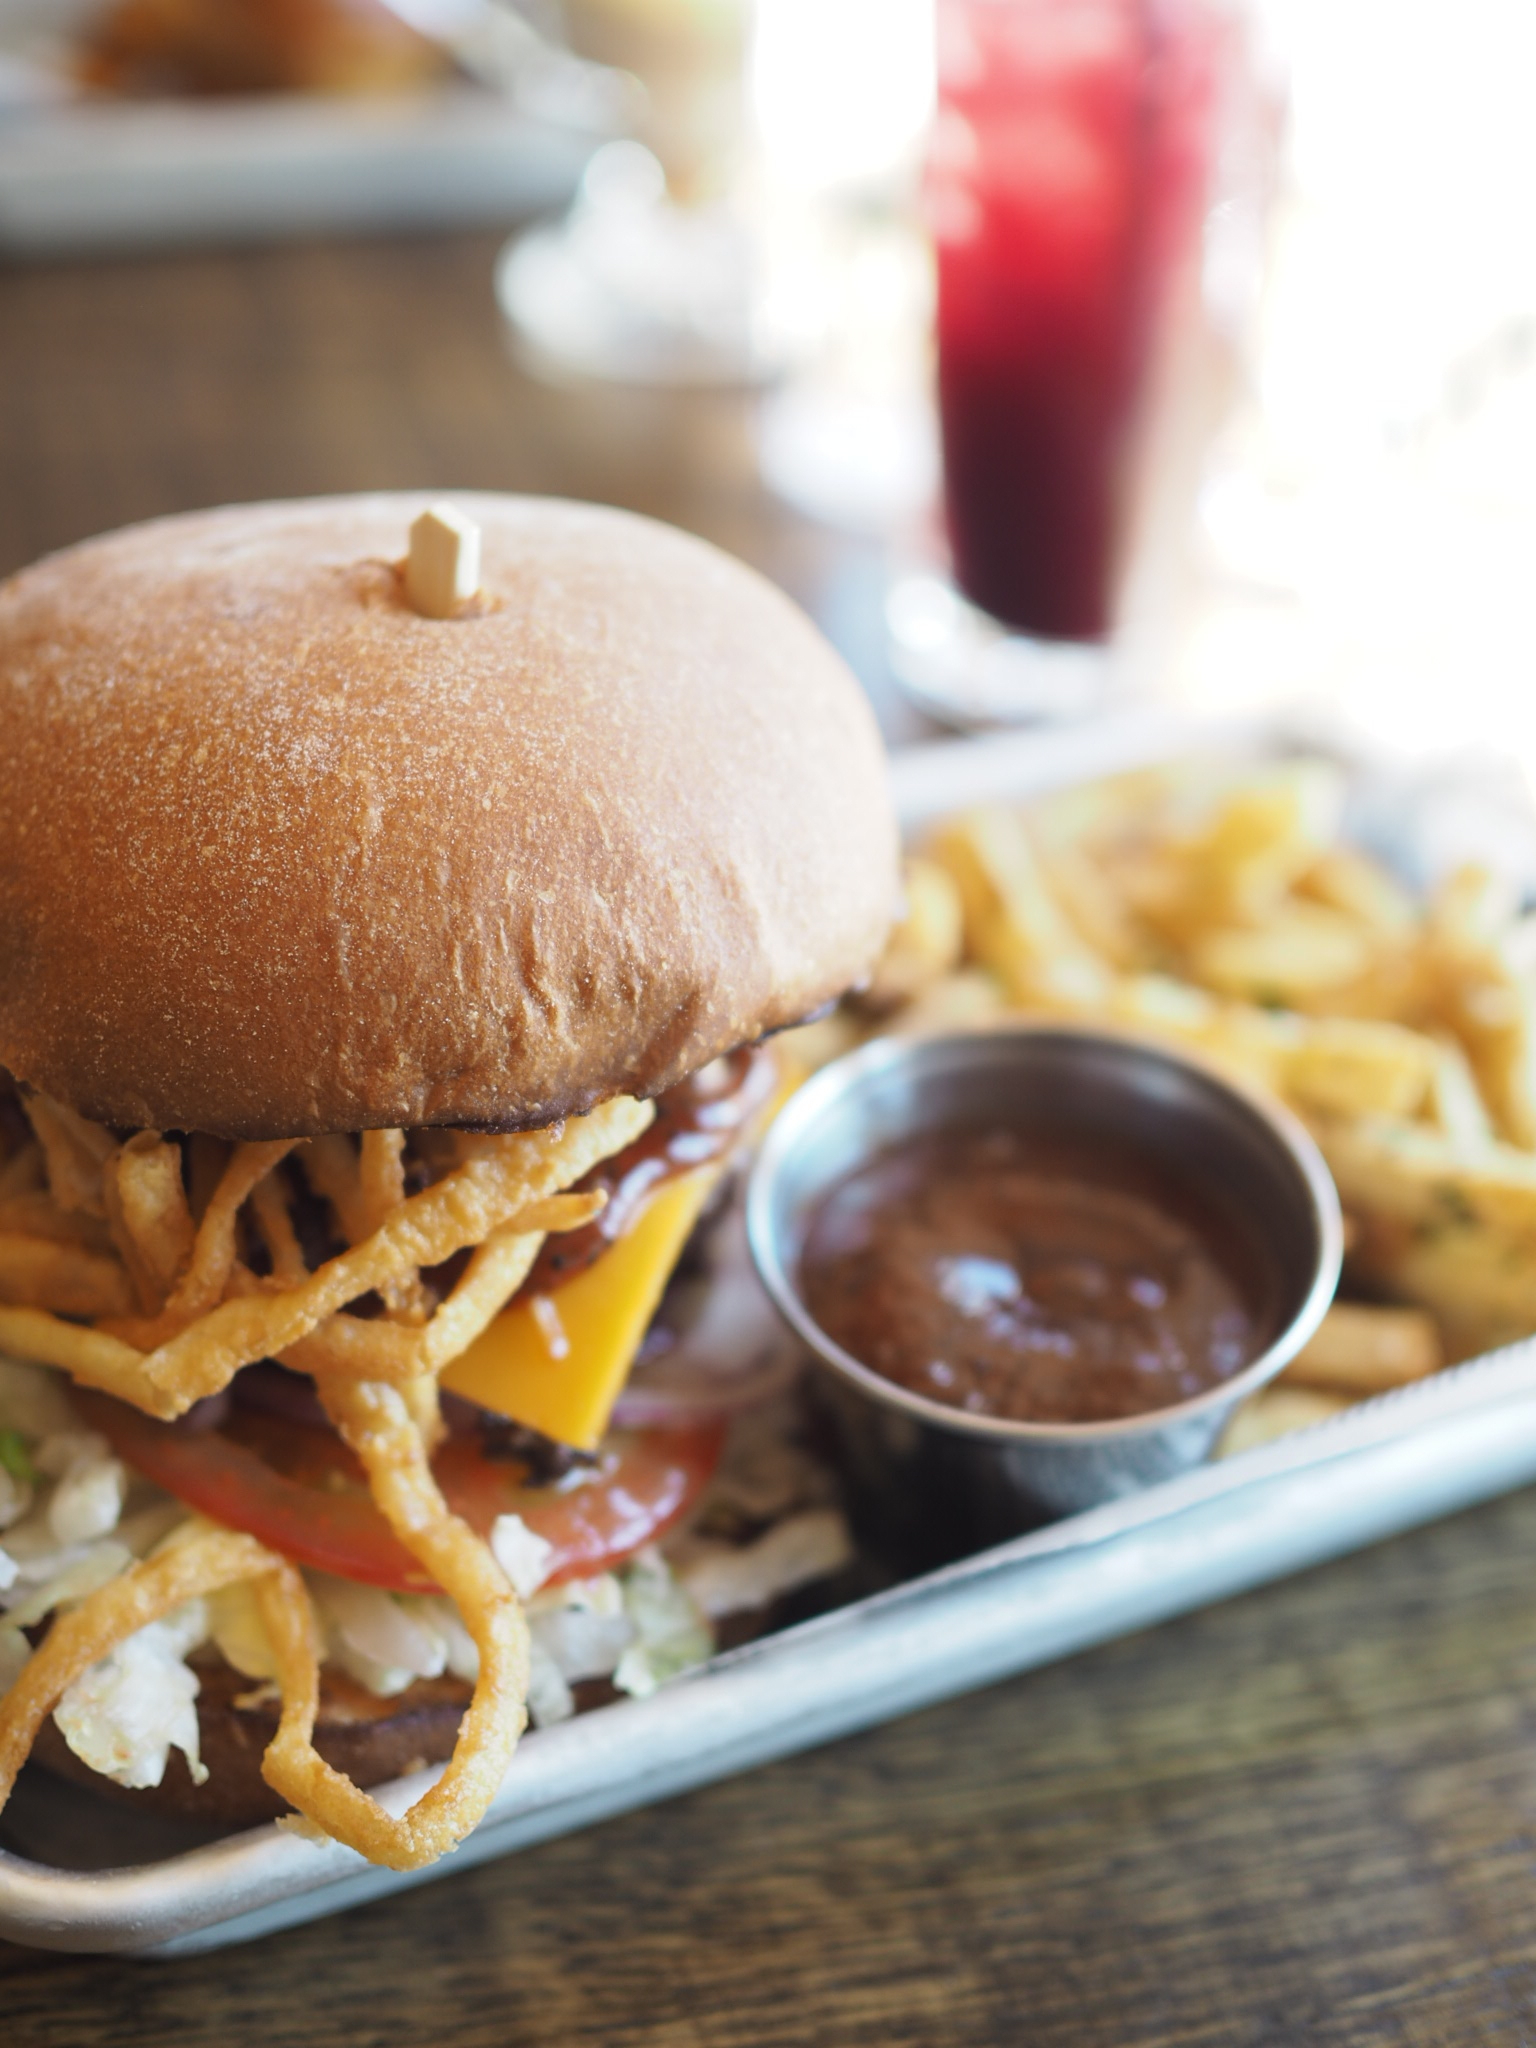
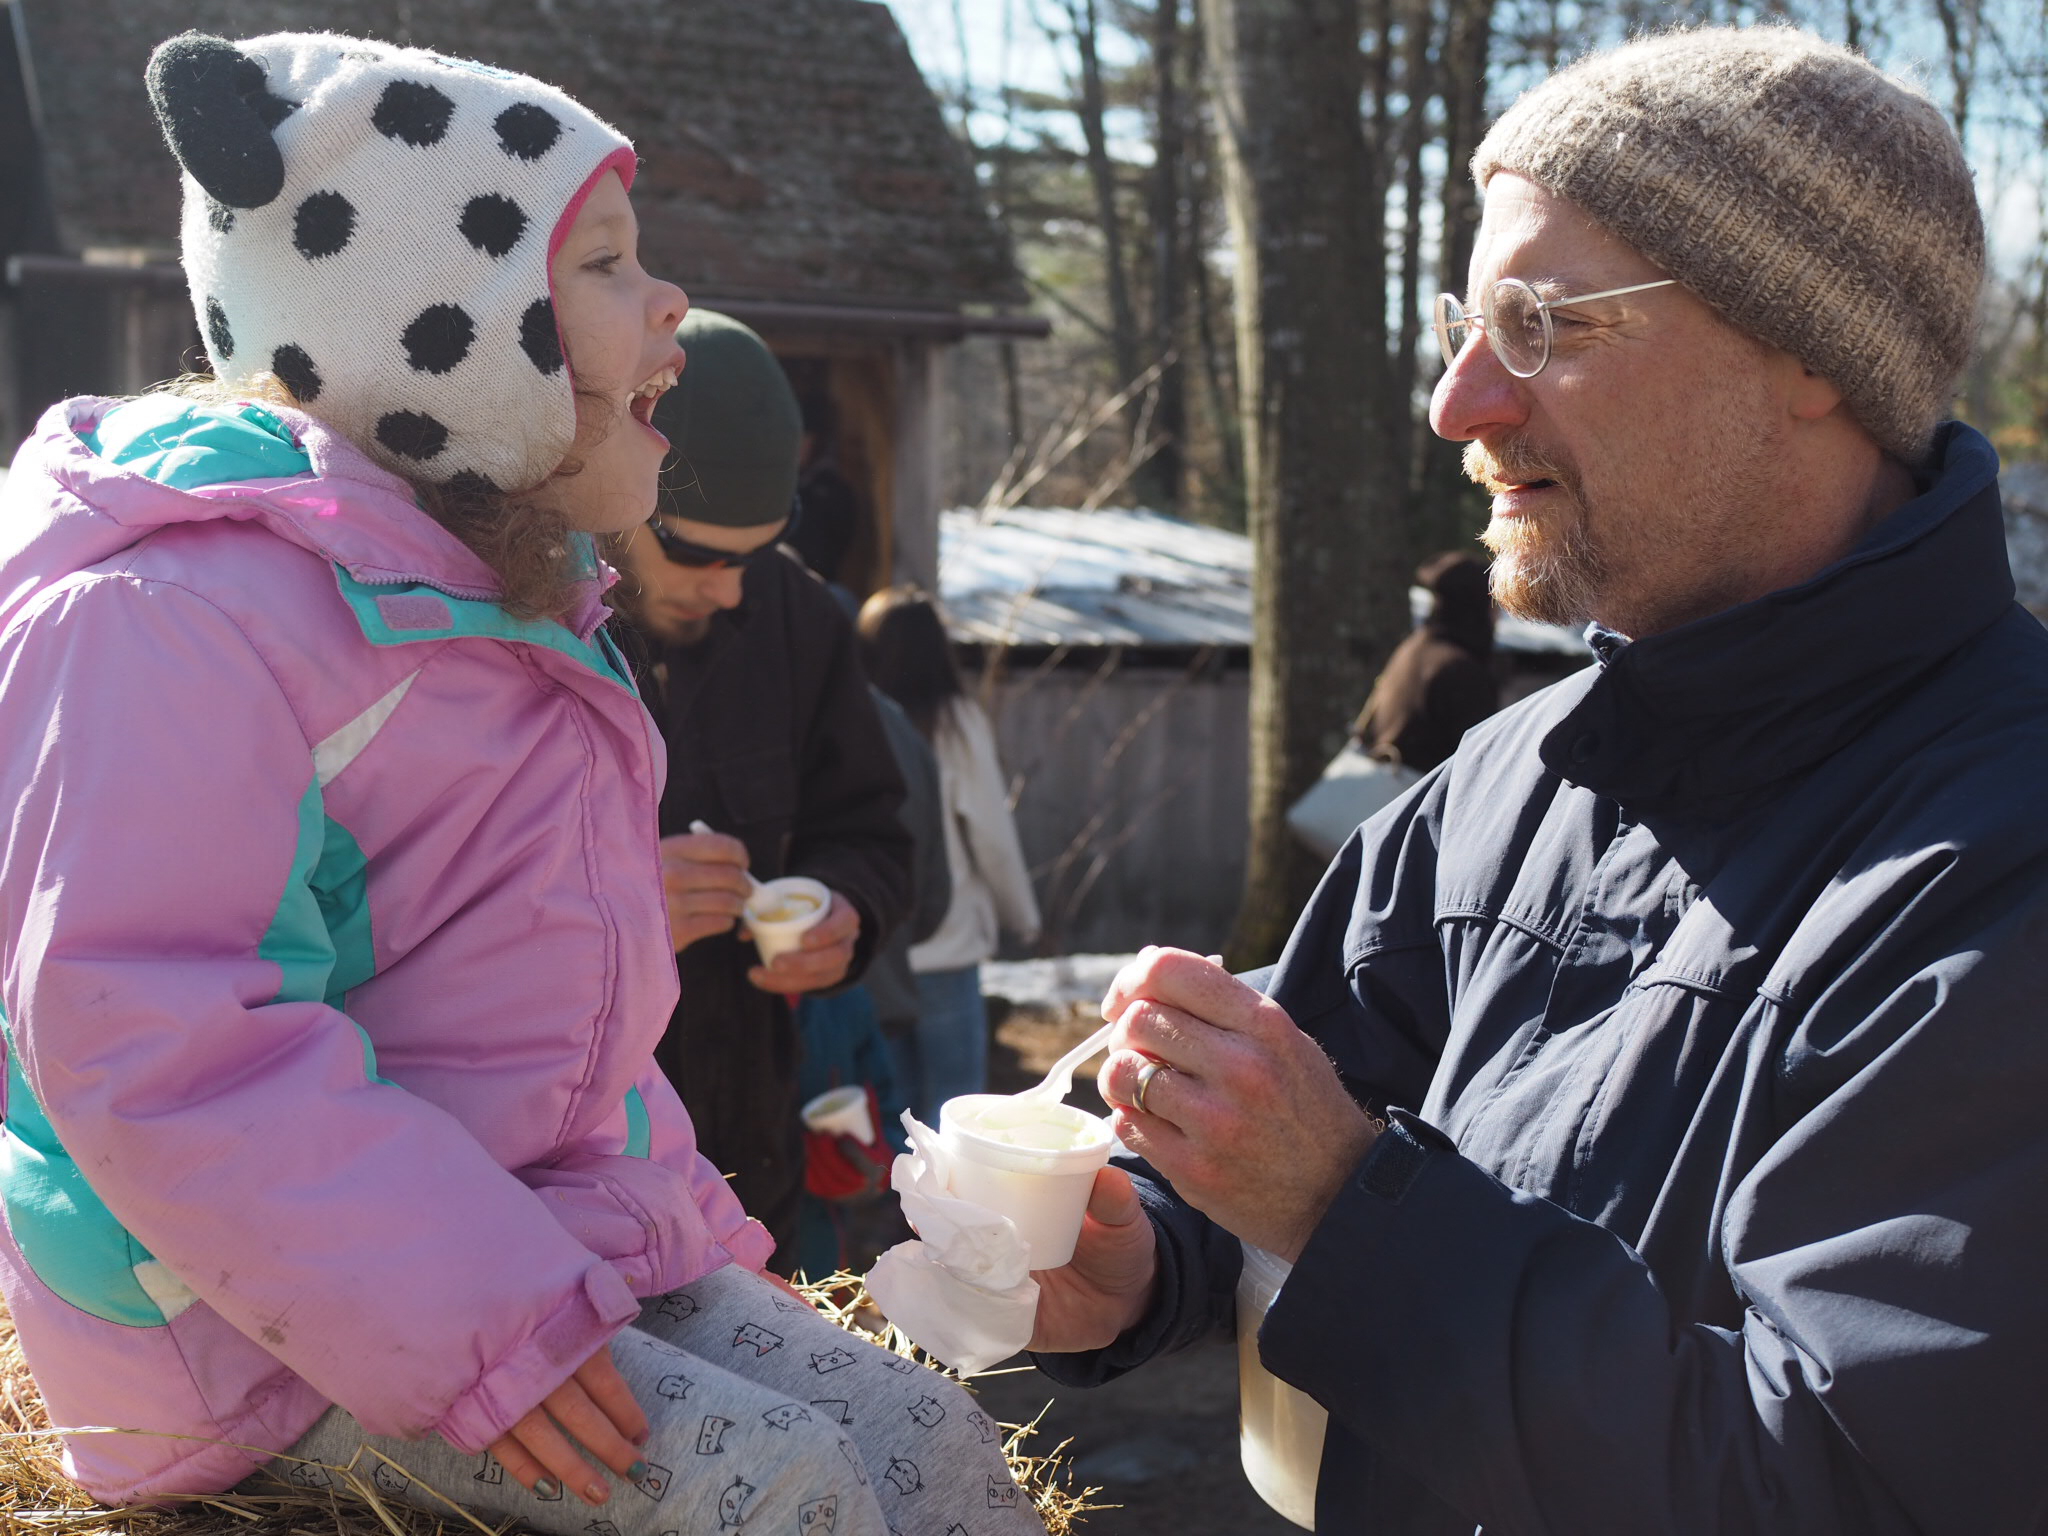
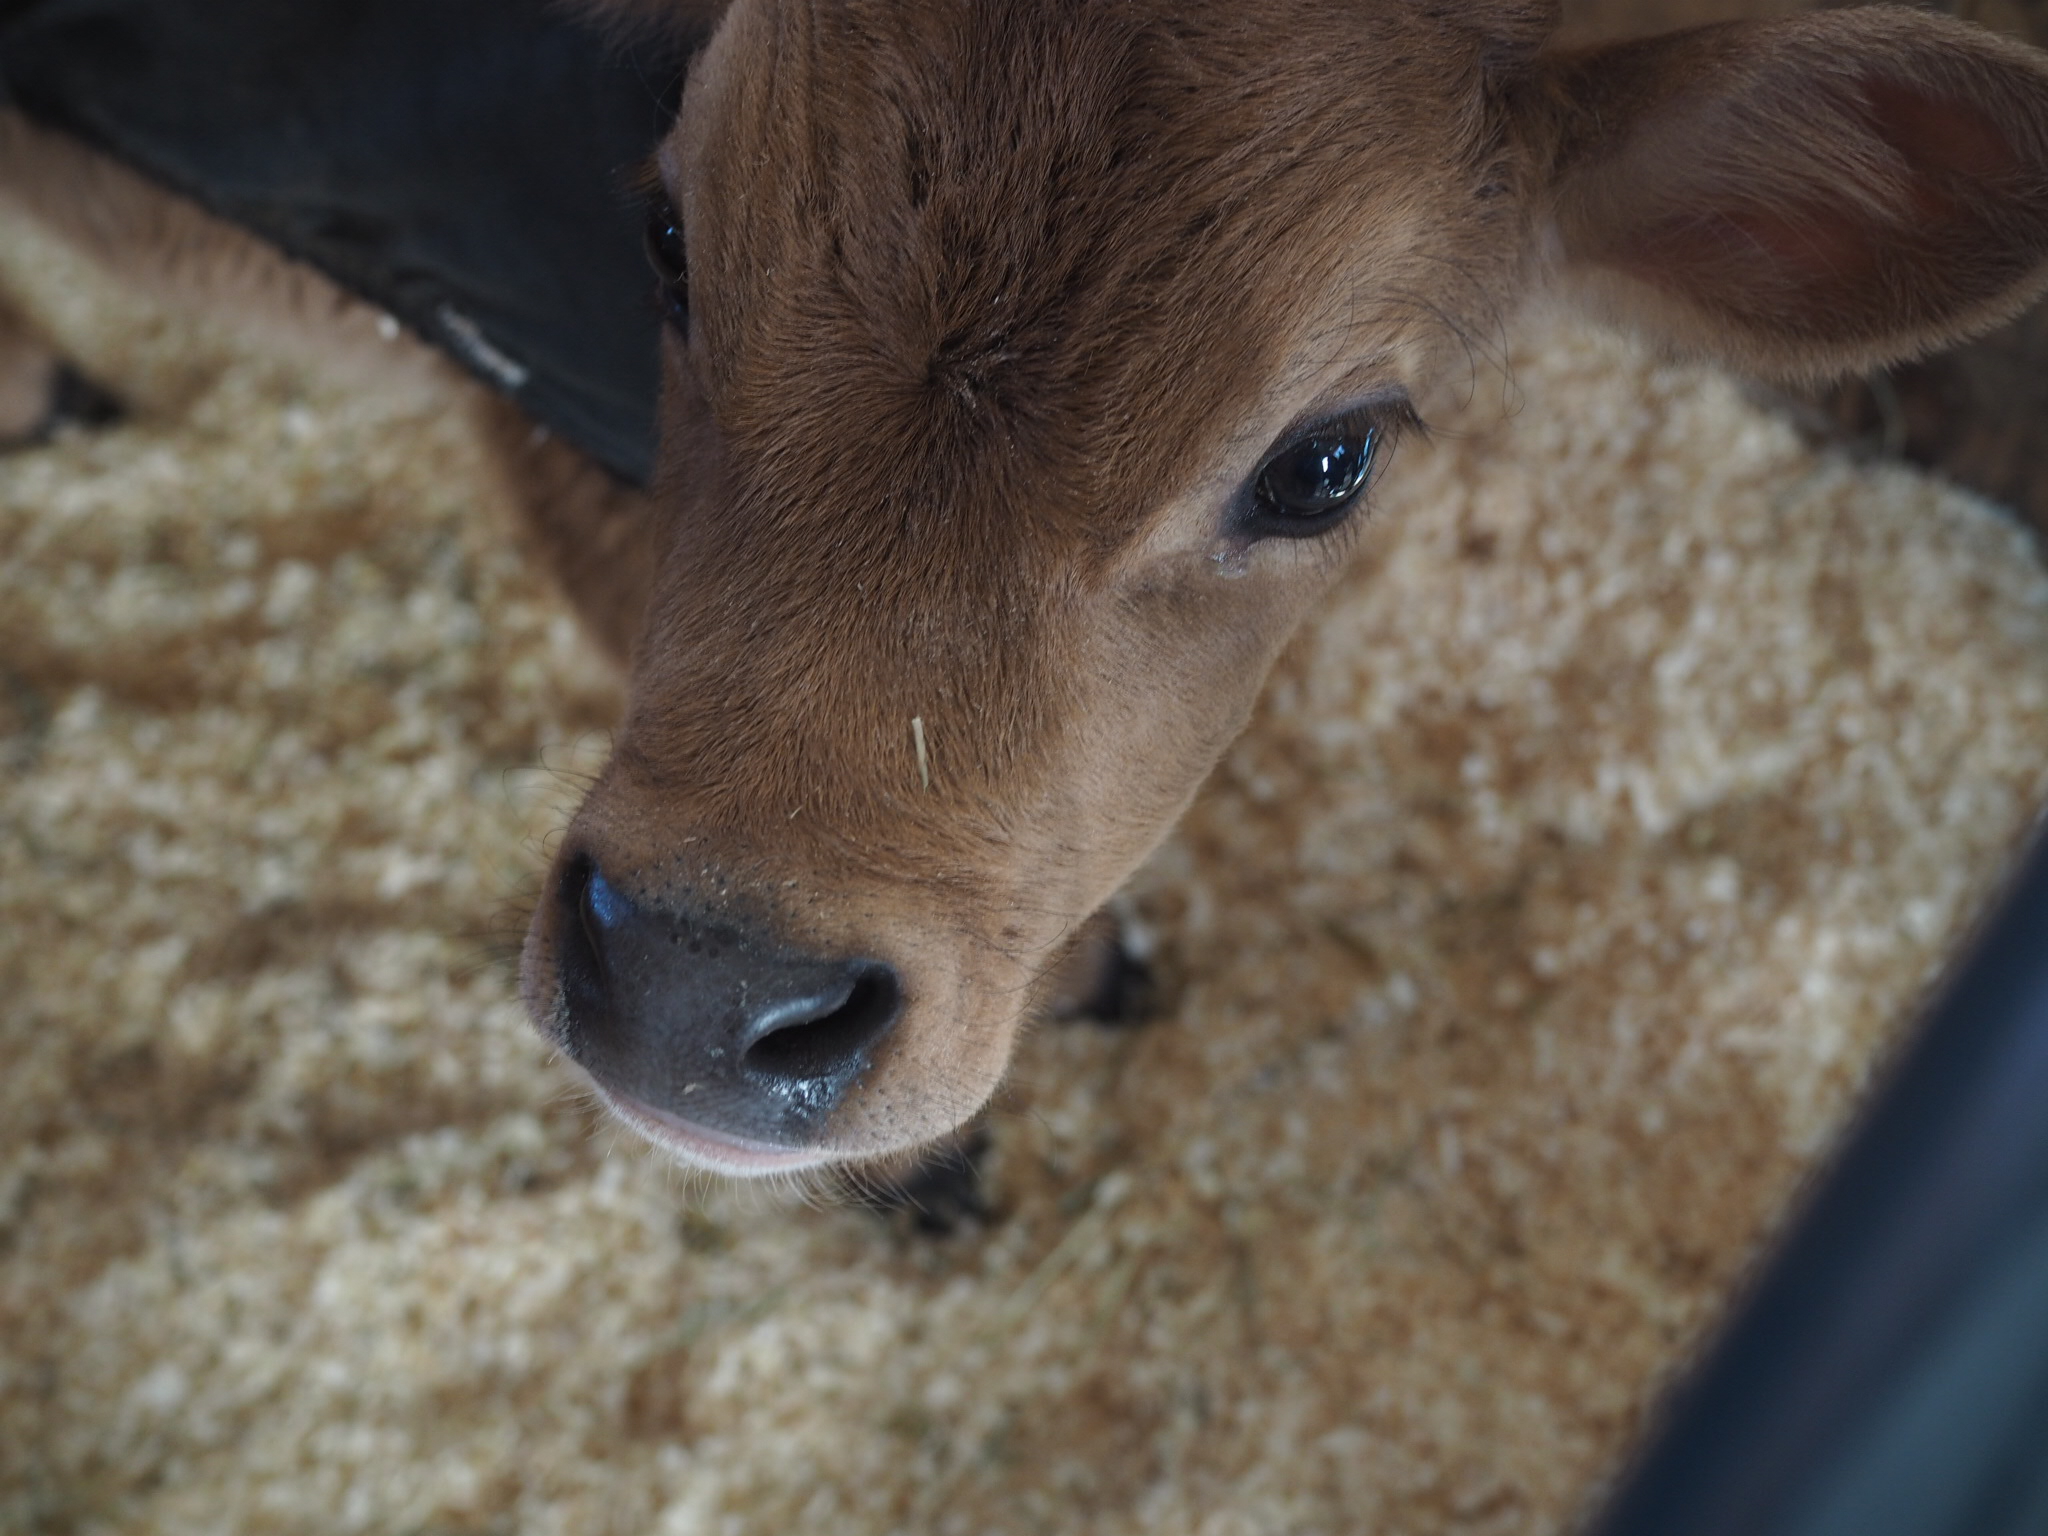
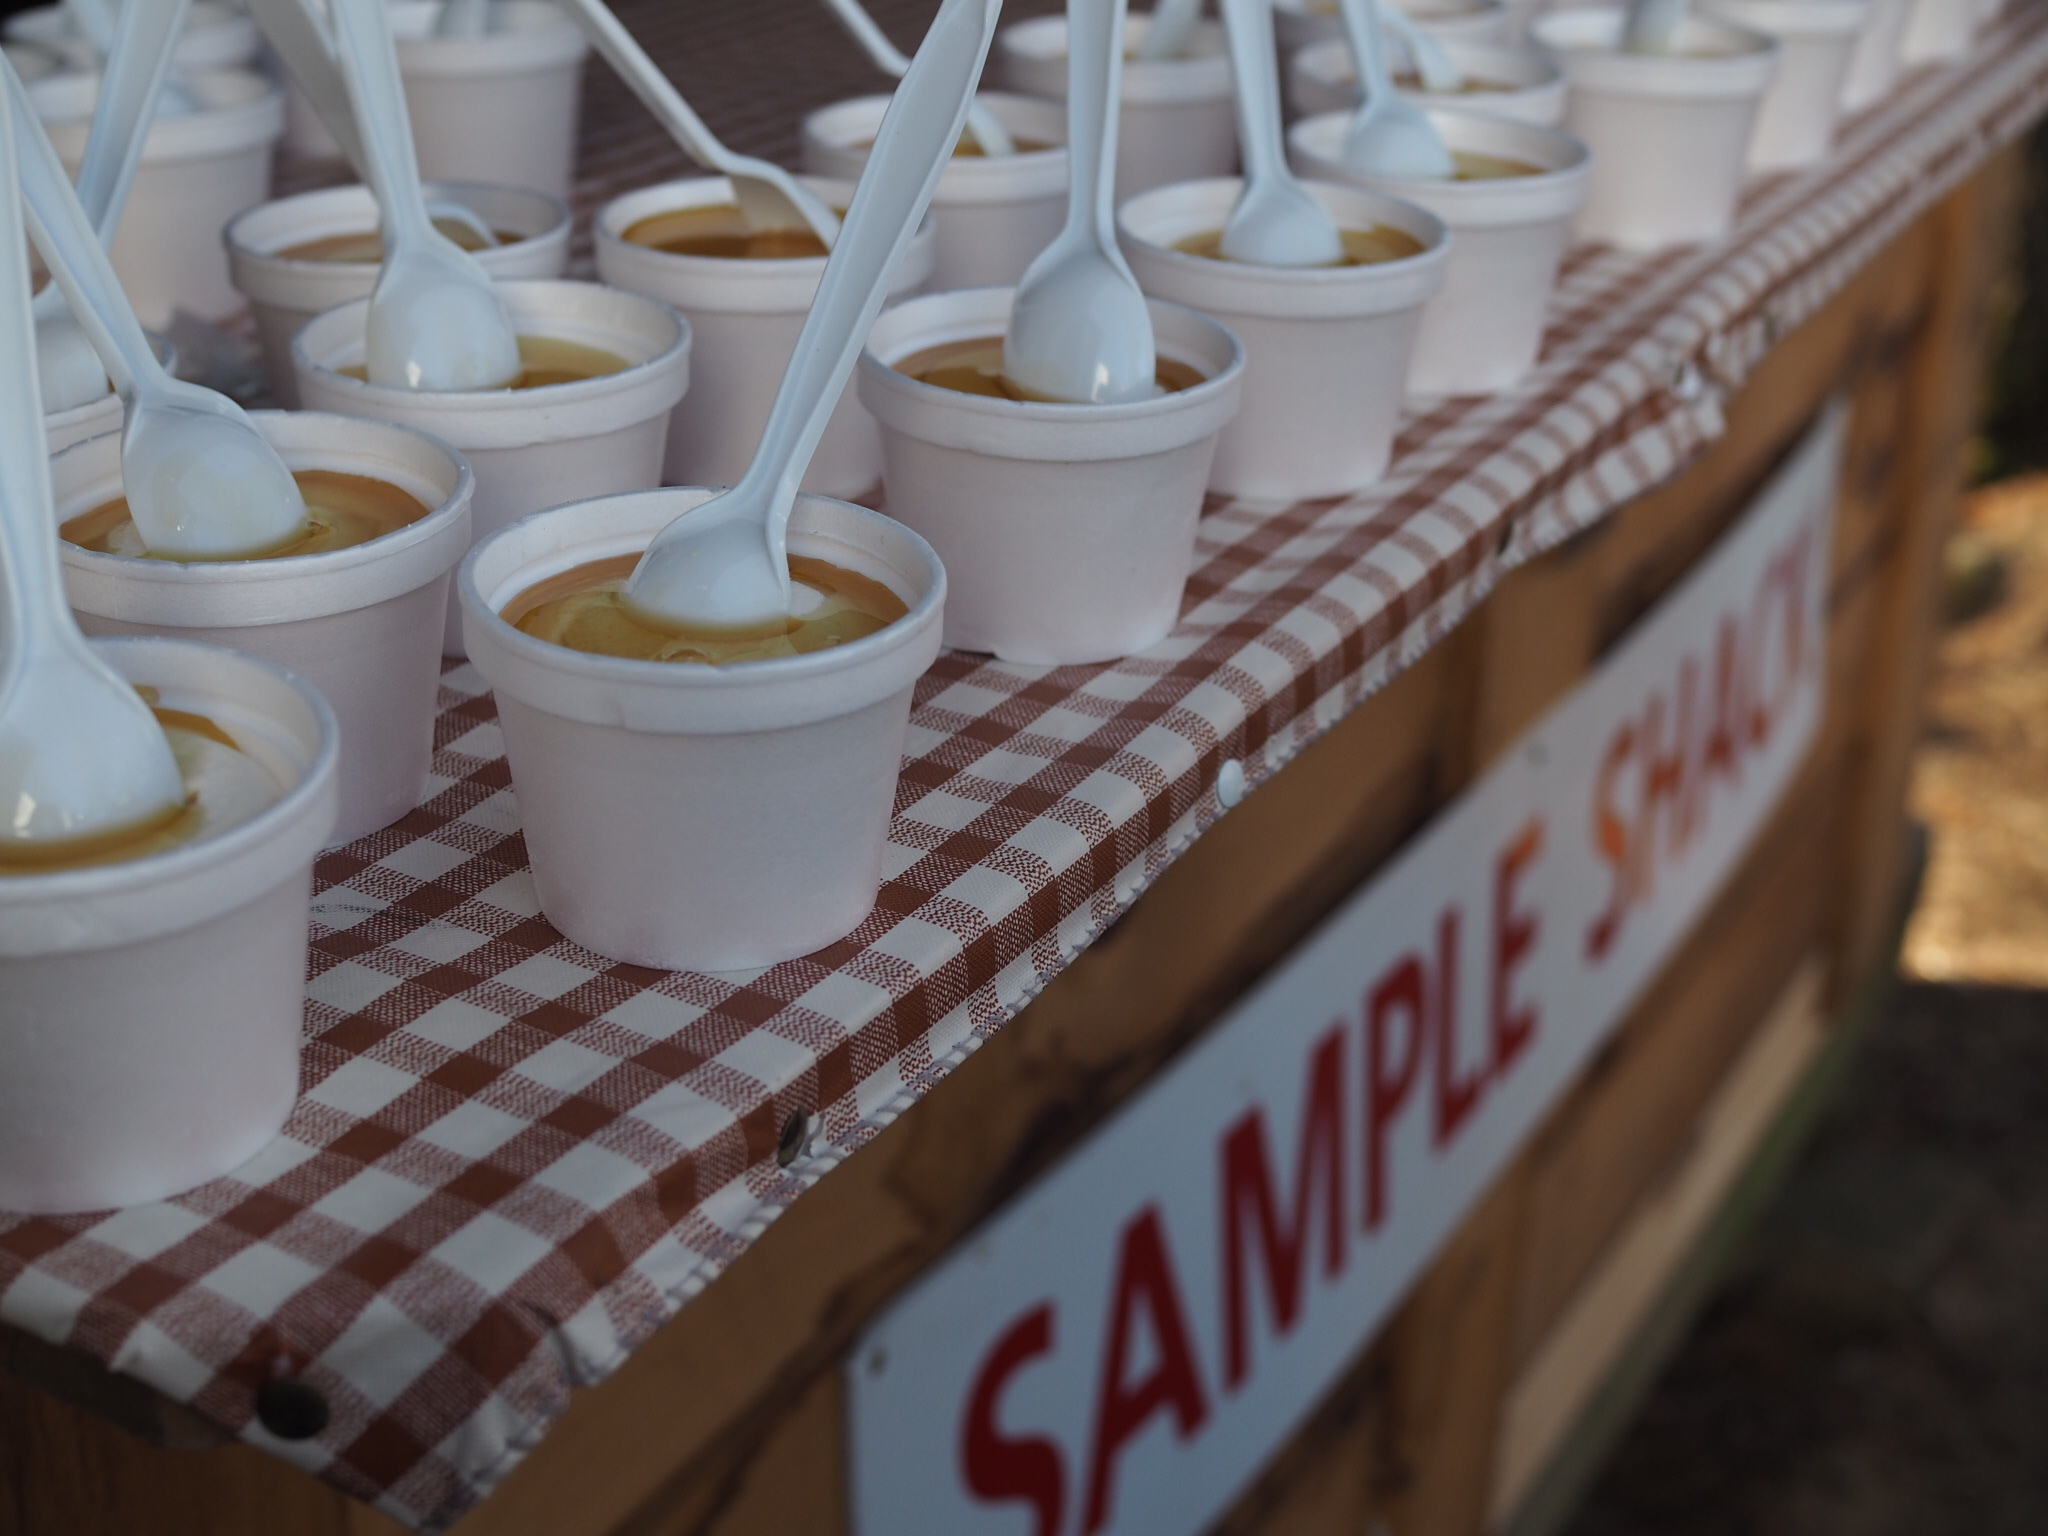
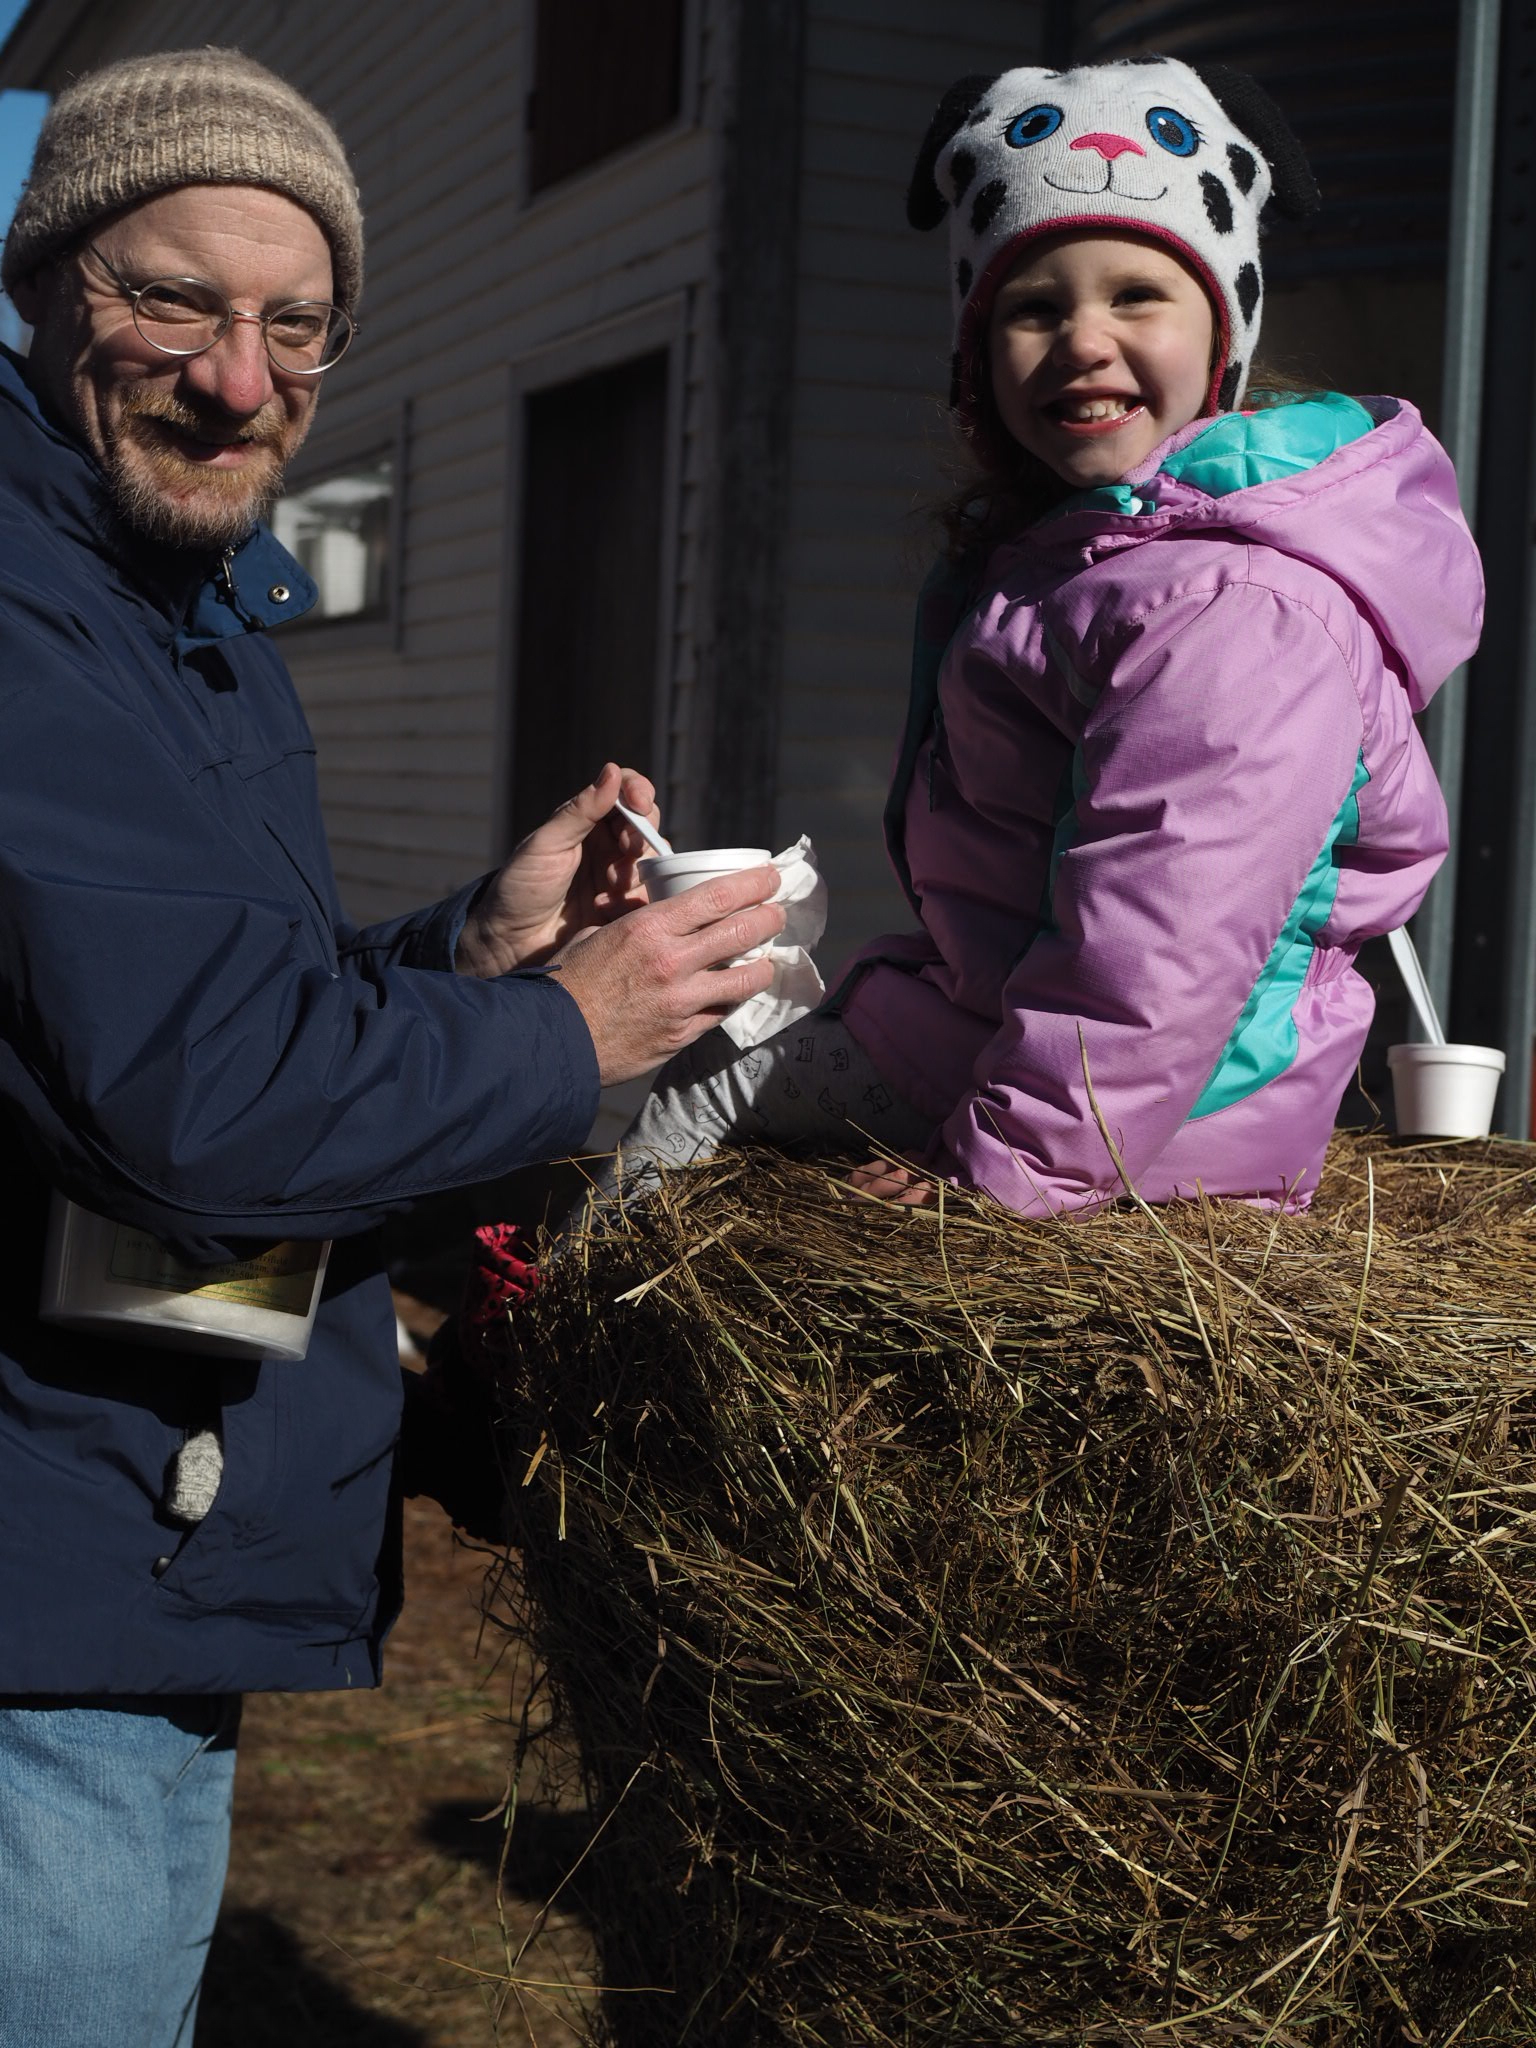
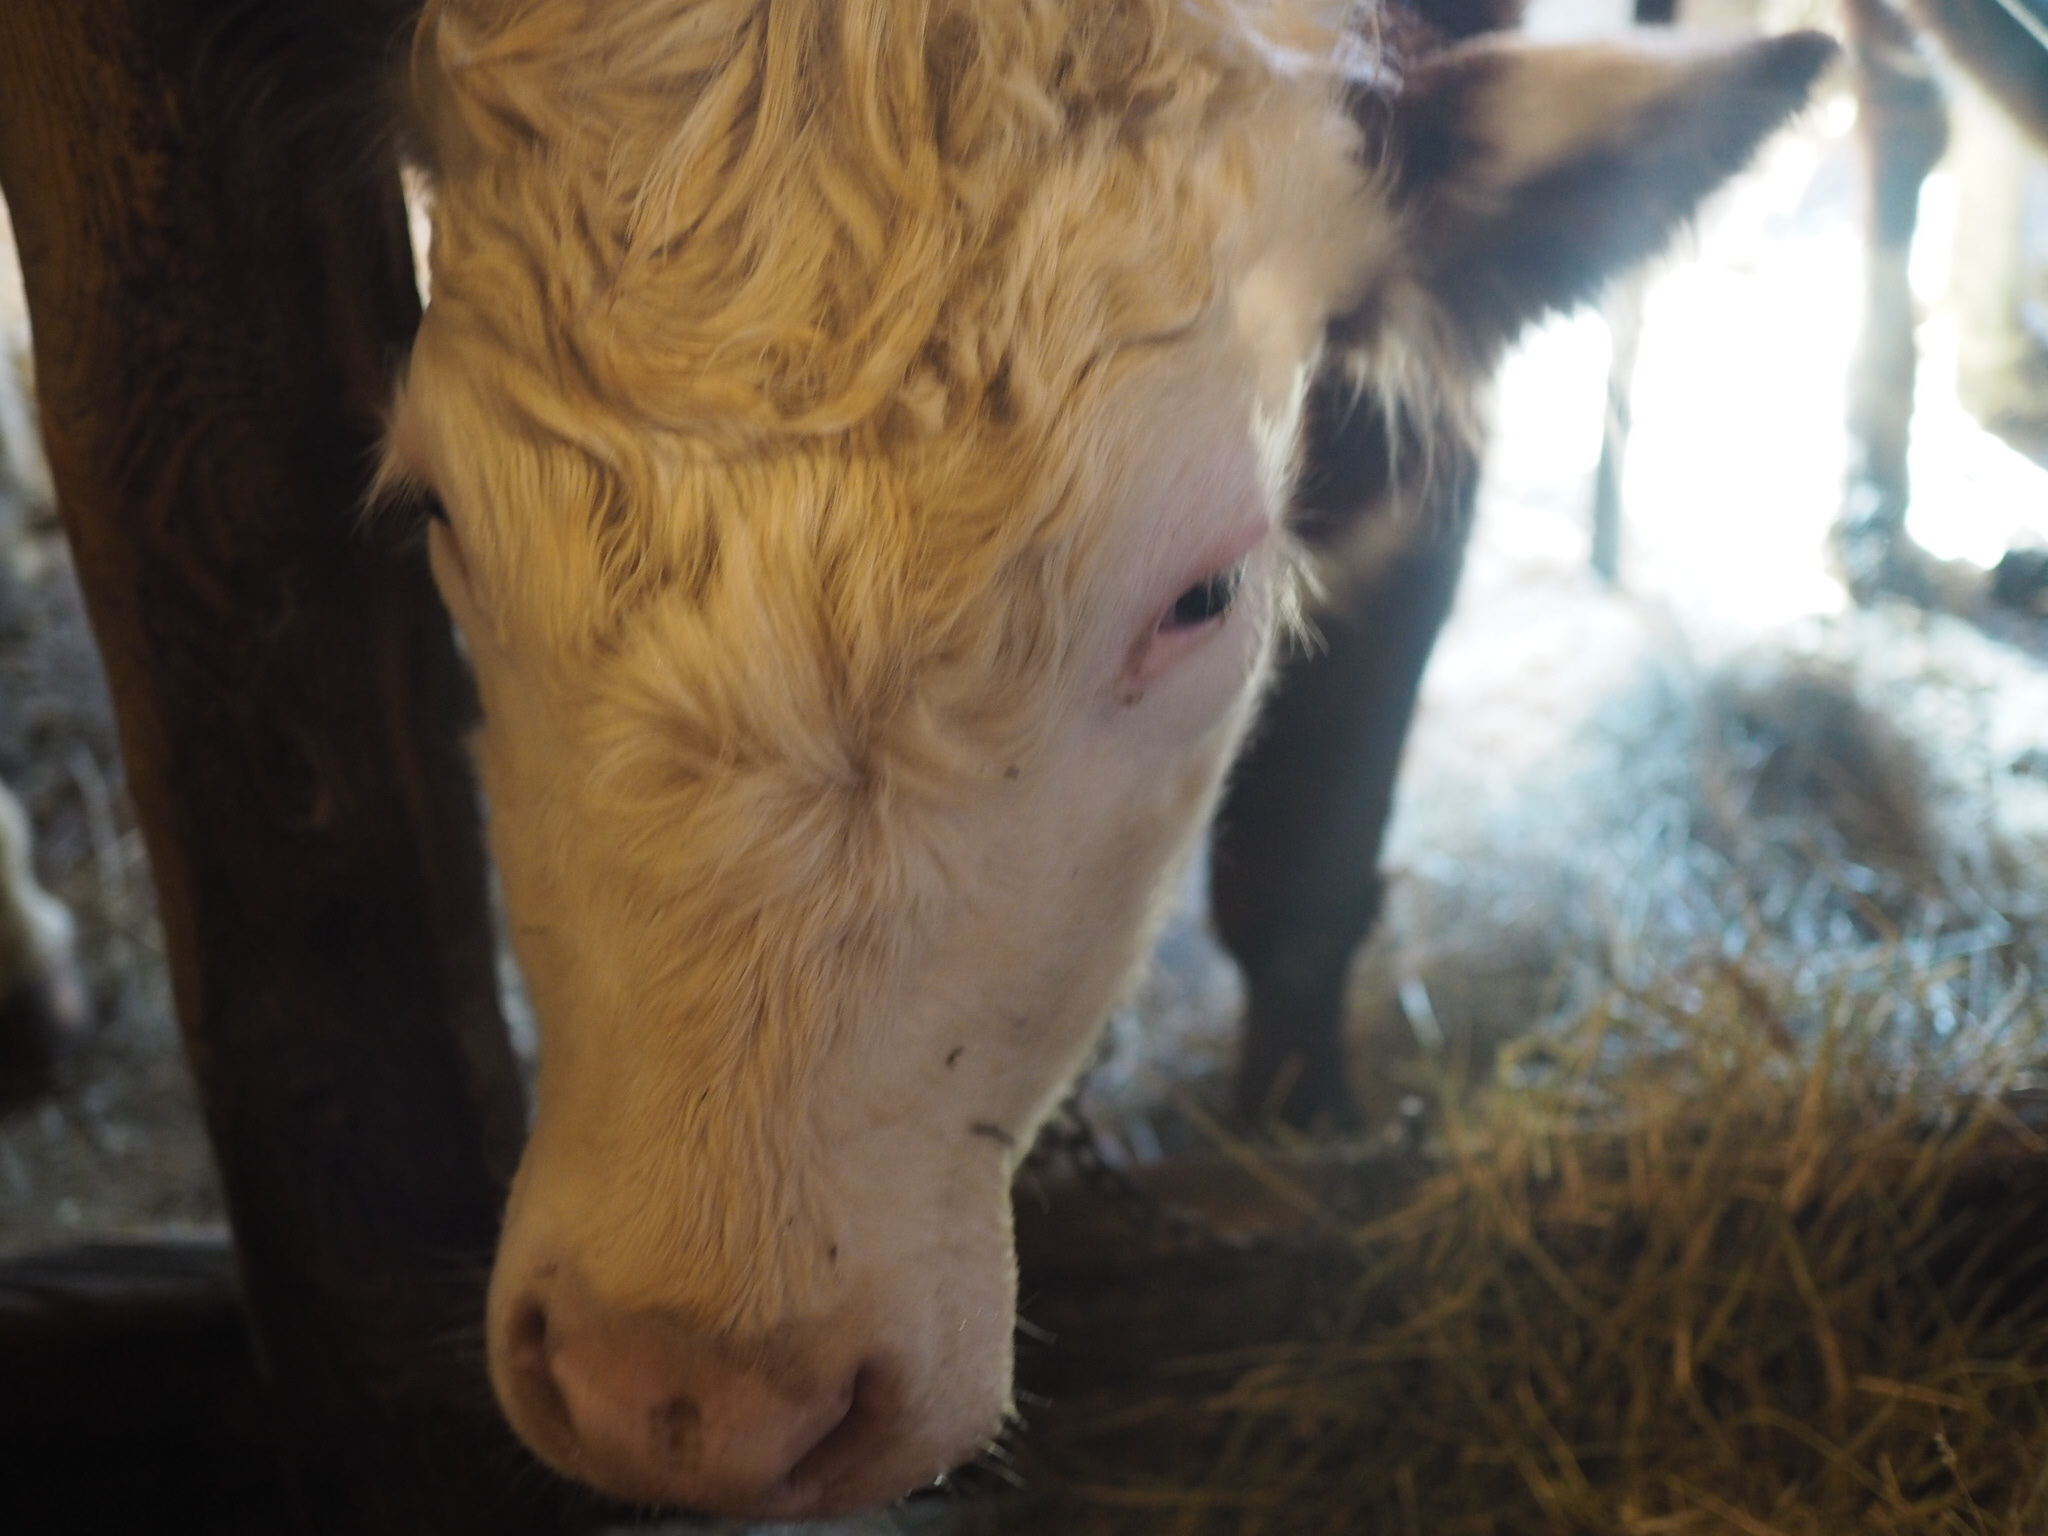
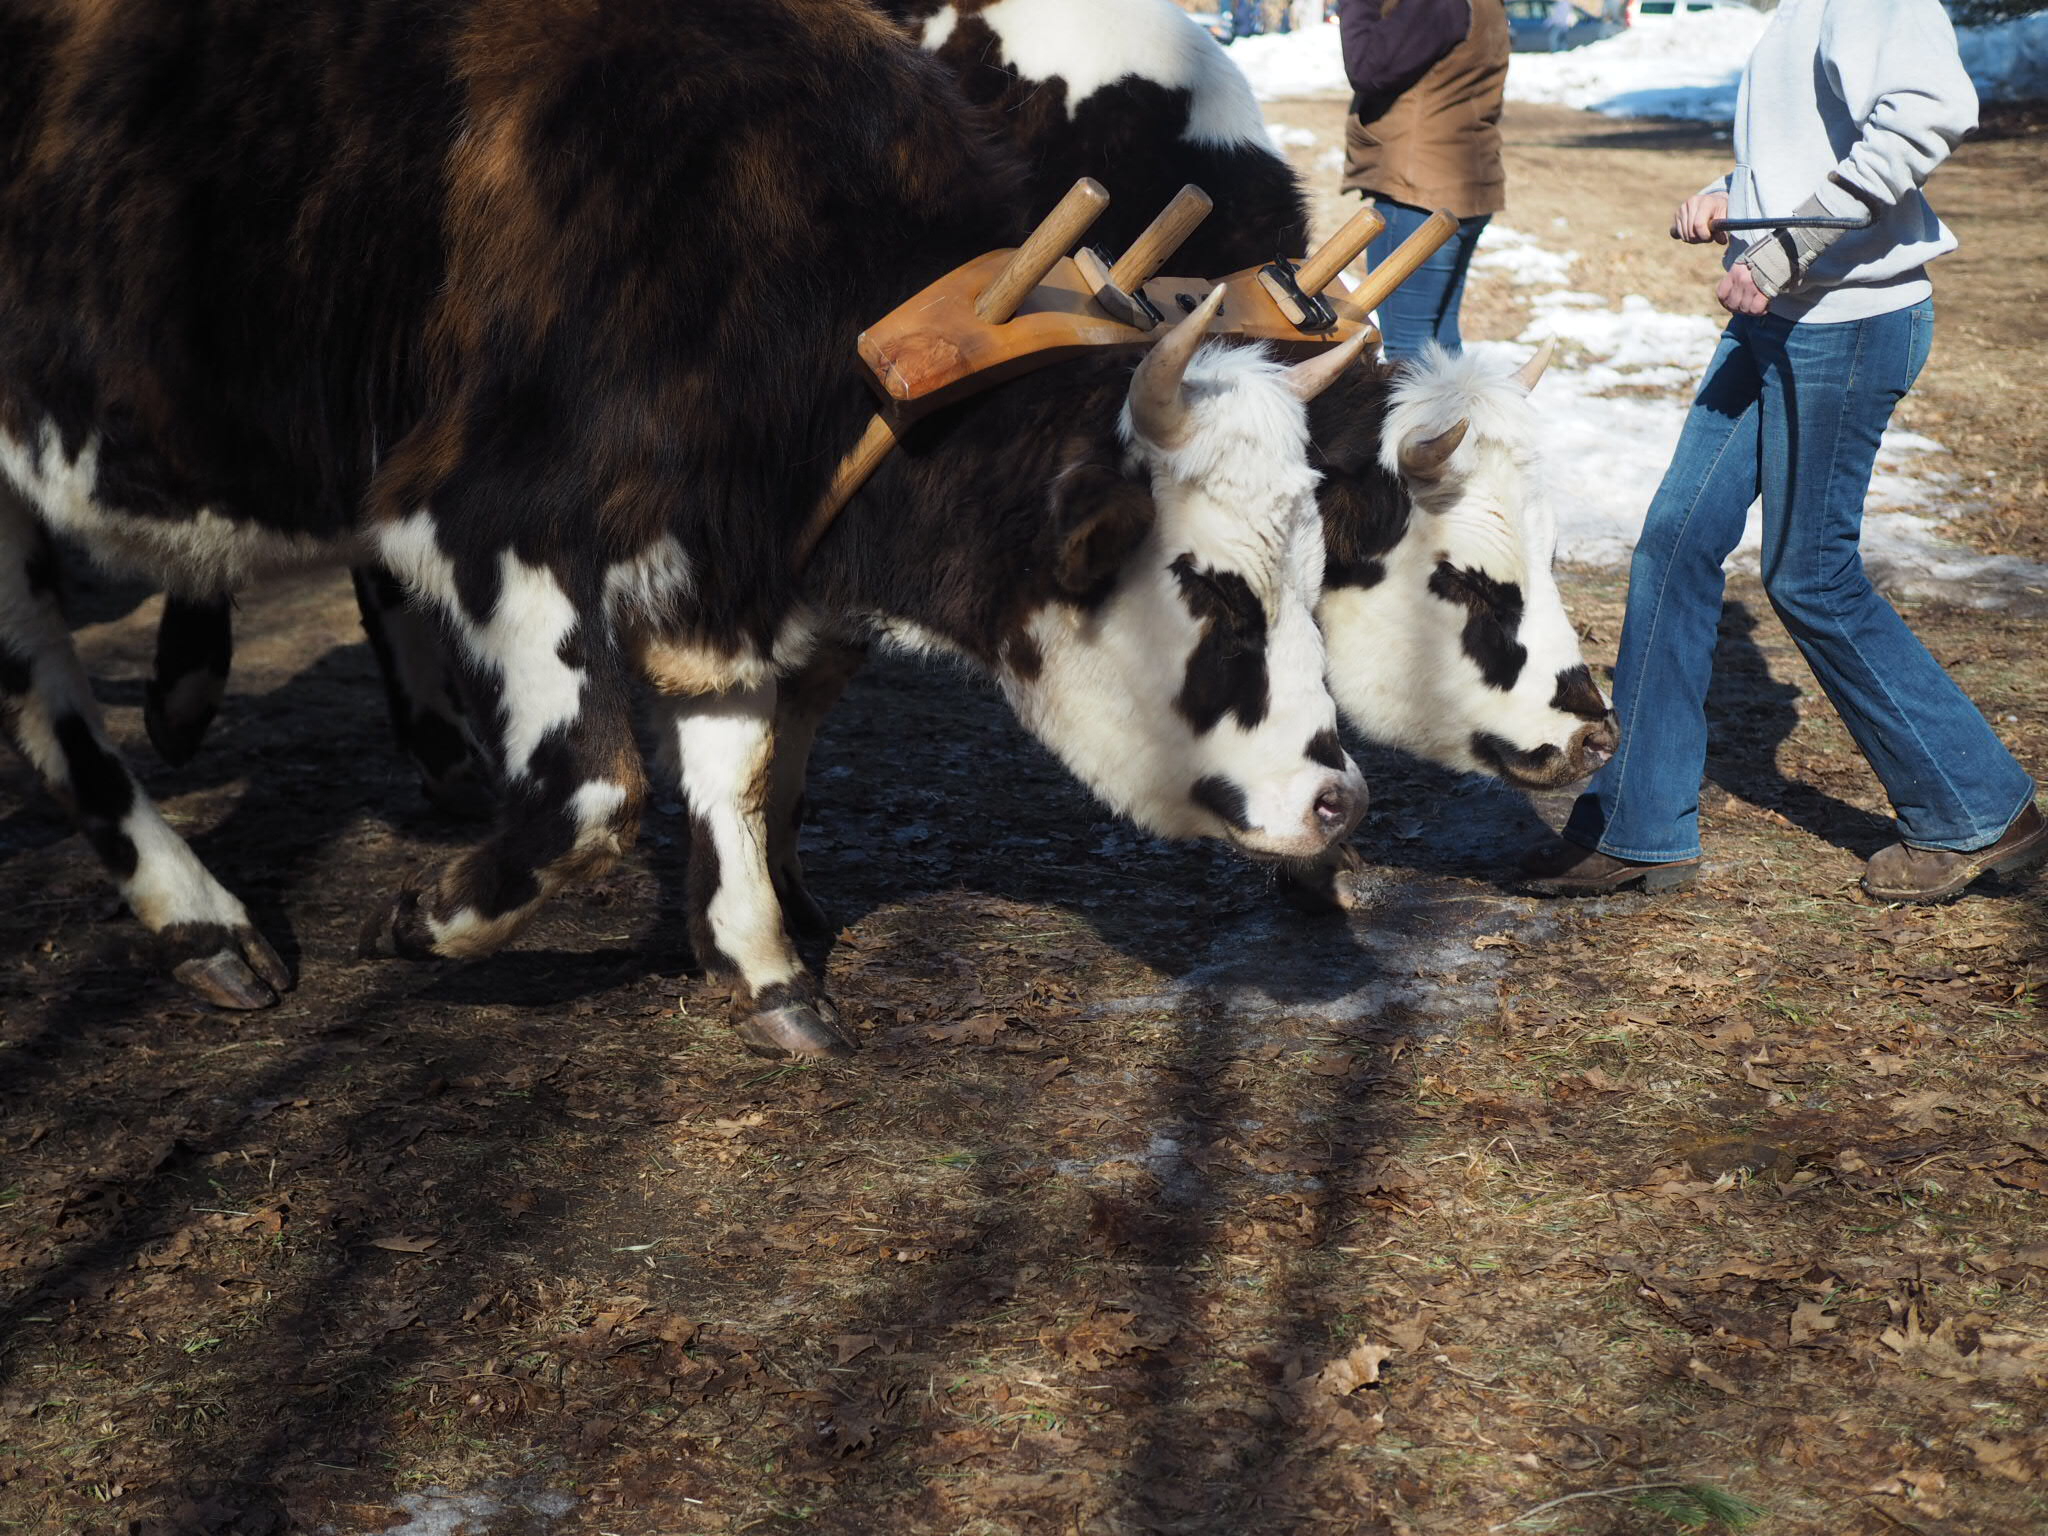
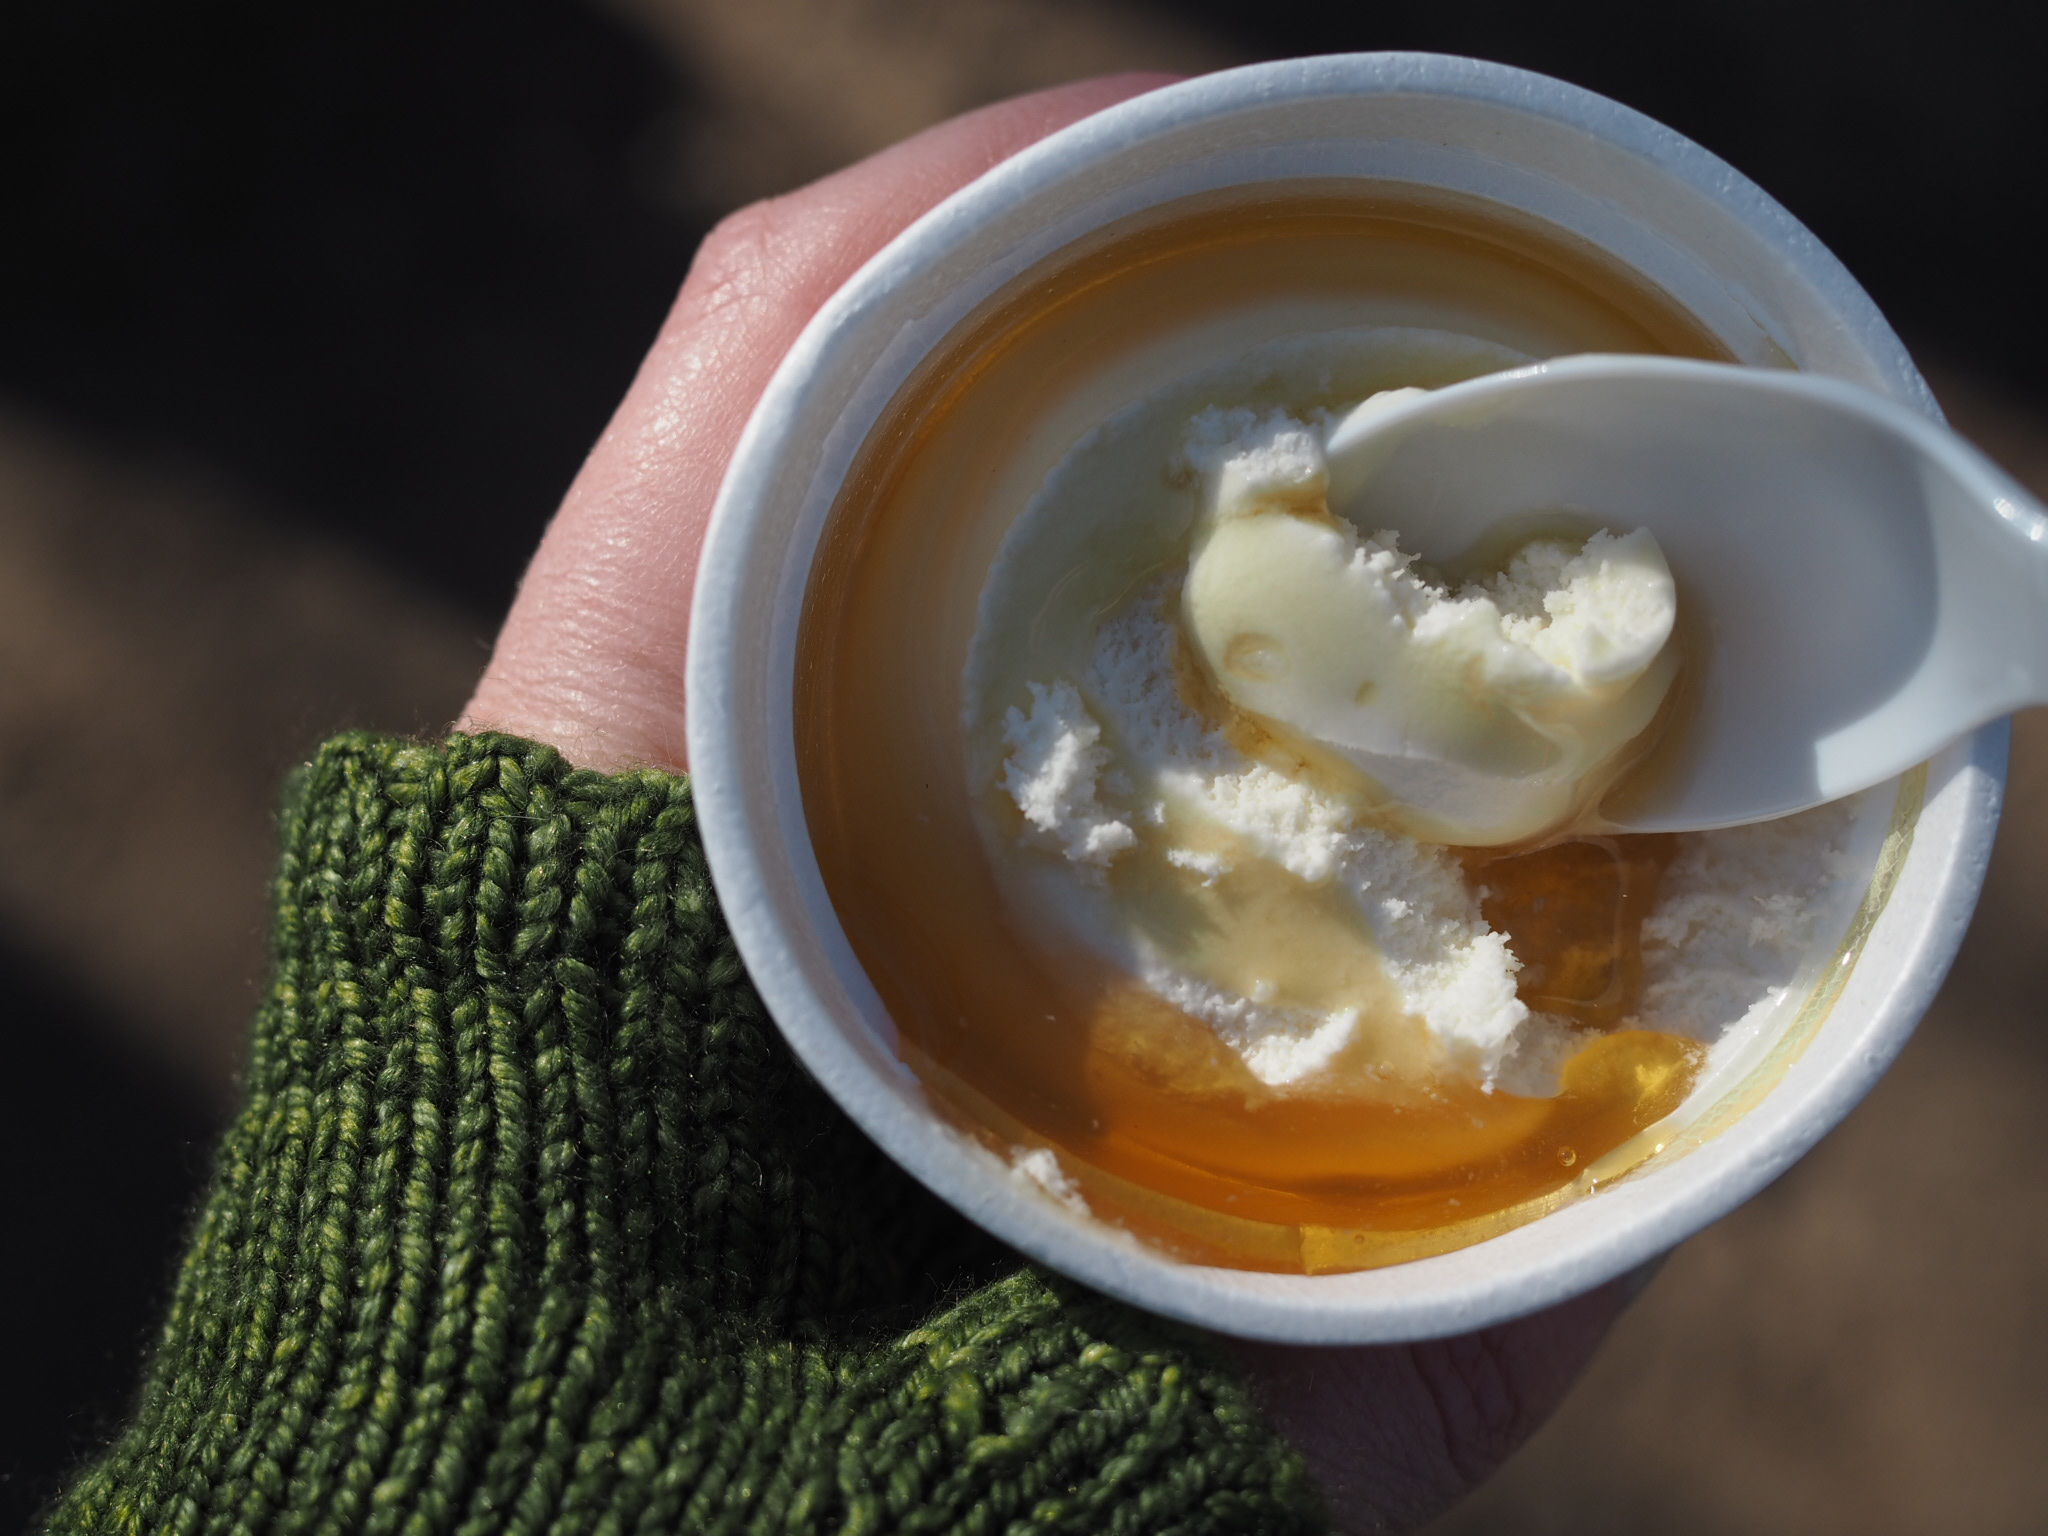
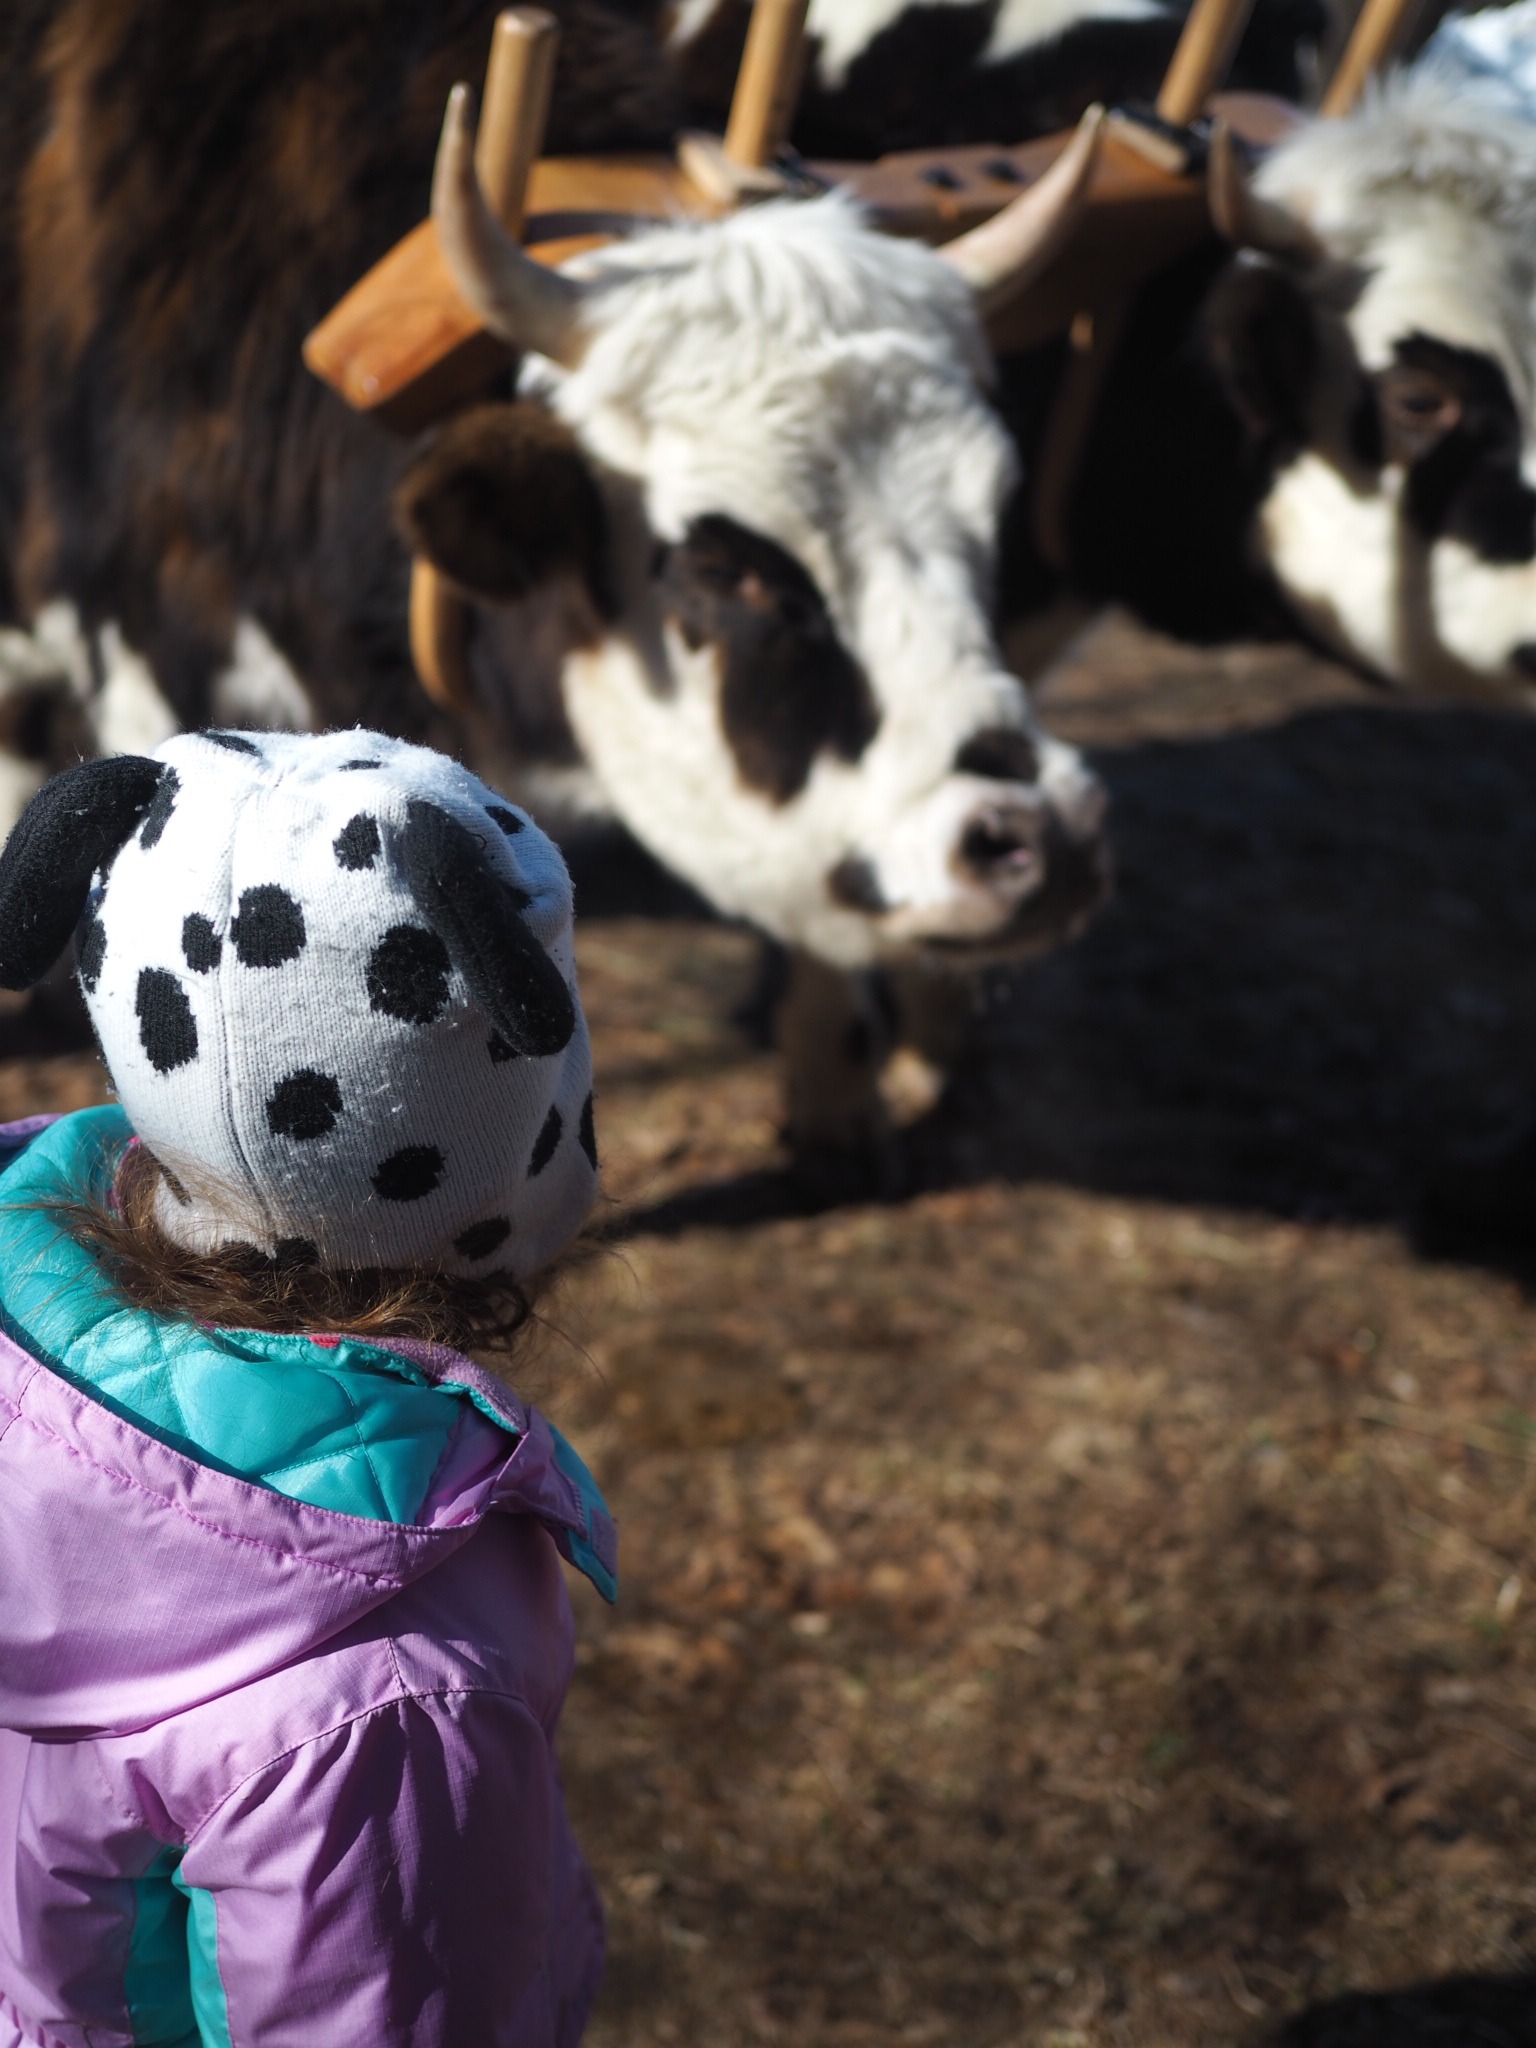
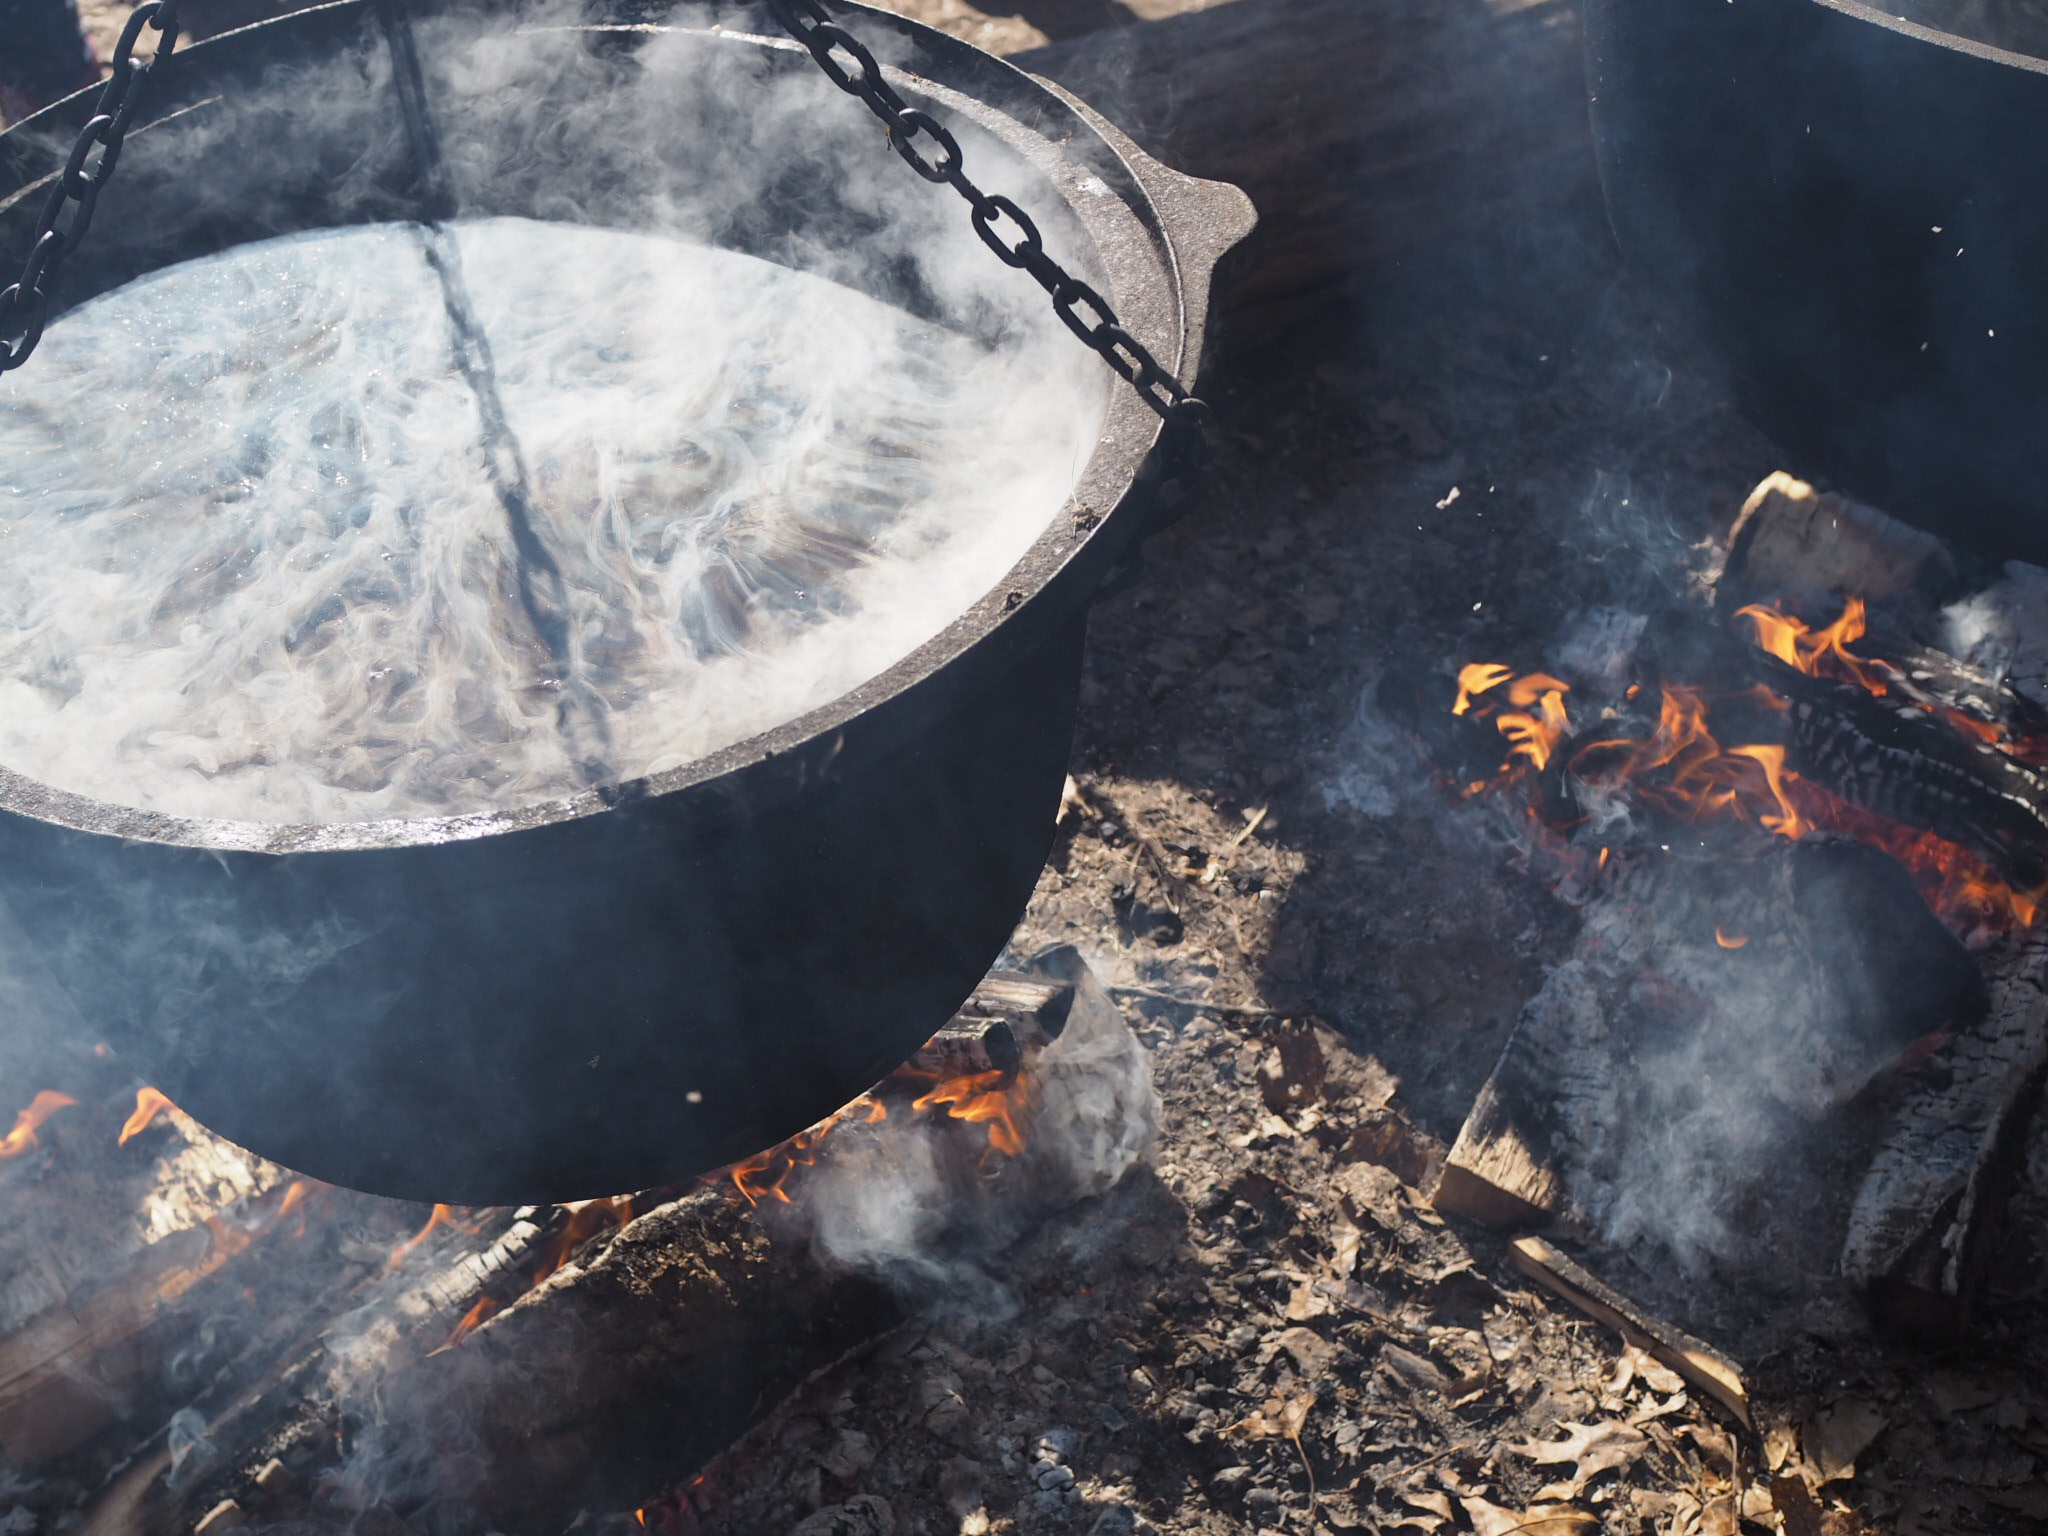
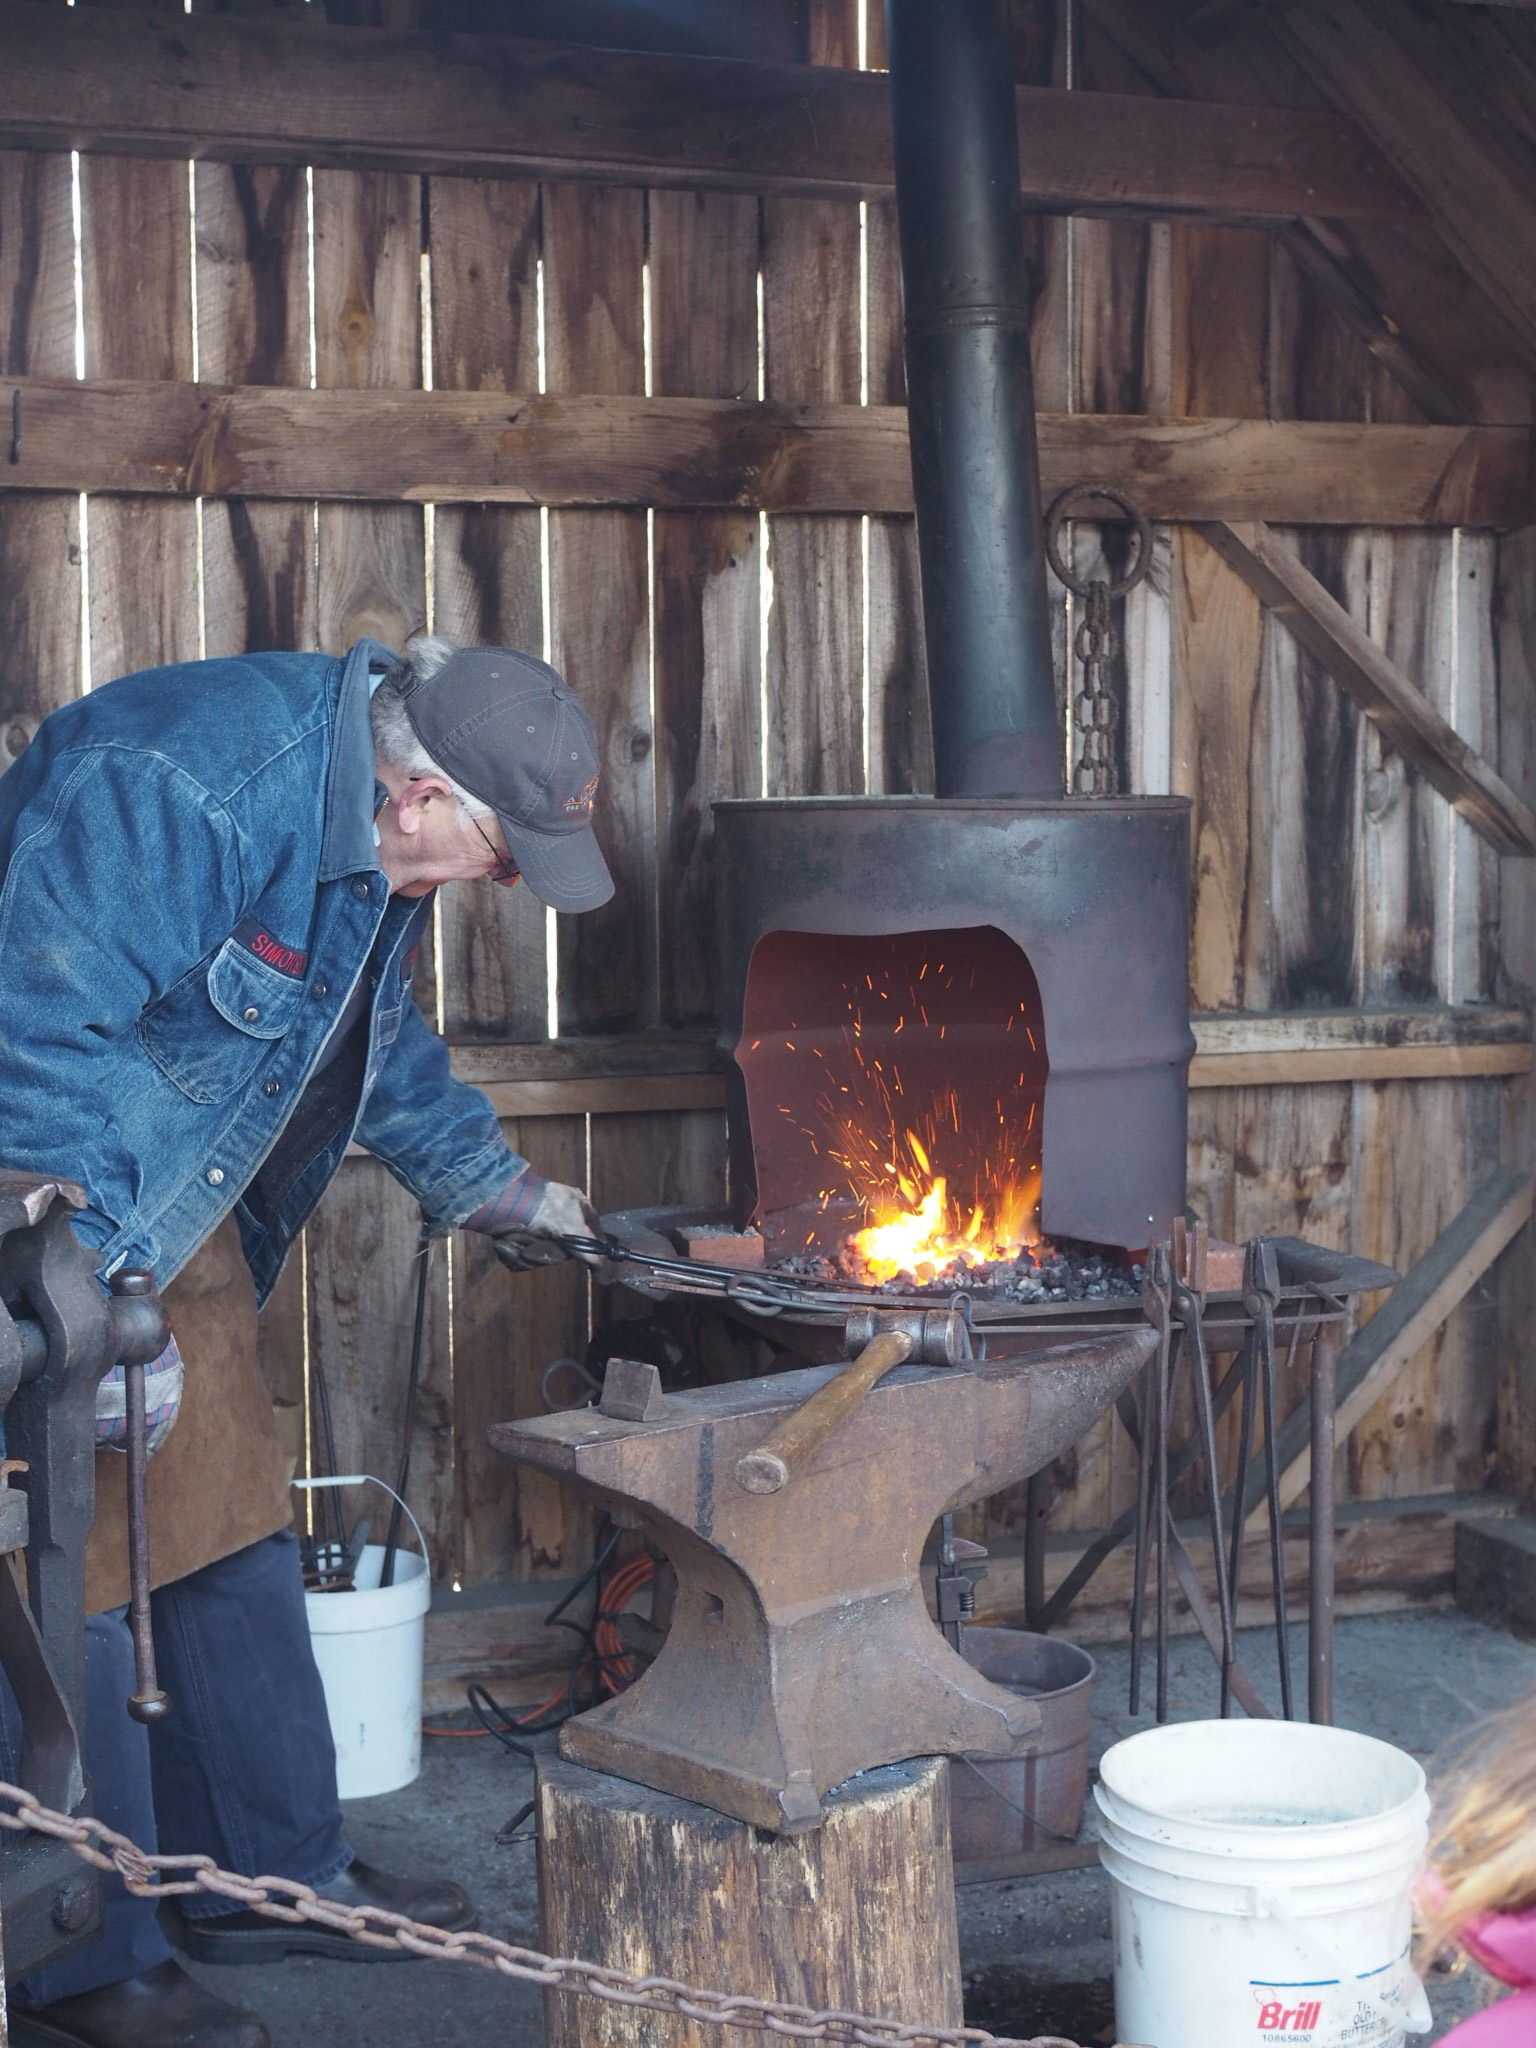
On the weekend we headed to Gorham to celebrate our other March tradition, Maine Maple Sunday, with some ice cream, maple cotton candy, and a strangely large amount of cows. We did have a small friend party at the house this most recent Saturday, but even that was limited to our neighbors because of a major April 1st snowstorm. But kudos to LMC, who didn't skip a beat and played party games with her parents anyway.
And honestly, for as much as I loved big birthday parties as a kid, as a parent, these are moments I love. So while I'm sure we'll follow the lead of the other parents we know with a shindig at some third-party location where the kids can run wild, I will treasure the turning of this year, the big 4, as something oh so special..
Domenic Duck KAL - W&T Short Rows
Short rows are one of the most valuable shaping tools in a knitter's toolbox. With them you can turn heels, add bust darts, raise the back neck of a sweater, and make an adorably curly duck tail.
There are numerous ways to do short rows, but I'm sticking with the basic wrap and turn (W&T) version here.


W&T Knitwise
- Knit number of stitches as indicated in pattern before wrap.
- To Wrap, slide next unknitted stitch to right hand needle, bring yarn to front, as if to purl.
- Slip st from right hand needle back to left hand needle, keeping yarn at front of work.
- Pull yarn to back of work. The first stitch on the left hand needle should now have a nice wrap around it.
- Turn work to opposite side, with yarn as to purl.
W&T Purlwise
- Purl number of stitches as indicated in pattern before wrap.
- To Wrap, slide next unworked stitch to right hand needle, bring yarn to back, as if to knit.
- Slip st from right hand needle back to left hand needle, keeping yarn at back of work.
- Pull yarn to front of work. The first stitch on the left hand needle should now have a nice wrap around it.
- Turn work to opposite side, with yarn as to knit.
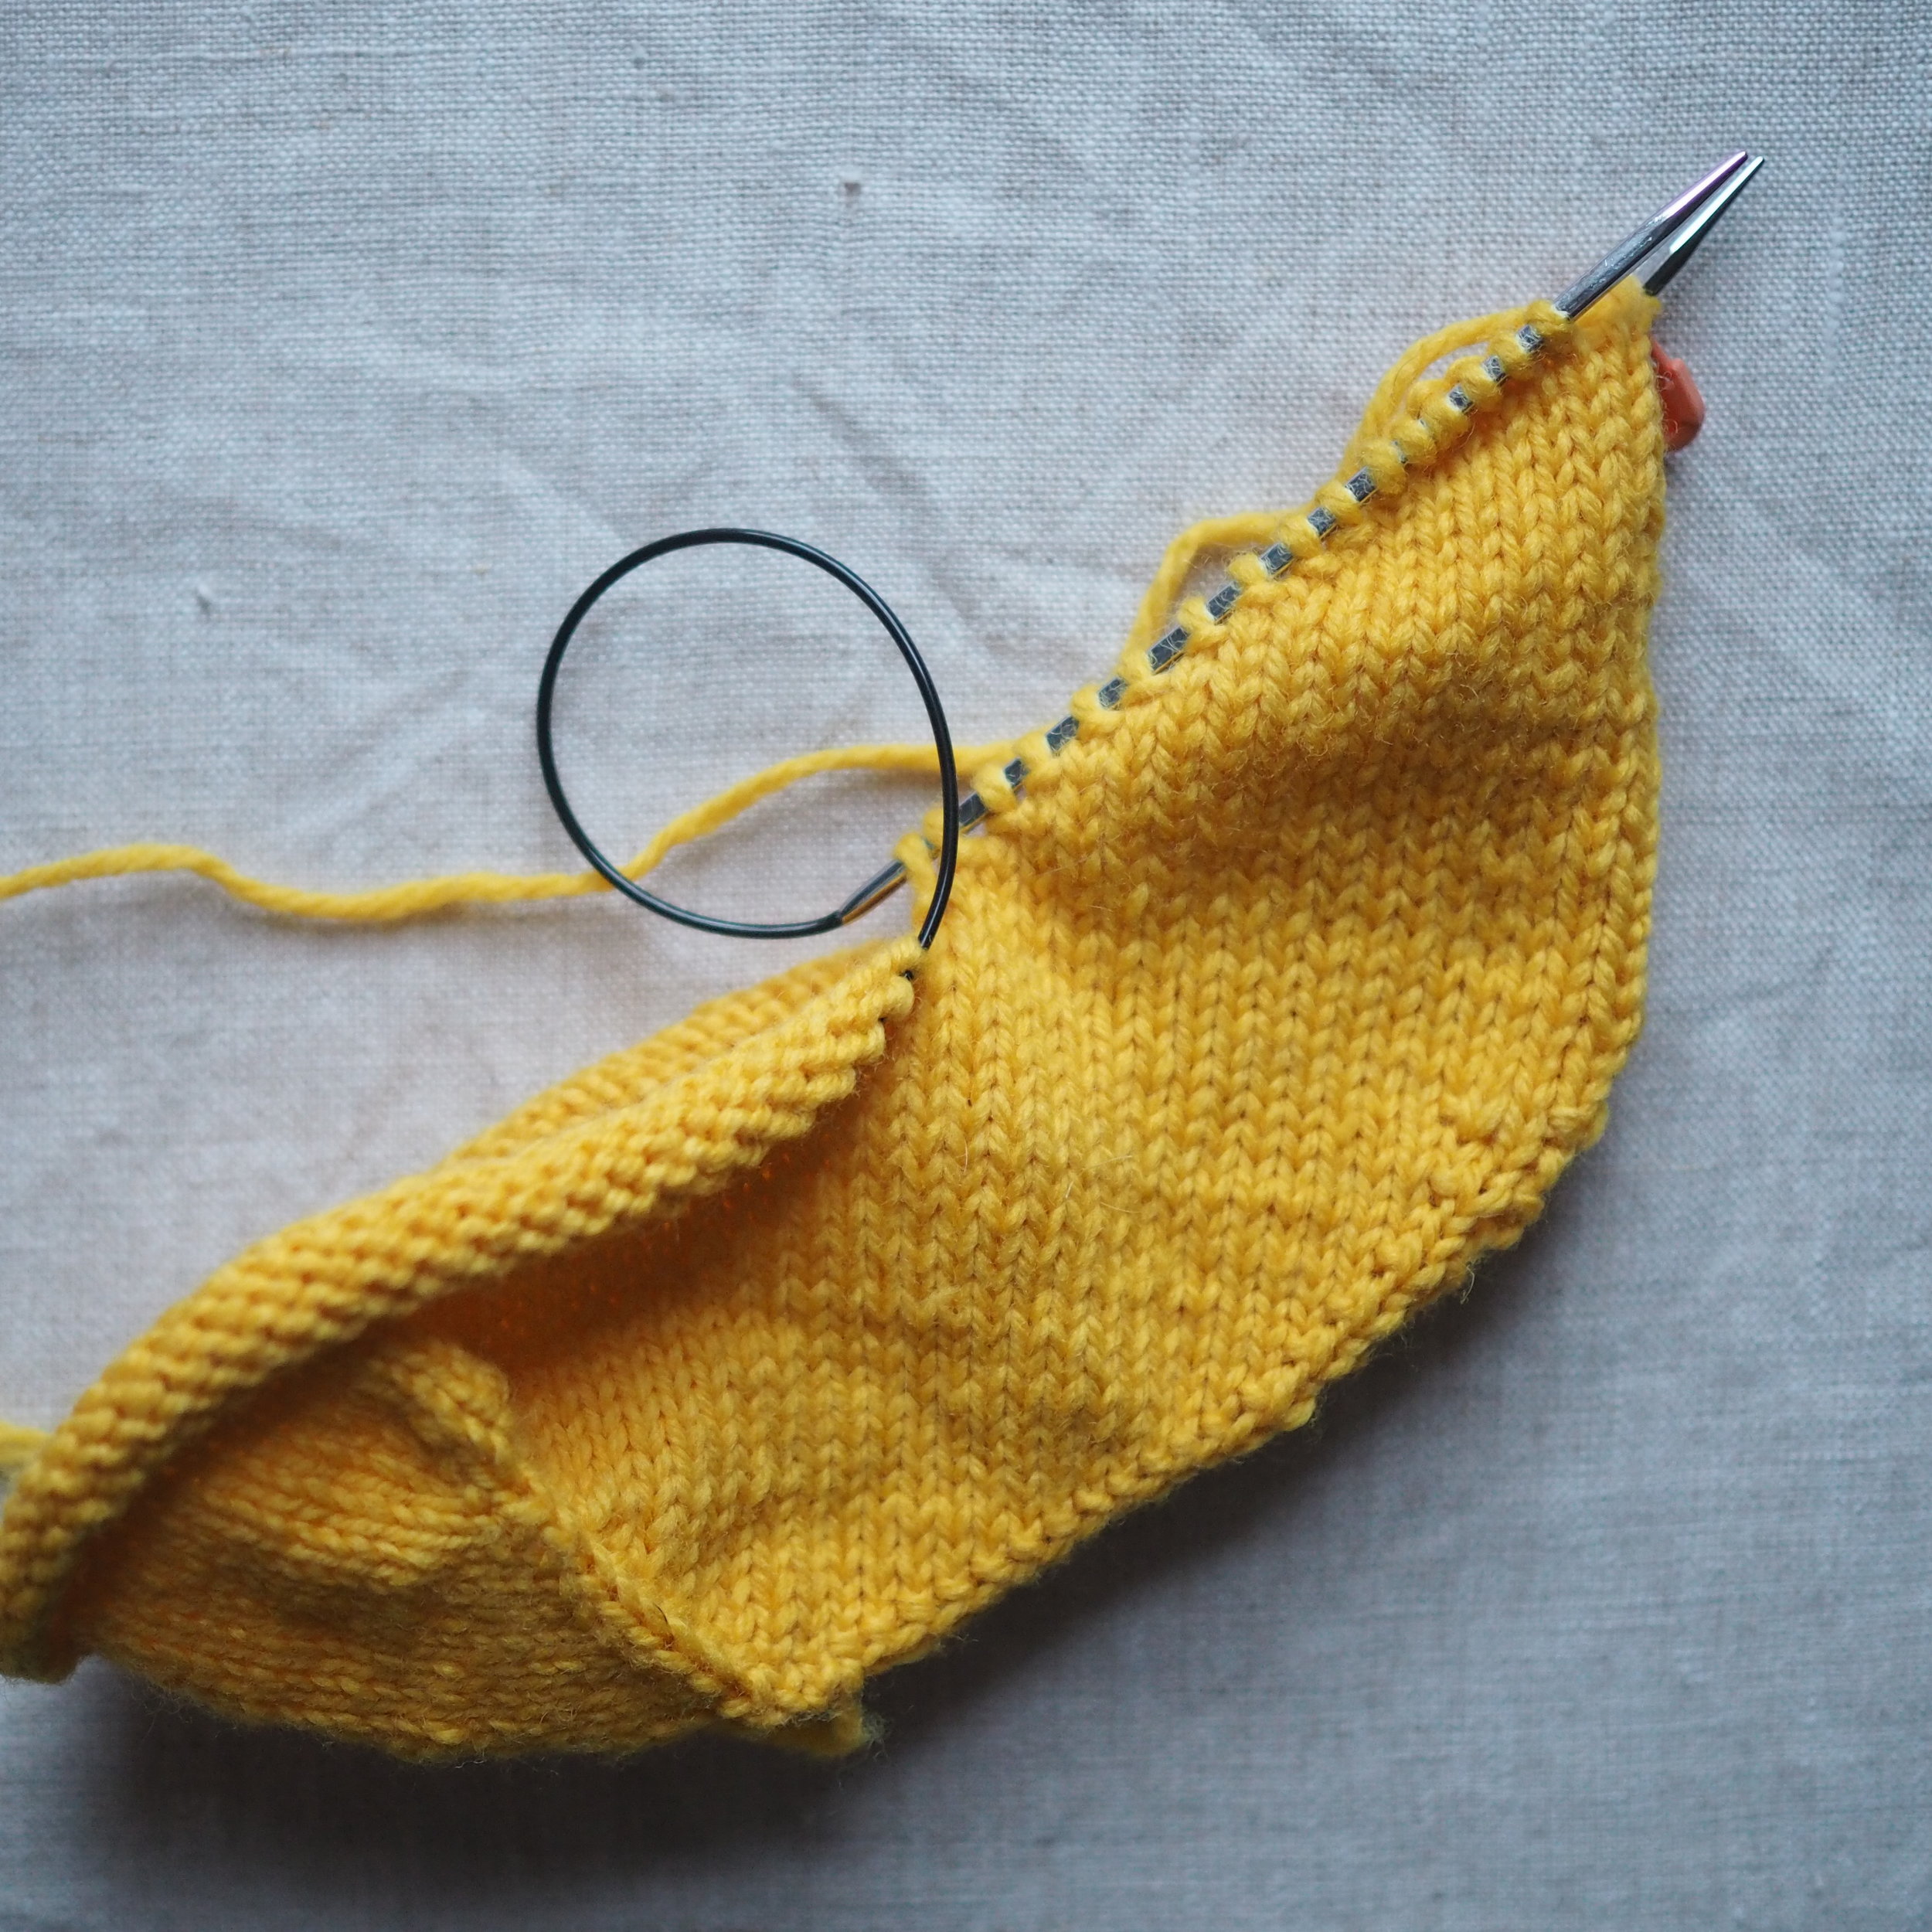
As you work the short rows across the tail, you'll start to form a triangle shape at one end, with a neat little wrap around each stitch.

Curling the Tail
To give the tail it's adorable curl, the outside is going to need to be longer the the inner part of the curl. So you'll need to work a few short rows where the row stays the same length/doesn't get shorter. In this case, you will be re-wrapping a stitch you've already wrapped once.
Picking up the Wraps
Depending of the short row, you may have one, two, or three wraps to pick up as you work your way back out to longer rows.


Knitwise
- Knit to first wrapped stitch.
- Using the right hand needle, pick up all wraps and slide them onto the left hand needle, making sure not to drop the original stitch that was wrapped.
- Knit through the stitch with all its wraps. This may be a k2tog, k3tog, or k4tog, depending on the number of wraps.
Purlwise
- Purl to first wrapped stitch.
- Using the right hand needle, pick up all wraps and slide them onto the left hand needle, making sure not to drop the original stitch that was wrapped.
- Purl through the stitch with all its wraps. This may be a p2tog, p3tog, or p4tog, depending on the number of wraps.
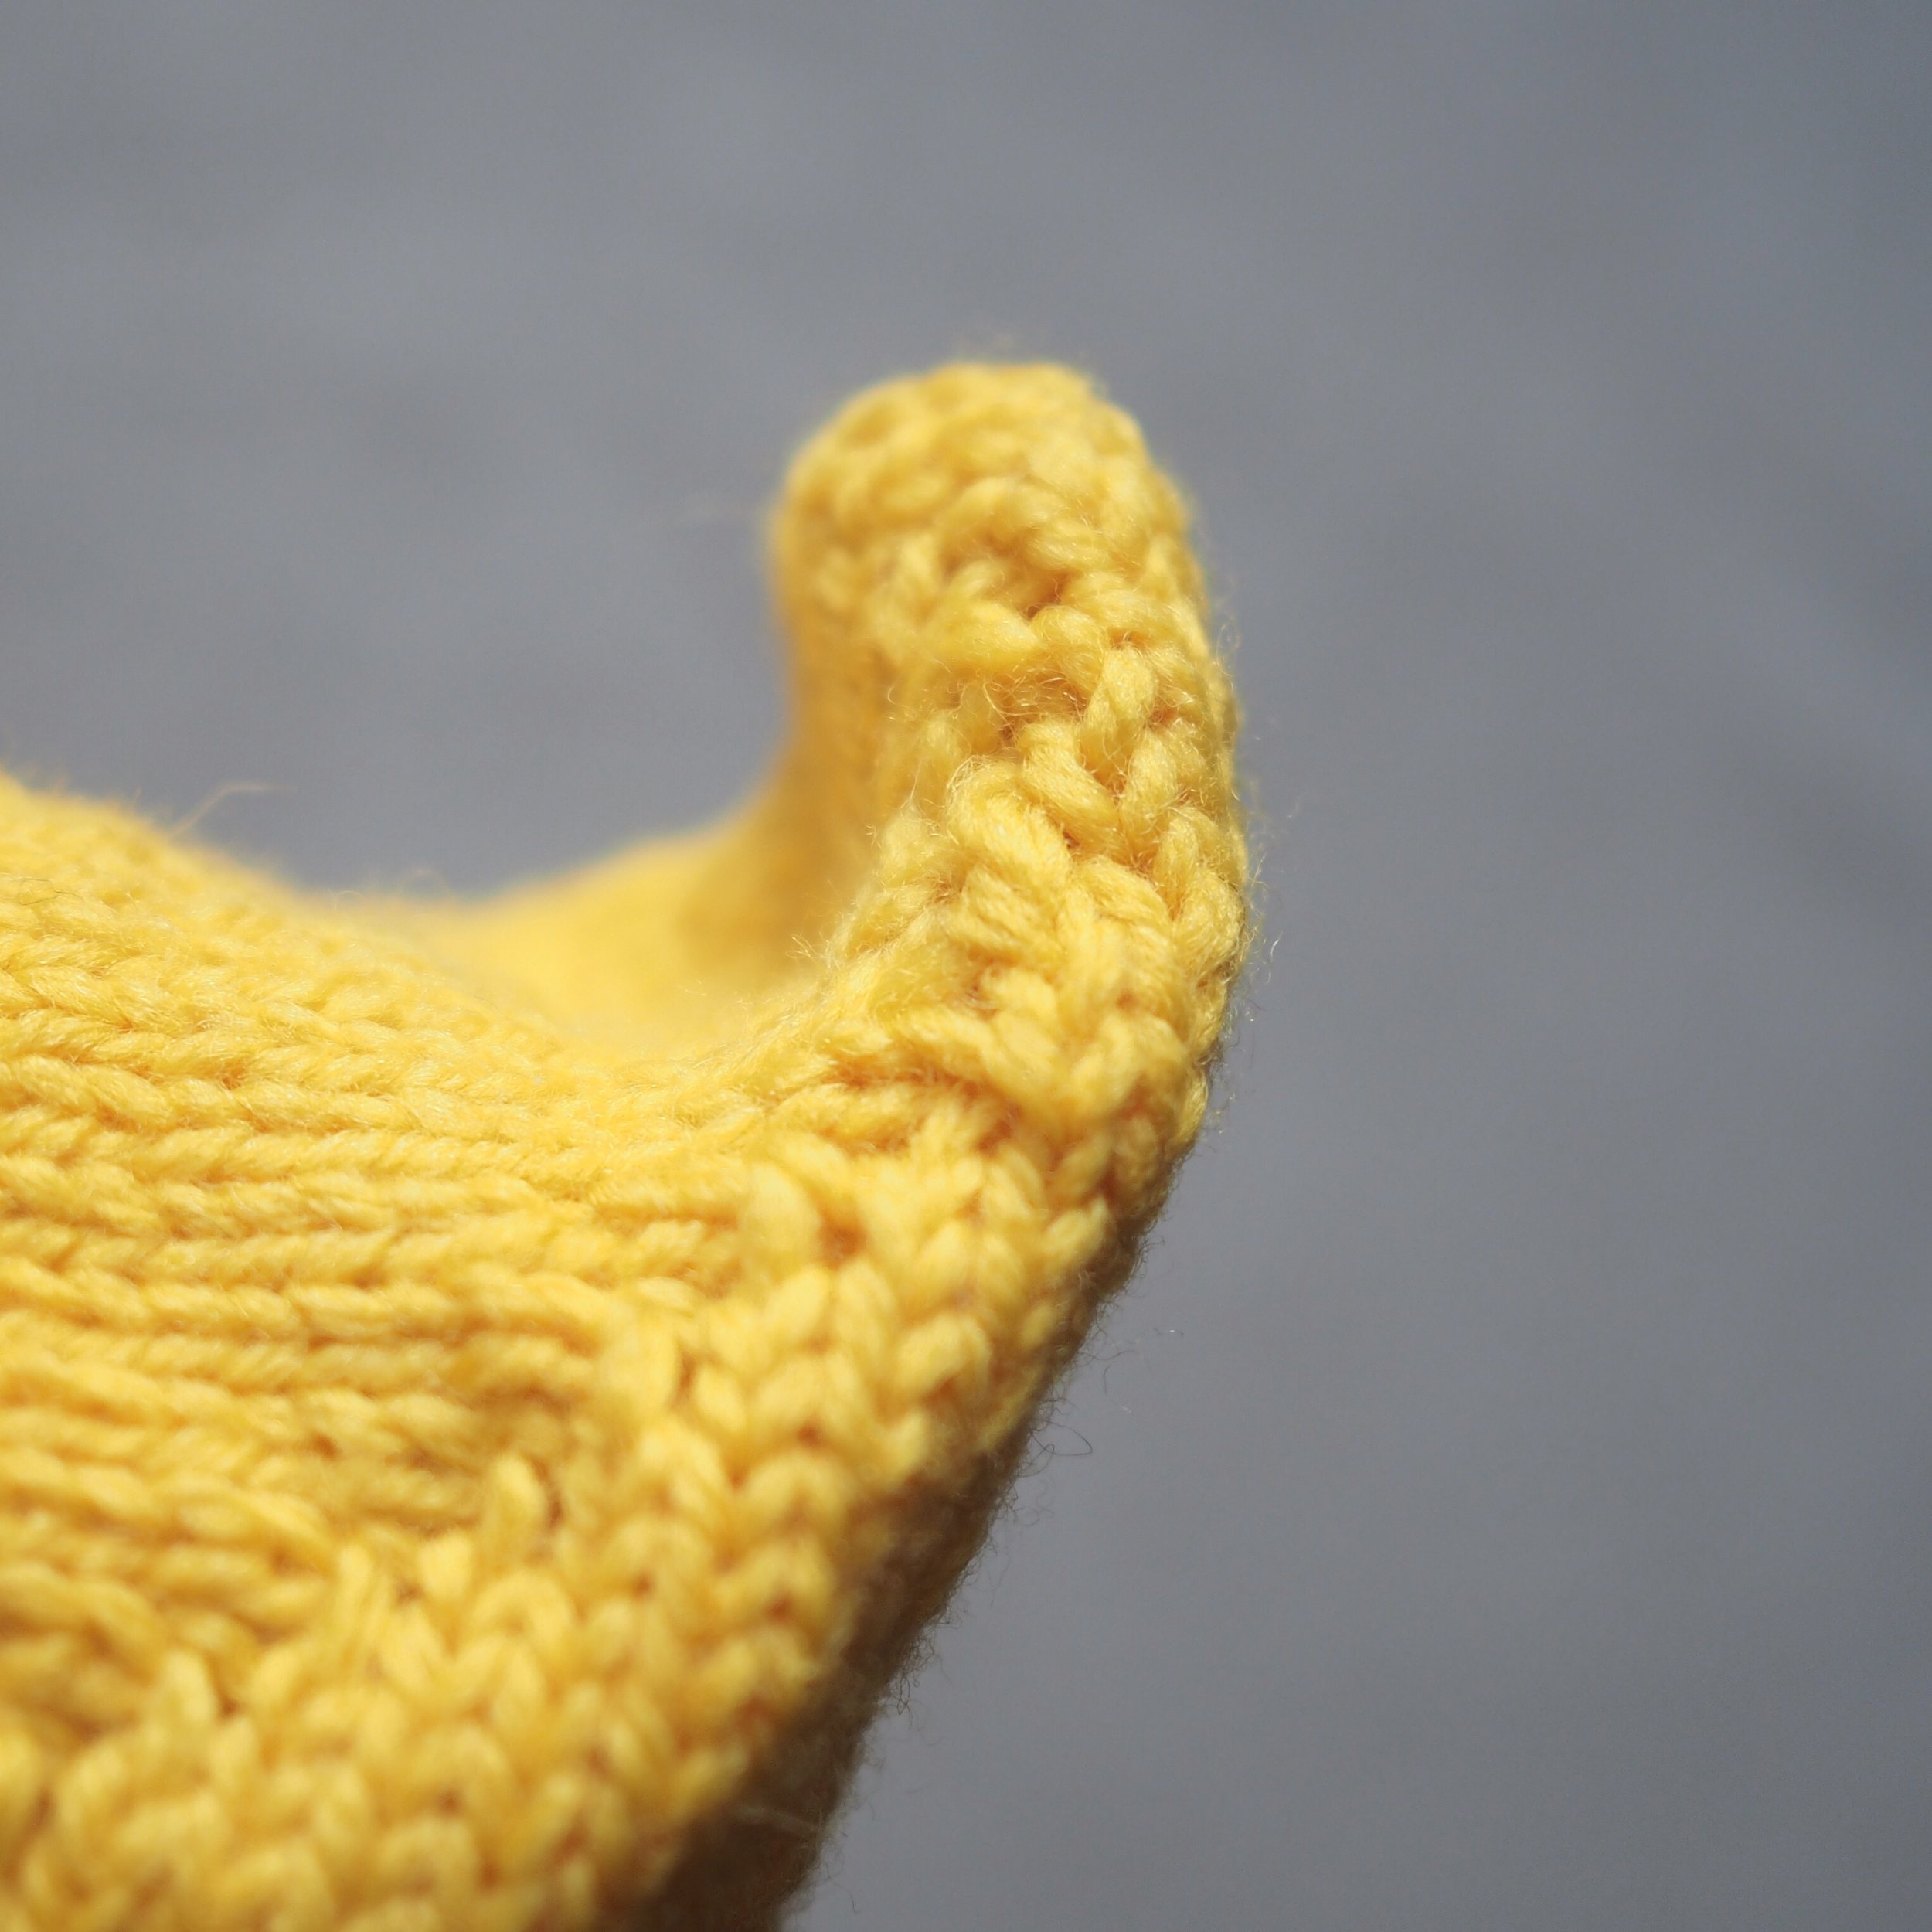
As you work the short rows back out, you'll close off the top of the triangle and have and cute little tail! Your project will also look like a shoe for a wide-footed gnome.
Up next: shaping the neck and setting up for afterthought appendages.
Domenic Duck Kit
$38.00

Bradac Polar Bear Kit
$38.00
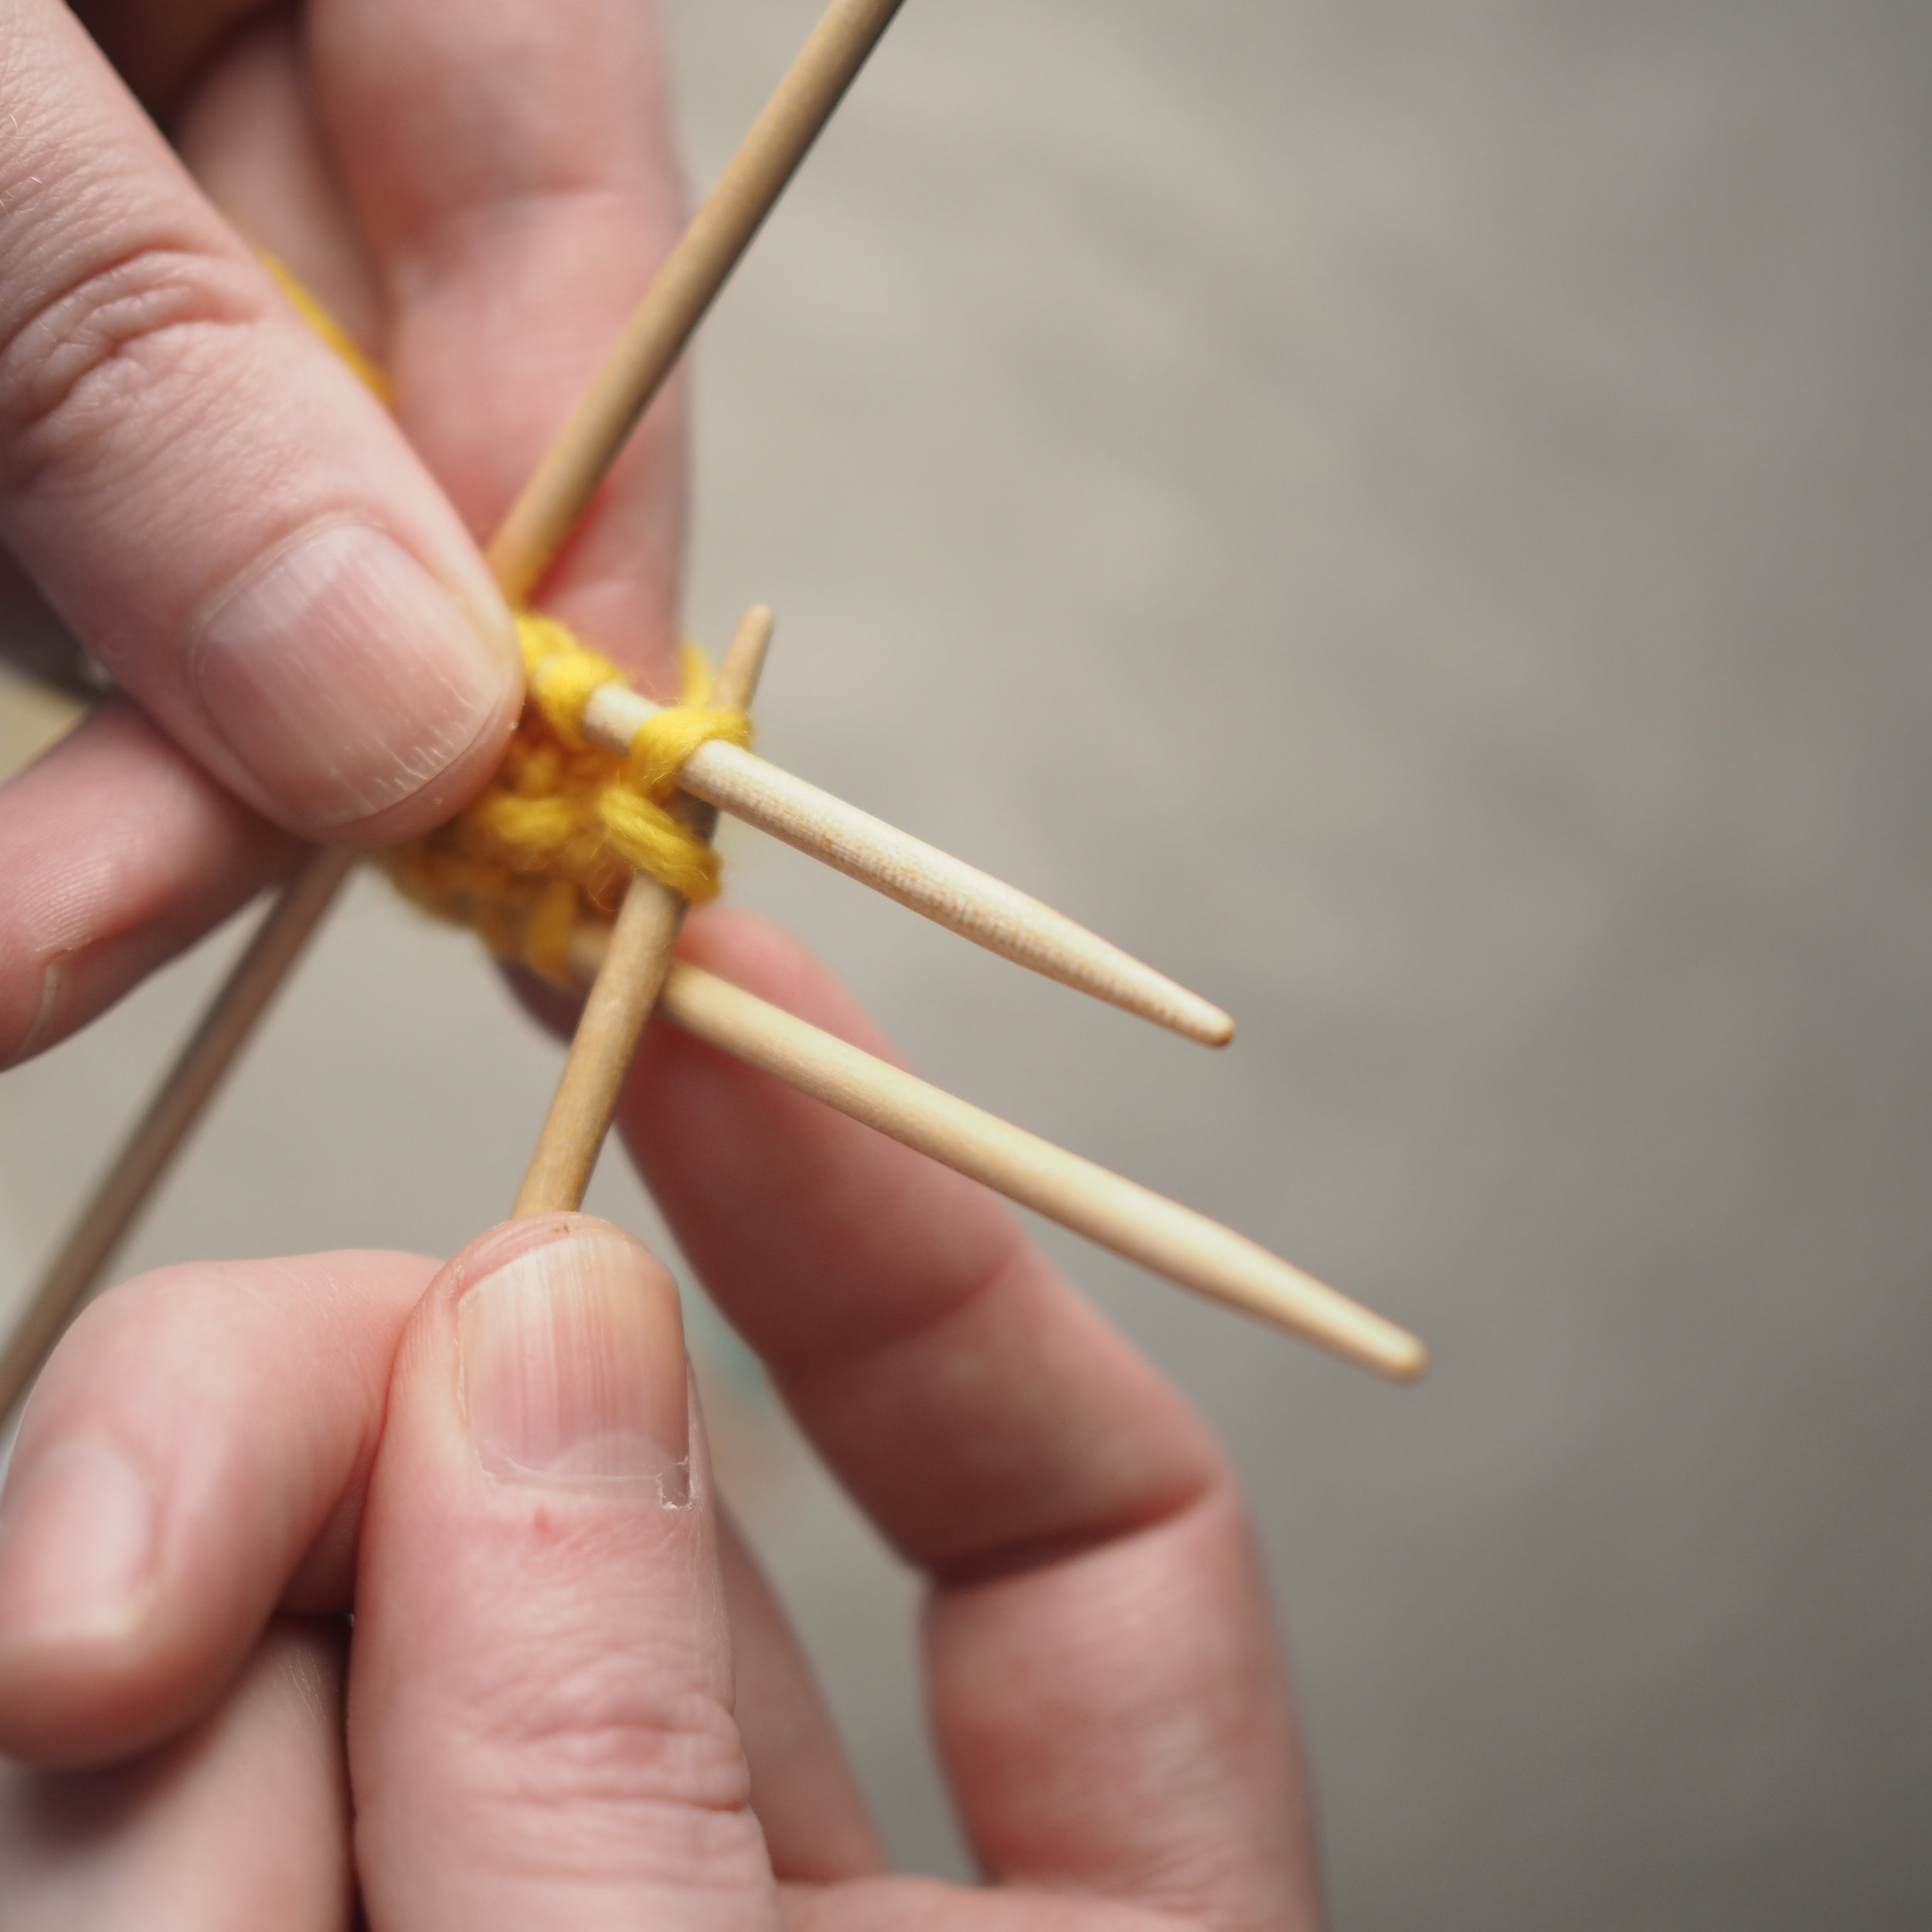
Domenic Duck KAL - Joining in the Round, KFBs, and Building a Base

Want to join in the fun? All kits (knit and embroidery) are 25% off now through April 4th with the code SPRINGFLING.
Today we're kicking off the KAL by starting at the bottom and building a solid base.
Circular knitting: some swear by magic loop, other prefer two circulars and still other like the old fashion simplicity of double-pointed needles (dpns). As for me? I think they all do different things really well, so it's about matching the method to part of the project. So while the majority of this KAL will be shown using magic loop, I'm going to start on dpns - you can, of course, use whatever method you prefer. :)
Note: Click any photo in a grid to bring up a larger image.


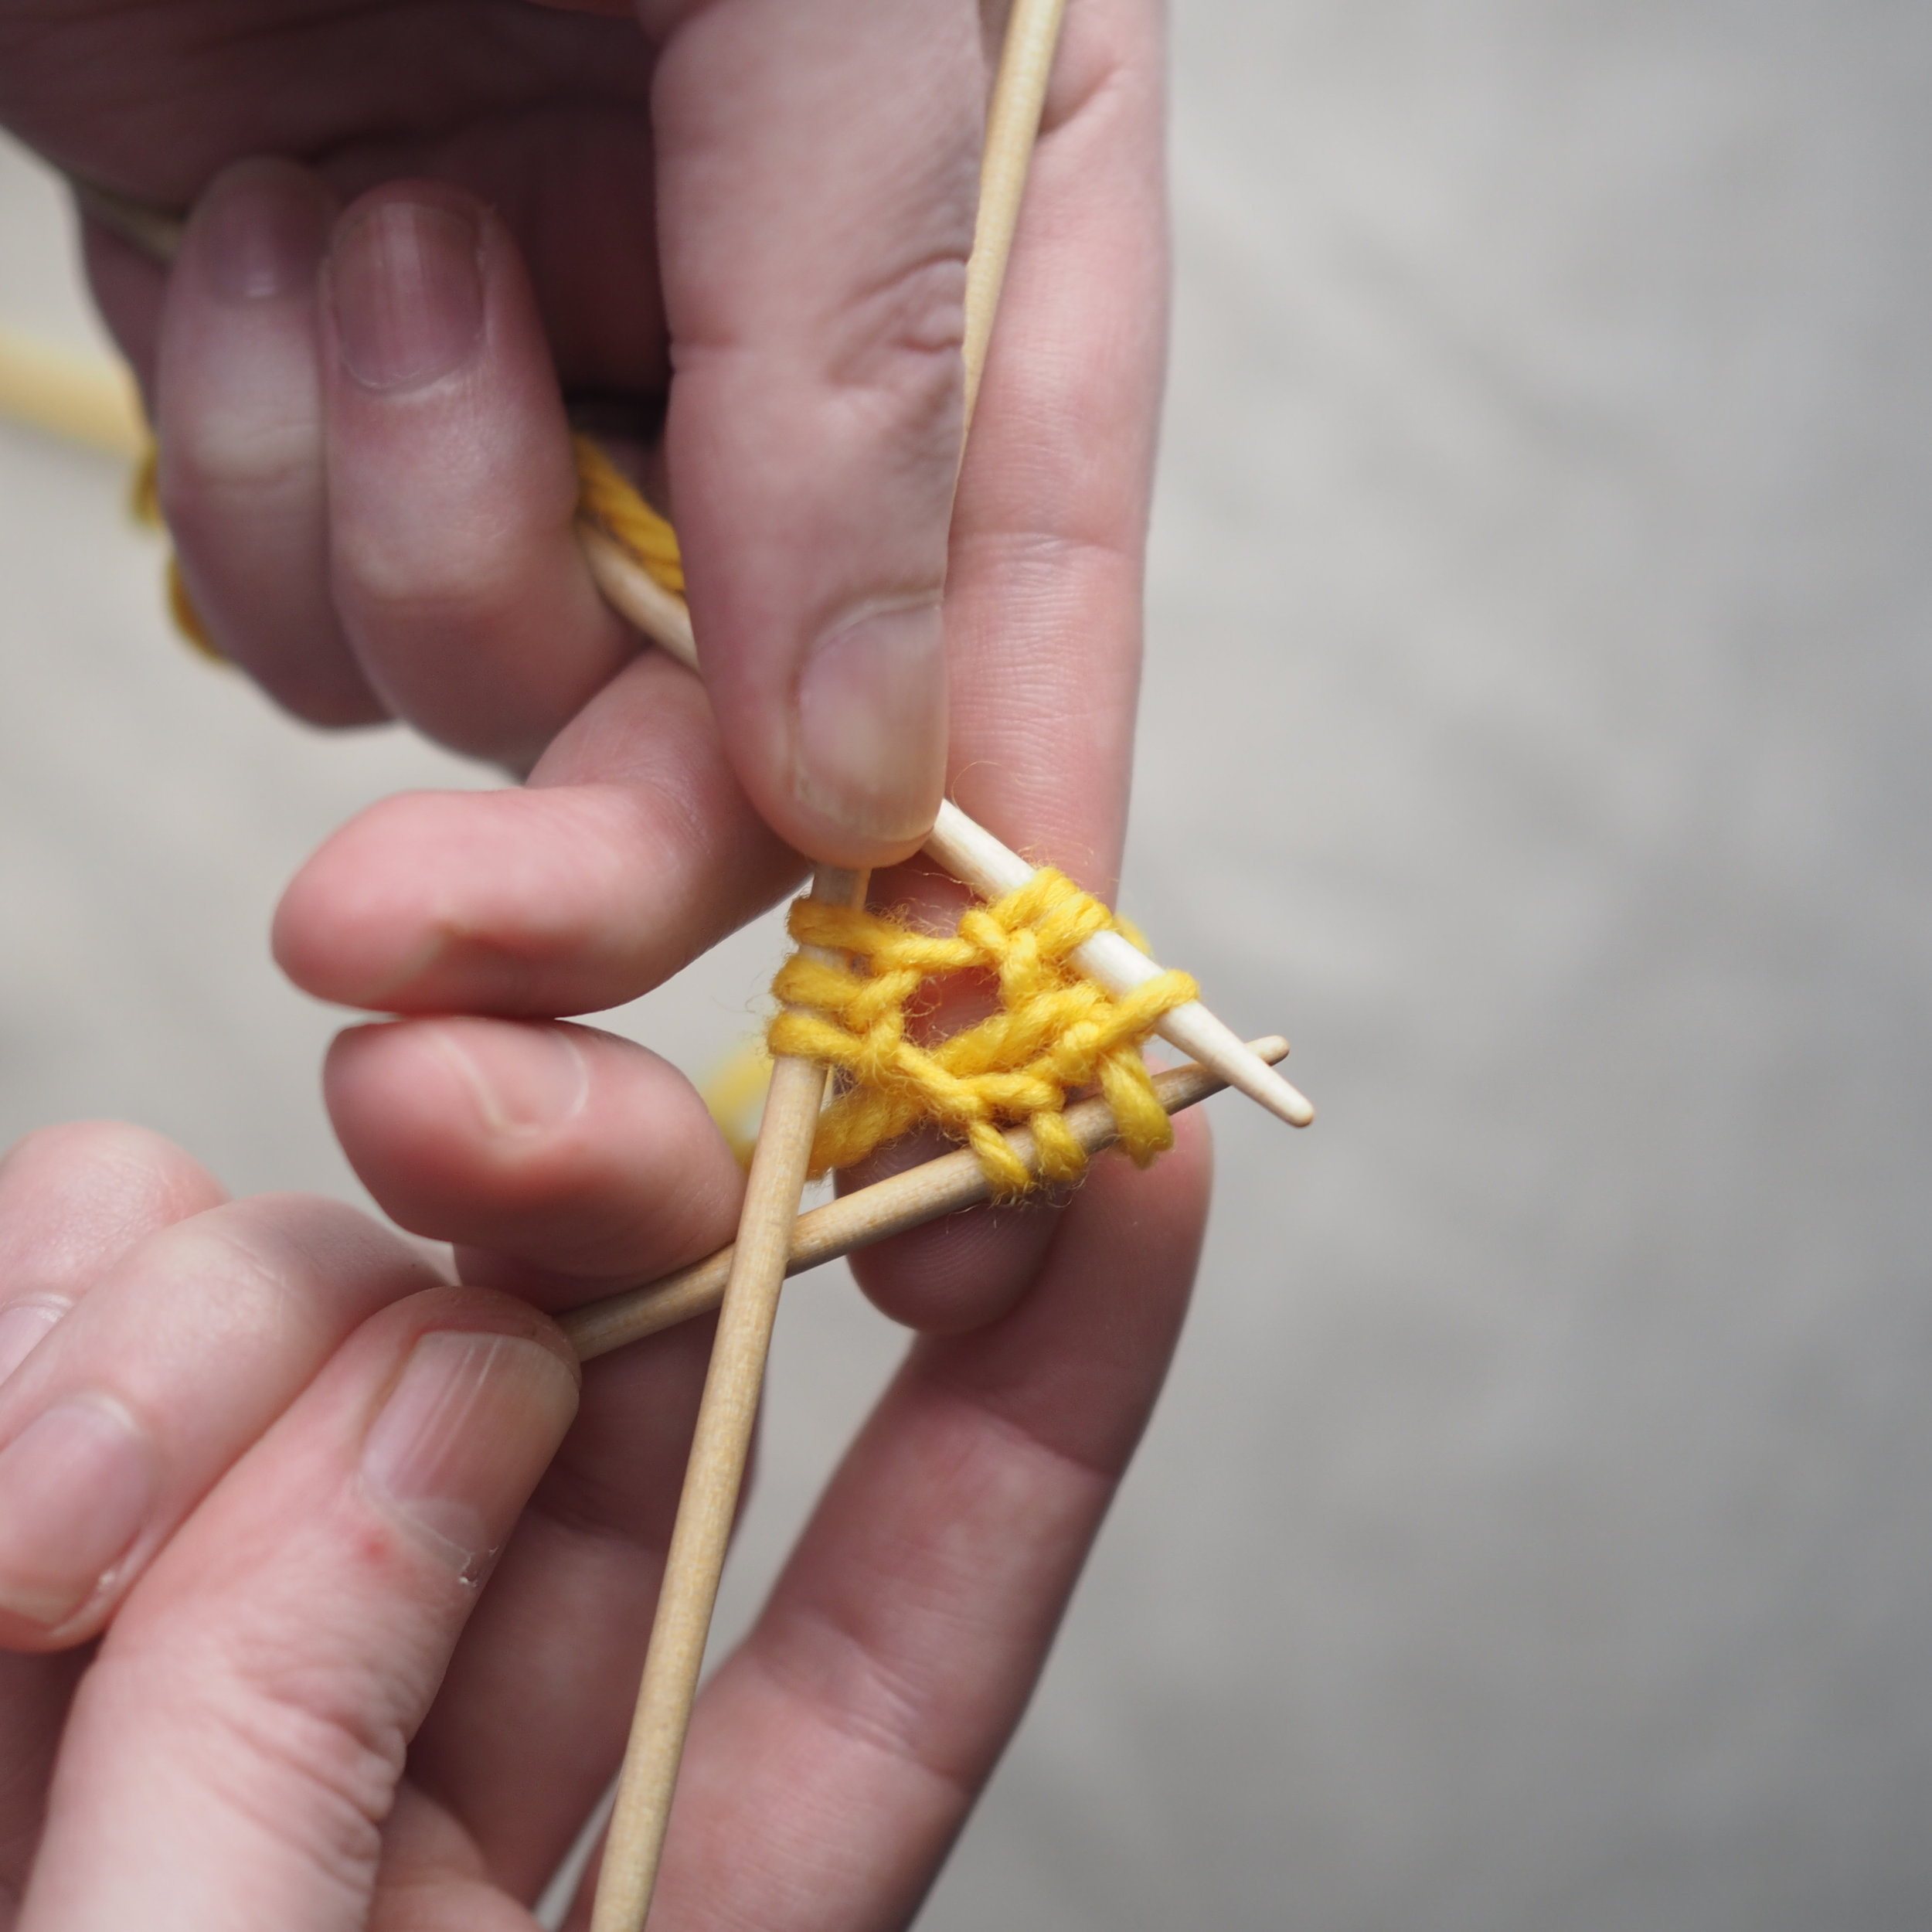
Joining in the Round
When it comes to a very small number of stitches, I find dpns the easiest to handle, rather than constantly shifting around a circular cord. To join in the round, my favorite method is a follows:
- Spread your stitches evenly across 3 dpns, making sure that the stitches don't get twisted at the needle breaks (Check to make sure the loops/bumps under the needles all look the same).
- Shift the last stitch on the left hand needle to the right hand needle.
- Pull the stitch that is second-most to the left on the right hand needle (the first stitch you cast on), pull it over the stitch you just shifted and place it on the left needle.
- Now you're joined your stitches and can begin knitting in the round.

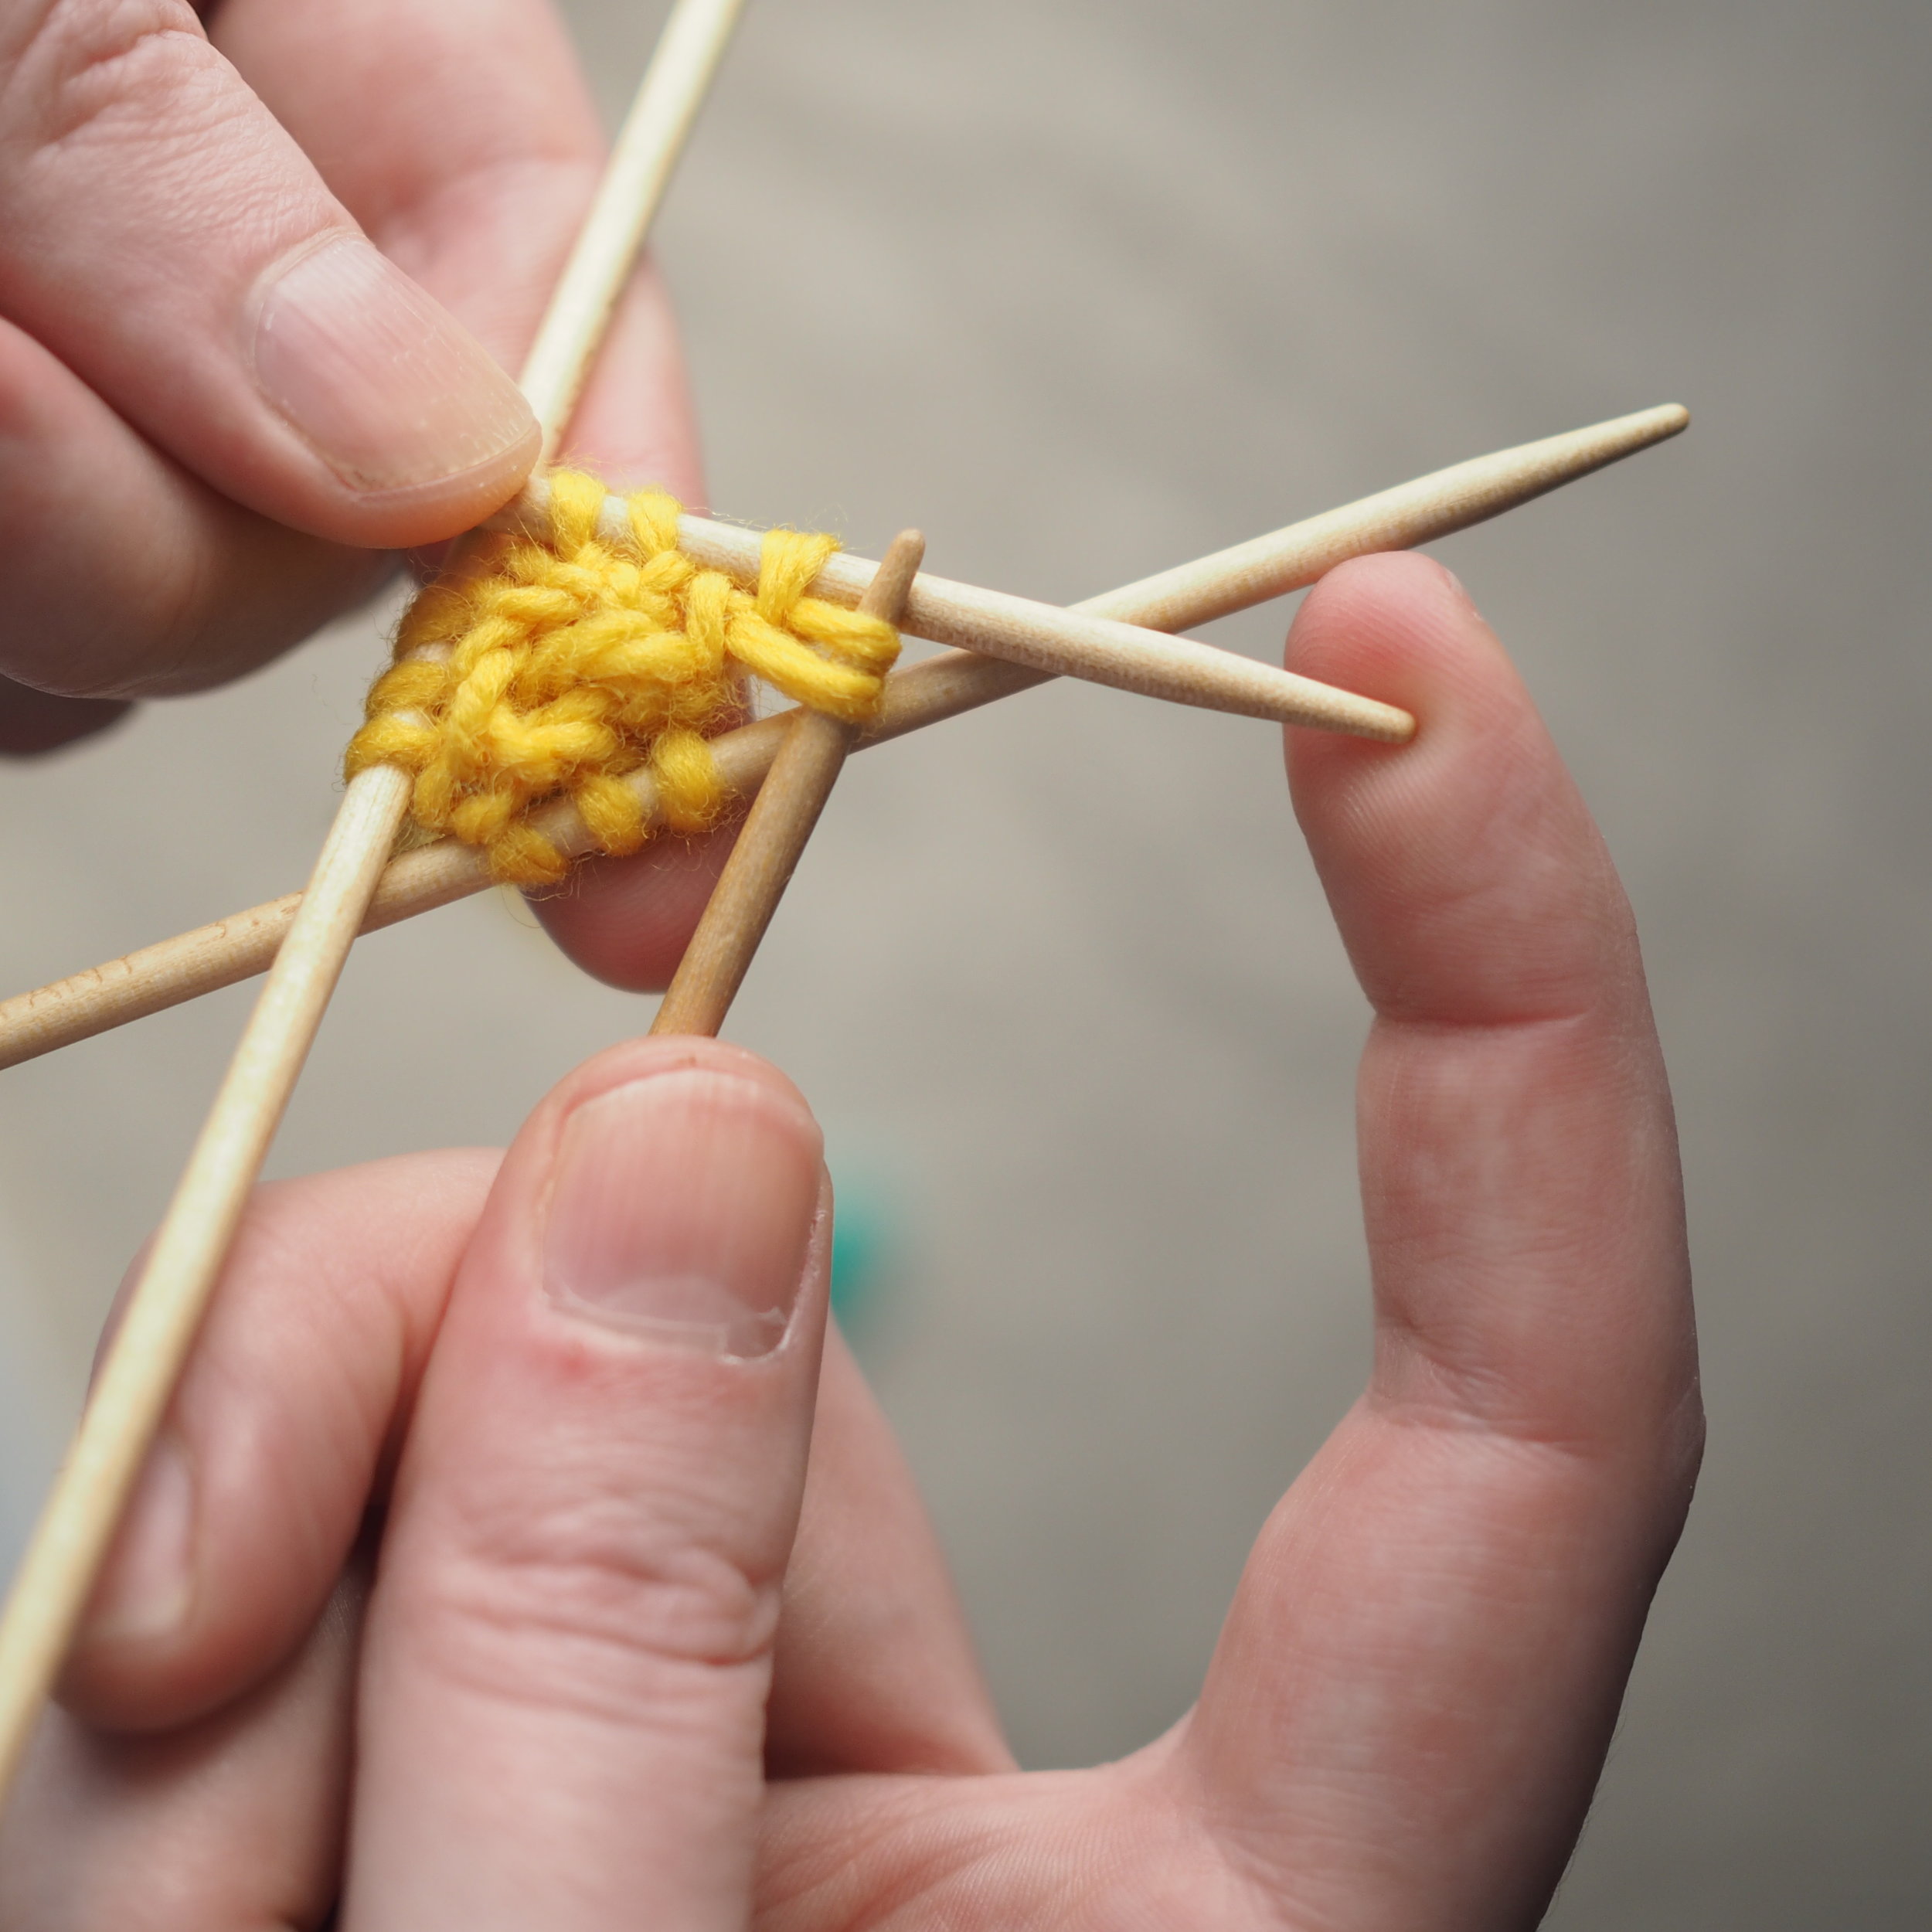

Increasing with KFBs
All of the increases in this pattern are KFBs or knit into the front, then back of the stitch. This increases one stitch, and leaves a rather visible bump or bar on the left at the increased stitch, with a smooth line on the original stitch. You'll want that line of the original stitch to continue unbroken up across series of increases.
To KFB:
- Insert your right-hand (RH) needle into the first stitch on the left-hand (LH) needle and knit as you normally would, but do not remove the stitch from the LH needle yet.
- Shift your RH needle so it goes through that same LH stitch, but through the back of the loop.
- Make a knit stitch and slip off the LH stitch off the needle. You'll have increased 1 st.
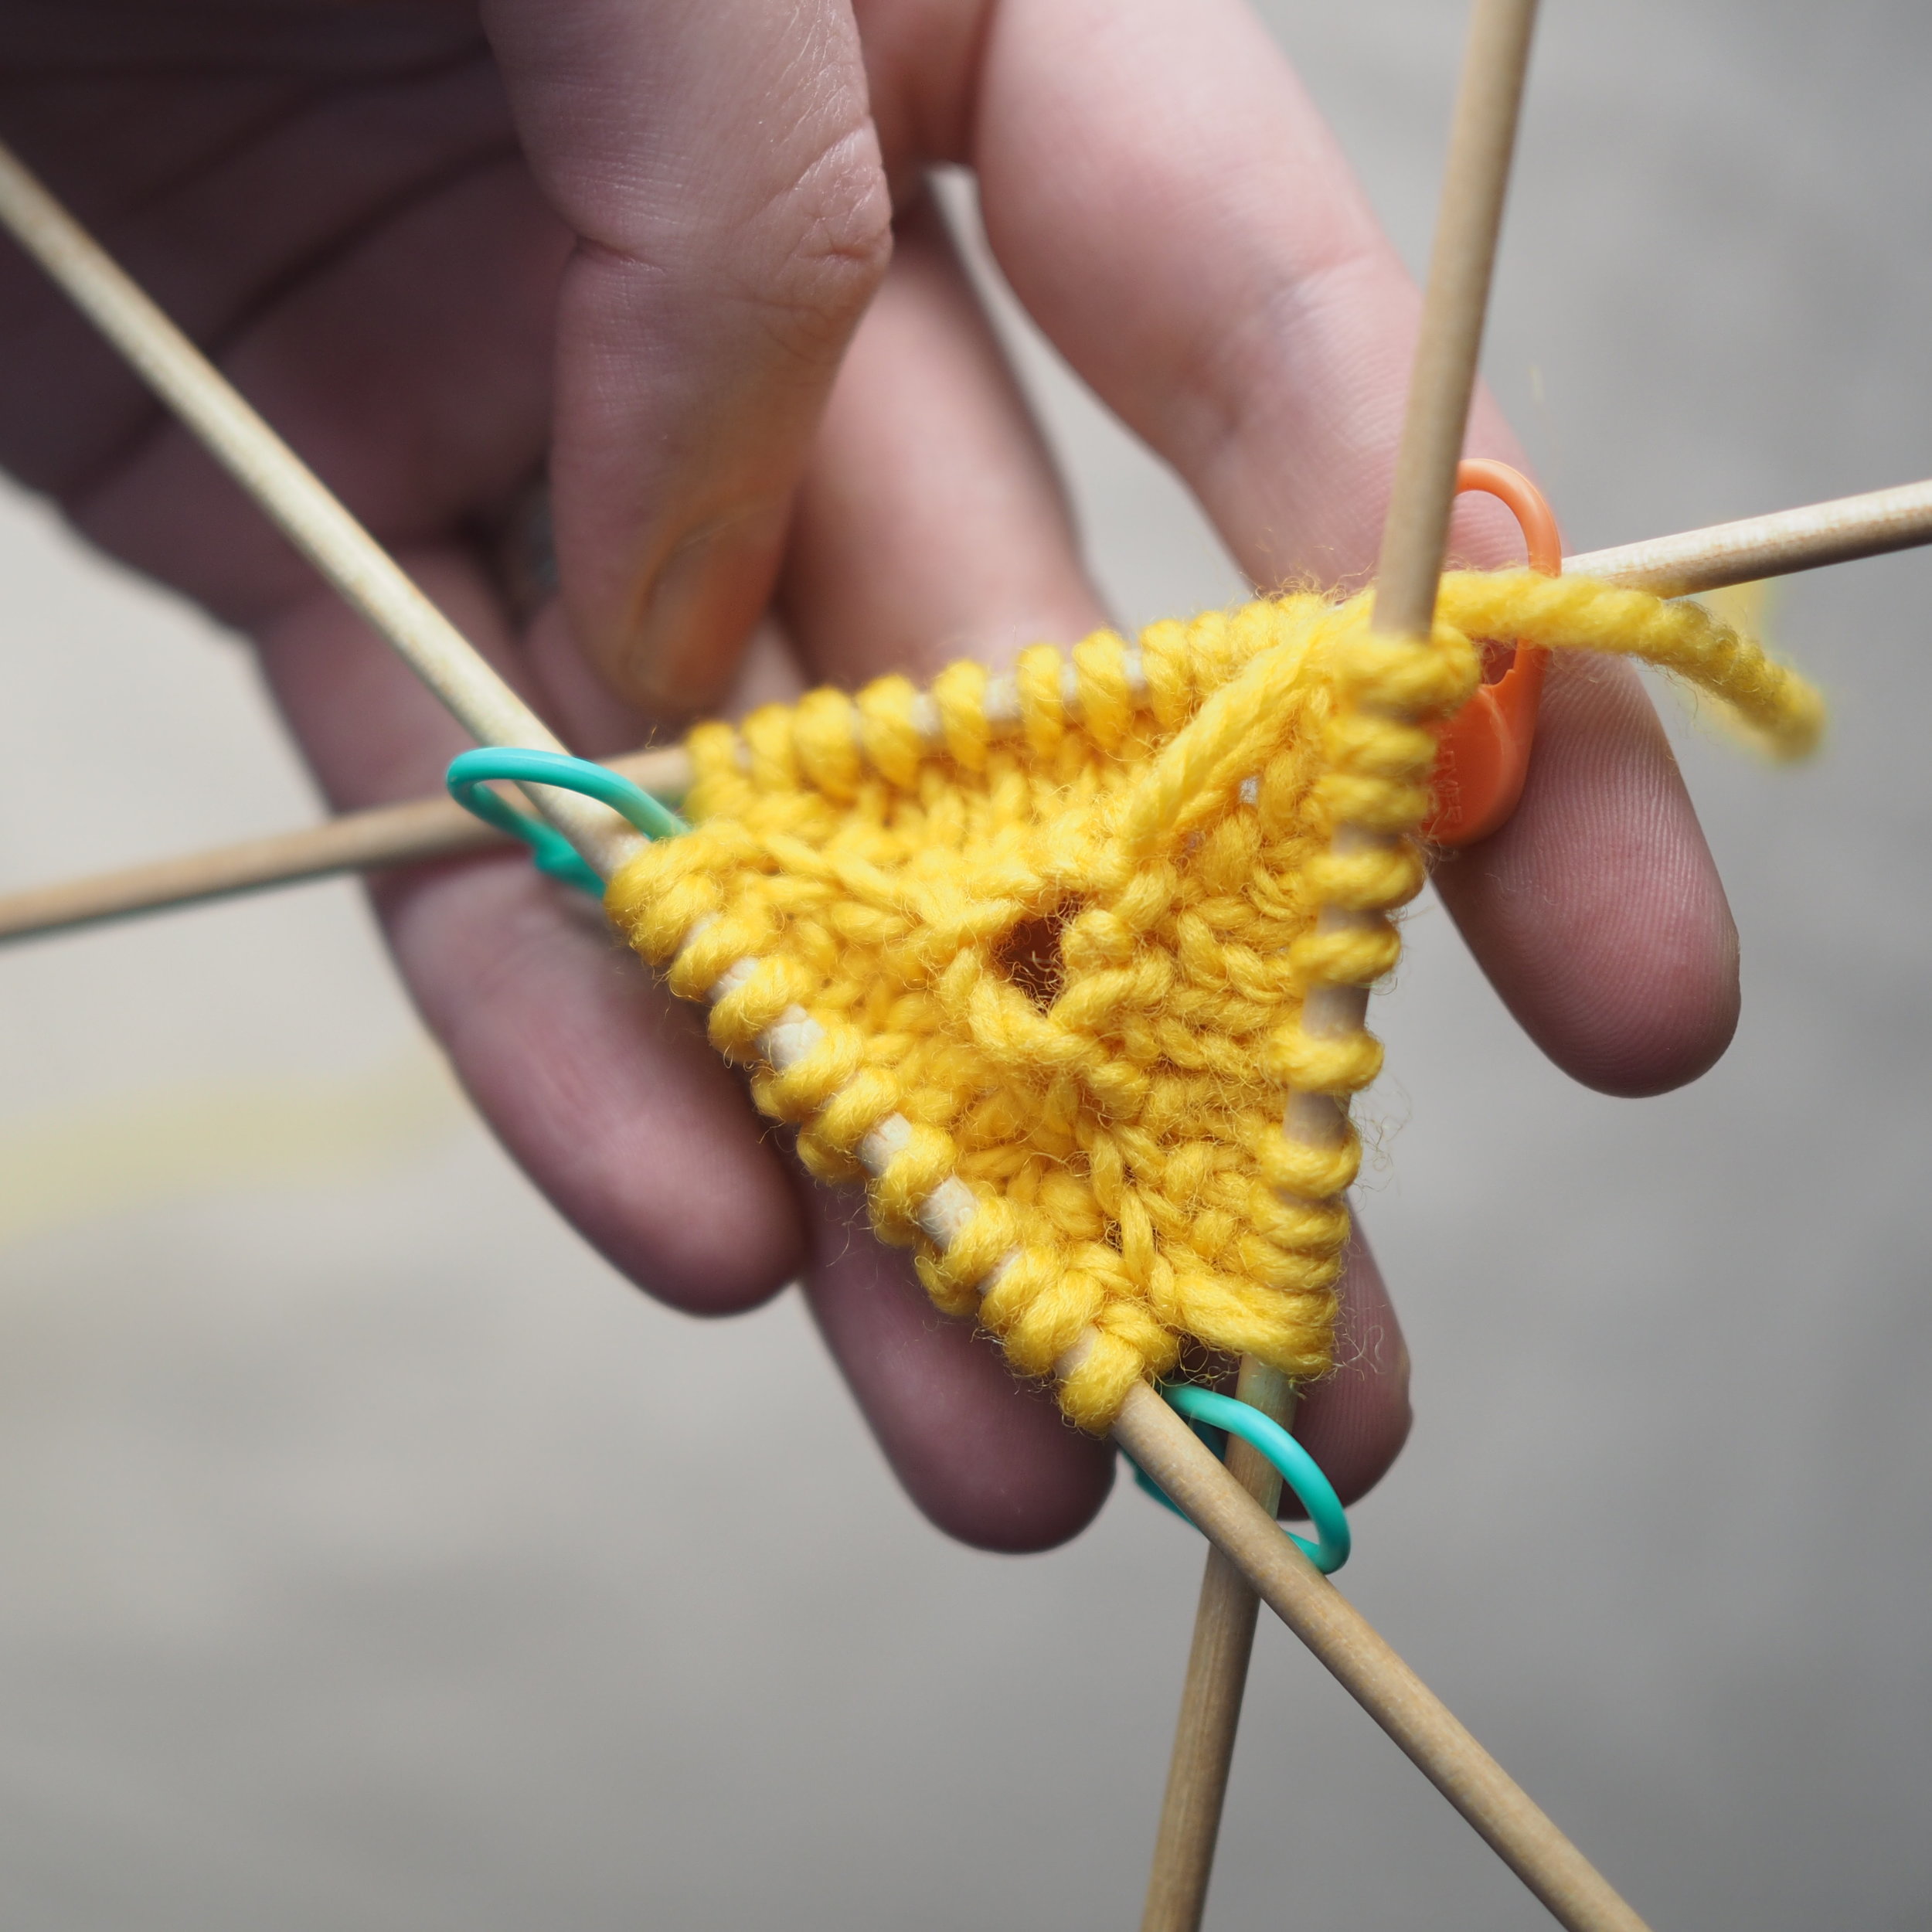


Changing from DPNs to Magic Loop
Because you'll be stuffing the duck as you go along, having the flexibility of a circular cable can be helpful, so once I reach a solid number of stitches on my dpns (about 10 per needle or more), I'll switch to using the magic loop technique. Two circular needles can accomplish this too.
However, when you're on dpns it's easy to use the needle breaks in lieu of stitch markers (and I try to design my animal patterns to make sense along those needle breaks), so you'll need to add them when you switch to the circular(s).
To switch, simply put down that 4th dpn you've been knitting with and pick up your circular and start knitting as usual, putting a stitch marker at each needle break.
Keep increasing (and keeping those increase lines nice and straight!) and next time we'll look at wrap and turn short rows for making that adorably curly tail.
Domenic Duck Kit
$38.00
New Kits for Spring and a KAL!
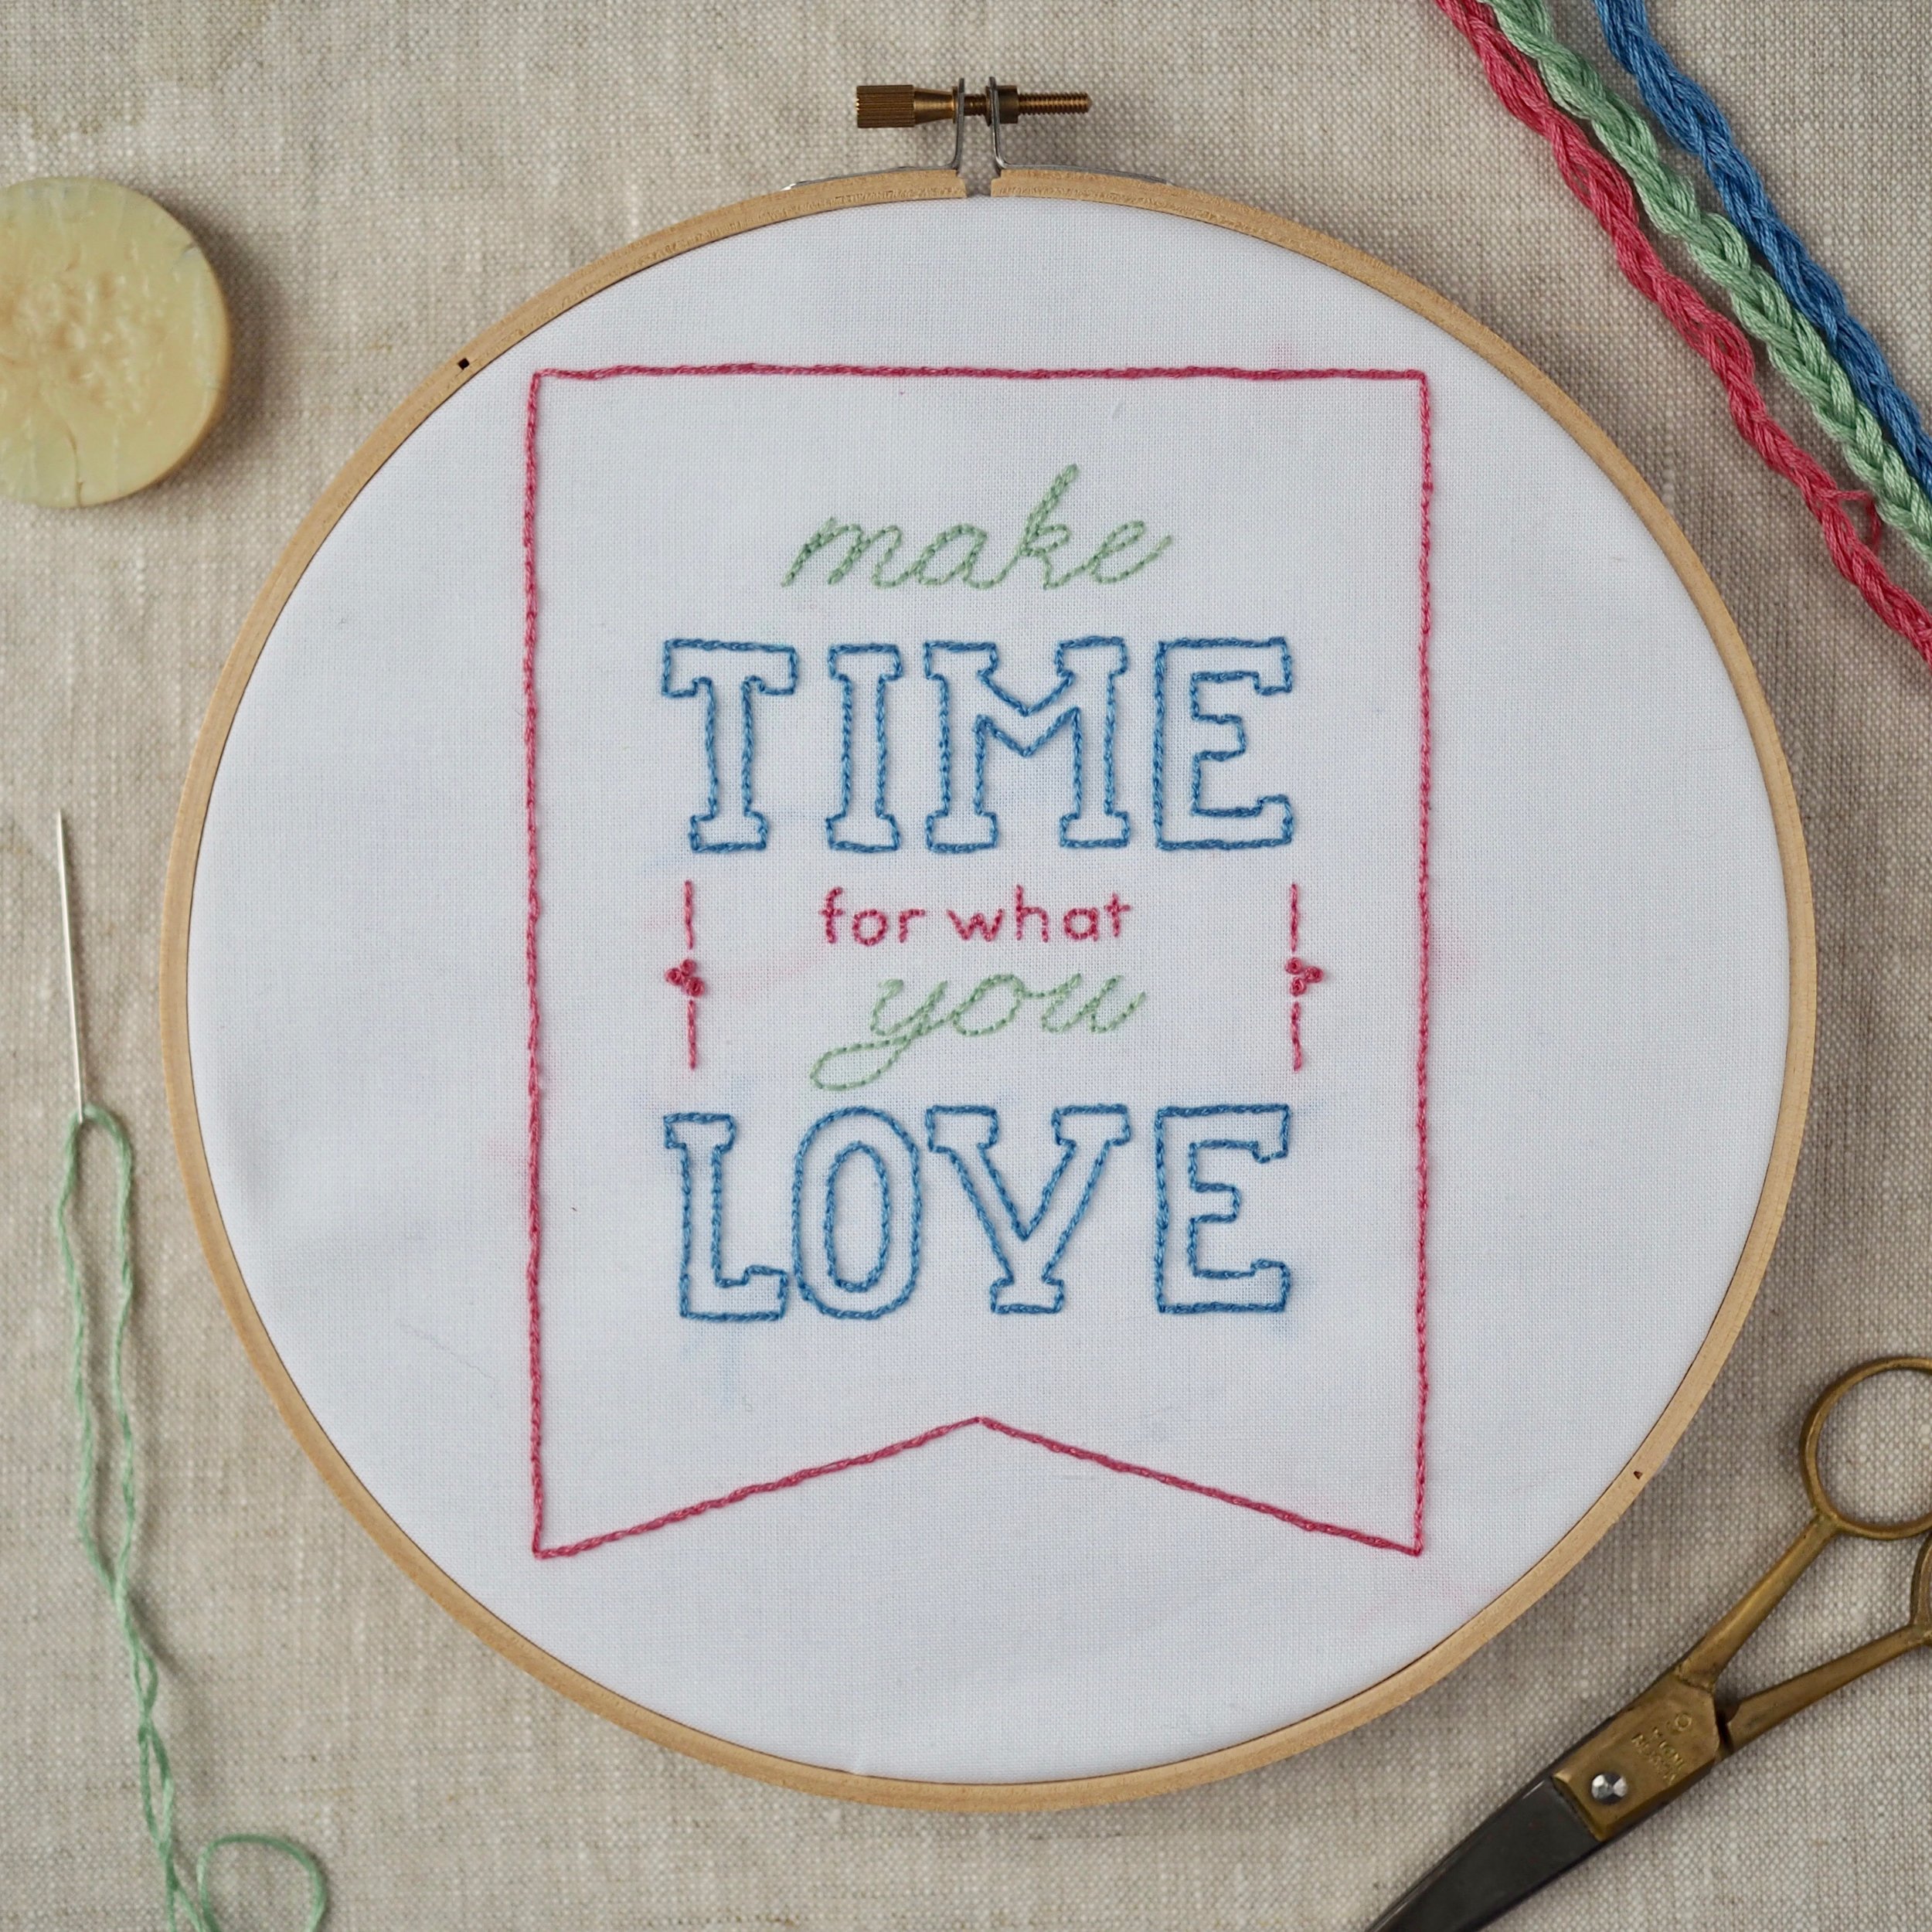

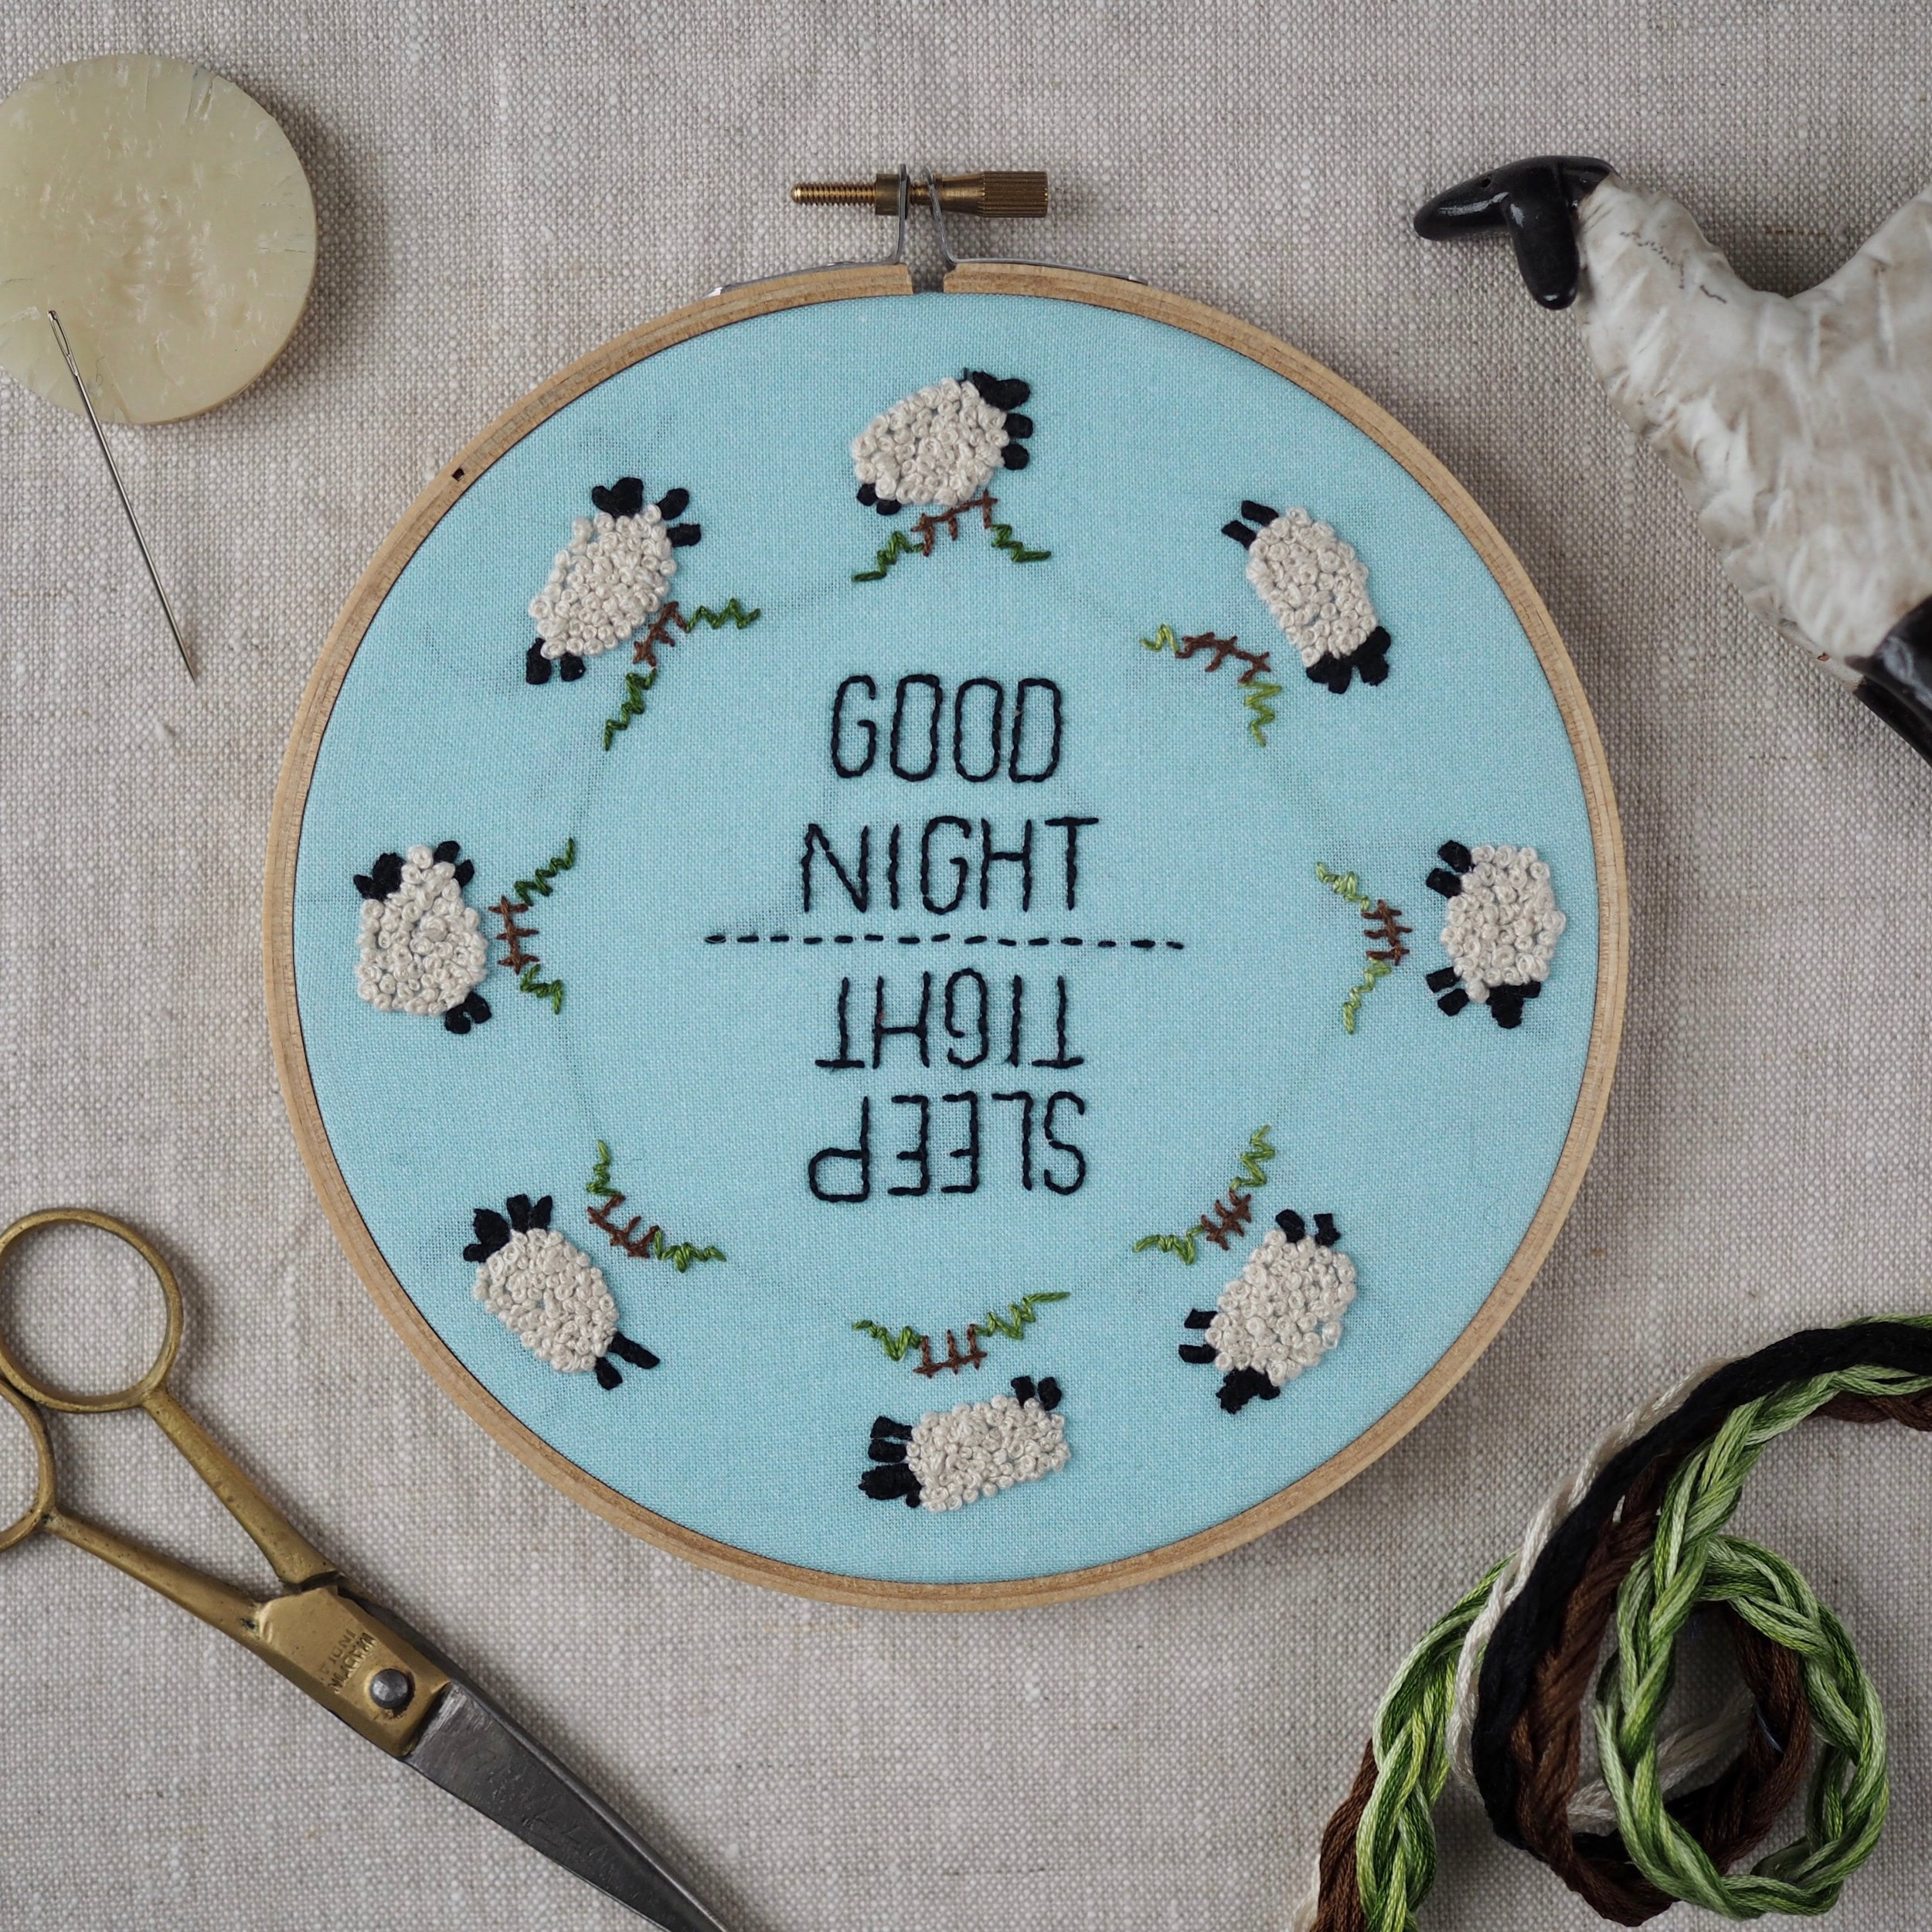
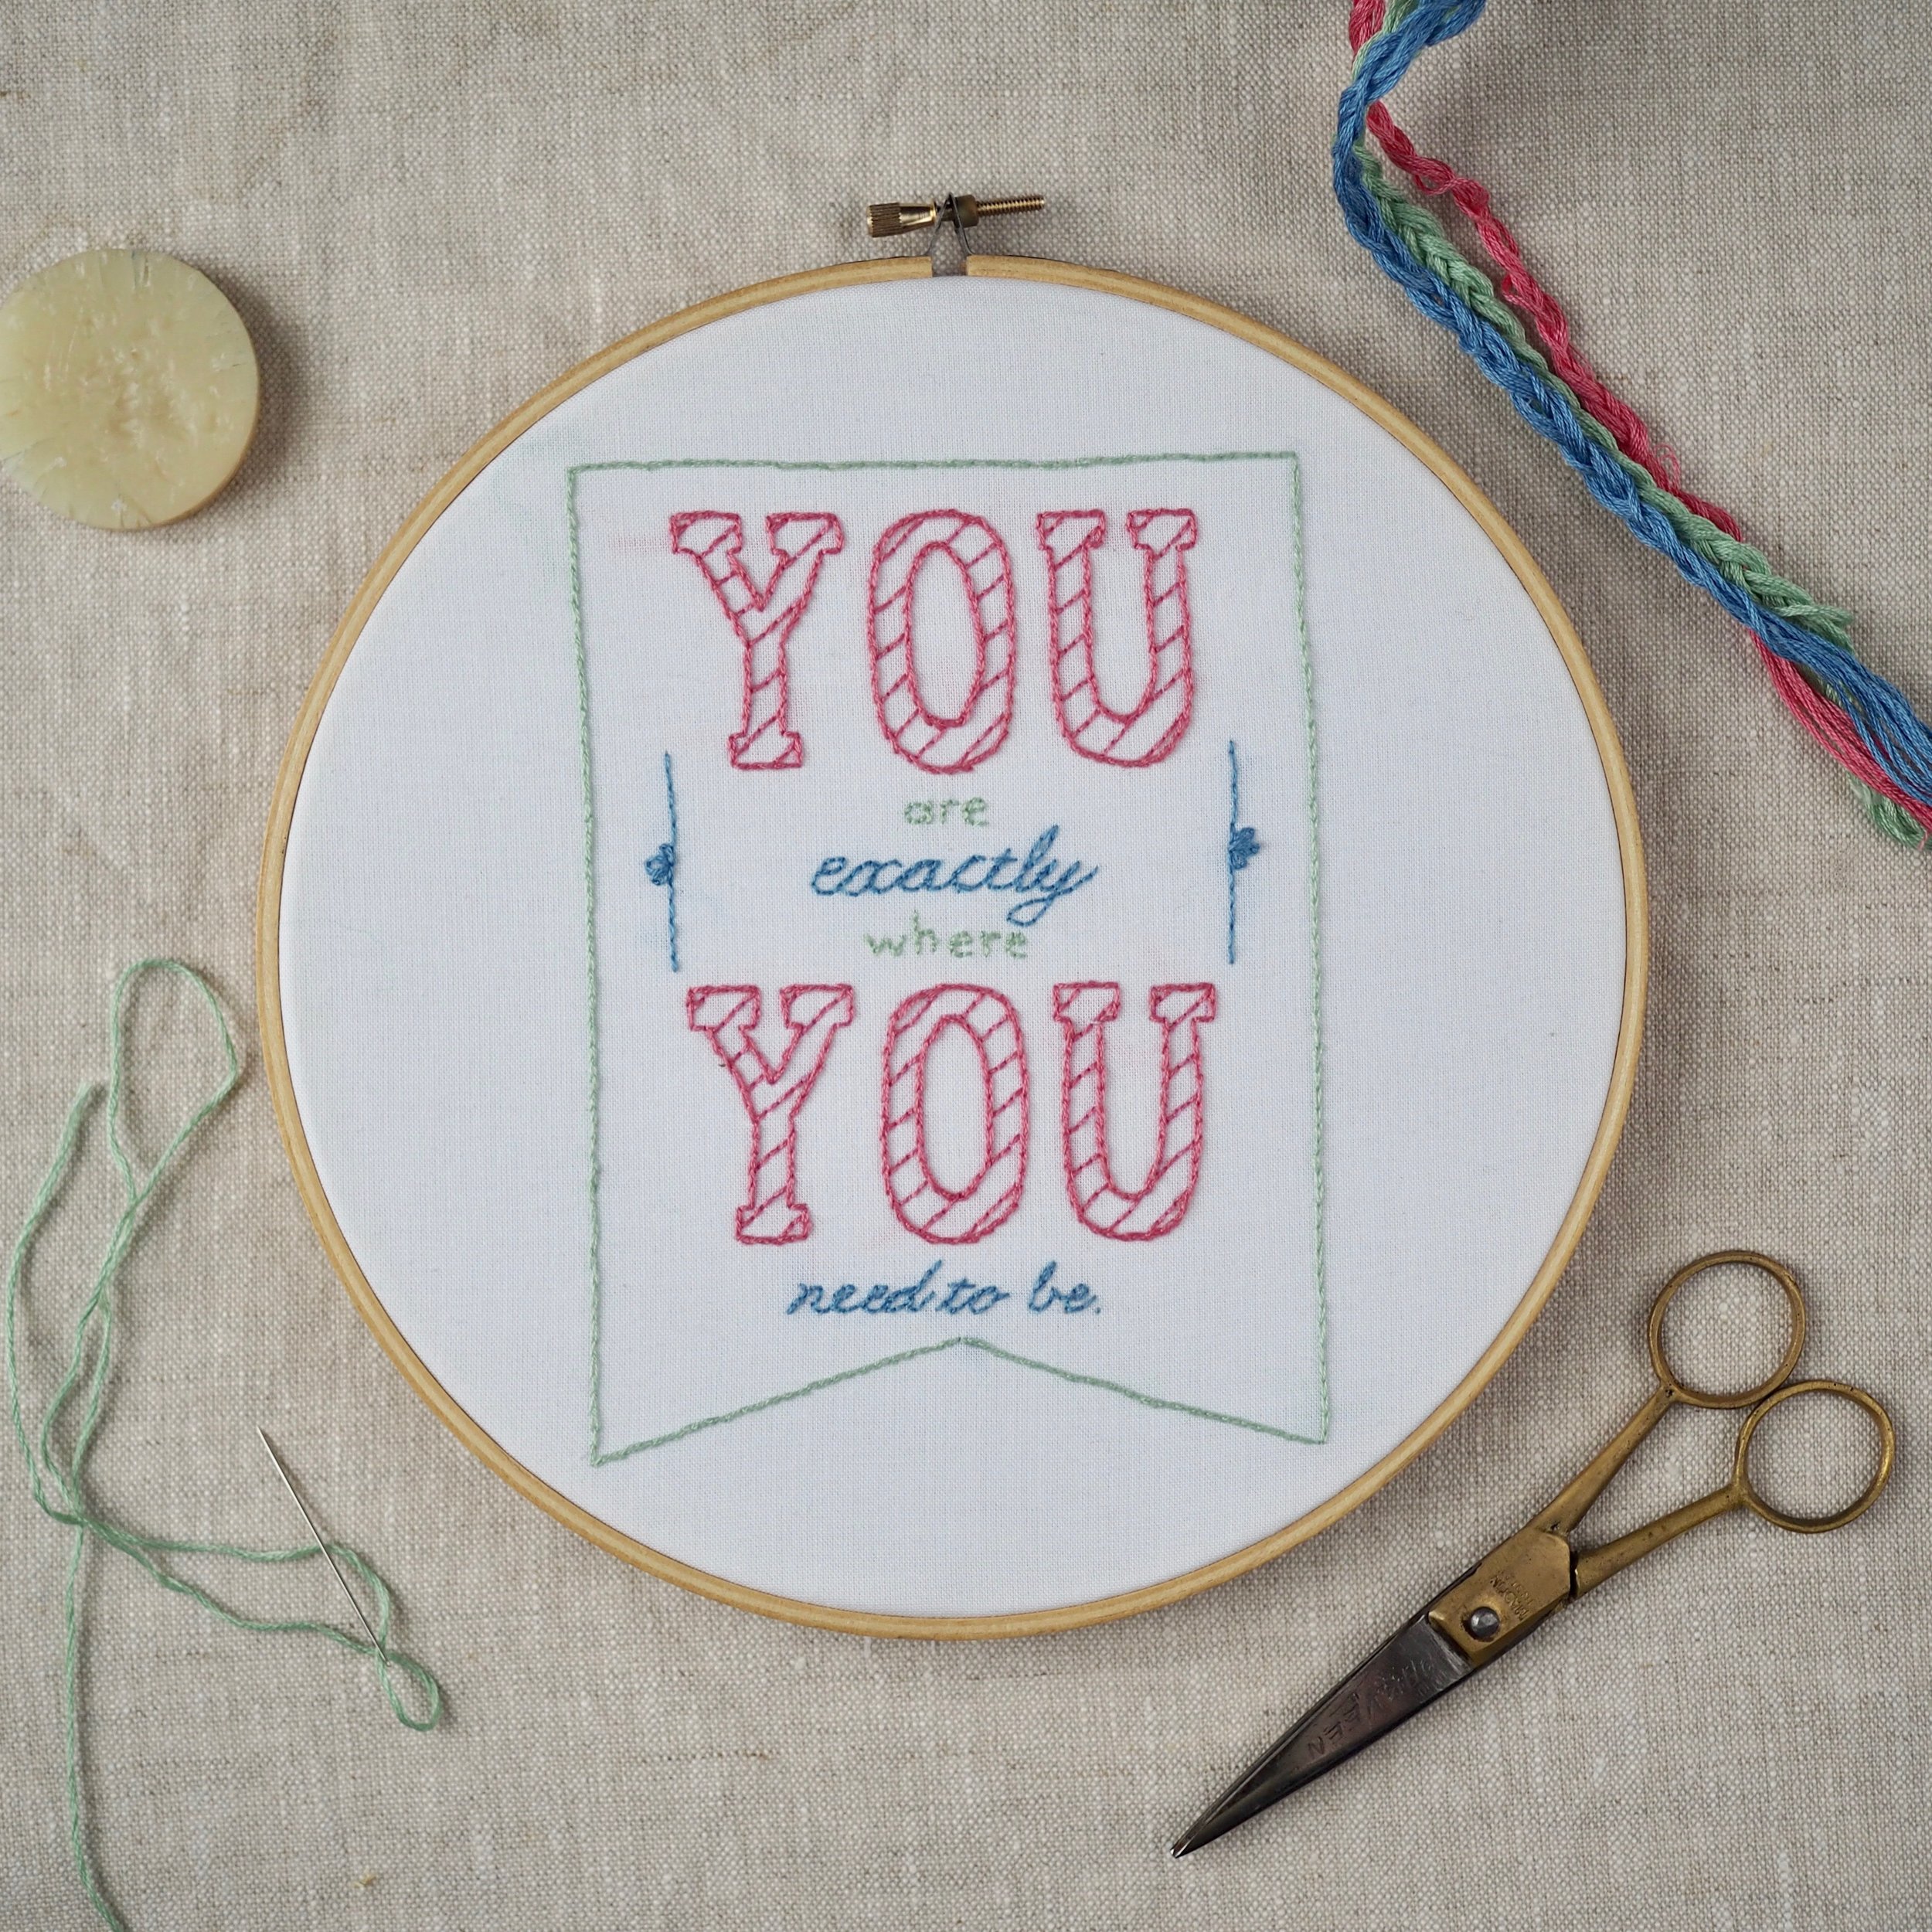
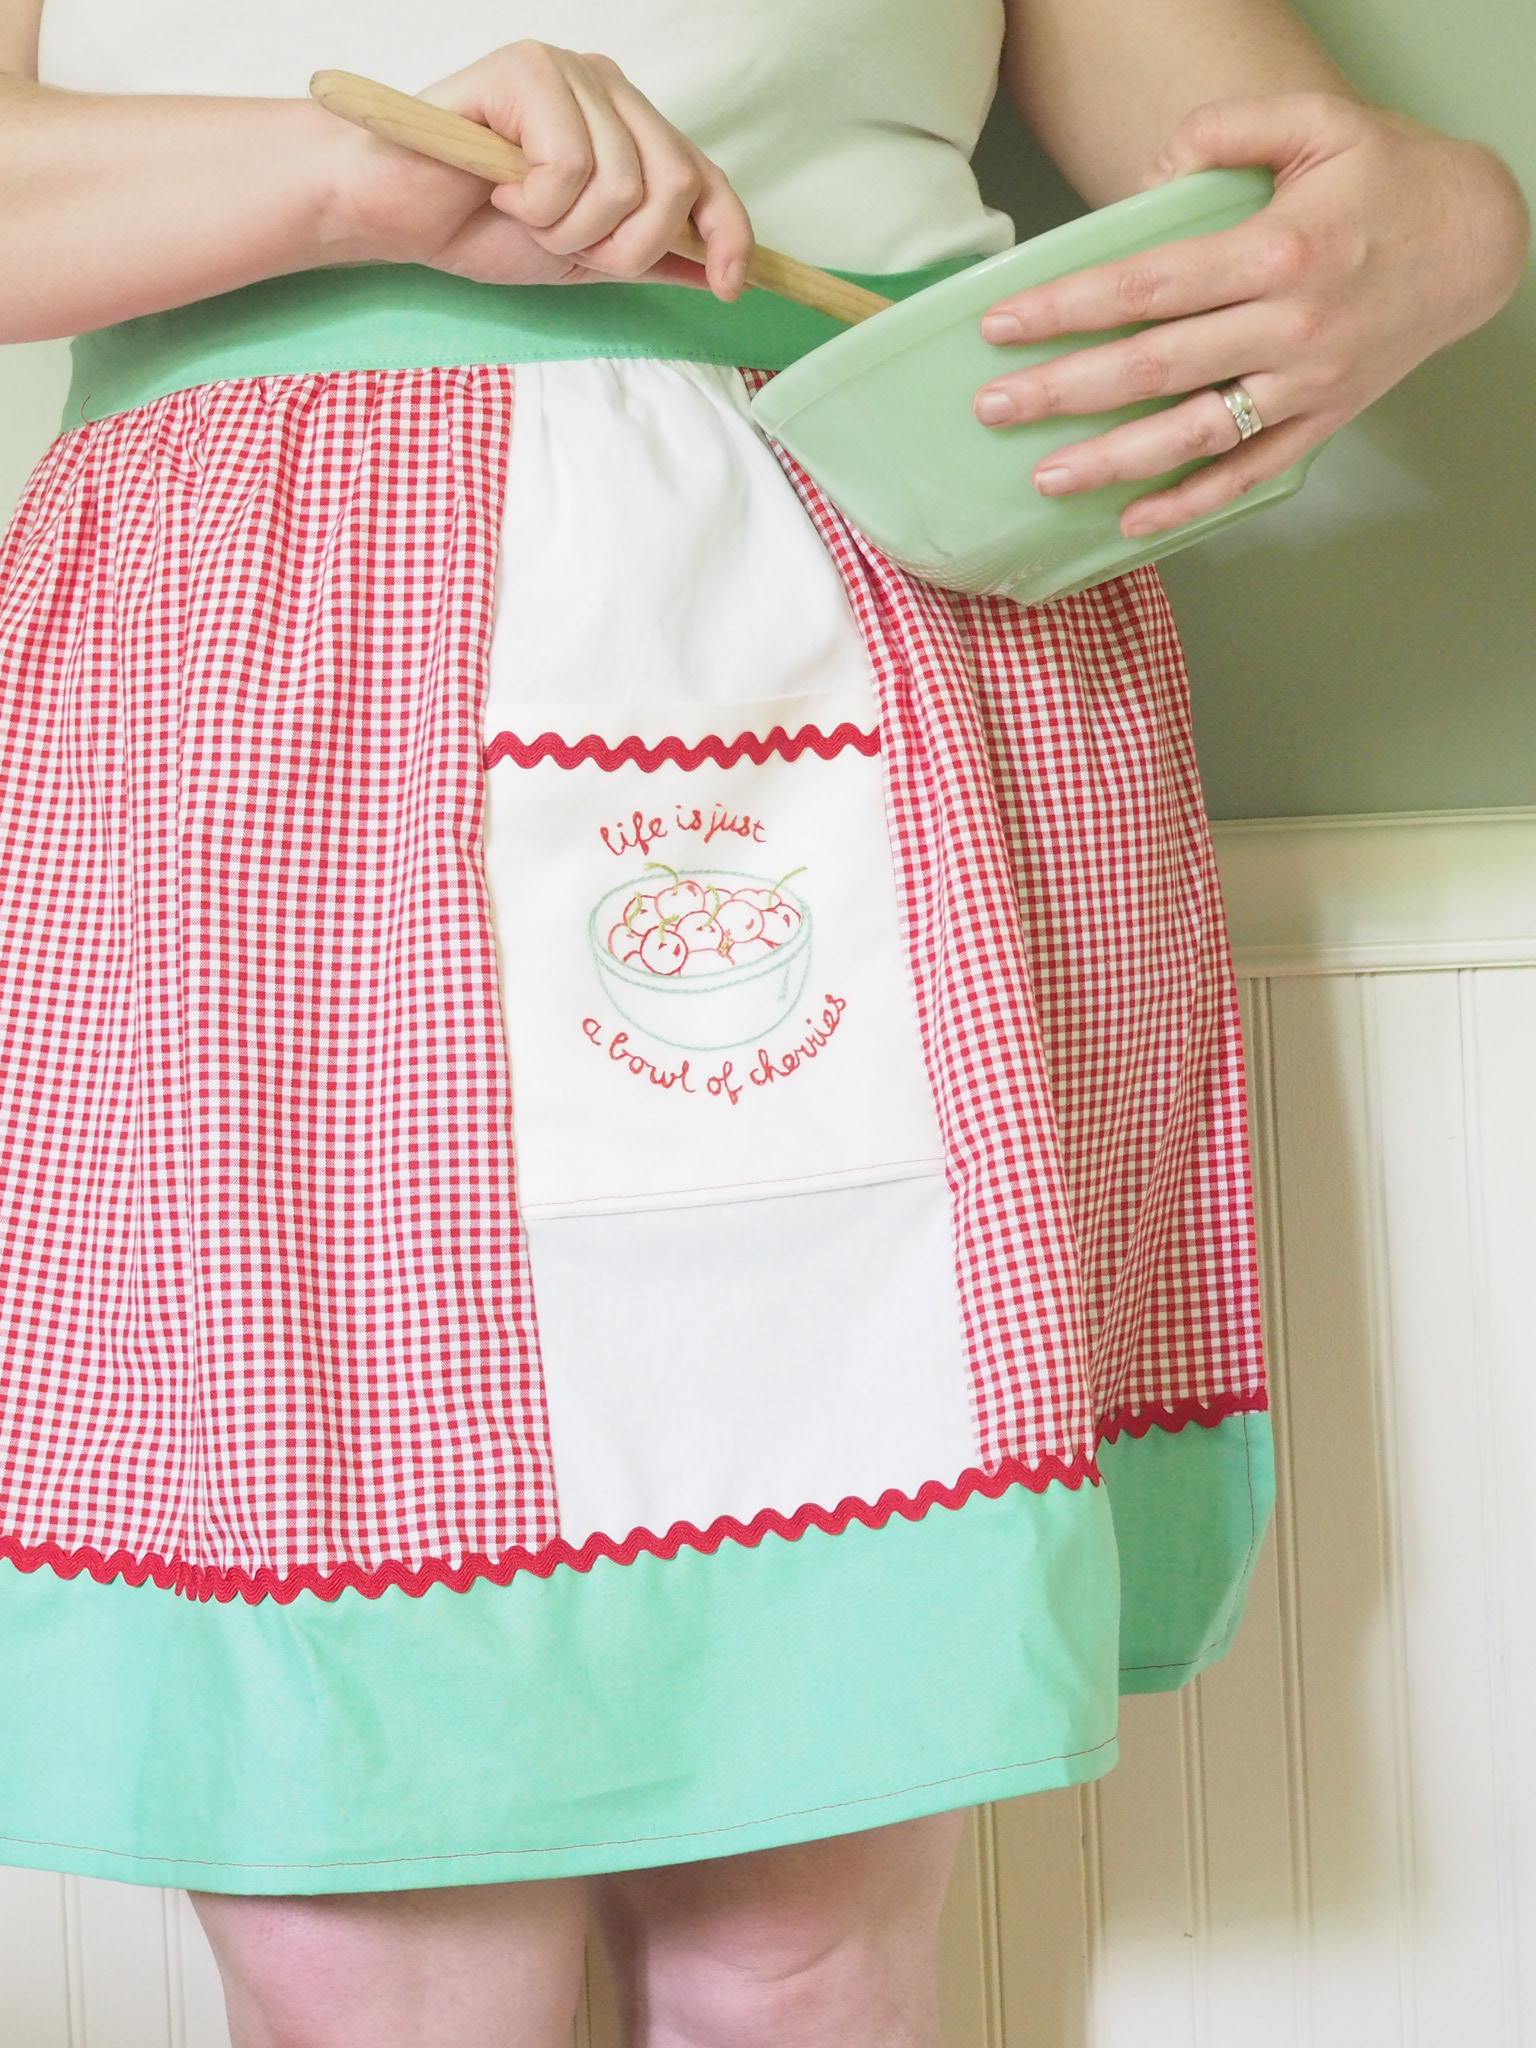
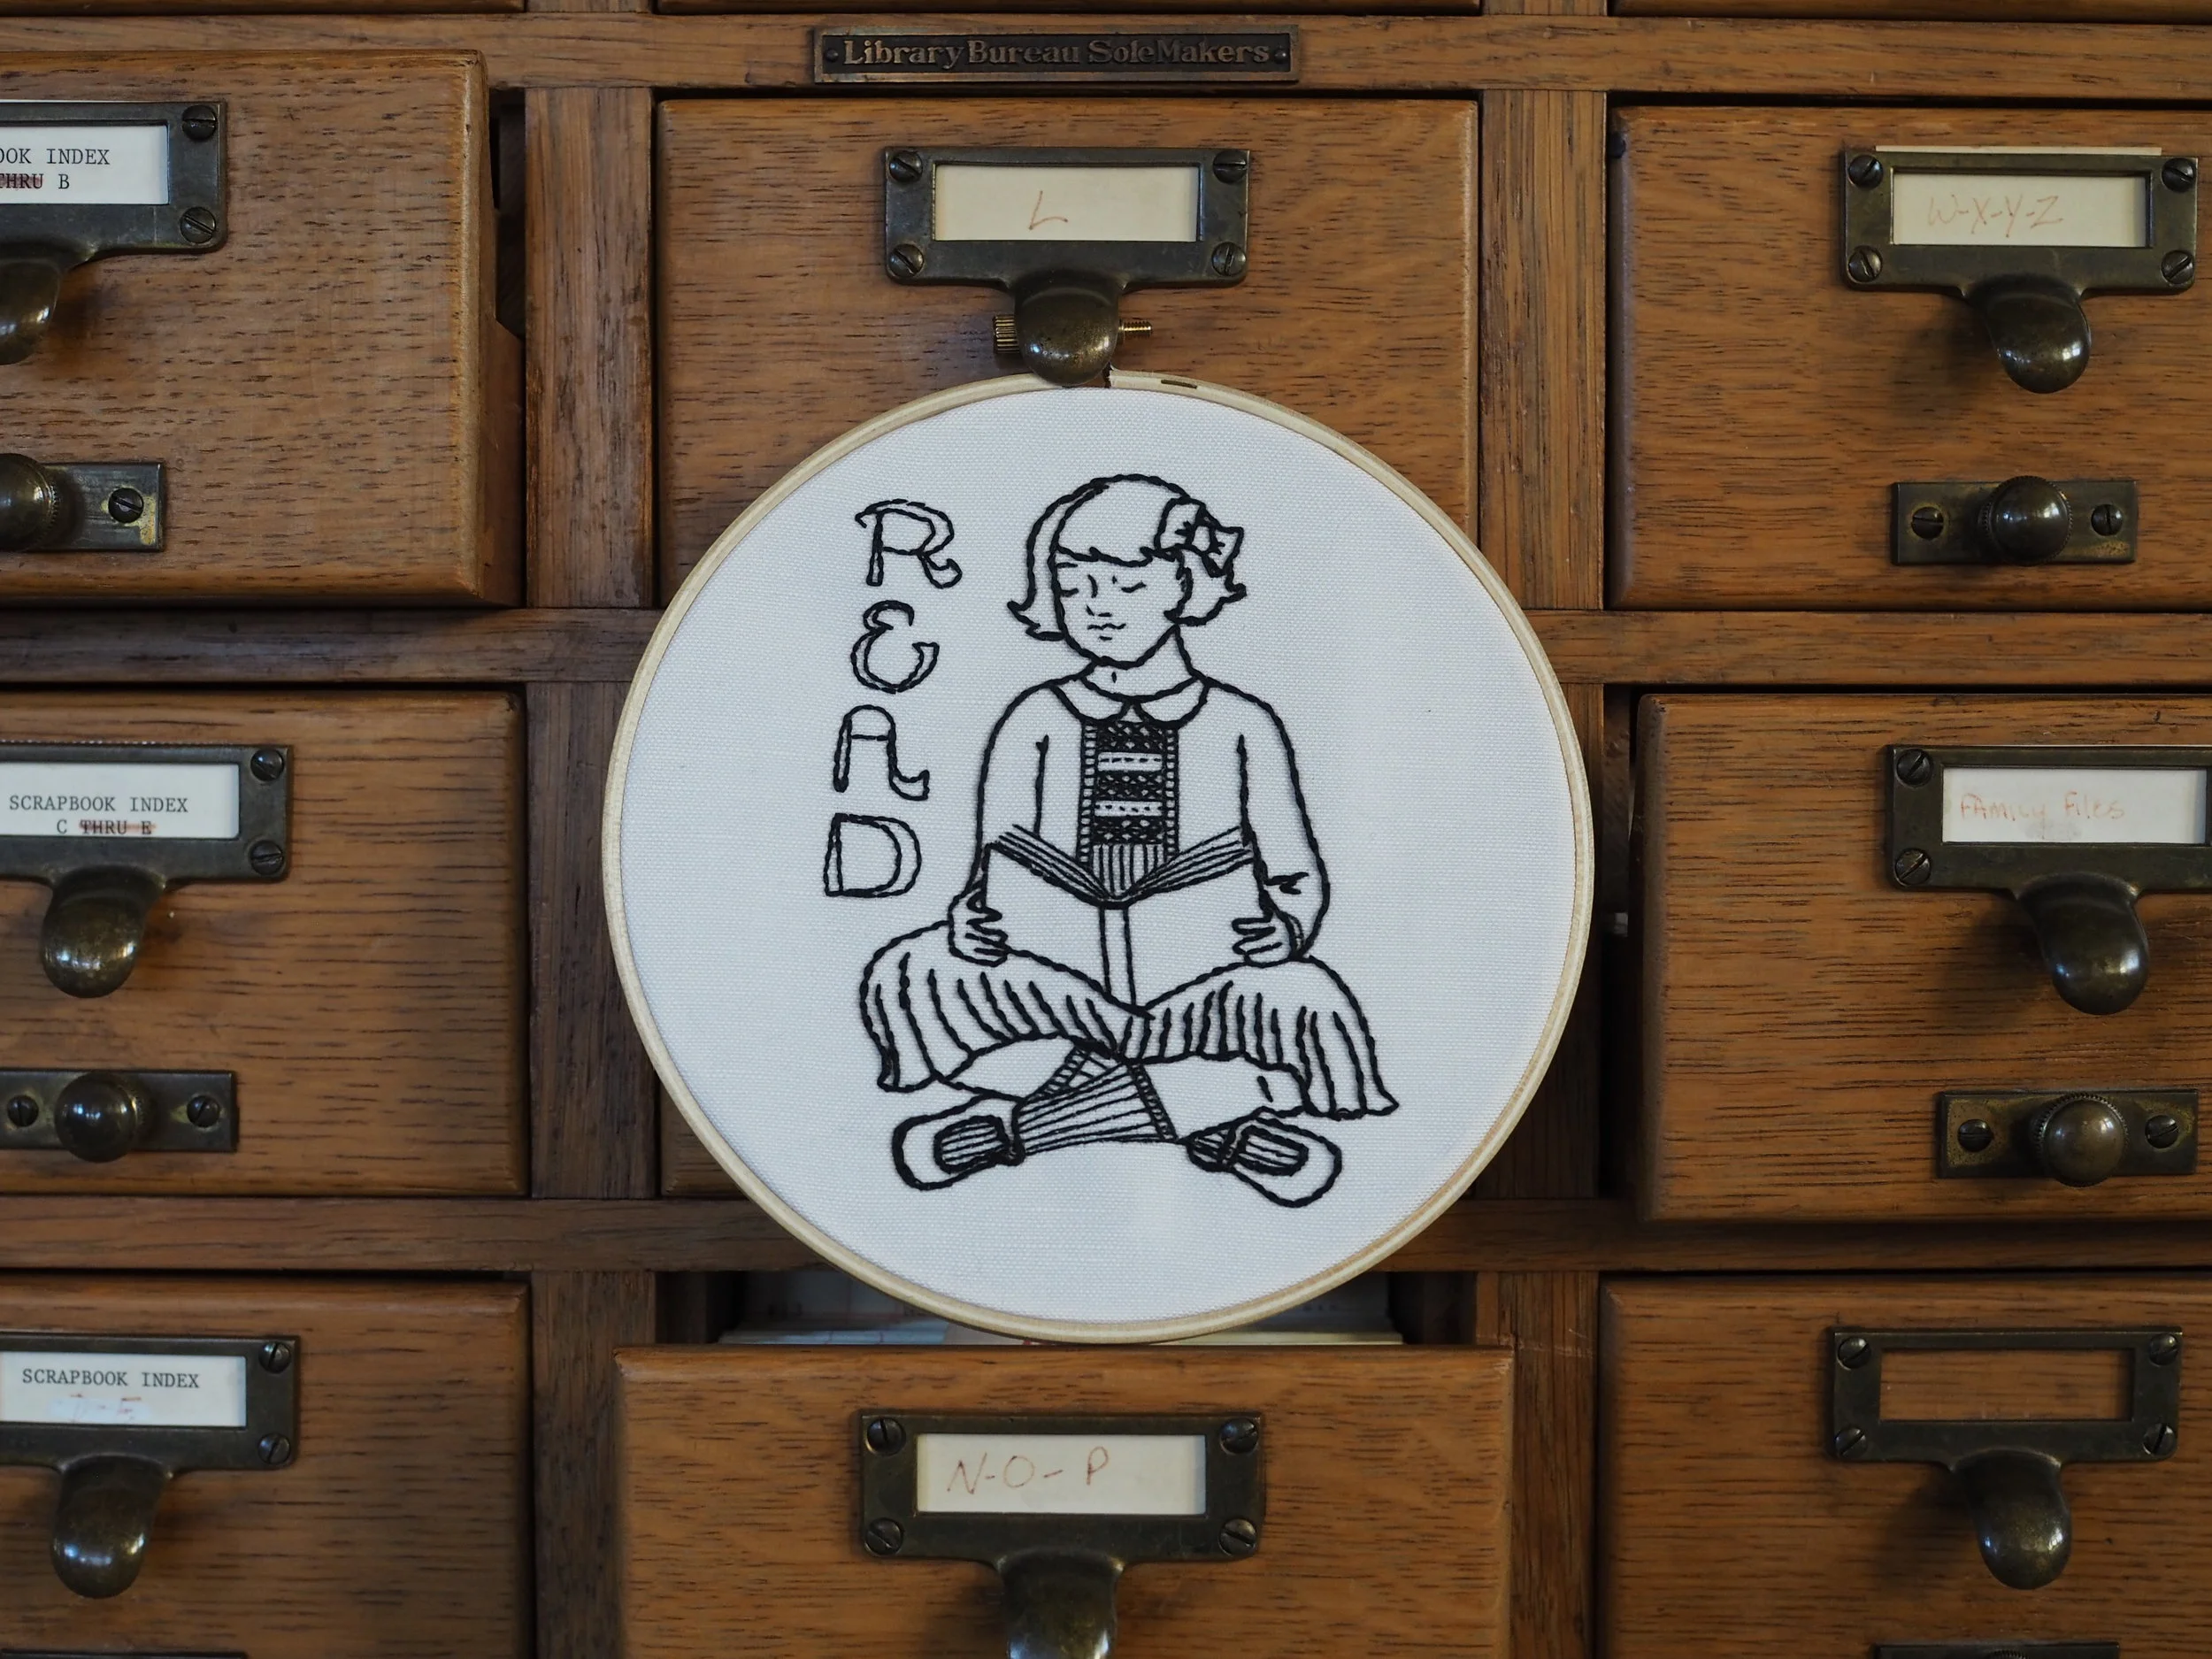
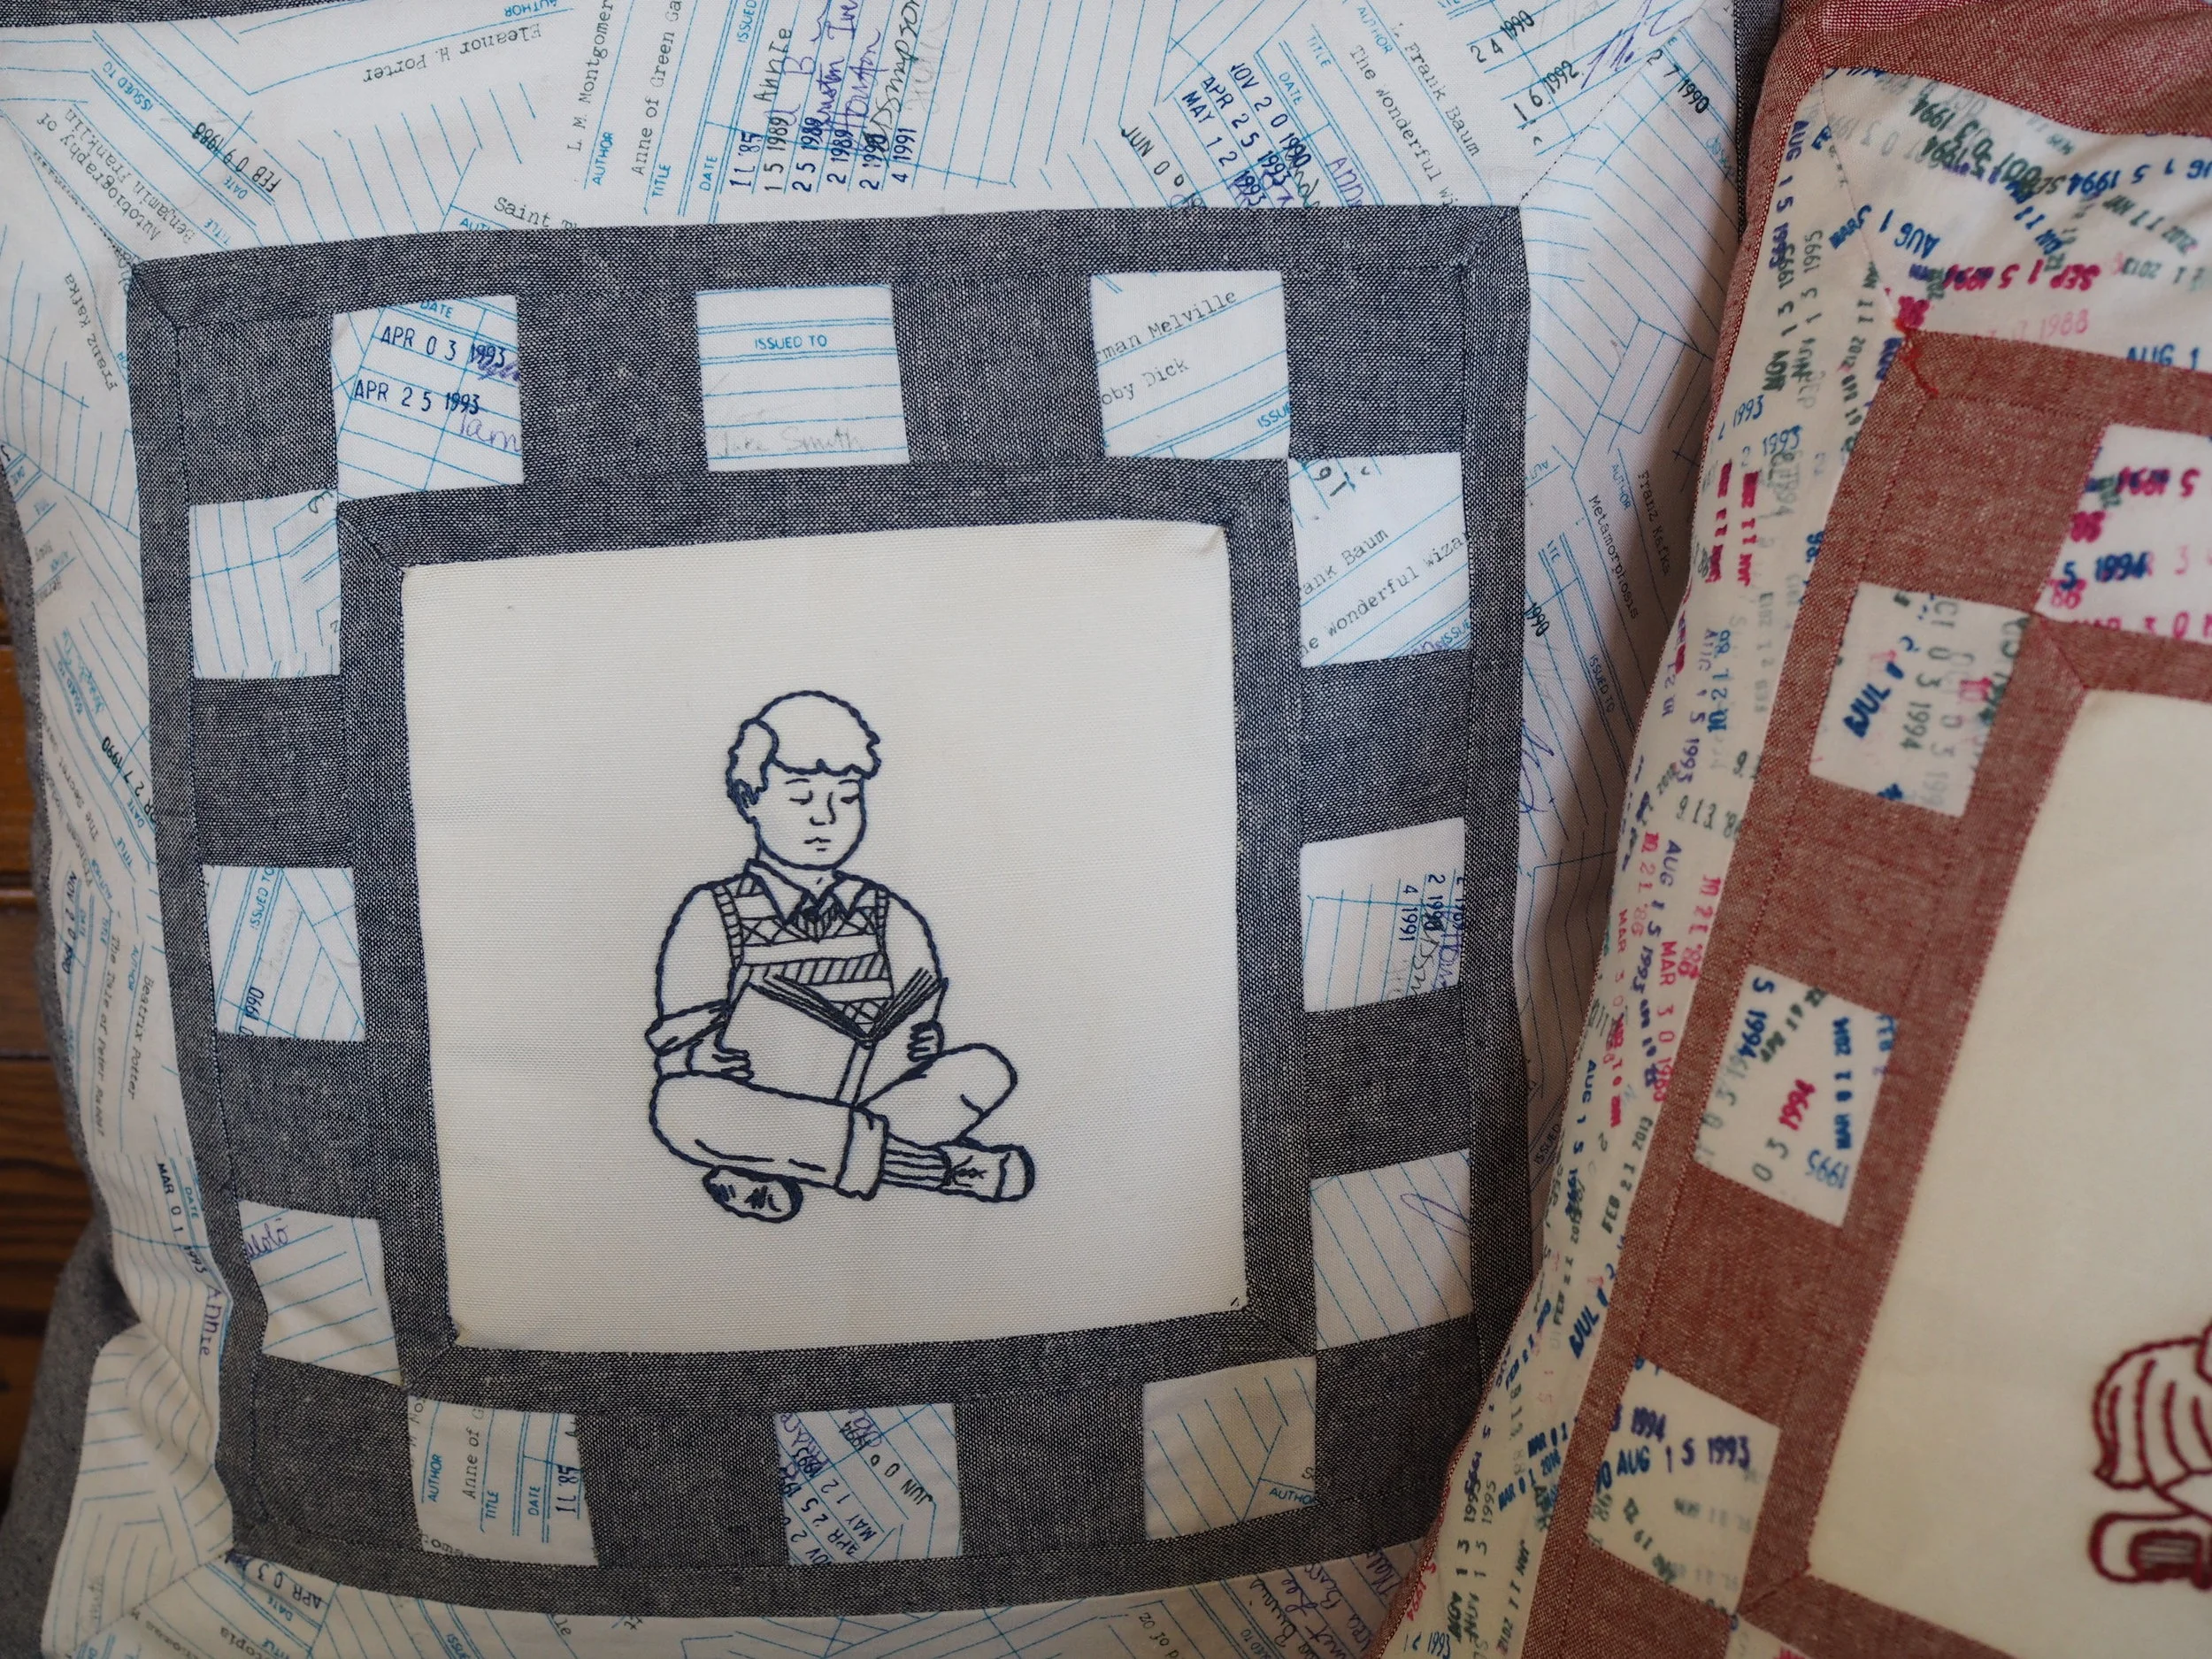
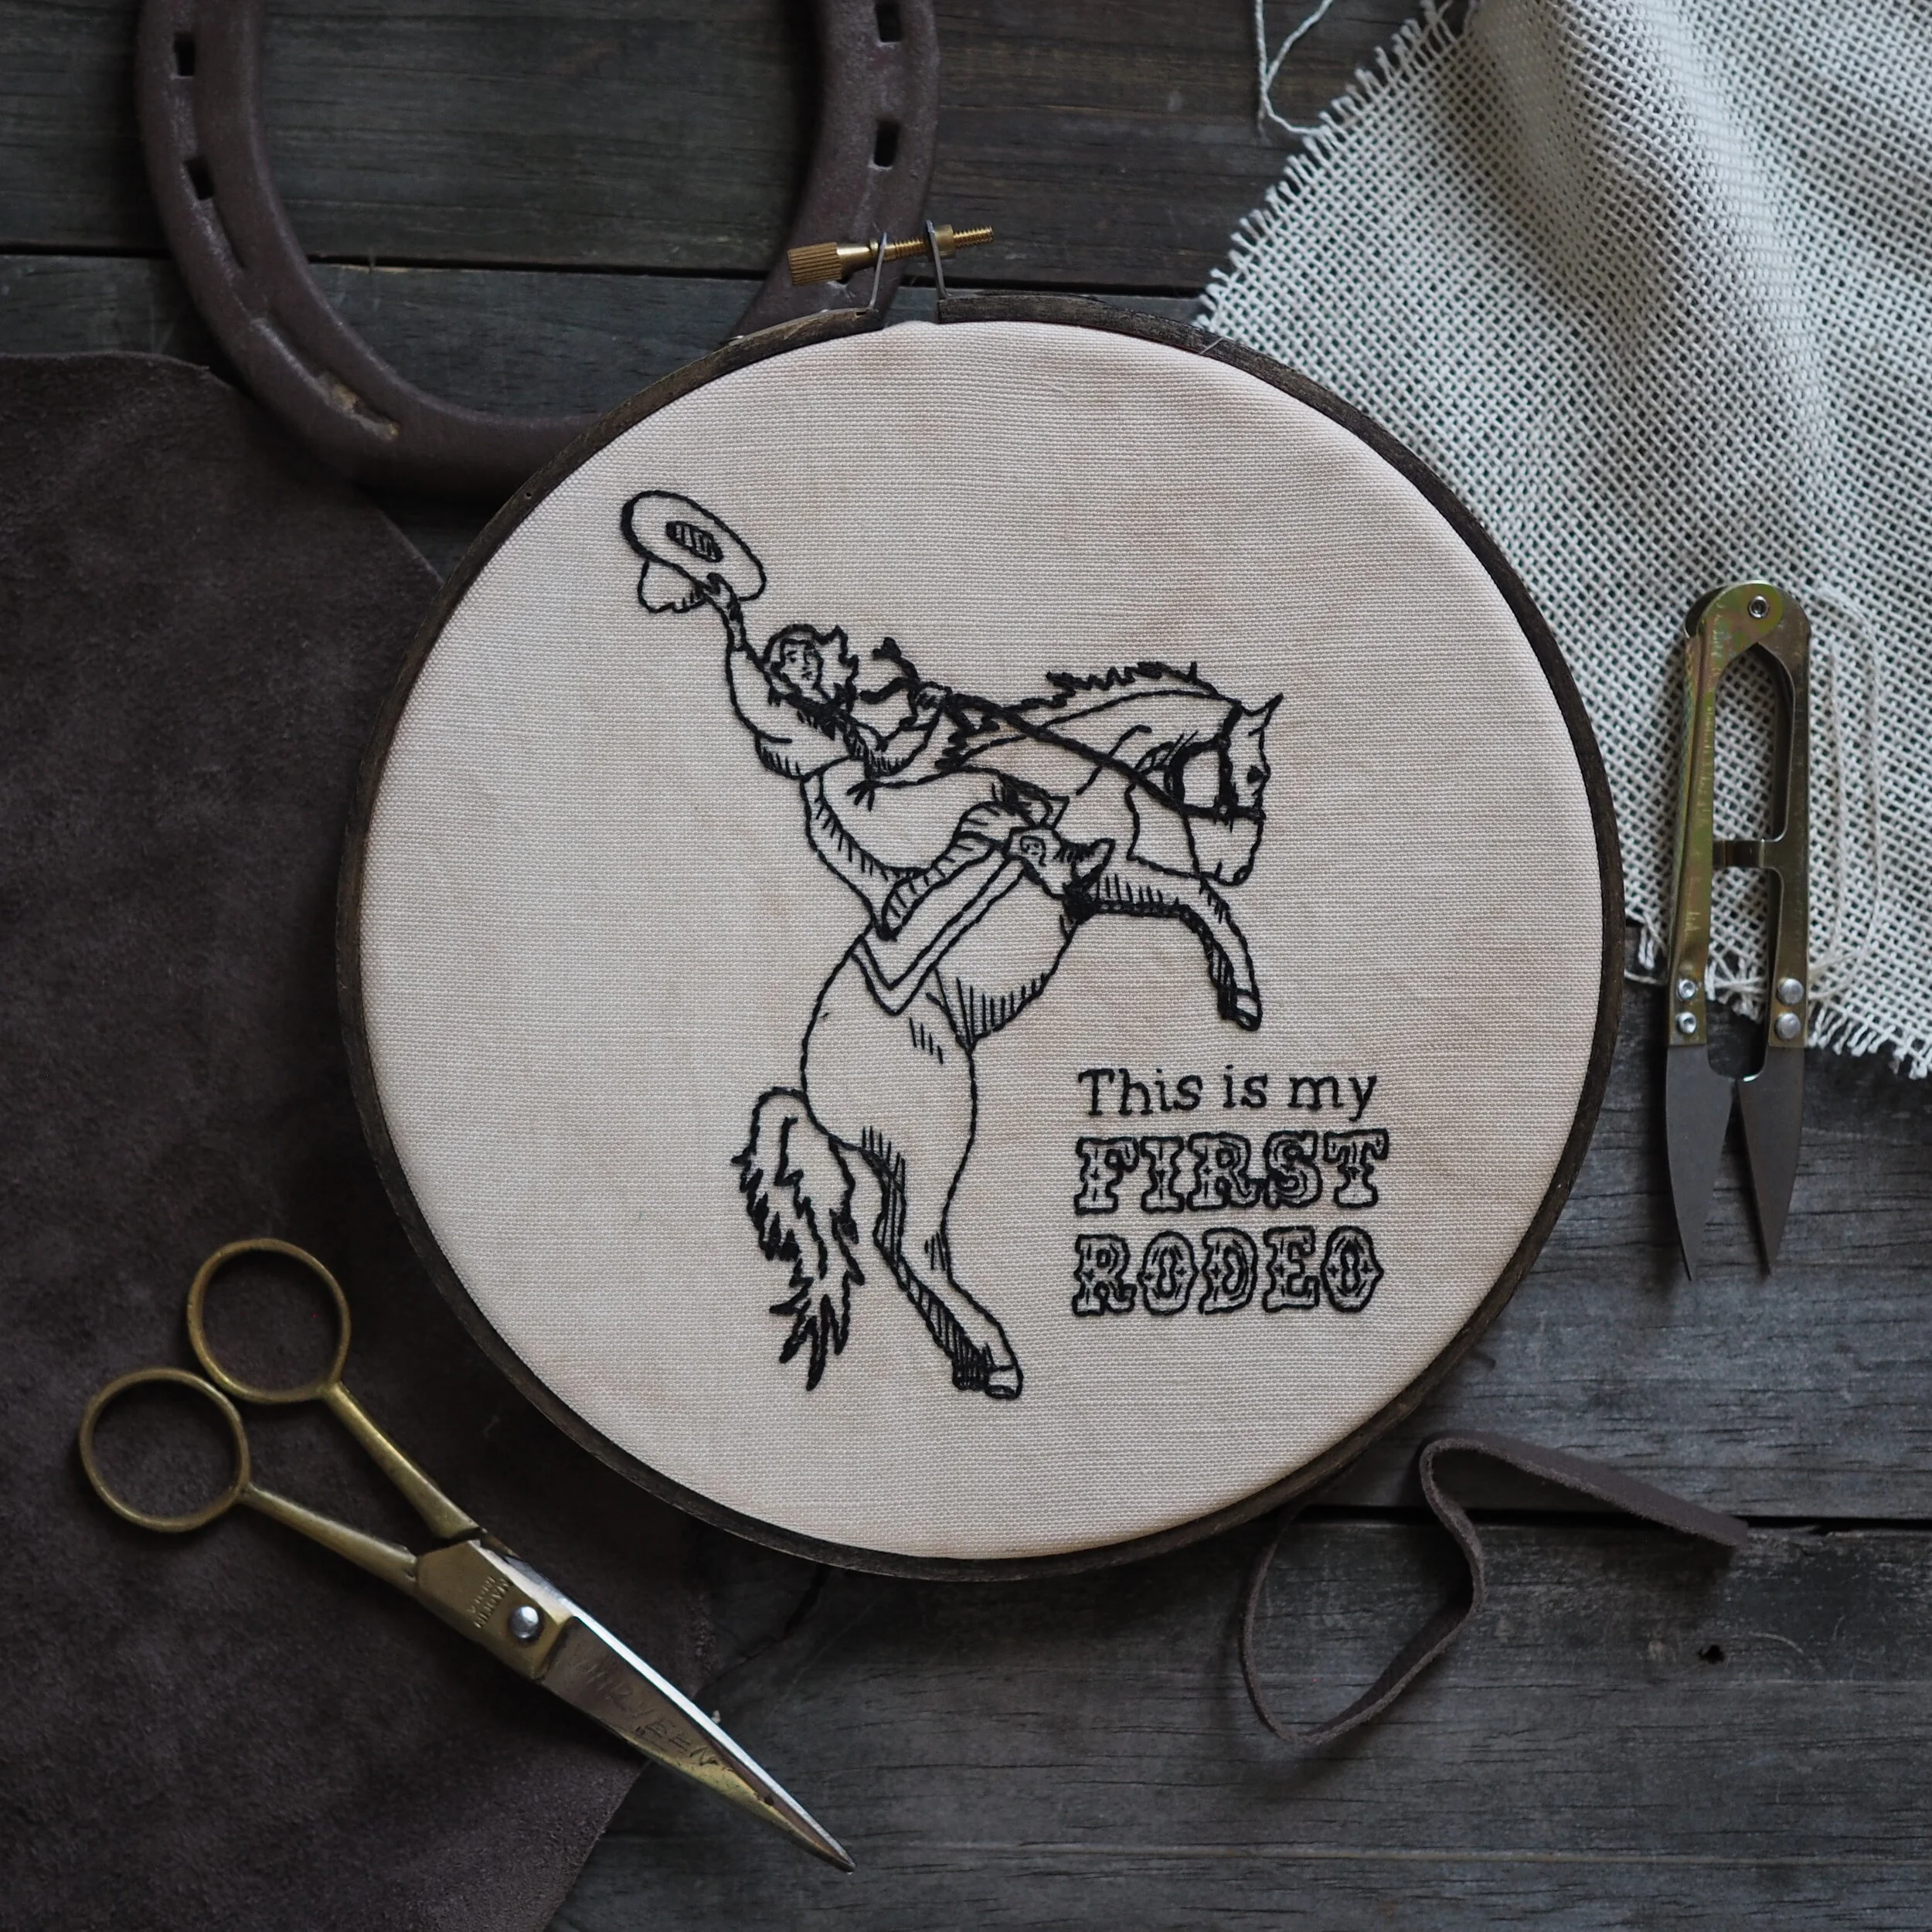
For a long time, I've been wanting to expand my designs beyond just knitting patterns, so I'm pleased to introduce my first trio of embroidery designs! Each design can be purchased as a PDF pattern or as a complete kit with pre-printed fabric, needle, thread and hoop. I've always found embroidery quite soothing, and when the design is already on the fabric, its even easier to incorporate a little slow stitching into your day.
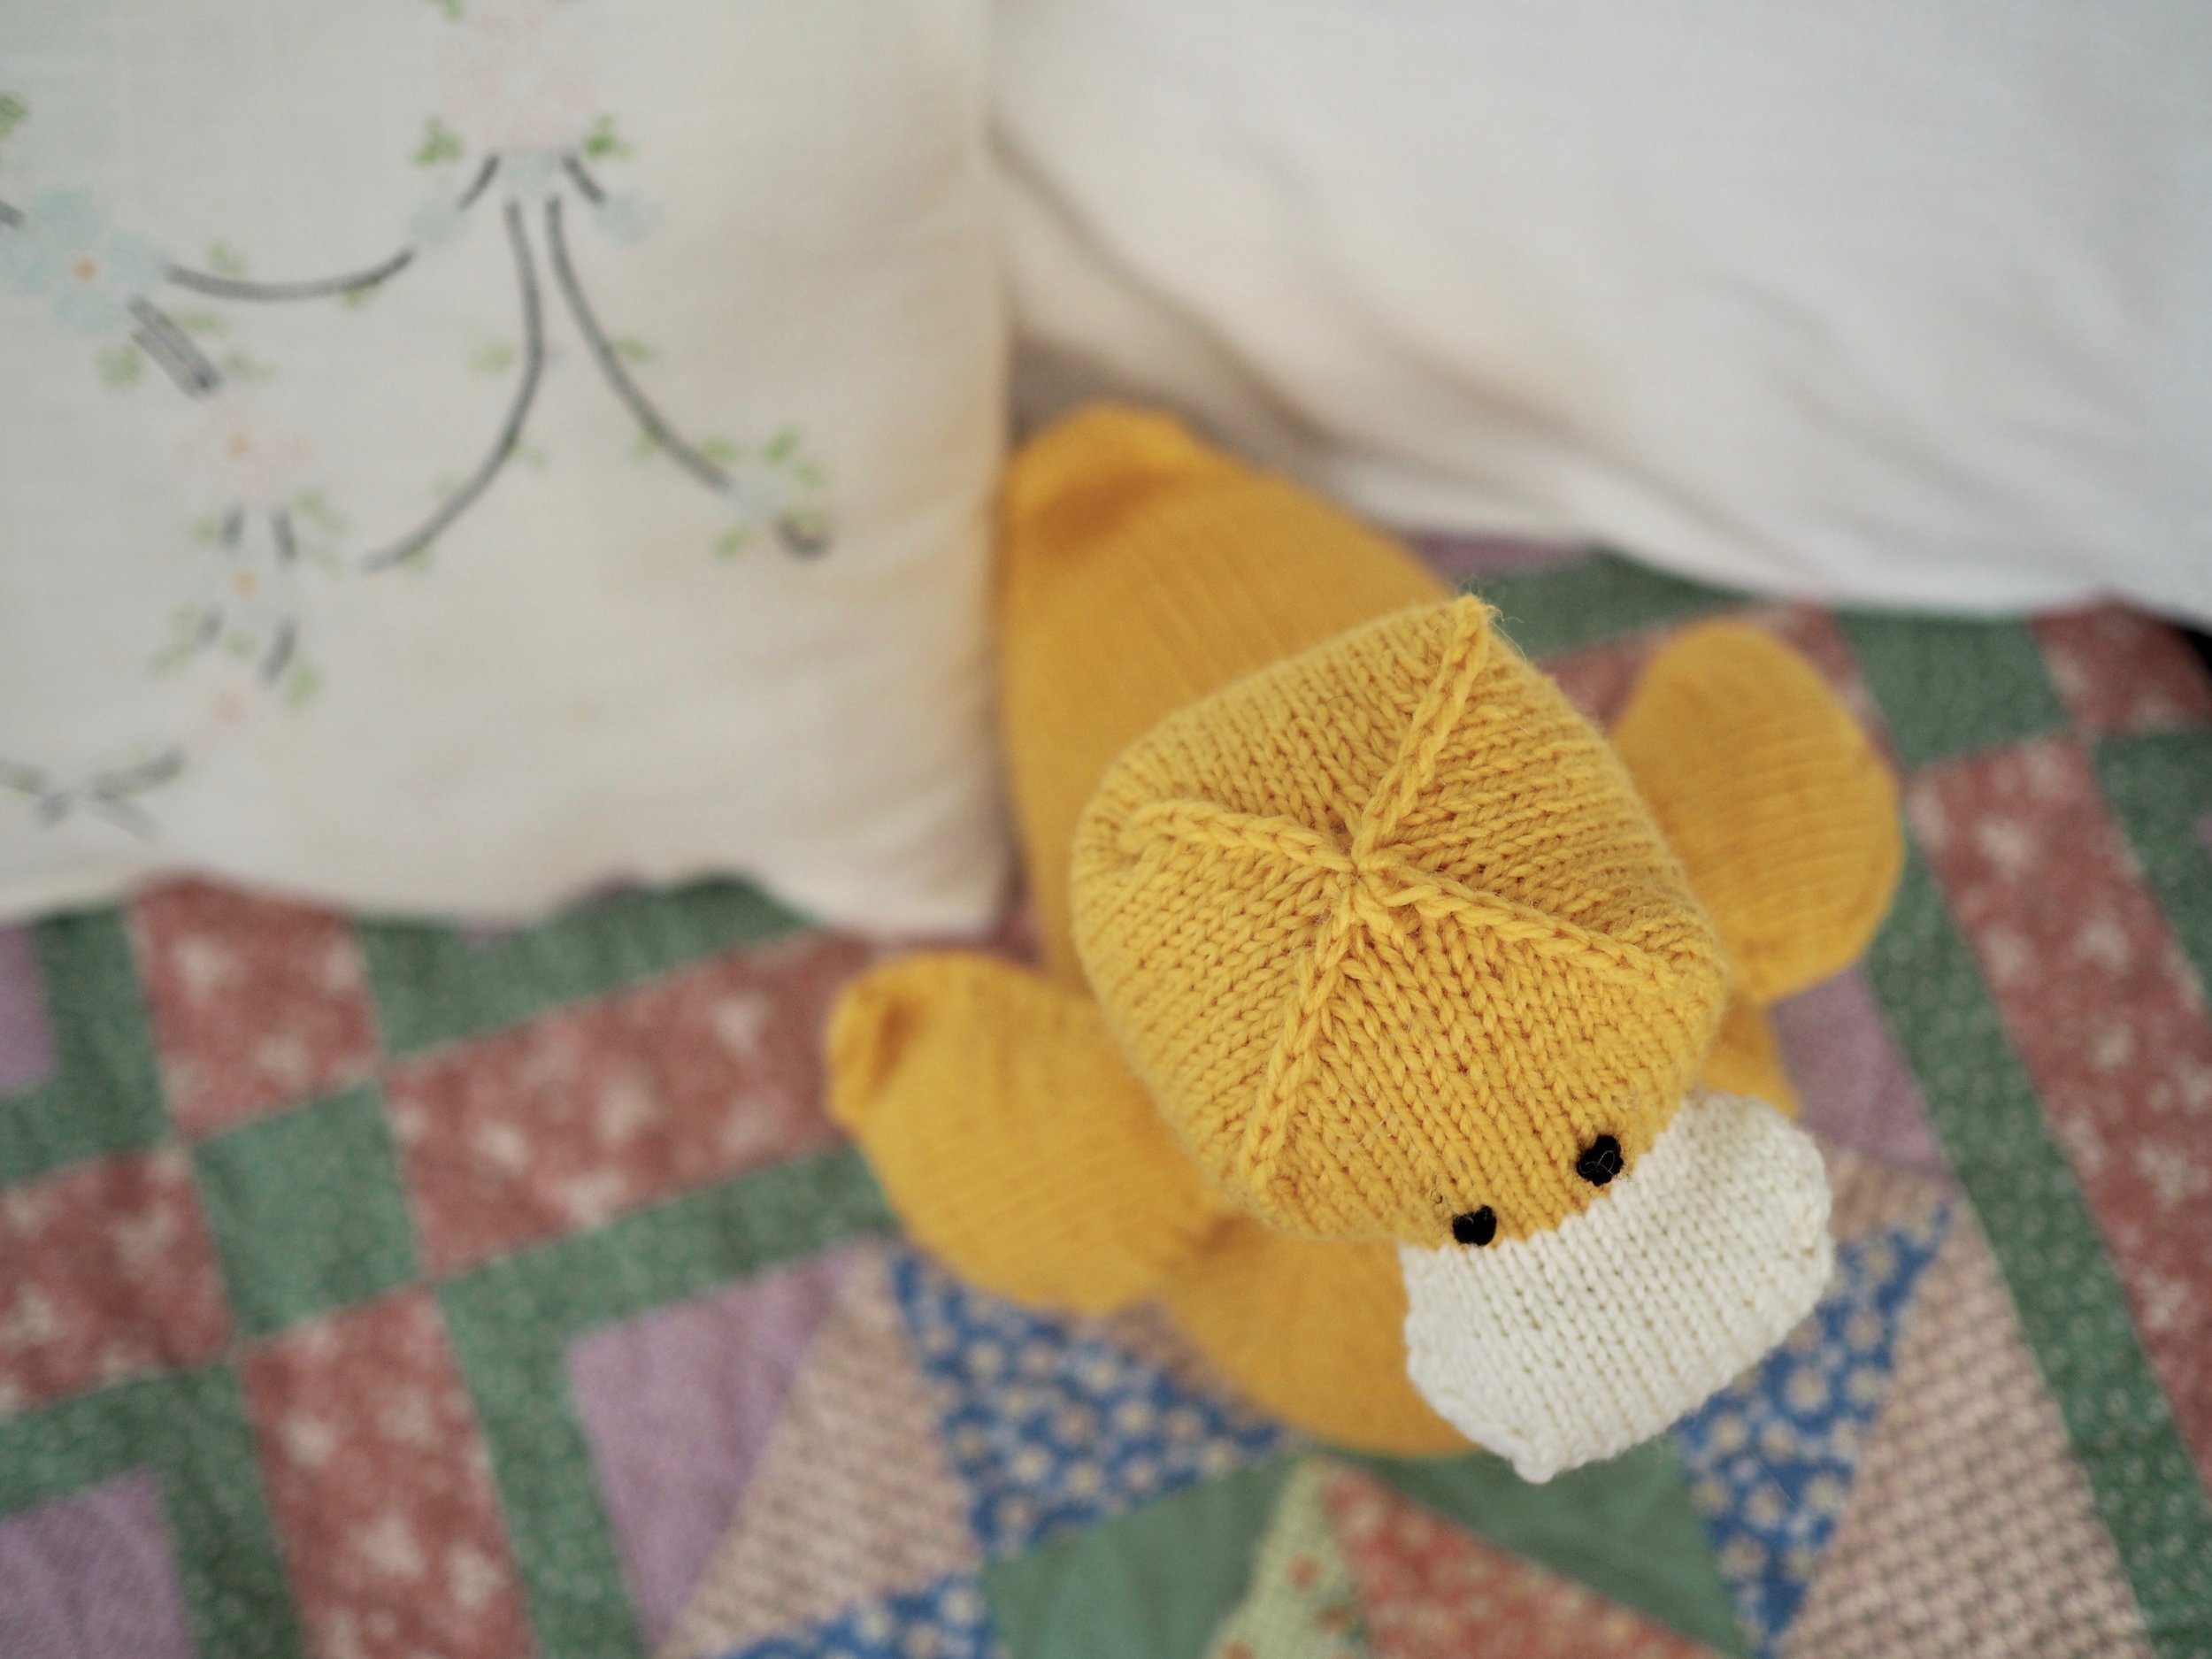
In addition to the embroidery designs, I'm also pleased to offer my Domenic Duck pattern as kits. This oldie but a goody has been slightly revamped for even more adorable shaping and is the perfect size for snuggling. It's also quick enough to work up for inclusion in this year's Easter baskets.
One of the comments I hear most frequently in relation to my designs is some variation of "That's beautiful, but I'm not there yet."
I never want anyone to feel like my designs are out of reach, and I feel like I gain so much when I try to stretch my own skills, so I've been working to make my designs more accessible for crafters of all skill levels.
This means that my new stuffed animal kits will be paired with a step-by-step online tutorial series/KAL (with prizes!) and all embroidery kits come with a basic stitch guide. Hopefully these tools will give you the confidence to take the leap and try something new!