Domenic Duck KAL - Joining in the Round, KFBs, and Building a Base

Domenic Duck KAL

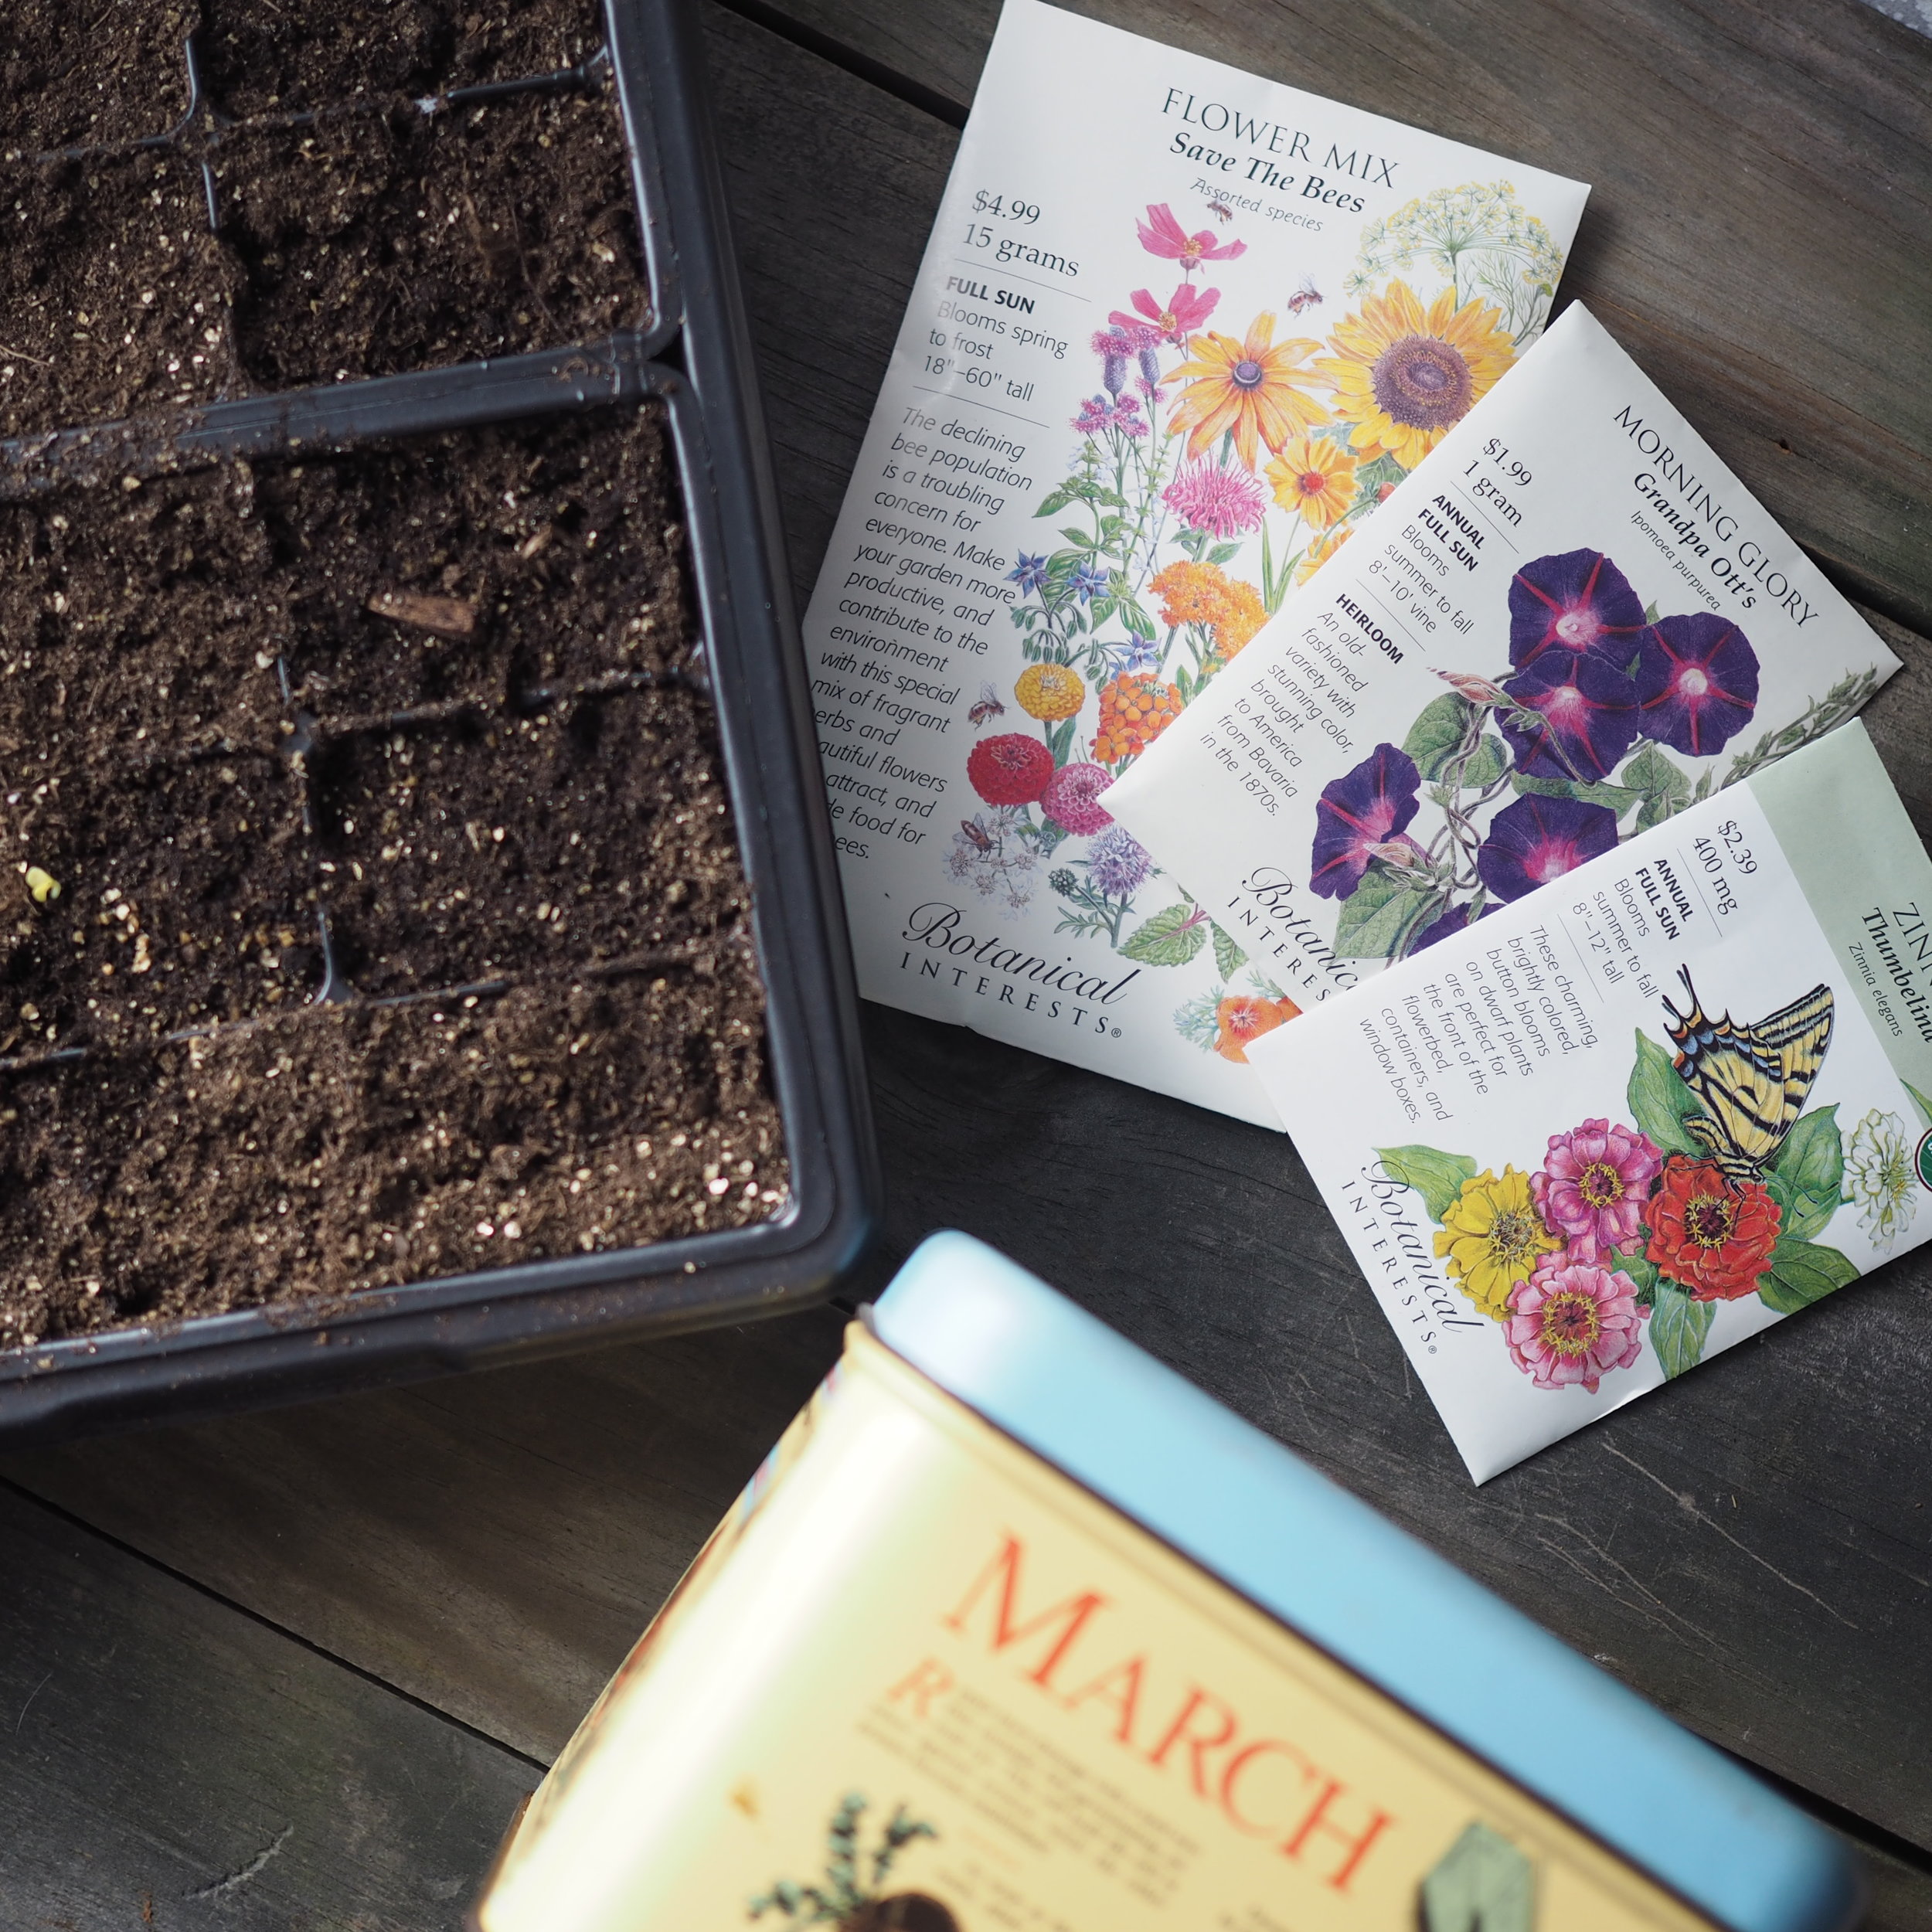
Want to join in the fun? All kits (knit and embroidery) are 25% off now through April 4th with the code SPRINGFLING.

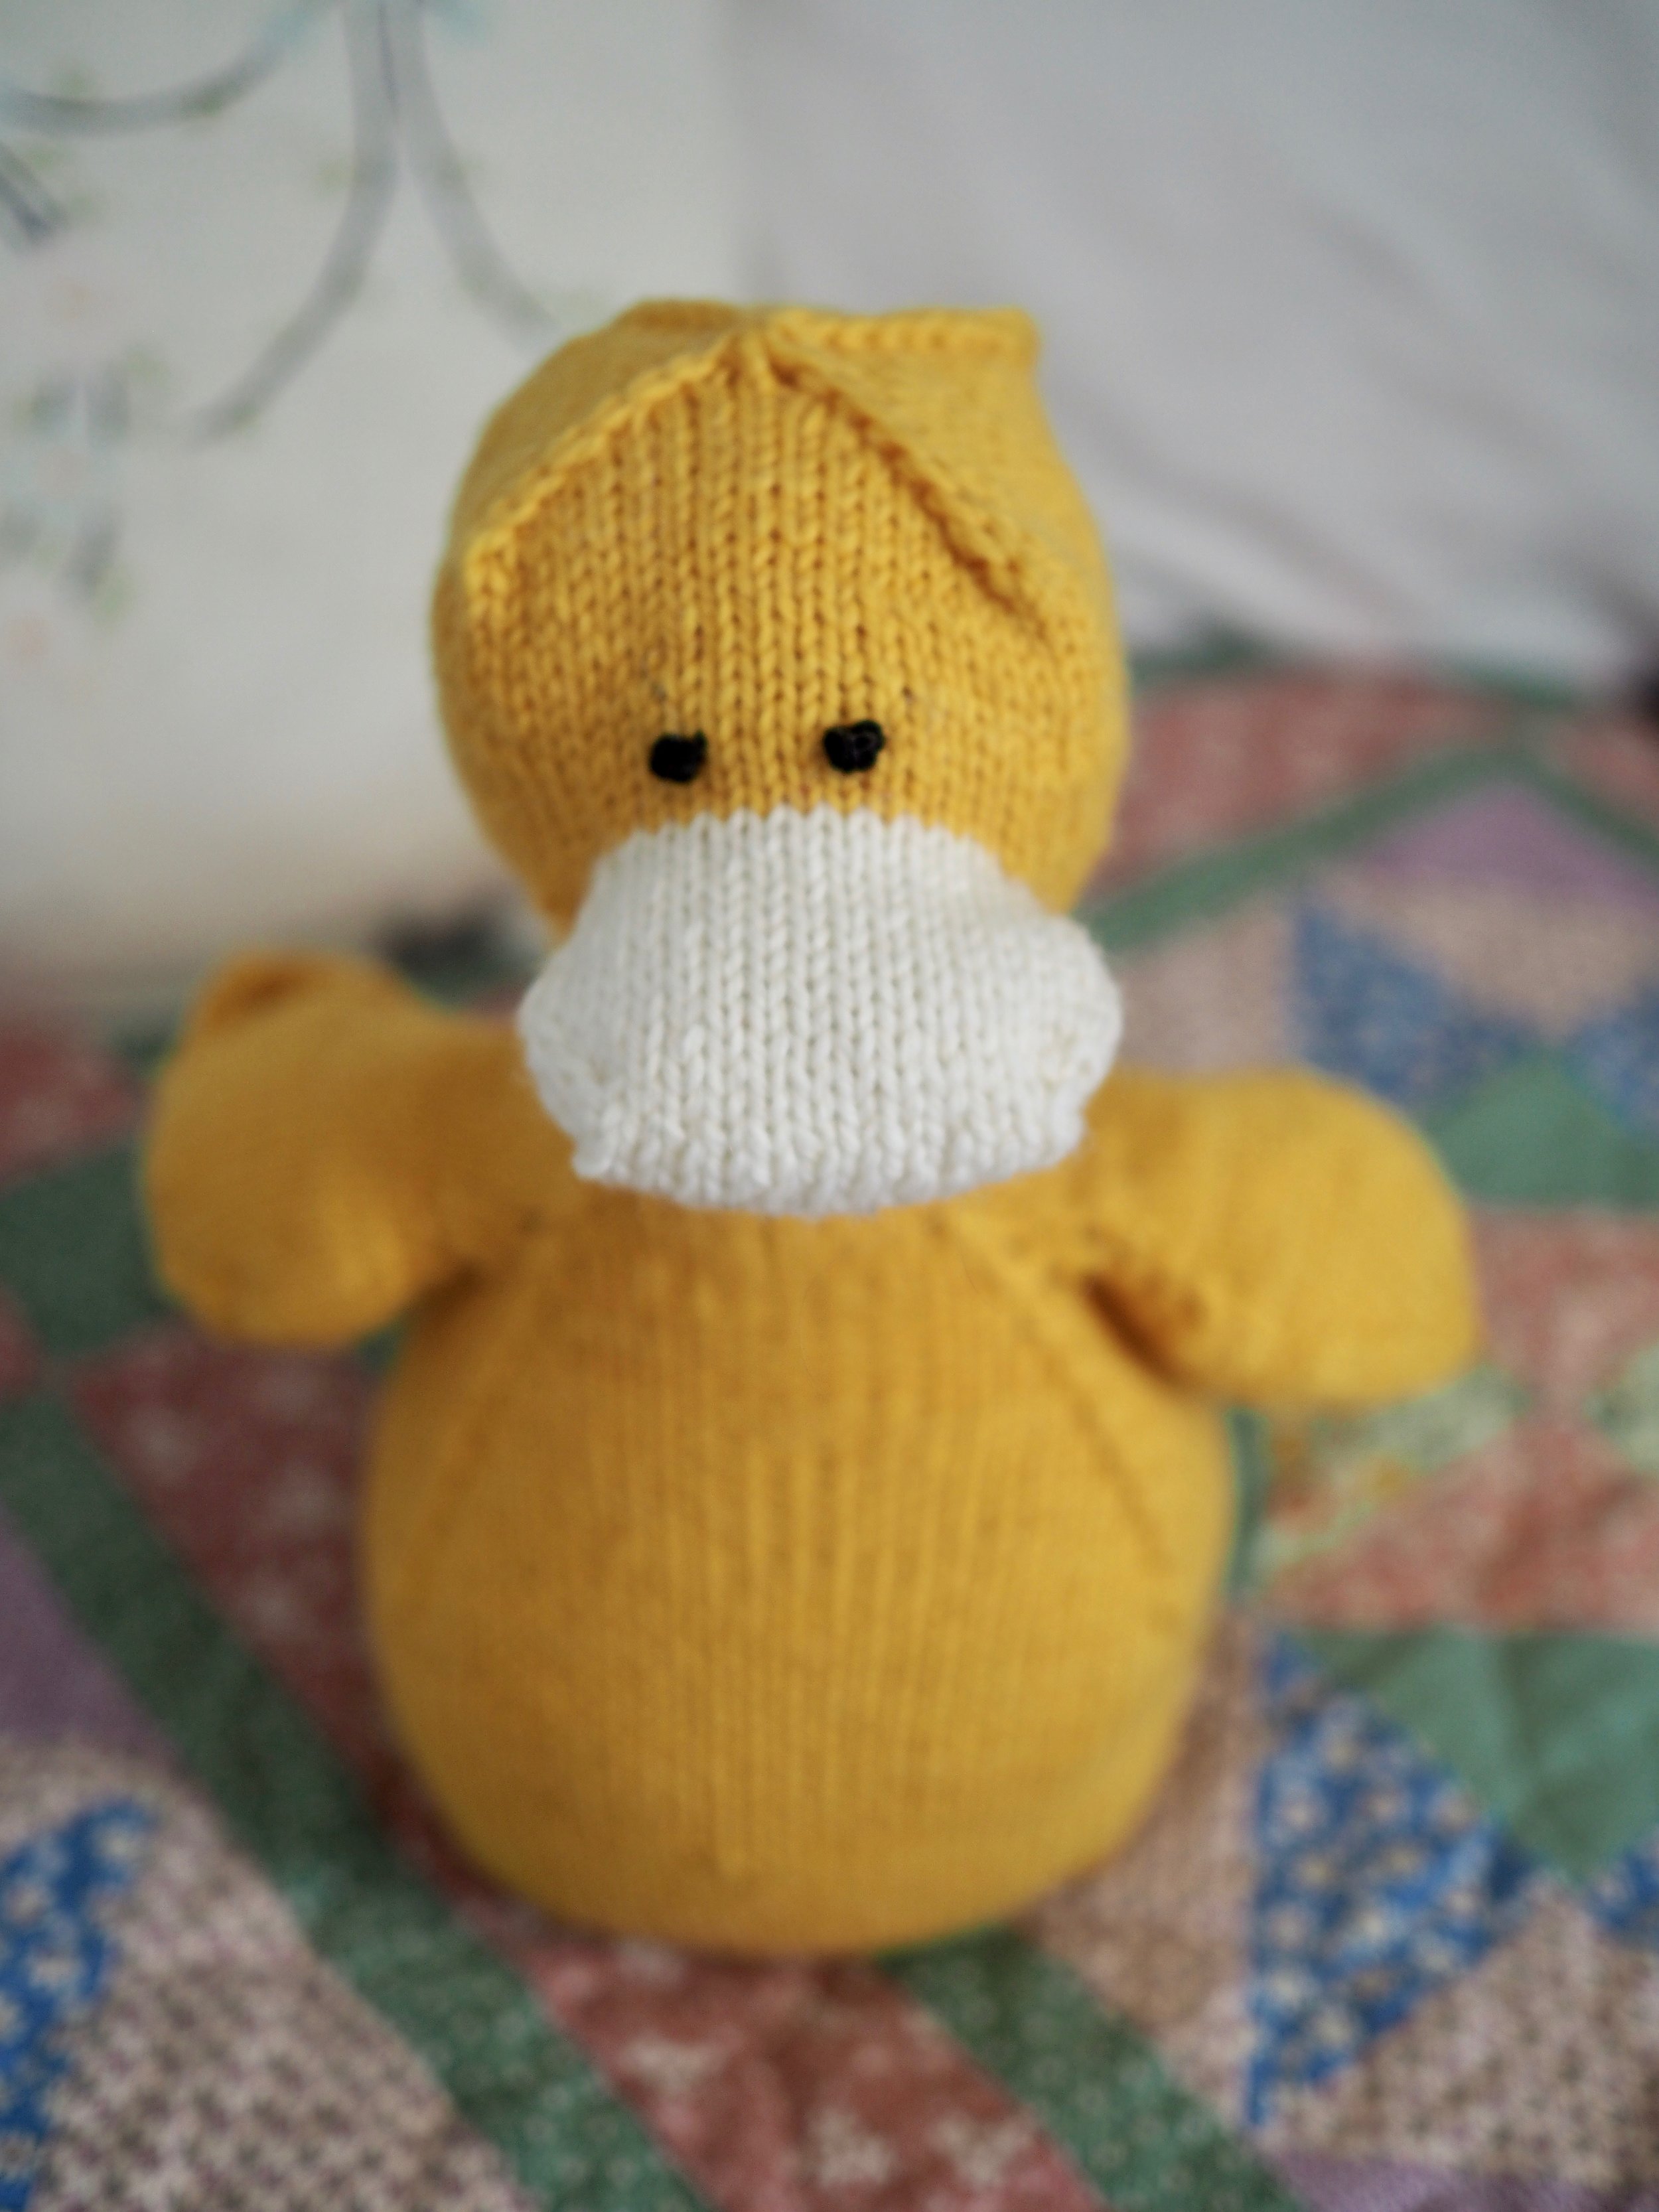
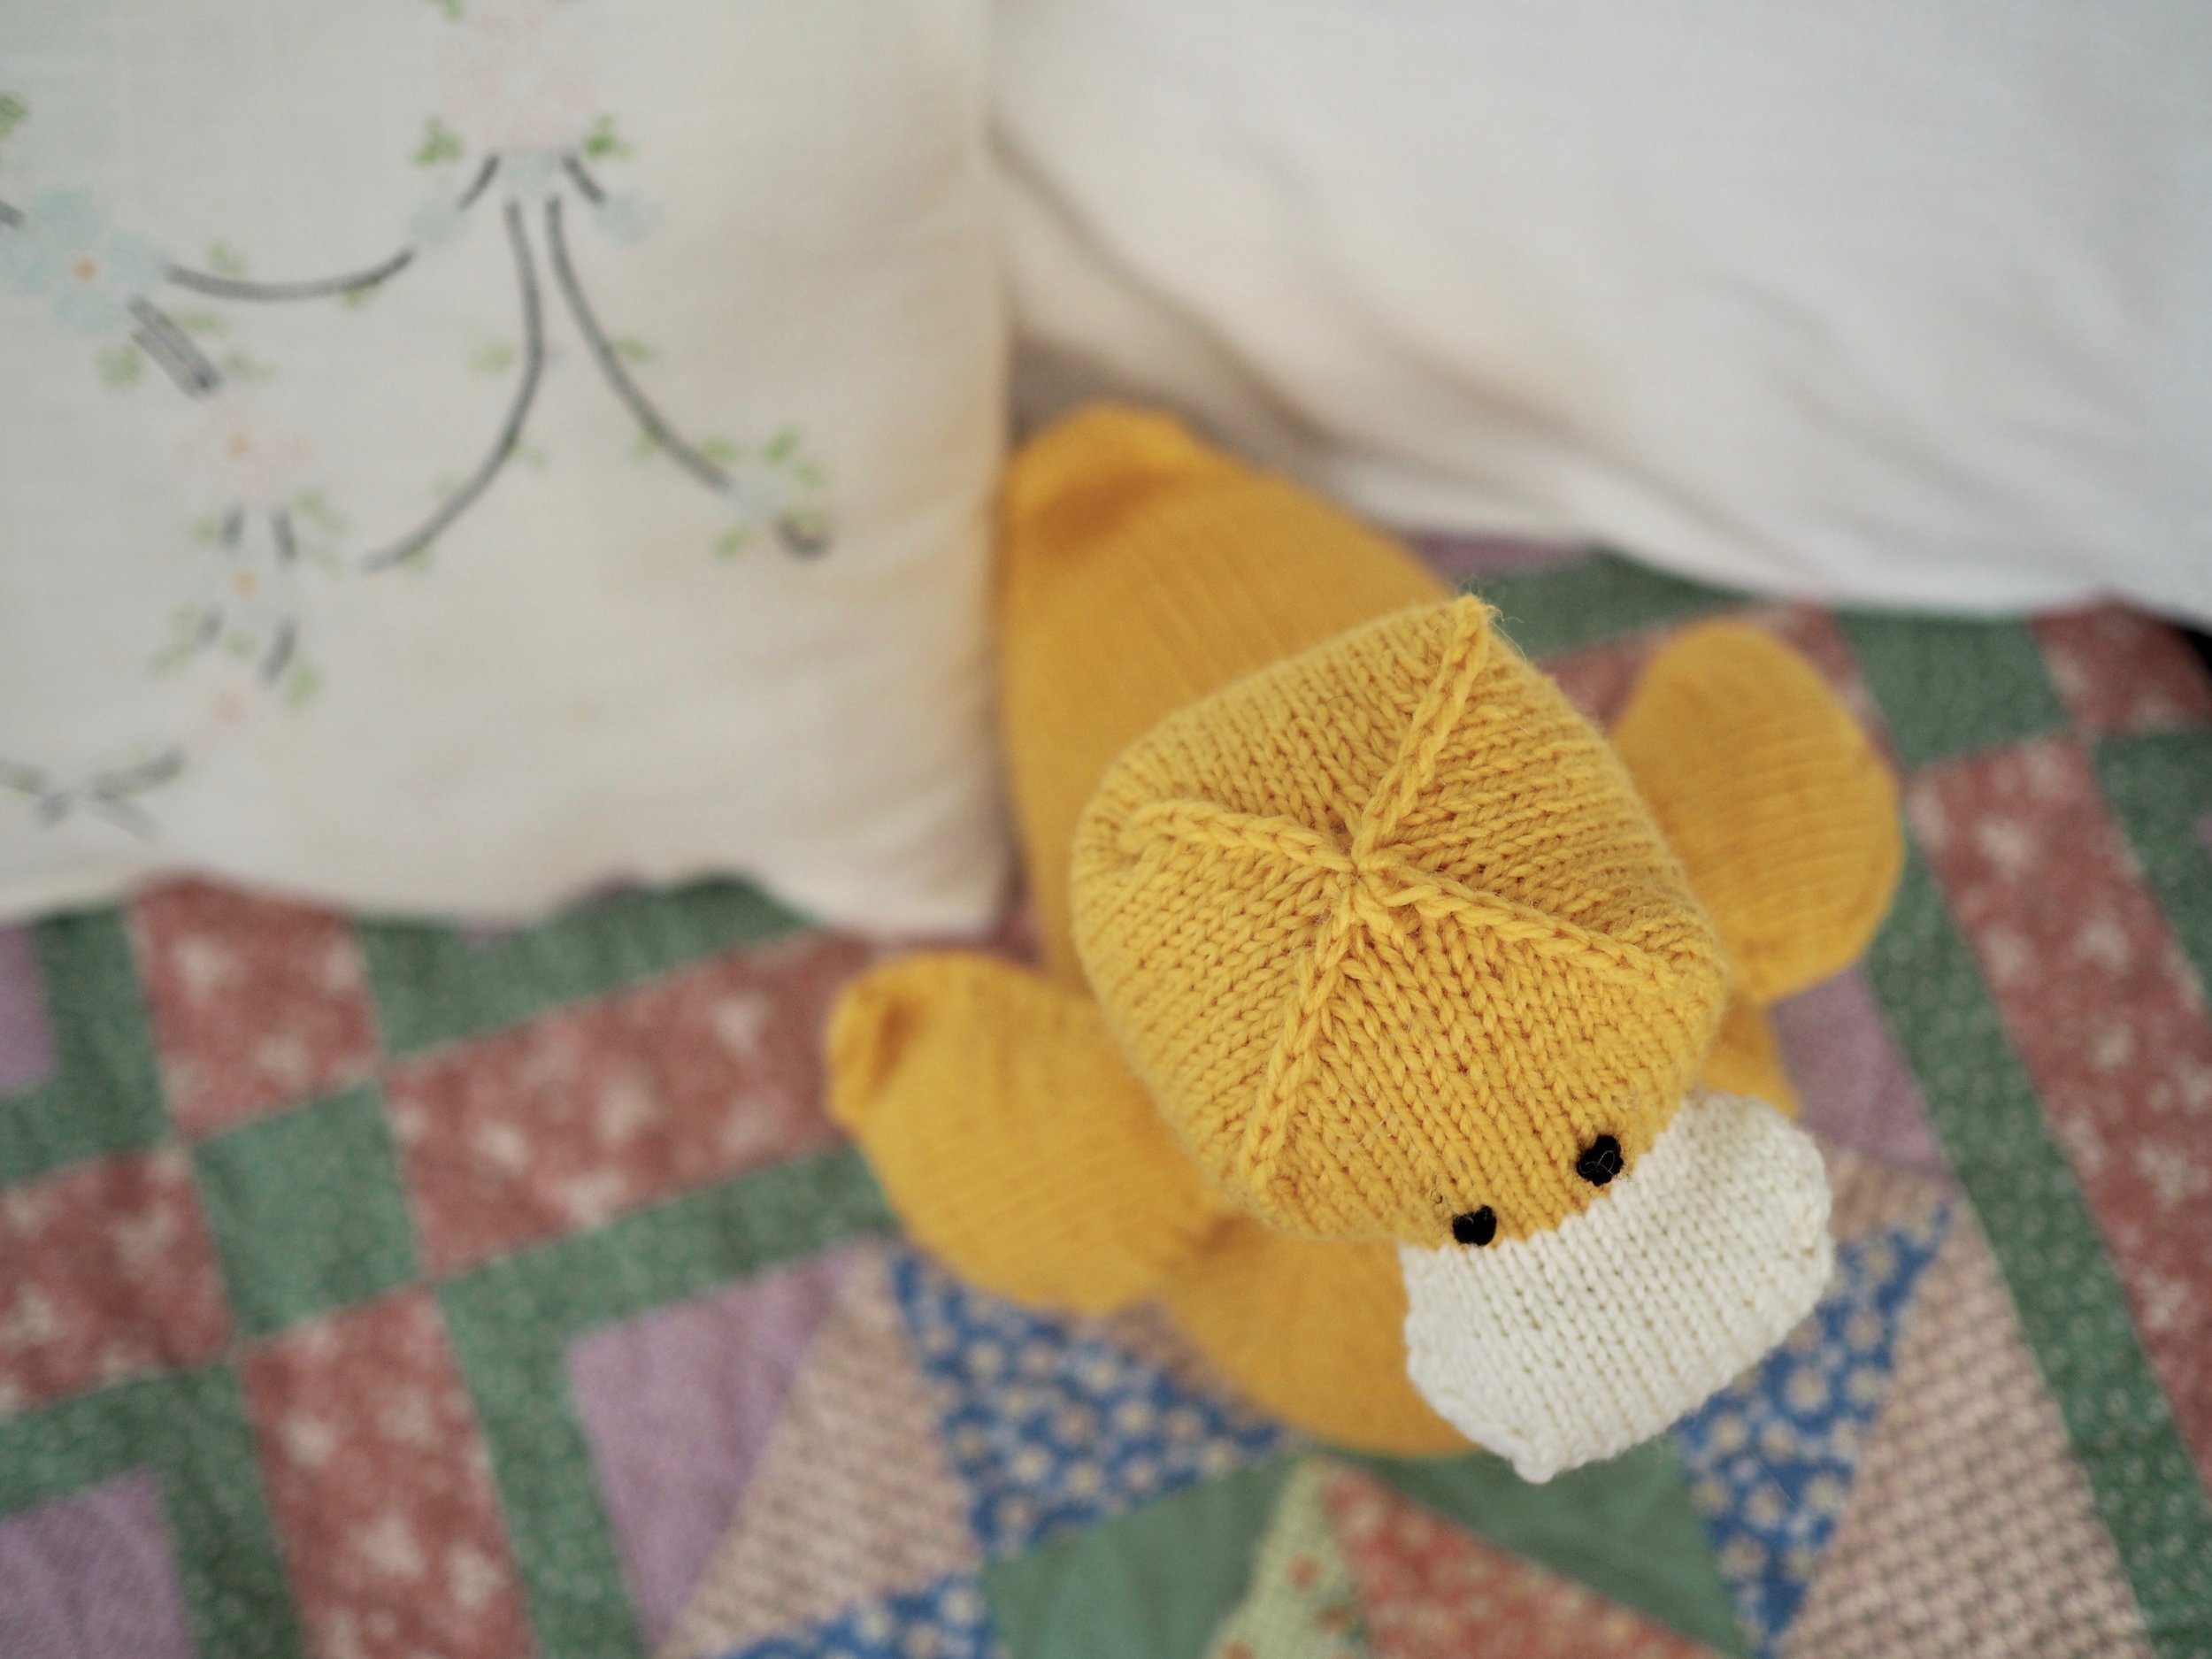
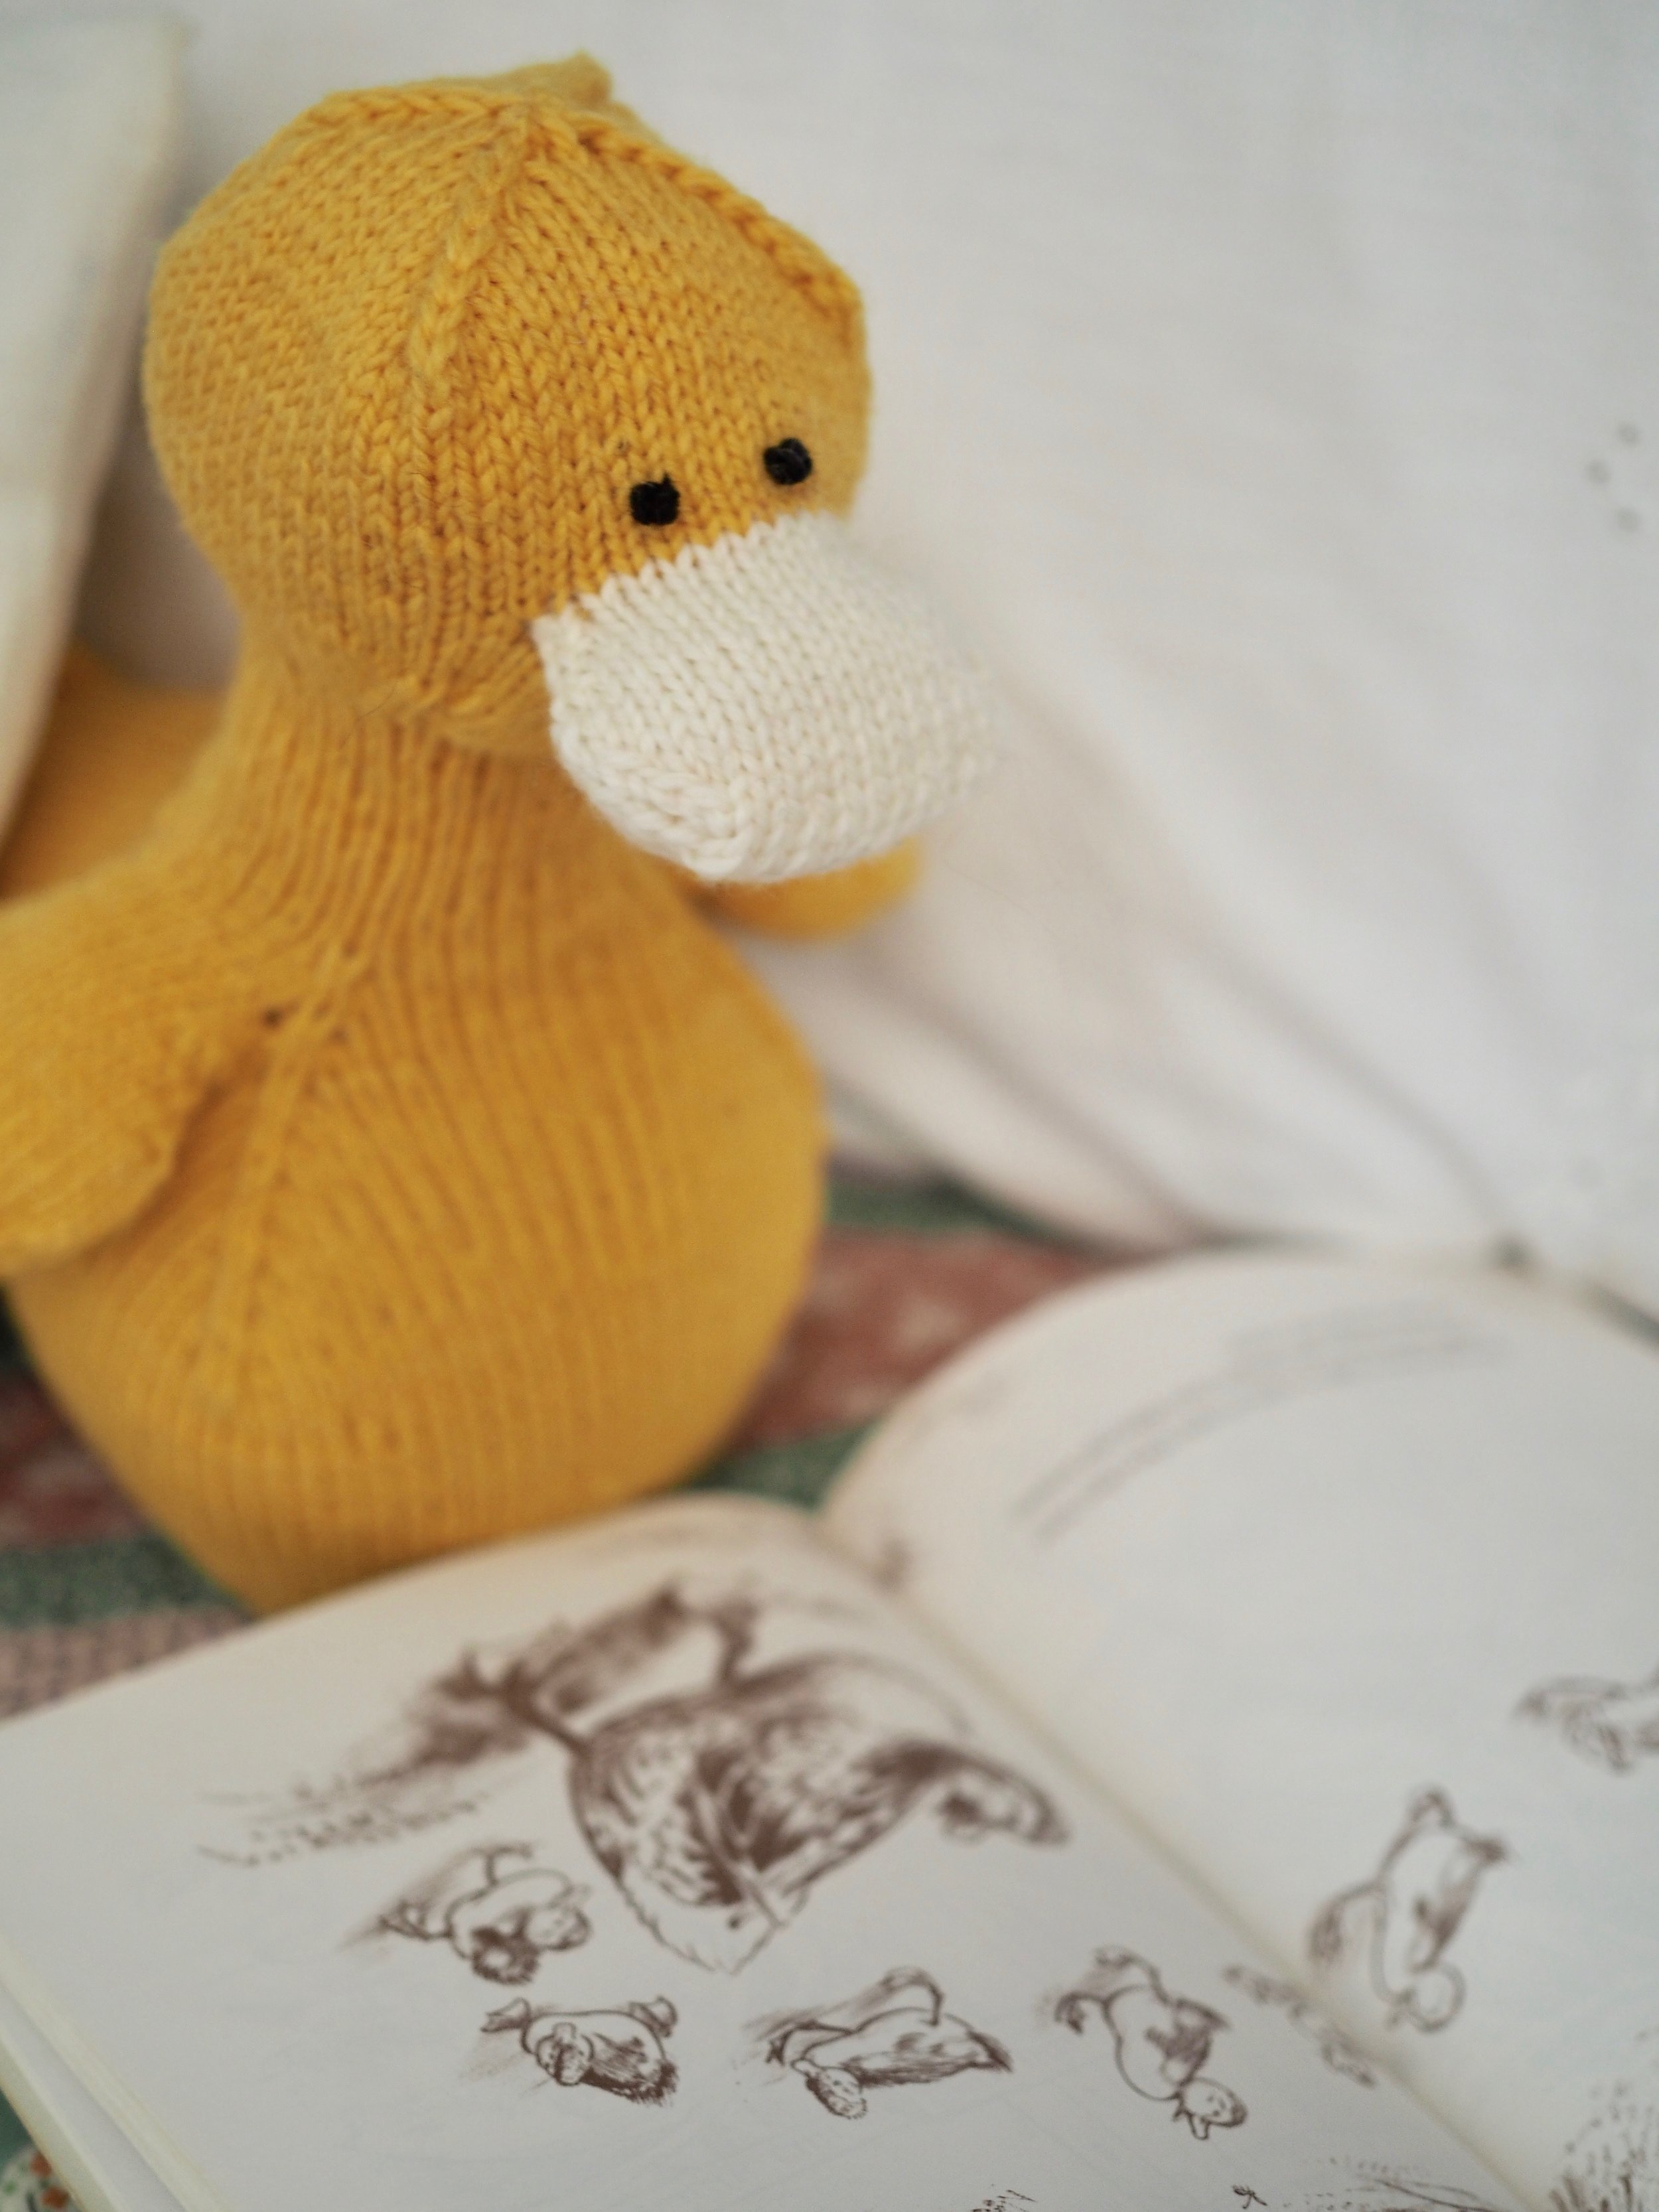
Today we're kicking off the KAL by starting at the bottom and building a solid base.

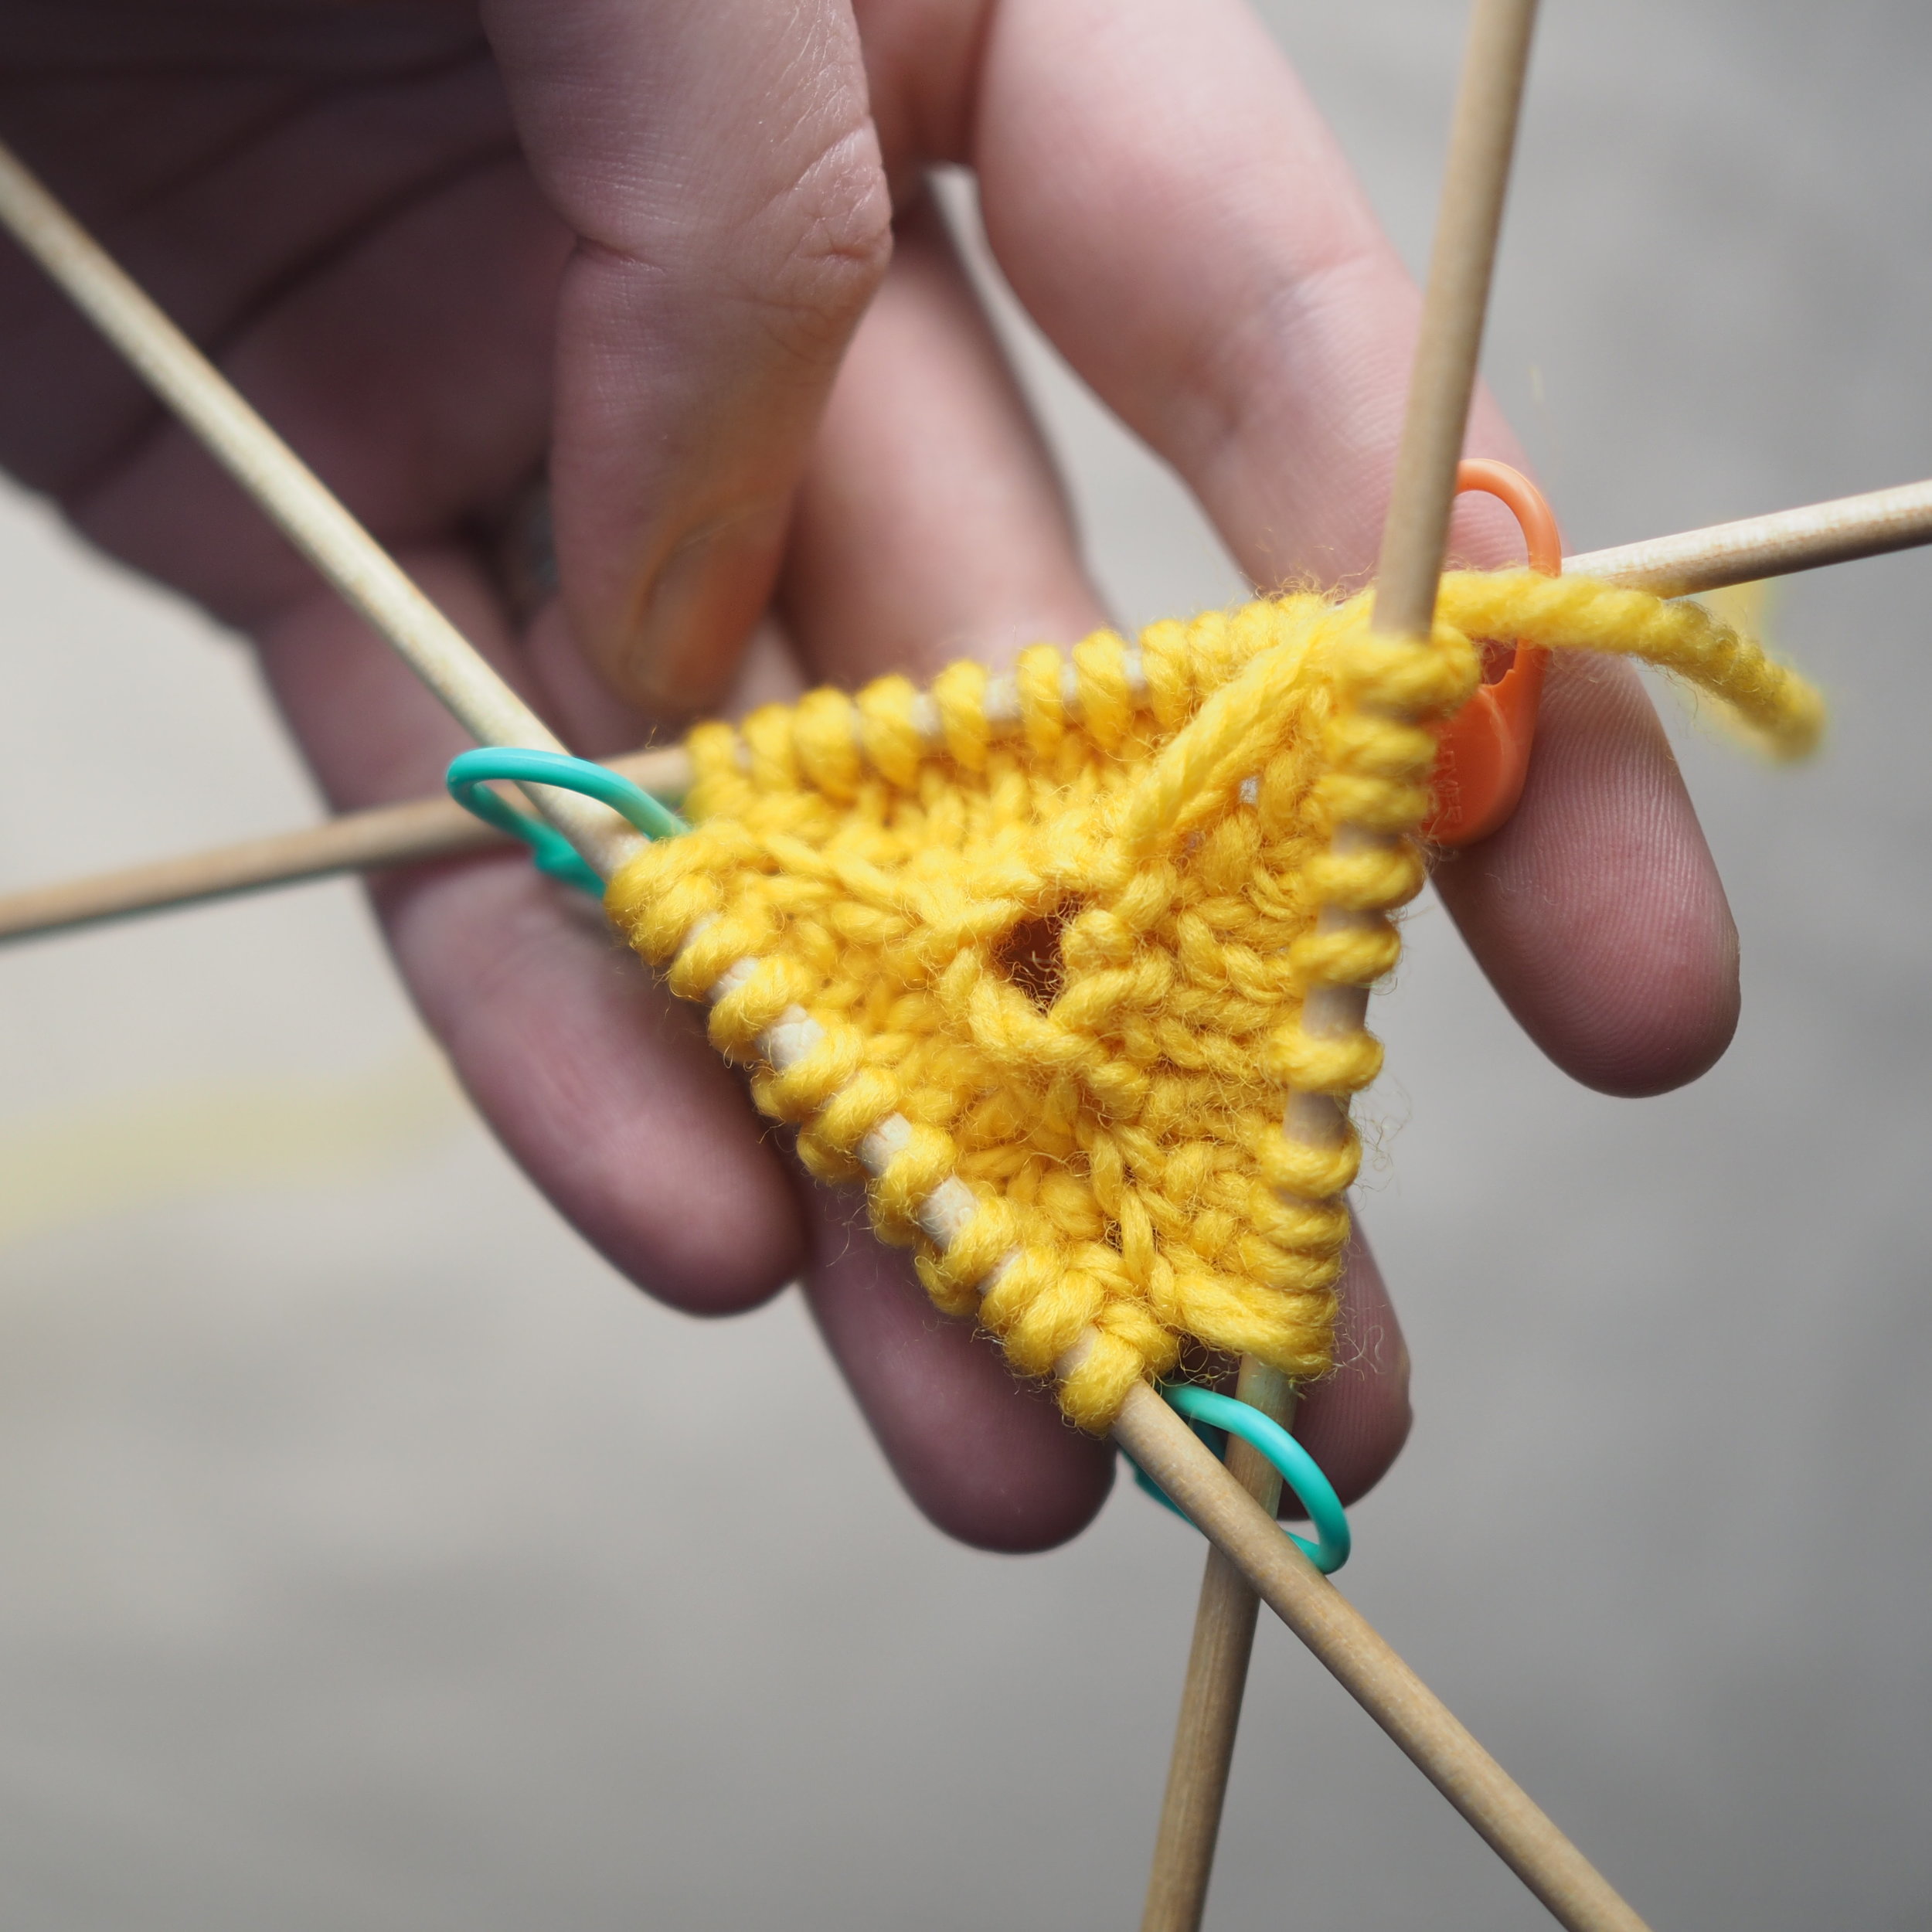
Circular knitting: some swear by magic loop, other prefer two circulars and still other like the old fashion simplicity of double-pointed needles (dpns). As for me? I think they all do different things really well, so it's about matching the method to part of the project. So while the majority of this KAL will be shown using magic loop, I'm going to start on dpns - you can, of course, use whatever method you prefer. :) 

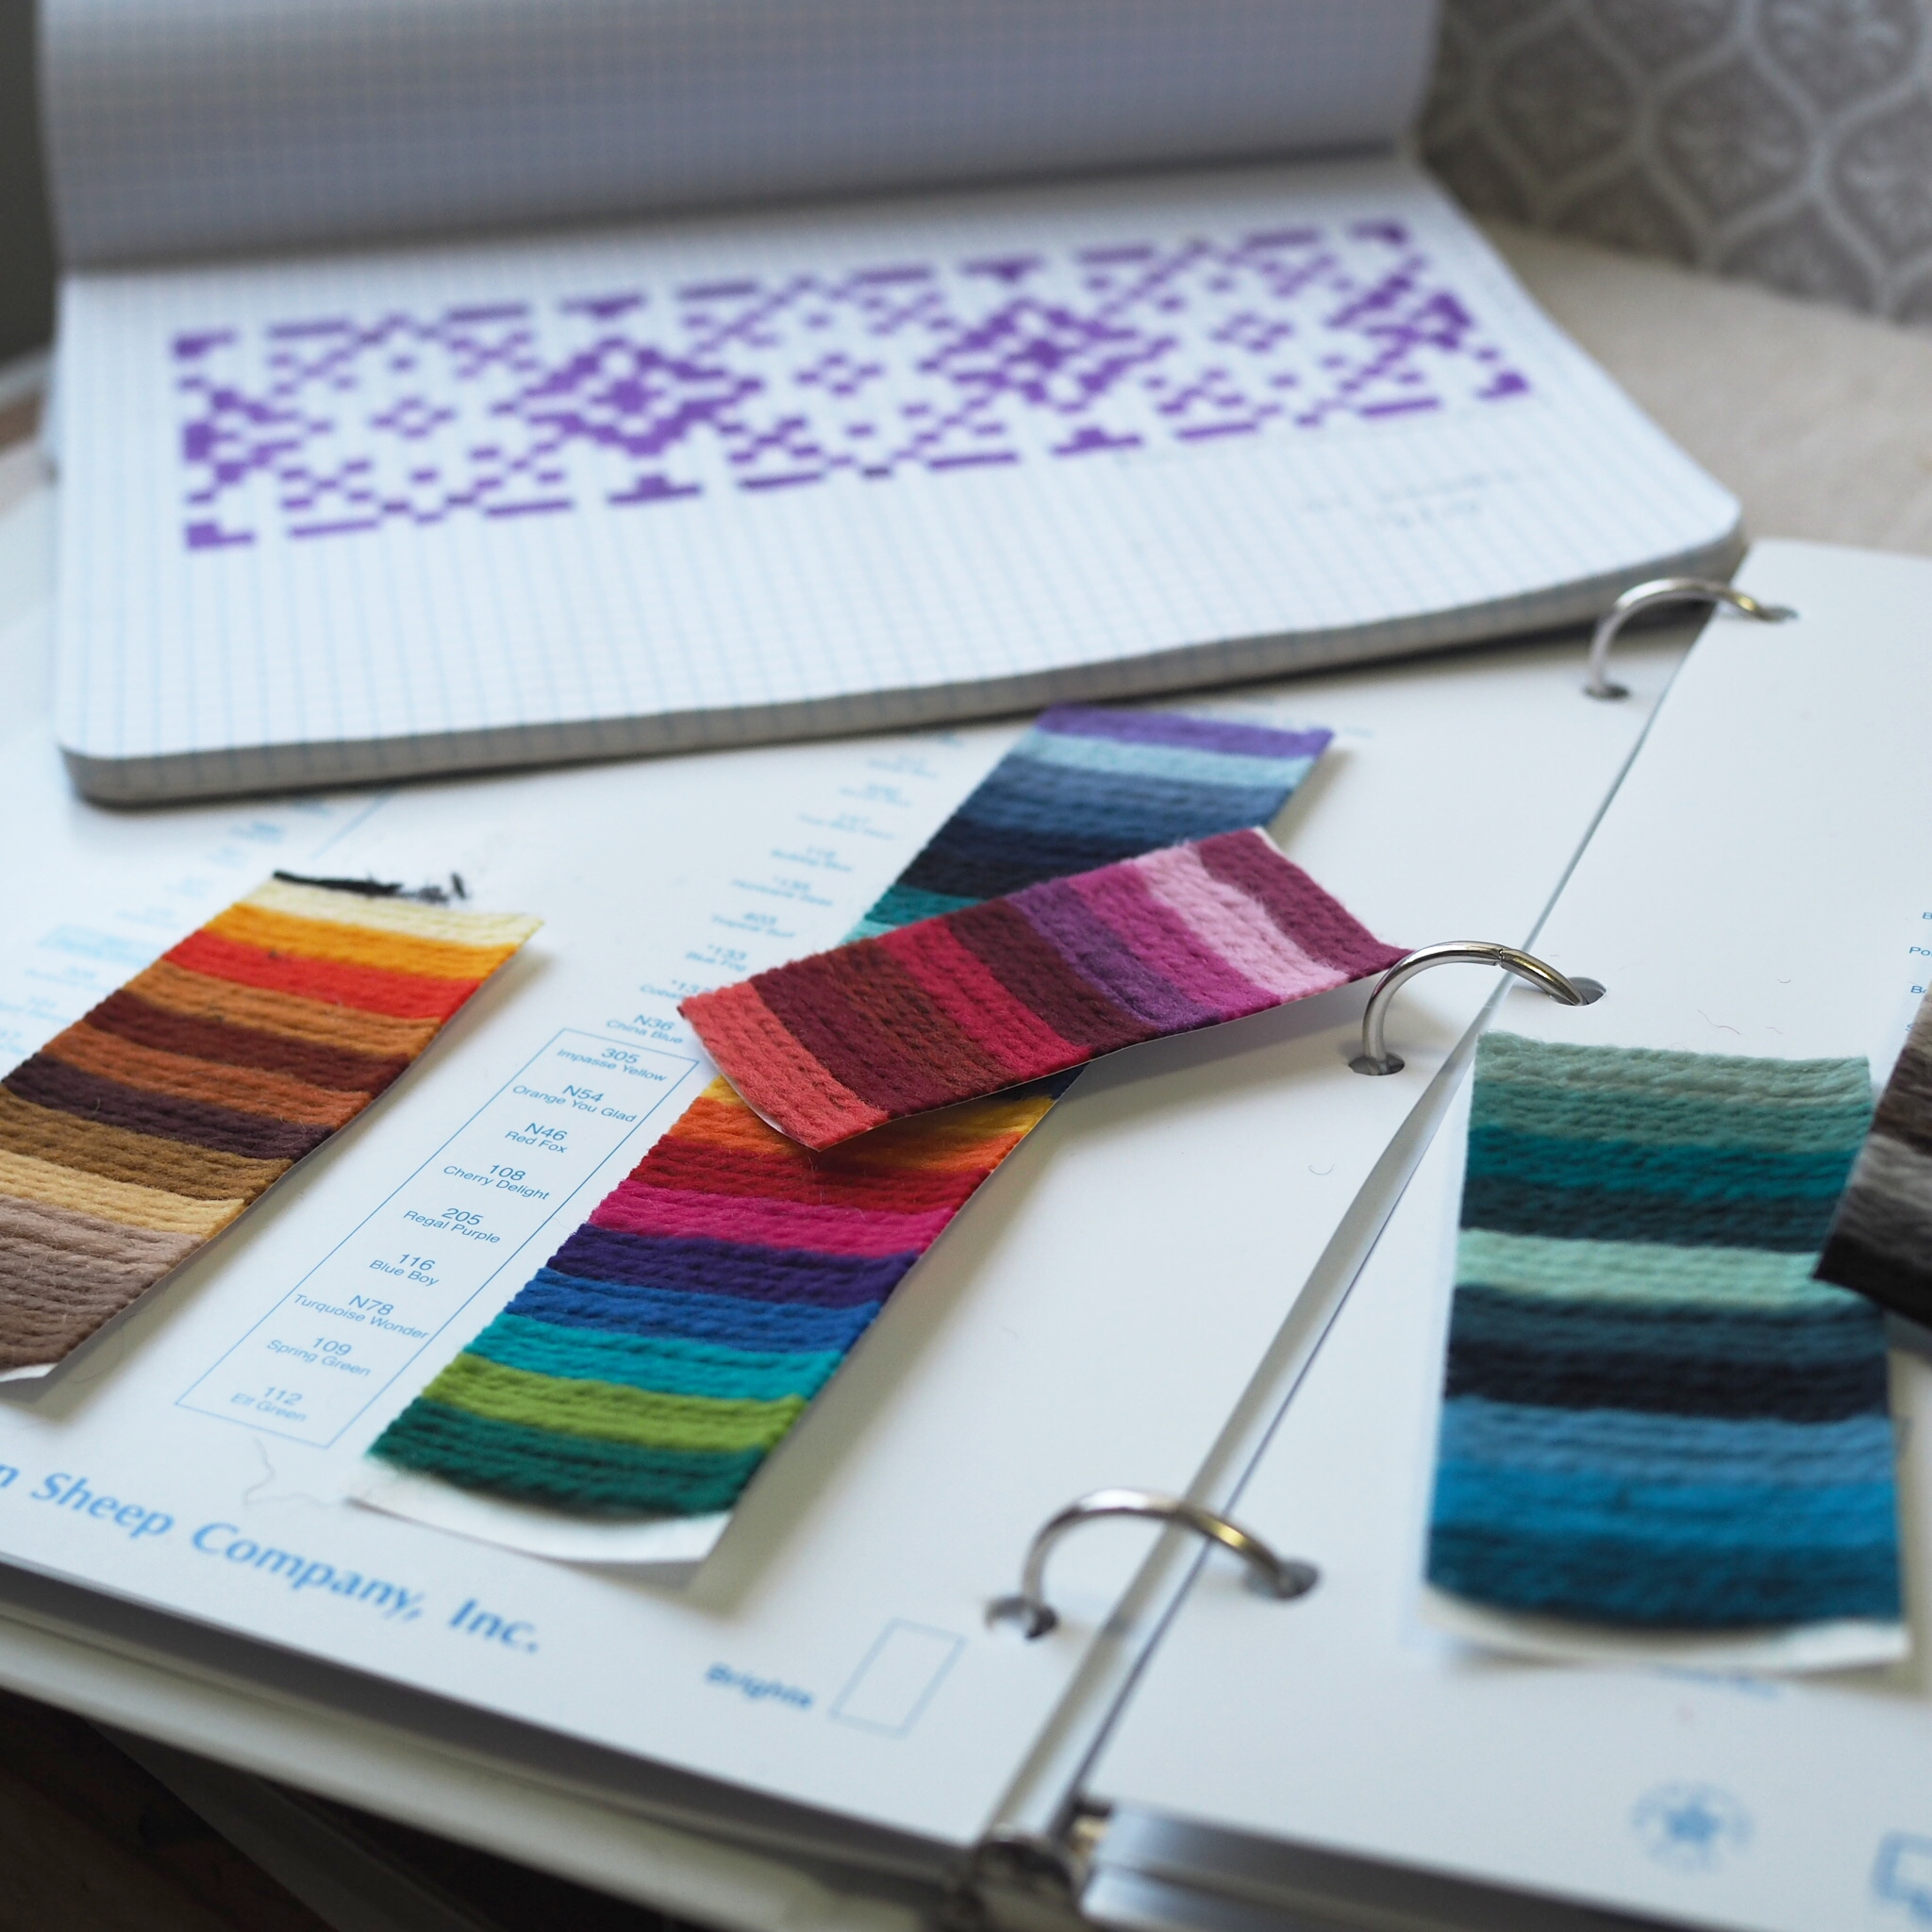
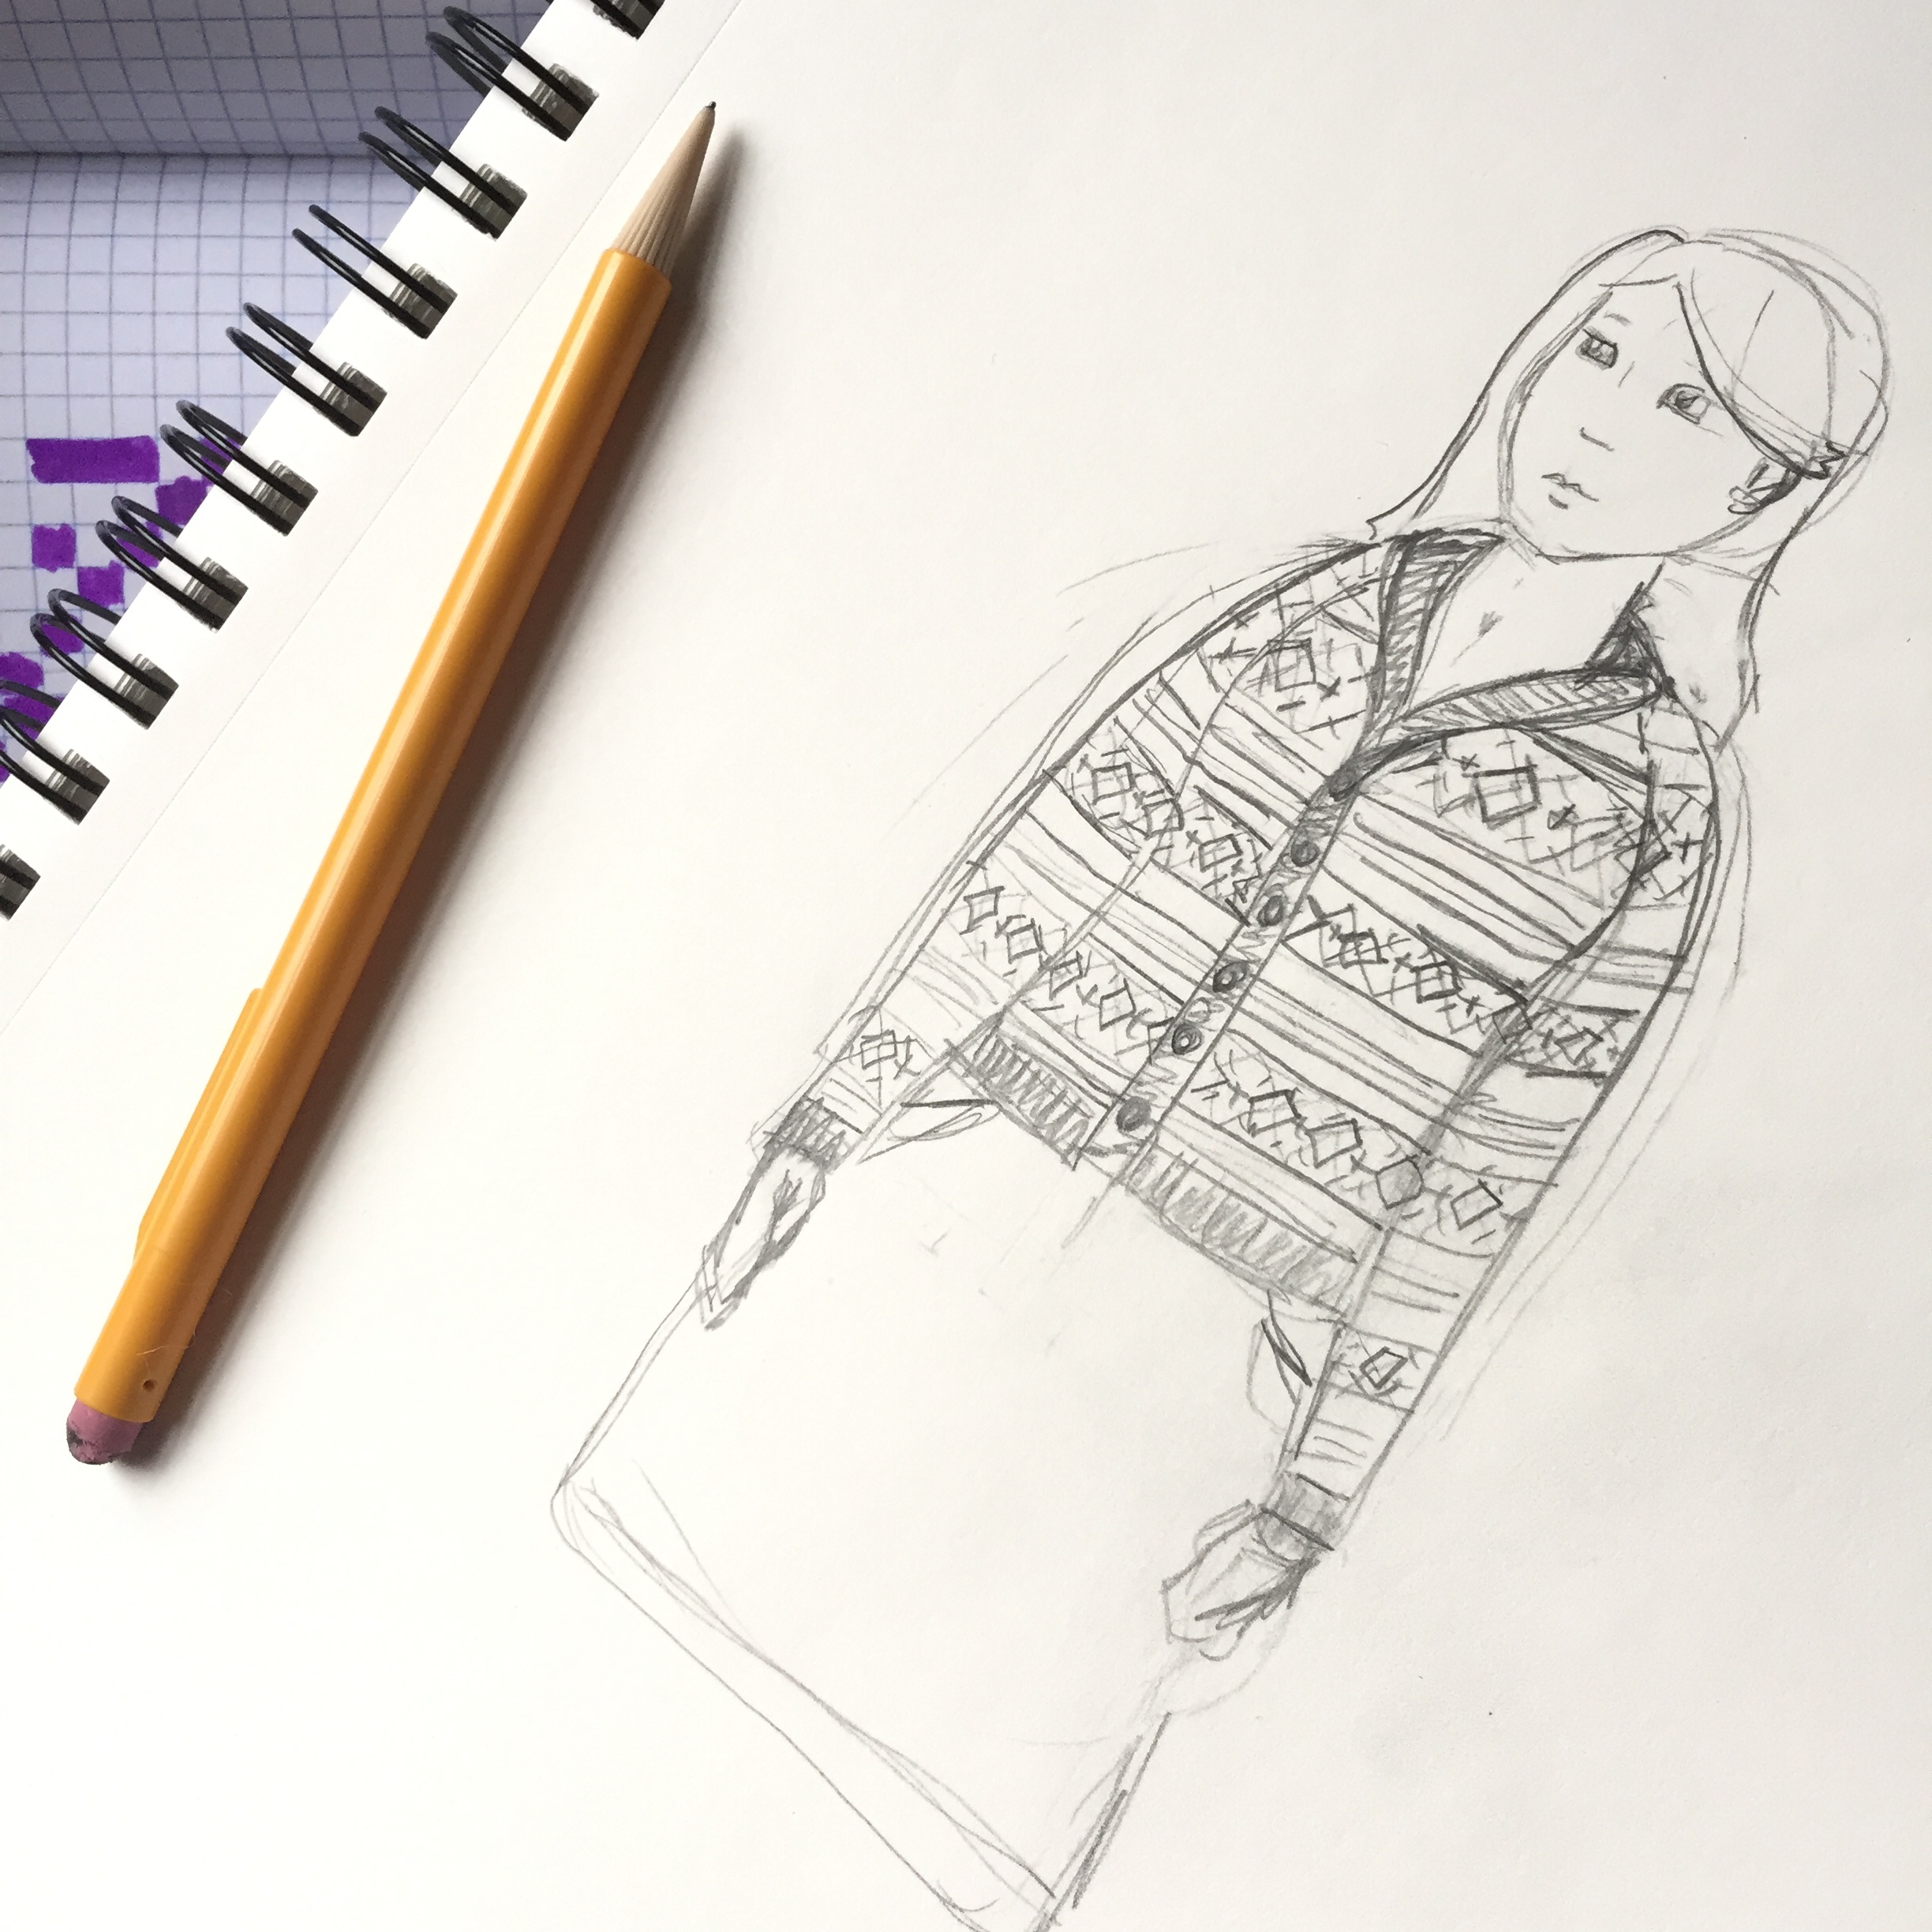
Note: Click any photo in a grid to bring up a larger image.

Joining in the Round 

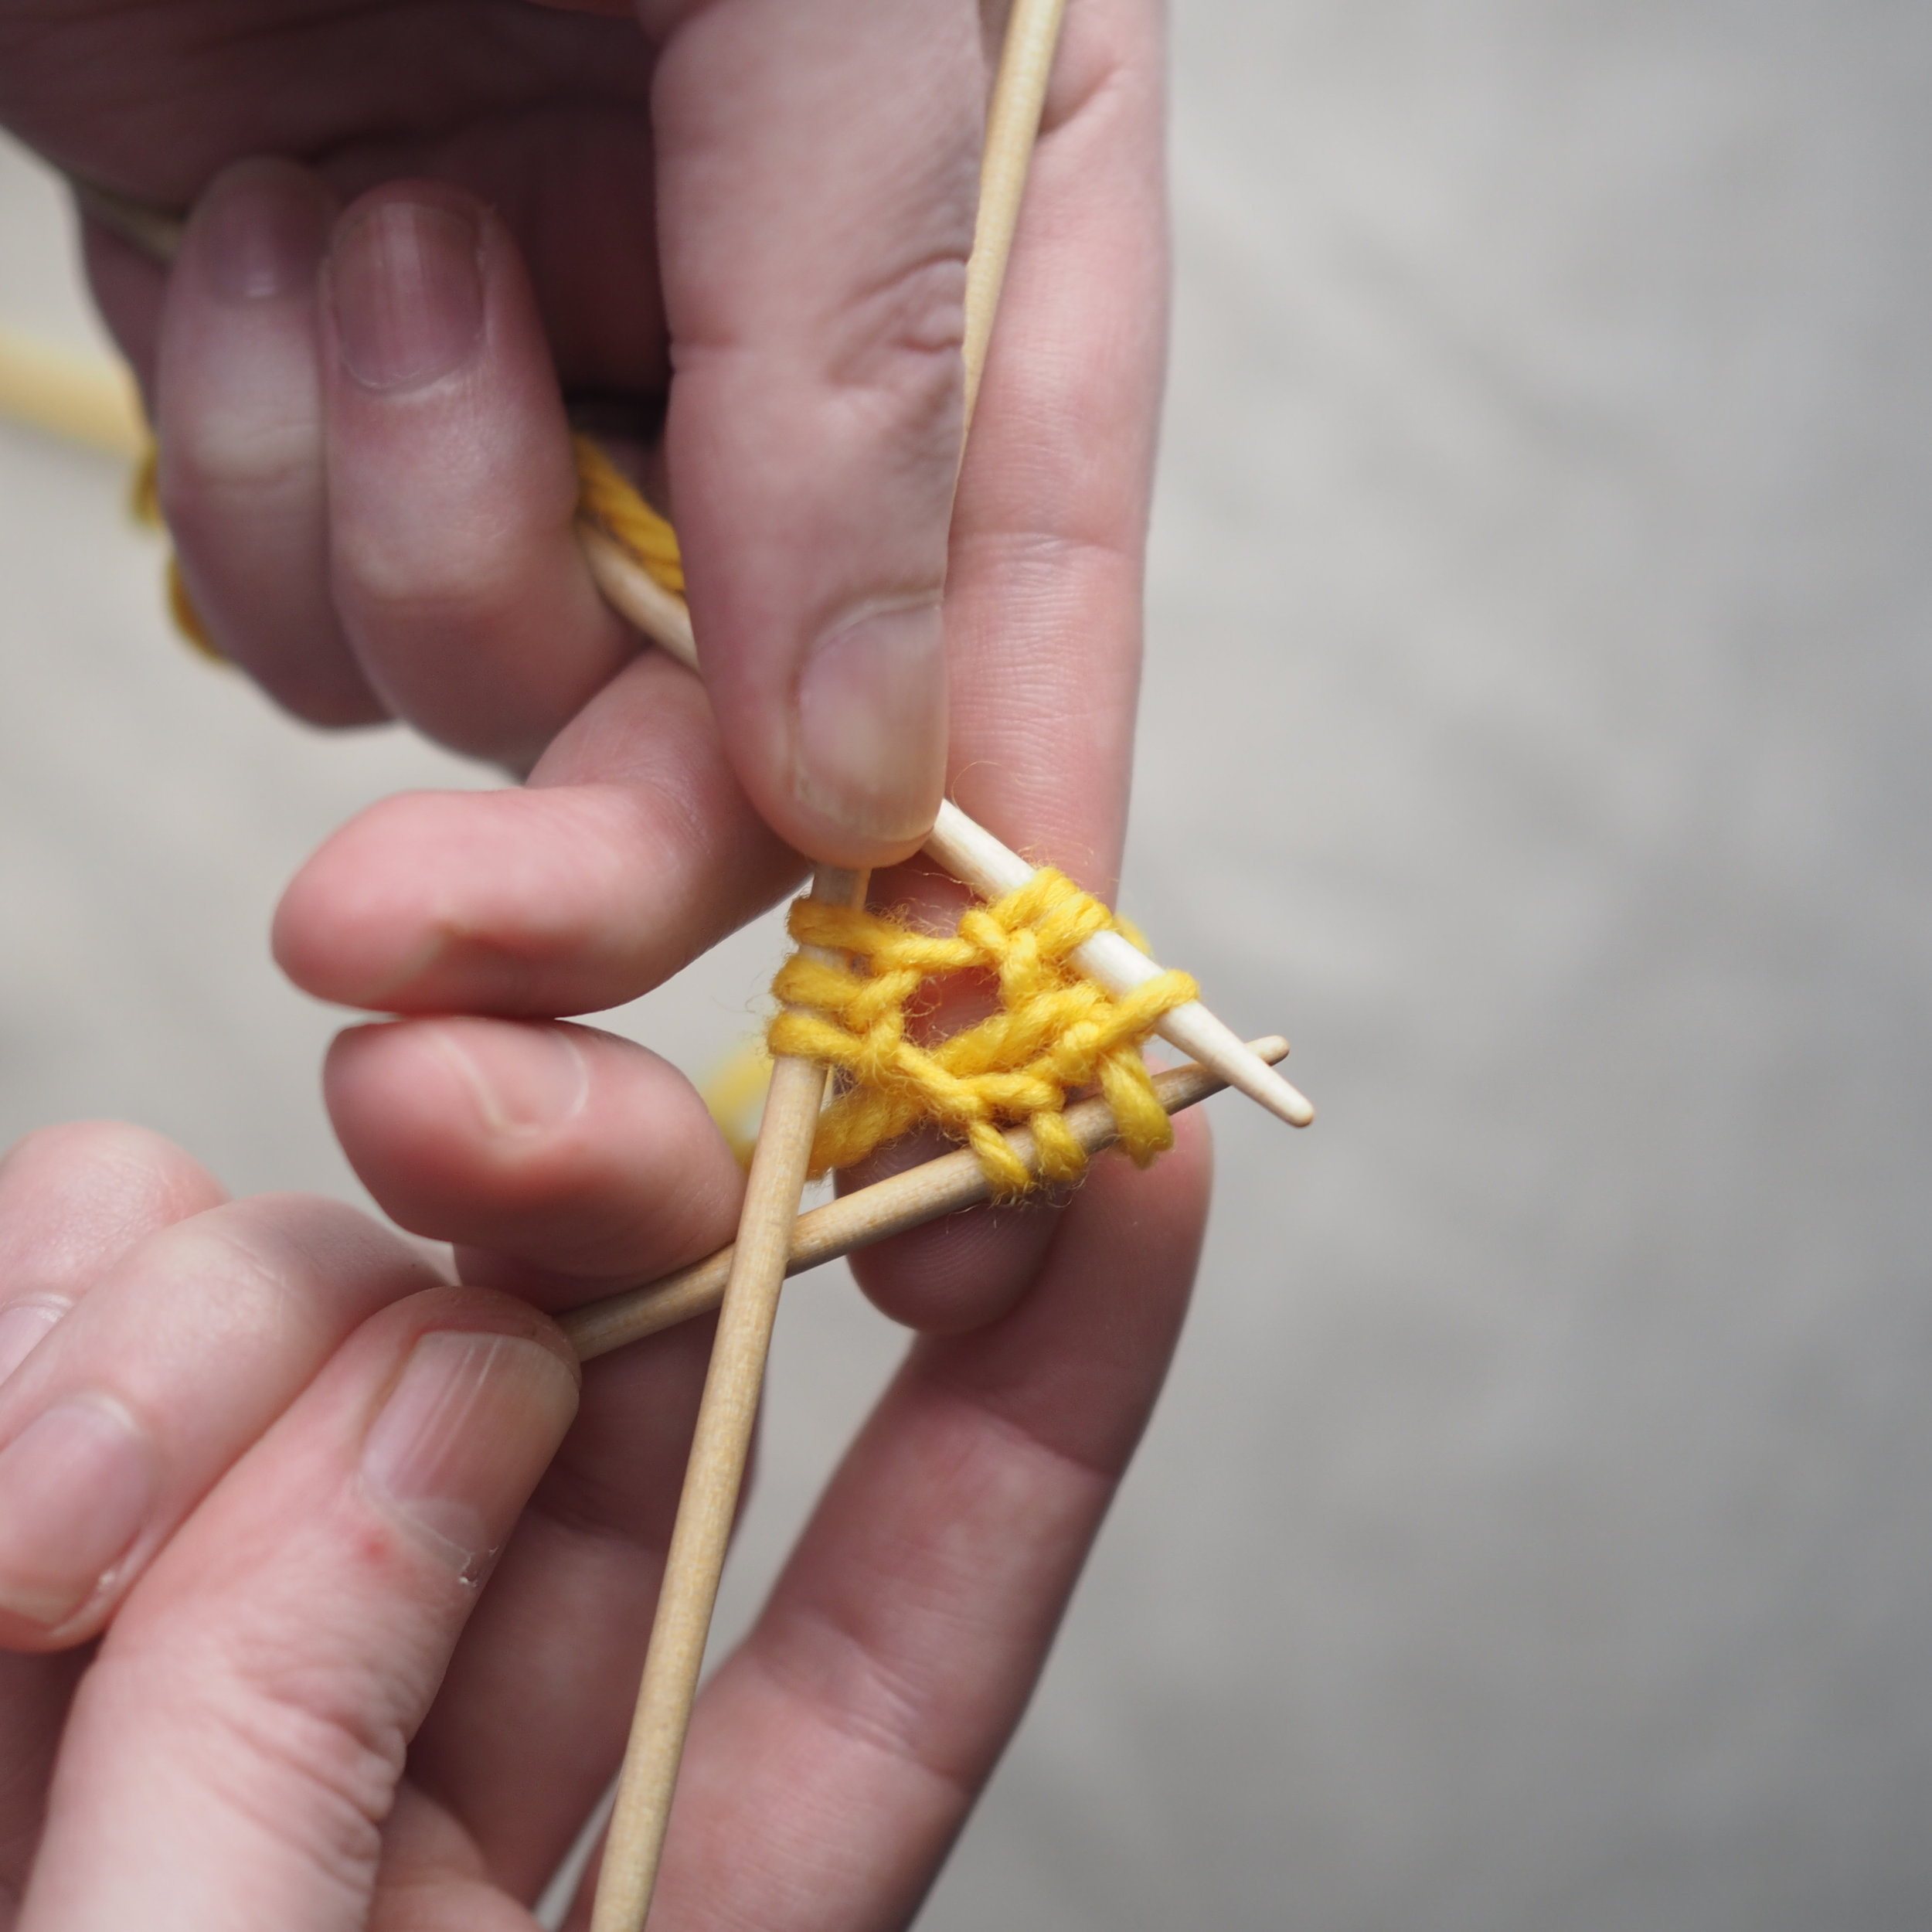
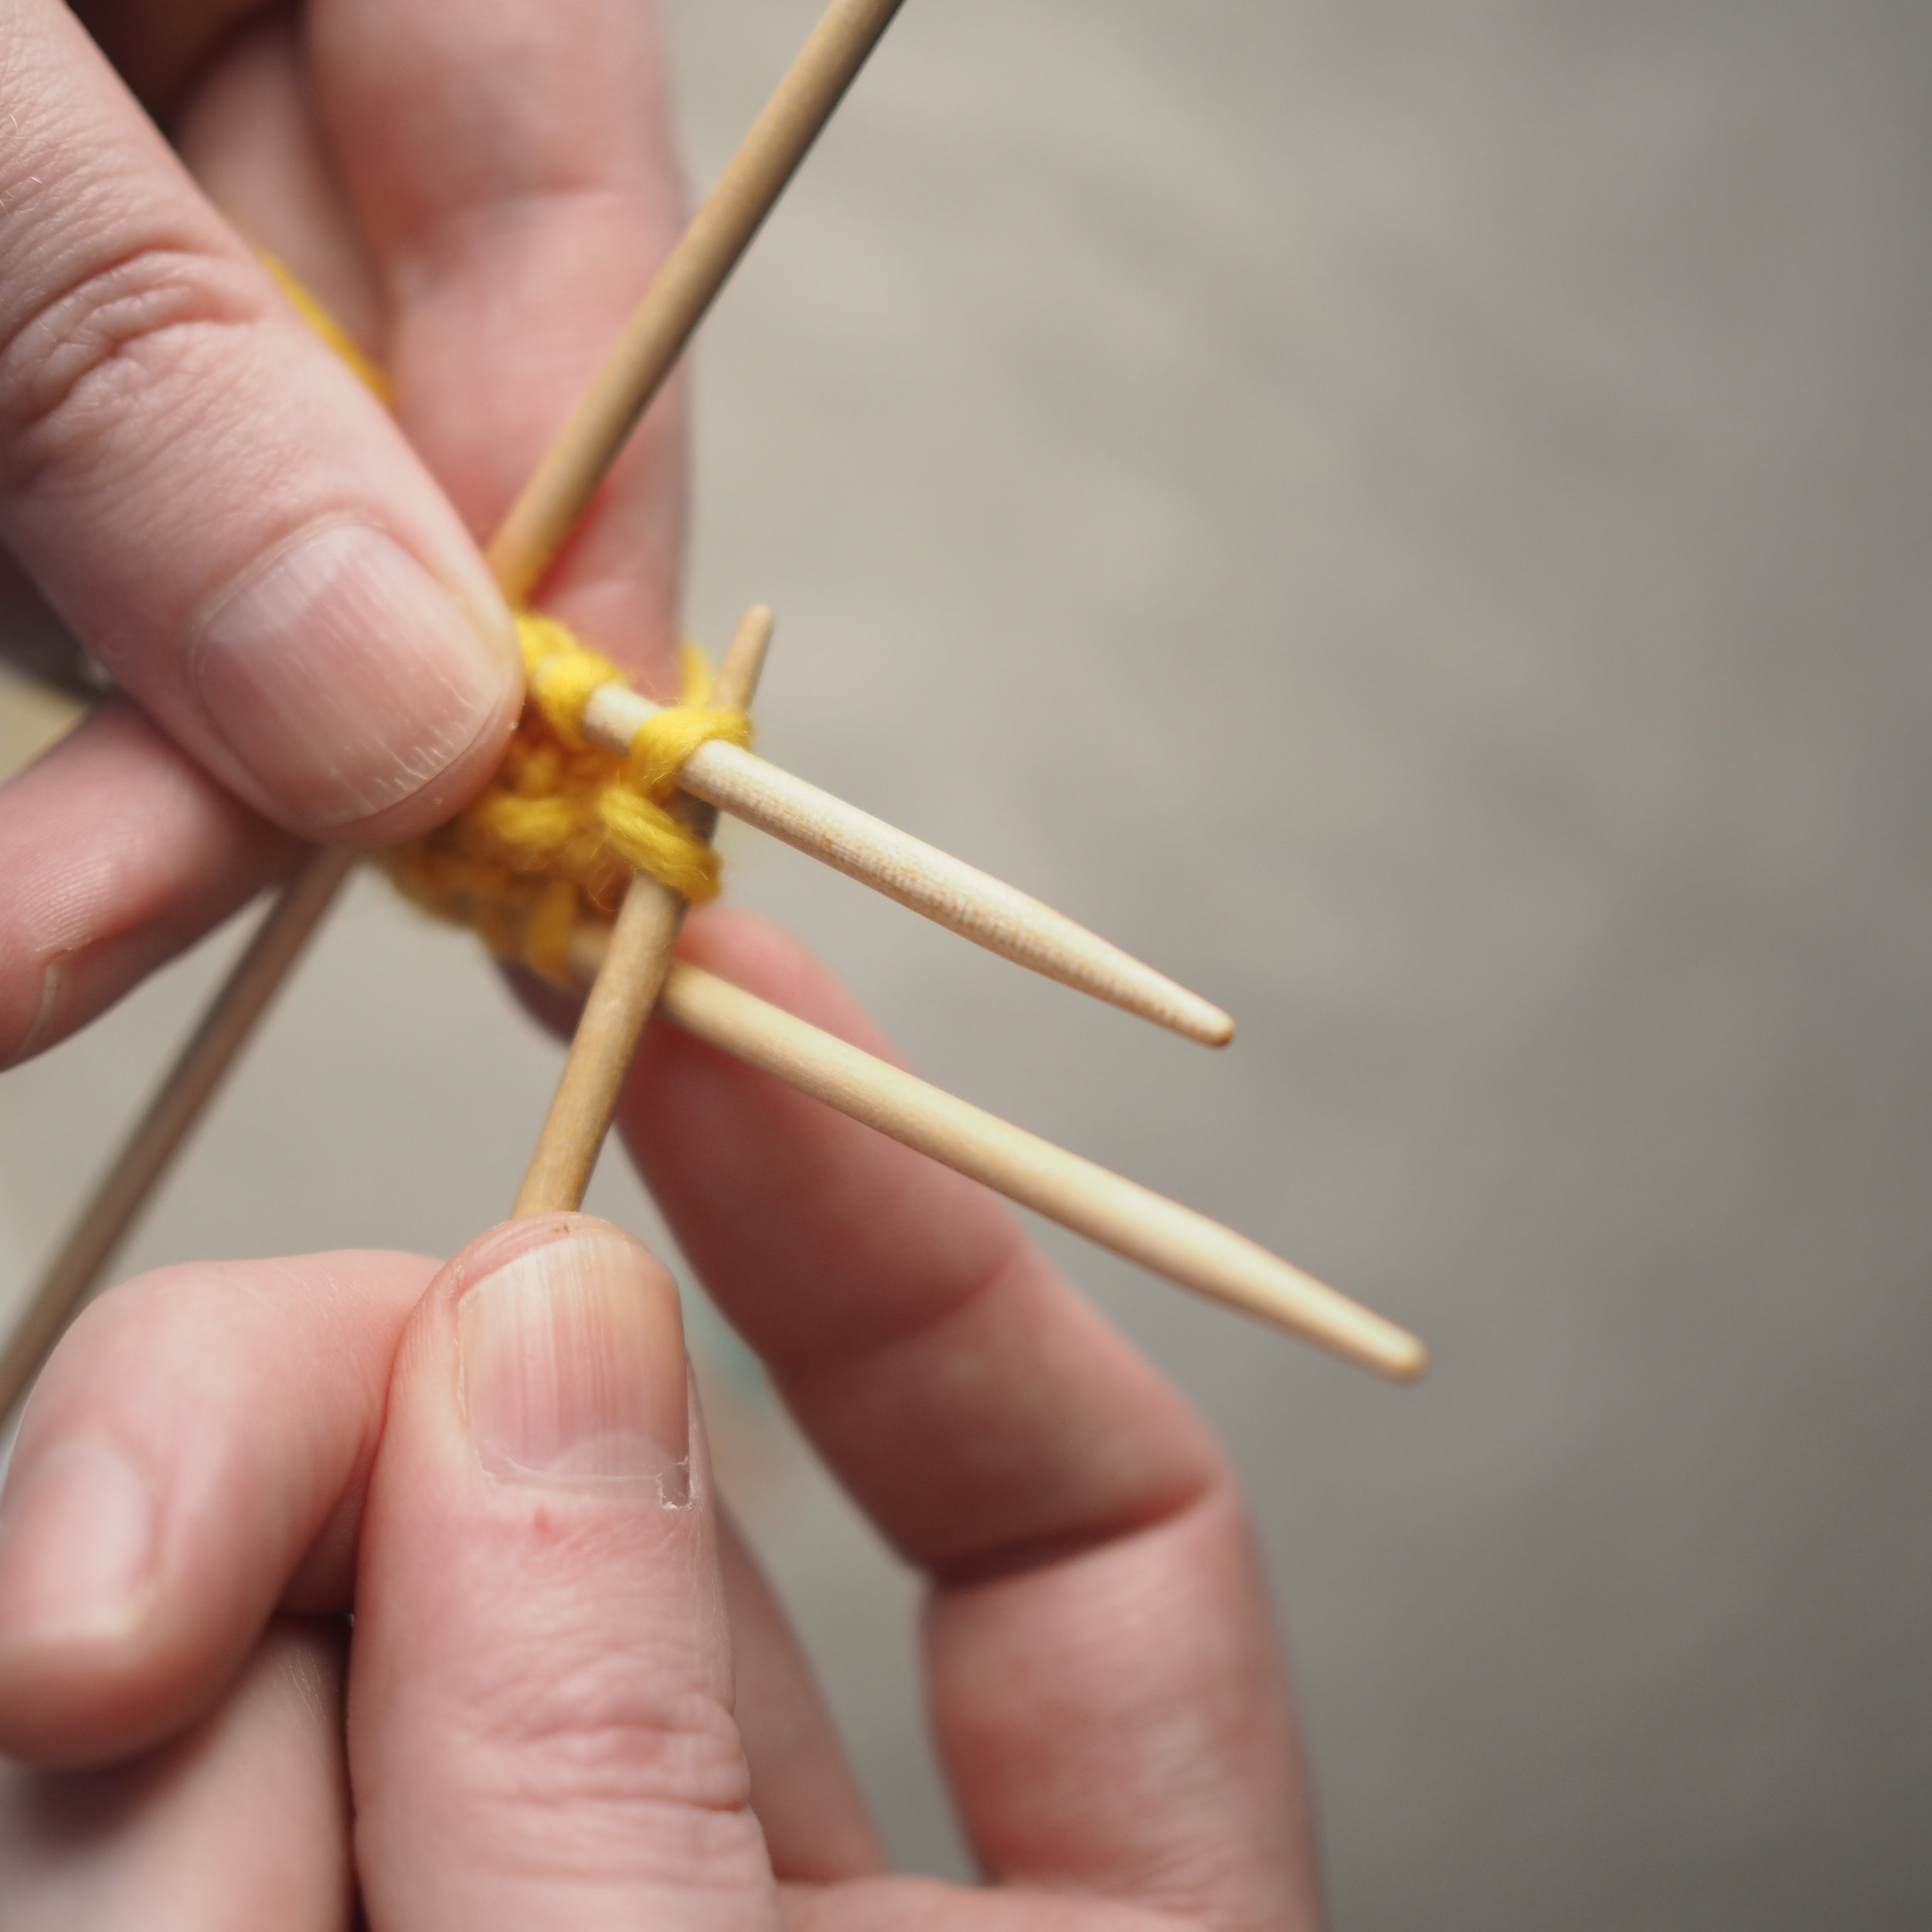
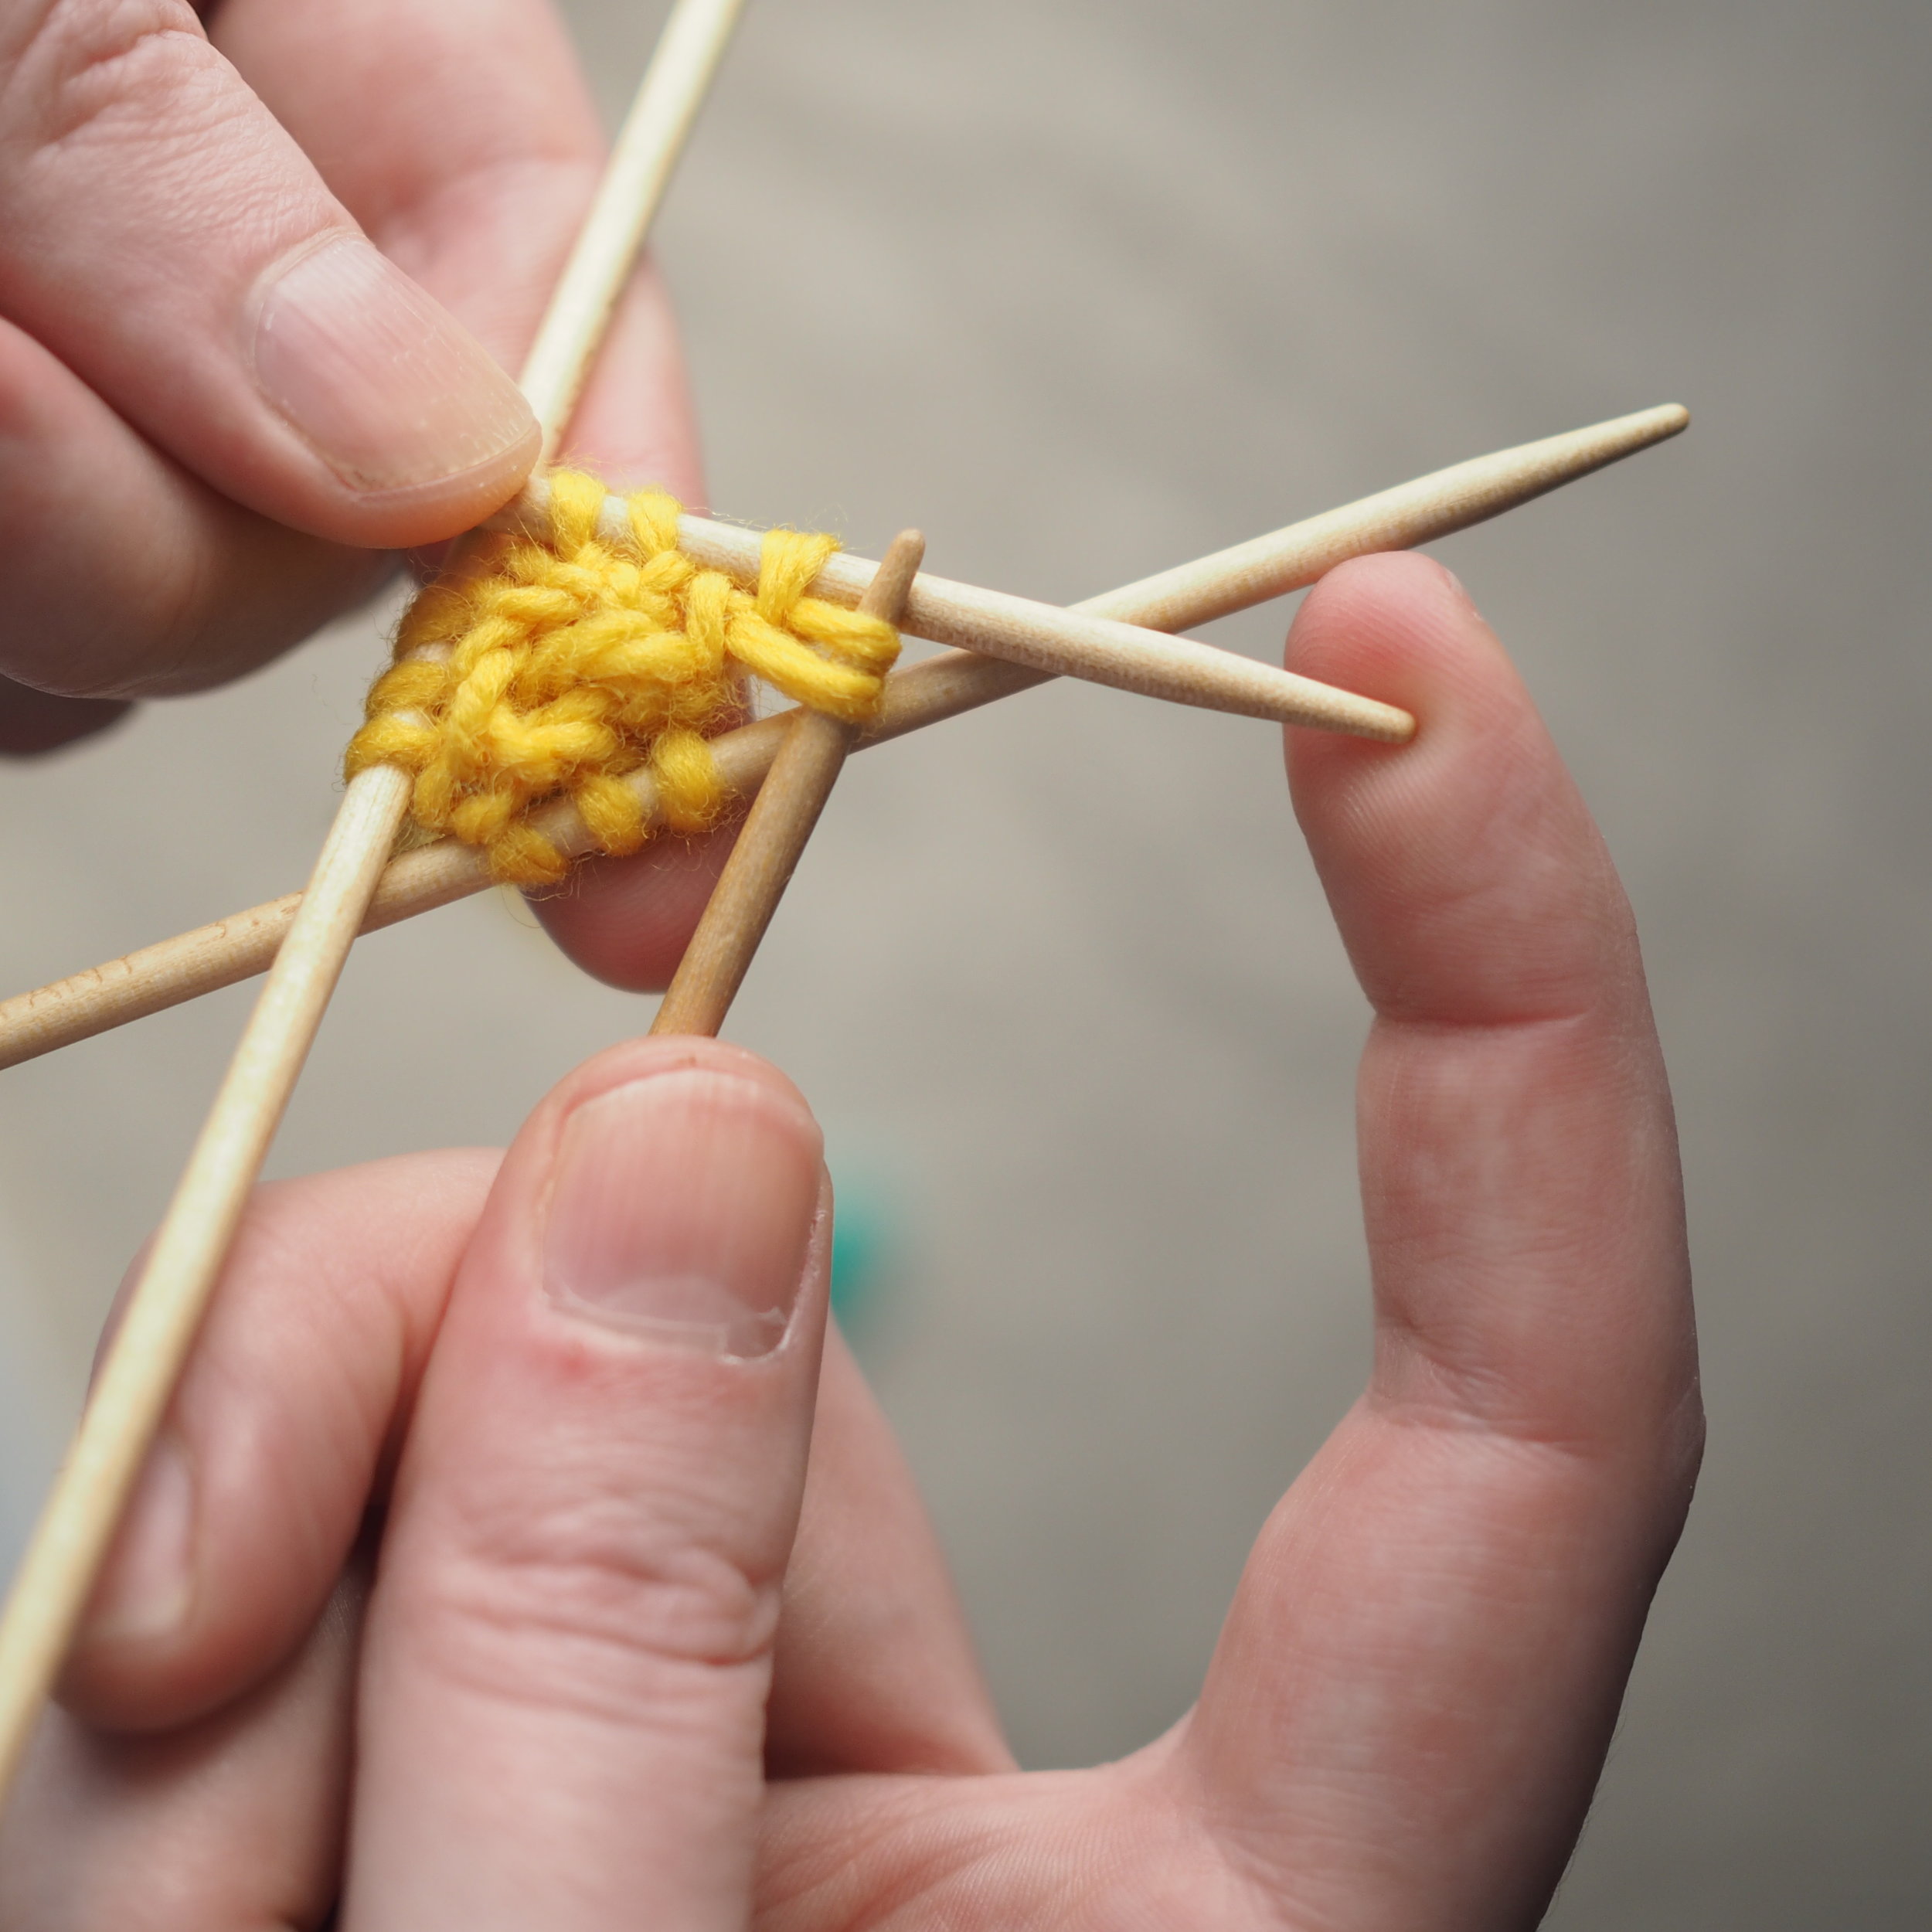
When it comes to a very small number of stitches, I find dpns the easiest to handle, rather than constantly shifting around a circular cord. To join in the round, my favorite method is a follows:

  1. Spread your stitches evenly across 3 dpns, making sure that the stitches don't get twisted at the needle breaks (Check to make sure the loops/bumps under the needles all look the same). 
  2. Shift the last stitch on the left hand needle to the right hand needle.
  3. Pull the stitch that is second-most to the left on the right hand needle (the first stitch you cast on), pull it over the stitch you just shifted and place it on the left needle. 
  4. Now you're joined your stitches and can begin knitting in the round.

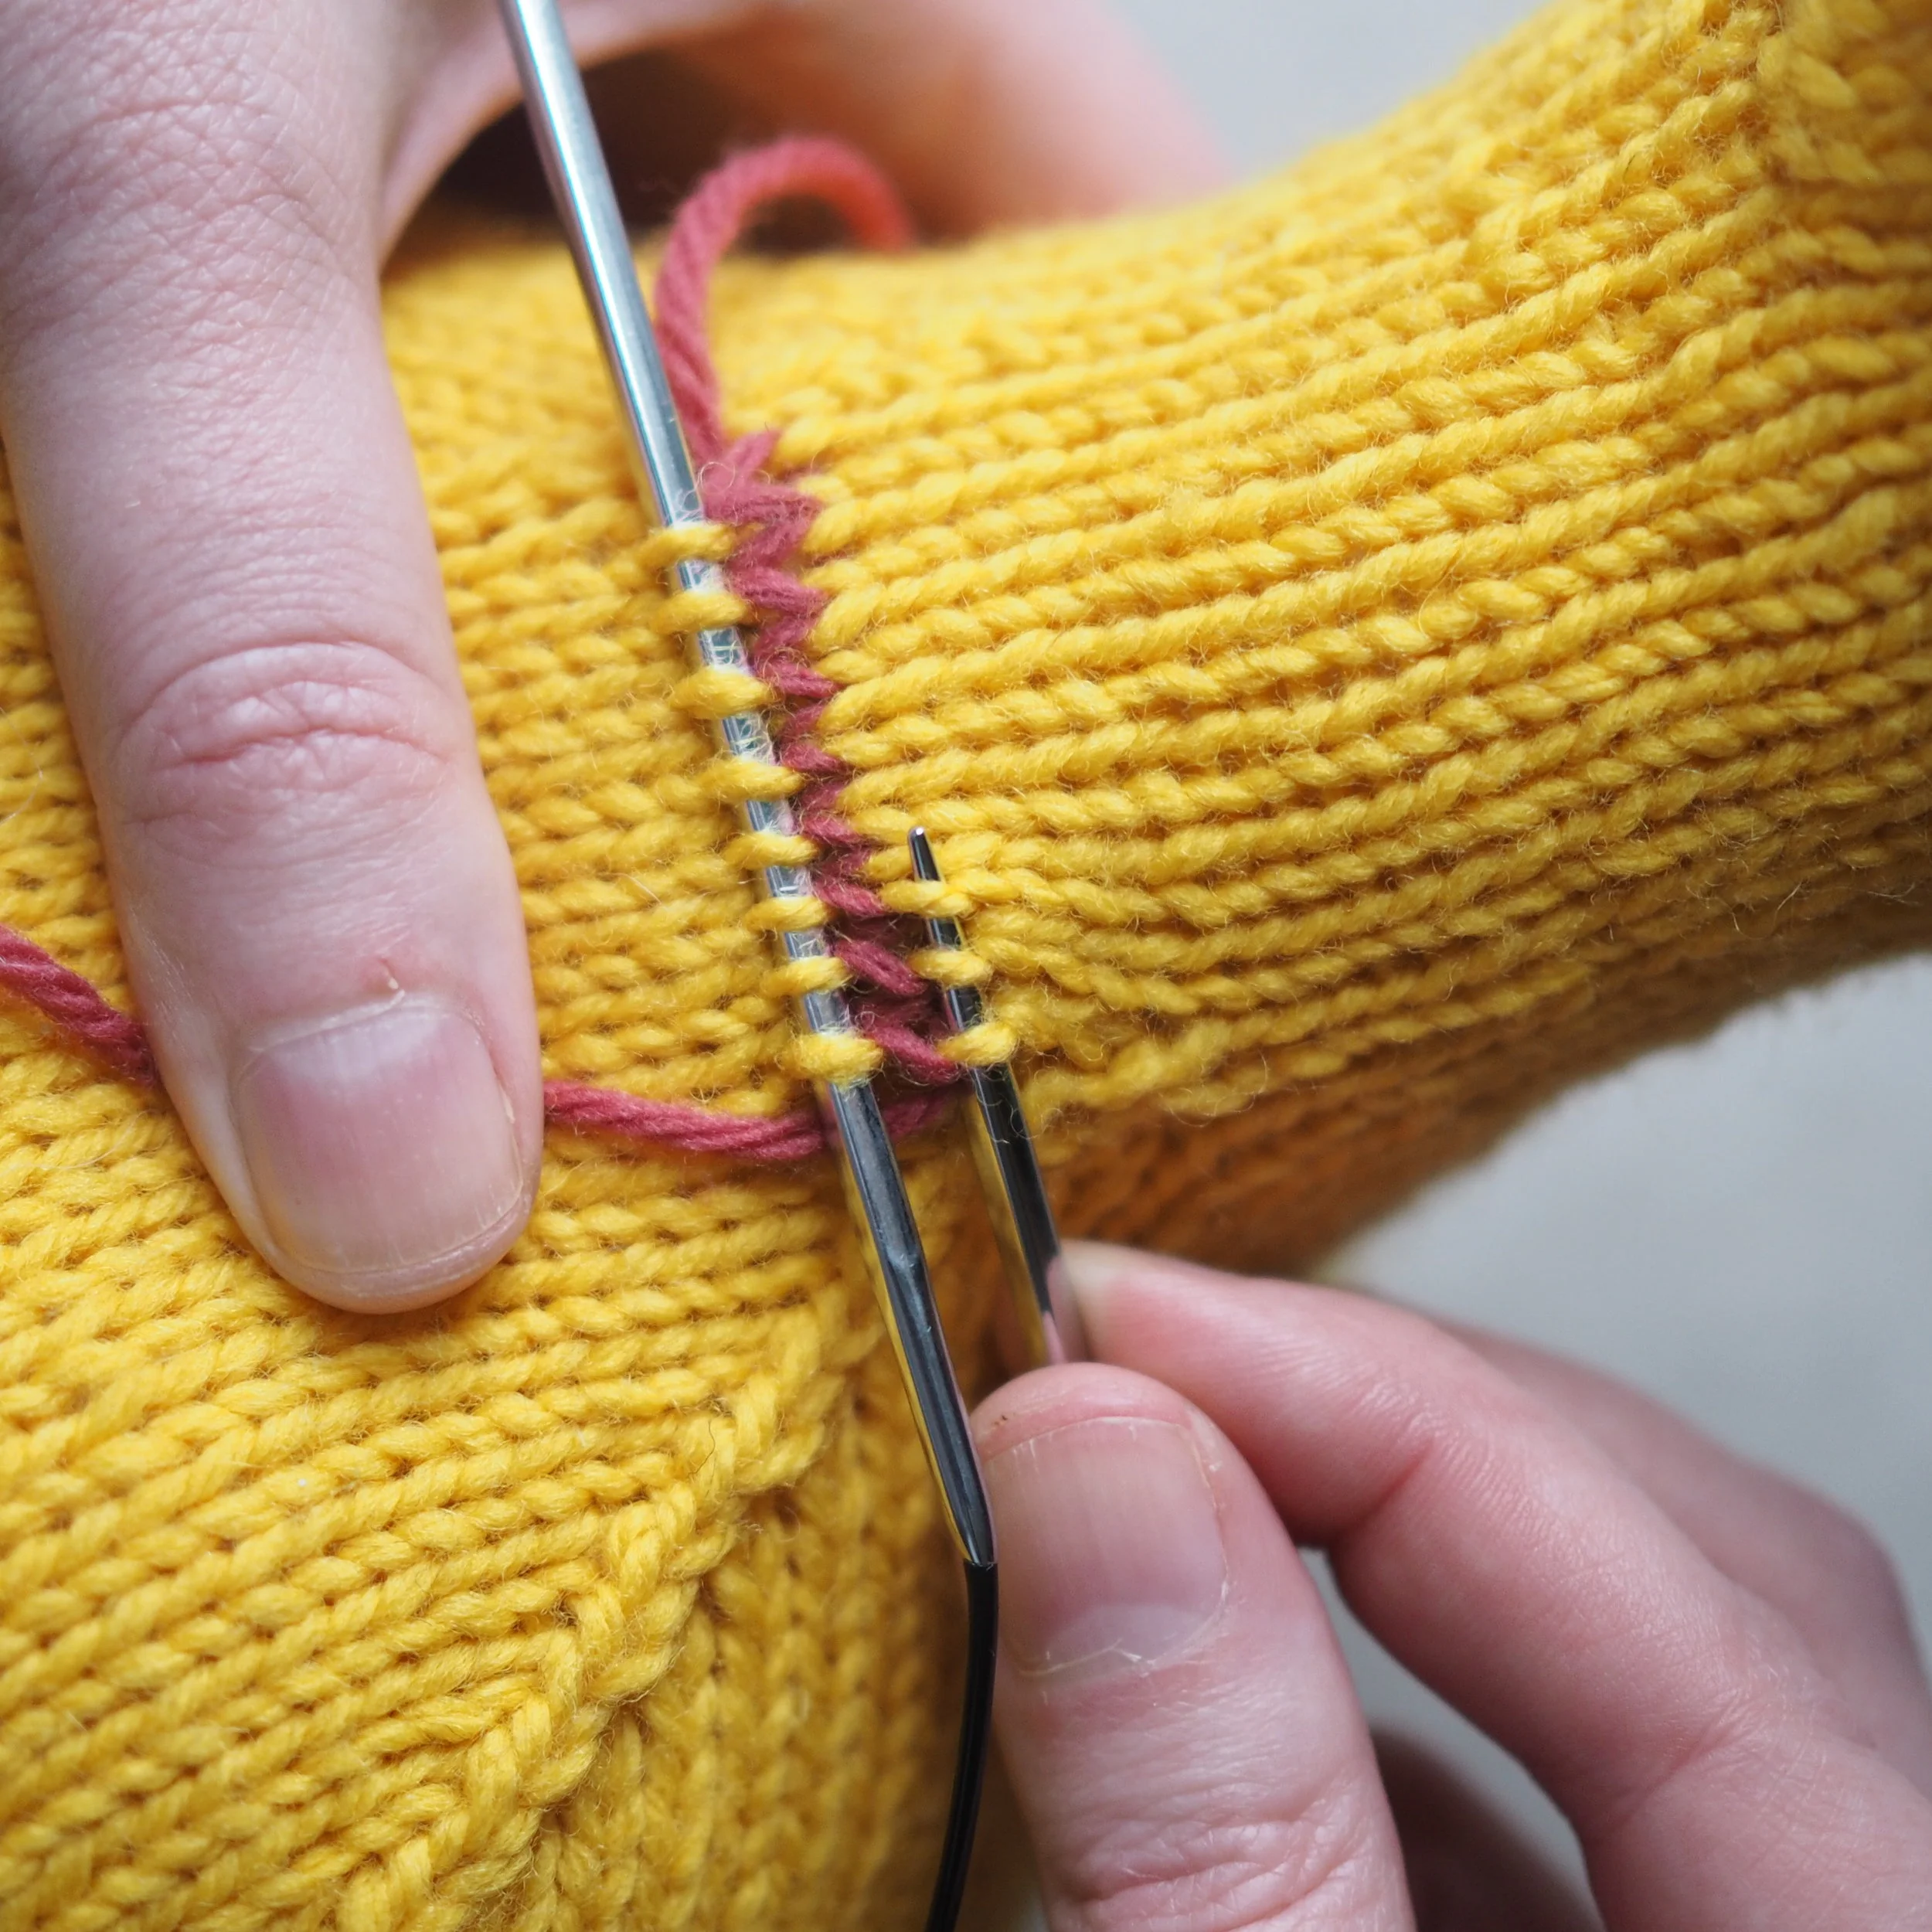
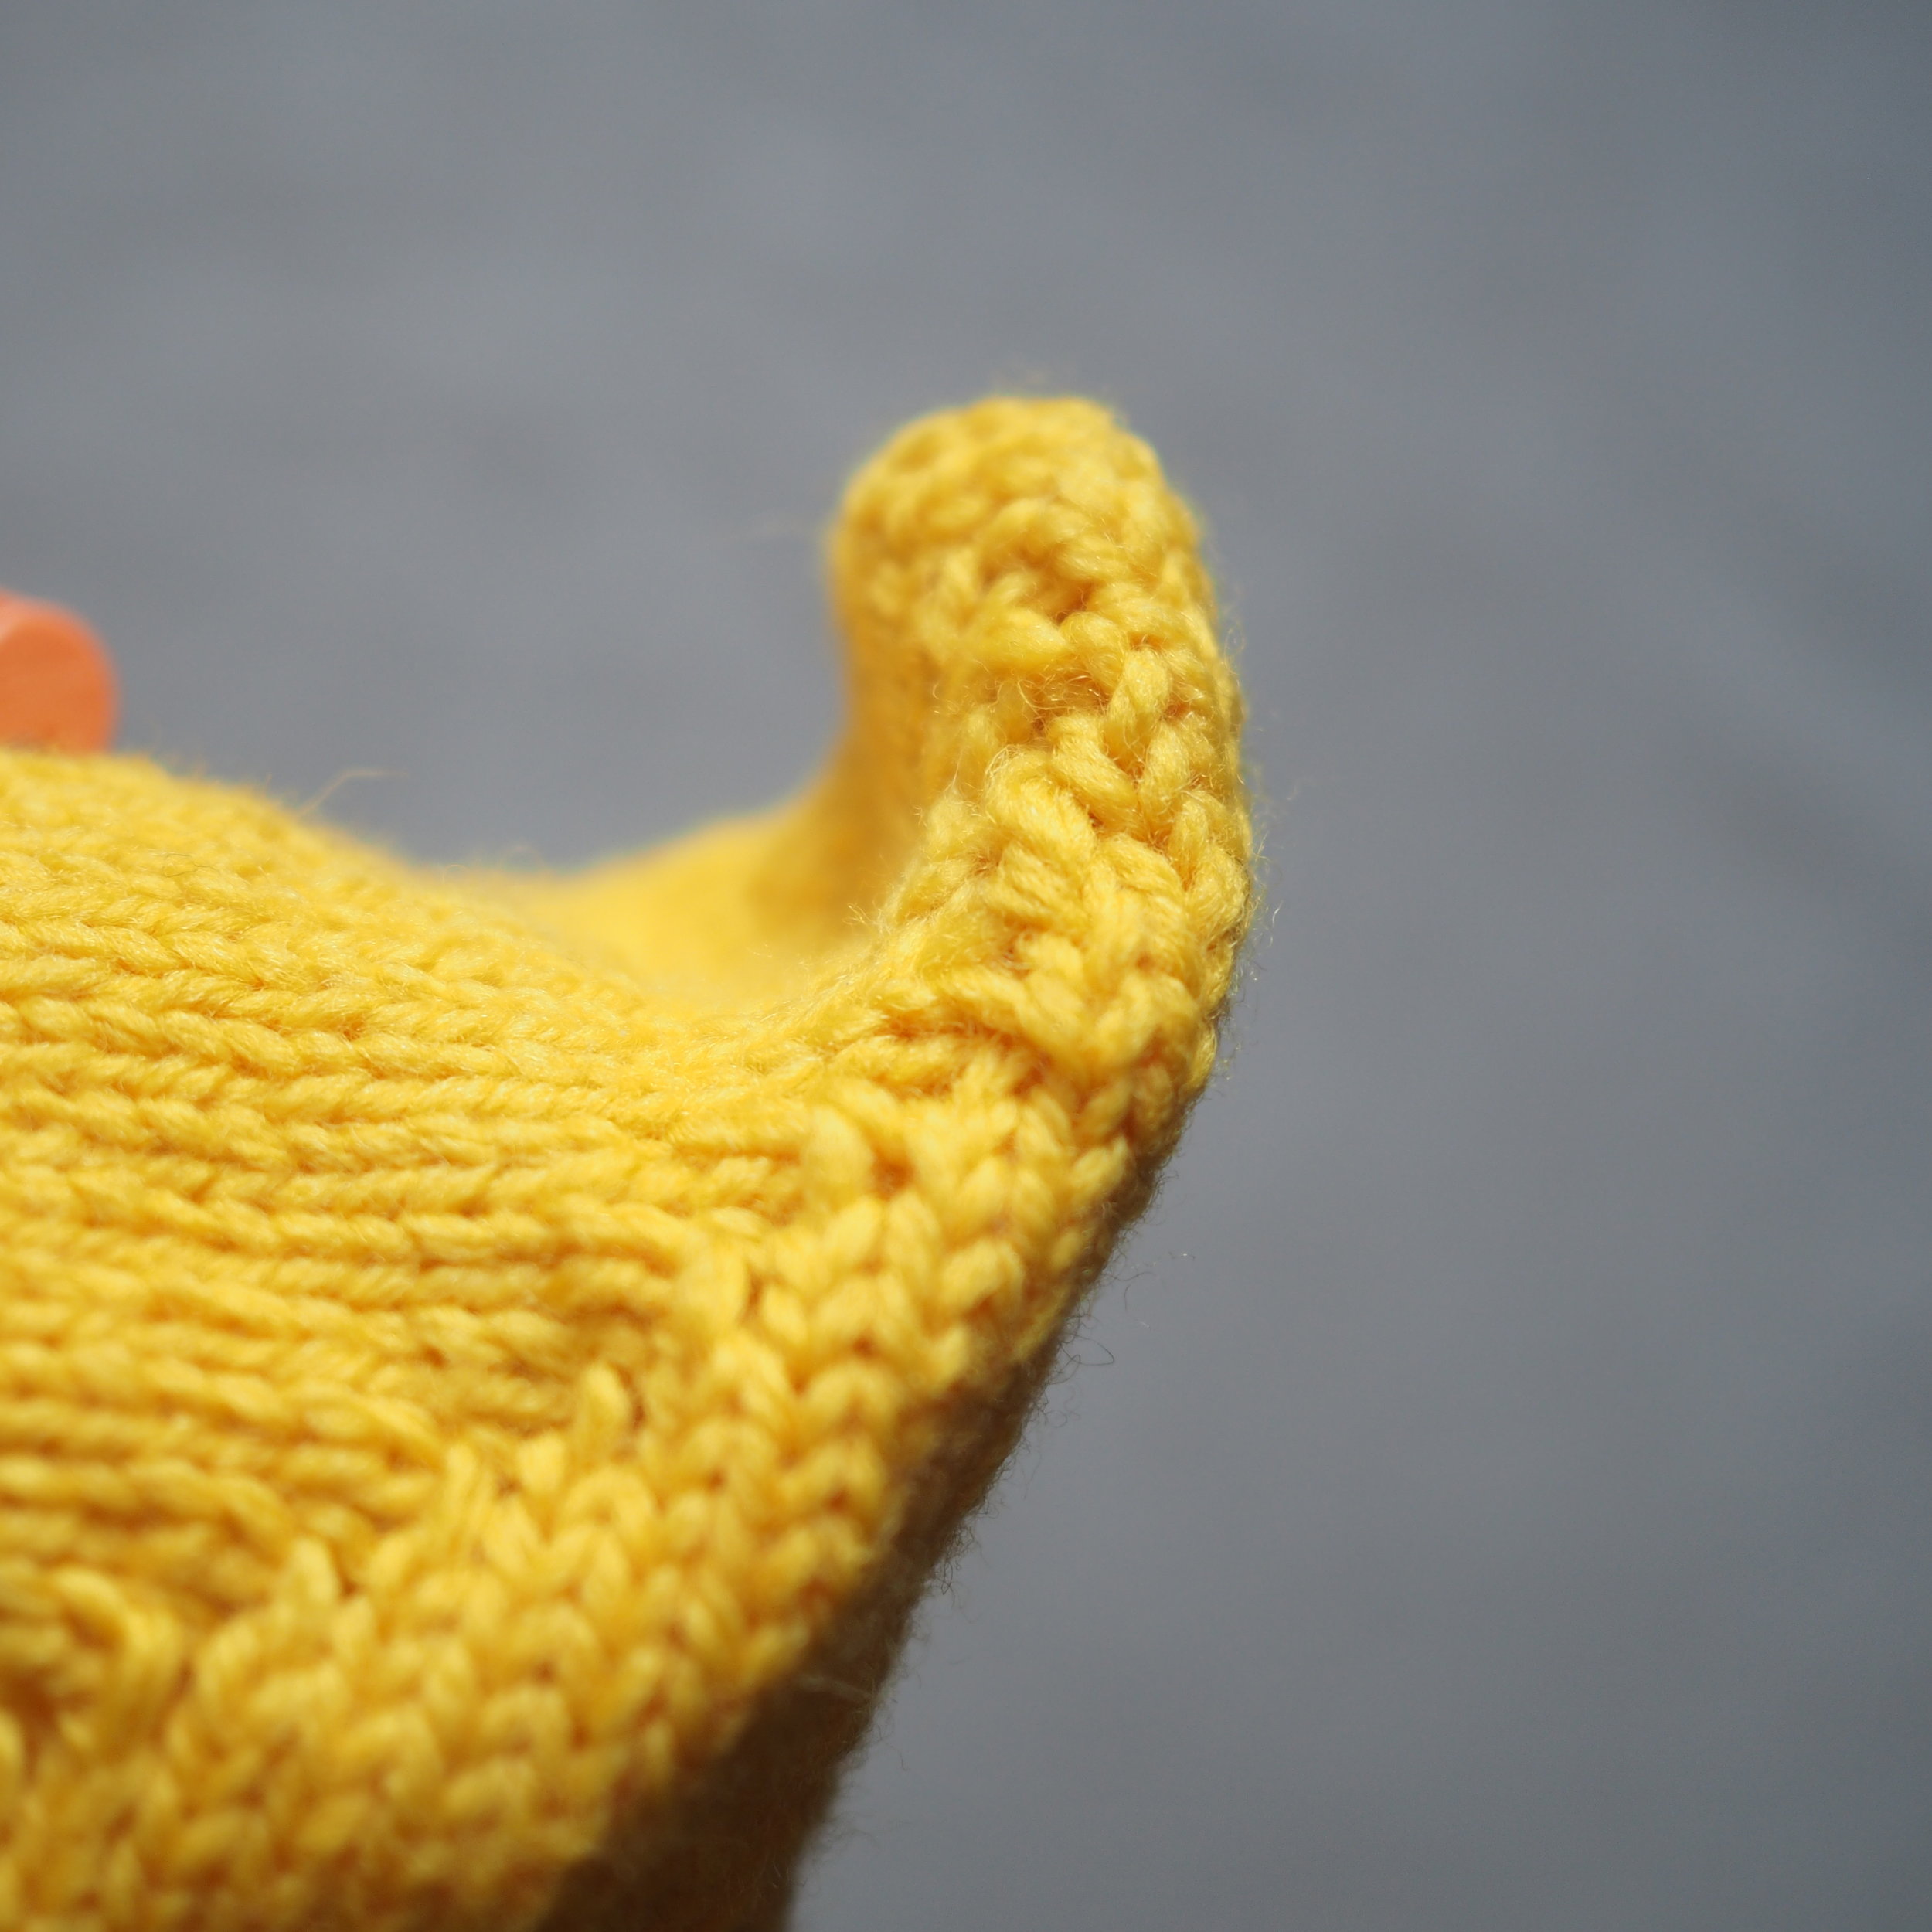
Increasing with KFBs 

All of the increases in this pattern are KFBs or knit into the front, then back of the stitch. This increases one stitch, and leaves a rather visible bump or bar on the left at the increased stitch, with a smooth line on the original stitch. You'll want that line of the original stitch to continue unbroken up across series of increases.

To KFB:

  1. Insert your right-hand (RH) needle into the first stitch on the left-hand (LH) needle and knit as you normally would, but do not remove the stitch from the LH needle yet. 
  2. Shift your RH needle so it goes through that same LH stitch, but through the back of the loop. 
  3. Make a knit stitch and slip off the LH stitch off the needle. You'll have increased 1 st.

Changing from DPNs to Magic Loop

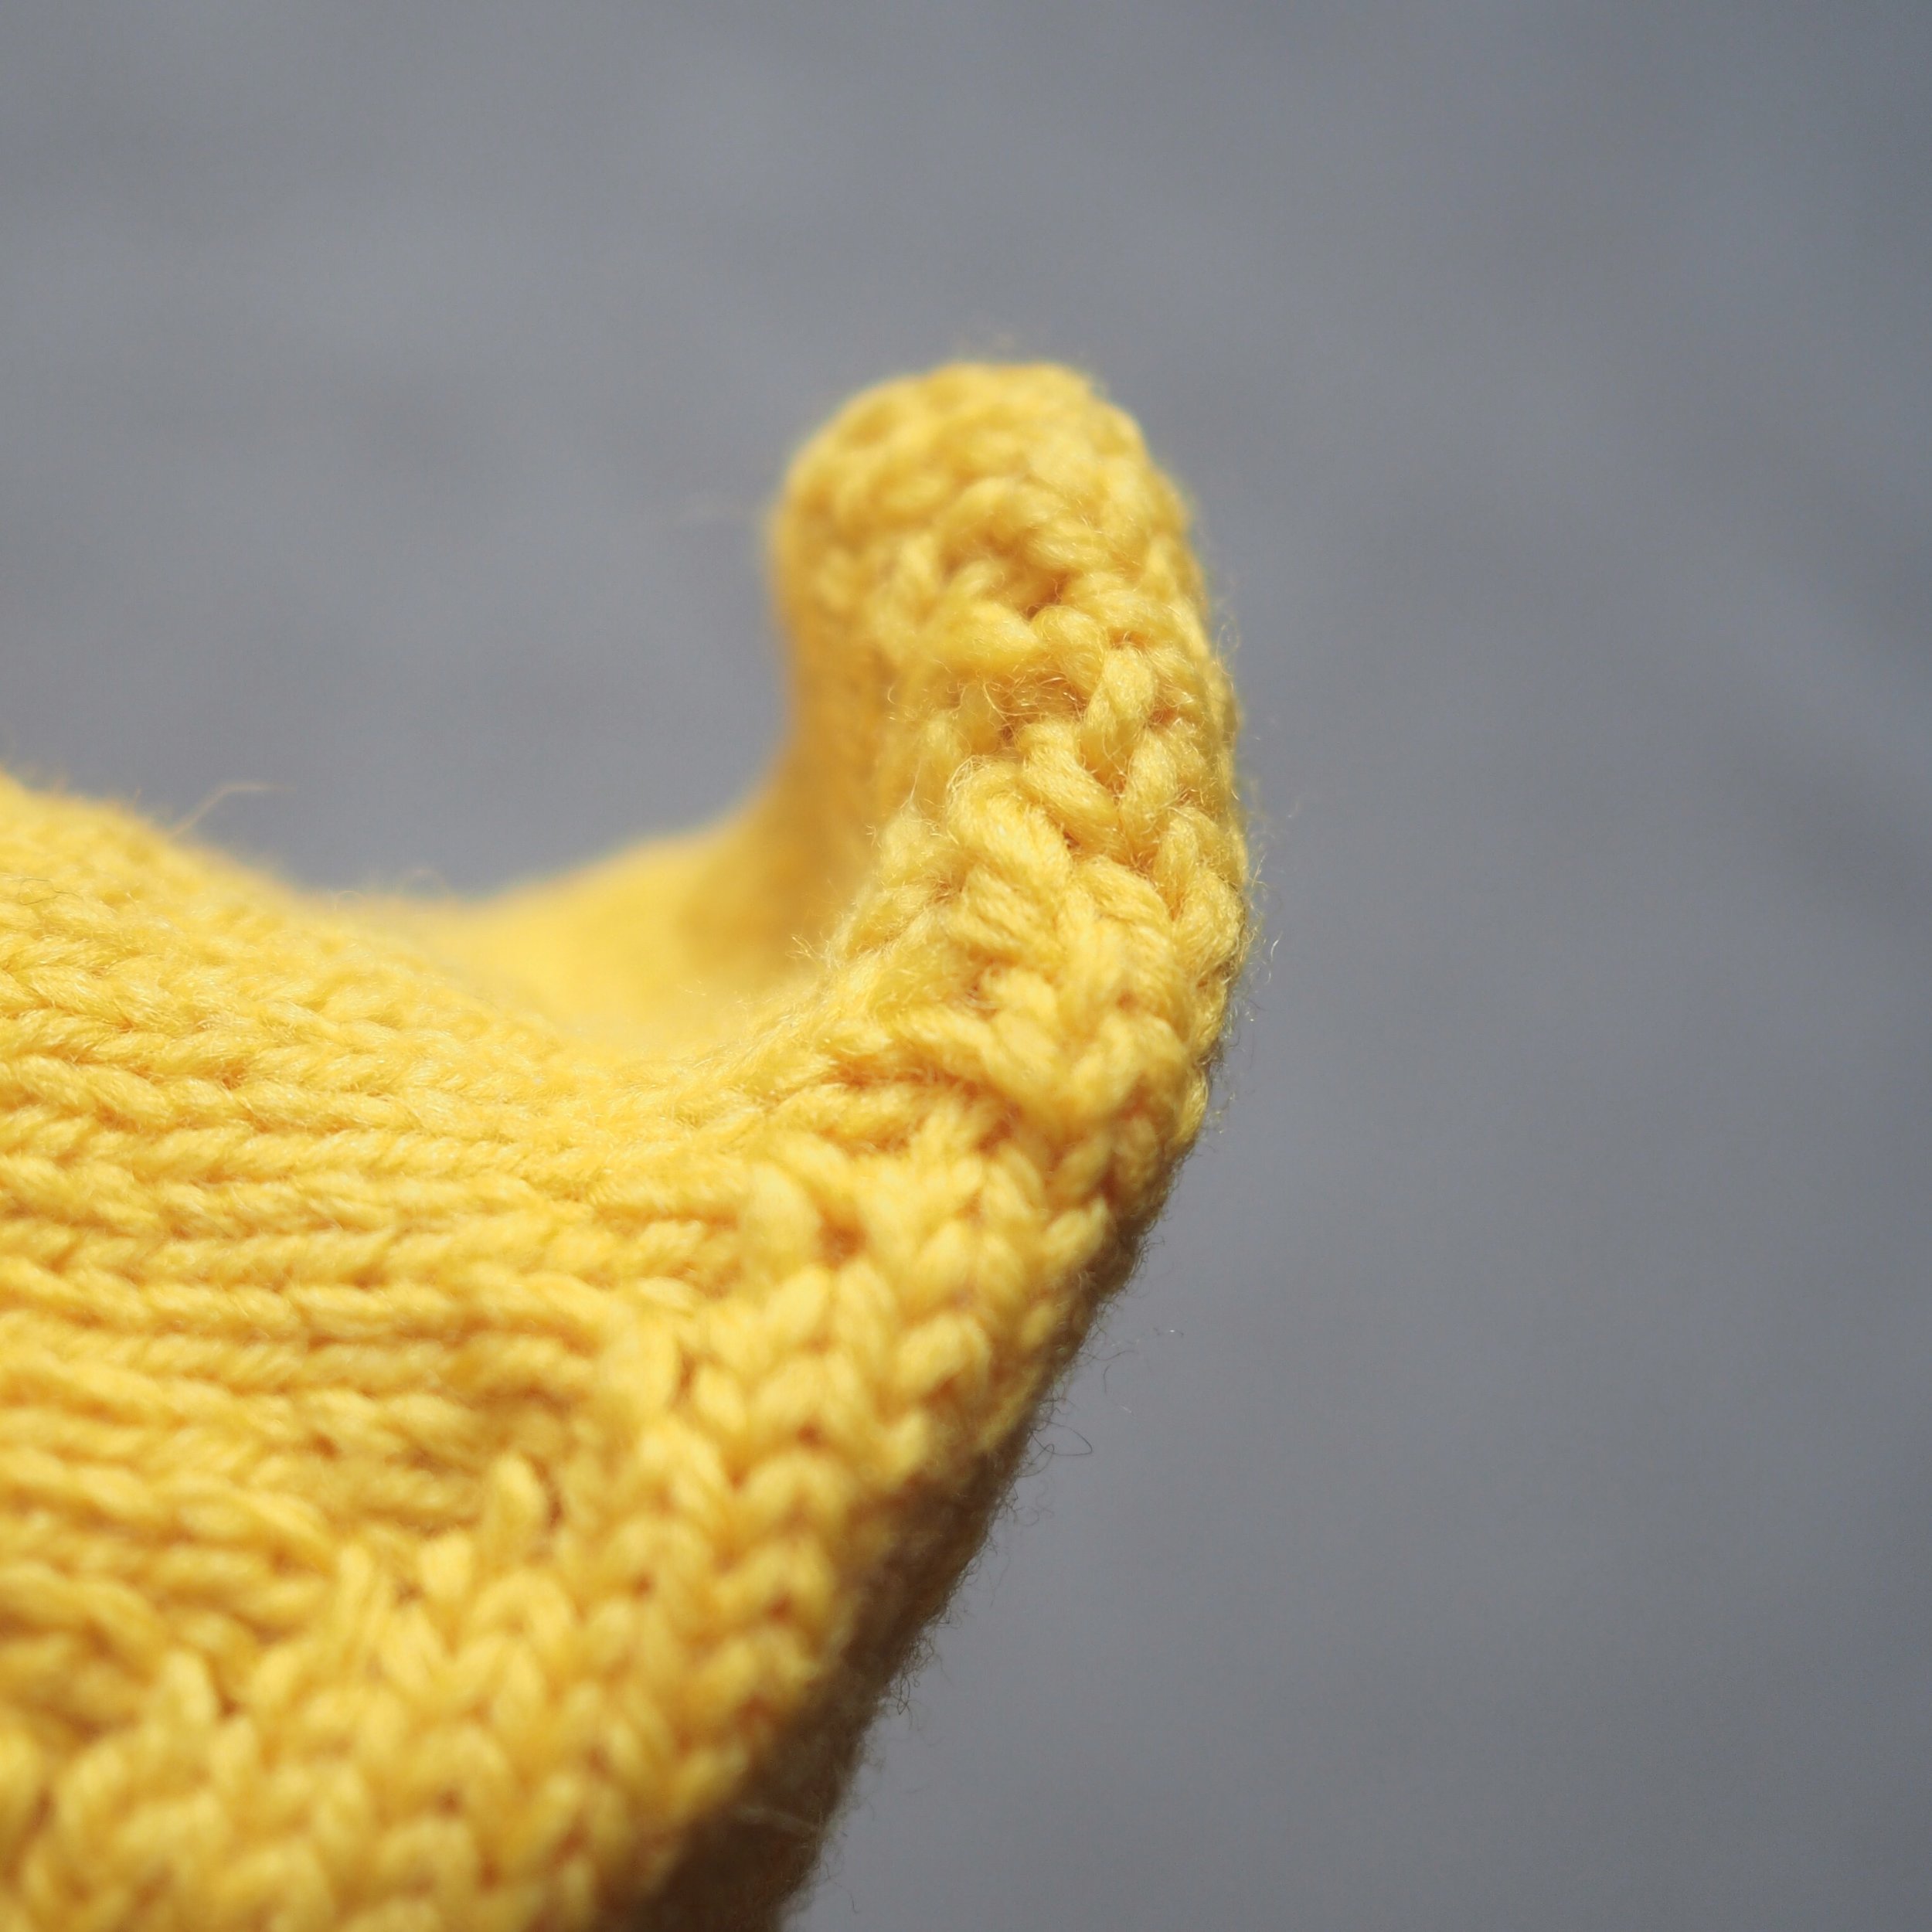
Because you'll be stuffing the duck as you go along, having the flexibility of a circular cable can be helpful, so once I reach a solid number of stitches on my dpns (about 10 per needle or more), I'll switch to using the magic loop technique. Two circular needles can accomplish this too.  

However, when you're on dpns it's easy to use the needle breaks in lieu of stitch markers (and I try to design my animal patterns to make sense along those needle breaks), so you'll need to add them when you switch to the circular(s).

To switch, simply put down that 4th dpn you've been knitting with and pick up your circular and start knitting as usual, putting a stitch marker at each needle break.  

Keep increasing (and keeping those increase lines nice and straight!) and next time we'll look at wrap and turn short rows for making that adorably curly tail.


Print Friendly and PDF Follow
follow us in feedly

New Kits for Spring and a KAL!

For a long time, I've been wanting to expand my designs beyond just knitting patterns, so I'm pleased to introduce my first trio of embroidery designs! Each design can be purchased as a PDF pattern or as a complete kit with pre-printed fabric, needle, thread and hoop. I've always found embroidery quite soothing, and when the design is already on the fabric, its even easier to incorporate a little slow stitching into your day. 

In addition to the embroidery designs, I'm also pleased to offer my Domenic Duck pattern as kits. This oldie but a goody has been slightly revamped for even more adorable shaping and is the perfect size for snuggling. It's also quick enough to work up for inclusion in this year's Easter baskets. 

One of the comments I hear most frequently in relation to my designs is some variation of "That's beautiful, but I'm not there yet."  

I never want anyone to feel like my designs are out of reach, and I feel like I gain so much when I try to stretch my own skills, so I've been working to make my designs more accessible for crafters of all skill levels.

This means that my new stuffed animal kits will be paired with a step-by-step online tutorial series/KAL (with prizes!) and all embroidery kits come with a basic stitch guide. Hopefully these tools will give you the confidence to take the leap and try something new!


Print Friendly and PDF Follow
follow us in feedly

Linen Verdant

It's linen month over at Quince & Co., and I'm pleased to have two designs in their latest collection of warm-weather knits: Linen Verdant

As in it's woven form, knitted linen fabric has such a beautiful texture and drape on it's own that I like to keep the designs simple. Both the Ripley tank and the Snell tee are knit from the bottom up in the round with minimal finishing, and a little decorative touch to make it special. 

Make sure to include some positive ease for that extra breezy feel, field of wild grasses not required.

You can buy both patterns as part of the Verdant Collection at Quince & Co. or as individual patterns in my shop or on Ravelry


Print Friendly and PDF Follow
follow us in feedly

Craving Spring

You might have heard we had a blizzard in Maine last week. My town ended up with 16" inches and while the shoveled spots have melted nicely since, the piles are still quite large. 

But I'm thinking about spring anyway. 

I mentioned to a friend the other day that starting seeds is what gets me through March. Right now my Instagram feed is full of crocuses and blossoming trees. My yard is full of snow. In reality, I won't really be able to plant much outdoors until May, but since the growing season is short, I try to give my plants (particularly the peppers and tomatoes) a leg up. So I ordered my seeds, purchased my flats and Little Miss Cleaver and I got to planting.

If there's one thing I'm particularly proud of as a parent, it's that LMC is really excited about gardening.

For months she's been saving the seeds out of whatever food she finds them in (I had to explain that we couldn't plant seeds from a pickle). So we've got a few random apple seeds in those flats next to the basil and zinnias. She also cheerfully picked the wildflower packets with the bees and butterflies on them, because she wants to help them (thank you Nature Cat!).

Everyday, we've both been checking the progress of our little seedlings, and while I have to remind her that over-watering is just as bad as under-watering, she's an excellent co-gardener. Having every flat surface in my living room covered with flats of soil is a small price to pay. :)

I've also been embracing the coming spring in my crafts, with sheep and ducks and linen making notable appearances. I've also been working furiously behind the scenes to pull together some new kits for spring. If you want to be the first to hear about them when they go on sale, subscribe to my newsletter, which now comes out monthly and includes new releases, sneak peaks and a recipe! 


Print Friendly and PDF Follow
follow us in feedly

Introducing the Tributary Shawl

I'm pleased to introduce the Tributary - part of Quince and Co's Piper Week and the third in my Songbird series of shawls inspired by music.

"God cage the songbird
Before the feathers run brown
God bar the windows
That we may though hollow be sound

And this island shall be shackled to her waters
Here we vow never to change
Here we will stand at last for something
With no desire to pretend"

- The Low Anthem

Inspired by lyrics from the Rhode Island-based folk band The Low Anthem, this traditional triangle shawl plays with closure and openness, with the body knit in Stockinette st for the first third, before opening up into a wide lace border.  The strong lines of double yarn-overs both open up the fabric, evoking bars, and the final pattern has a feather-like texture, the connection the two lace patterns giving the shawl a feeling of downward motion, and falling feathers.

The pattern is available for $6.50 USD from the following online shops:

MsCleaver.com   ||   Quince & Co.   ||      Ravelry


If you knit it and participate in social media, use #quincetributary to share and/or tag me @mscleaver !  

I'd love to see your version!!!


Print Friendly and PDF Follow
follow us in feedly

Colorwork Cravings

It's rare these days that I get to knit something from someone else's pattern, but whenever I do, it's such a joy that I kick myself for not doing it more often.

Case in point, my most recently finished knit - the Ebba pullover by Diana Walla.

I had eyed the pattern back when it came out in September 2015 (how time flies!) and then I had some time this winter with no knitting deadlines and thought- you know what, let's do it! 

So I went to my LYS - picked up some colors, swatched, went back to LYS to exchange a color when the first combo didn't work out, swatched again, cut my first steek, and then merrily knitted for a month. I completely enjoyed knitting this and I love the finished project. Wearing it twice a week until it's too warm is totally acceptable, right? 

But more than anything, I love that it re-triggered that colorwork-loving portion in my brain. Back in the day, I had a lot of fun designing some colorwork pieces like Zoetrope, but then for one reason or another, I stopped. But  I'm inspired now, and I maybe bought a crazy amount of yarn because I do nothing in halves, apparently, so more colorwork to come!!


Print Friendly and PDF Follow
follow us in feedly

Chocolate Chip Cupcakes with Quick Buttercream Frosting

Life can be intense sometimes. Flavors can be intense. While I love 70% dark chocolate with sea salt caramel as much as the next person, some days, I just don't want intense. 

Some days I just want something easy to make and easy to eat.

These chocolate chip cupcakes hit on both marks. The simple cake base receives a punch of sweetness from mini chocolate chips and a few tablespoons of orange juice in both the batter and frosting keep it bright, without tasting overly citrus-y. The frosting is so easy, you'll wonder why you ever popped open a can. 

As for being easy to eat? Let's just say that most times in my household, I end up eating the majority of my bakes because the rest of my family isn't all that into dessert. These cupcakes, however, were devoured two at a time and didn't last the weekend. :D

Chocolate Chip Cupcakes with Quick Buttercream Frosting

Makes 20-24 cupcakes, depending on how full you fill the muffin cups.

Cake

  • 2 1/3 cup cake flour (or 2 cups all-purpose flour + 1/3 cup cornstarch)
  • 1 1/2 teaspoon baking powder
  • 1/2 teaspoon baking soda
  • 3/4 teaspoon salt
  • 3 eggs (room temperature)
  • 1 teaspoon vanilla
  • 3/4 cup unsalted butter (room temperture)
  • 1 1/3 cup sugar
  • 2 Tablespoons orange juice
  • 1 Tablespoon lemon juice
  • Slightly less than 1 cup milk
  • 3/4 cup mini chocolate chips

Preheat oven to 350 degrees Fahrenheit. Line a muffin pan with paper liners.

Measure out lemon and orange juice into a liquid measuring cup and add milk until total liquid is 1 cup. Set aside.

Using a wooden spoon or mixer, cream together butter and sugar until light and fluffy. Add eggs one at a time, making sure each egg is fully incorporated before adding the next. Add vanilla to mixture. 

In a separate bowl or sifter, combine flour, baking powder, baking soda, and salt. If using bowl, mix together dry ingredients.

Starting and ending with the flour mixture, add flour and milk to egg/sugar mixture in alternating portions, fully incorporating each addition before adding the next.

Add chocolate chips and mix to combine.

Scoop batter into prepared pans, filling each cup about 3/4 full. Clean up any drips and place pans in the center of the oven and bake from 18-20 minutes or until a tester comes out clean and the top of the cake springs backs when touched.

After about  five minutes, remove cupcakes from pan and cool completely on a rack before frosting.

Chocolate Buttercream Frosting

  • 1 1/2 cups powdered sugar
  • 1/4 cup salted butter, softened
  • a pinch of salt
  • 2 oz. unsweetened chocolate, melted
  • 1 Tablespoon milk
  • up to 1 Tablespoon orange juice
  • 1 teaspoon vanilla

Melt chocolate in a double-boiler or microwave and allow to cool. Mix together powdered sugar, butter and salt until well-combined. Add melted chocolate, vanilla, milk and orange juice. Mix until well combined, adding additional milk or orange juice until desired consistency is reached. Frost cupcakes. 

See the bottom of this post for a print-friendly button!!


Print Friendly and PDF Follow
follow us in feedly

December is for Dabbling

For Christmas, I gave Mr. Cleaver a skein of sock yarn. 

"I am supposed to learn to knit?" He asked, eyebrow raised.

"No," I replied, "This gift is two-fold. 1) Sometime this year you'll get a new pair of socks and 2) I didn't try to knit them before Christmas."

As creatives and makers, it's easy to get overwhelmed with a desire to try to make our holidays as handmade as possible. I've definitely stayed up far too late many a December trying to finish a gift or two before that deadline on the 24th. 

In 2016, my creative life was ruled by deadlines more than ever before, and it was incredibly stressful. So when I had a month of no deadlines and over two weeks of vacation from my day job planned, I decided that I wasn't going to give myself any new deadlines. 

So I gave my husband a skein of yarn for Christmas and I didn't make my daughter a thing. And I'm okay with that. 

Instead, I decided to play. 

I spun yarn for the first time since LMC was born. I baked my way through a 5 pound bag of flour with whatever inspiration struck my fancy. I needle-felted, and needle-felted some more. I wet-felted a pair of slippers for the first time. I was able to sew for the first time in months. I crocheted snowflakes and learned how to steek. I picked out yarn for a sweater, for me, from someone else's pattern and have knit most of it. I made snowmen and ice skated and took naps with my daughter. 

It was like summer camp in the winter and it was glorious. 

I want to make this a new holiday tradition for myself. December is for dabbling. It's the best gift I could receive. 


Print Friendly and PDF Follow
follow us in feedly

Gingerbread Cake and Glühwein

I love baking for the Holidays.  There's just something about the flavors of winter I find so appealing , the combination of nutmeg and cinnamon and citrus. The depth of molasses and wine. That's why this pairing is perfect combination for any winter gathering, and since there's a lot of overlap in ingredients, they're easy to make together. 

Gingerbread Cake with Orange Glaze

Serves 8-12

Gingerbread is an obvious choice for the holidays, but this take on the classic has a soft and light crumb, and isn't overly dense or spicy, as I find some gingerbread to be. The cake is best when the spices are allowed to meld for a bit, so make the day ahead, if possible. For a spicier cake, increase the amount of ginger, or replace powdered with fresh. You may also increase the amount of molasses, as desired.

For the Cake:

  • 2½ cups all-purpose flour
  • 2 teaspoons baking powder
  • ¼ teaspoon baking soda
  • ½ teaspoon salt
  • 2 teaspoons ground ginger
  • ½ teaspoon ground cinnamon
  • ¼ teaspoon allspice
  • ⅛ teaspoon freshly grated or ground nutmeg
  • ½ cup molasses
  • ½ cup brewed coffee, at room temperature
  • 1½ sticks ( 1¼ cups) unsalted butter, at room temperature
  • 1¼ cups light brown sugar
  • 3 eggs + 2 egg yolks, at room temperature

For the Glaze:

  • 1½ cups powdered sugar
  • 2 Tbl milk
  • 2 Tbl orange juice
  • Zest of 1 orange
  • pinch of salt


Preheat oven to 350 degrees F. Grease and flour or spray a 10-cup Bundt pan (I find Pam with Flour works the best for those tricky Bundt pans). 

In a large mixing bowl, cream butter until smooth using a wooden spoon or mixer. Add brown sugar and cream until light and fluffy, making sure butter is fully integrated and there are no visible chunks. Add eggs to butter mixture one at a time, mixing in completely before adding the next egg.

In a separate bowl, shift together flour, baking powder, baking soda, salt, and spices.

In a small bowl or cup, mix together room temperature coffee with the molasses.

Add the 1/3 of the flour to the egg/butter mix, then 1/2 the molasses, 1/3 of the flour, the remaining molasses, then the remaining flour. Mix until just combined. 

Pour batter into prepared pan and snap against the counter to remove any large bubbles. Smooth out the top with a rubber spatula.  Place in center of oven an bake for approximately 50 minutes, or until a toothpick inserted into the center of the cake comes out clean. 

Let cake cool in pan for about 7 minutes, then turn onto a cooling rack. Let cake cool completely, transfer to serving plate, and then glaze.

To make glaze: mix all ingredients, adding liquid slowly until desired consistency is achieved. Pour over cooled Bundt cake, making sure to allow glaze to drip down both sides. Scoop extra glaze out of cake center and re-drizzle as desired.

Glühwein, or German Mulled Wine, is perhaps less familiar, but a wonderful addition to winter gatherings. I discovered Glühwein when searching for mulled wine recipes, and then immediately emailed a German friend for her take on the tradition. I've merged her recipe with some I found online, but mulled wine is something that is easy to vary to meet your own tastes. Throughout my wine-mulling process, I kept running to Mr. Cleaver with a hot mug and saying "taste this." We quickly ran through the batch at my knitting group's annual Christmas fête, so I think my test-taster served me well.

Glühwein - German Mulled Wine

  • 1.5 L dry red wine
  • 2 1/3 cup orange juice (juiced oranges + pre-made orange jucie)
  • 2/3 cup brandy
  • 4-5 oranges, peeled (see instructions below) and juiced
  • 1 lemon, peeled and juiced
  • 4 cinnamon sticks
  • 20 cloves
  • 1/8 tsp freshly ground nutmeg
  • up to 1/3 cup sugar, to taste

Using a paring knife or vegetable peeler, peel all citrus into wide strips, avoiding as much of the bitter white pith as possible. Juice all fruit, making up the difference with pre-made orange juice as needed.  Reserve some peels for garnish.

Combine wine, juice, remaining peels, and spices in a heavy covered stockpot. Bring pot to a low simmer. Add Brandy and continue to simmer. Add sugar to taste. 

Serve hot, not warm.

What are your favorite holiday recipes? Share links below!!


Print Friendly and PDF Follow
follow us in feedly

Introducing the Cresting Waves Shawl

I was honored when Beatrice Perron Dahlen invited me to contribute to her MAINE knits book, a celebration of sea, farm and wild in Maine. It's really a thrill to be represented alongside some of my Maine knitting friends and peers, like Carrie Bostick Hoge, Bristol Ivy, Cecily Glowik MacDonald, Mary Jane Mucklestone, Beatrice Perron Dahlen, Alicia Plummer, Leila Raabe, Elizabeth Smith, and Kristen TenDyke.  

My contribution is the Cresting Waves shawl, knit in String Theory Yarn. As the name indicates, I went with the sea as my inspiration and came up with this simple shawl.  As shown, the shawl only uses 1 skein/345 yards of fingering weight yarn, making it the perfect project for that special skein. Instructions are also provided for making deeper versions for a more generous shawl. 

The lace border is worked first, then stitches are picked up along the edge for the body, which is worked in short rows. It's a great project for those nervous about tackling lace, because if you mess up a lace row, it's only about 20 stitches to pull back. You can read more about my thoughts on knitting, Maine and this design over on Bea's blog - Thread and Ladle. You can also pre-order the book on the site, which will ship in January. I've had a chance to see a proof of the whole book, and it really is lovely, filled with great patterns and beautiful photography. 

If you'd like, you can also give the pattern some love, or queue it up on Ravelry, where Bea will be releasing a preview of each of the patterns over the coming days. 

More to come on the book in January, including information about a launch party! :) 


Print Friendly and PDF Follow
follow us in feedly