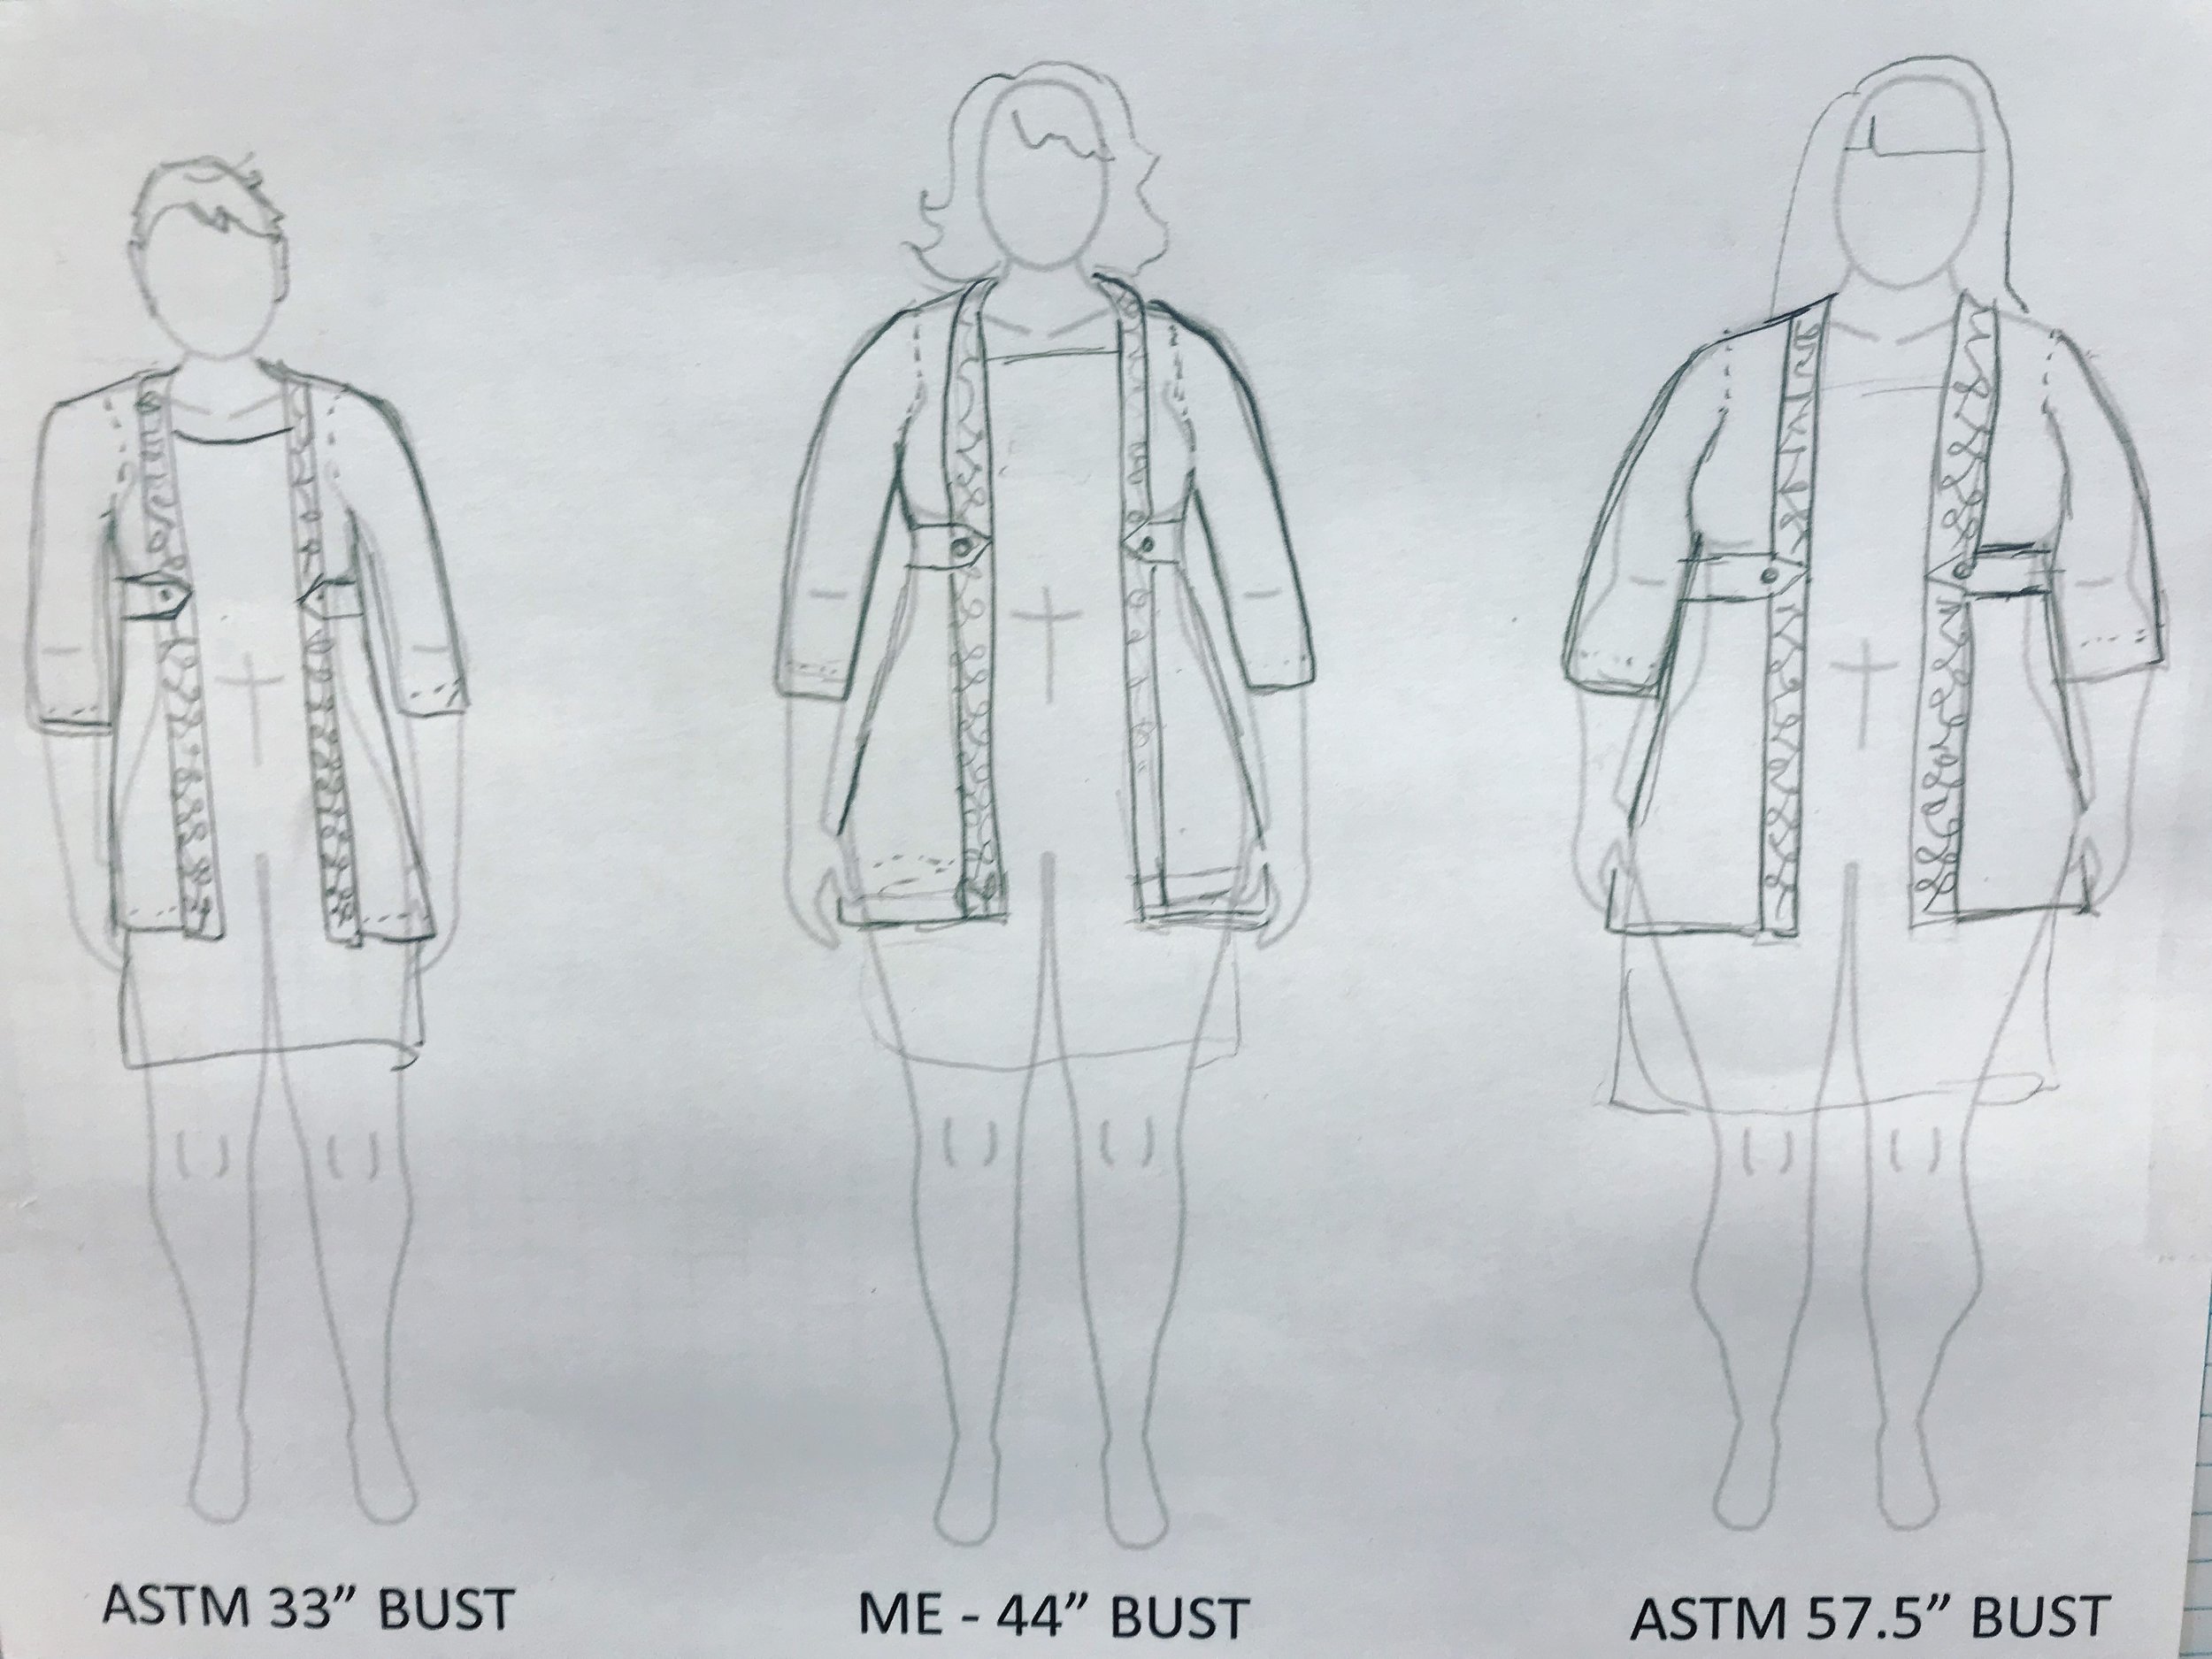
It’s no secret that I learned to sew long before I learned to knit, and I still love them both, but while sewing is essentially the art of taking a flat piece of fabric and manipulating it into a 3-D structure, the magic of knitting is that you can work that structure into the very fabric itself.
The simplest example of this is knitting in the round - rather than knitting a flat piece and seaming it into a tube, you just make the tube to begin with. Similarly, increases, decreases, and short rows can be used to form curves and undulations. I love designing my stuffed animals in the round, because it forces me to think in three dimensions from stitch one. But when it comes to garments, I’ll admit to finding a bit of a thrill in translating traditional sewing techniques, like pleats and pintucks into knitted forms.
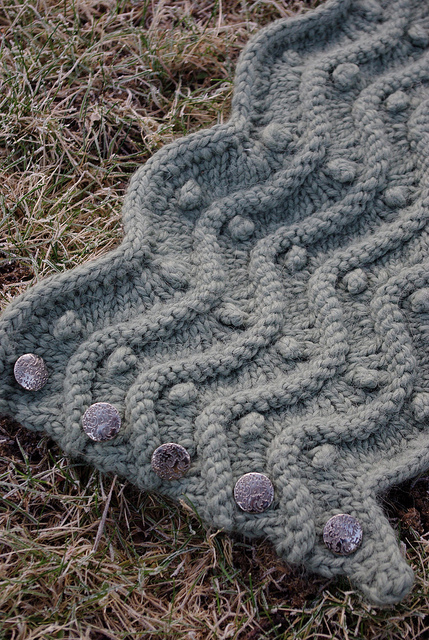
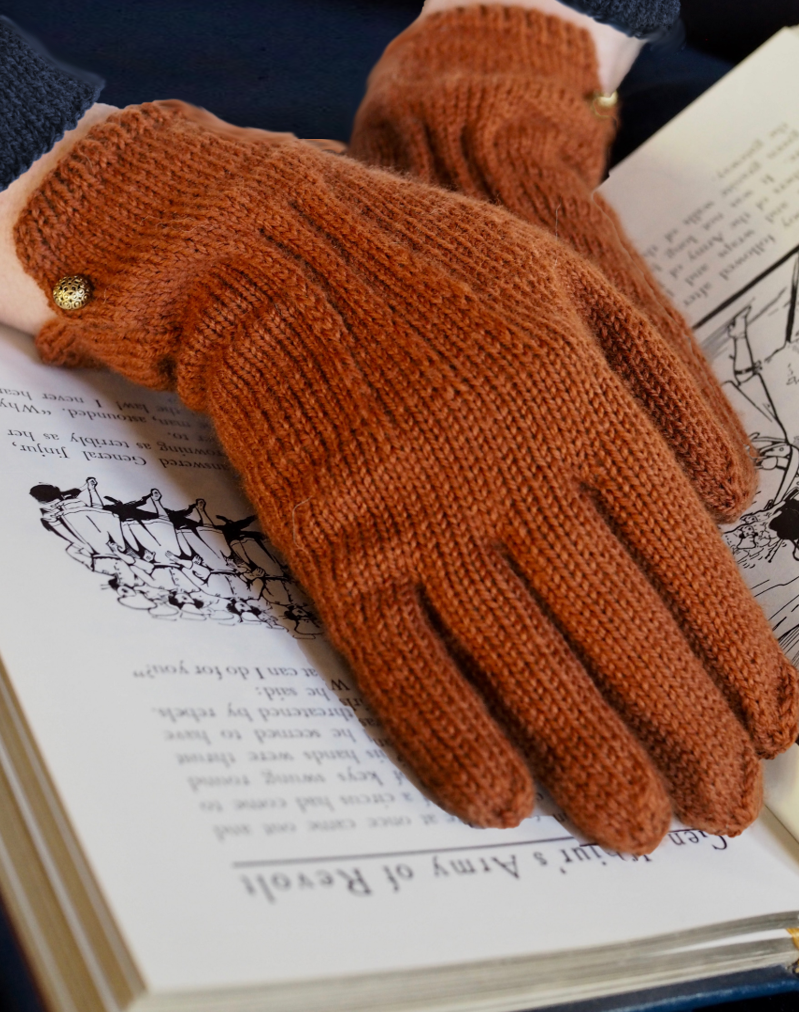
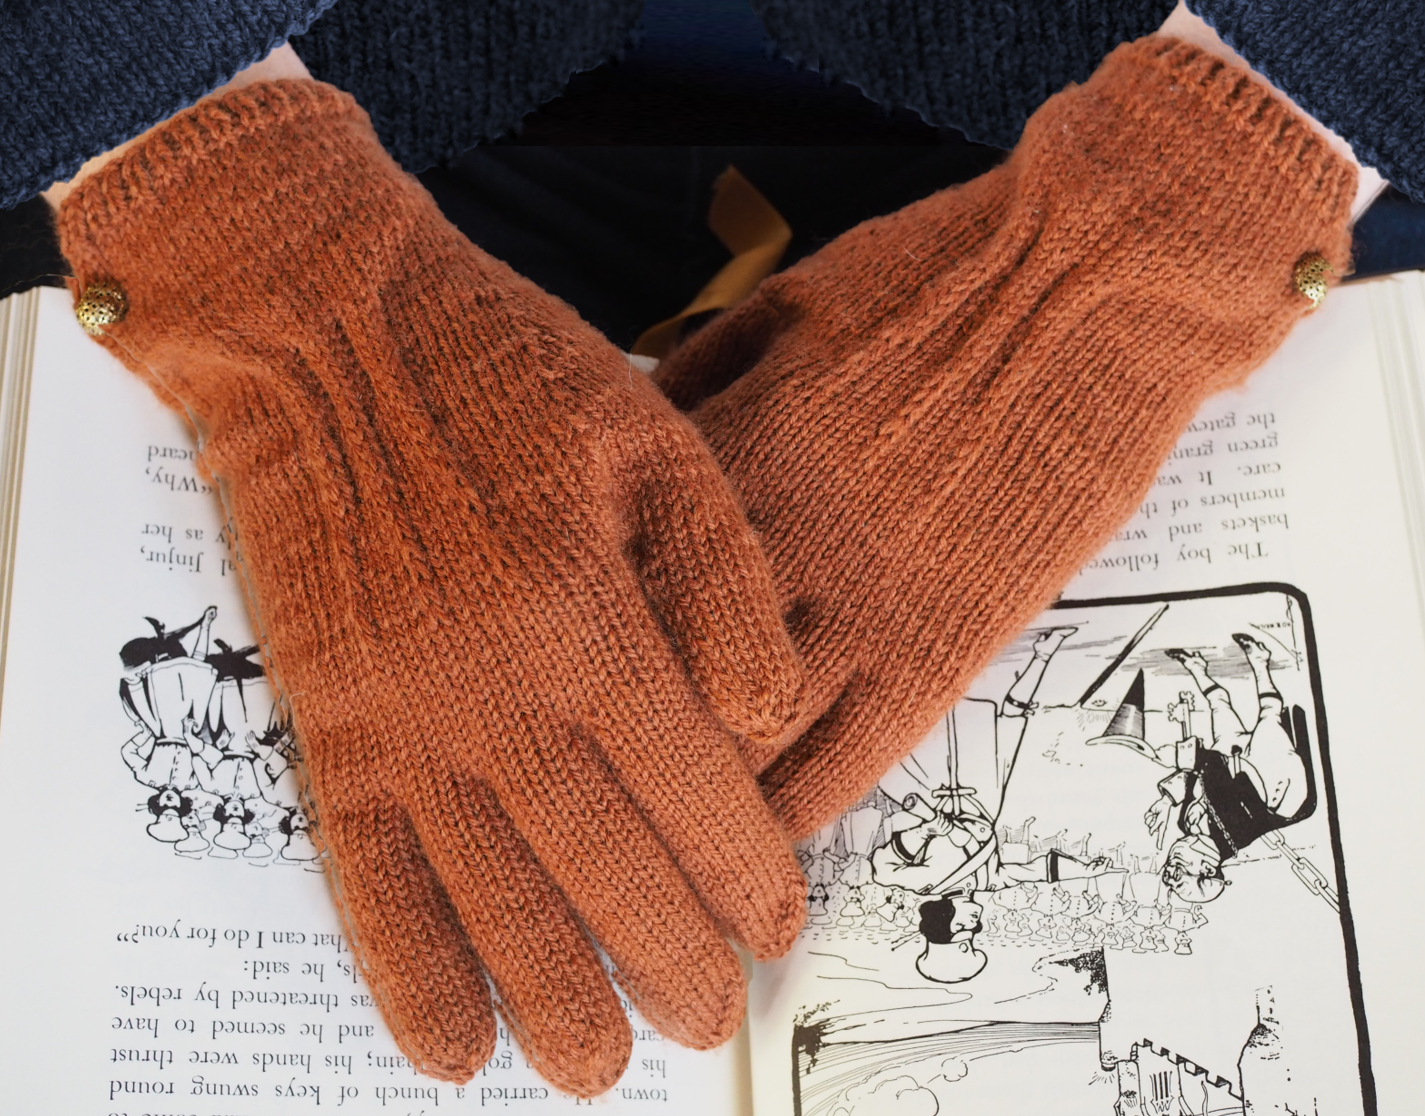
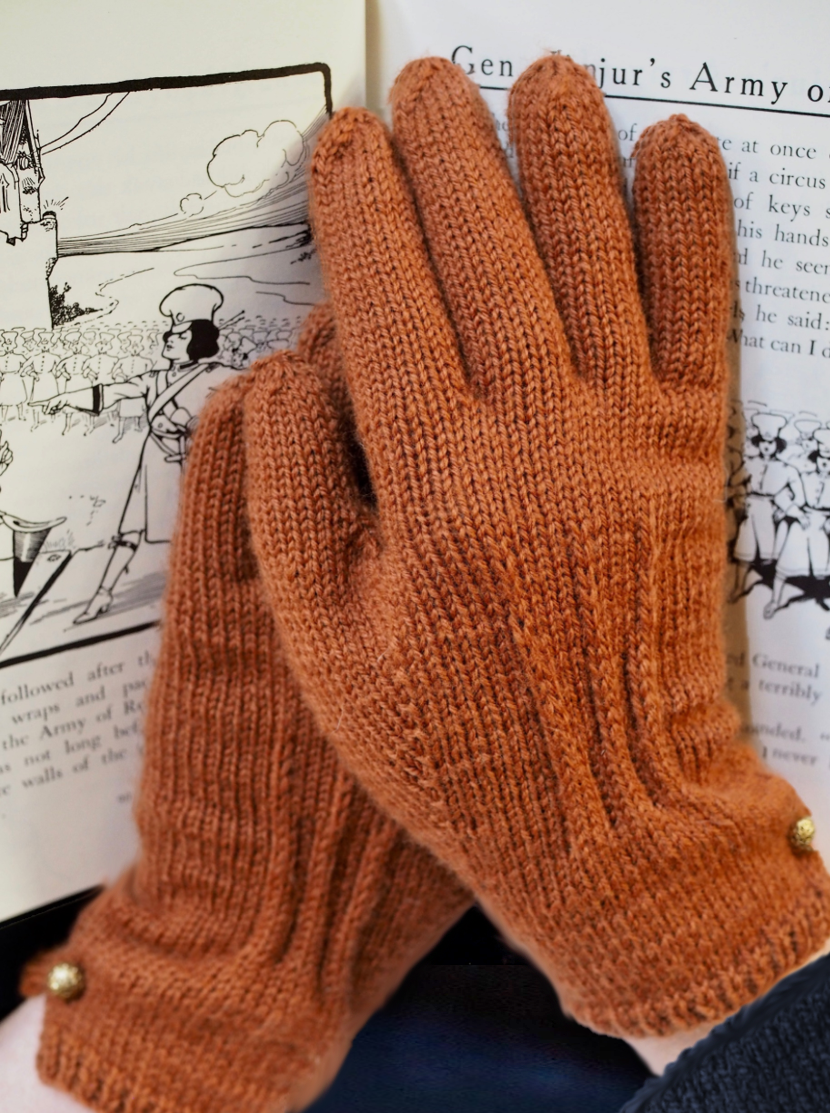
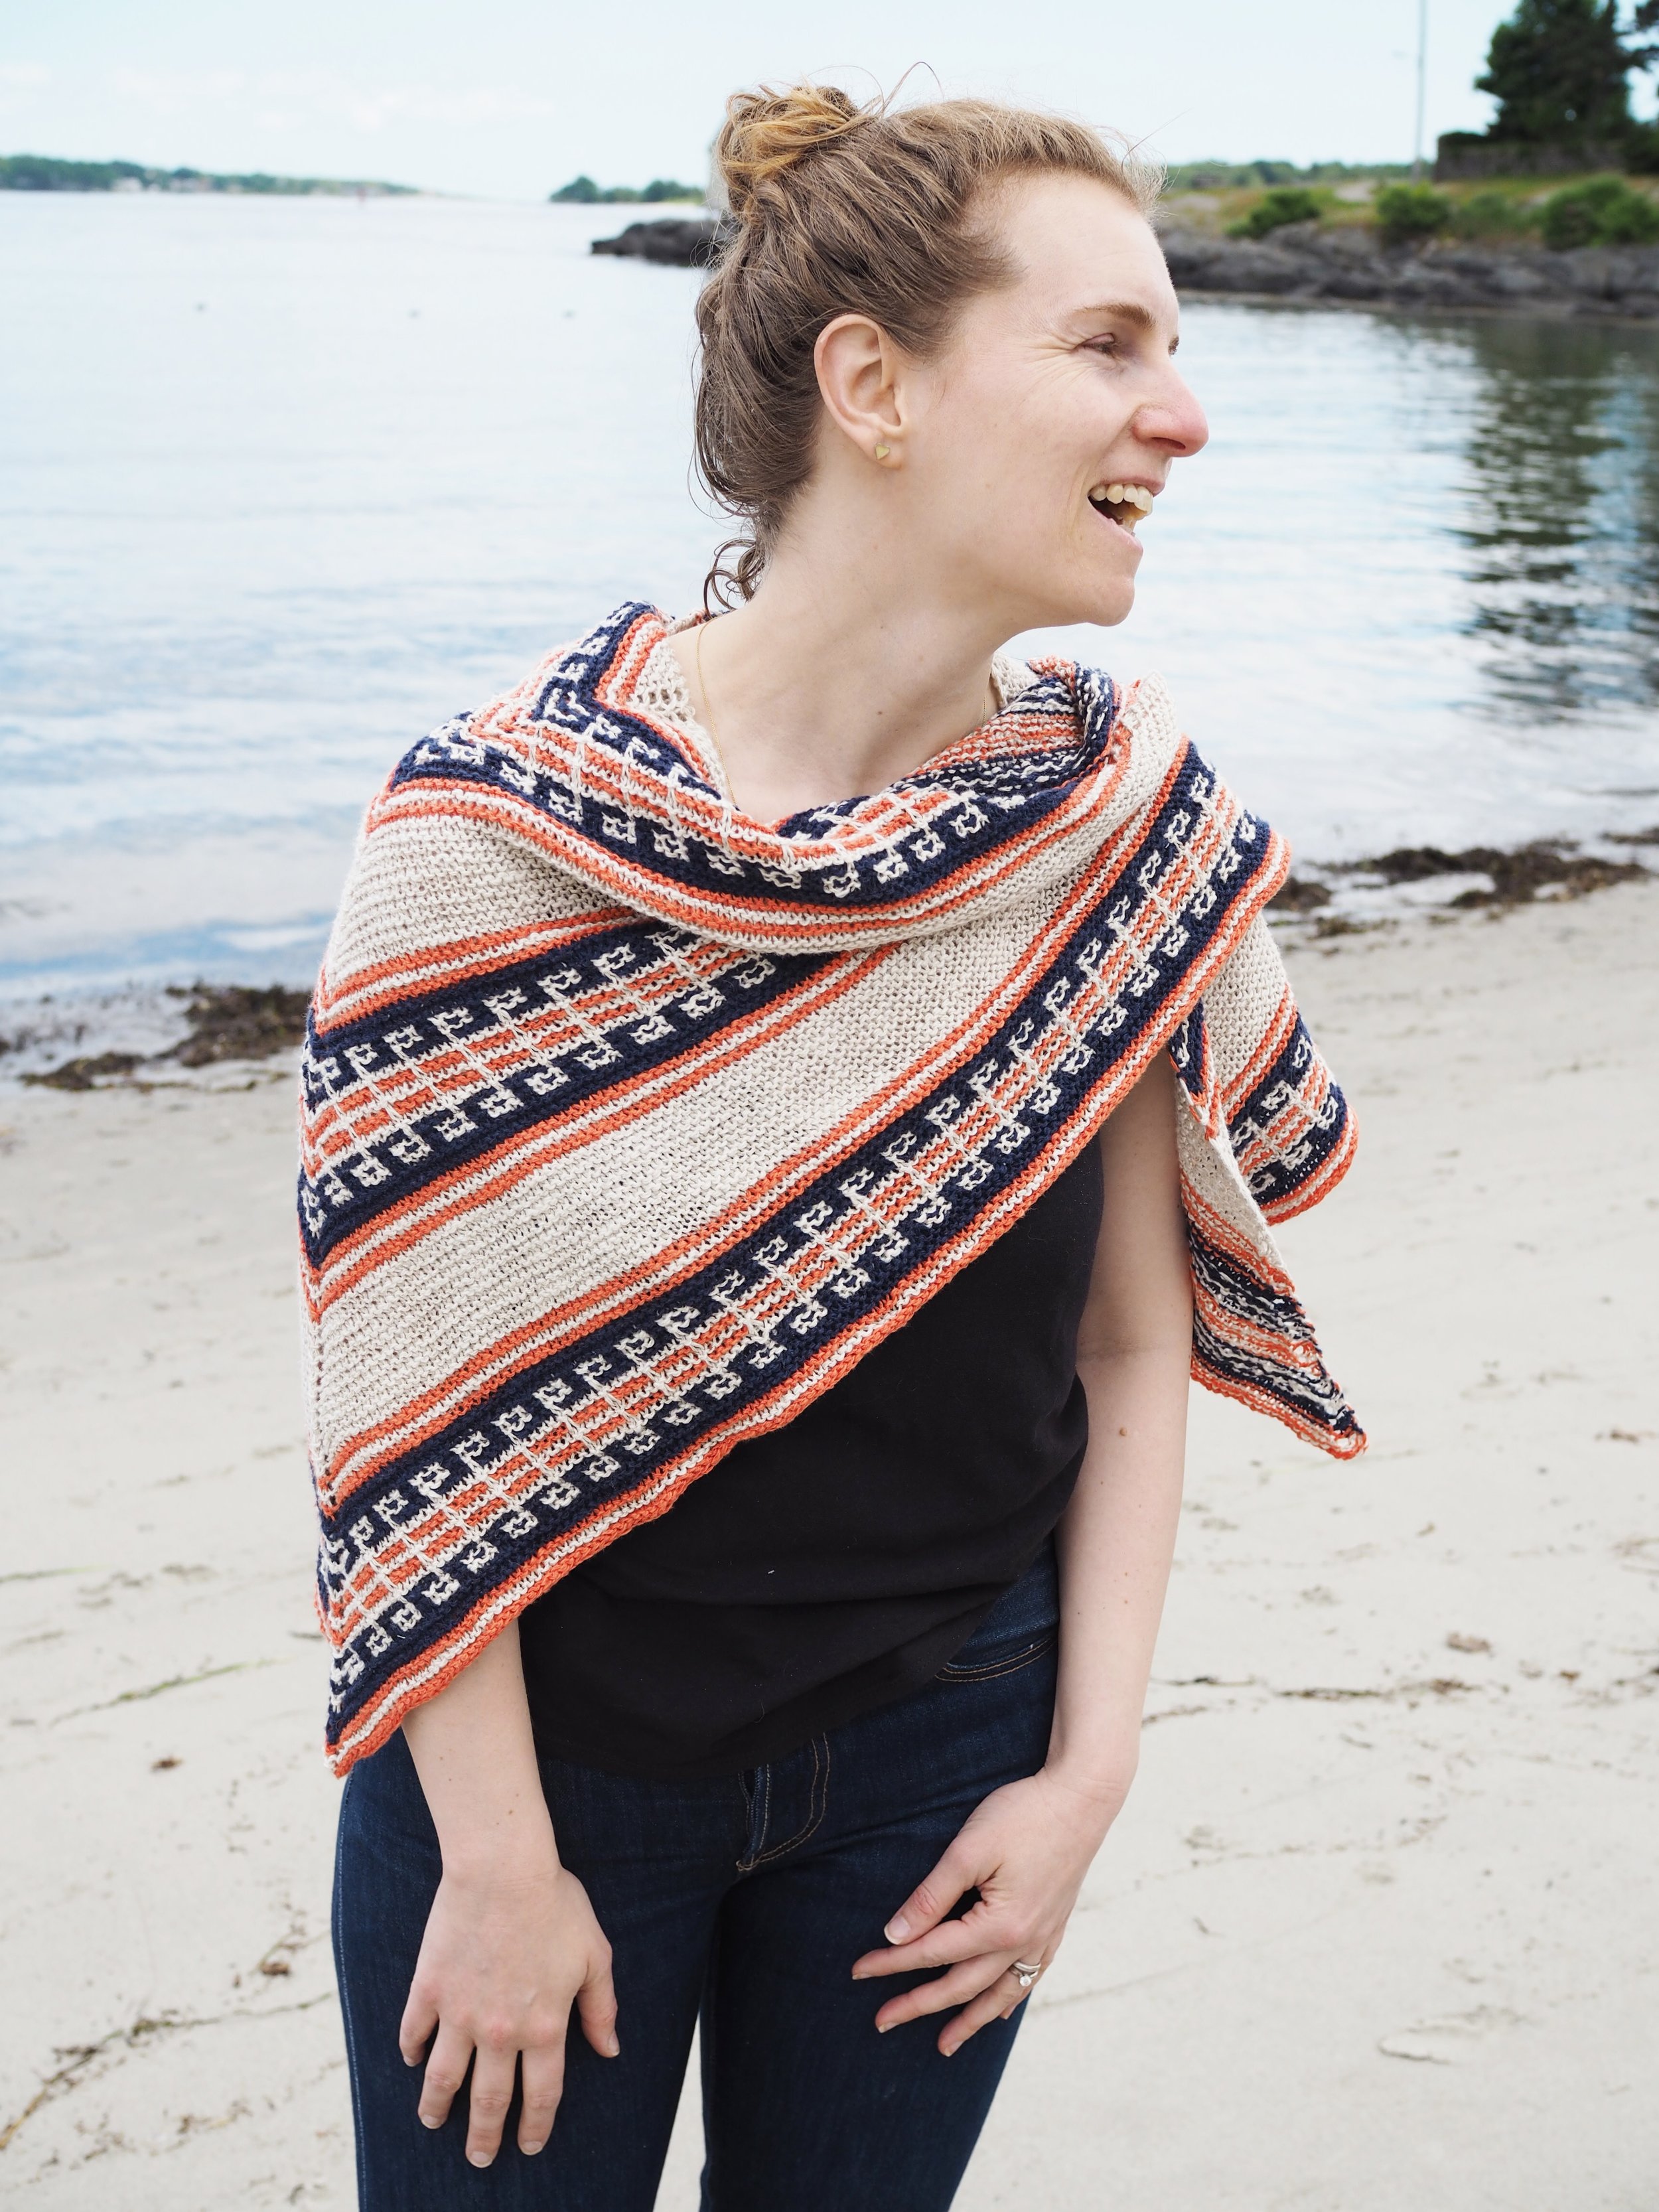
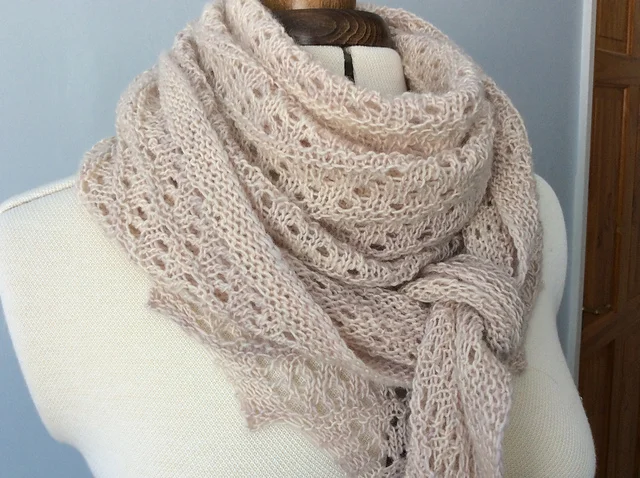
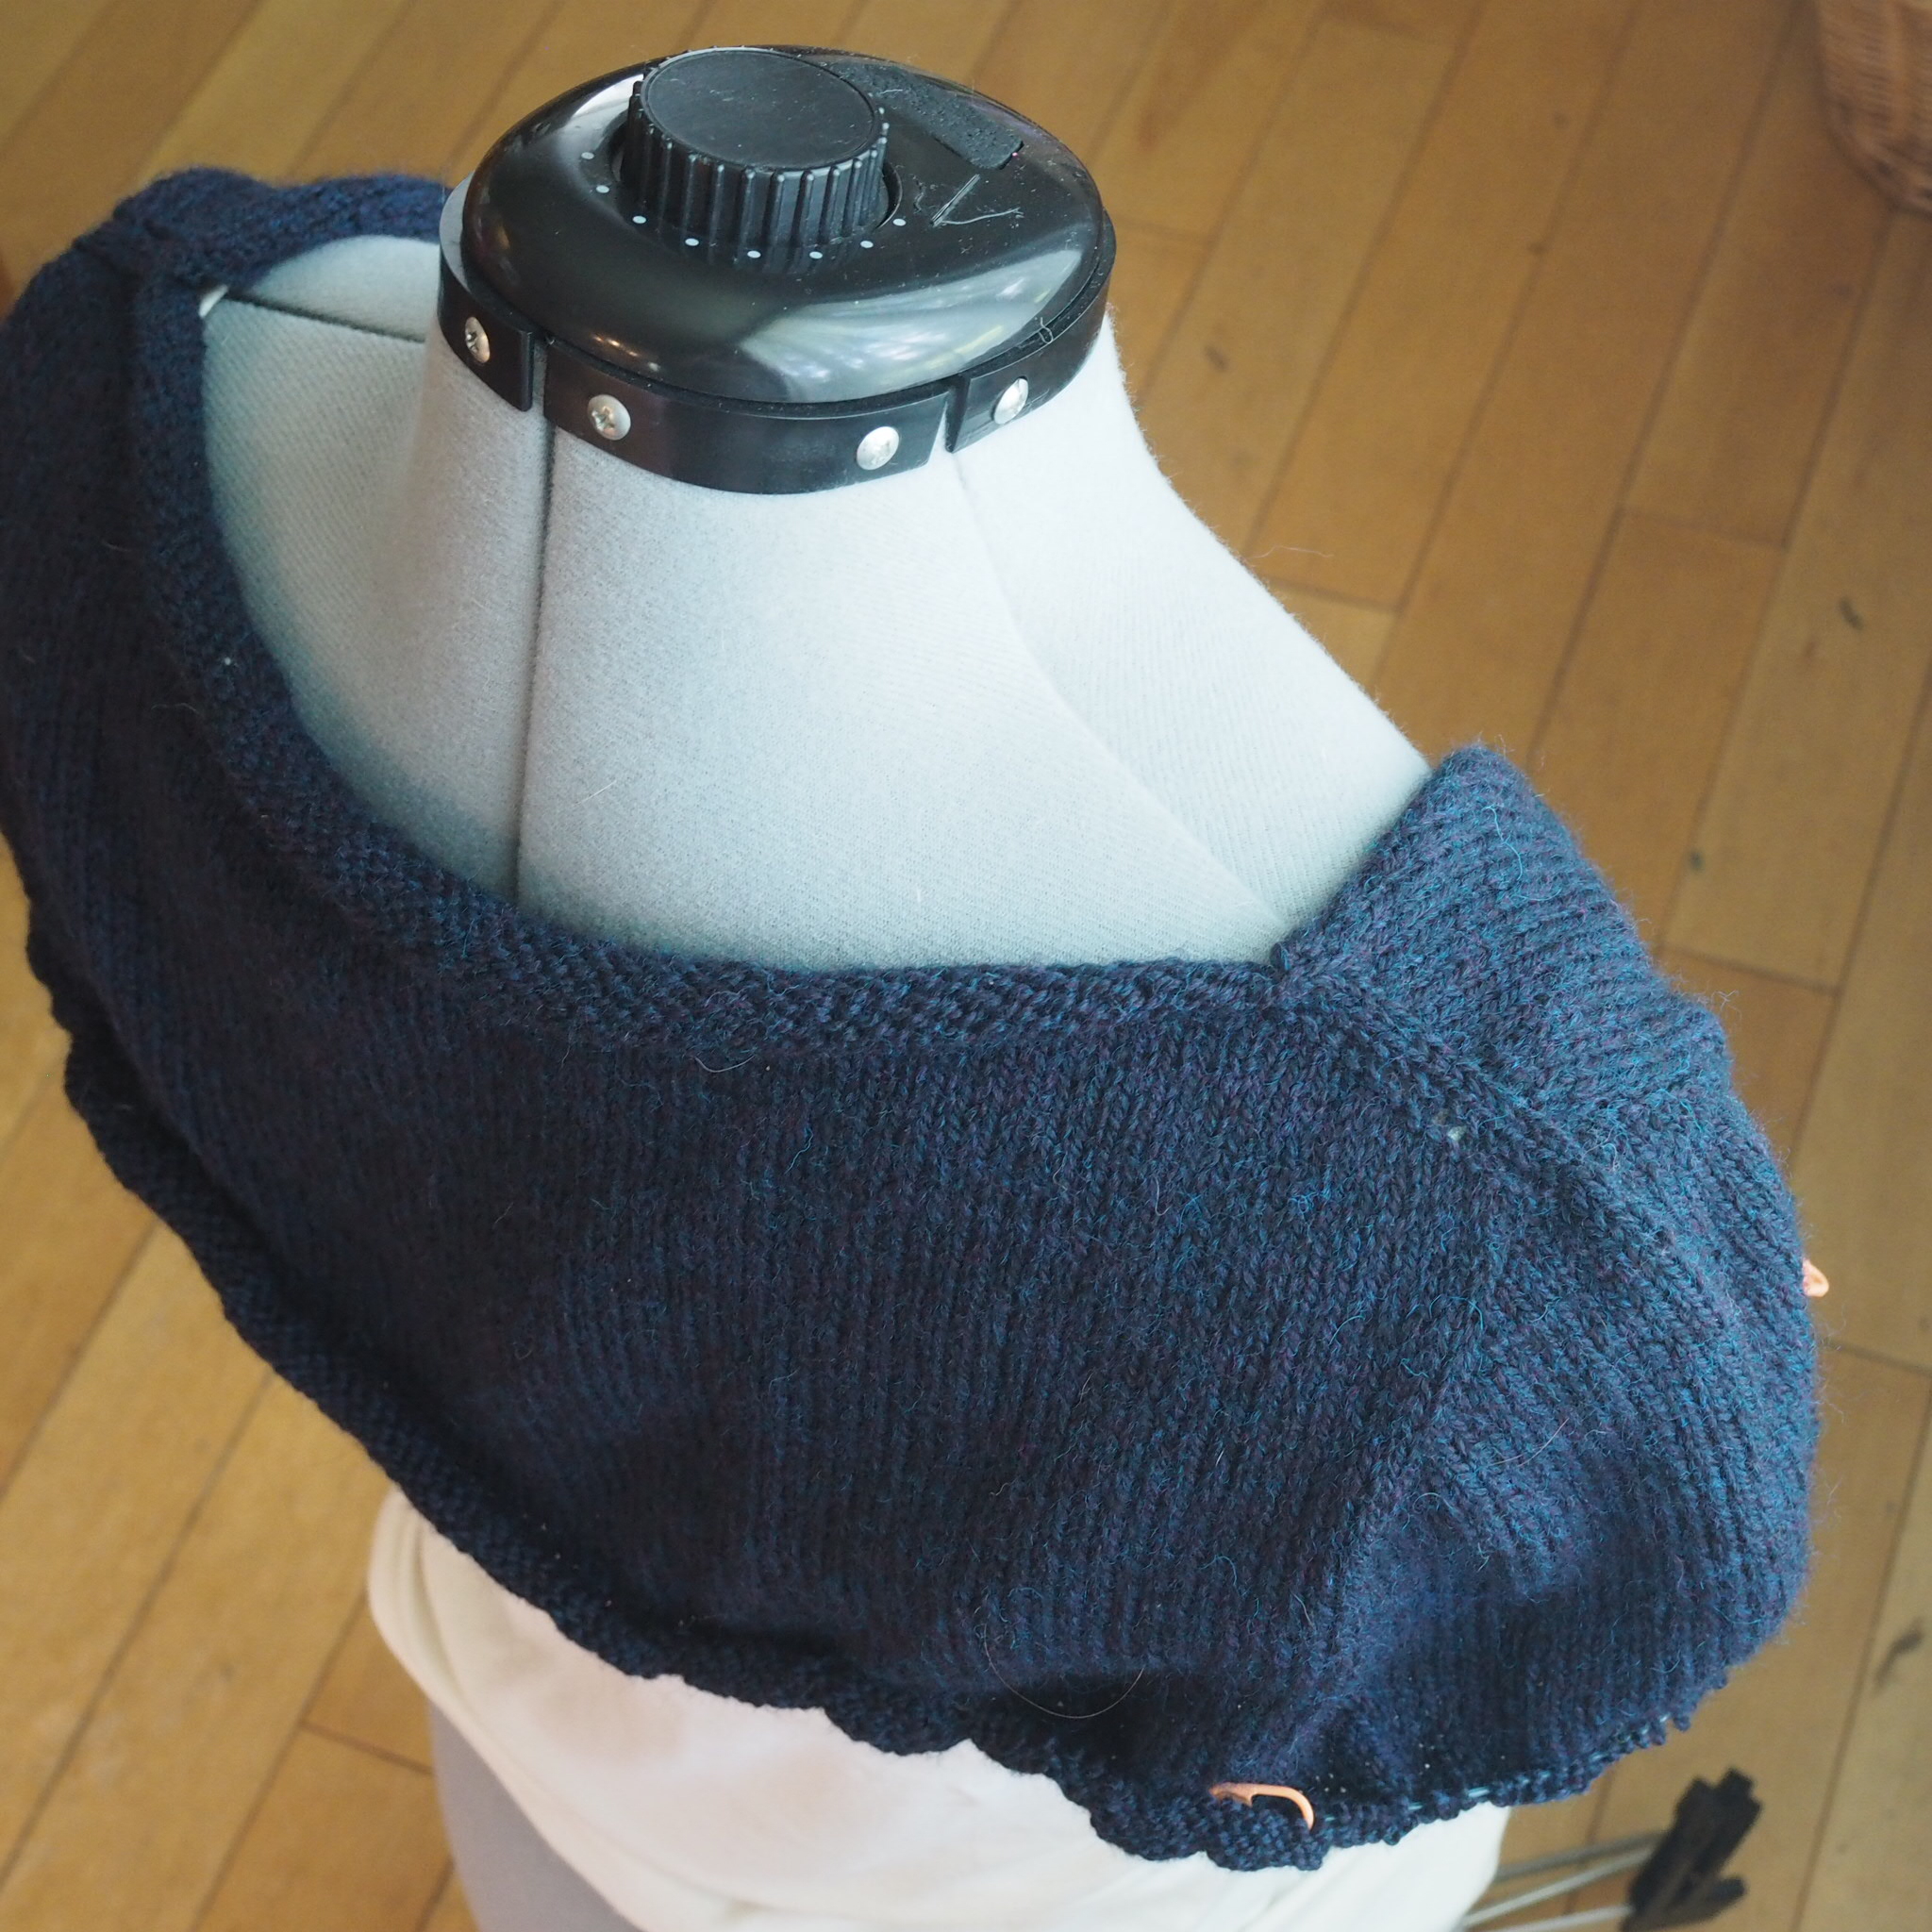
Just like with sewing, working a knitted pleat involves securing folds in the fabric. To work a horizontal pleat, like in my Bob & Wave Cowl (see bottom of post), you pick up and knit a stitch from several rows down together with every active stitch. The vertical pleat, as used to shape the hands of the Turning Leaf gloves, is worked across two rows and is a tad more involved, so I’ll walk you through the process step by step.

Here I use the the term “tuck” to cover pintucks (which are very narrow tucks) and any other vertical pleat.
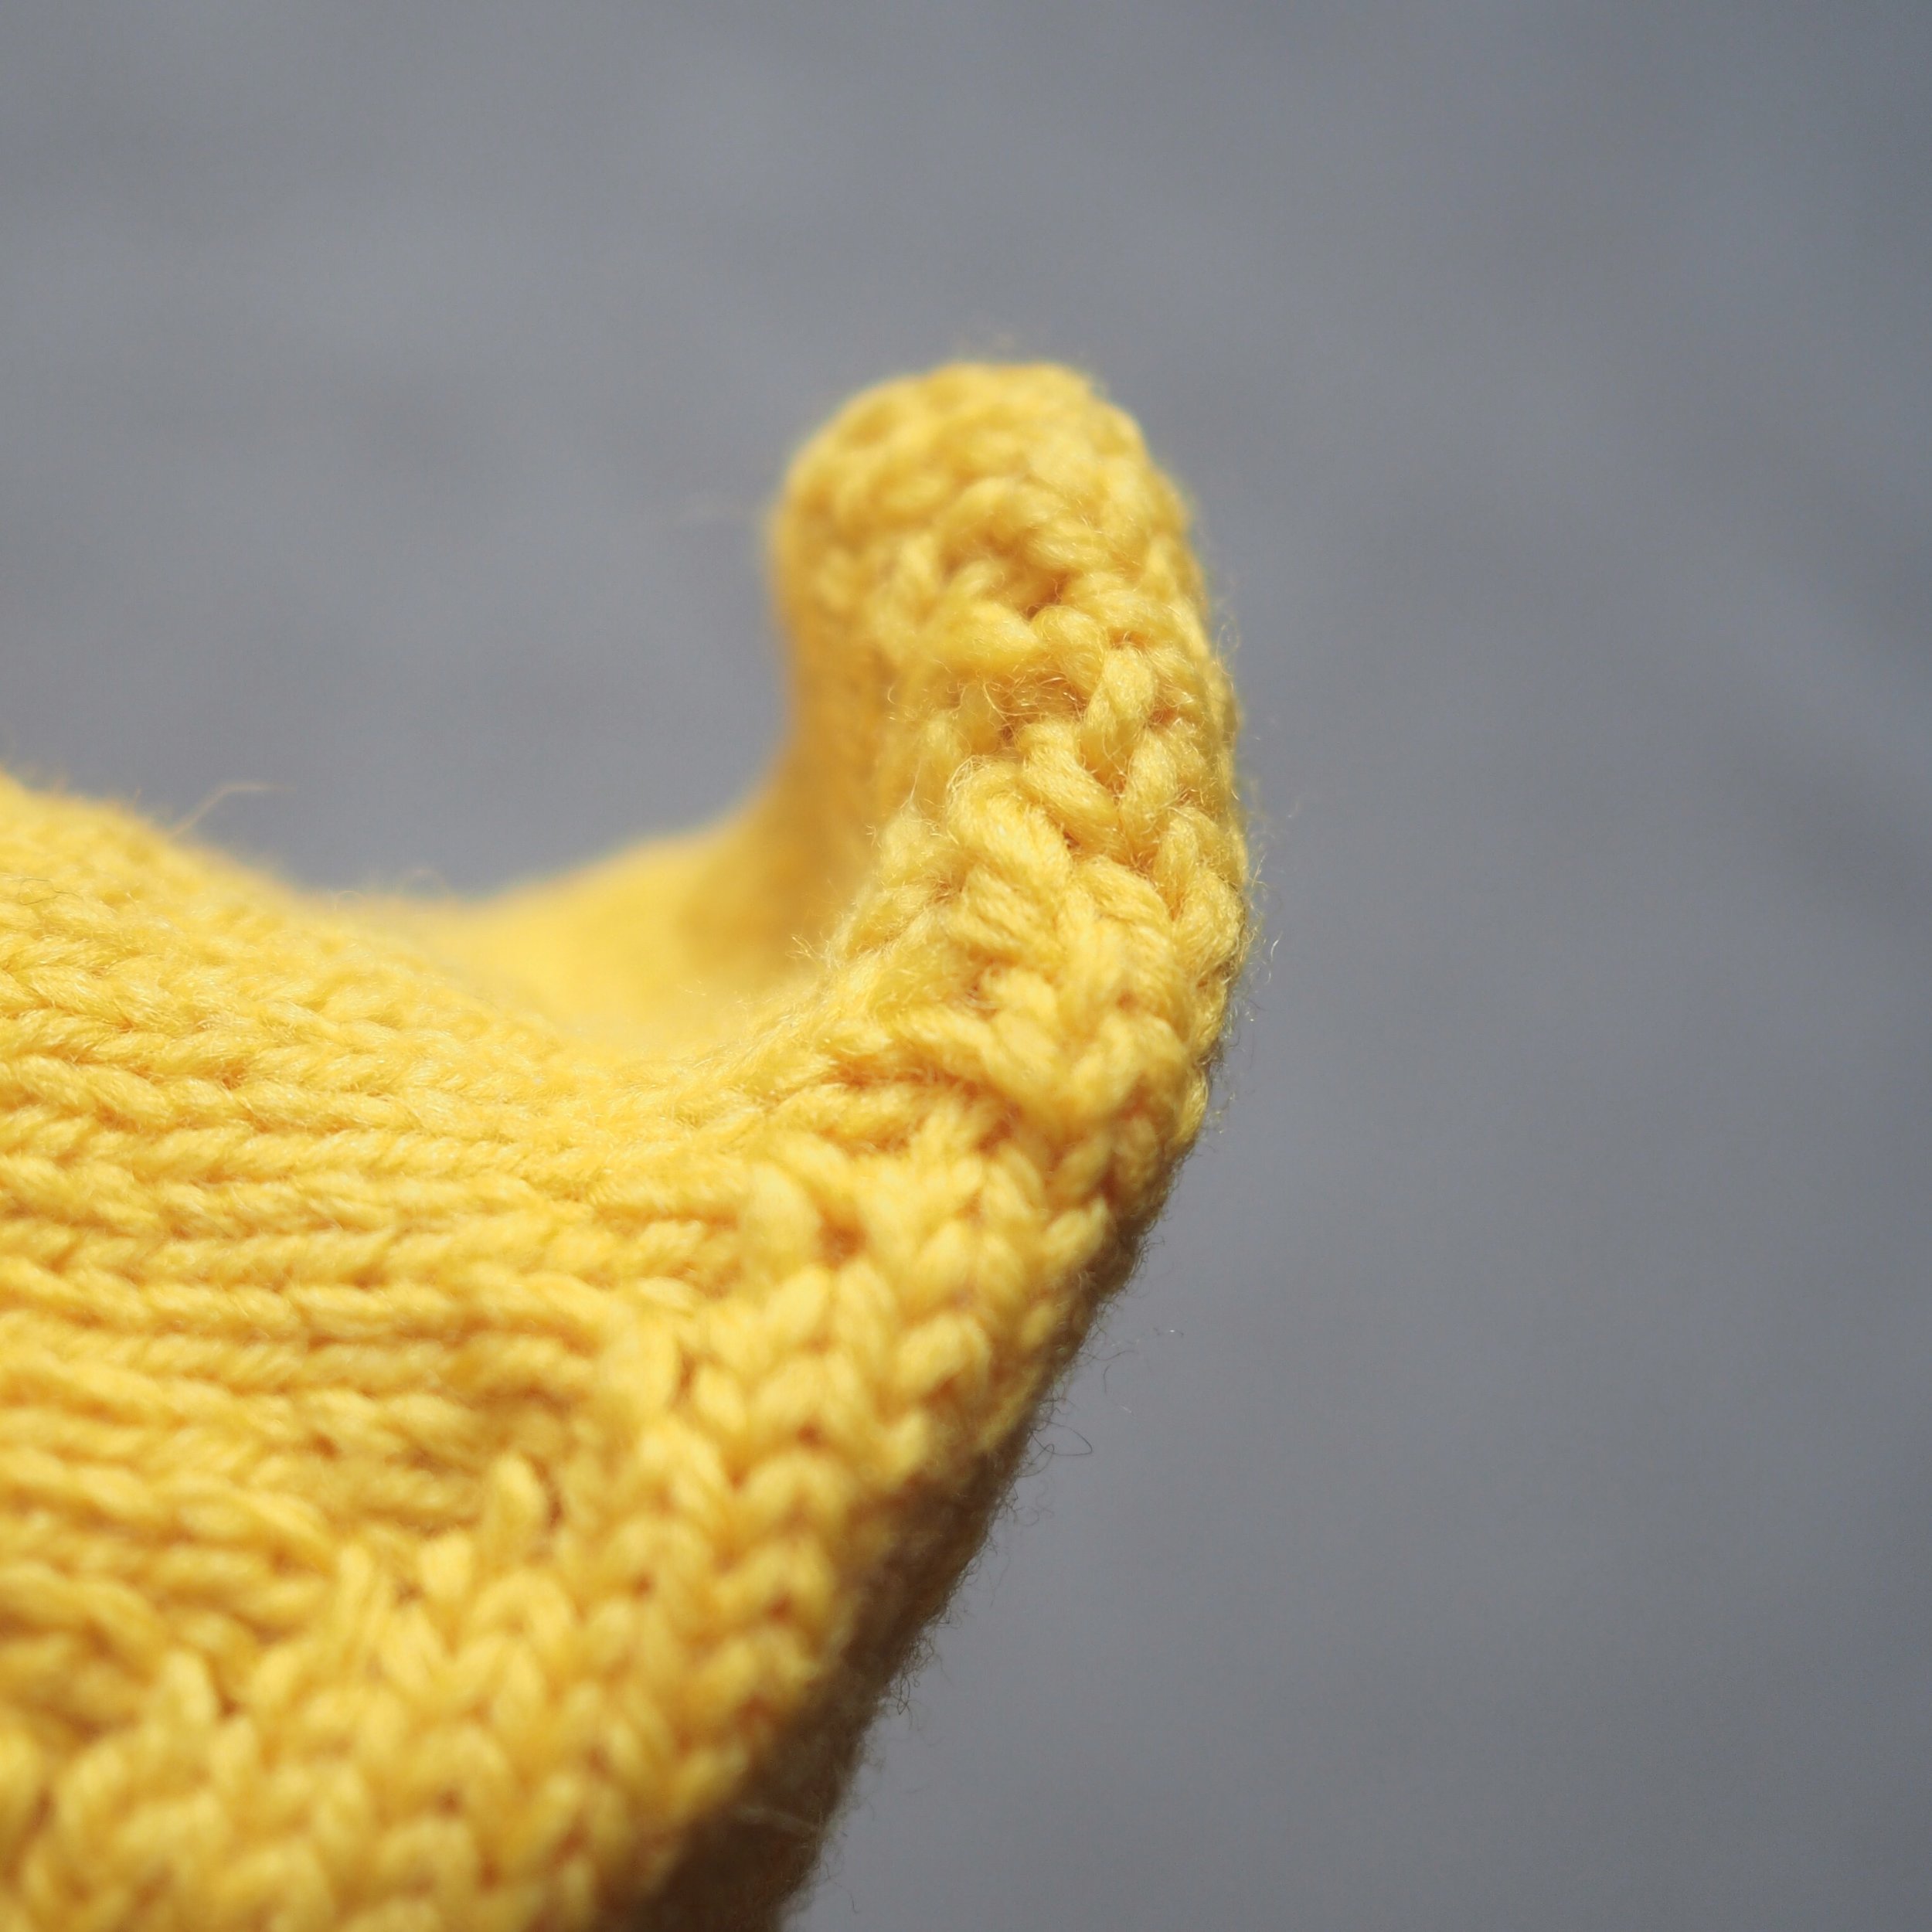
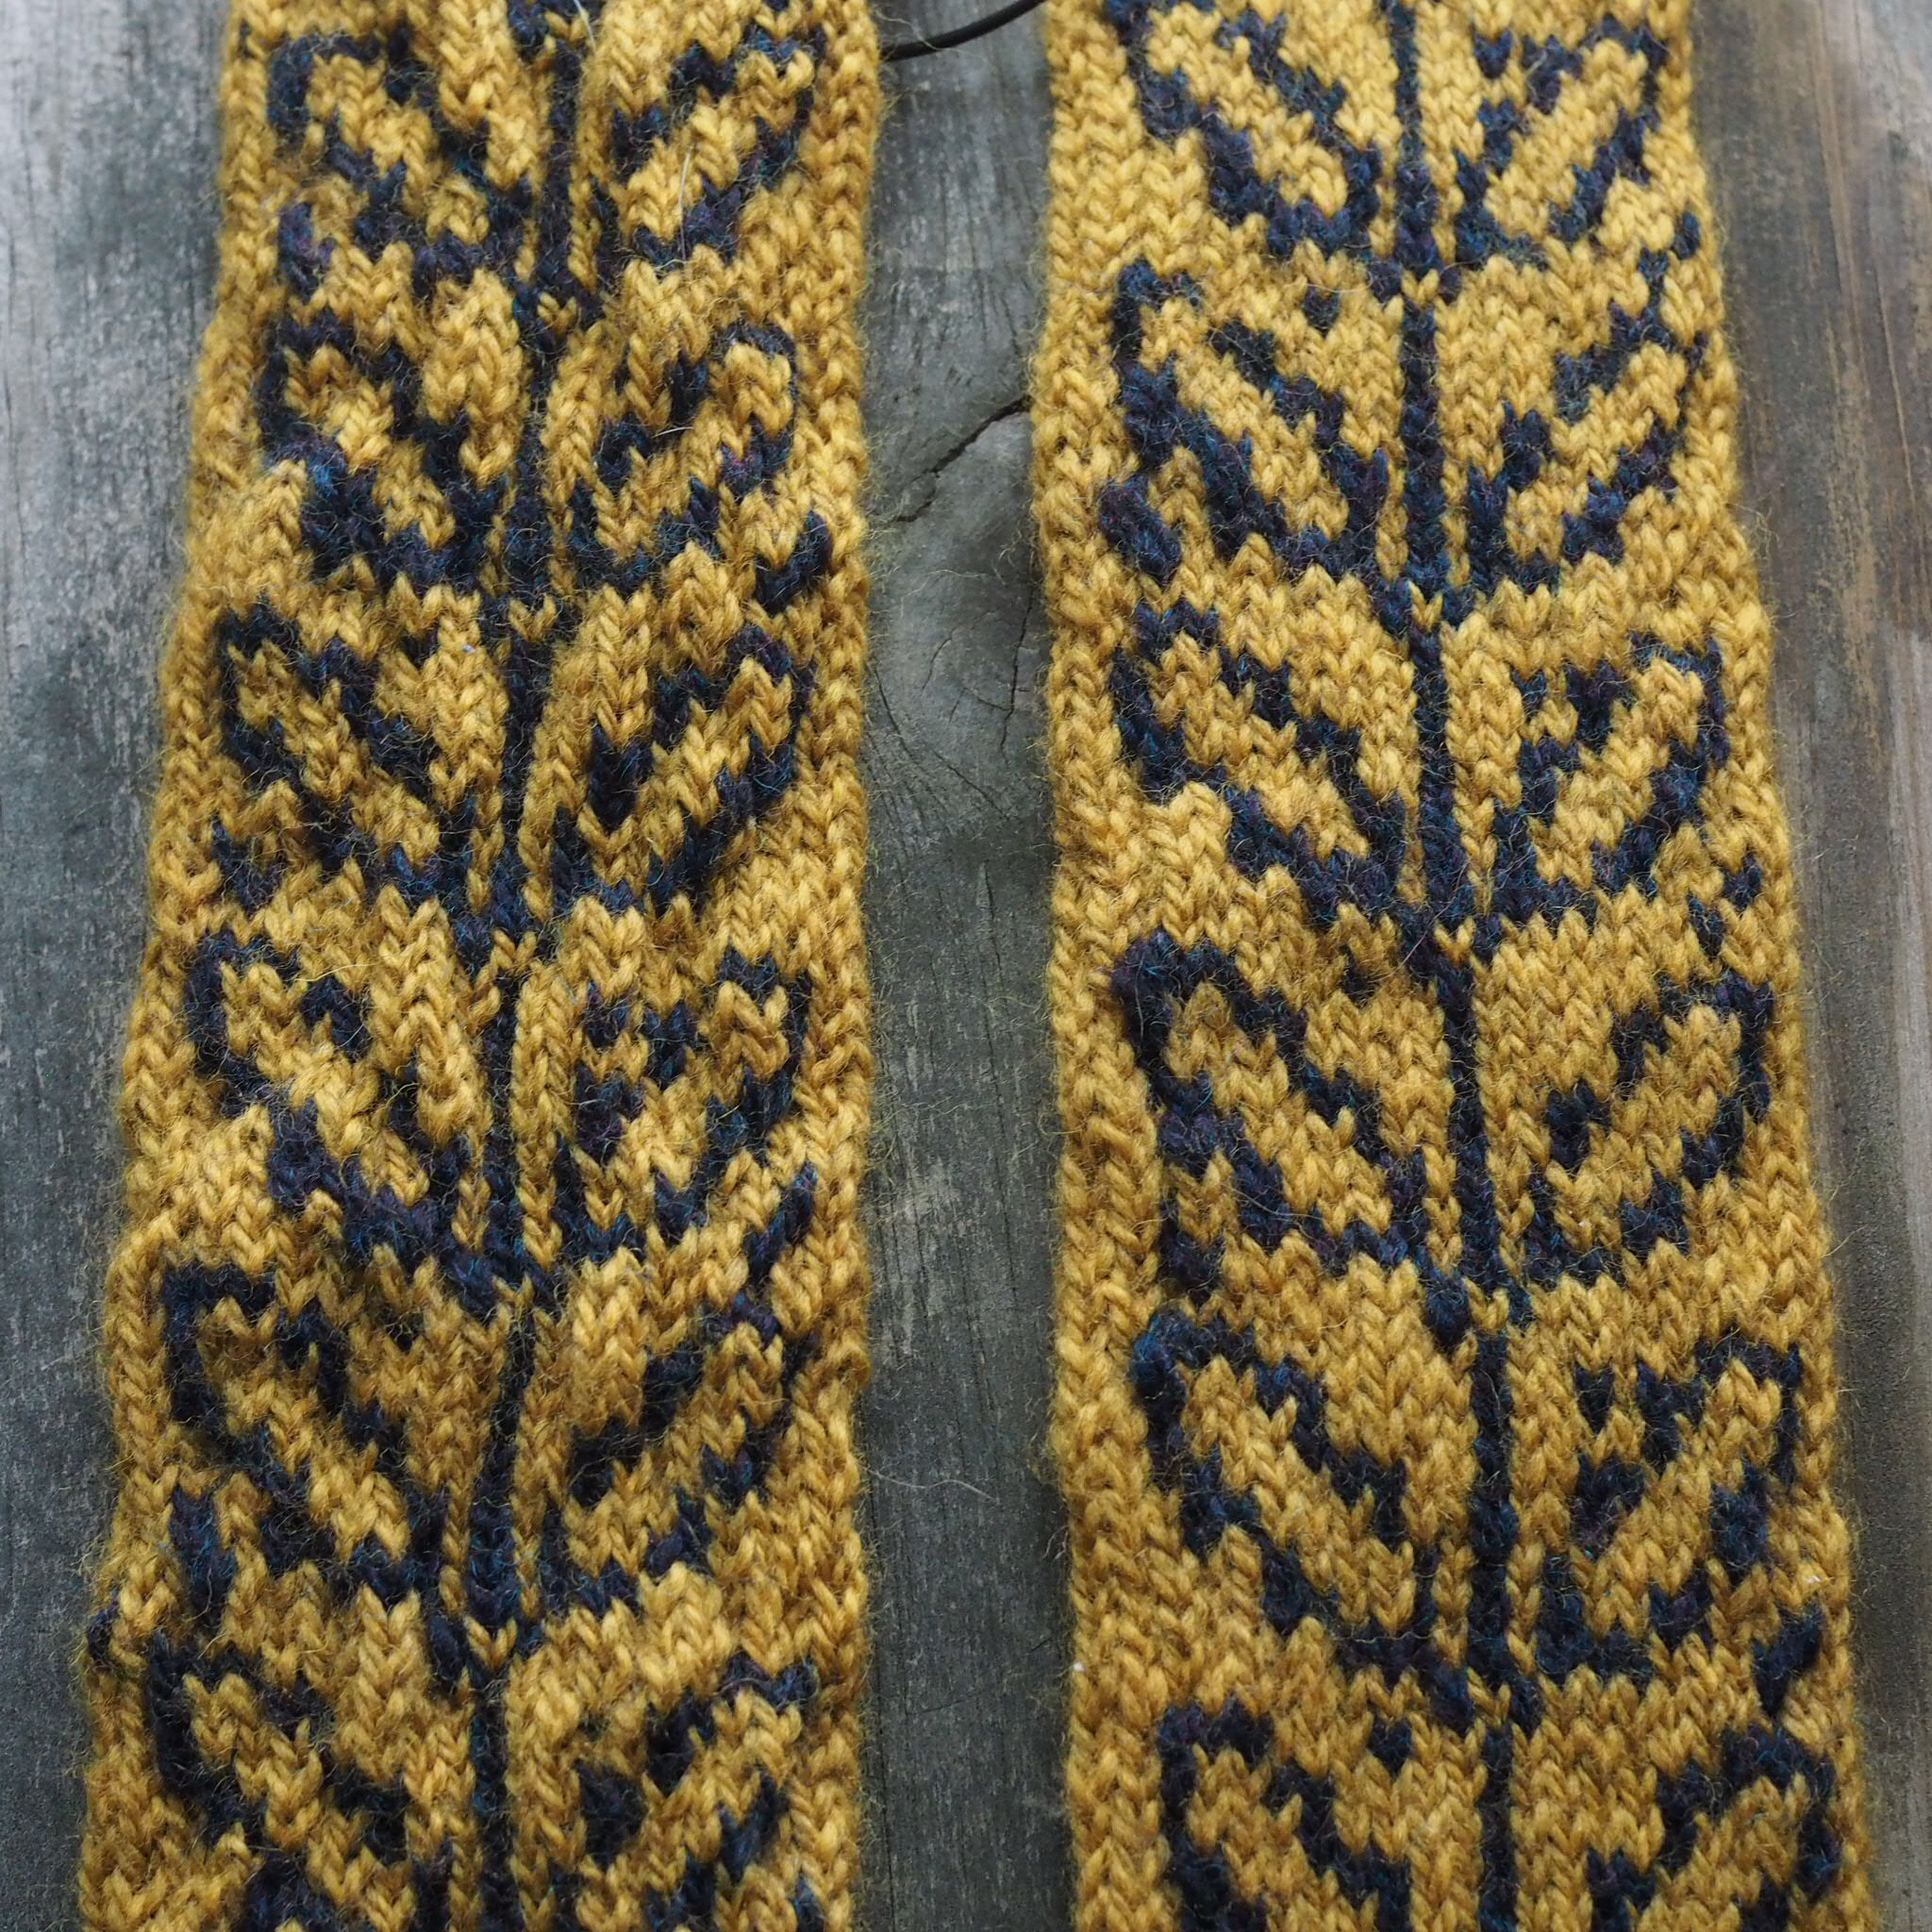
The Turning Leaf Gloves (used as an example here) have a series of three tucks across the back of the hand. The tucks start at three stitches wide near the wrist, and then decrease to a two-stitch tuck, and then one-stitch tuck just below the fingers.
I’ll be showing the three-stitch tuck throughout, but the same technique can be applied to a tuck of any width. A tuck with more stitches being folded will be more visible and decrease more fabric.

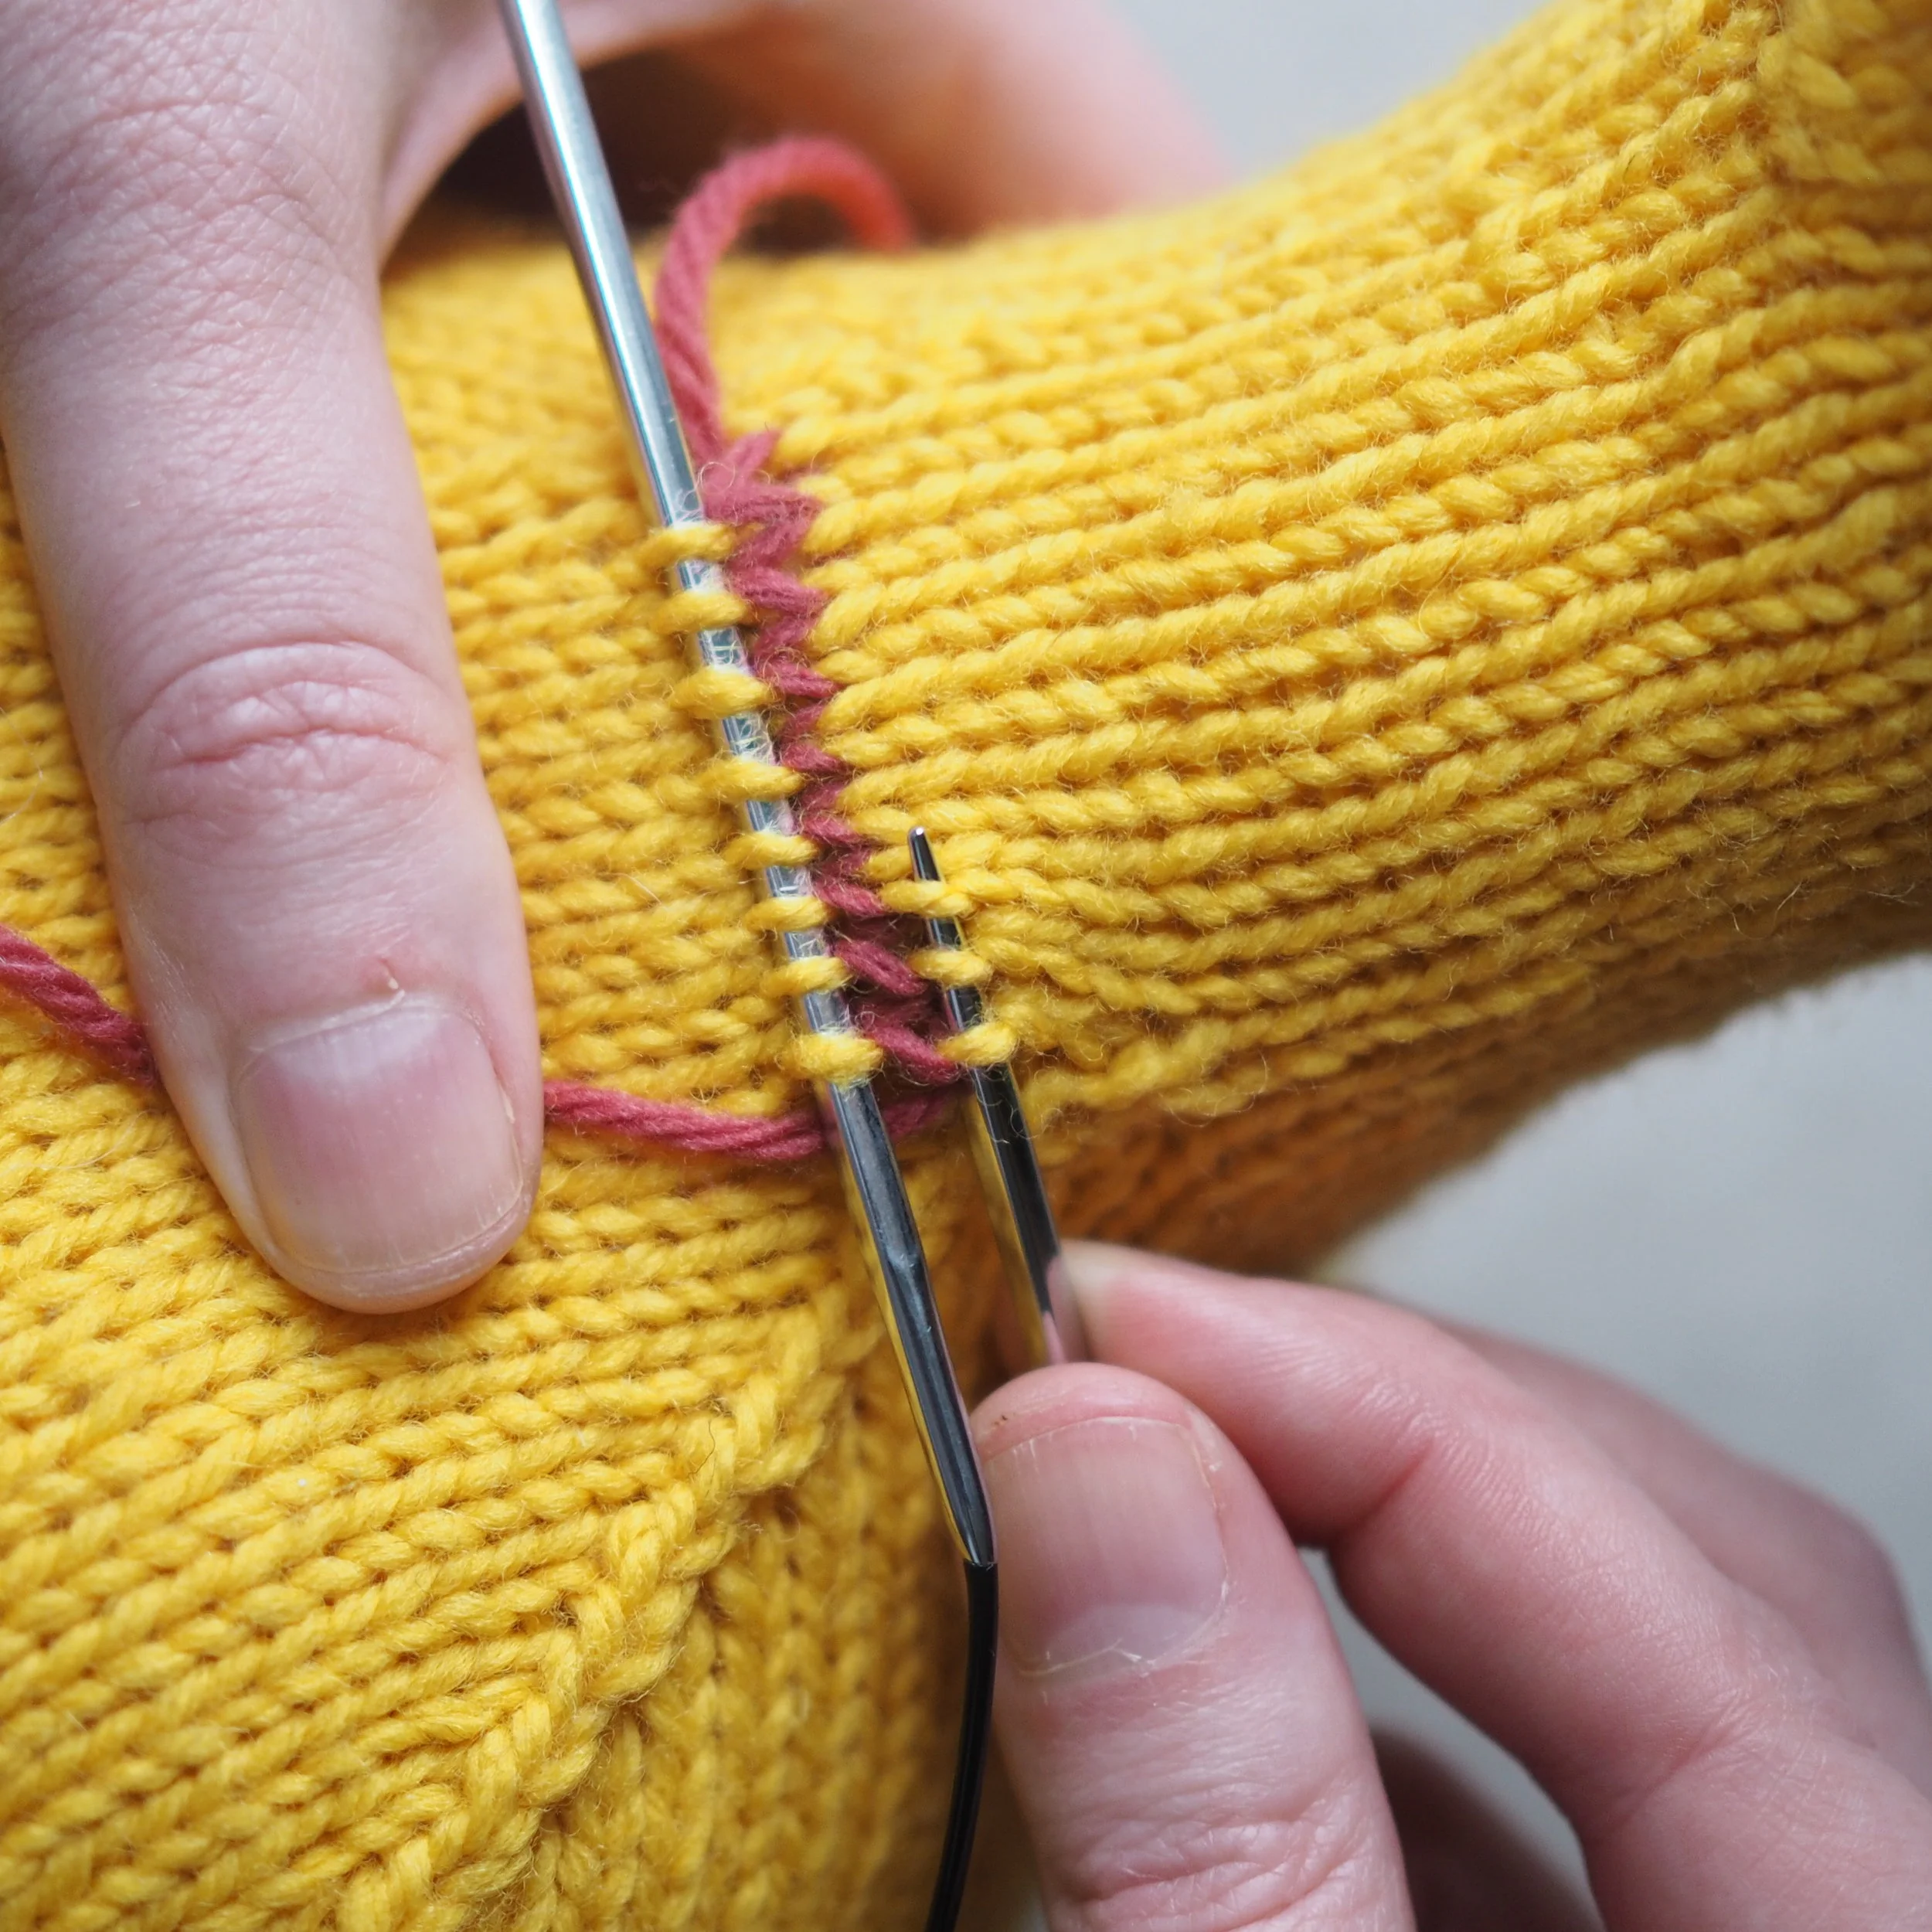
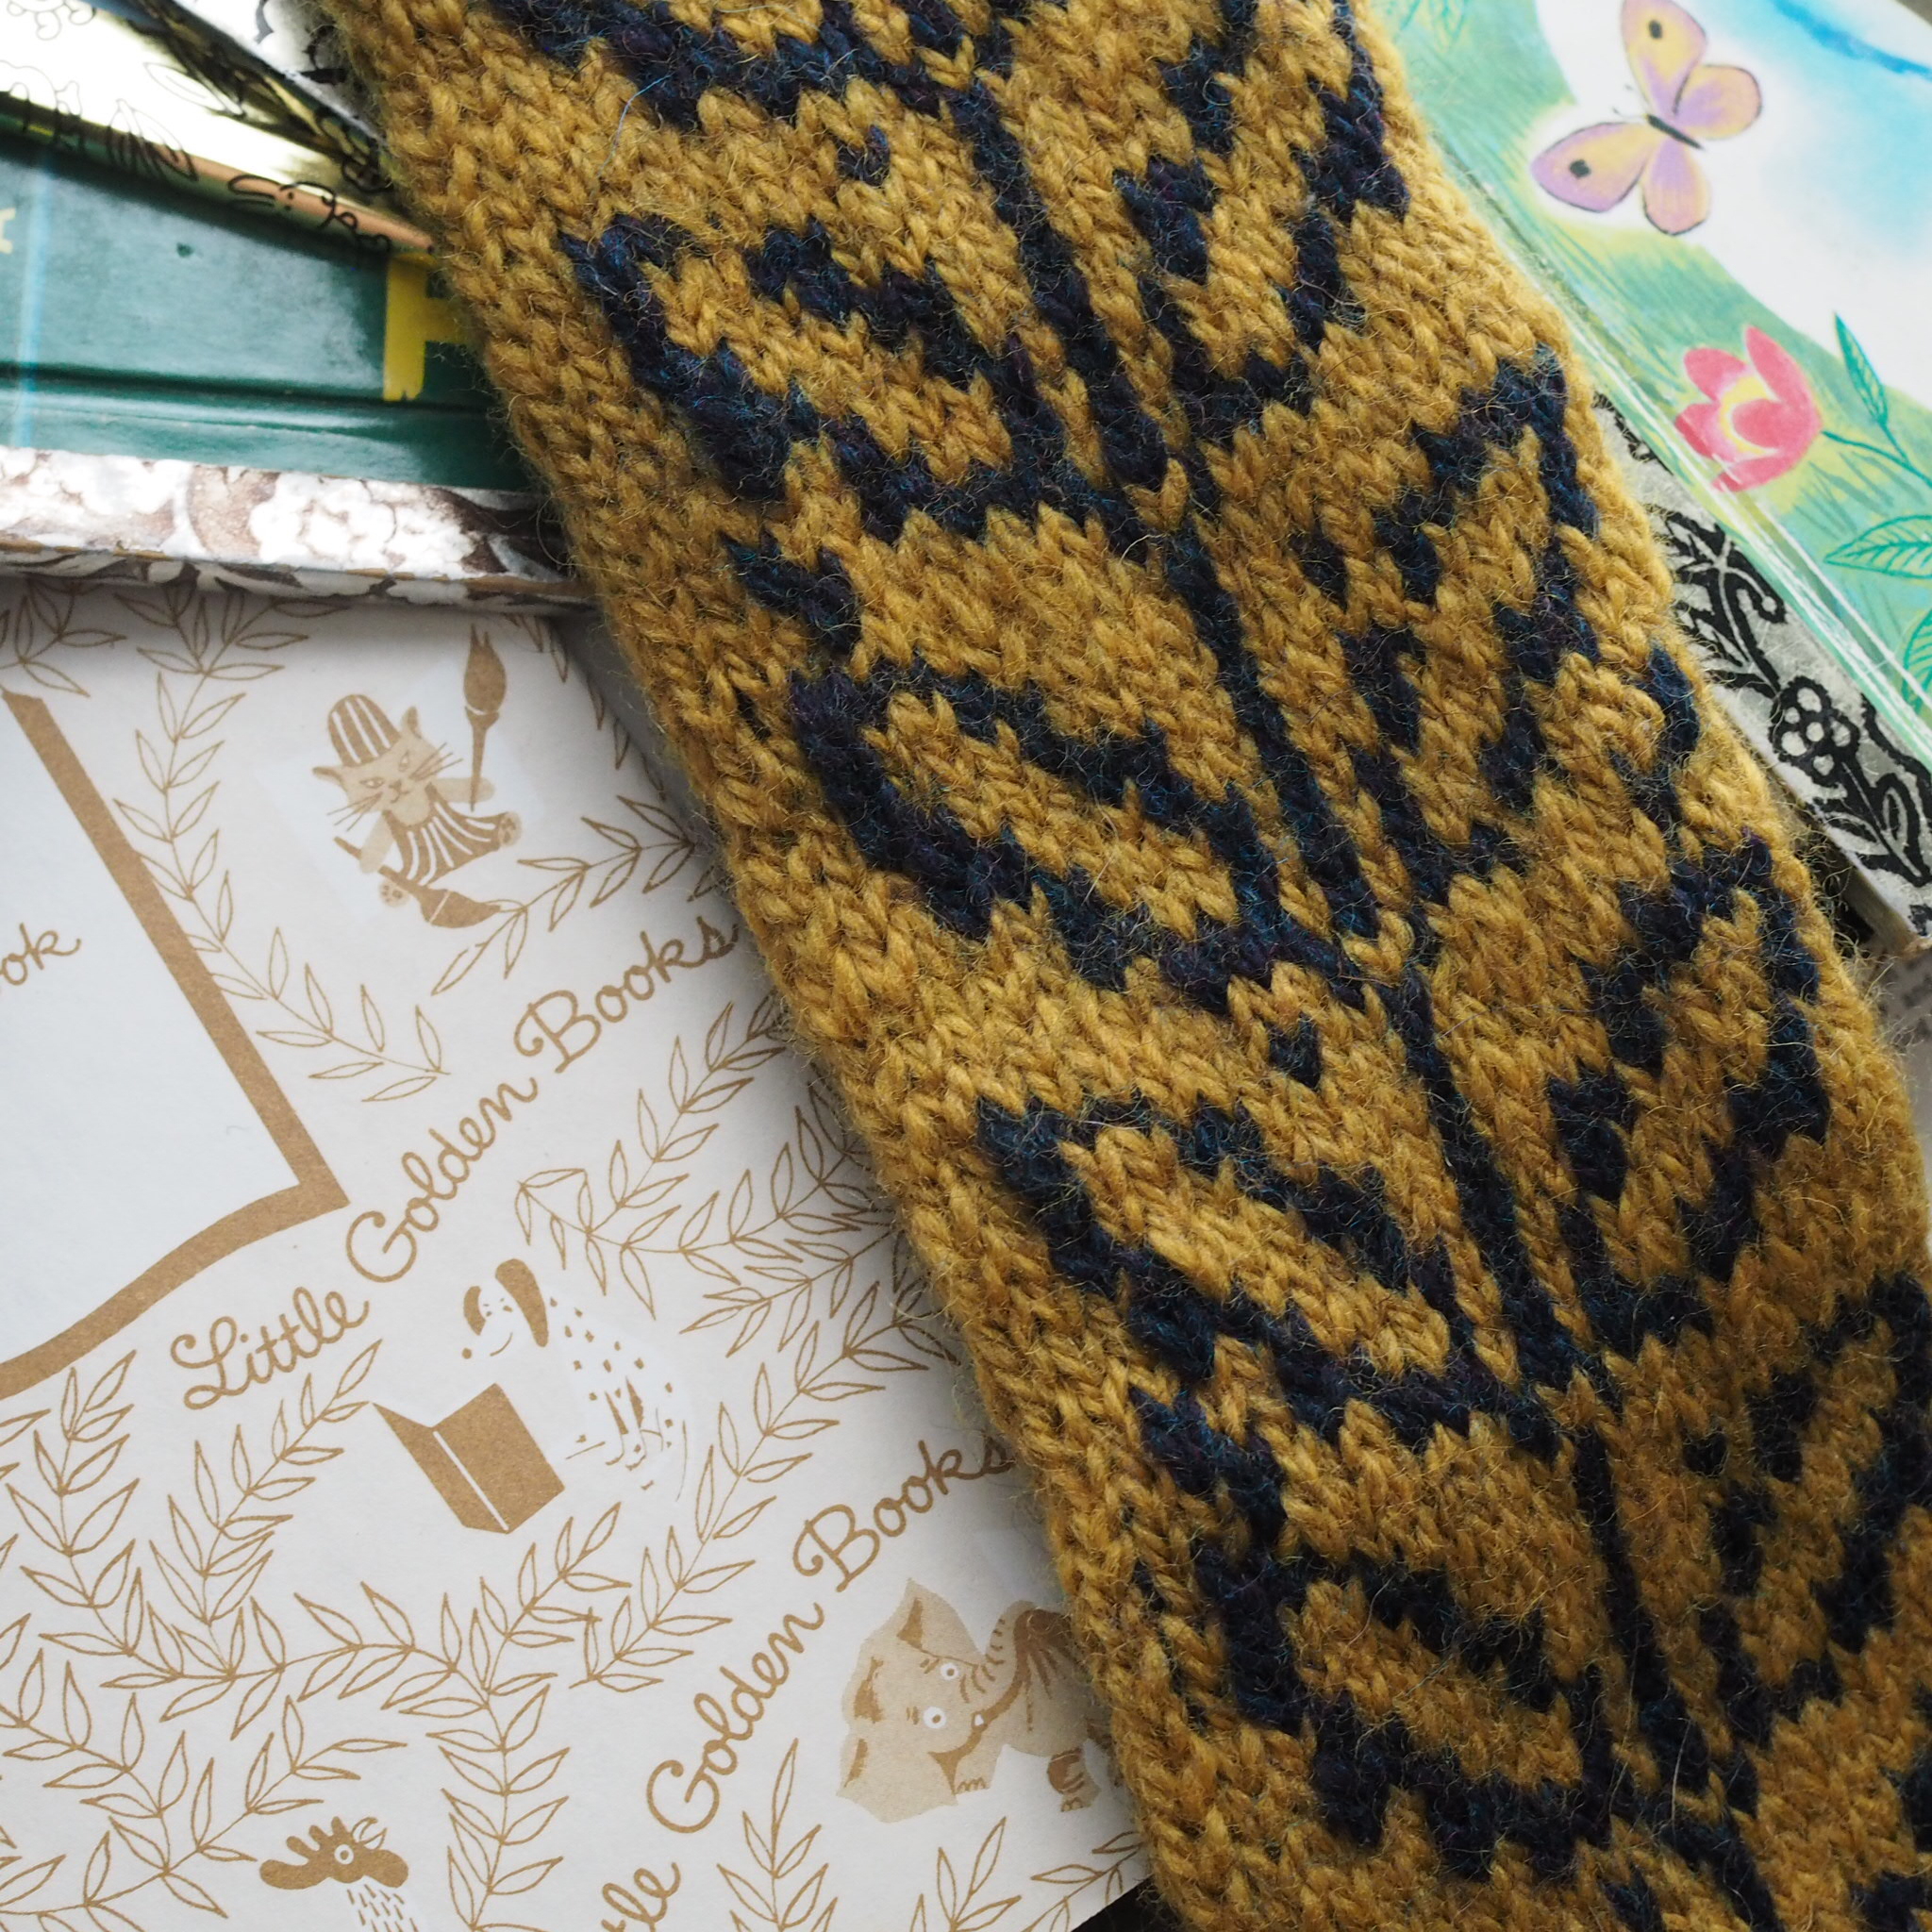
In the image above, I’ve already worked four rows of the three-stitch tuck pattern. You can see the three tucks, and the four recessed “channels” that fall on the sides of the tuck. Worked over two rows, the tucks are formed by slipping the tuck stitches on every other row and pulling the working yarn very tightly across the back, which pulls the stitches on either side of the tuck closer together, essentially folding them and holding the fold together.
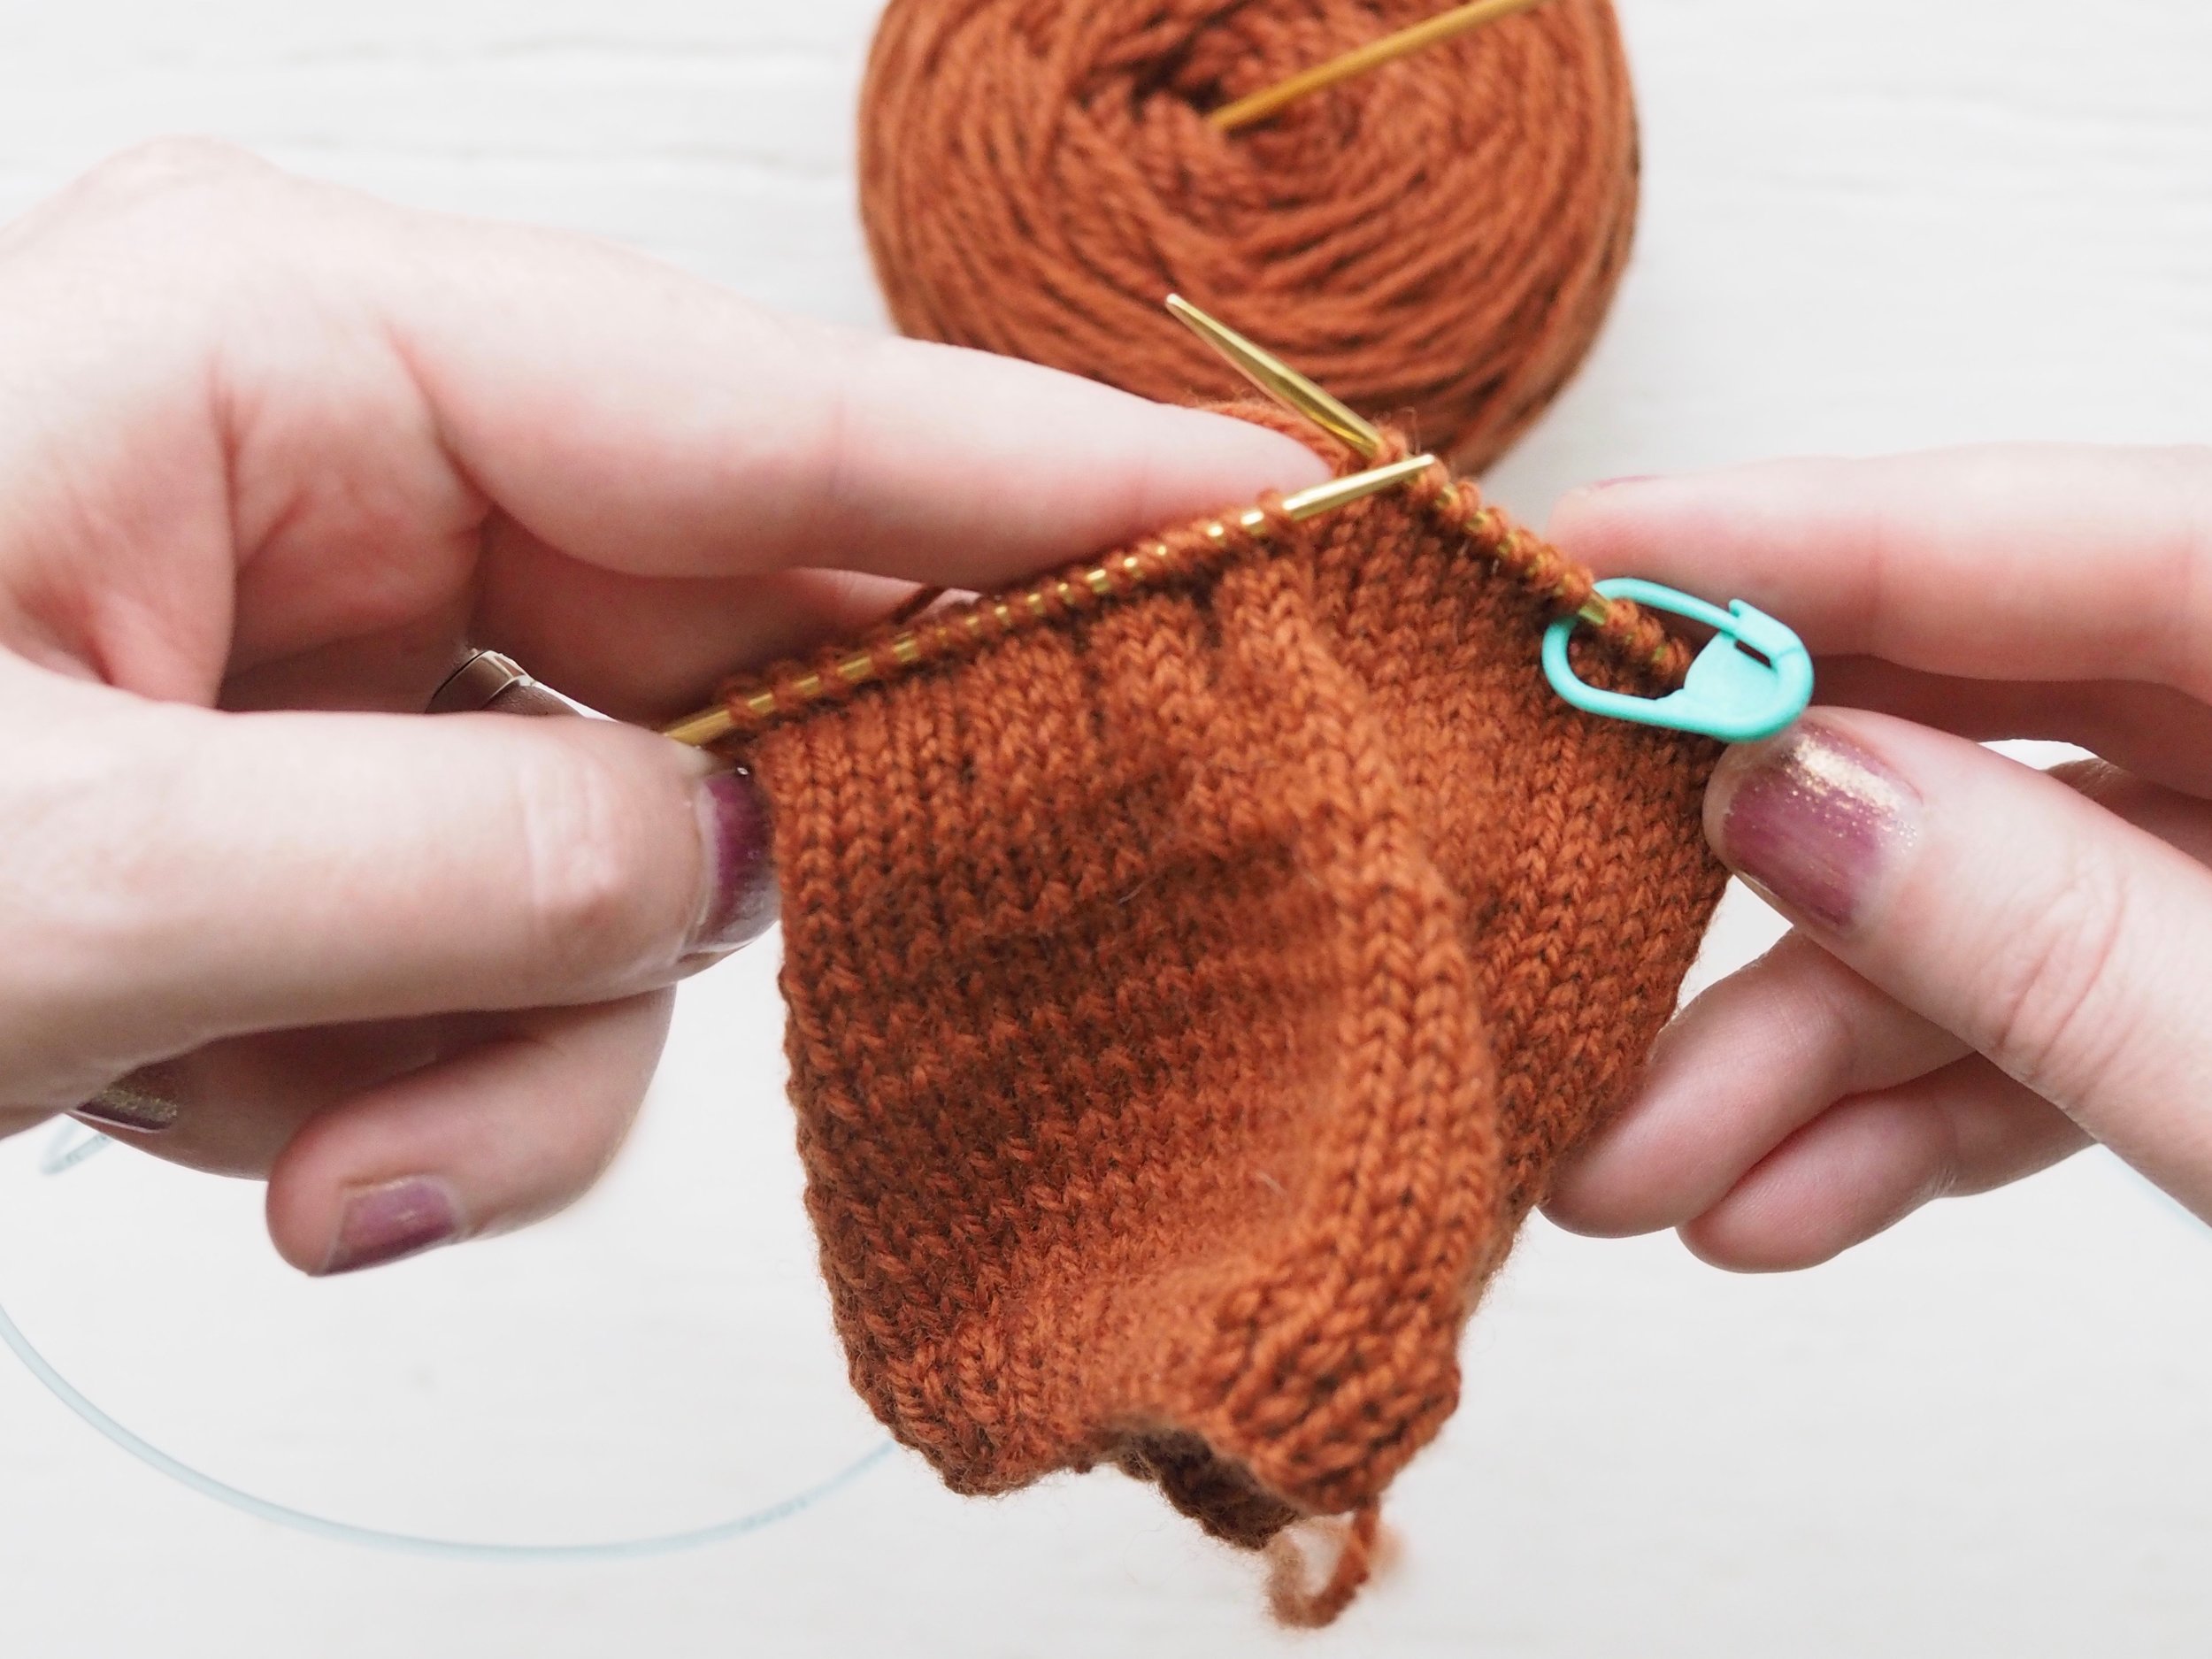
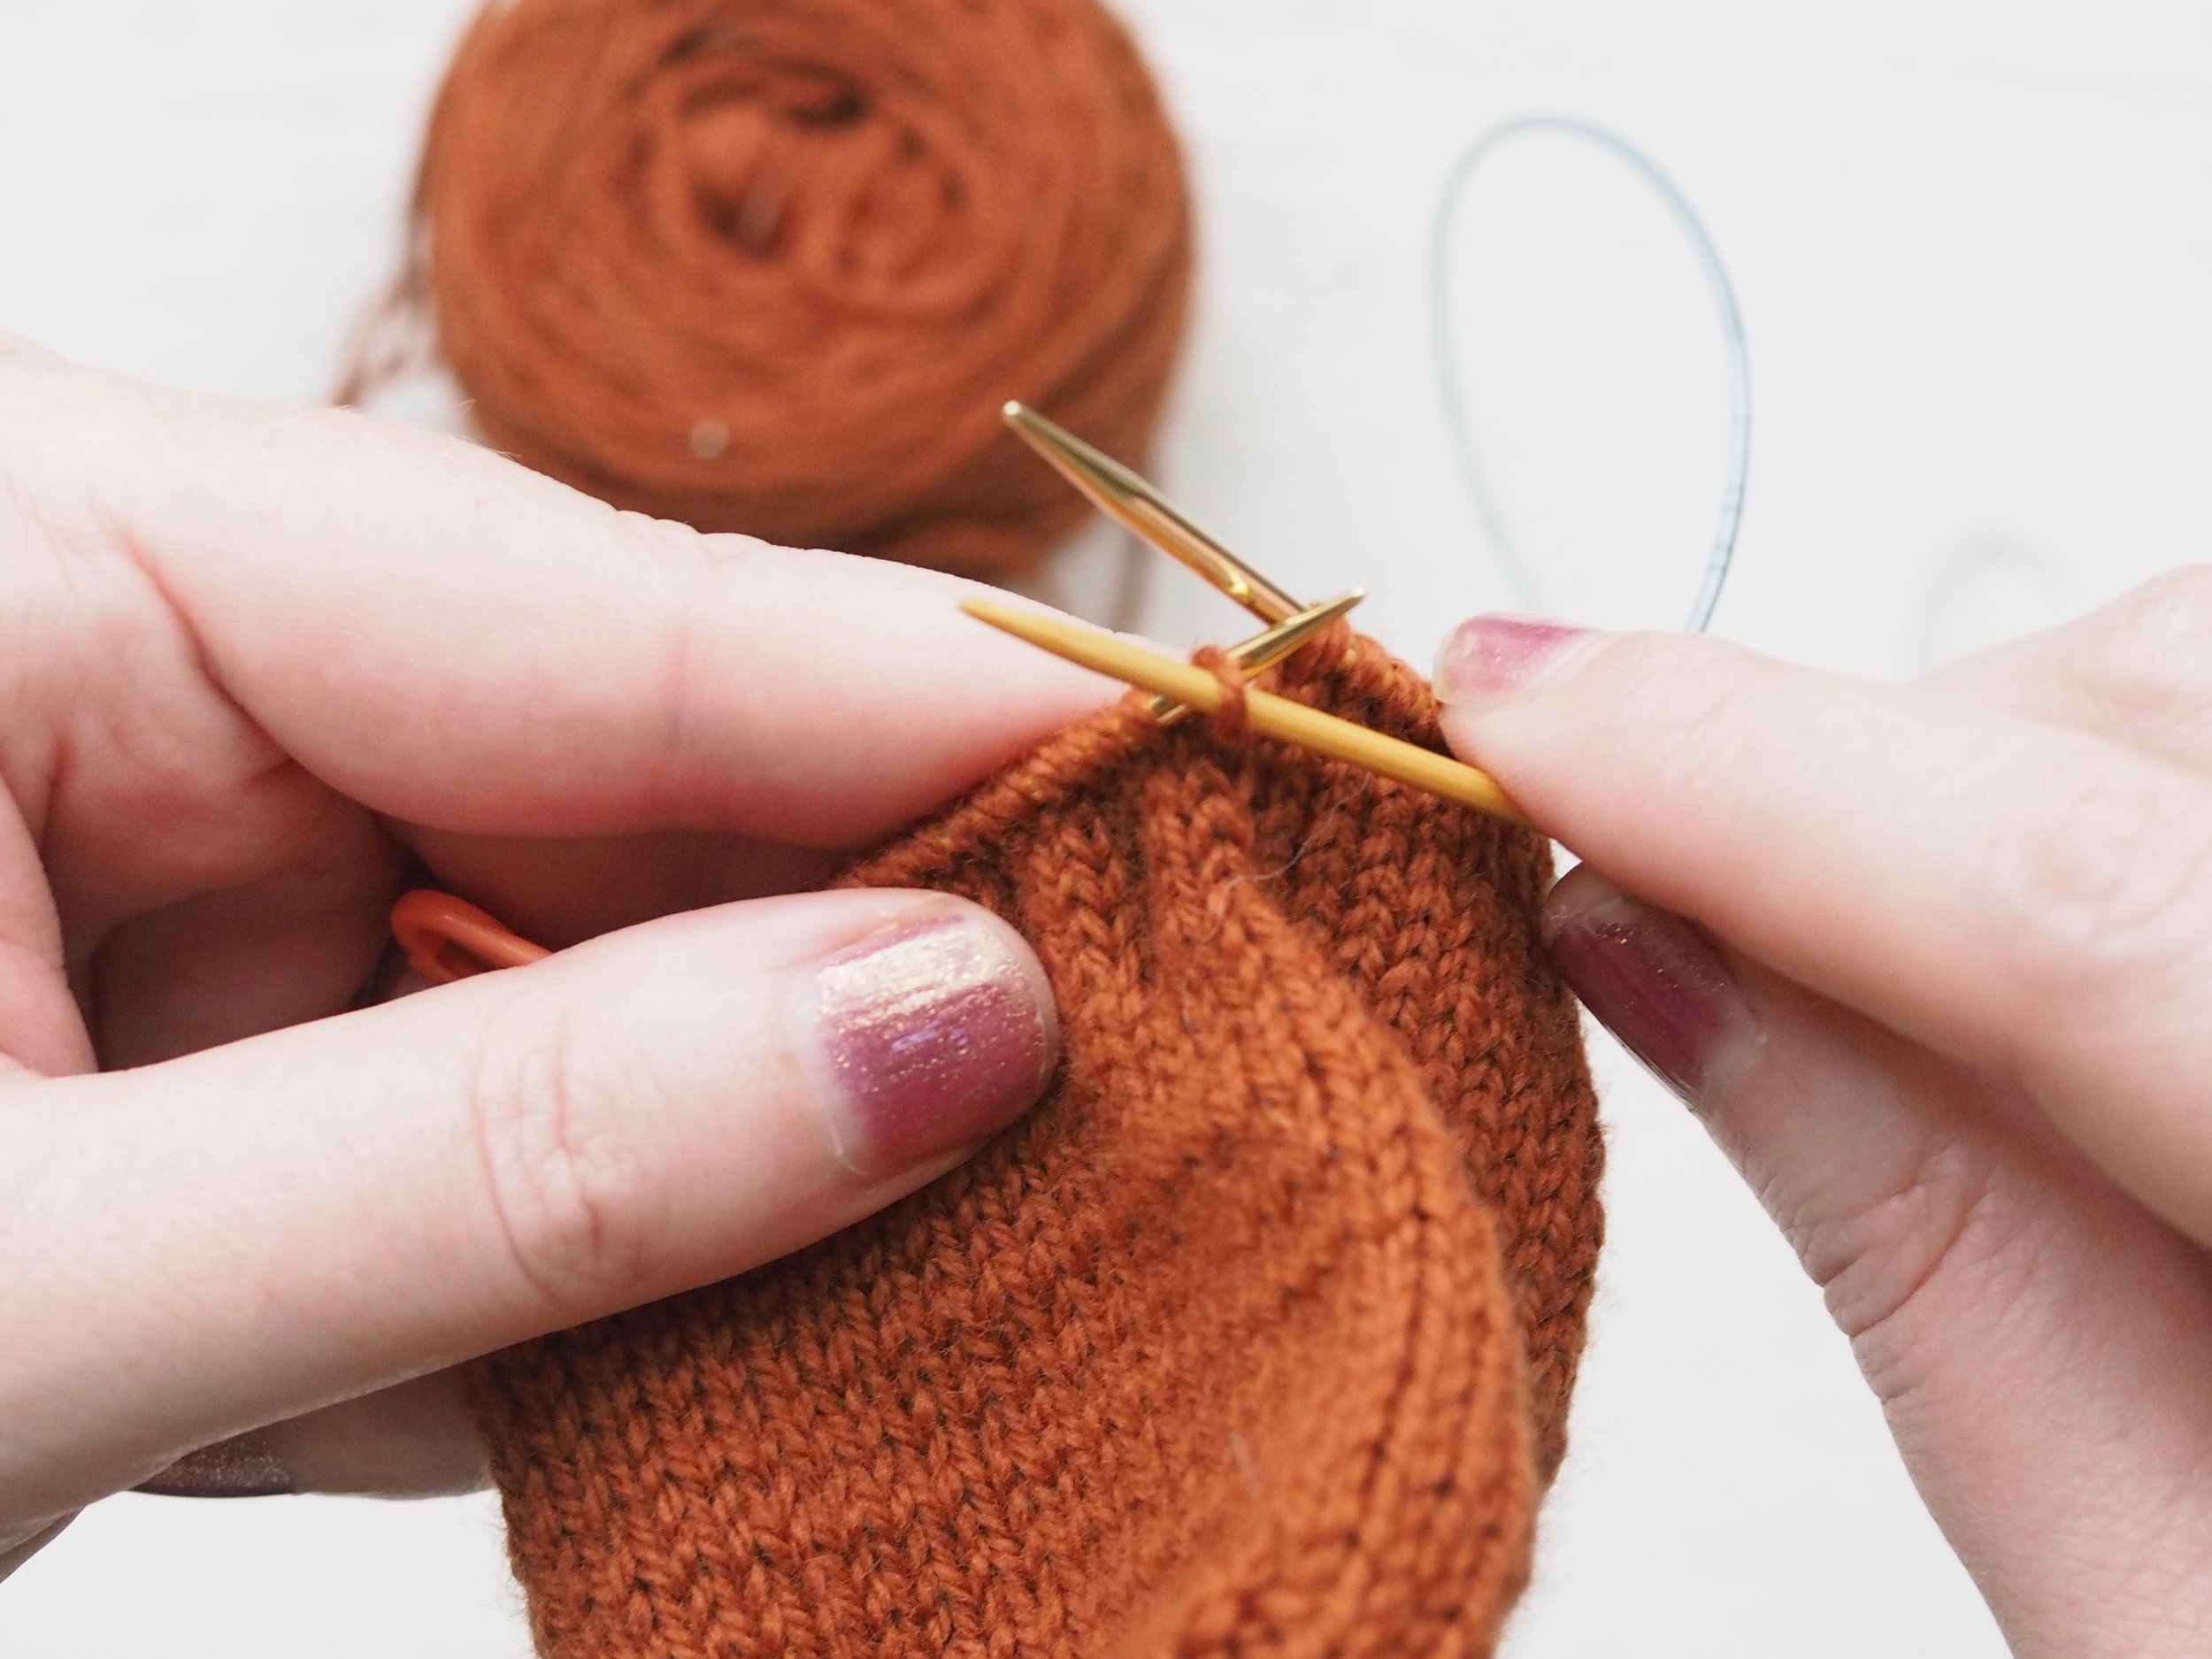
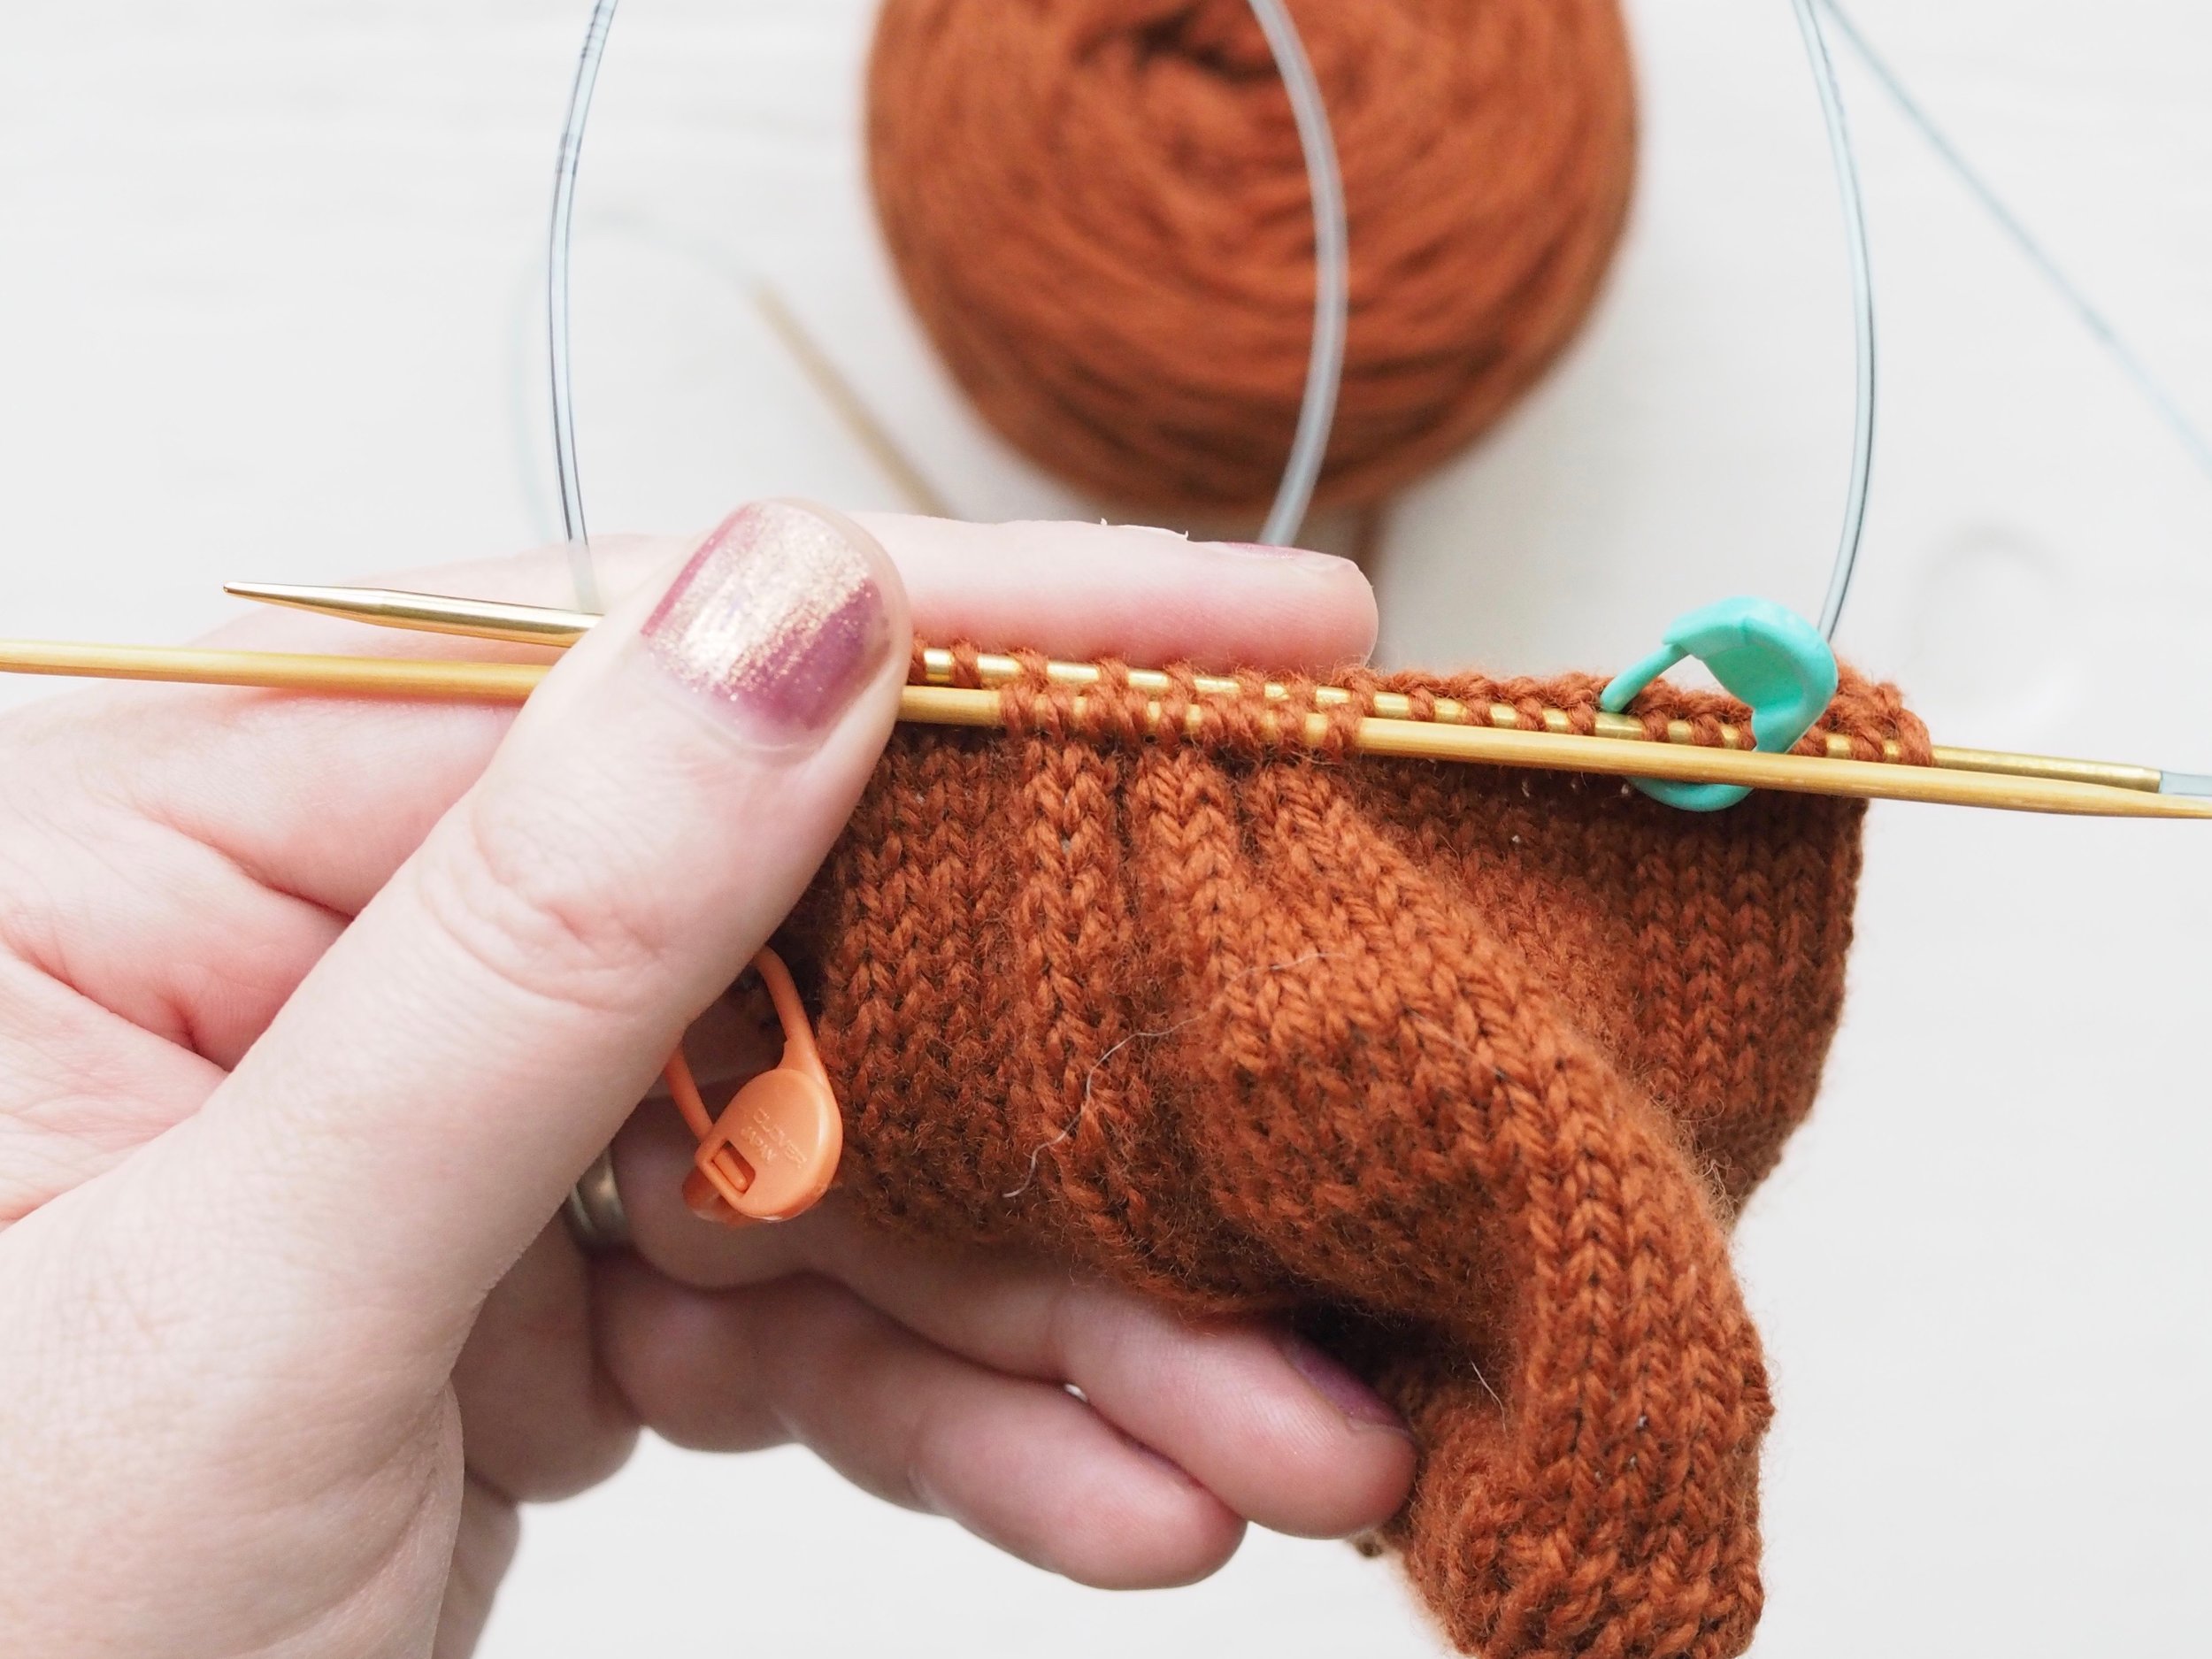
ROW 1
Knit to the start of your first tuck.
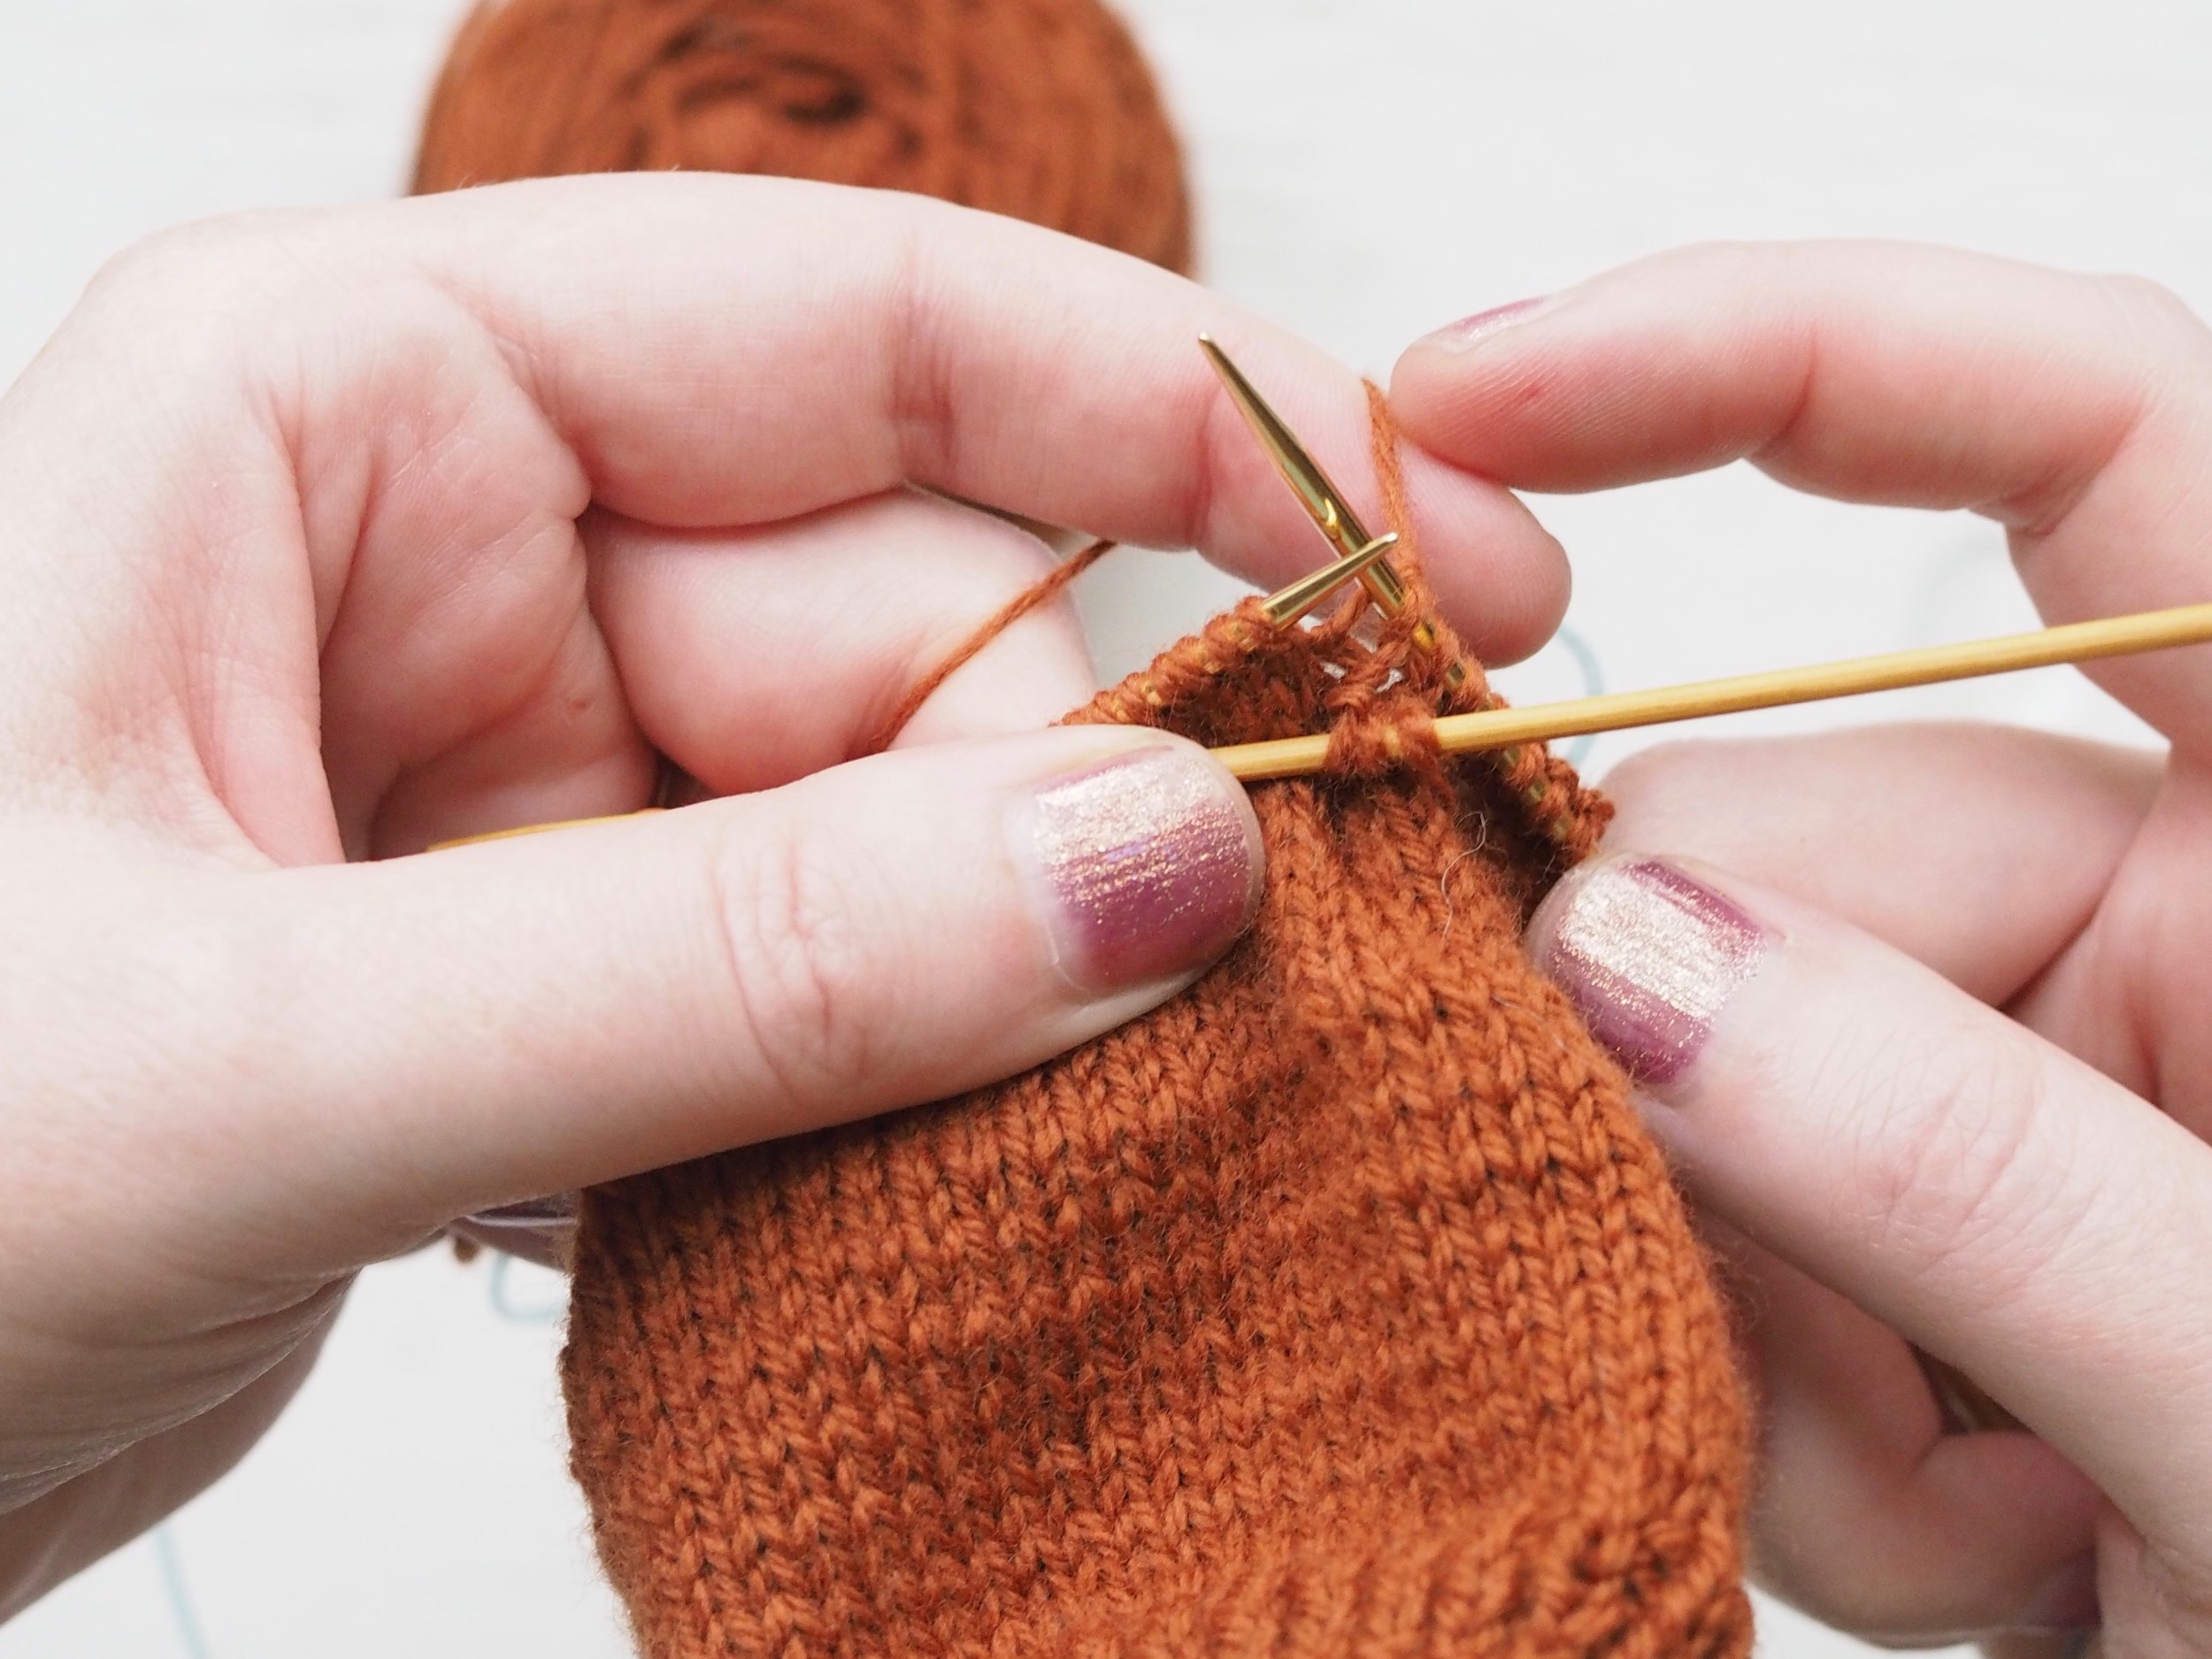
Slip the tuck stitches (here, three stitches) on to a spare double-pointed needle or cable needle held in front of your work. [NB: if your tucks are small, you can use the same spare needle for all the tucks in a row]
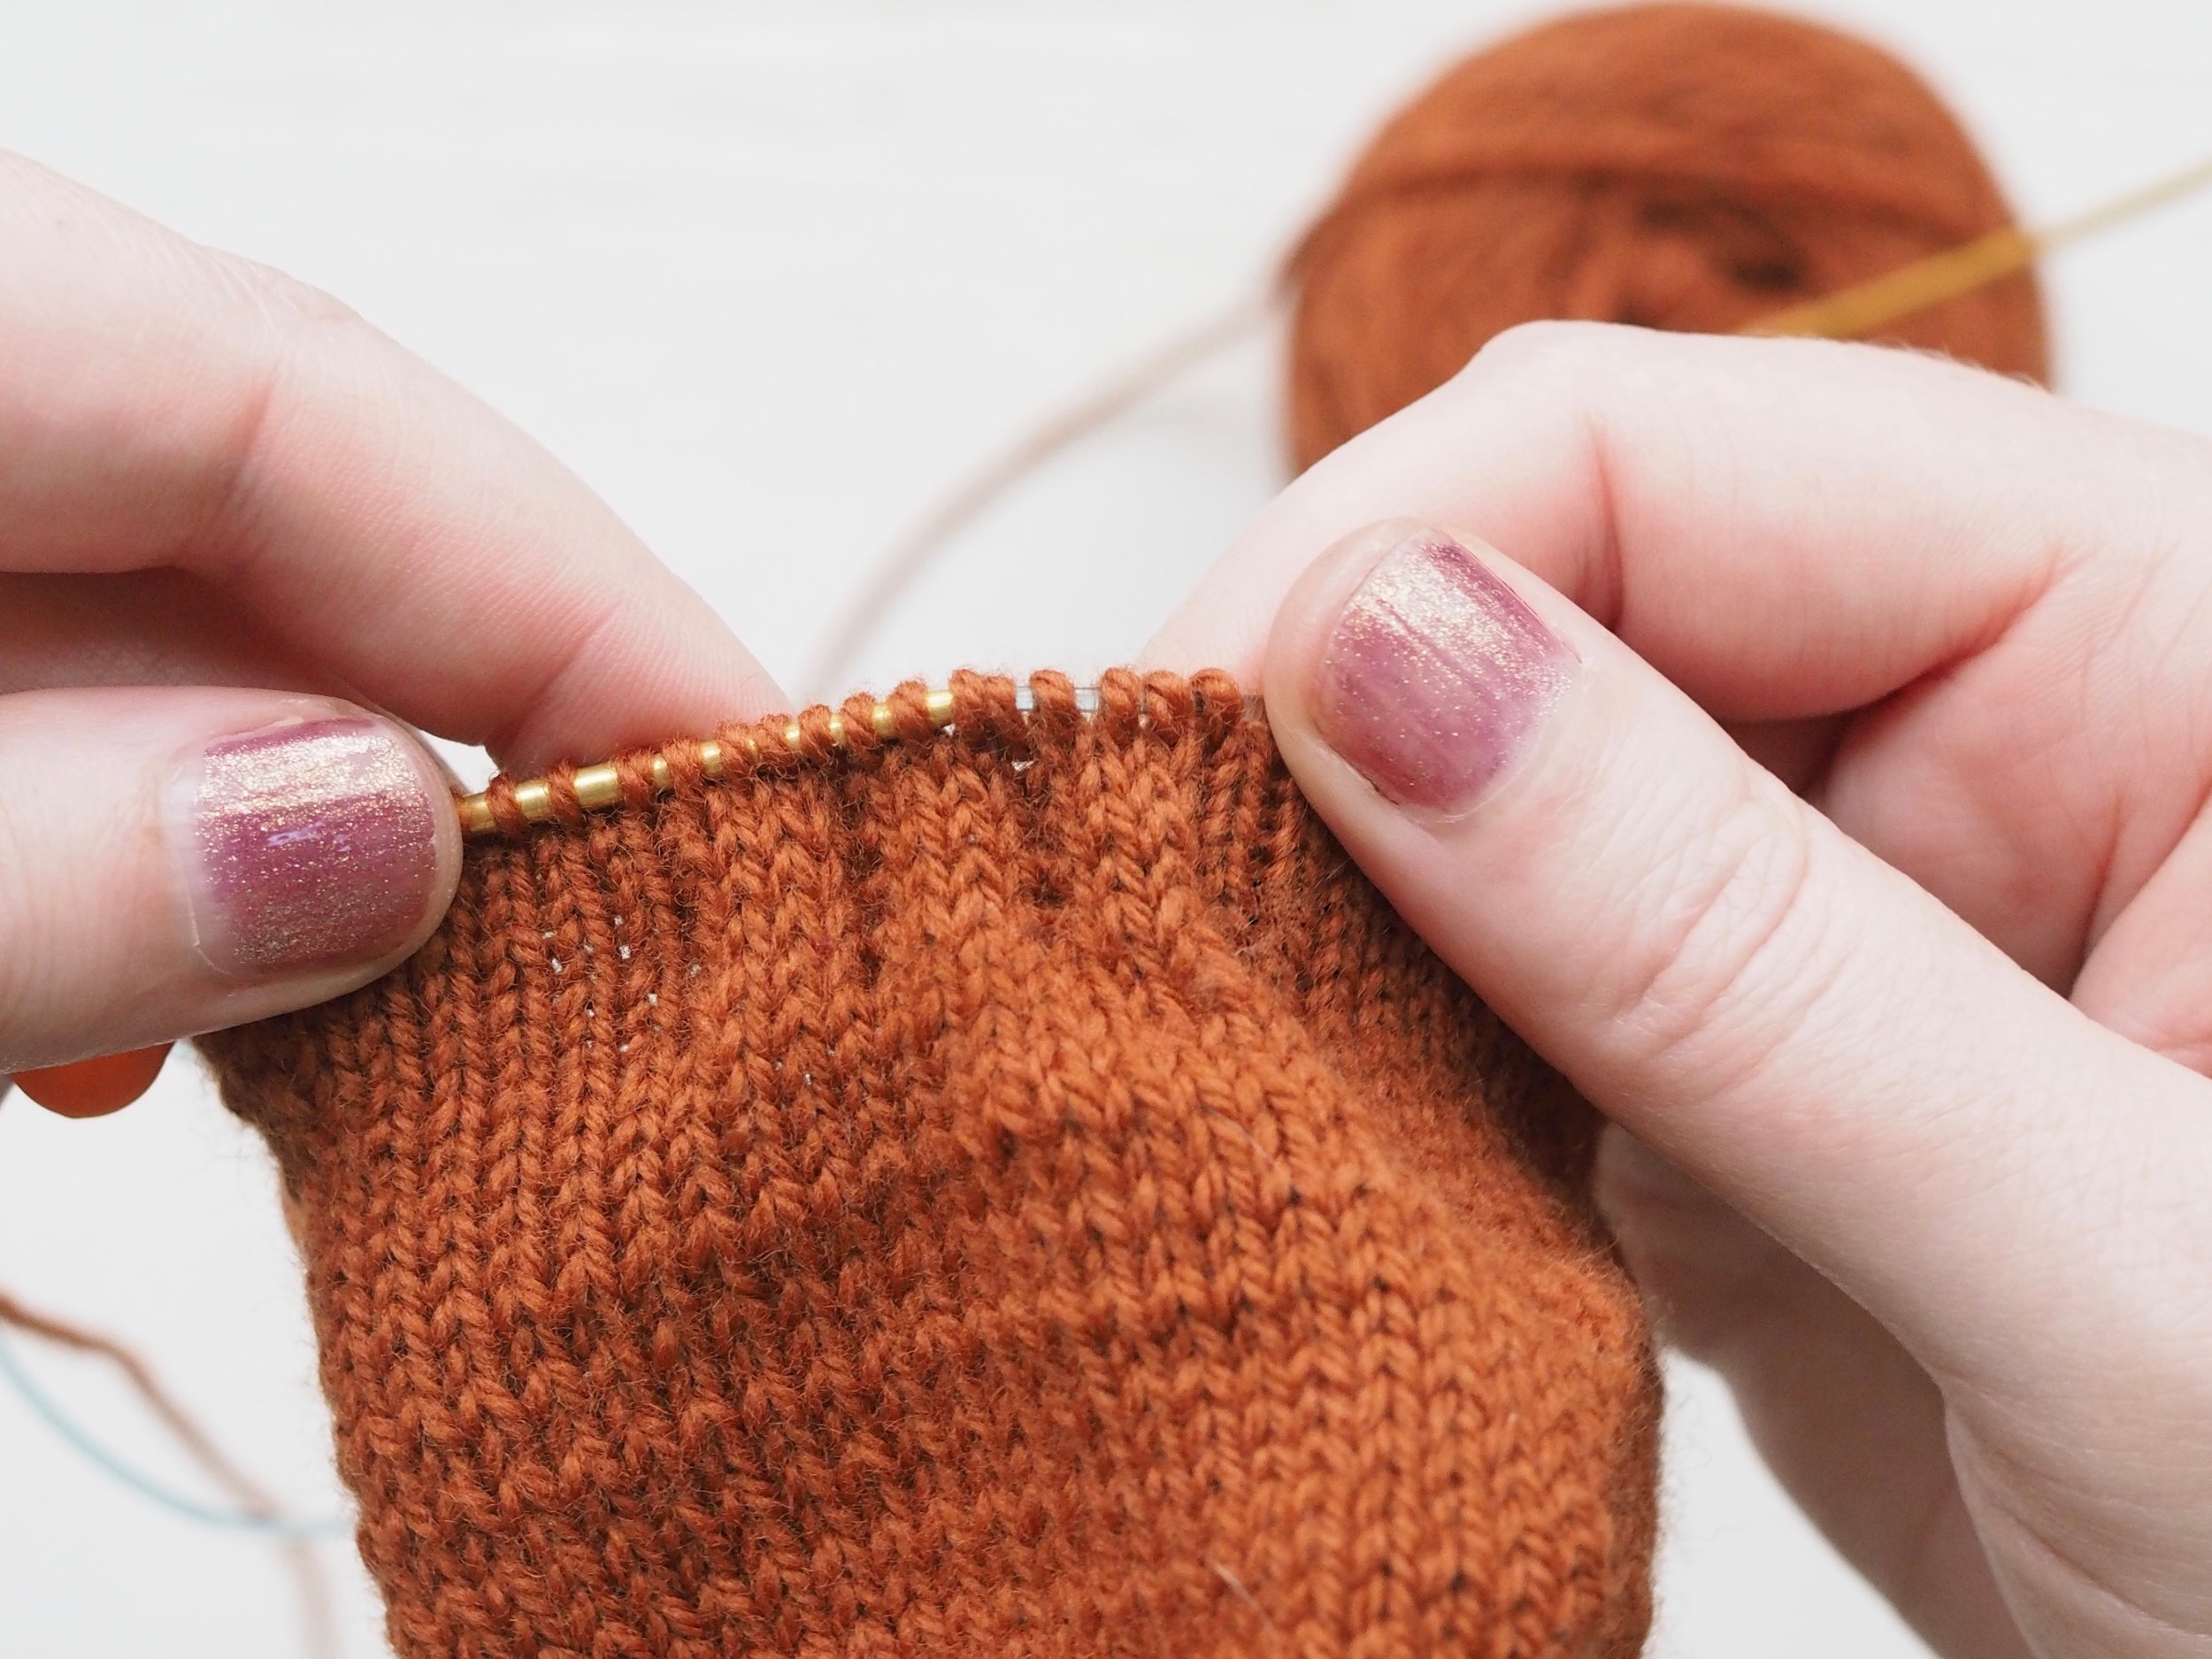
Tension the working yarn tightly as you work the first stitch post-tuck. The more snugly you work the stitches together on either side of the tuck, the more visible your tuck will be. Continue knitting normally until you reach the next tuck.
Repeat steps 2 and 3 until you reach the end of the tuck section.
In the example shown, the tuck section is 11 stitches wide: three tucks three stitches wide, plus one spacer stitch on either side of the center tuck. When you finish working your first row of tucks, you should have nine stitches (width of tuck x number of tucks) on your spare needle (or needles, if your tuck is very wide).
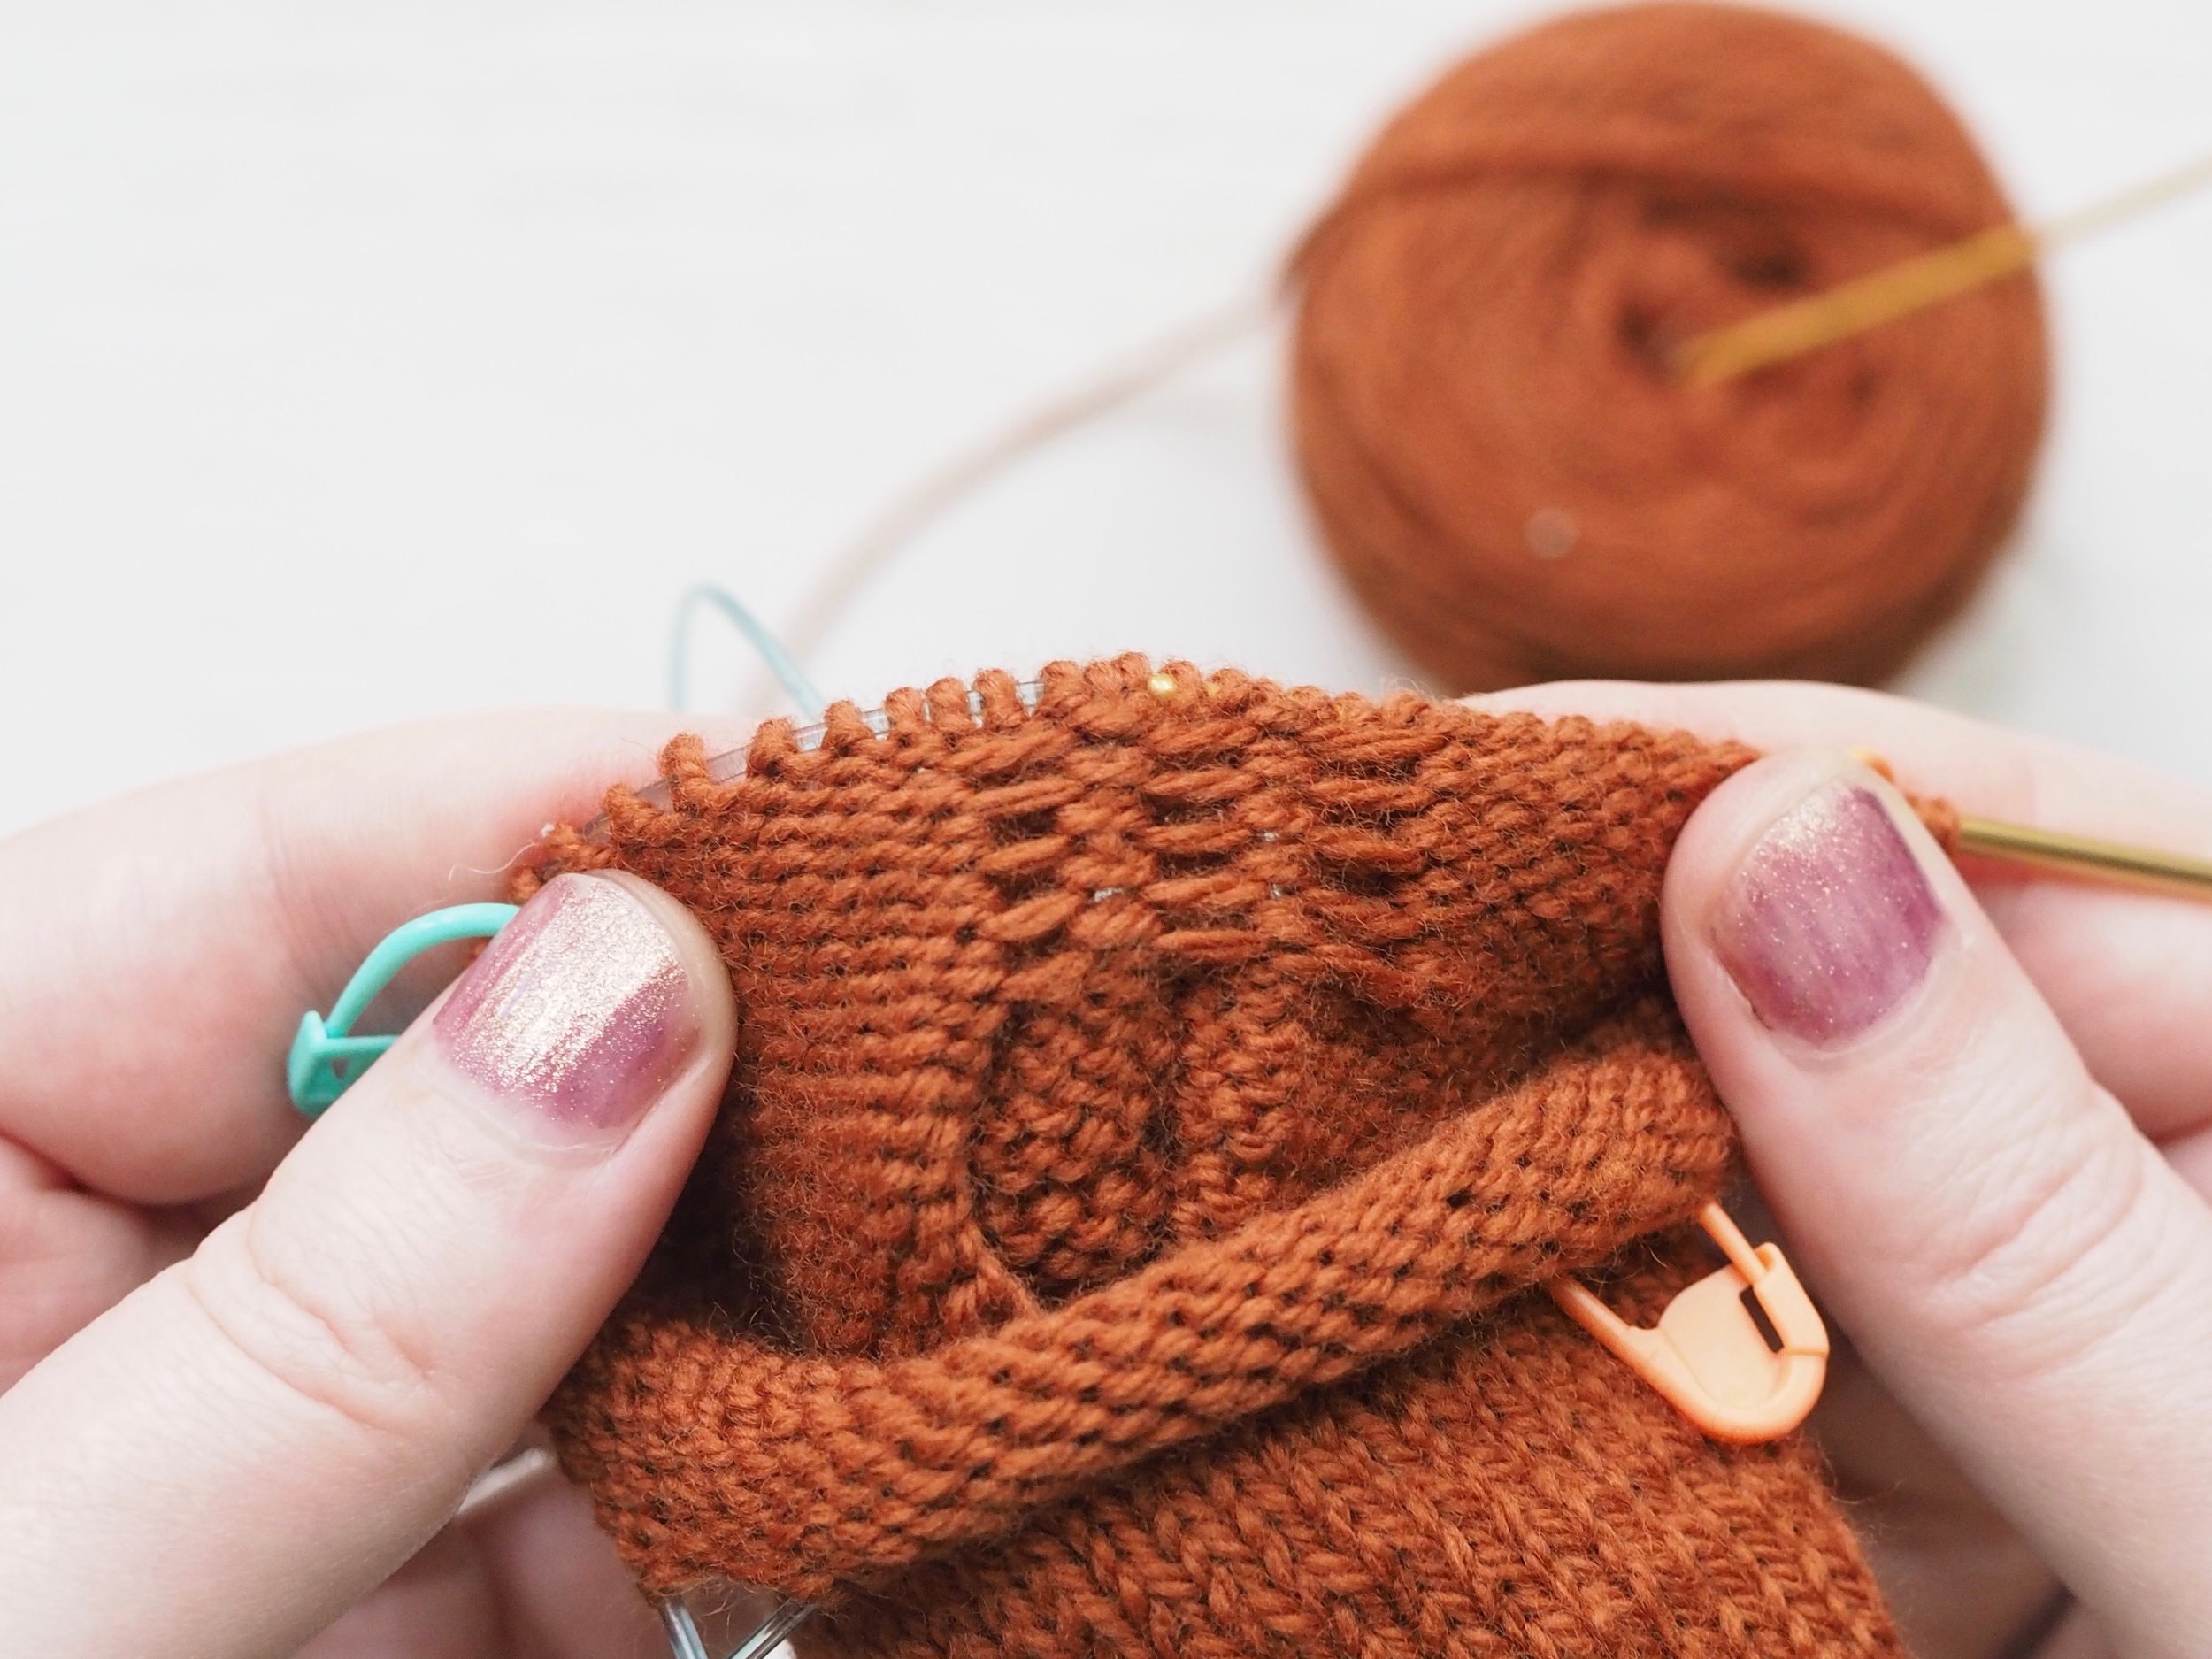
ROW 2
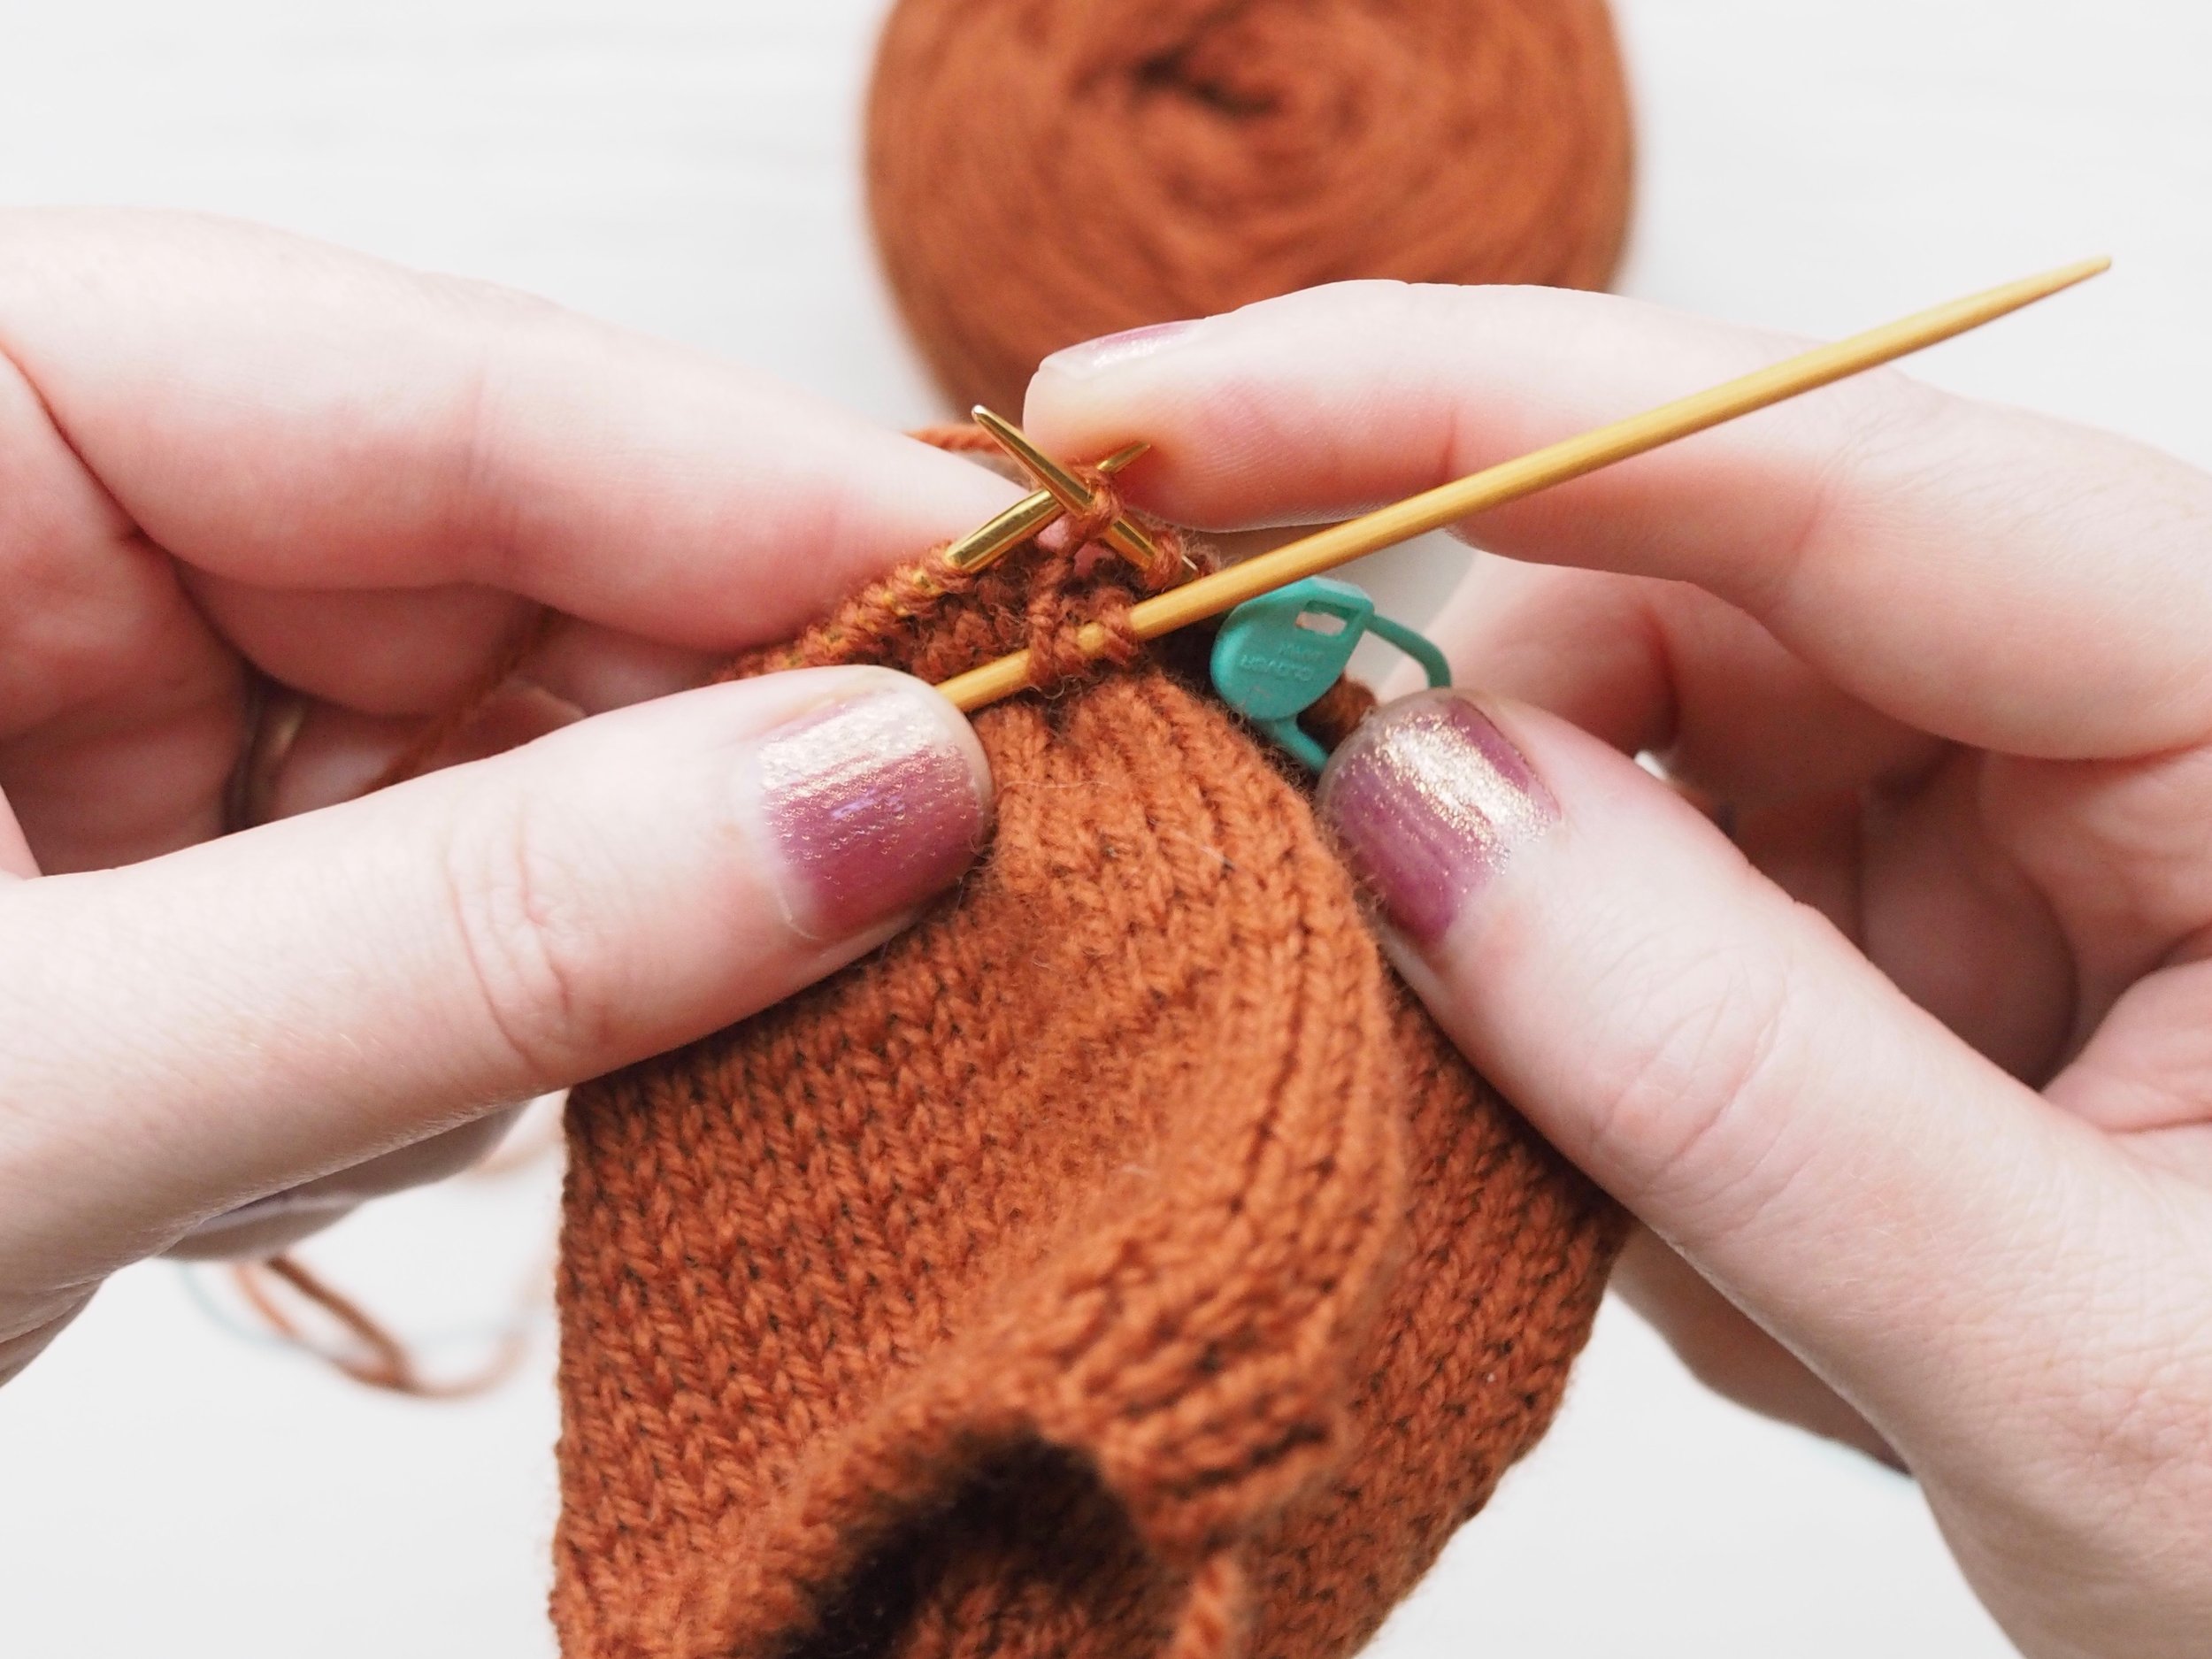
Knit to the start of your first tuck.
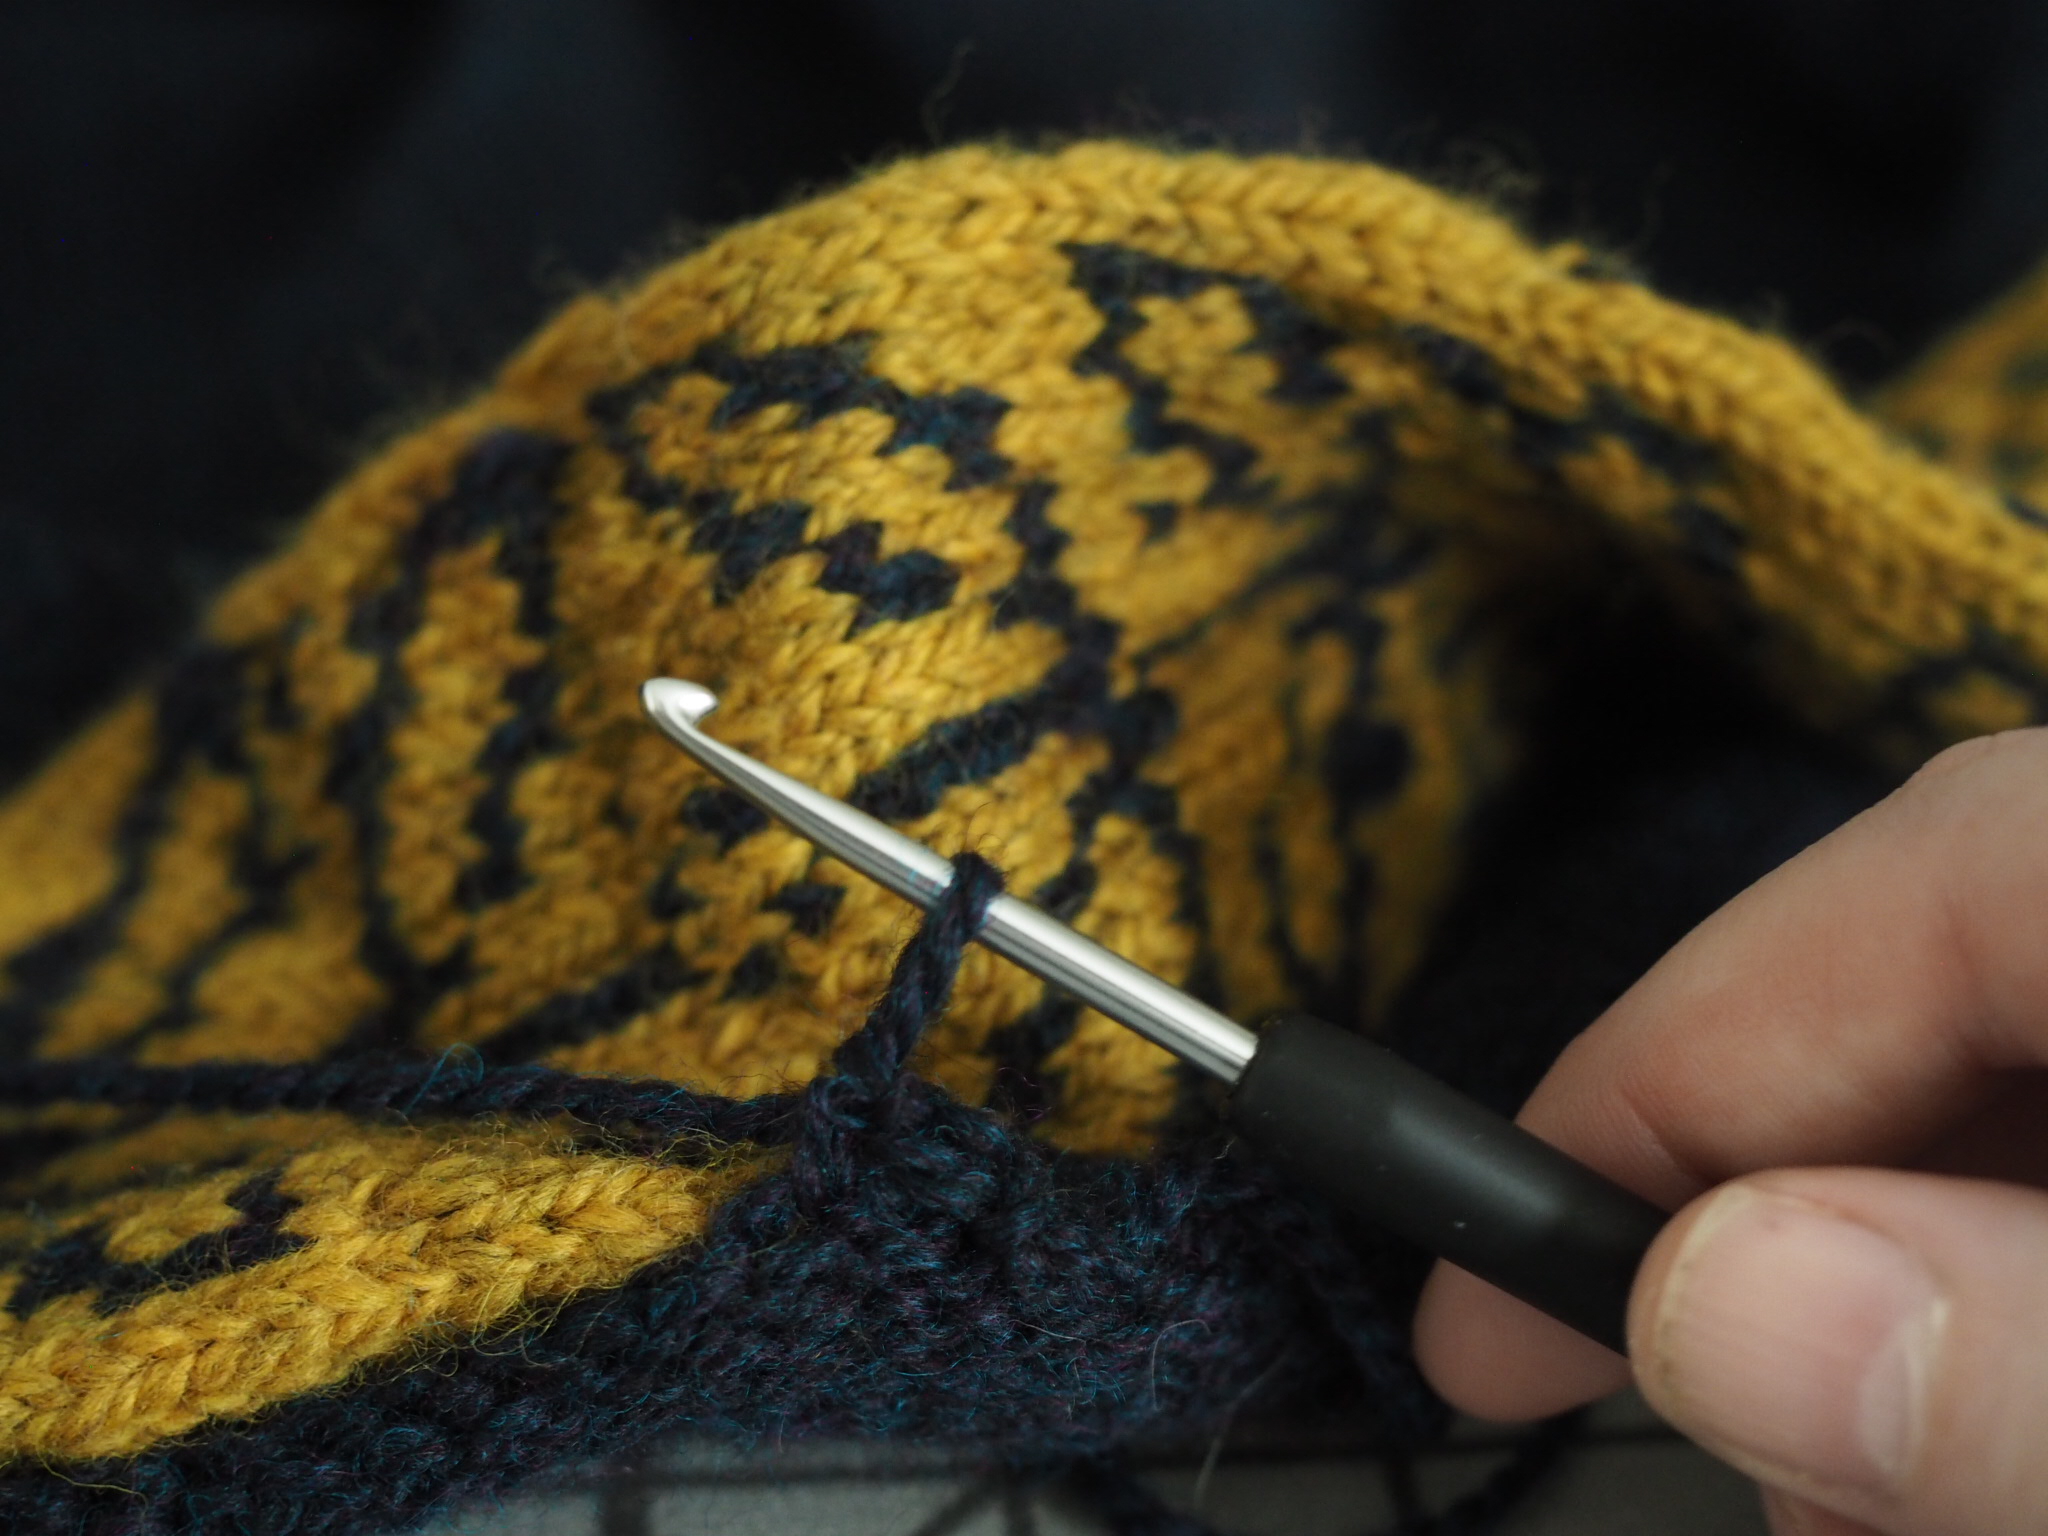
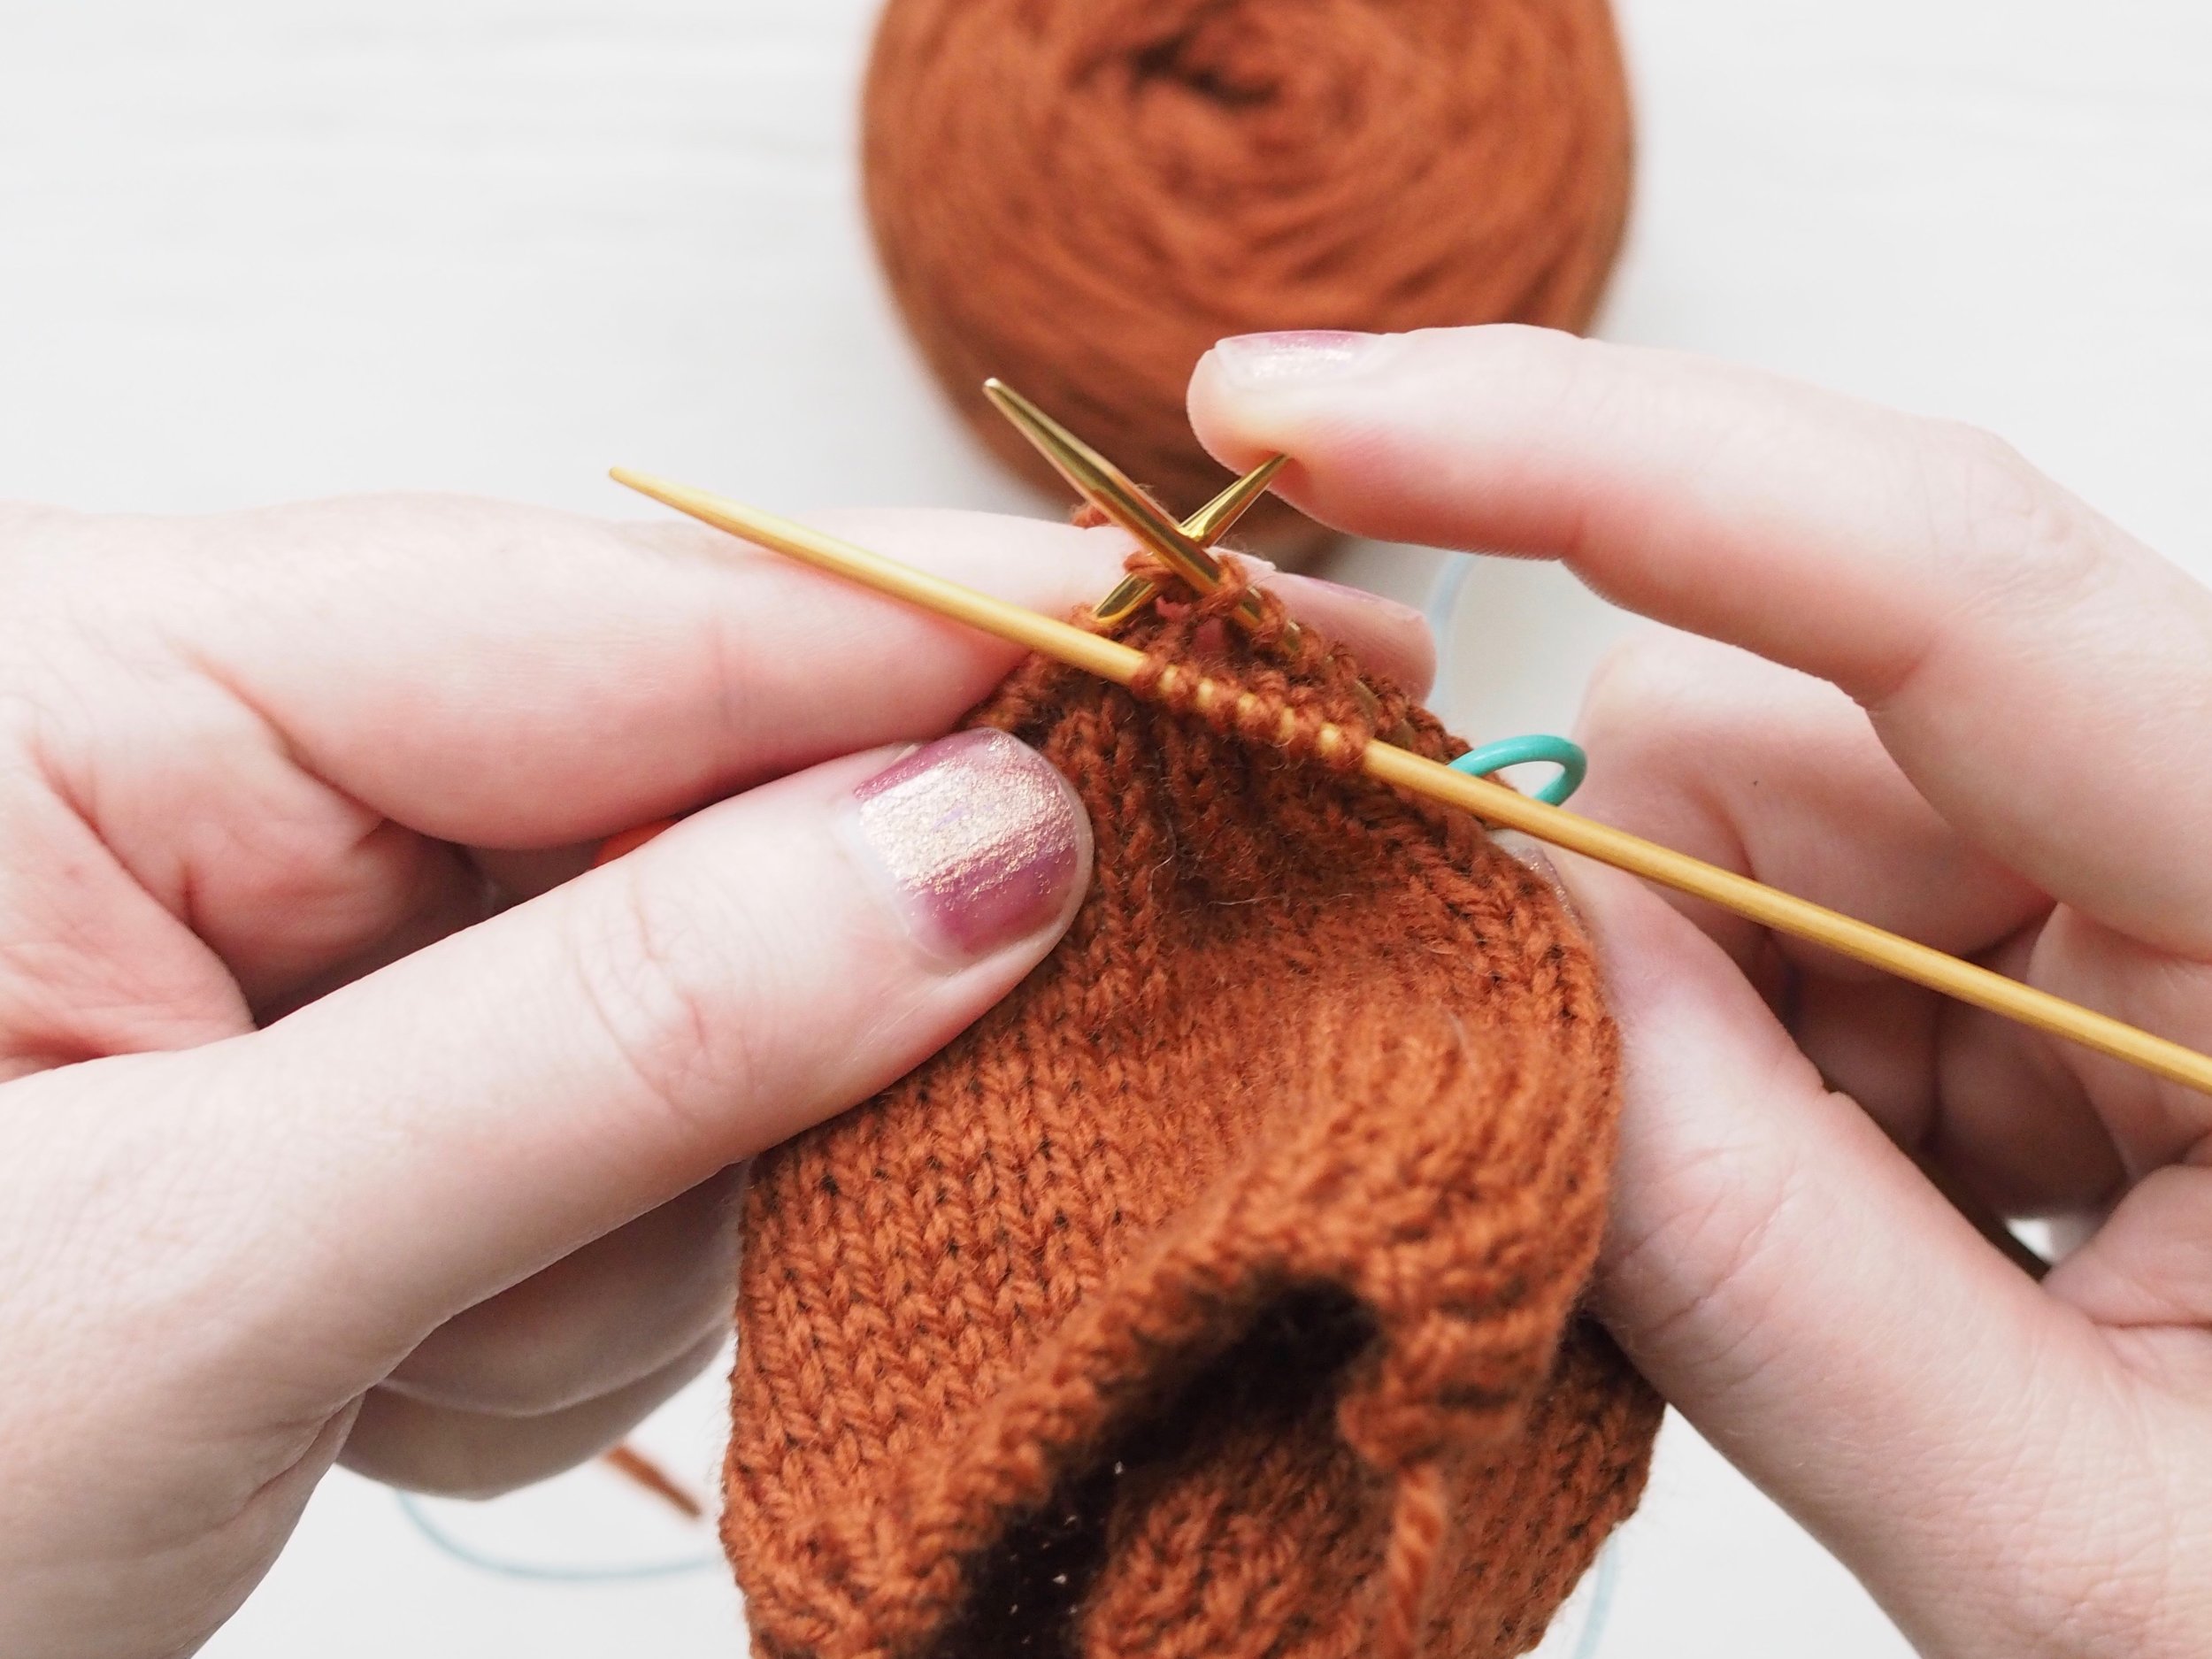
Pick up and knit the tuck stitches (here, three stitches) off the spare needle.
Knit normally to the next tuck.
Repeat steps 2 and 3 until all stitches are back on the main needle.
It will take a couple of rows until the tucks start to look like anything on the right side of the fabric. On the wrong side of the fabric, you should clearly see where the working yarn has held behind the slipped stitches. Try to keep that horizontal line the same length for tucks of the same width, and the short it is, the more prominent your tucks will be.
GET KNITTING!
Try out the pattern below which incorporate tucks, horizontal pleats, or smocking!