Virtual Maine Handmade Fair Tomorrow!
December 05, 2019
I’m co-hosting a virtual craft fair featuring 22 talented Maine makers. Friday, December 6th starting at 10 am we'll be sharing our handmade work, as well as some special discounts, peeks inside of our workspaces, and creative processes. We are a group of 22 different artists and artisans representing a wide range of handmade products and processes and different areas of Maine's creative community.
What's a Virtual Handmade Fair?
It's a group of artists and makers getting together to share their work - just like a regular craft fair. Instead of meeting up in person, we're meeting up online and inviting you to join us on Friday, December 6th, starting at 10 AM to say hello, see our handmade work, and find some special discounts on handmade holiday gifts. We think it'll be a fun way to see new work, meet new makers, support and create connections within this creative community.
Organized by Eliza Jane Curtis of Morris & Essex and Leah B. Thibault of Ms. Cleaver - Creations for a Handmade Life, this event includes 22 Maine makers:
@Sperrygeneralstore Cards, shirts, dresses, onesies
@beedandy_shop Bath & body products
@earthangelarts hand stitched ornaments and pillows, paintings, printed products
@Nailitartxo String art
@Morrisandessex Hand-printed textiles and letterpress cards
@sehallfurnituredesign Woodworking and Furniture
@gdixon03 Jewelry for men and women
@creationlabshop Water-Based, Hand Printed Apparel & Accessories
@mermaidmeadow Illustrative artwork on barnwood, fabric and paper.
@SarahCrawfordJewelry Jewelry
@WildwoodOysterCo Handbags
@annealexandersculptor nature-inspired sculpture, mostly in ceramics
@thinkgreene Textile Designer and Screen Printer
@APCuriosities Ceramics (animal bowls, travel cups, etc) and jewelry
@DMGDesignsMaine Jewelry & metal wares
@searosestudios Textiles, woodburning
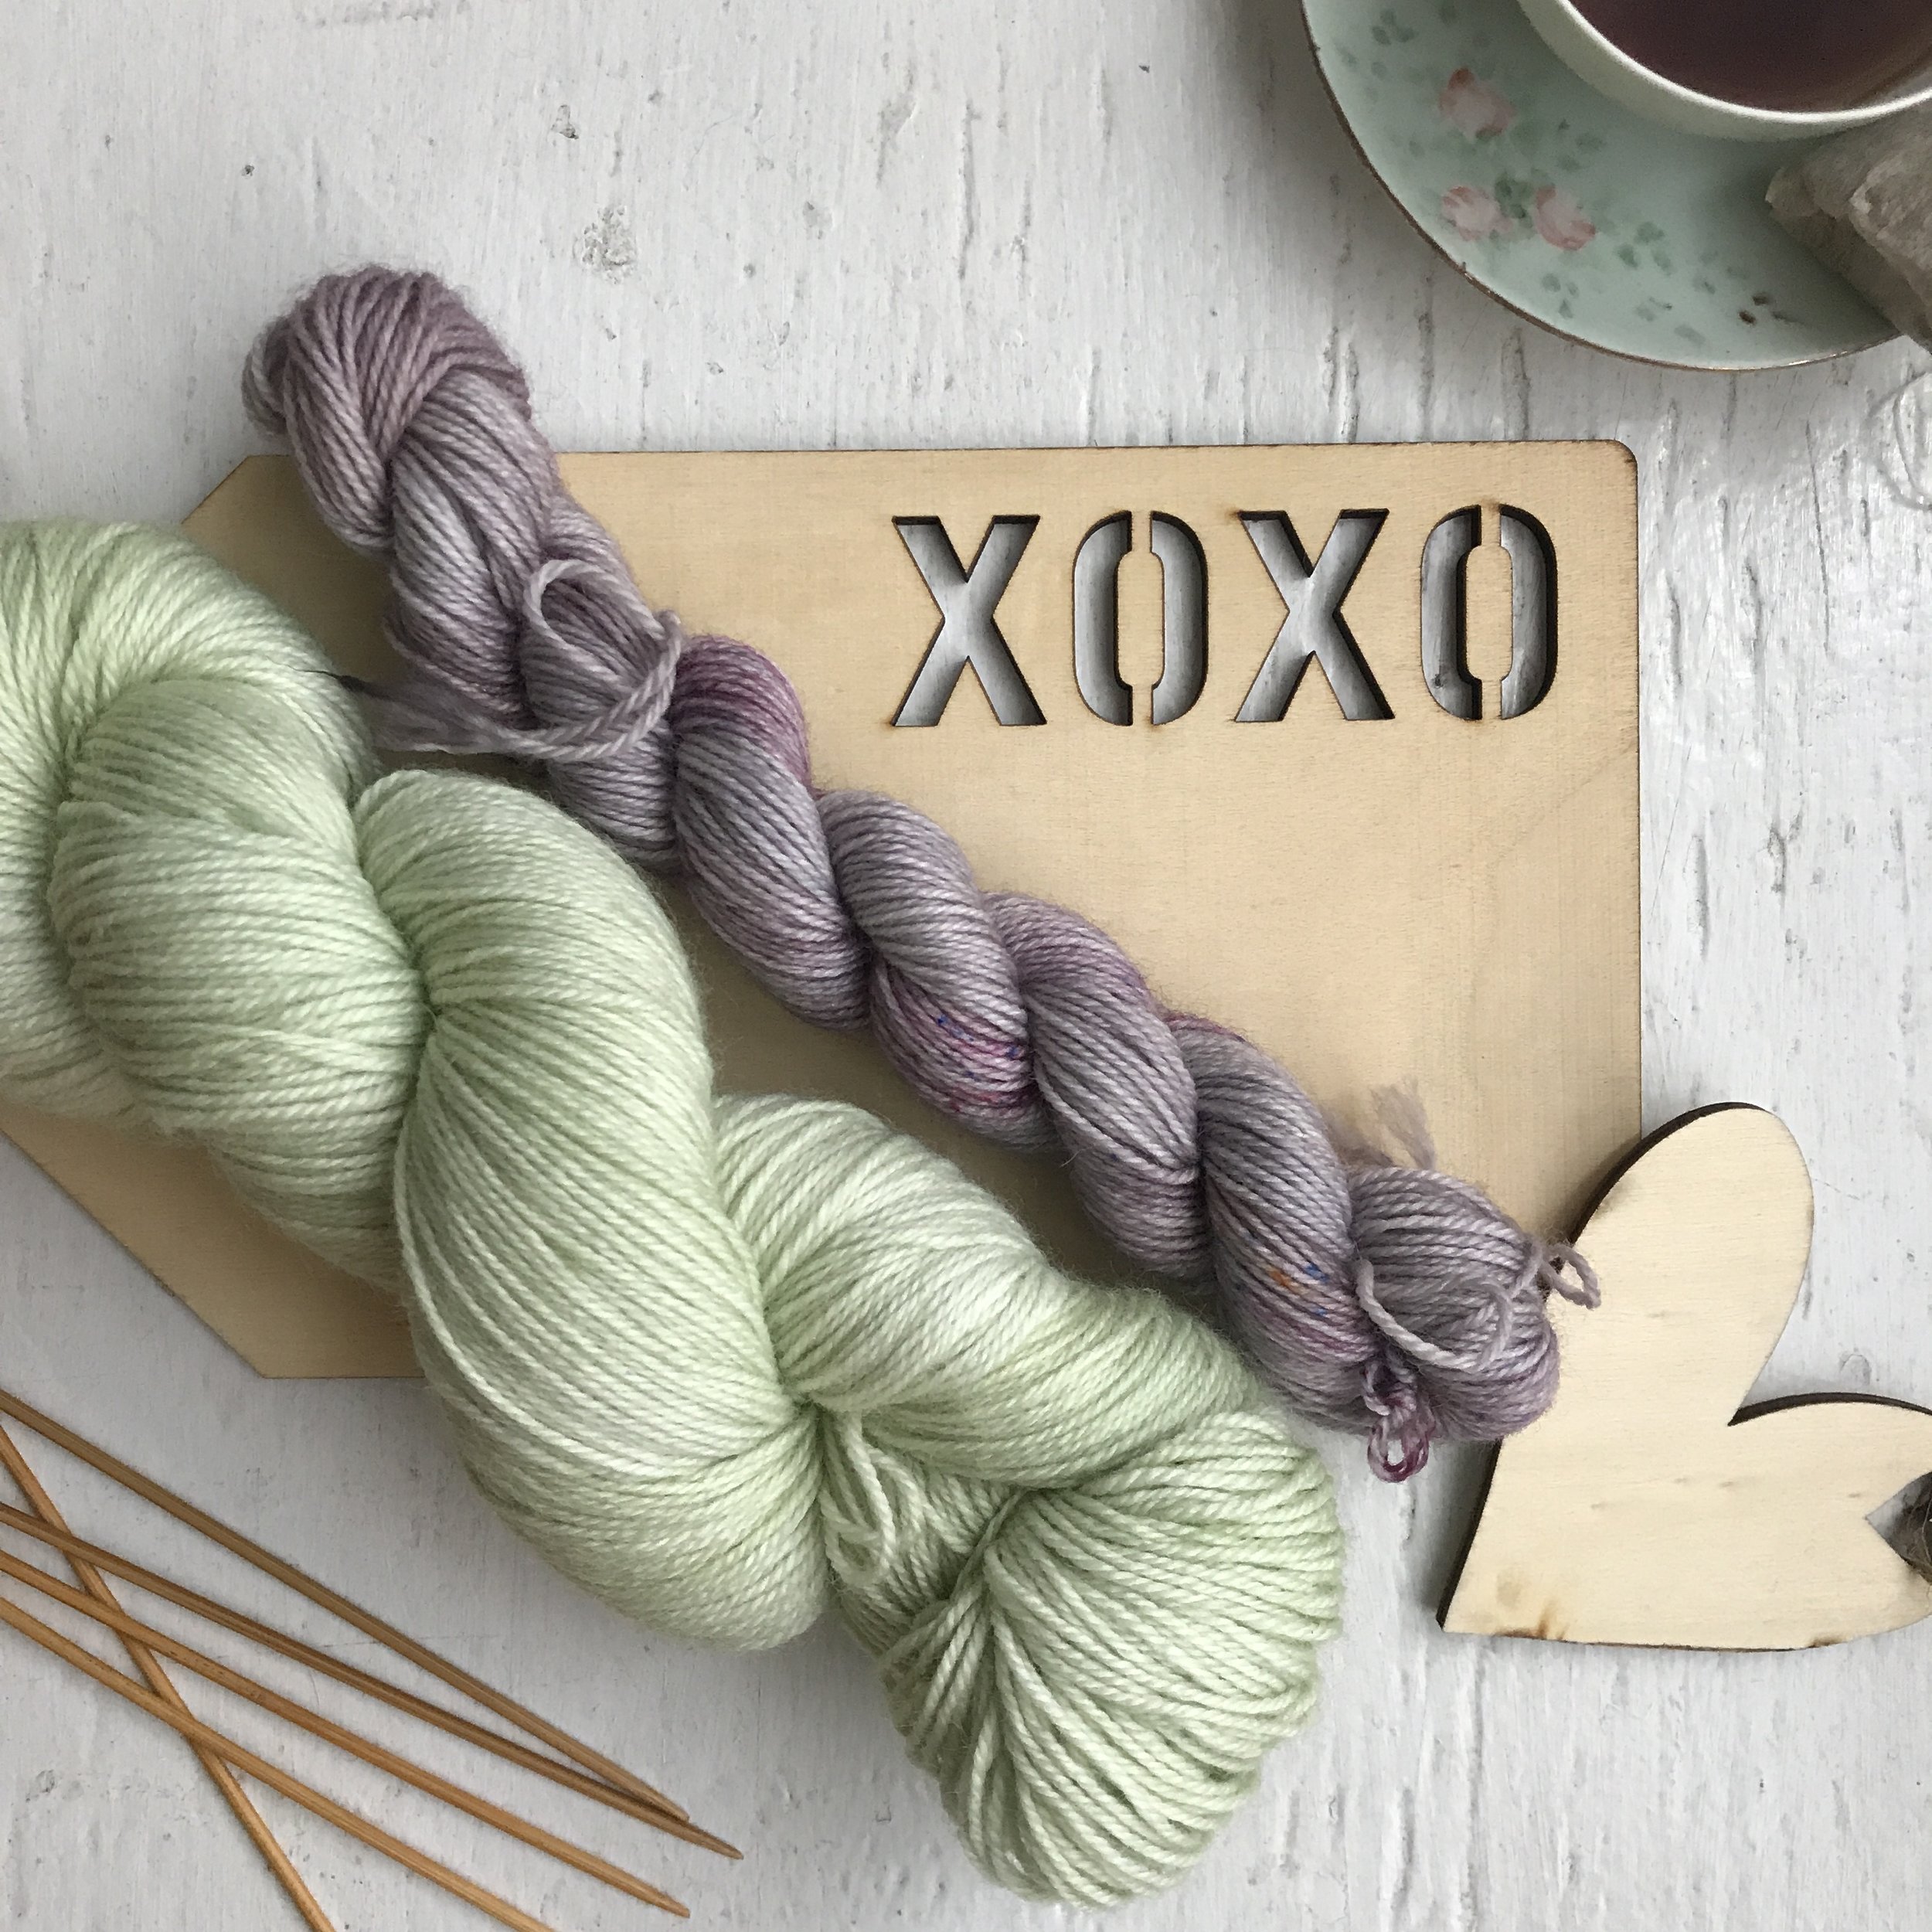
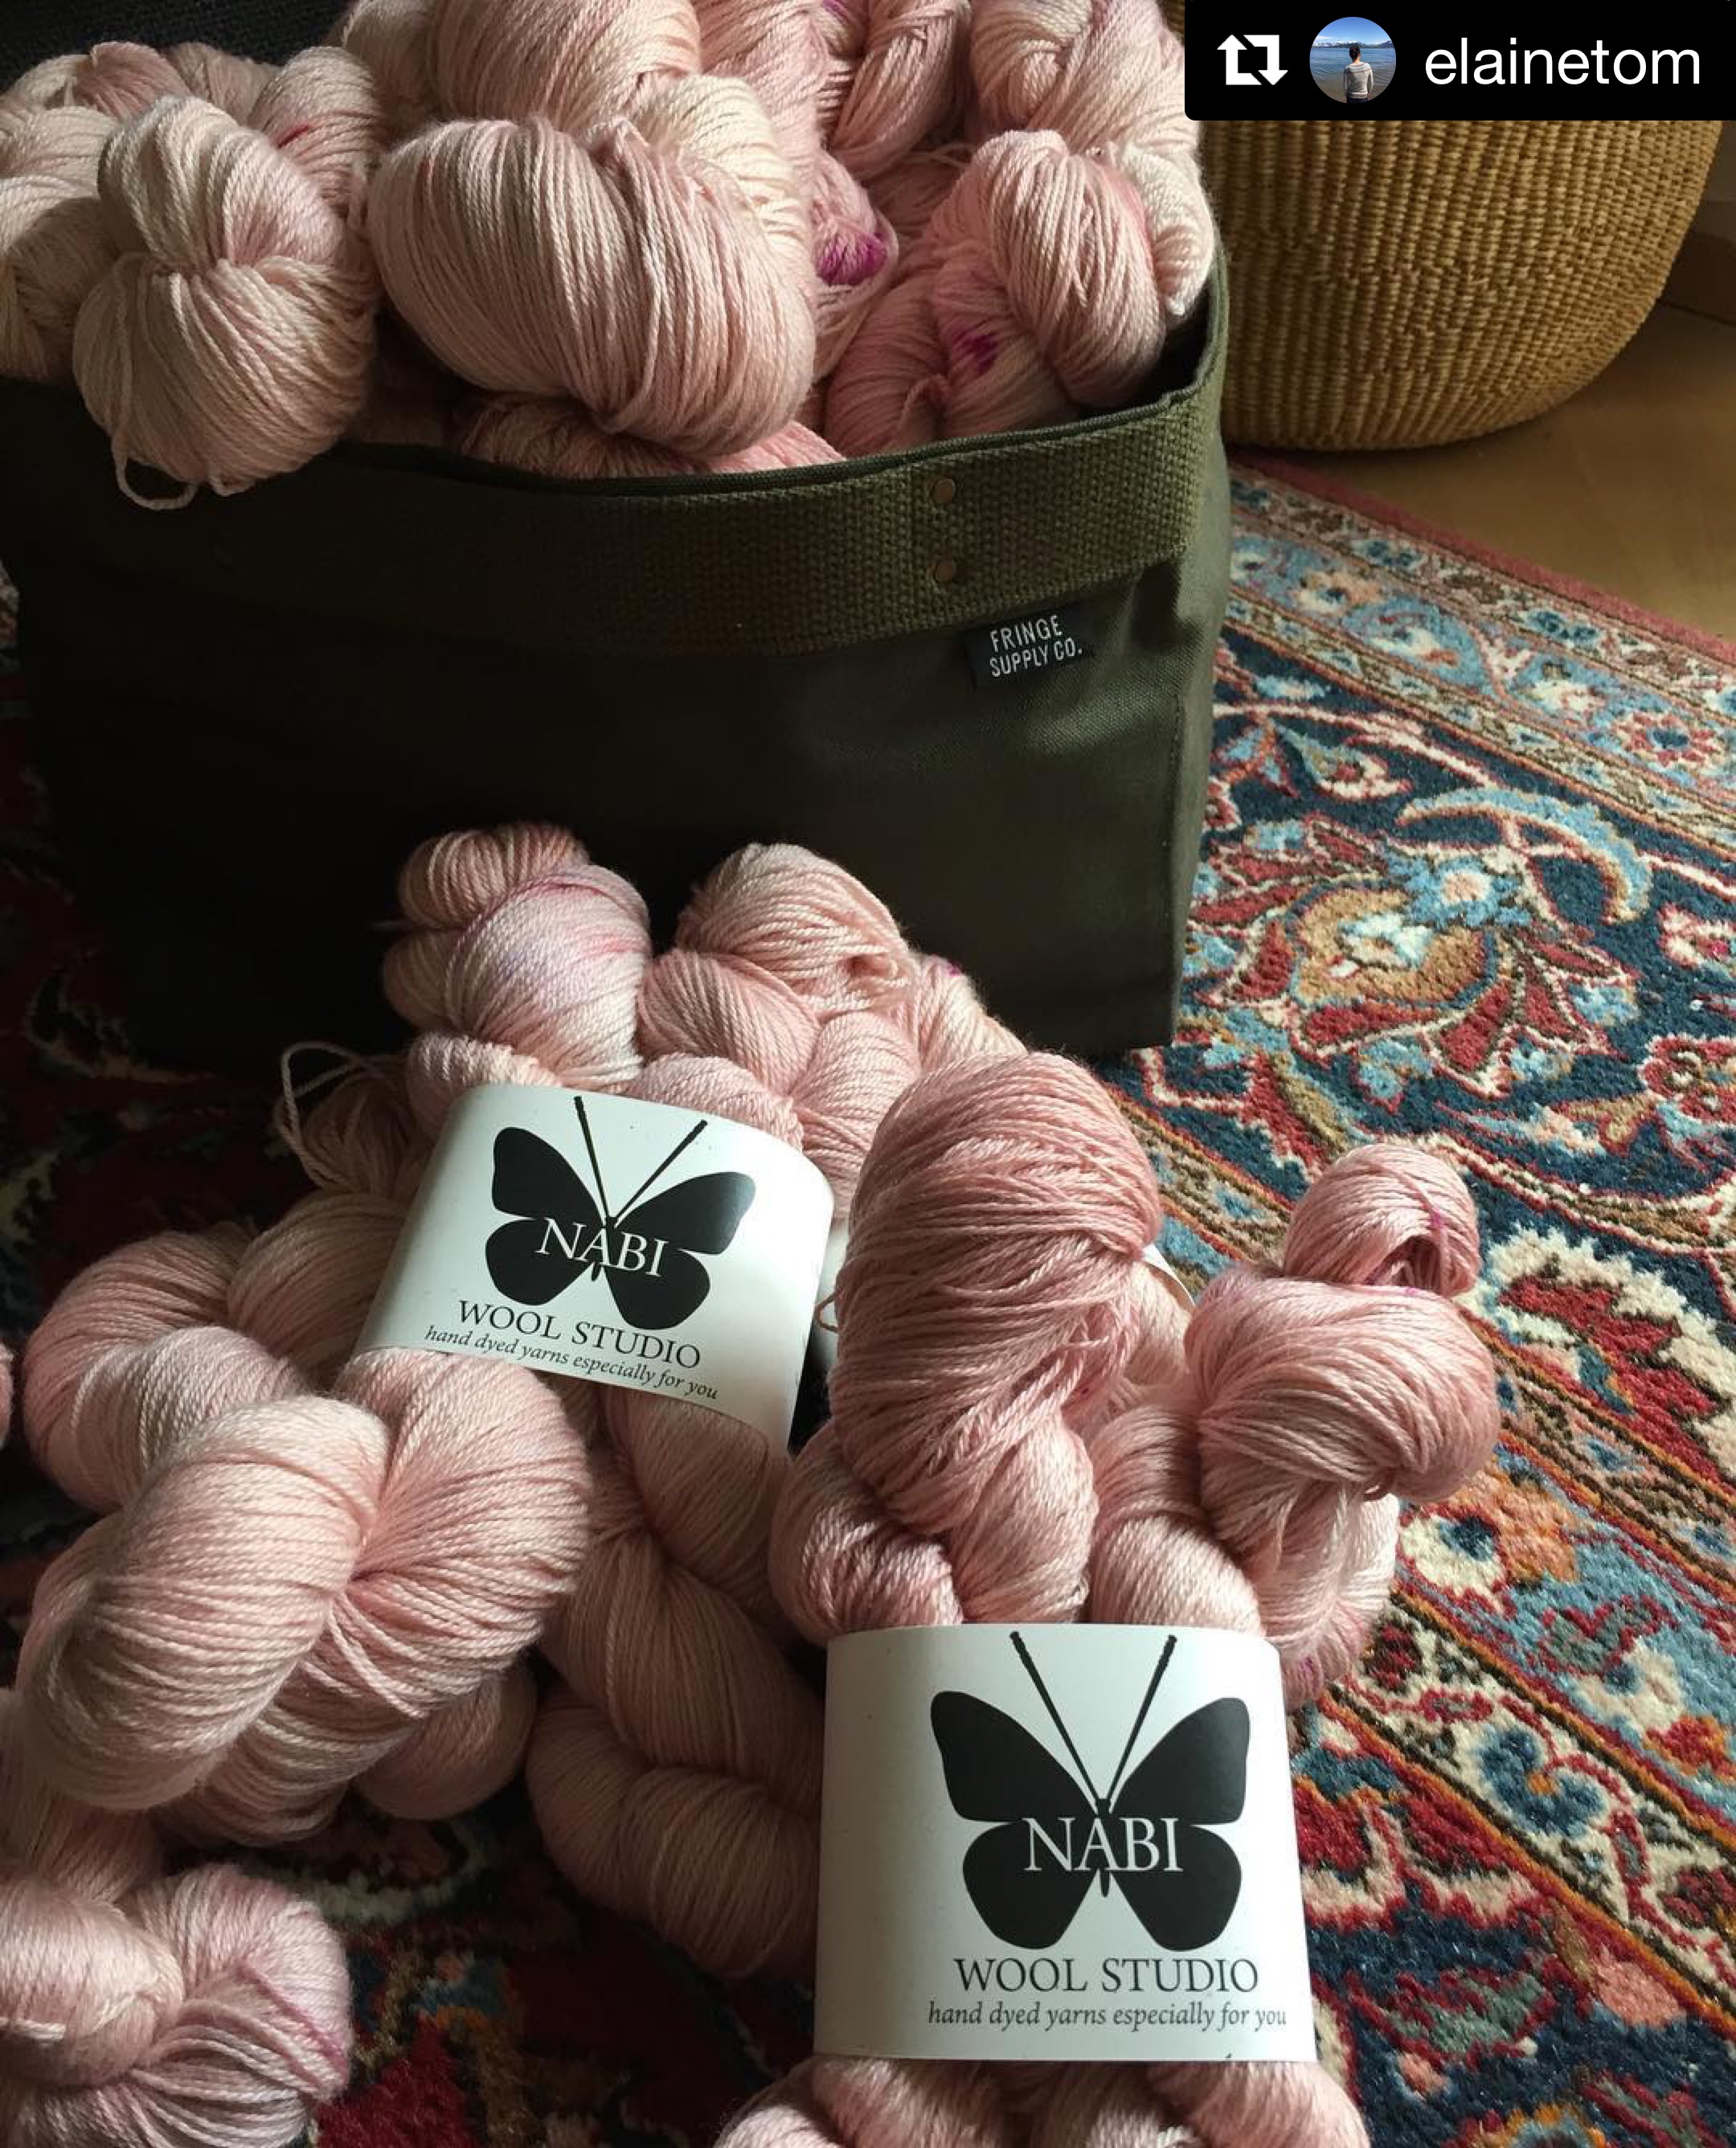
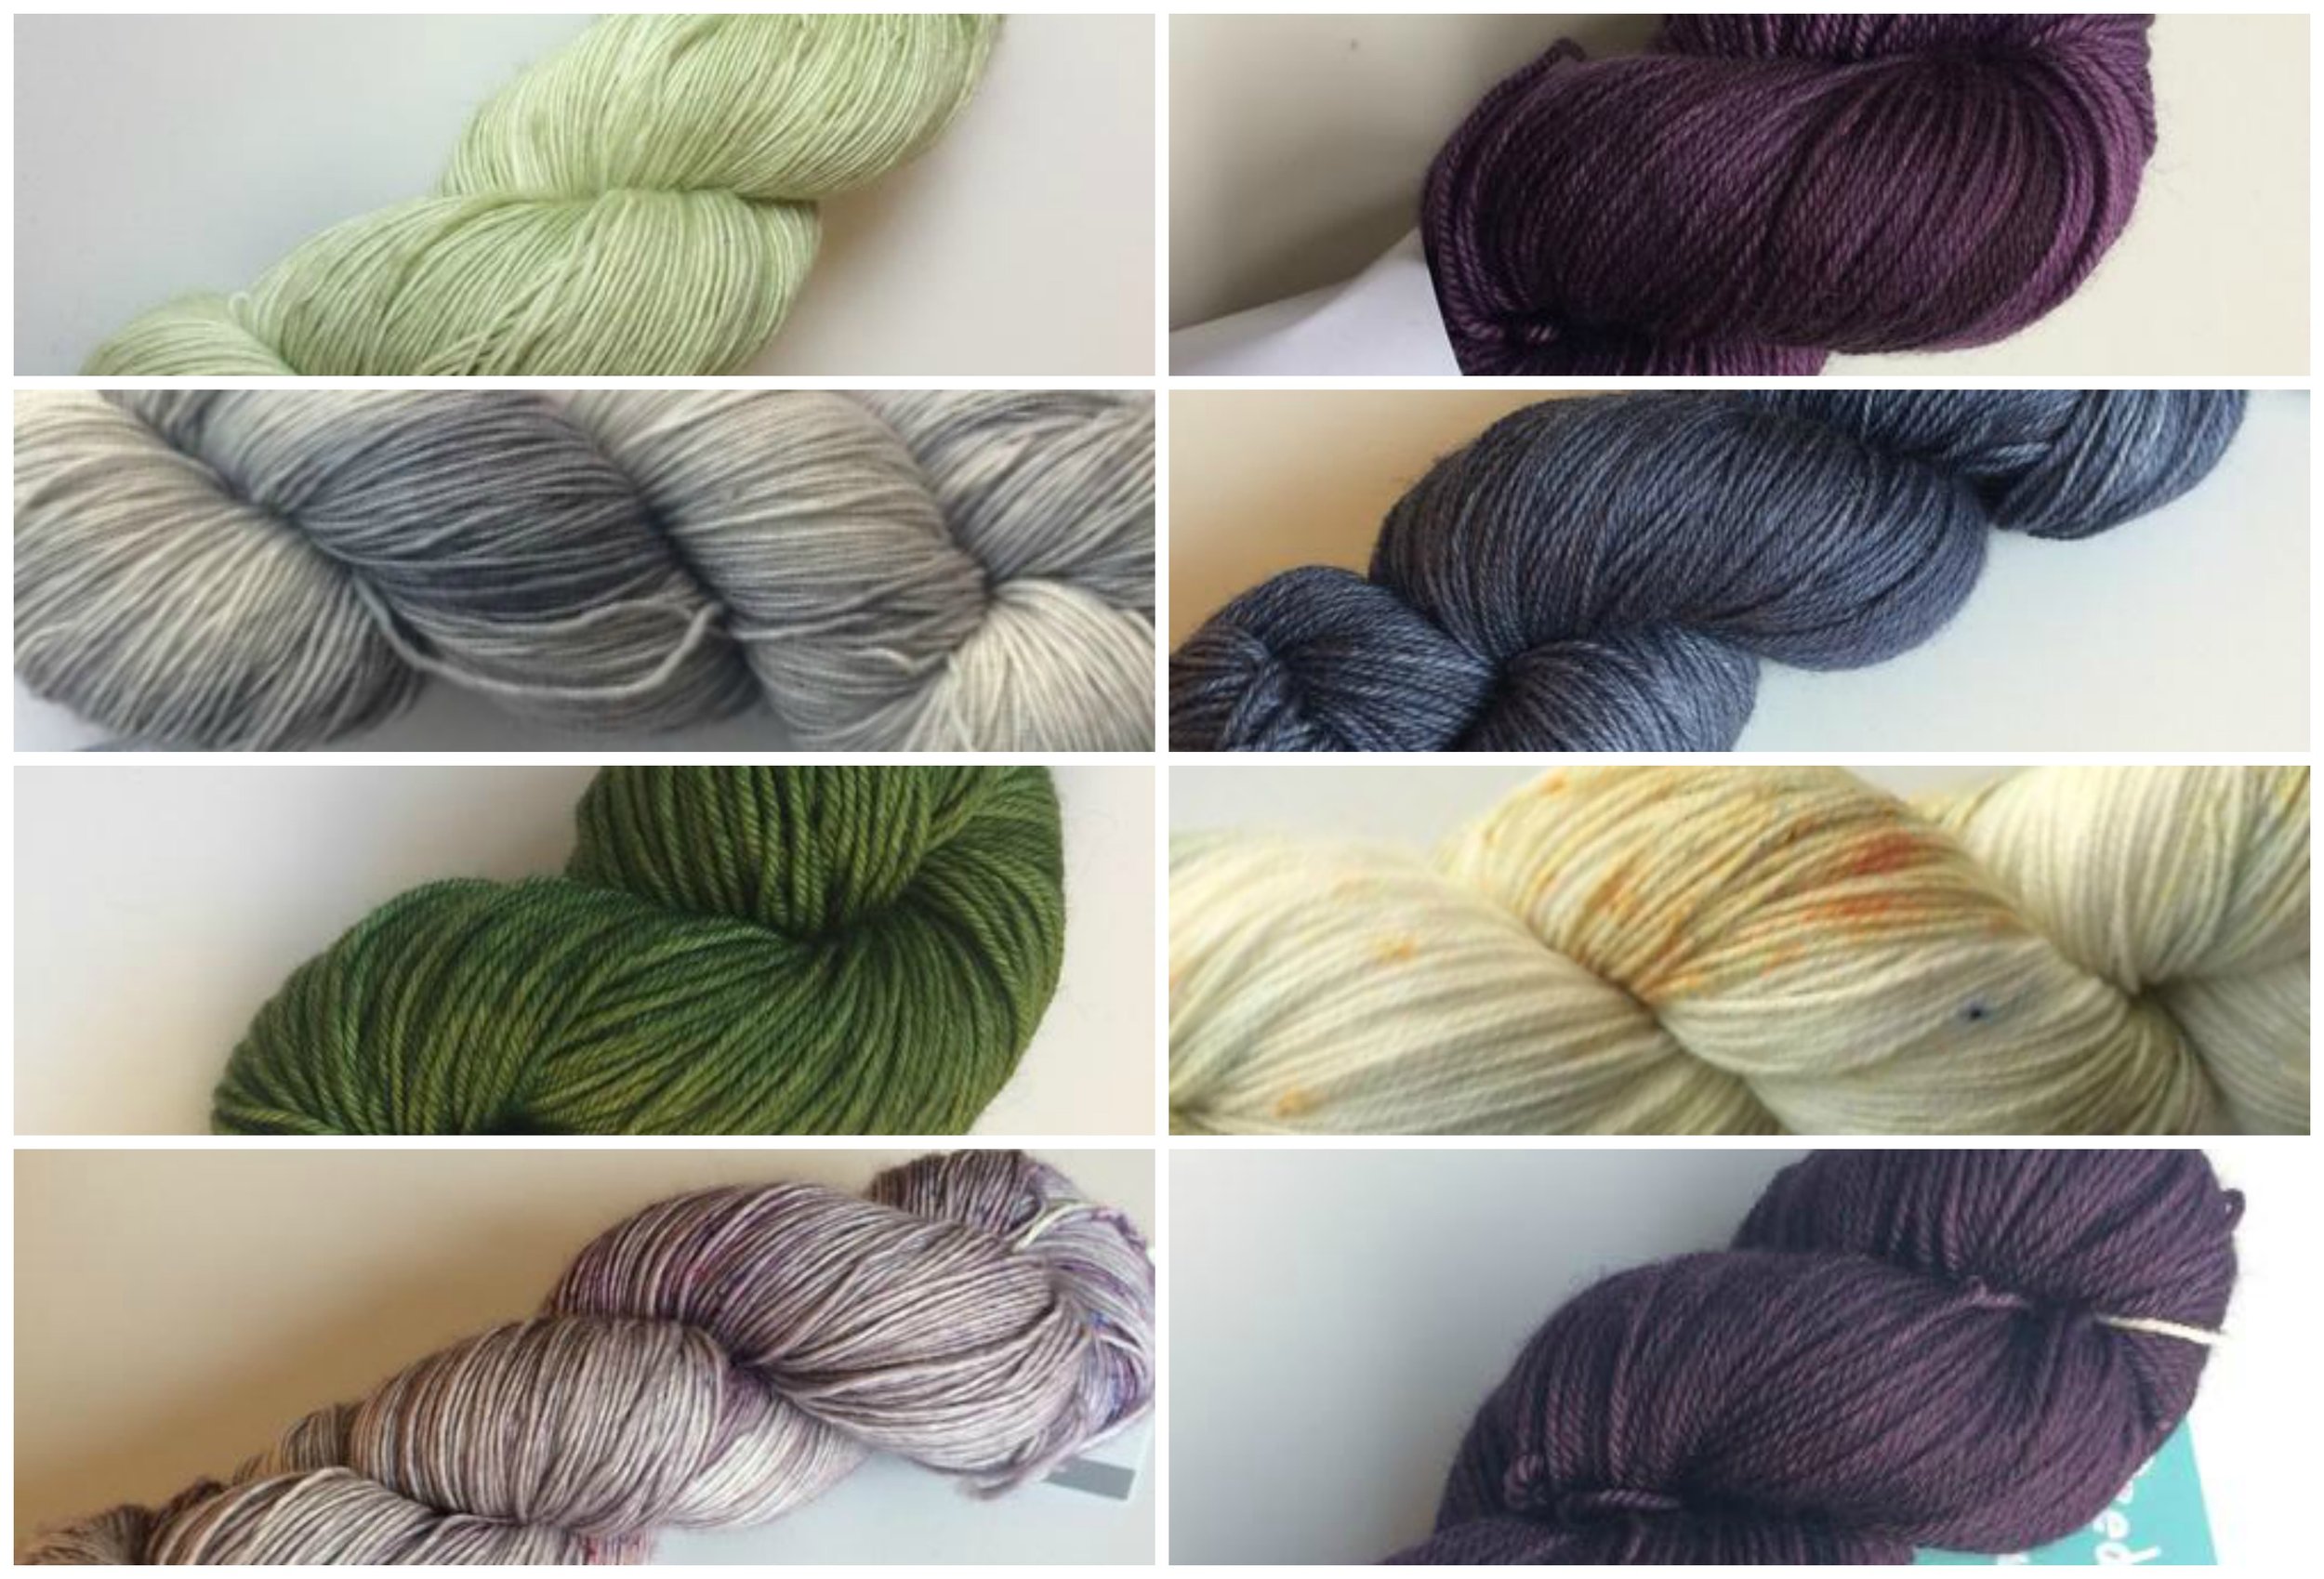
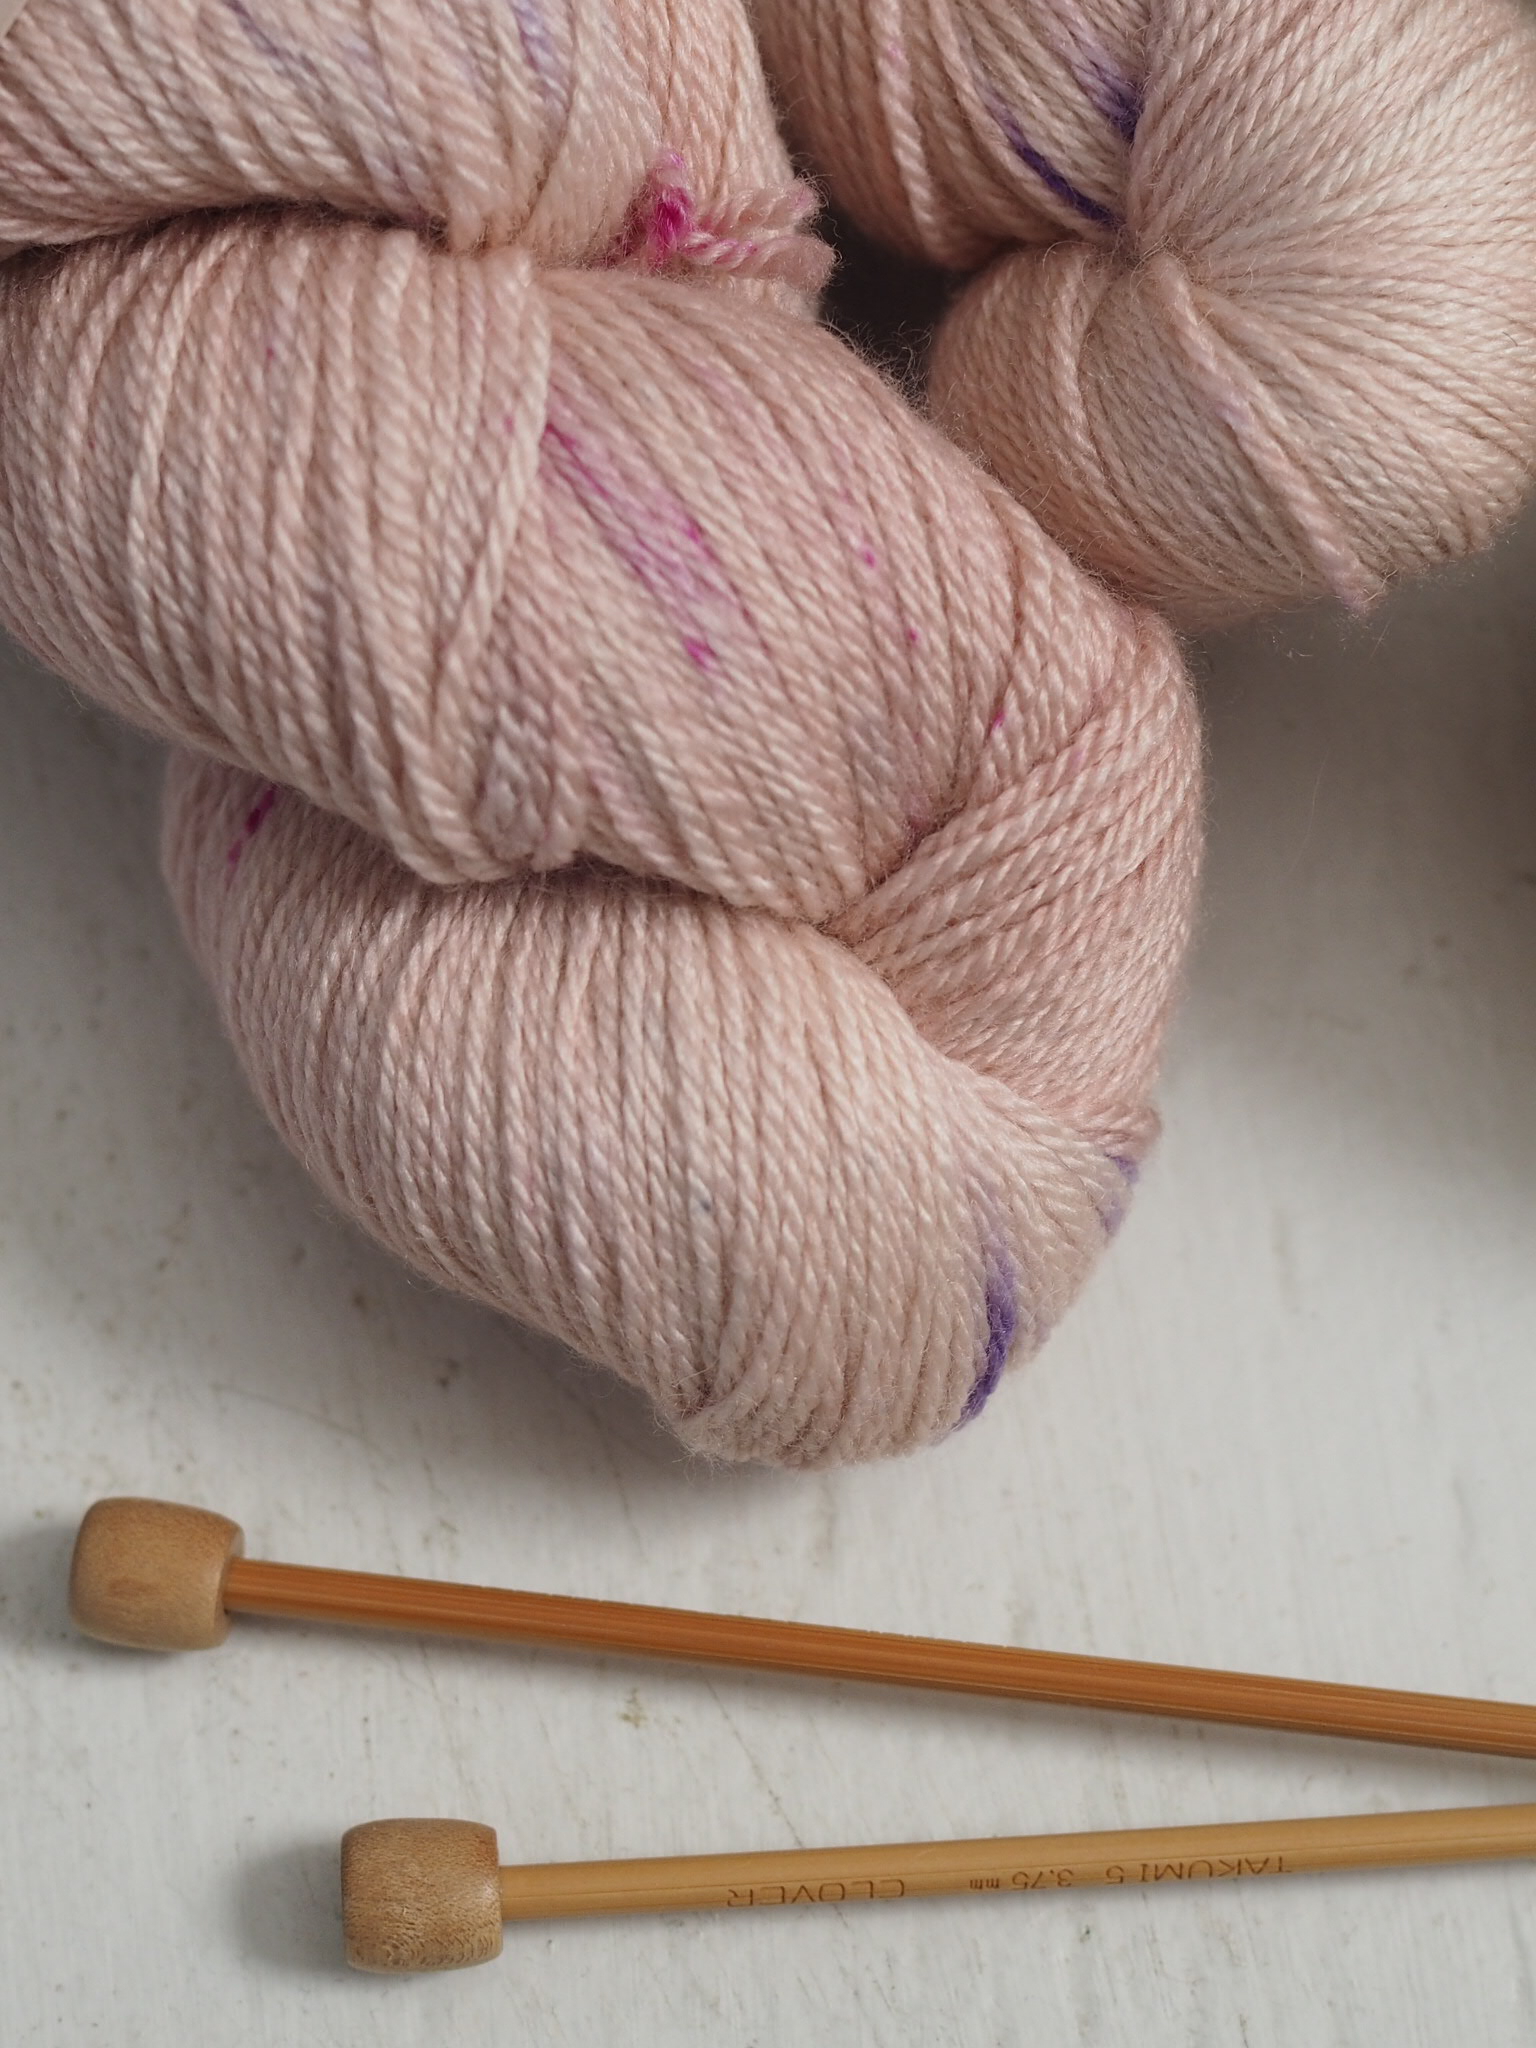
@lanaplantae Naturally Dyed Yarns
@holmesandhudson Natural Skincare
@Jamiepeaks Art prints & Children’s books
@jeffreyliptonpottery Pottery
@McFlyandCo Dog Collar Accessories
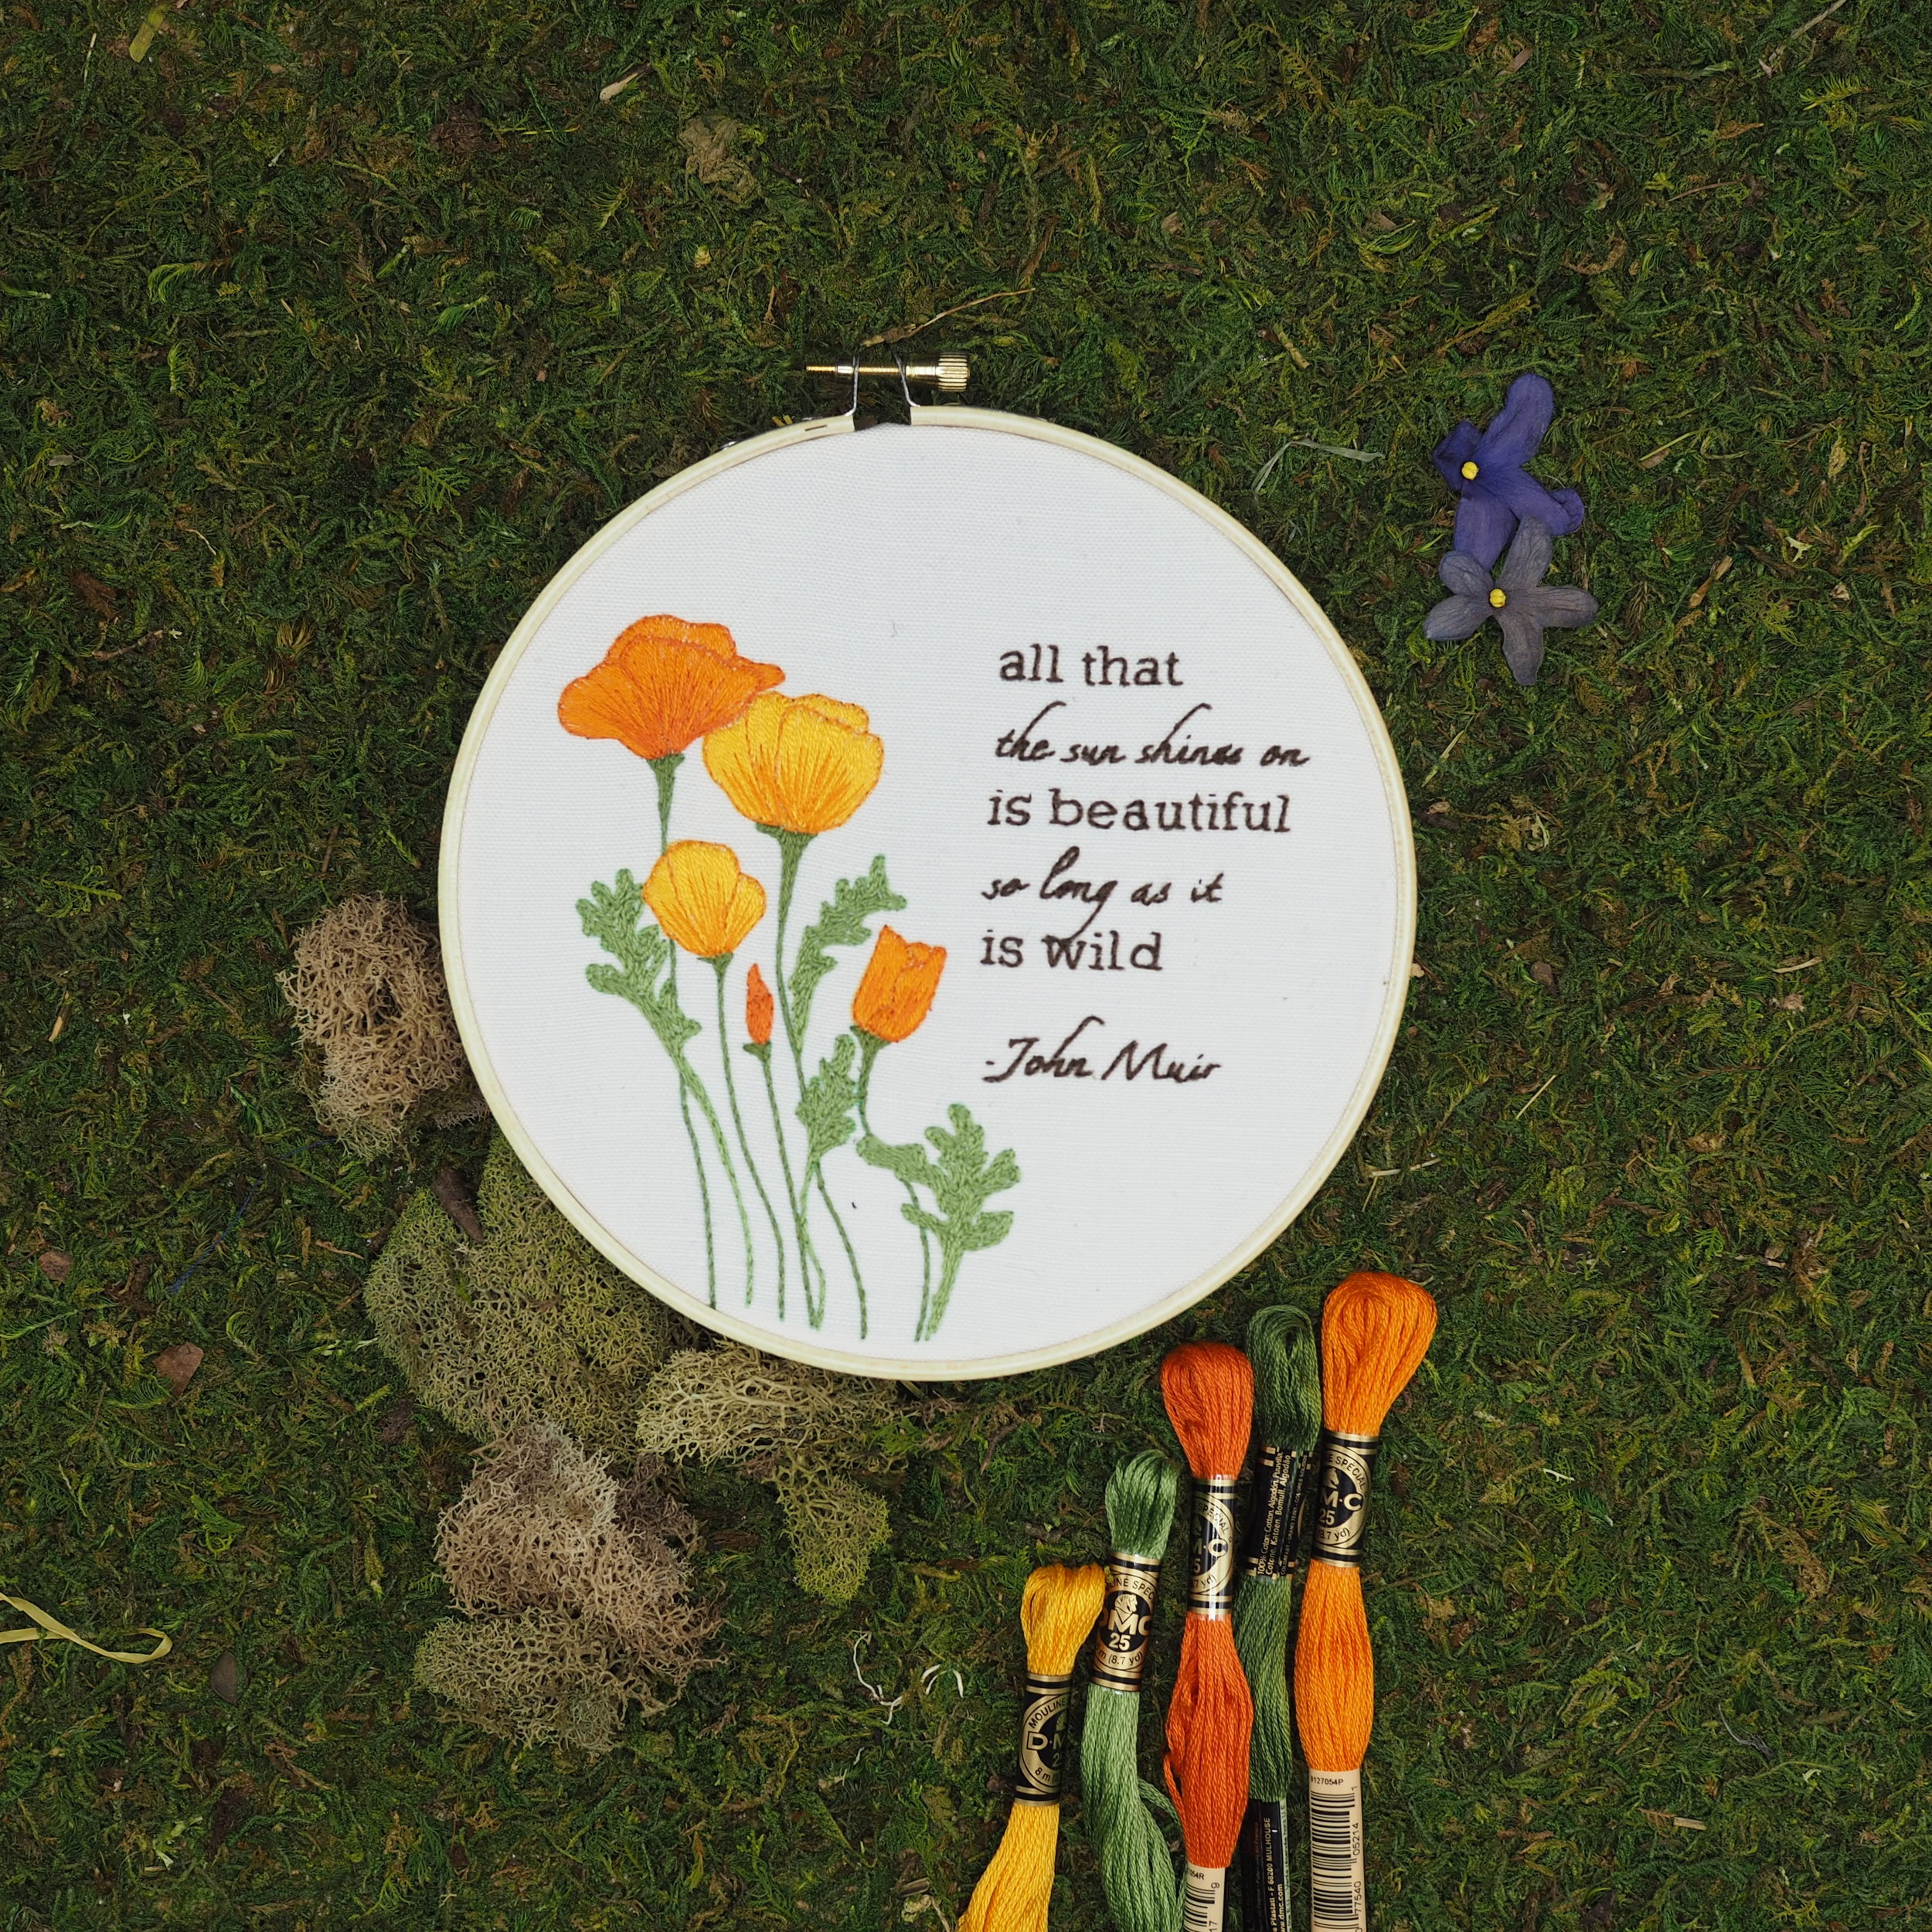
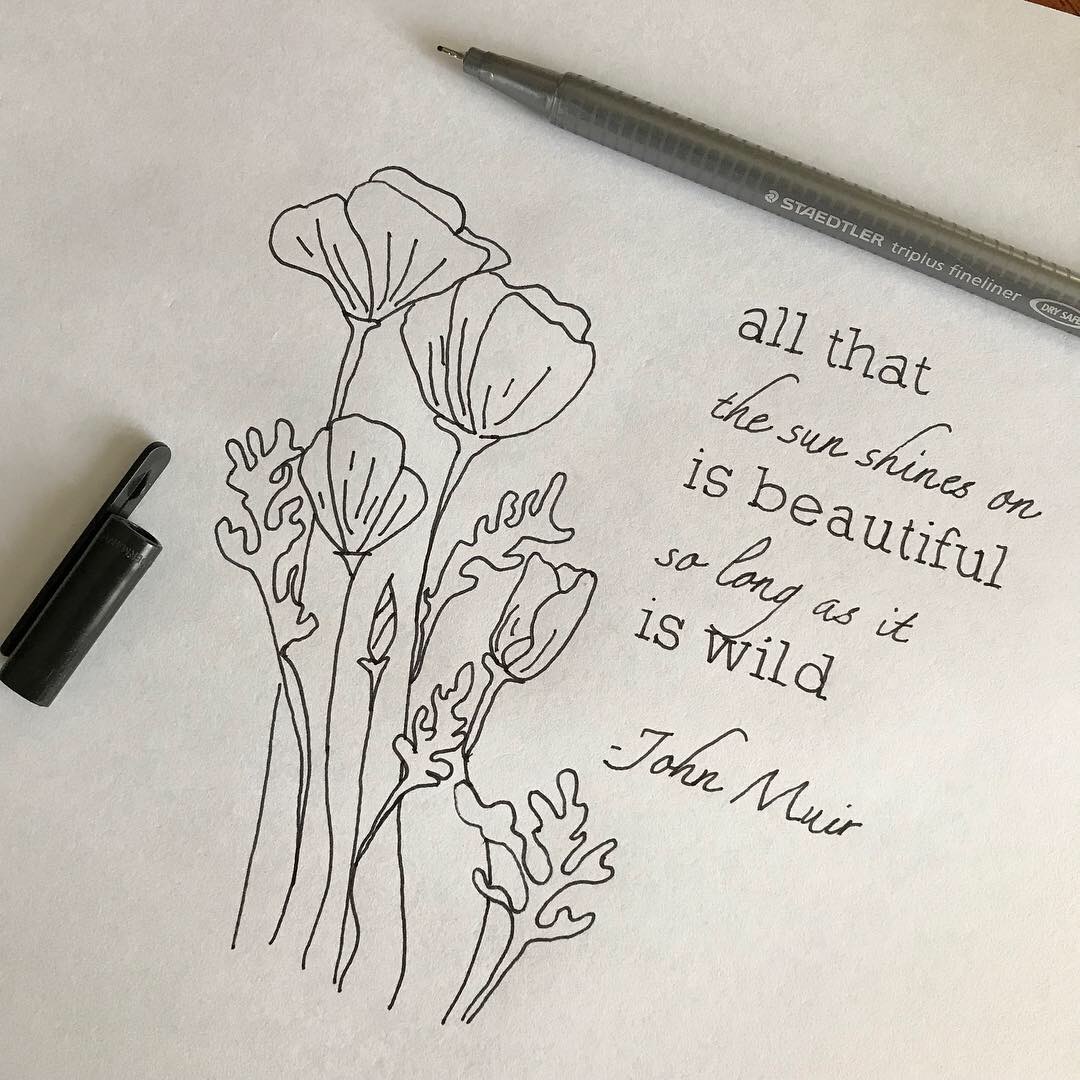
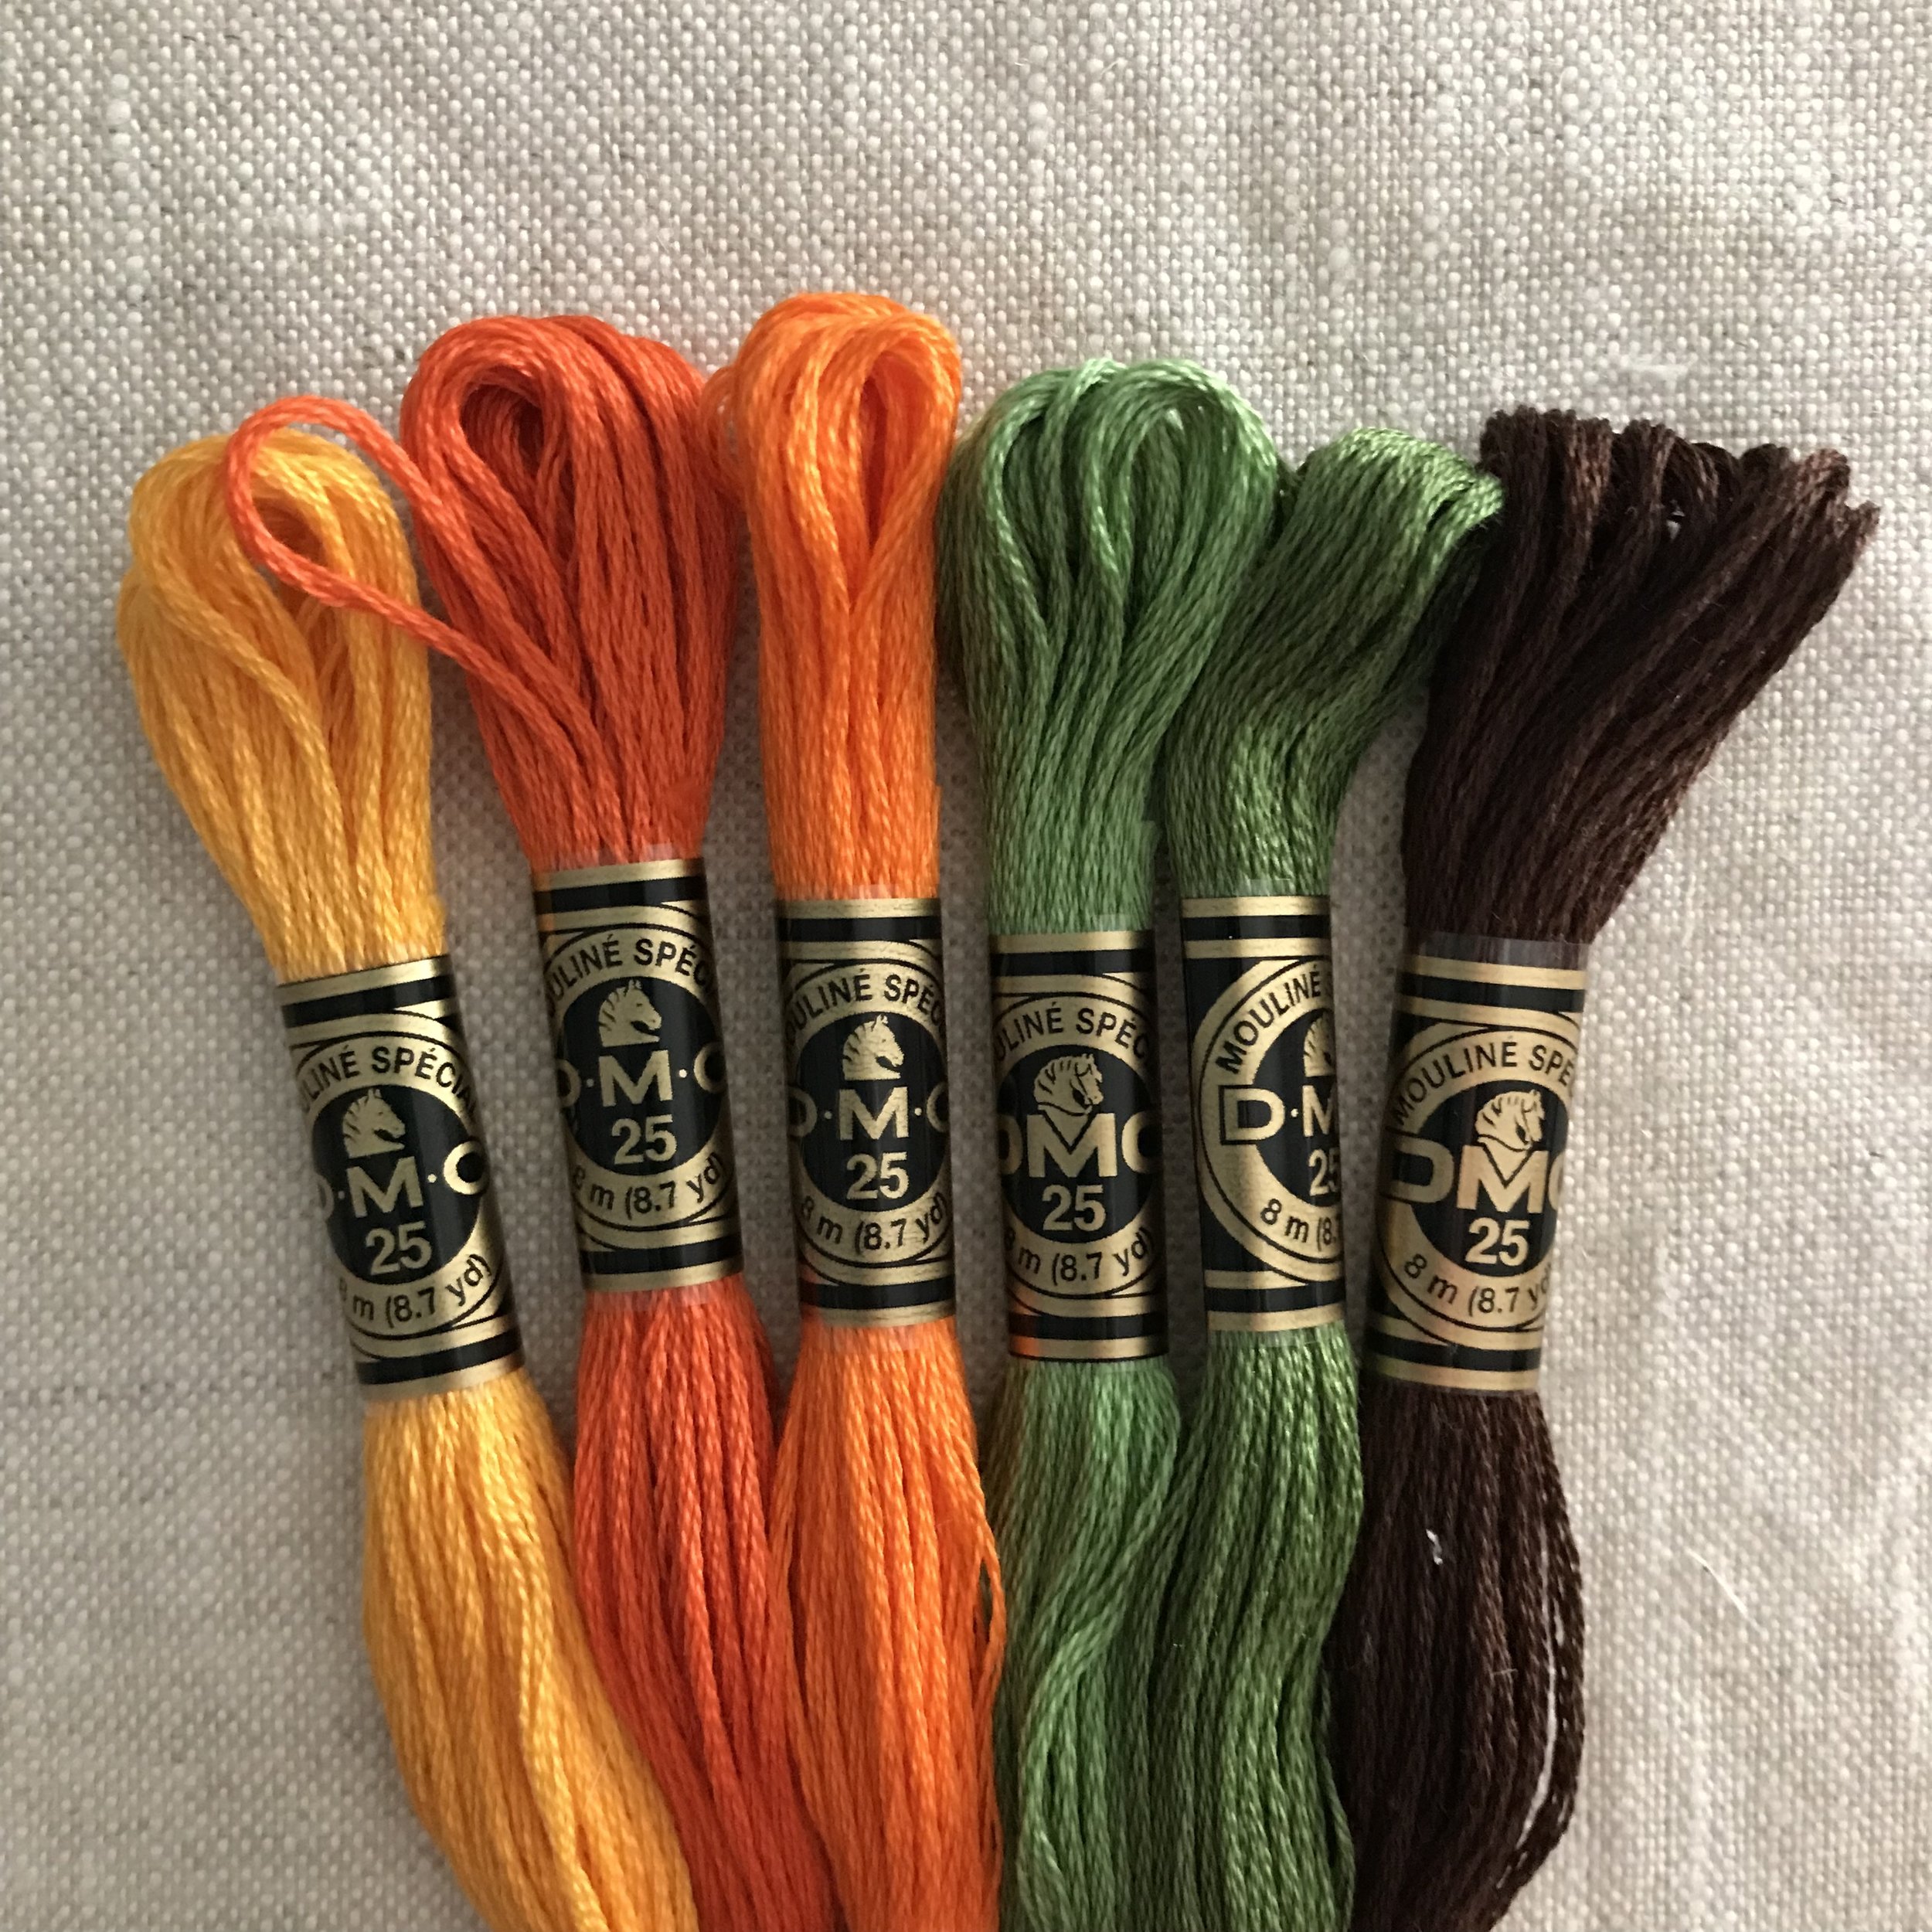
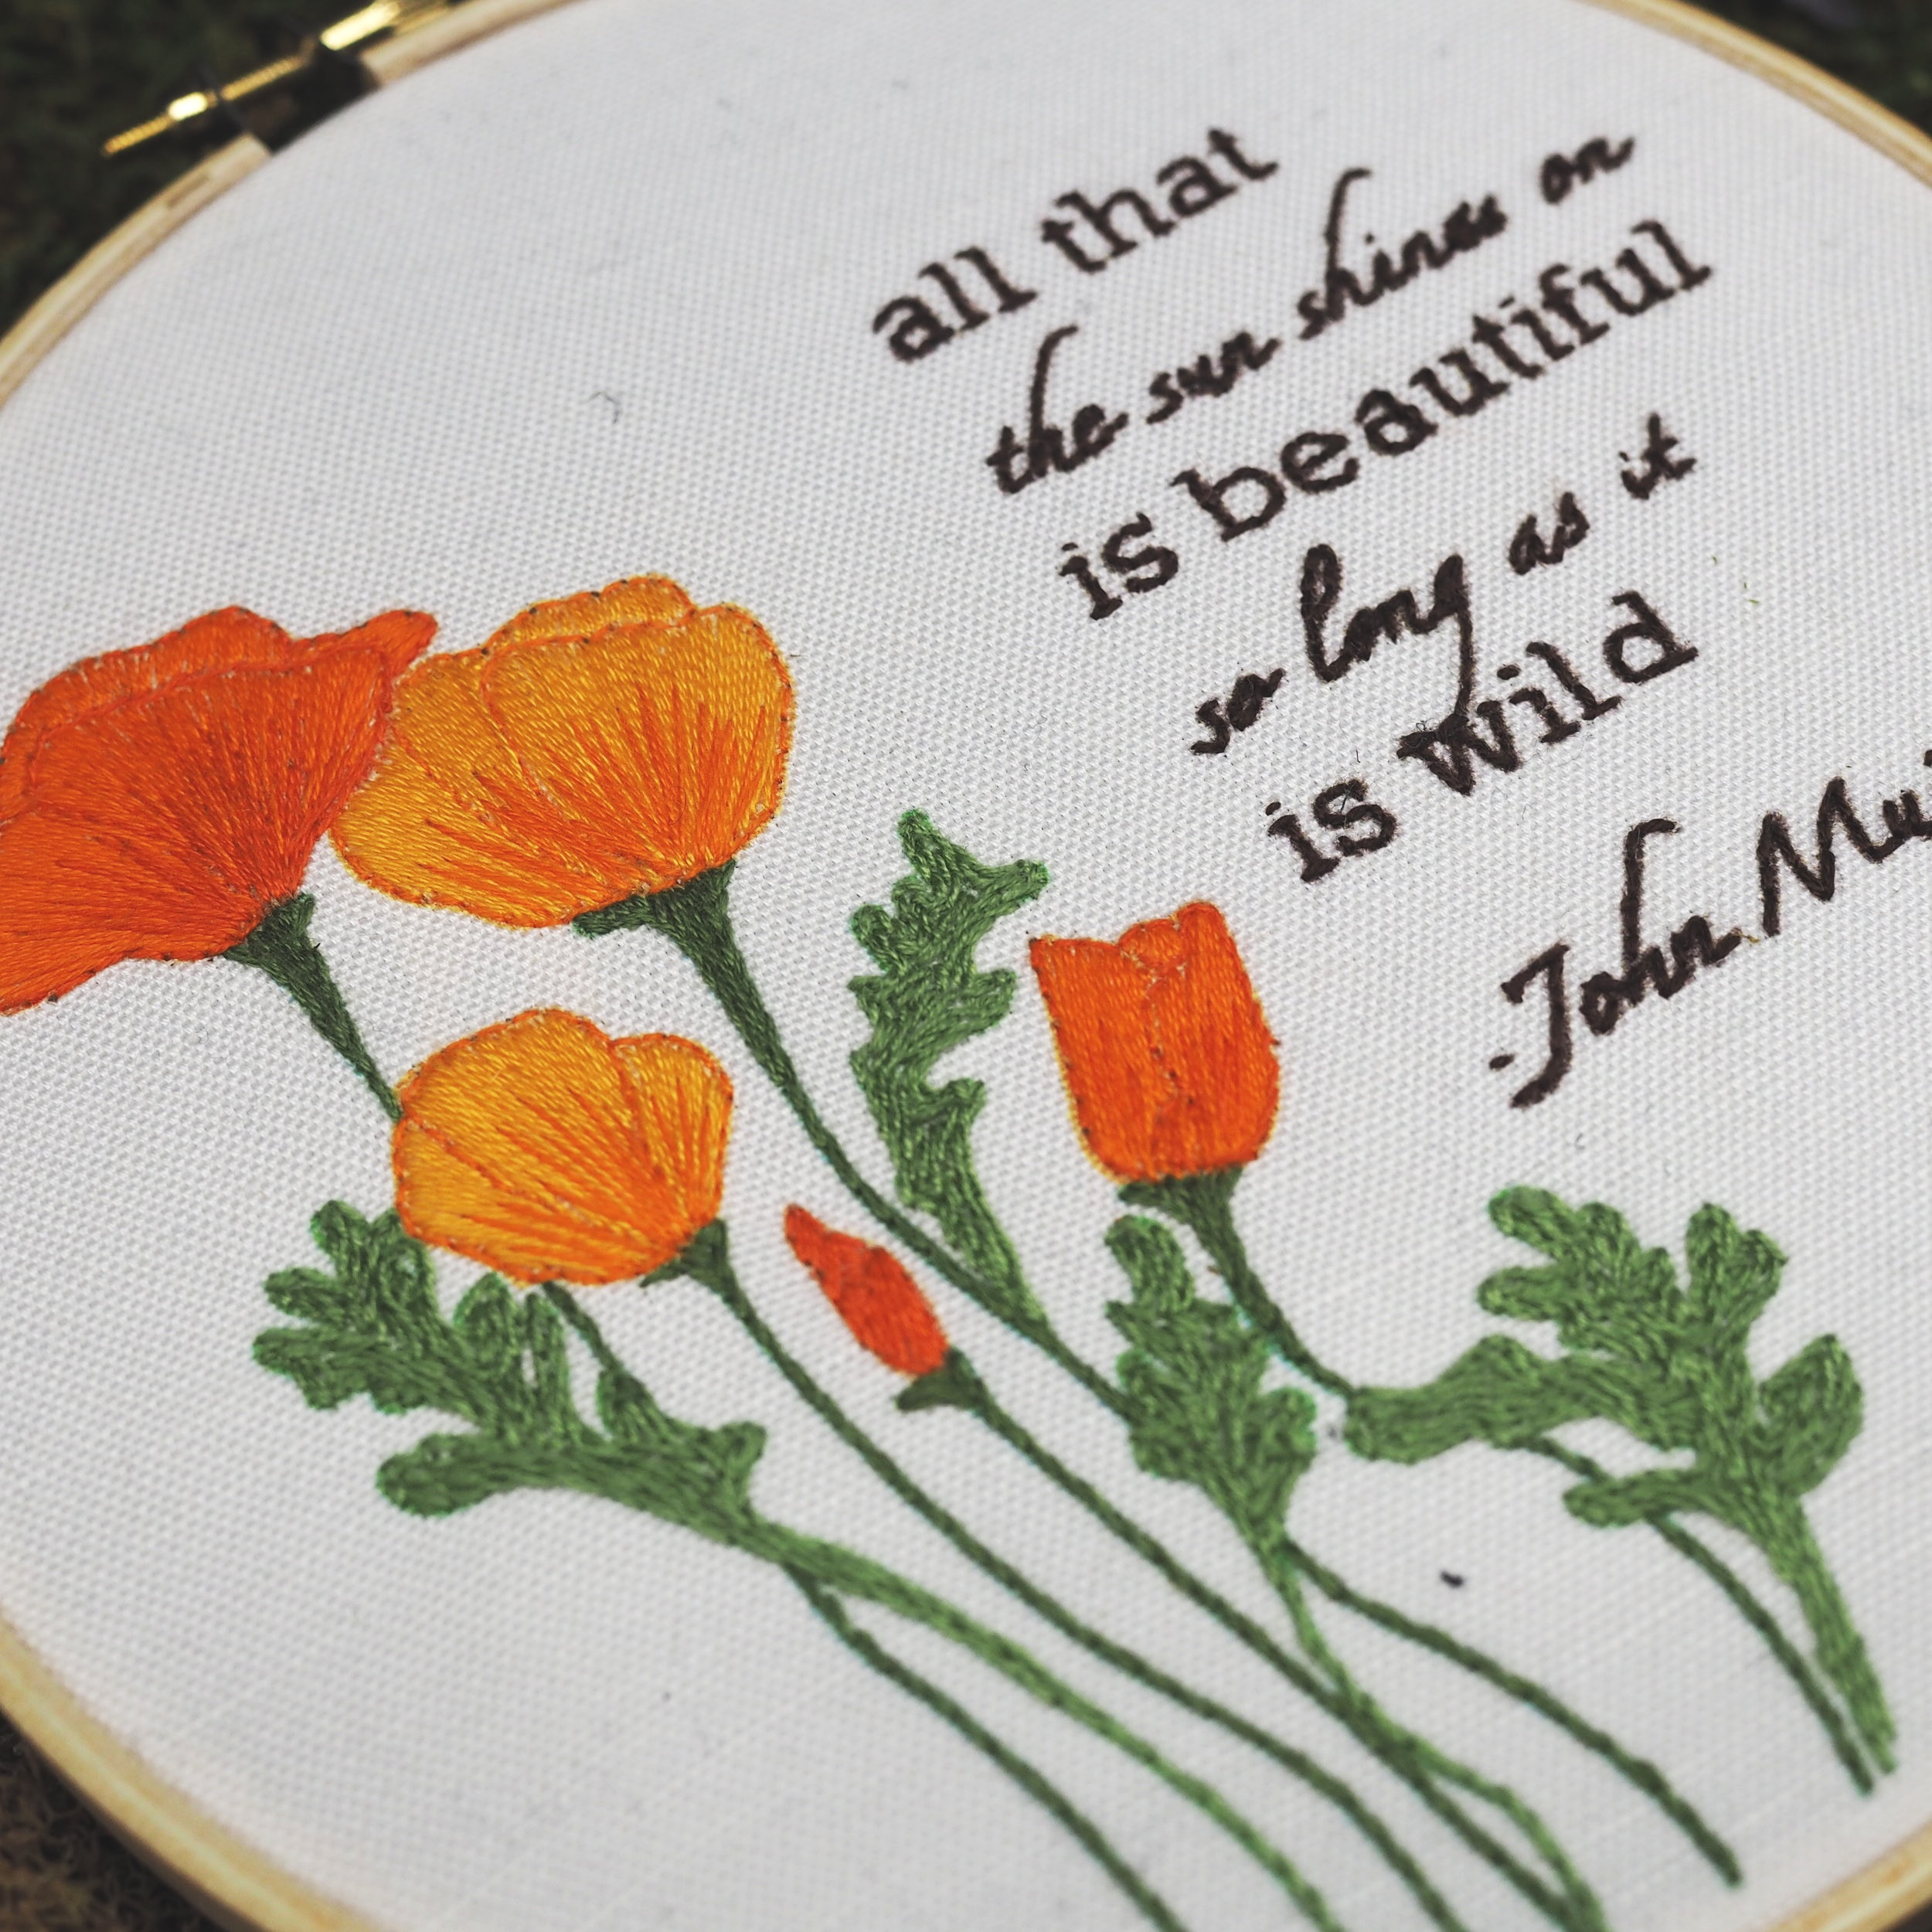
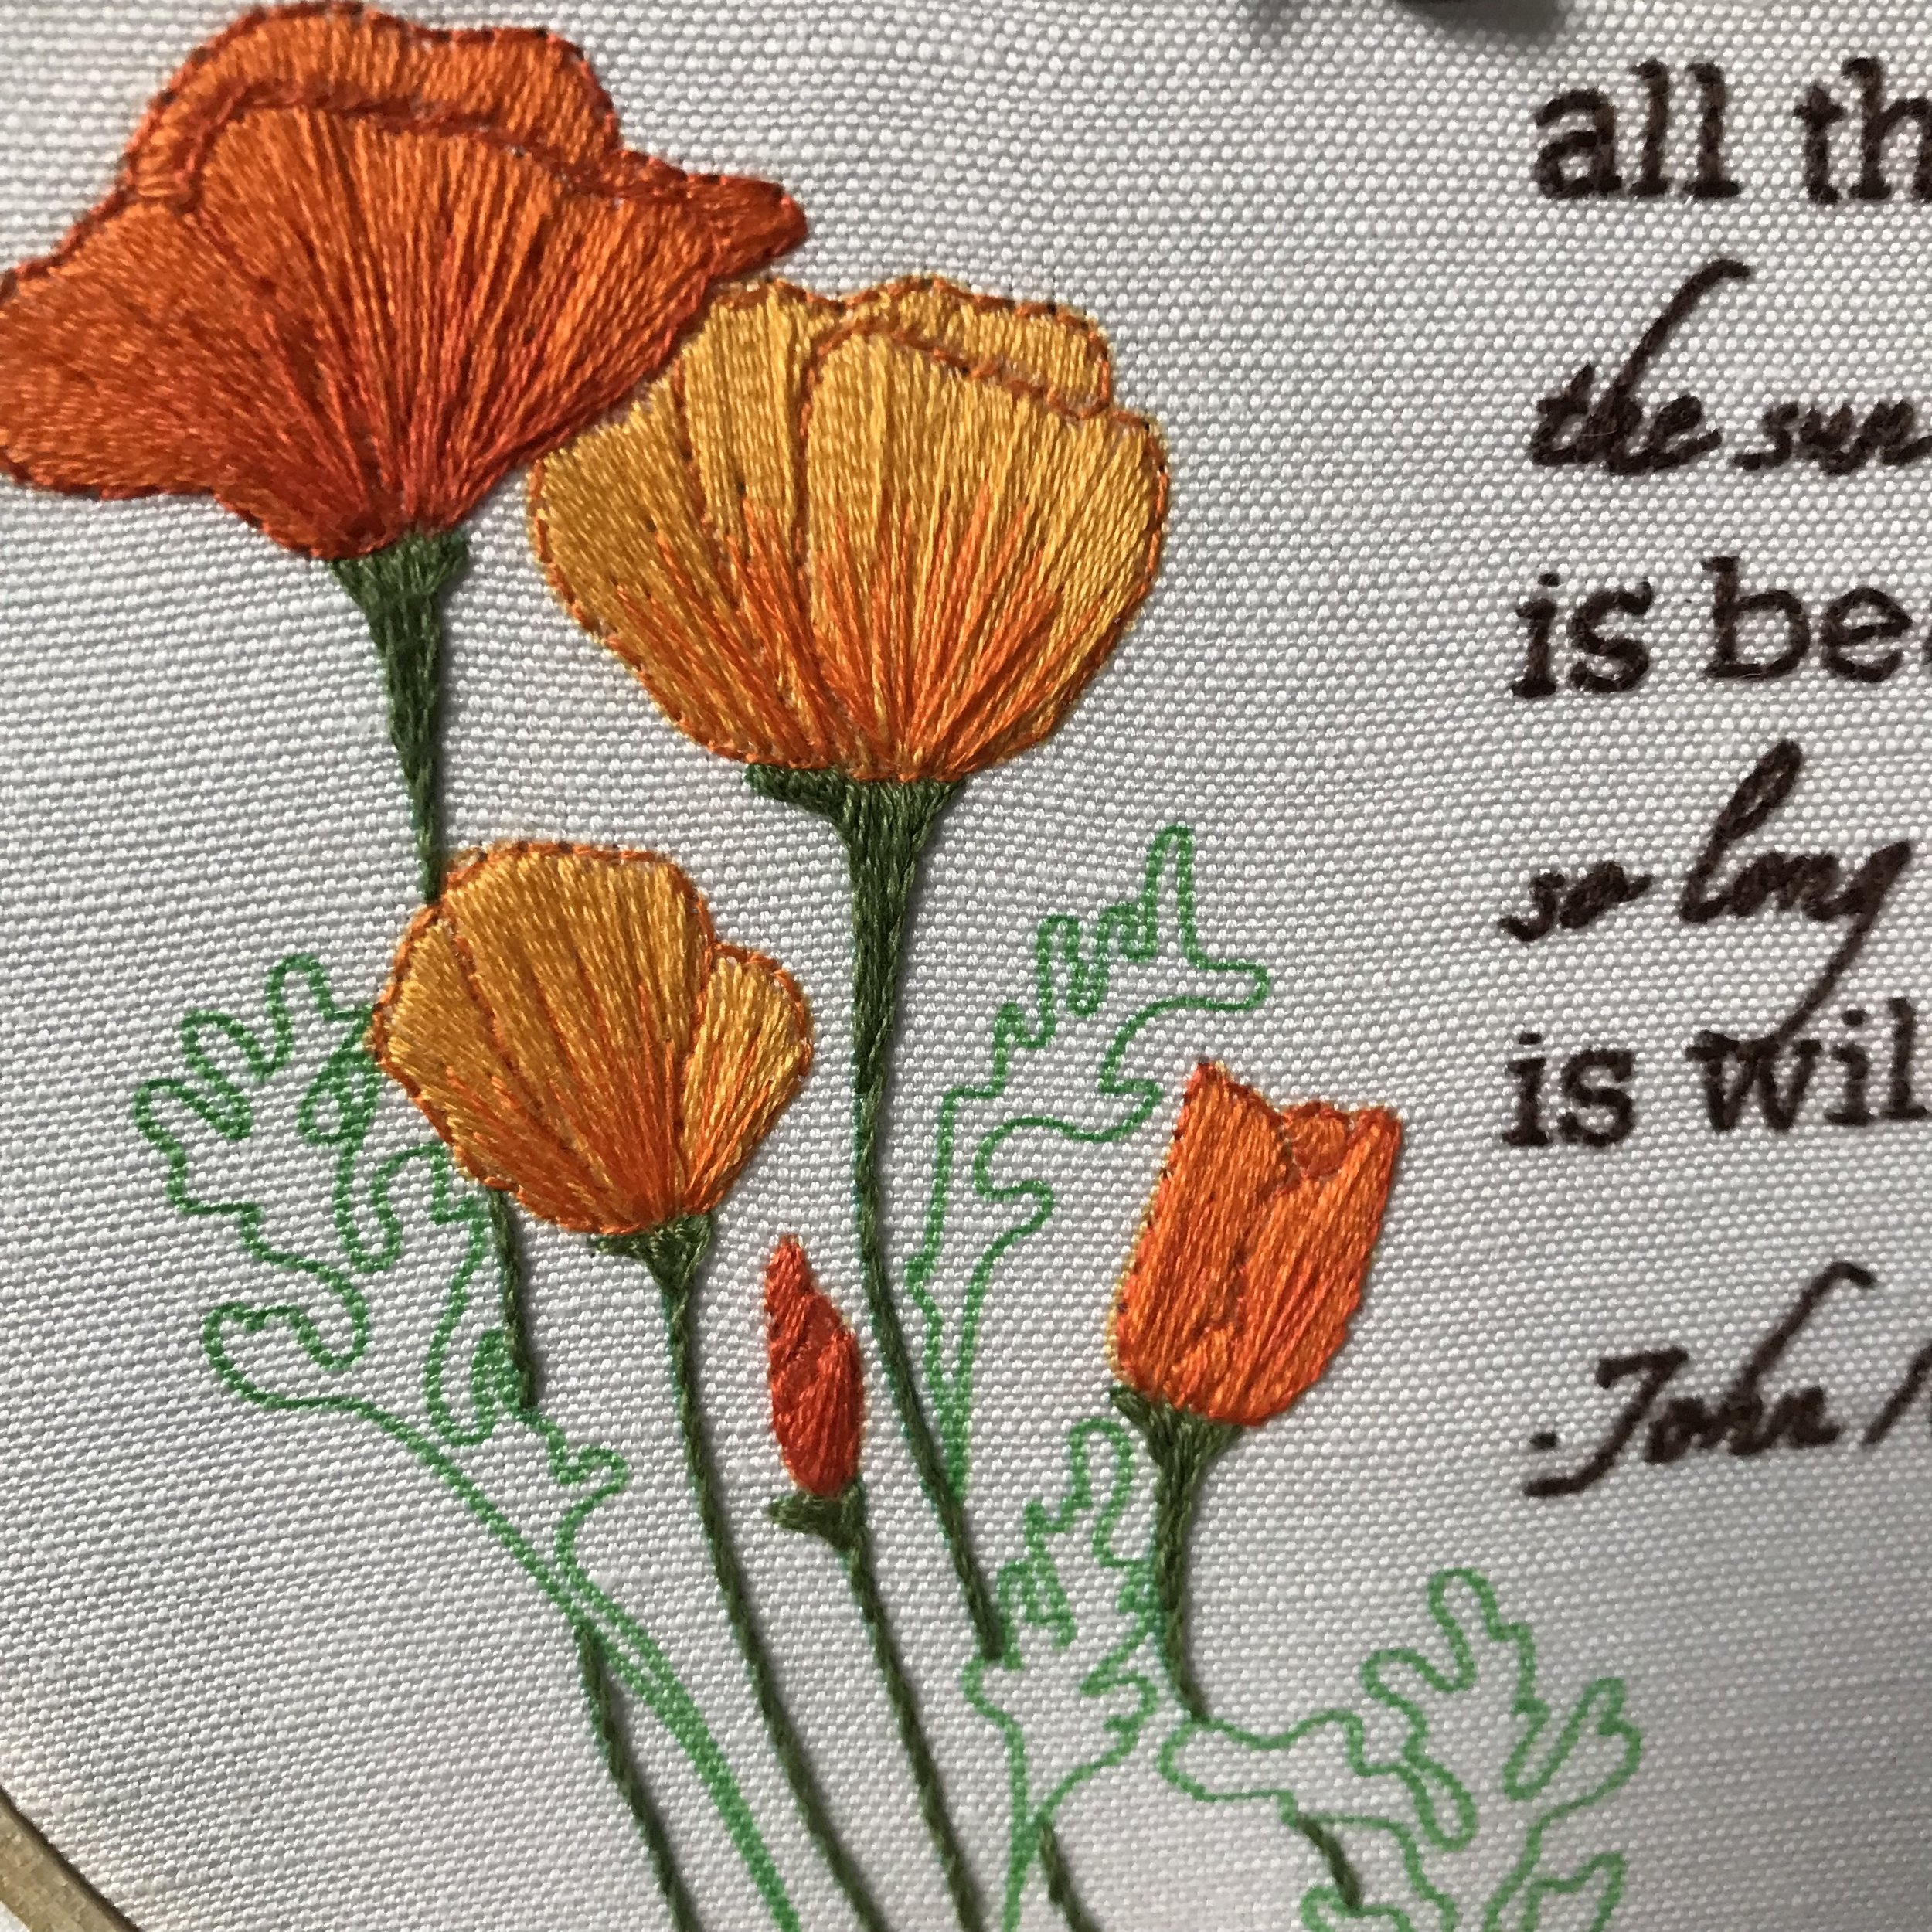
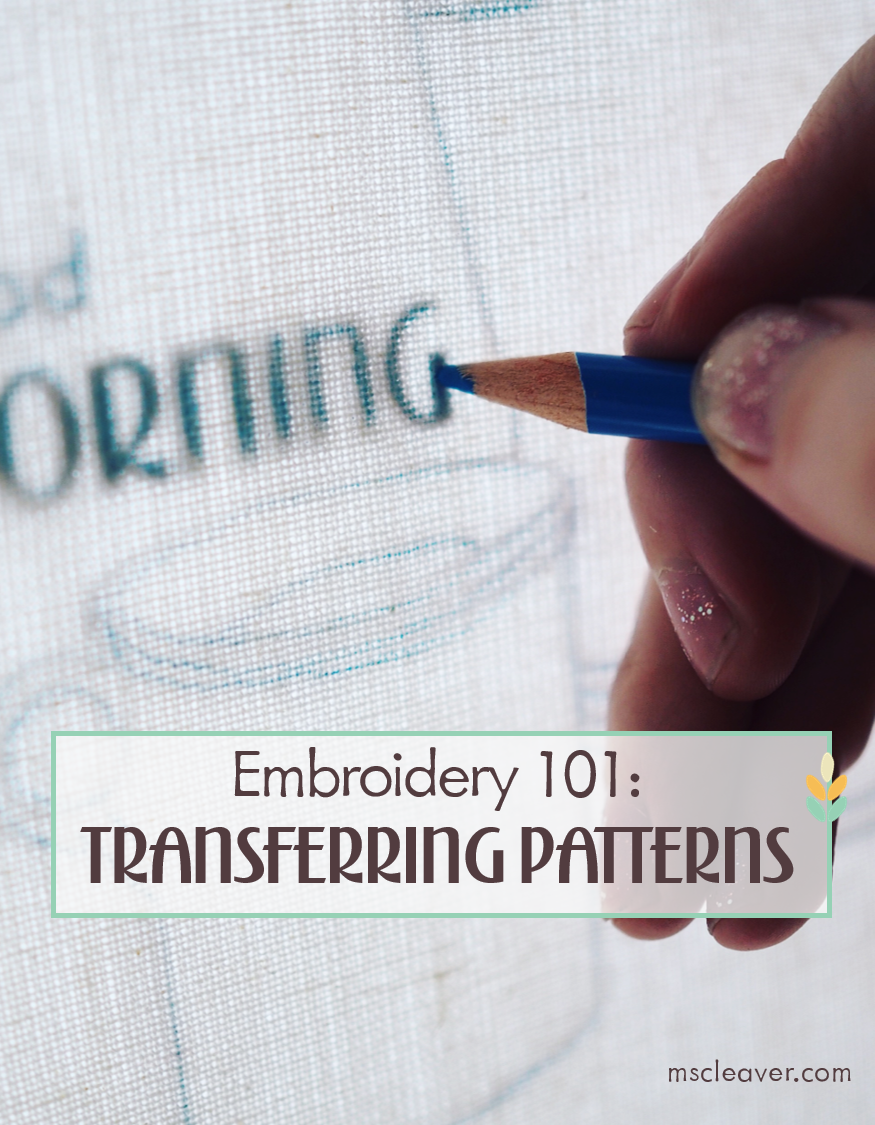
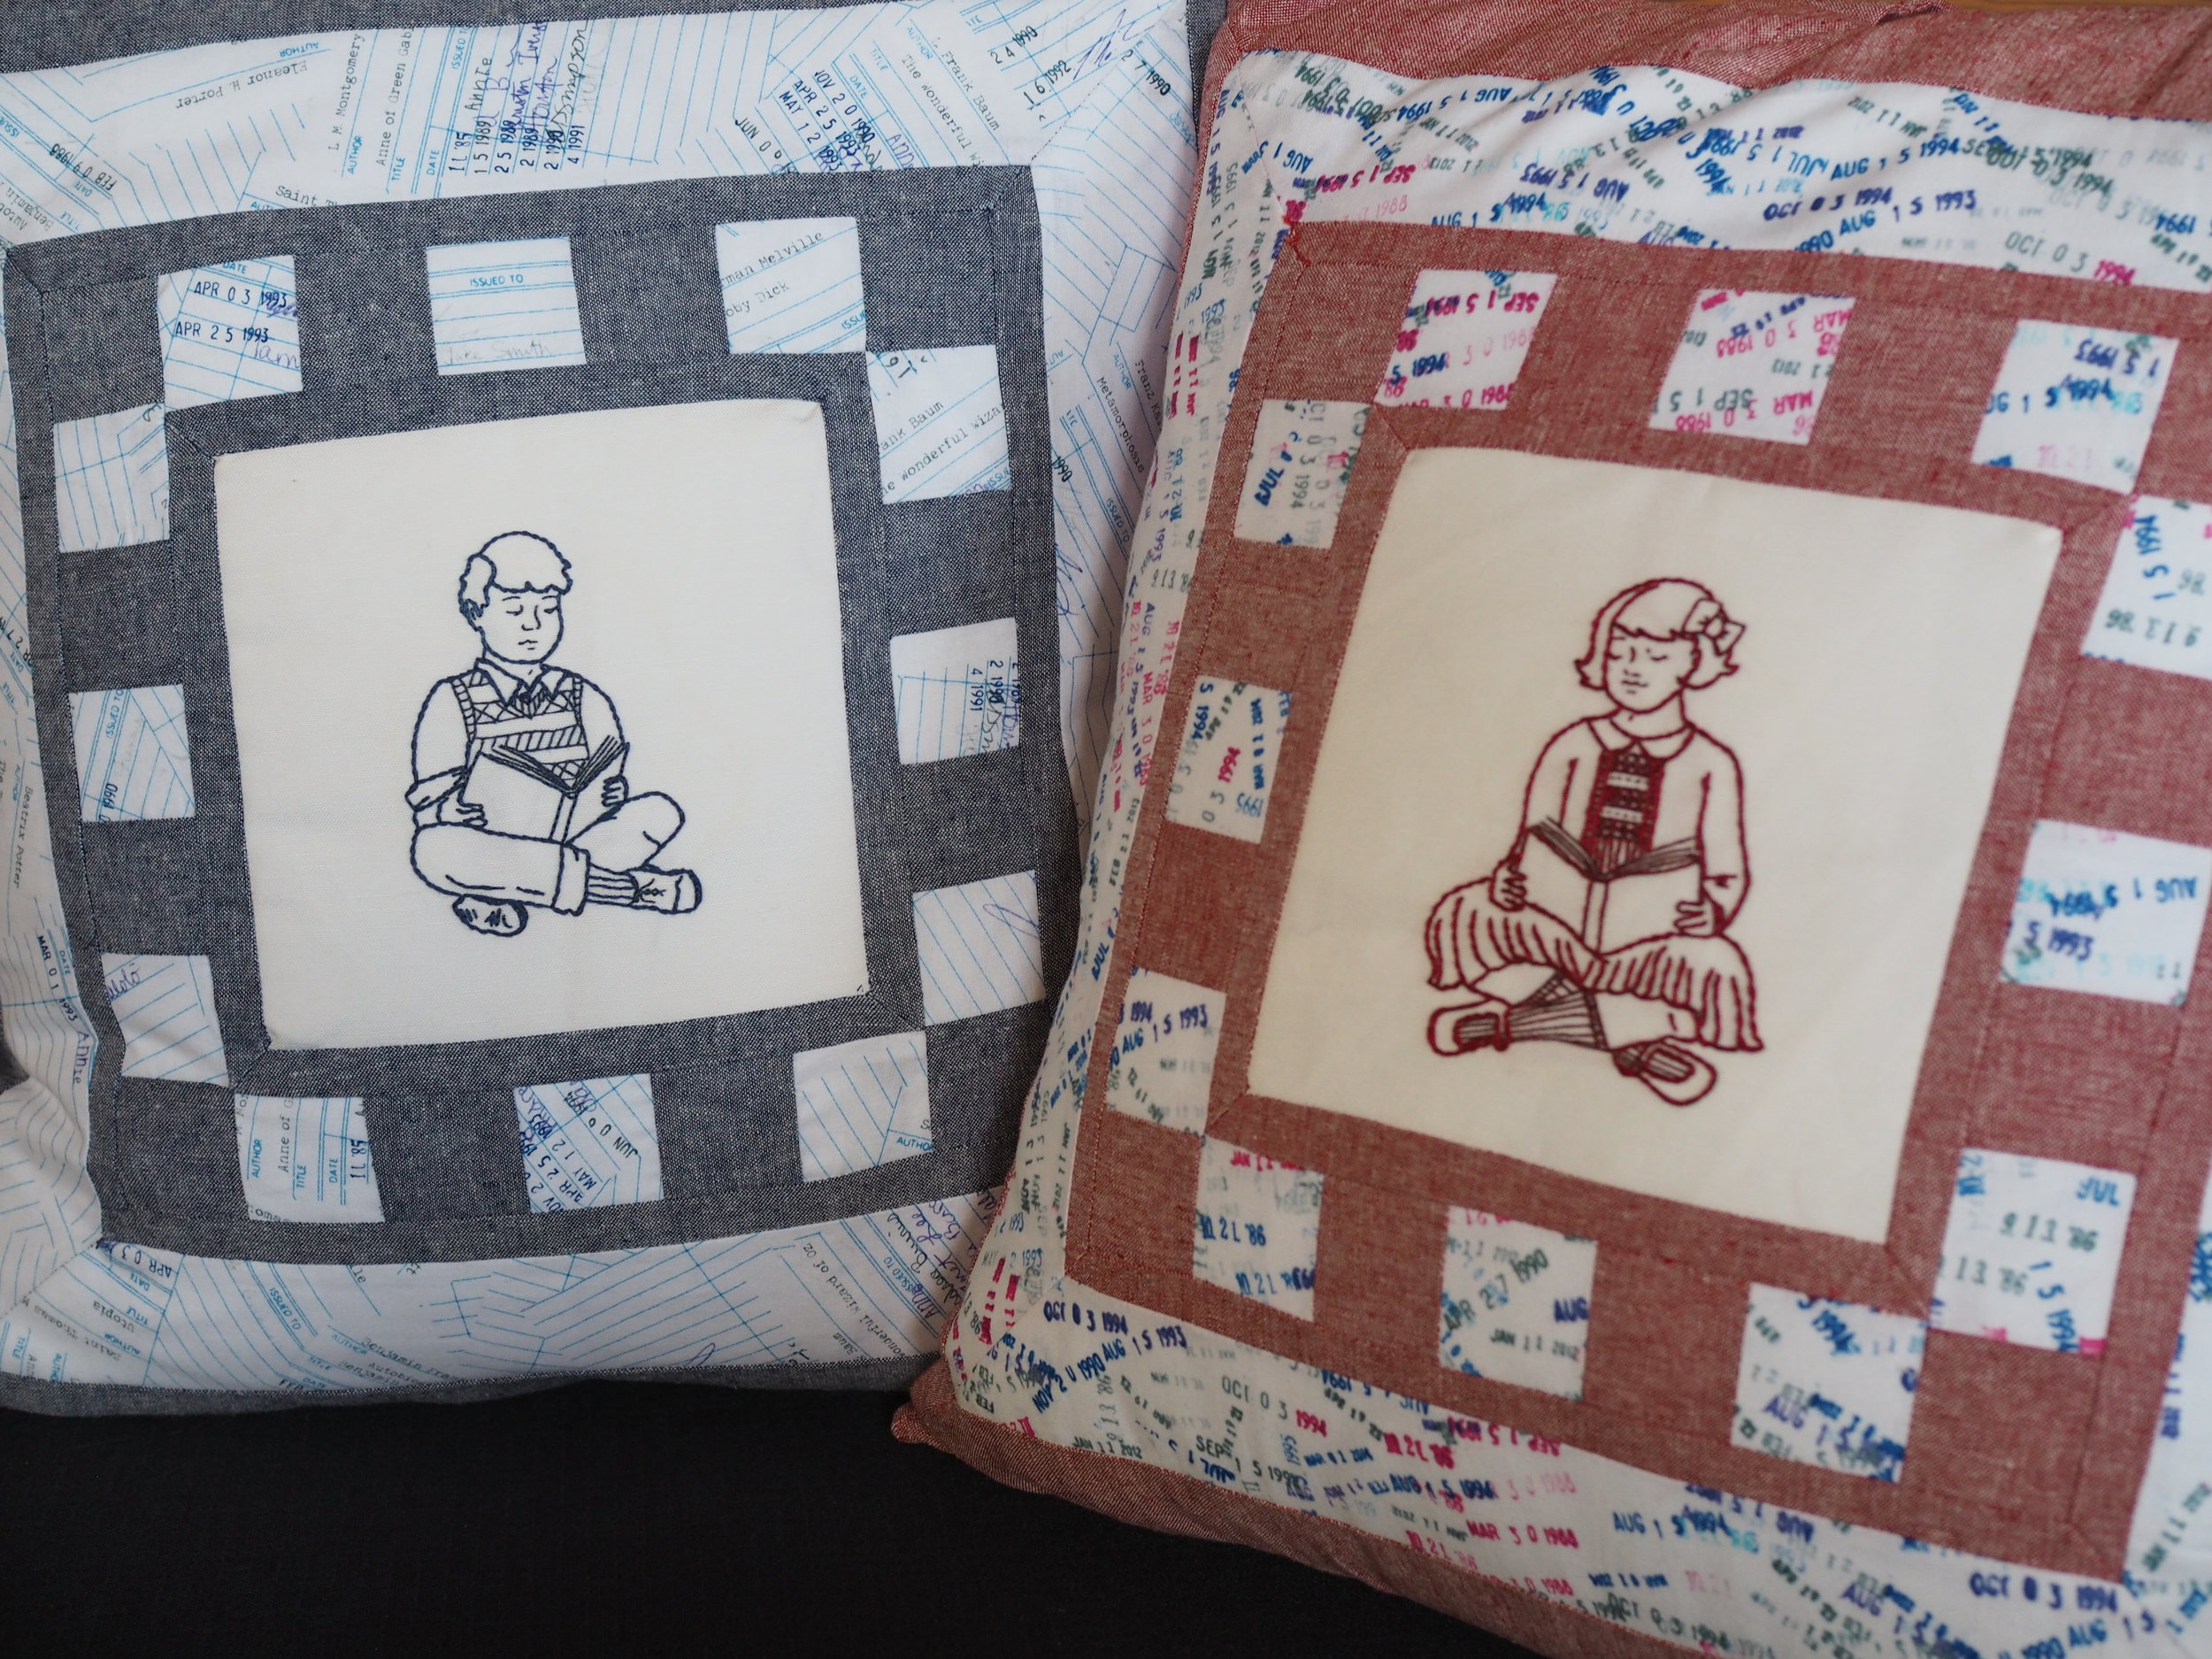
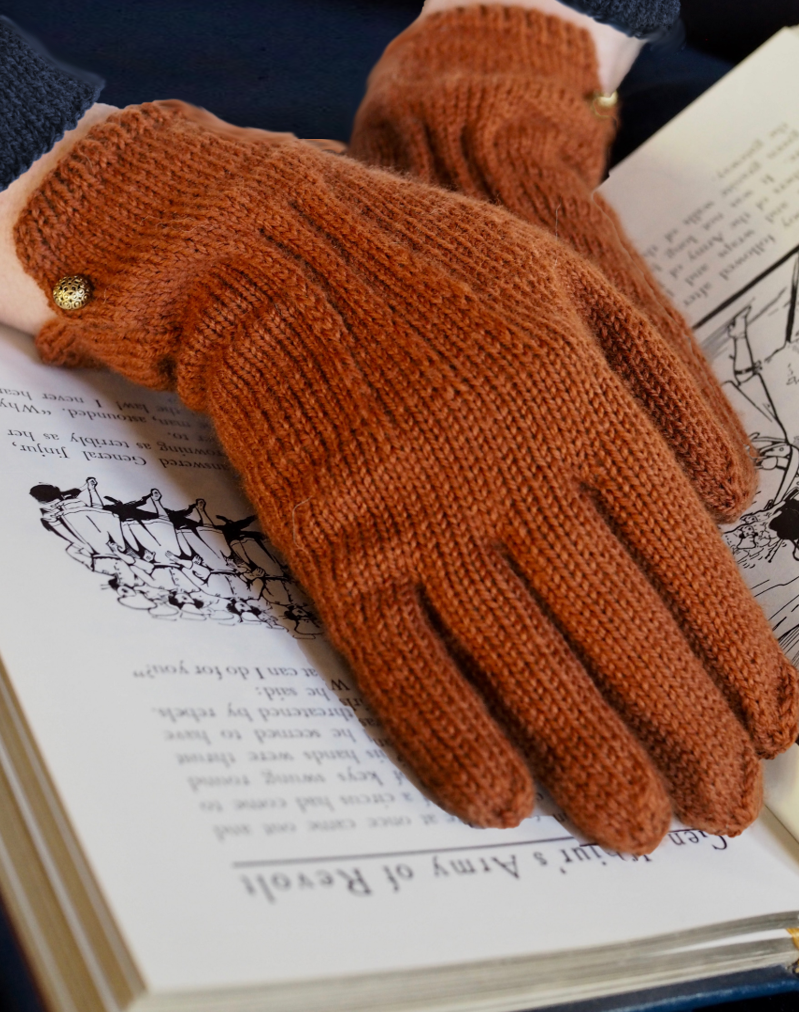
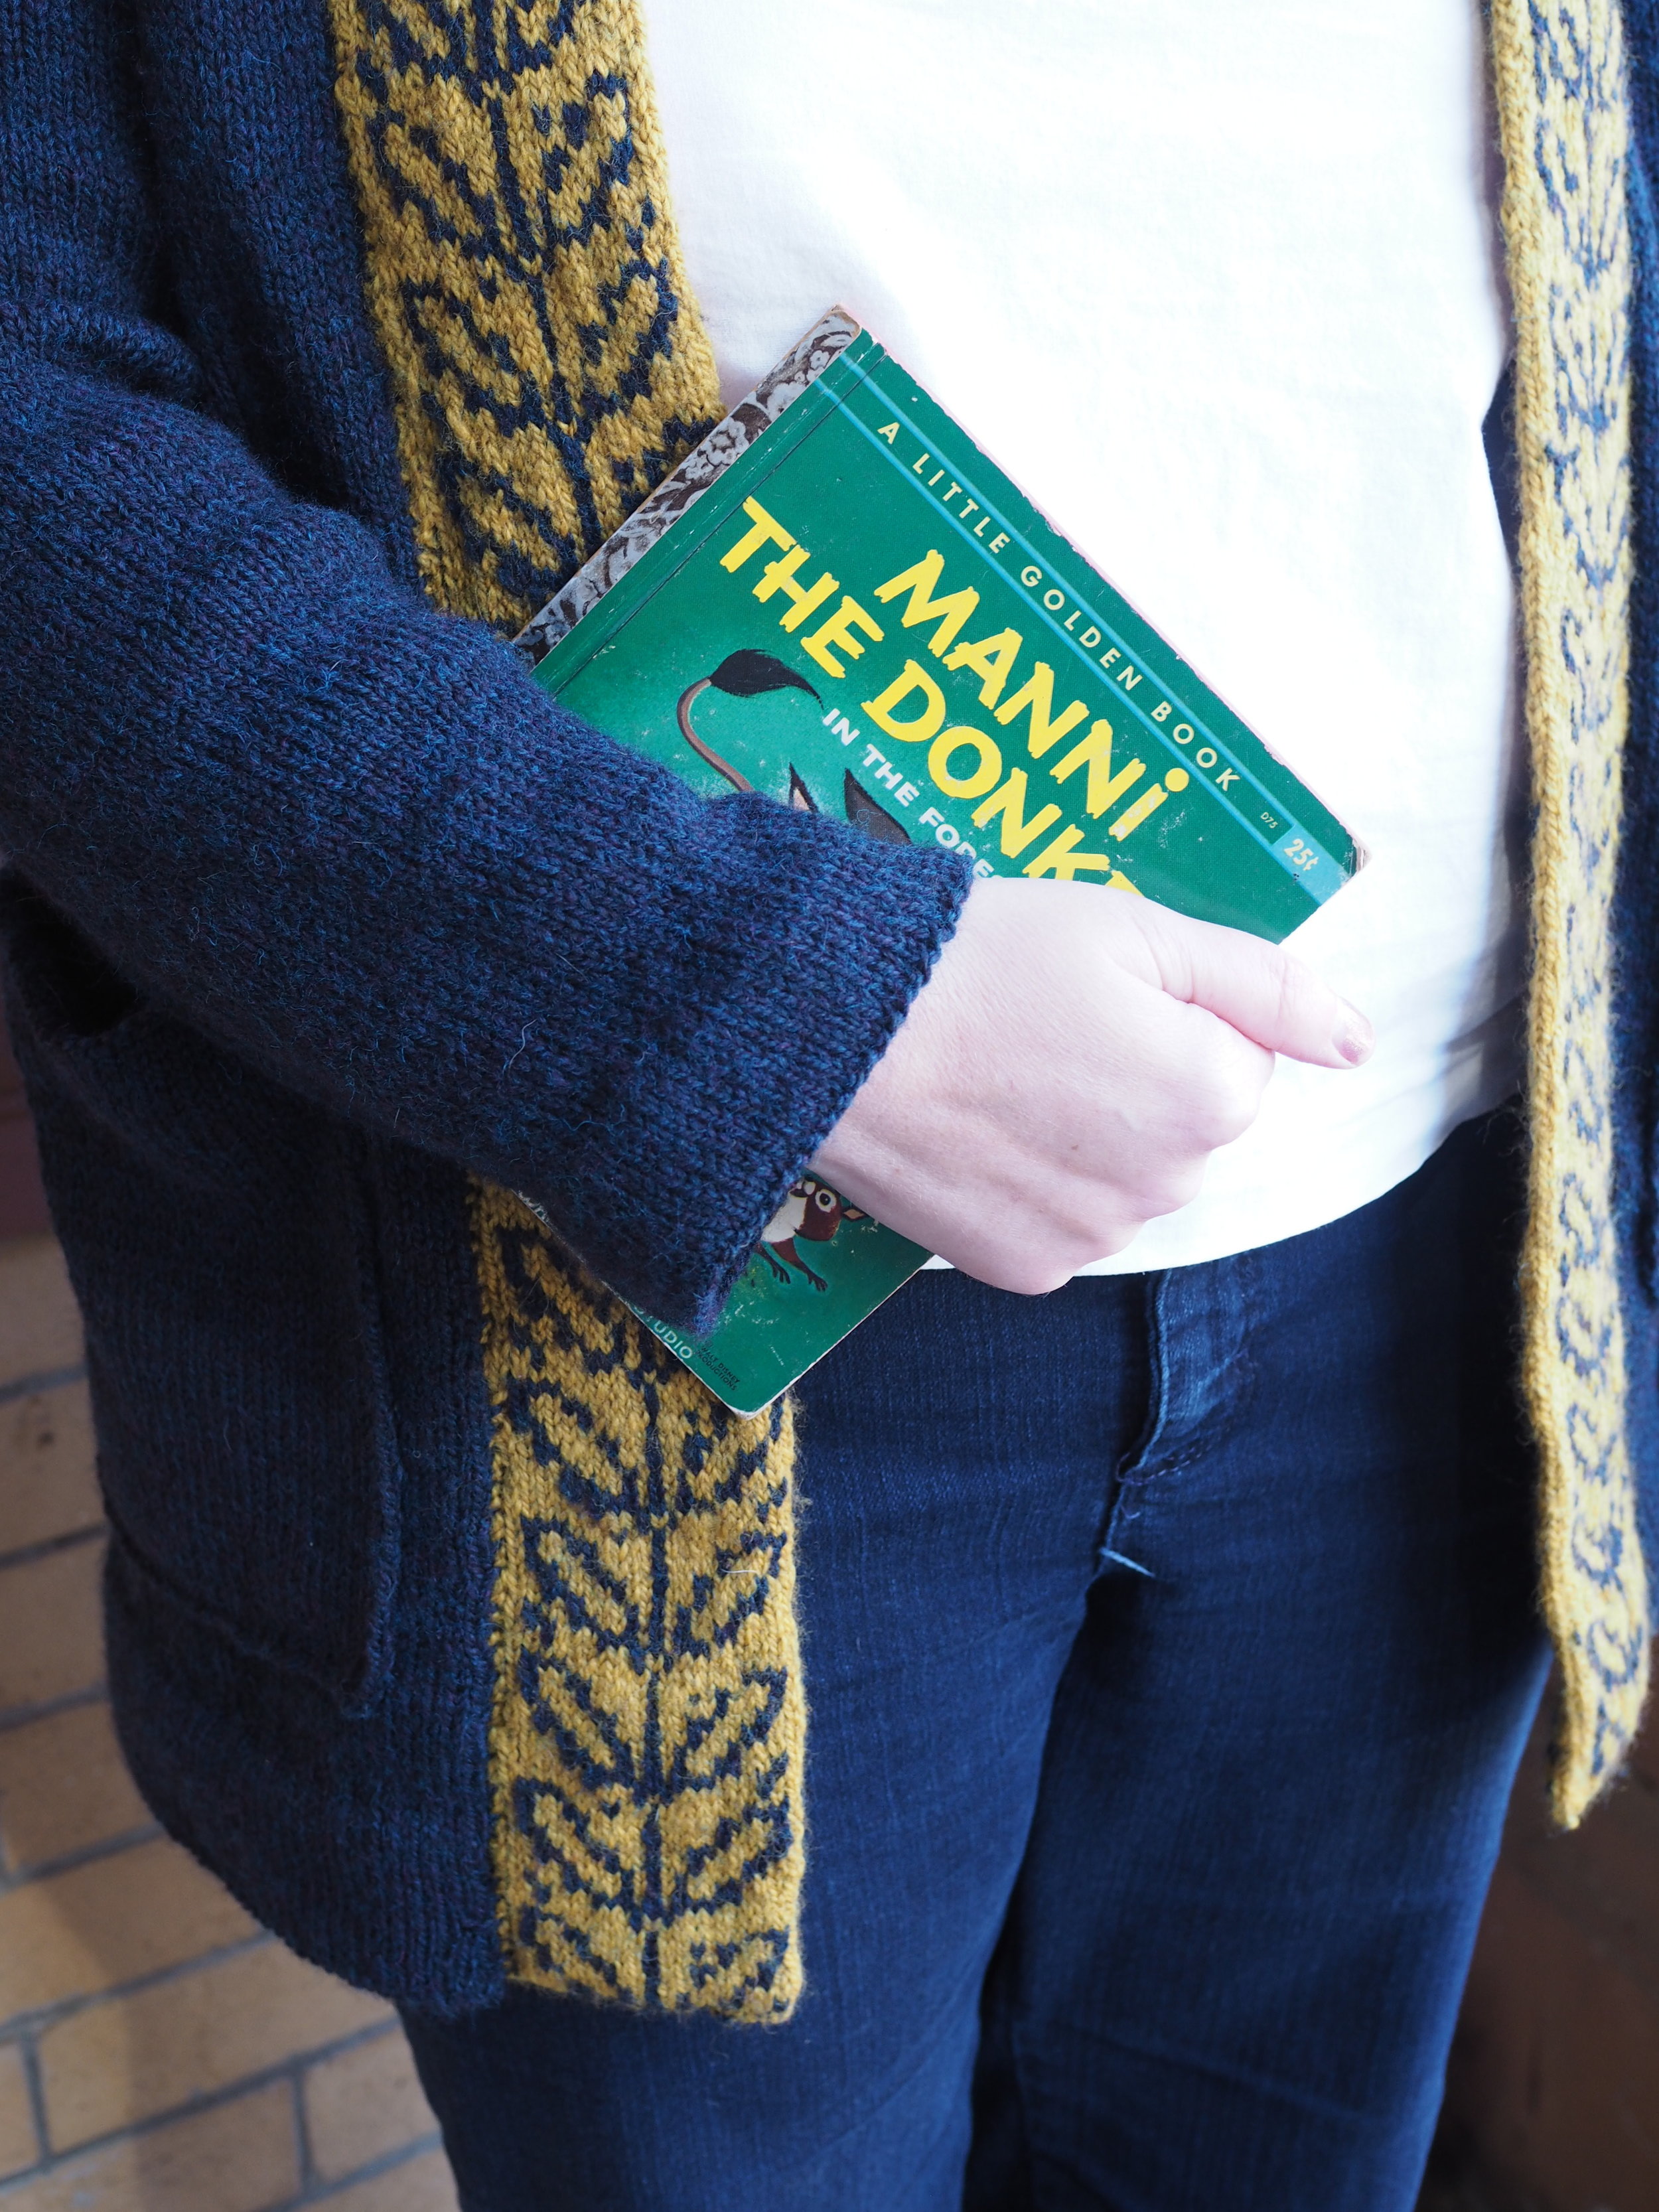
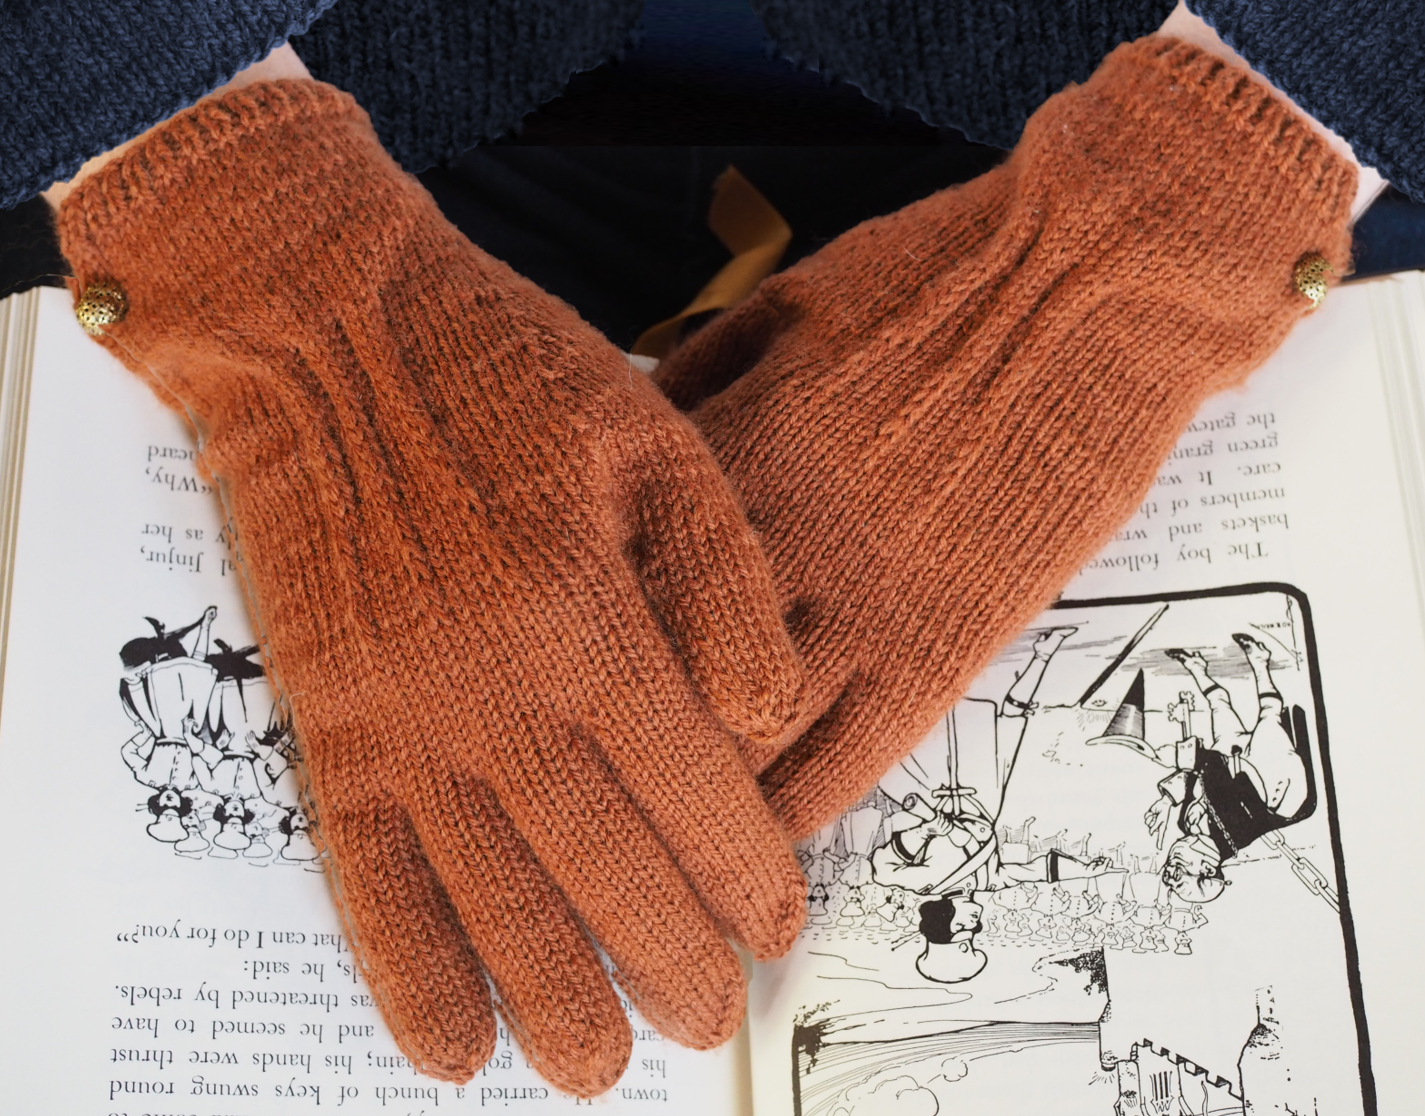
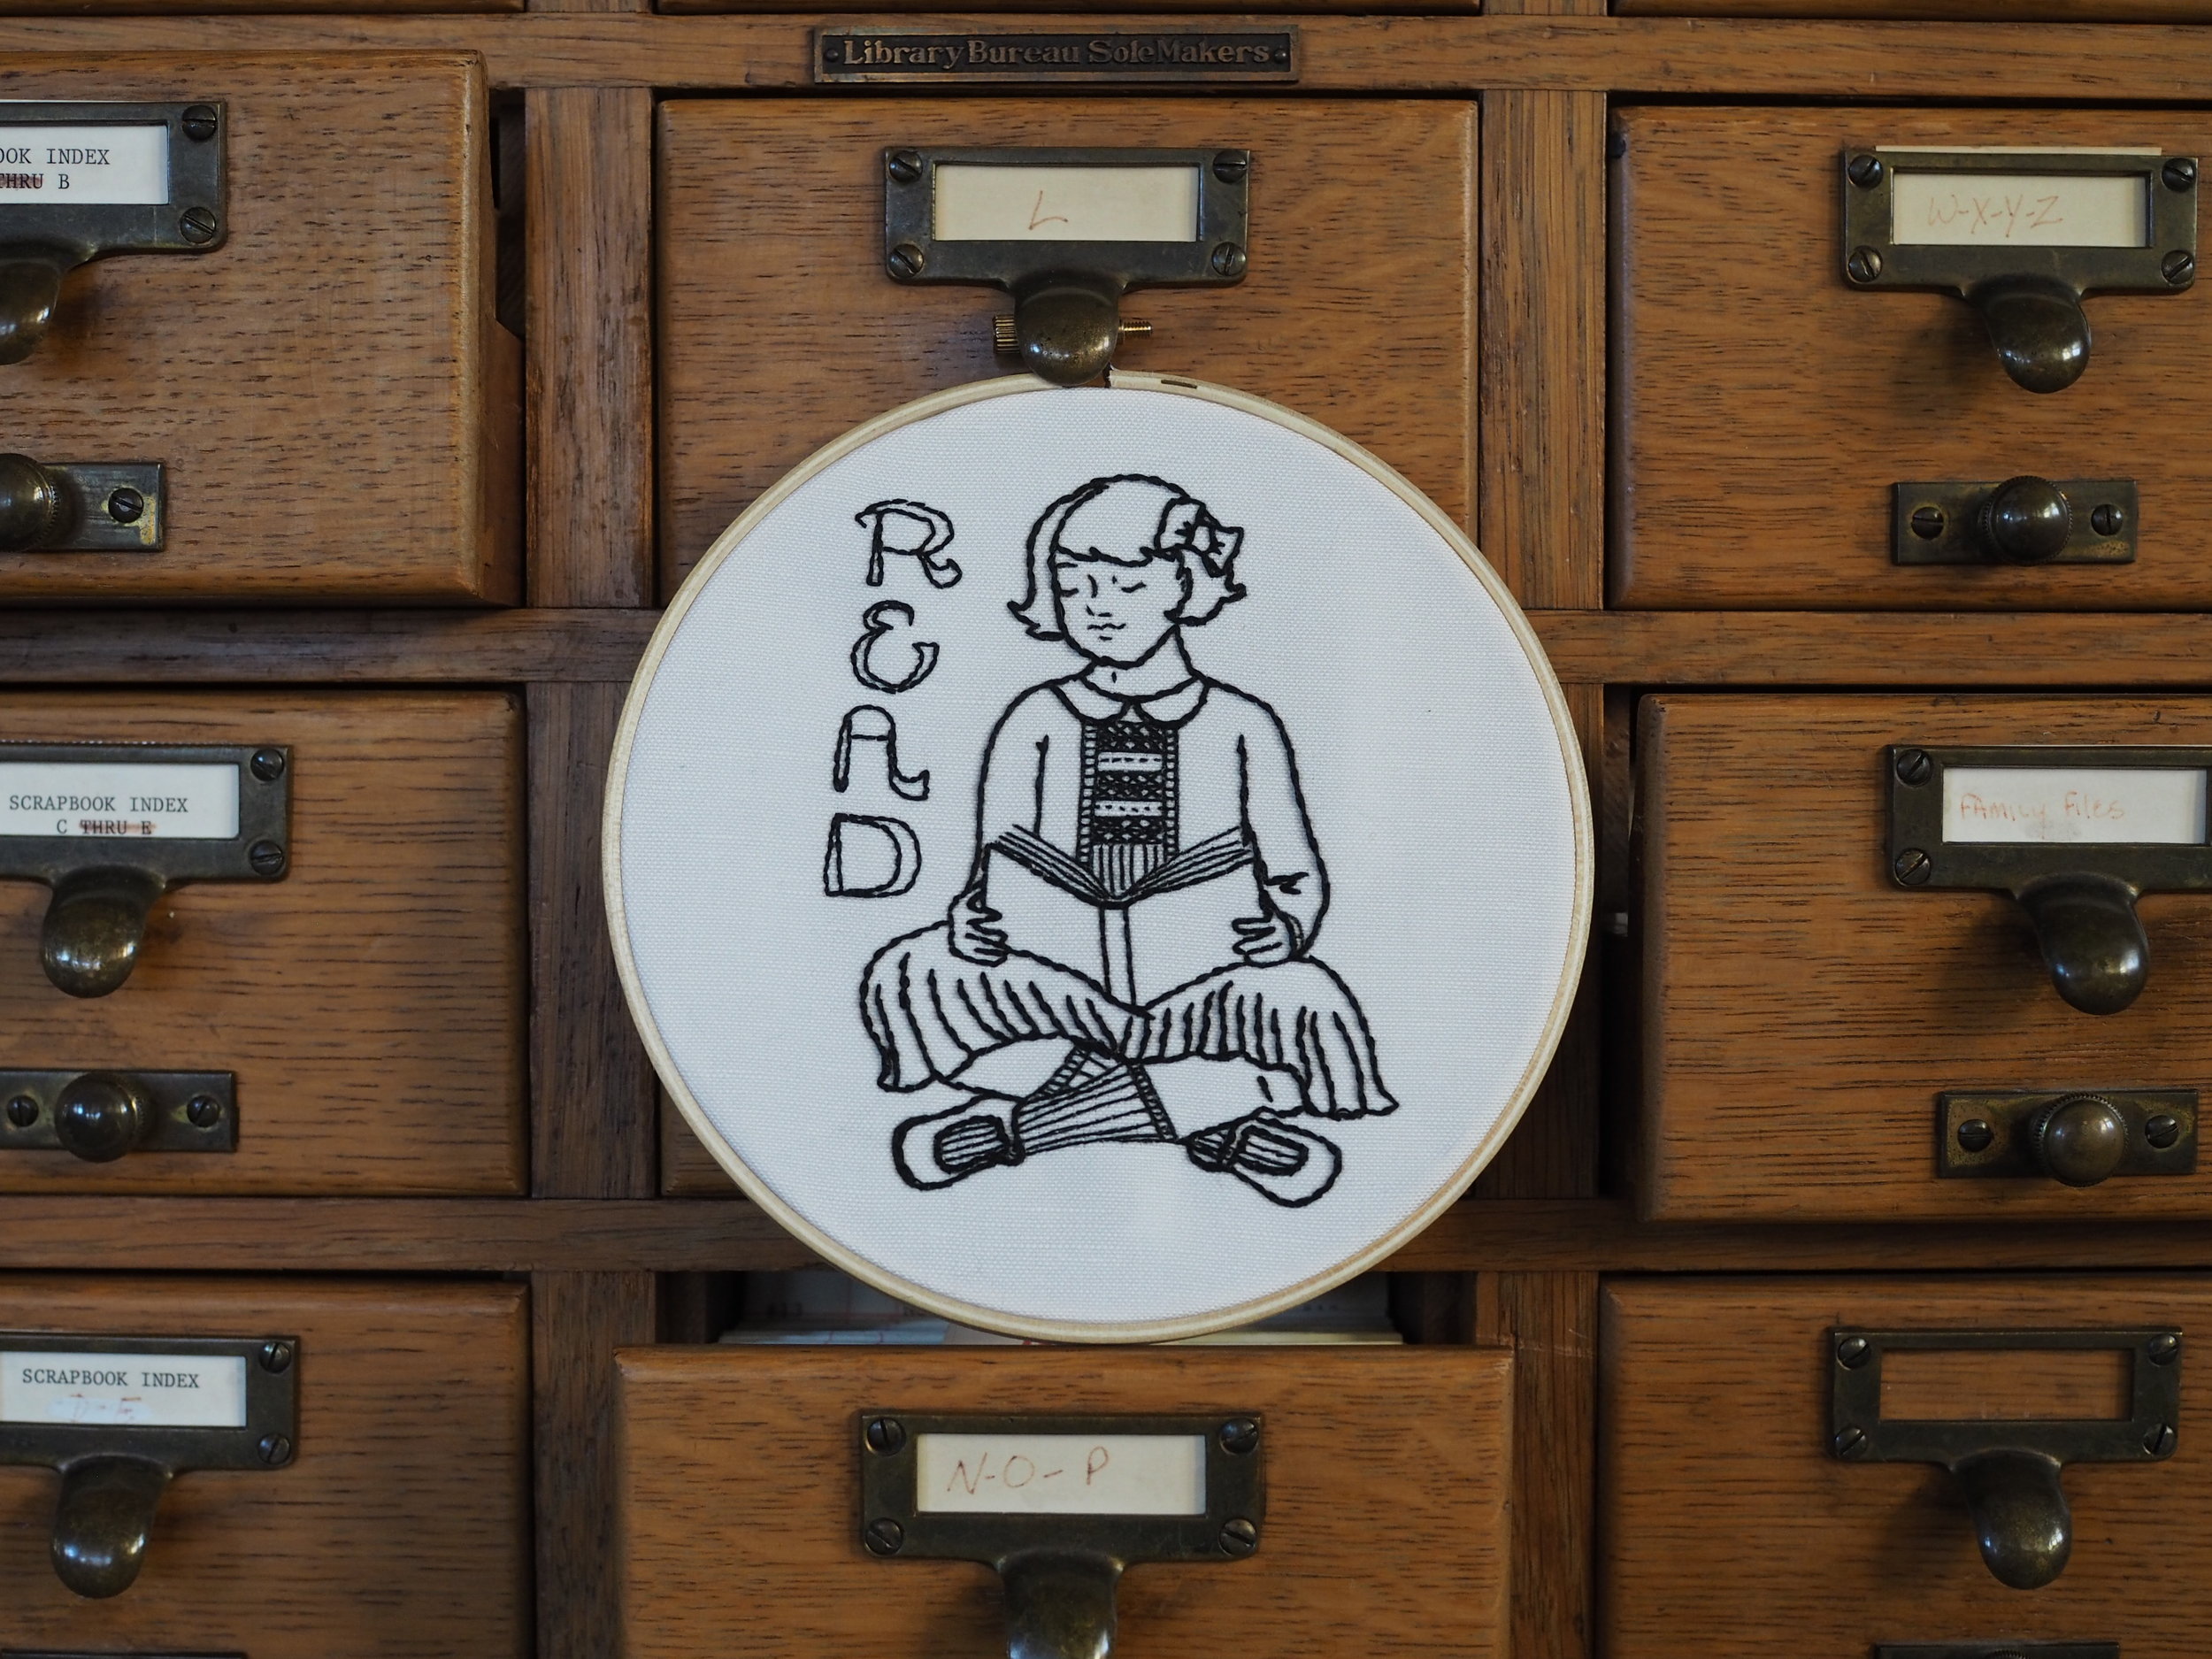
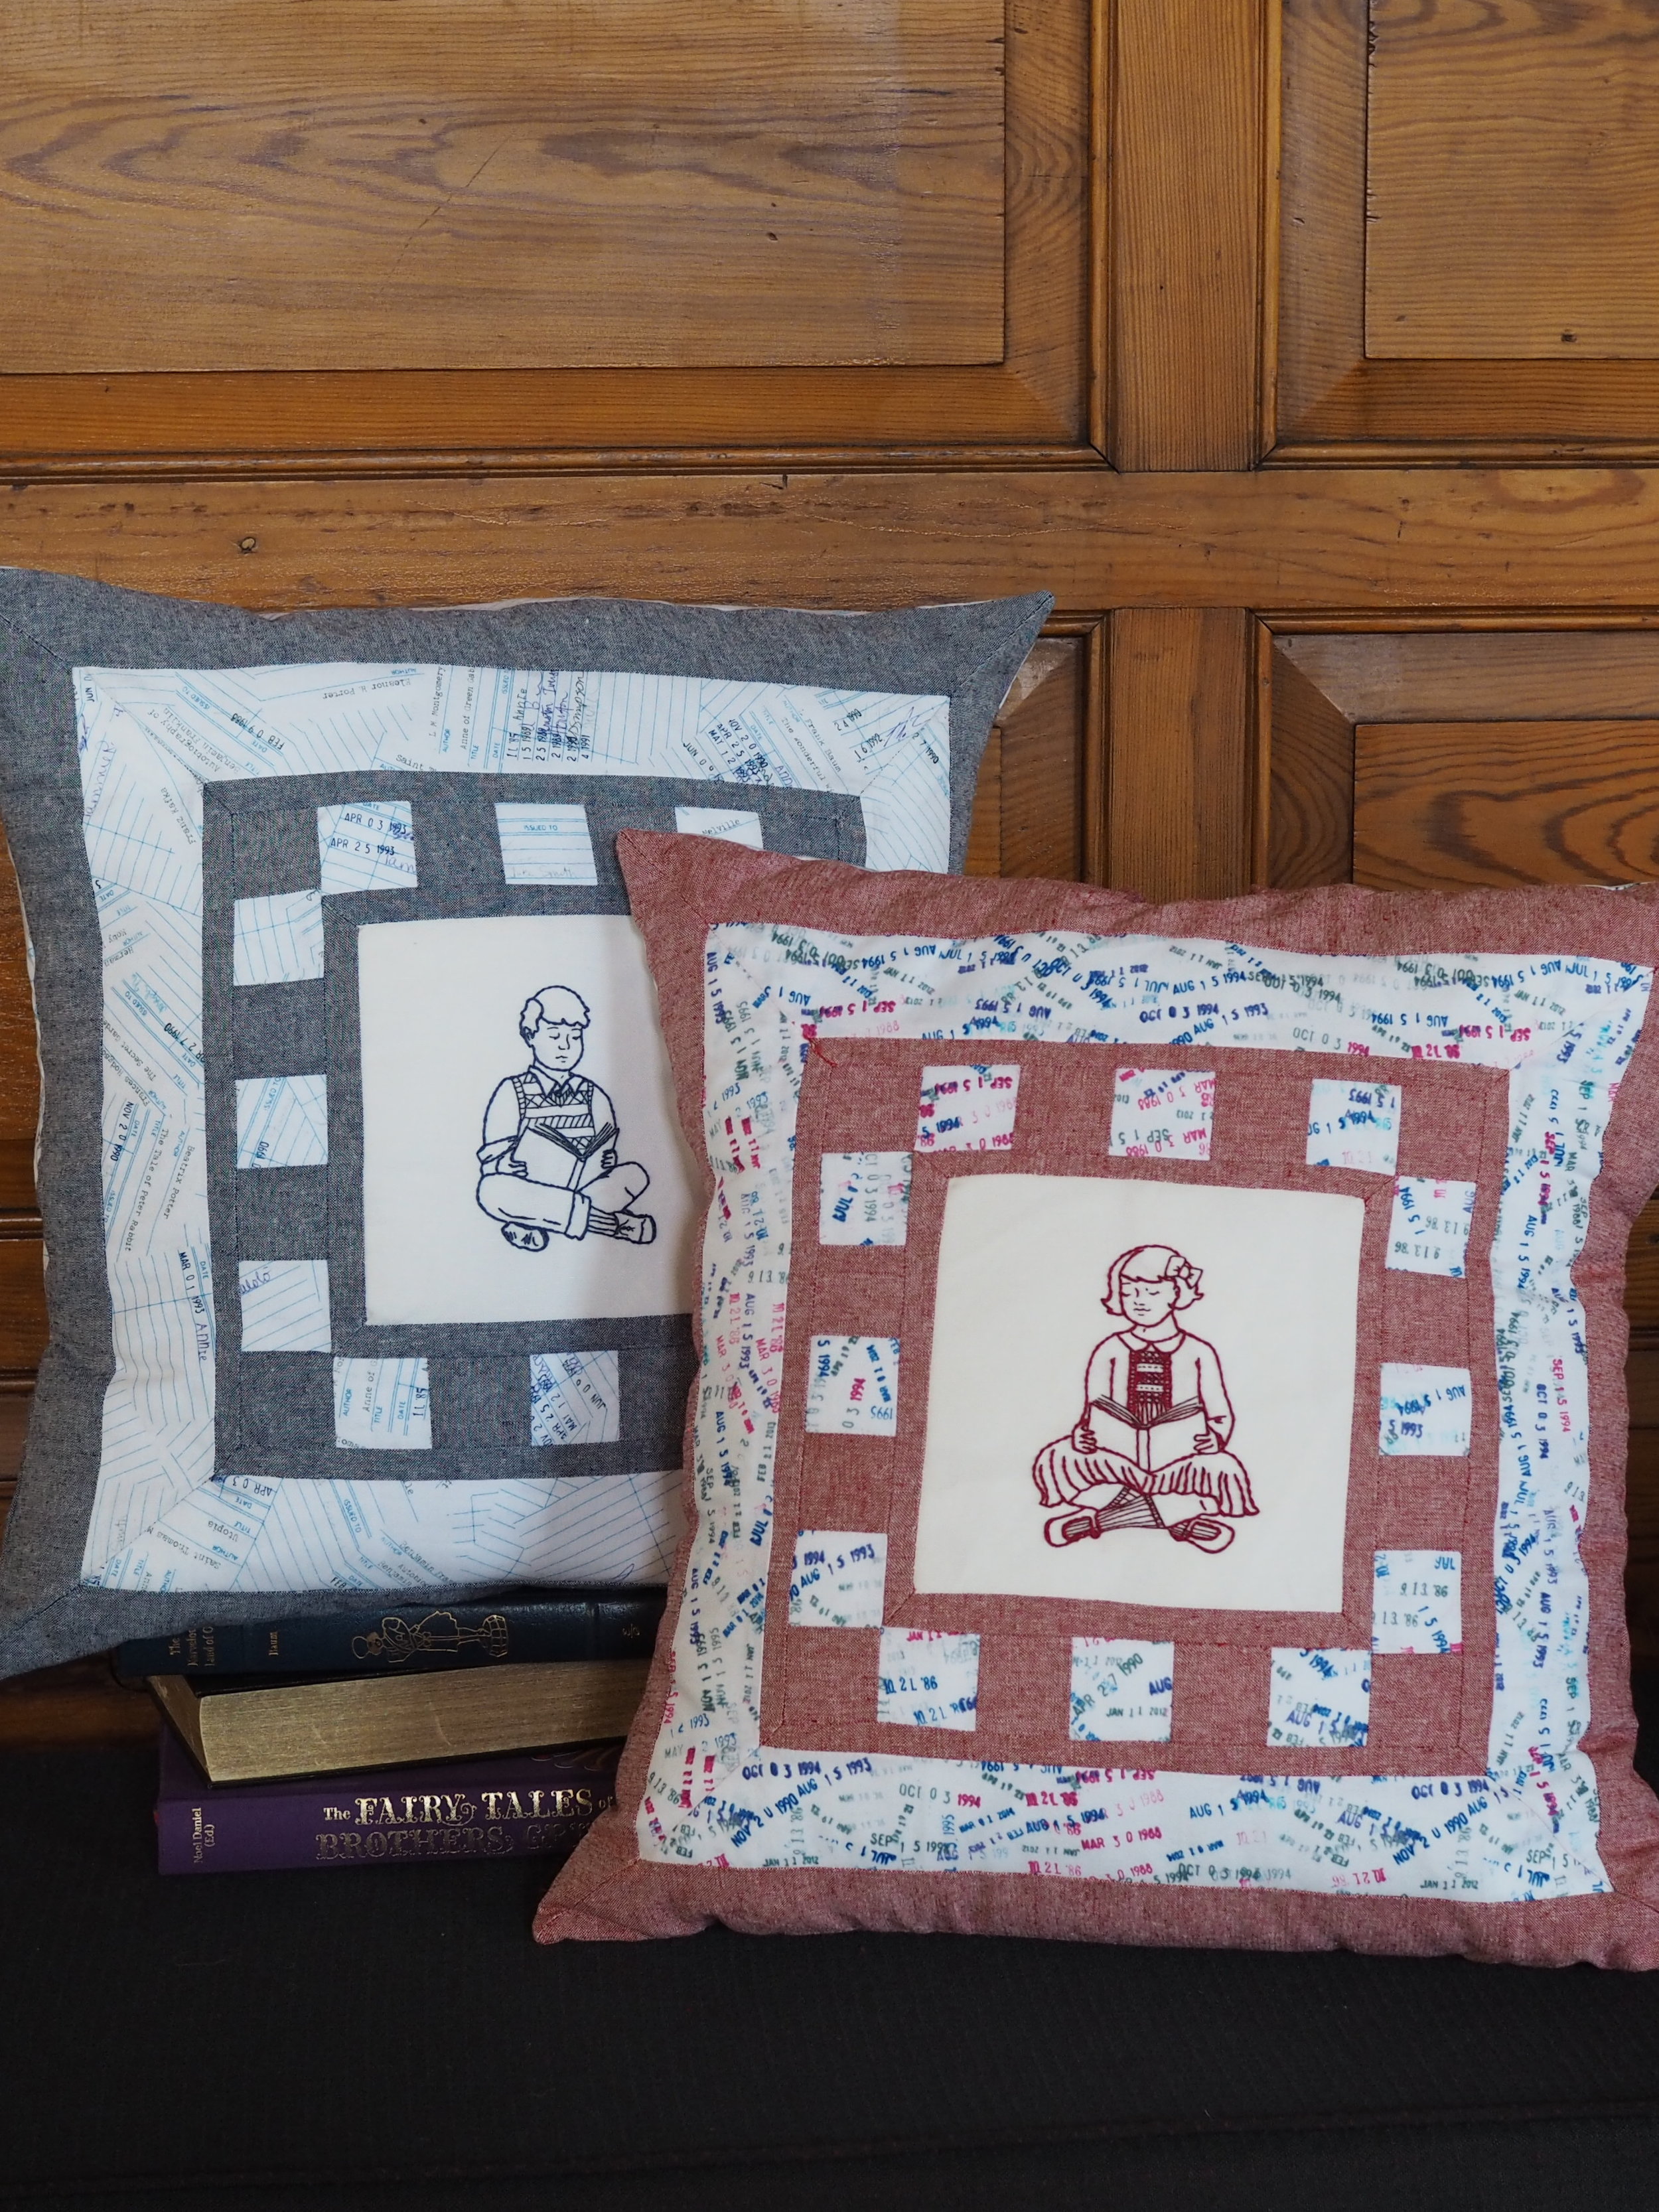
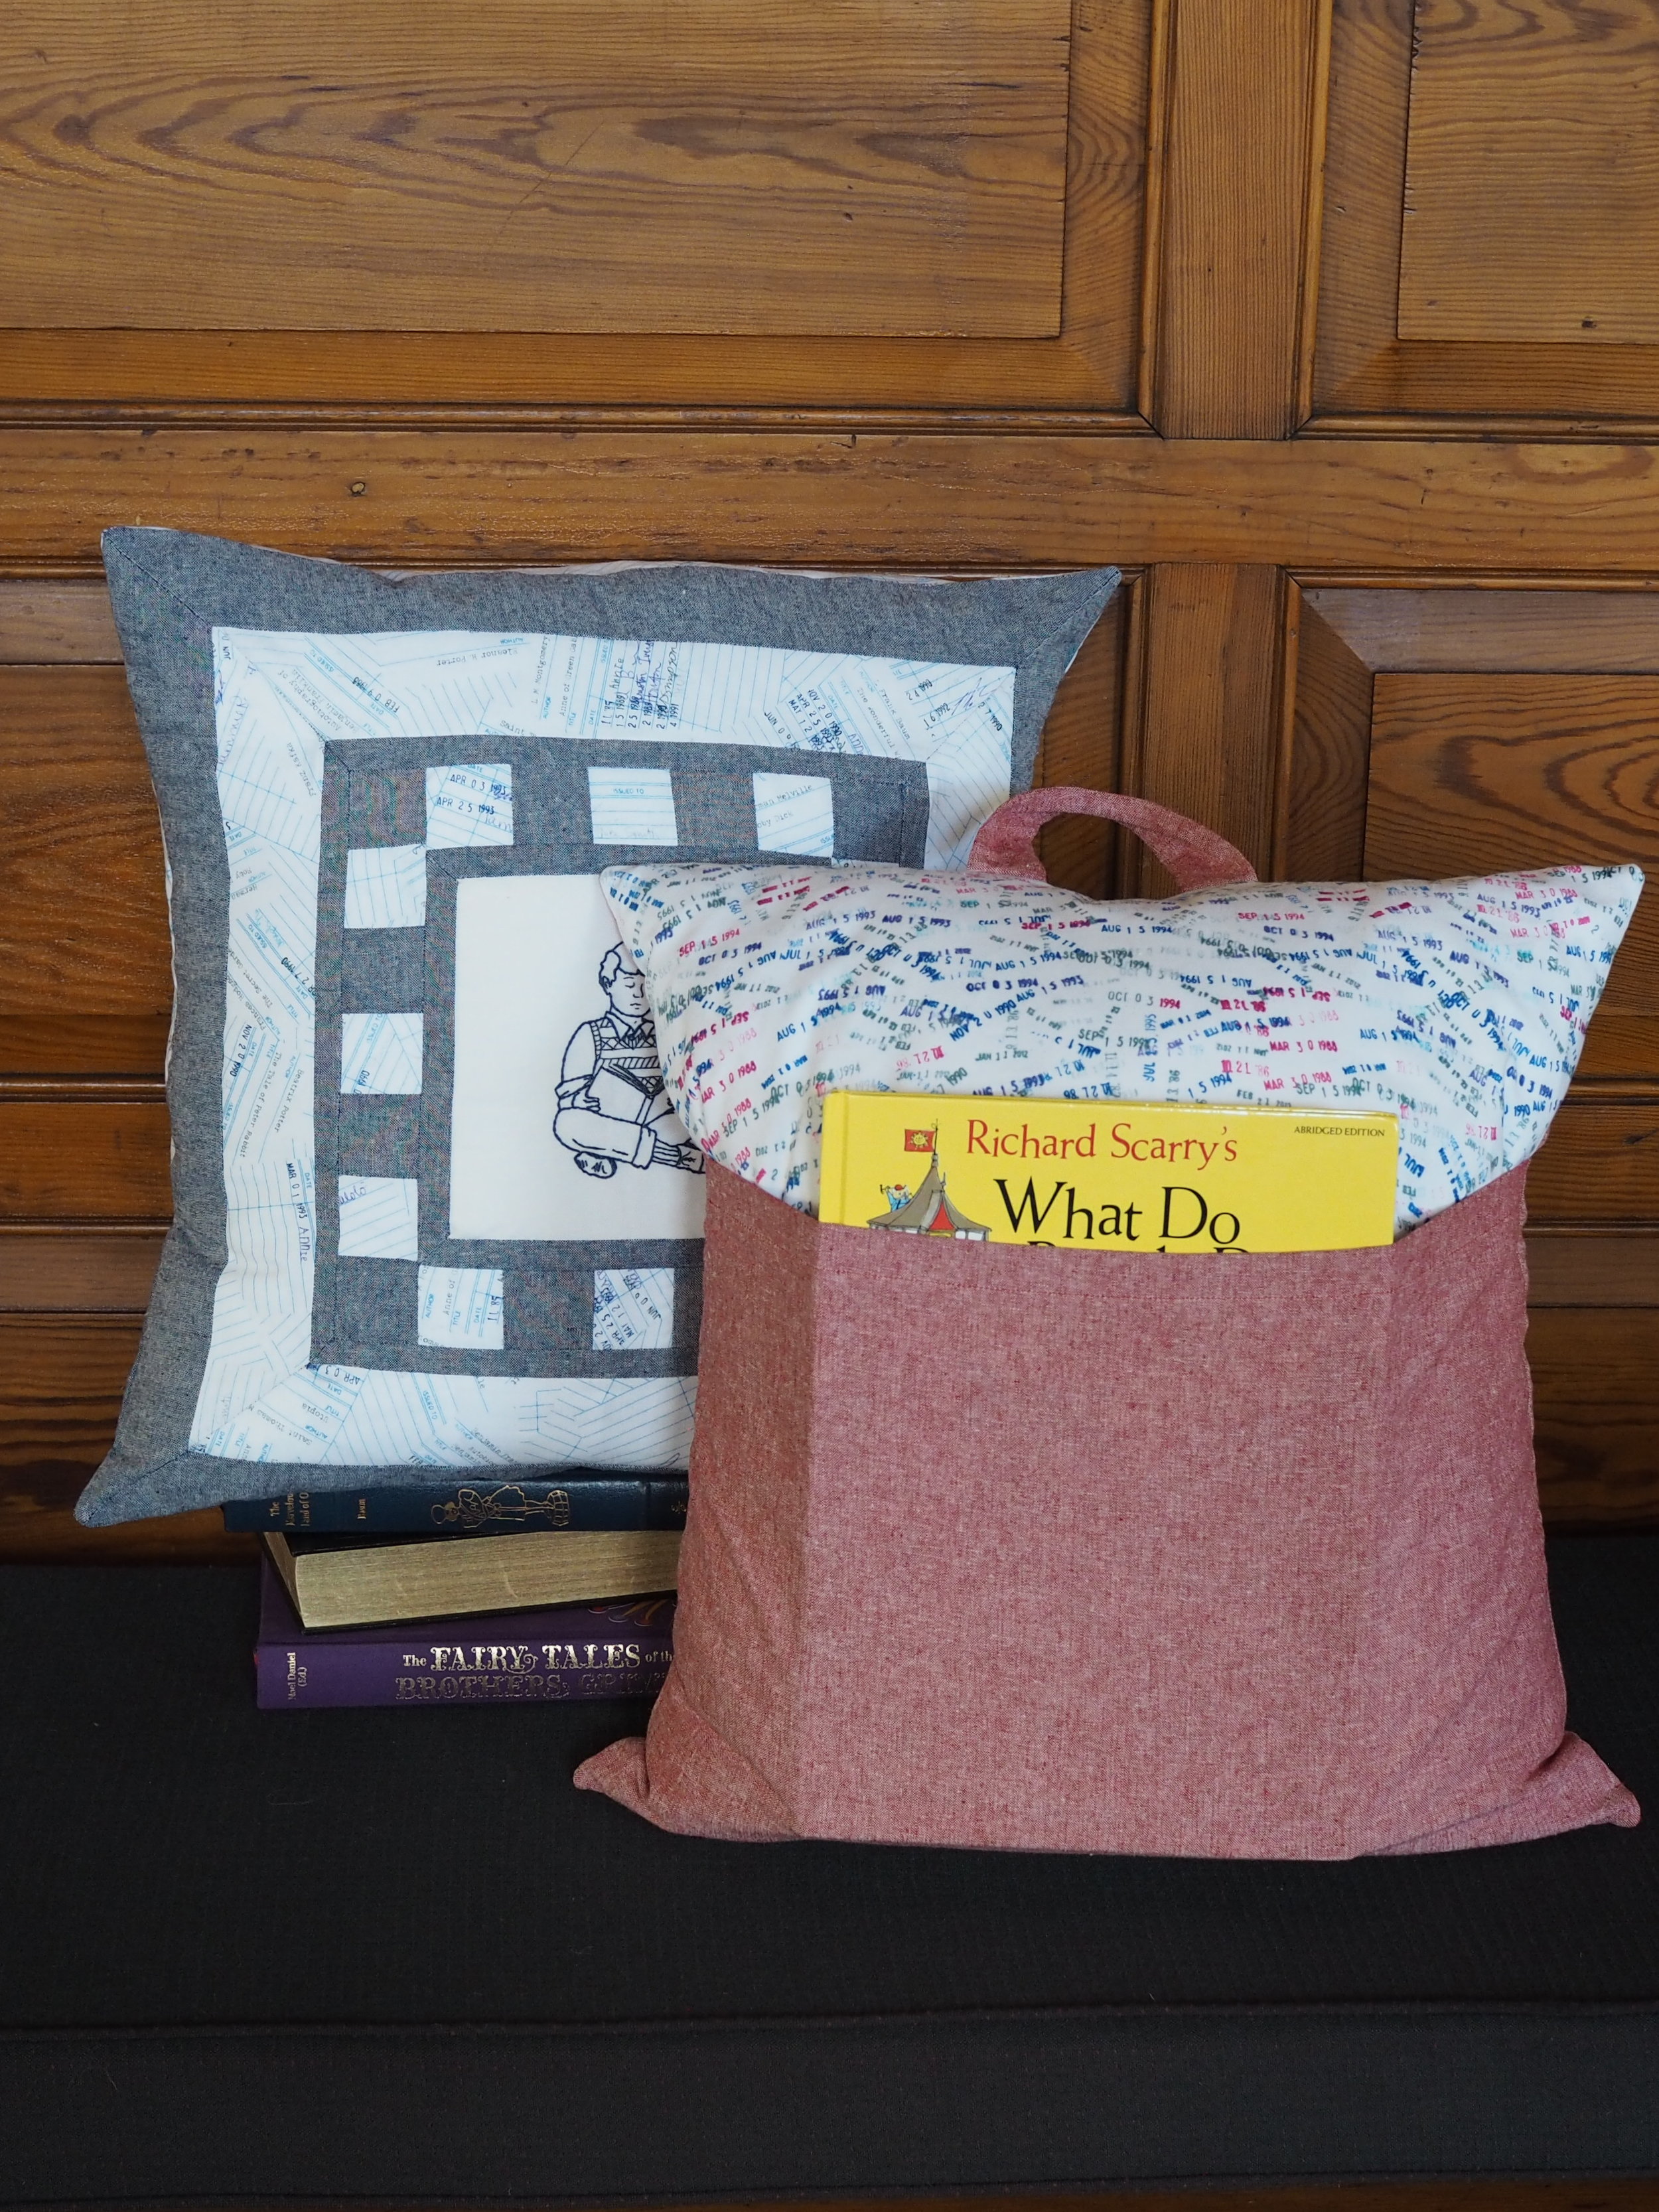
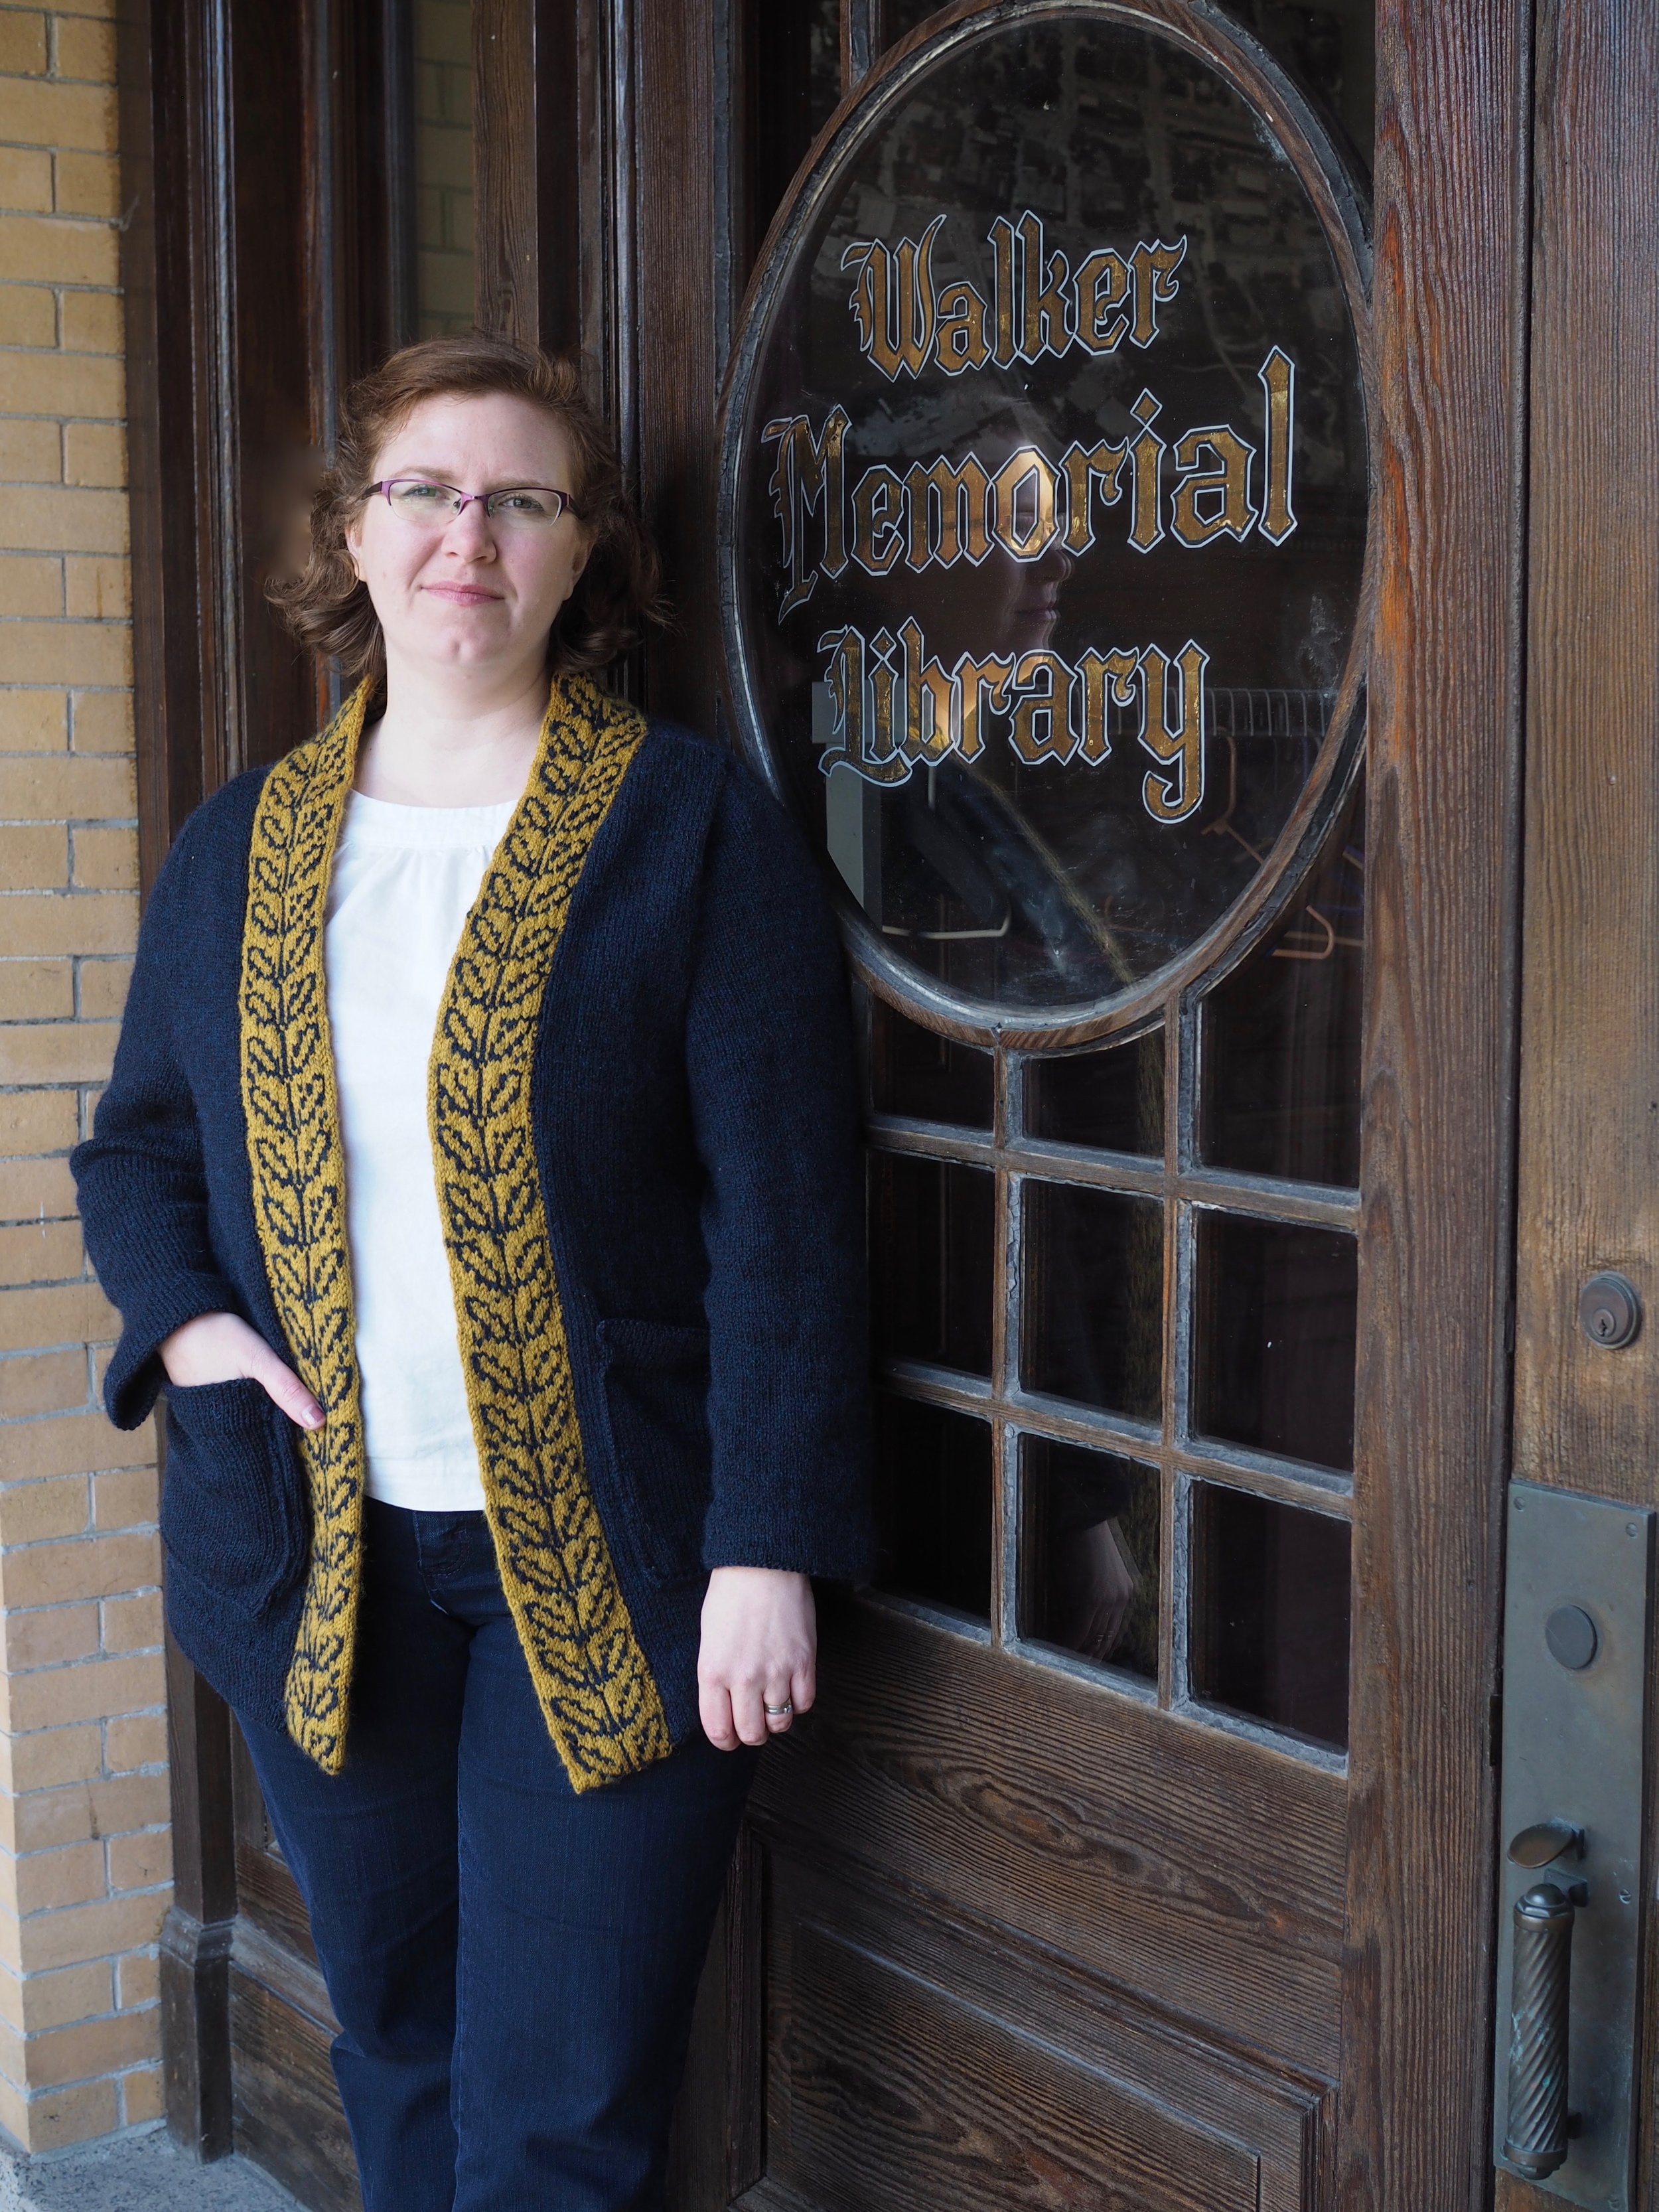
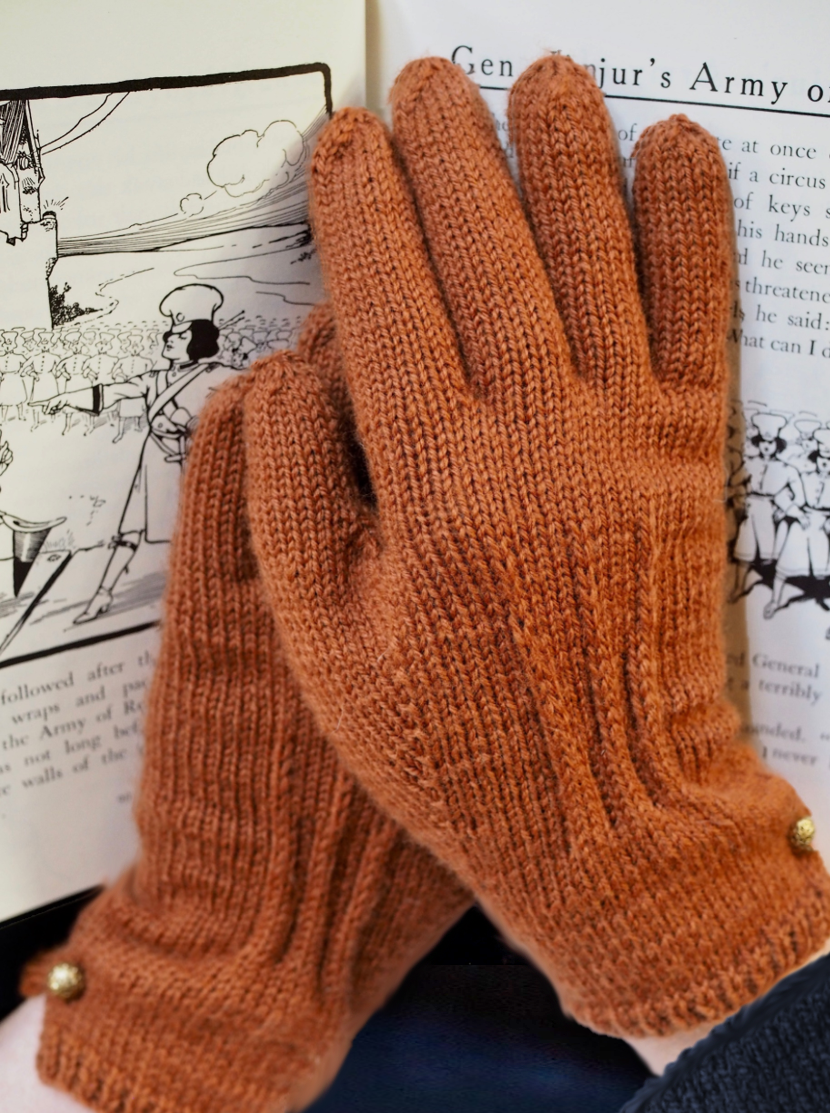
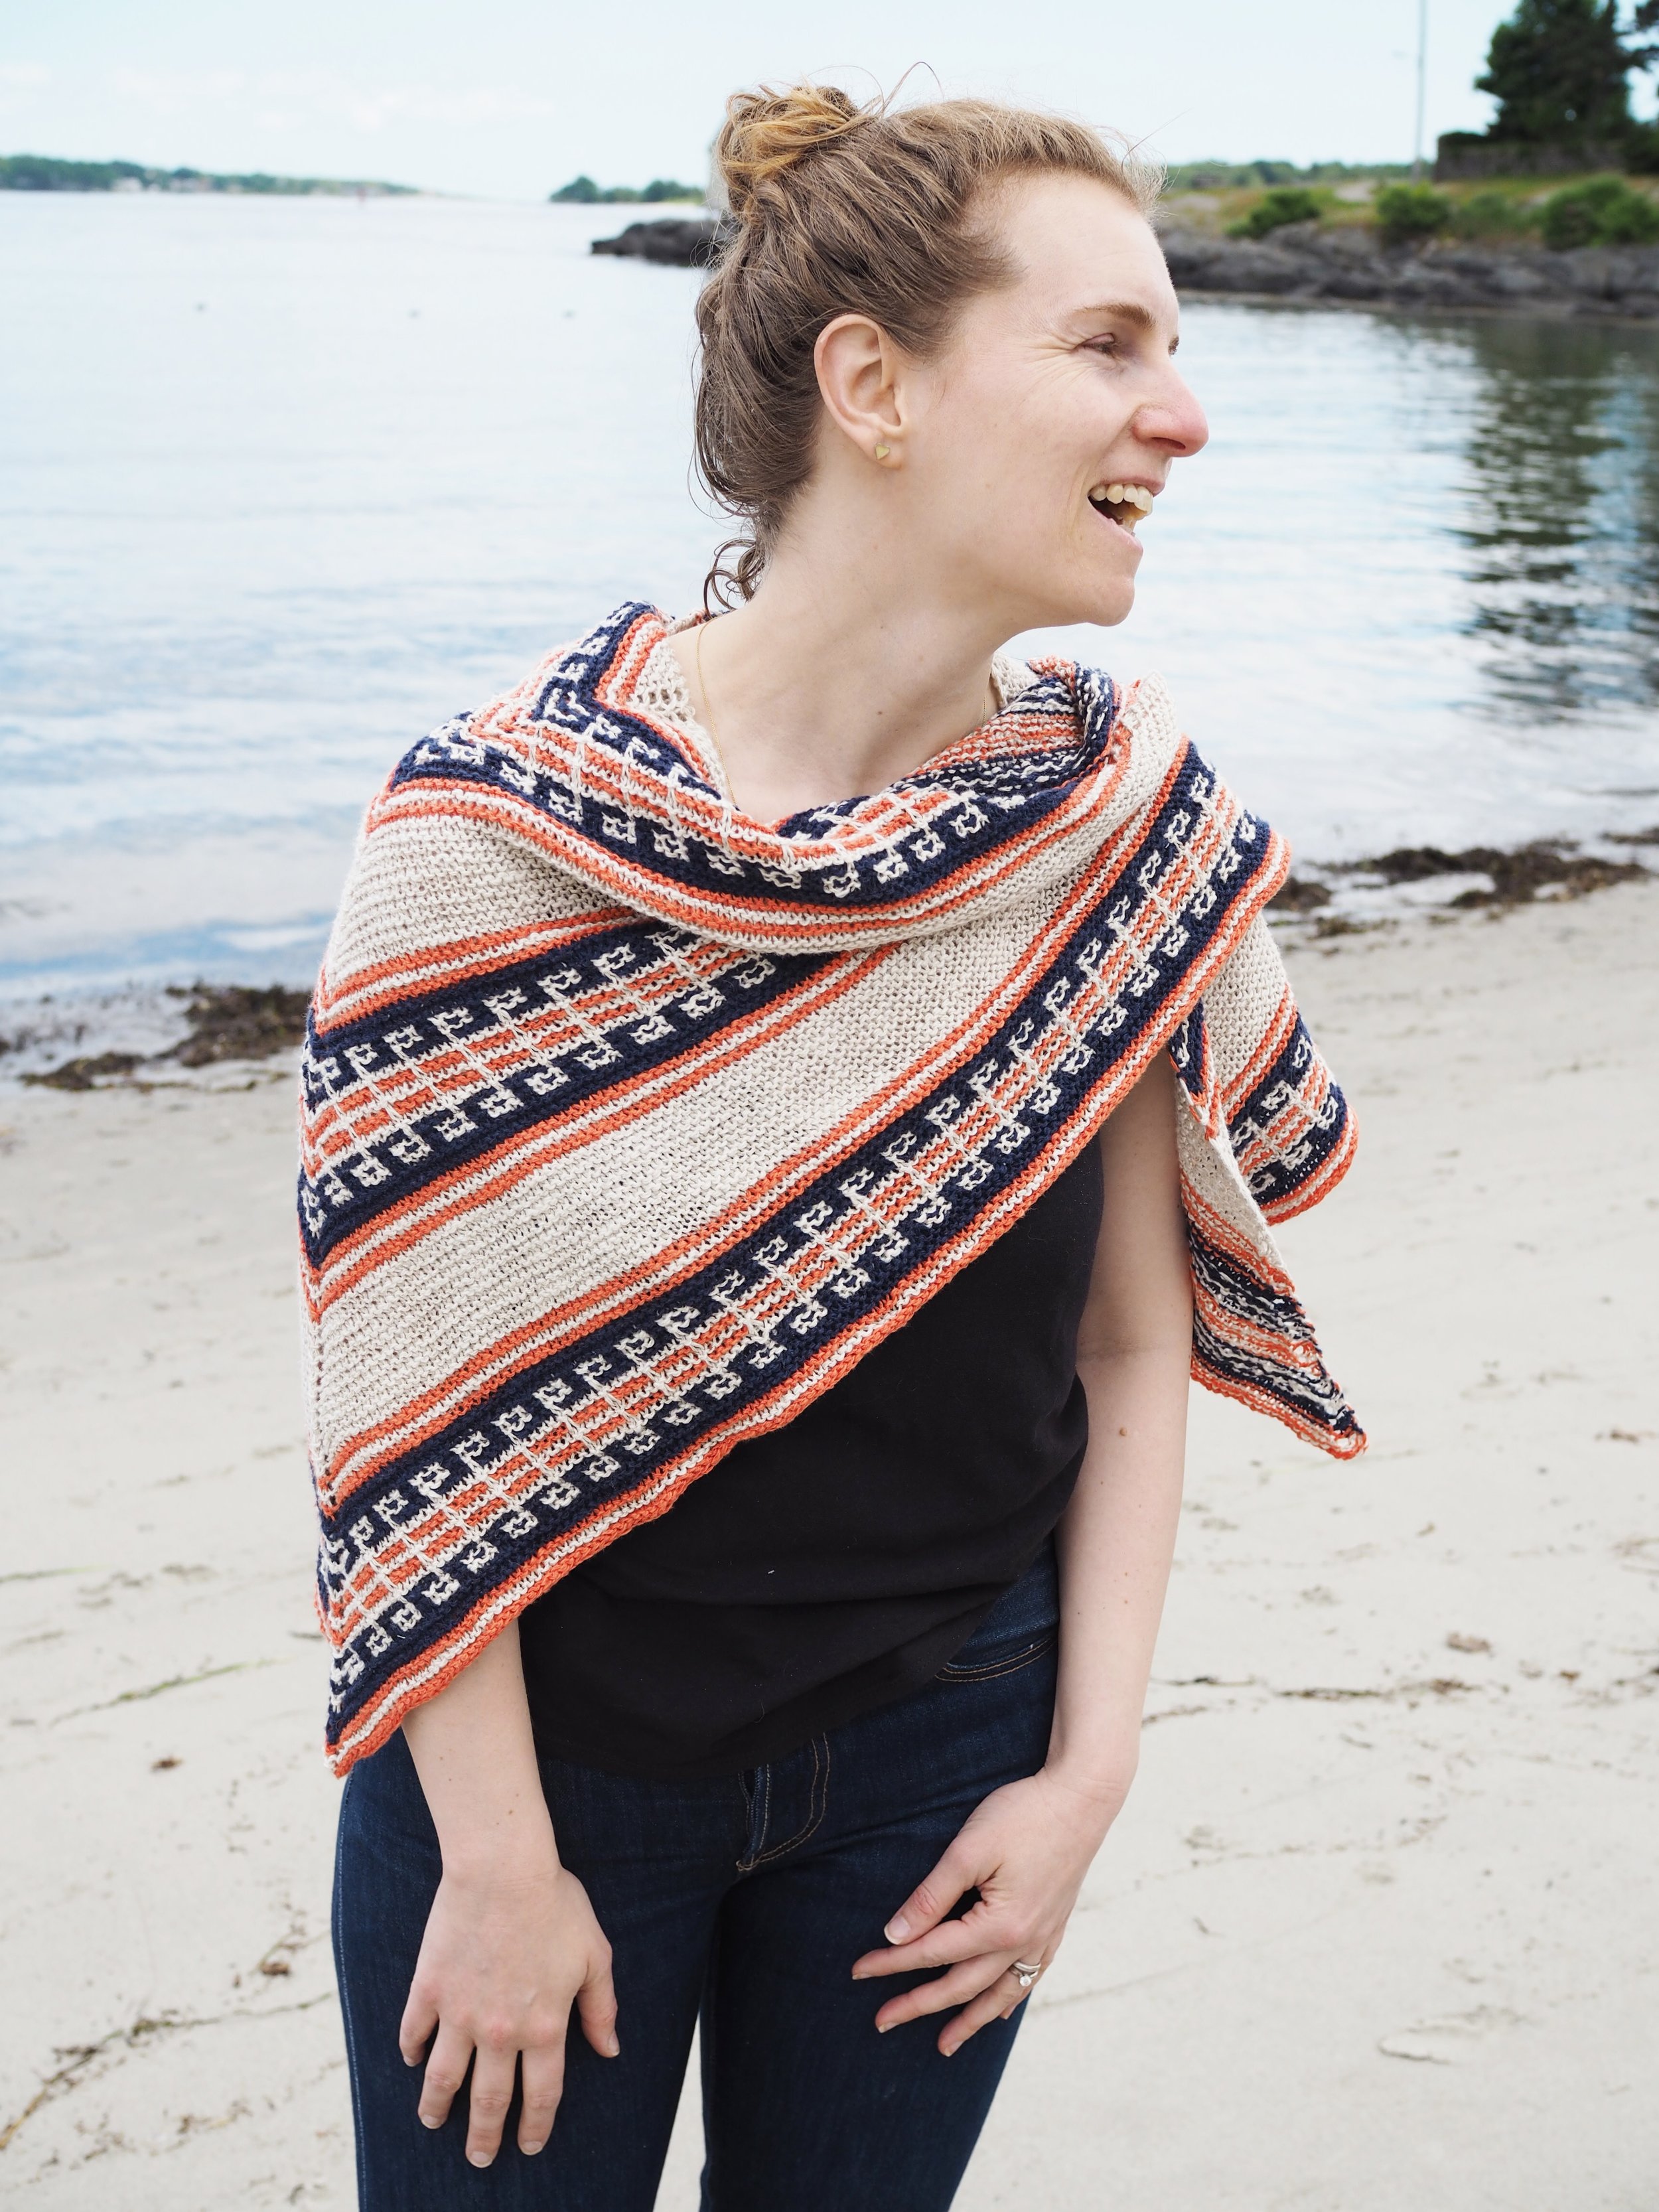
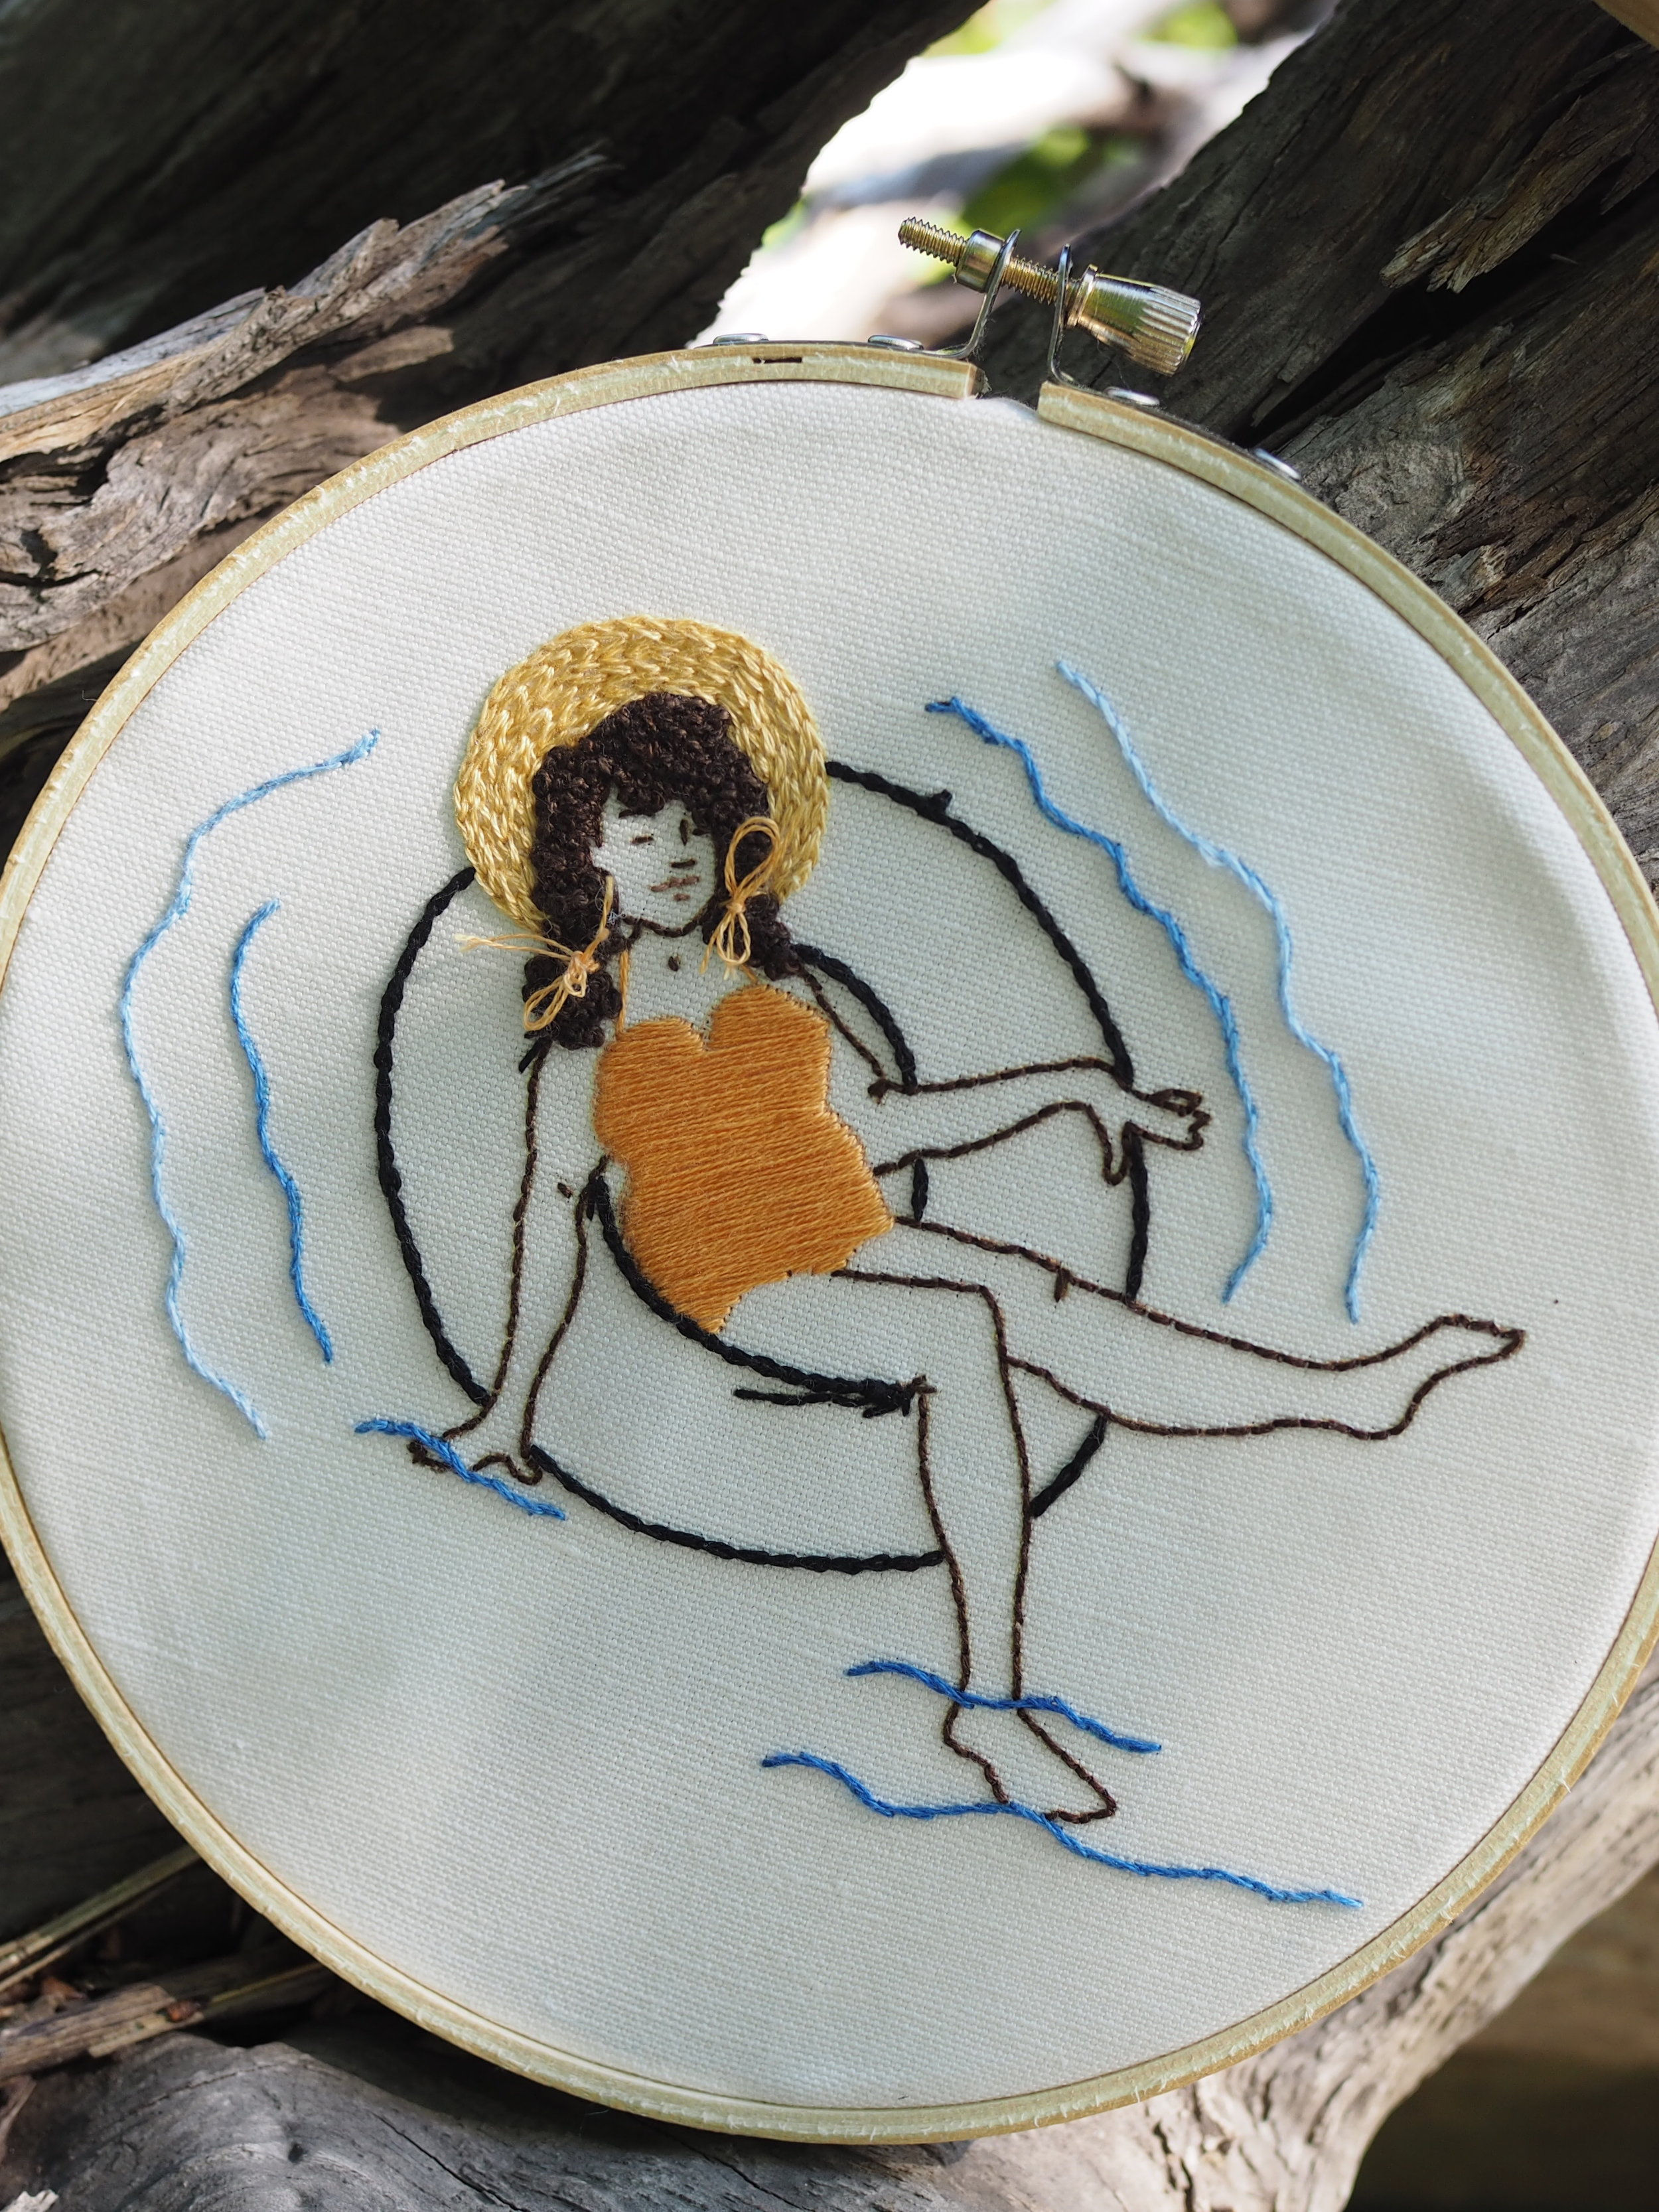
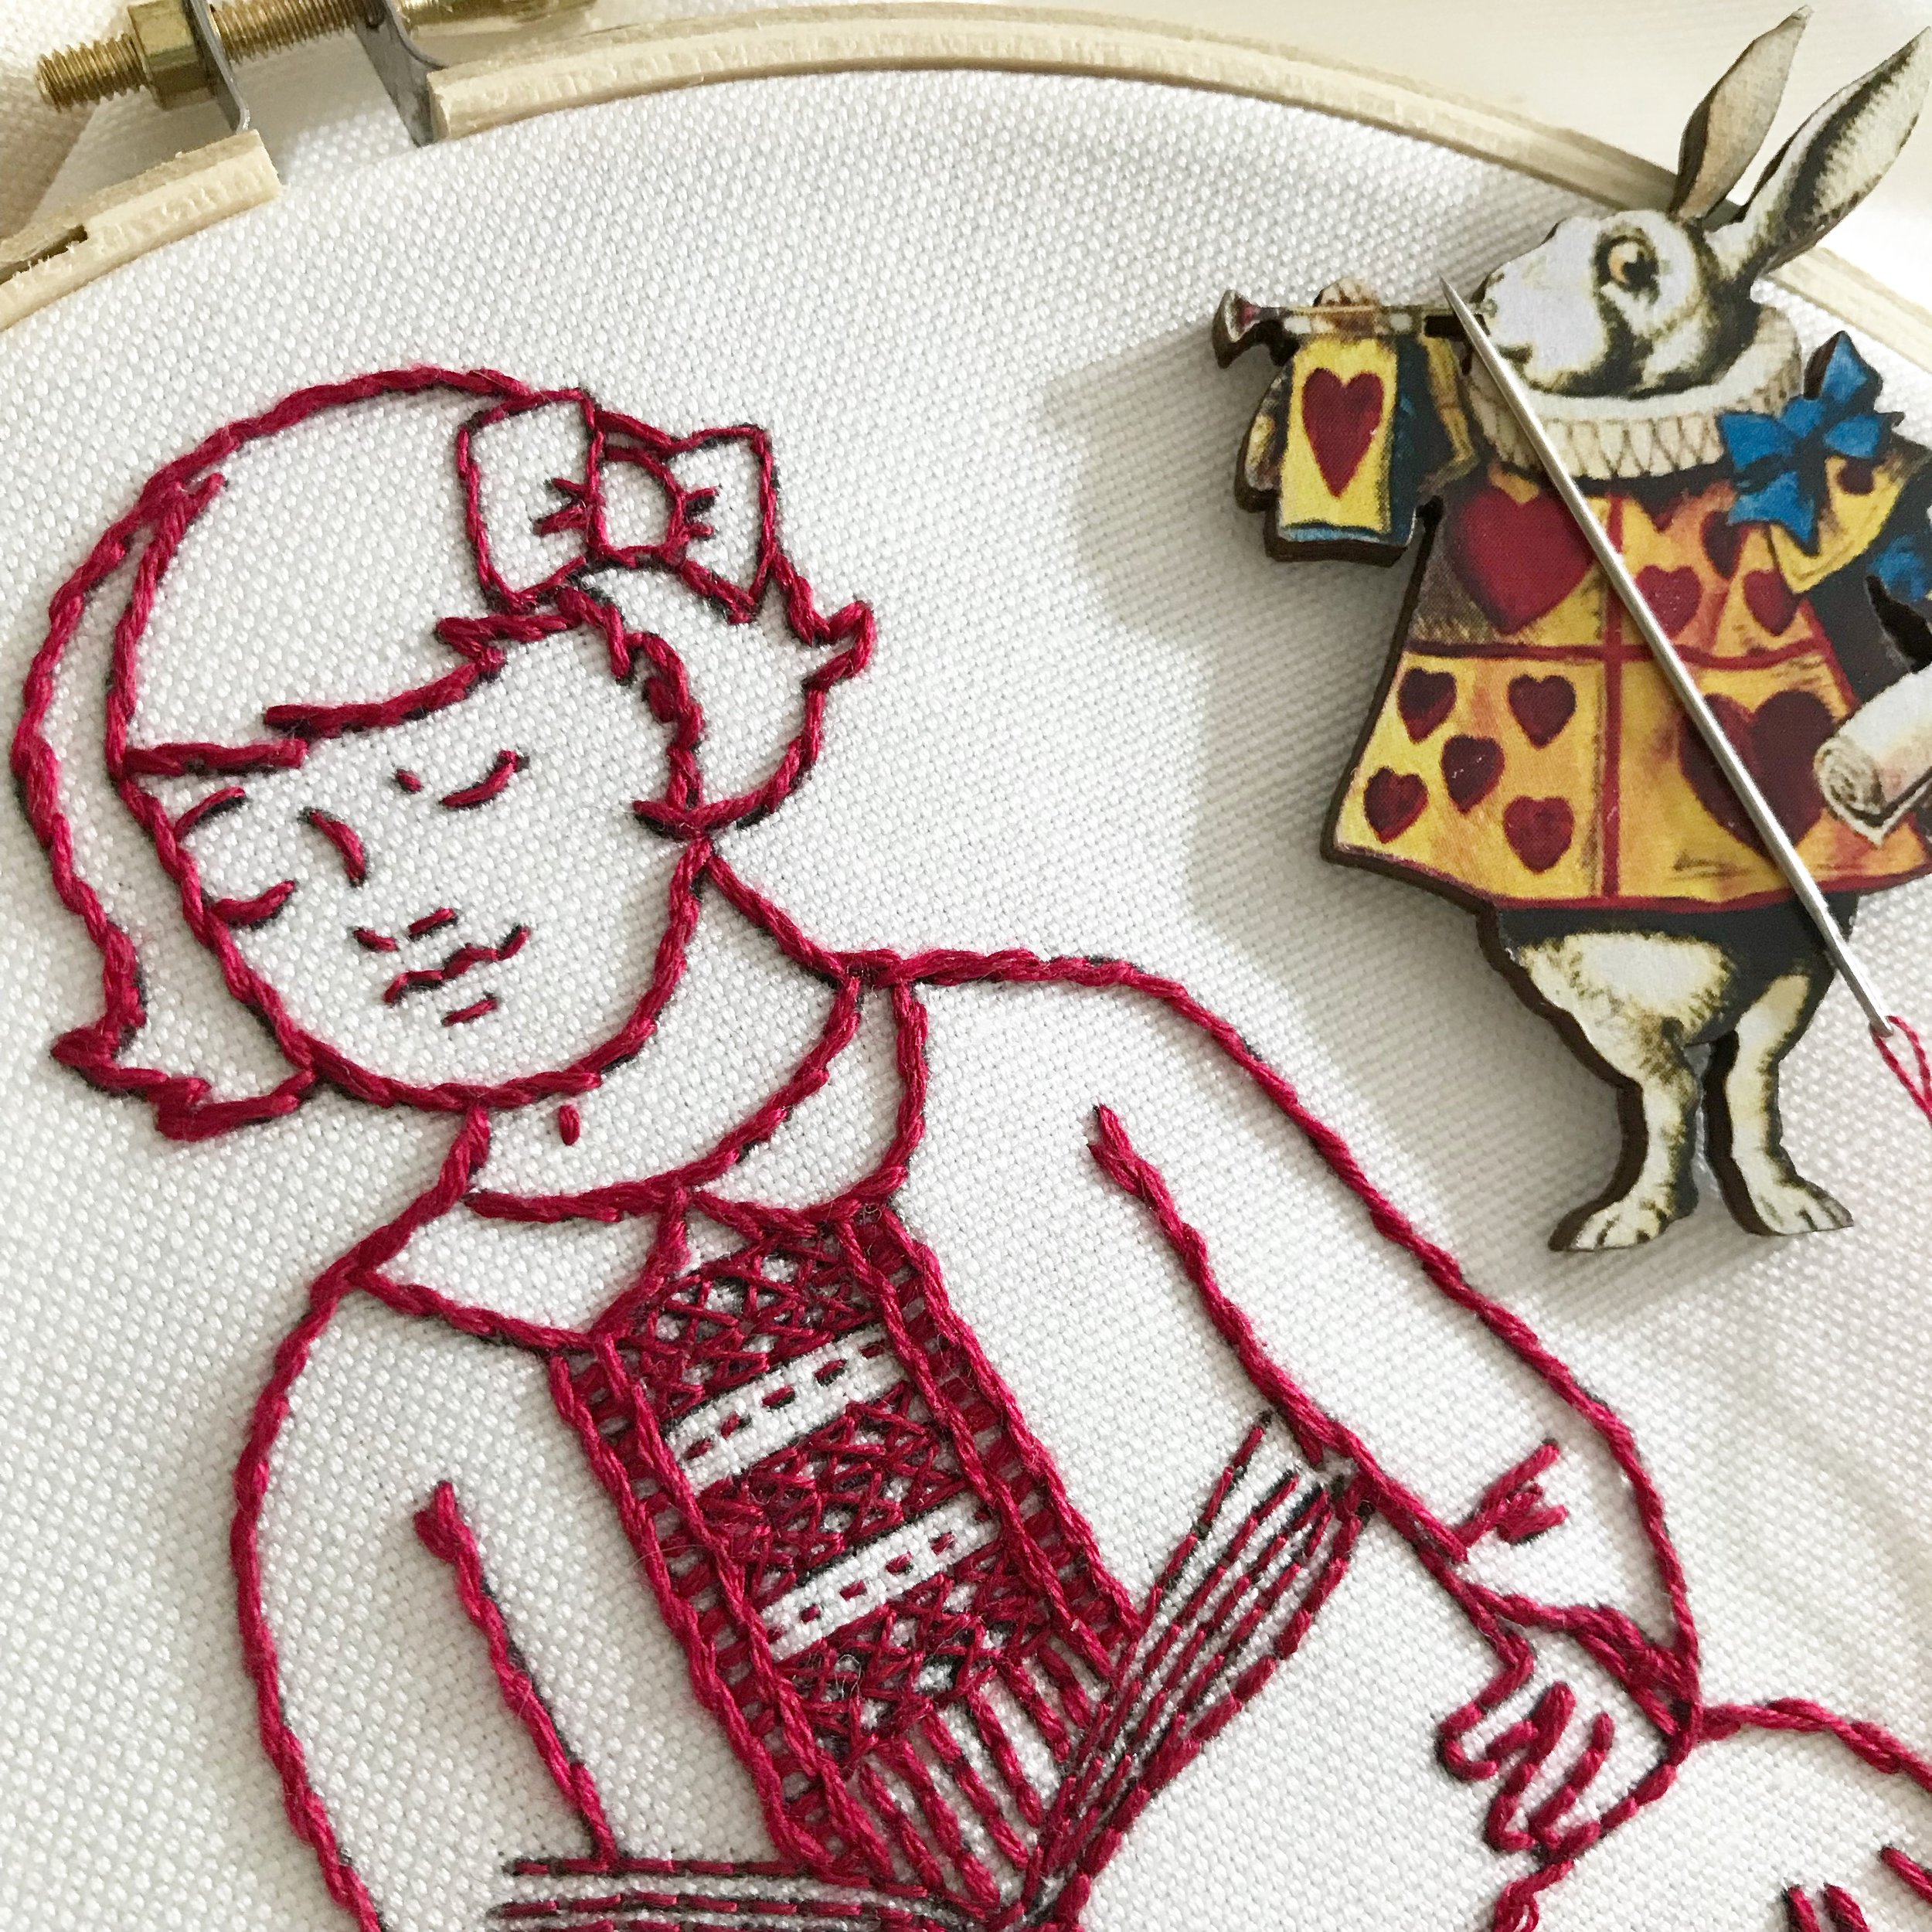
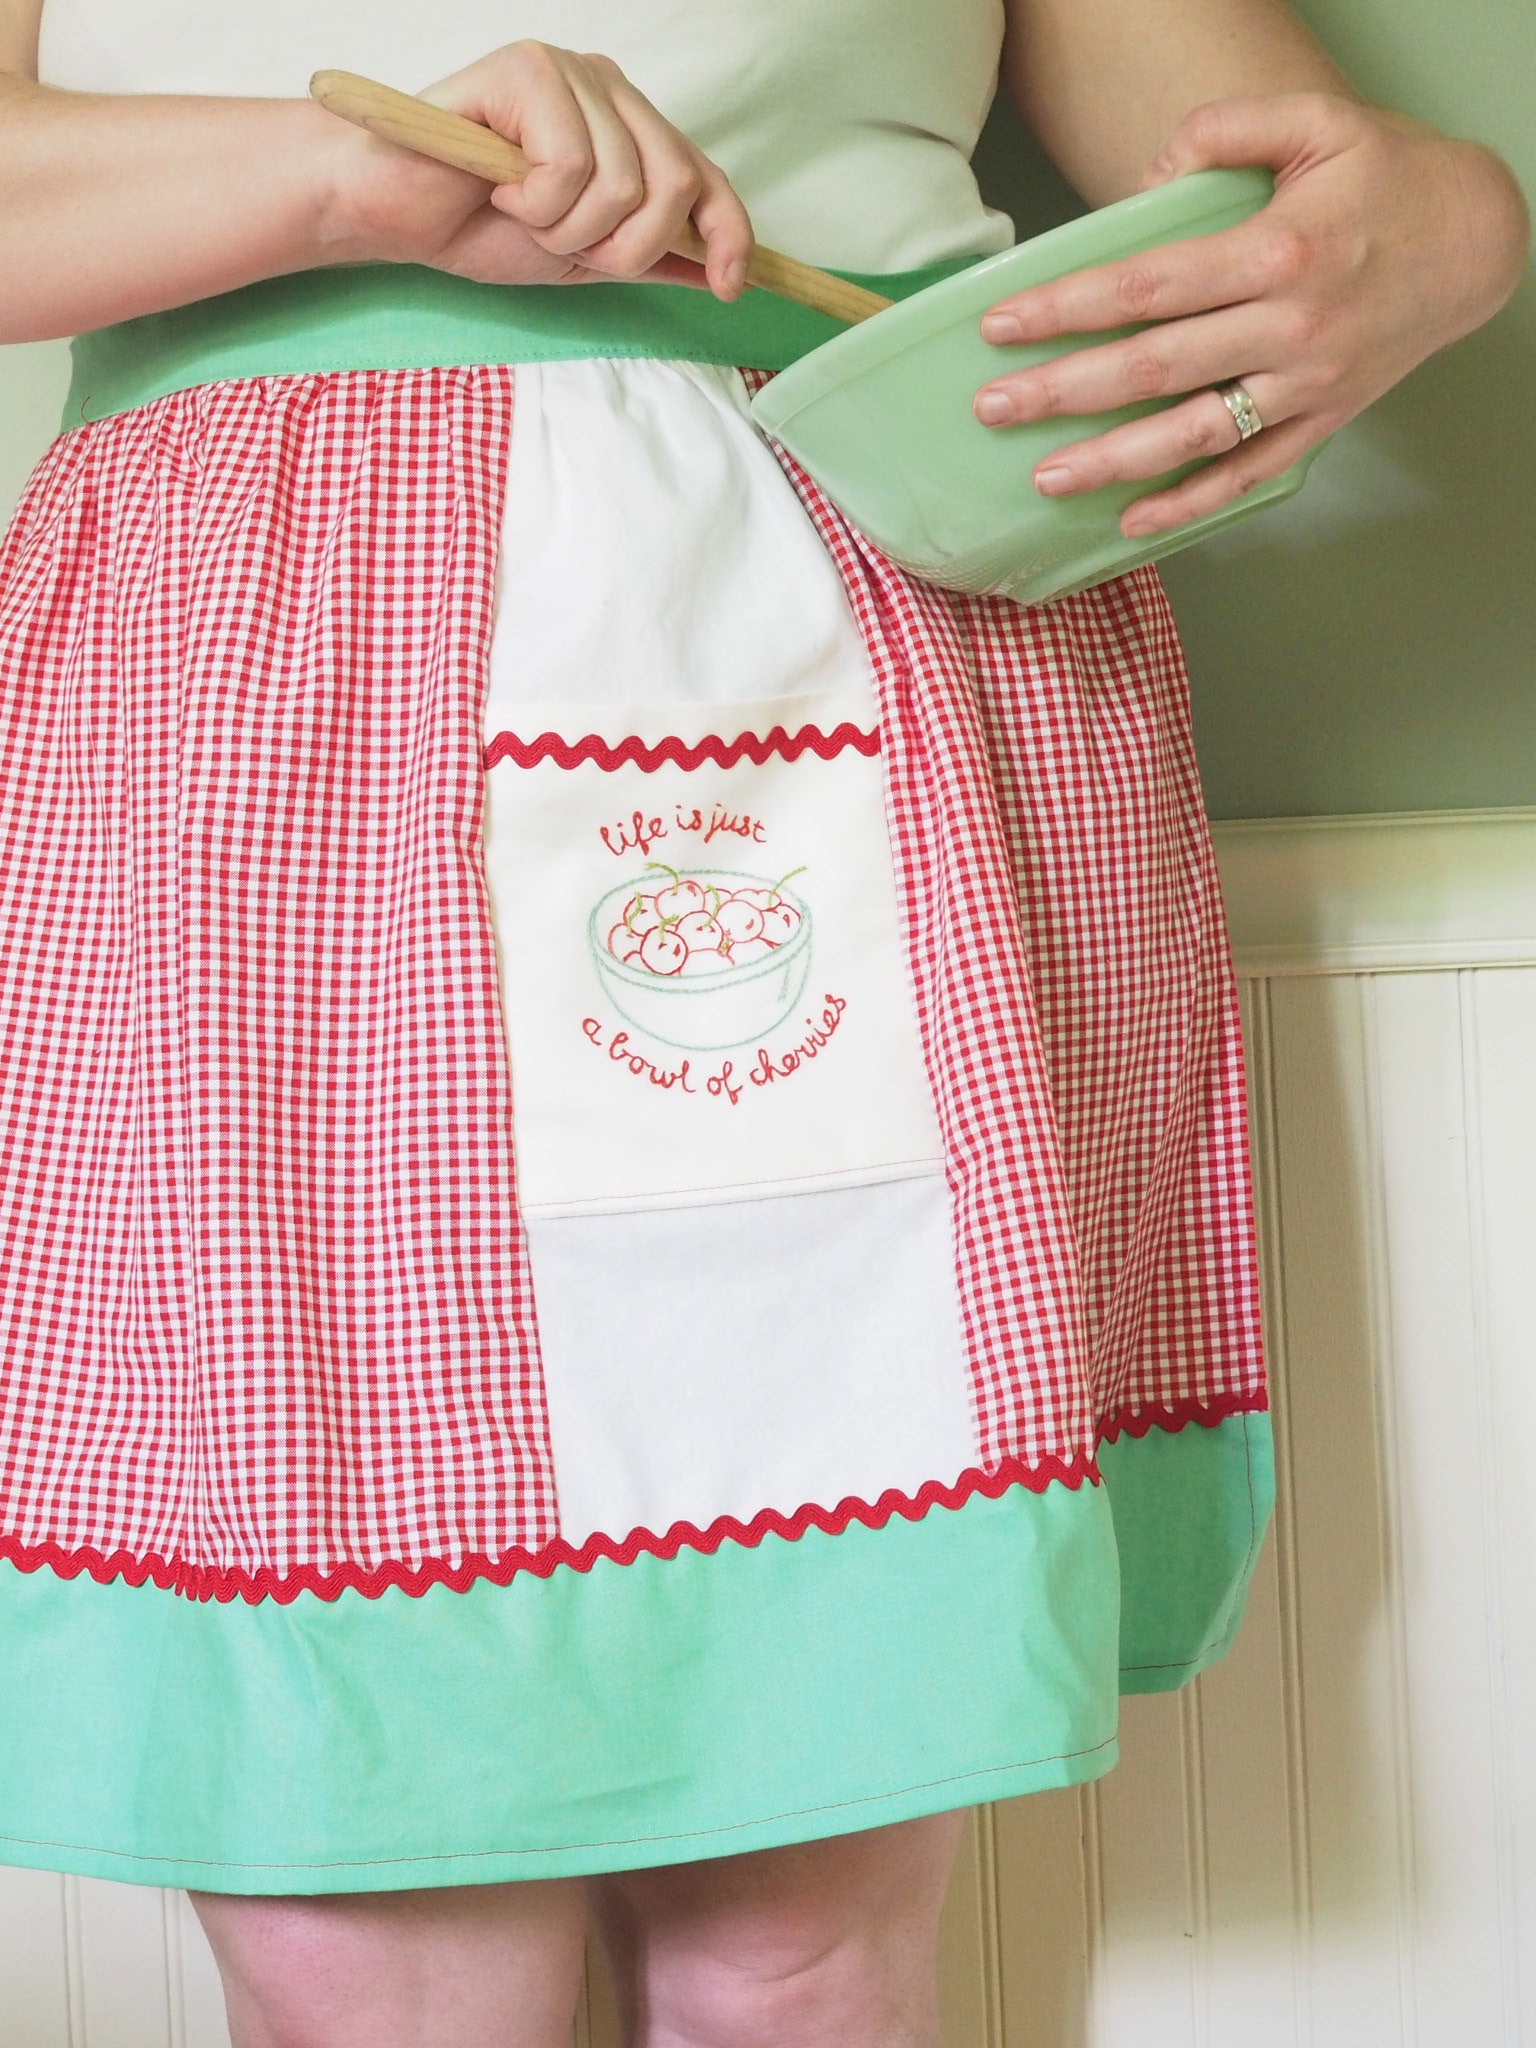
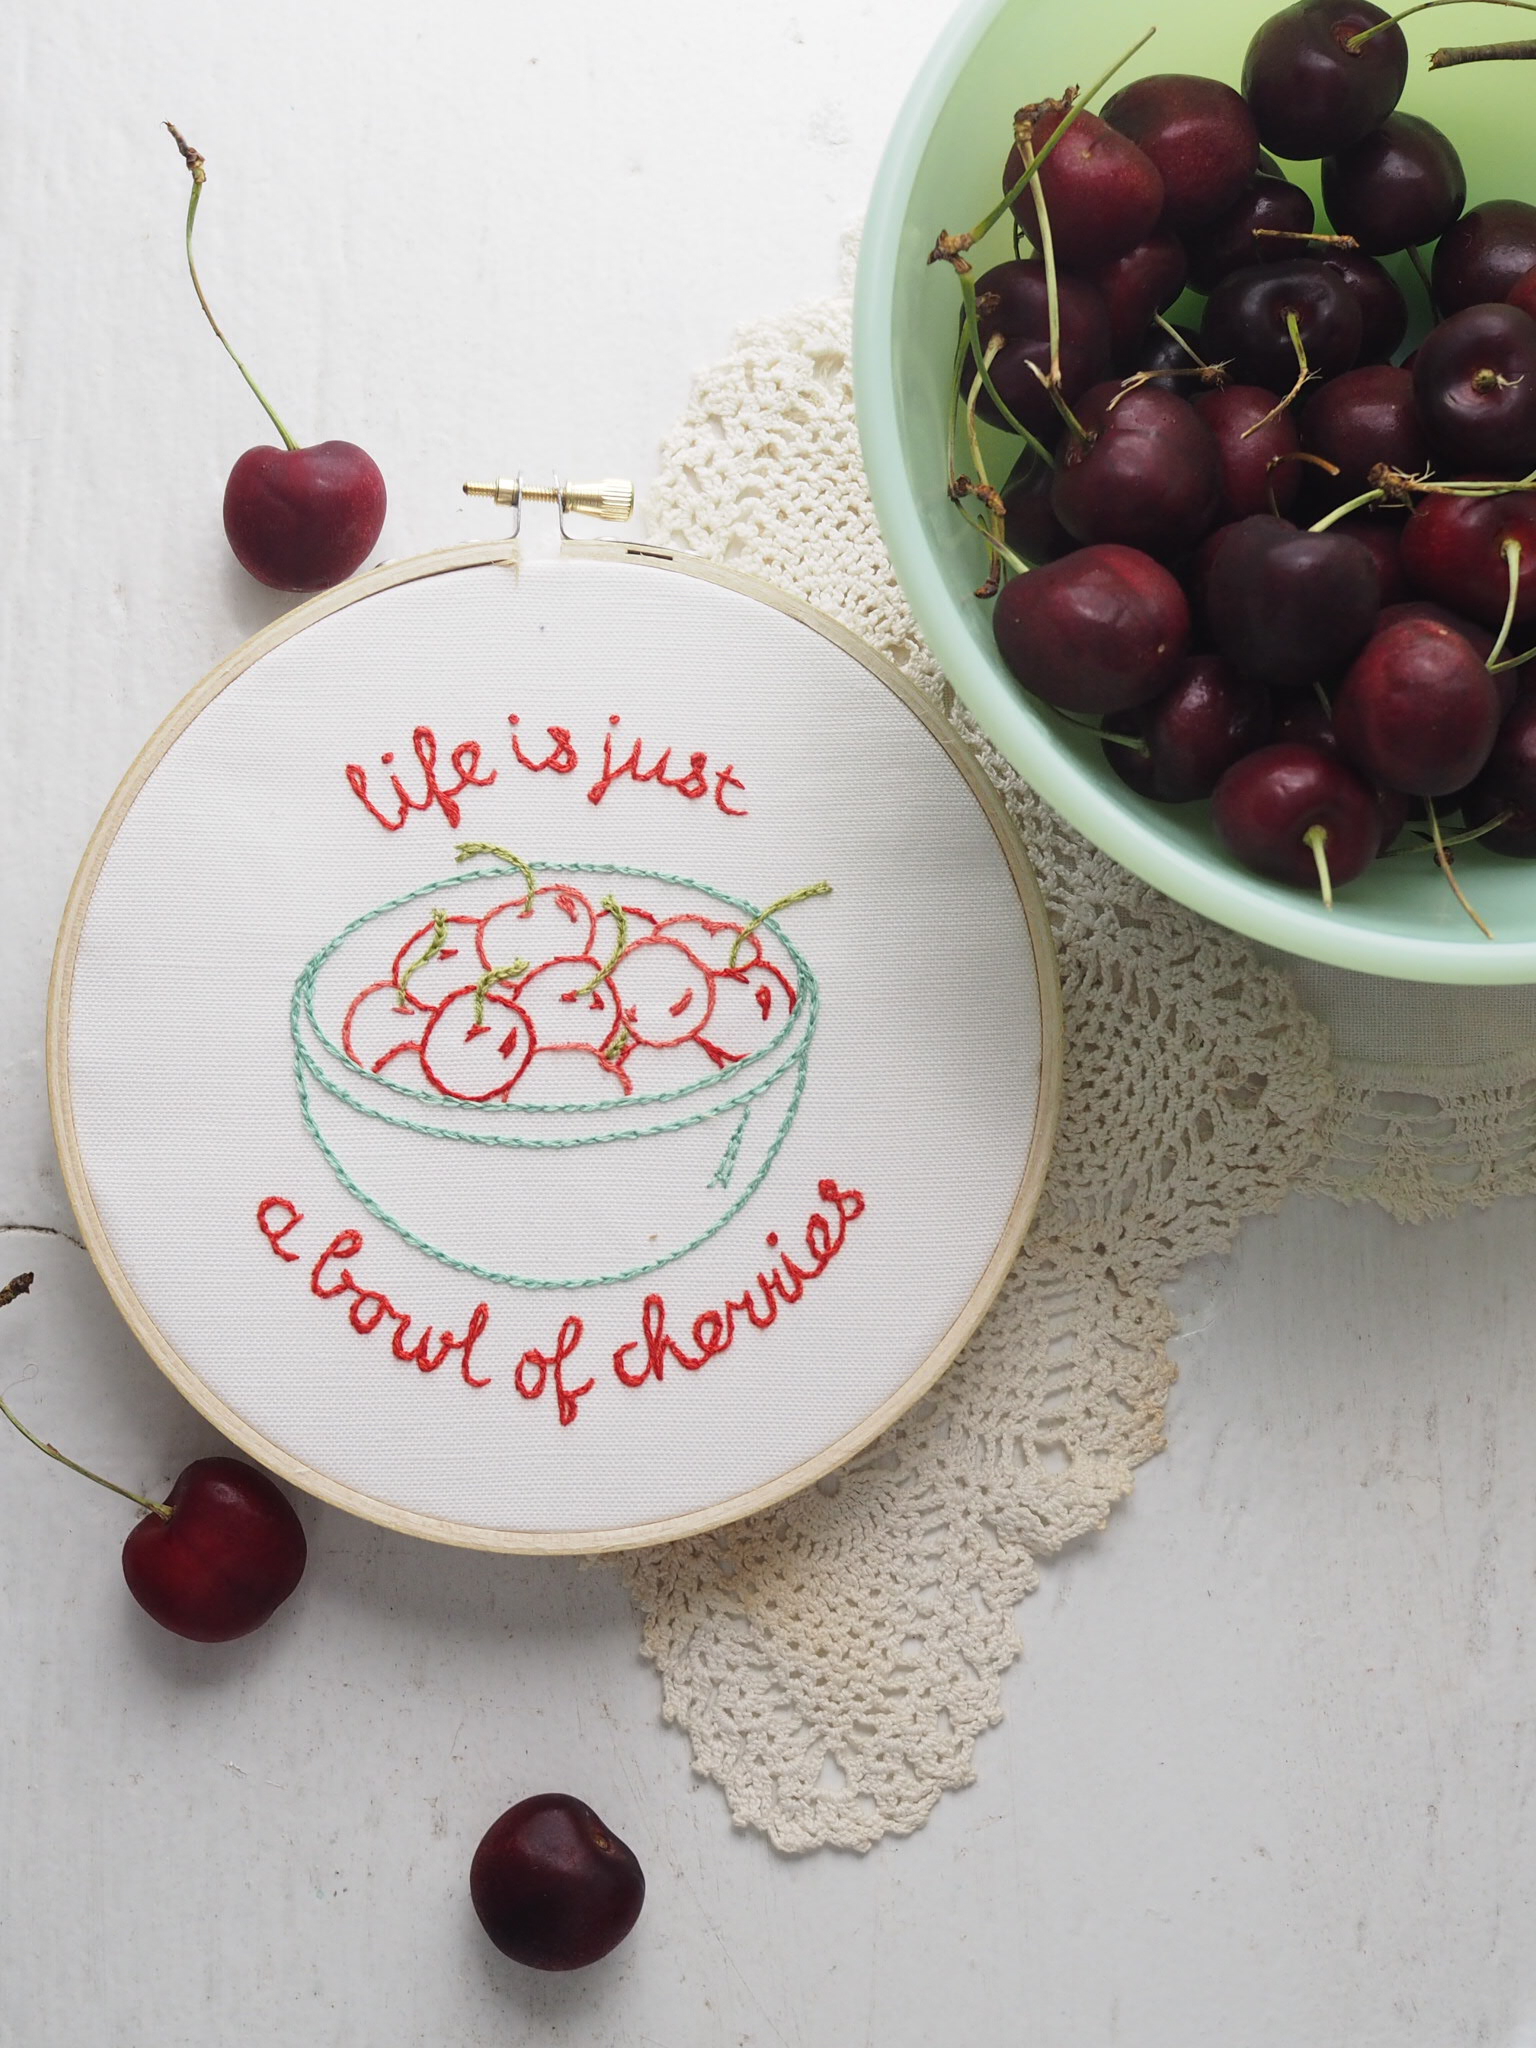
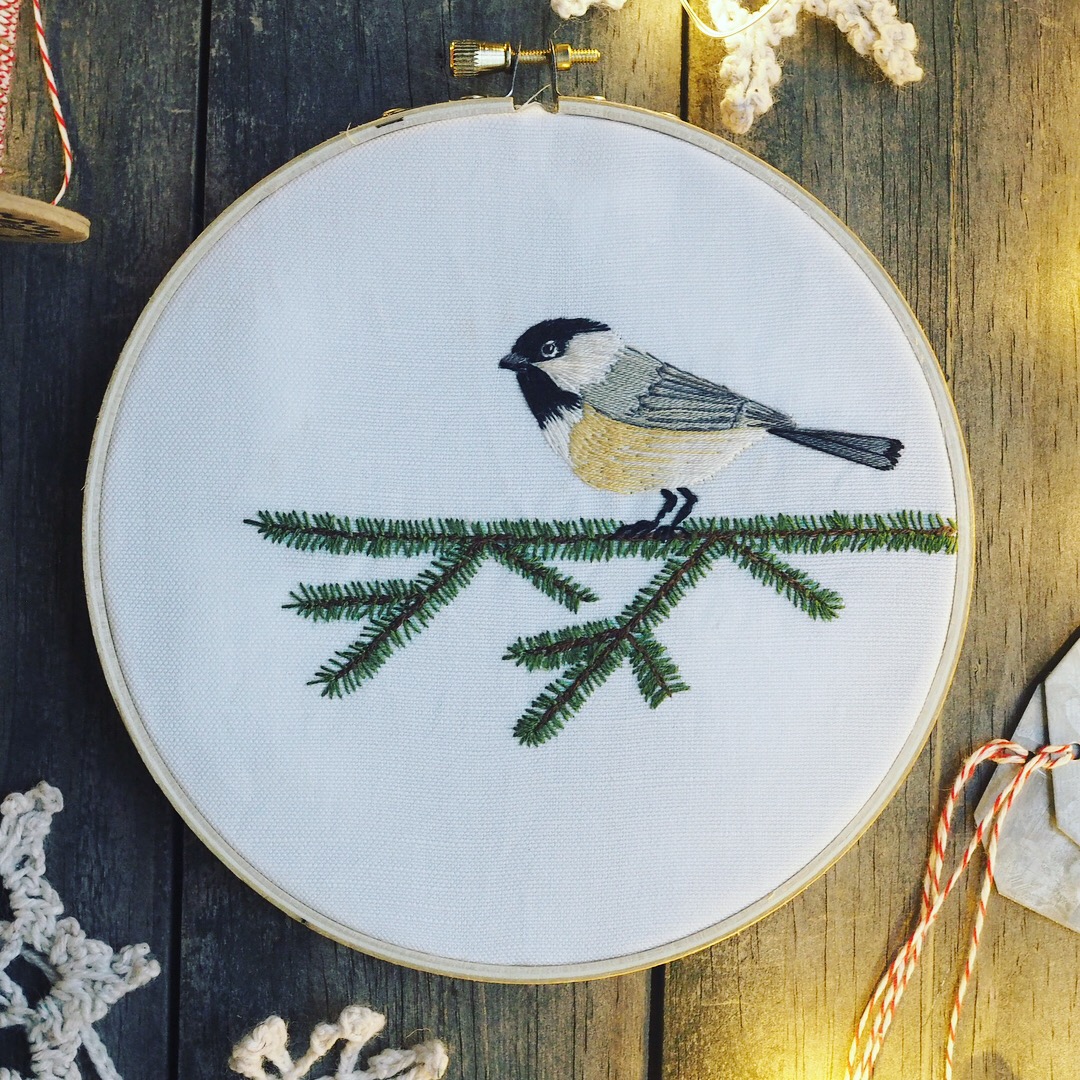
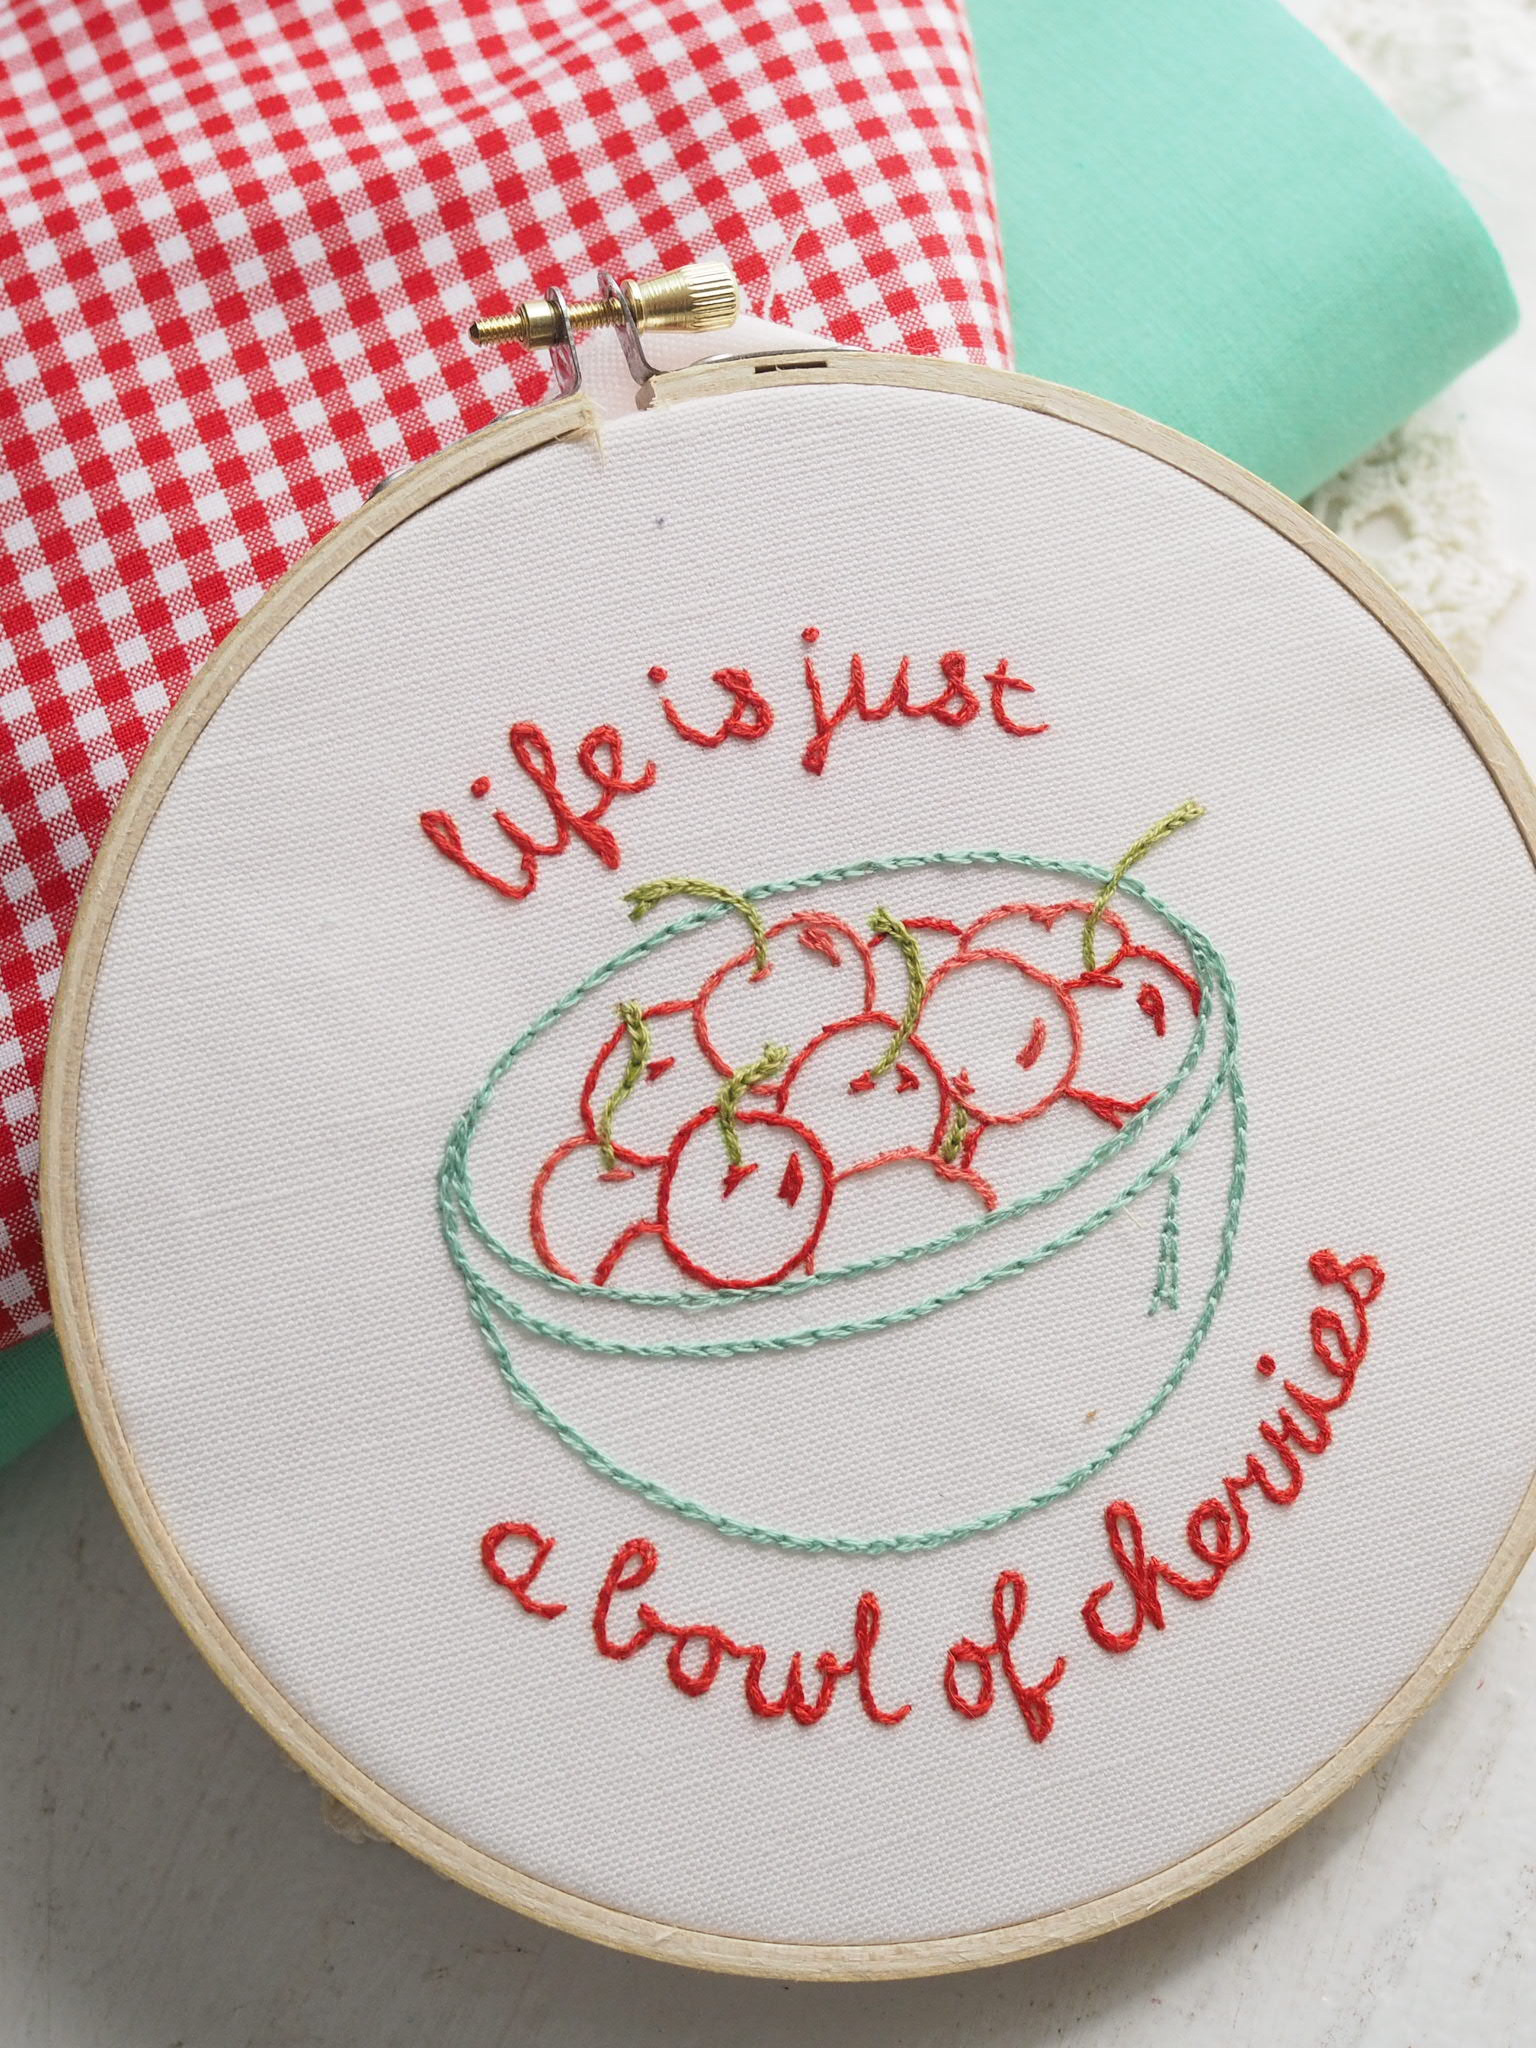
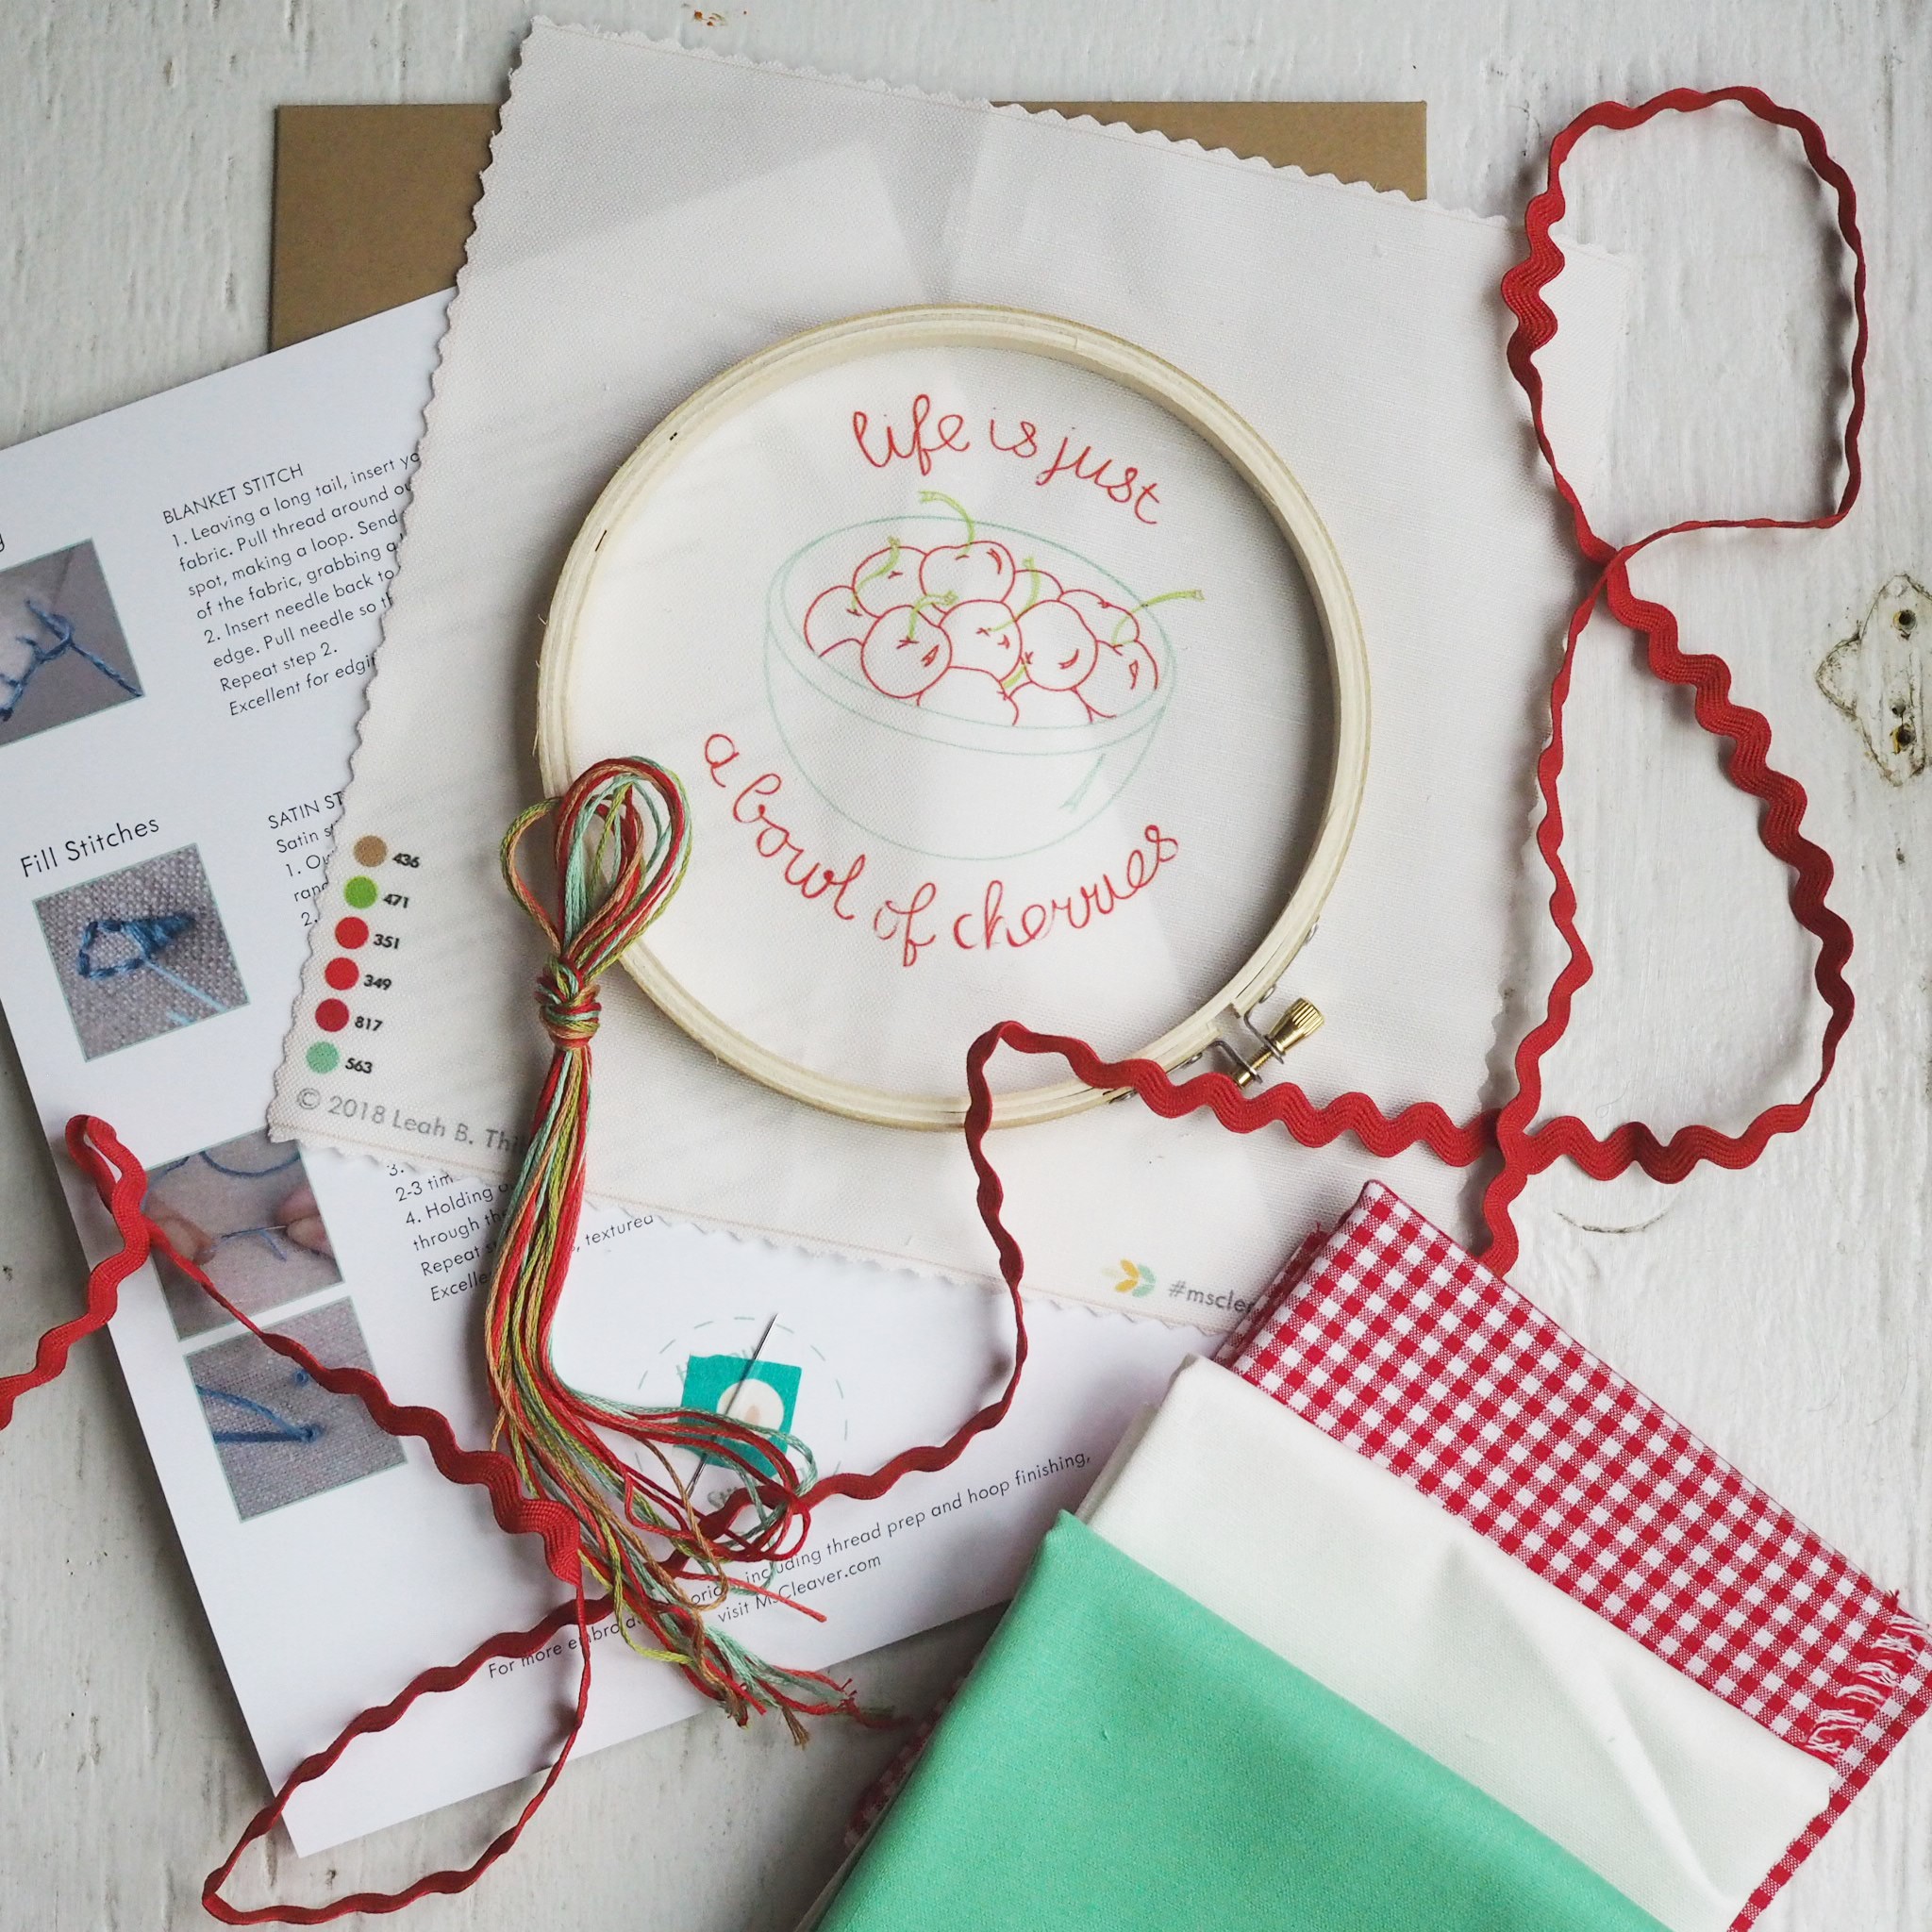
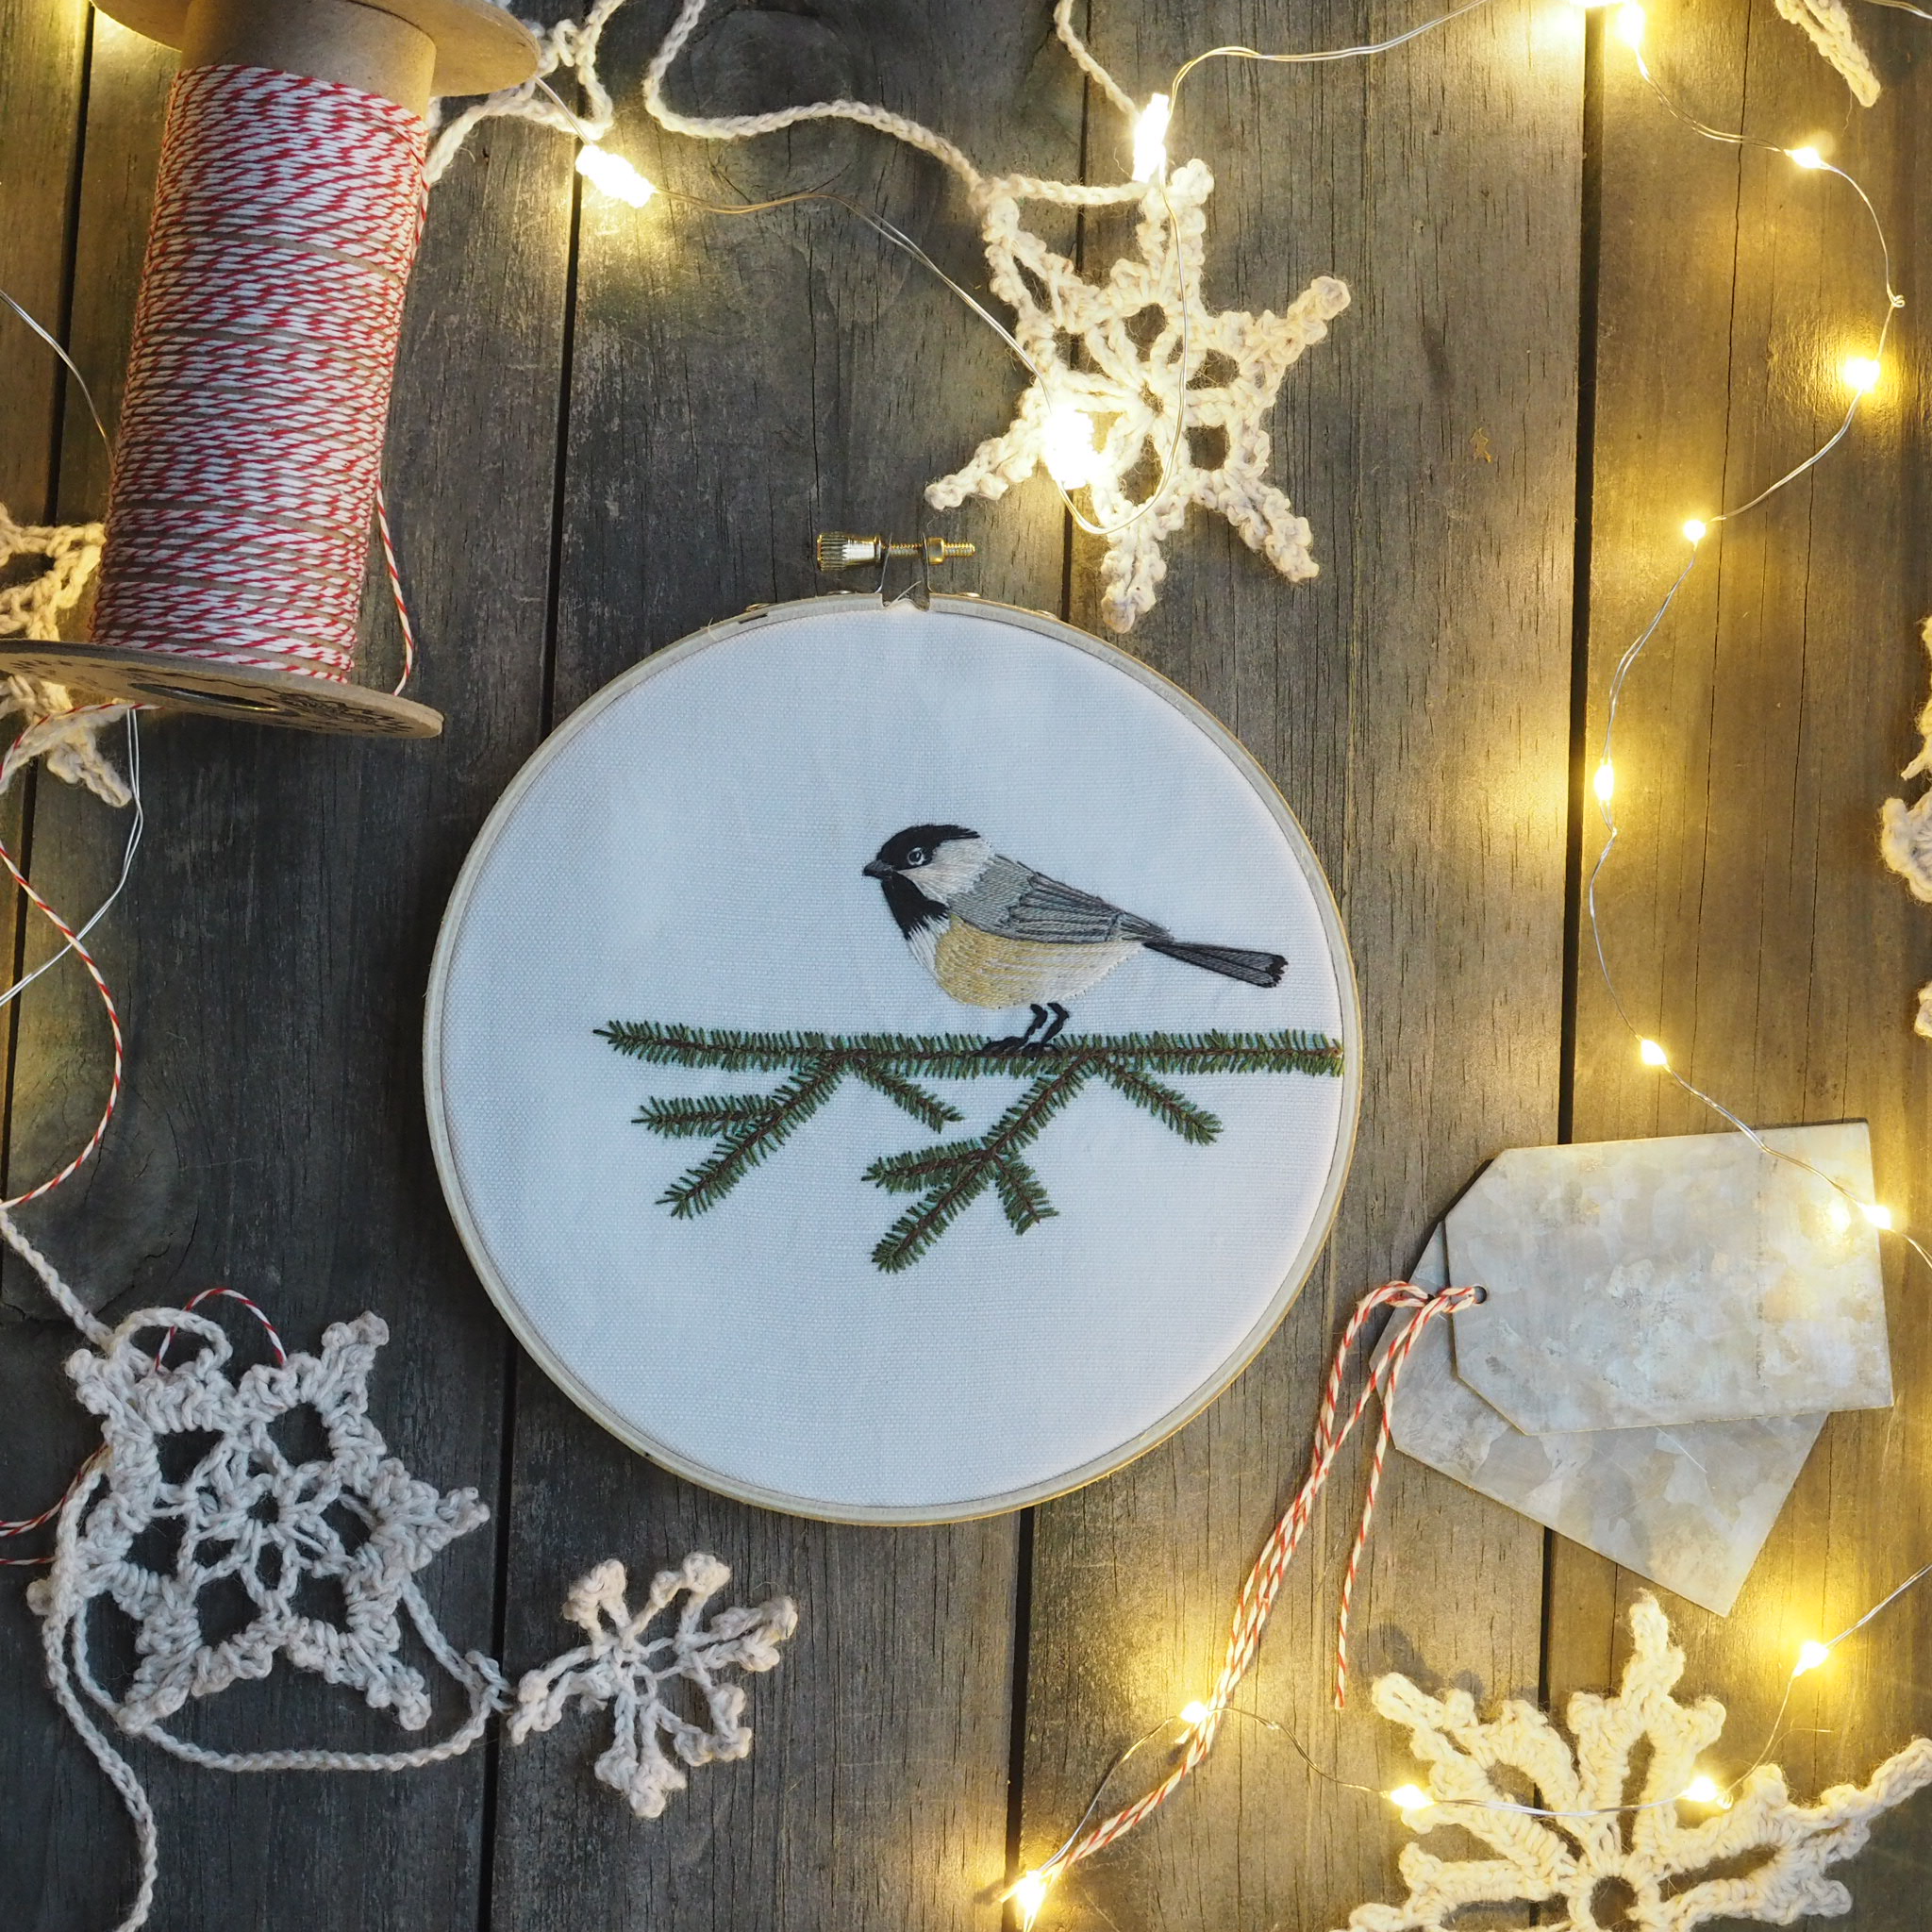
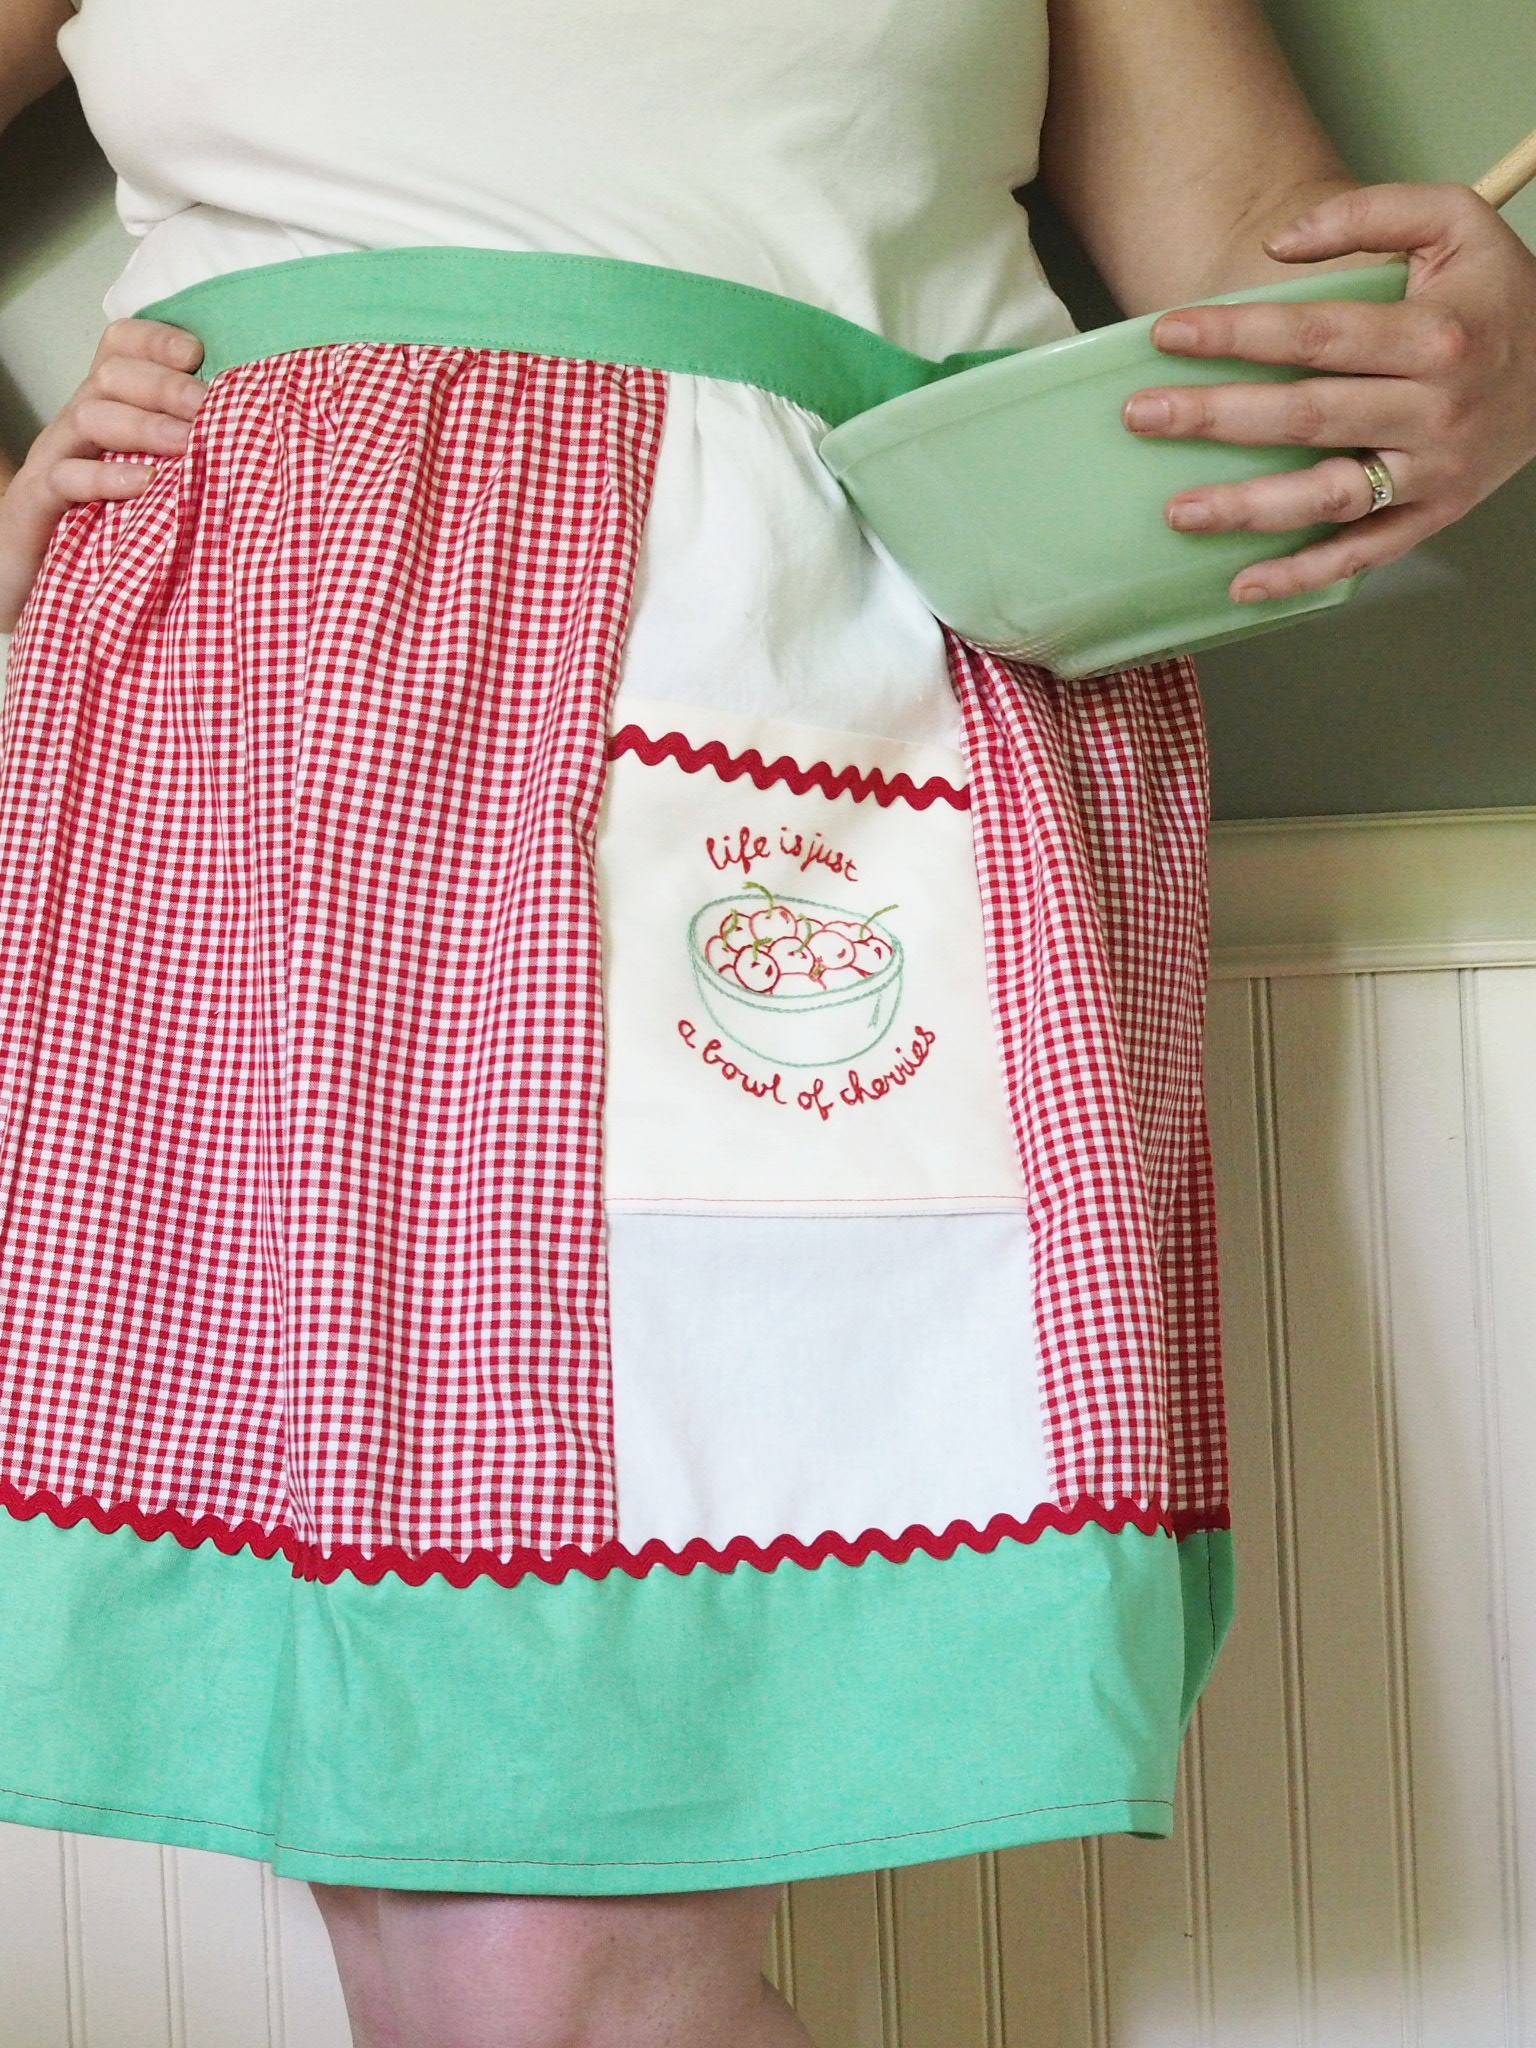
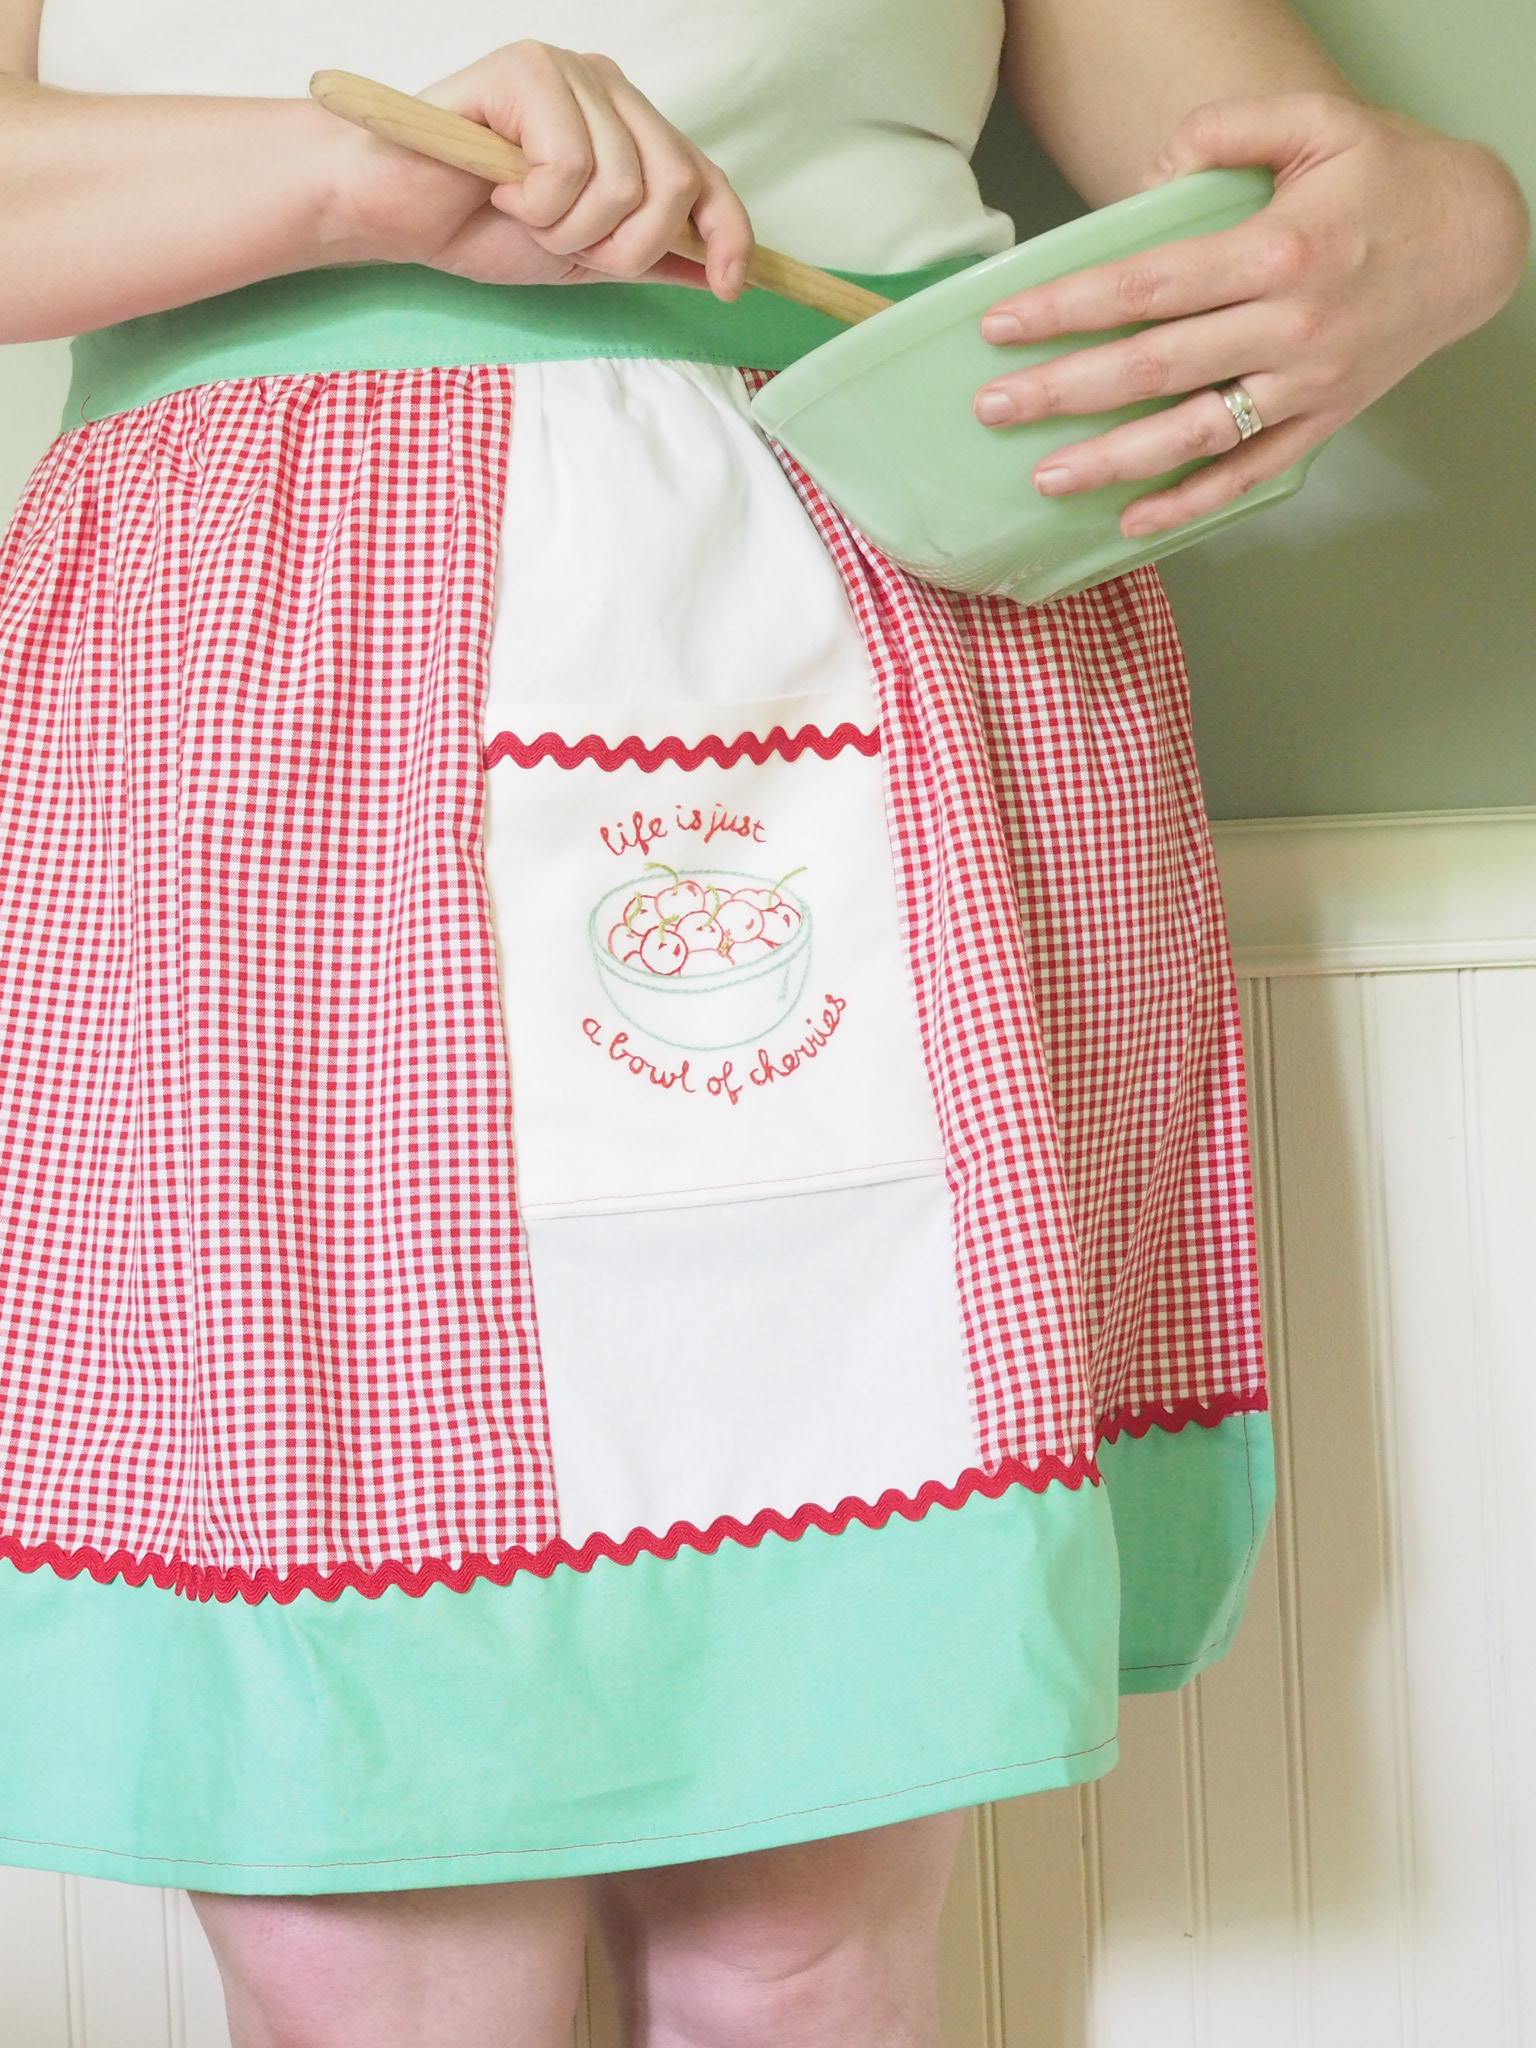
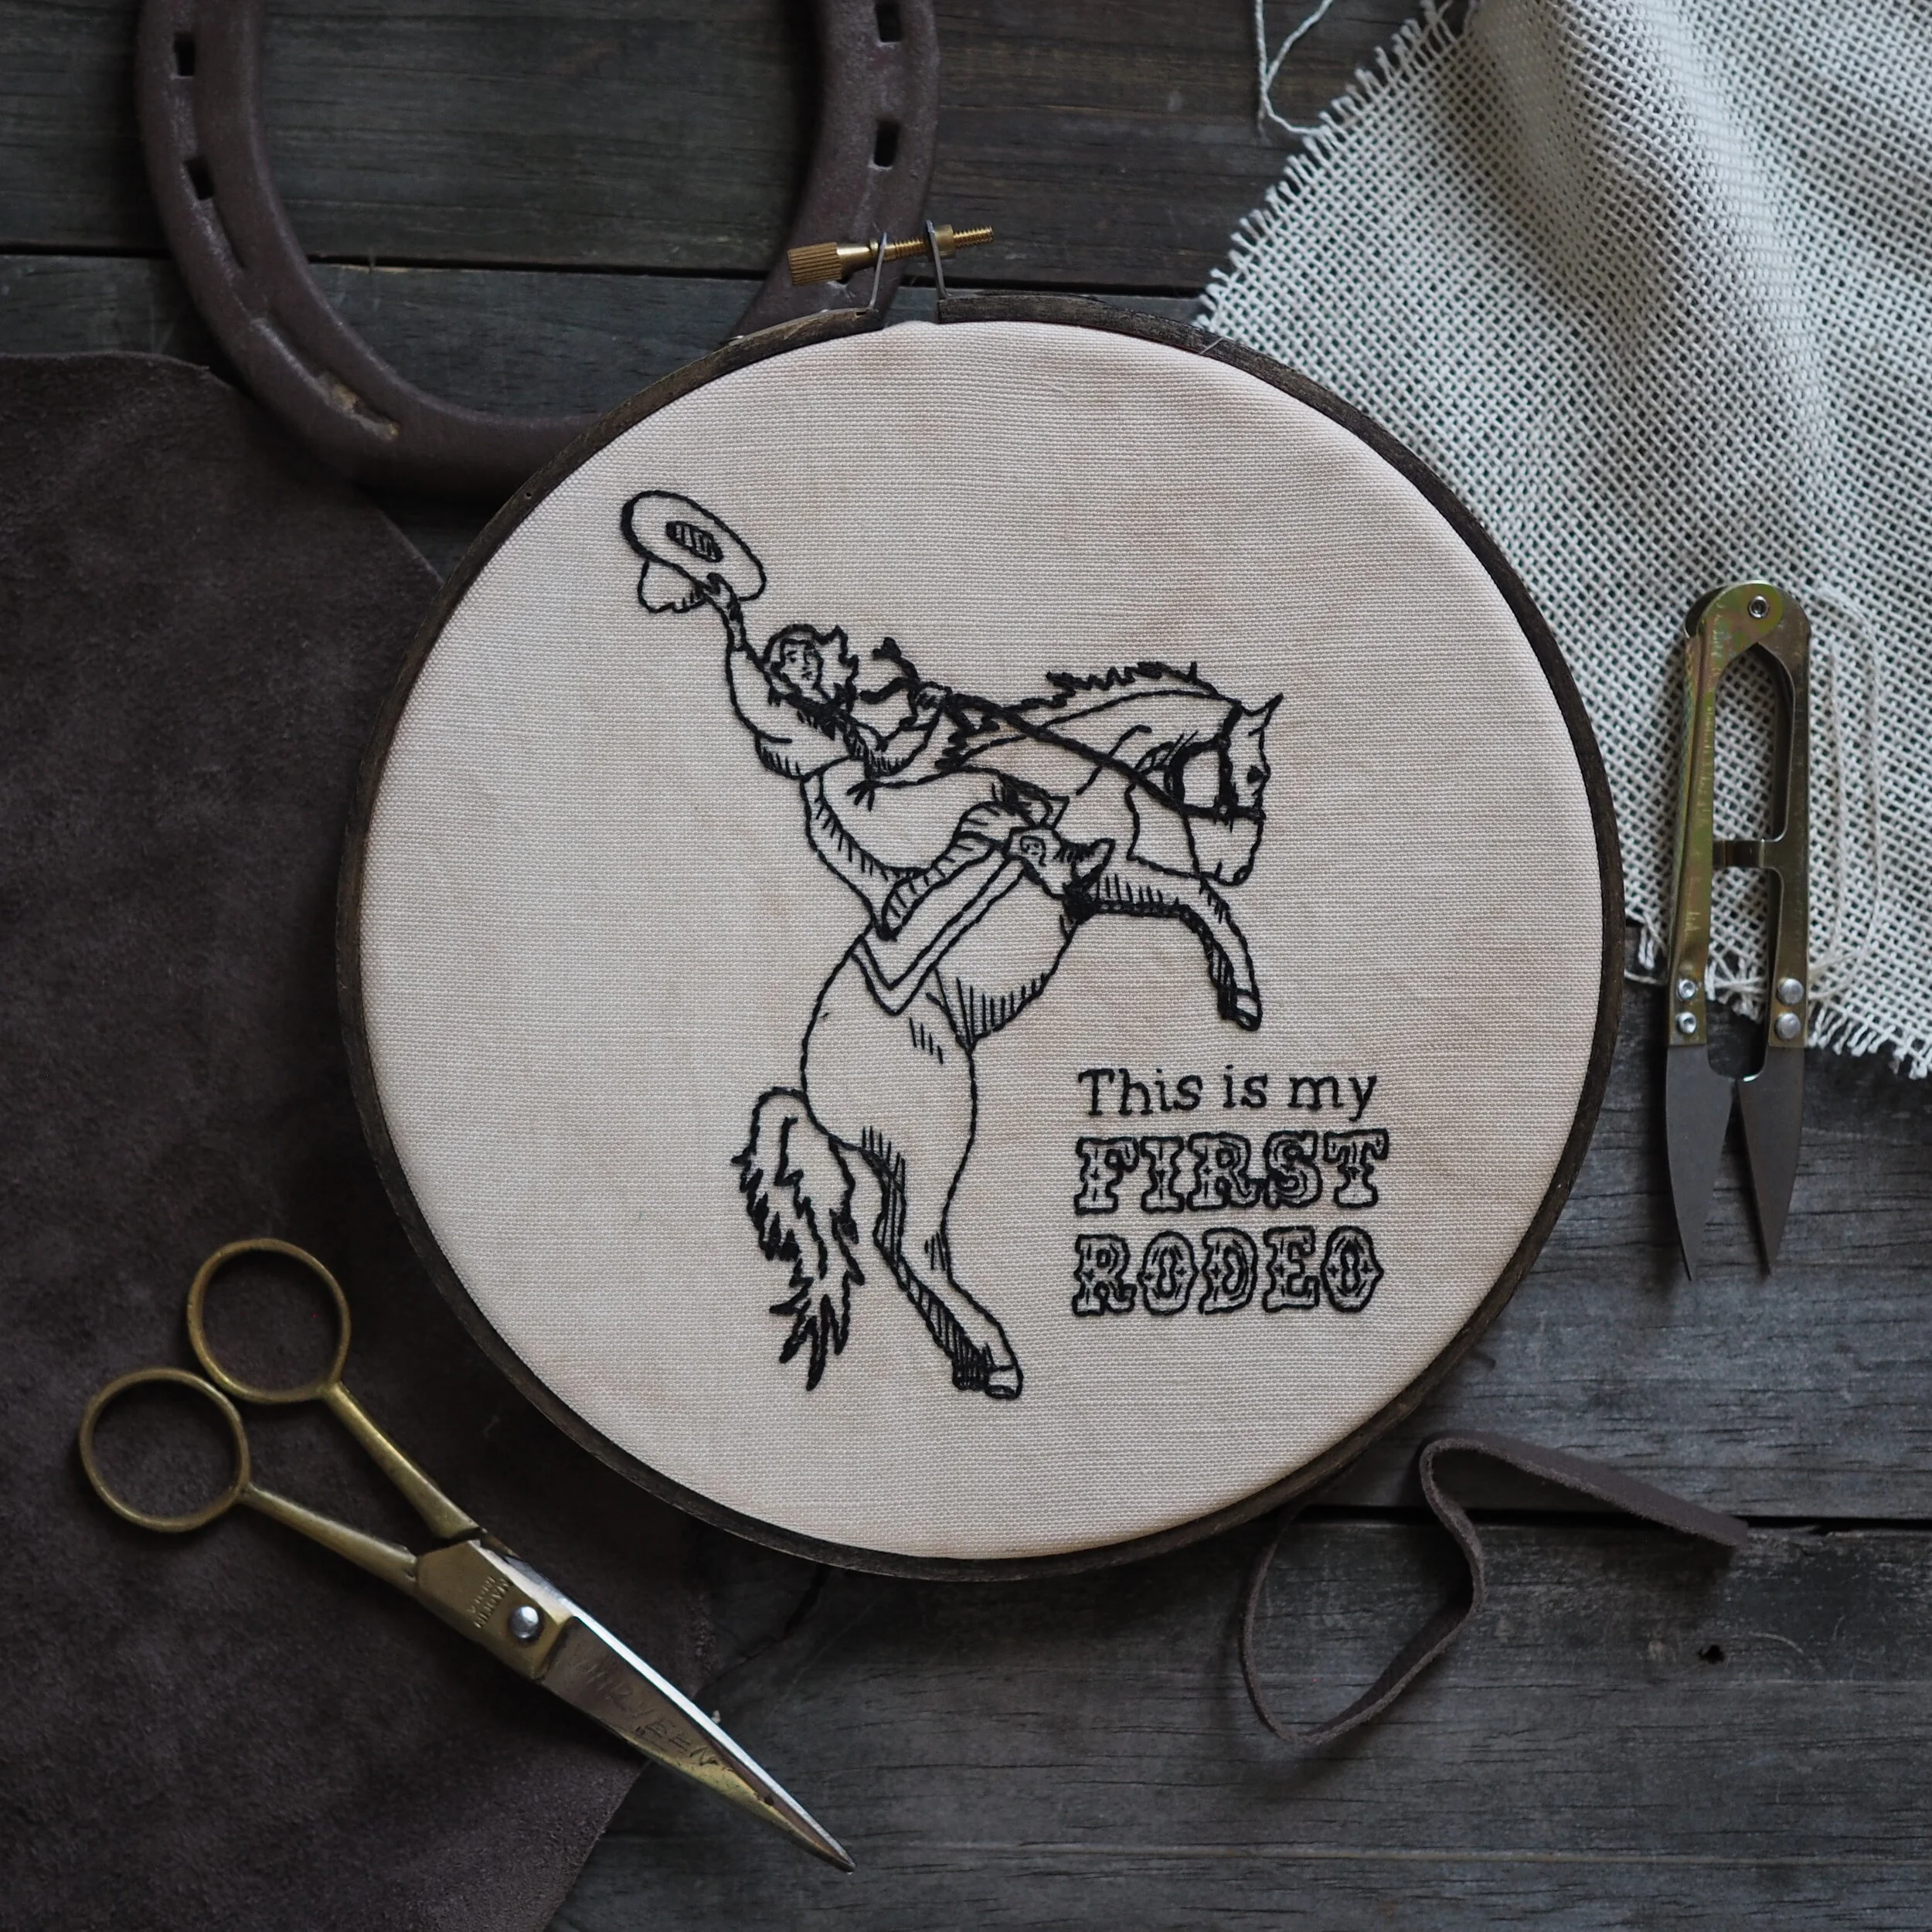
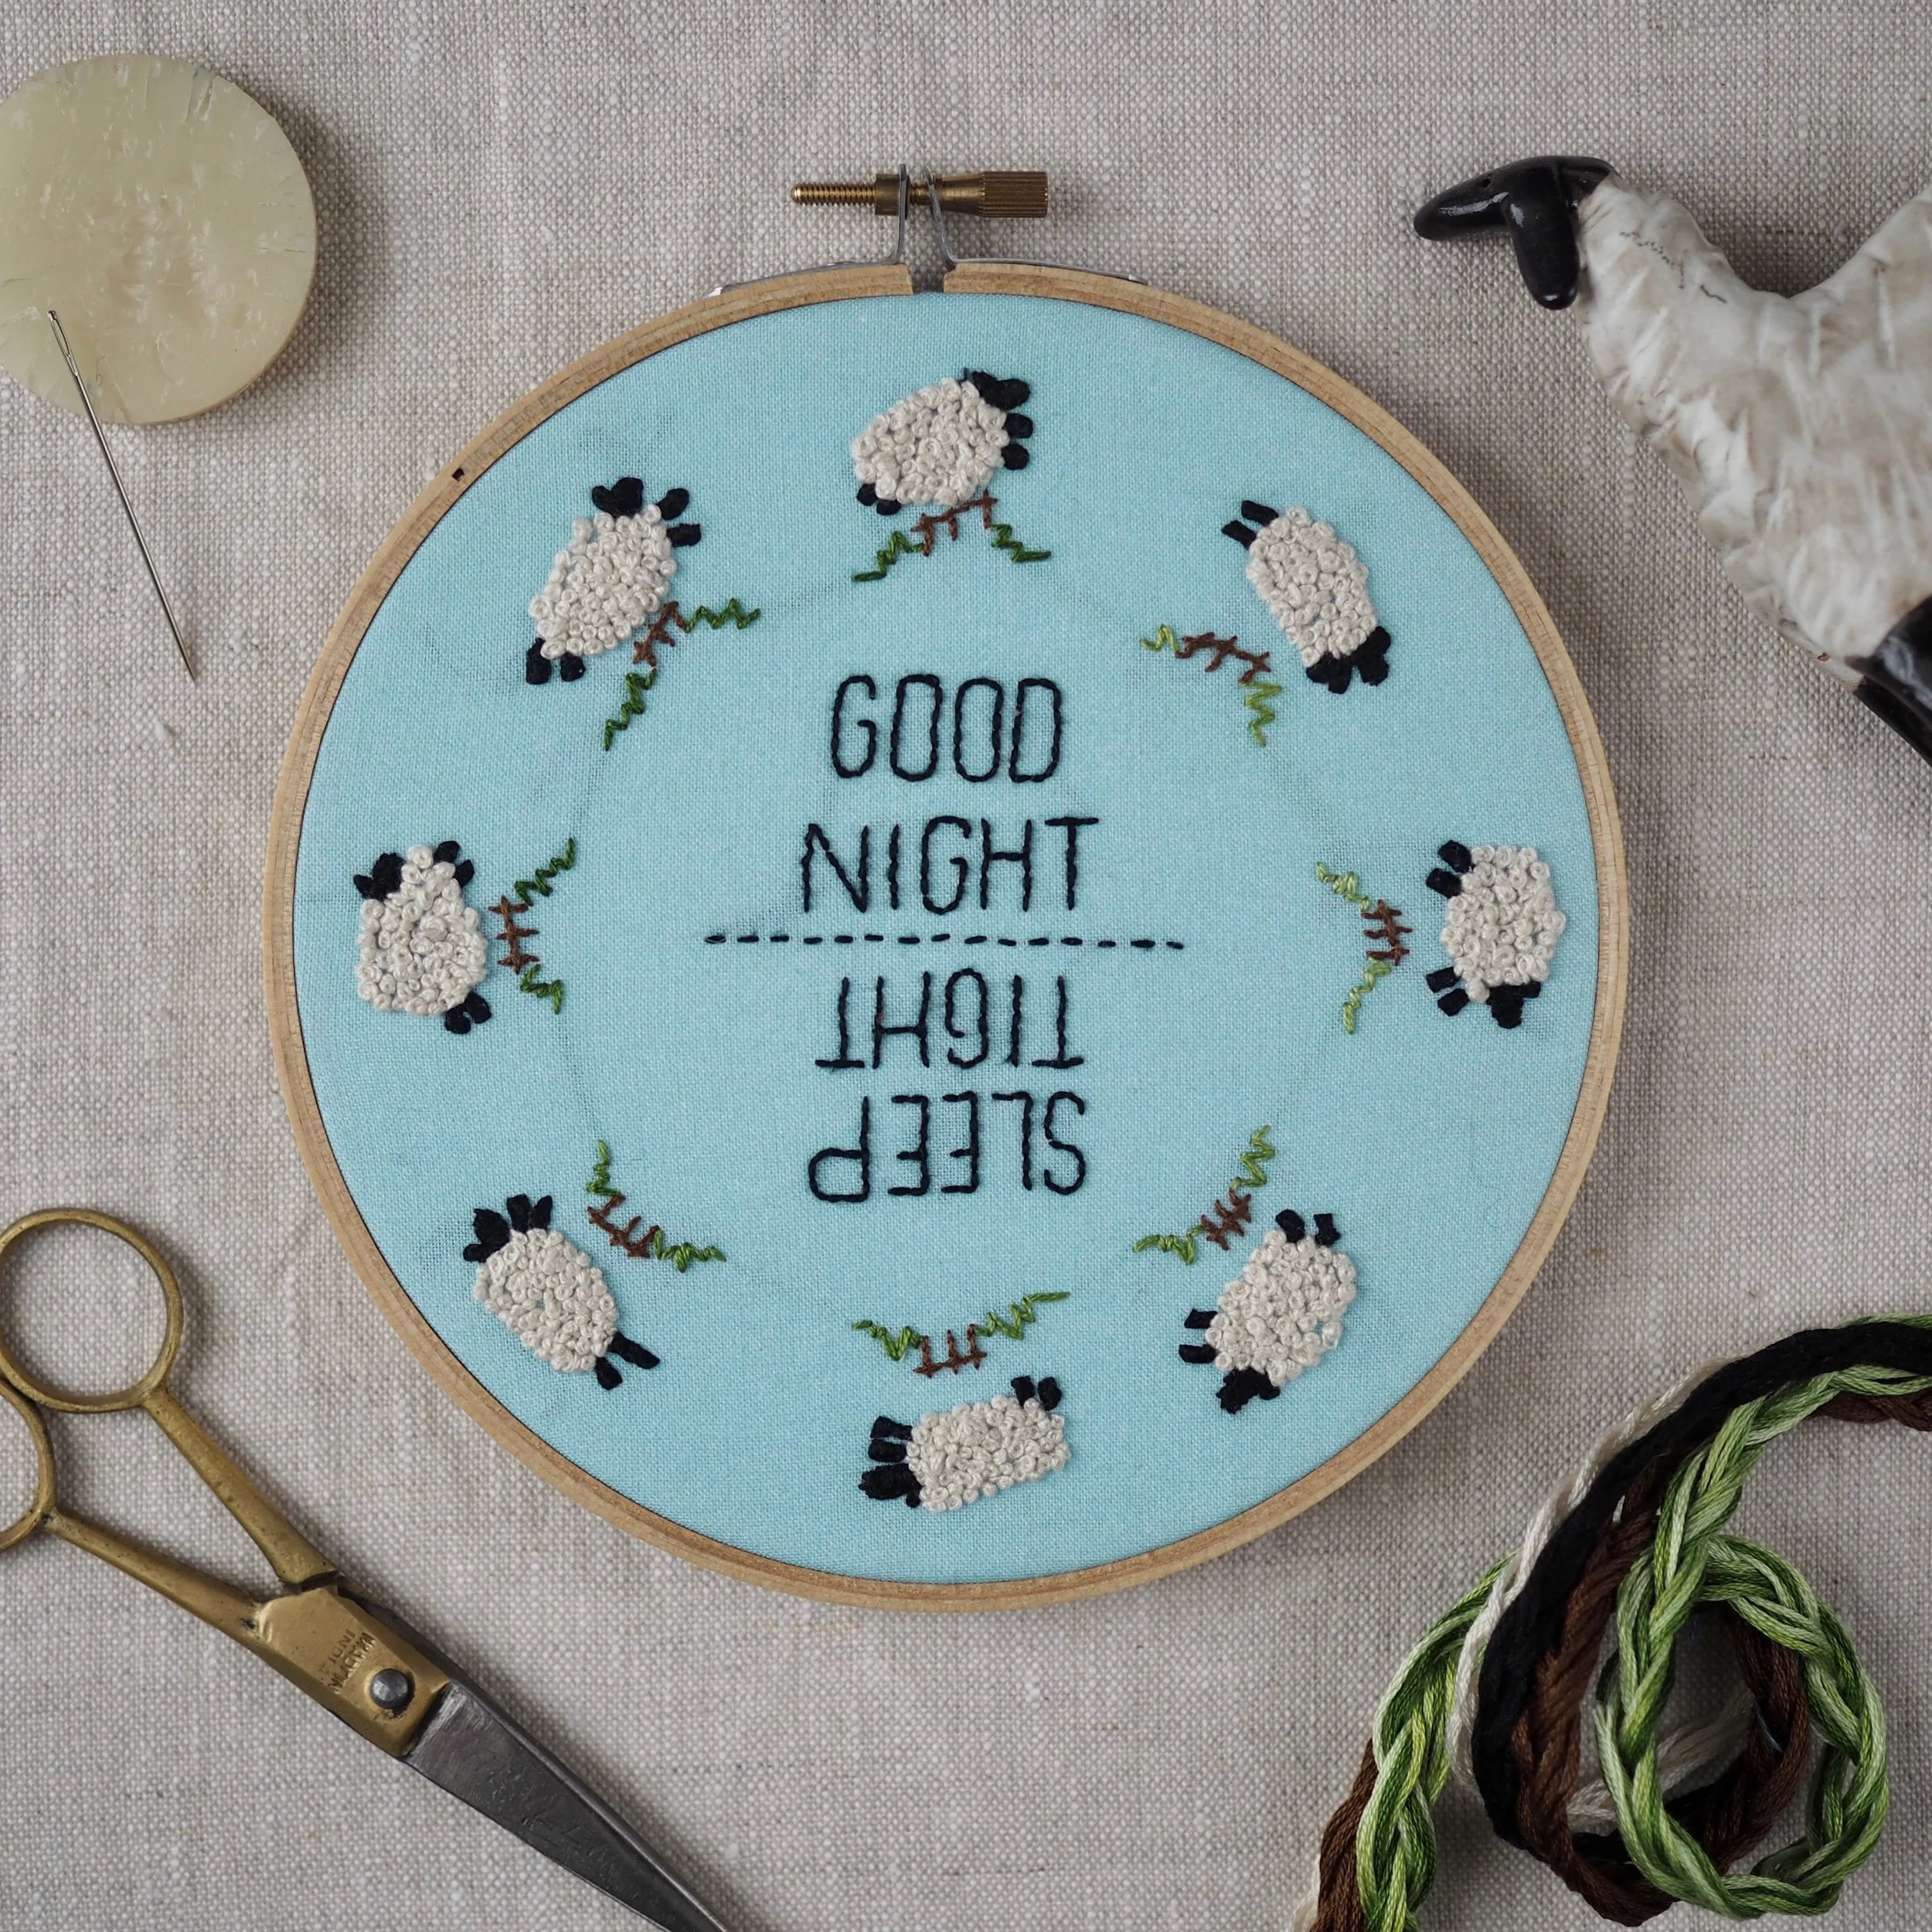
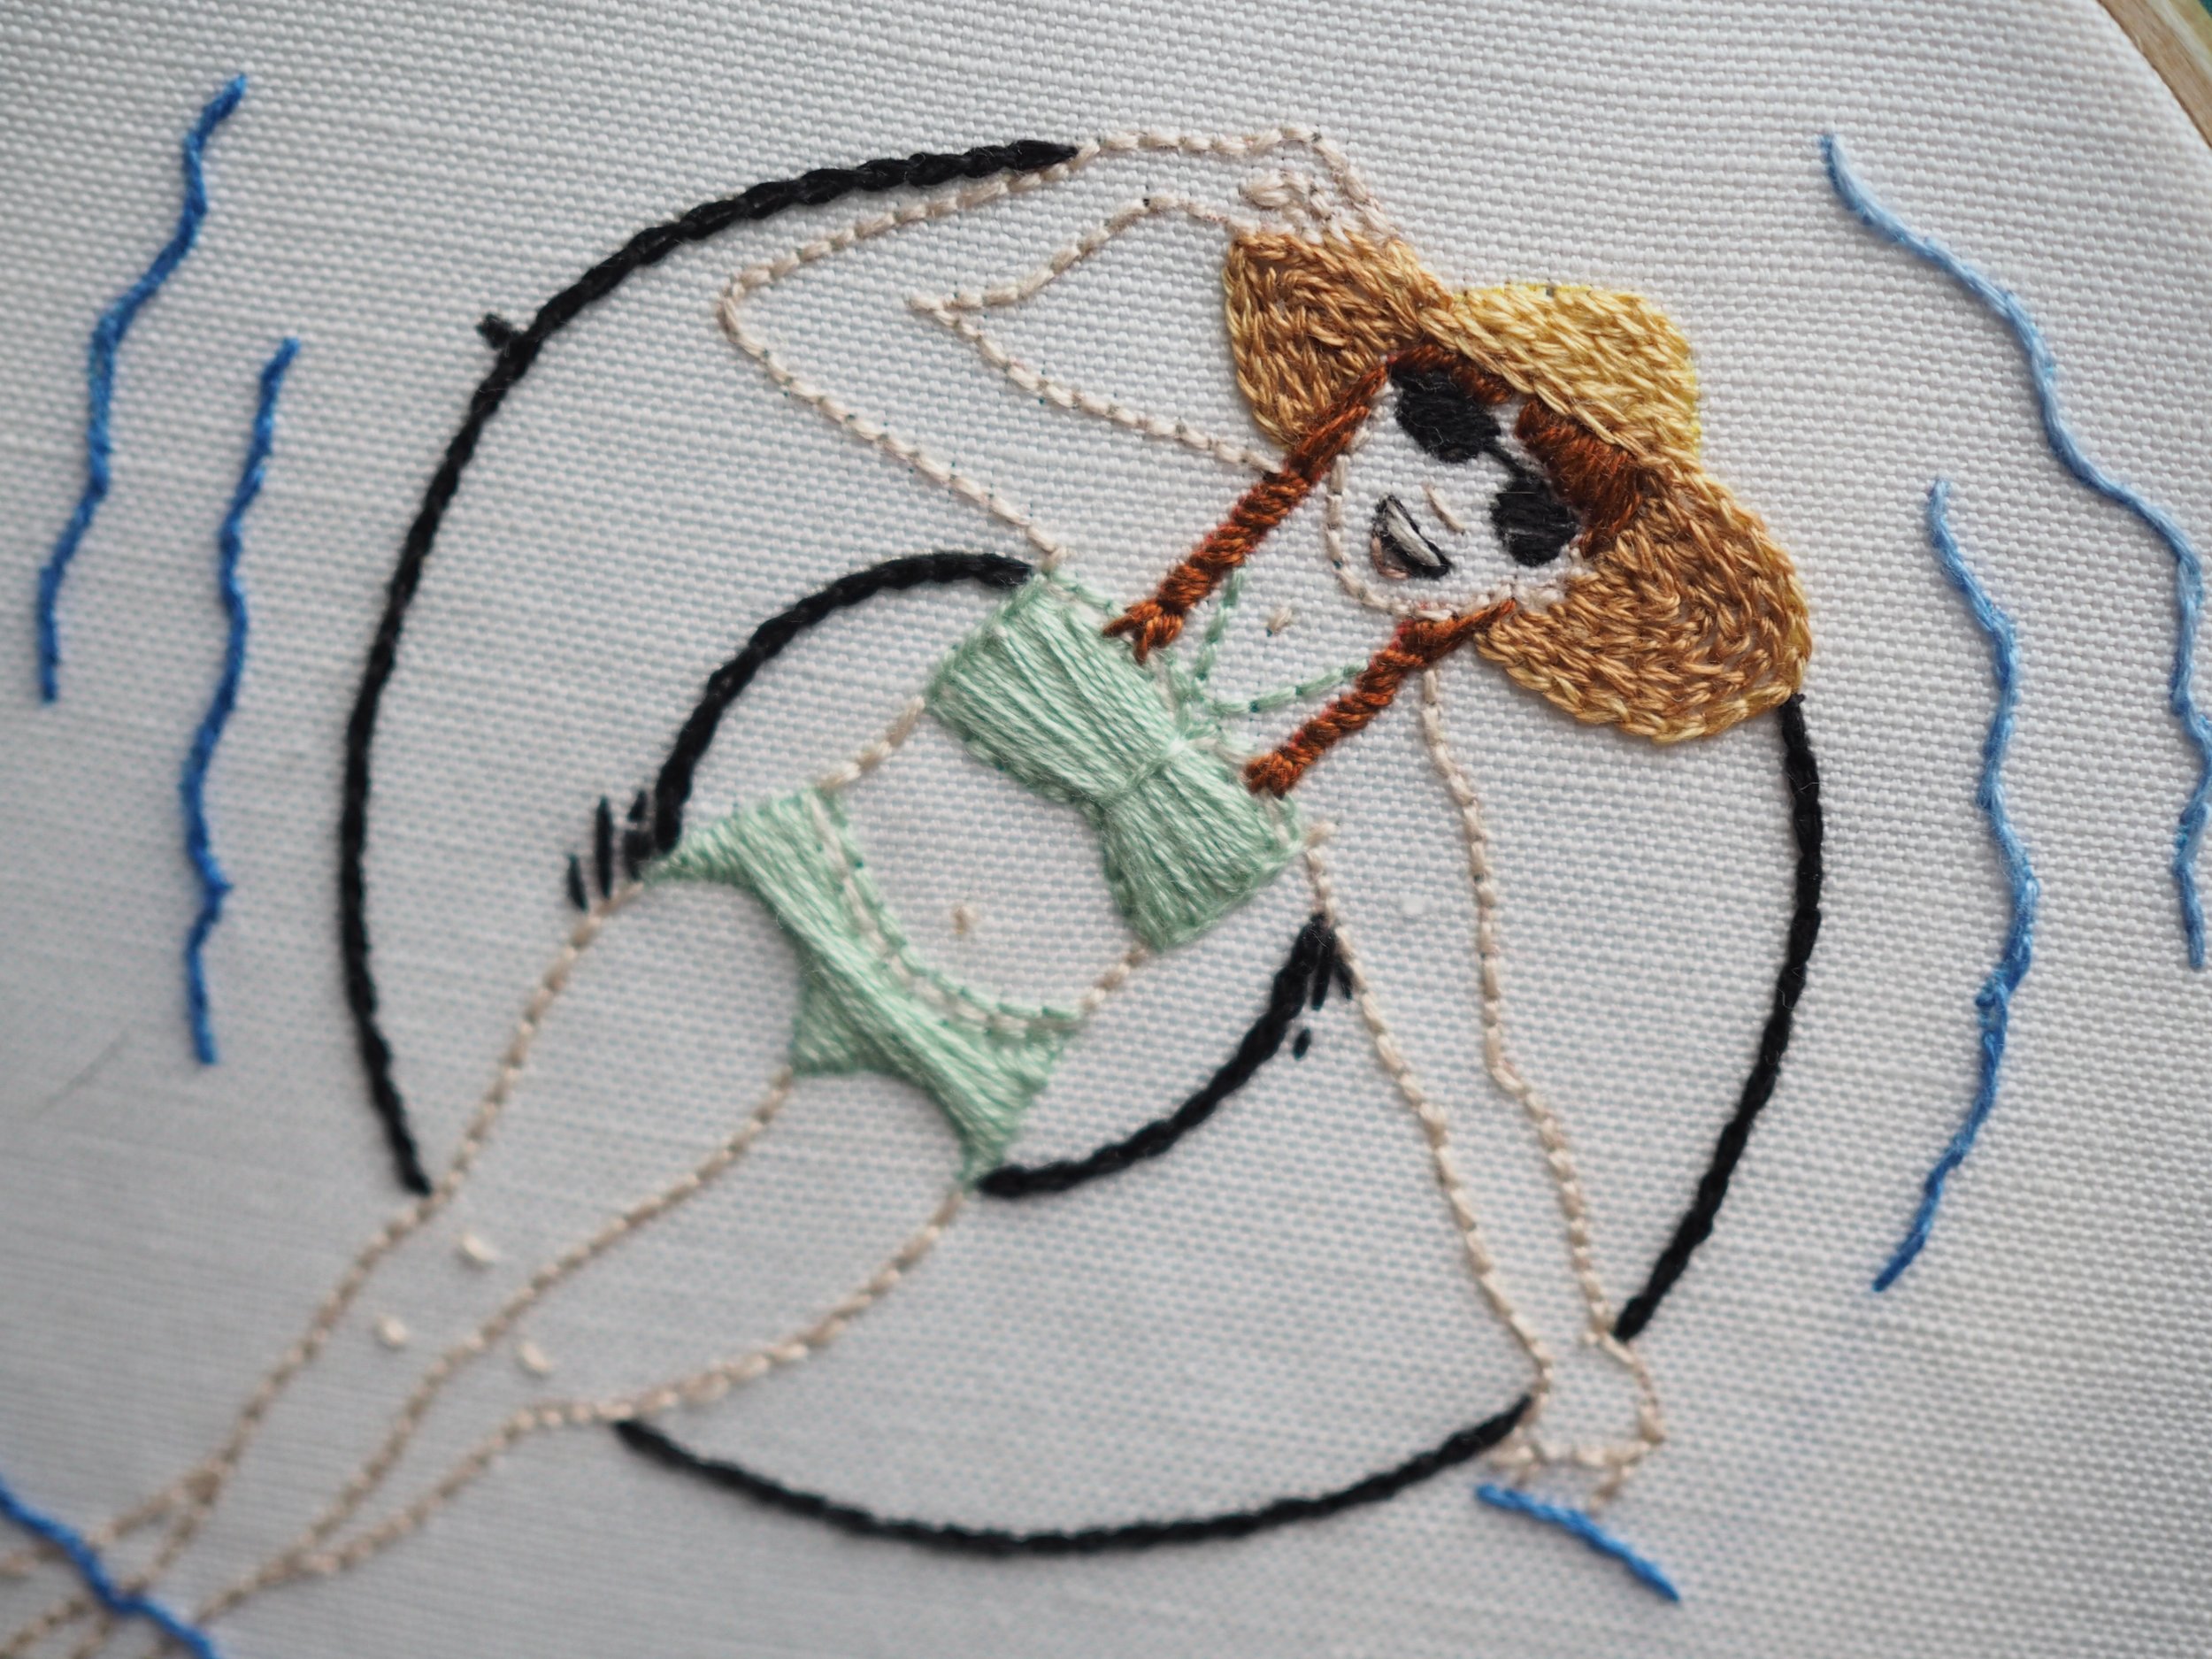
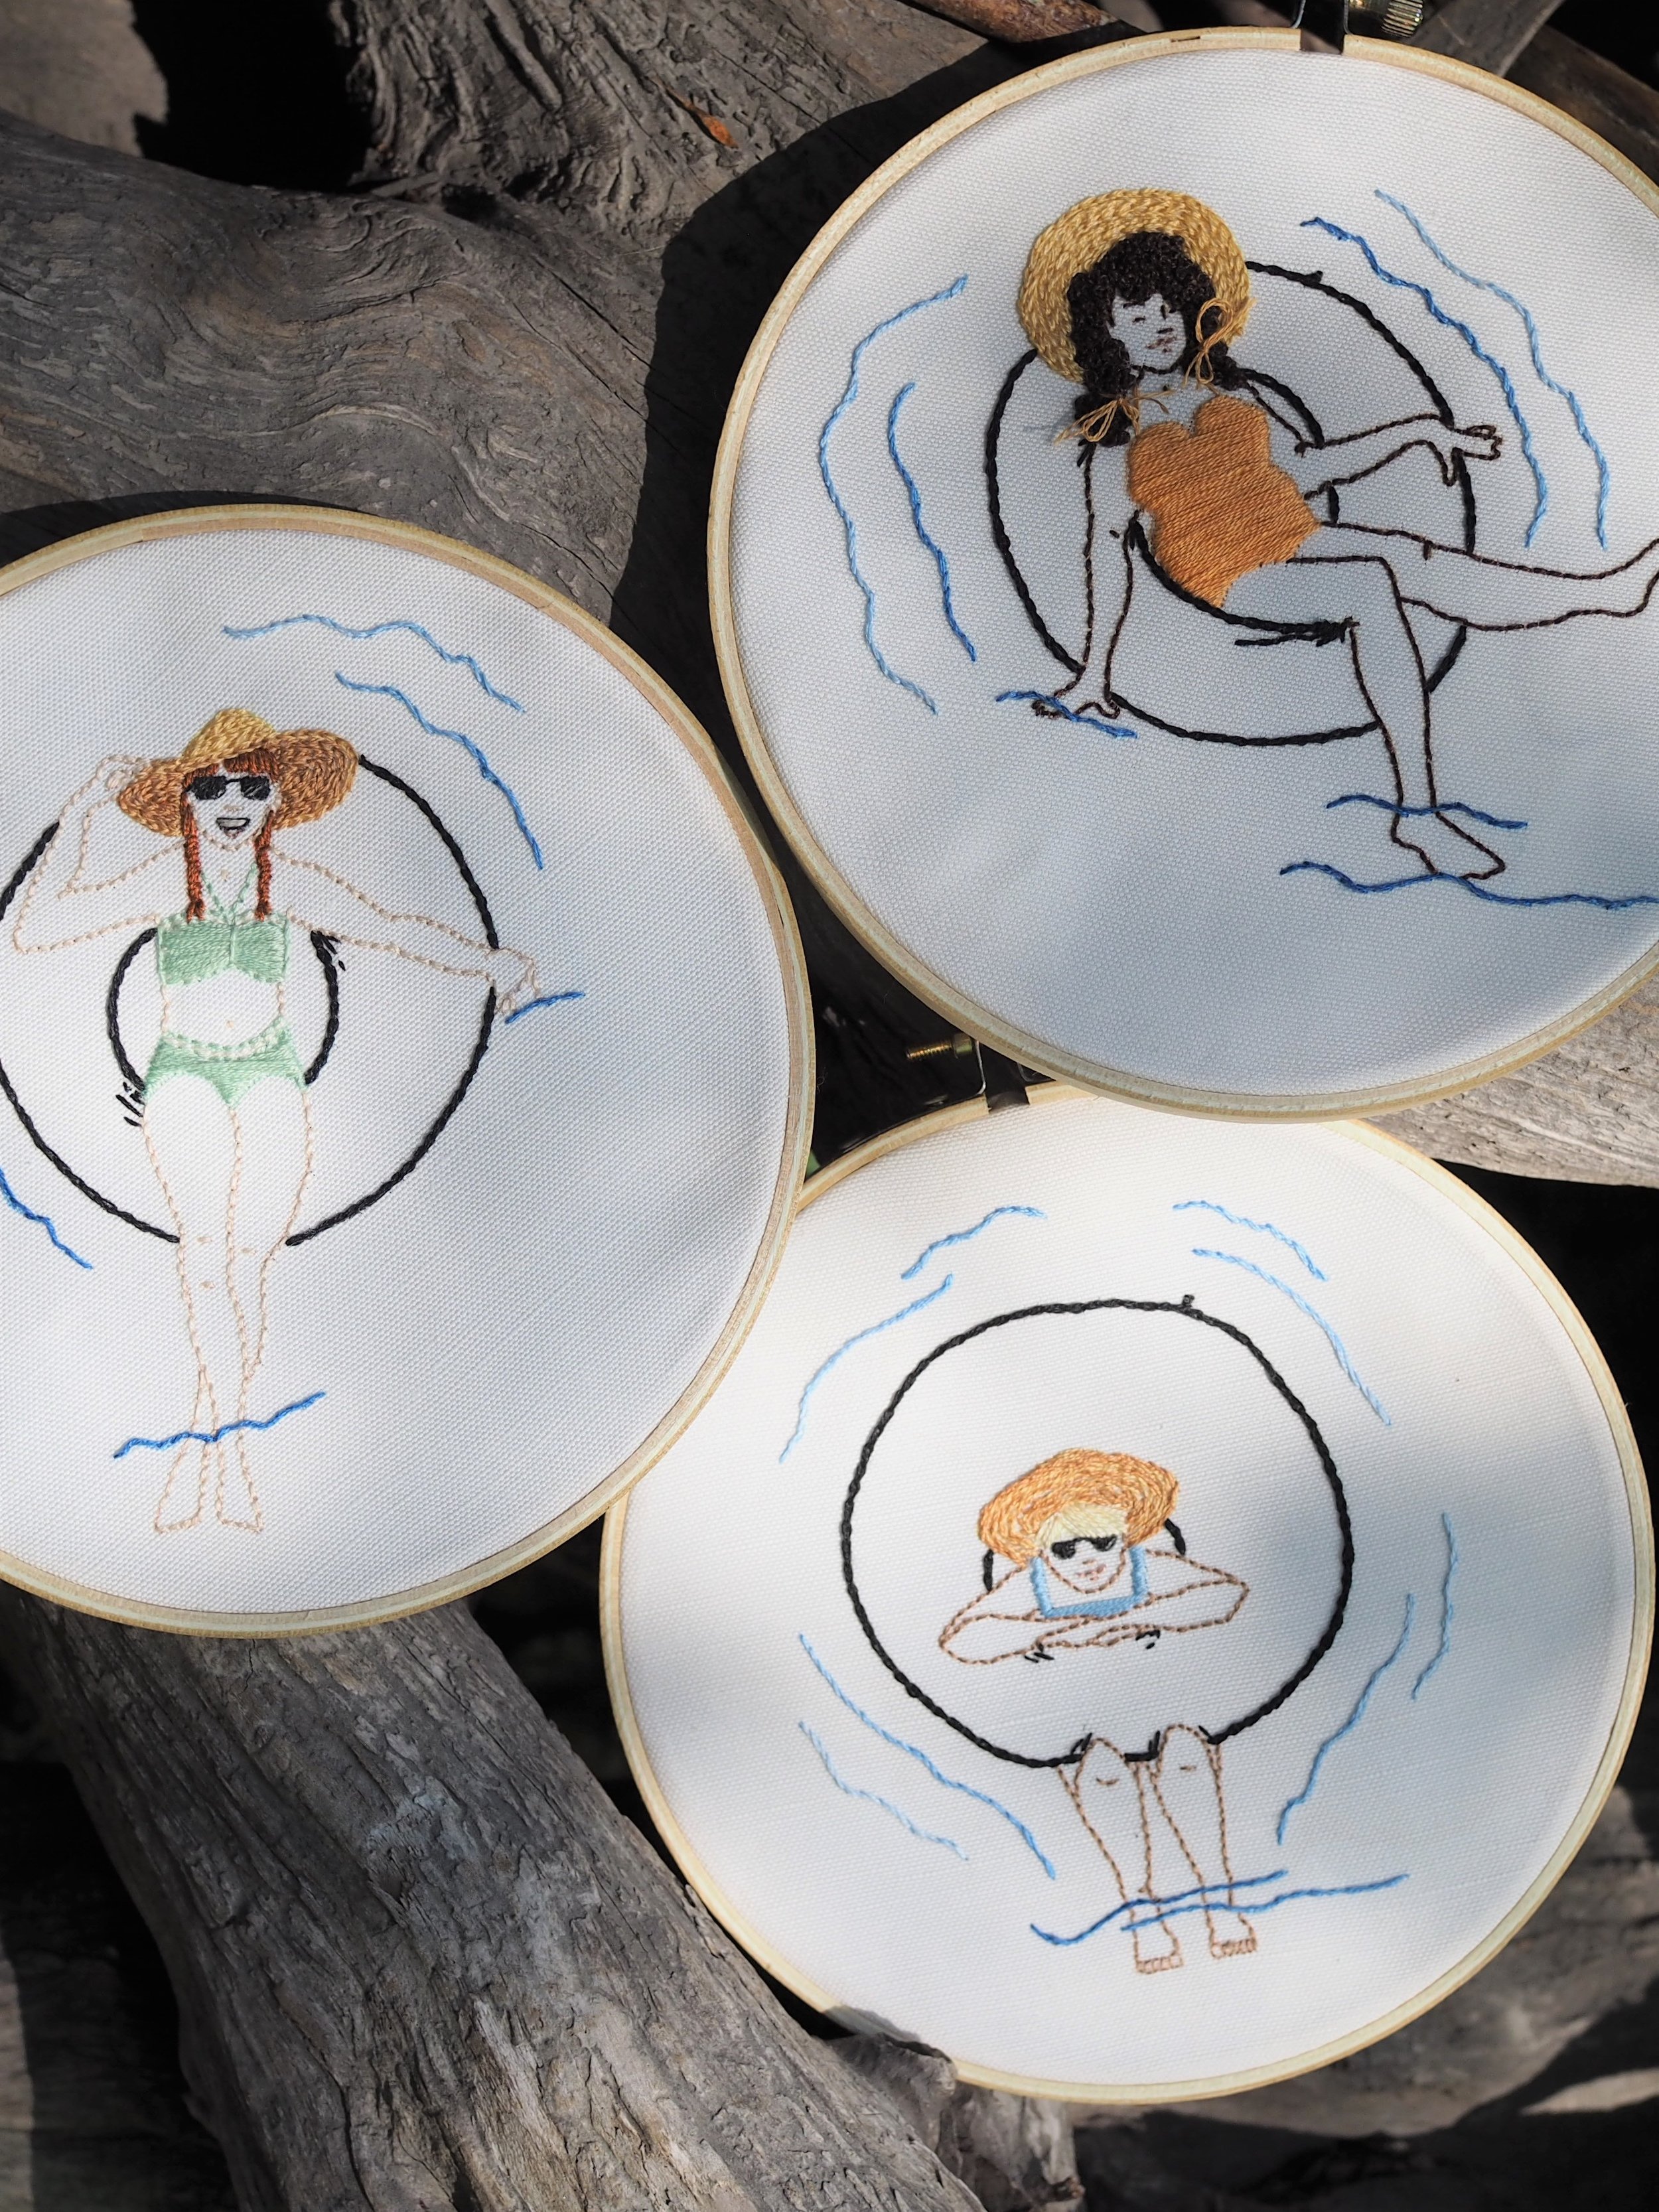
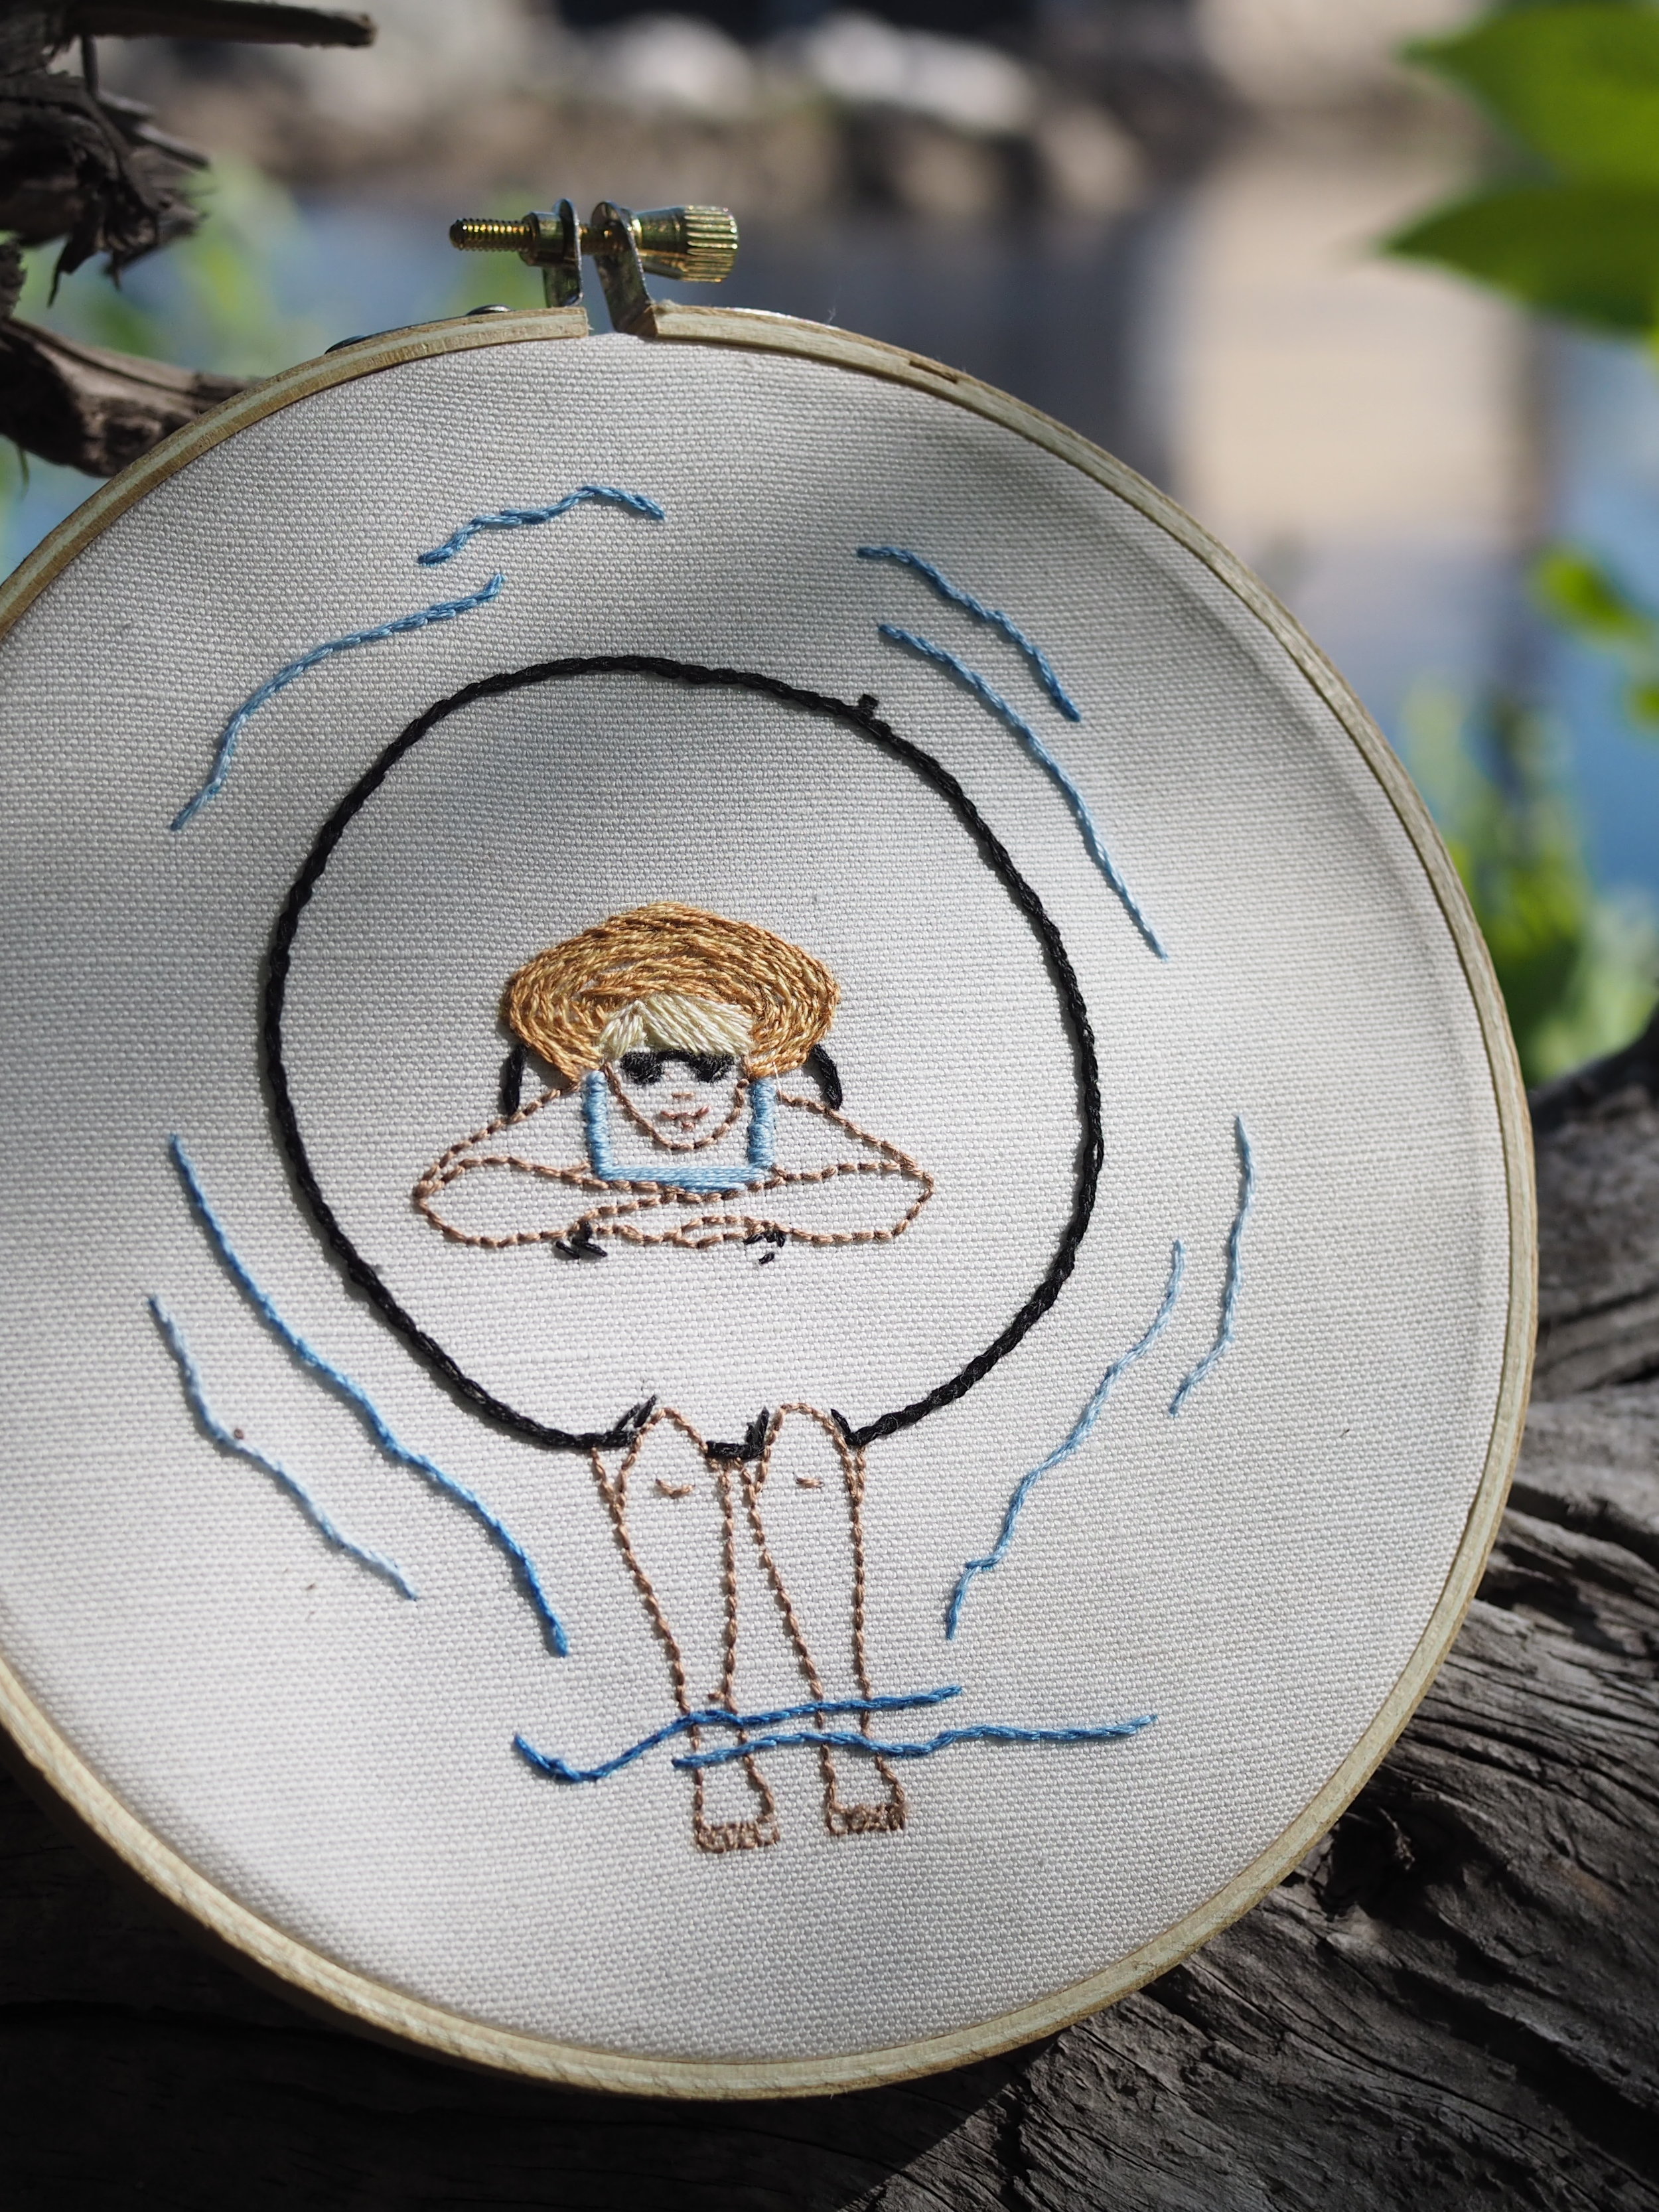
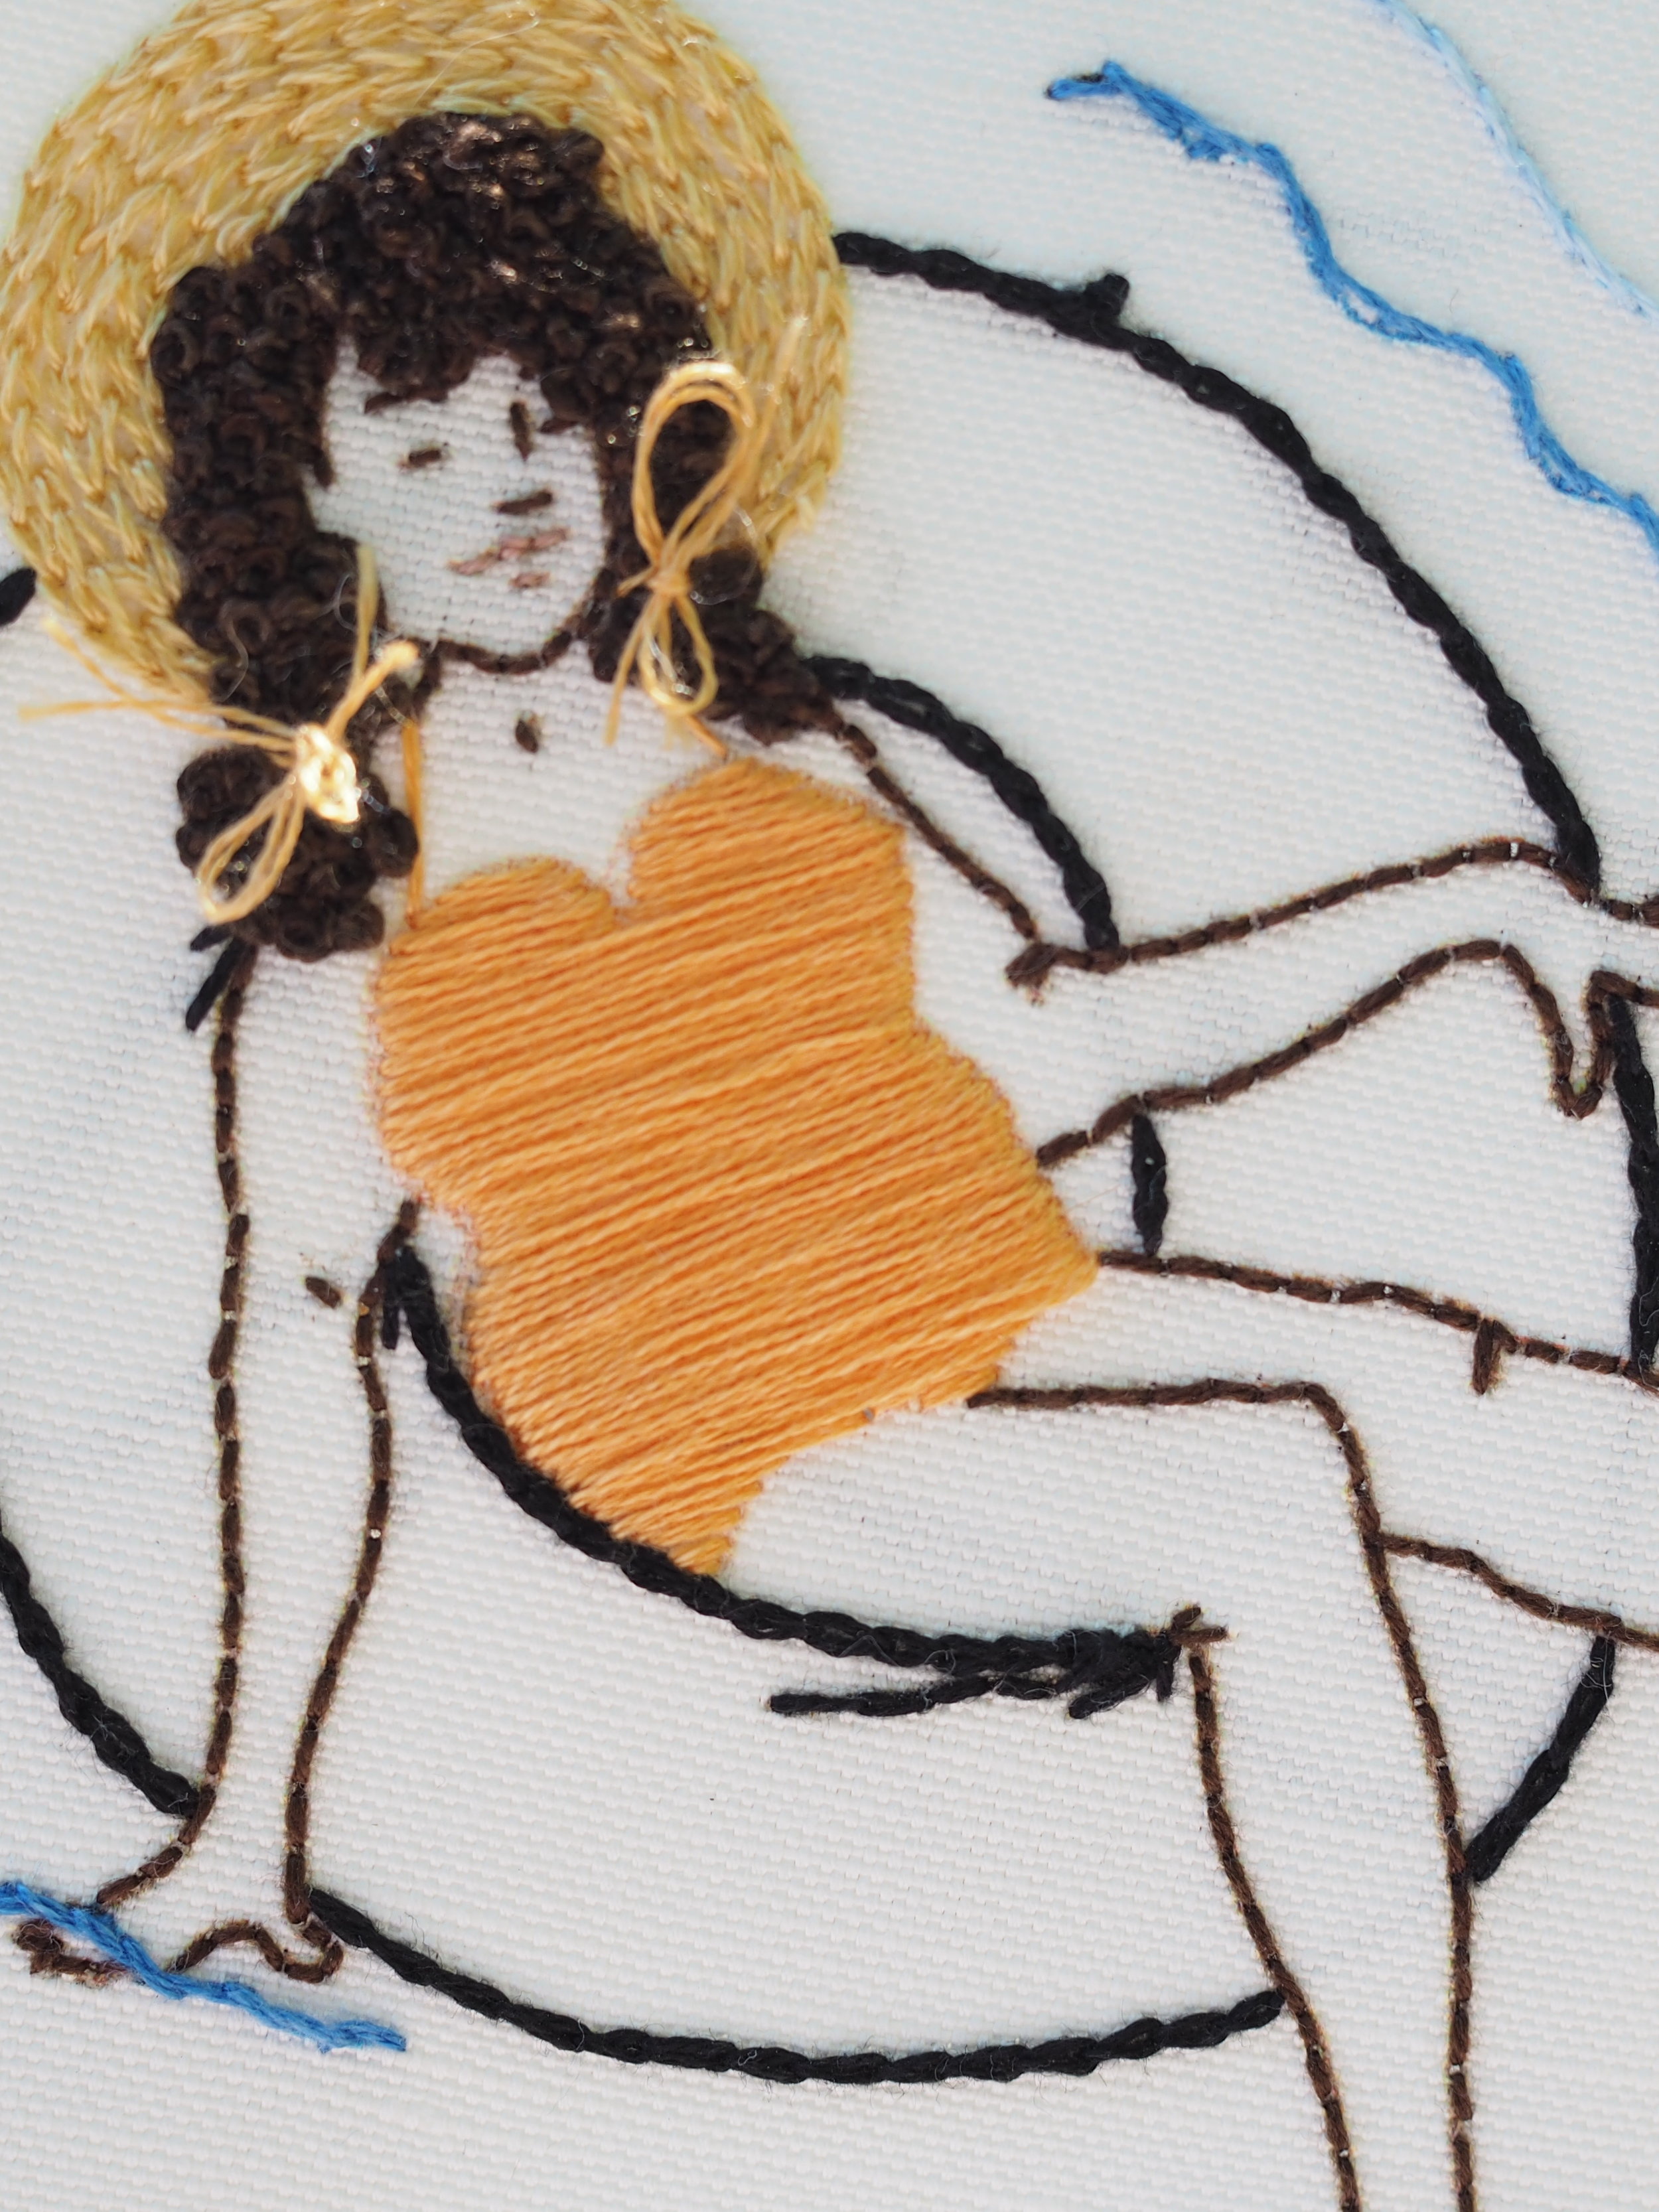
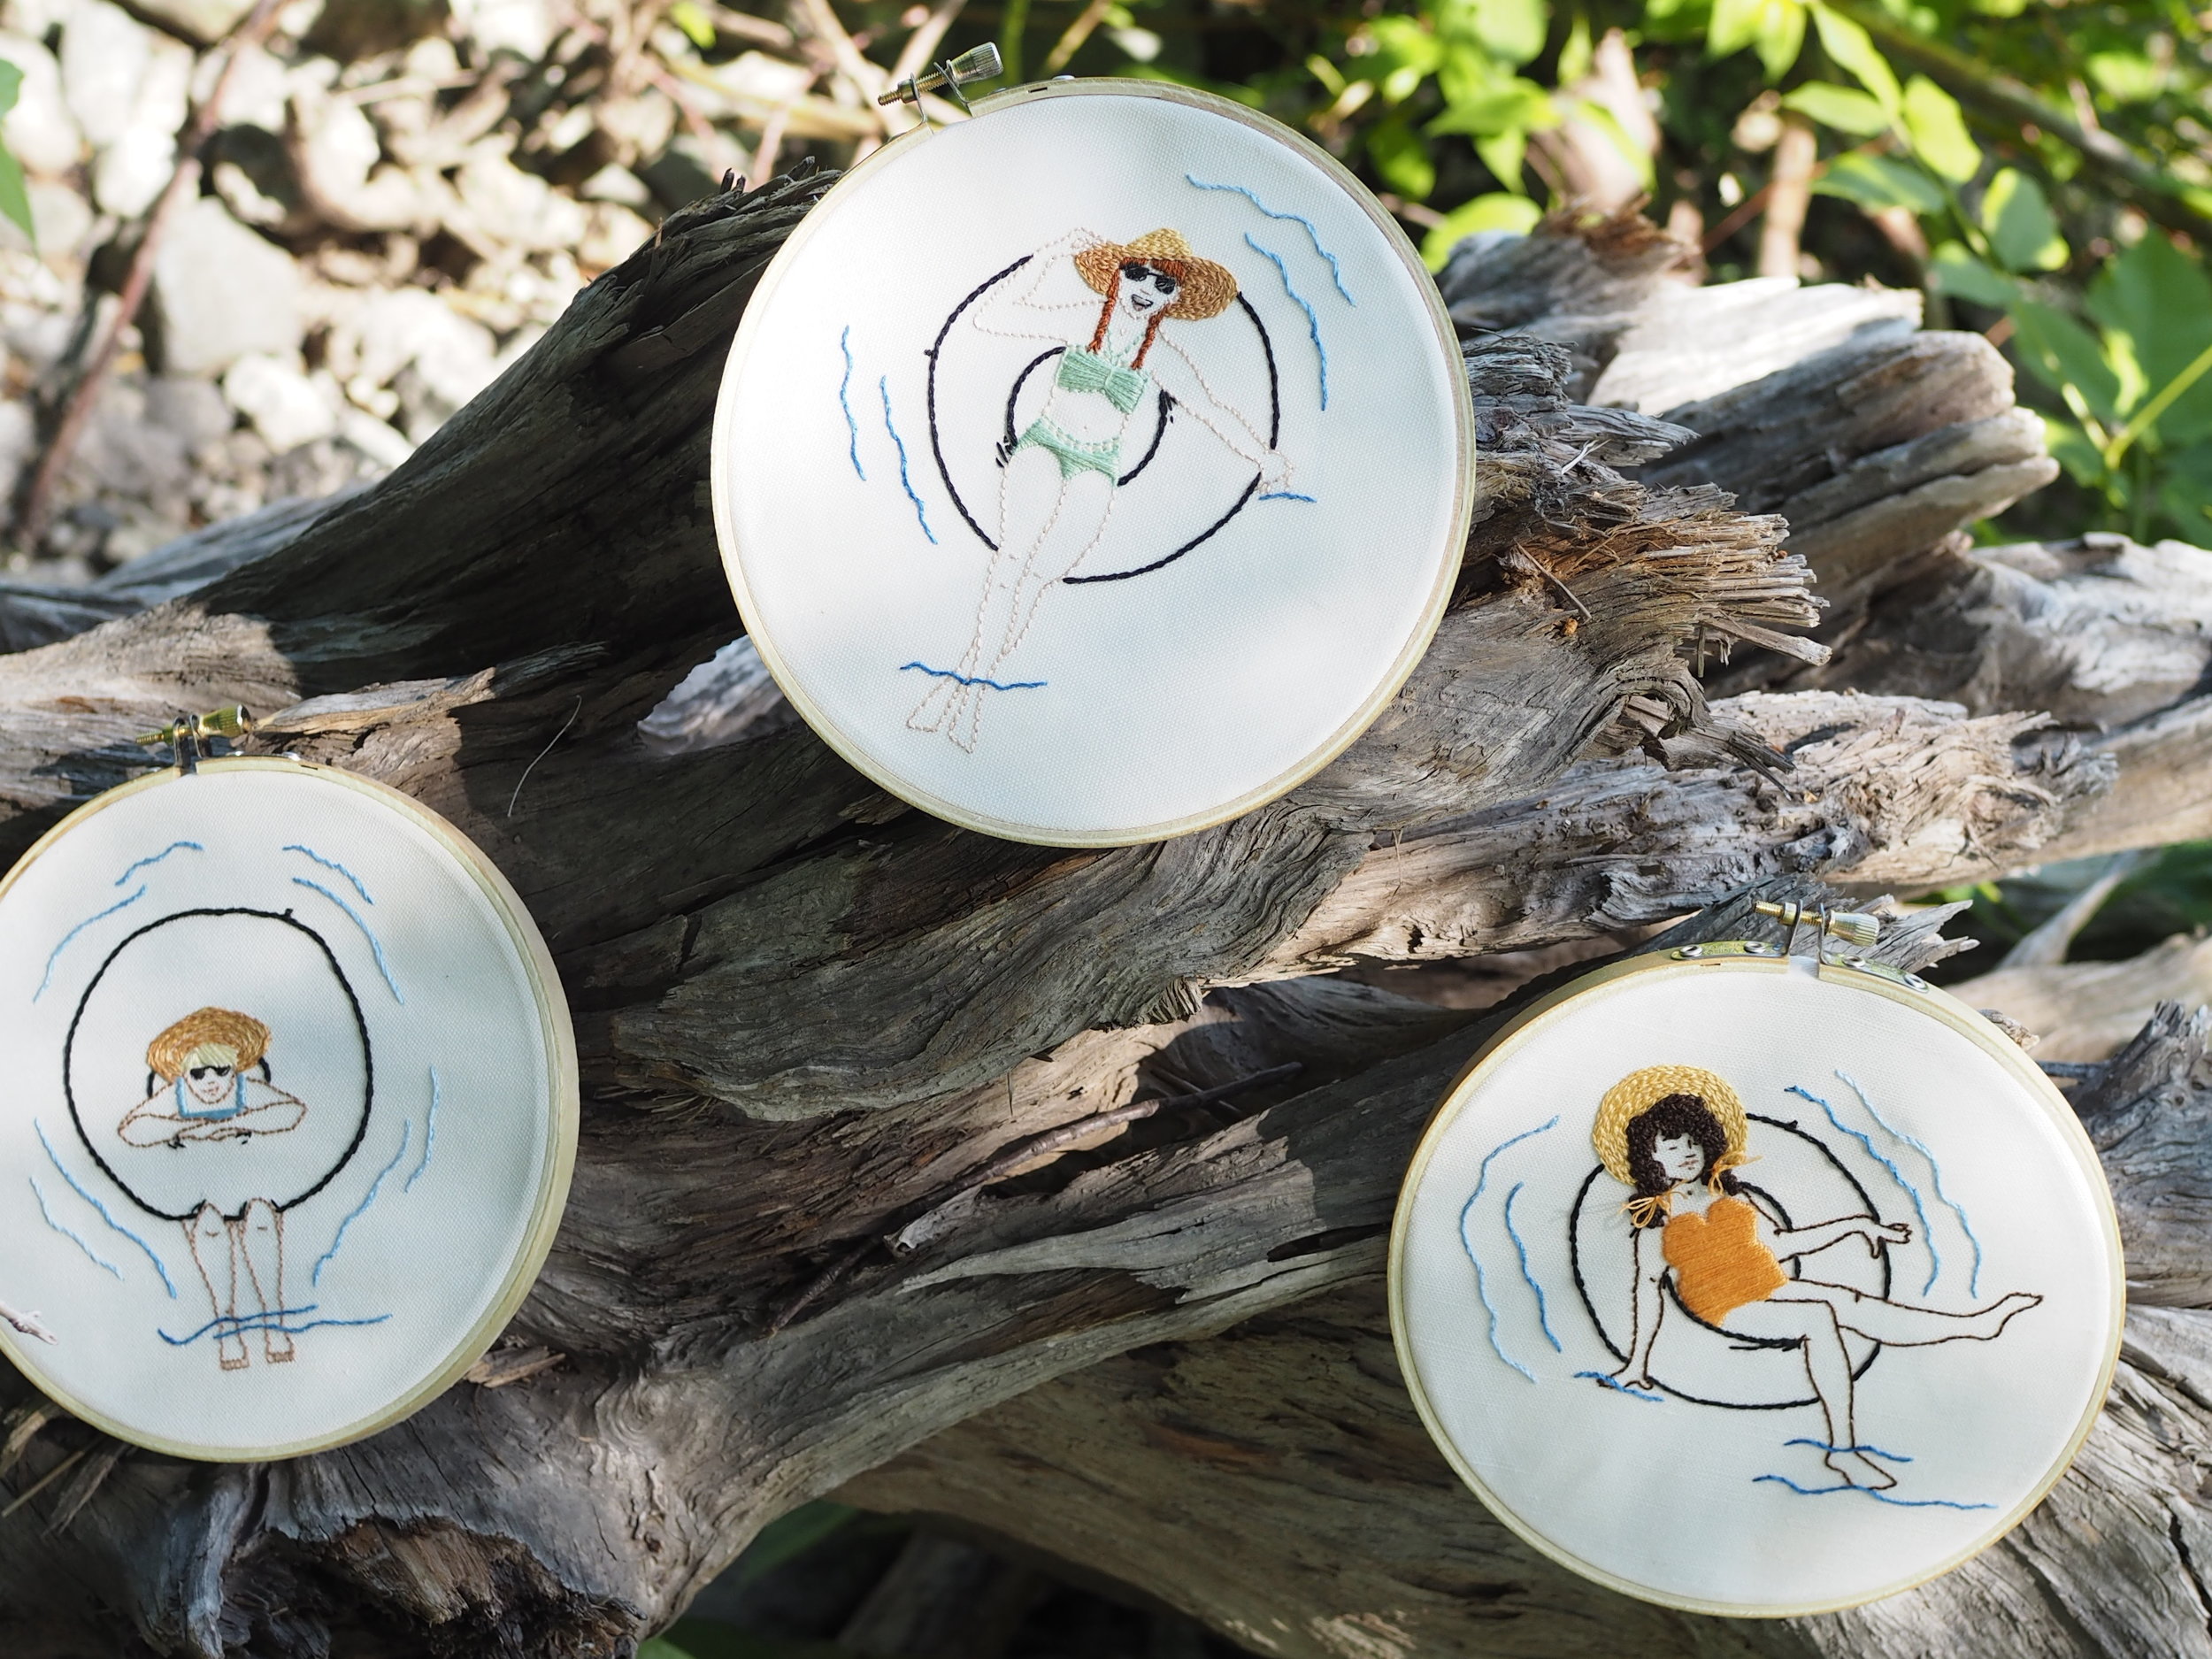
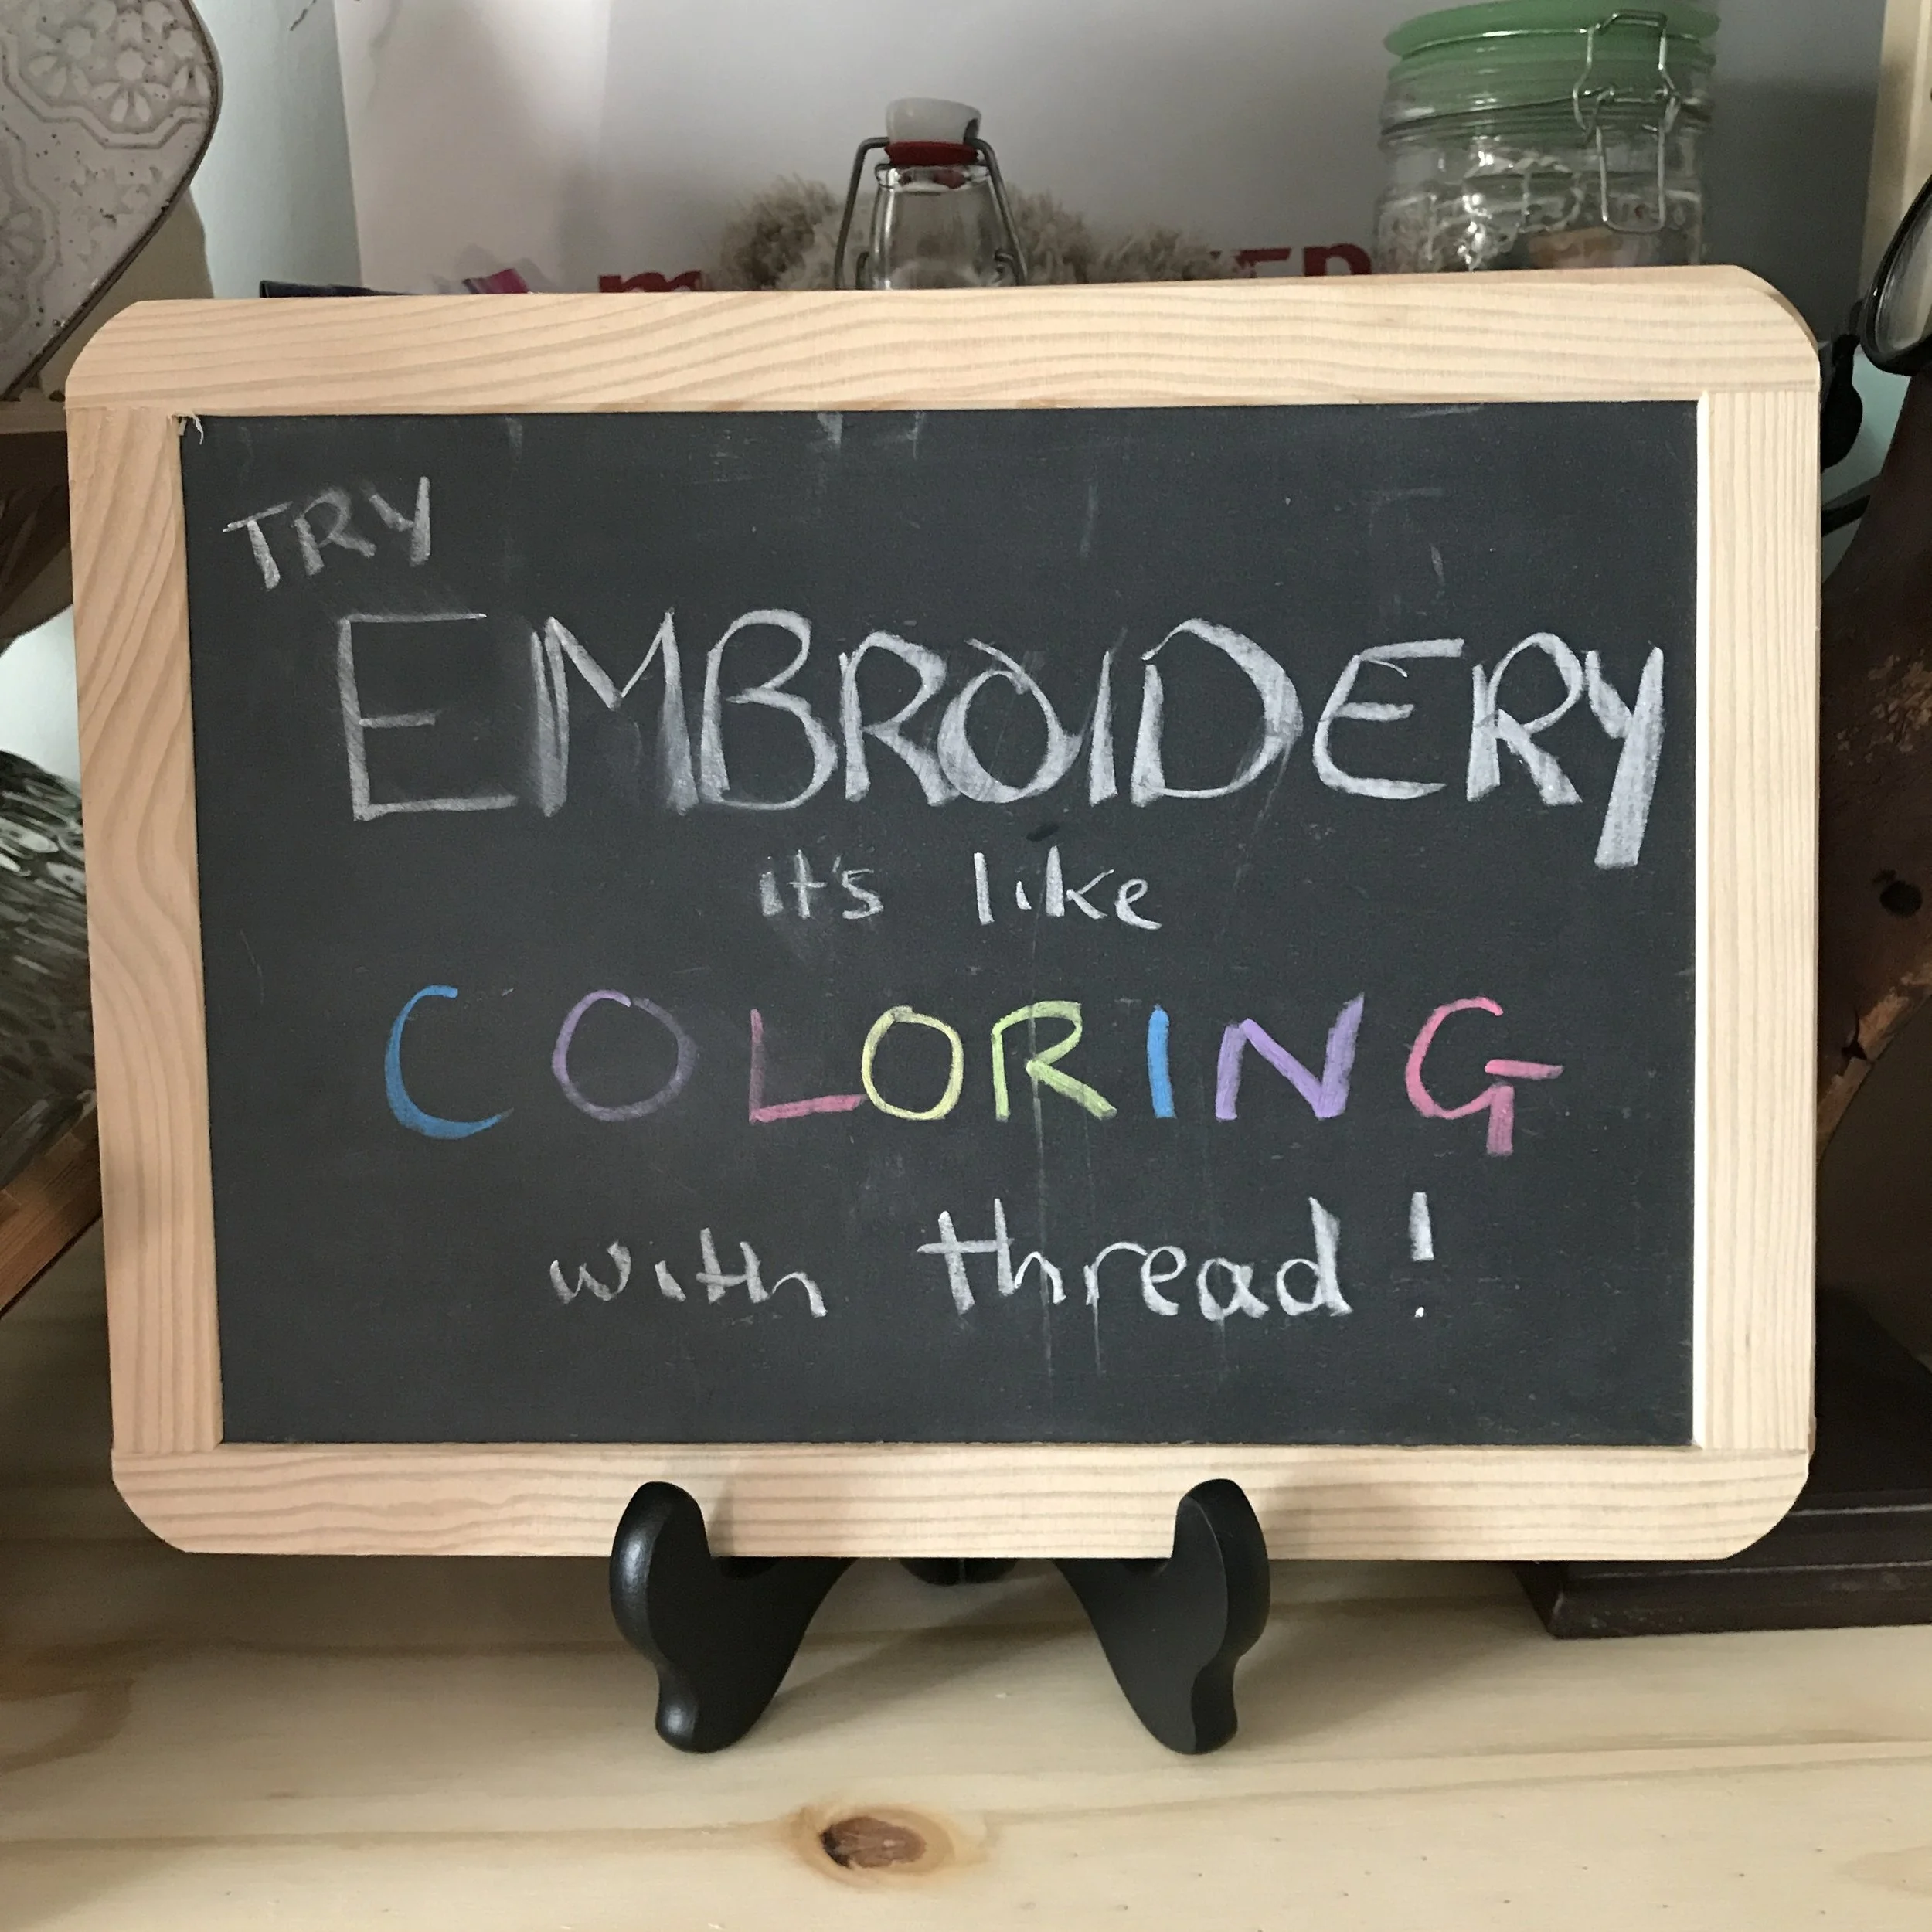
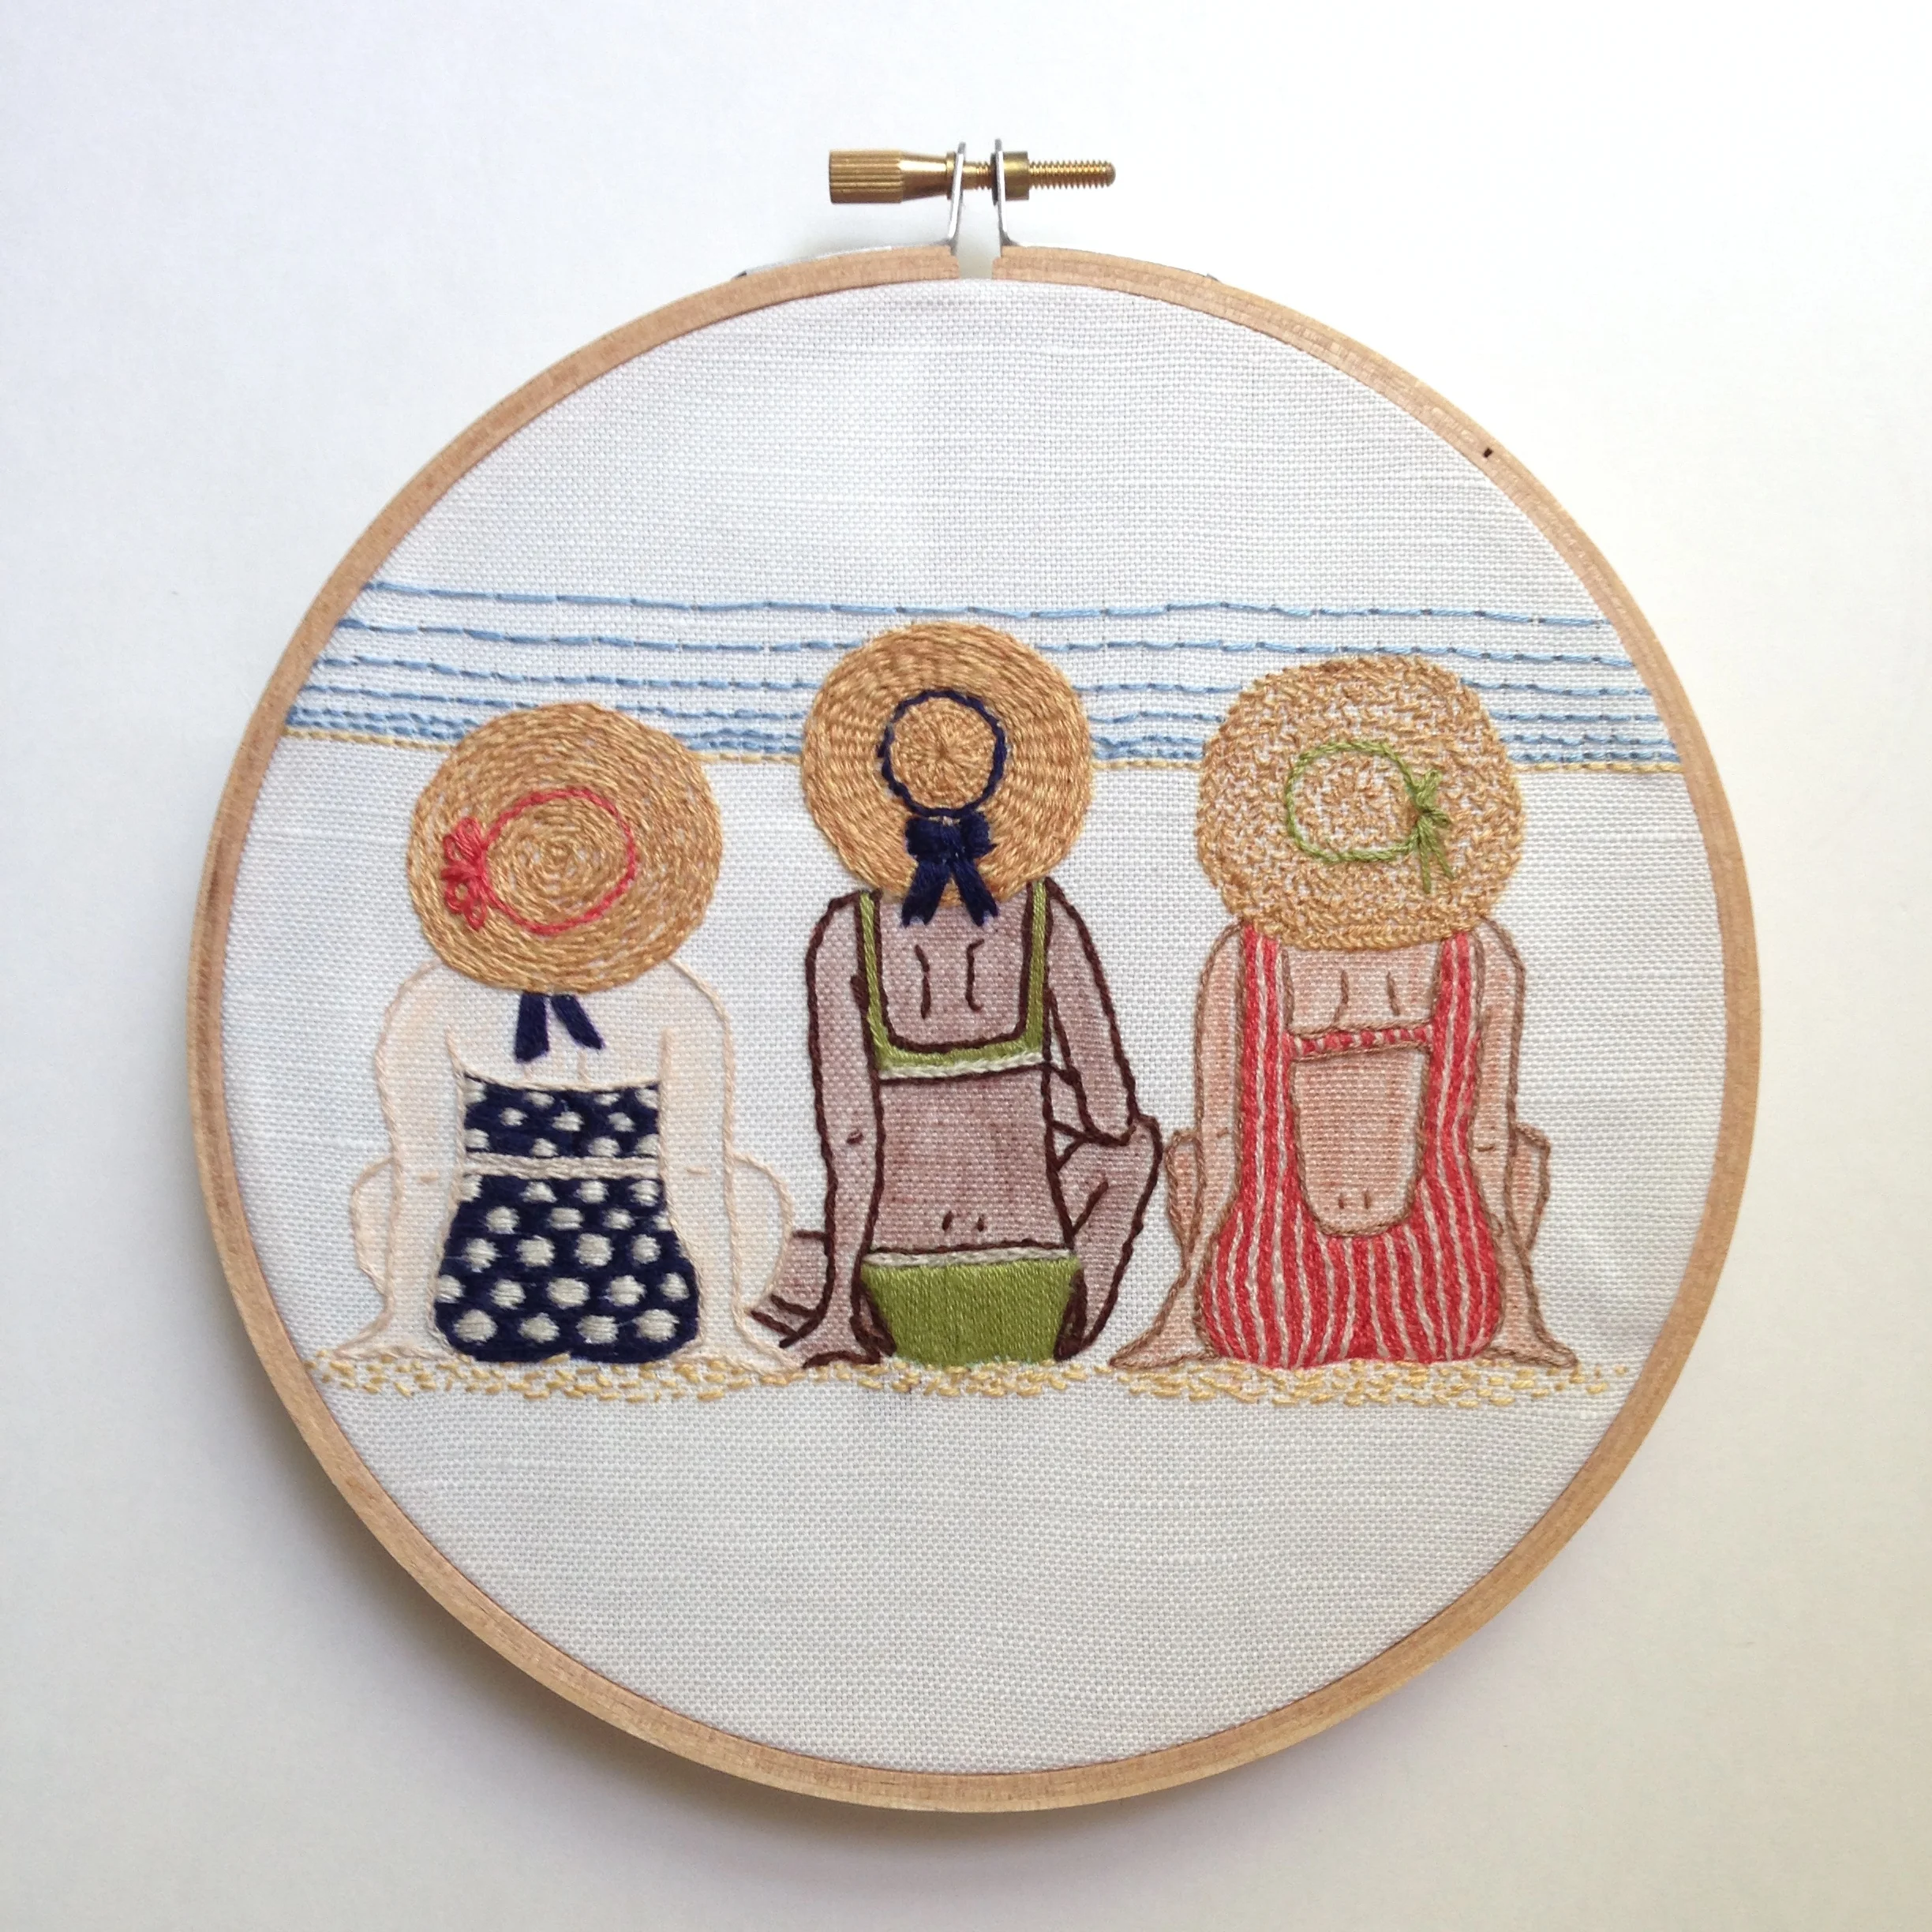
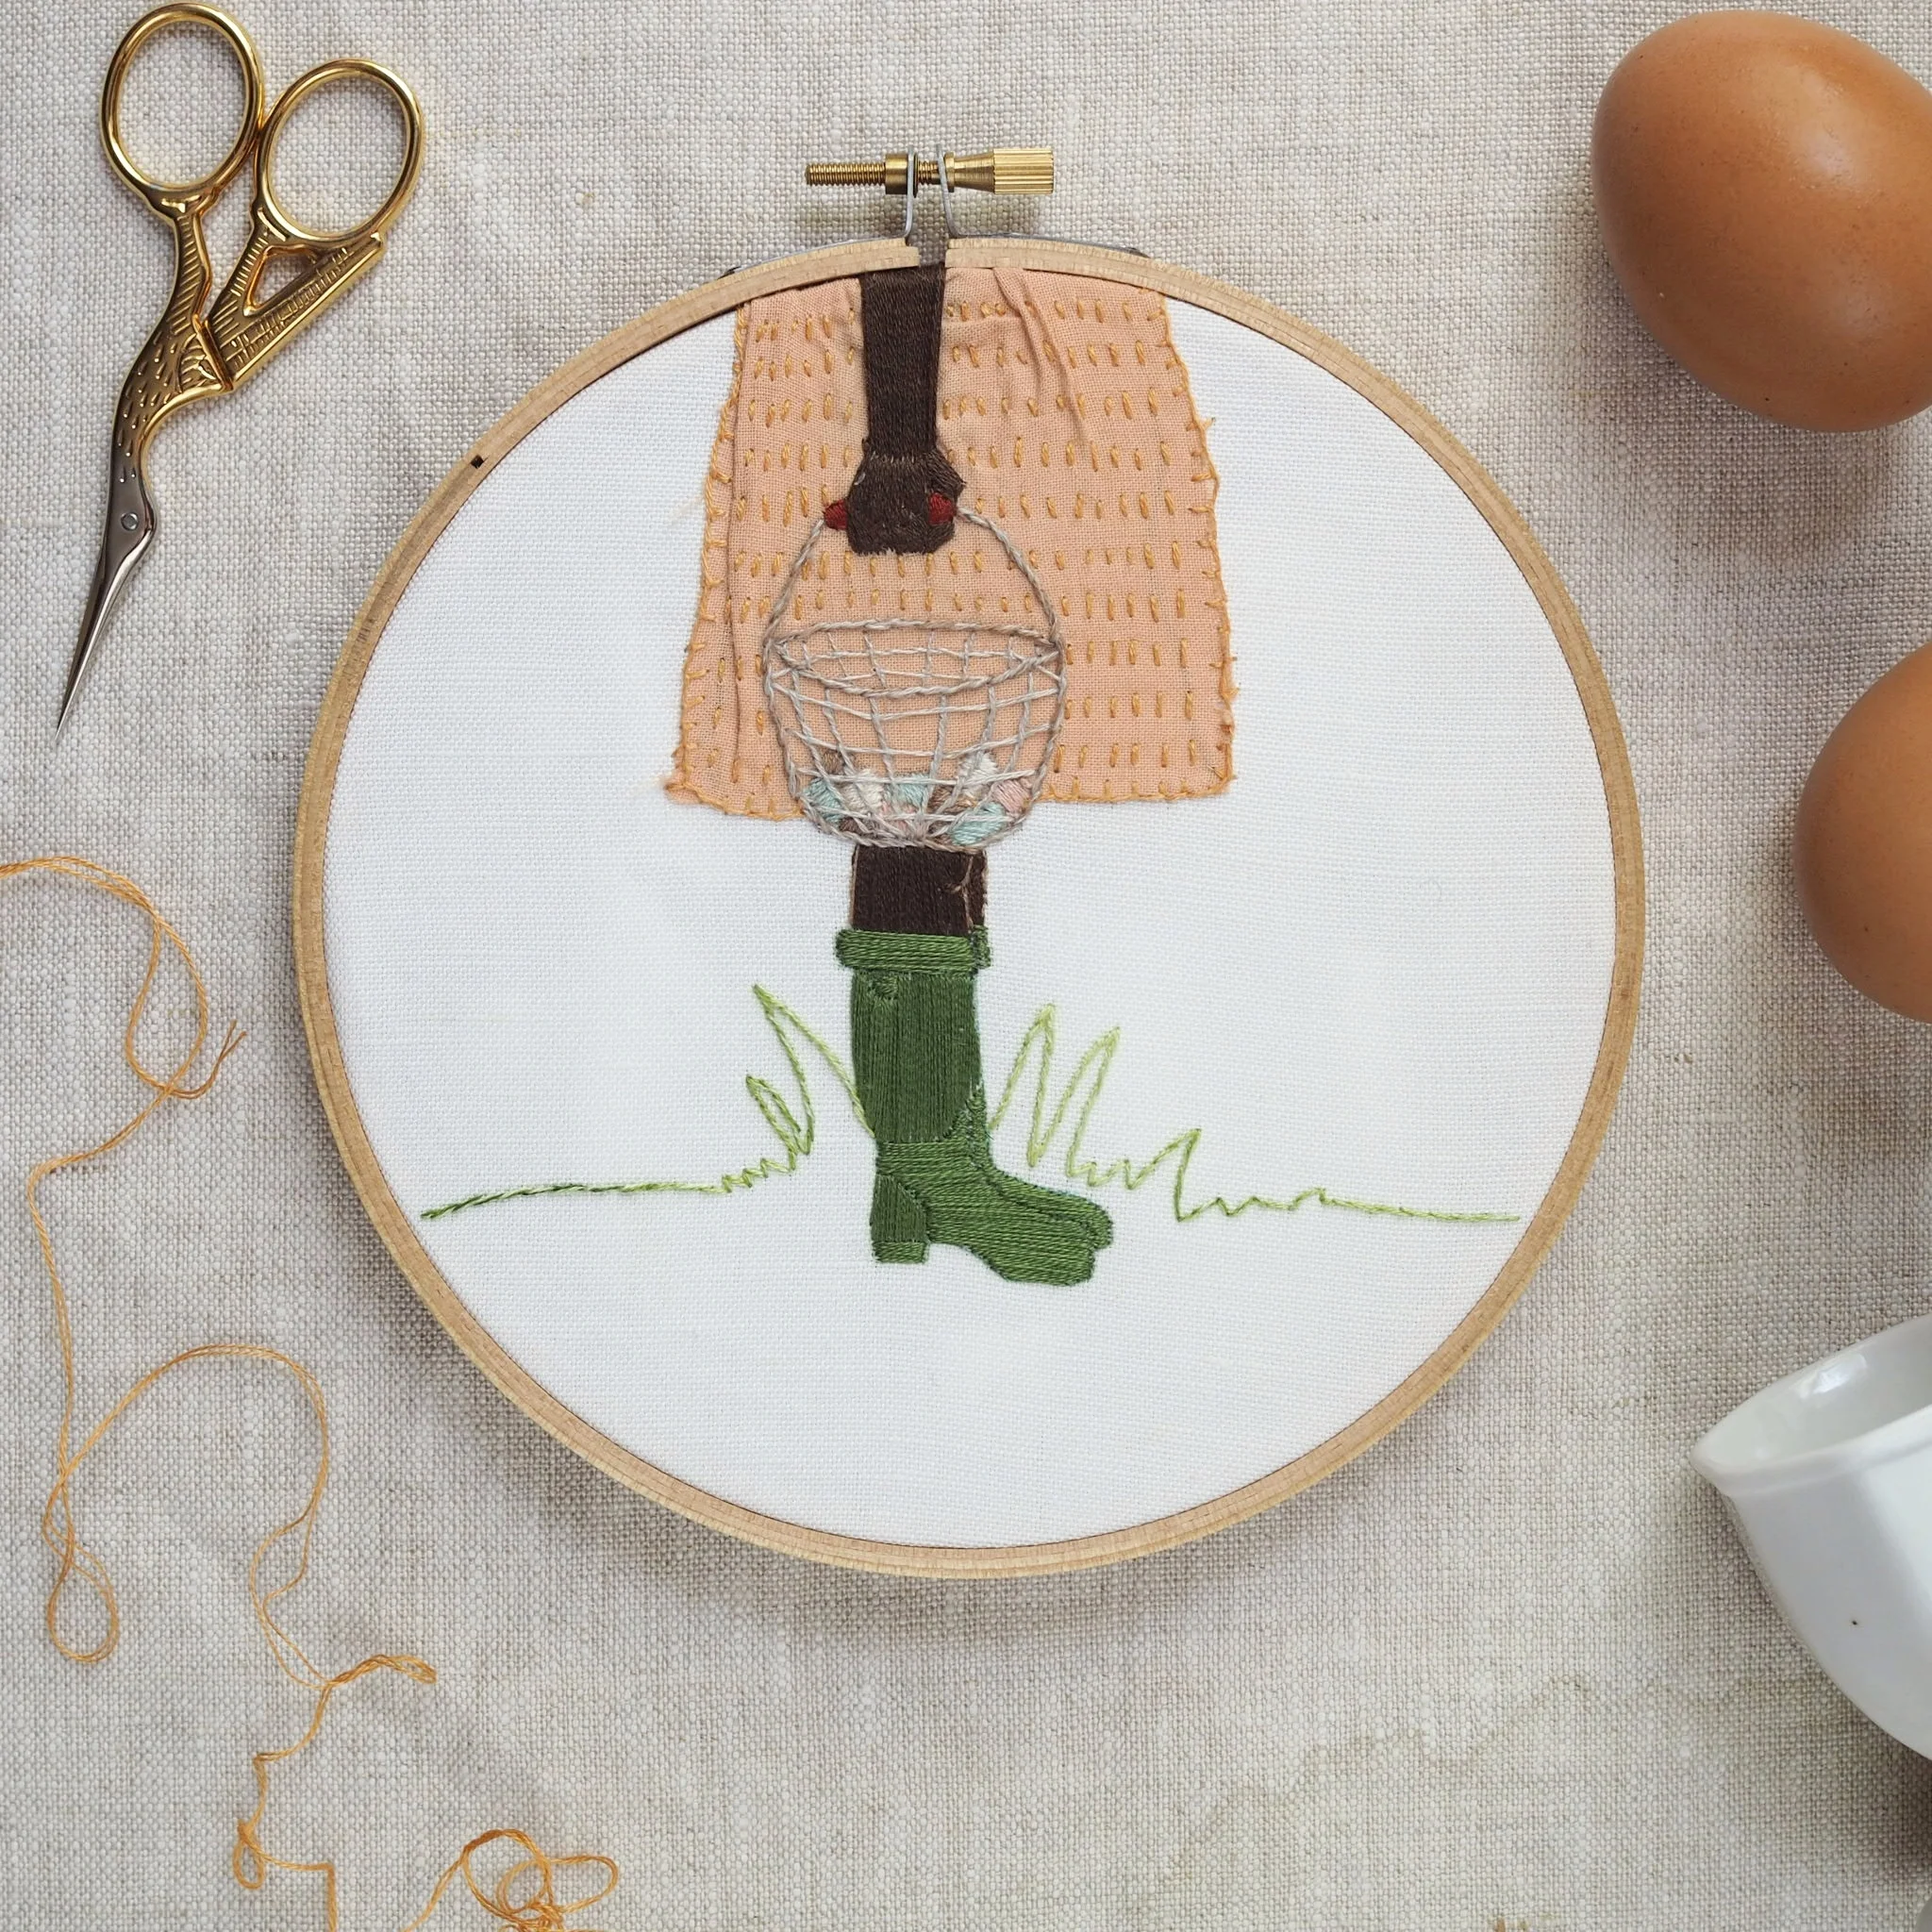
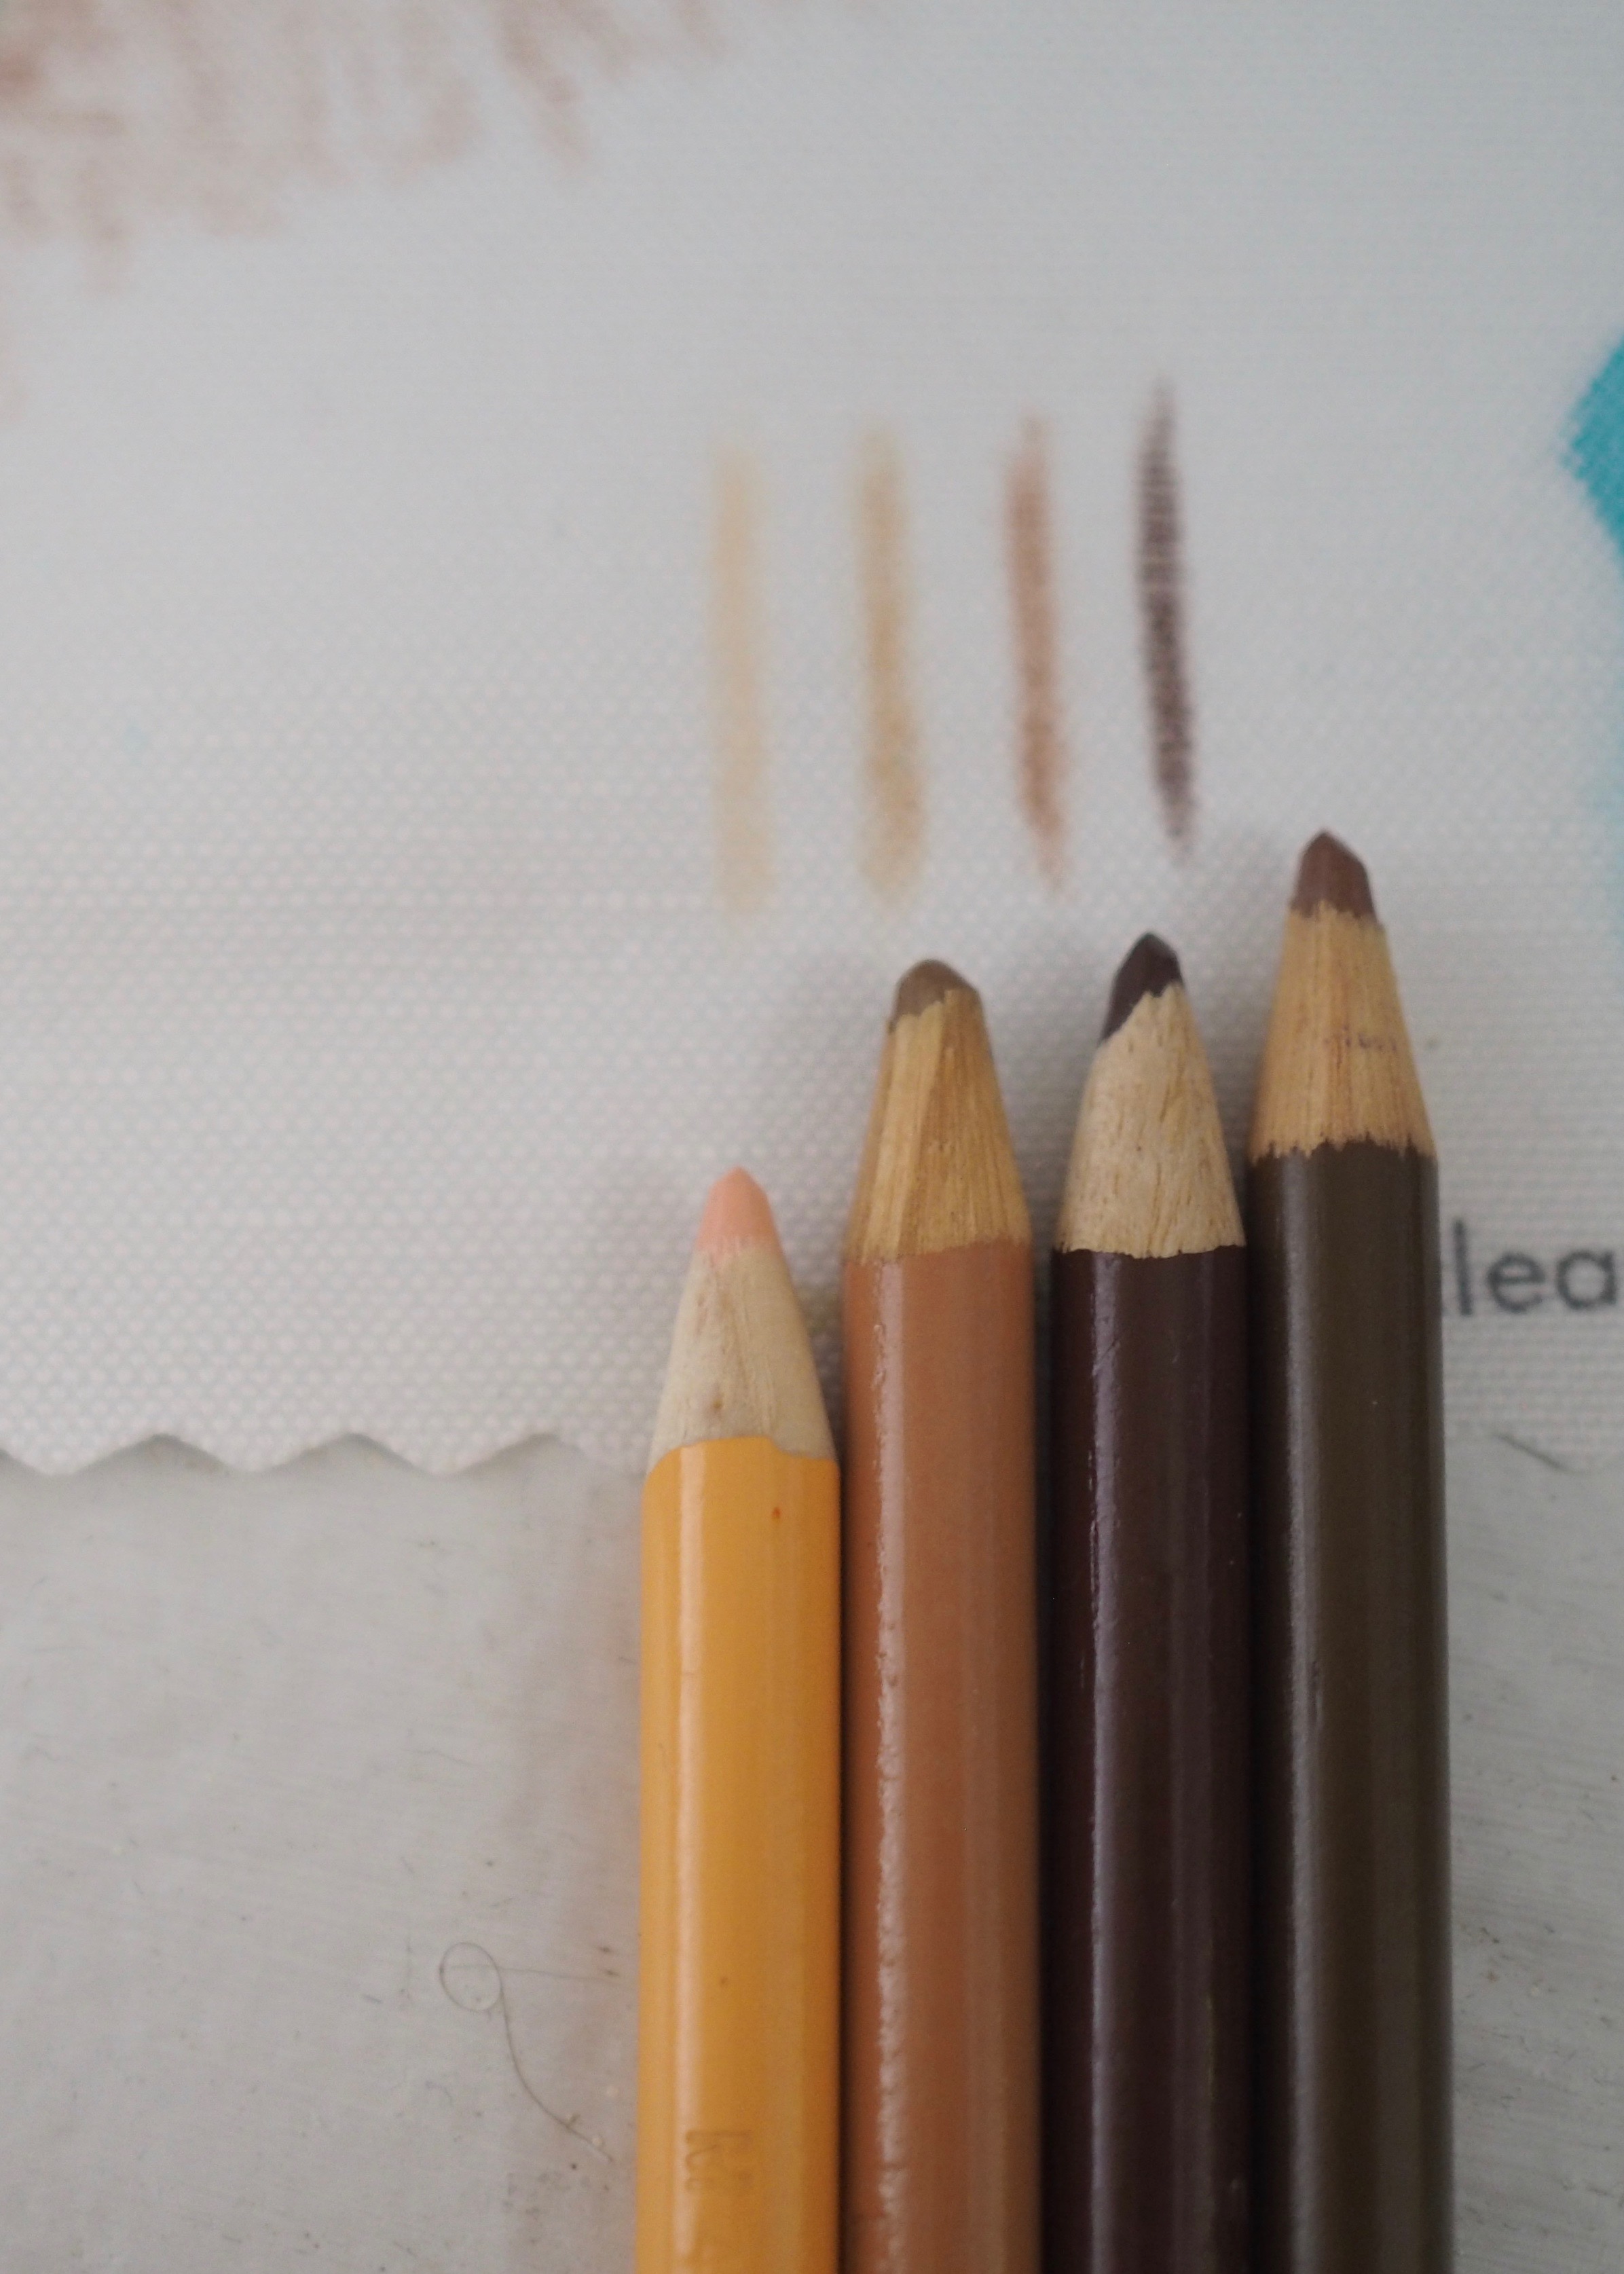
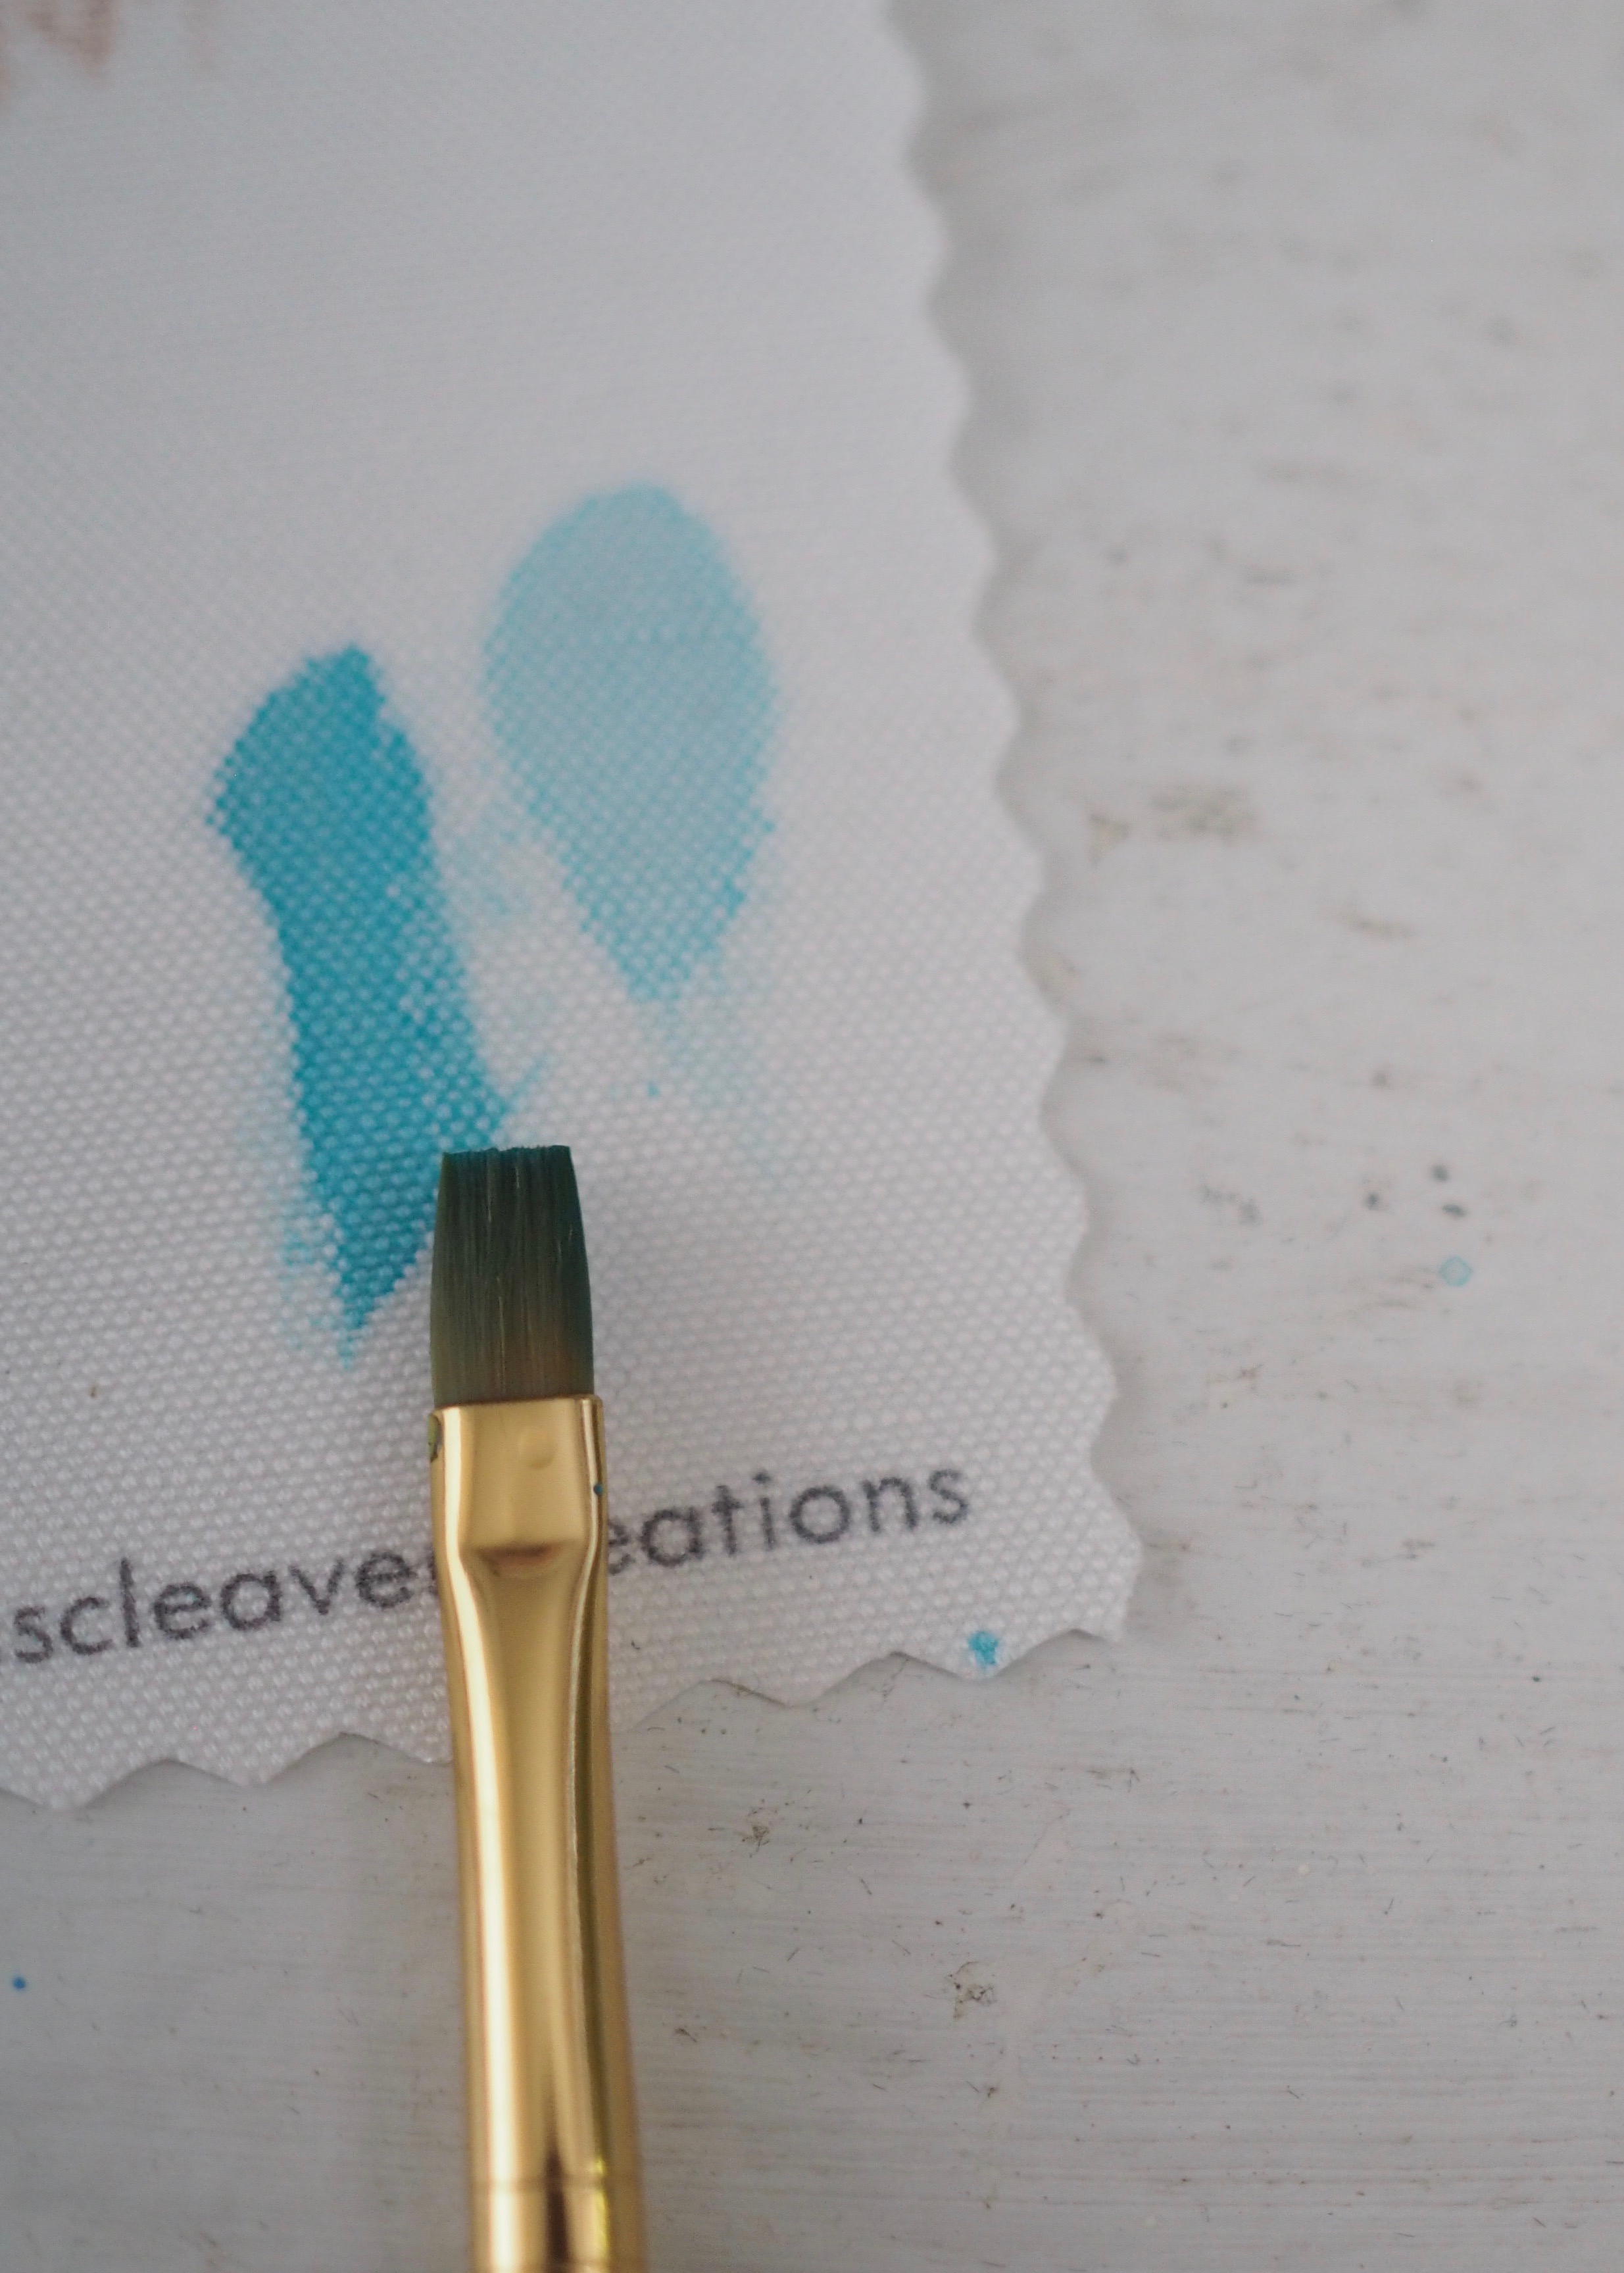
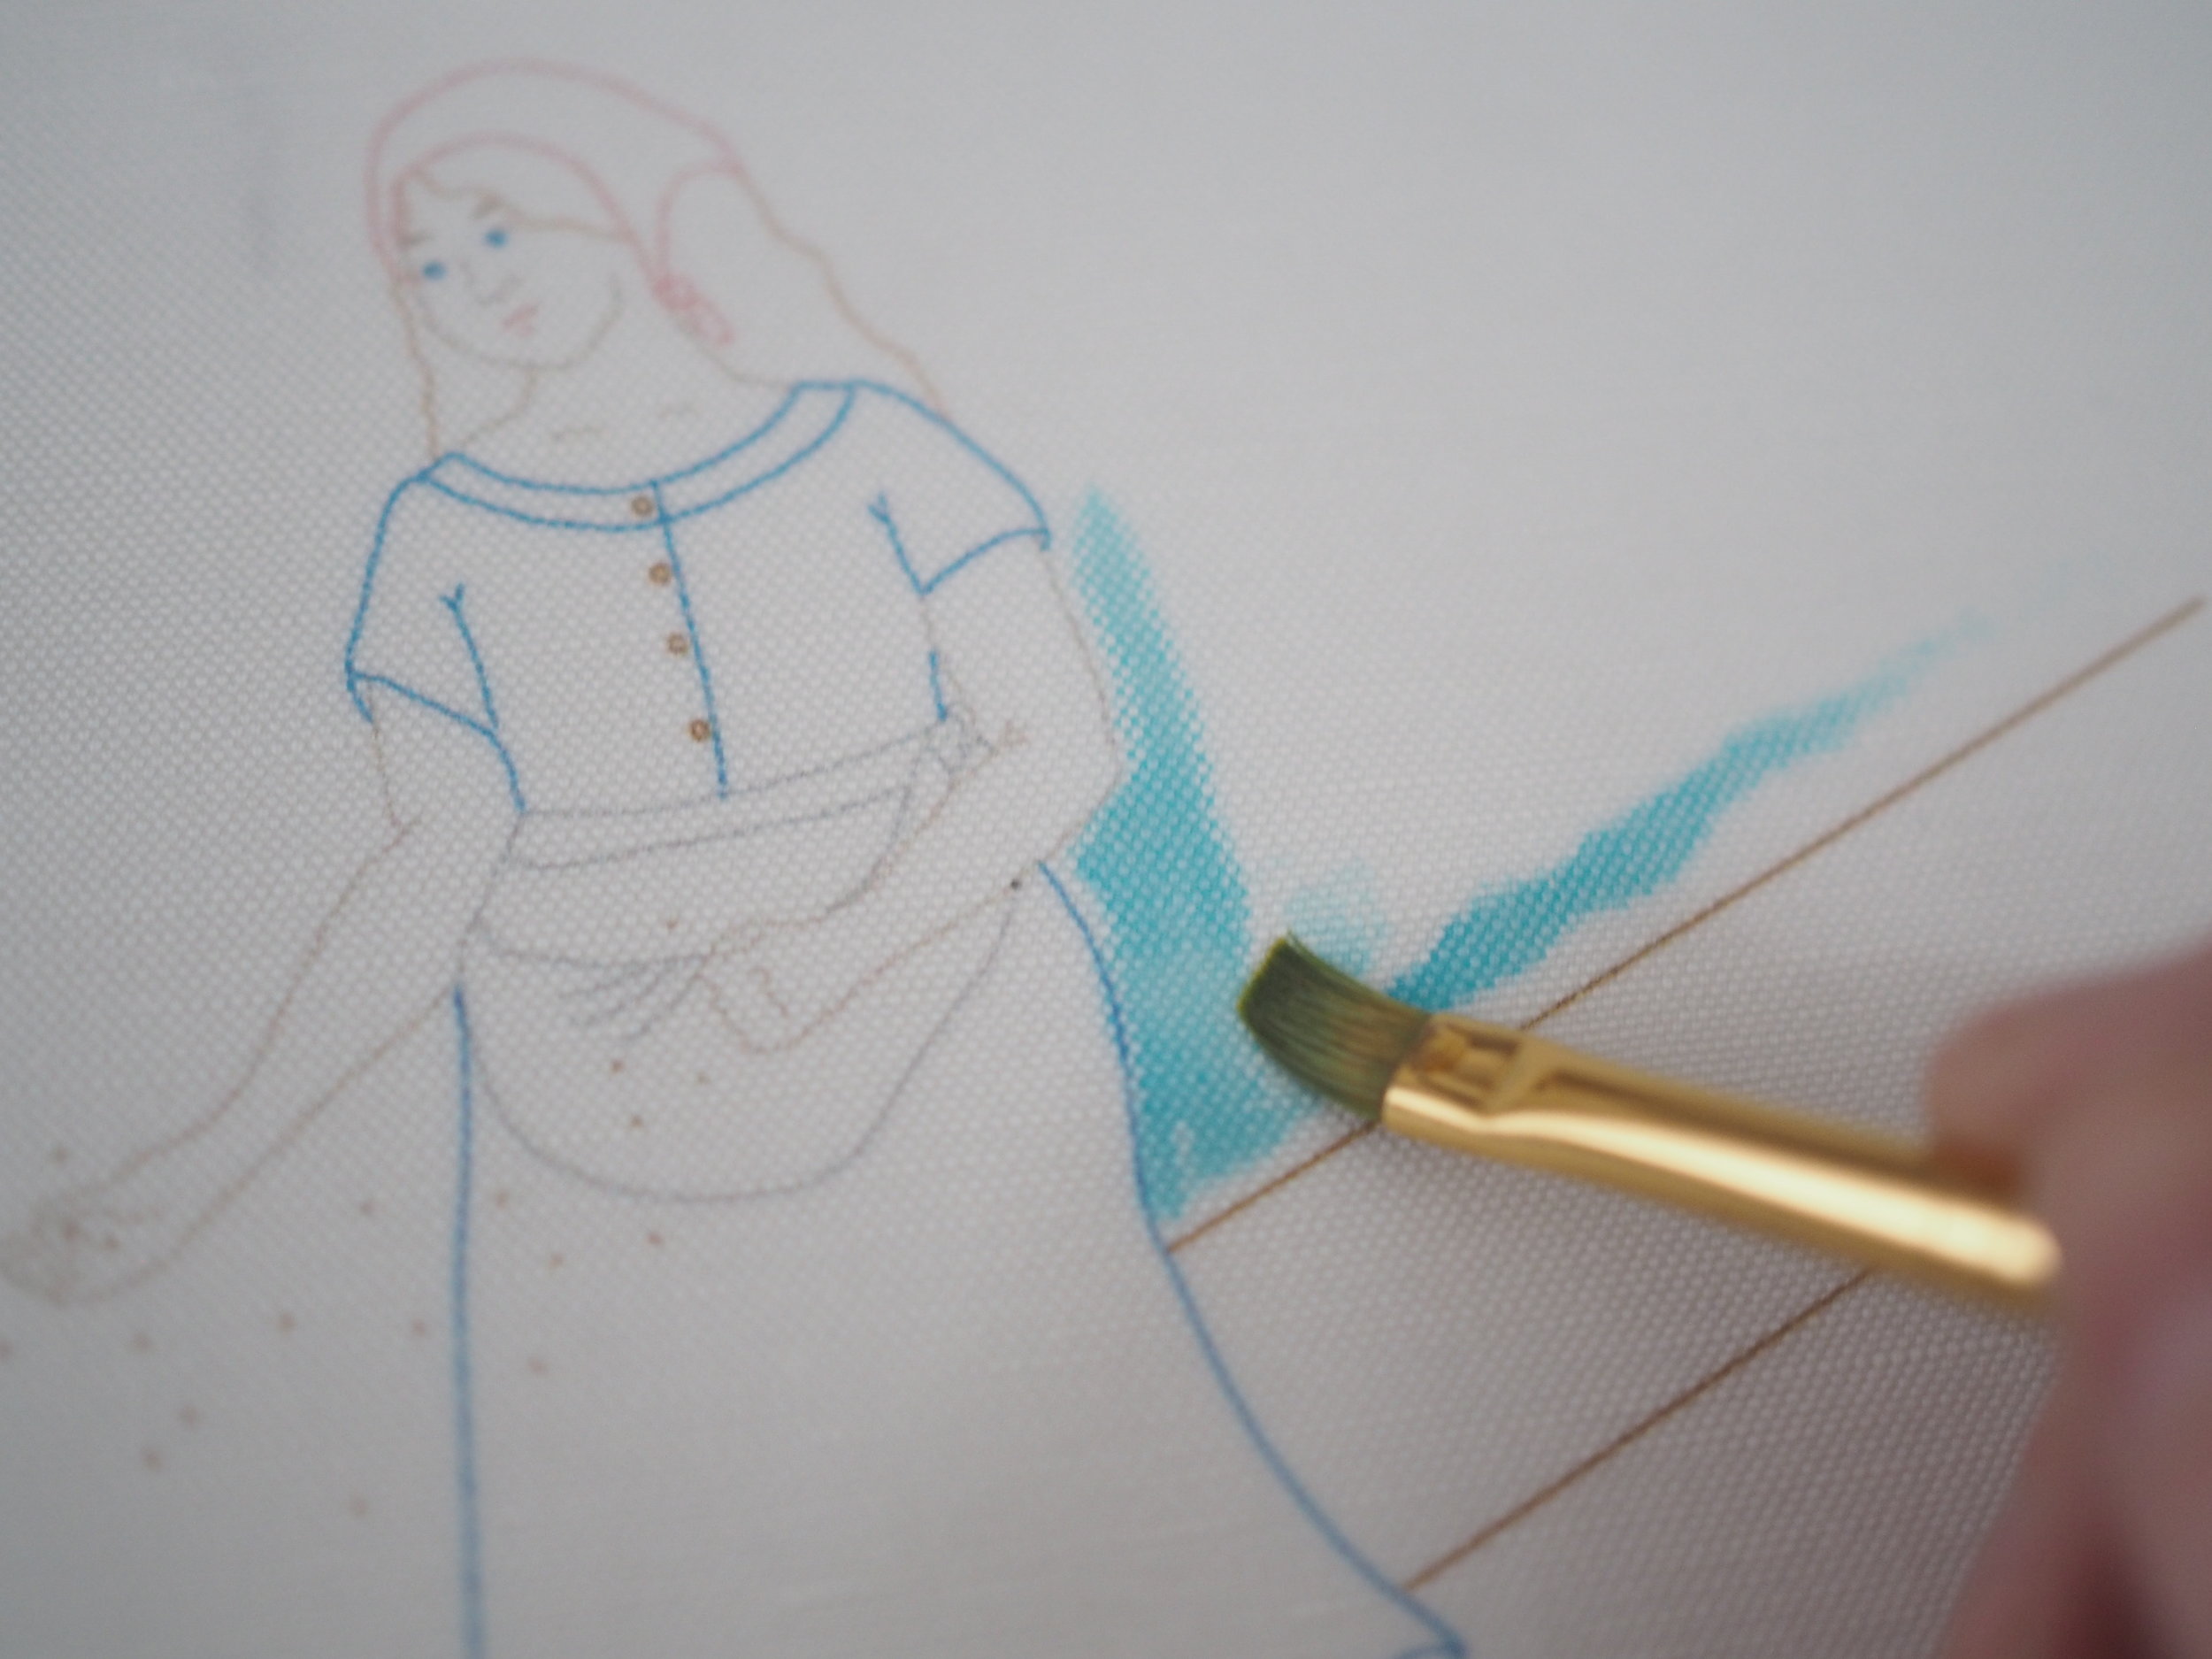
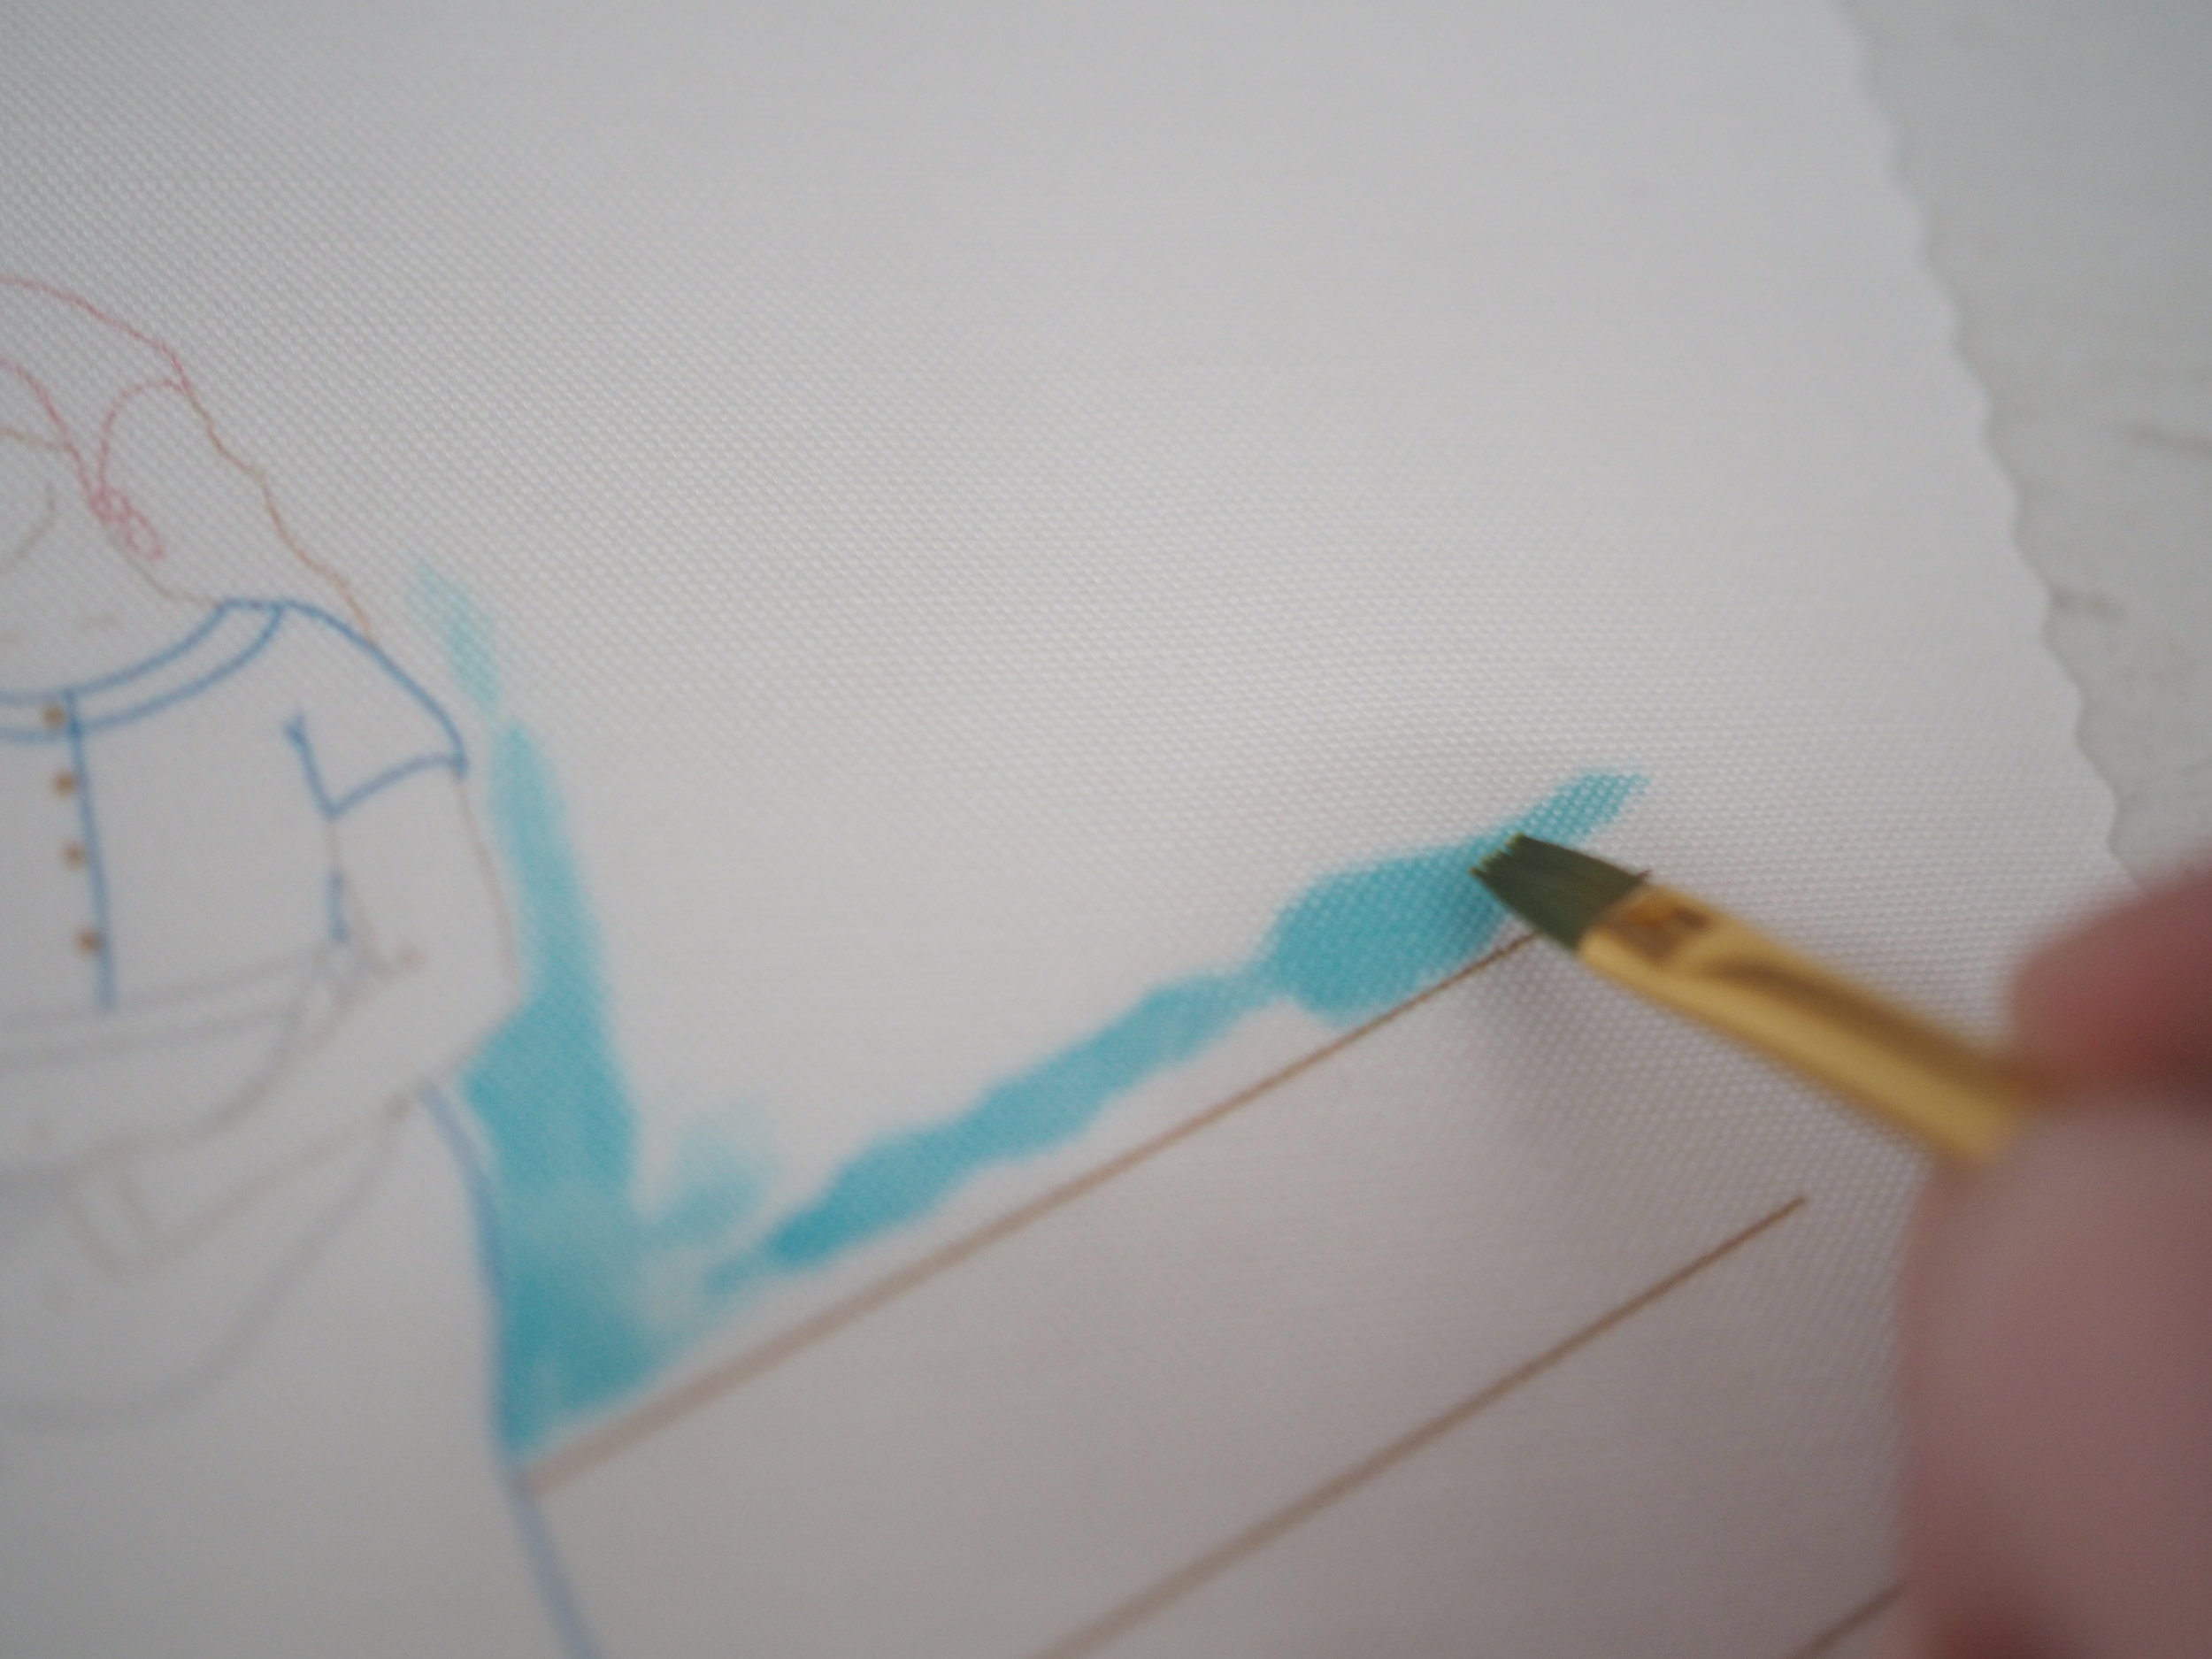
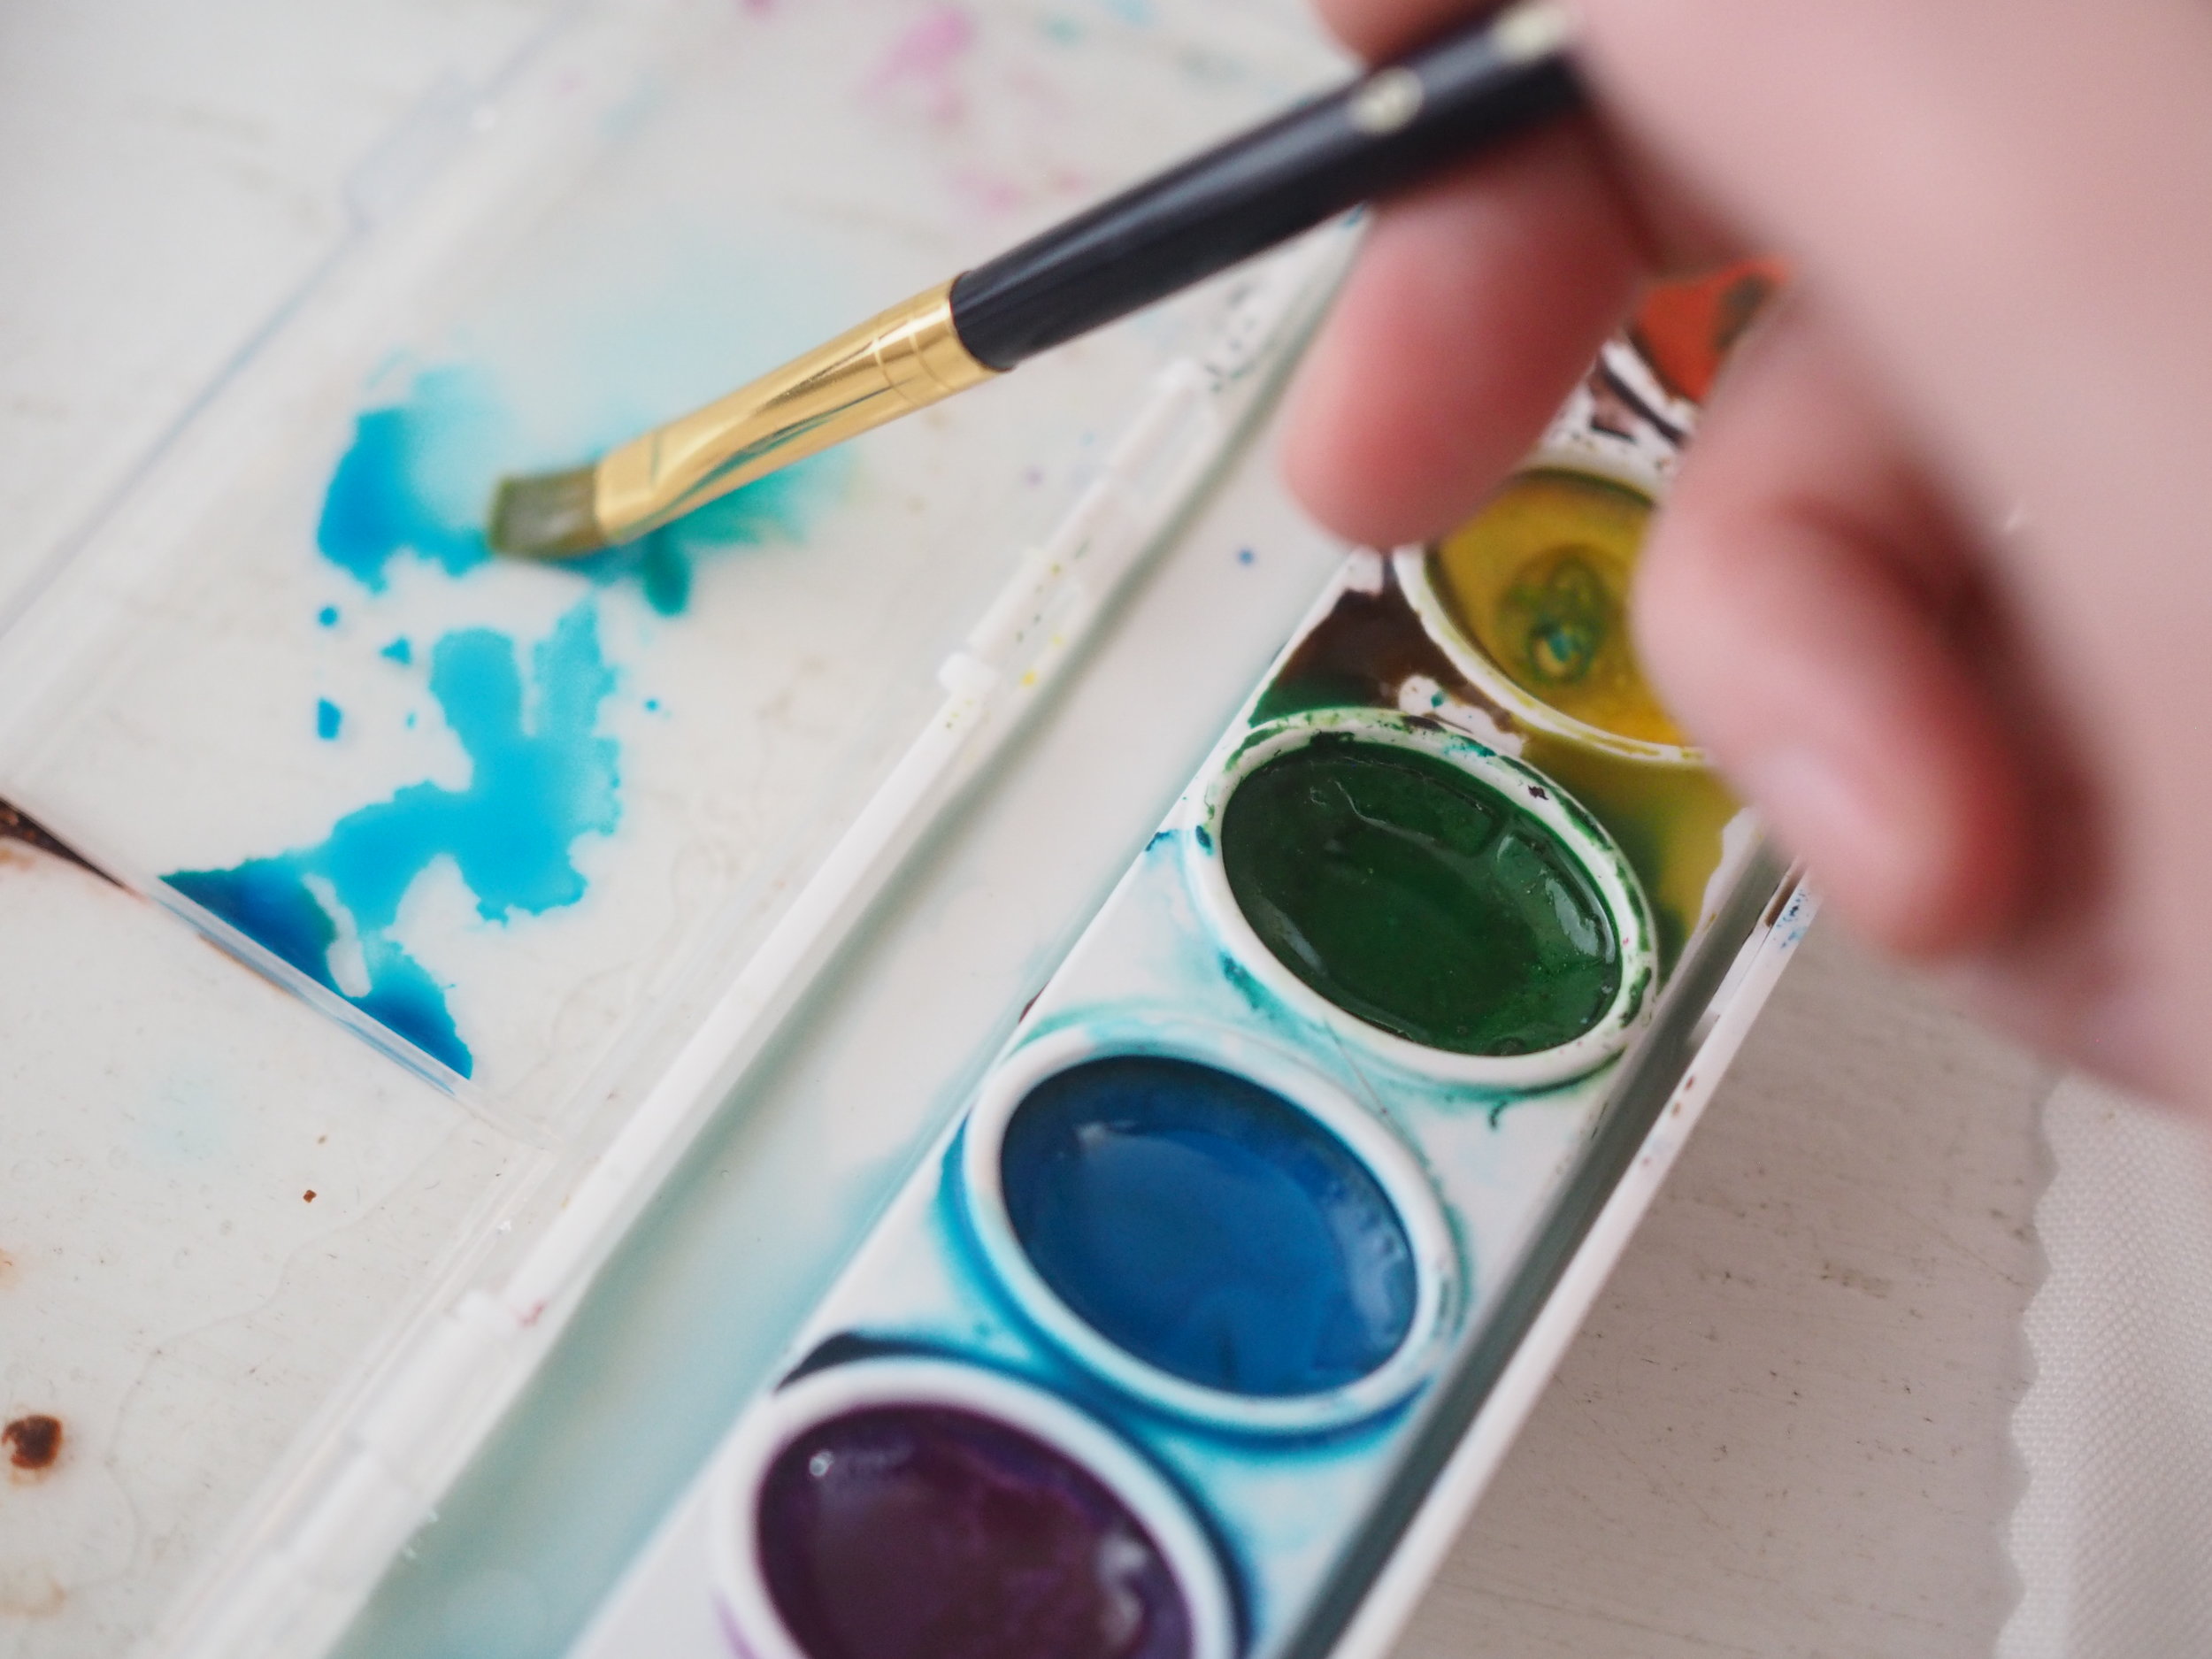
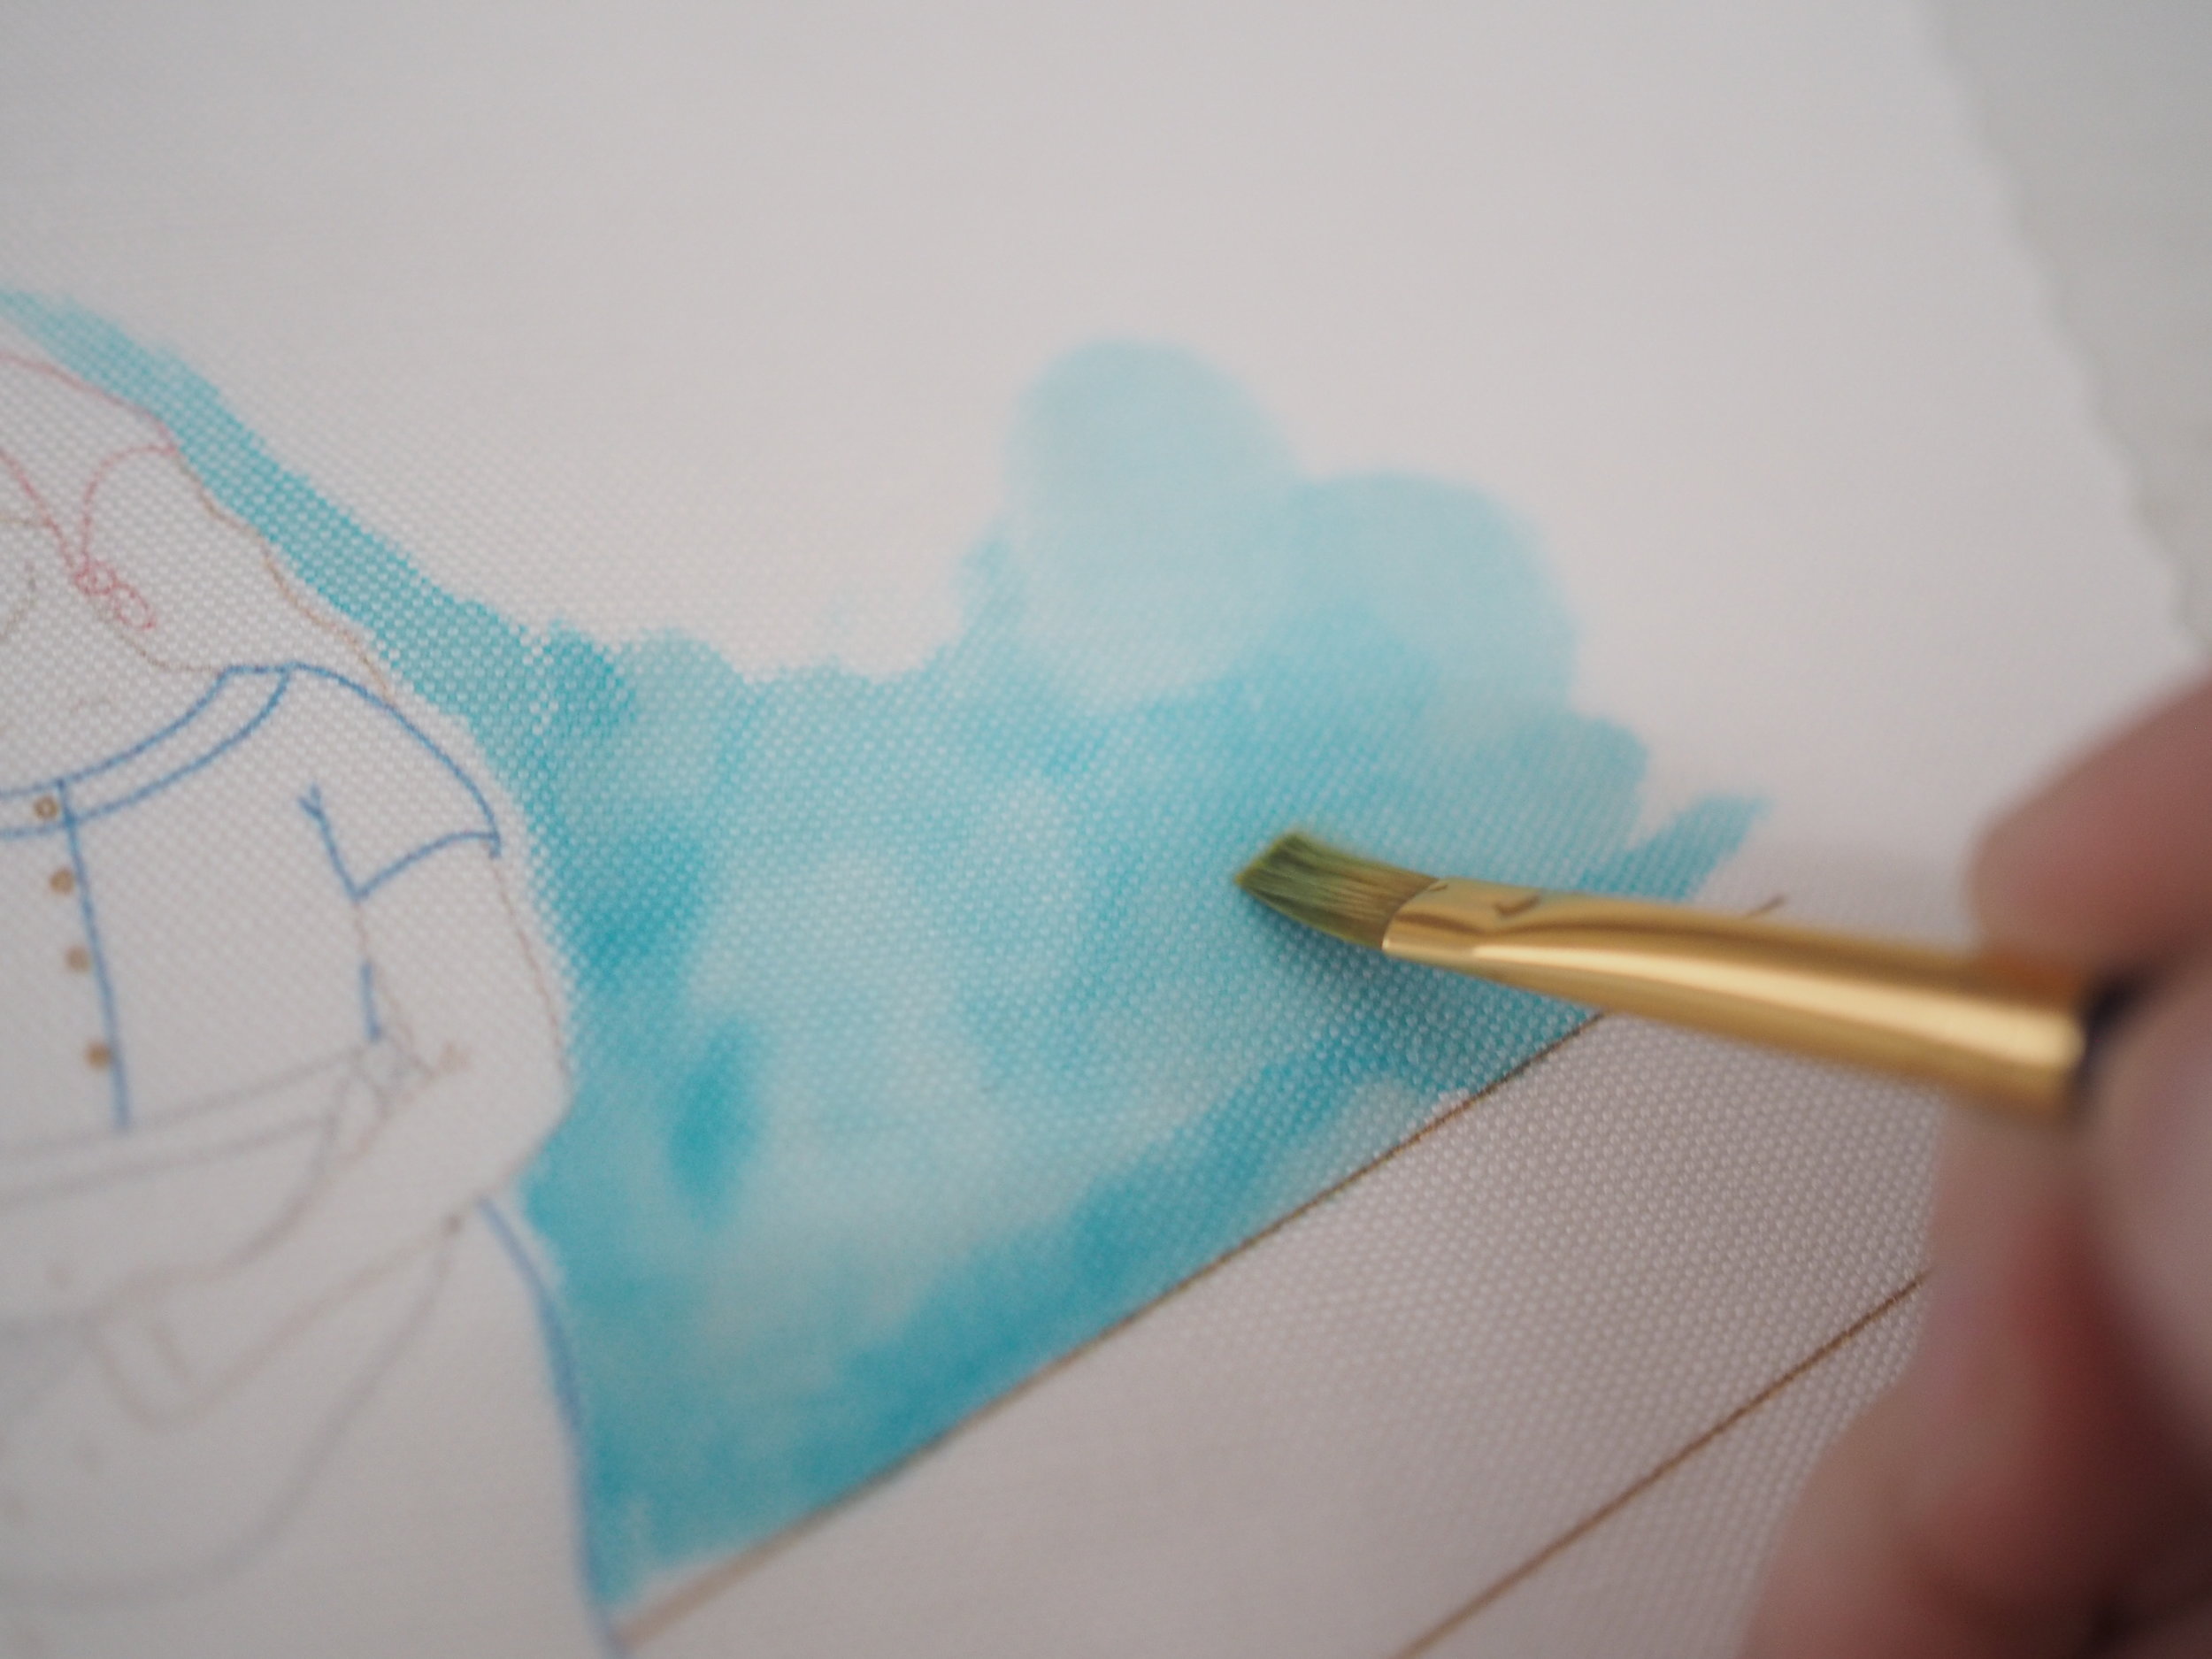
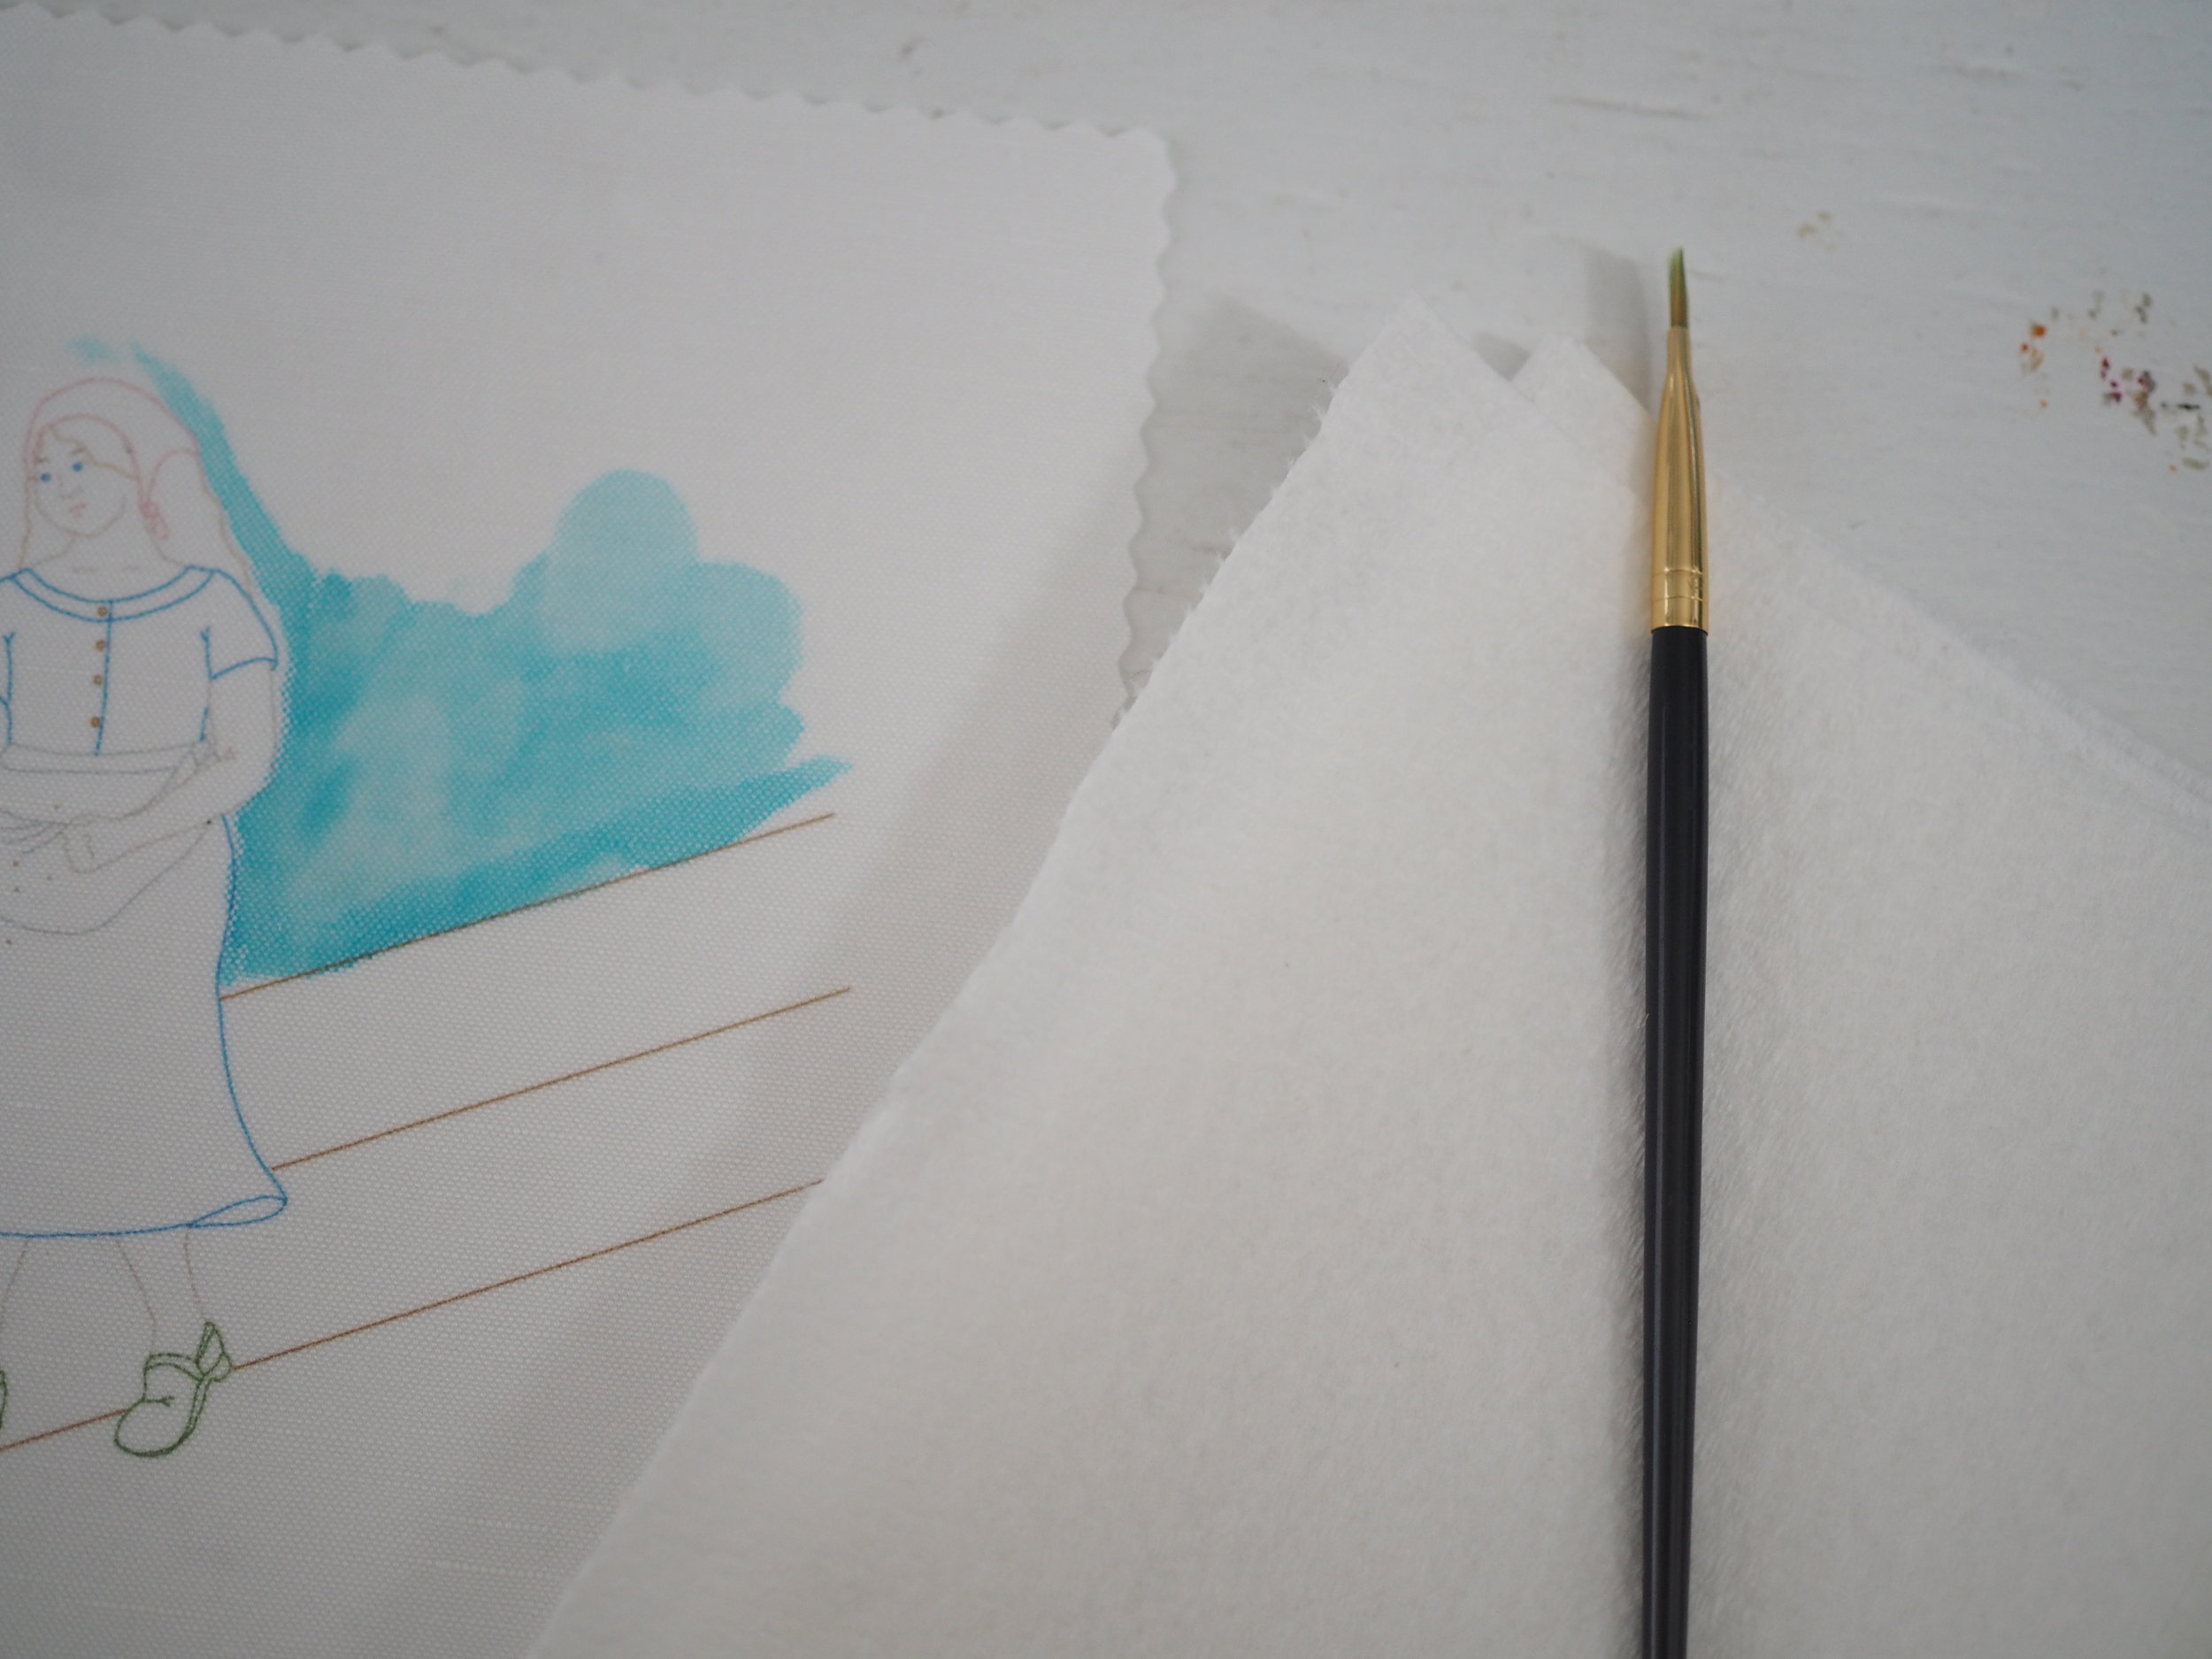
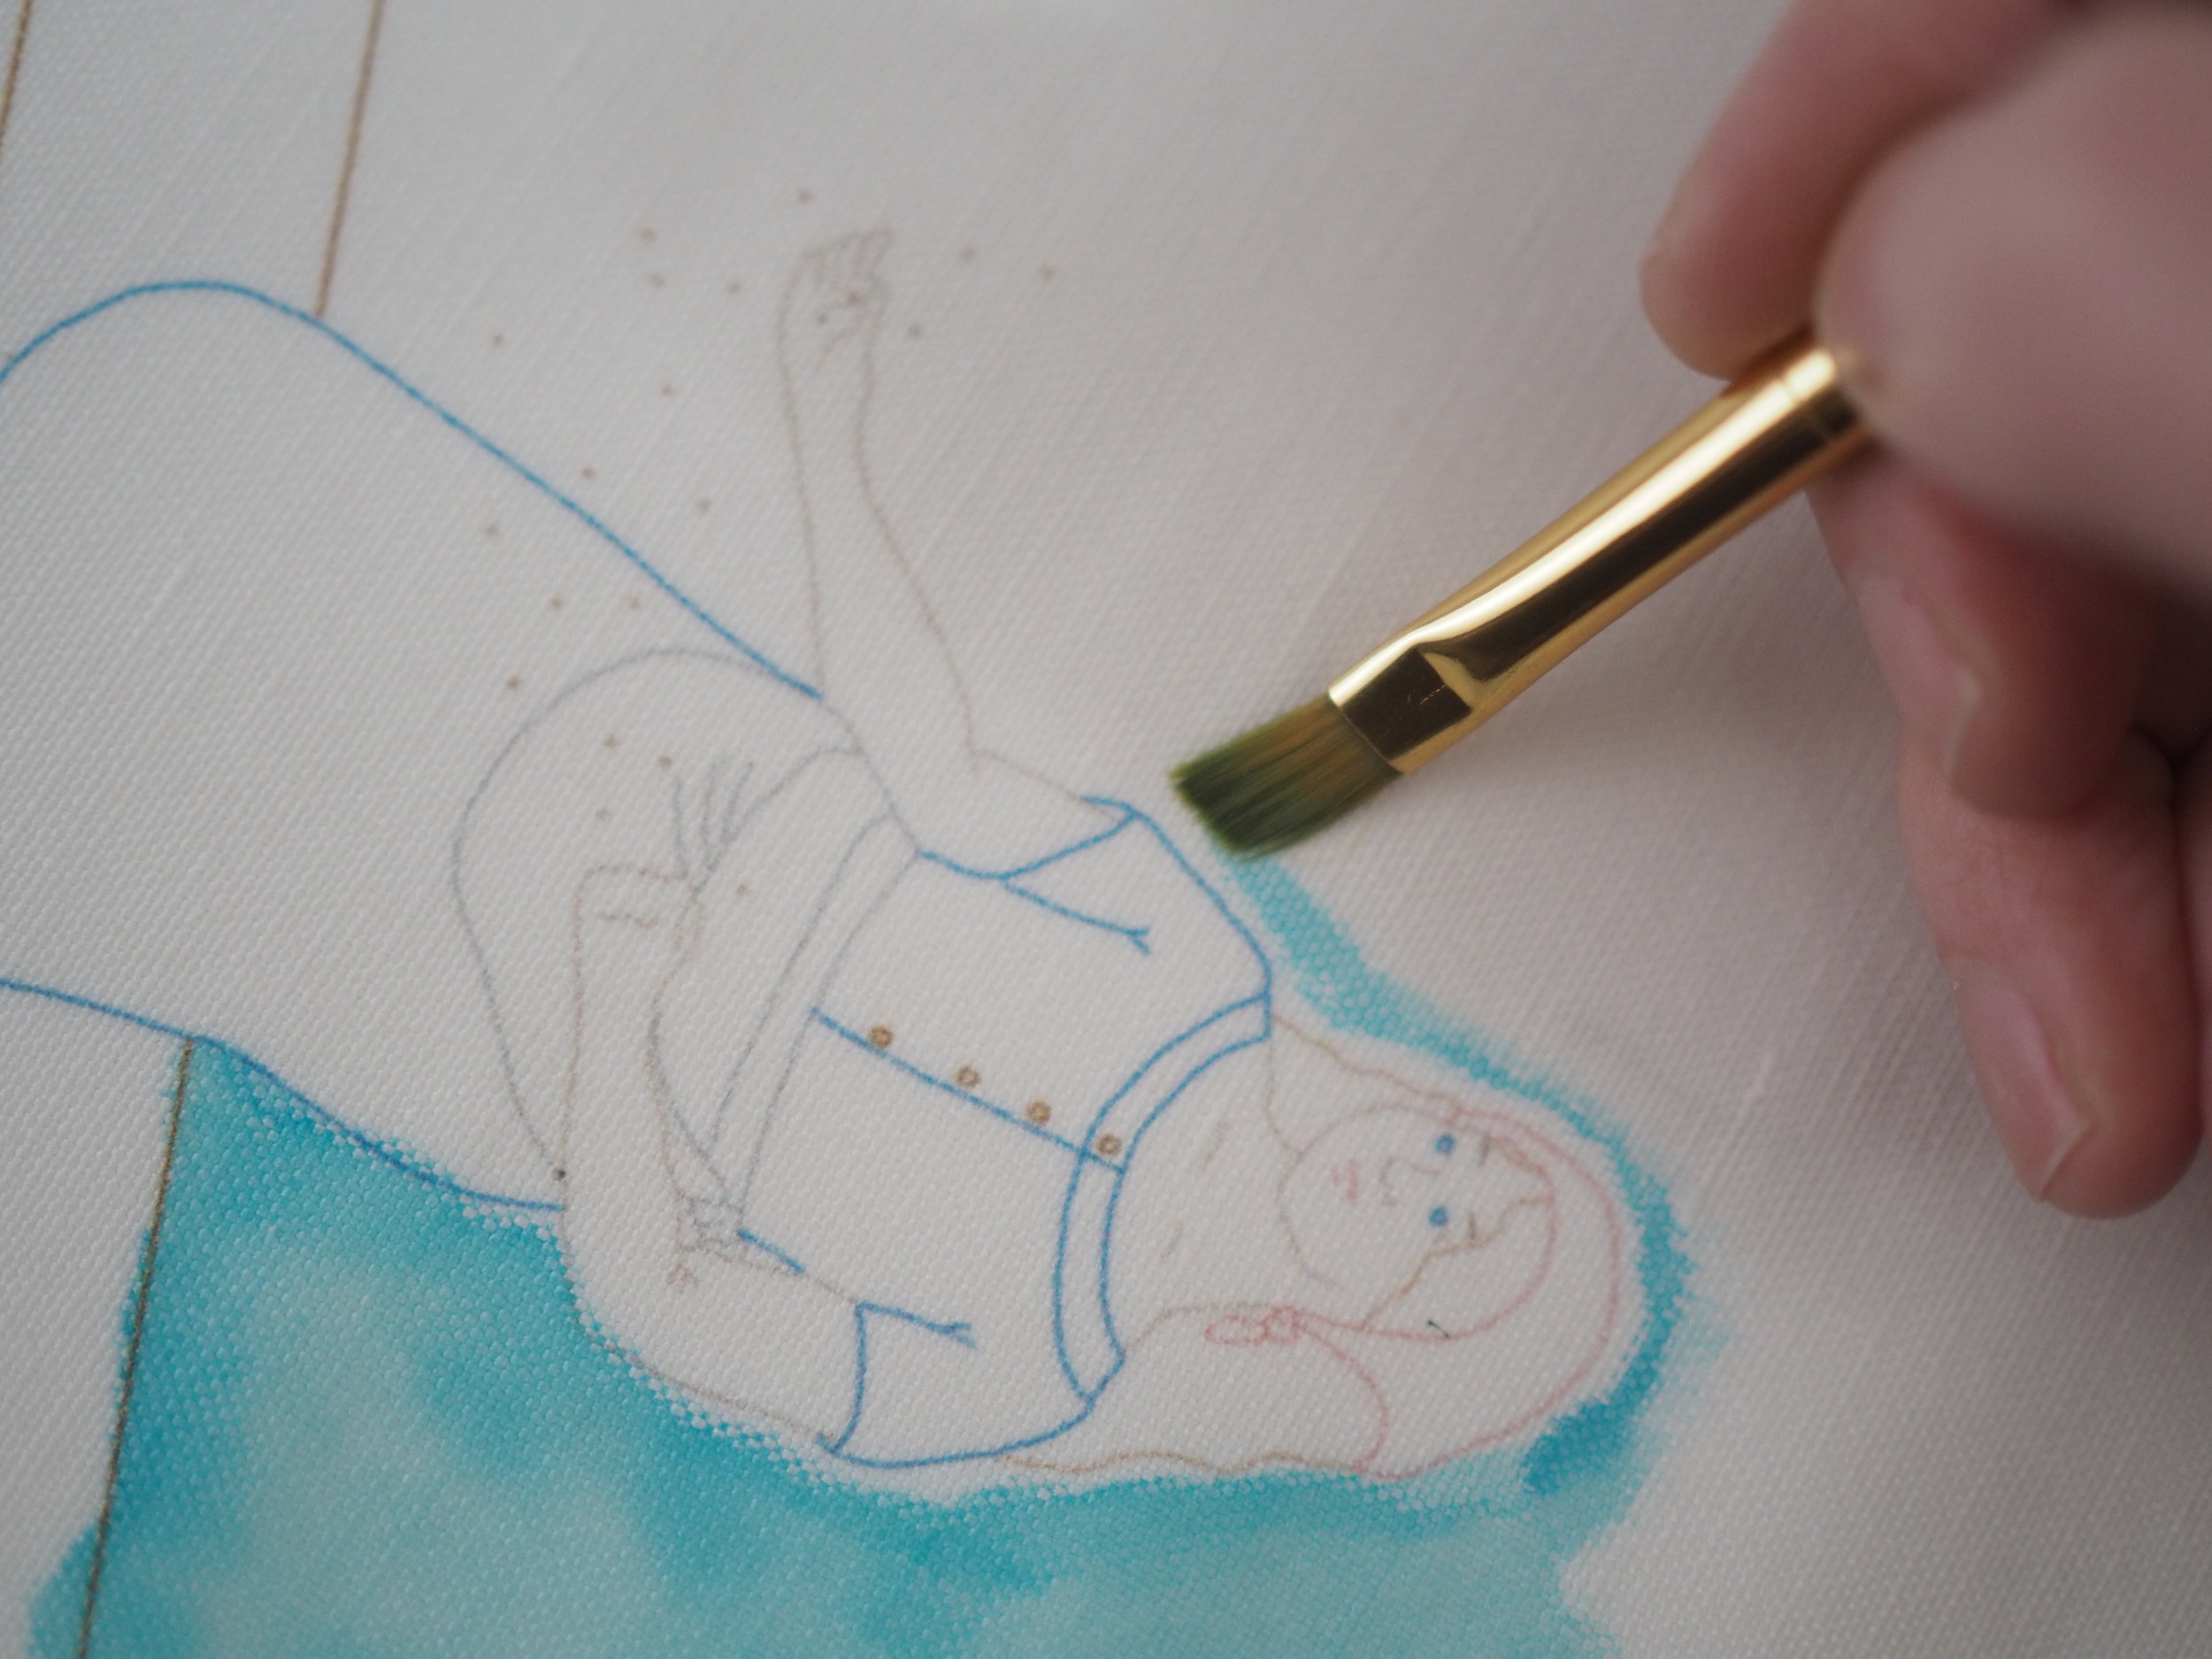
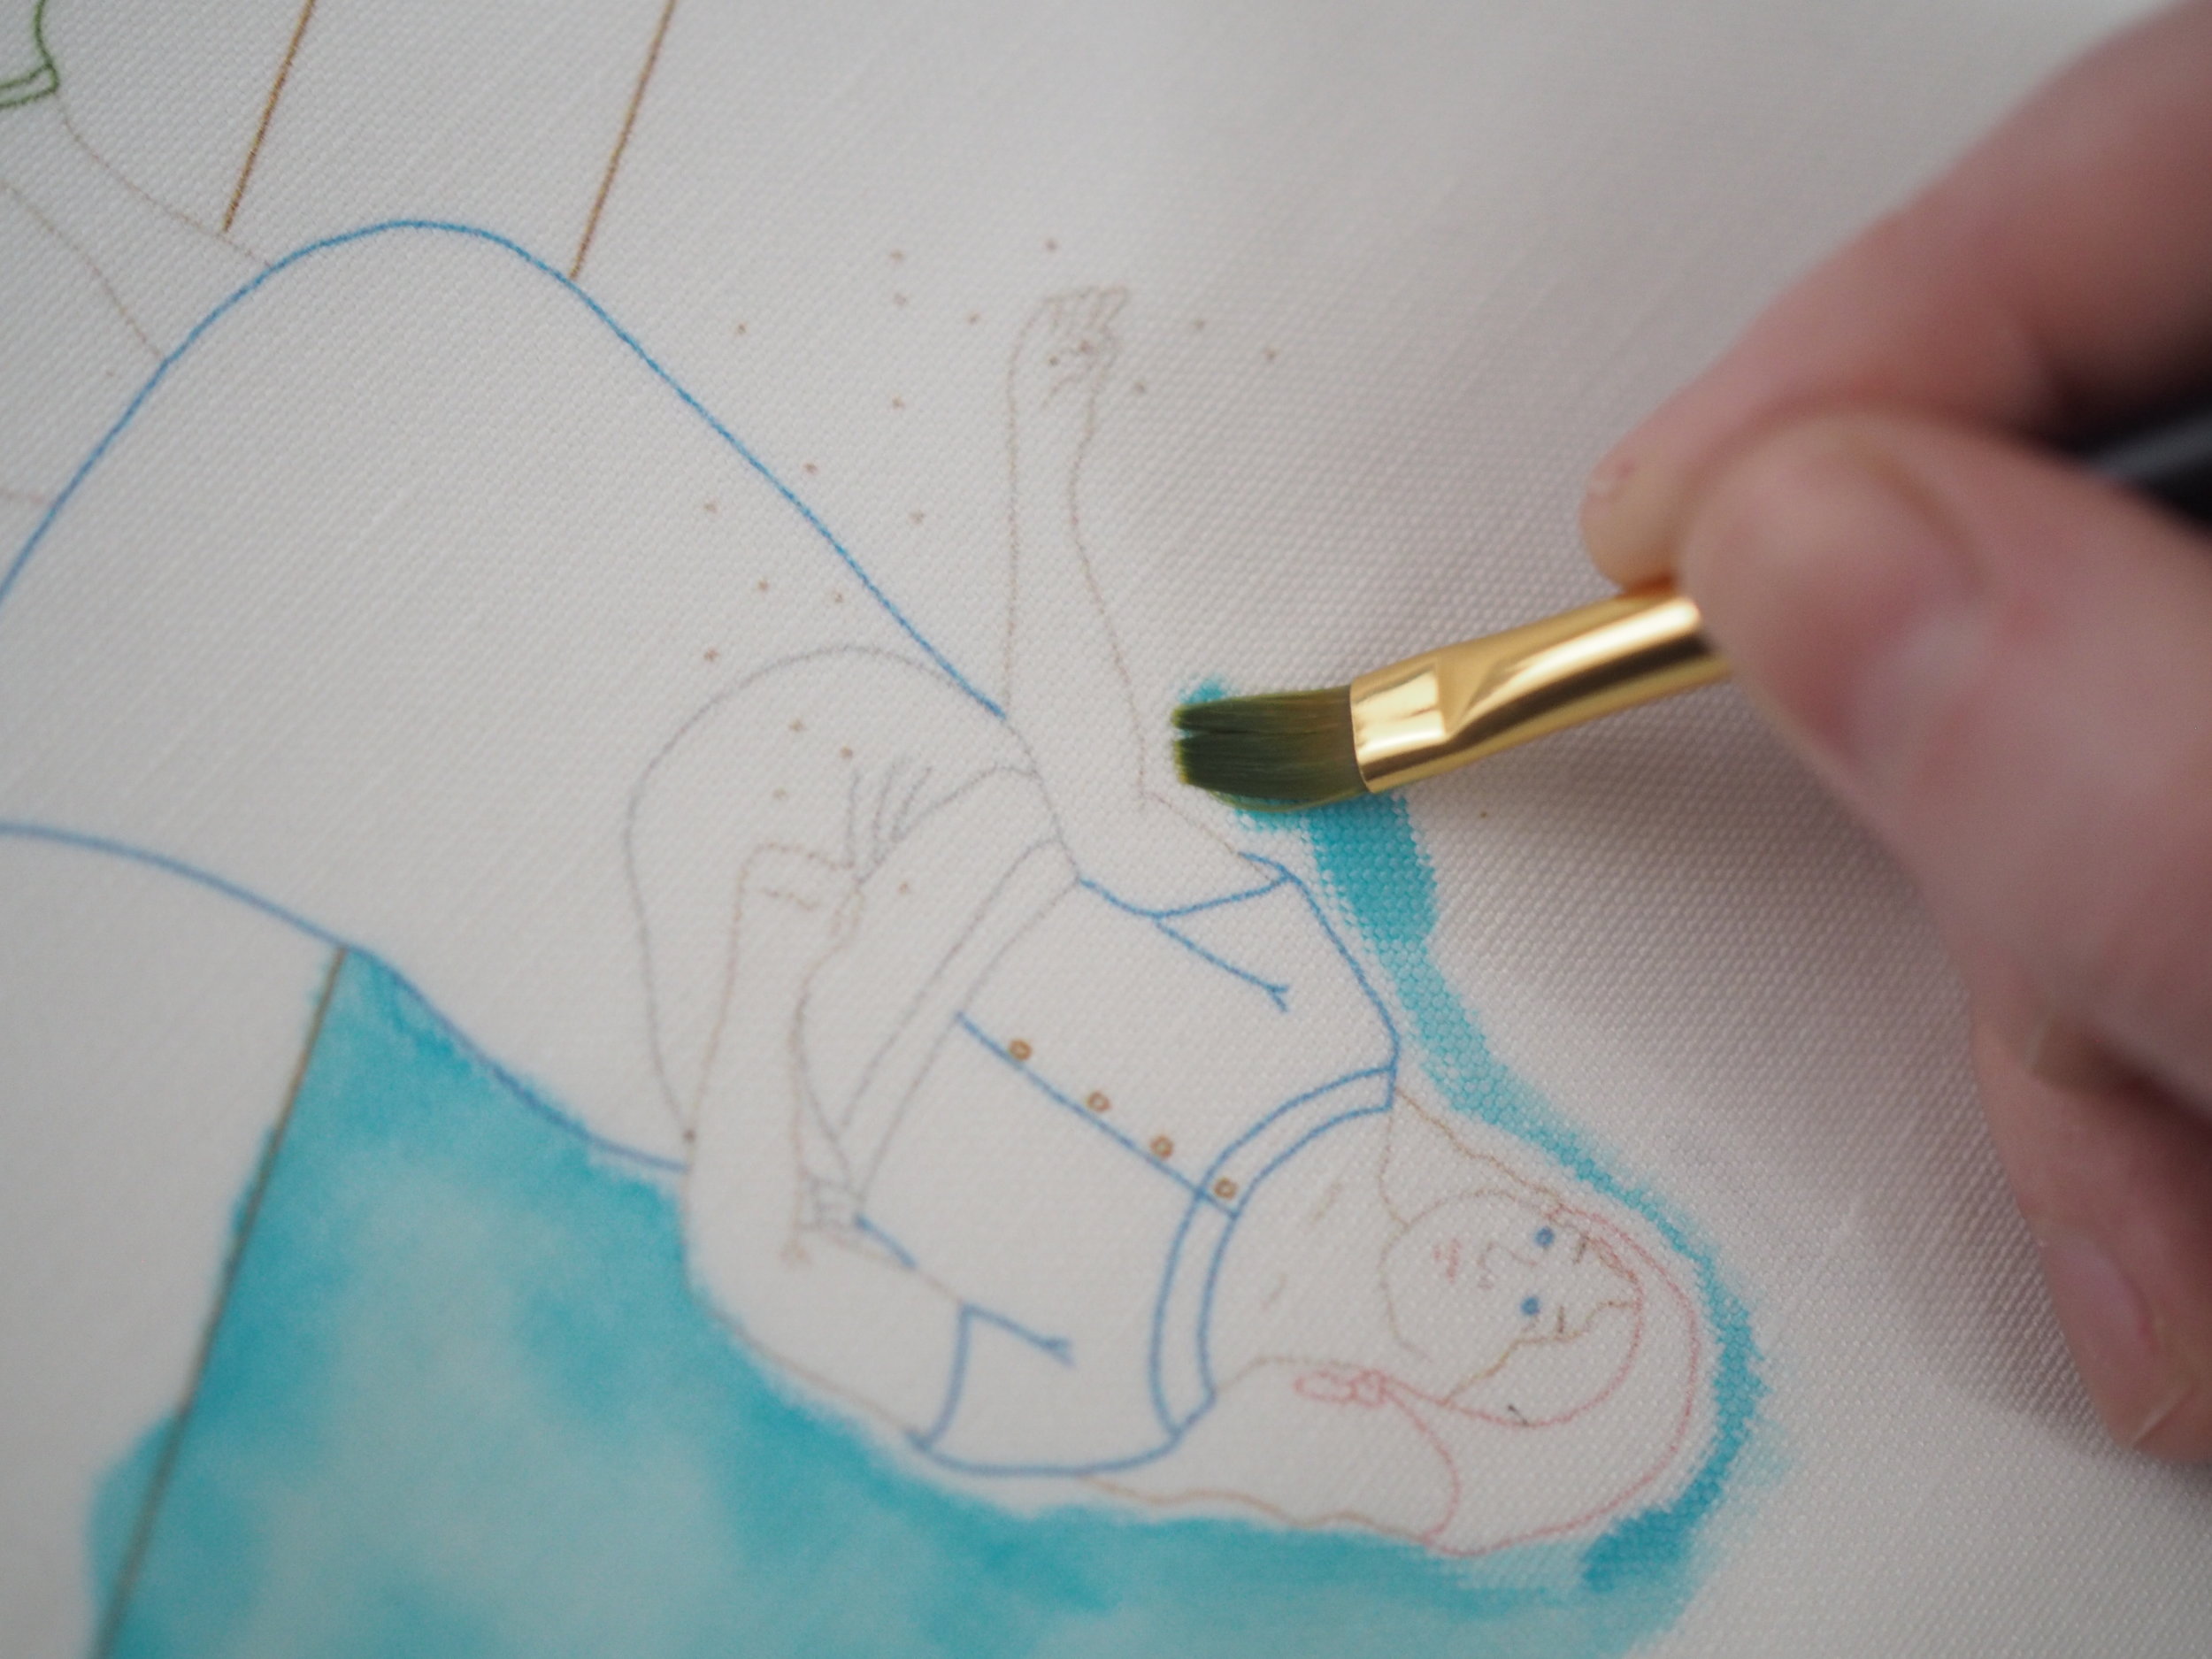
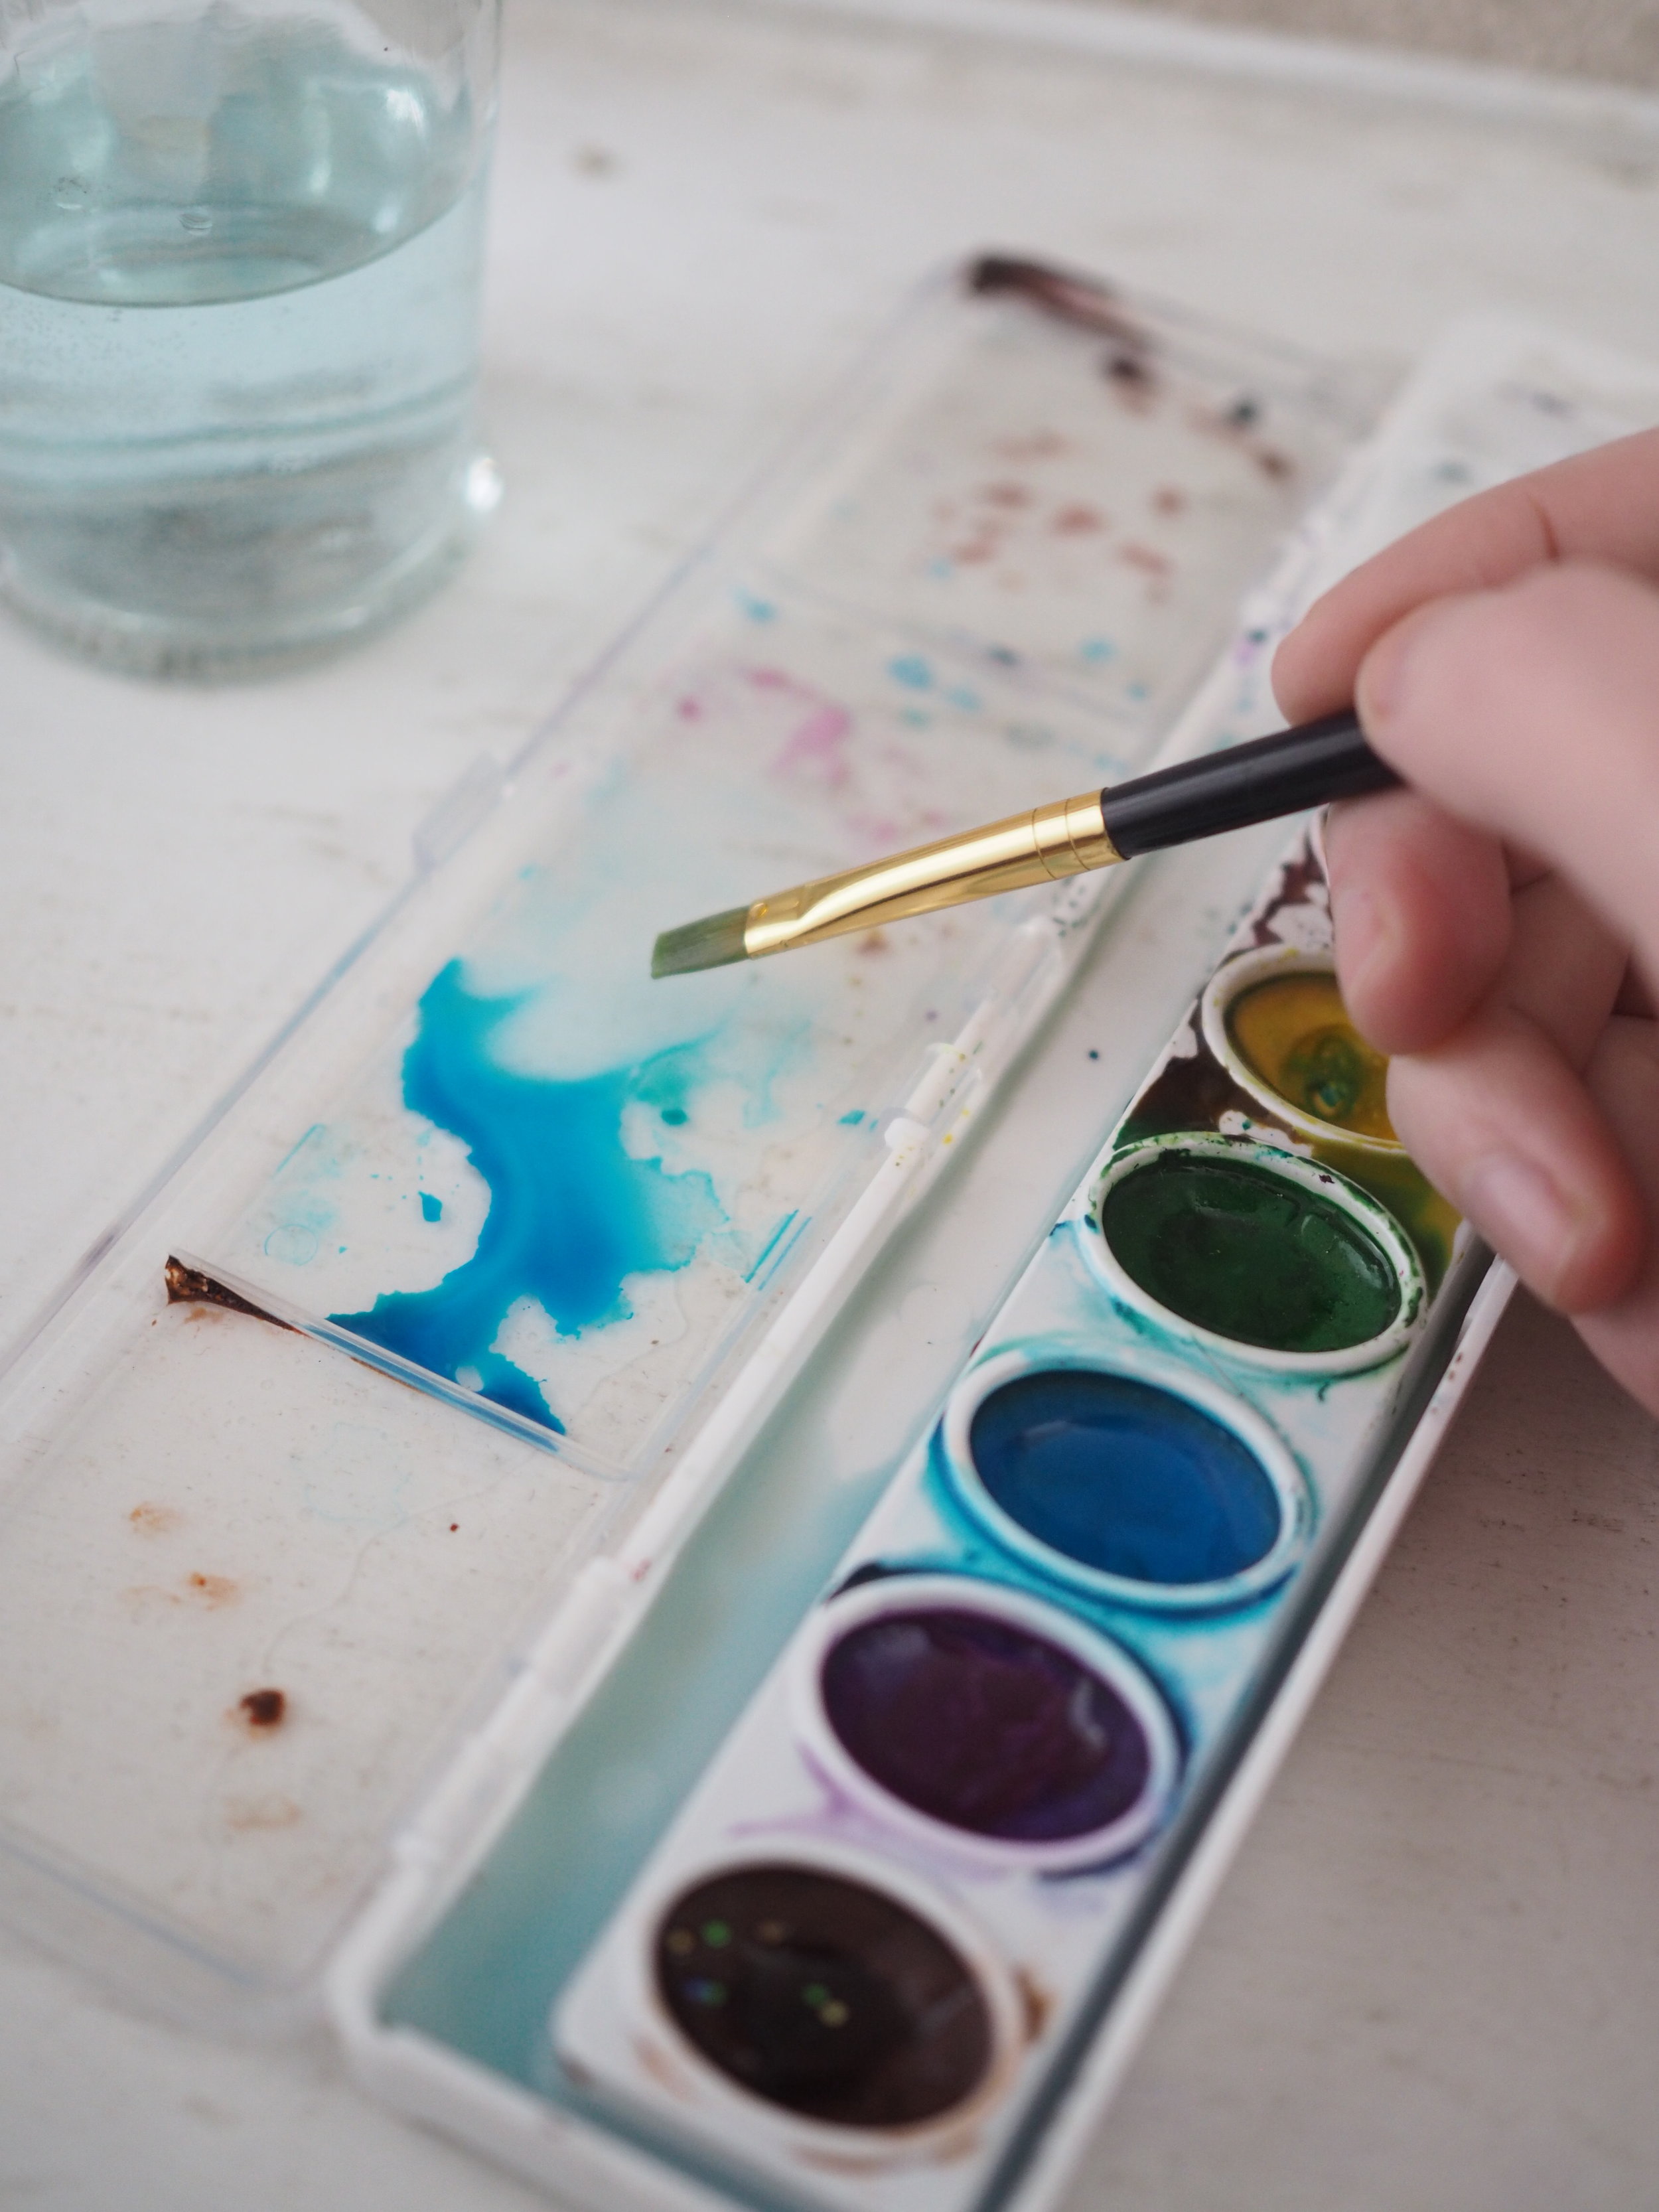
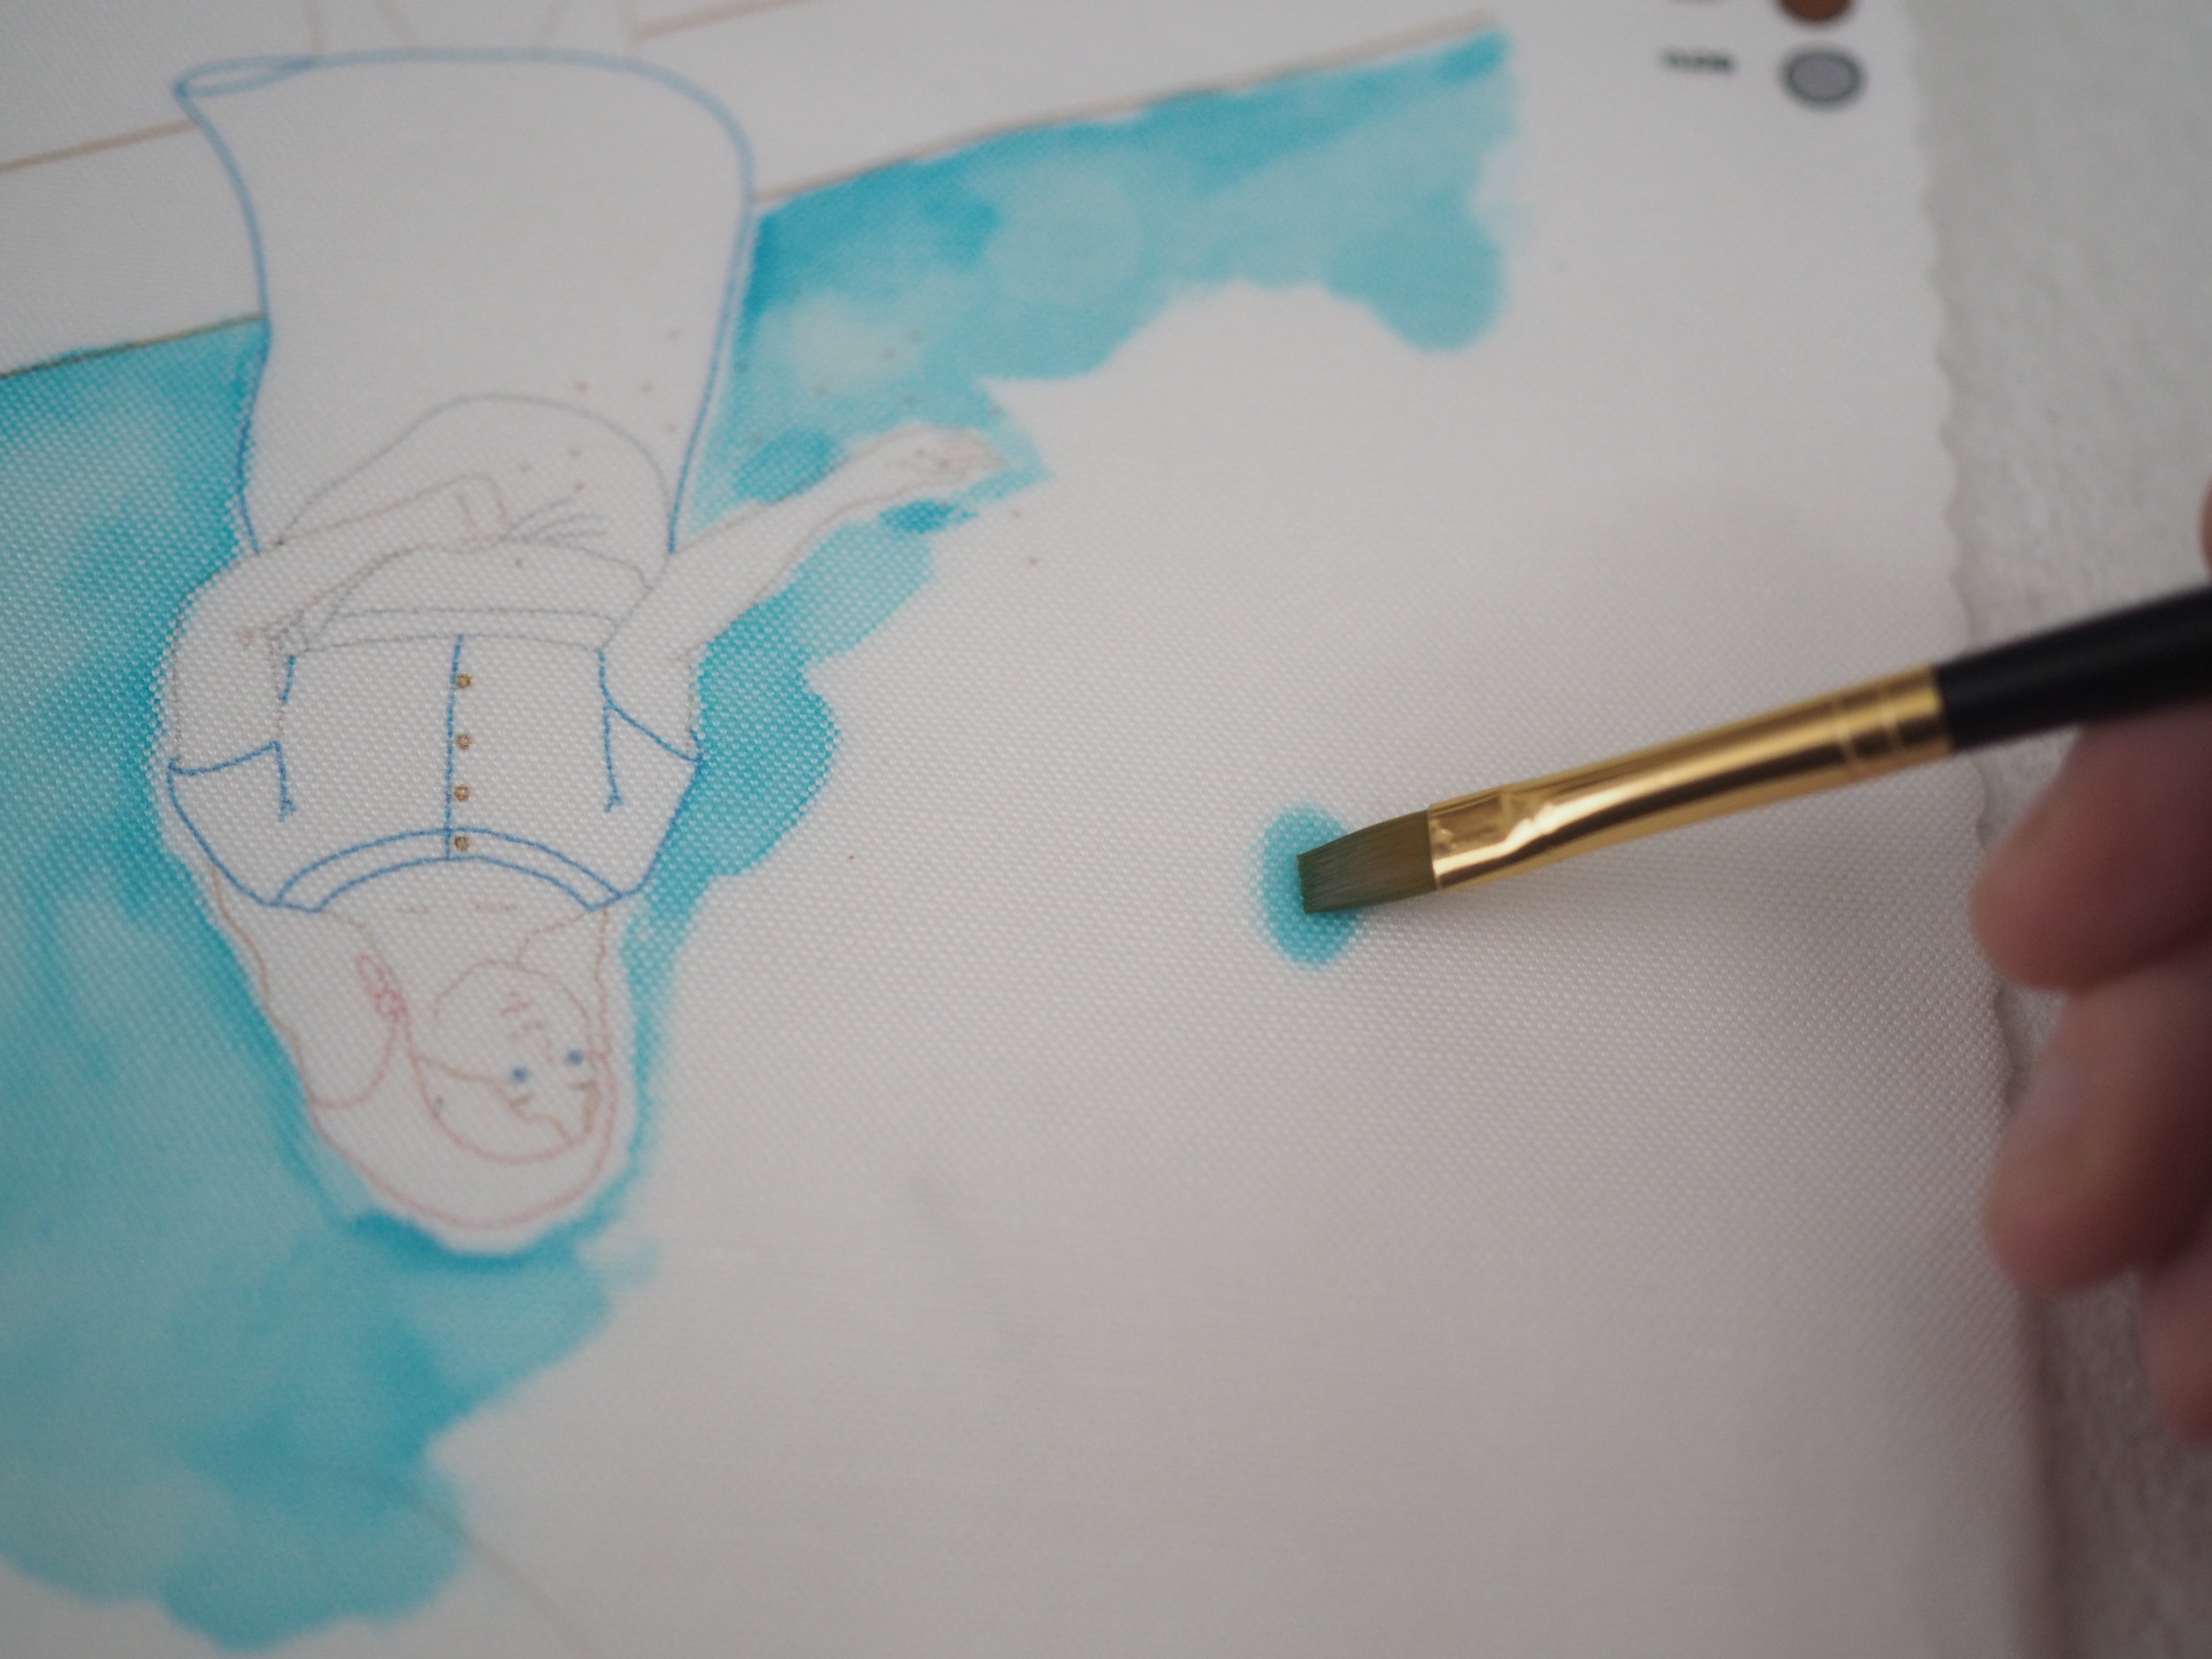
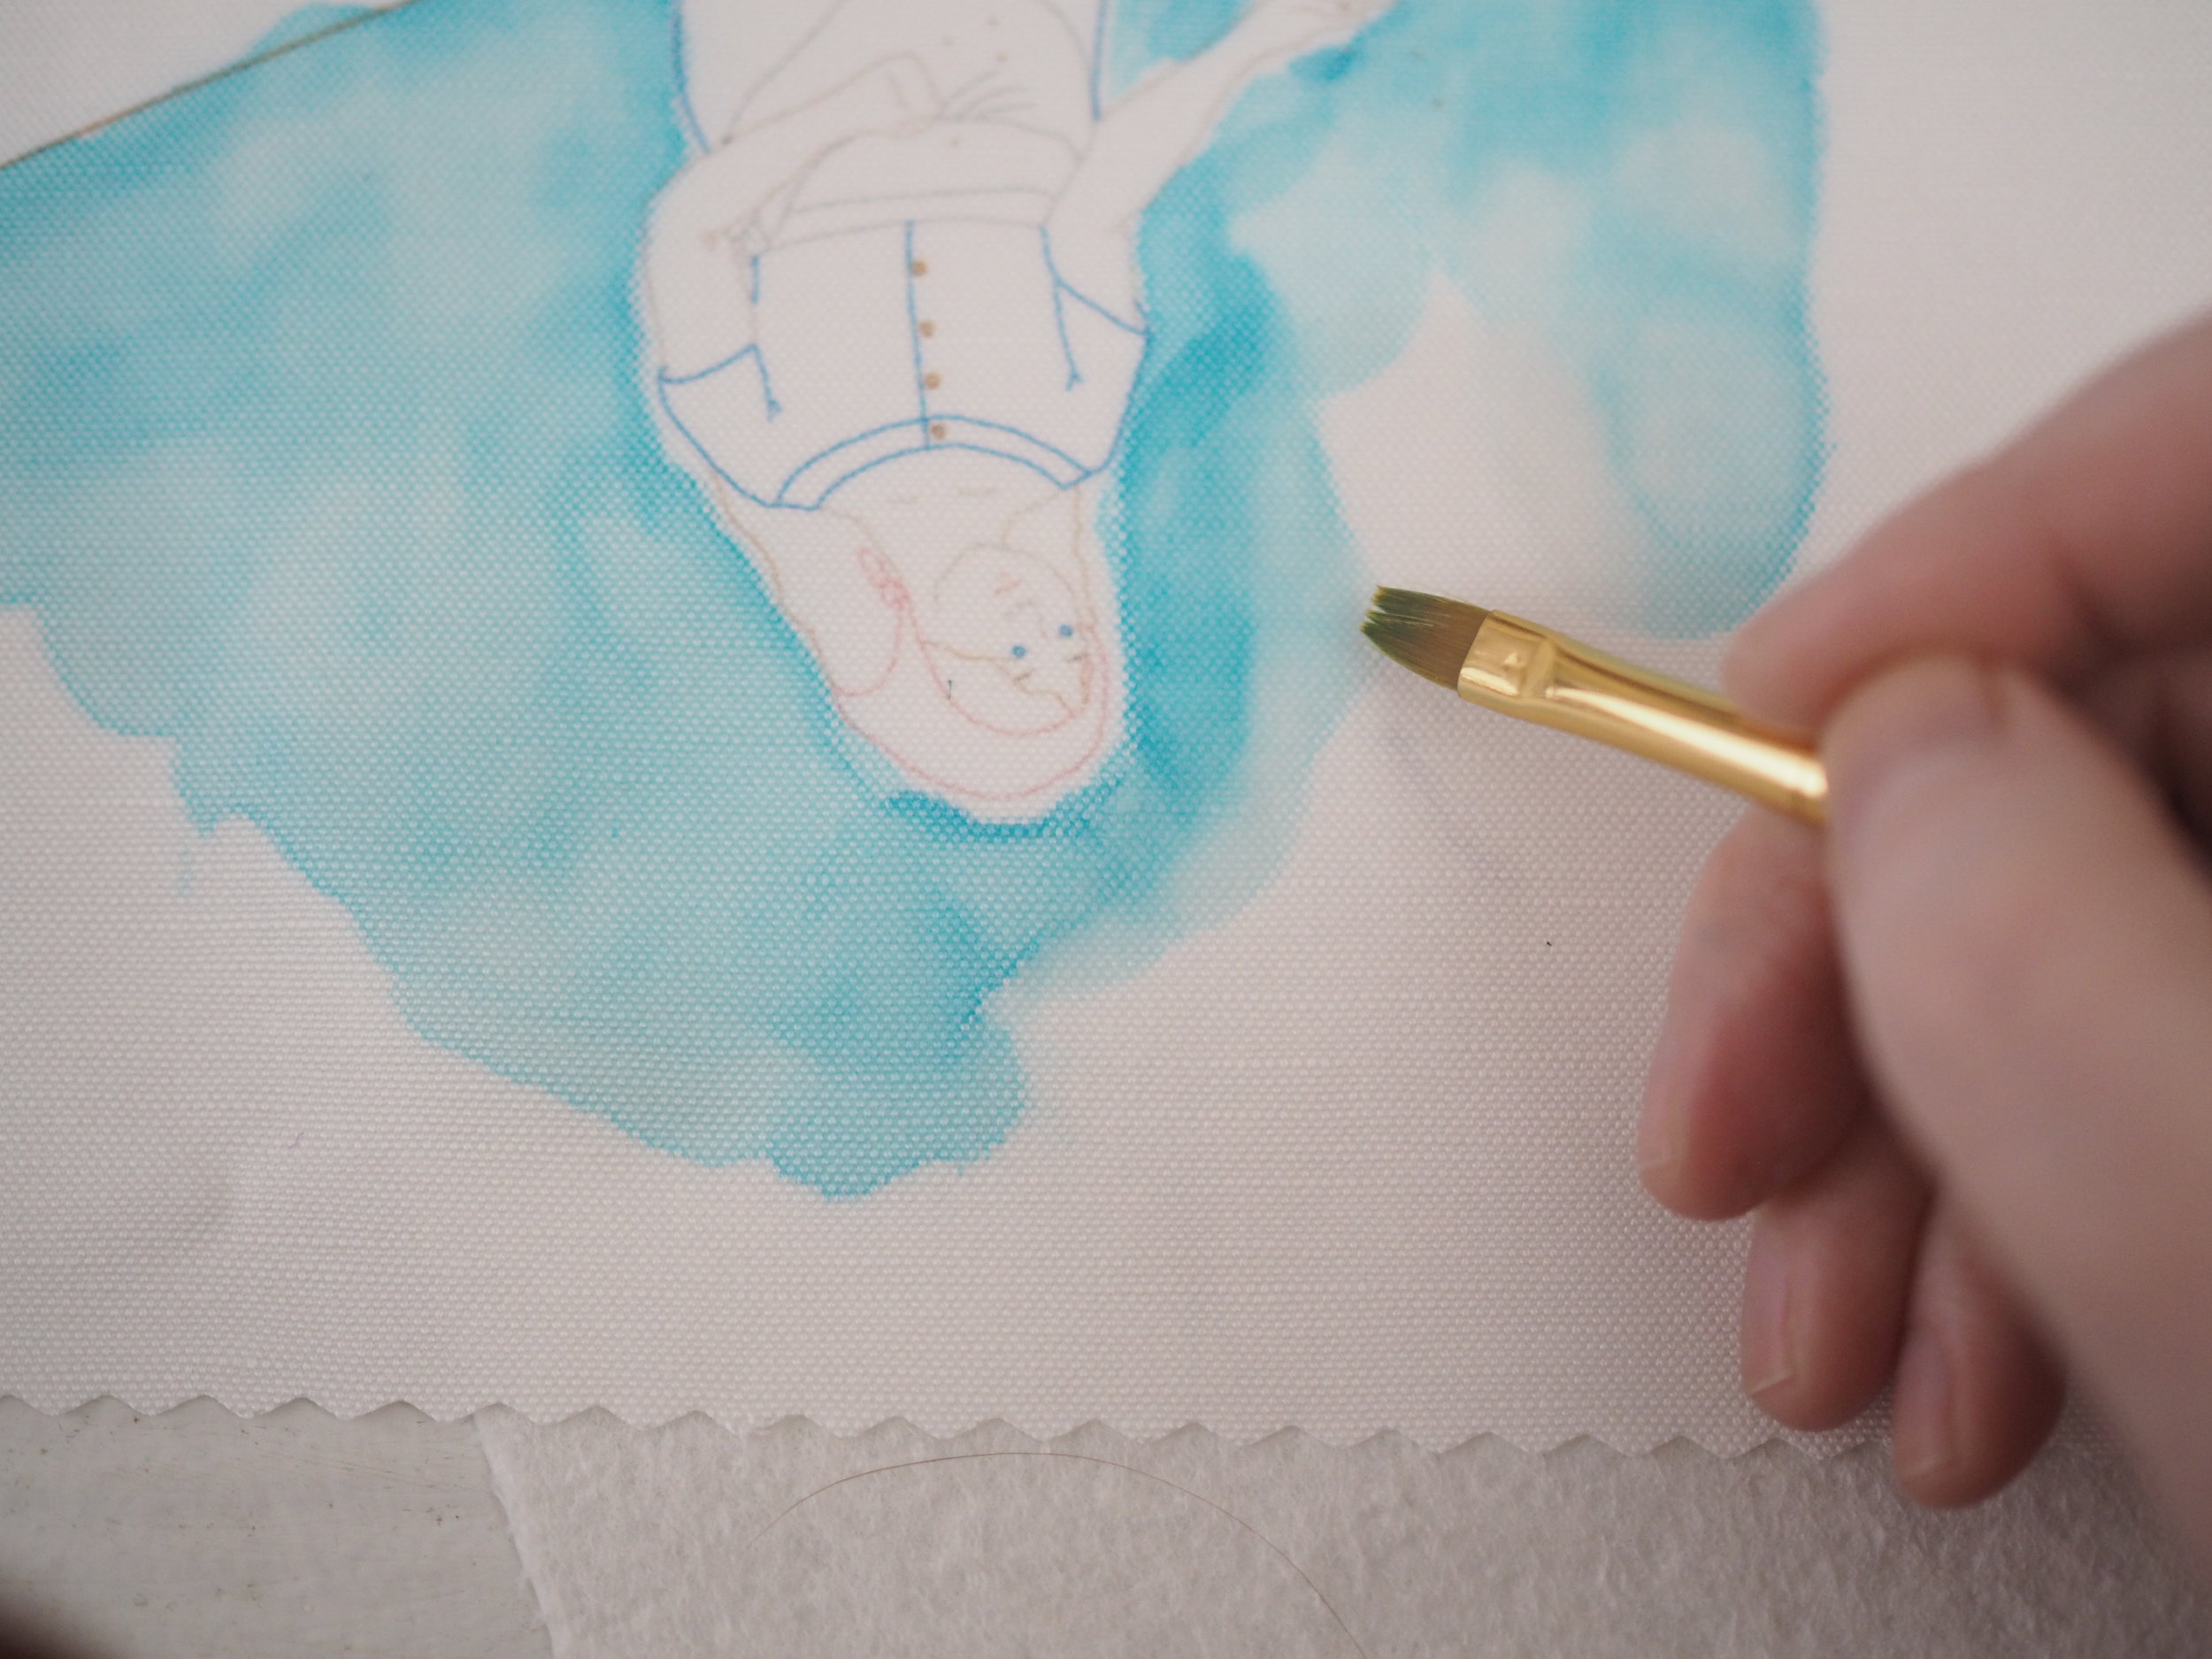
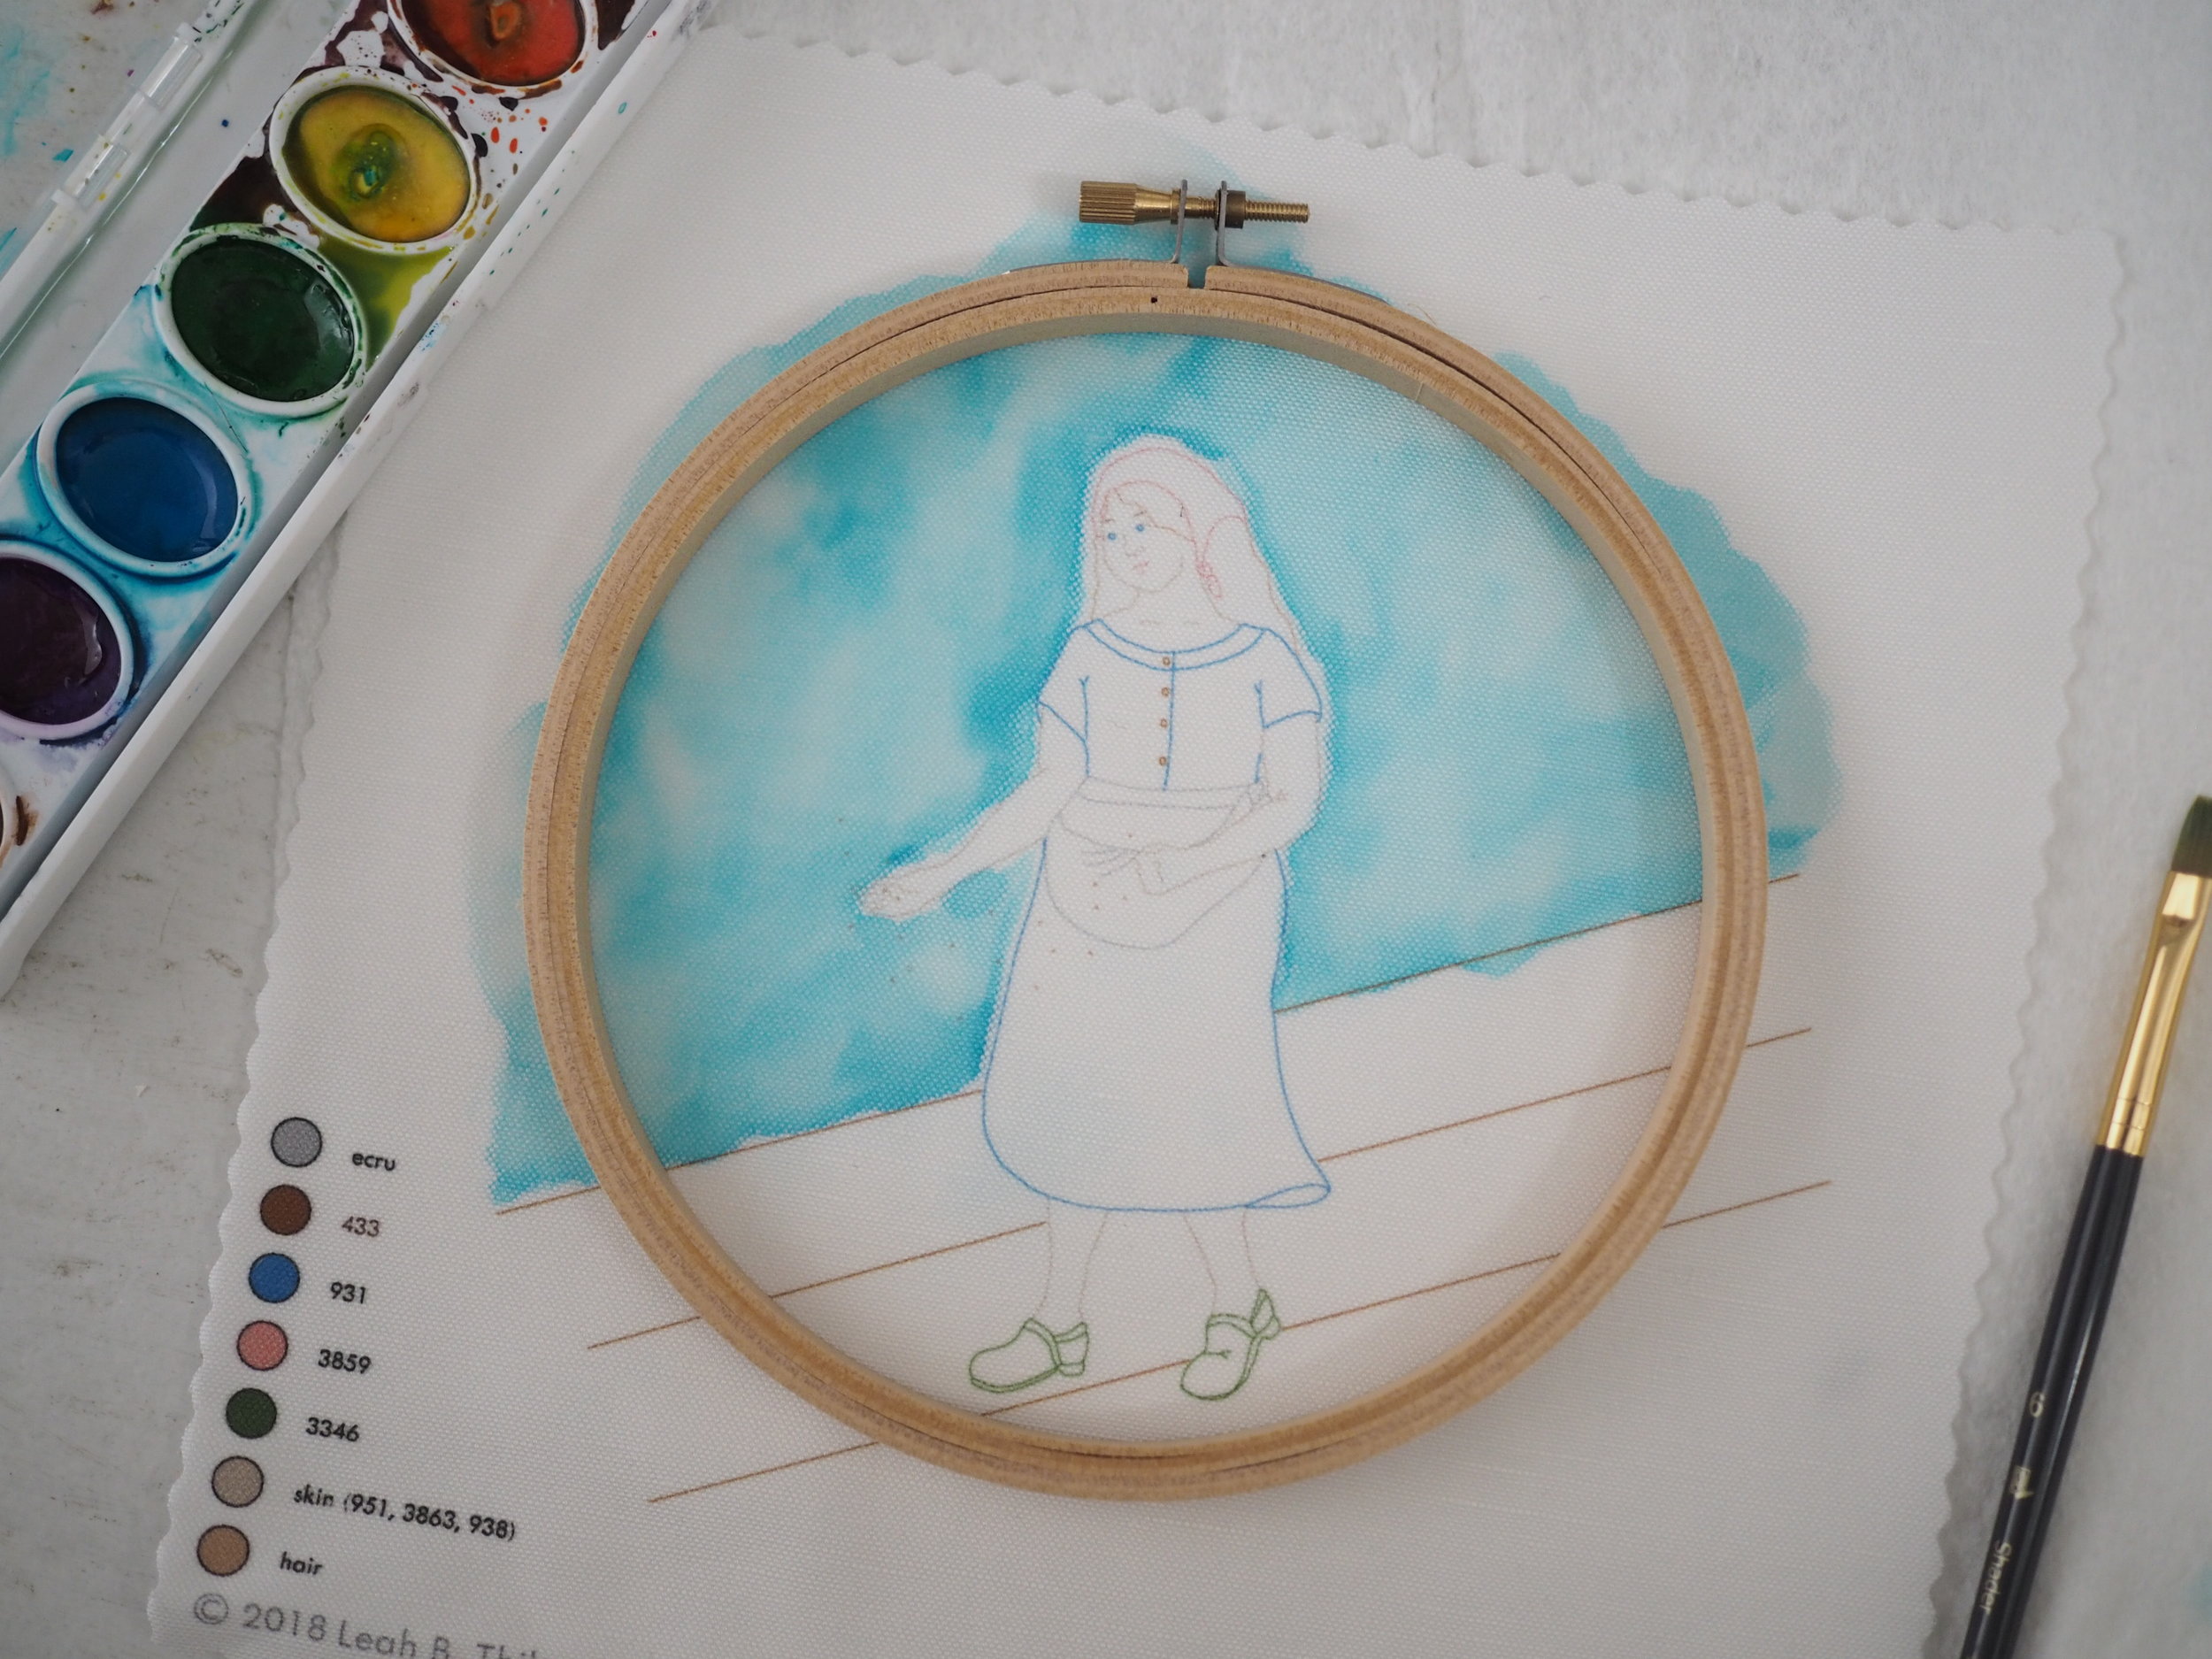
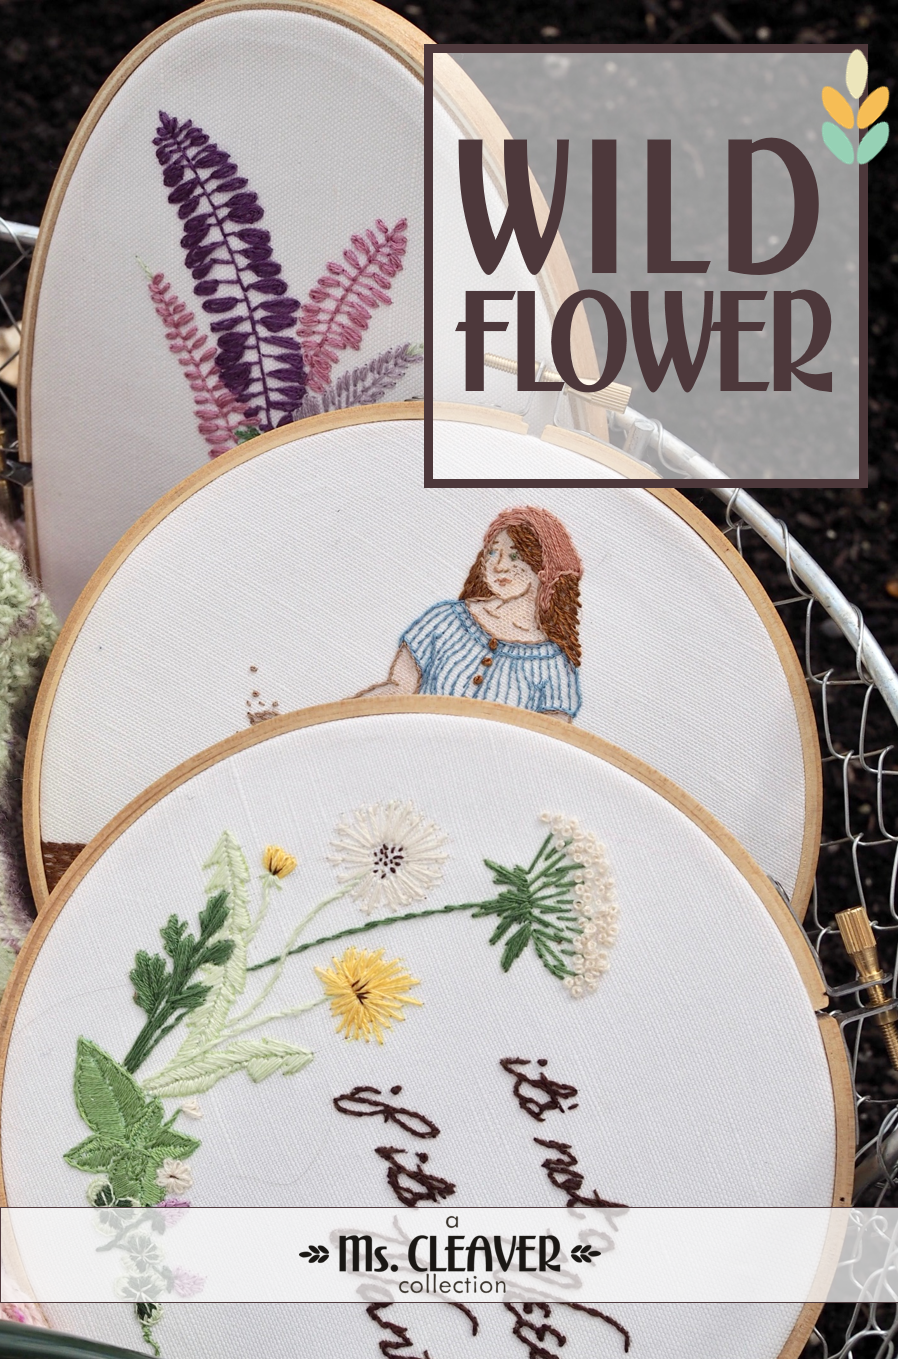
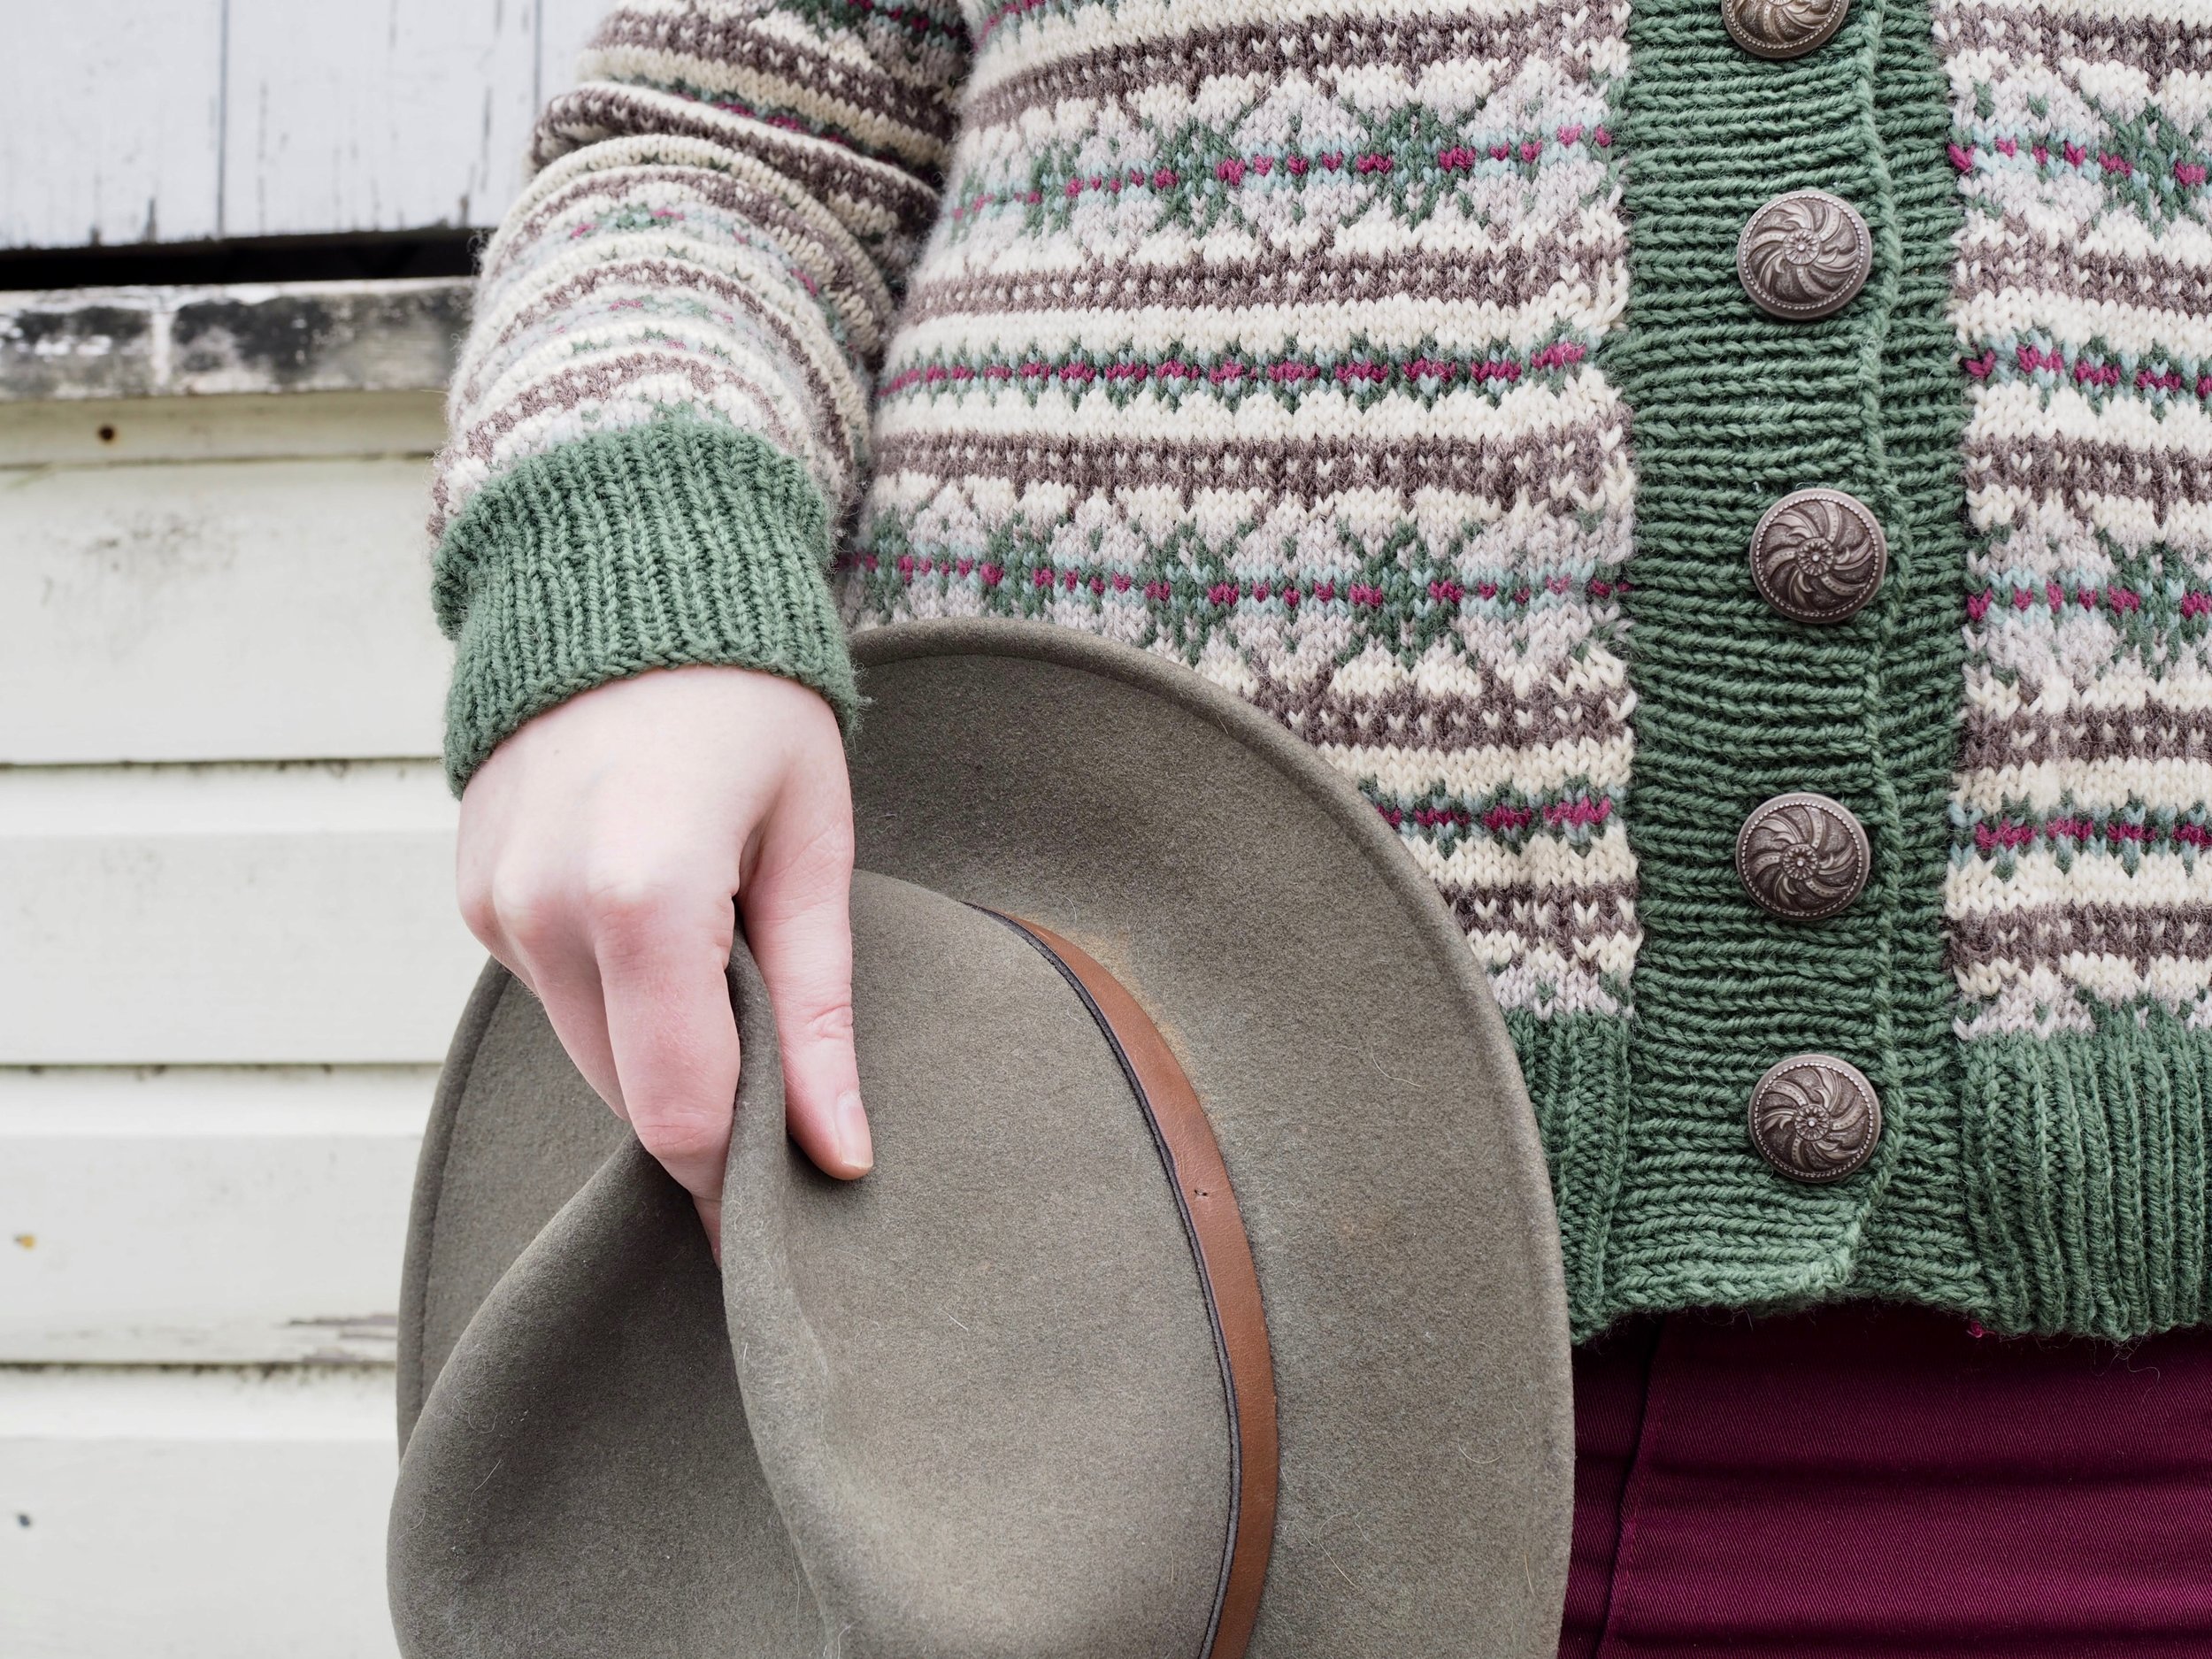
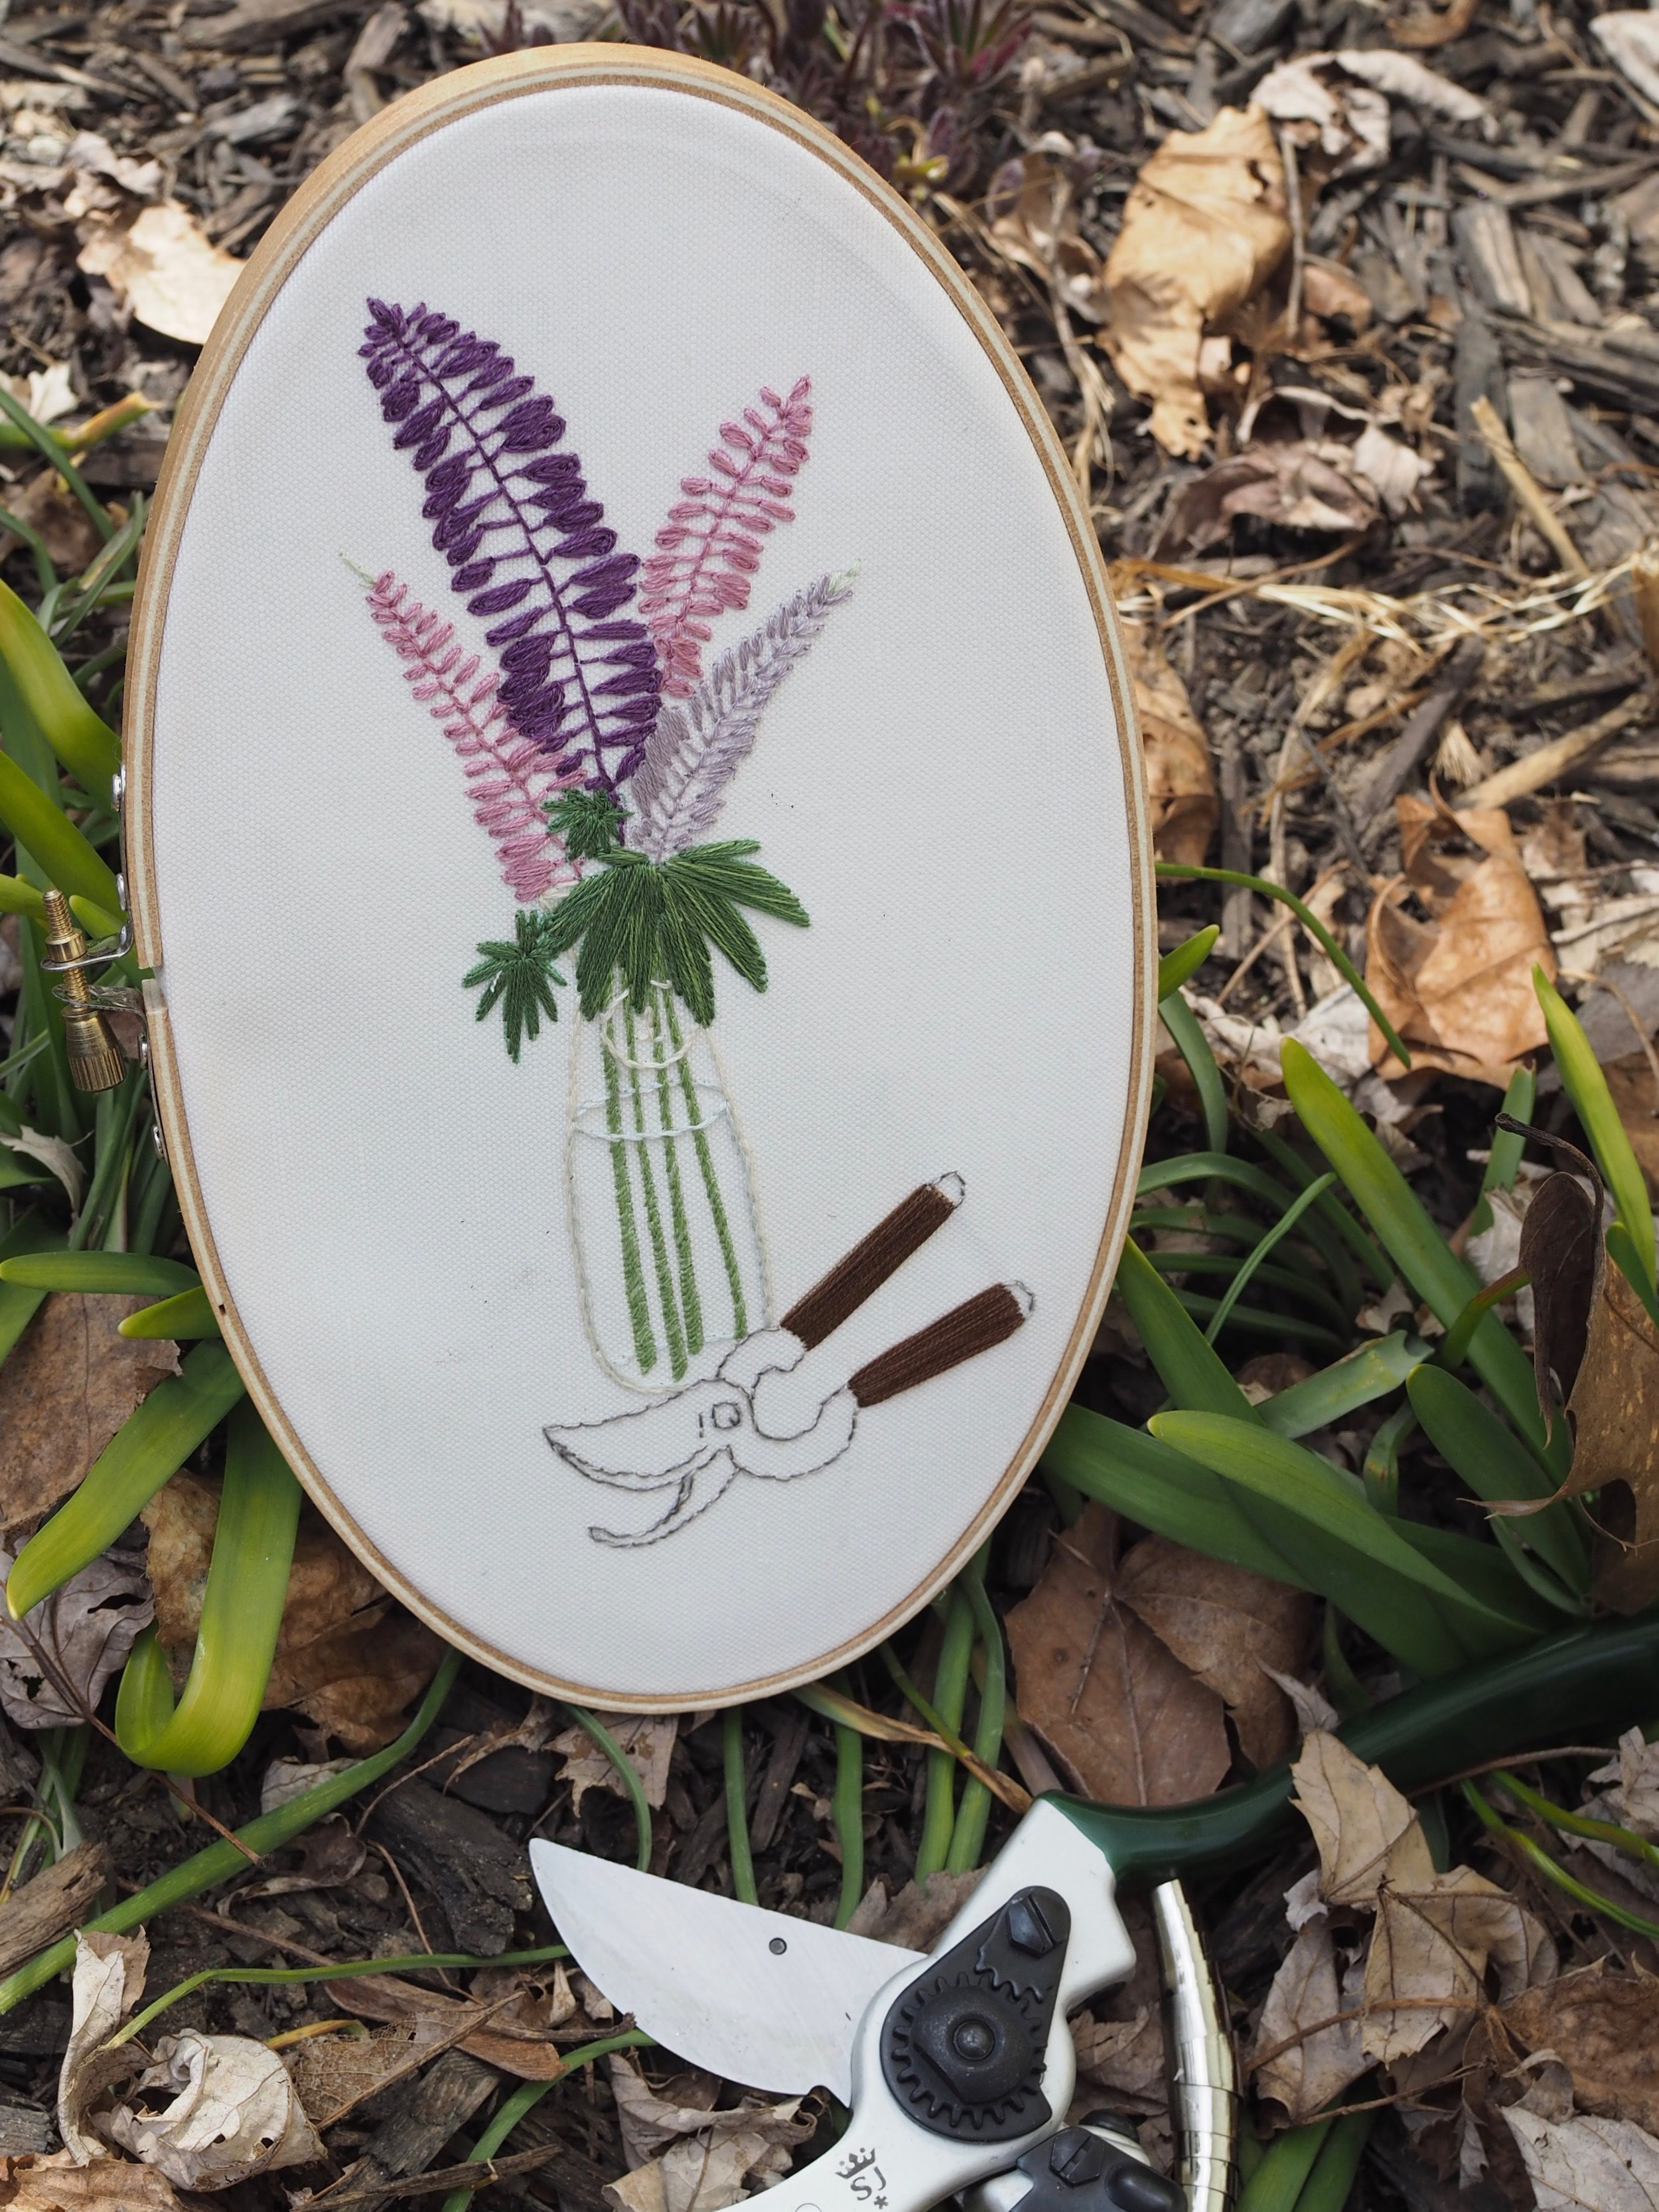
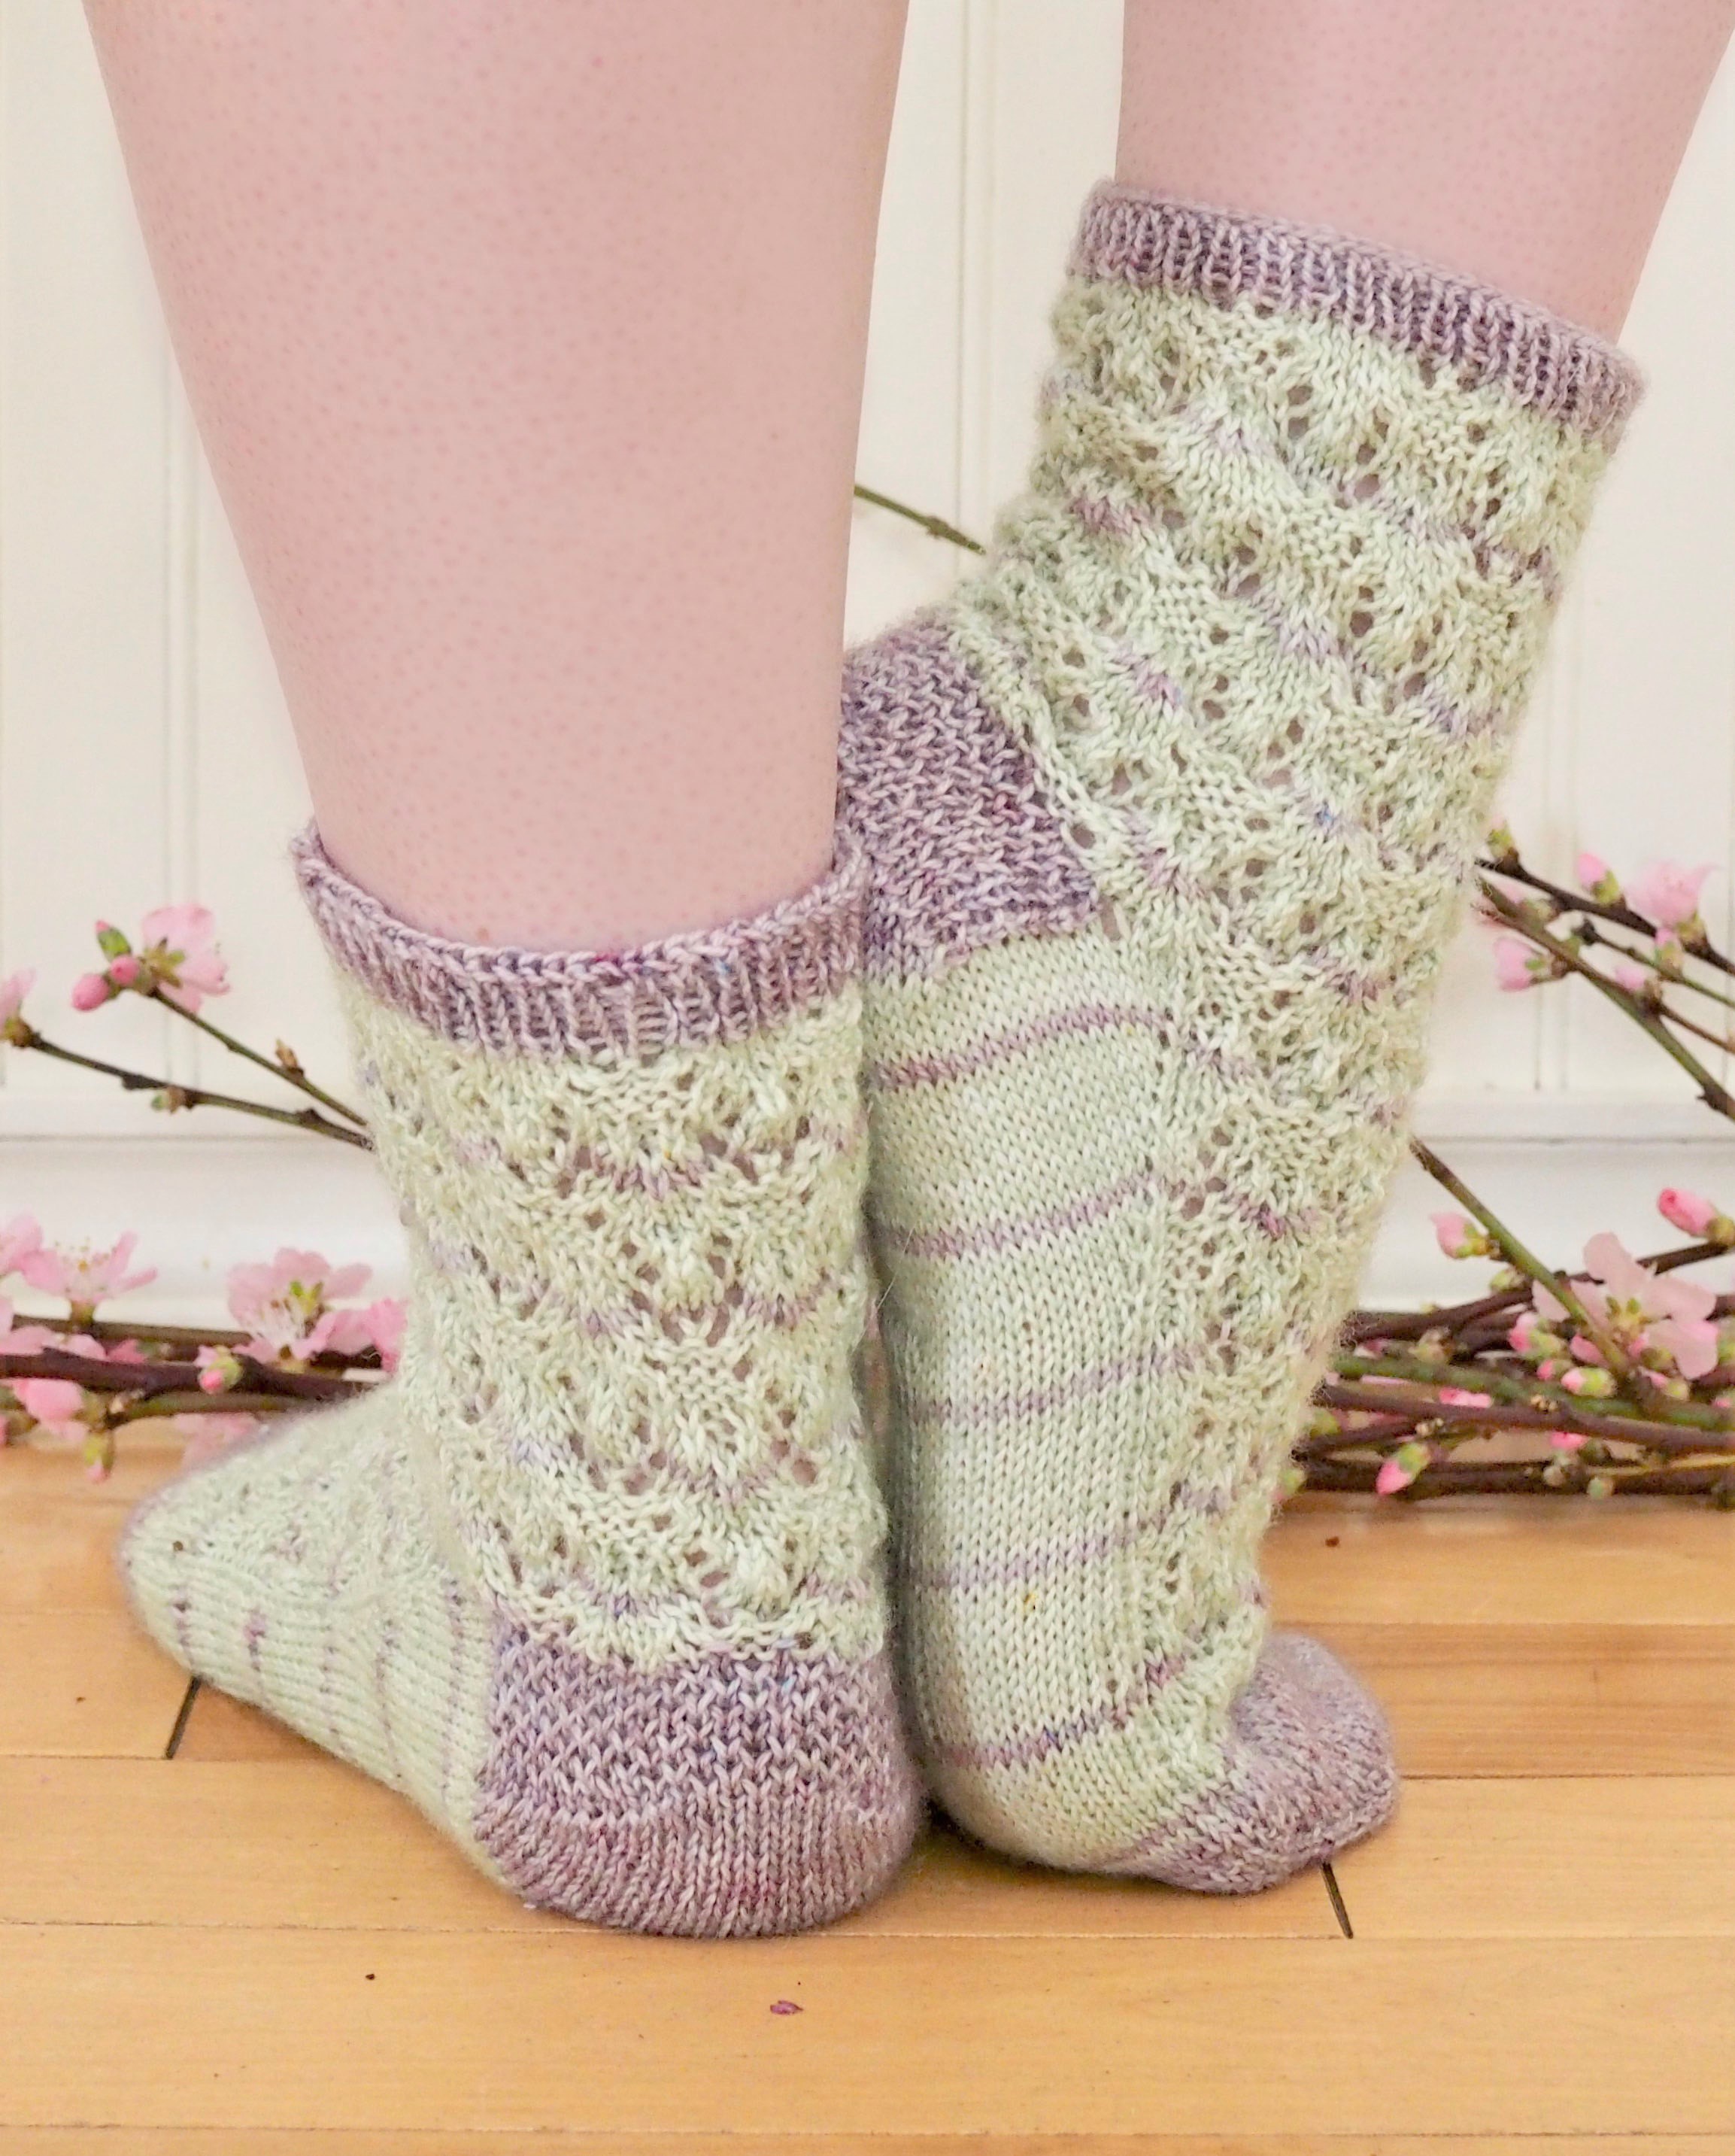
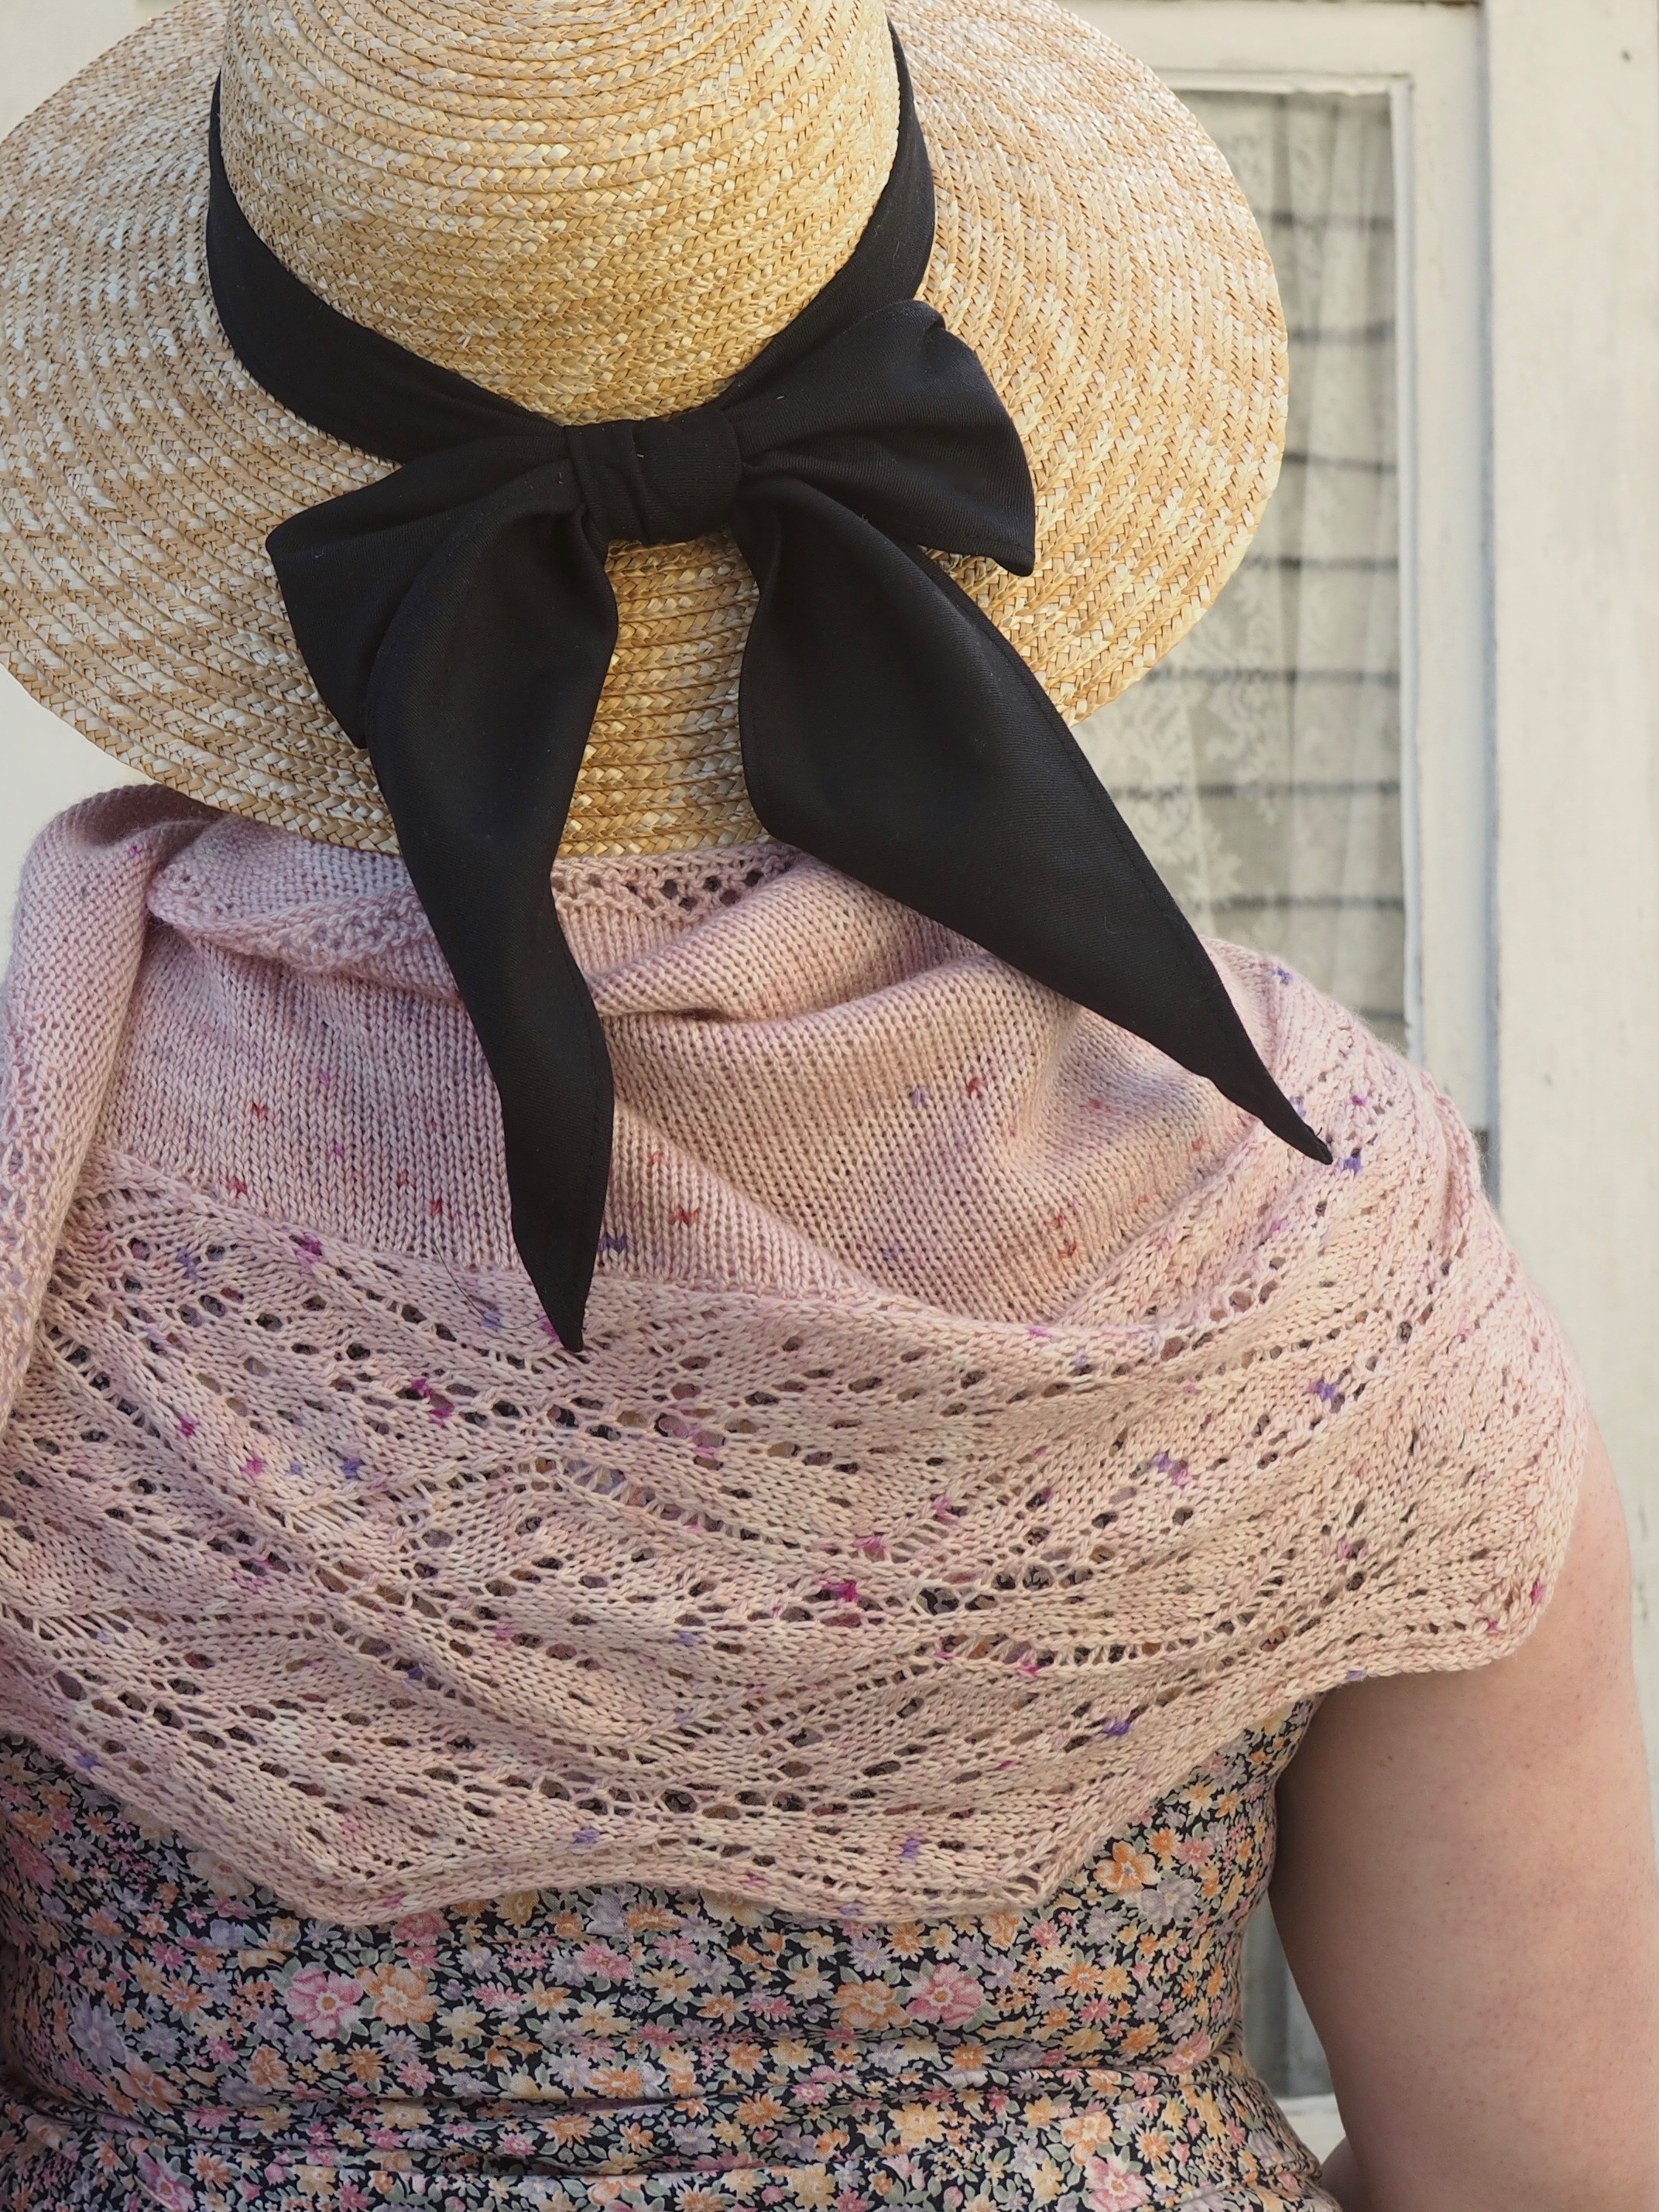
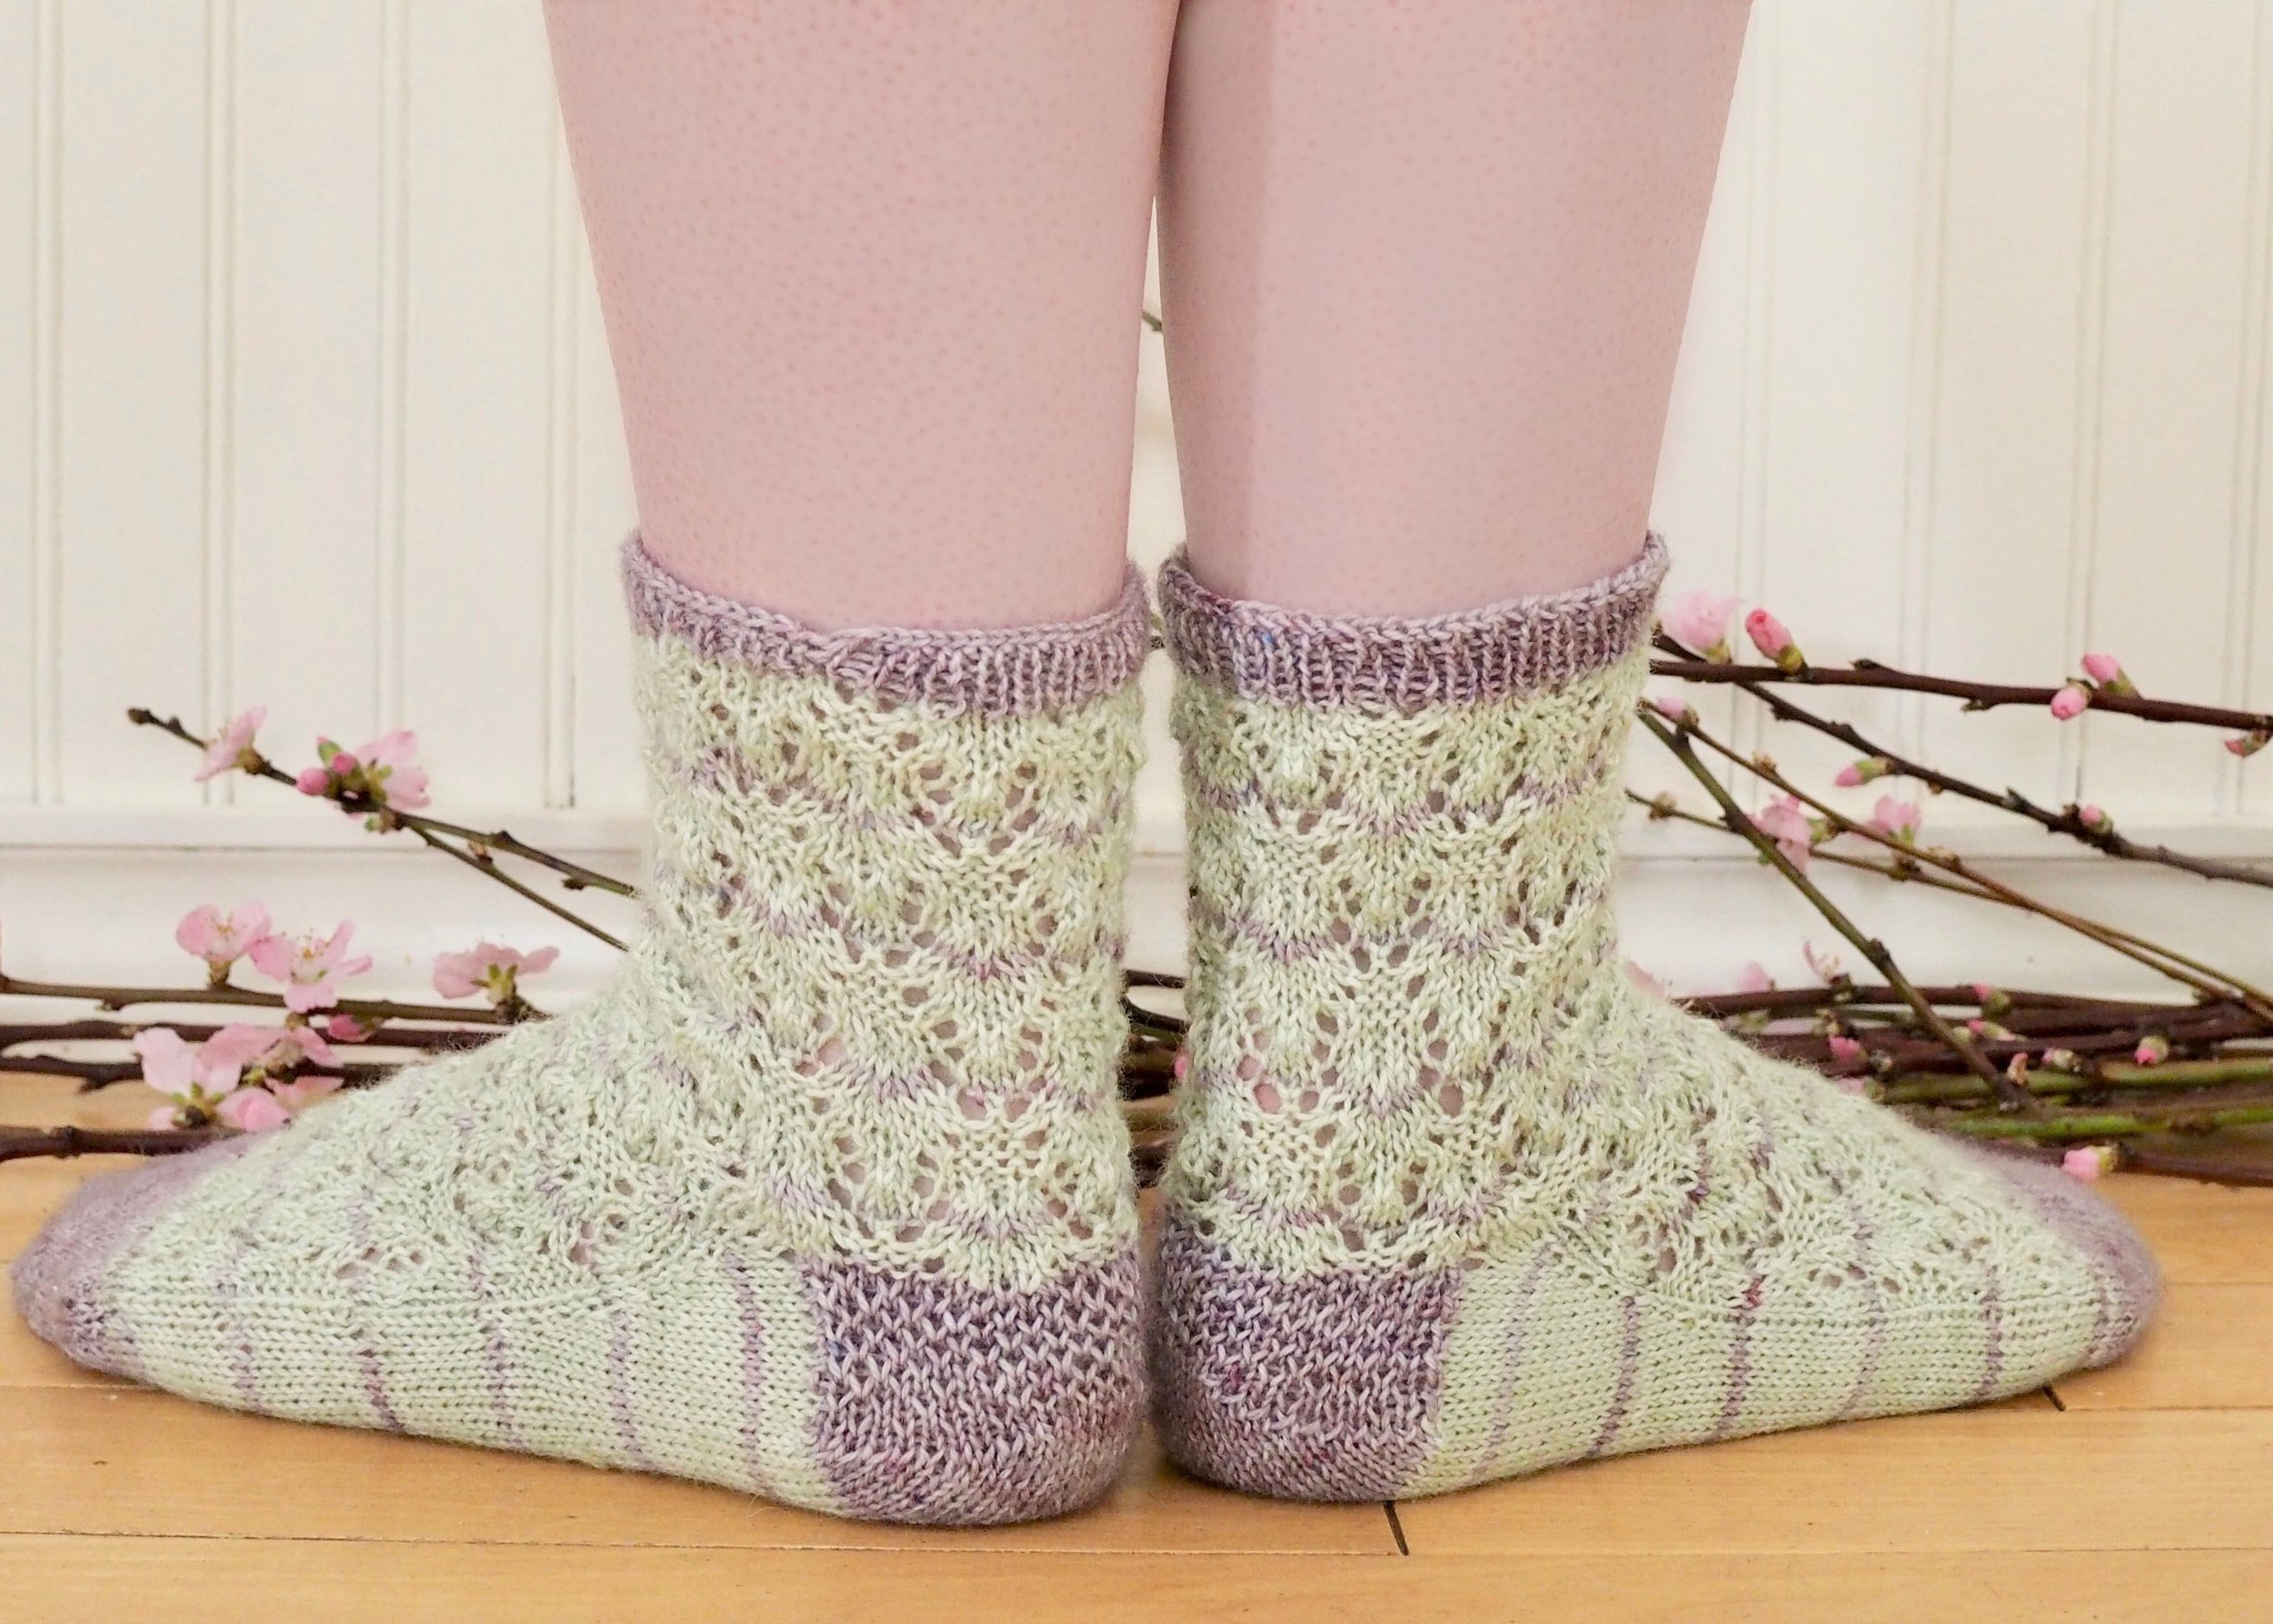
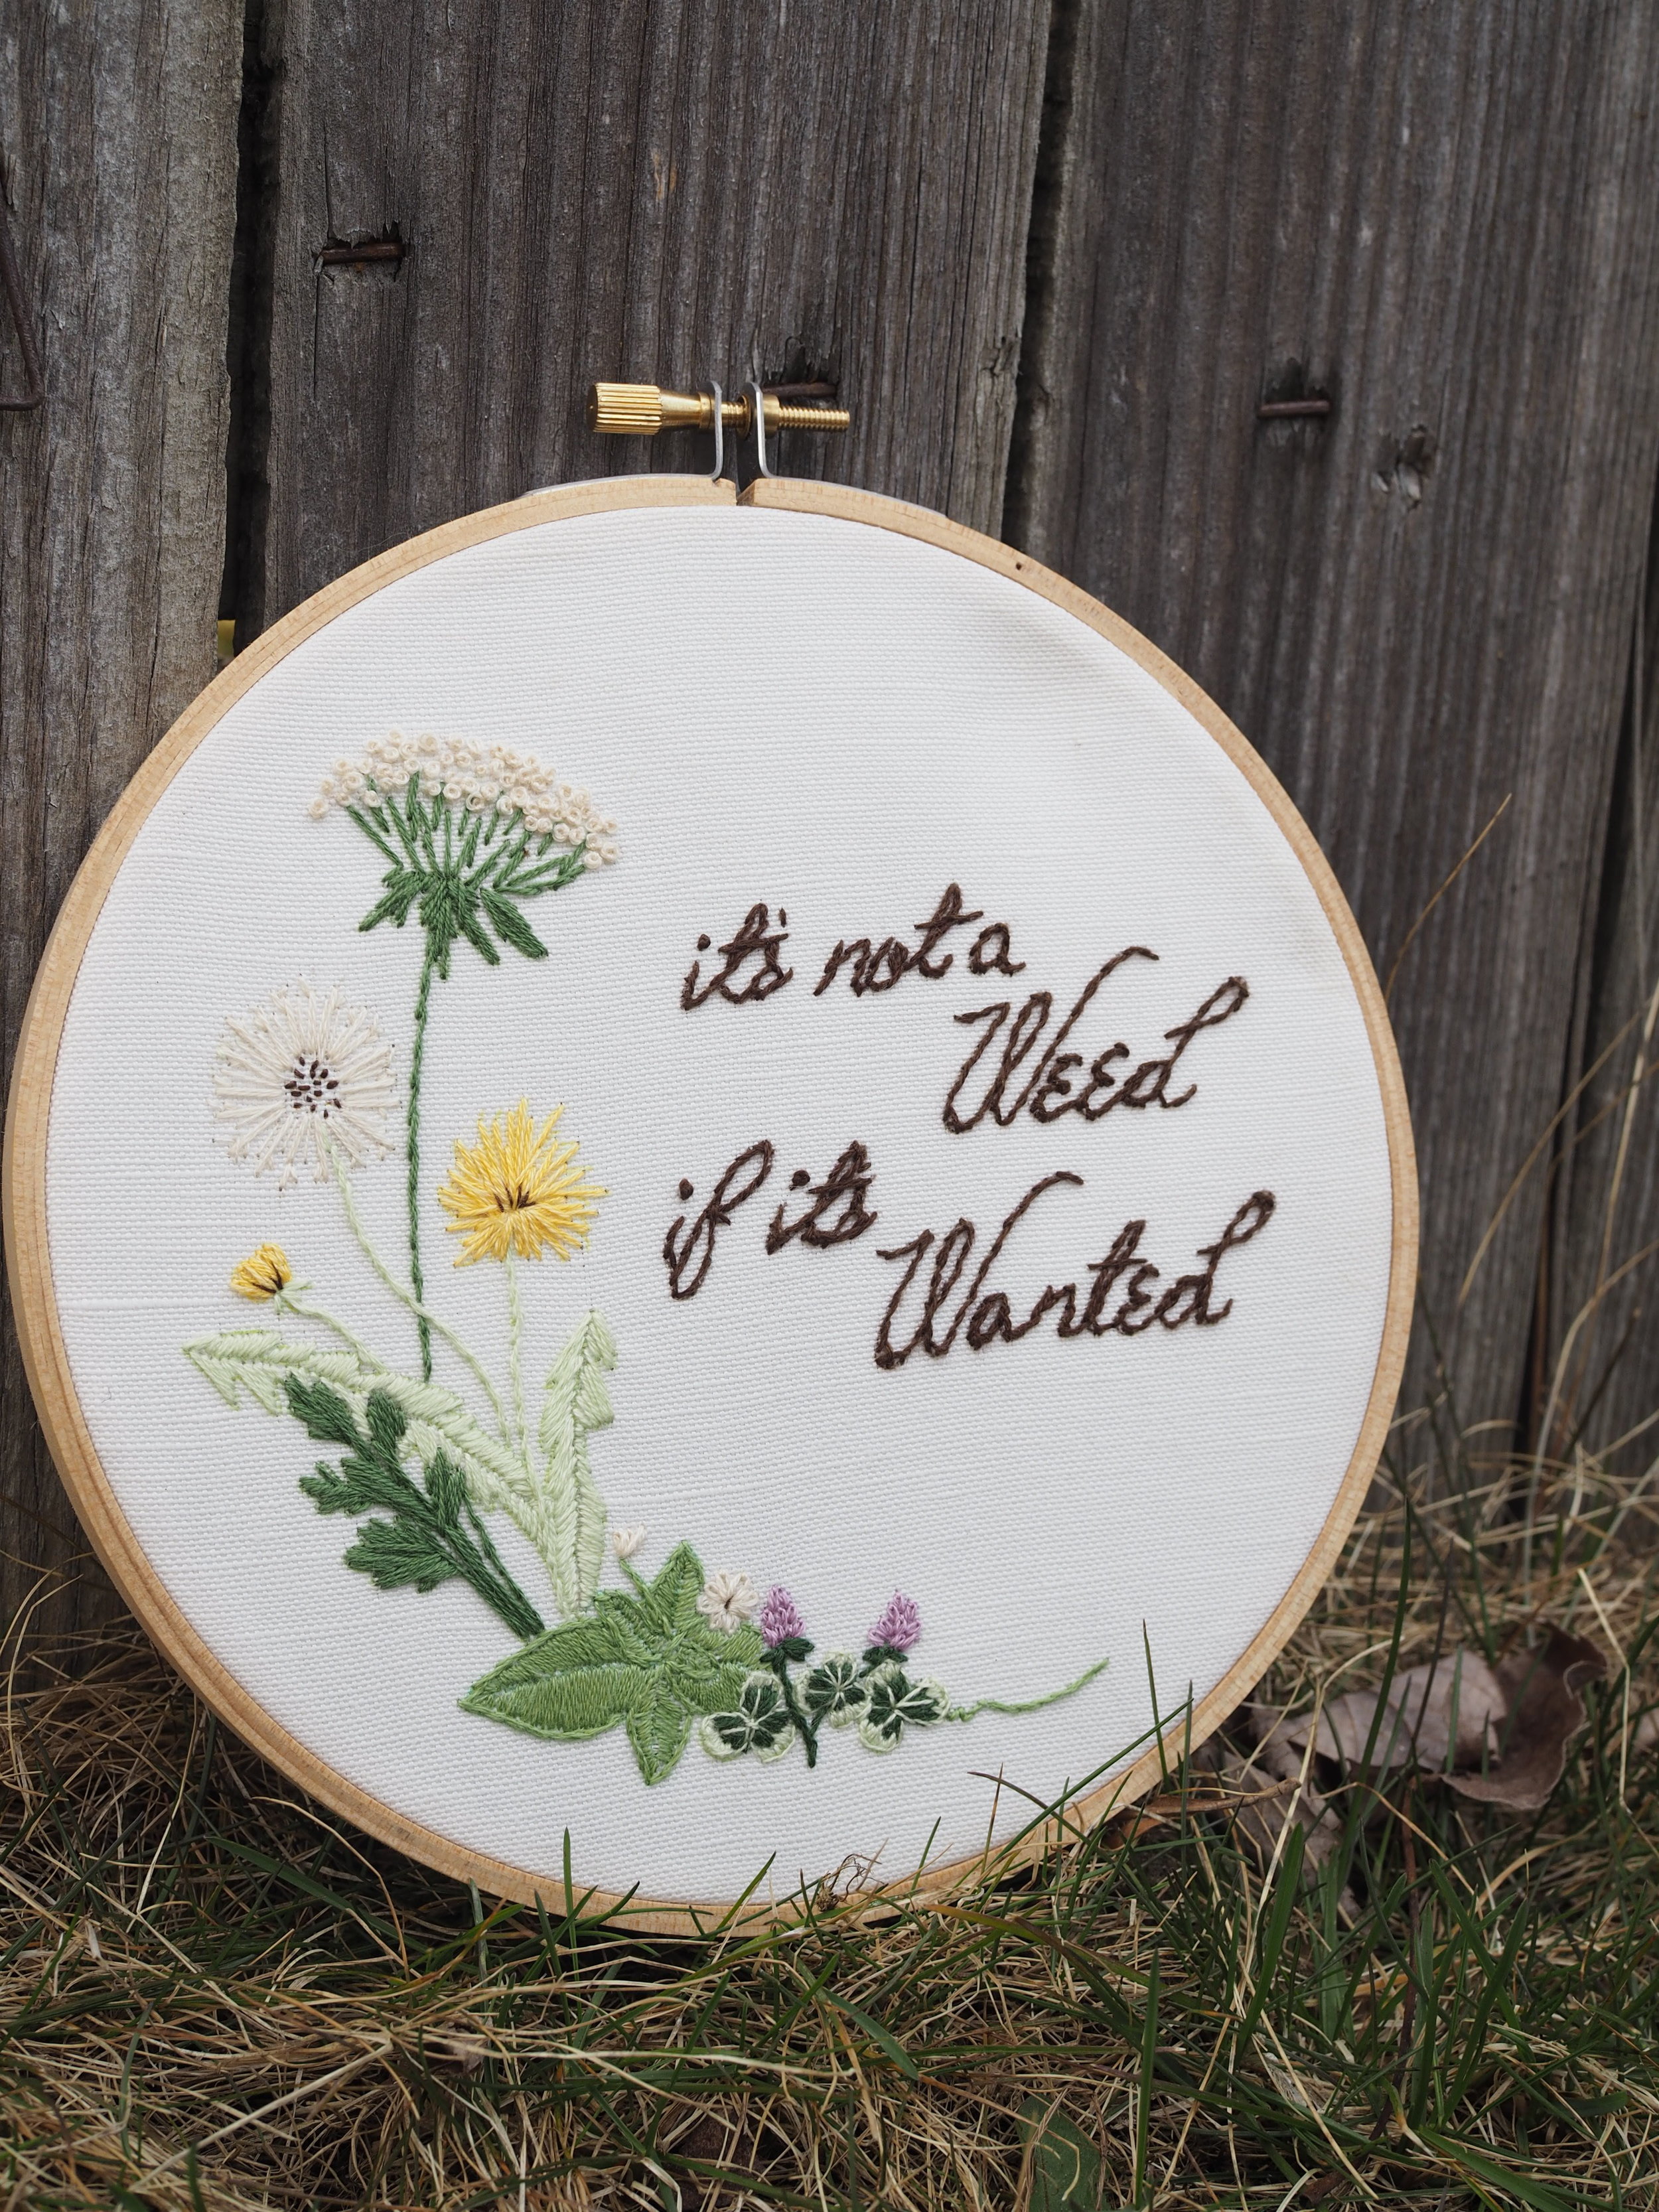
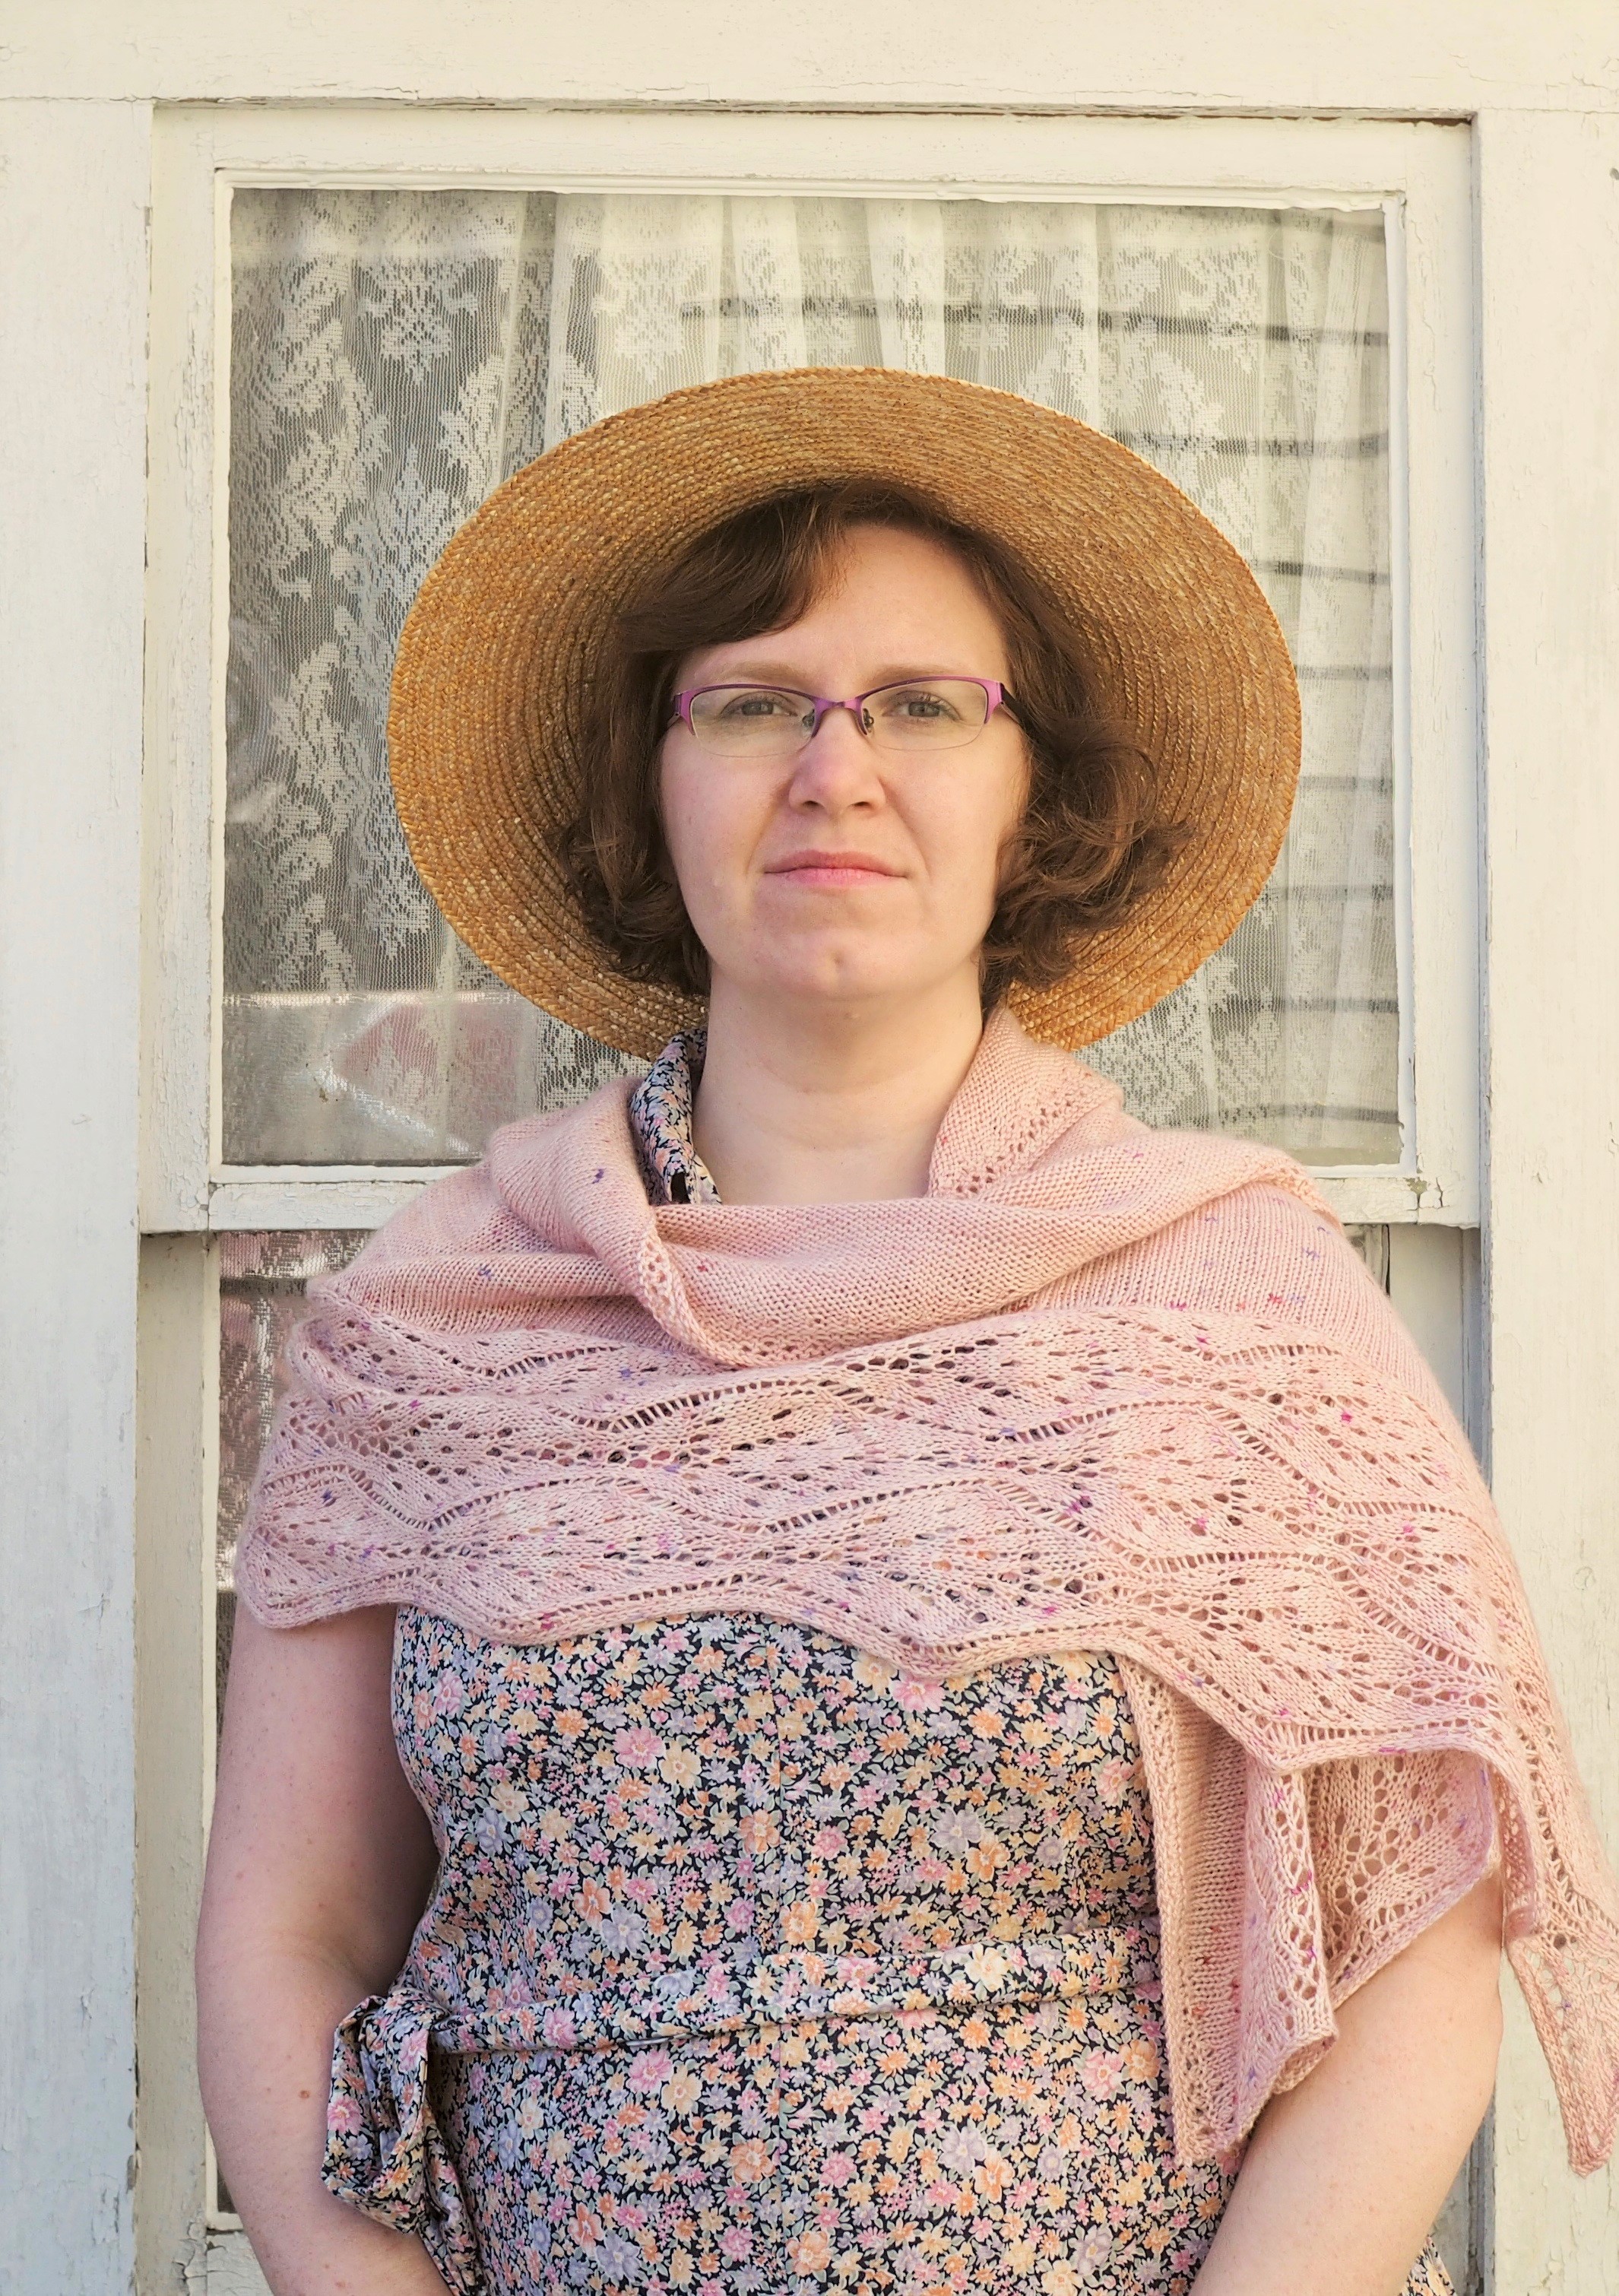
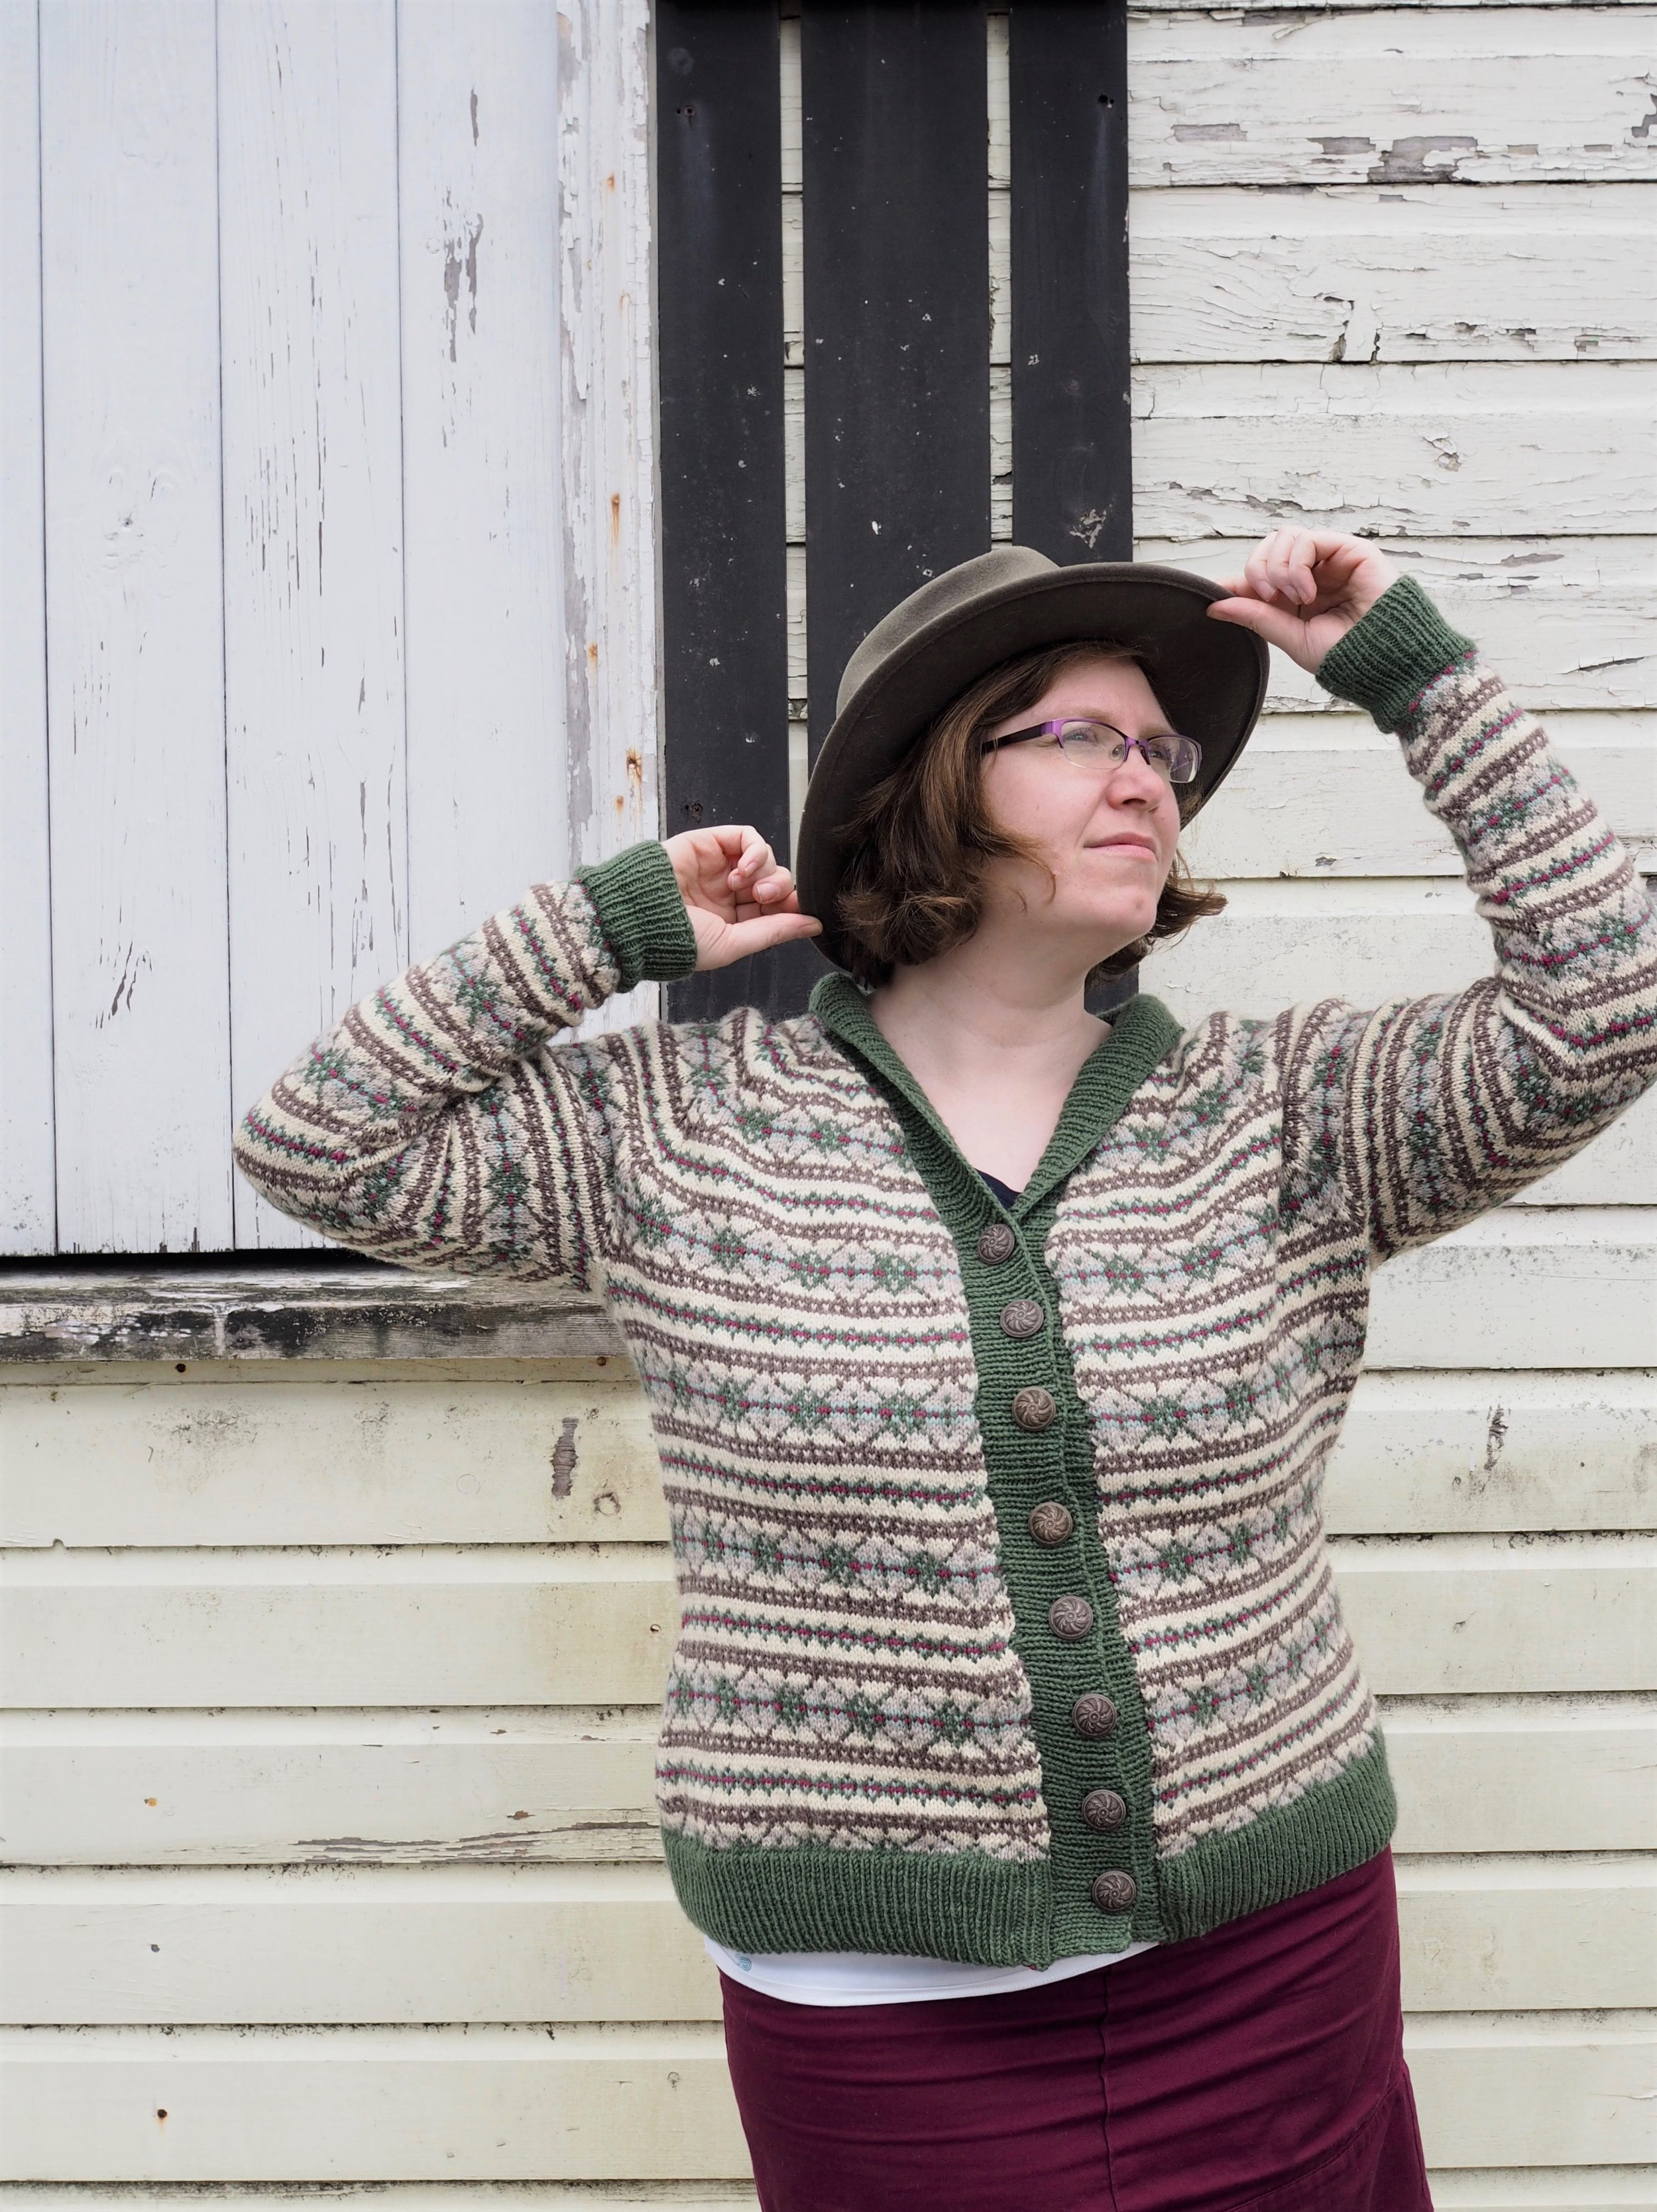
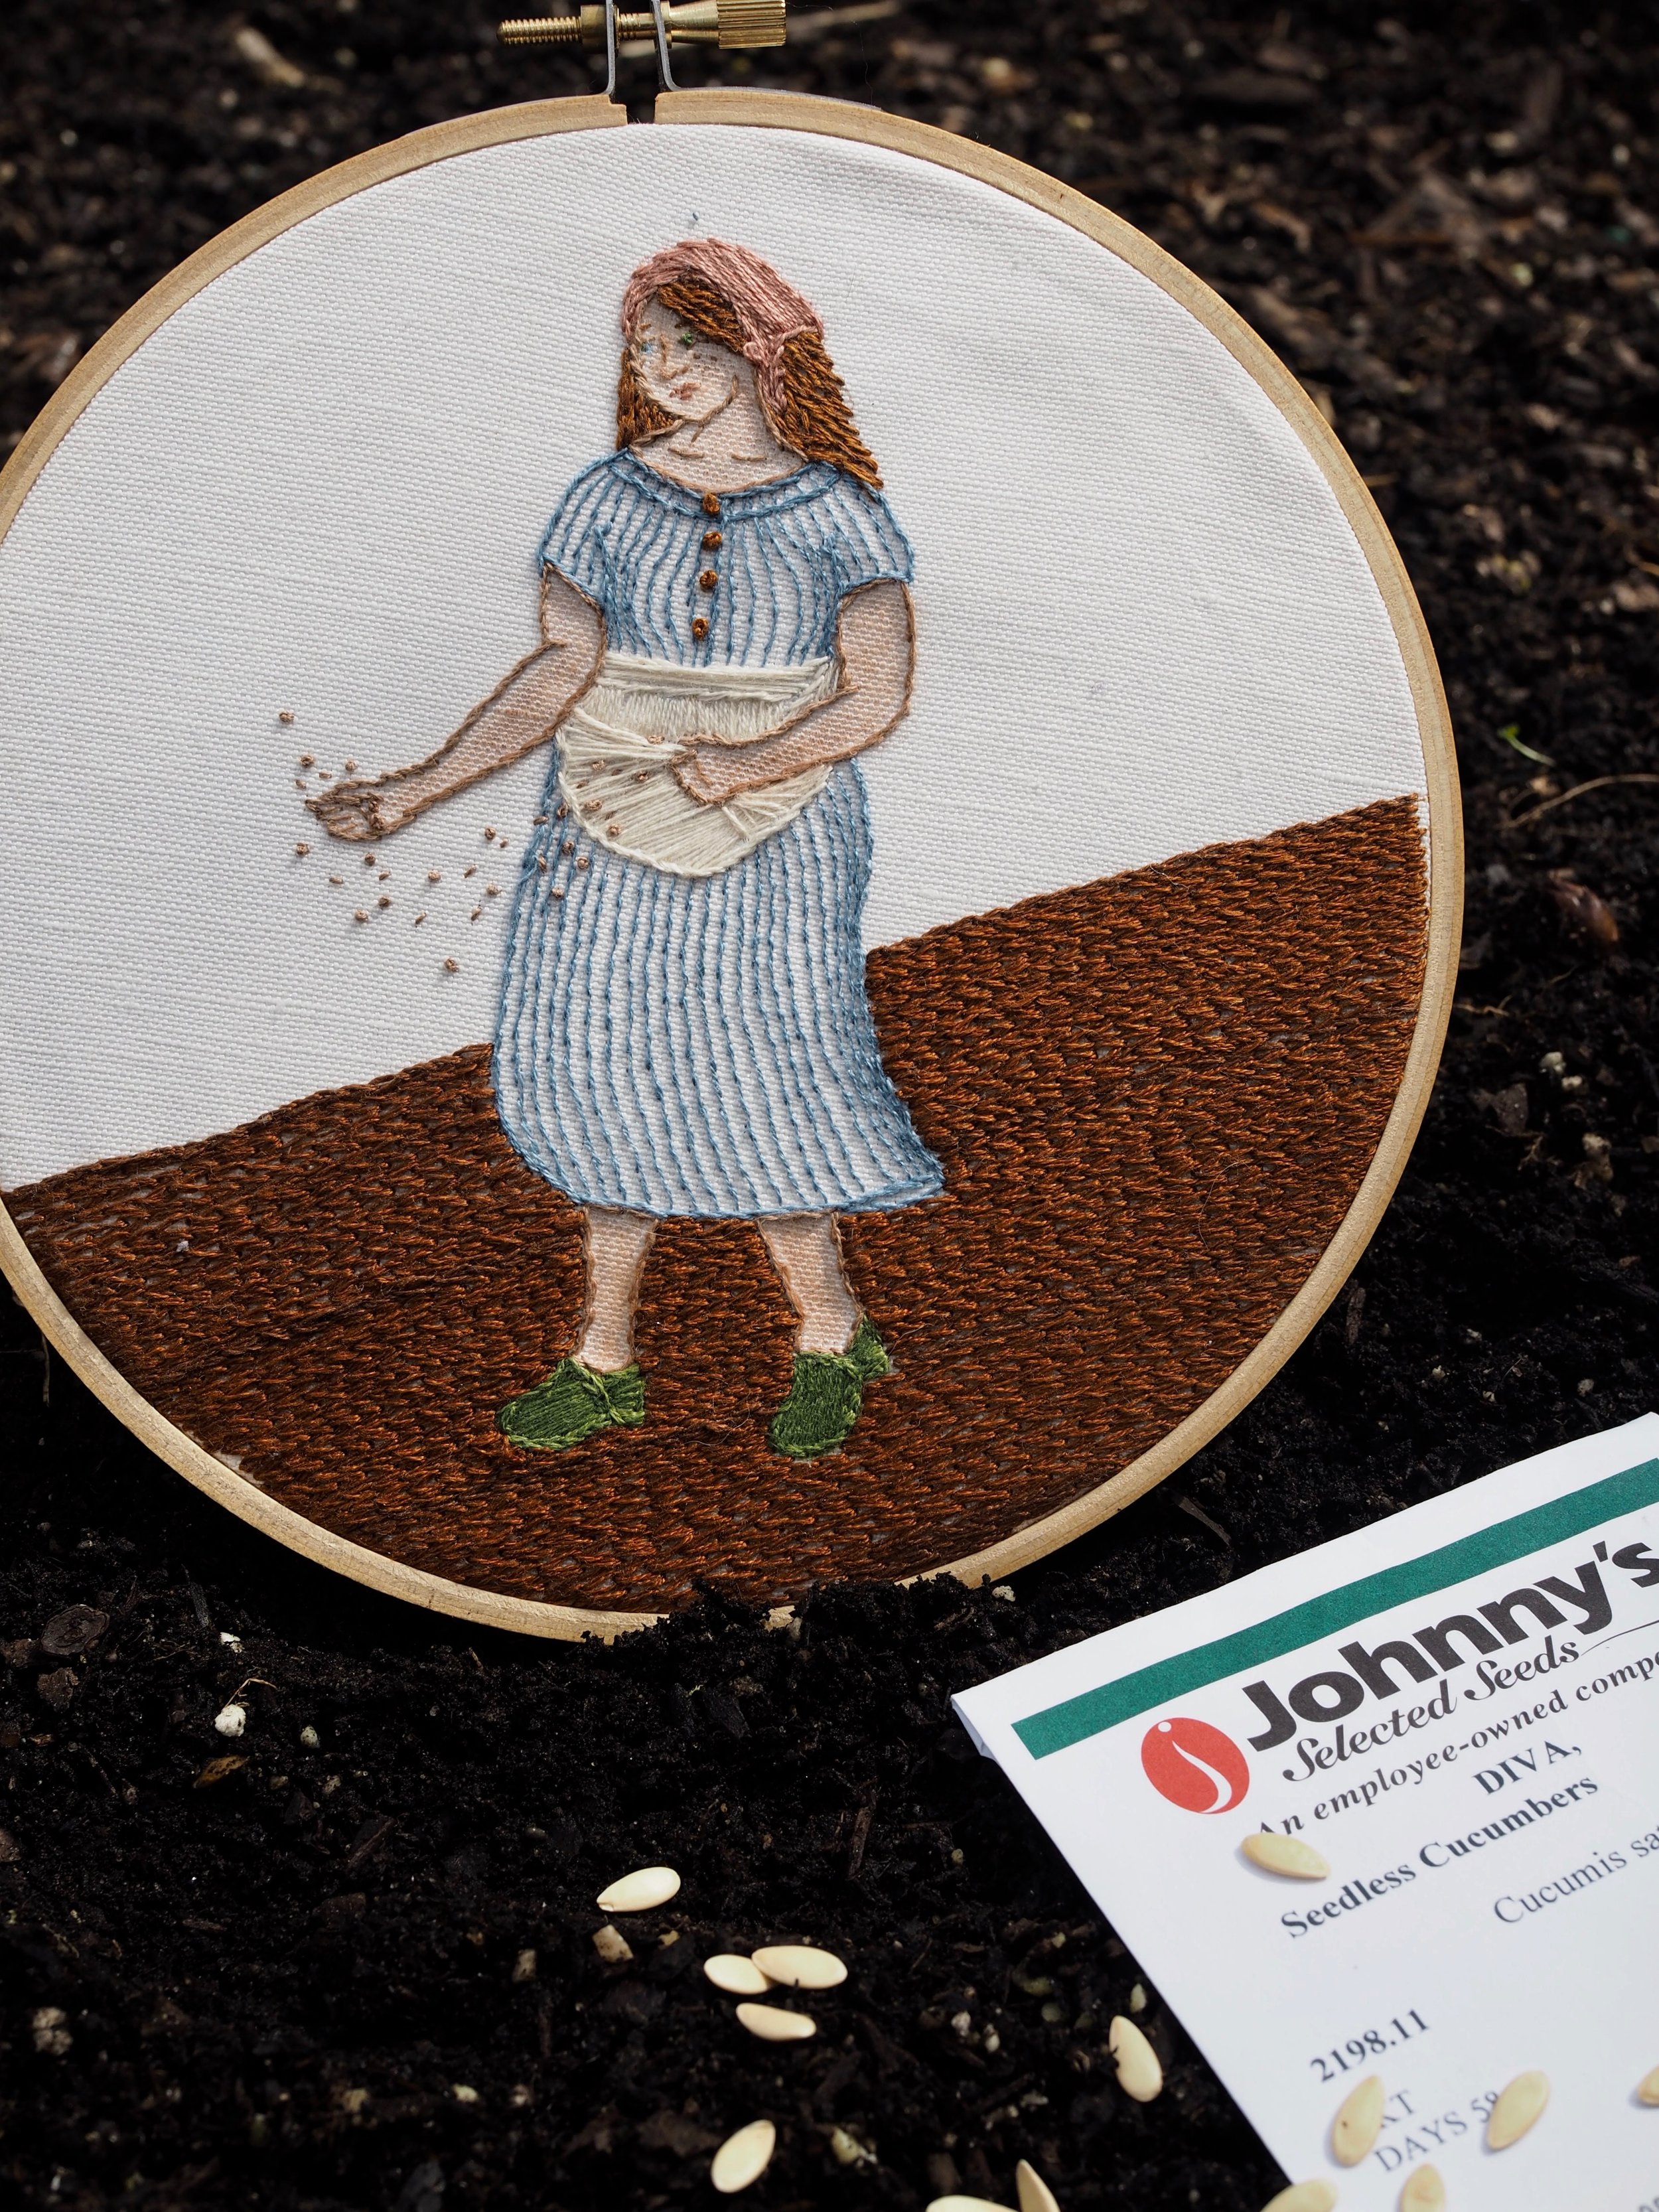
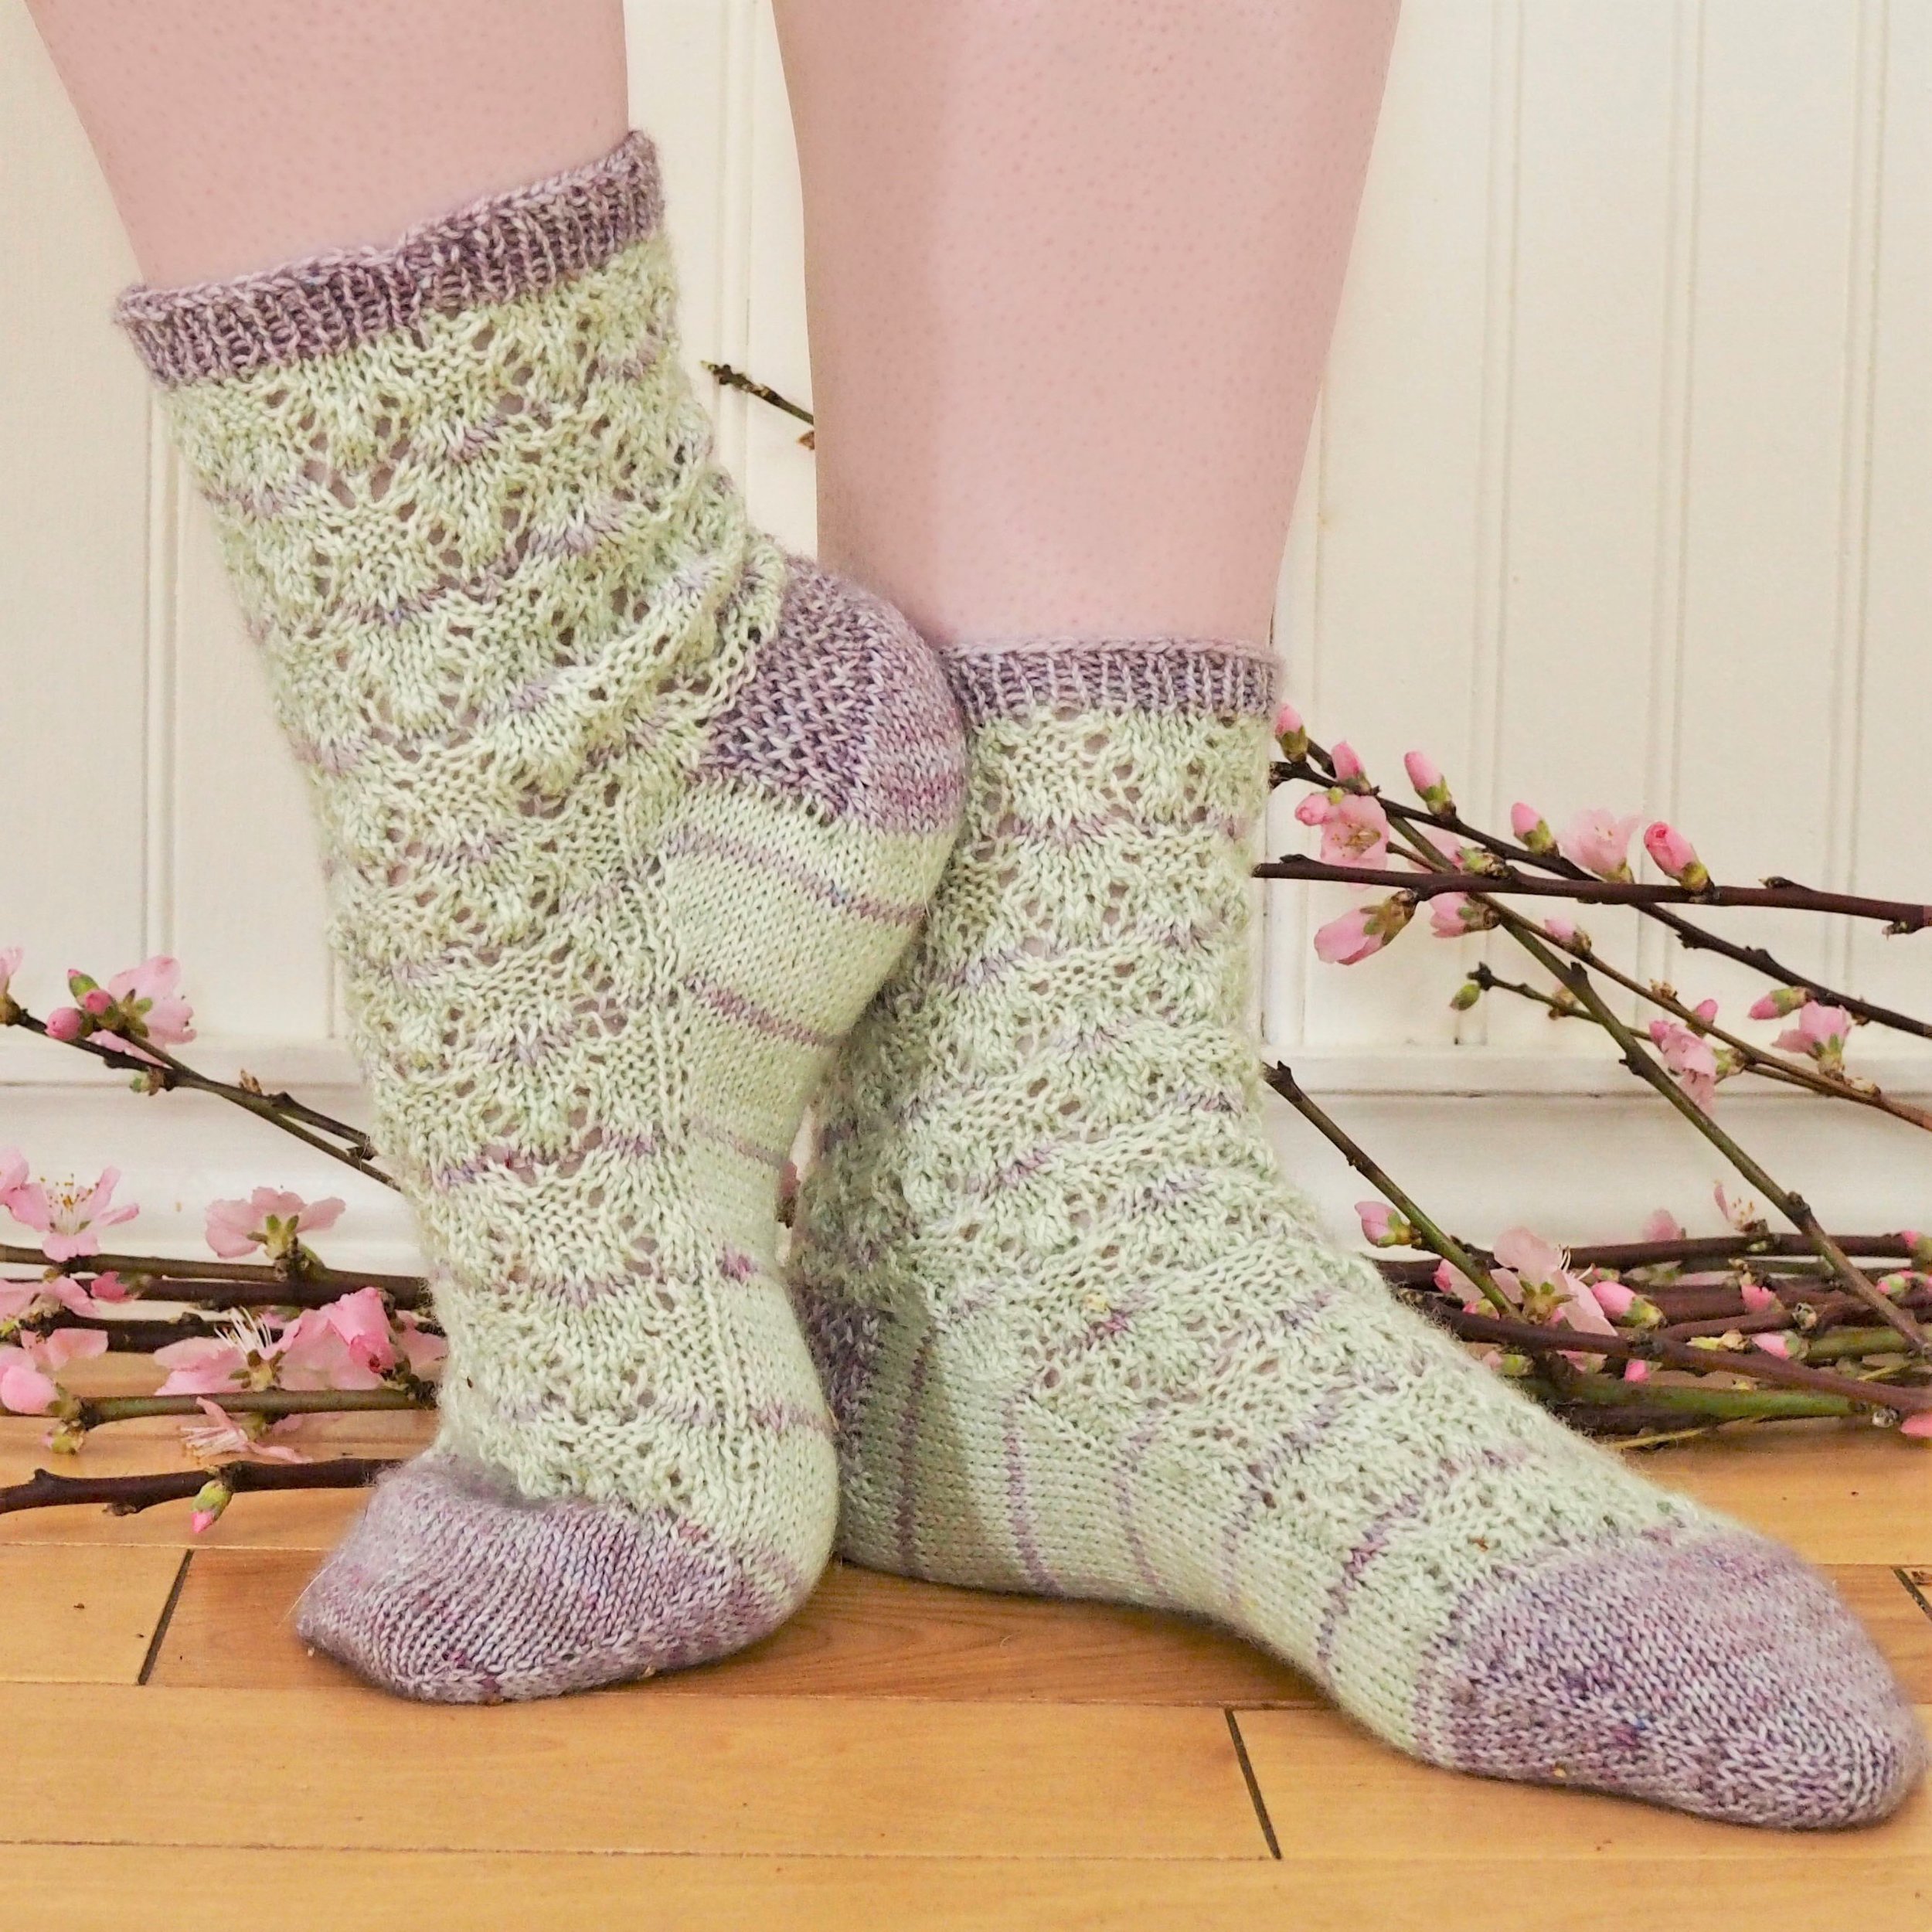
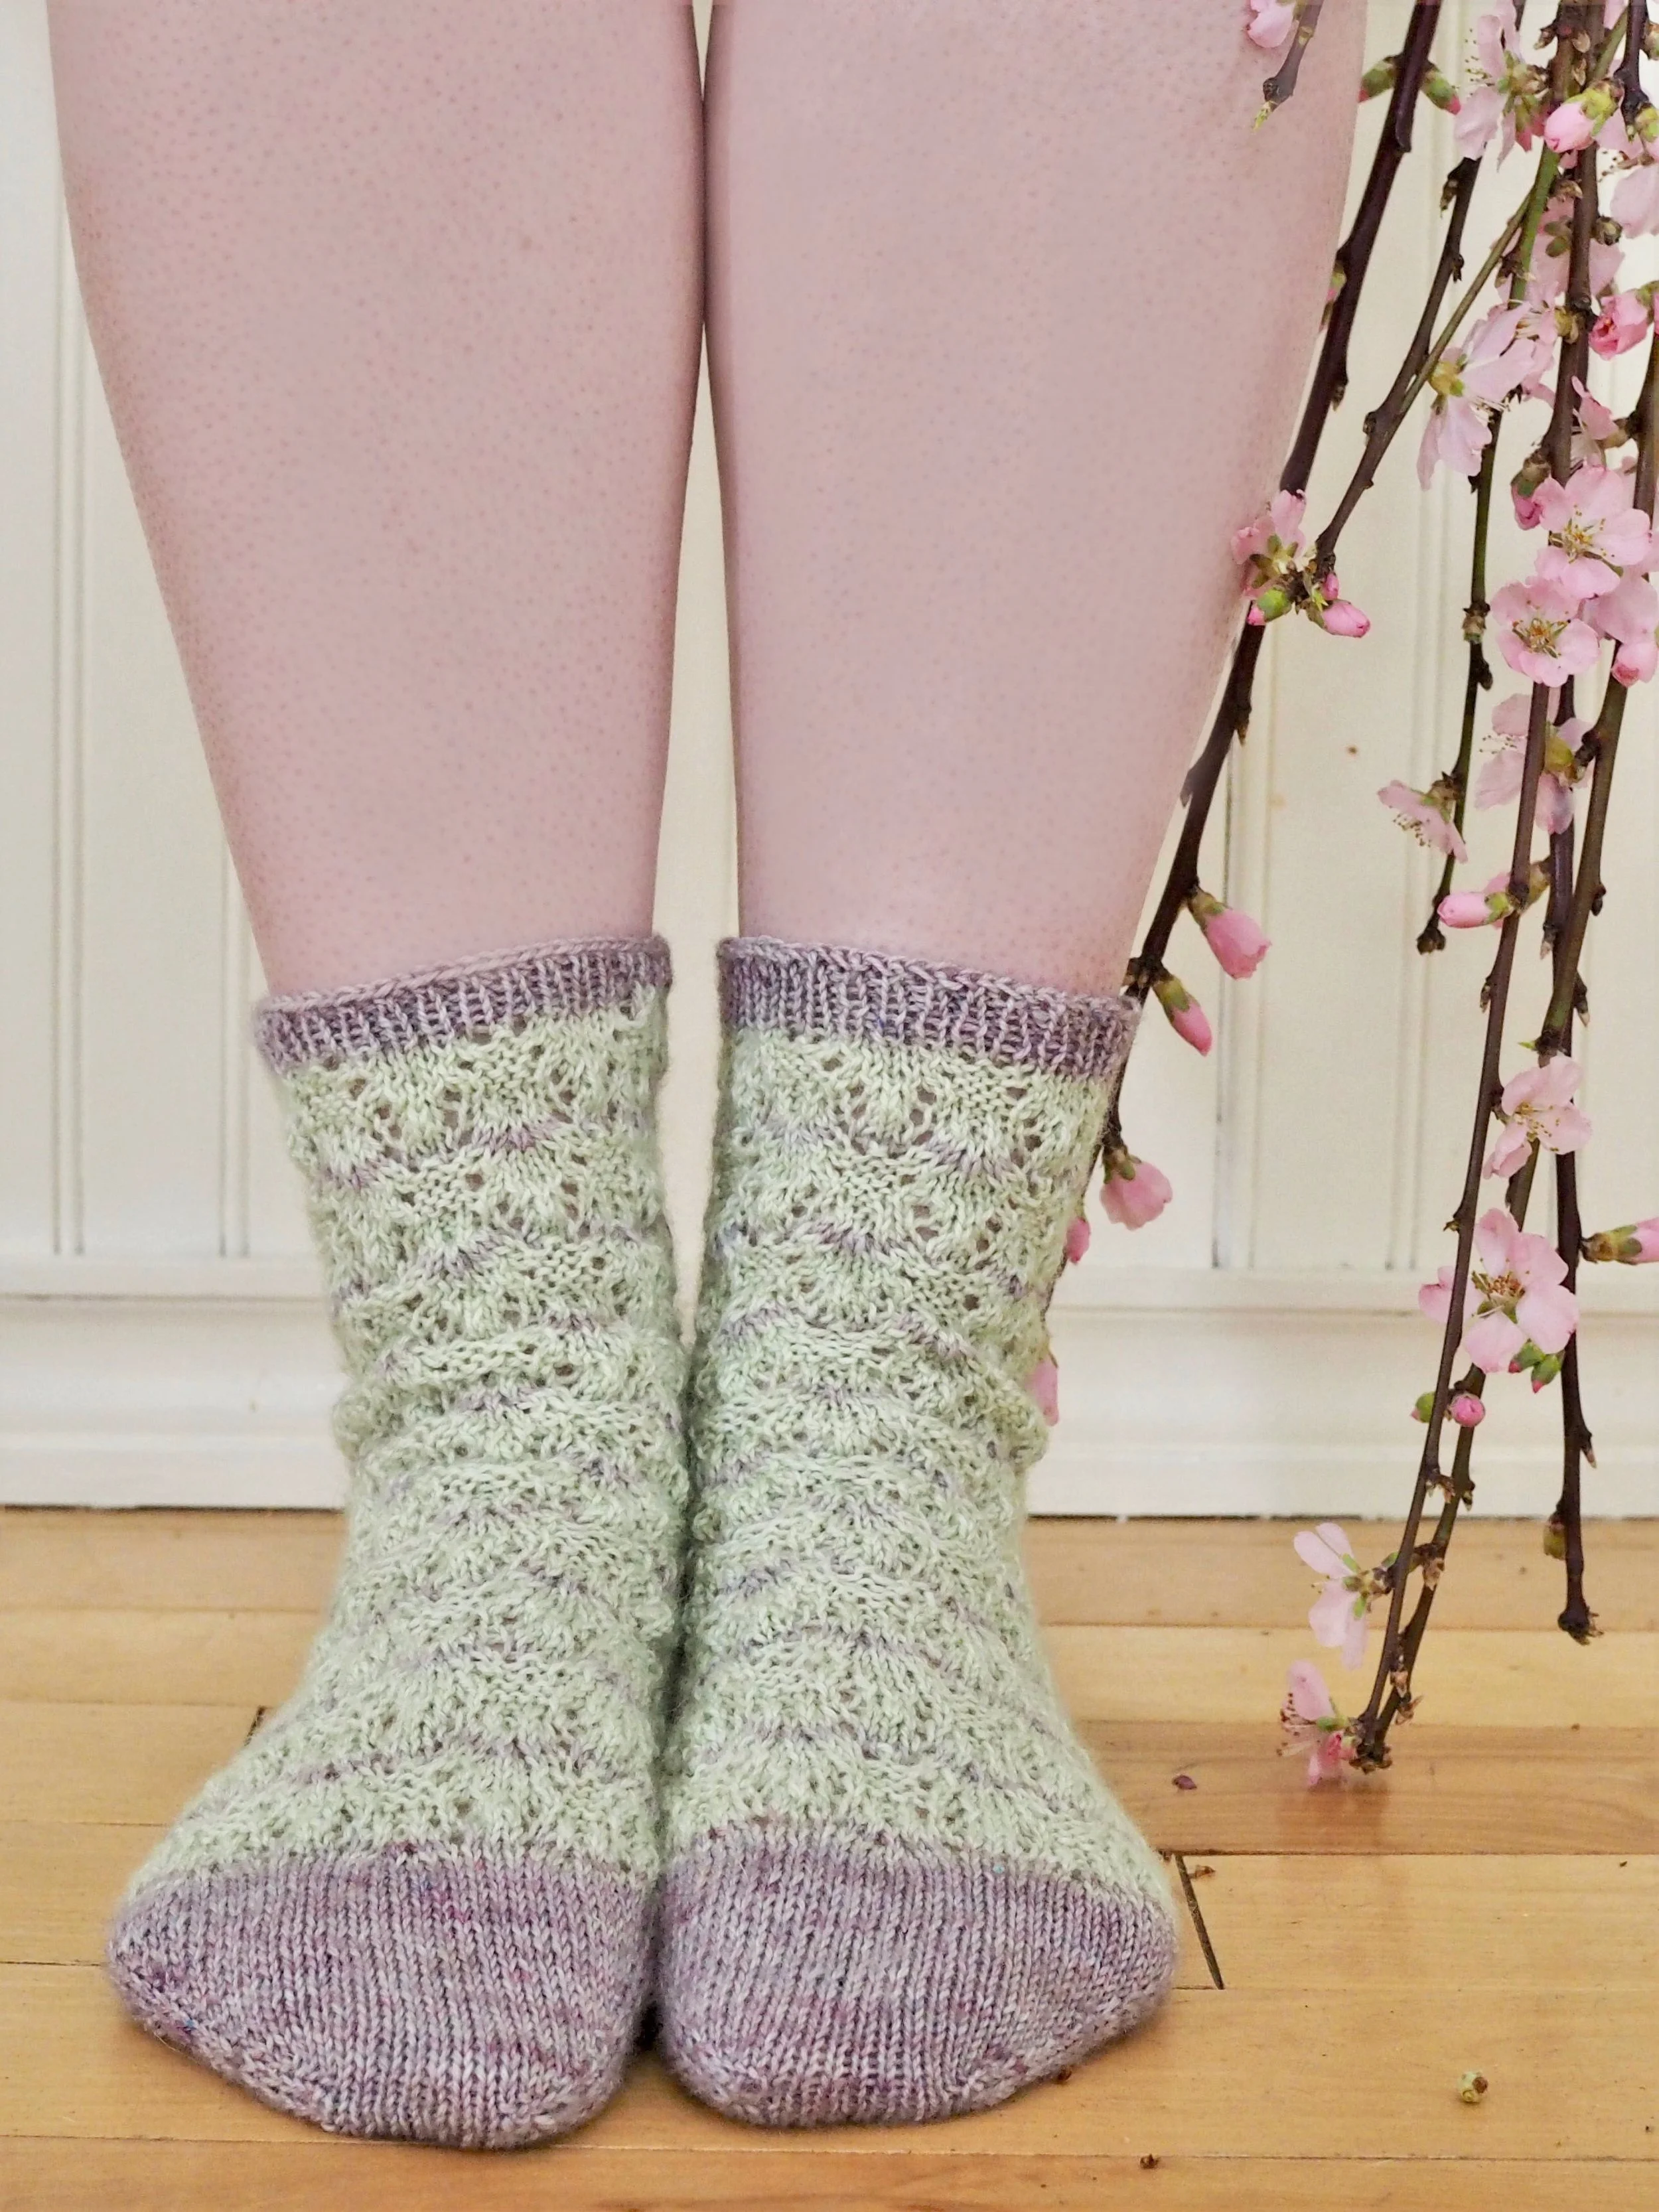
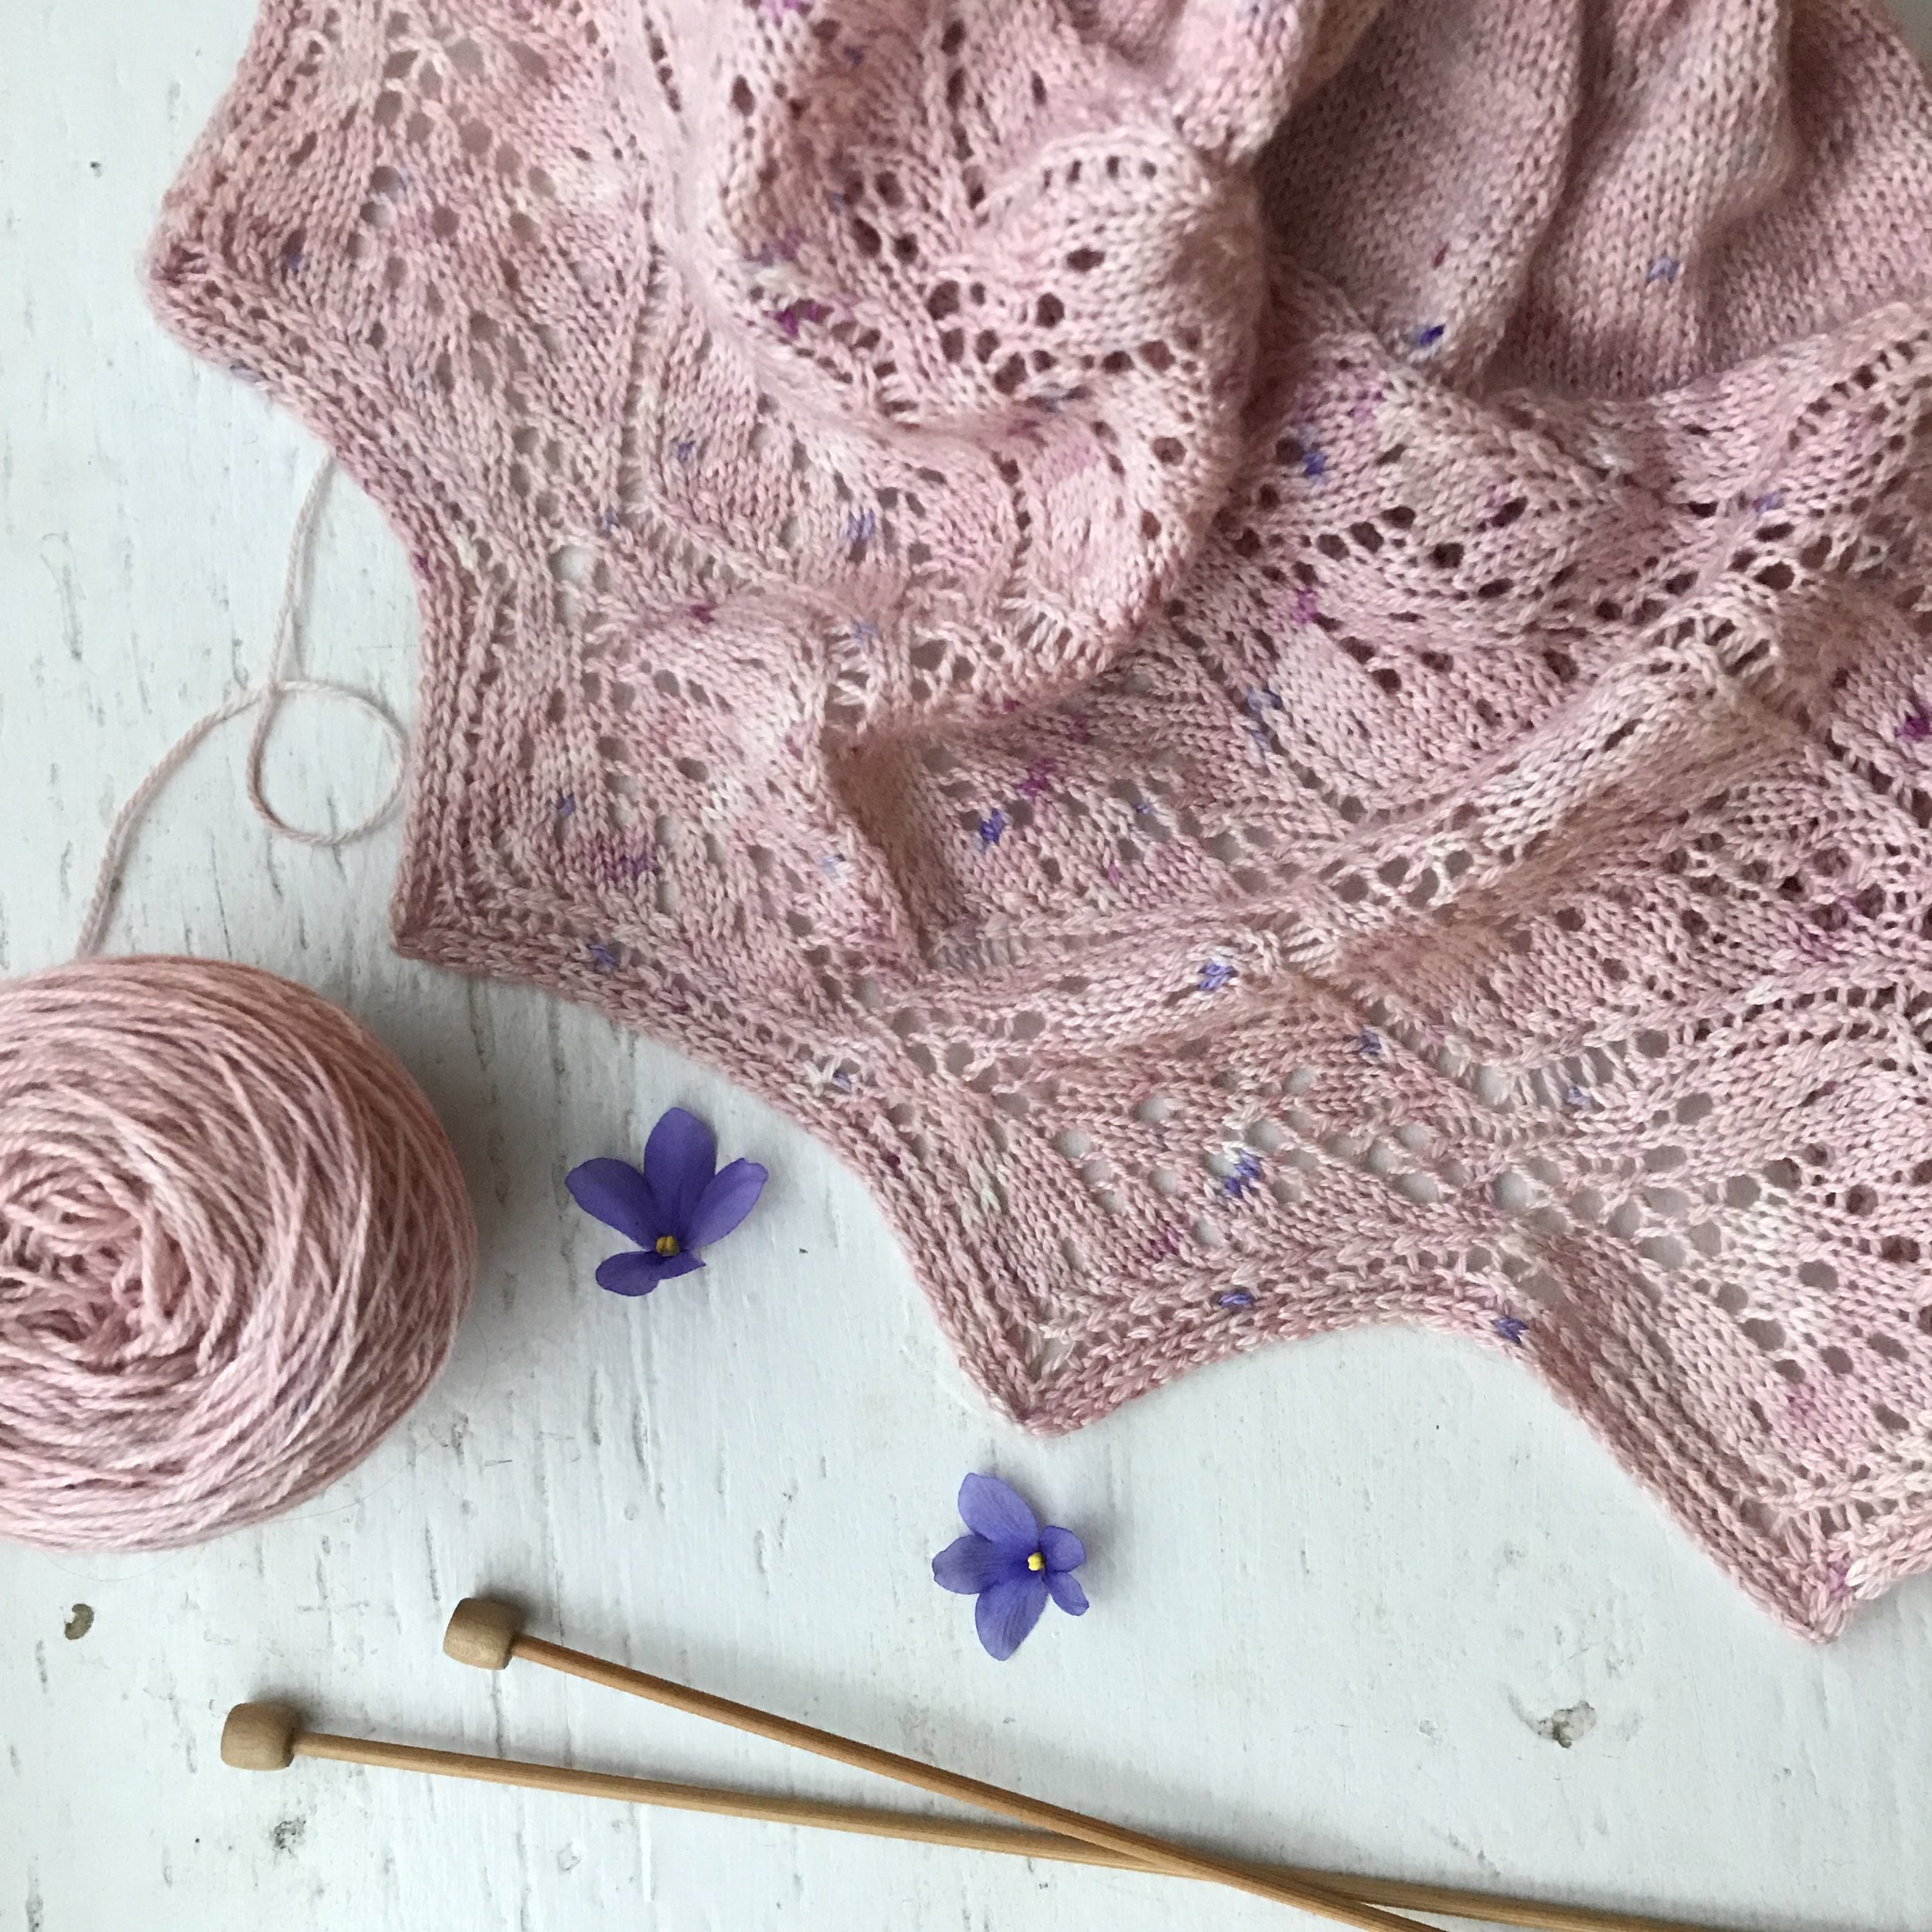
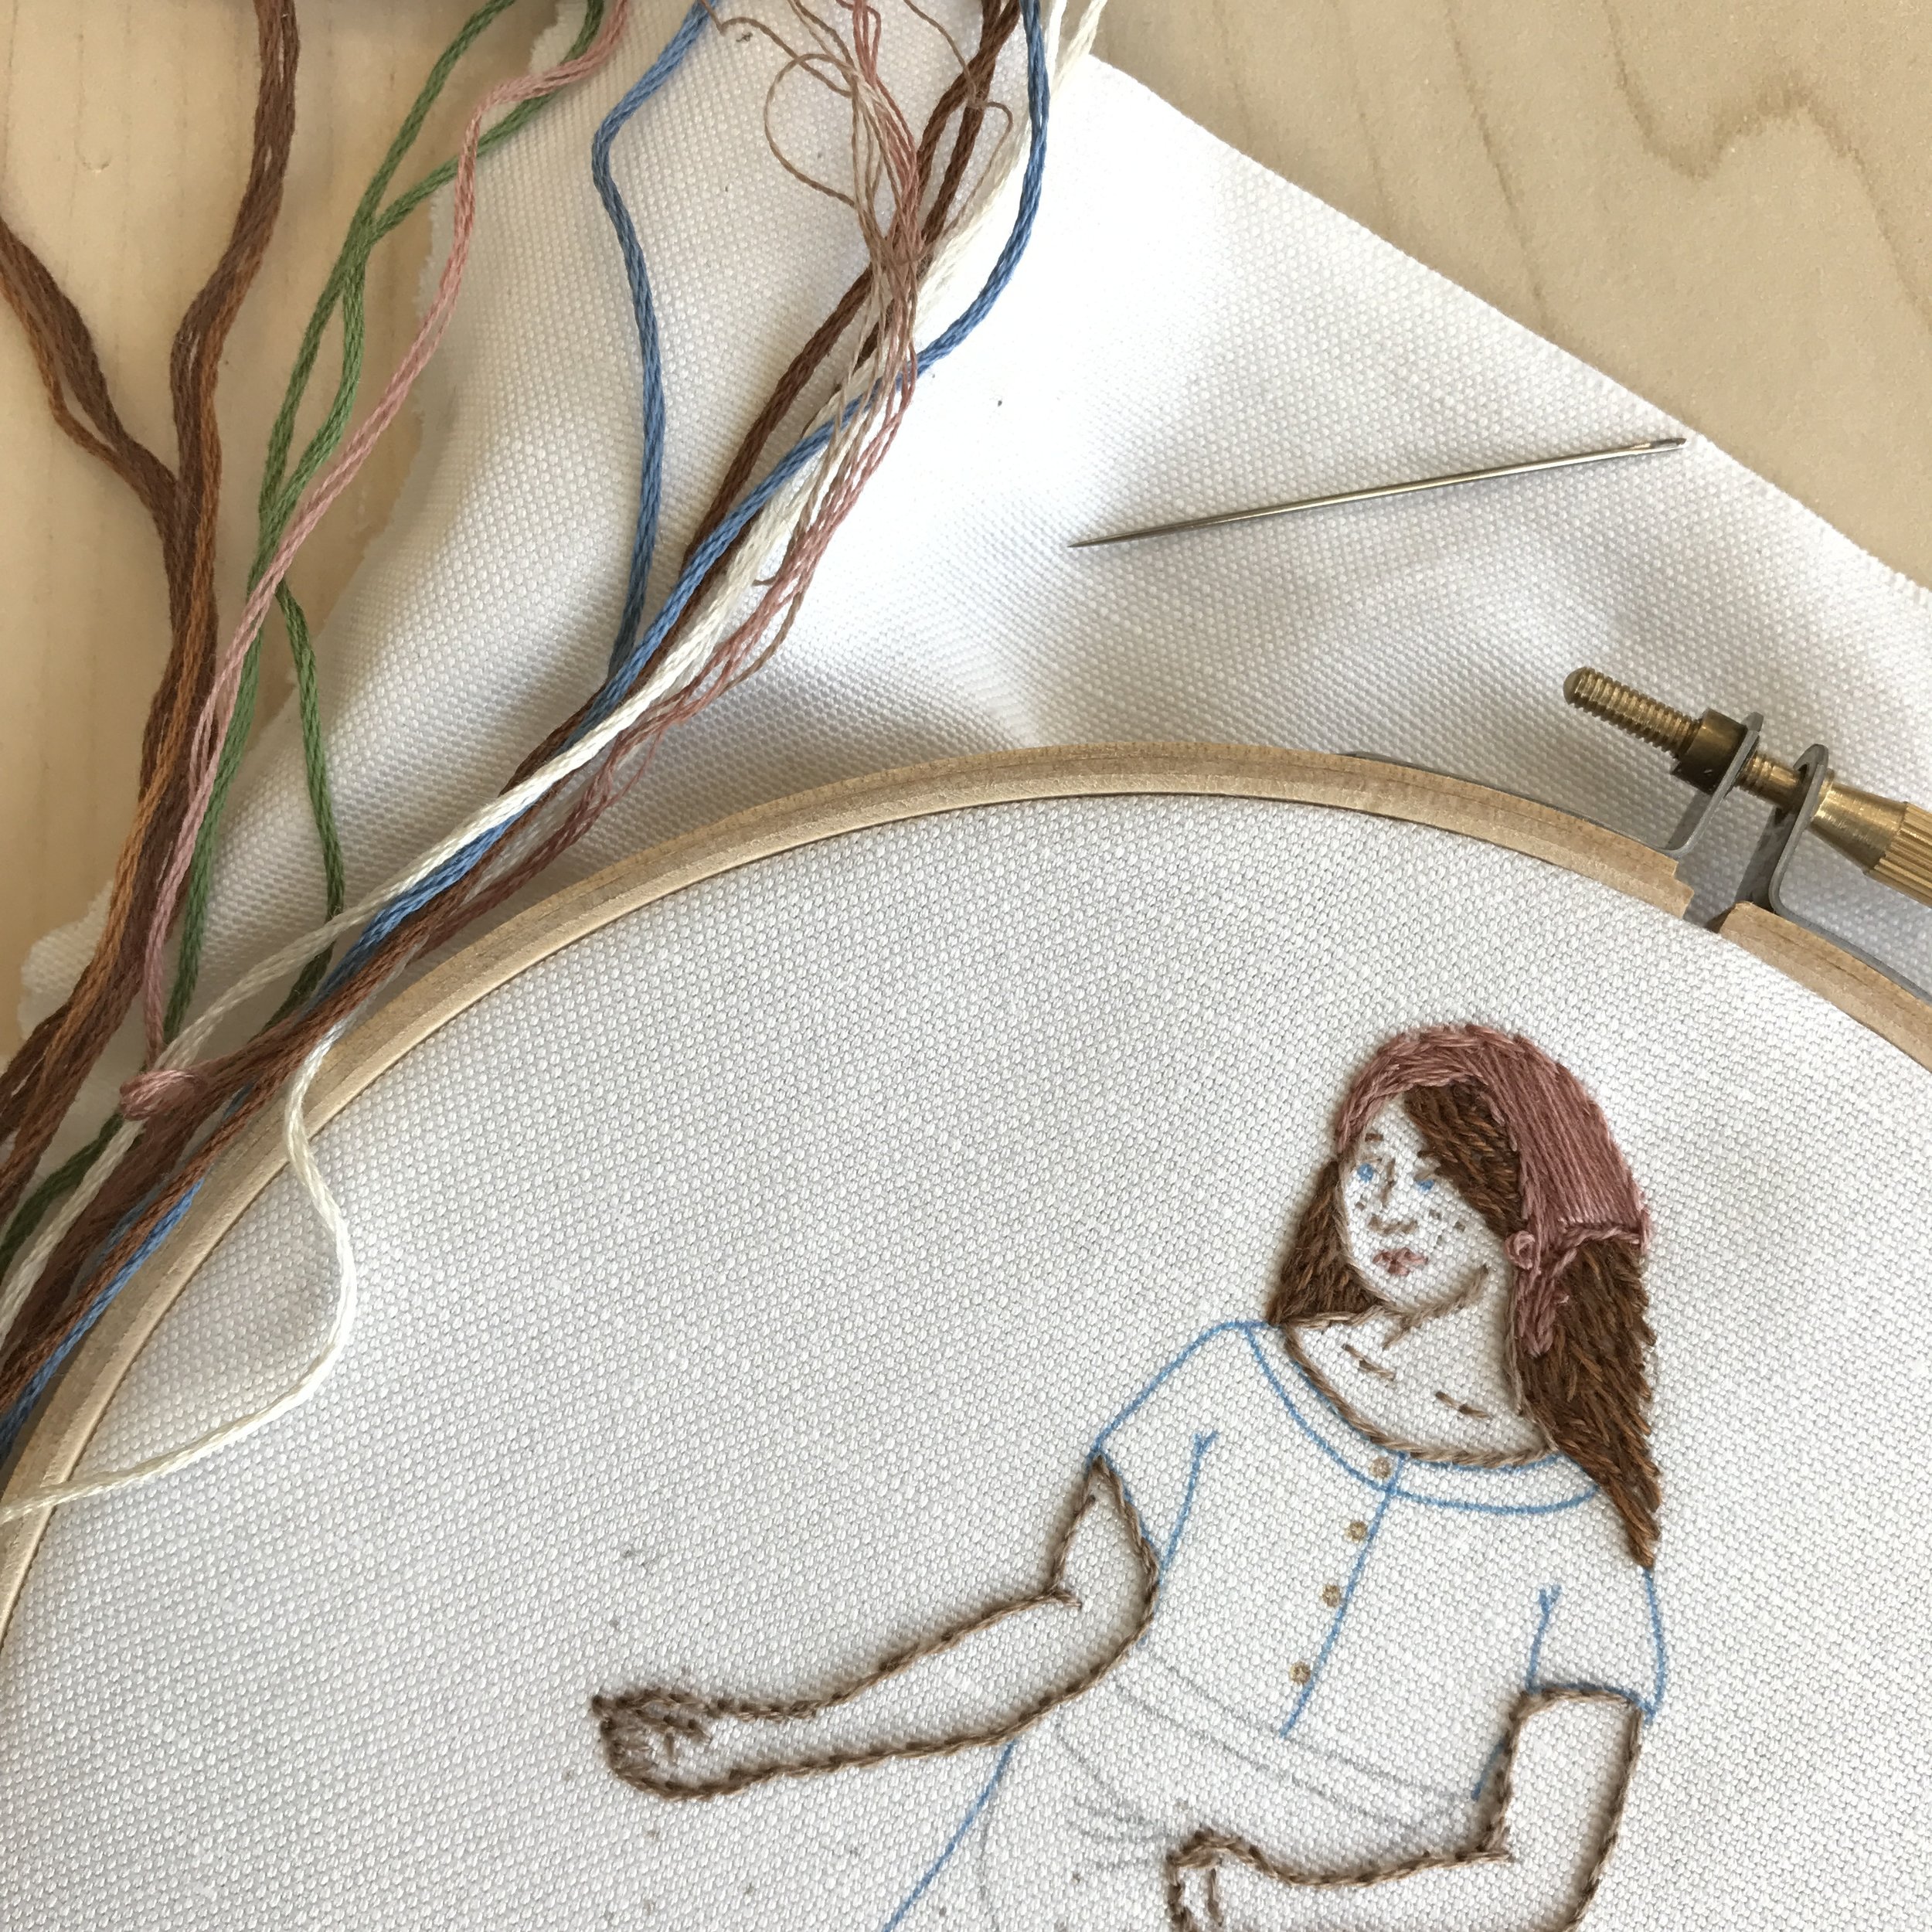
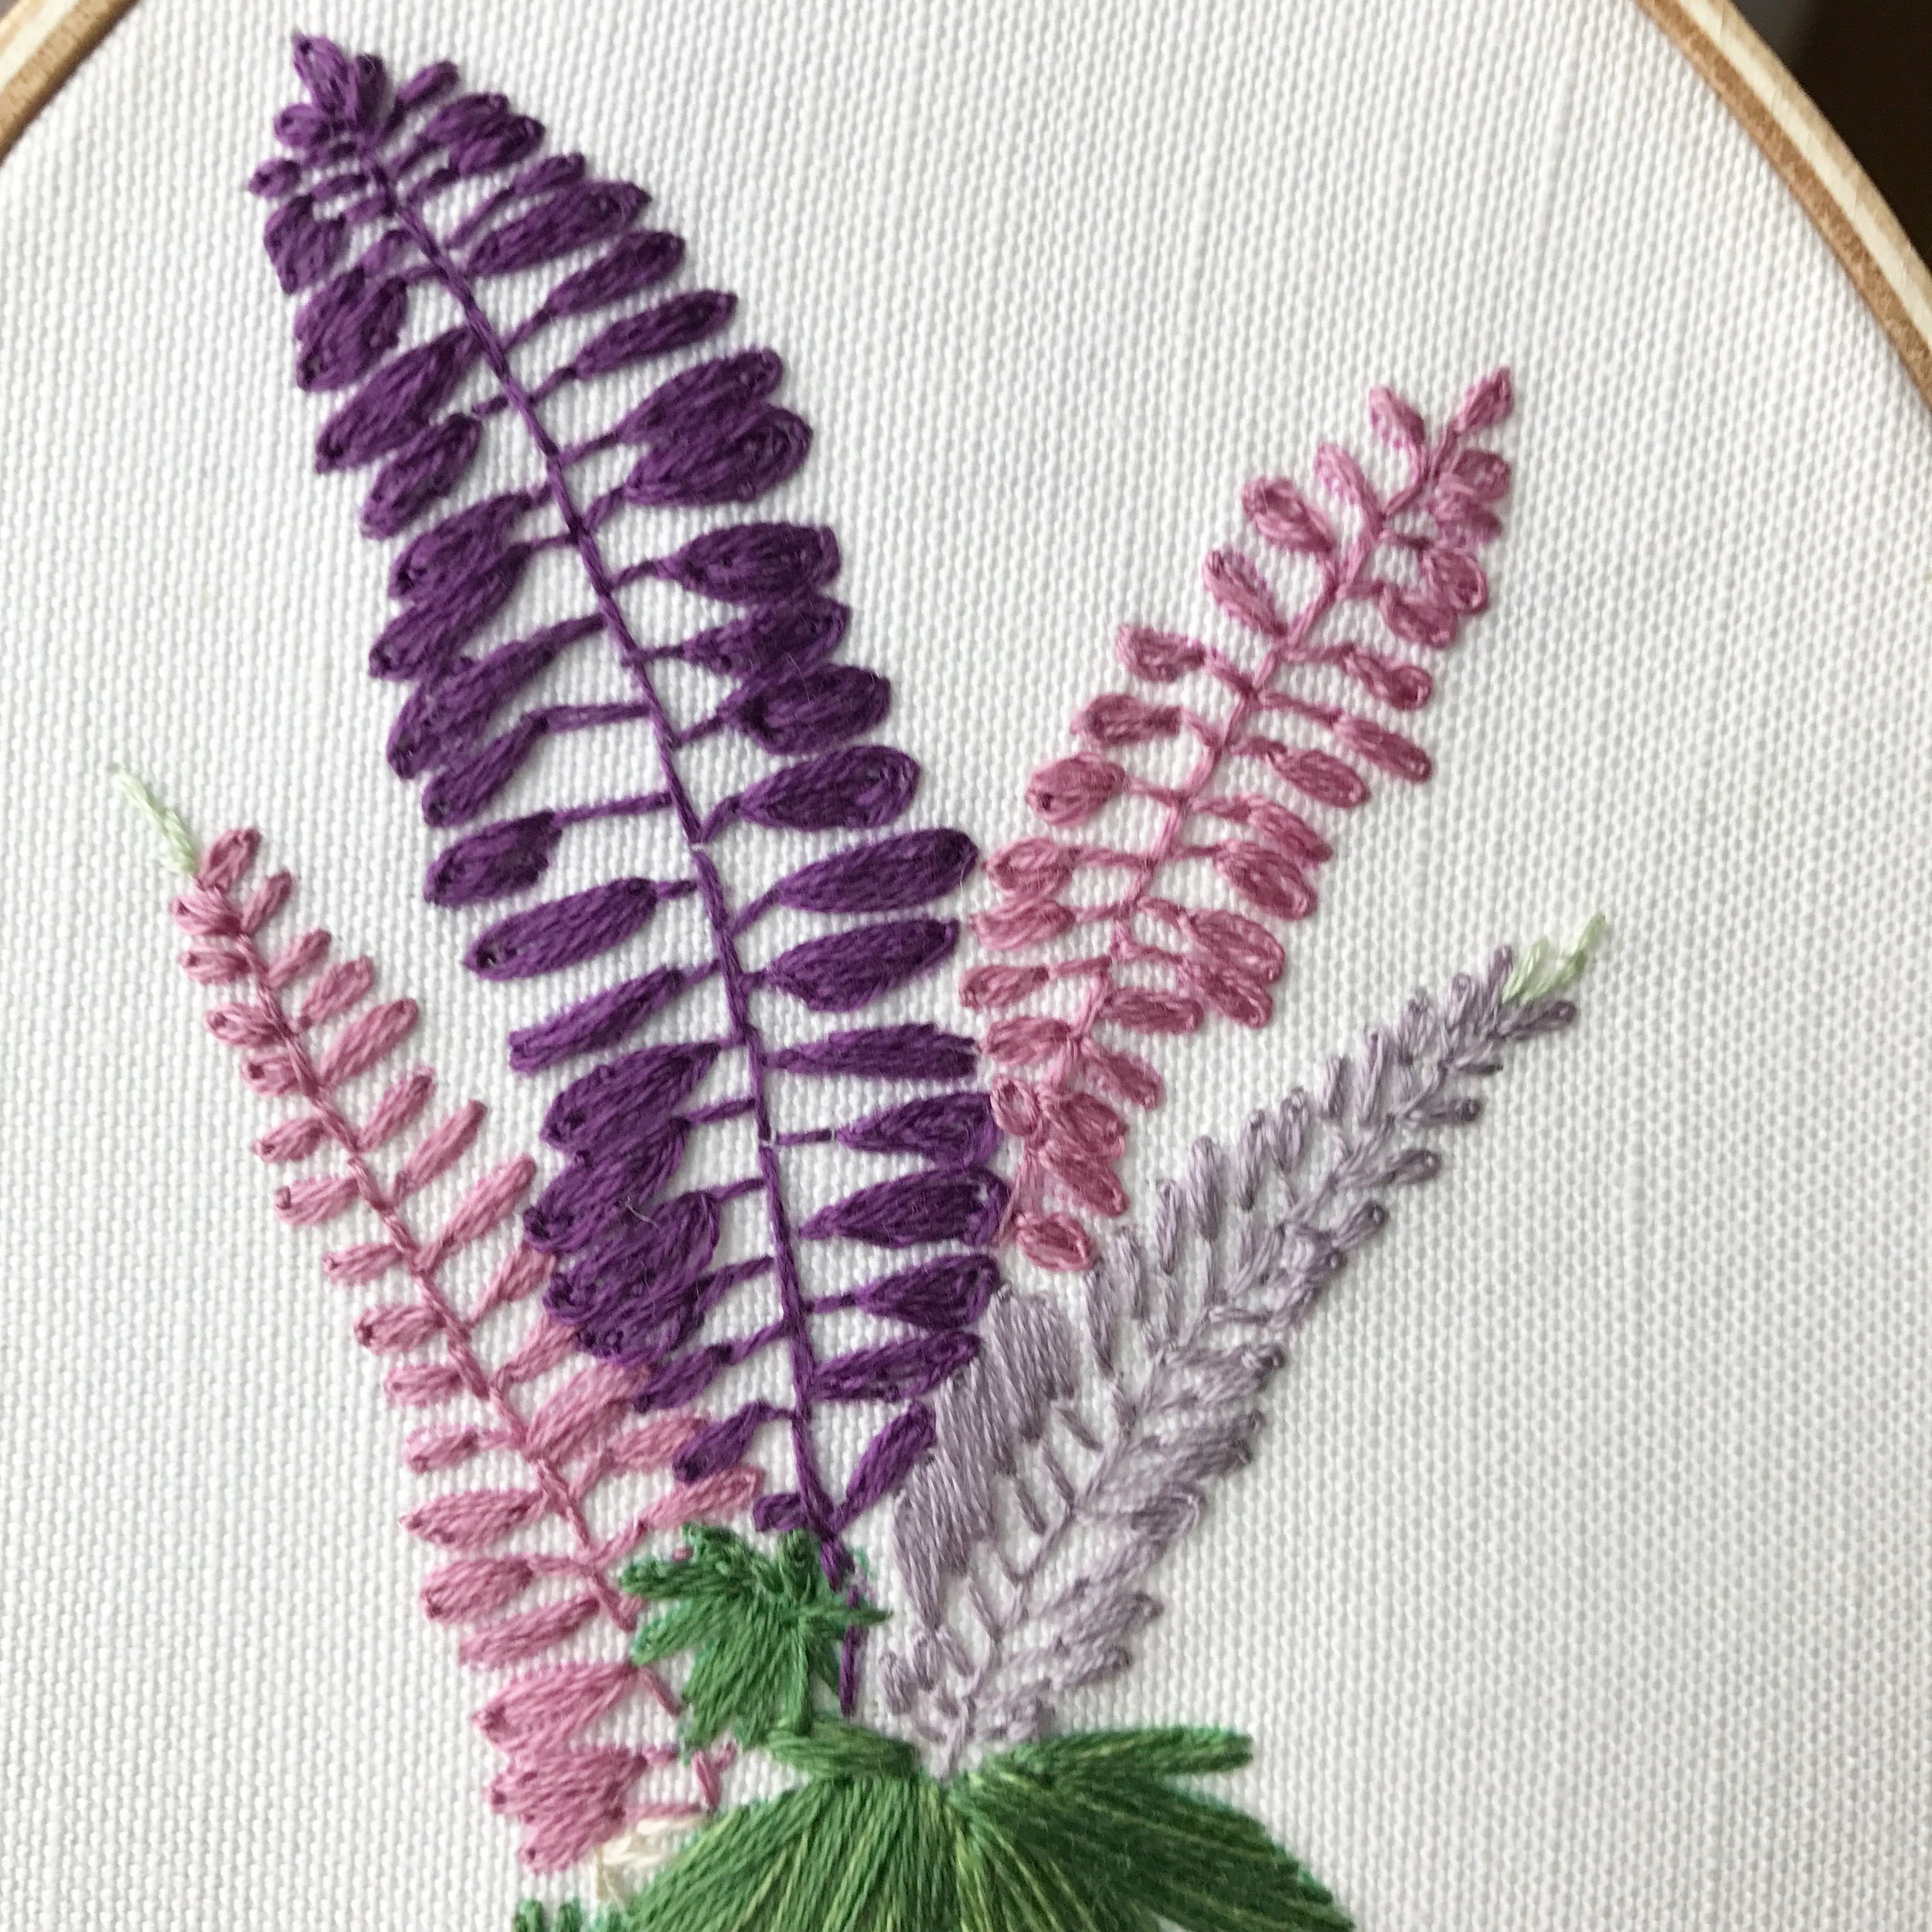
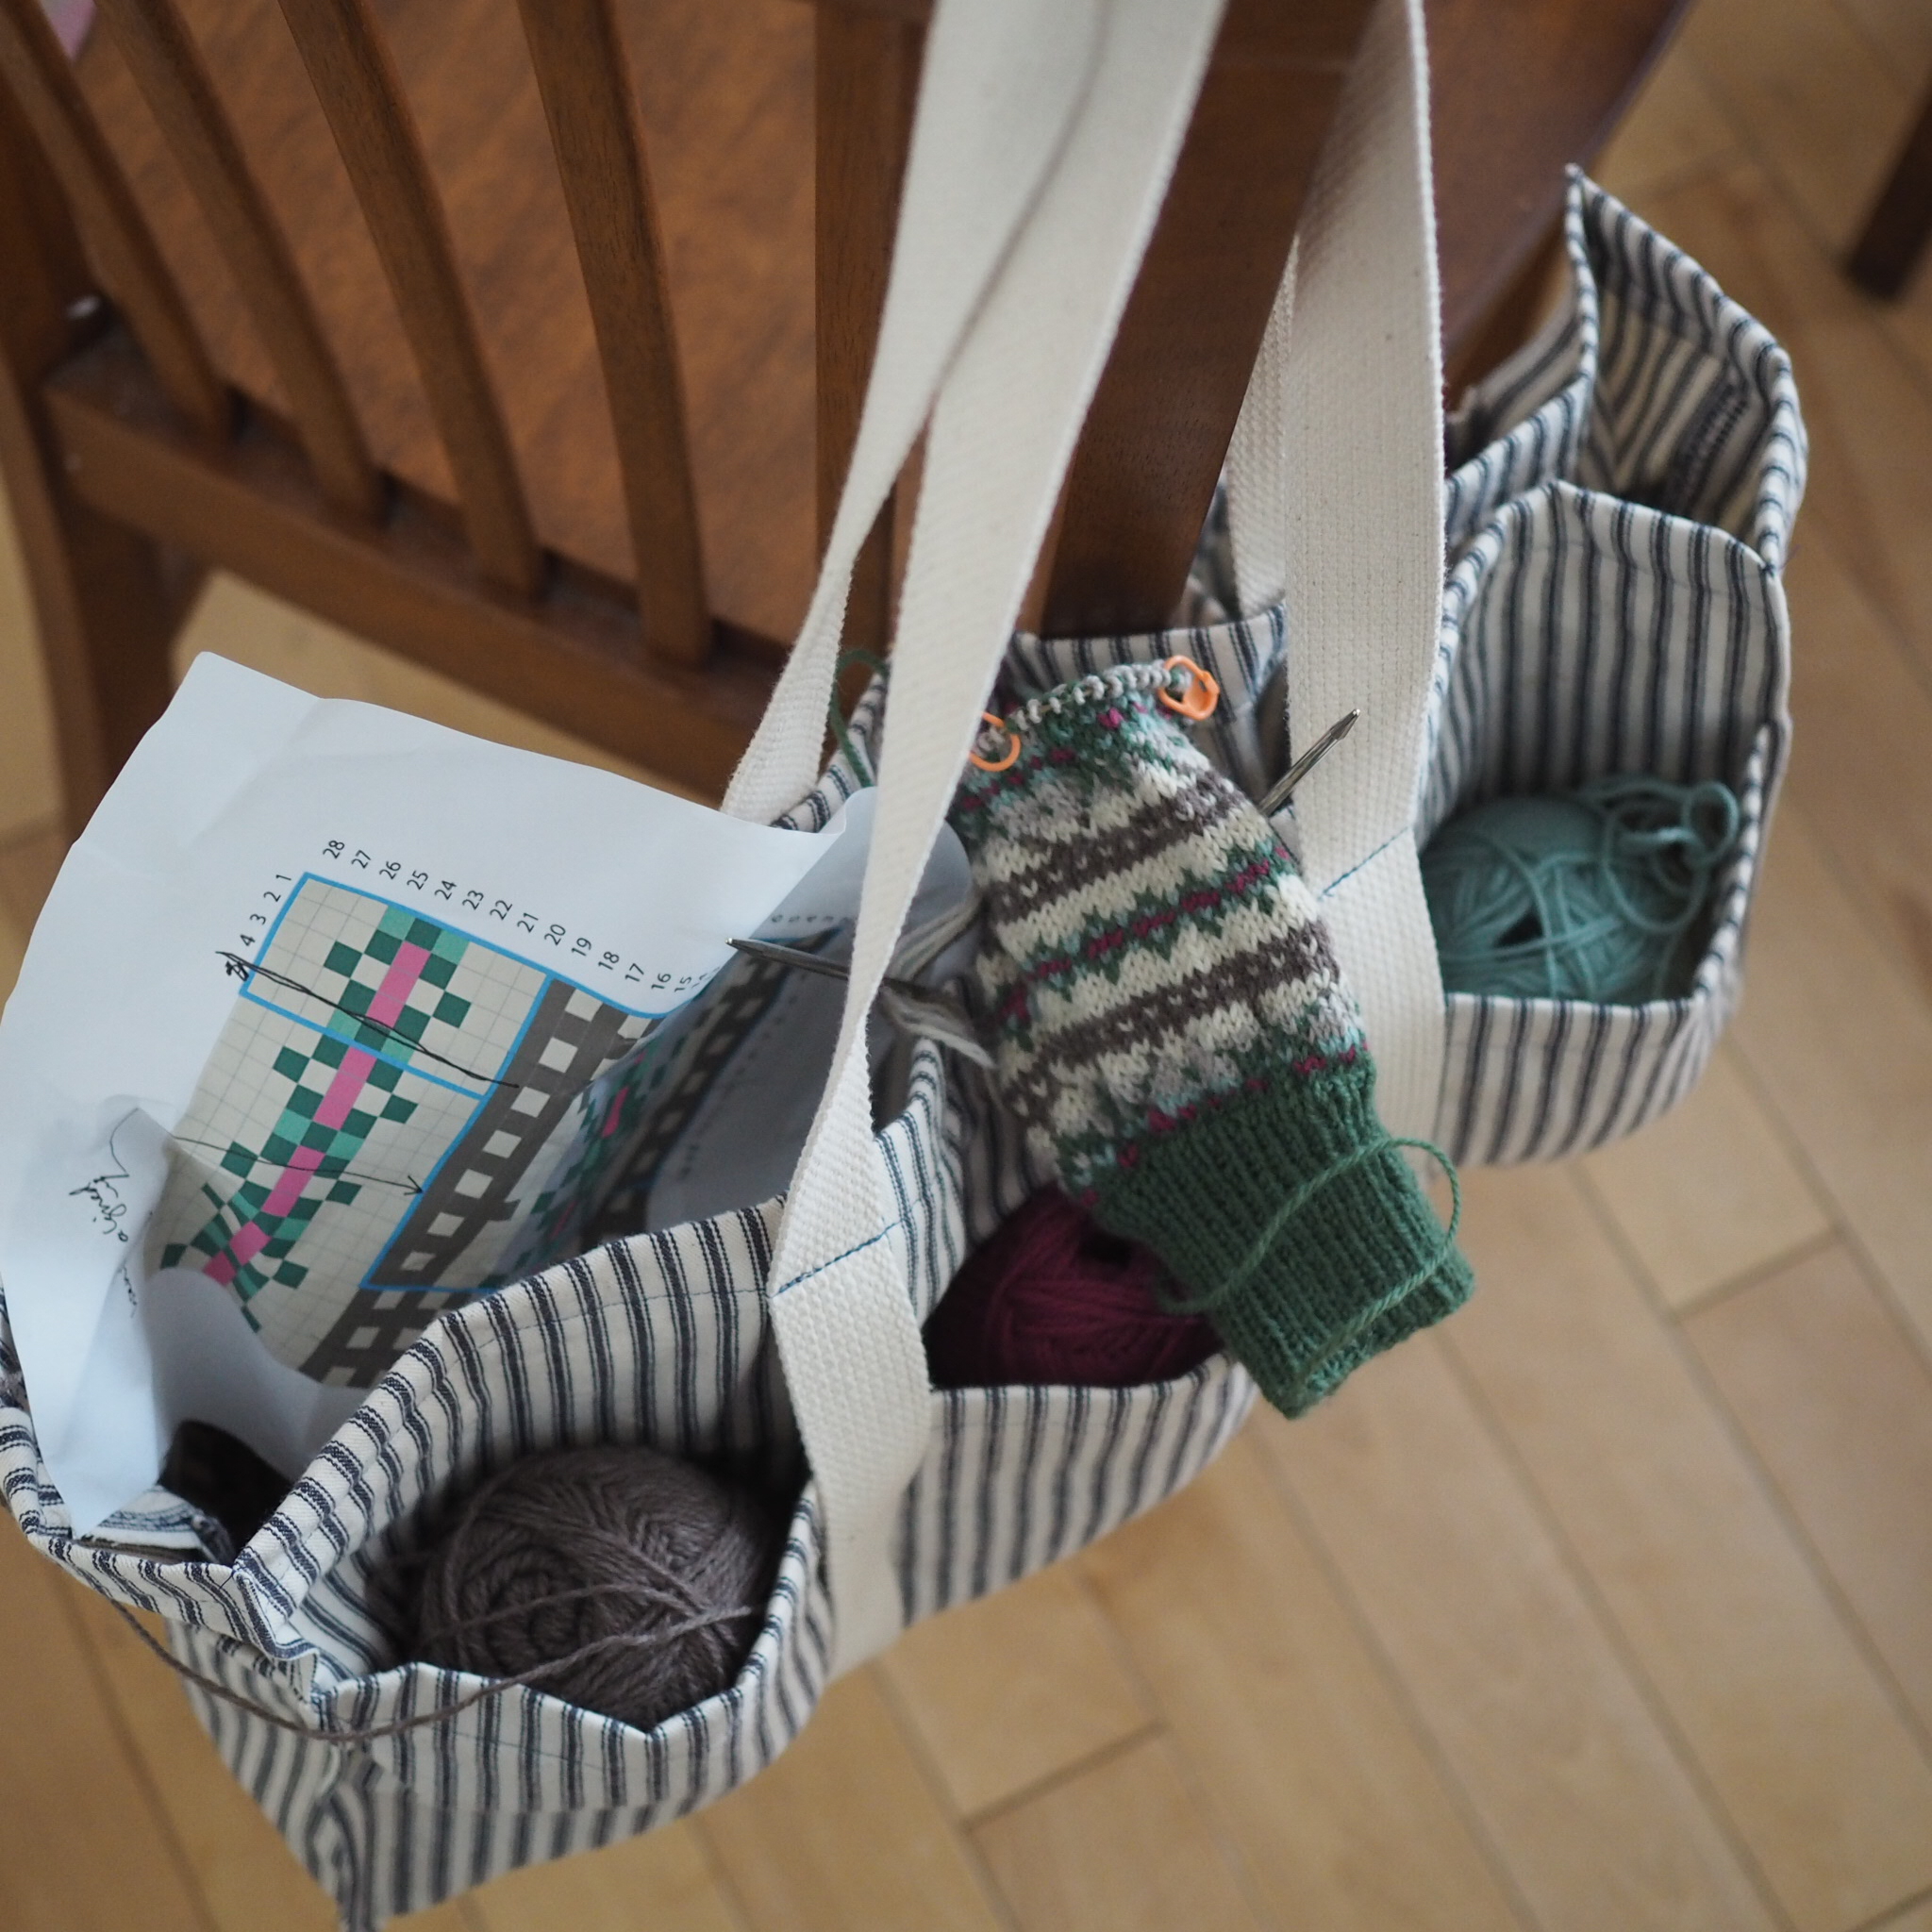
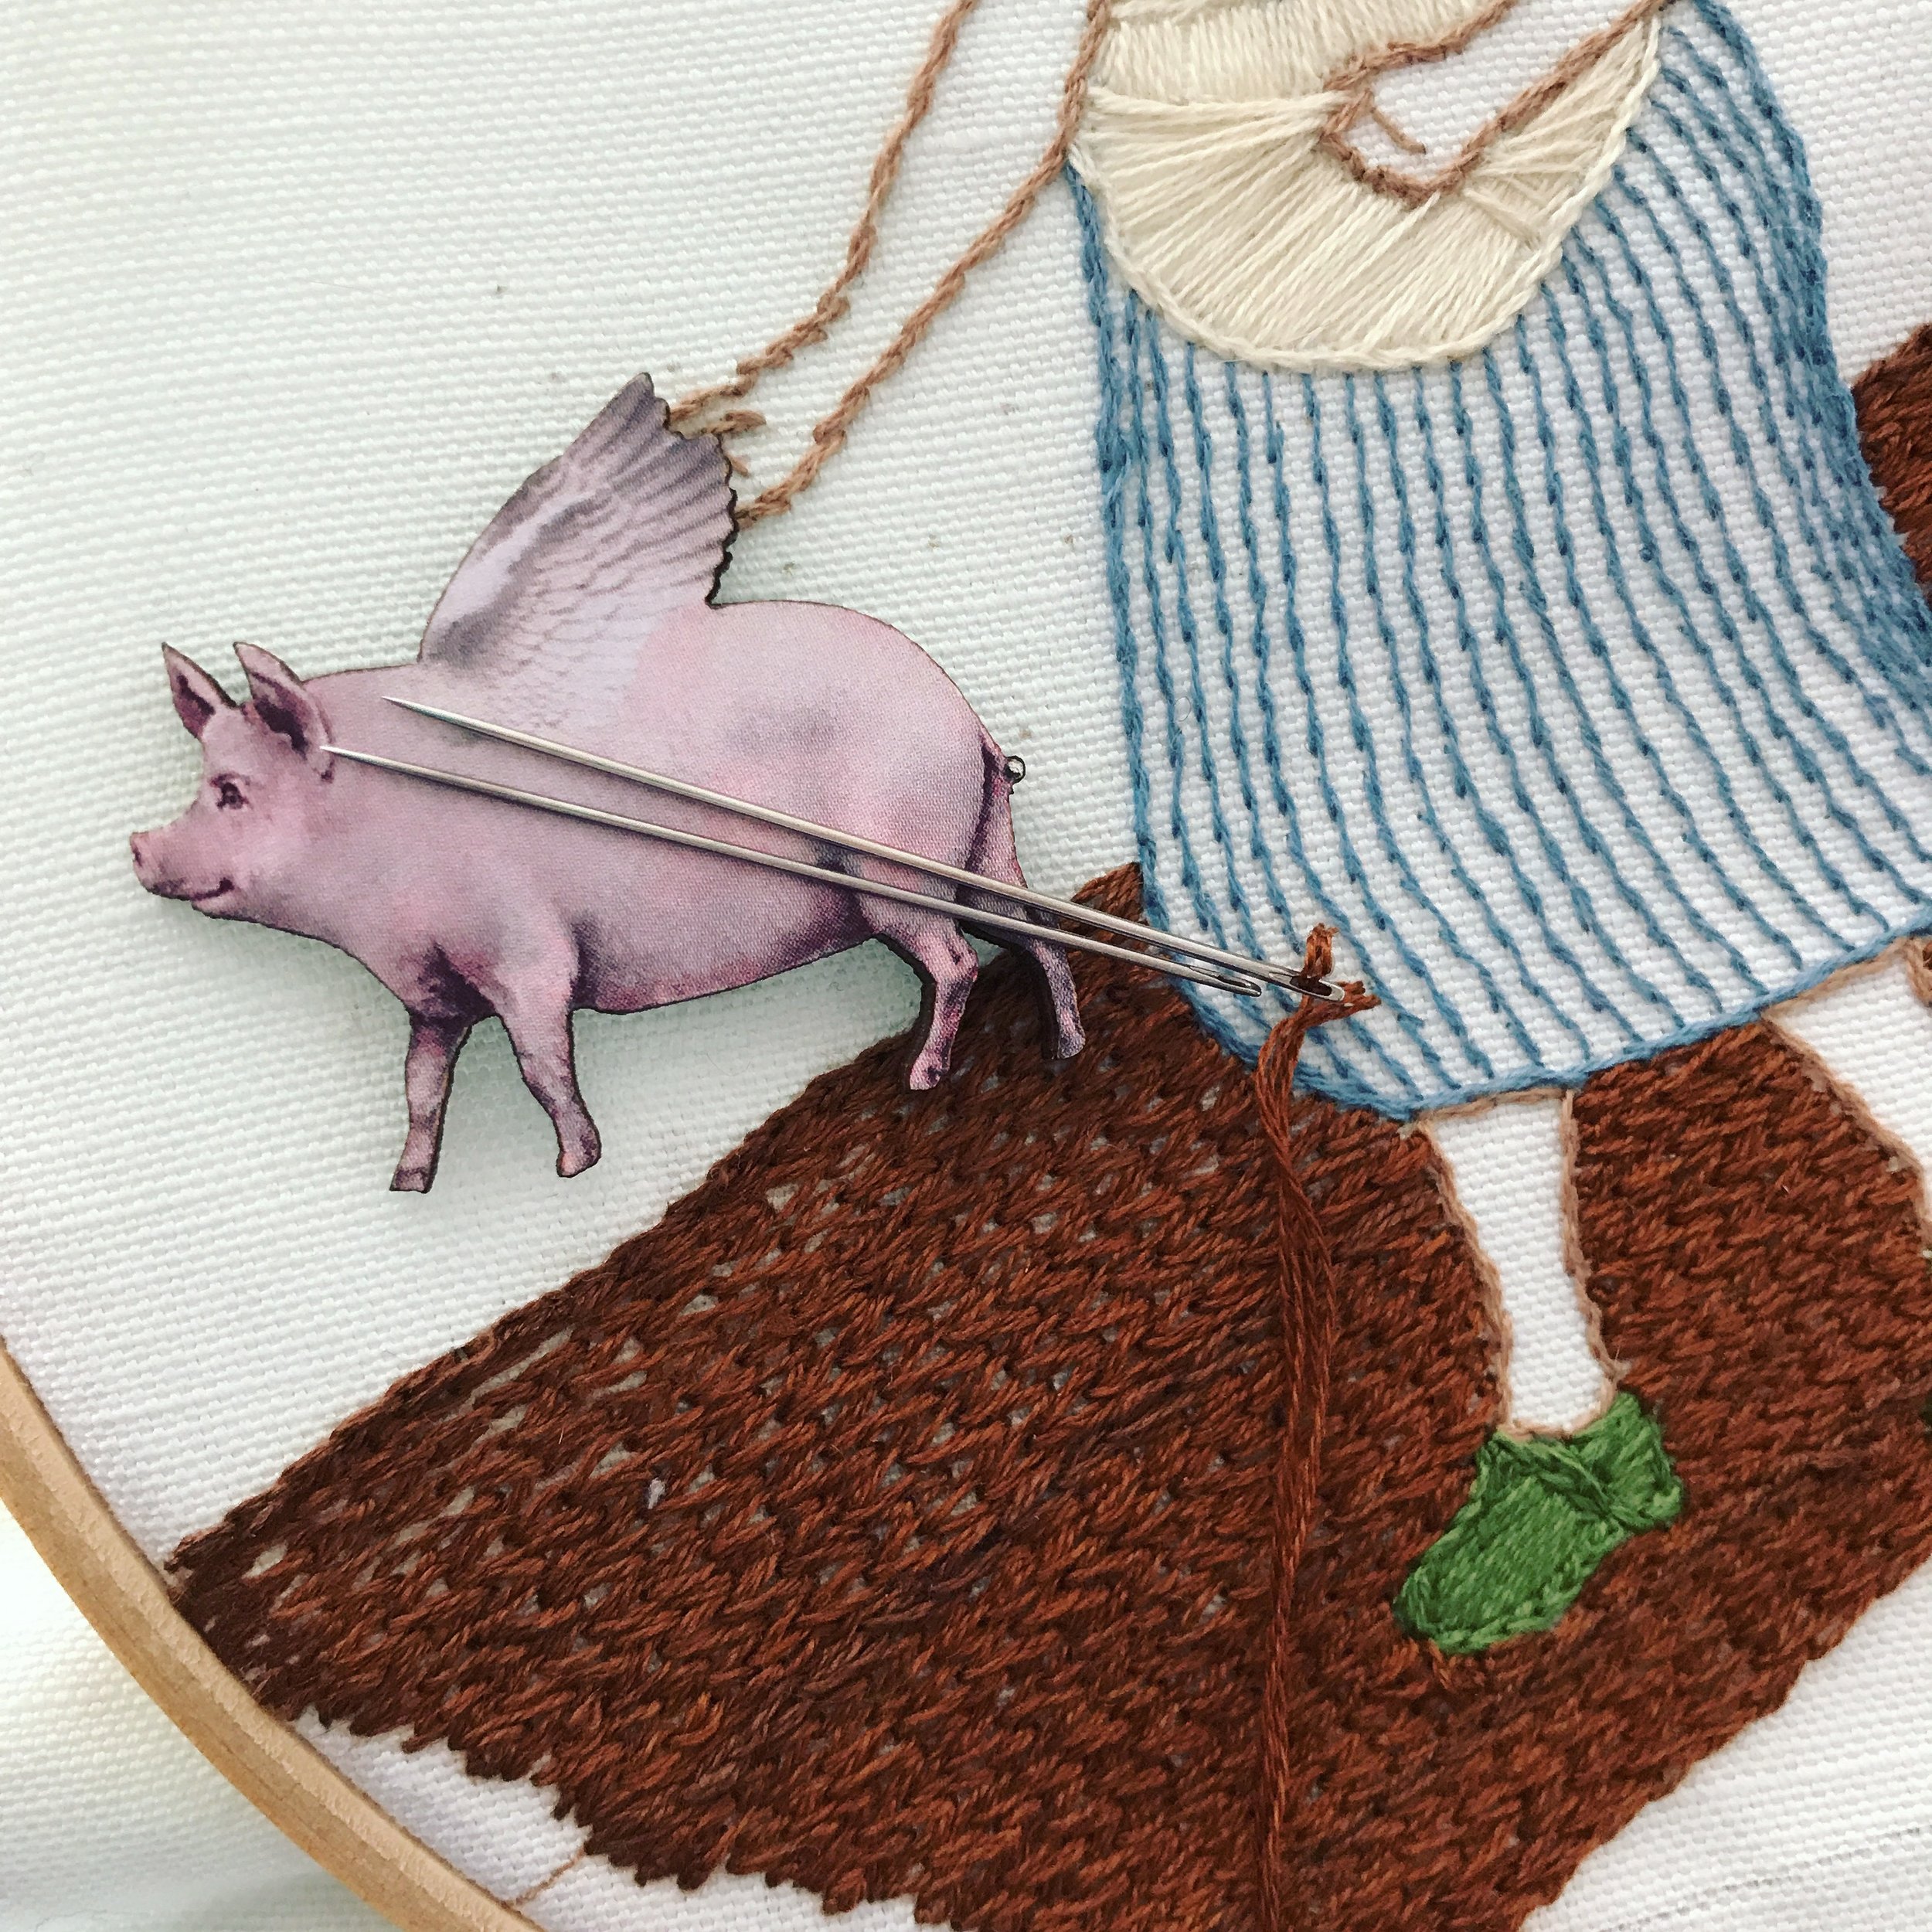
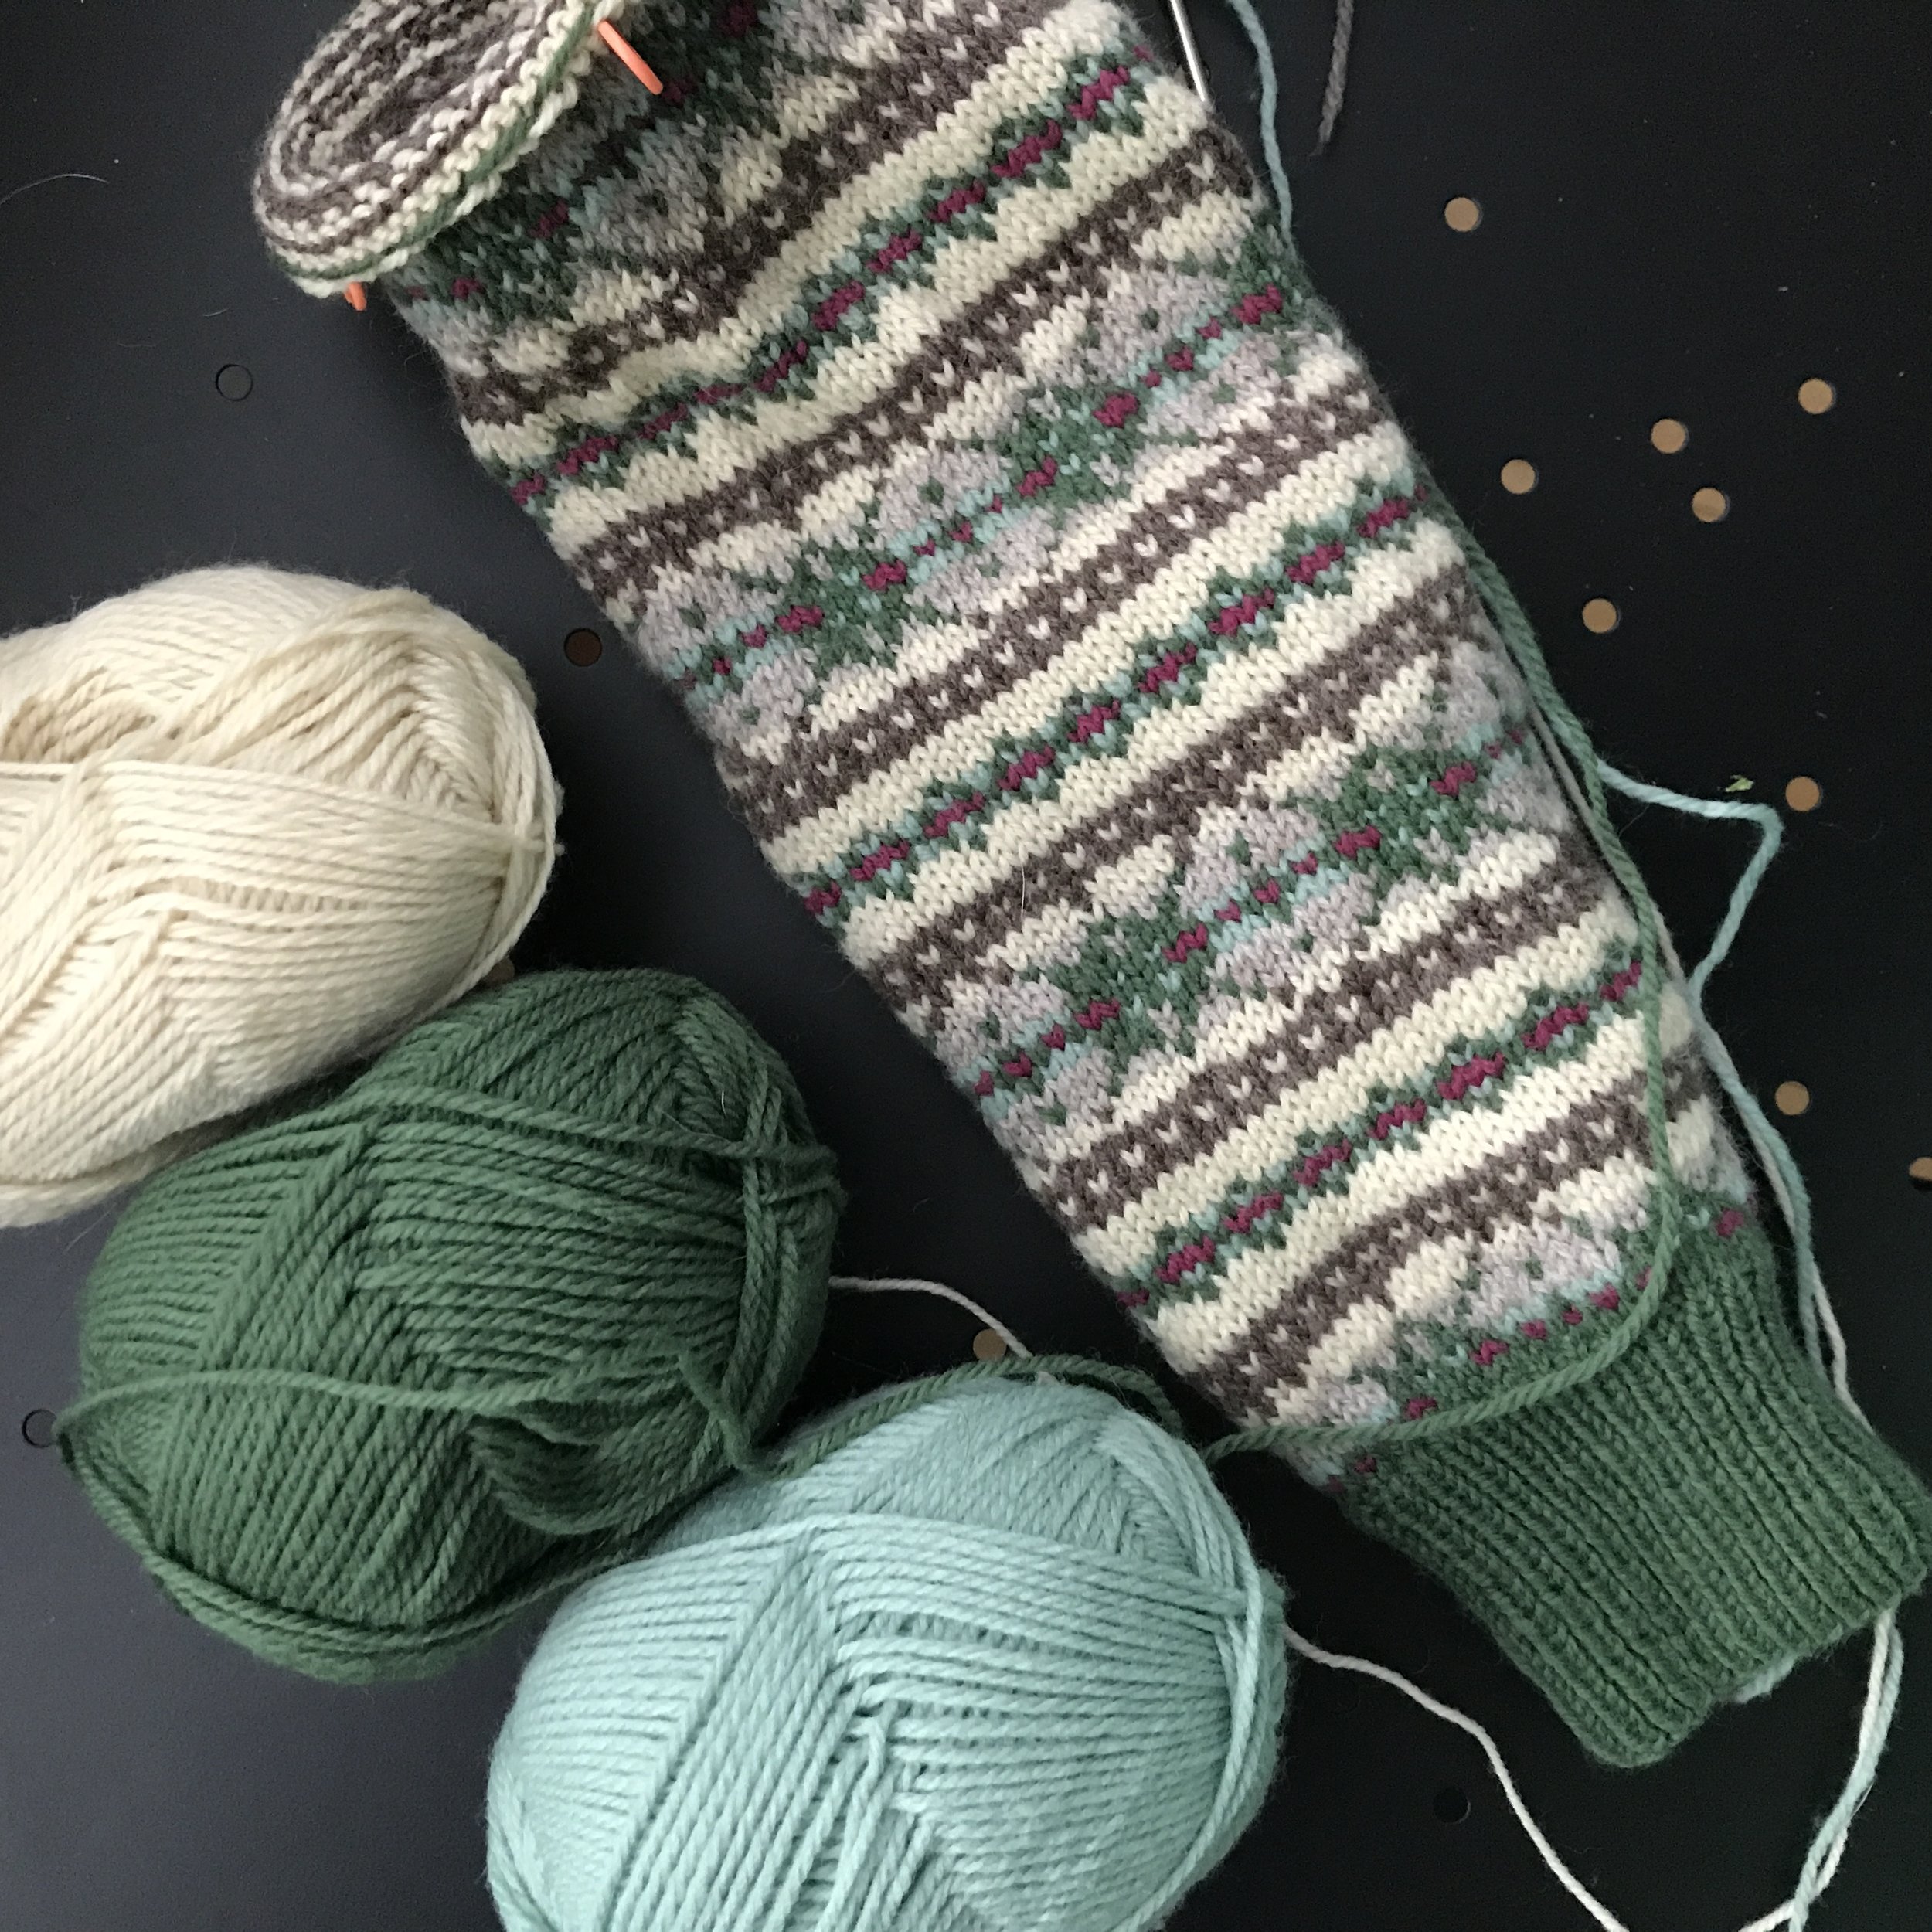
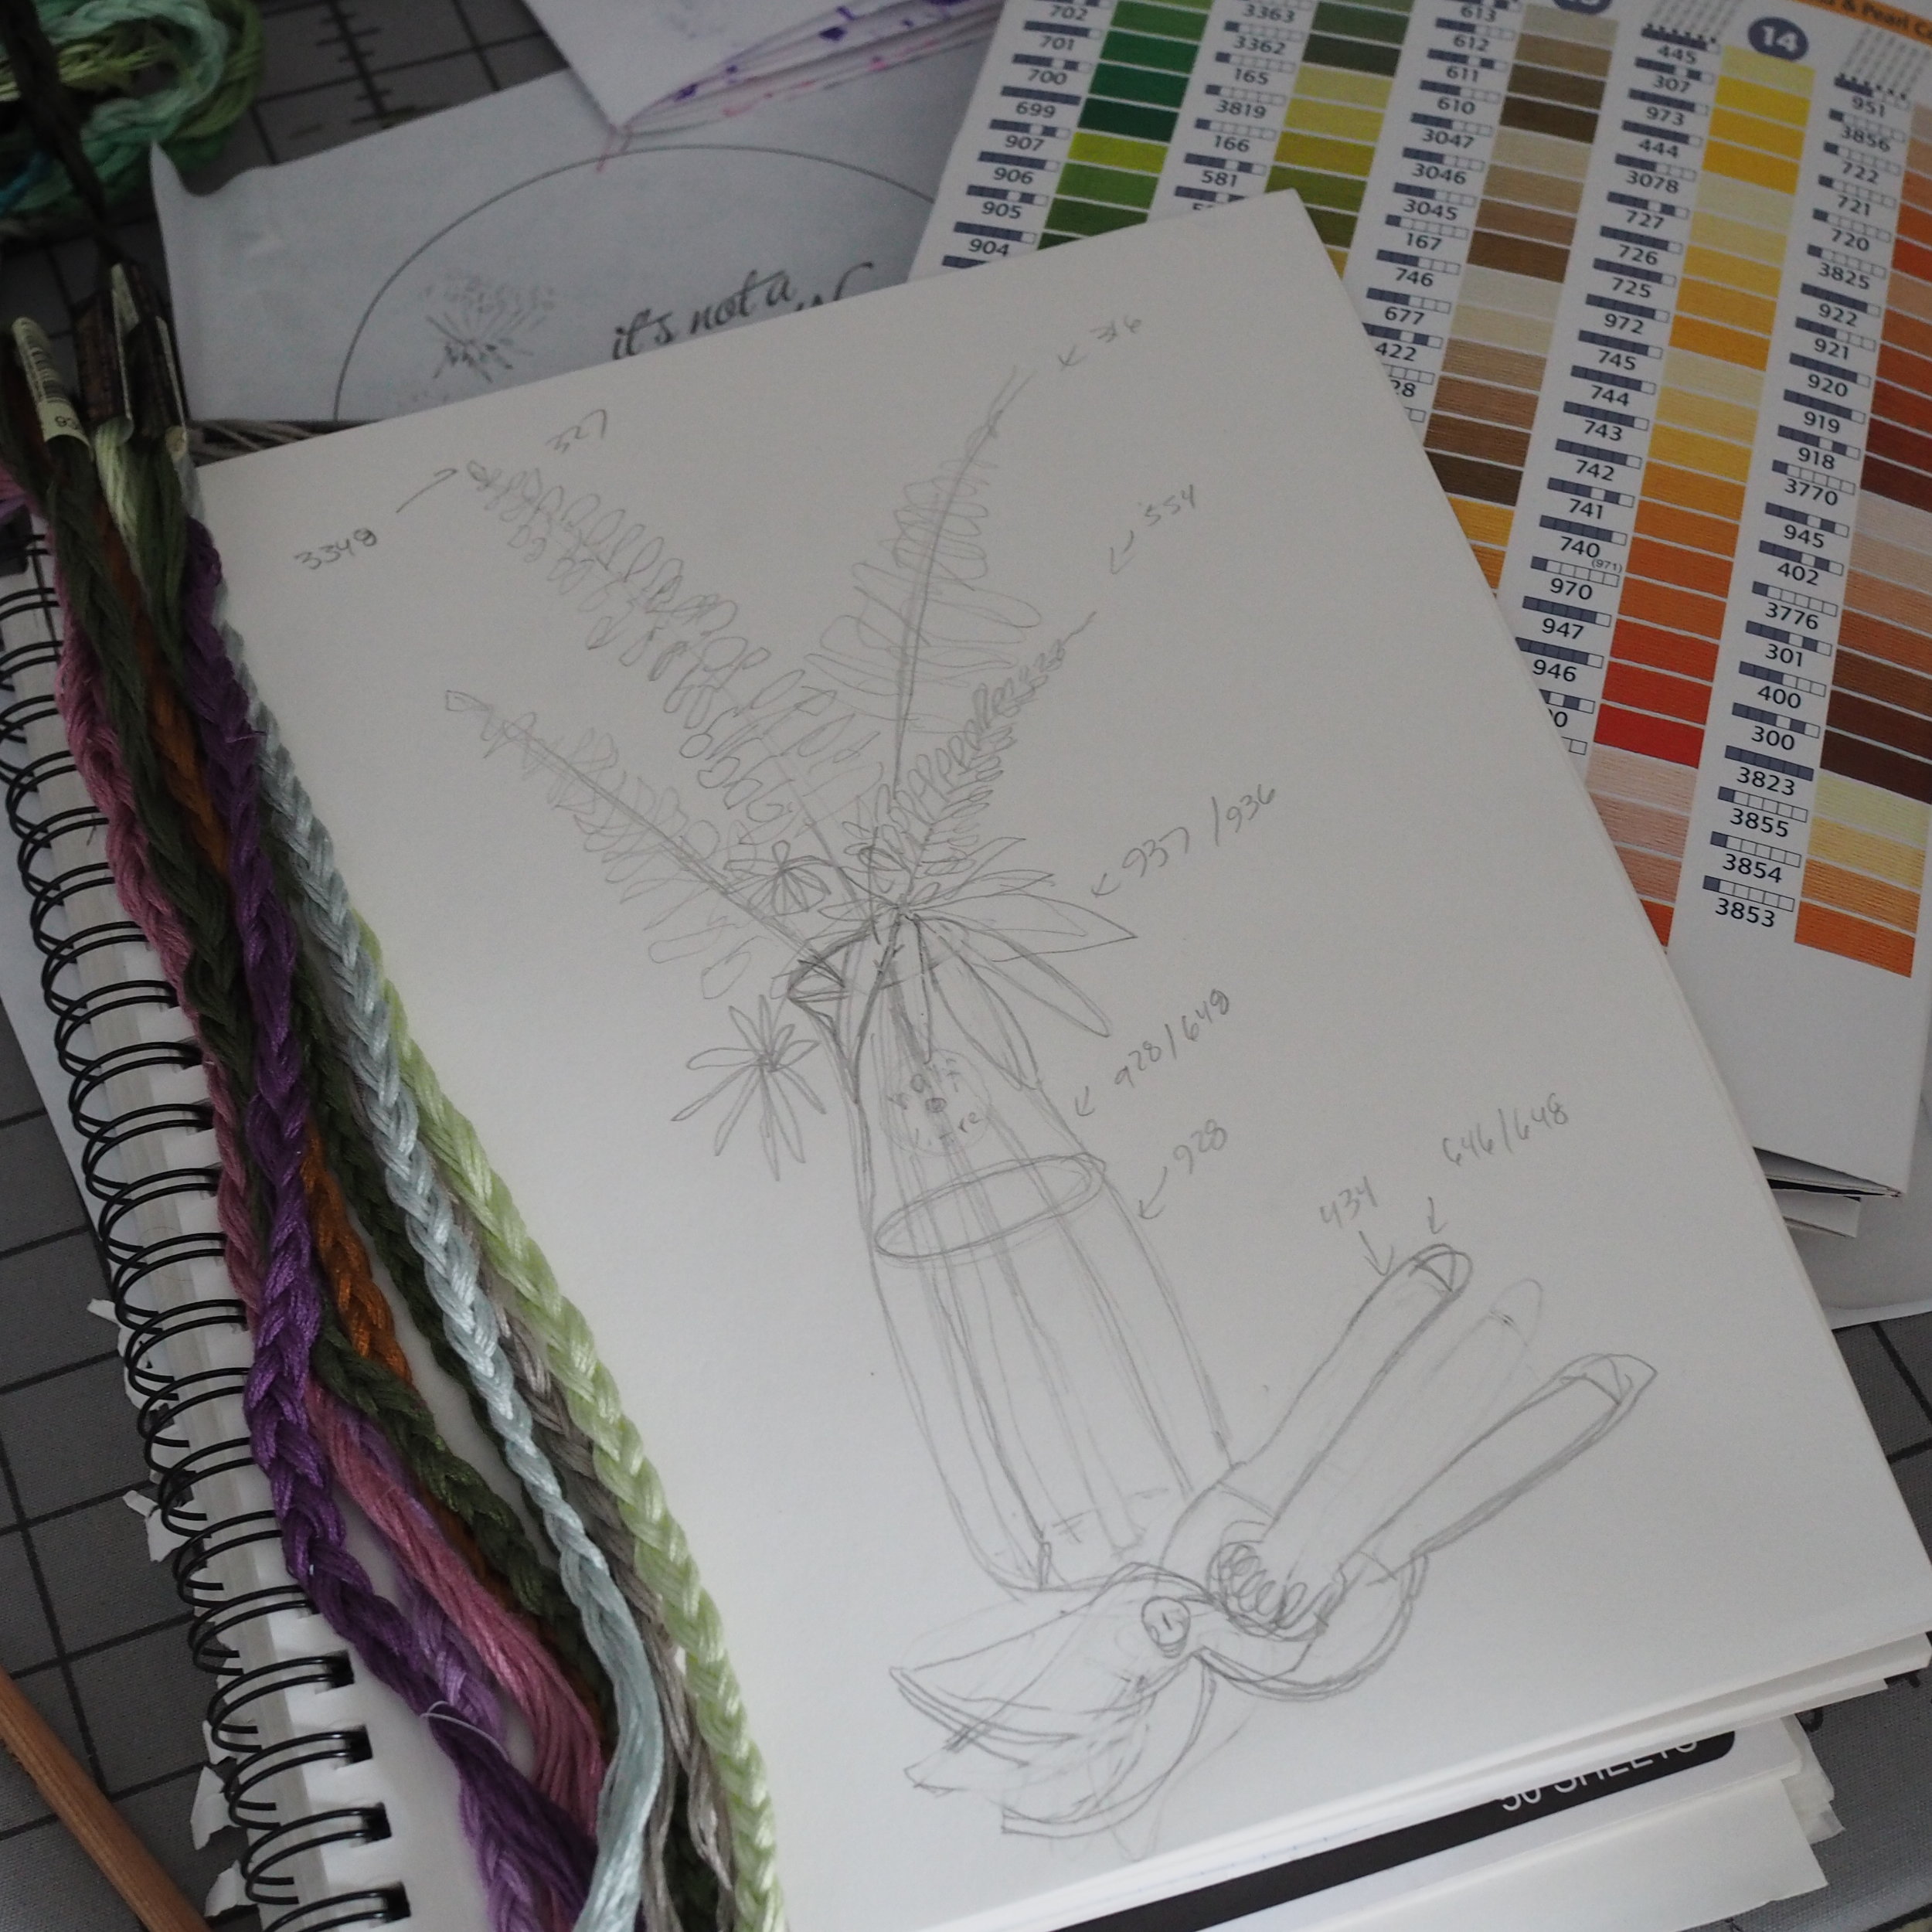
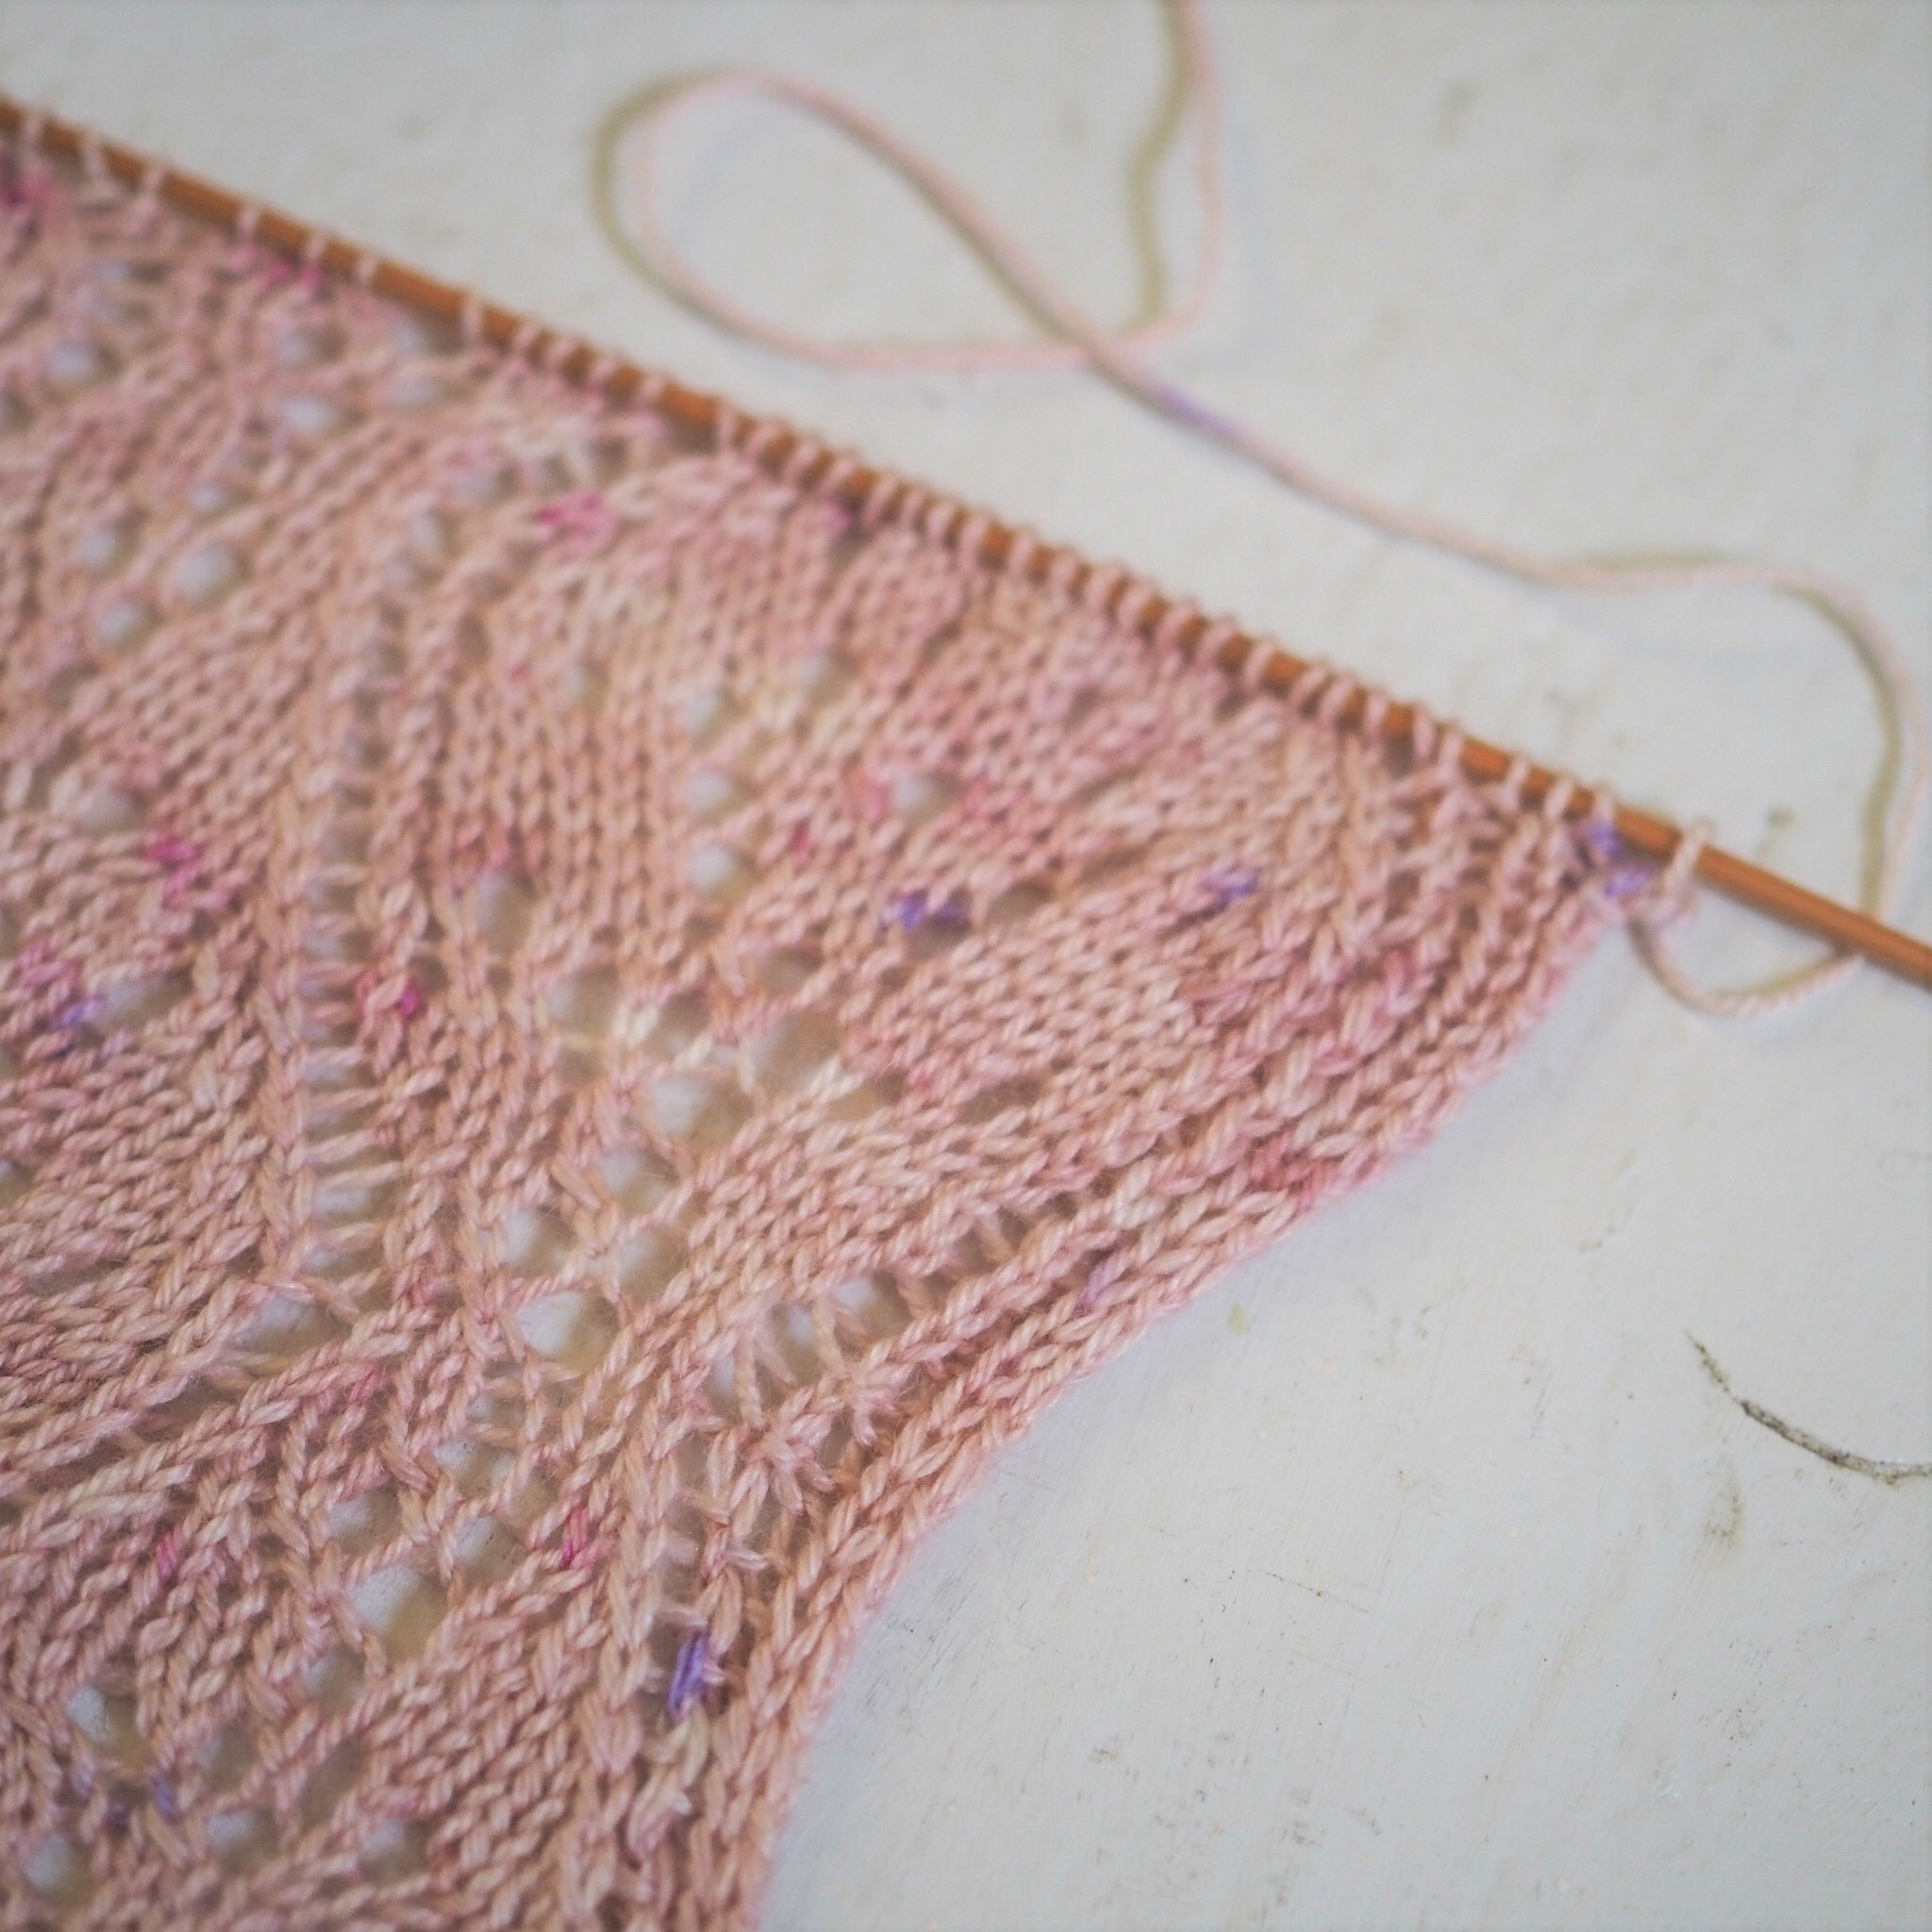
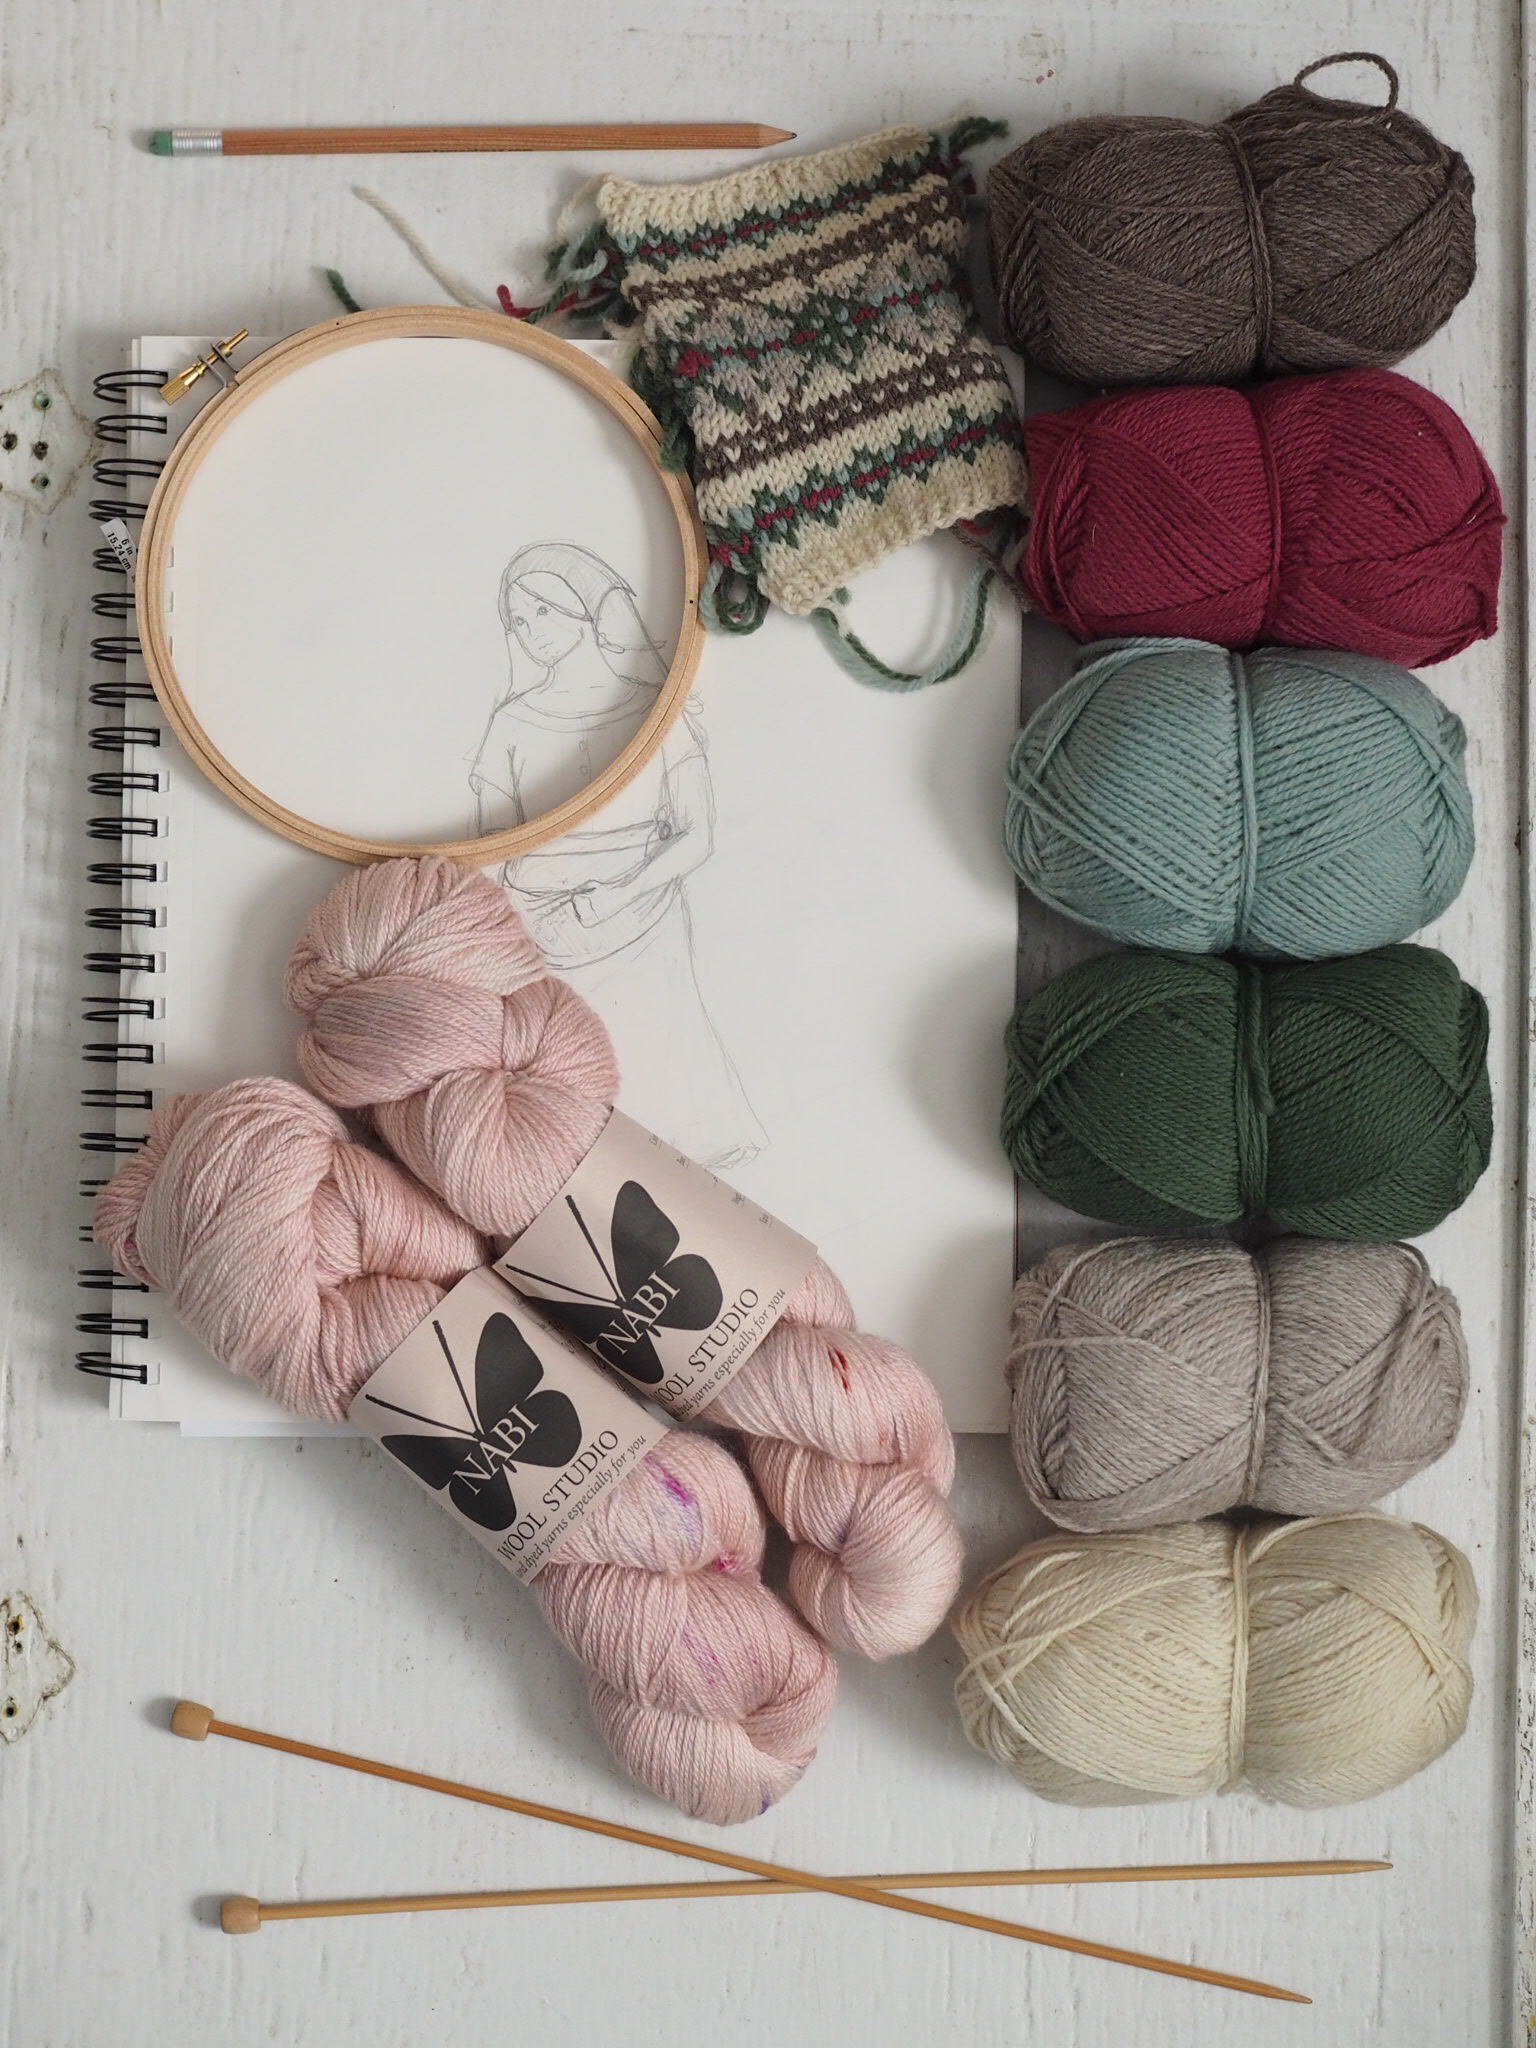
@MsCleaver Embroidery/Knitting Kits
Please join us tomorrow morning, RIGHT HERE on Instagram, starting at 10 am we'll be sharing our handmade work together, as well as some special discounts, peeks at our studio and creative process, maybe some live video greetings, we'll see - each artist gets to choose what they want to share, so it'll be a bit of a surprise, and I think it'll be fun! Can't wait to see you there.