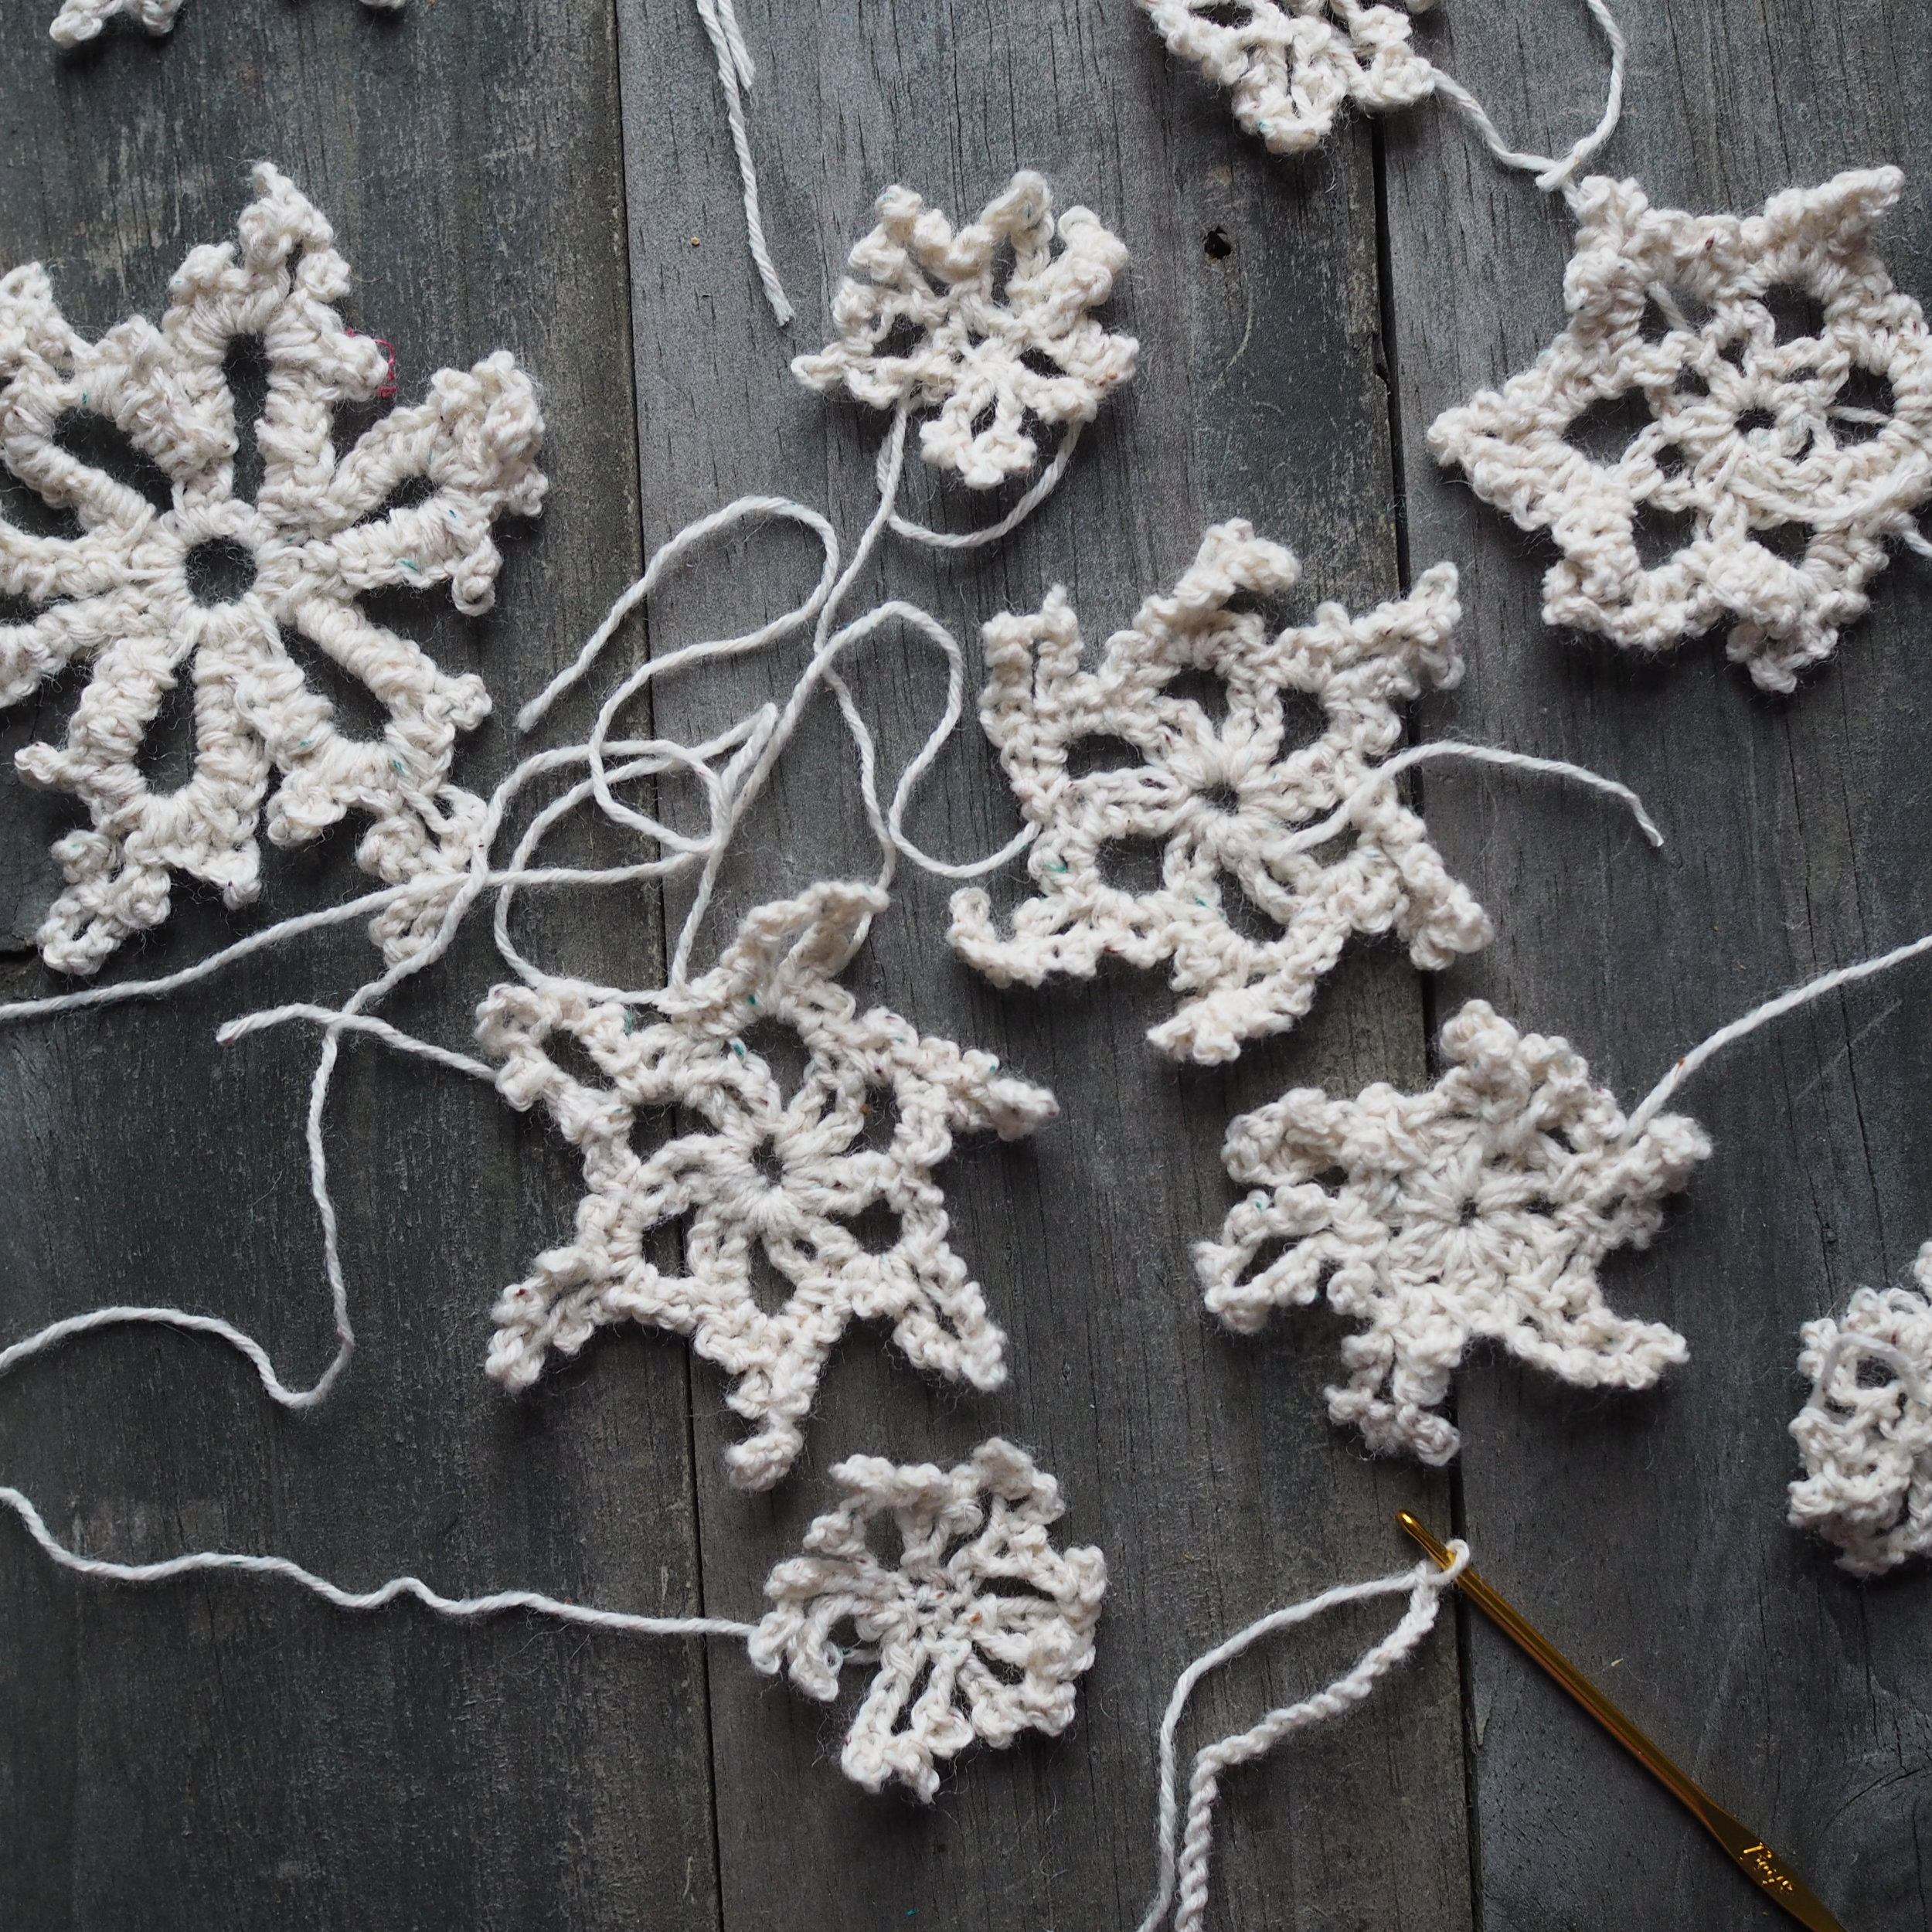
I love baking for the Holidays. There's just something about the flavors of winter I find so appealing , the combination of nutmeg and cinnamon and citrus. The depth of molasses and wine. That's why this pairing is perfect combination for any winter gathering, and since there's a lot of overlap in ingredients, they're easy to make together.
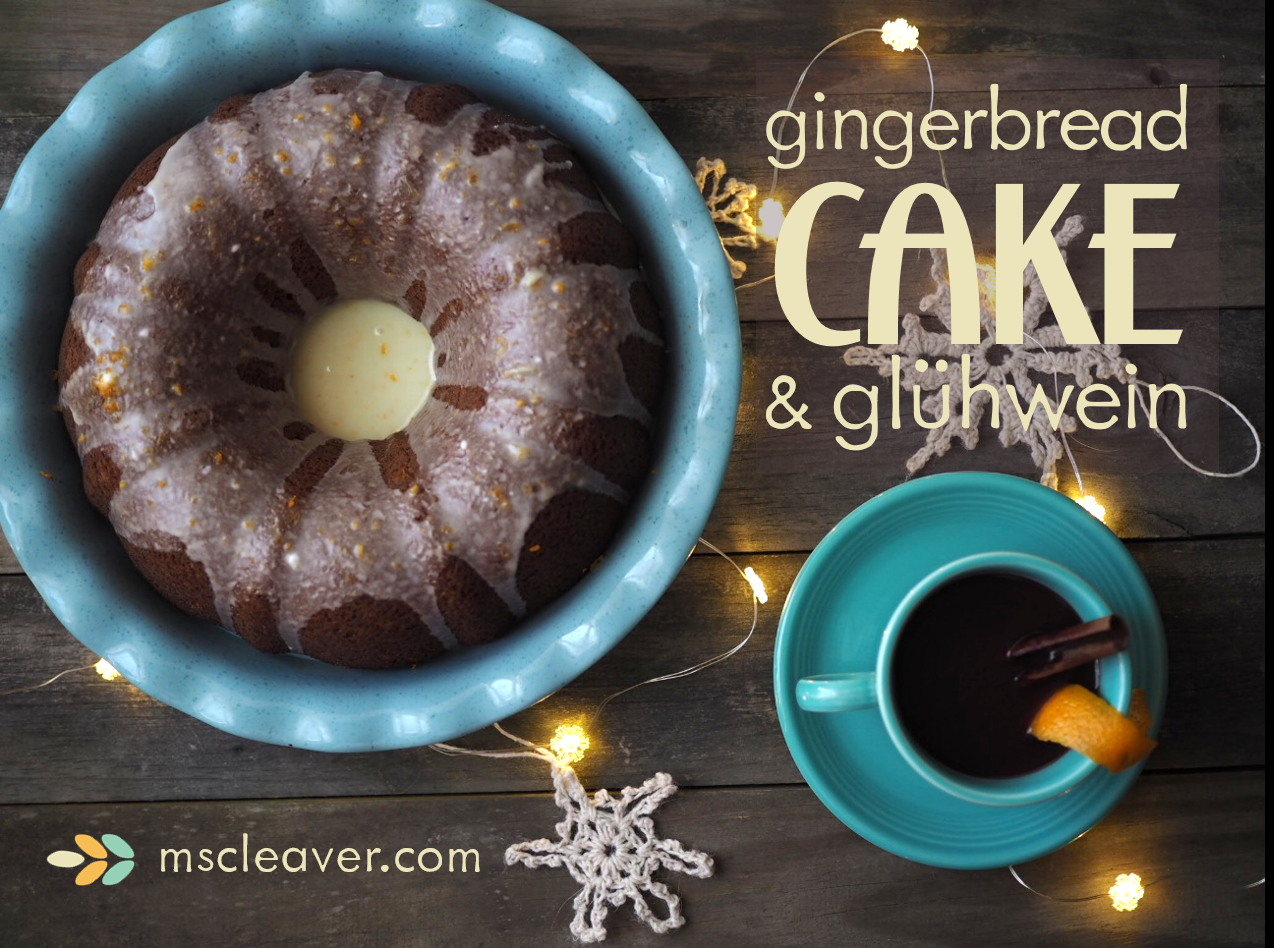
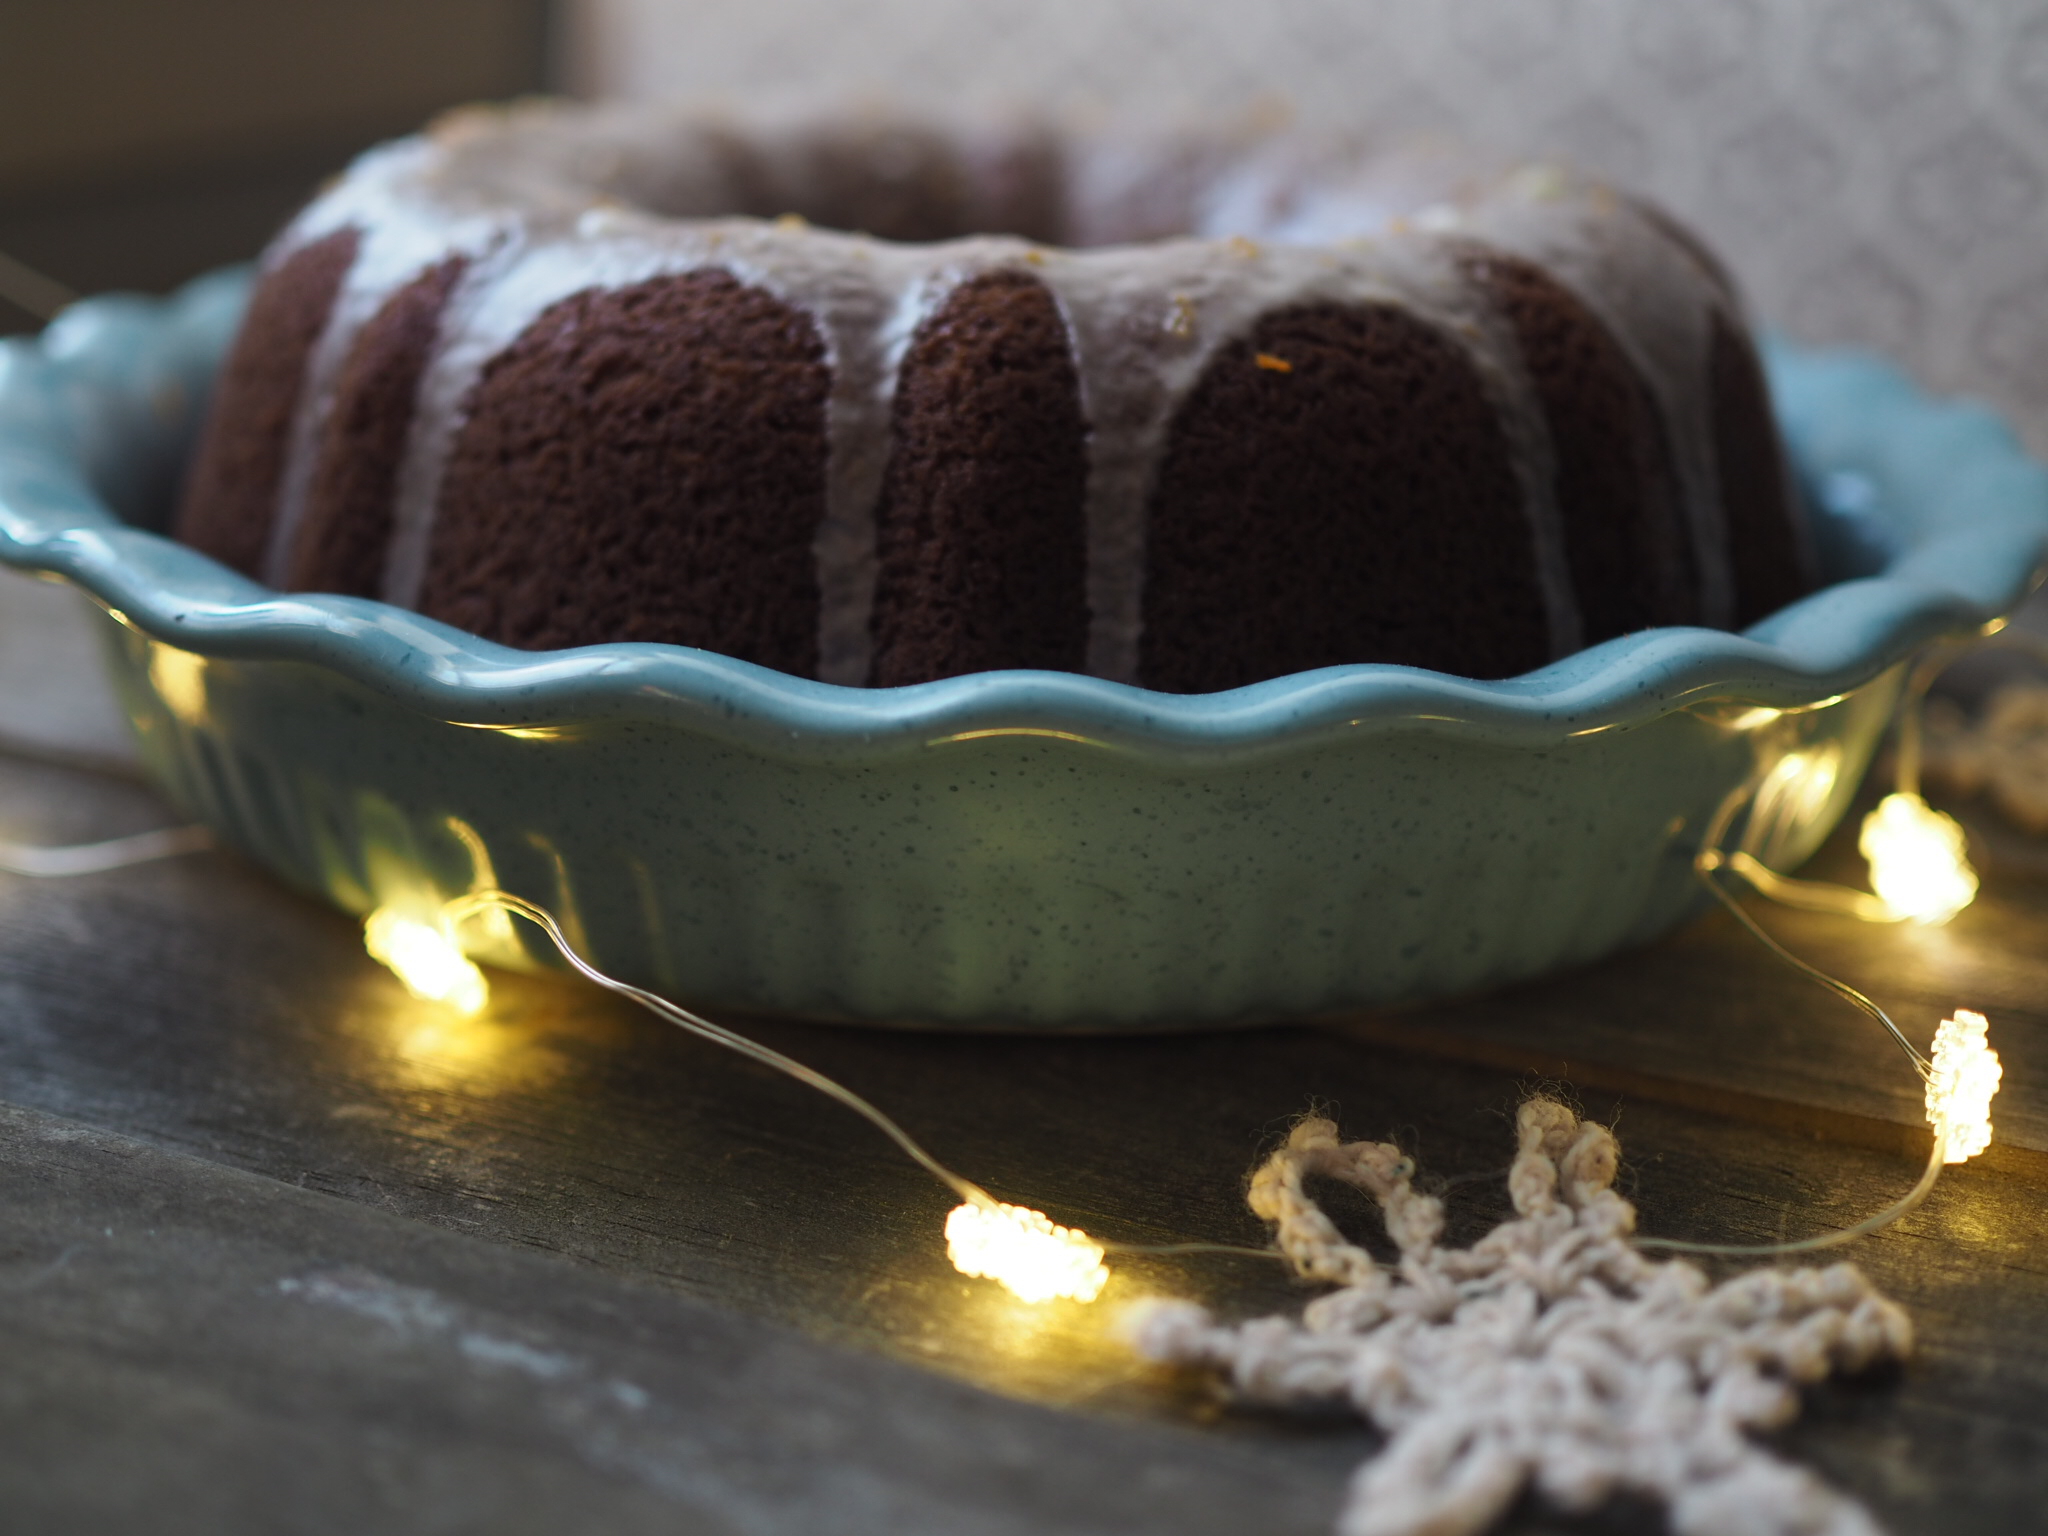
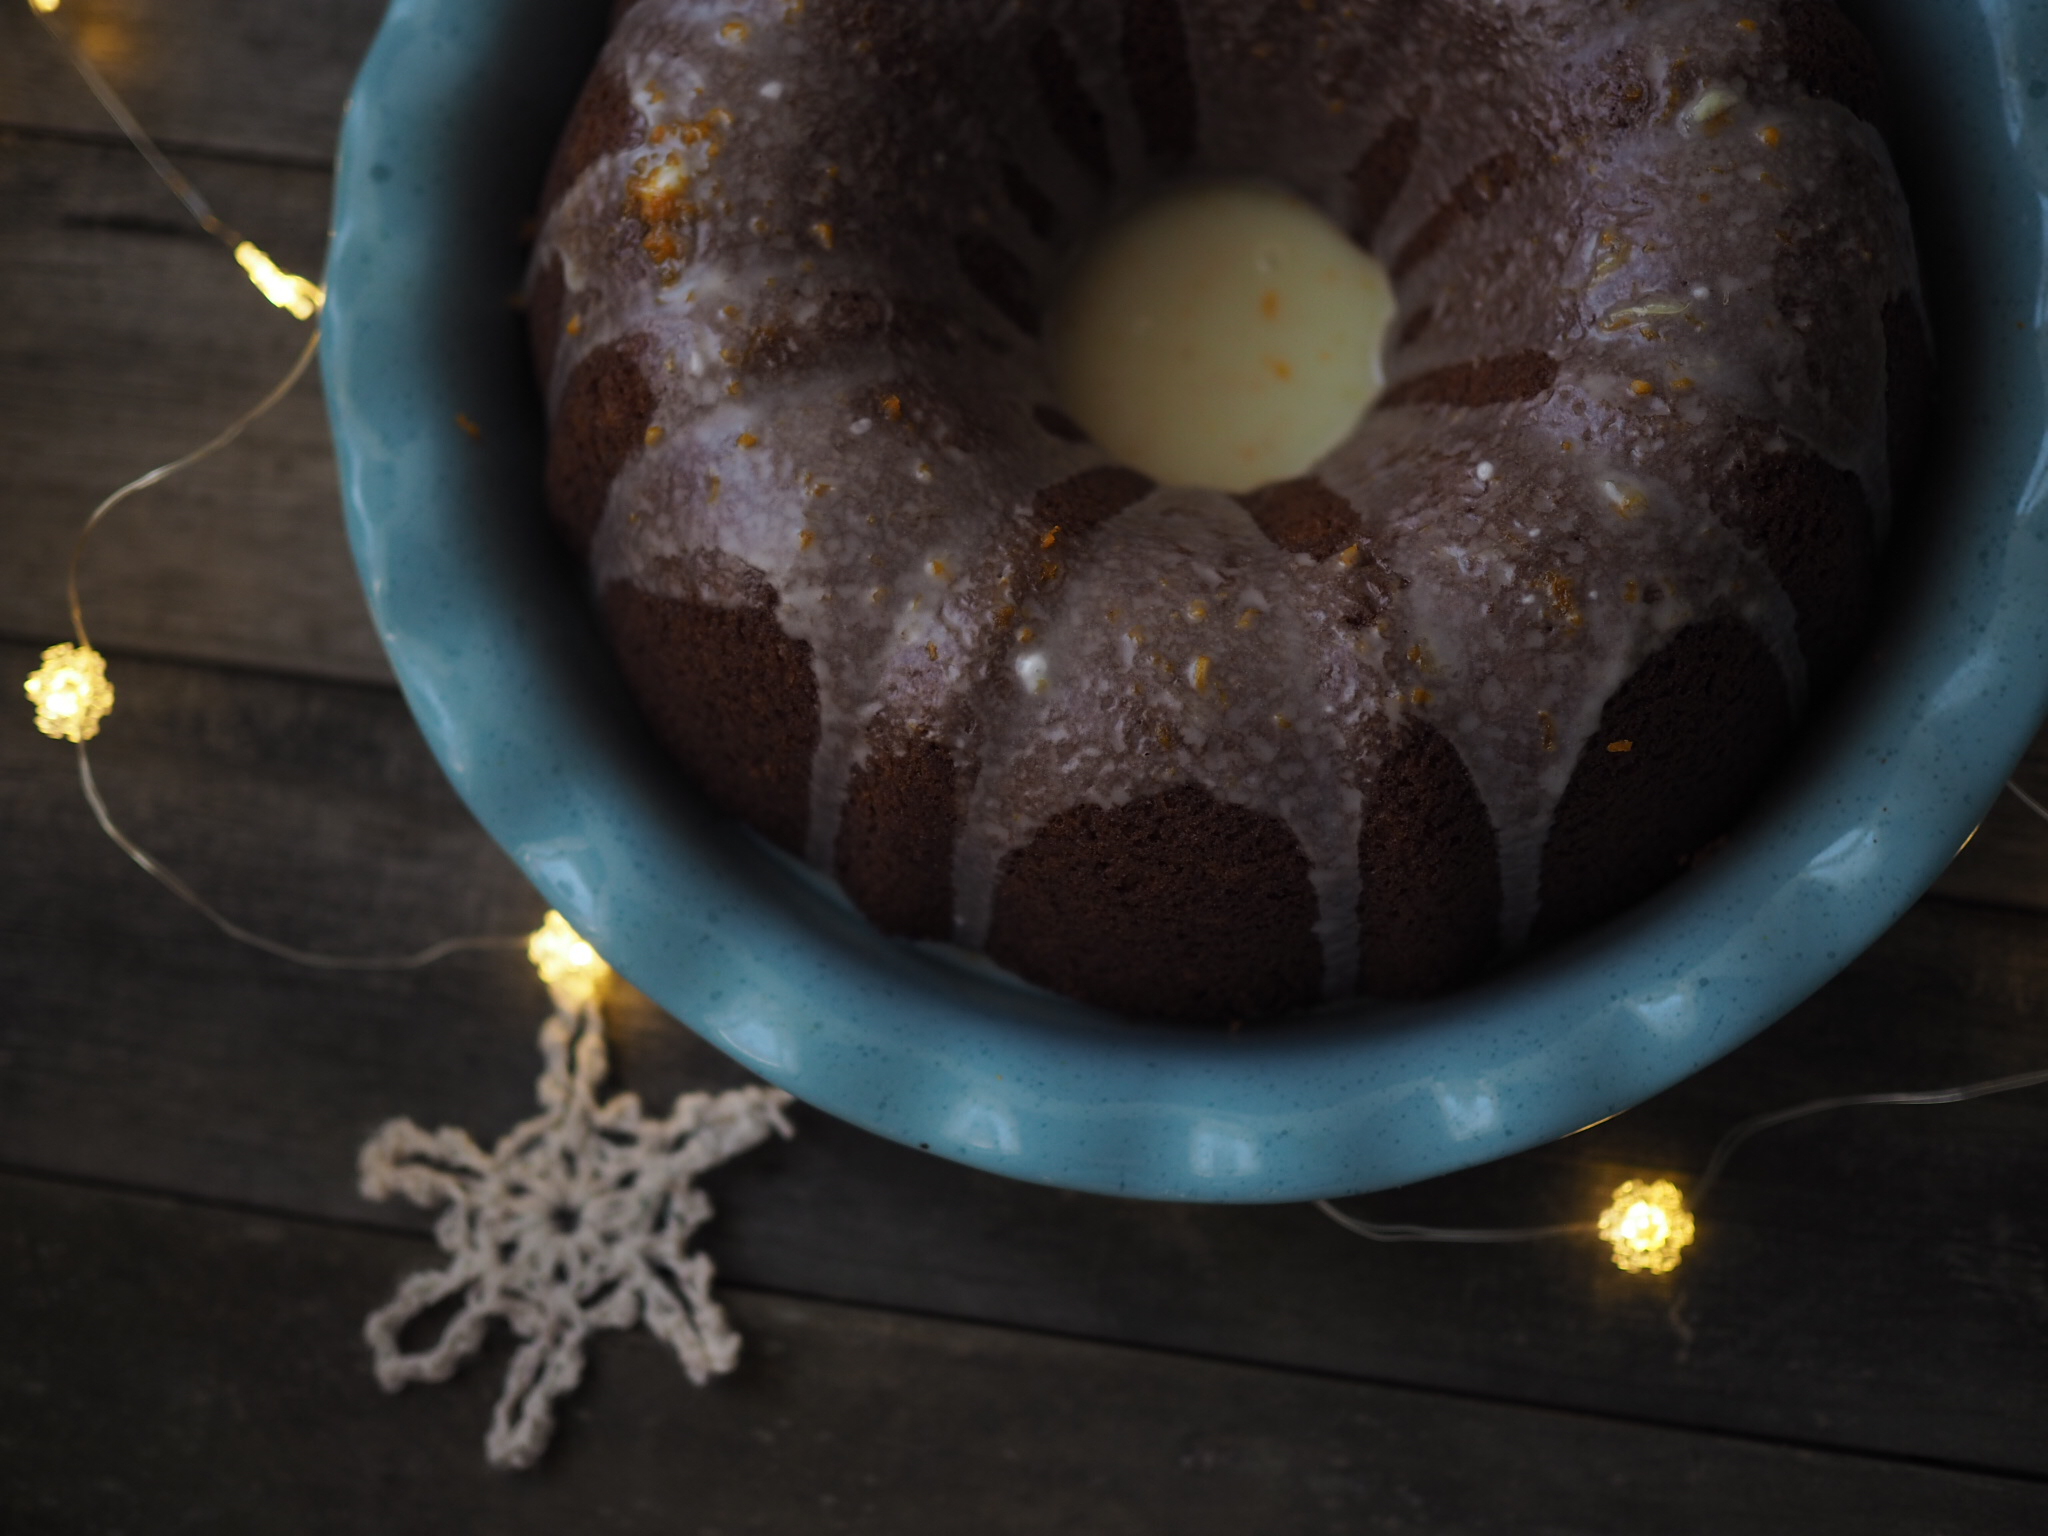
Gingerbread Cake with Orange Glaze
Serves 8-12
Gingerbread is an obvious choice for the holidays, but this take on the classic has a soft and light crumb, and isn't overly dense or spicy, as I find some gingerbread to be. The cake is best when the spices are allowed to meld for a bit, so make the day ahead, if possible. For a spicier cake, increase the amount of ginger, or replace powdered with fresh. You may also increase the amount of molasses, as desired.
For the Cake:
- 2½ cups all-purpose flour
- 2 teaspoons baking powder
- ¼ teaspoon baking soda
- ½ teaspoon salt
- 2 teaspoons ground ginger
- ½ teaspoon ground cinnamon
- ¼ teaspoon allspice
- ⅛ teaspoon freshly grated or ground nutmeg
- ½ cup molasses
- ½ cup brewed coffee, at room temperature
- 1½ sticks ( 1¼ cups) unsalted butter, at room temperature
- 1¼ cups light brown sugar
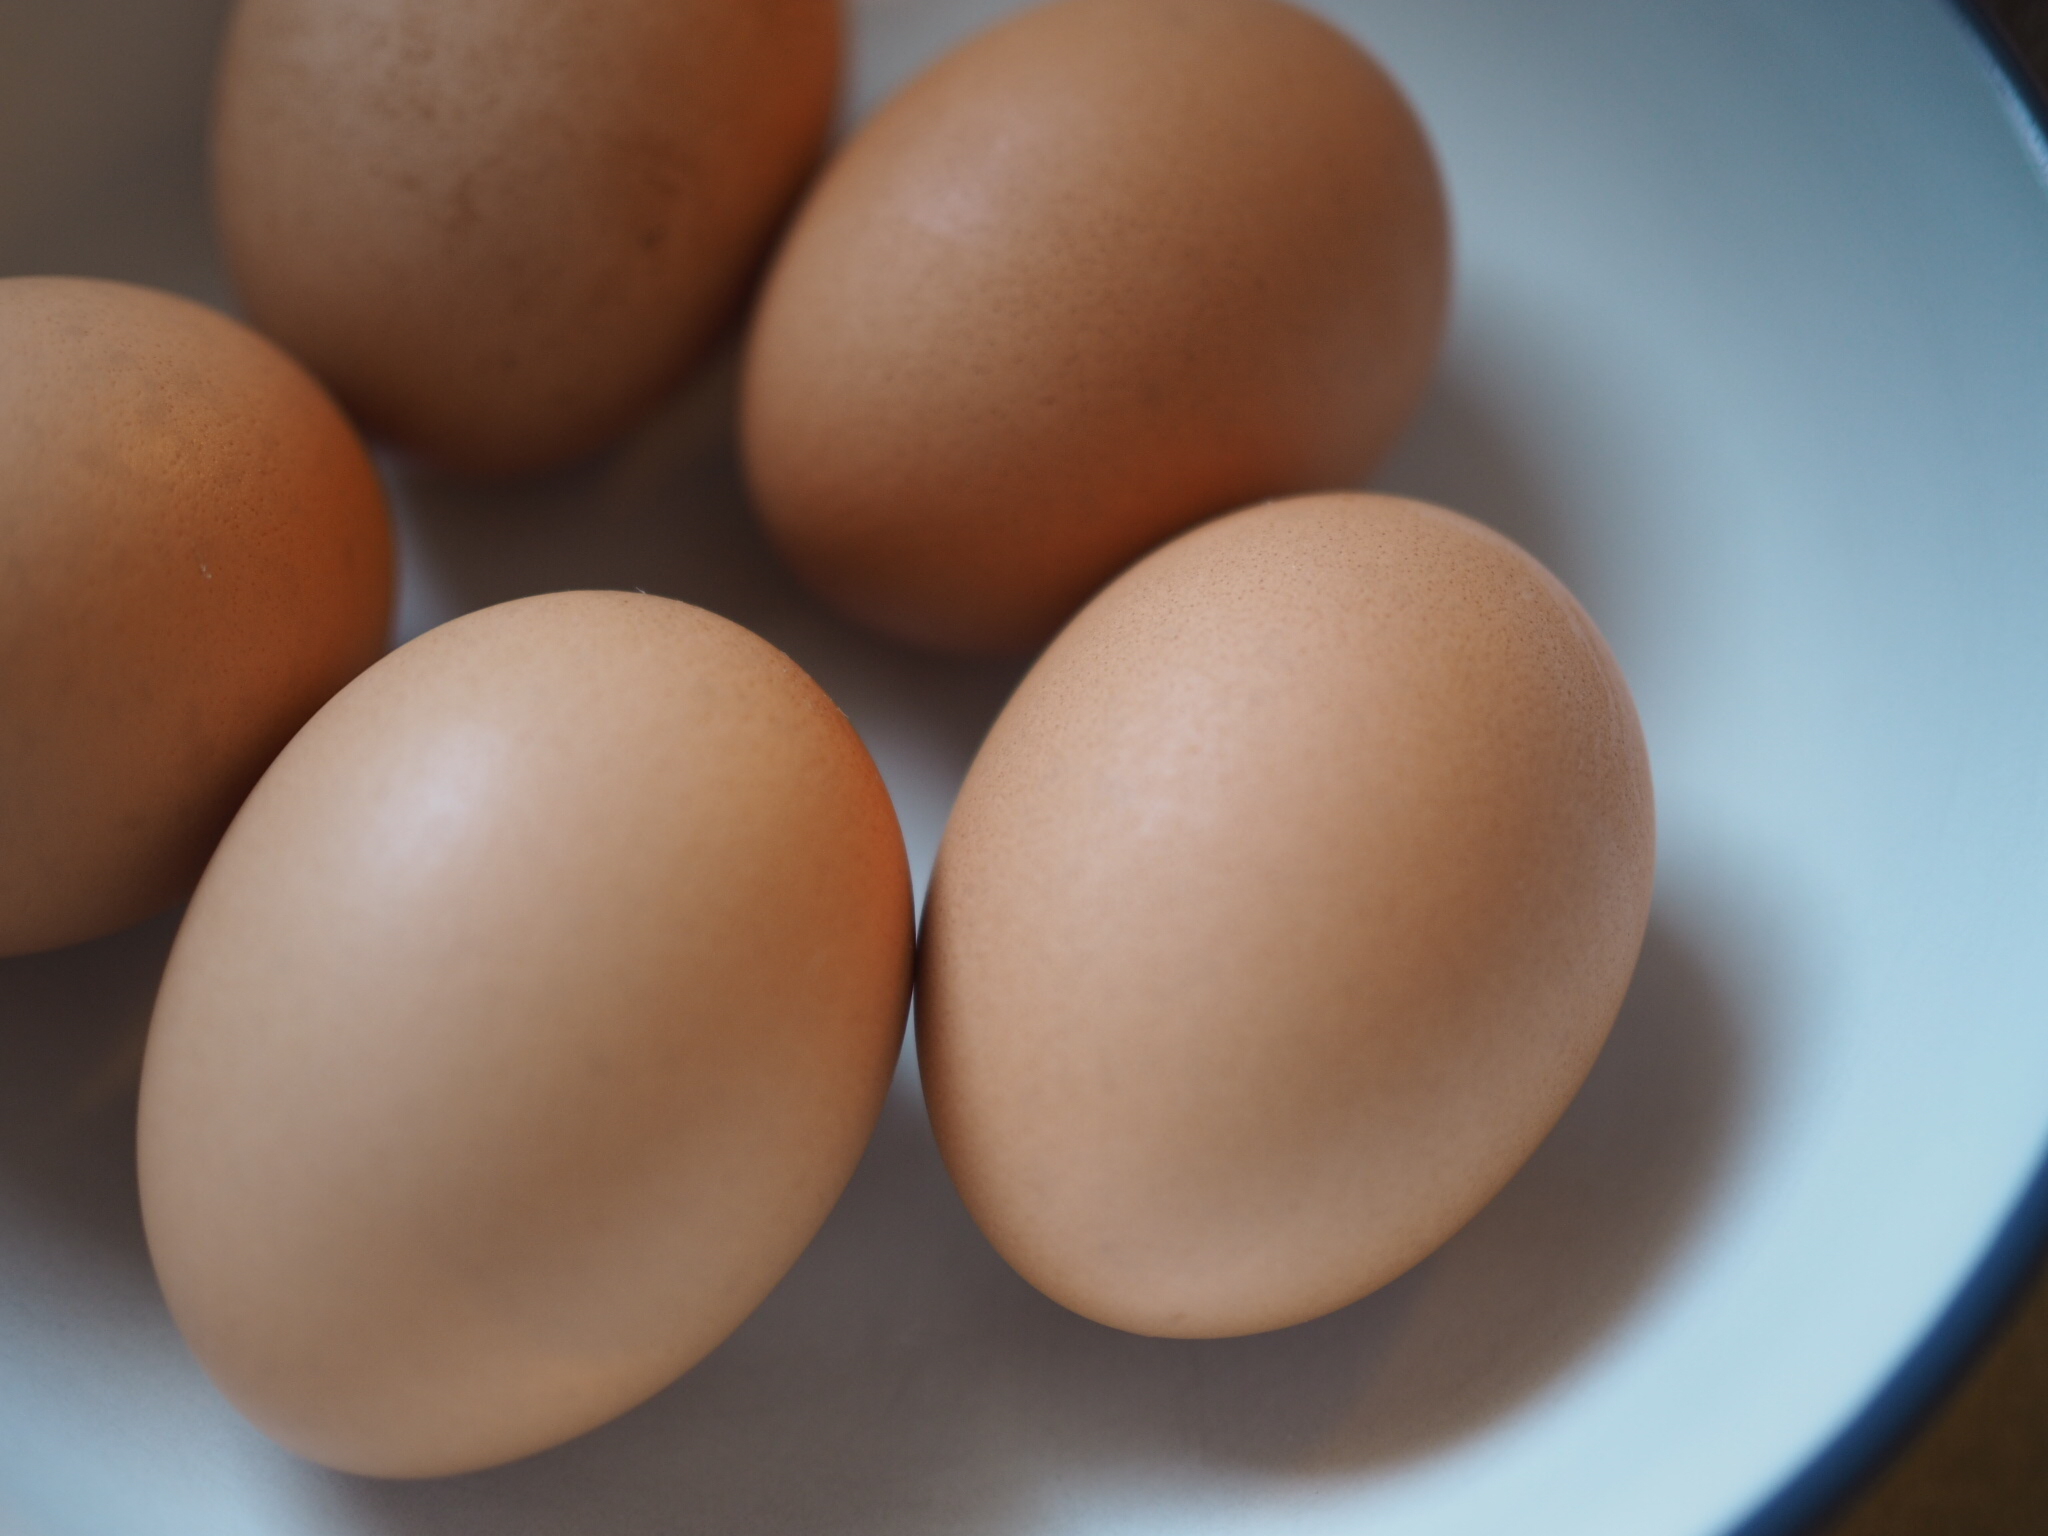
- 3 eggs + 2 egg yolks, at room temperature
For the Glaze:
- 1½ cups powdered sugar
- 2 Tbl milk
- 2 Tbl orange juice
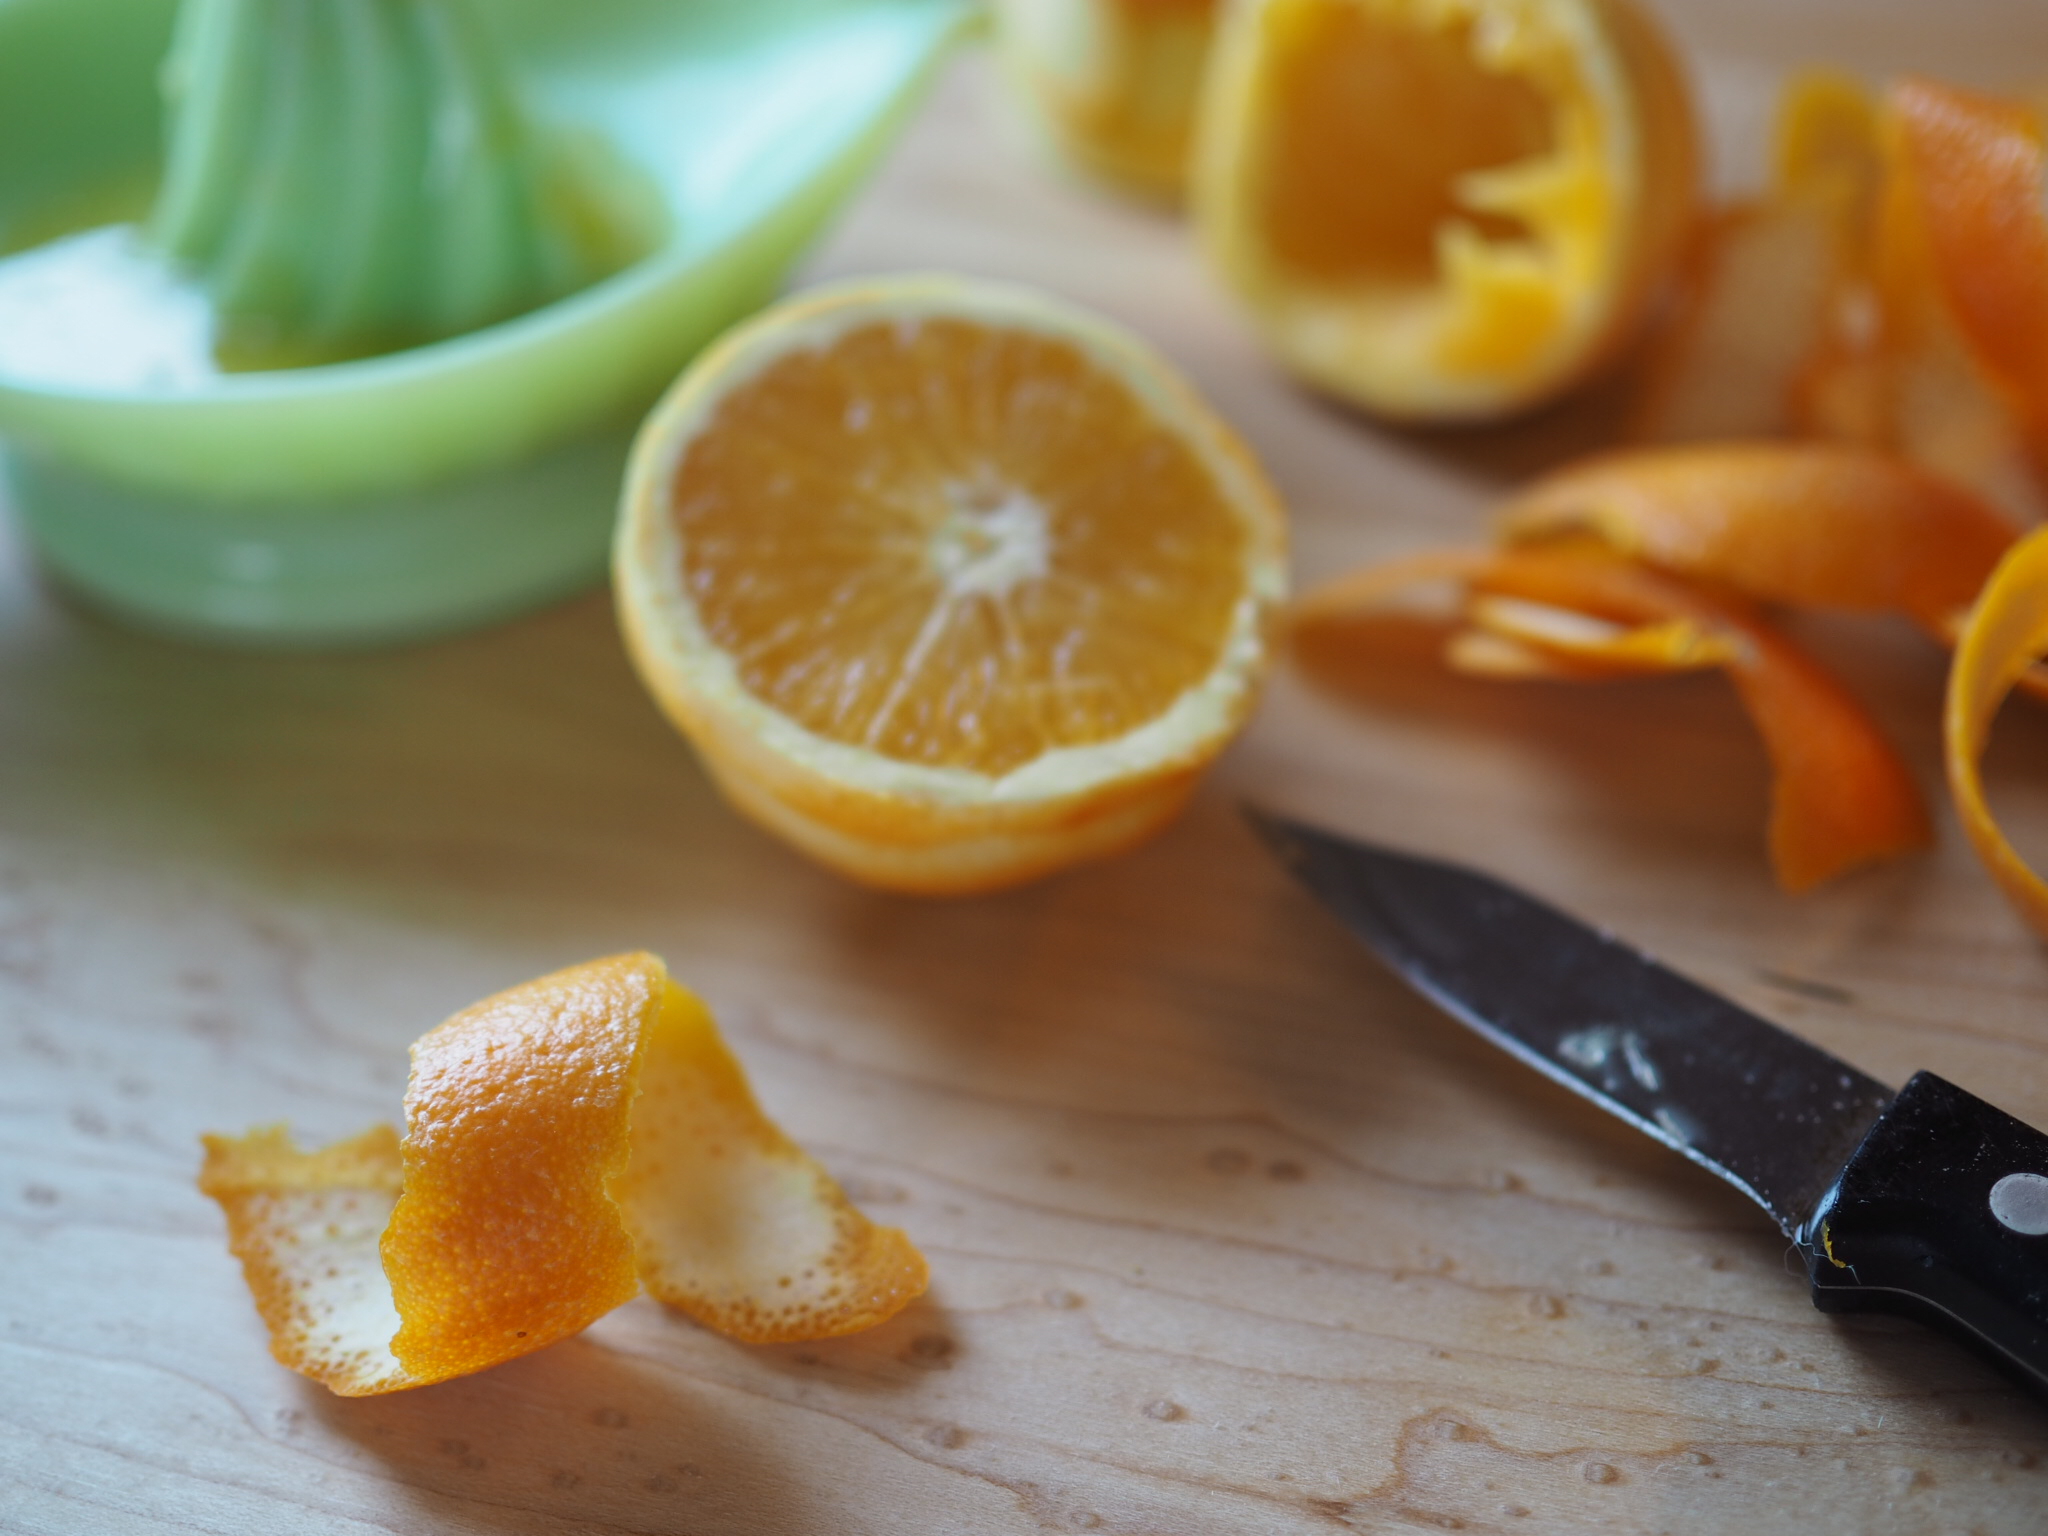
- Zest of 1 orange
- pinch of salt
Preheat oven to 350 degrees F. Grease and flour or spray a 10-cup Bundt pan (I find Pam with Flour works the best for those tricky Bundt pans).
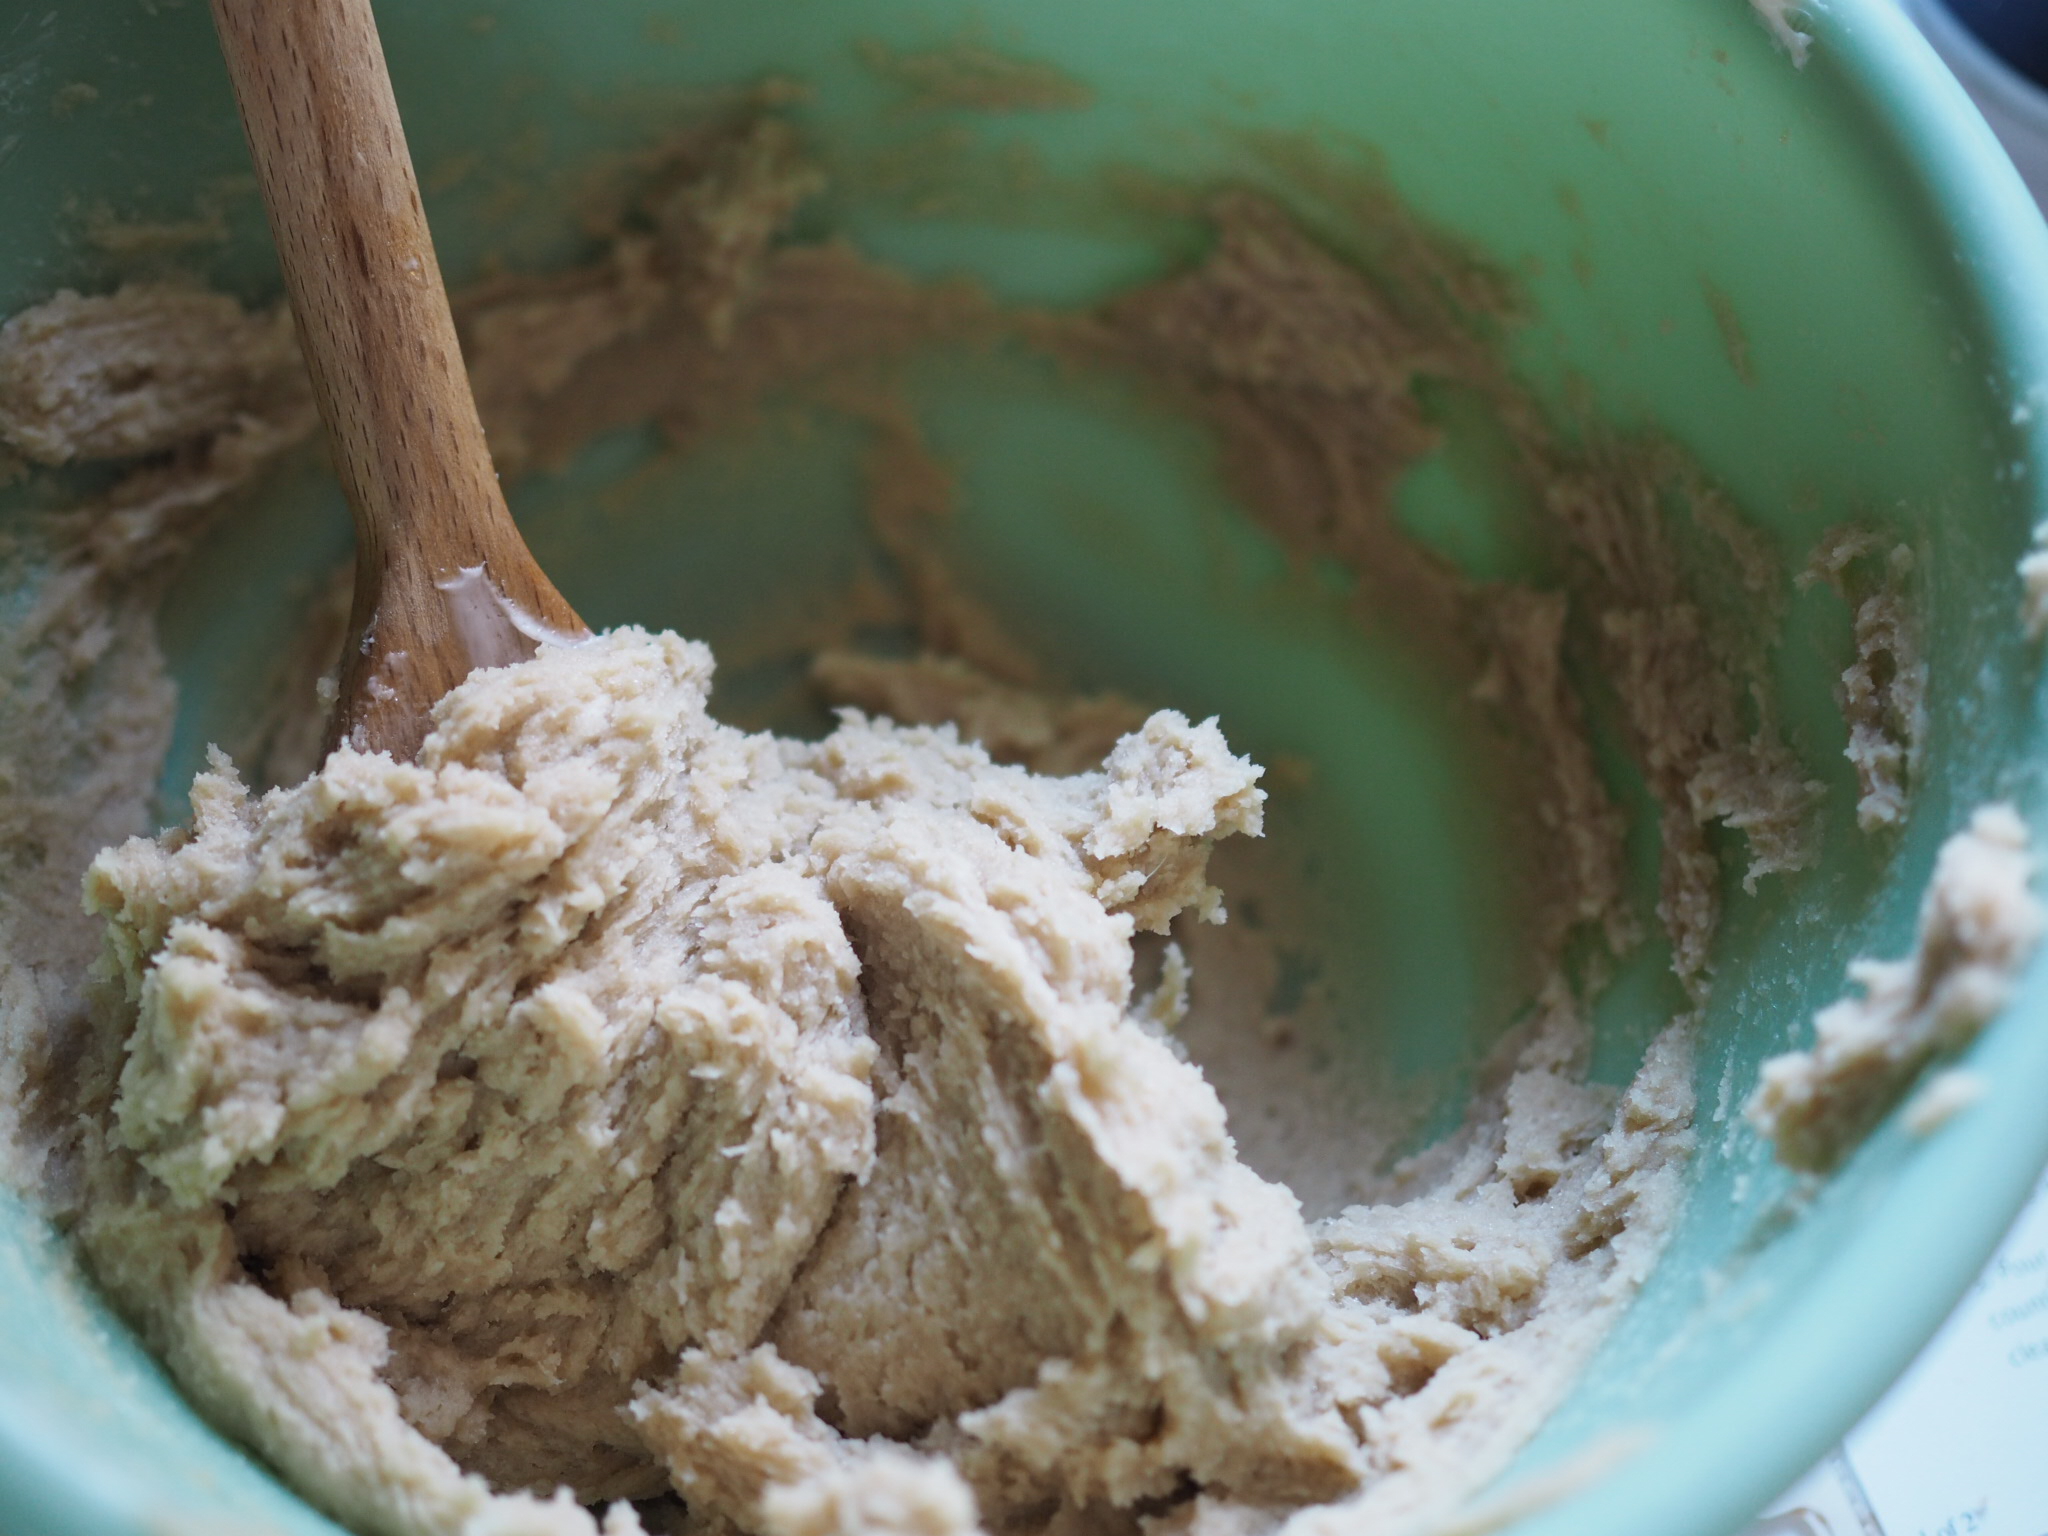
In a large mixing bowl, cream butter until smooth using a wooden spoon or mixer. Add brown sugar and cream until light and fluffy, making sure butter is fully integrated and there are no visible chunks. Add eggs to butter mixture one at a time, mixing in completely before adding the next egg.
In a separate bowl, shift together flour, baking powder, baking soda, salt, and spices.
In a small bowl or cup, mix together room temperature coffee with the molasses.
Add the 1/3 of the flour to the egg/butter mix, then 1/2 the molasses, 1/3 of the flour, the remaining molasses, then the remaining flour. Mix until just combined.
Pour batter into prepared pan and snap against the counter to remove any large bubbles. Smooth out the top with a rubber spatula. Place in center of oven an bake for approximately 50 minutes, or until a toothpick inserted into the center of the cake comes out clean.
Let cake cool in pan for about 7 minutes, then turn onto a cooling rack. Let cake cool completely, transfer to serving plate, and then glaze.
To make glaze: mix all ingredients, adding liquid slowly until desired consistency is achieved. Pour over cooled Bundt cake, making sure to allow glaze to drip down both sides. Scoop extra glaze out of cake center and re-drizzle as desired.
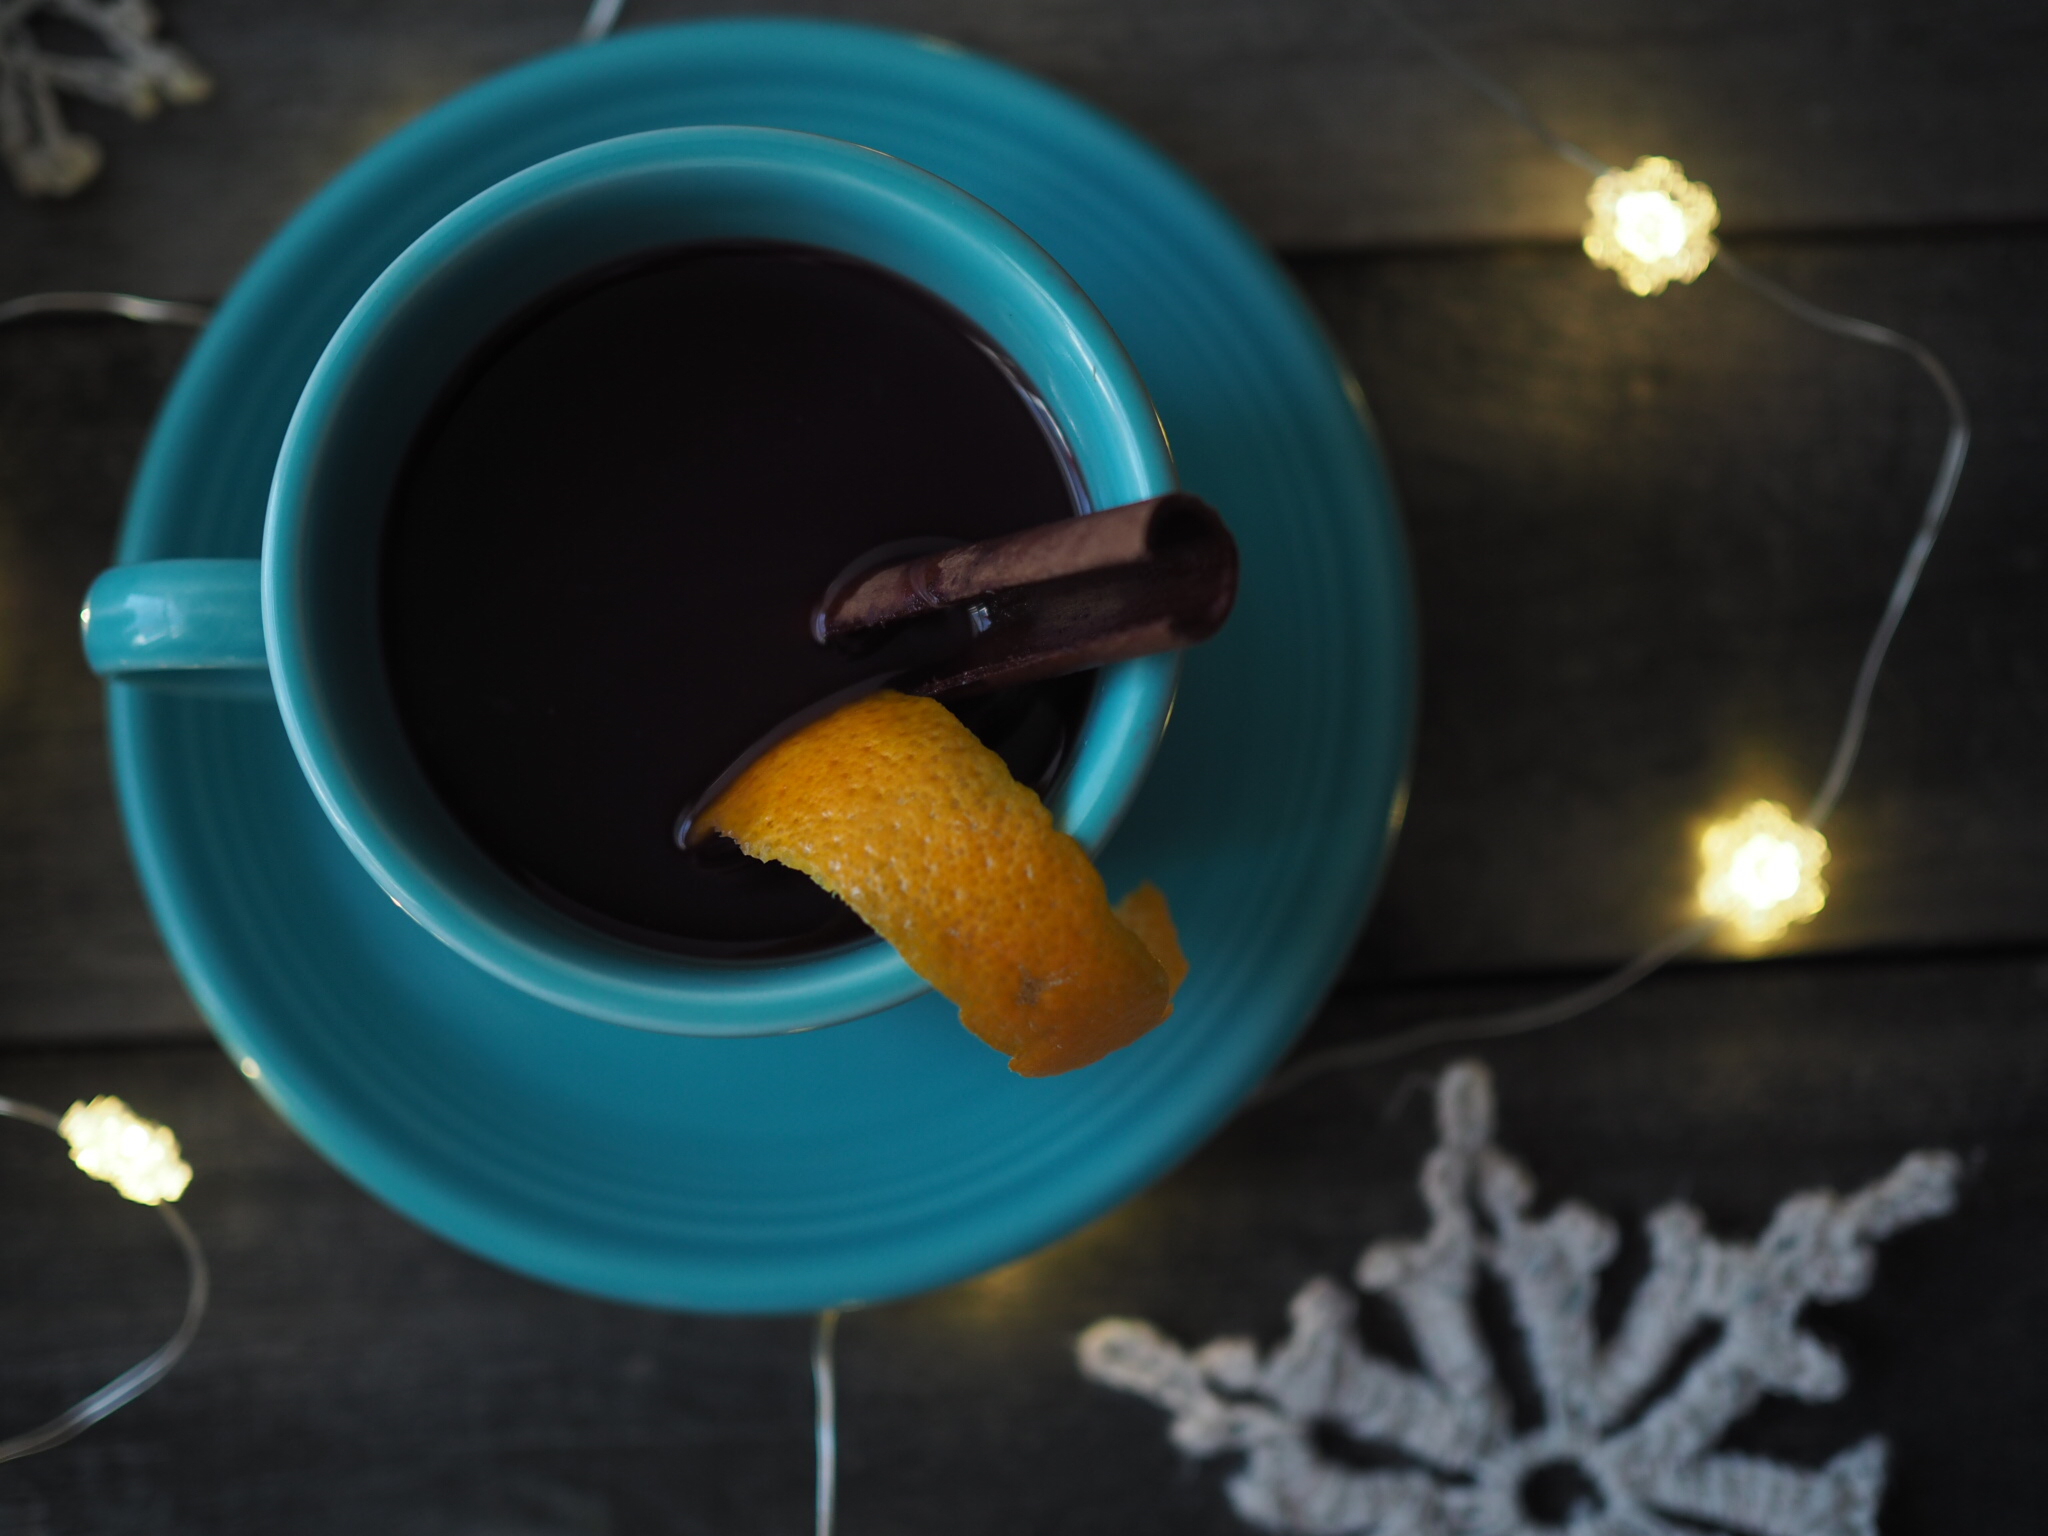
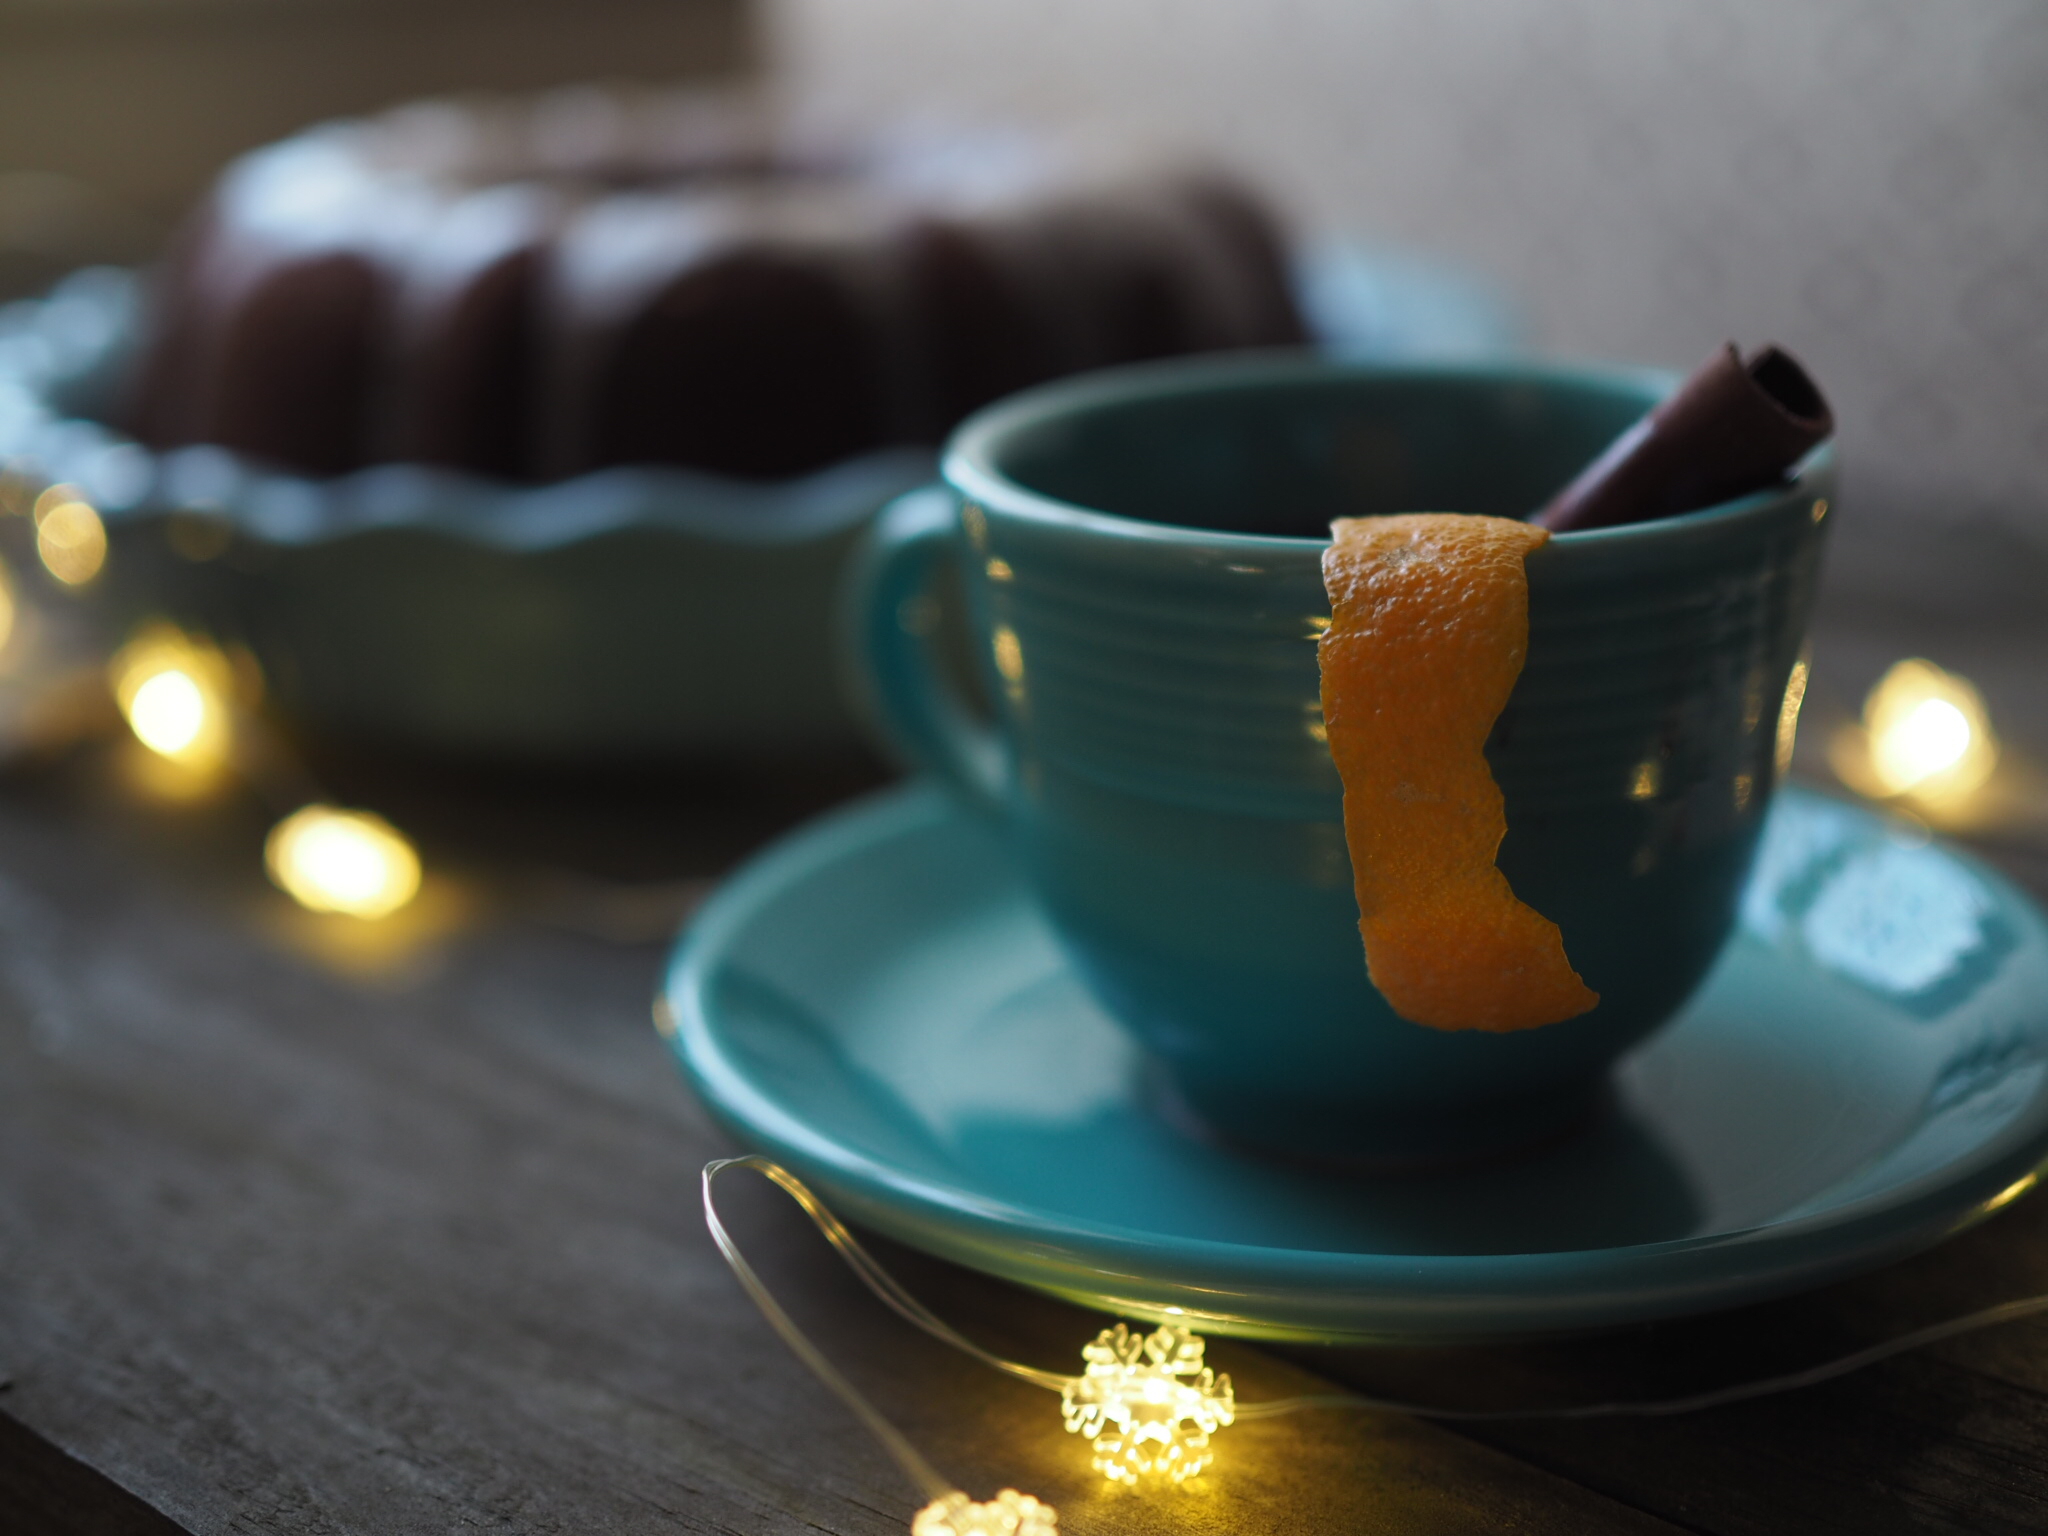
Glühwein, or German Mulled Wine, is perhaps less familiar, but a wonderful addition to winter gatherings. I discovered Glühwein when searching for mulled wine recipes, and then immediately emailed a German friend for her take on the tradition. I've merged her recipe with some I found online, but mulled wine is something that is easy to vary to meet your own tastes. Throughout my wine-mulling process, I kept running to Mr. Cleaver with a hot mug and saying "taste this." We quickly ran through the batch at my knitting group's annual Christmas fête, so I think my test-taster served me well.
Glühwein - German Mulled Wine
- 1.5 L dry red wine
- 2 1/3 cup orange juice (juiced oranges + pre-made orange jucie)
- 2/3 cup brandy
- 4-5 oranges, peeled (see instructions below) and juiced
- 1 lemon, peeled and juiced
- 4 cinnamon sticks
- 20 cloves
- 1/8 tsp freshly ground nutmeg
- up to 1/3 cup sugar, to taste
Using a paring knife or vegetable peeler, peel all citrus into wide strips, avoiding as much of the bitter white pith as possible. Juice all fruit, making up the difference with pre-made orange juice as needed. Reserve some peels for garnish.
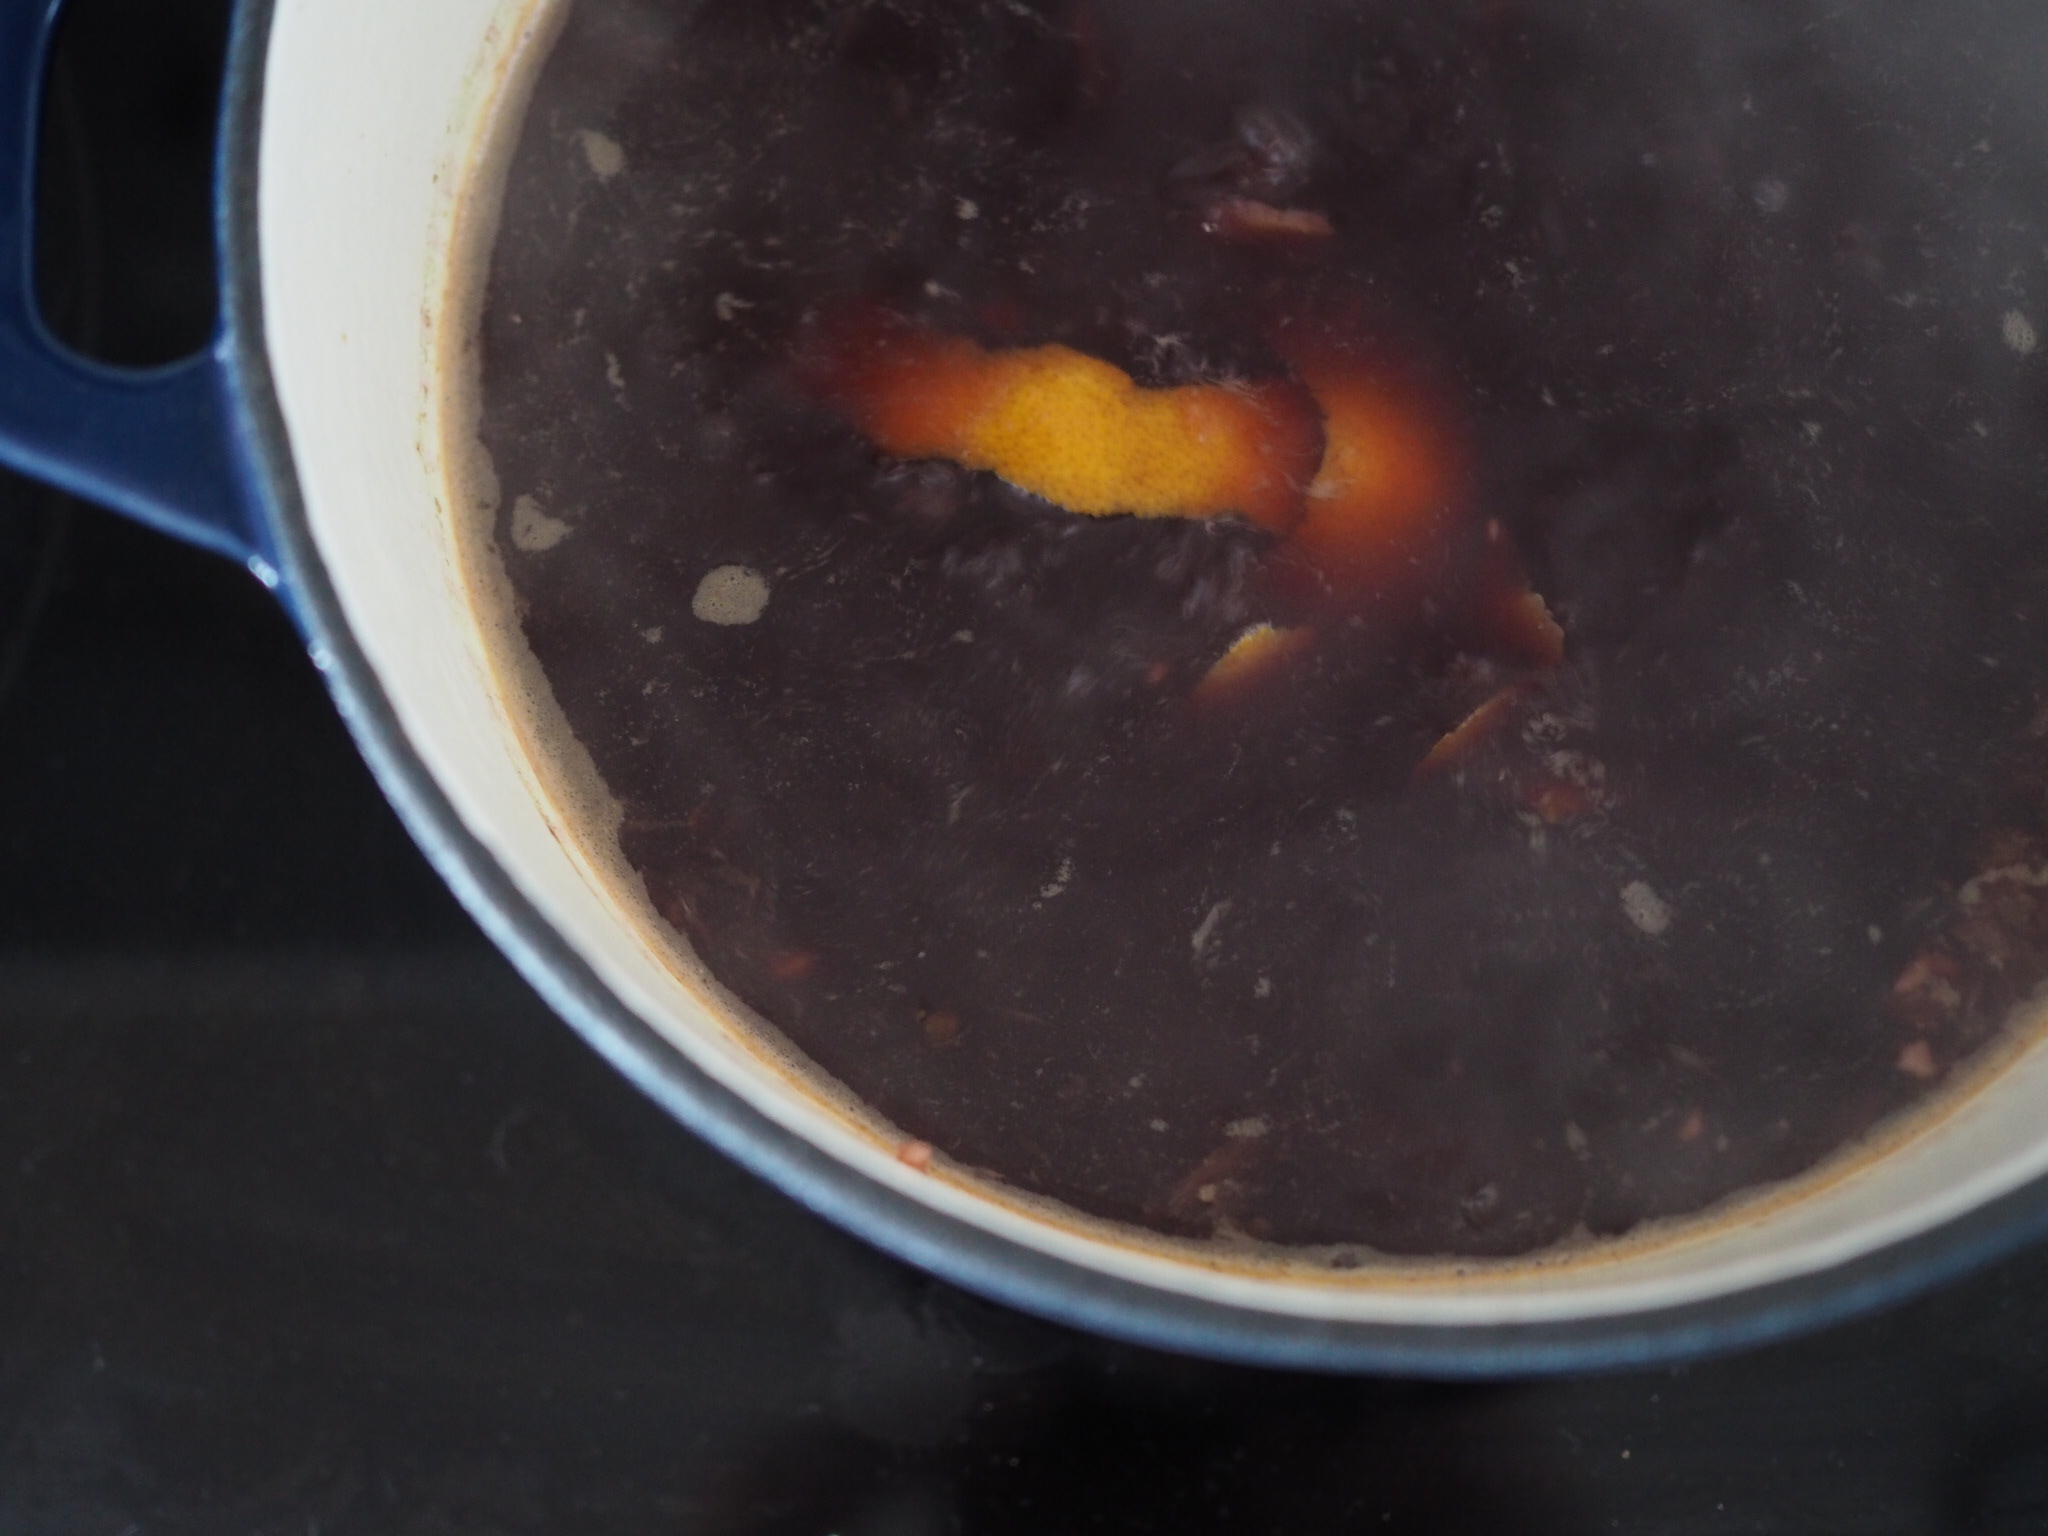
Combine wine, juice, remaining peels, and spices in a heavy covered stockpot. Bring pot to a low simmer. Add Brandy and continue to simmer. Add sugar to taste.
Serve hot, not warm.
What are your favorite holiday recipes? Share links below!!